
Lownslow
-
Posts
4,384 -
Joined
-
Last visited
Content Type
Profiles
Forums
Events
Gallery
Everything posted by Lownslow
-
usually does, another choice is epoxy
-
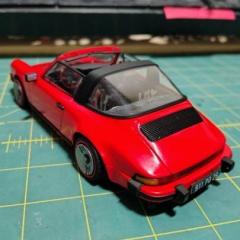
no chrome :cool: it luxurized the car i added the decals after the pic they look better
-
 my gf screwed something up
 -
got this and bad news
-
quicky update
-
guts
-
the hood cracked when i pre cleared dont know why, but it went away.
-
thats the way i would do it, you shouldnt thin it ive never thinned it after decanting
-
hour or 2 thats the average. are you picking up something like i got posted up top or mineral spirits? cause mineral spirits wont work dont know about enamel thinner it has to be the acrylic enamel kind. i just use this exclusively for painting.
-
very nice
-
it had BMF around the windows but it looked "civilized" so i took it off i got a sharpie so im gonna blacken out the window frames
-
pretty much box stock exept i wired the engine and swapped the rims, color is nail polish topped with urethane
-
-
is that supposed to mean something? cause youre also quoting the wrong car there jack
-
ill be done before the end of the week
-
its a good truck but first chance i get im getting a new Camaro
-
yes because it has a longer dry time. average dry time is 1 to 2 hours
-
nice
-
months later shes off my bench
-
x3 hes helped me out in 2 occasions
-
thats so awesome
-
The New A-Team!
Lownslow replied to Custom Hearse's topic in General Automotive Talk (Trucks and Cars)
a part of my childhood just died -
dont buy lol, im serious.
-
3 parts thinner : 1 part paint. it helps break the paint down to that milk state