

sbk
-
Posts
232 -
Joined
-
Last visited
Content Type
Profiles
Forums
Events
Gallery
Posts posted by sbk
-
-
One technique I'd like to try and I've got junk pieces I could try this on------tint the glass on the inside using Future Floor Wax and some blue/green food coloring. This would give a nice subtle tint that was fairly common on cars out of the '50's.
That's it for now!
Very, very nice!
I've airbrushed Juha's Hubrol window tint formula with good results, just in case the Future/food coloring route doesn't work.
-
Awesome! Good to see some new stuff from you.
-
I've never used anything but acrylic lacquer thinner for lacquers, enamels & nail polishes. Use a reputable brand, not the cheap hardware store stuff. I have been using DuPont medium temp since the mid '80's, years before I was building model cars.
-
All right!! That looks so-o-o good!
-
Looking good! Here's how I did a windshield frame for a 36 Ford.
After cleaning up the opening, I added a .015" styrene lip on the inside of the it.

I traced the shape of the opening onto a piece of paper & transferred that to a piece of .015" styrene sheet. I kept sanding the edges until the fit was tight, but did not bind or bend the sheet. I then built a frame around it on the backside using .020" x .060" strip.
Using dividers, I scribed, following the outer edge, making the outline that would later be cut out.
I used a motor tool to grind out the middle portion of the sheet.
Then, cleaned it up with files & sanding
I cut a piece of .010" clear PVC sheet to fit in the opening as "glass".
I got the idea to do this from Rik Hoving. Go to this link & scroll to pic 108. http://public.fotki.com/Rikster/model_cars/projects/40_ford_project/page2.html
-
This is looking really nice!
-
Very nice!
-
Very, very cool!
-
Wow! Steve, that looks fantastic!
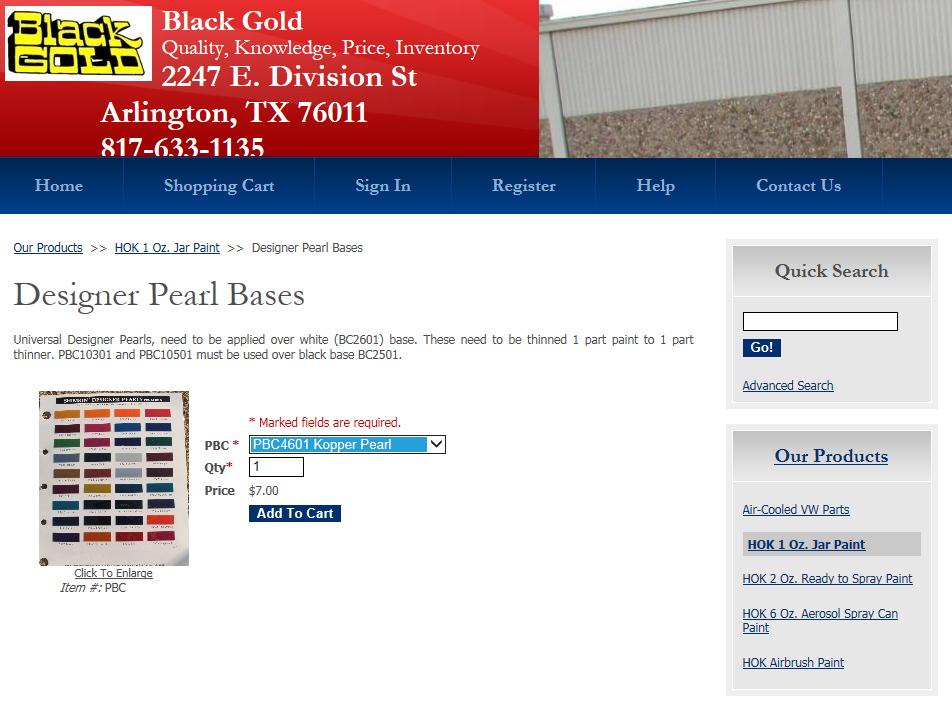
The H of K copper pearl, what is the exact specification? I need to get in touch with my H of K guru, but I'll need the proper number and letter combination. Can you help?
Is the copper pearl a base coat?
Michael
.Thanks! Yes, a base coat. The text below says to shoot over white, but that is just to match the colors shown on the color chip. I test shoot on many different colored base colors to find out what I want as the final color.
http://shop.blackgoldweb.com/product.sc?productId=7&categoryId=2
-
If you're using HOK candies, HOK copper pearl will make a great base coat. I've done some paint tests with candy red over it, & it looks very good.
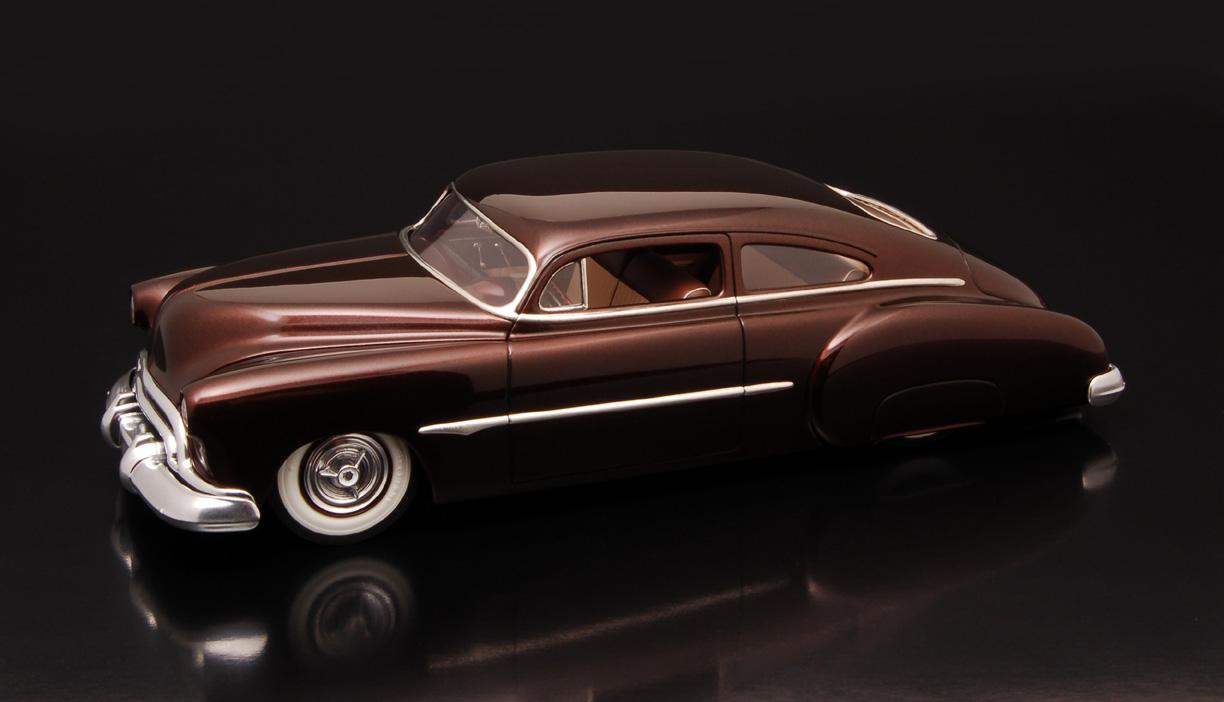
On this one, I shot light coats of copper pearl over a black base, then, topped it with candy root beer.
-
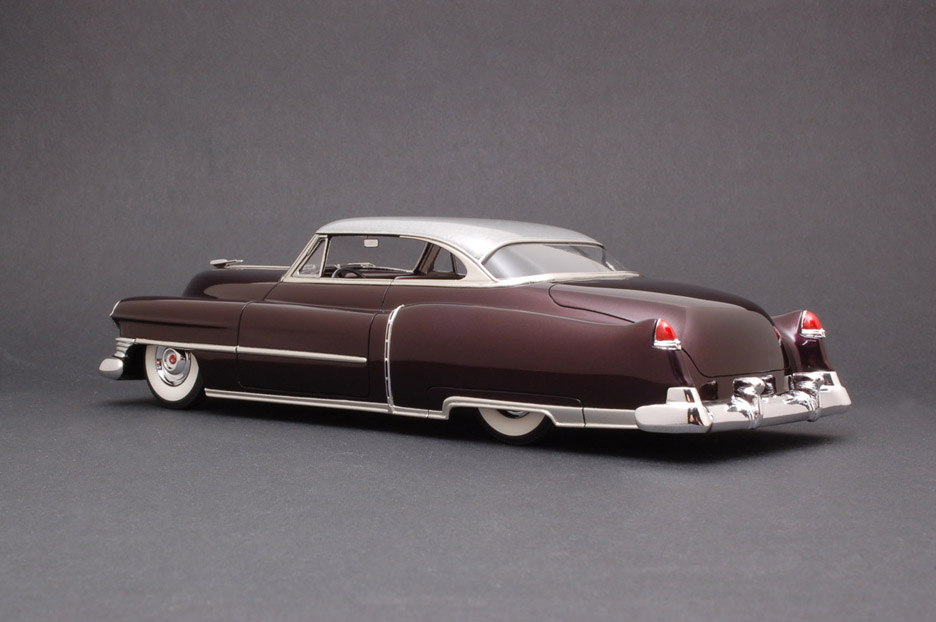
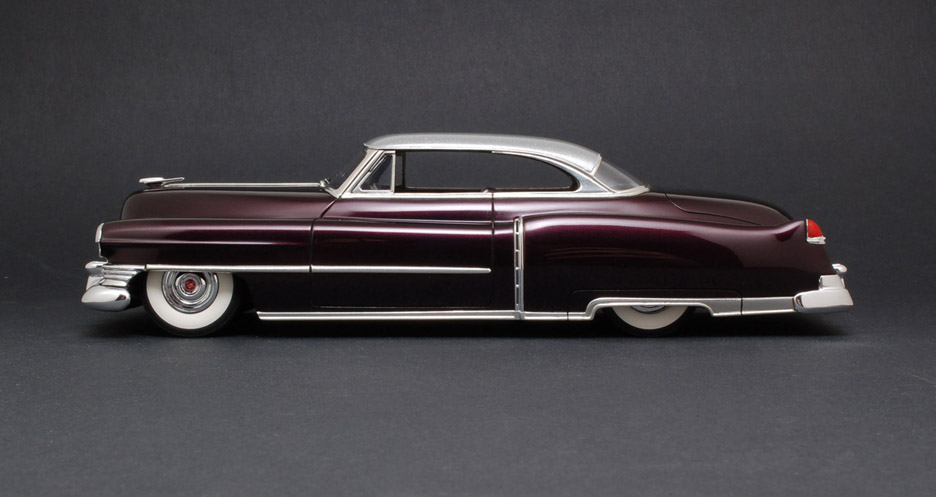
Great work! The profile has a very nice flow.
-
As always, your interiors are so very cool.
-
Very nice! Those white walls have nice detail, are they from a Lindberg '53 Ford kit, or something else?
-
I find this work very interesting, but the photo quality makes it hard to see what's going on. Maybe it's just me, but it's all pretty fuzzy. With all of the heavy duty cutting & splicing that you're doing, it would be great to see it a bit clearer.
-
Looks really great, John!
-
Nice, nice, very nice!
-
Looking good! I say black for the camper frame.
-
As others have said, very interesting brass work! Do you solder anything at all on it? For instance, on the windshield trim along the roof, are those separate strips for the top & front? Or, is it an illusion that it seems larger than 1/32"? Really looks great! Too bad they couldn't be electroplated before attaching, & somehow make it though all of the painting & polishing without cutting through to the brass color.
-
Thanks!
Speaking of wedding cars, my niece got married yesterday evening, & she arrived at the church in a beautiful 1956 2 door Caddy. How lucky!
-
Very cool to see the various years represented in scale!
Modelhaus 1950 Caddy with minimal modifications.
-
Thanks to all who posted photos.
It was so good to see all of Teresi's, Fabrizio's, Chris', Simon's & other's work in person. Mind blowing stuff! It seems like there was just not enough time to talk to everyone, but it surely was good talking to you, Steve R. I also see photos of things that I say, "How did I miss that??" Congrats to those of you here who received awards. Very well deserved!
-
Thanks guys, I appreciate the kind words! In Farmington, AZ tonight, & will head out for Salt Lake tomorrow morning.
-
Finished this one over the weekend & leaving for GSL tomorrow. Glad I was able to get it together in time with no major mishaps. Hopefully it will survive the long road trip!
Lots of step by step photos of the building process here:
https://www.facebook.com/media/set/?set=a.293962507375468.59488.136565936448460&type=3
-
 1
1
-
-
I think detailed descriptions are good. Some builders do modifications so well that the untrained eye may mistake them as being "from the kit." I know a little about '40's & '50's customs, but much less about other subjects. At a recent show, I saw a riding lawnmower model made from the pull cart from a F1 kit (if I'm not mistaken) If it wouldn't have been for the build detail booklet, I would have never know about all the scratch building skill that went into this little thing. It looked so good, I thought, "Man, that's a really nicely built kit."
Unfortunately, not all judges know what they are looking at, especially at smaller IPMS contests. At a contest quite a few years ago, they were low on judges & they asked me be be one. I really didn't want to, but at the same time, wanted to help them out. Guess what I was judging?......Boats! What do I know about boats?? But, by IPMS rules, it's all about how WELL it's done, not necessarily the amount of work that went into something.
I don't read every detail sheet or book someone places next to a model, but it's nice for it to be there in case someone is interested.


1959 Chevy Impala----Just a tease! 4/9/16
in WIP: Model Cars
Posted
Bill, Juha wrote a 2 part article in the other magazine that showed what I'm talking about, maybe in 2000 or 2001? He uses Humbrol green & blue metallic enamel, but only uses the clear top portion, none of the metallic particles. Then, he mixes parts of those in with clear & thinner, & brushes it on clear sheet.