

6bblbird
-
Posts
1,029 -
Joined
-
Last visited
Content Type
Profiles
Forums
Events
Gallery
Posts posted by 6bblbird
-
-
Great job! Paint is perfect.
WF
-
 1
1
-
-
2 hours ago, Yeah Nah said:
Well maybe a little......
I still love it anyway Walter. Top build!

That’s what I’m talking about! Lol
-
Great looking Dart! Looks good in white. I know all about the black hole. I literally just lost an entire can of paint in a 10' x 10' room! 🙄
-
Very well done! I just completed two of these. They are not as easy to build as one might suspect. Takes some skill to put that front end and headlamps together!
-
It may be a snap kit, but it's great raw material. I've built a few of these. You did a nice job on yours.
-
Great looking model. The color is not one that most people would think of using but I'm glad that you did. Looks terrific, really stands out.
WF
-
Whenever I see your work on Instagram, I'm overwhelmed. After 60 years of building model cars, I feel like I'm 5 years old, pouring glue and finger prints all over my first kit! You are a great inspiration!
You should really think about doing some youtube videos to help us mere mortal modelers!
-
 1
1
-
-
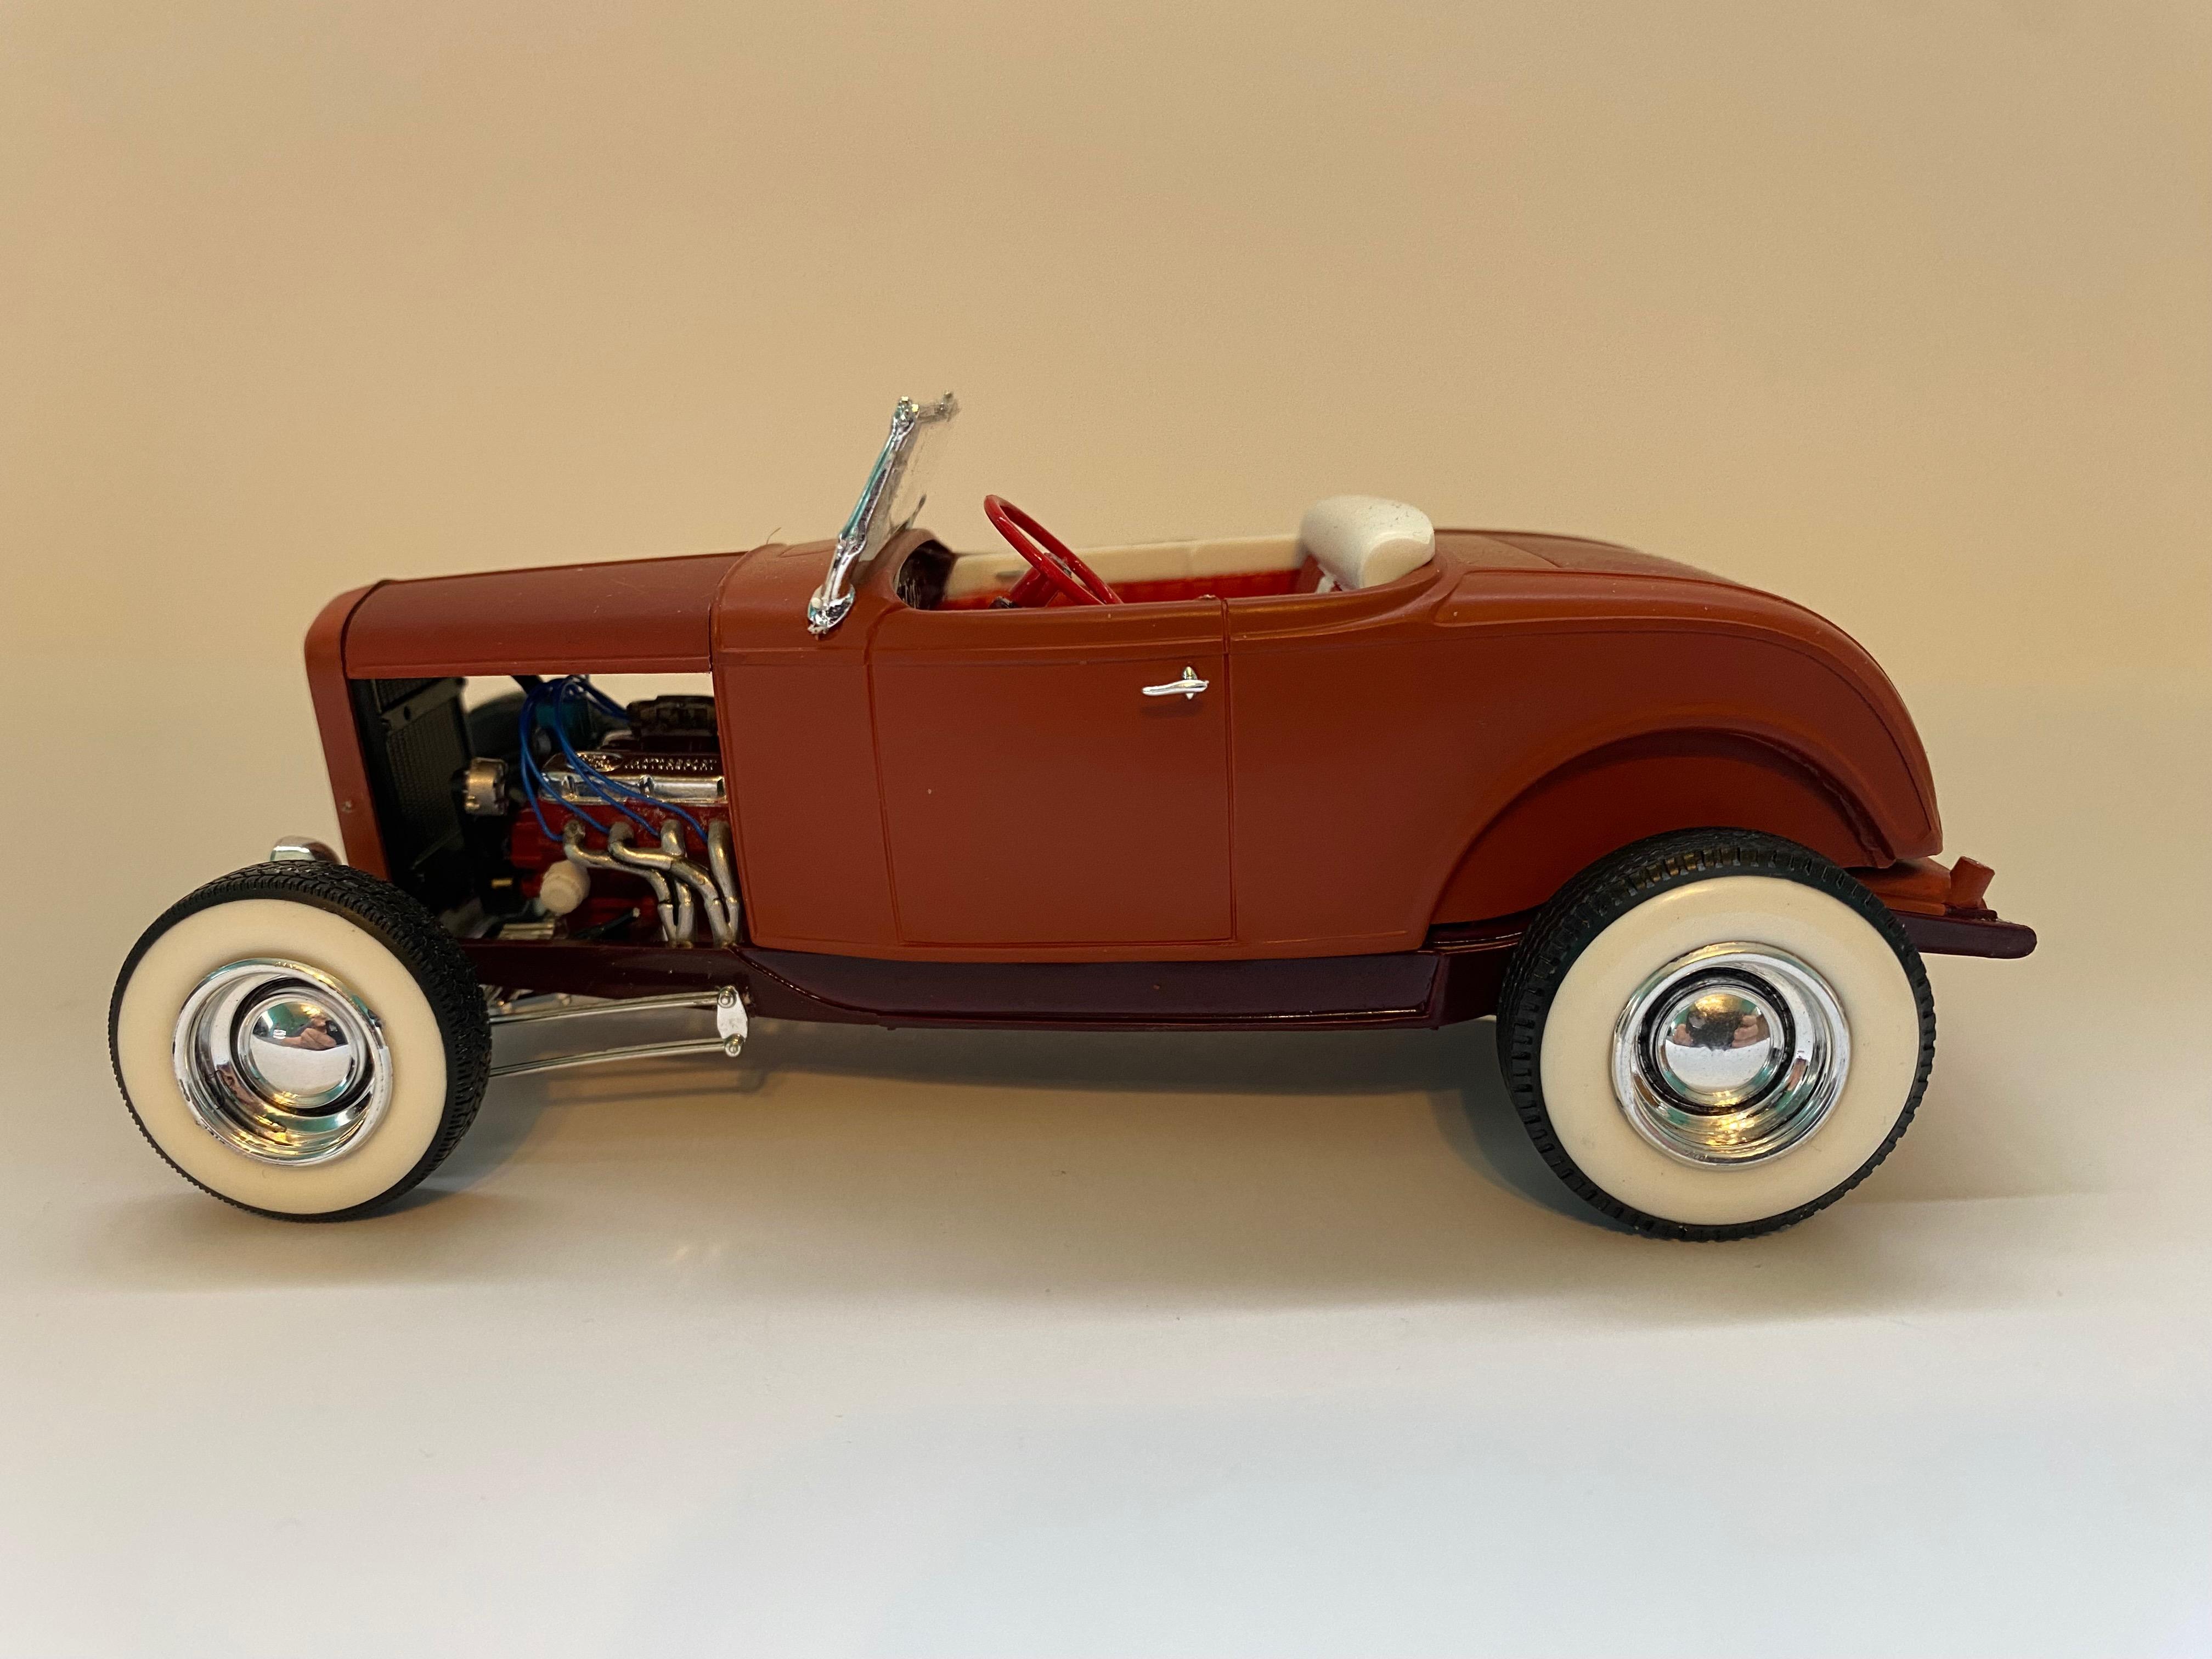
I had a few of these Revell kits in my stash and the model club theme for May is '32 Fords. So, out it came. I have built a couple of these in the past but I don't remember them being so fiddly. No, actually it was a p.i.t.a.! Something wrong with the plastic on my kit (2008 version) where it seemed like it was literally oily. Paint would not adhere and CA glue would not stick. Painted, stripped and washed numerous times. I decided to make it a primer rod or work in progress.
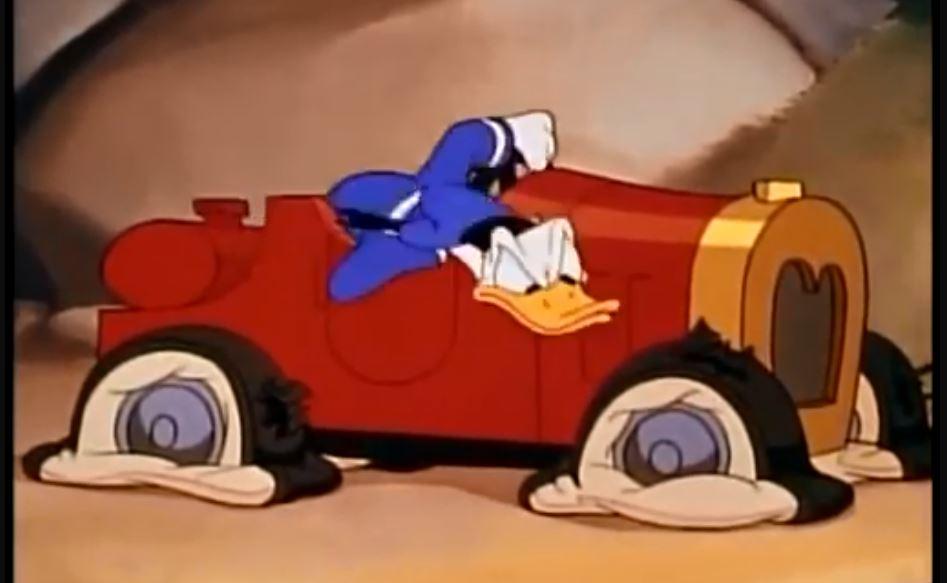
I had these wheels and tires kicking around forever and thought that they would look great on this car. Now? I think it looks like a refuge from an old cartoon!
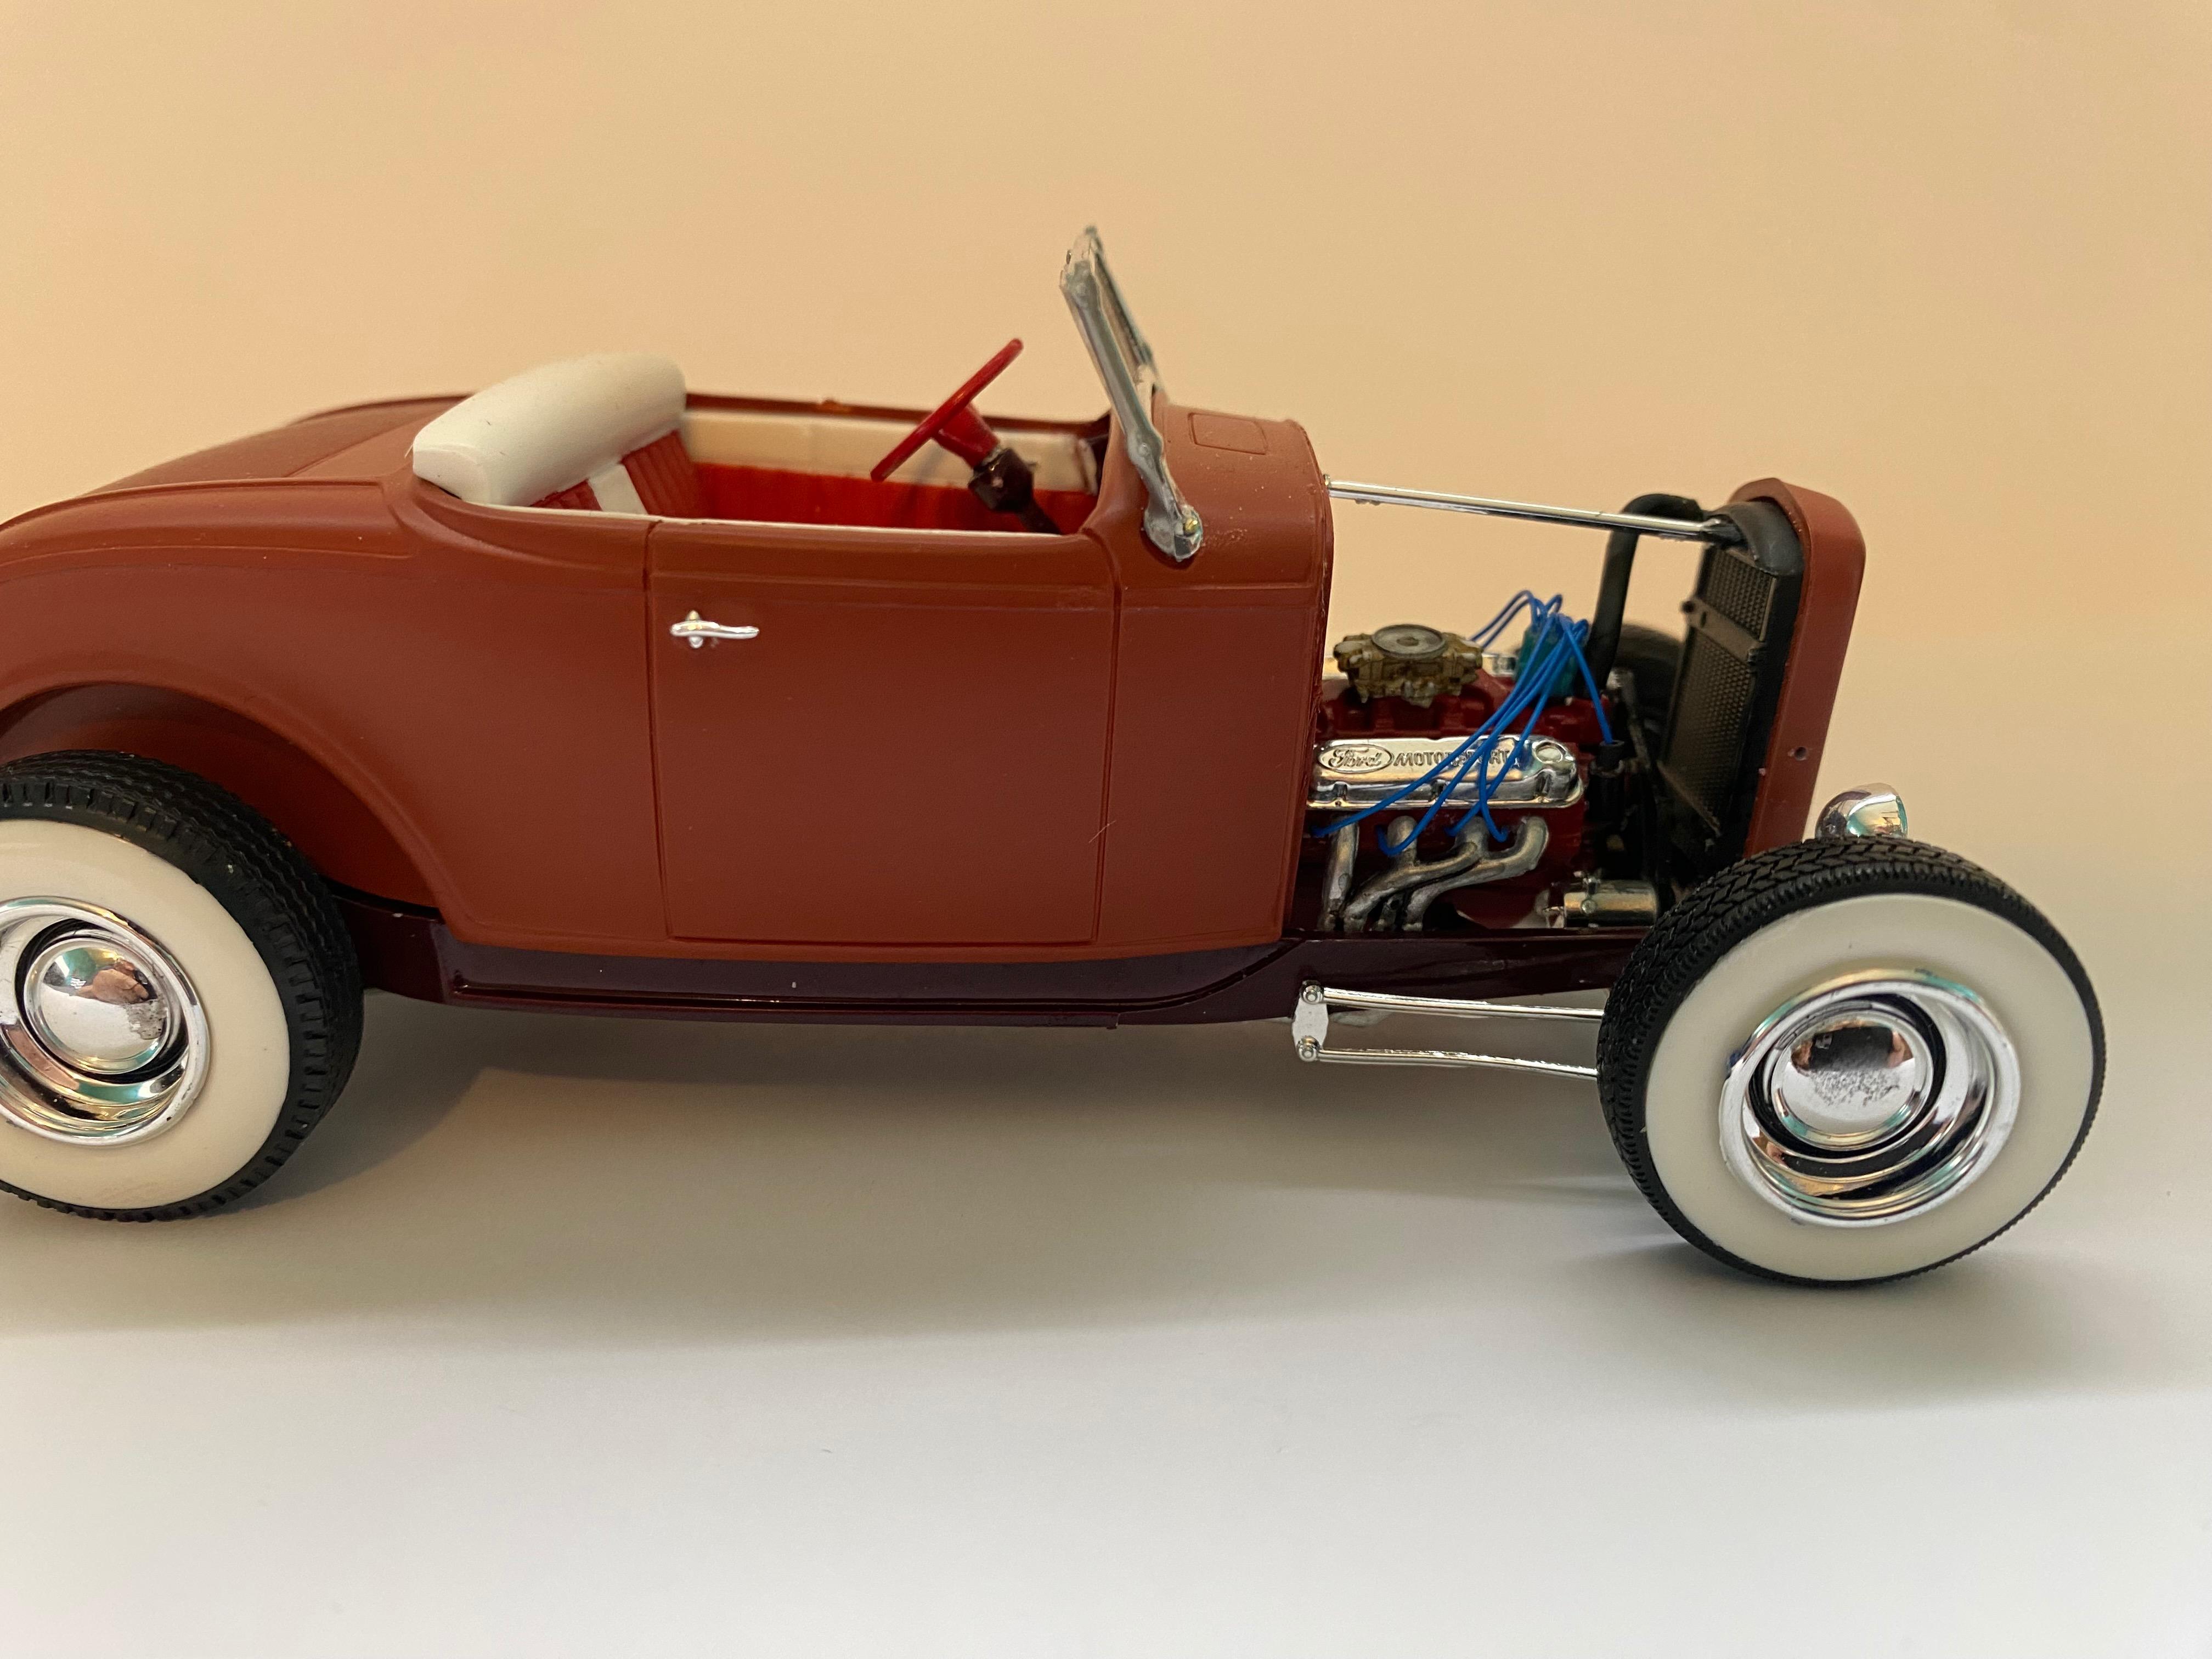
The headlamps on these cars are very difficult to glue on in the right place and position. Not only that but the stanchions that come with the kit were warped. I made my own stanchions and front shocks. The wire from the shock goes thru the stanchion and into the headlamp. That worked out well.
Yes, the paint on the hood and deck lid don't match. I did that on purpose. Remember, it's supposed to be a work in progress.
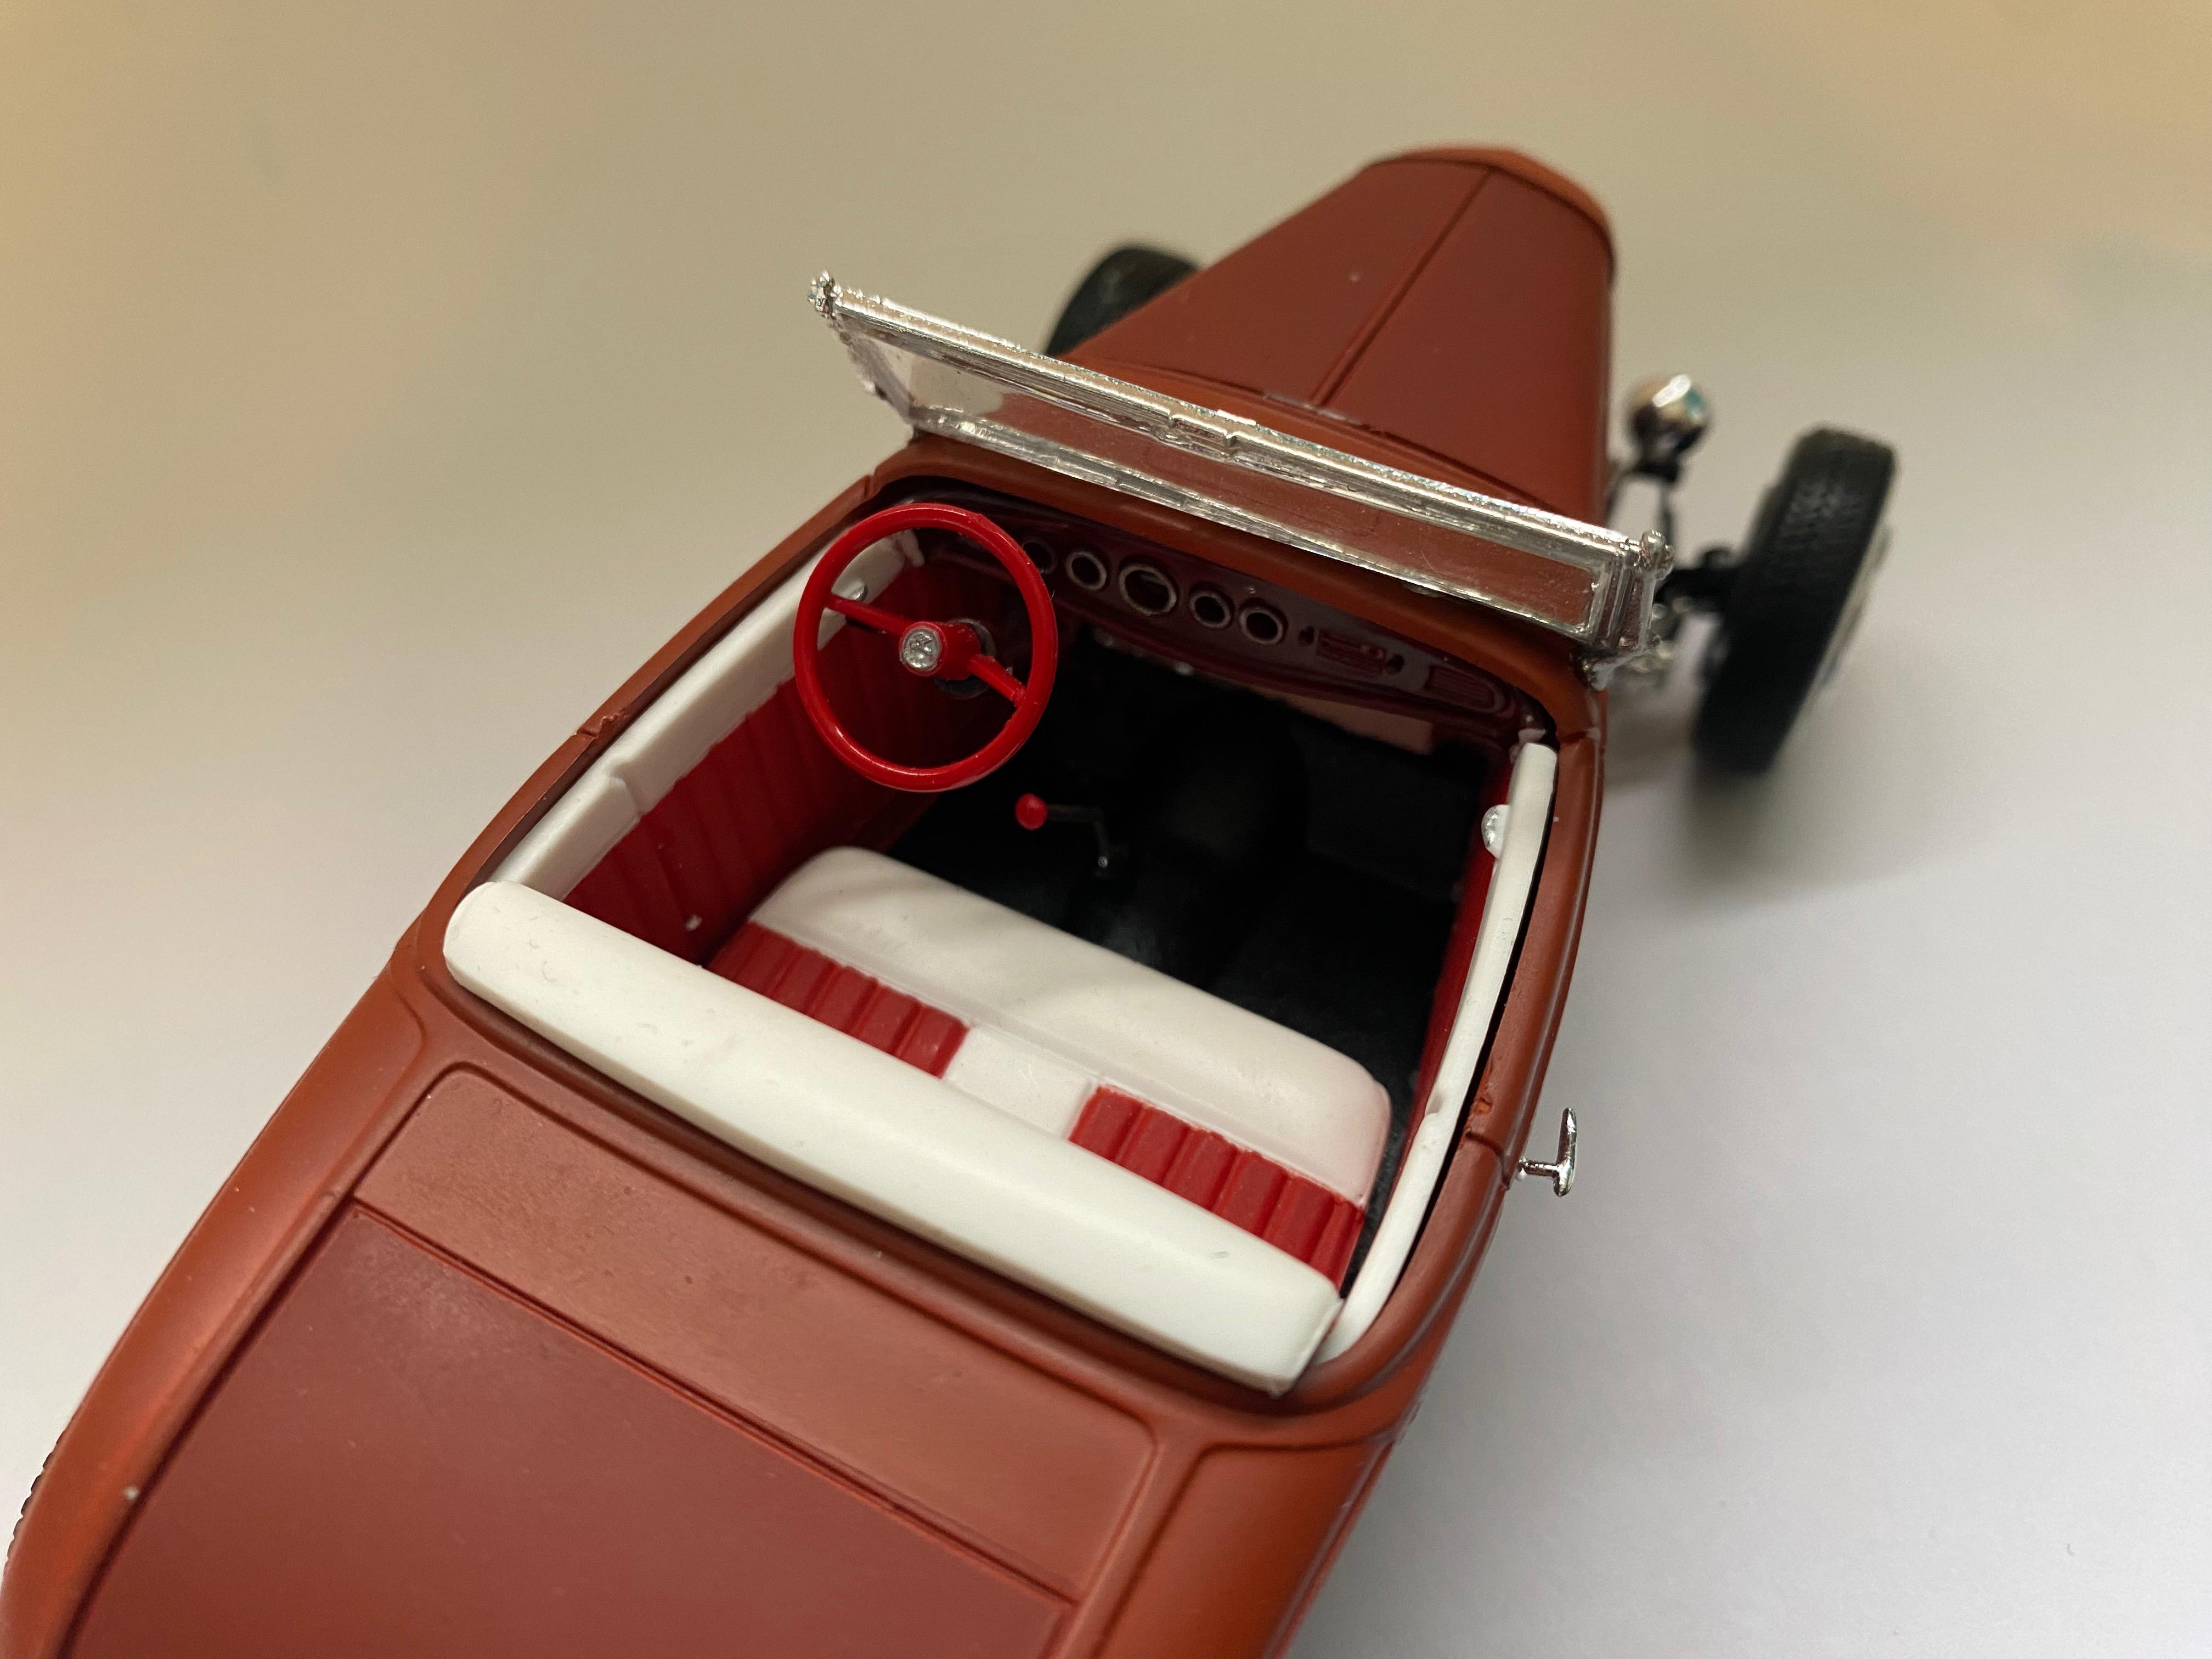
The interior was fun to detail. However, like many of the other parts in the kit, it did not fit at all well . There was a huge gap between the upper upholstery and the body. Had to widen it....then the dashboard didn't fit. So much for a quick and easy box stock build!
PS : I am currently building a Revell '32 Three window. Far fewer problems with what is essentially the same kit. Go figure.

-
9
-
-
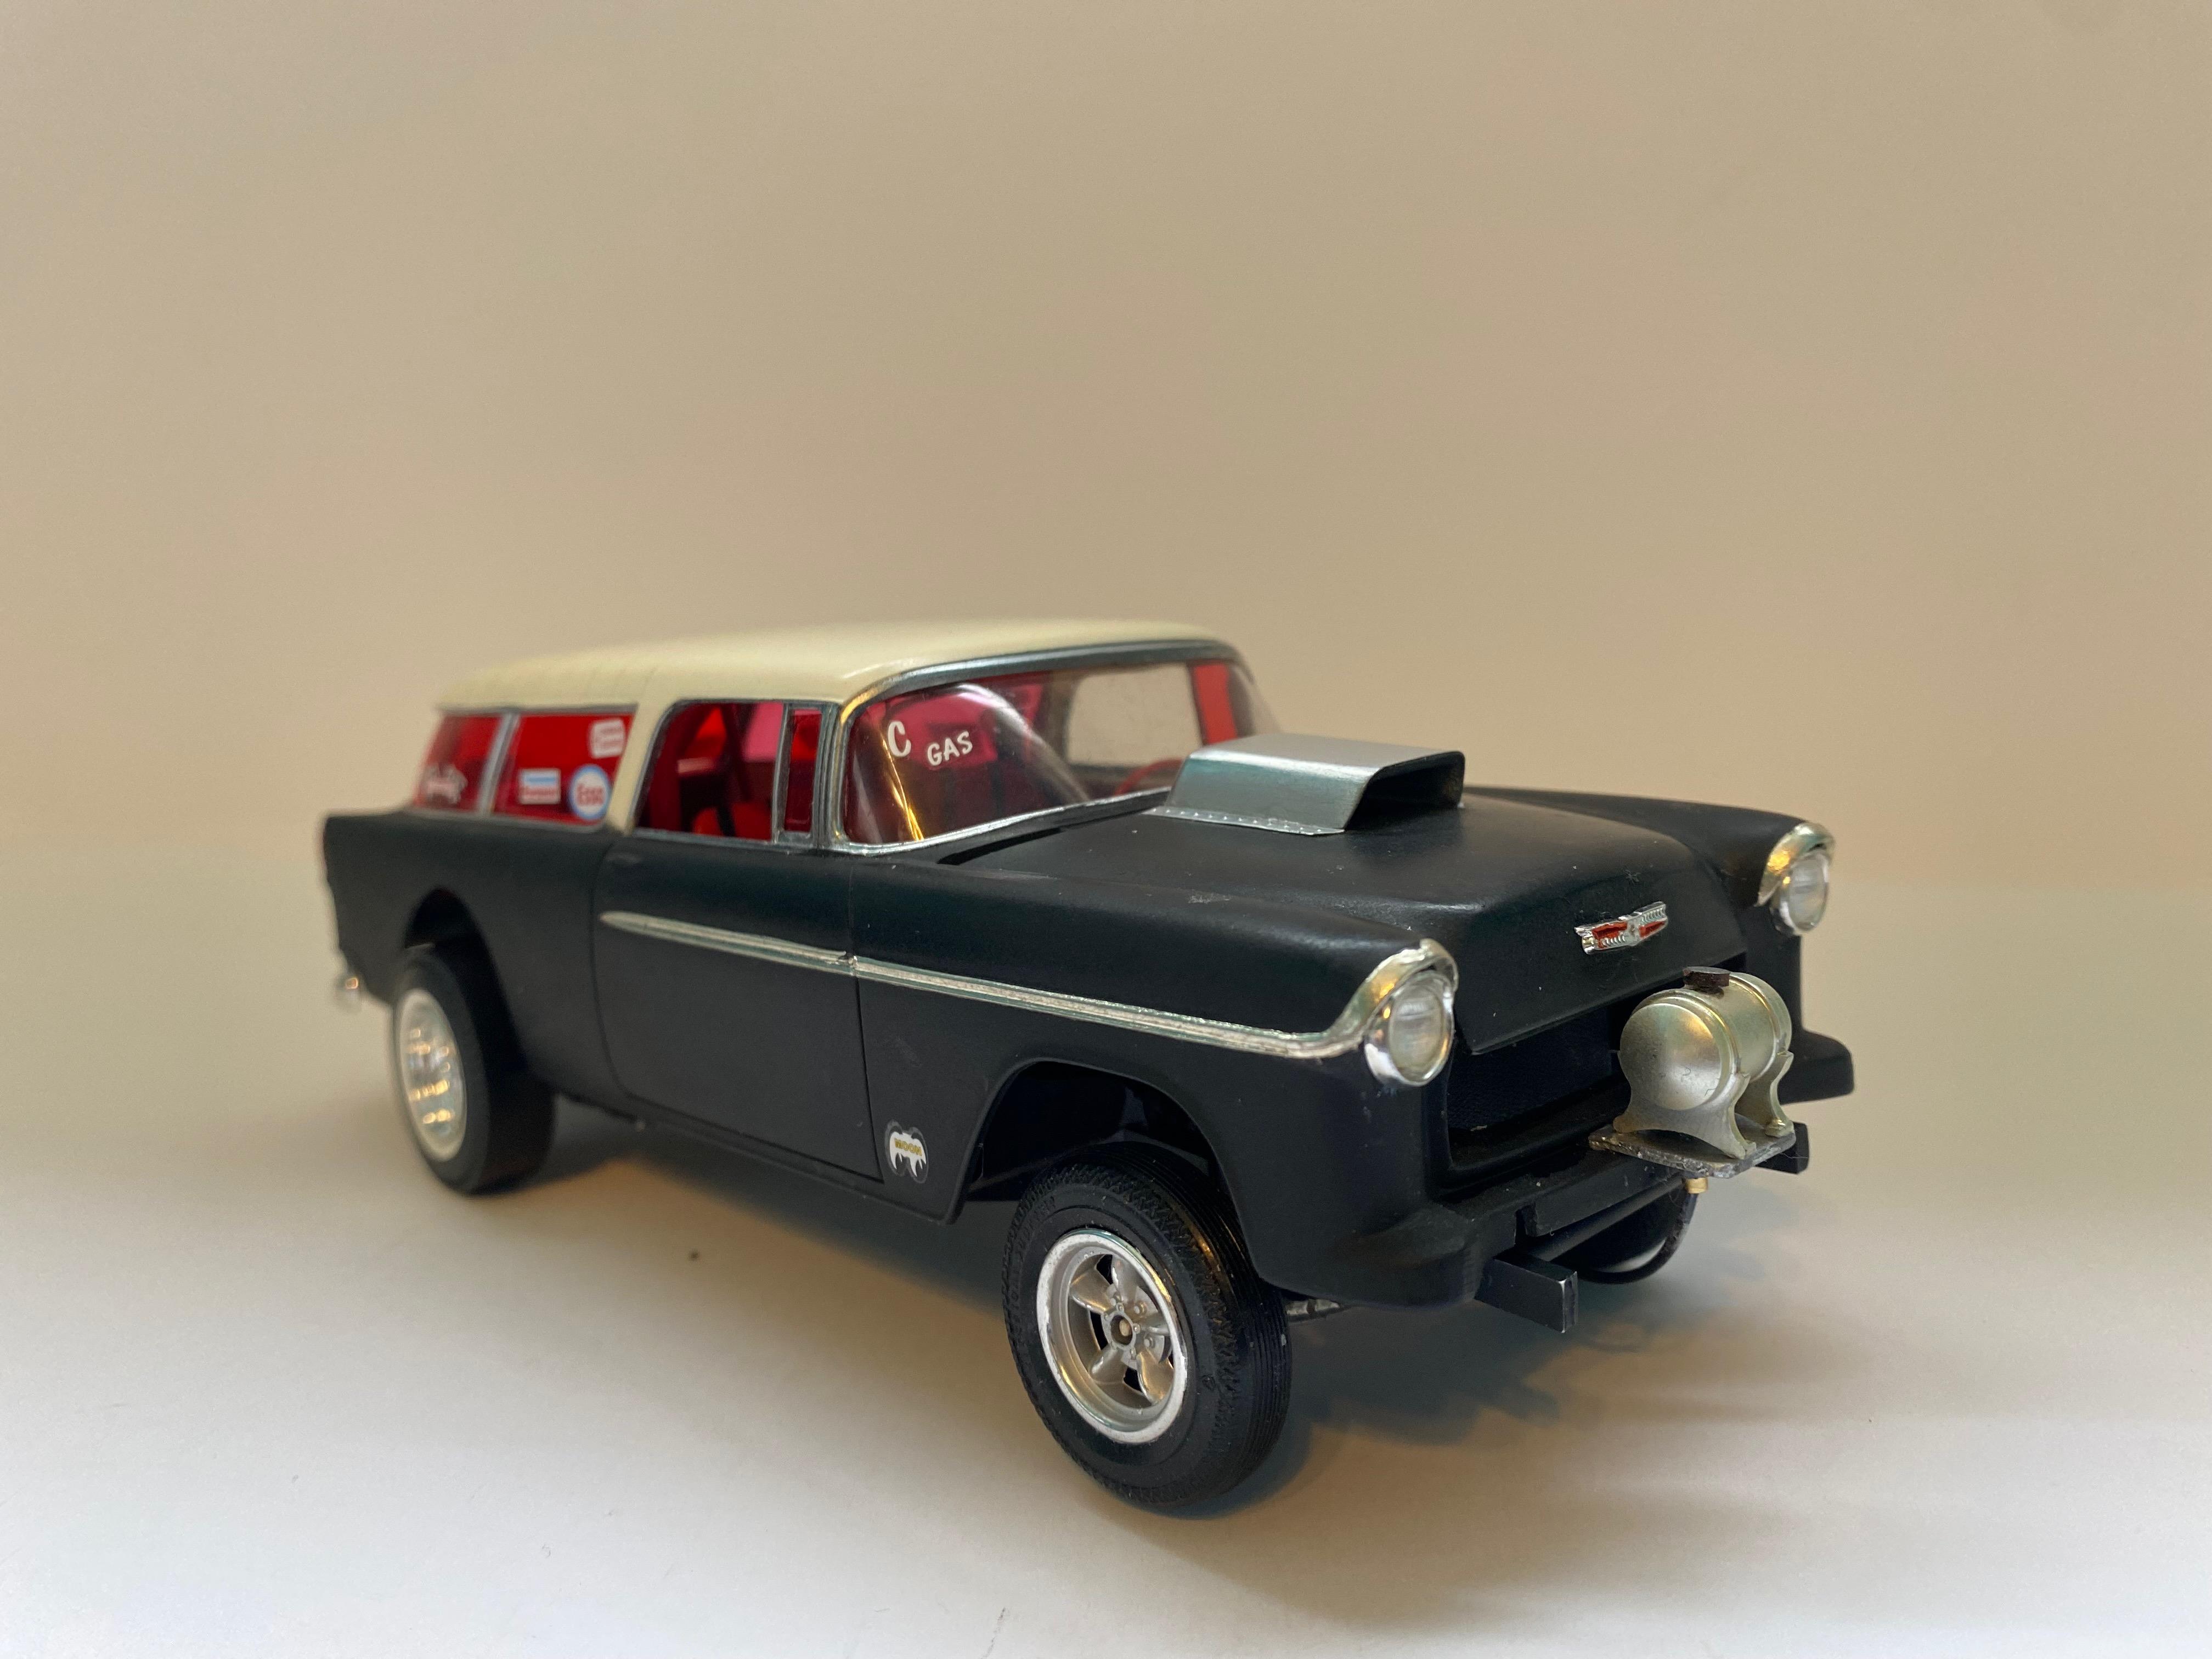
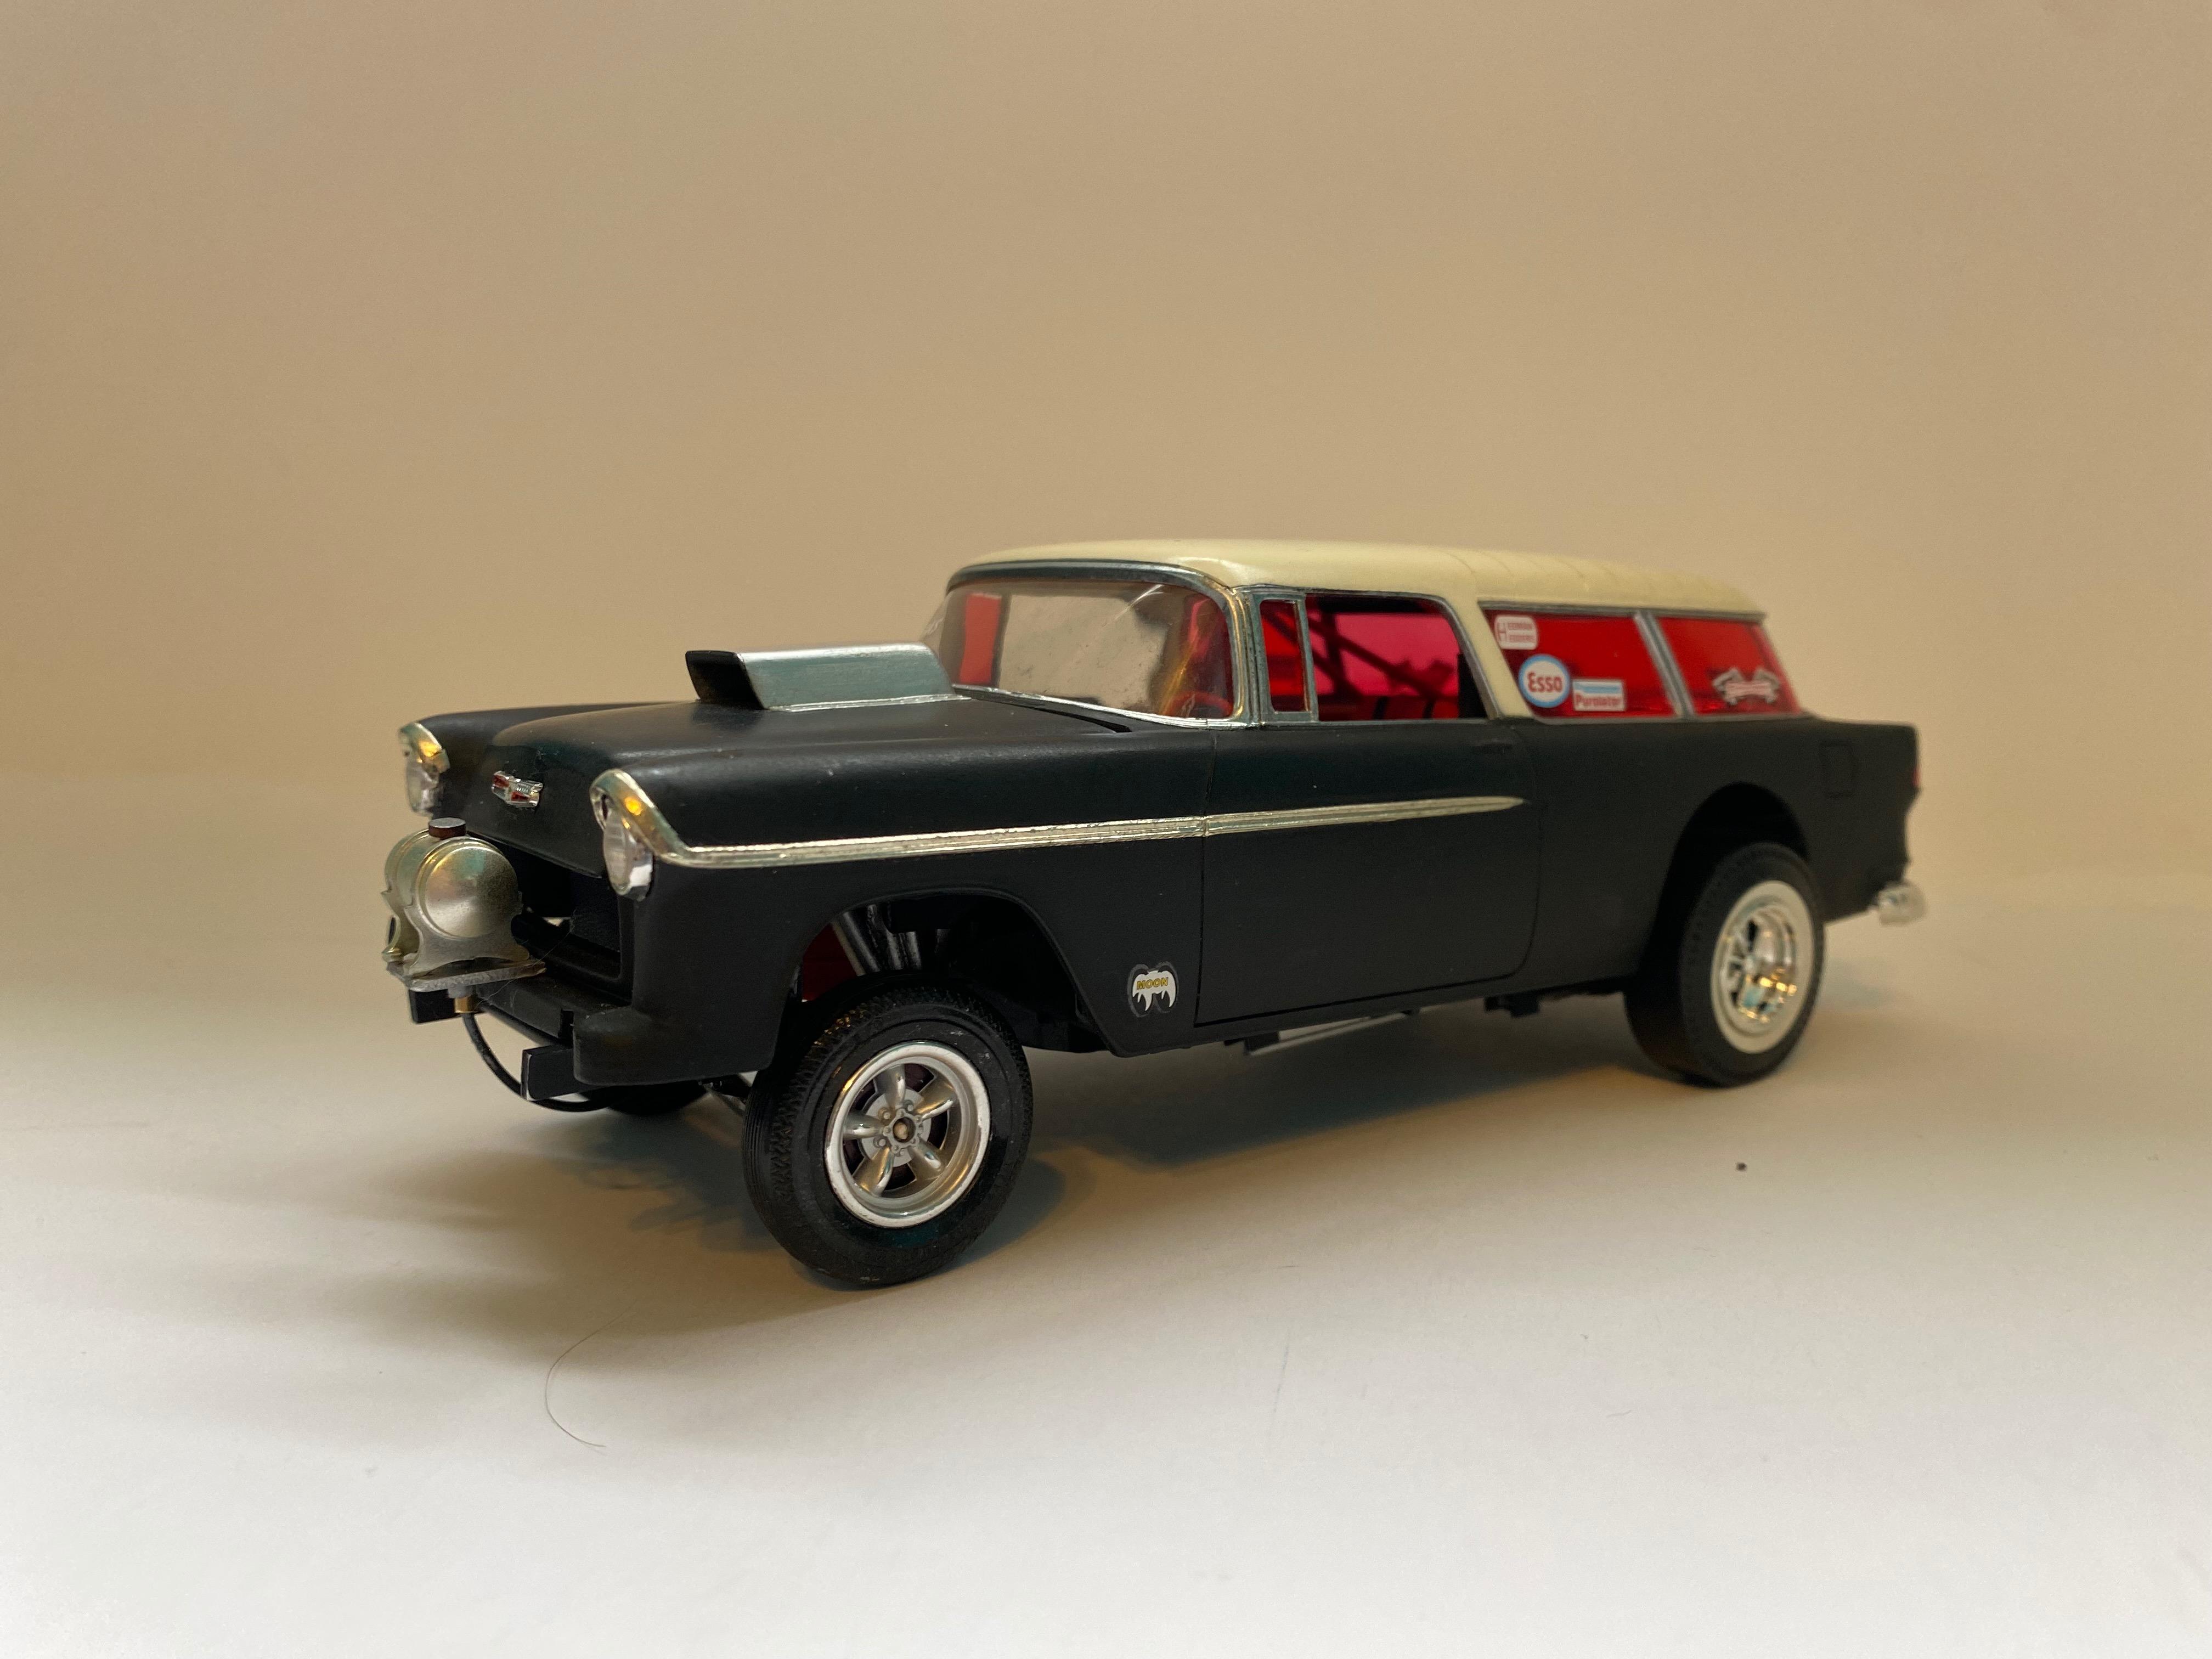
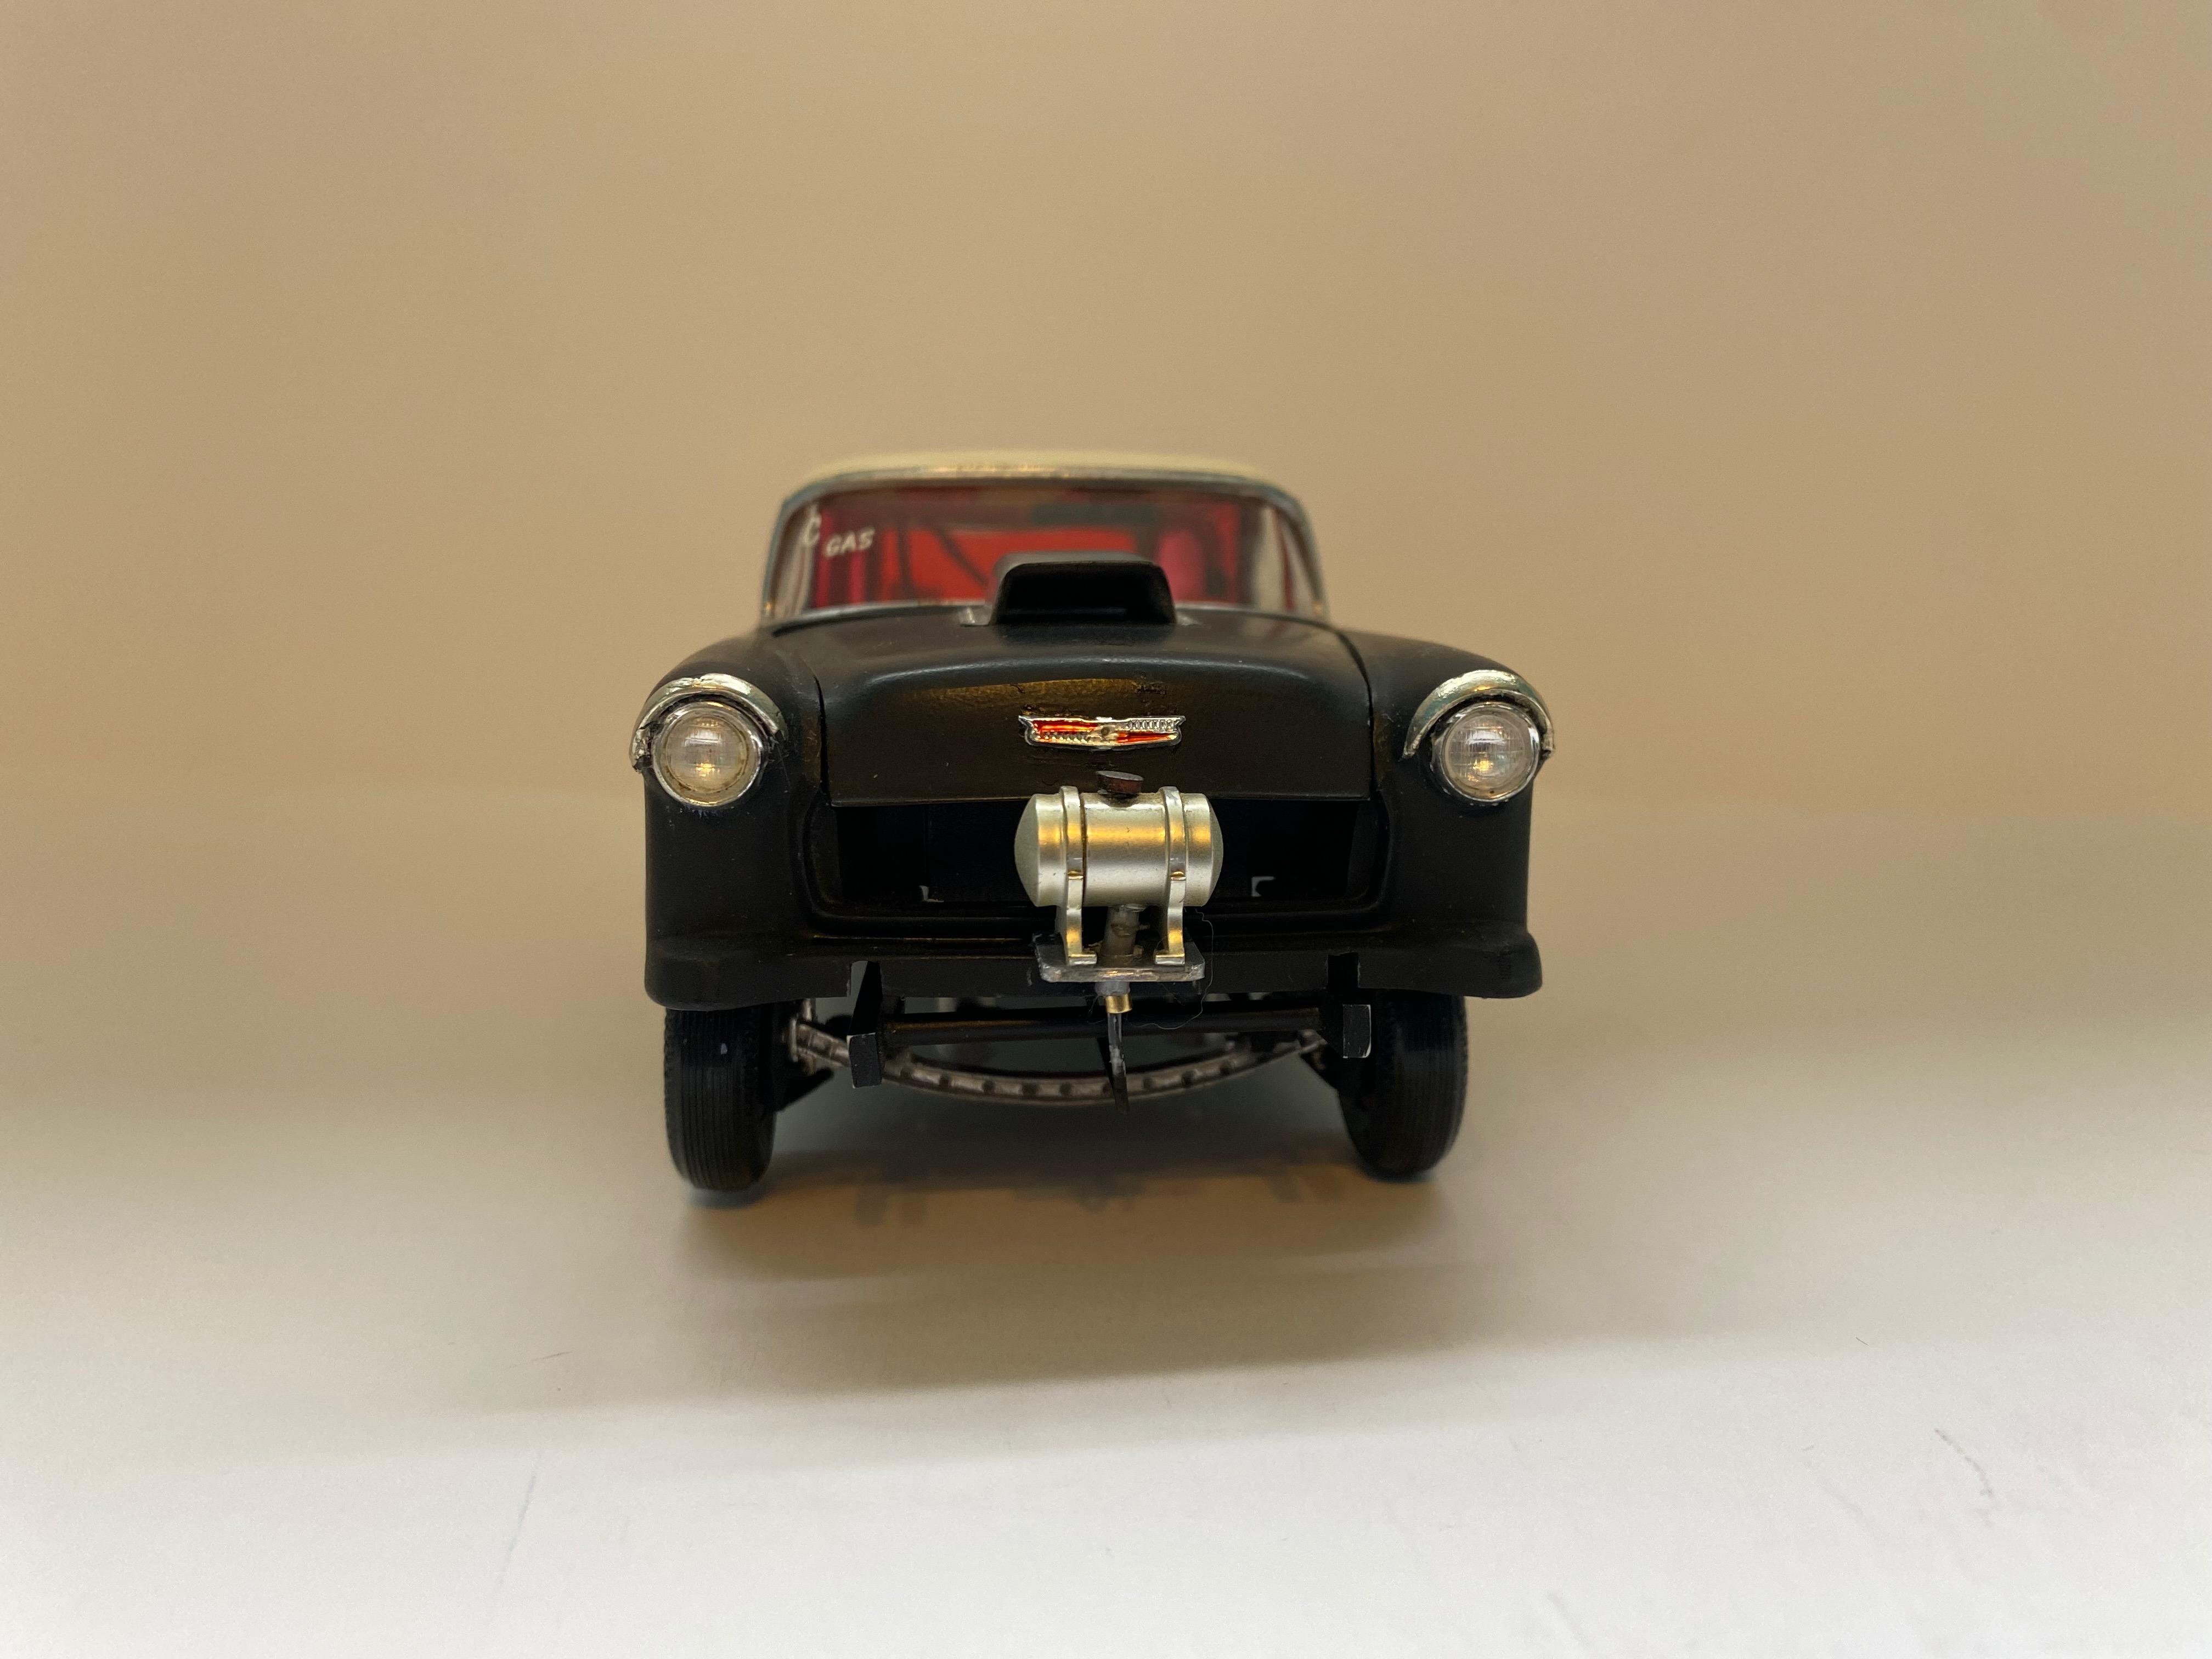
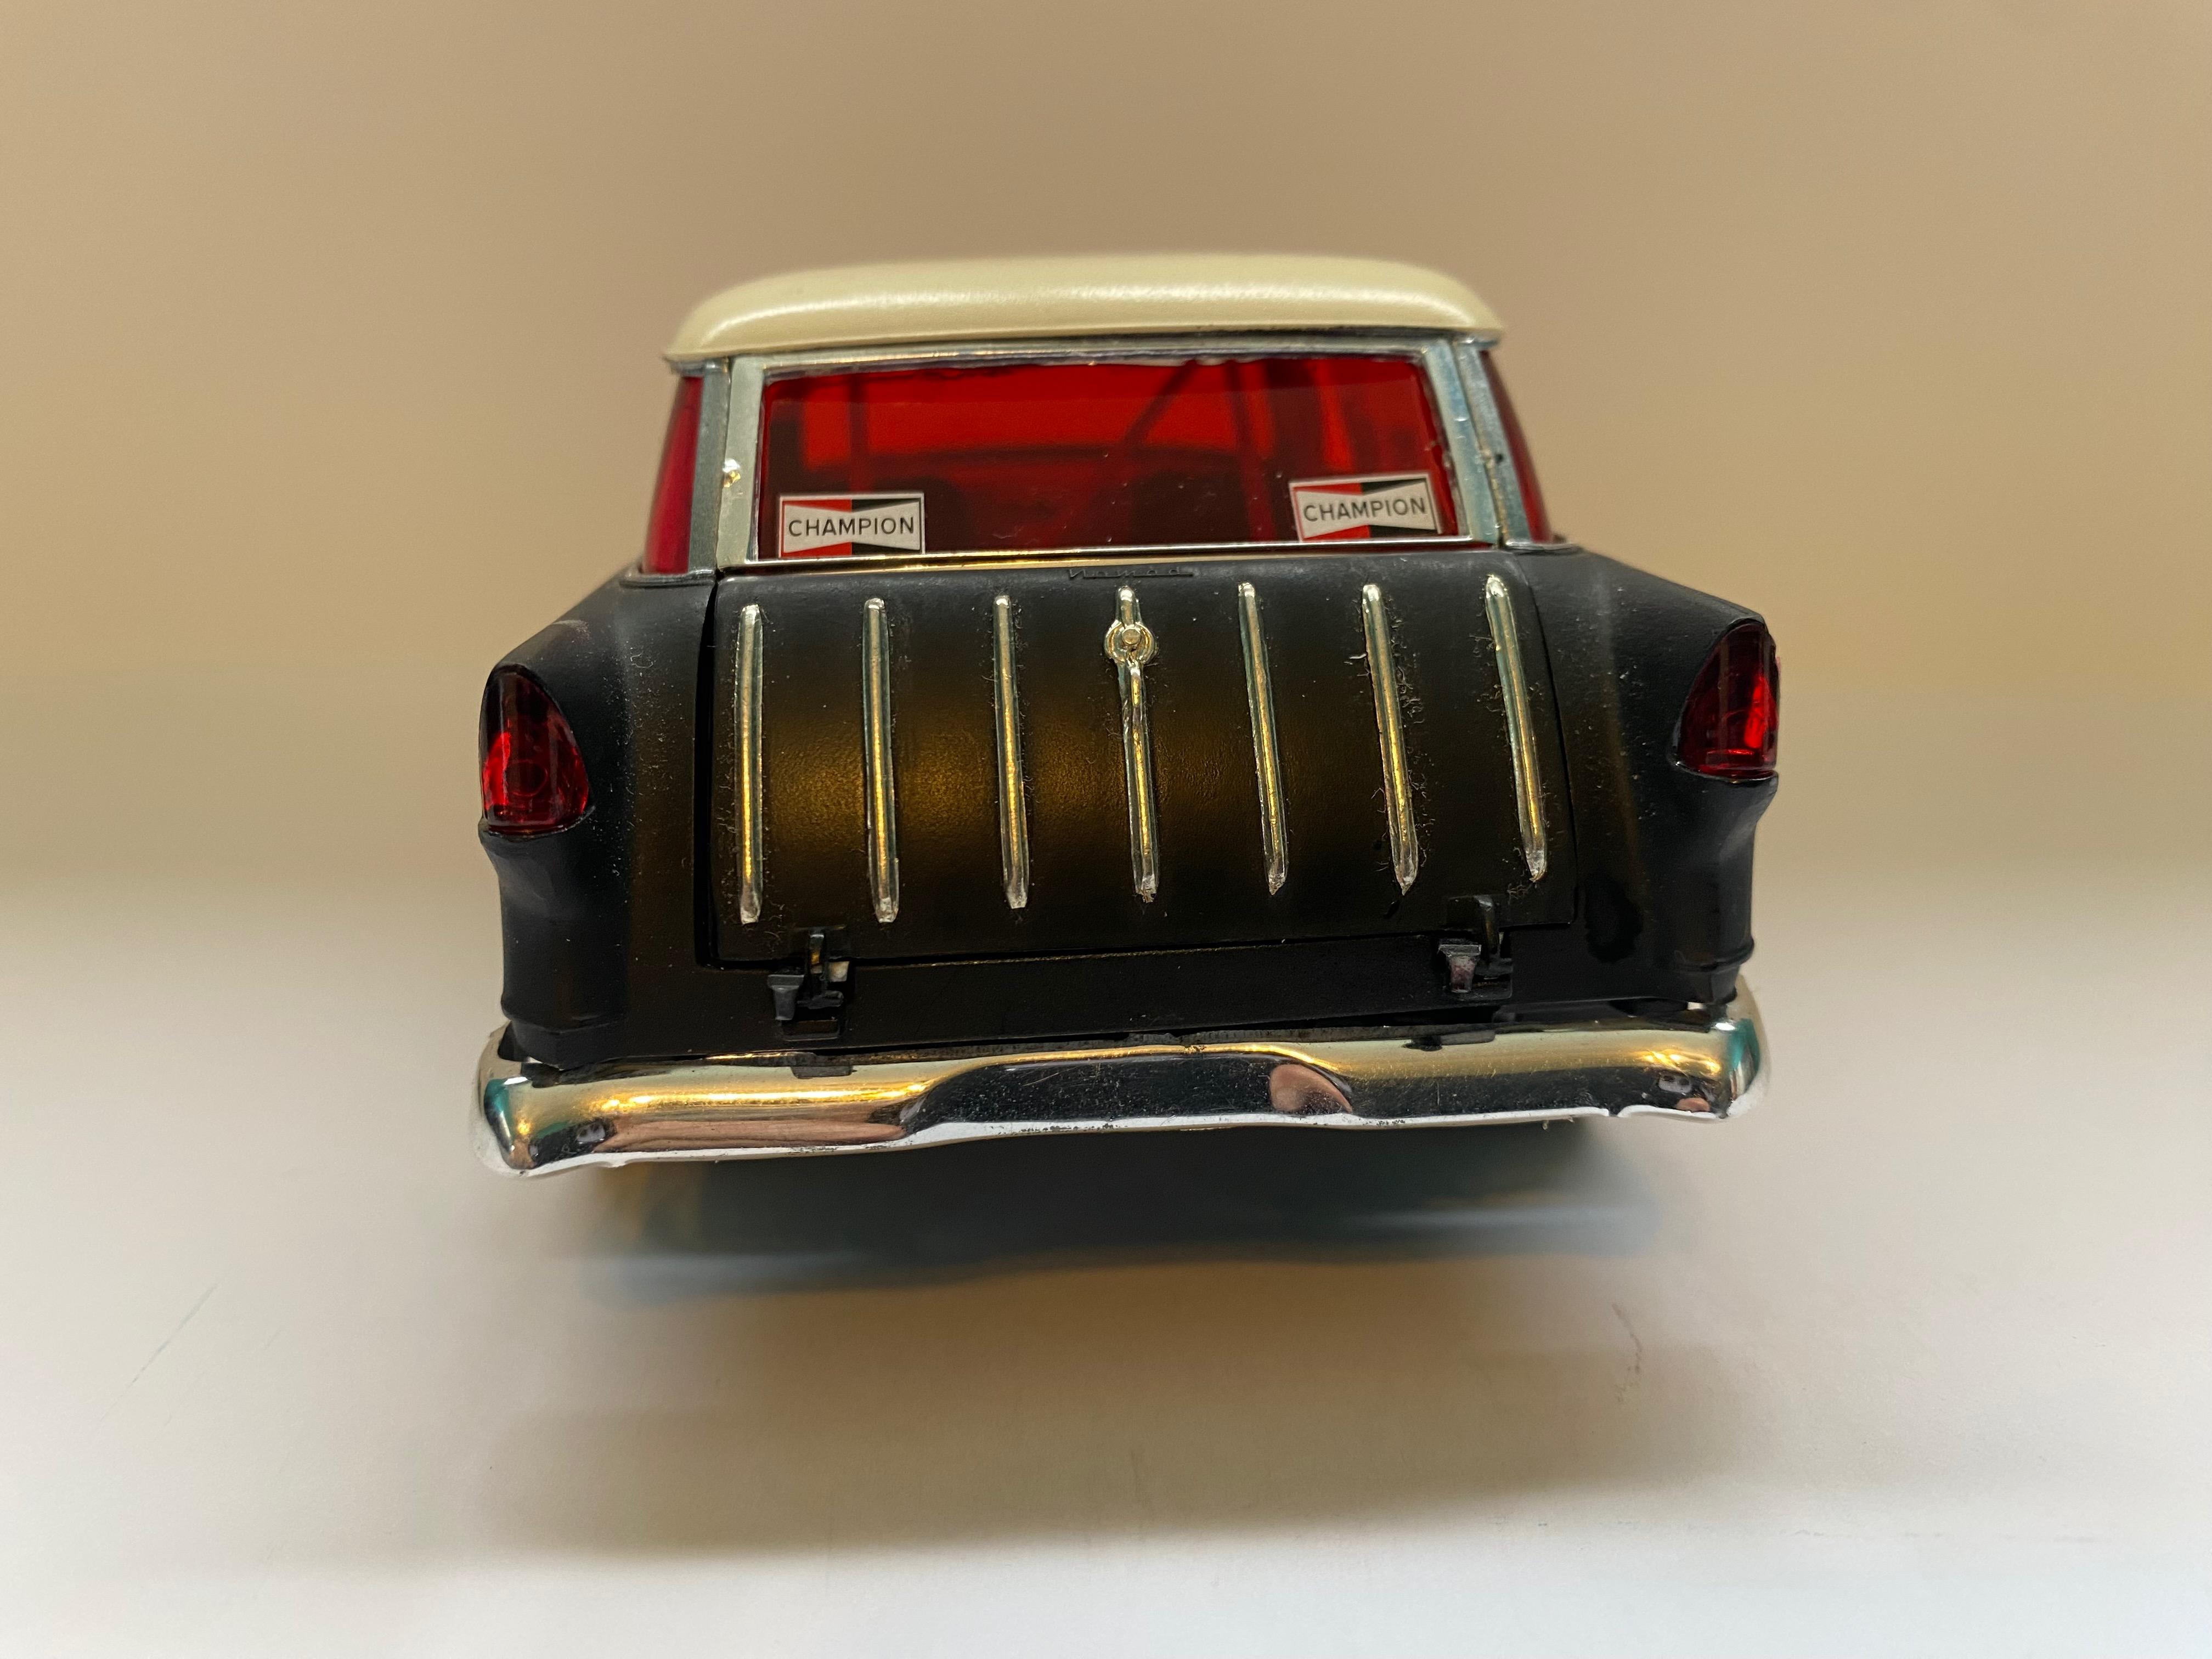
I can't believe that this thing is finally done! Seems like a lifetime ago that I started this project. I'm very happy with how it turned out and I'm glad that it's finally done.
Decals are from Gofer. Yes, I put decals on crooked on 1:1 cars too!
I found the hood emblem in the bottom of the box. It survived so long that I just had to install it
The scoop was scratch built and rivet detail was added.
This car may have been one of my first attempts with BMF.
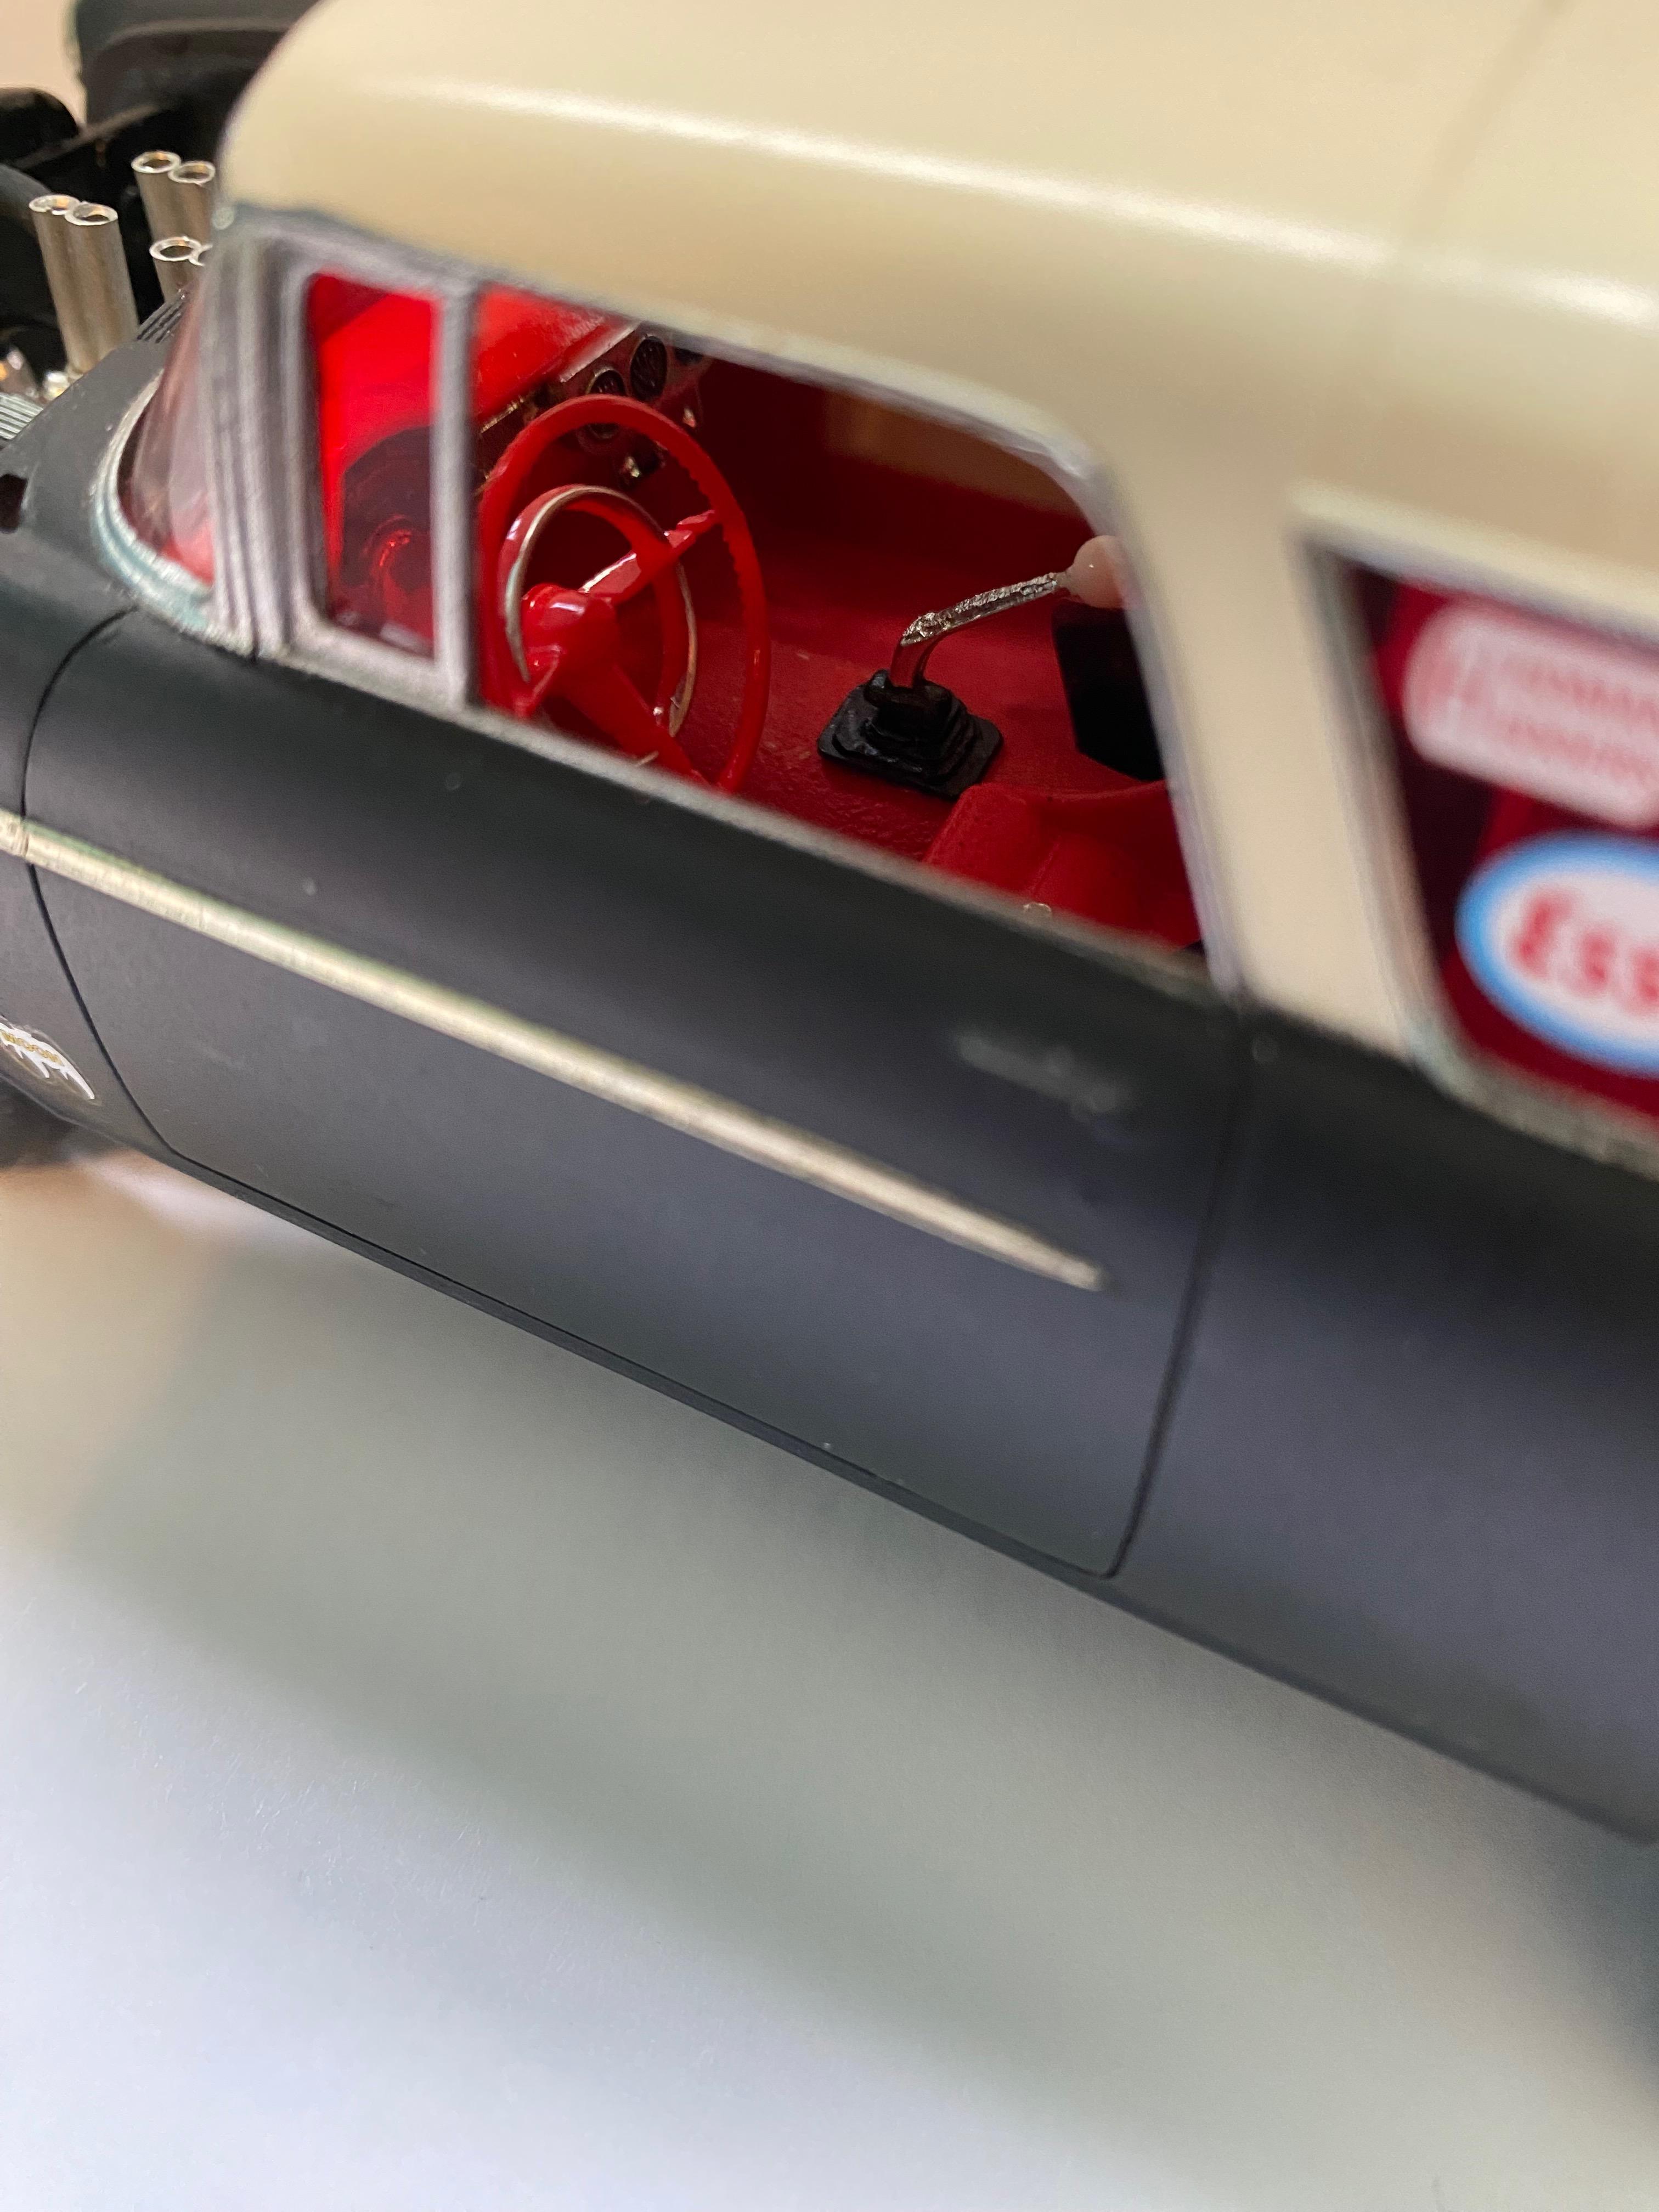
Interesting what the photos show that I can't see without magnification. Looks like a metallic rat started to eat the shifter! That's what you get for leaving a project in a box for 10 years! I have to fix that.
The kit came with some godawful headers that I hated, but no matter what, I could not find decent replacements, so I amputated the turnouts and stuck a piece of shrink tube over the pipes! Looks better (at least I think so)
-
7
-
-
Great save!
-
1
-
-
Great job! I literally had to go back to check the top photo as I thought it was from a Mattel press release!
-
Nice job. Gotta love the Johan funny car kits. I, unfortunately only have 1 left to build.
-
Looks like it was fun to build.
-
Engine looks great! Especially the fuel lines and carbs!
-
1
-
-
EXTREMELY well done! Period correct parts and all! Looks like a magazine feature car from the sixties.
WF
-
Masterful job! Especially nice work on the foil and paint!
-
Great job on an iconic drag racer!
-
1
-
-
Whenever I see " bronzekeg" in the header, I just have to look. Never disappointed, your work is top notch. Your photos have a unique quality as well!
WF
-
Thank you all! I really appreciate the comments.
-
1
-
-
I thought that I had previously commented on this build. I didn't, but I HAVE to! Super nice build. Extremely clean and well executed! Hope to see more.
WF
-
1
-
-
I love the primer paint and the steel wheels! Looks quite realistic.
Here's a hint for applying decals to a primer or dull finish. Spray a coat of clear over the painted area where you want the decals. After the decals have set, shoot some matt clear over that area. That should hide the excess carrier film that you don't want to see.
-
1
-
-
Love the Stockers! Good job on this one! I can remember going to a huge shopping mall as a kid ( Roosevelt Field for those that know of it) where there was a display of drag cars participating in the AHRA Nationals at NYNS. The VERY FIRST drag car that I had ever seen in person was a maroon Olds 442 from Mack Markowitz Oldsmobile. It literally was the day that I truly got interested in the sport. You brought back a very emotional moment for me! Thank you!
WF
-
The stain on the cylinder head was the result of too much Tamiya panel liner. I was gonna wipe it off, but it looked like a perfect oil leak from the valve cover, so I left it! 😃
-
2
-
-
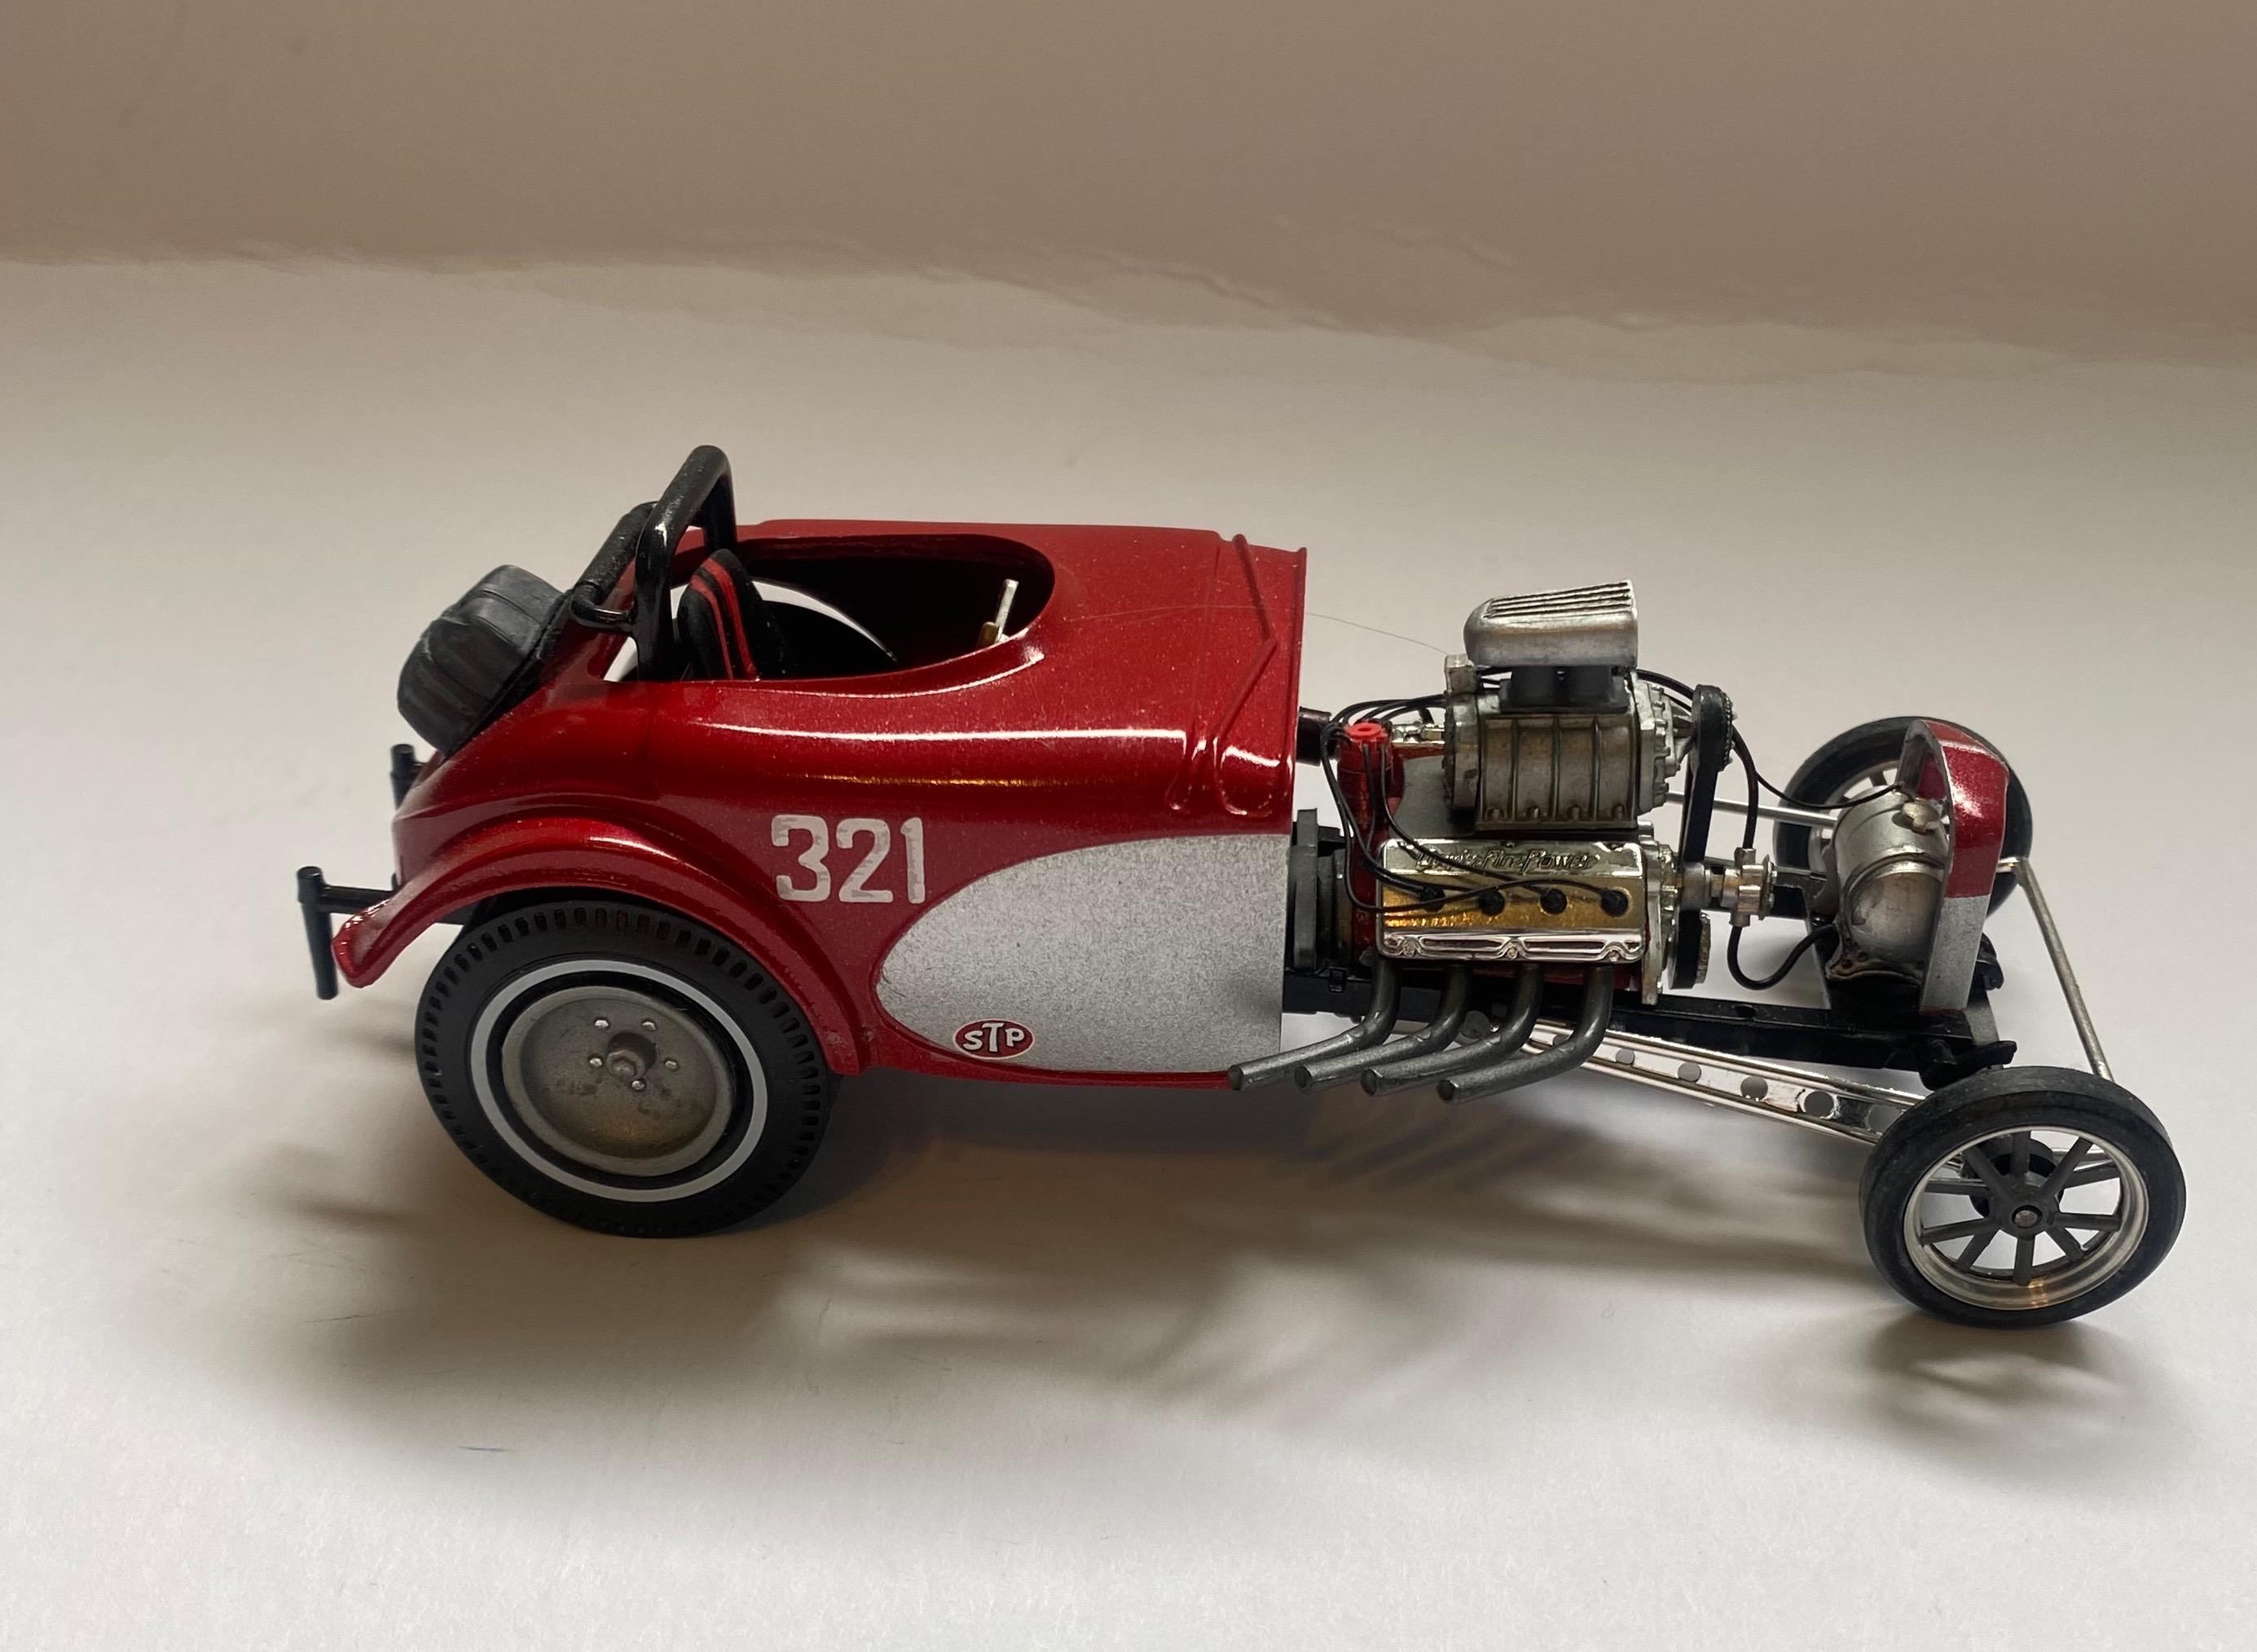
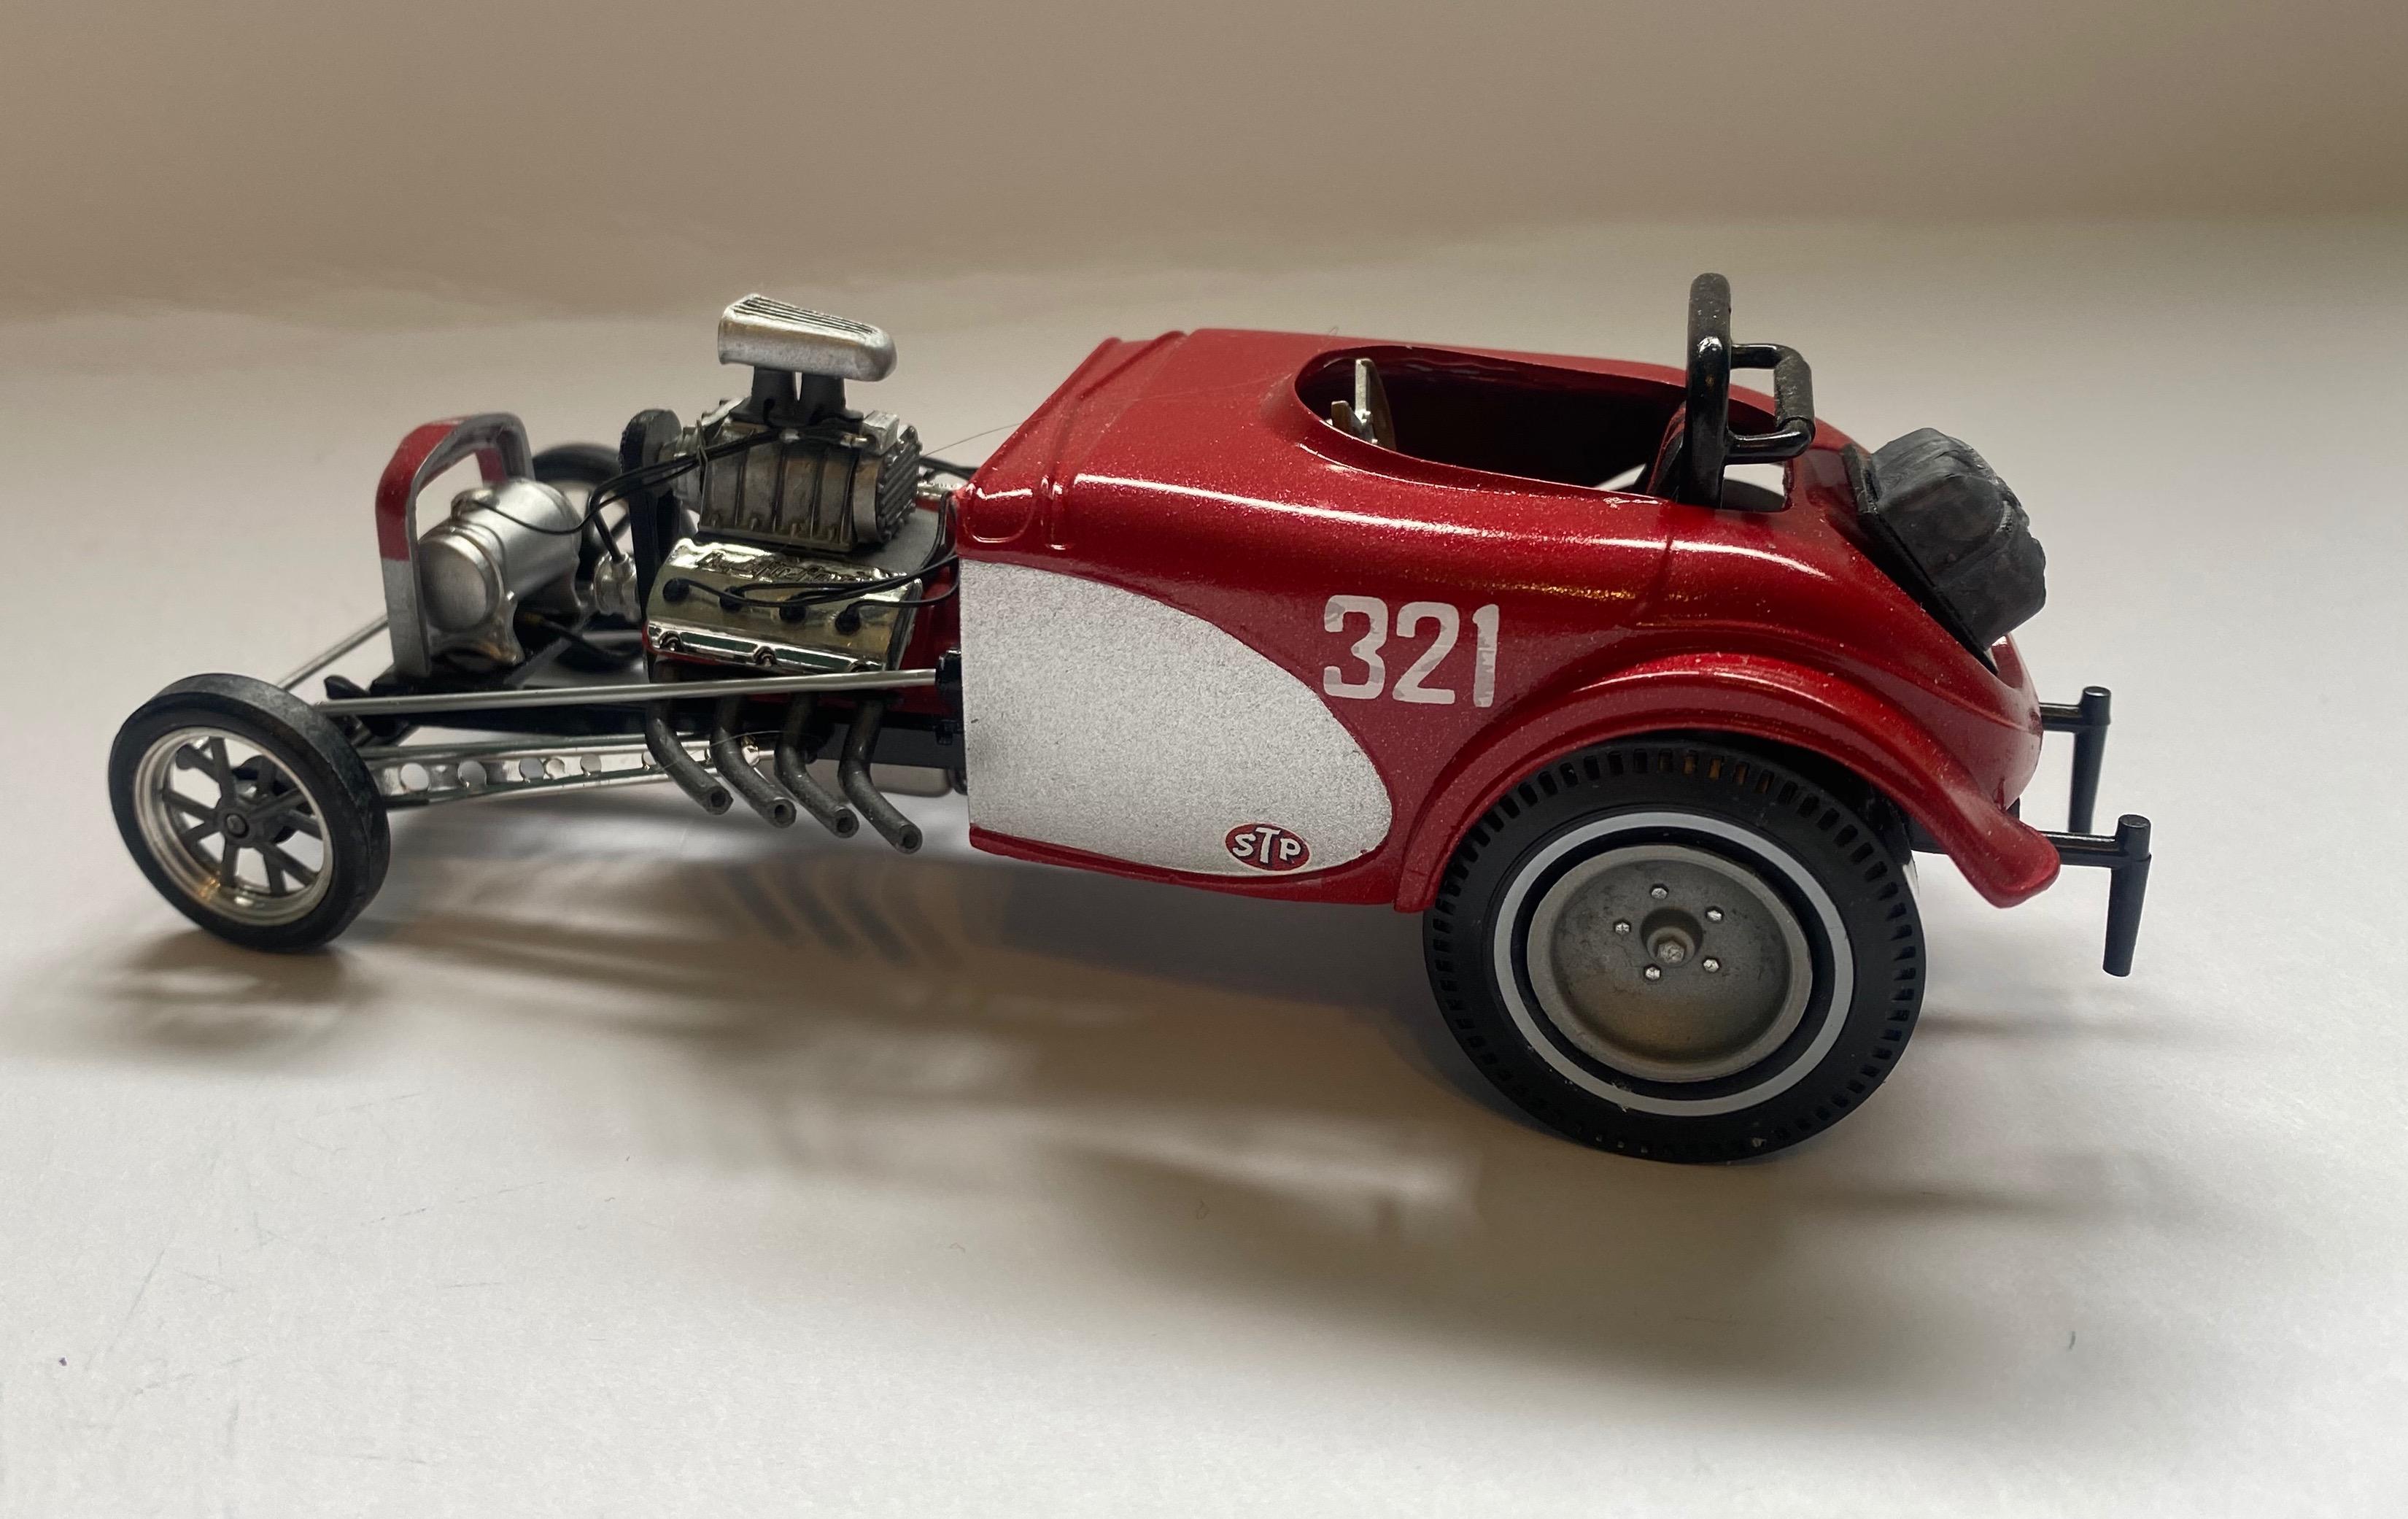
Another orphan that I found in the bowels of my storage trailer. It was mostly complete but needed some TLC and repair to finish it. I may install a parachute cable and it could use a sponsor decal. Mostly left over parts from a AMT Double Dragster kit ( one of my favorites!)
I had some fun making the floor pan from sheet aluminum and using a pounce wheel to add rivet detail.
I bought some HO scale stanchions a while back. They make perfect rod ends for the steering linkage.
This was one of the most relaxing and fun builds in a long time!
-
5
-


'32 Ford Hot Rod
in Model Cars
Posted
Plagiarism! I hate when people copy my masterpieces!