Search the Community
Showing results for tags 'corvette'.
-
-
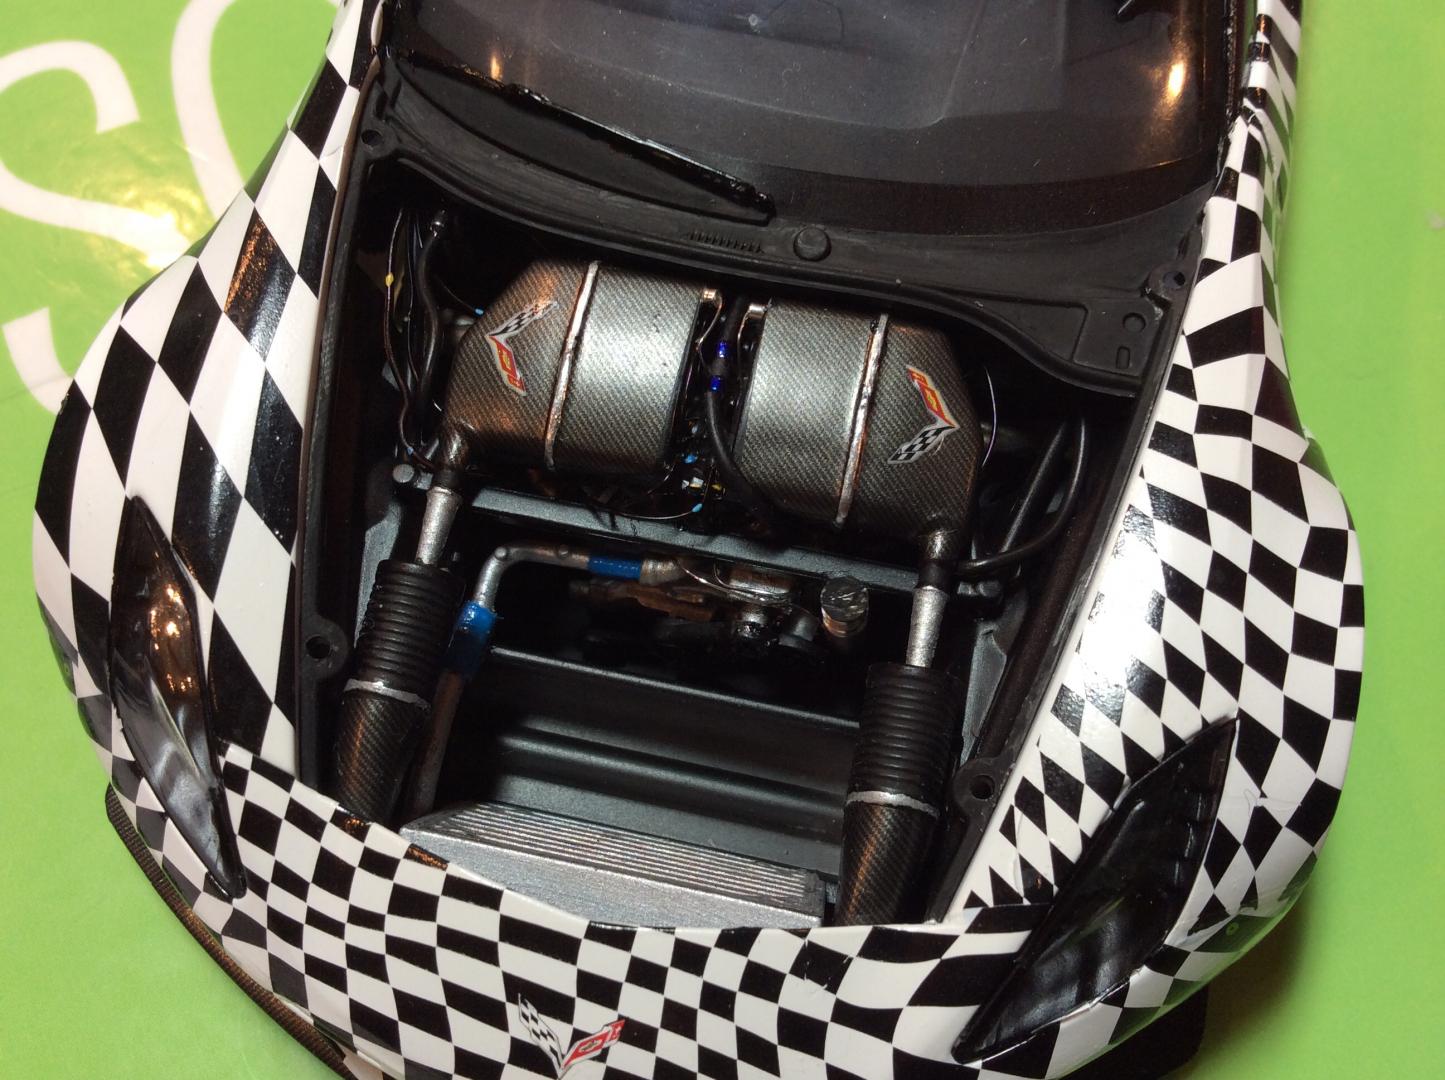
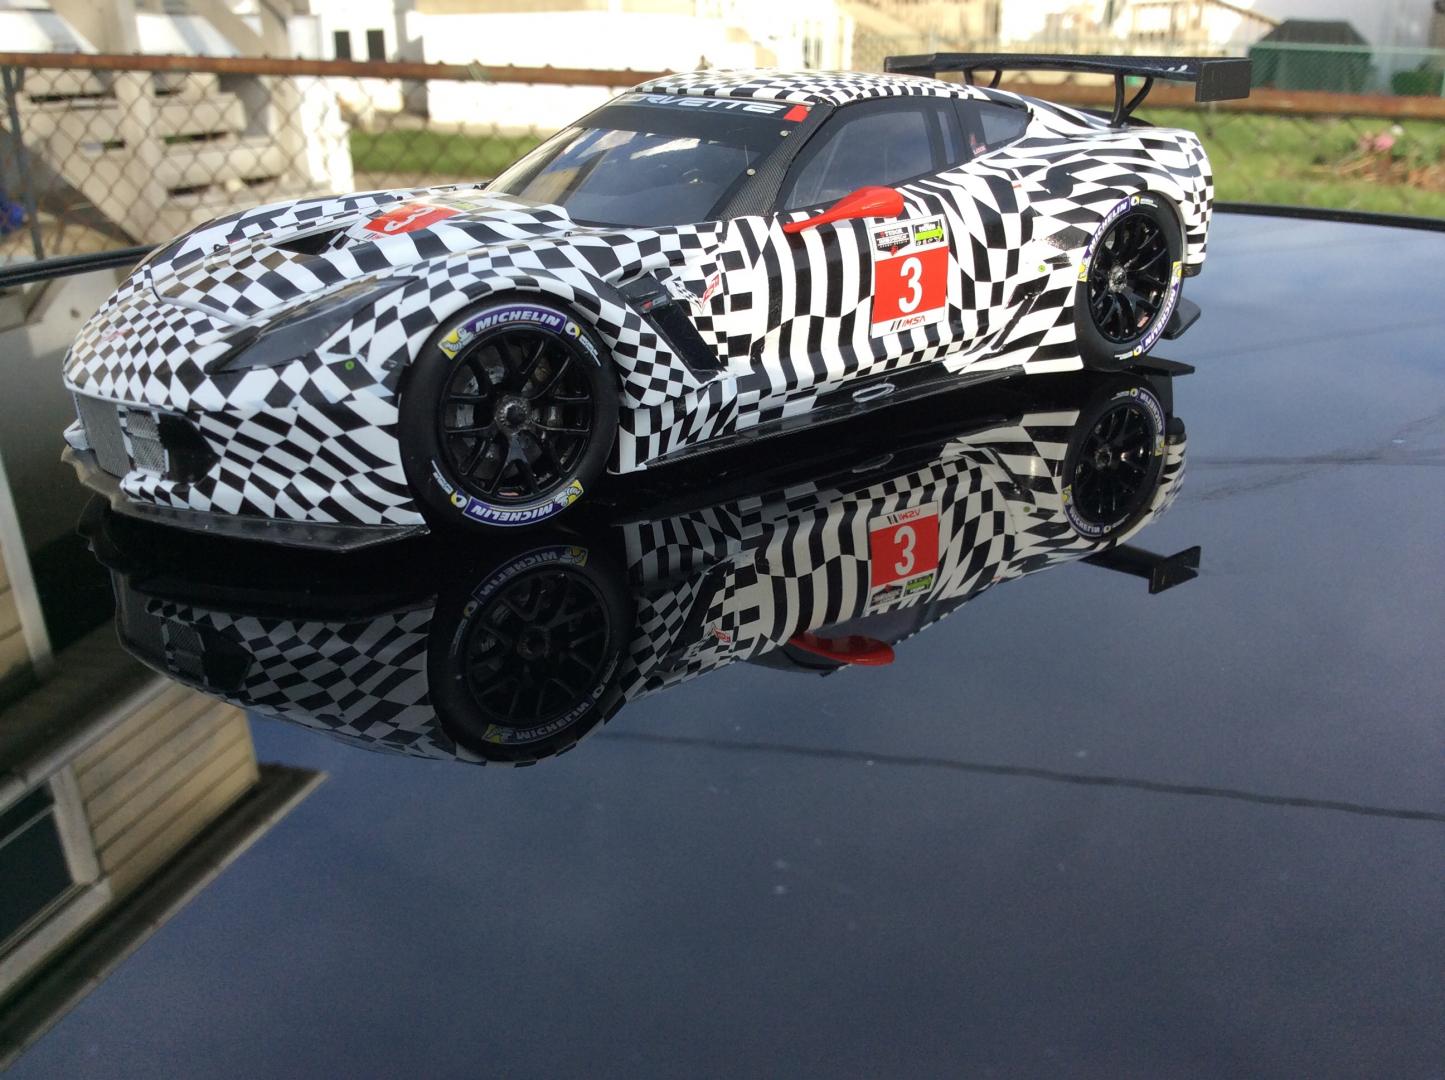
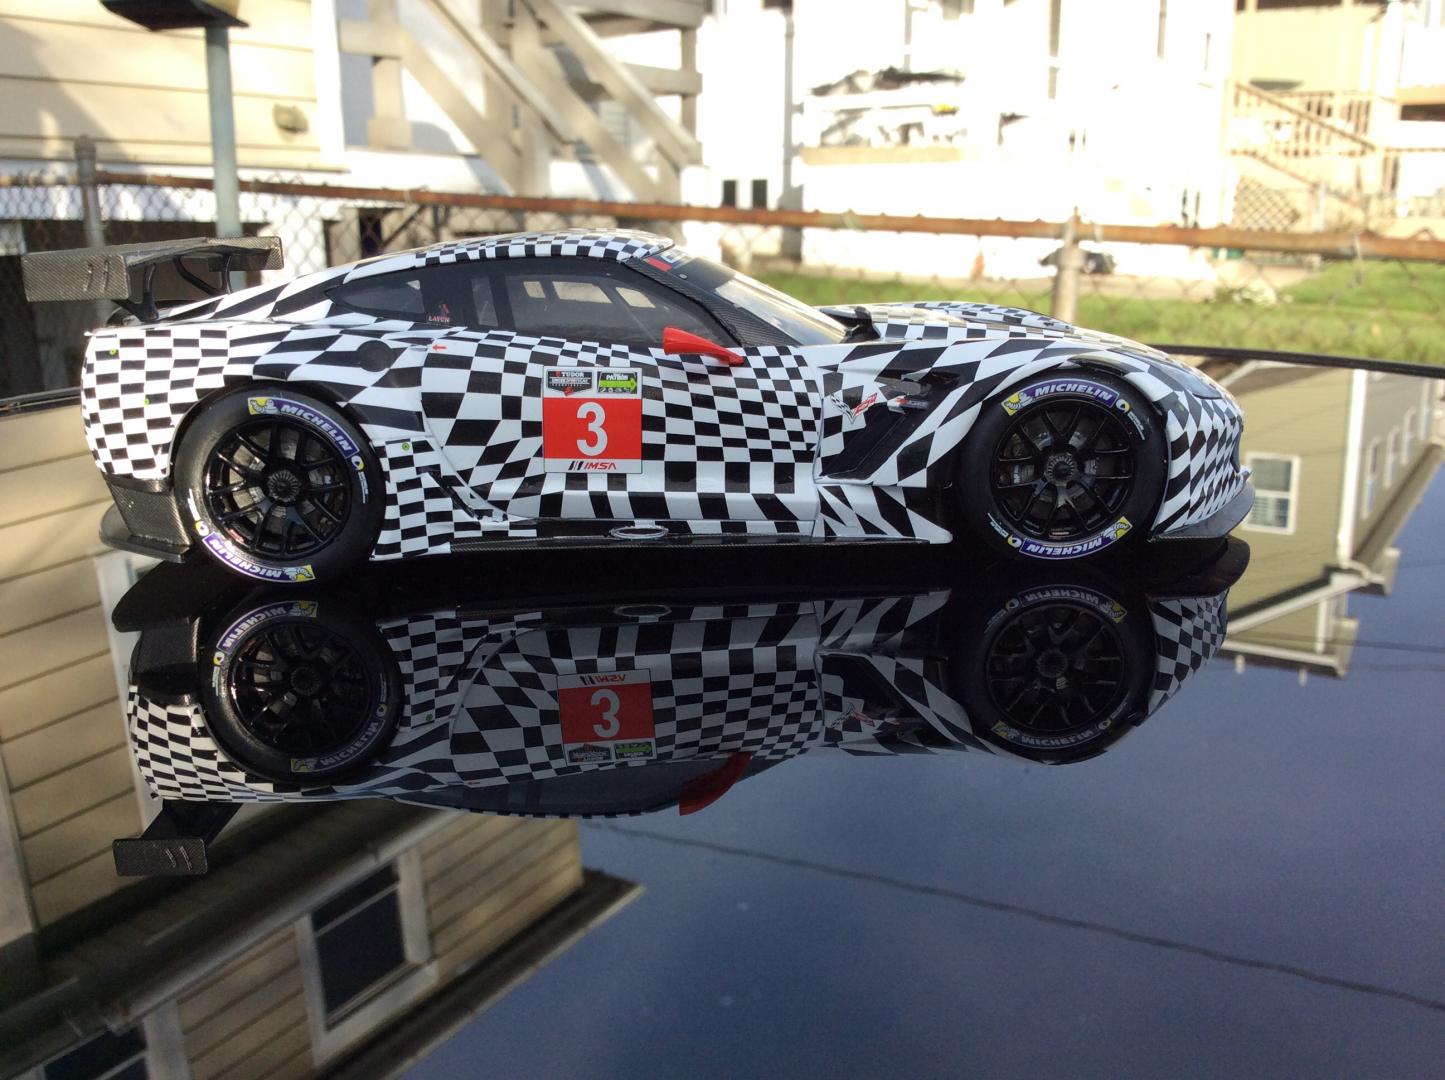
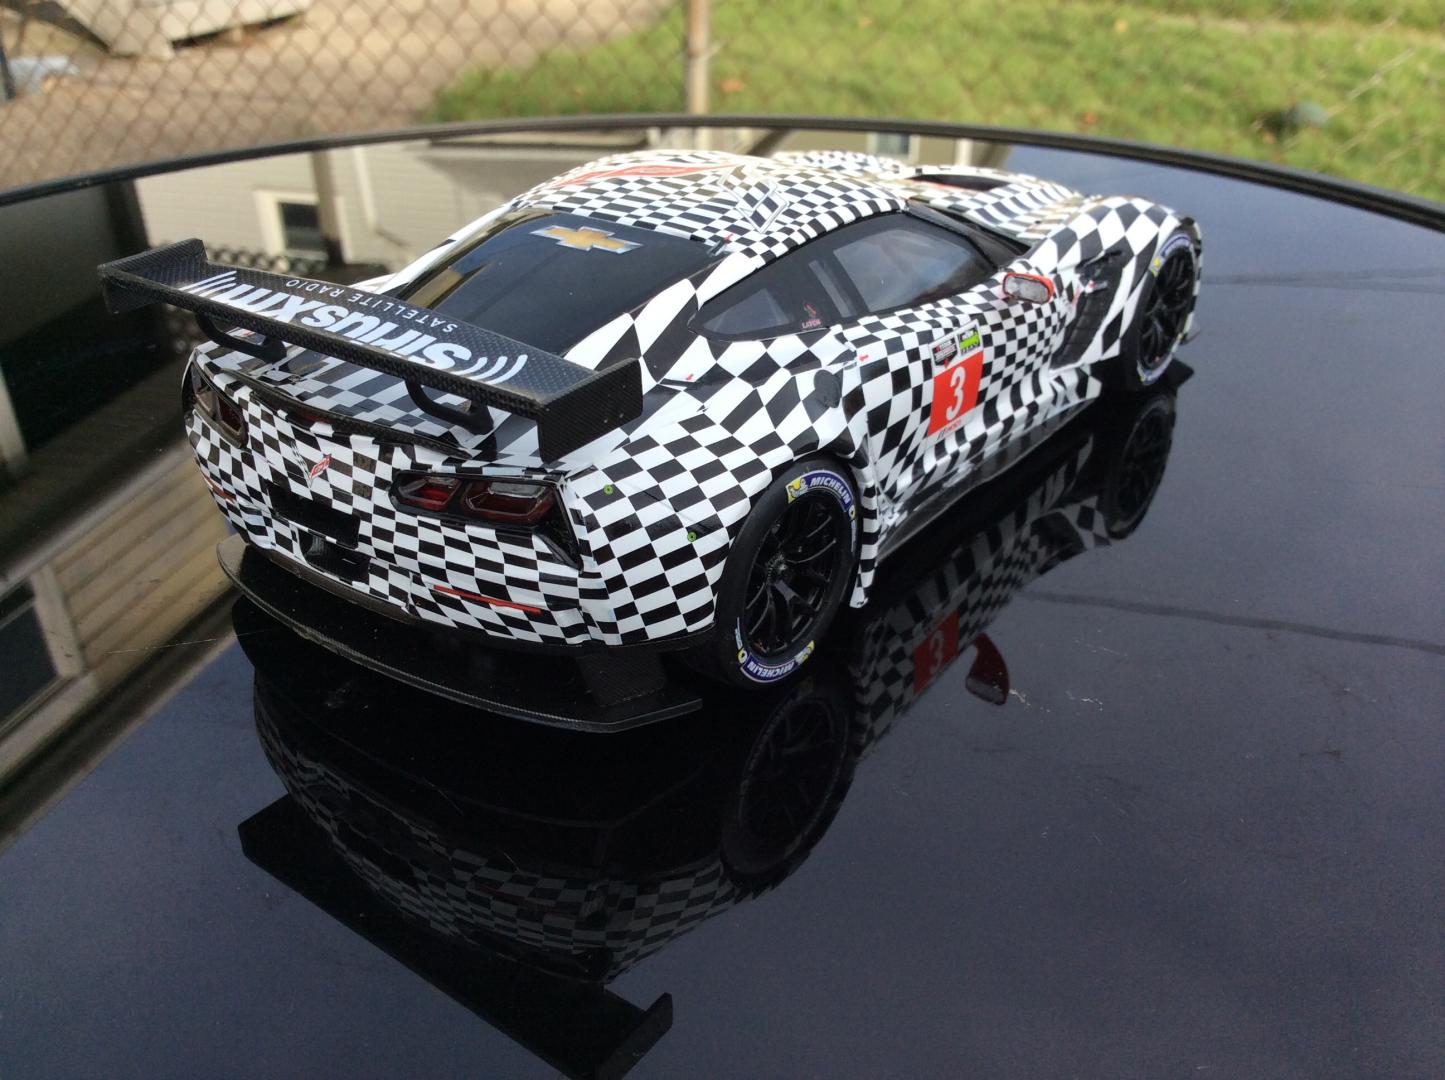
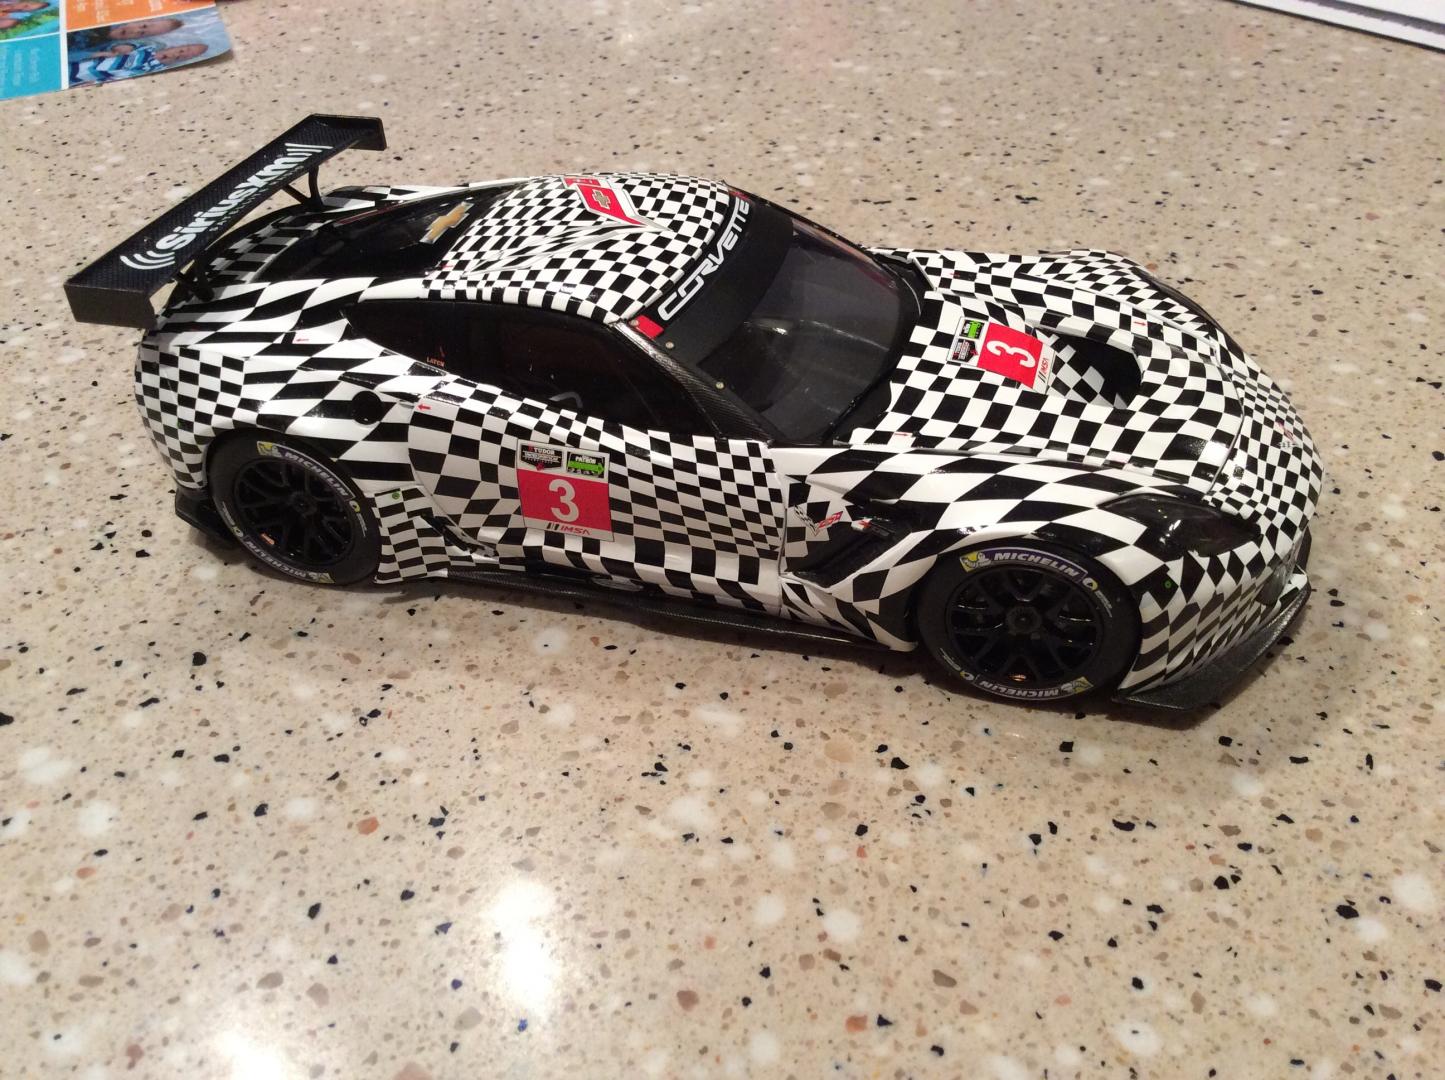
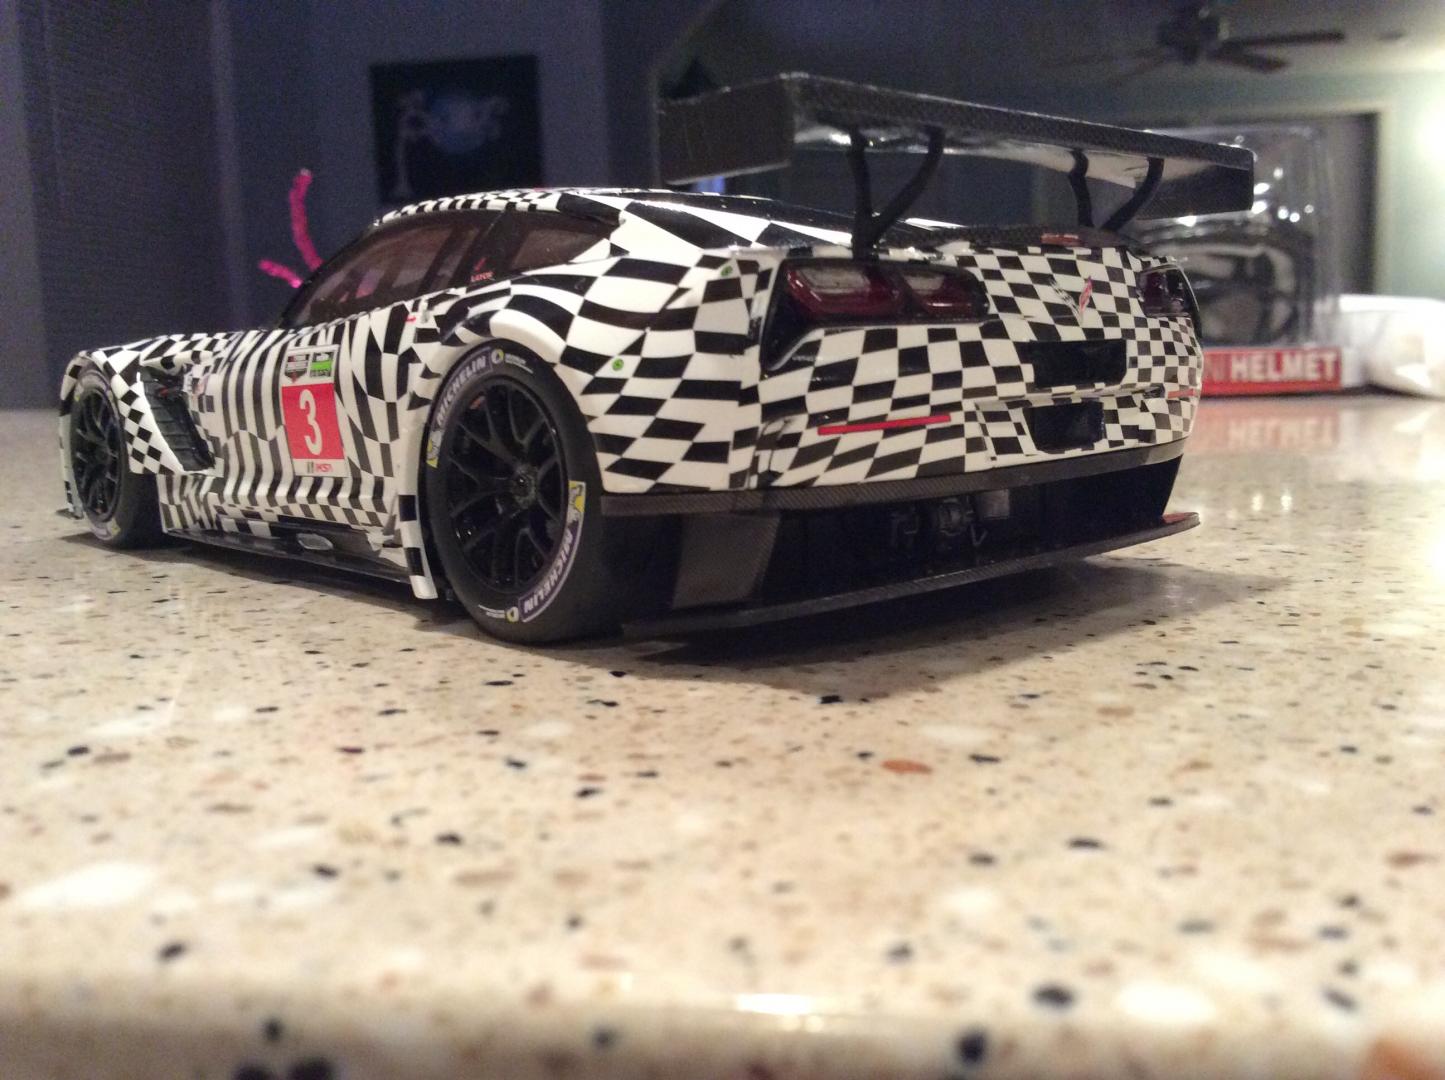
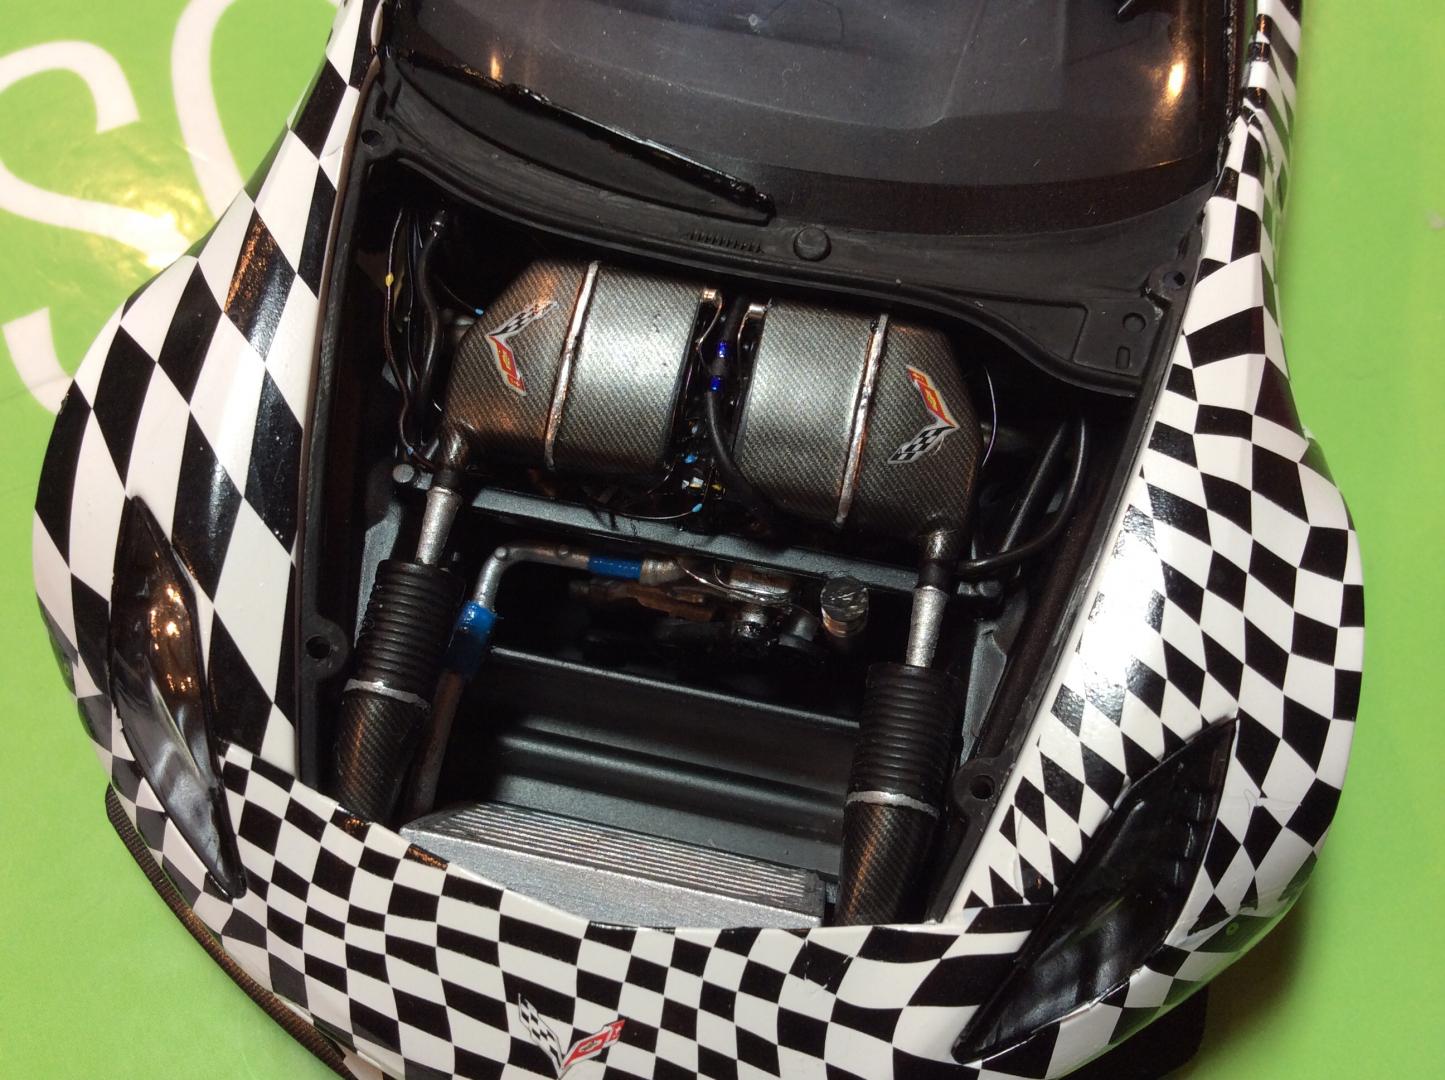
This one is just about done , but still a few things too do. The side views need to be finished and a few extra decals. It took two kits to get it too this point. Lots of bent parts. Windows didn't fit. Any how ...
-
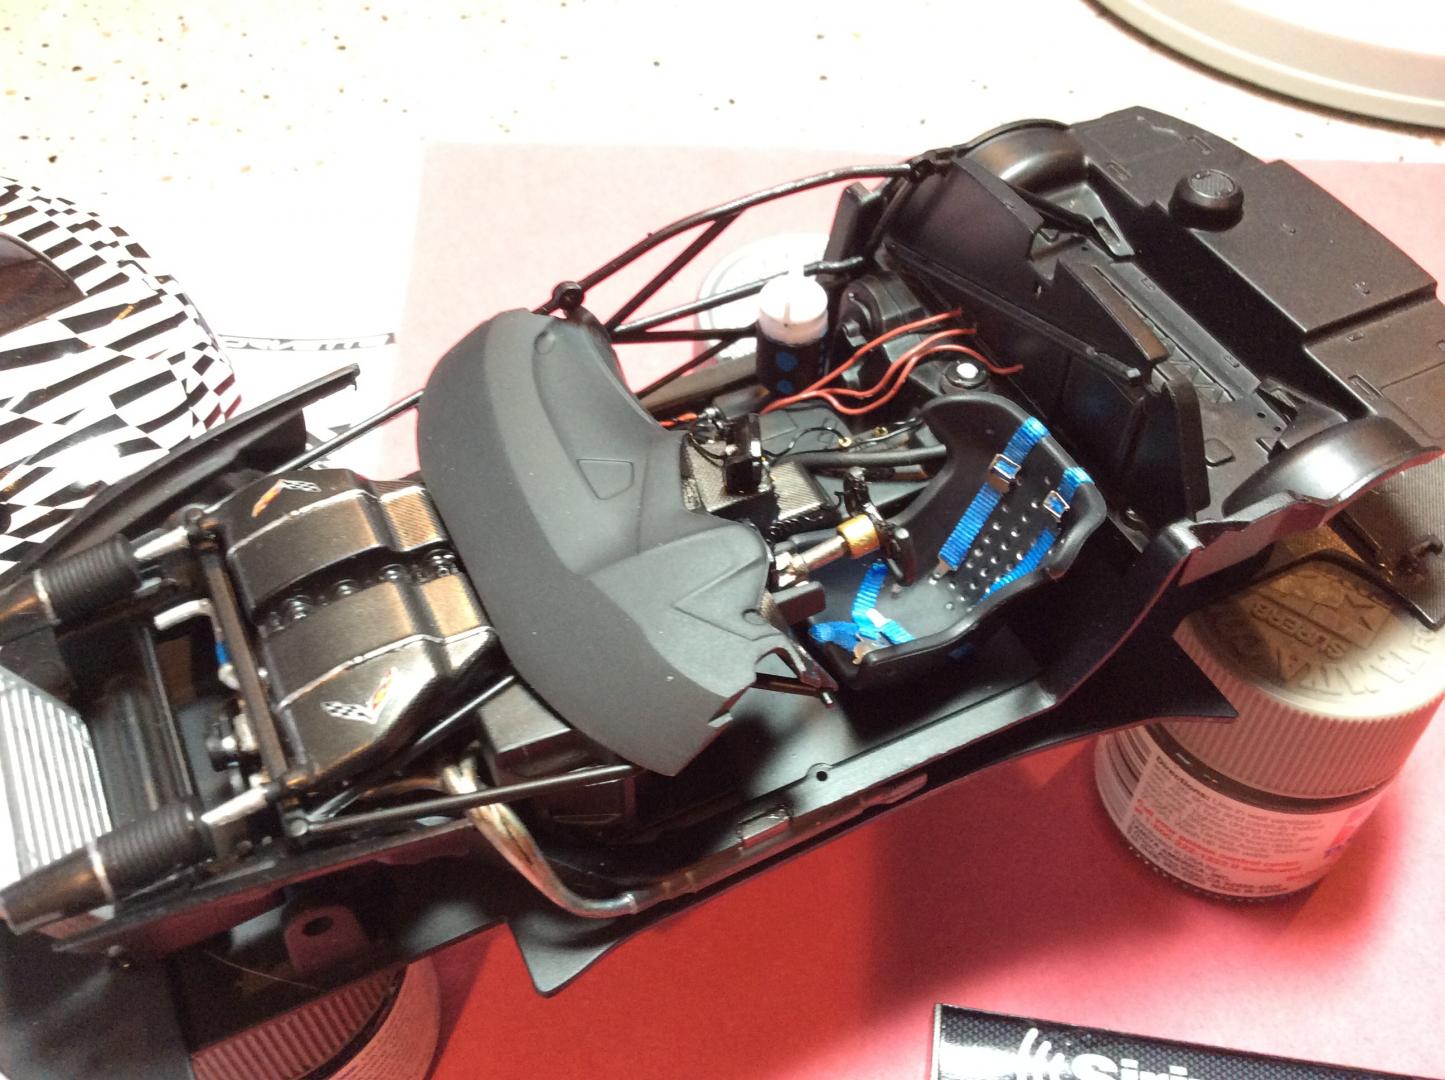
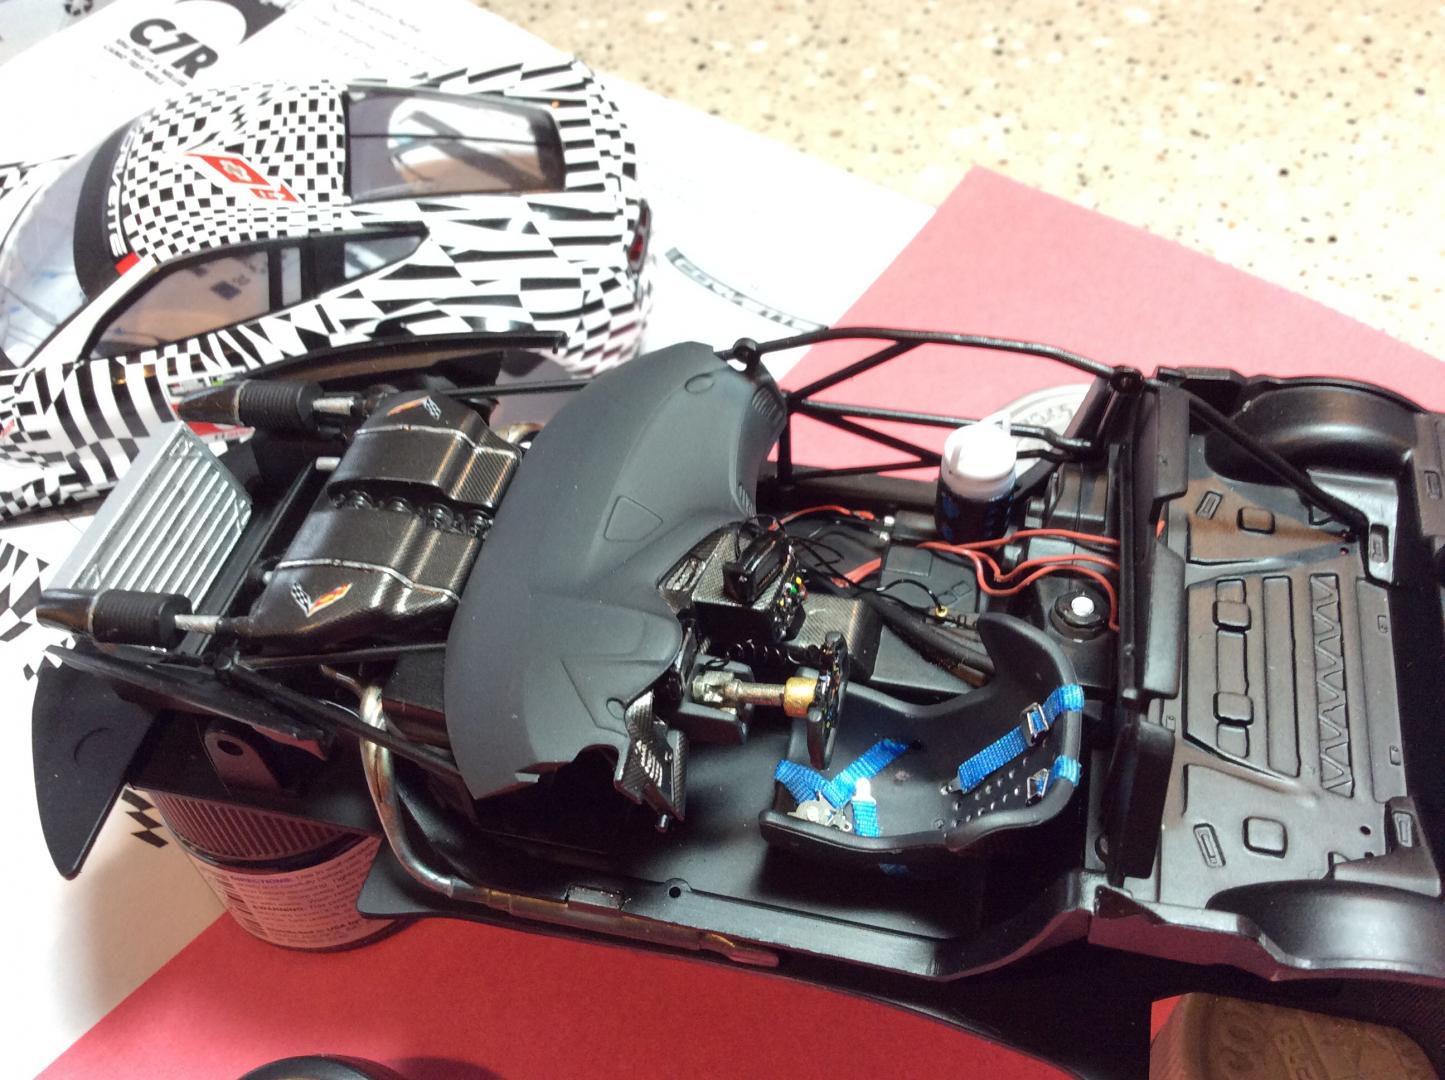
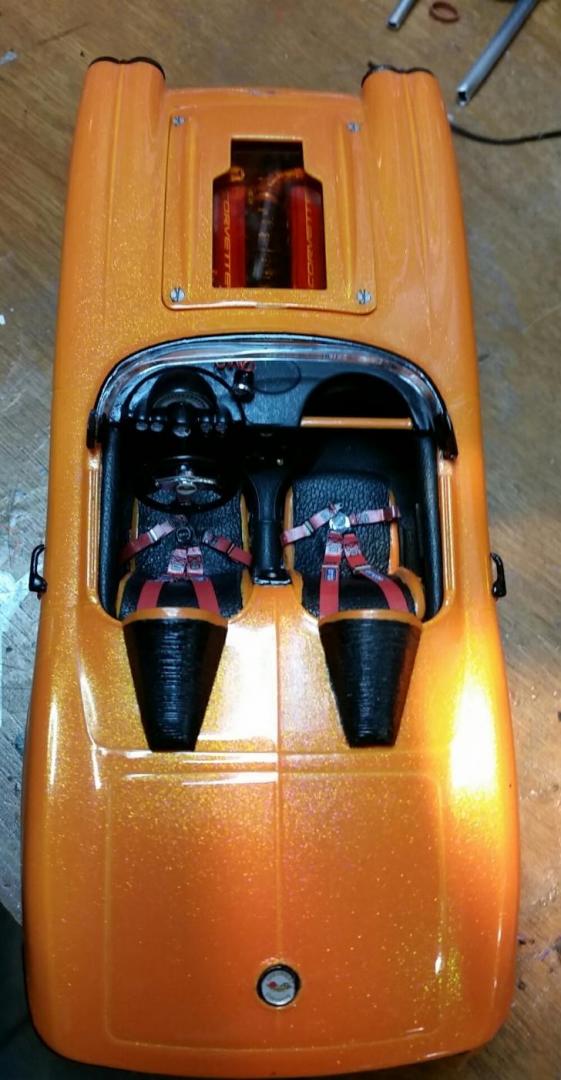
The interior is just about complete. All that is needed is the drivers side bars and top halo. The cage is very toy like and has big mounting points. All most like donuts.
-
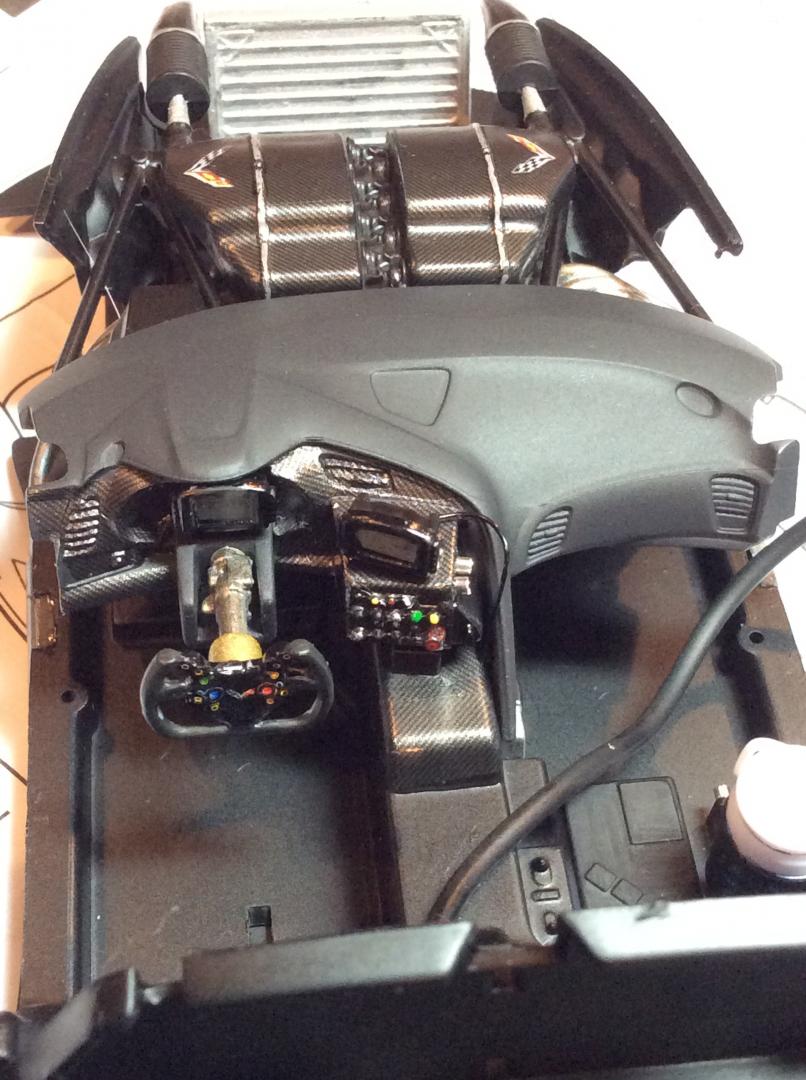
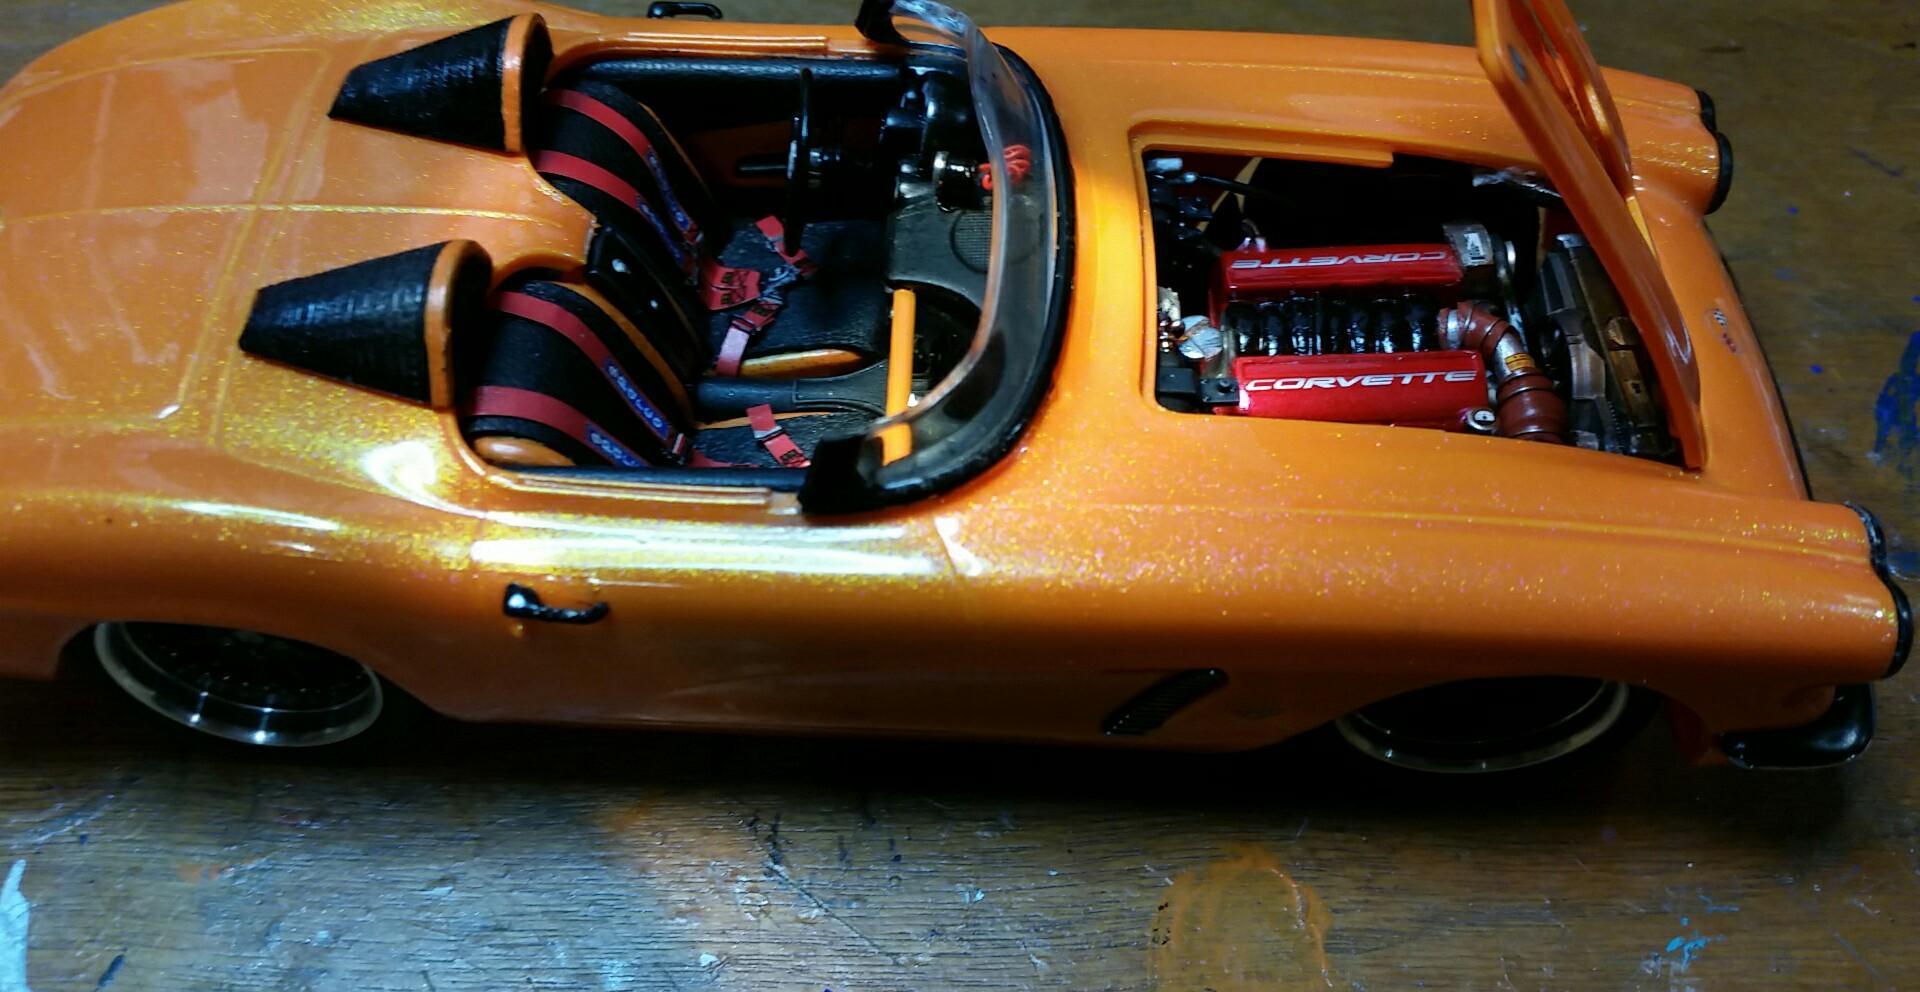
Just started the interior on this kit. It really lacks detail and builds toy like. Even though you won't really see anything I just can't leave it plain without some sort of detailing. The dash and air box are just mocked up for the photo.
-
Hi, I'm new to group/site. Been building Aircraft for a while now & needed a change! I actually had a few magazines from here years ago & still use it for reference. I'm retired living in Houston, Tx. I spend my retirement doing model builds about 80% or the time & flying my Drones the other 20%. I've just started posting my builds on Instagram @ (droneoutlaw337). I just bought a new car that seems like a quick build & actually found your site while doing an online search in "Hobbylobby" & found a great article & build pics from your member "JAY" on the Revell C7.R. Anyway after reading that & seeing those pics I bought the kit & joined my 1st Car building site. Look forward to adding any positive material that I can. Respectfully, Lee aka: DroneOutlaw
-
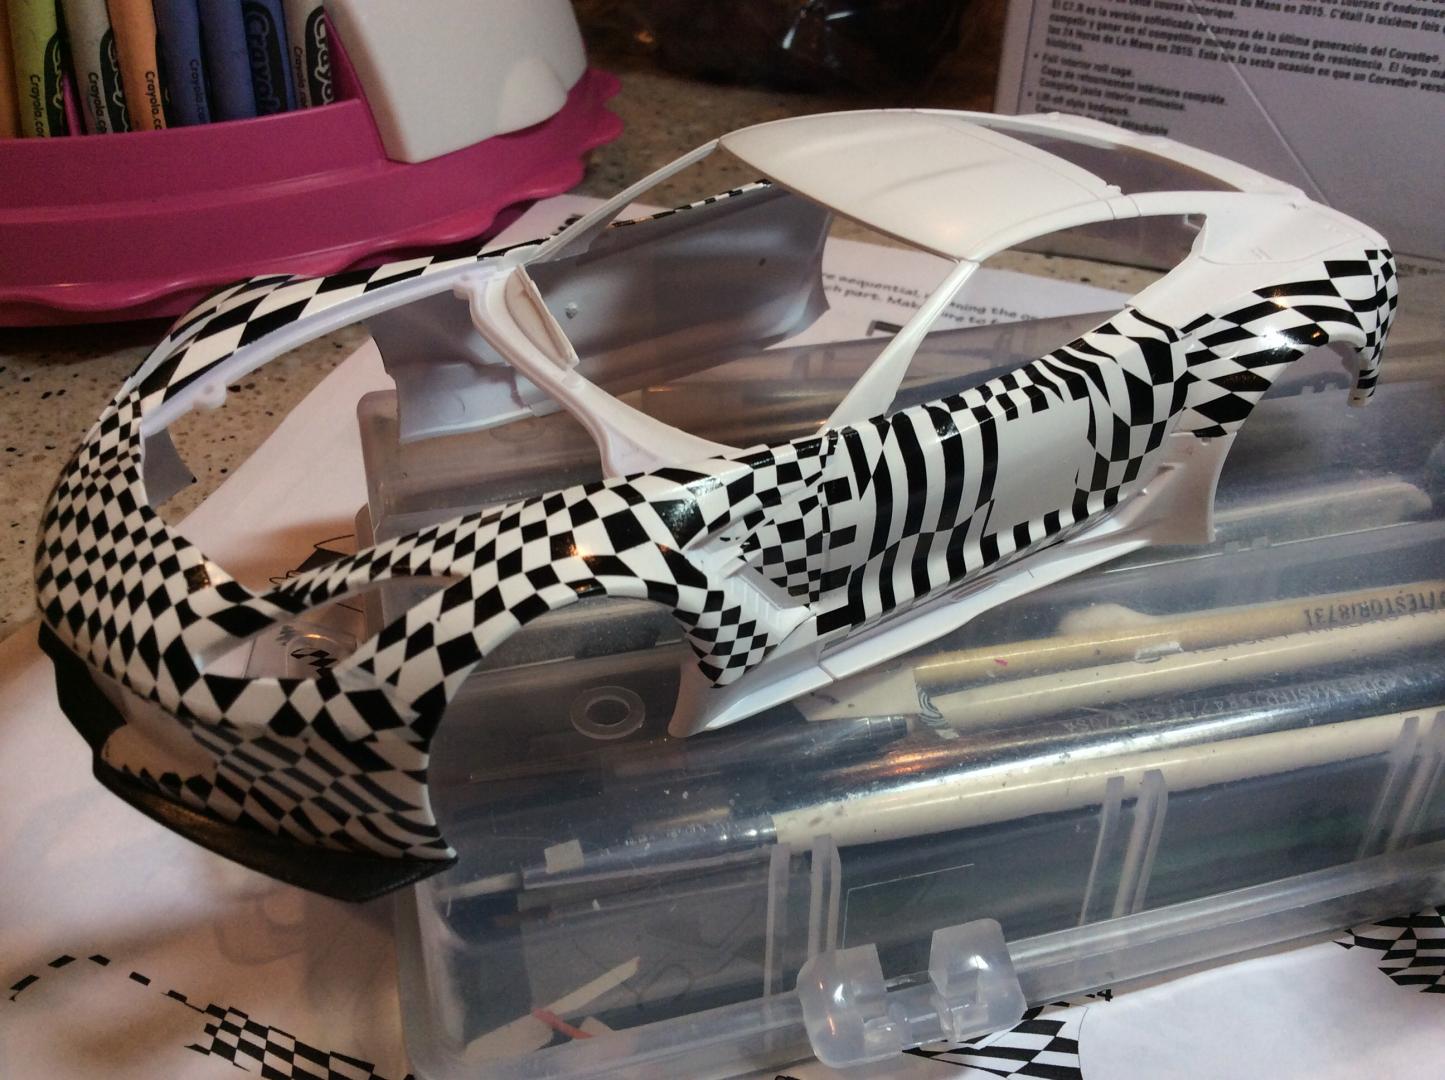
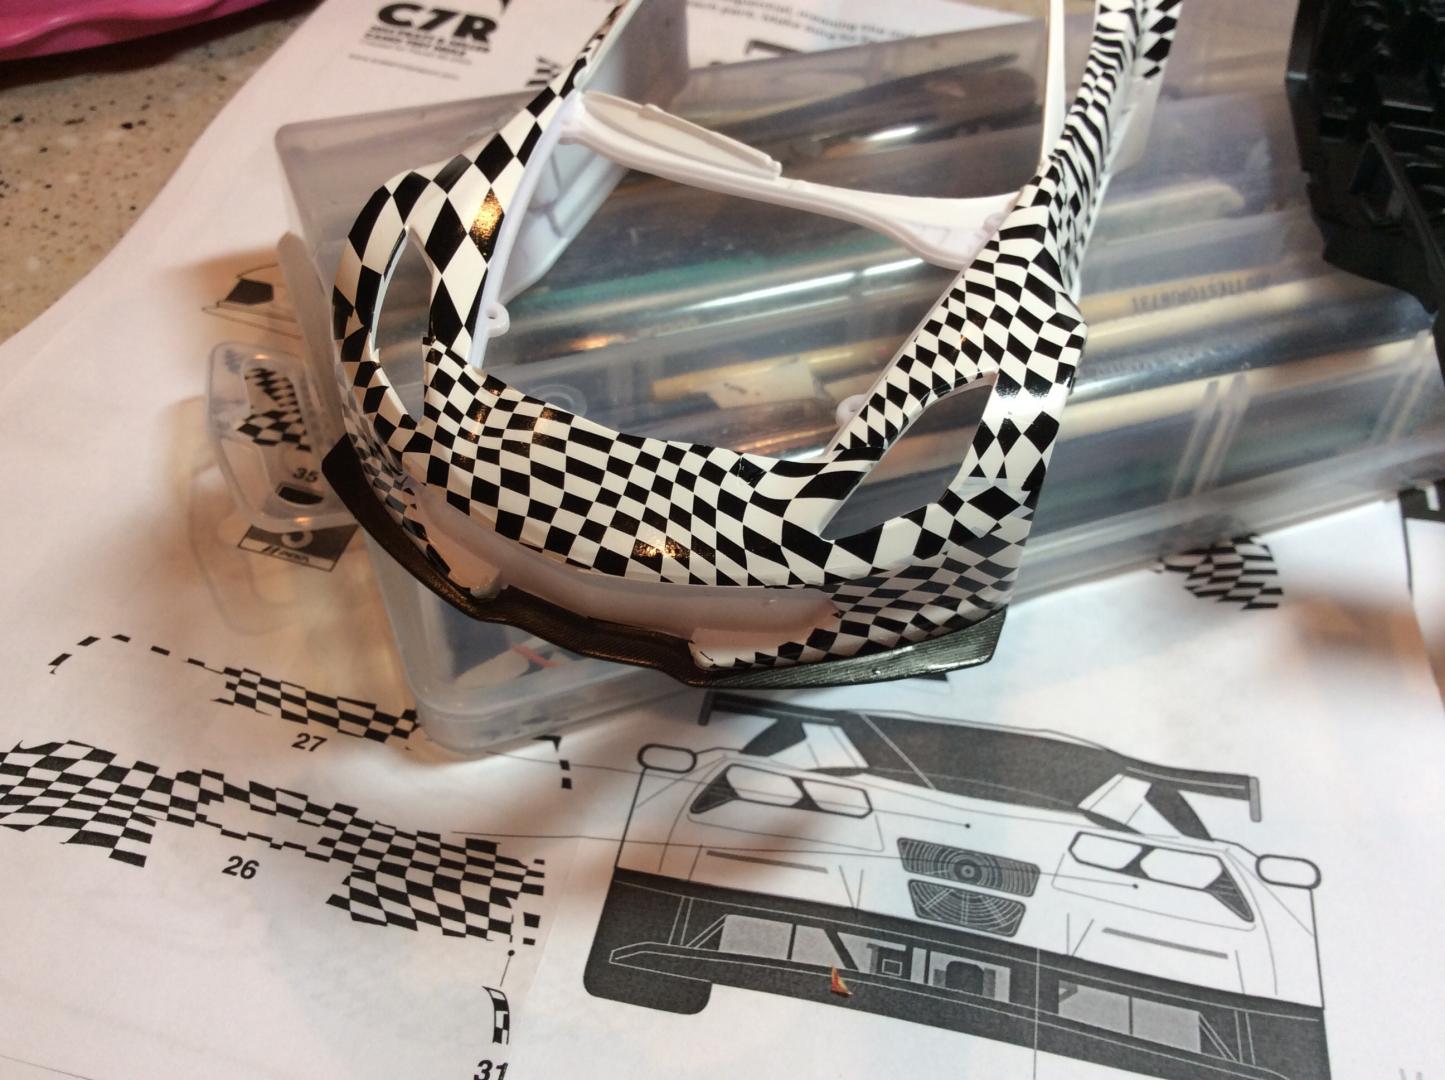
Just a few quick shots of my new project. I love doing full body wrapped decals. I felt the yellow version of this car will be done a few times. There are some great builds on this forum now of that car,so I wanted something different . These are some of the best decals that I ever used. My hats off to Matthew at Scale Motorsports. They are thin and lay down fantastic with there decal set. I will post the progress of the car .
-
I got down to the basement today and got a bit done on my newest addition. I'm not sure if I'm going to use these tires and wheels, I am just using them to hold the frame off the ground. Wheels came with the kit while the tires are standard AMT Firestones. The 240 horsepower 265 :-) How far off are those rear wheel wells you ask? About this far! I made the template from the AMT 57 Corvette then taped it onto the MPC body. Looks like there is quite a bit I have to fill in. A closer shot of the template and wheel well size difference. Thanks for looking!
-
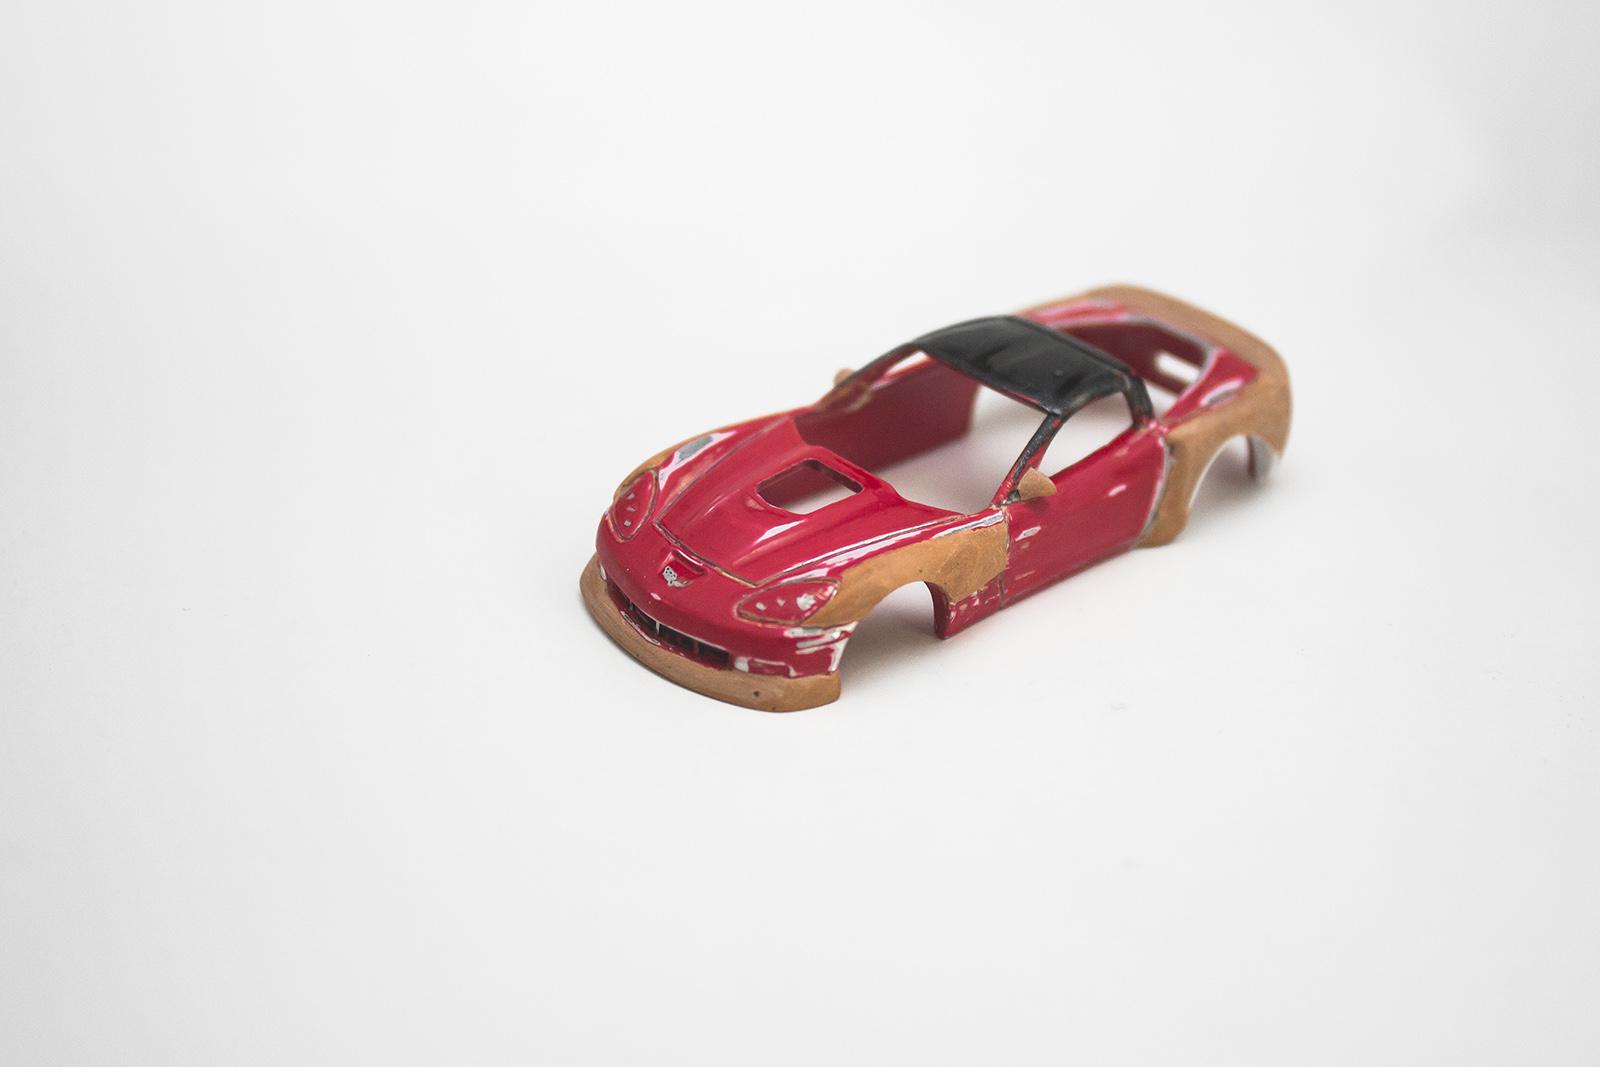
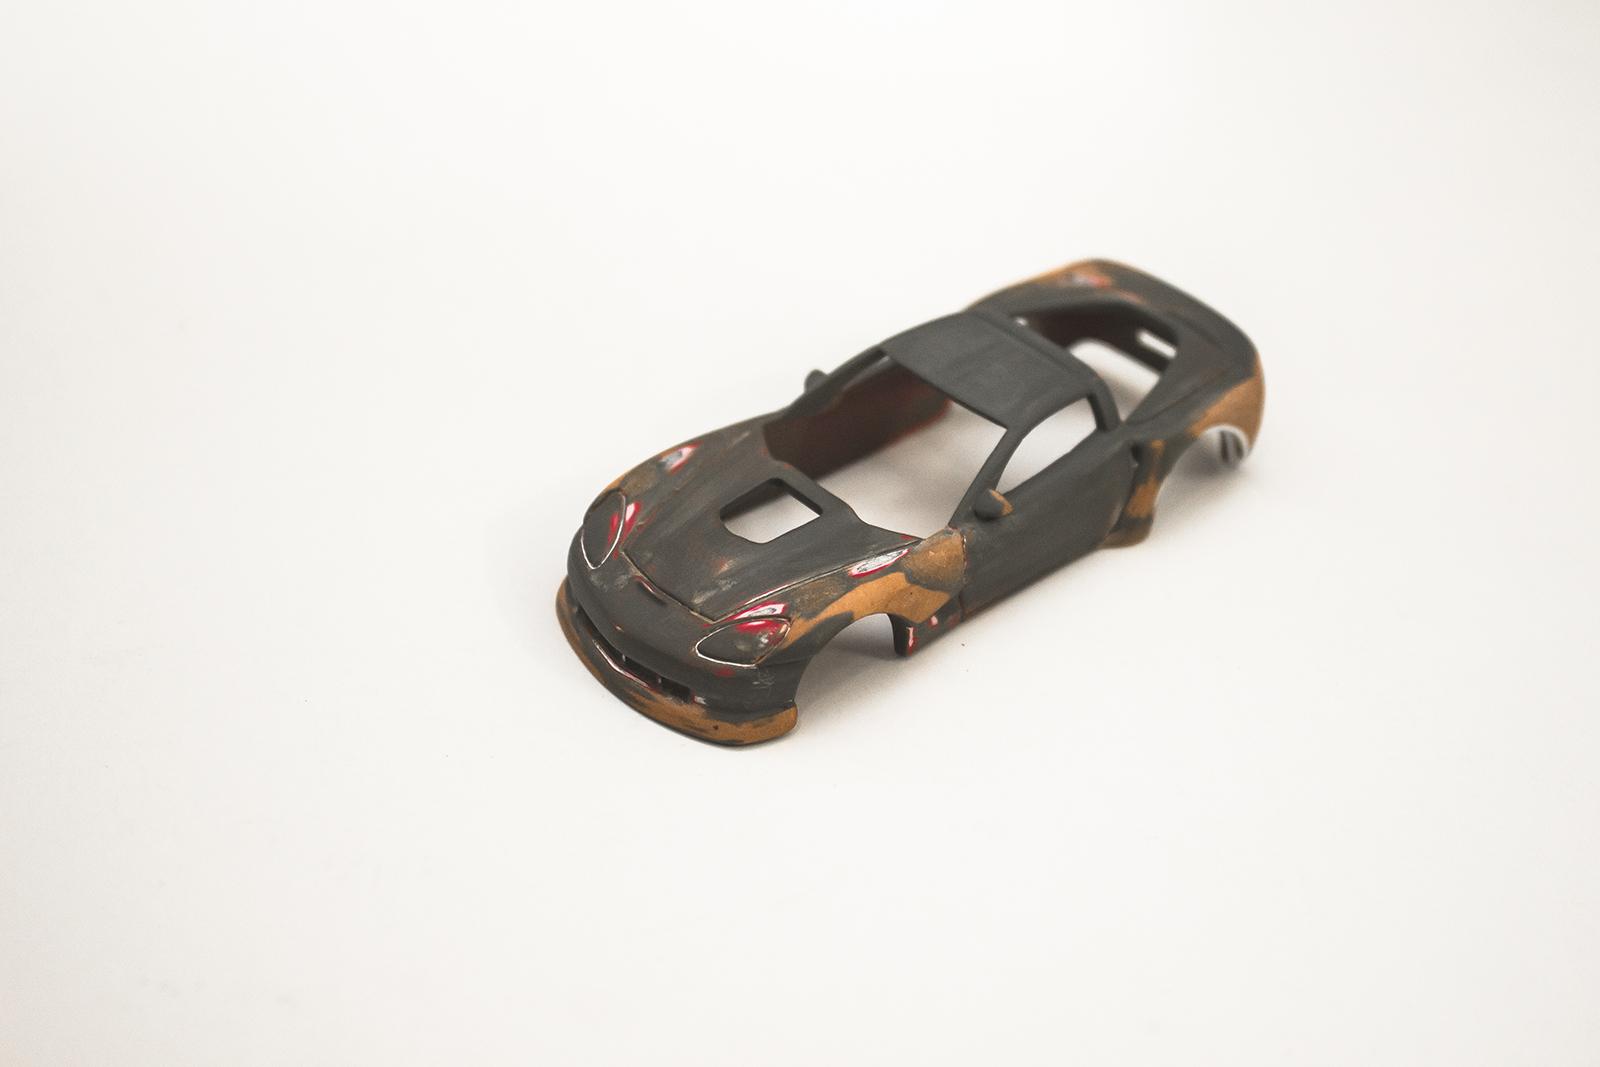
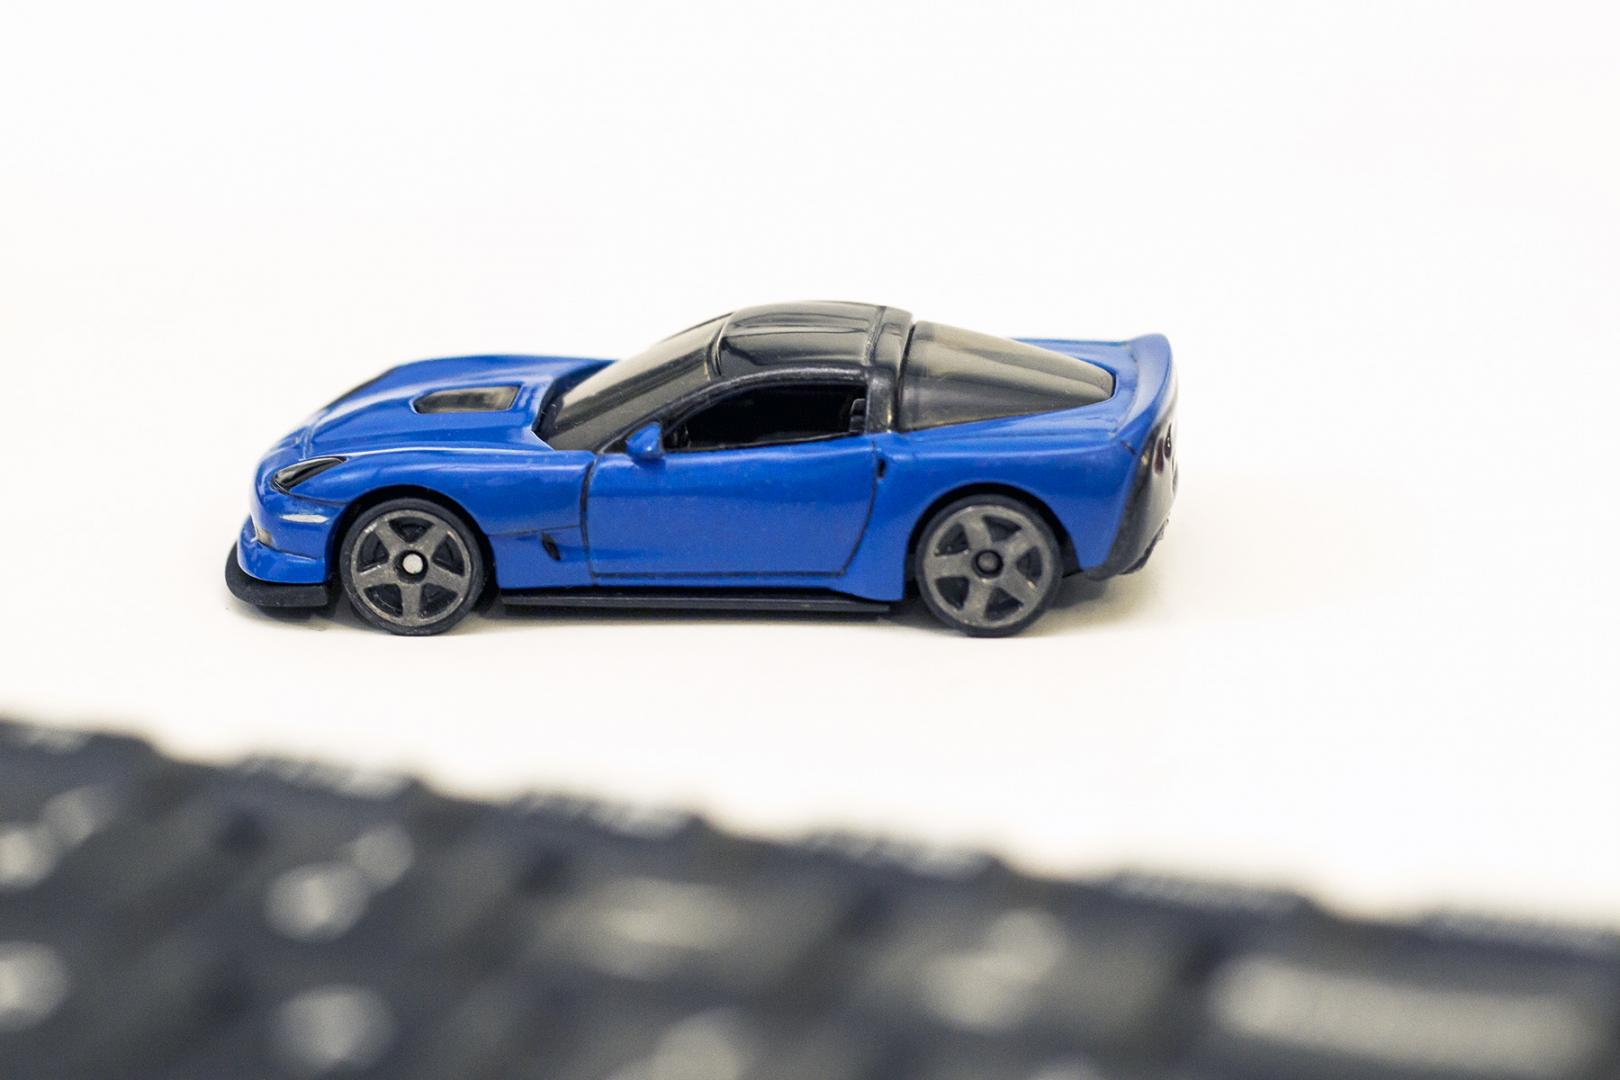
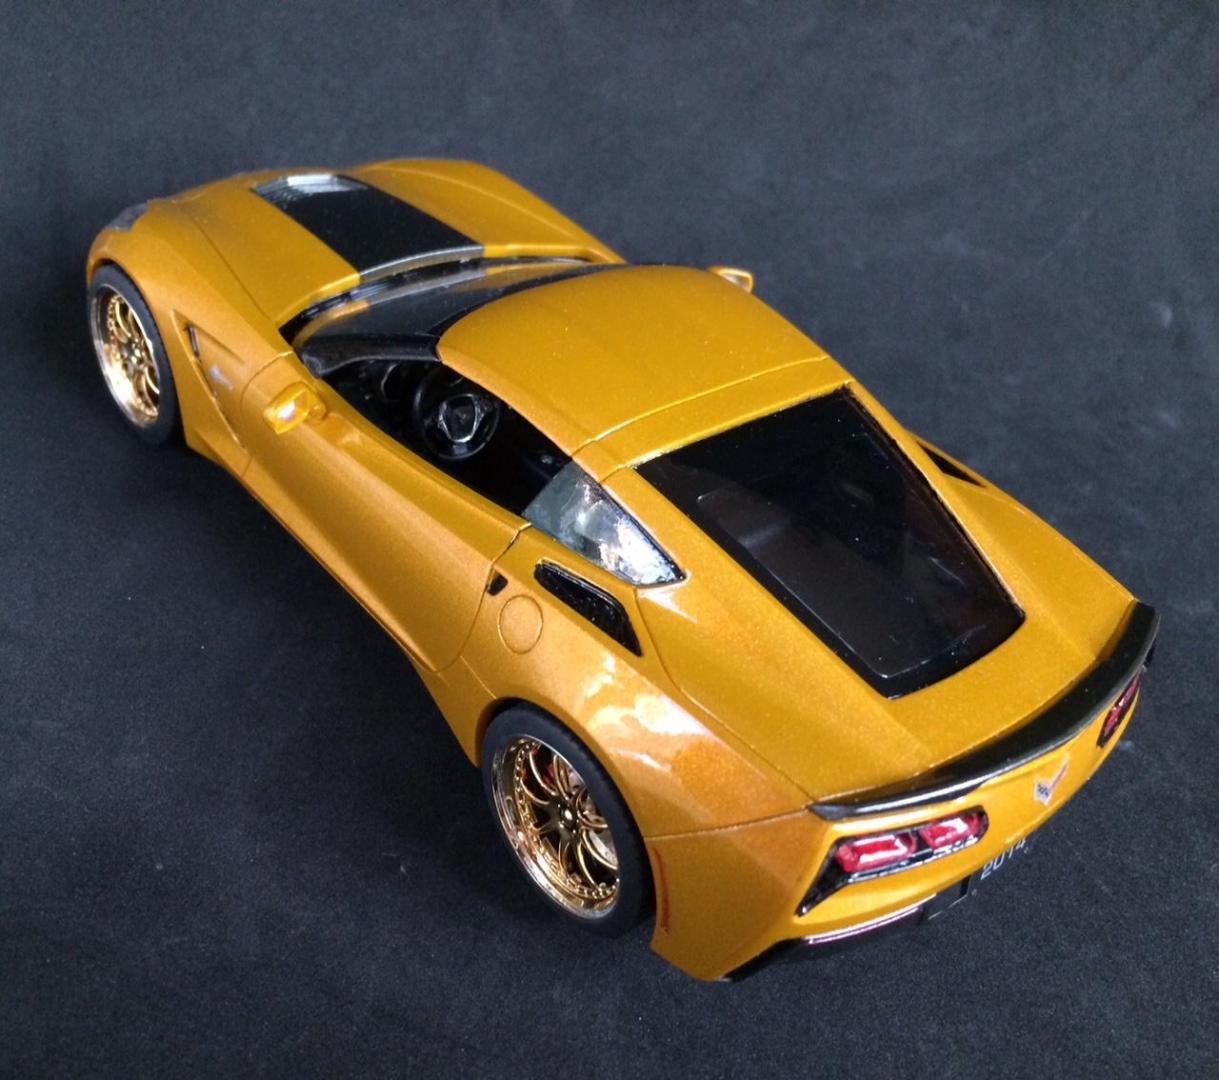
Decided to merge a bit of my favorite JDM tuning influences with a rock-star of a US sportscar. The original HOtwheels version was nice enough but had some glaring issues such as the big/little wheels sizes. Putting a smaller wheel on the rear meant there was a wider wheel gap and a slumped down rear end. This is the first time I work with modelling putty. Work done: Lowered. Wheel well filled in. Widebody conversion. Custom front splitter. Rocketbunny style rear spoiler. Side mirrors. Wheels cut and reassembled further out to sit flush with wider track. IMG_3597.xmp
-
Last week I scored this from that evil place for a pretty good price. Here is what is included in this version of the kit. Here is the box this kit came from The body looks pretty good. I have read where the rear wheel wells are larger than they should be, but then again, I have looked at pictures of the real car and have noticed how tall the tires are. 1/25 scale tires are not as tall (in scale) as the OEM tires on the Corvettes are so perhaps that is why the wheel wells look larger than they should. Just a thought. This tree has the convertible top, roll bar, an expansion tank, headers, and a set of injectors for the engine. Here is the hard top, front suspension, rear suspension, traction bars, front pan and hood. Engine, exhaust pipes, 2 four barrel intake, blower intake, and various other pieces. A close up of the engine parts. The kit comes with a standard distributor with no shielding for it. Not sure if this is correct for a carbureted Corvette engine. Wheel backs and engine compartment. The kit does not come with any heater hoses for this area. Chromed oil pan and valve covers, along with the twin air cleaners (not correct for the stock 56 or 57 Corvette). MPC removed all the custom touches like the open grille area and slotted mags that came in the original kit. Tires are totally incorrect Goodyear 10" wide tires. So, what do I think of it? I think it is a really good place to start building an accurate 57. Perhaps not quite as good as the AMT 57 Corvette. I think I'll try and use some Monogram 1/24 wide whites to fill up those wheel wells and I might just go with a single 4 bbl since I am building a 57 with the twin carbs to replicate a 56. I'll have to look in my parts box for the heater hose that belongs in the engine compartment though. Thanks for looking!
-
I am using the AMT 57 Corvette frame and engine under the AMT 55 Corvette body because I feel the 57 frame is overall superior to what comes in the 53/55 kits. I have the front spindles in so I could see how it would sit. Overall look Rear close up Front close up I also did some boring things like paint the engine, sand some on the body, etc.. The AMT 57 Corvette frame really works great on the 55 body. Thanks for looking.
-
Built way back in 1982, this AMT 55 Corvette was painted some kind of Testors candy red enamel, engine block is kit sourced, fuel injection is from Revell 57 Bel Air, valve covers are parts box, headers are (I believe) from the kit, and the oil pan is a deep sump that came from the parts box. Tires and wheels are parts box, windshield is from AMT 62 Corvette kit, custom 59 Cadillac tail lights are from AMT 49 Mercury kit. As you can see, I did not do any body prep on this so there are a lot of mold seams on it. None of the chrome trim was detailed either (or removed). The reason why this one was kind of slapped together? It was a "problem child." I could not get the body to set right with the inner fenders in & the suspension sat too high in the back. So instead of turning it into a "wall model" I built it as a hot rod with the custom grille, no bumpers, and way less detailing than I normally did back then. The rear cleans up nicely without bumpers and with the addition of 59 Caddie tail lights. I didn't know when I built it, but the top of the dash is suppose to be body color. At one time I had the inside of the wheels painted gold, but it wore off. You can see a little bit of it left on the driver's side of the model. Here you can see the deeper oil pan and my "fix" for the ill-fitting fender wells :-) Mufflers are from something while the side exhaust pipes are parts of another exhaust system. I know, she's not going very far without a driveshaft! The ride height got to me on this one so I came up with a fix for it as well. Instead of gluing the rear parts of the springs to the frame like they are supposed to be, I glued them to the bottom of the interior panel. This lowered the rear a lot. I like the styling I did on this one, not real happy with the execution of it, so this one might go on the rebuild pile. If it does then I'll mold in the front and rear pans, match up the windshield better, and put a drive shaft in it :-) thanks for looking :-)
-
Started back in July of 2015, work has been delayed because of a basement renovation that is taking forever. Painted Tamiya TS-51 blue with clear coat, with an interior painted with Tamiya silver. I saw a picture of a 1:1 done this way and really liked it. This will have the luggage rack from an AMT 71 Corvette kit on it. Engine choice will be the totaly inappropriate Kit engine (454 big block). Thanks for looking and all comments are welcomed :-)
-
My take on the 93 Corvette black widow. This will be "inspired" by the 40th anniversary car since I do not want to spend the money on getting the proper GM maroon color, I painted it with Testors Mythical Maroon and did the interior in Tamiya maroon interior. I have a Model Car Garage Photo-etch set for the 40th anniversary badges. This was started back in February 2015 and I was doing pretty good progress on it until I had to disassemble my work space for some basement work (which is still not done!) I'm hoping I can get back to it in December. I still need to hit the interior with some dull coat and I might try and find some maroon flocking for the carpet area. I really wish I had decals for the engine though! Hand painted, I might try to clean up the red some more. Boring frame shot :-) Thanks and any comments are welcomed :-)
-
Started back in December of 2015, work has been delayed because of a basement renovation that is taking forever. Painted Tamiya Metallic blue with clear coat, I'm not sure what the interior color is going to be. Thanks for looking and all comments are welcomed :-)
-
Started back in February of 2015, work has been delayed because of a basement renovation that is taking forever. Painted Tamiya TS-54 blue, I still need to put another coat or two on it before I clear coat it. Not sure what the interior color will be. Engine choice is the totaly inappropriate Kit engine, a tri-powerd 454 big block! Thanks for looking and all comments are welcomed :-)
-
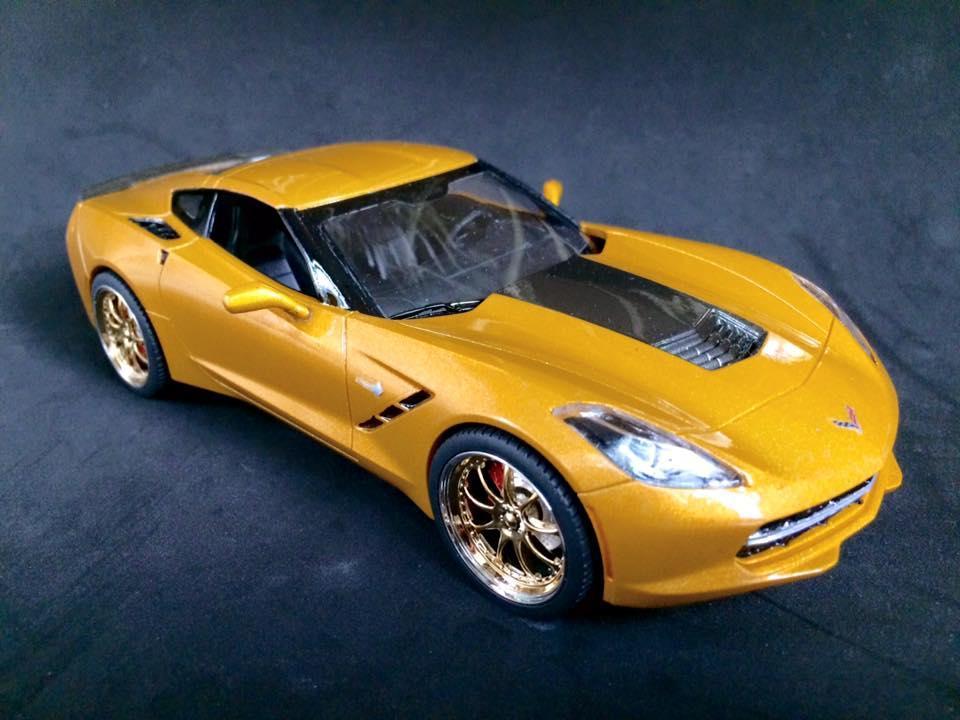
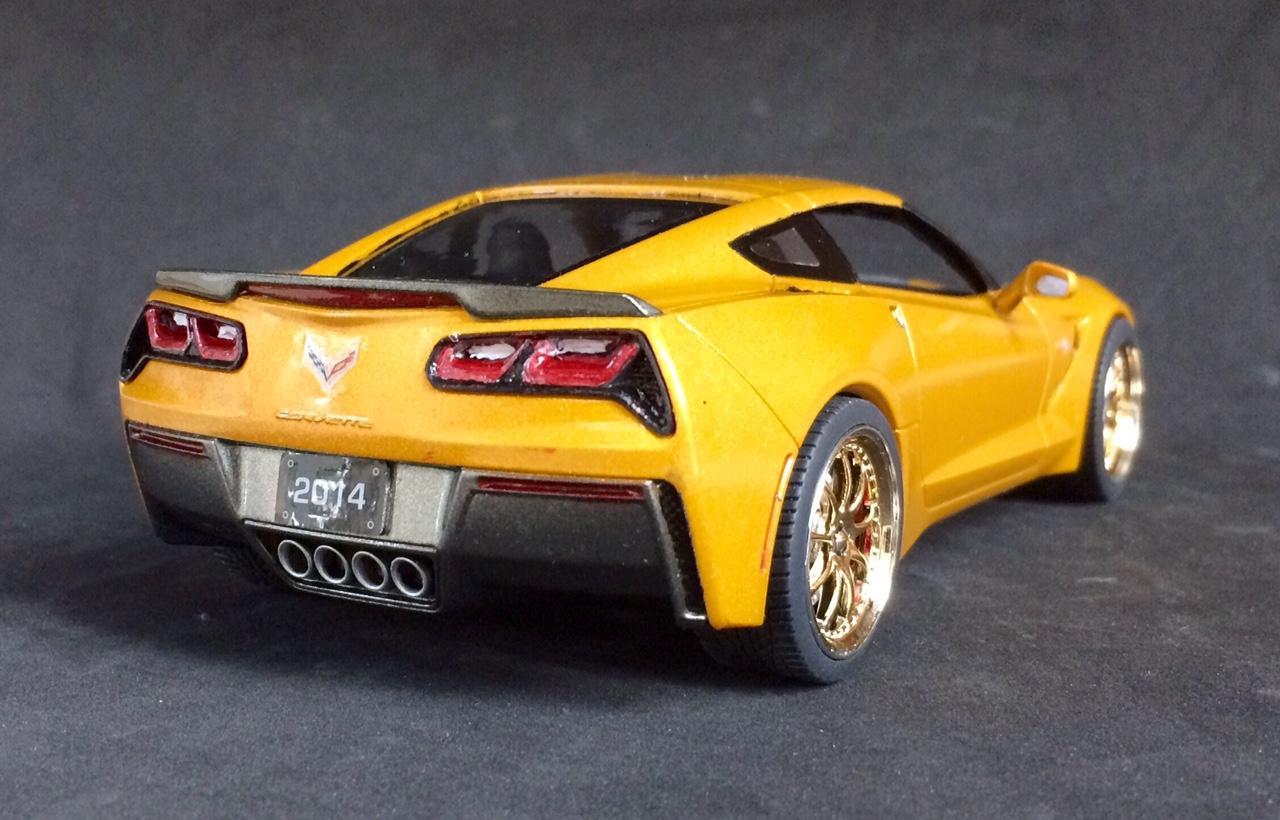
Quickie build last Fall. Yes, it's the SnapTite but looks nice in a case on the shelf. Testors Inca Gold with Tamyia Pearl Clear Pegasus Gold/Chrome Vantage wheels Spent some extra time to get the headlight glass flush, the kit has them recessed. Just need to trim them off the one-piece molded assembly and install from the top instead of the bottom.
-
Built this last summer just after I sold my actual 1:1 Greenwood Edition C4 Vette. No one ever made a street version of the Greenwood C4 kit, so I had to custom fabricate the ground-effect panels and rear spoiler. A lot of fun to build, would love to read your comments after seeing the 1:1 and build pics. This is my 1:1 Greenwood, I think I nailed it pretty close
-
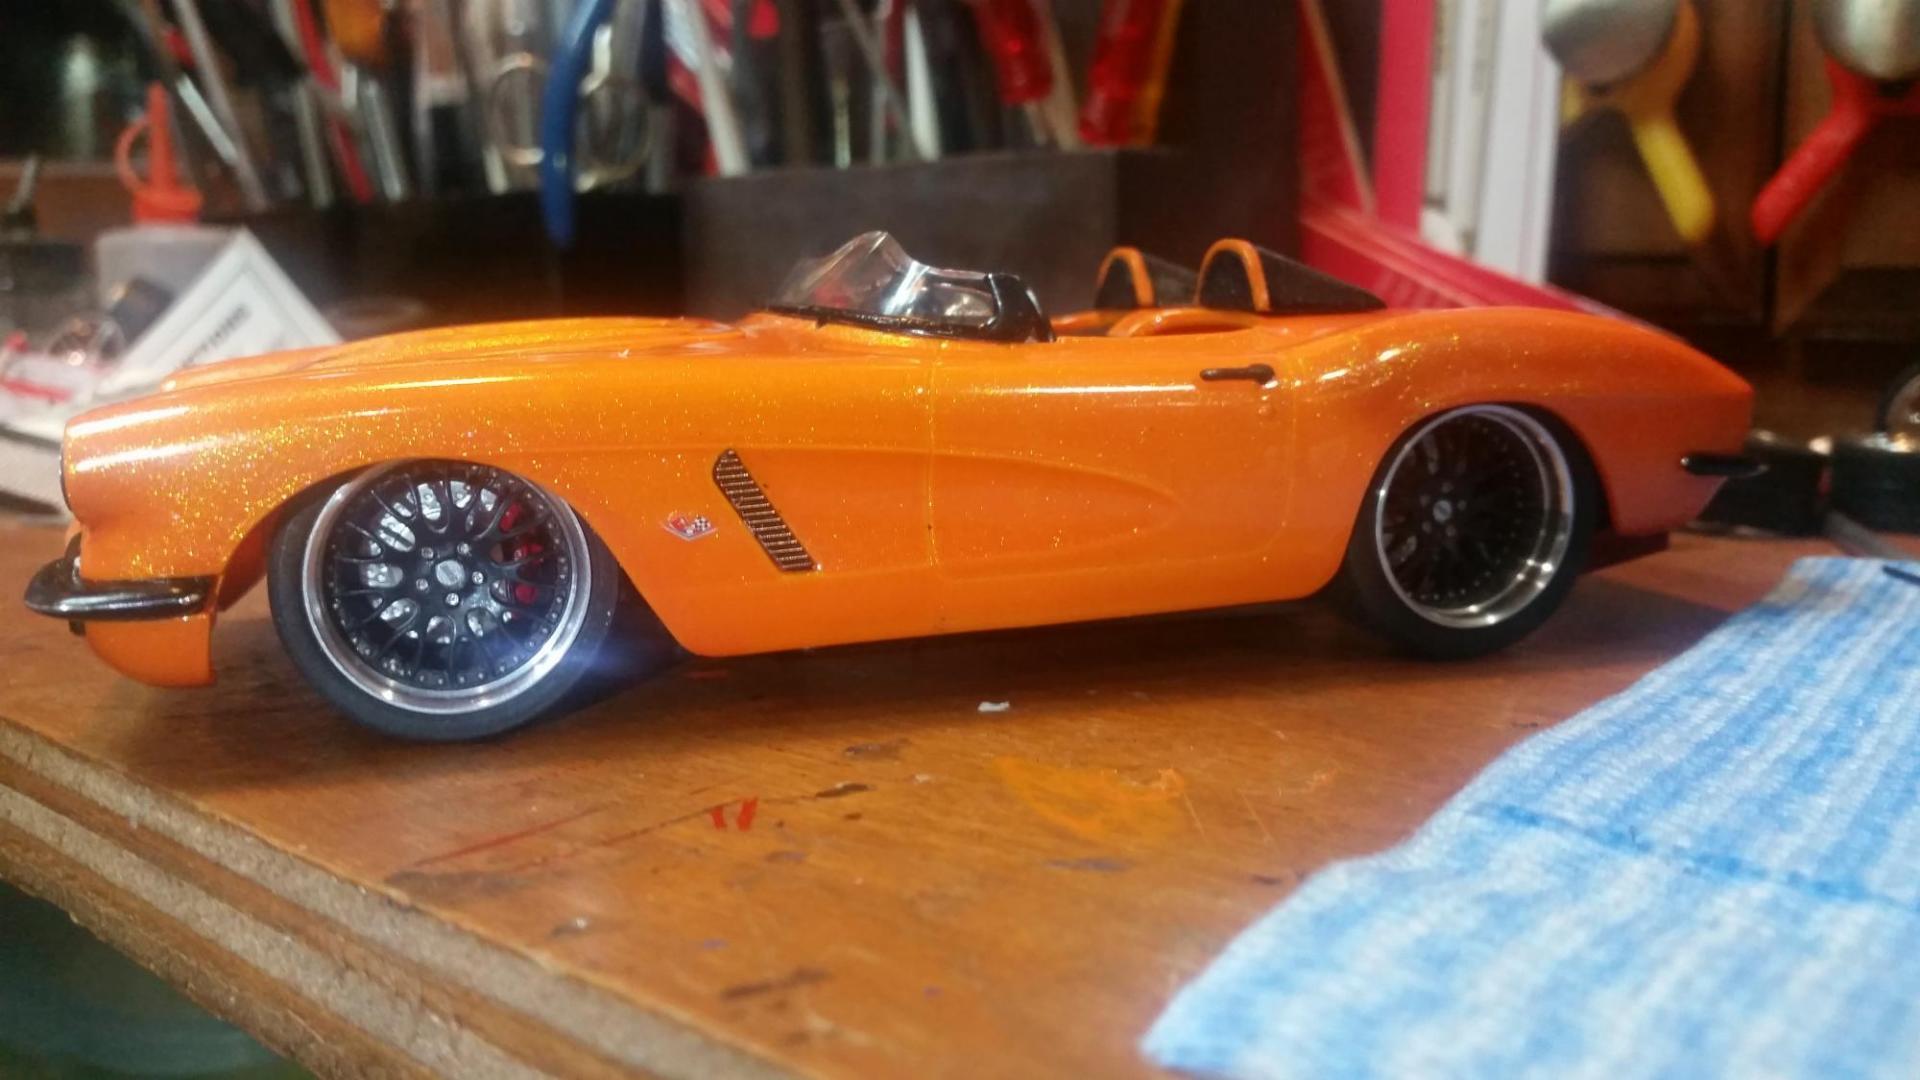
My favorite model, the old Monogram released in the 70's. I added my updated custom touches to an already beautiful Vette rear wrap wheel flares, side rocker flares, customized Pegasus wheels and change color form orange and black like the original.
-
I wanted something quick and simple that I could get a good result on swiftly to blow away the cobwebs and a mild case of modeller's block... and there in the stash was a recently acquired Revell Germany release of the kit that's a snapfit, I believe, in the US. The body was pre-painted, of which more later... Despite being a "simplified" kit, the detail on the parts was pretty good, so a bit of careful painting was all that was needed to bring a bit more realism. The colour scheme is a real one, albeit intended for the 2017 "Grand Sport" model. As soon as I saw it, though, I knew that it was the one for me. The same applies to the chassis and transmission -- not many parts, but nicely detailed and moulded, and responds well to painting. If there's one thing that really looks toylike on the kit, it's the chromed headlight area. Needless to say, the real thing isn't all chrome, and looks rather more like this. I pretty much stripped the entire chromed sprue... The wheels, too, are chromed. But when stripped, this rather nice varnished black look emerged, so I've left them like that. And finally, that colour scheme: I know there's more to a Grand Sport than a paint job, but I'm keeping this simple! It is soooo cool, though, that there really was no alternative... The clear coat's not on yet -- this is Zero Paints Mercedes "Palladium Silver" and "Jaguar French Racing Blue" base coats. bestest, M.
-
well this will b my first vette to add to my collection! Plan to go completely stock and paint it silver with Red interior. Here's a few shots of the motor! Used some scrap styrene and made up some additional parts for the fuel injection setup since it looked pretty! Added the throttle body, some oil/fuel lines and some other small accessories
-
Hi there I am new to the site , for years everyone has told me that I should share my 1/24 scale builds ,but for some reason I never been one to post. But this time my friend Dan Ricchezza said the same thing to me and gave me a boost to do this..:) I think I will take photos of most of my cars and I will share them with all of you. Hope you guys enjoy them.
- 29 replies
-
- flawless paint
- custom build
-
(and 1 more)
Tagged with:
