Search the Community
Showing results for tags '360 modena'.
-
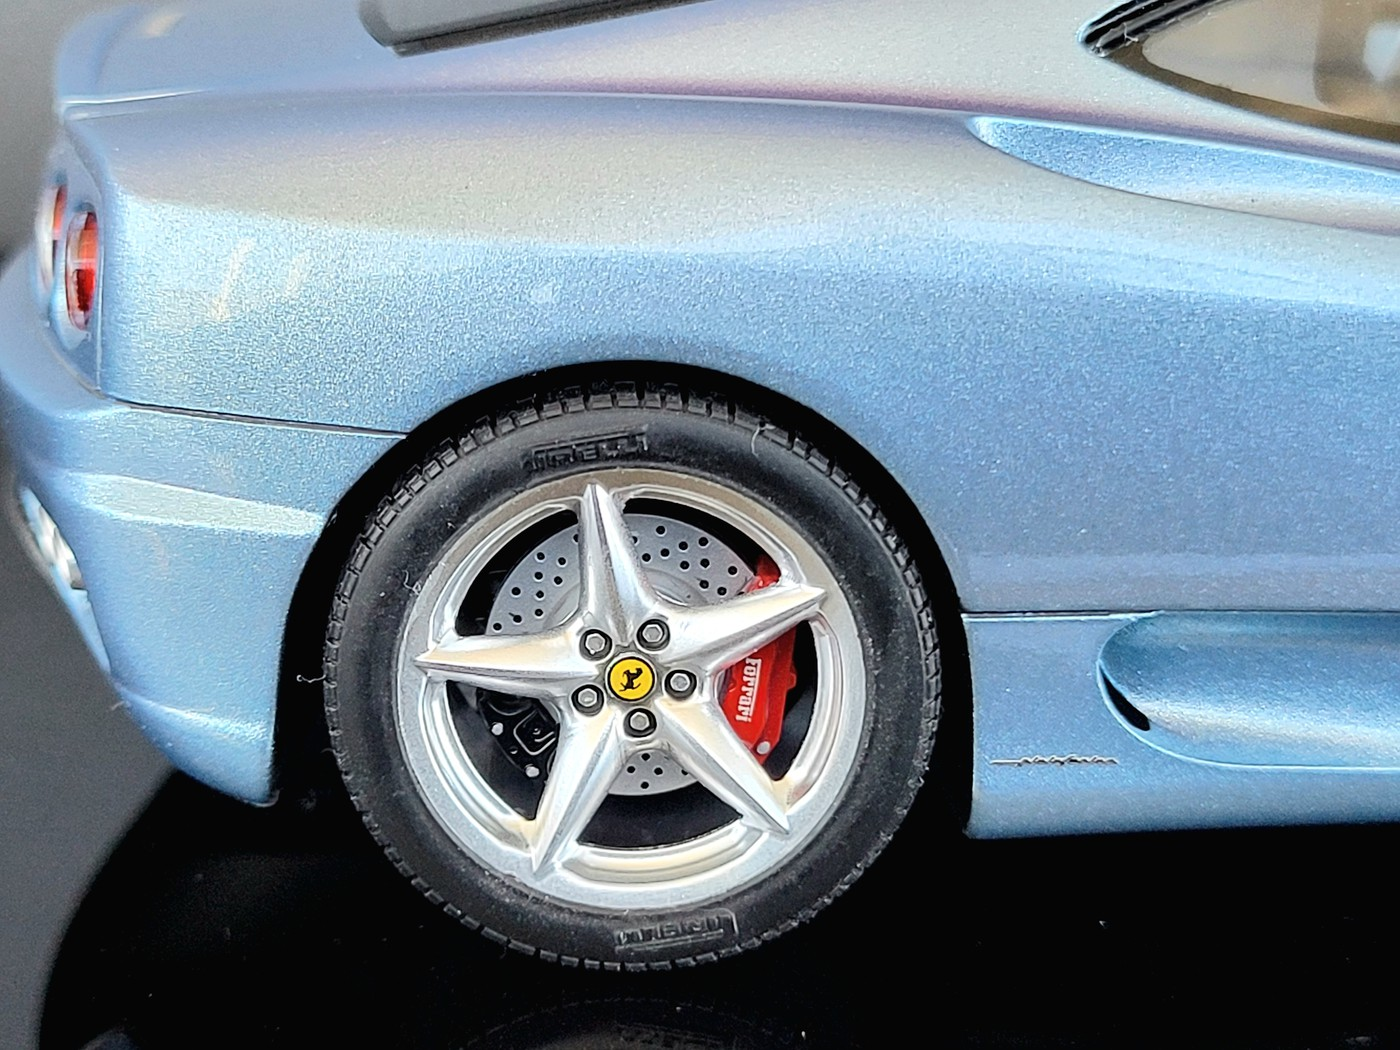
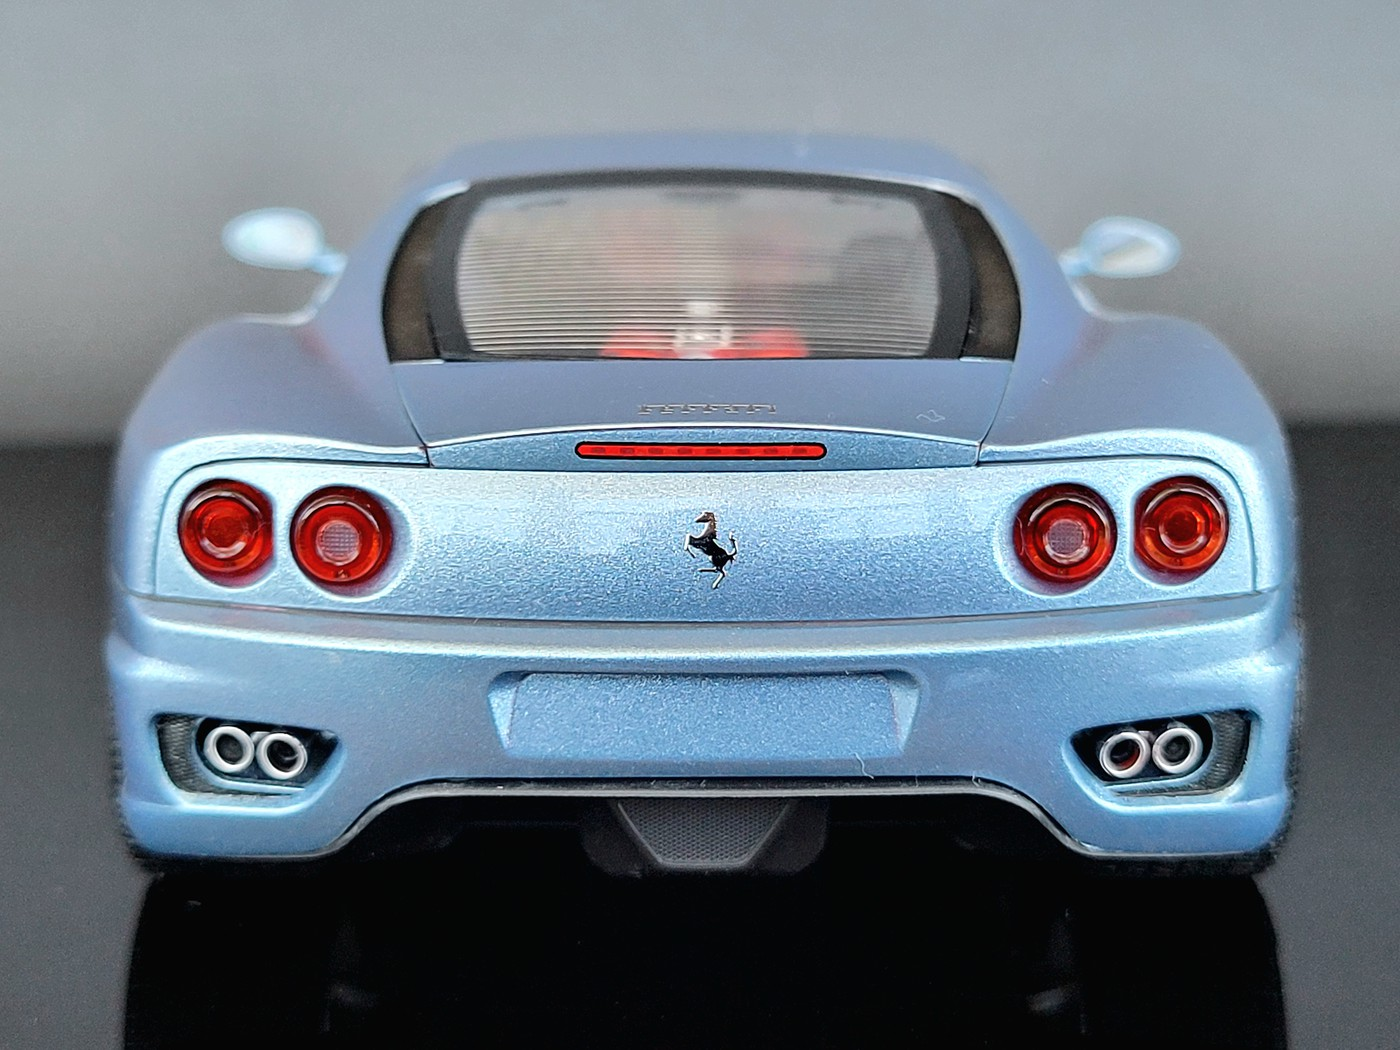
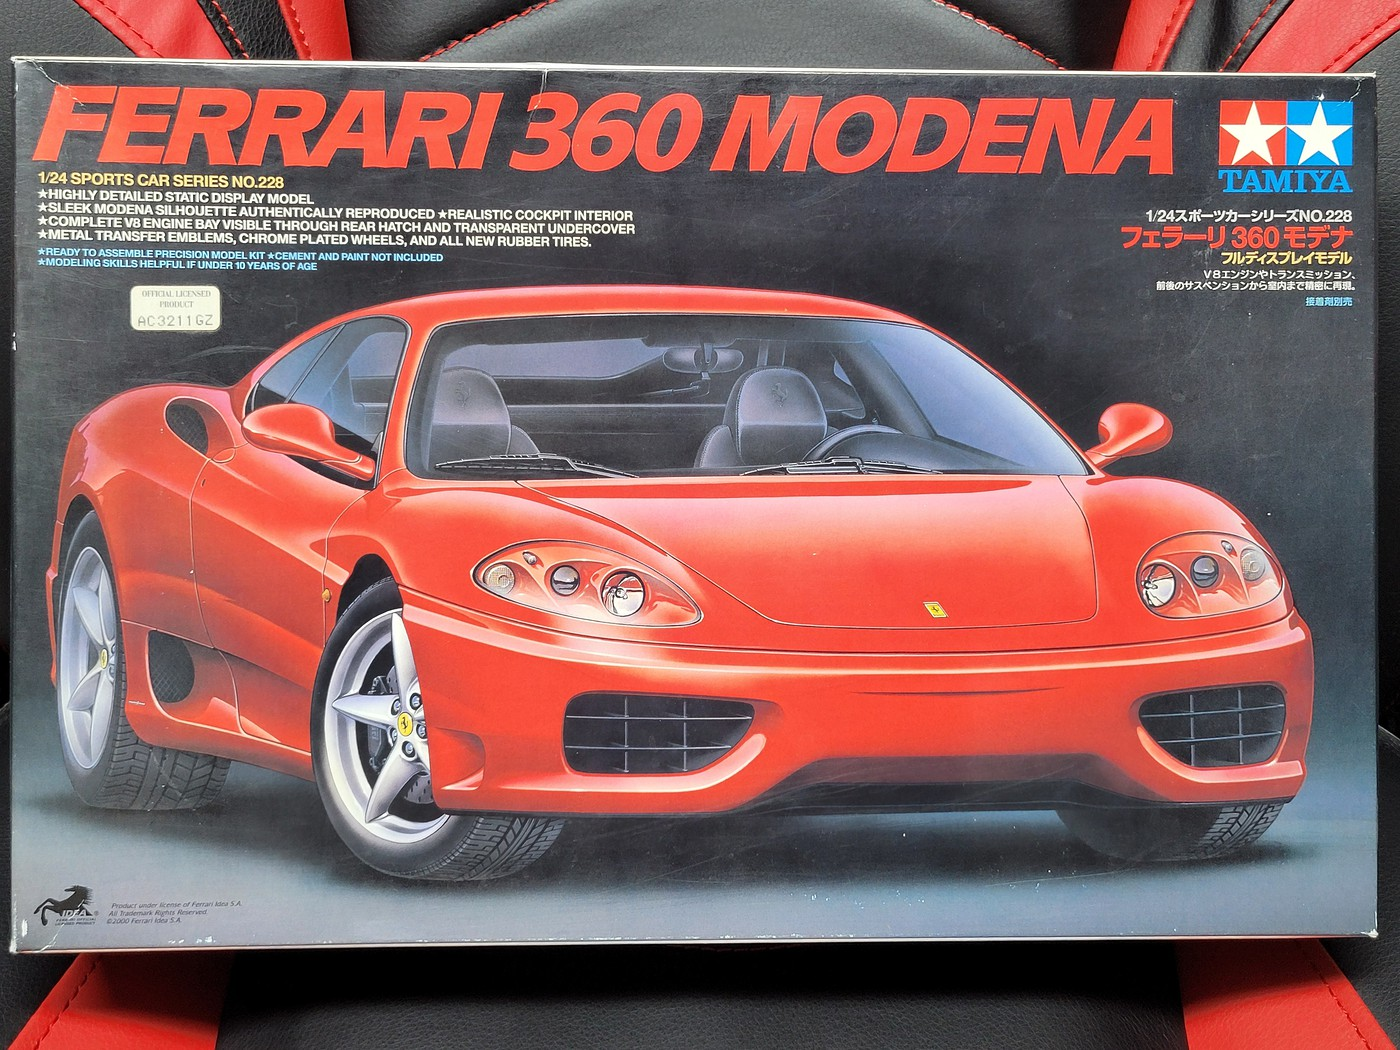
I thought I would share my latest model with you. I will post a link to the WIP thread if you would like to see it. The quick rundown on this one is as follows: Tamiya 1:24 Ferrari 360 Modena, original release I believe, molded in red. I painted it in Gravity Colors' (Spain) Grigio Alloy. It is cleared in Tamiya TS-13 Clear. Interior is Tamiya German Gray. I used Tamiya's Dark Gray Panel Liner on the body panel lines. Unfortunately, I did have a couple of issues with the kit. Mainly, the side windows just did not want to fit. This is a common complaint on this kit. The ill fitting side windows caused issues with the fitment of the interior and chassis into the body. A lot of grinding, sanding and carving resulted in a decent fit. I also got some ghosting on my body's mold lines. They absolutely were not there when I primed it but showed up during paint. As they say, it is what it is. Overall, I am very pleased with how she turned out. Lots of pictures to follow!
- 23 replies
-
- 11
-

-
- ferrari
- 360 modena
-
(and 1 more)
Tagged with:
-
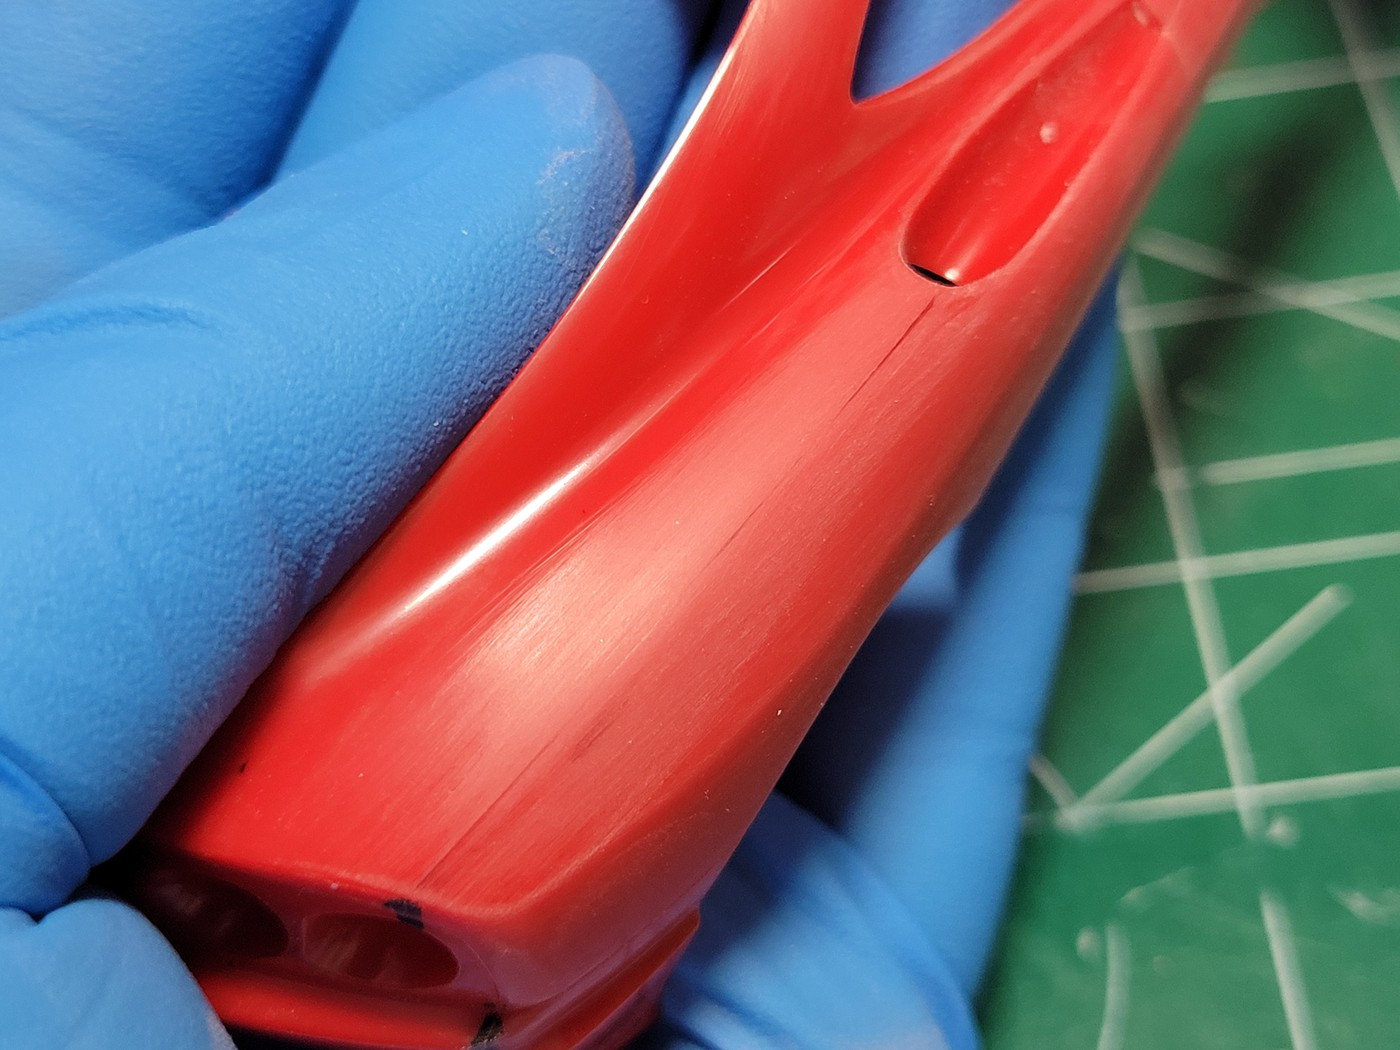
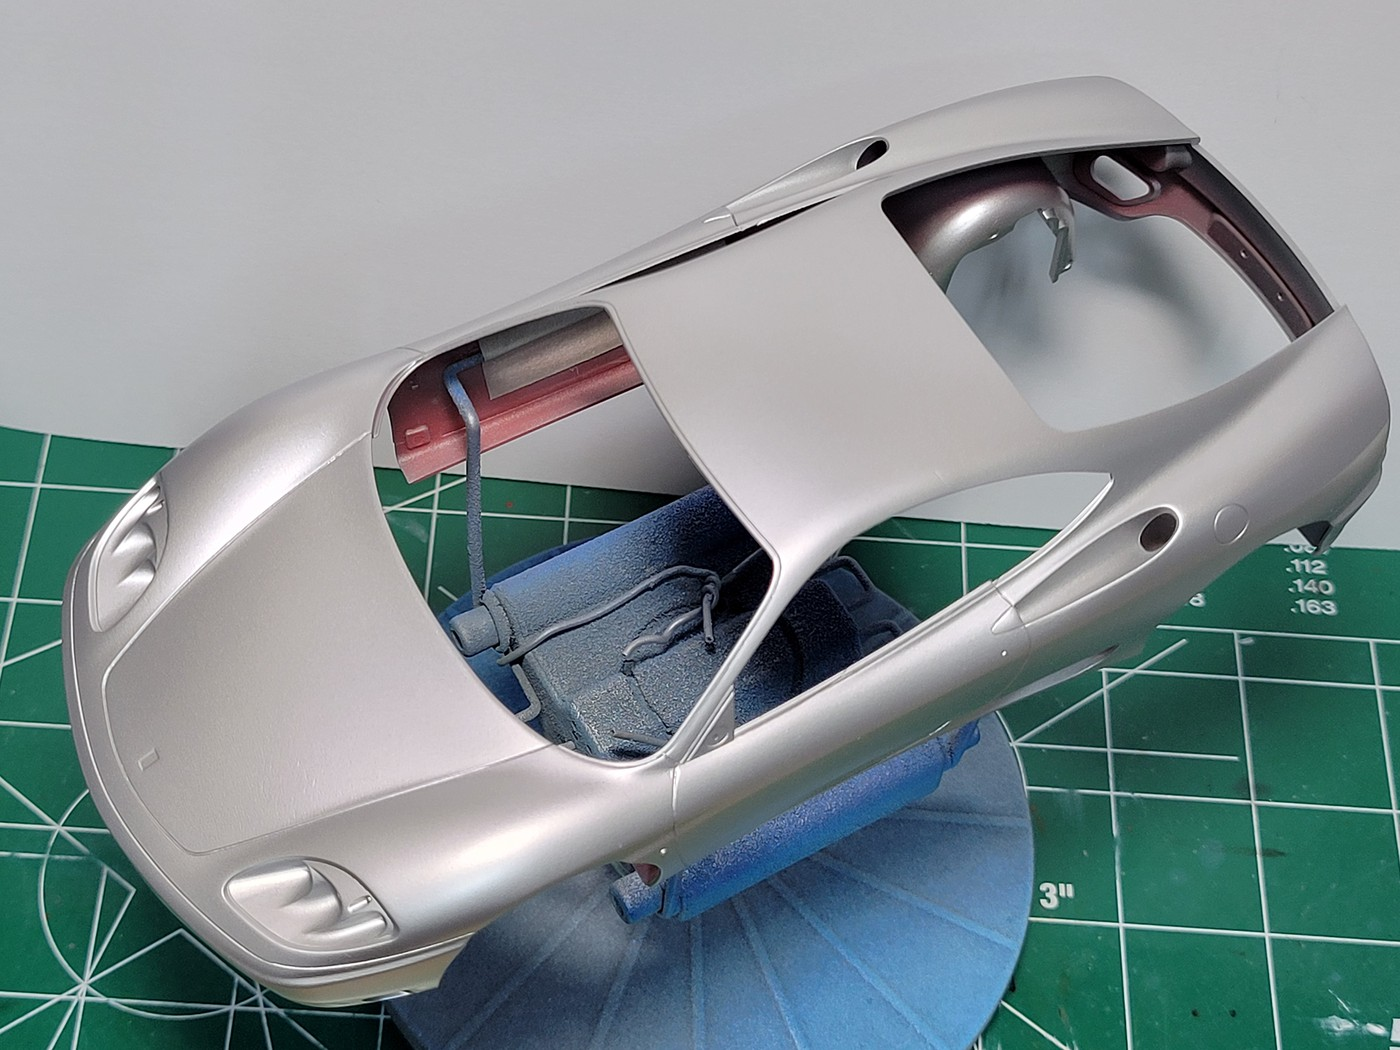
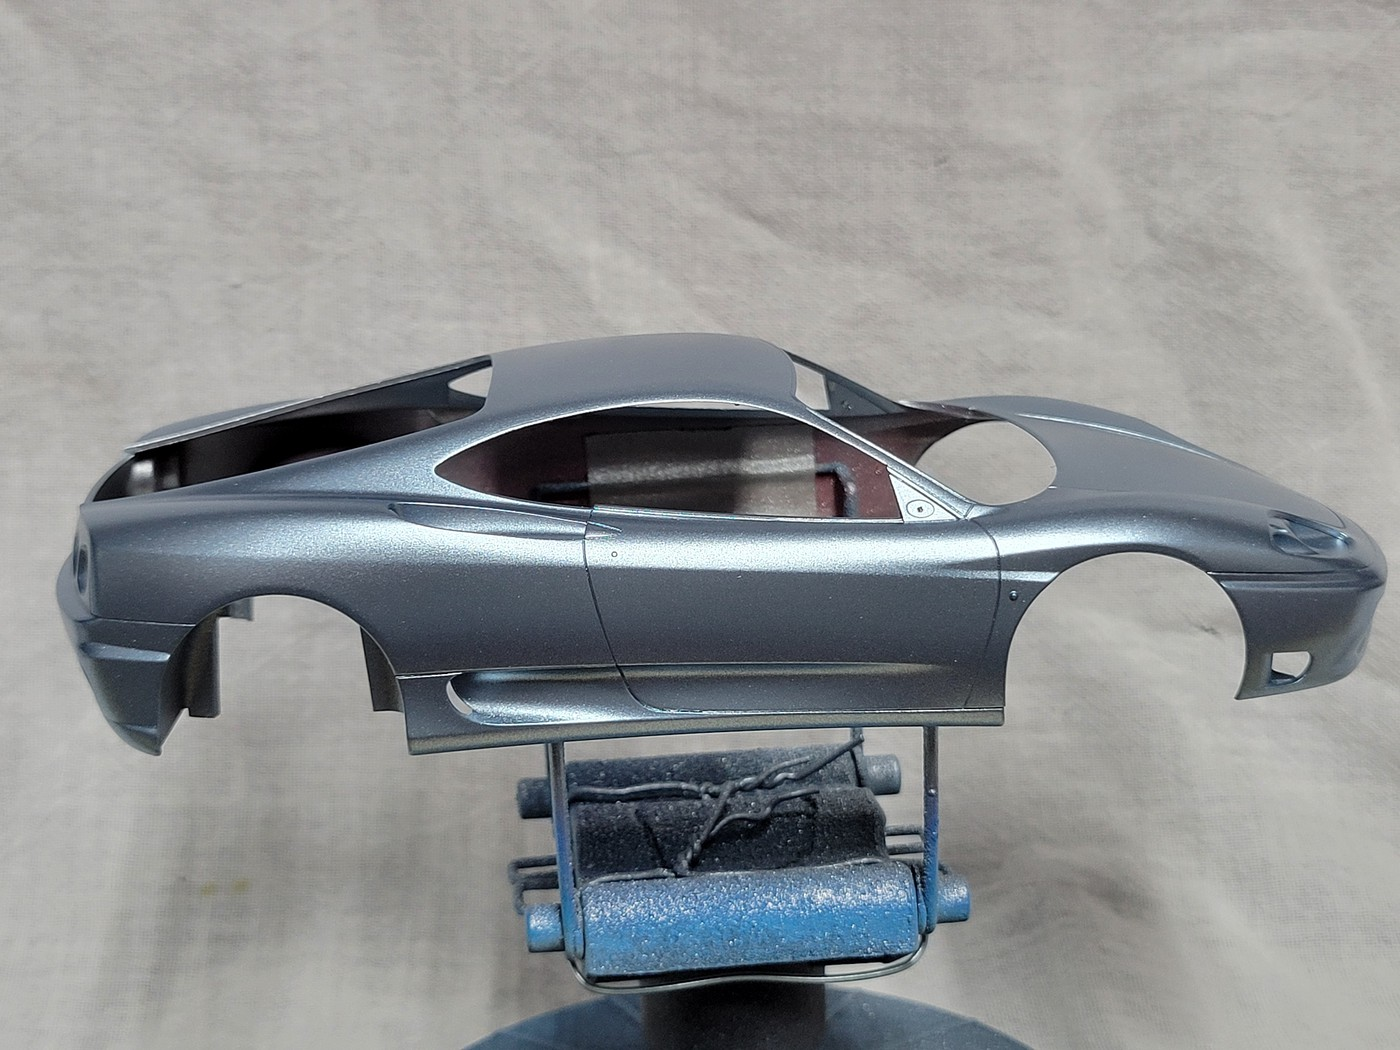
I started a new kit for 2024. After fighting the Evil Iron Trike and all of its horribleness, I wanted to build a hassle-free kit that would look great when finished. Tamiya to the rescue. I decided on the Ferrari 360 Modena. Although I am not against a red Ferrari, I feel there are so many other beautiful colors out there for them. I am a big fan of Gravity Colors, Spain, and have a nice and growing selection of their paint. I had their Ferrari Grigio Alloy and felt it would look great on the 360 Modena. The Grigio Alloy is what I would call an Ice Blue, a silver with a blue hue to it. Here is where I am at with the kit so far. I will caption each photo as needed. The kit. Here are 2 photos of the real thing. The first one is in direct sunlight and looks rather silver. The second one is in a more shaded area and shows the blue hue very nicely. Here is Gravity Colors' paint. As I always do, I run a Sharpie over all of the body seams. This helps me ensure that I remove all of the mold lines. I'm a little concerned about the red plastic. I took this photo to illustrate how easy it can be to miss something in the body work phase. Th Sharpie not only hits the high spots but will get down in the grooves as well. I finished the body work, washed the model and shot Gravity Dark Primer over it. I was still concerned about the red plastic and possible bleed through. I know there is an argument about whether or not this happens. It does and it has happened to me. After the primer dried I shot Tamiya LP-11 Silver over all of the body parts. I have had great success with using silver paint to block bleed through. I felt it was better to be safe than sorry. Once the LP-11 Silver had time to cure, I shot another coat of Gravity Colors Dark Primer. Overkill and unnecessary? Perhaps. I did it for 2 reasons. First, I wasn't sure how the Gravity Colors Grigio Alloy would react to the Tamiya LP-11 Silver. Second, I felt it would be very hard to distinguish between the silver paint and the Grigio Alloy paint as they are not that different. The Dark Primer was a nice contrast. Here is where she currently sits. There are 5 coats of Grigio Alloy on all of the body parts. I just cannot capture the blue hue of the paint but it is there to the naked eye. If you look in the headlight or taillight buckets you can see the blue in the paint. Thanks for looking in! Let me know what you think.
- 40 replies
-
- 7
-

-
- ferrari
- 360 modena
-
(and 1 more)
Tagged with:
-
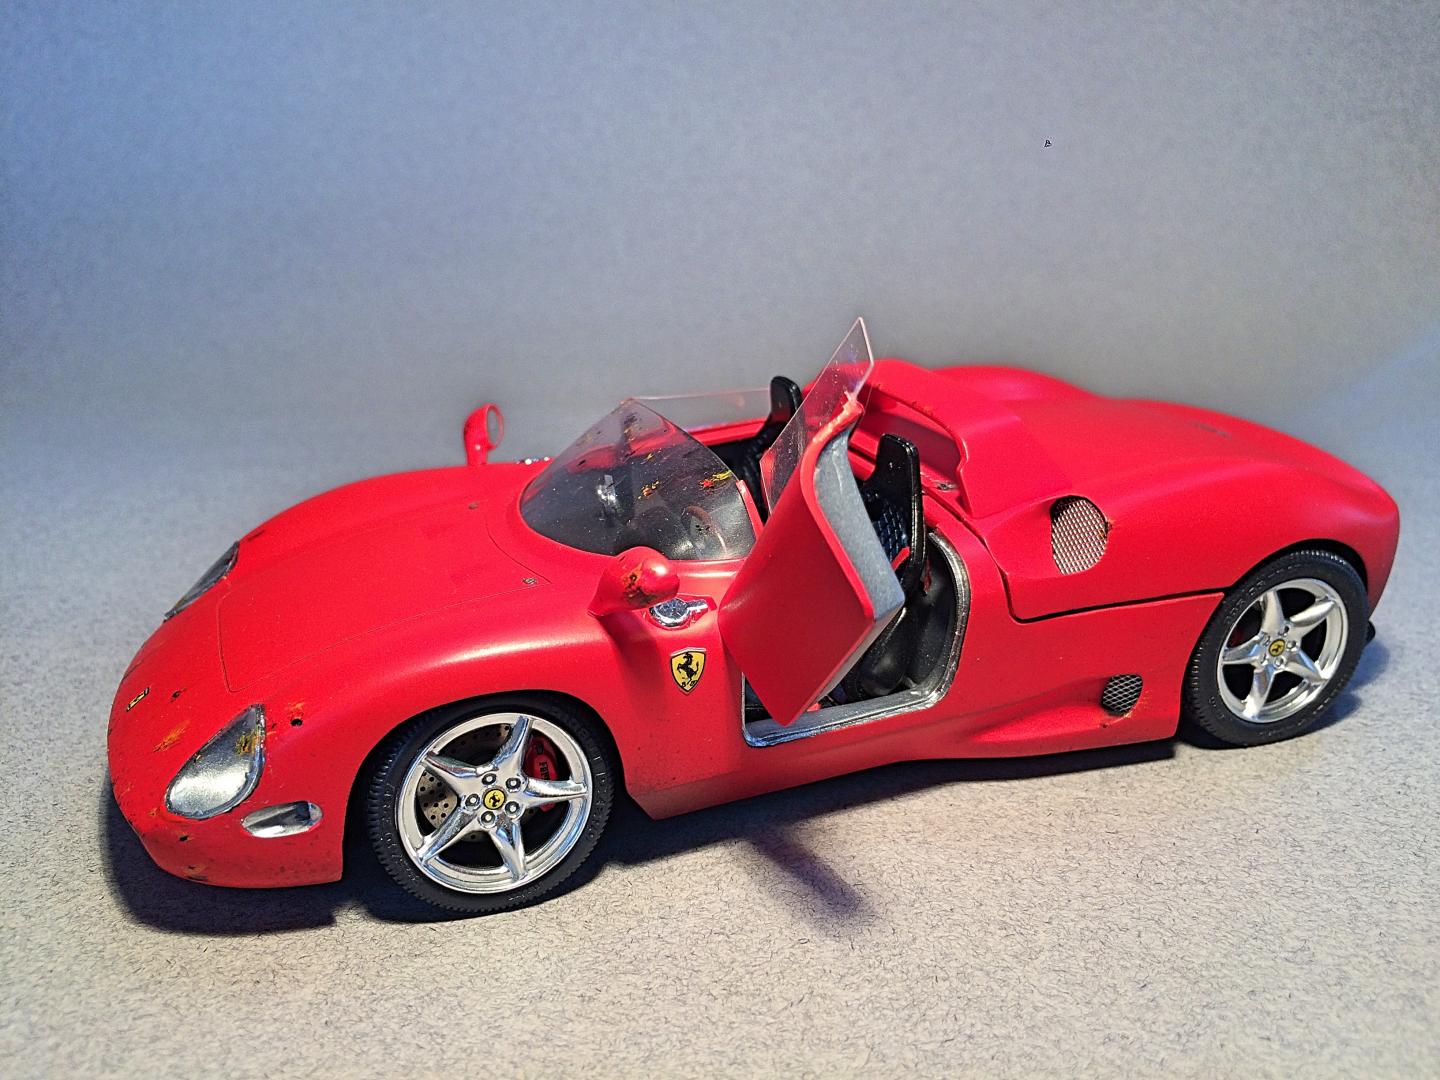
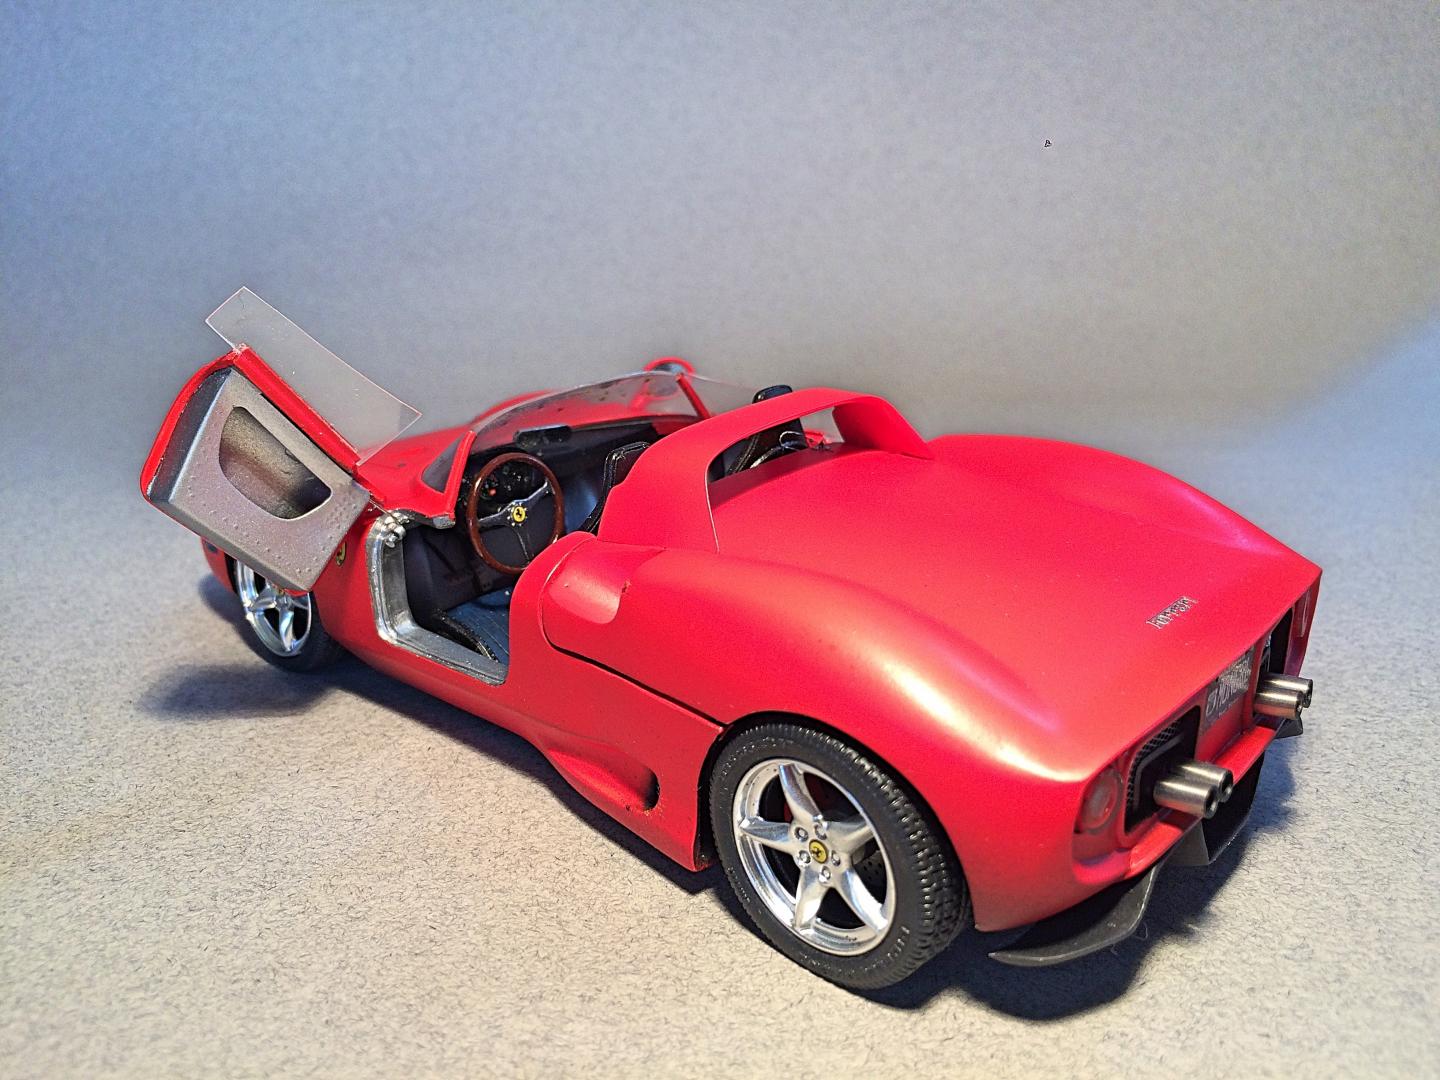
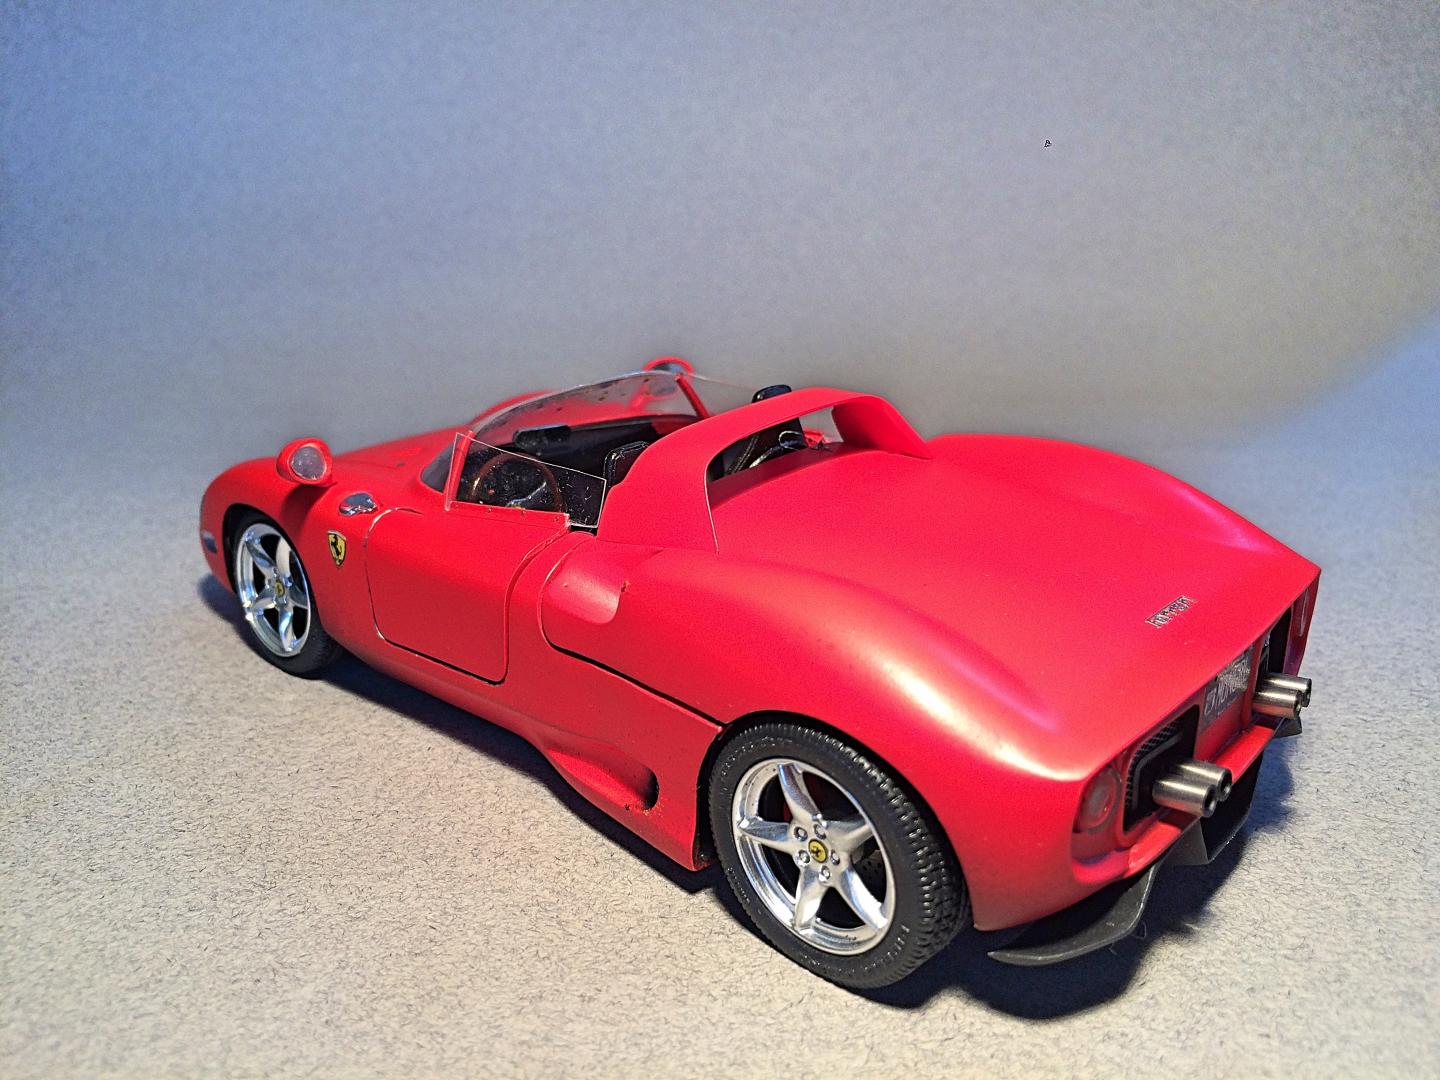
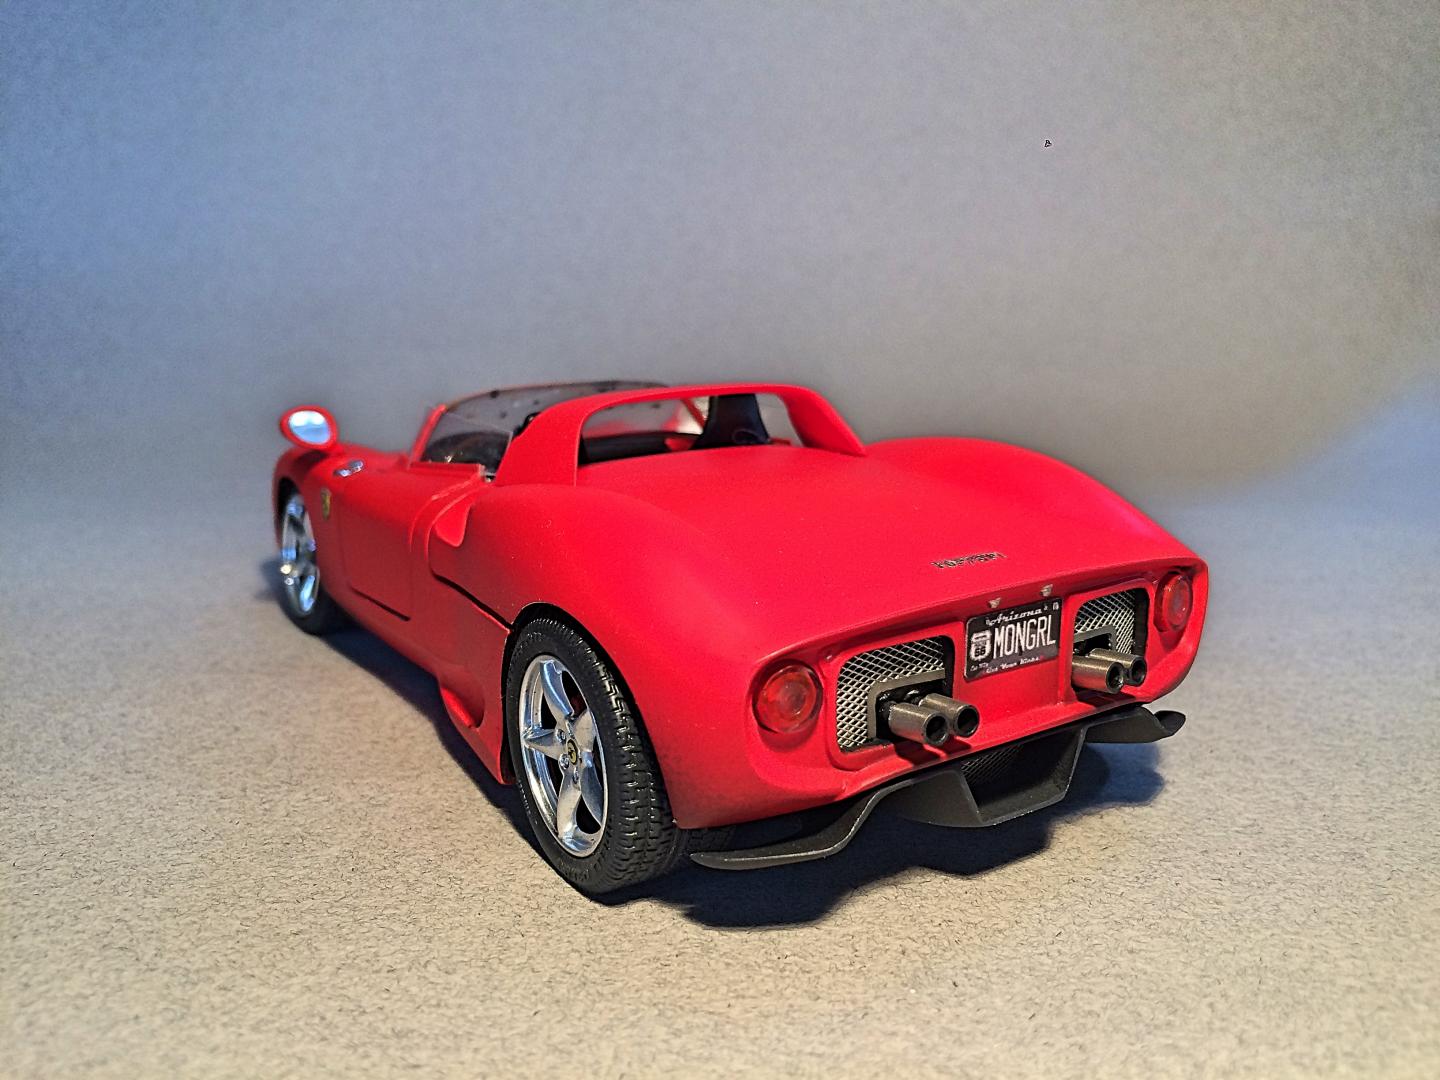
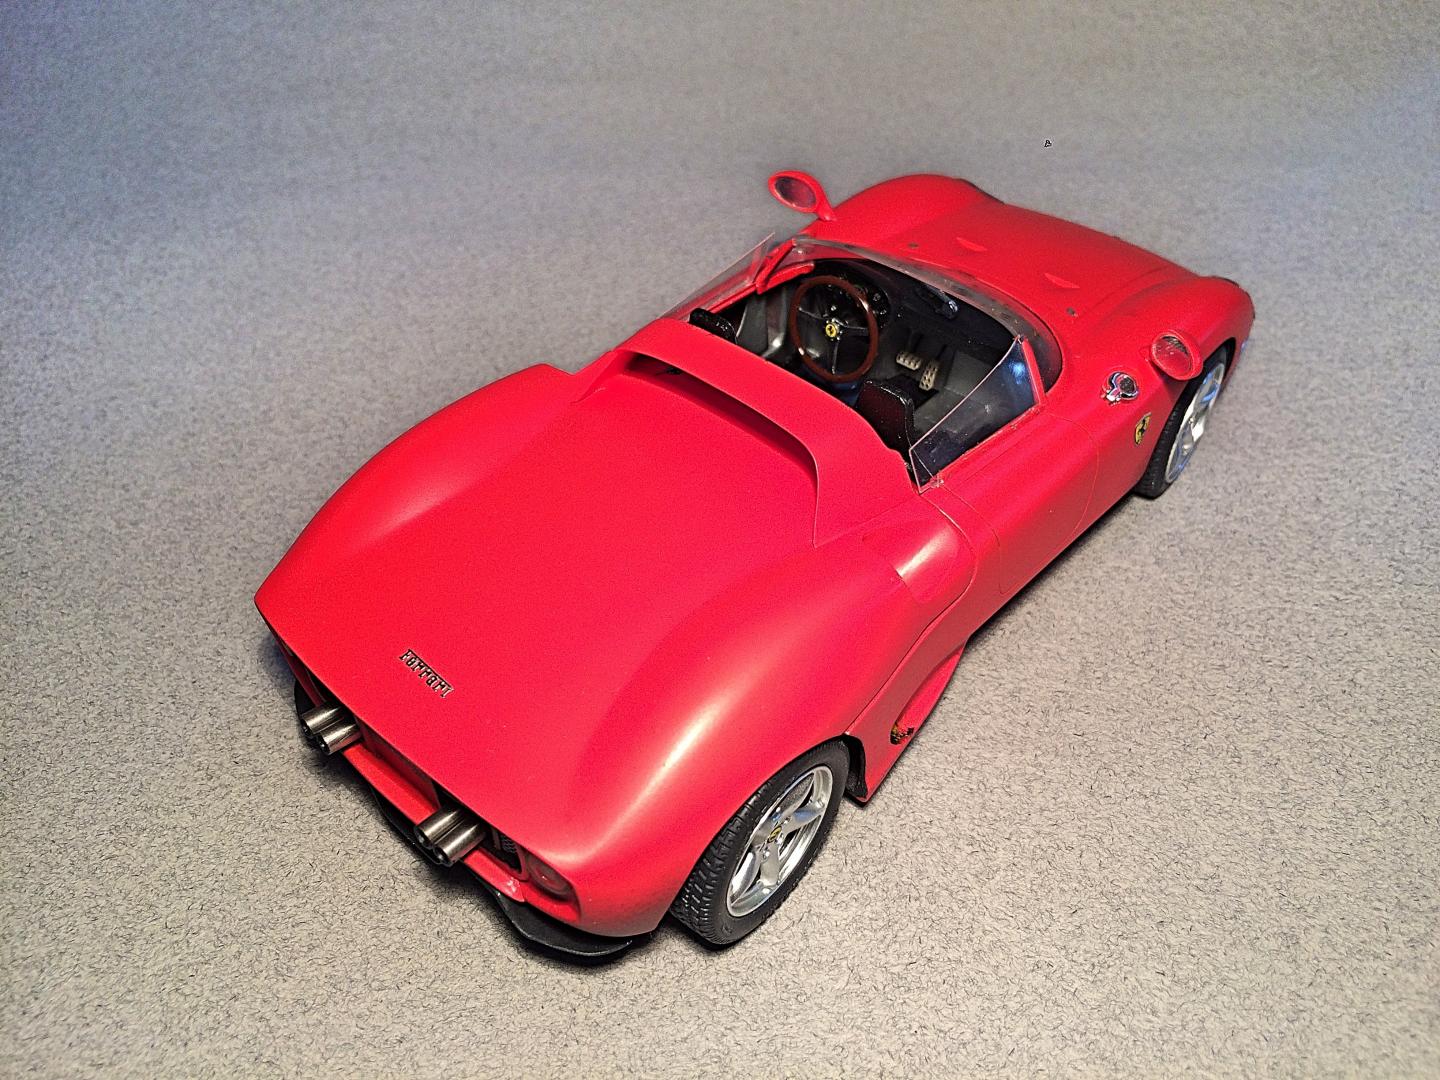
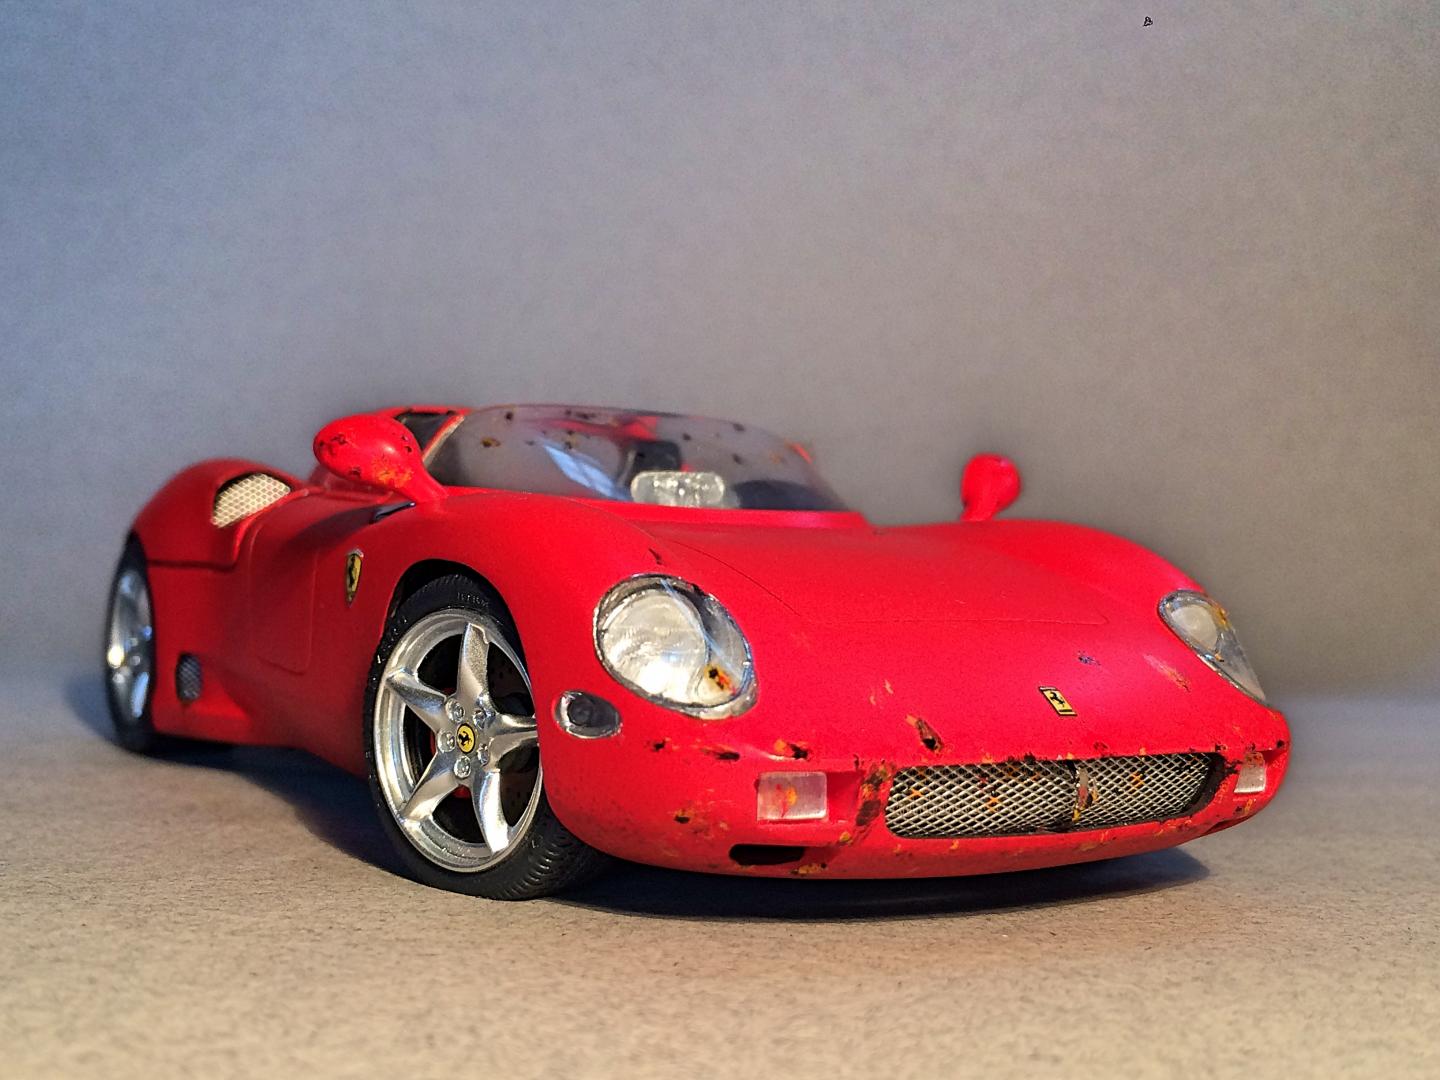
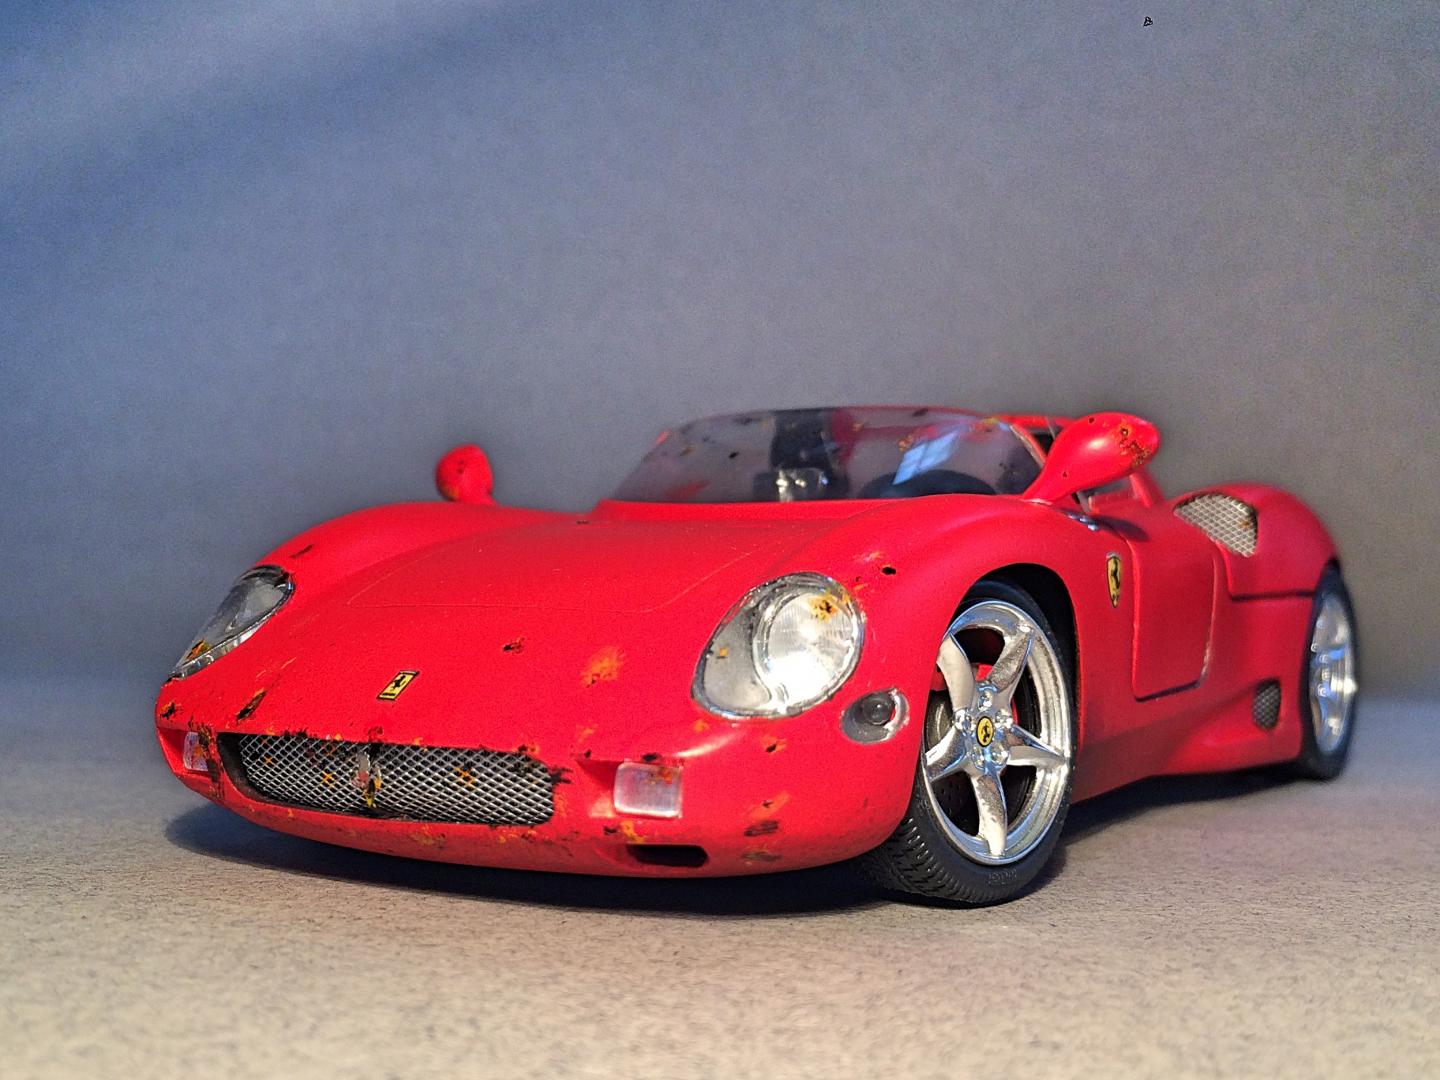
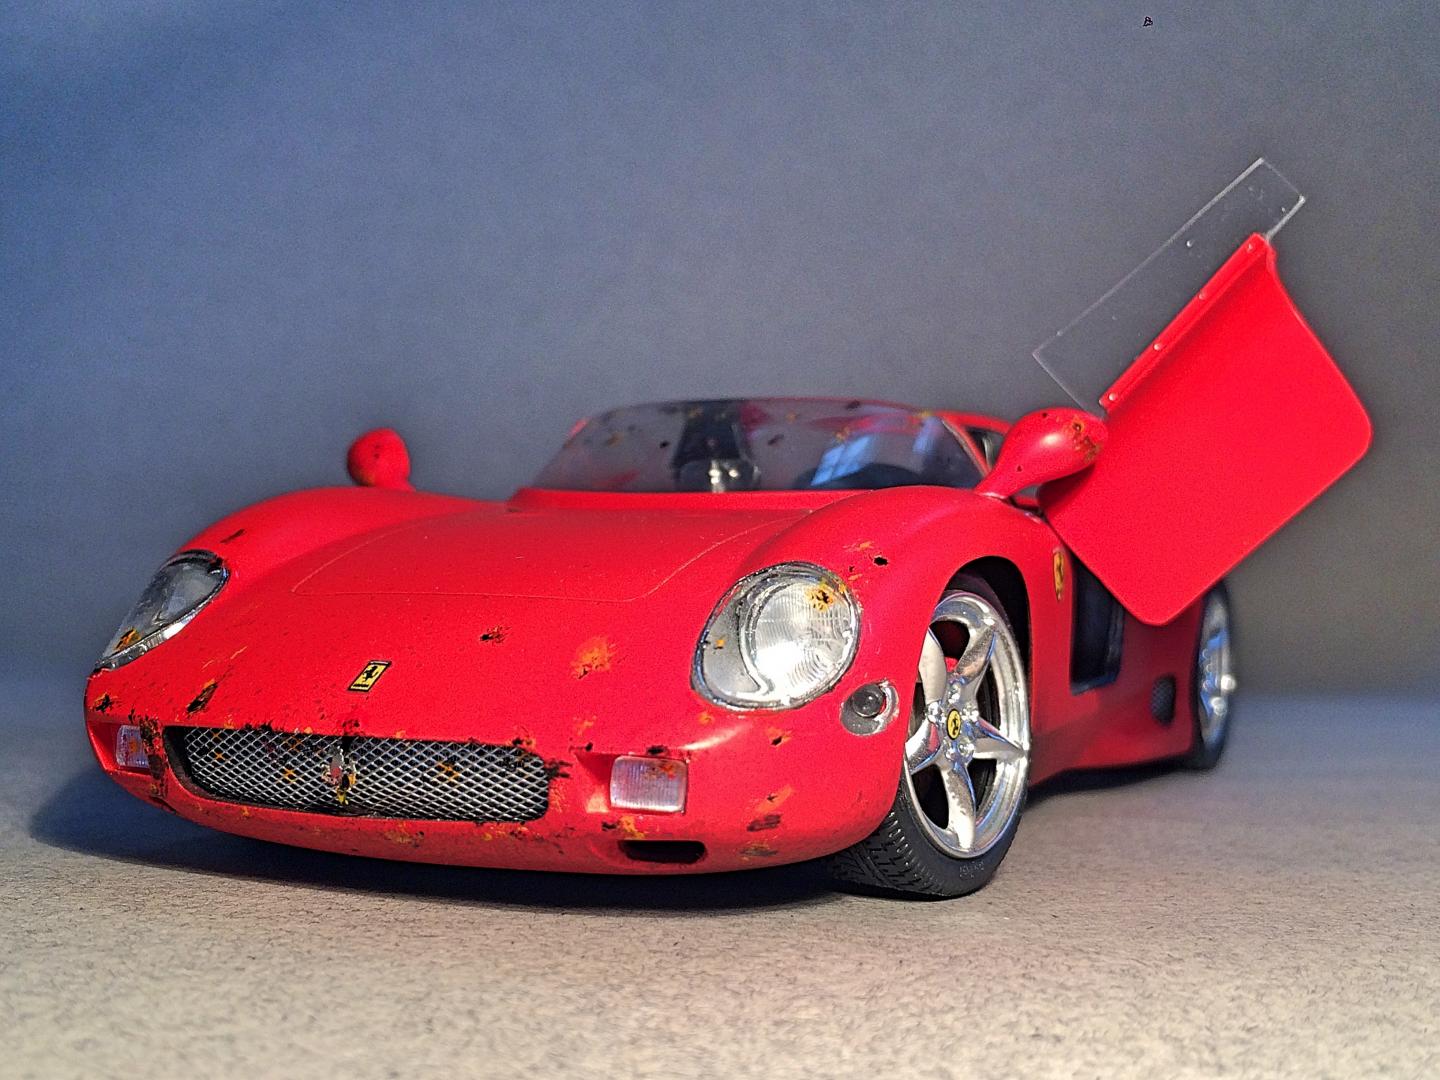
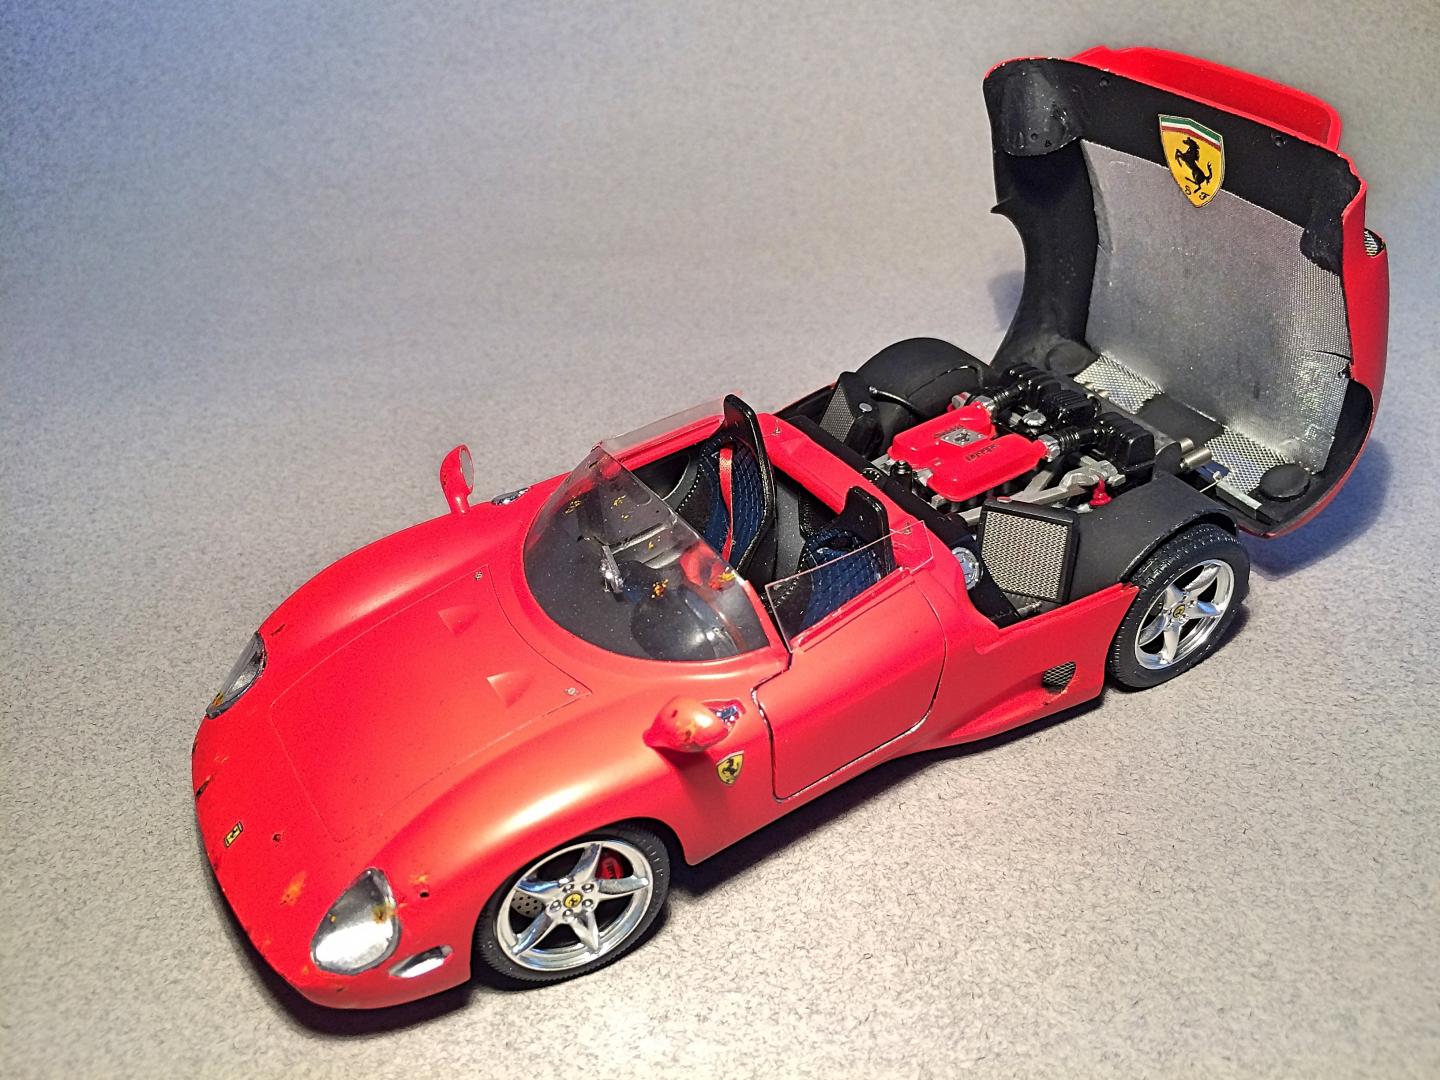
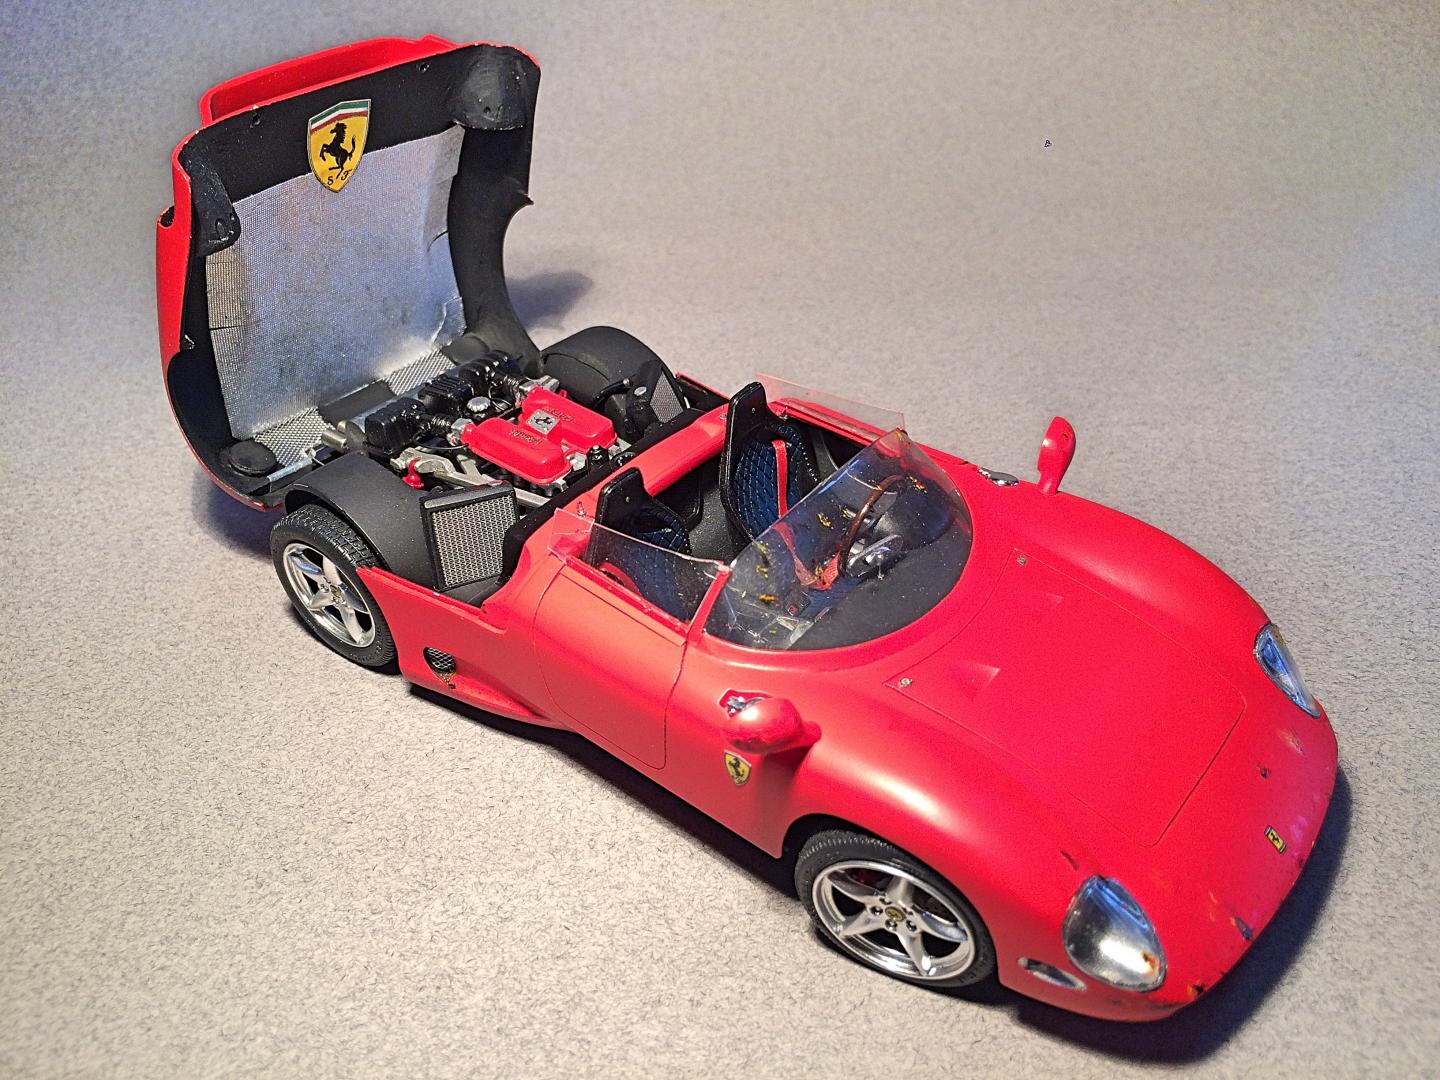
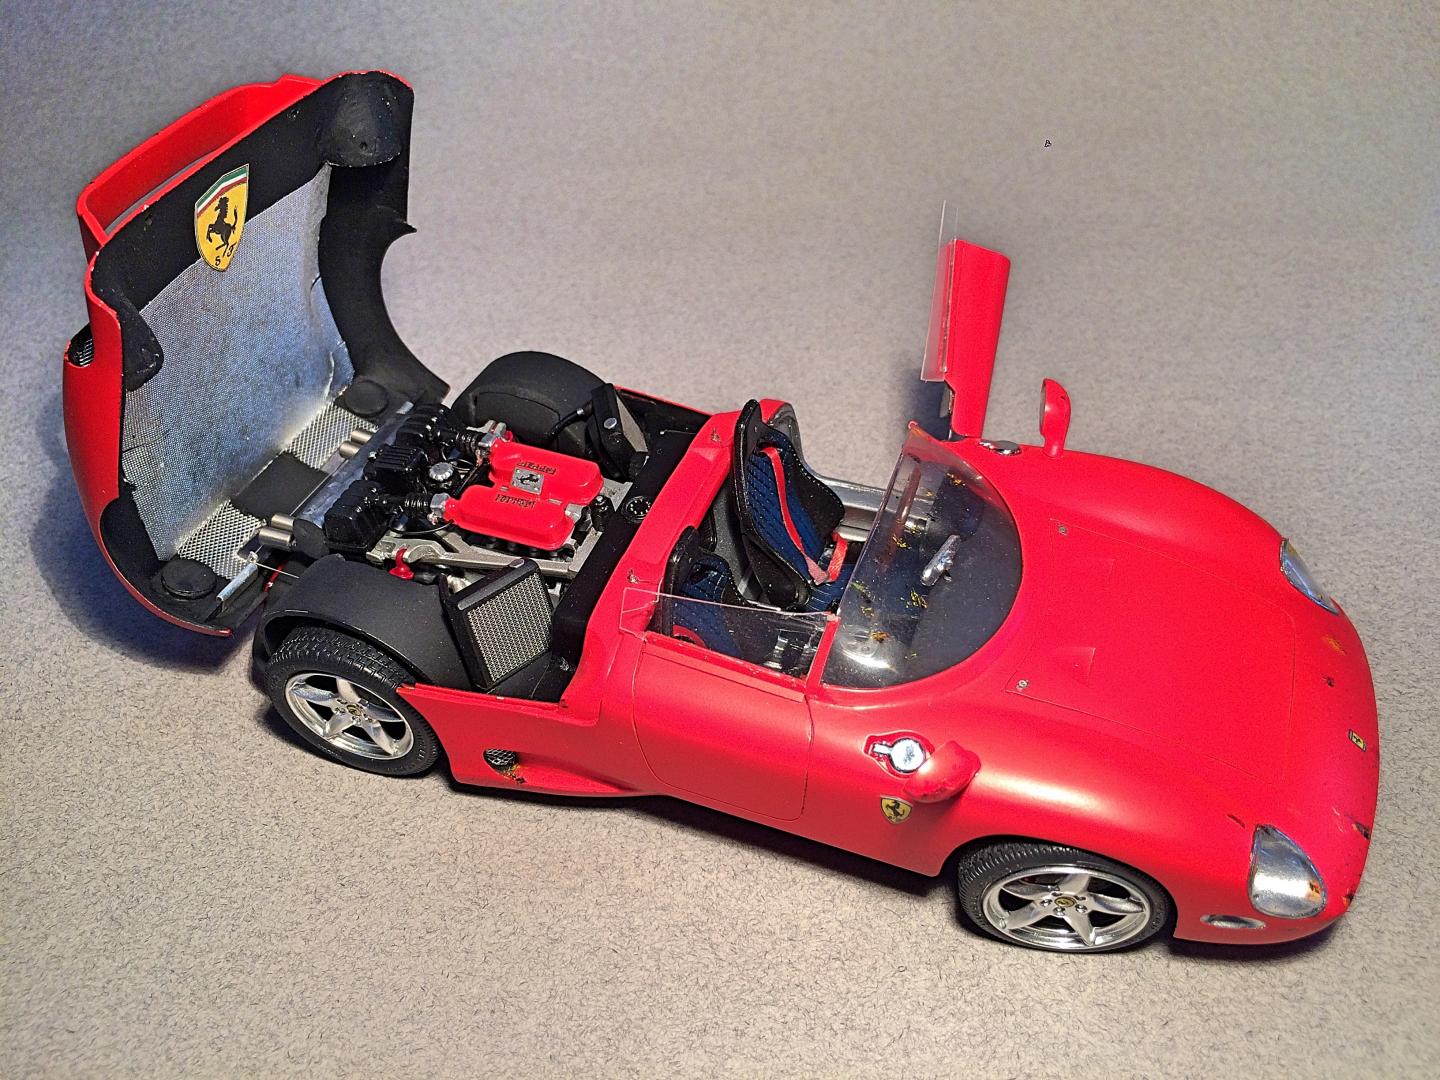
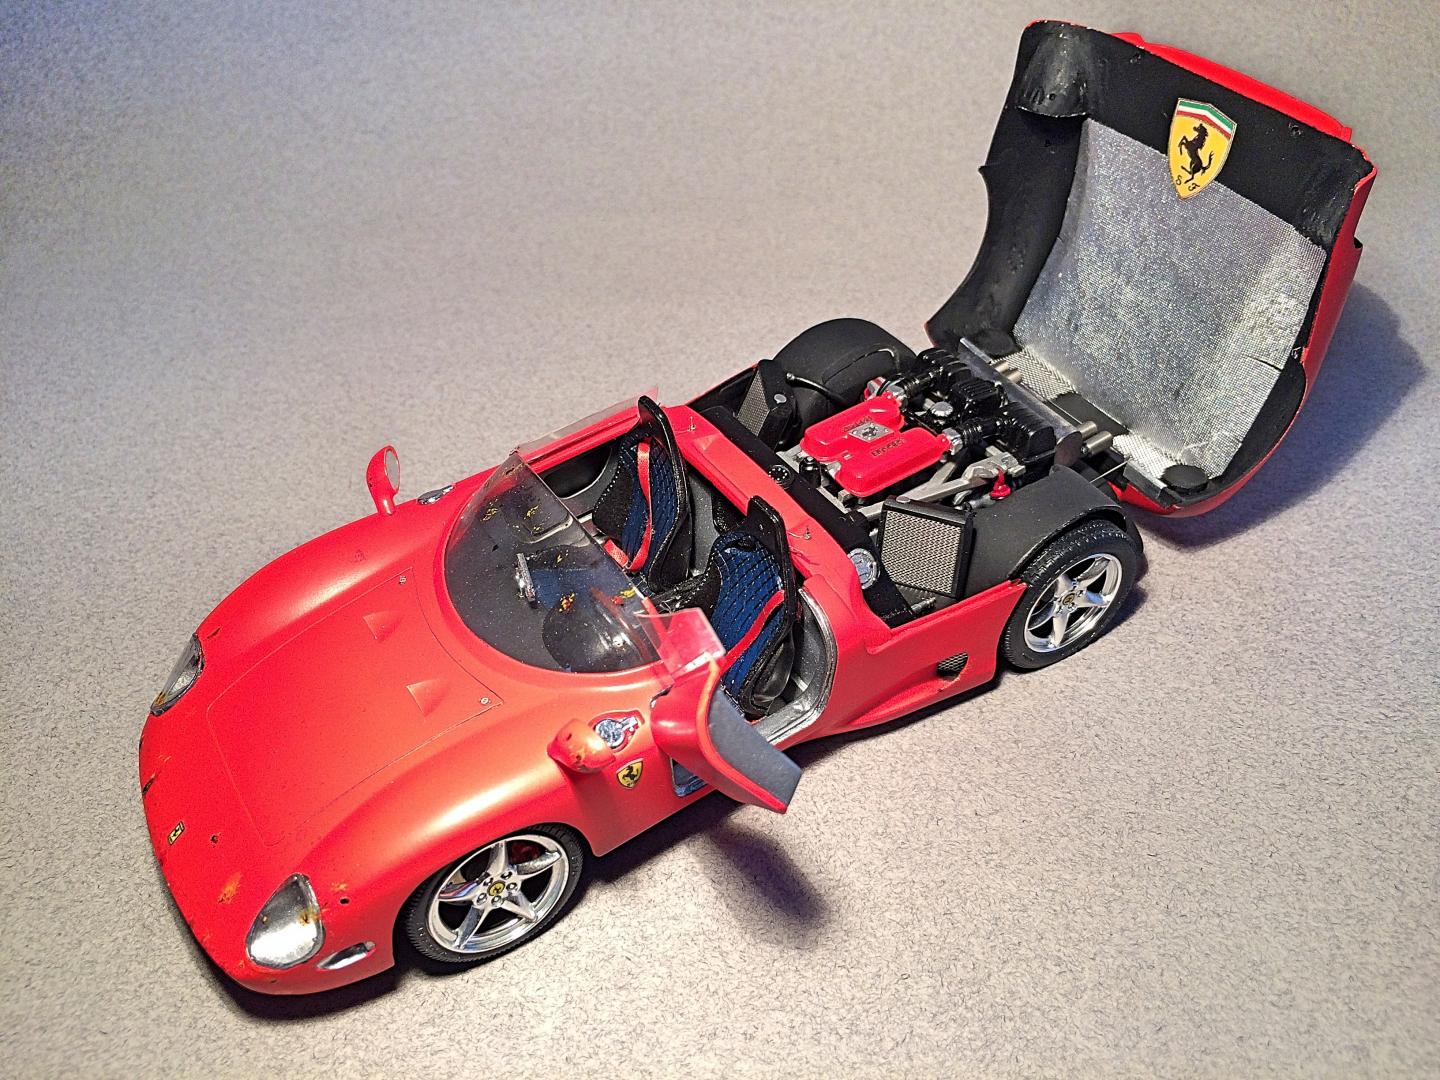
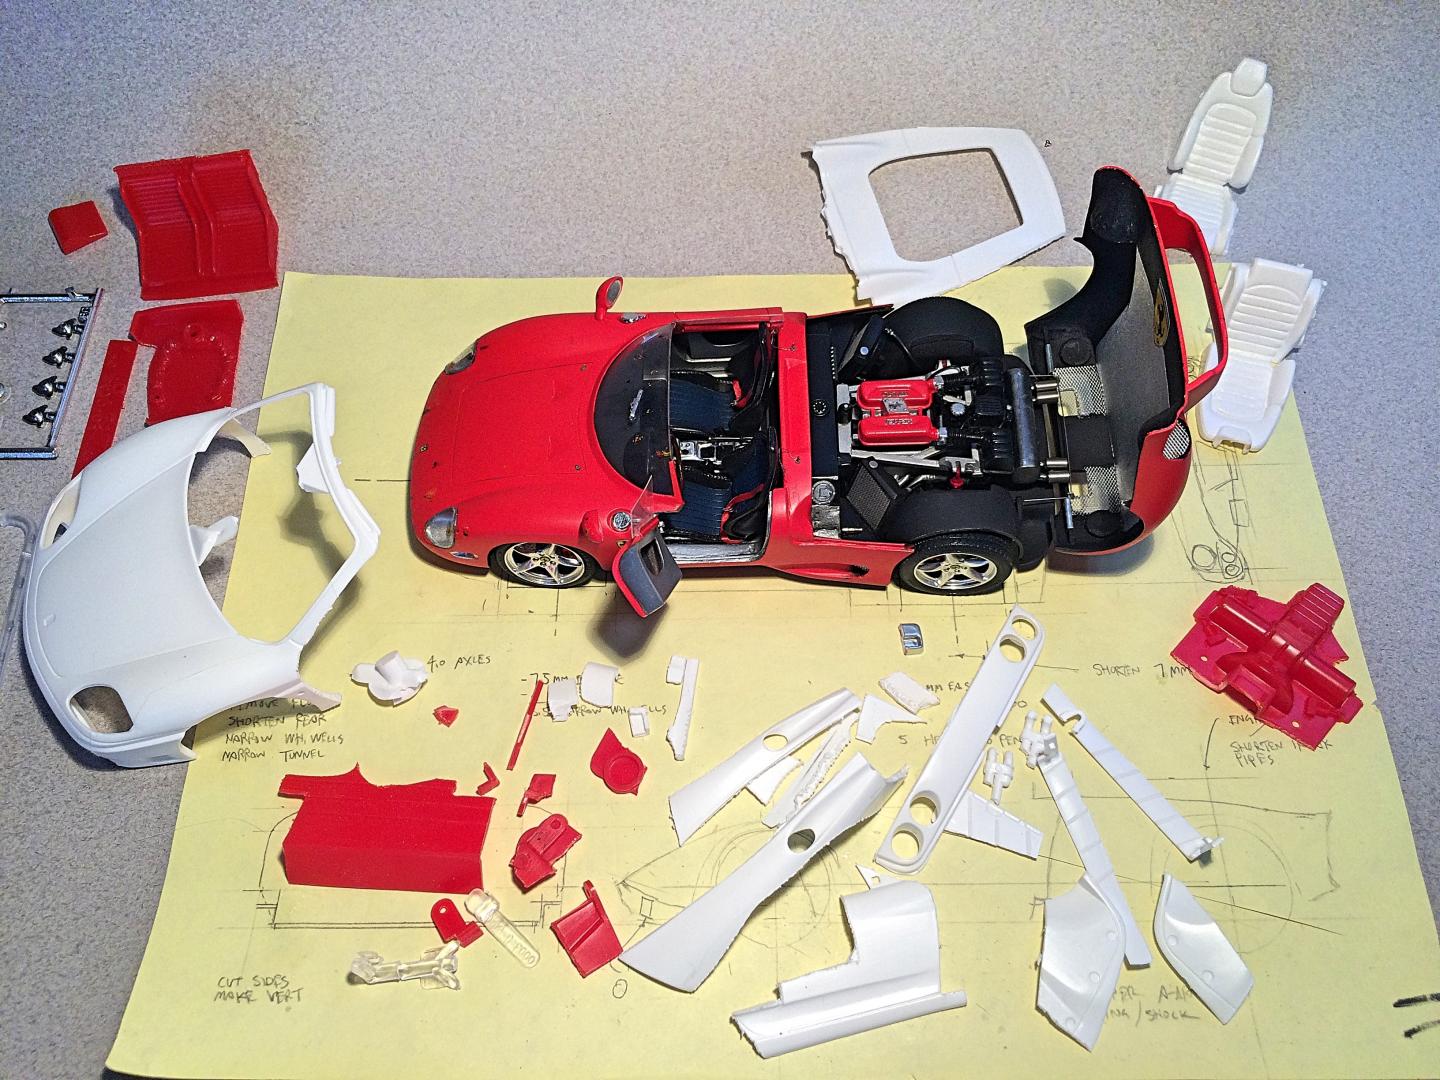
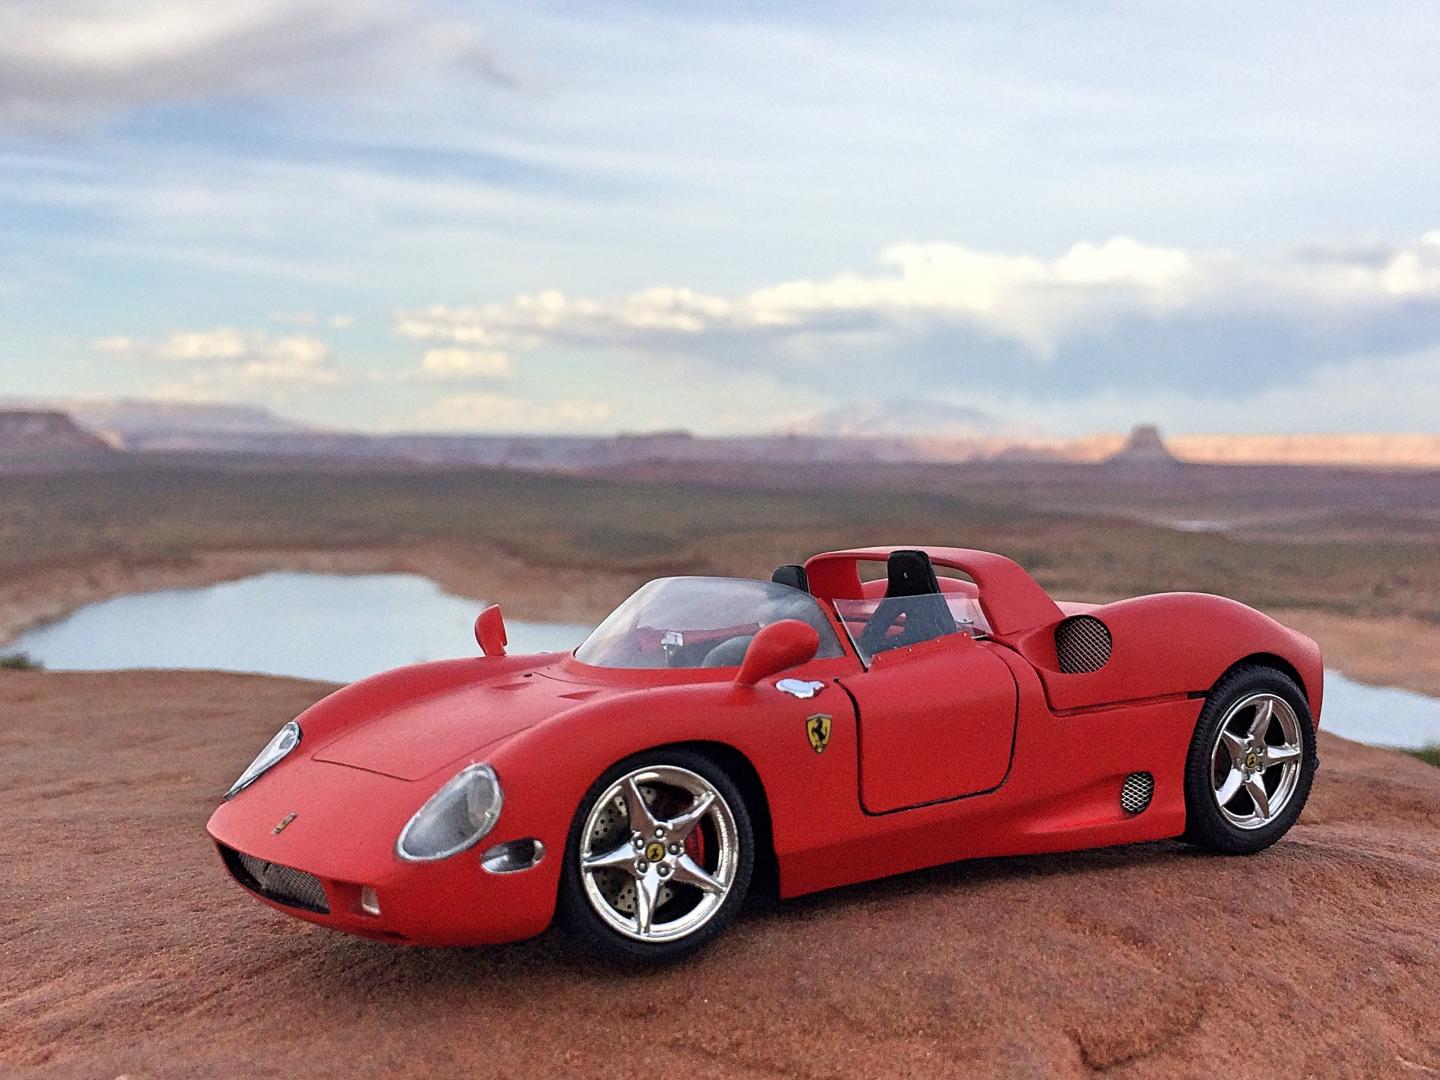
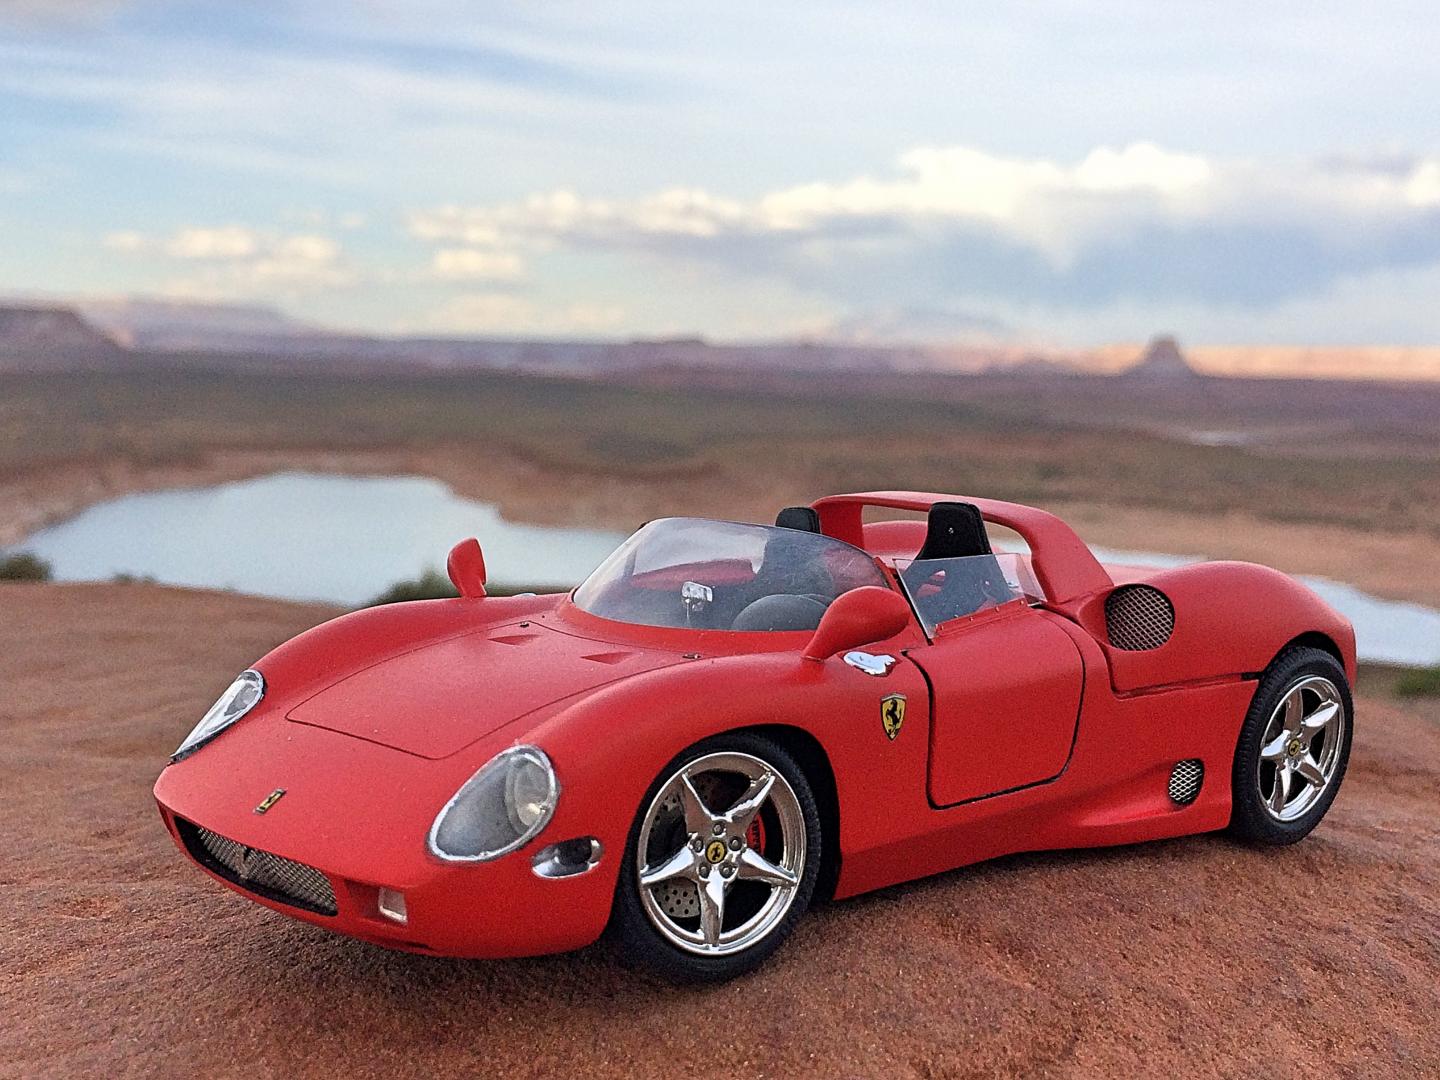
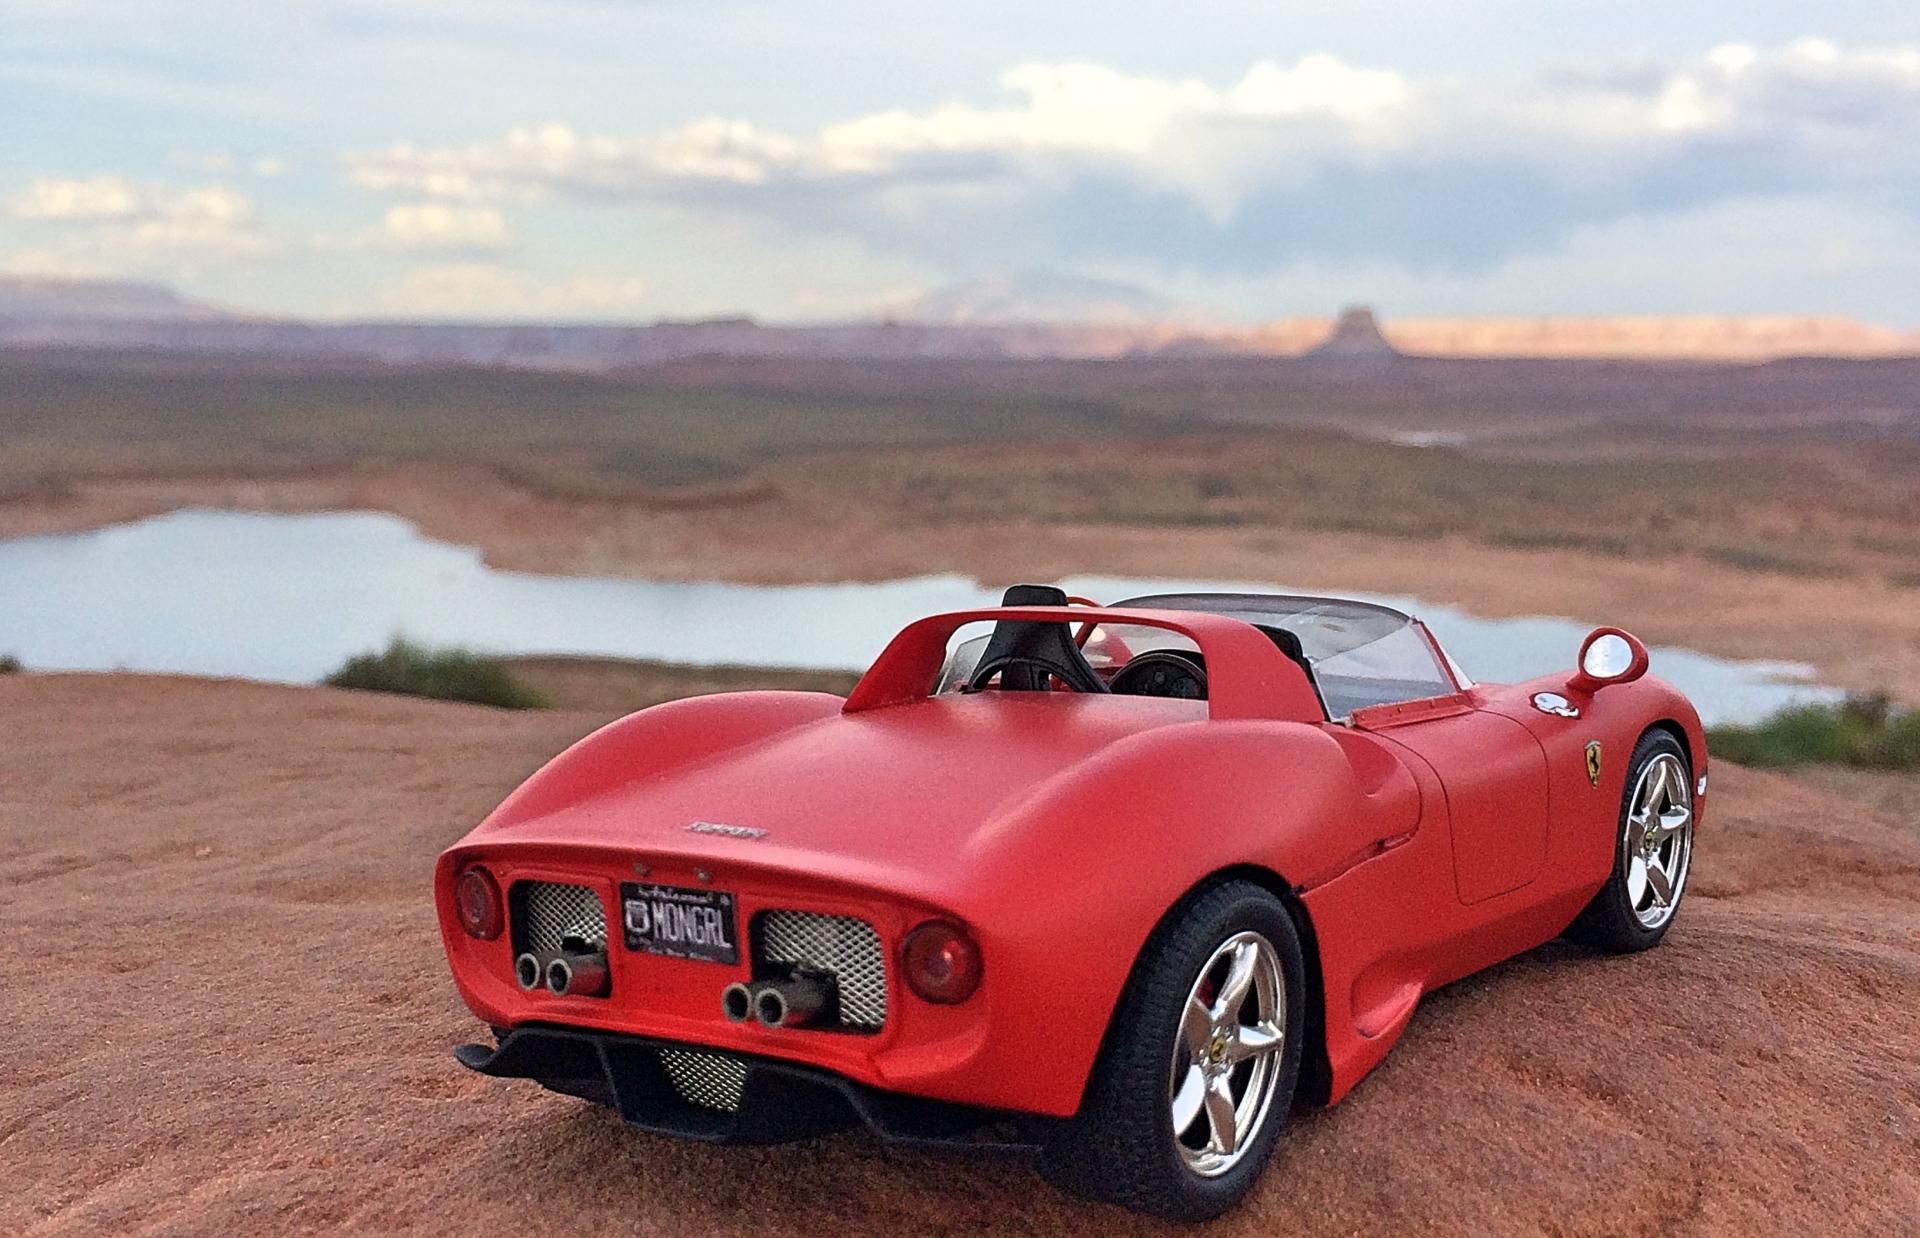
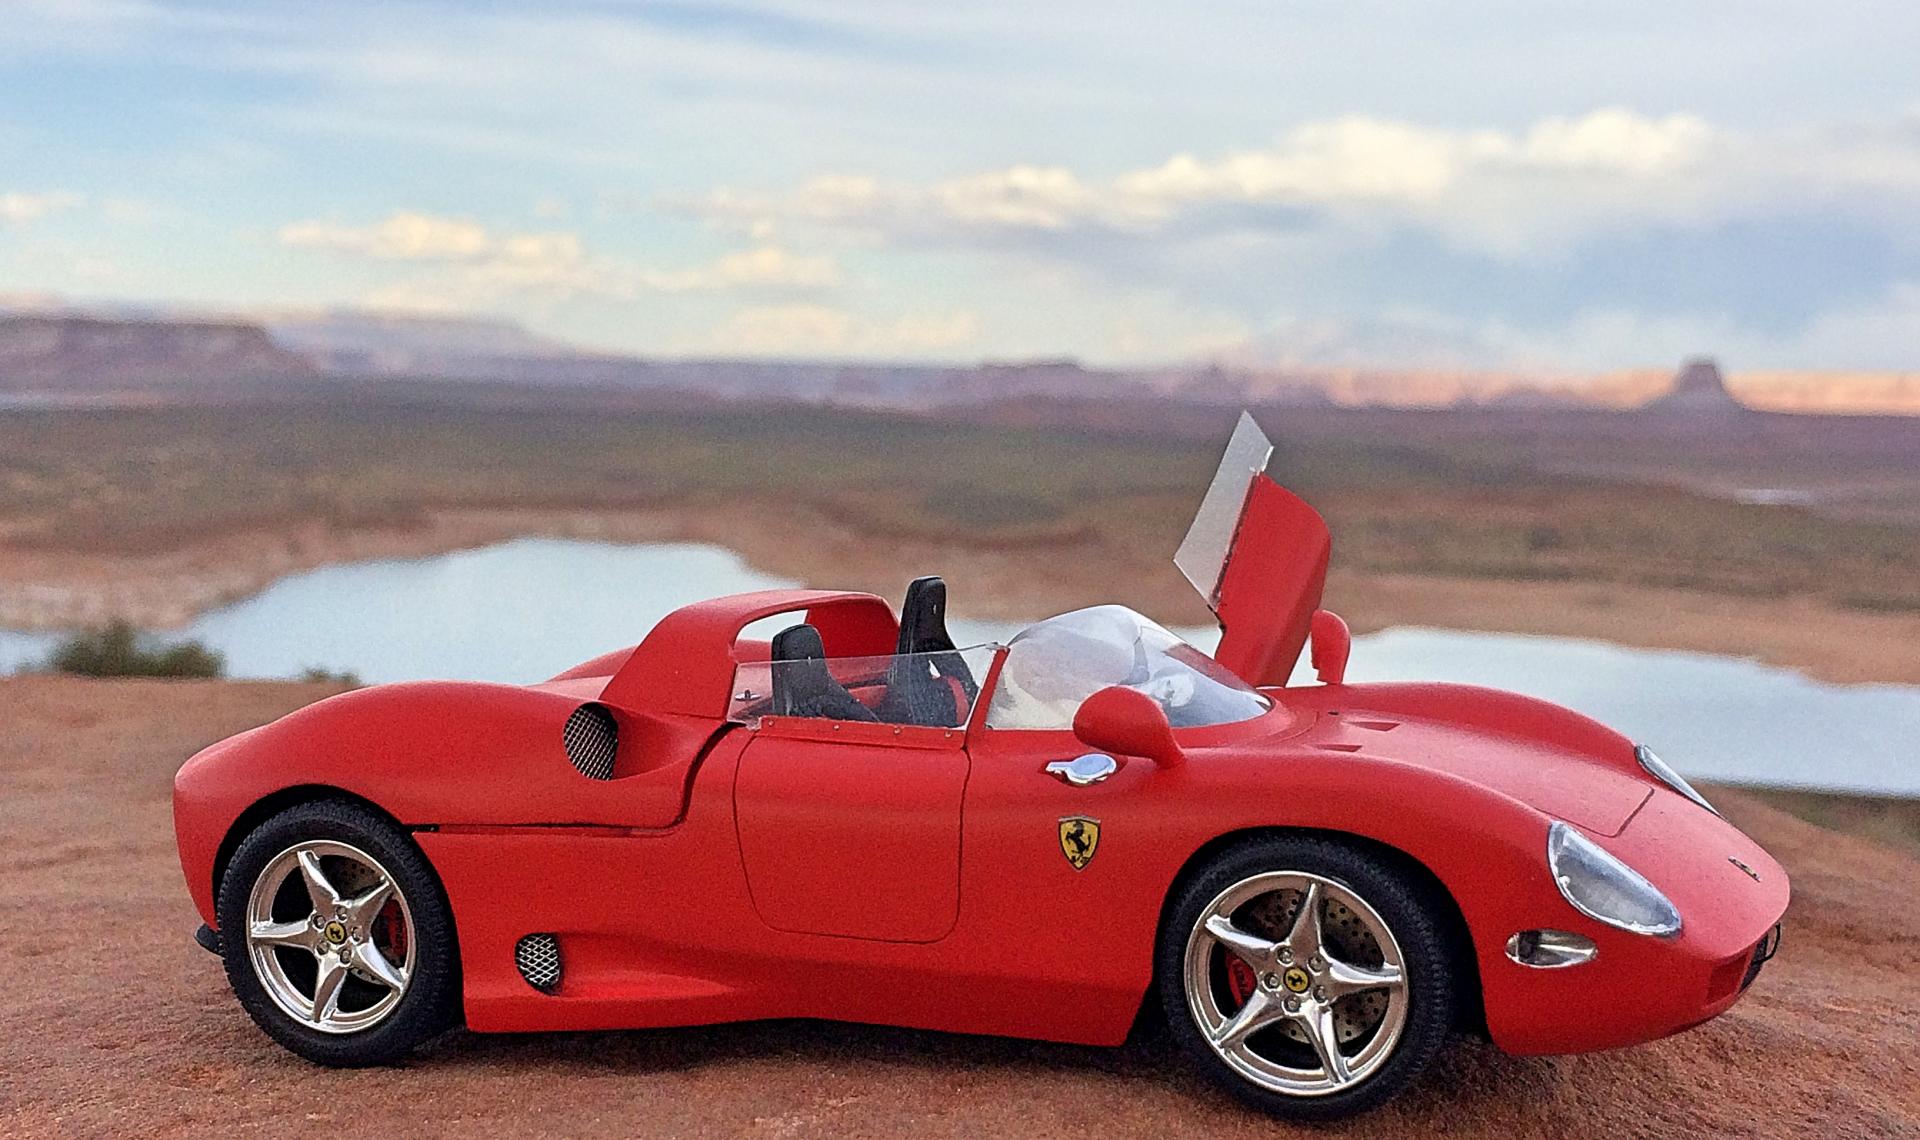
Kitbash of the classic Monogram Ferrari 275P curbside/slot-car, a 1990 reissue of the 1964 kit, and the Revell 360 Modena Spyder that is sort of a curbside since the hood did not open, but had a window over the engine. Work In Progress I found the 275P at a Phoenix model swap last month, then saw the Modena and it was crazy time. Started Tax Day with a mock up, started butchering on the 18th, worked like a dog until the 3rd at Noon, just before heading up to GSL, 132 hours. I did rush it, could have spent a couple of weeks sanding and polishing, and it would probably would have ended up in the box like a few other projects. I just wanted something different than the typical super dooper shiny muscle car on the table. I didn't have time to write a build document, but had this for the description: Blasphemous and sacrilegious kitbash of a historic Ferrari race car that won Le Mans two years in a row, and another Ferrari that only has a 3586 cc 395 HP V8. Story is, this car was found in a chicken coop somewhere in Venezuela, missing the 3285cc 320 HP V12 engine and transmission, the aluminum tub was badly corroded from chicken poop. The Modena was bought at a tax auction, it was rolled by the drug dealer during a police chase. Built by a shop wanting to do a reality TV show, but never got funding because it’s just a Ferrari and not an American muscle car. Some of these pictures were taken at Page on the way home.
- 18 replies
-
- 1
-

-
- ferrari 275p
- monogram
-
(and 2 more)
Tagged with:
-
Howdy, New here. See http://www.modelcarsmag.com/forums/index.php?showtopic=83804 Had this one partially complete in the box so decided to finish it in Yellow. Just ordered some ScaleFinishes paints. Never used a basecoat/clear method. I've always used either airbrushed enamel gloss paints (testors MM) or Tamiya TS Sprays to do my cars. Built a new paint booth to replace my old dirty one... Made from leftover 3/4 Melamine and a corrugated plastic backing and baffle. Fan is a 545cfm Dayton blower. I just open the window and trap it in the window when I paint. Haven't even used this one yet. My old one was scraps of decking boards. The white interior makes things much brighter and the baffle should control air flow much better. Never done flocking before. First attempt...kinda so so.... I'll have to practice this some more Parts and pieces The dash needs some touch up. Body will be Ferrari 102 Giallo when it's all done.
- 34 replies
-
- Ferrari
- 360 Modena
-
(and 1 more)
Tagged with:
