Search the Community
Showing results for tags 'how-to'.
Found 4 results
-
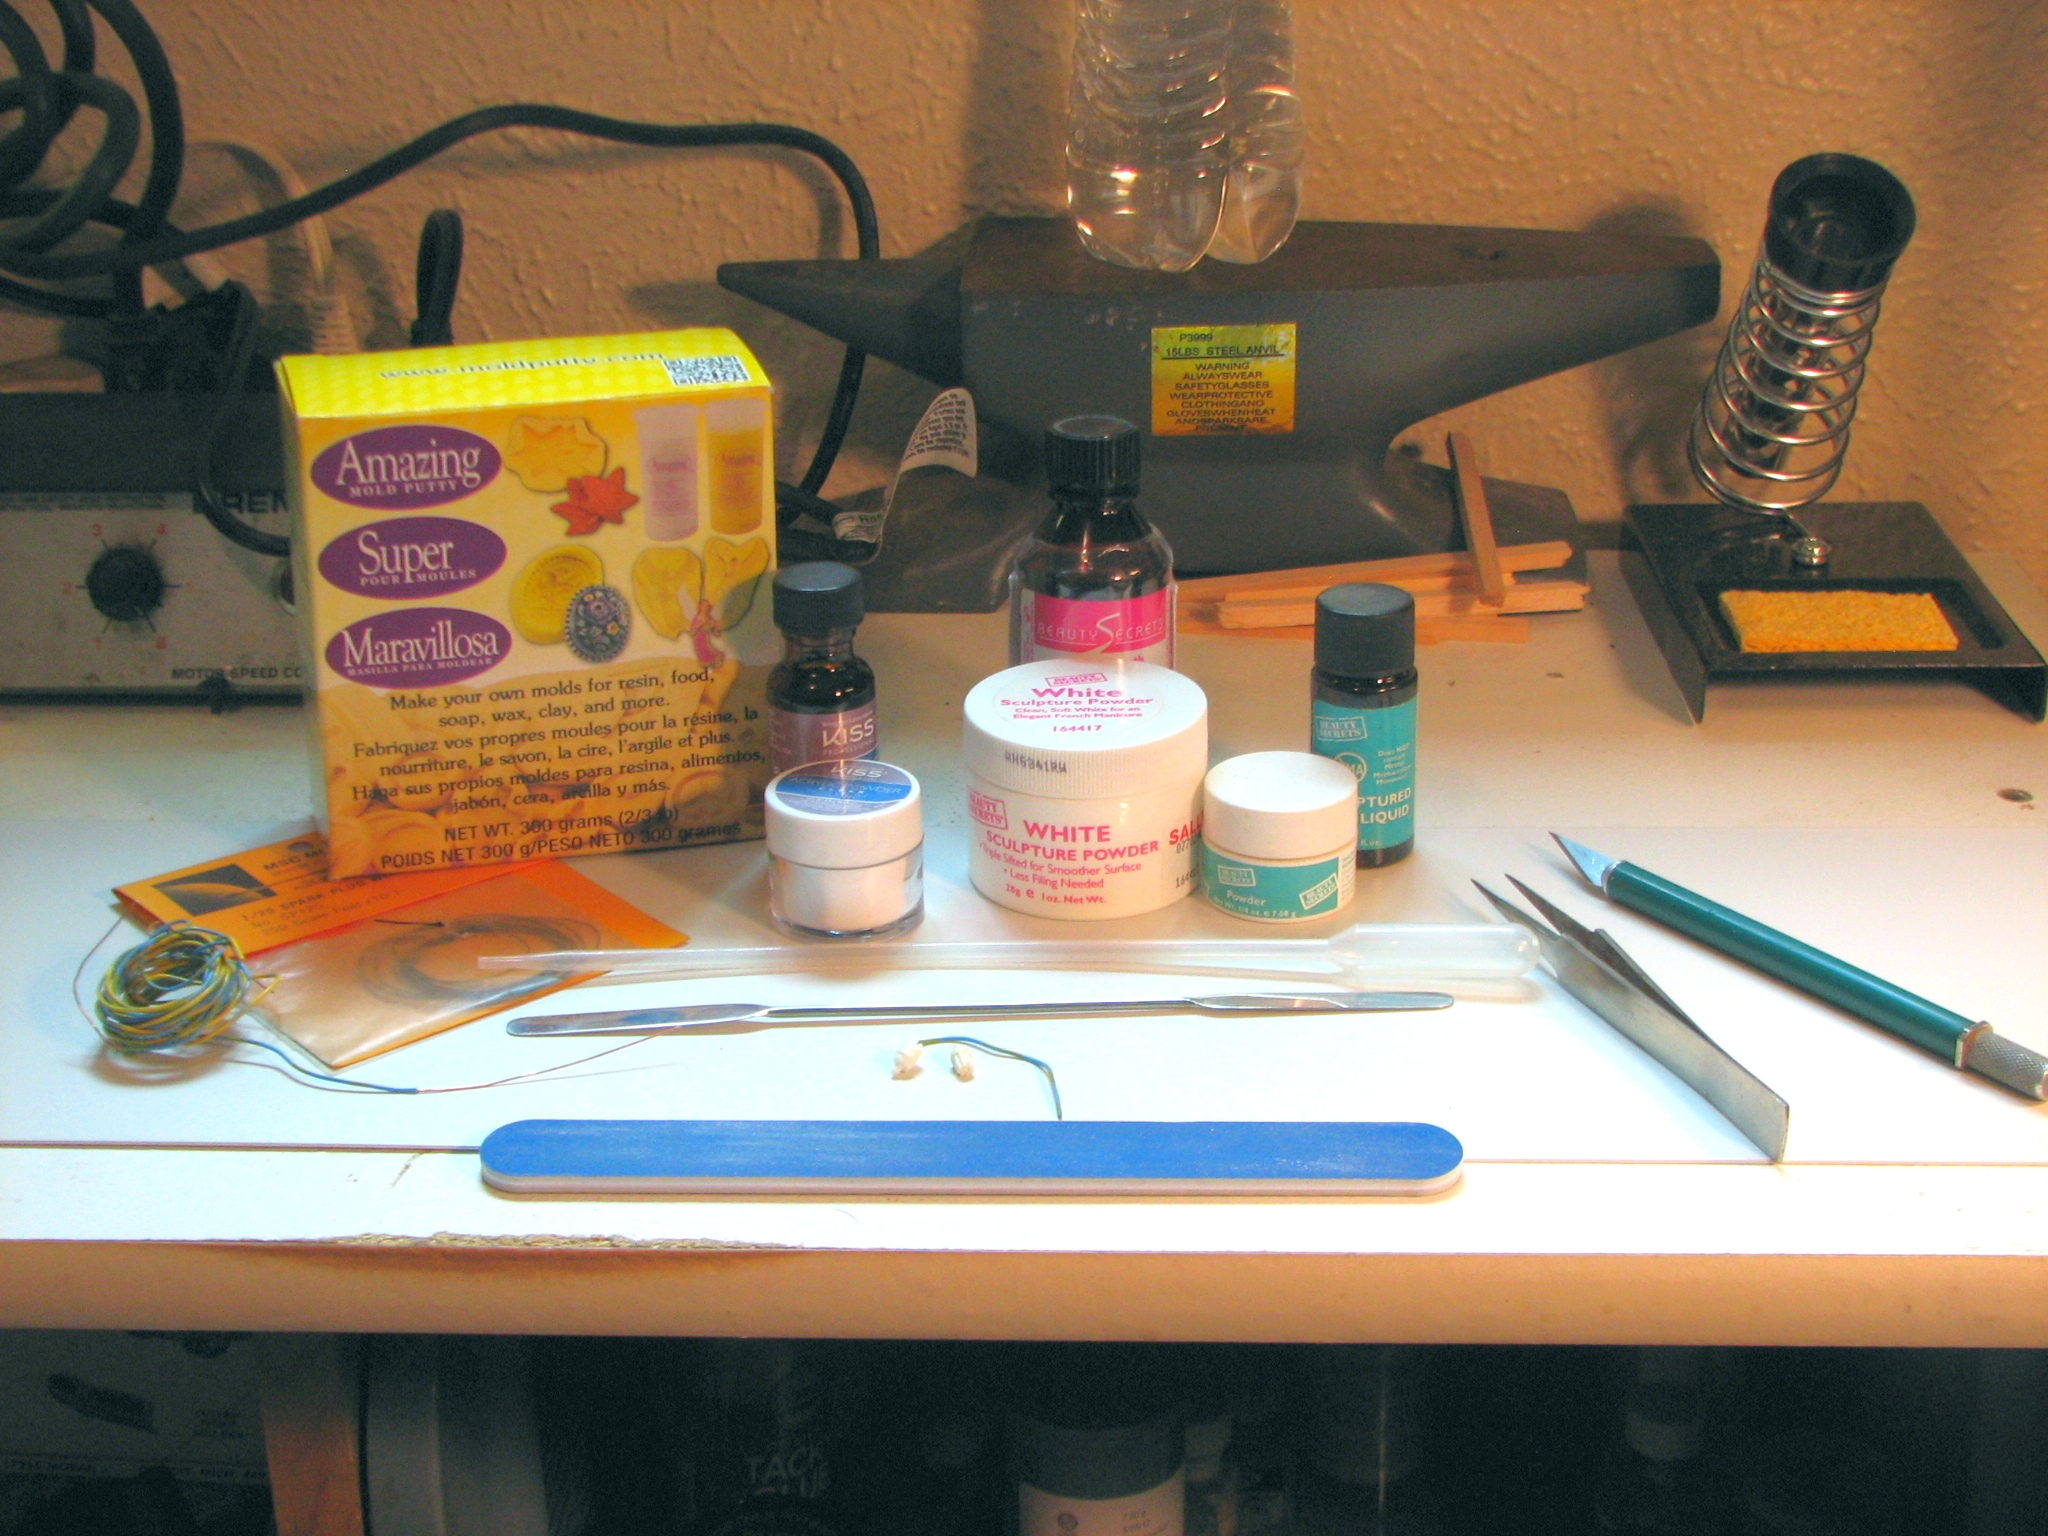
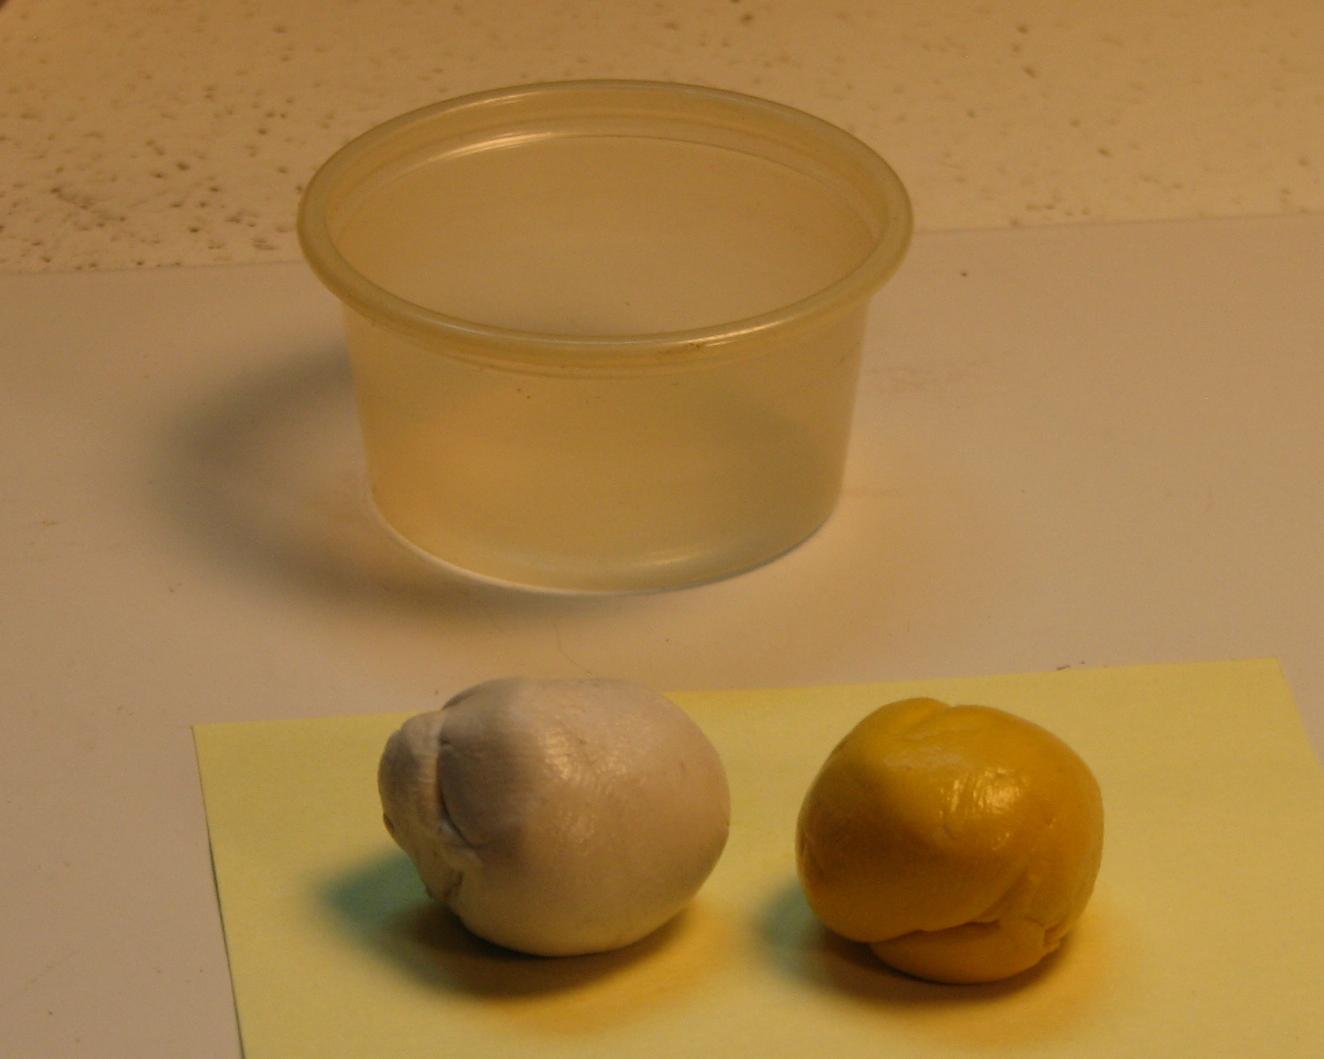
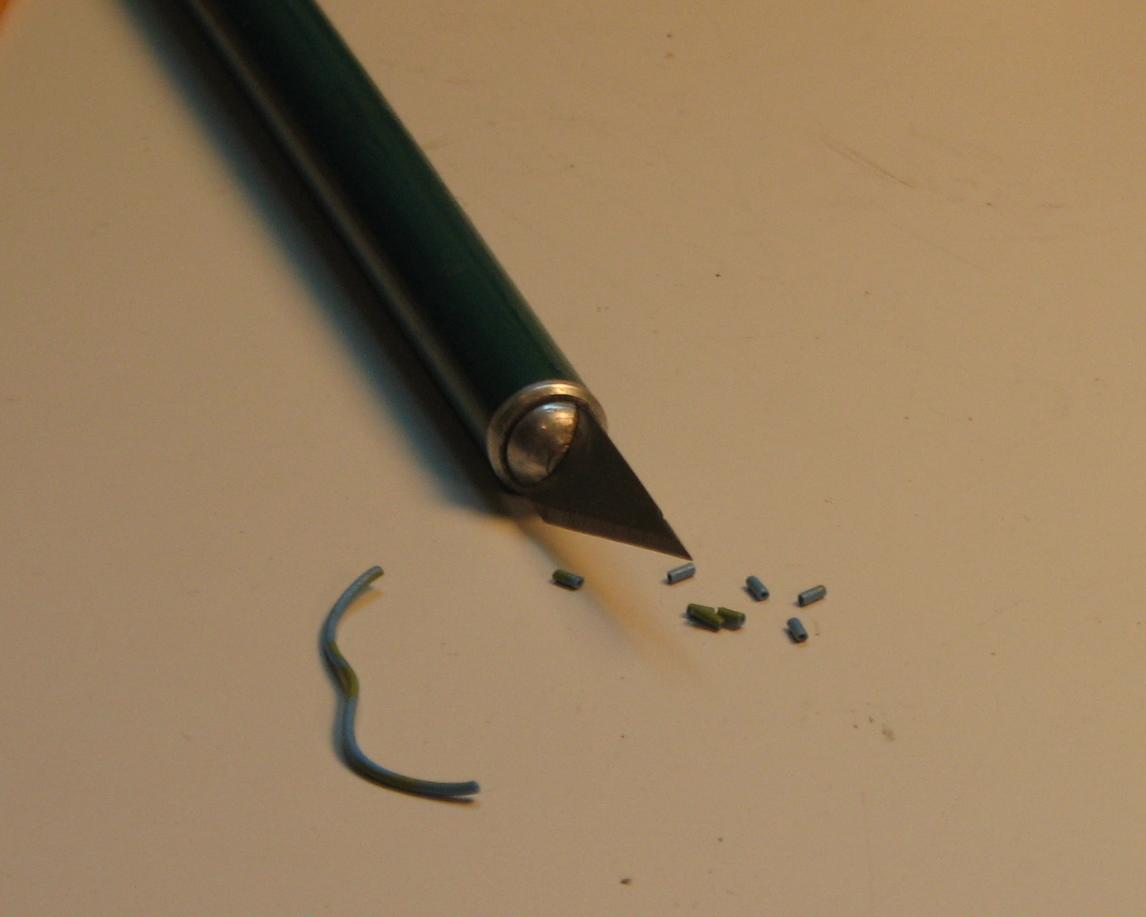
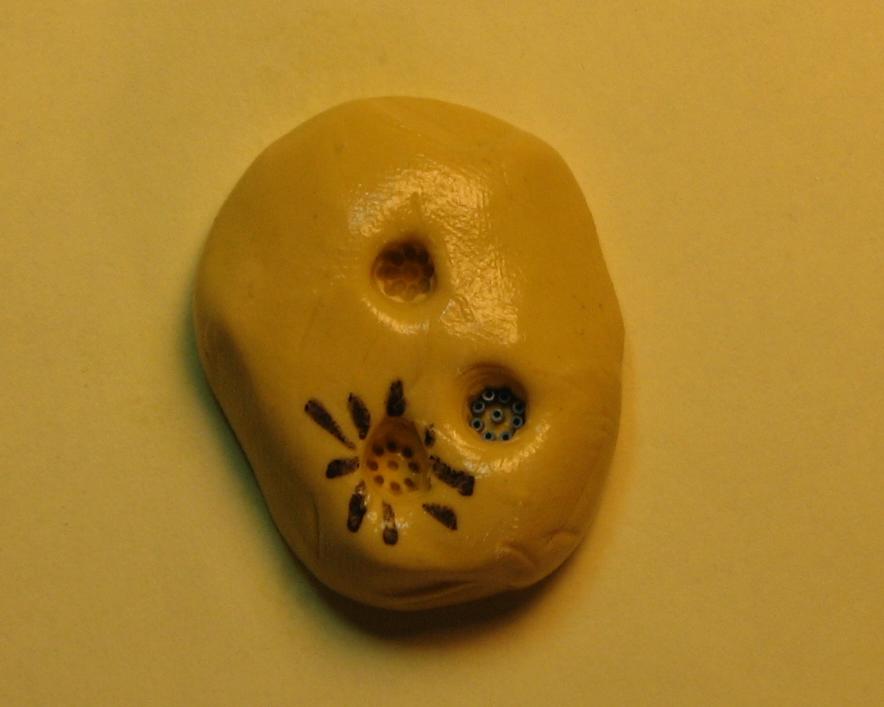
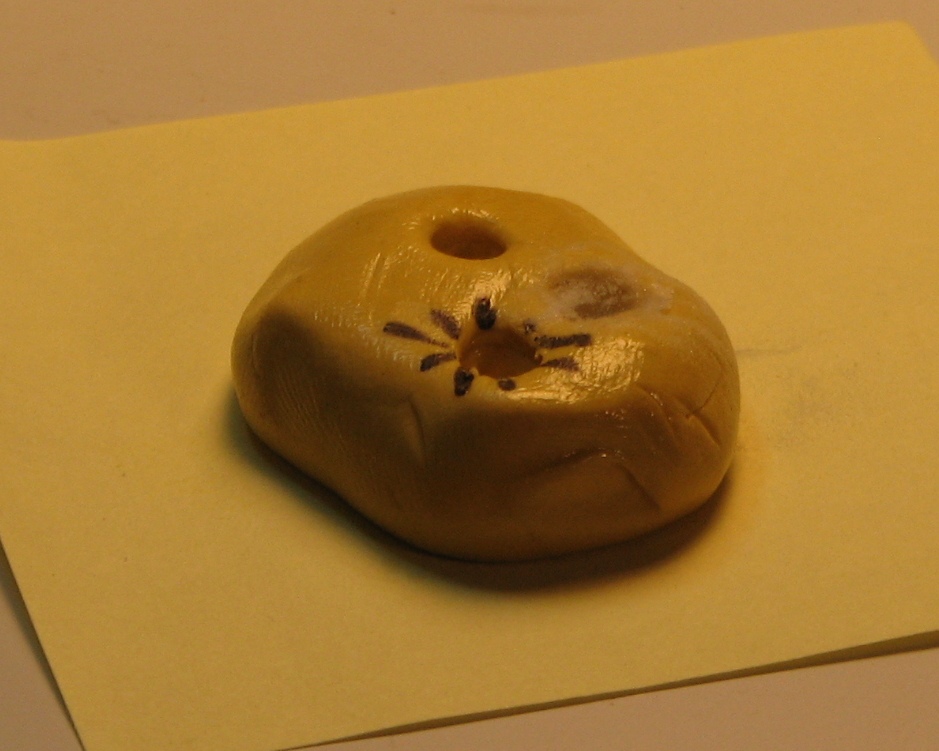
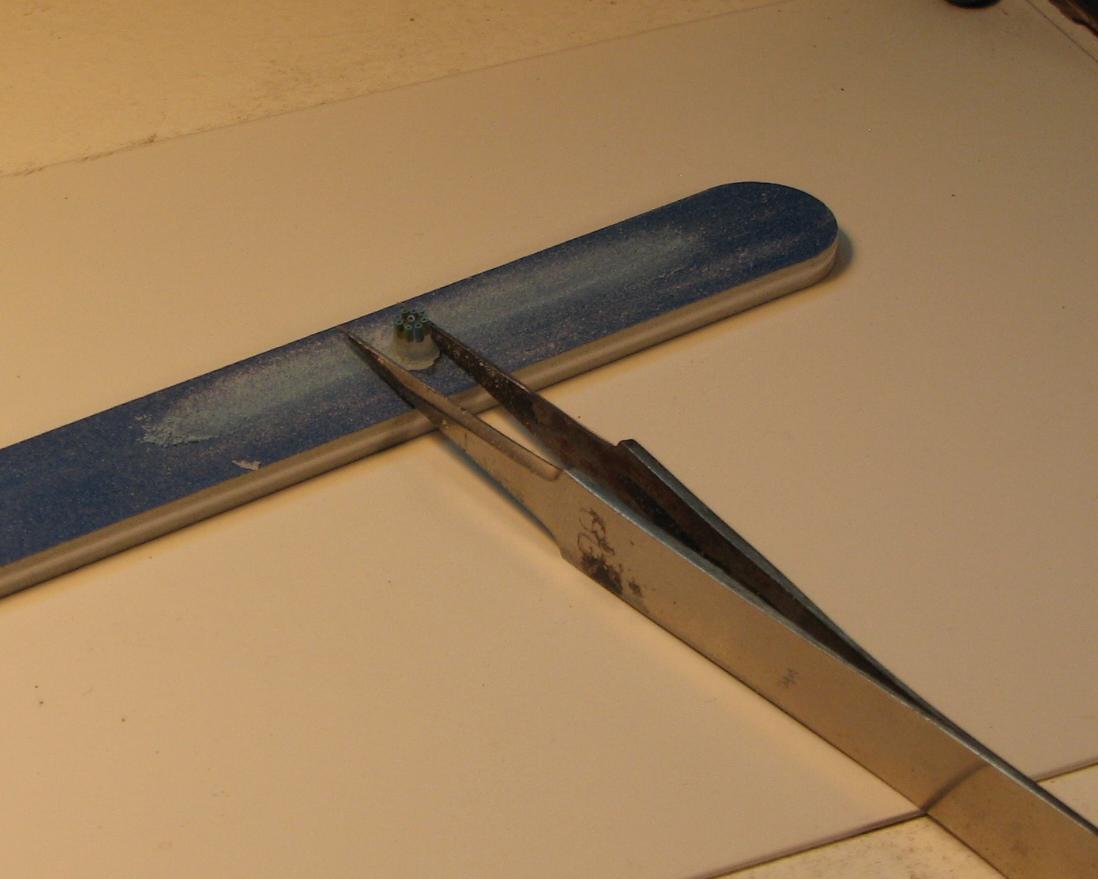
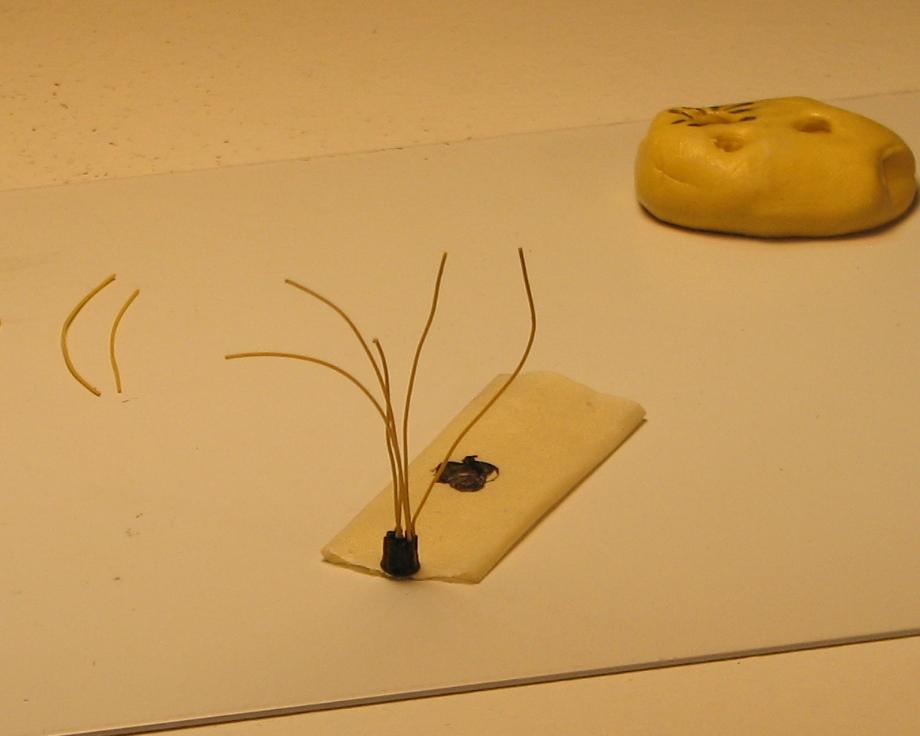
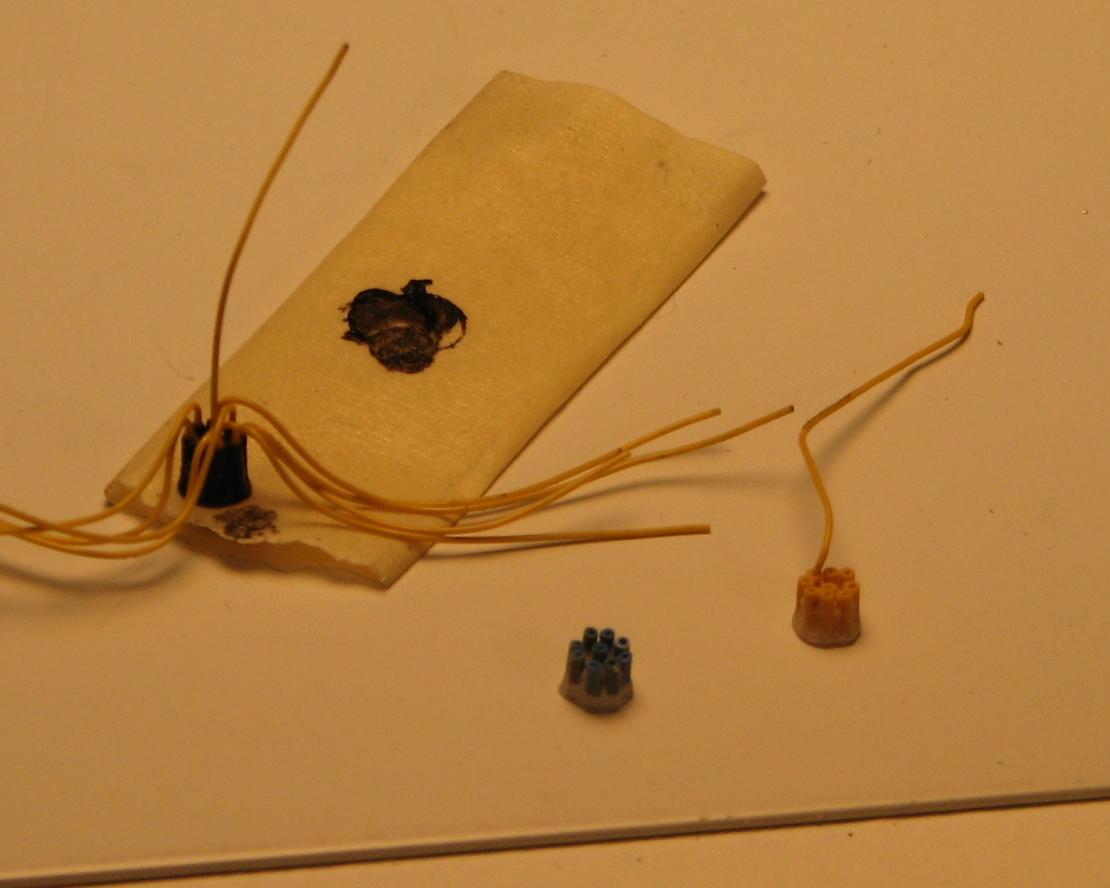
I mentioned this in the thread for my 1975 NHRA Modified Production '70 Malibu. It's a quick and easy way to make pre-wired distributors using readily available, and fairly inexpensive supplies. Begin by assembling the tools and supplies required (chefs call it mise en place). The first photo shows what you'll need. I got my mold putty through Amazon. It's made by Alumilite, so it's likely that Hobby Lobby has it, as well. You'll also need acrylic nail sculpting compound. It's a two-part system that is available from Sally Beauty Supplies, or, the Kiss brand is available in Walmart (at least those with larger cosmetic sections). The rest is stuff you likely have on-hand. Items include X-Acto knife, tweezers, sanding board or sandpaper, phone wire (or equivalent sized vinyl tubing), your choice of scale plug wire, a dropper for the acrylic liquid, a spatula to transfer the acrylic powder, super glue (I prefer a gel type, for this application), and a distributor with pronounced "lug" detail. Begin by mixing equal parts of the mold putty. A note about the Amazing Mold Putty--it's non-toxic and food safe. That's always a good thing! Once the putty's mixed, press the ball onto a flat working surface, insert the kit distributor, top down, and wait. The putty will cure in 15-20 minutes (to ensure a quicker cure rate, I usually pull a desk lamp down near the mold, to provide a bit of extra warmth to the reaction). Now is a good time to cut the wire insulation into lengths of about .100". You can also cut your plug wires now, too (just be sure to cut them long enough, so that they'll fit your engine of choice.). Once the mold has cured, remove the kit distributor from the mold, and check the mold for imperfections. Bubbles aren't a problem with this putty, so, your mold should be ready to go. Now, begin inserting the wire insulation into the depressions inside the mold. Be sure they are aligned properly--they should plug right into the holes. Continue until all the holes are "plugged". Next, draw a small amount of acrylic liquid into a pipette or dropper, and flow it down the inside edge of the mold, until it covers the bottom of the mold. Follow the liquid with a small amount of acrylic powder. Repeat this process until the mold is topped off. Wait...the acrylic resin will cure in a few minutes. Again, the lamp can help to speed the reaction. Pull the new distributor from the mold and inspect it. If it's satisfactory, grasp the distributor with pair of tweezers, and work it back and forth across an abrasive surface (sandpaper or a sanding stick), rotating it in the tweezers every few strokes, to keep the bottom level. Once it's sanded flat and smooth on the bottom, the distributor is ready to finish, and add plug wires to. Paint the cap to represent the brand you want it to be (Accel, Mallory, etc.). When the paint dries, dab the tip of a length of plug wire with super glue, and slip it into the hole in the end of a piece of the wire insulation, which has become the nipples on the cap of the distributor--and they all have a perfectly sized hole for the insertion of the plug wires! Insert all nine plug wires (for a V-8), attach the cap to a distributor base, and mount it to the engine. Now, simply run your plug wires home and you're done! For a minimal investment in materials and time, you can create a mold that will provide many distributors for wiring, without the difficult and often frustrating task of drilling all those holes without blowing out the side of a distributor, and ruining it, and wasting all the time you spent on it, up to that point. Hope you all find this helpful and informative! Comments and questions are welcome!

-
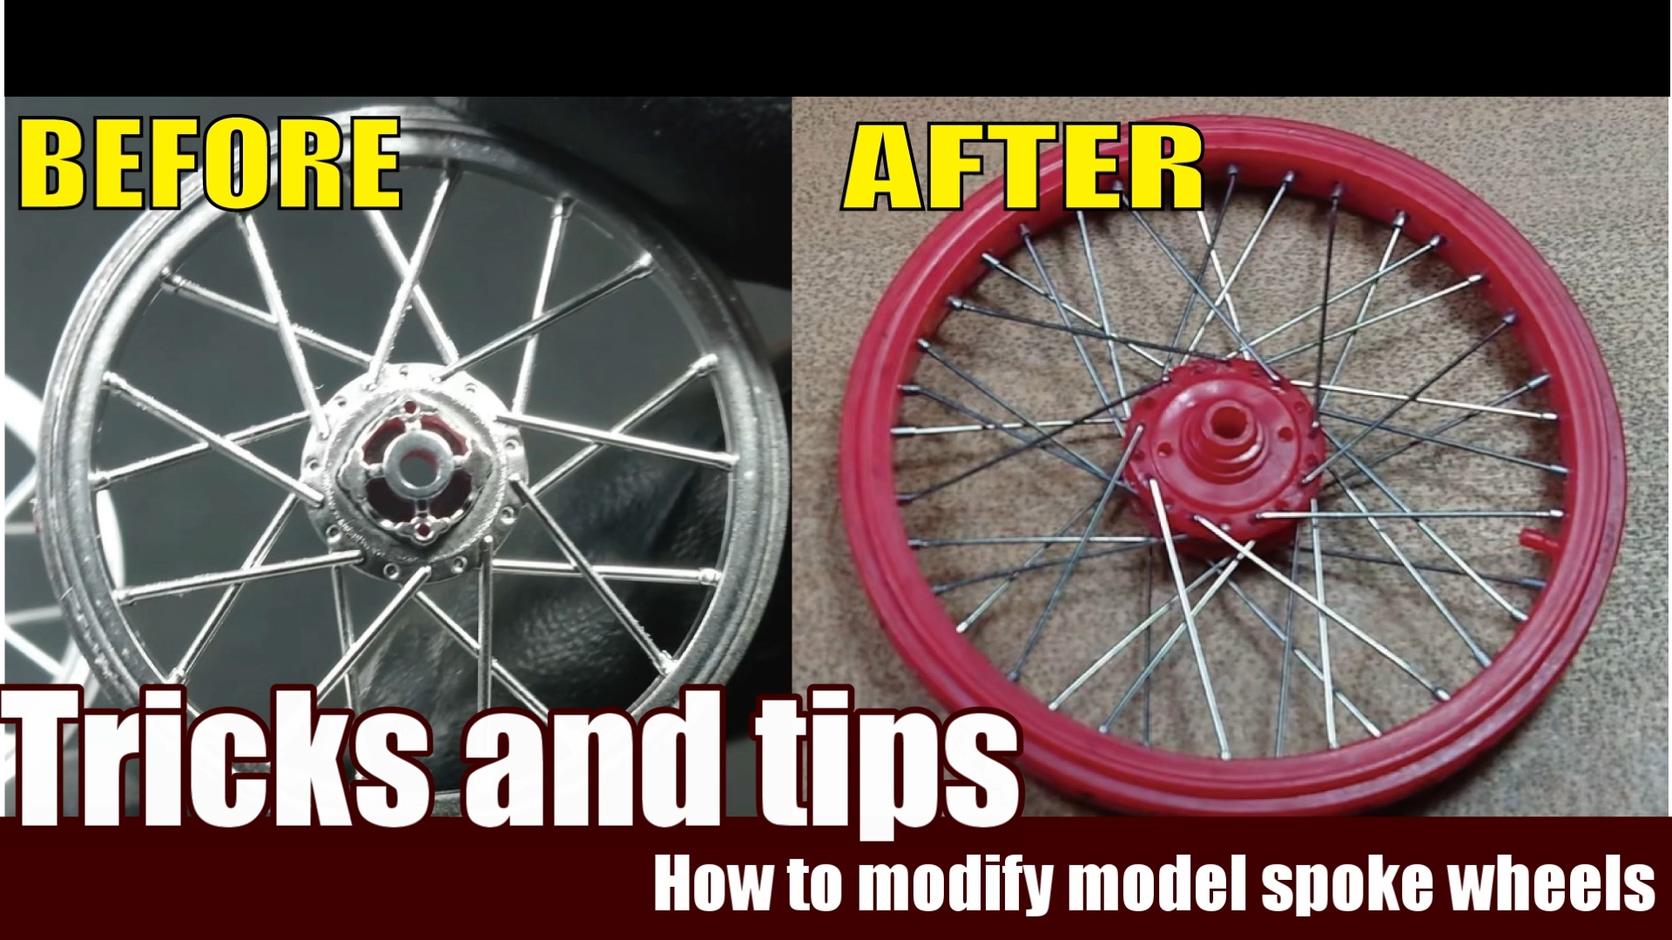
hi every one? I would like to show you how I modify the spoke wheels for bike models I've tried many ways to do it and I felt this might be the most suitable way for me.. hope this tips works for you..? here is the whole building process video: hope you like it!!?
-
If you start a new thread and want to make it easily searchable, you can add "tags" that will be displayed next to the thread when it is viewed in the forum. Start the new thread and just below where you type in the title of the thread you will see " + Choose... " Click this and add your tags. There is a limit to the length of the tags (15 characters) and the number of tags that can added (I believe it is 3-5). Keep the tags short and descriptive then you and other members can easily find the thread whenever needed. When ready to search, just click on the magnifying glass in the upper right hand corner of the display. On the next page, click "Search By Tags" enter the name of the tag and click the "Search Content" button. You may have to click the button twice.
-
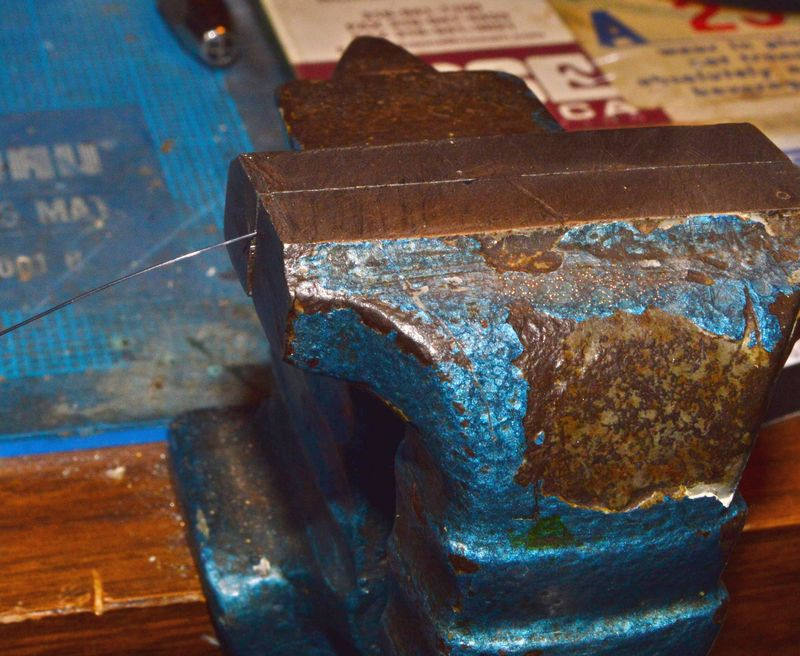
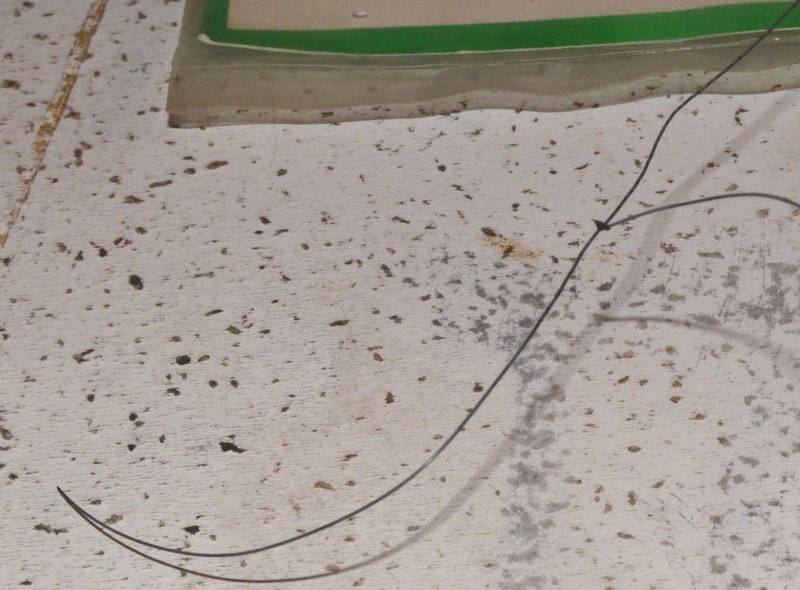
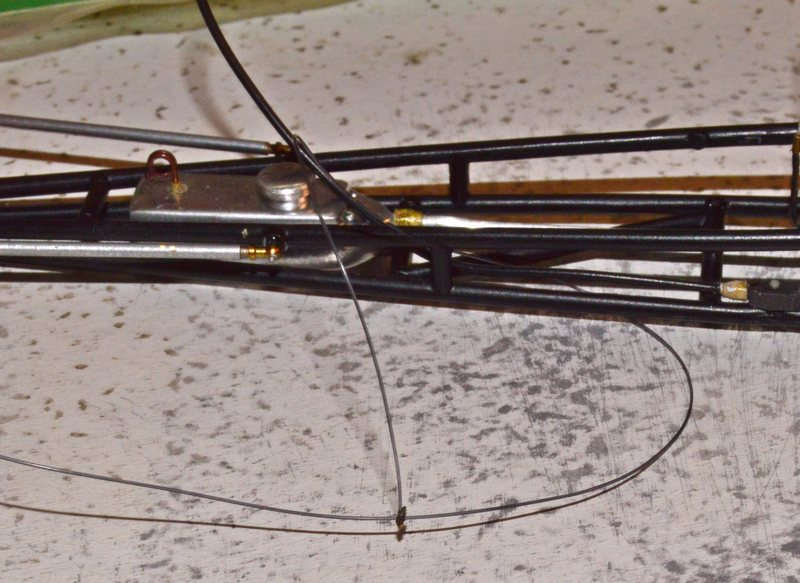
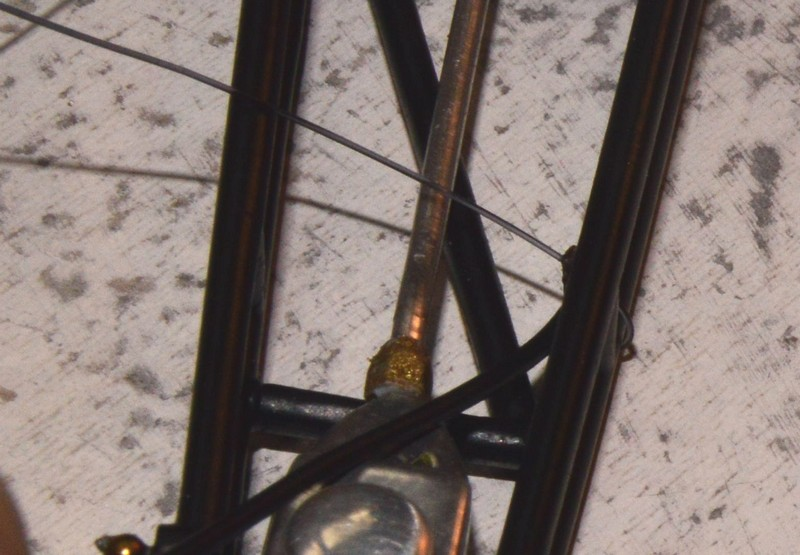
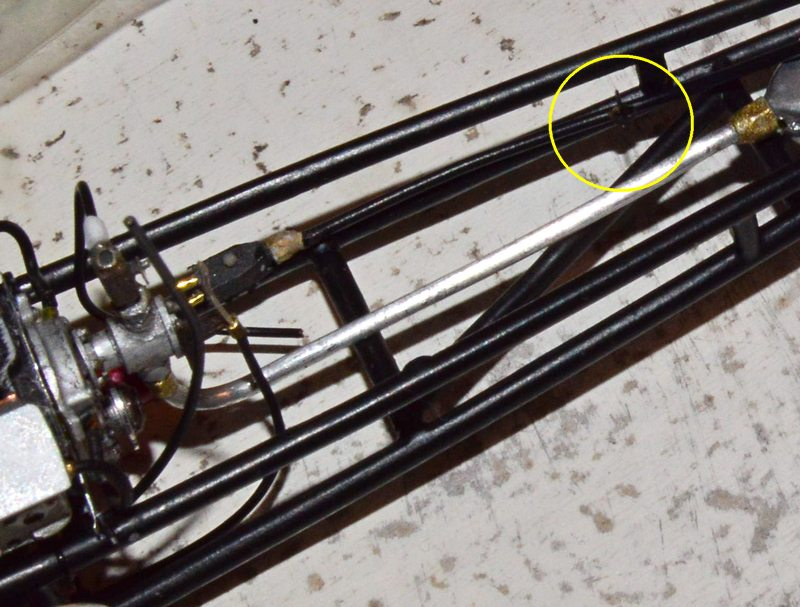
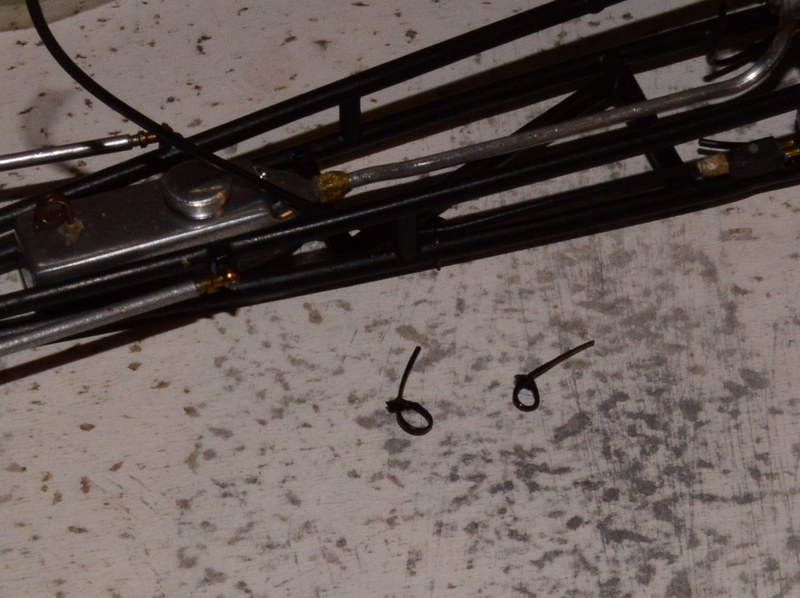
Since zip ties are so commonly used on race cars, I decided to figure out how to make them. I first used this technique in the late '90s, when I built the top fuel engine pictured below. I used Clover House black nylon monofilament for the one in this tutorial, but, those on the fuel motor's plug wires were made using monofilament fishing line. They can be made fairly quickly, and, they are pretty convincing! To begin, you'll need the following: X-Acto knife, a small scribe (anything that will pierce the monofilament, without tearing it "out"), a heat source (I use a lighter, but an alcohol lamp is just as good, maybe better), nylon monofilament (I used Clover House, because it's black. I have it in .011", .014", .015". Fishing line also works, and comes in different colors, too.) tweezers, super glue, and an applicator (I use a small wooden dowel, with a headless straight pin cemented into the end). A pin vise can be useful in cleaning out the holes, but, it isn't necessary for the application. Begin by cutting a six to eight inch length of monofilament. If you have a smooth-jawed vise, use it to flatten a segment of the mono, on one end. This step is optional, but, it does add a subtle touch of realism. Slowly push the end of the "mono" toward the flame, until it begins to melt, and forms a ball on the end. Gently mash the molten blob between your thumb and forefinger, to flatten it. If the "flat" is too distorted, it can be trimmed to shape with the knife. You should end up with something that looks similar to this: Next, using the scribe, awl, or other puncturing device, poke a hole through the now flattened end. Now, feed one end of the mono around/through the desired location. In this instance, I am using the "zip-ties to bind a return fuel line to the frame tube (see arrows in image, below), so, the mono needs to go around the lower frame tube and the fuel line, but, nothing else (I only provide this caveat out of my own experience--you can learn from my frustrations!). Now, feed the "virgin" end of the mono through the hole in the flattened end. Now, pull the monofilament taut, securing the line to the frame tube. Secure the tie by applying a tiny drop of super glue to the mono, where it passes through the hole (couldn't actually photograph this operation, because I only have two hands, and lack the necessary control for this operation with my left hand). You should end up with something like this: Now, simply snip the mono to the desired length, and you're done! Here's a shot of a fuel motor I built a couple of decades ago. I used Clover House line for the fuel lines and fishing line to make the ties for the plug wires. Here's photo with loose zip-ties, to illustrate how nicely they represent the real deal. The best way to represent any item, in scale, is to make it from the same material ad the real thing. While that isn't always a realistic goal, in this instance, is easy to accomplish using readily available materials and tools. Give 'em a shot, next time you need to tie up a loose end, or two (Sorry. Bad pun. It's genetic--I got it from my dad!)