Search the Community
Showing results for tags 'photo etch'.
Found 5 results
-
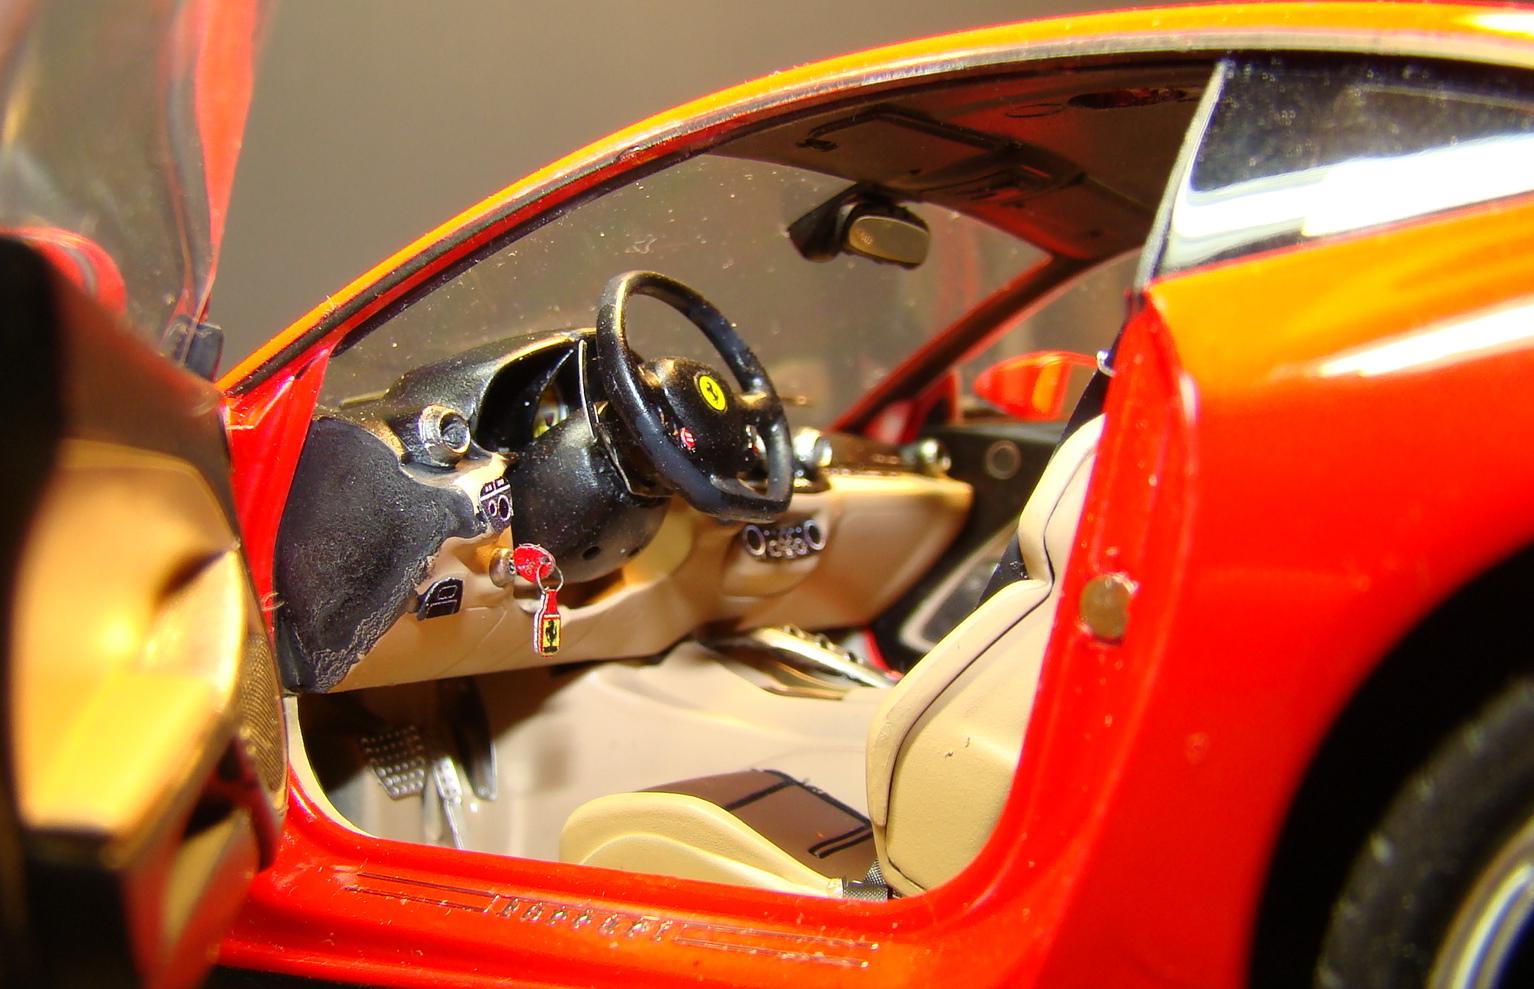
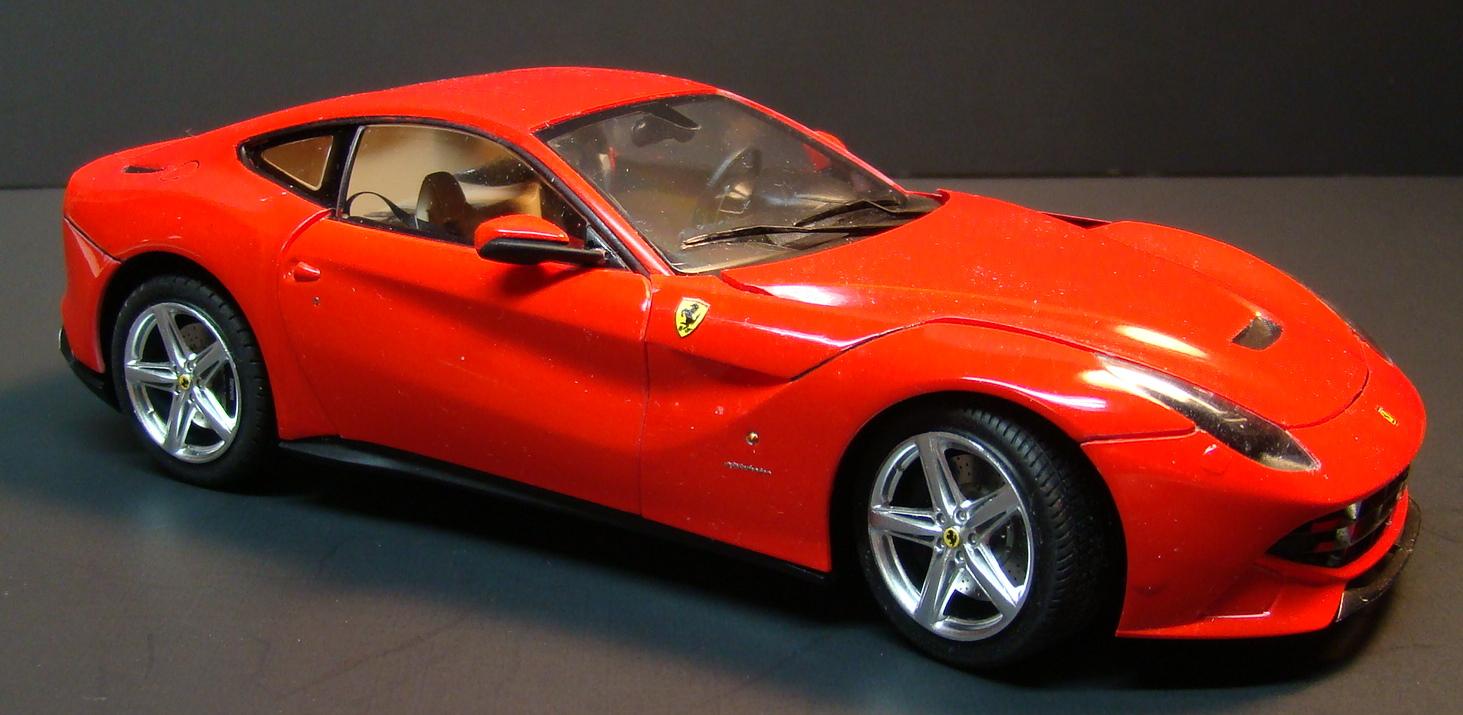
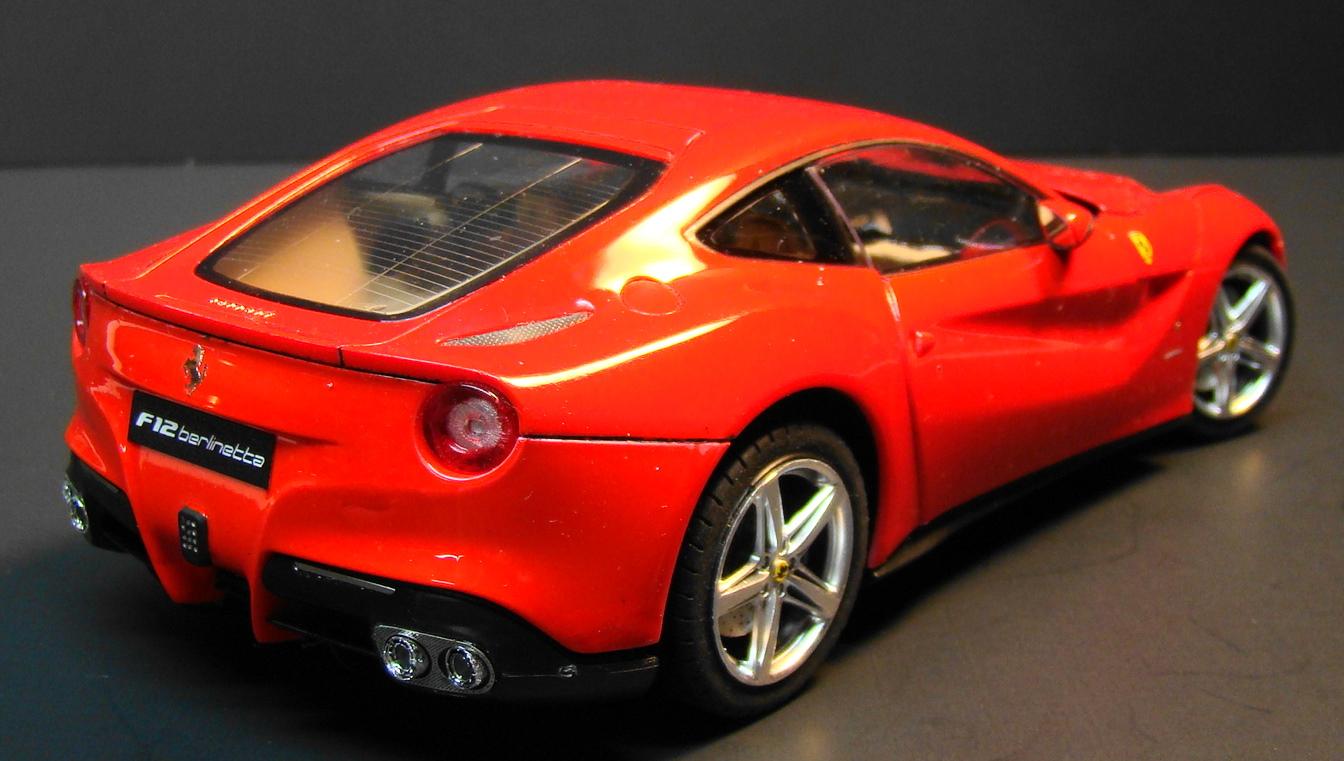
This is a project that has been too long in the works and I figured it was about time to finish it. Color is Tamiya TS-49 Bright red. Interior is Tamiya LP30 nLt Sand and the dark brown accent is LP59 Nato brown. A great kit and I really liked it. I was fortunate when I bought it that the photo etch set (by Fujimi) came with it. They were a lot of fussy work but in the end well worth it it. Other than the hood (mine was slightly warped) the kit went together very well. Captions below the pictures tell the rest of the story. Thanks for looking and comments are always appreciated. I chose to go two tone on the seats. Seat belts and hardware cam with the PE set. The seatbelt material was easy to work with and looked extra nice. The engine had quite a bit of detail. The stick on chrome emblems really set it off. Rear end detail, some nice PE screens and more stick on chrome emblems. The egg crate grill was a very fussy PE item but when done was nicer that the kit chromed grill. Last thing to go on was the chrome Cavallino. Very delicate. Kit had poseable doors if you added the glue on latch piece. I re-engineered the body to accept this so I could display them closed also. The shiny round thing to the left is a magnet that holds the doors closed. They fit very well. Wanna go for a ride....keys are in it. Finished car on its wheels. Stance was just right. Body took some patience but eventually snapped into place. Rear view shows the graceful lines of the car. Phot etch wheel centers and Ferrari emblem were PE items and a nice touch. Pininfarina emblem and door lock were also included. I wound up drilling two #77 hole through the corners of the hood and added some wire aligning pins to help hold it in place. Tjhen touched up the paint. It did the trick and was easier than the magnet solution. Thanks for following.

-
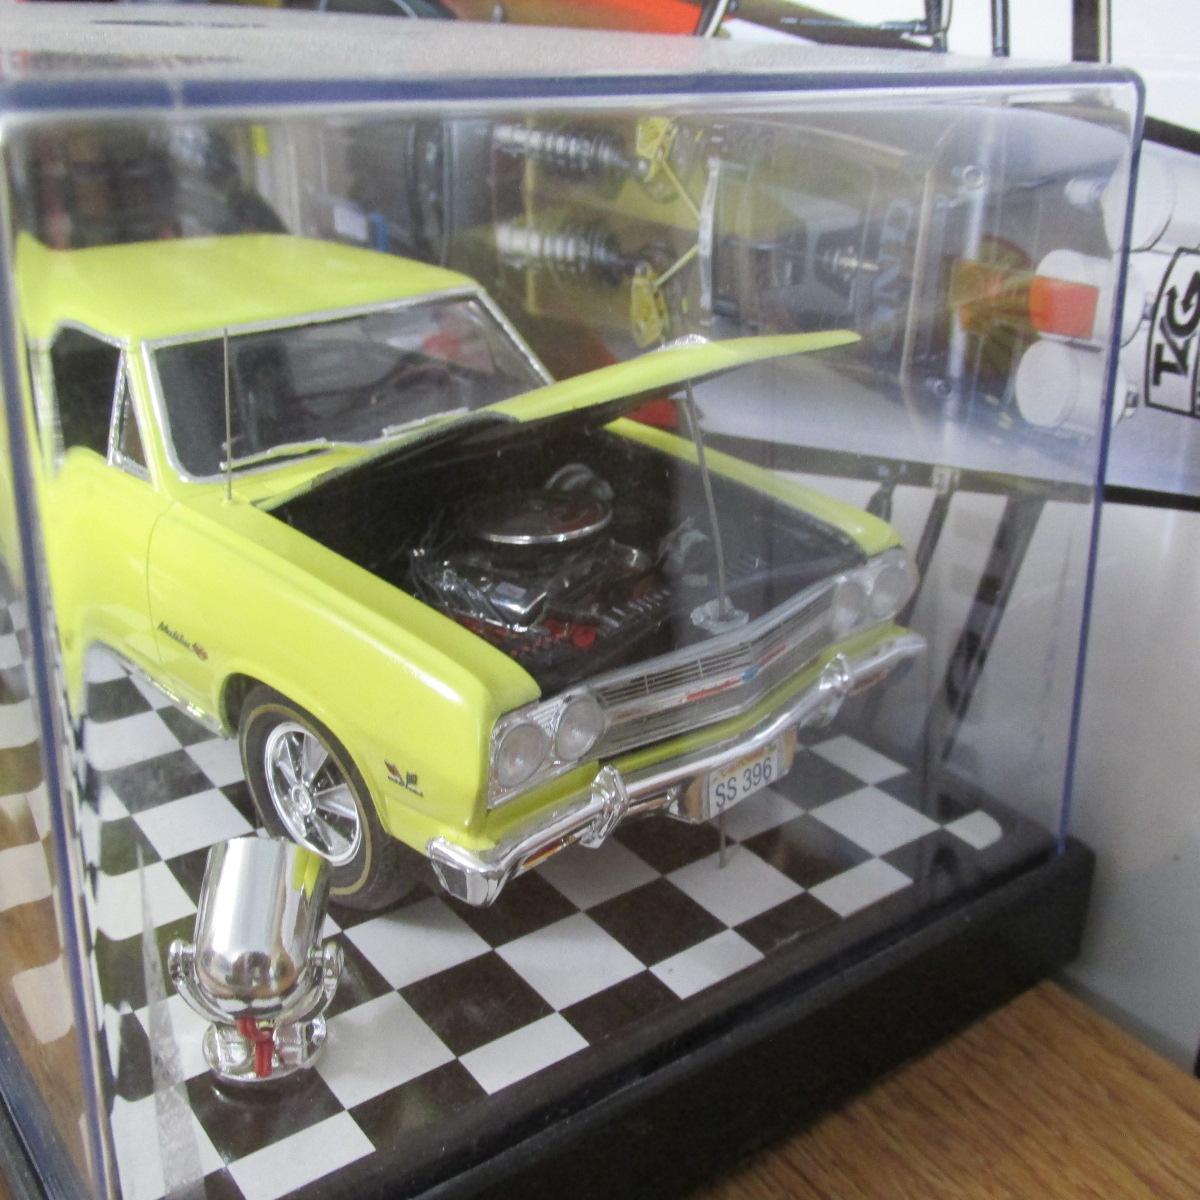
Older build the color is Butternut Yellow custom mixed from the factory formula and looks correct in person and matches the Exalta color chip but shows much too yellow in photos.
-
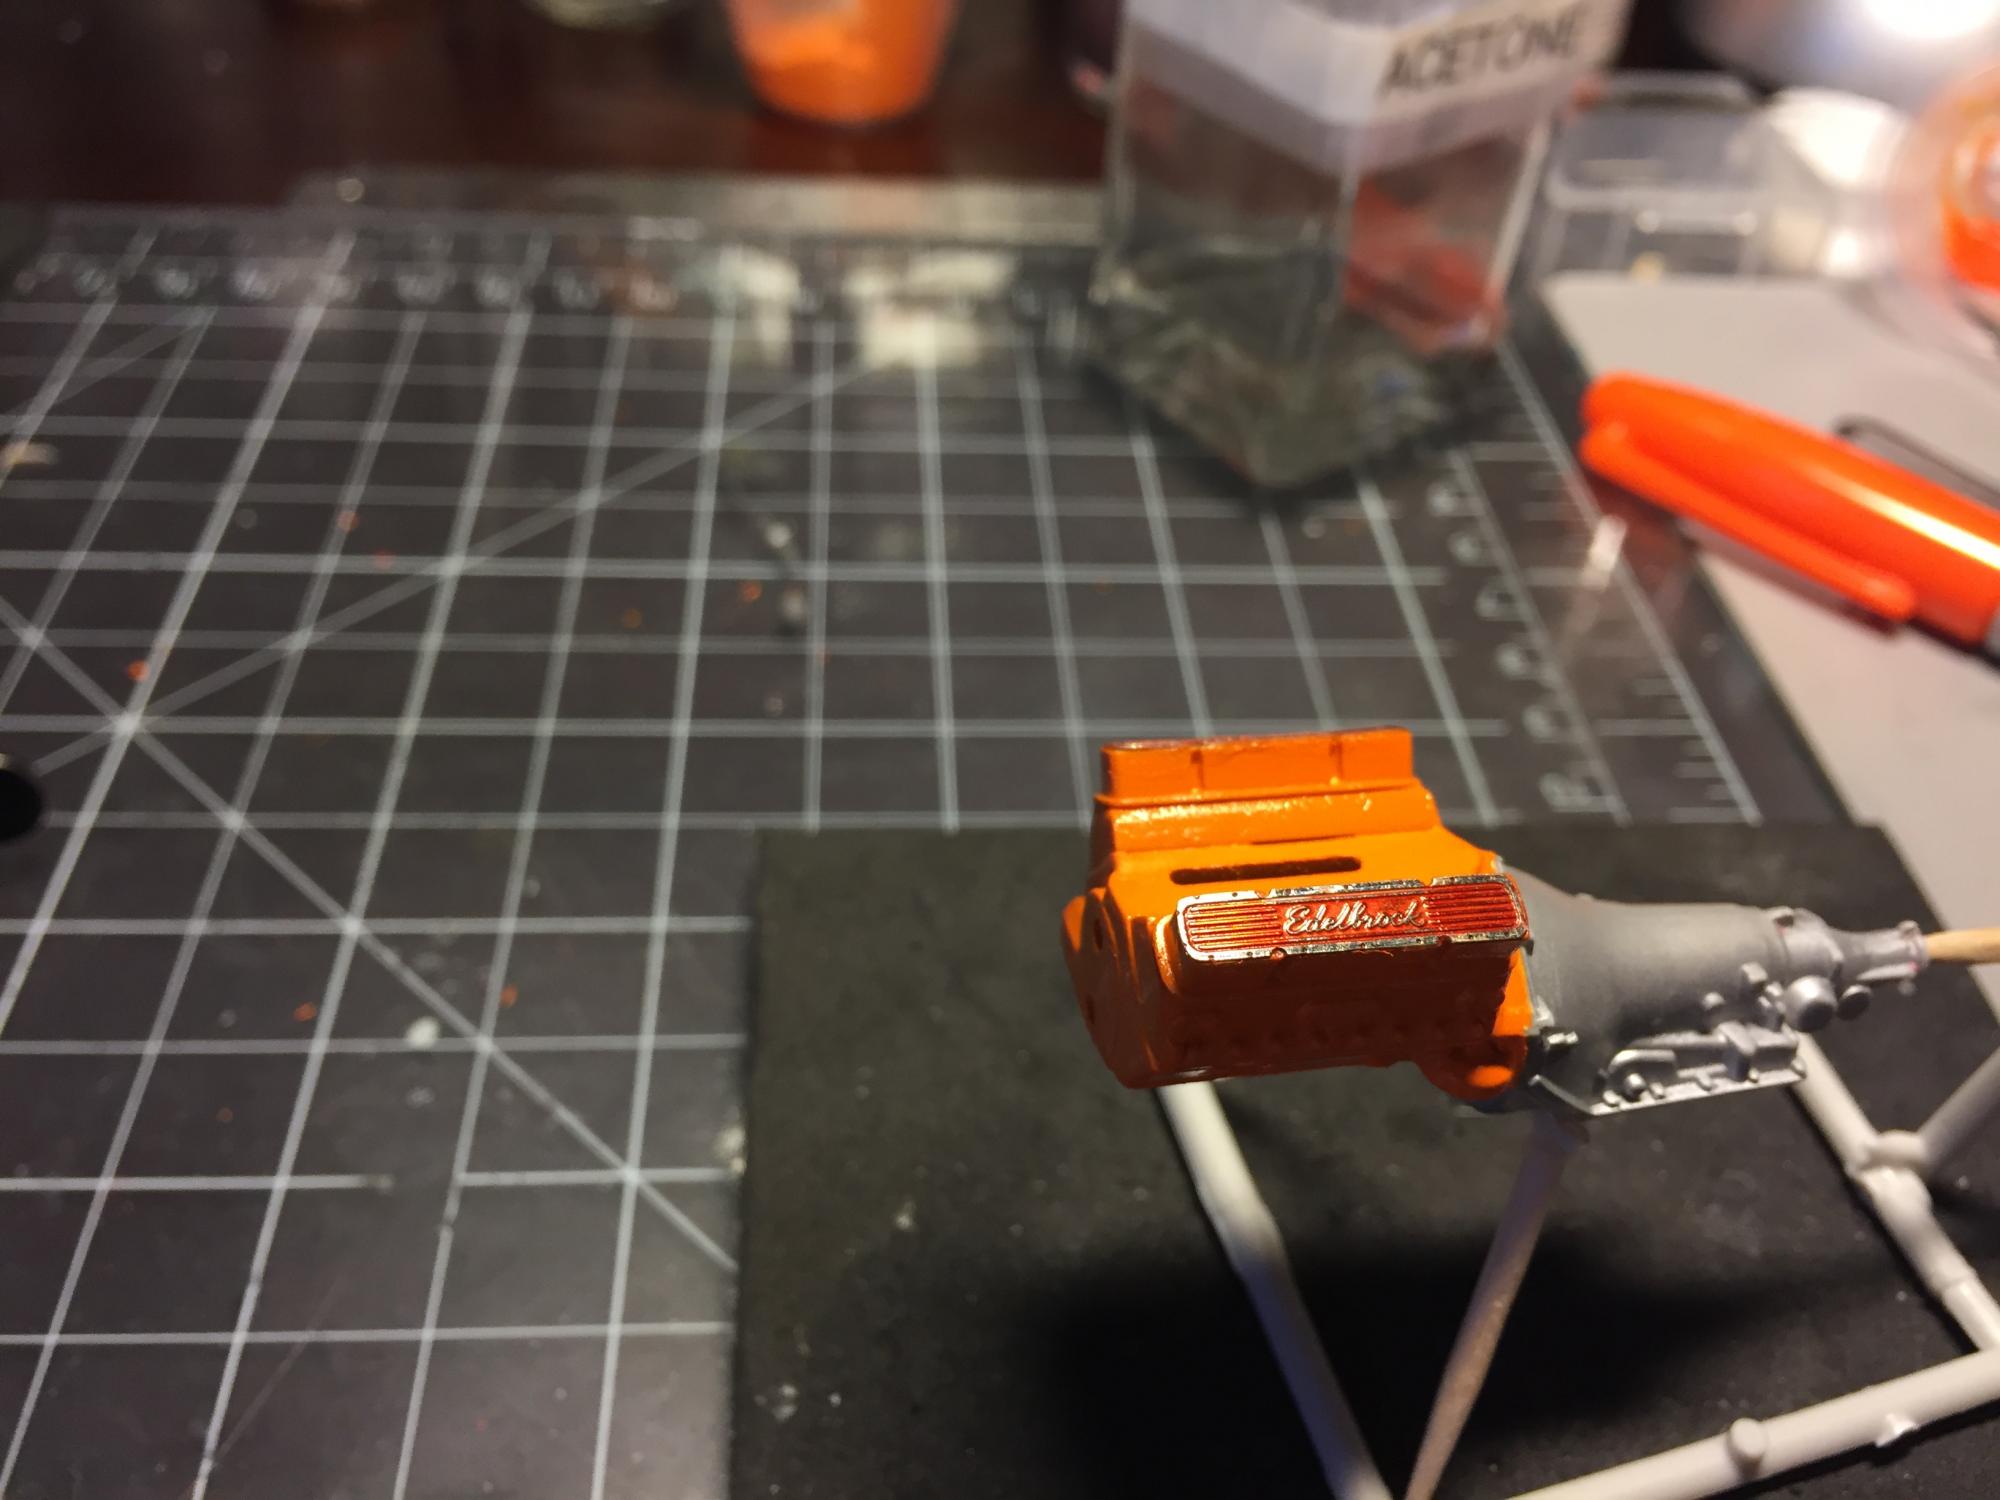
My daughter was coloring and I saw all these markers and remembered someone using Sharpie for detailing. So I pulled out MCG photo etch valve cover and this is what I have. The first pic doesn't show the detail I'm asking about. The valve cover in the 2nd and 4th pic are mostly orange with Edelbrock and the out trim chrome. The 3rd and 5th all the raised detail is chrome. I need to clear this and can't decide which looks better. I've been looking at this entirely too long. Which one looks better? All comments are welcome.
-
 Haven't gotten too far on this yet. All the parts have been trimmed, cleaned up and primered. I filled the holes in the hood where the kit hood pins would go so I can use some photo etch ones I have, I think they will look much better. I had been thinking about doing this for a while, but user Steve_L started a thread in the tips and tricks forum. I had some parts already primered and painted with gloss black. So i followed after him and clearcoated the black parts with lacquer, then used Alclad. It works killer. More depth and reflection. The headers and pipes are Alclad Stainless Steel. The wheels are Alclad Polished Aluminum. I ran out of chrome, so when I get that in I will paint the bumpers. Clearcoated clearcoated over Alclad black base Stainless Steel over the clear coat
 -
Hi everyone, I have been building models for years but my skills continue to improve. I have found many of the tips in the forums to be great. Here is my question, I am building a Revell 68 Corvette roadster and see that there is a photo etch detail kit that I can purchase online. I have not used photo etch parts before so I am wondering if I was to use the photo etch parts would I sand down the plastic details on the car body, I.e., front and rear corvette emblems and the lettering on the hood, or keep the details and lettering and apply the etched part on top. I am just starting to prep the body for primer and thought I should ask the experts on this forum. Thanks Scott


RCprofile.thumb.JPG.1691ea753d0f0897fdc1b2510cf06775.JPG)