Nataan92
-
Posts
62 -
Joined
-
Last visited
Content Type
Profiles
Forums
Events
Gallery
Everything posted by Nataan92
-
Thanks guys for the kind responses.
-
haha, Yes, it's 40C here today. Very Hot
-
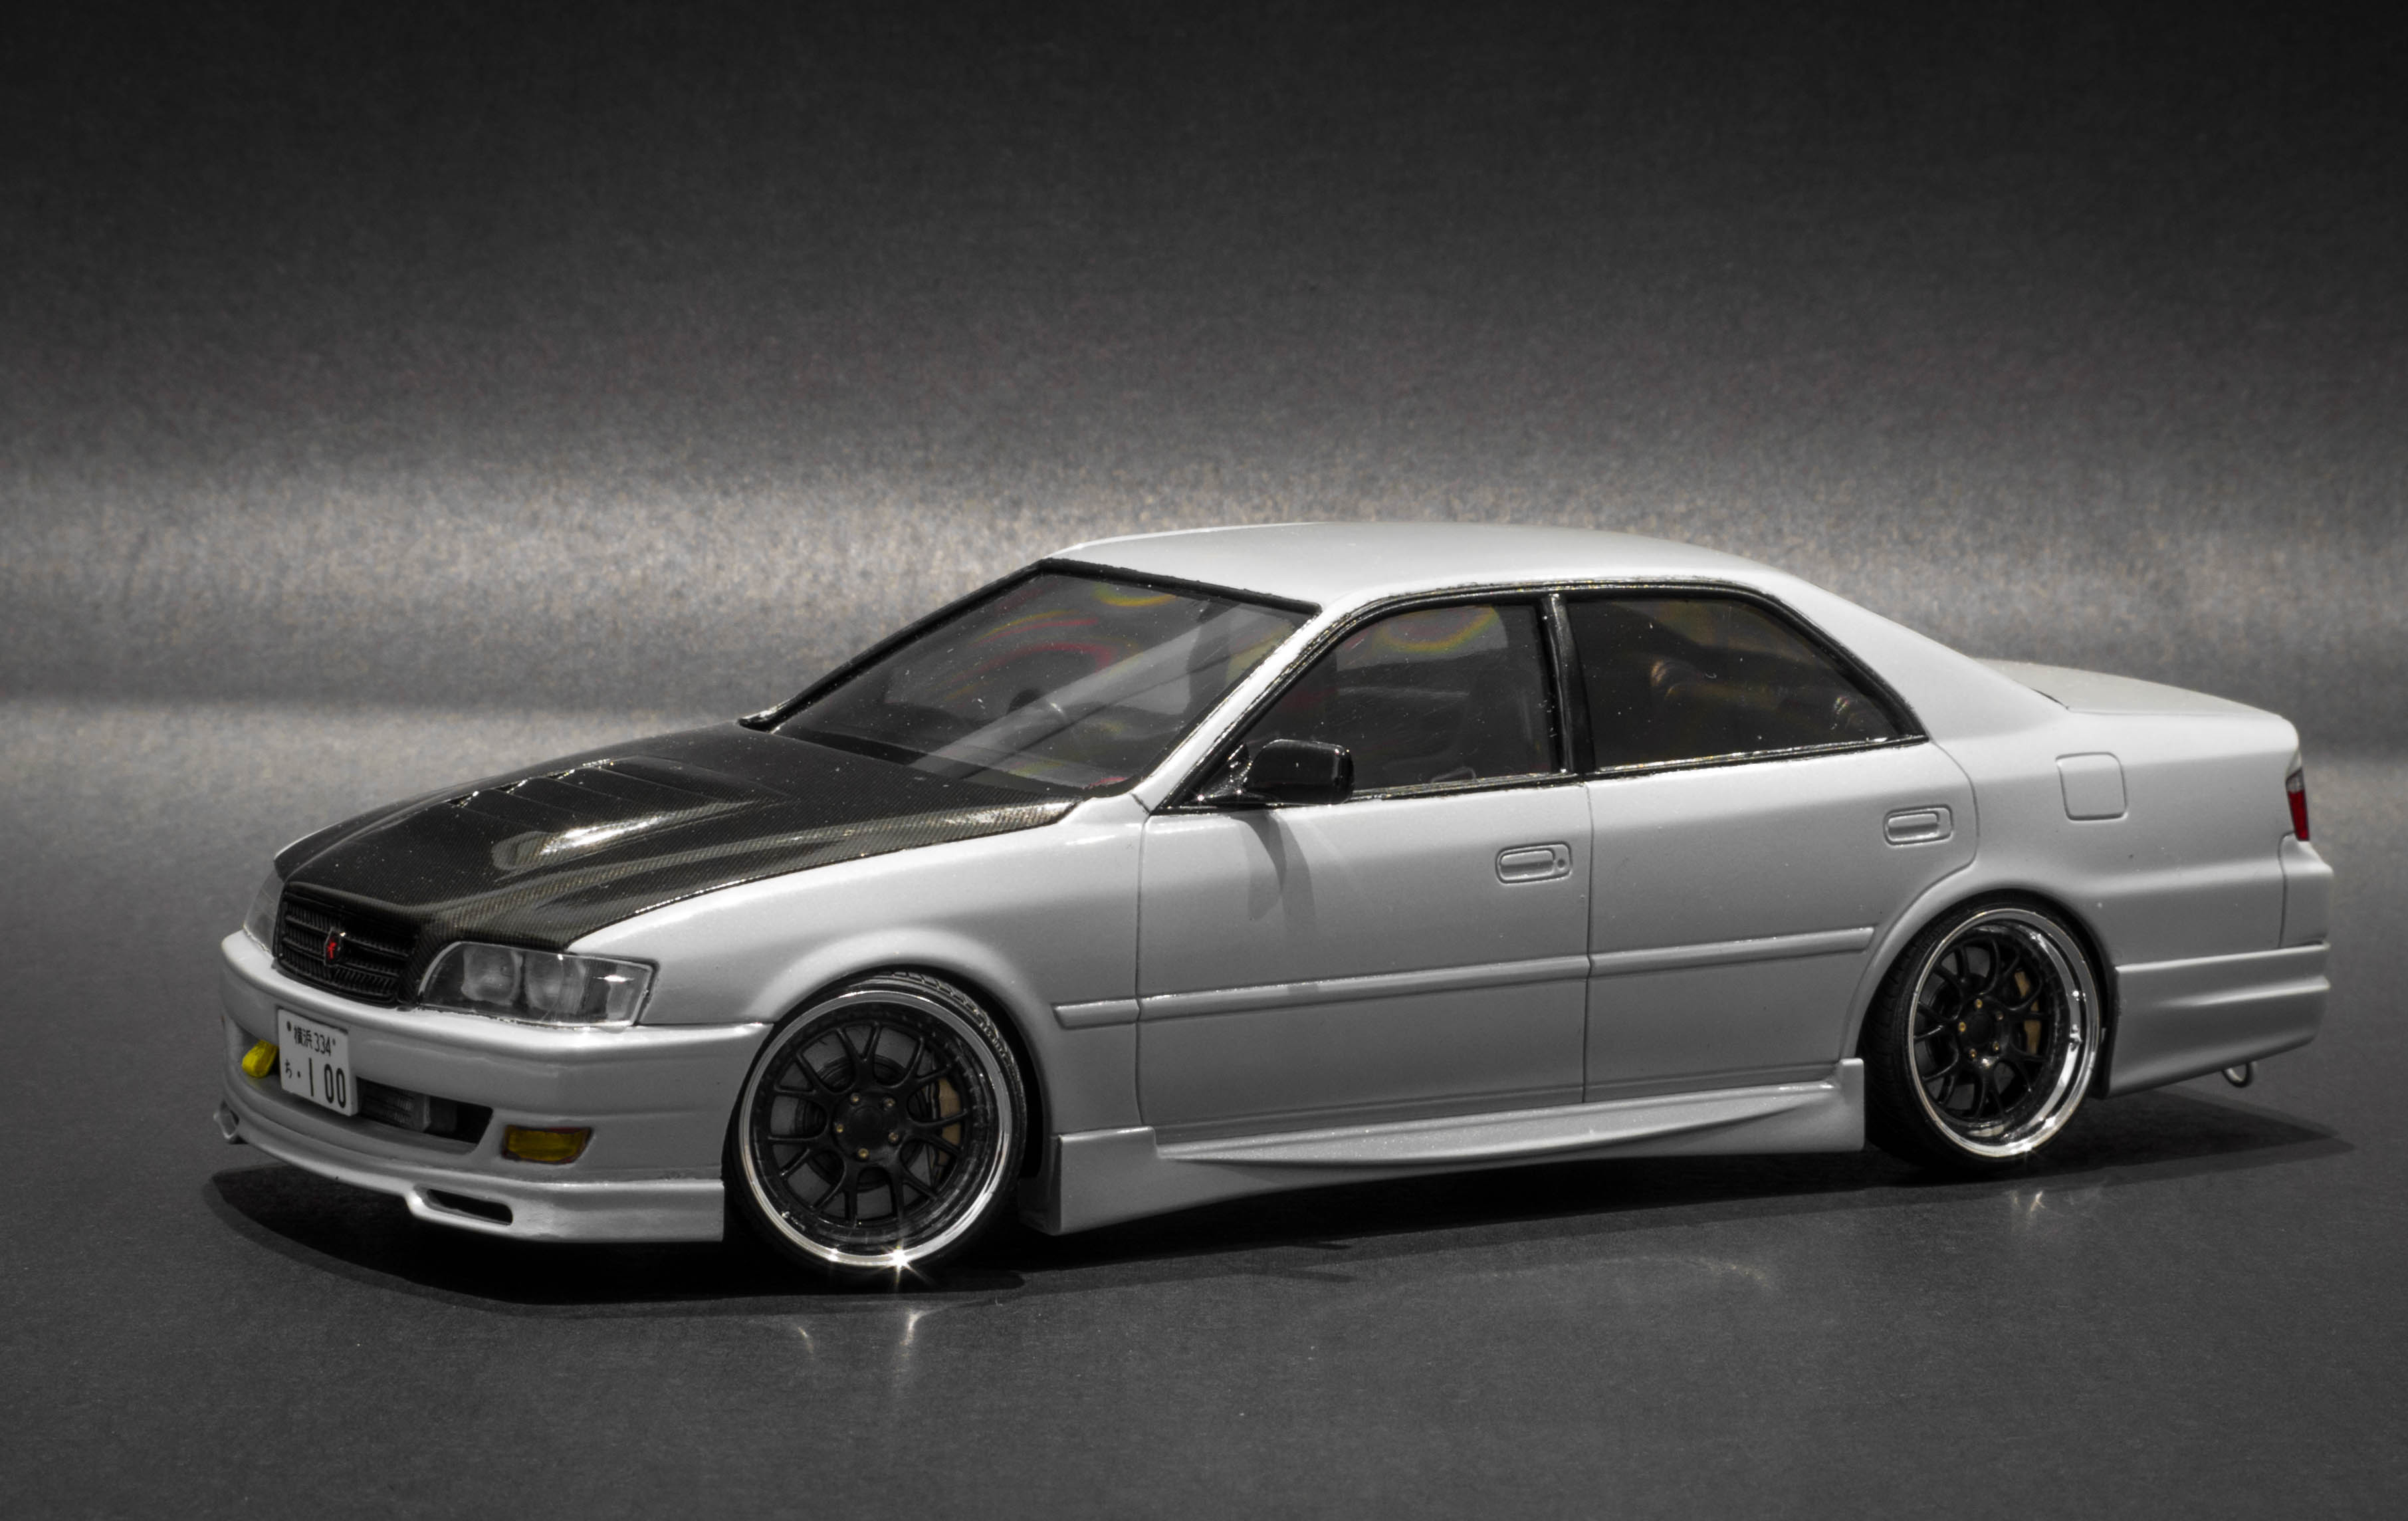
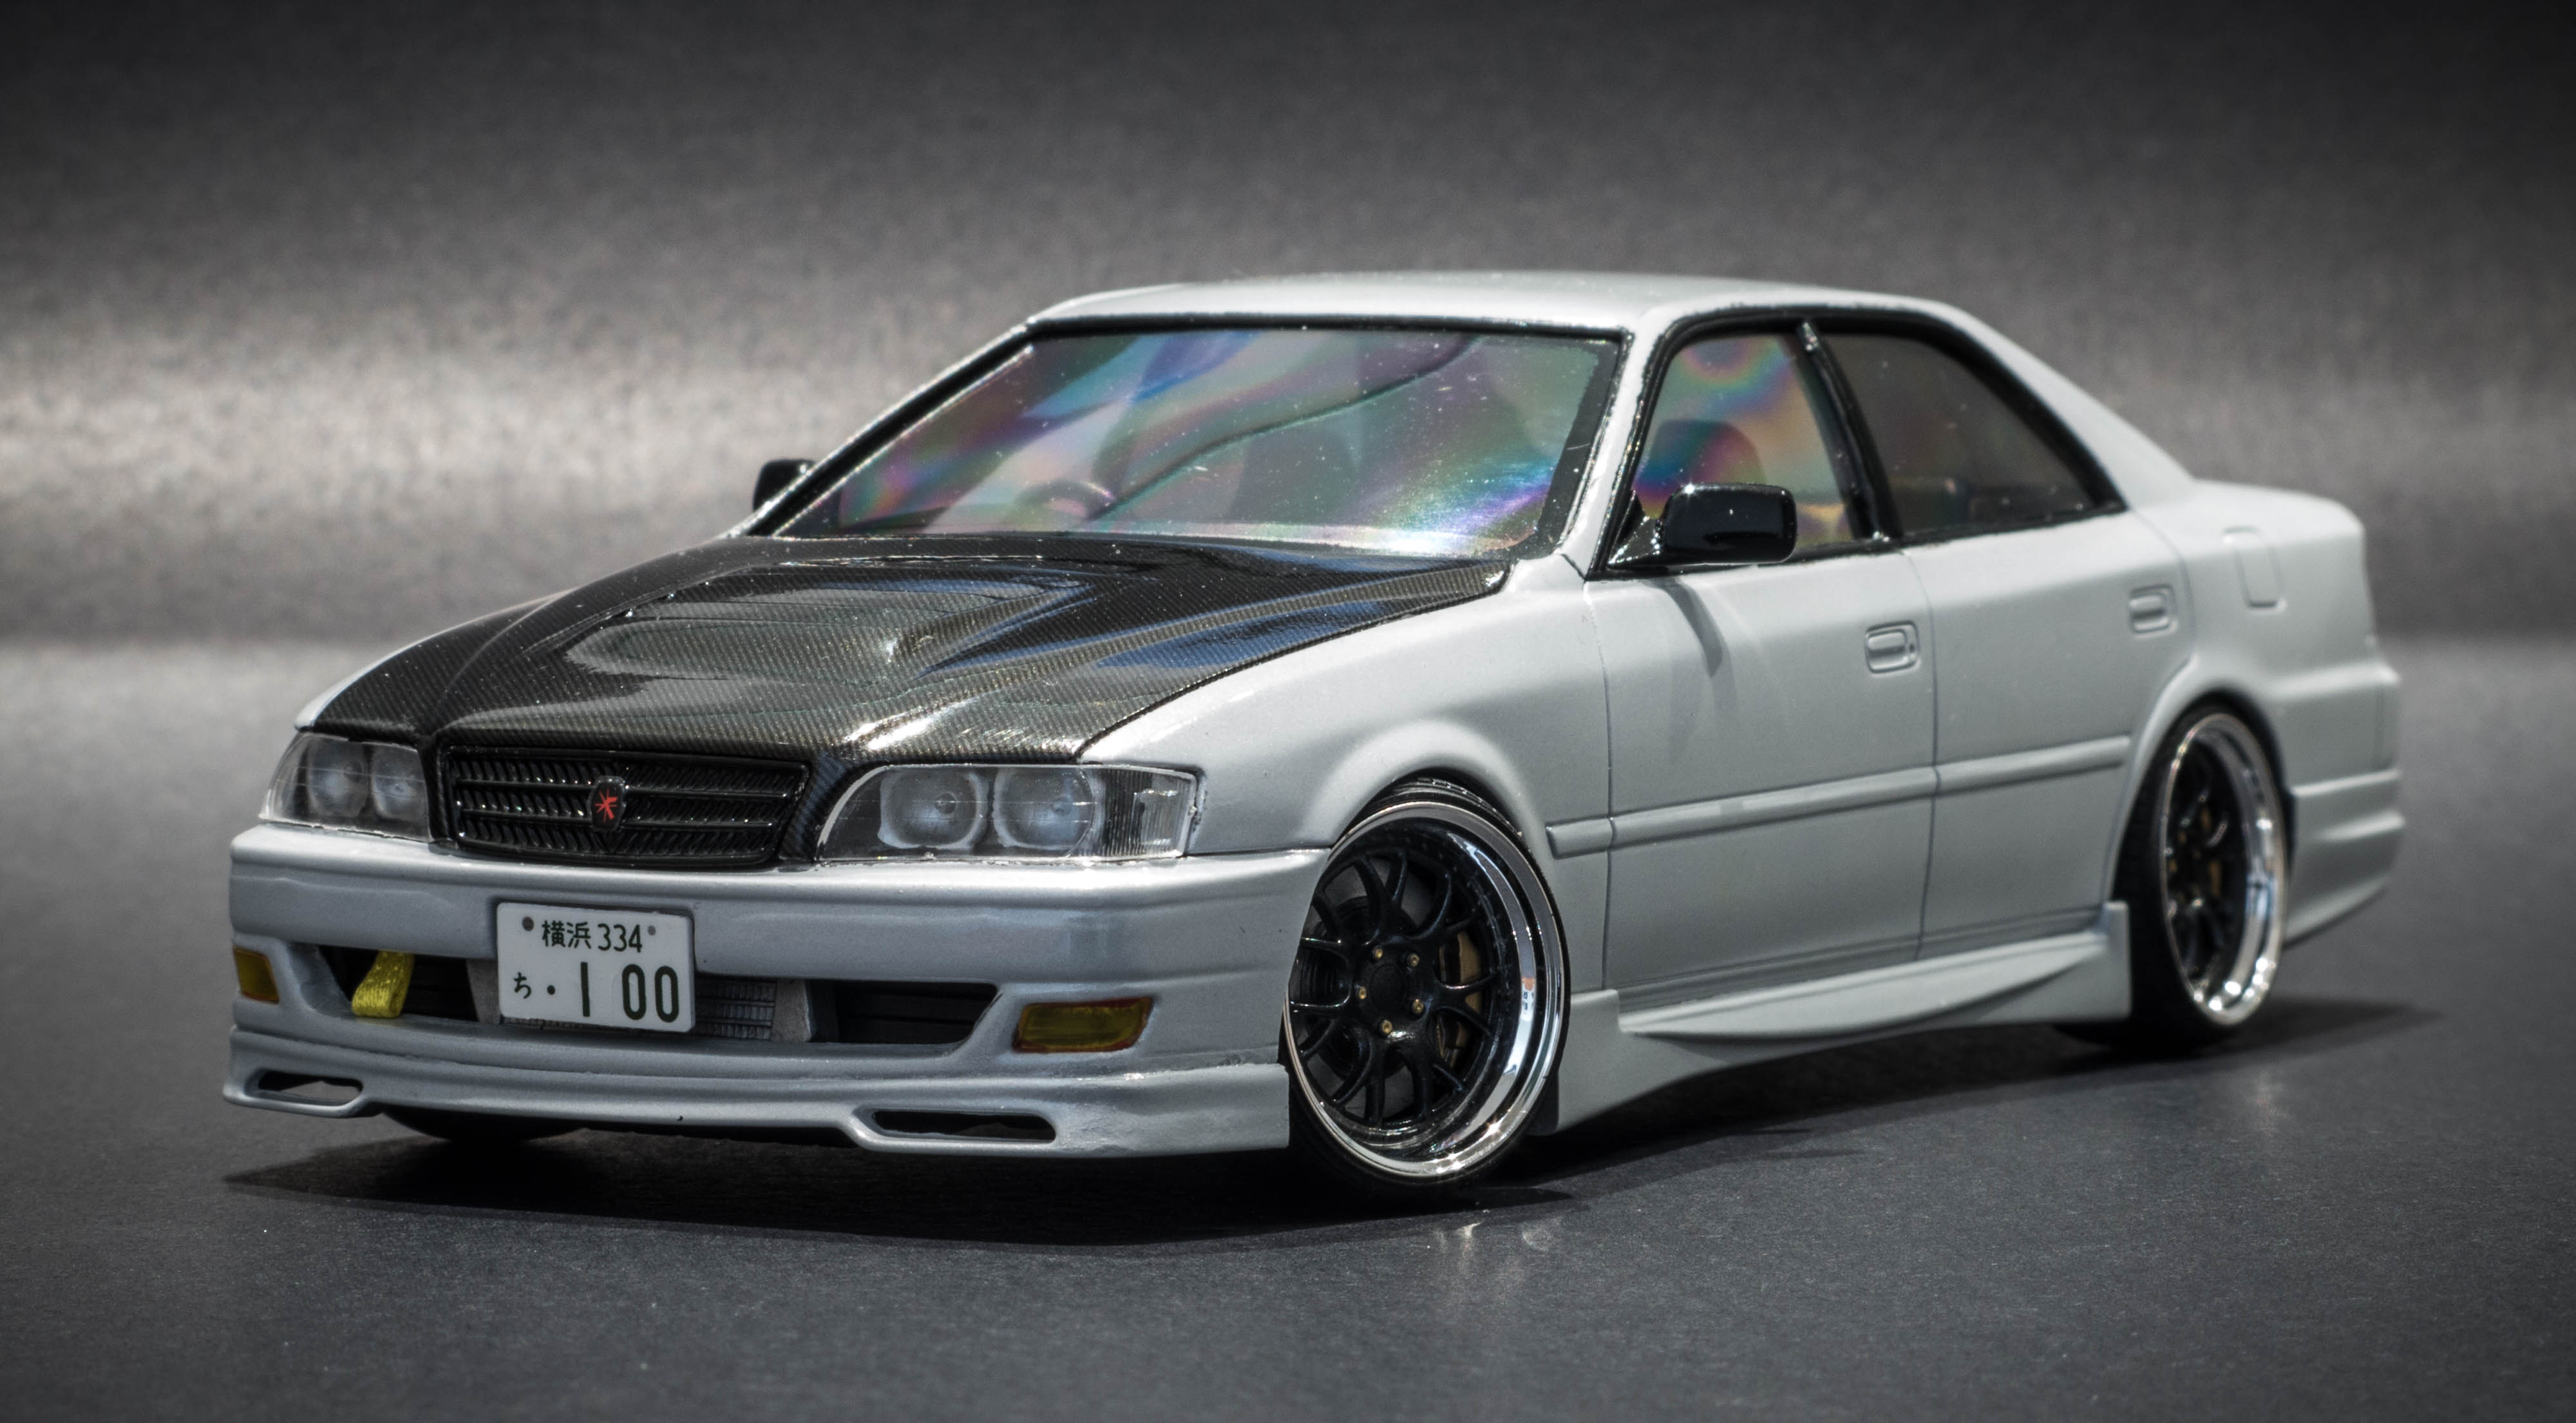
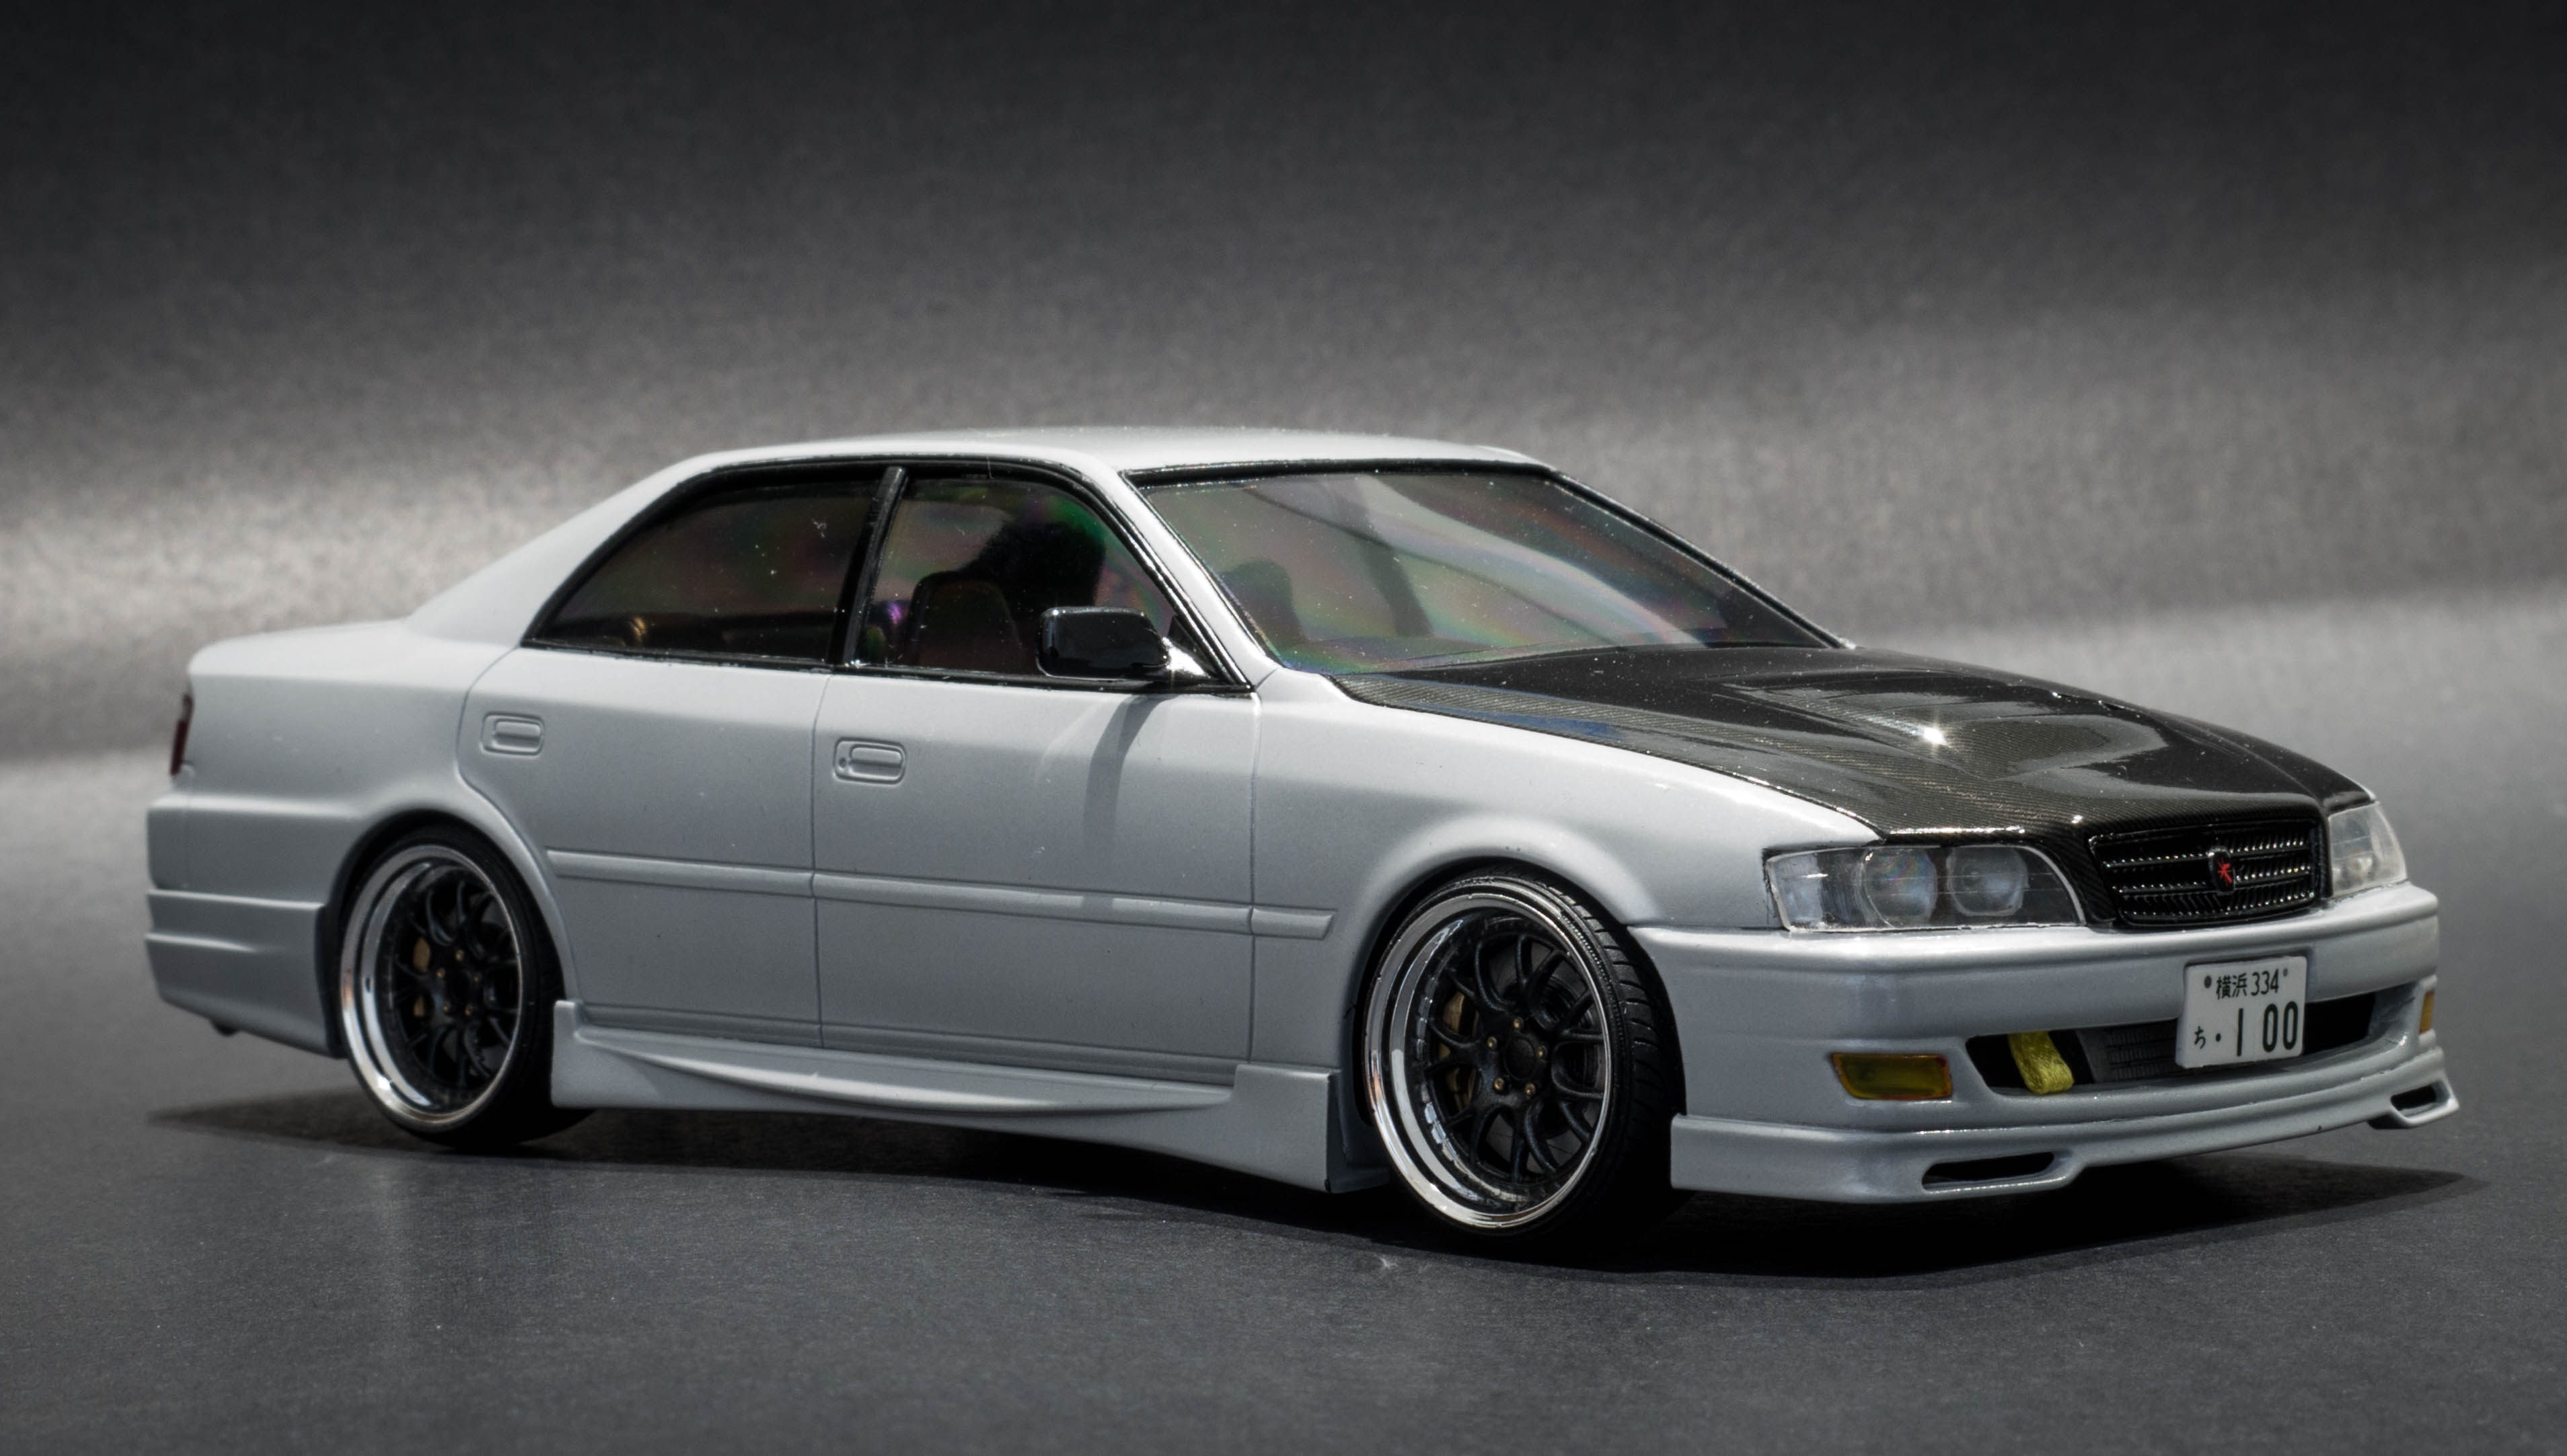
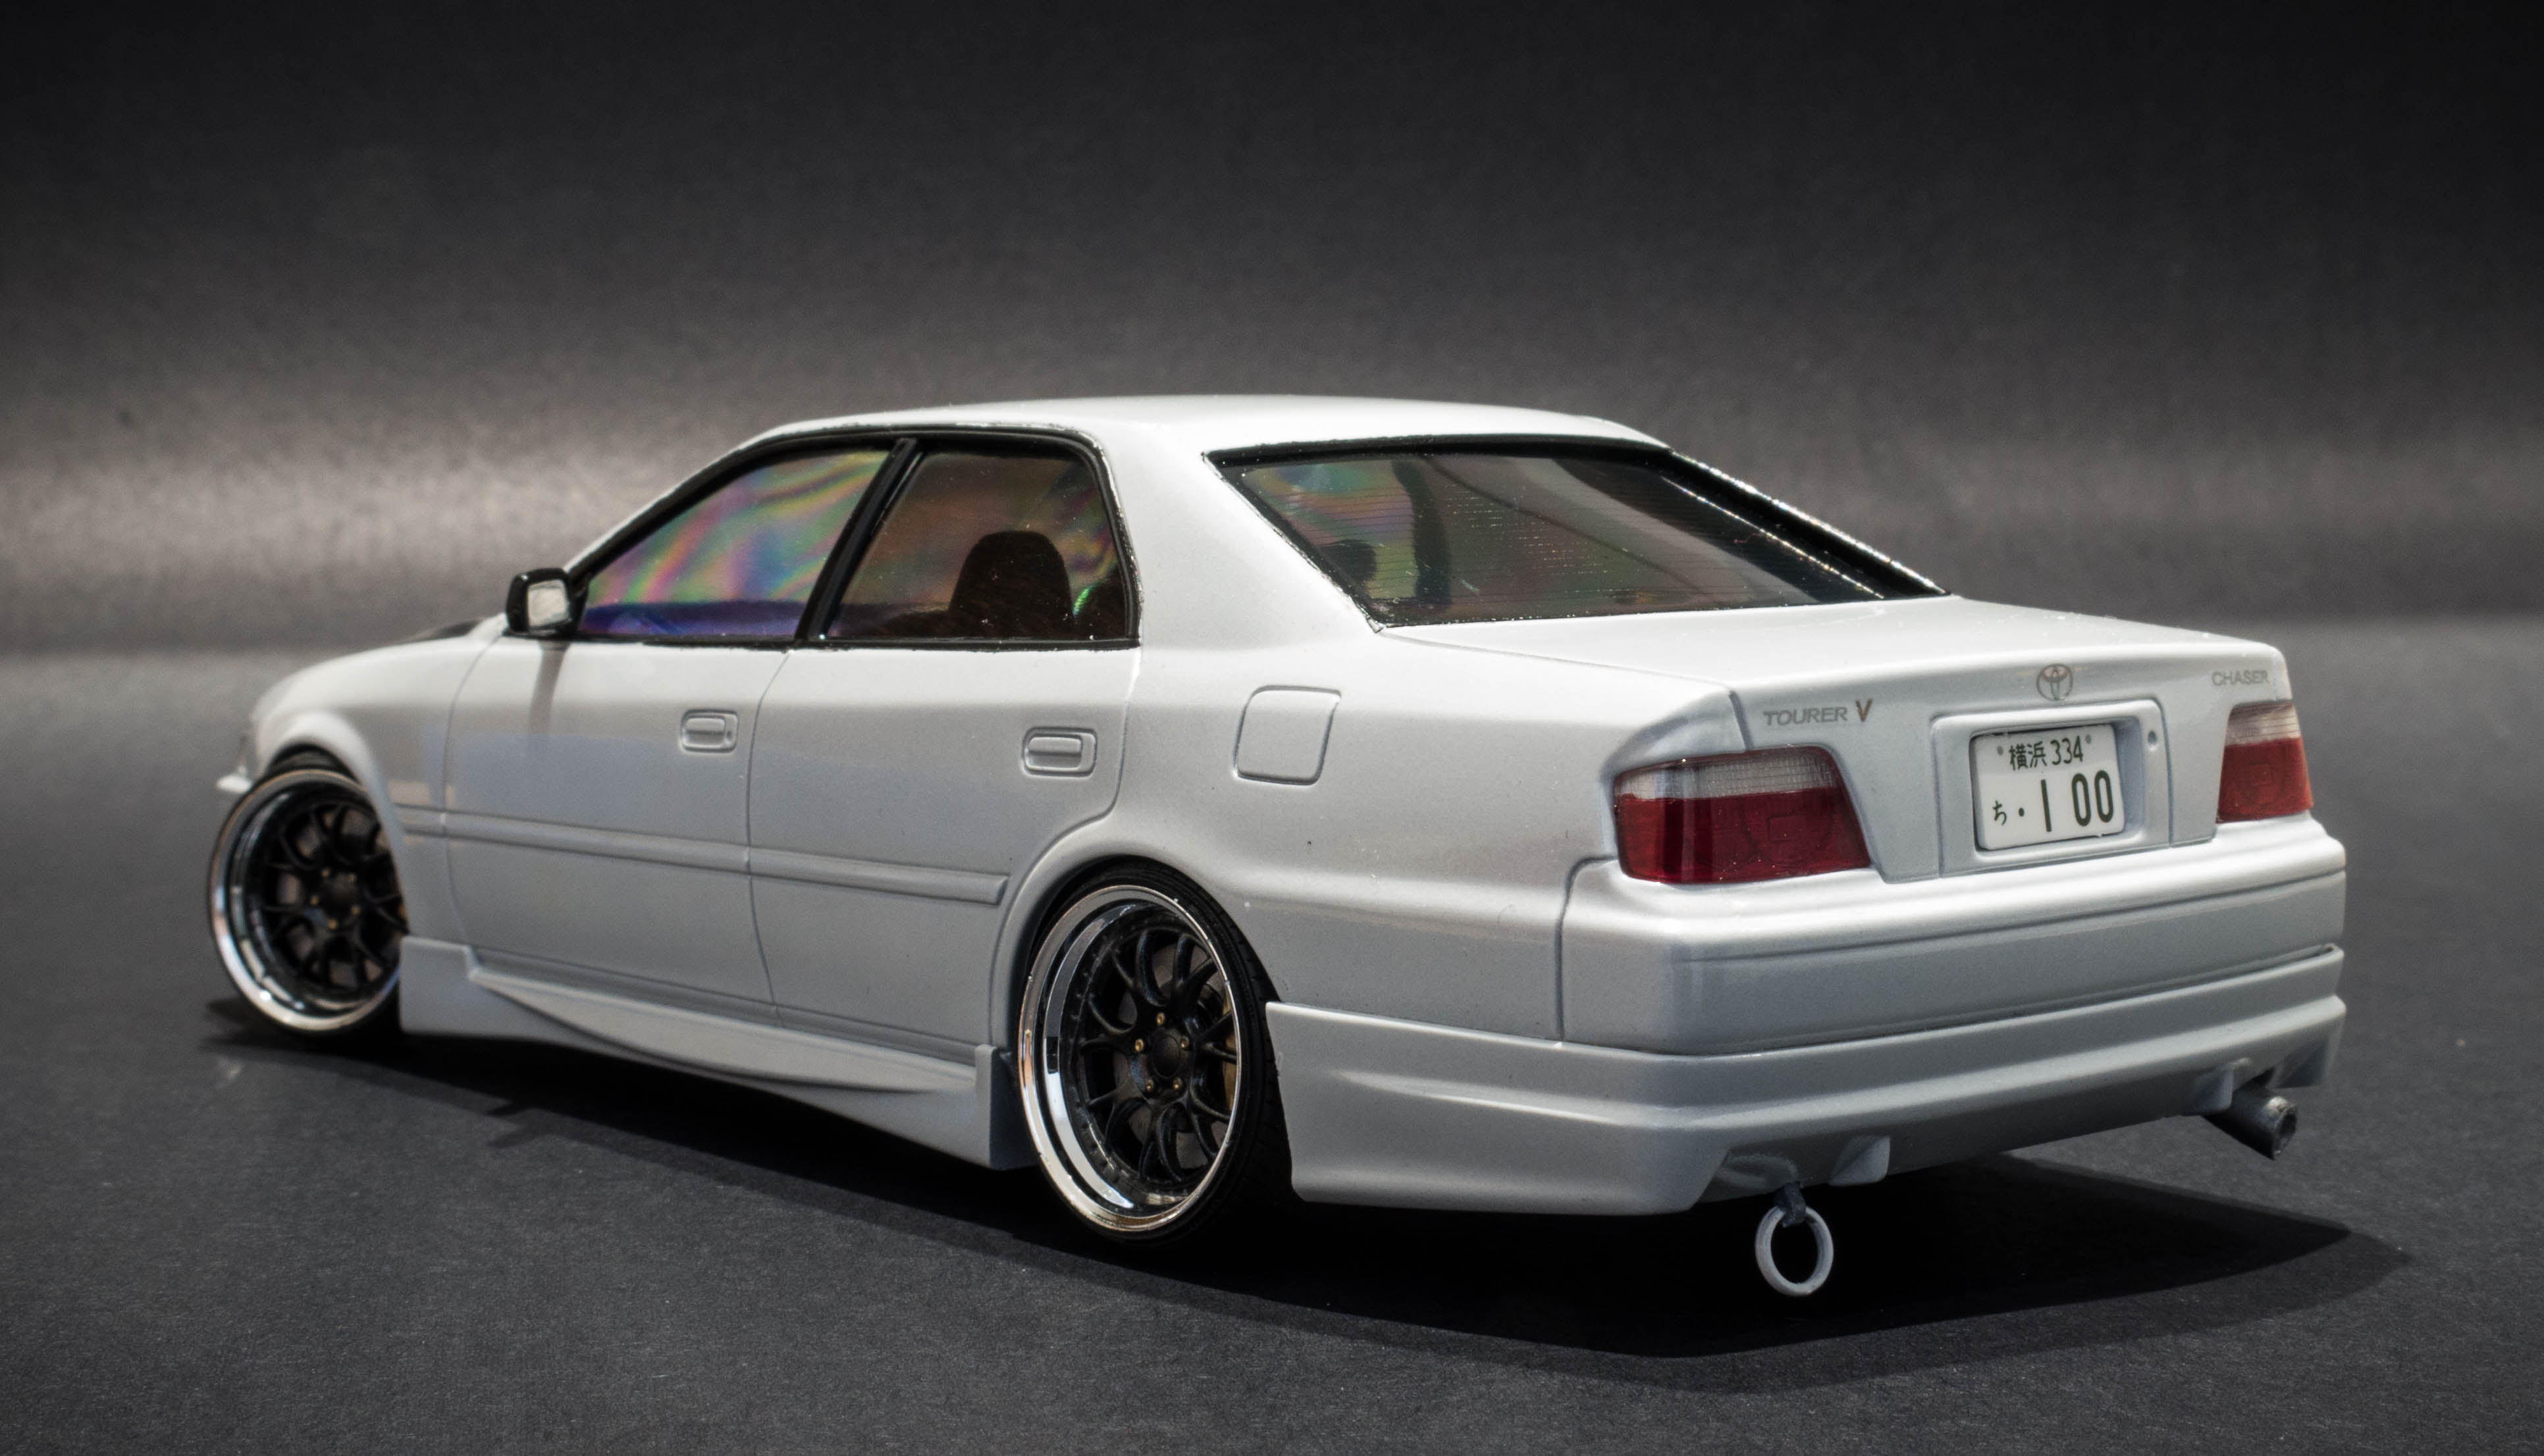
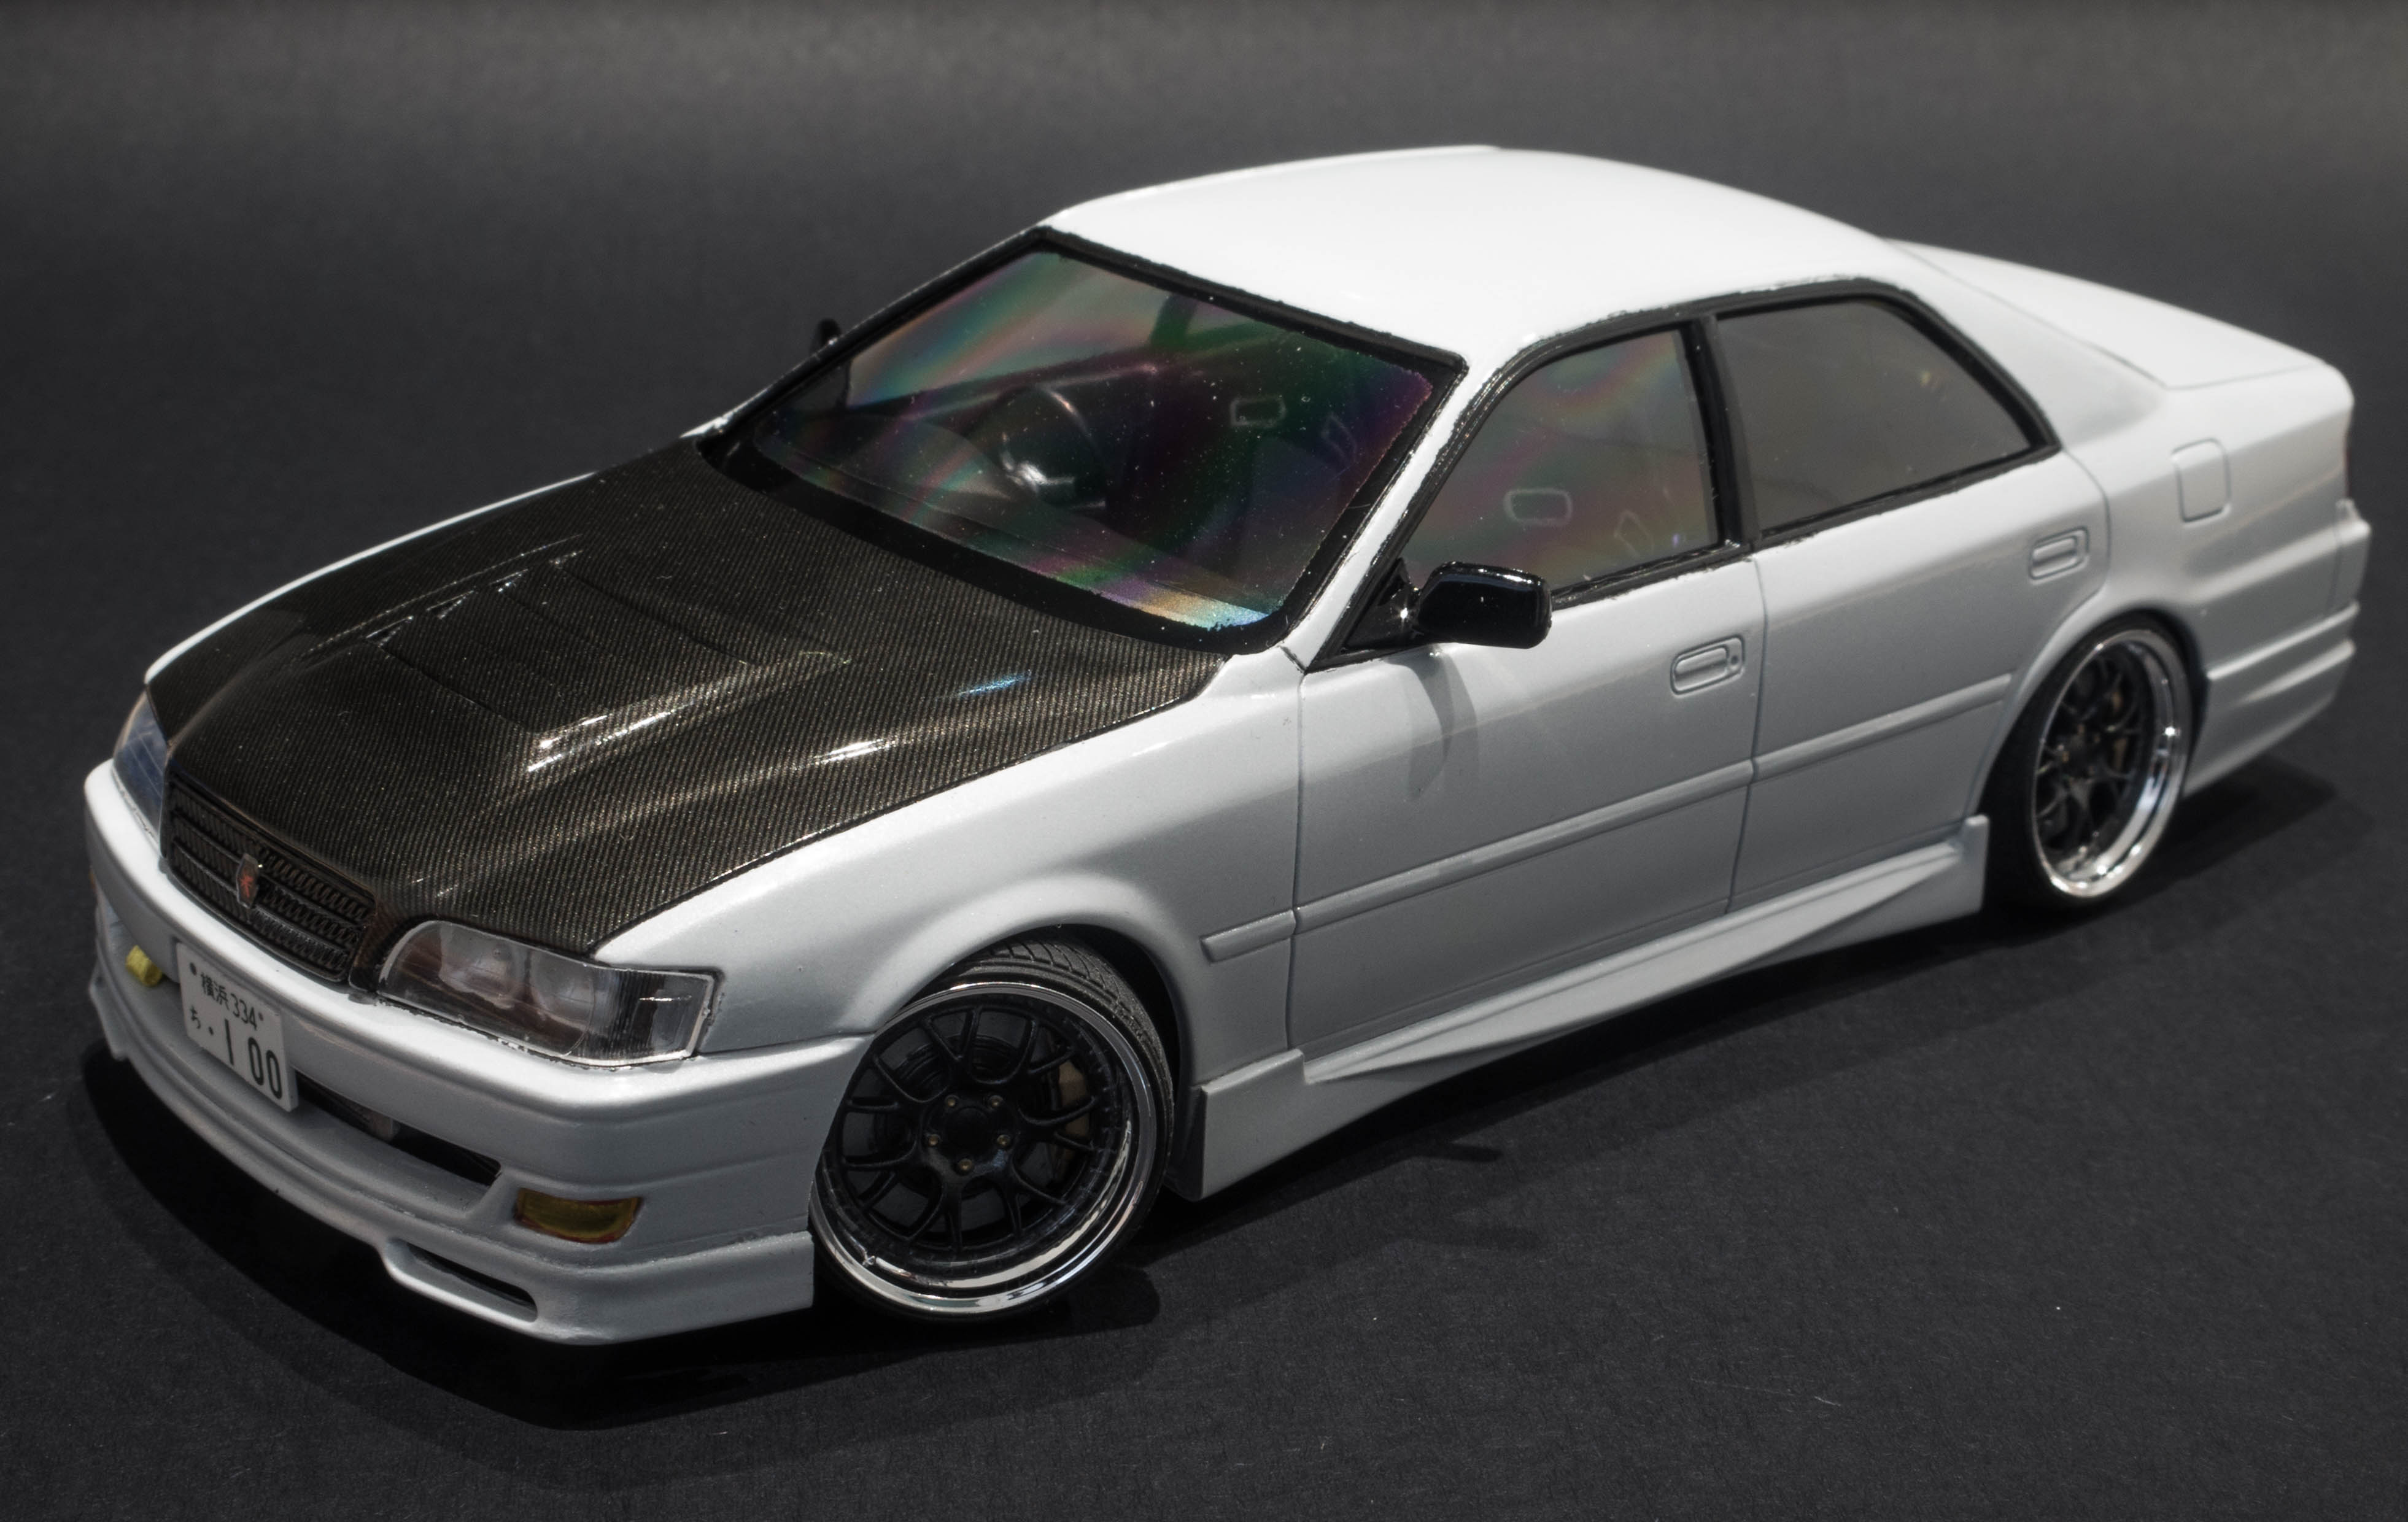
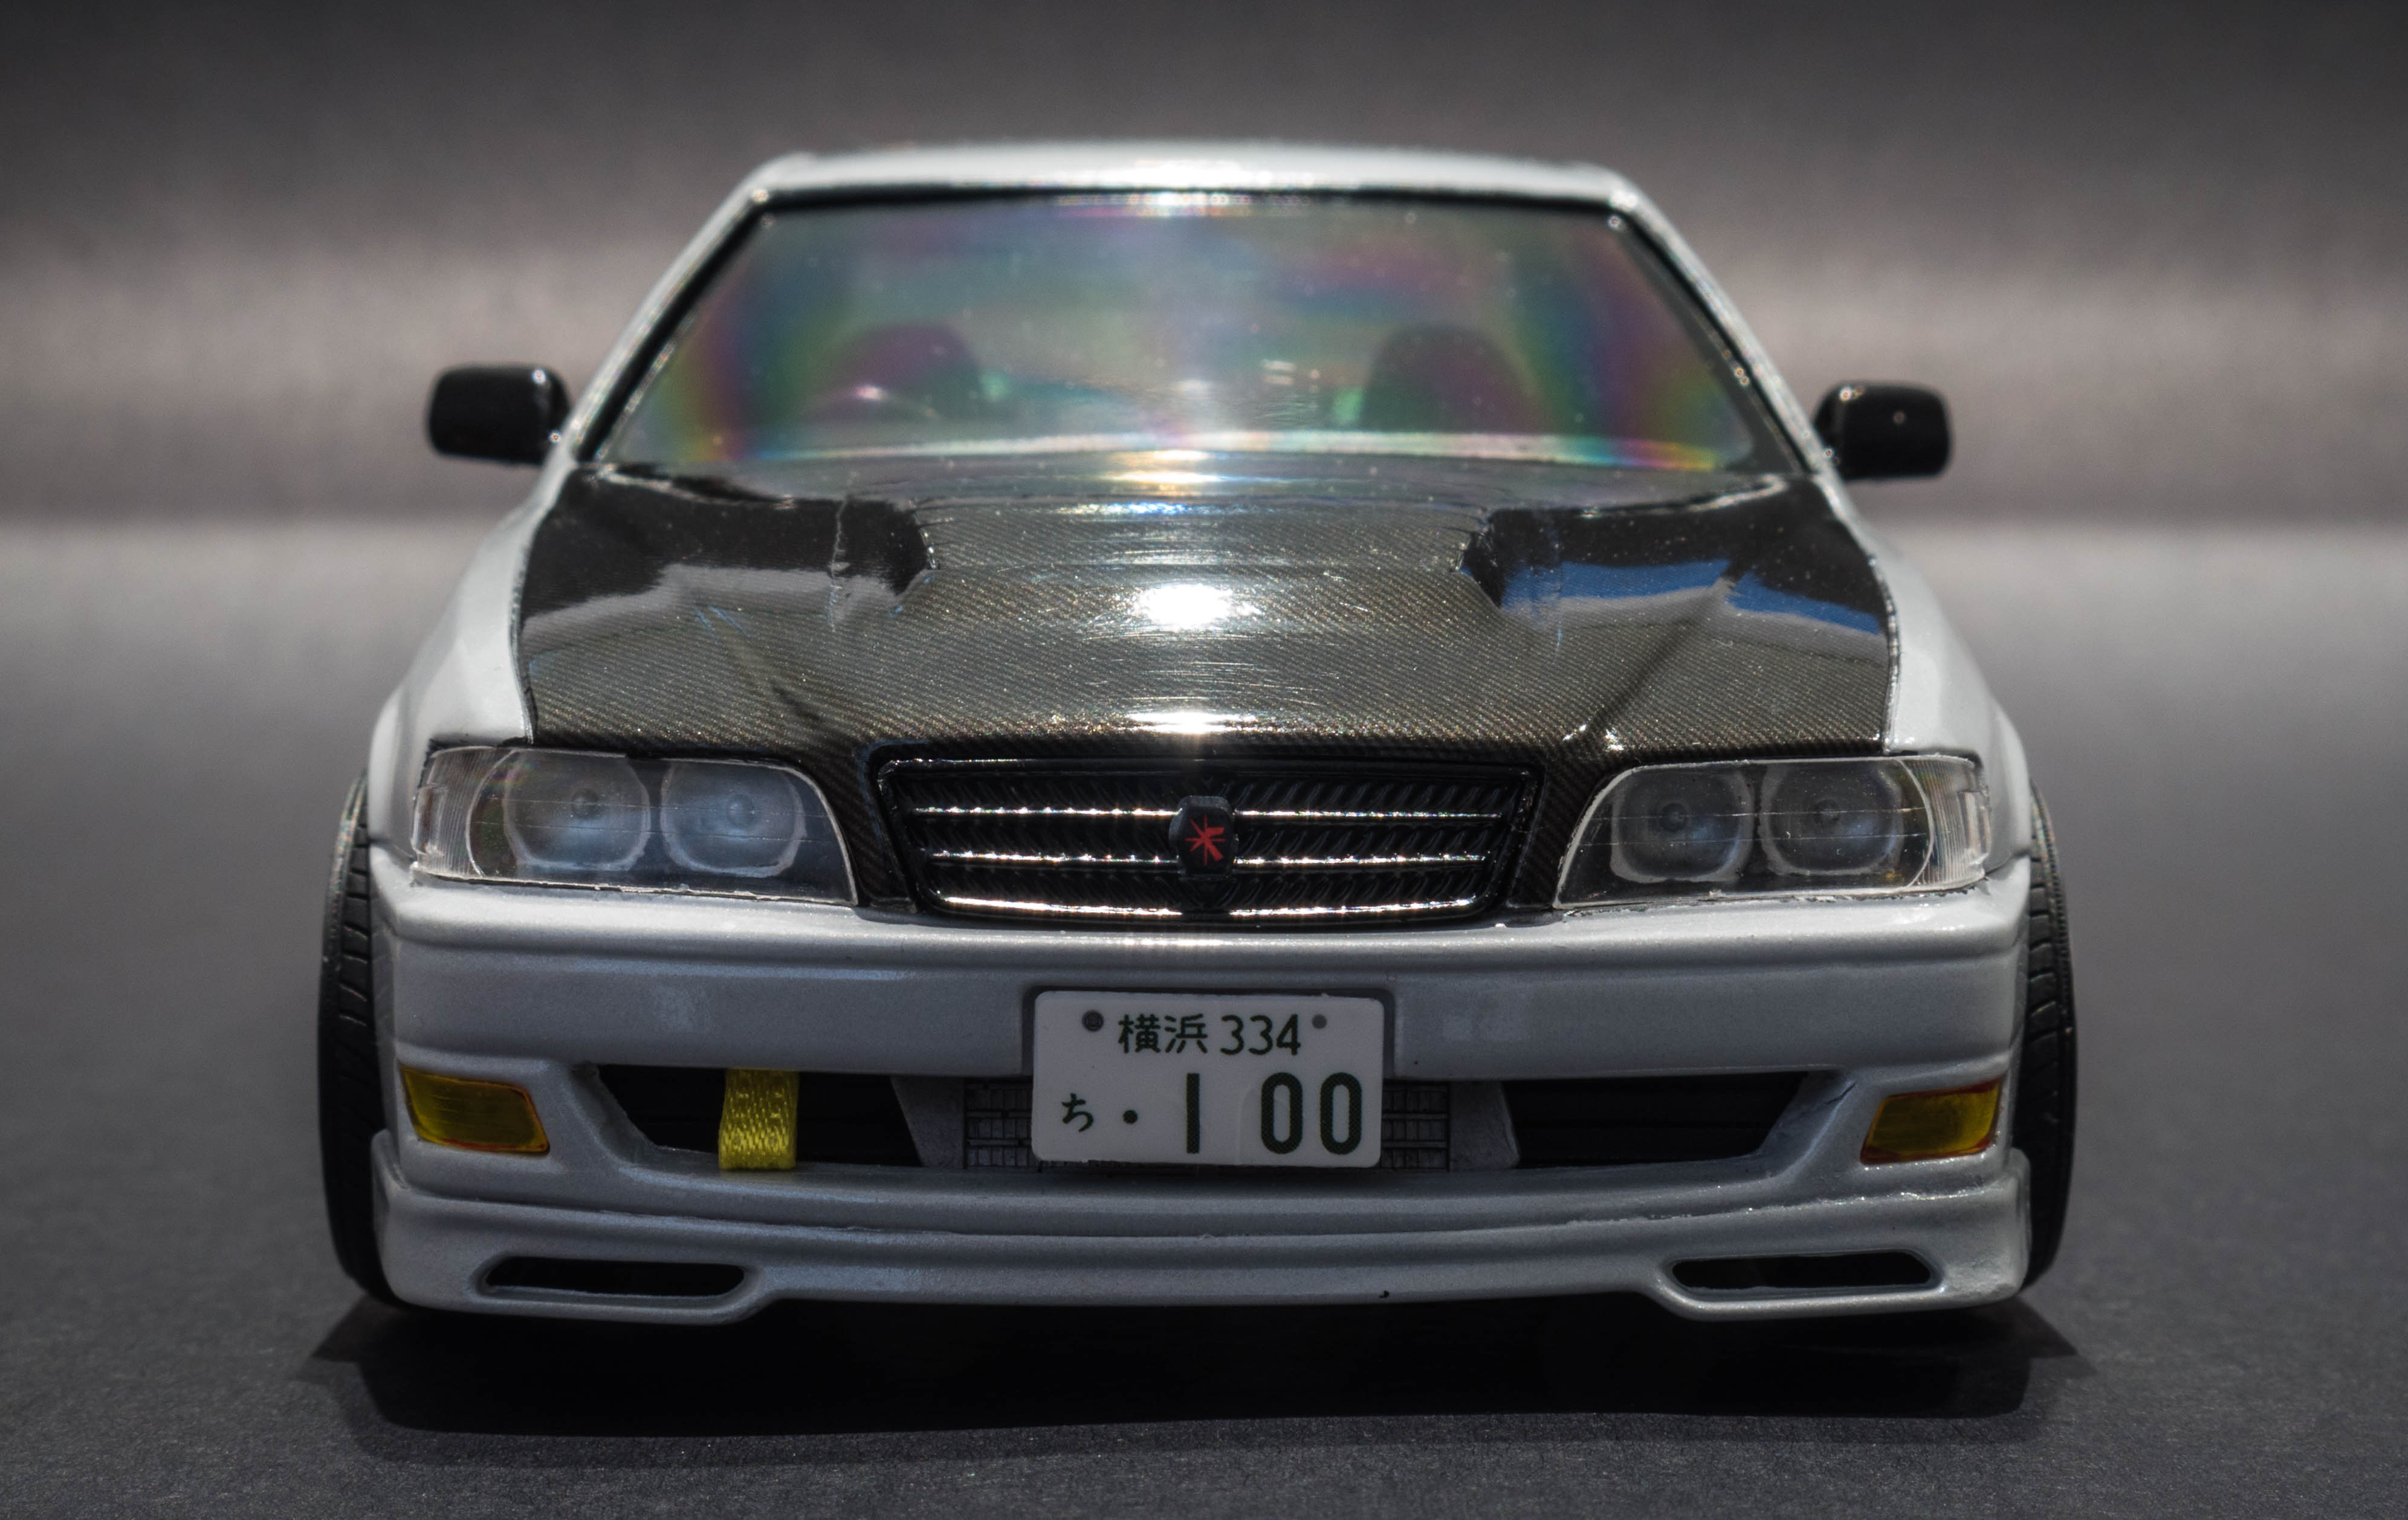
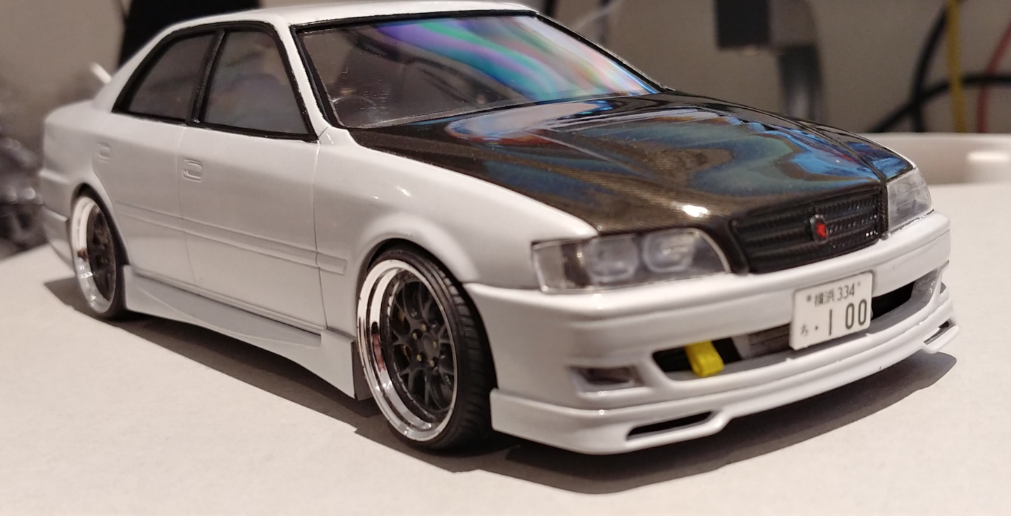
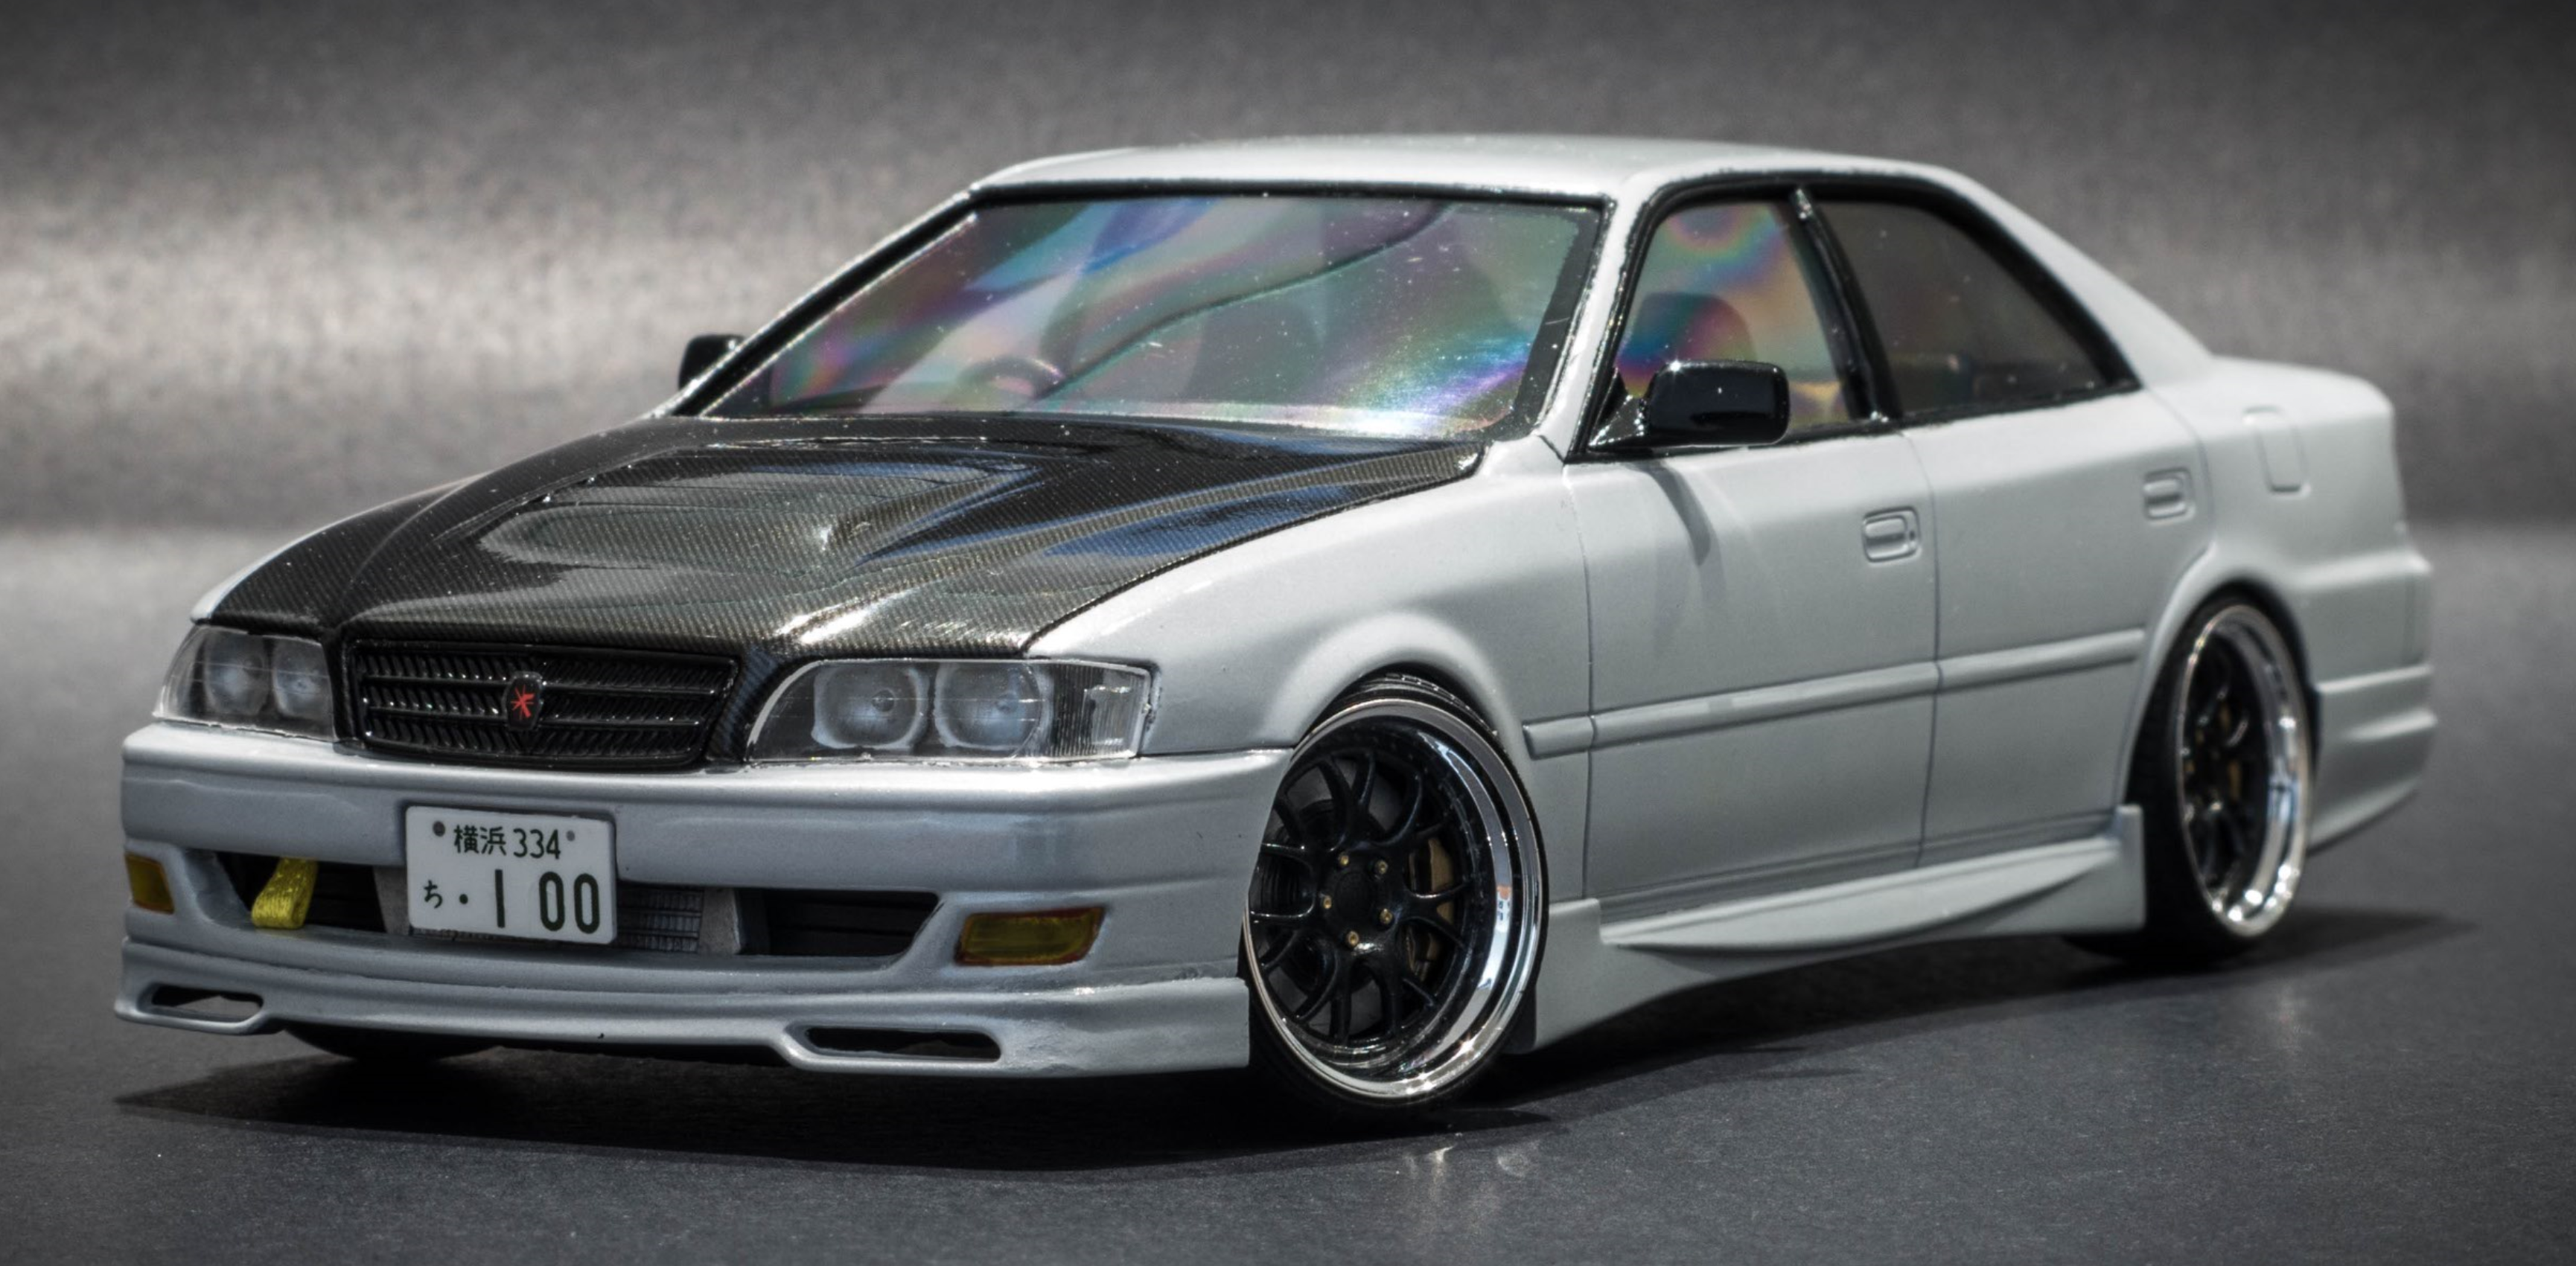
Hi All, I just finished my Aoshima Toyota Chaser. I Started this build on New years eve, and wanted to finish it before i go back to work from my summer break. Anyway, here is a link to my on the workbench thread. Final picks are below Thanks Nathan

-
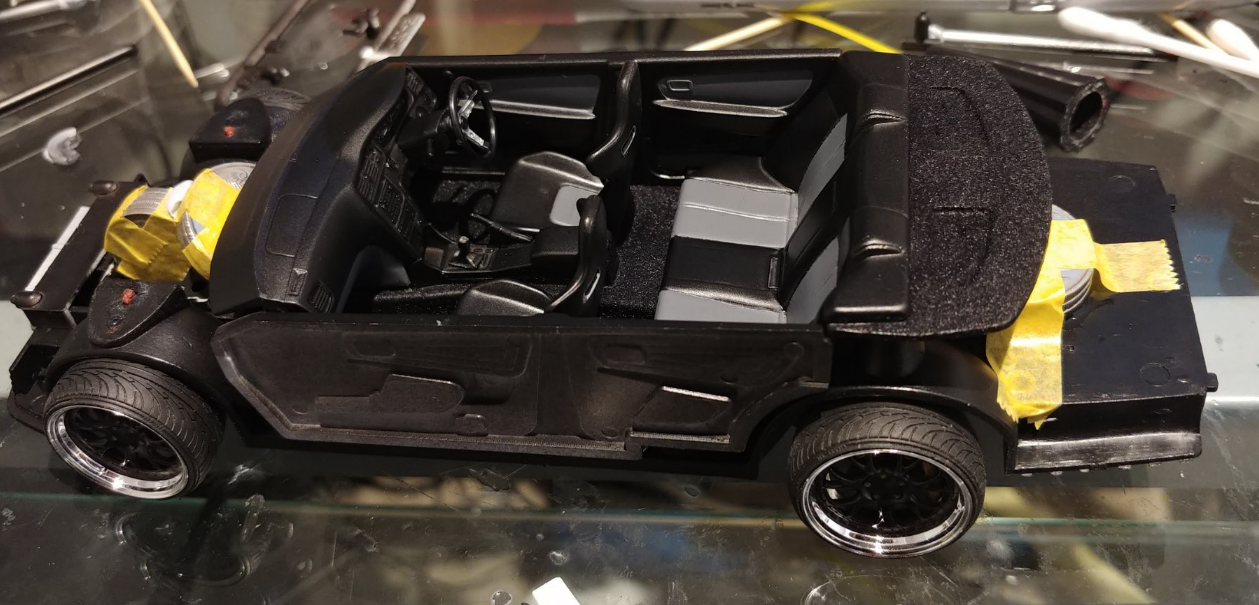
Now that the interior is complete, Final assembly can be started. First up is the windows. The kit came with some masking pieces for the windows, but they didnt stick very well. they are a sticky vinyl type material. I wasnt confident in their ability to properly mask the edges. so i got out some 40mm wide masking tape, and stuck the kits template onto that, to make my own masking sheets. It worked a treat. i then masked off the rest of the windows and sprayed the inside semi gloss black. Once this had fully dried, i again masked off every thing except the rear door windows, and rear window. I sprayed those with tamiya smoke, to give the windows a bit of a darker tint. Next, i glued the interior to the chassis, and added about 80 cents worth of 5c, and 10c coins to the engine, and boot to add a bit of weight to the kit, to give it a more solid feel. It feels more like a diecast model now I then put the body, and windows onto the chassis and started on the exterior details. I added a small fabric tow strap to the front bumper using a bit of left over seatbelt from a previous kit. I'm really pleased with the outcome of this, i think it really suits the car. the head light, and tail light buckets were painted with chrome silver paint, and the tail light and fog light clear lenses were colours using some sharpie permanent markers (so much better than clear paints, as the drying time between coats is about seconds, and it doesnt run like paints). Once these details were done, The kit was pretty much complete. The only thing left was the side mirrors. And thats it. All up, This took me 5 Days. Im really pleased with how this kit came out. I will Post some photos in the under glass section soon. Nathan
-
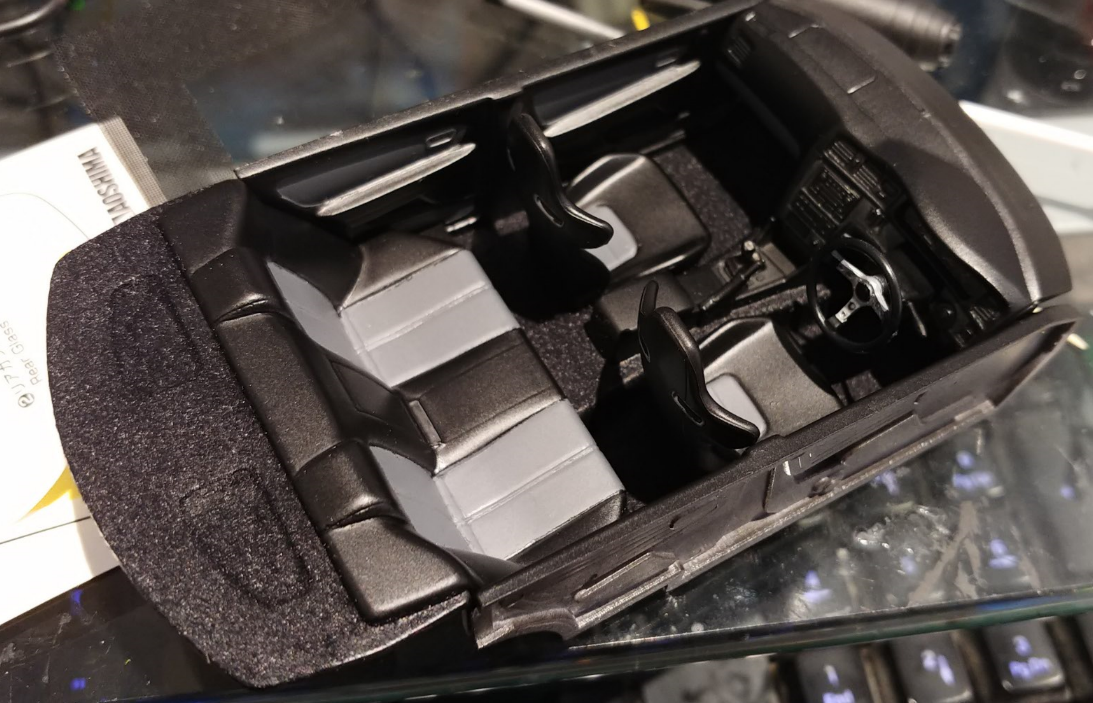
Hi All, The interior is now complete too. The kit came with some decals for the door cards and seats, which i wasn't much a fan of. Also, the colours determined by the instructions were a bit weird too ( dark blue with yellow/mustard inserts) I decided i would do a black leather with grey alcantara/suede inserts, as this would tie in better with my chosen aesthetic for the car. Firstly i did the undercoat of Tamiya German grey, then masked off the parts i wanted to stay that colour, then went over the rest in semi gloss black. I was really happy with the result. I wasnt a huge fan of the front seats that came with the kit, so i went back to my parts box, and found some bucket seats. these also bot the two tone colour scheme. The final touch for the interior was to add some carpet using some scale prodctions black flocking. This was my first attempt at using the stuff, and i am fairly happy with the result. In the future i will use some paint that doesnt dry as quickly, so that more of the flocking sticks (its a little patchy)
-
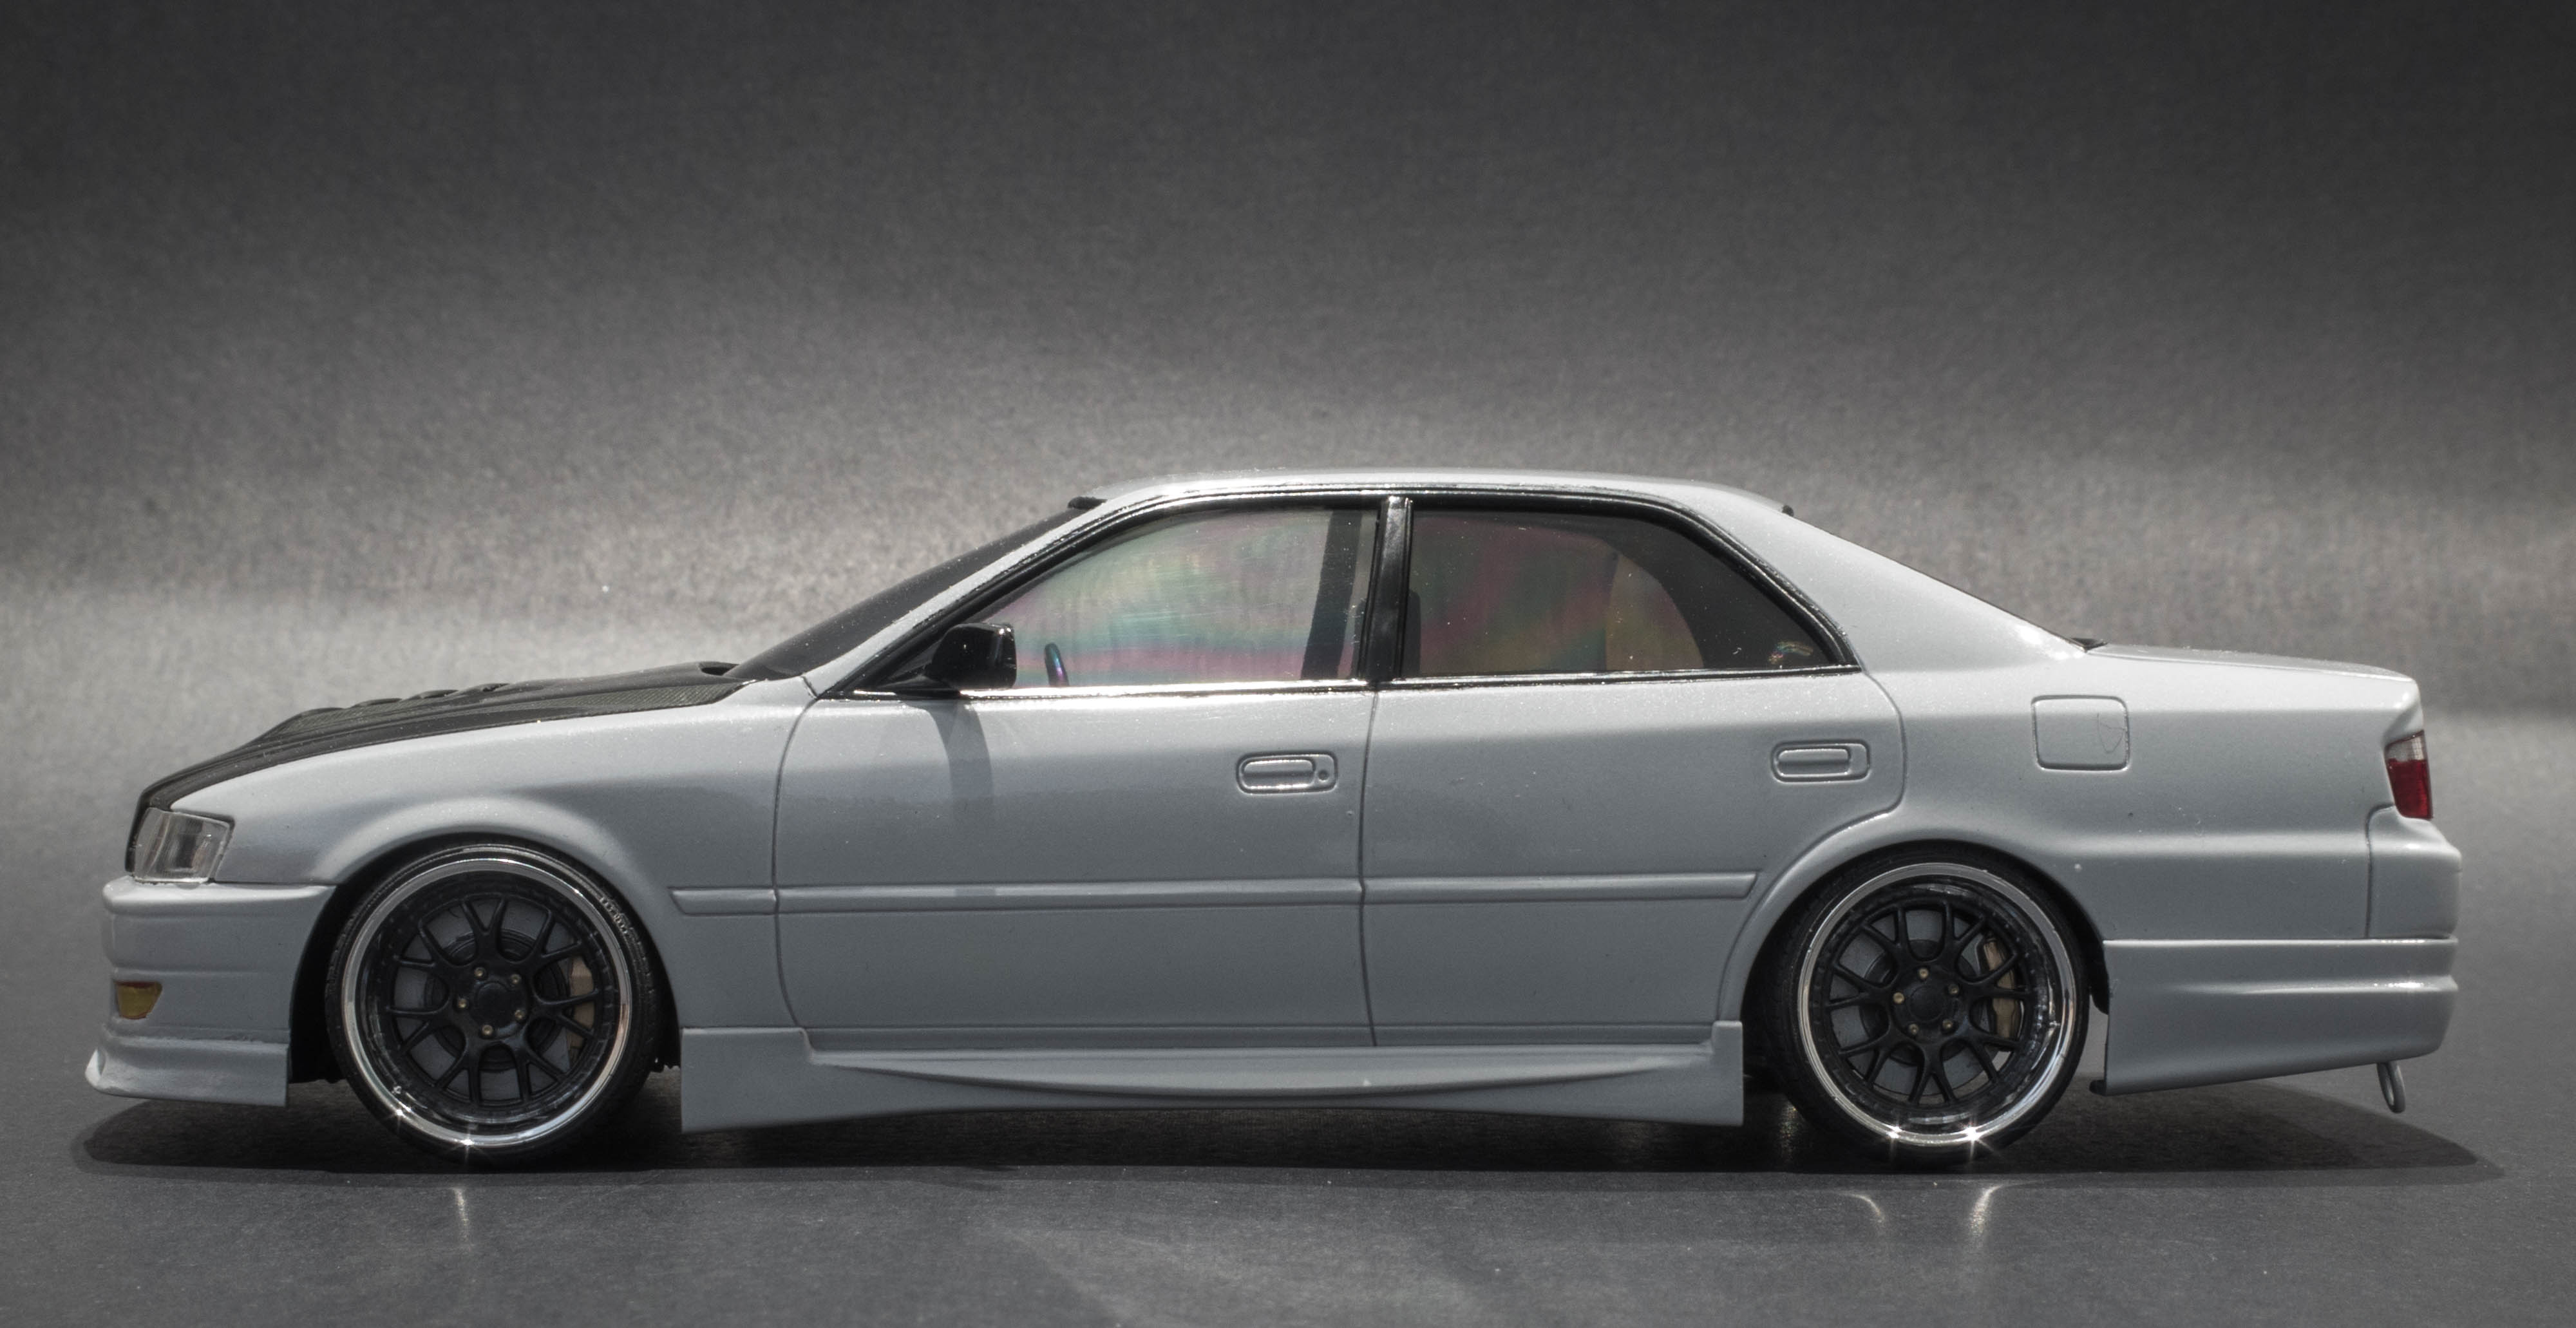
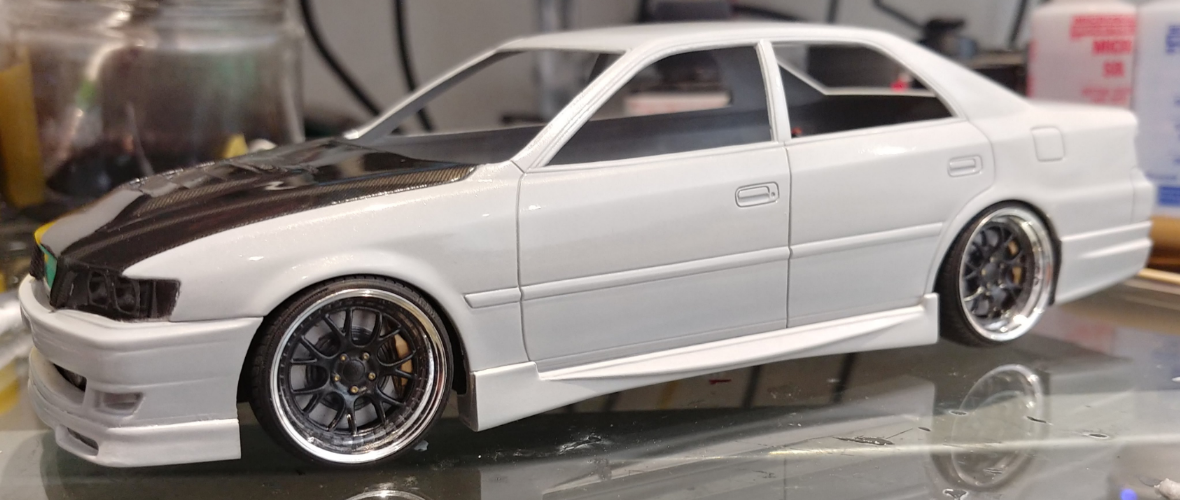
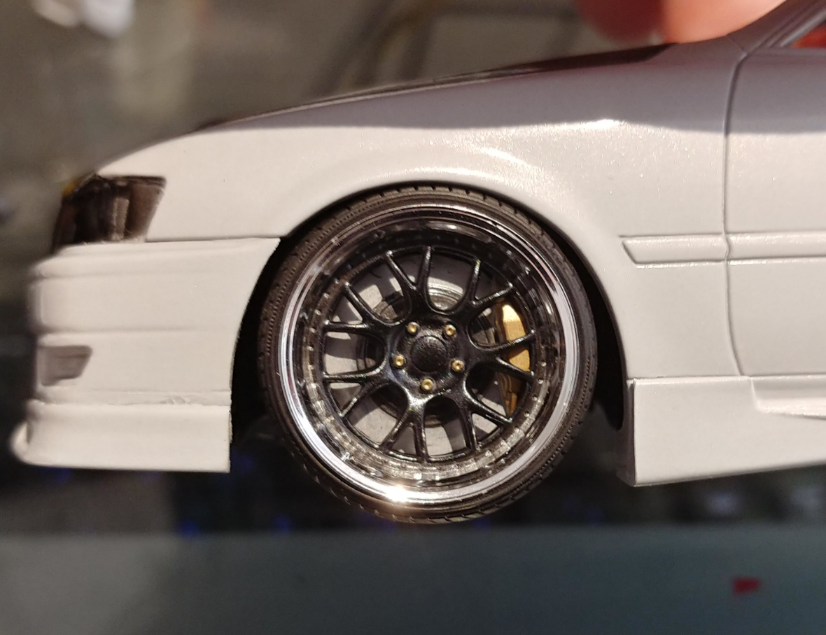
Hi All, More progress shots now. There Chassis was fairly quick to do, as there was not a huge amount of detail. The main chassis pieces were spared with Tamiya semigloss Black, silver, and flat aluminium colours. After doing a test fit of the wheels, I decided that the brakes were too small for the look i was going for. I found some bigger brakes in my parts box, but had to drill out the centres to 6.5mm to allow the wheel hubs to go through them. Also in going with these new brakes, they wouldnt work with the mounting points of the kit, so i had to do a bit of modification with some styrene sheets. As a result of this, the wheels will no longer turn, but that's ok. I painted the centre piece of the wheels gun metal grey, to match the colour of the carbon bonnet, and to break up the chrome. Below are some pics of the test fitment with the body.
-
Thanks, Yeah the sanding sponges seem to not be as harsh on the high spots of the paint as the force is more evenly distributed. I found with regular sand paper, i was burning through the paint too quickly.
-
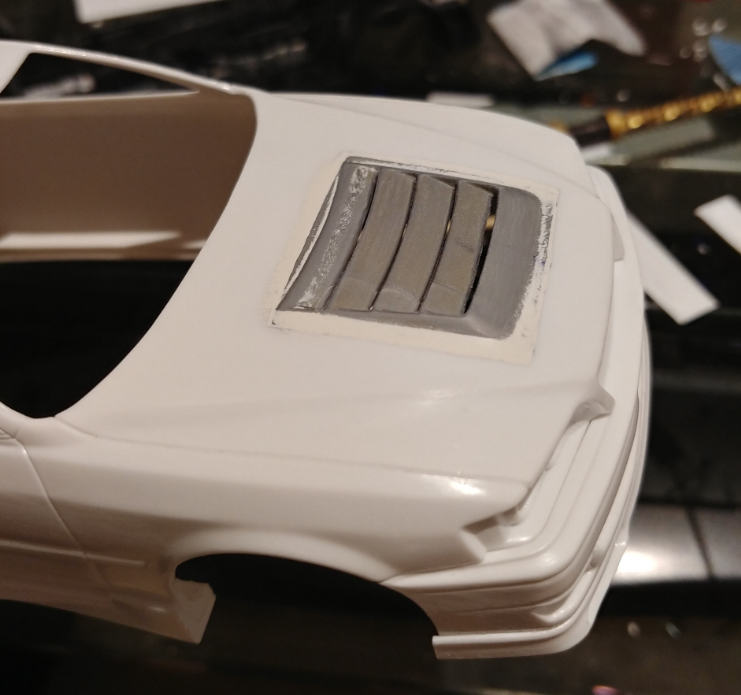
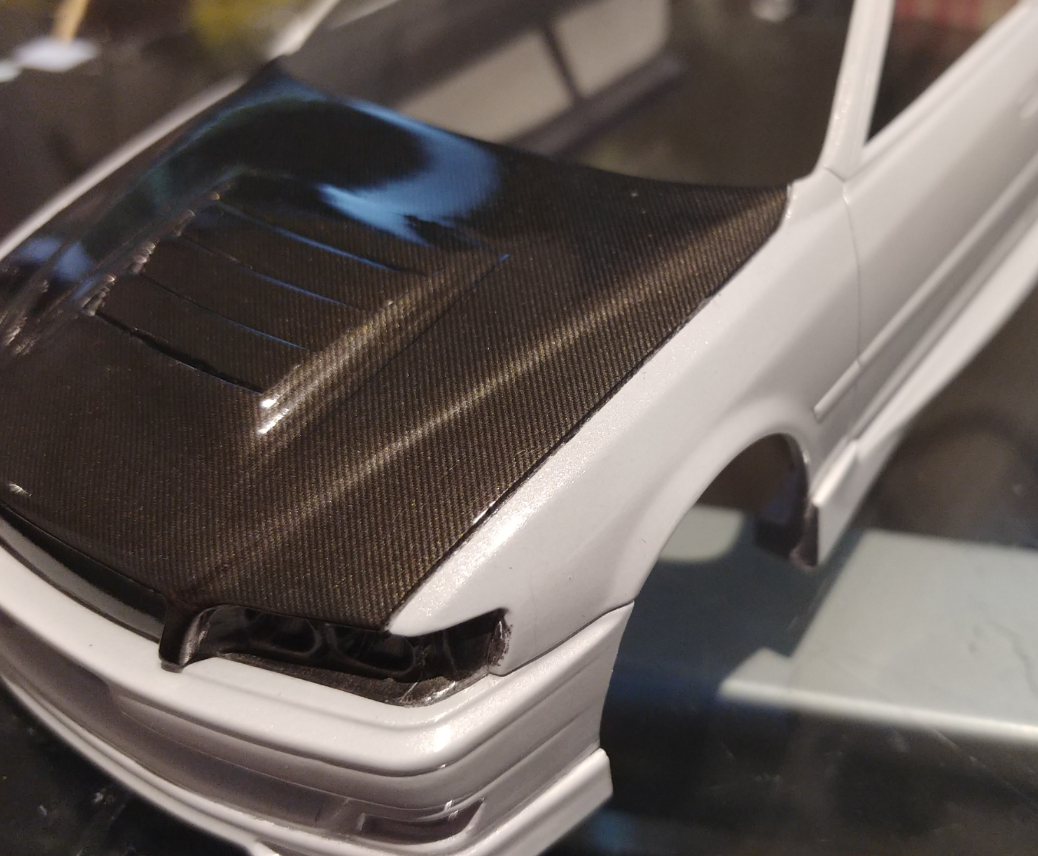
Hi All, I set myself a challenge, to complete a quick build before i go back to work in a weeks time. Below is my progress so far... The Kit in Question is the Aoshima Toyota Chaser. It is just a Curbside Kit, so shouldnt take that long to complete. My vision for this build is to be a JDM VIP car, So slightly modified exterior, and big Chrome wheels. The Wheels i intend on using are the SSR MS3, by Aoshima. First up, i prepped the body. removed any extra mould lines, and went to work on the bonnet. I decided i would make a custom vented bonnet using one from a R34 Ztune skyline that i stuffed up a few years back, but still had lying arround. I dremeld out the vents, and traced the outline onto the chaser. out came the 0.5mm drill to make a few pilot holes so i could get my saw in to cut the hole to match the vented piece. I used a few off-cuts of styrene sheets so i had something to glue it to underneath. Next i used some Tamiya White Putty and started to fill the gaps. Then the sanding process started. First up was some 360 Grit, then 600, then 1000. Next up was pimer. For this i used a Tamiya Grey surface primer can. I let the primer dry for an hour or so, and then sanded it back with some Tamiya sanding sponges up to 3000 grit, (probably not essential, but a few spots needed it. I wanted to paint this model in Tamiya TS45 Pearl White. Seeing as i used a grey primer, i decided to do a silver base coat, just so the white would show over it better. It turns out that the Pearl white, is a very thin colour, so it didnt really turn out white, but instead a light grey pearl. As it turns out i Love the colour better than the straight pear white, It is a very unique colour. I decided that i wanted to make the bonnet carbon fibre to accentuate the JDM style i was going for. I used some scale production carbon fiber sheets for this, and a lot of Micro set to work the decal into the complex shape of the vents. I was able to use one whole sheet for the bonnet, which i wasnt sure i would be able to do. After letting this sit for an hour or two to fully set, i continued onto the clear coat. Again i used some tamiya spray (TS13) I applied 2 light mist coats, followed by 2 heavier coats, then put it aside for around 24 hrs. The clear coat finish straight out of the can is not too bad, but there was a bit of orange peel. so out came the 3000 grit sanding sponge and i got to work levelling out the orange peel (wet sanding of course) I then used some meguires car polish compound to remove the scratches from the sanding, working in small rotating motions, then buff it off. Next step was some Auto Glym car polish to make the colour shine, again working in small circular motions. The final step was some Mothers Carnuba Wax, which helps seal in the polish, and makes the model an ease to remove dust from in the future. This whole paint correction process may seem a bit unnecessary, but the end result is truly fantastic. Tomorrow i will begin work on the chassis and post some progress shots. Thanks Nathan
-
Haha, thanks, Unfortunately, when the doors are all closed, the fitment is not perfect, not quite sure the reason, but when its closed, you cant see all the detail. Yes, it certainly had its challenges, the final assembly was a bit fiddly. Glad its done now.
-
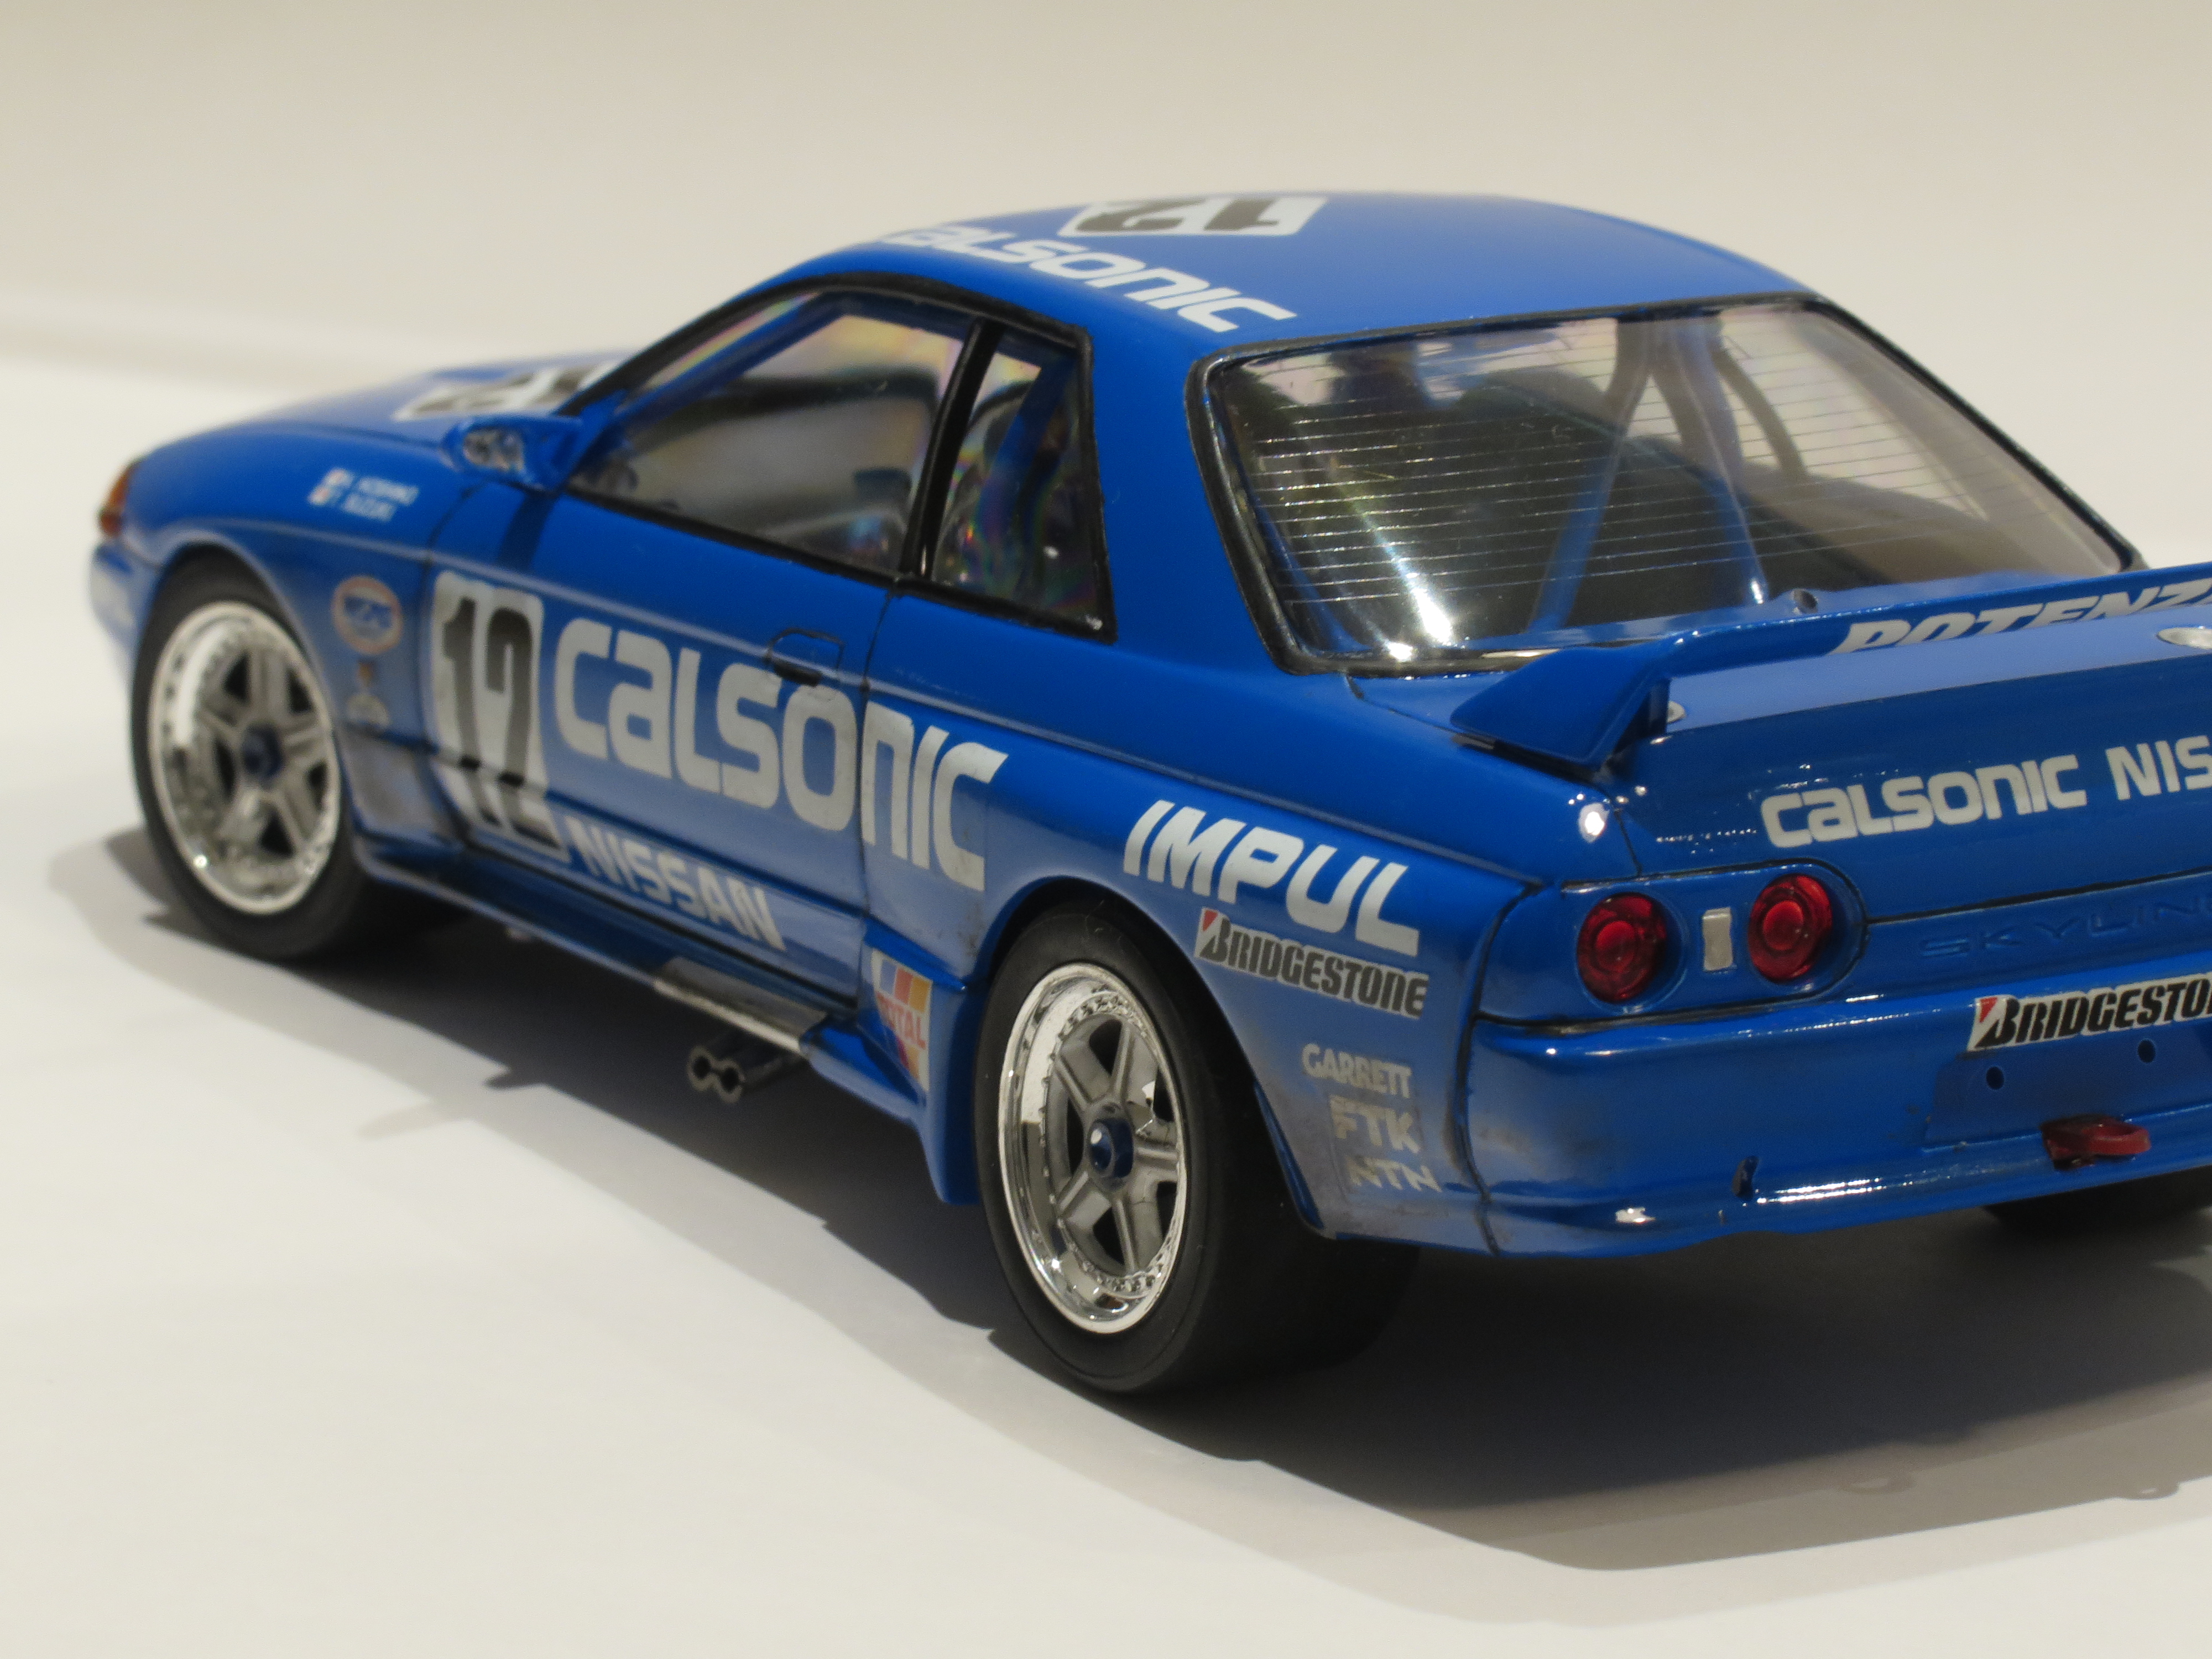
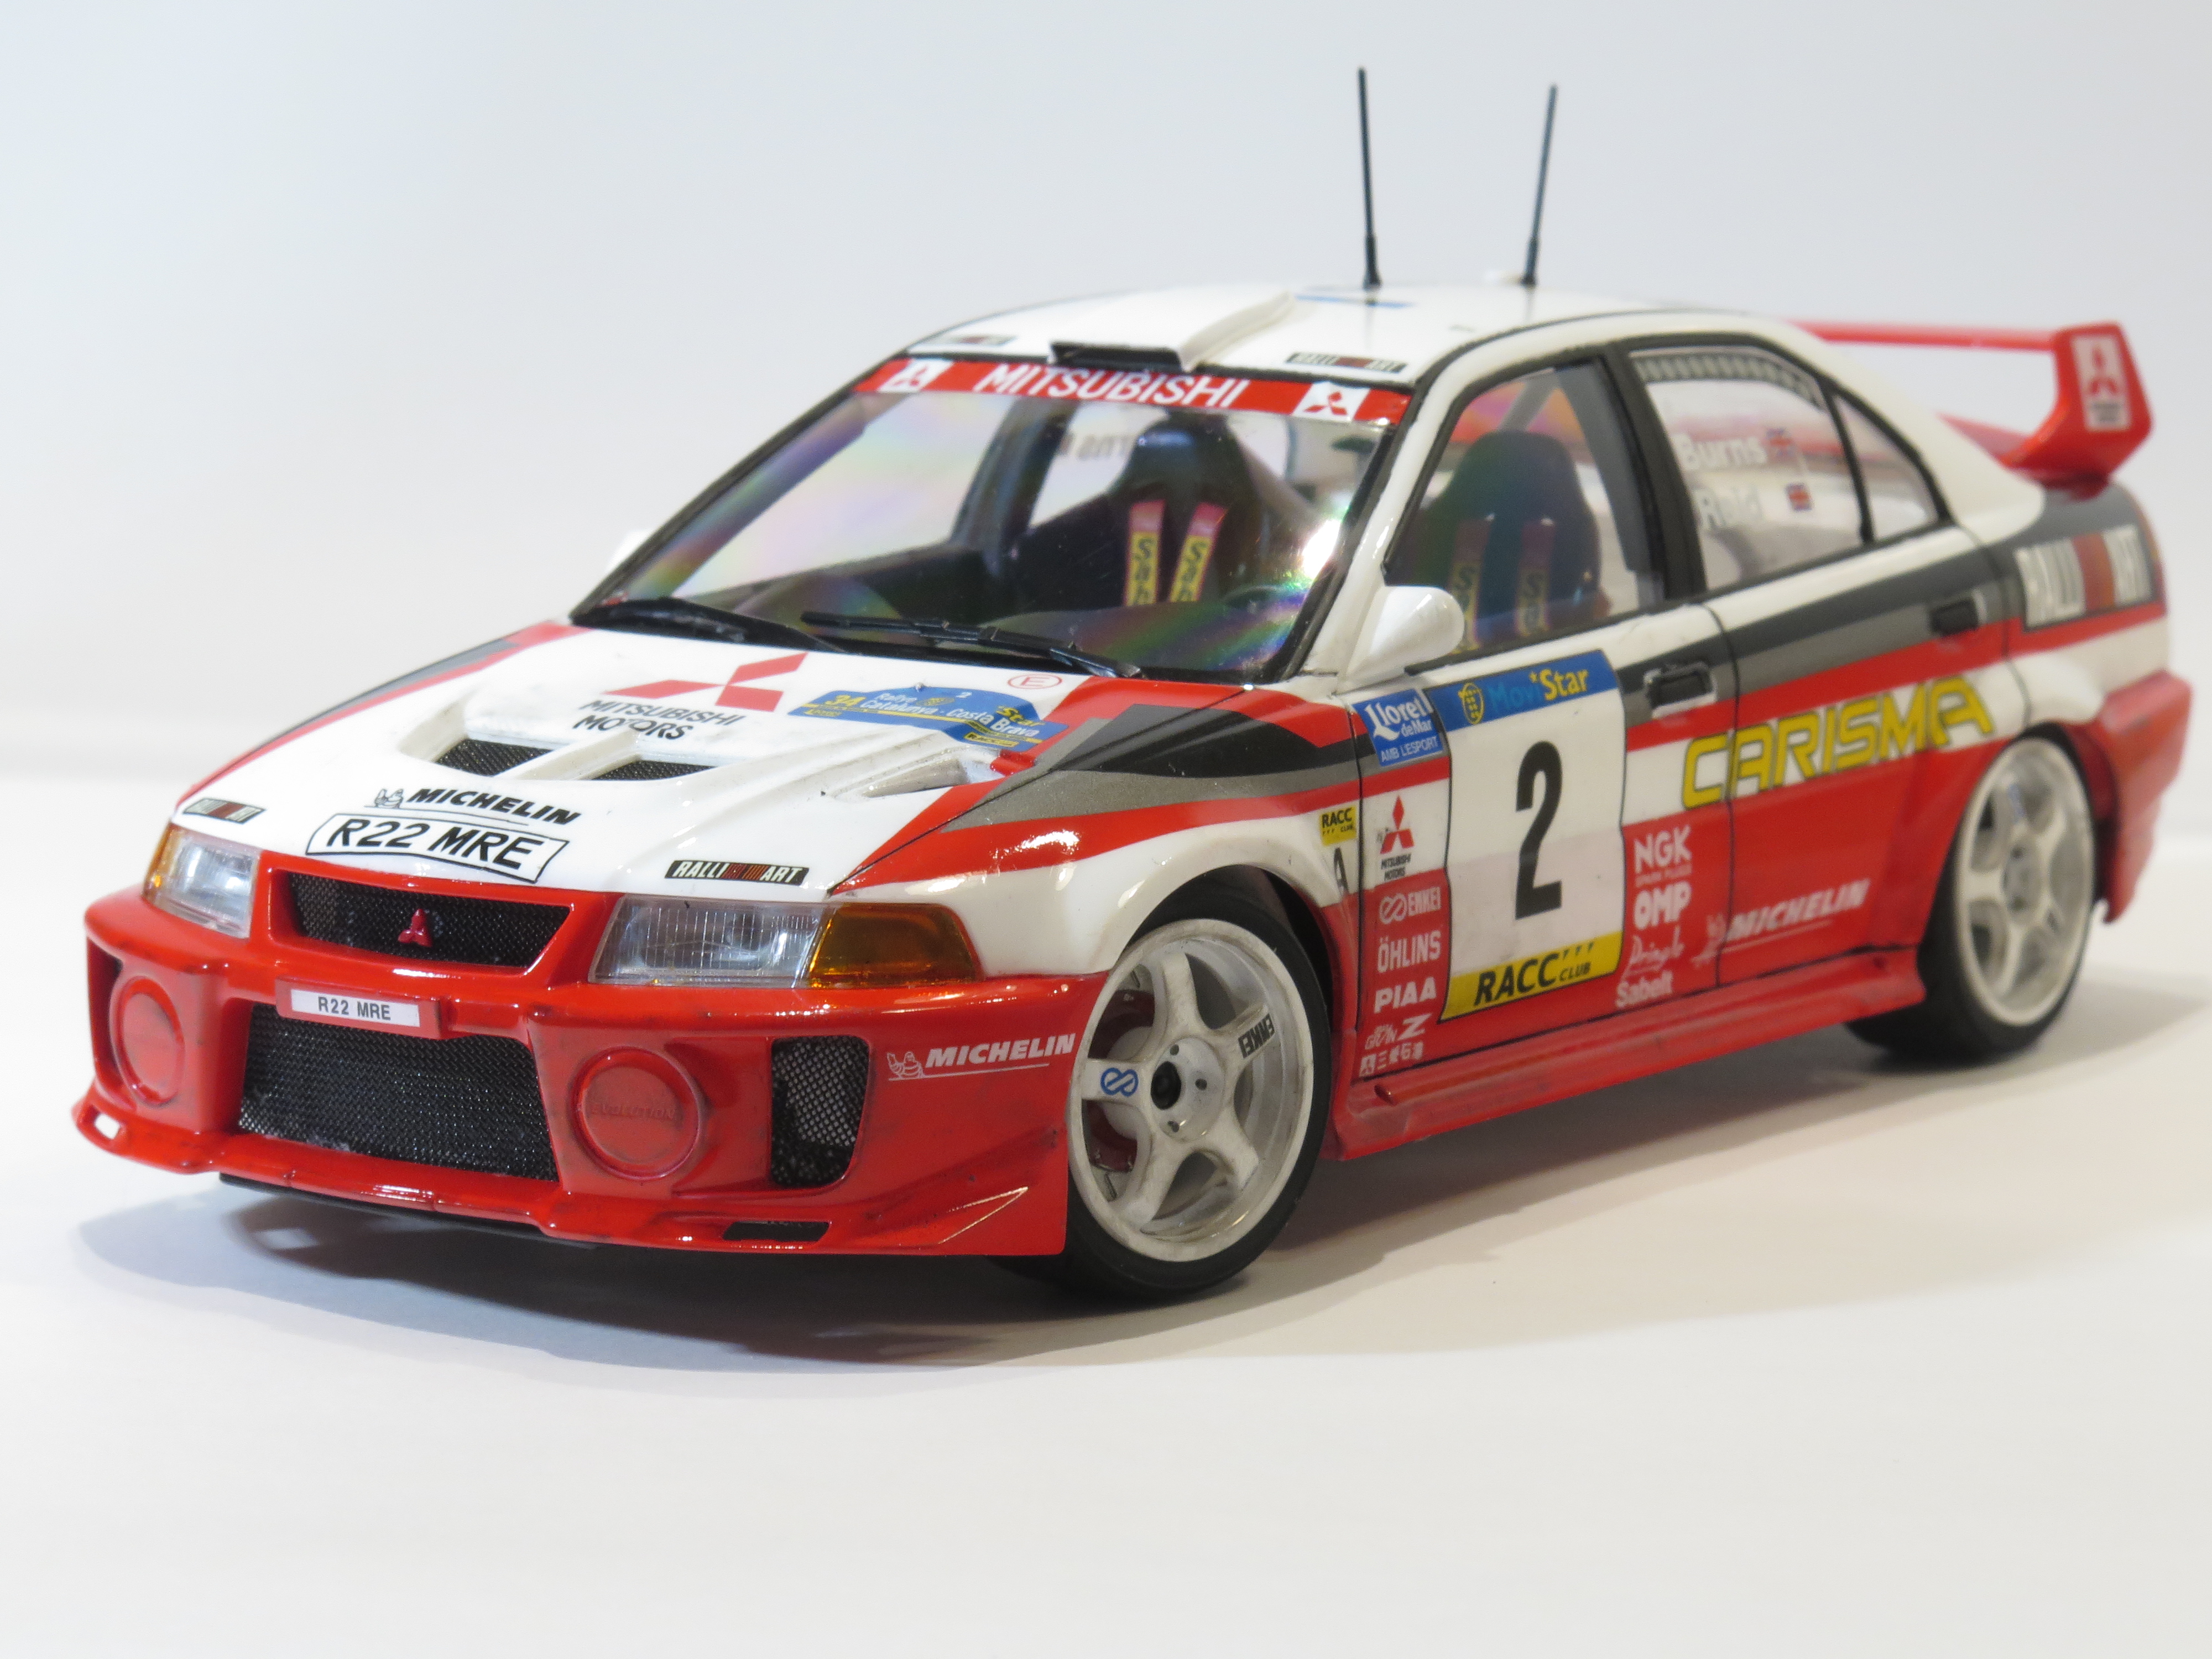
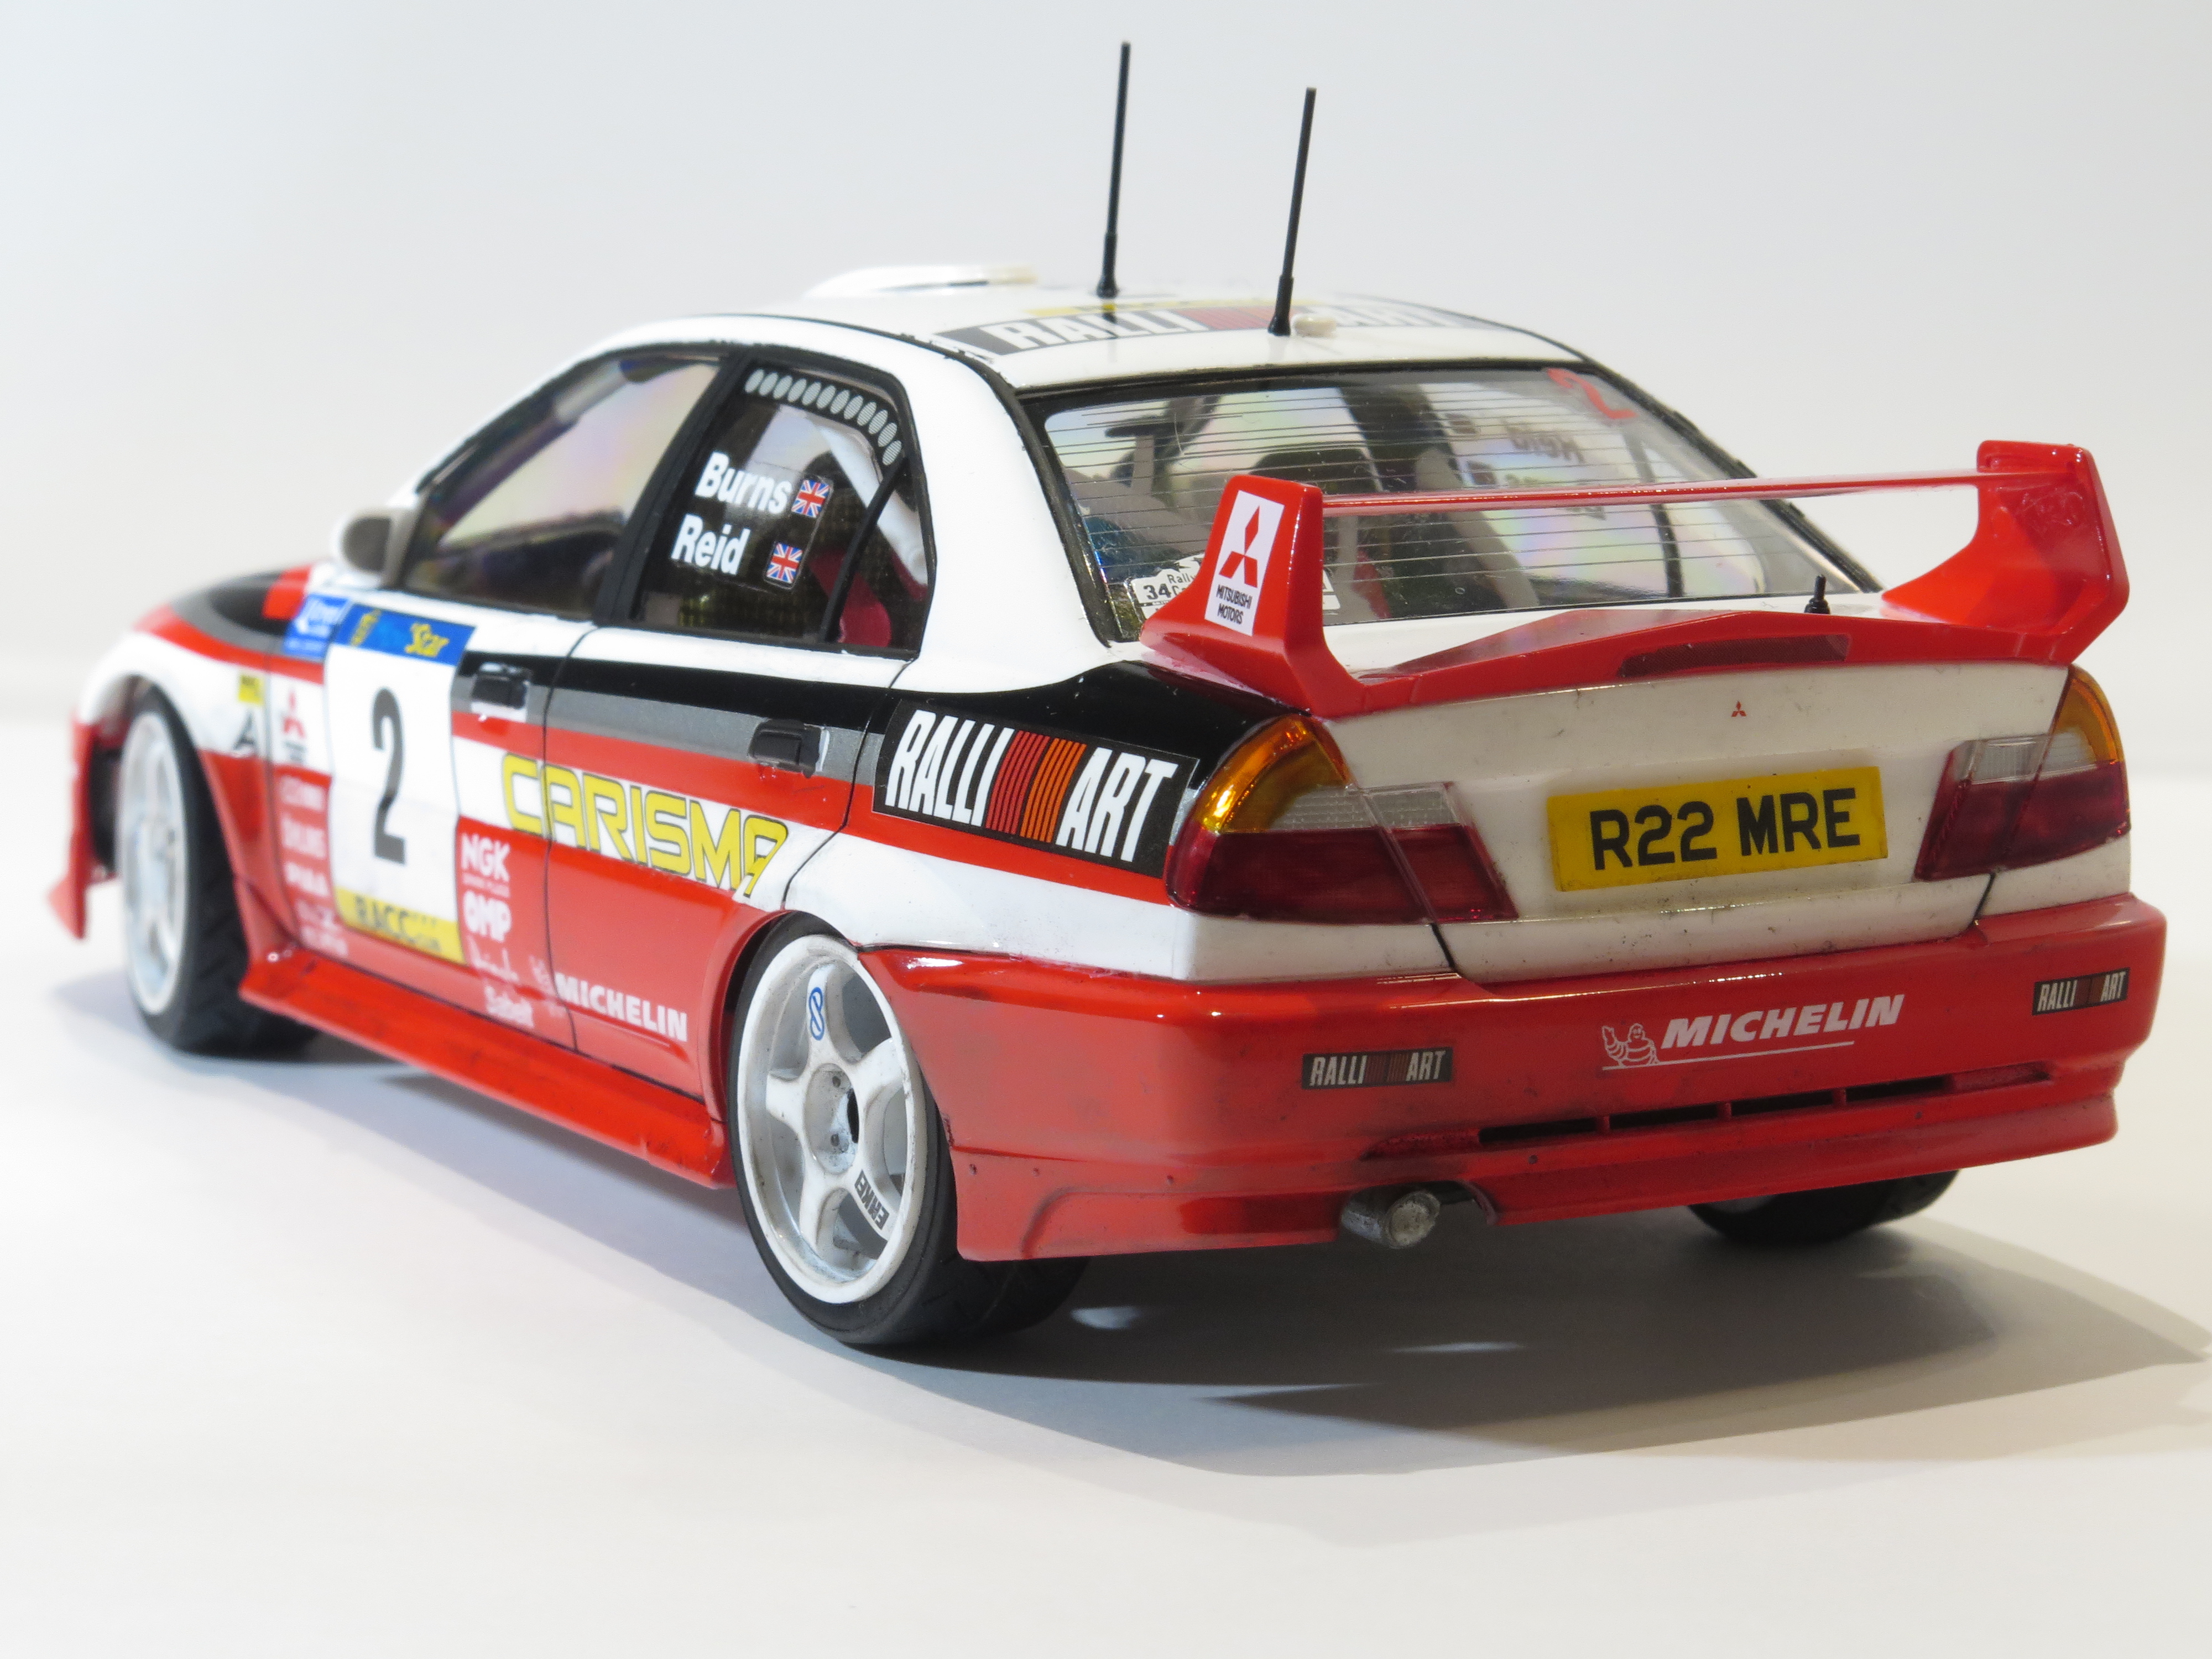
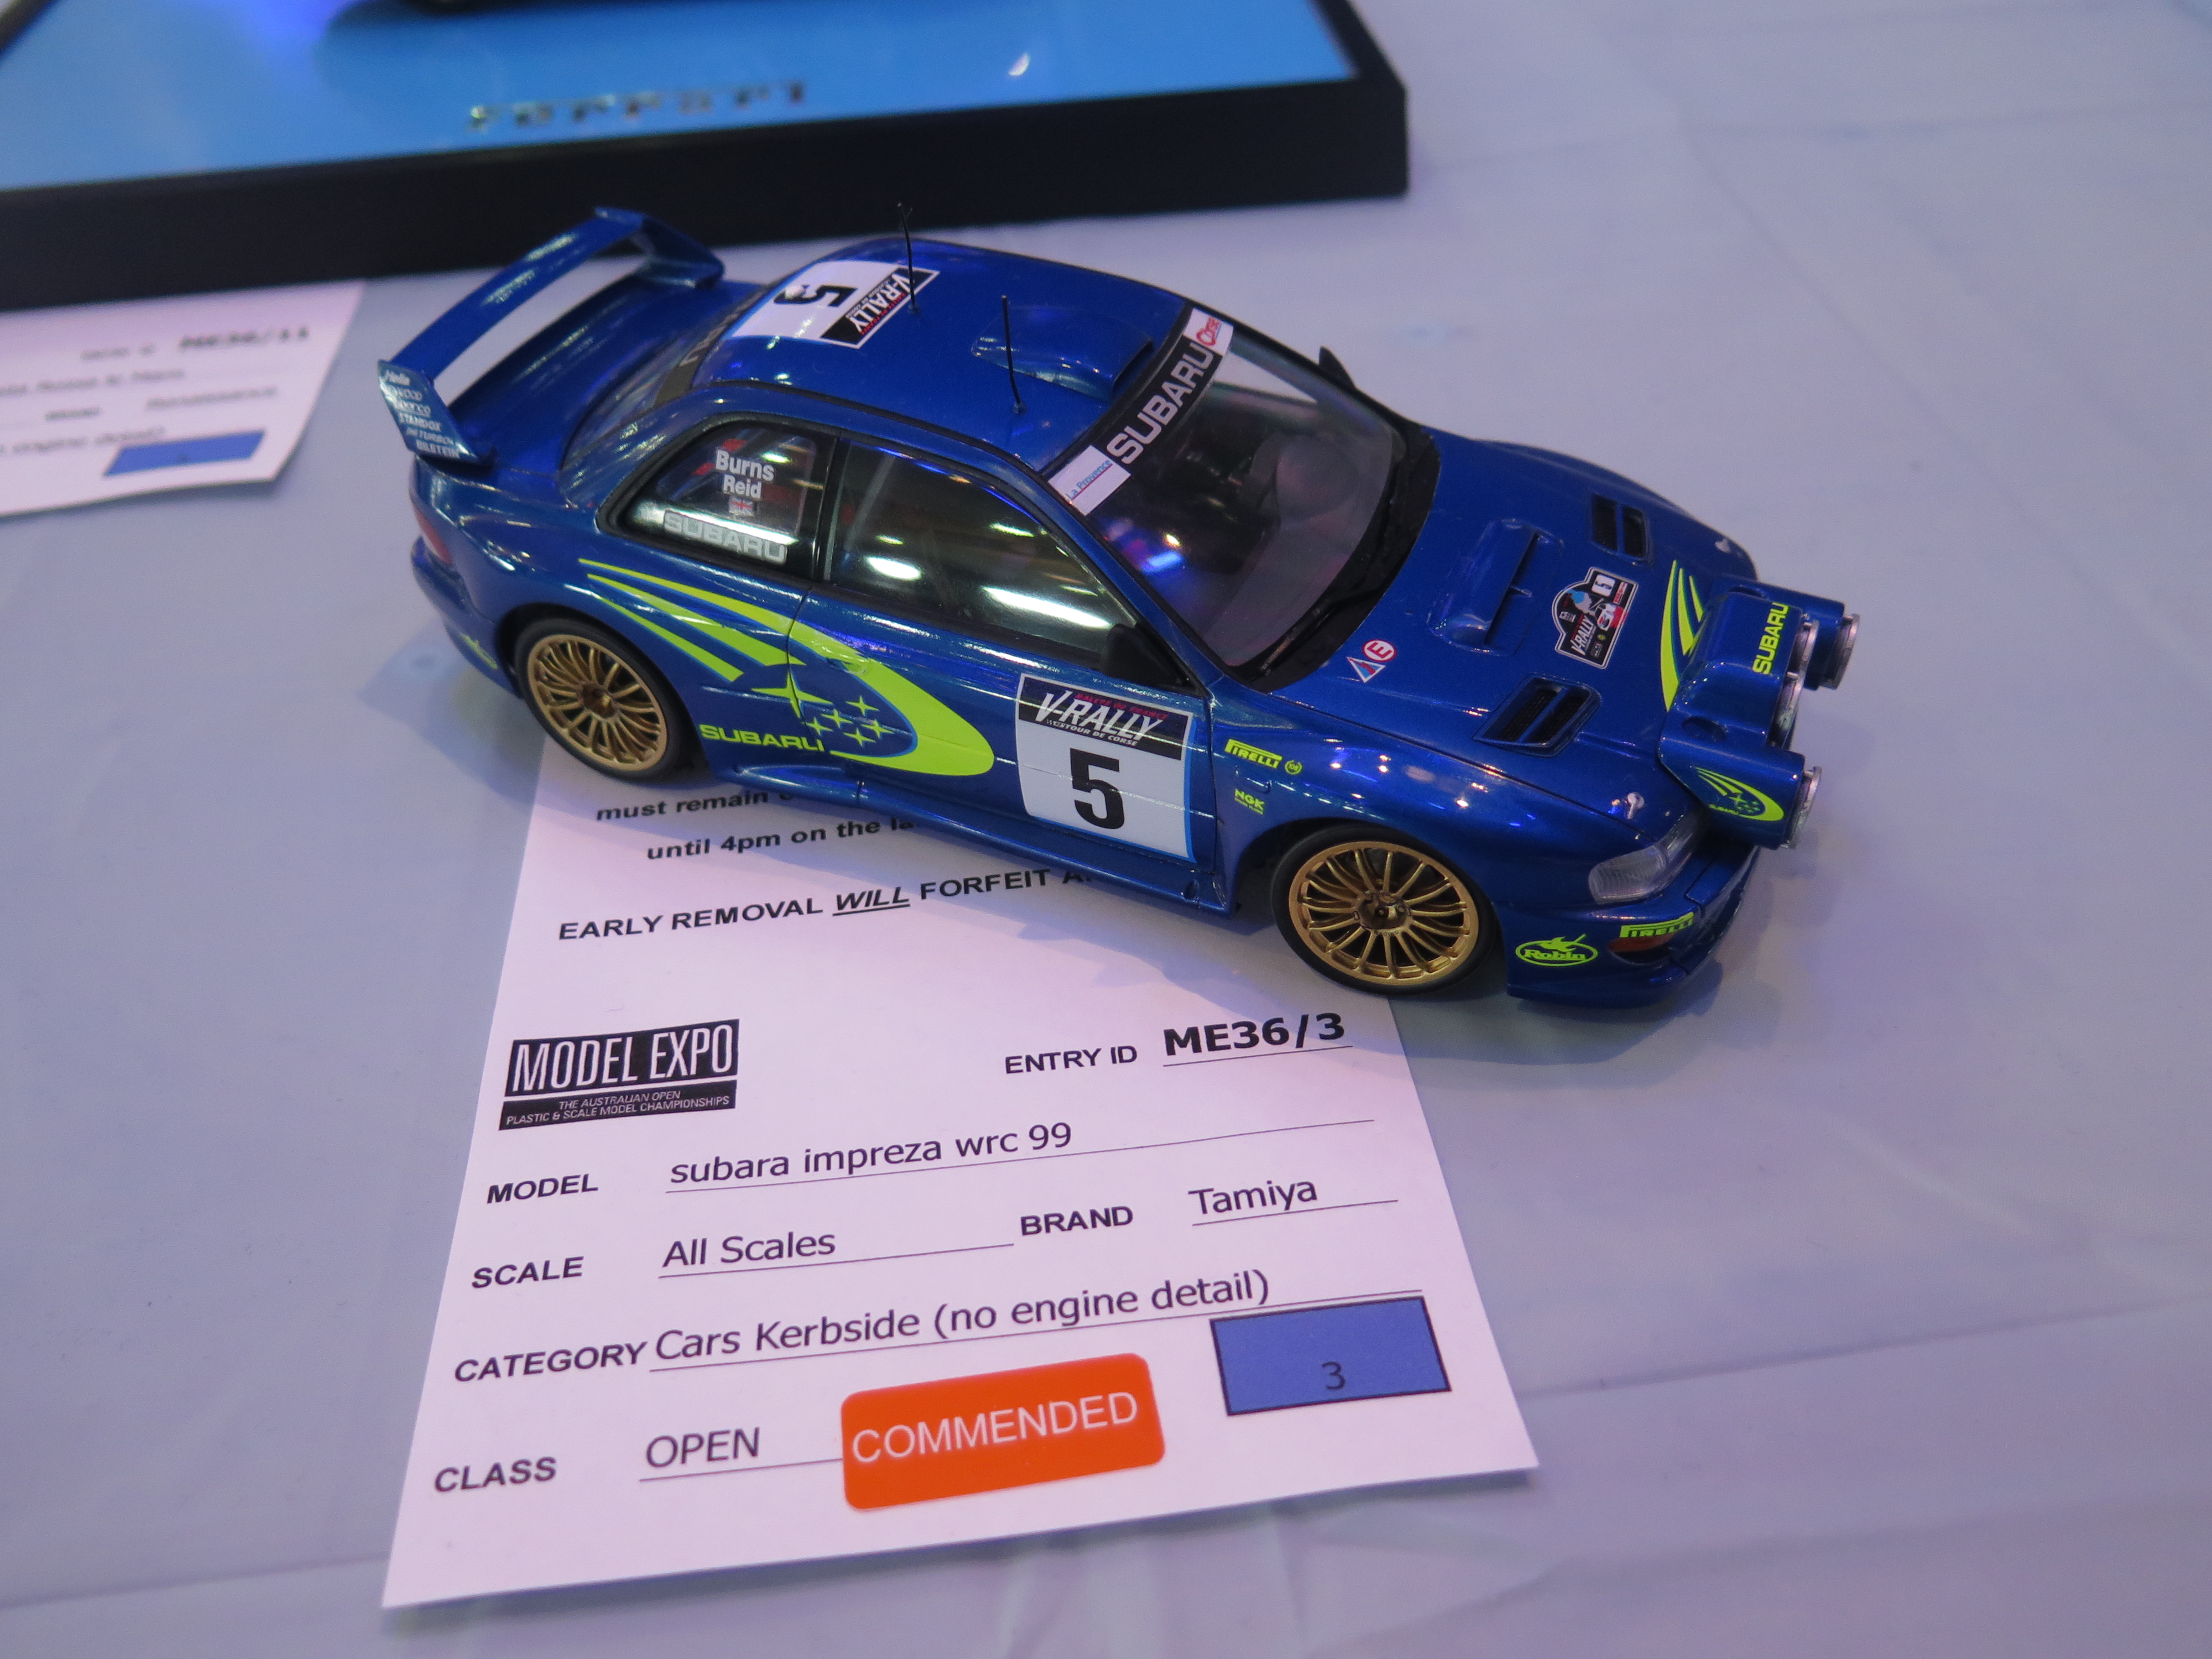
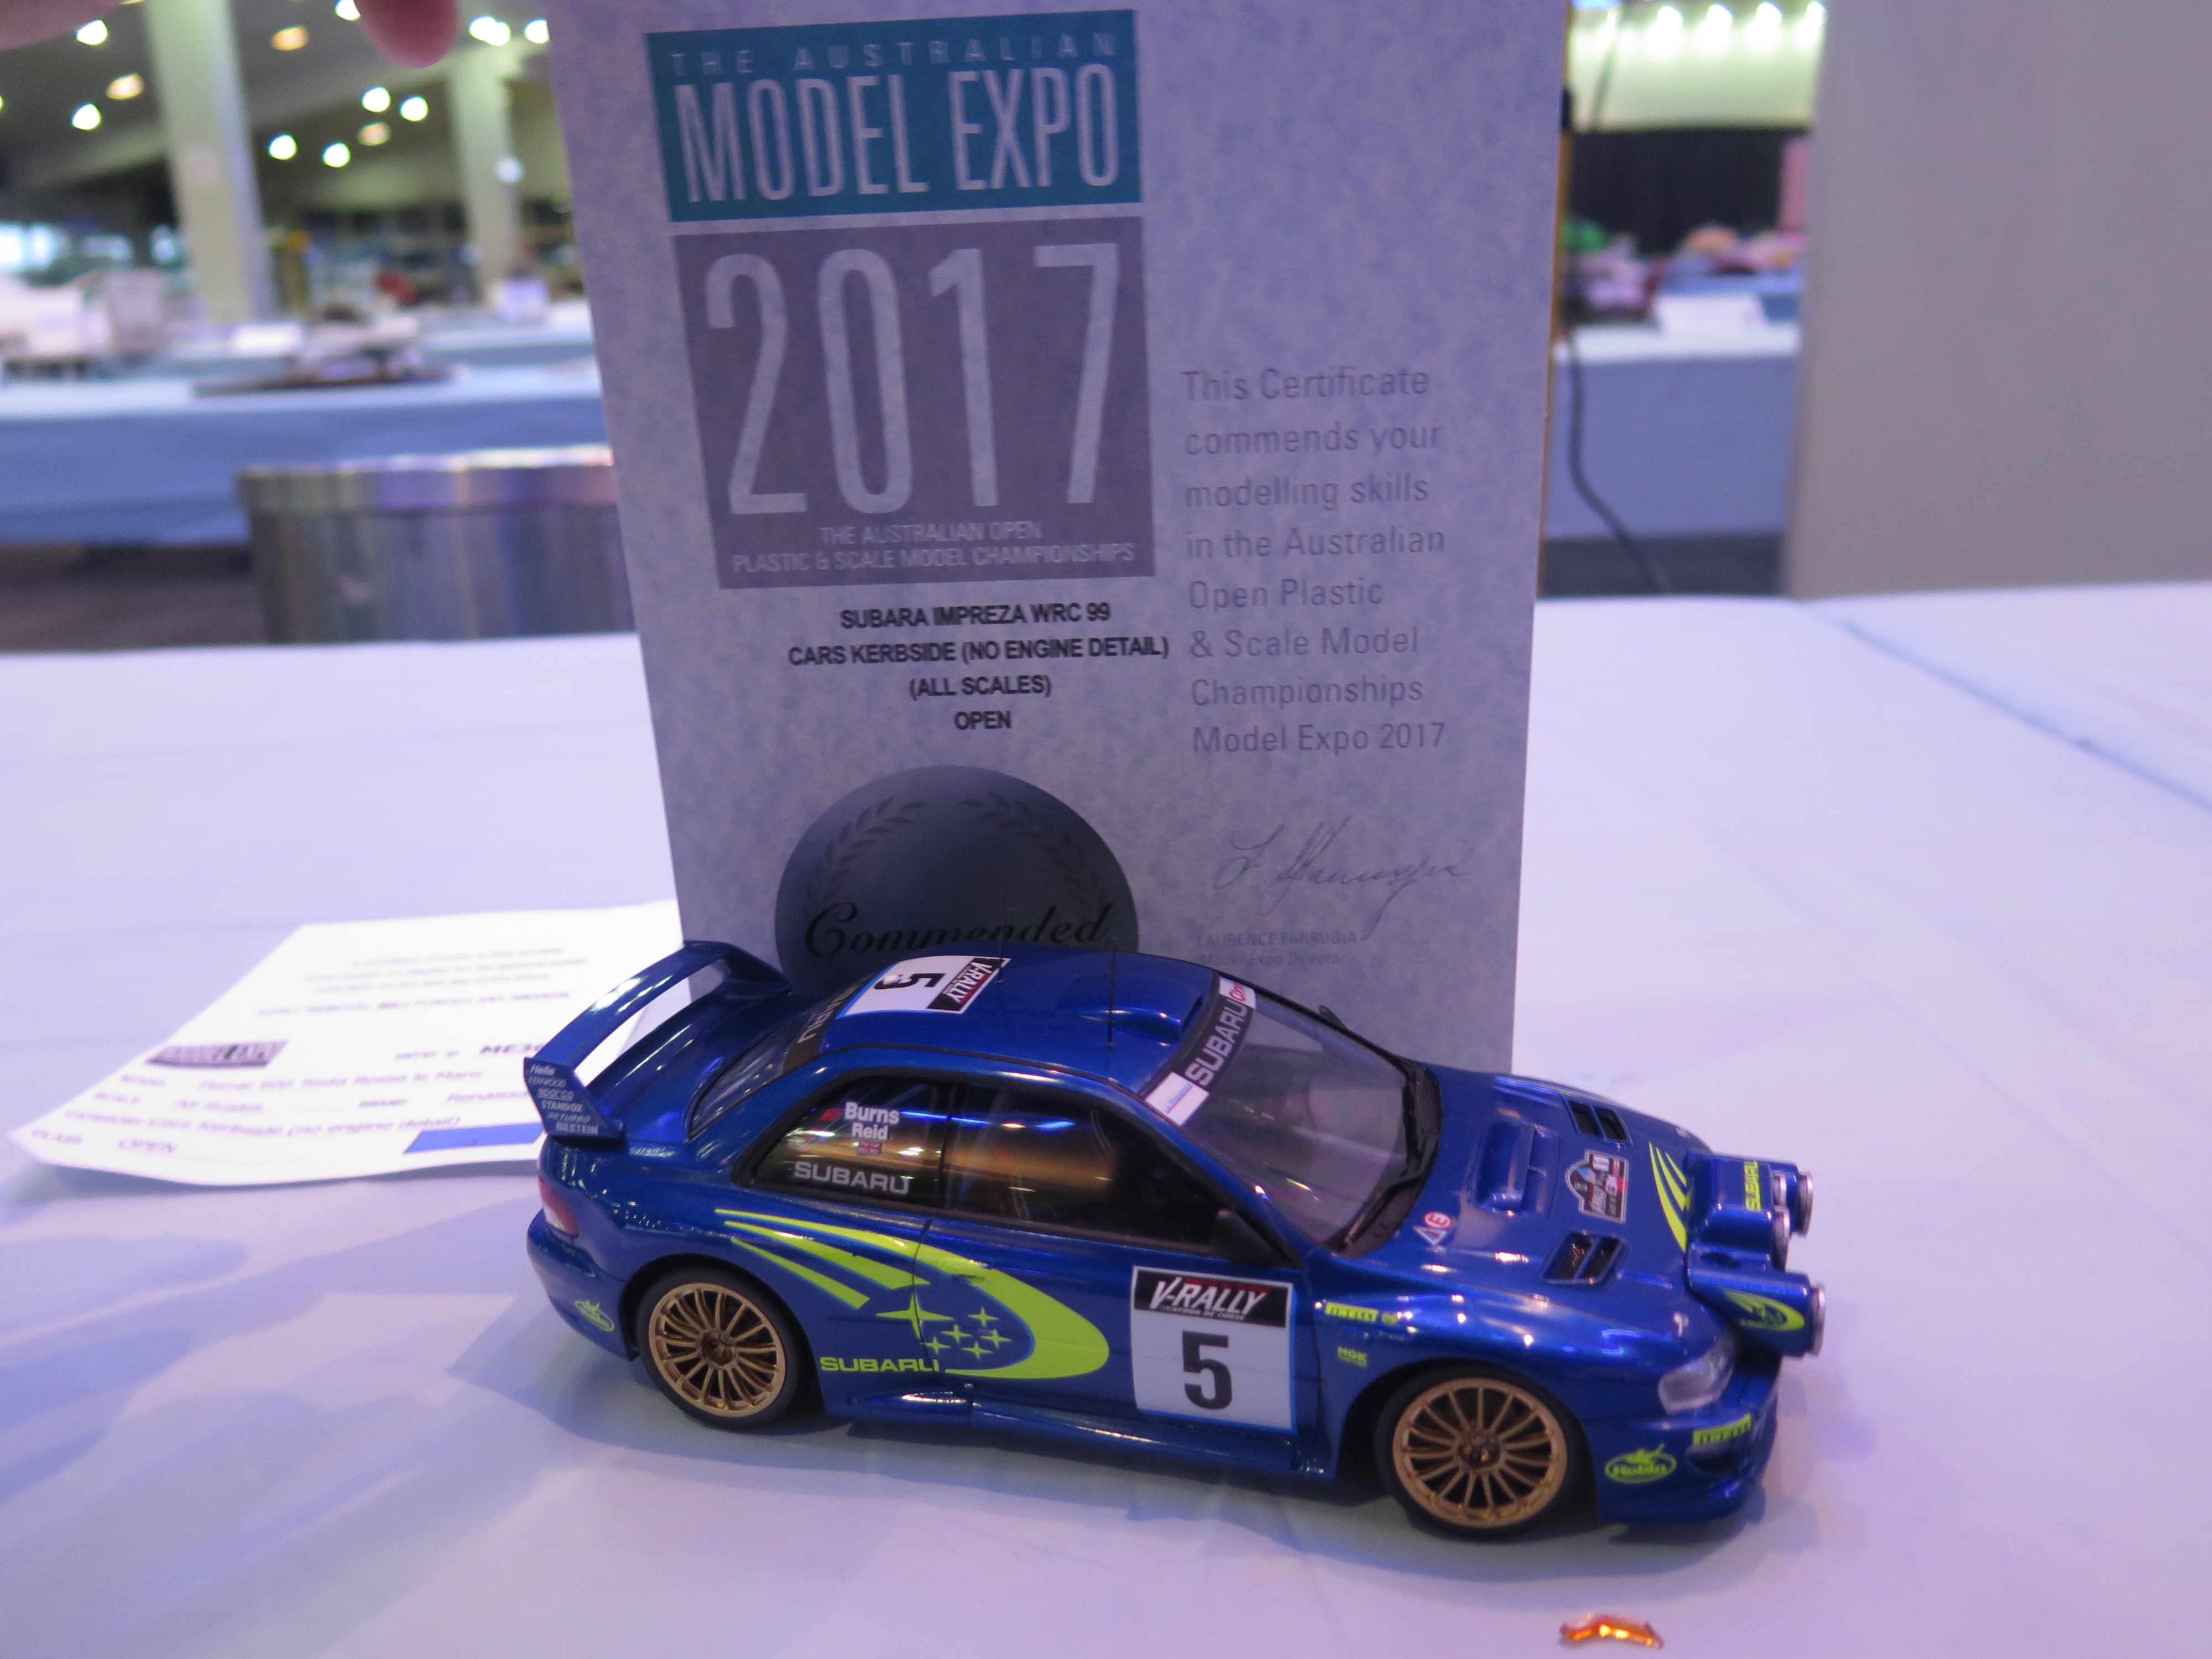
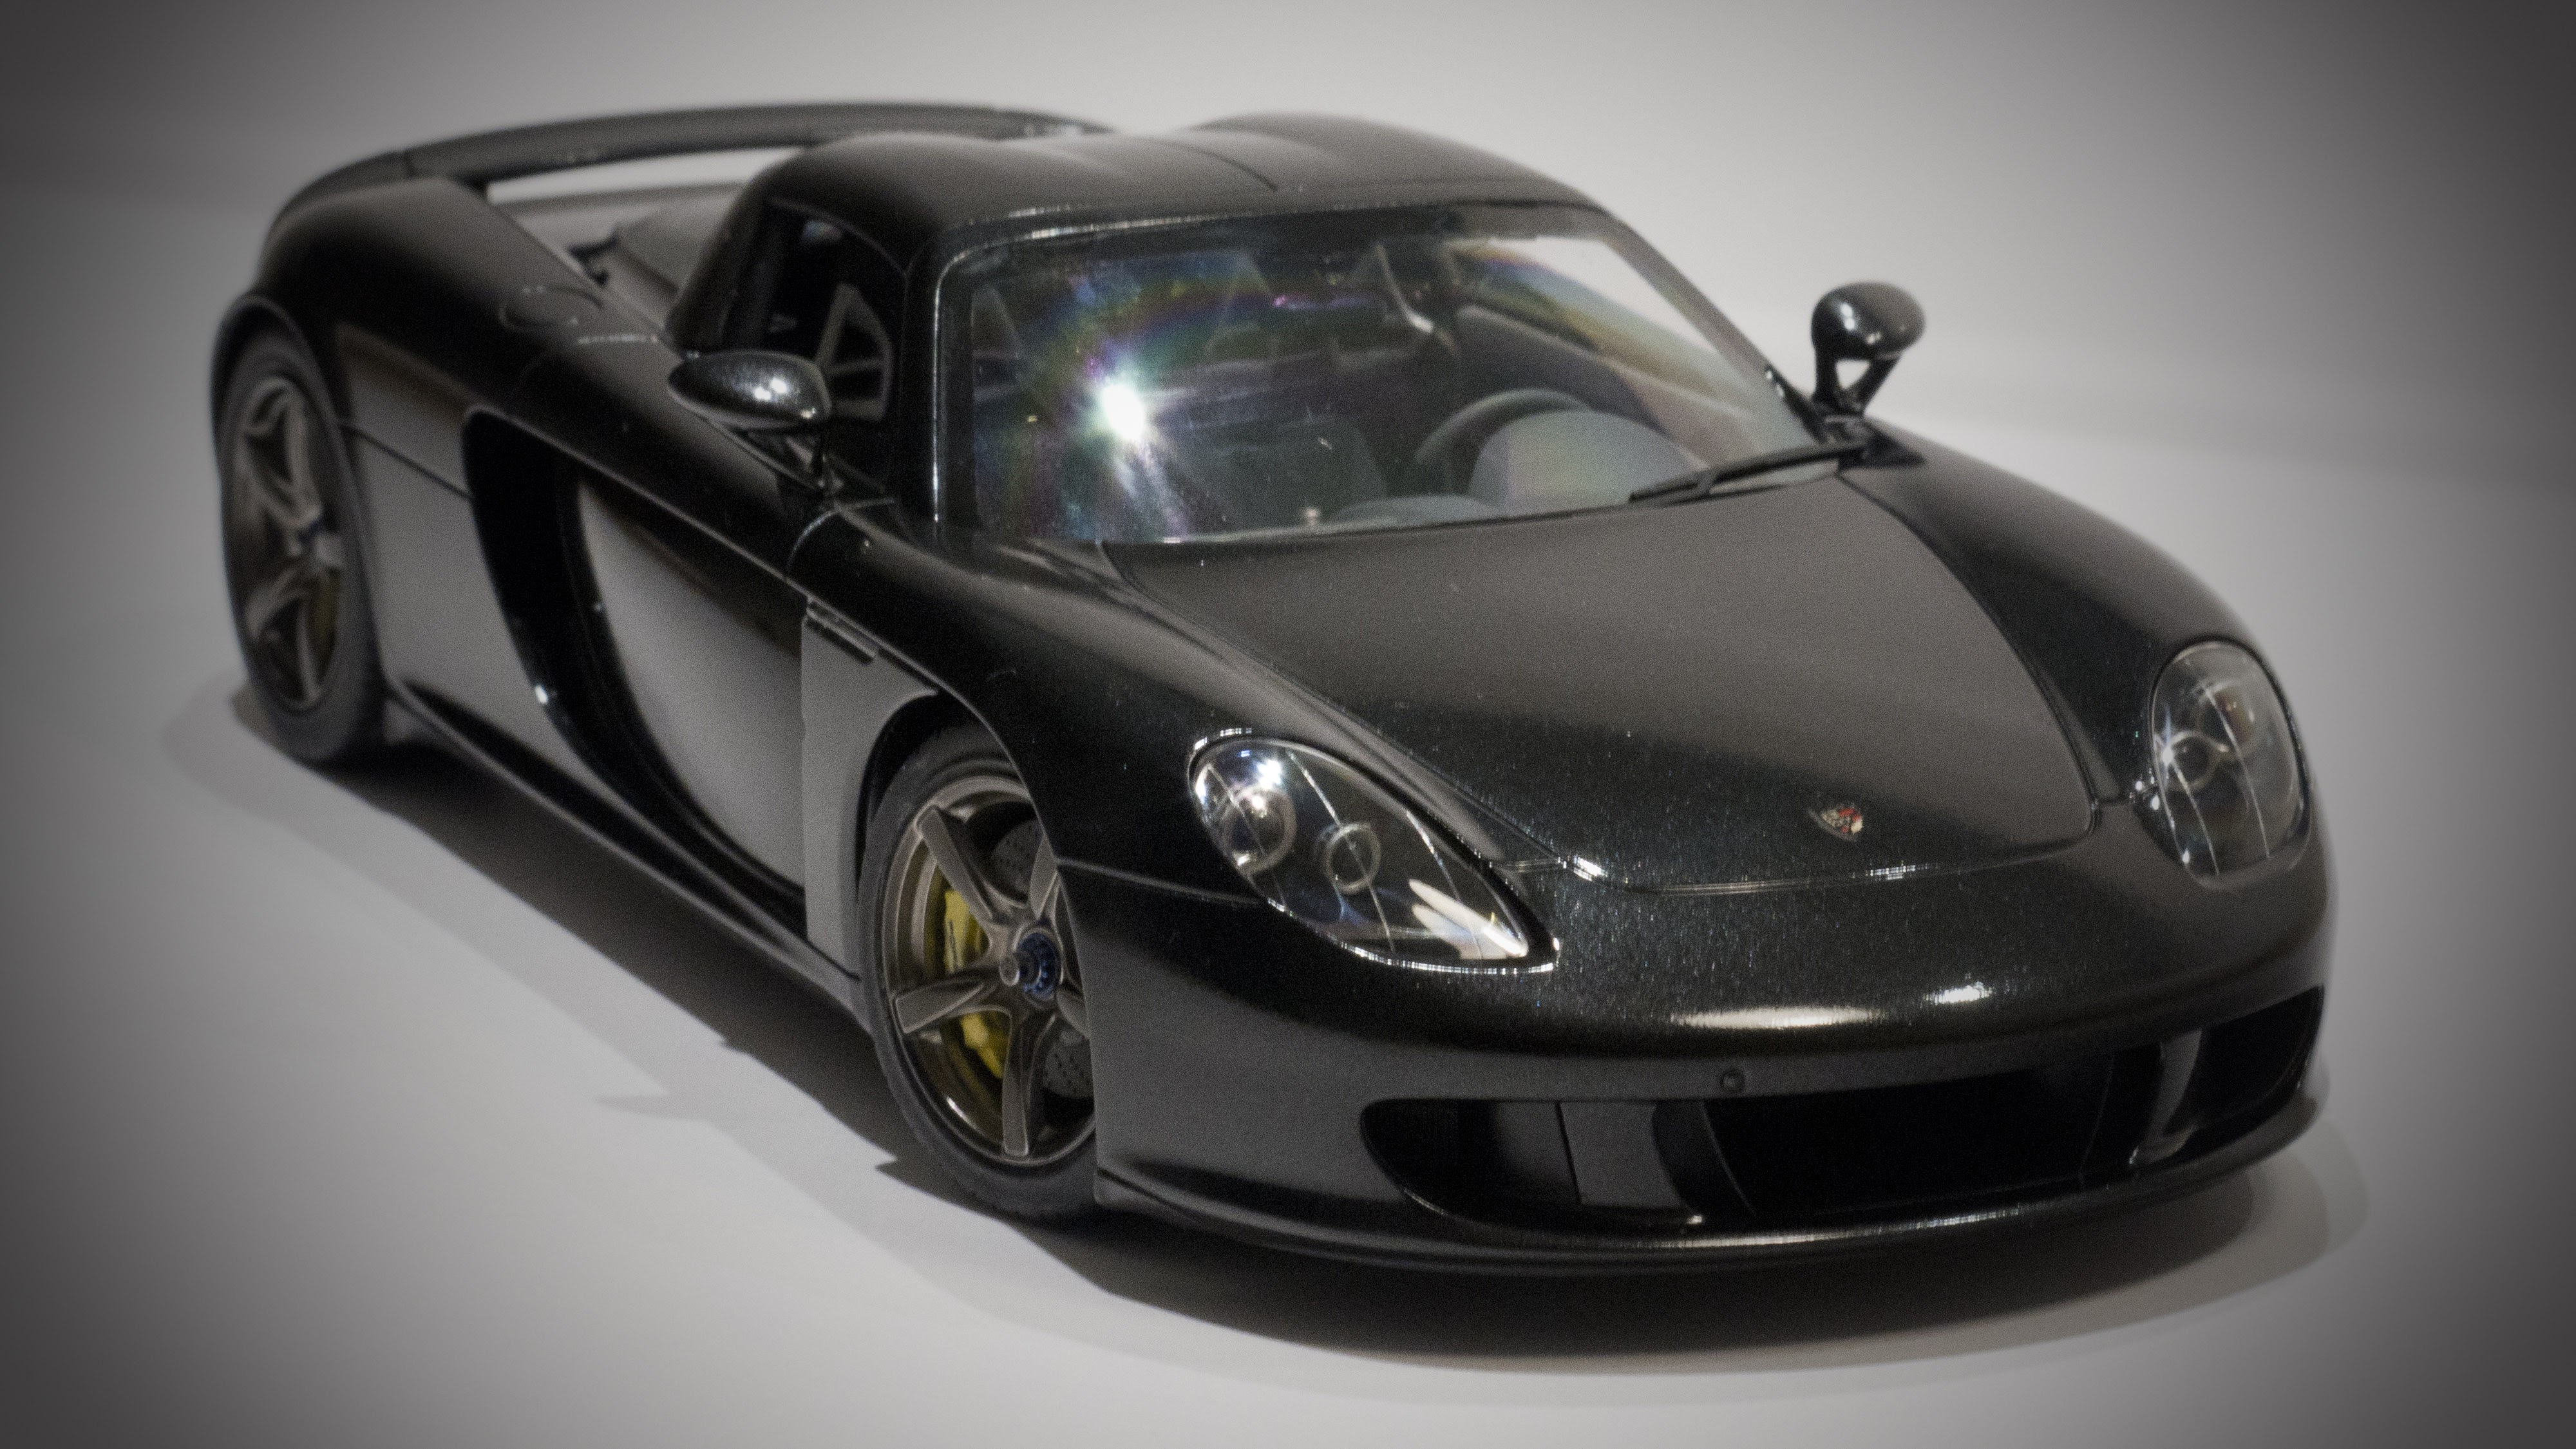
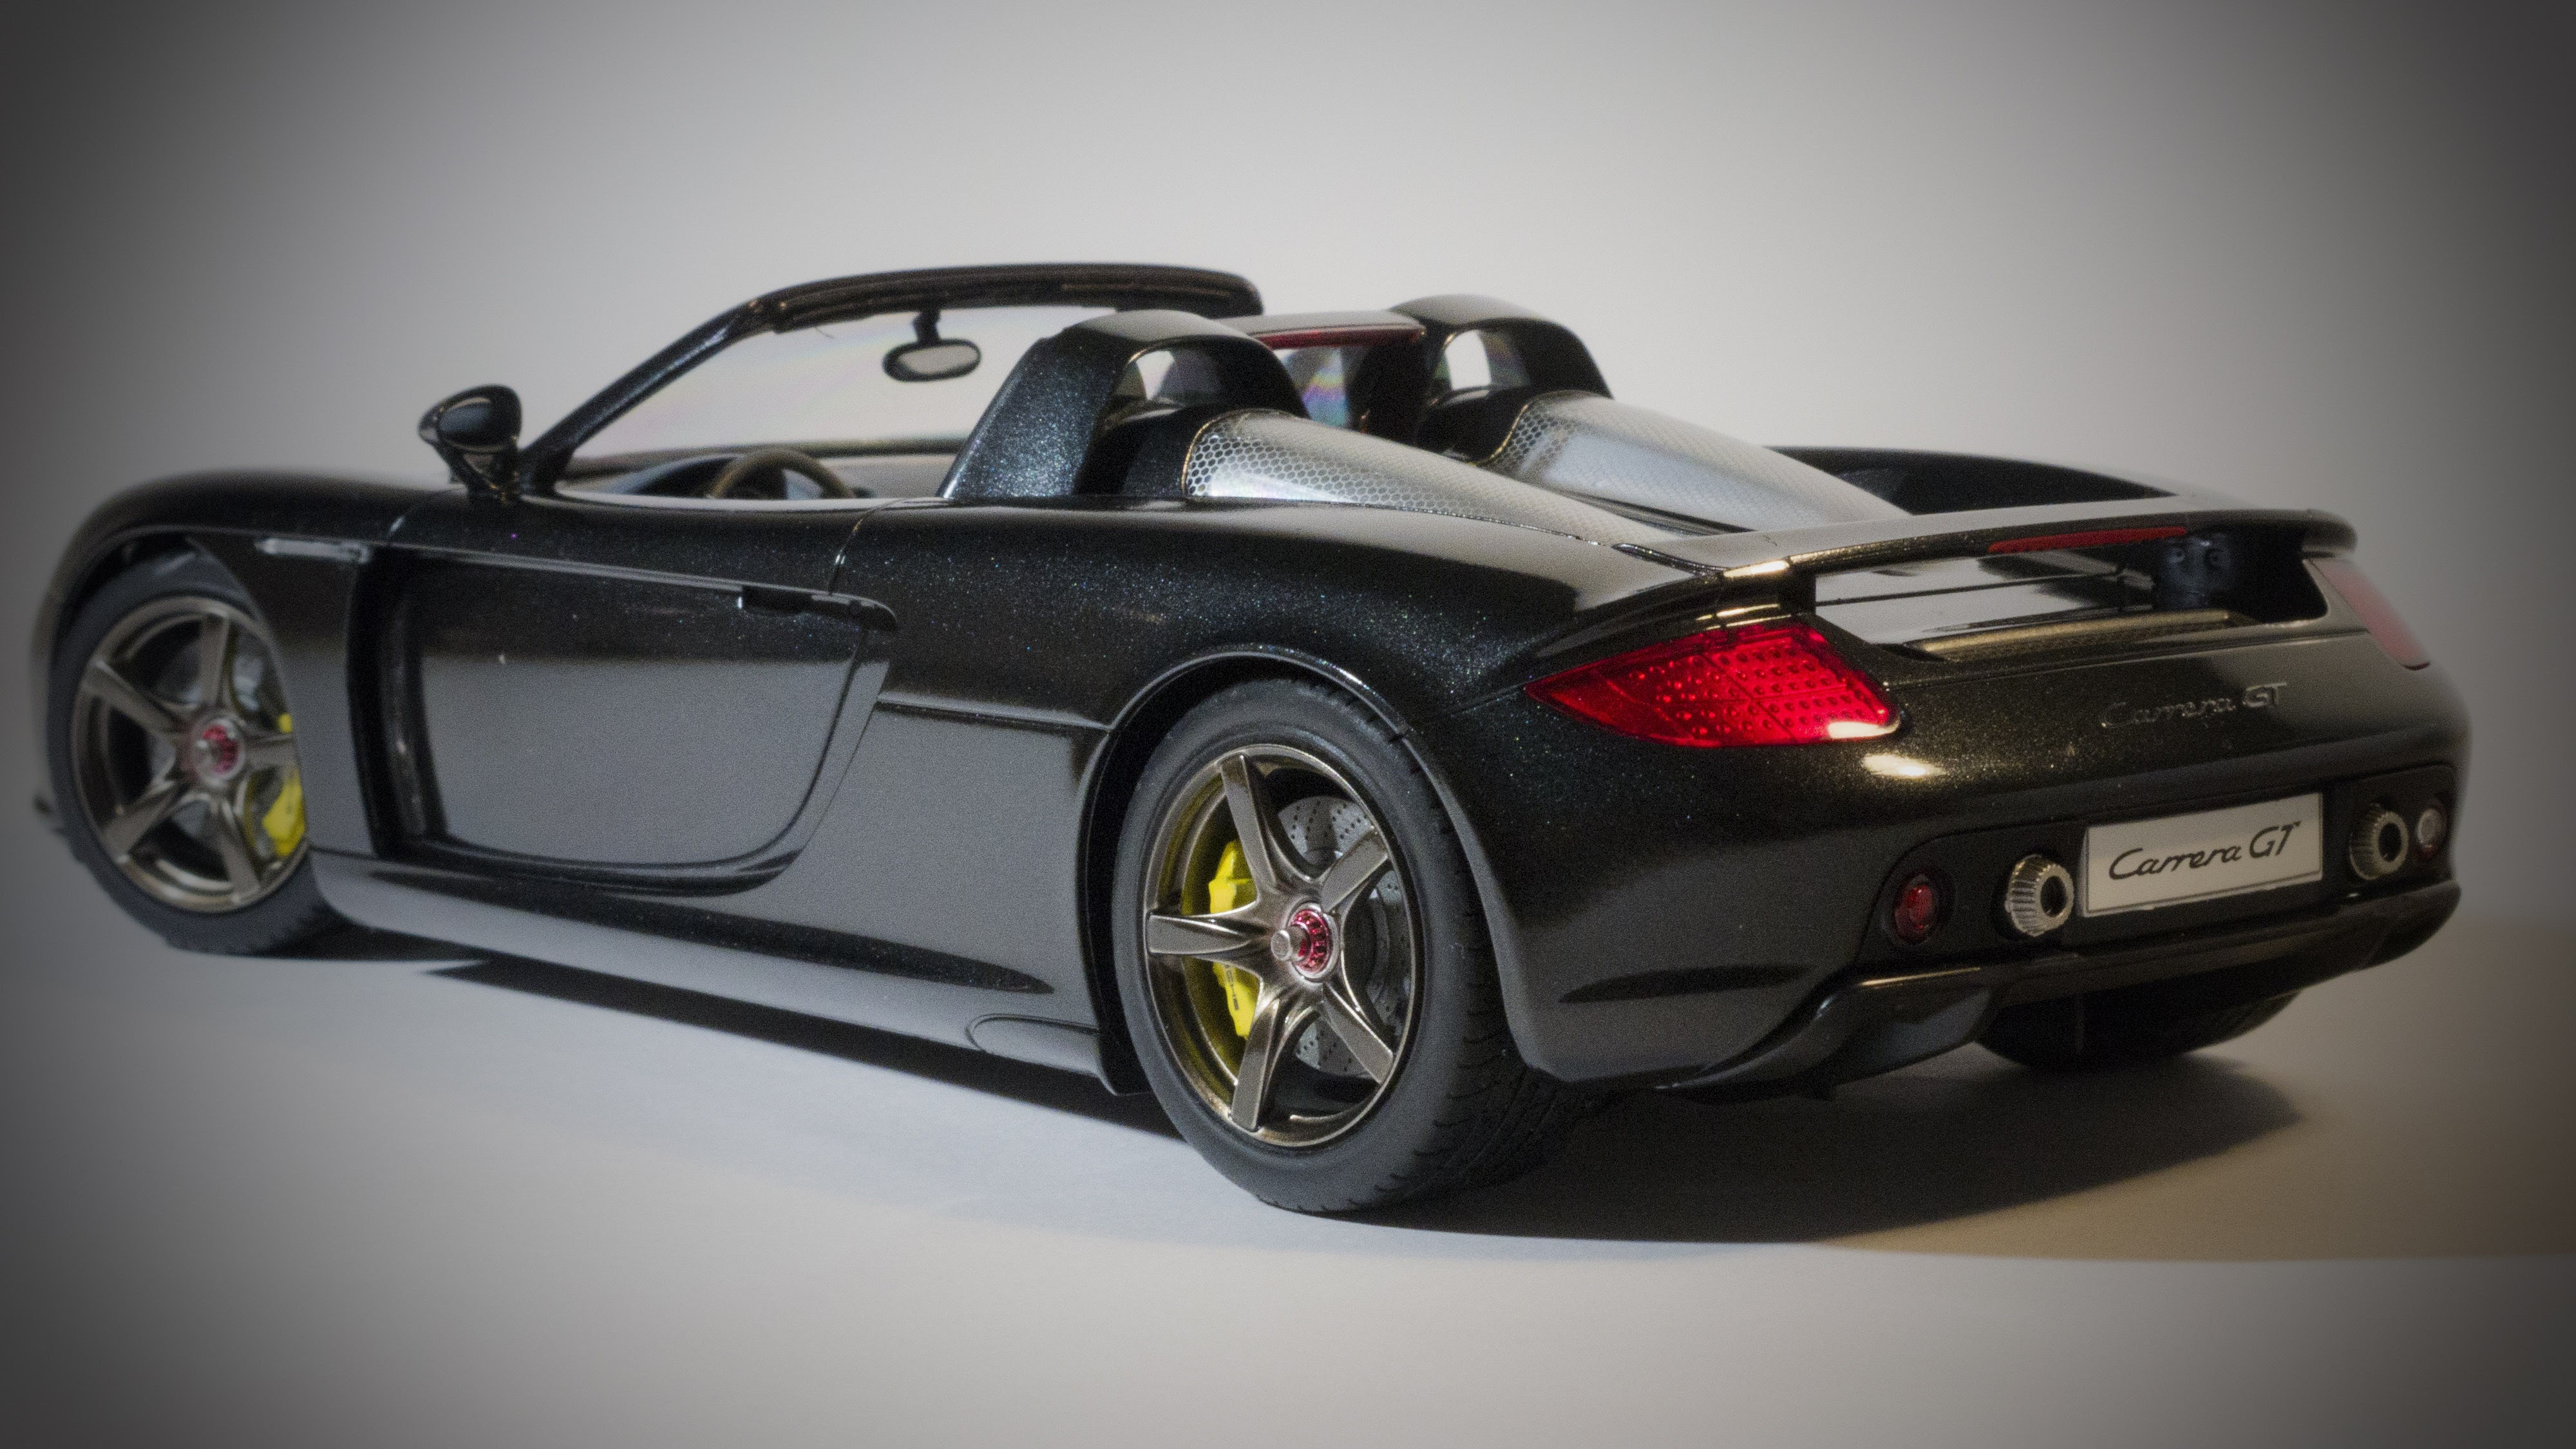
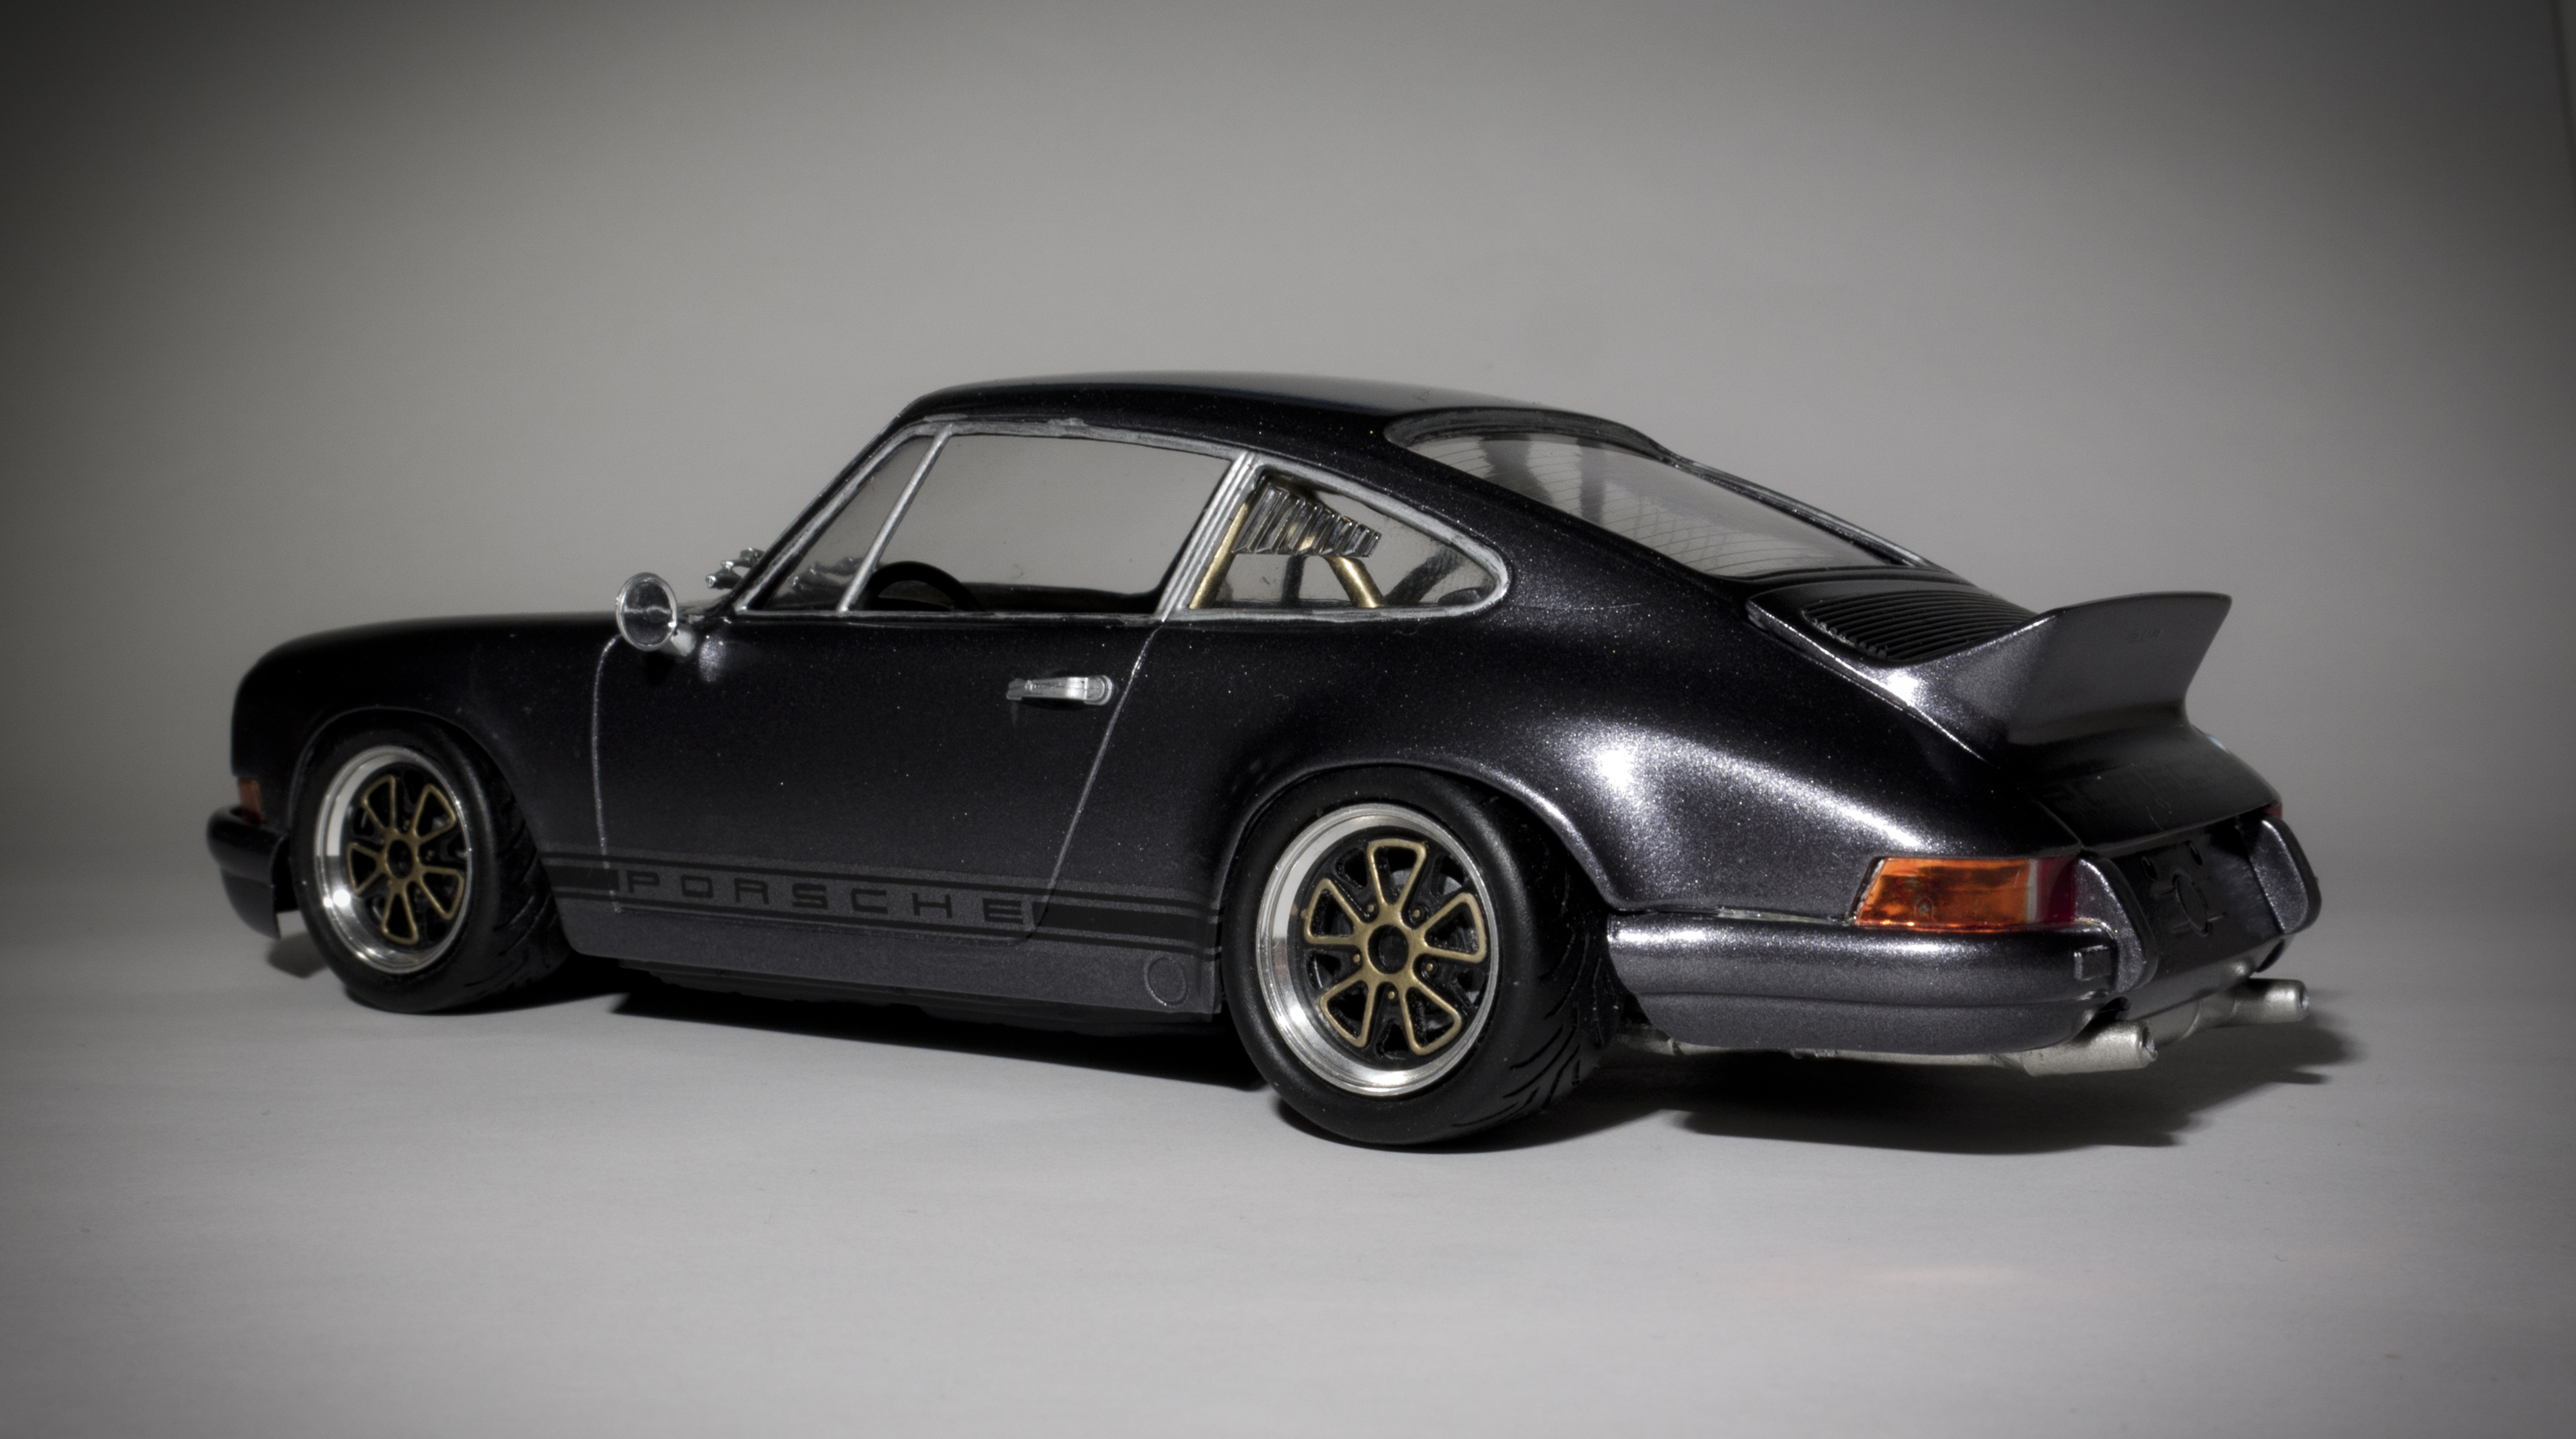
Hi All, I really got back into making models this year, after doing a few last year. I am really pleased with my progress, it always feels good to see how you progress over a year. This year also marked my first competition. I Got a 3rd place for my Carrera GT in the full detail section, and a commendation for my WRX STI Rally car in the curb side section. Below are some of my builds Competed in 2017. There were also a few others that i did this year, but didn't quite turn out as i had hoped. Thanks
-
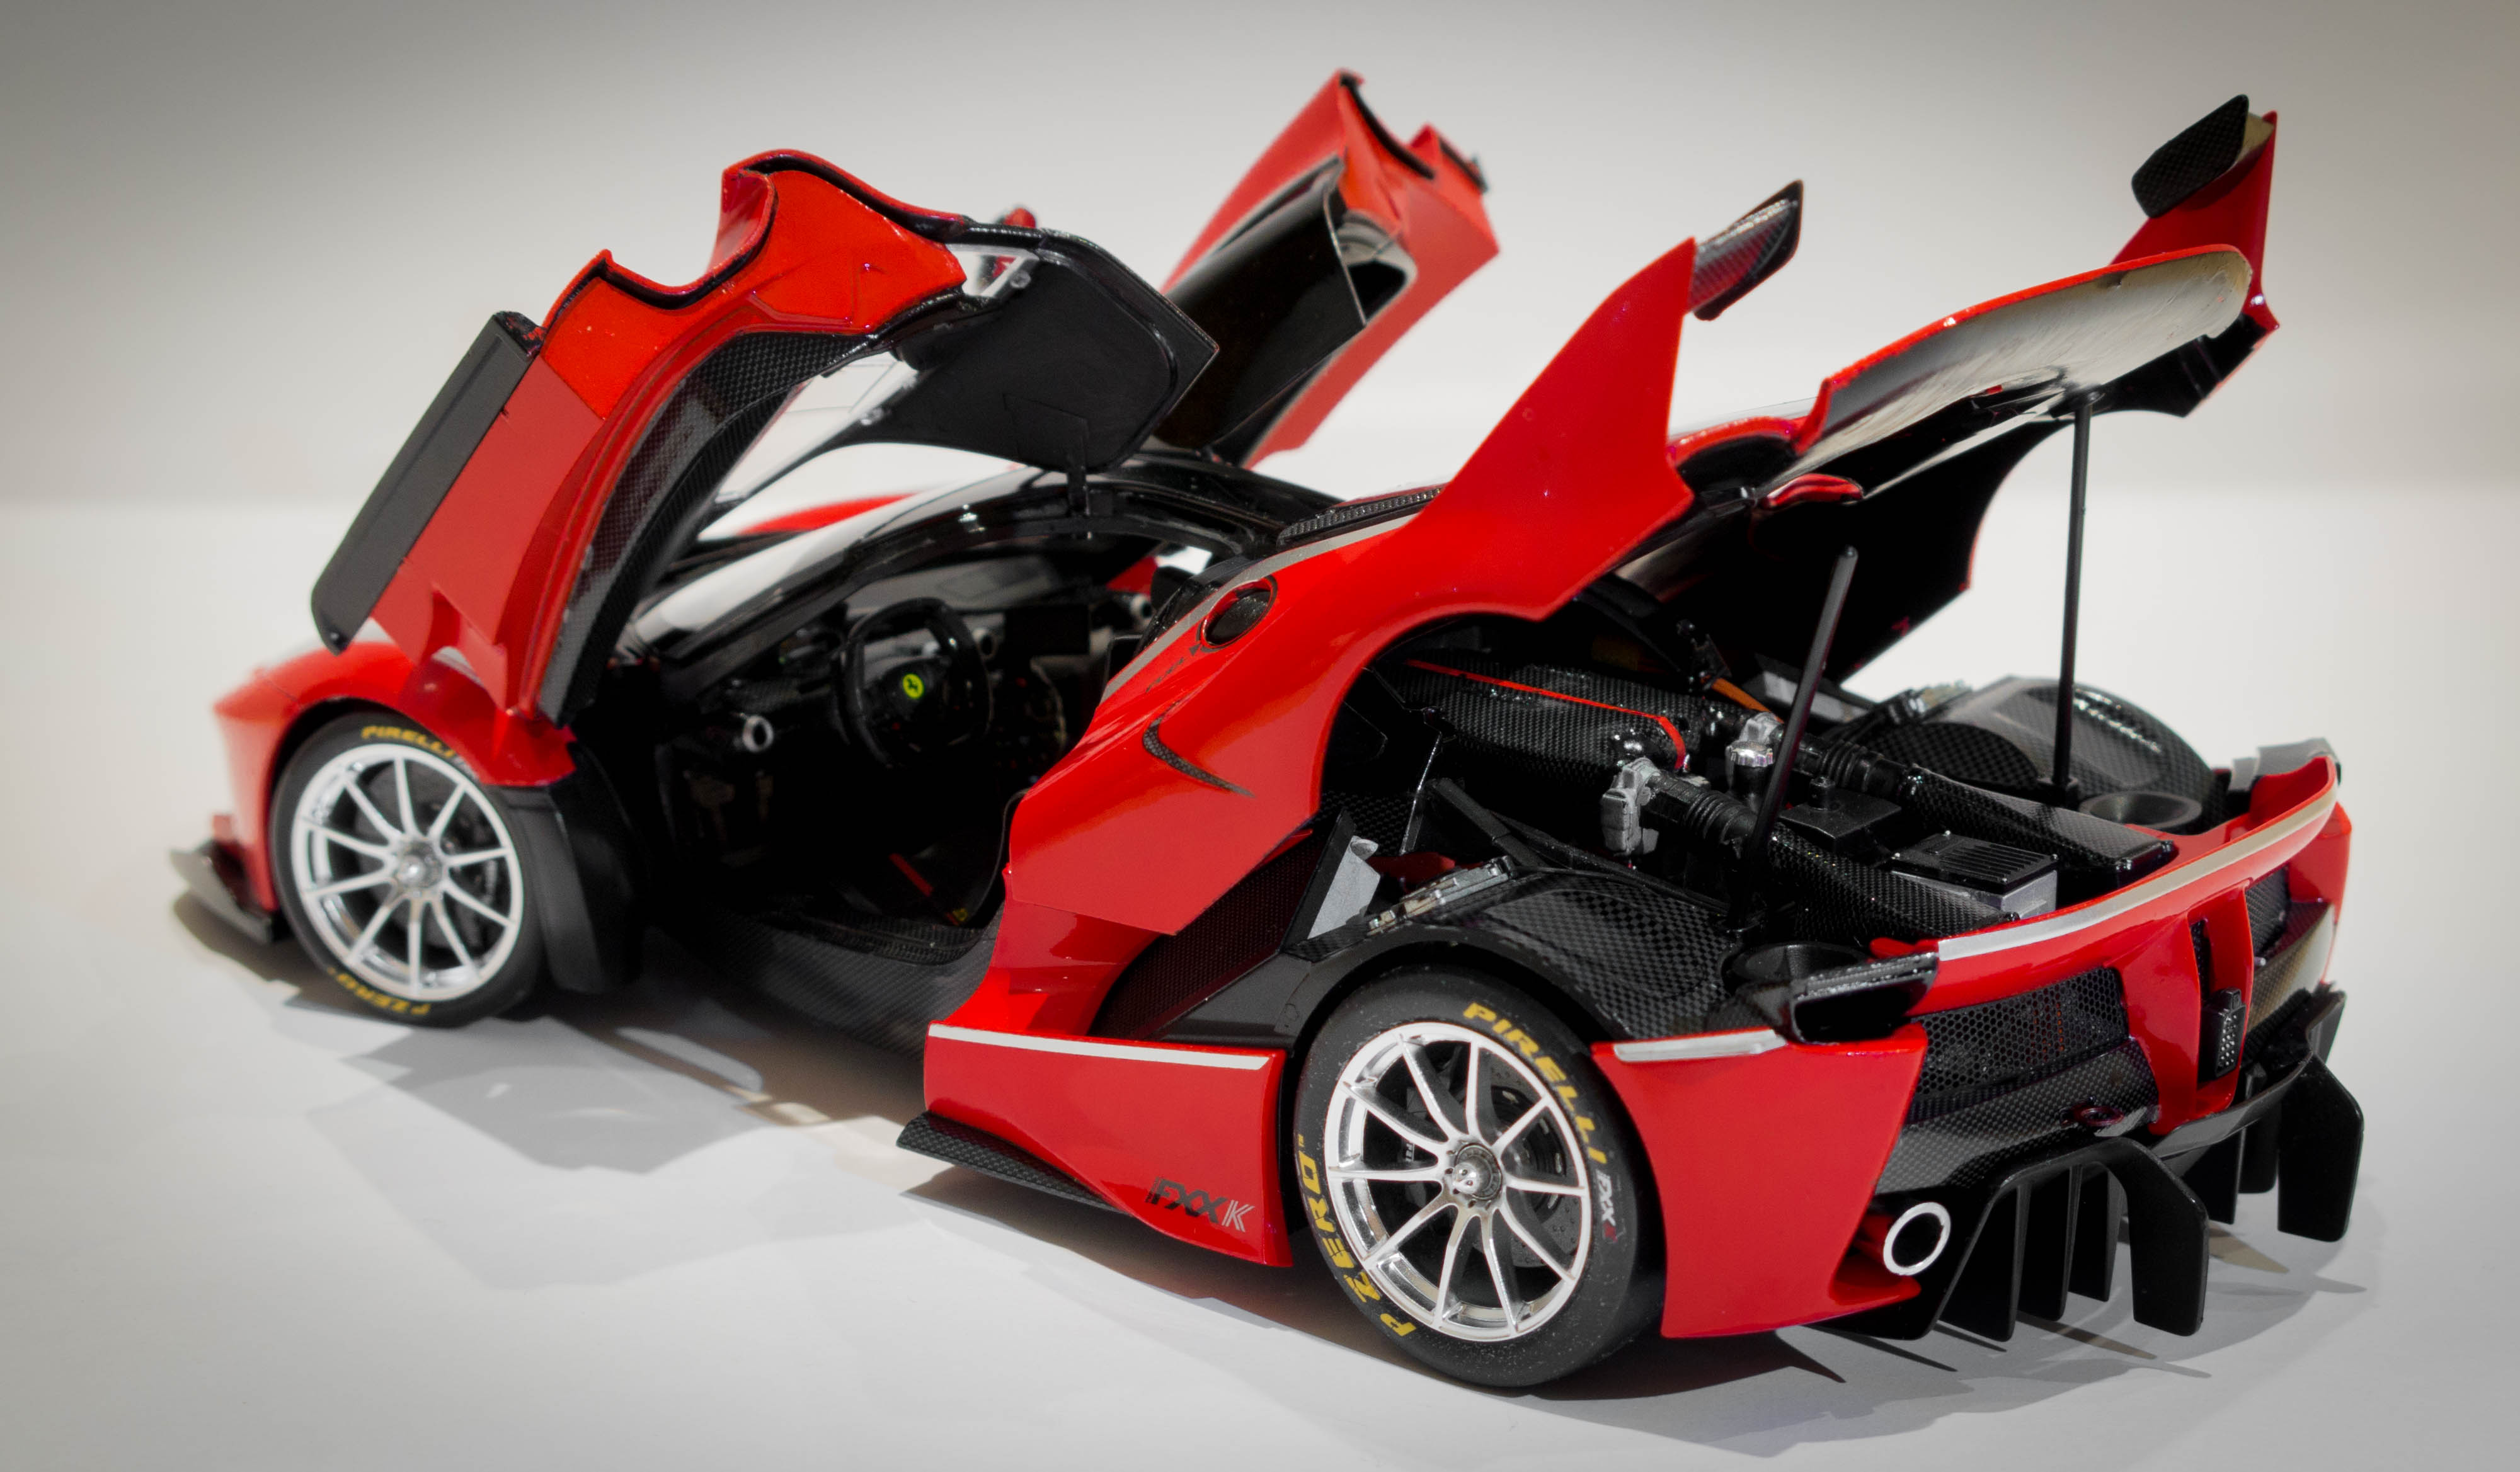
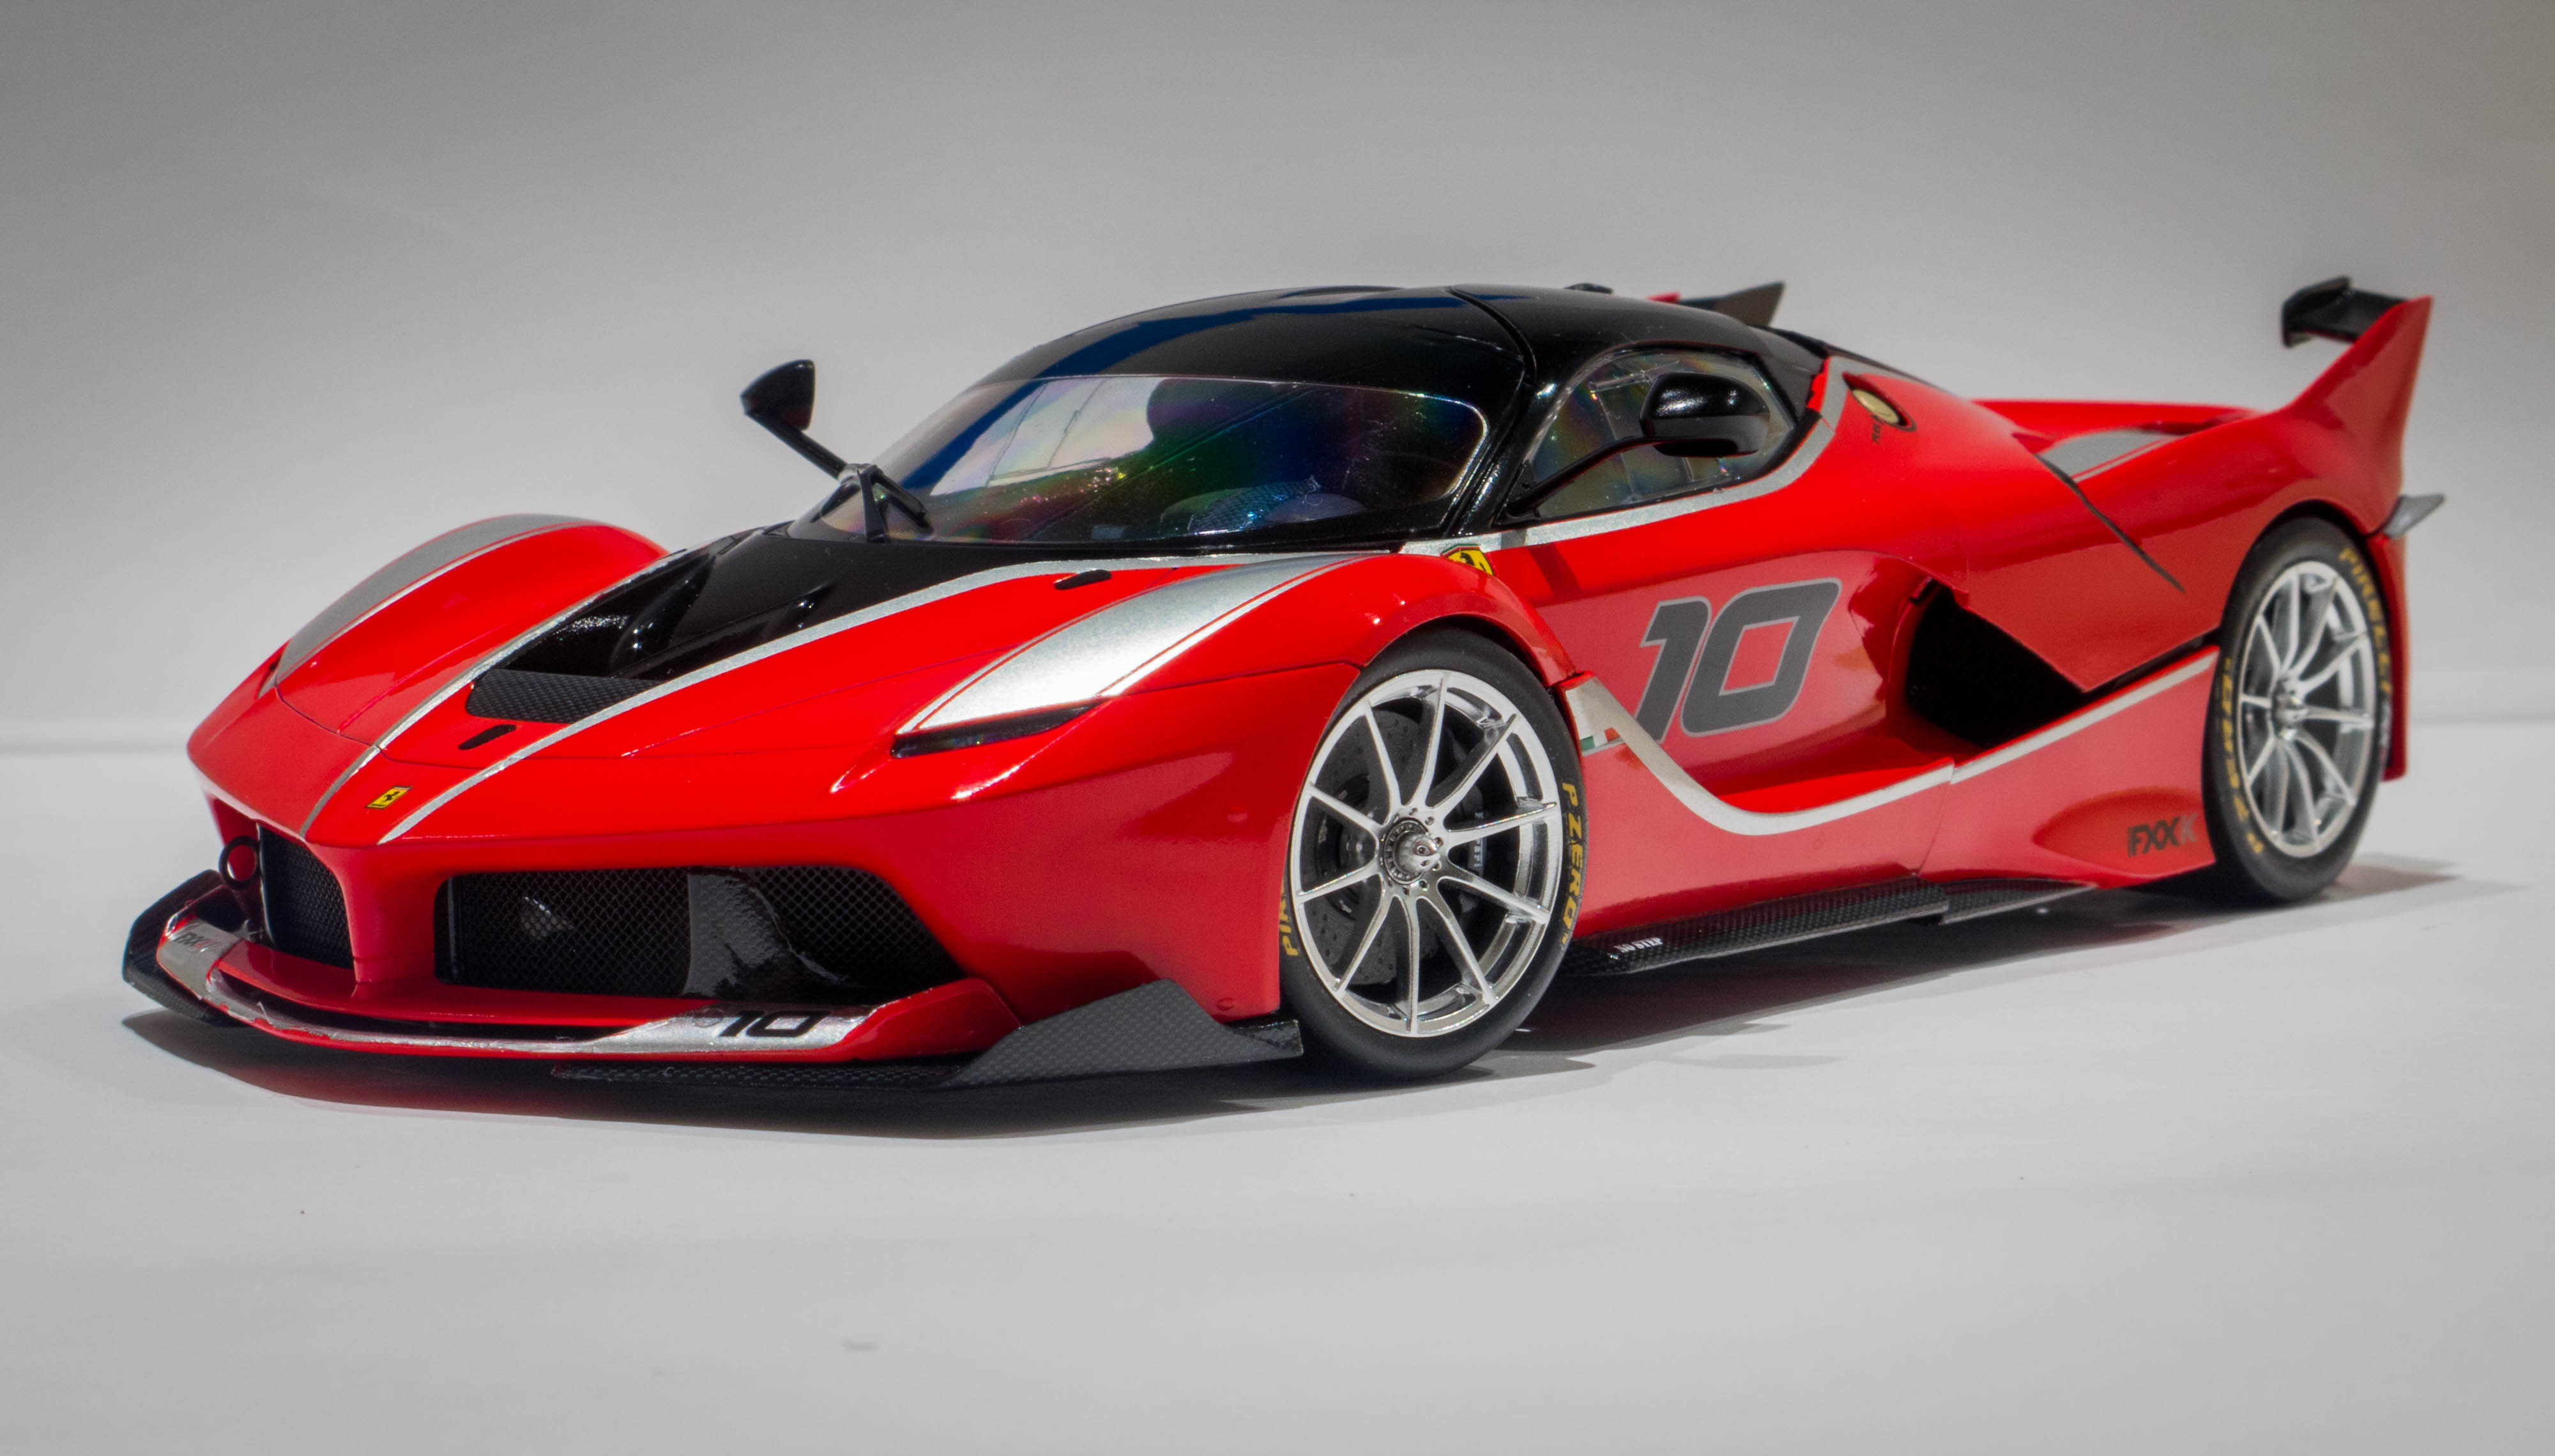
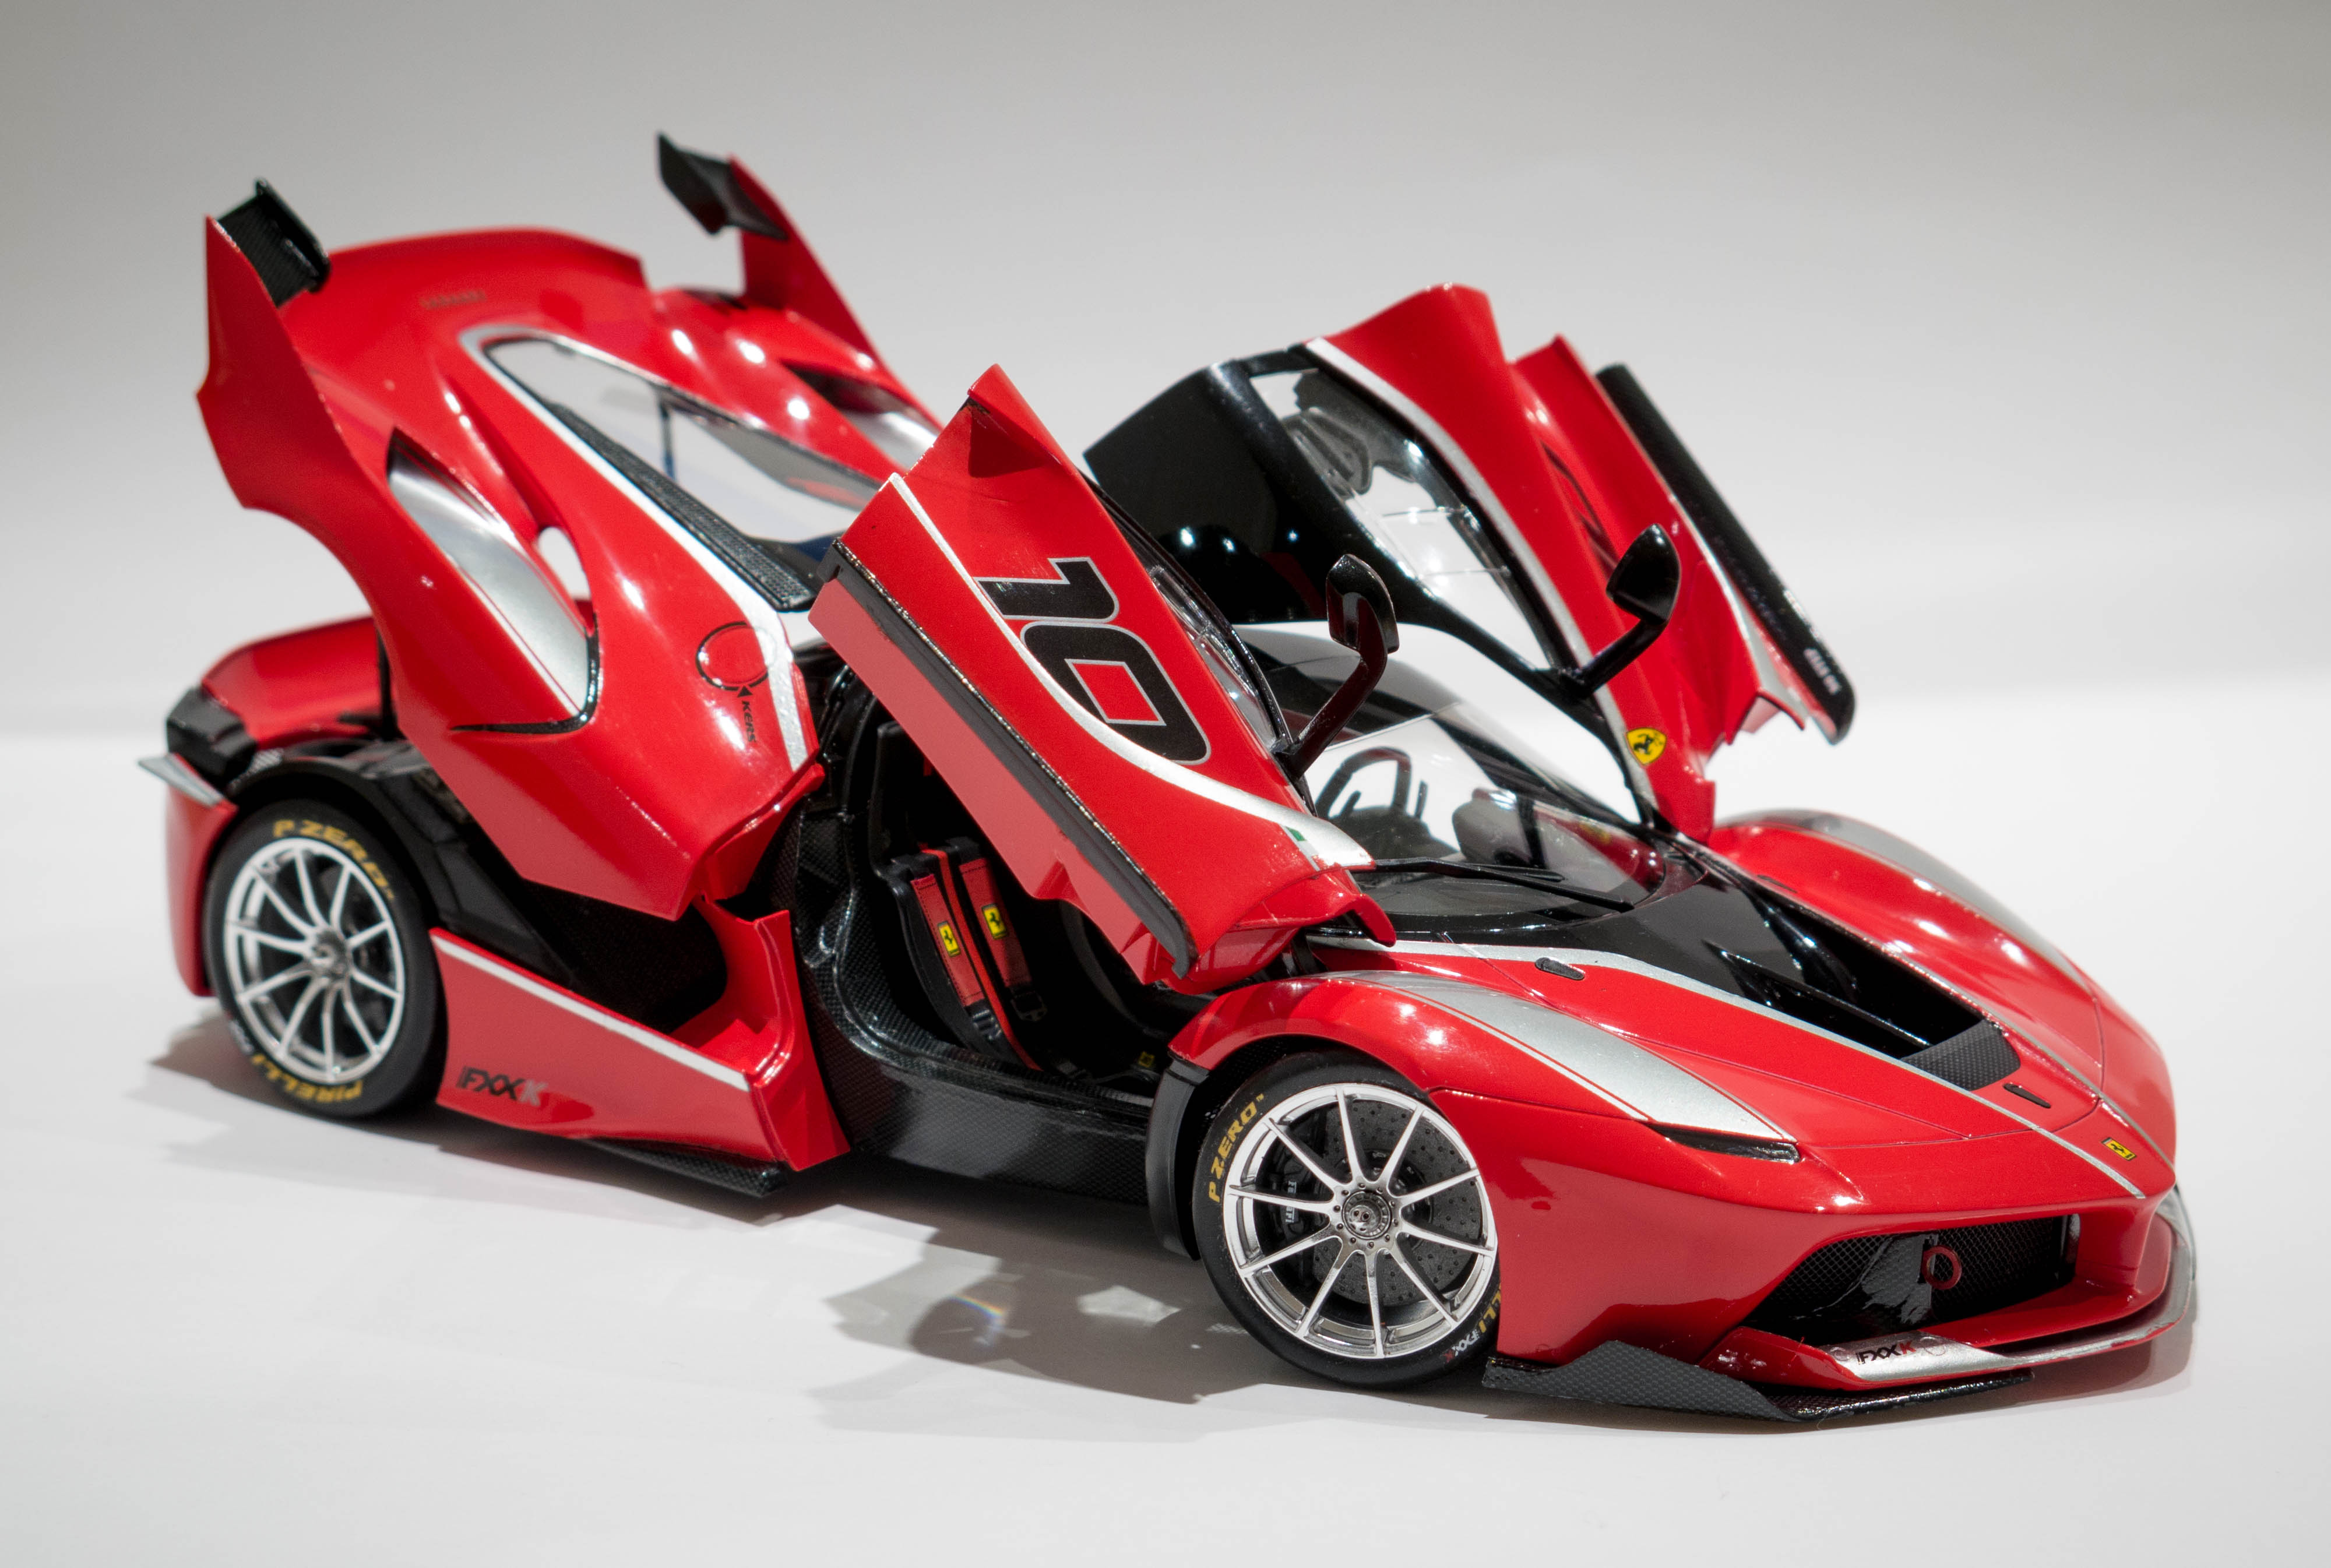
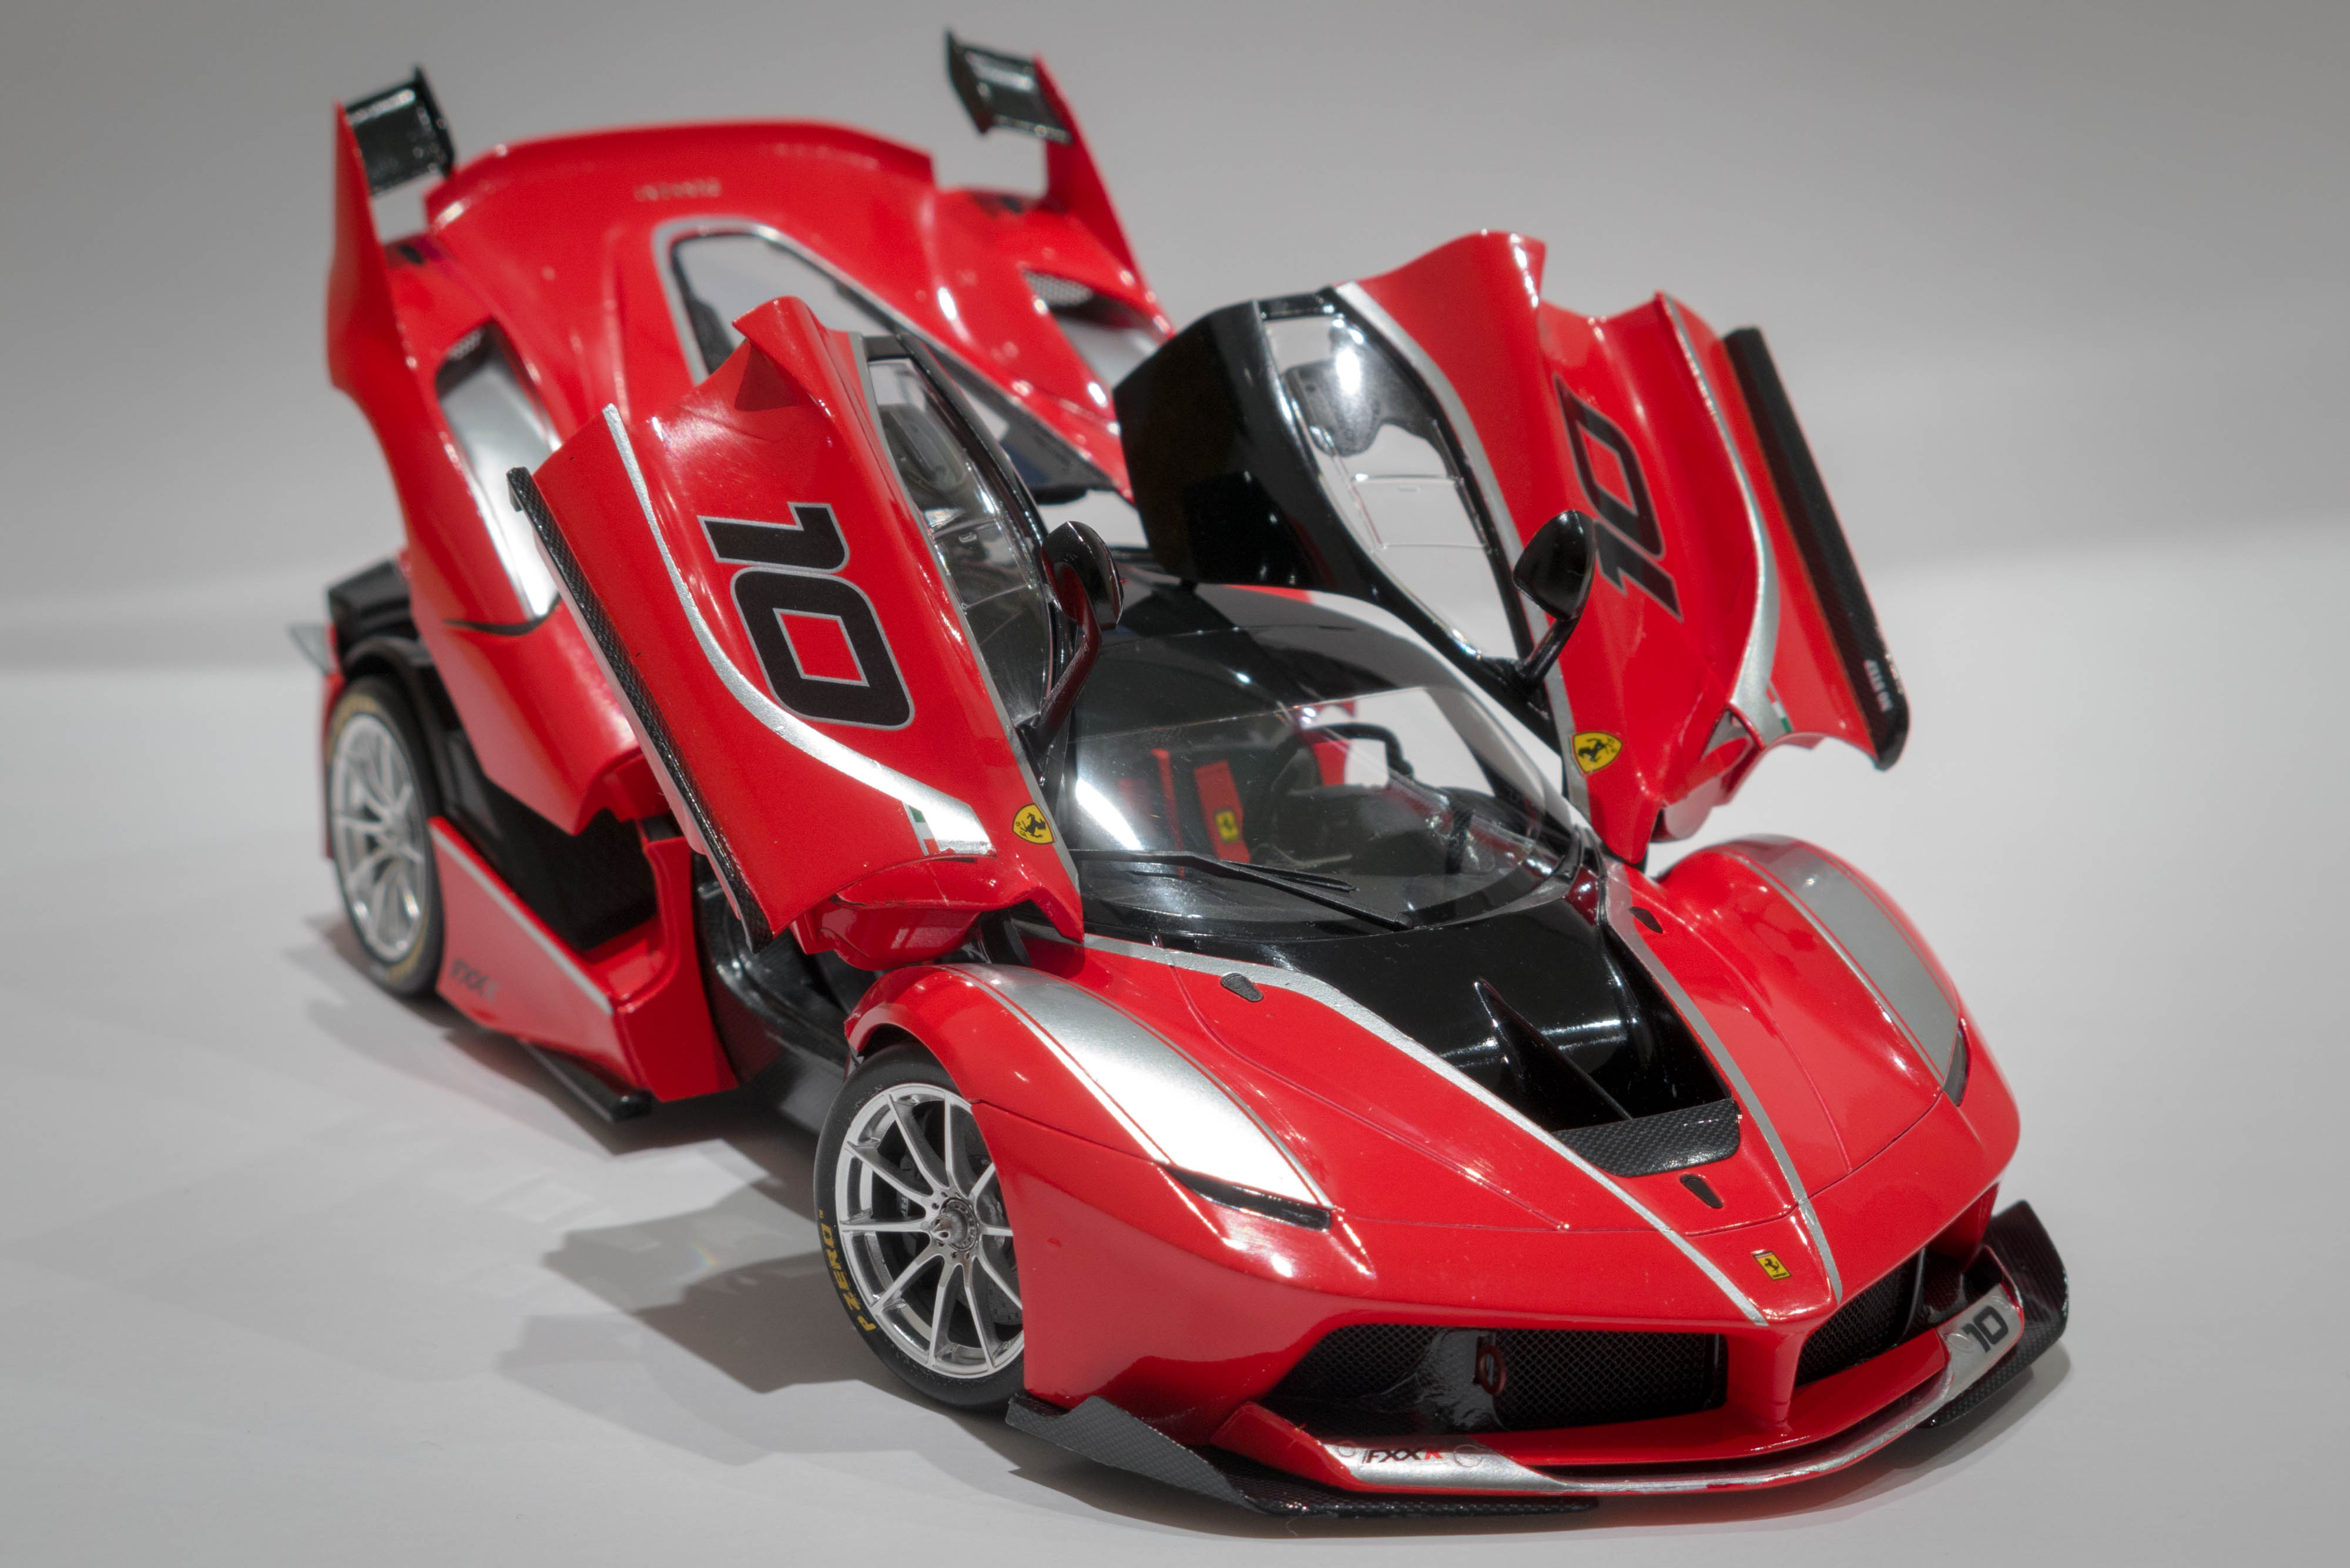
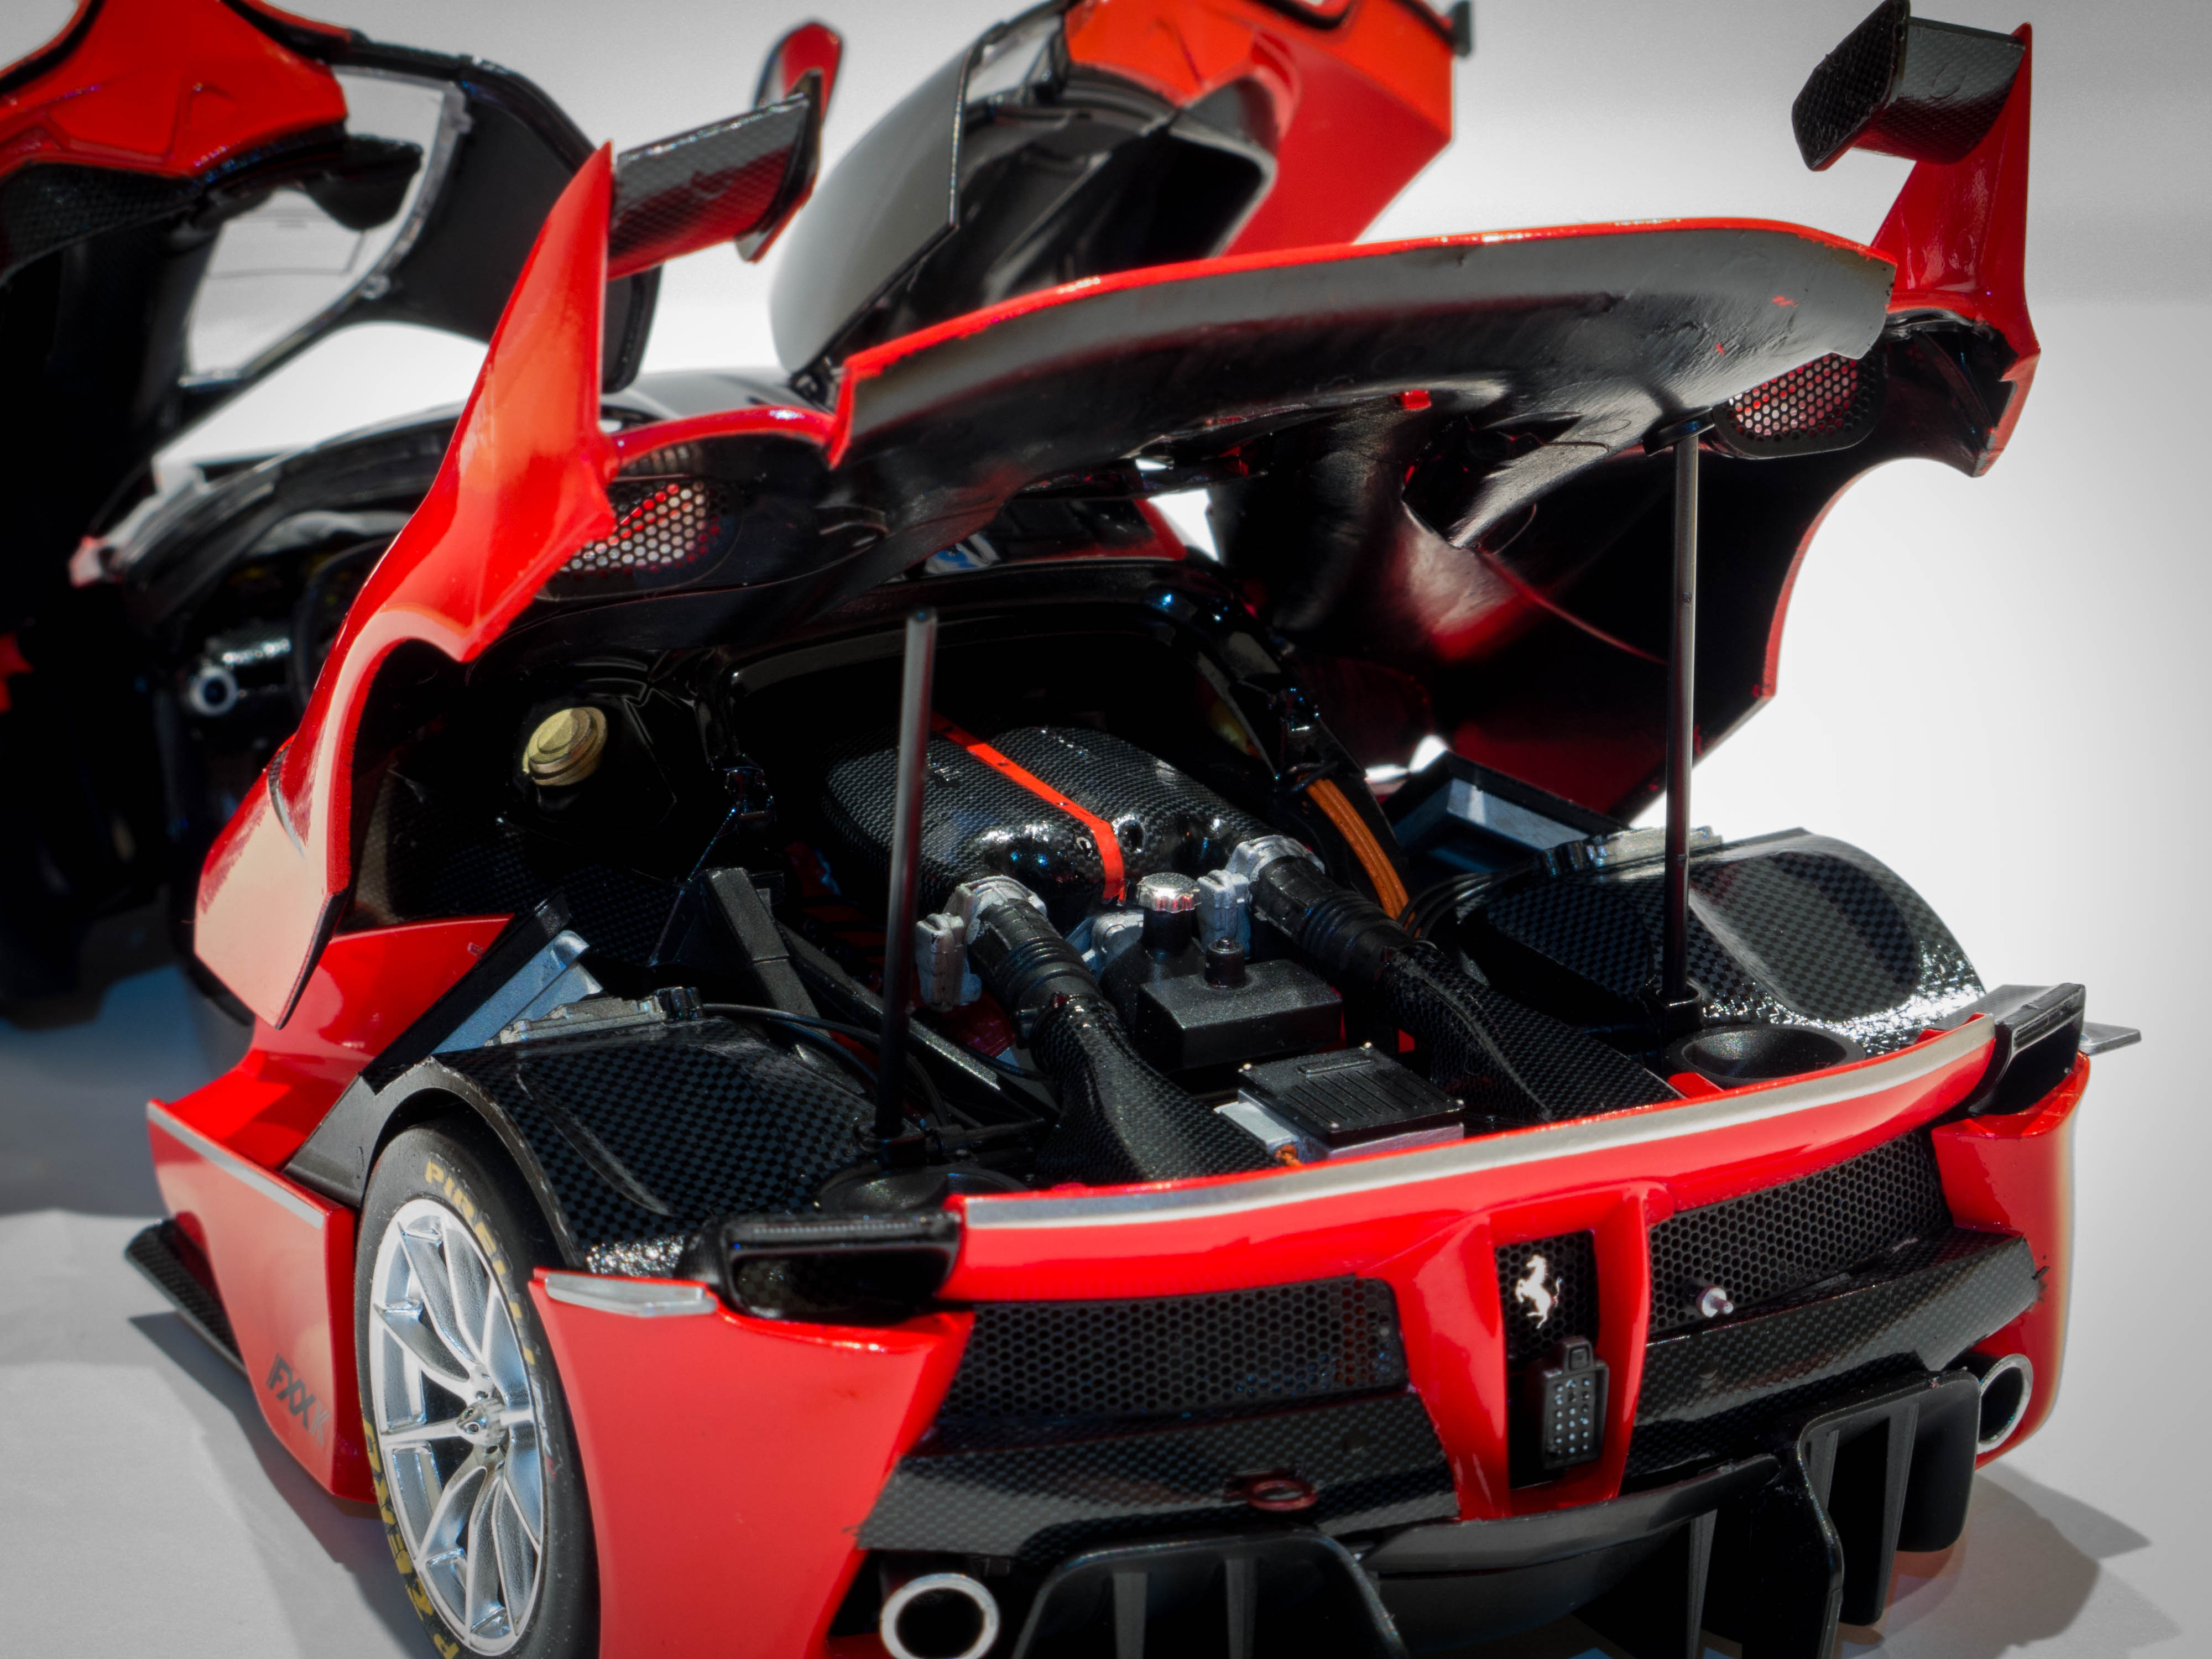
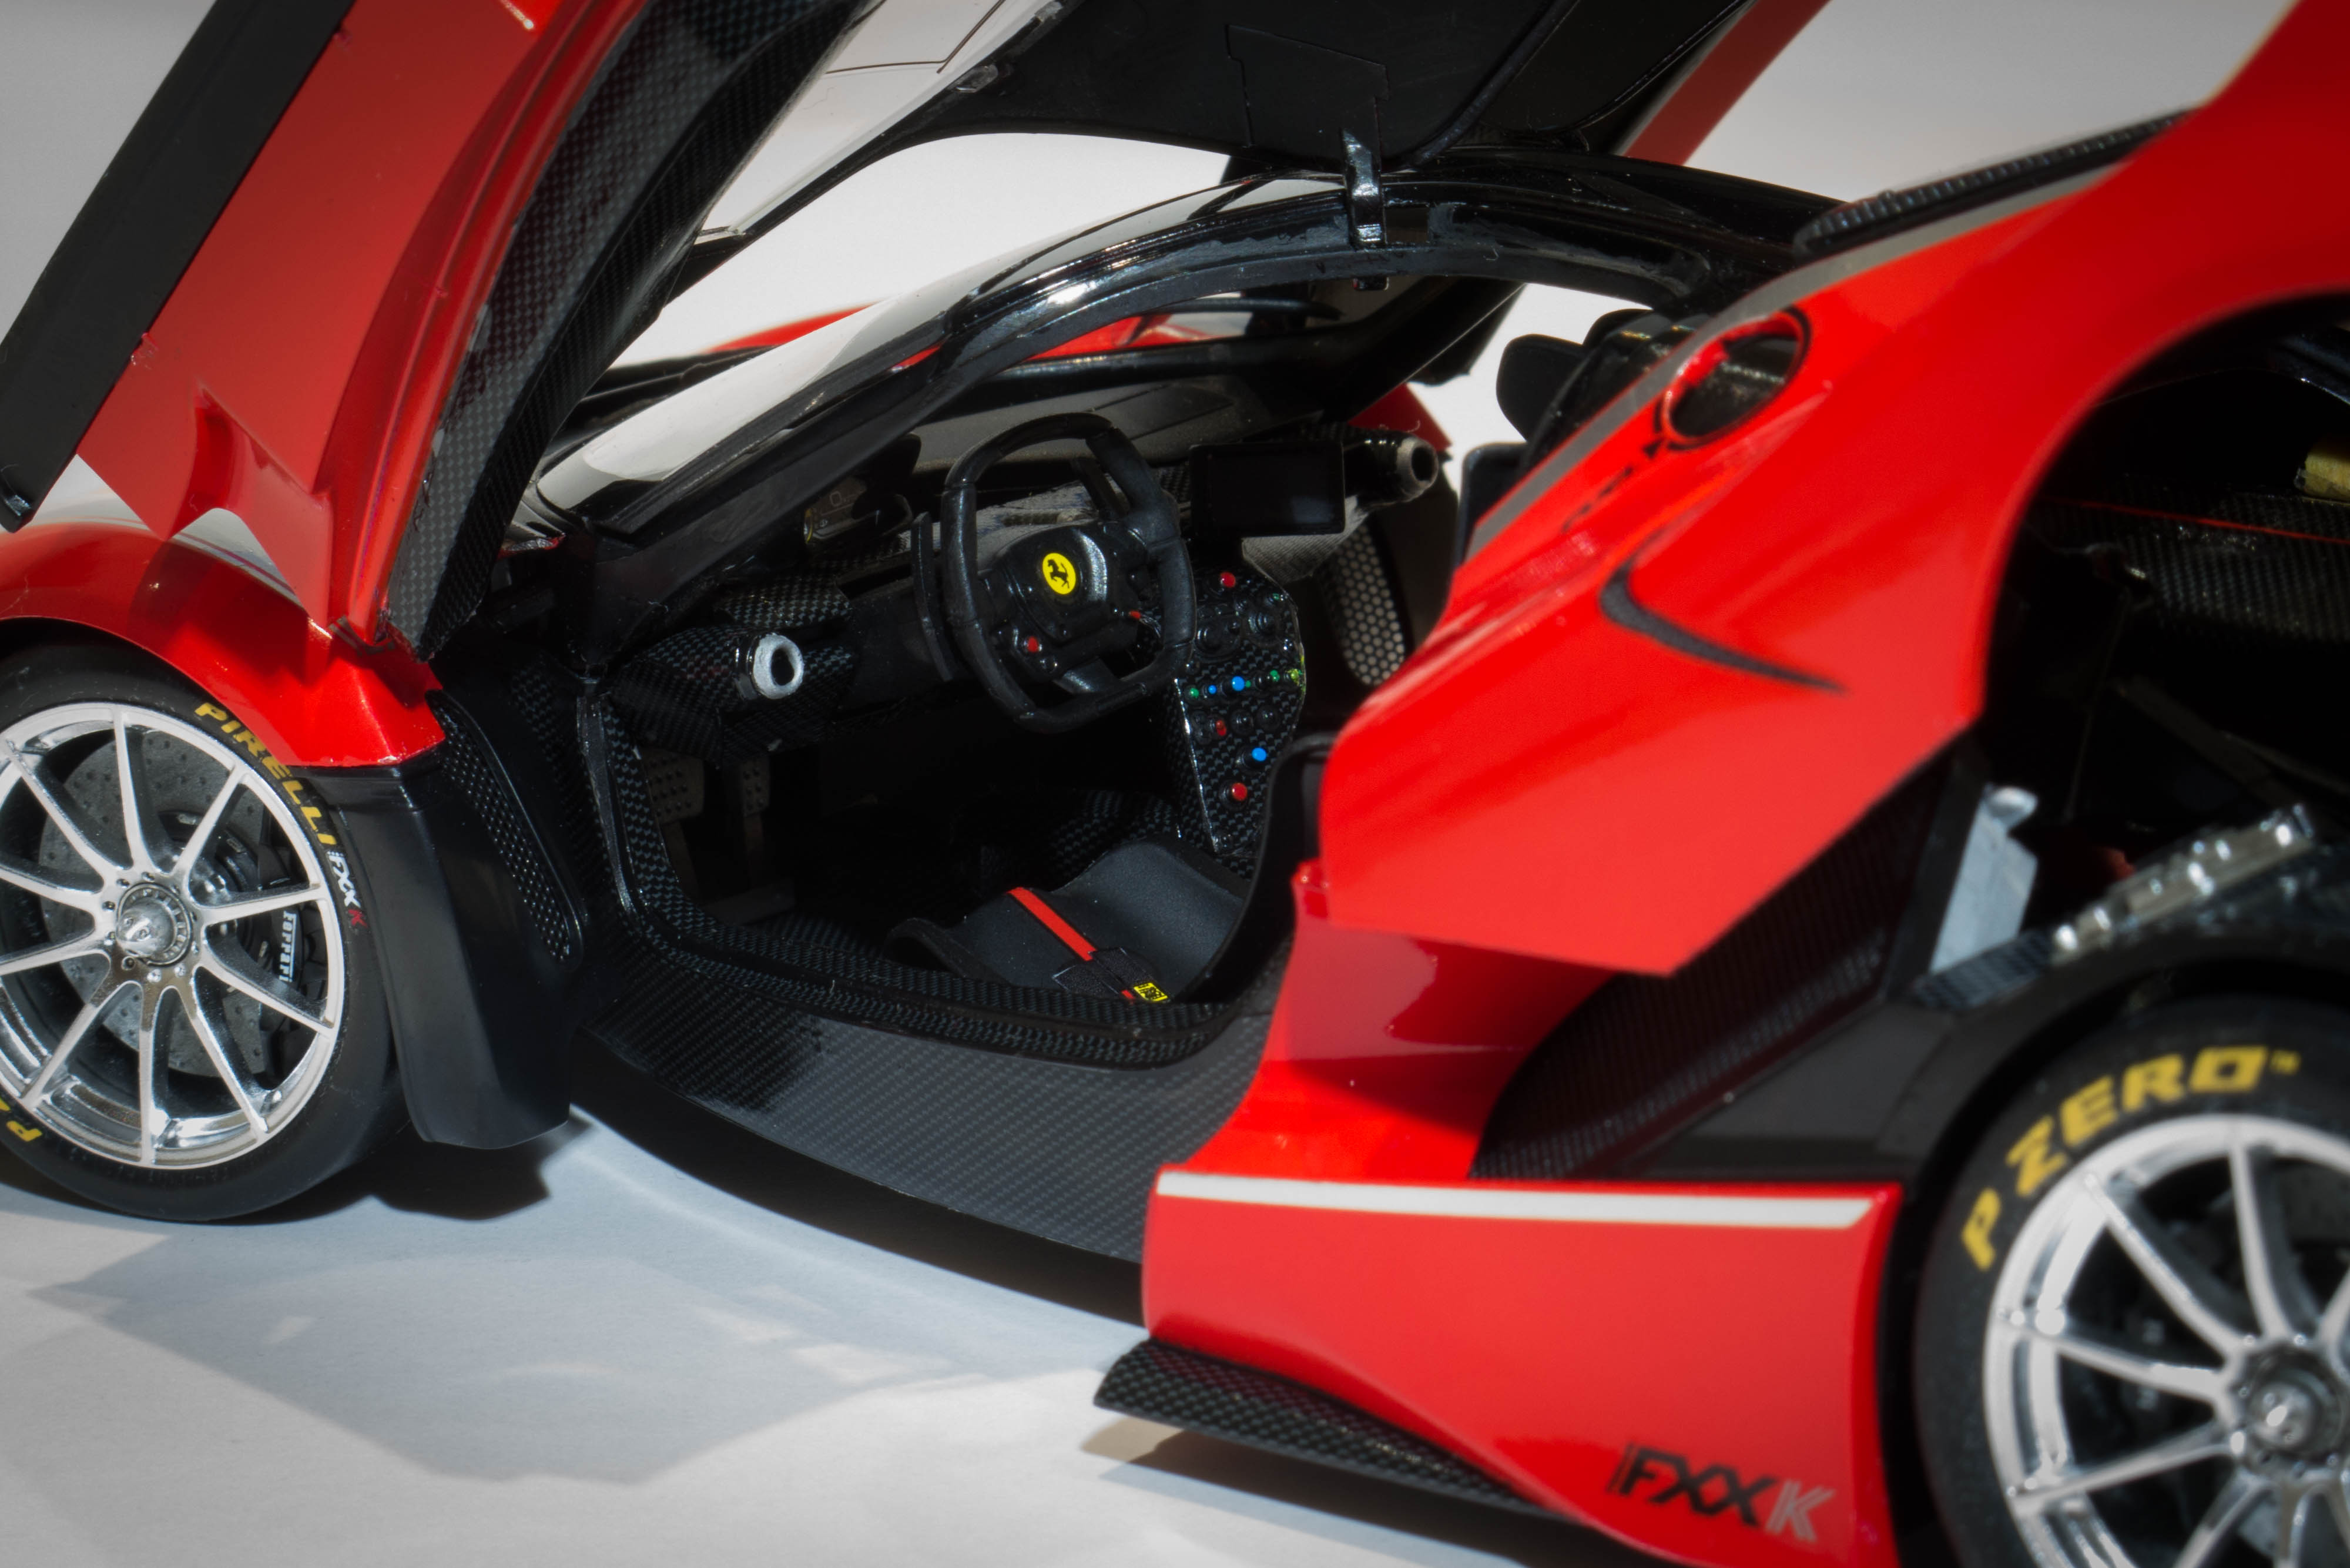
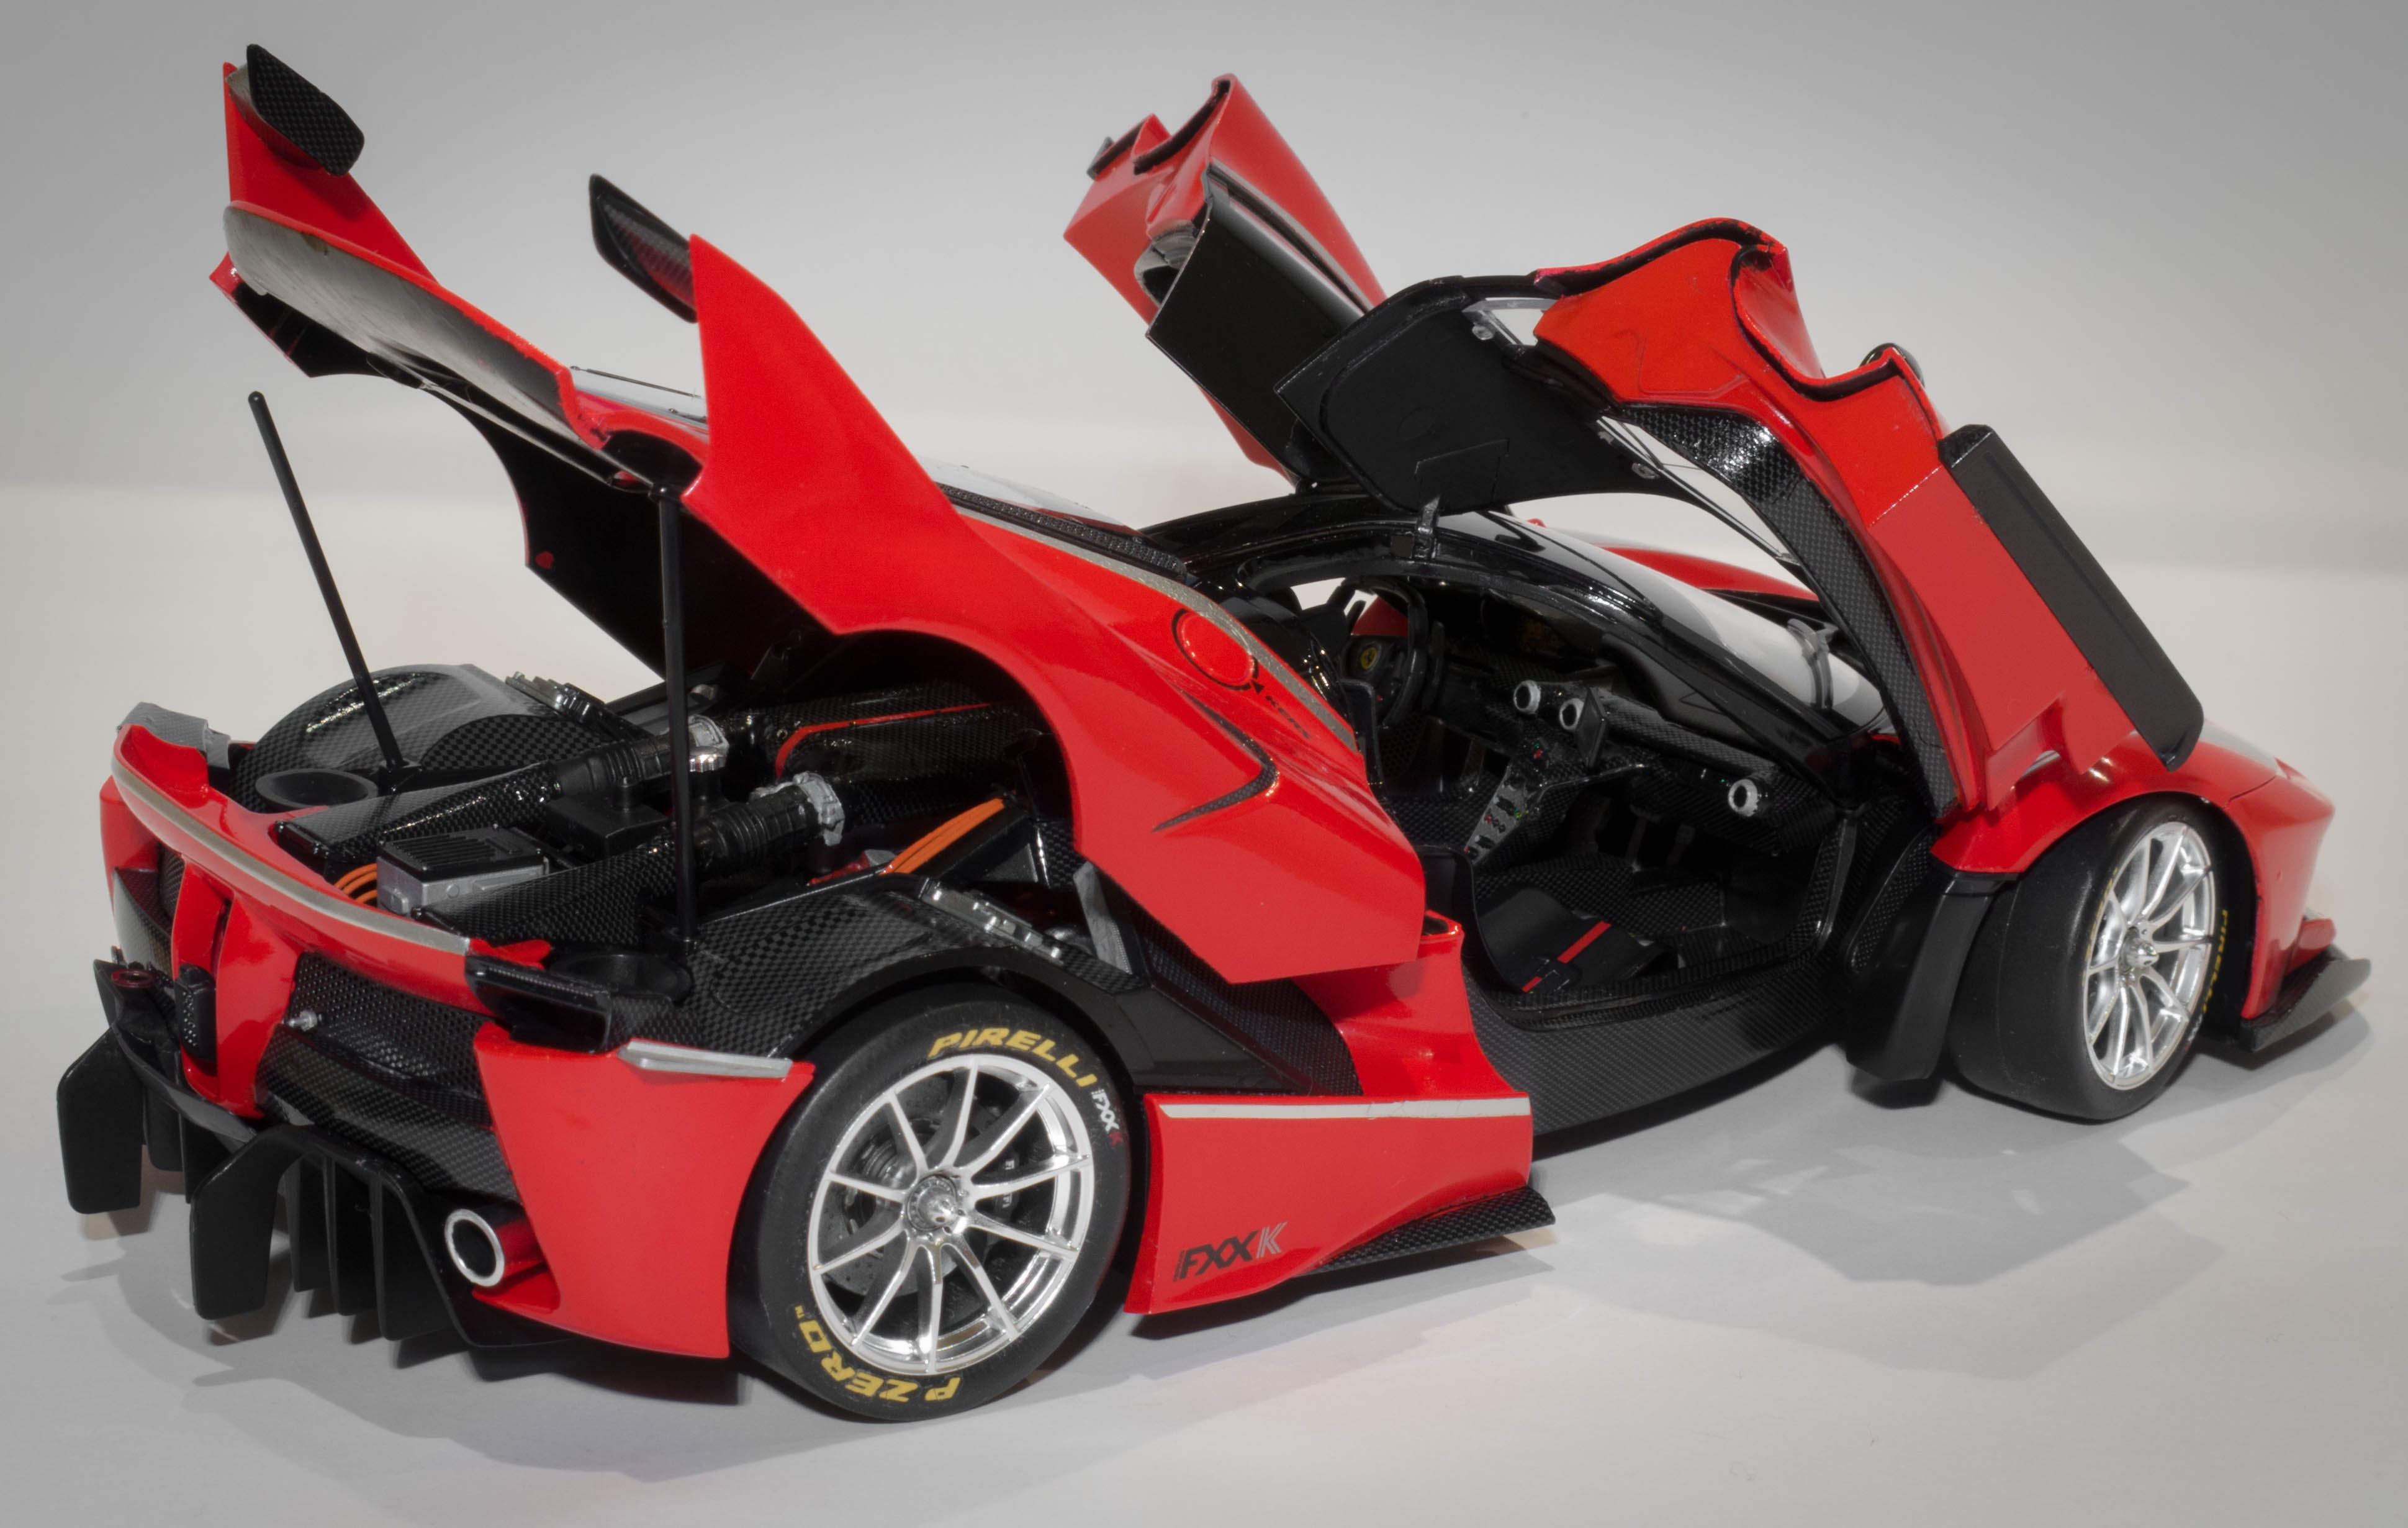
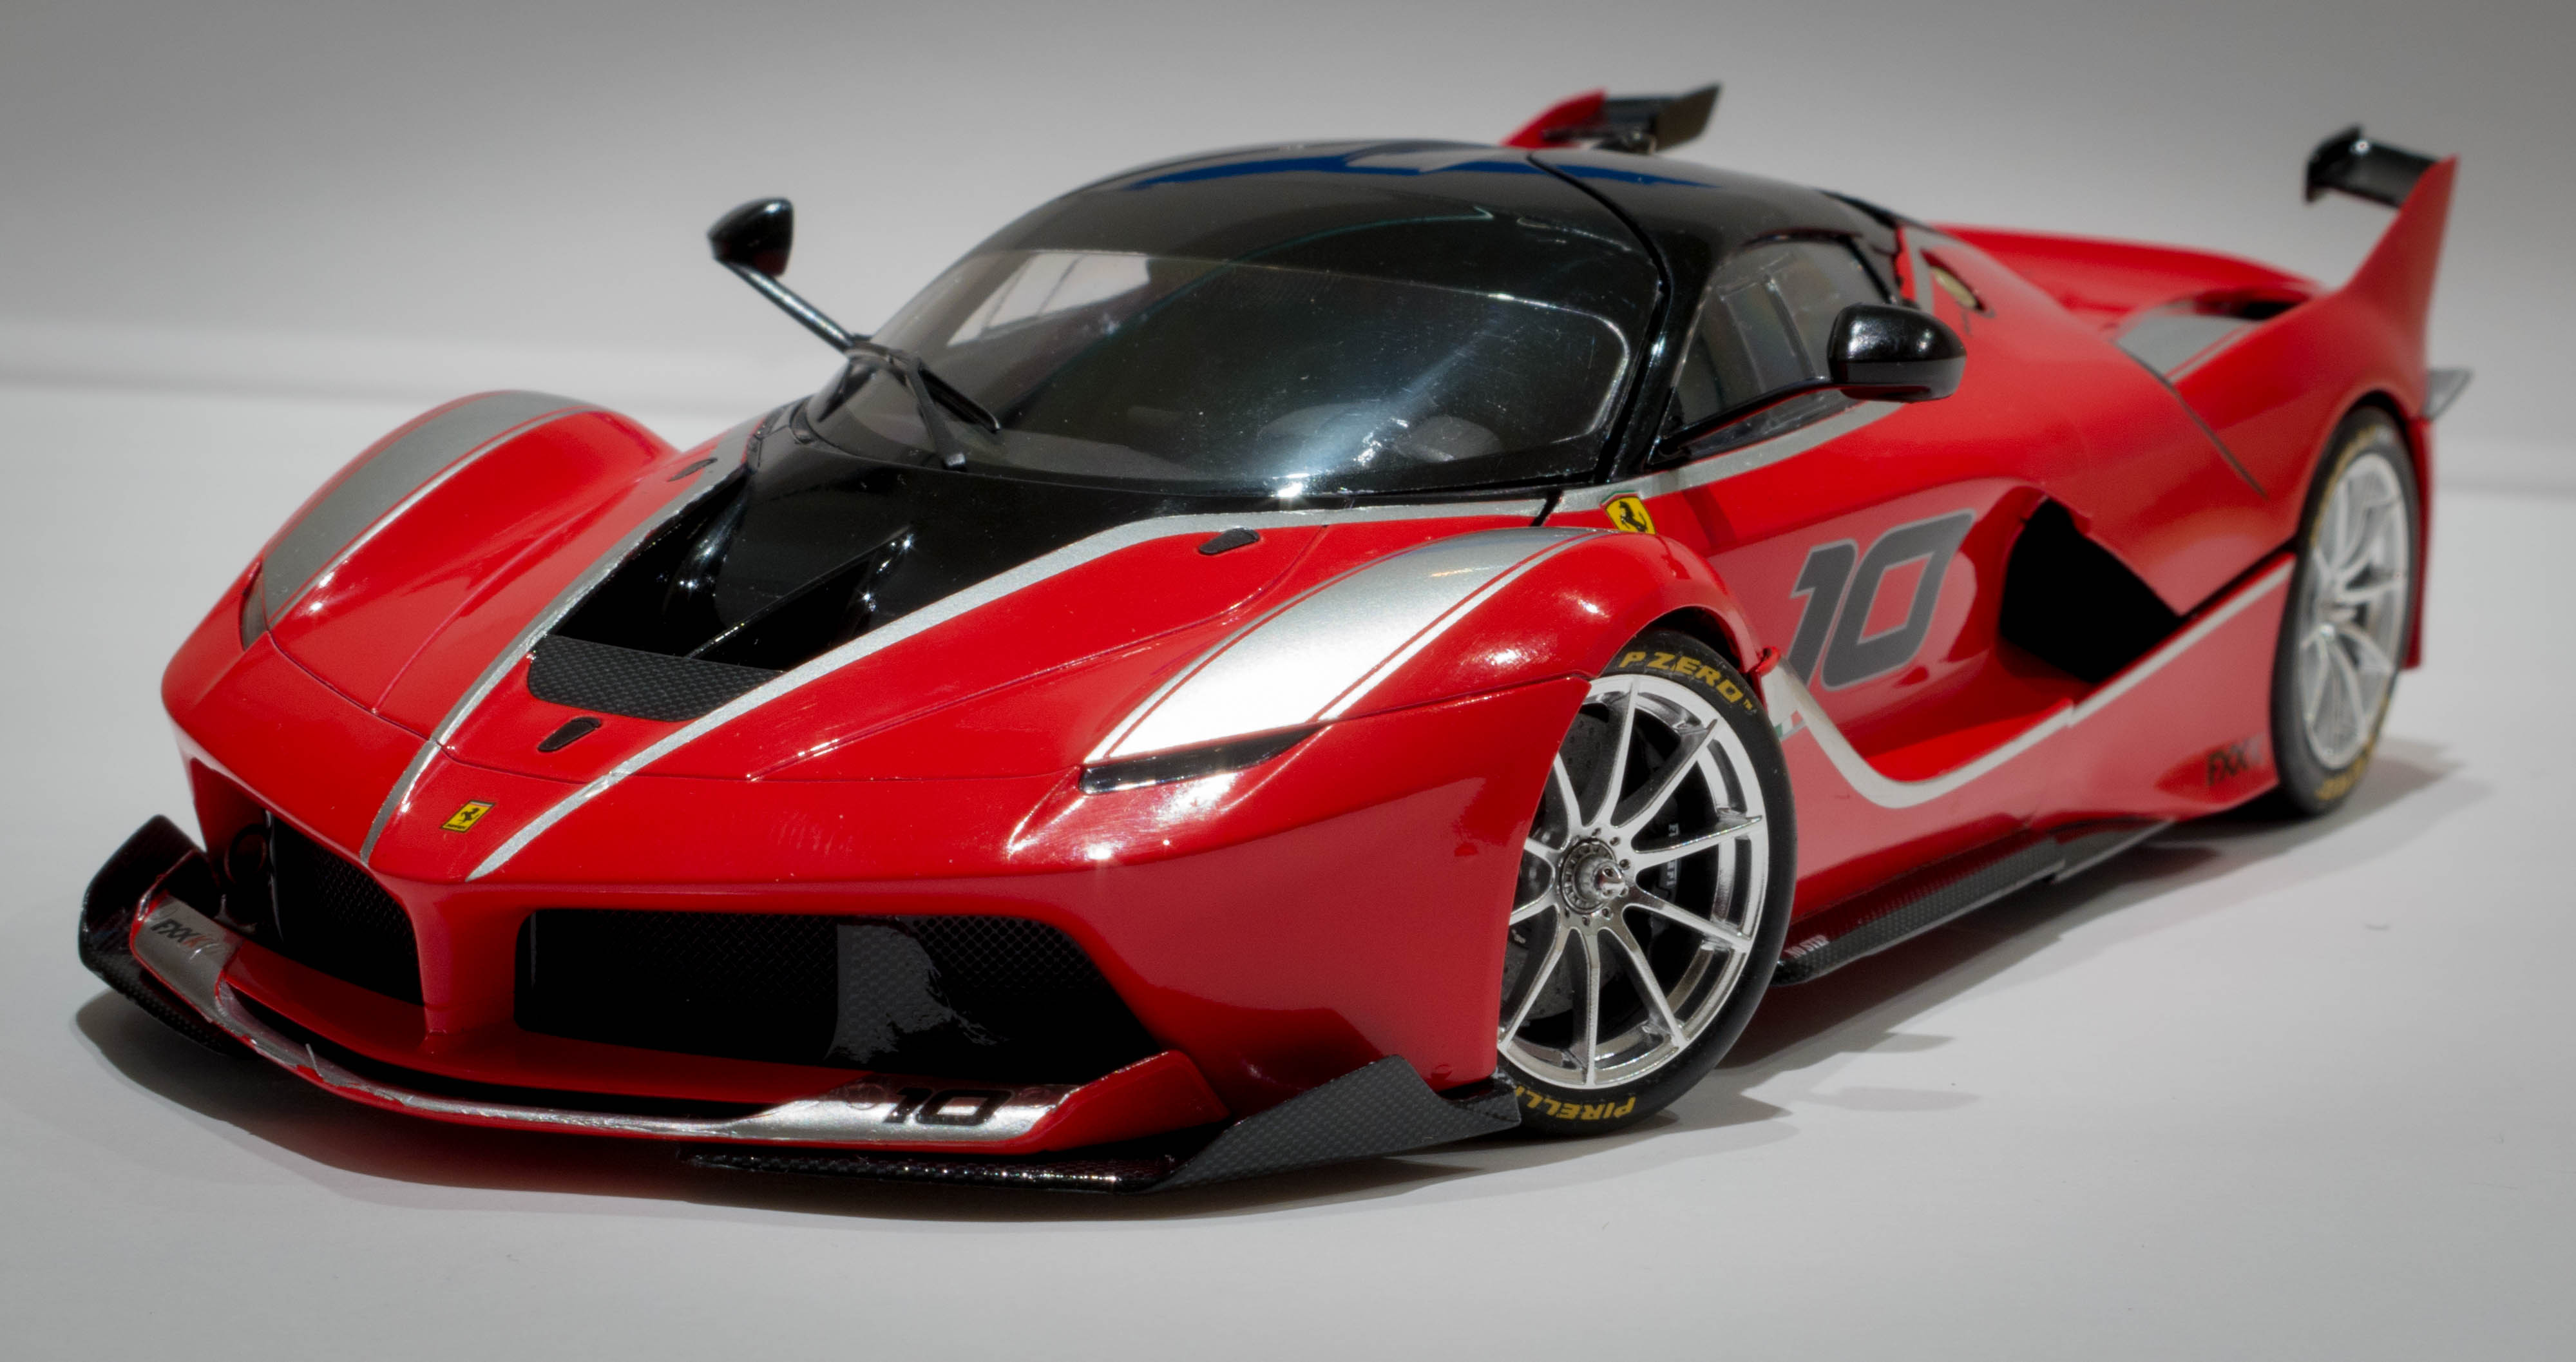
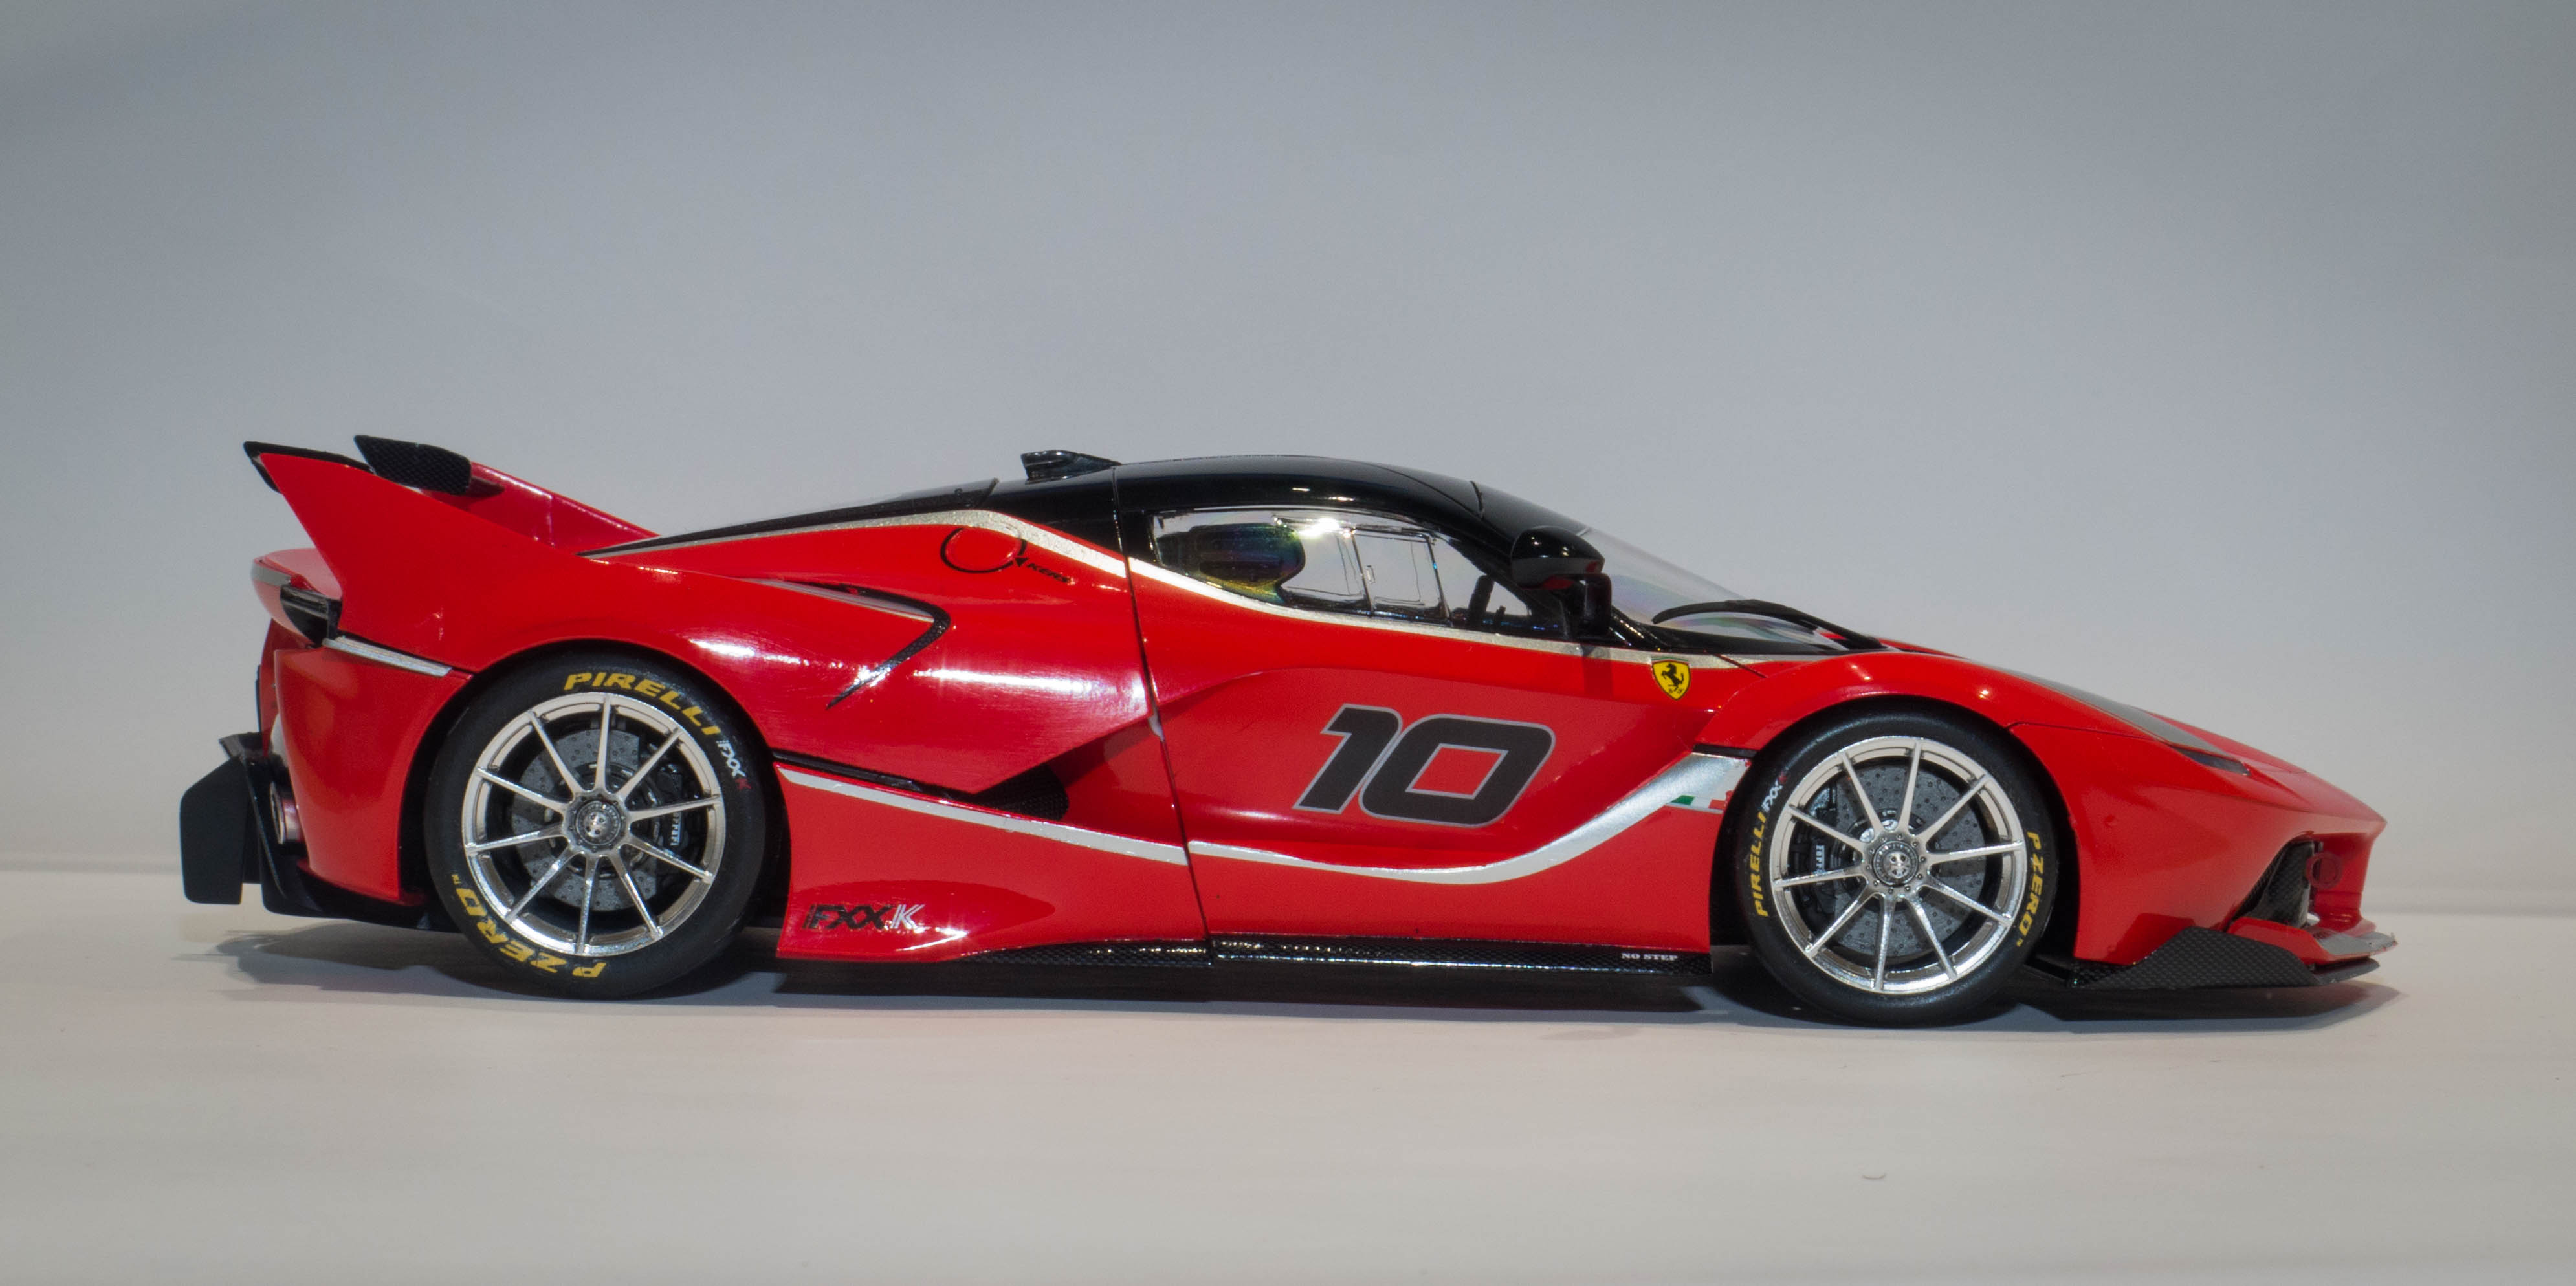
Hi All, This is my first post, but i have been making 1:24 car models for the last 10 years or so. I Finished the 1:24 Tamiya Ferrari FXXK a couple days ago, after spending around 6 weeks on it. In addition to the kit, i used the tamiya carbon decal detail set, and the photo etch detail set to complete the build I also experemented with hoses and cables in the engine bay. As always, Tamiya kits are always a pleasure to work with, with very little modification needed to get a great result. I am really pleased with the outcome. Any feedback welcomed Thanks
-
Hi All, I recently joined this forum to get ideas and inspiration for future builds. Generally i do 1:24 tamiya kits, as i find theyre standard details to be the best, but am also liking the variety of kits that Aoshima and fujimi are putting out. Thanks Nathan