Nataan92
-
Posts
62 -
Joined
-
Last visited
Content Type
Profiles
Forums
Events
Gallery
Everything posted by Nataan92
-
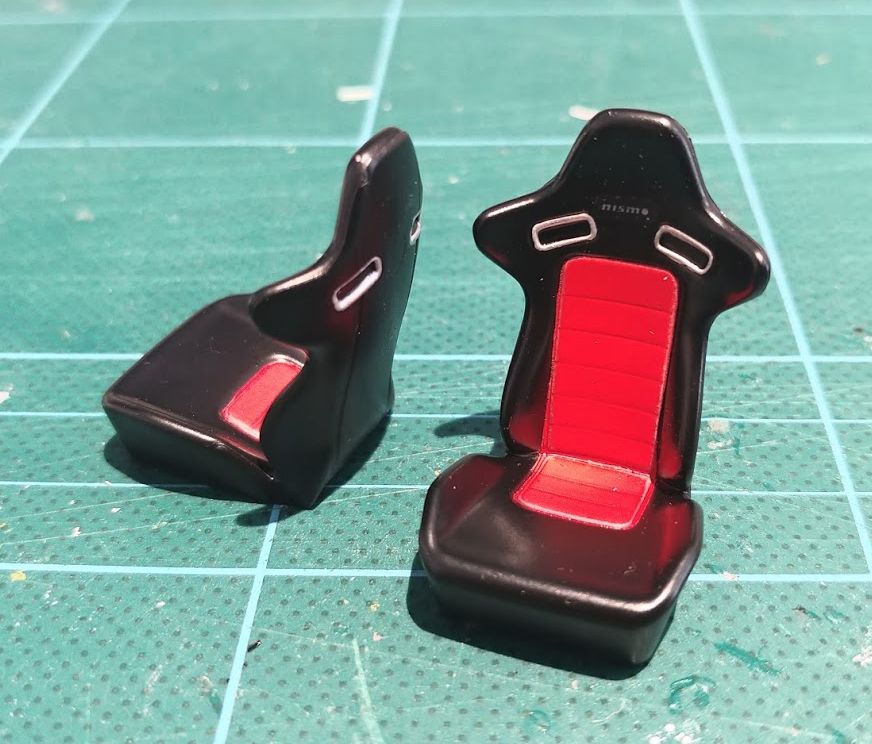
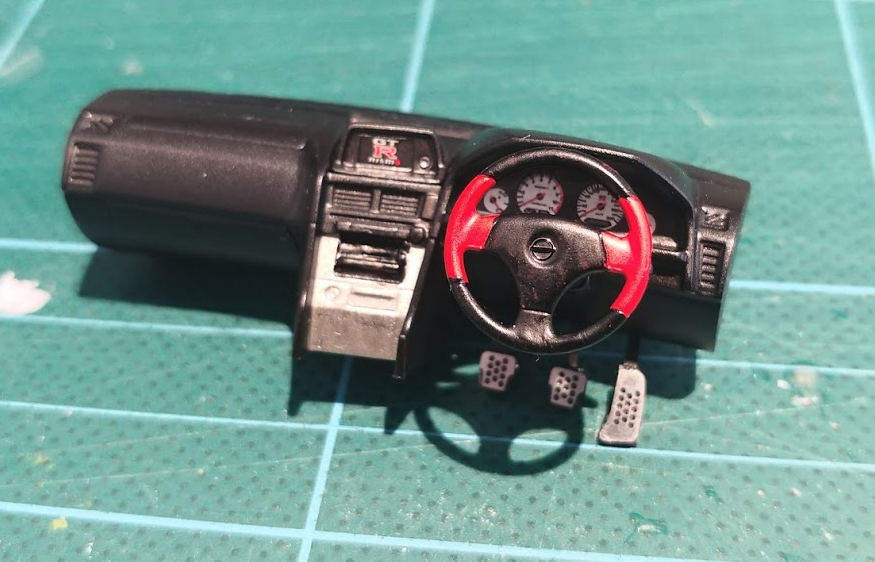
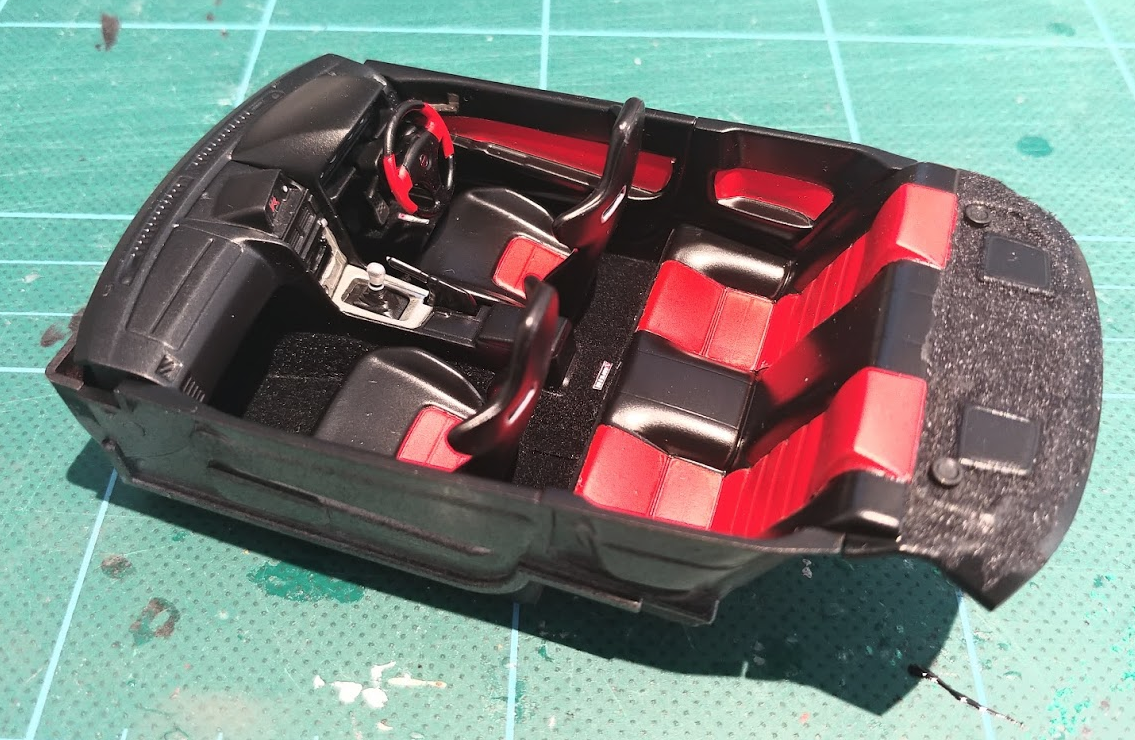
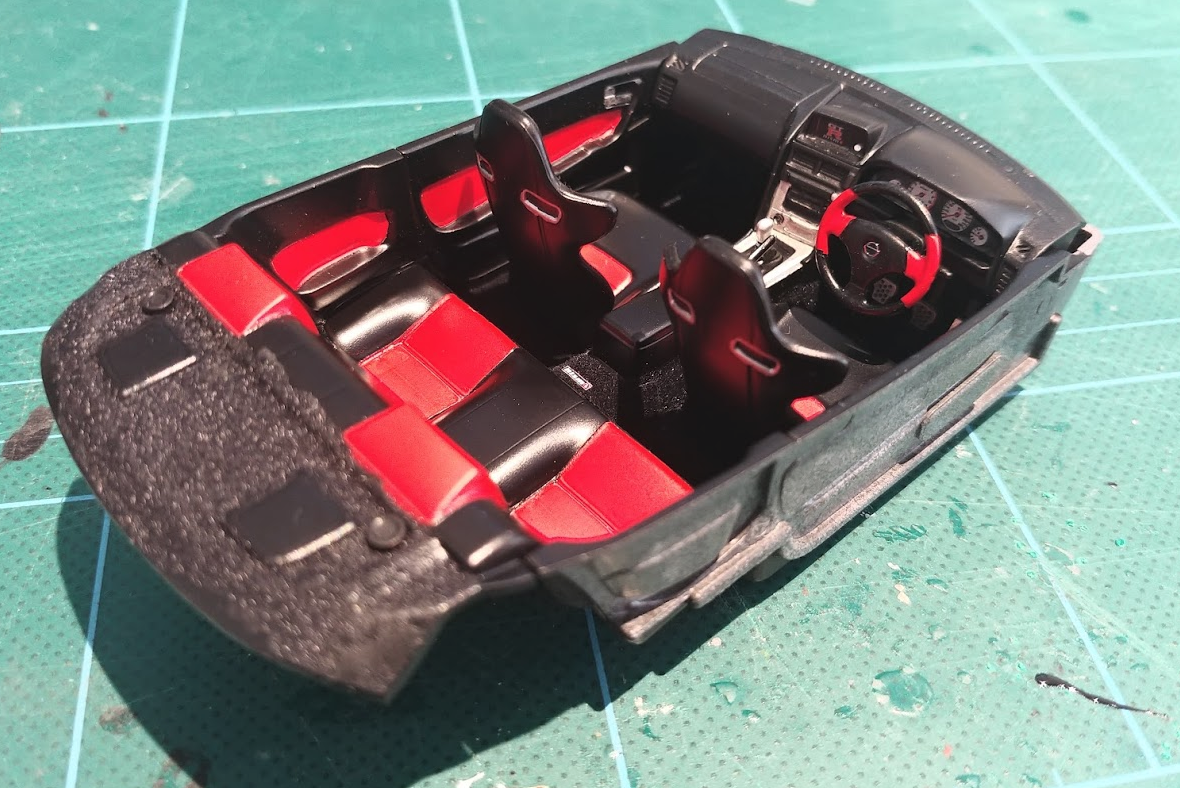
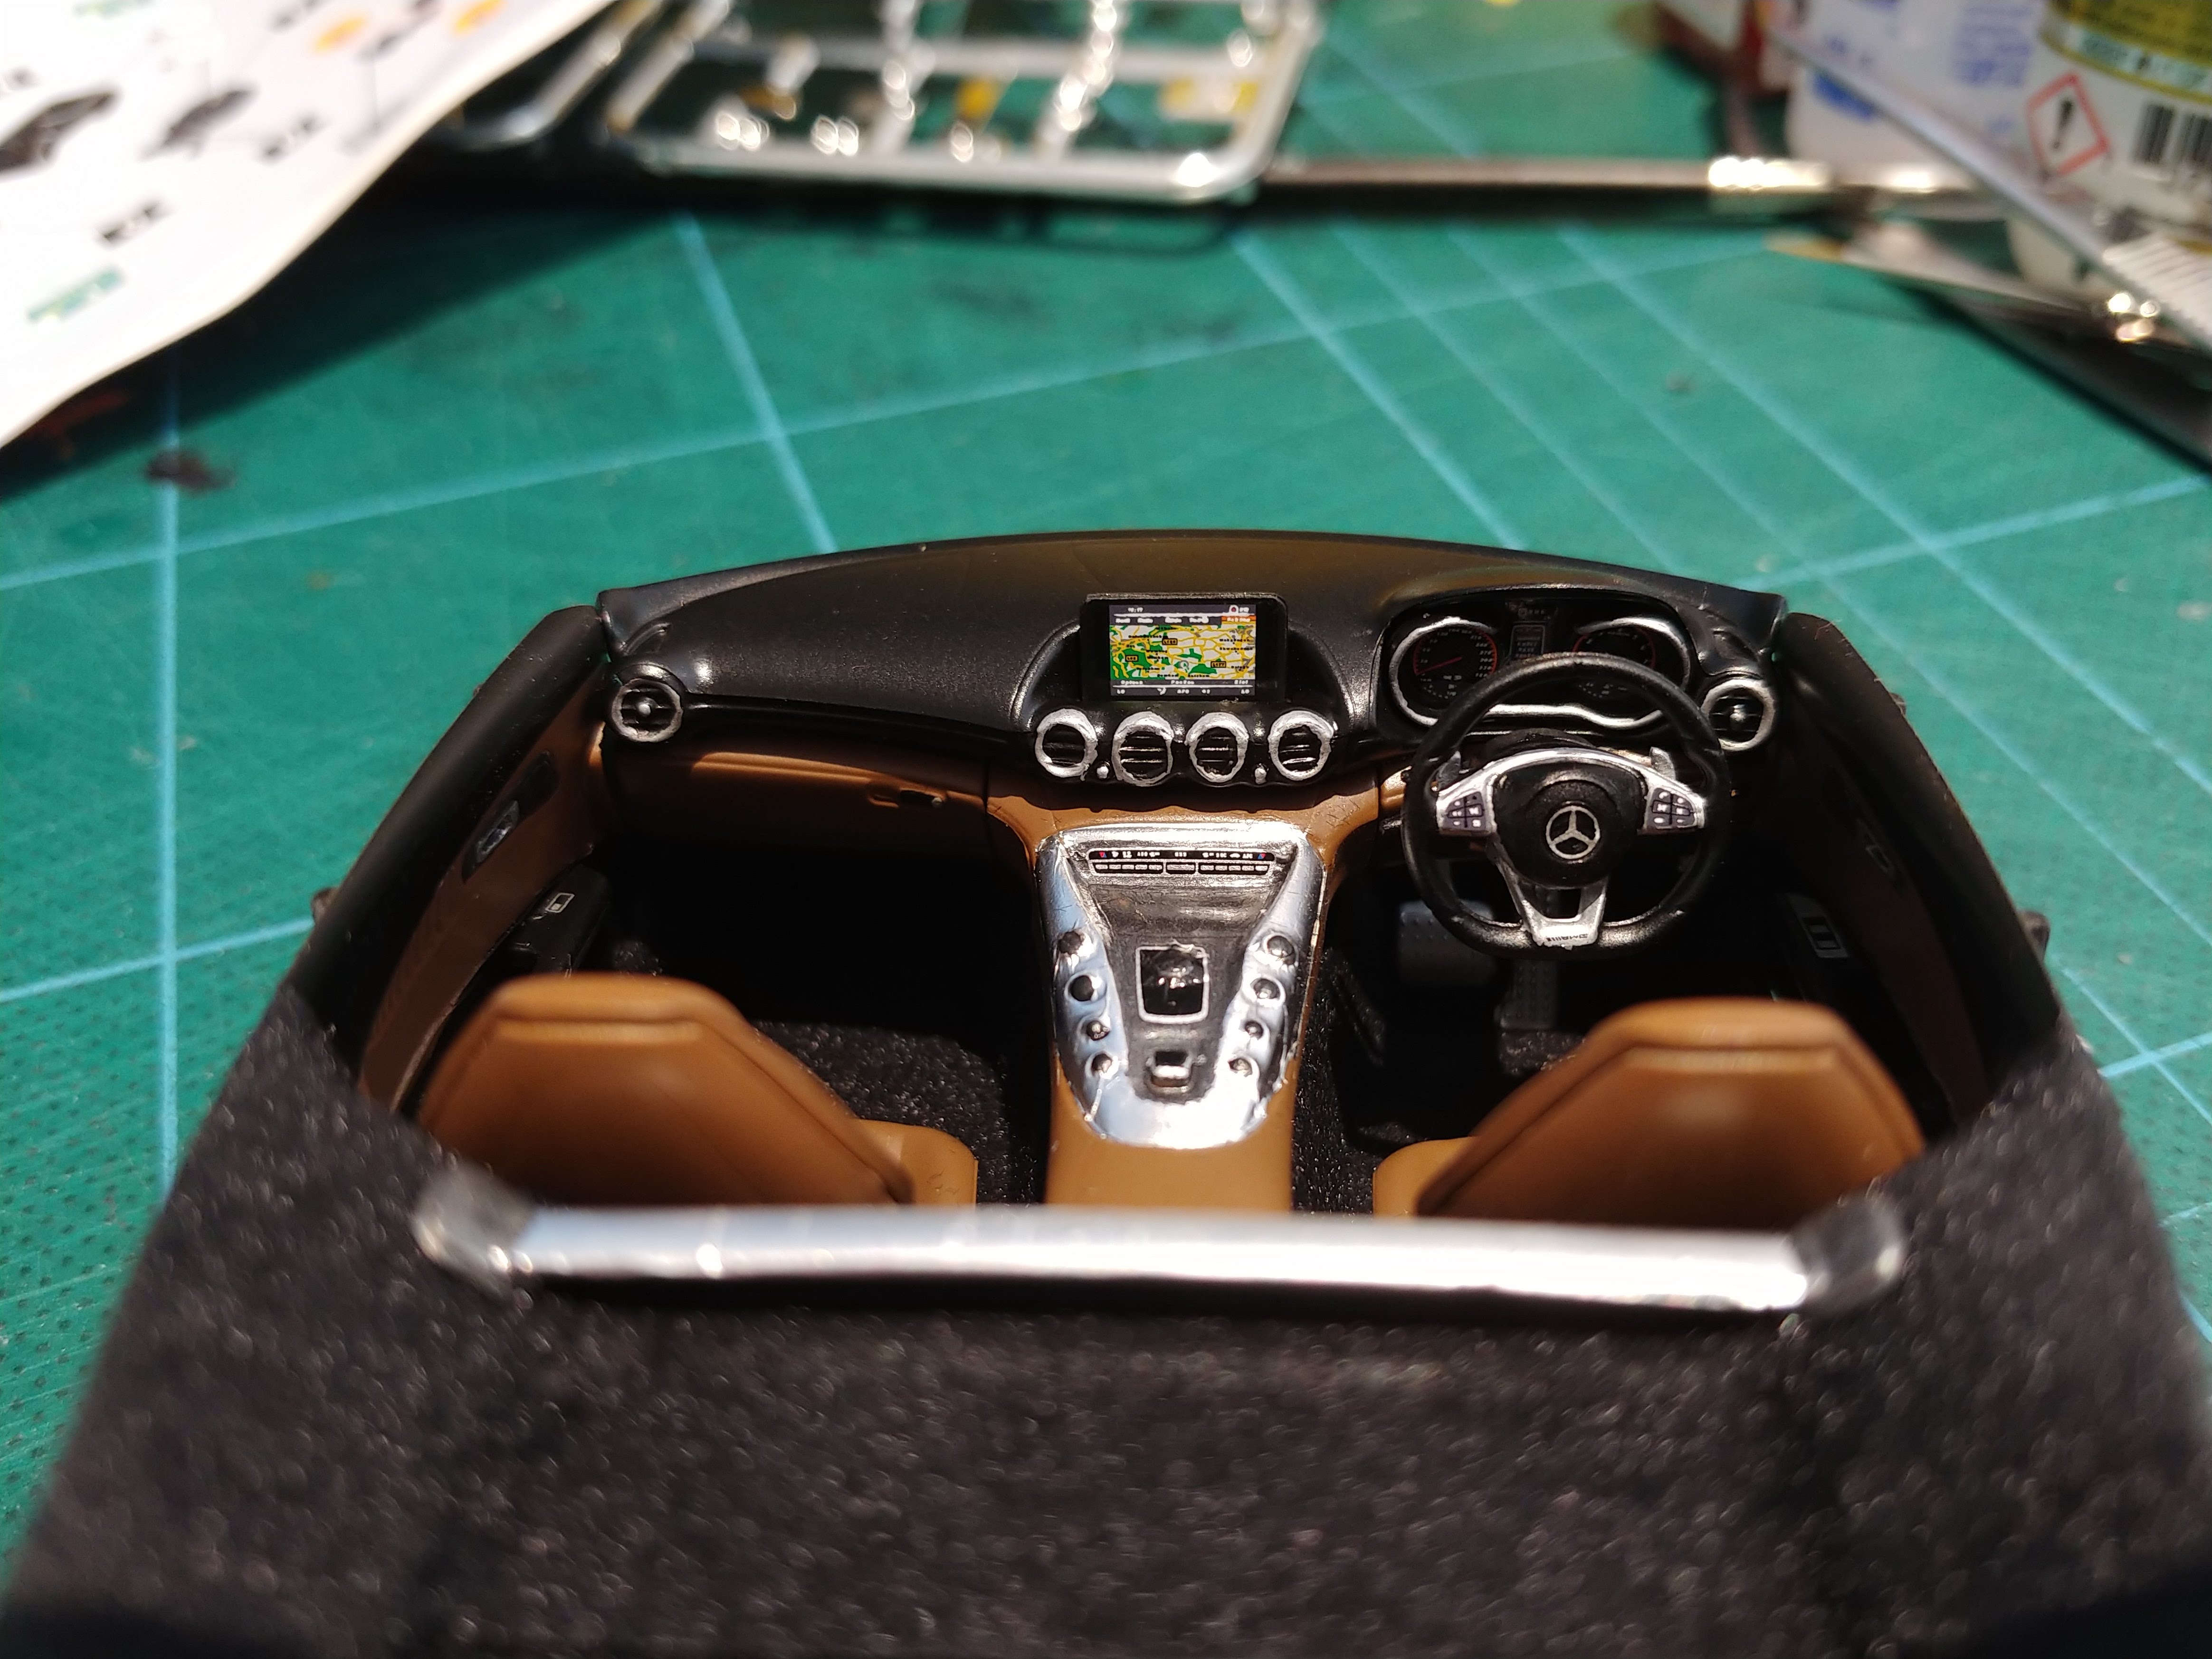
Hi All, I have just completed the interior. The real car has a black leather, and red alcantara inserts. Personally im not a huge fan of this colour break up, but i will do it anyway. To acheive the red alcantara, i first primed the plastic with tamiya White primer, then hit it with tamiya bright red, then finally with some flat clear (i dont have any flat red paint...) once this had dried, i masked off those sections and went over the rest of the pieces with semi gloss black. included in the PE set for this kit, are some carpet floor mats. ive never seen this in a kit before, its a nice touch. Becasue of this, i only had to flock the rear parcel shelf. A few decals were applied for the gauges, centre screen, seats and the steering wheel. Thanks for looking Nathan

-
Thanks, yeah i thought it might have been too. I had it on the slowest possible setting and used very light pressure. I wasnt using the dremel brand polishing bits because they are far to hard. I bought some soft woollen generic bits off ebay.
-
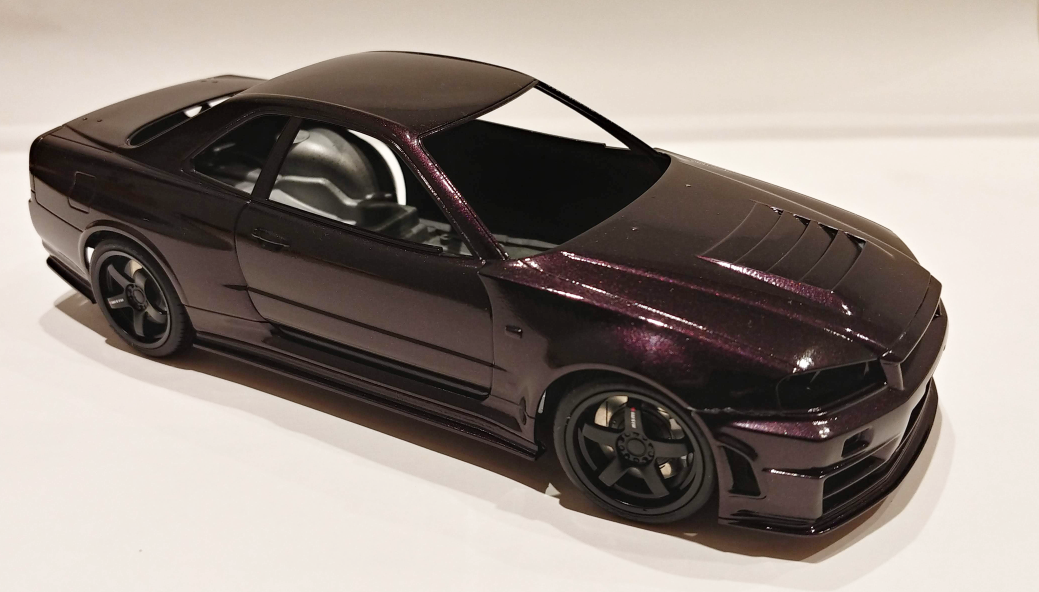
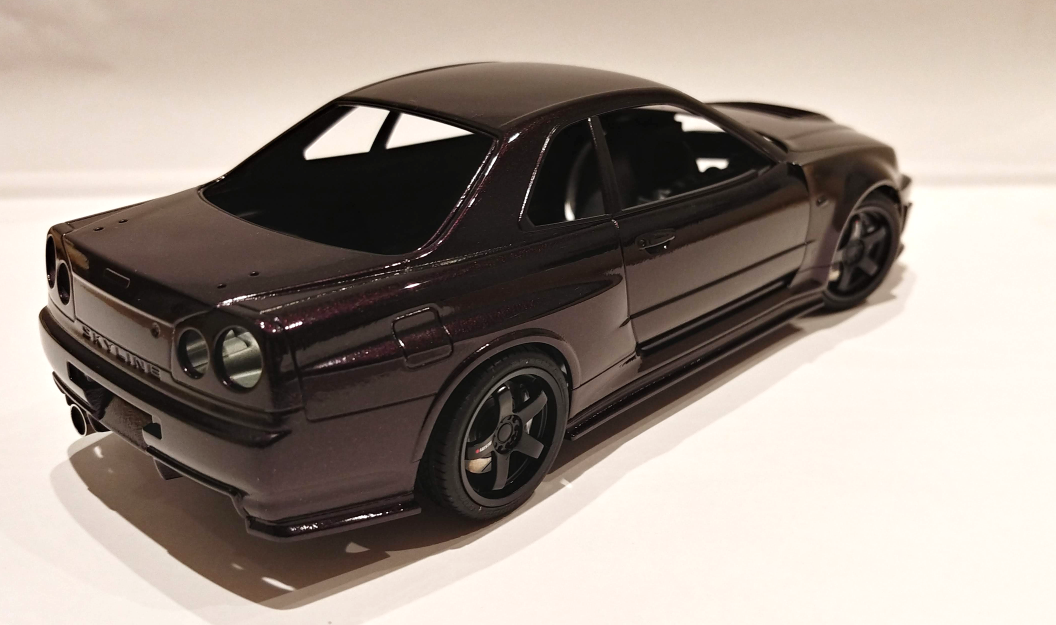
Hi All, Thanks for the nice comments. I finally got around to polishing the body last night, had to wait for some polishing bits for my dremel... This was the first time I had tried using the dremel to polish. It made a bit of a mess, flicking polish everywhere, but i am very pleased with the result. Unfortunately when i was wet sanding the model before polish, i sanded a few tiny areas a bit thin, and went through to the primer. I think i should be able to touch up these areas so that it isnt as noticeable. Anyway, here are some images. Before Polish After first stage of polish (Meguiar's Ultimate compound) removes the fine sanding scratches After final polish was Wax Next up will be the interior. Thanks
-
Thanks. The suspension control arms & Engine were hand brushed with tamiya XF-16 Flat aluminium, and the exhaust was painted with tamiya TS-17 Gloss aluminium spray paint.
-
I feel your pain with the AMG GT, I had issues with the bumpers too. Looking forward to these two builds too
-
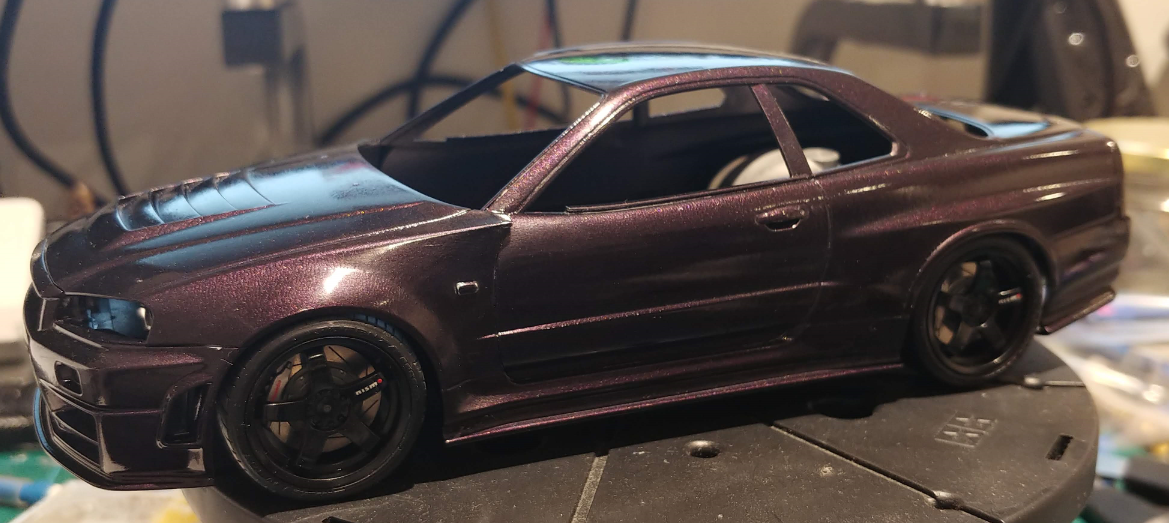
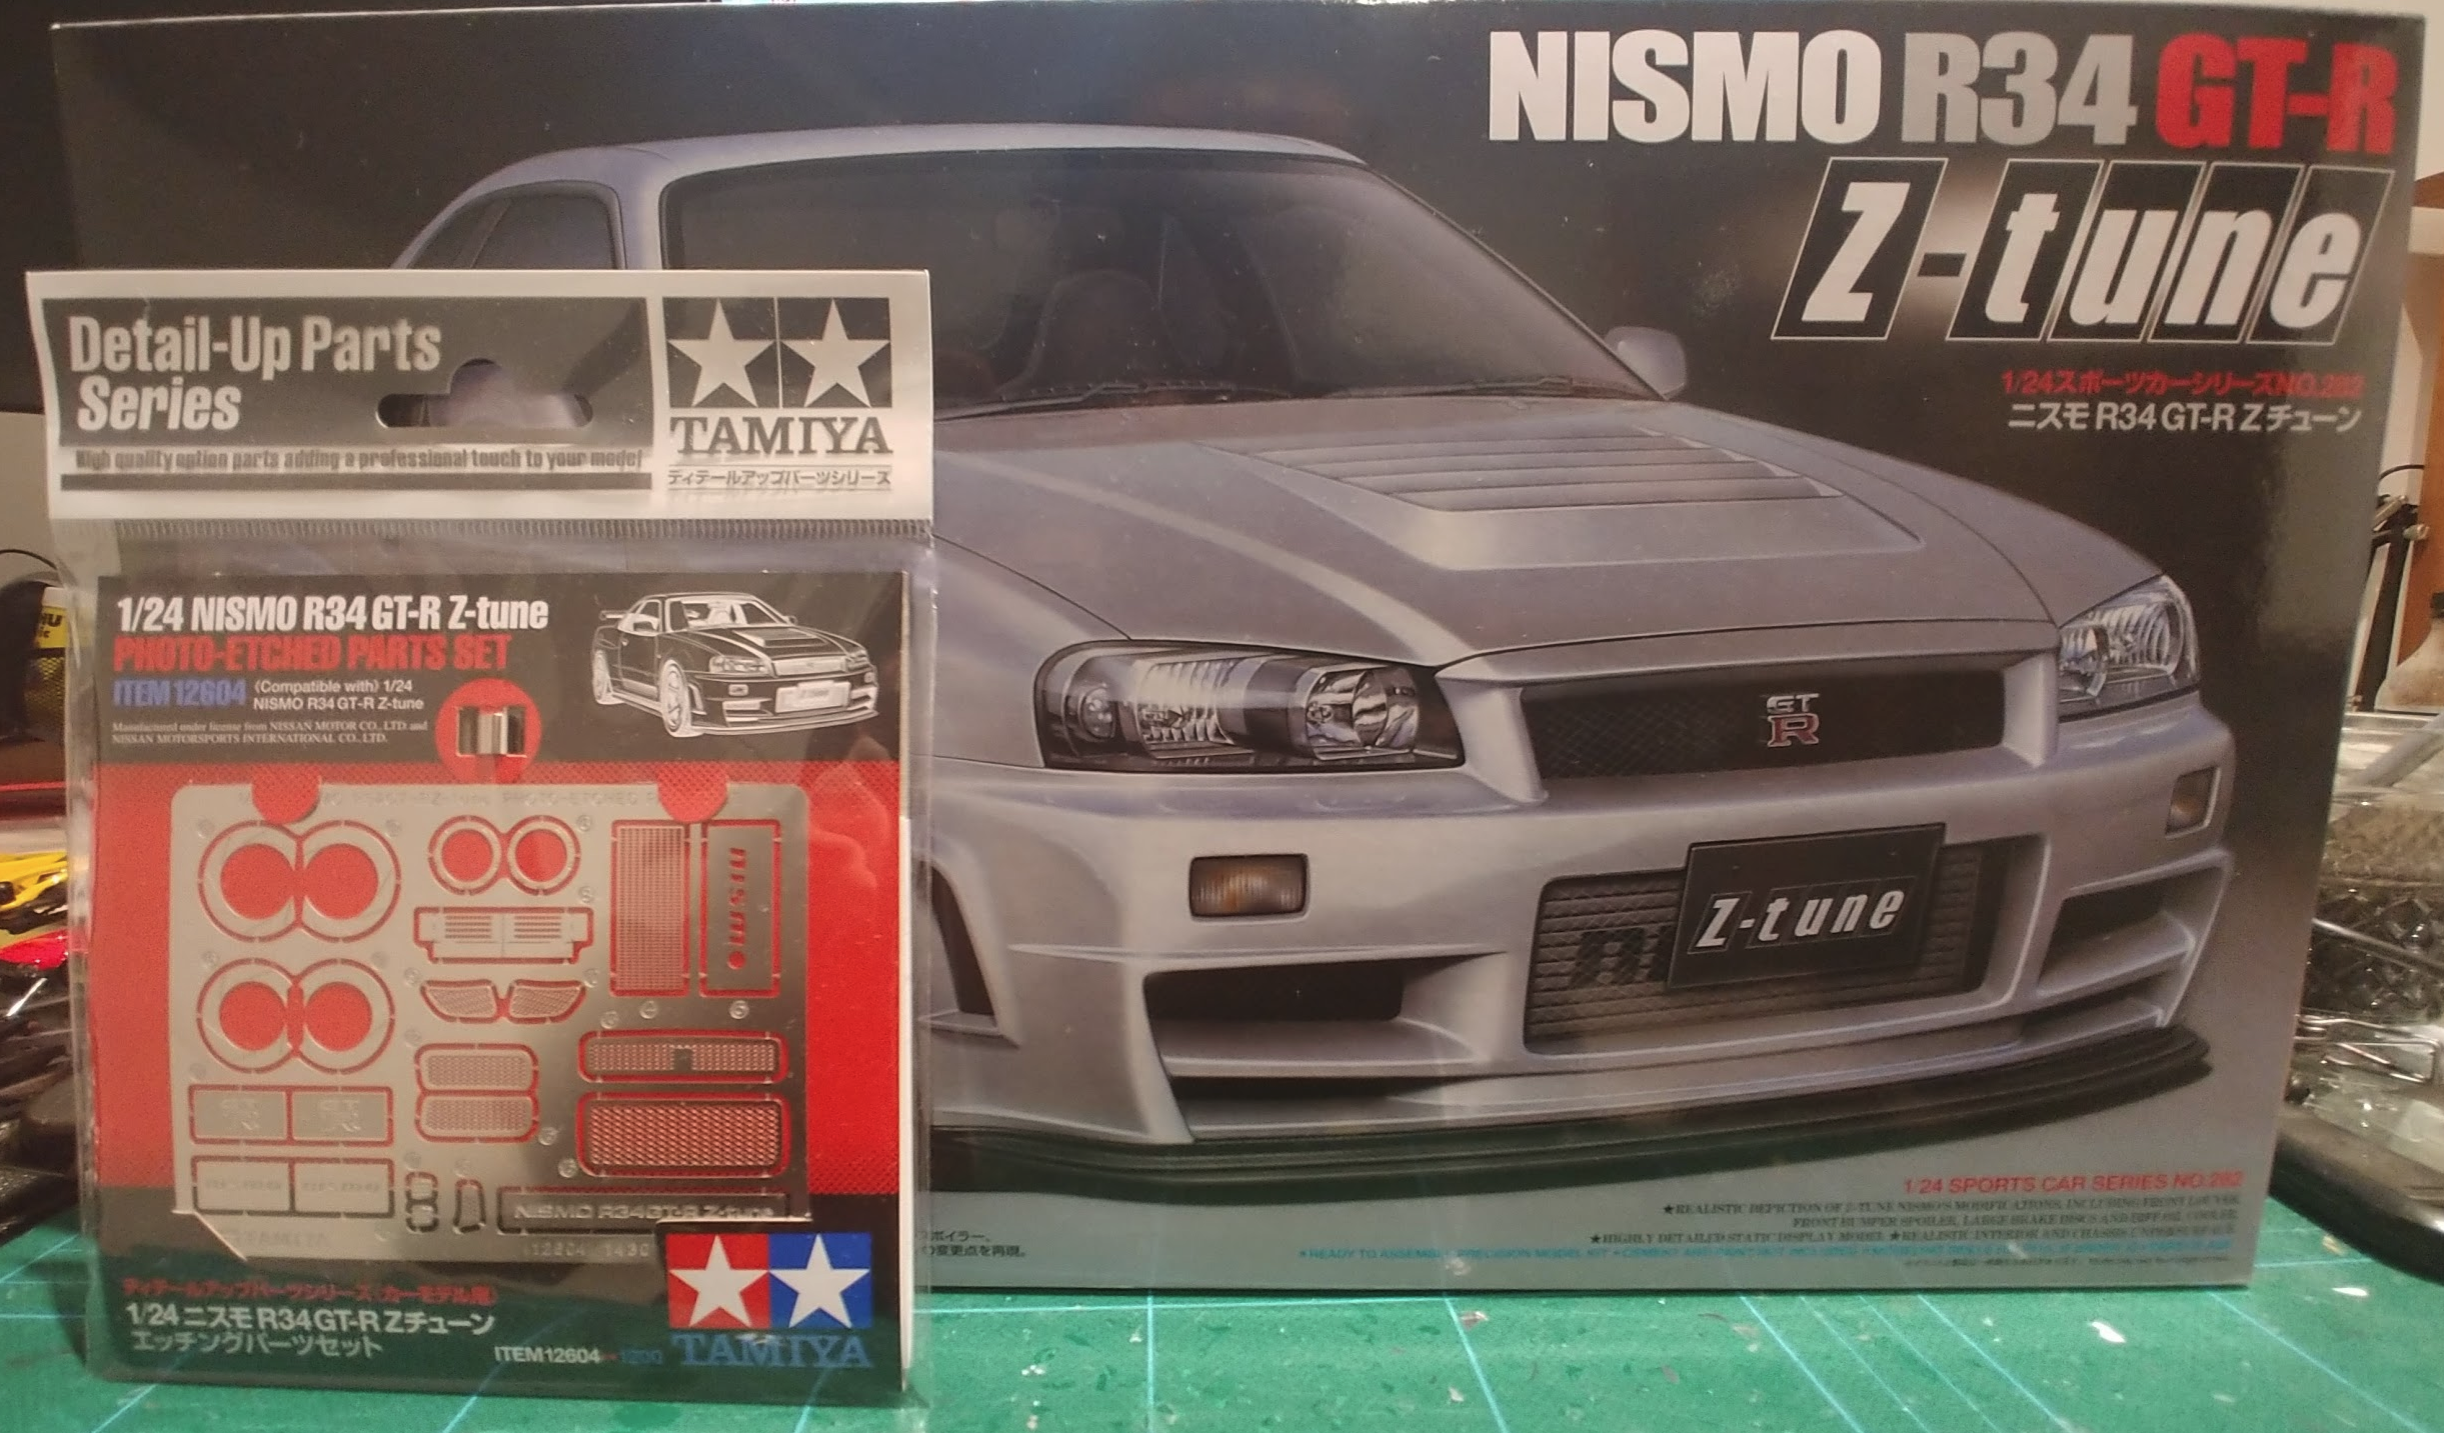
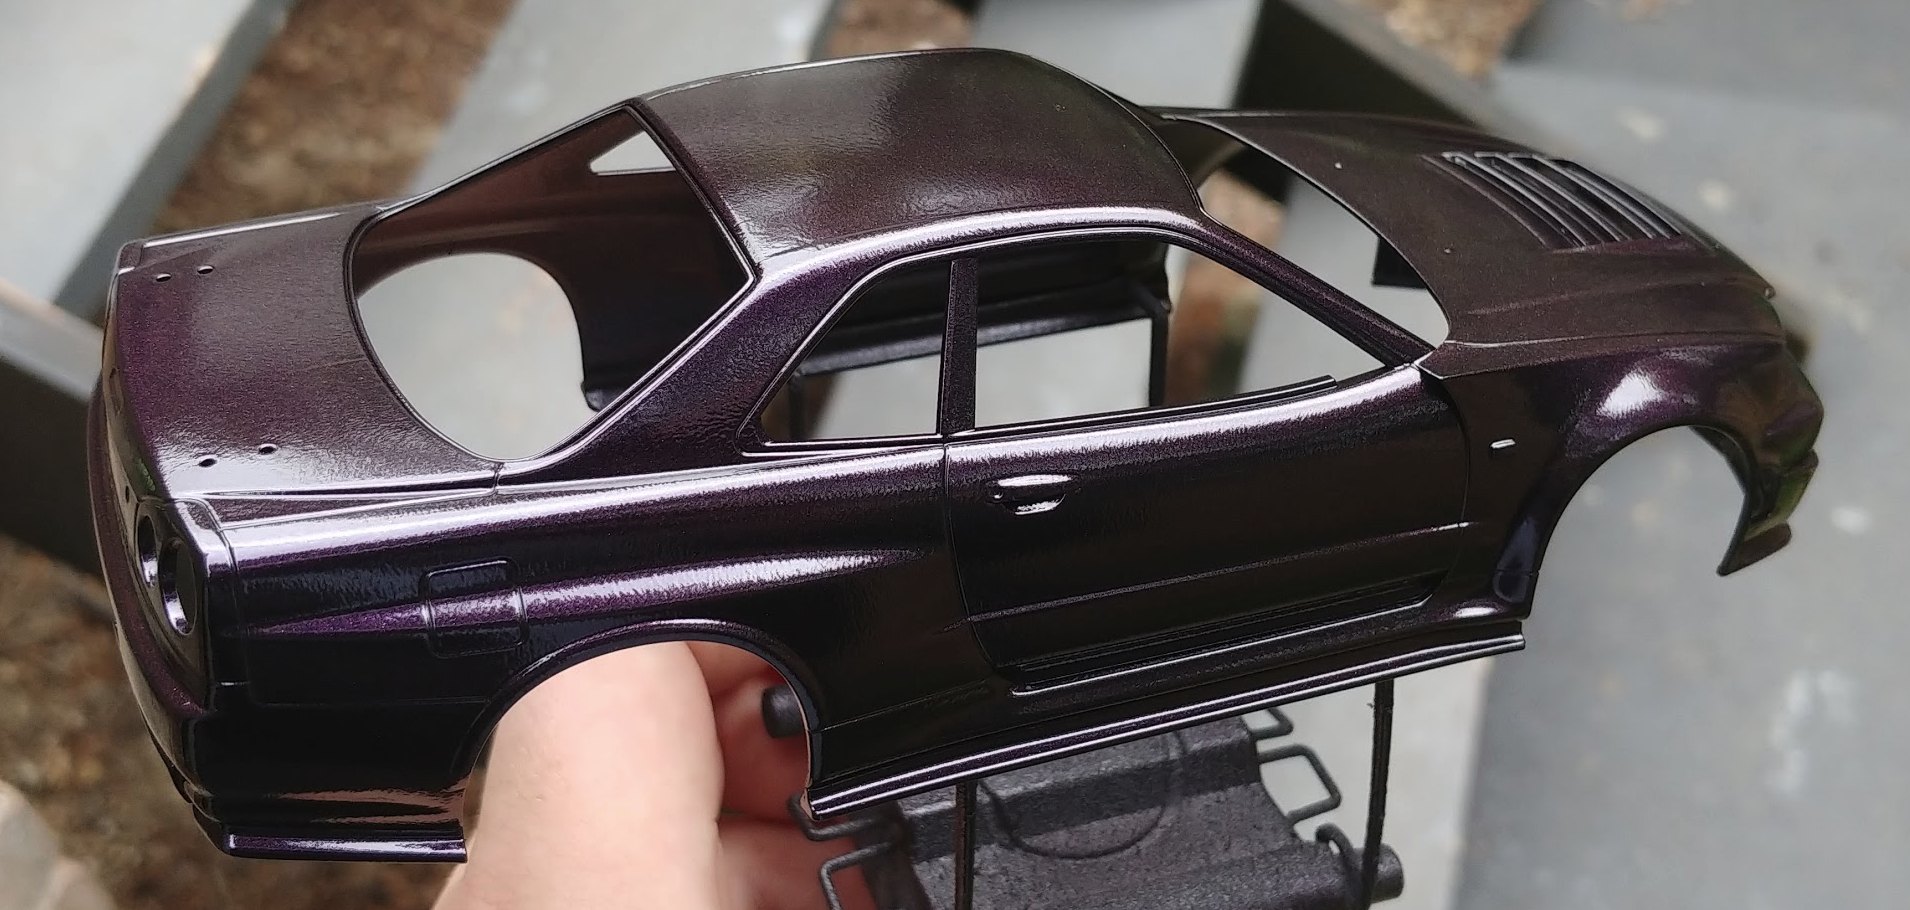
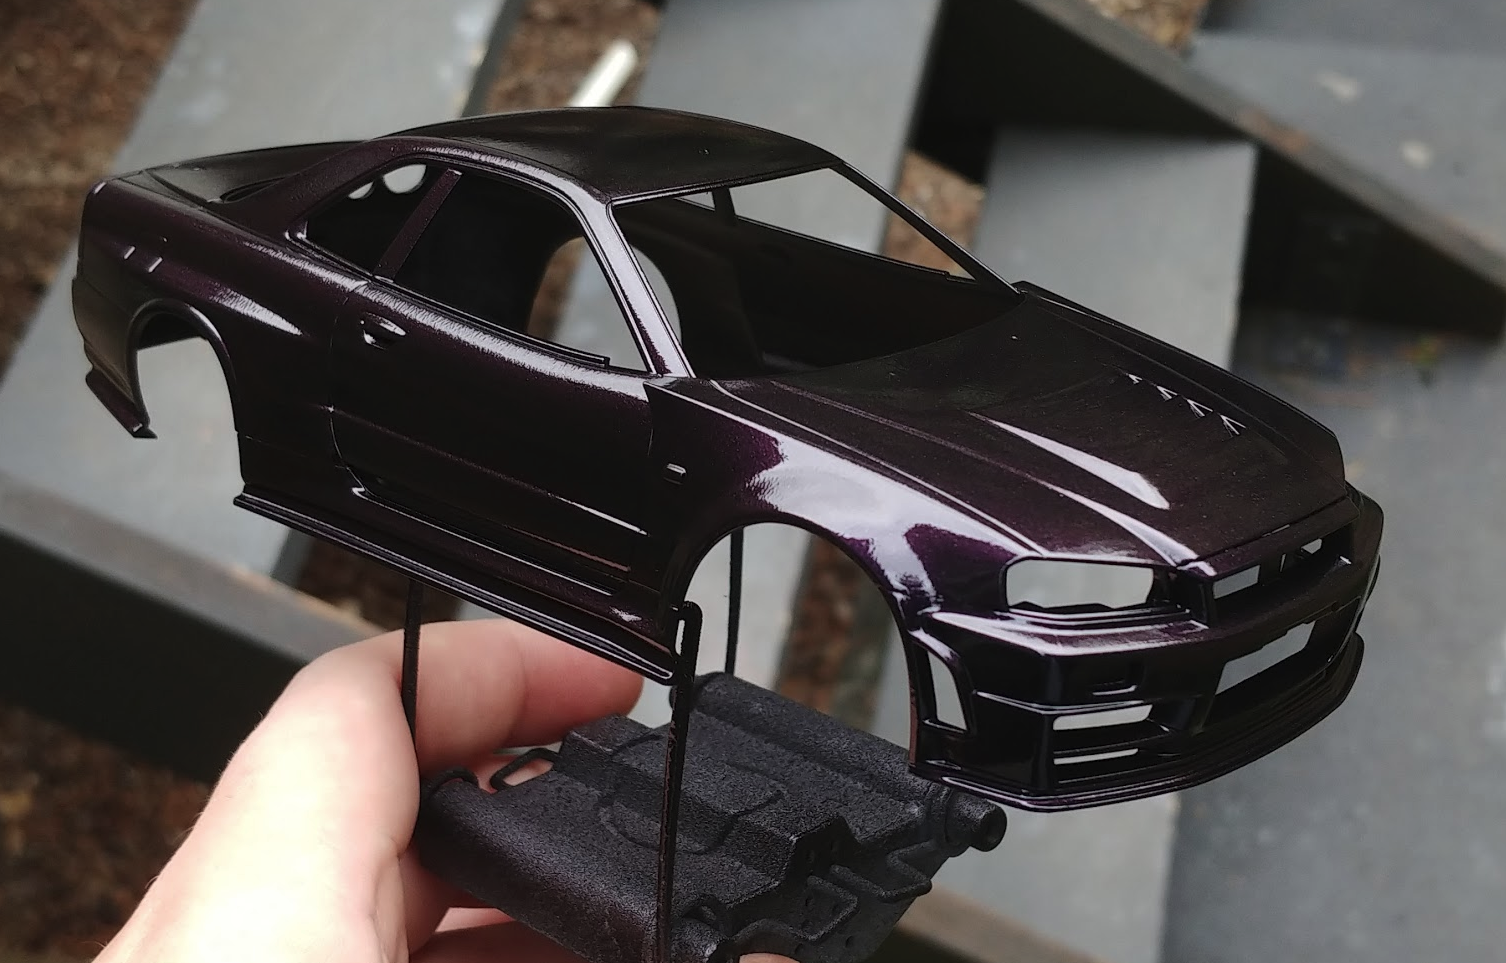
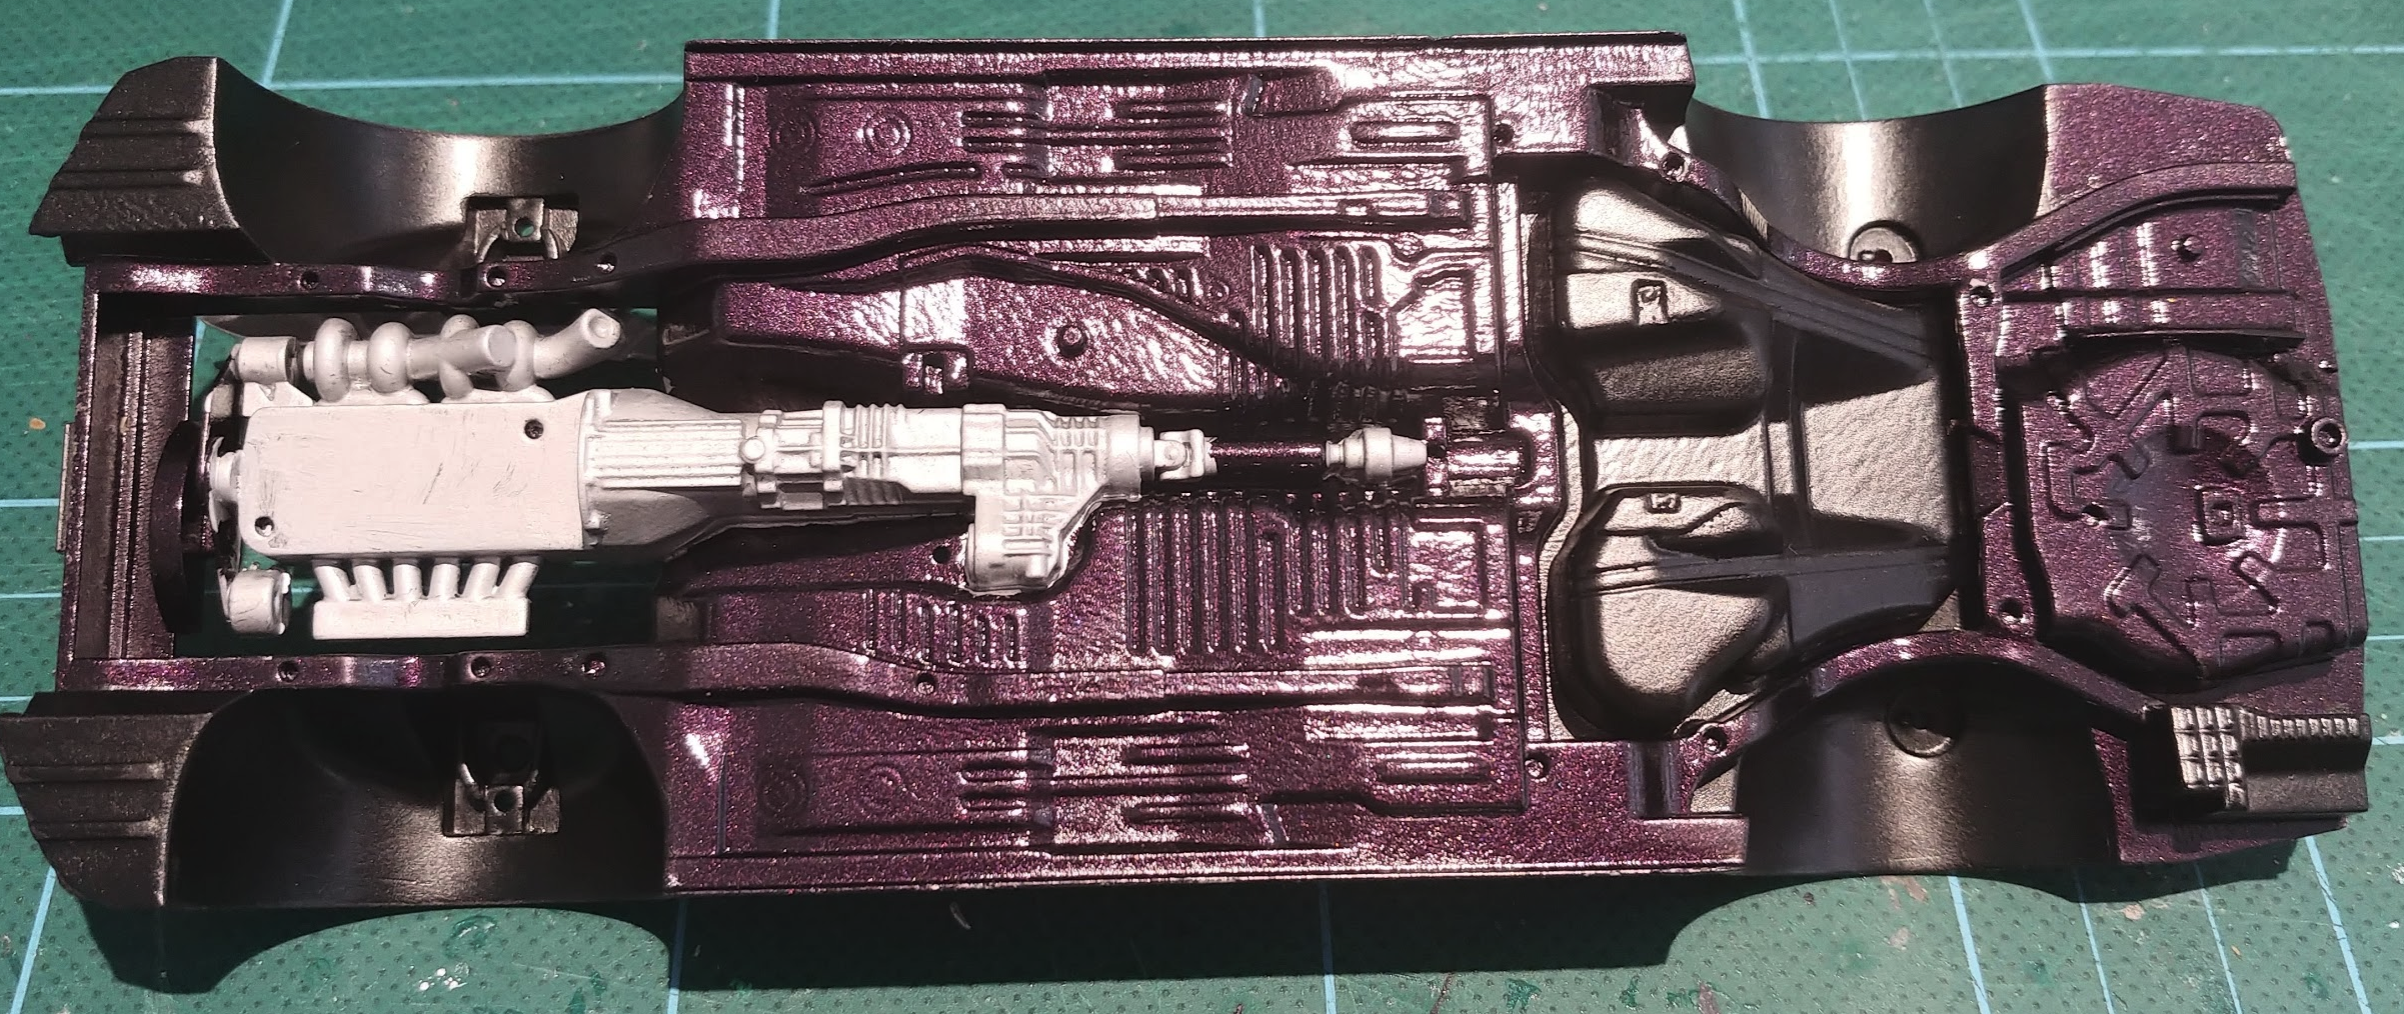
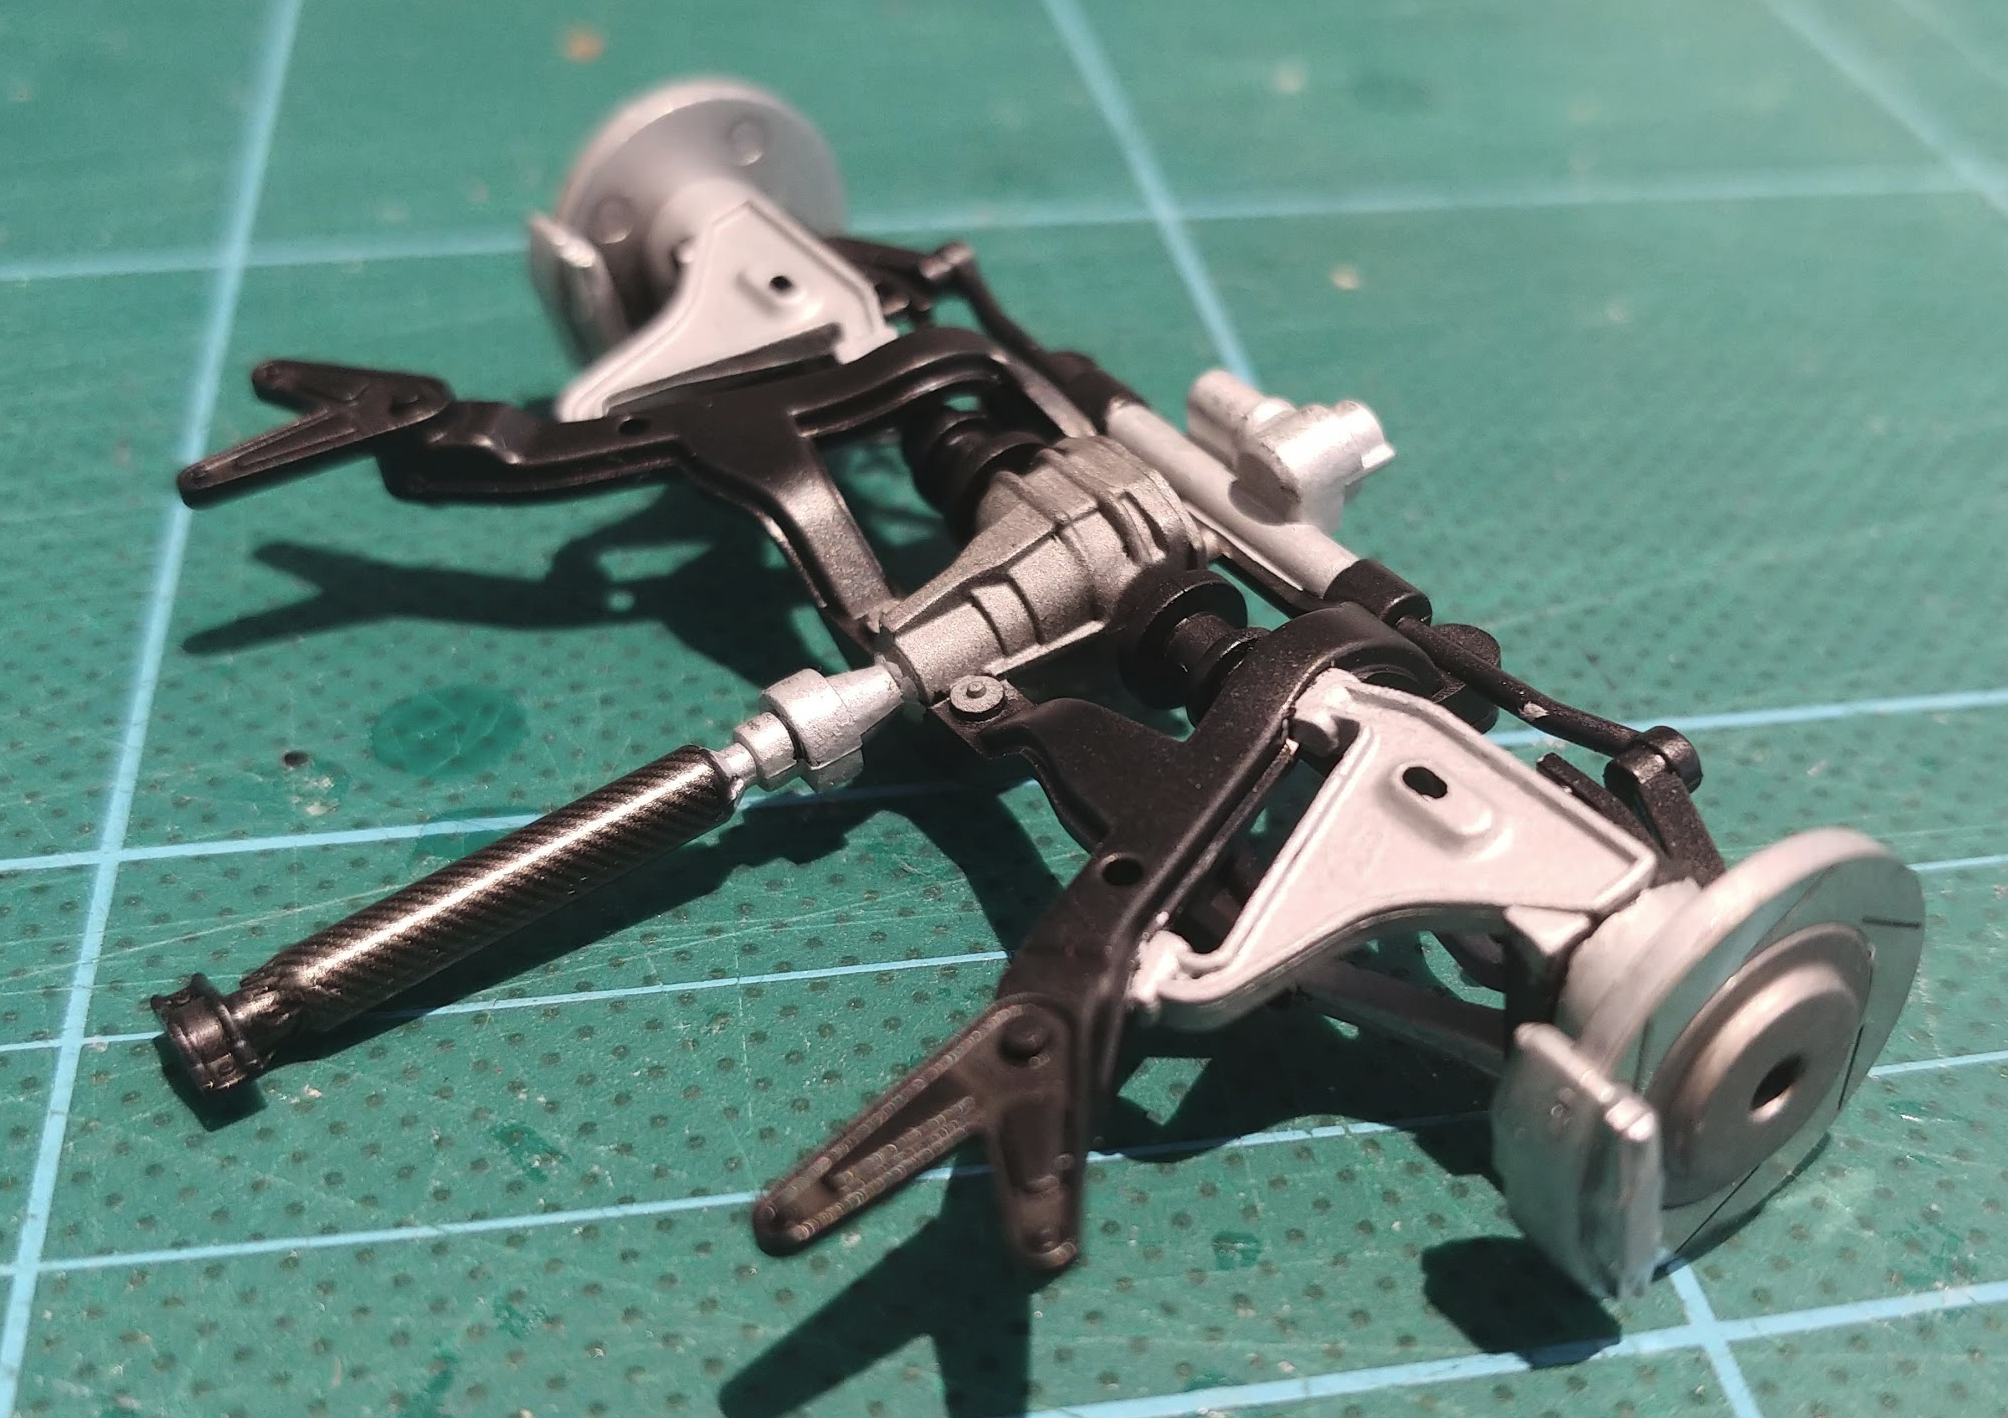
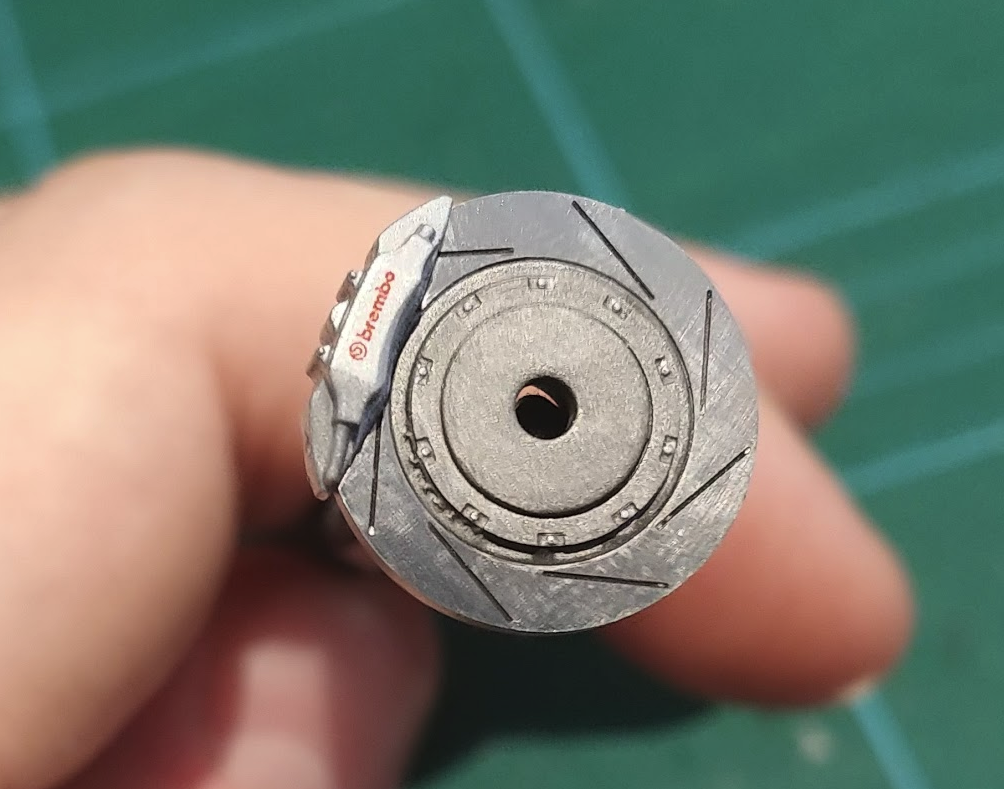
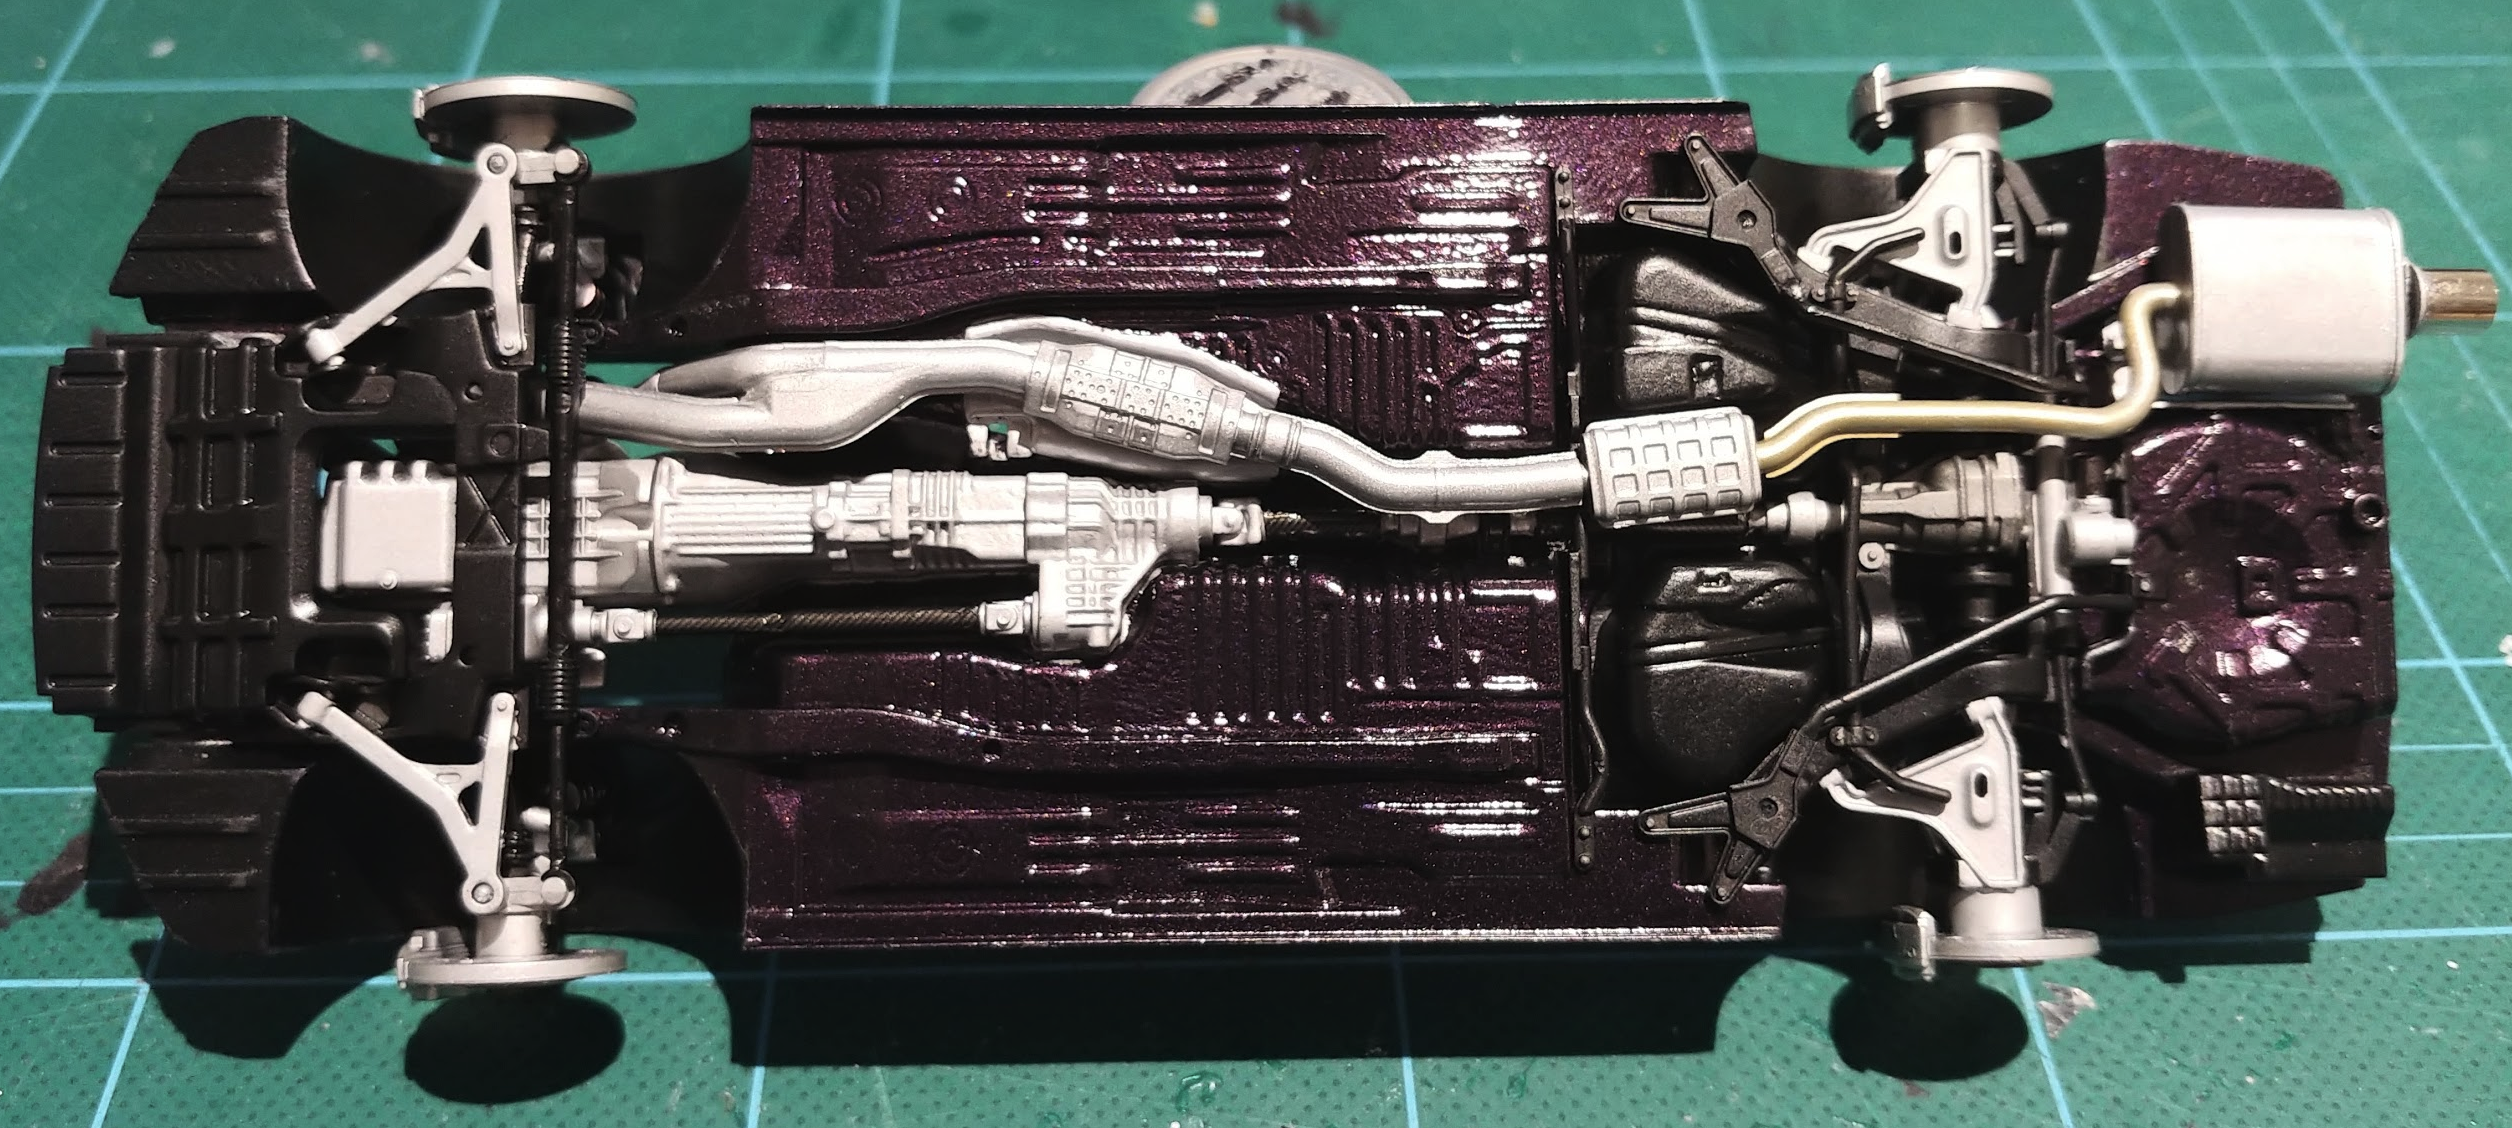
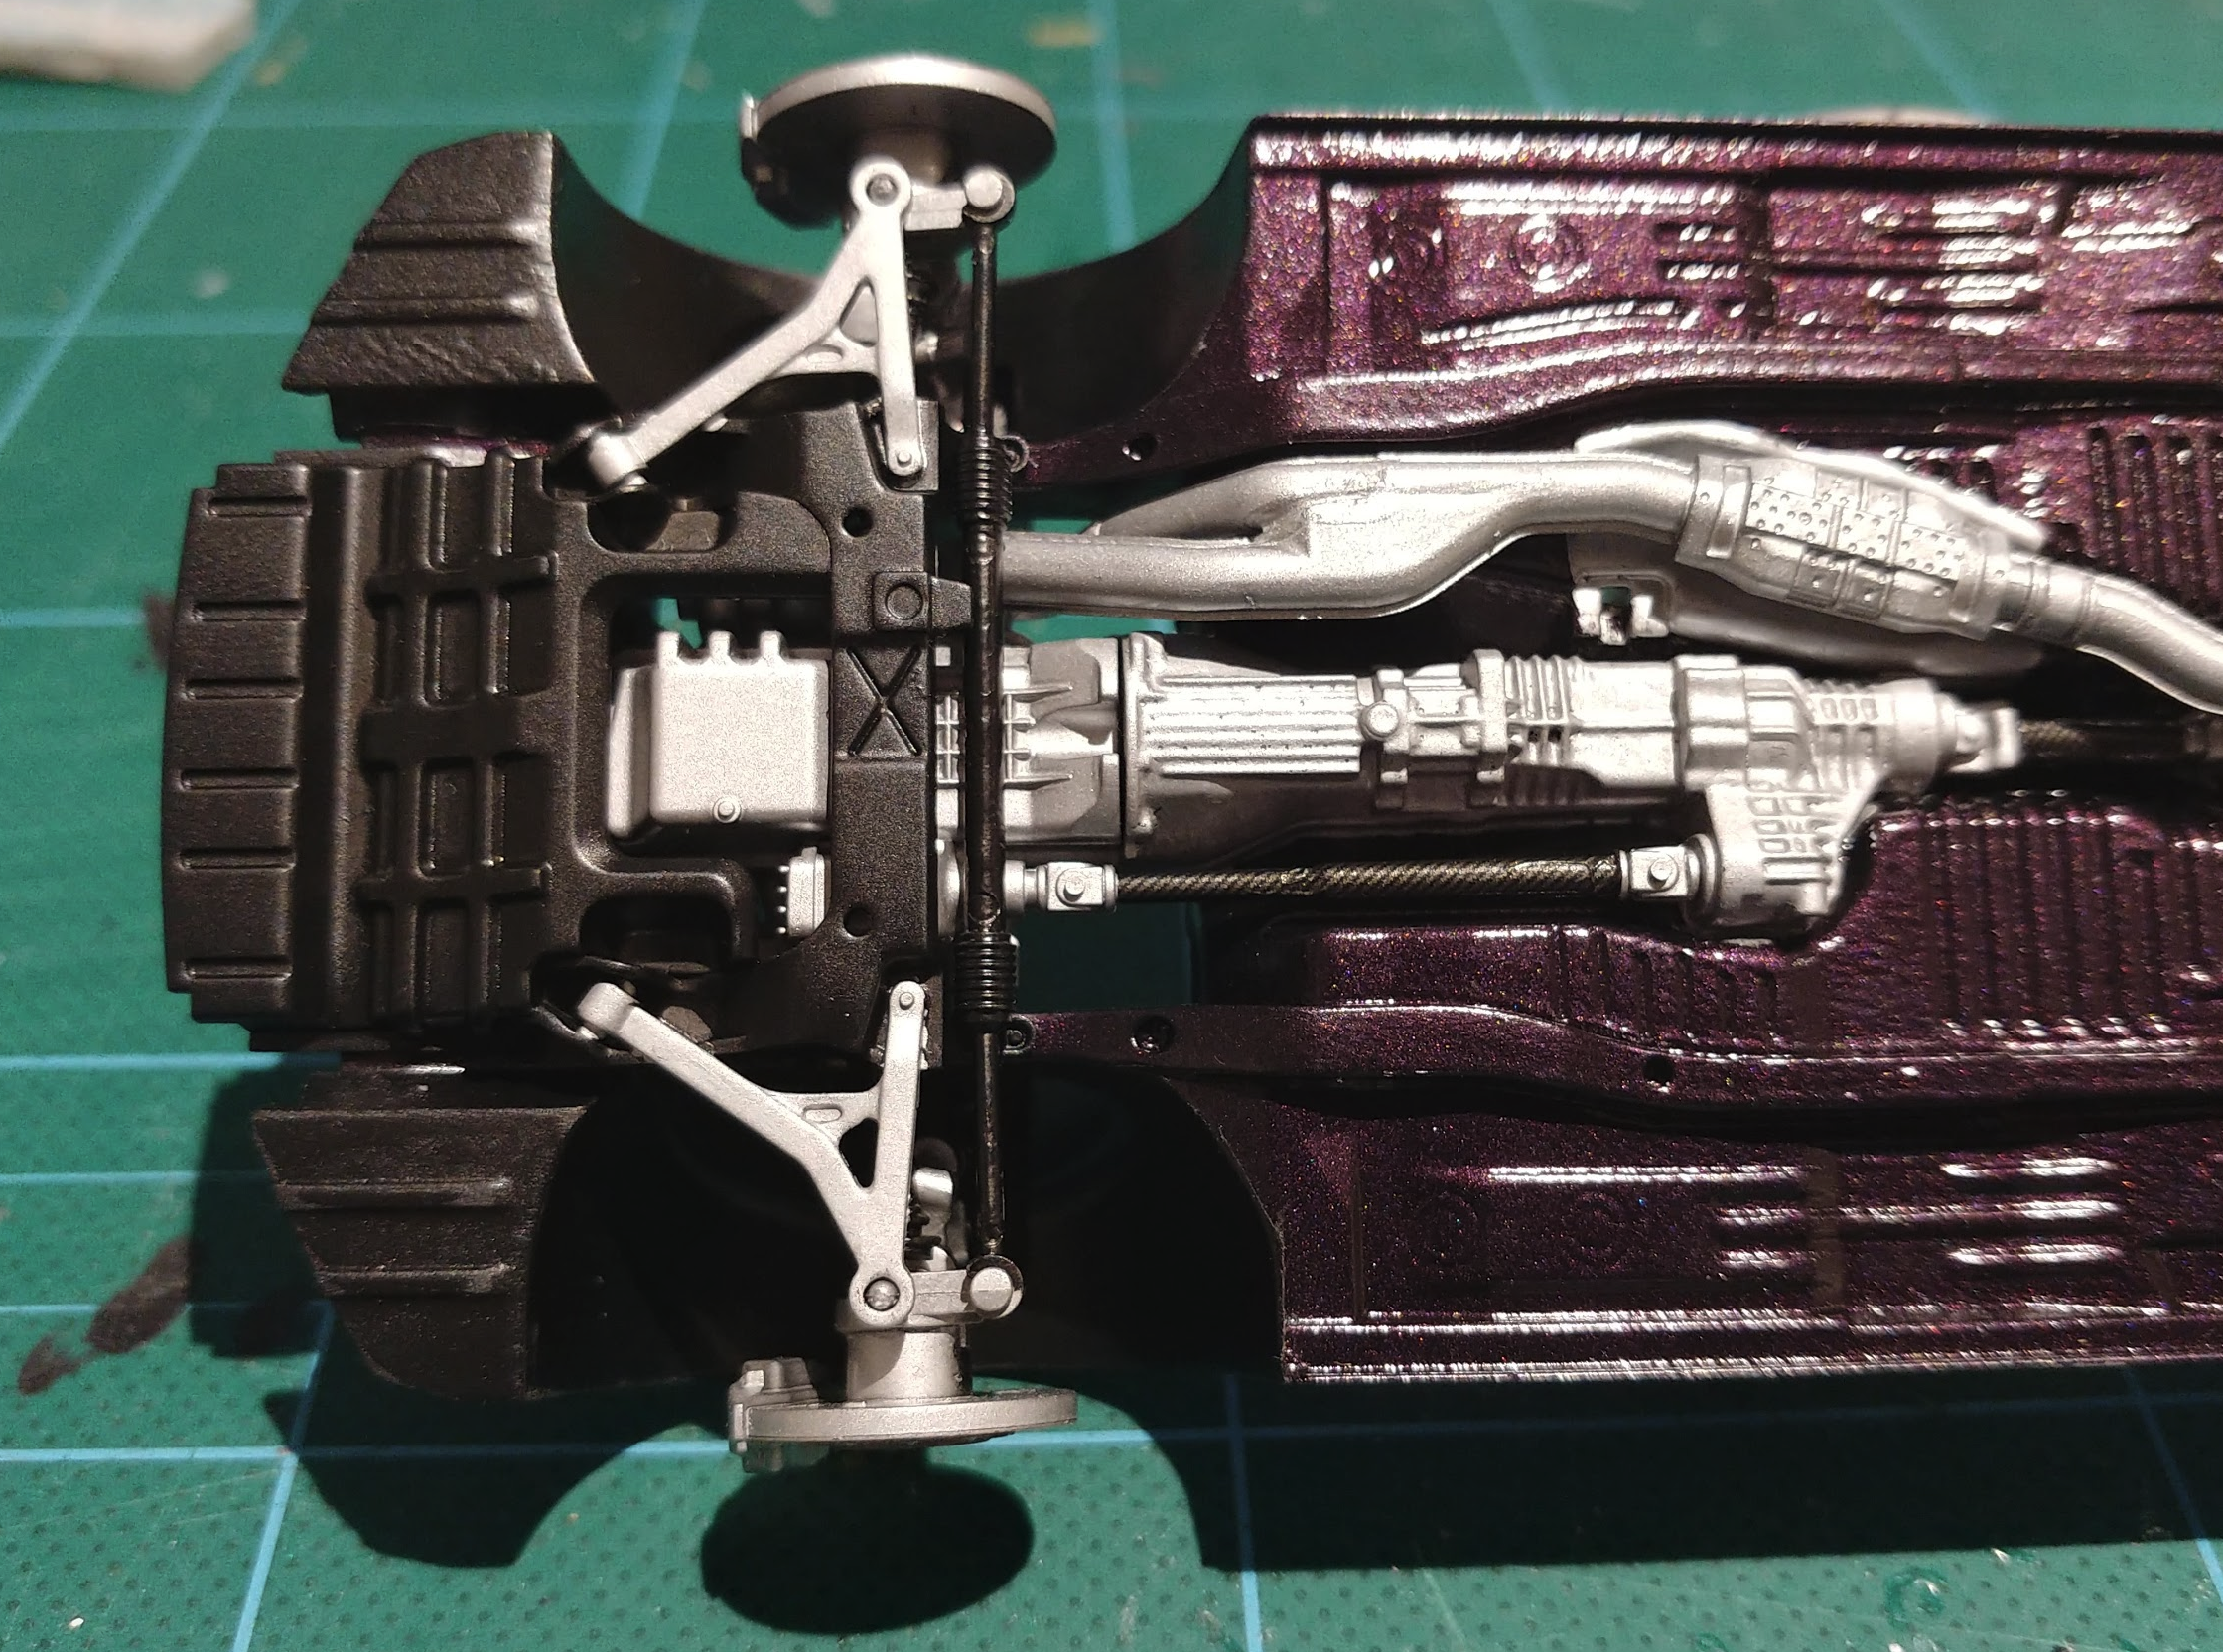
Hi All, I recently started my next project which is the Nissan Skyline R34 GTR Z-tune by Tamiya. Along with the kit, i bougt the tamiya detail up set for a bit more detail and realism. The Z-tune is my favourite version of the R34 skyline, and also the most rare, with only 19 produced worldwide. 18 of the 19 were produced in silver, but one was built in Midnight Purple. This is one of my all time favourite car colours. It apprears black in shadows, and purple in the light. In order to get this colour, I had to go to the autostore, and get them to mix me a can of touch up spray paint to the correct paint paint code (Nissan LP2) I know that zero paints make their own version of this colour, but its not available in Australia (and i dont have an airbrush...) so spray can it had to be. Unfortunately, the spray nozzle didn't allow the paint to lay very flat. There was a fair bit of orange peel in the body & chassis. The body can be fixed with a sanding and then polish, but that will have to wait until it is properly cured. While the body cured, i got working on the chassis. Most of this had to be the same as the body colour. Again, because of the spray nozzle being too blotchy, the finish didn't come out great, but it looks ok. A few areas were masked off and semi gloss black was applied. The orange peel in the purple actually helped with the black, to make it look like a textured black finish that is often found on the underside of a car. The moulded in engine and gearbox were hand painted in flat aluminium paint. Next up was the front and rear suspension sub assemblies. These parts were very accurately detailed and went together perfectly. (like all tamiya kits) From some research i did, i found that some of the paint insrtuctions were a bit off, and i found that the drive shafts are actually made from carbon fibre. so i made those changes, and added some carbon decals. Im really happy with how the brakes came out. the PE disk rotors look really realistic. I added some black paint to the slots, and sanded back the face to look like they had been used. Final Chassis assembly. Thanks for looking, Nathan
-
Nice build so far. I have an NB series 2 MX5, and love it. I'm a bit disappointed that no one makes a scale model of this model. Fujimi make a NB series 1 kit, but i want the facelift. Ive contemplated trying to scratch build the series 2 front end, but havent got around to it yet. I look forward to seeing this one all finished
-
Yep exactly right. The kit does offer both options though
-
Yeah, I mostly use the enamels, as that is what my Dad used when he got me into the hobby some 15years ago. I also use some of the tamiya acrylic paints too, but only use them for window trims or little detail bits, as i can just wash them off with some water and a Q tip if i mess it up.
-
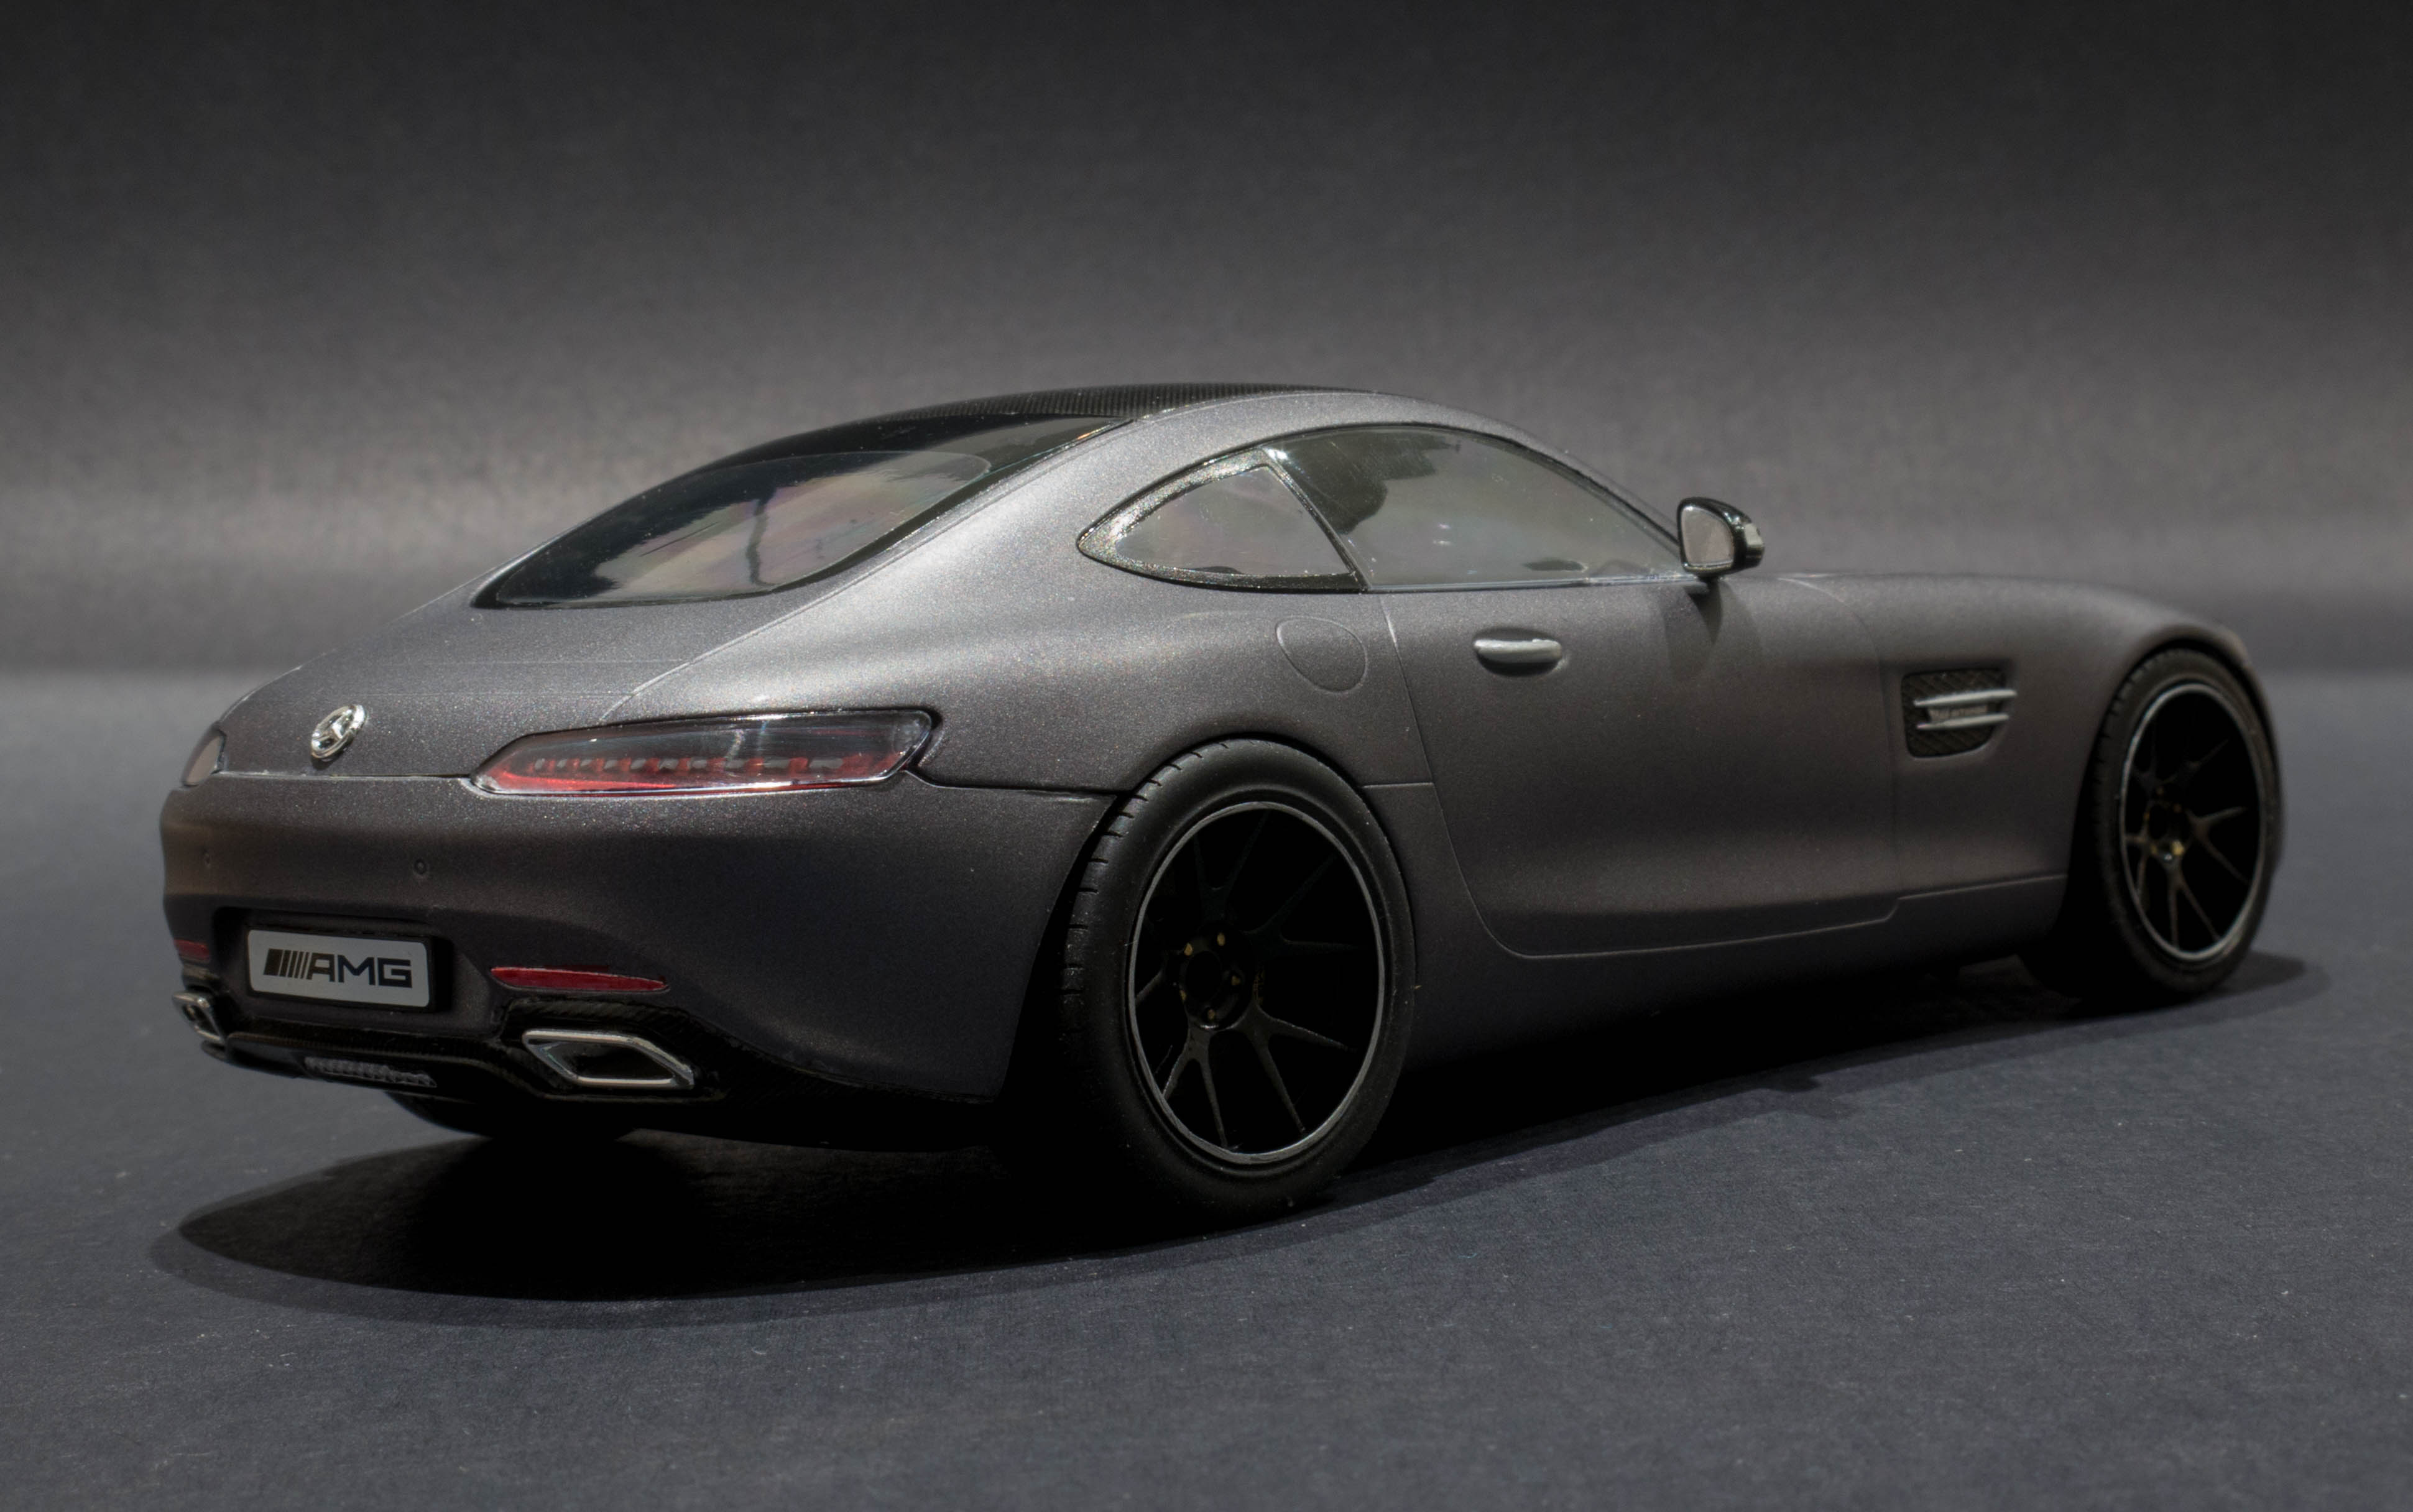
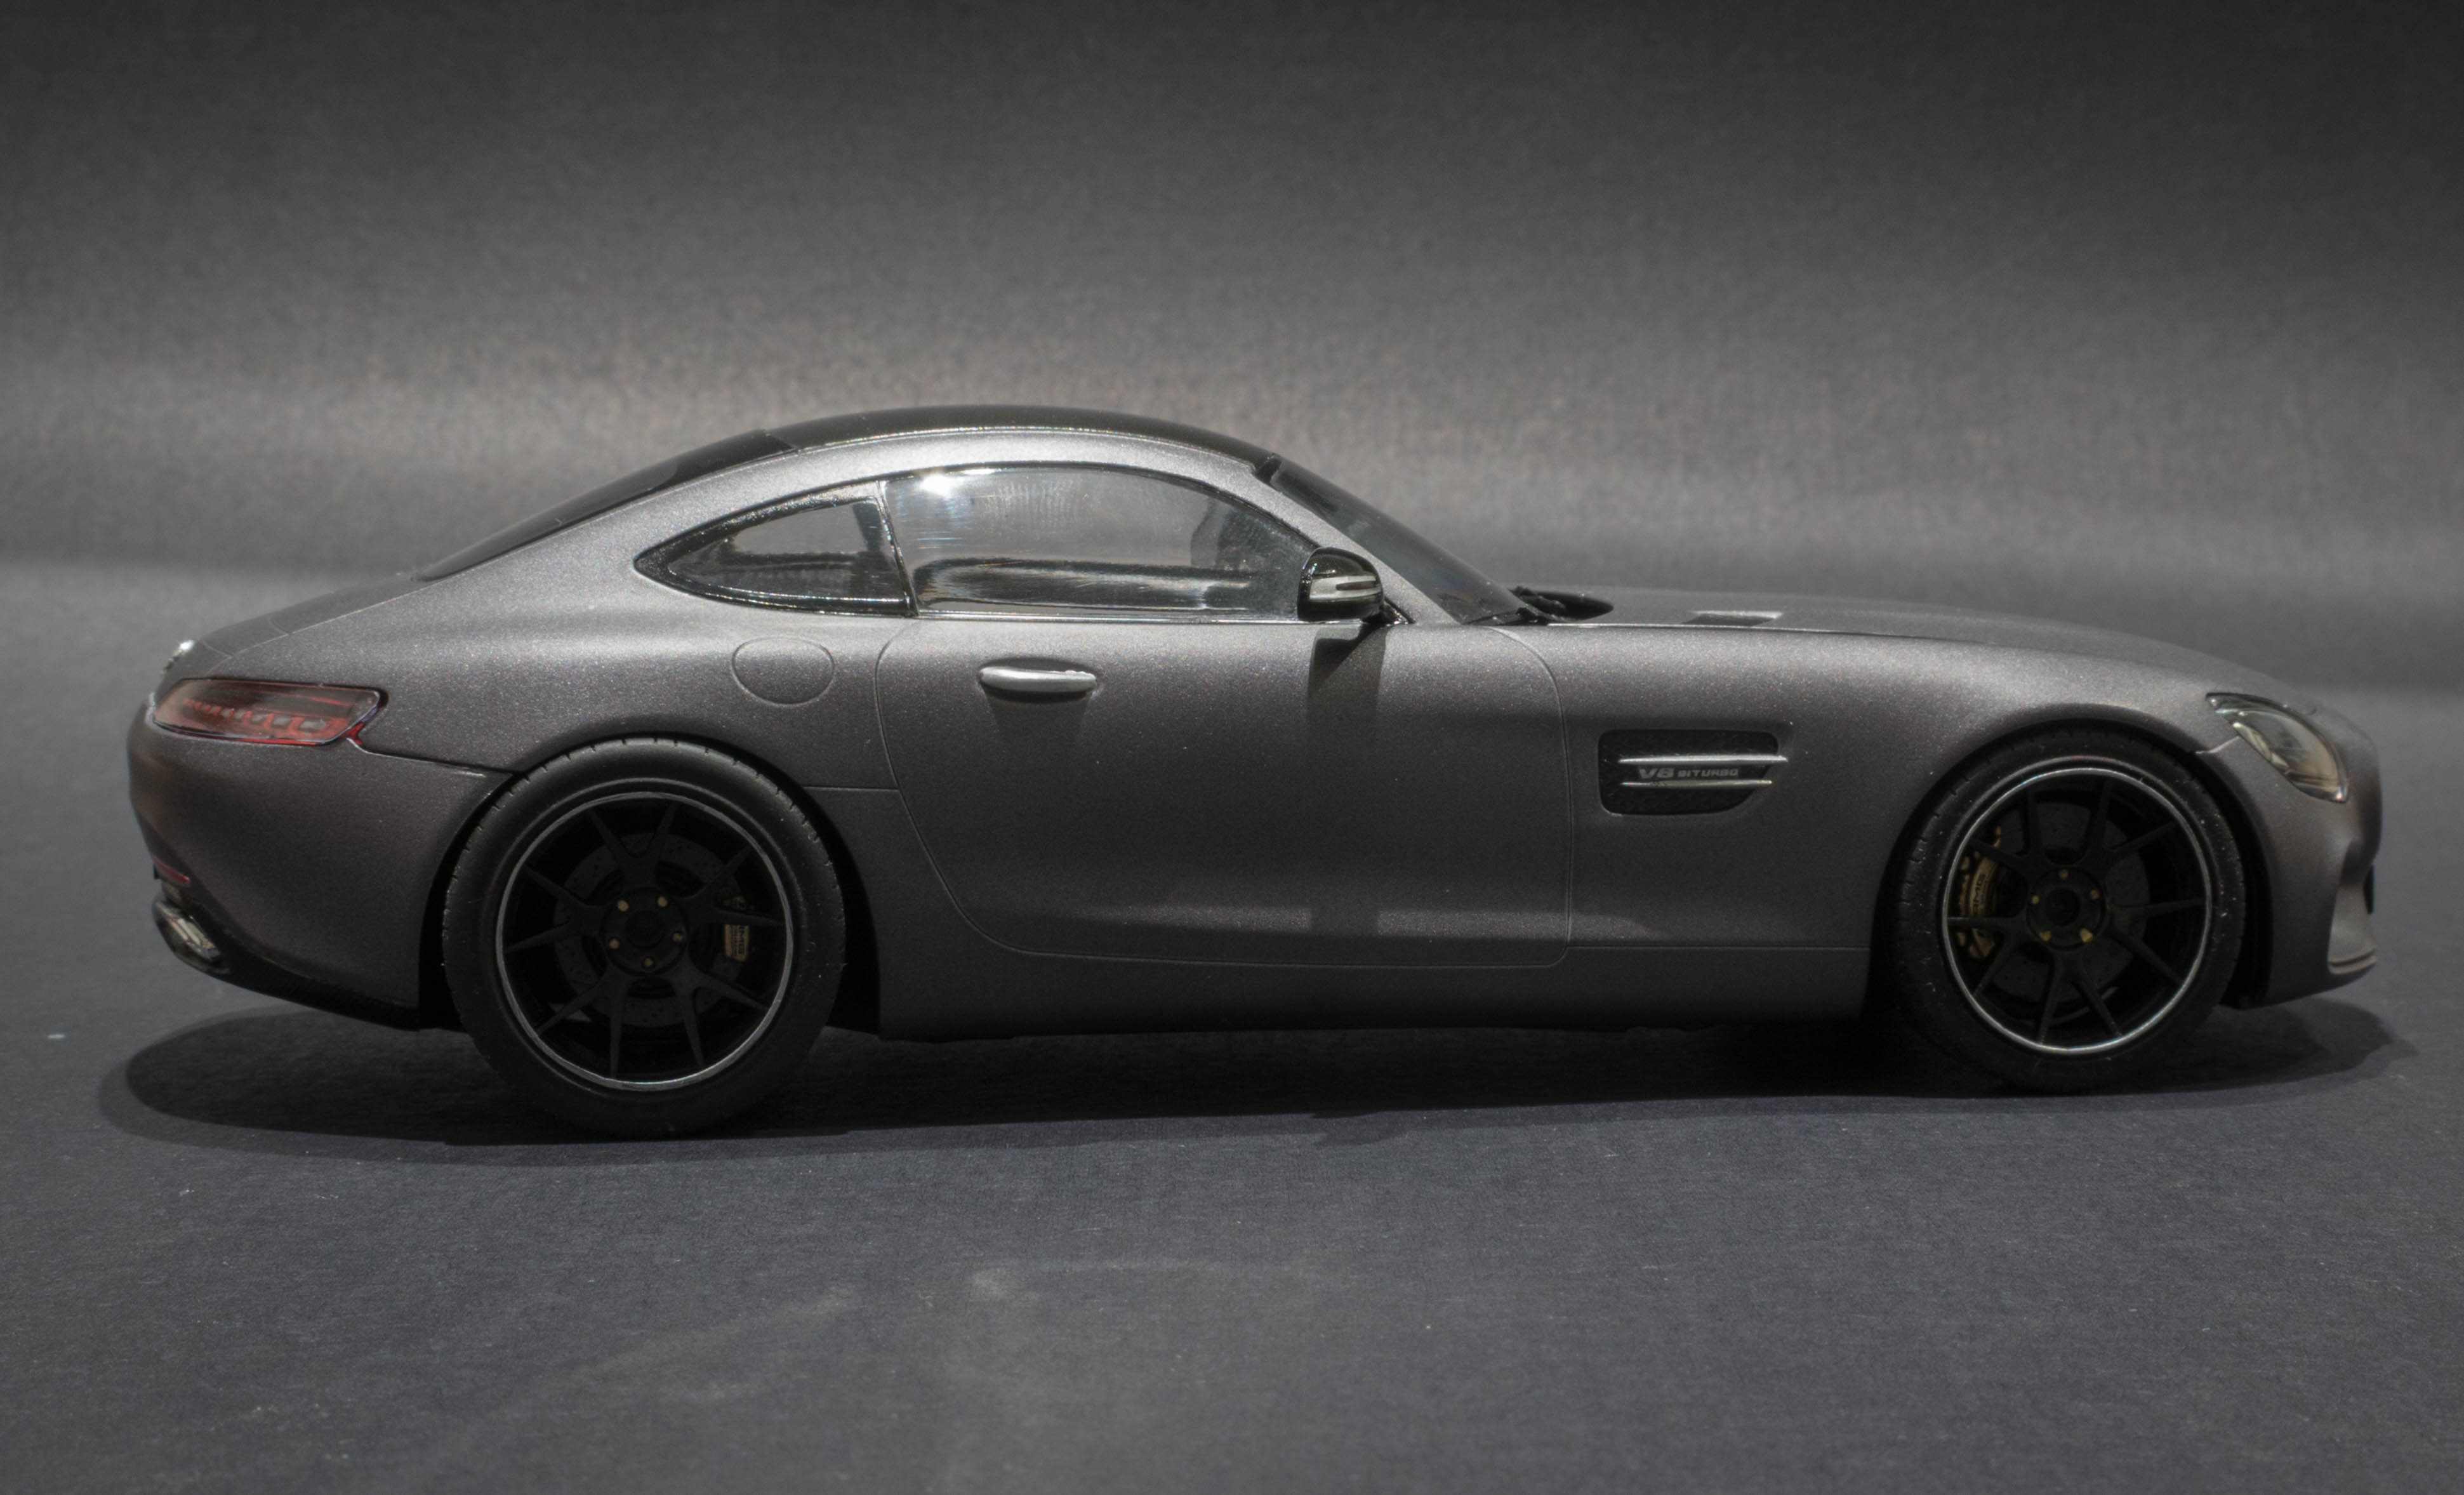
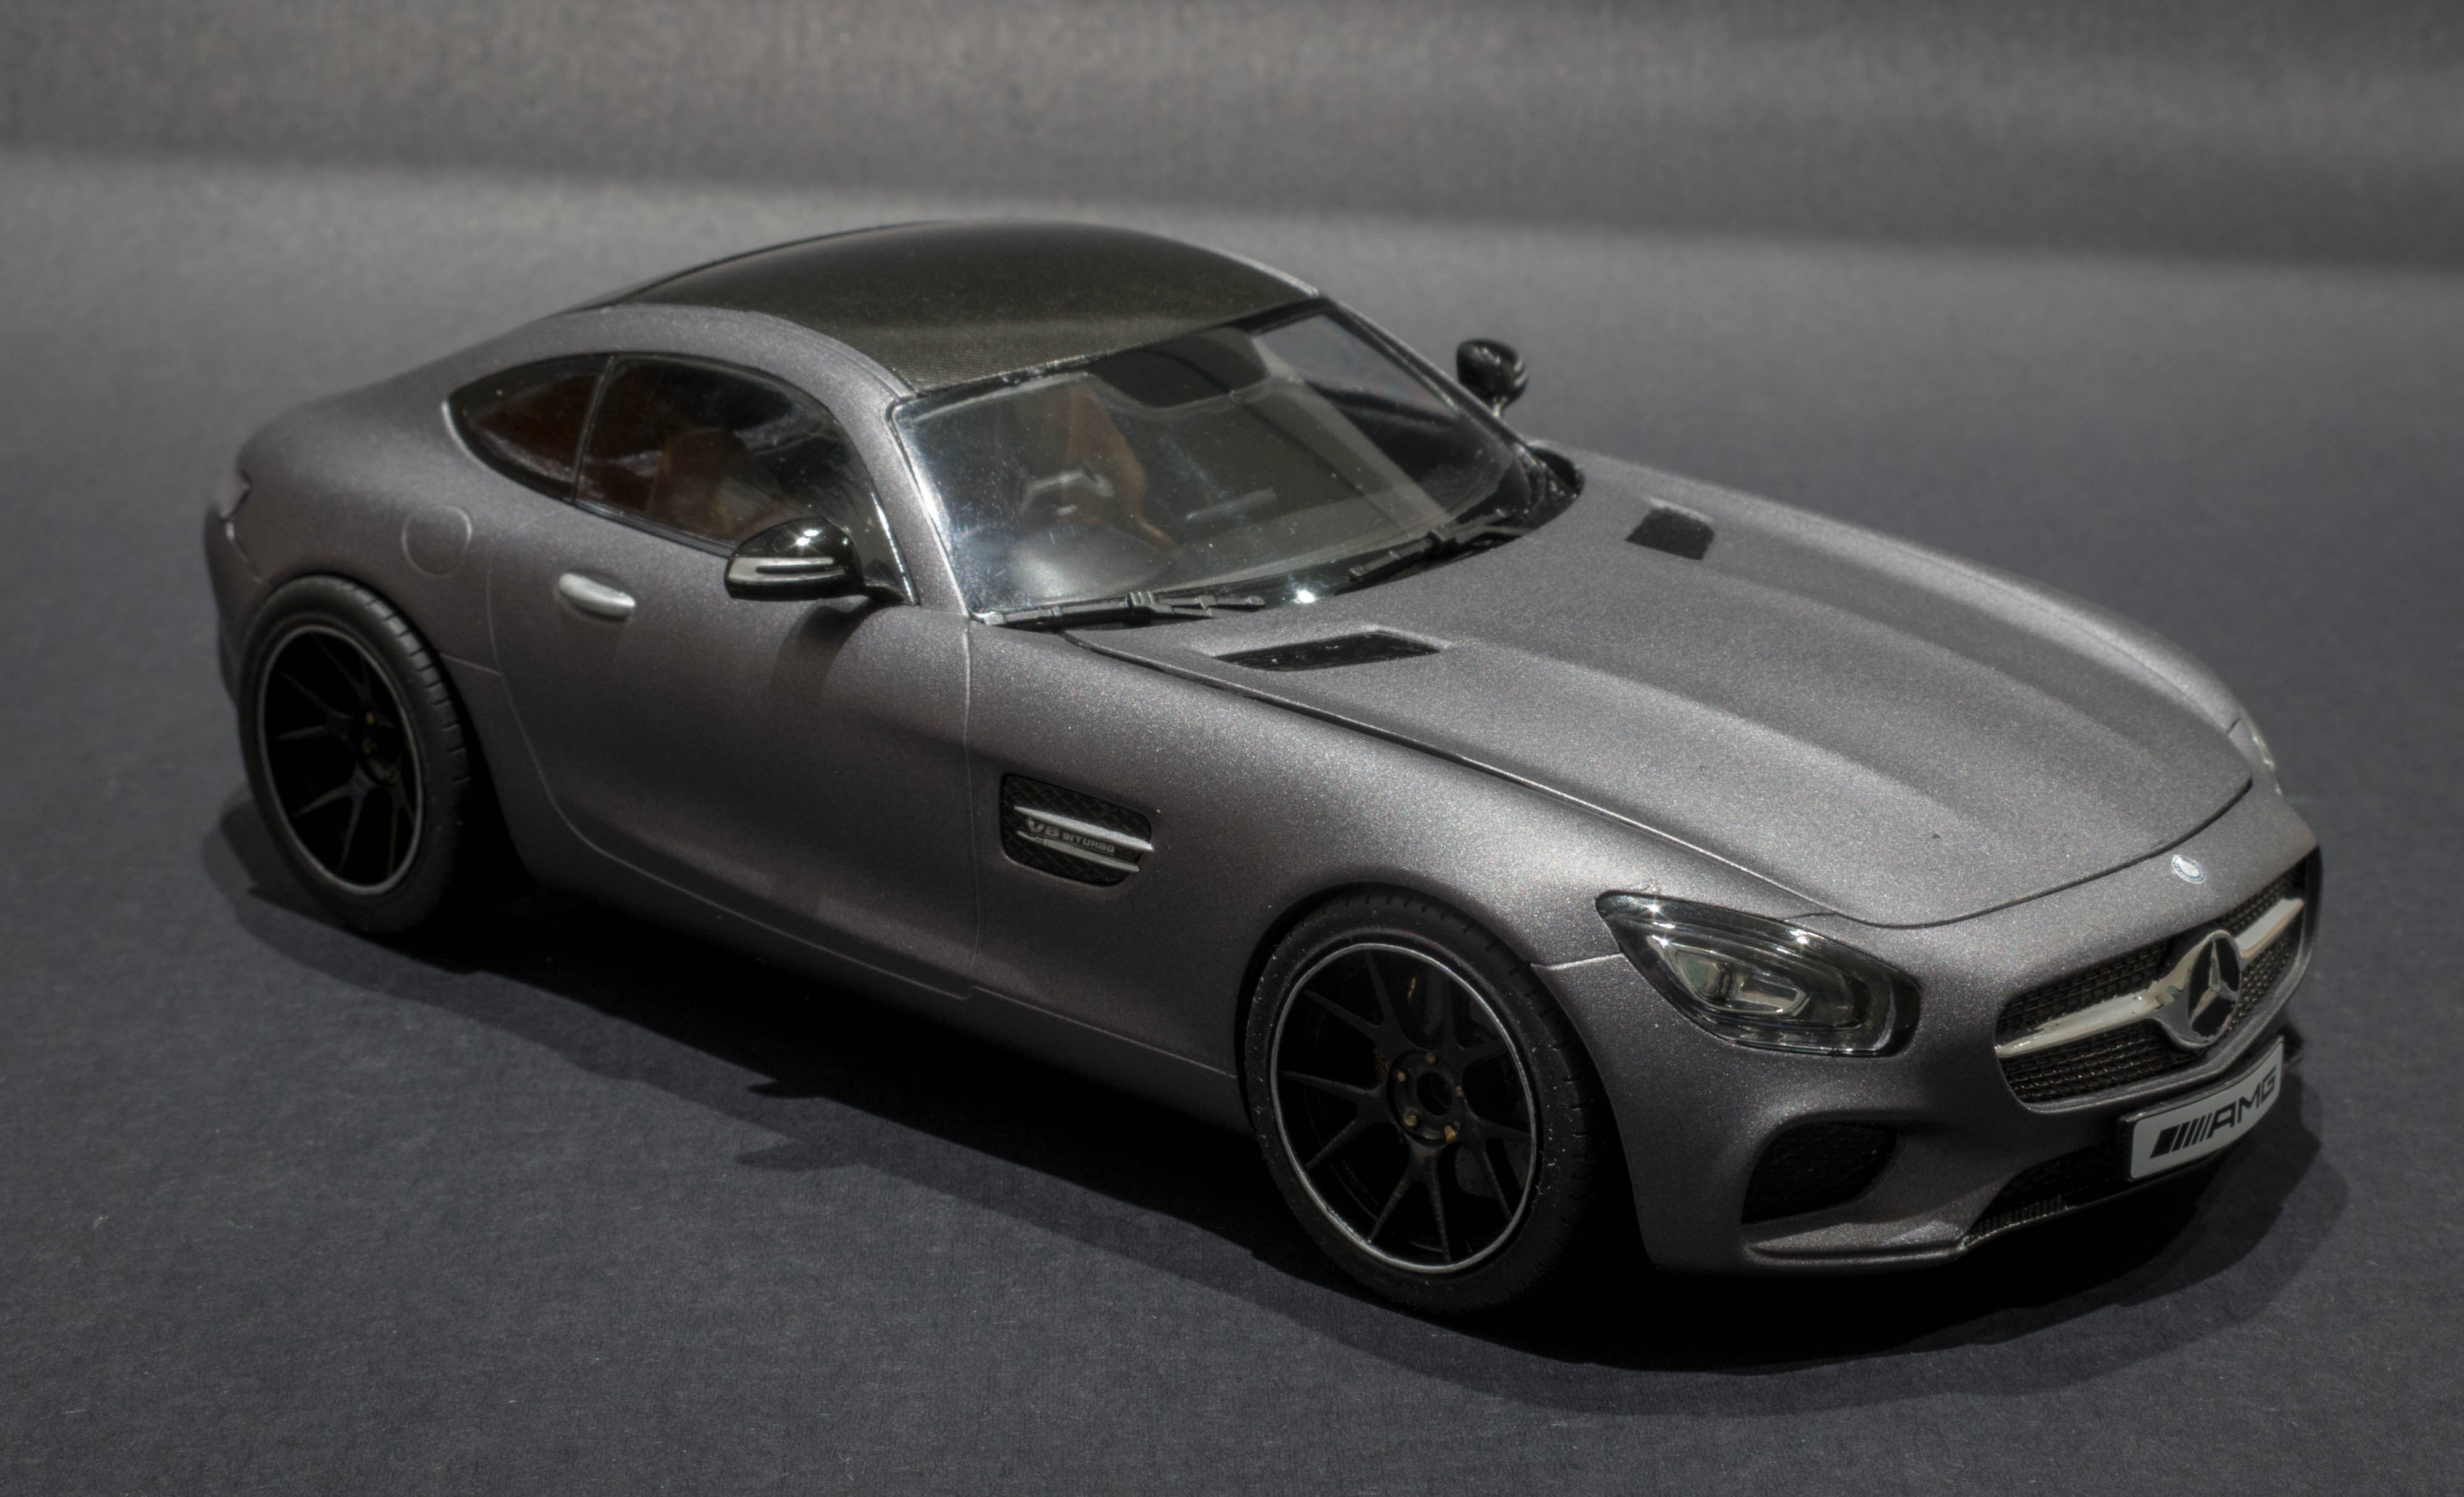
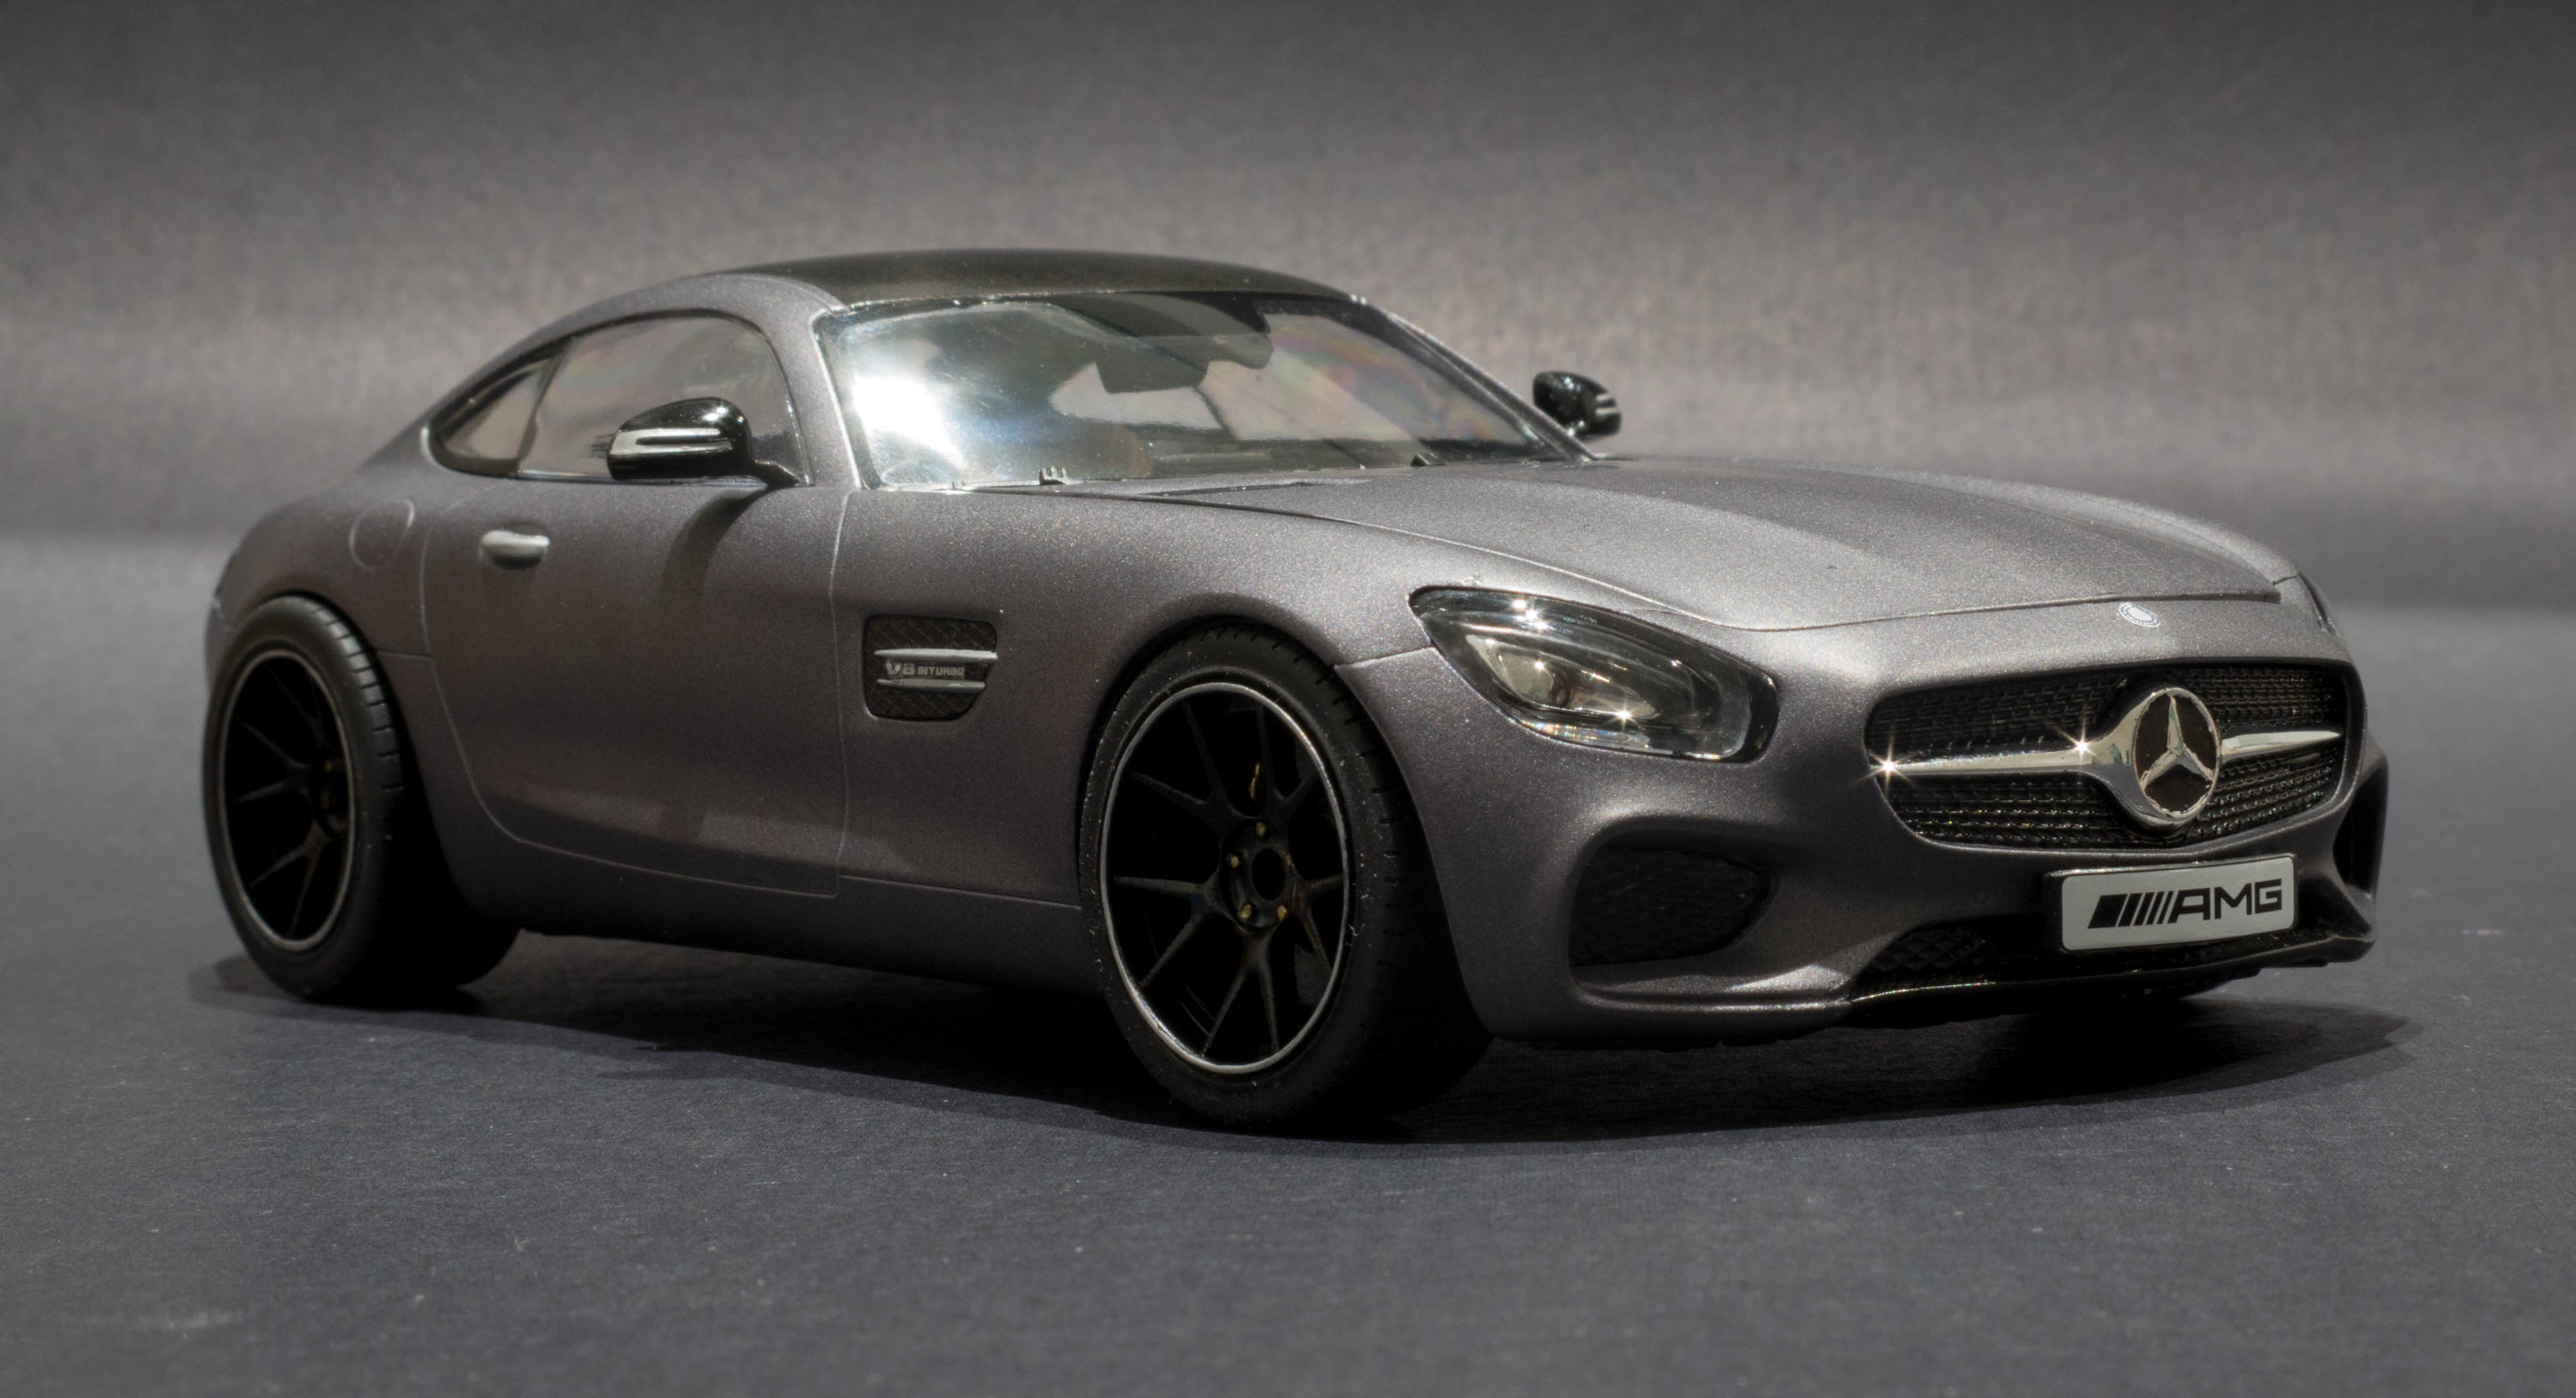
Hi All, I just completed my latest build of the AMG GT from Revell. First up, I was excited to try out this kit, as I had heard that Revell had stepped their game up with their latest kits, but was disappointed with the way the body and chassis came together. The bumpers and fenders didn't quite fit, resulting in a few bad panel gaps. I was also disappointed with the lack of detail for the headlights and taillights and how they fitted to the body. My final criticism of the kit is with the wheels and ties. The scale of these seem quite off compared to the rest of the car, so i went with aftermarket ones from Factory eighty one. Below is the final outcome of this build. Thanks Nathan
-
Got there in the end, it turned out OK, but glad for it to be finished. It definitely has a good side and a bad side for viewing. The final parts to put on were the wheels and tires. The wheels that come with this kit are terrible. The tires side wall profile is too big, and the wheels are pretty boring. I bought some aftermarket wheels from BNA Model world. The wheels are iForged Milano wheels, made by Factory eighty one. These wheels came with tires too, but i didn't like the look of them, so i salvaged some tires off an old model i did many years ago. The last bits to put on the kit were the side mirrors and a few decals. Below is the completed build. Thanks for looking Nathan
-
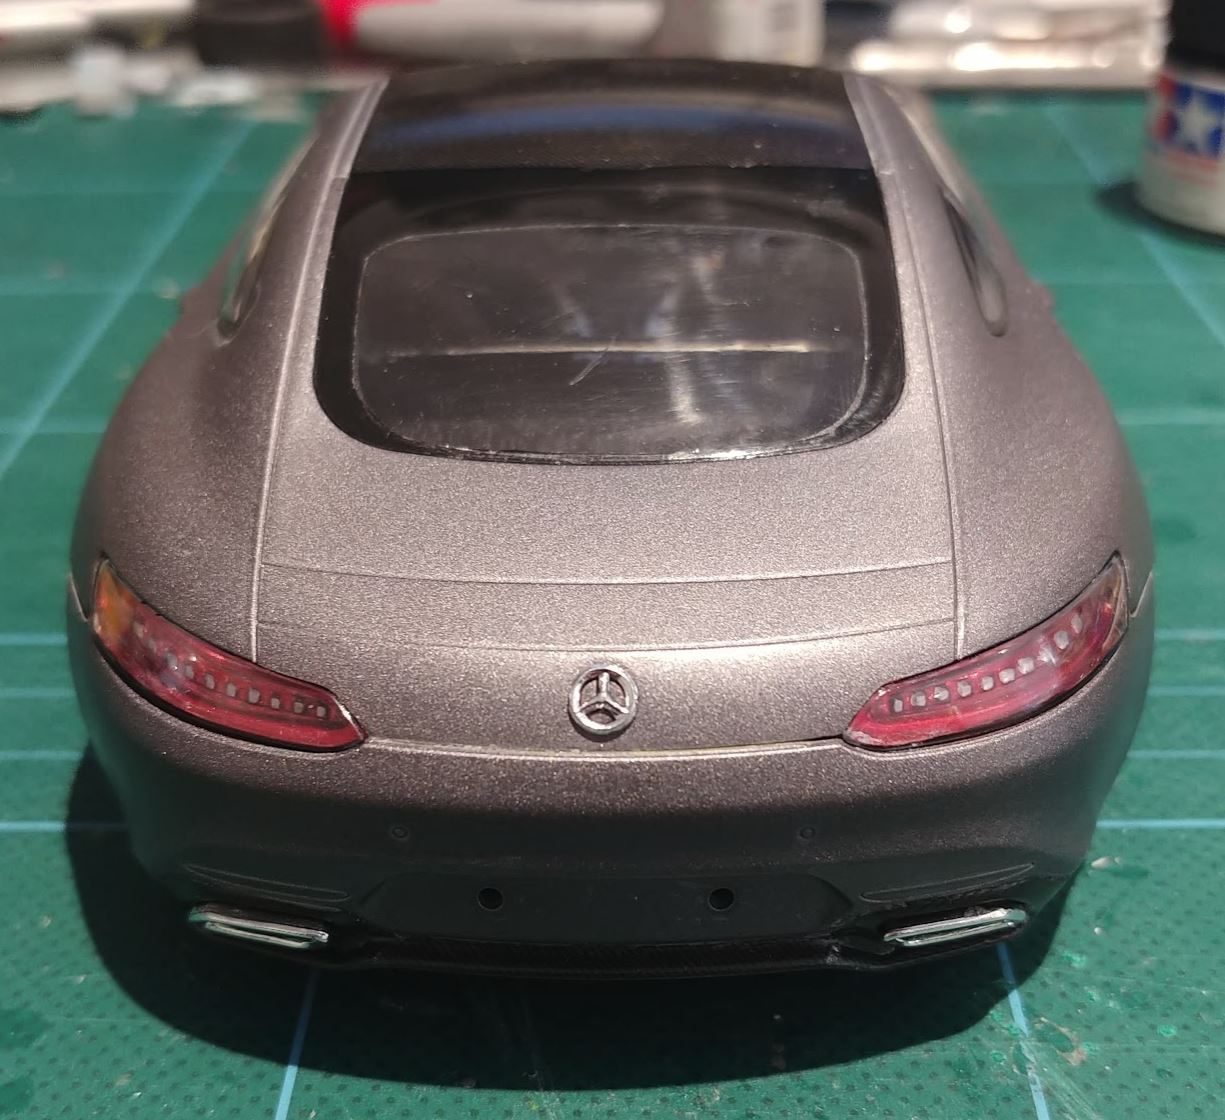
Hi all, Its been a while since my last update. I'm in the process of final assembly. A few things in this kit haven't gone to plan. Fitting the body shell to the interior and chassis was very difficult, and it doesn't quite fit together. everything is too tight. im getting sick of this kit and want to finish it already. Below are some photos of where i'm up to. Just a few more things to add and then this build is finished. Thanks Nathan
-
Thanks, yes its just straight out of the can. Its just the right level of gloss to still look like leather. Its more of a semi gloss finish.
-
Thanks, yes that was the plan. I usually leave that til the end once it's all complete.
-
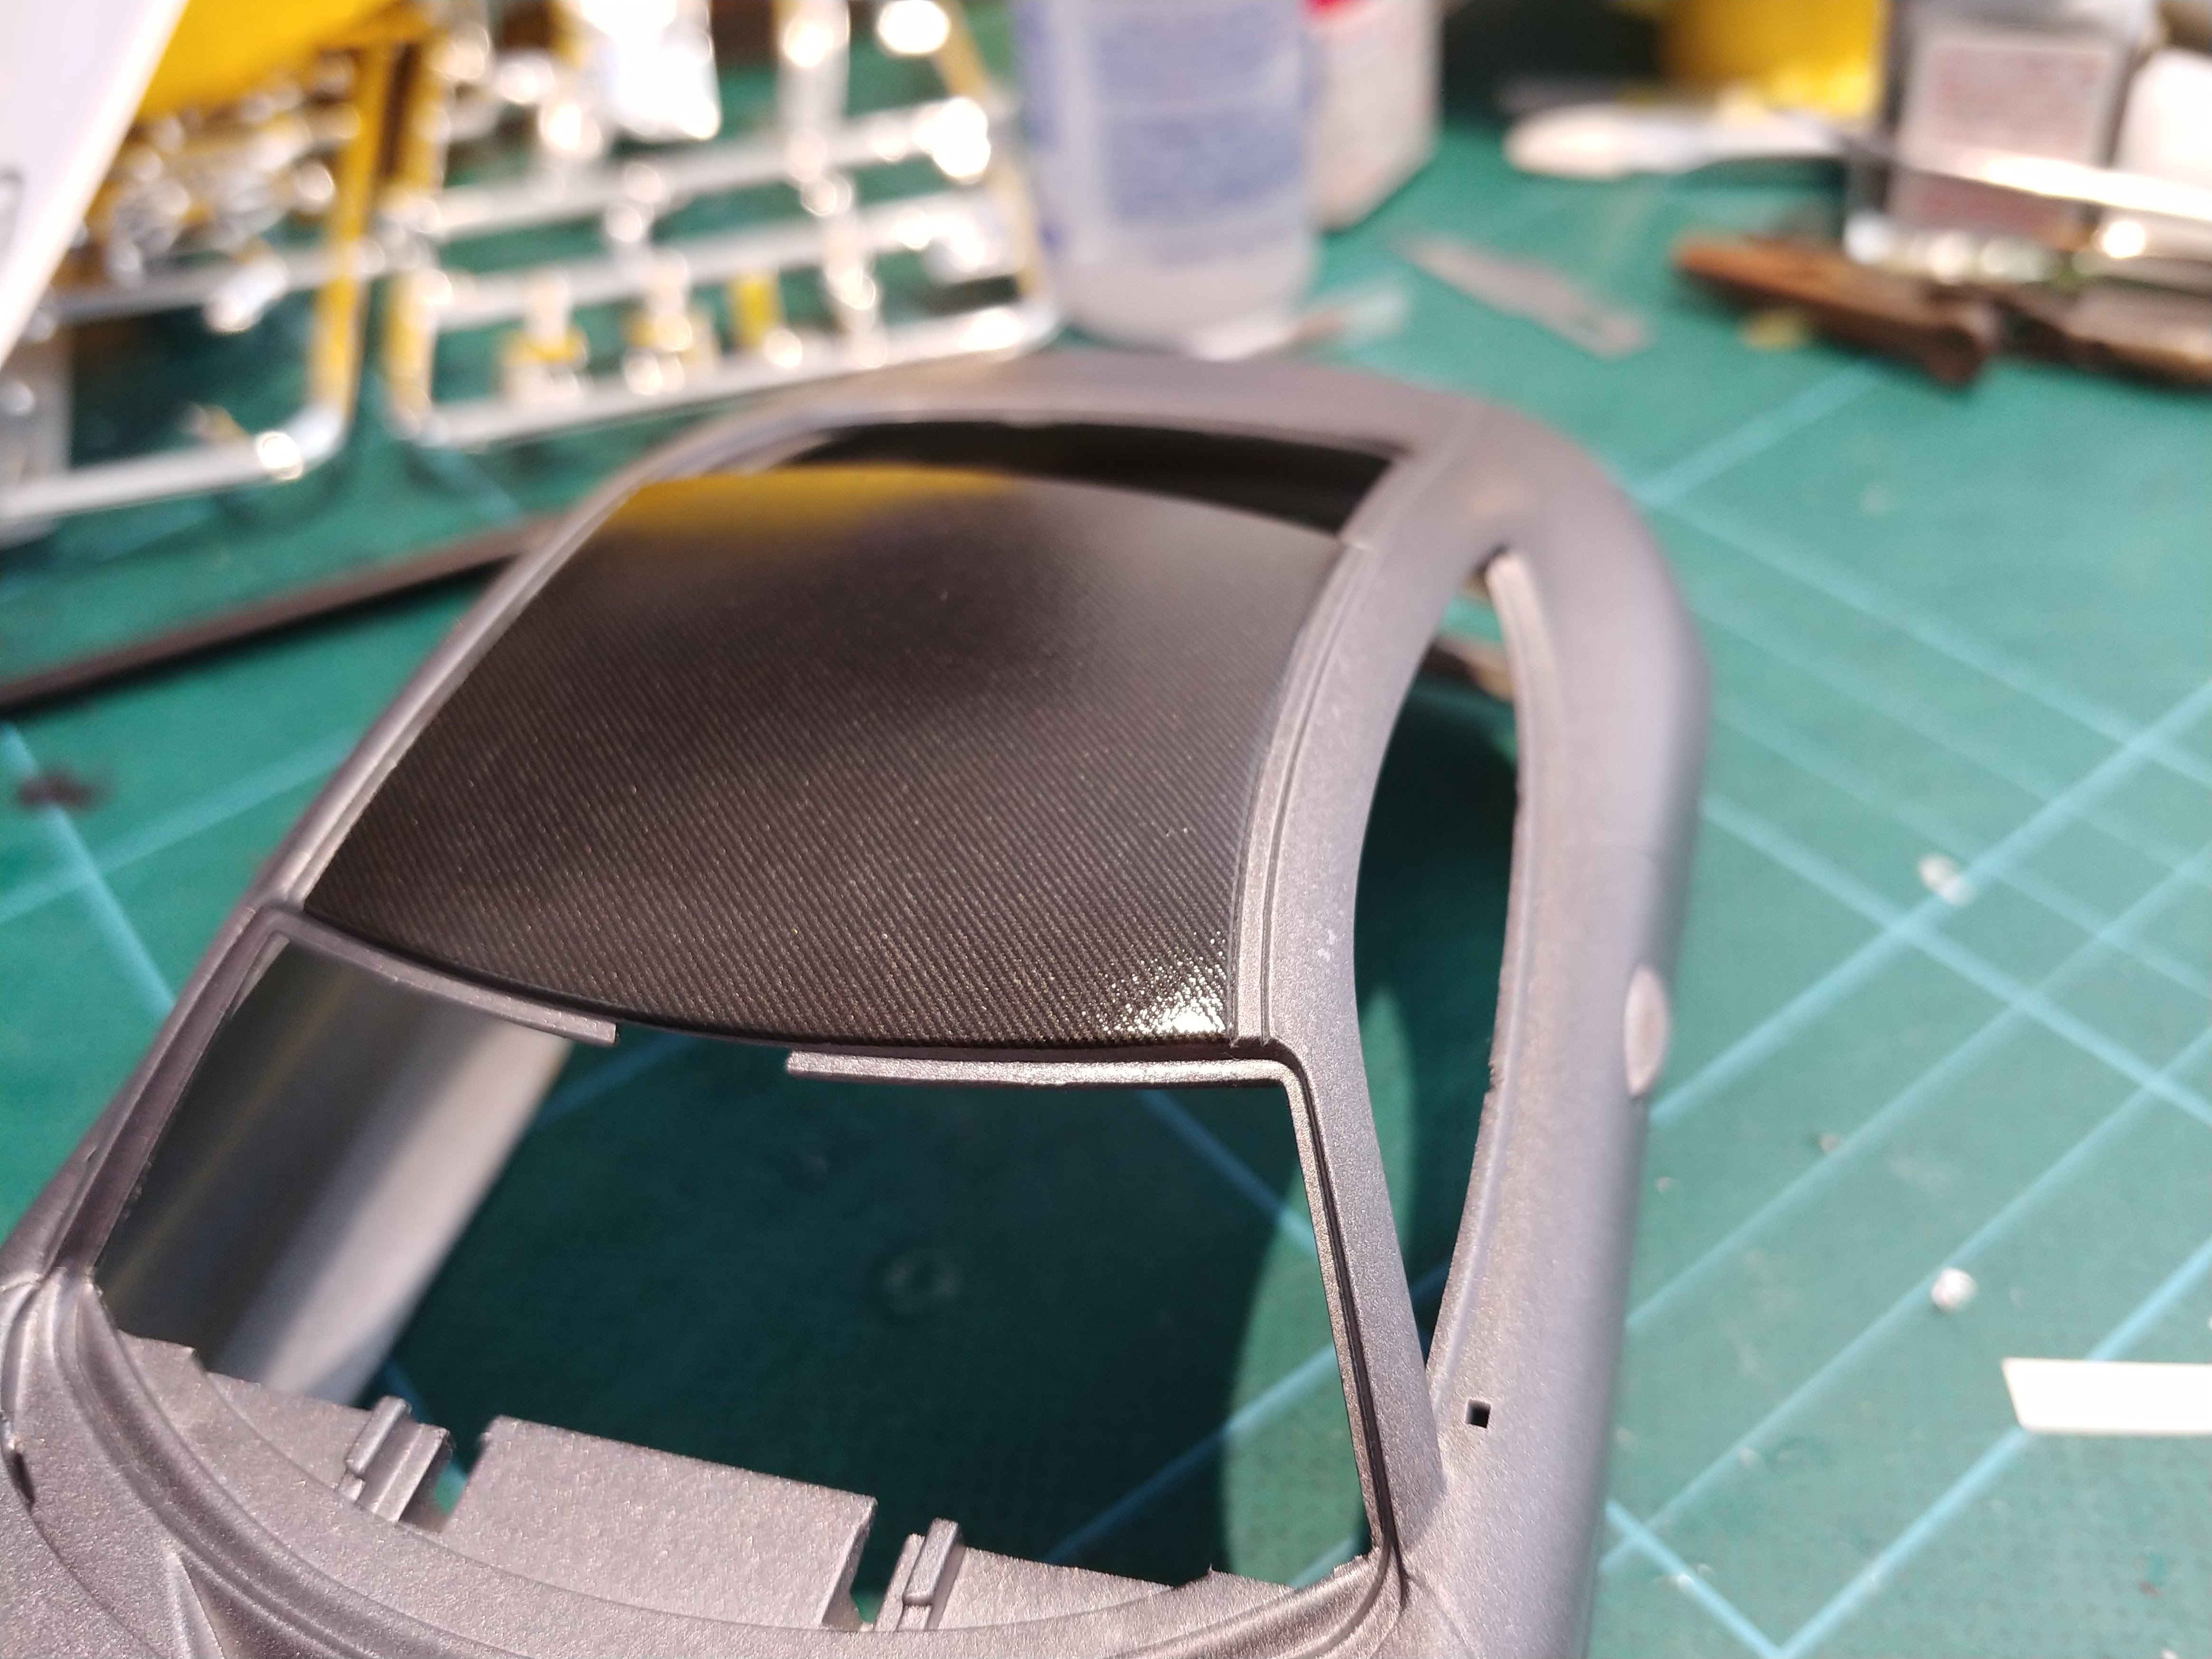
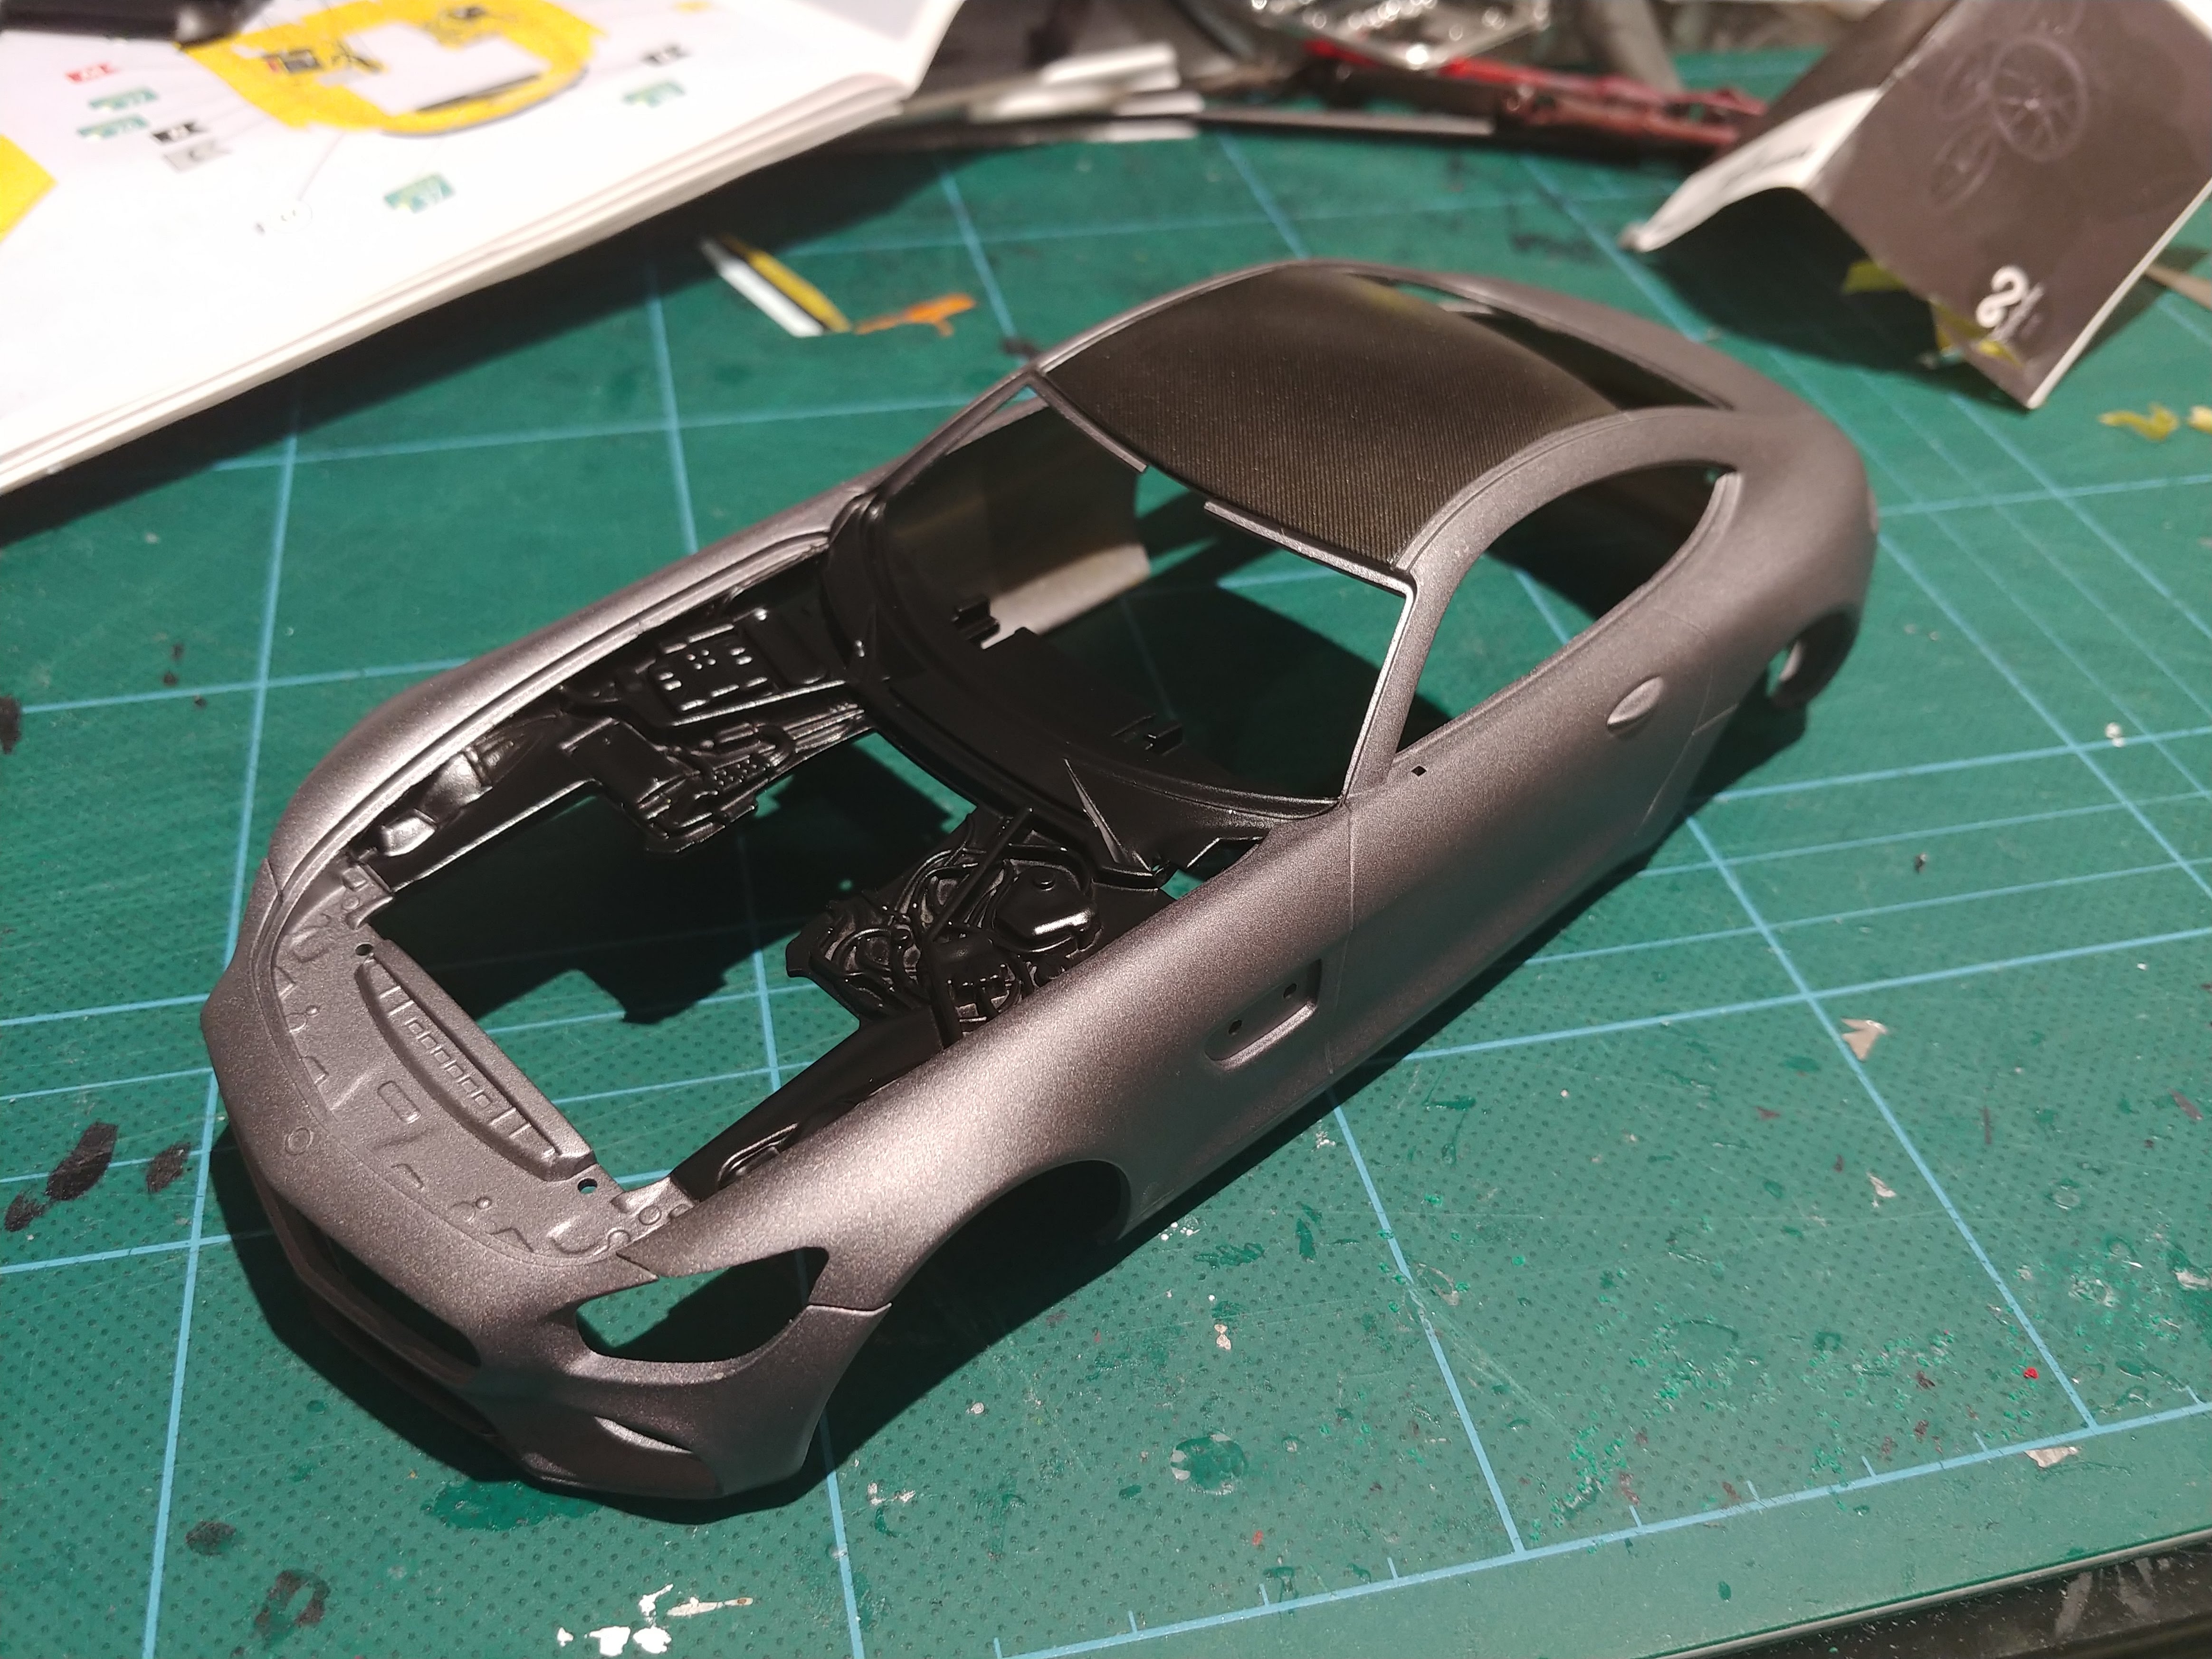
Hi All, I got a lot more done on this kit today. First up I flat clear coated the body. I'm relatively happy with how it came up. It was an experiment doing this type of finish, but probably not something I will do again. I do think it suits this particular car though. (i forgot to take a photo of this step) While the body was drying, I started on the interior. The last few models I have done ,have had black and dark grey materials. I wanted to do something different for this build, so i had a look online to see what colours the car comes in, and I found one with brown & black leather. I really liked the look of this. So I went to the LHS and got some tamiya TS-1 Red brown. I think It came up quite nice Certain parts of the interior are really nicely detailed. I was particularly impressed with the detail of the decals. They give the interior a really good finish. During the assembly of the interior, I masked off the dry body and gloss clear coated the carbon fibre parts of the car (roof and the front & rear bumpers) The contrast of gloss and matte finishes looks really nice, and will look even better once I polish those sections The final part that i did today was the engine cover and part of the engine bay. The engine cover is meant to have a small carbon fibre accent on it, but no decal is provided with he kit, so I made a template and made one using some scale productions carbon fibre decals.
-
Thanks, this was done with a tamiya spray can. I really like their paints, best cans I've used
-
Hi All, The other week, i was overseas for work, and went to a toy shop near by to get some presents for my nieces and nephews. The store also had a small hobby section, so i couldn't leave without getting myself a present too I bought the Revell AMG GT kit along with the Revell Mk1 Golf GTI, which i will build sometime in the future. Normally i dont like revell kits, but i heard that they have gotten better. (we'll see) first up i sanded back a few mould/part lines on the body and prepped it for painting. My plan for this build was to do a matte or semi gloss colour to do something different. Tamiya have recently come out with a new colour for their GT3 version of this car which is a semi gloss light gunmetal. My LHS didnt have this colour in stock, so i got the Gloss version of the colour (TS42) and will do a Semi gloss clear coat over the top. This kit does have some engine detail, but like most new cars, it as a large intake manifold / engine cover which doesn't allow you to see much of it. This kind of explains the limited detail revell have added to the kit. Its decent, but not great. Because of this i didn't spend a great amount of time on it, as you wont be able to see it once the kit is complete with the engine cover piece. Another strange detail is the rear diff and exhaust. Both parts have a decent amount of detail, but these wont be seen at all once the kit is complete as the chassis covers it all. Next part was painting the chassis. This is one big piece with moulded in exhaust and transmission. The chassis was painted in semi gloss black, then masked off and then sprayed with bare metal silver. I plan to add a few extra colours to weather the exhaust, but haven't done that yet. Thanks Nathan
-
I have this kit in my to do pile, so i'm keen to see how it turns out before i start it. It's looking great so far.
-
Thanks, Yeah that was the look i was going for, more of a modern take on the classic 911. The wheels, headlights, tail lights and spoiler were aftermarket to the kit. these were all from scale productions.
-
Very impressive so far. That body kit doesn't look very easy, so the work you have done so far looks very good. cant wait to see this finished.
-
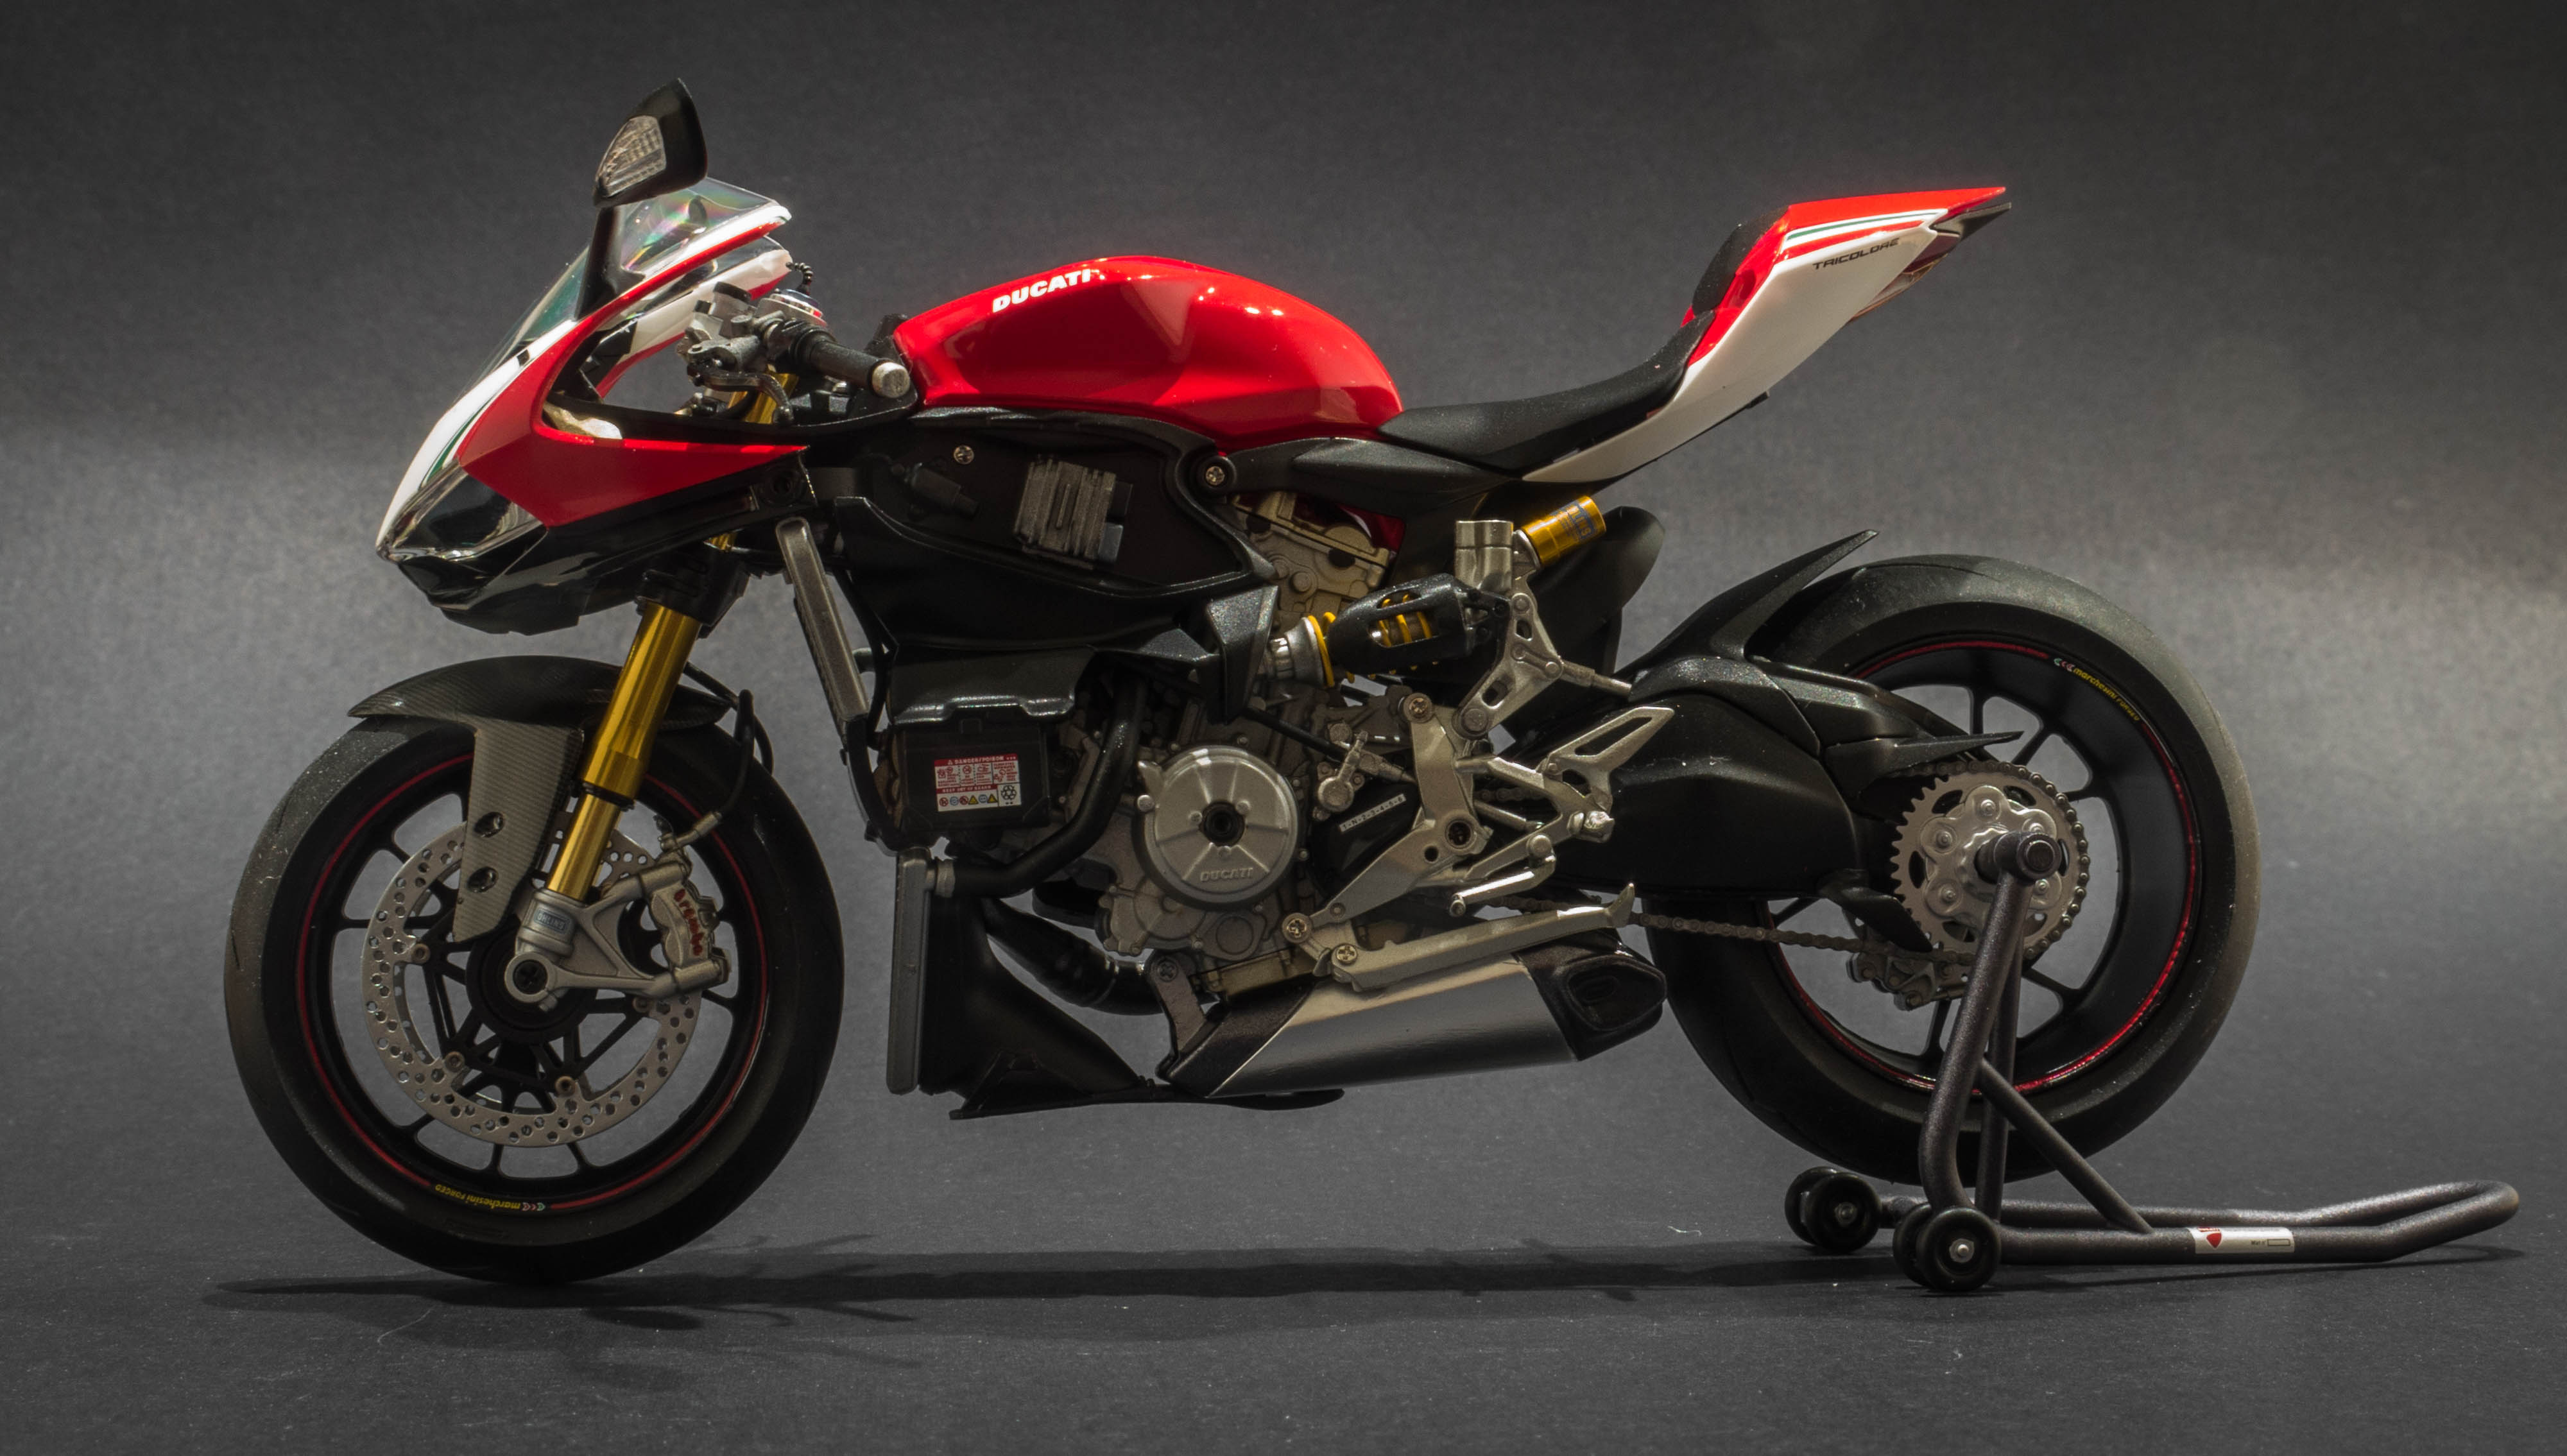
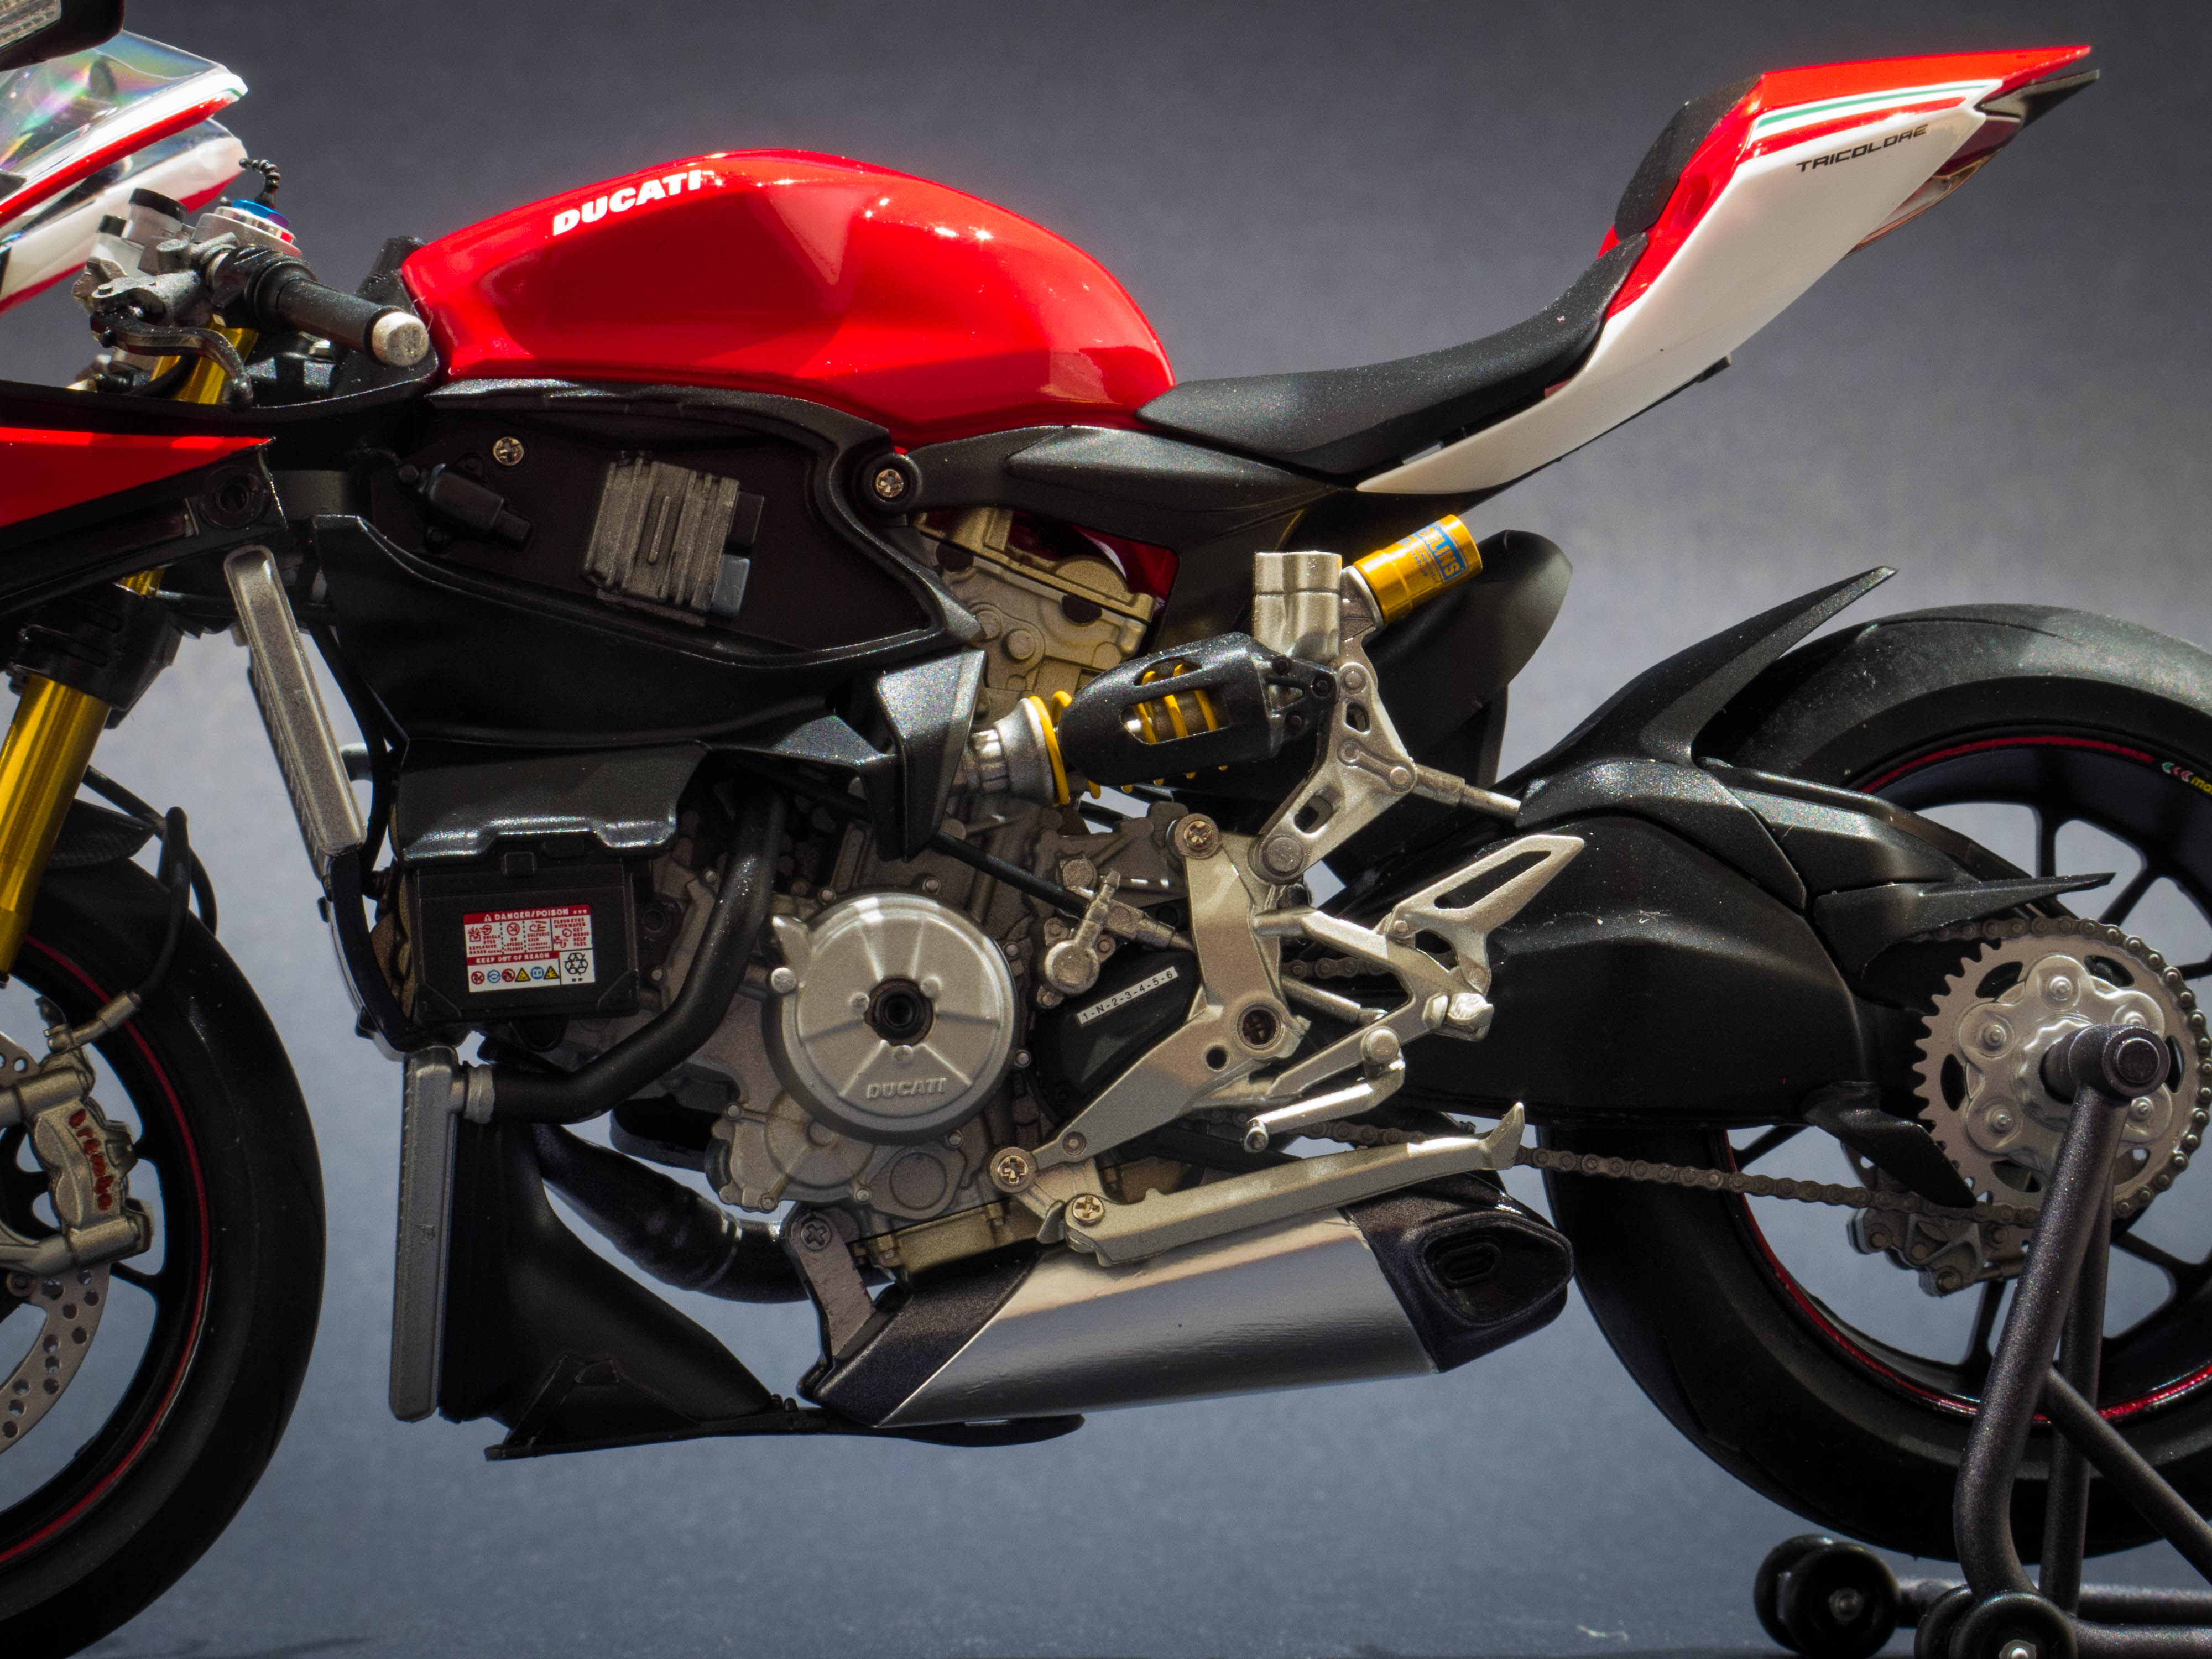
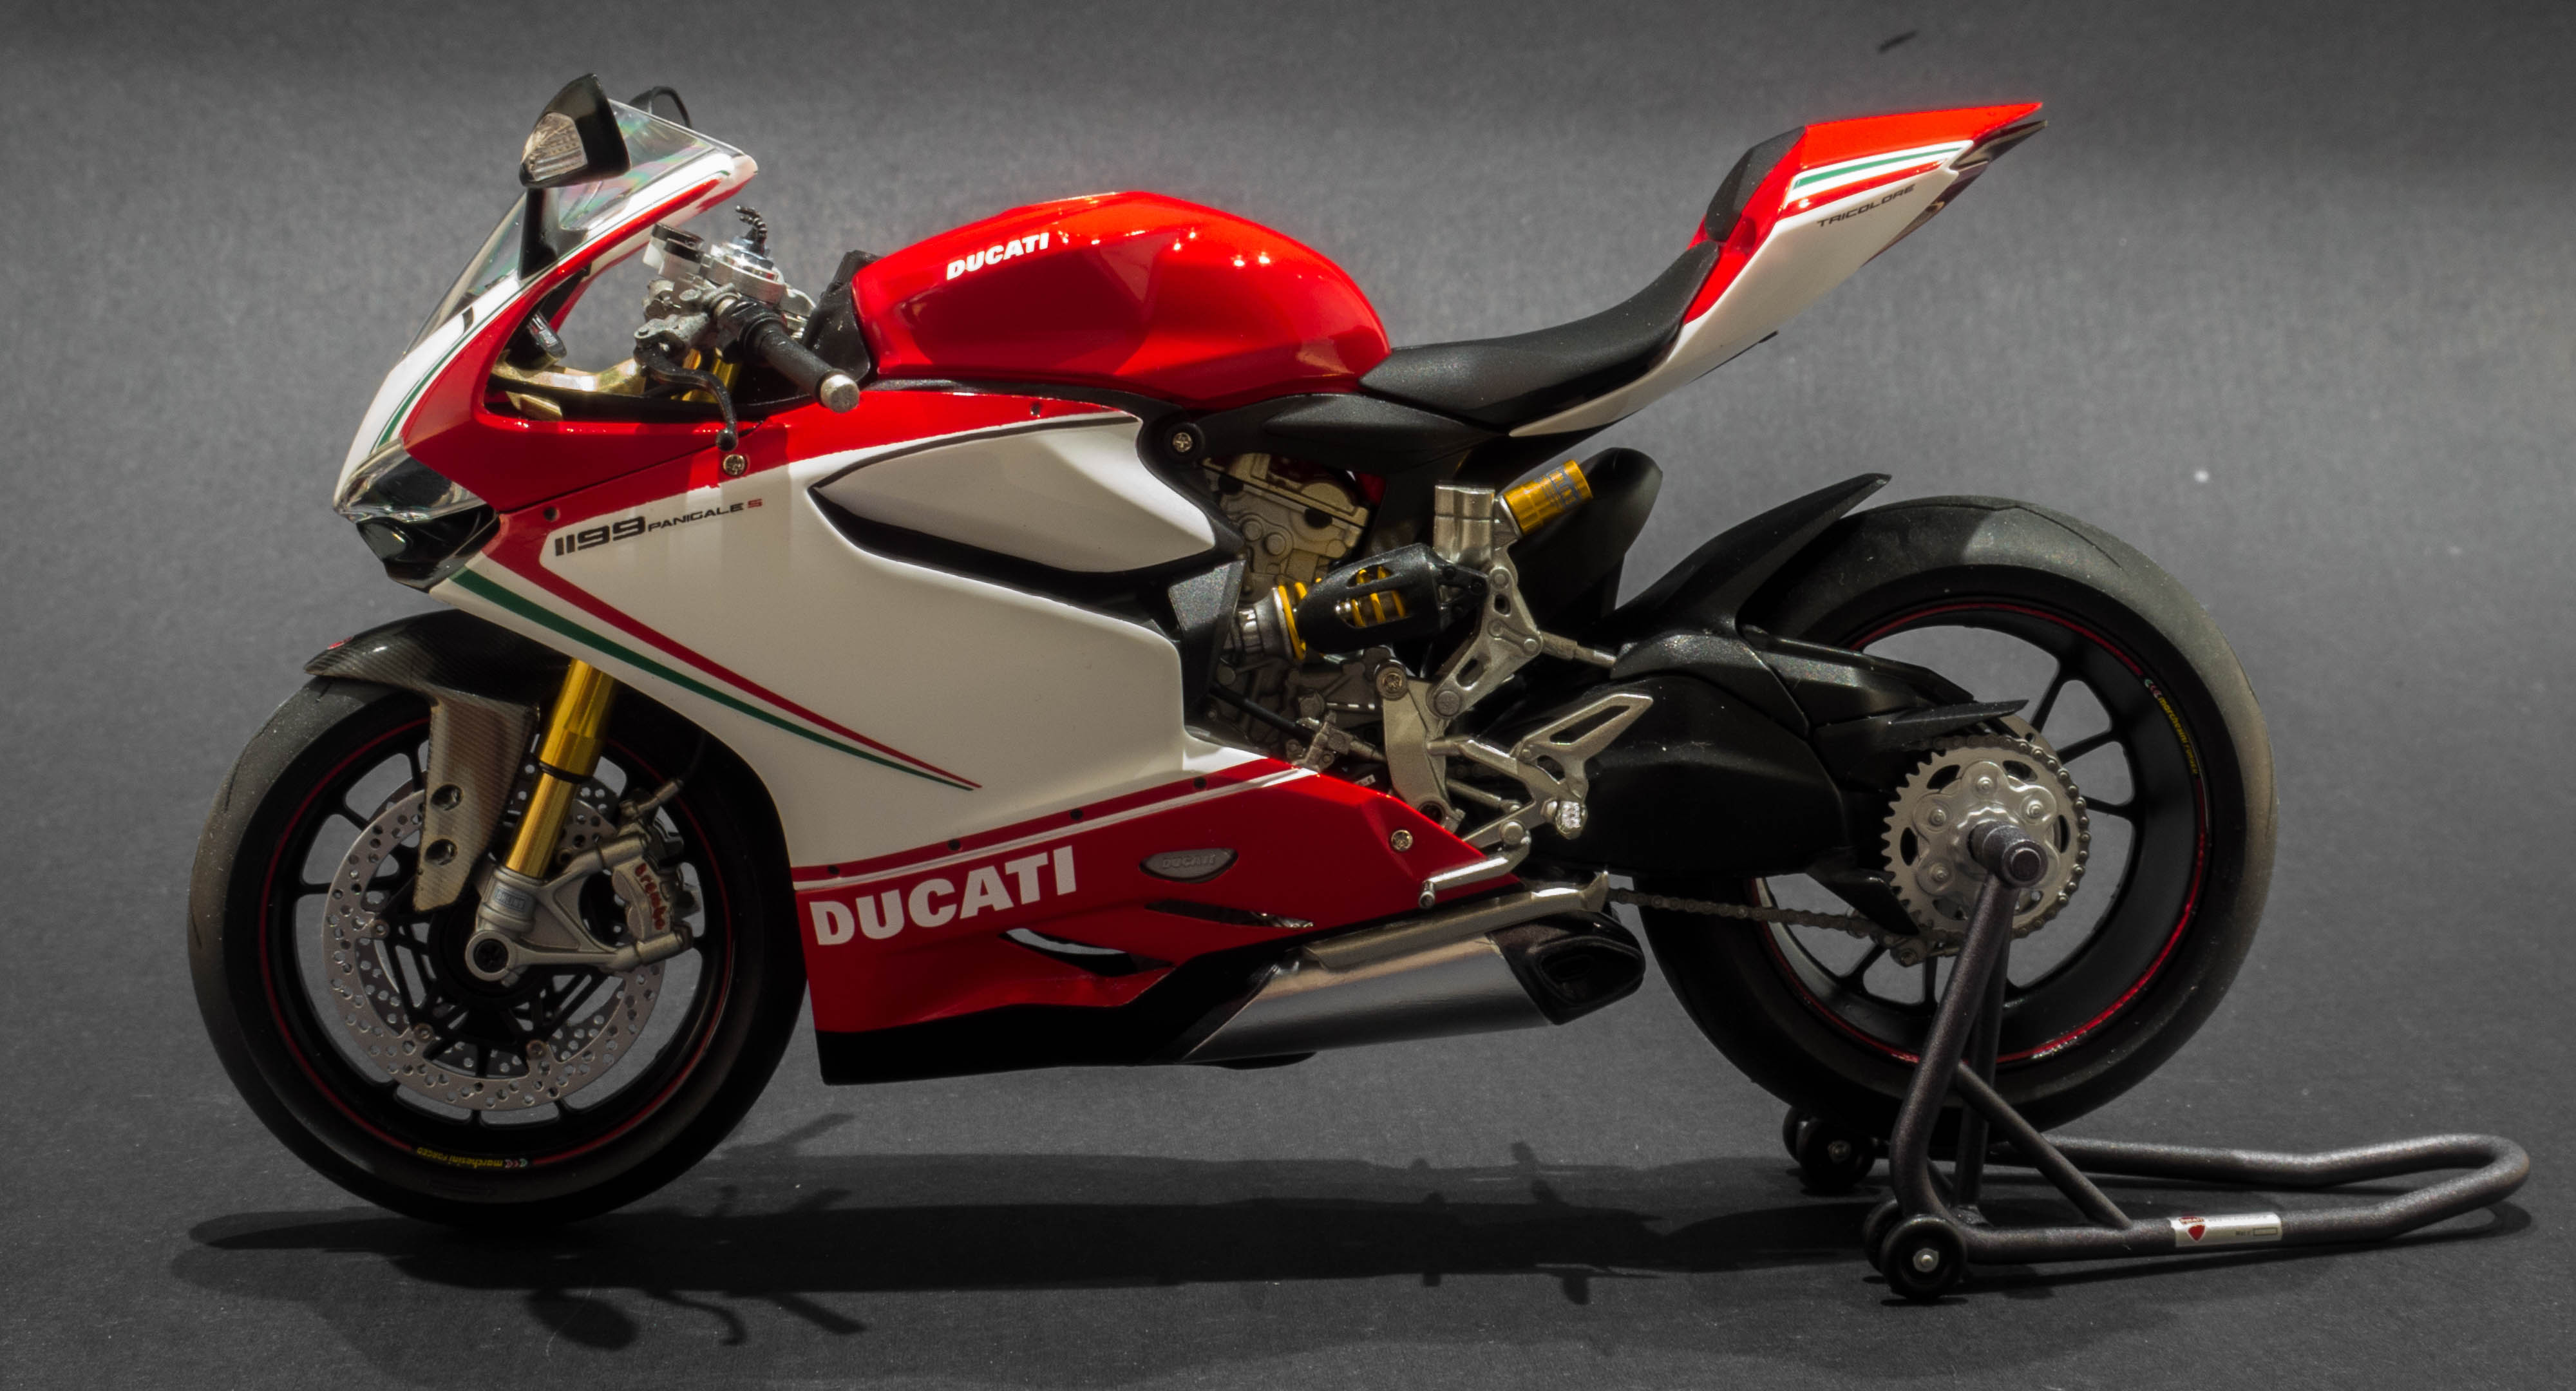
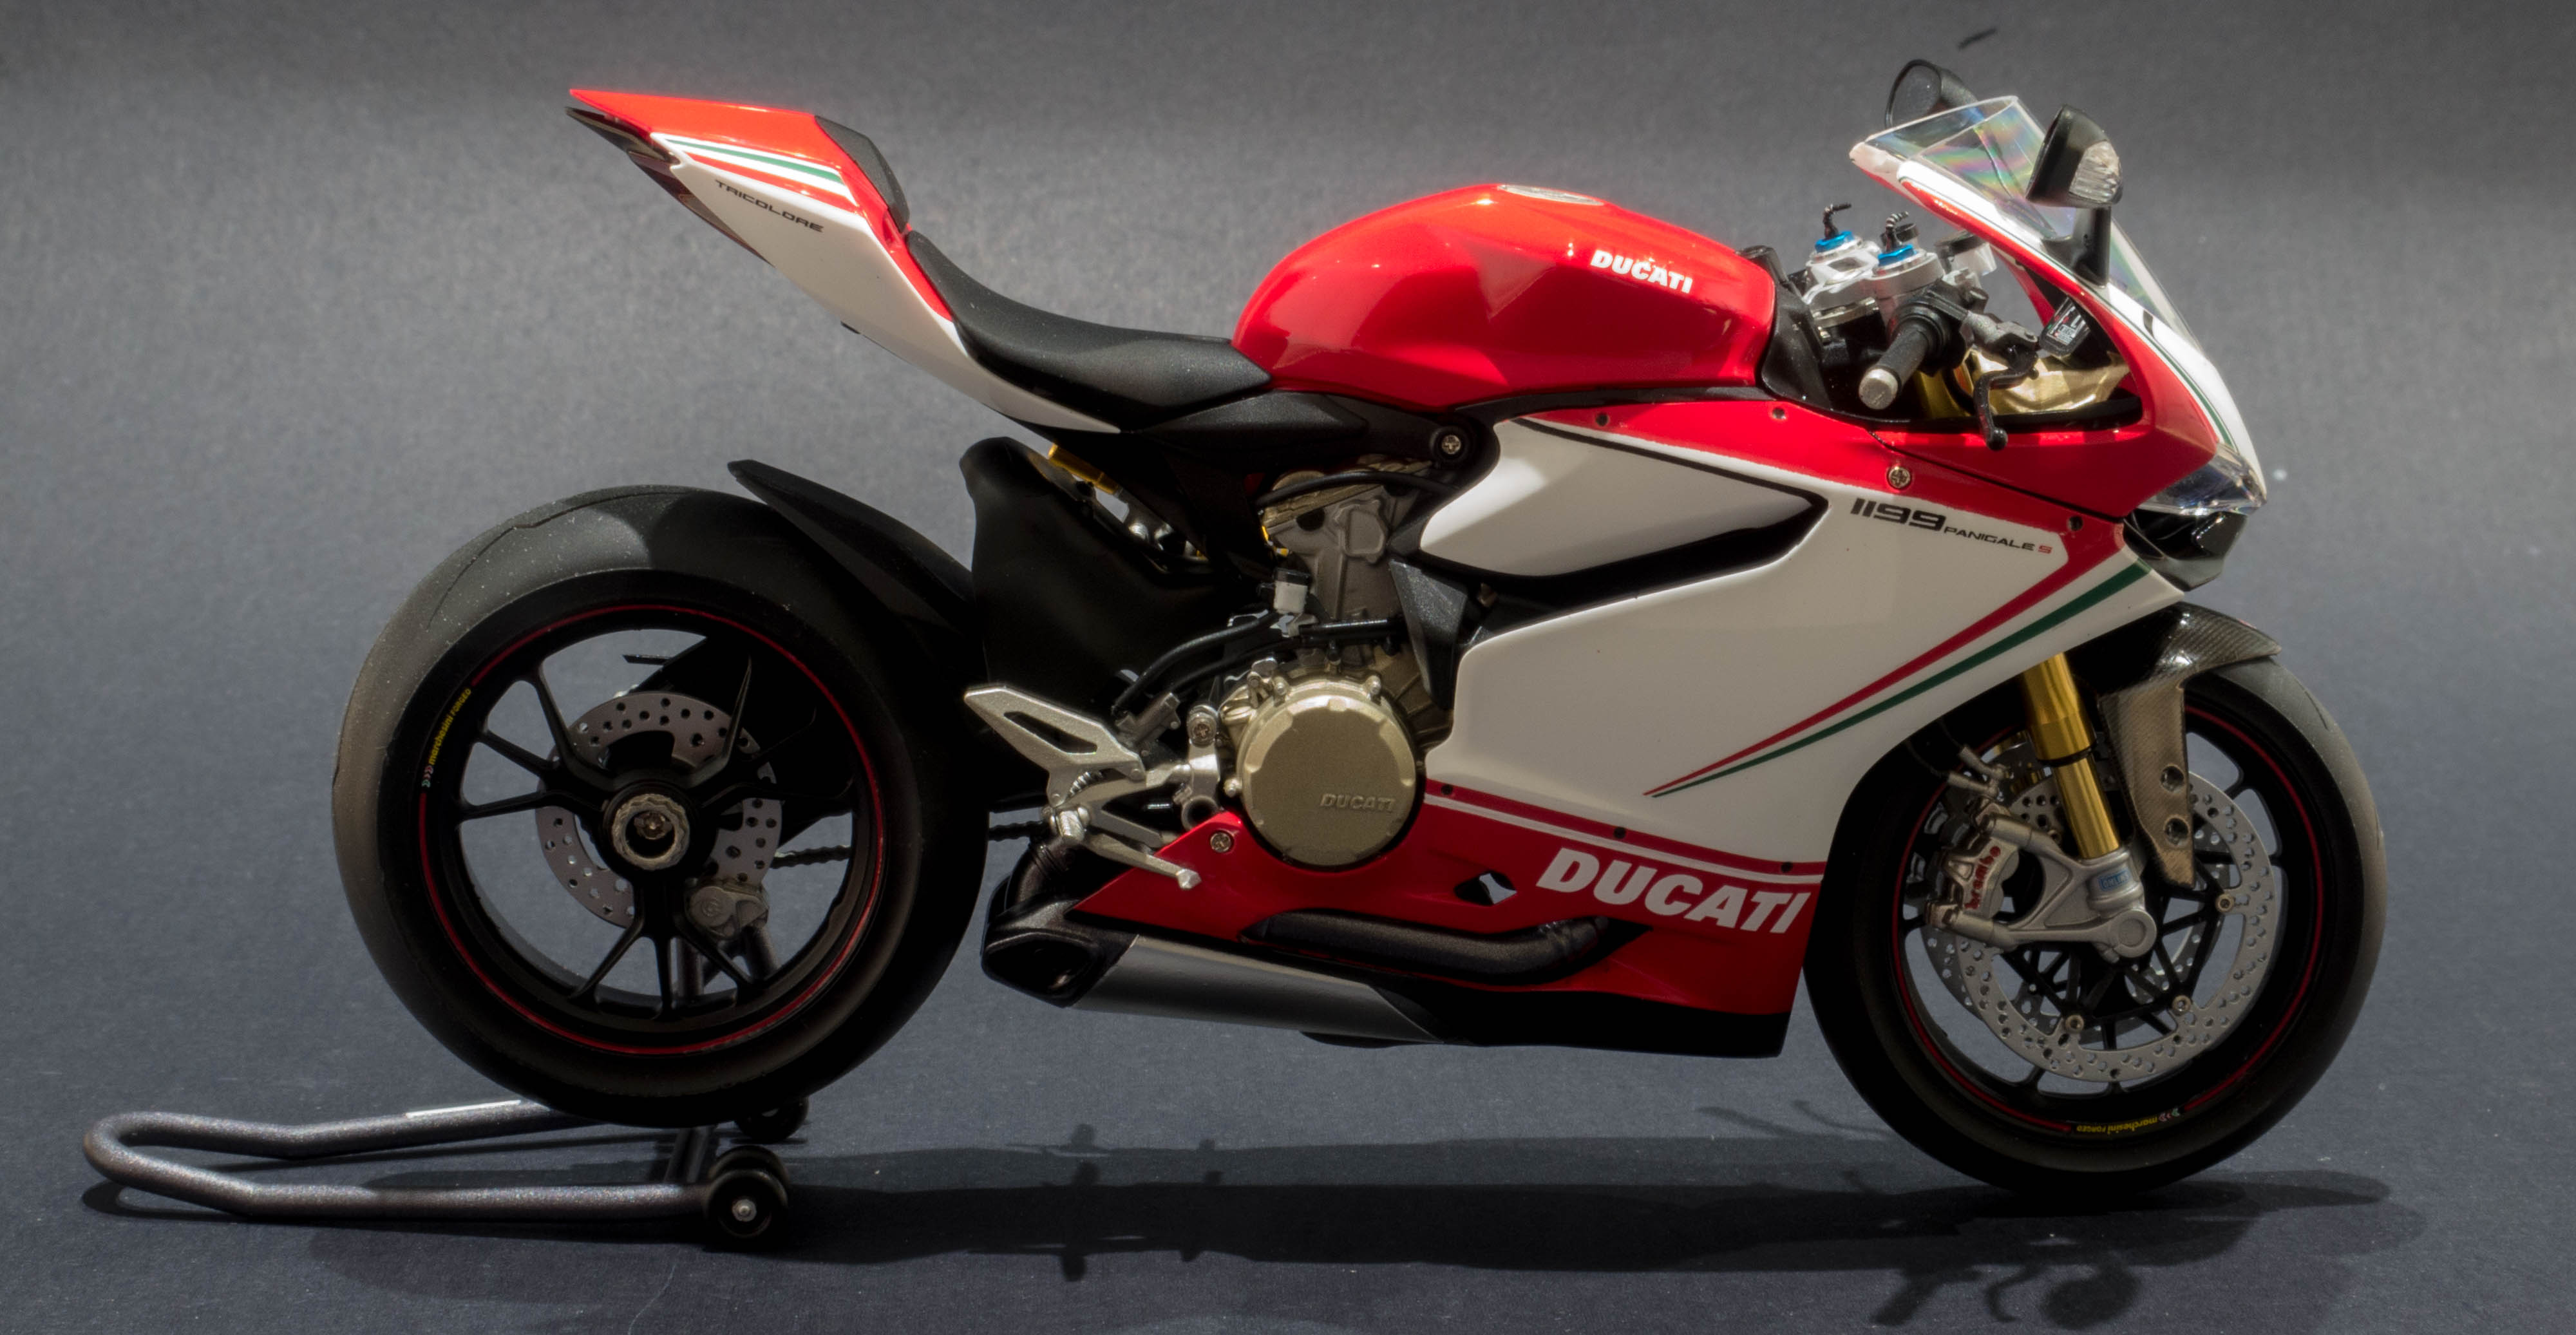
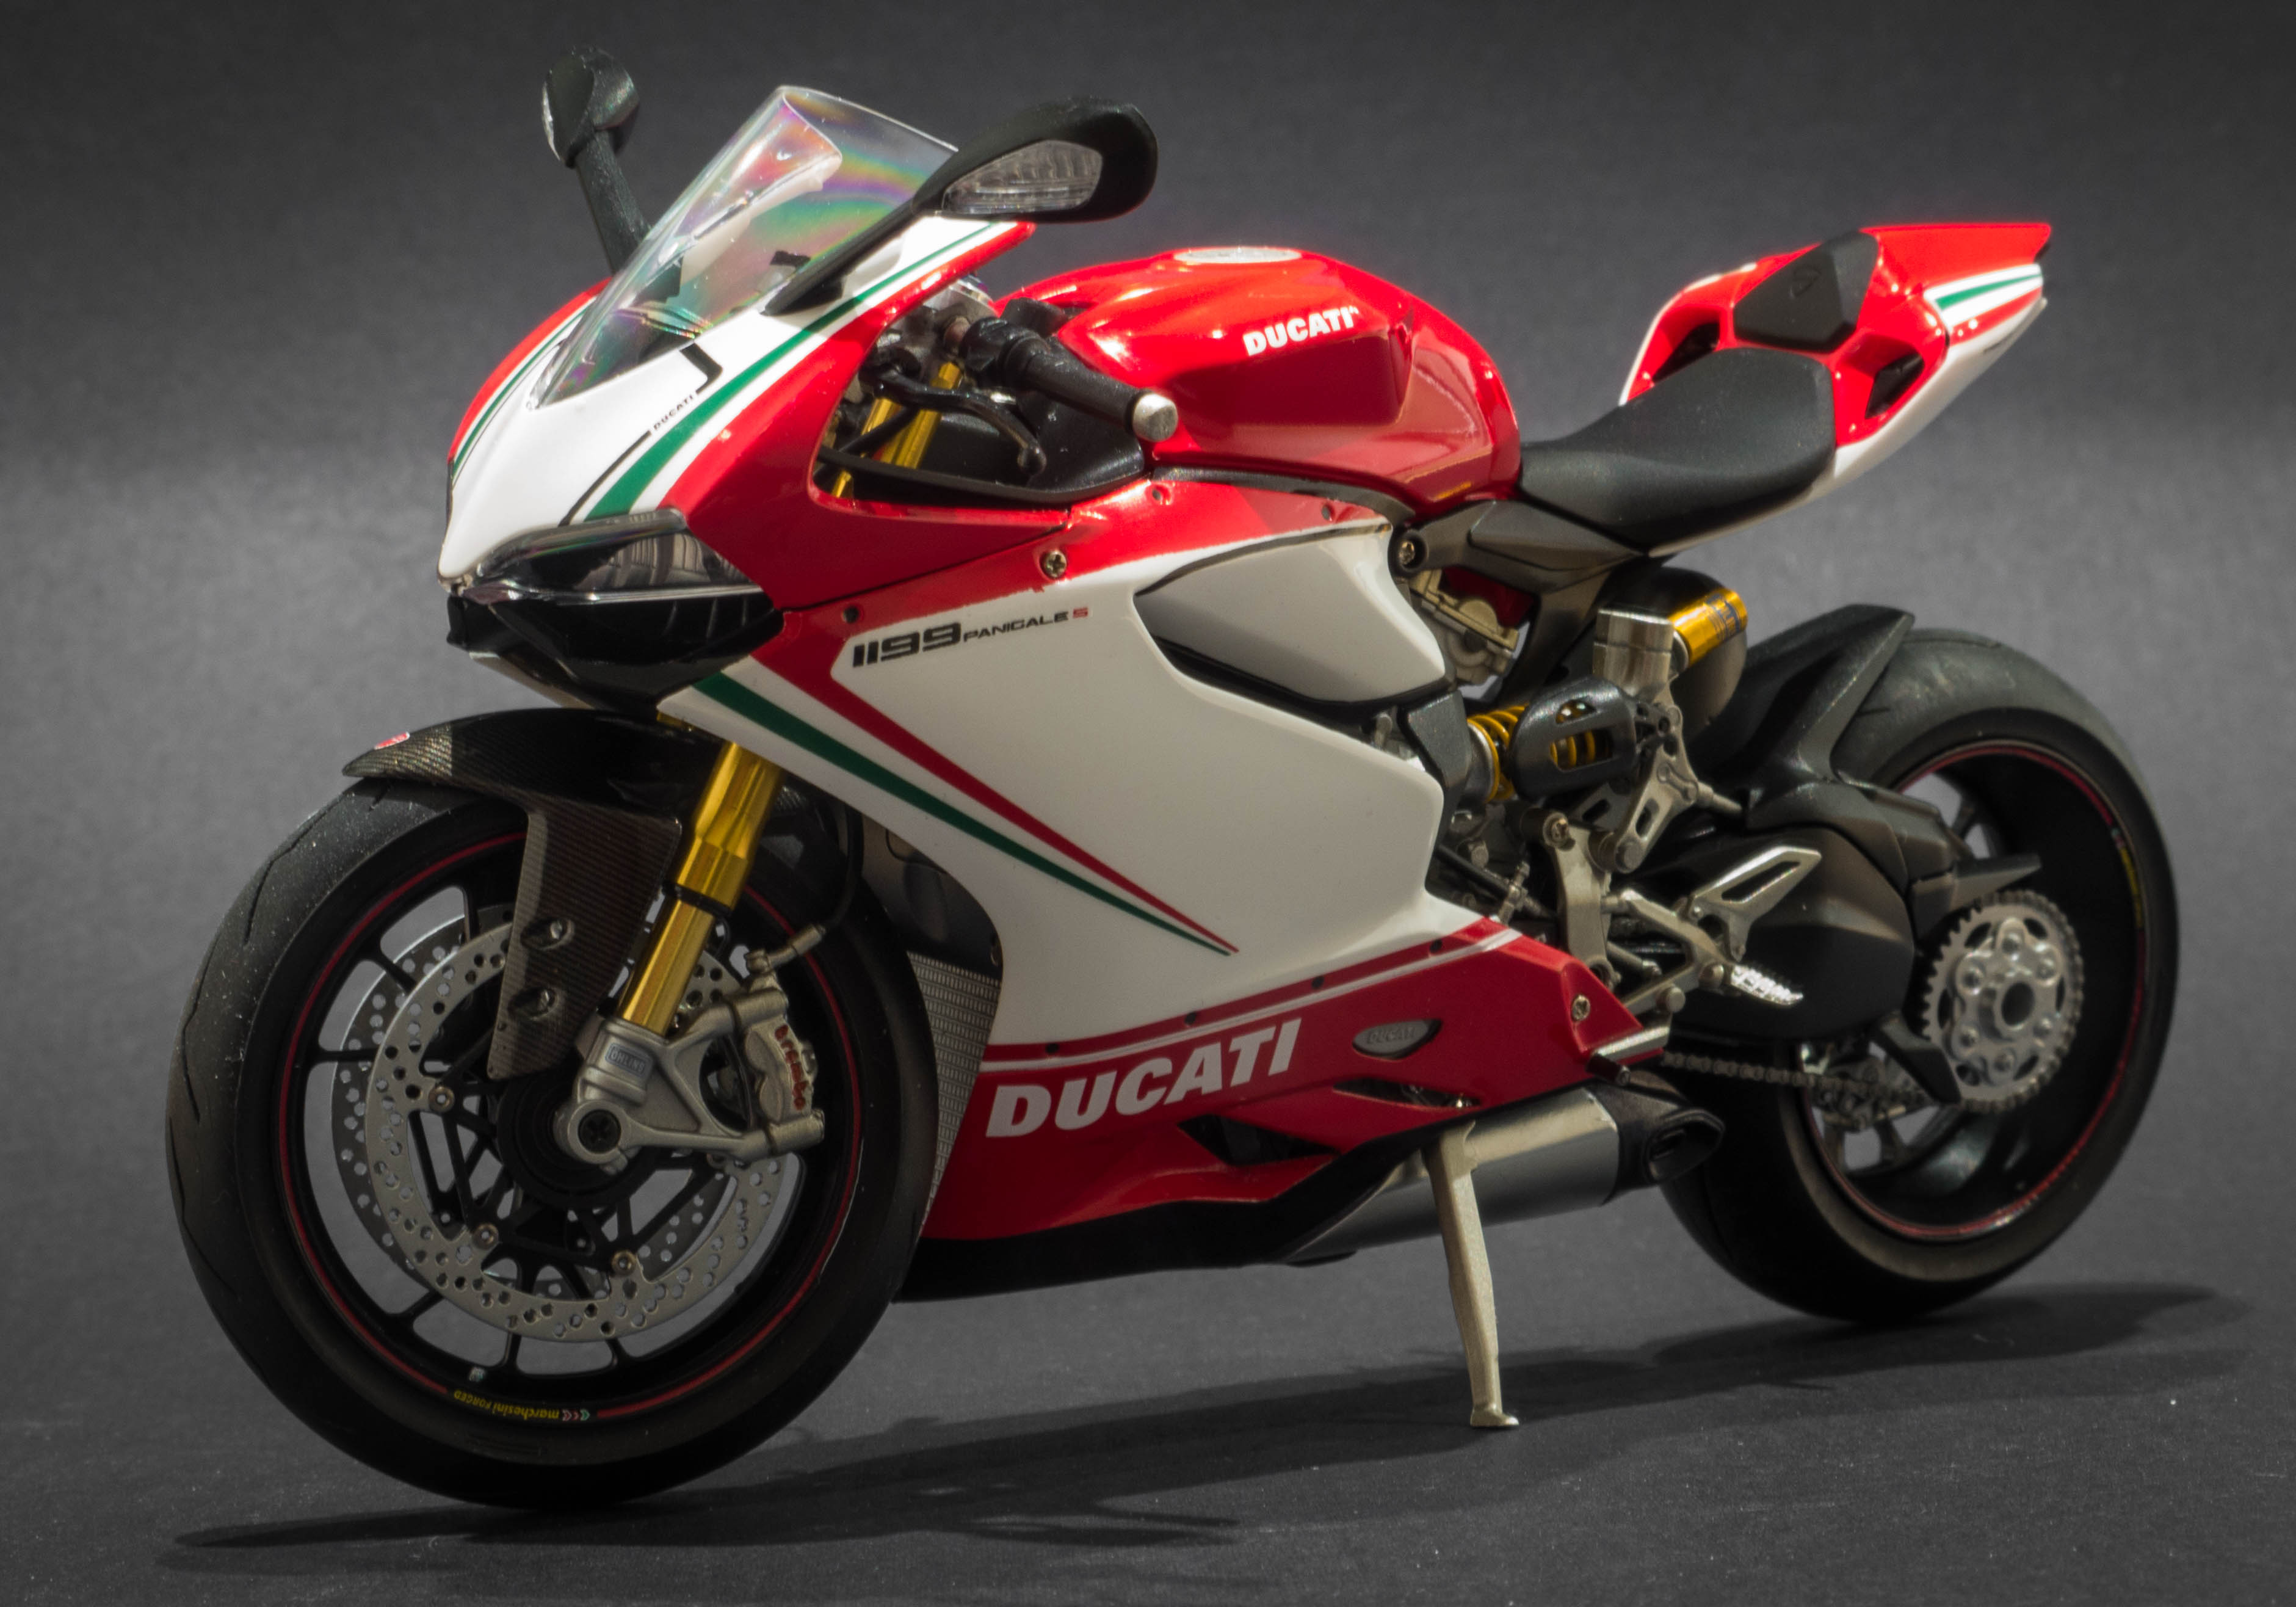
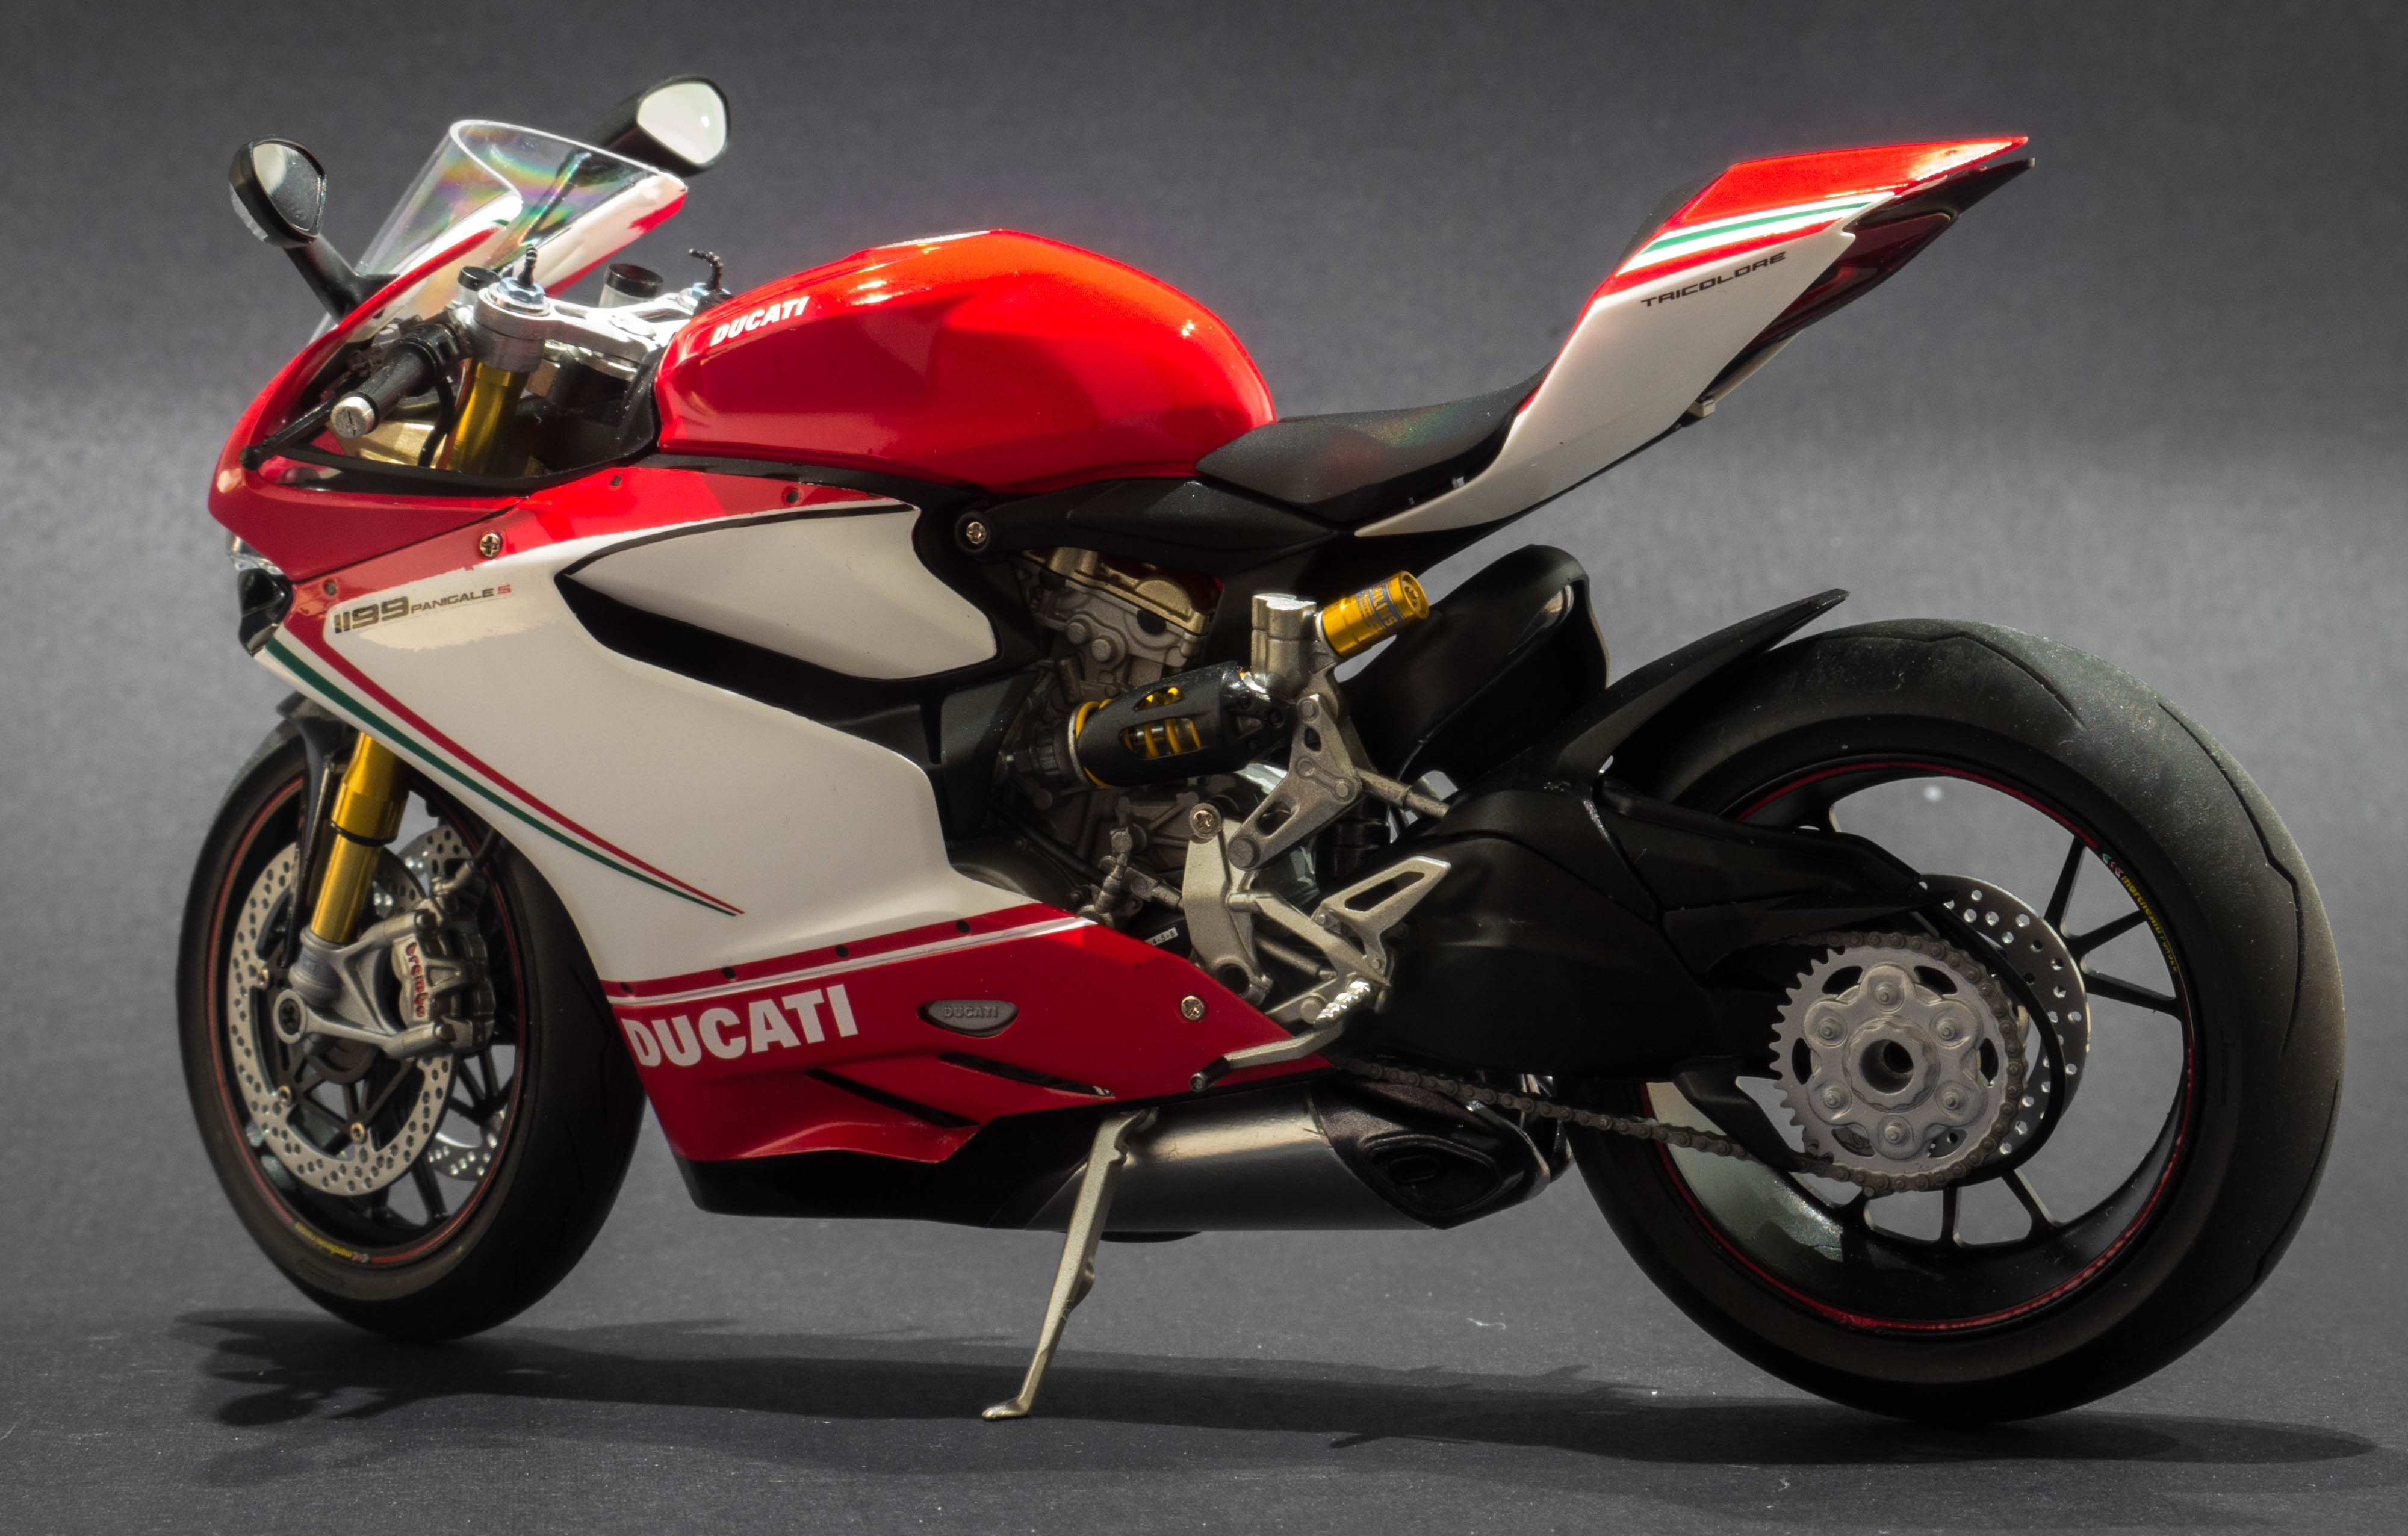
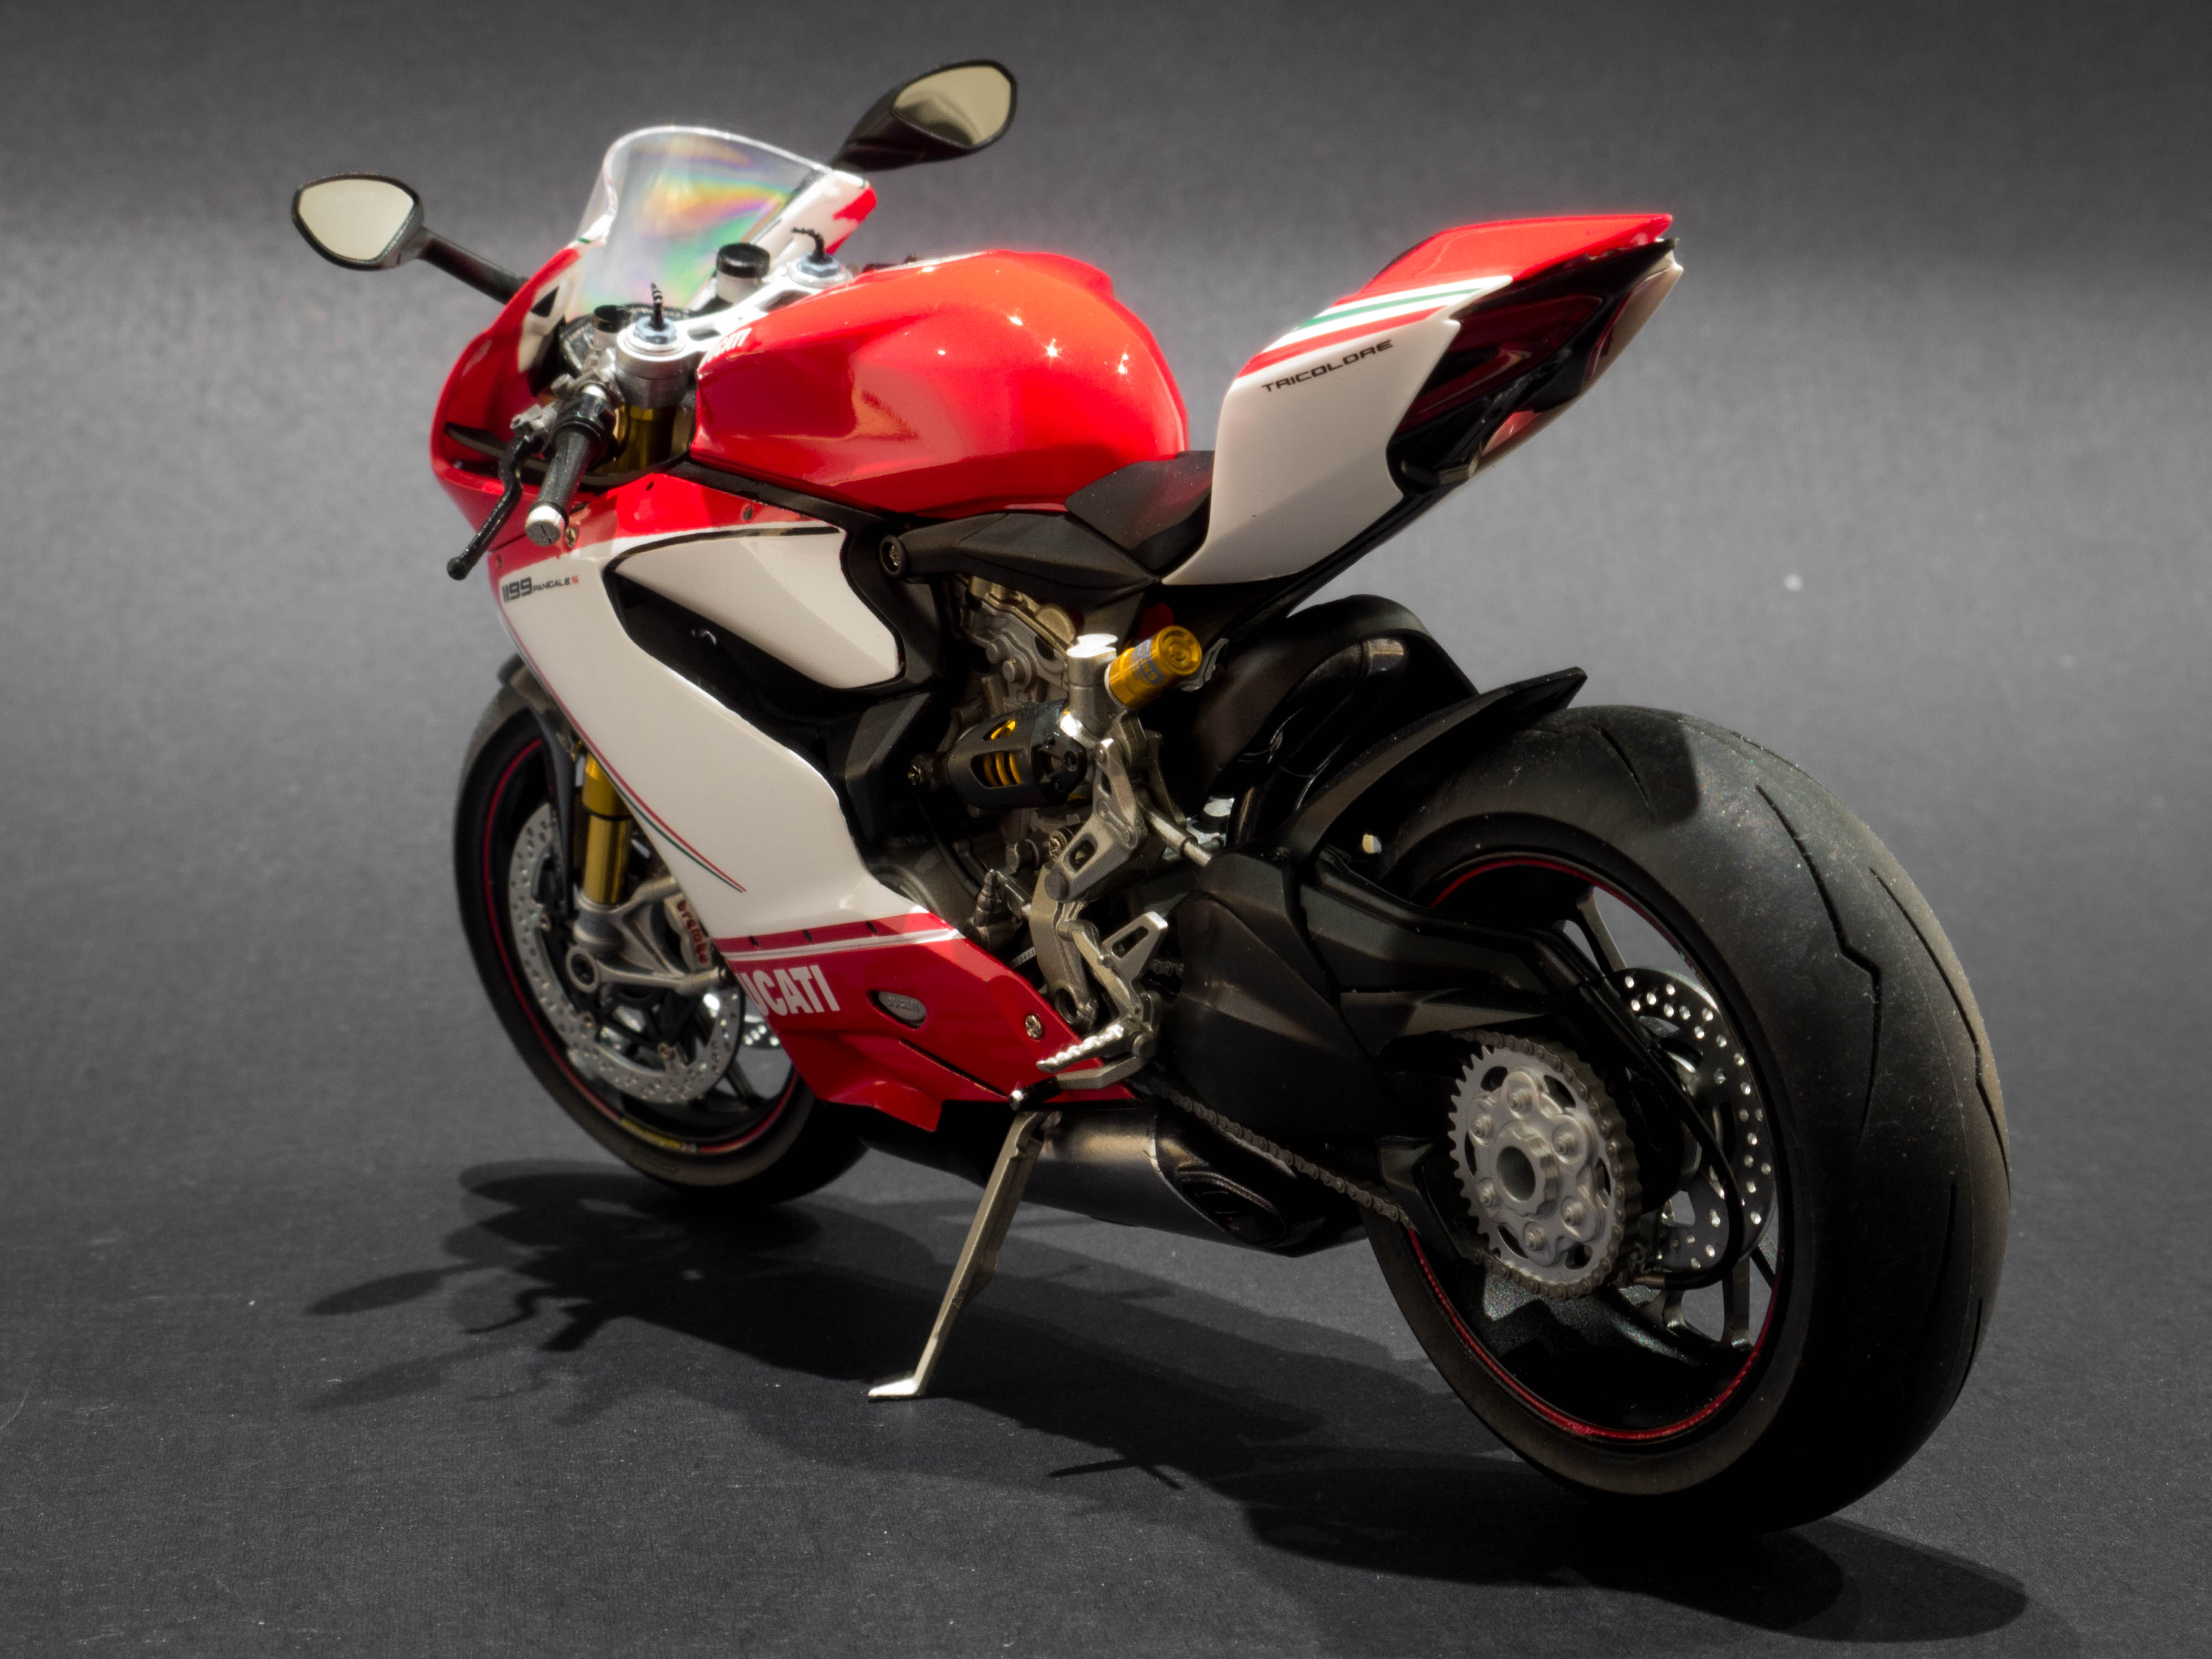
Hi all, Here is my first ever attempt at a motor bike kit. The kit in question is tamiya's Ducati 1199 Tricolore in 1:12 scale. This is my favourite motorbike, I really like the design of it and how everything is packaged so neatly in the body. The kit was very easy to work with, very little modifications had to be made. In addition to the kit, i got the detail up set from tamiya which adds metal suspension forks, rear suspension oil resivoir and disc brake rivets. for the little bit extra cost, I highly recommend getting this, as the added detail is unreal. Anyway, enjoy the photos below. Thanks
-
Absolutely flawless. If i saw the photos out of context, i would think it was the real car. Well done
-
Yeah, i know, it was a bit annoying, I think the putty shrunk once the paint was applied, I think in the future i will have to wait a bit longer before sanding to make sure it has set completely. I was hard to tell if it was level enough before the primer was applied, cause it was white putty on white plastic. Anyway, im still happy with the outcome, just something to take into consideration for the next one.
-
I use 10mm masking tape around the trim, then go over the trim line with a toothpick to define the shape, then use a very sharp blade to trim away the inside, then just use a brush with semi gloss black paint.
-
Thanks, Im pretty pleased with the outcome