QbanFam
-
Posts
226 -
Joined
-
Last visited
Content Type
Profiles
Forums
Events
Gallery
Everything posted by QbanFam
-
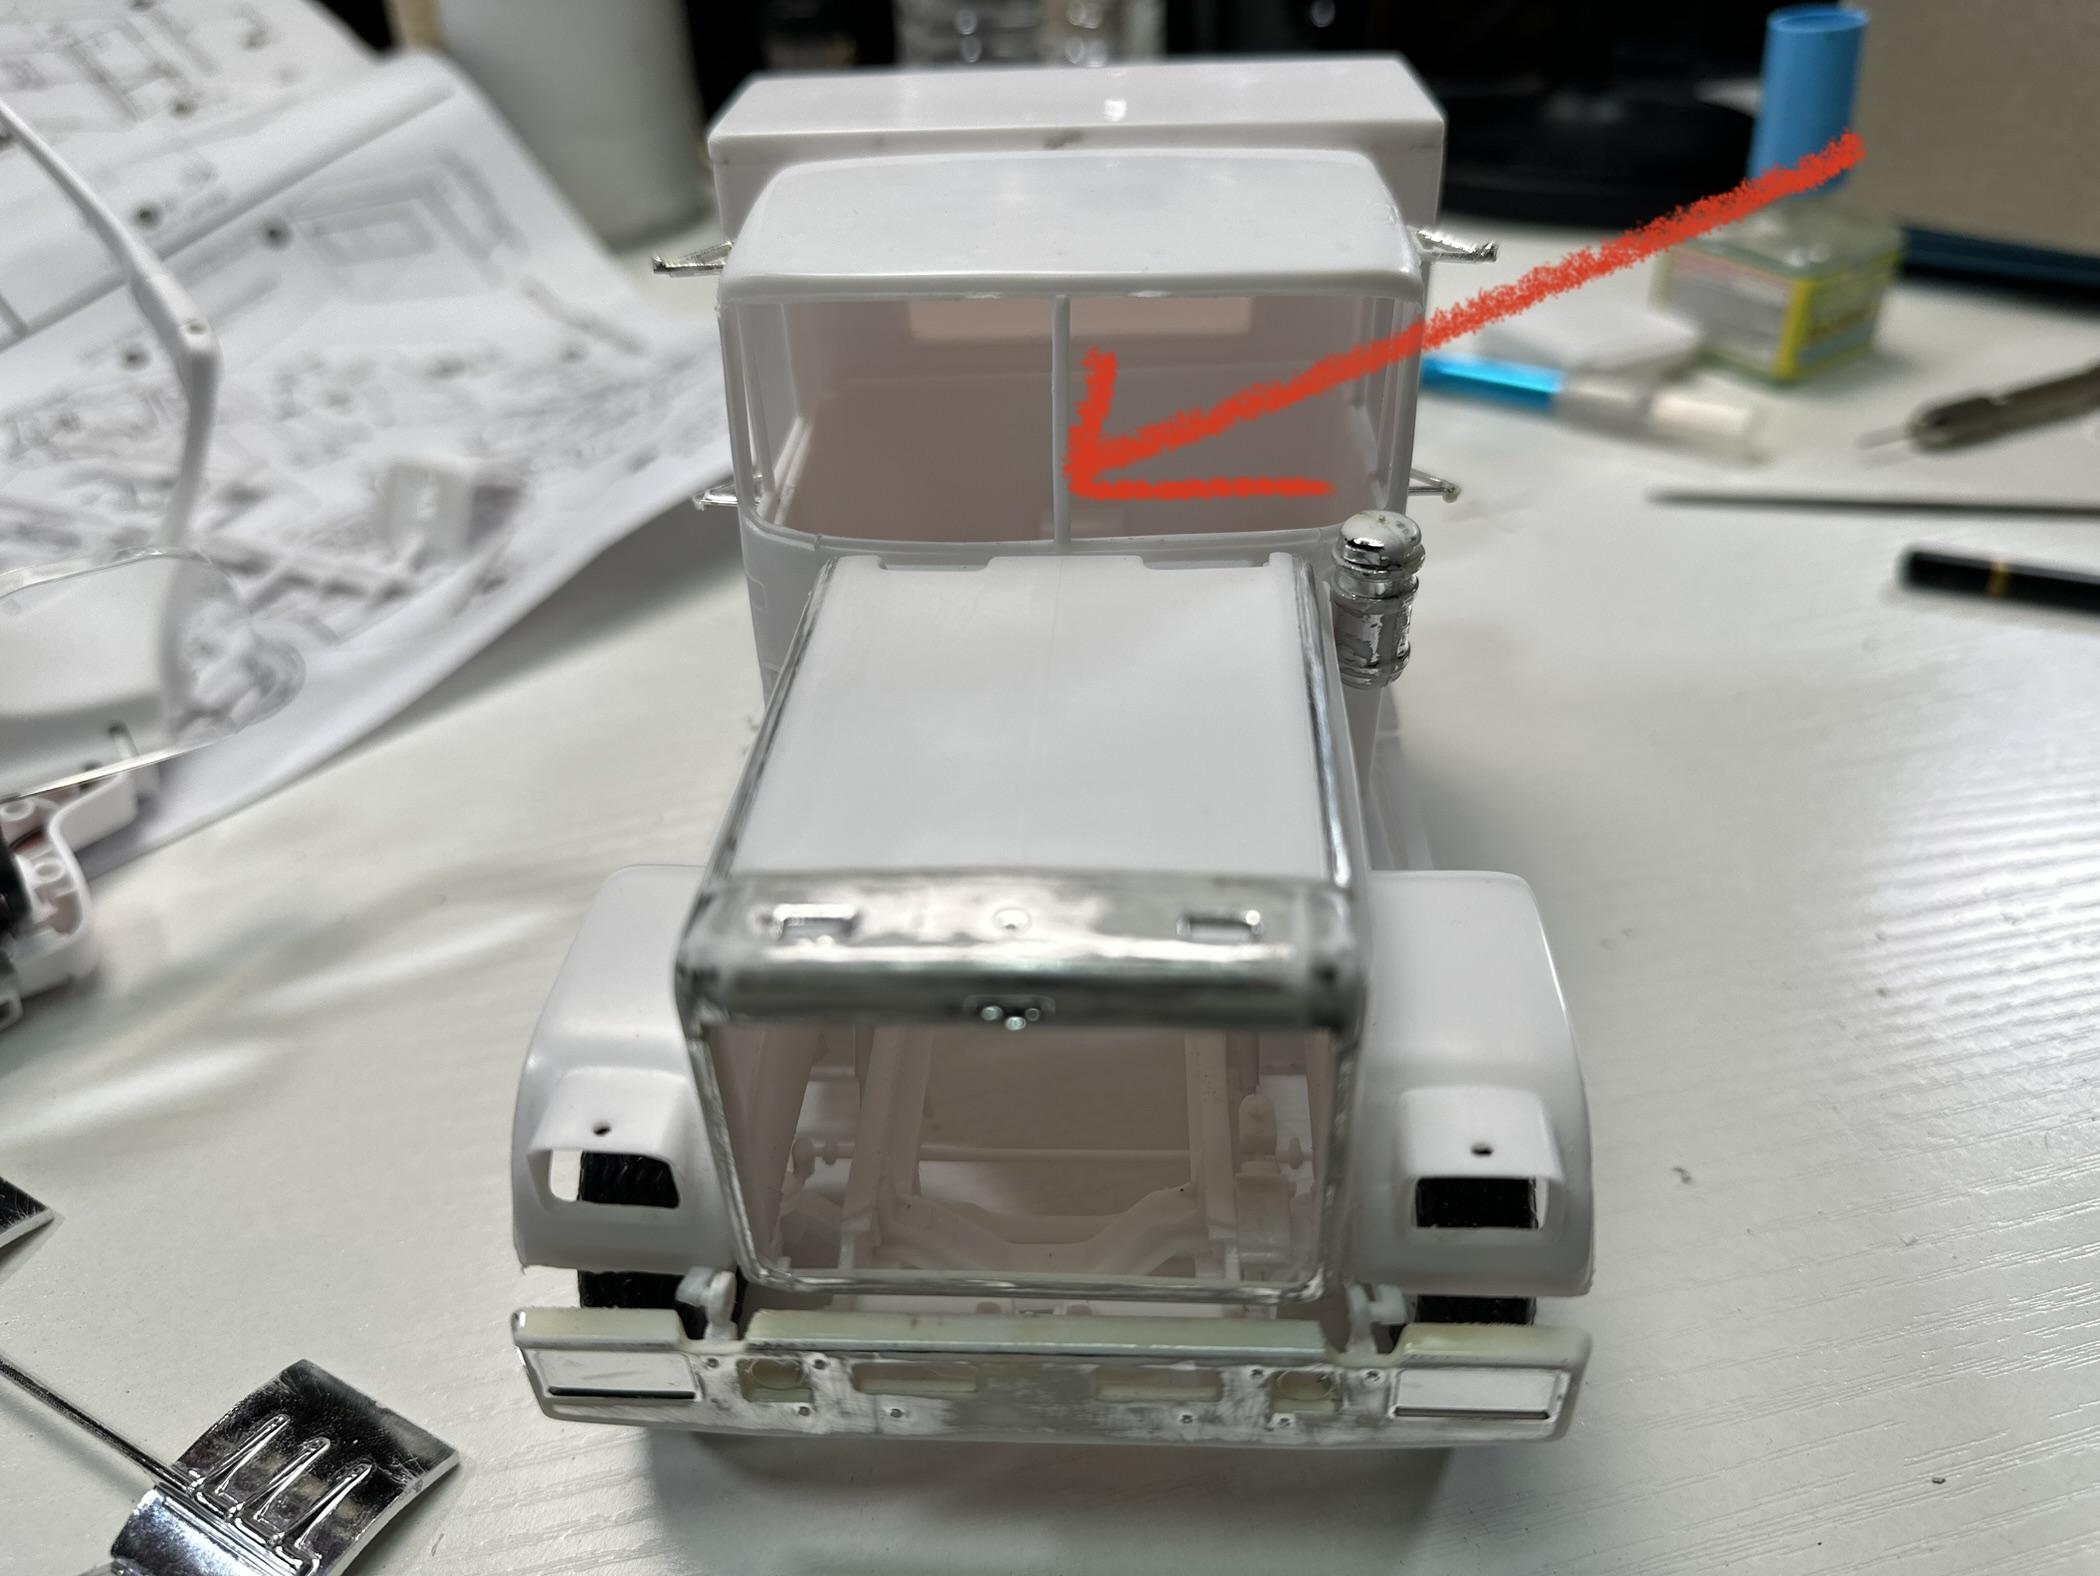
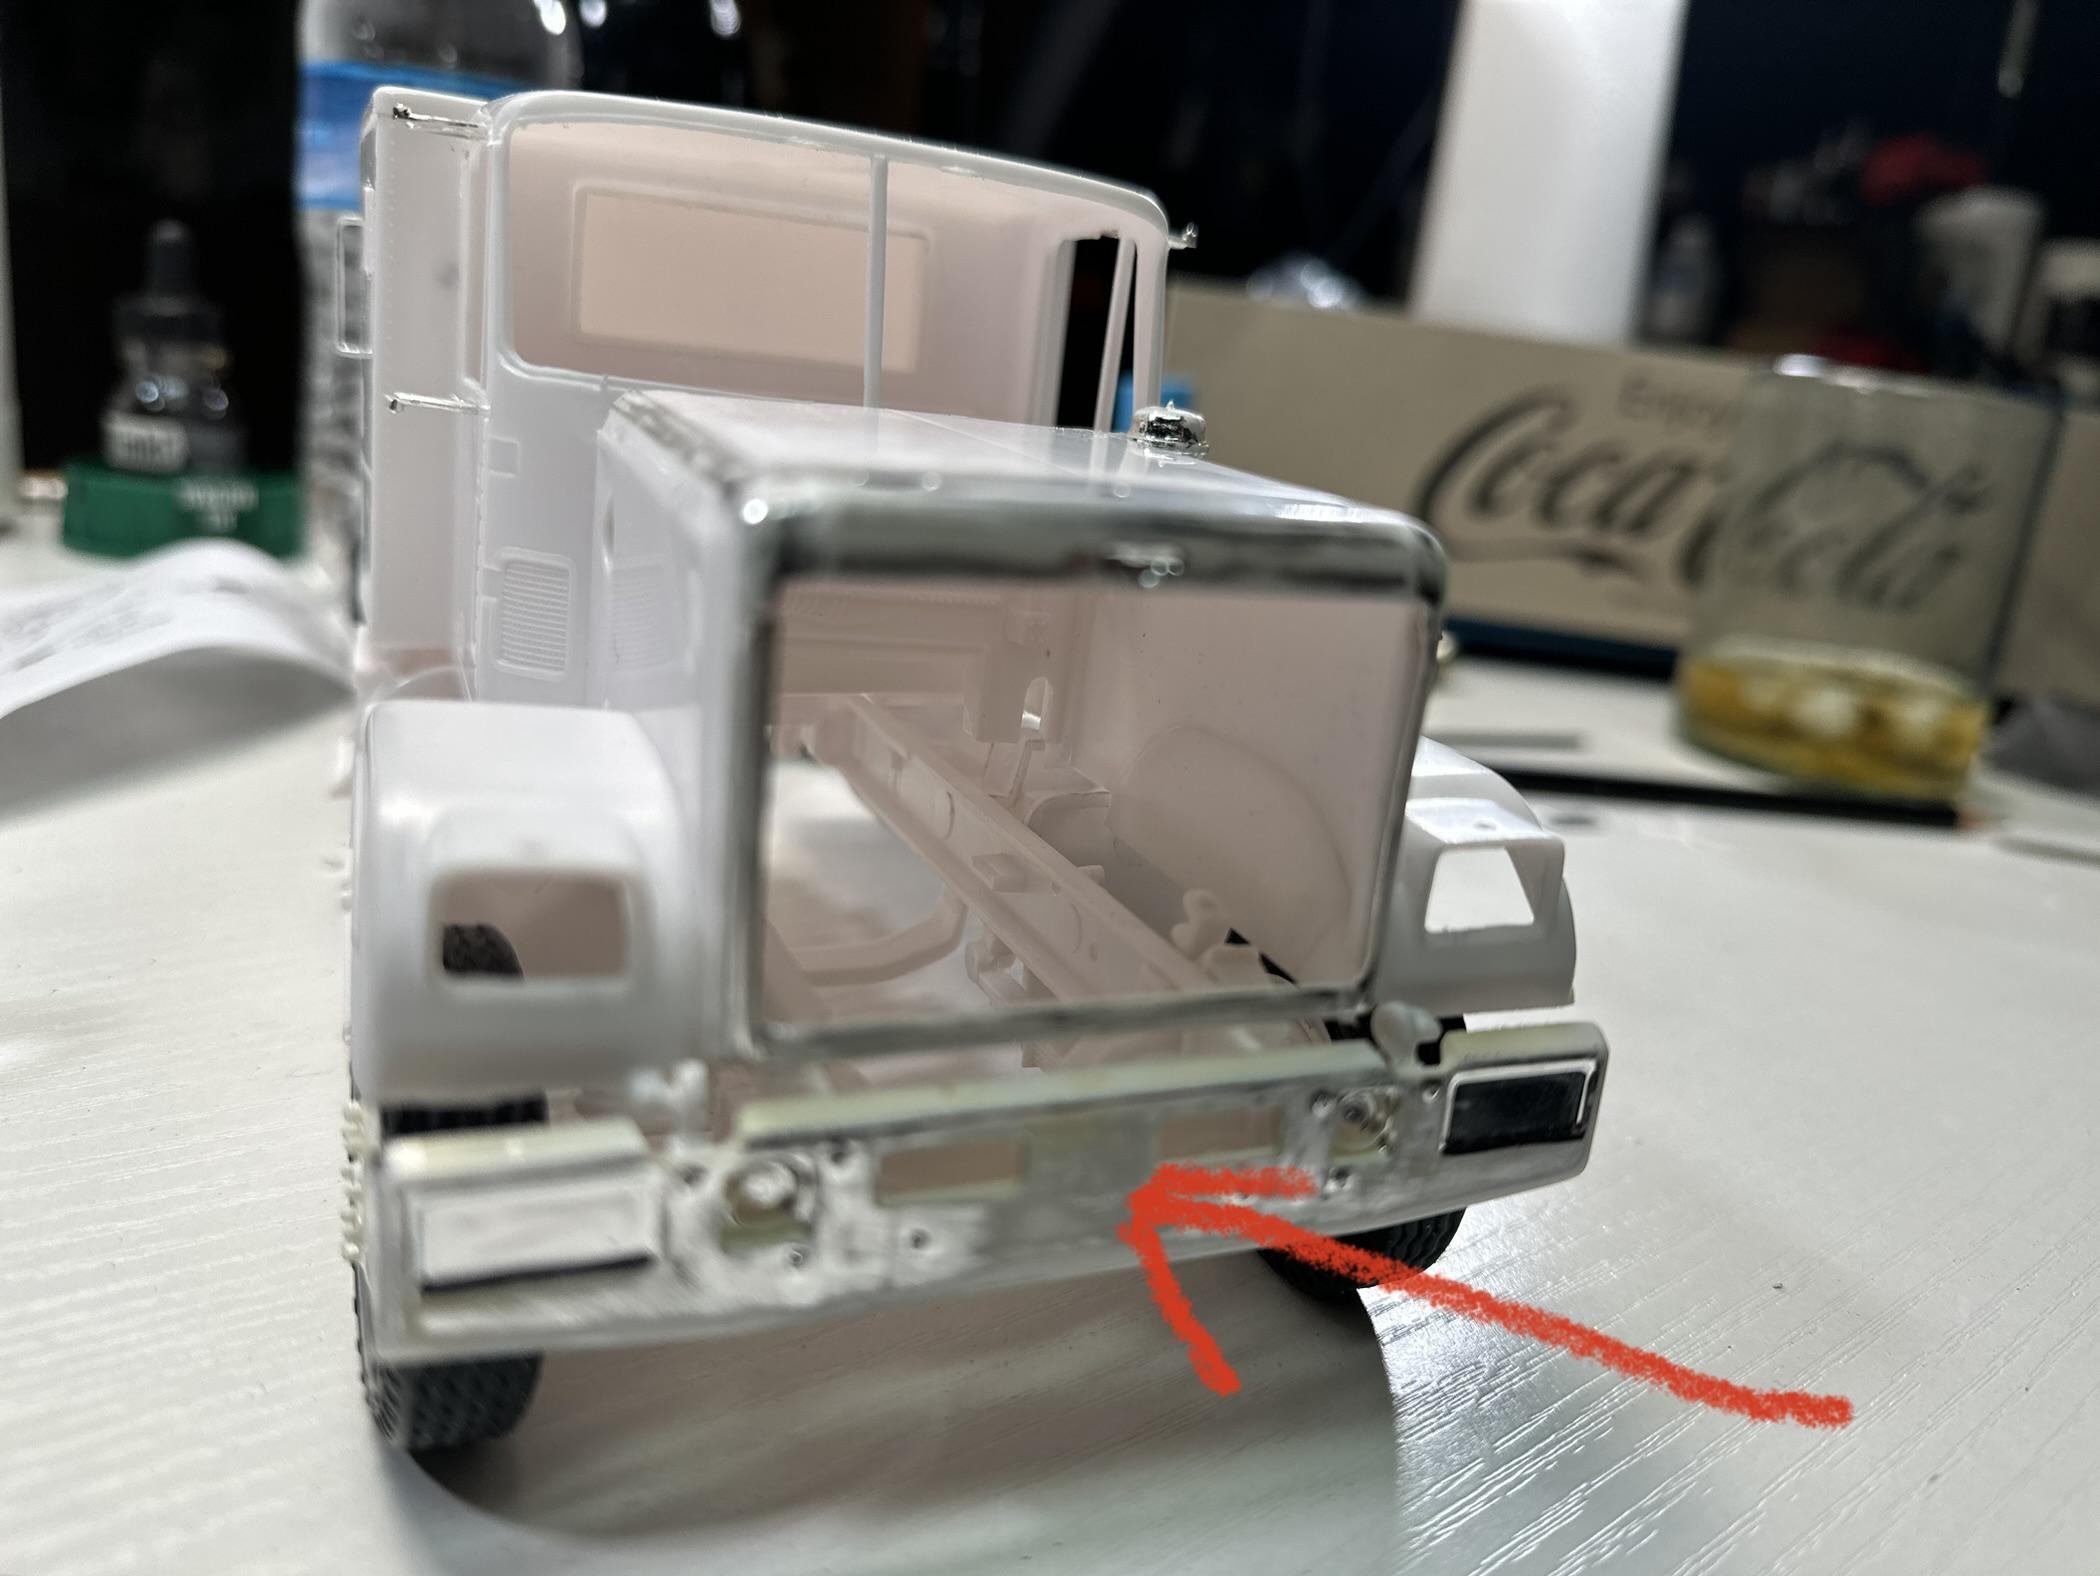
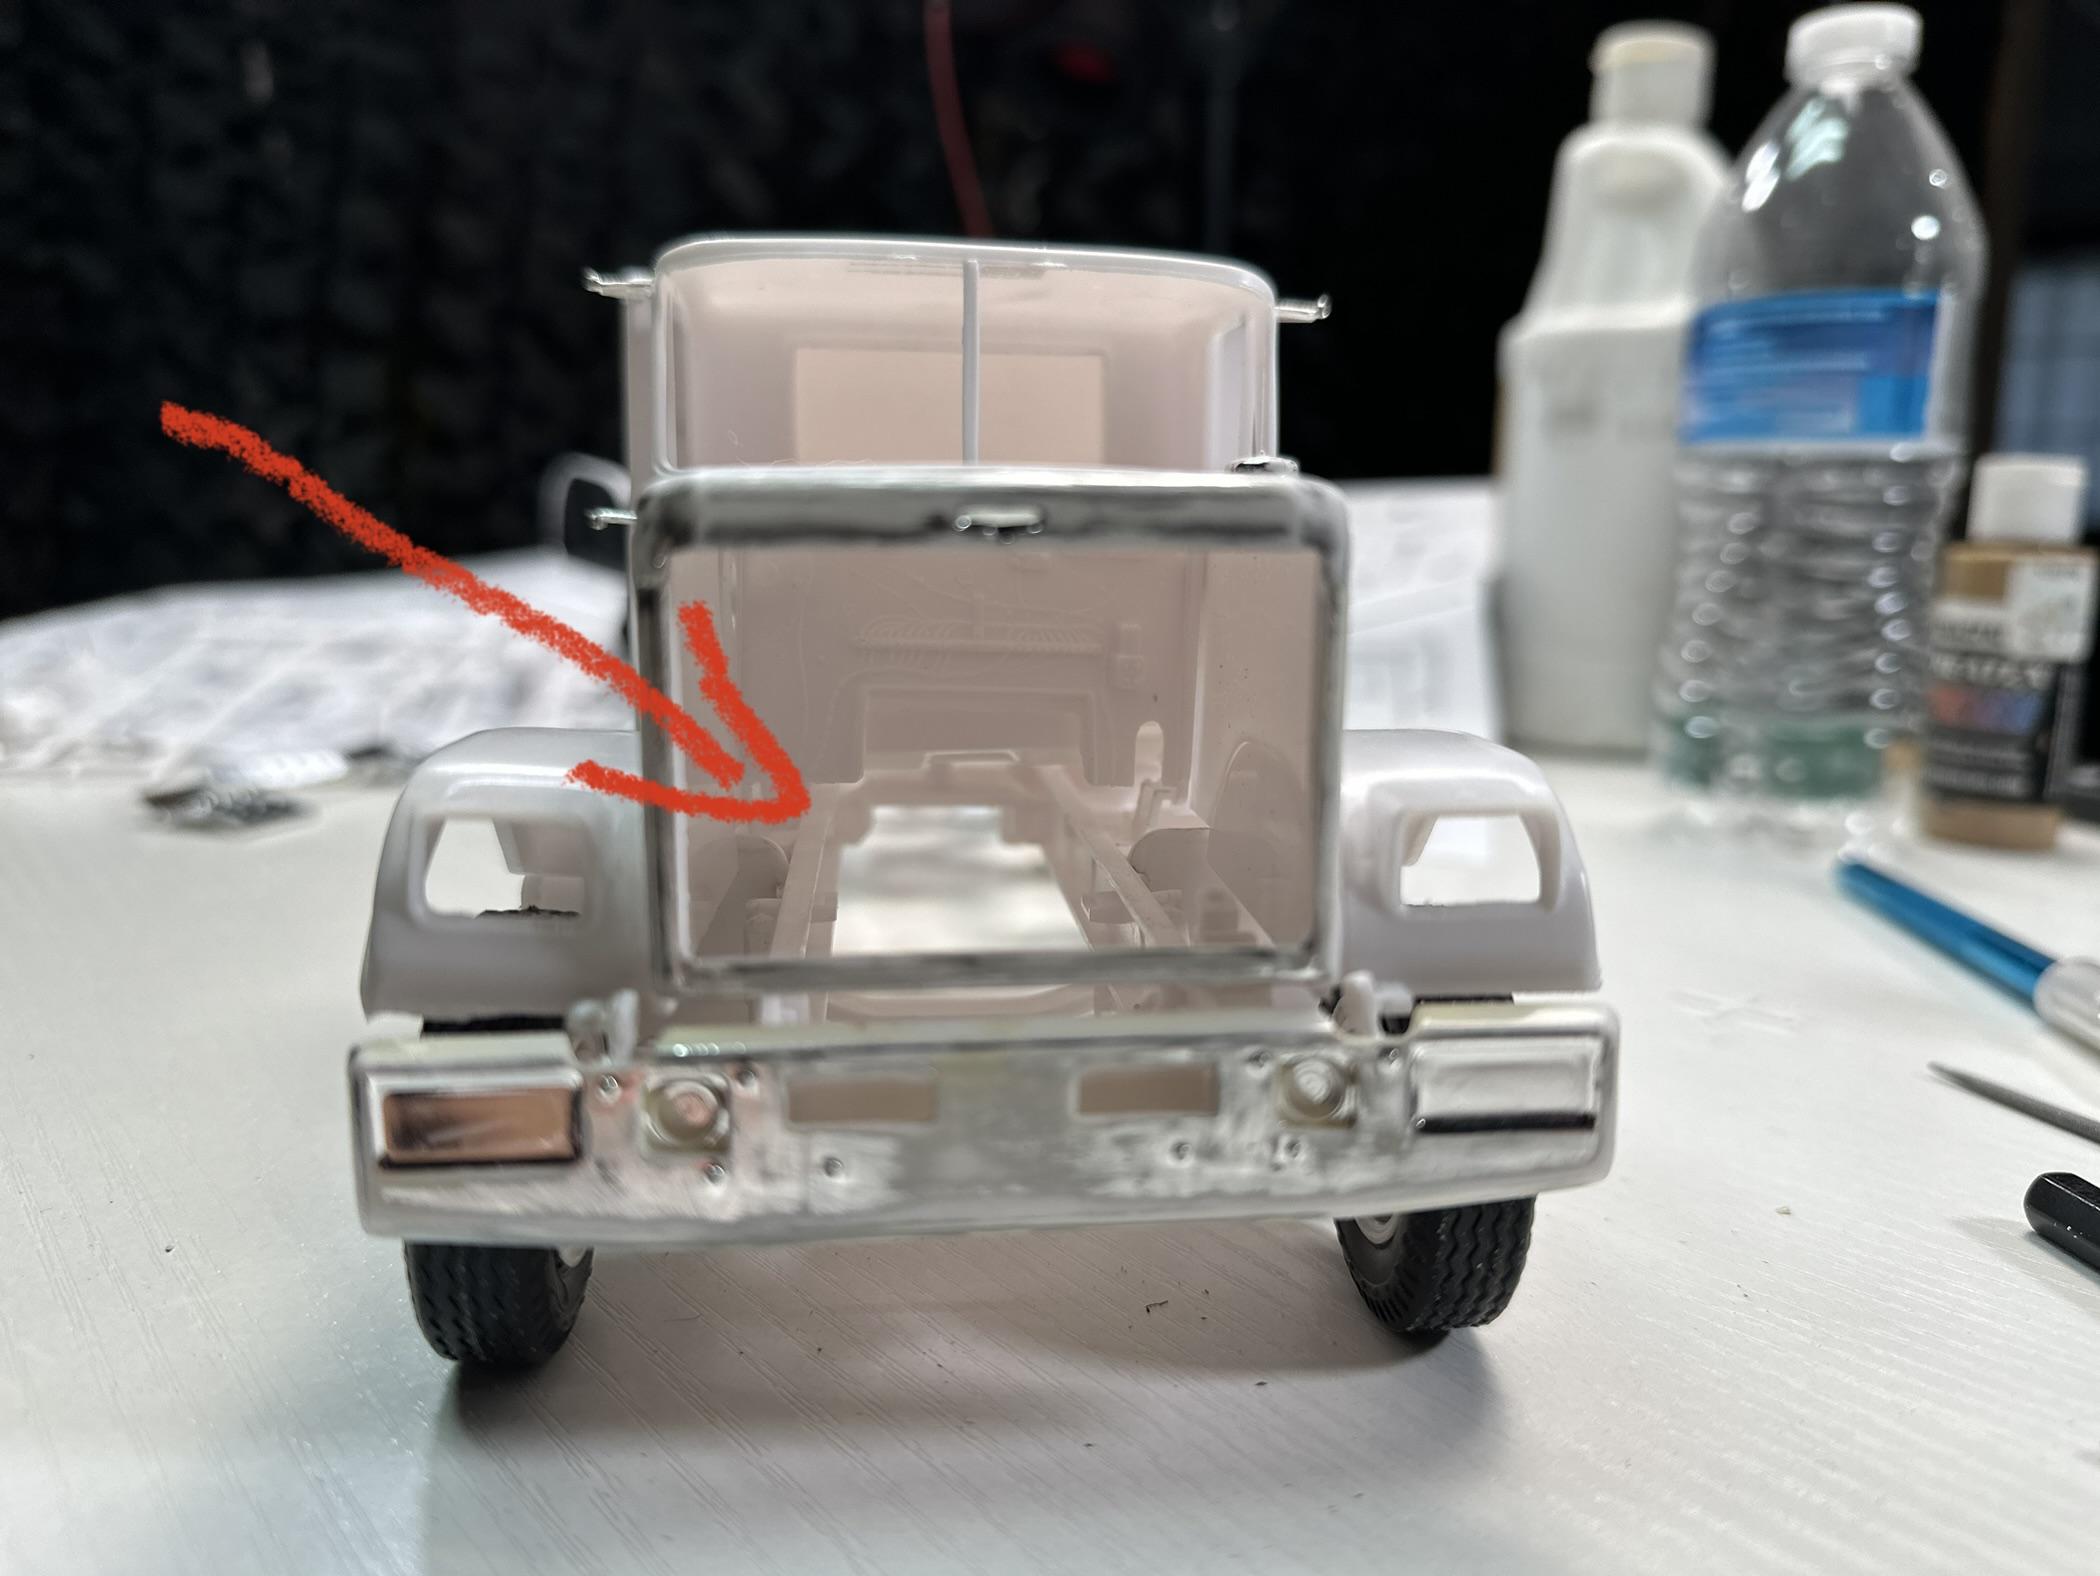
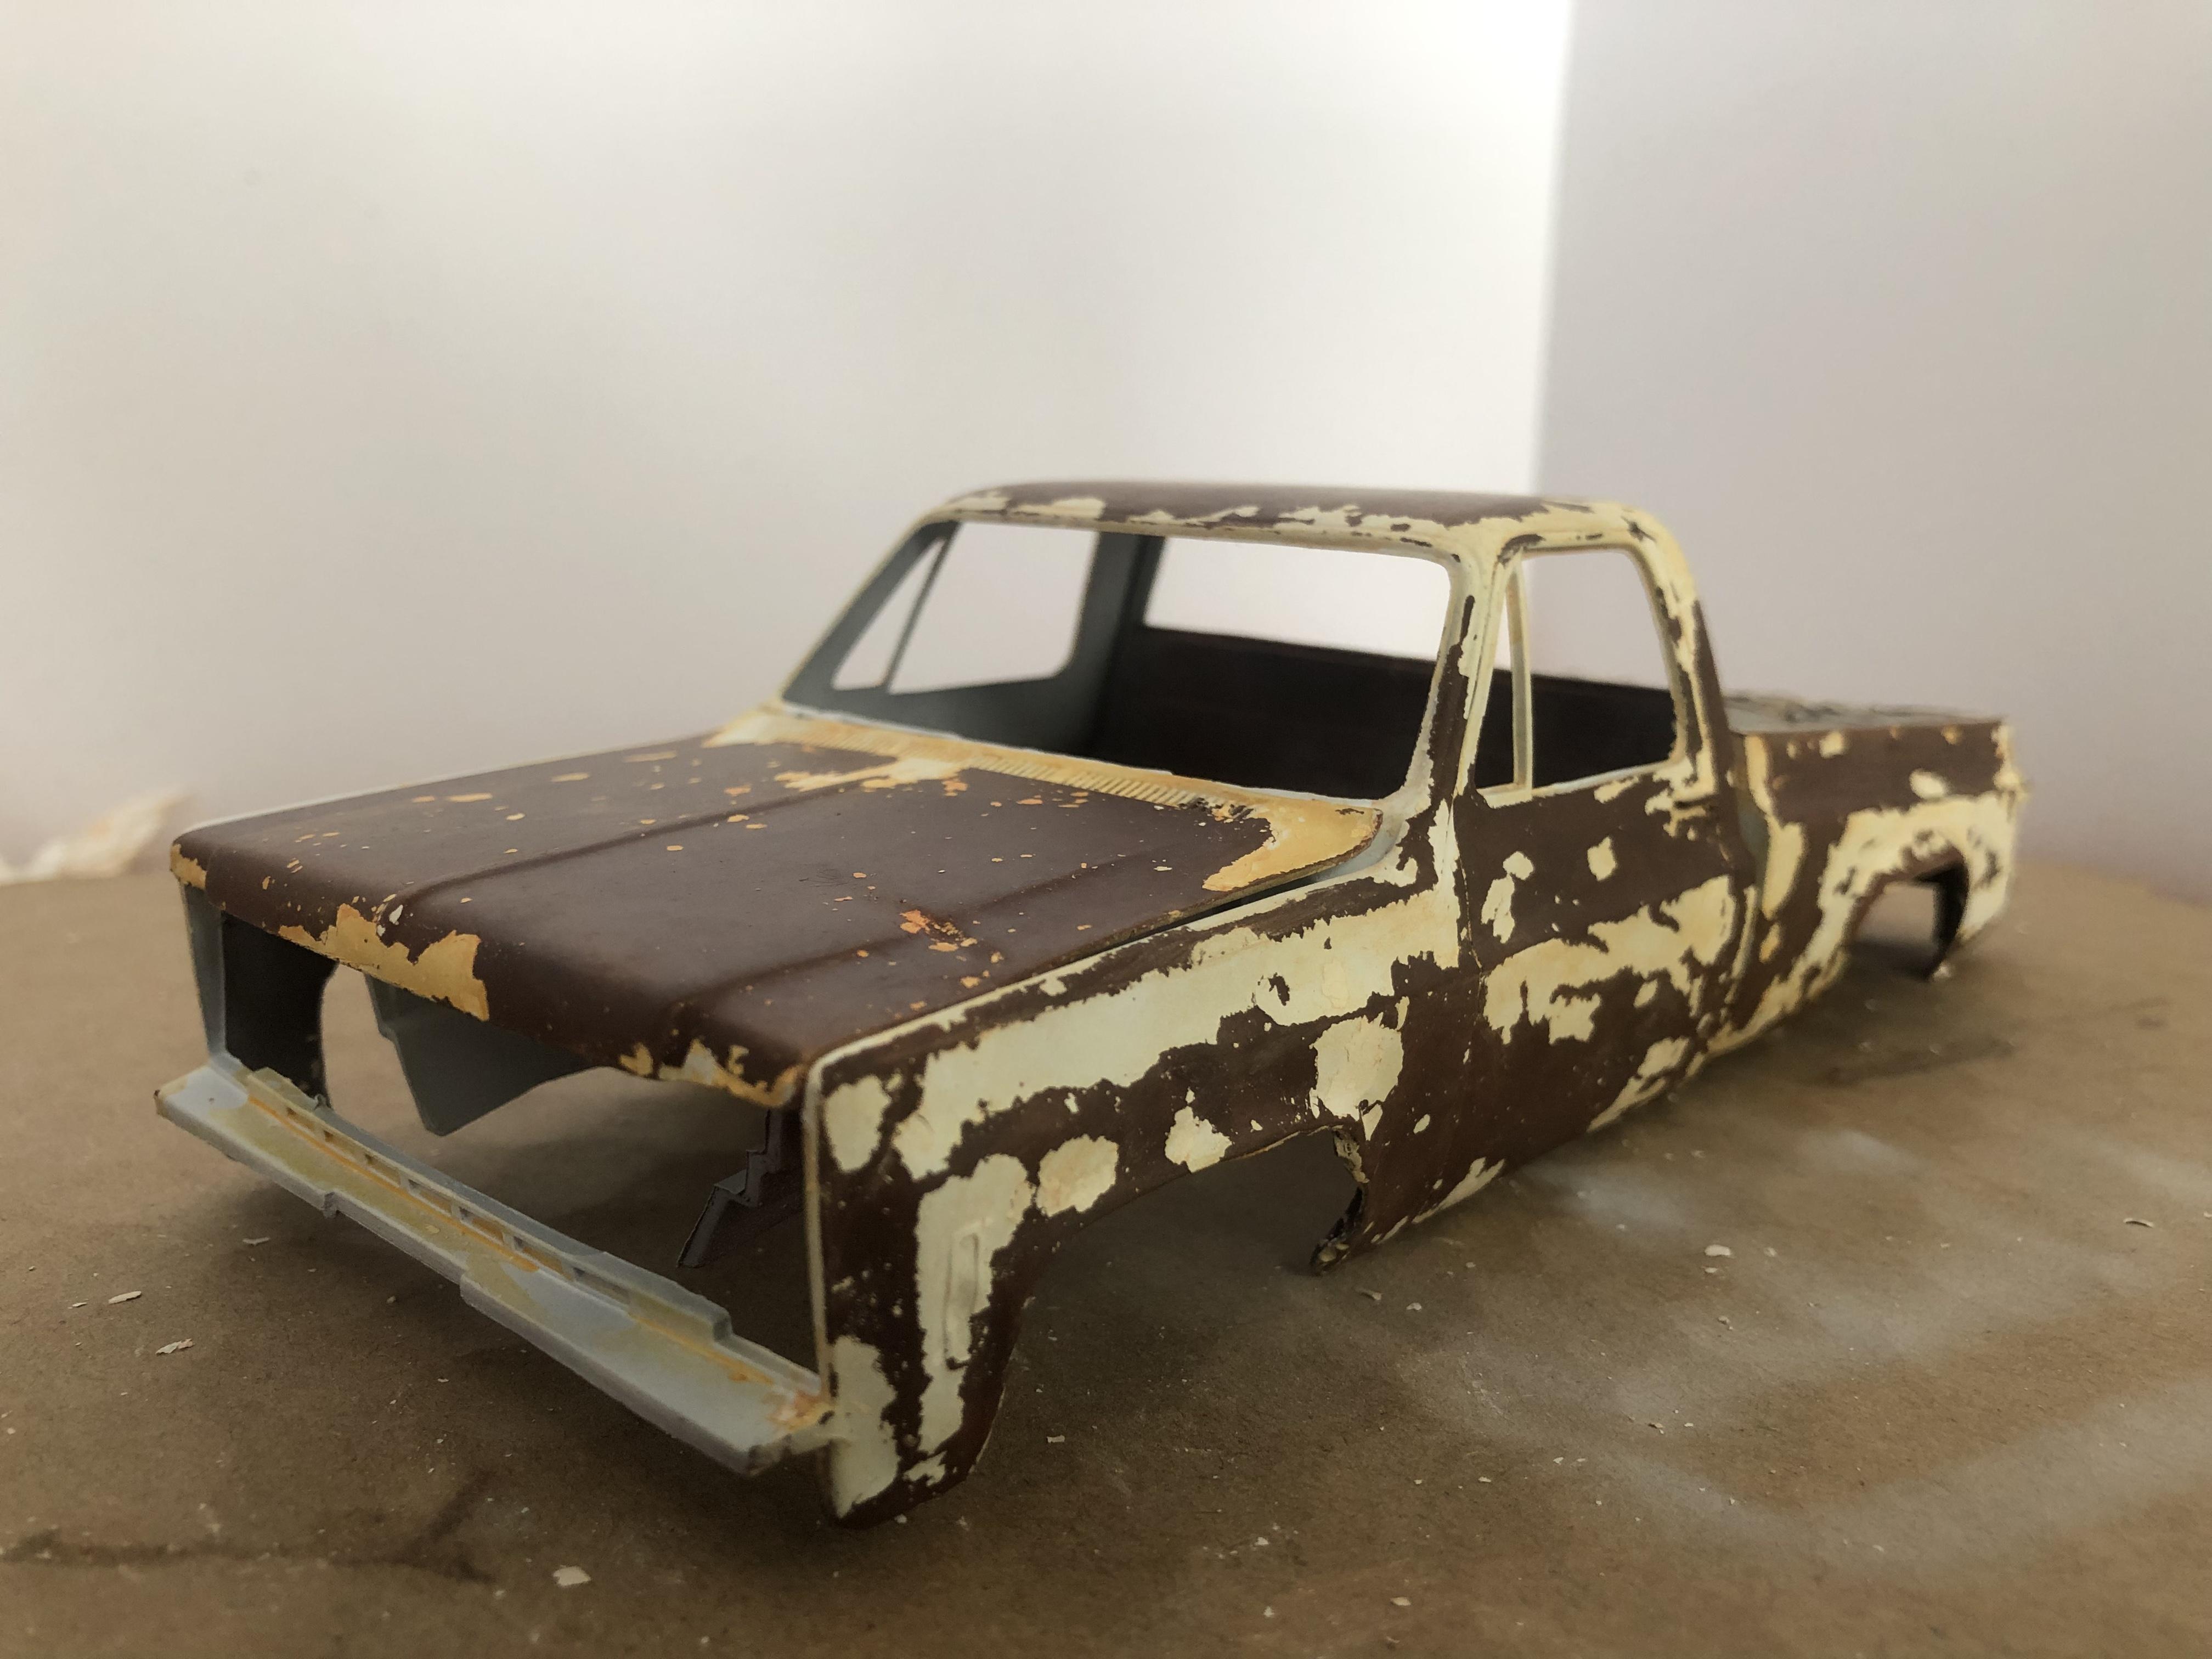
 I’m thinking I might add some details, with styrene, to make it look more like a garage-made armored truck. I probably shouldn’t experiment, considering I’m a newbie and I selected a difficult kit, but it’s about having fun and learning. The arrows are pointing at where the additions will be added. I’m looking at tutorials on how to add weld-lines, as seen on some armored vehicles. Let’s see if I can pull this off. To be continued…
-
I sure will. Thank you very much.
-
I’m new to building these kits. I have only built one 1/12 scale motorcycle, which was simple. I typically collect die-cast, but decided to get into building these kits and dioramas, now that I have more time for the hobby.
-
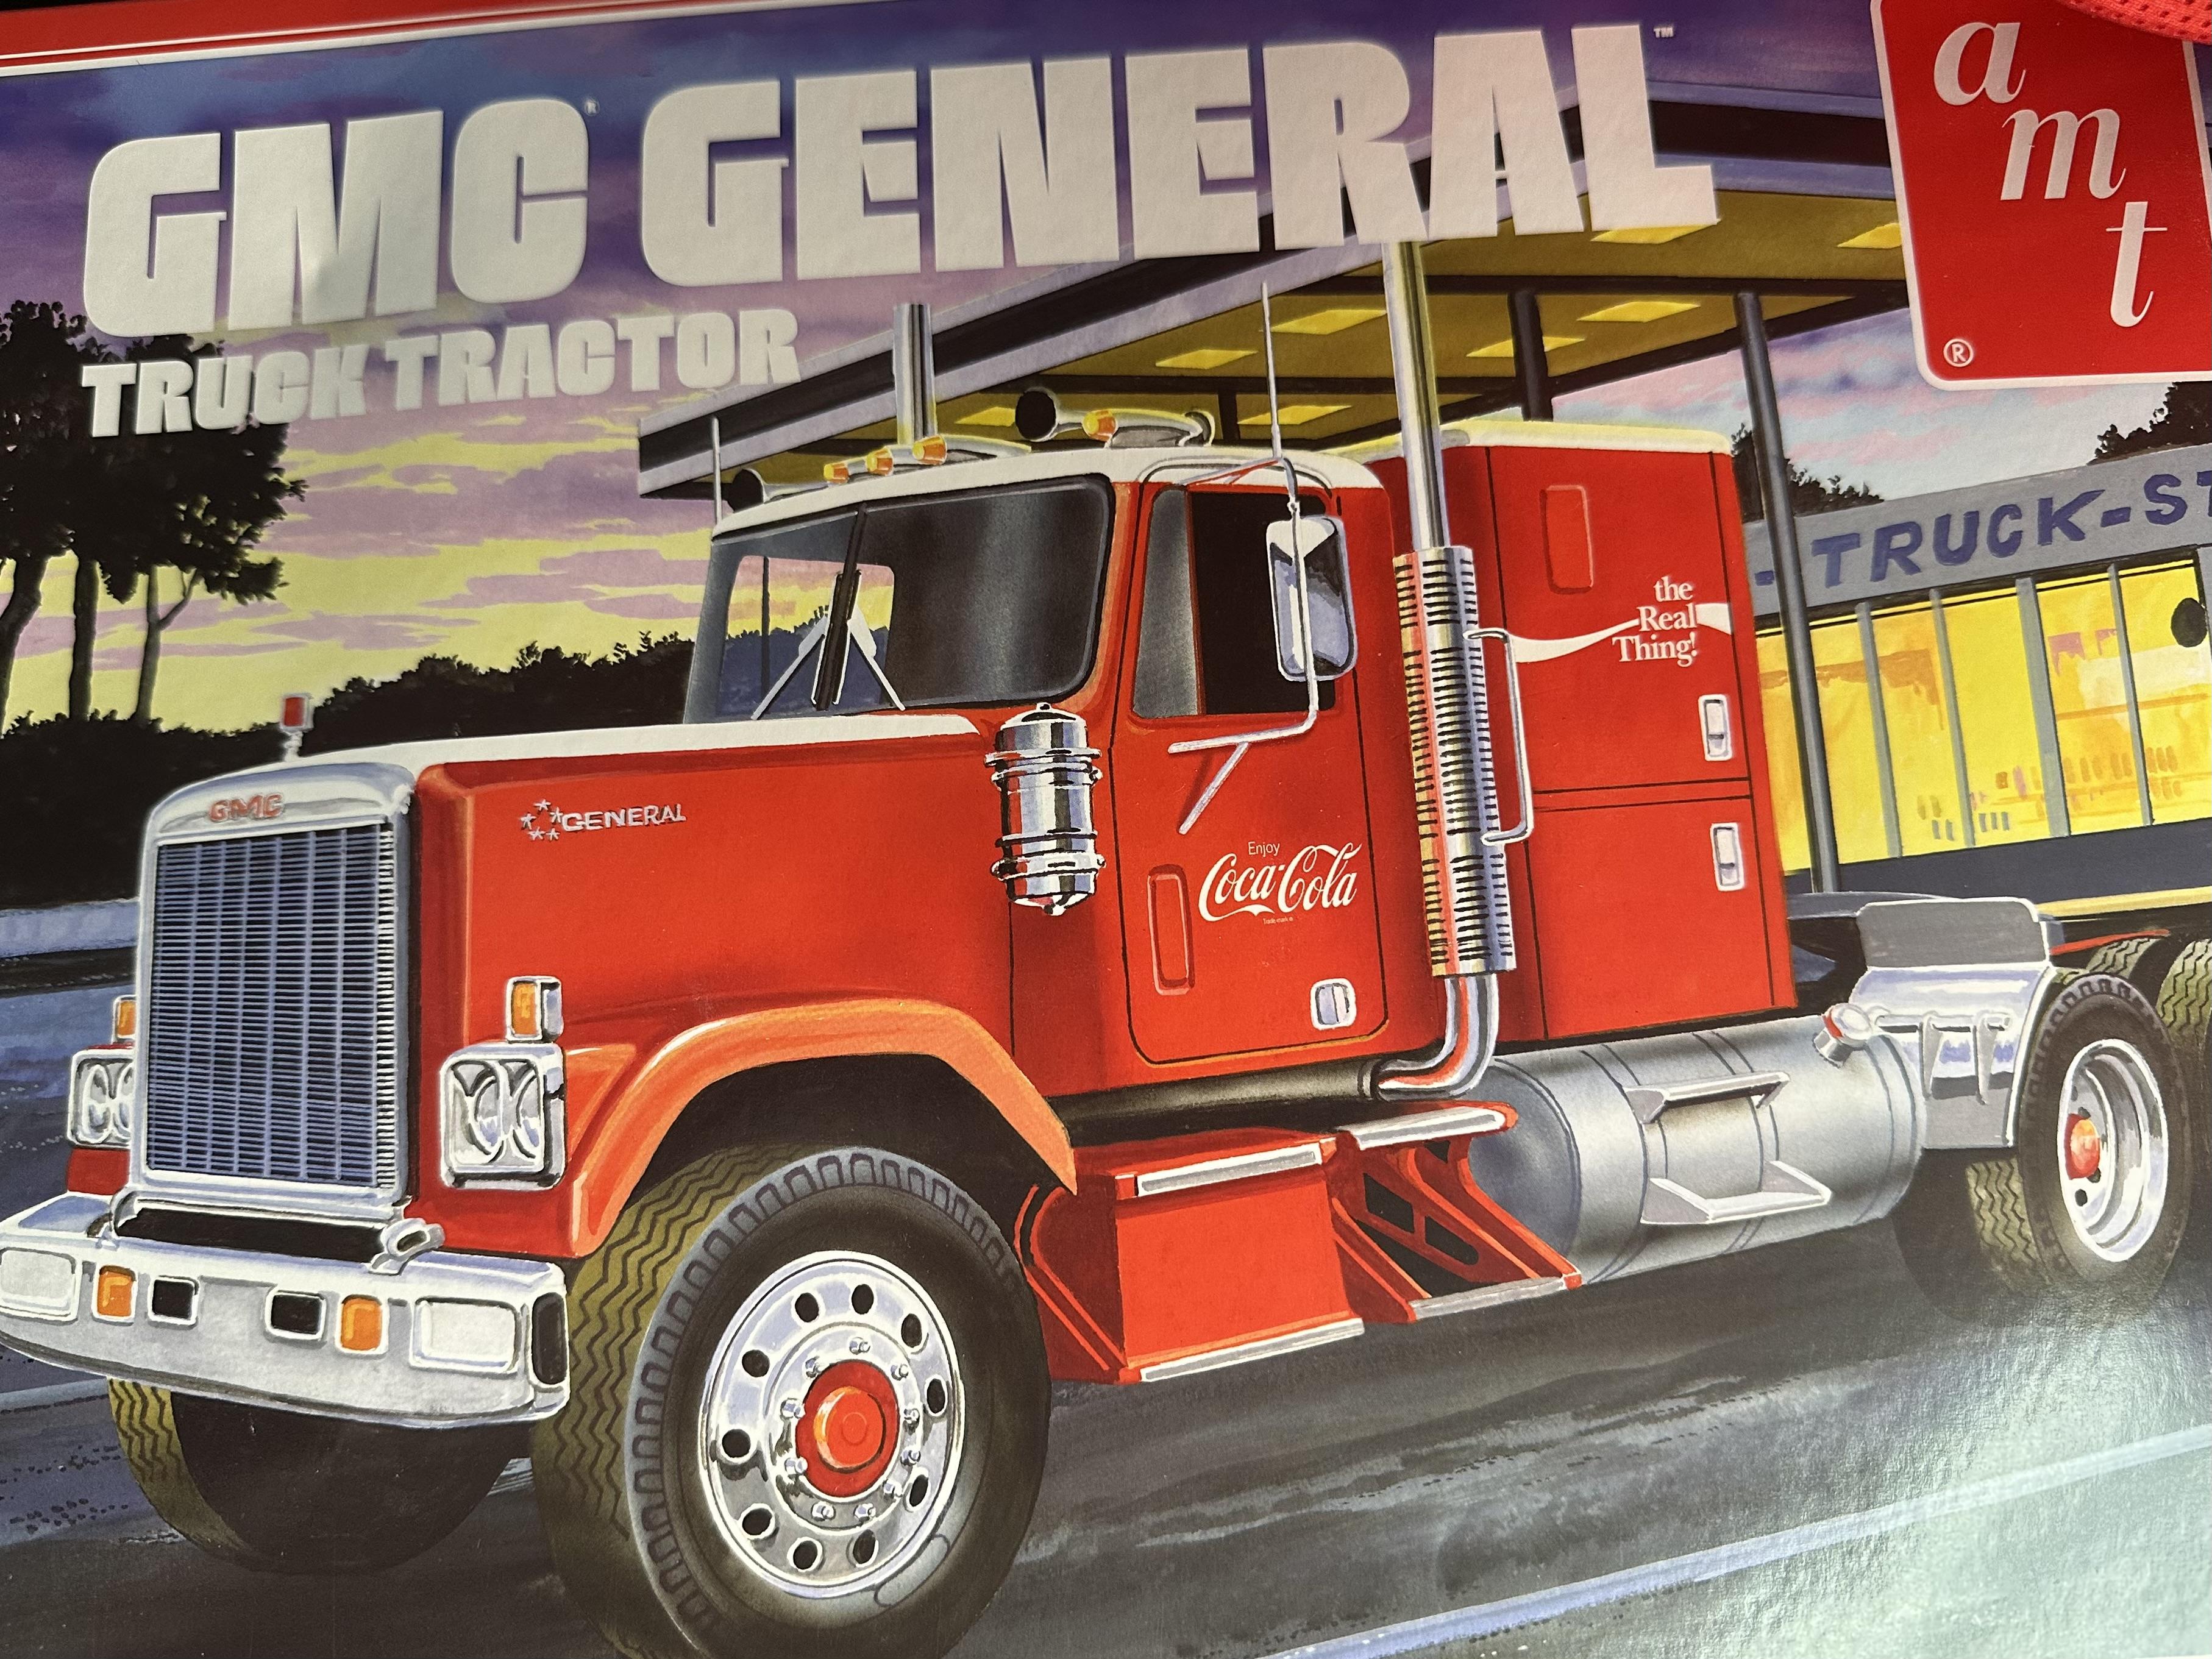
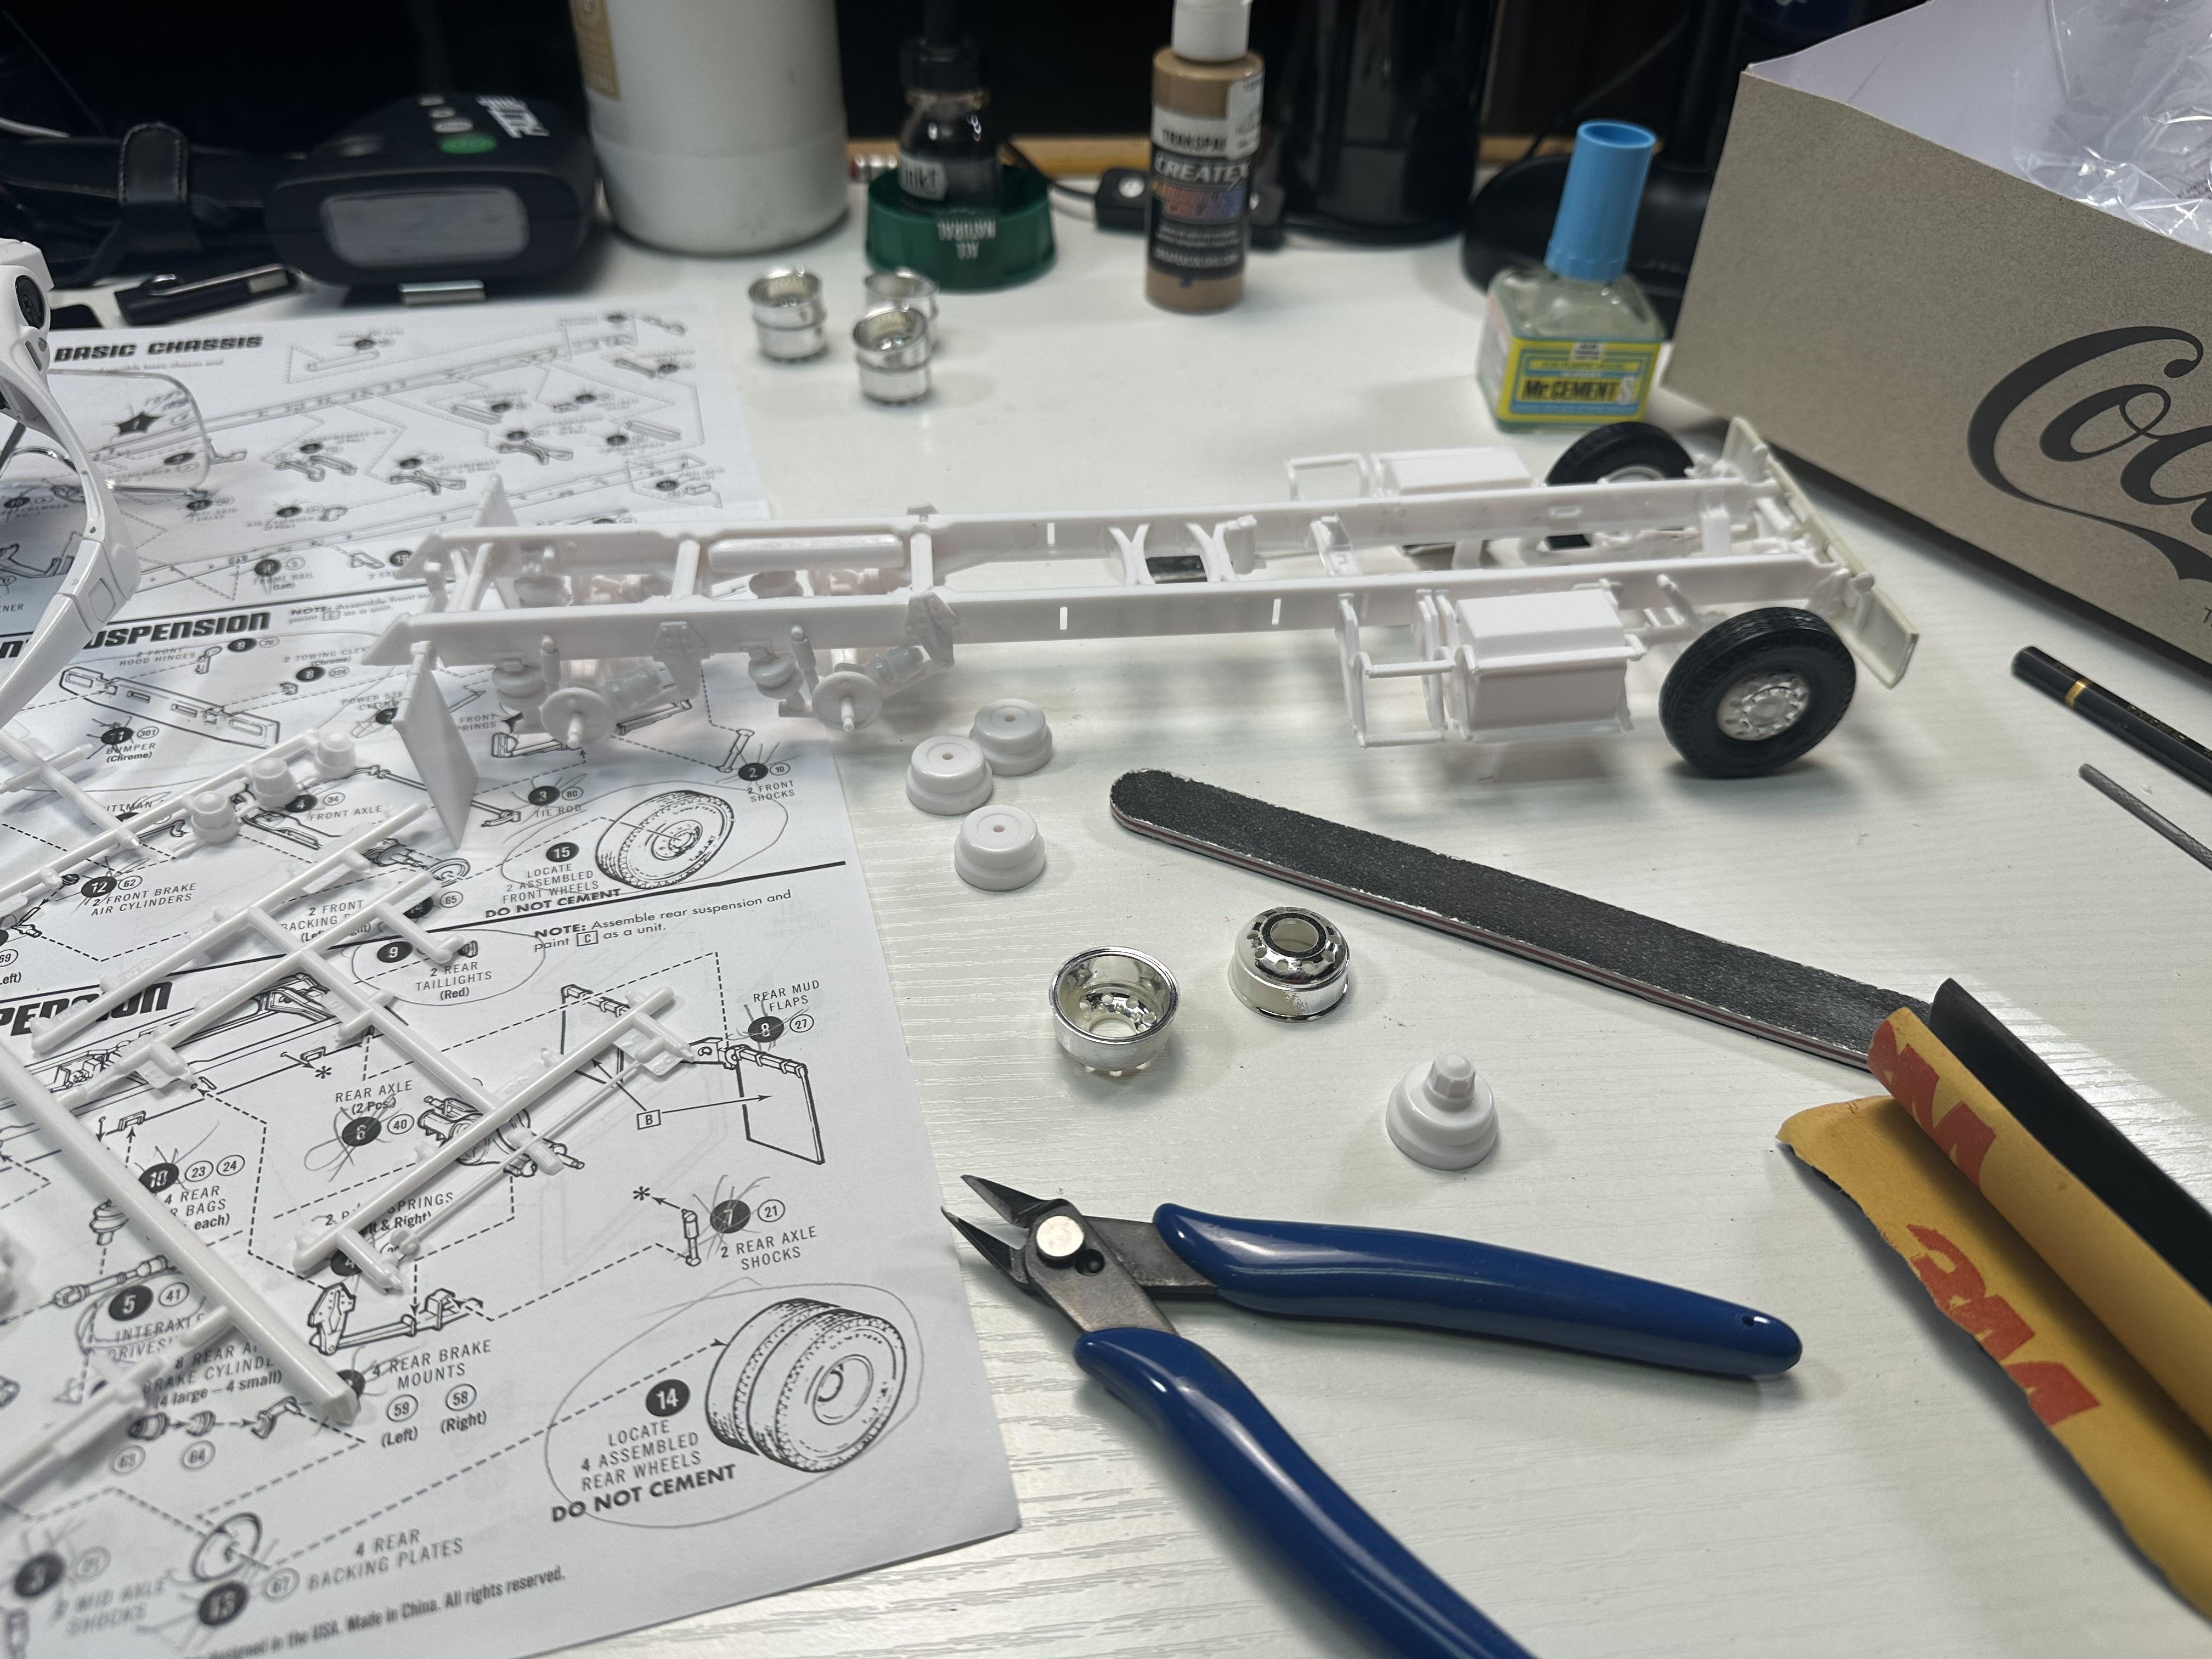
My first Truck Tractor Kit. I bought it at 50% off. I don’t know much about these kits, but as many reviews showed, it has lots of issues. Lots of flashing to clean, which is horrible to do on small pieces. I’m going to build it and make some modifications (whatever pops in my head as I go), and practice some techniques I have learned recently. I’ve started this hobby a while back (on and off), so consider myself a newbie. Stay tuned for more updates as I build the kit and also the diorama.
-
Thank you.
-
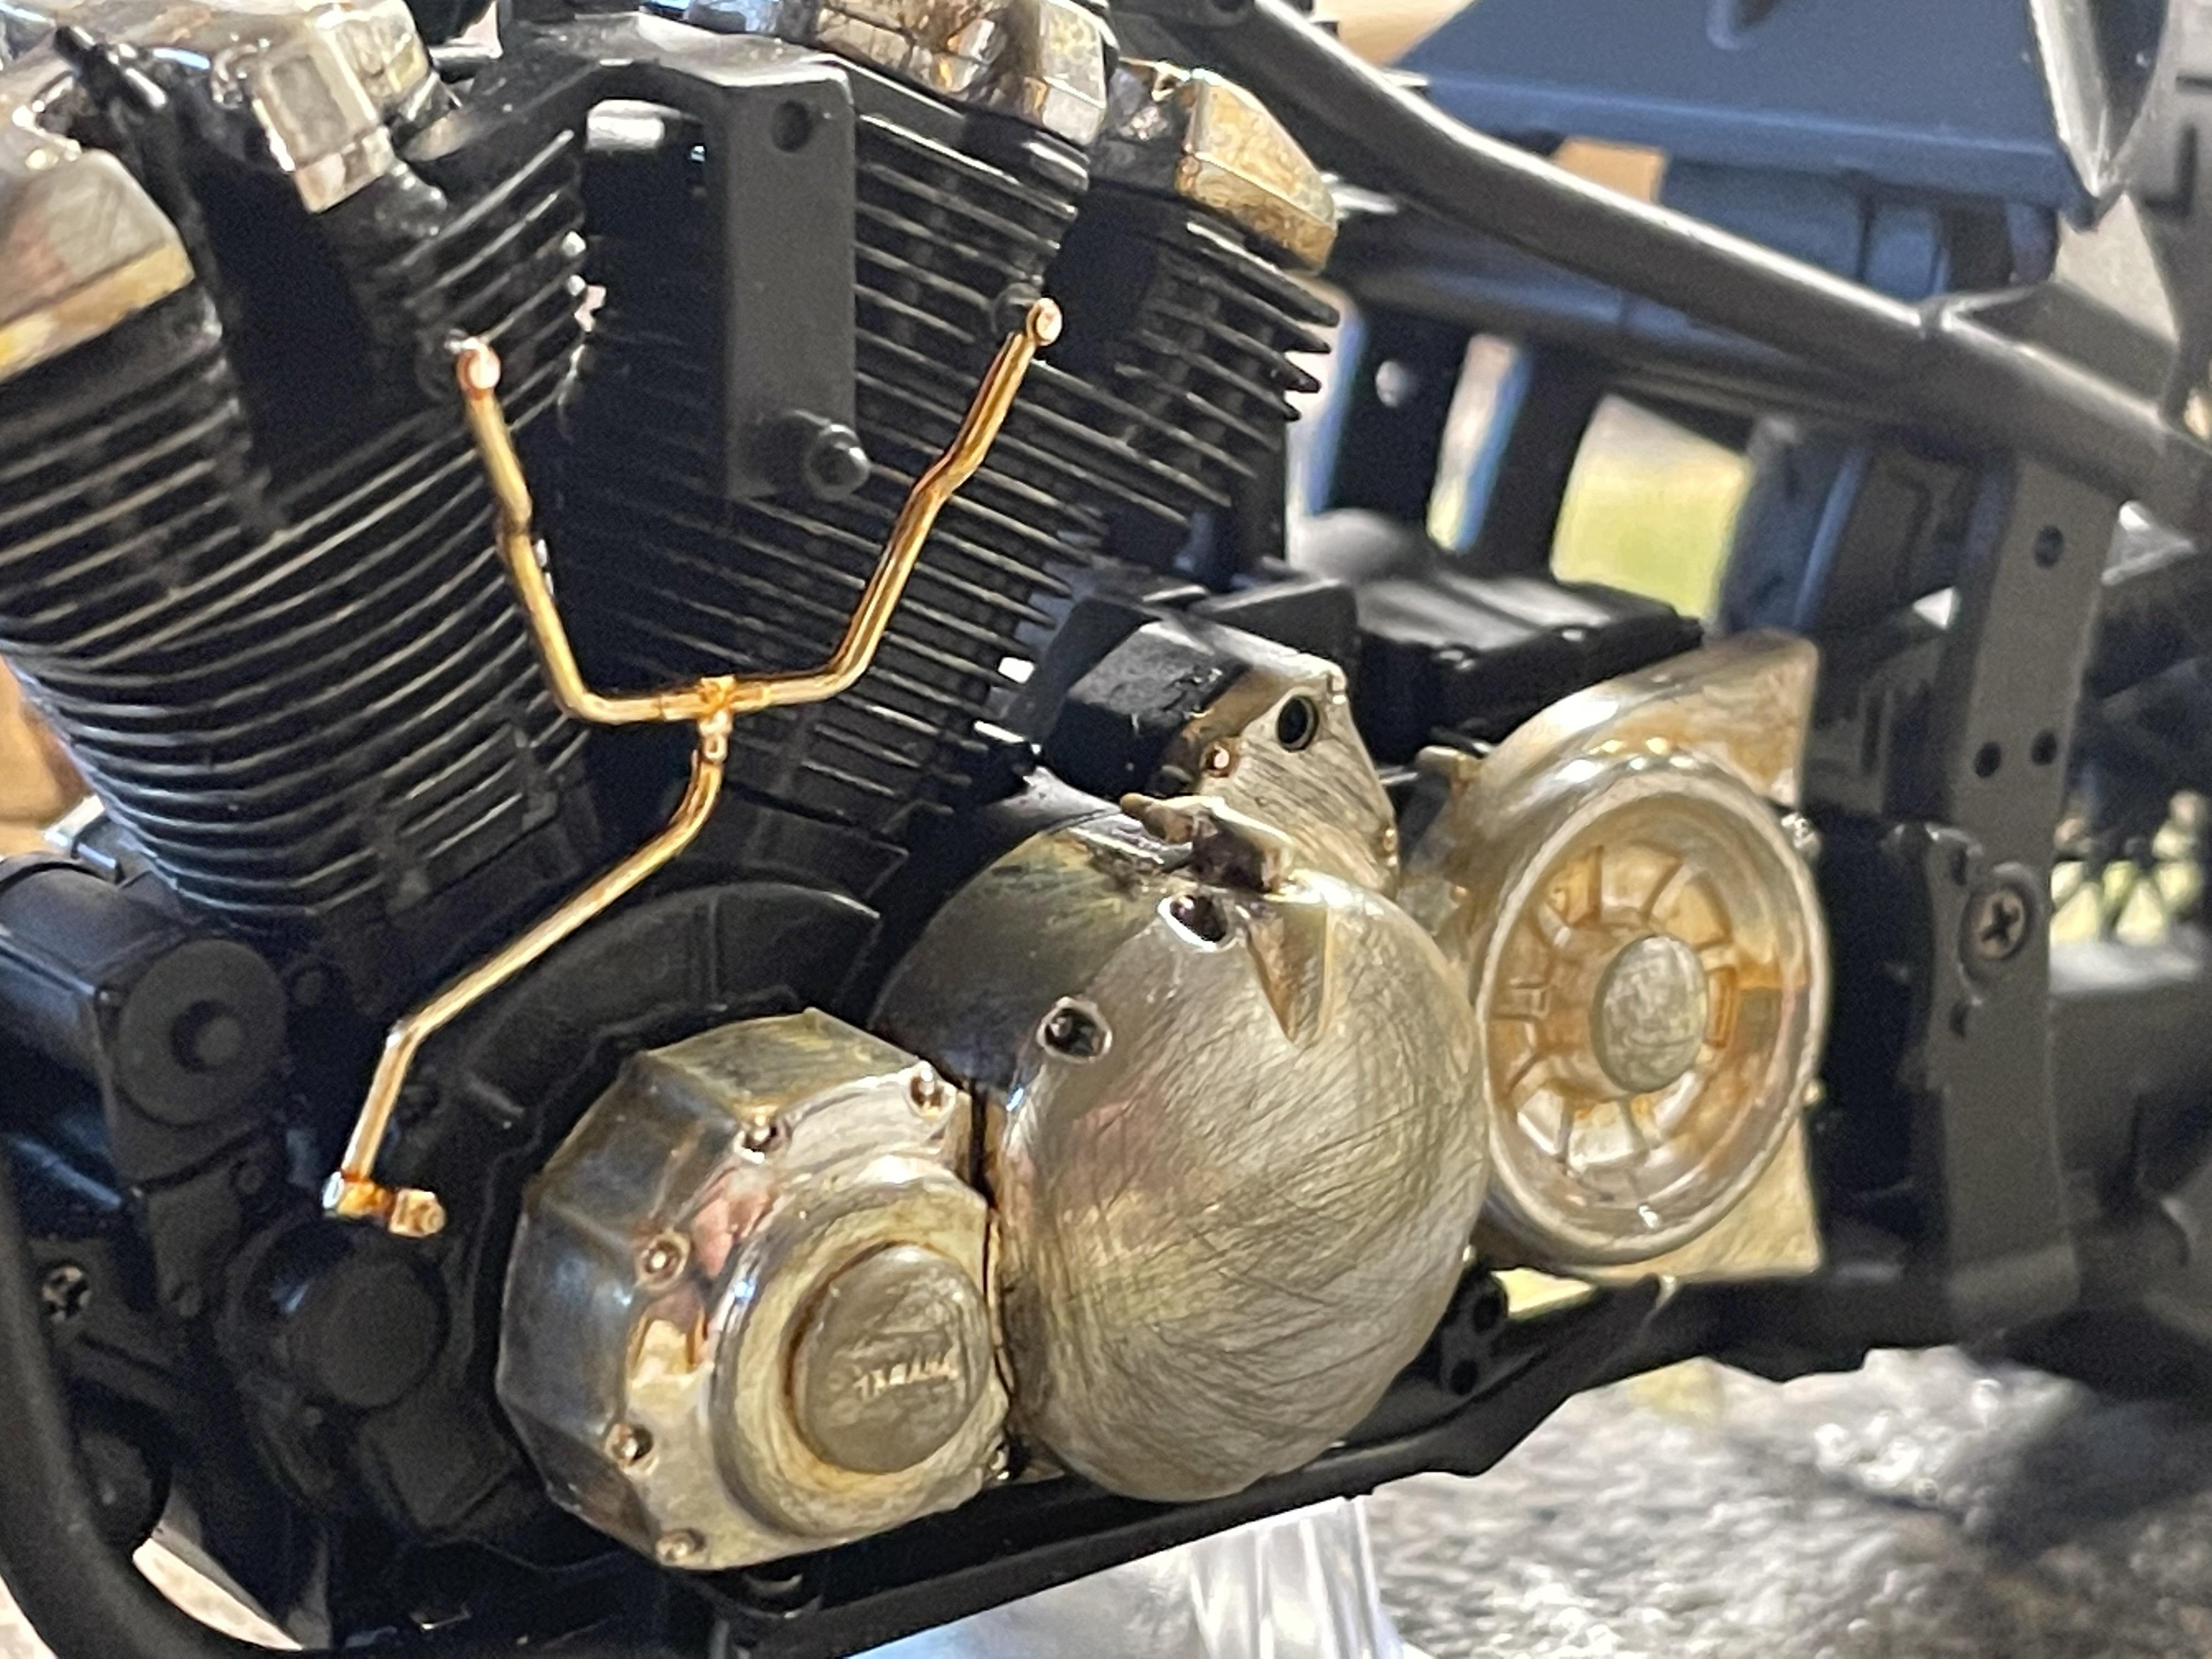
I’m still trying to figure it out. The cables keep coming off. I’m might just replace them with wires, drill and slide them in with glue.
-
Thank you. It’s was a little challenging figuring out a few things. But practice makes perfect.
-
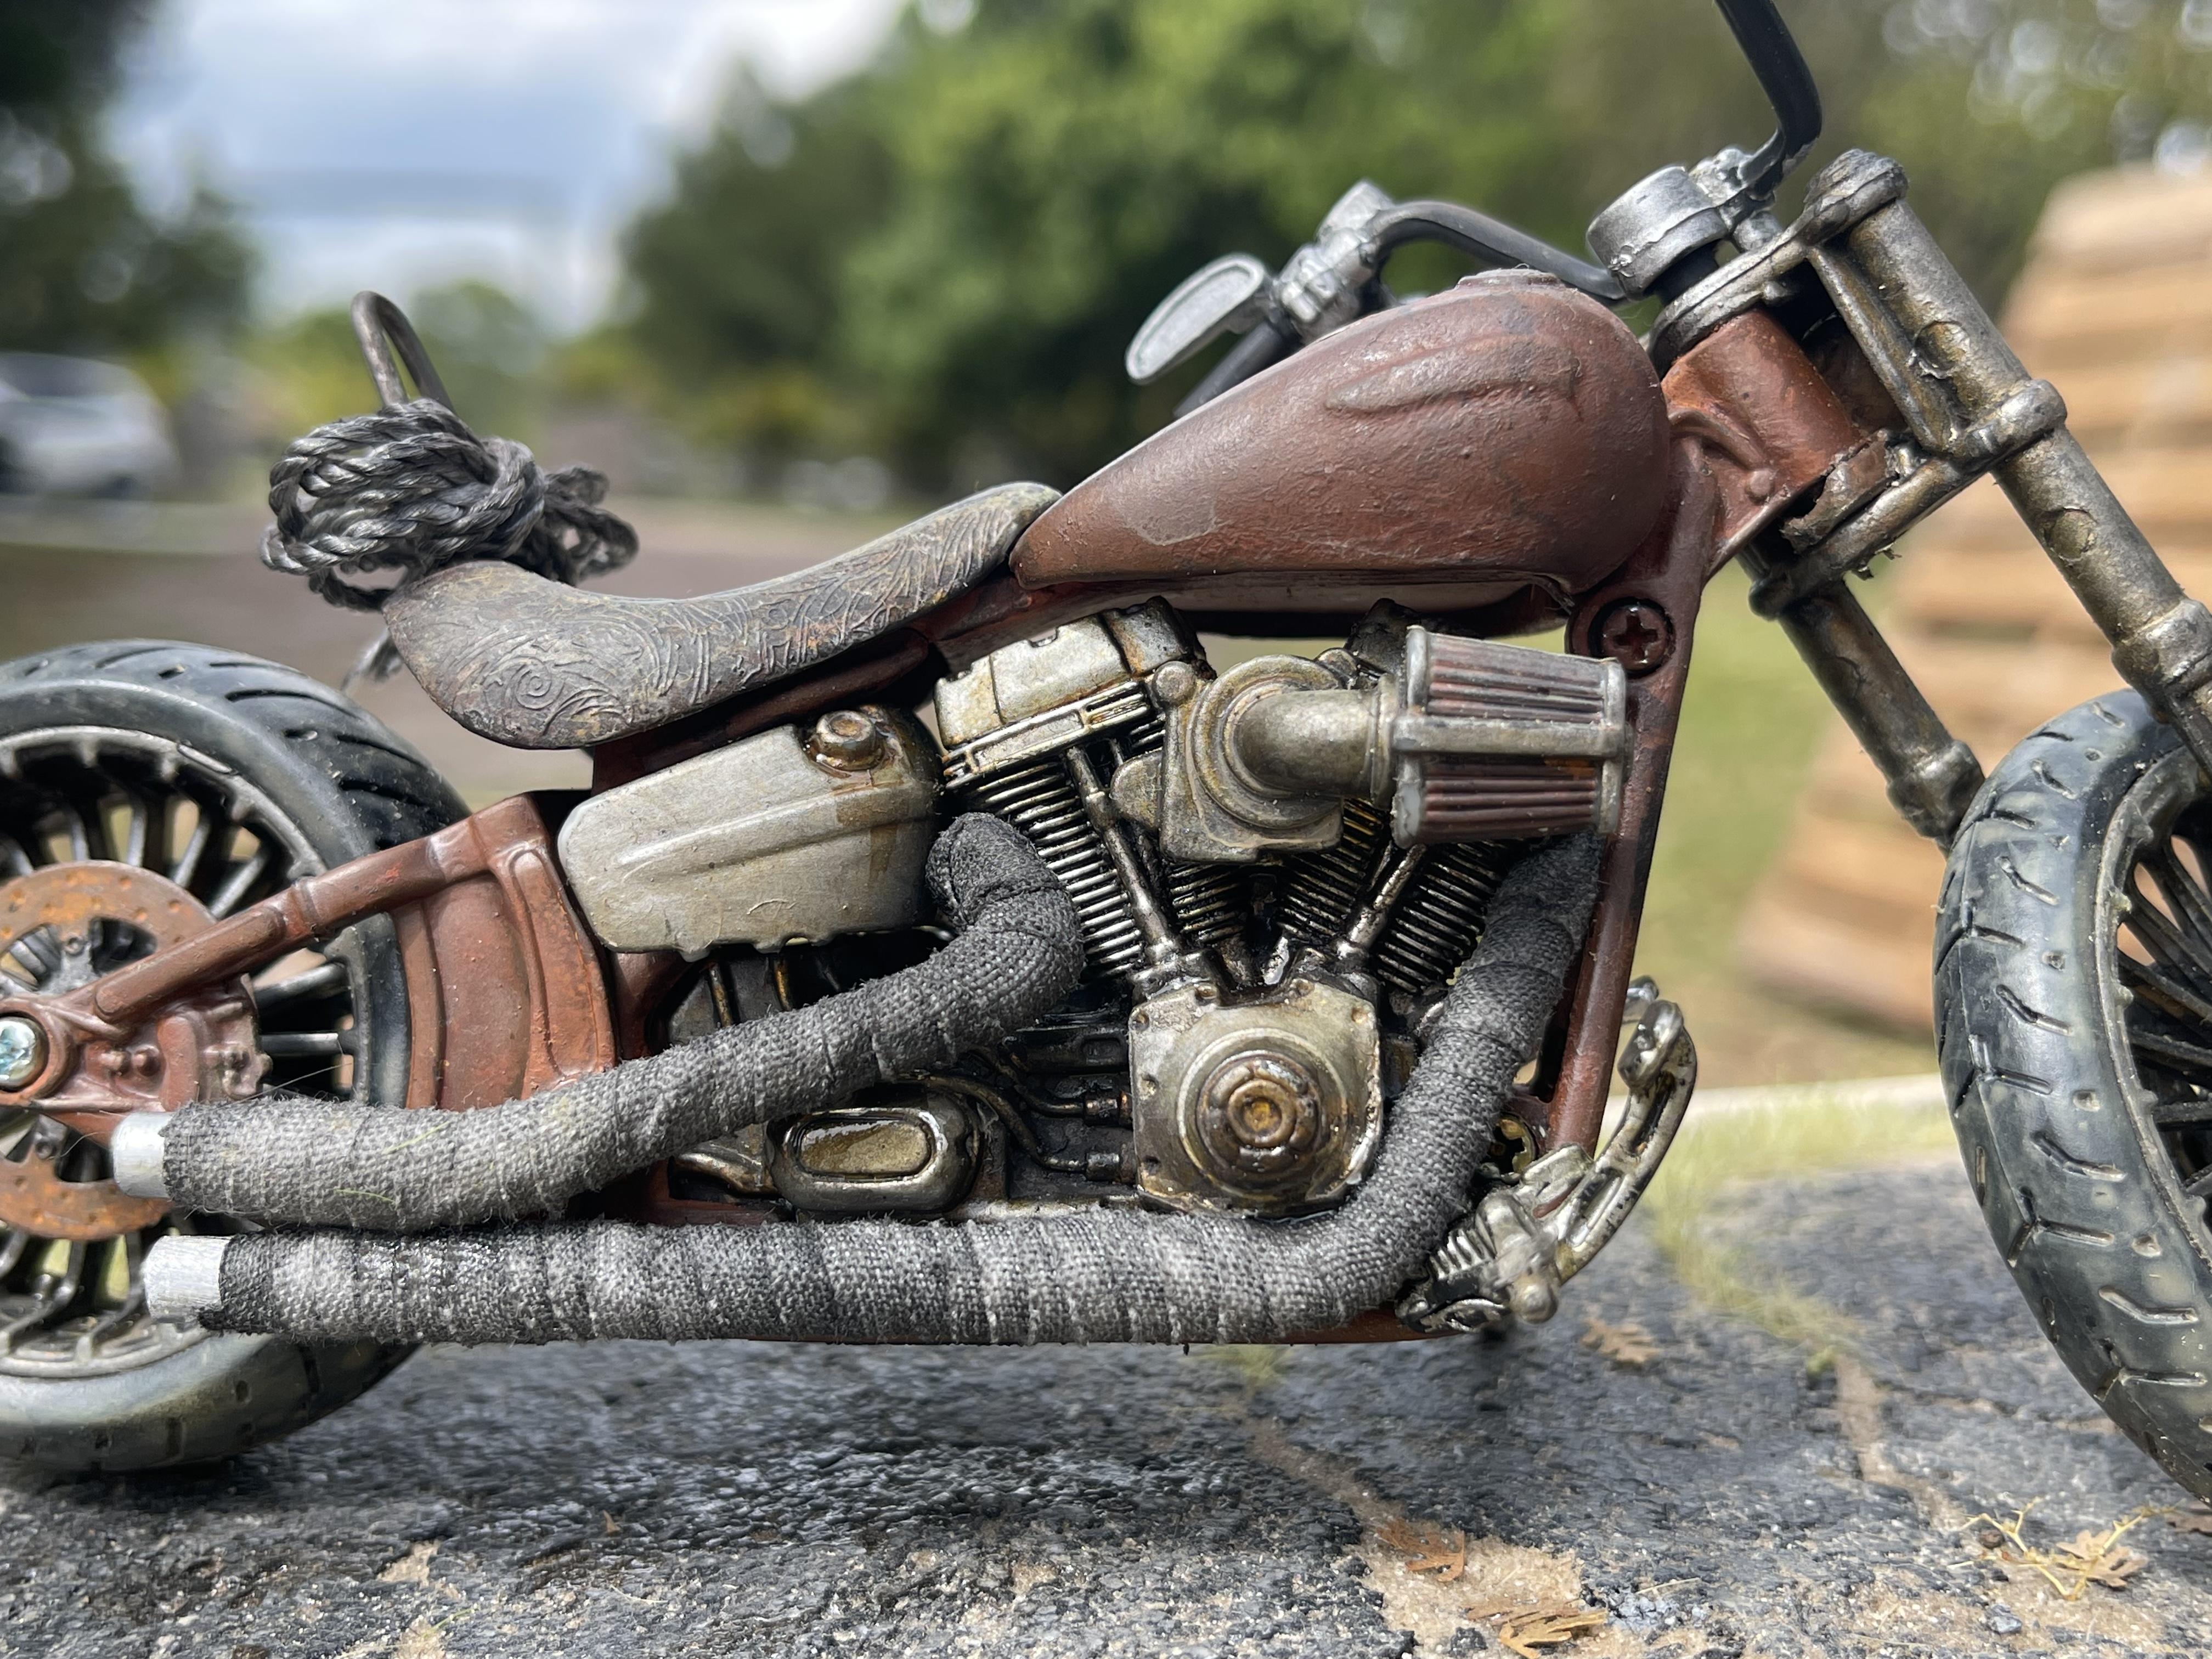
More weathering done. A few more details. My first kit I painted and assembled. I love that you can paint the parts individually and have so much more details than the diecast pre made kits. Lots of mistakes I learned from. But, lots of fun.
-
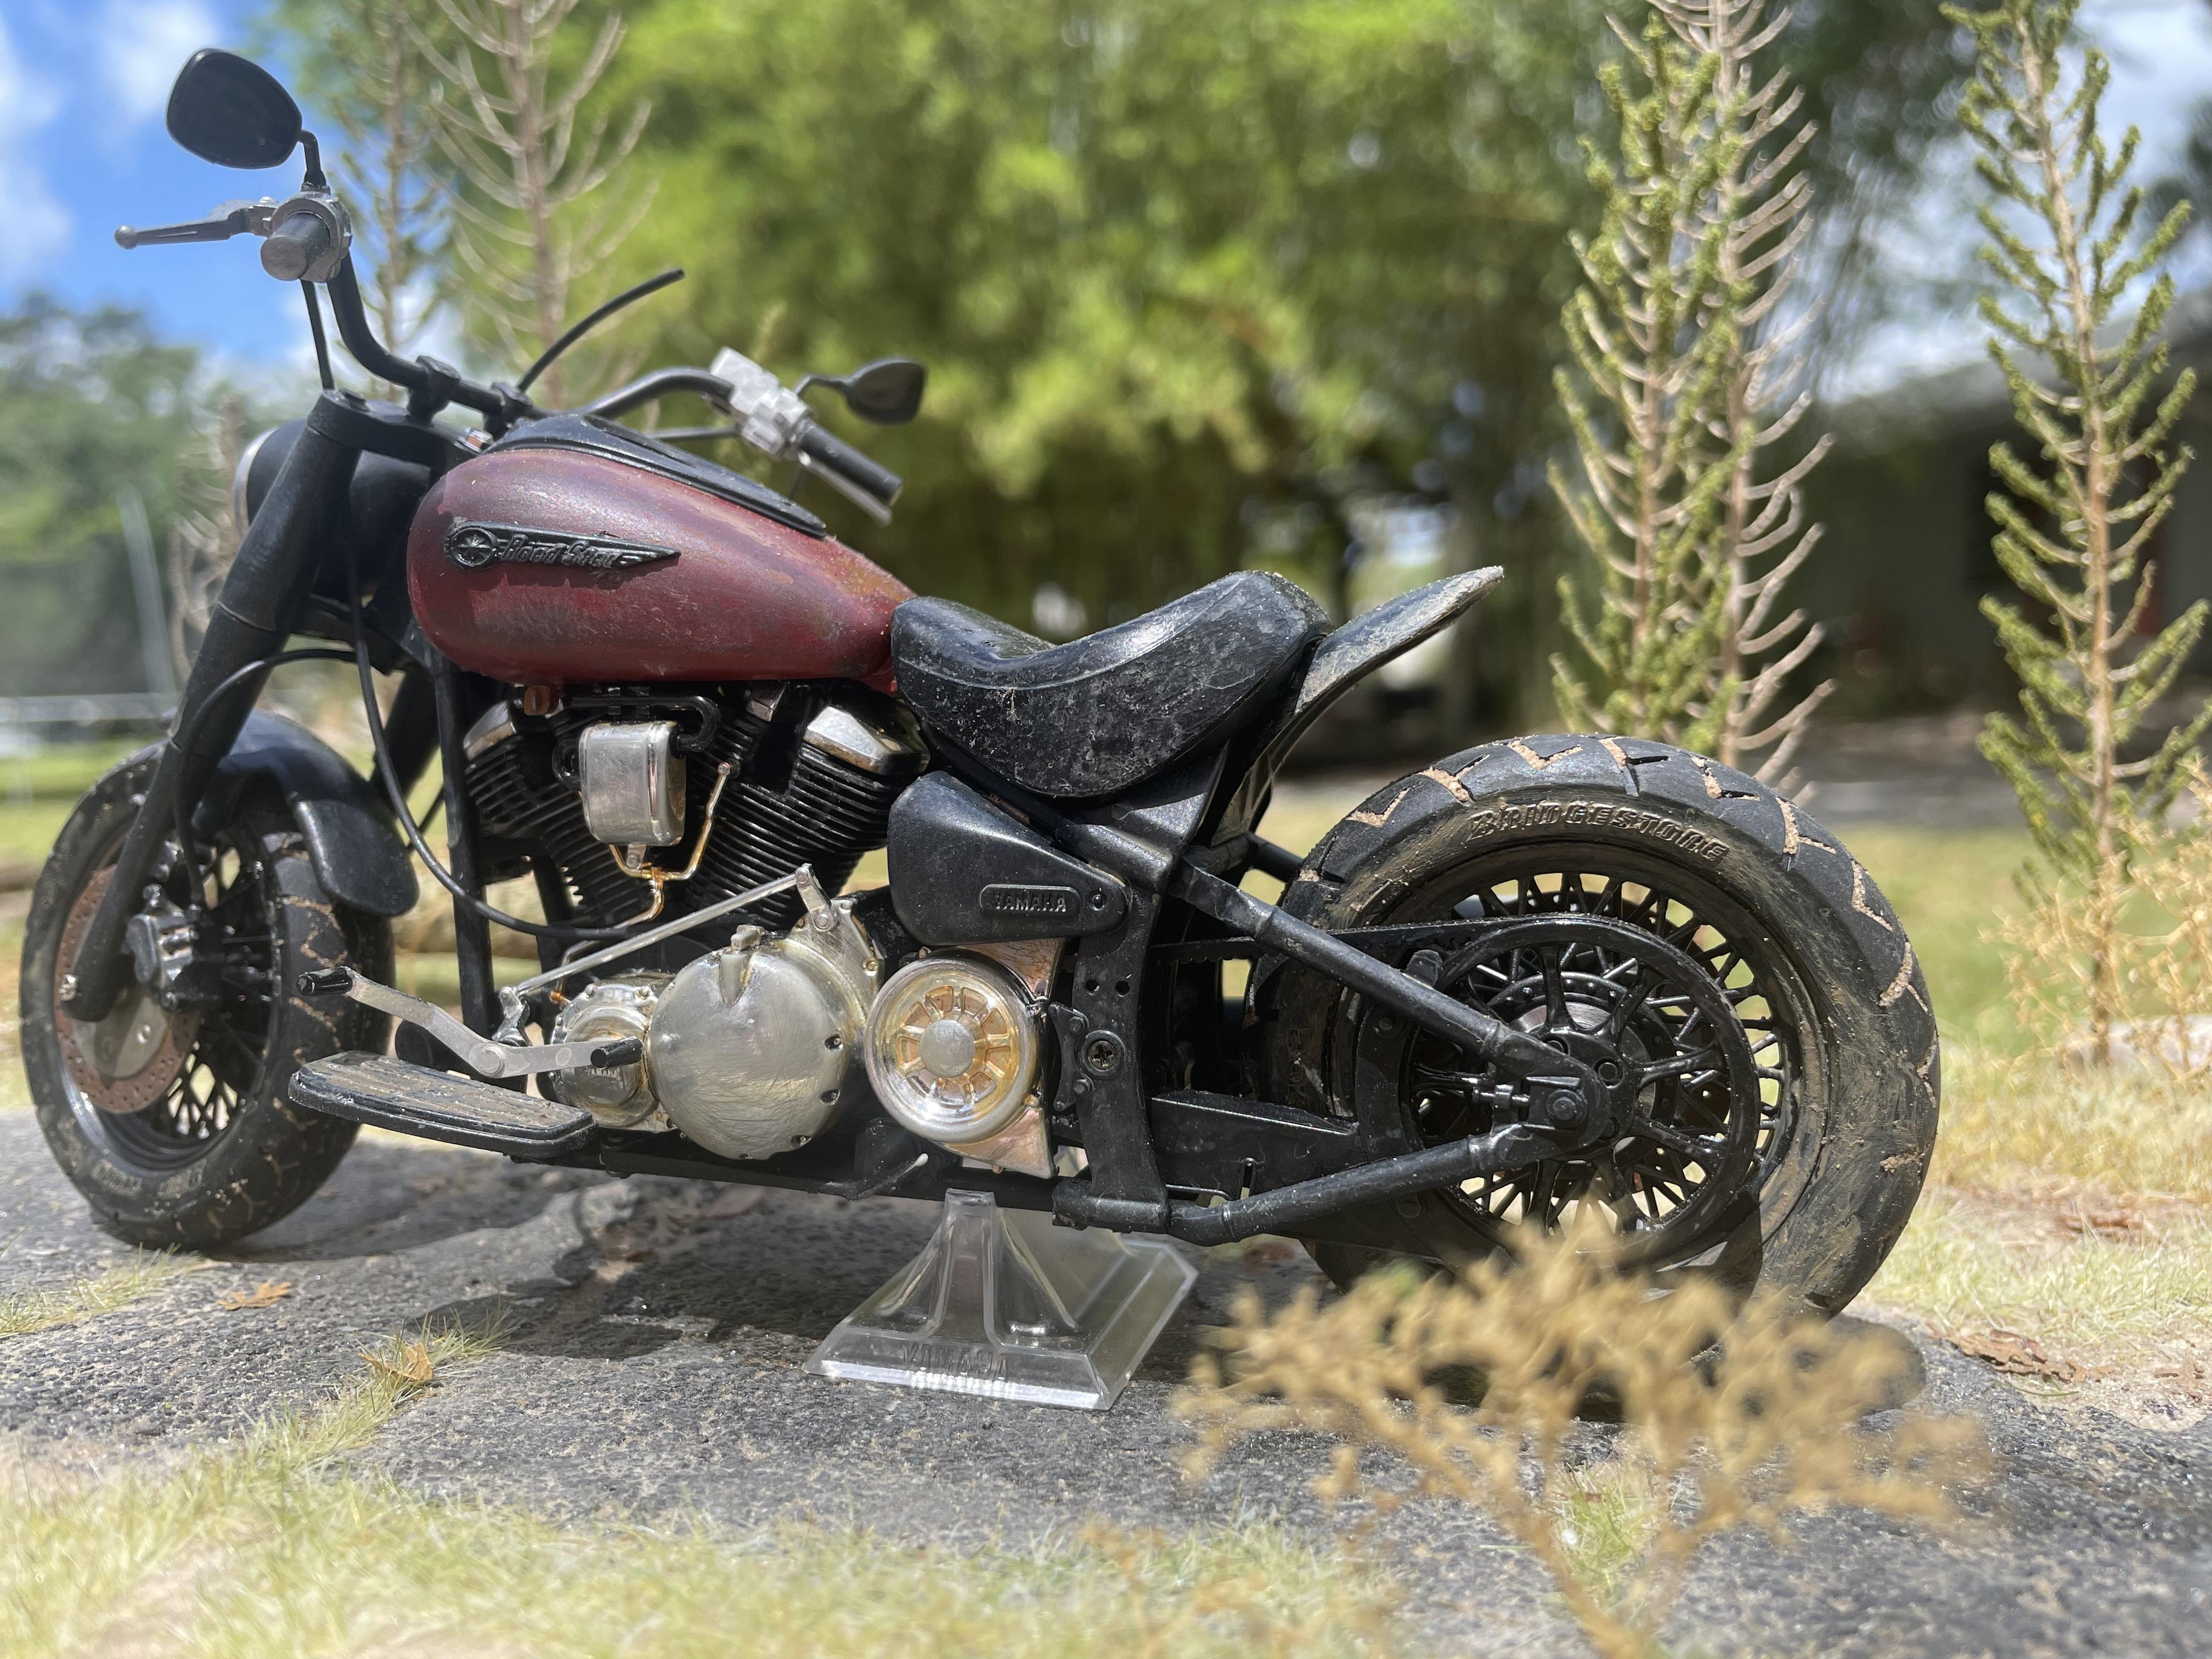
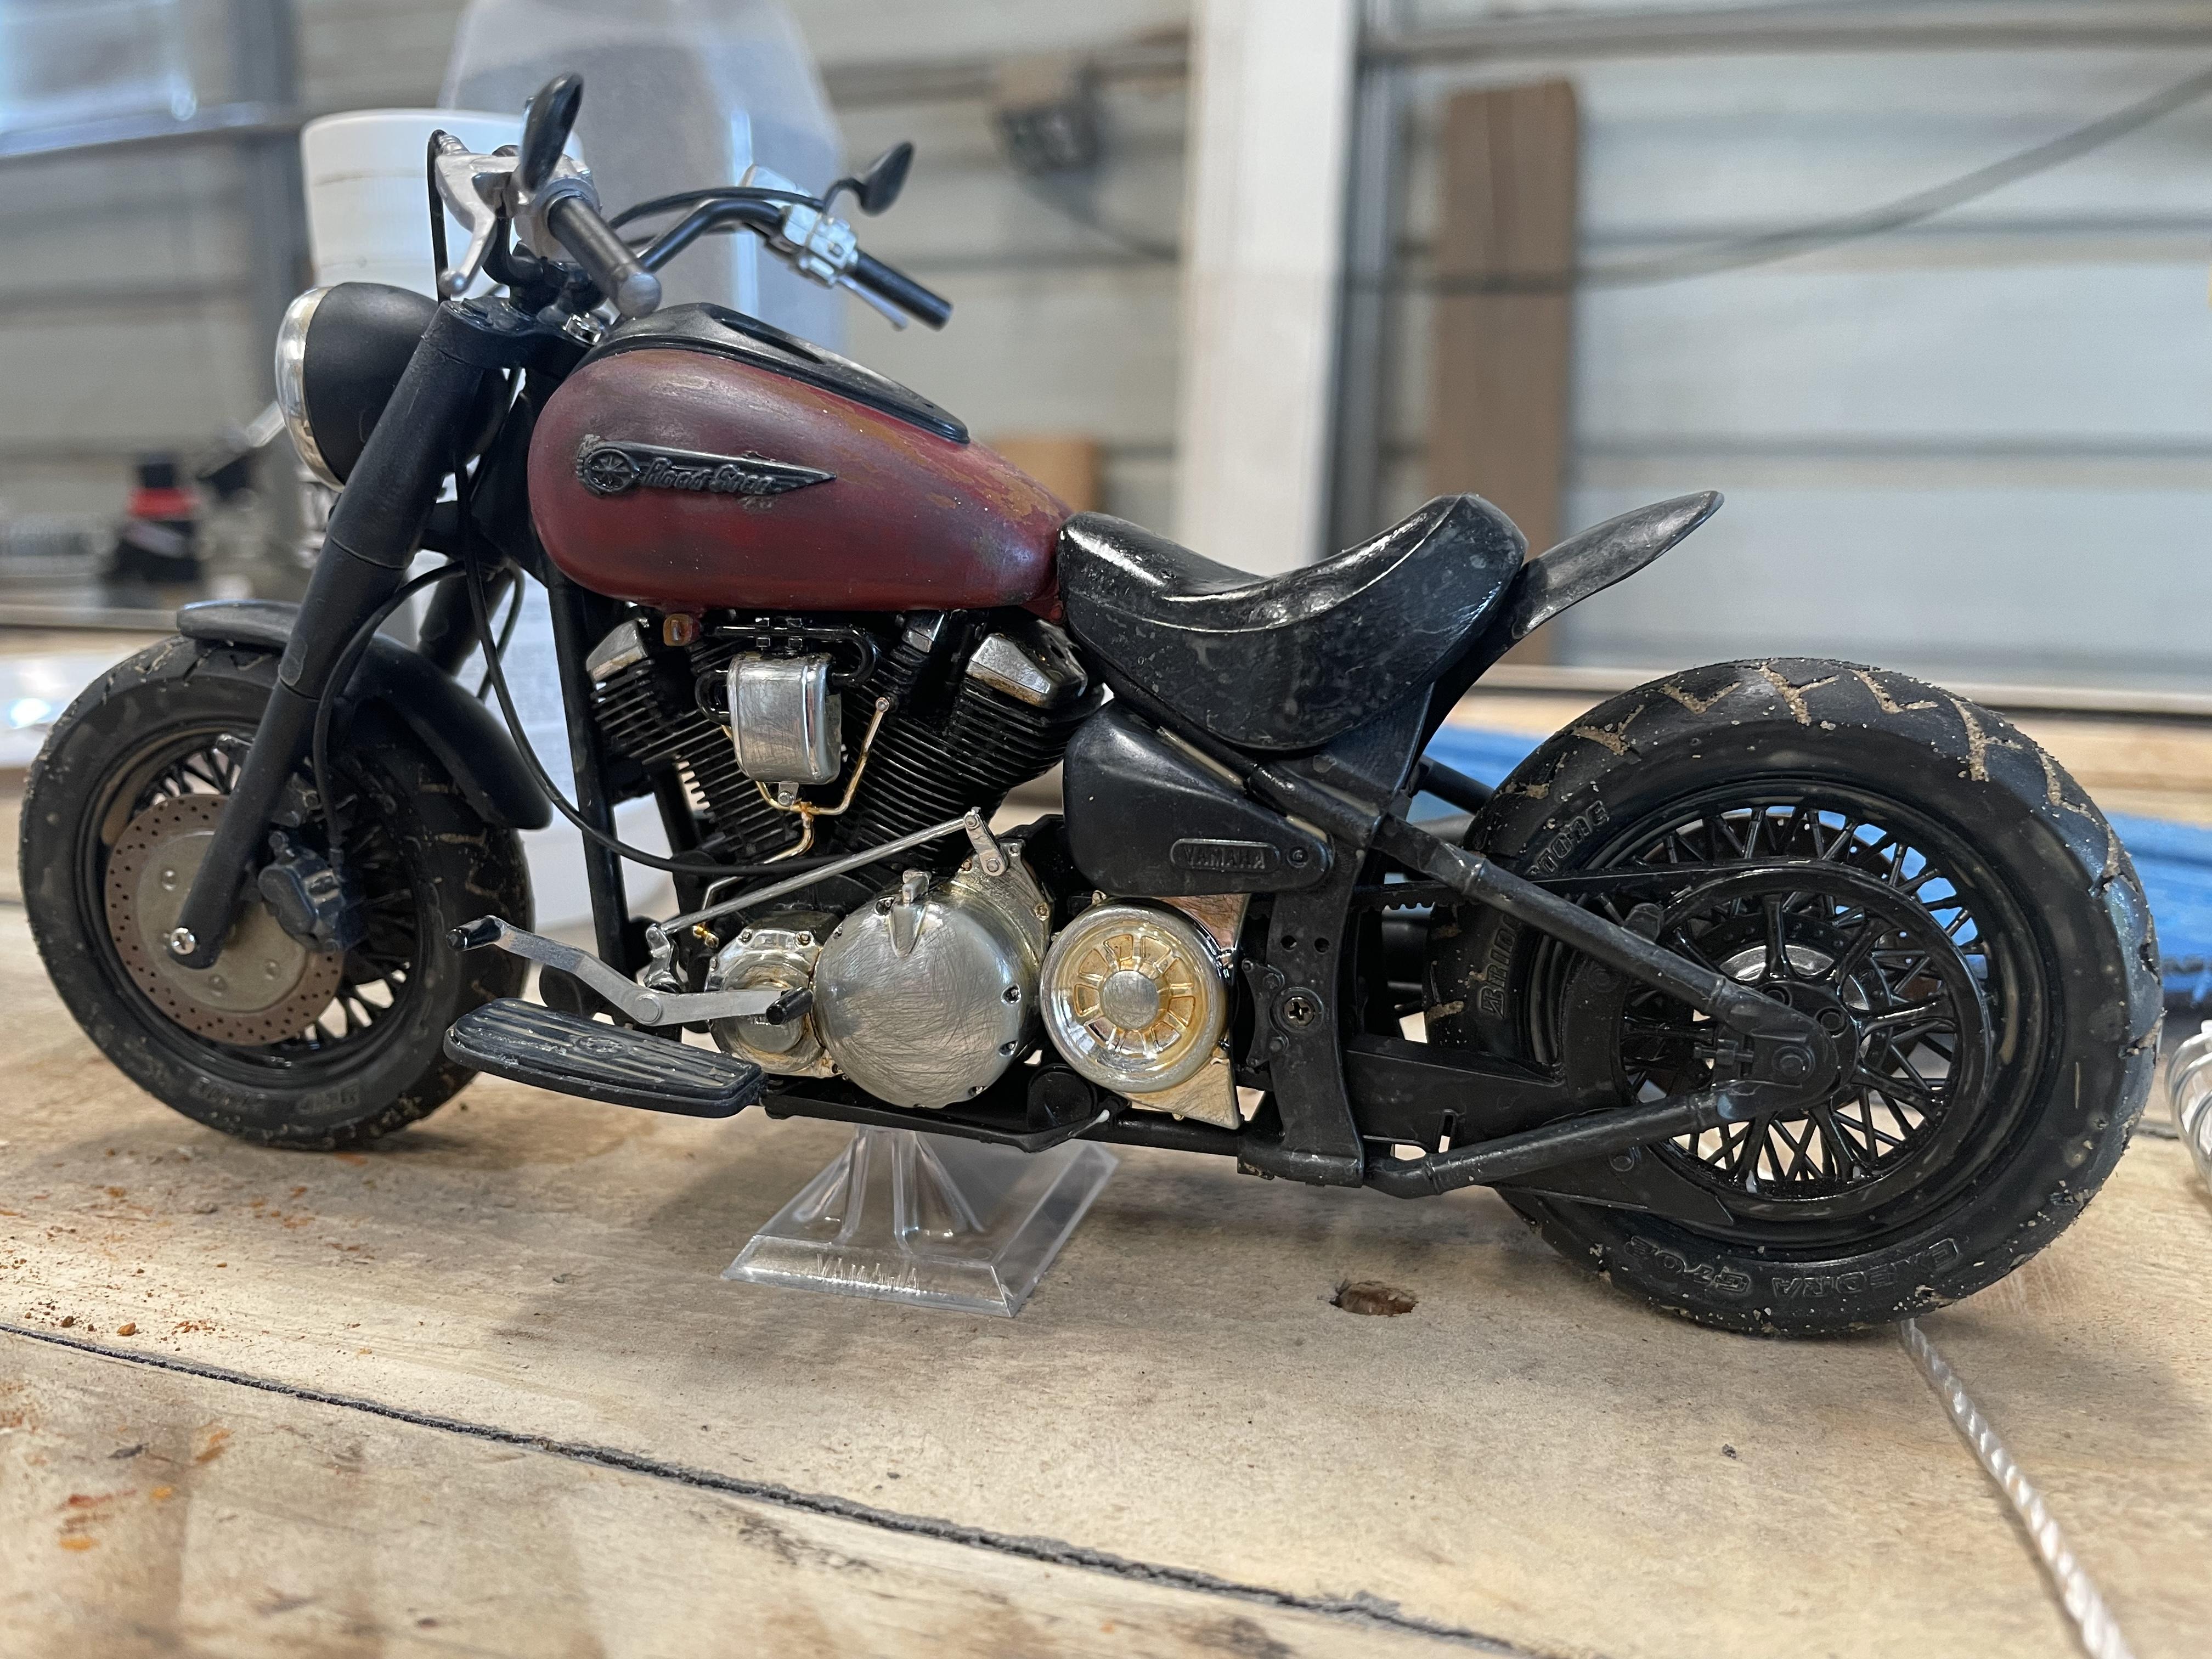
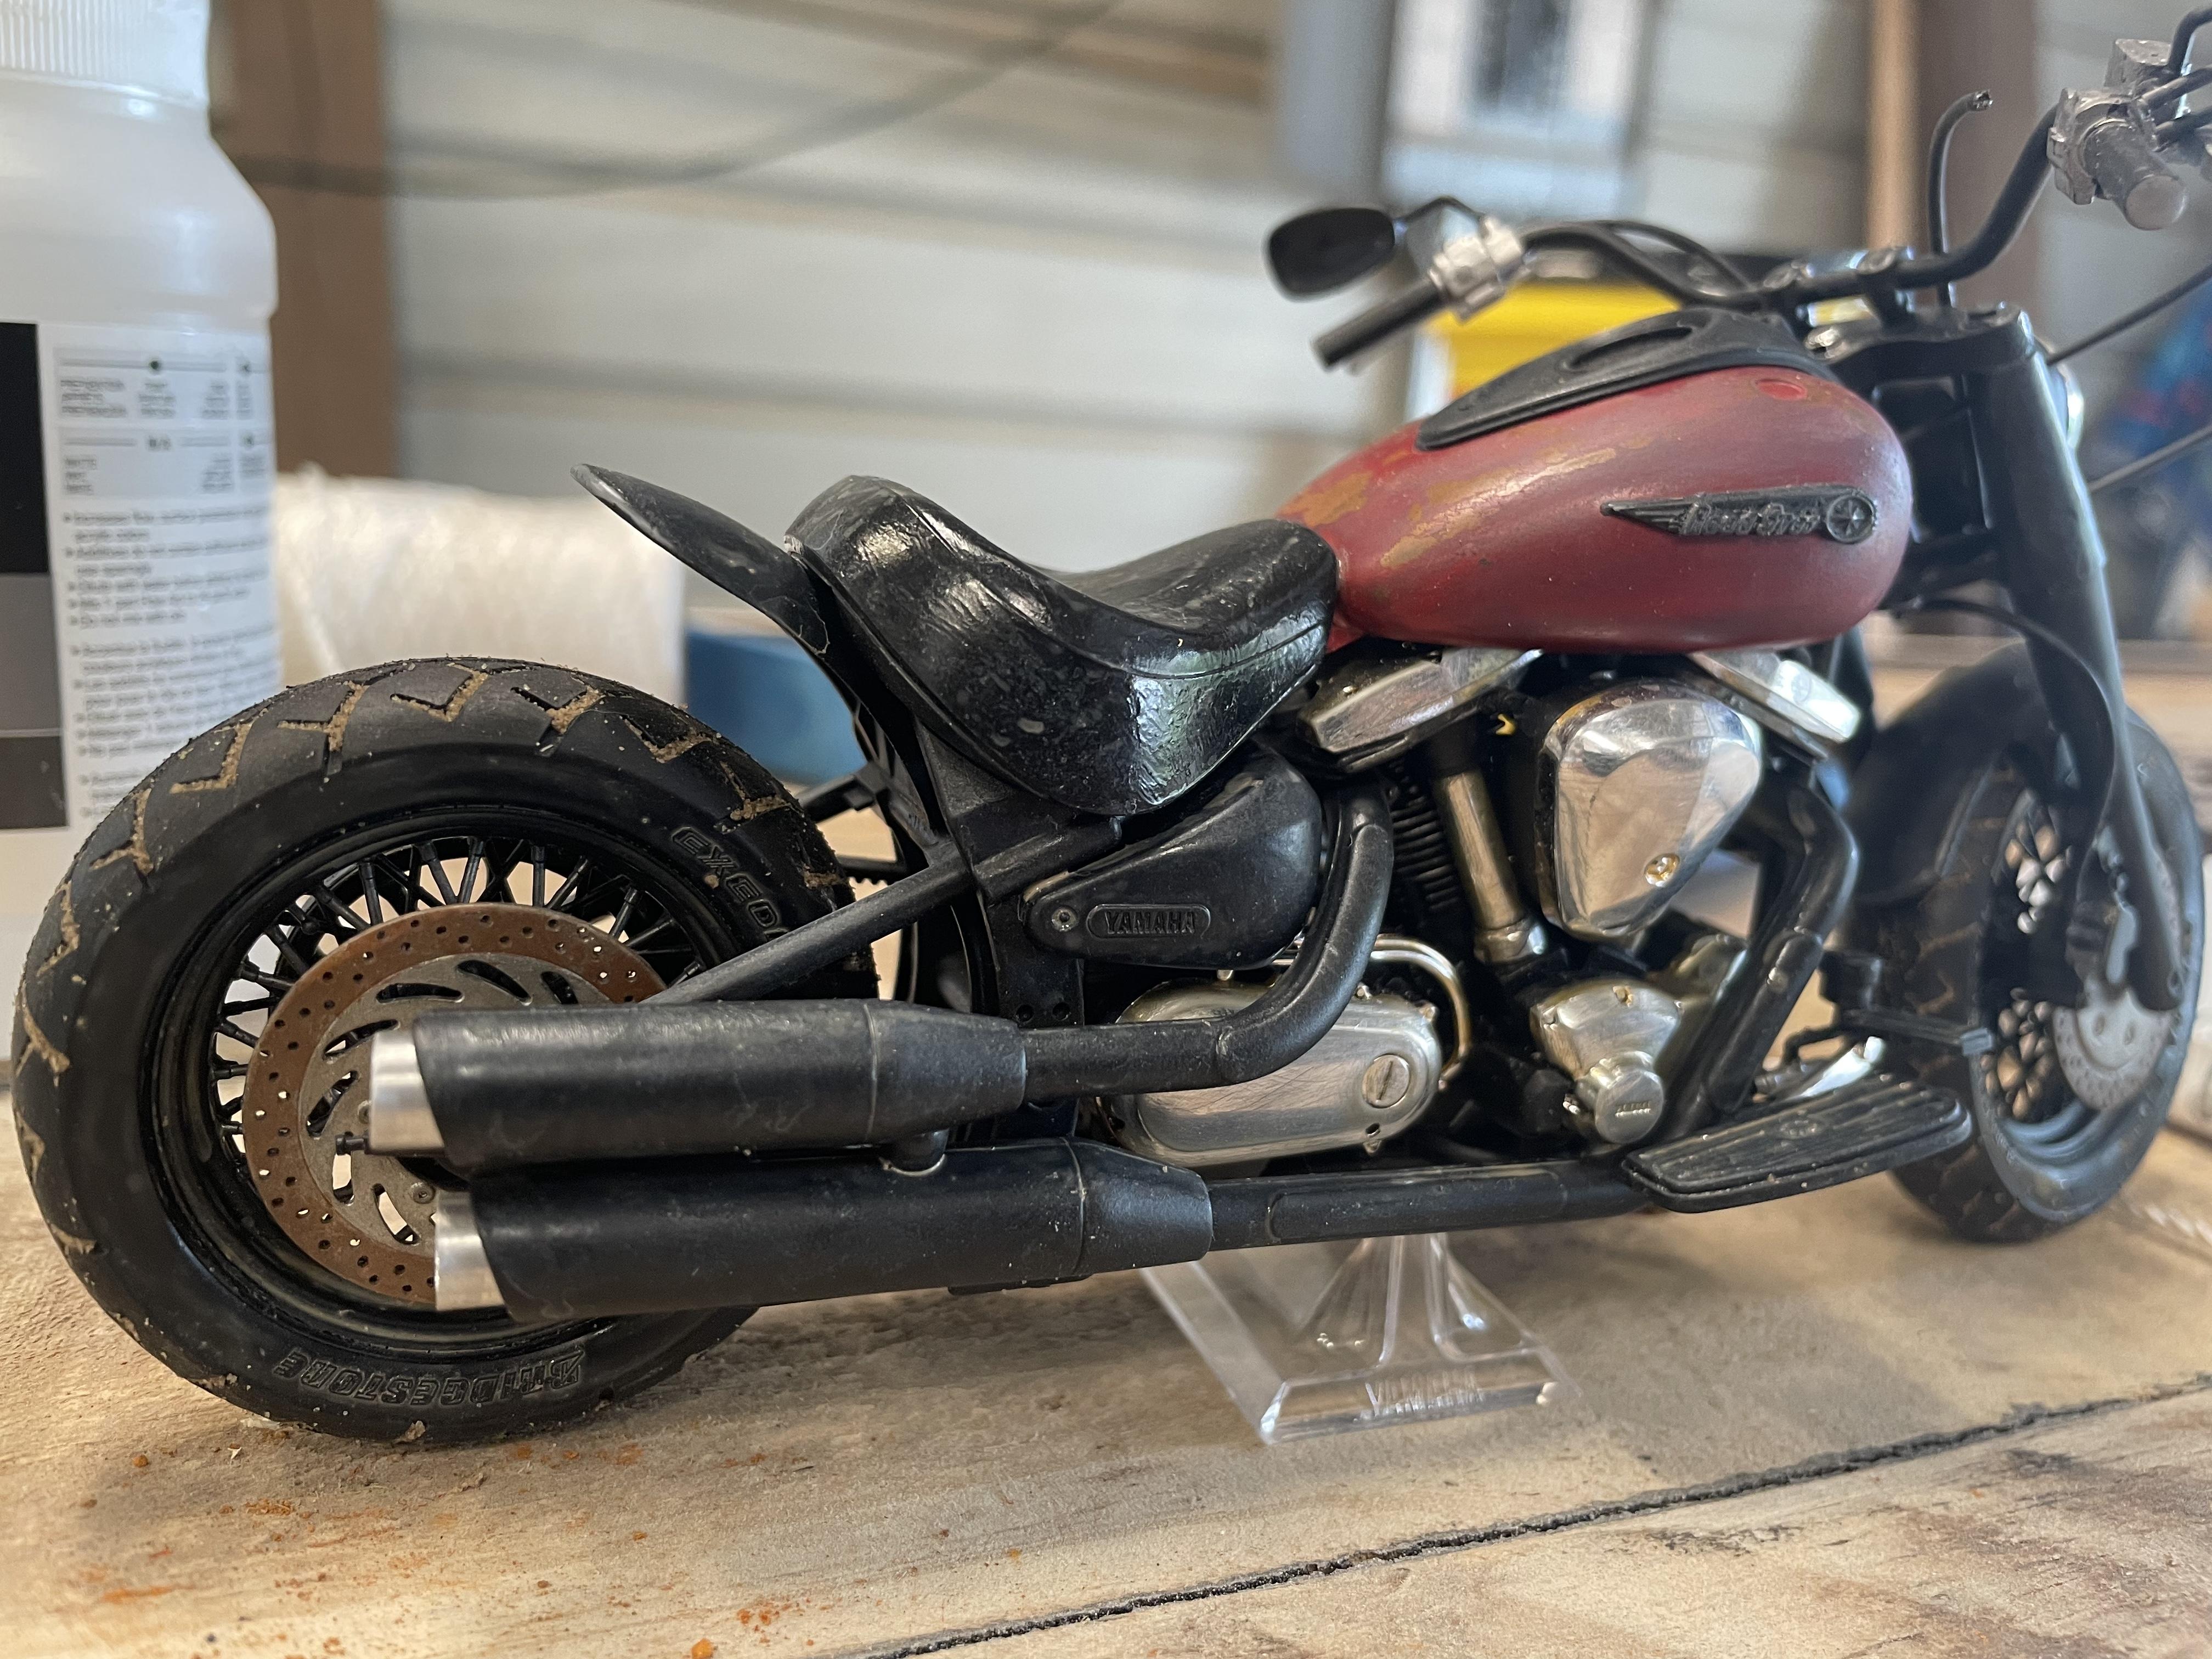
Trying out some weathering colors. Not blended yet, just starting to apply them. We’ll see if I can make this mess look a little better. Also, trying to figure out how to make the seat look less like plastic and a little more natural.
-
Thank you. It’s been a little difficult, but my wife just got me a set of magnifying modeling glasses so I can see the details better. Maybe my next model will be more detailed.
-
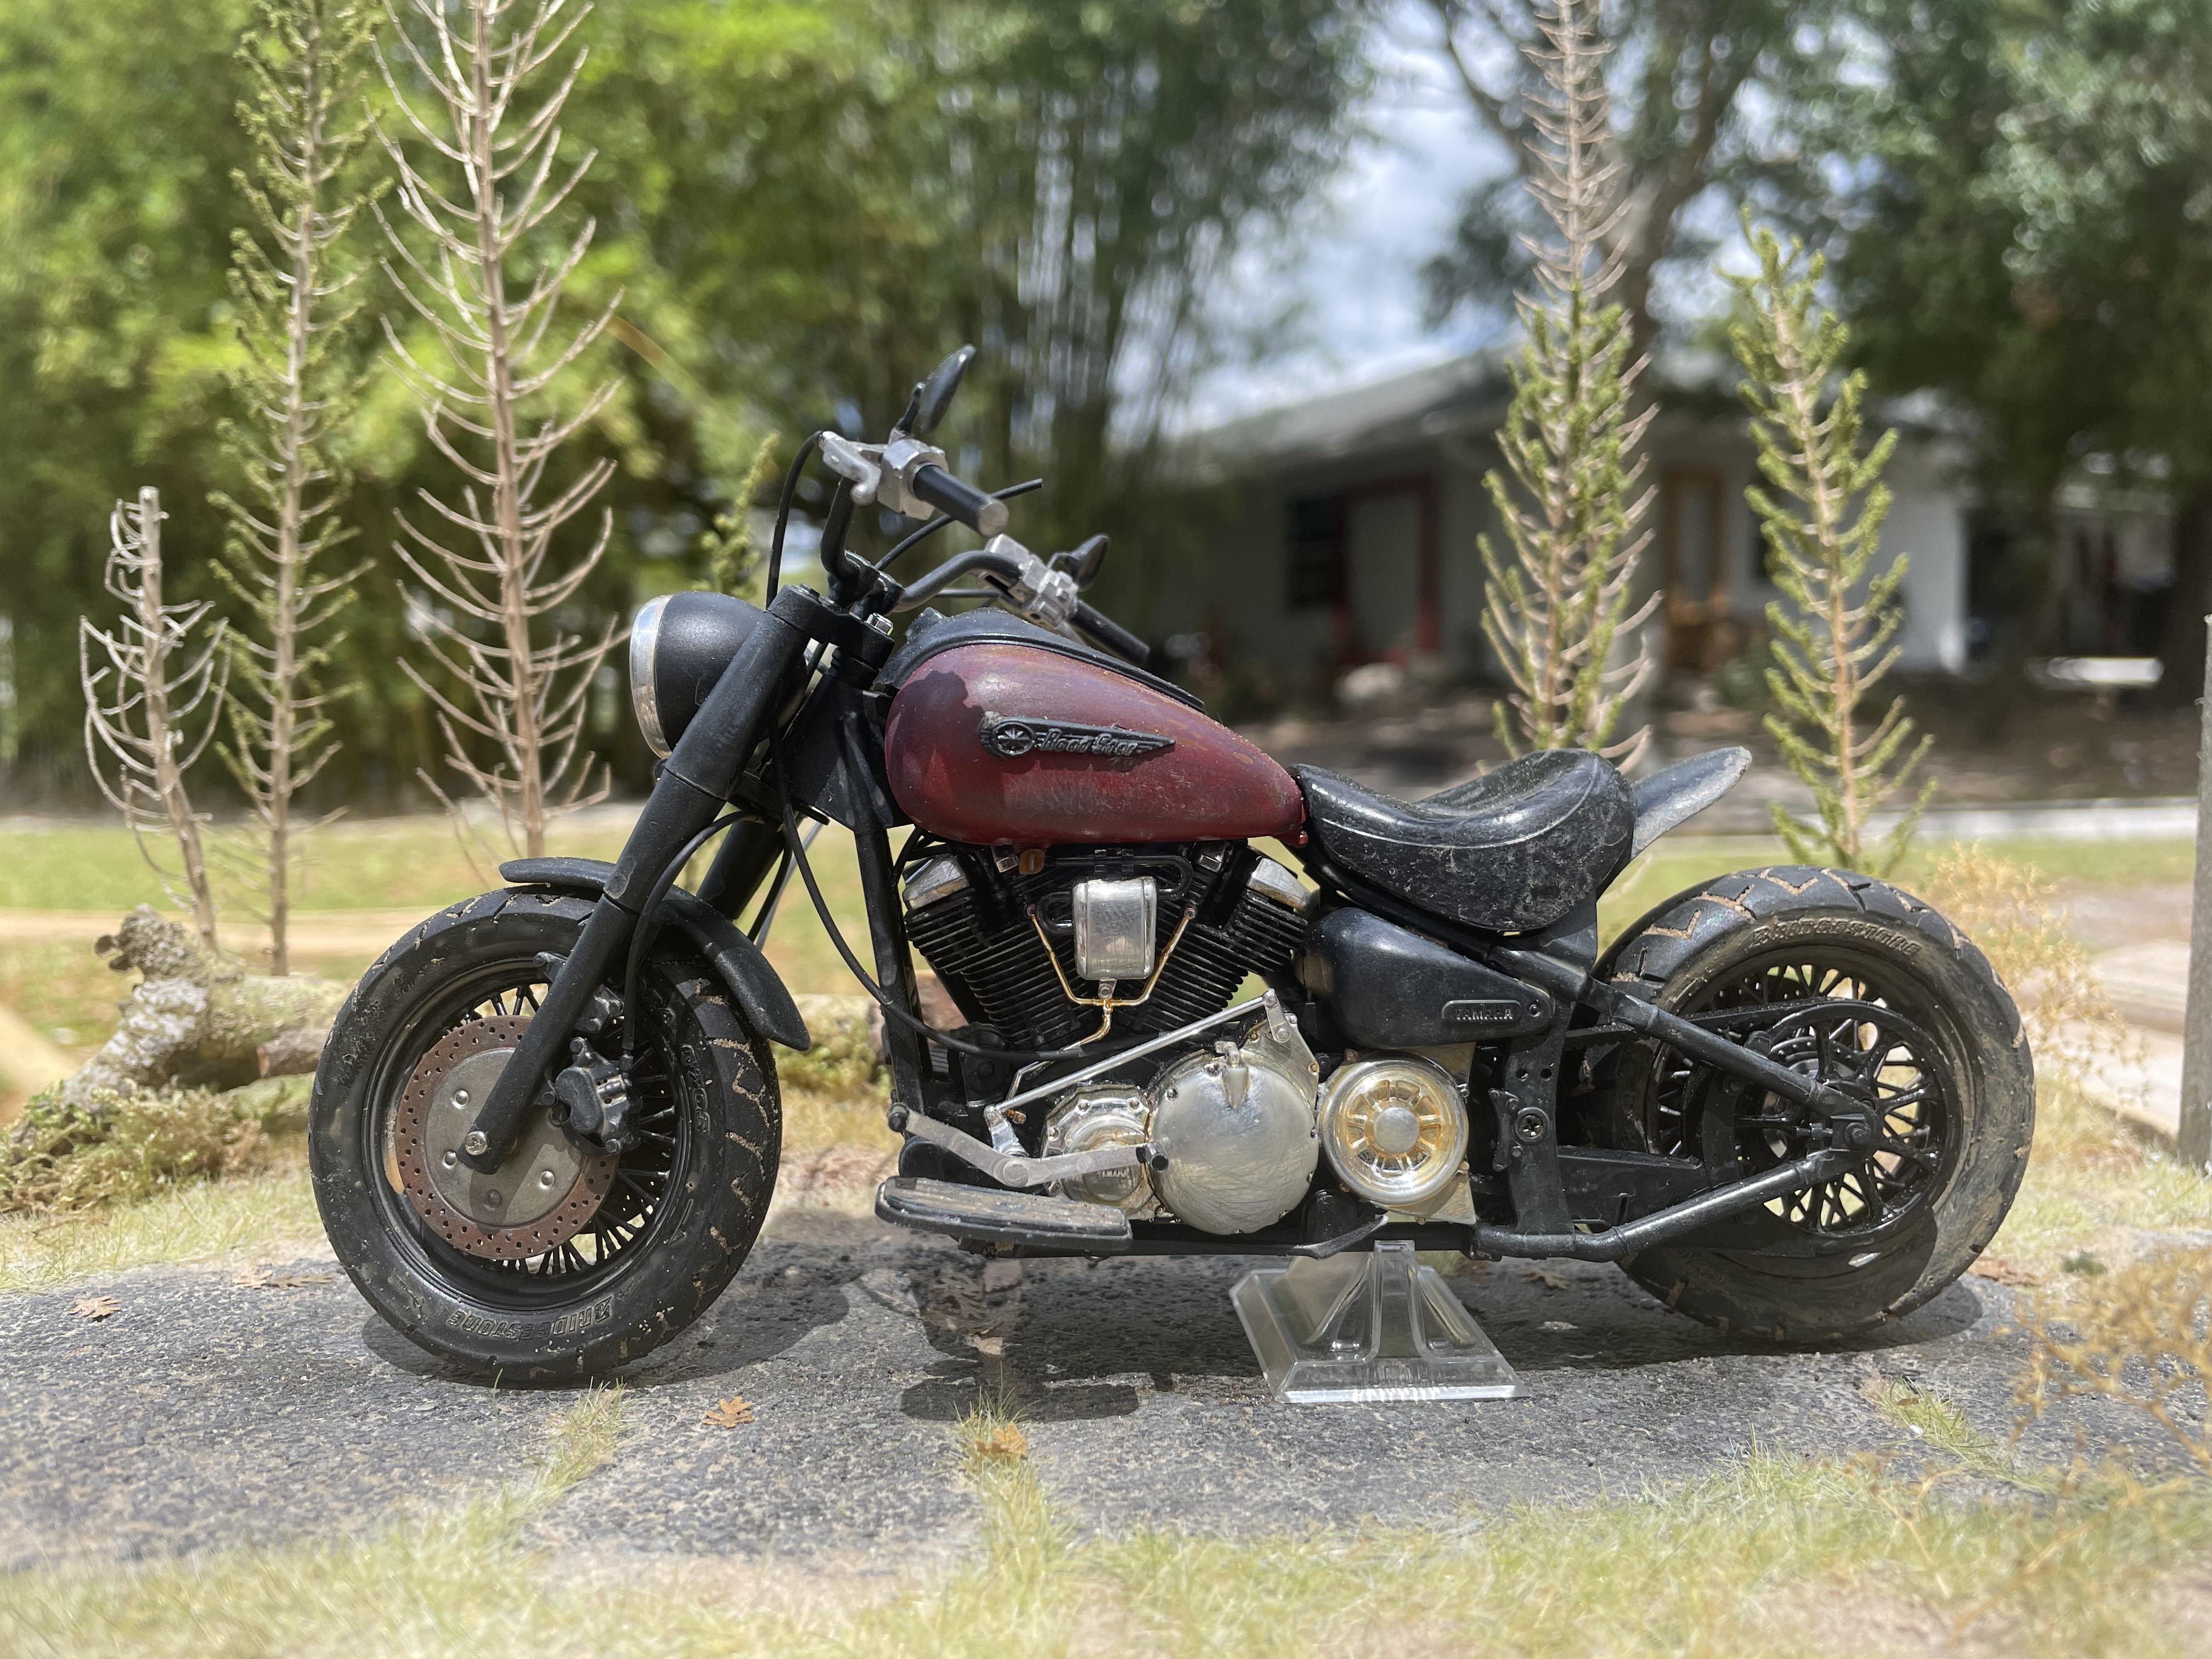
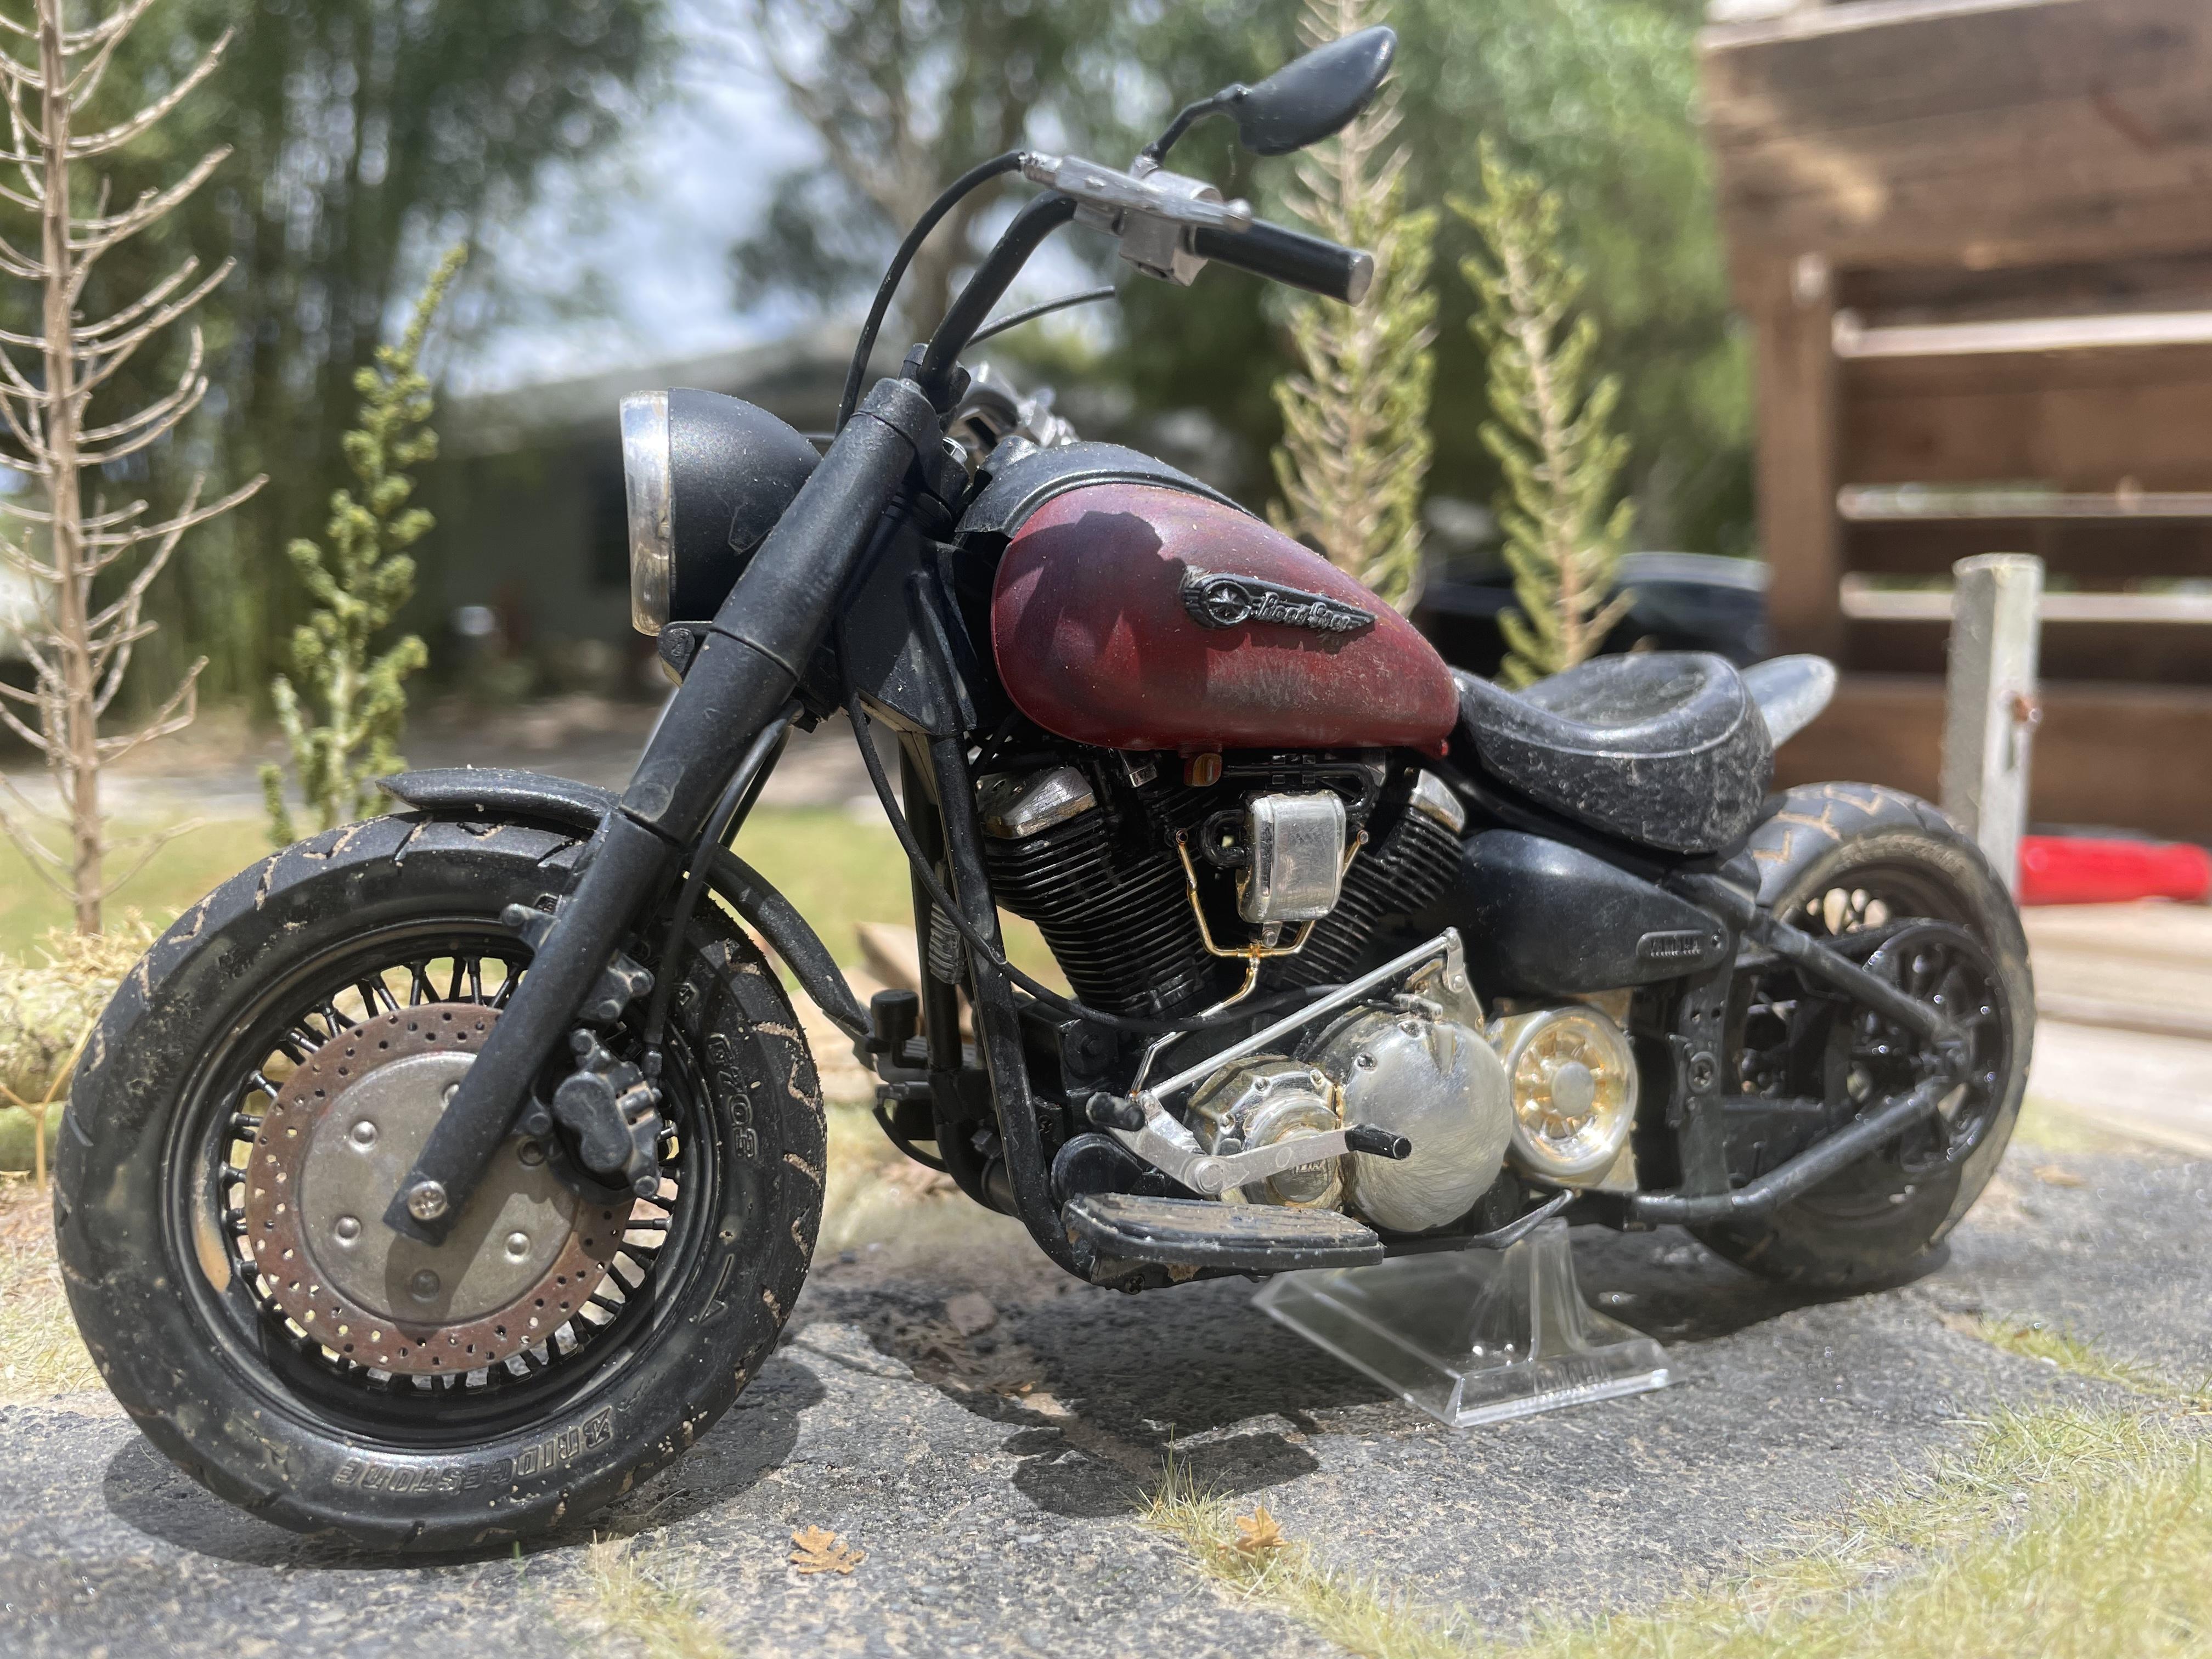
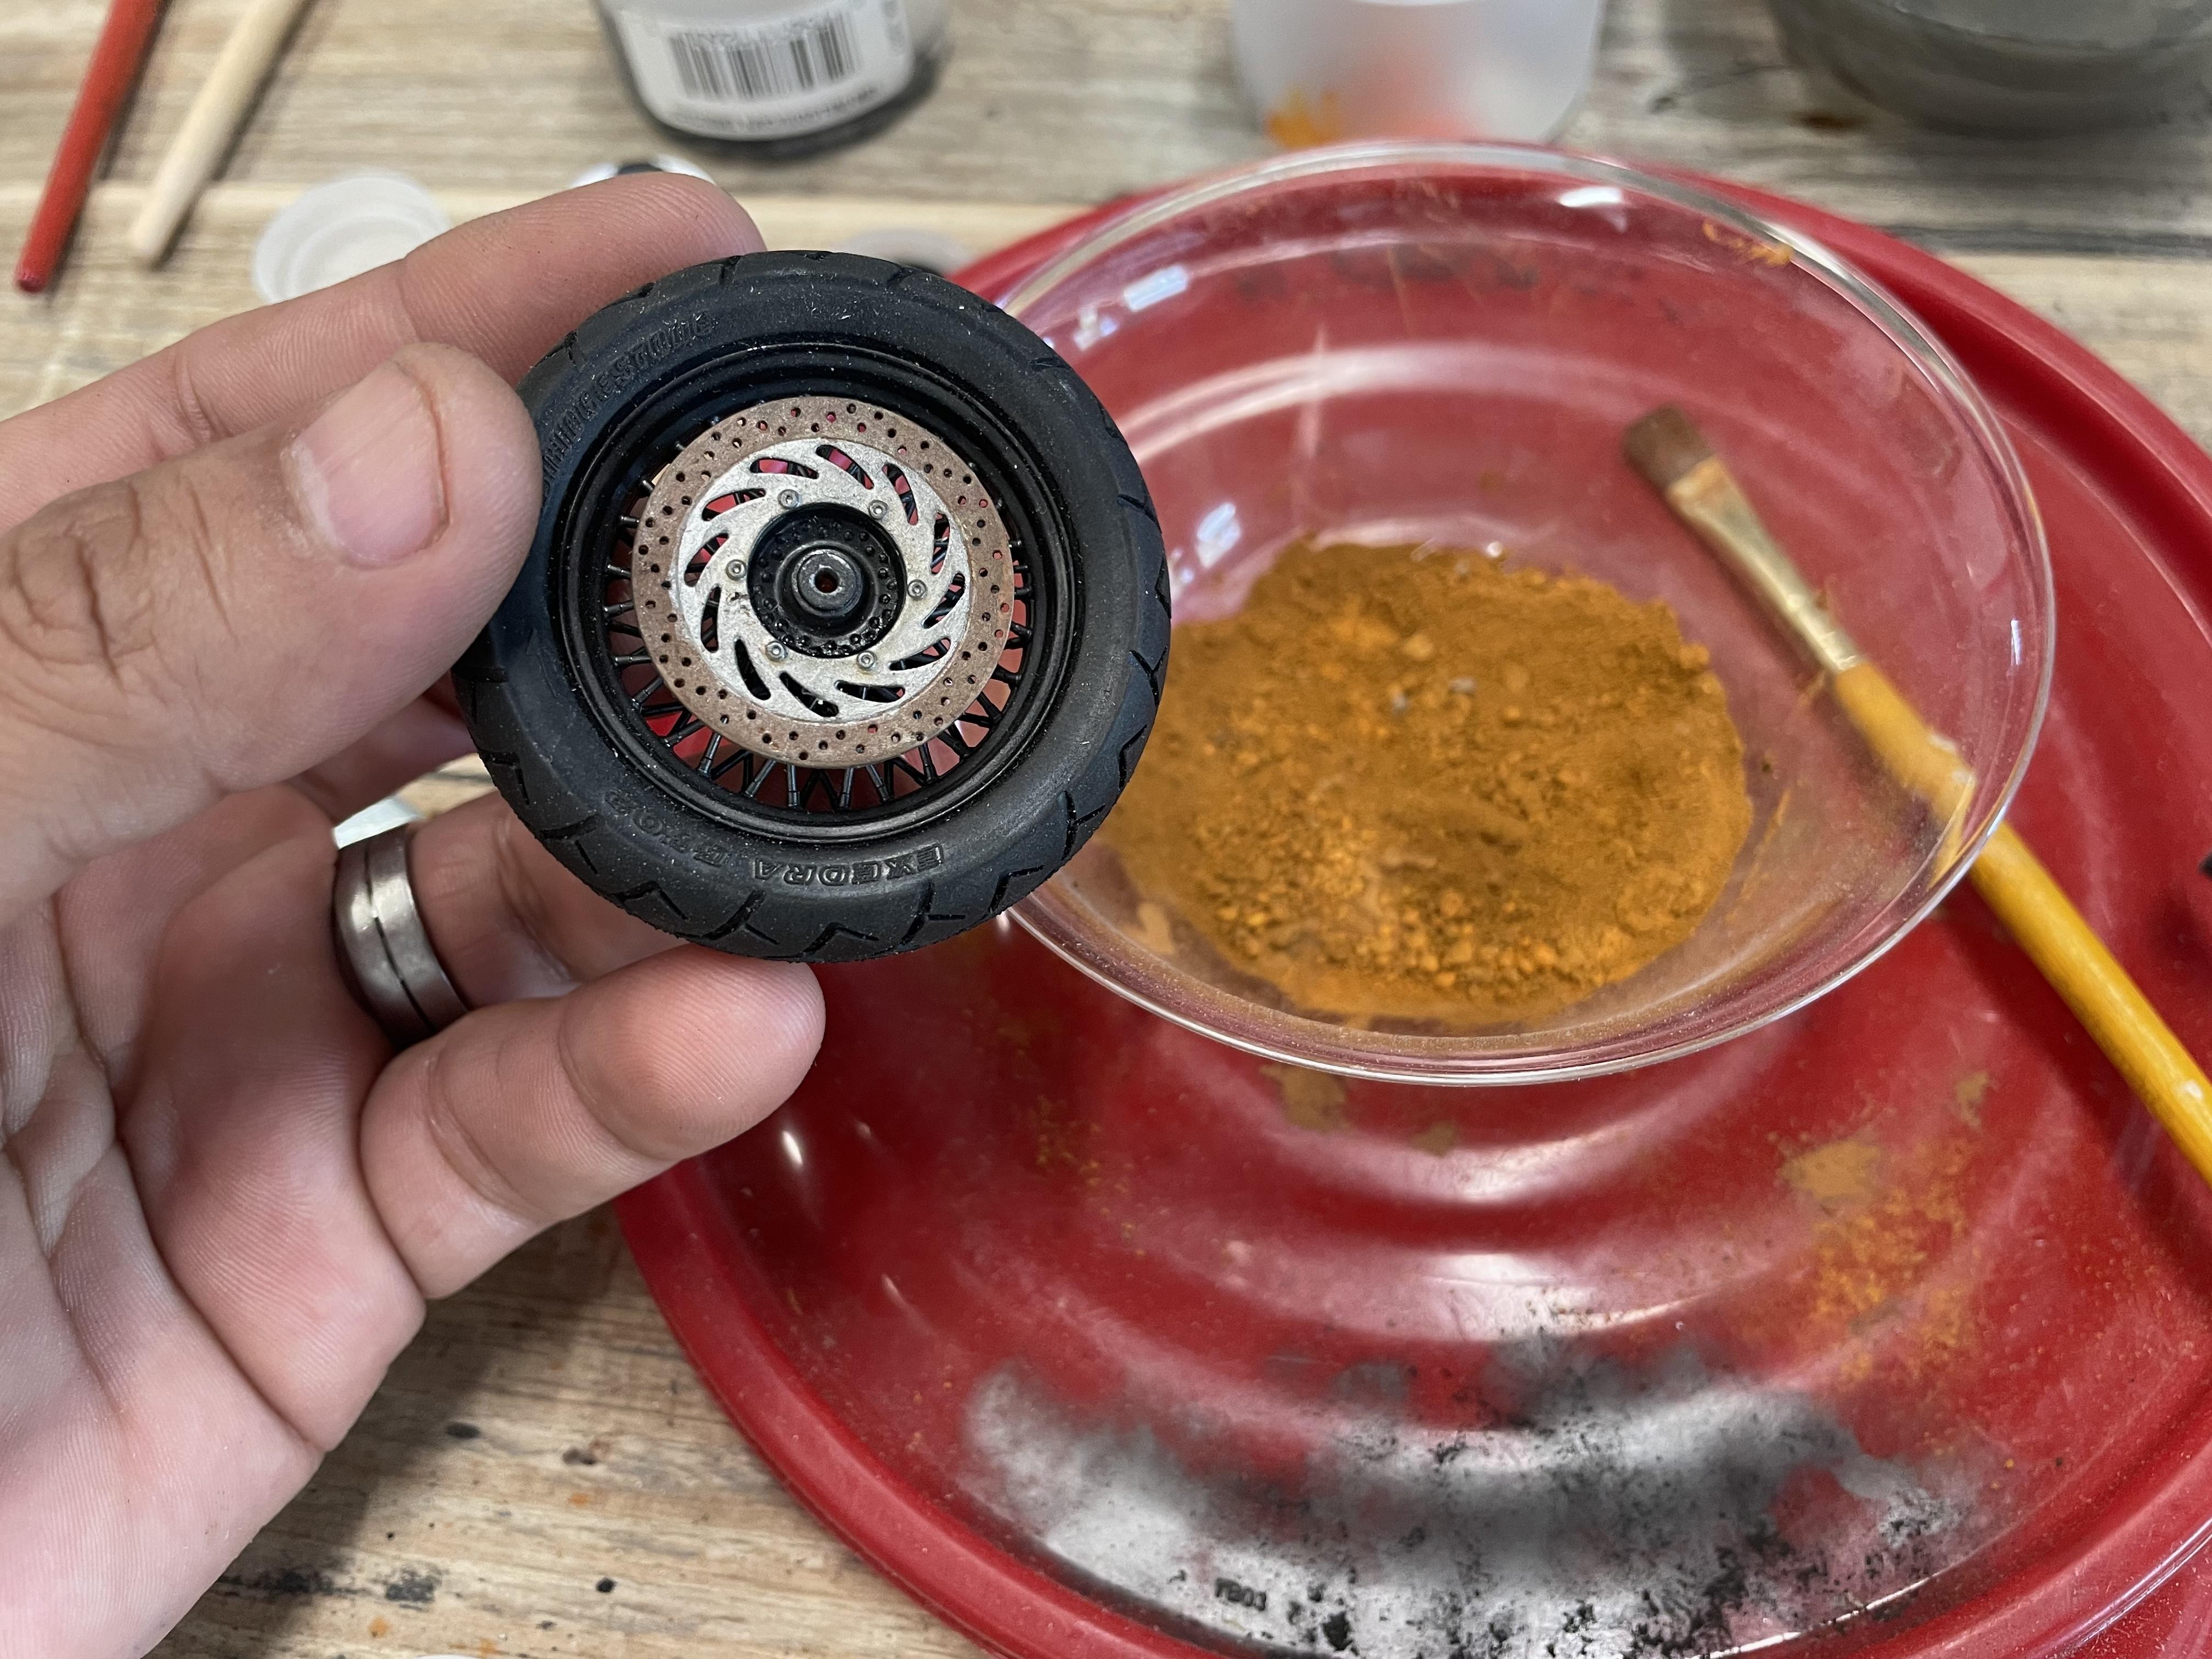
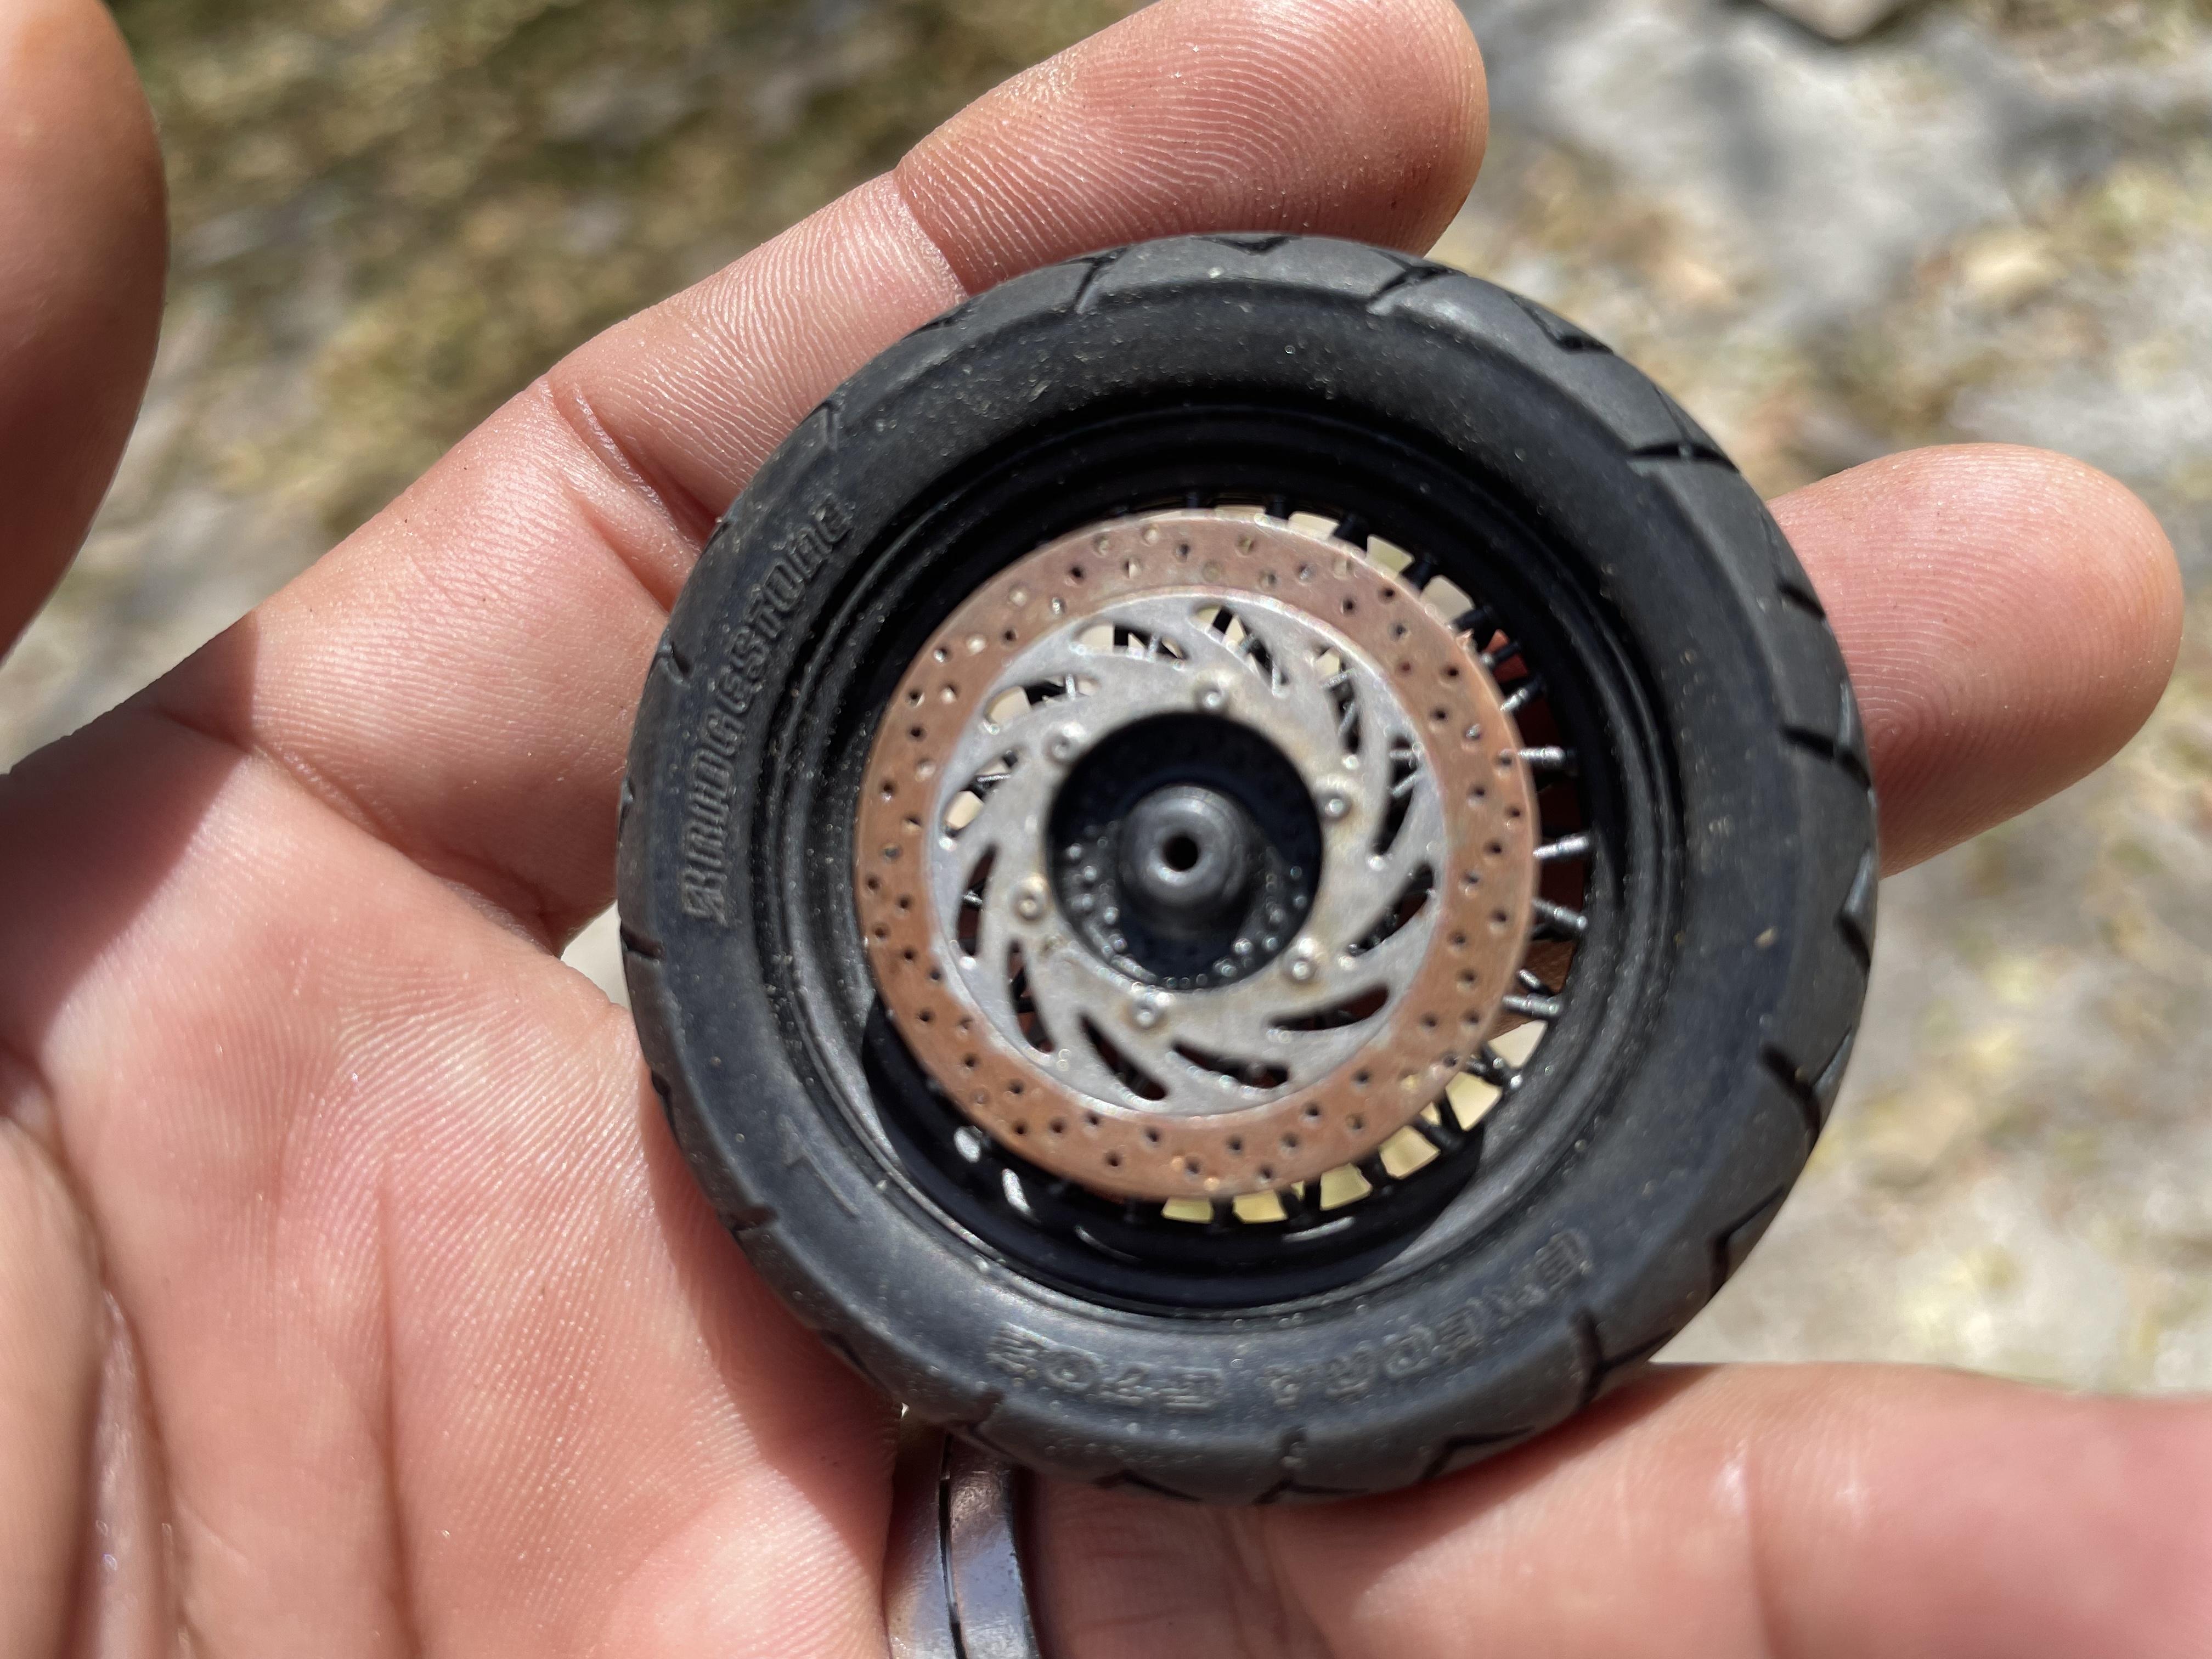
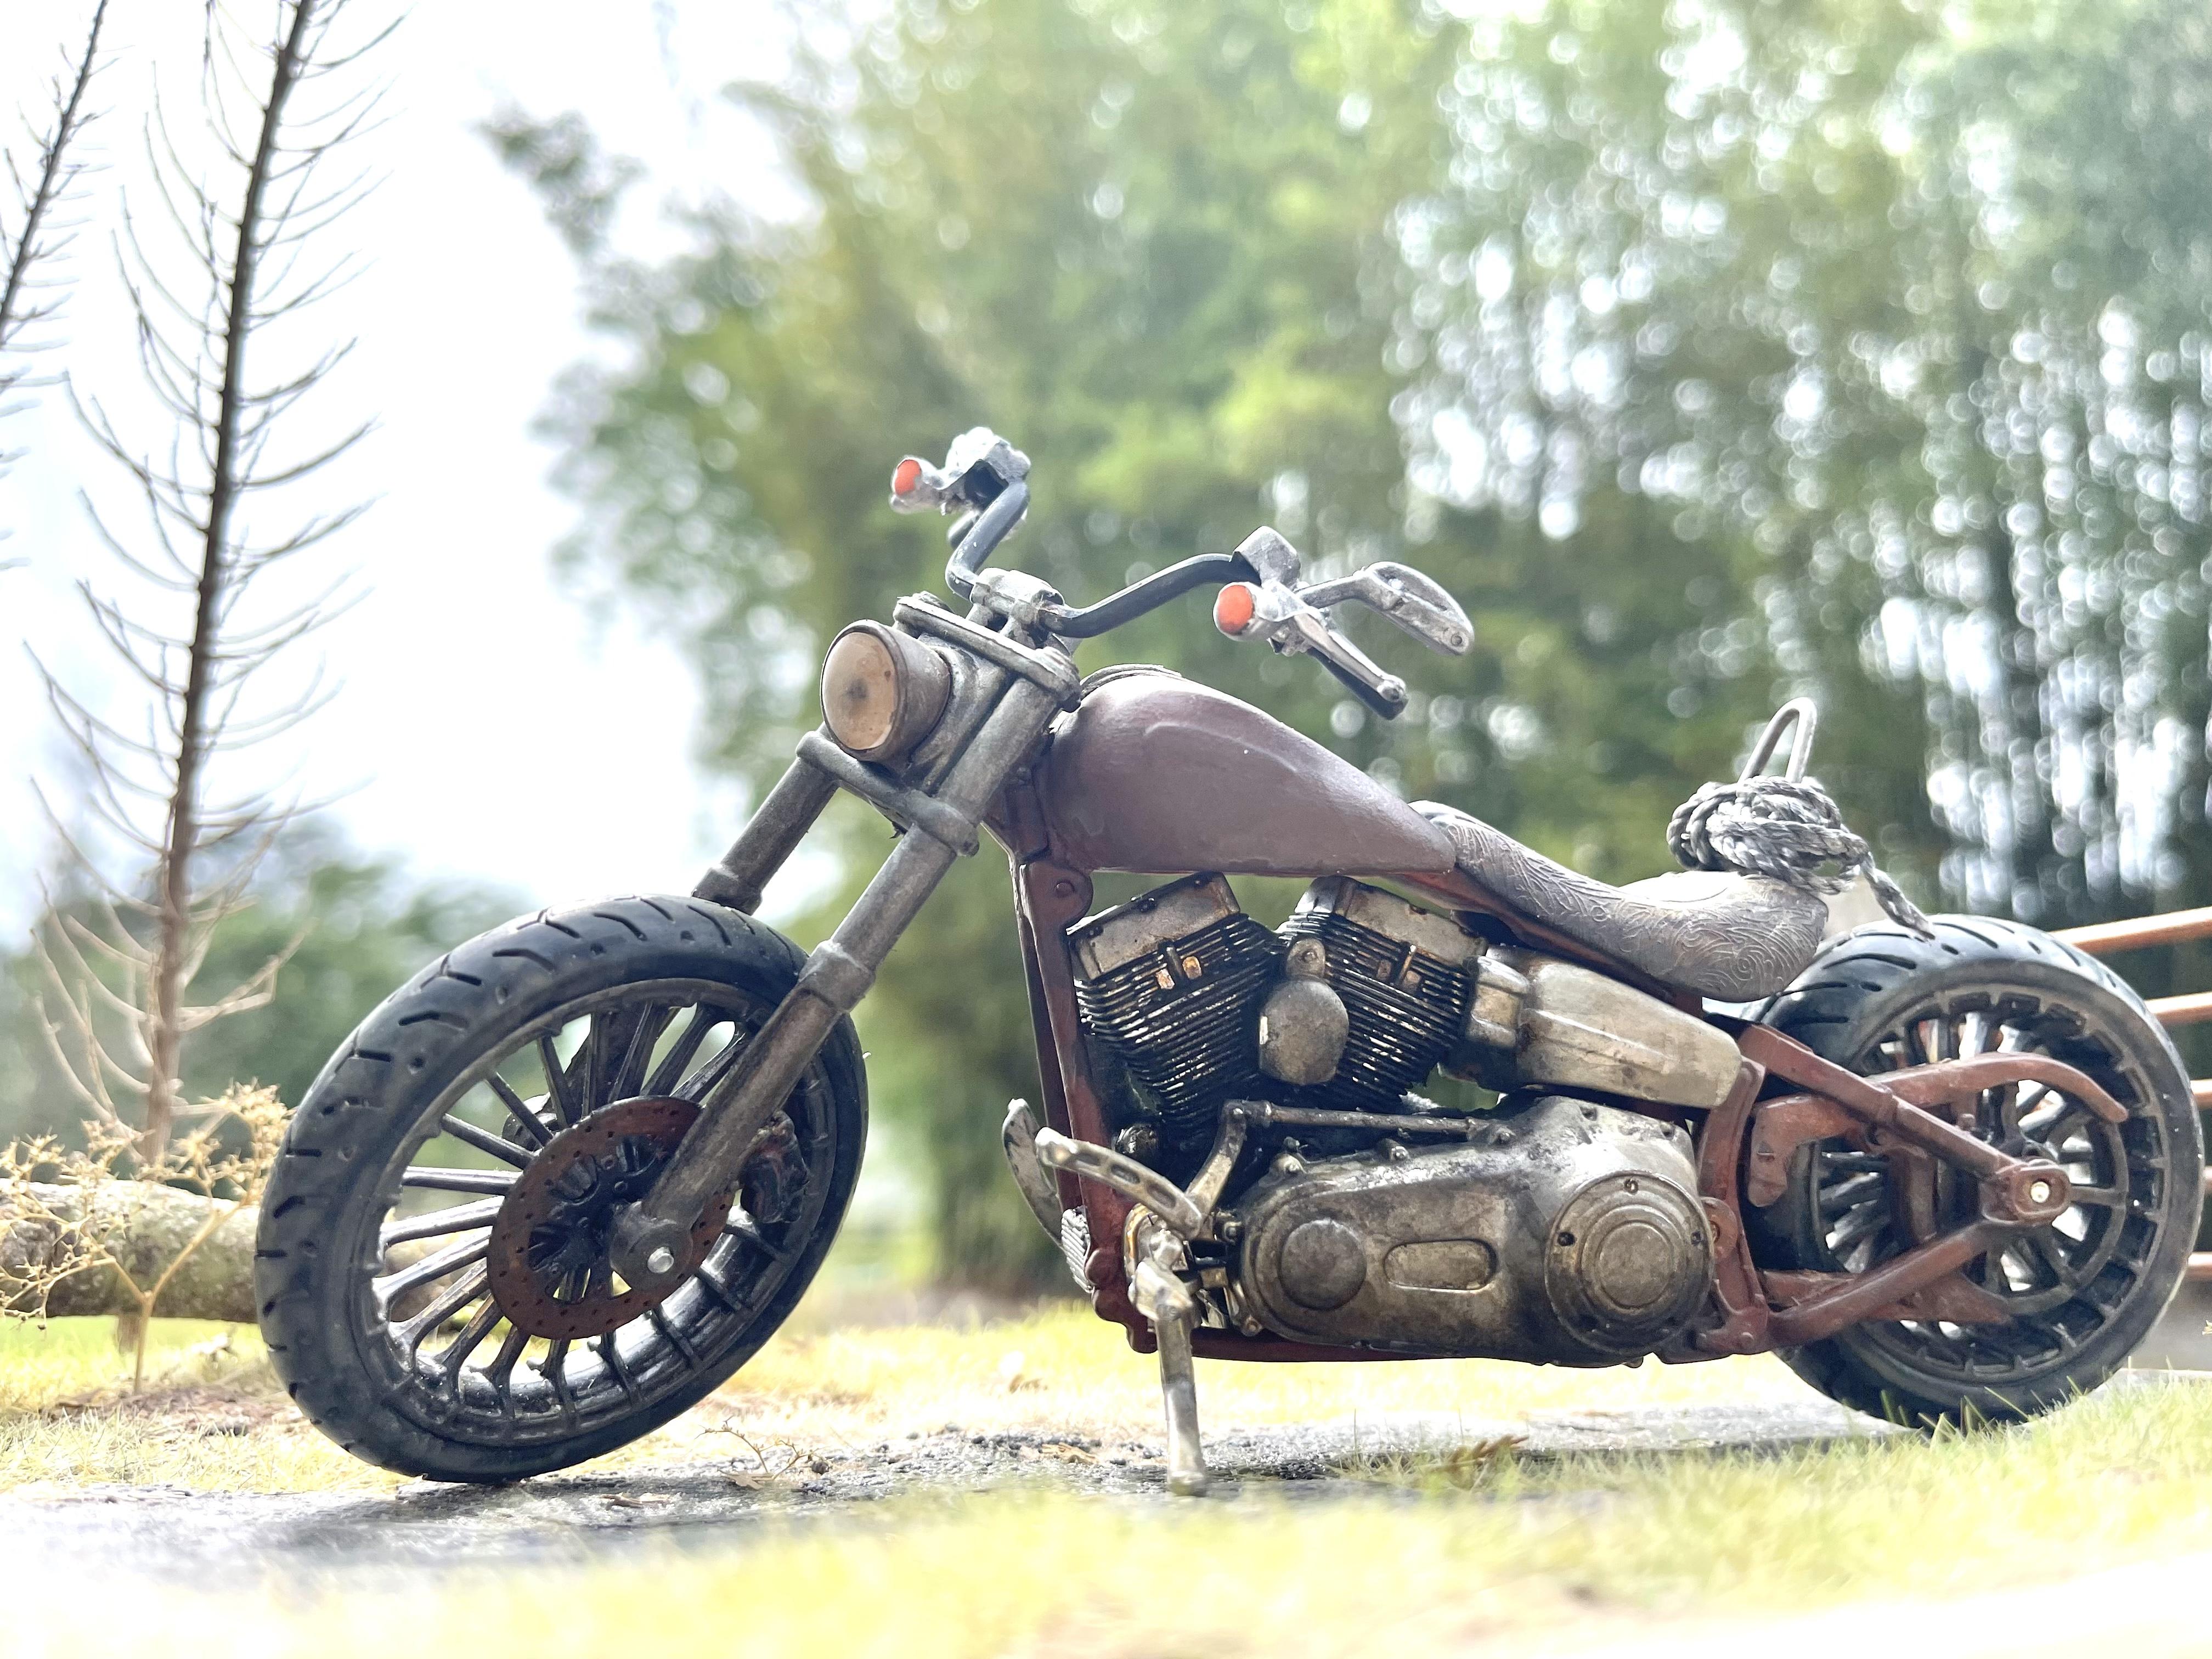
Added some rust pigment to the break disks, a wash of light rust acrylic paint (just a wash) and dusted lightly with metal.
-
Thank you.
-
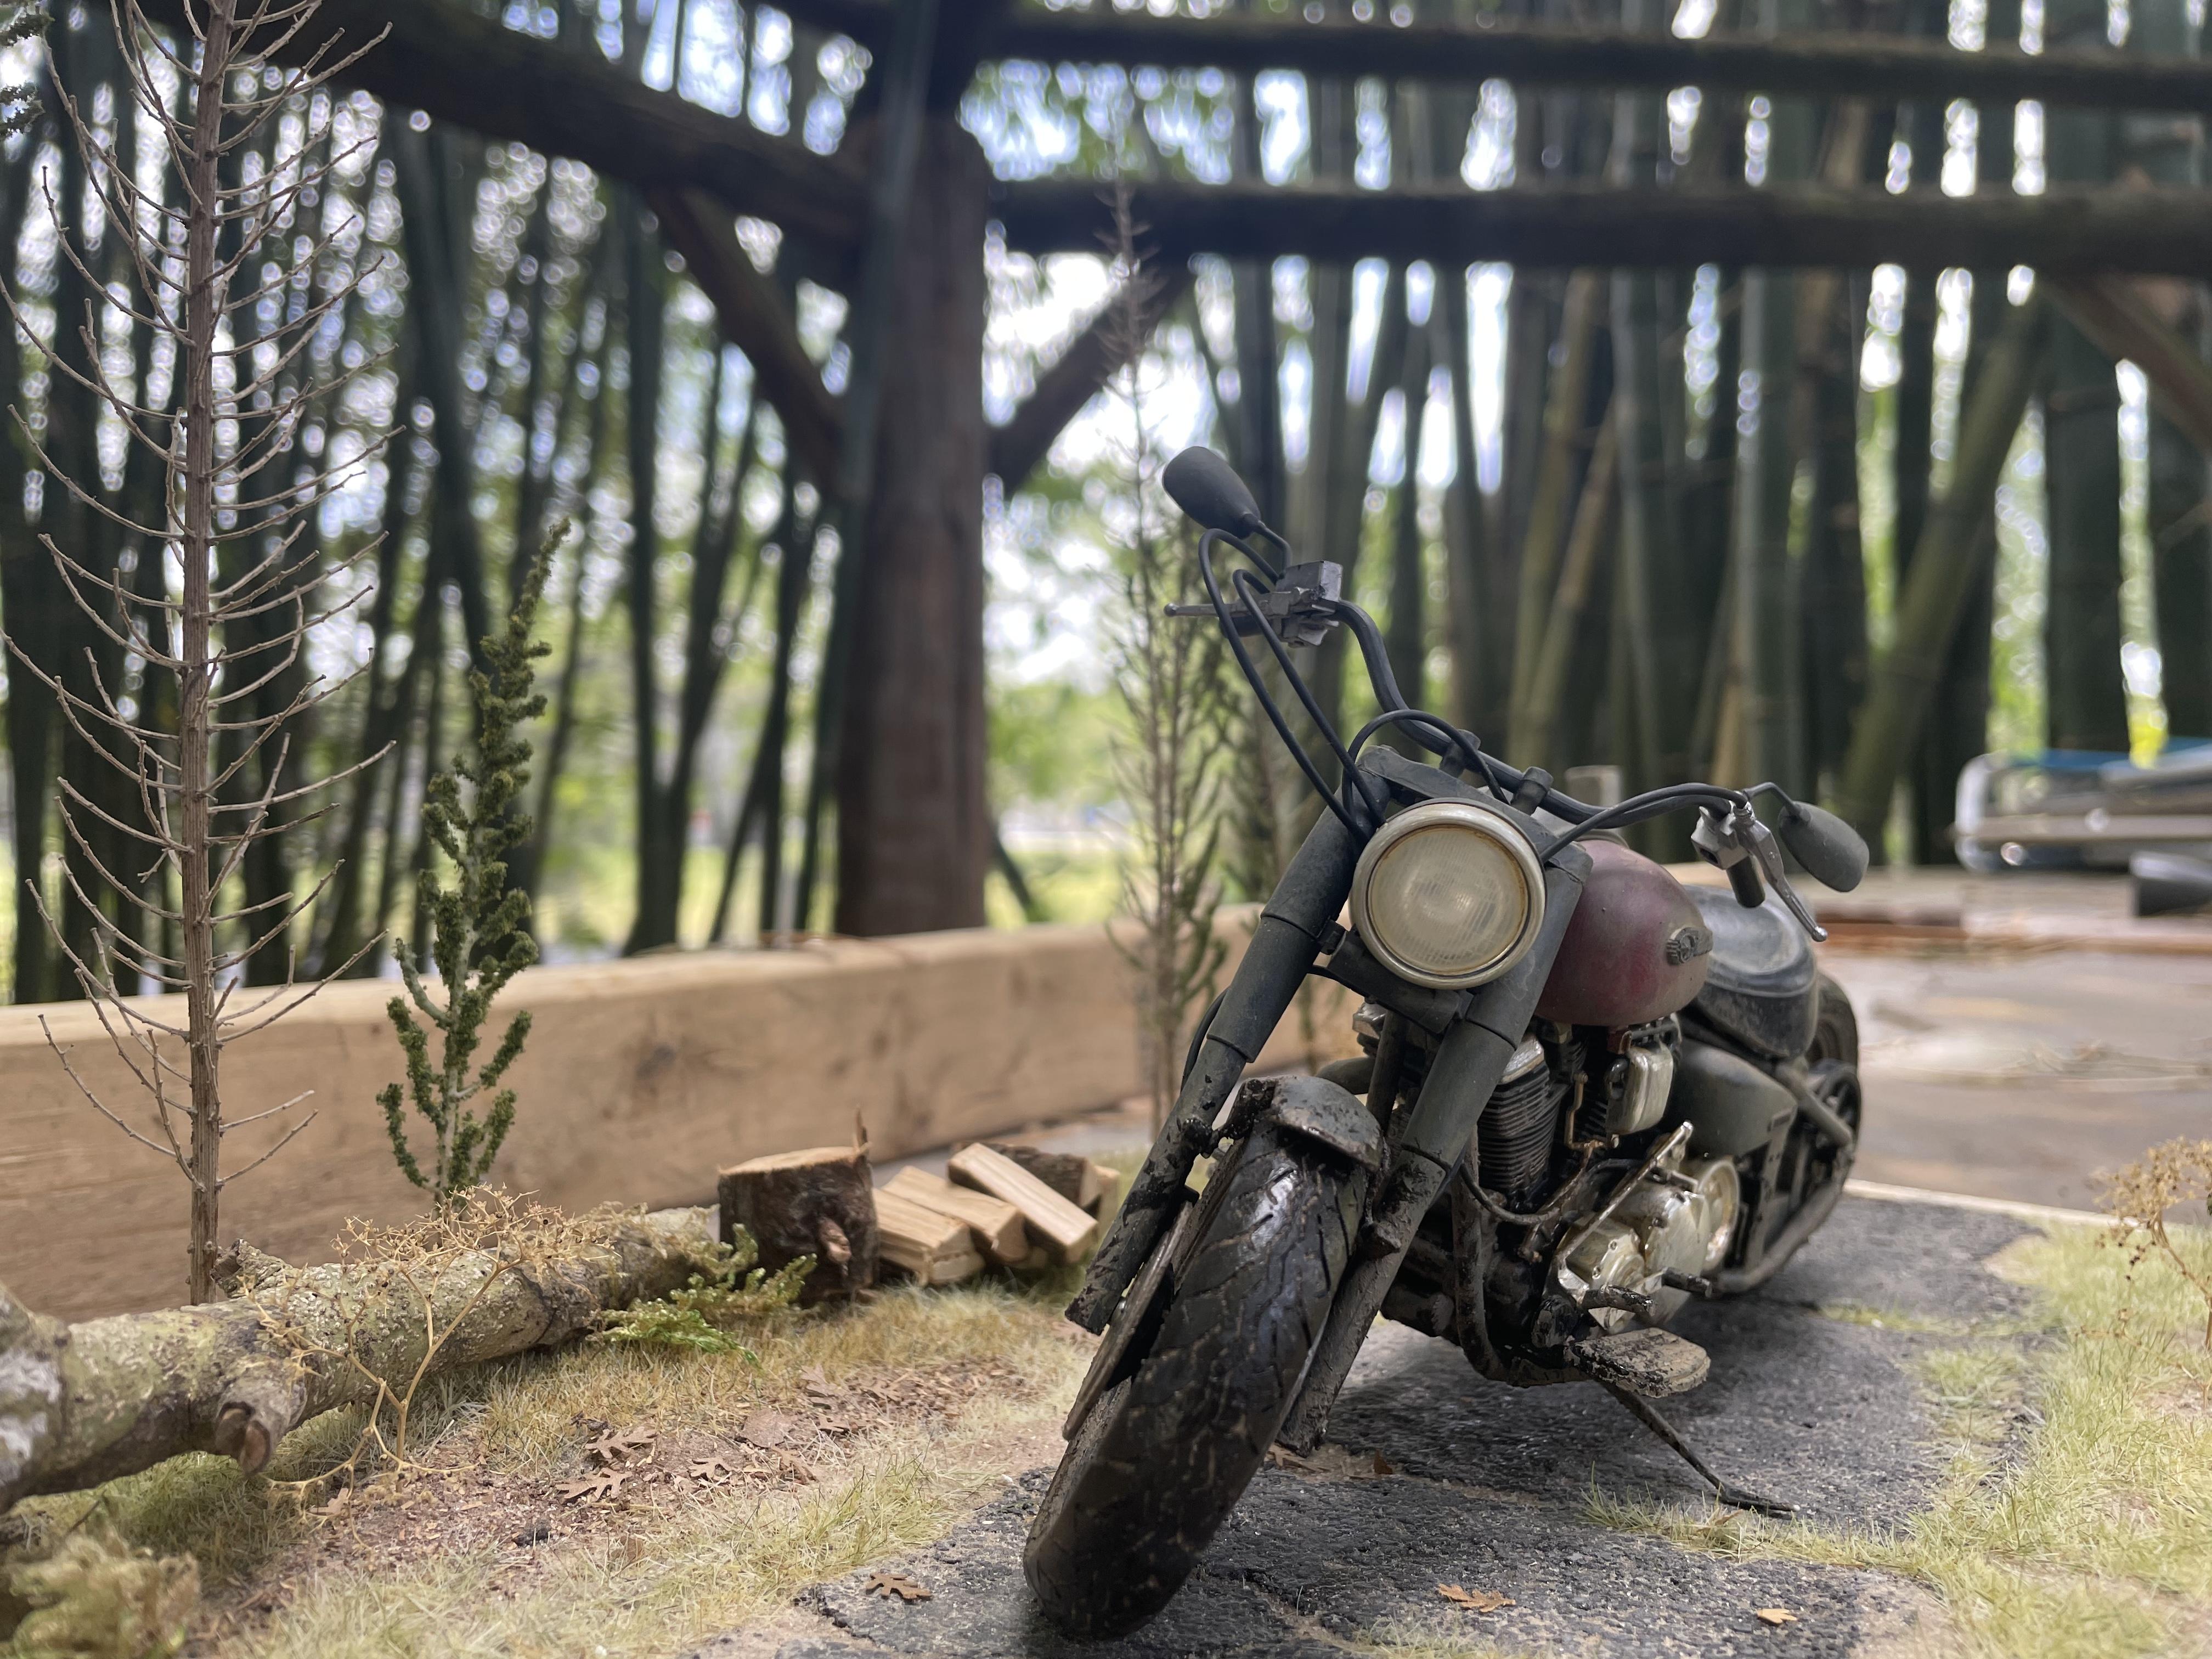
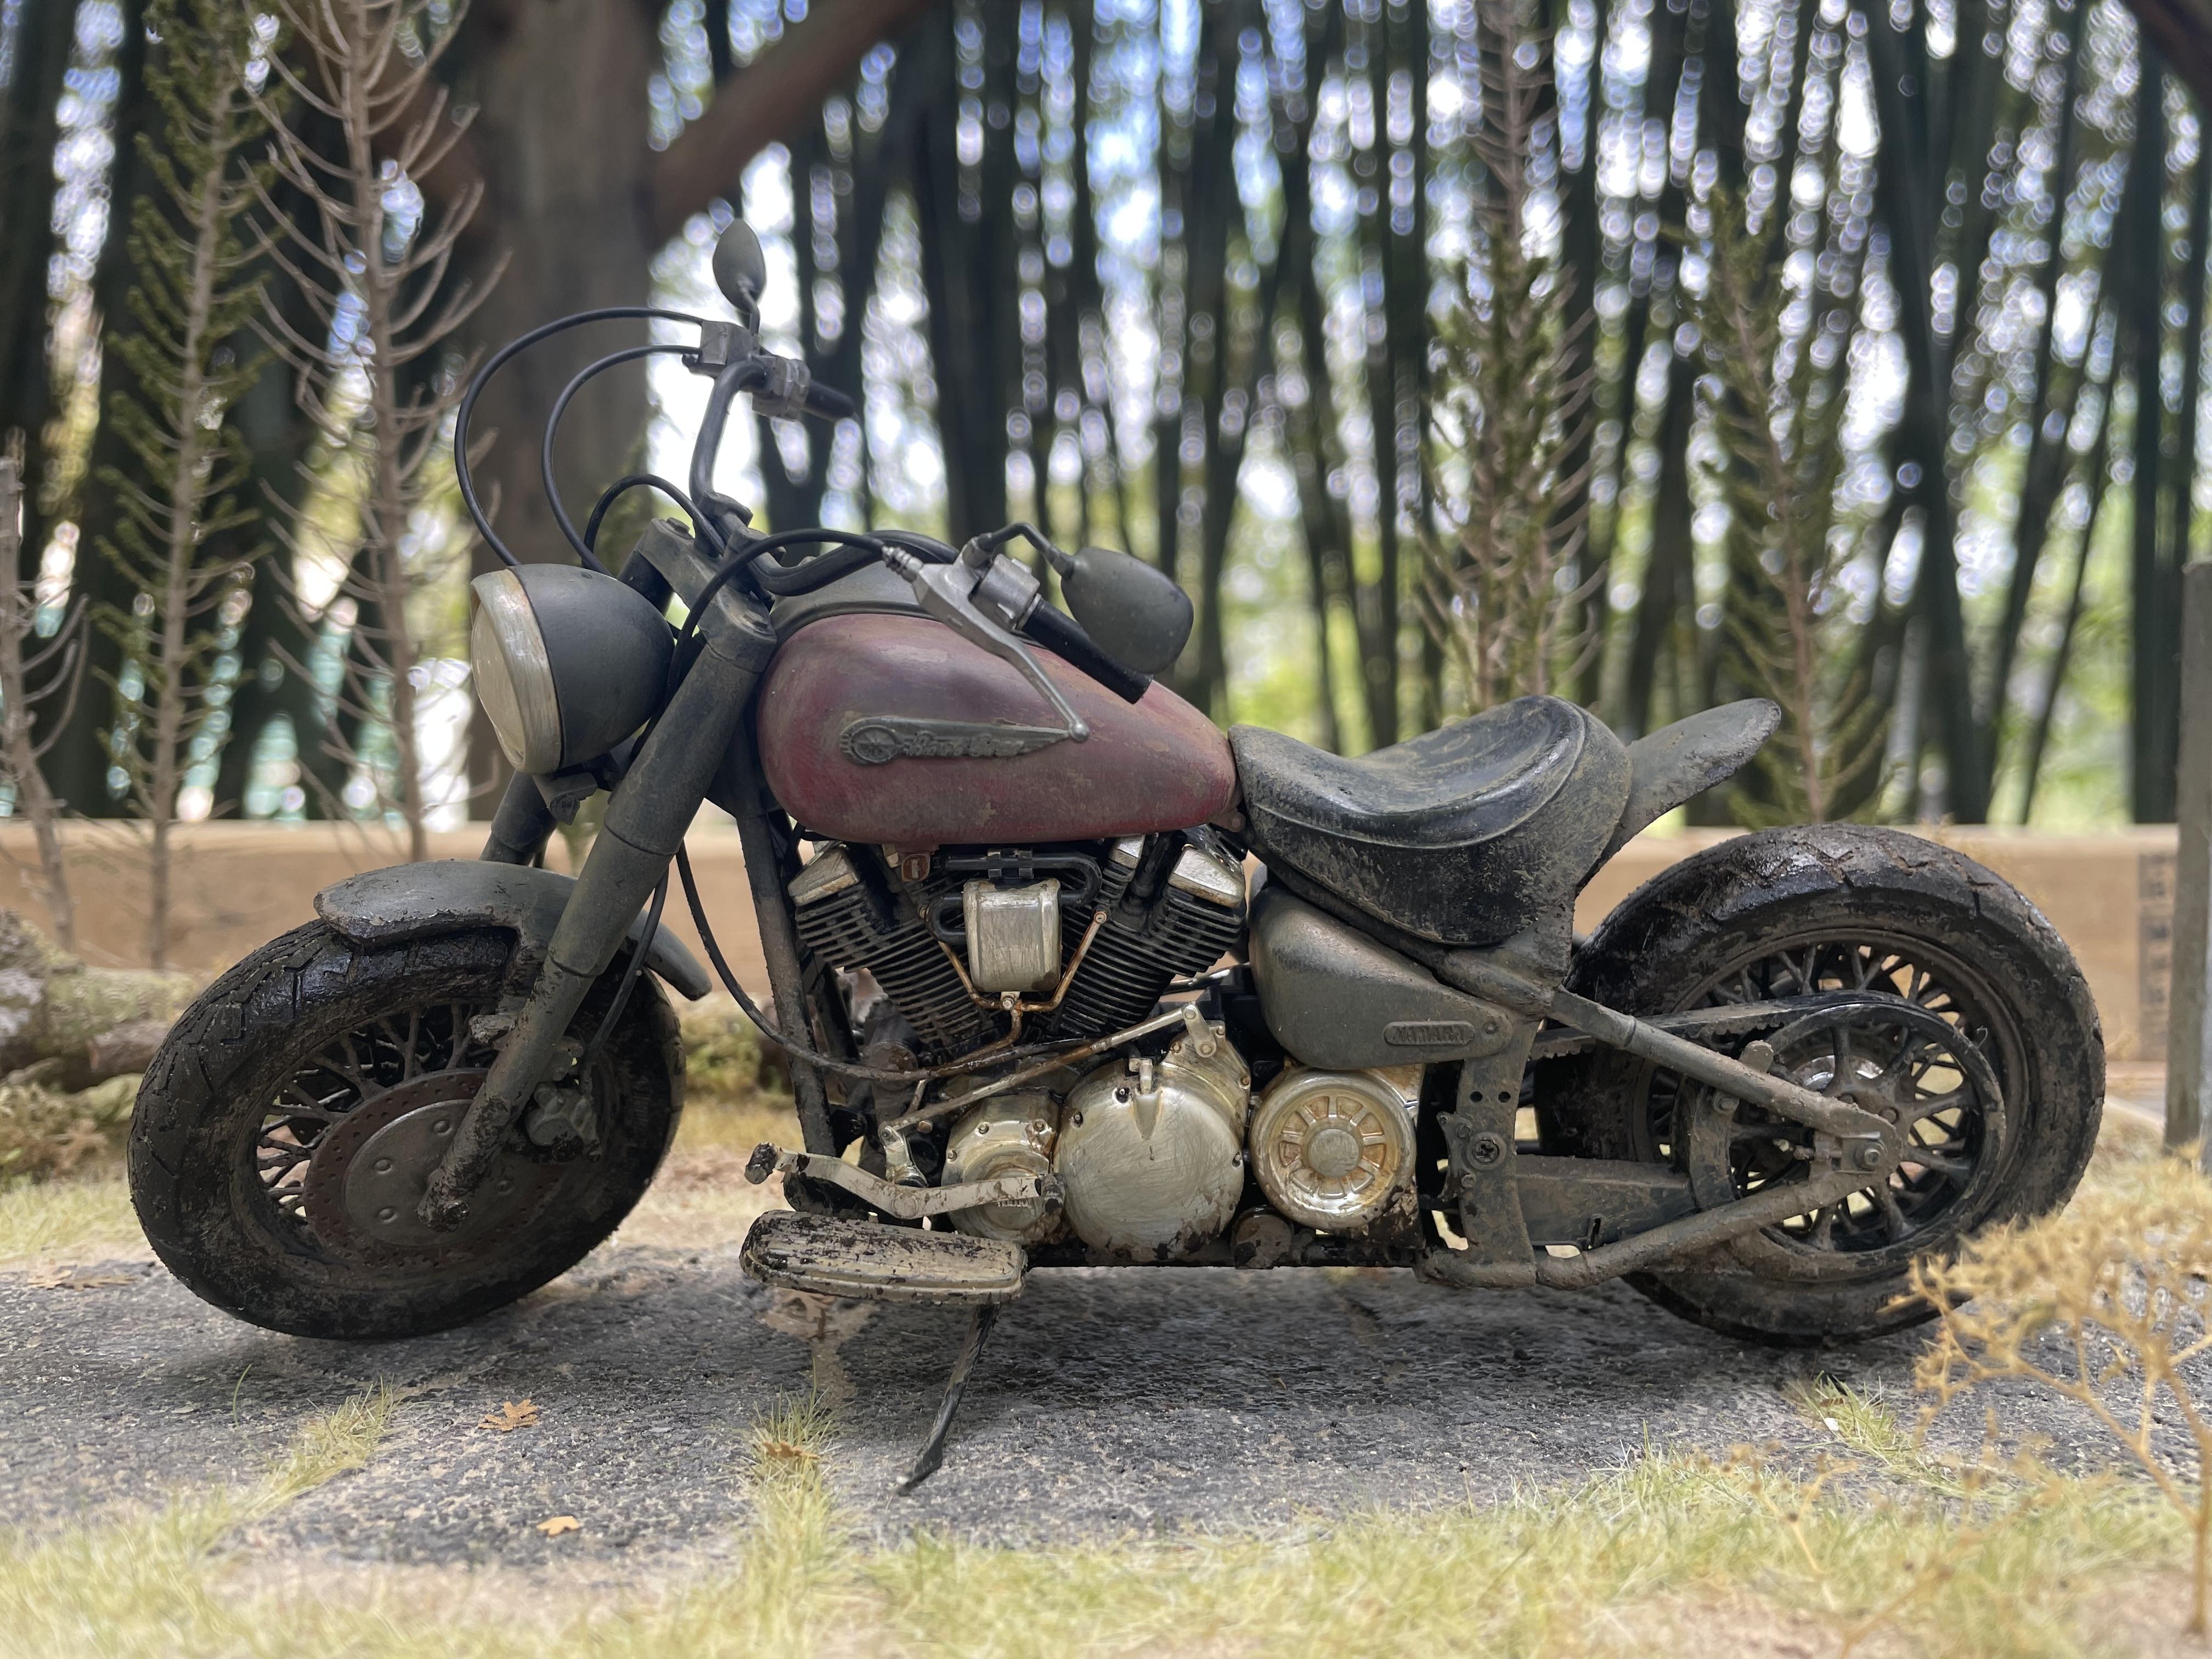
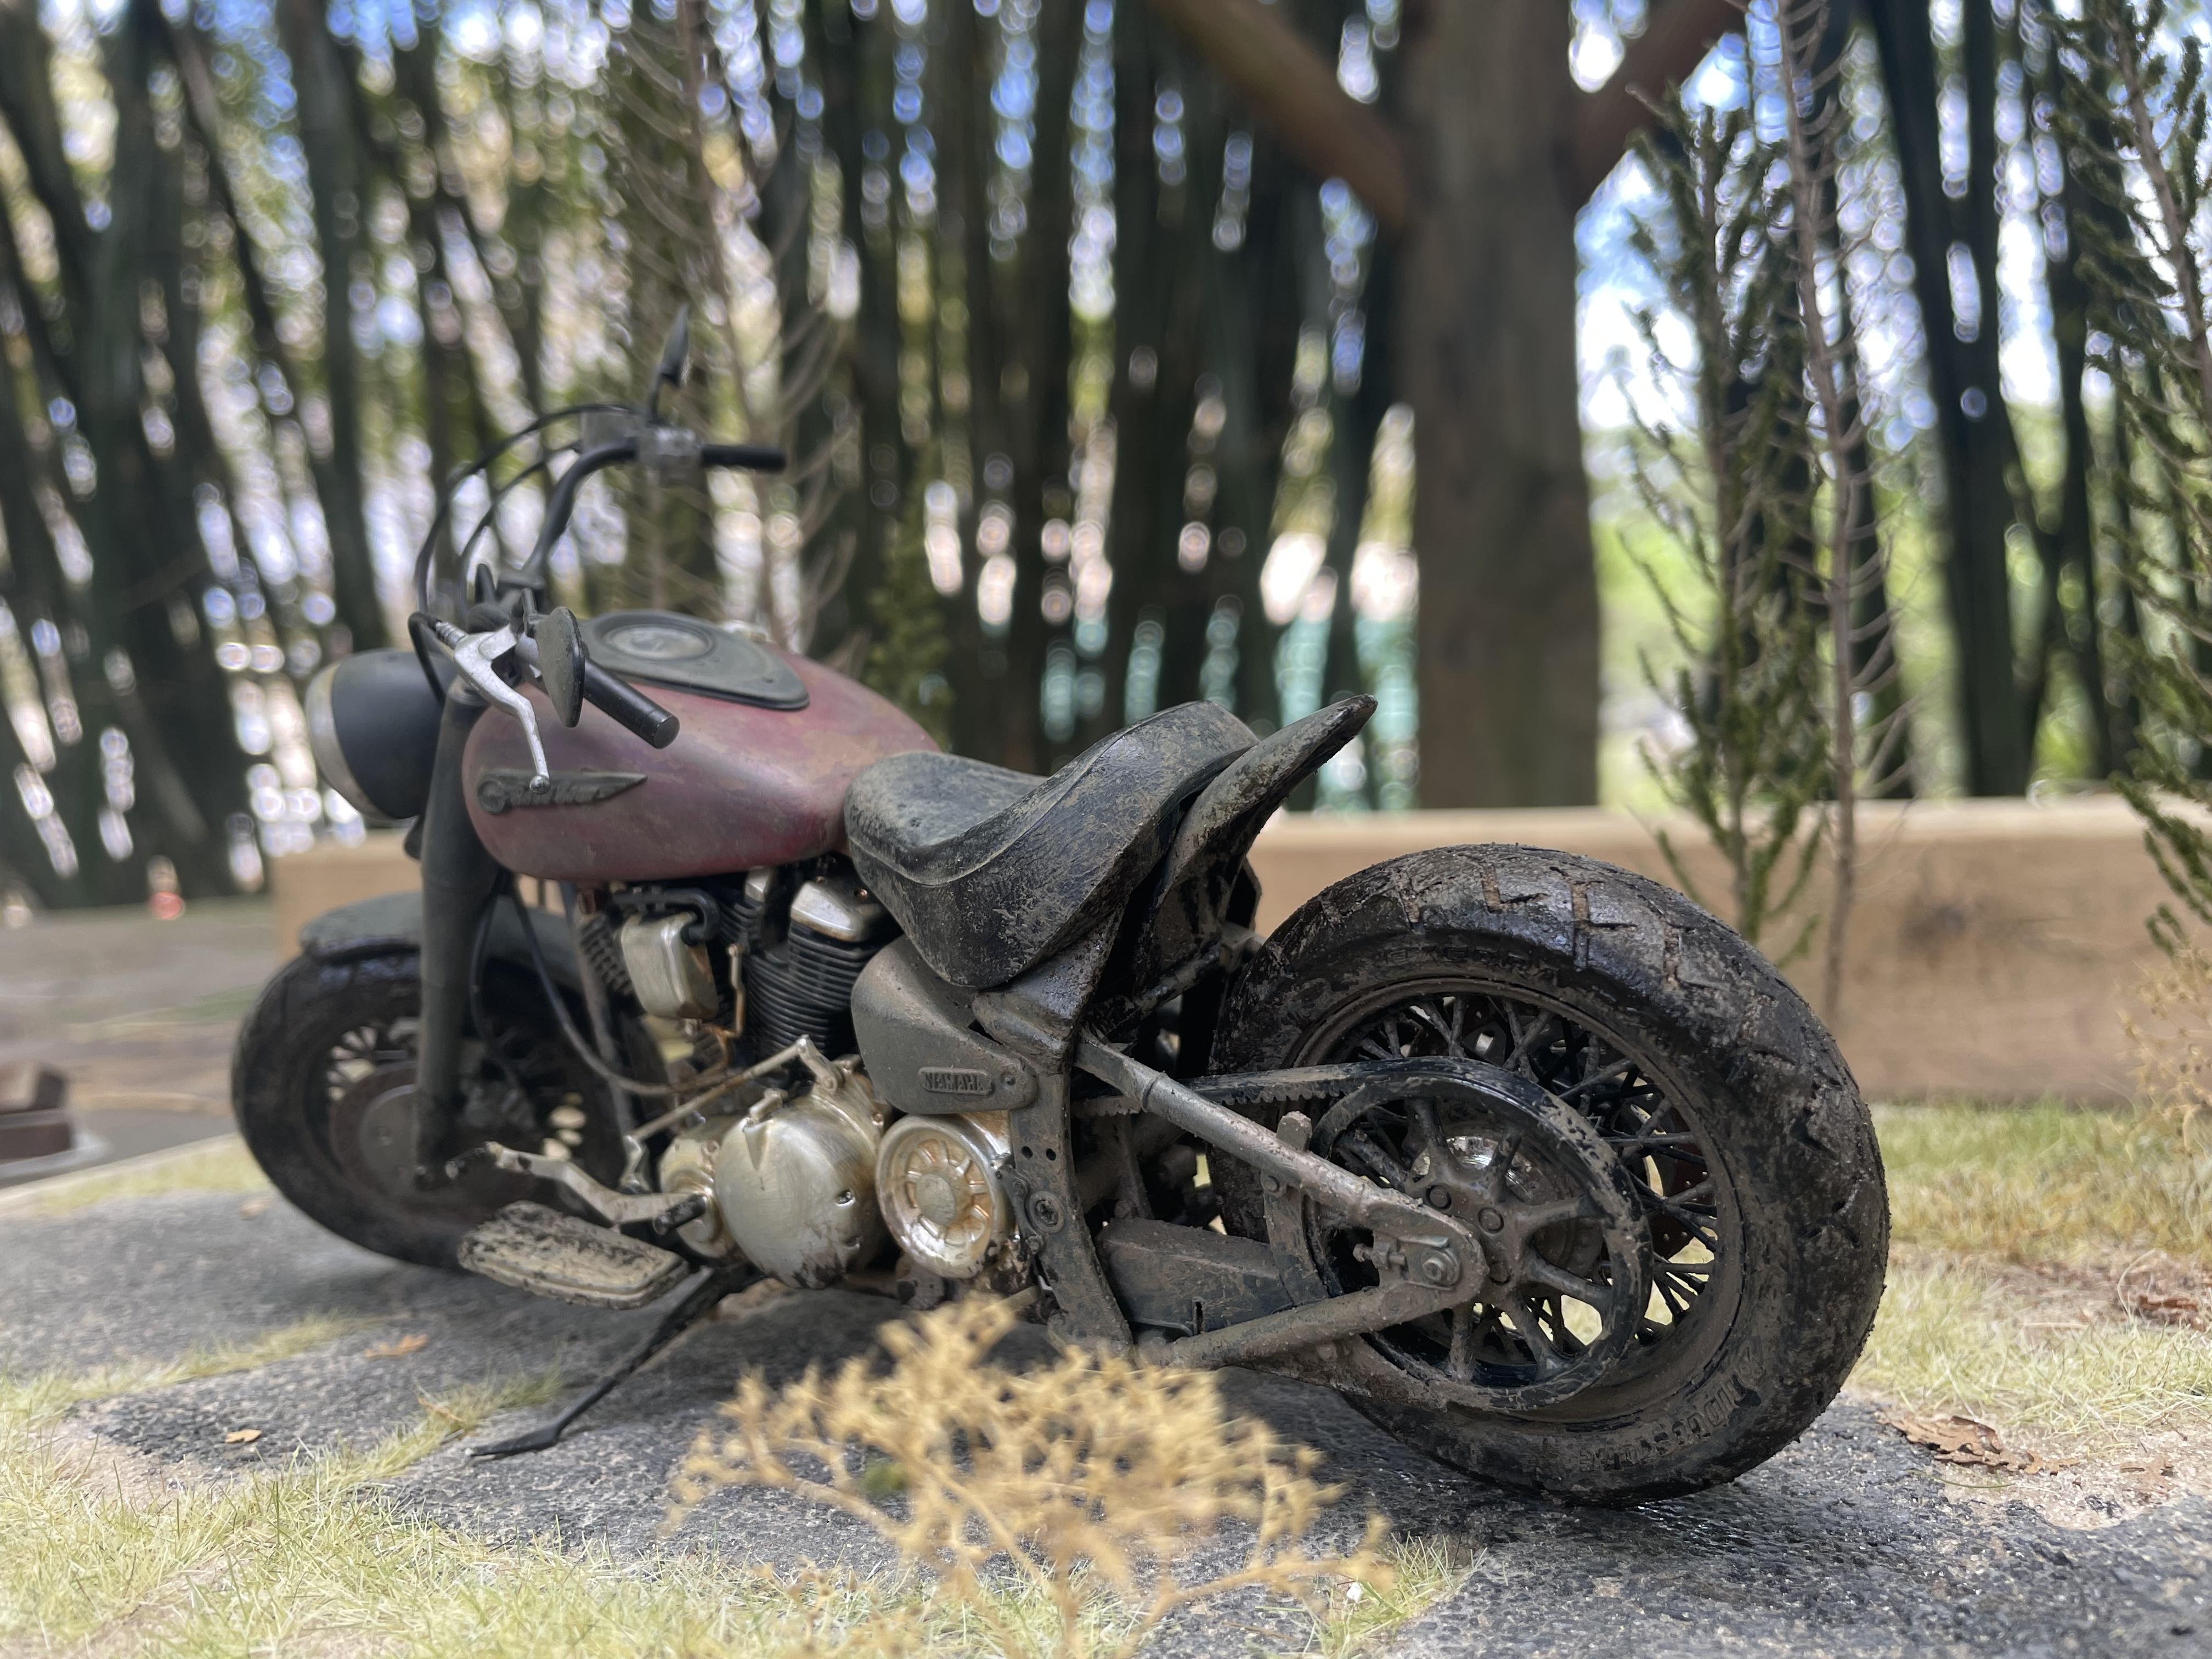
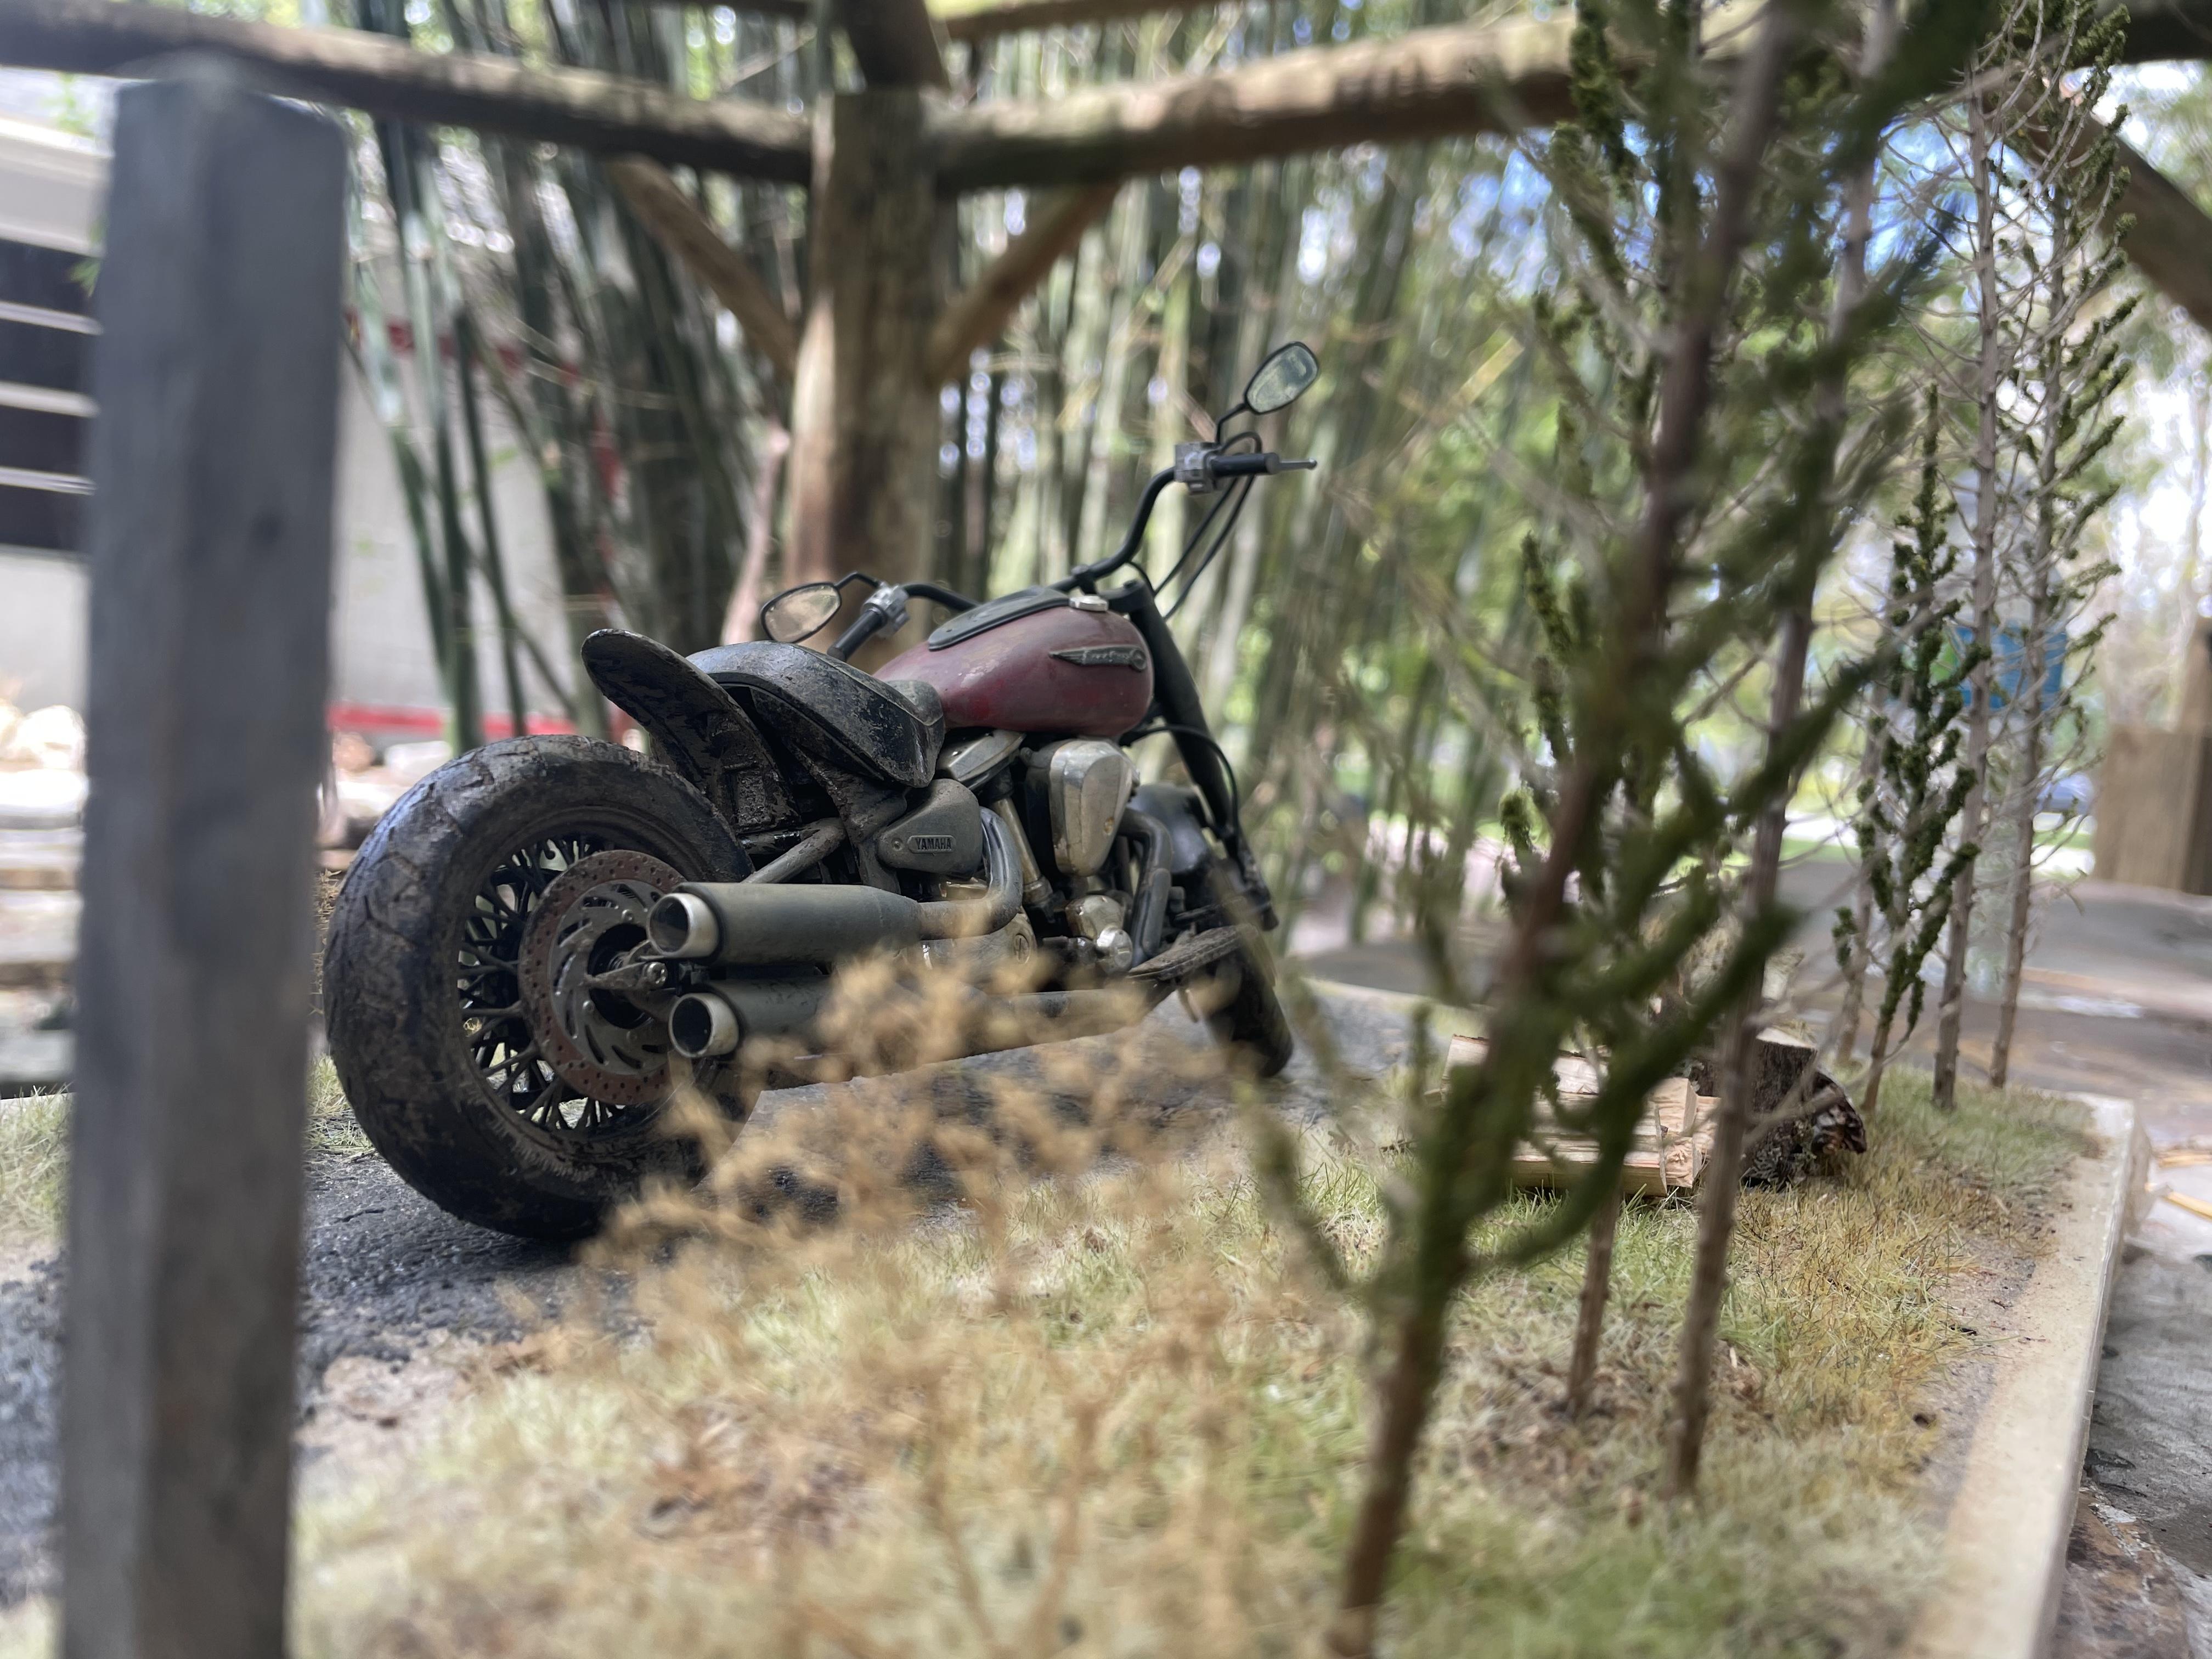
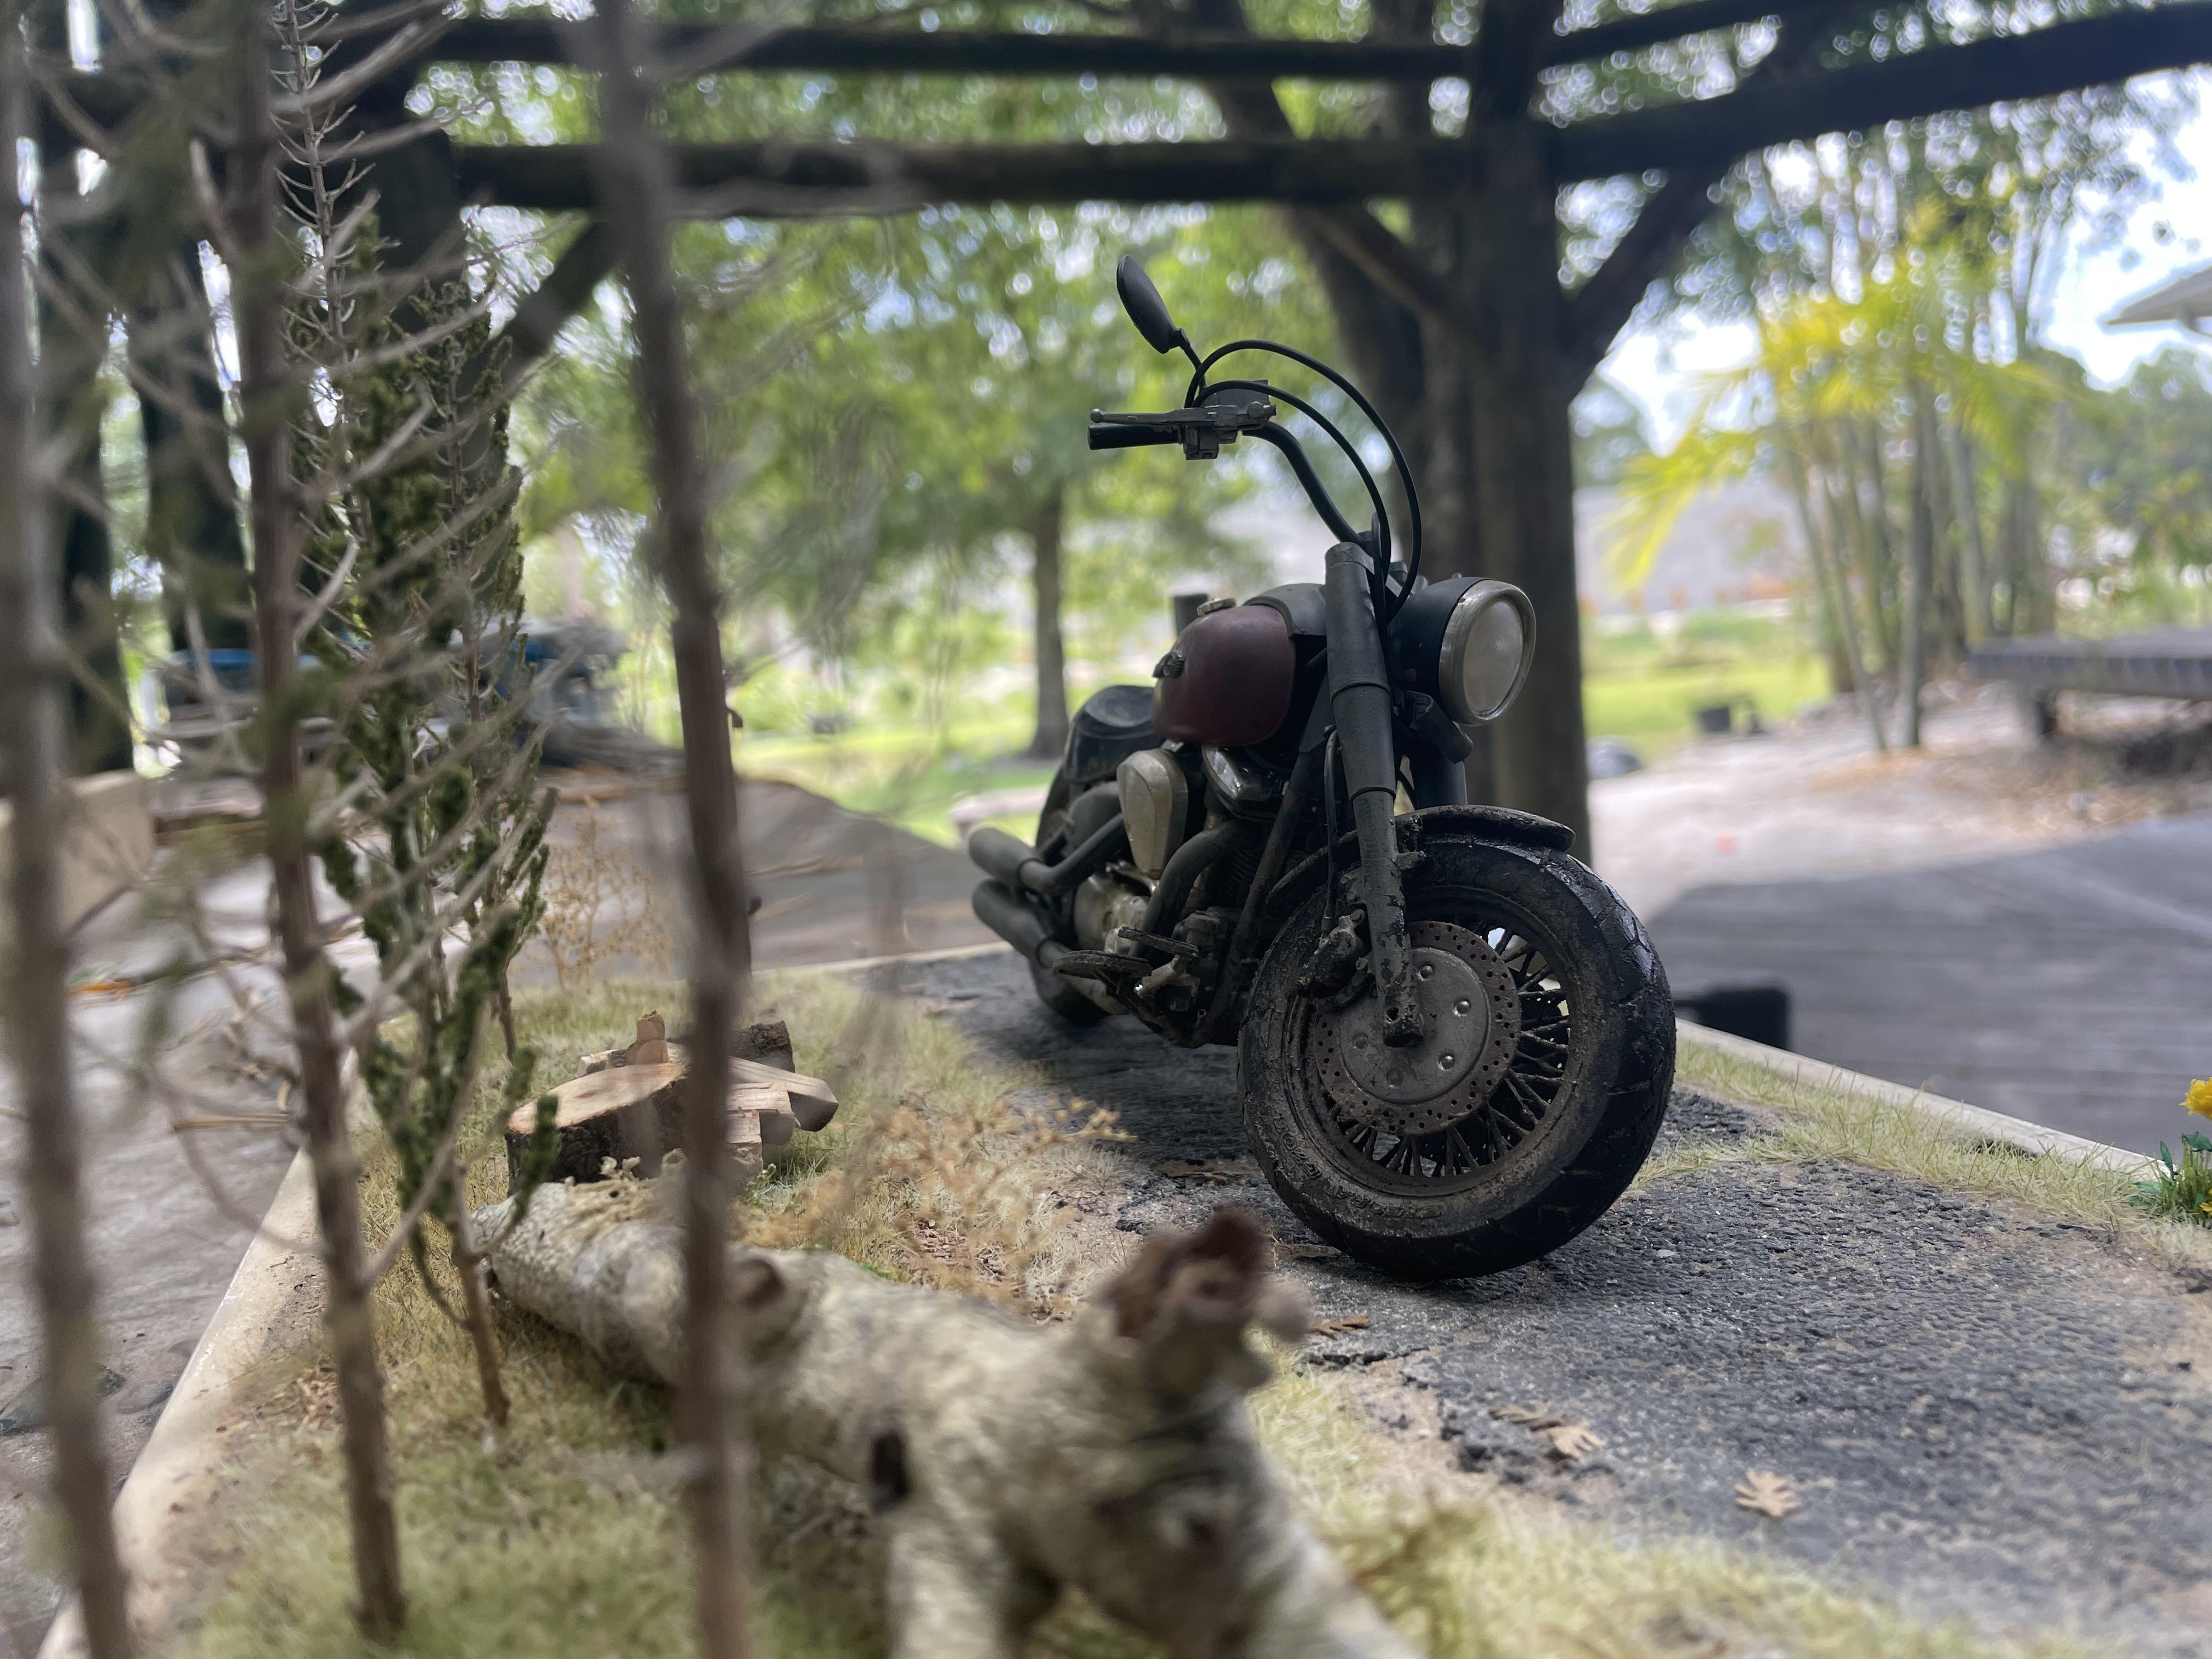
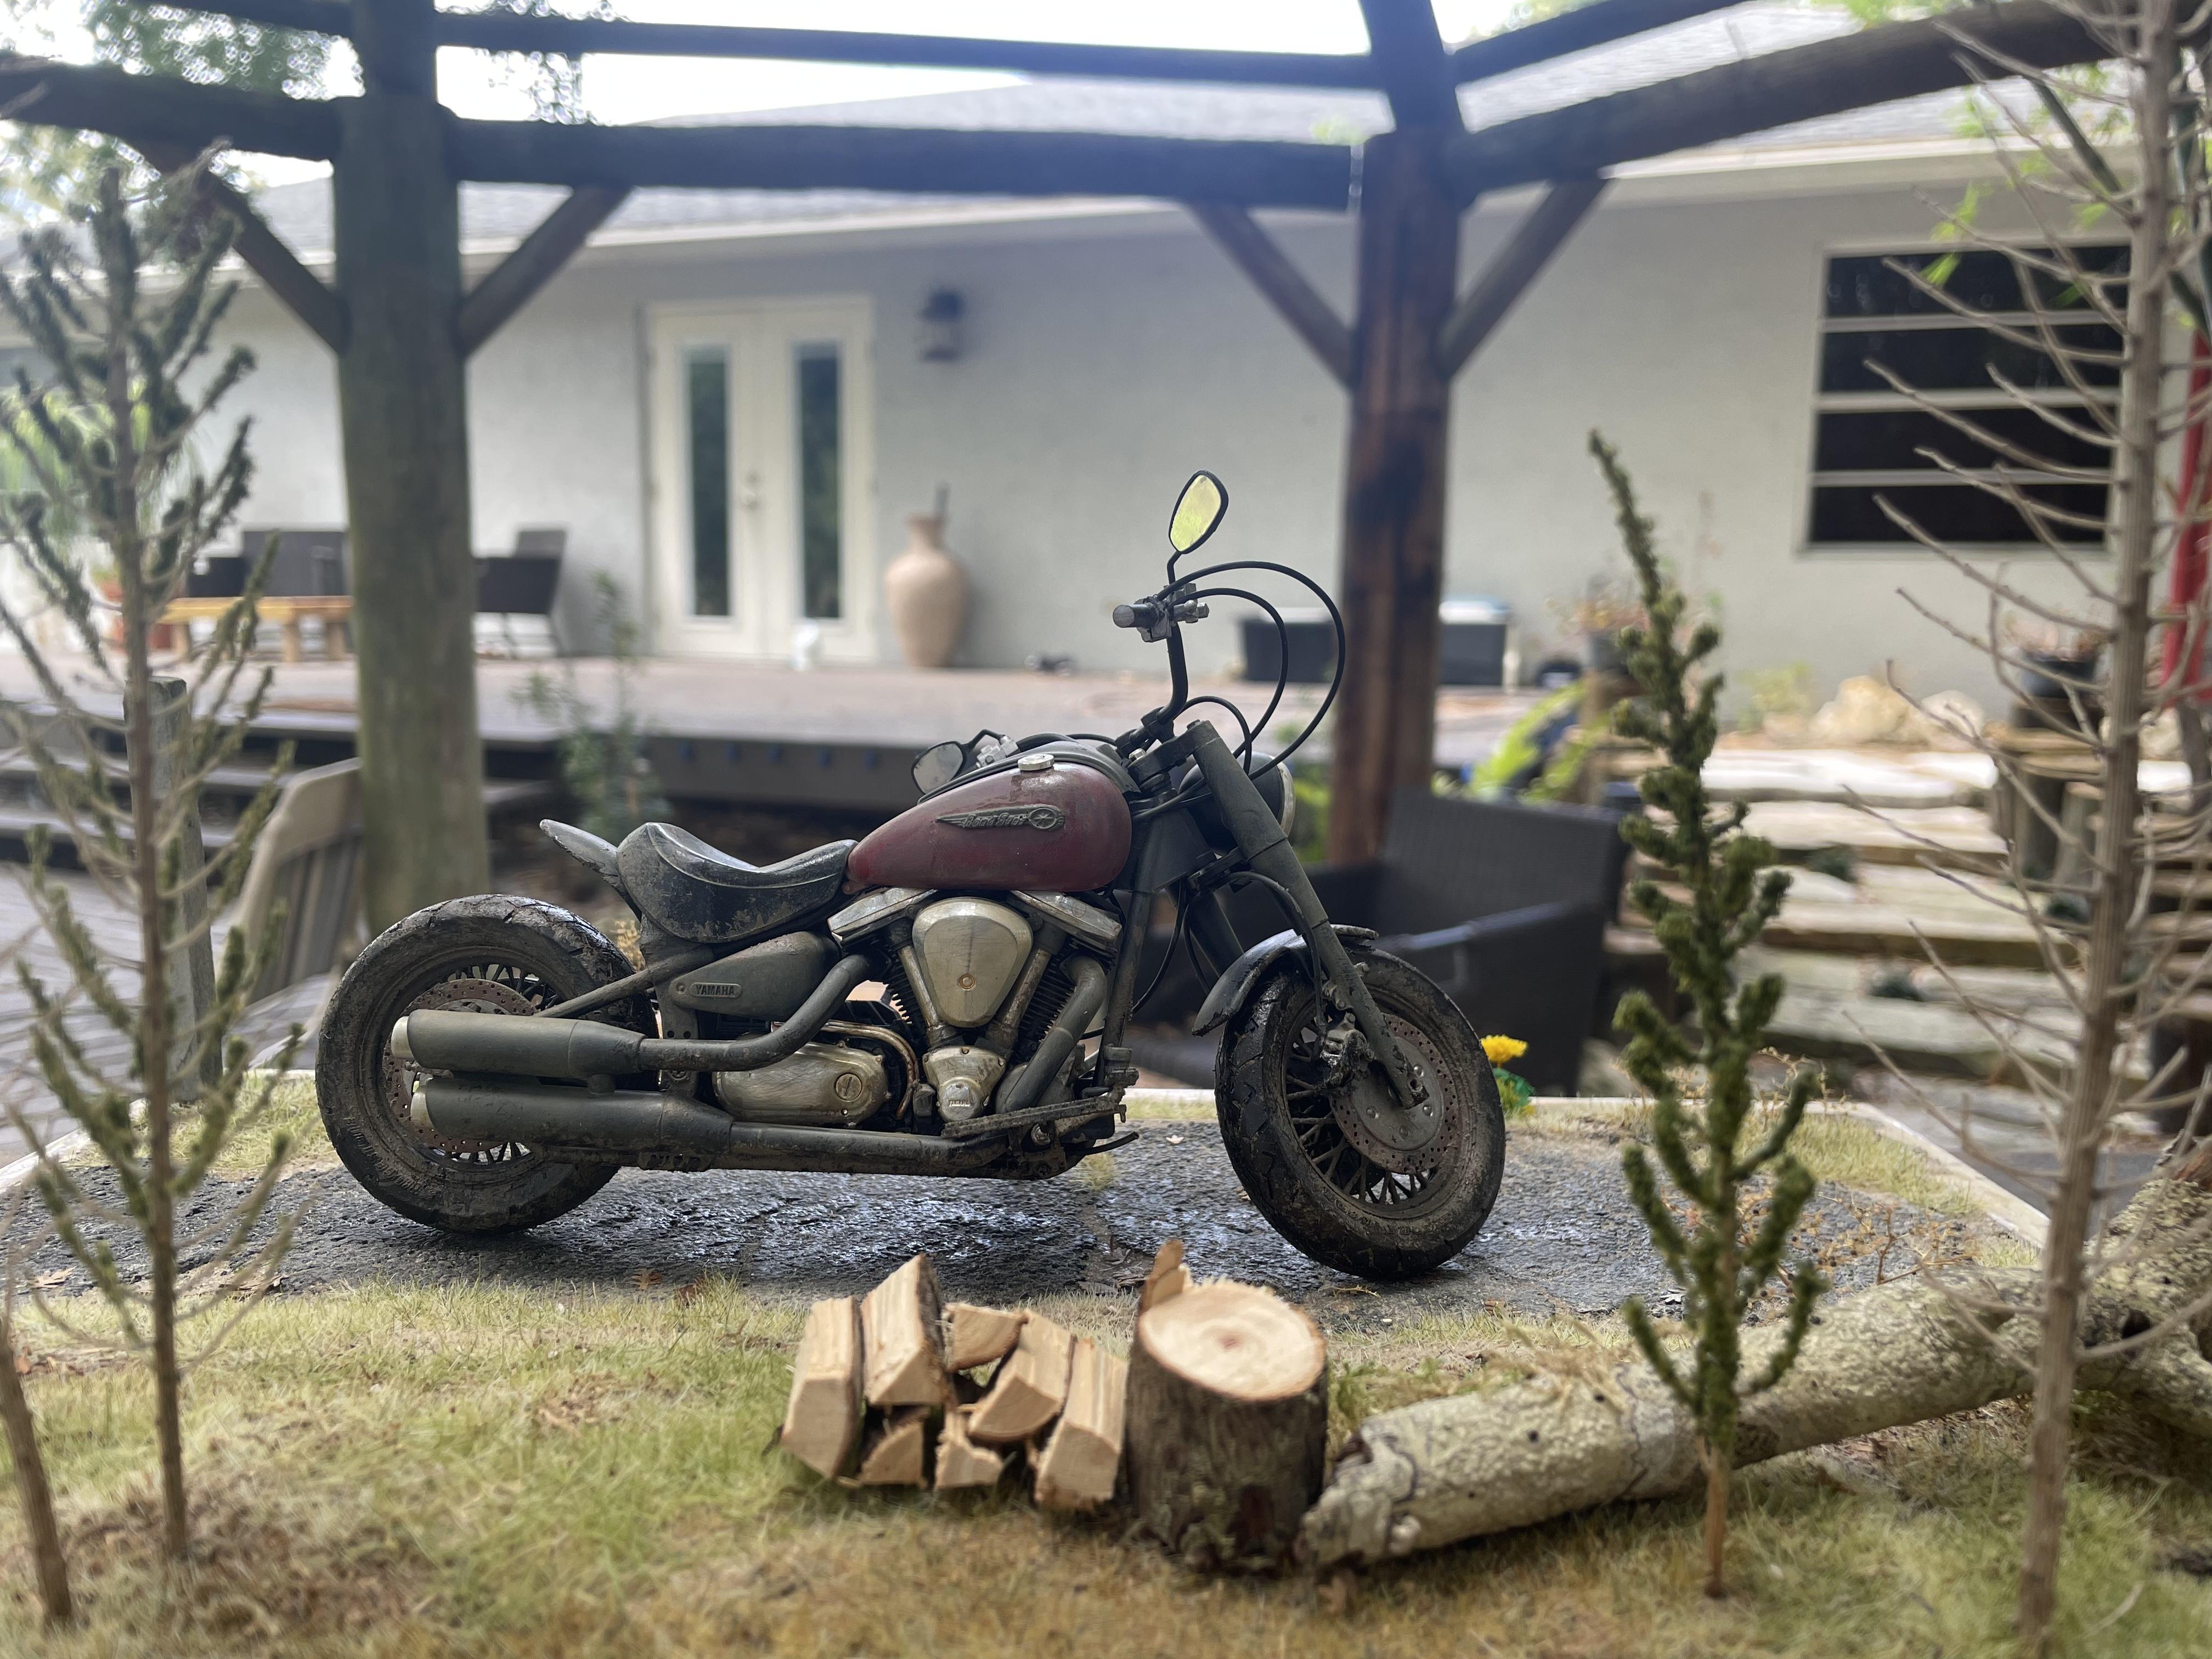
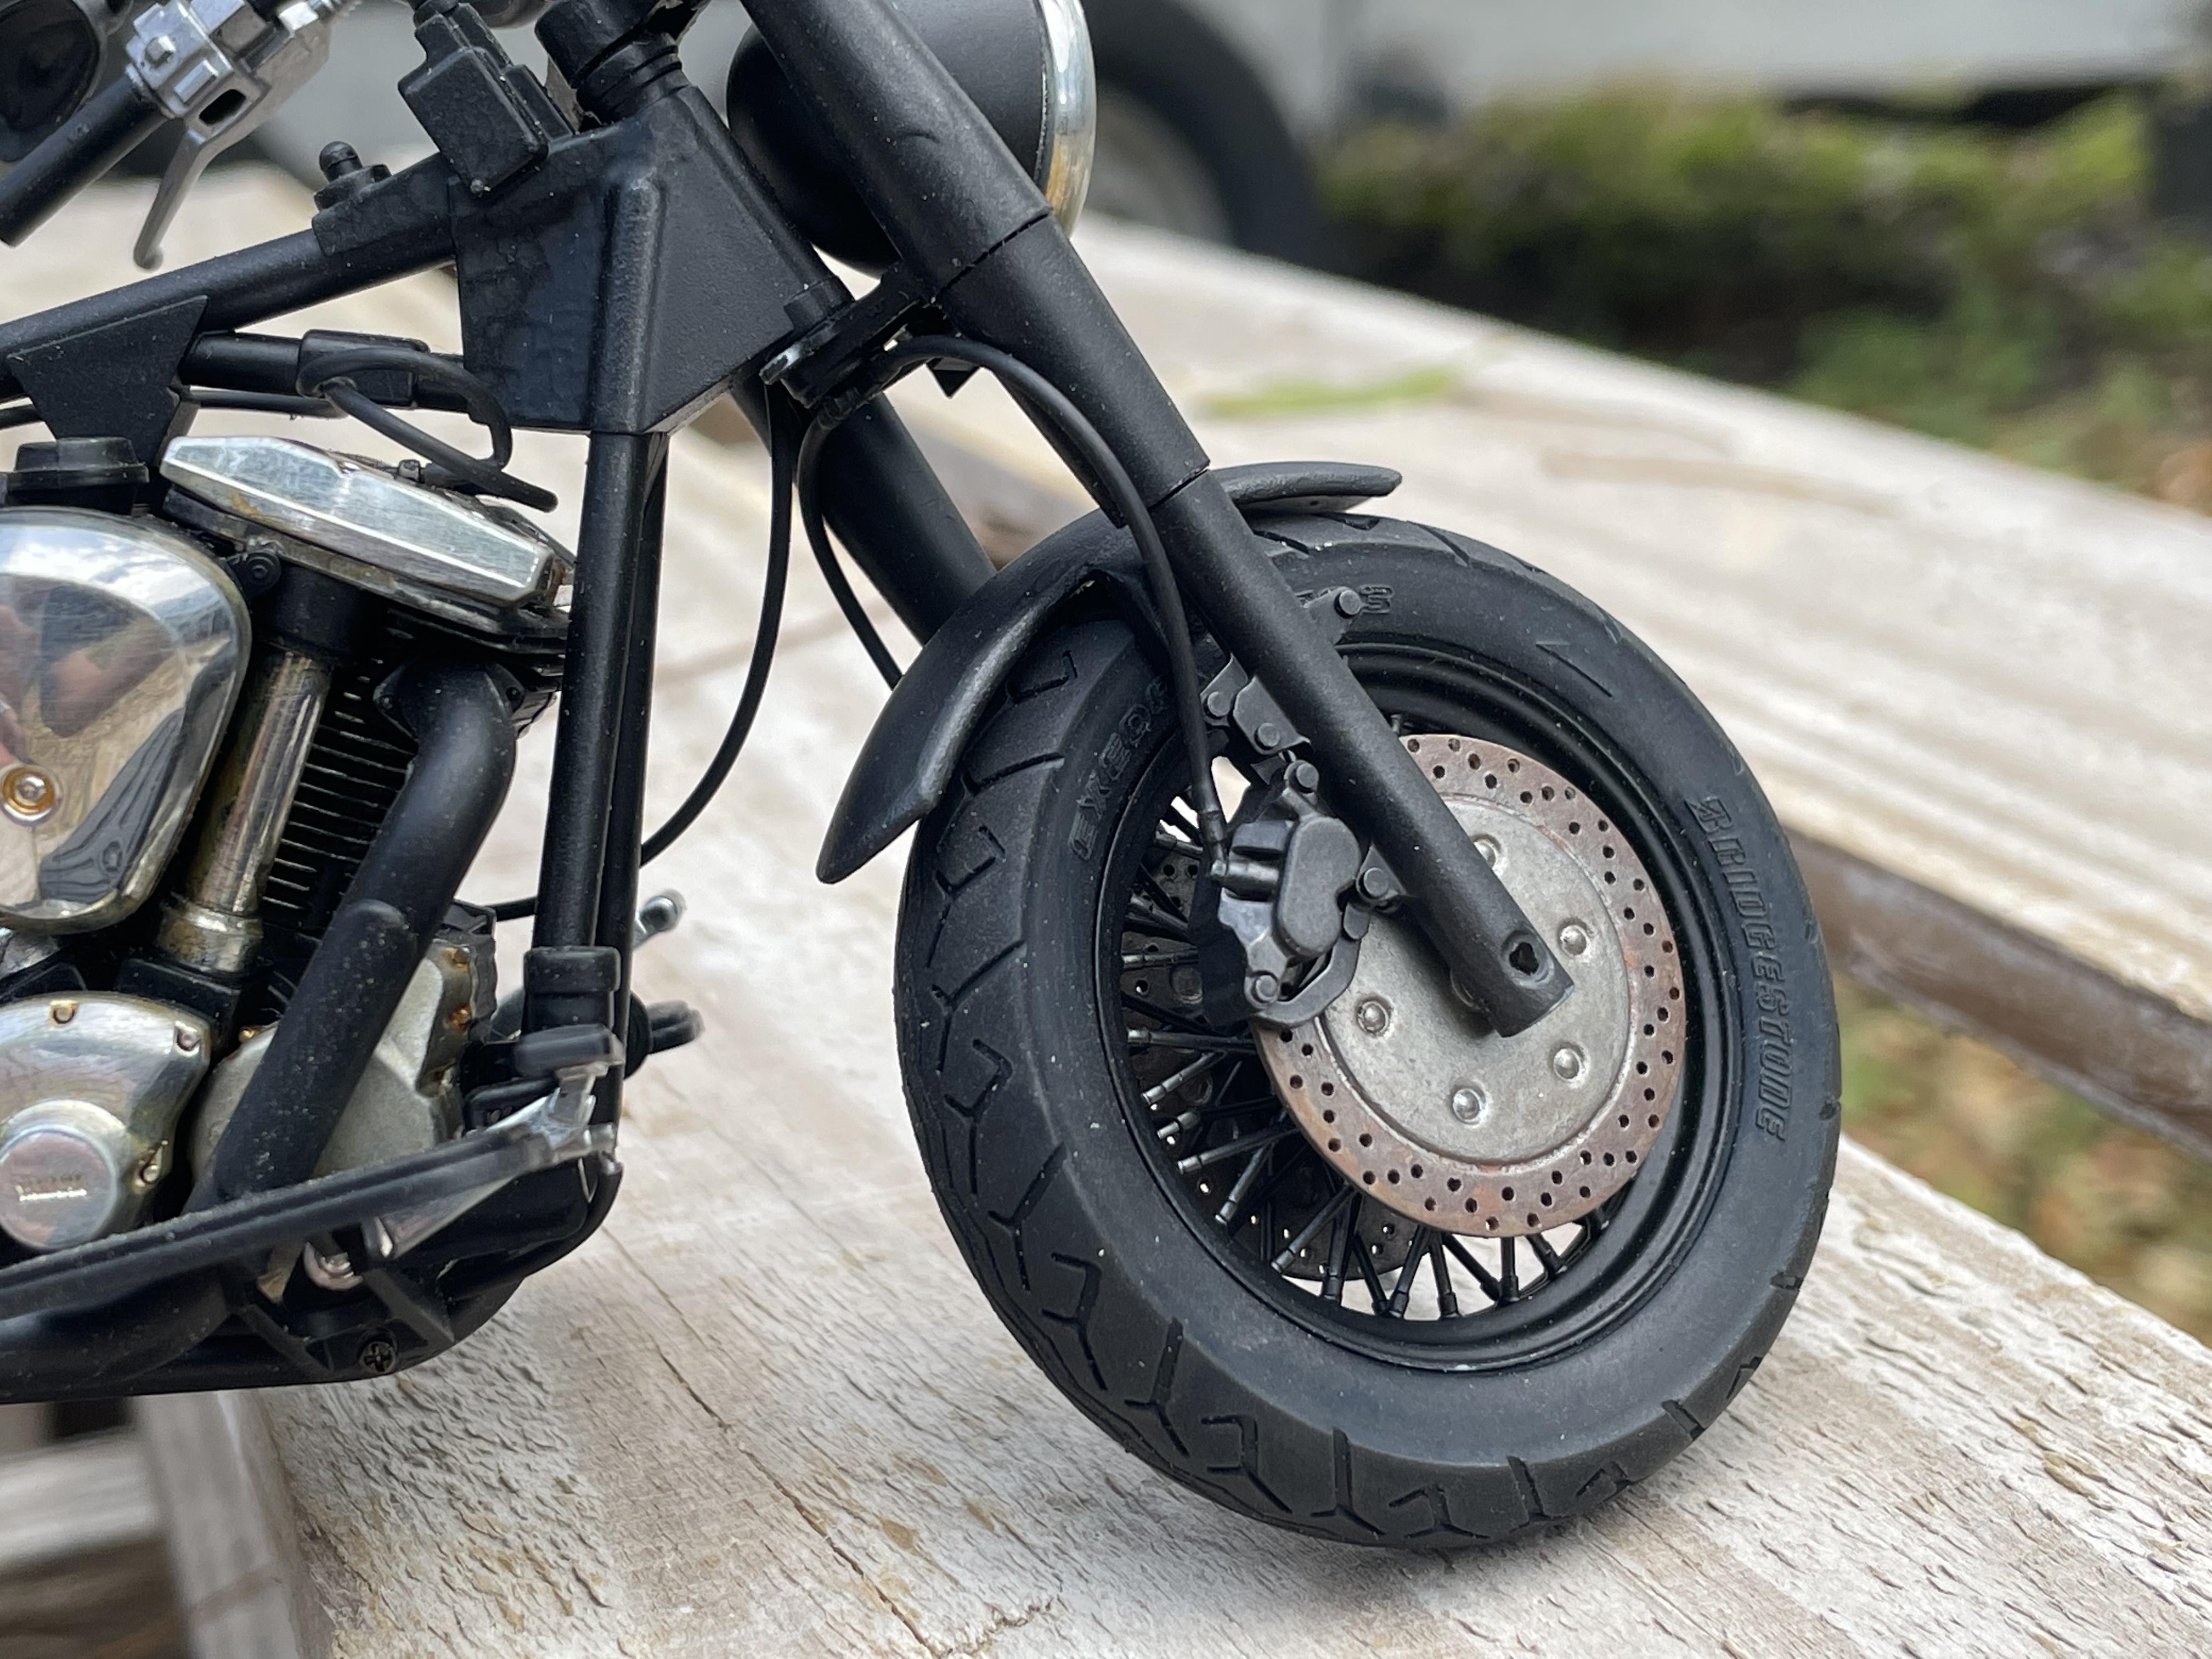
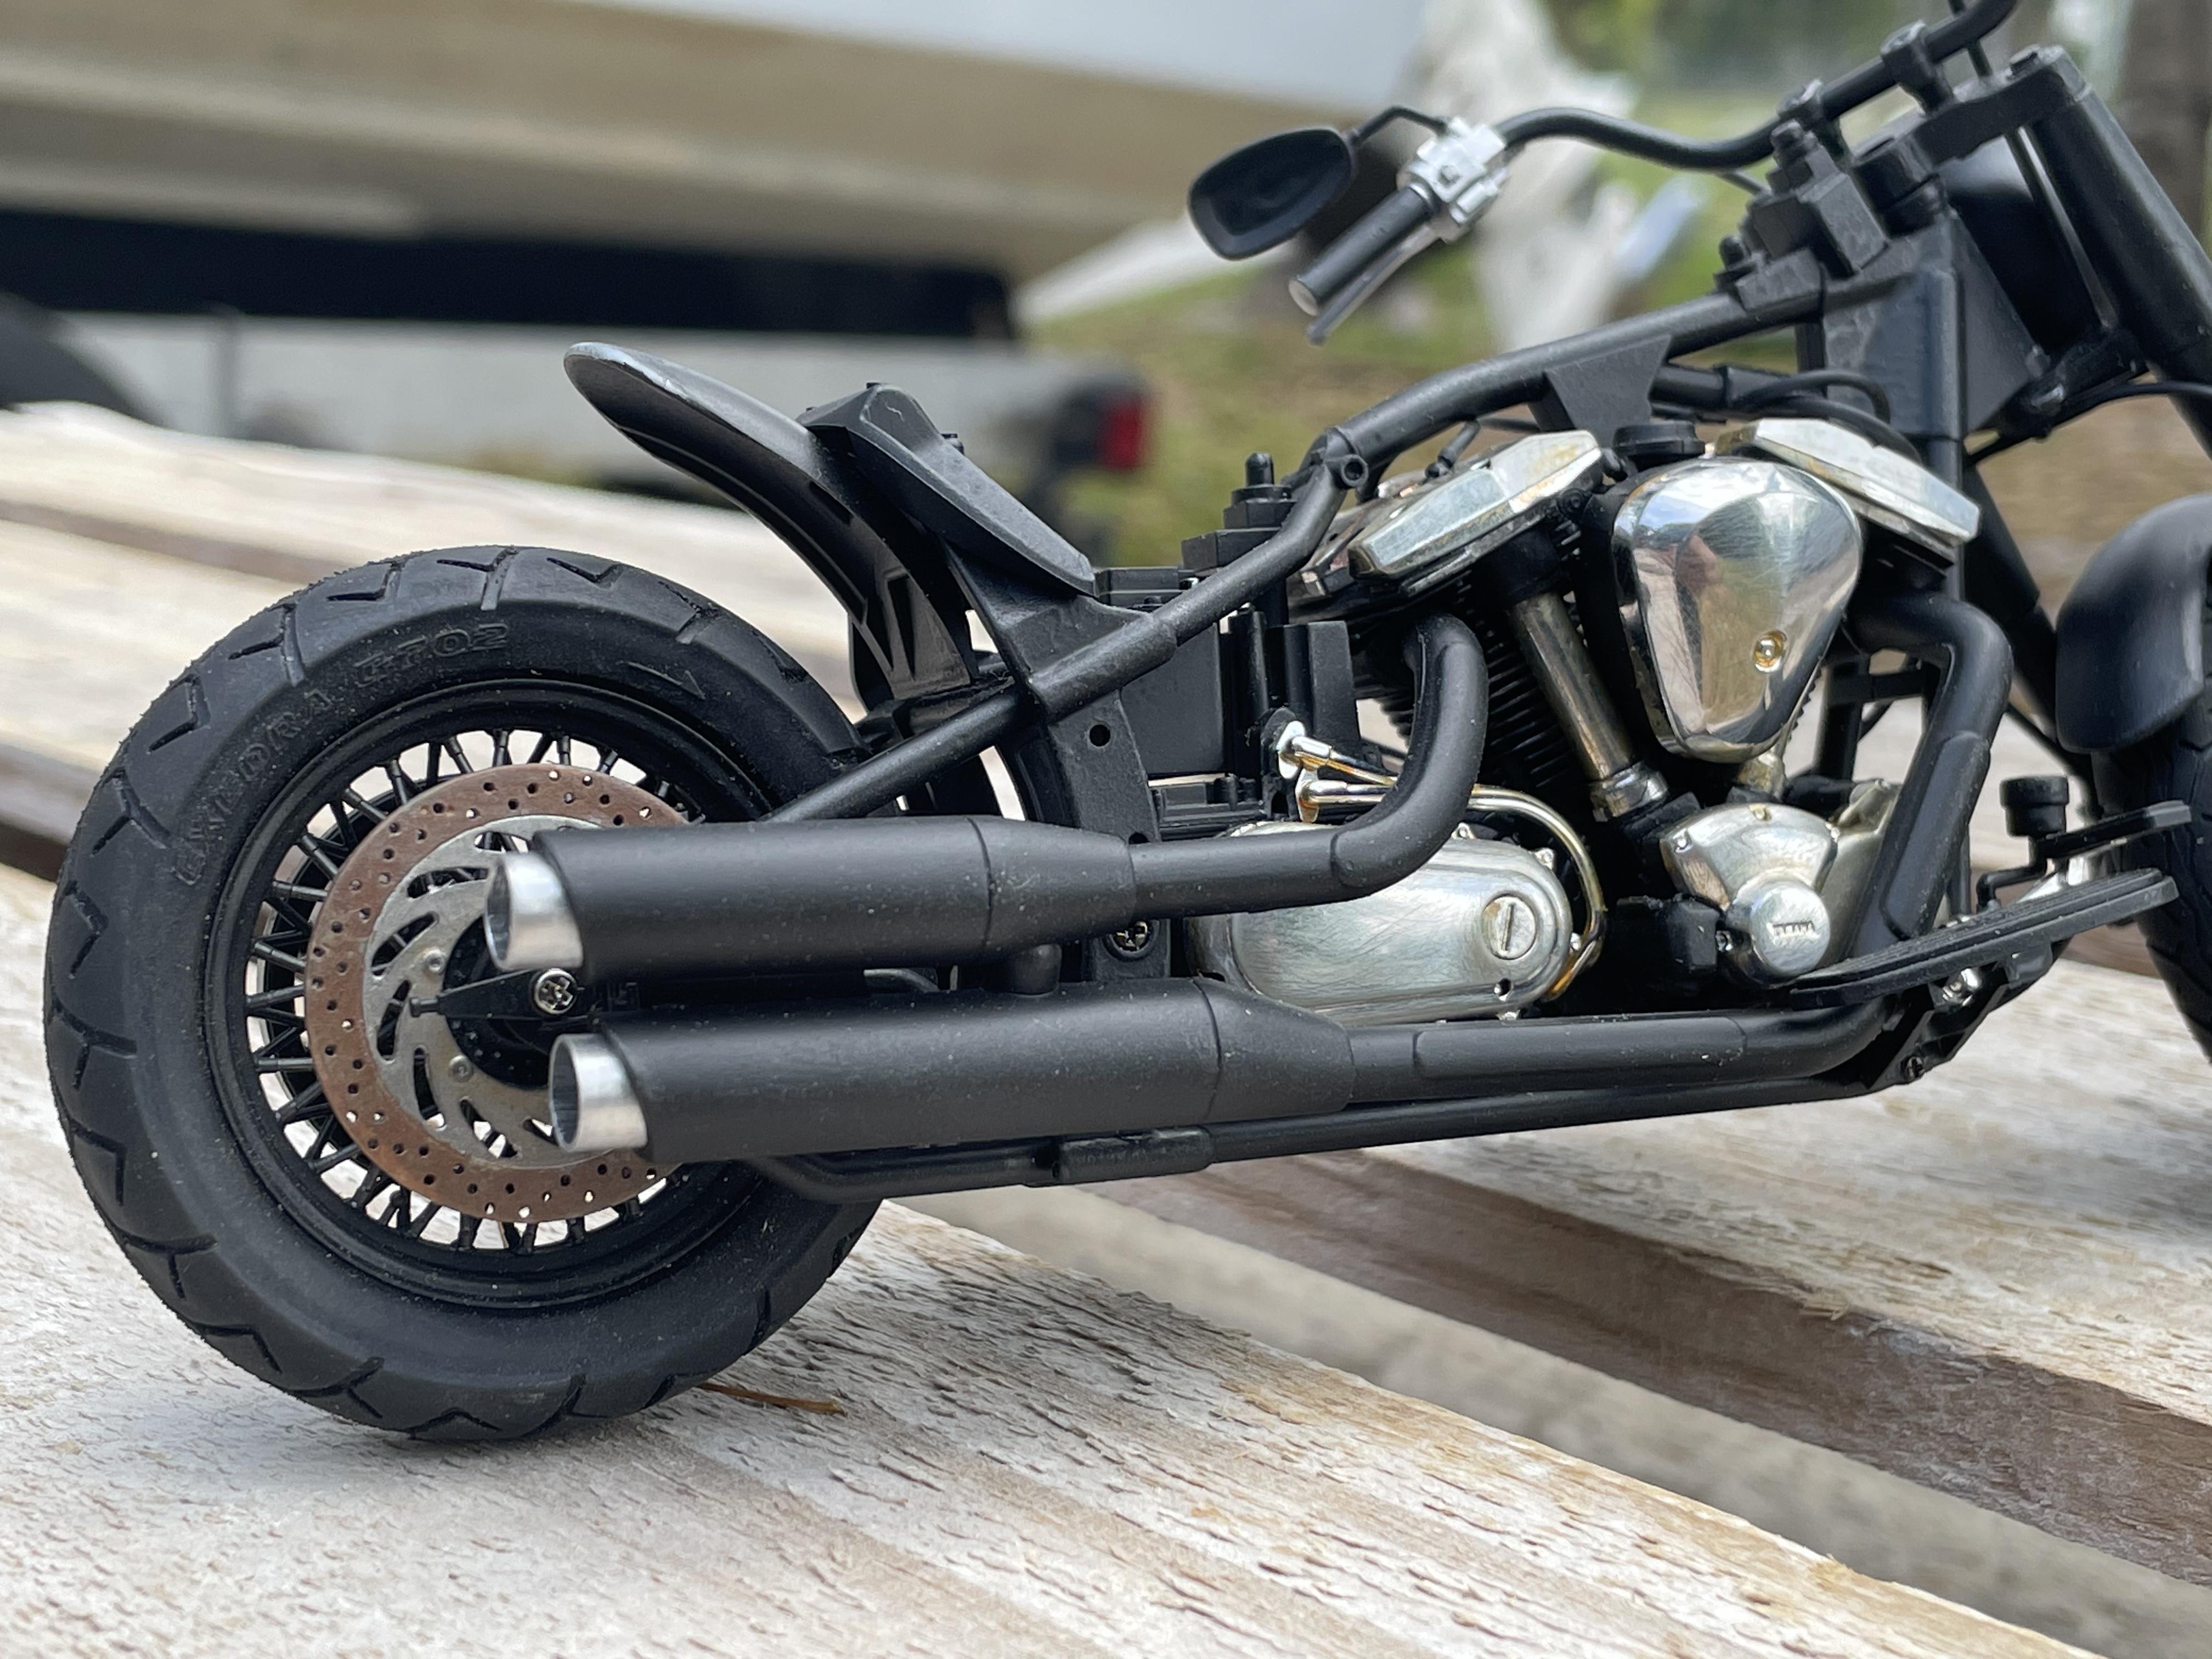
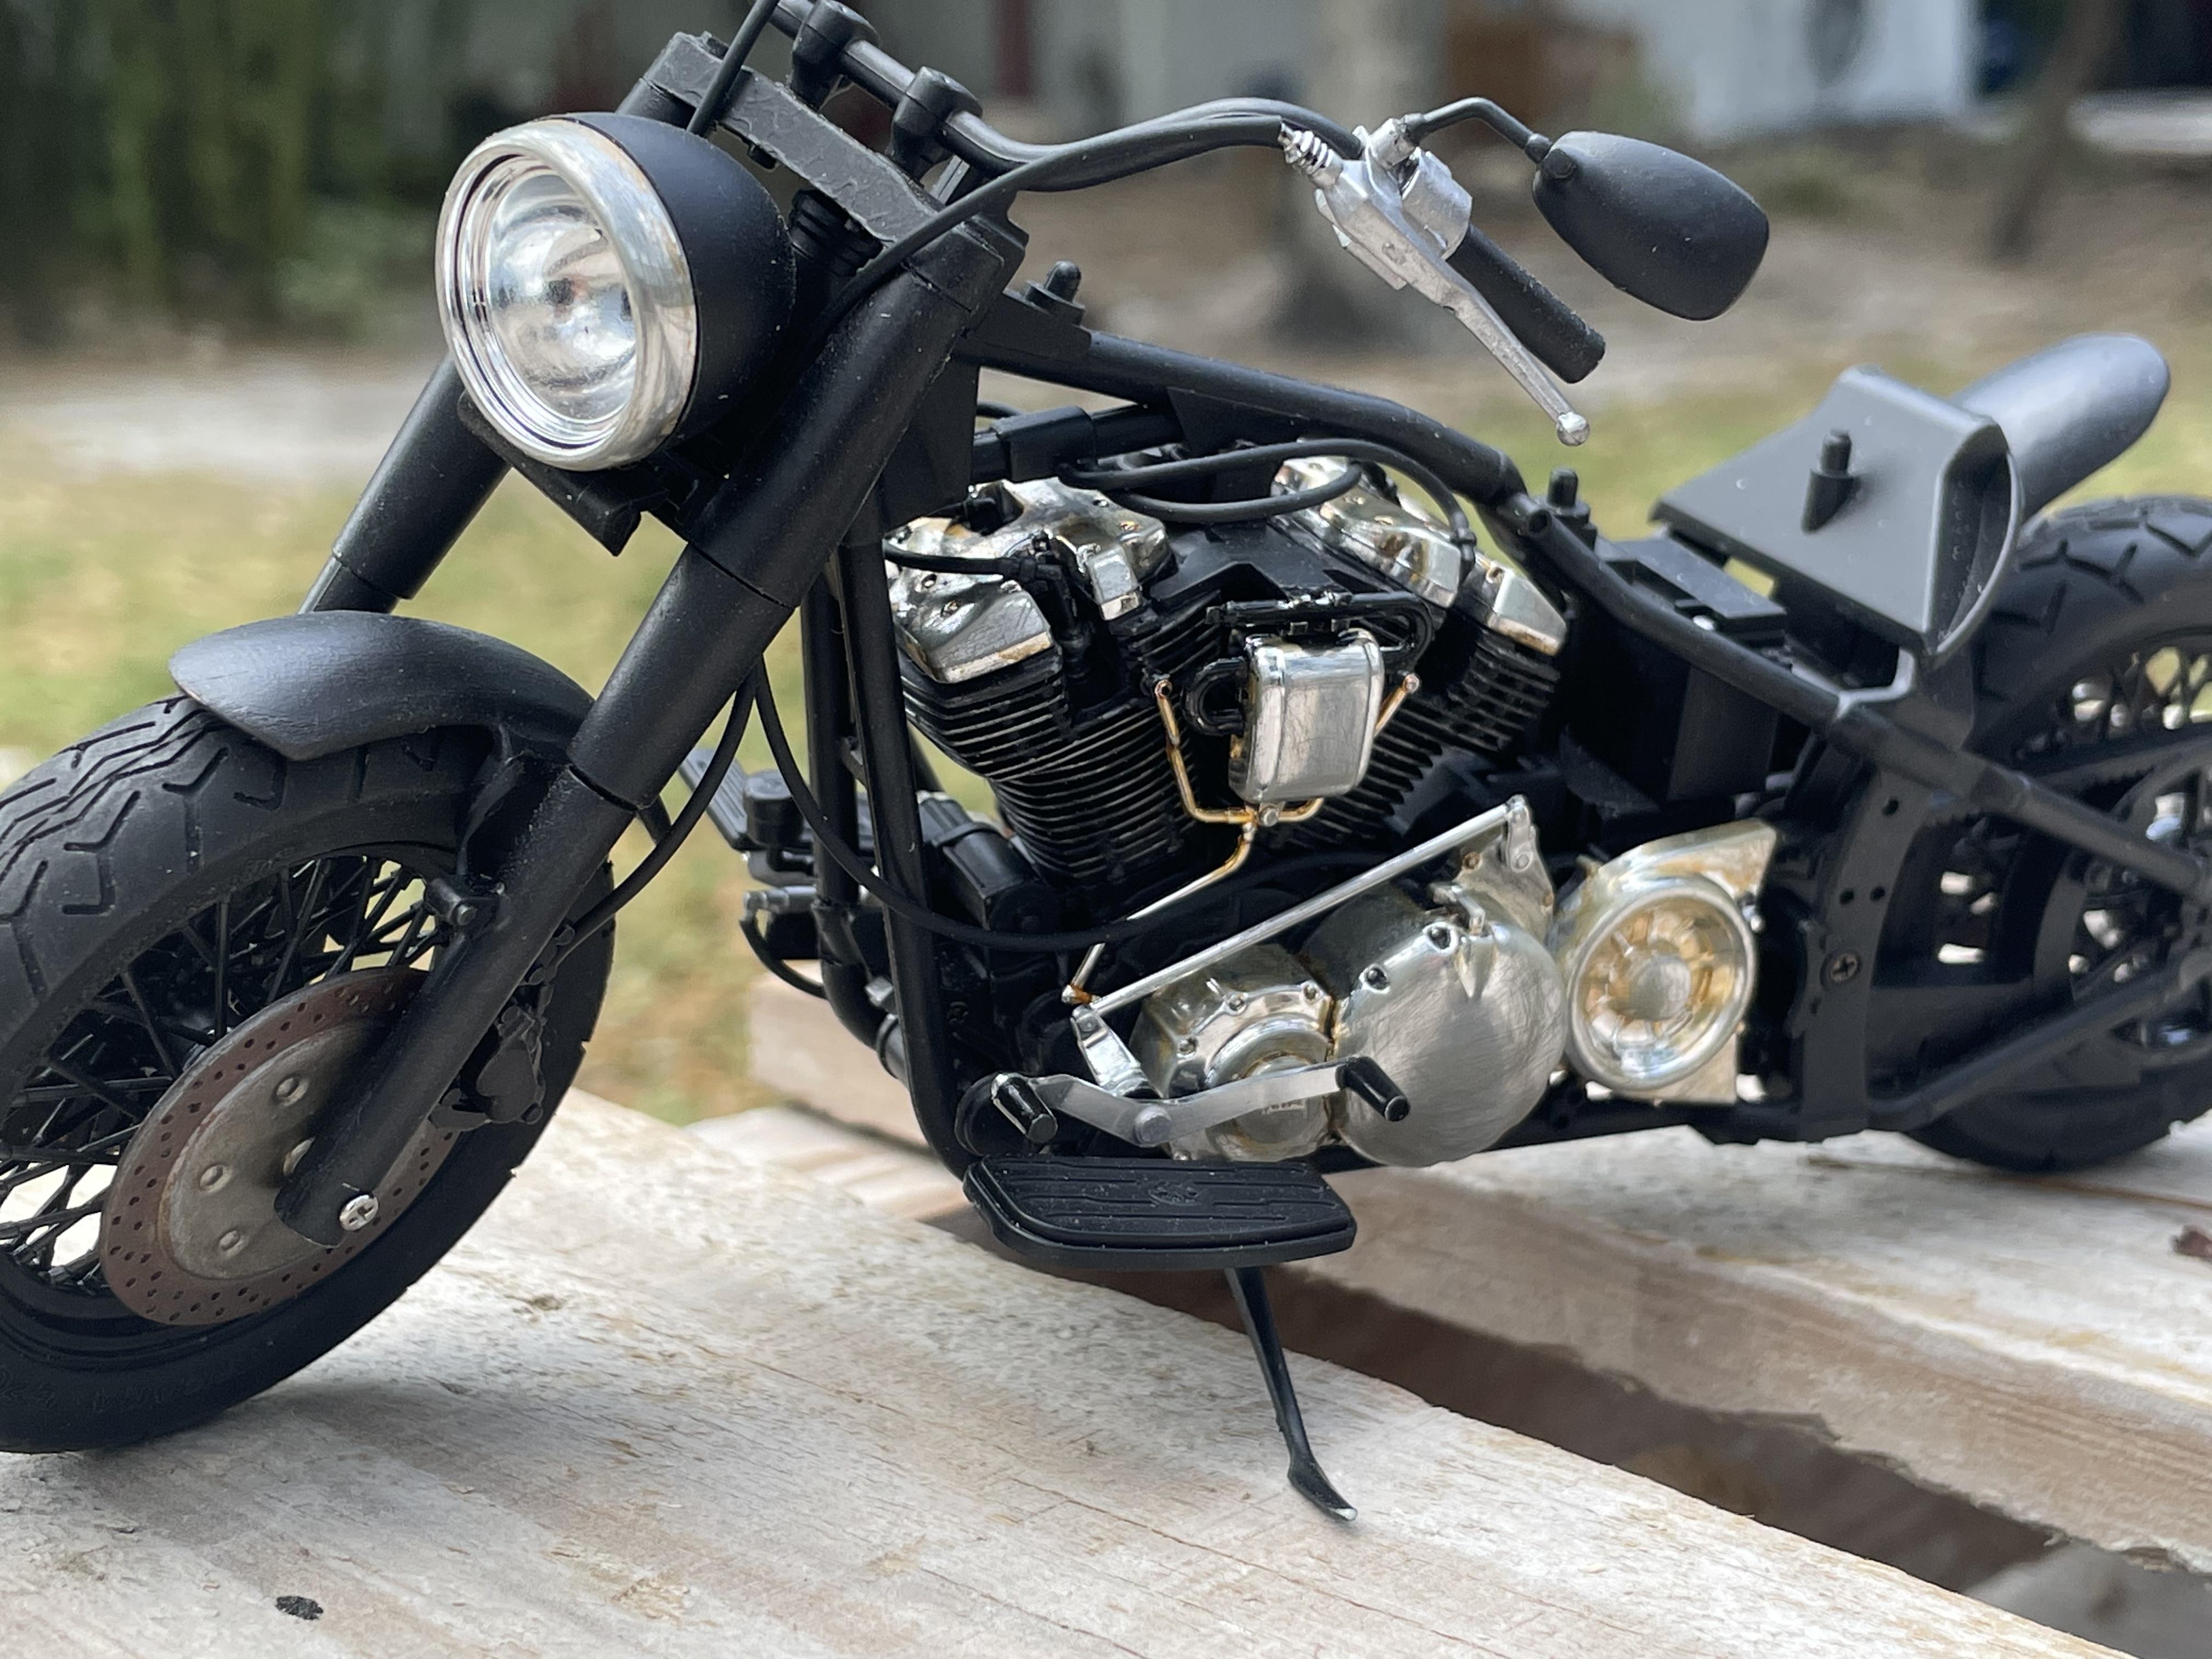
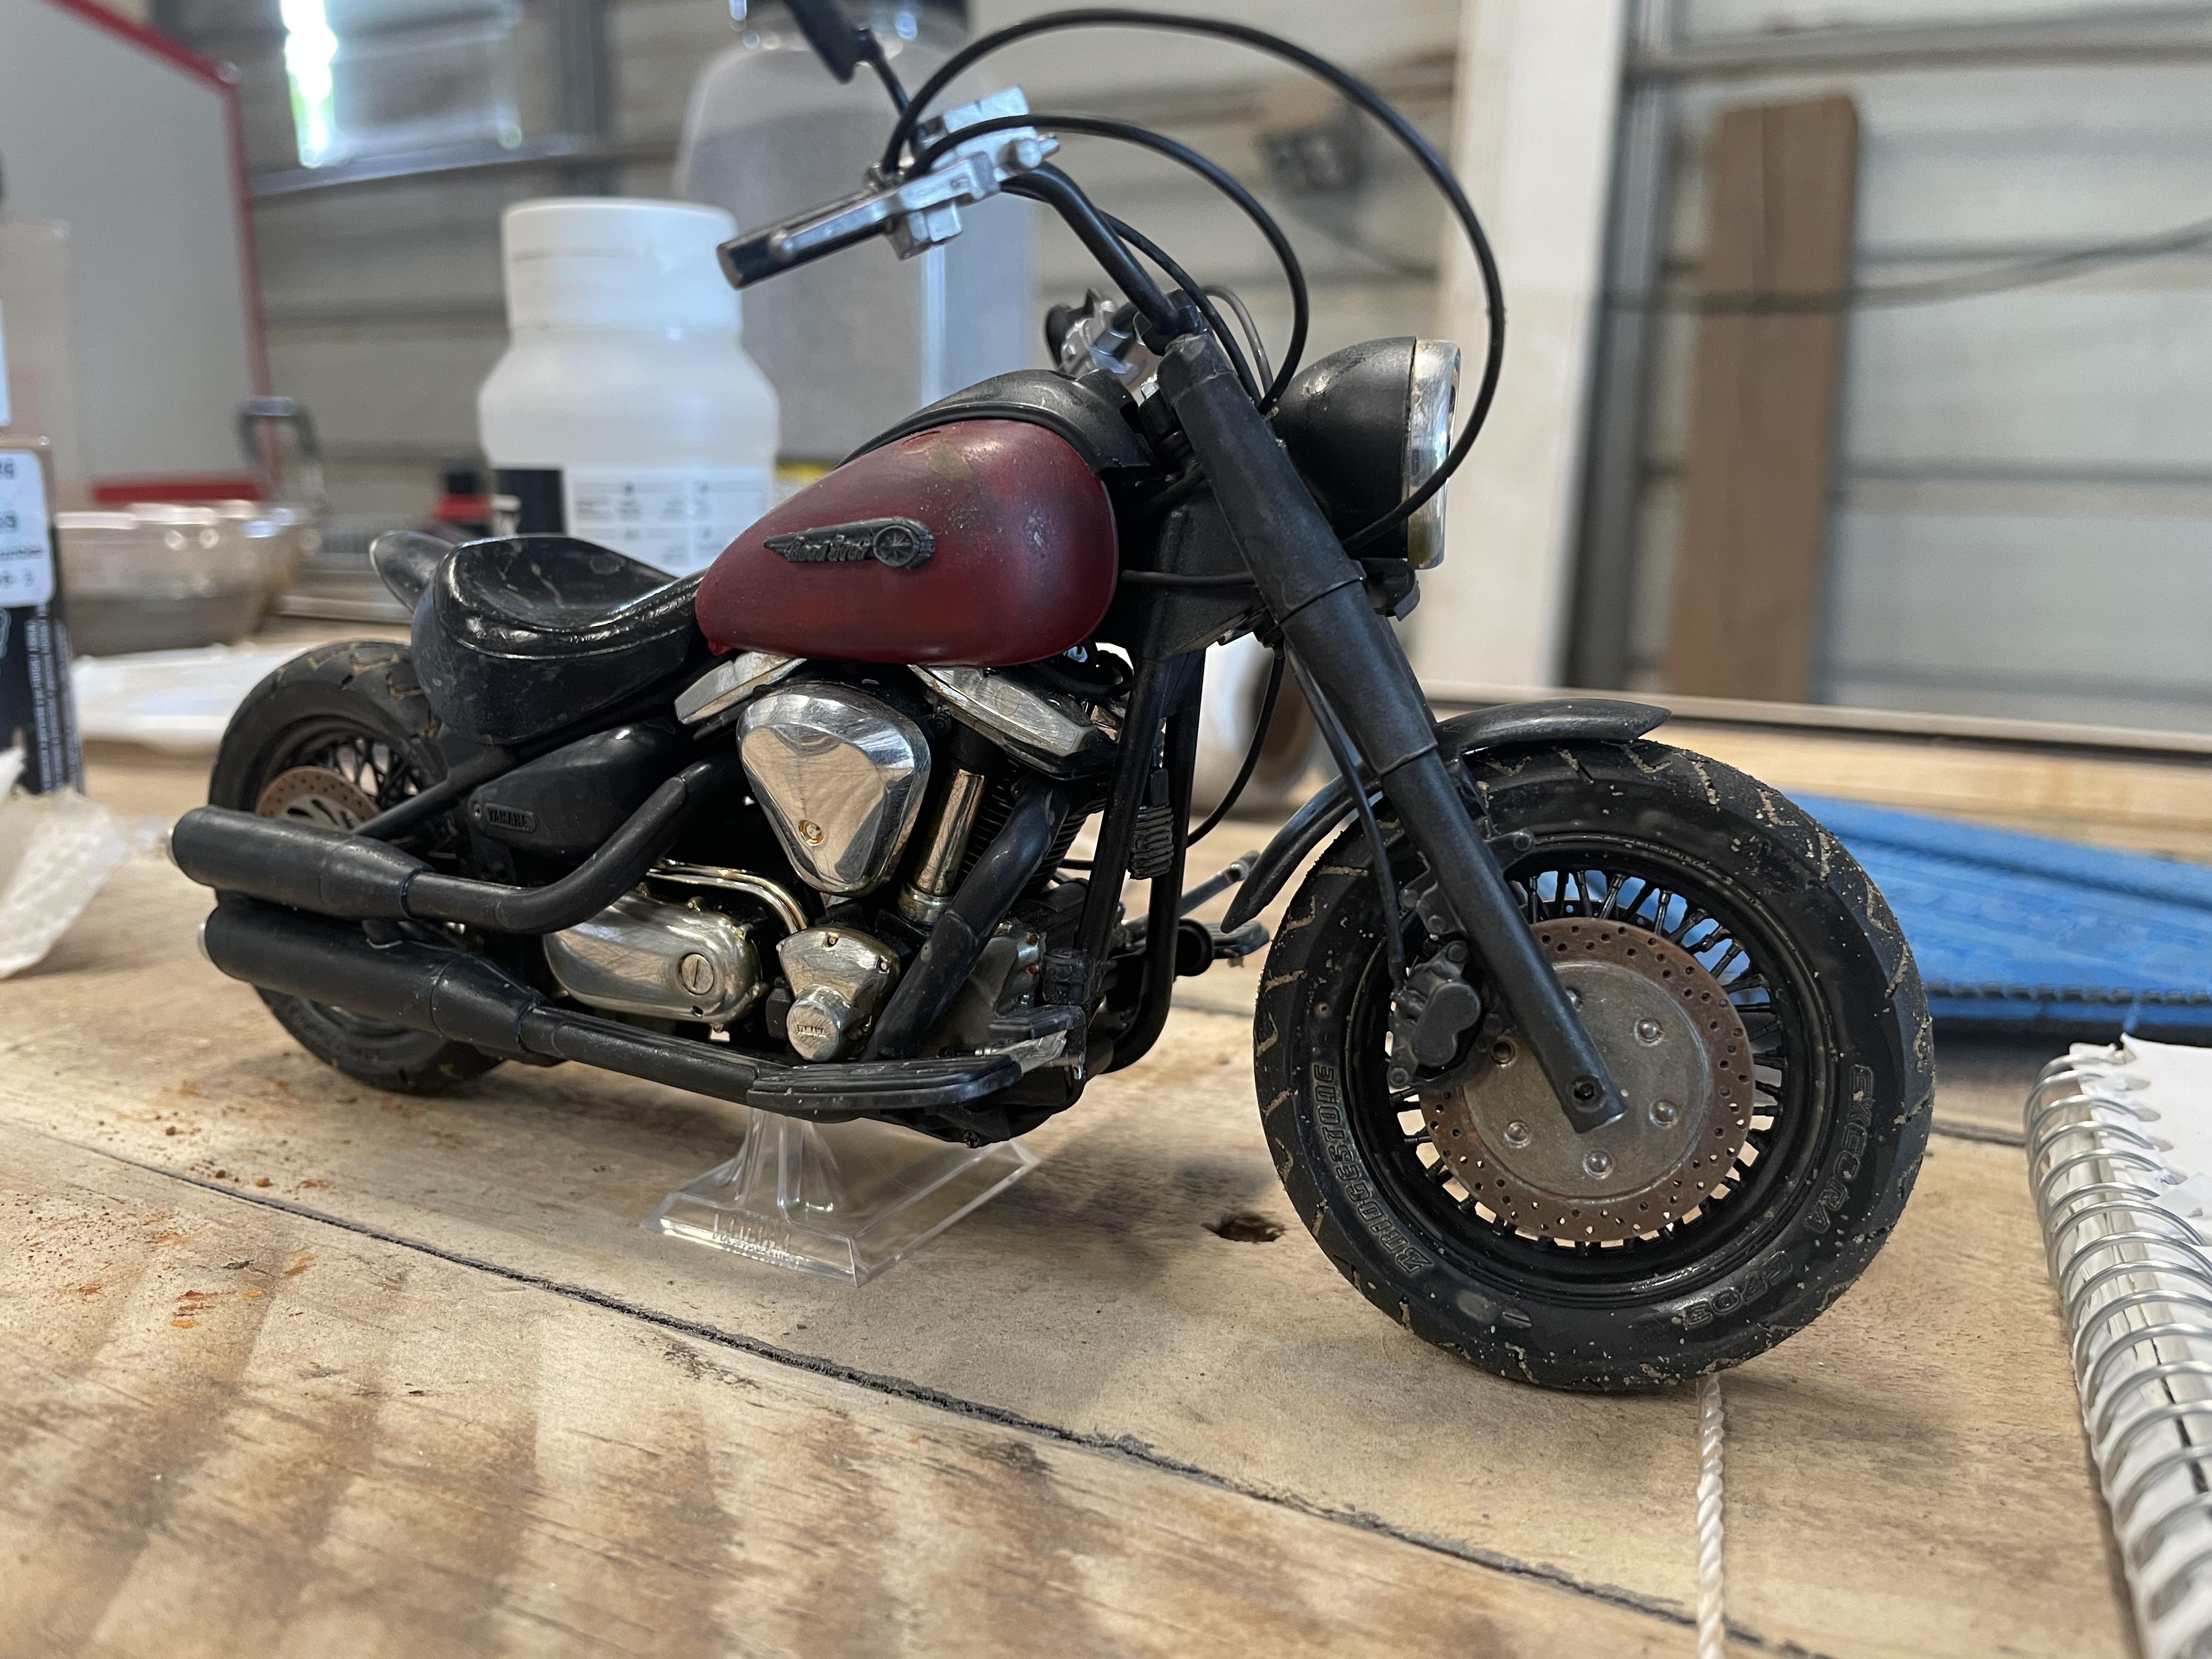
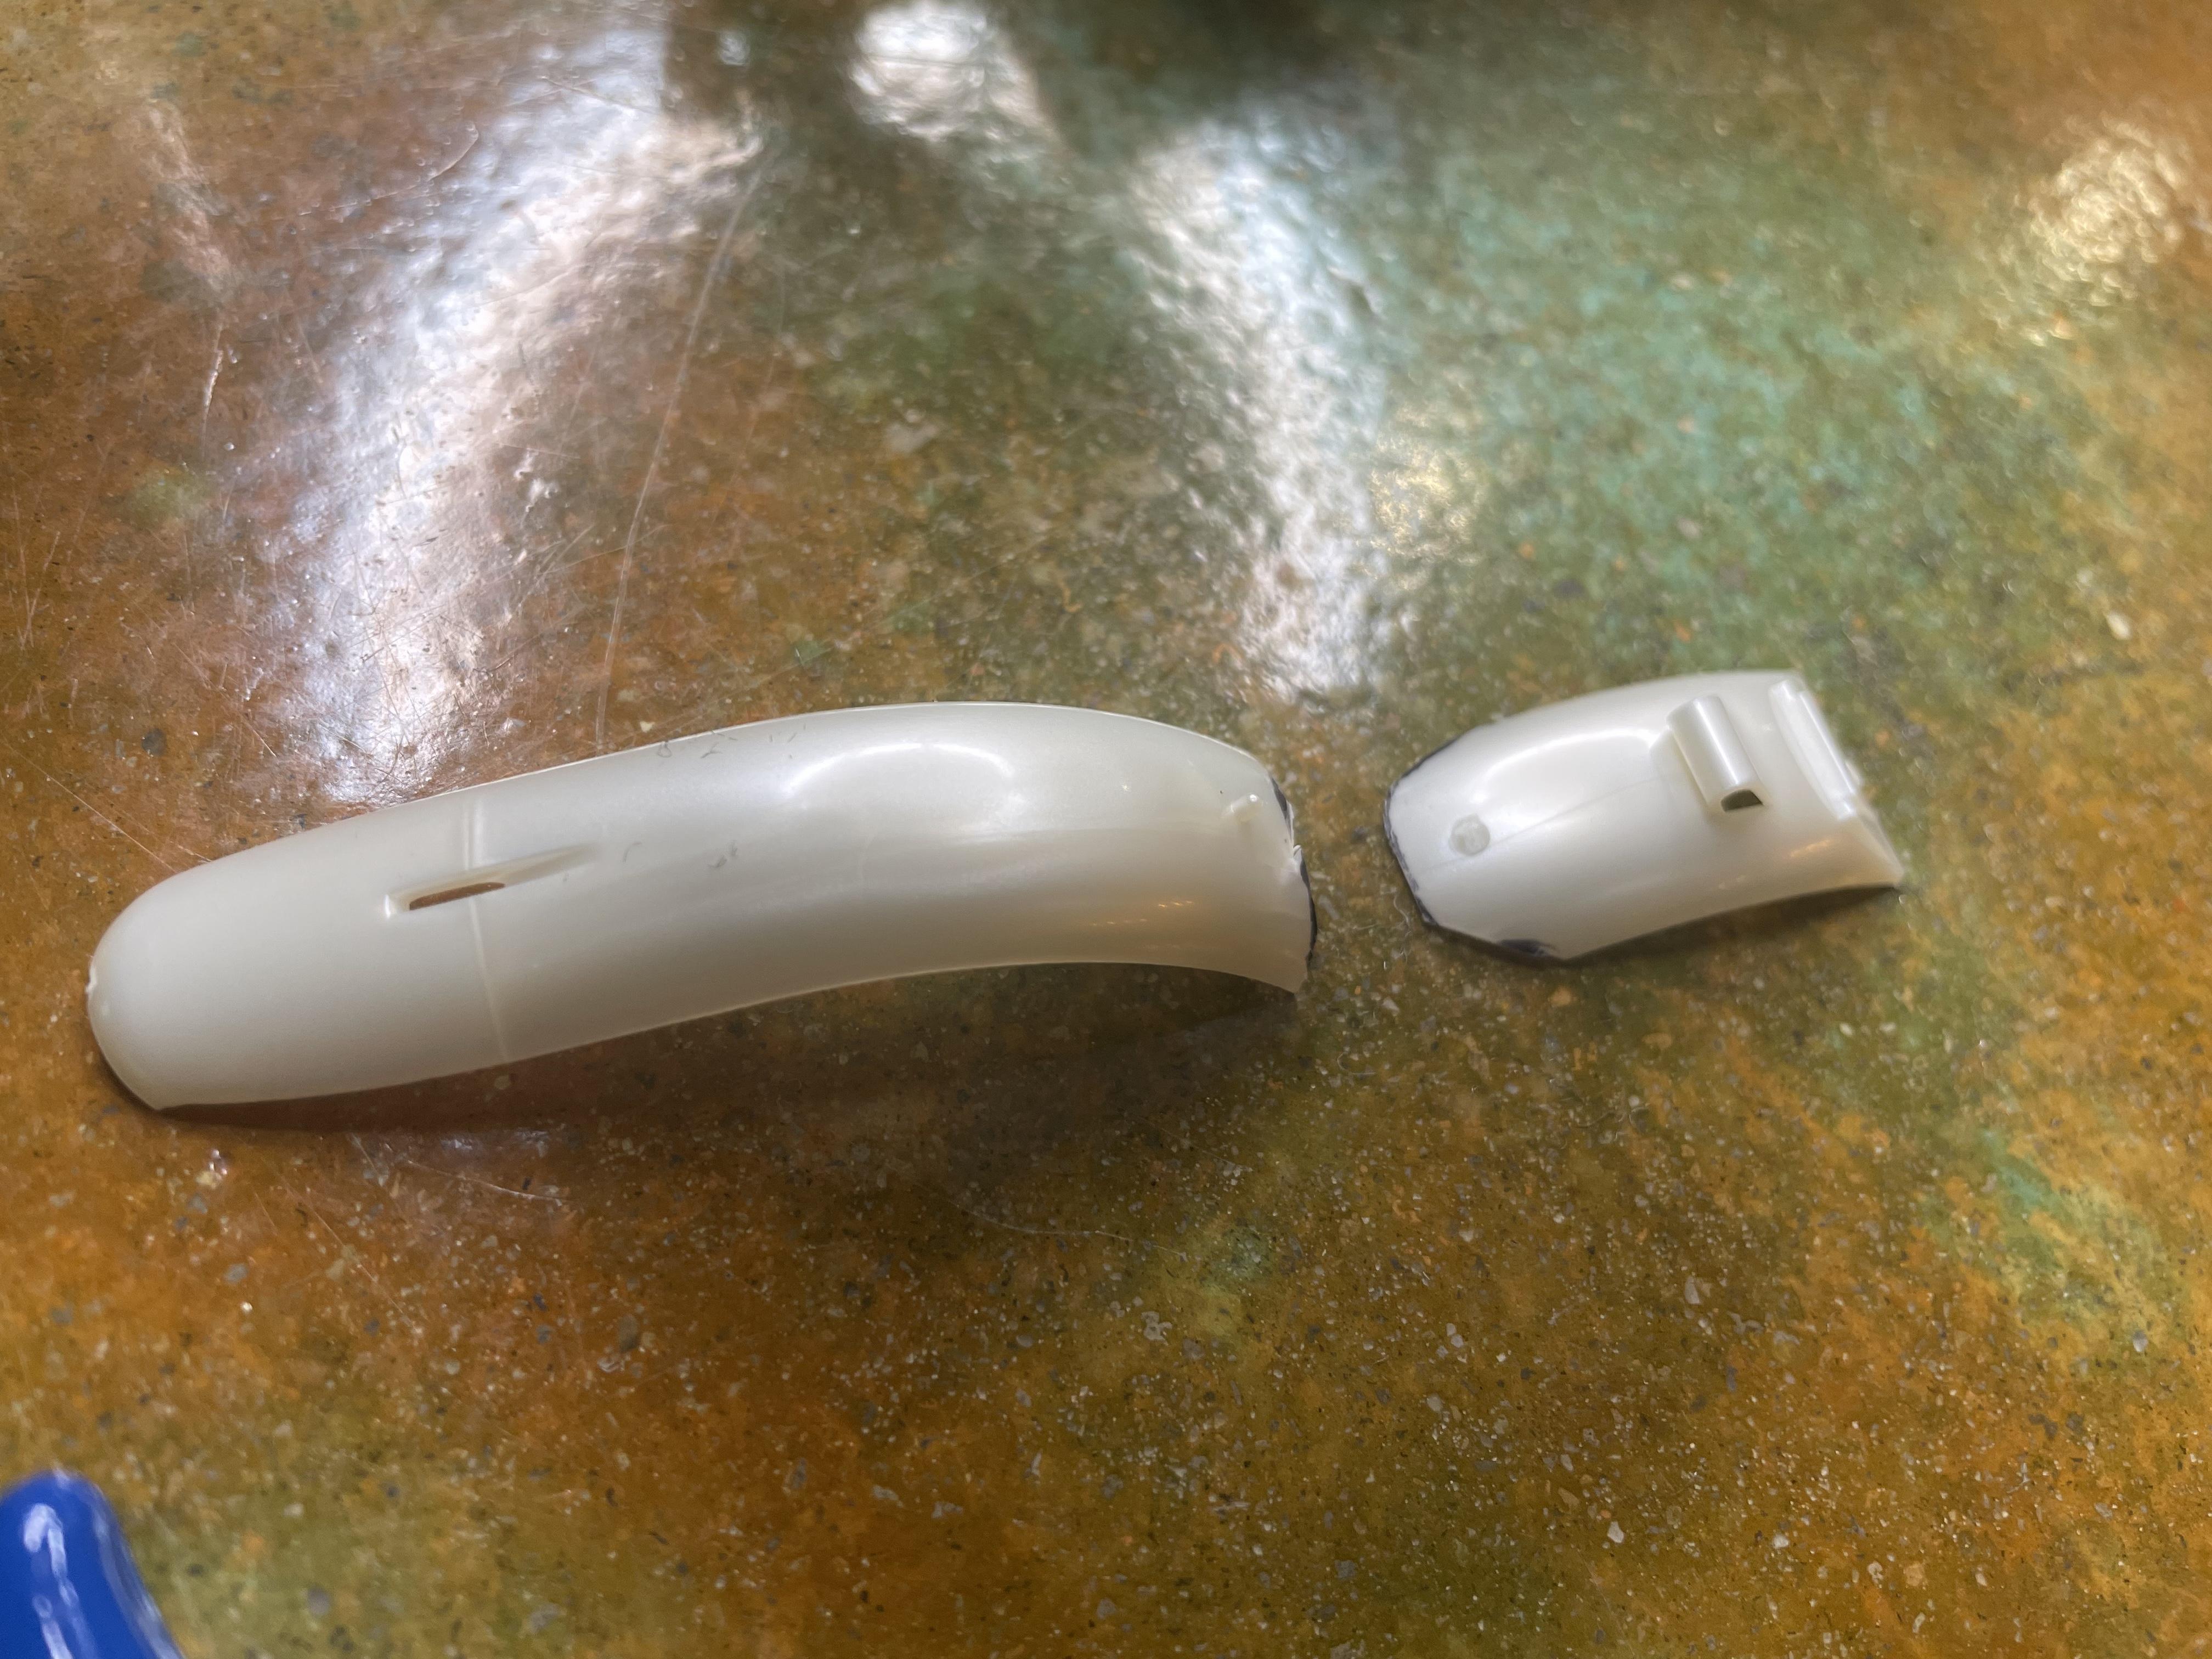
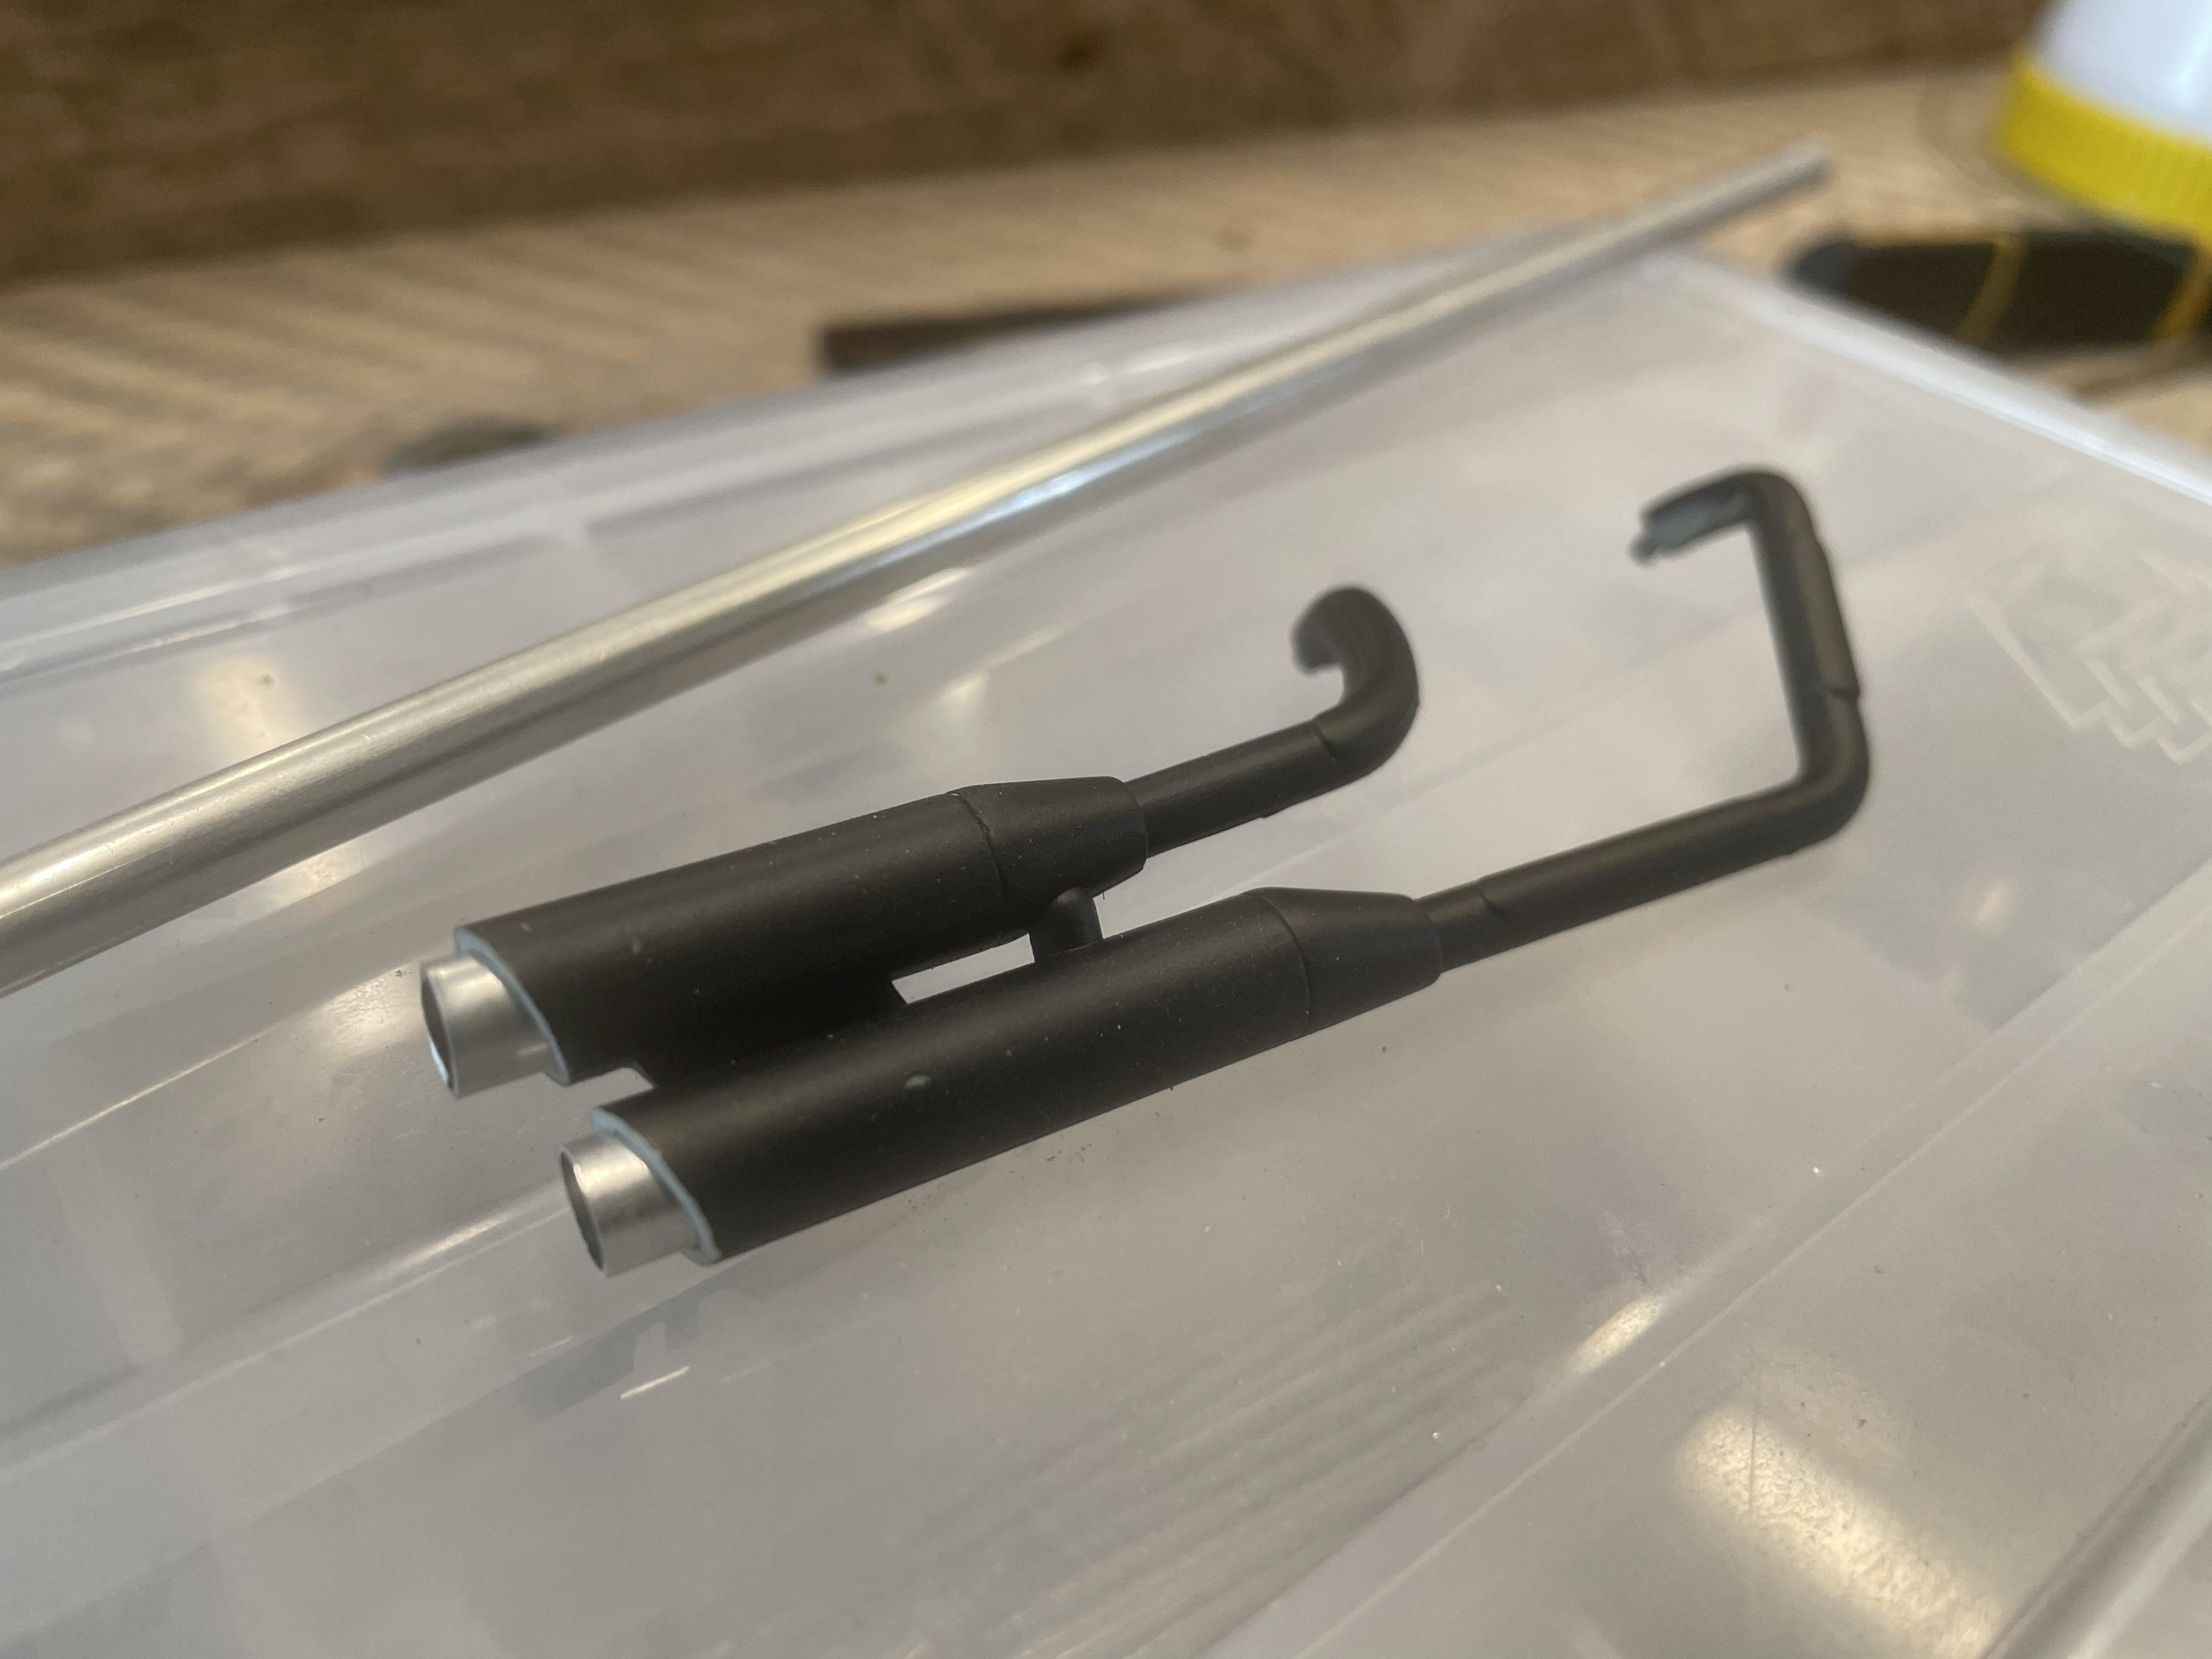
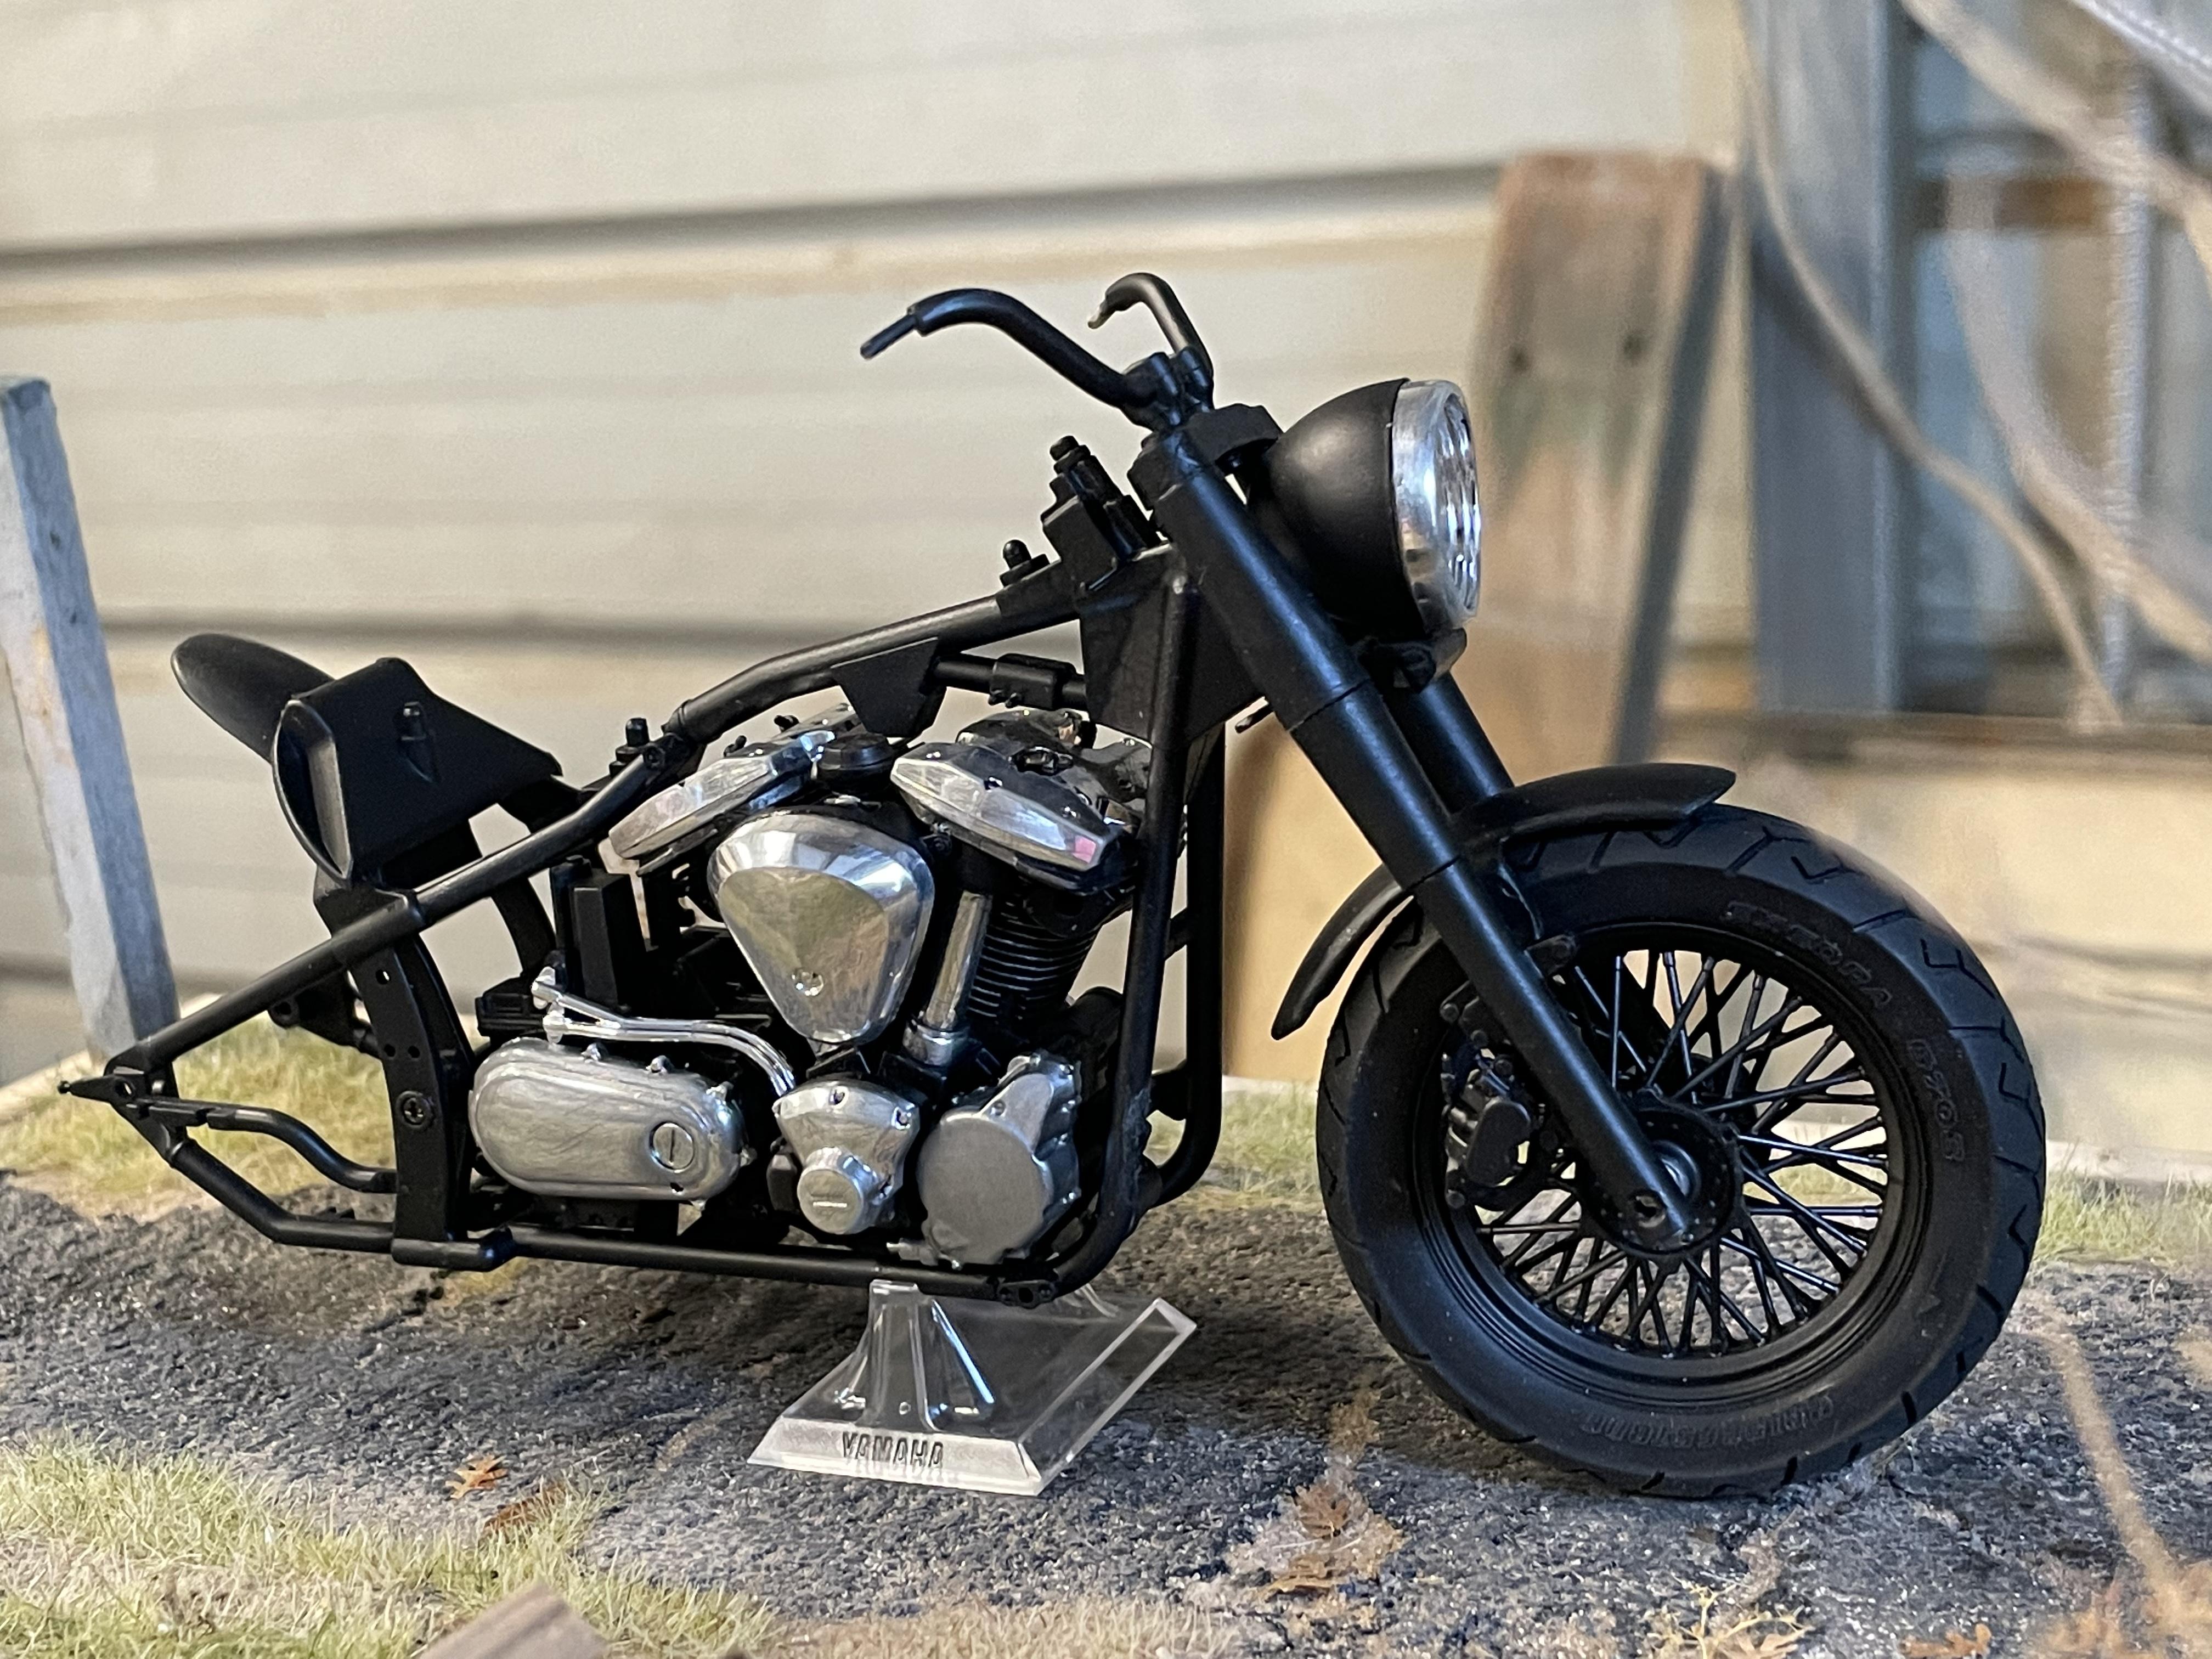
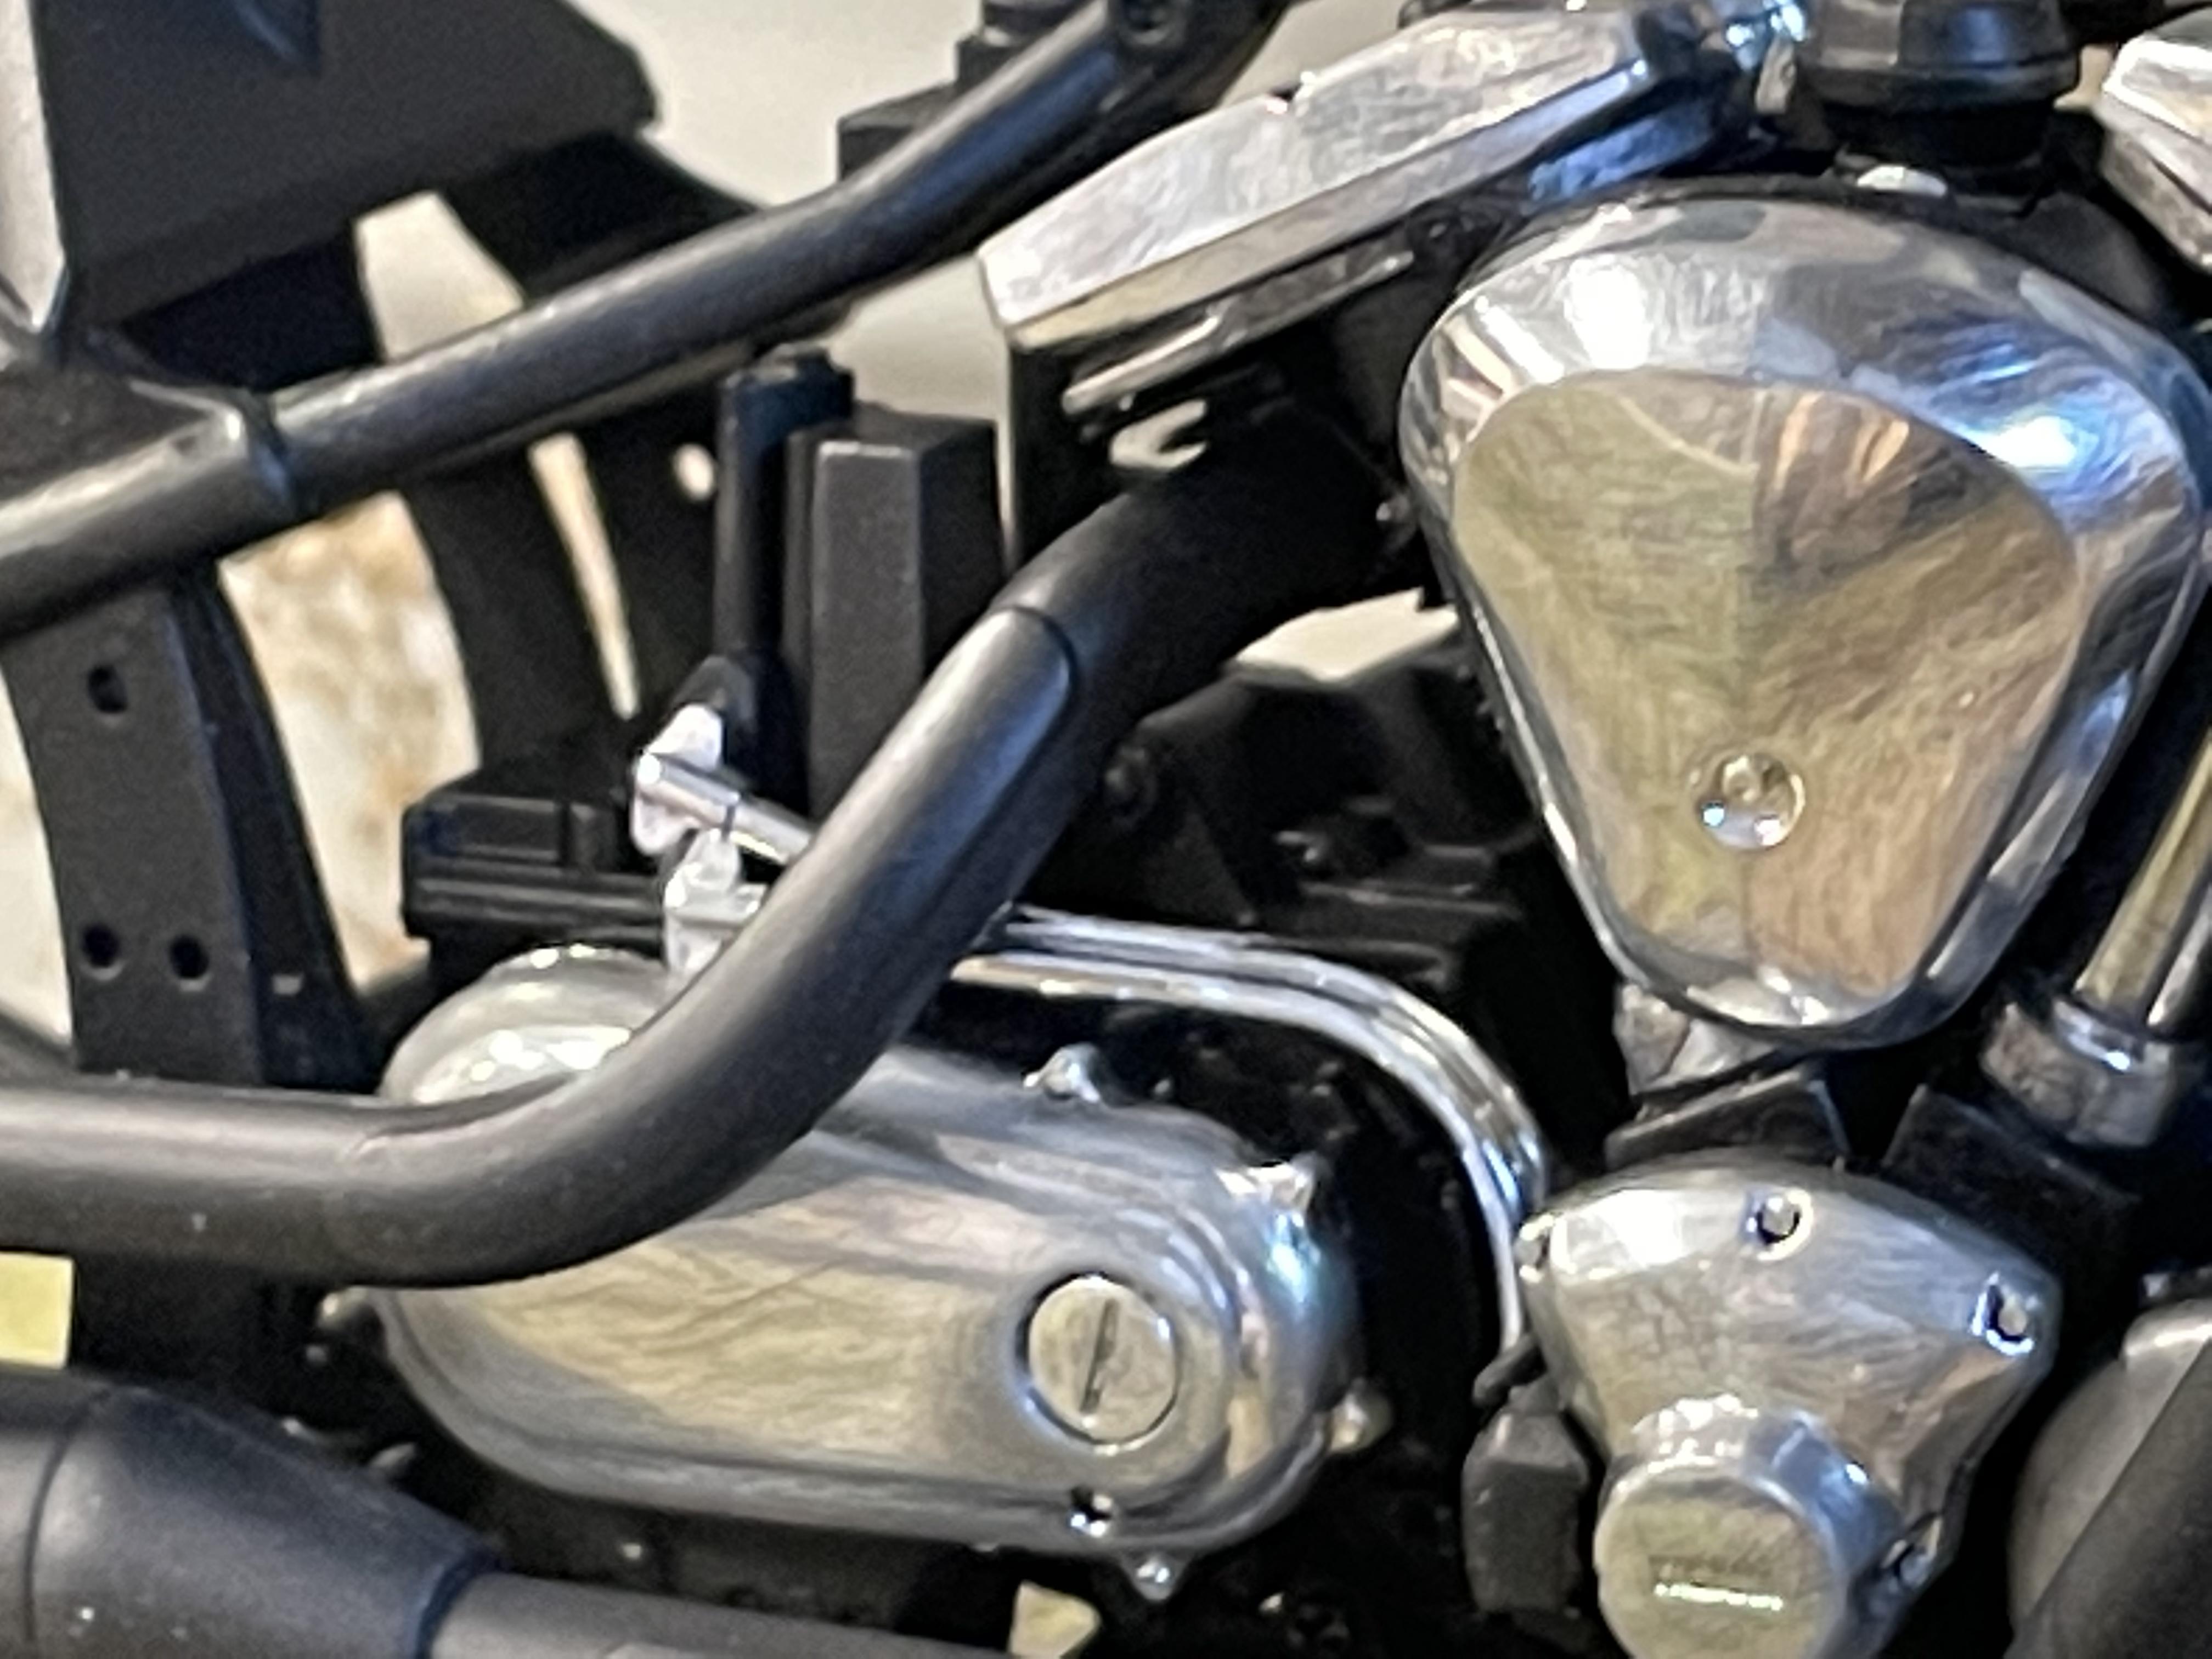
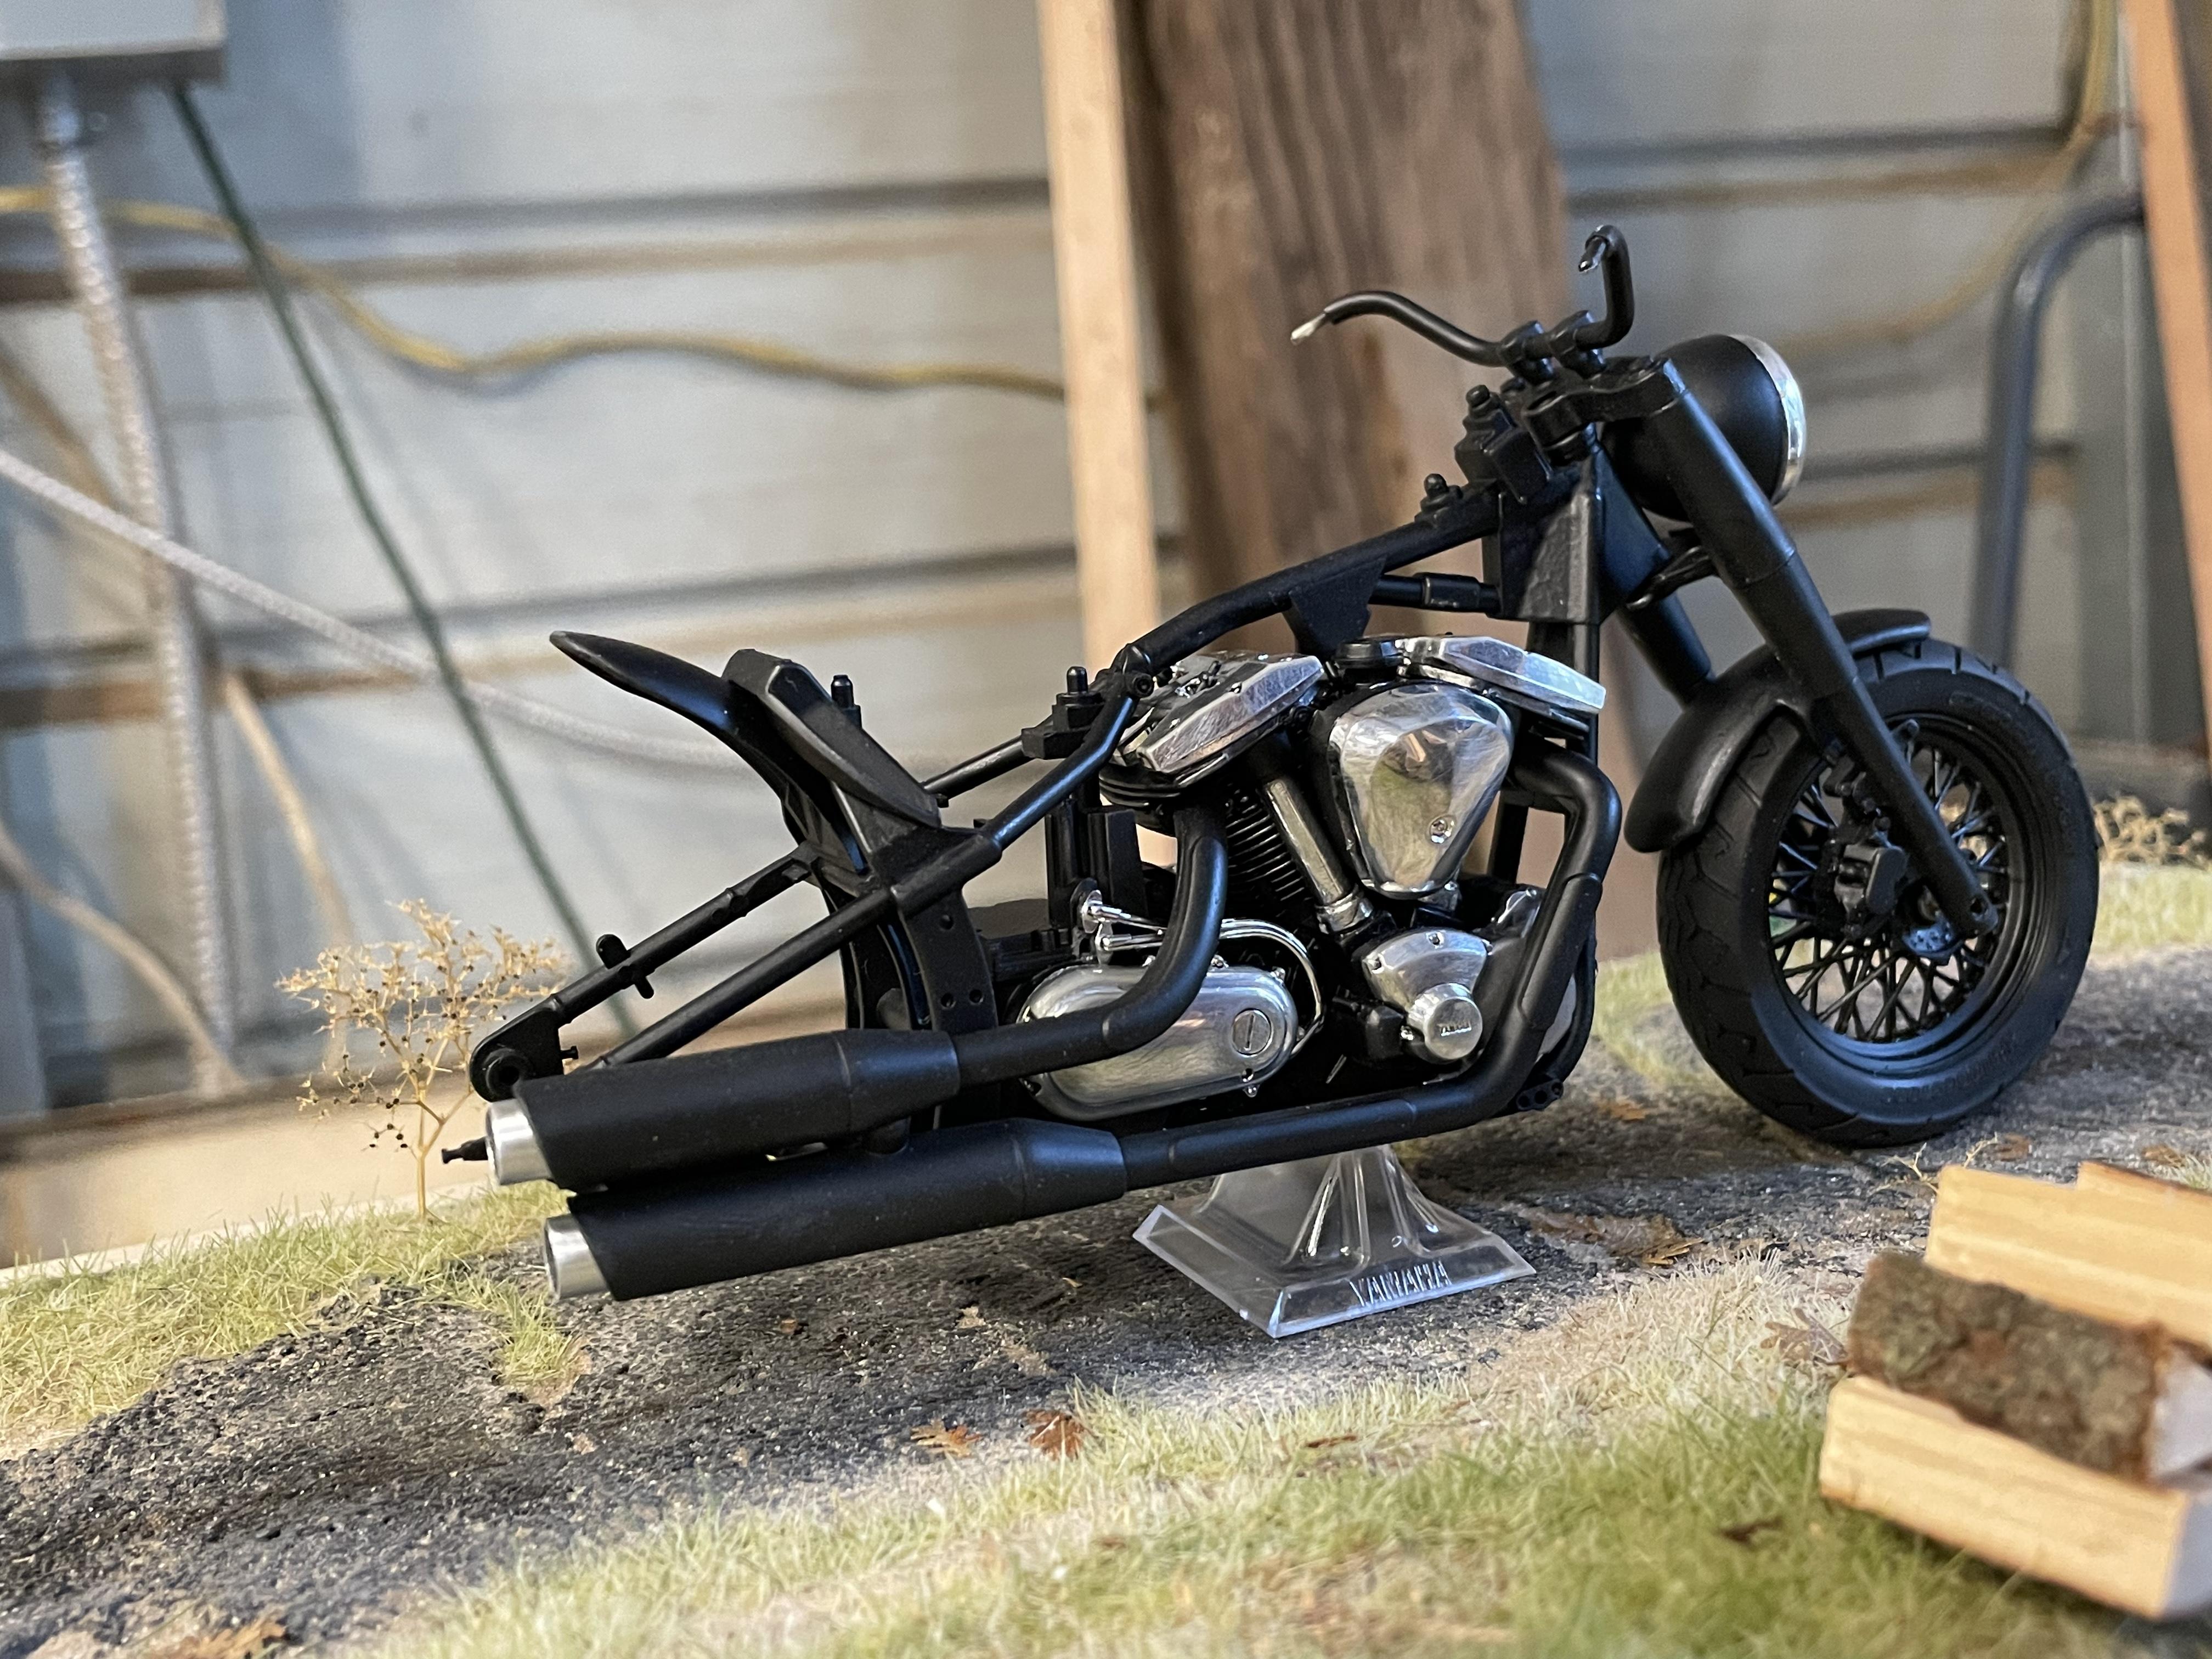
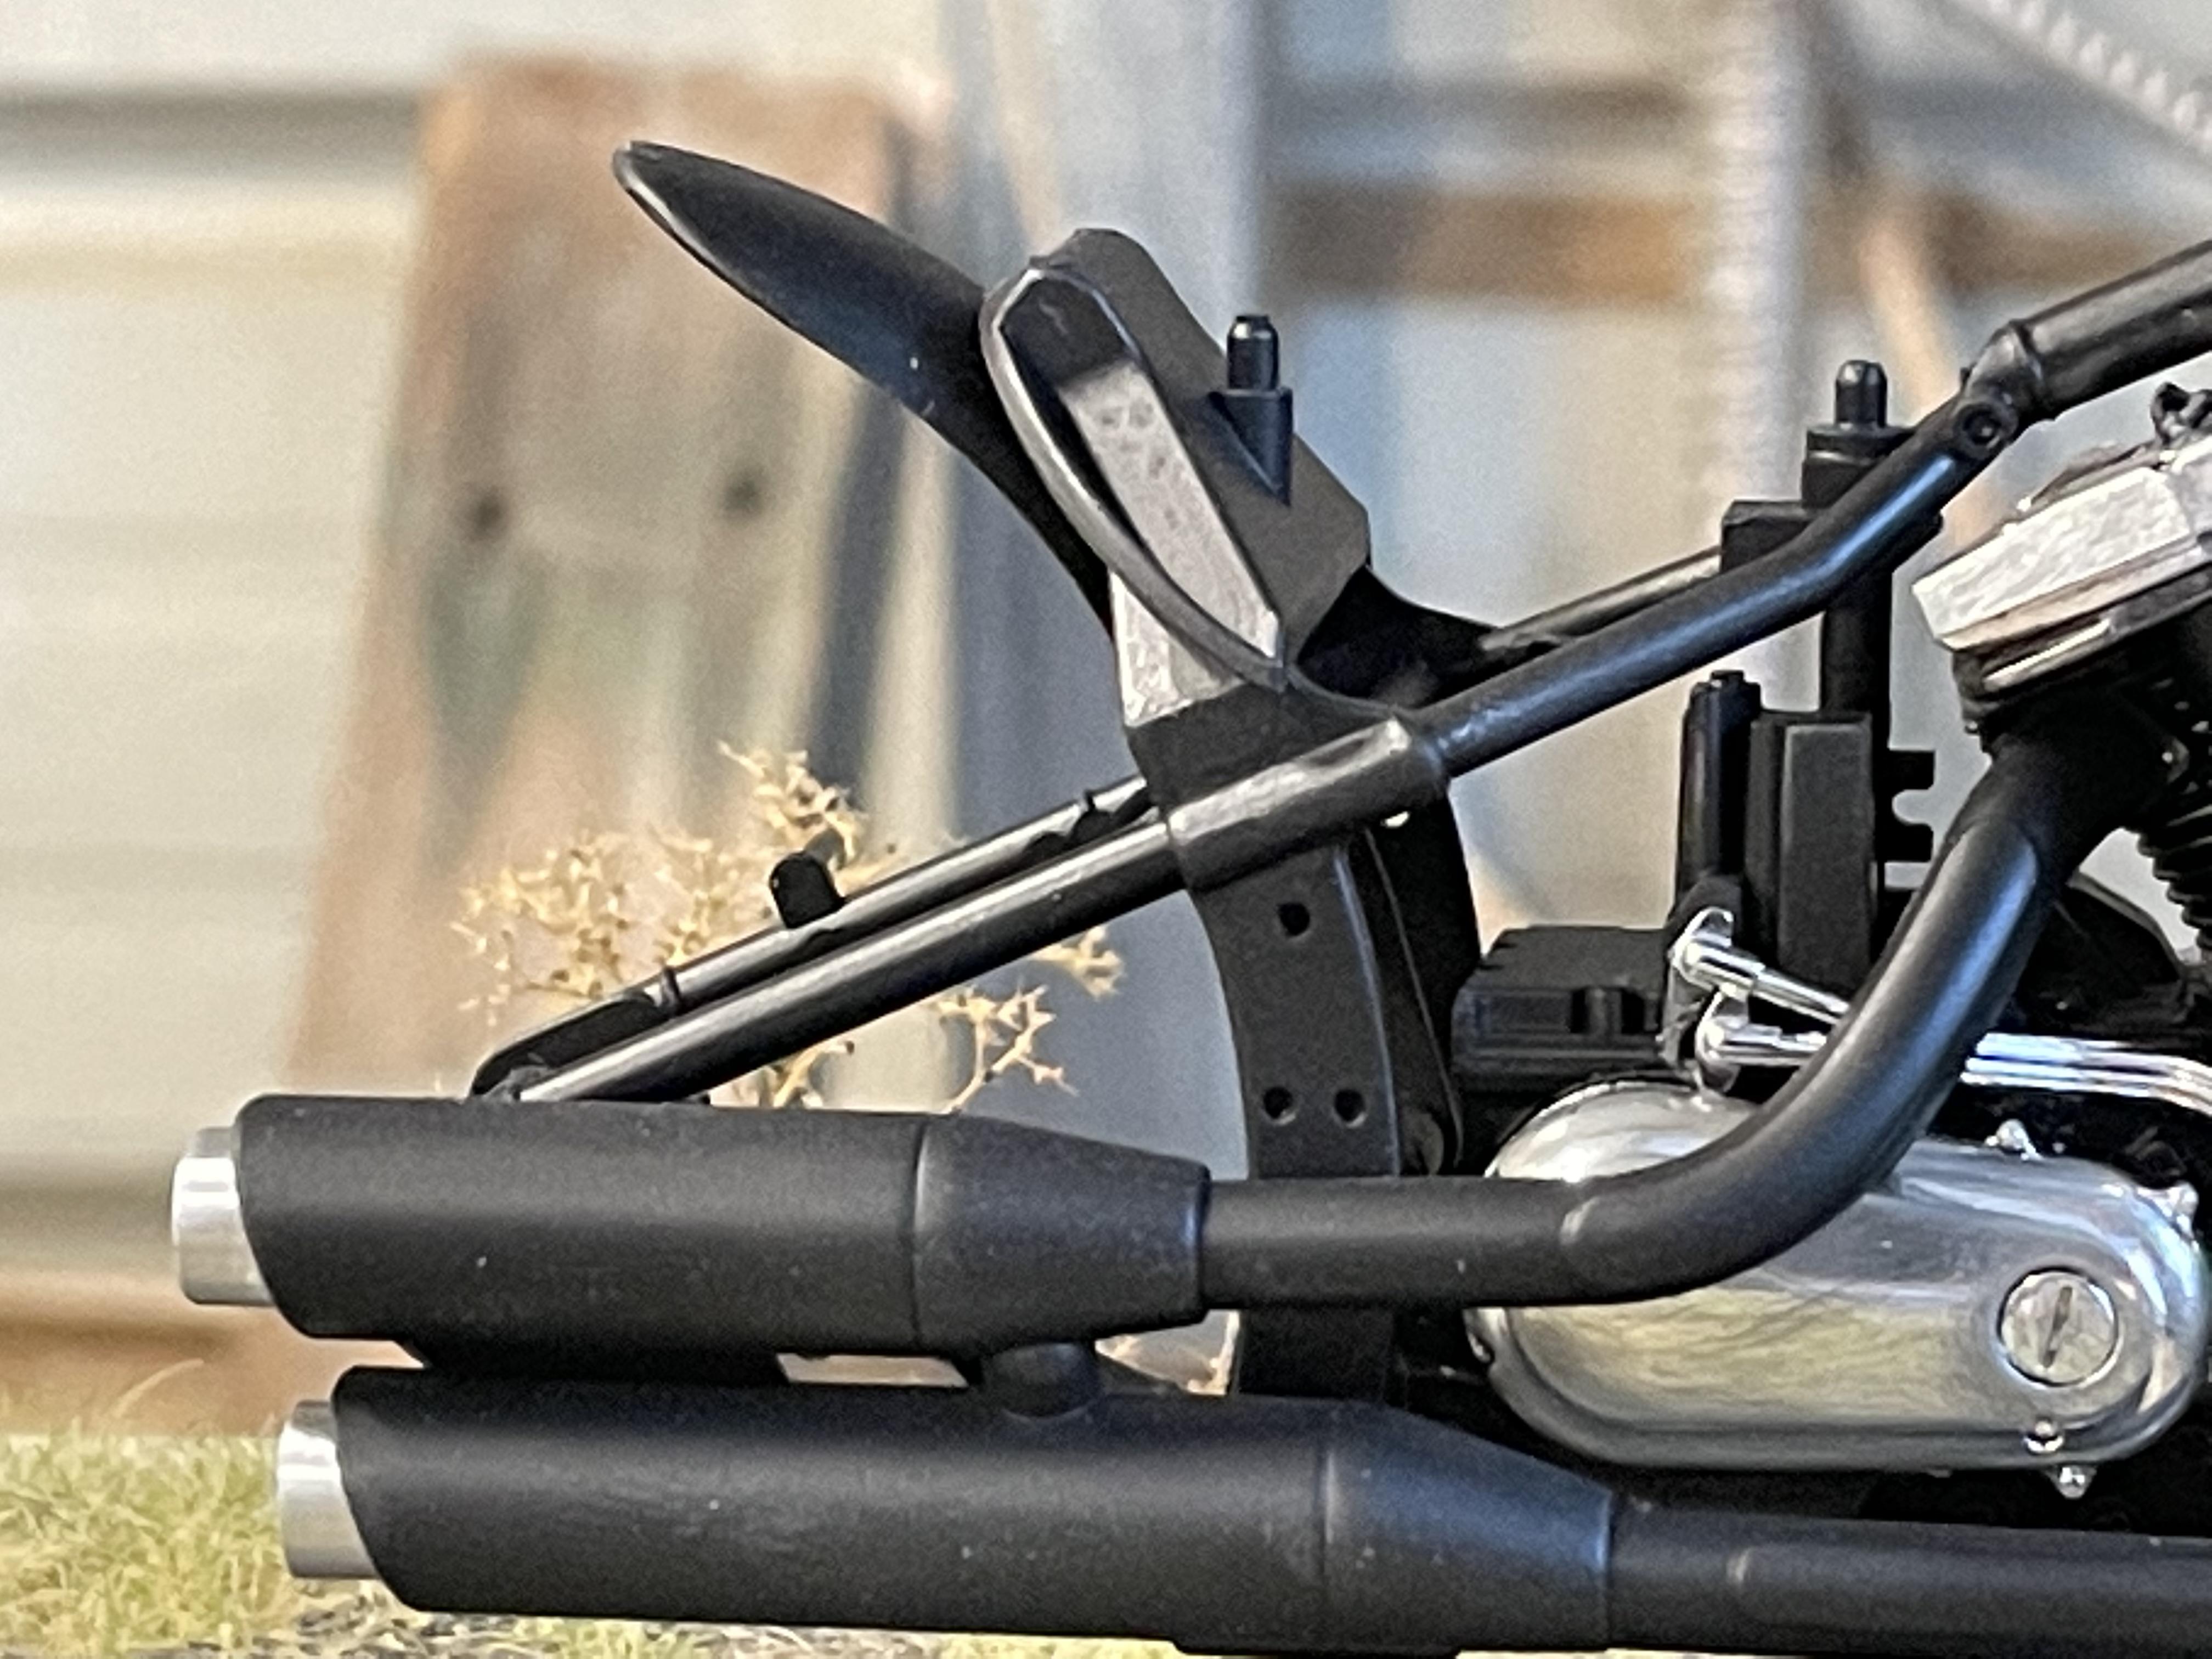
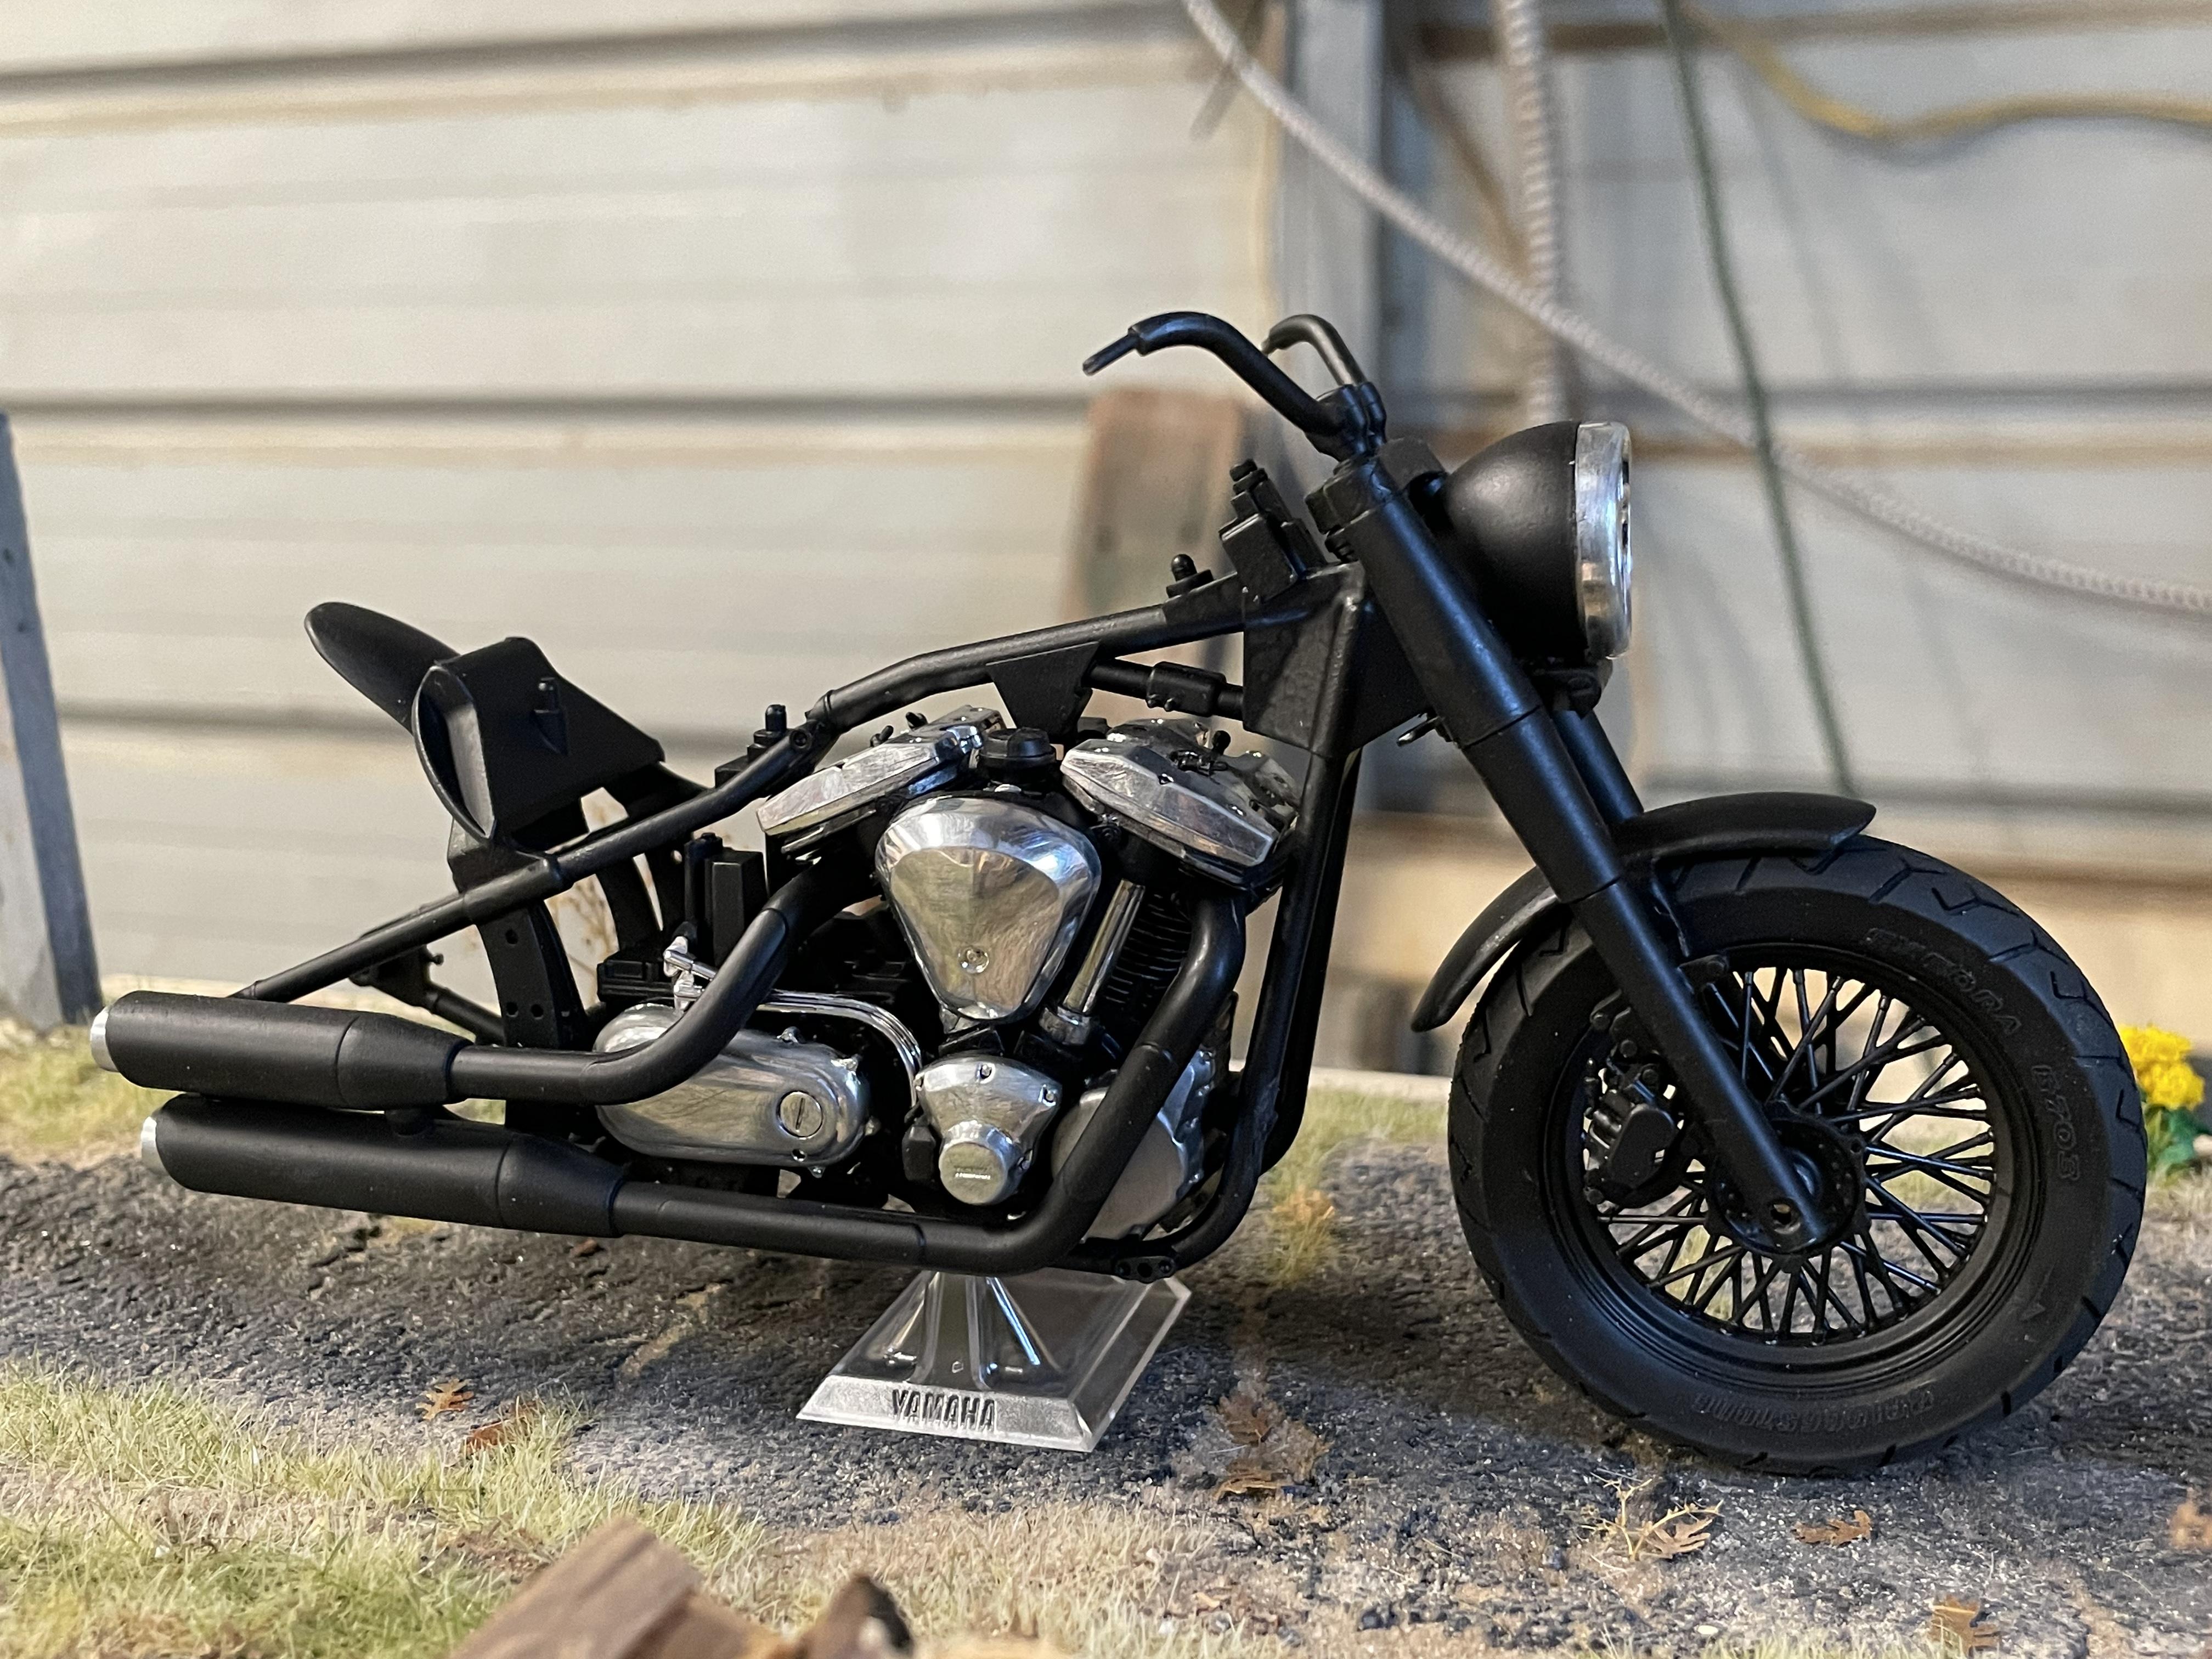
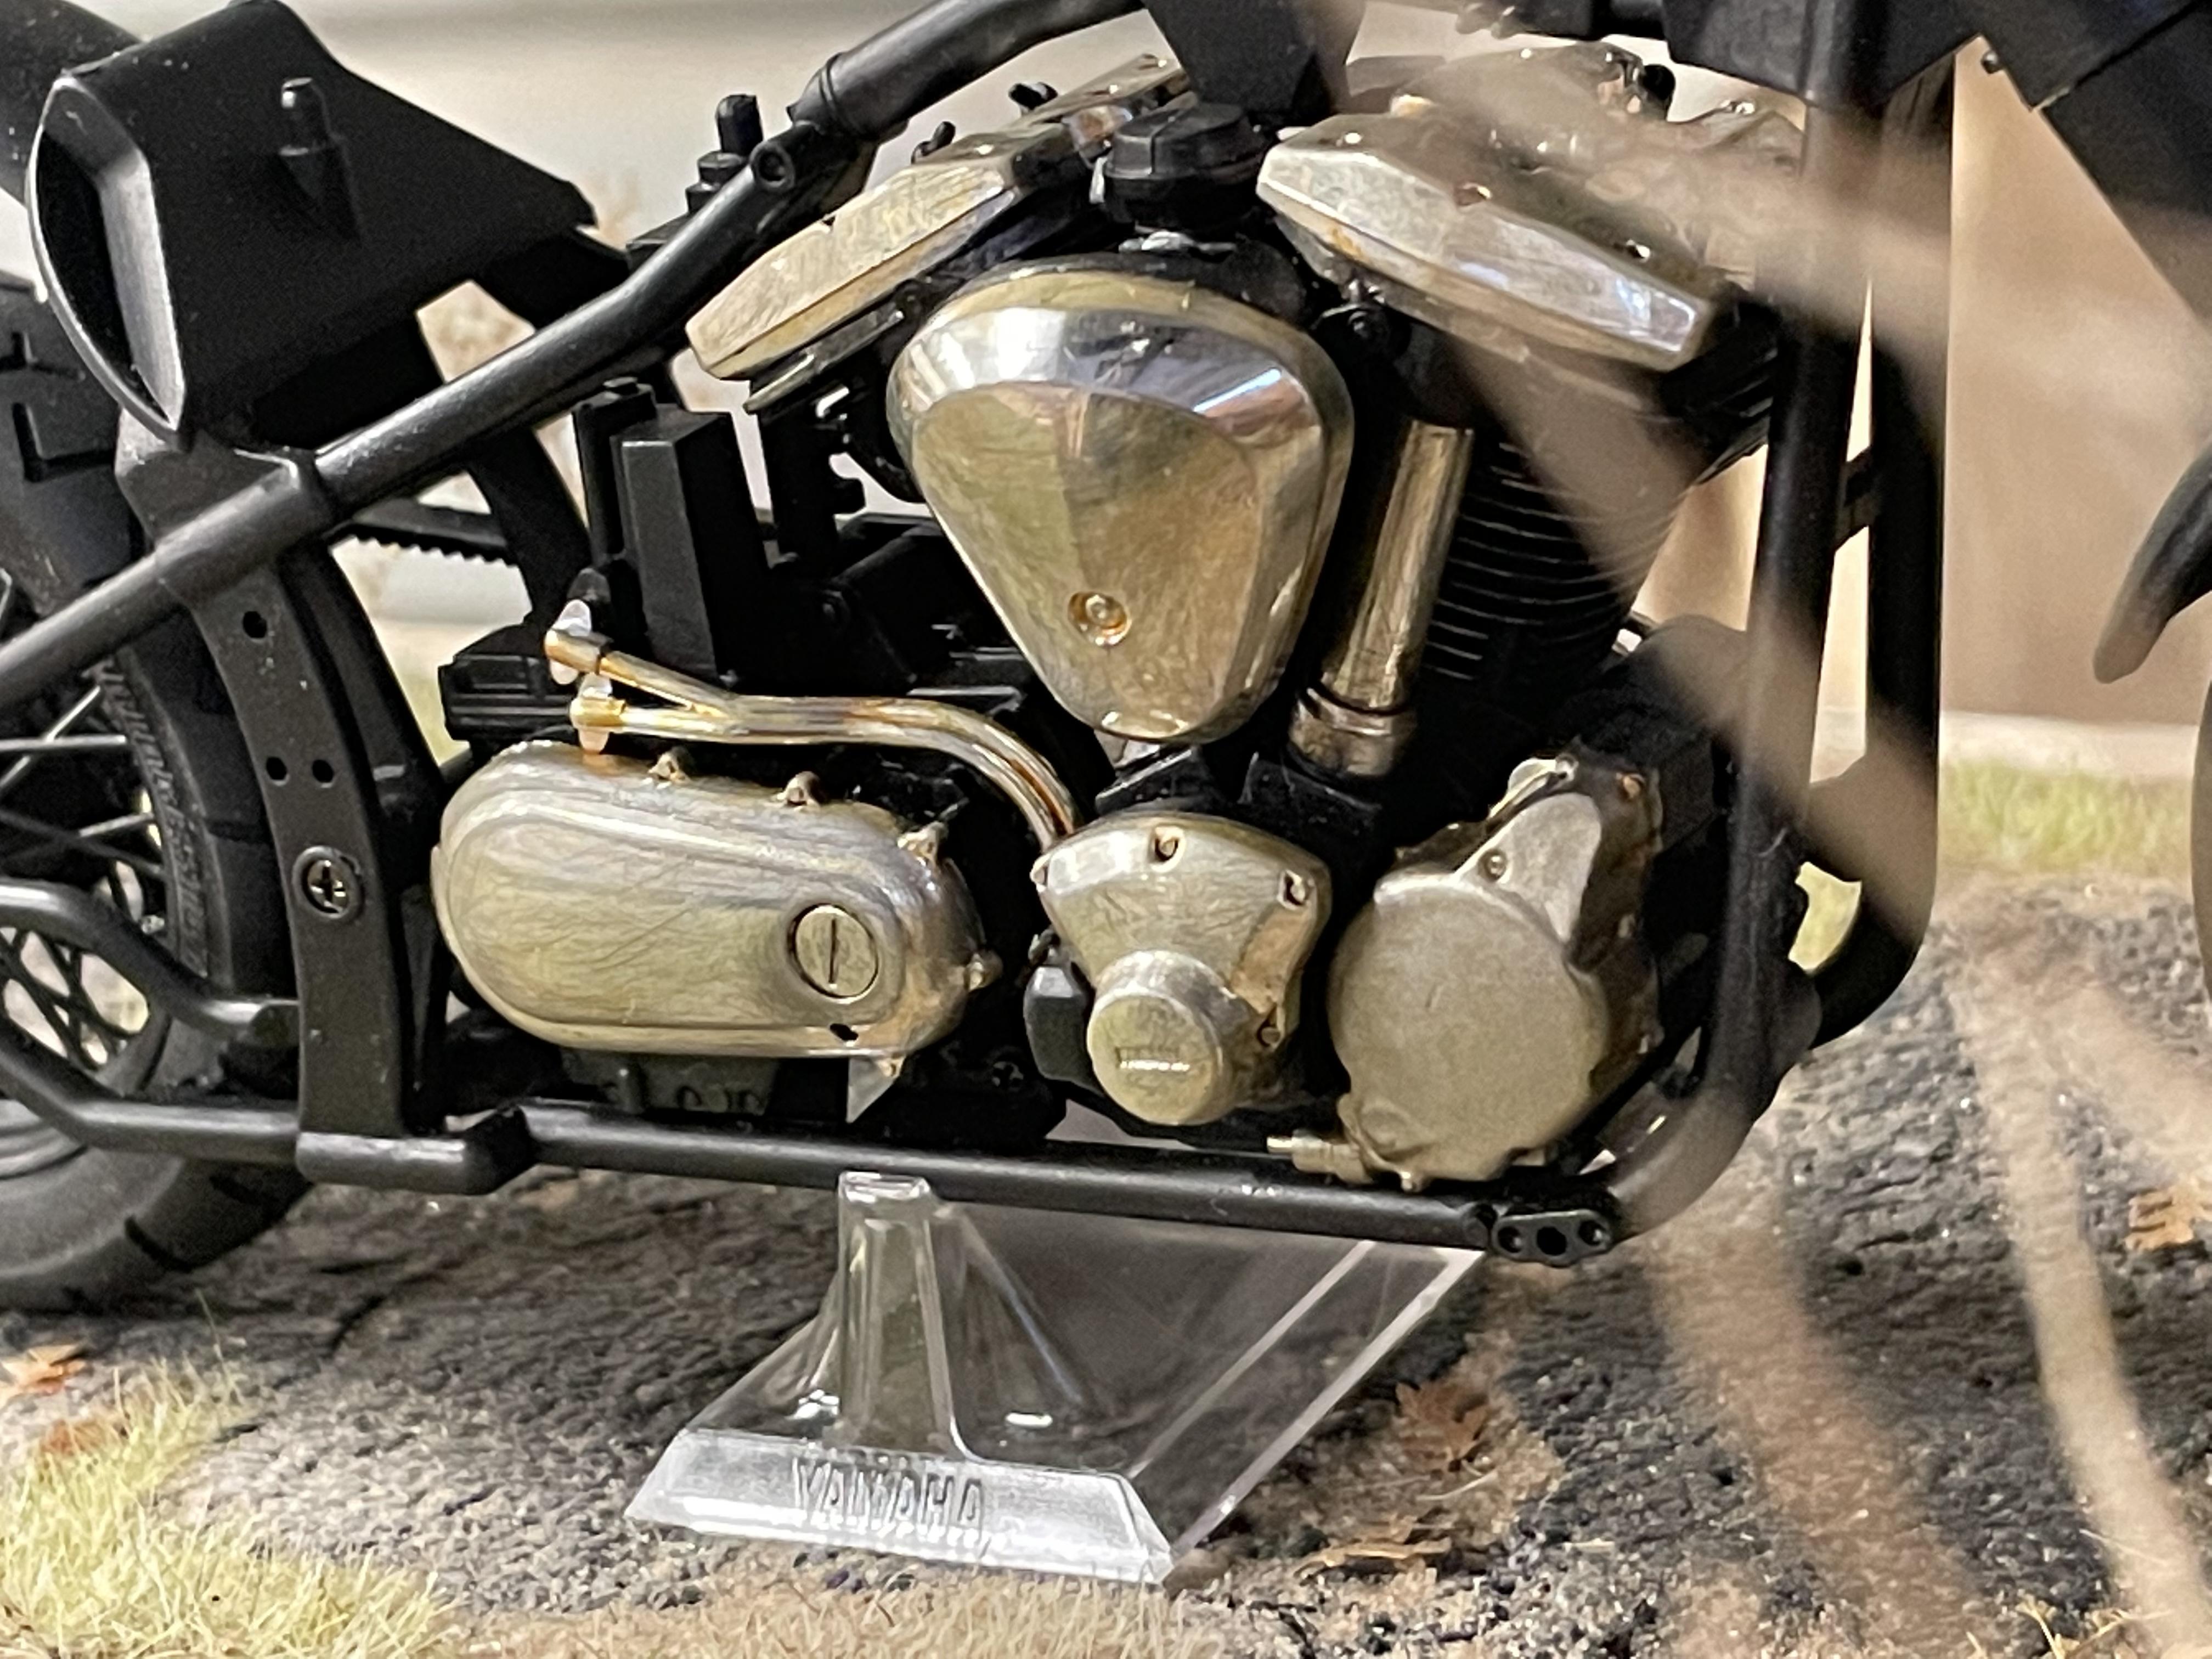
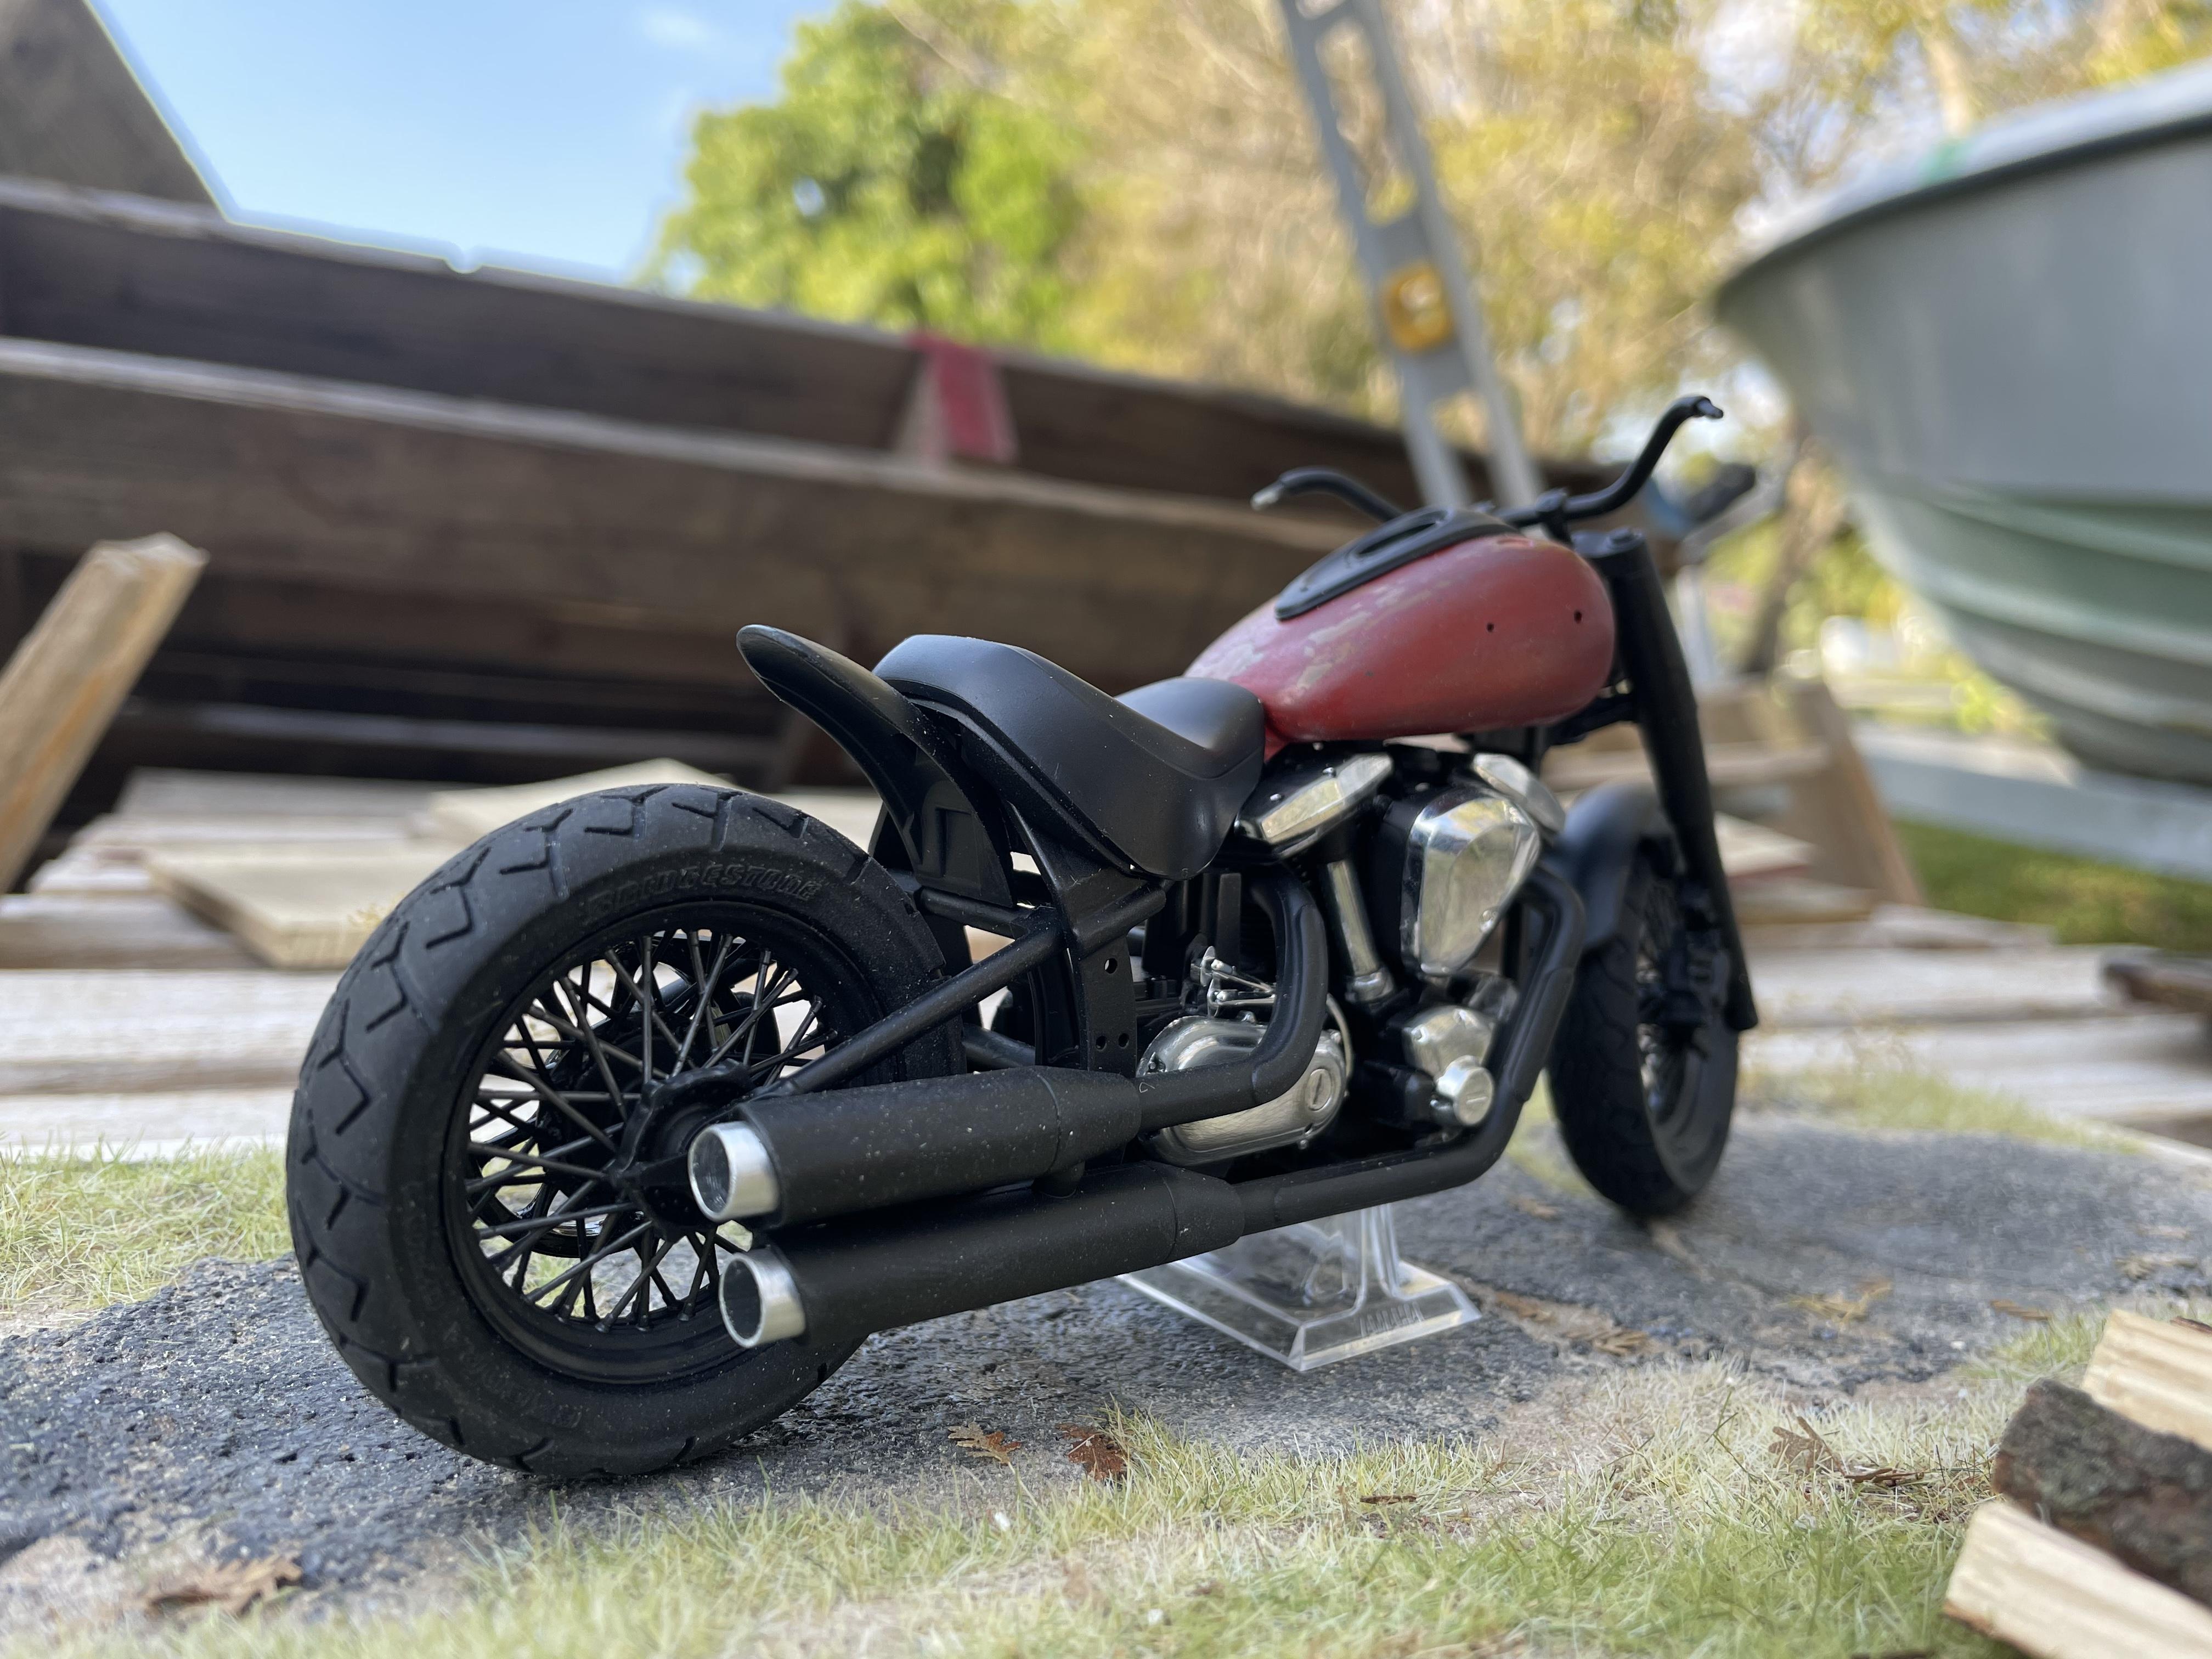
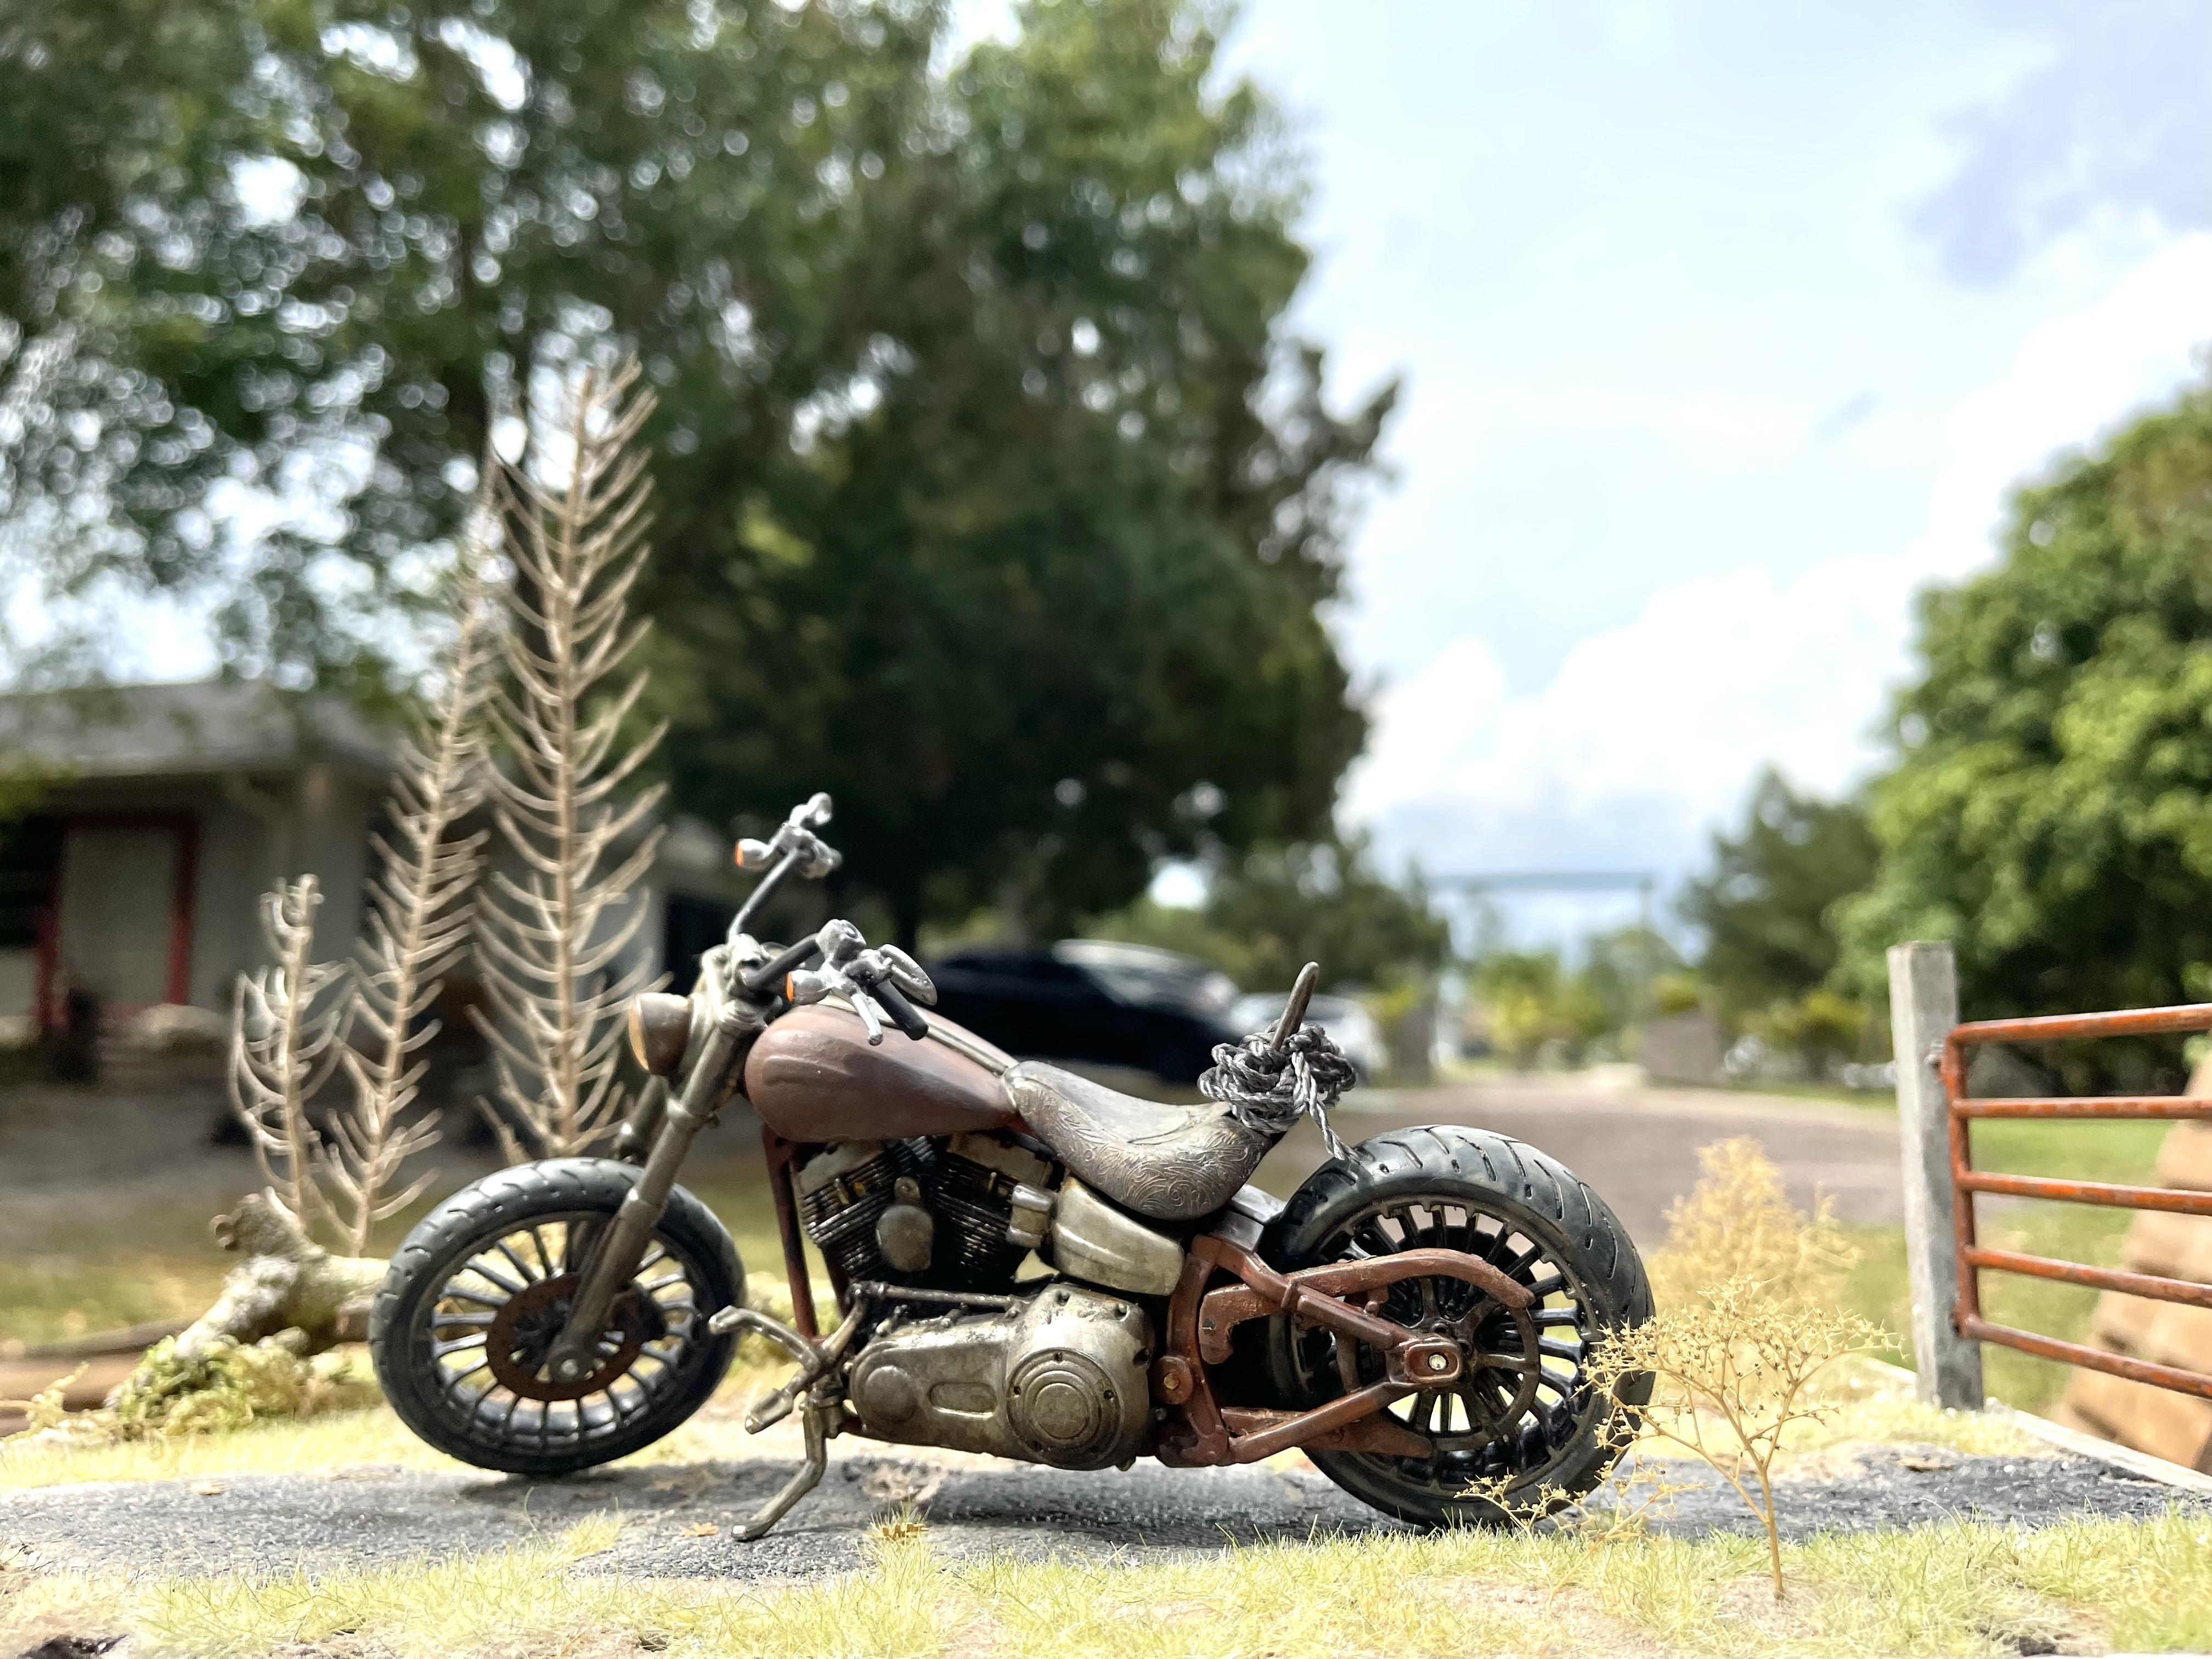
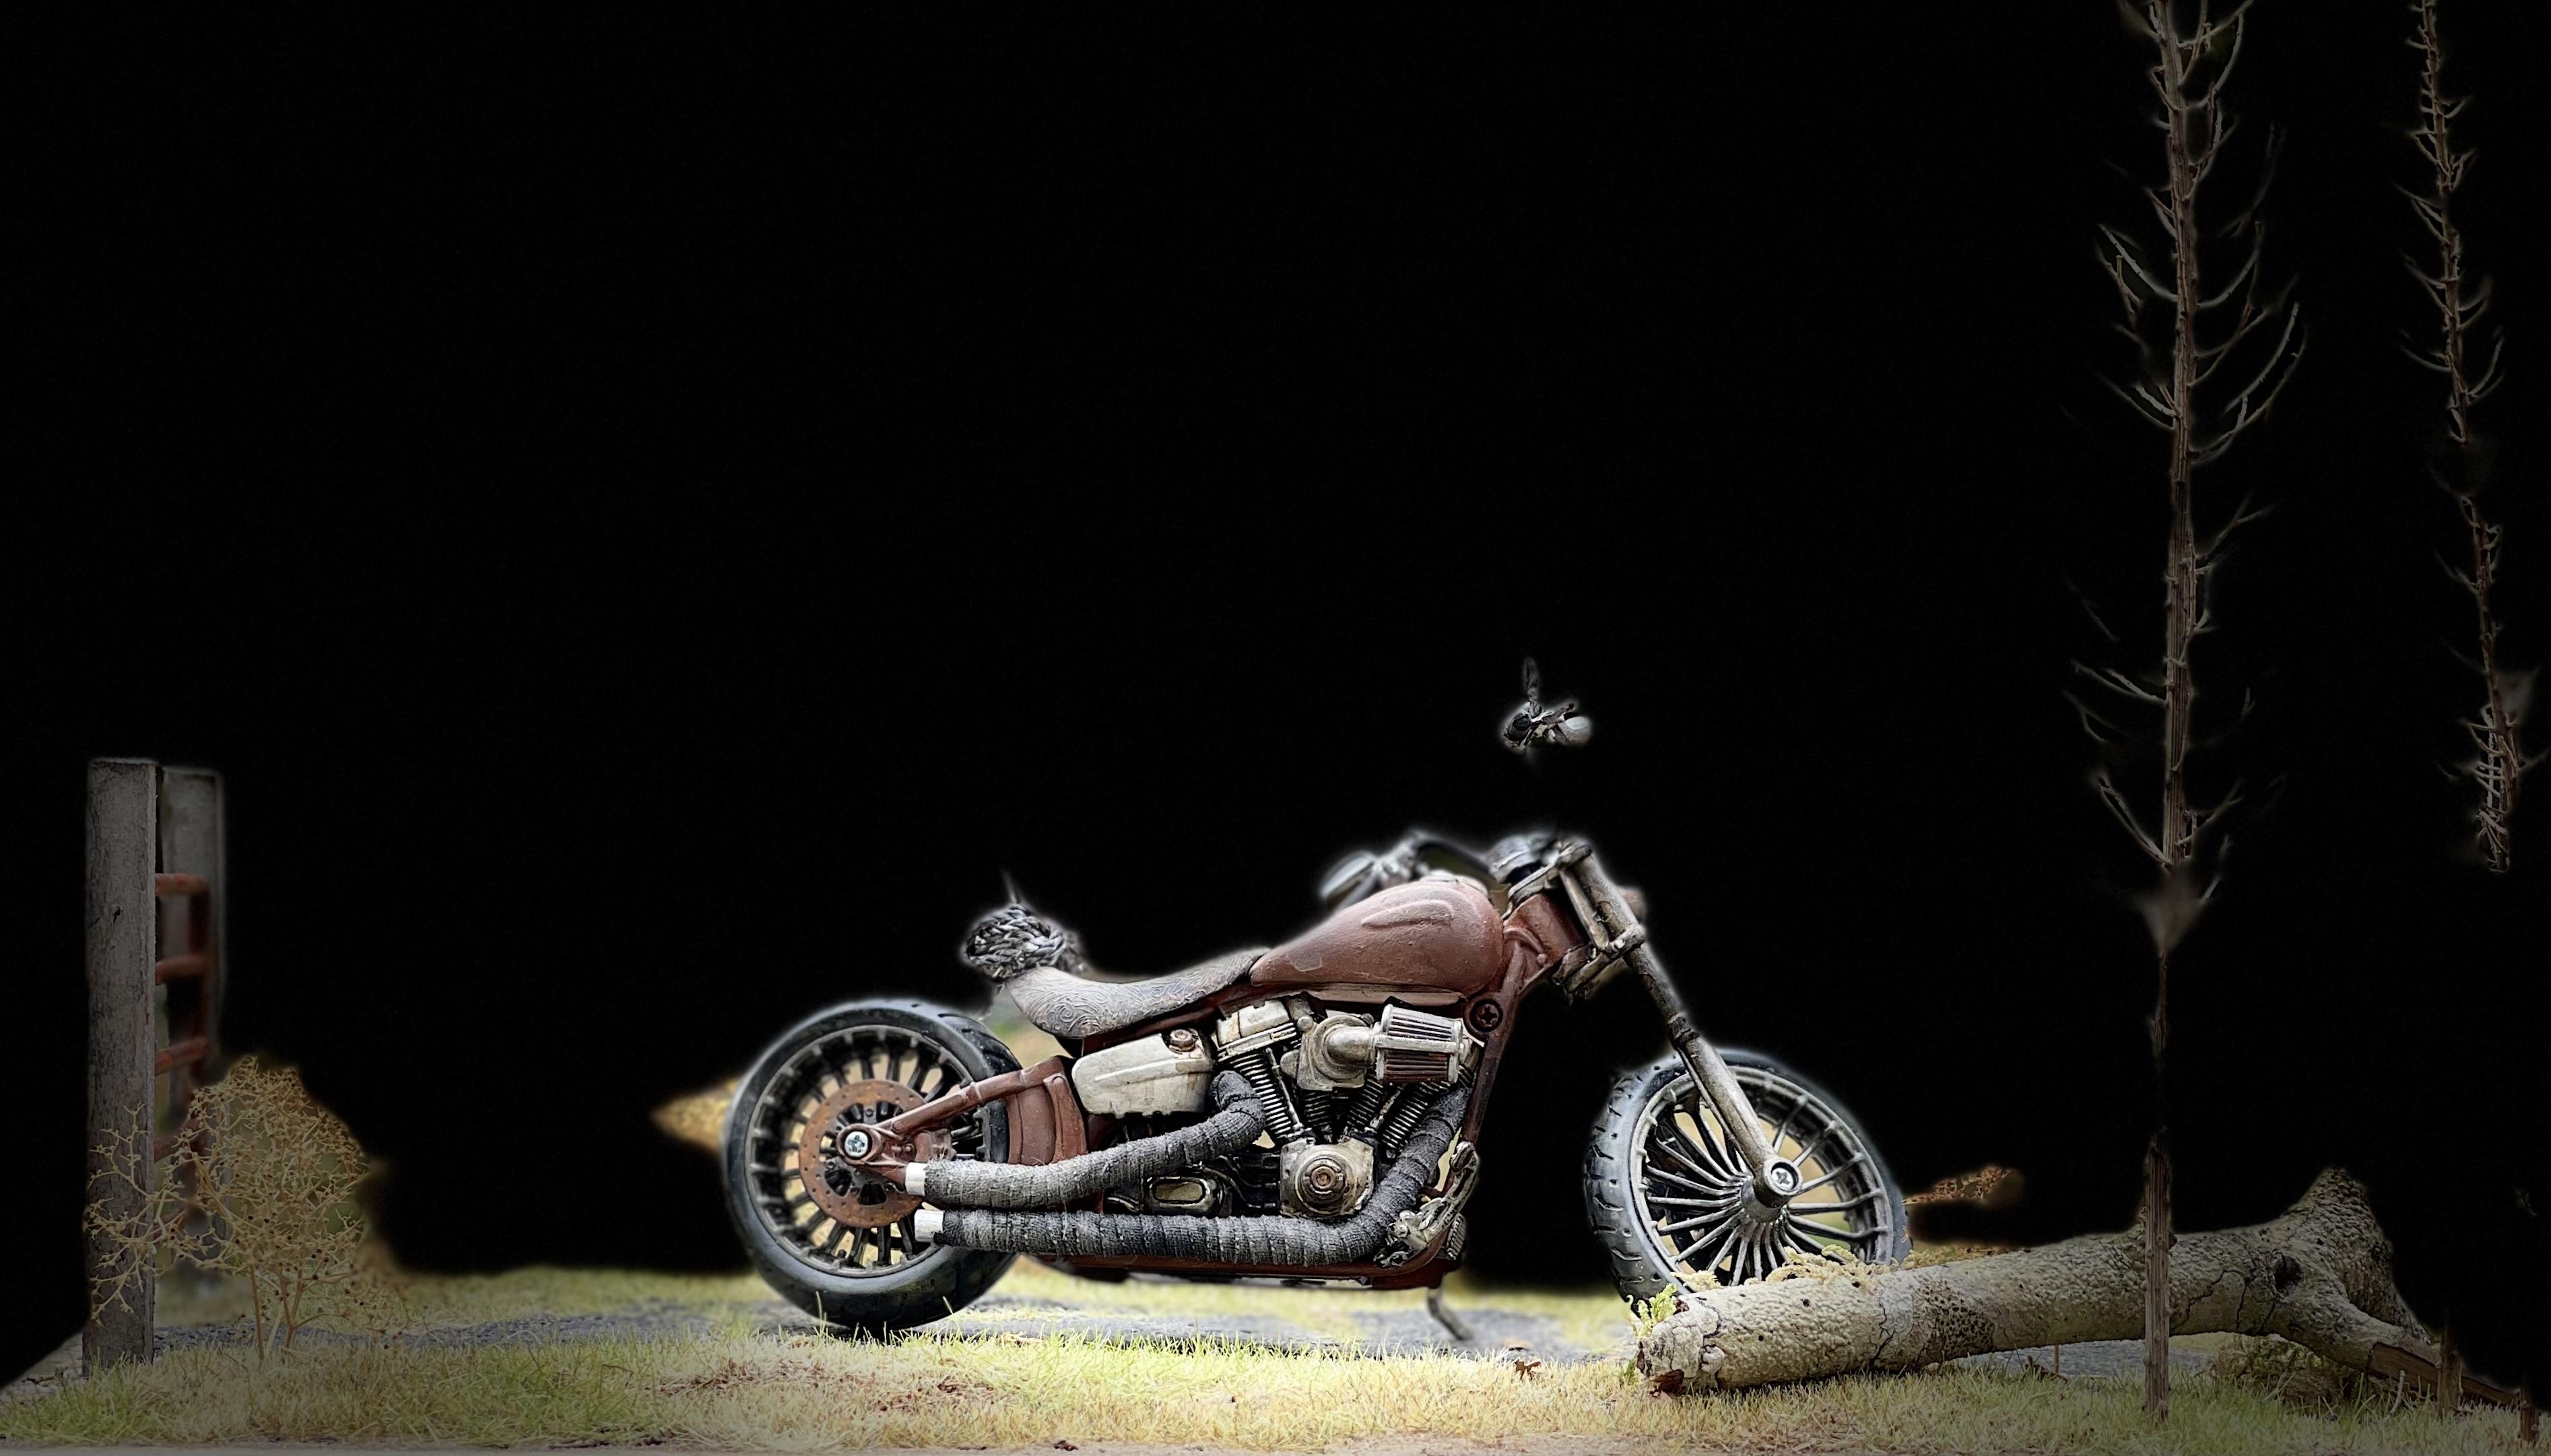
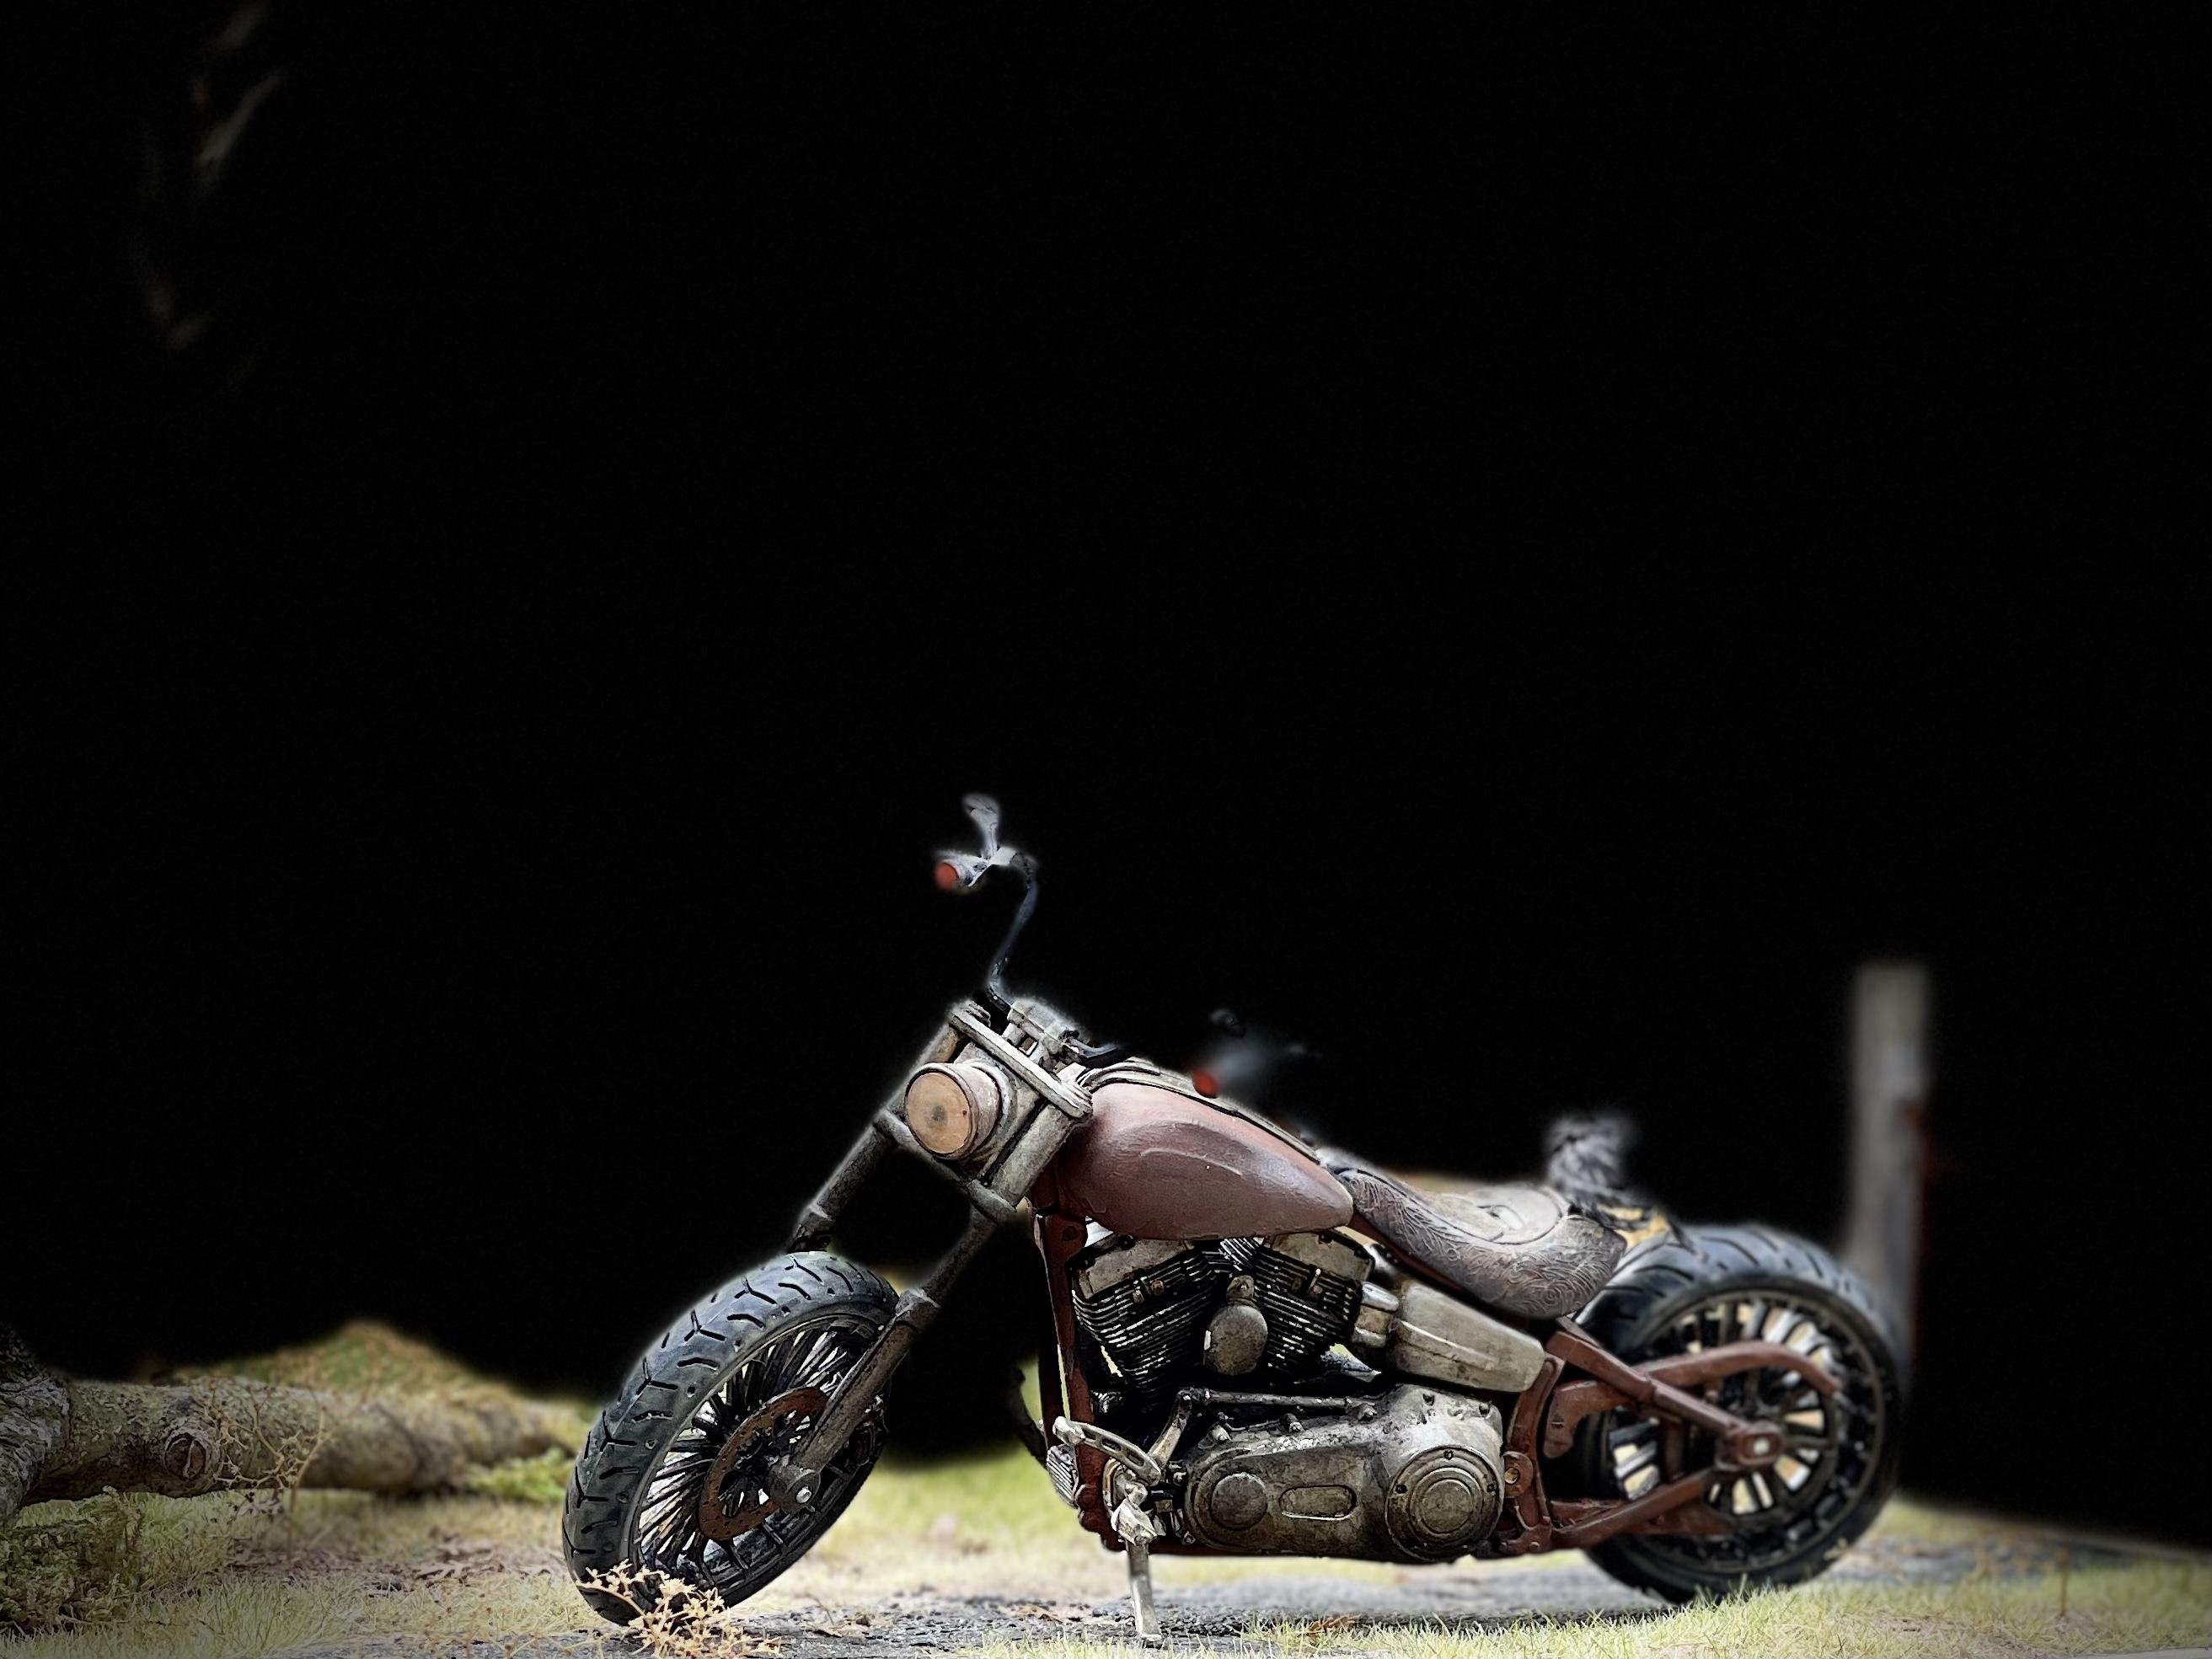
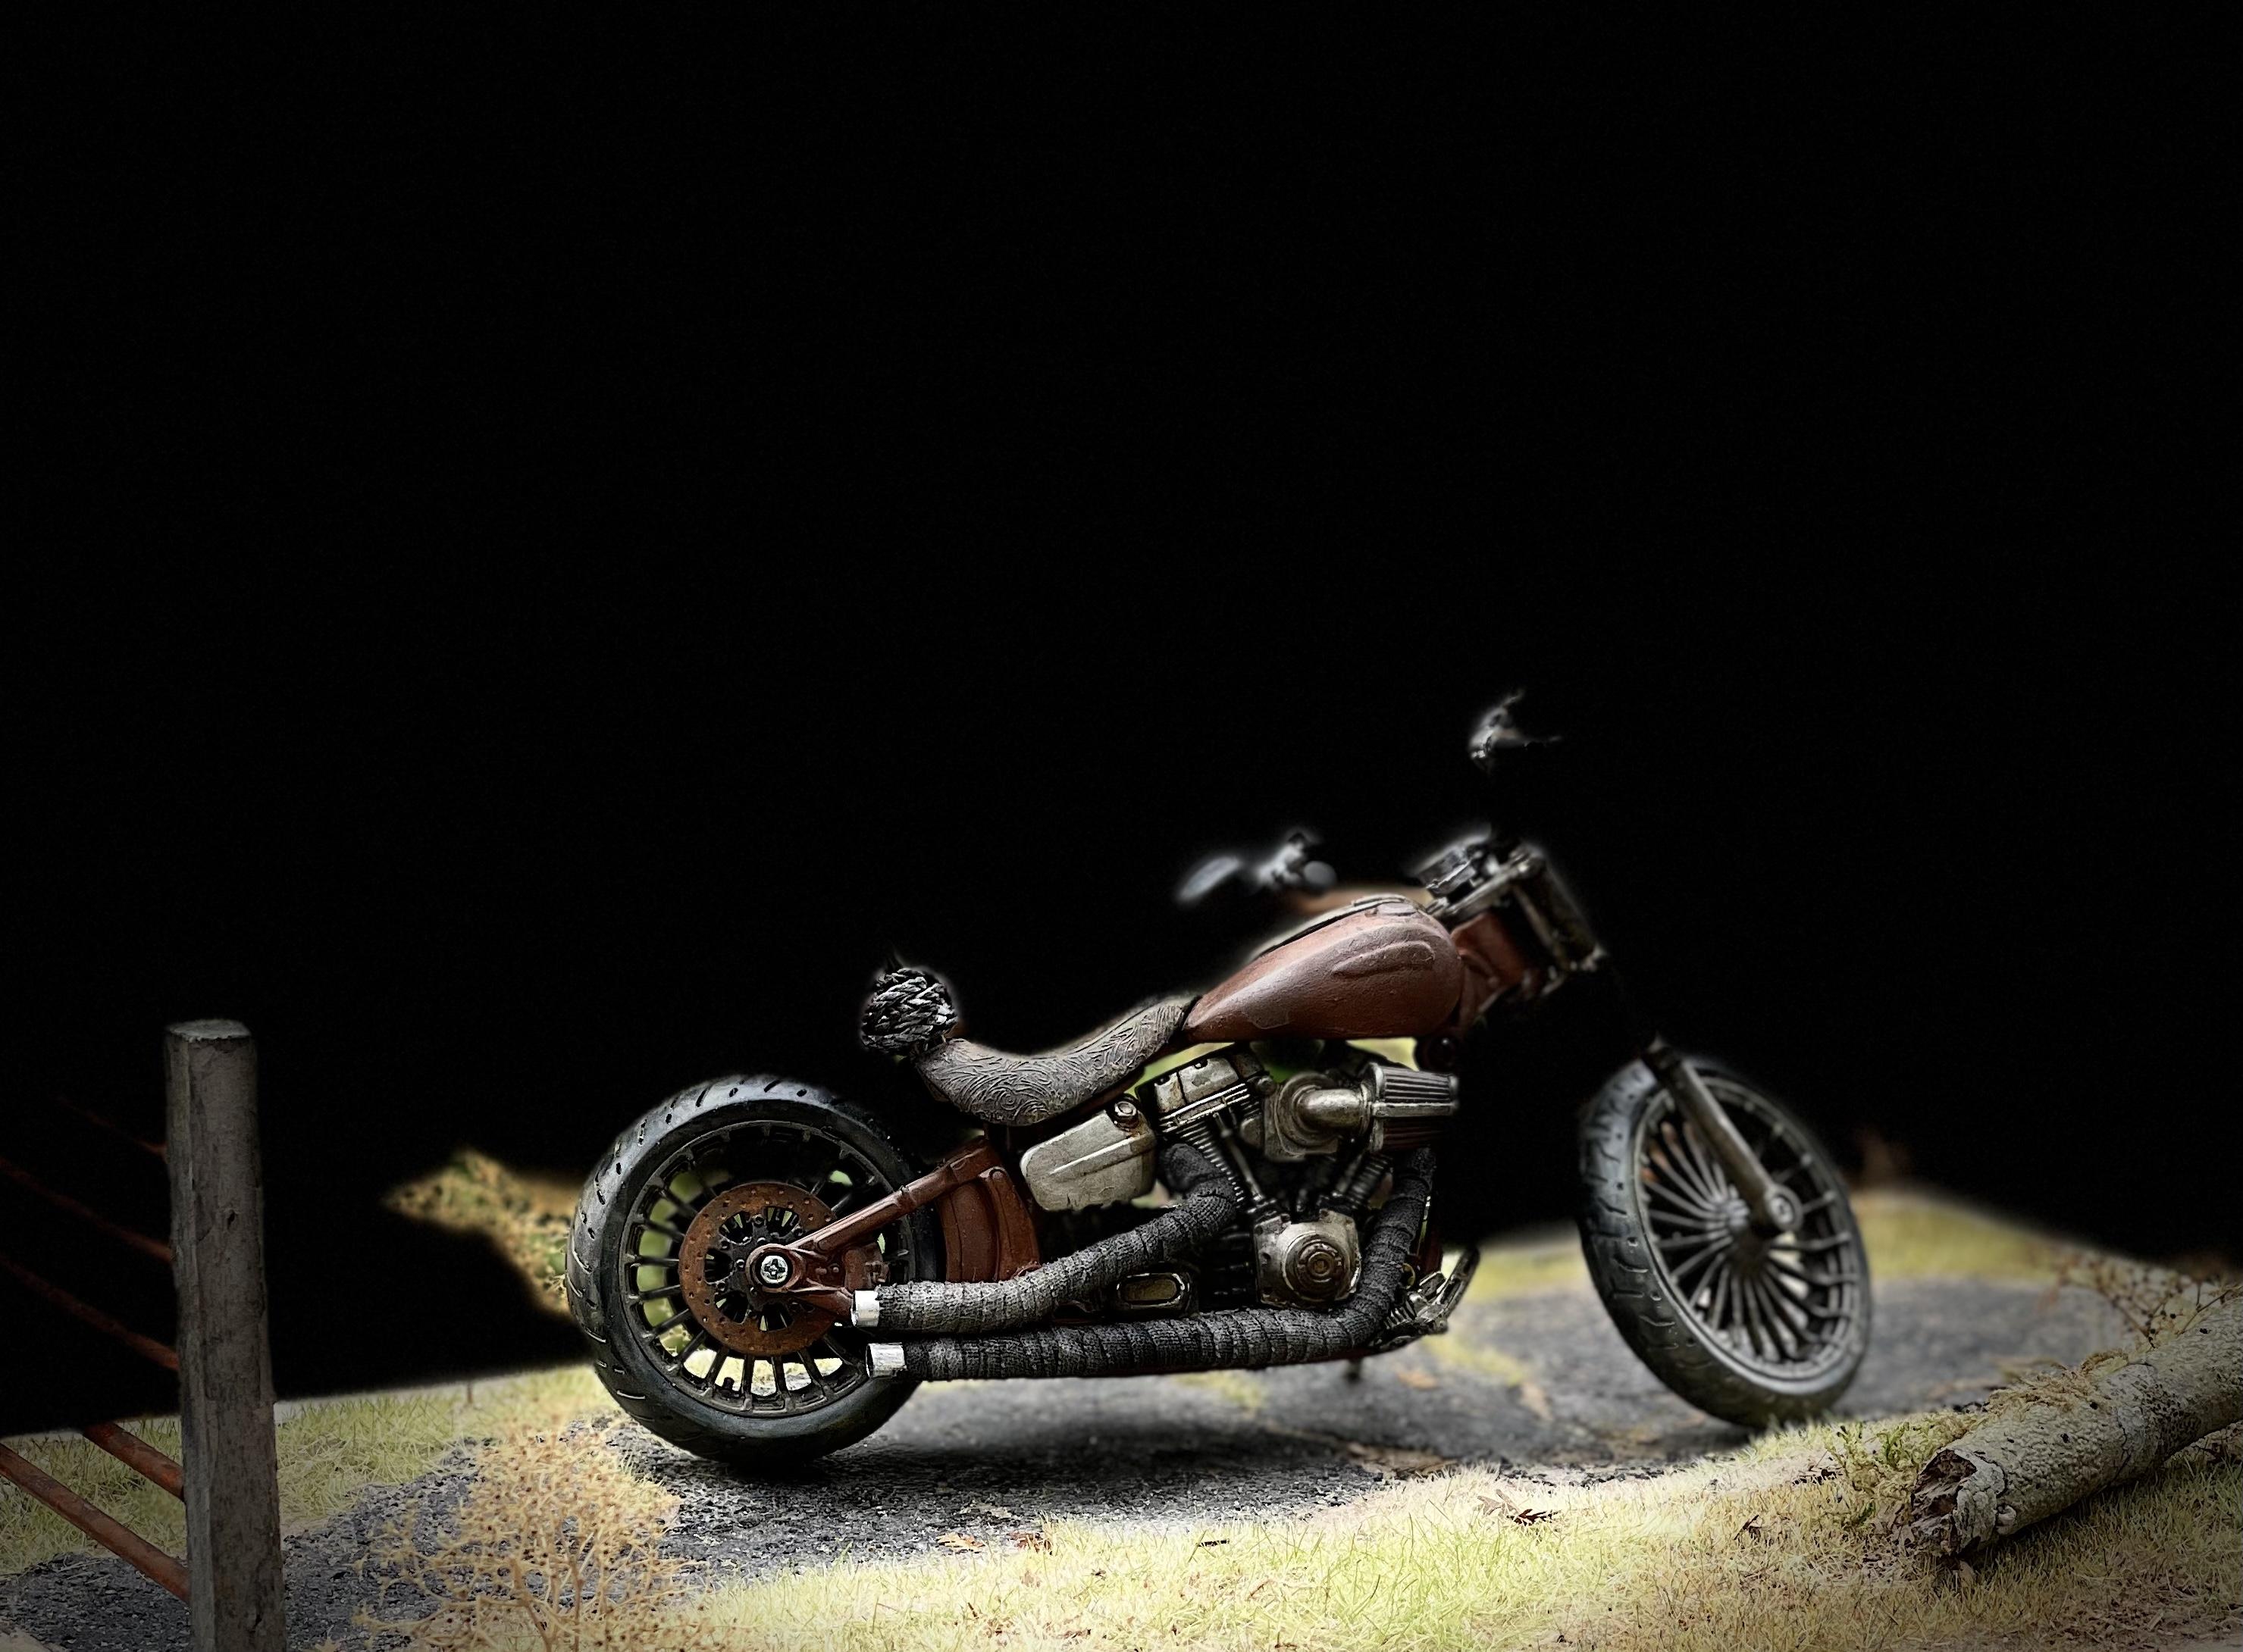
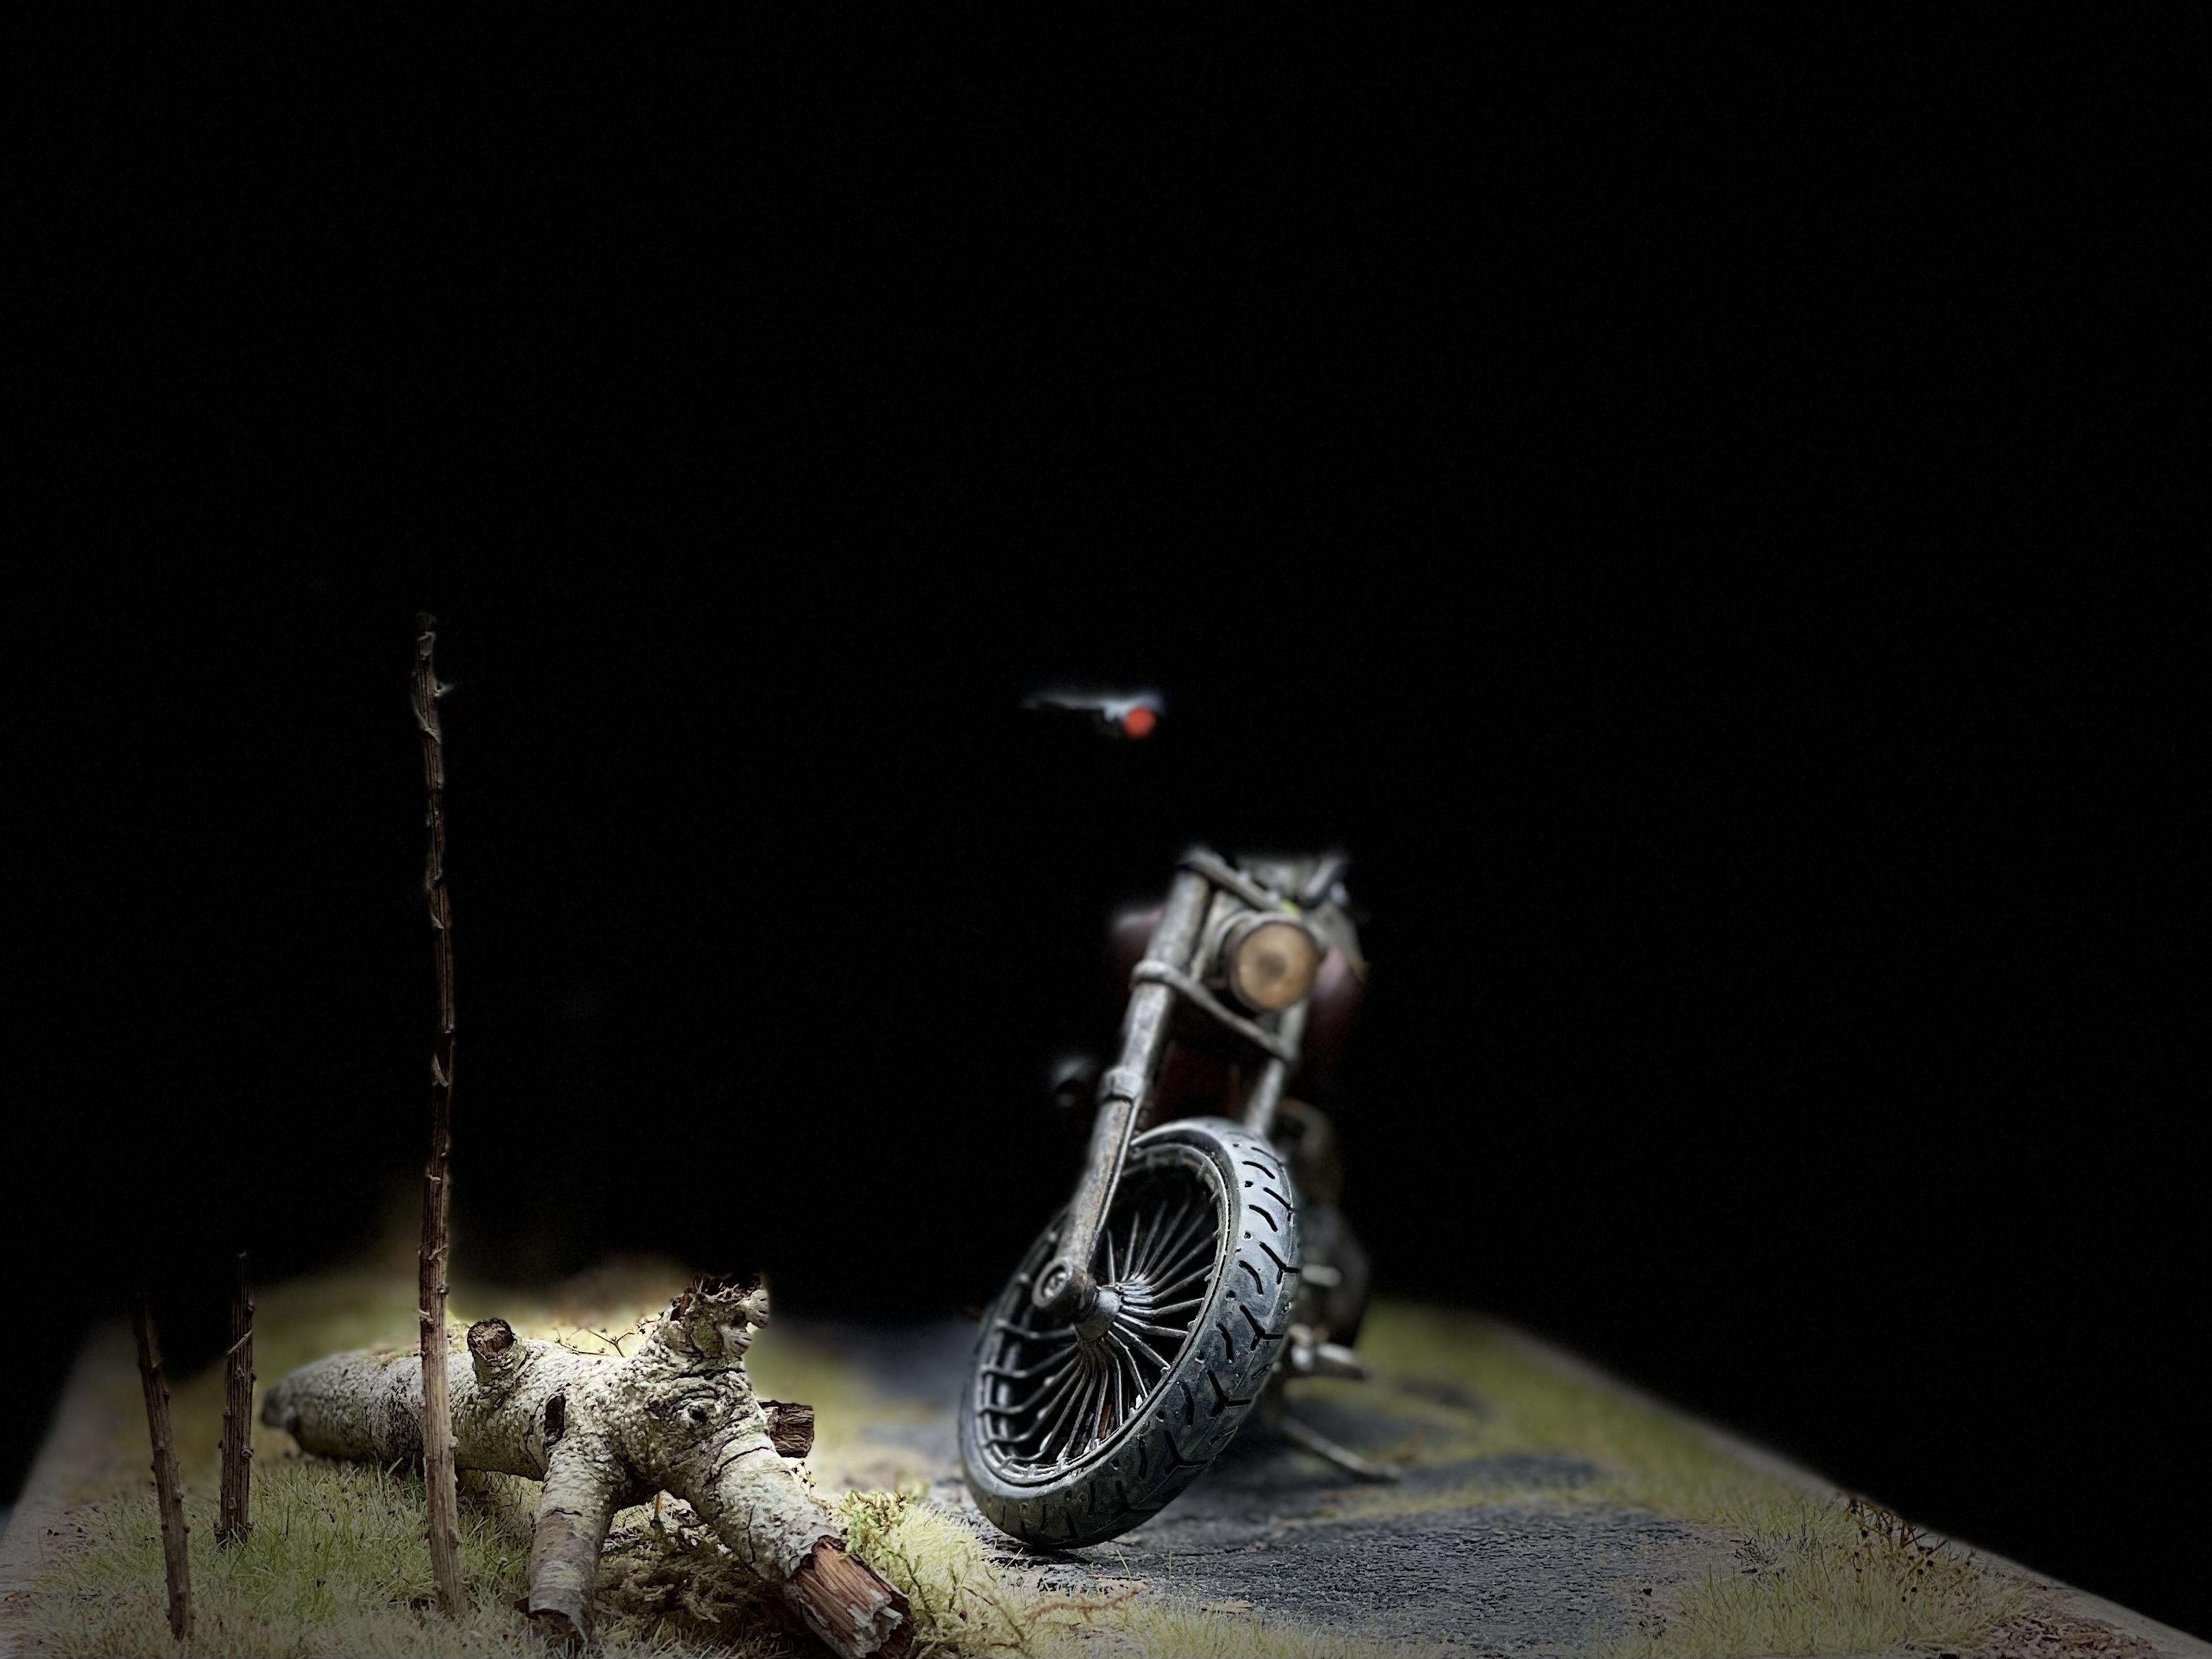
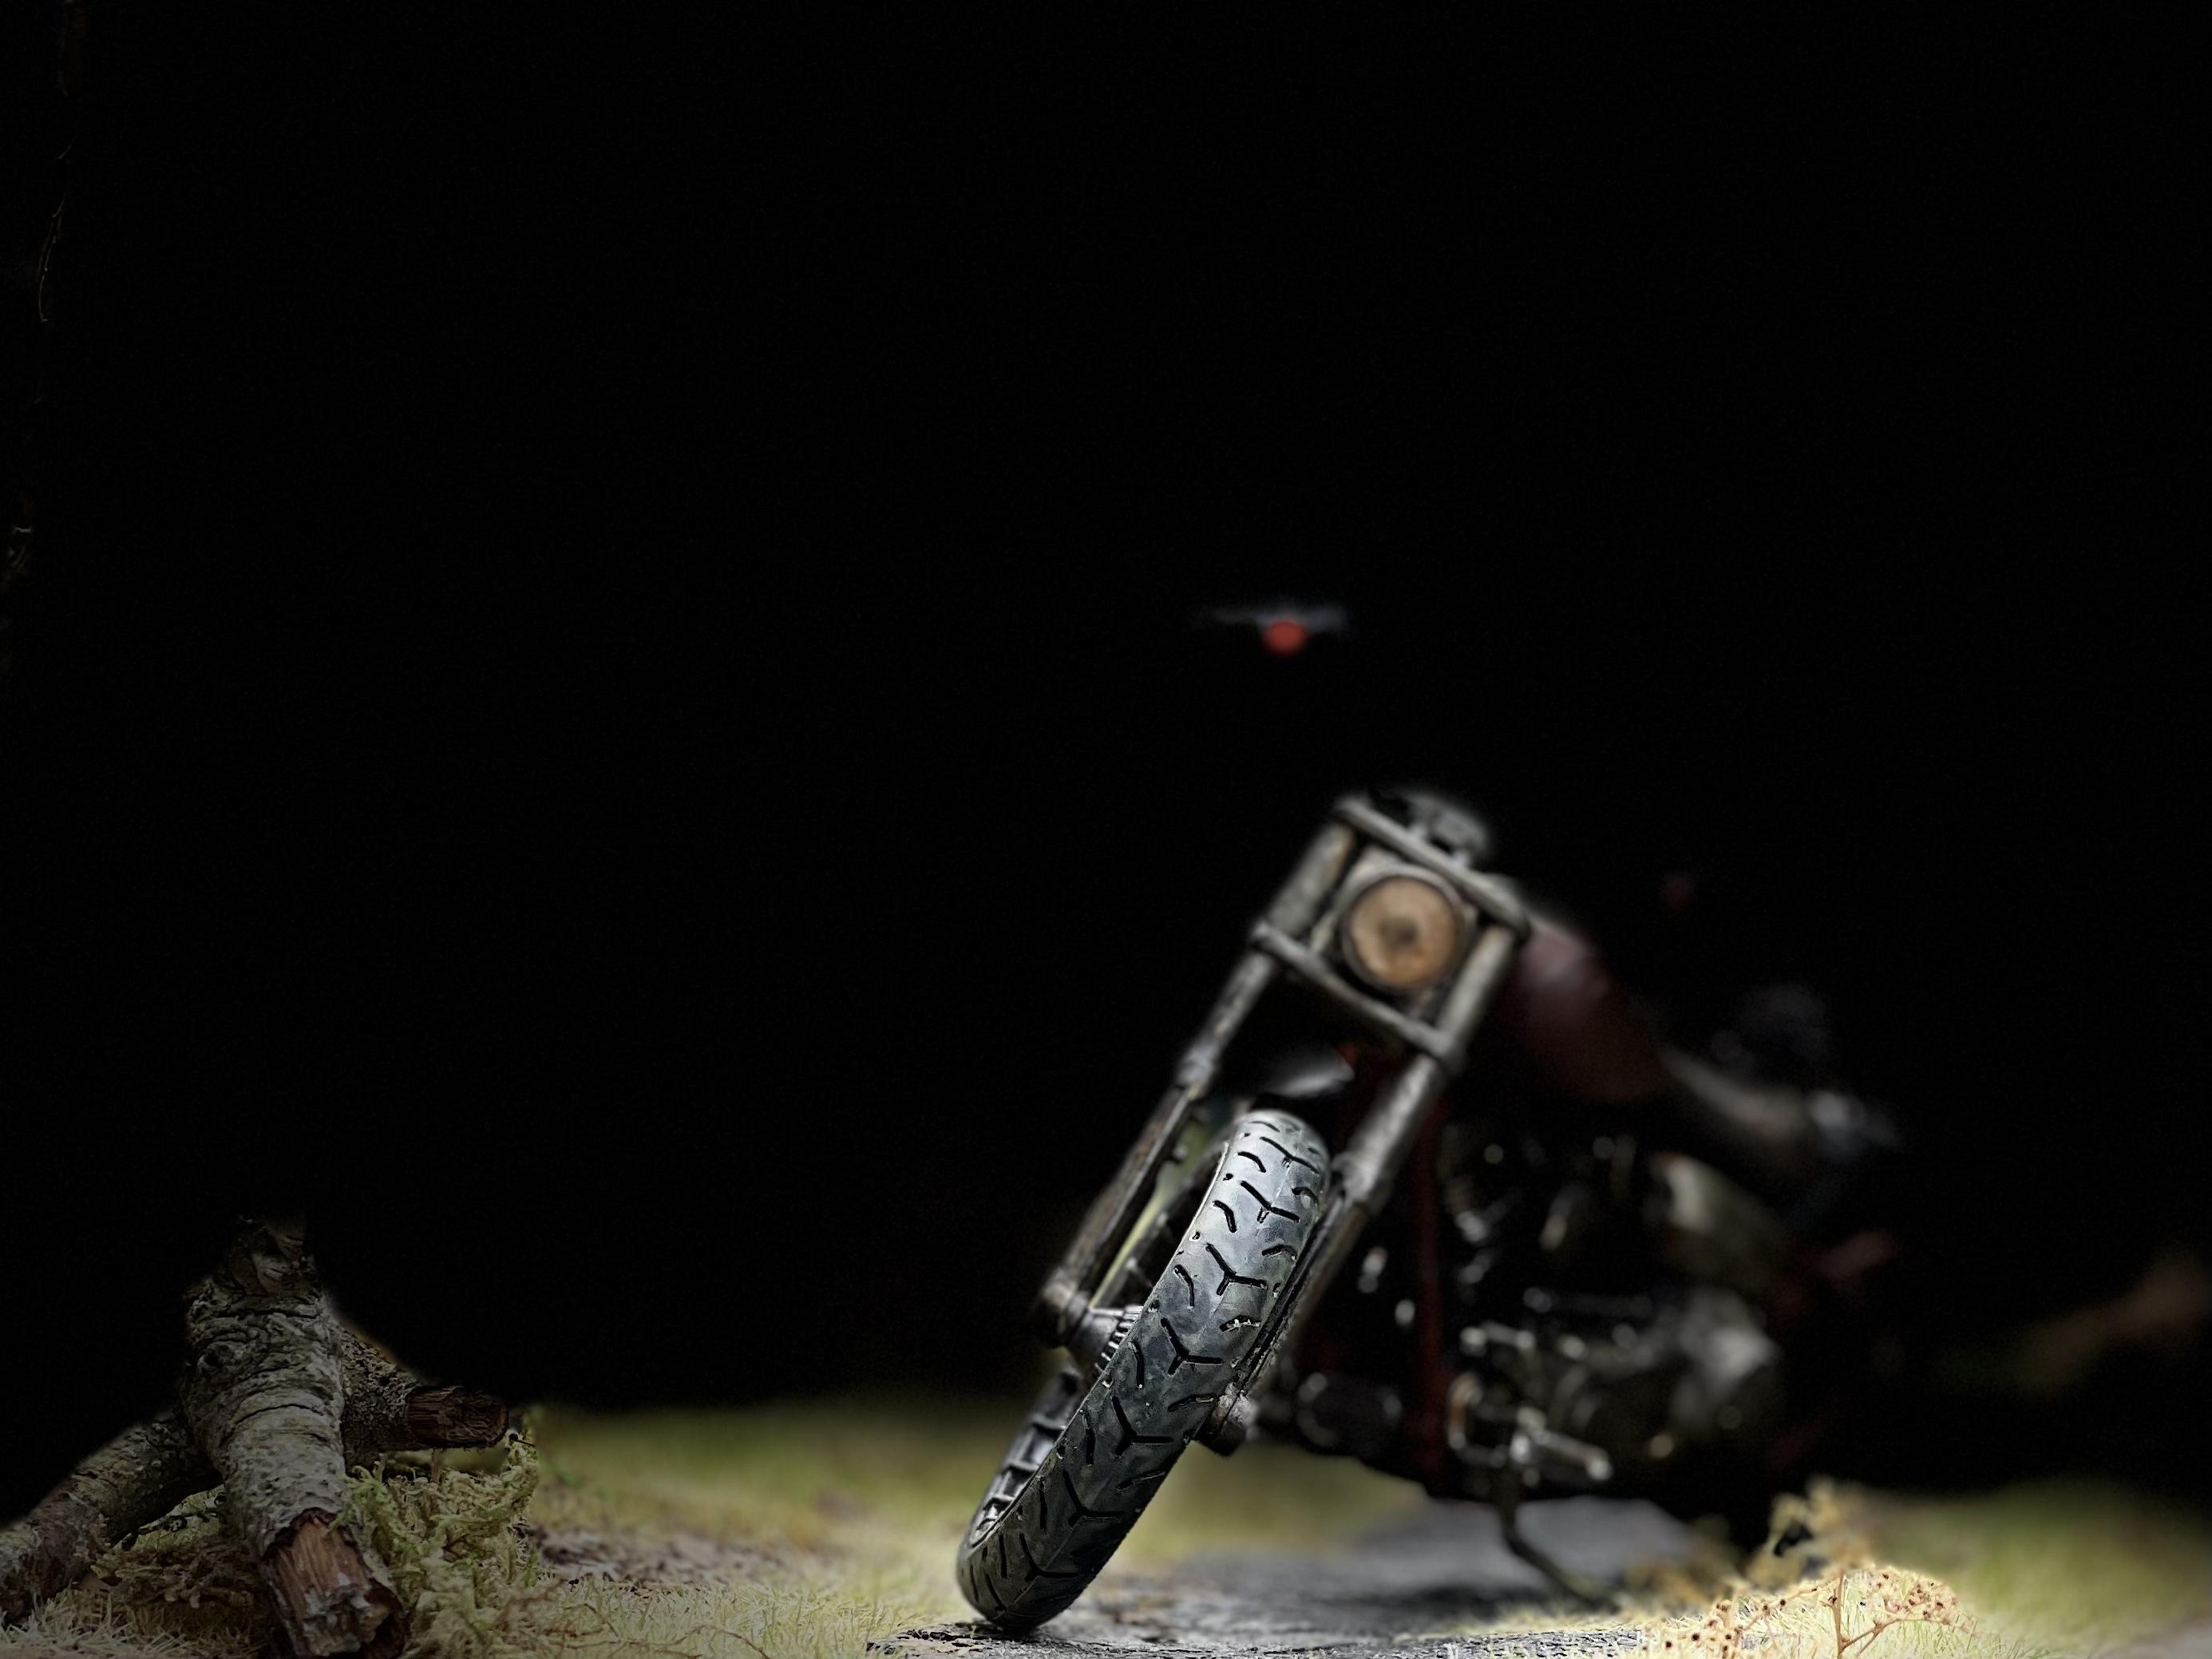
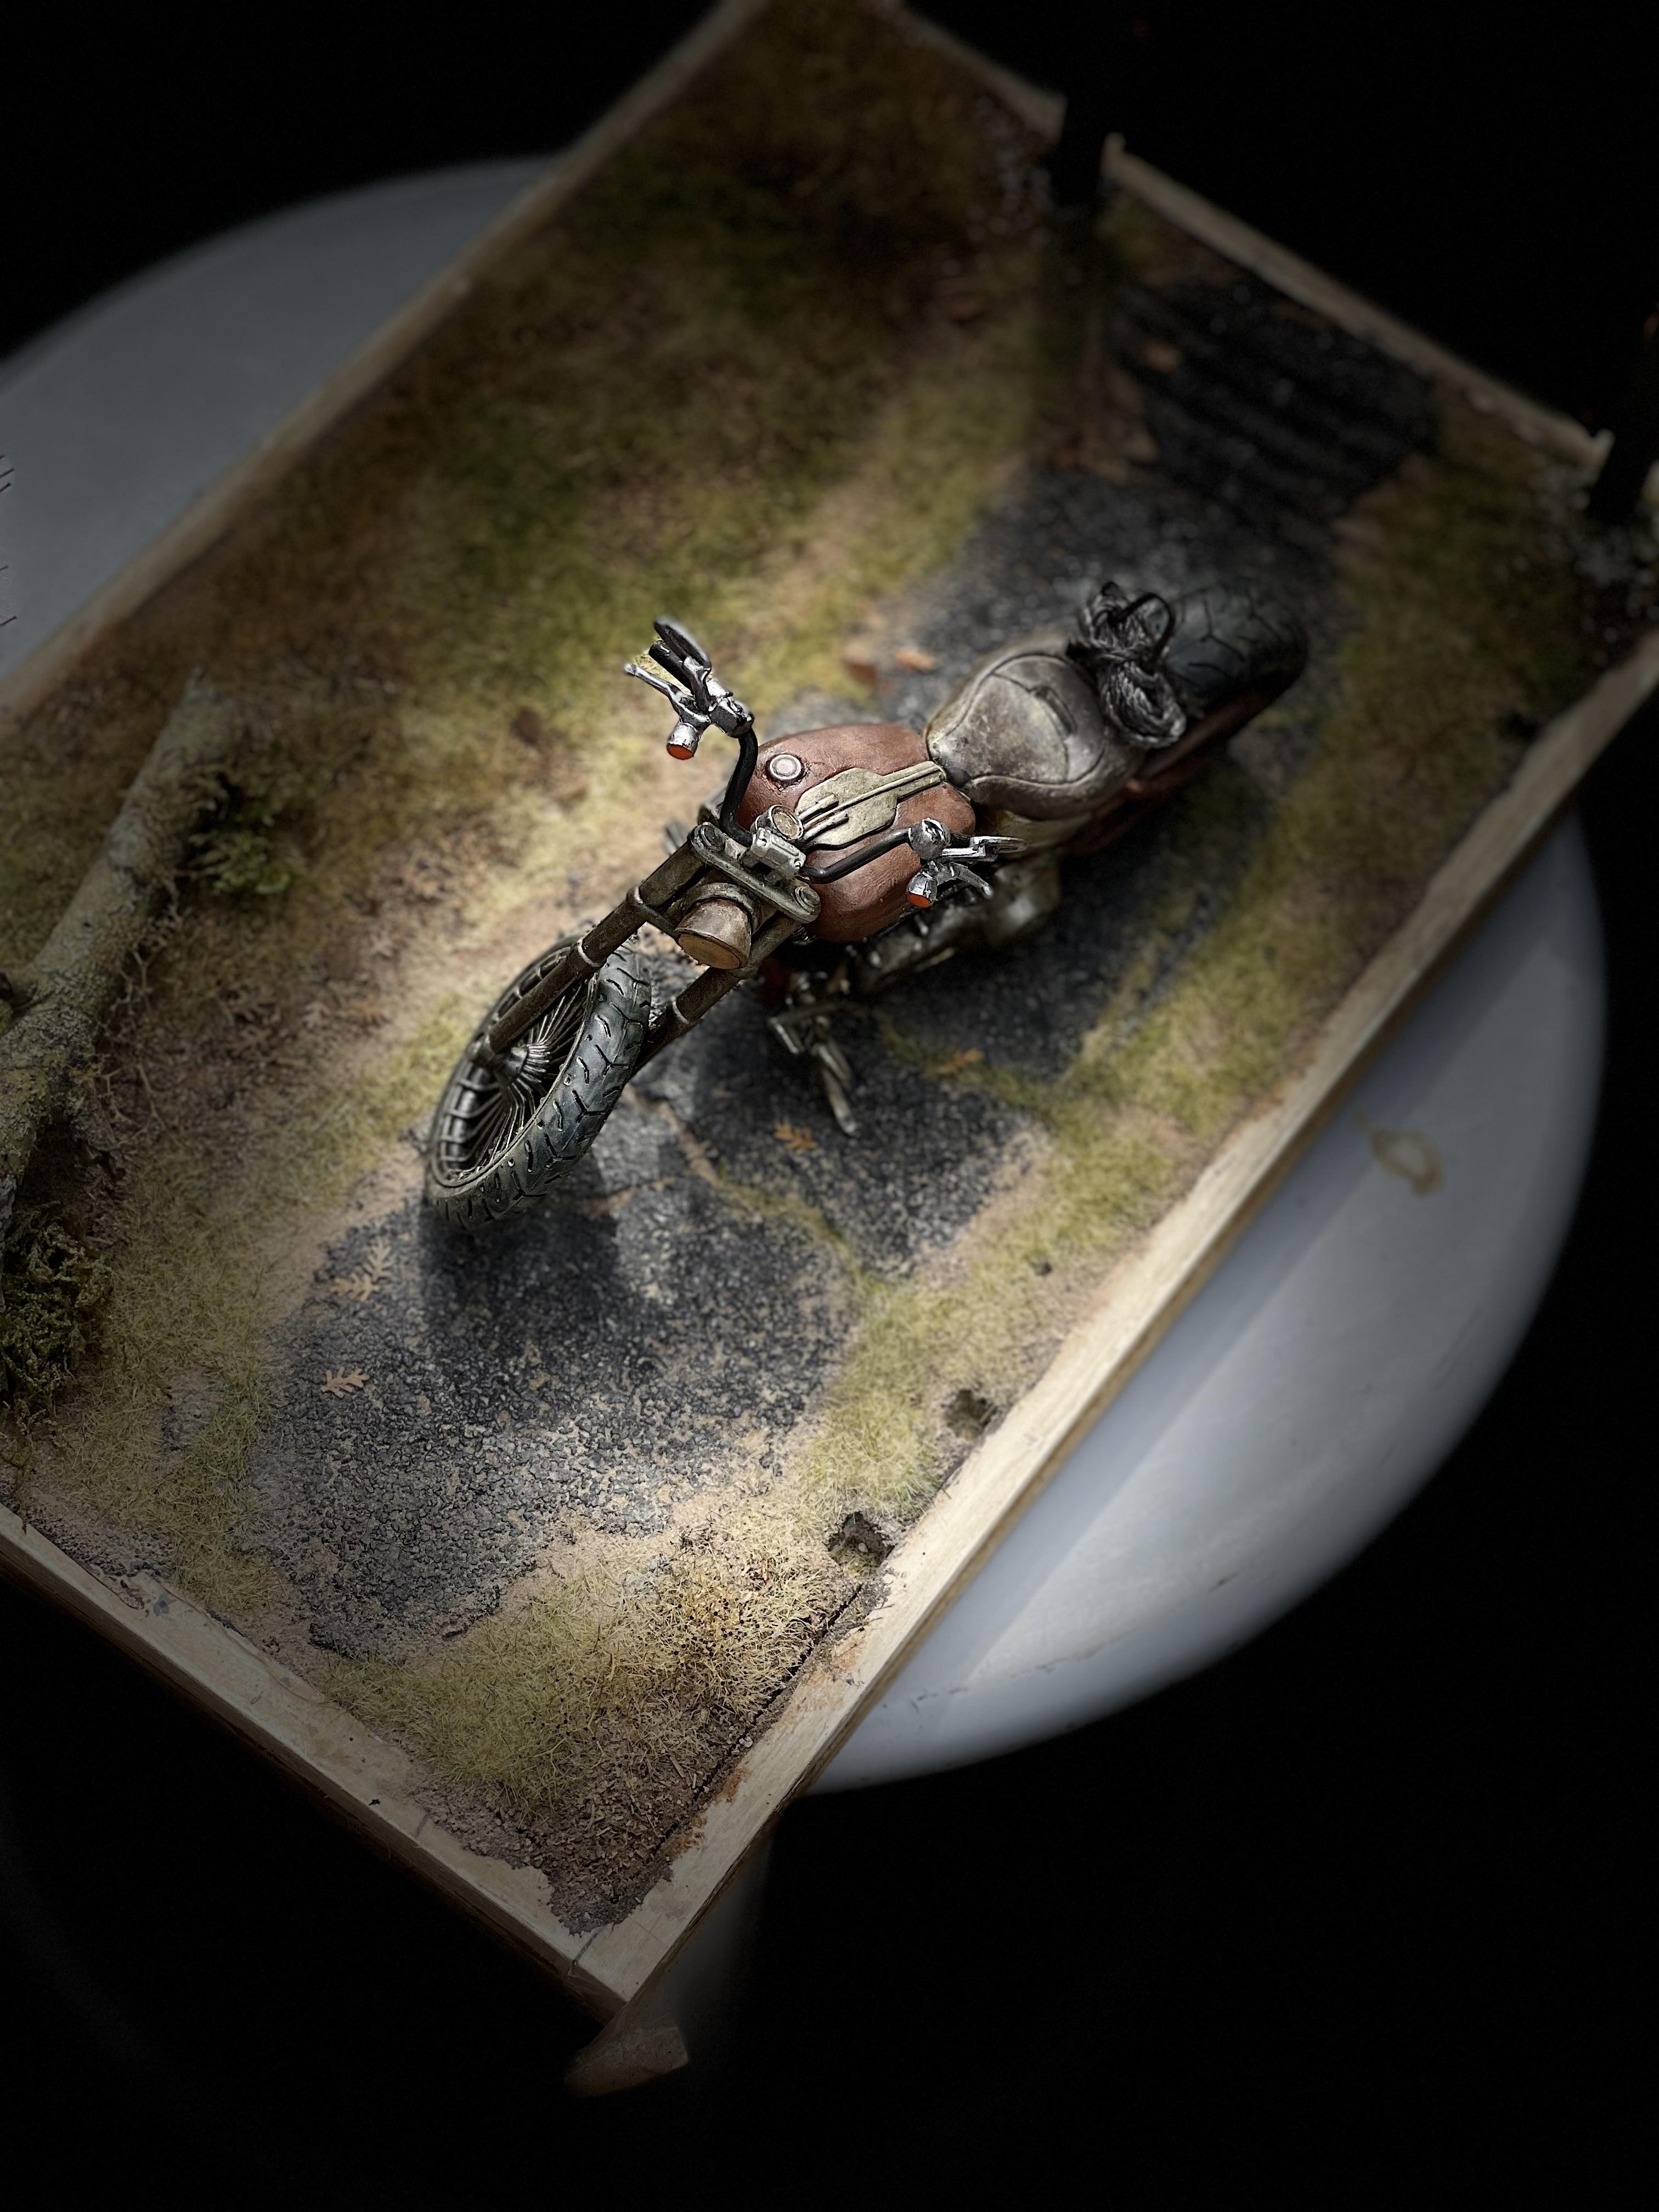
This is the first 1/12 motorcycle kit I put together. My previous diorama was a Maisto motorcycle already built. This one is a little over due to all the tiny pieces to put together, but getting a hang of it. This particular model I wanted to take a risk and modify it to look like a bobber. Still work in progress.
-
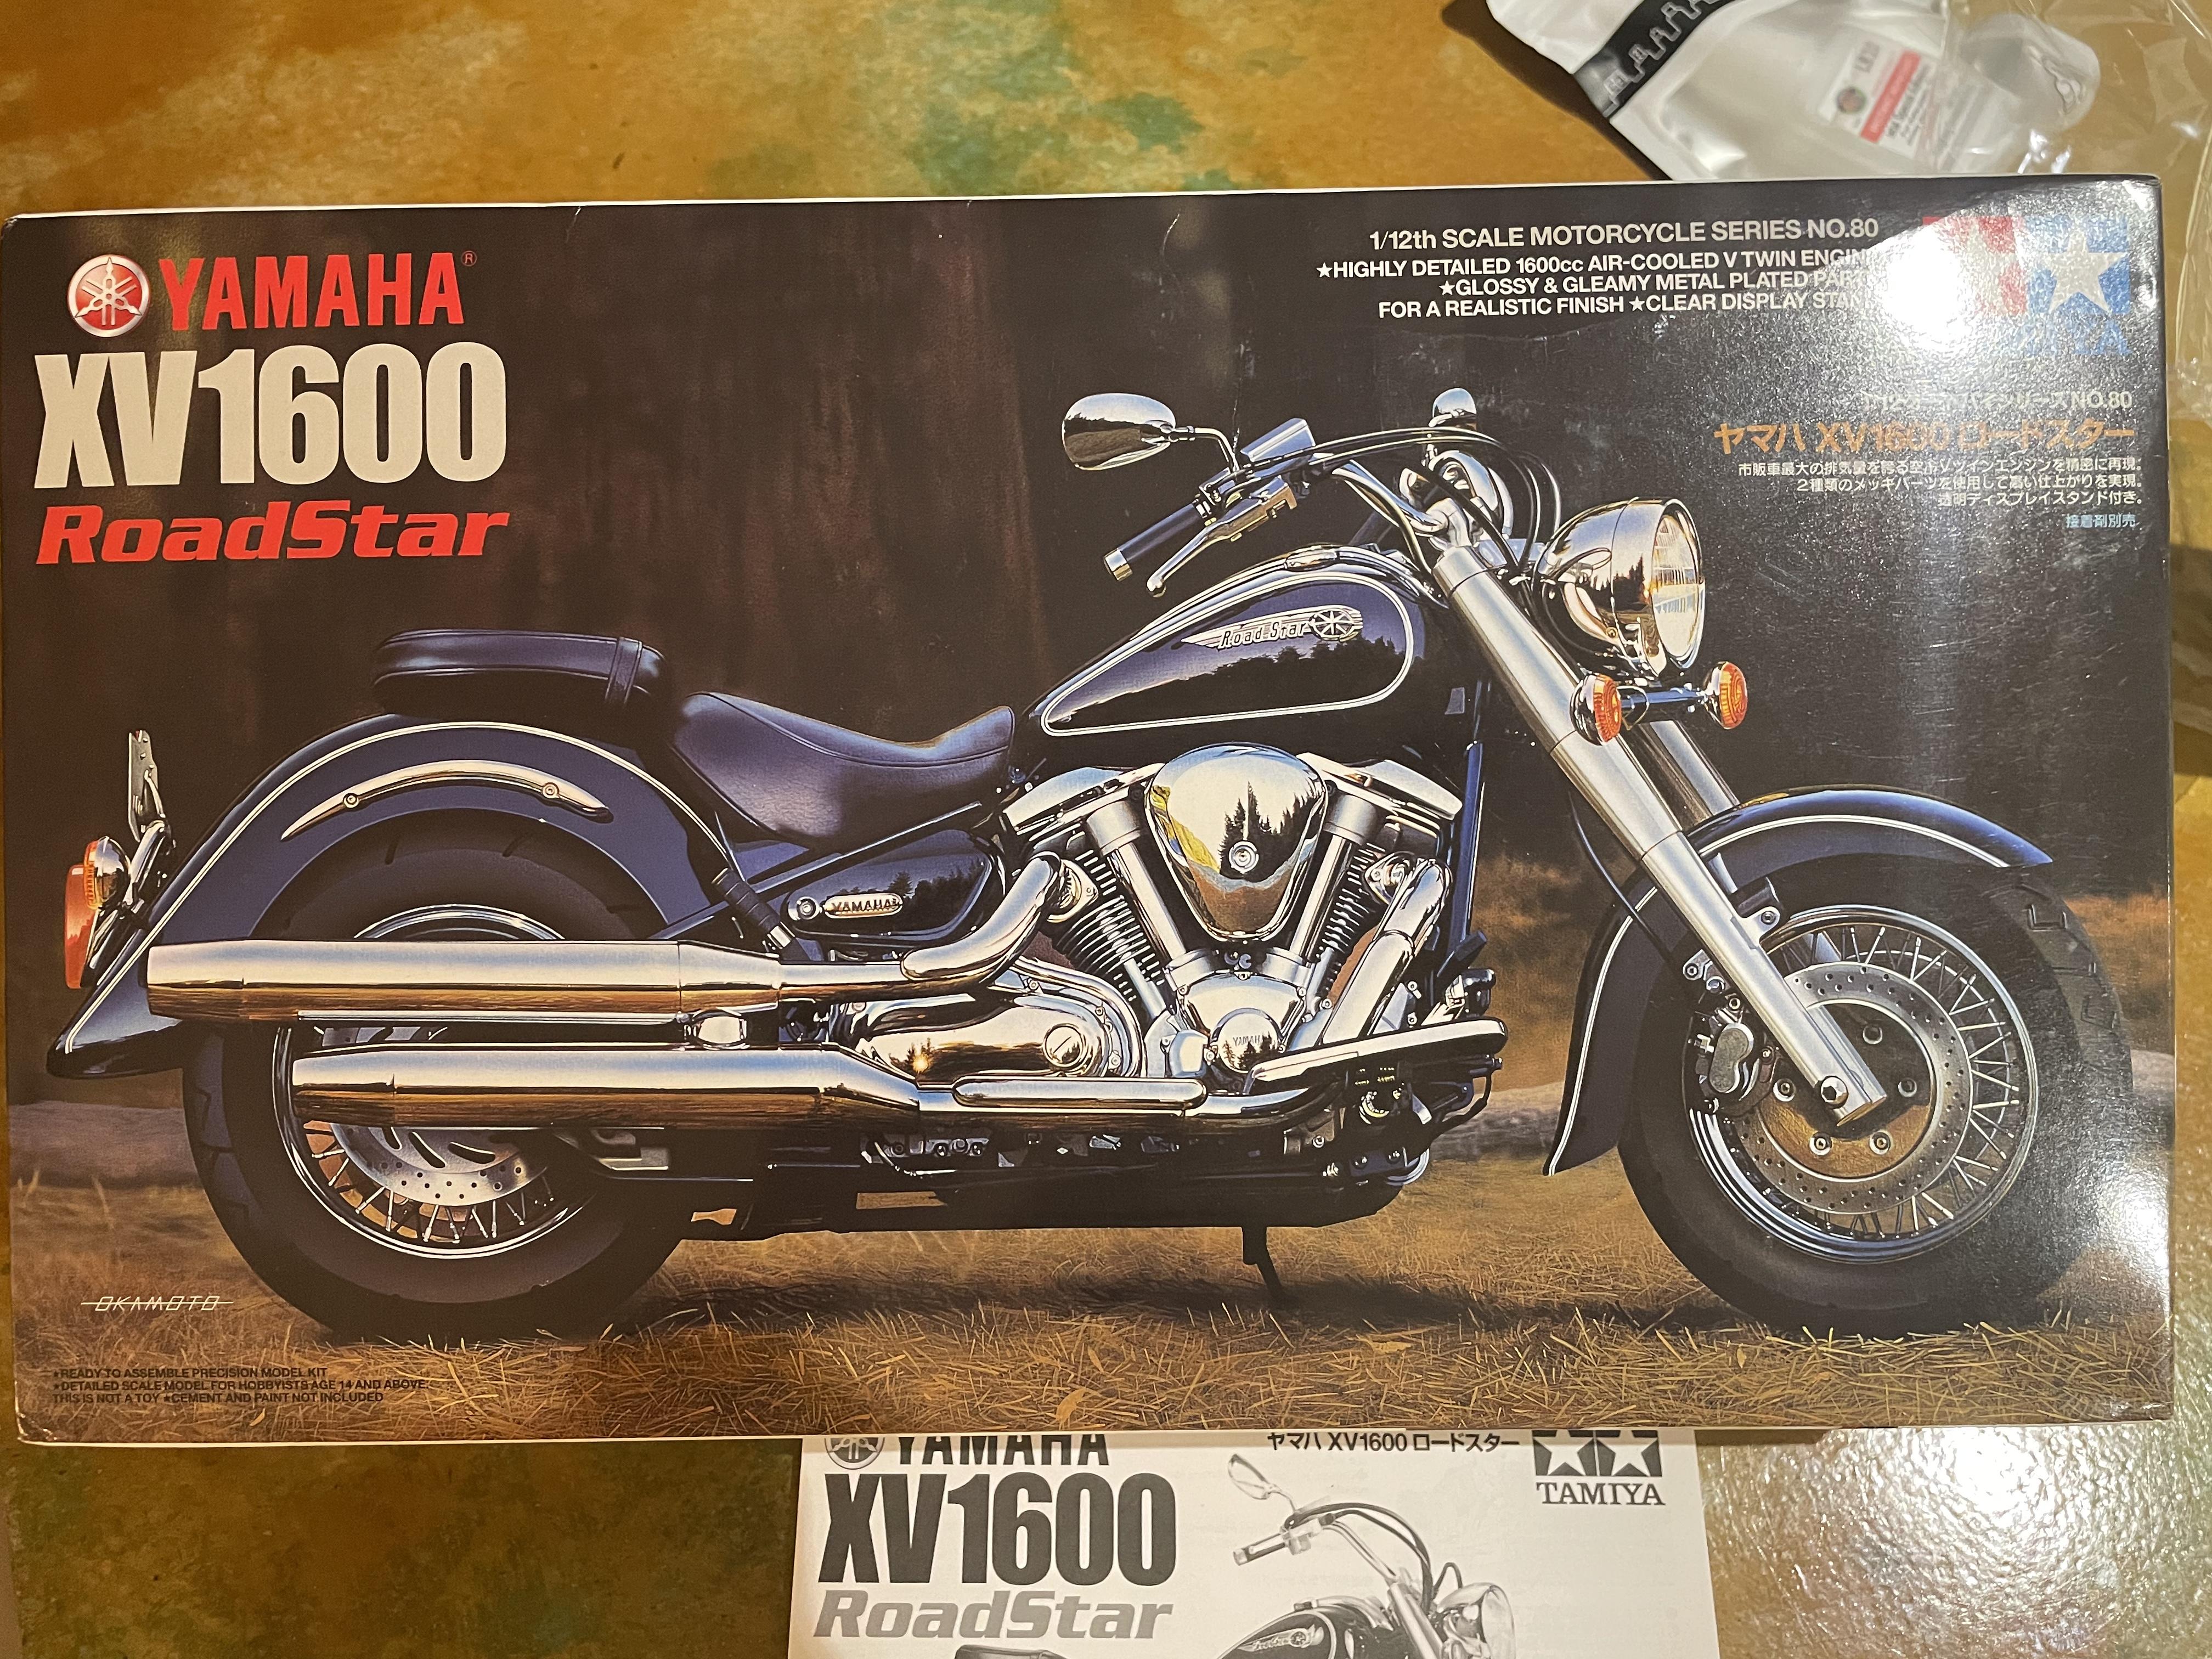
I’m getting a Tamiya Yamaha XV1600 Road Star
-
Thank you.
-
Thank you. I agree with you about adding the cables. Unfortunately these Maisto motorcycles are not too detailed and don’t have cables. I’m waiting for the kit to arrive to use it as a reference and enhance this one.
-
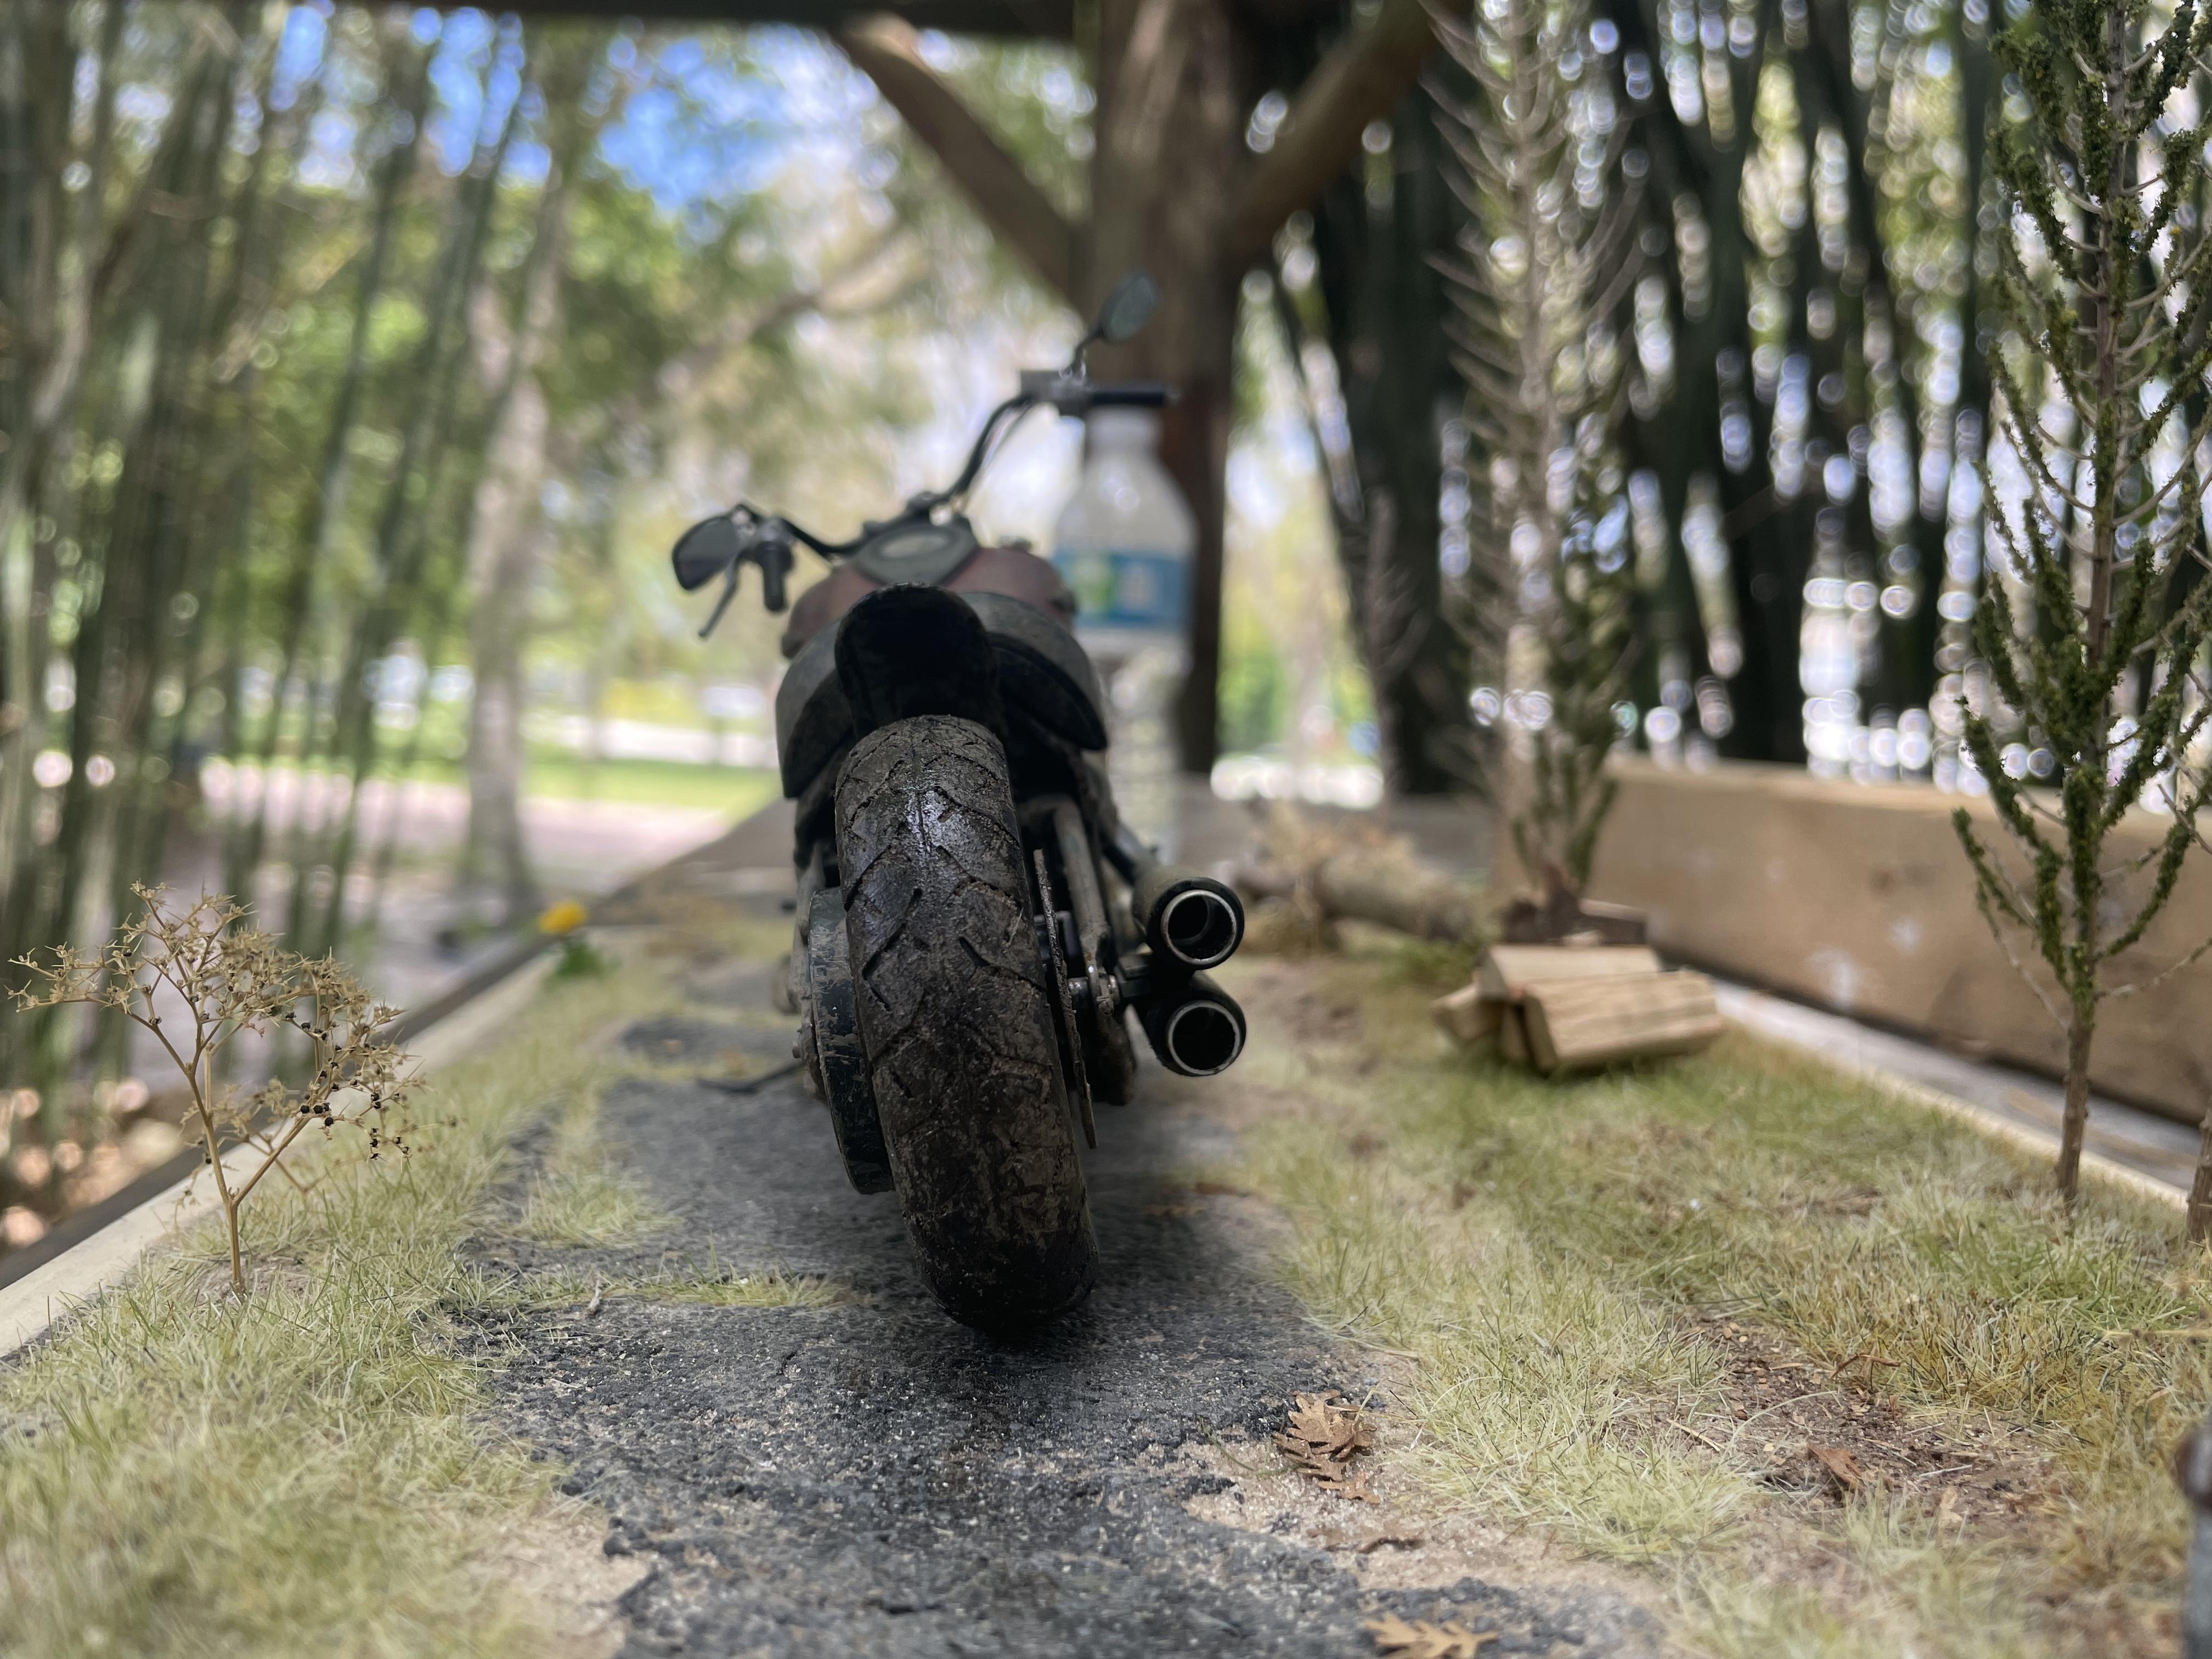
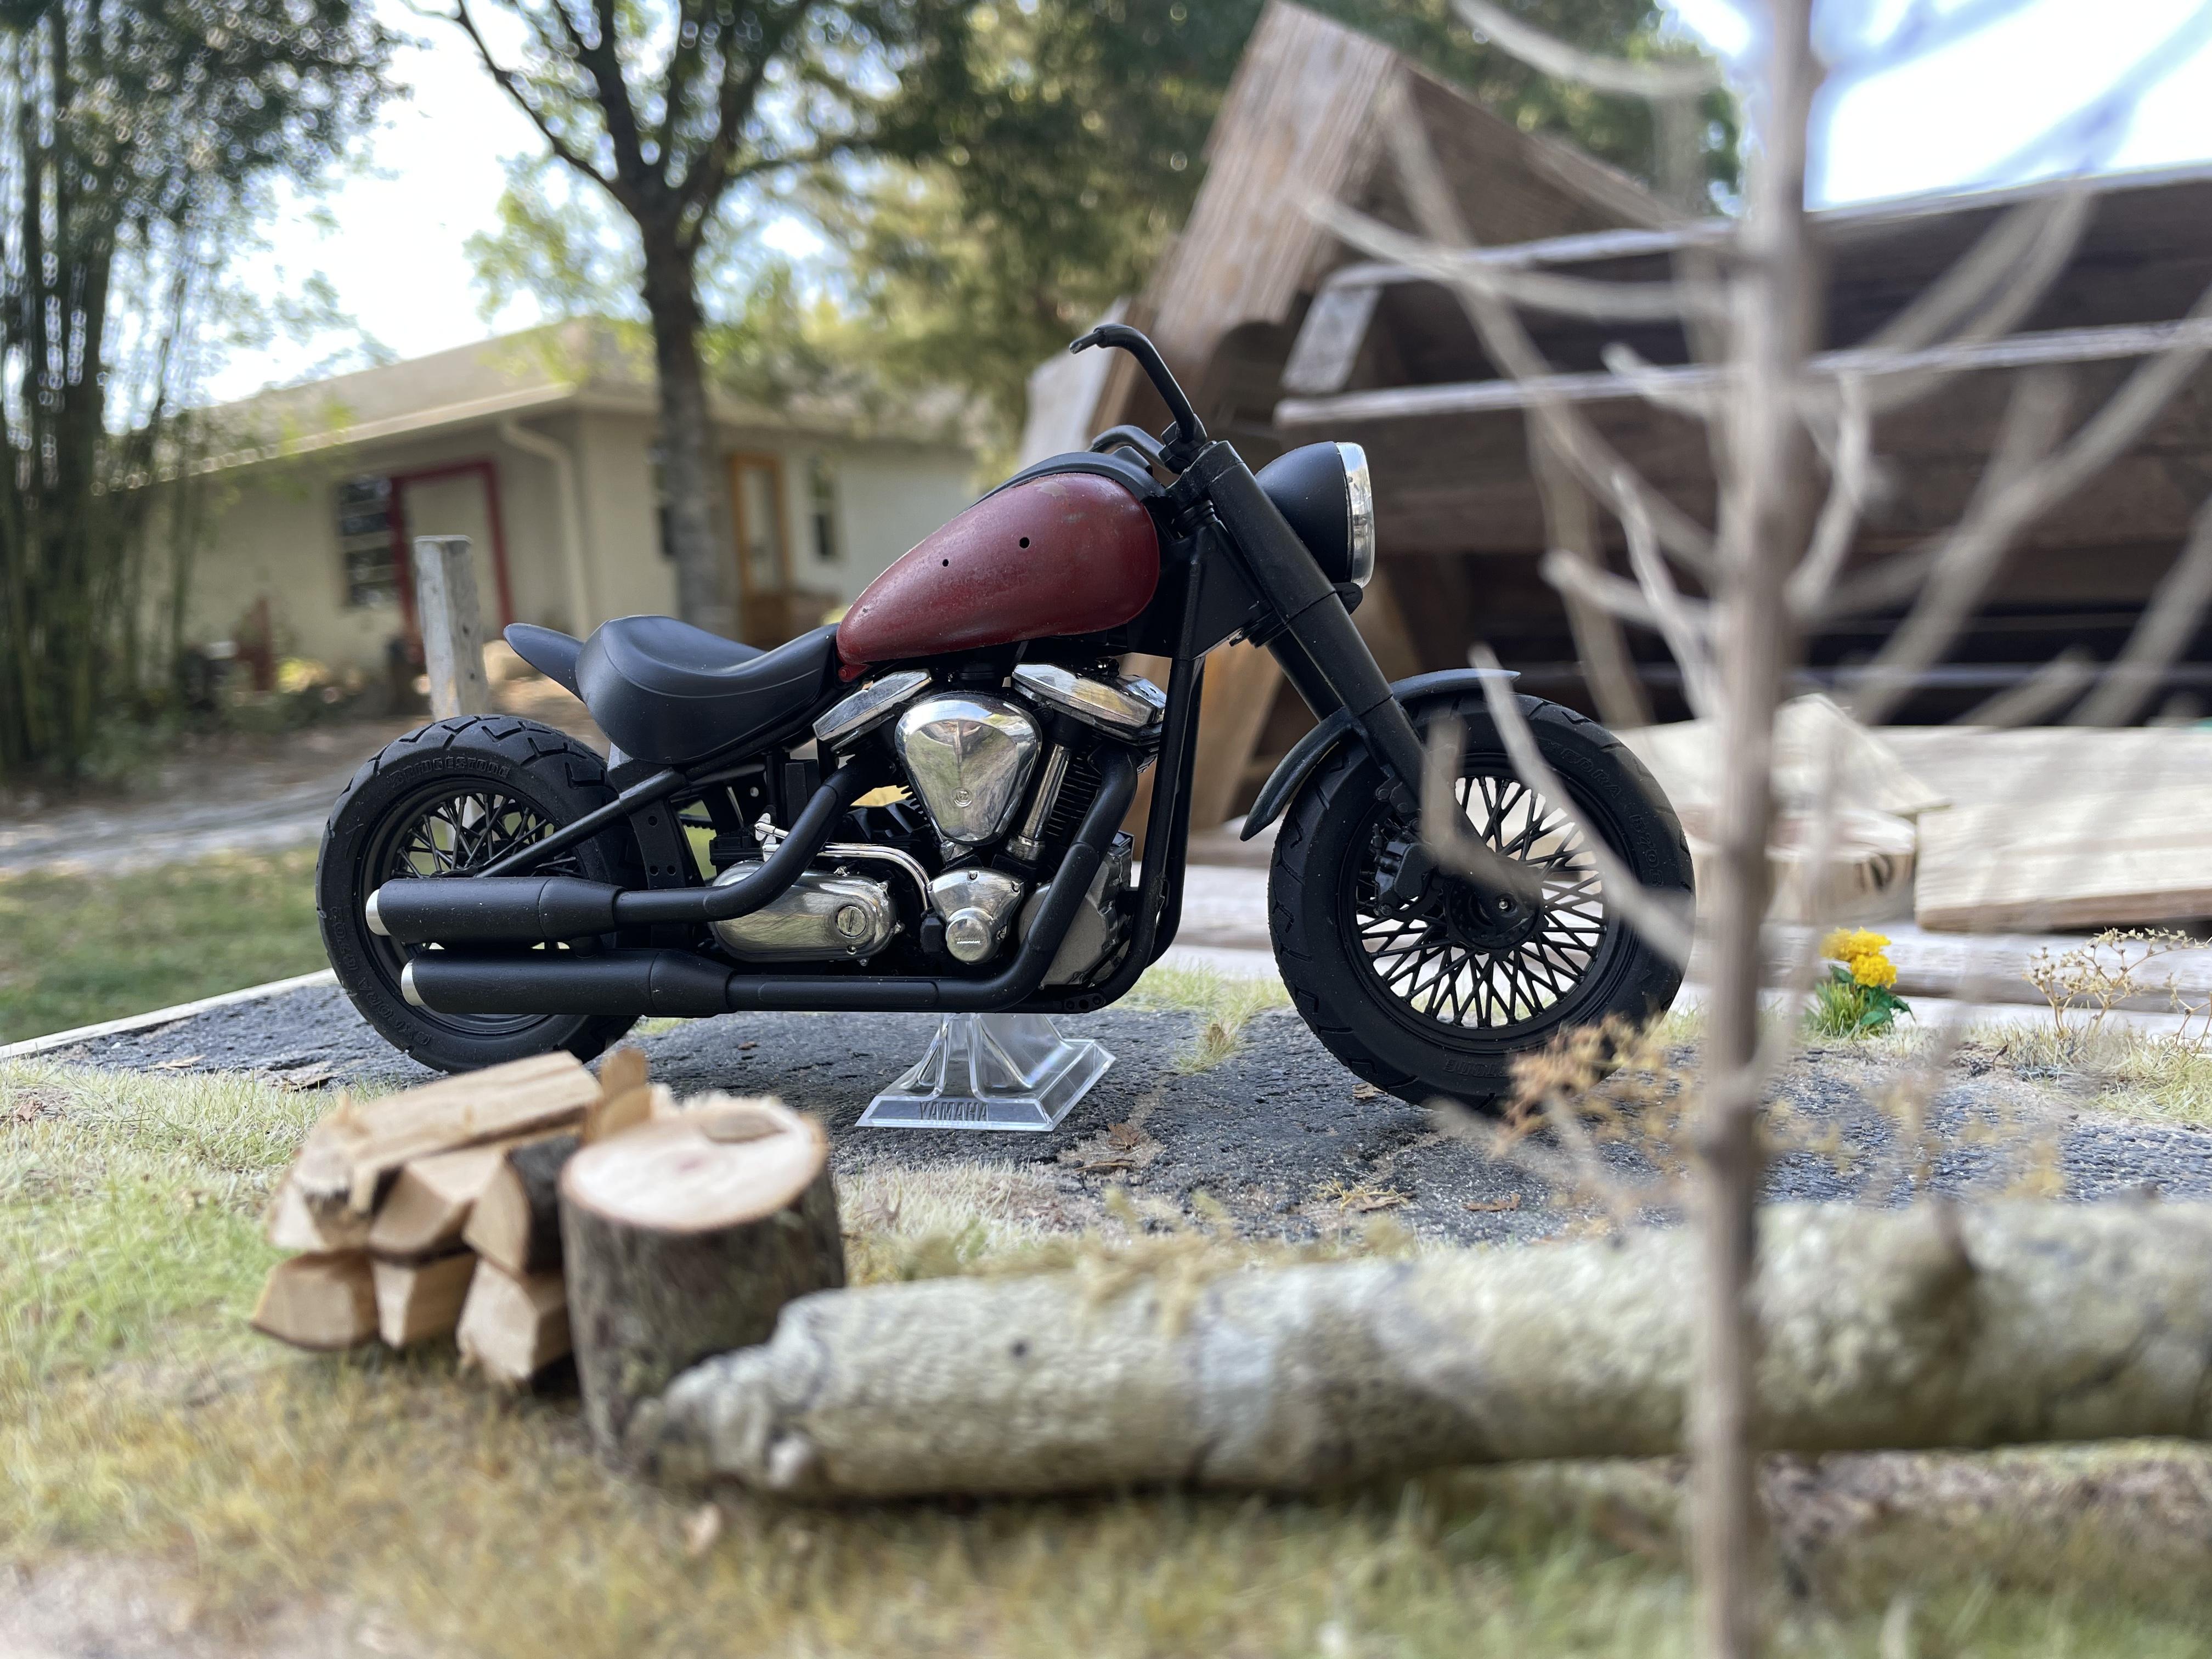
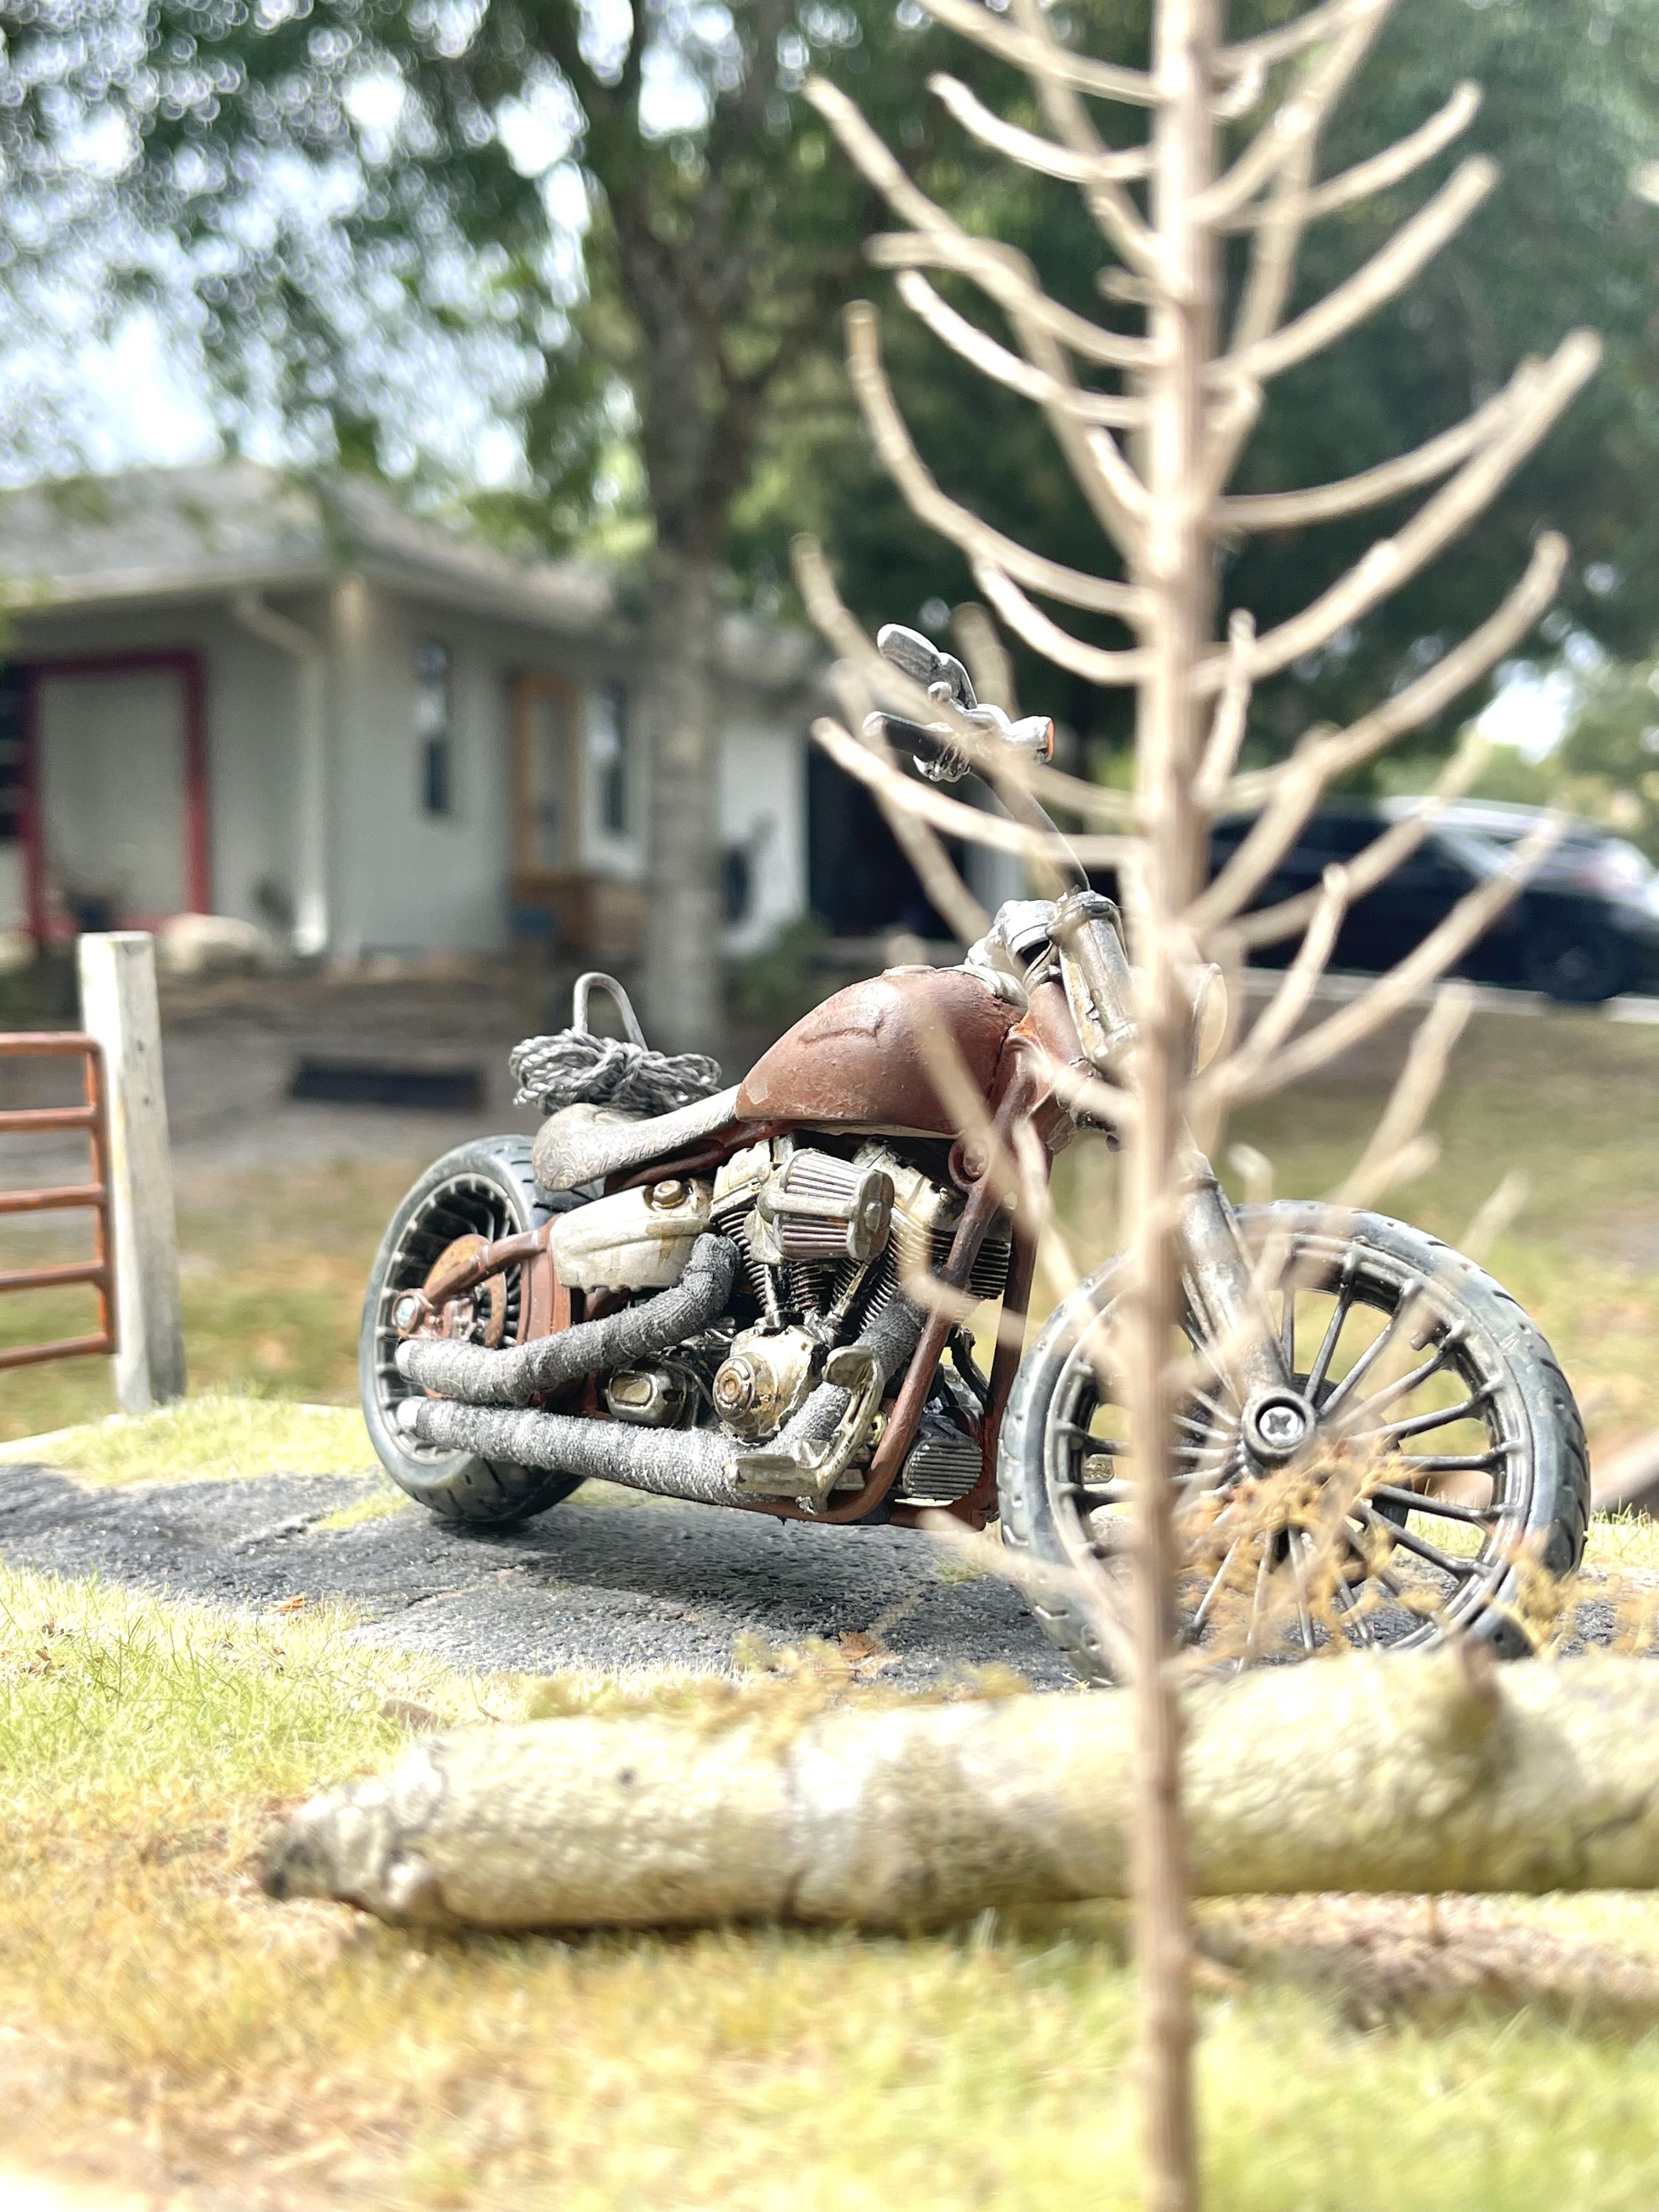
Thank you. It’s very simple to make. Just mix acrylic gesso with sand. You can pick the sand according to scale. Once you mix it and it dries the following day you just sand it, so a wash to the color of your choice and resand it to explode the ballast (rocks). You’ll notice that the road will crack naturally, and you’ll just have to refill the spots if you want a more even road. Other wise live it as it is and add extra damage to the road like I did on this one. I removed extra material carefully. Added a sand wash and road dirt as well as road stains.
-
Thank you. This type of models require more time since its not as detailed as the Kits. I ordered a kit, the type you have to put together, to study the details better and use it as reference for the less detailed Maisto motorcycles when I work on them. Thank for the input.
-
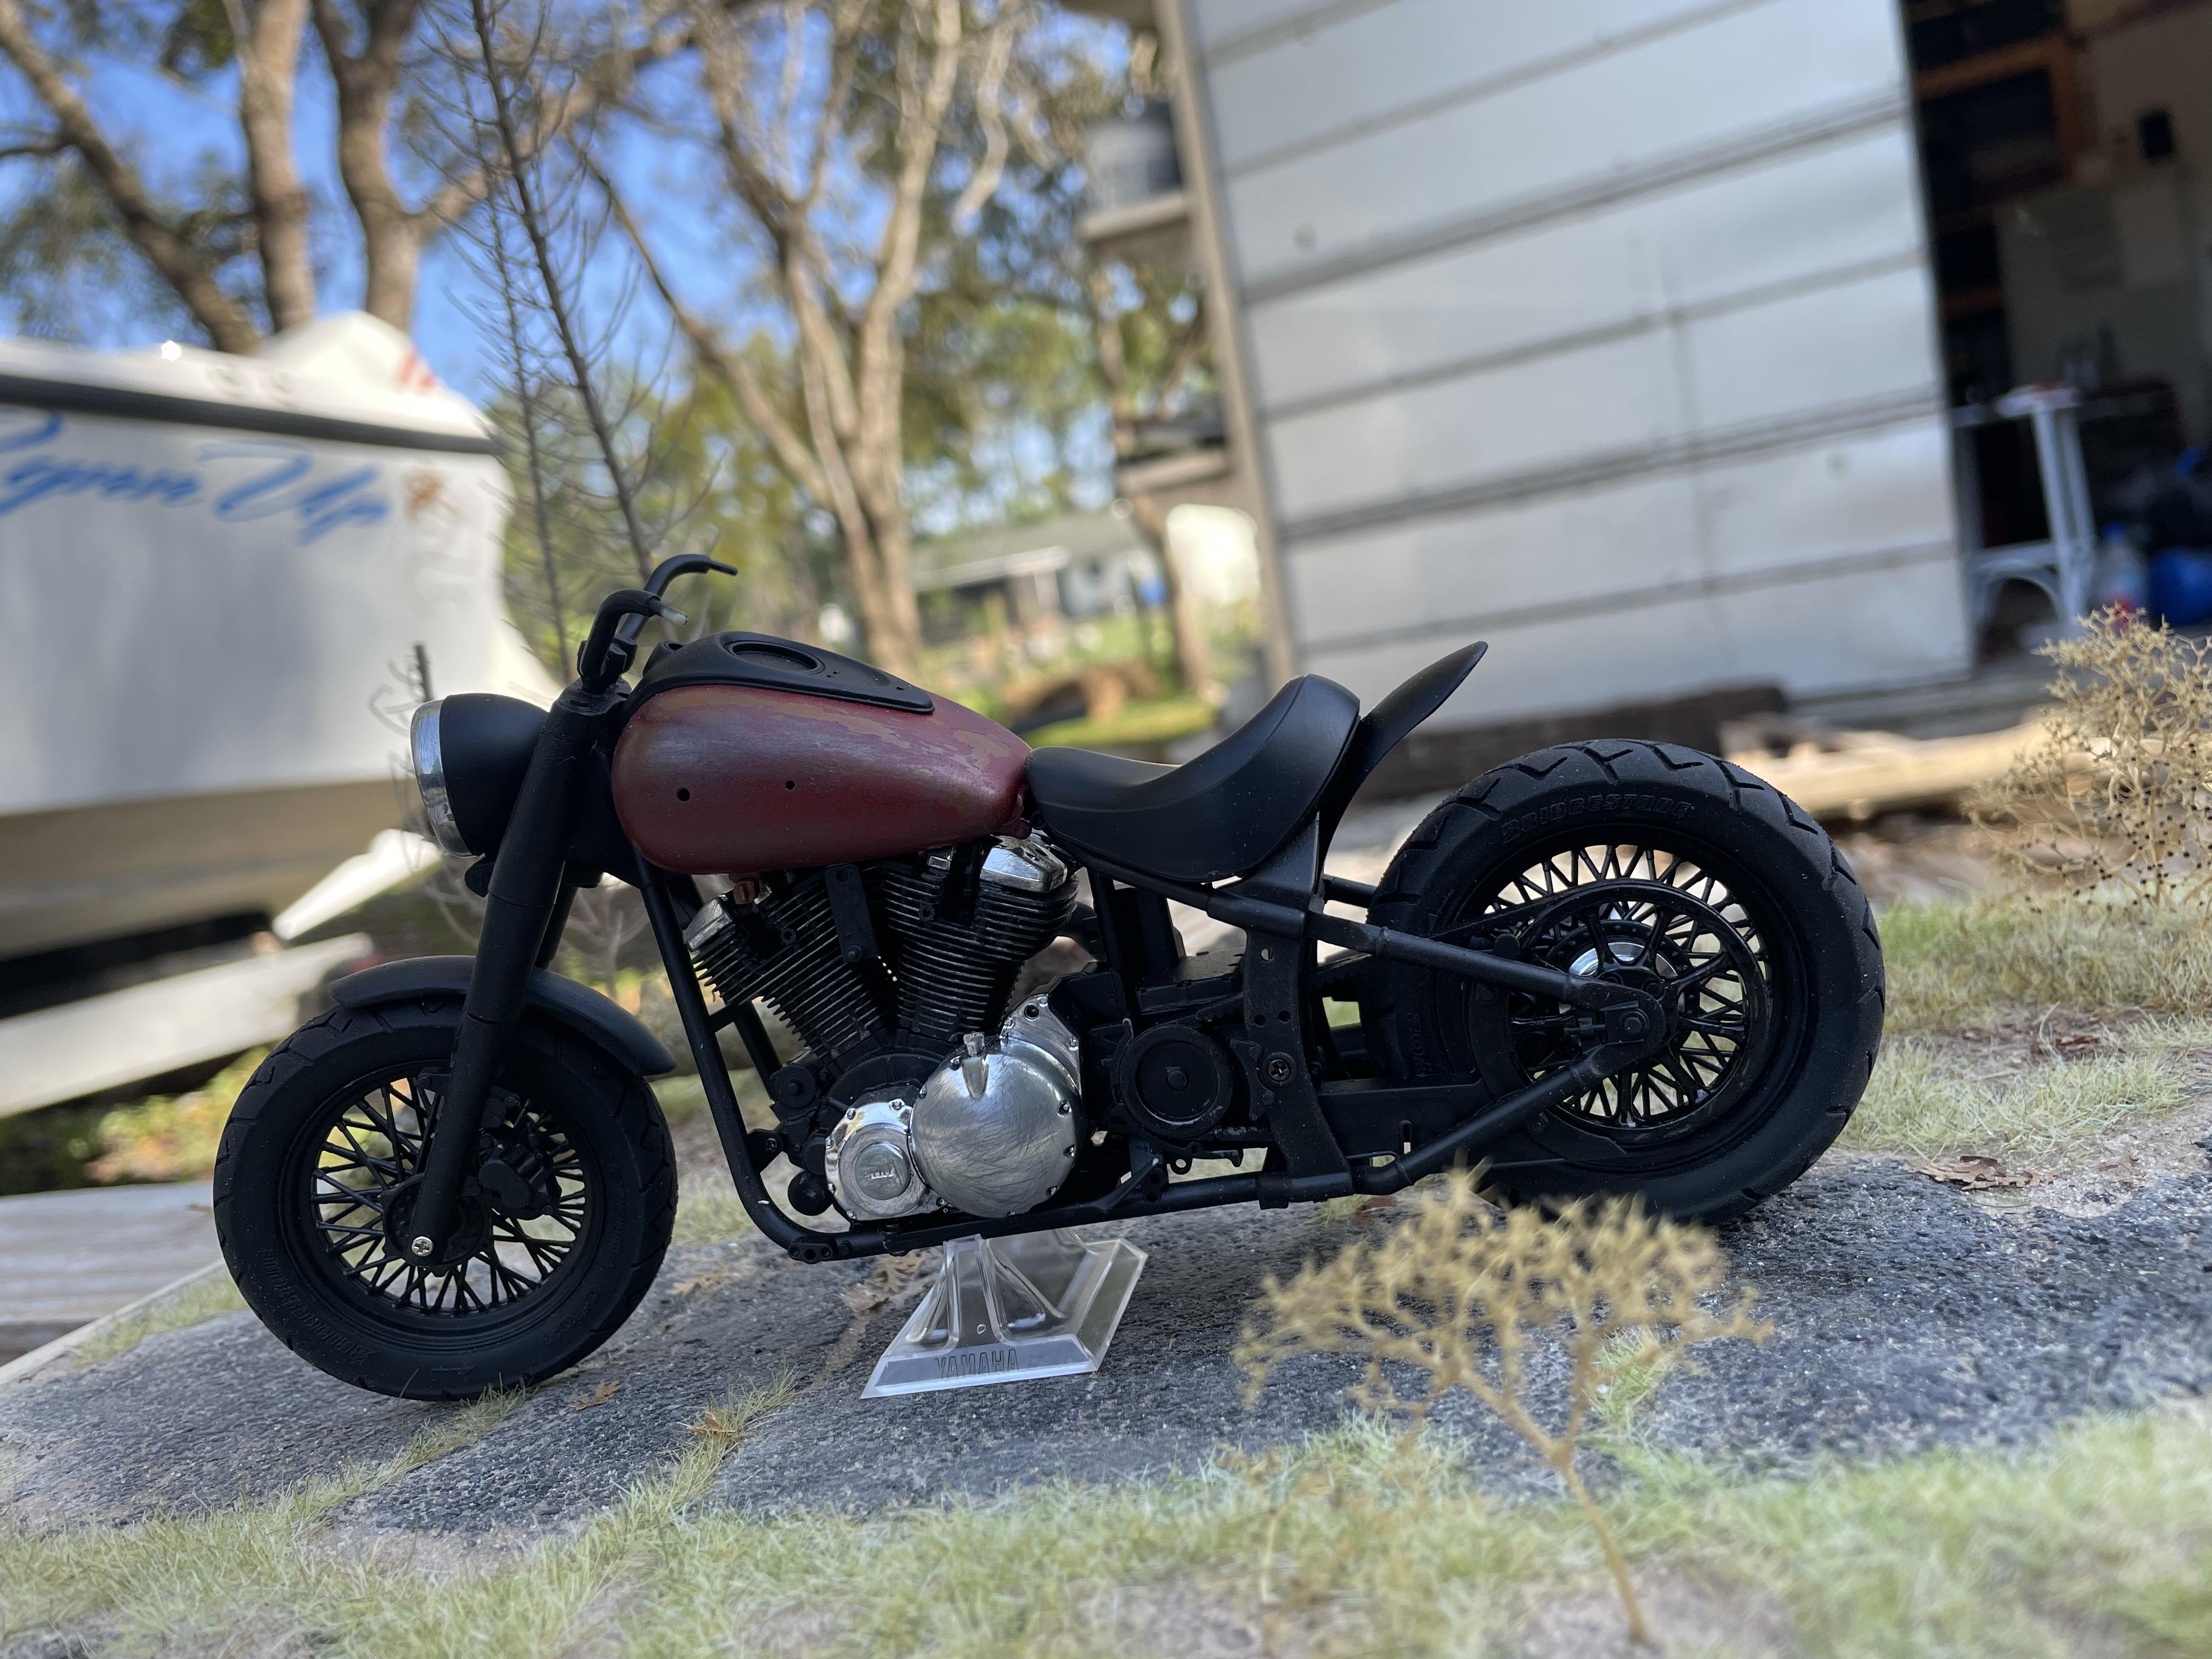
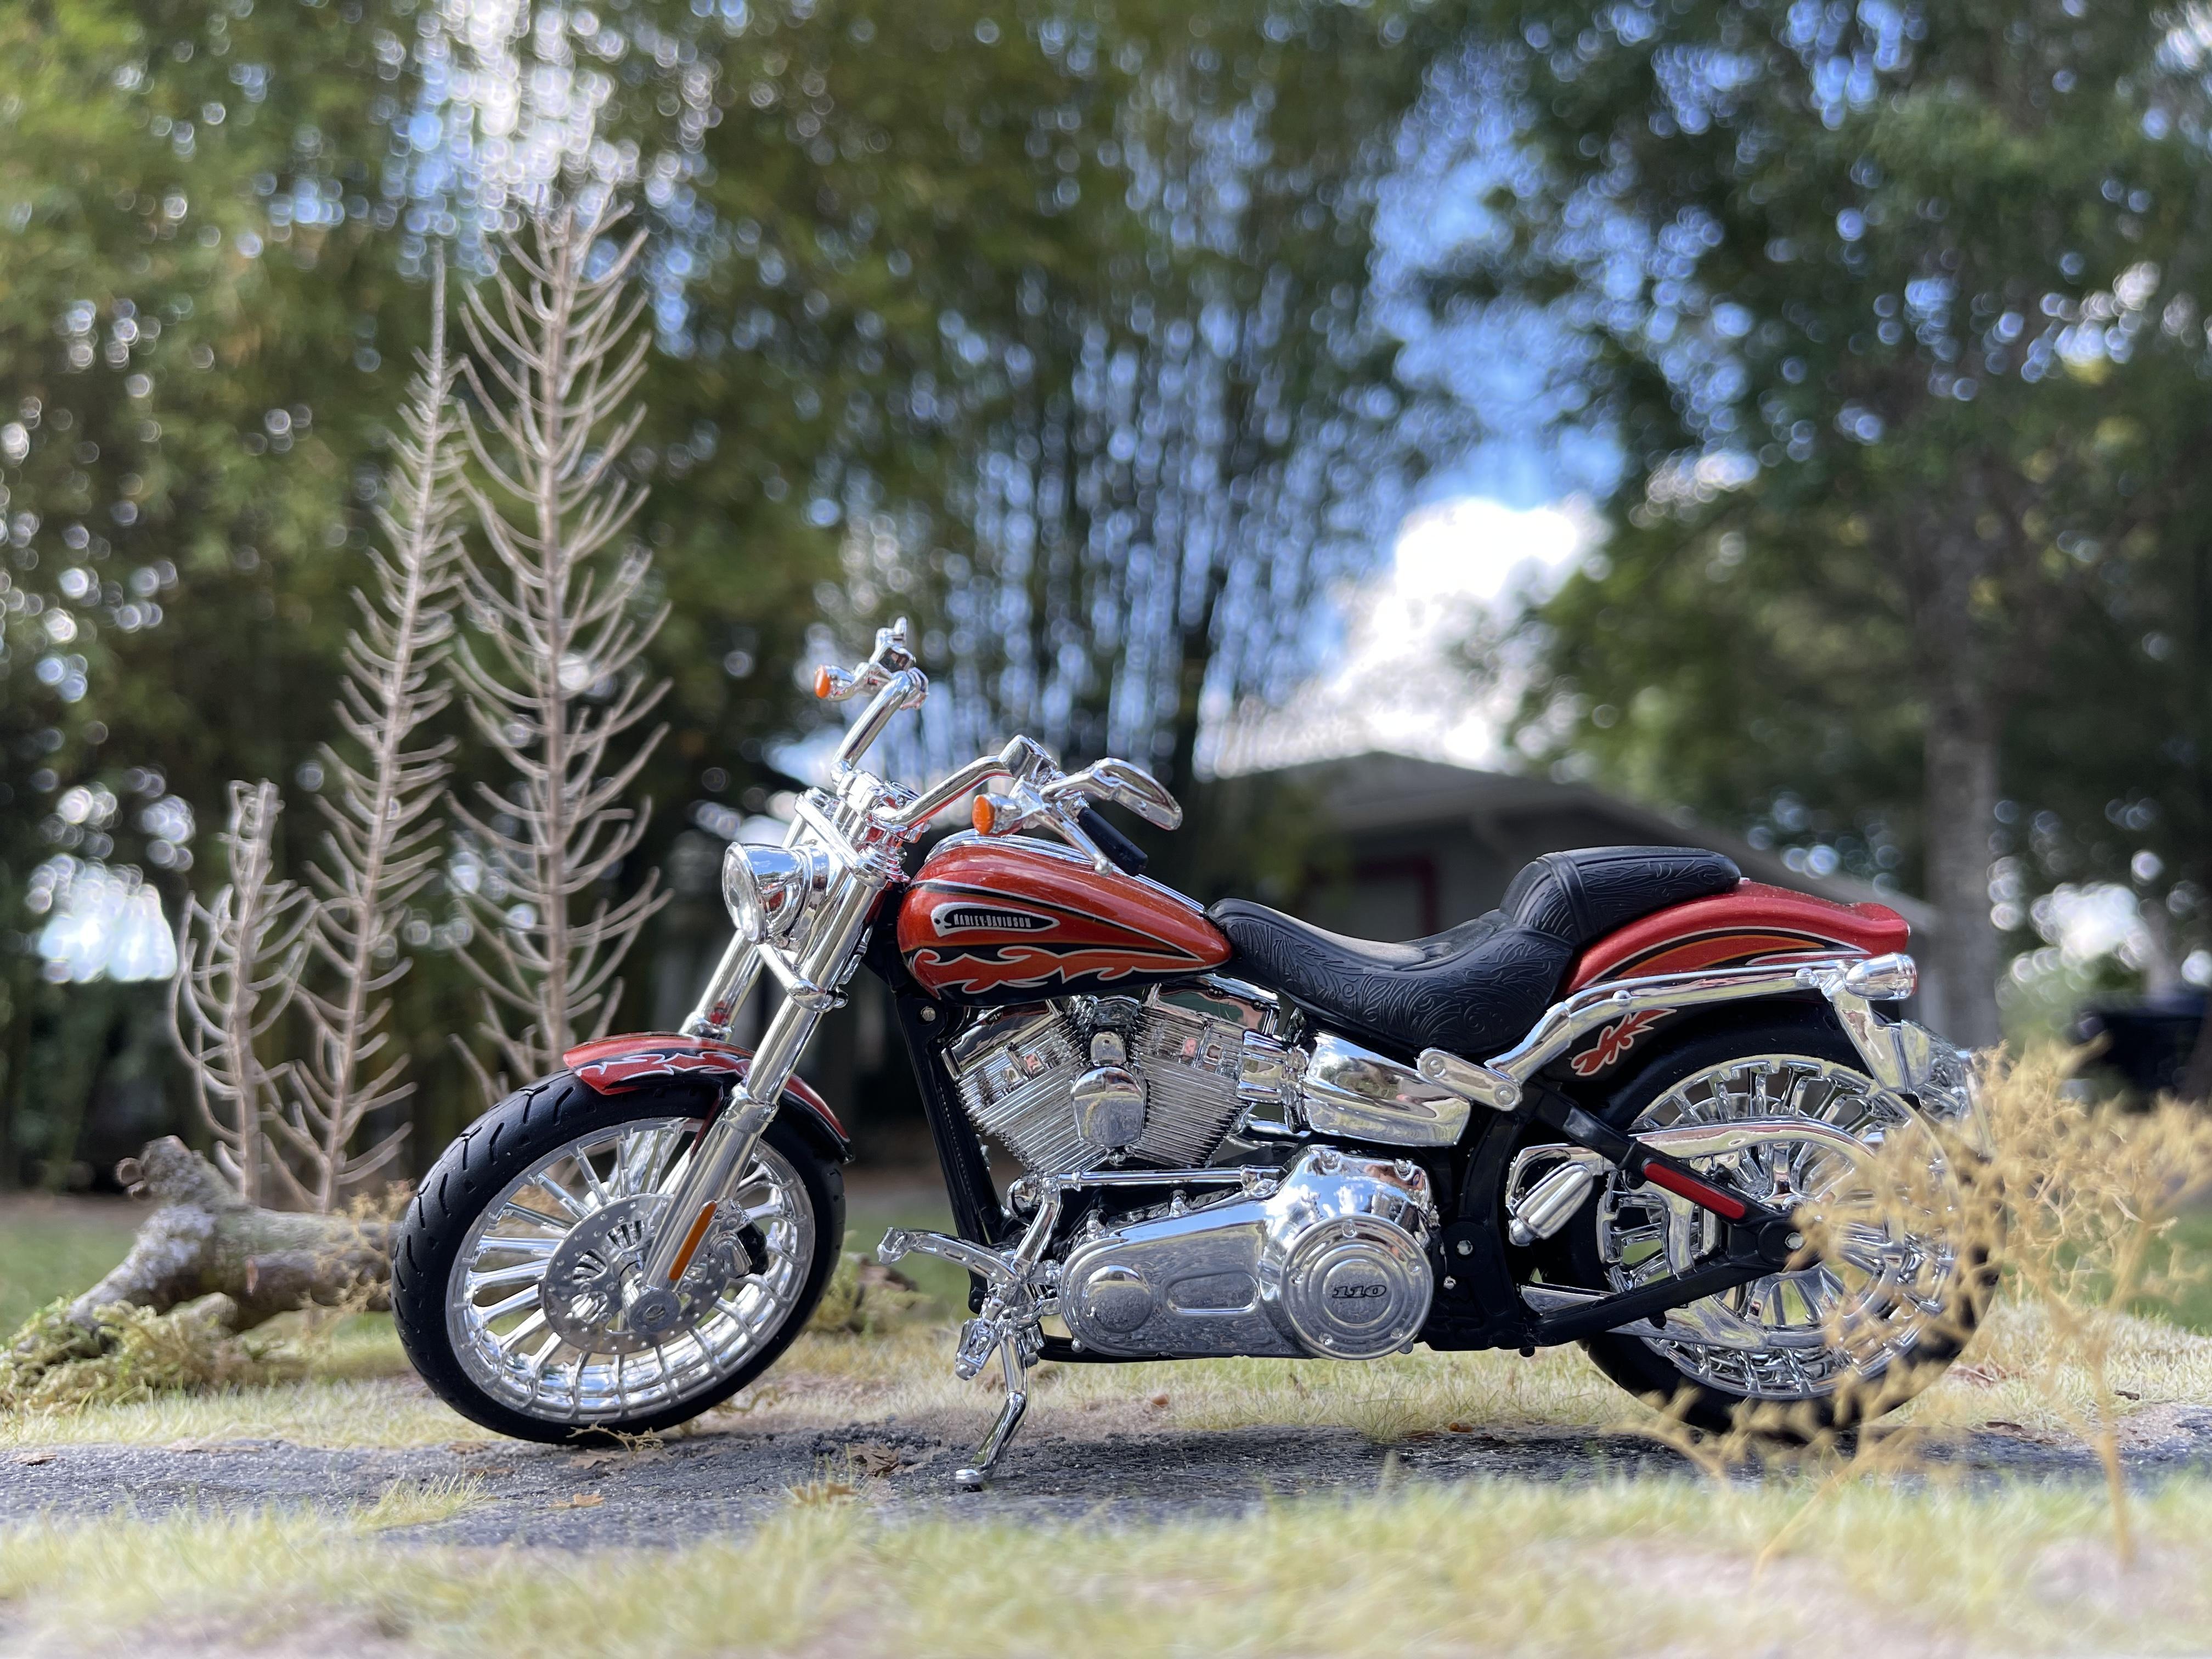
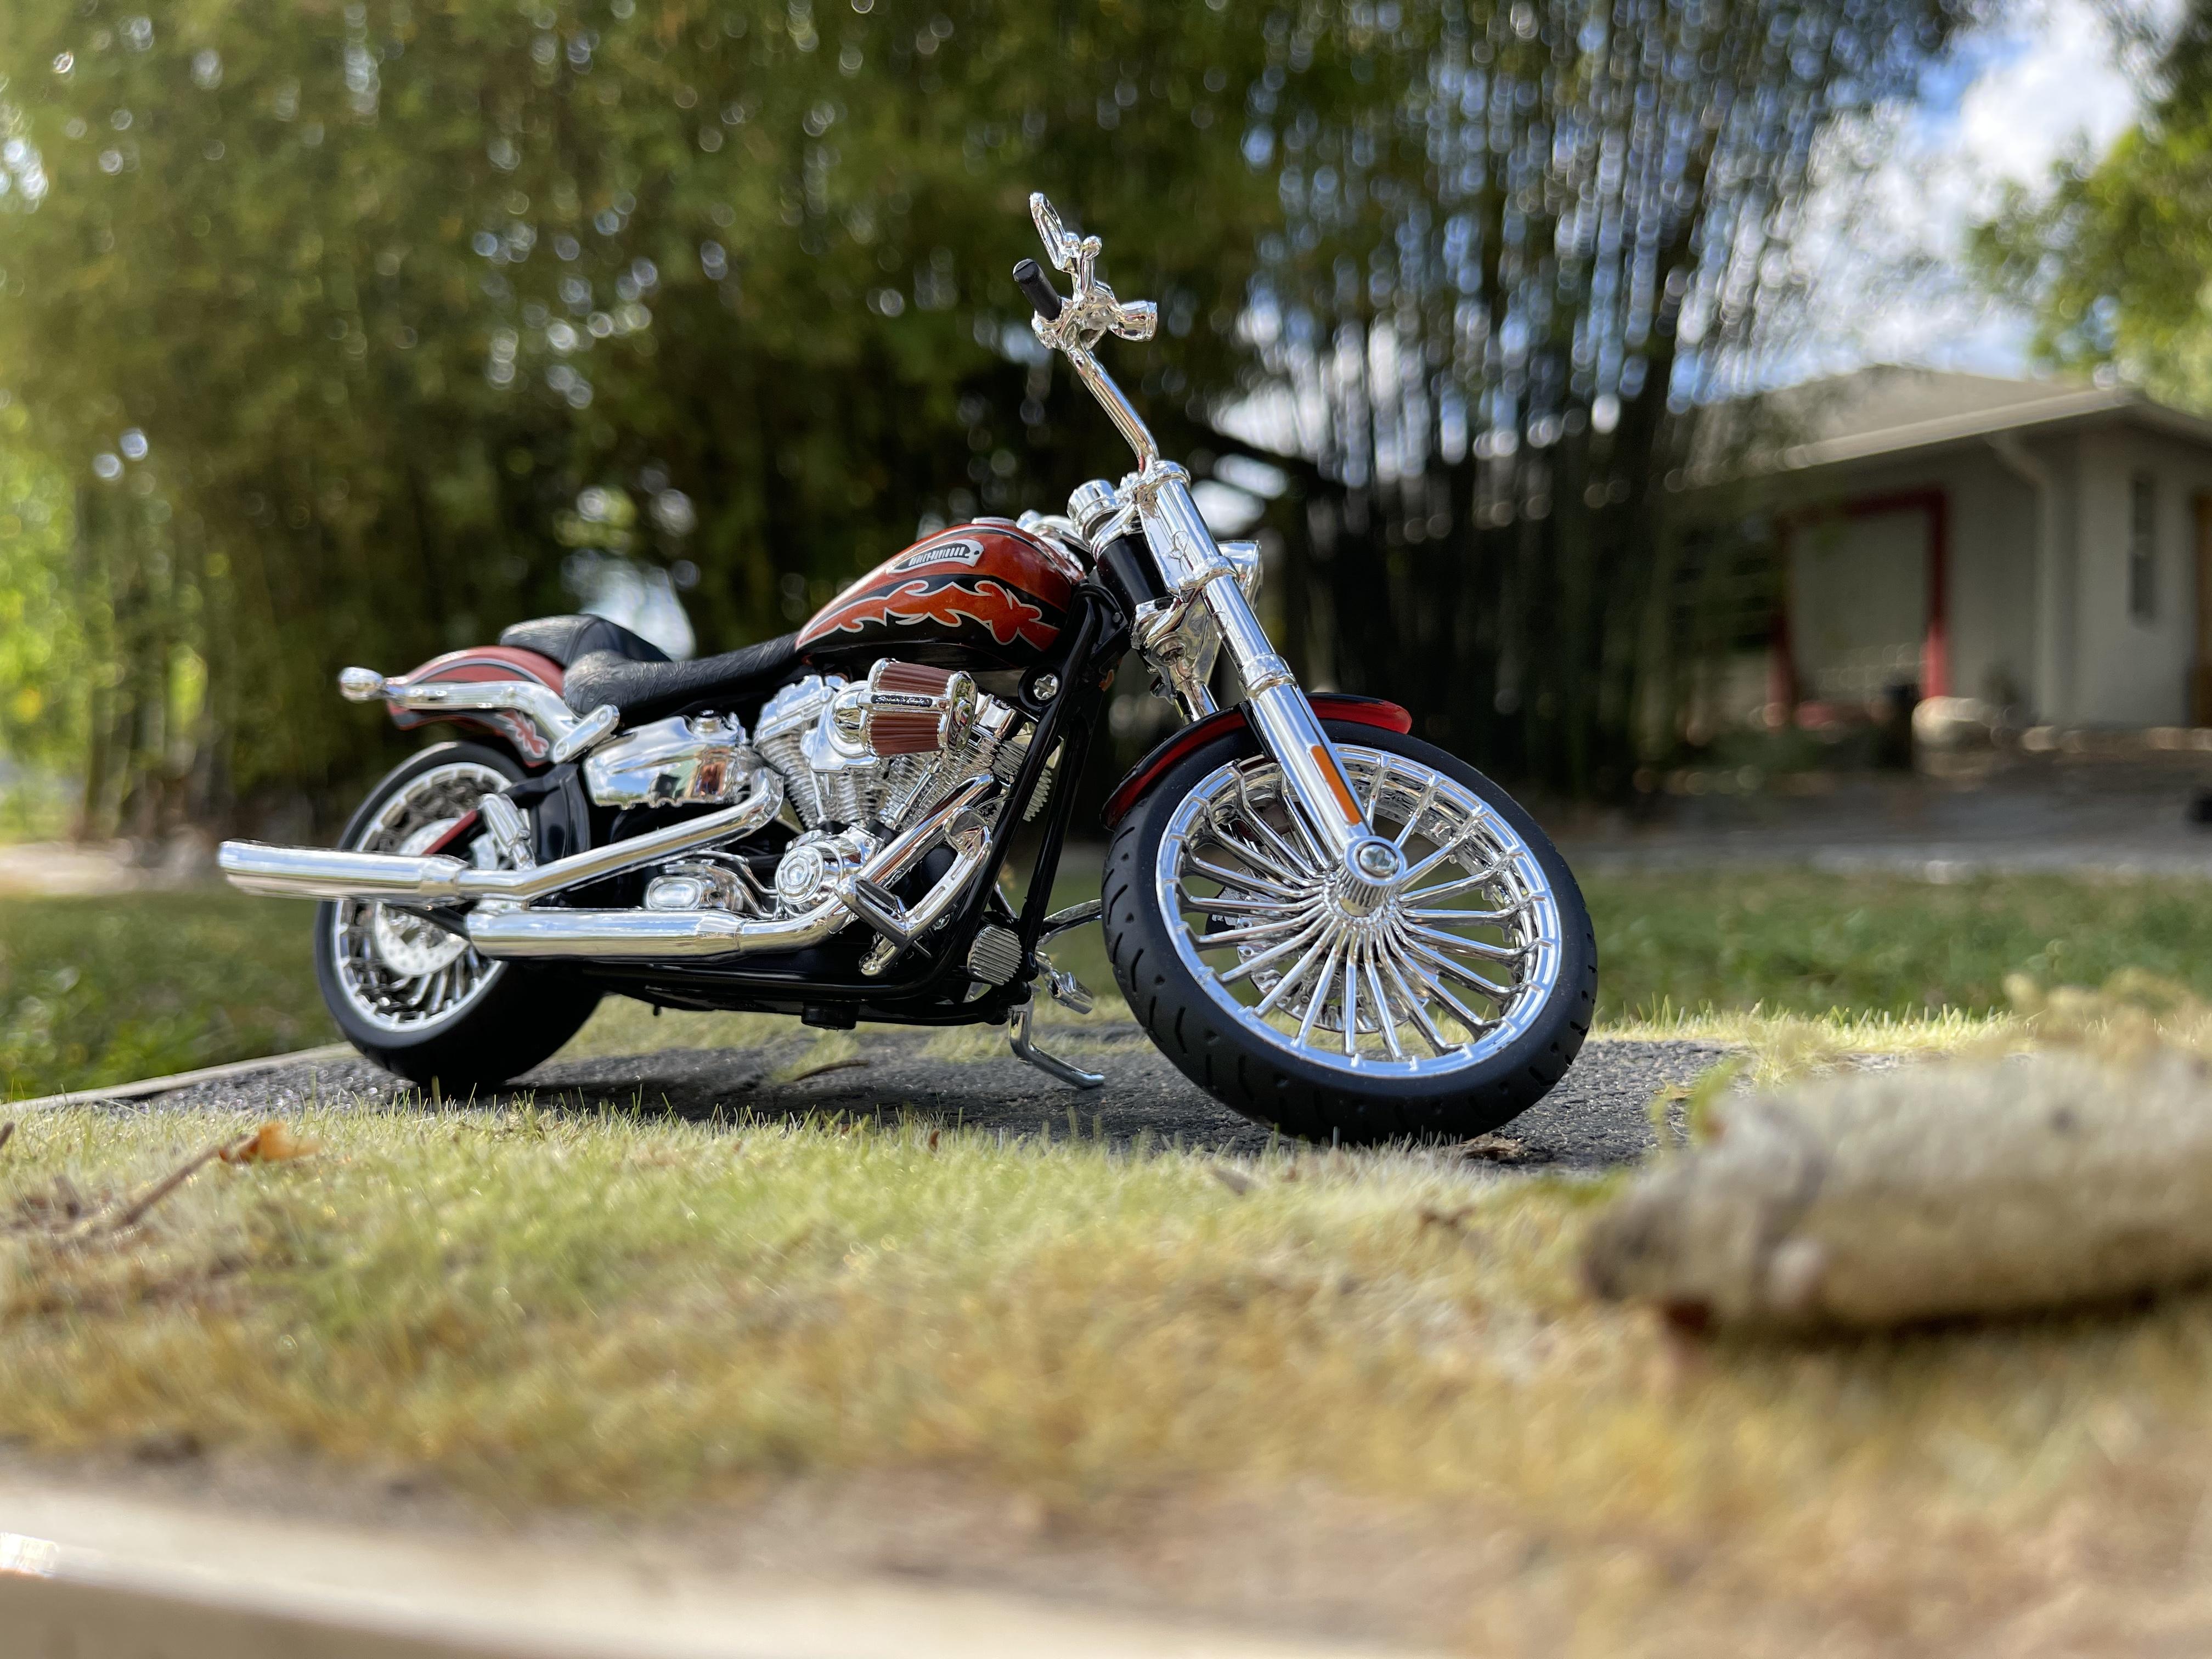
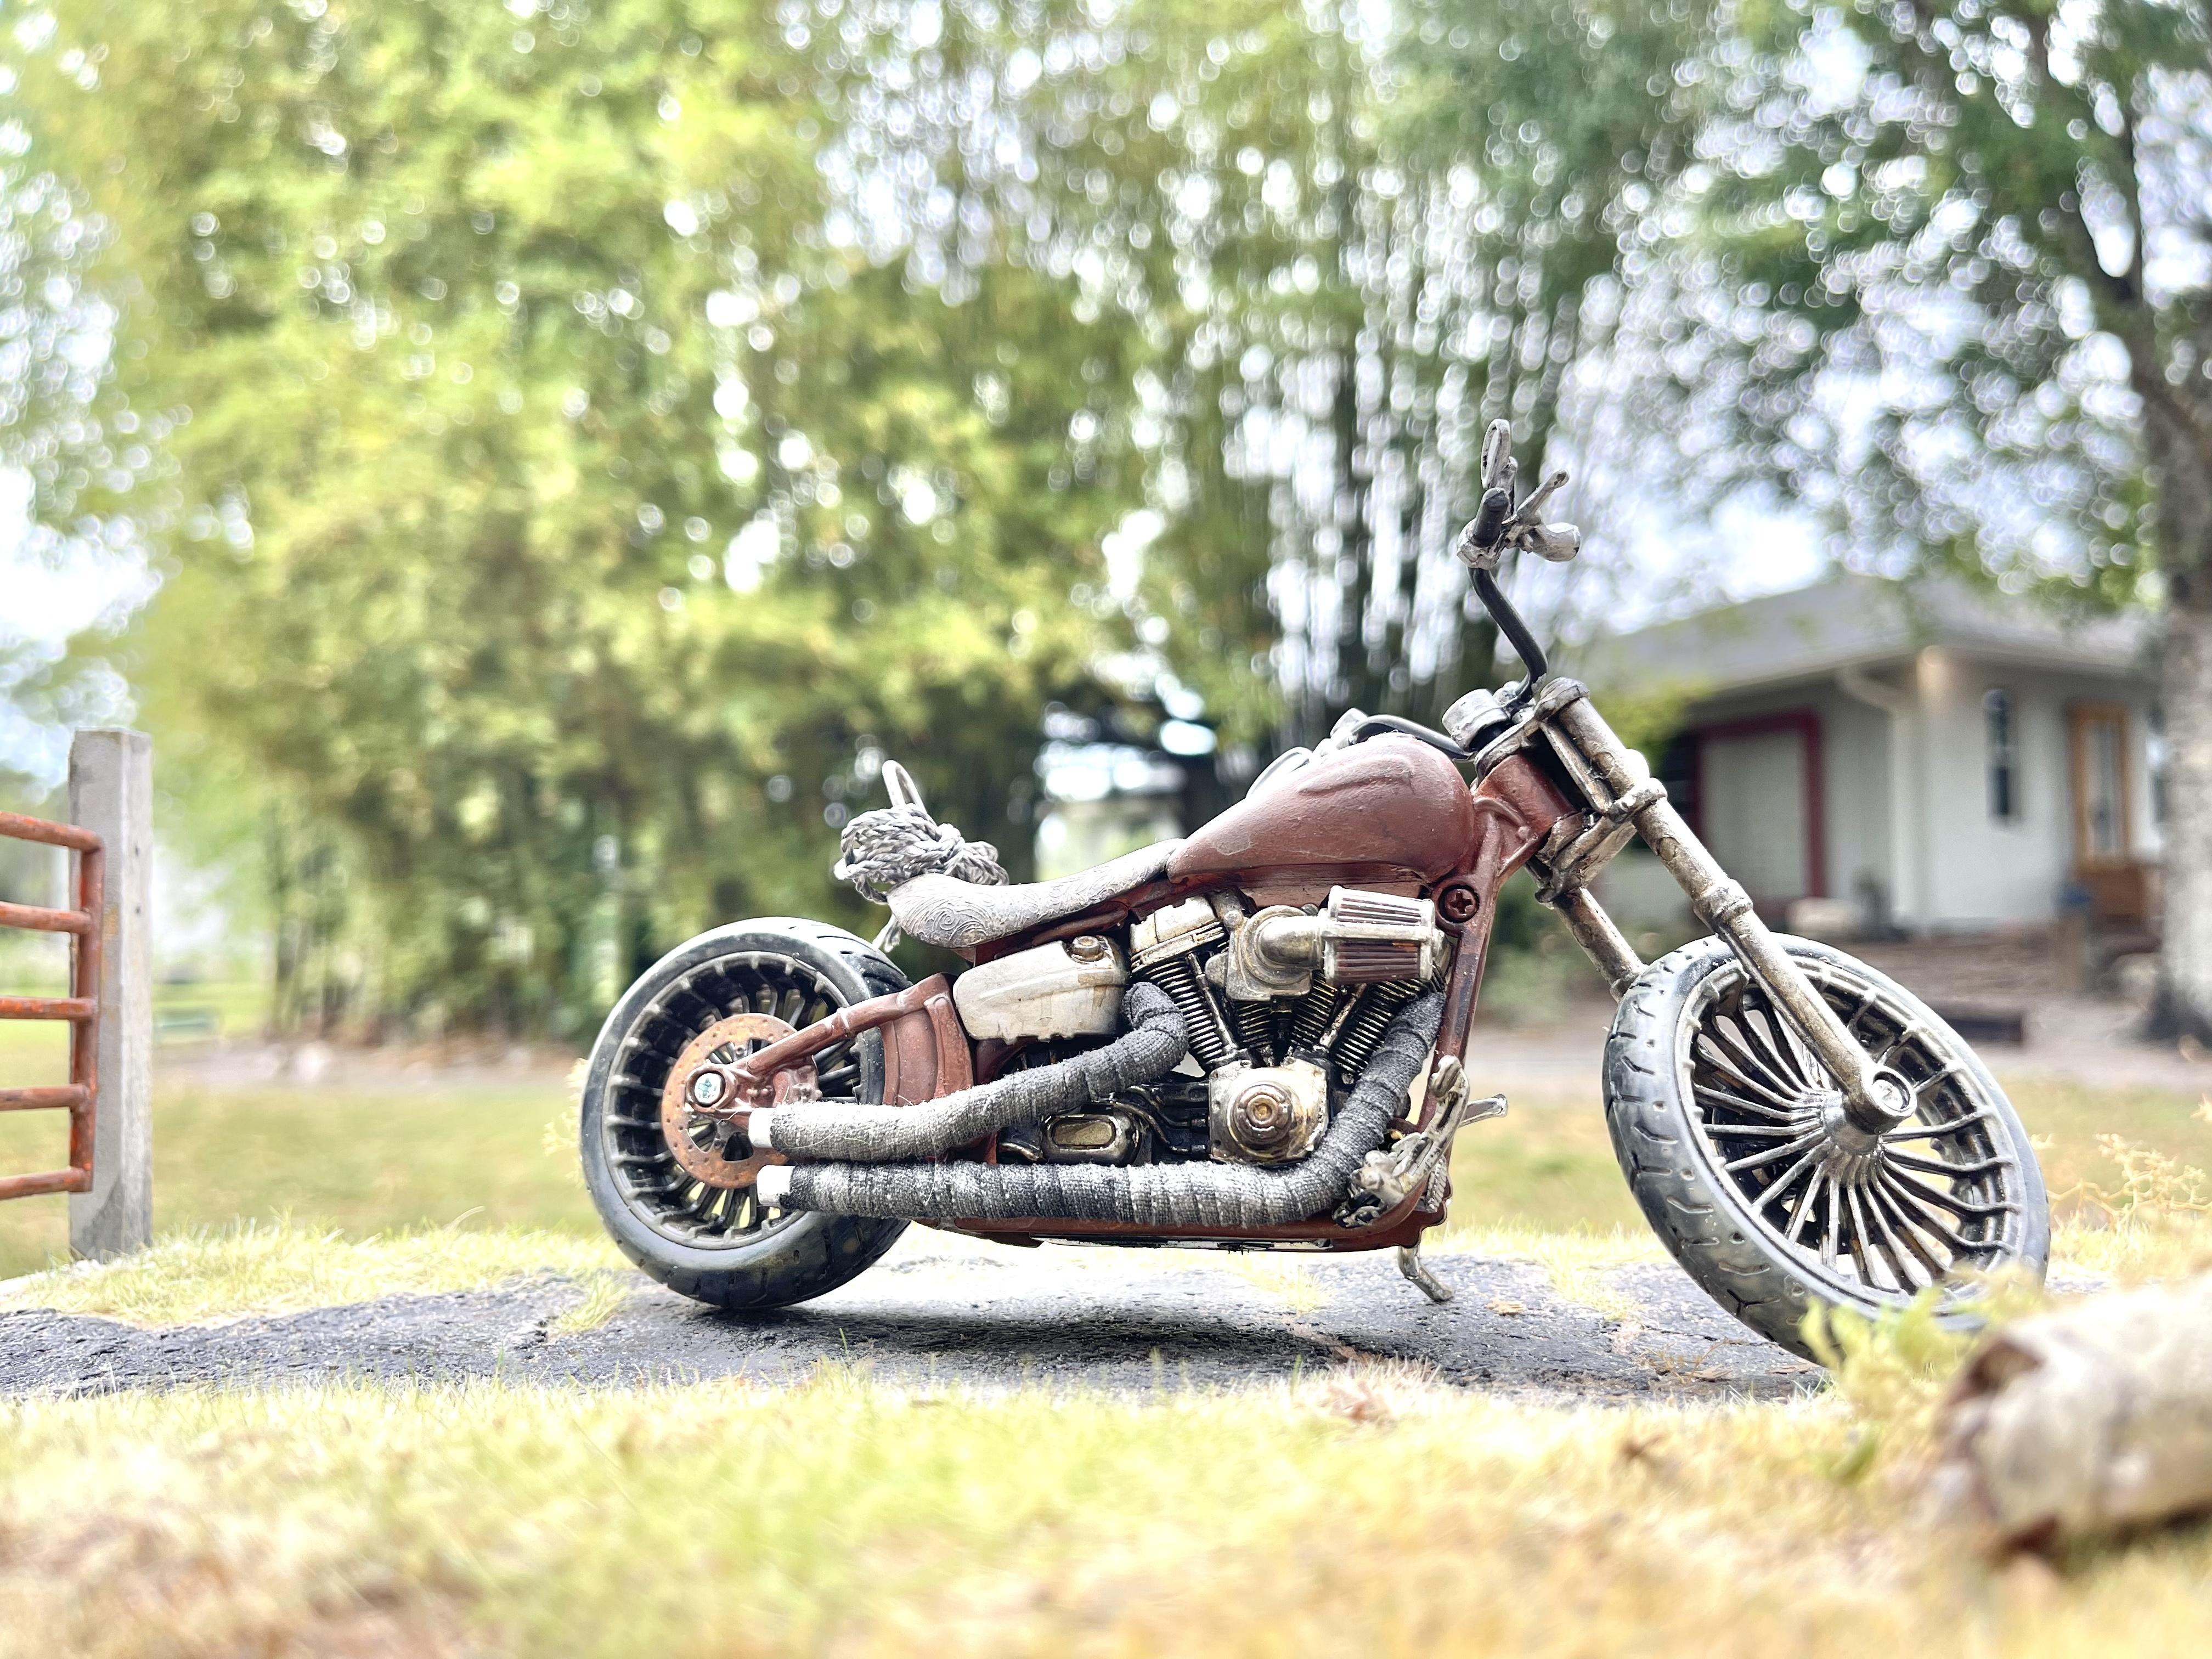
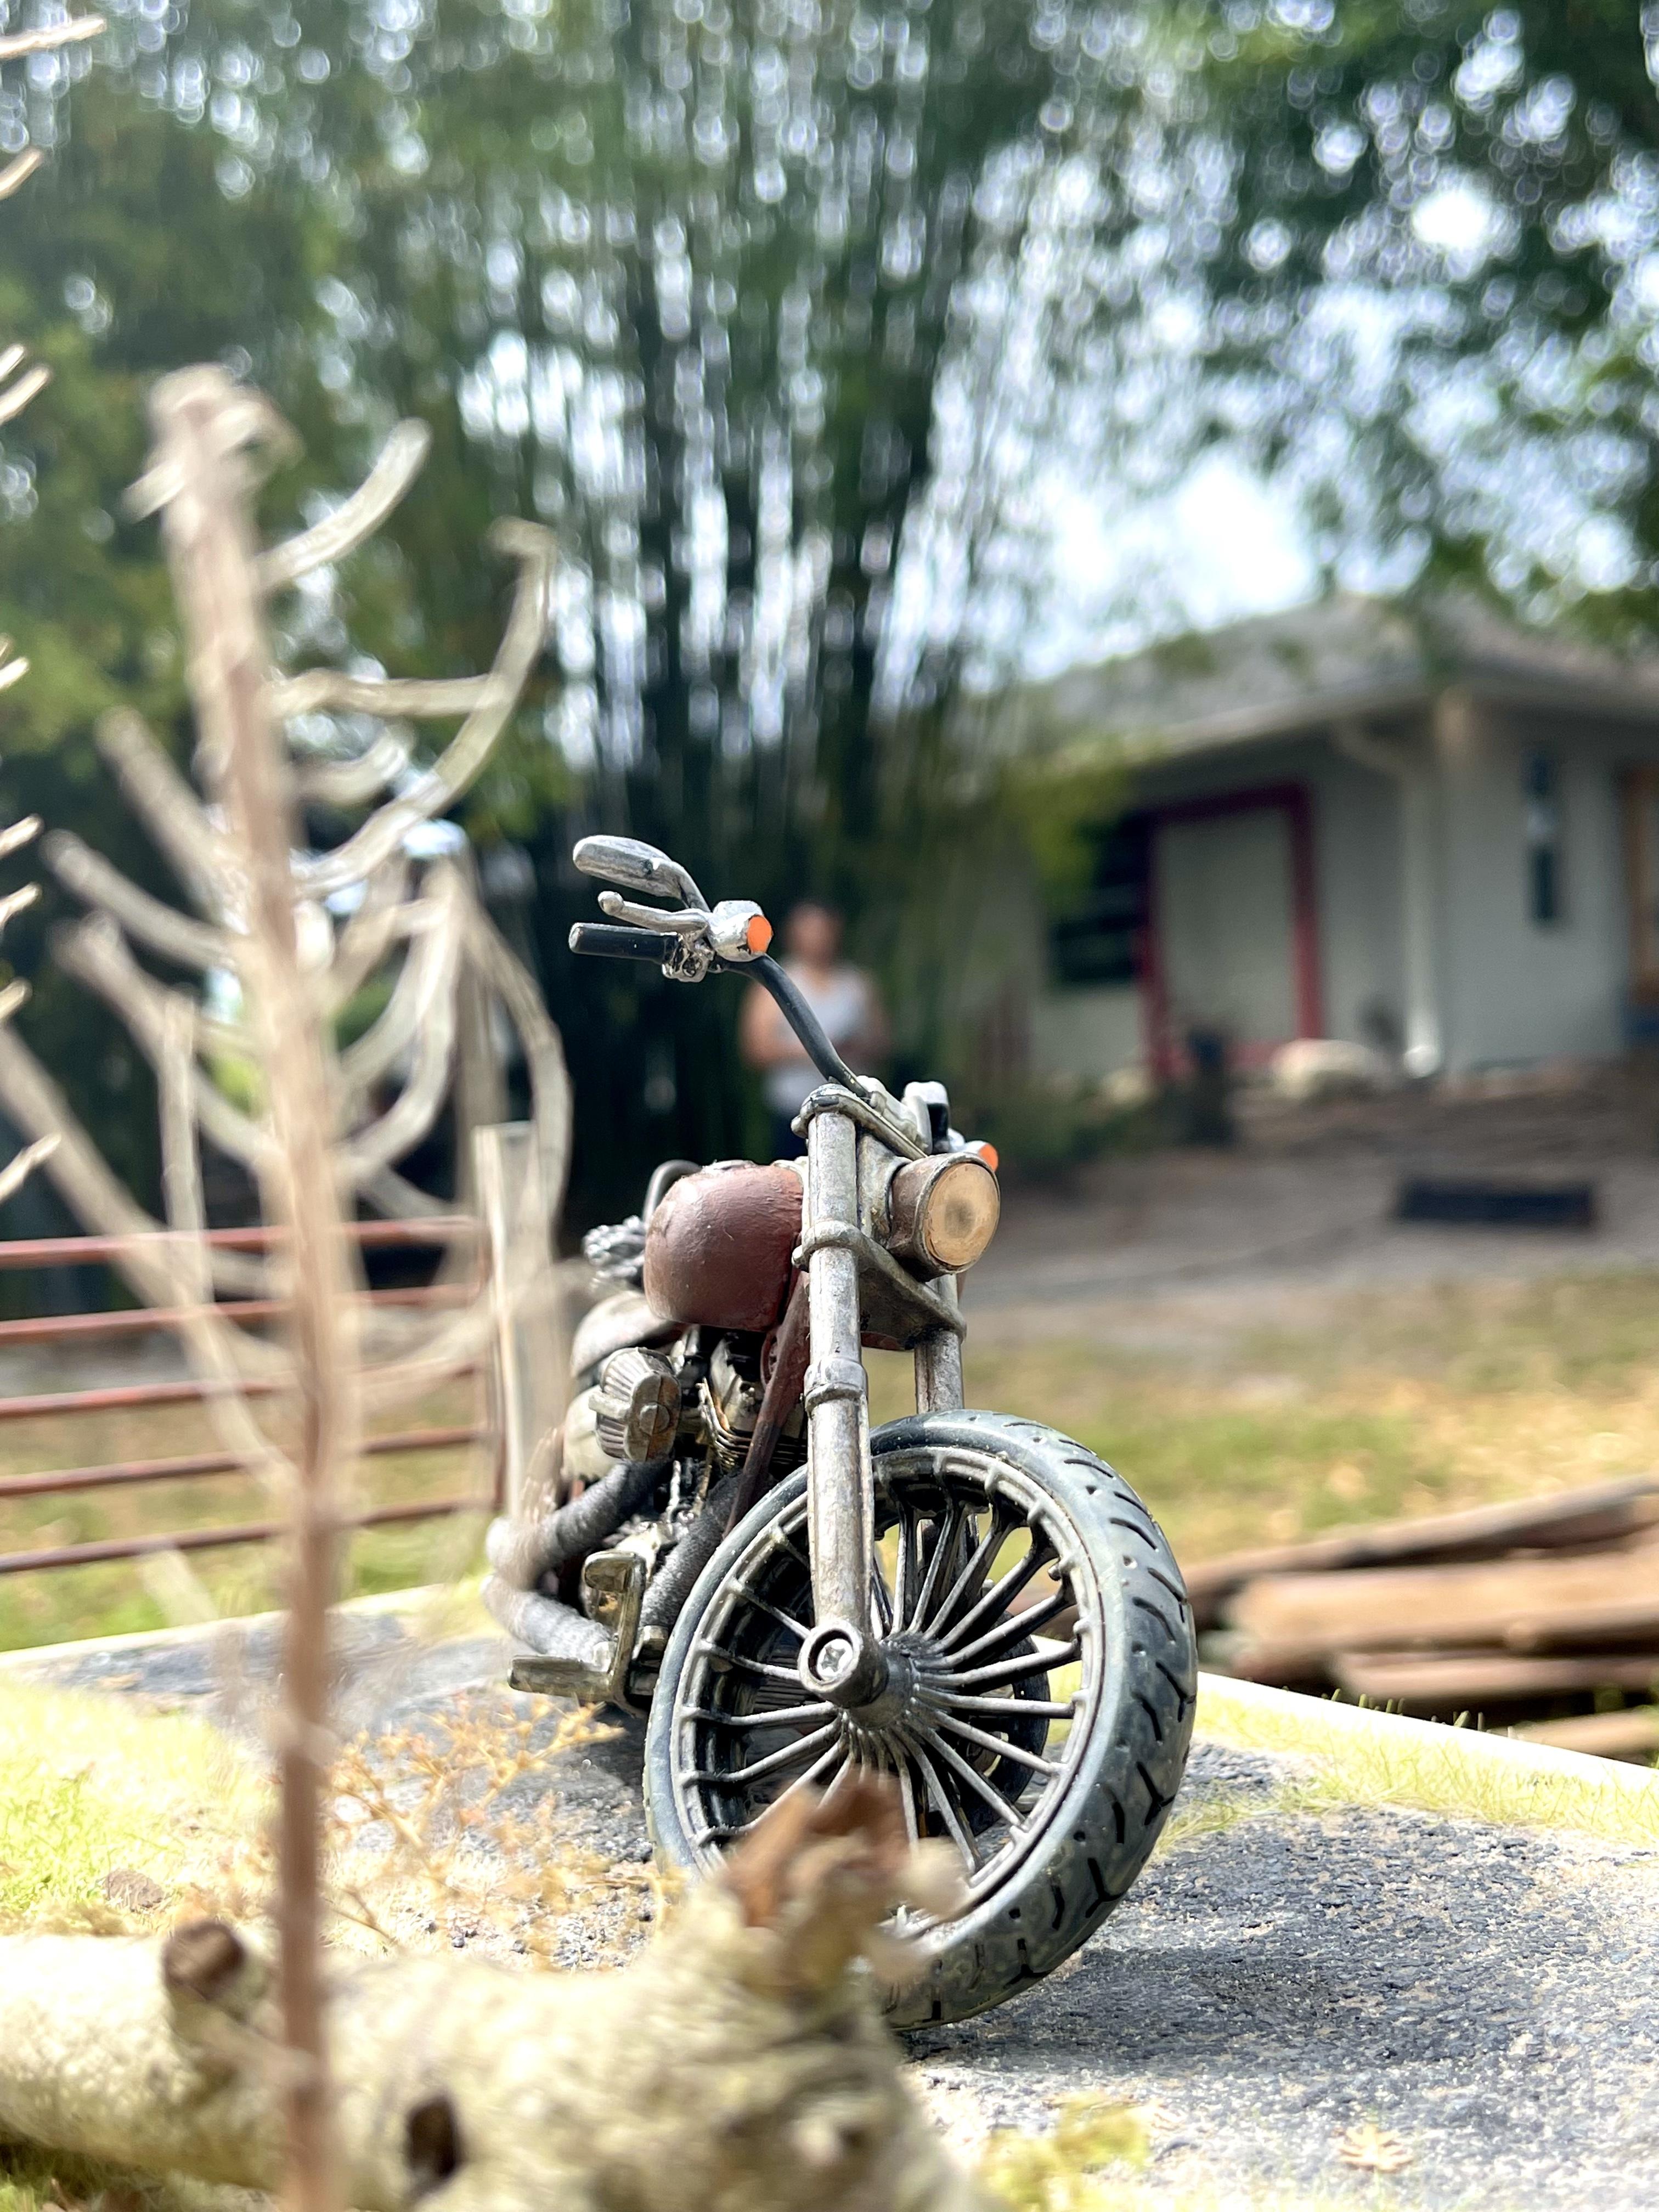
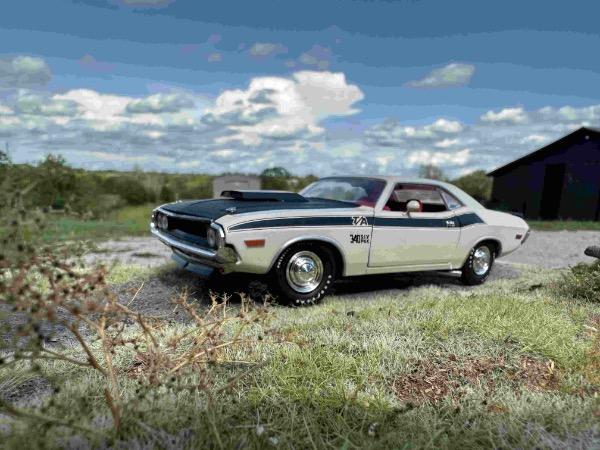
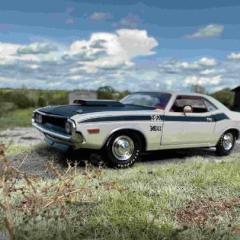
I started modeling around 2019 and stopped due to busy life. I’m back in the game, still a newbie and learning. I decided to experiment with a prebuilt Maisto motorcycle before jumping into a kit with more details. I’m also experimenting with some materials for a more realistic pavement (I used acrylic gesso and fish tank sand, then sanded, colored and weathered). This is my experimental diorama and motorcycle to try to fine tune realism. Thank you all and criticism is welcomed. Keep in mind this is an experimental diorama. Here are two of the same bikes for comparison. One stock and the other one modified like a bobber. The scale is 1/12.
-
Wow!!! Great artistic talent.
-
Your work is very inspiring. The details here are just incredible.
-
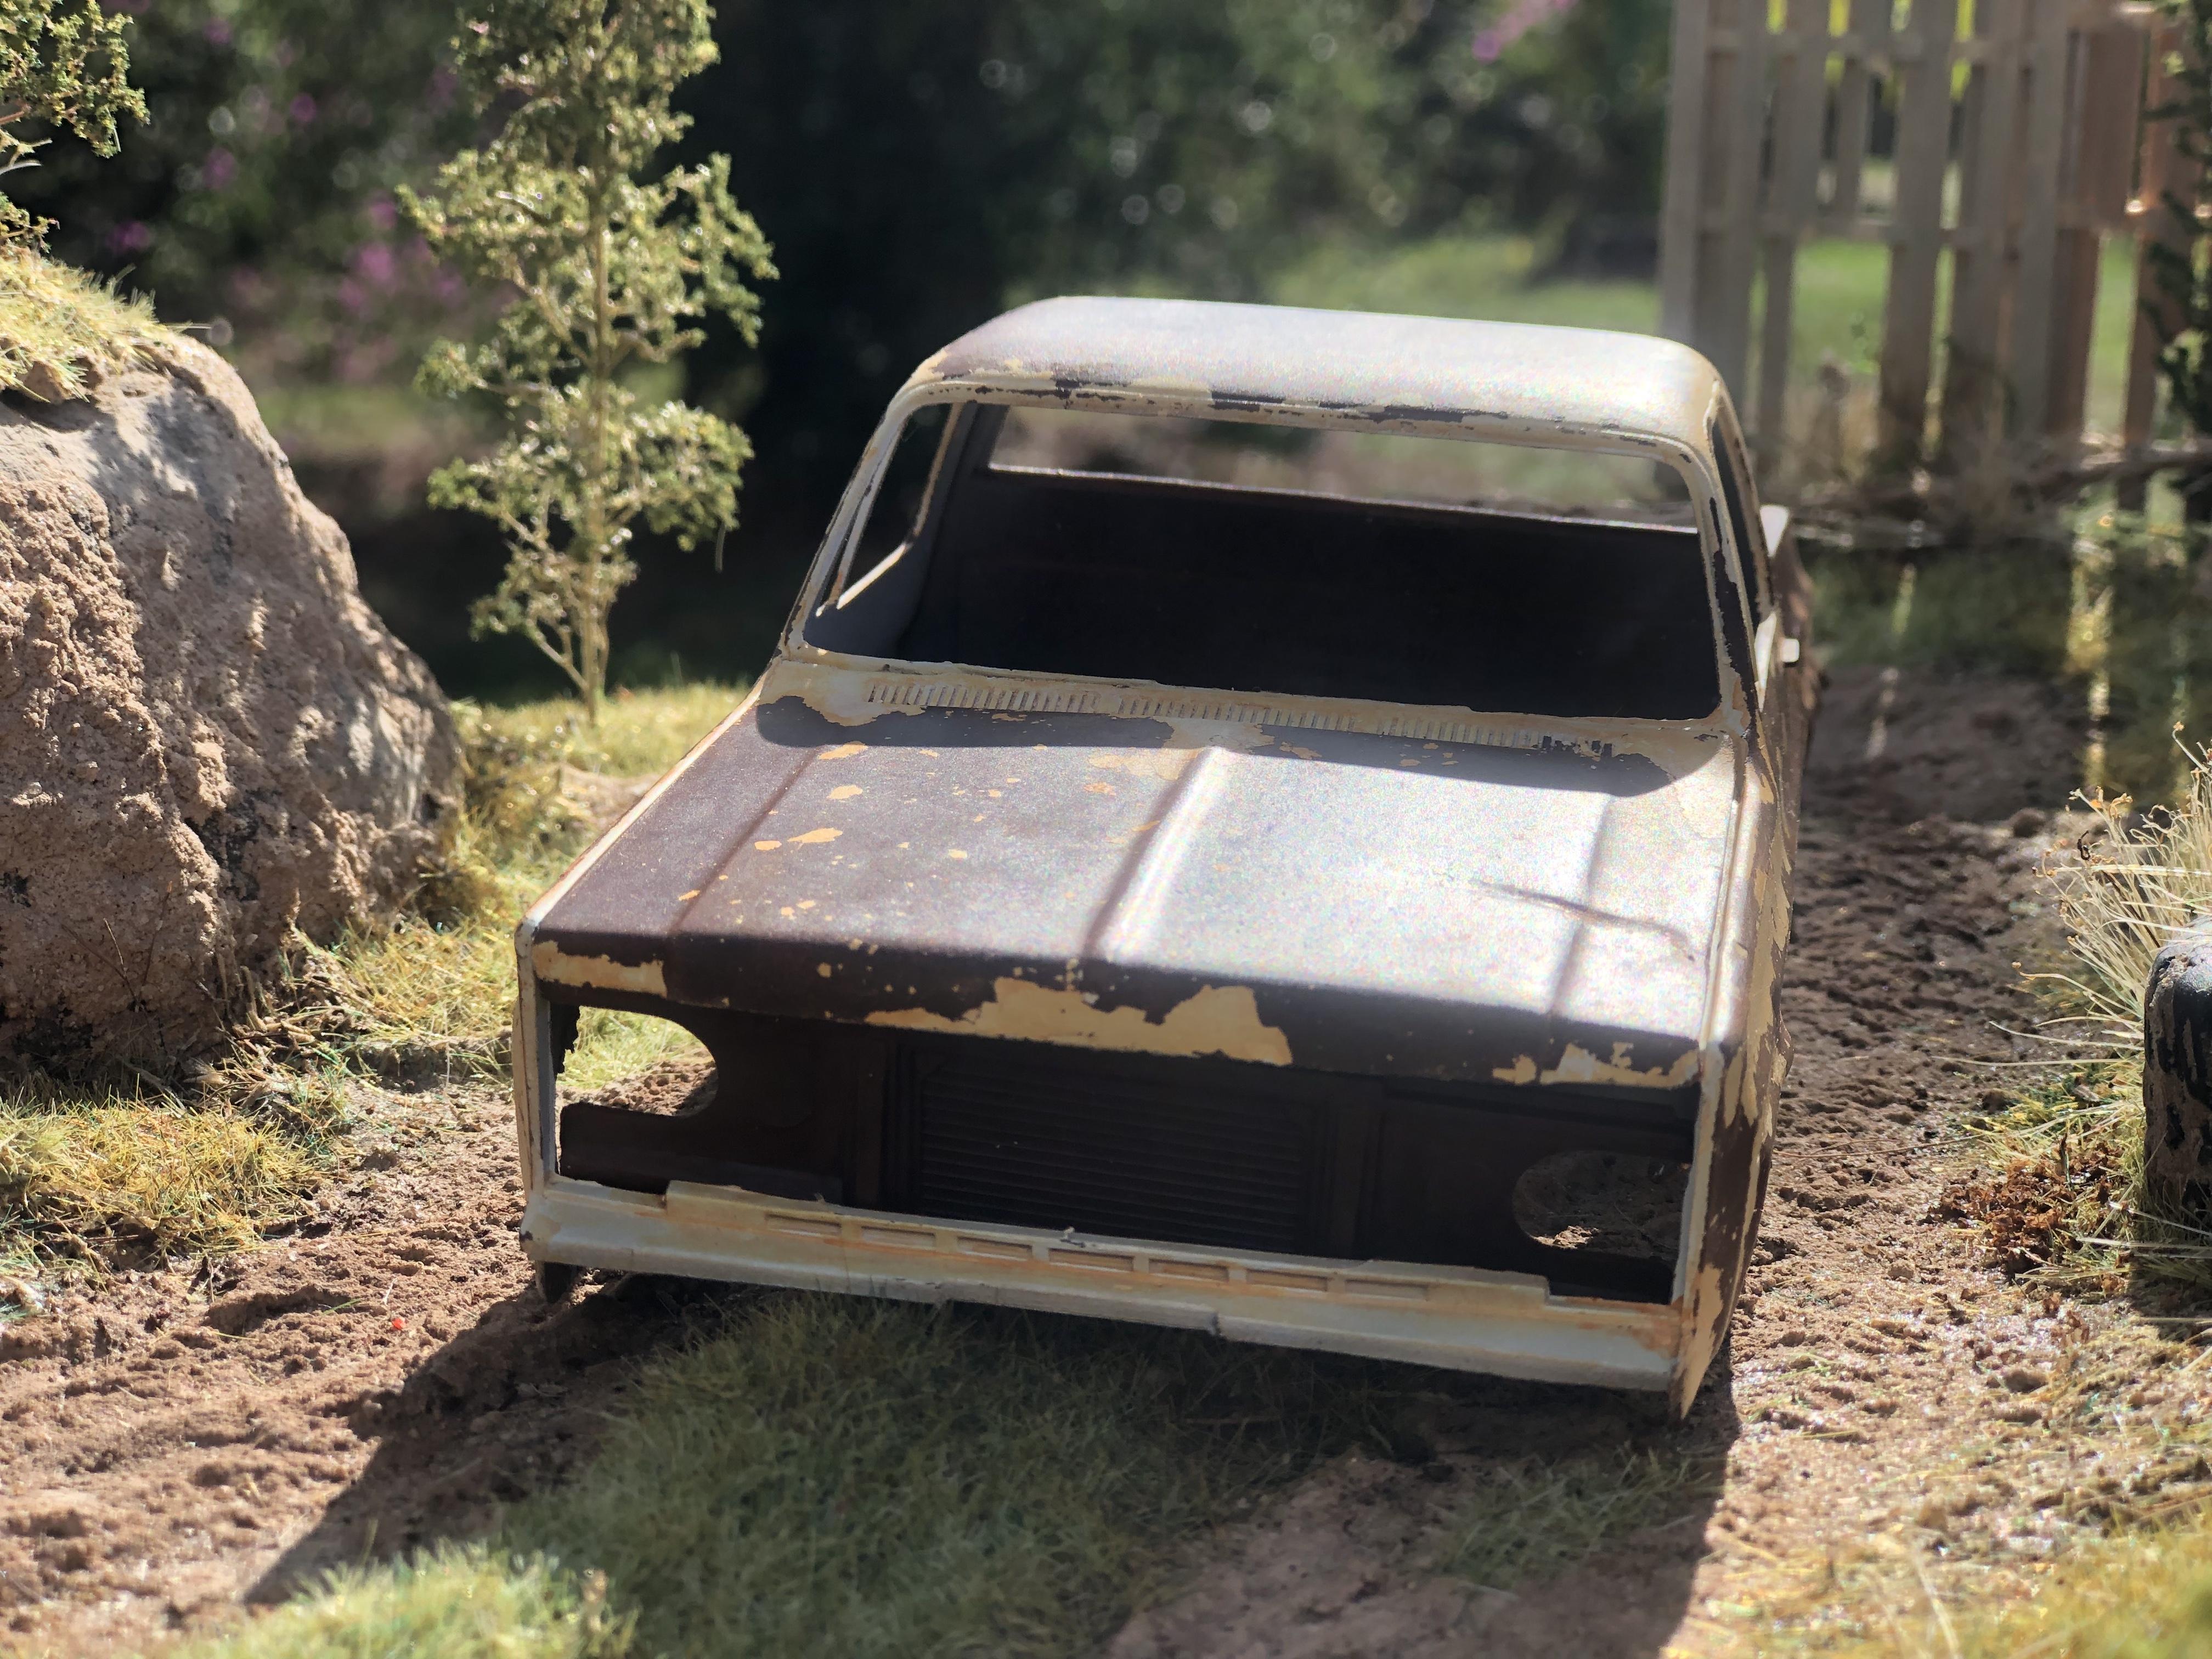
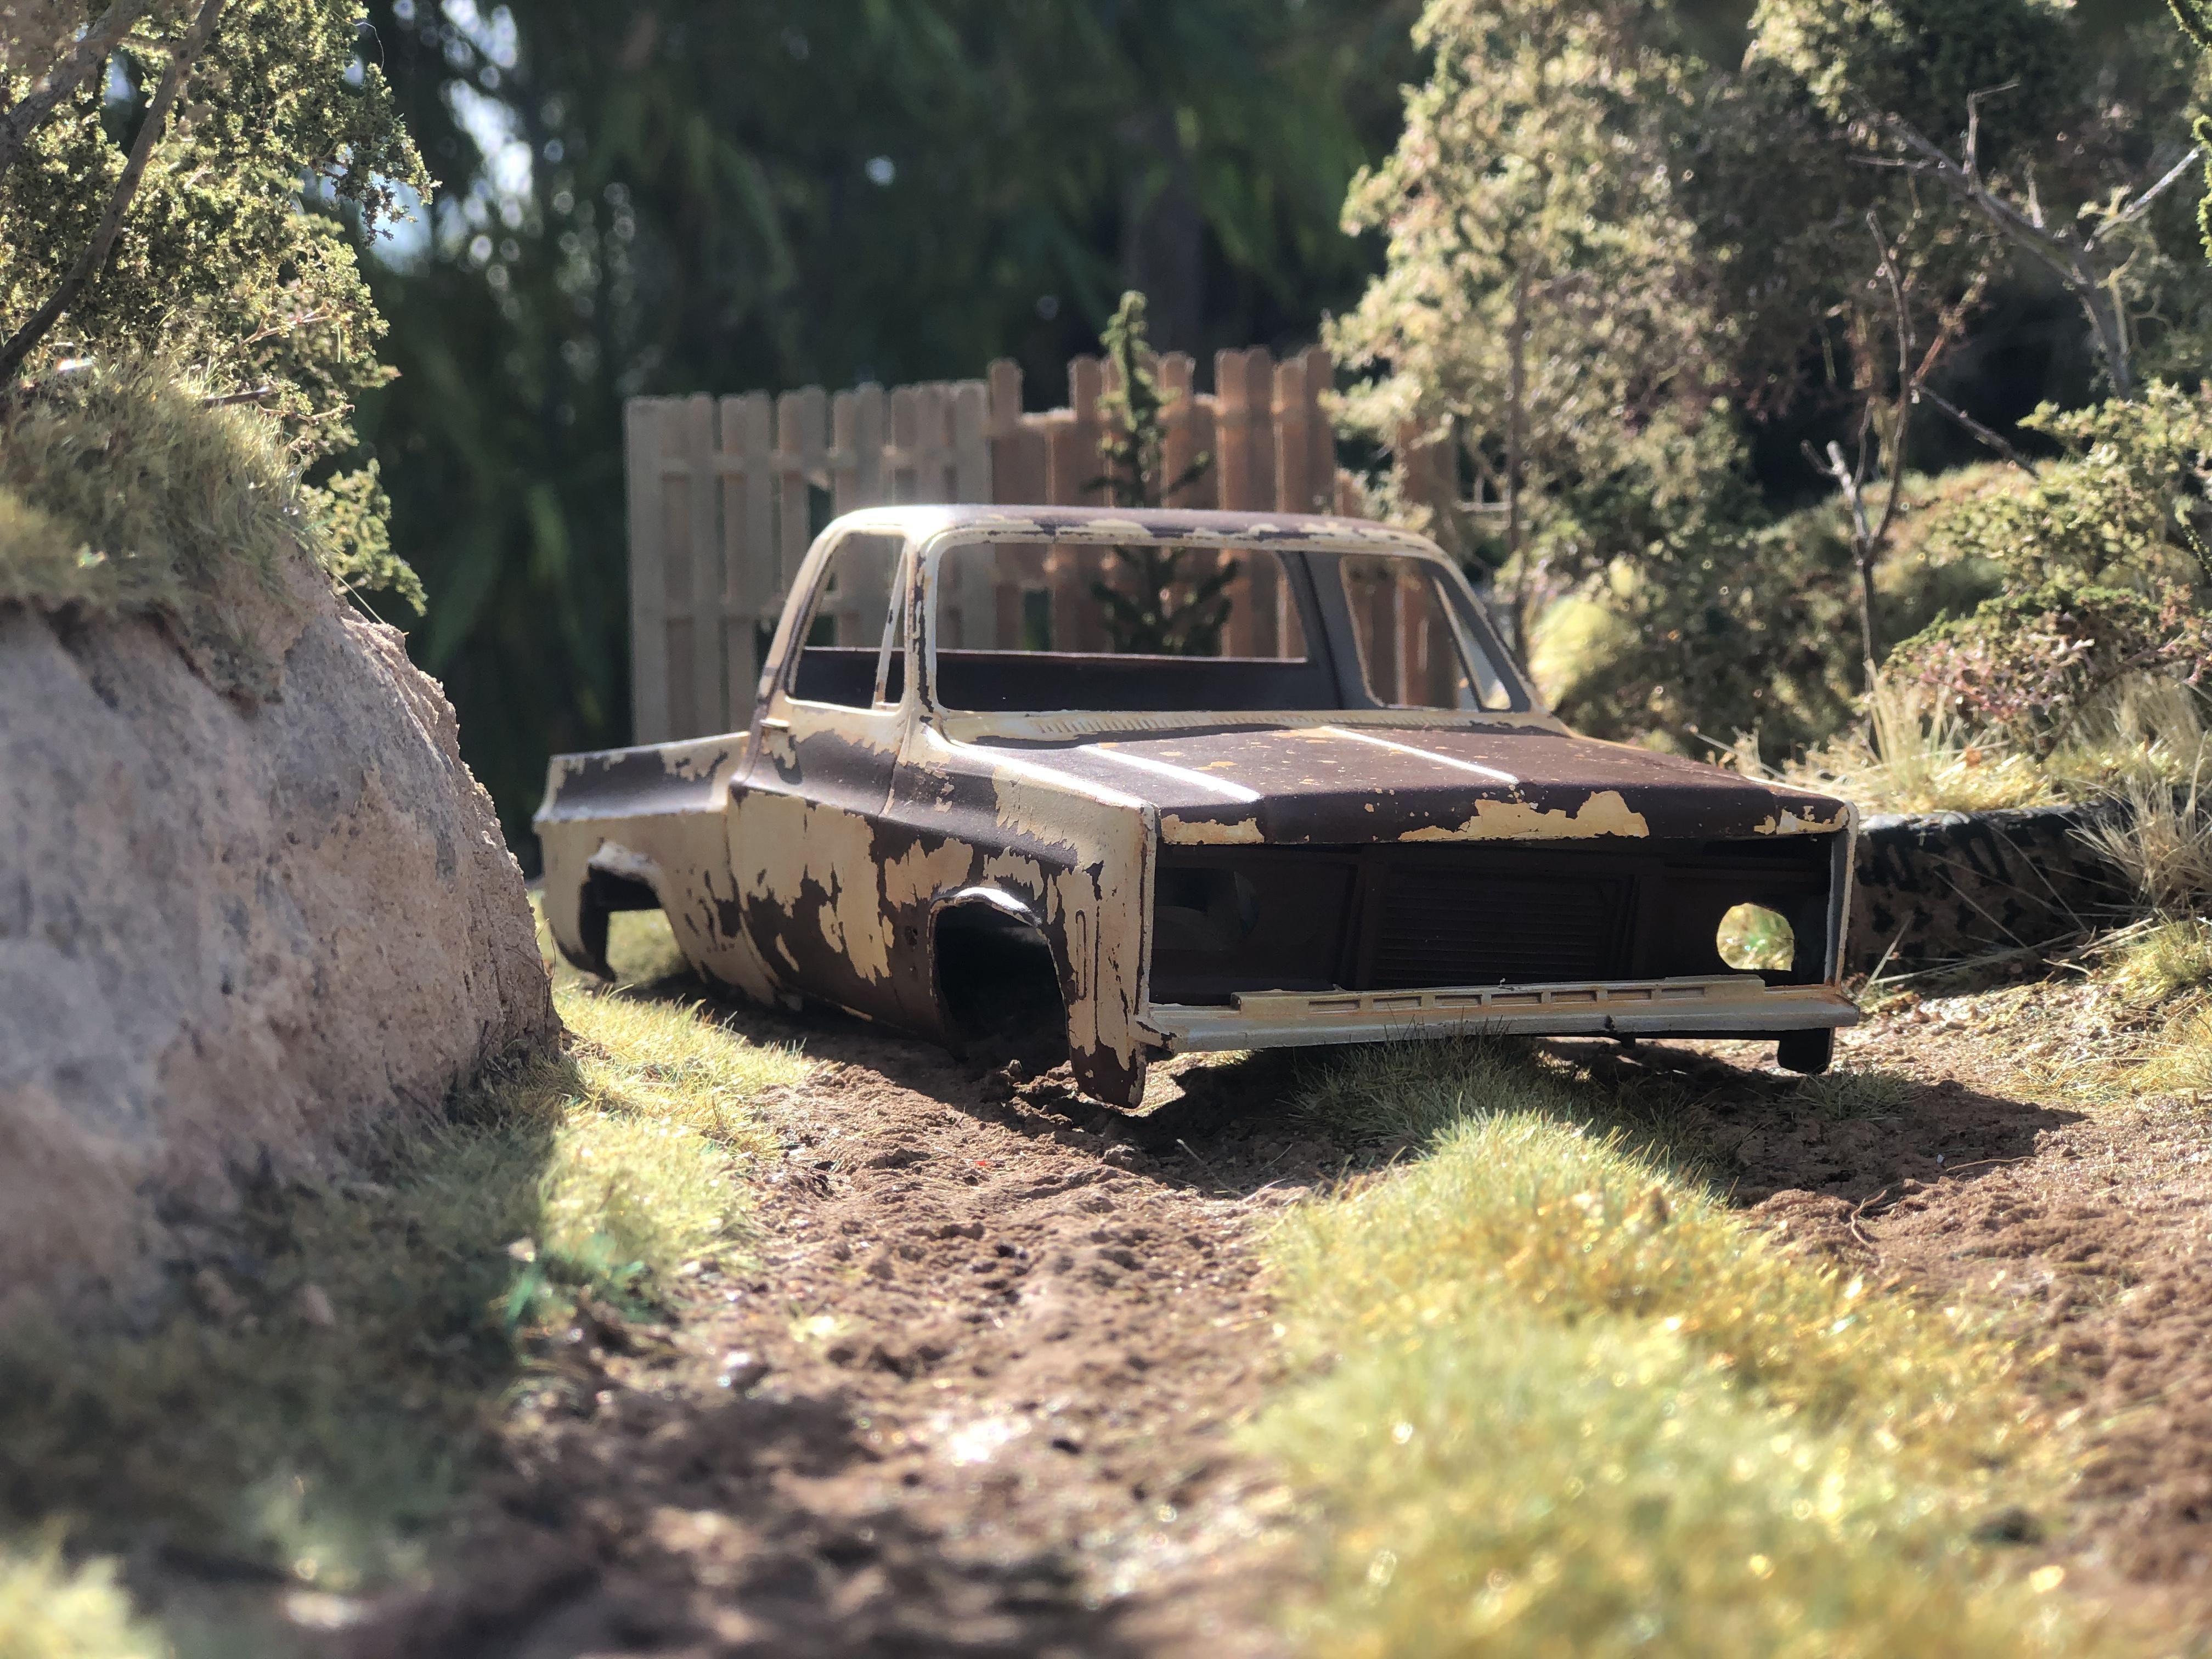
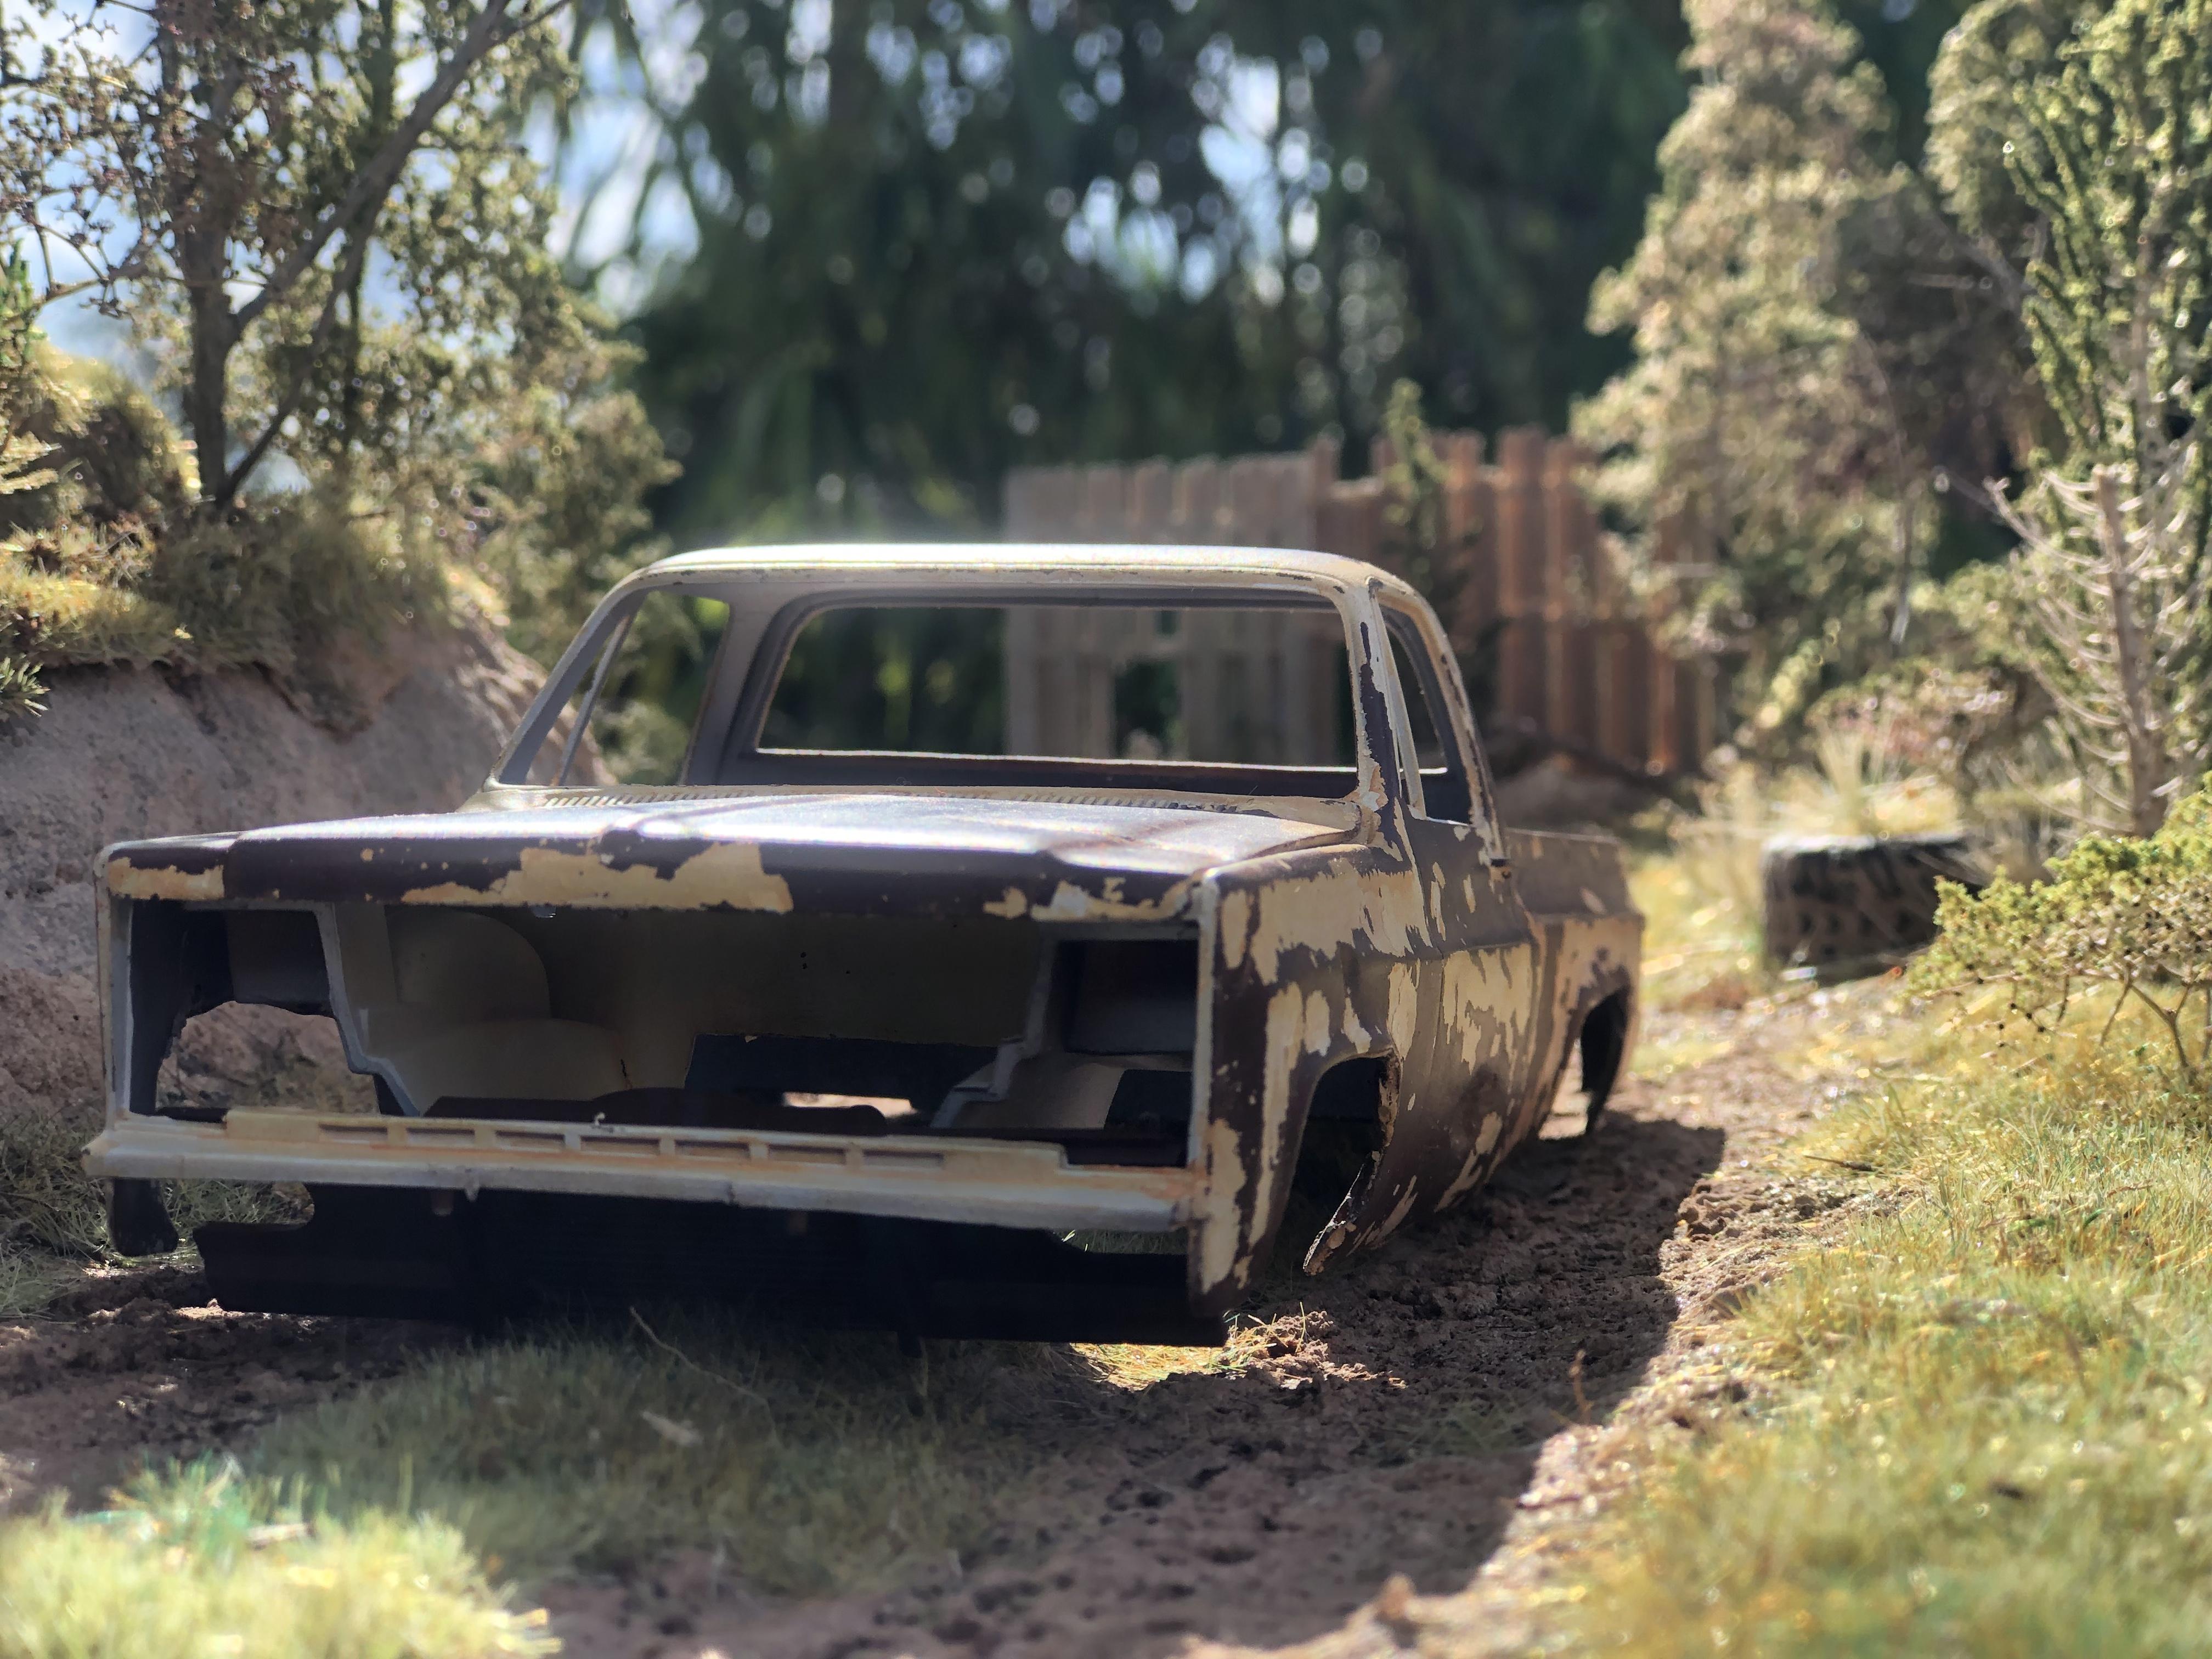
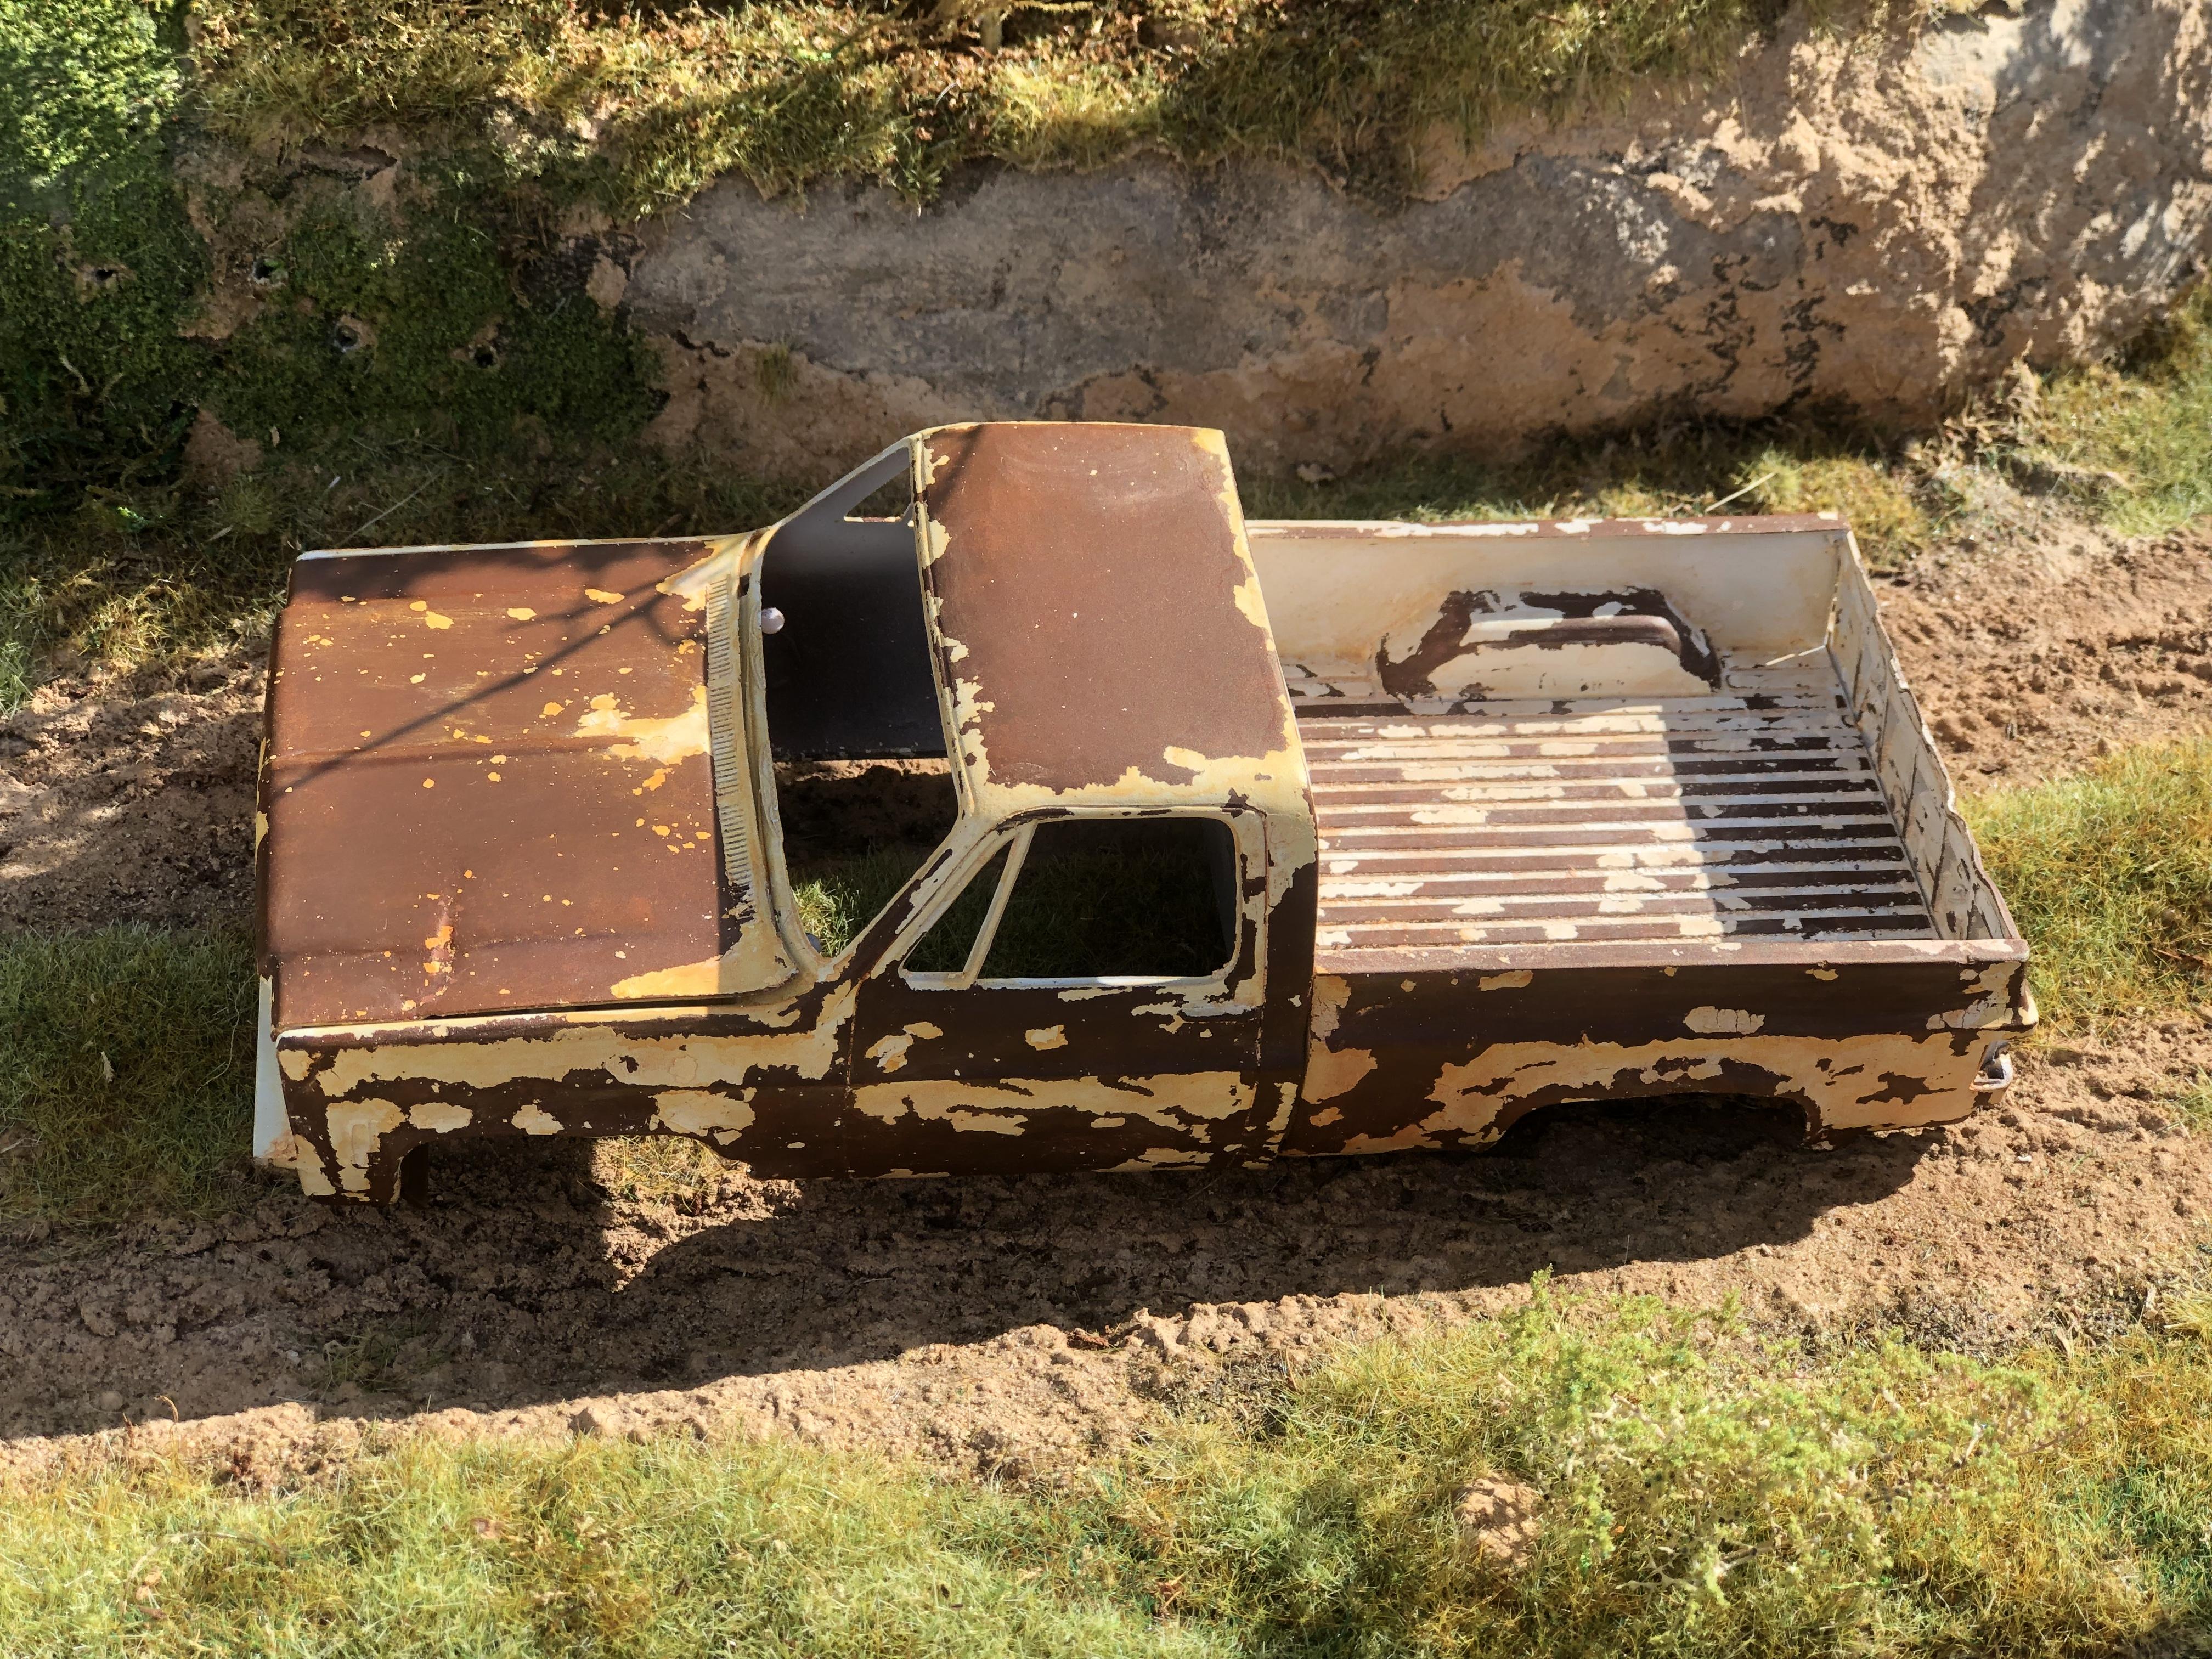
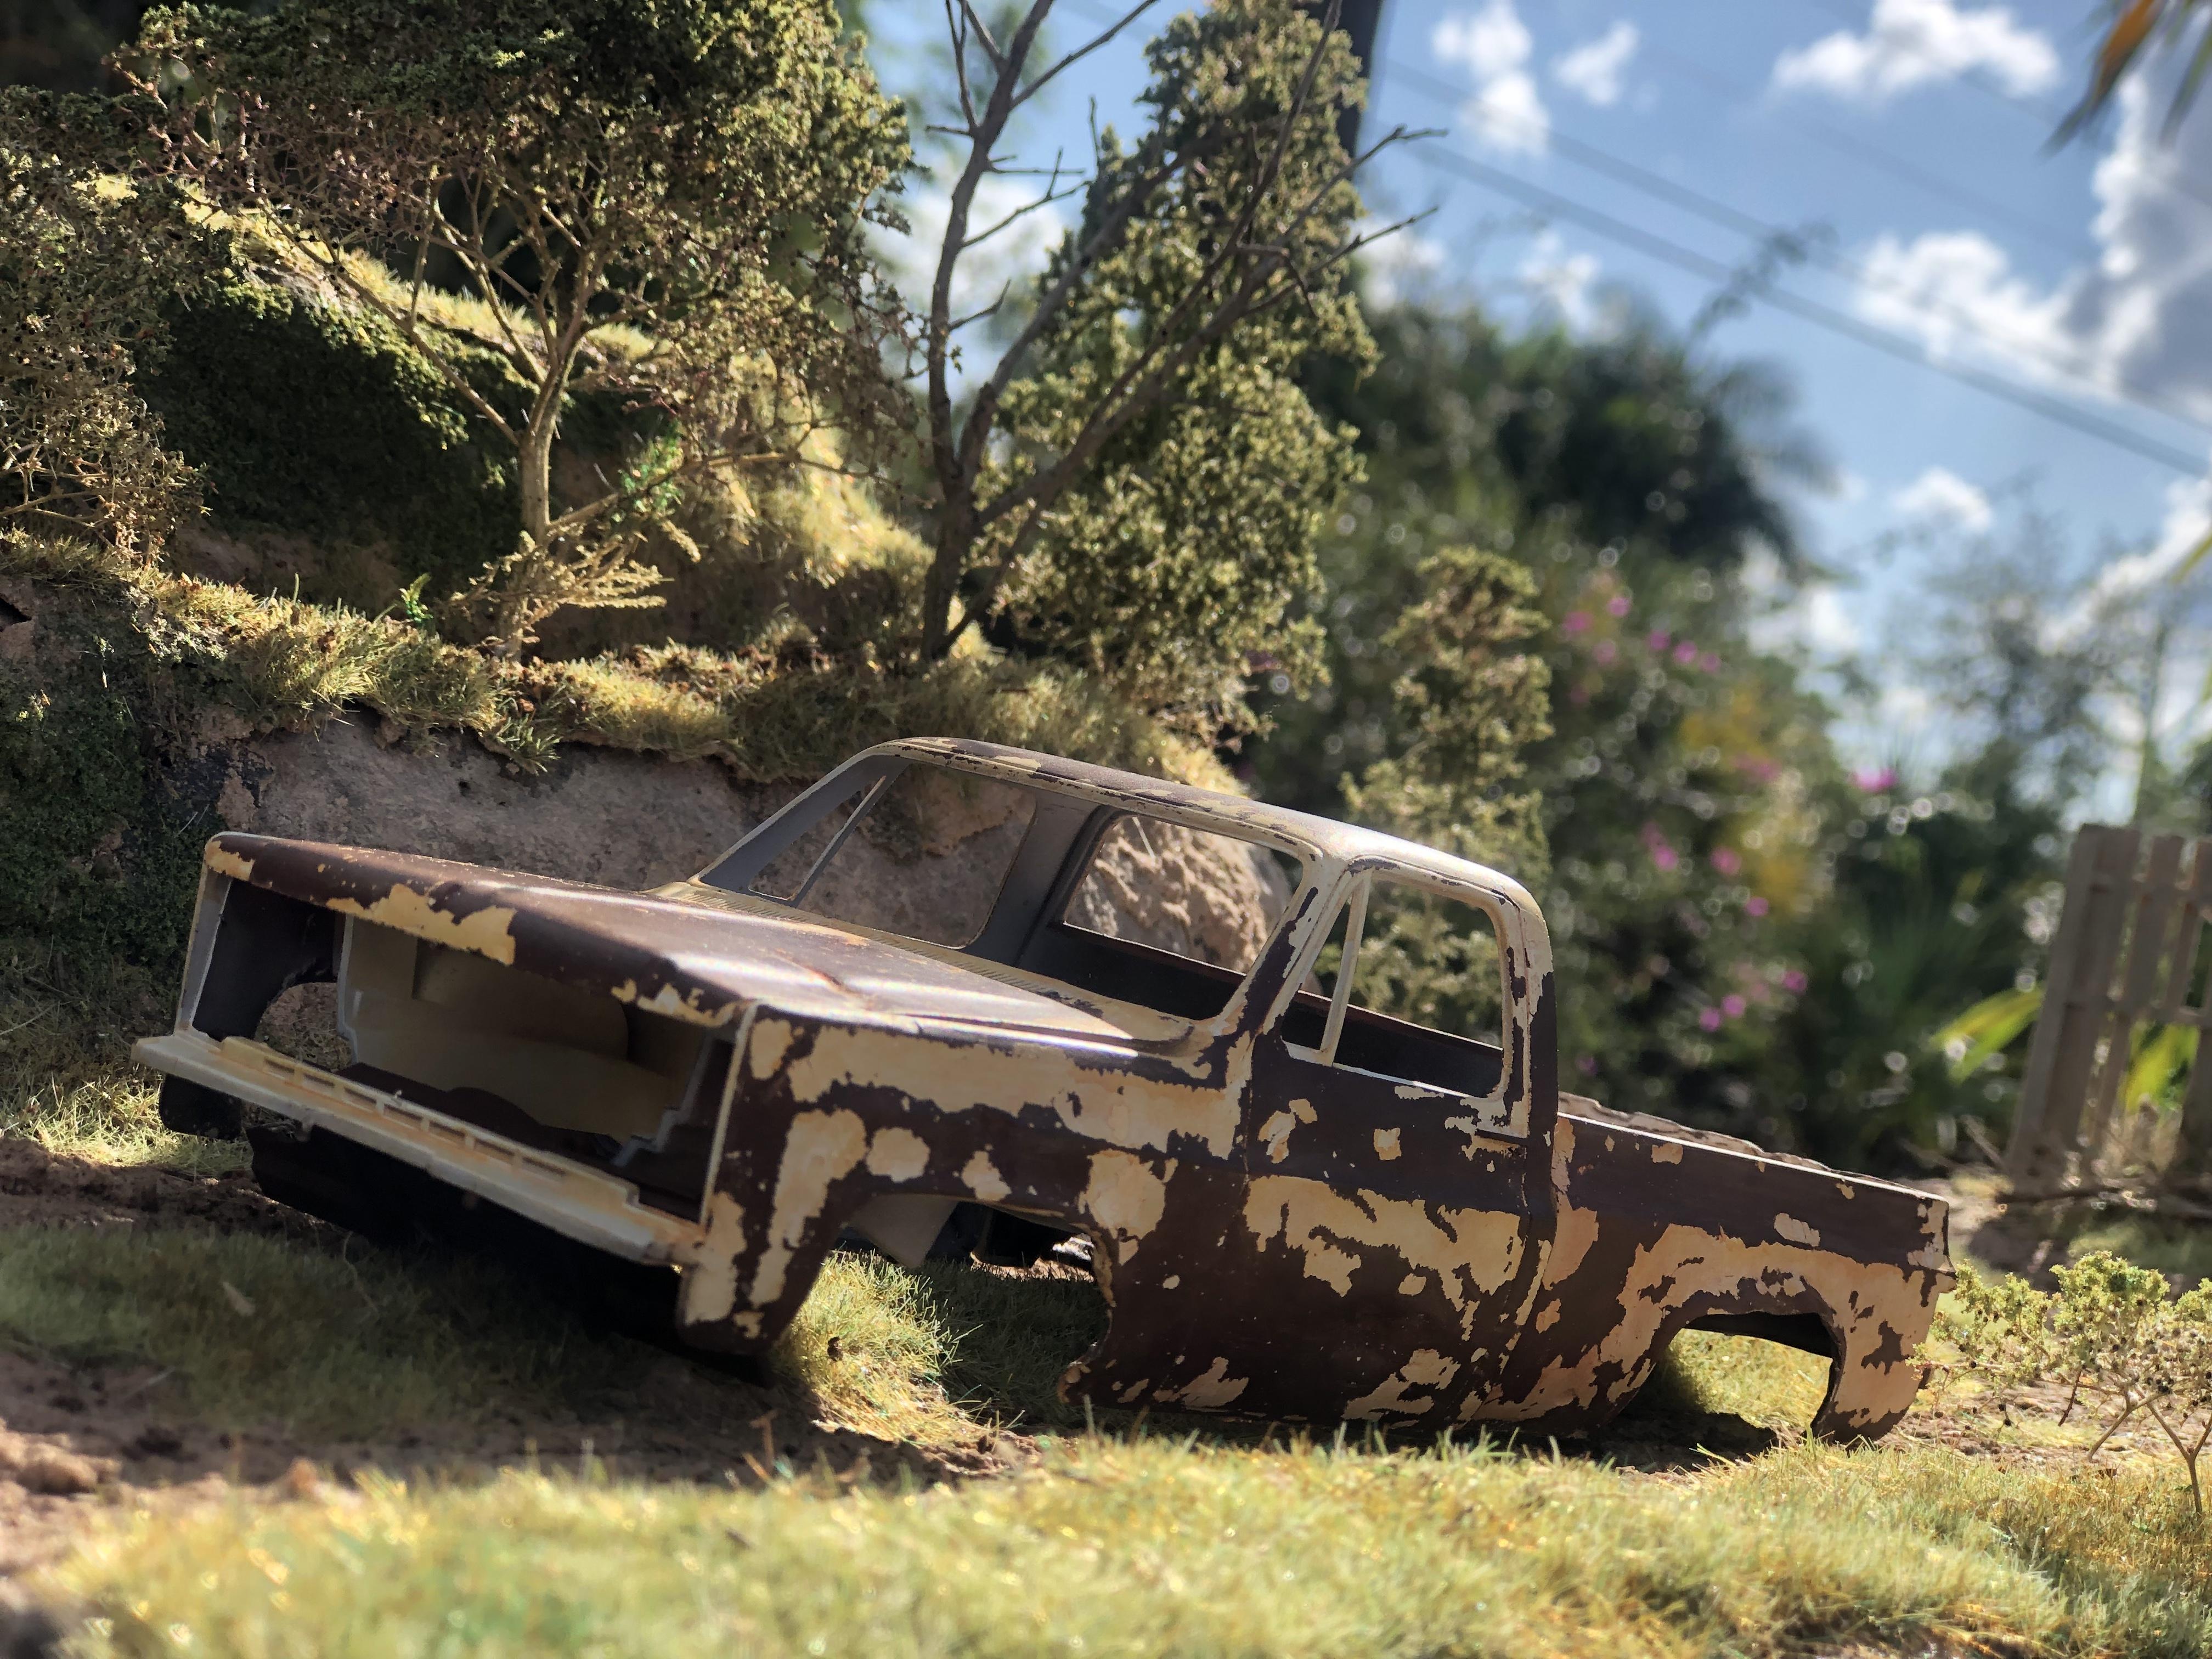
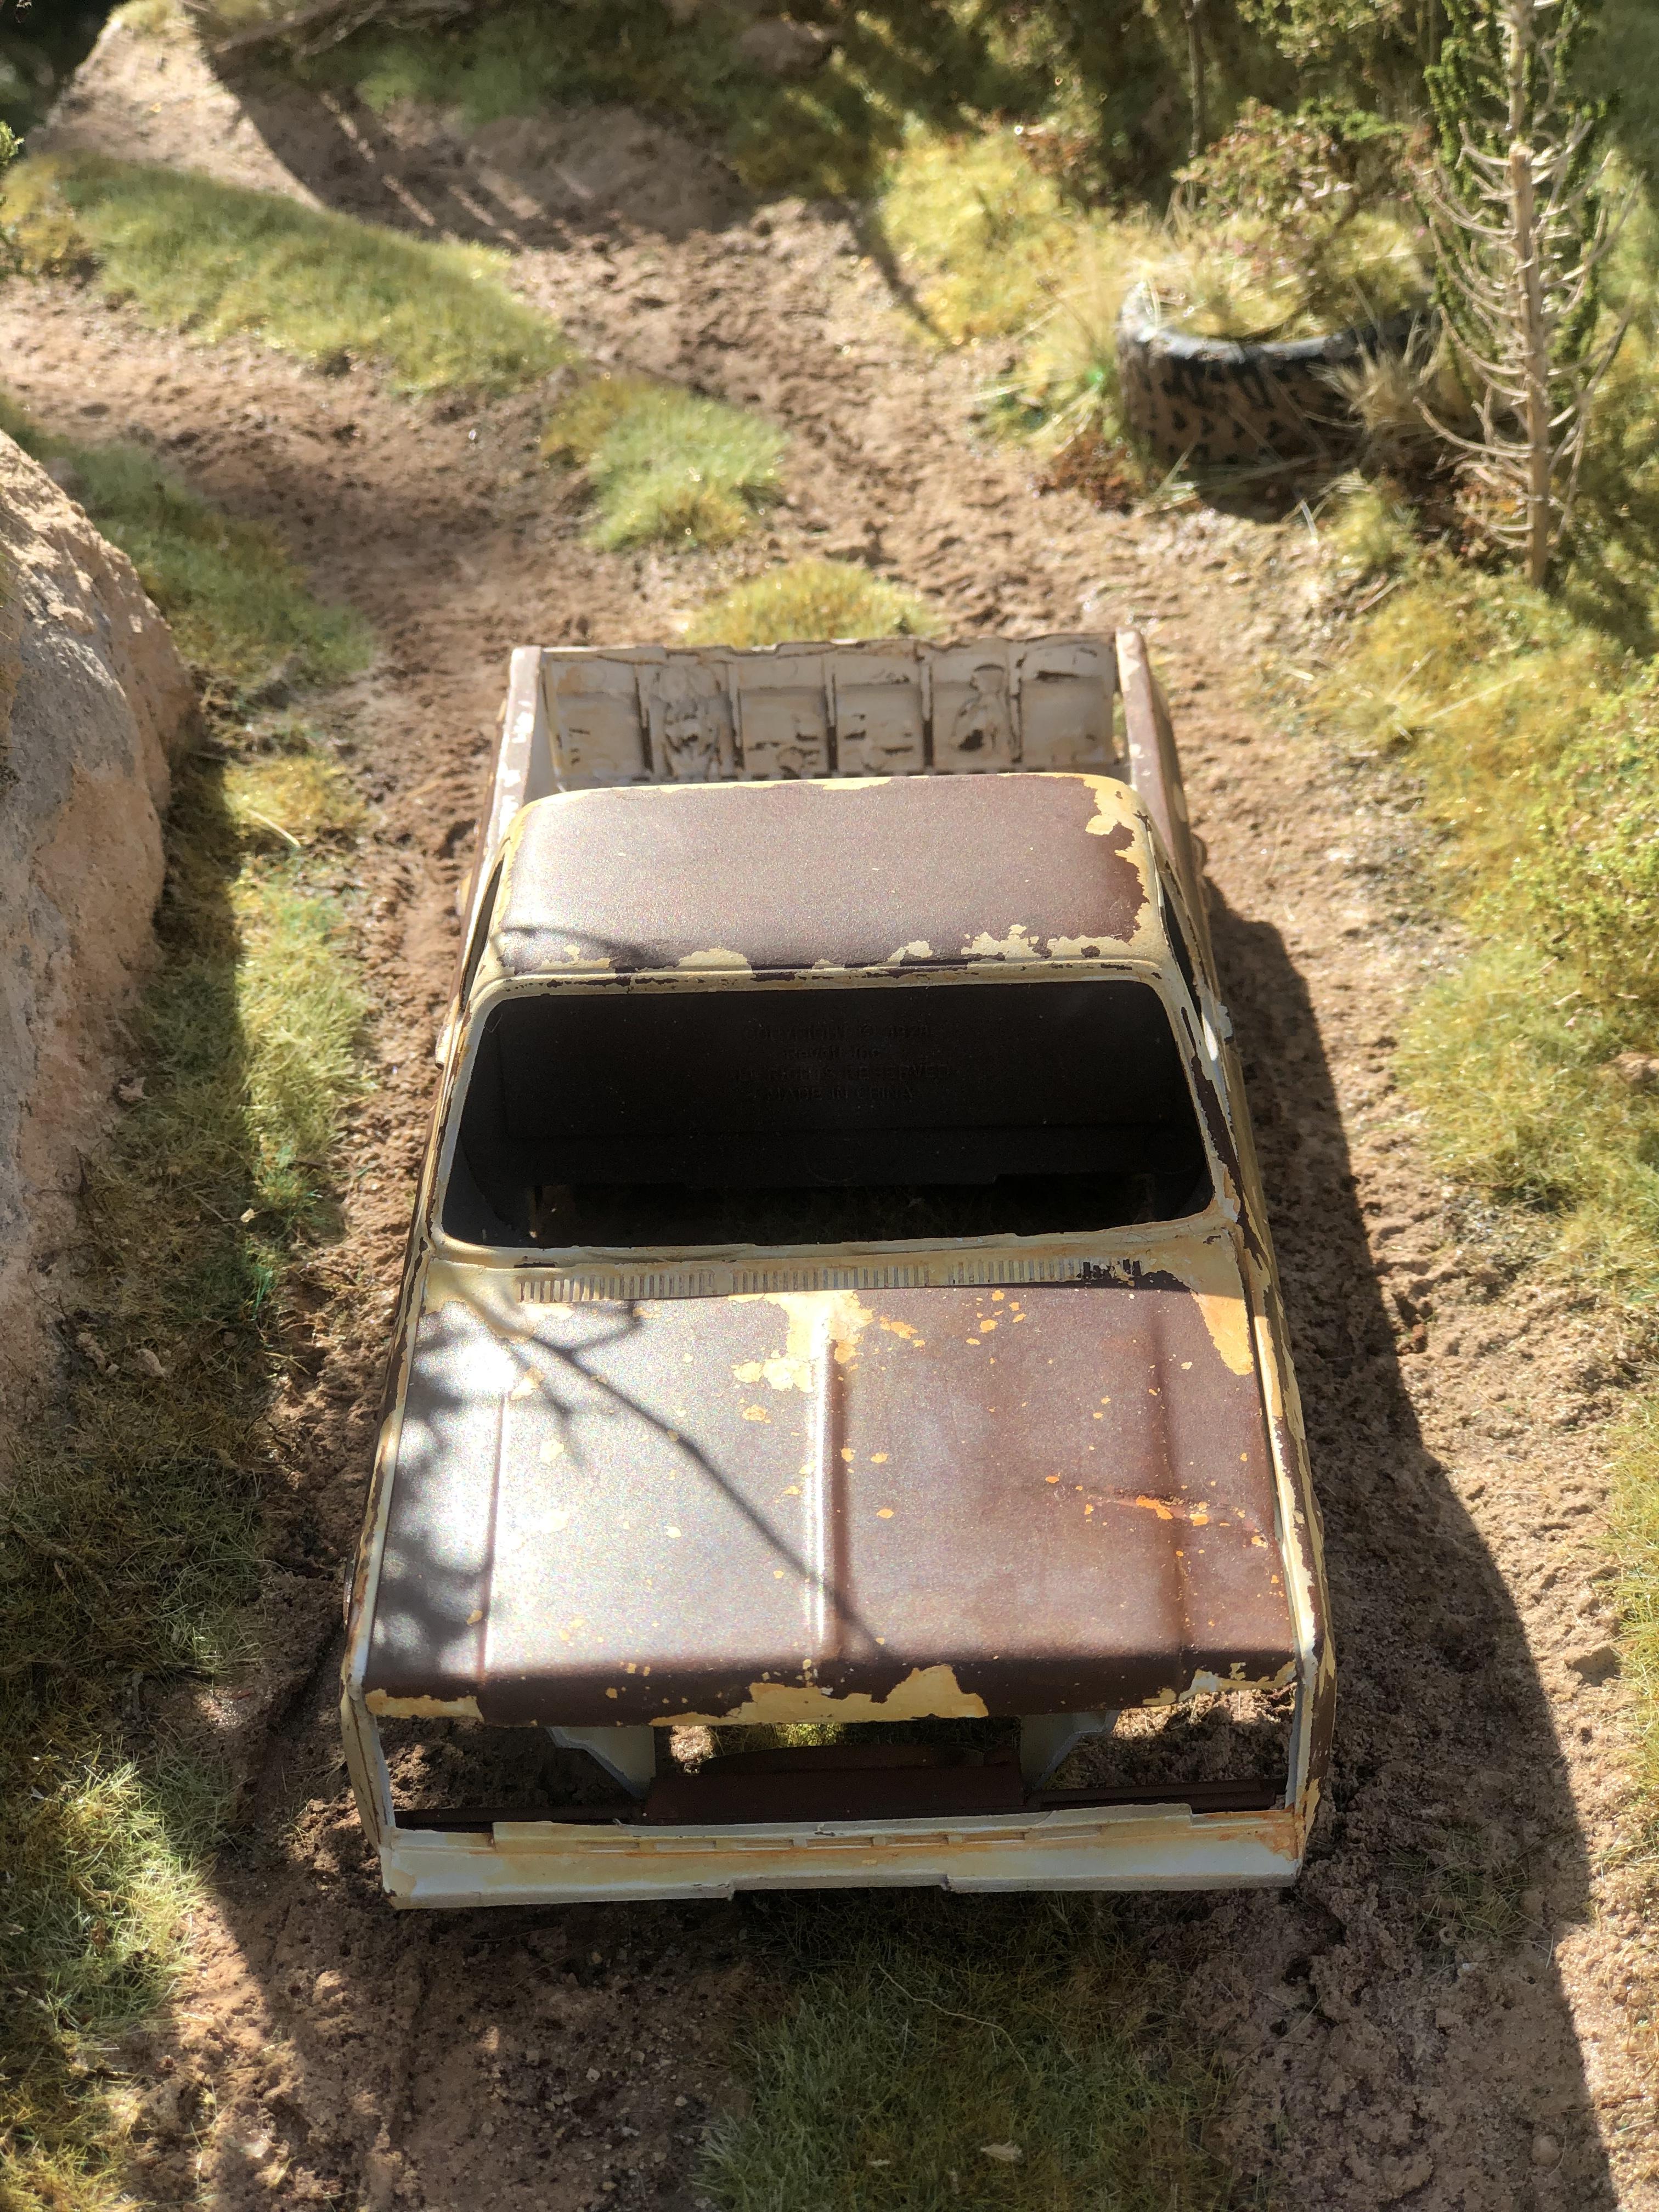
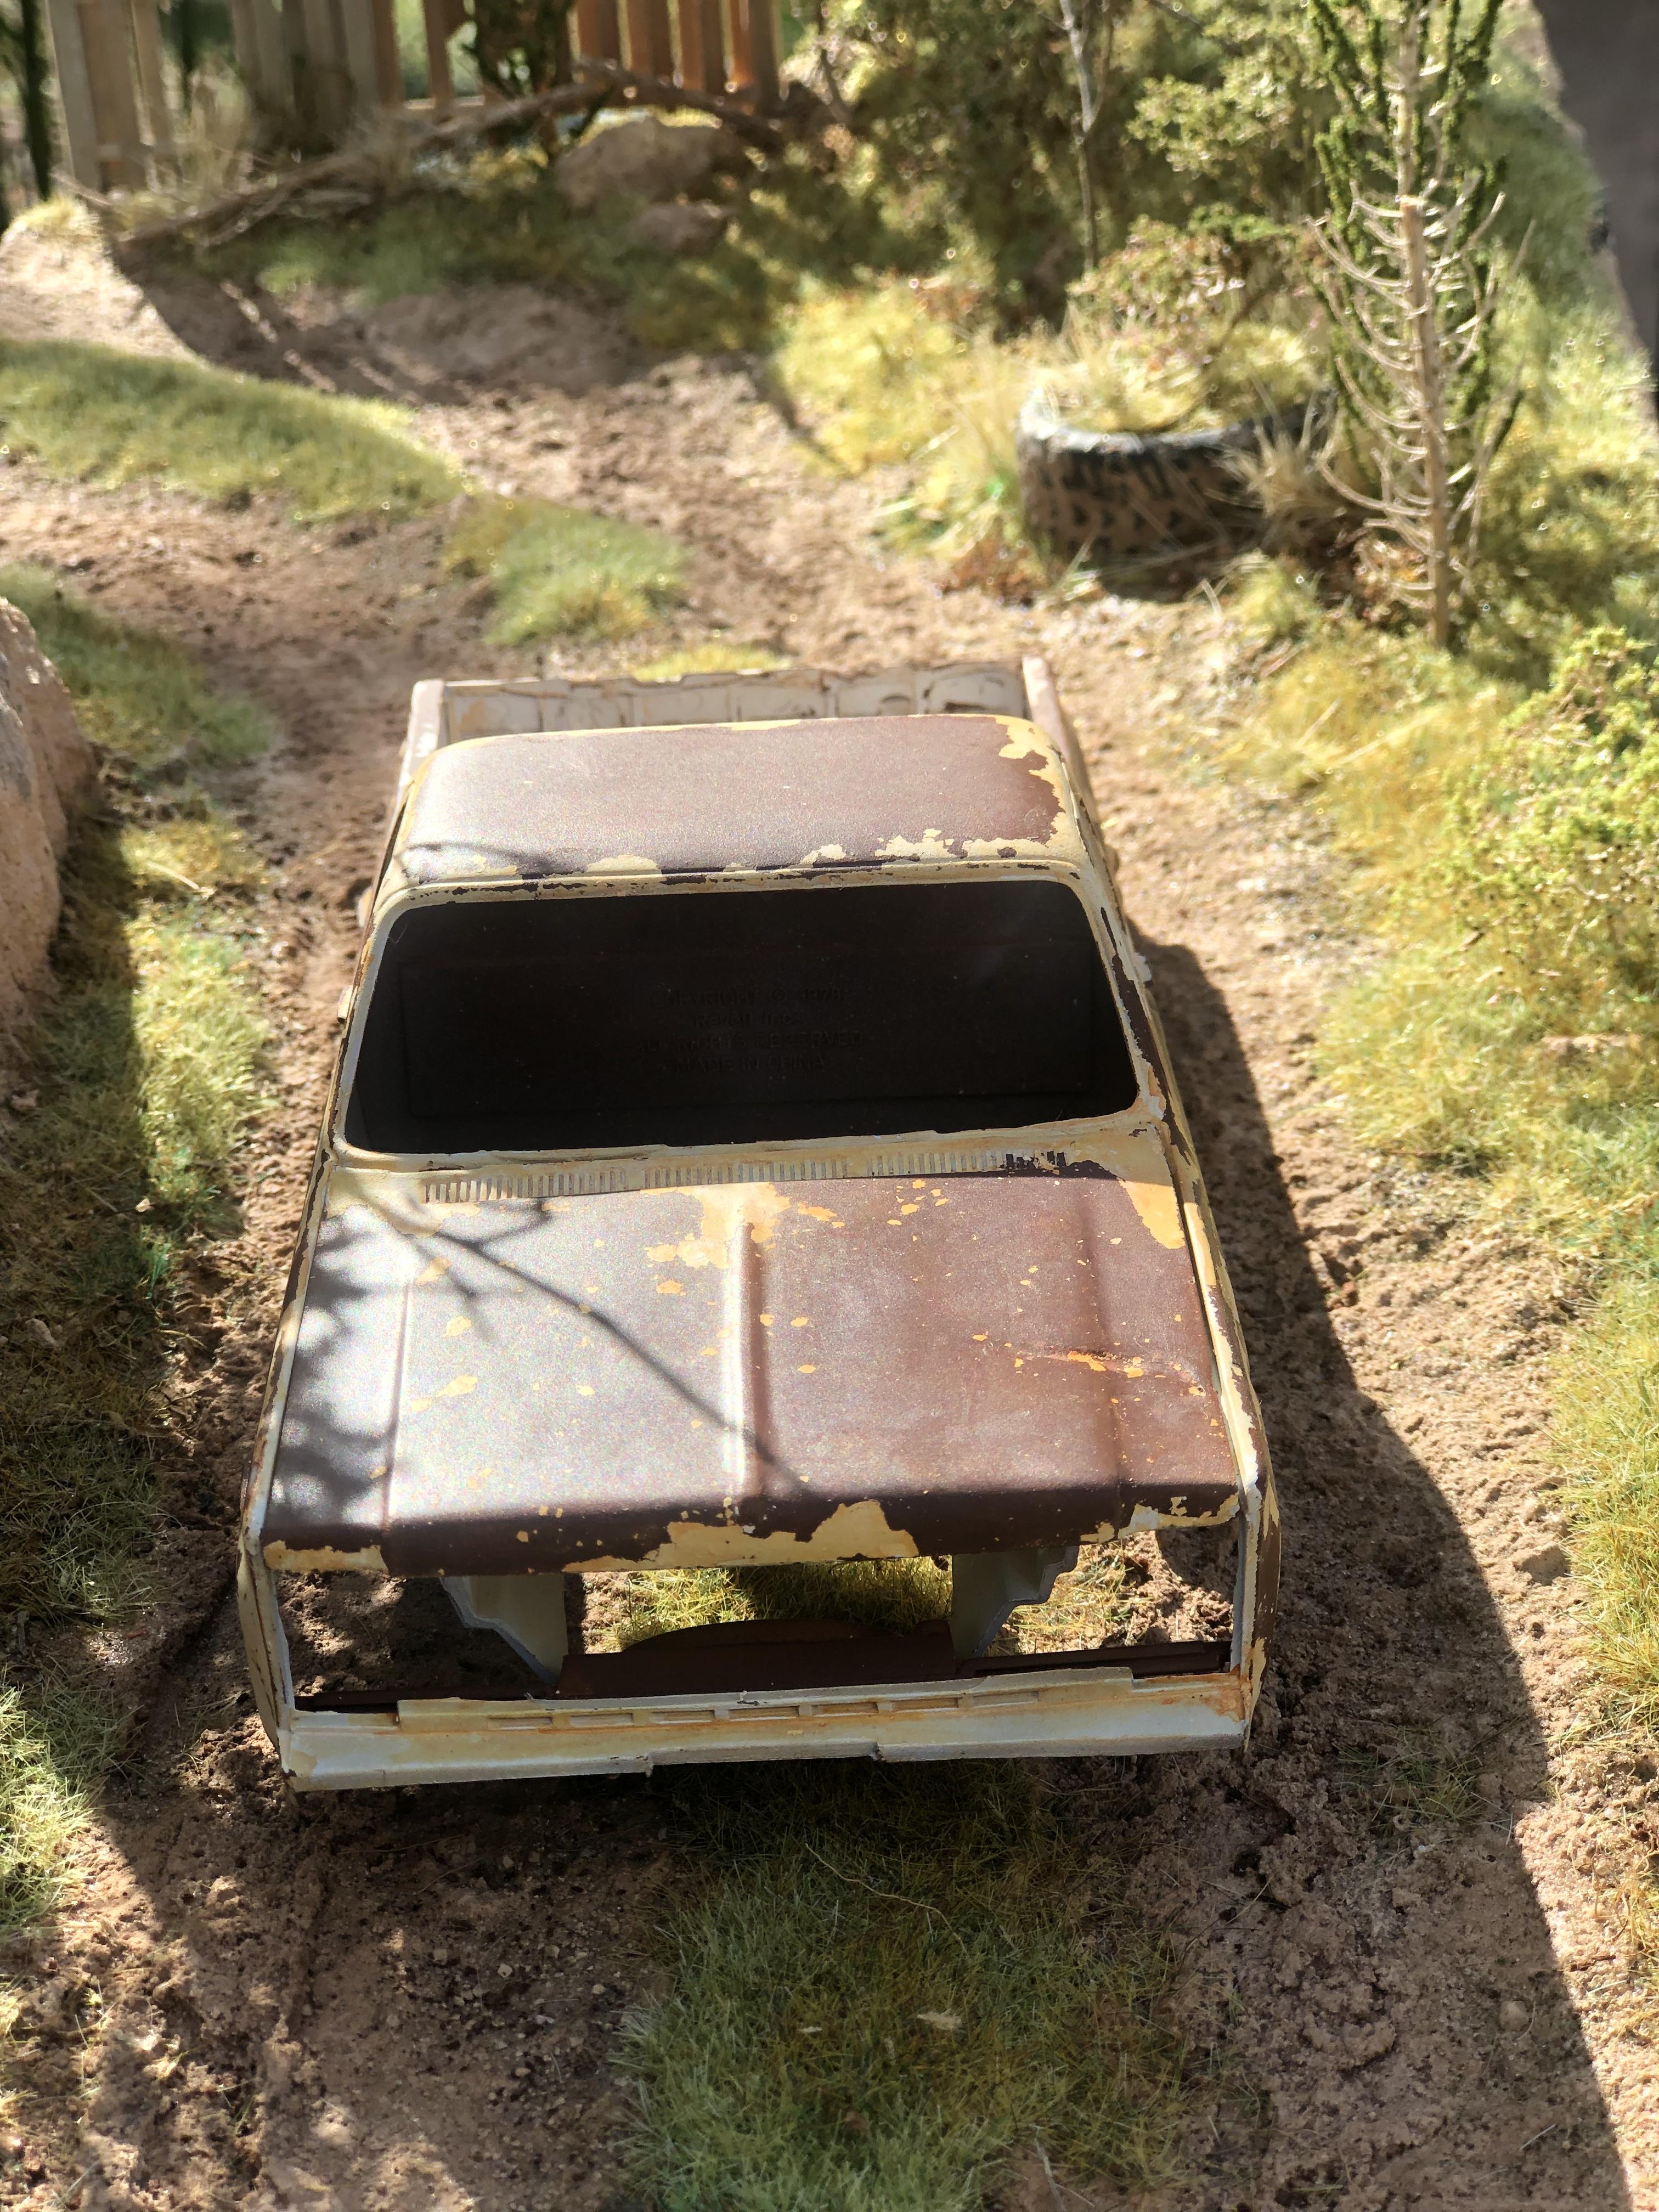
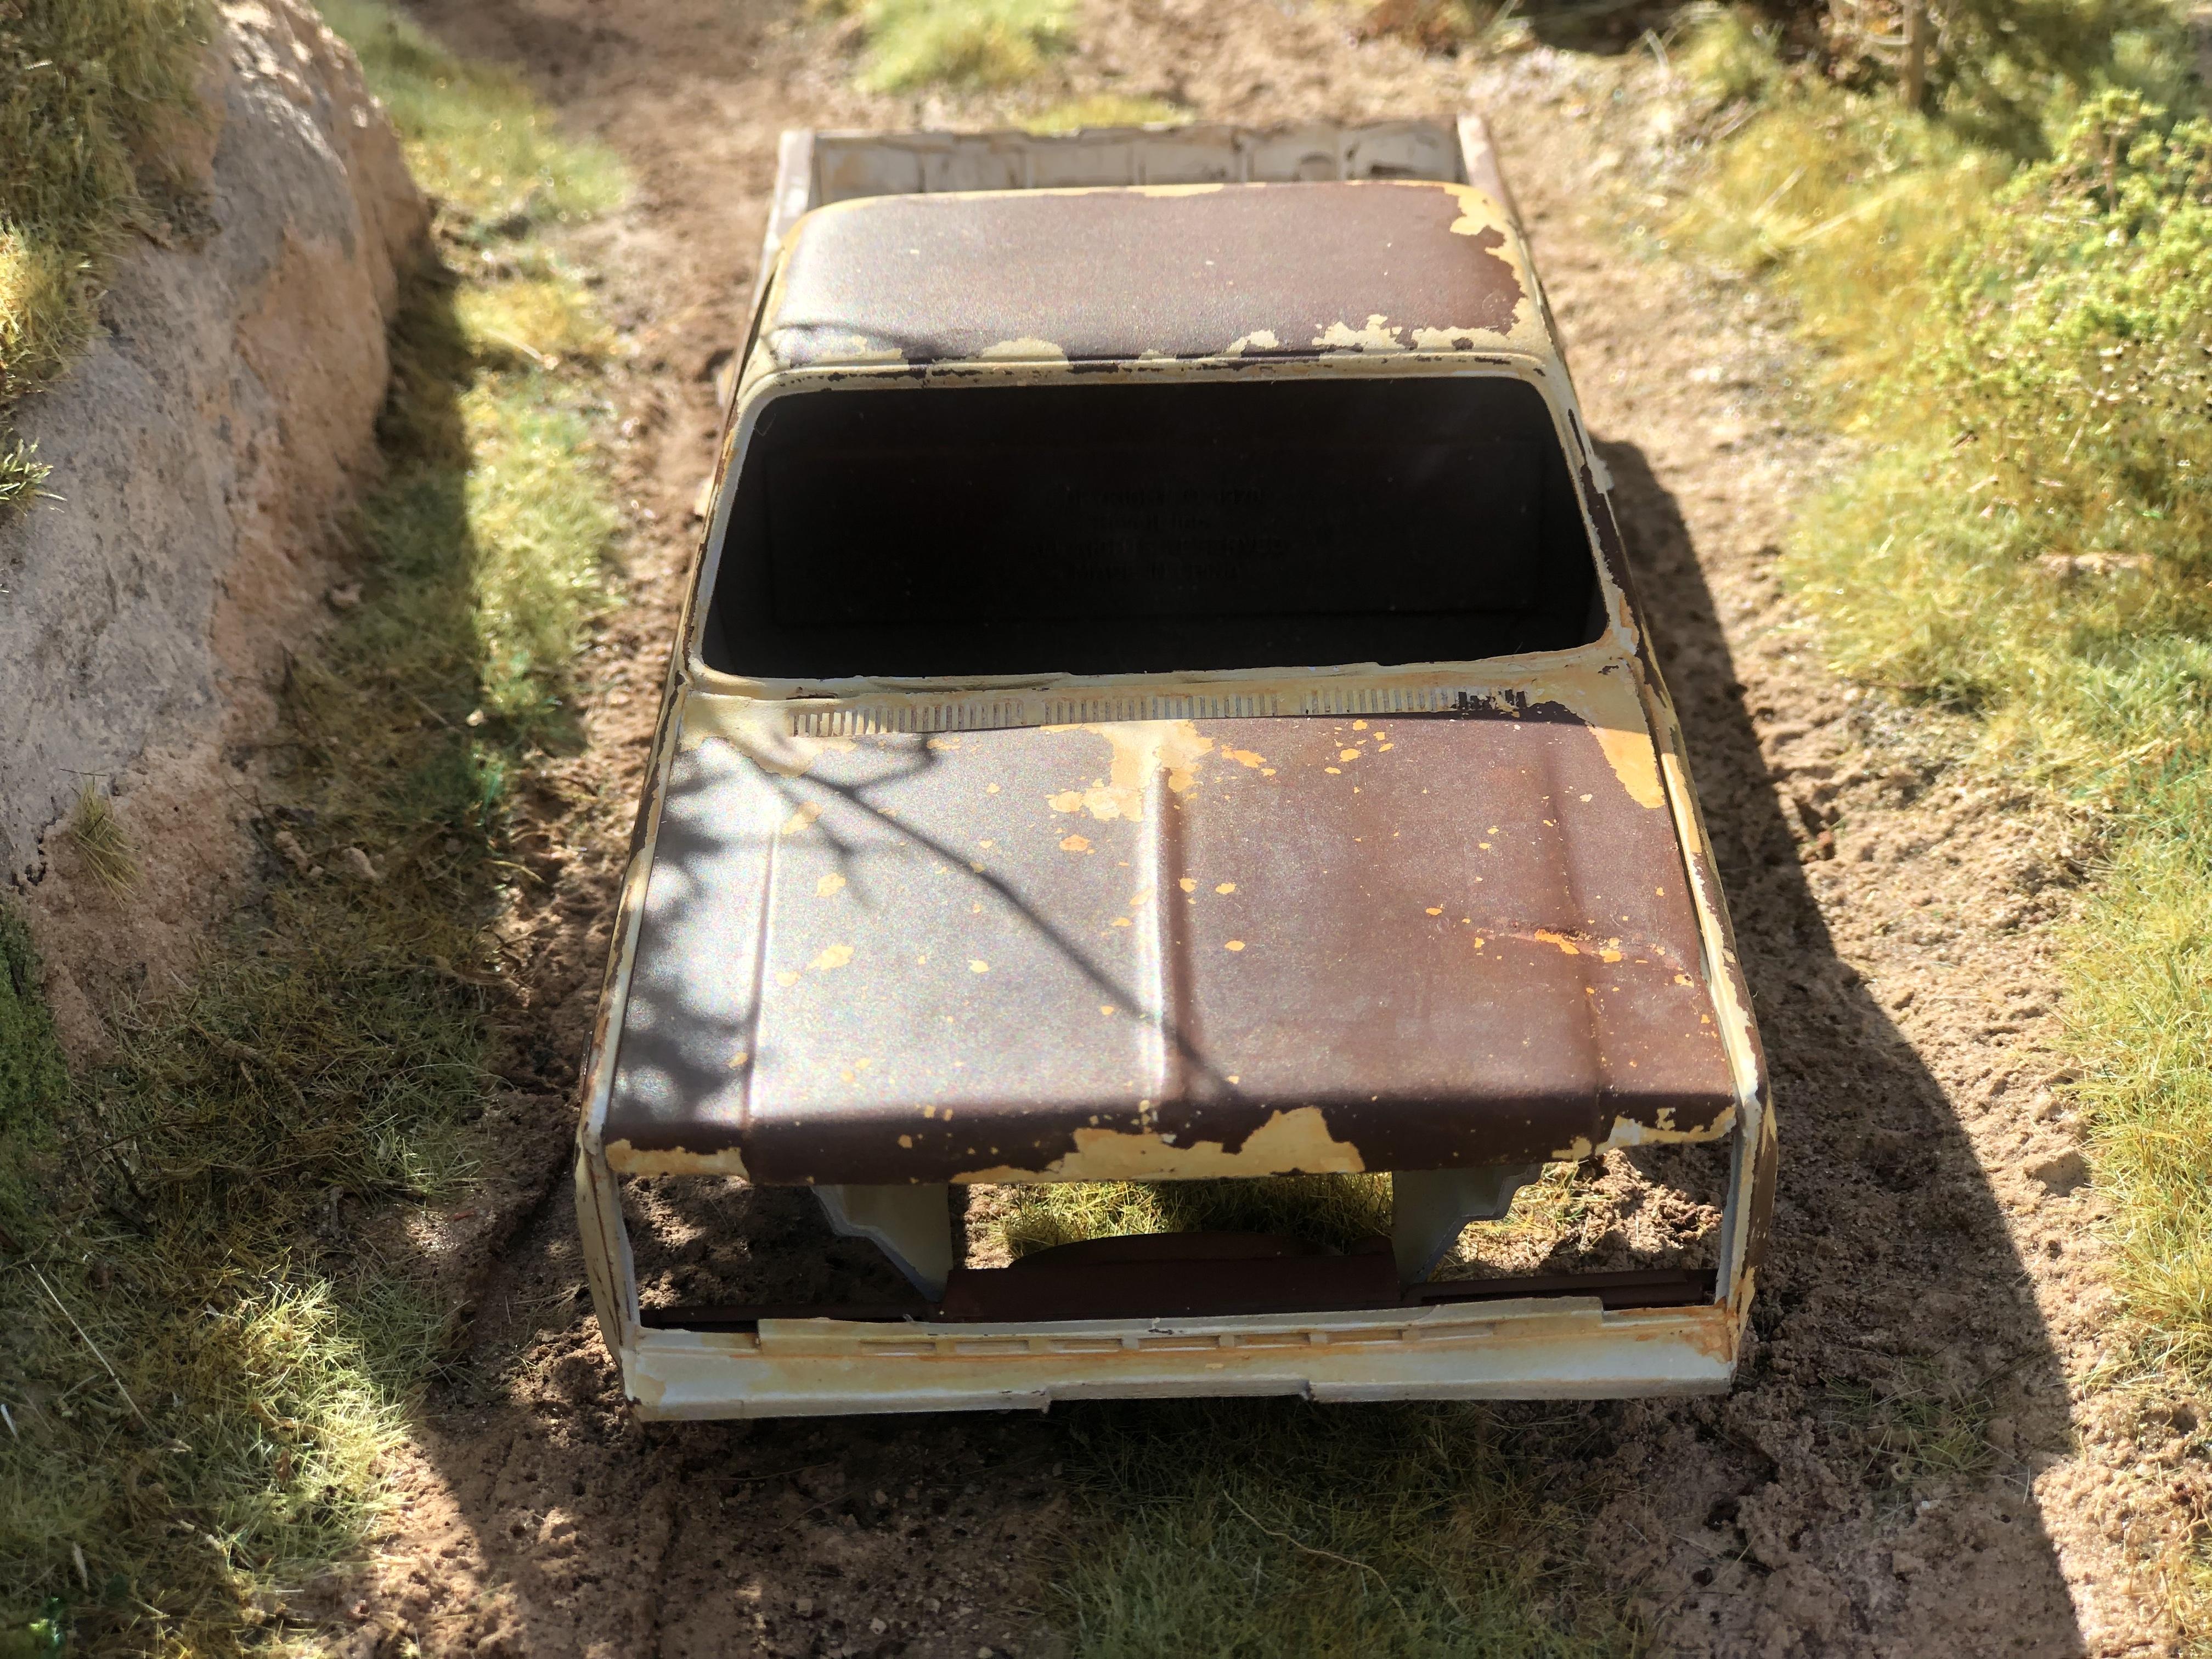
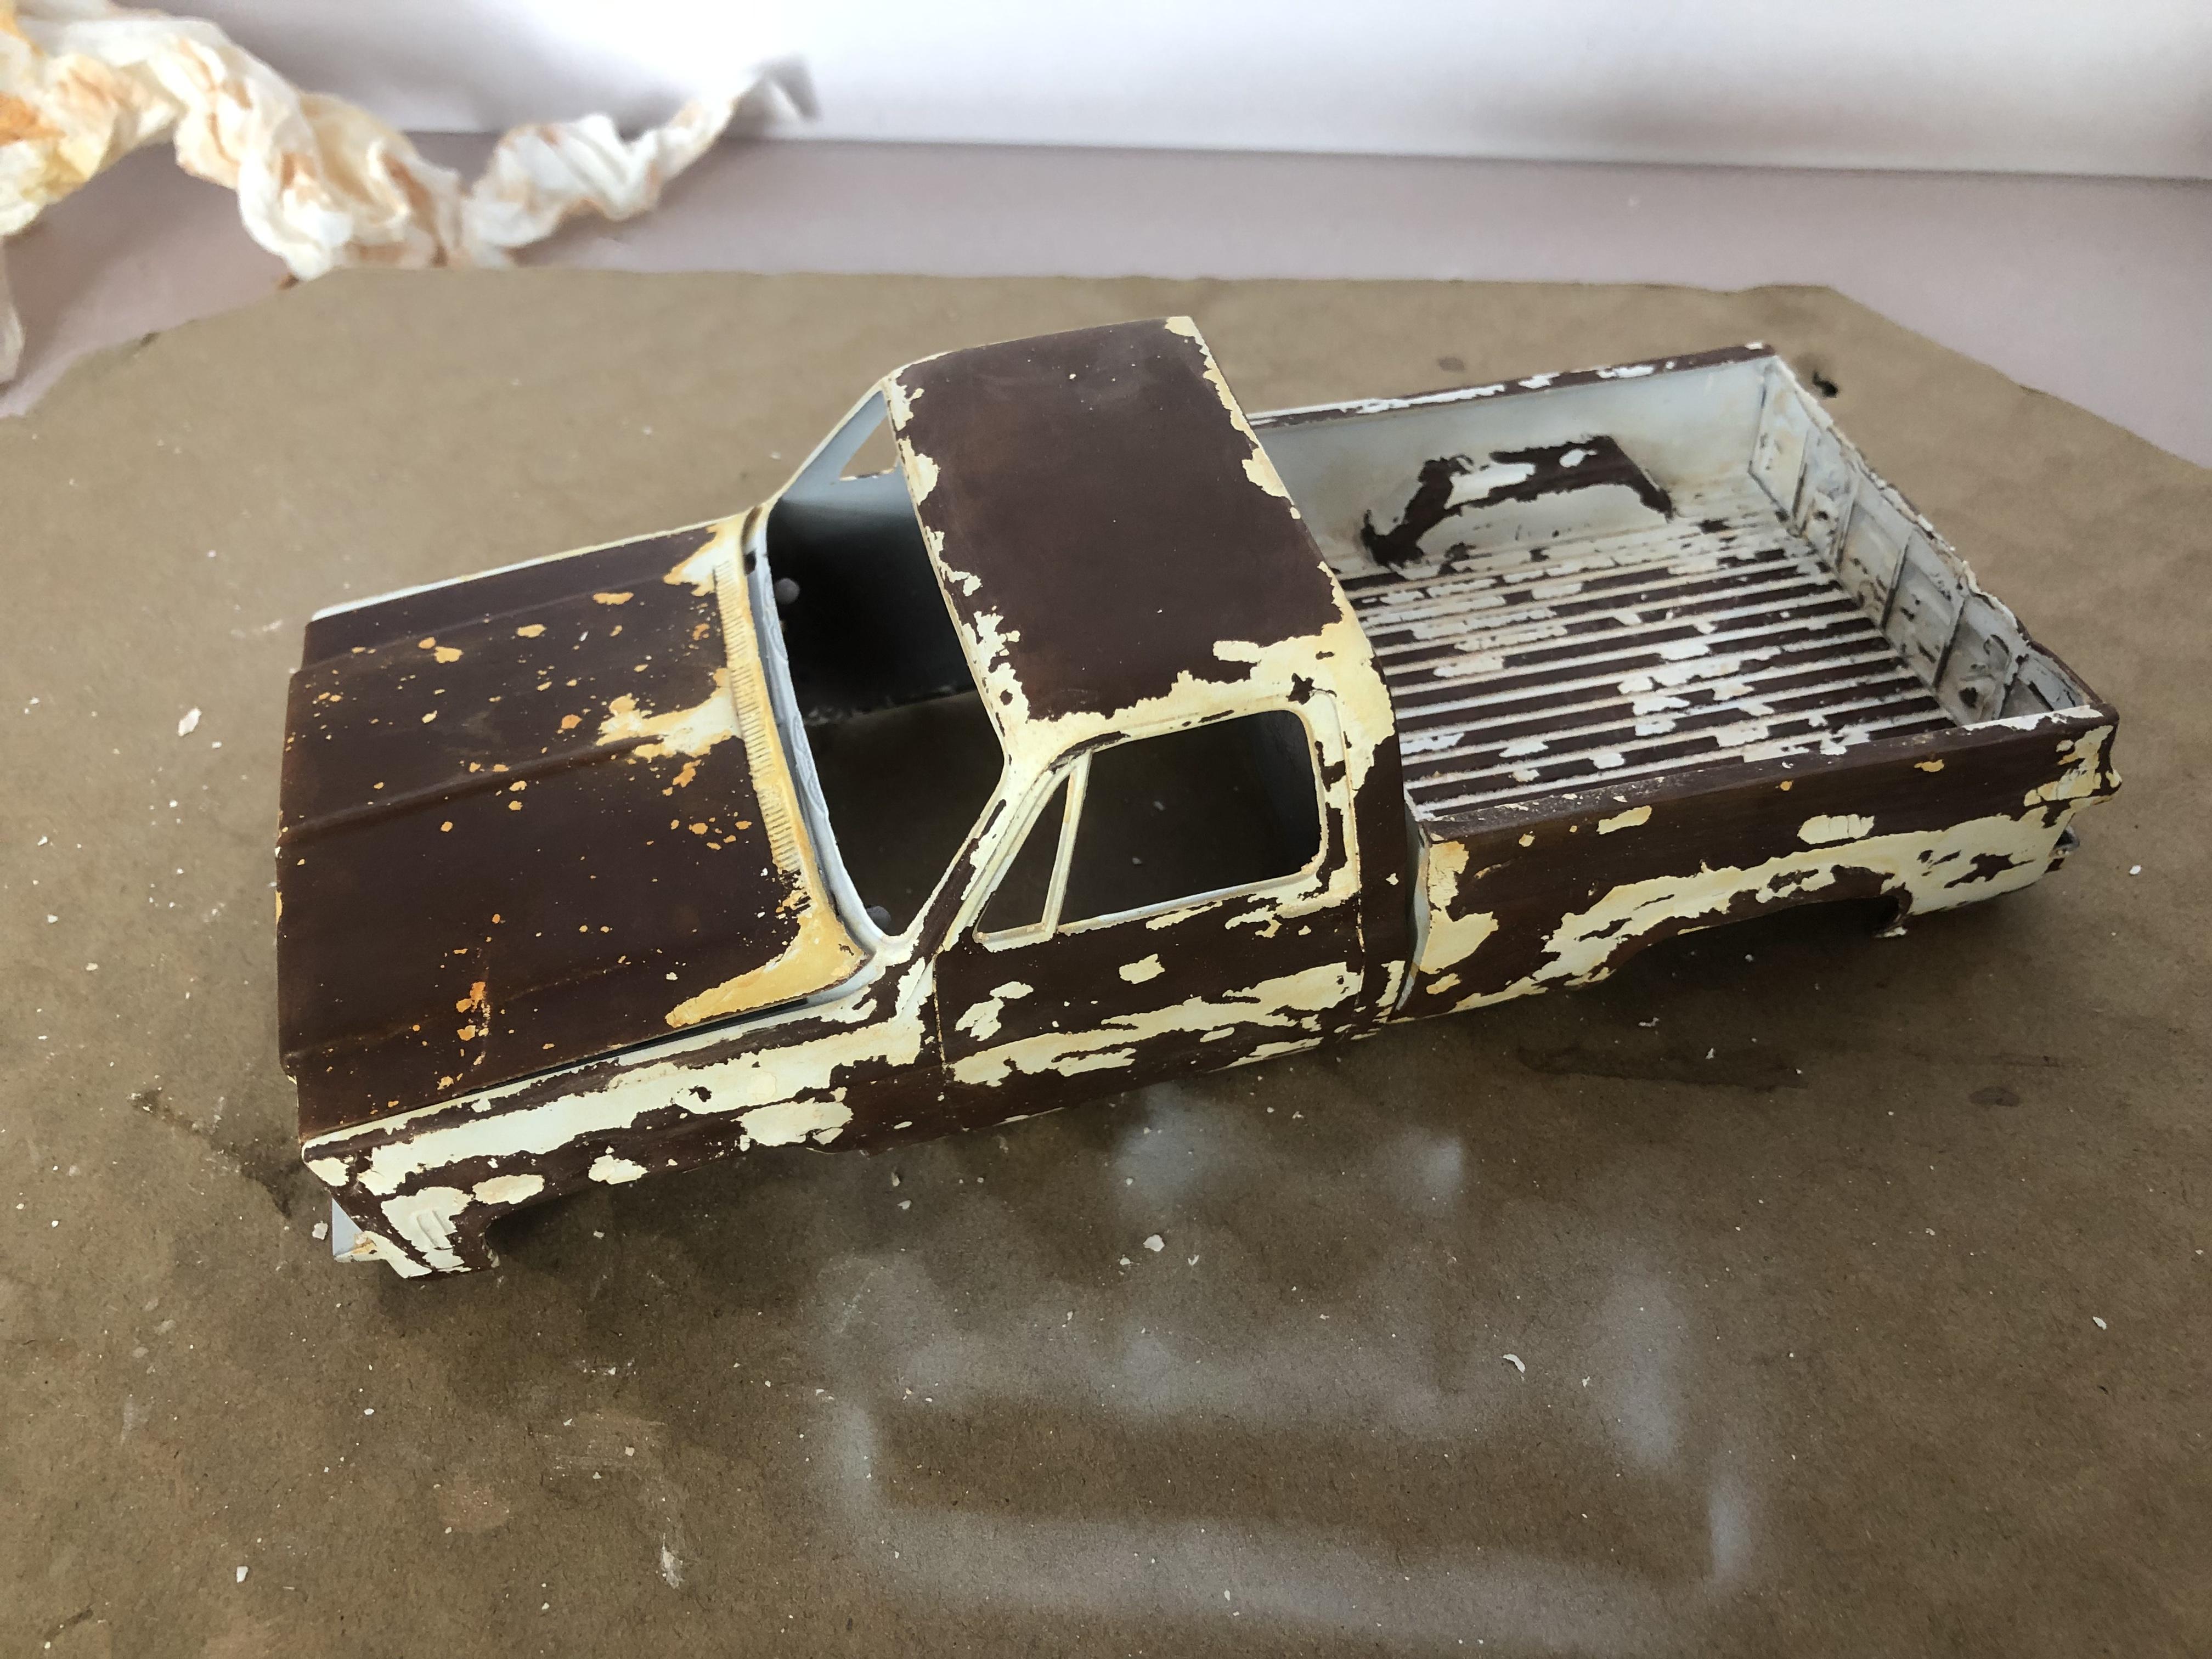
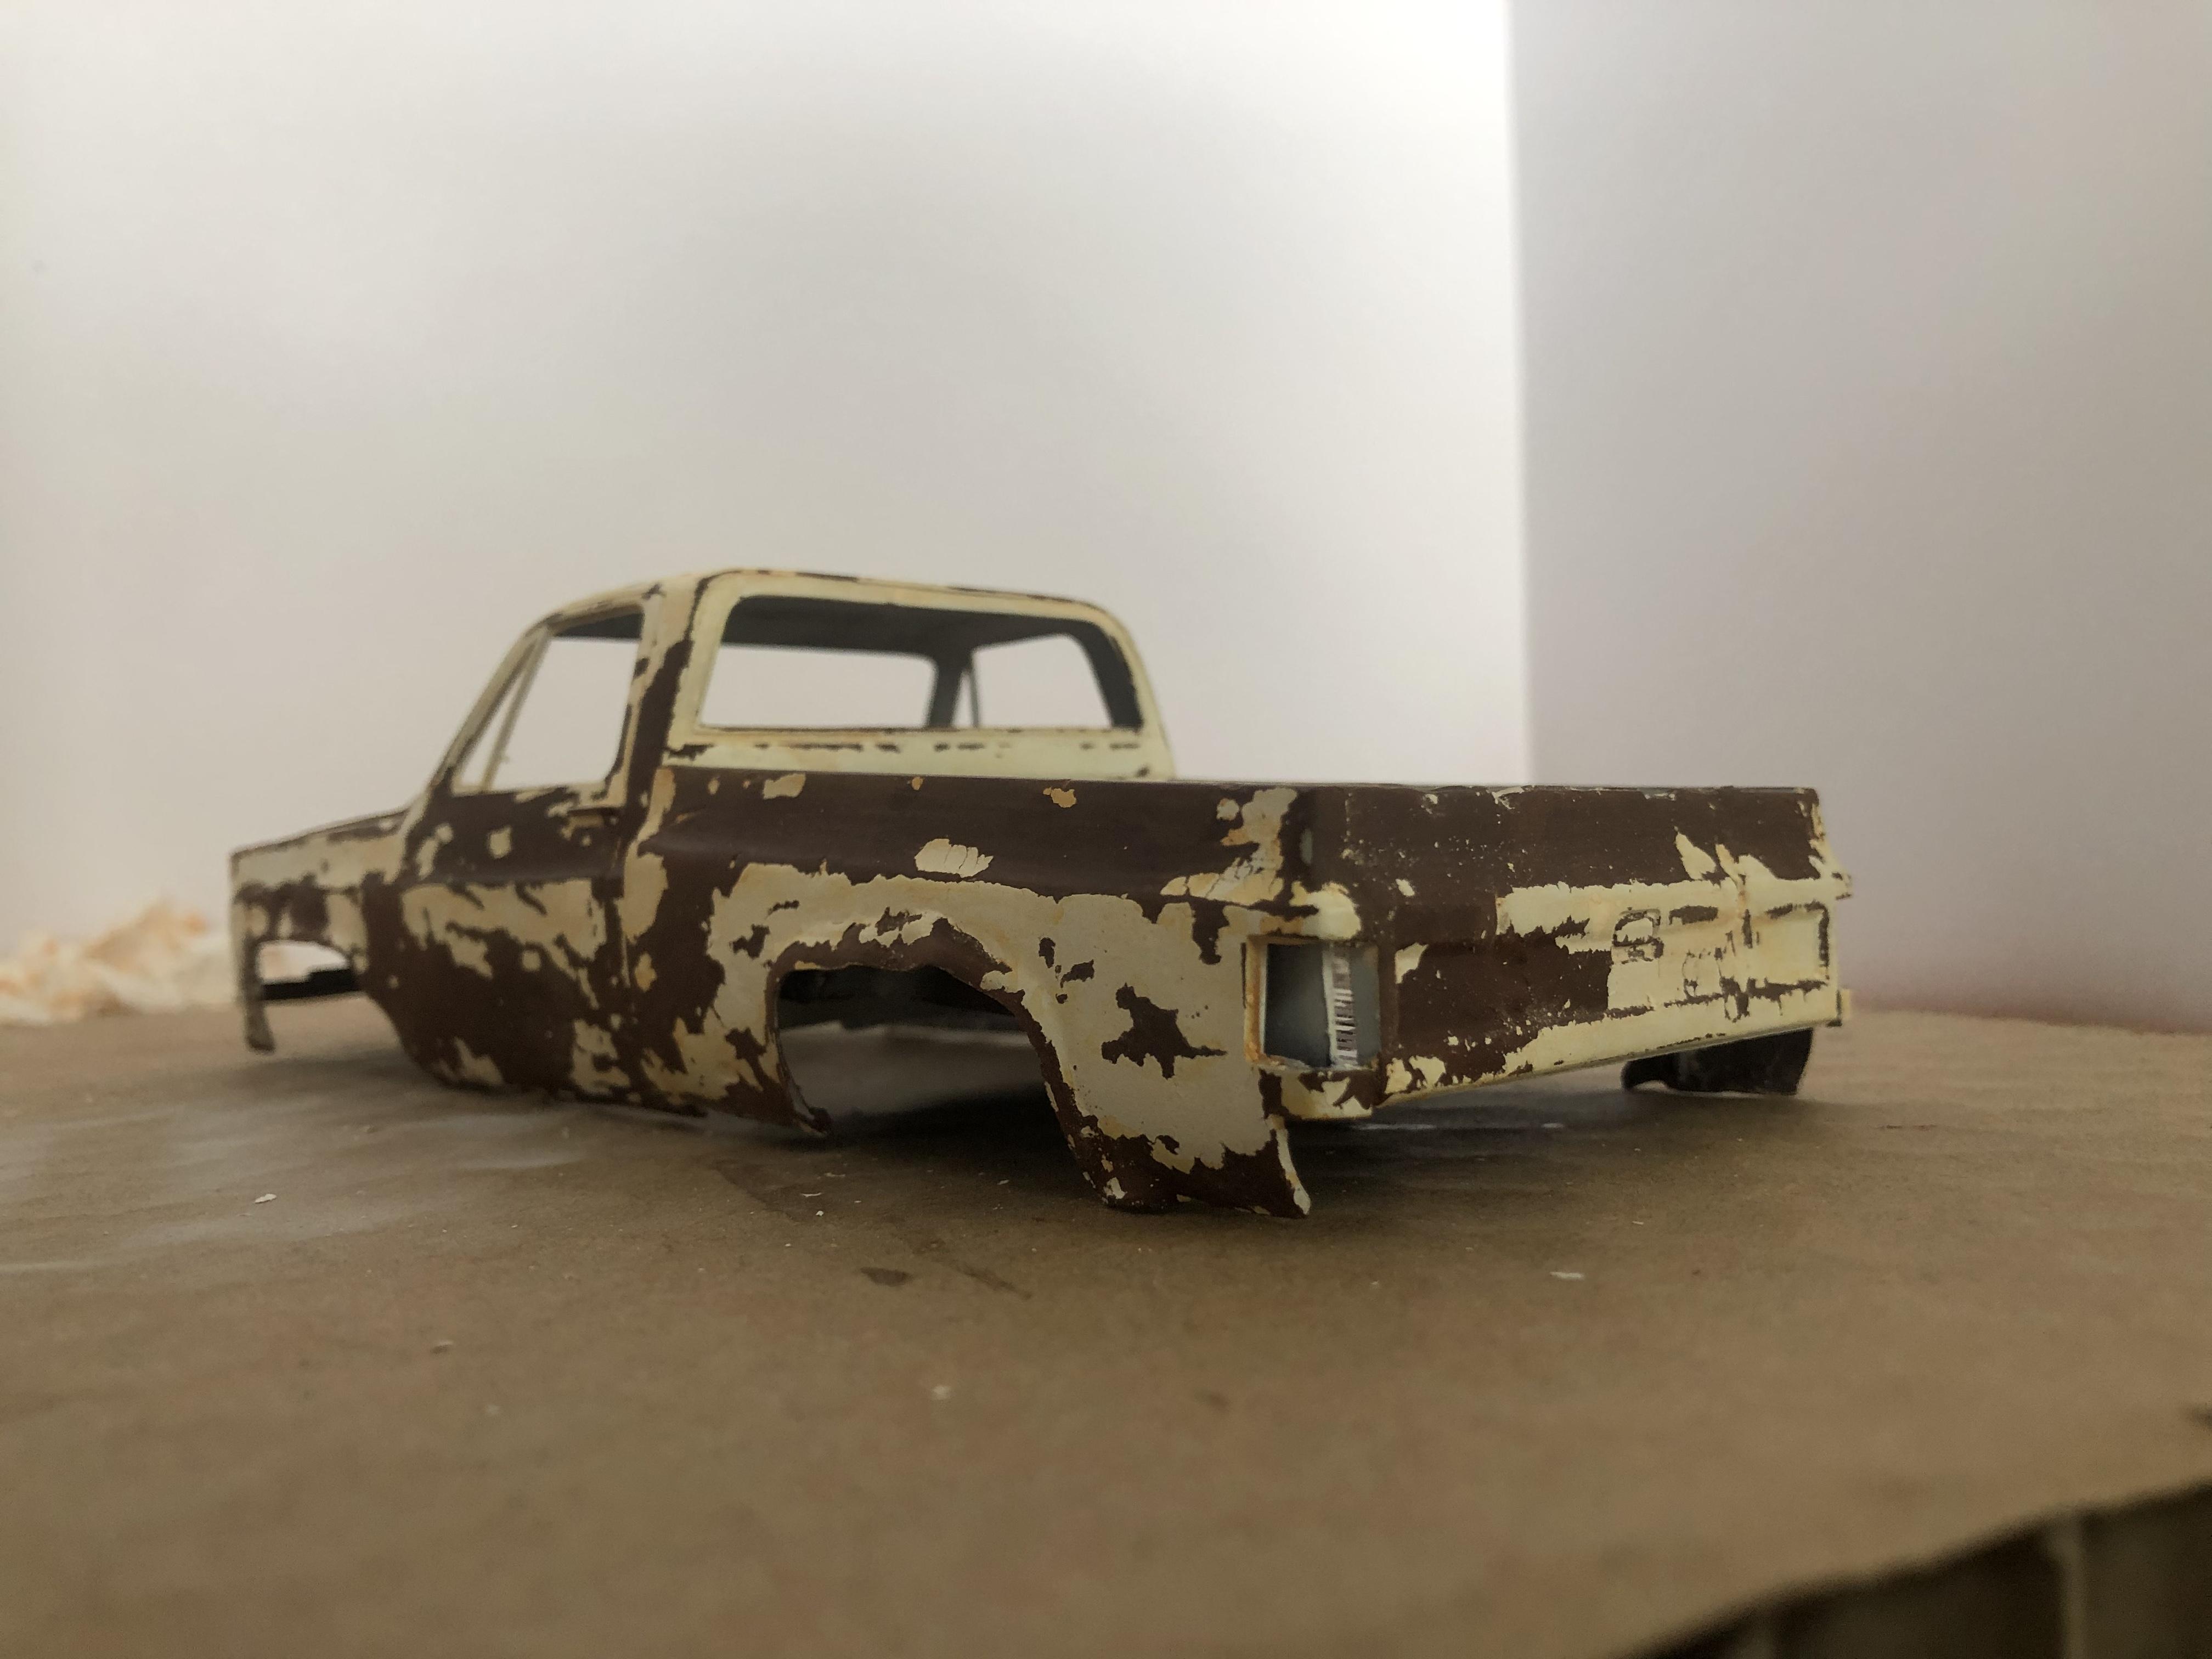
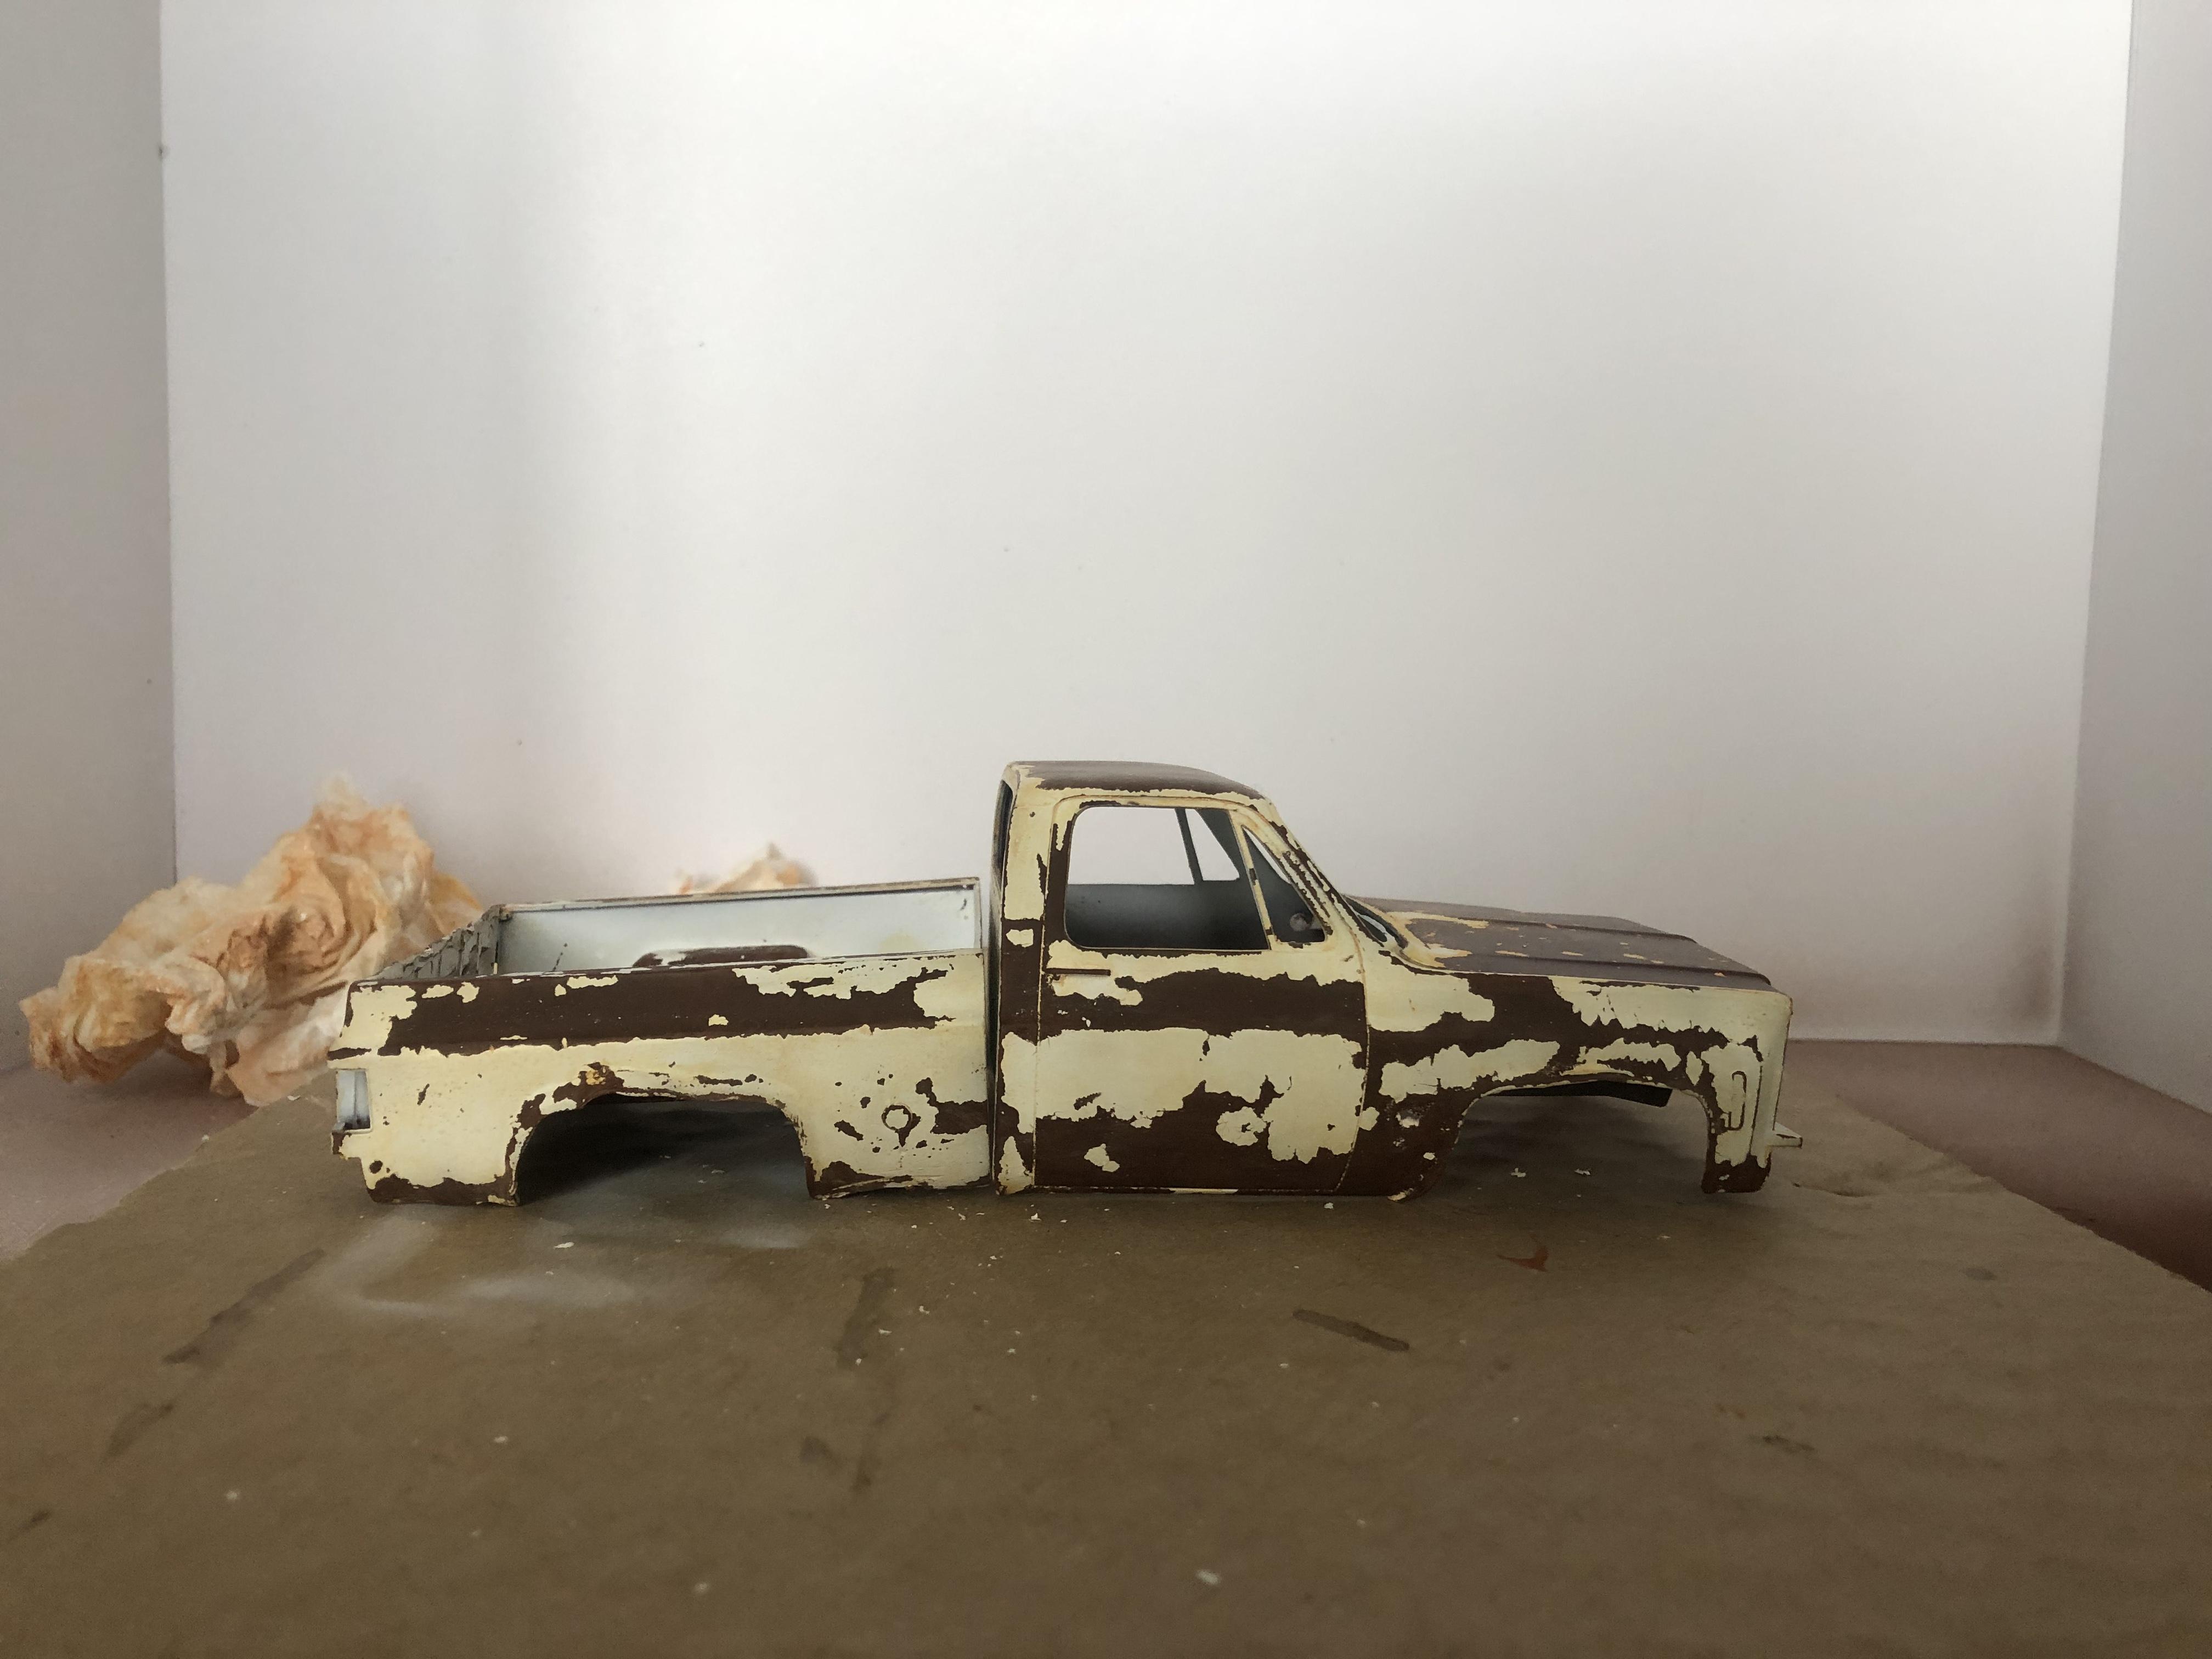
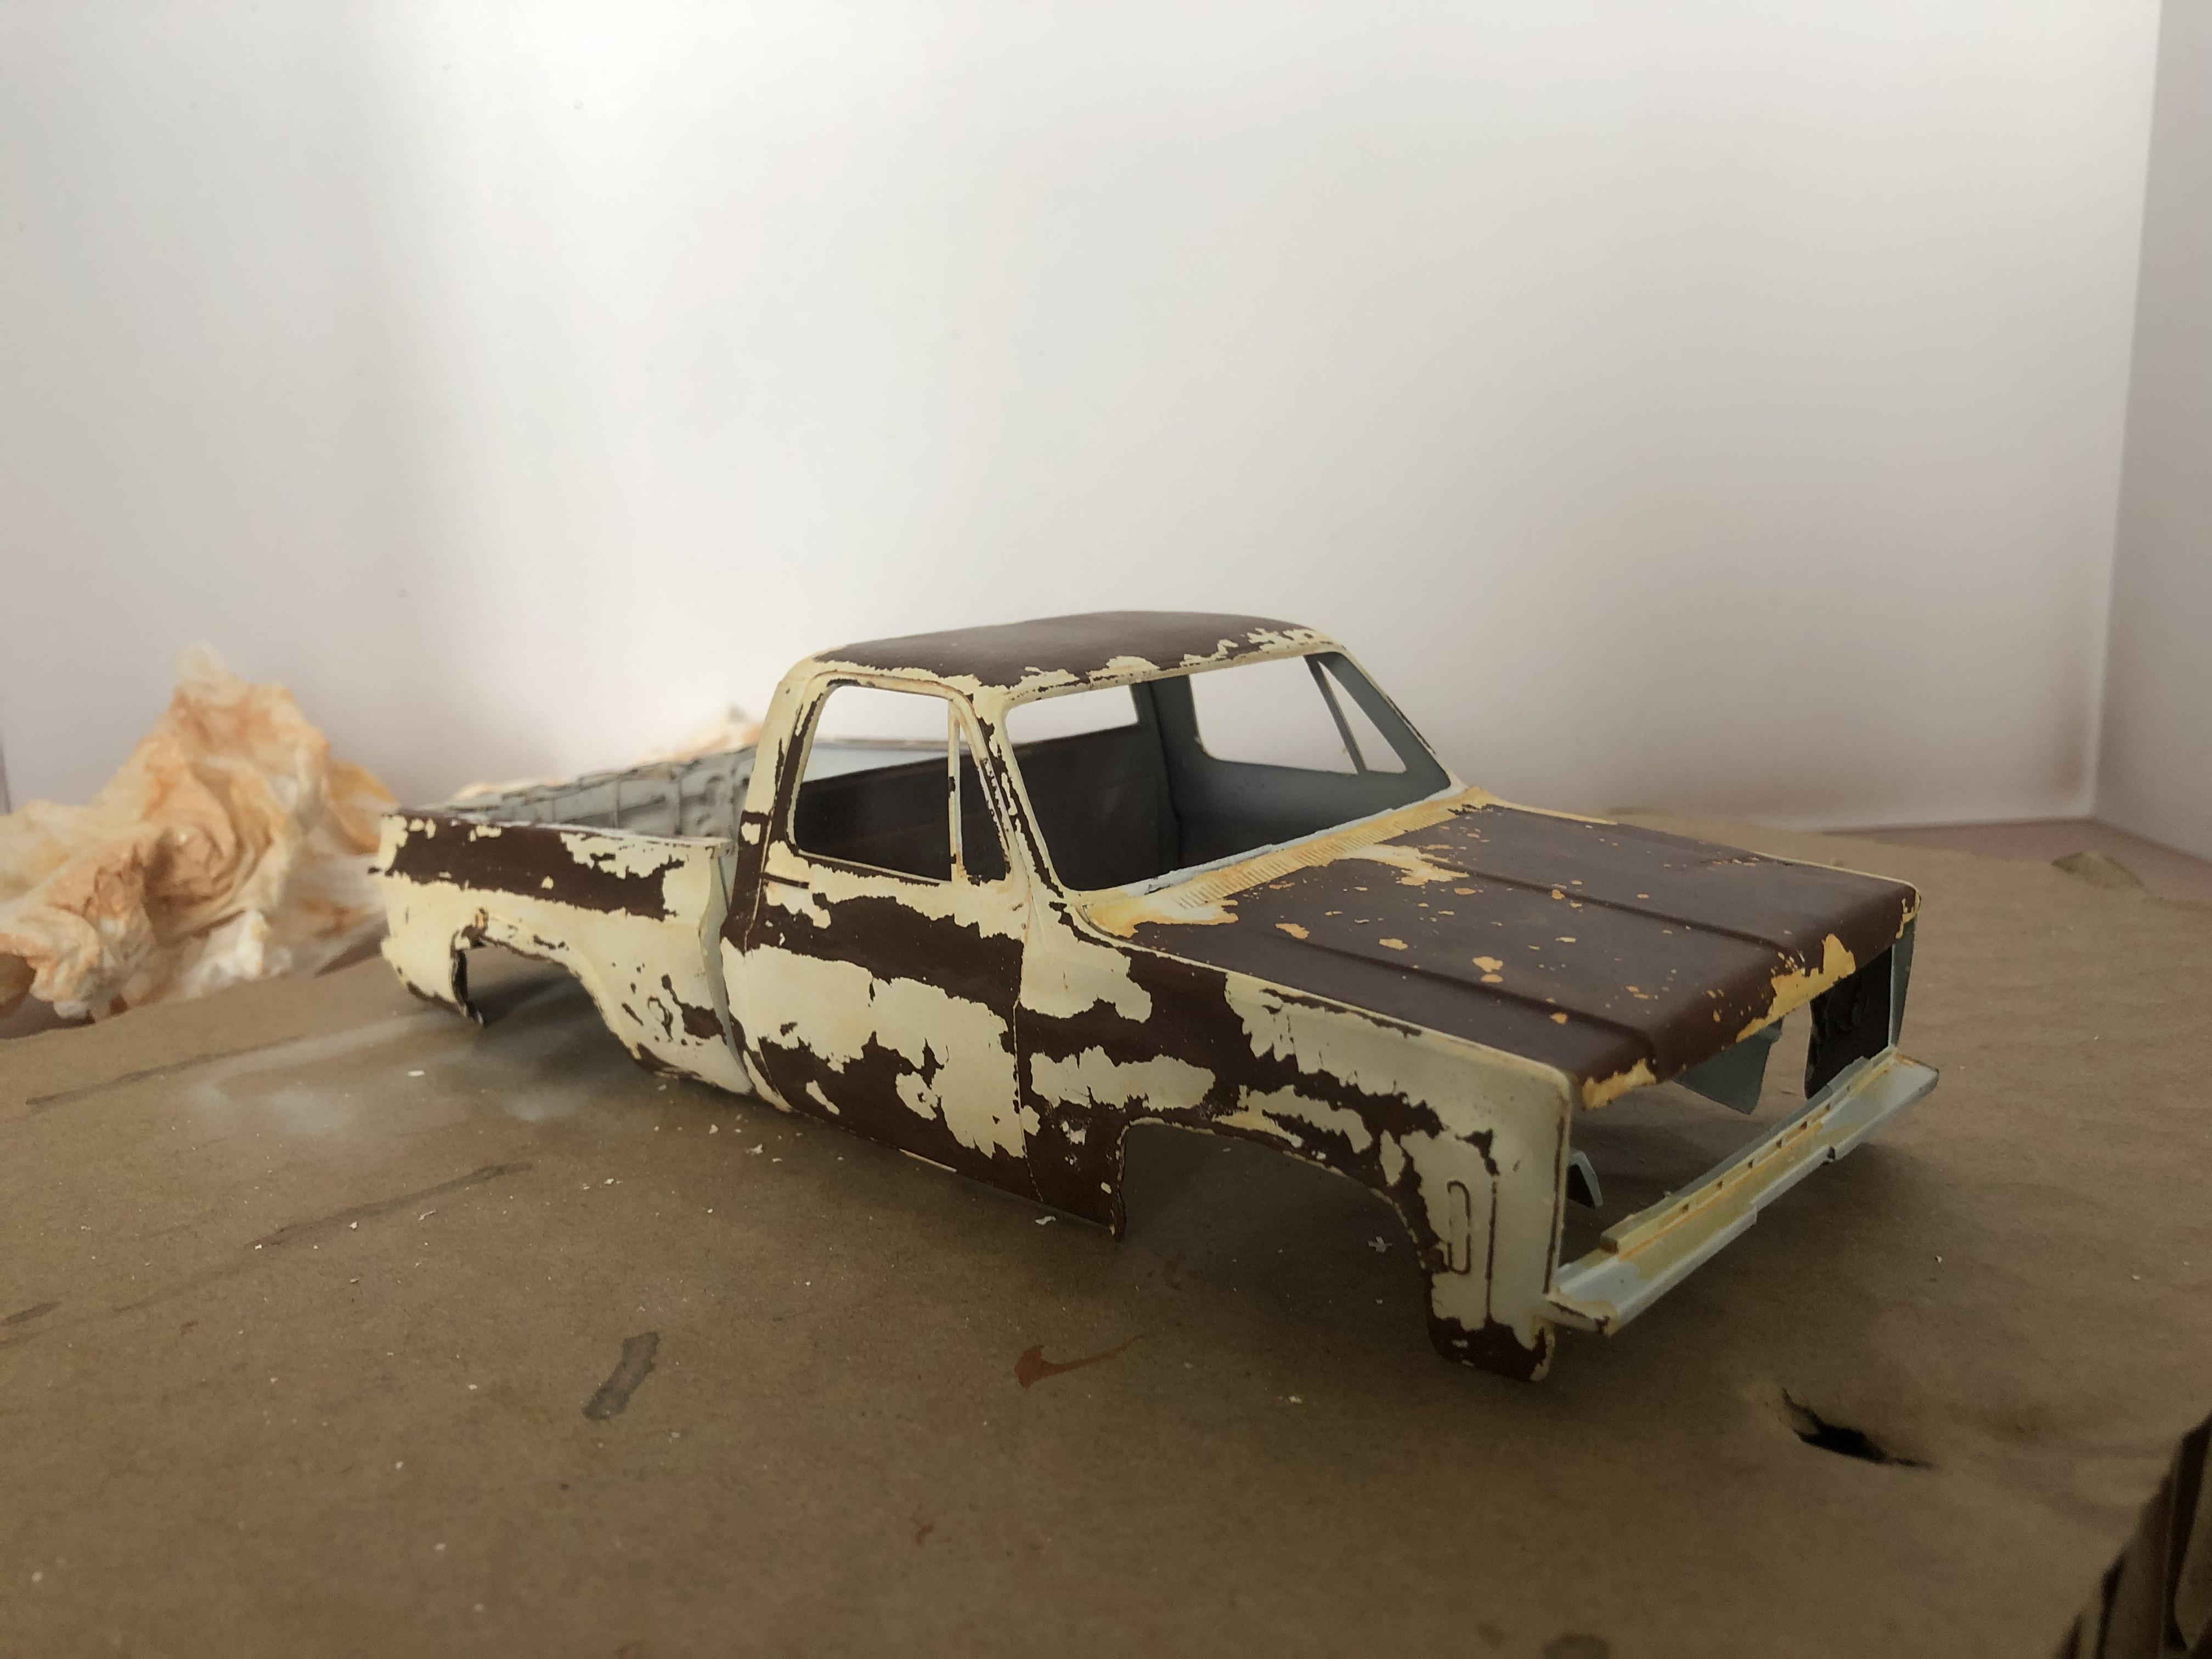
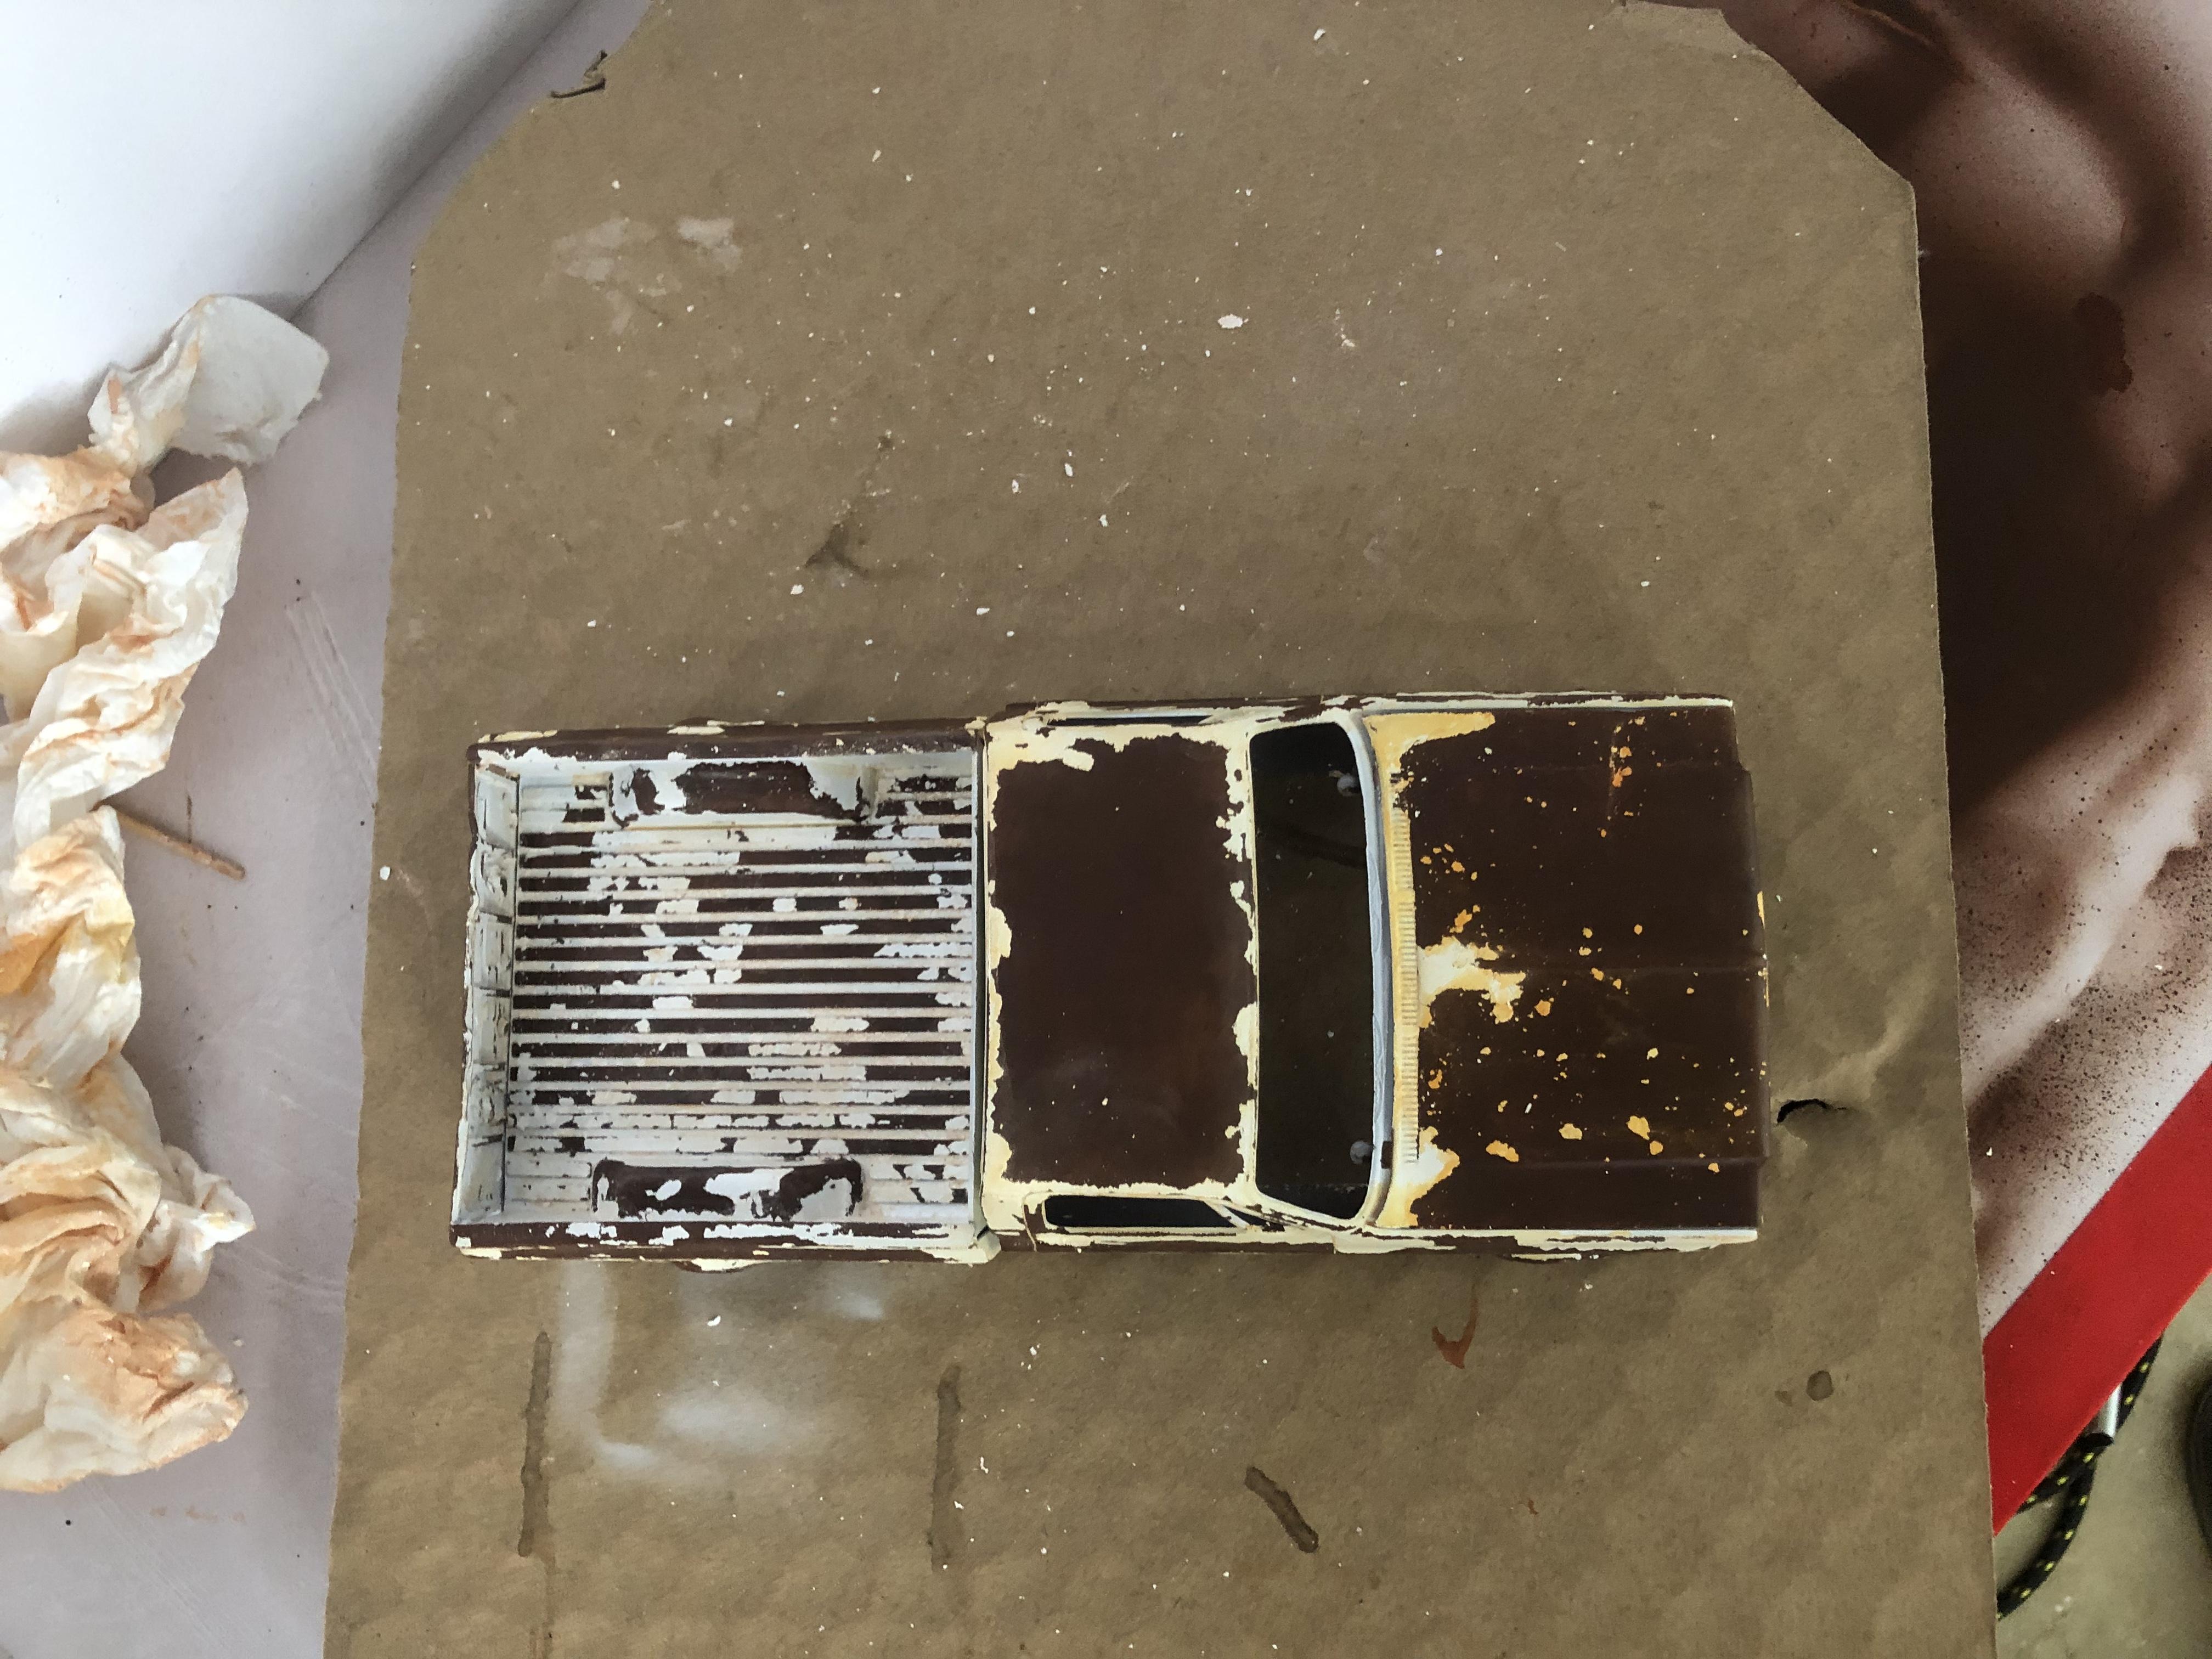
Some more updates. Chipping of the paint didn’t come out how I wanted it. Reason? I failed to seal the rust layer, so had to be extremely careful to not peel it off. I’m already working on the engine, chassis and wheels.There will be more weathering once the model is complete put together. The rest of the diorama will be worked on once the truck is completed.
-
Painting and chipping almost finished. A few touch ups on some areas before the next stage (more weathering). Already learning from mistakes as I go. I meant to use the salt chipping technique on the roof top and hood. It will be for the next model.
-
Thank you for the kind words.
-
Thanks David. Still long ways before becoming a master, but thanks.