QbanFam
-
Posts
226 -
Joined
-
Last visited
Content Type
Profiles
Forums
Events
Gallery
Everything posted by QbanFam
-
Your vehicles are fantastic. Where do you get them from? I love the classy looks. I’m 39 years old but I’ve always had an old soul. Even as a child. Lol. I play classical instruments (piano and acoustic guitar). I tend to shock people because I’m a Sheriff Deputy (a police officer) in the USA, and they don’t expect theses traits. I learned to appreciate art and classic vehicles. One of my wishes is to visit England and Australia.
-
Great progress, David.
-
Nice work!! Flattening the can is definitely the most difficult, as the Aluminium is very thin and tends to dent if the appropriate pressure is not applied evenly.
-
Thank you, David. Aluminum cans can certainly be useful in other scratch builds. I’m already thinking of some other uses.
-
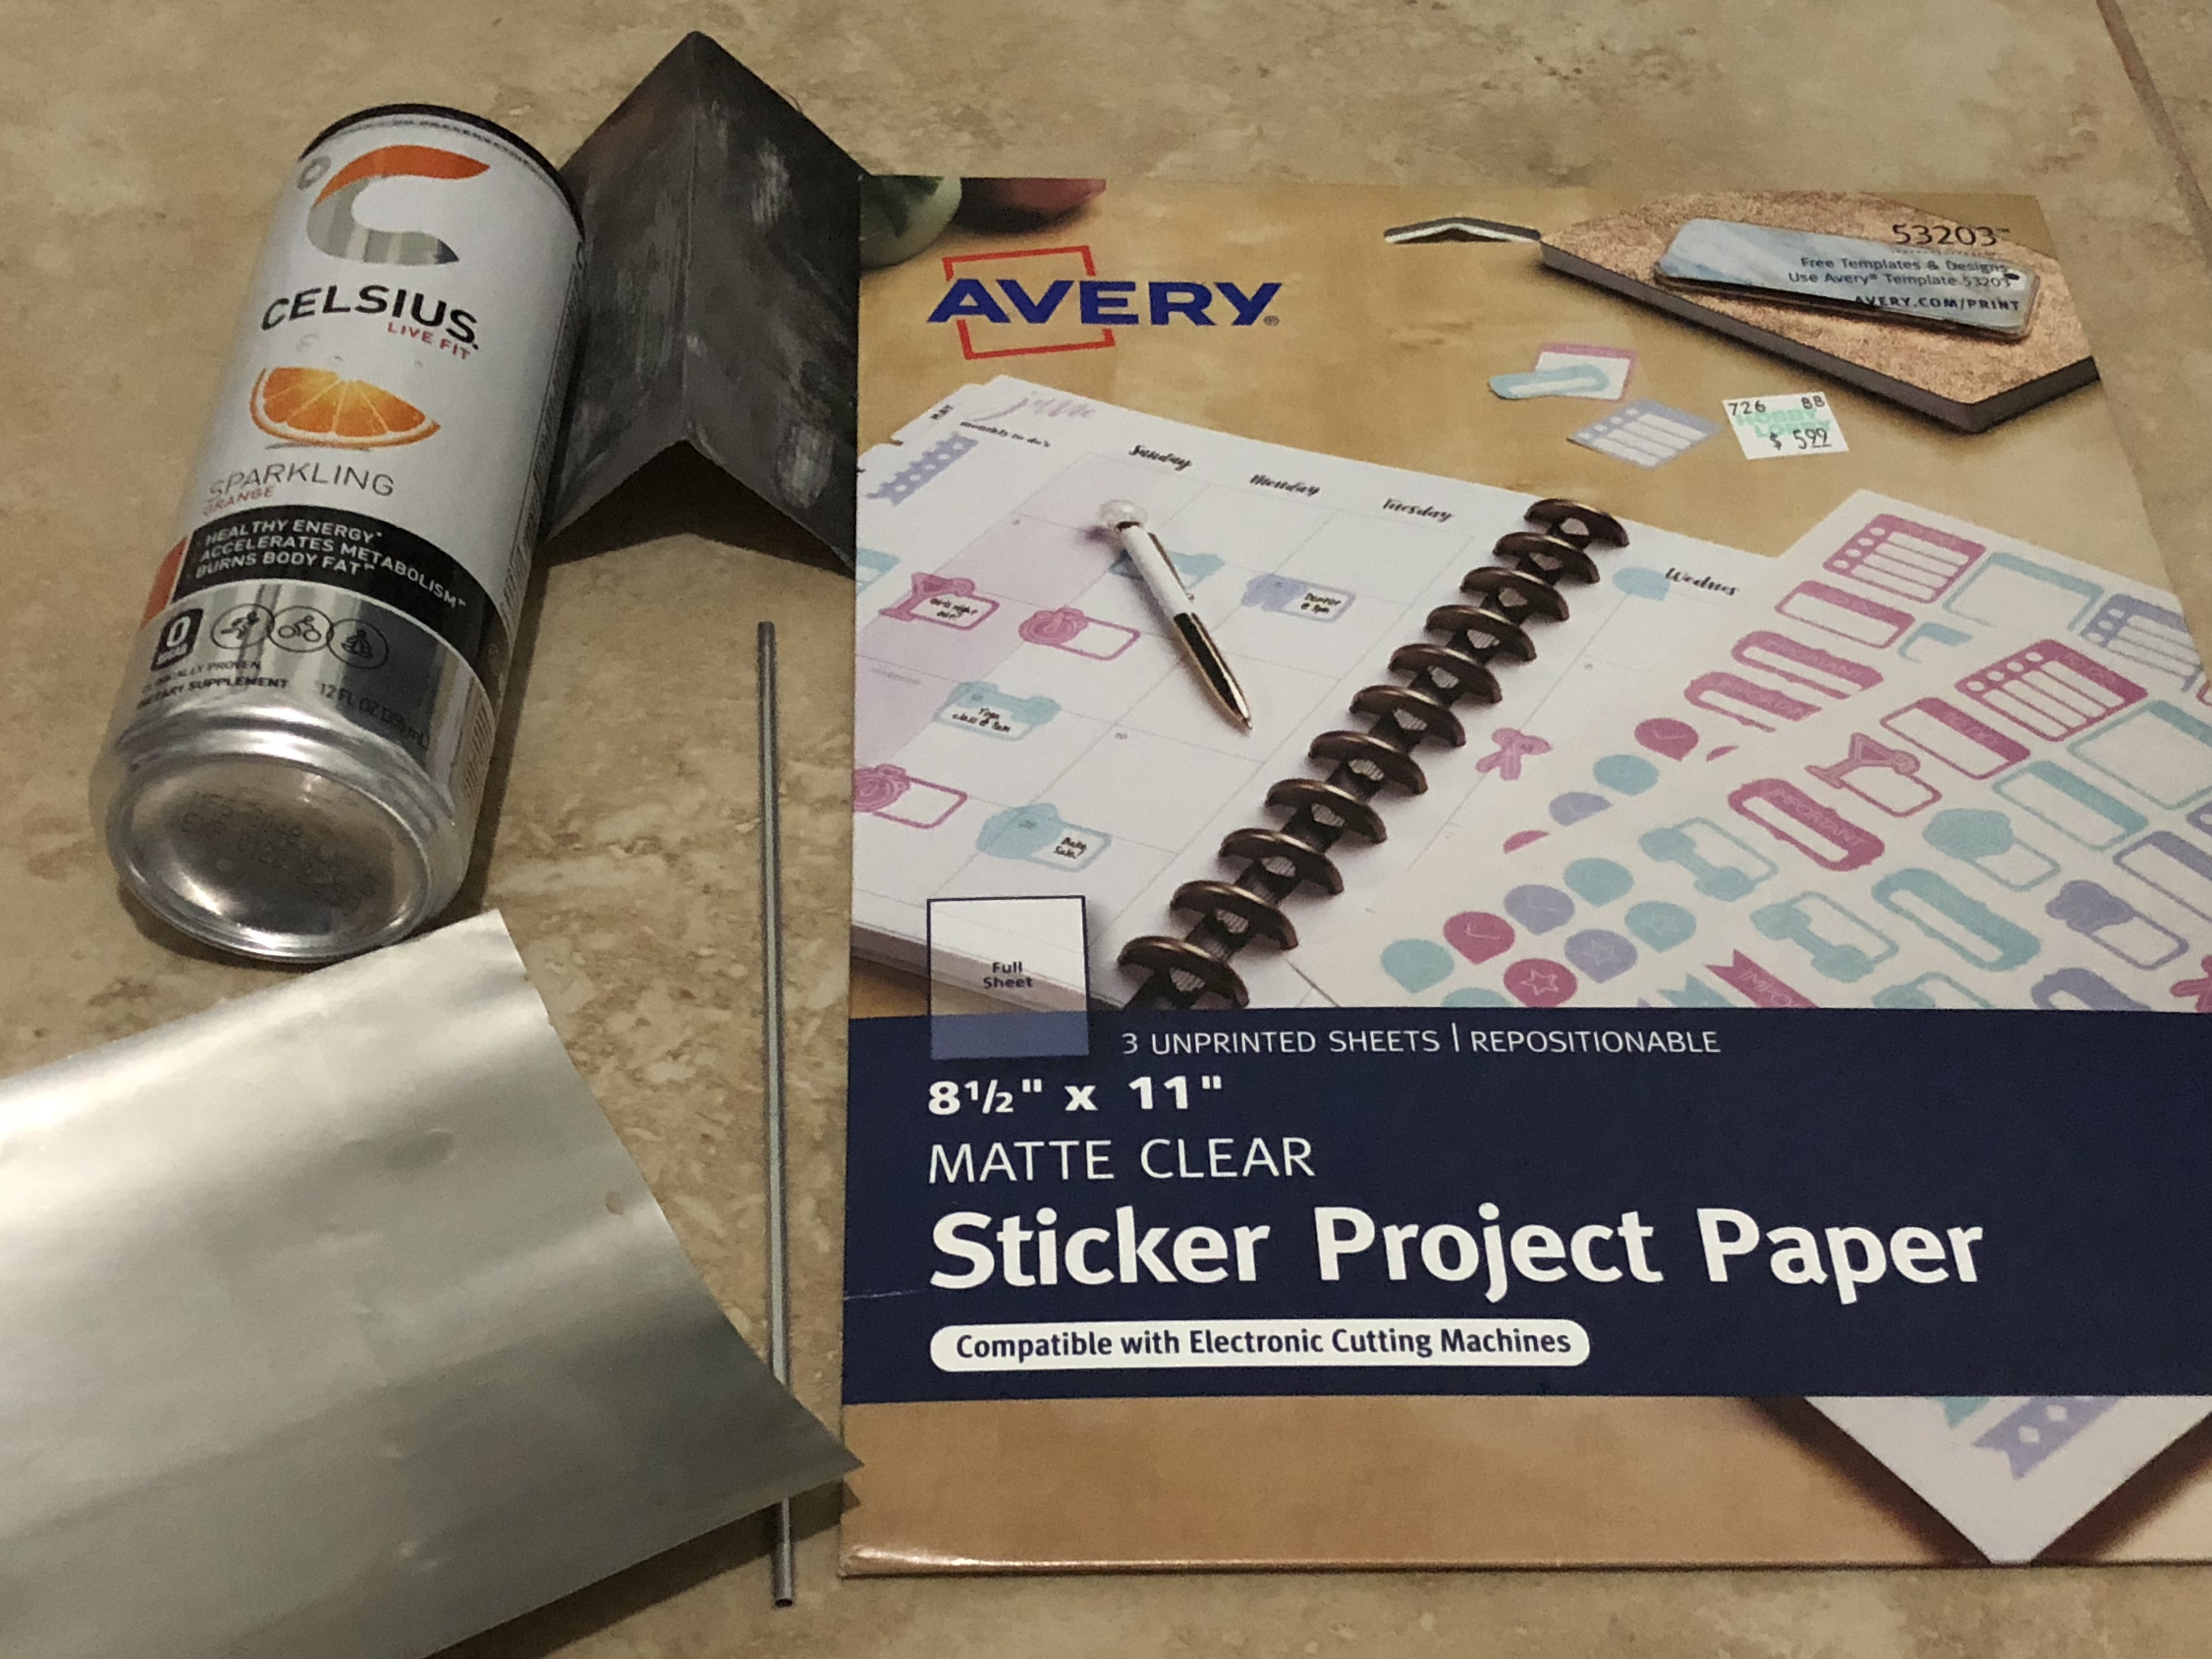
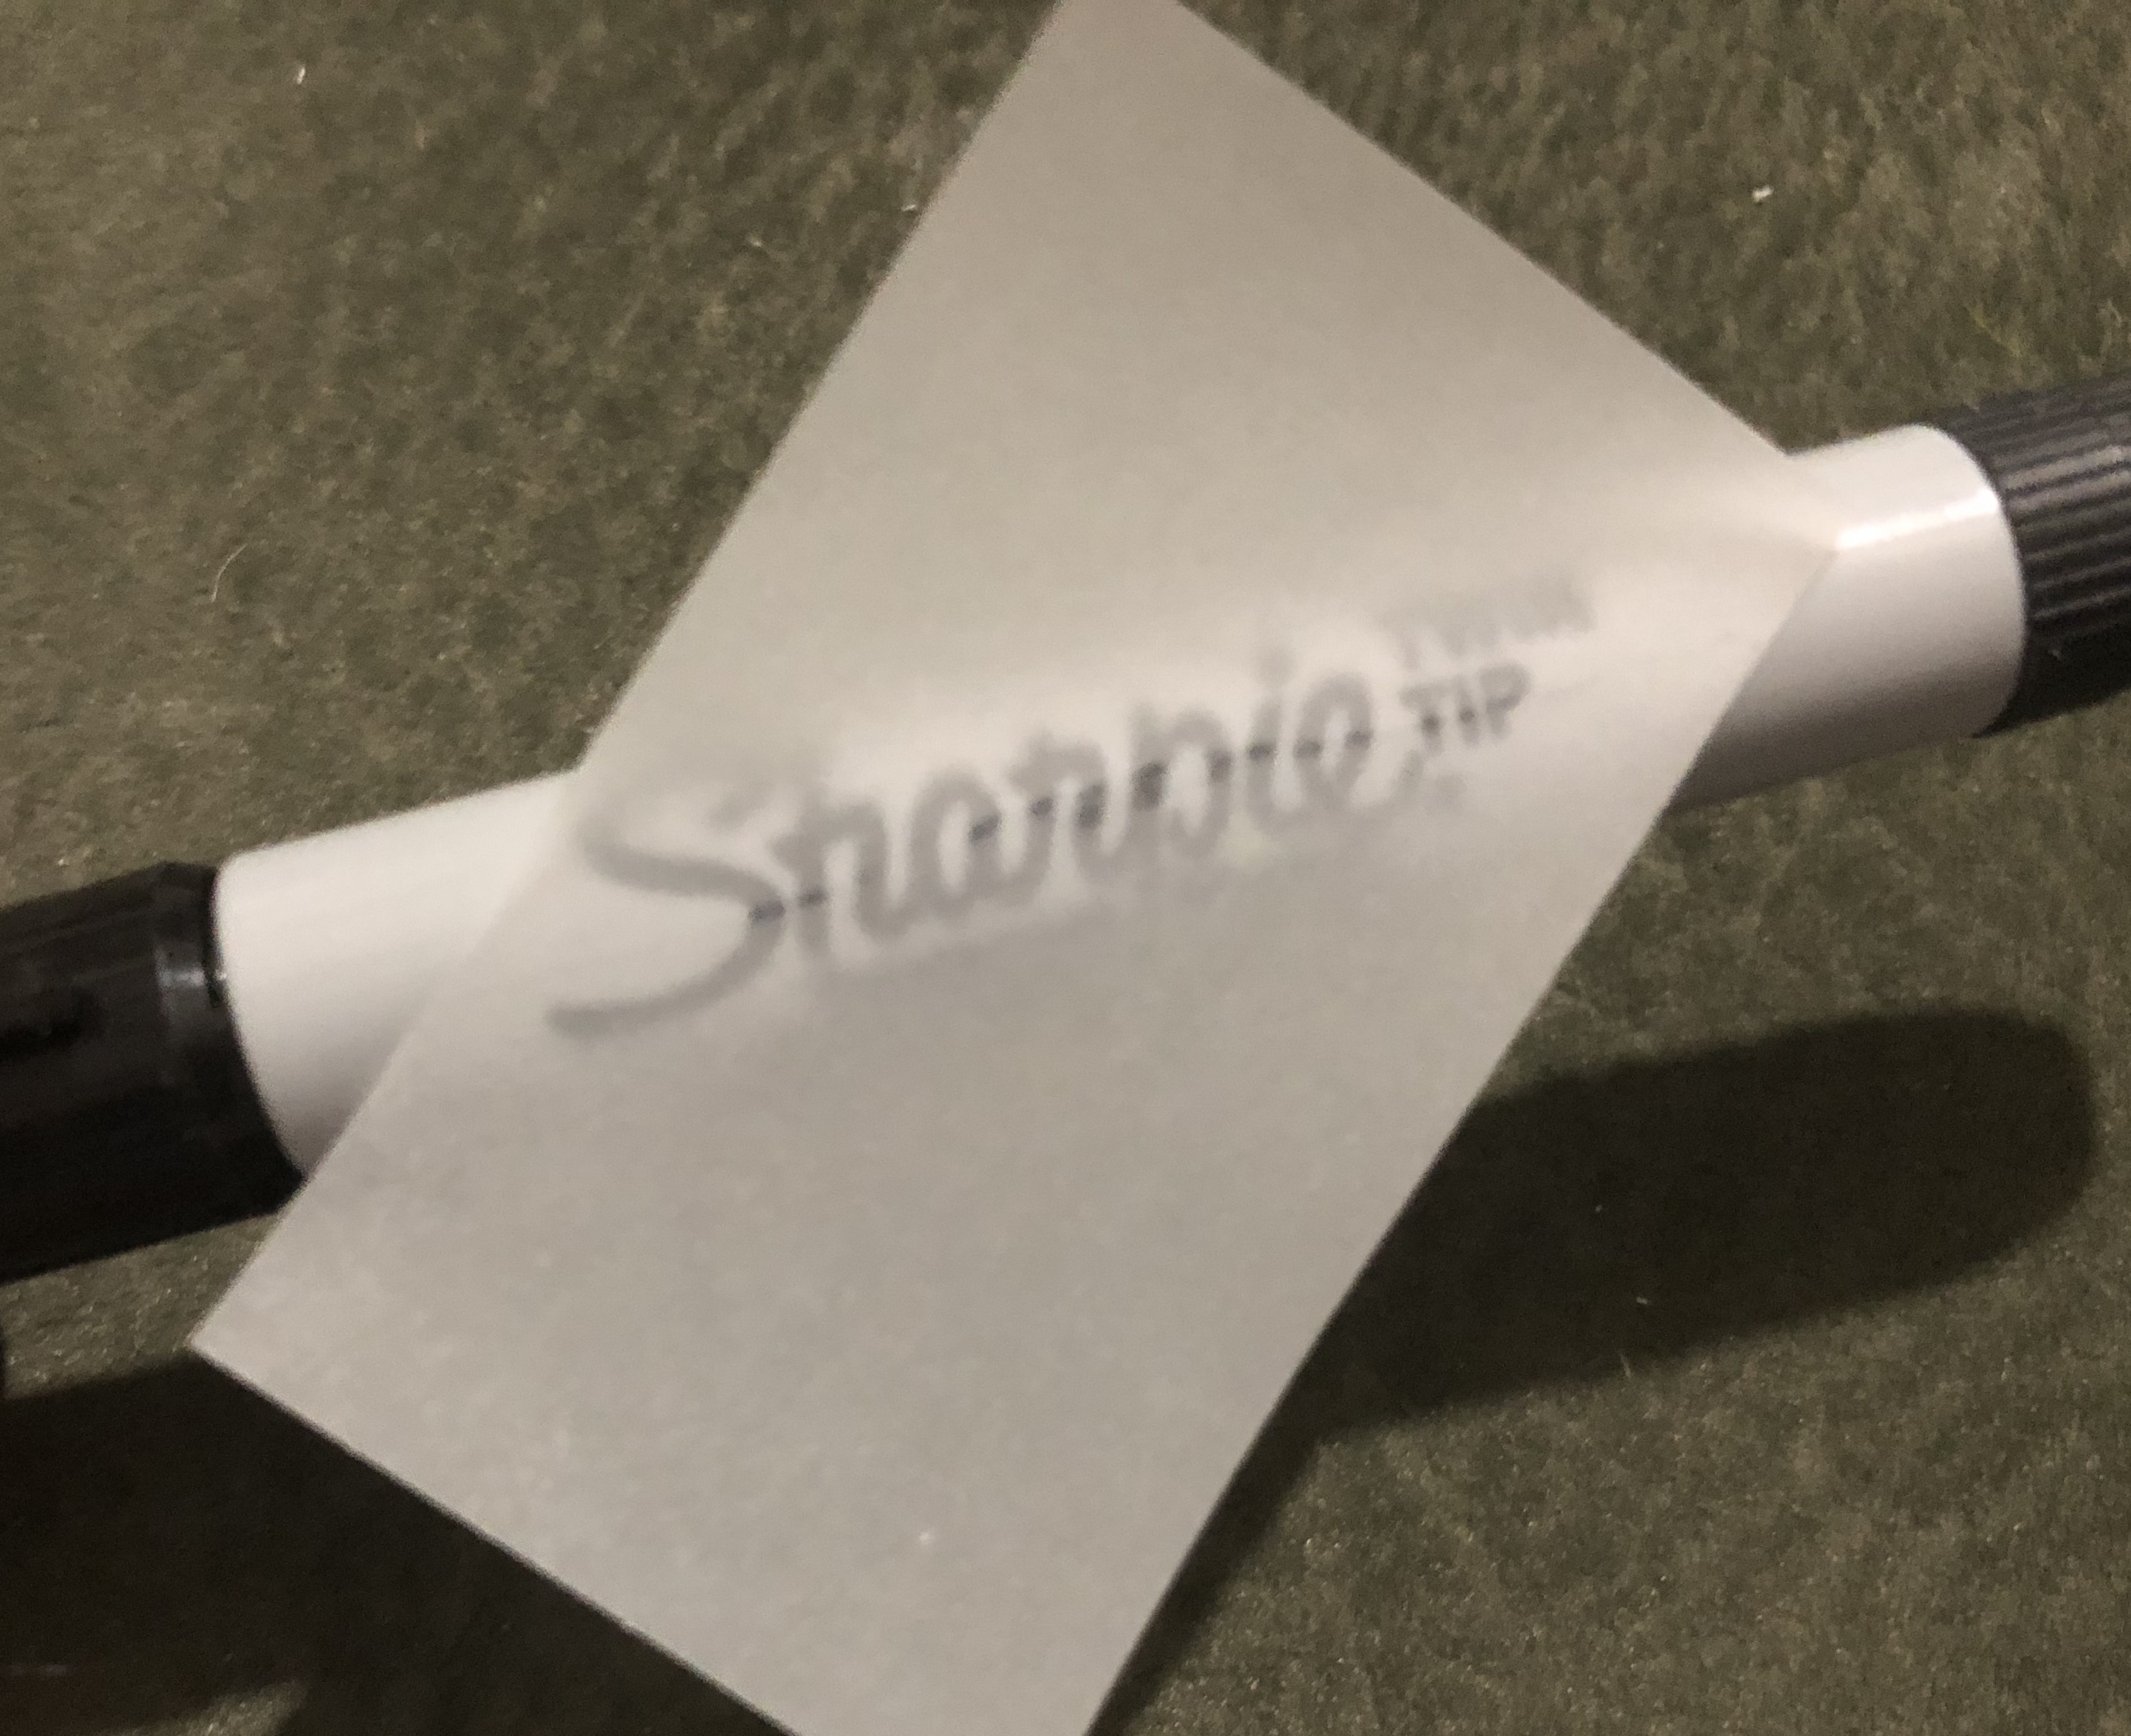
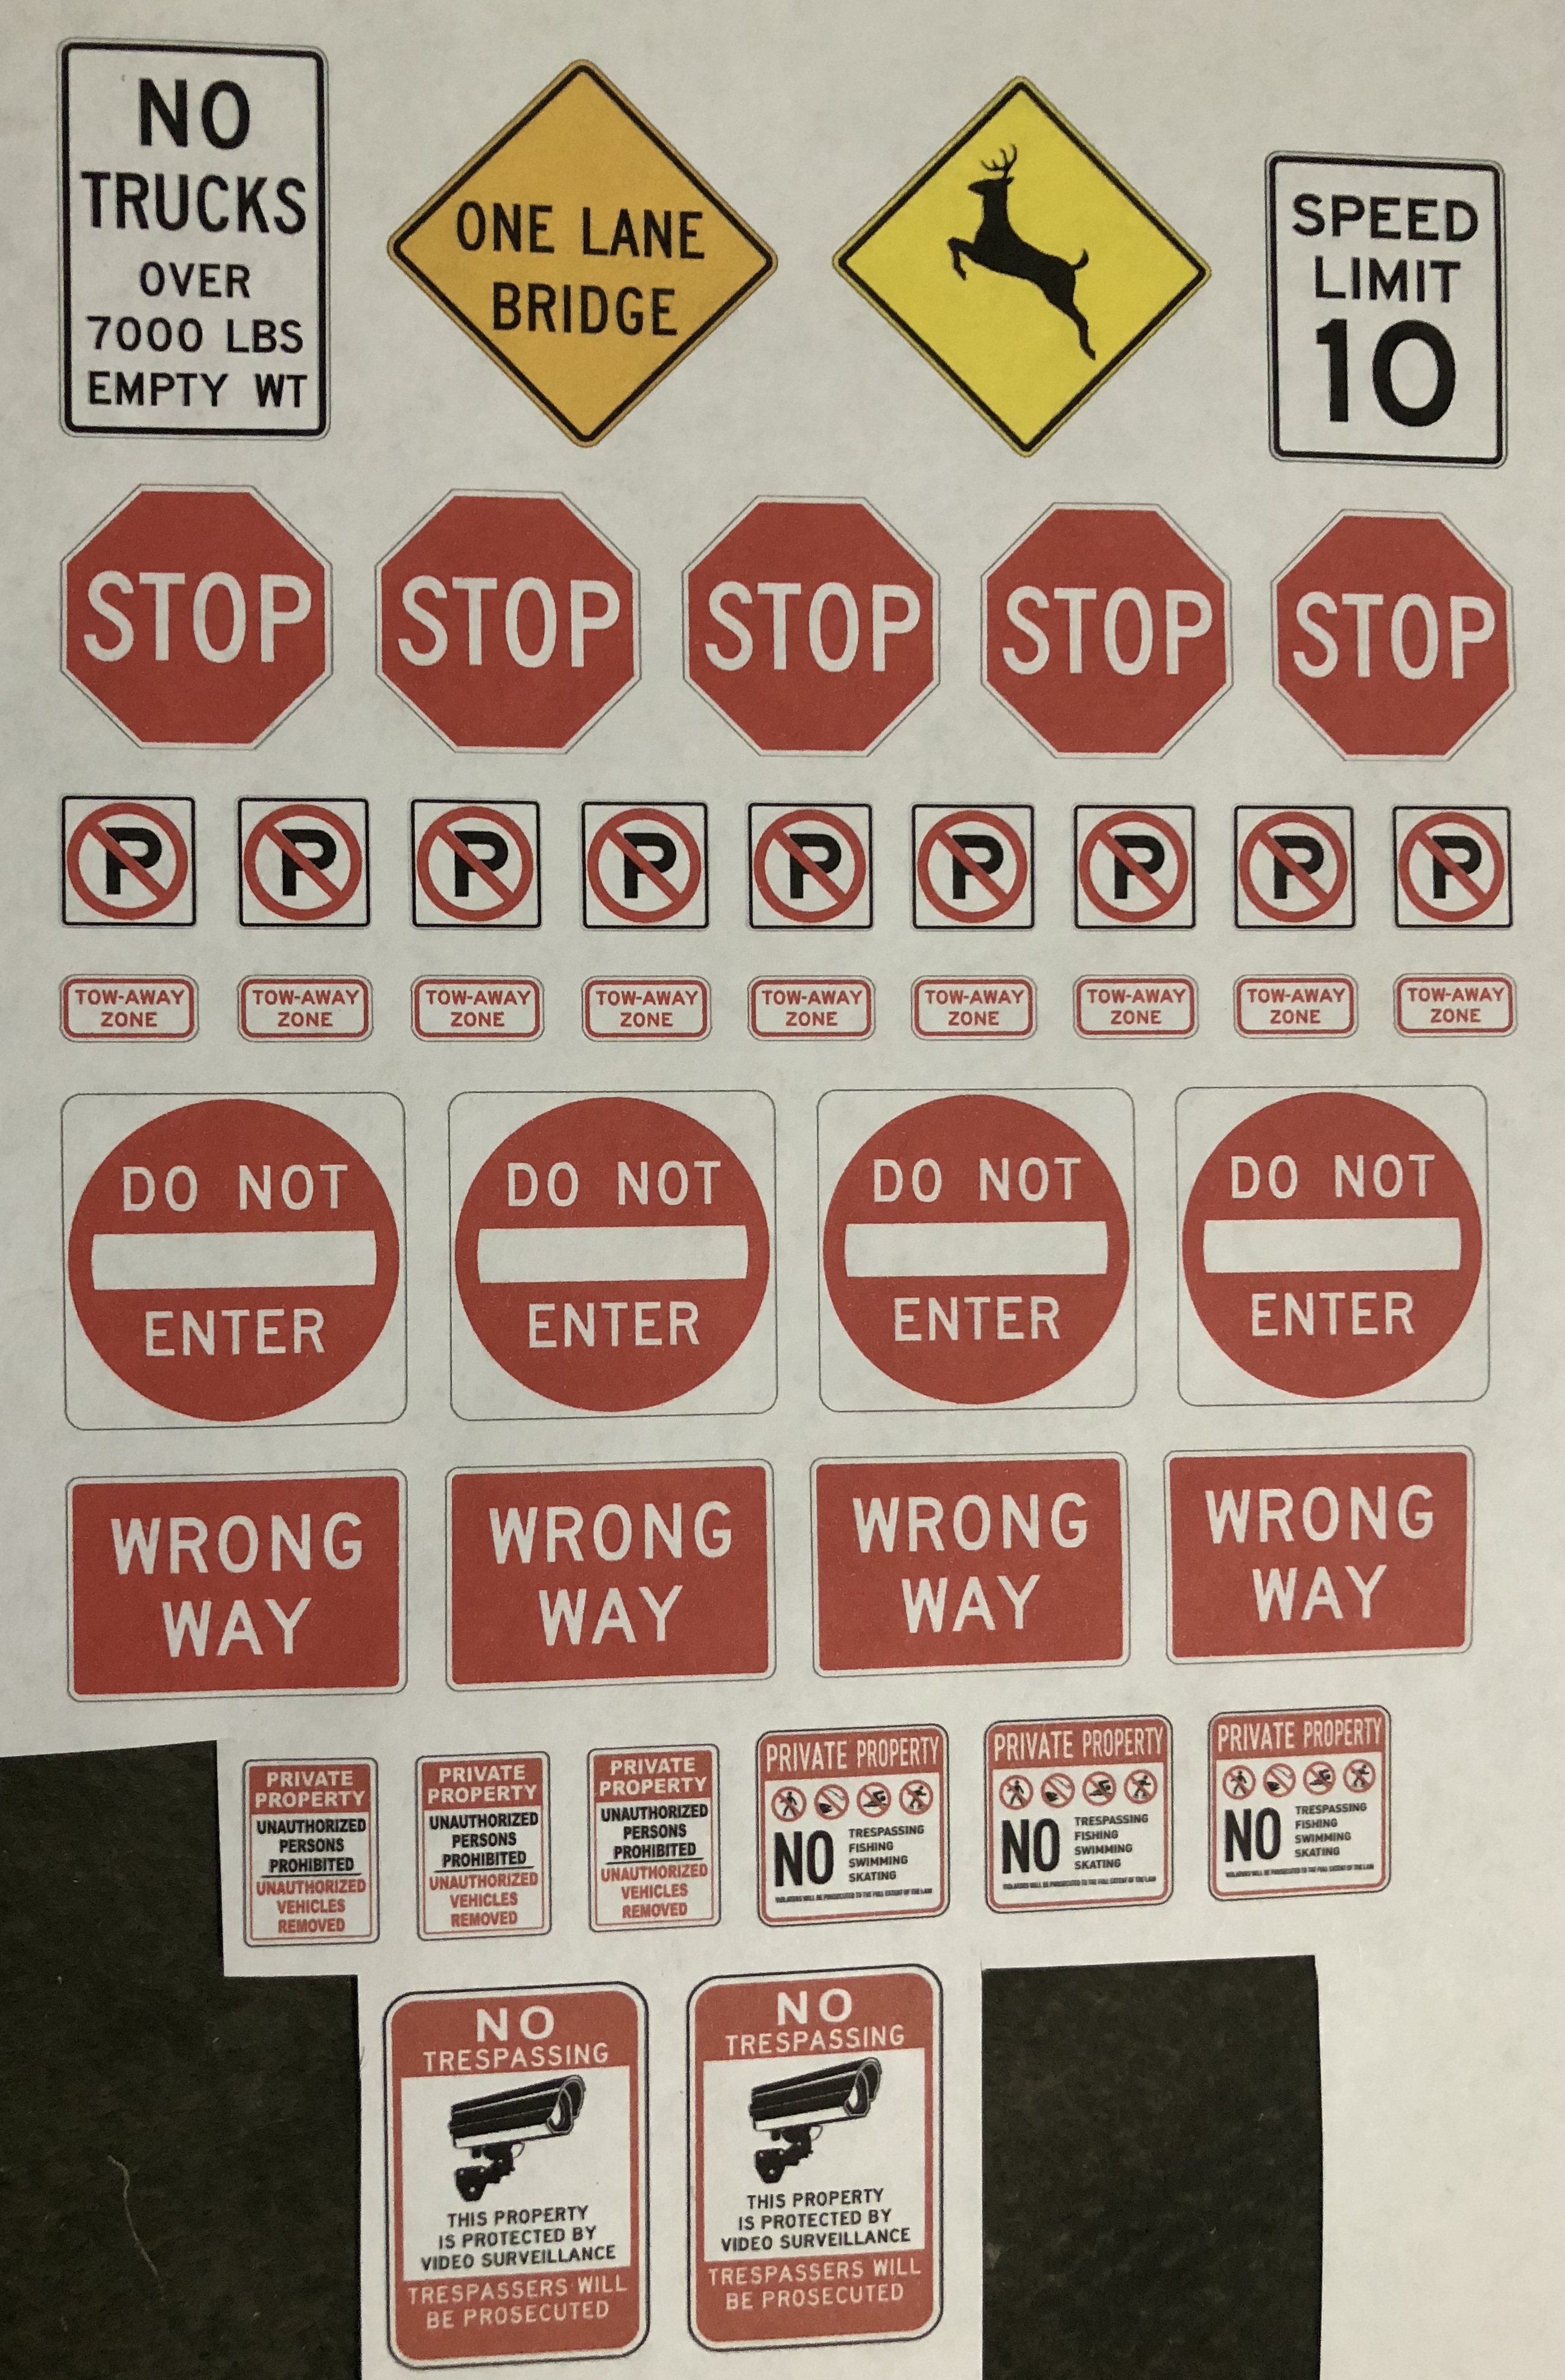
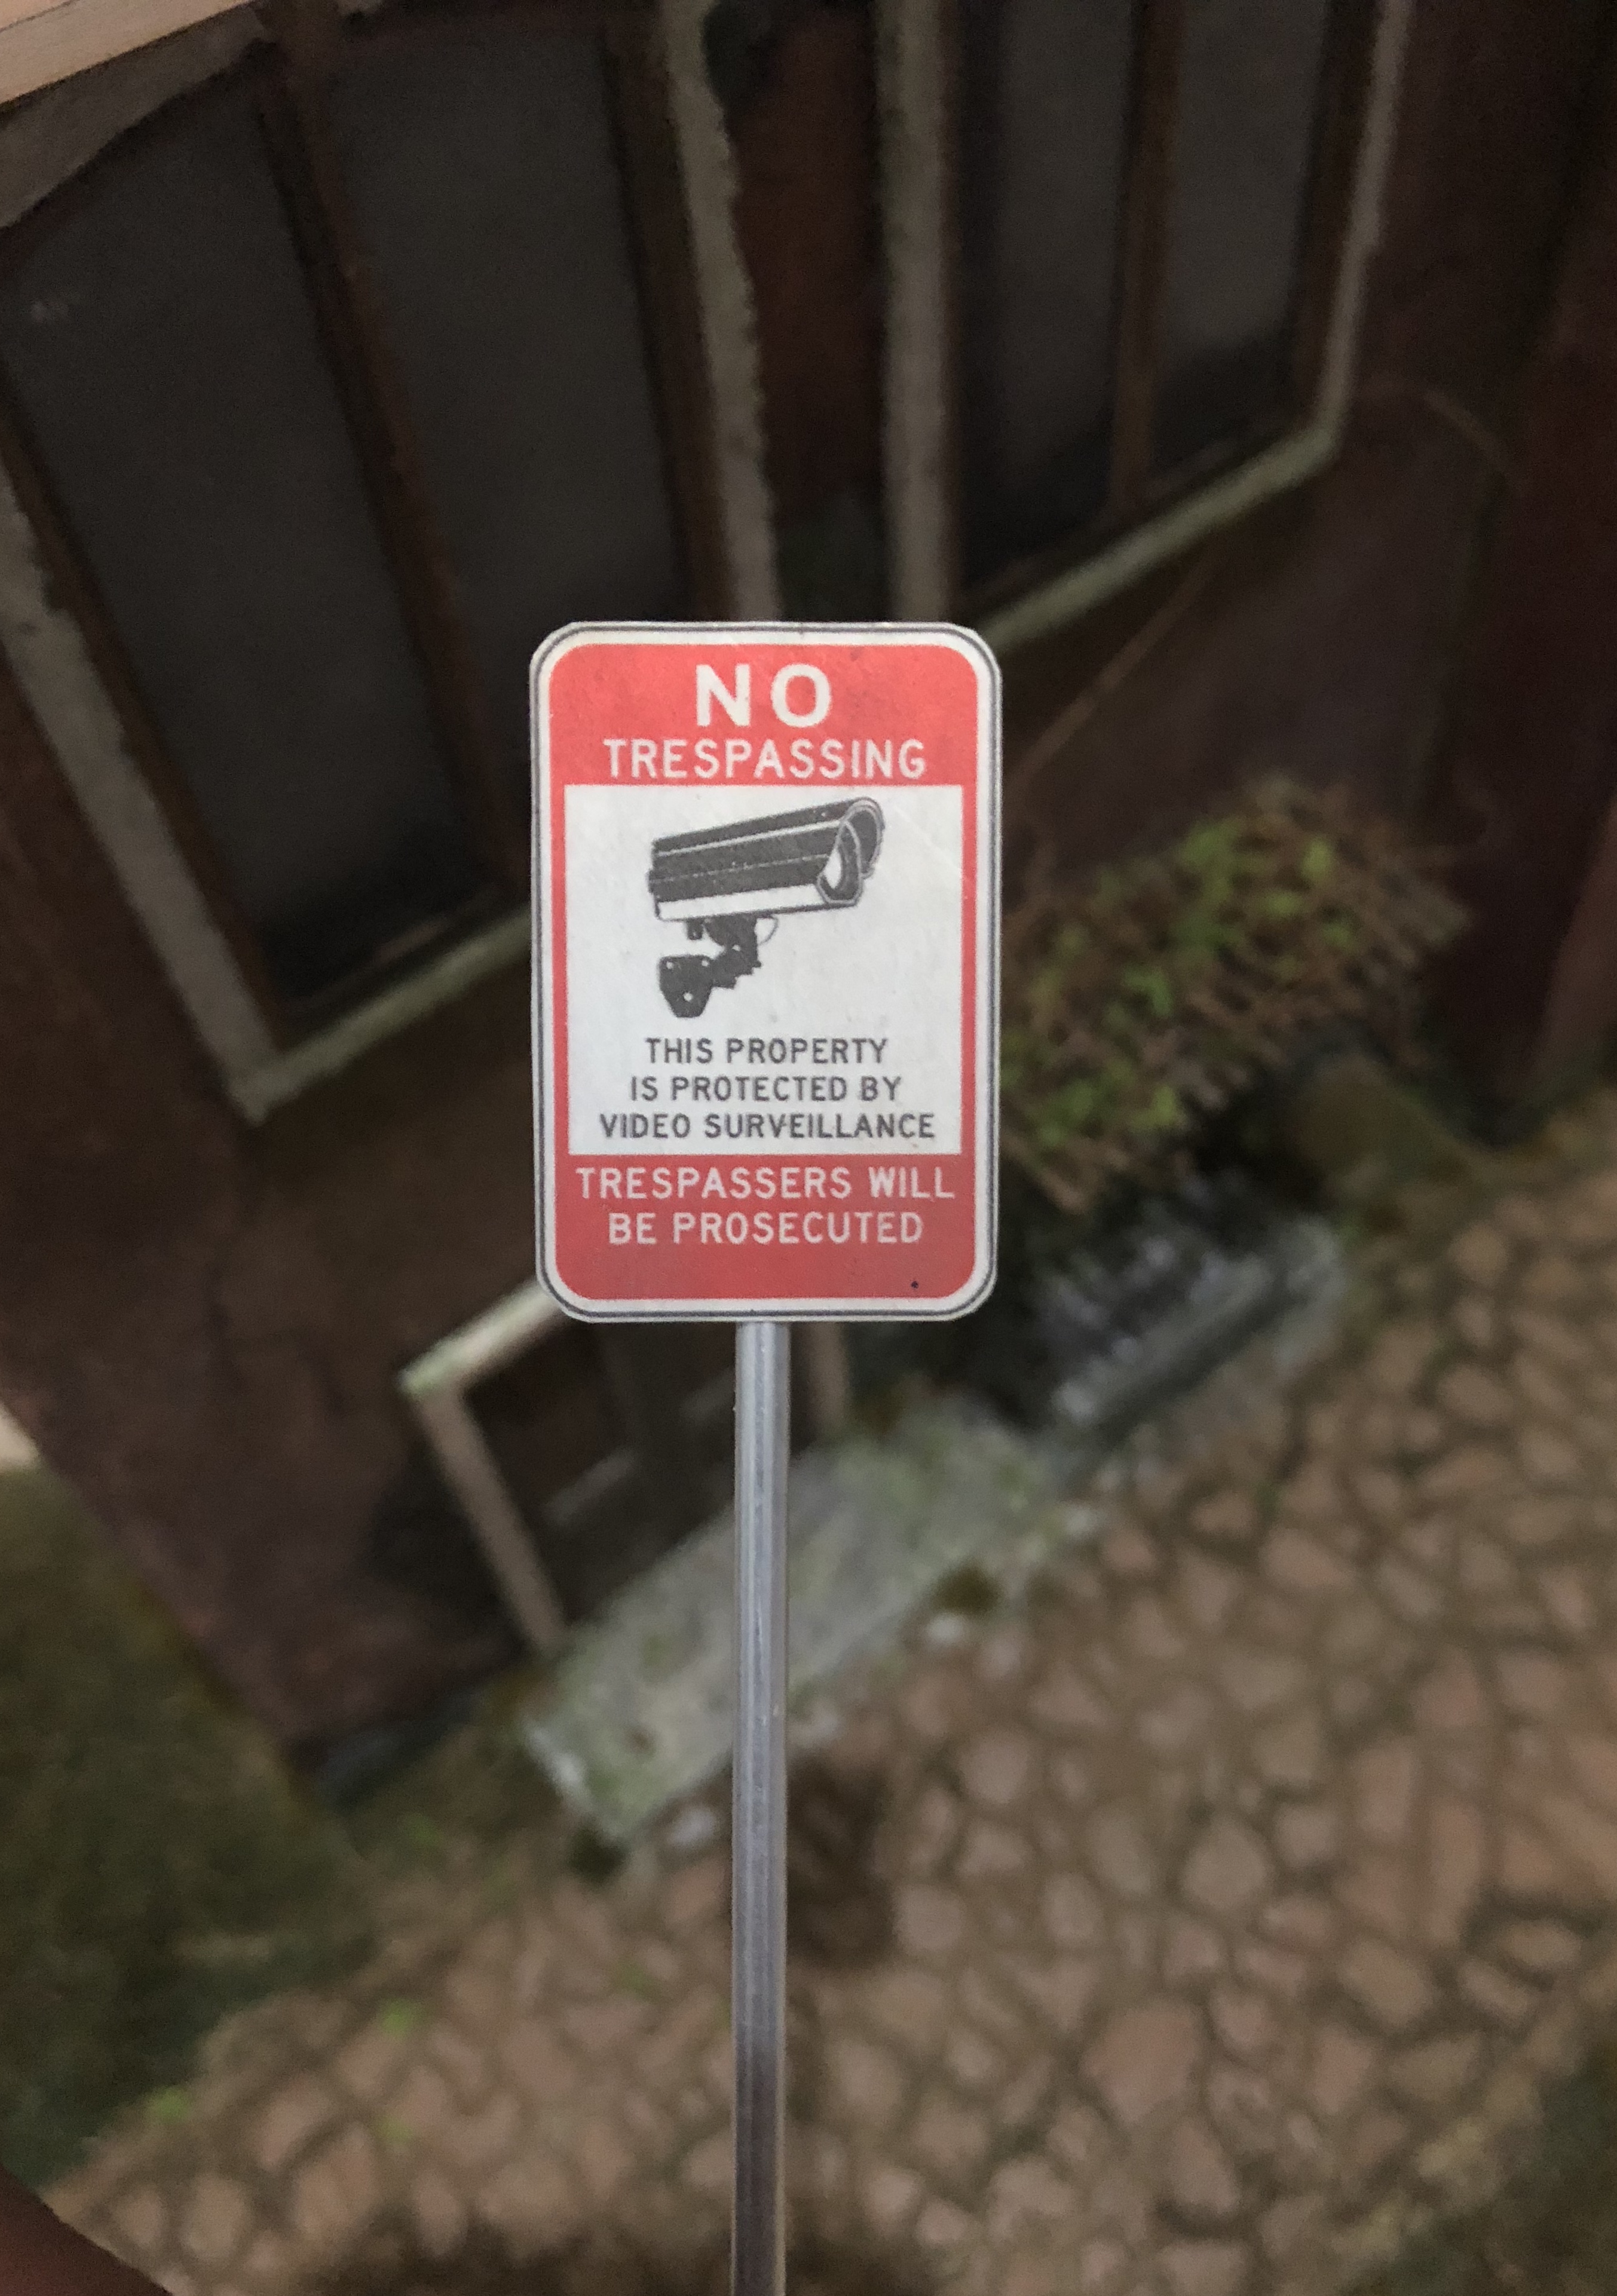
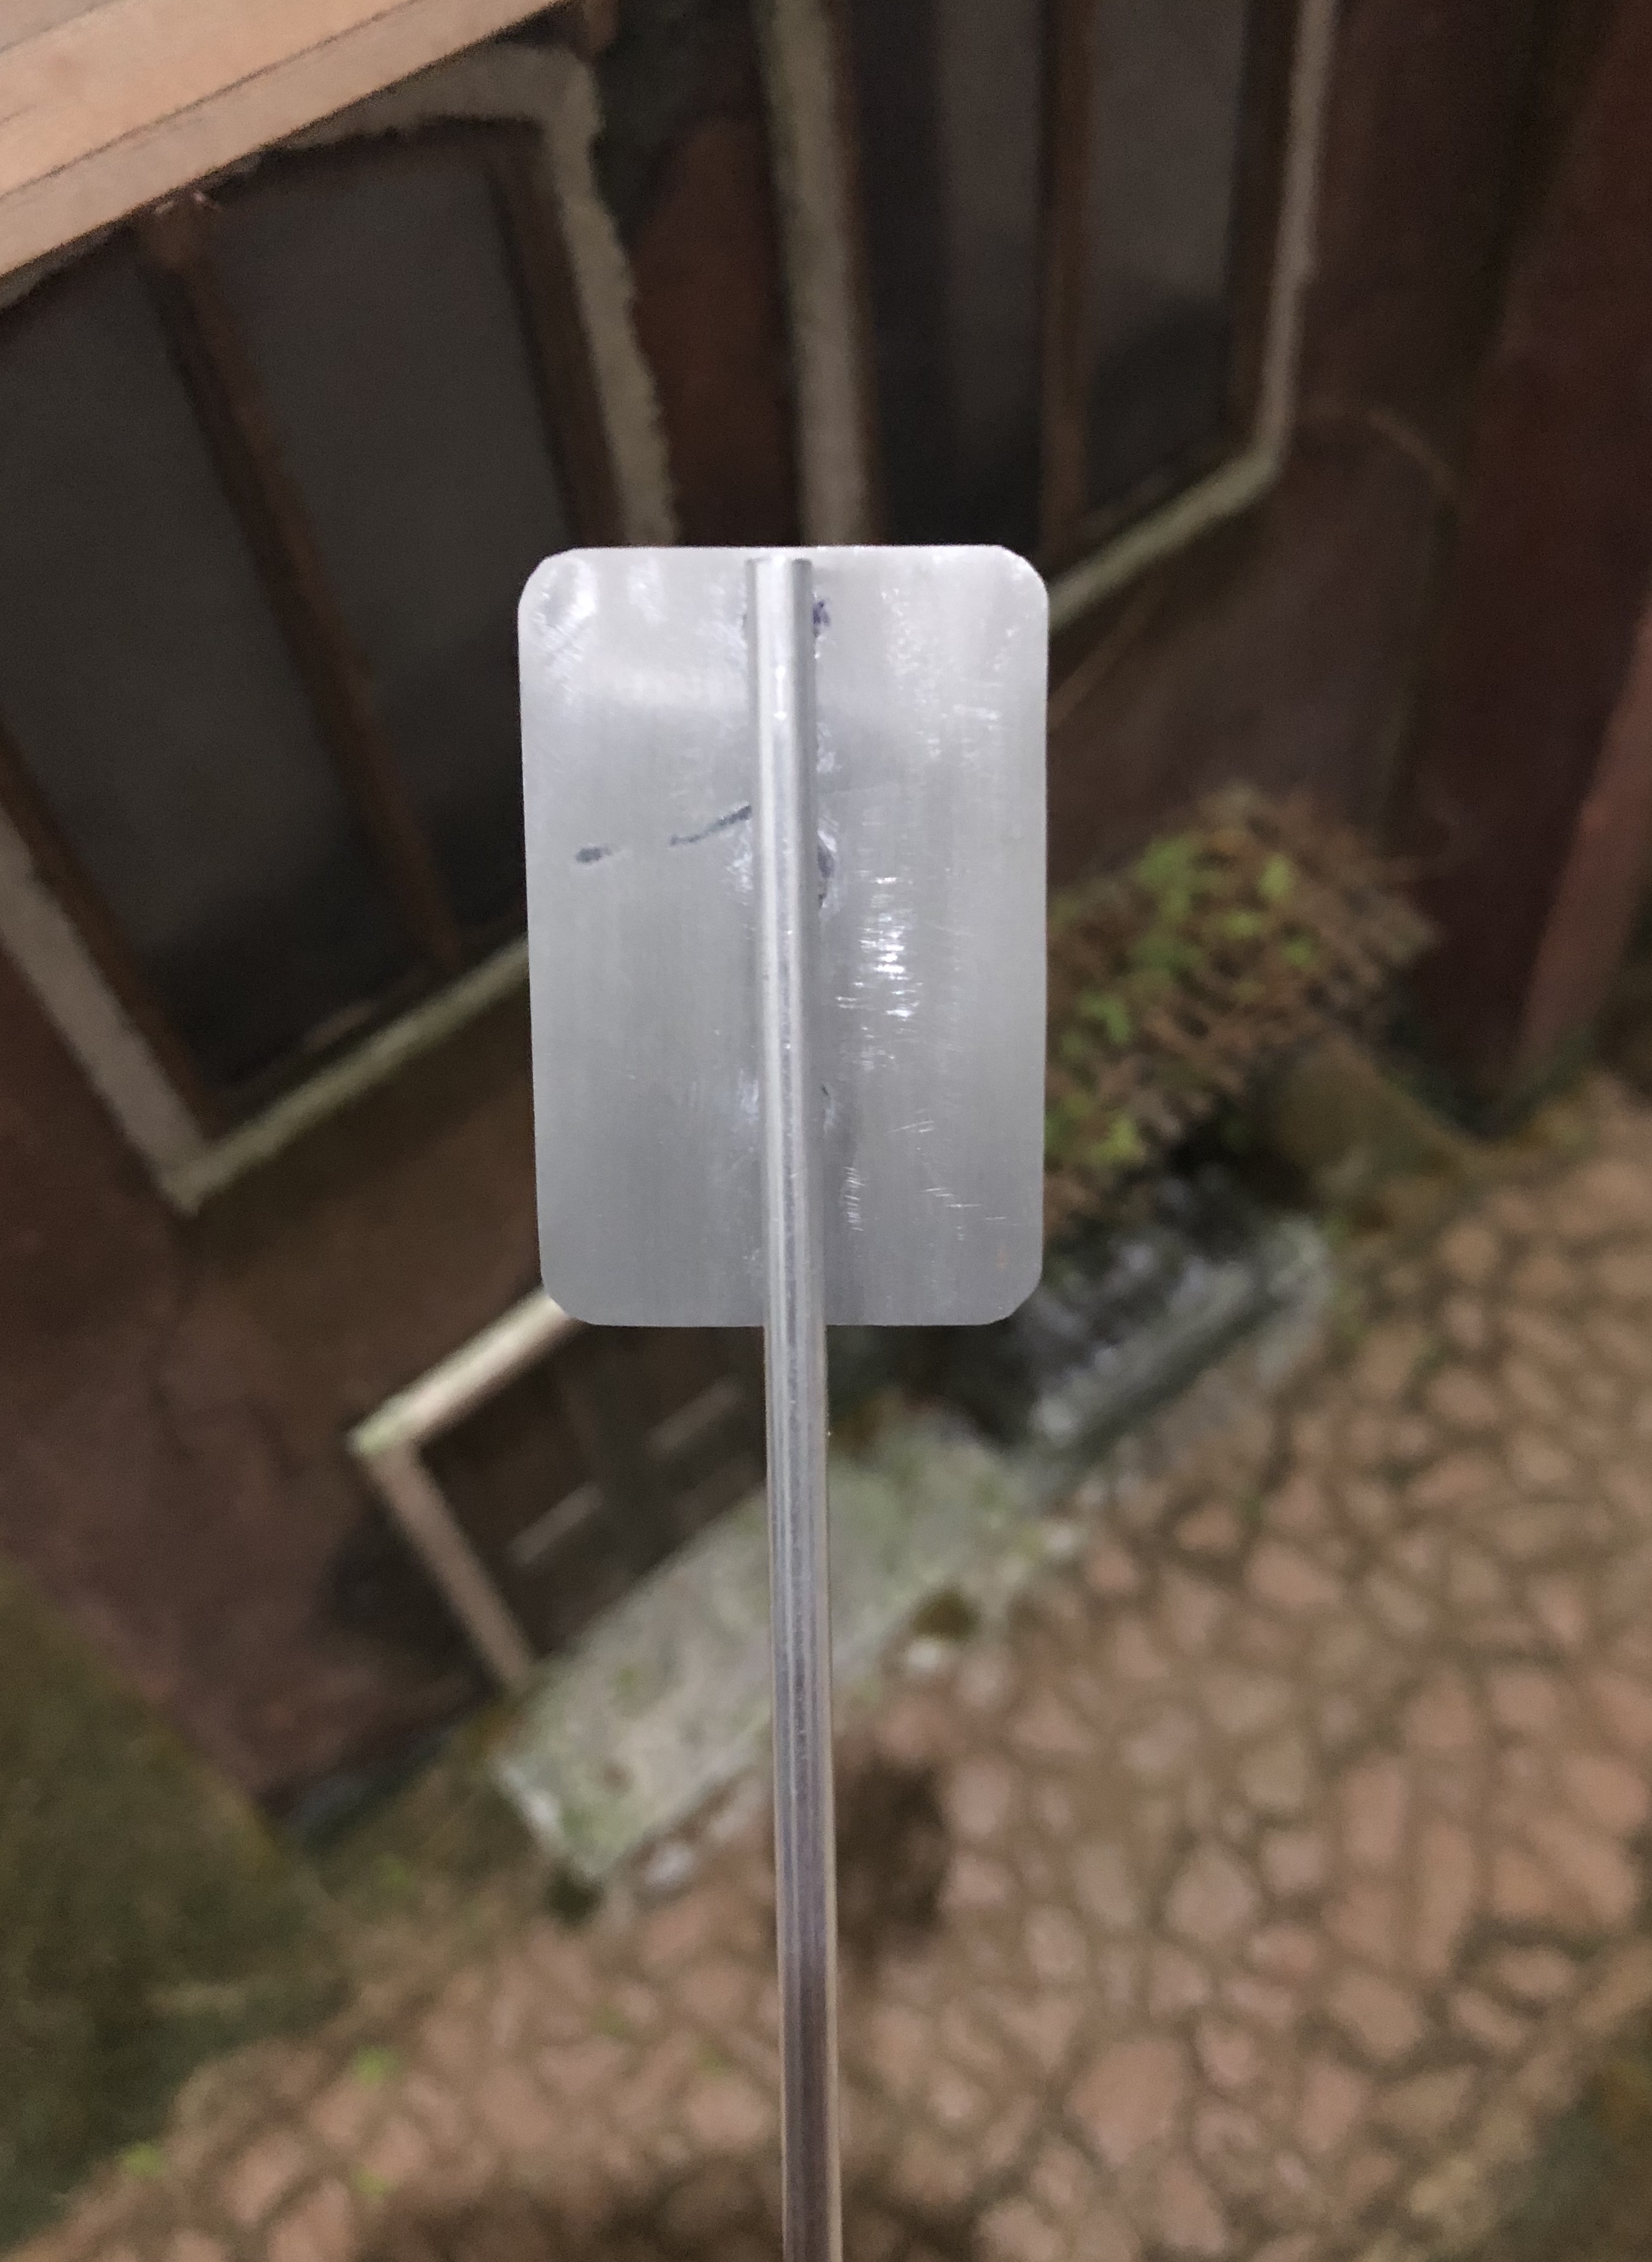
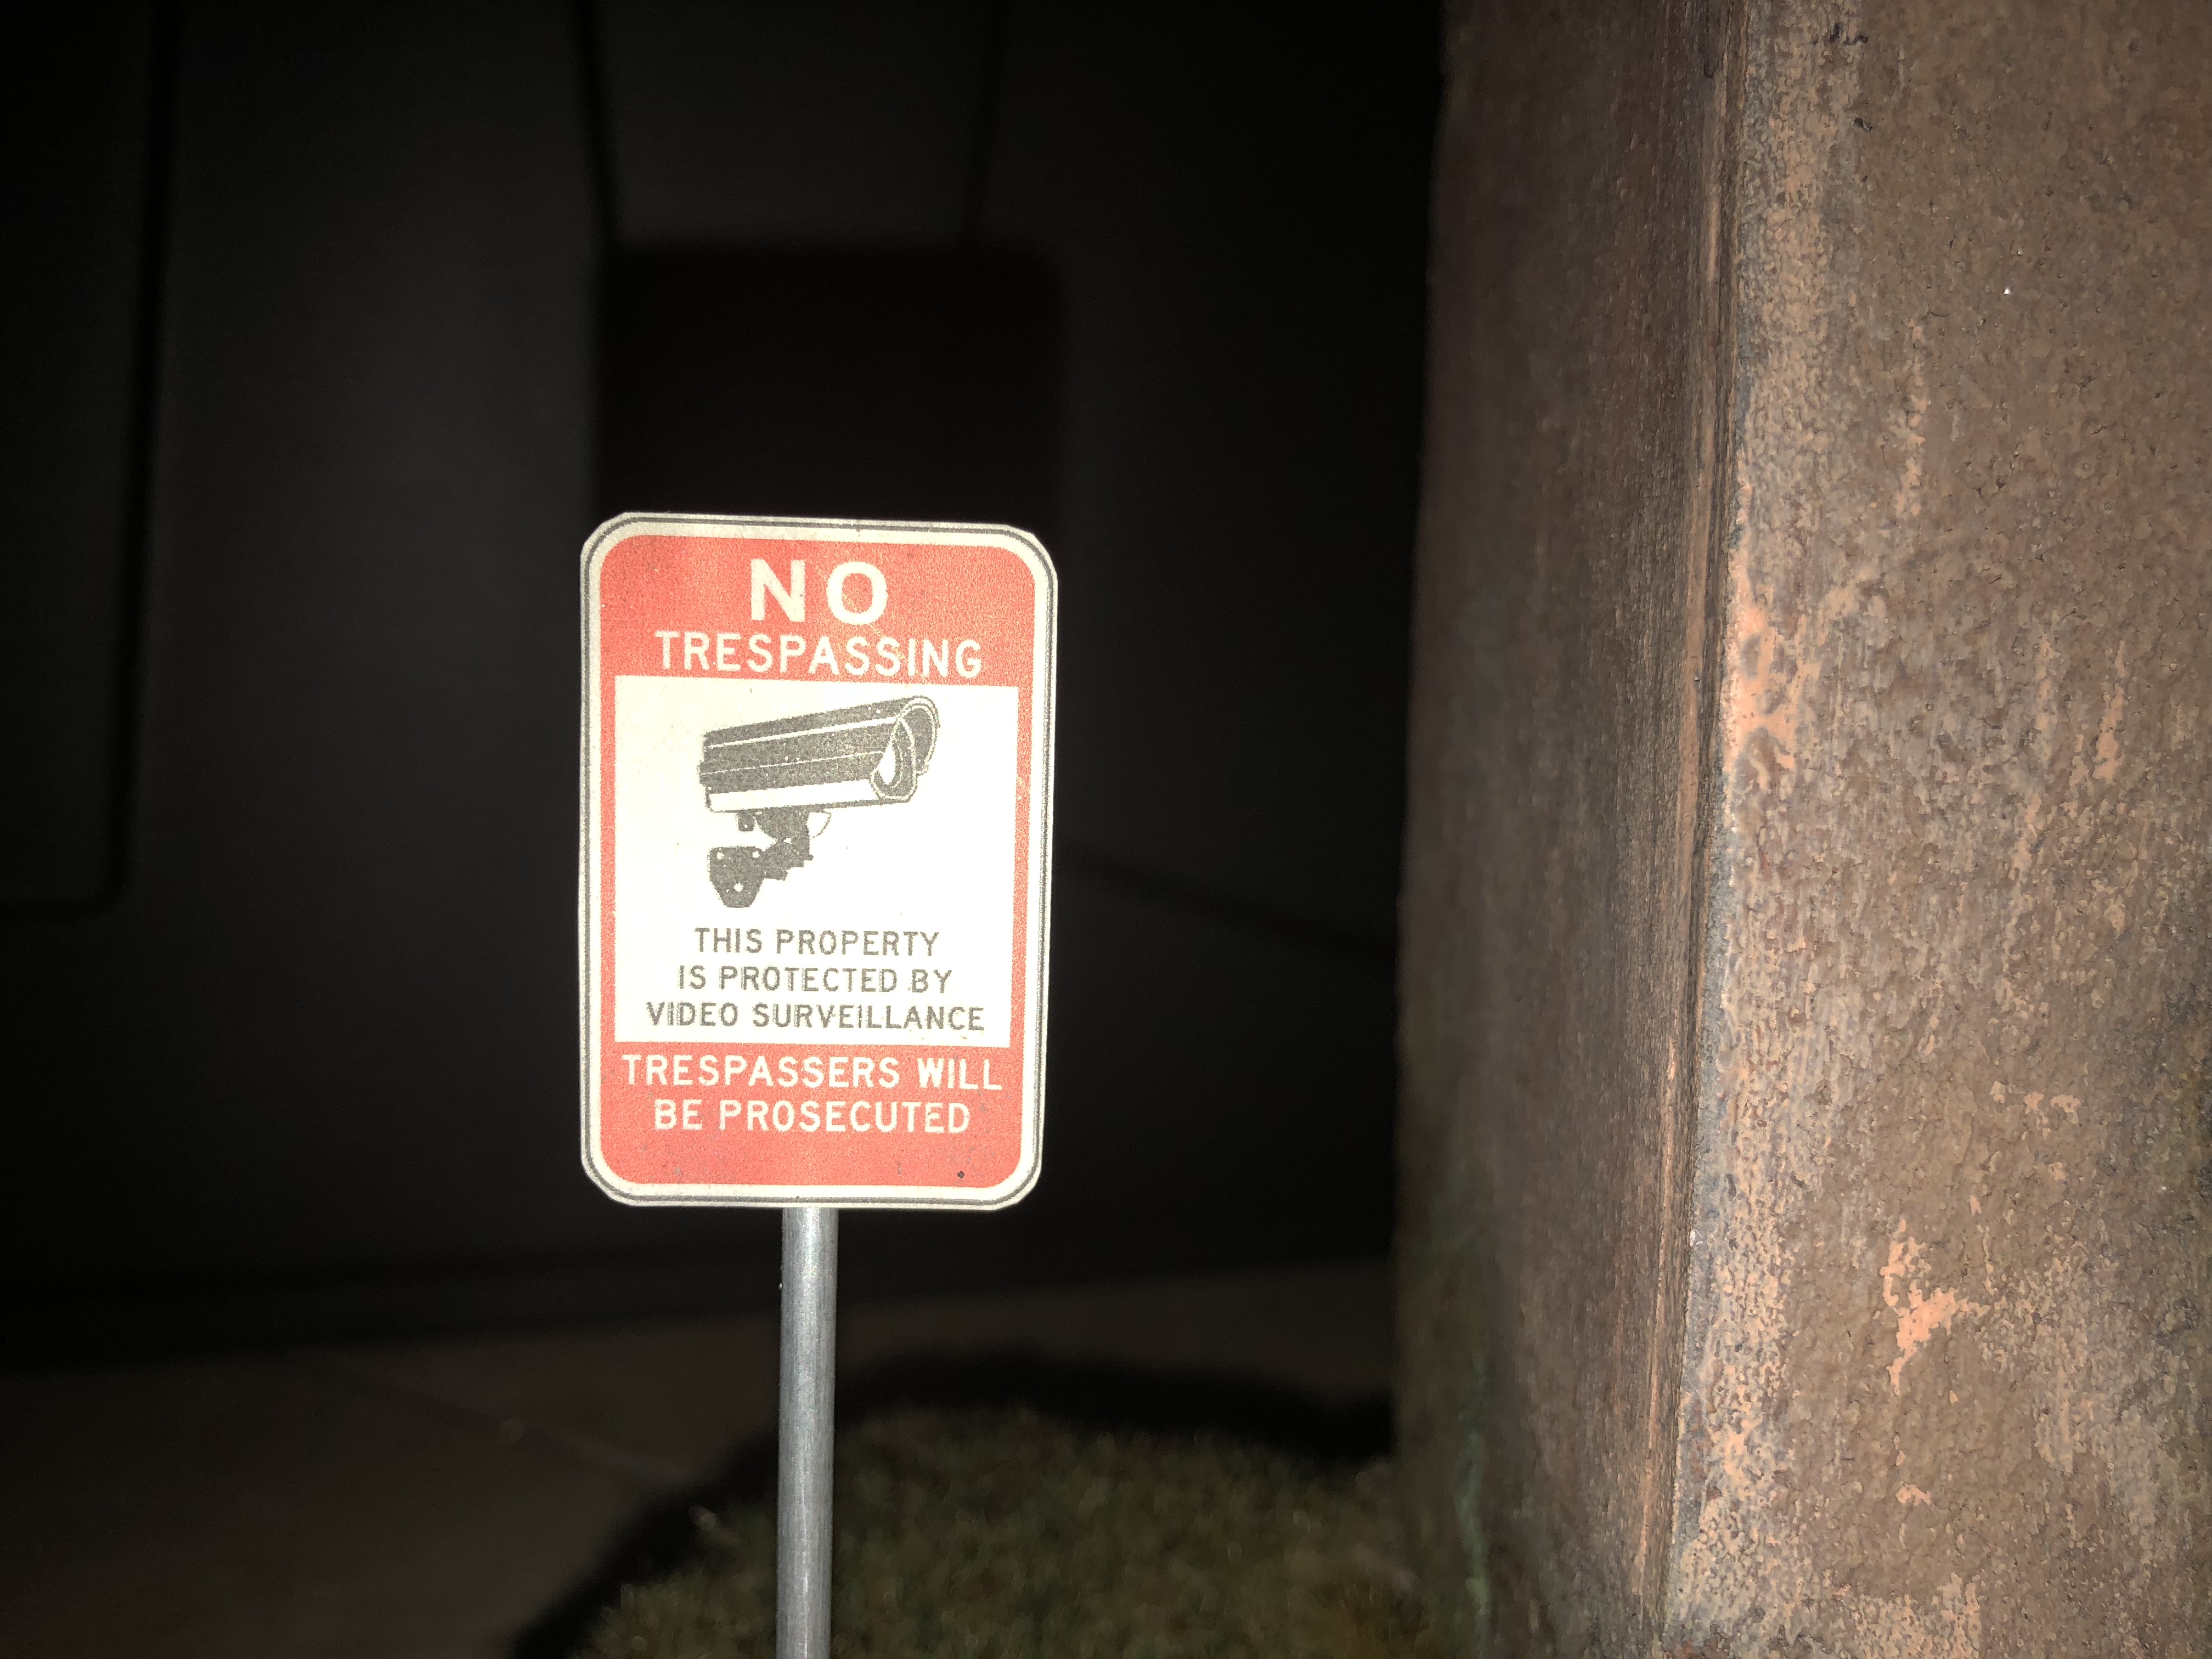
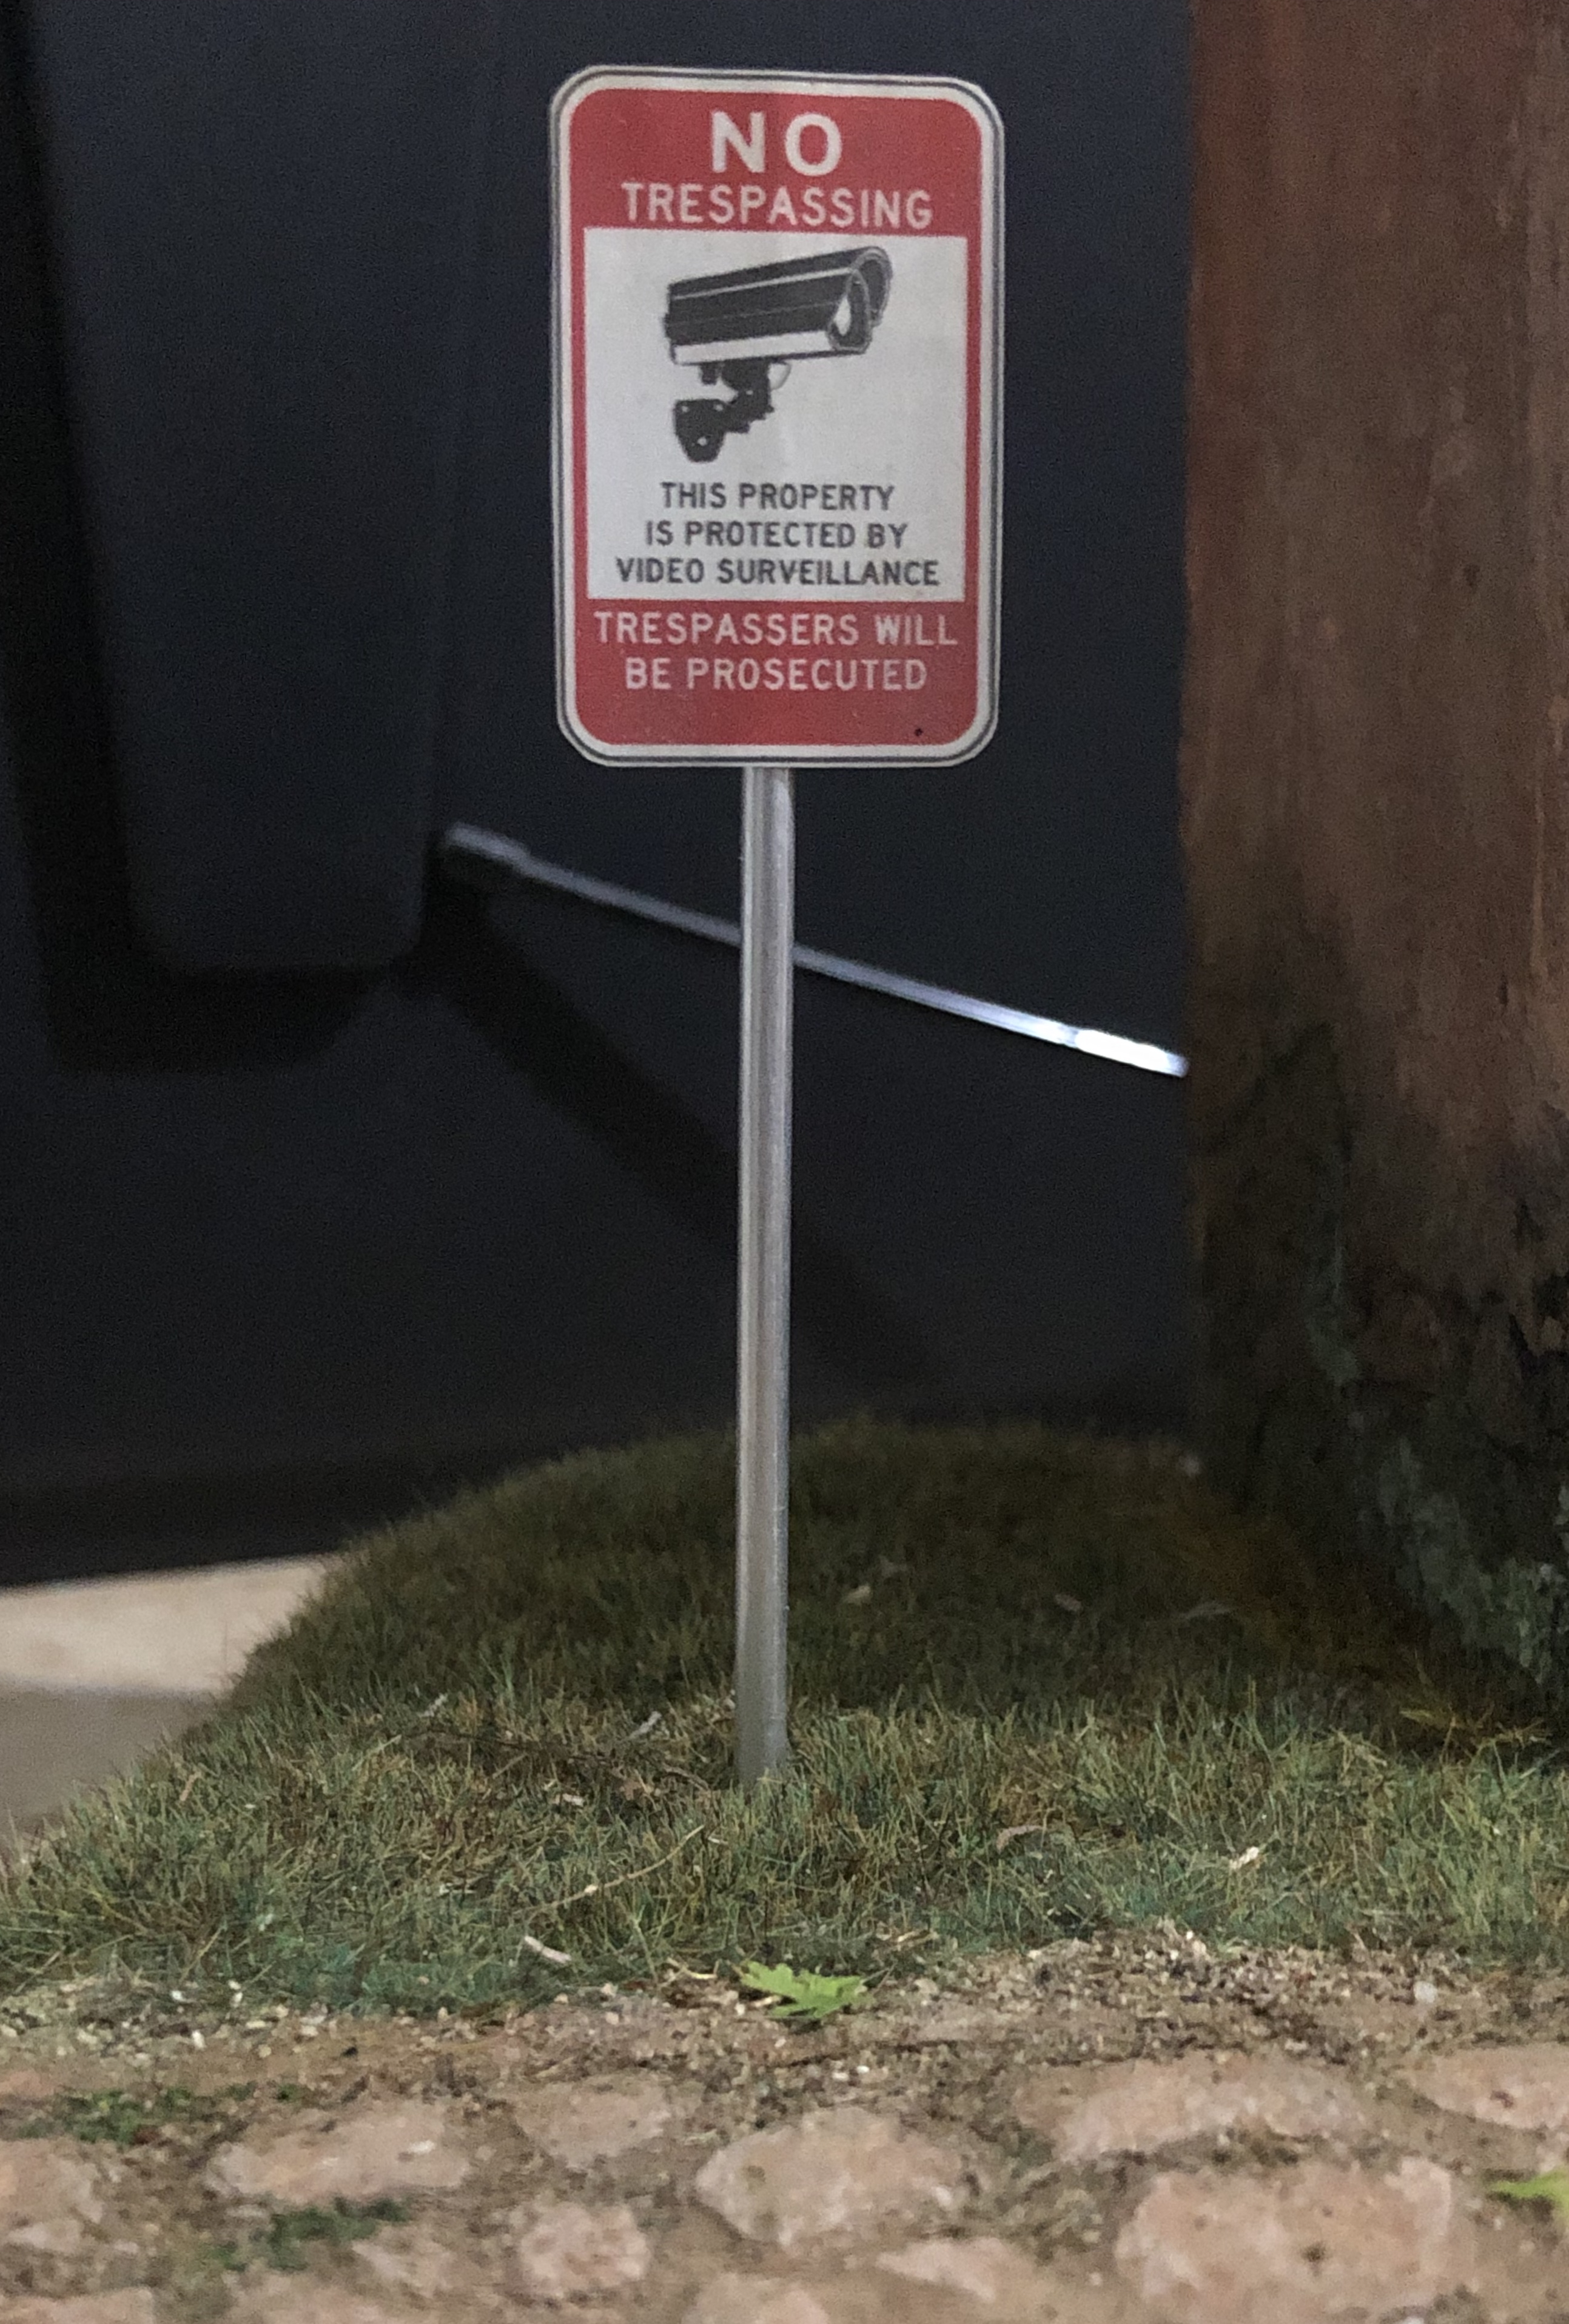
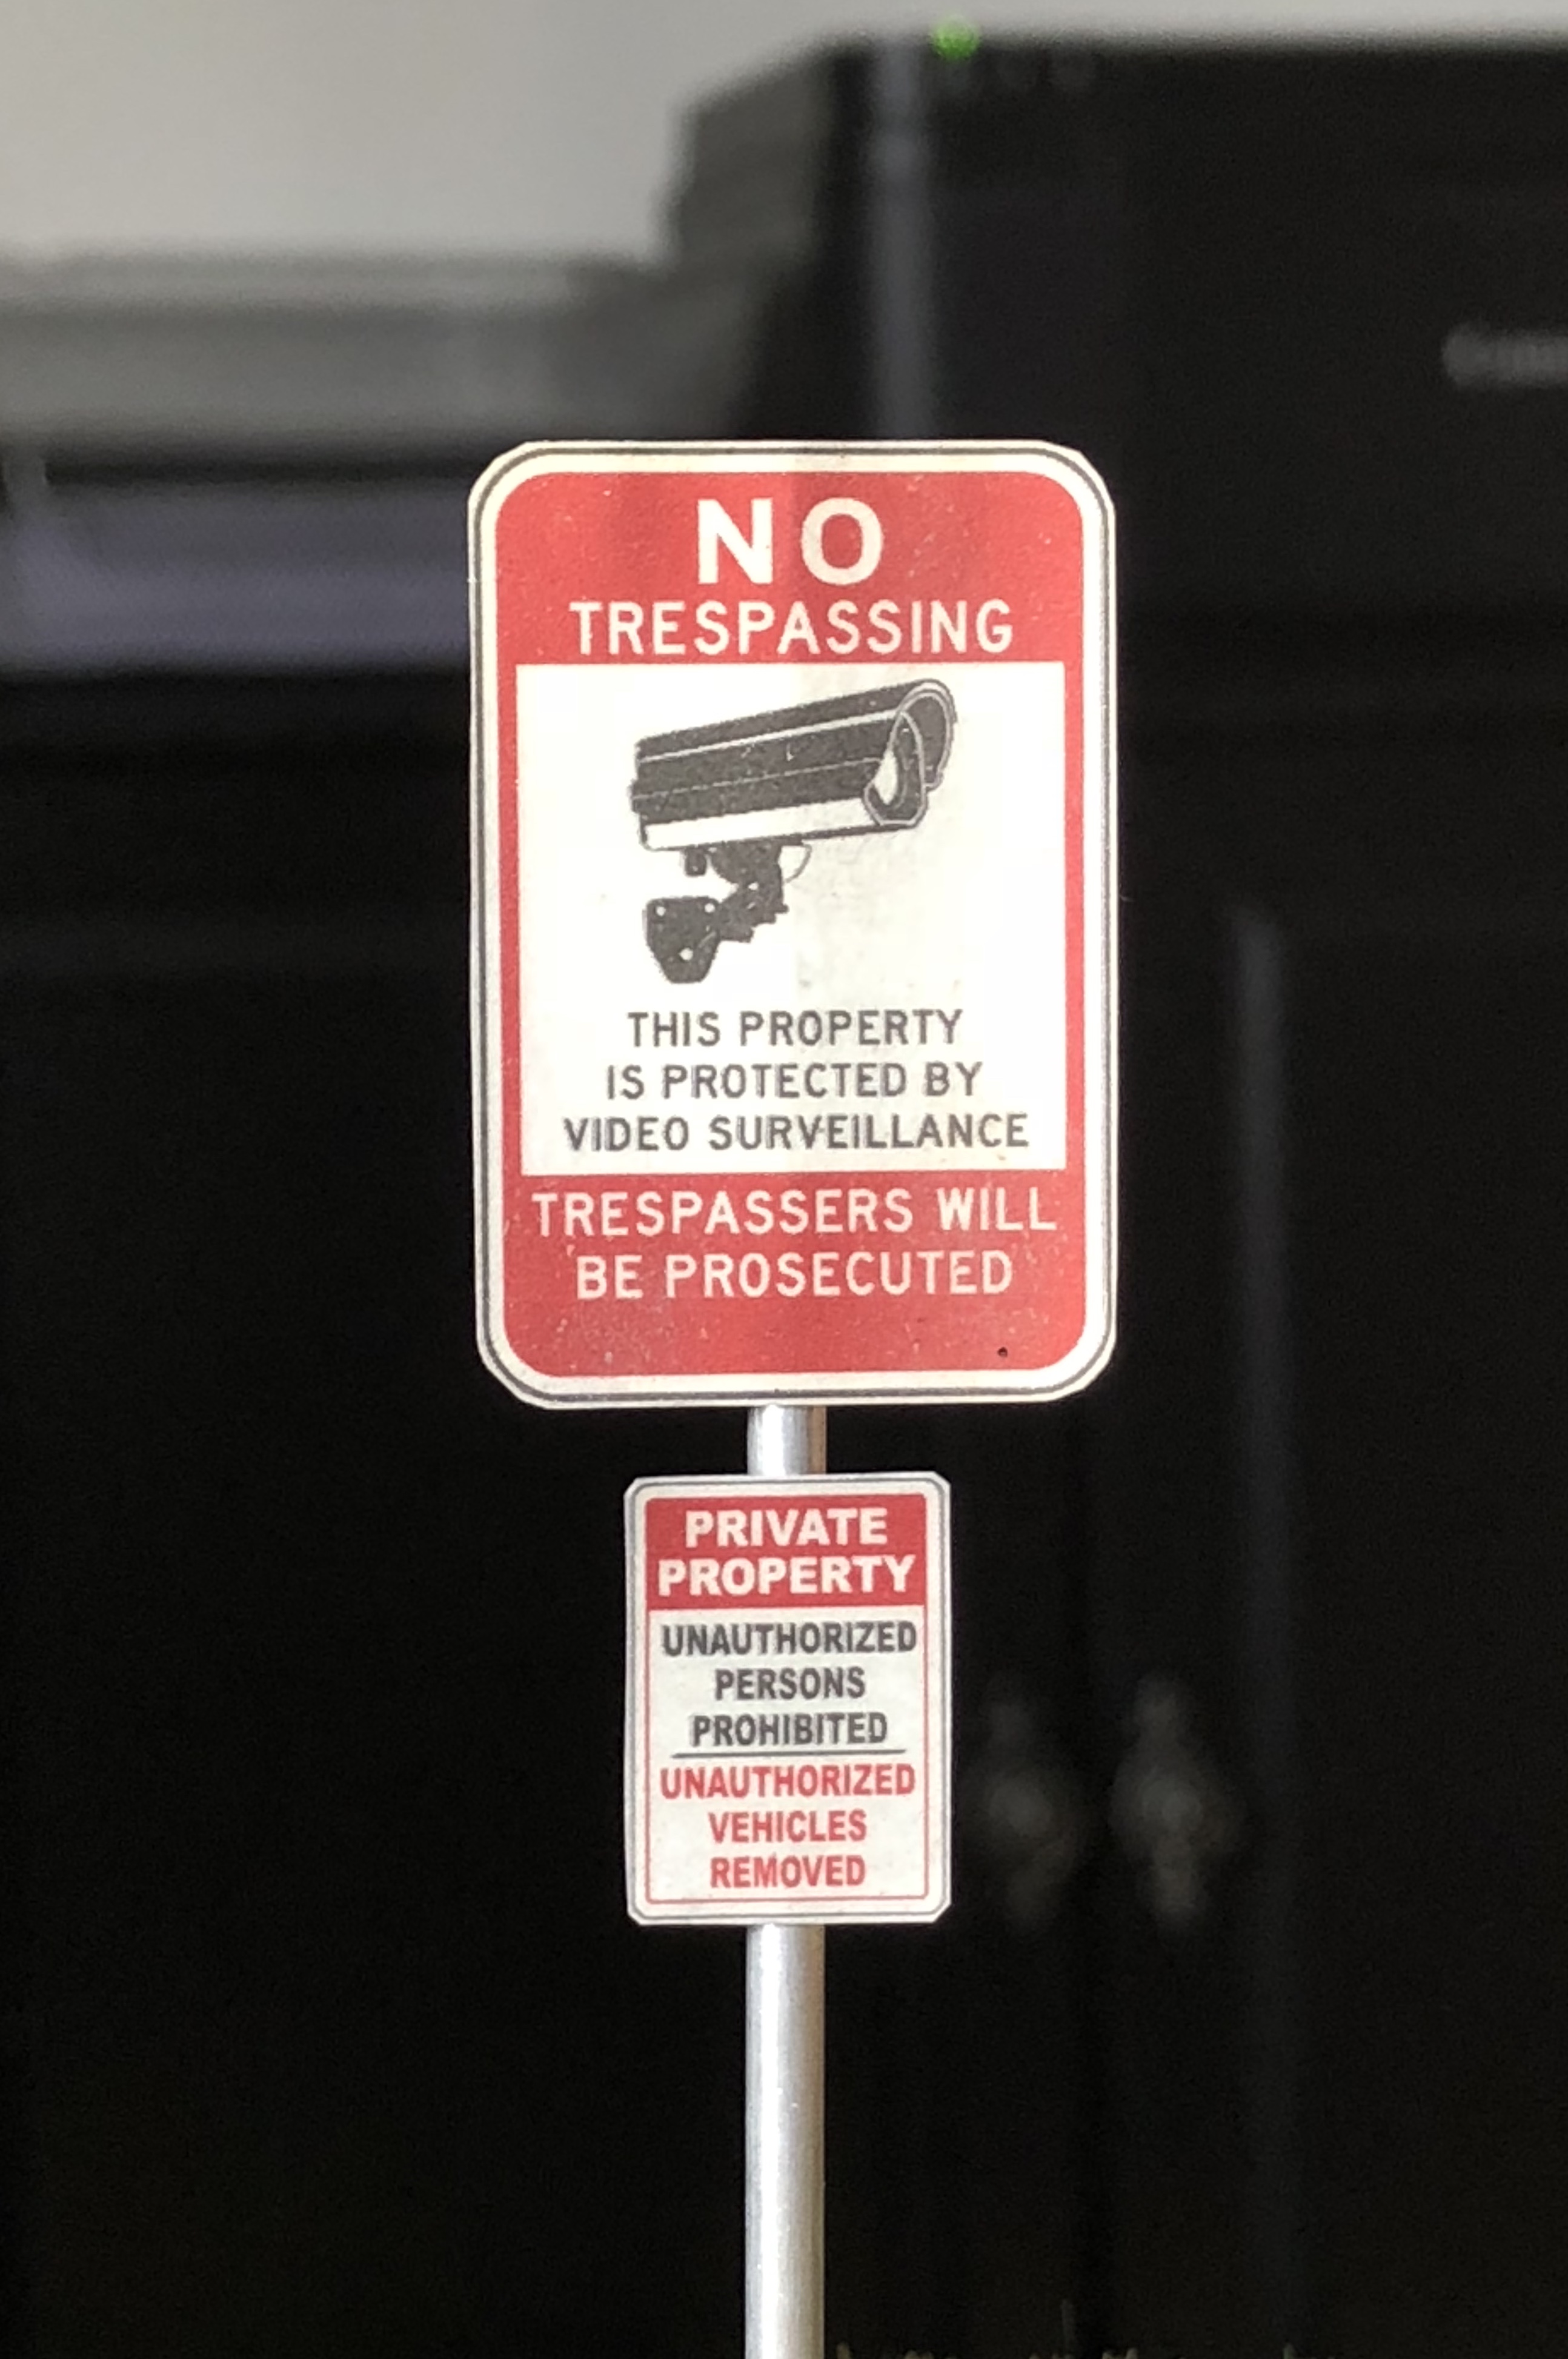
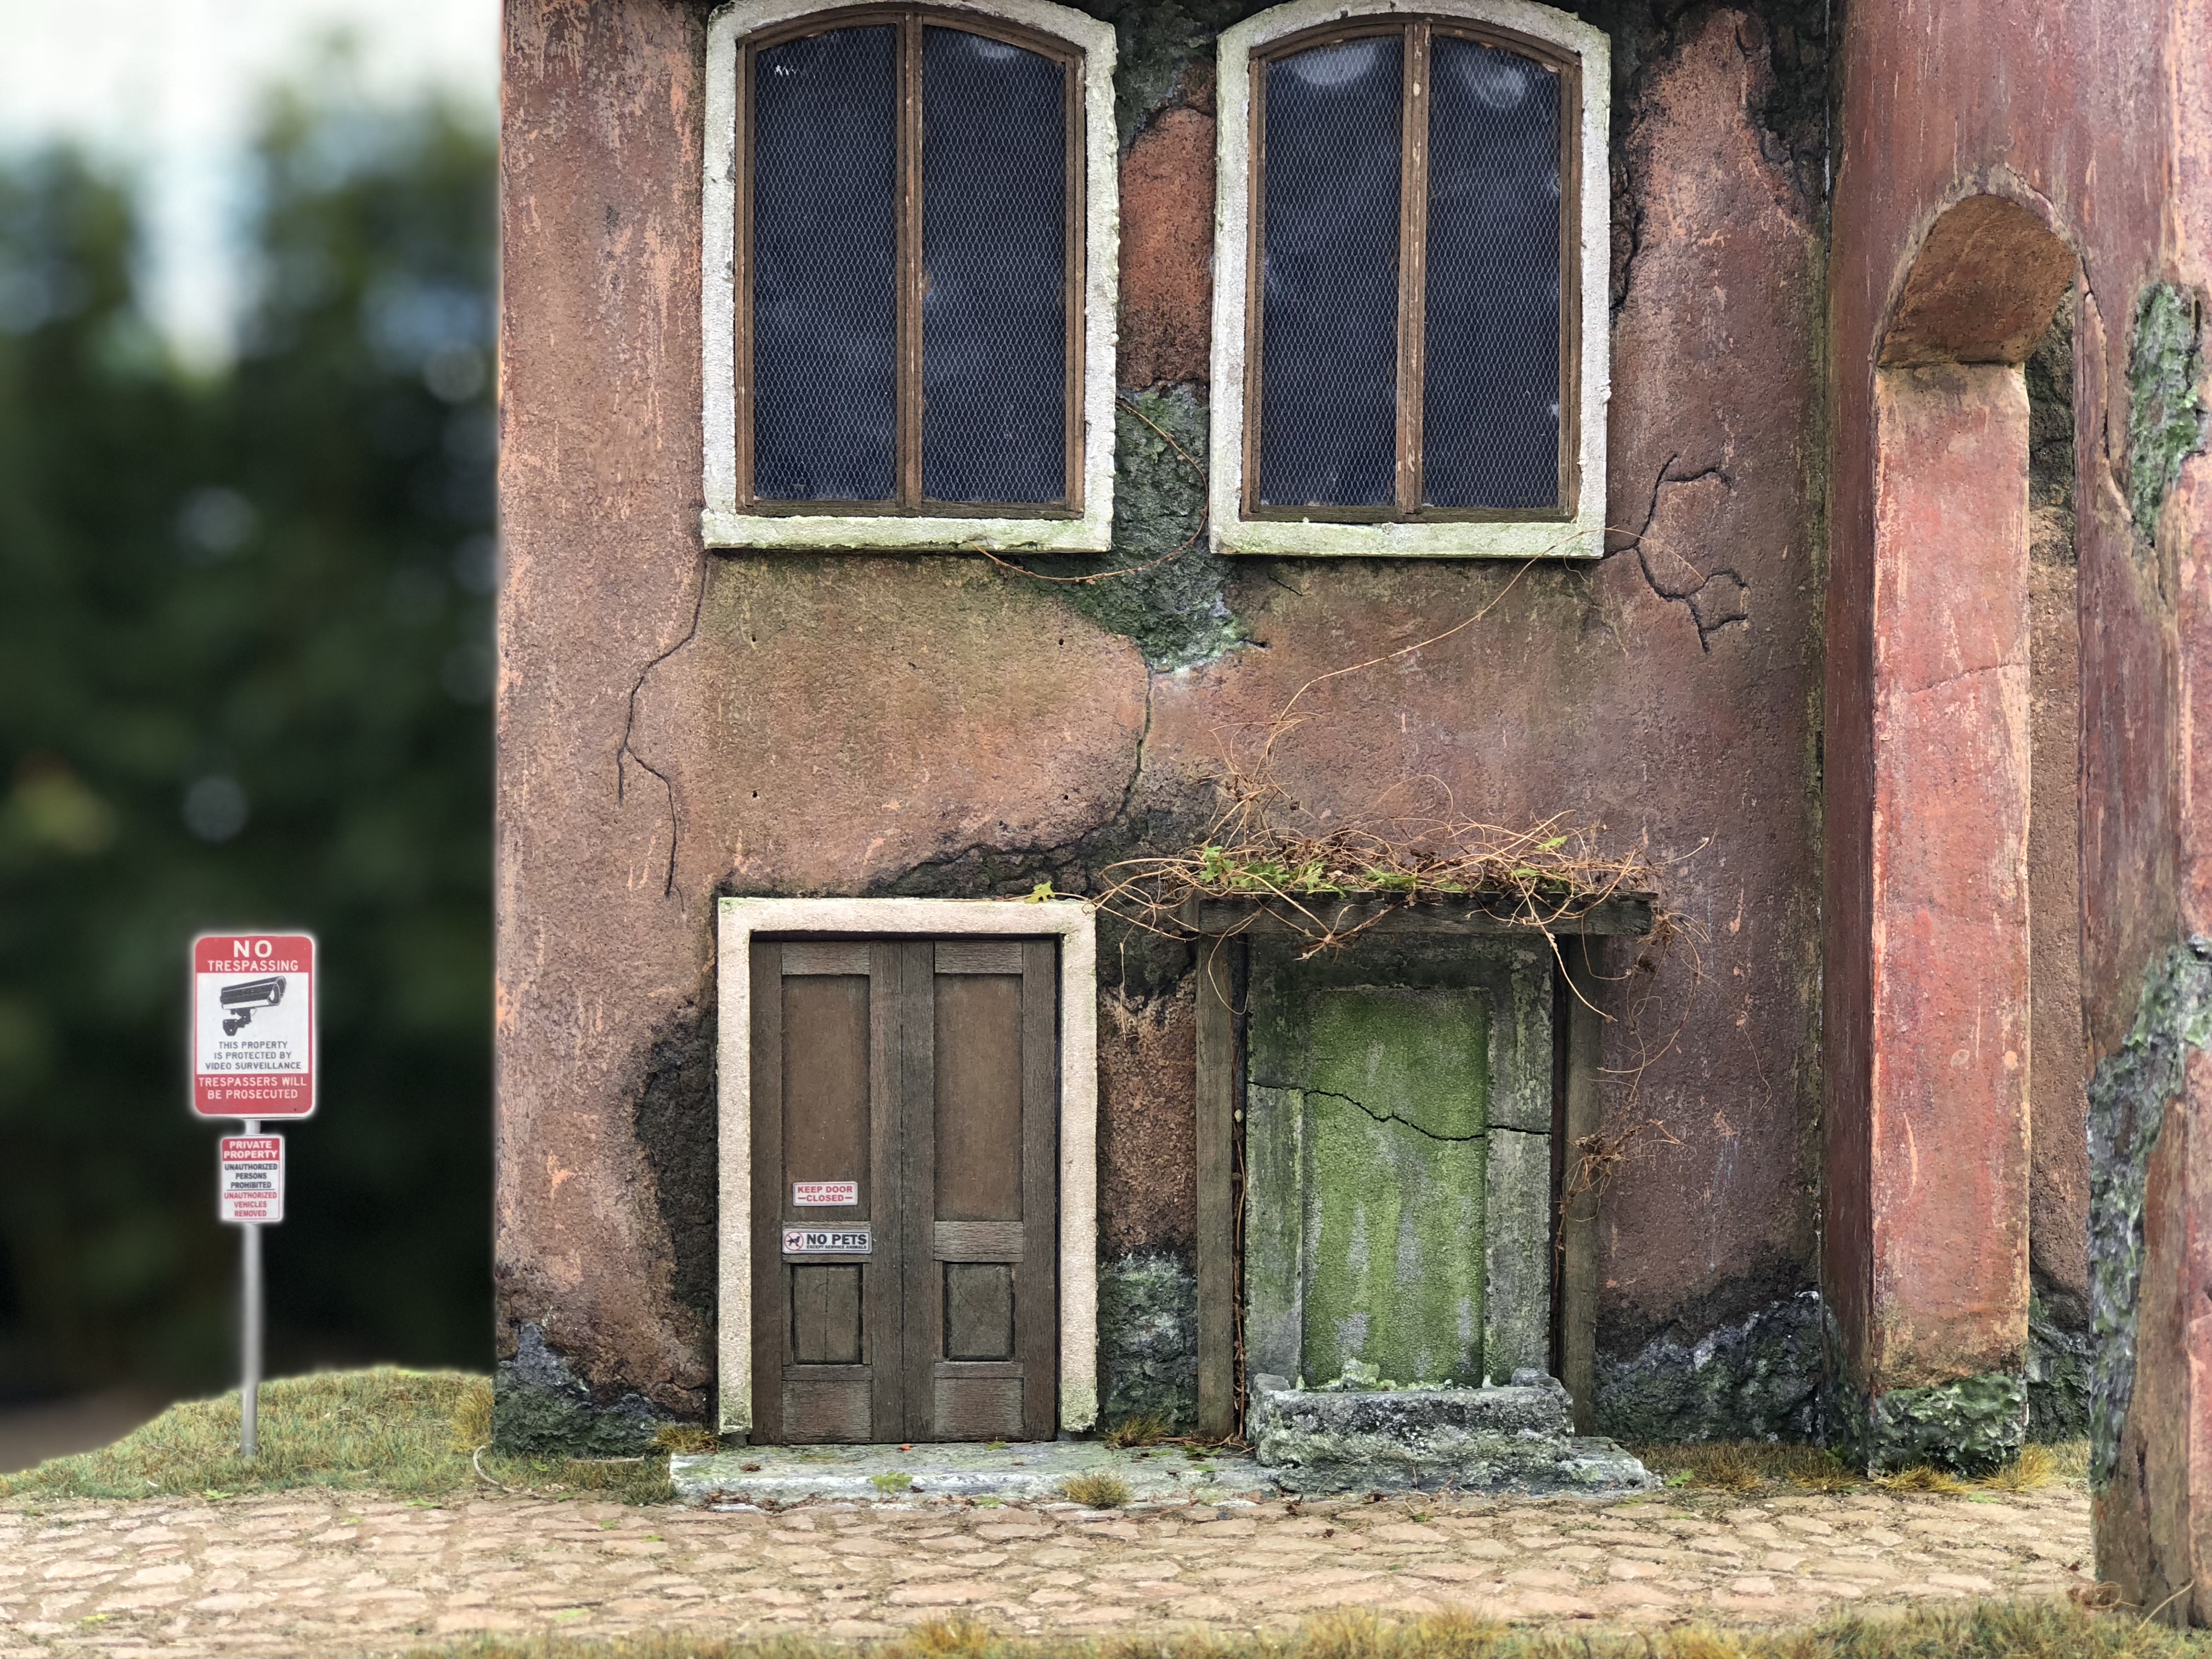
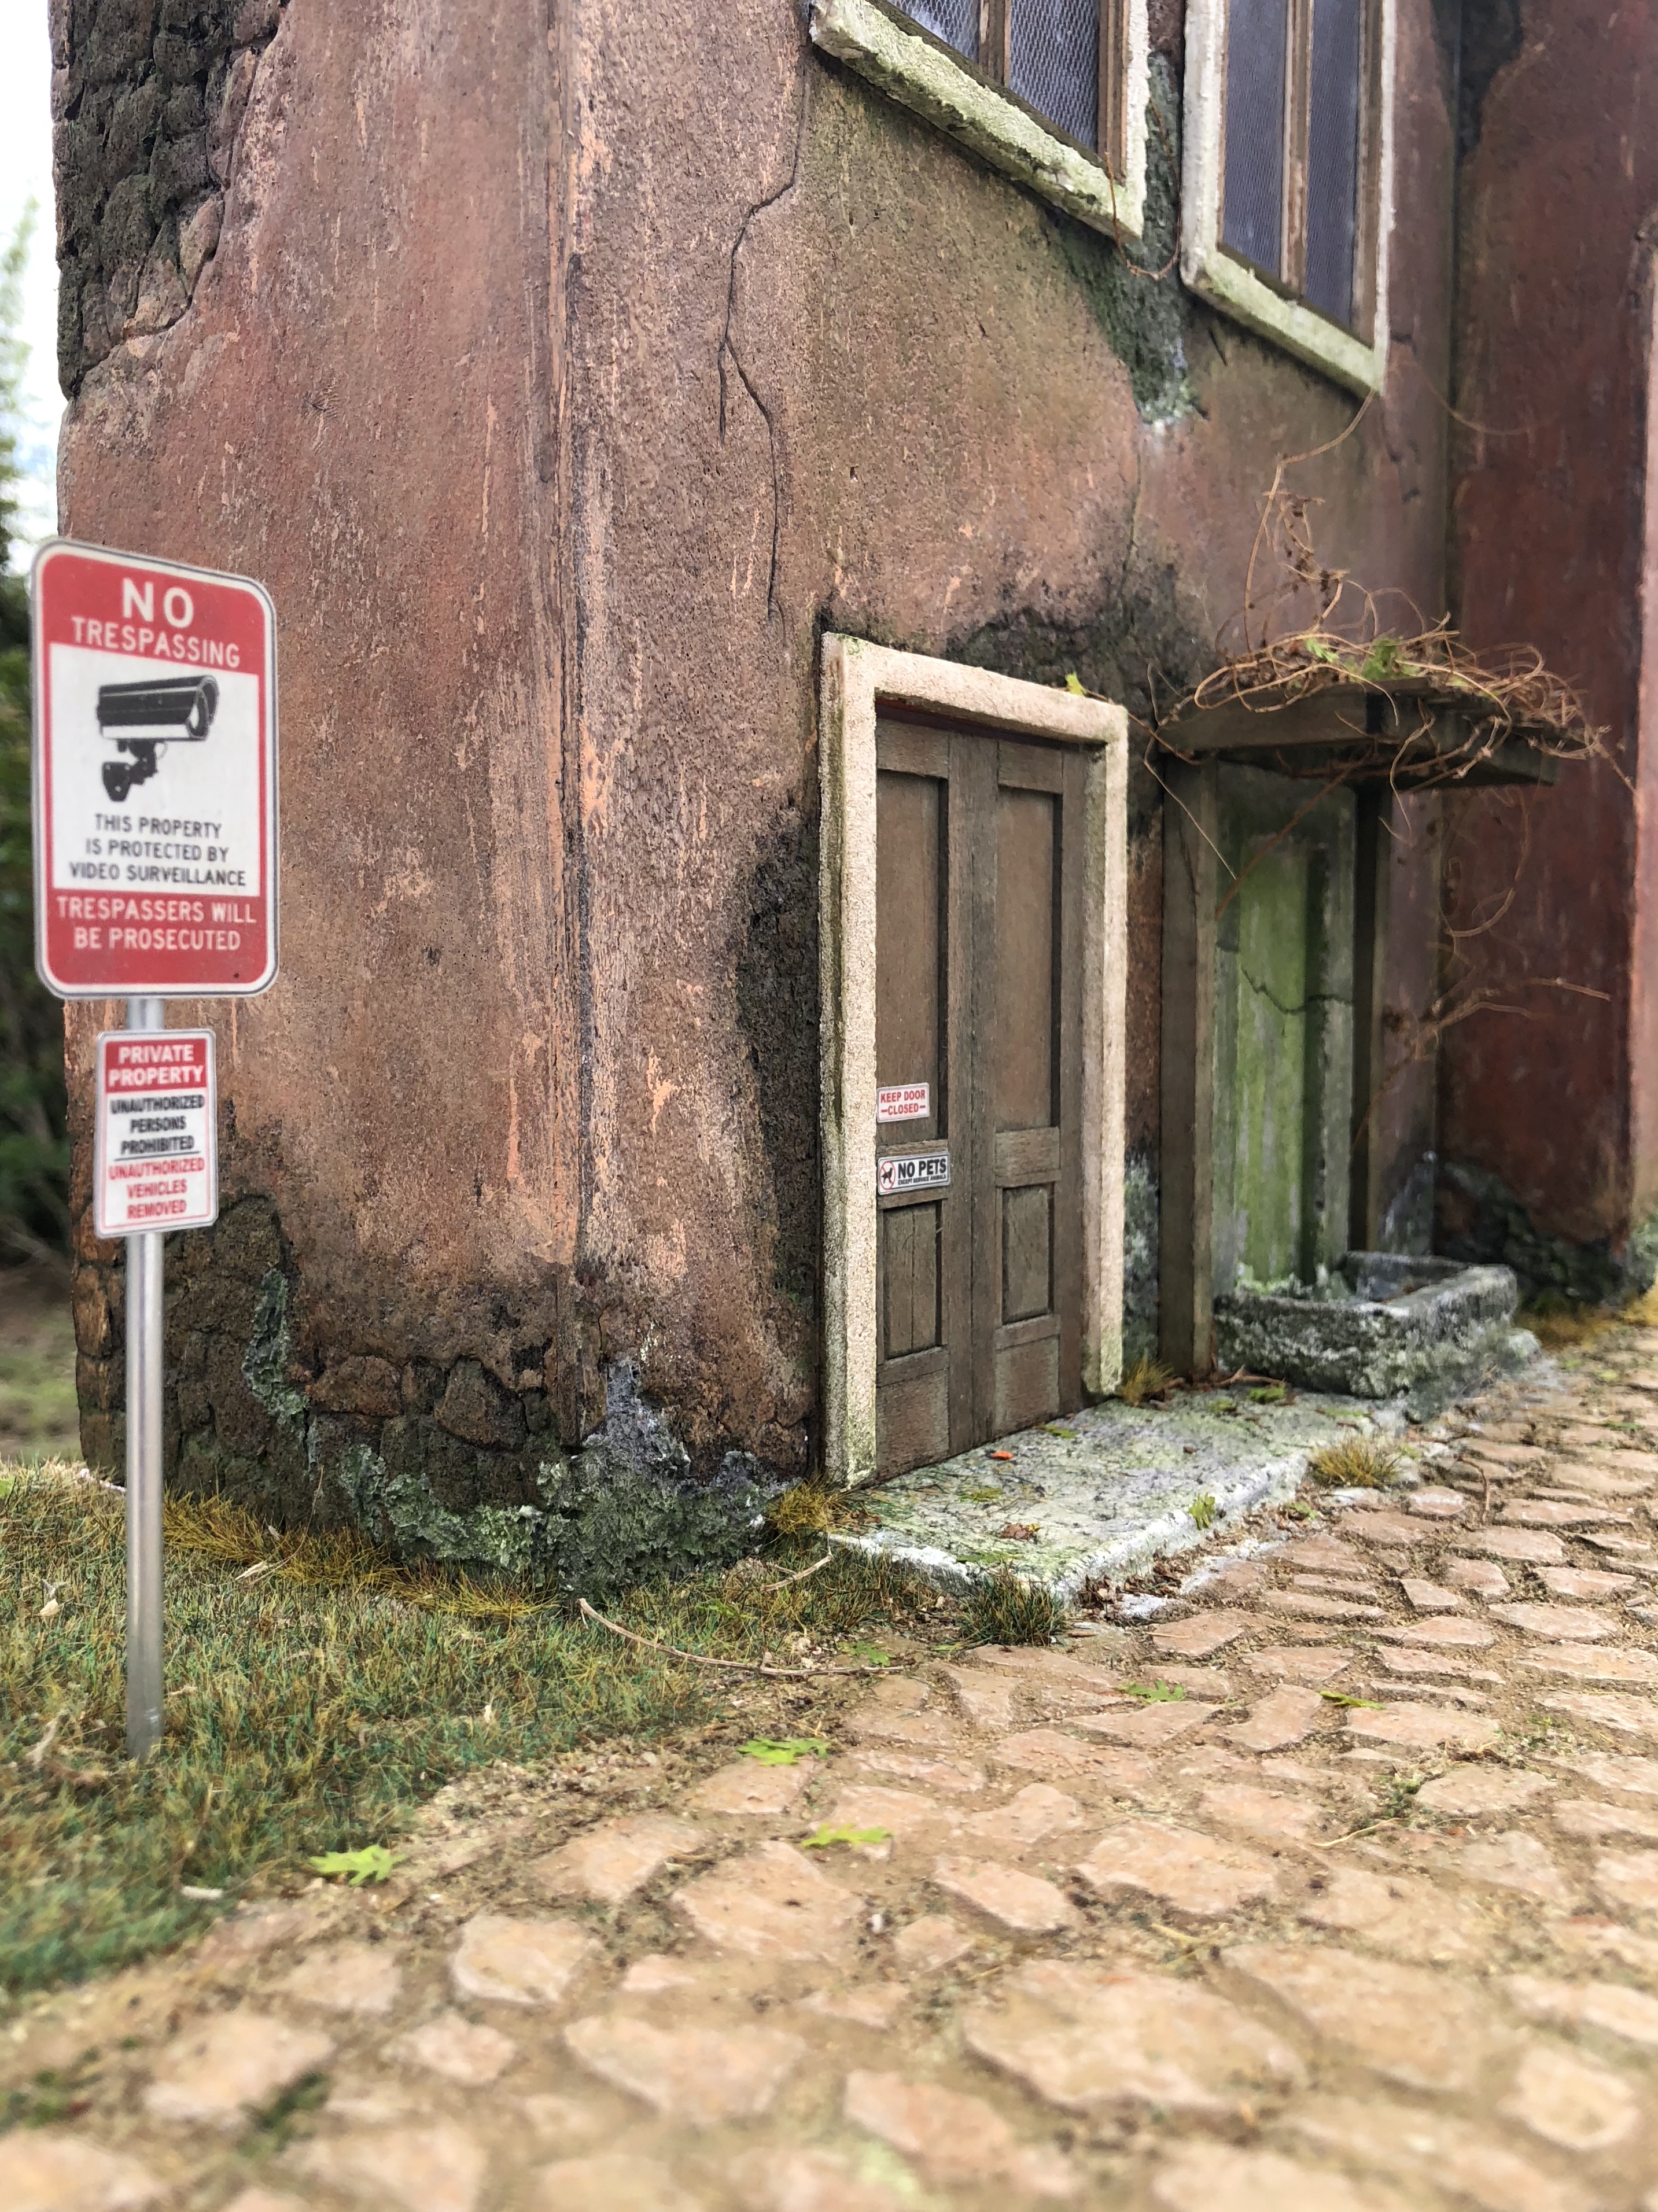
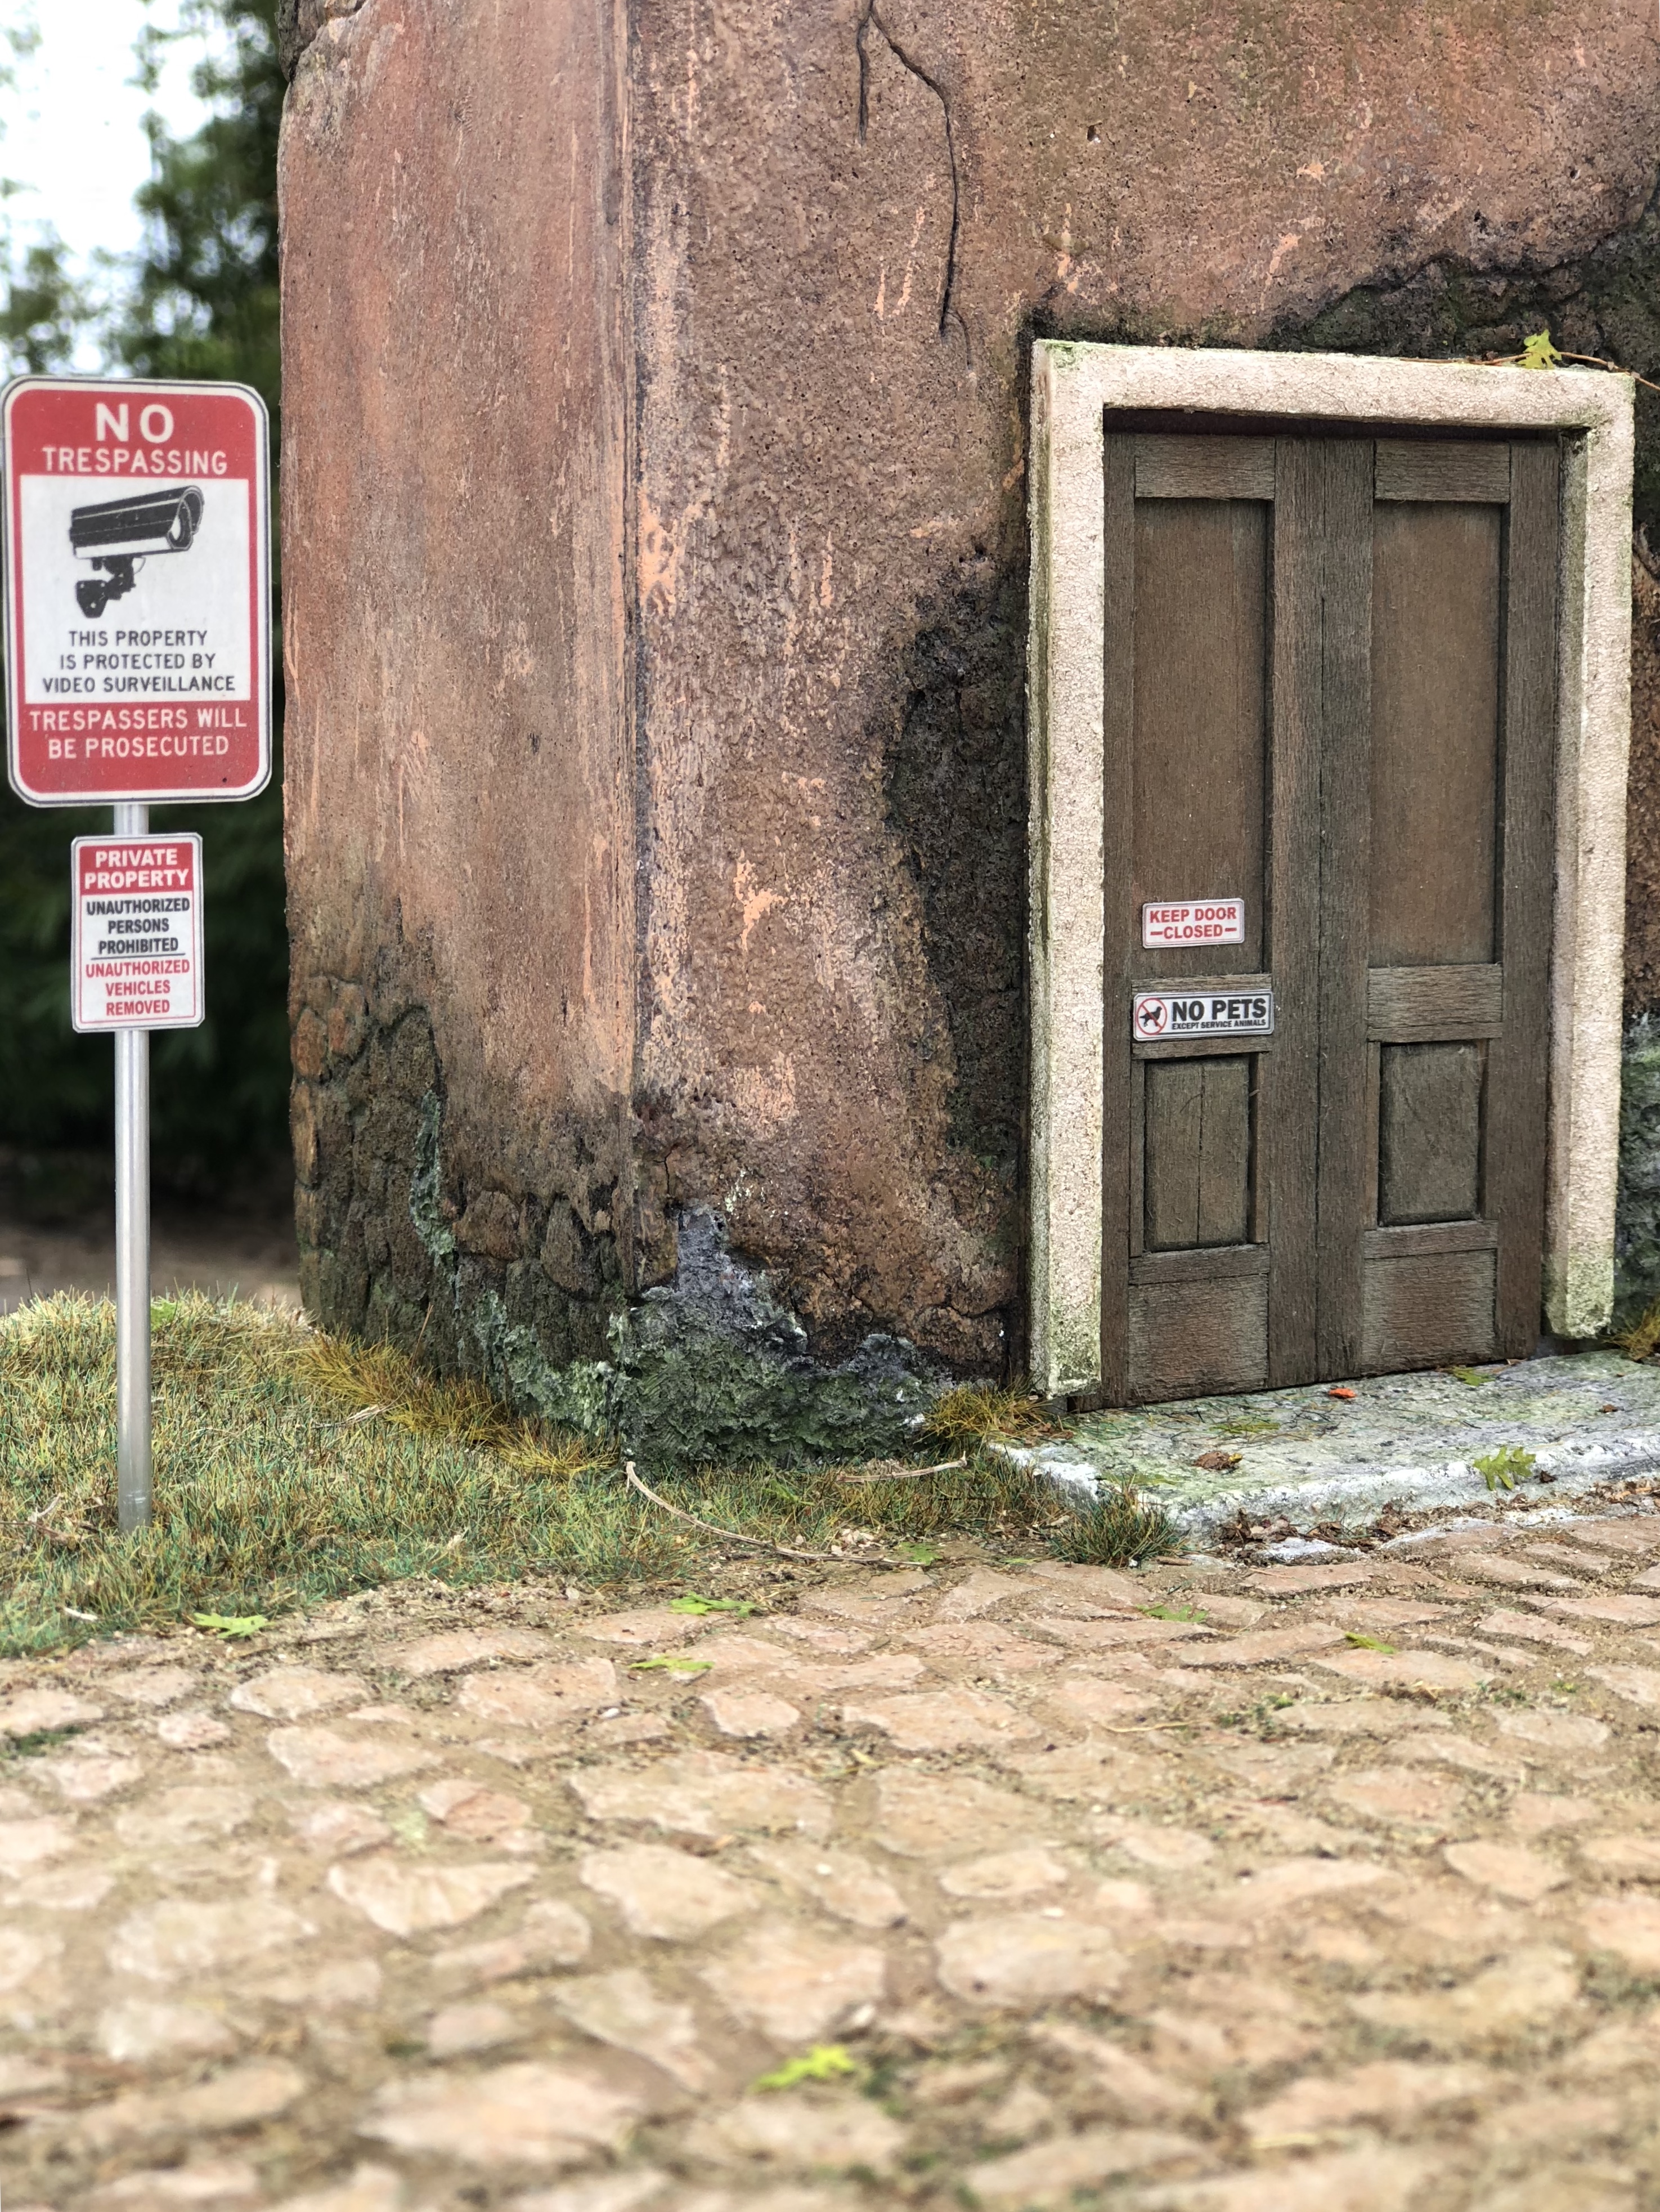
I haven’t posted new updates because I’m waiting on some products to arrive. I ordered some miniature leaves of different variety. I’m hoping these leaves will be in the right scale for me. Meanwhile, I decided to create a library of road signs, and other signs. Once I saved a series of these signs, with the measurements in real life, I began to rescale to 1/24. Here is the first one I made, with instructions. Materials used: 1-) Aluminium can of Celsius I had available (You can use any aluminum can). 2-) 800 grit sanding paper. 3-) Matte Clear Sticker Project Paper (The whole sheet is a sticker and is printable. Think of an oversized label). 4-) Aluminium tubing (You can use styrene as well, as paint it). 5-) Any glue that bonds metal (I use LOCTITE Super Glue, in gel for so it won’t drip). The build: 1-) Cut The Aluminium can, flatten it and clean. 2-) Sand the exterior painted side, carefully in one direction to get the fine grain affect, while trying not to scratch the interior unpainted side (We want that as smooth as possible, since that’s where the sticker/decal will go). The sanding might not be too perfect but it gives a natural look, since scratches might happen during handling in real life. 3-) Print the sticker/decal and glue to a piece of the Aluminium (on the side that was inside of the can). I used the matte clear Sticker Paper because it gives a reflective affect against the aluminum back and it doesn’t leave a white paper edge (See the picture with a piece against the sharpie). If you rather have a white background I would suggest to paint it instead. Note: I pre-arranged a series of signs using a word document. Then printed the sheet, cut them and stored for later use. 4-) Cut a piece of tubing, for the post, to length. 5-) Glue sign to the tubing. 6-) Weather, if desired, and post in place. This is the first sign I make in this fashion. I think I gives a realistic look. I just need to find very small bolts and nuts, or find a way to mimic them.

-
That it’s really cool looking. I really like it.
-
Amazing lighting effect. It sort of looks like your windows have raindrops, or it’s snowing outside.
-
Great idea. I will give it a try. As a matter of fact, I just got a photoshop software installed in my computer.
-
Ok, I’m having second thoughts on the sign. It was pointed out by a member that the sign looks out of scale. After looking closer I believe it does look somewhat out of scale. I don’t know if it’s the thickness of the wood or just the size in general. Instead, I might just cut a piece of aluminum from a Coca Cola can, flatten it, prepare and glue a decal with the name on it. The aluminum is thinner and might be a better fit. Suggestions are welcome. Thanks.
-
Thank you. I will experiment with black and white filters.
-
Thank you very much.
-
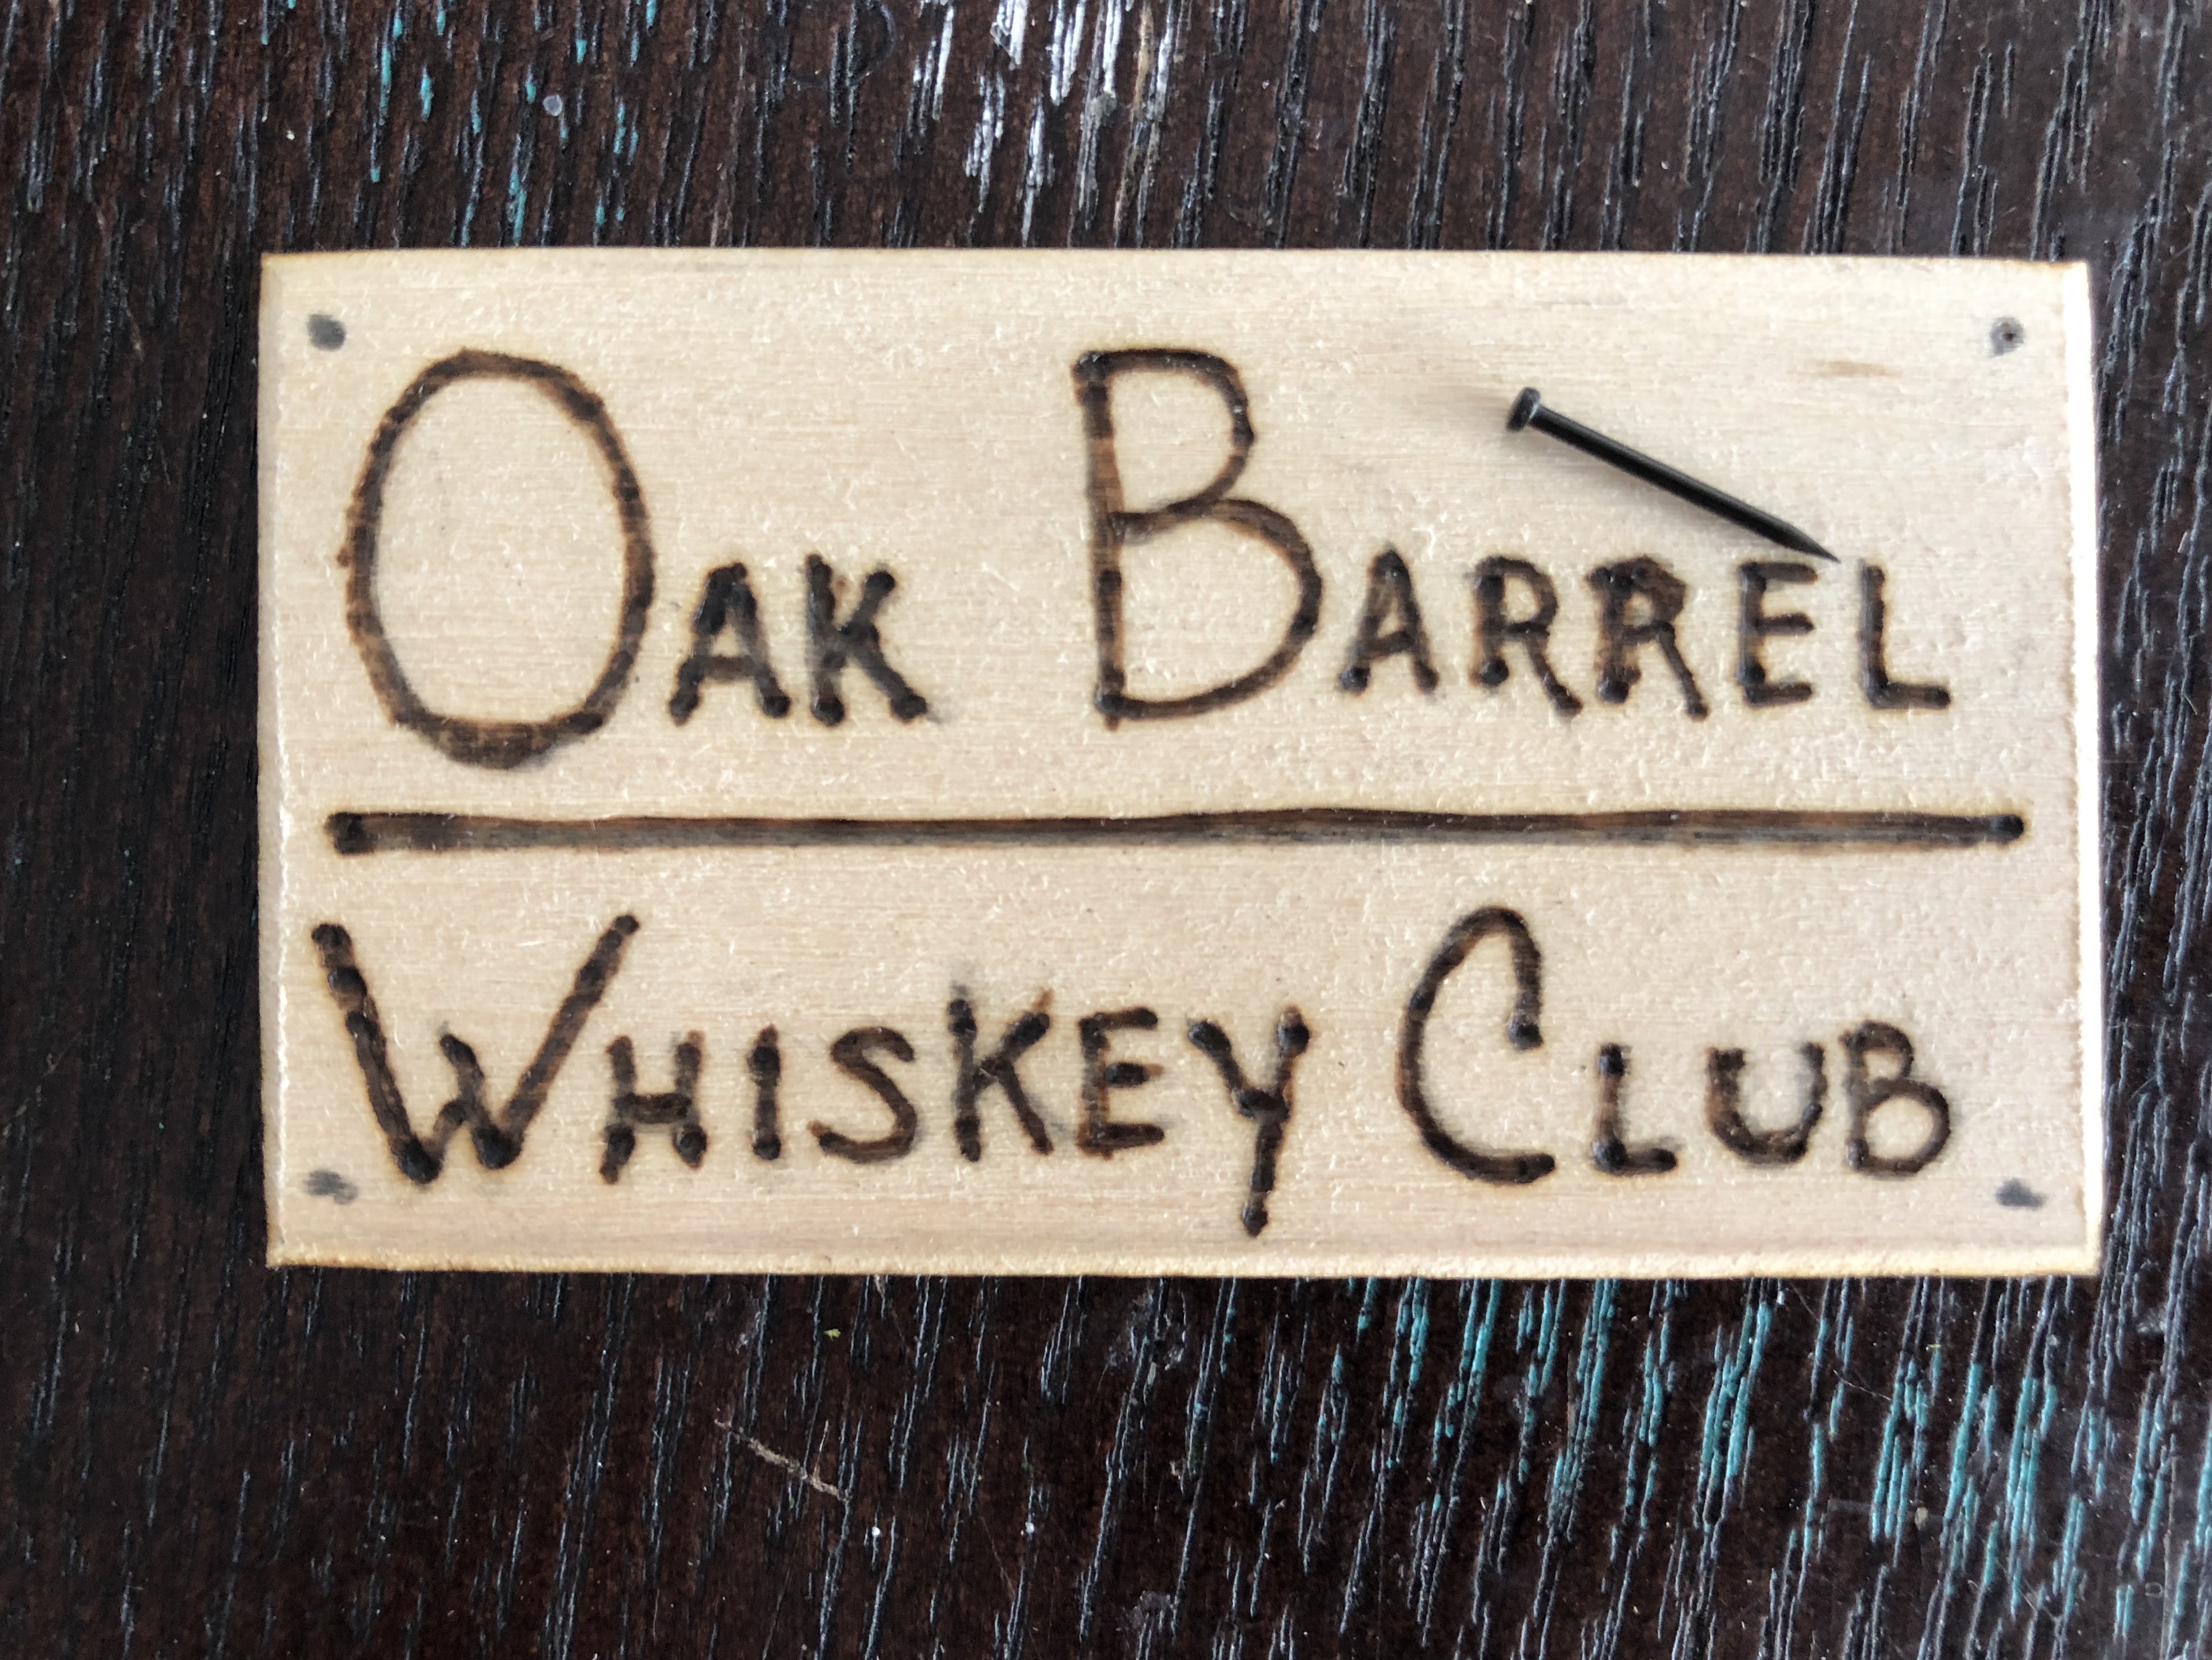
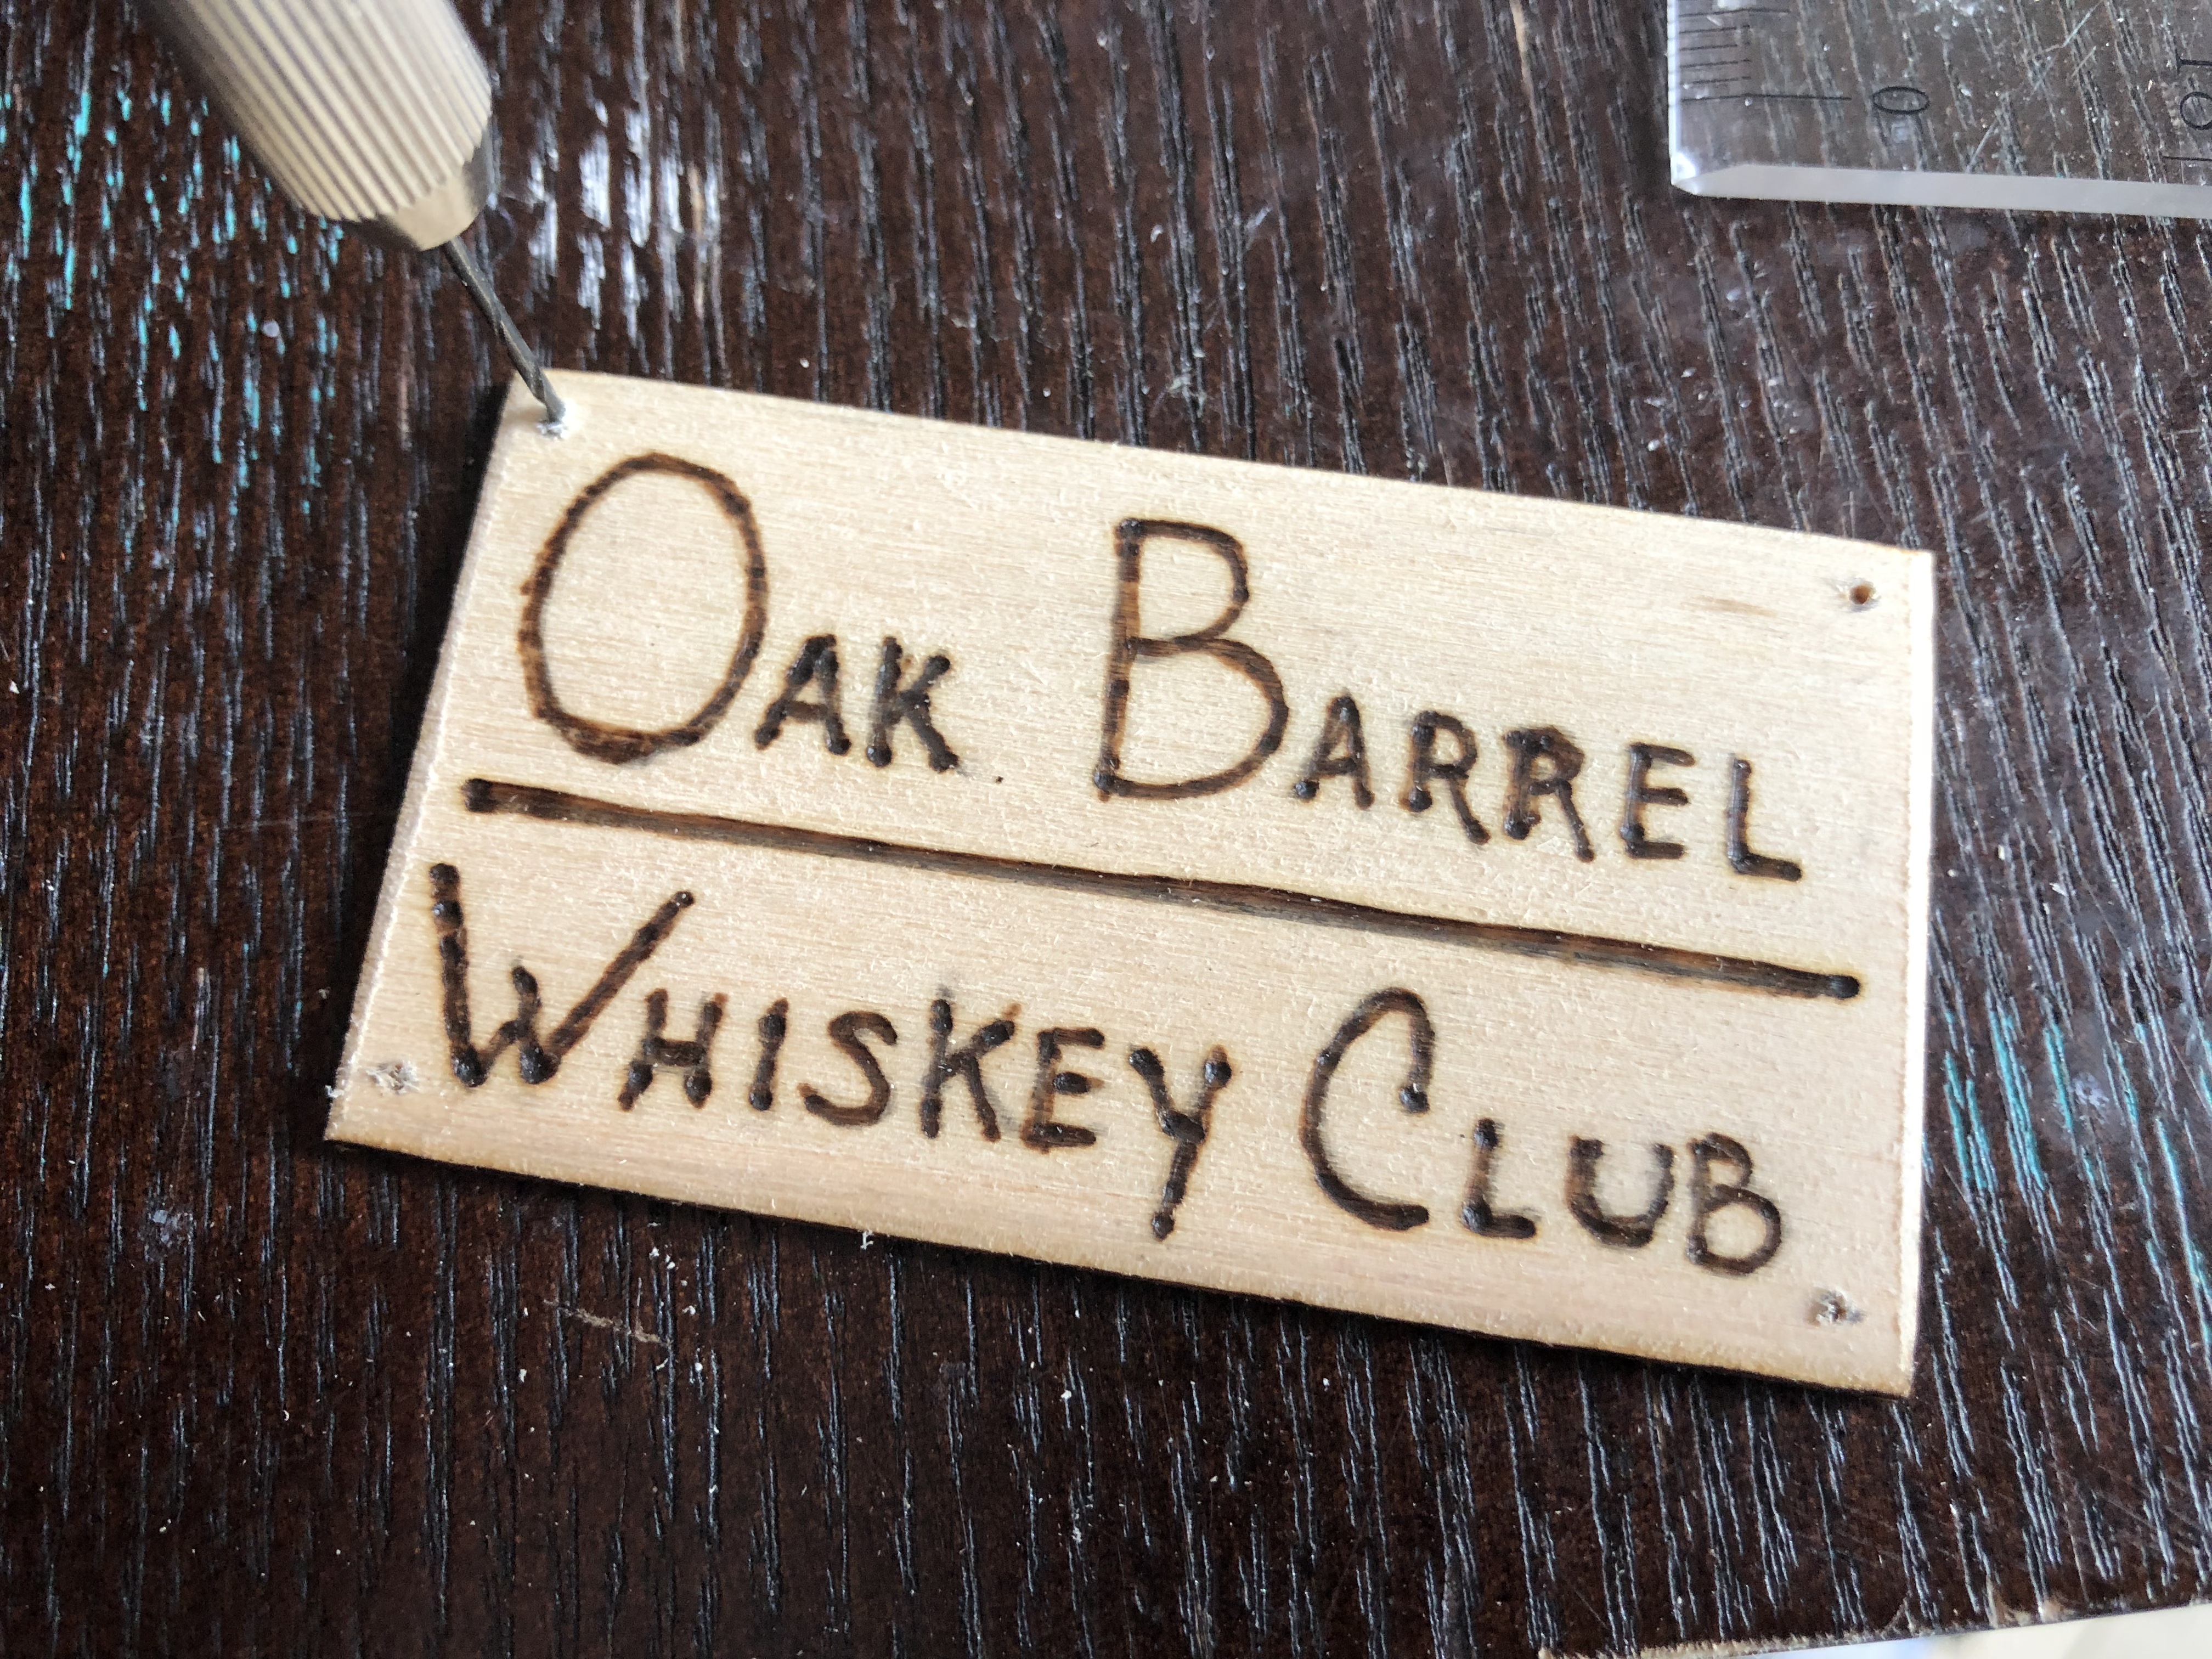
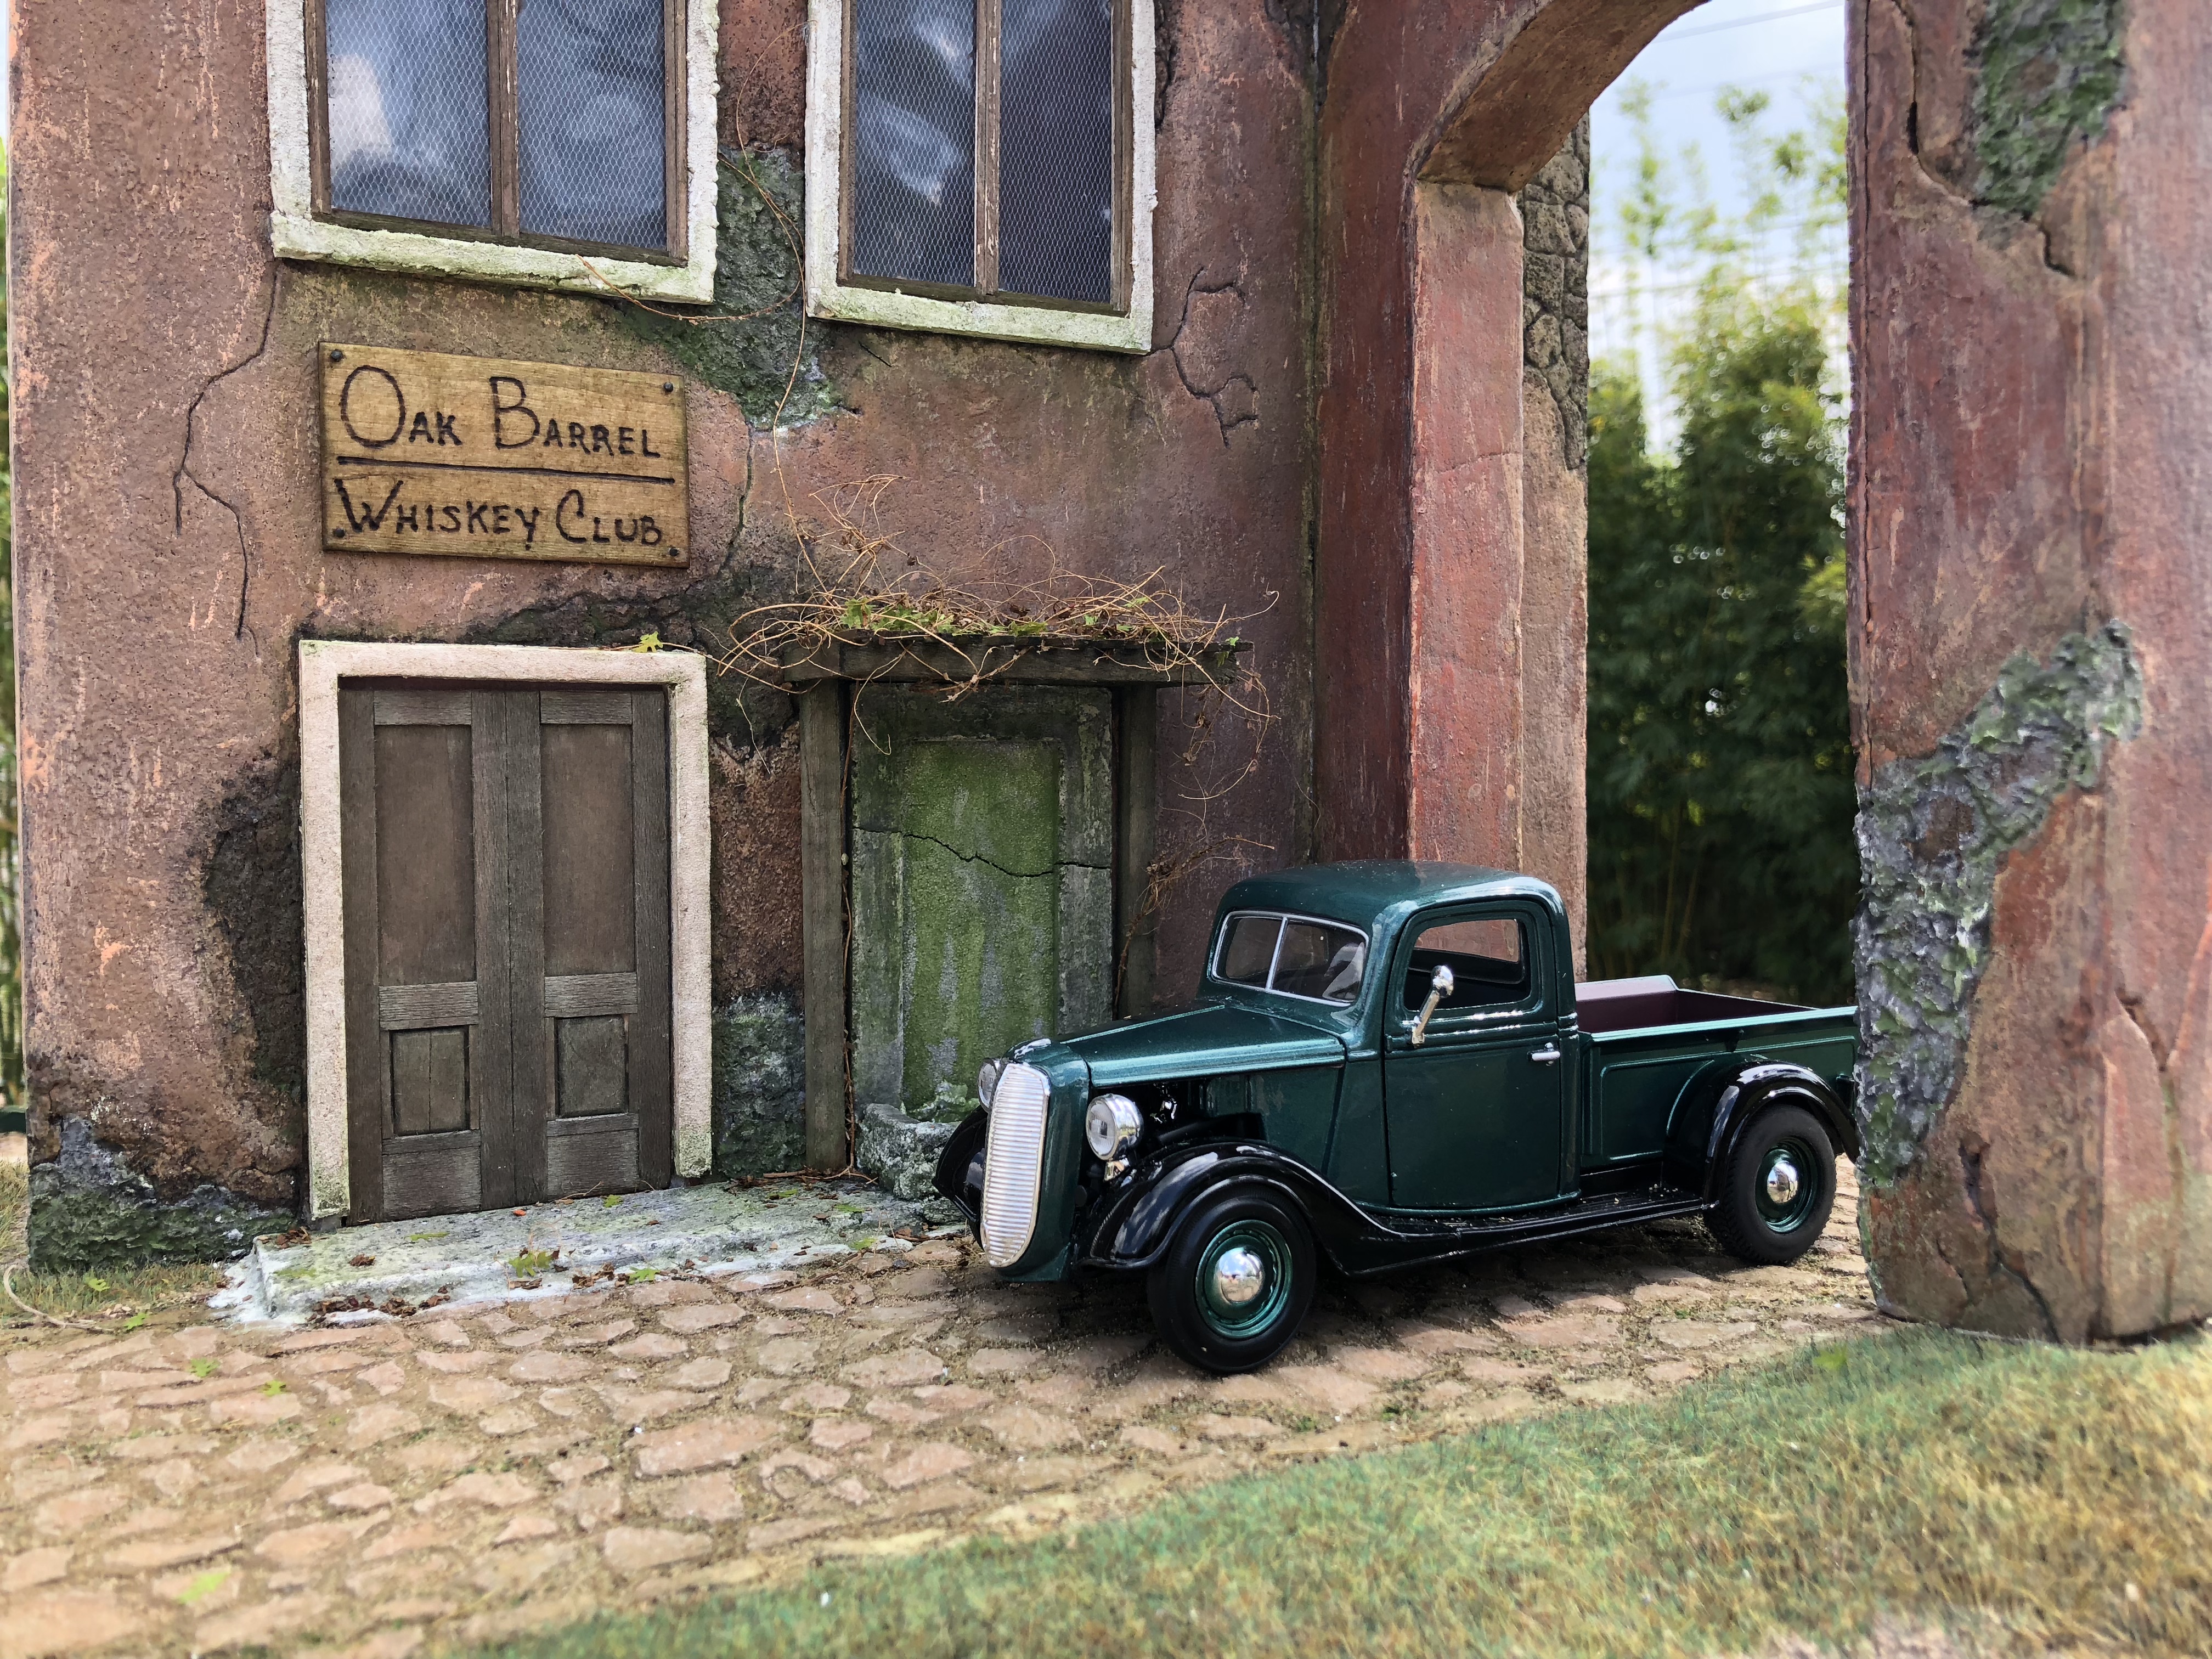
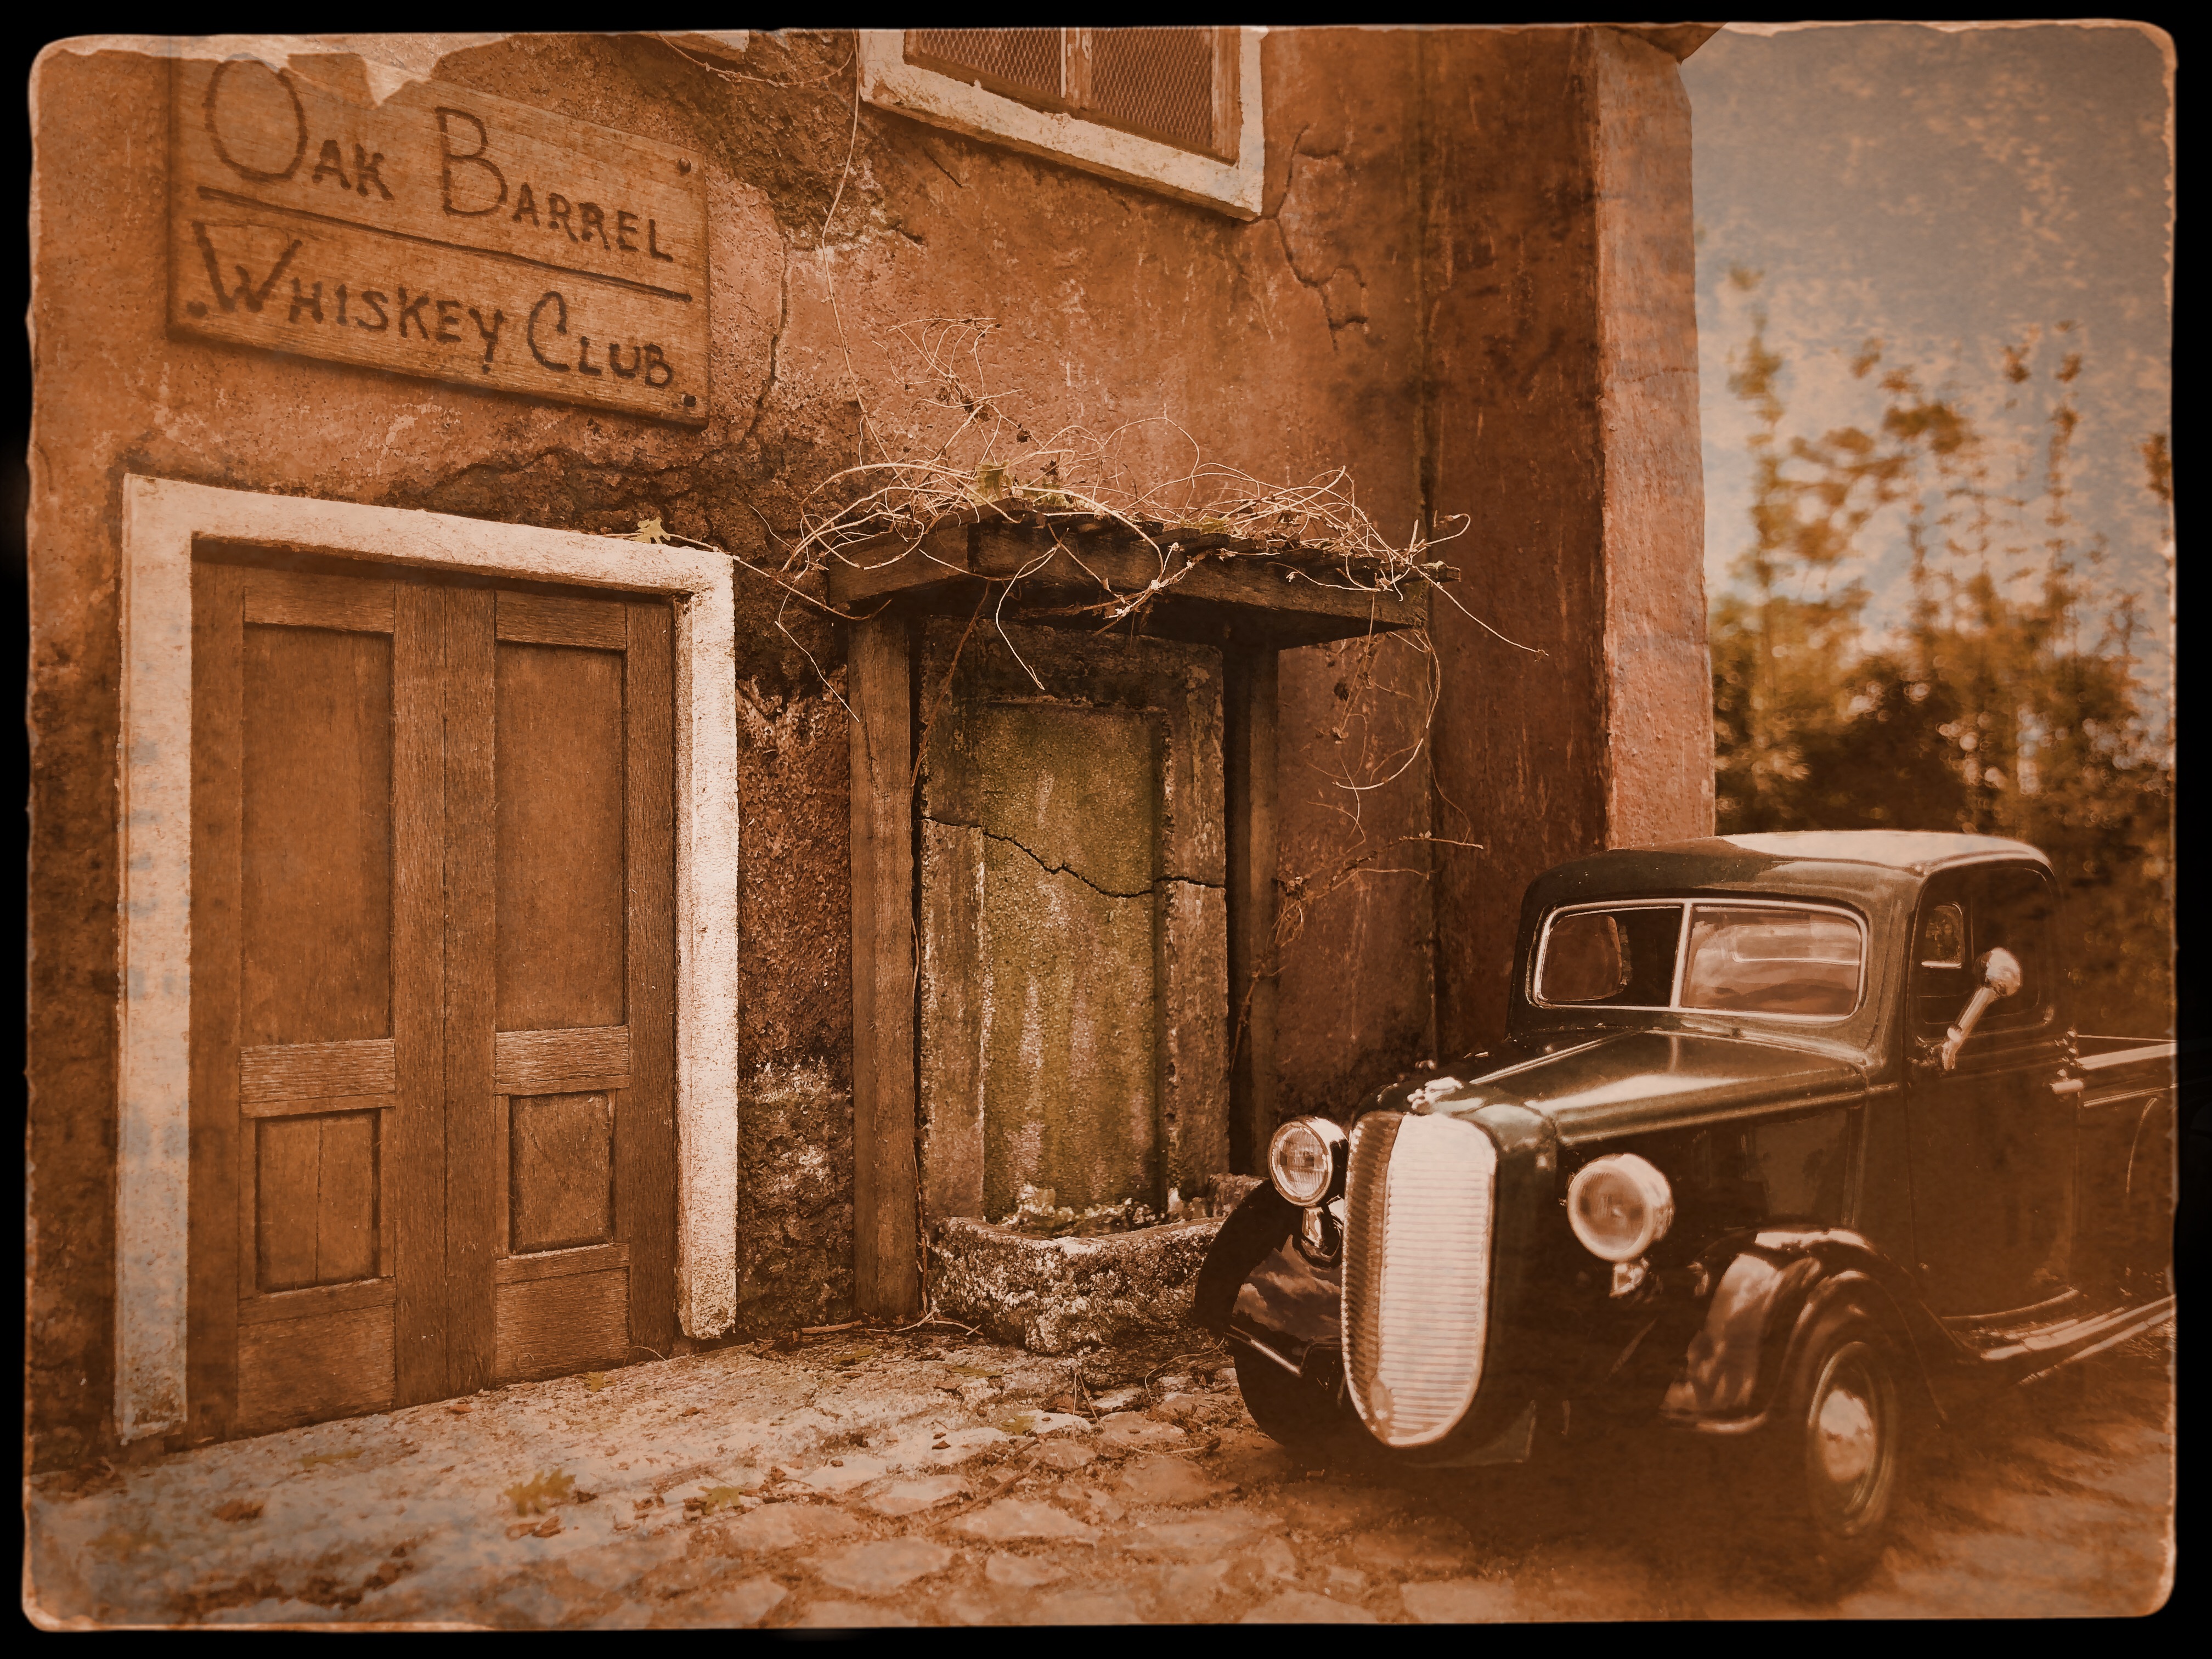
The Oak Barrel Whiskey Club is up. I know the title has an “S”’in Barrel, but a member like it this way instead, and I agreed. It is still wet from the washes, so it will look better once it dries, I think. I also added a vintage filter to my photo, using Vintage Scene Cellphone Appication. 1- I engraved the name with a soldering iron. 2- I drilled corner holes for the HO scale track nails I used as fasteners. 3- A transparent raw umber acrylic ink wash applied. 4- A very diluted black ink wash applied. 5- Some random olive green water color wash applied, where it meets the other green areas. (Note: All three washes where wet-on-wet. This way it mixes and transitions in a more natural way). Sugestions are welcomed.
-
Thanks a lot, Gary. I’m happy to hear I’m giving valuable information to the MCM community. I have obtained great information and feedback from many members, like yourself, and that’s really motivated me to challenge myself. As a new modeler, some times I wanna give up, but then I receive kind words like yours. Thank you very much.
-
Thank you, David. I’m glad you liked it.
-
Tank you very much, Mark. I have struggled as well with the practice. I also started with an HO scale model layout, which all I did to it was the tracks and the hills. I got frustrated because I didn’t know how to proceed, so I dumped everything. That was a about three years ago. I was still attracted to the hobby, so I continue reading and watching online tutorials, until I decided to start with small projects a few months ago (dioramas). I’m still having a hard time calibrating my eyes to small scale. If you have questions on the techniques I use I’ll be glad to help (keep in my I’m still a newbie).
-
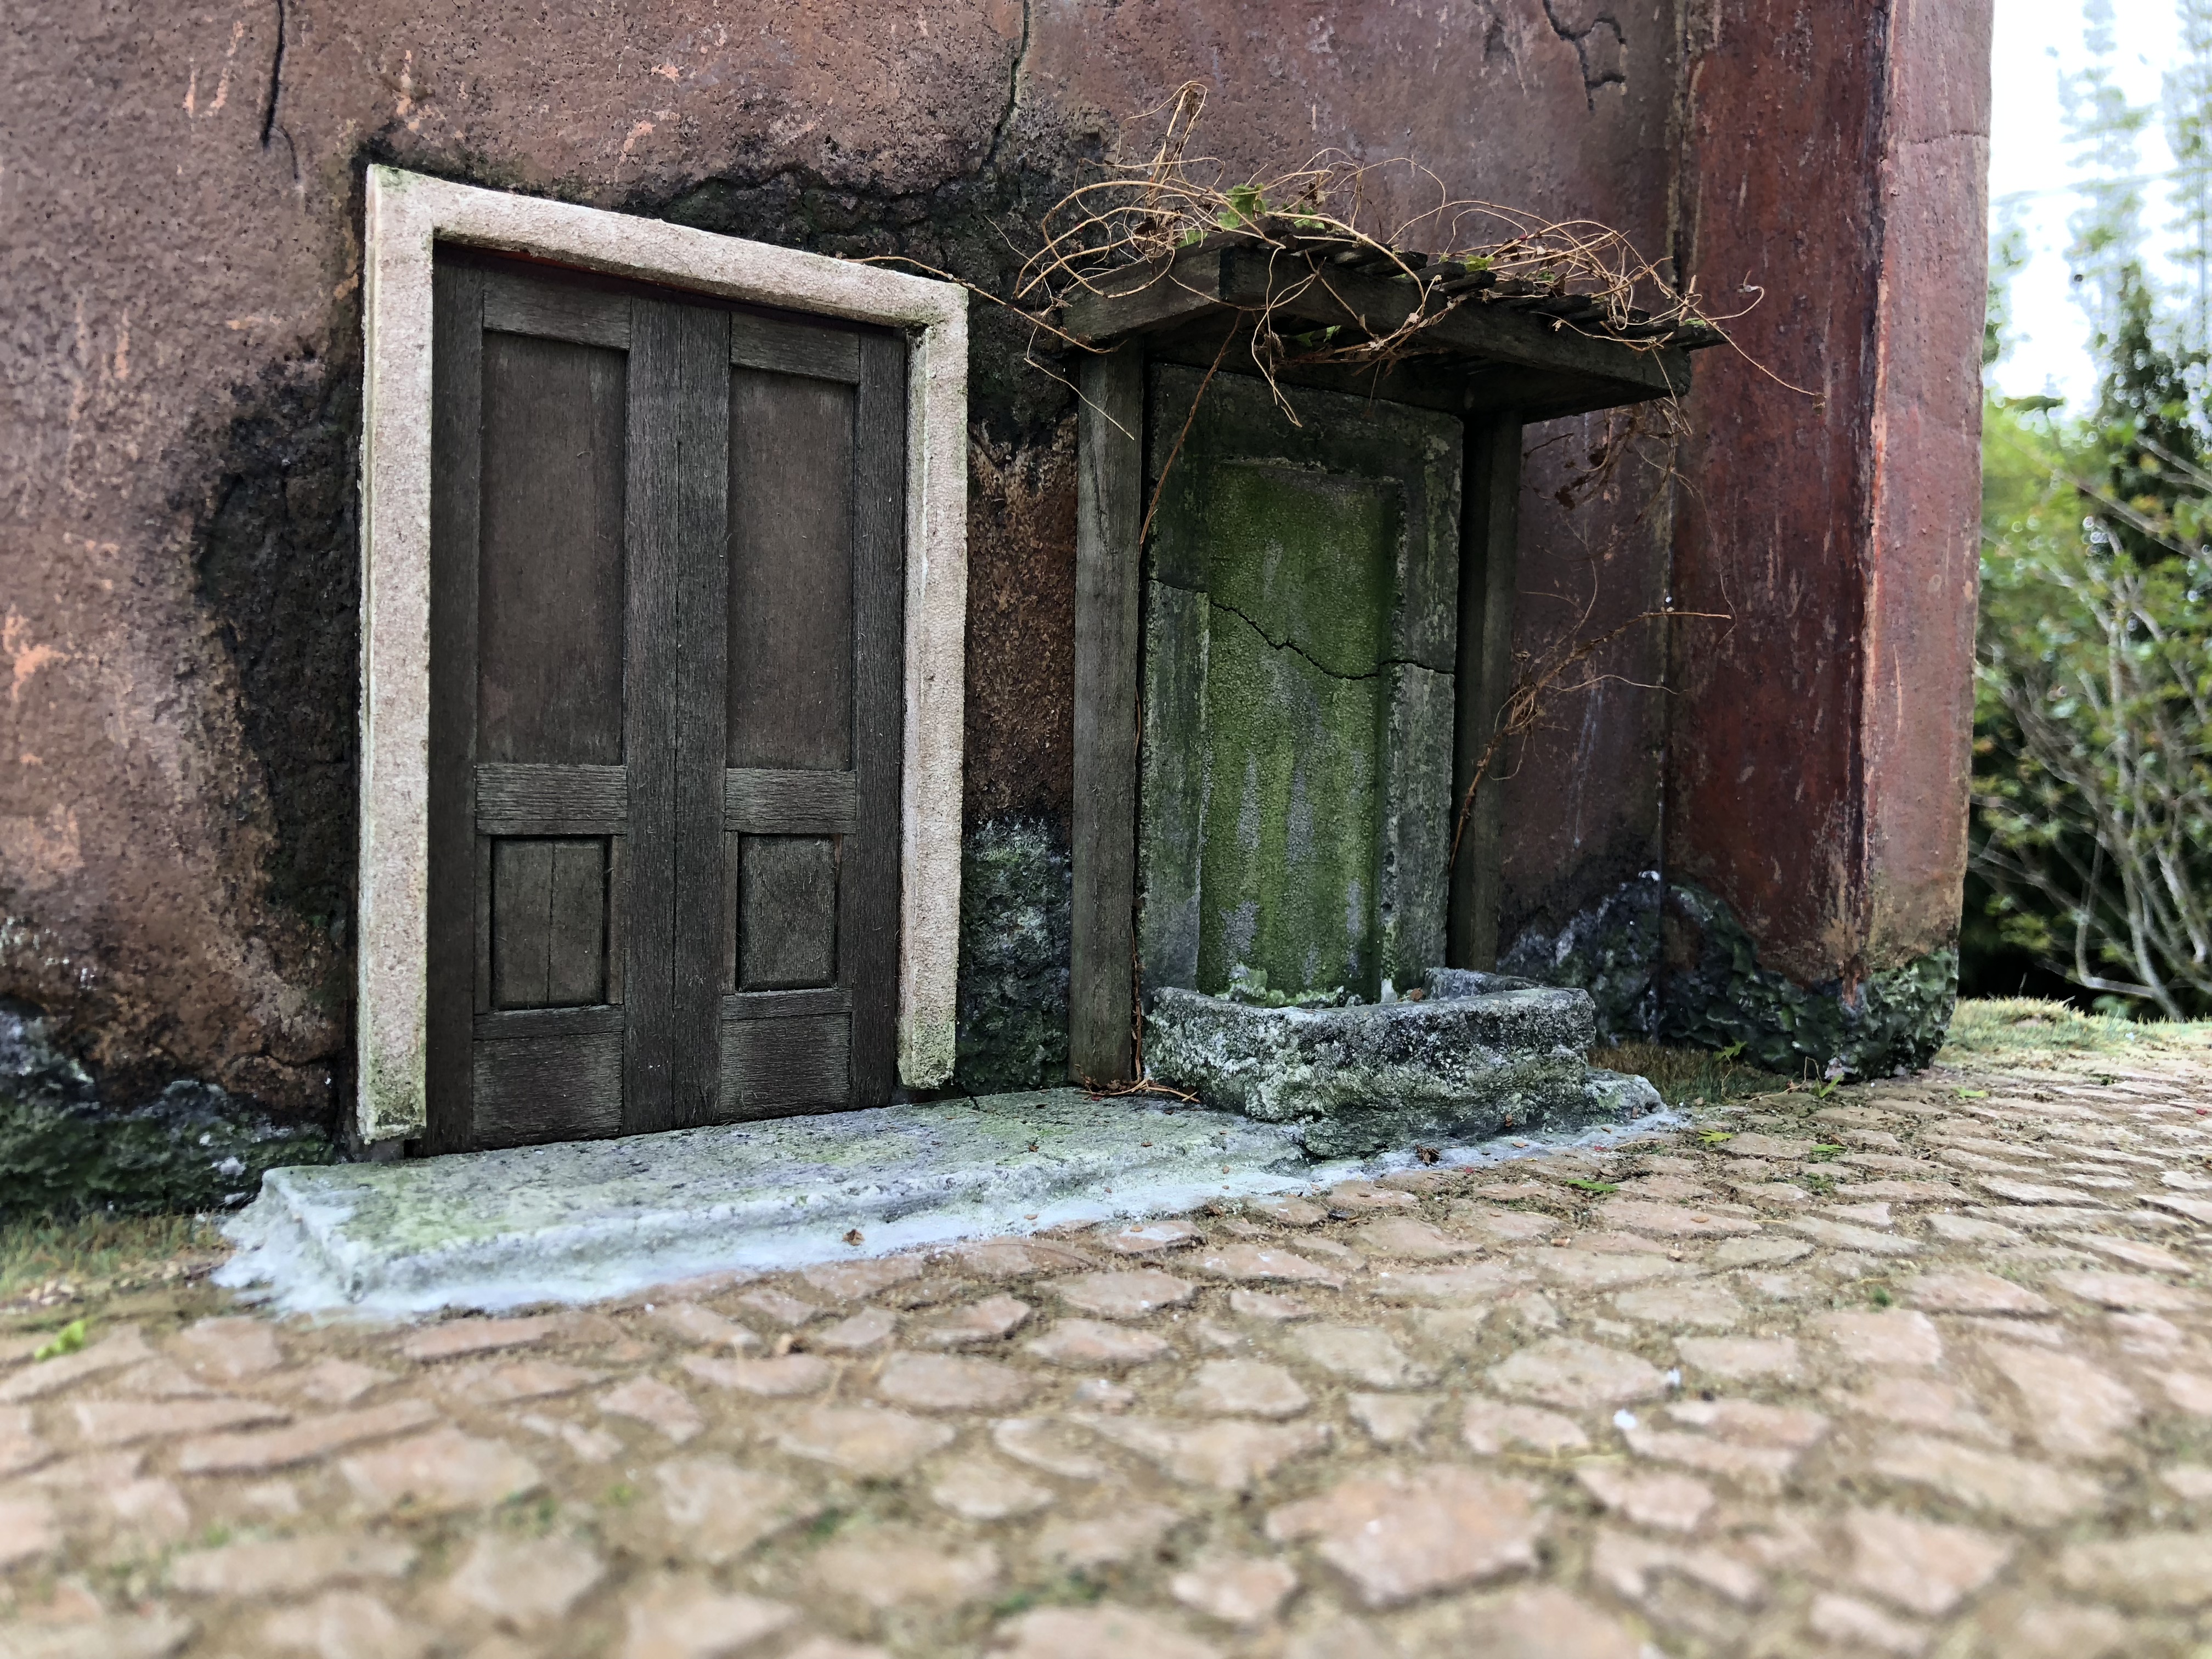
I would continue working on the diorama and then weather the rest last, unless is an area you won’t be able to reach later. Keep in mind that anything else you add to the structure or ground will need weathering as well (around it, under and top). I lookmat thing like in real life. Pic a side that gets hit by the sun the most, and the paint will be more pale and or peeling off. Where is less expose and you have vegetation or objects against it, there will be mildew and possibly moss growing (I use olive green watercolor for the green mildew and for the moss I use woodland scenic HO scale fine turf). I really like the concrete color you applied and the grey wash goes very well.
-
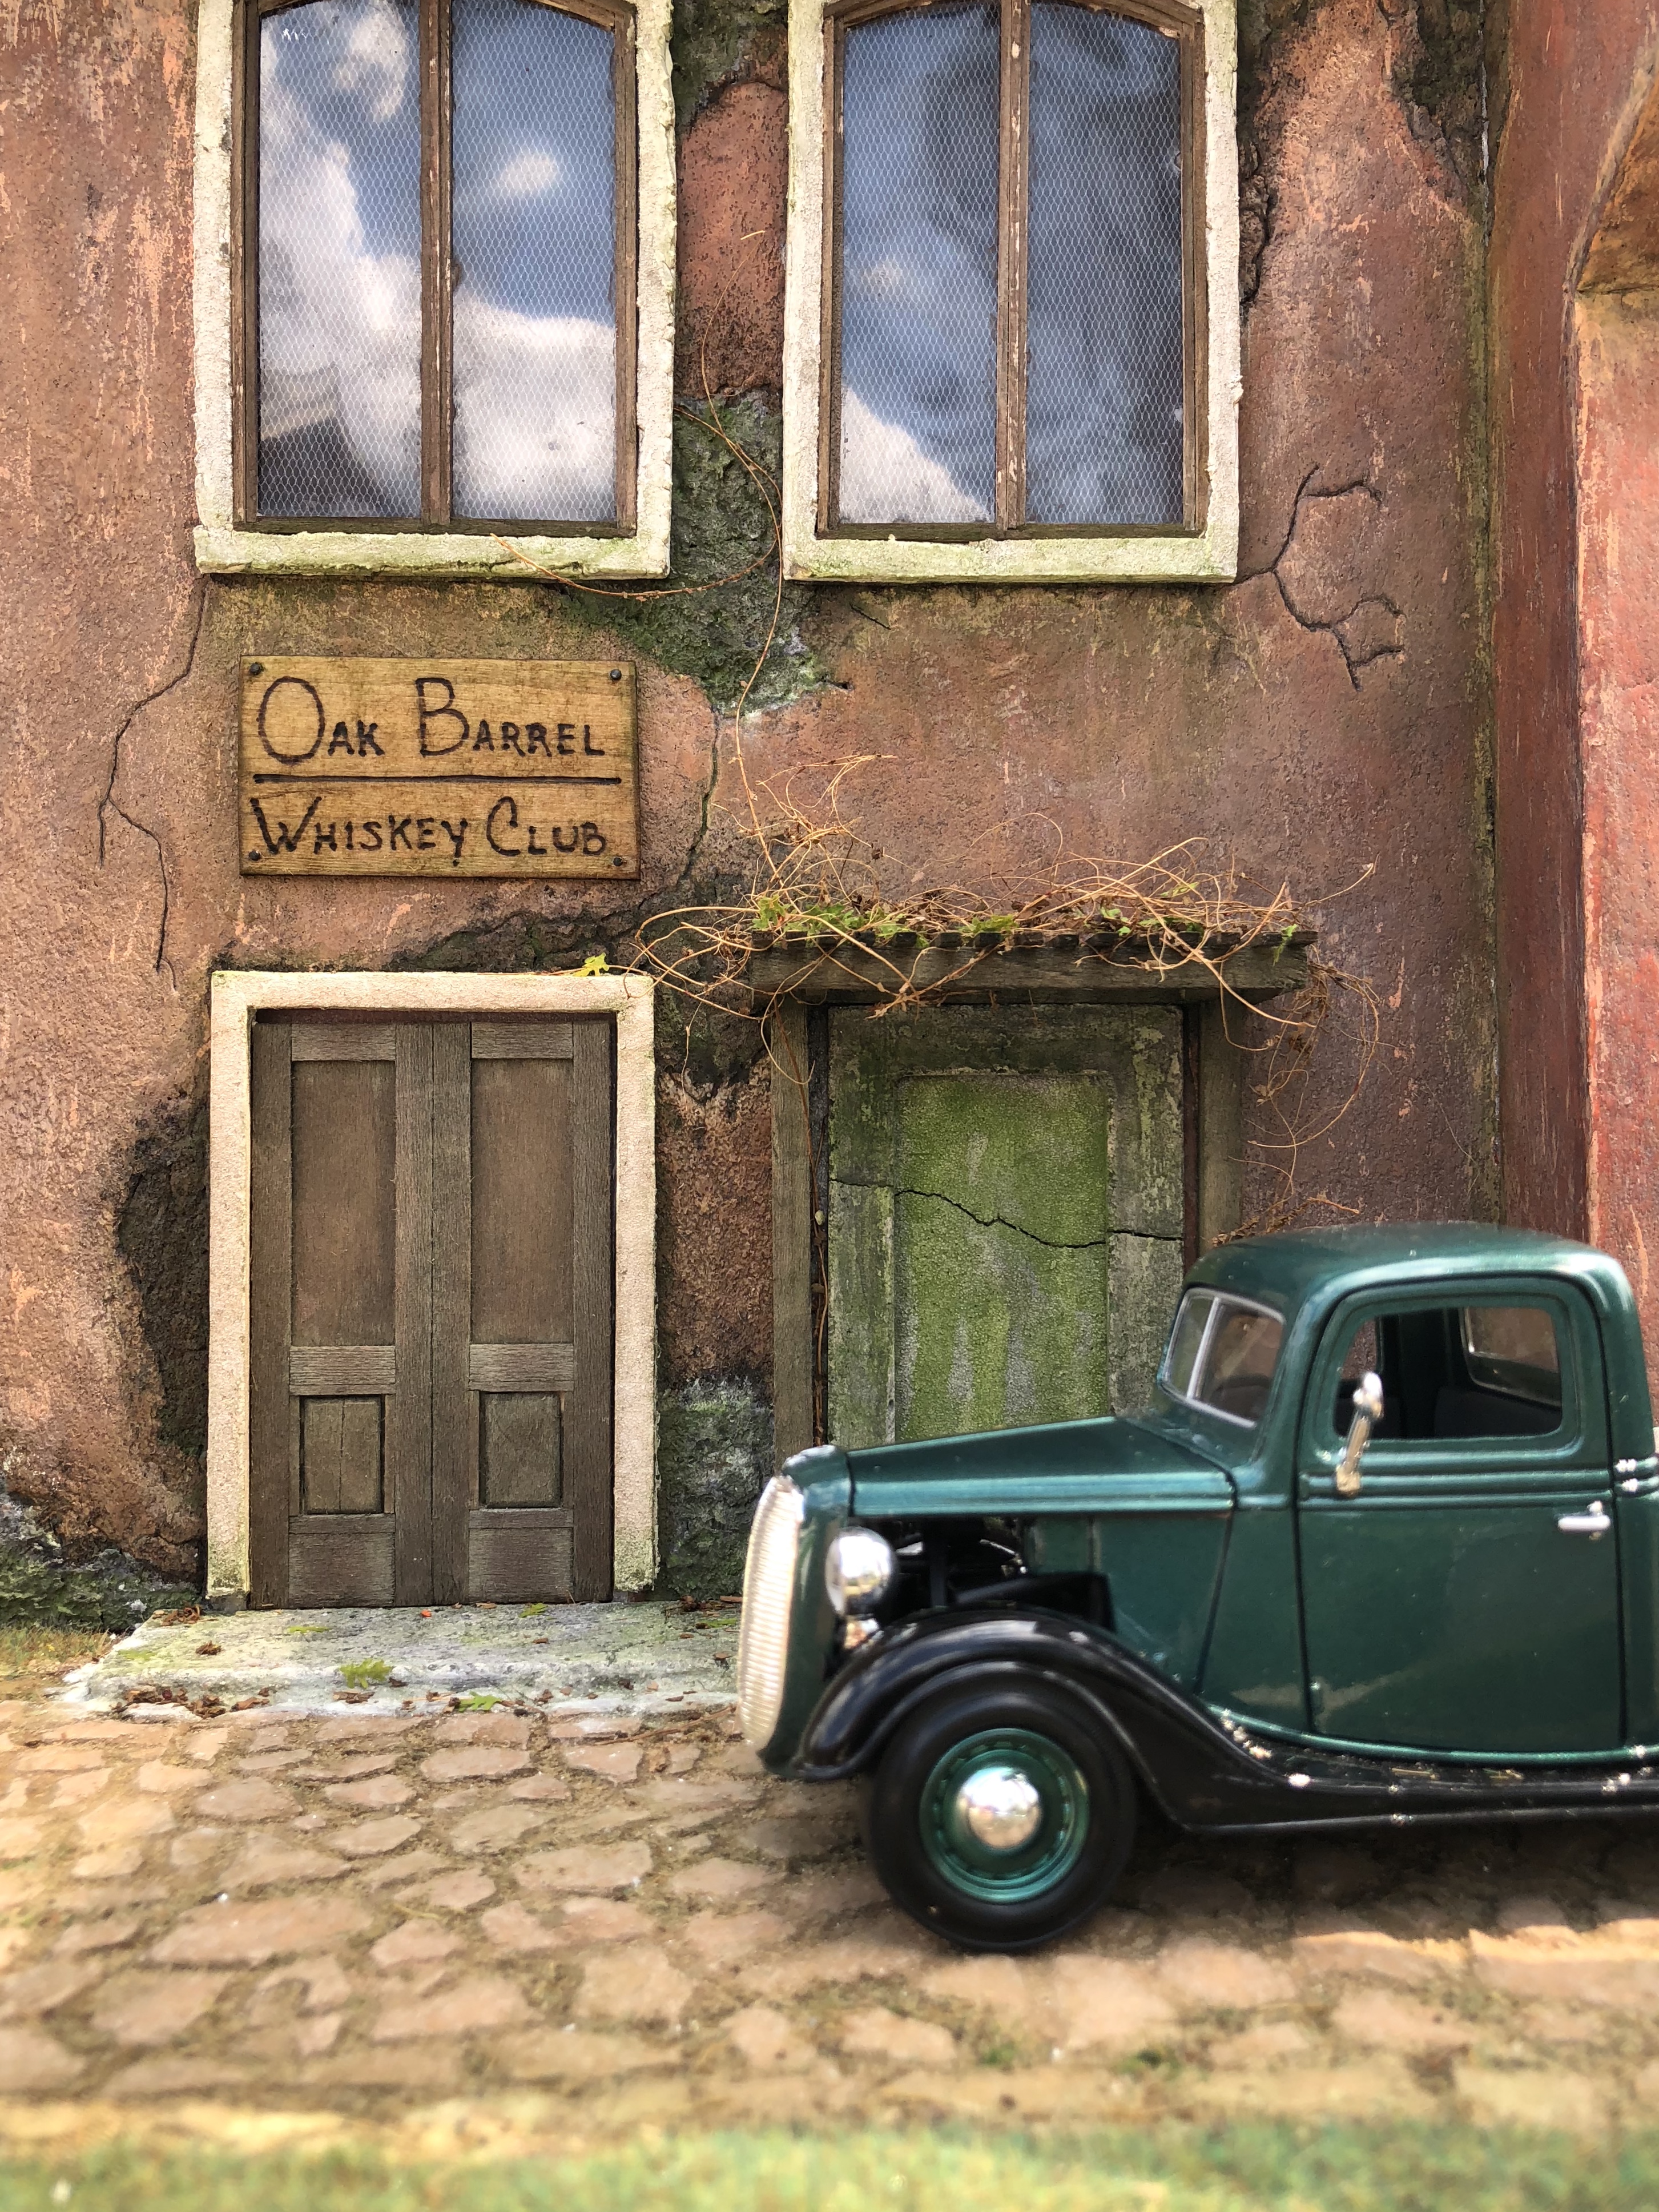
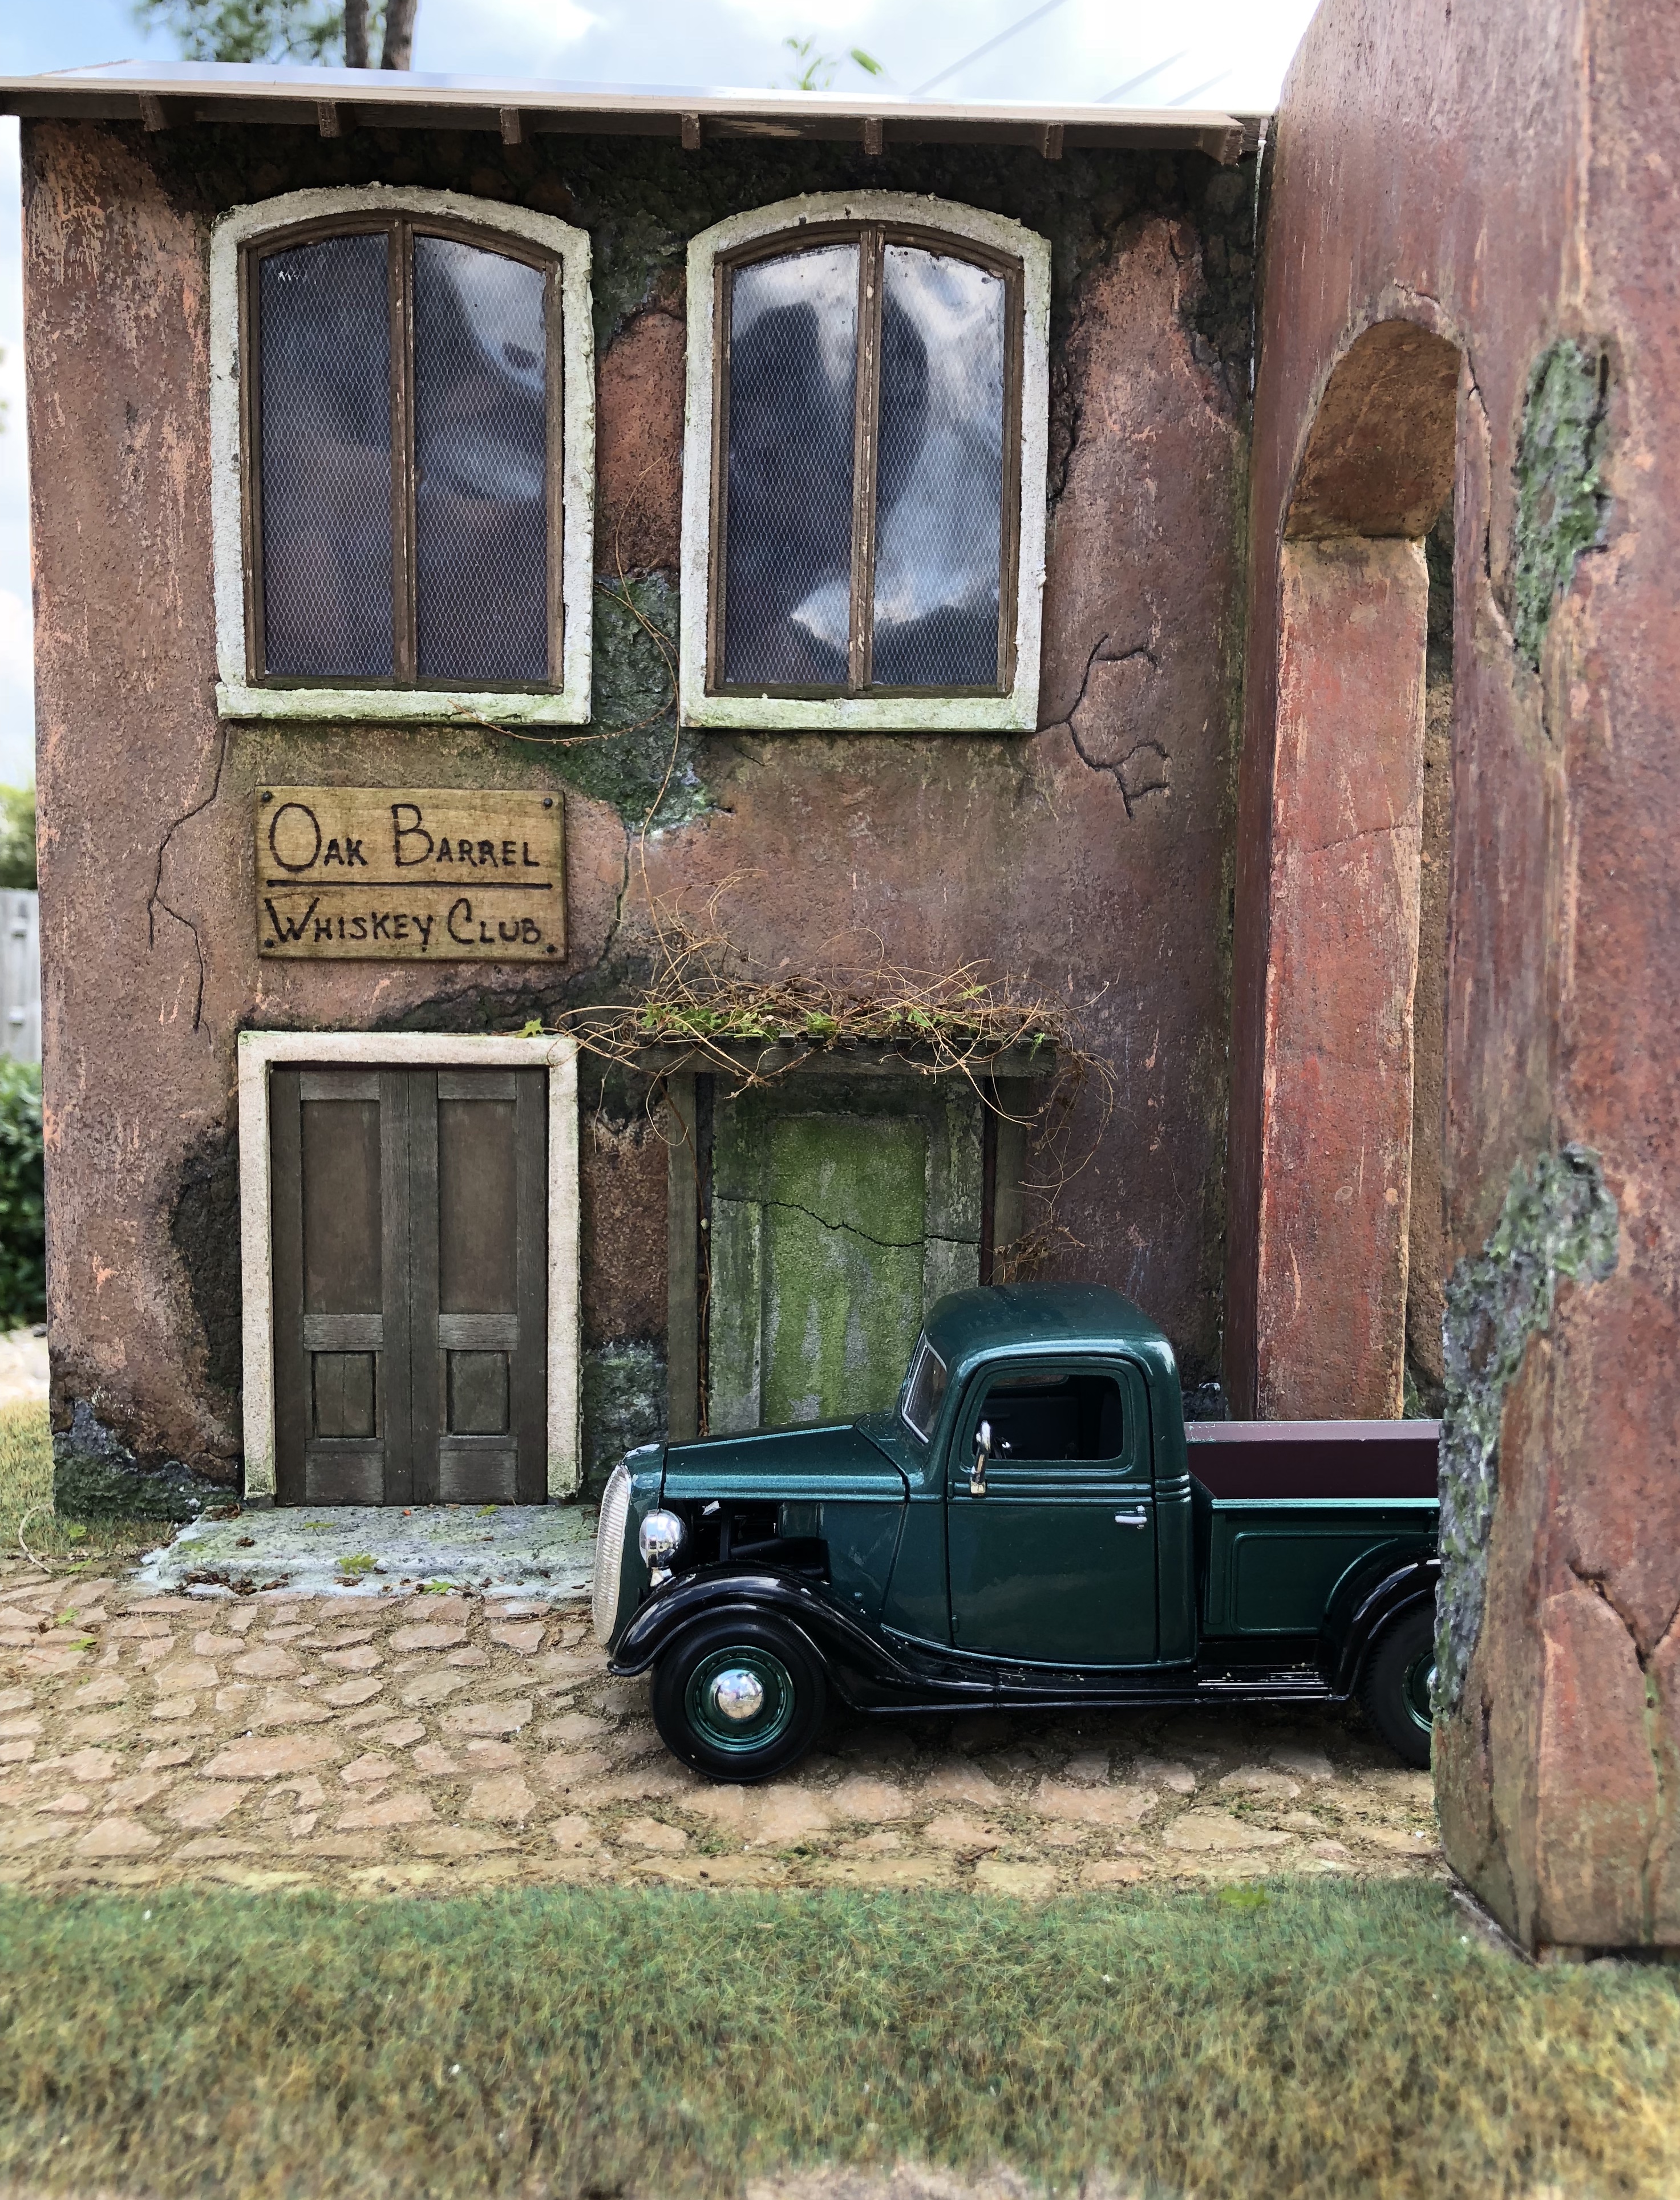
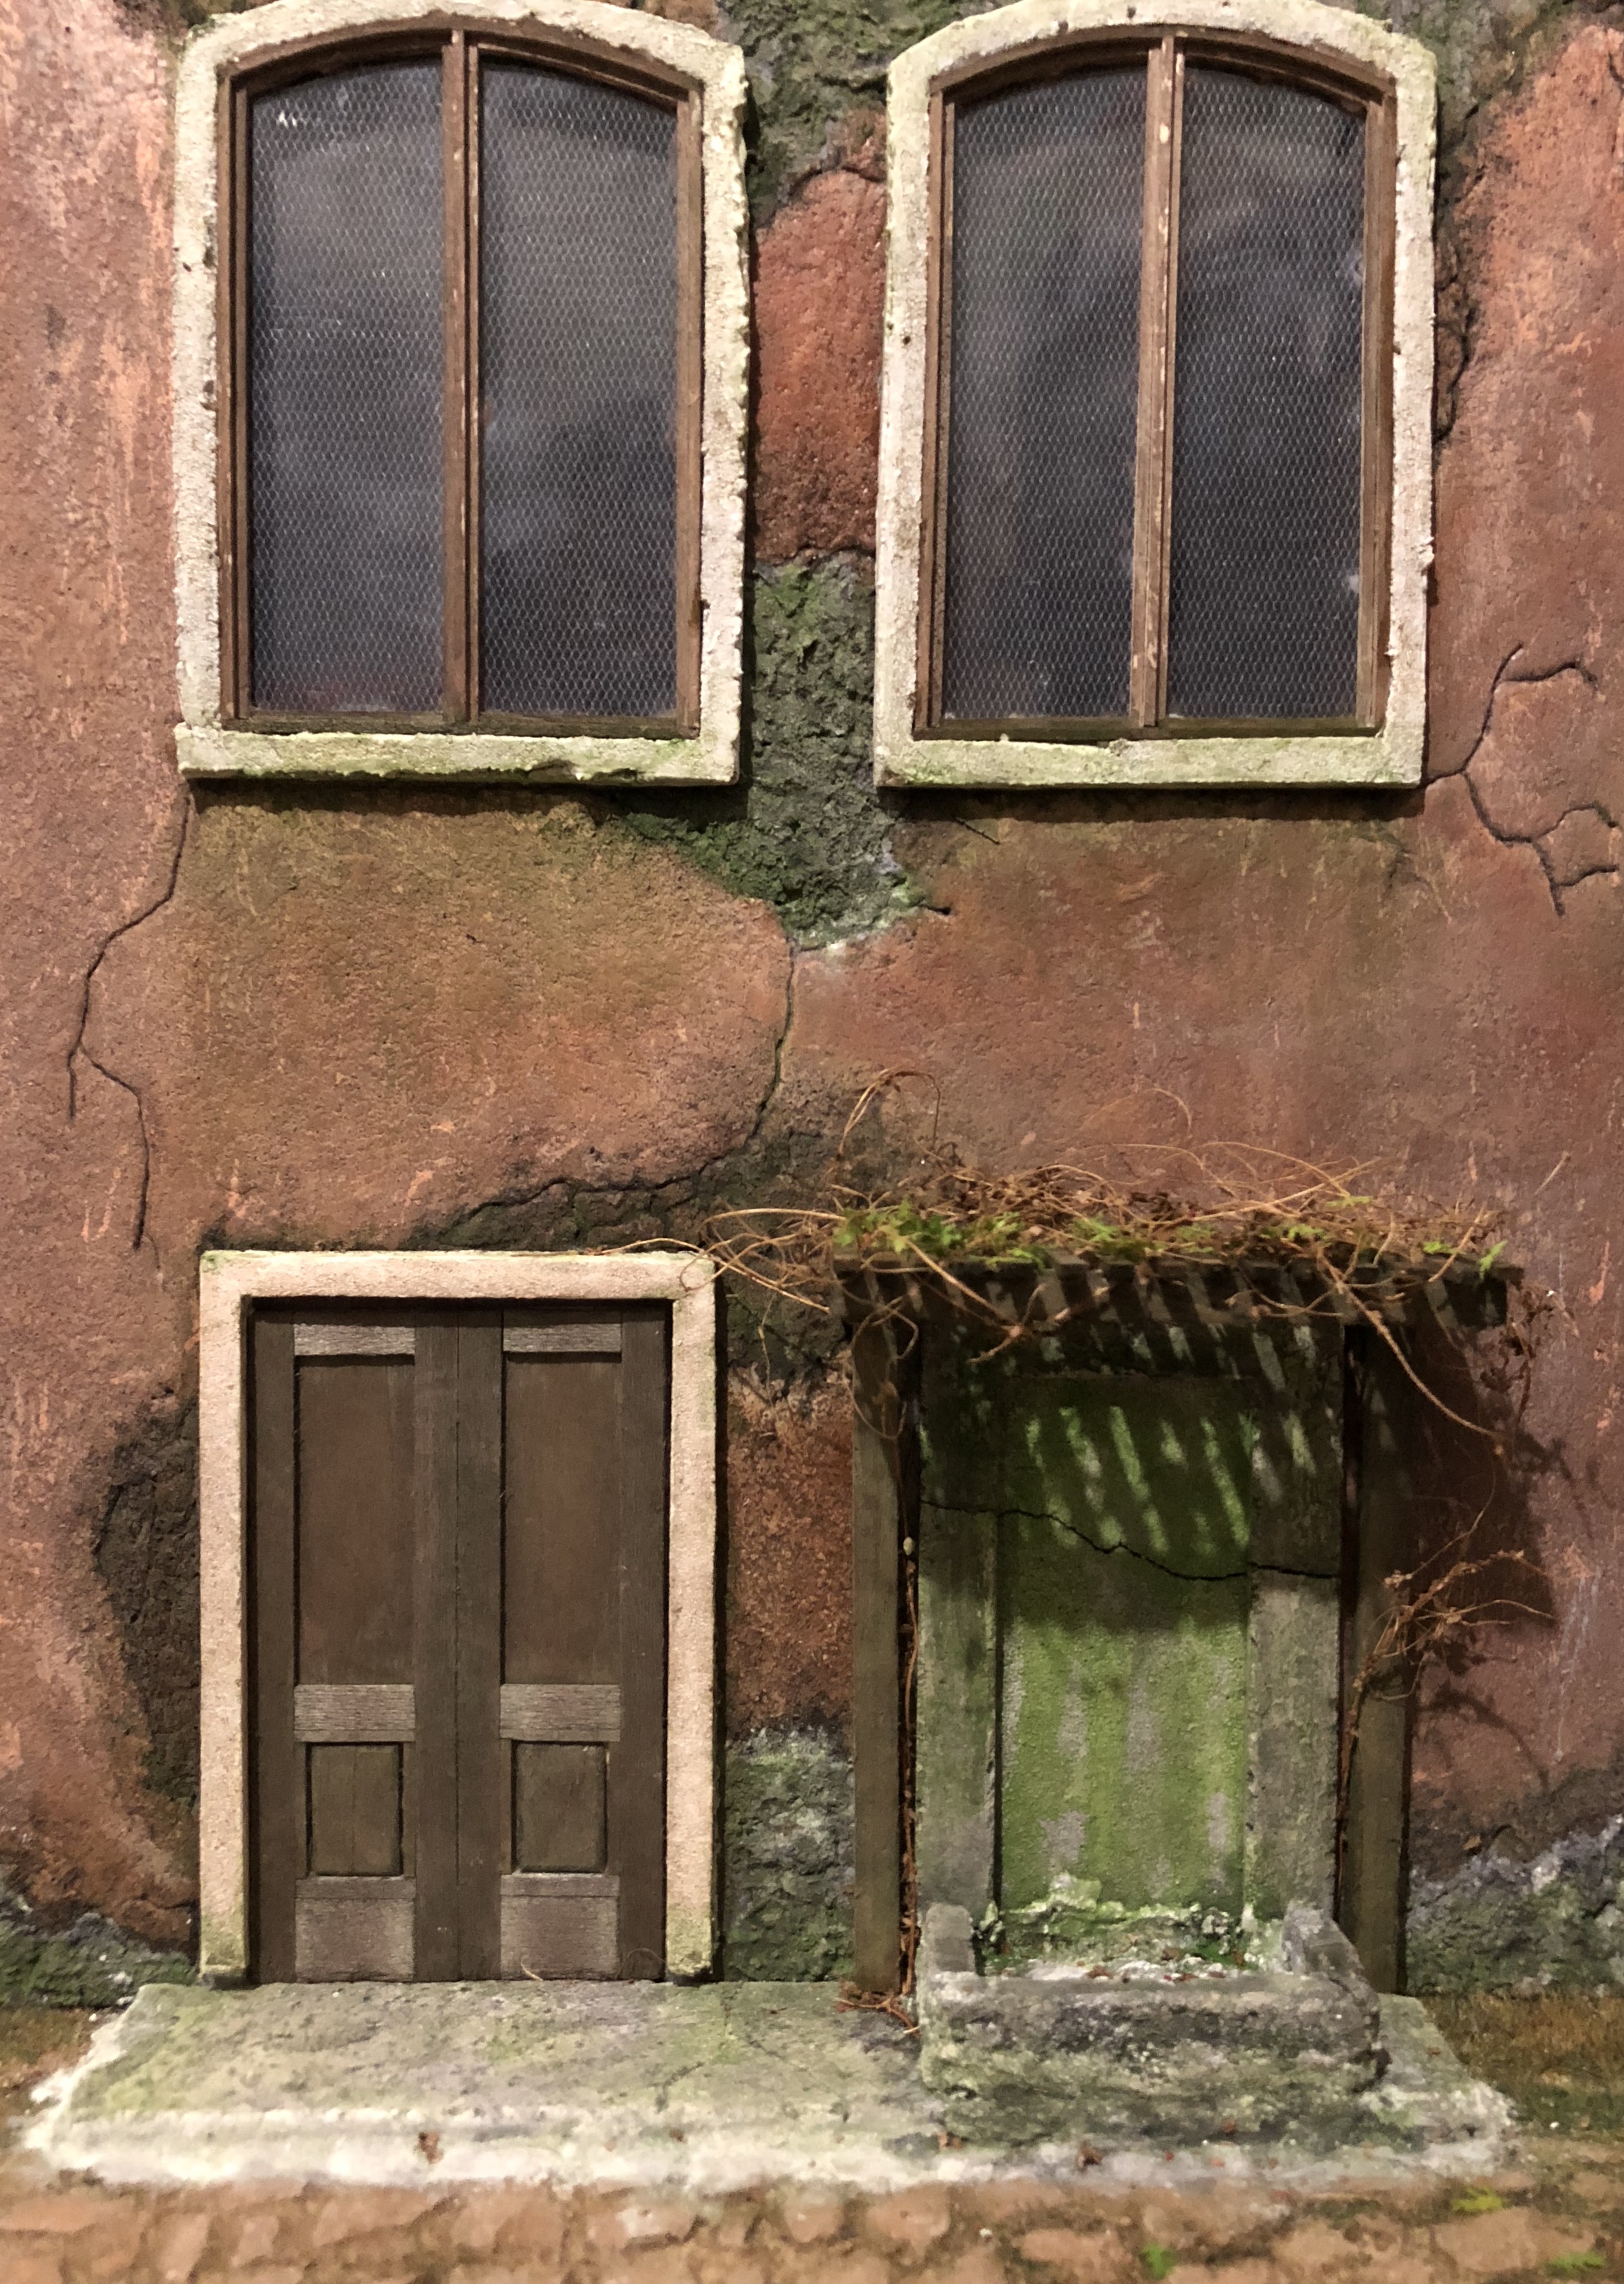
Windows are up. I went with big, tall windows, as I have seen on certain old buildings in old Havana, Cuba (my native land). I couldn’t find any information on dimensions, so I just kind of judged based on bystanders on pictures I used as reference. I might have gone a little too big.
-
 Extraordinary work!!! You just inspire me to my next diorama, once I’m finished with my current projects.
 -
Looking great, David. The windows are certainly a challenge. I can relate, since I have been working on my two windows for the past two days. I had to dip the strips that go on the arches in water, for about 30 minutes, to be able to bend them. Then I had to wait for it to dry while I clamped it to a piece of wood with the same shape. I can only imagine building all those windows you have. Outstanding job.
-
Correct, David. I was looking at it and see if I could find a way around the diecast, to airbrush.
-
Looks great so far. What color wash did you use? I’m a newbie, so I don’t know if my advice is useful at all, but as you go you might add more washes of different tones. What I have done in my dioramas, I have added washes of brown where dirt and grime is collected the most. I have added green washes to the areas where there is very humid and water collects (Be careful with this one. I have done it on mine and in some areas got a little out of hand. Study well where moss and mildew is collected the most and be subtle). I’m thinking, since it’s a garage/gas station, there will be oil stains. Sorry for throwing all these ideas at you. Lol. Your diorama looks so good that I can picture it with the extra weathering. Awesome details!!! I added a picture of one of my current projects ( still long ways to go). If you have any questions on how I did the weathering let me know. Of course, there’s a lot of room for improvement, as I’m just learning as I go by trial and error.
-
Thank you. I will try the clear matt varnish, as I like the colors on the truck. If that doesn’t work I might just get a Revell or any other brand kit similar to this truck and paint each part separately. I have an airbrush set, including compressor, that was given to me by my brother. I’m really intimidated to use it but I think it might give me better finishes. I’ll just have to order a small airbrush paint booth.
-
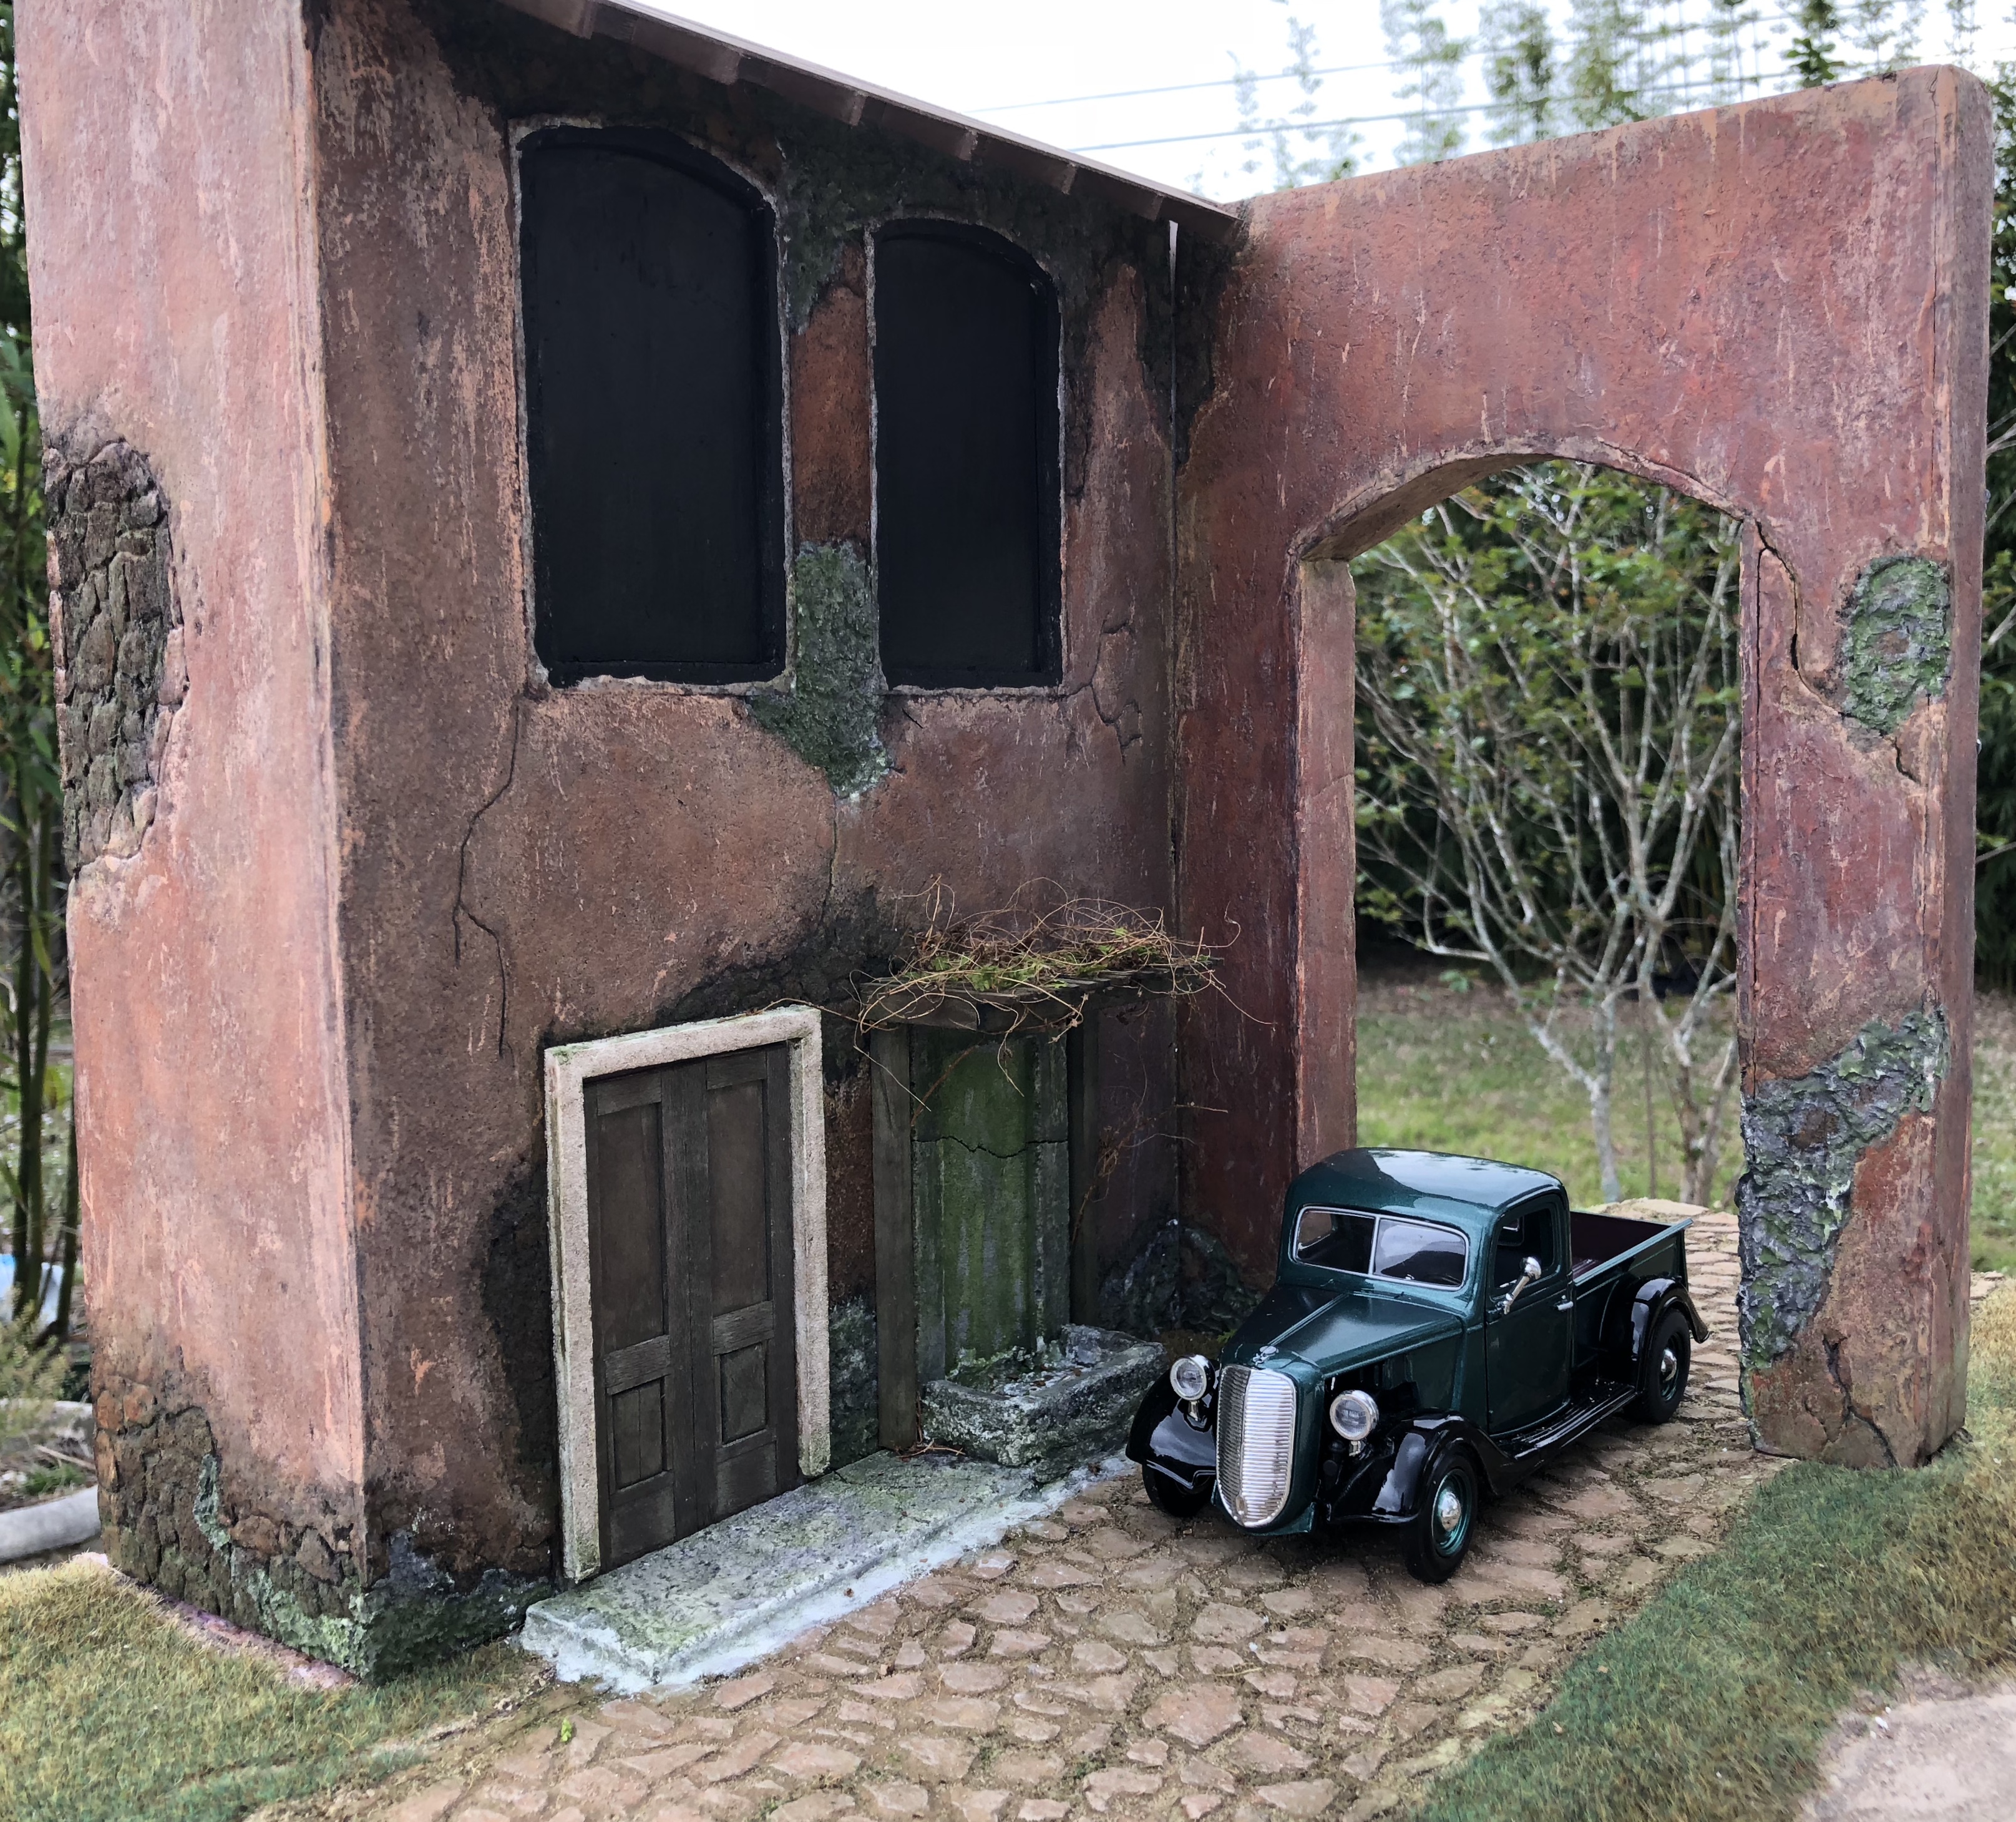
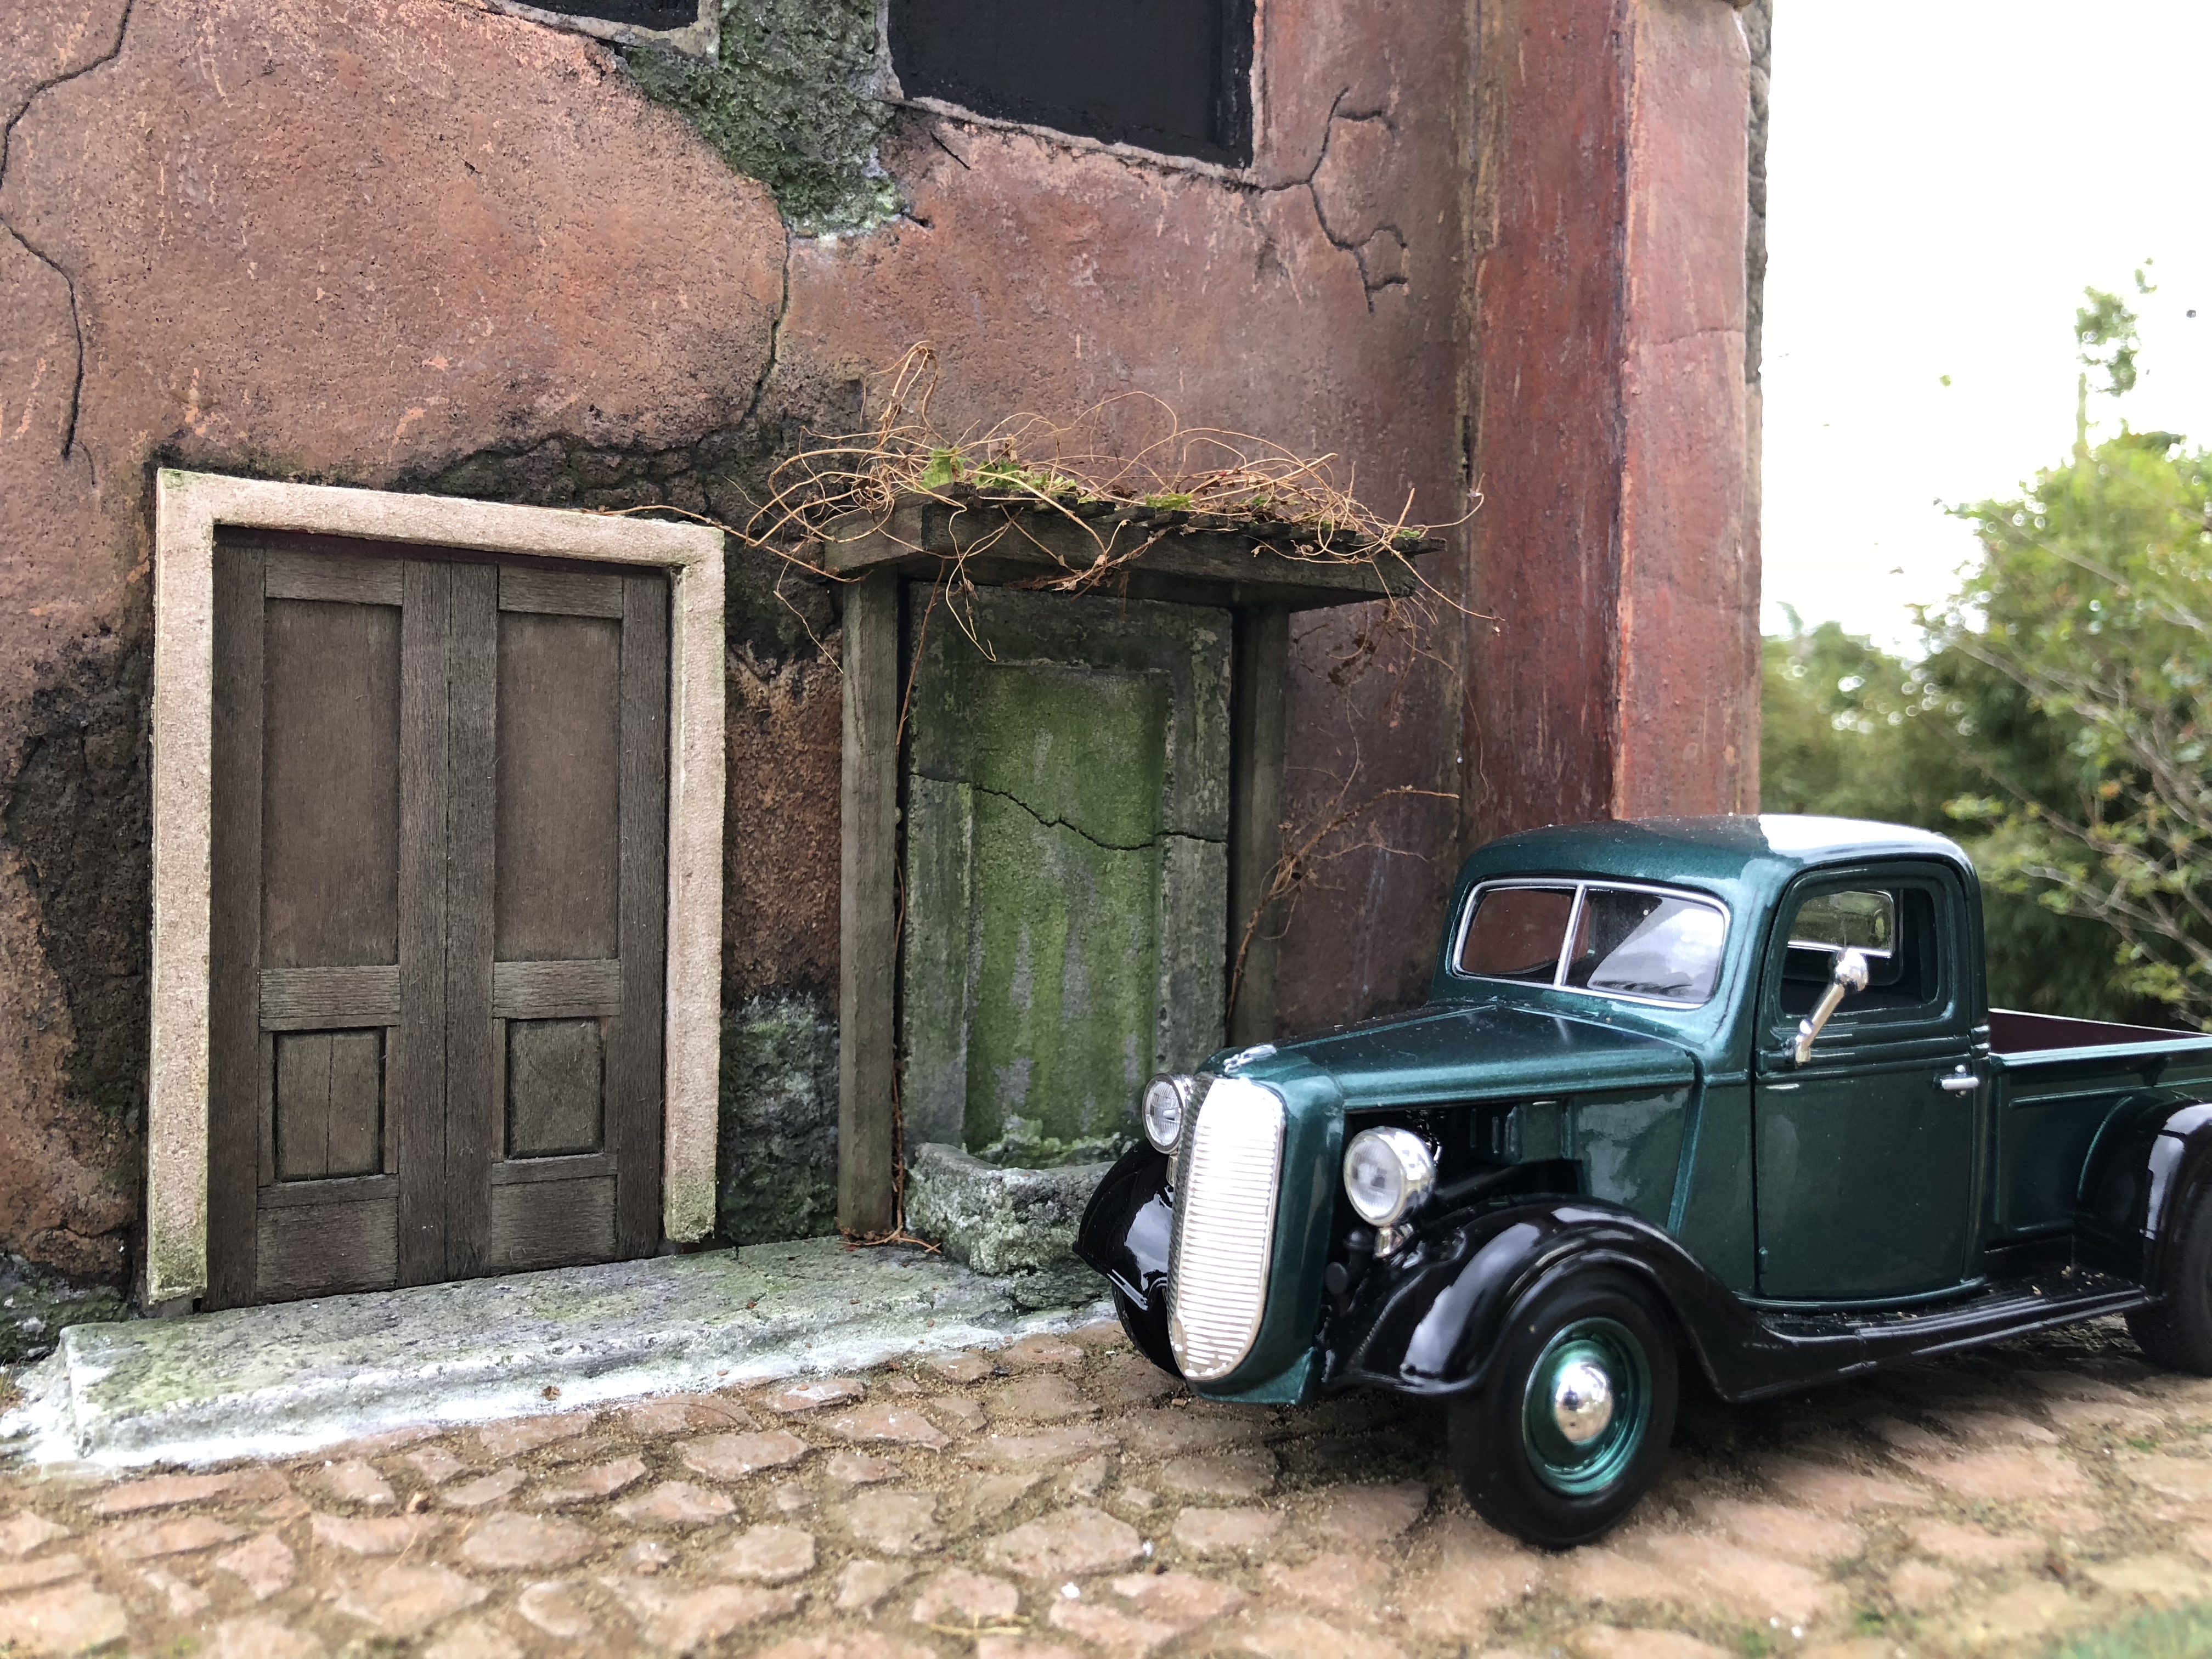
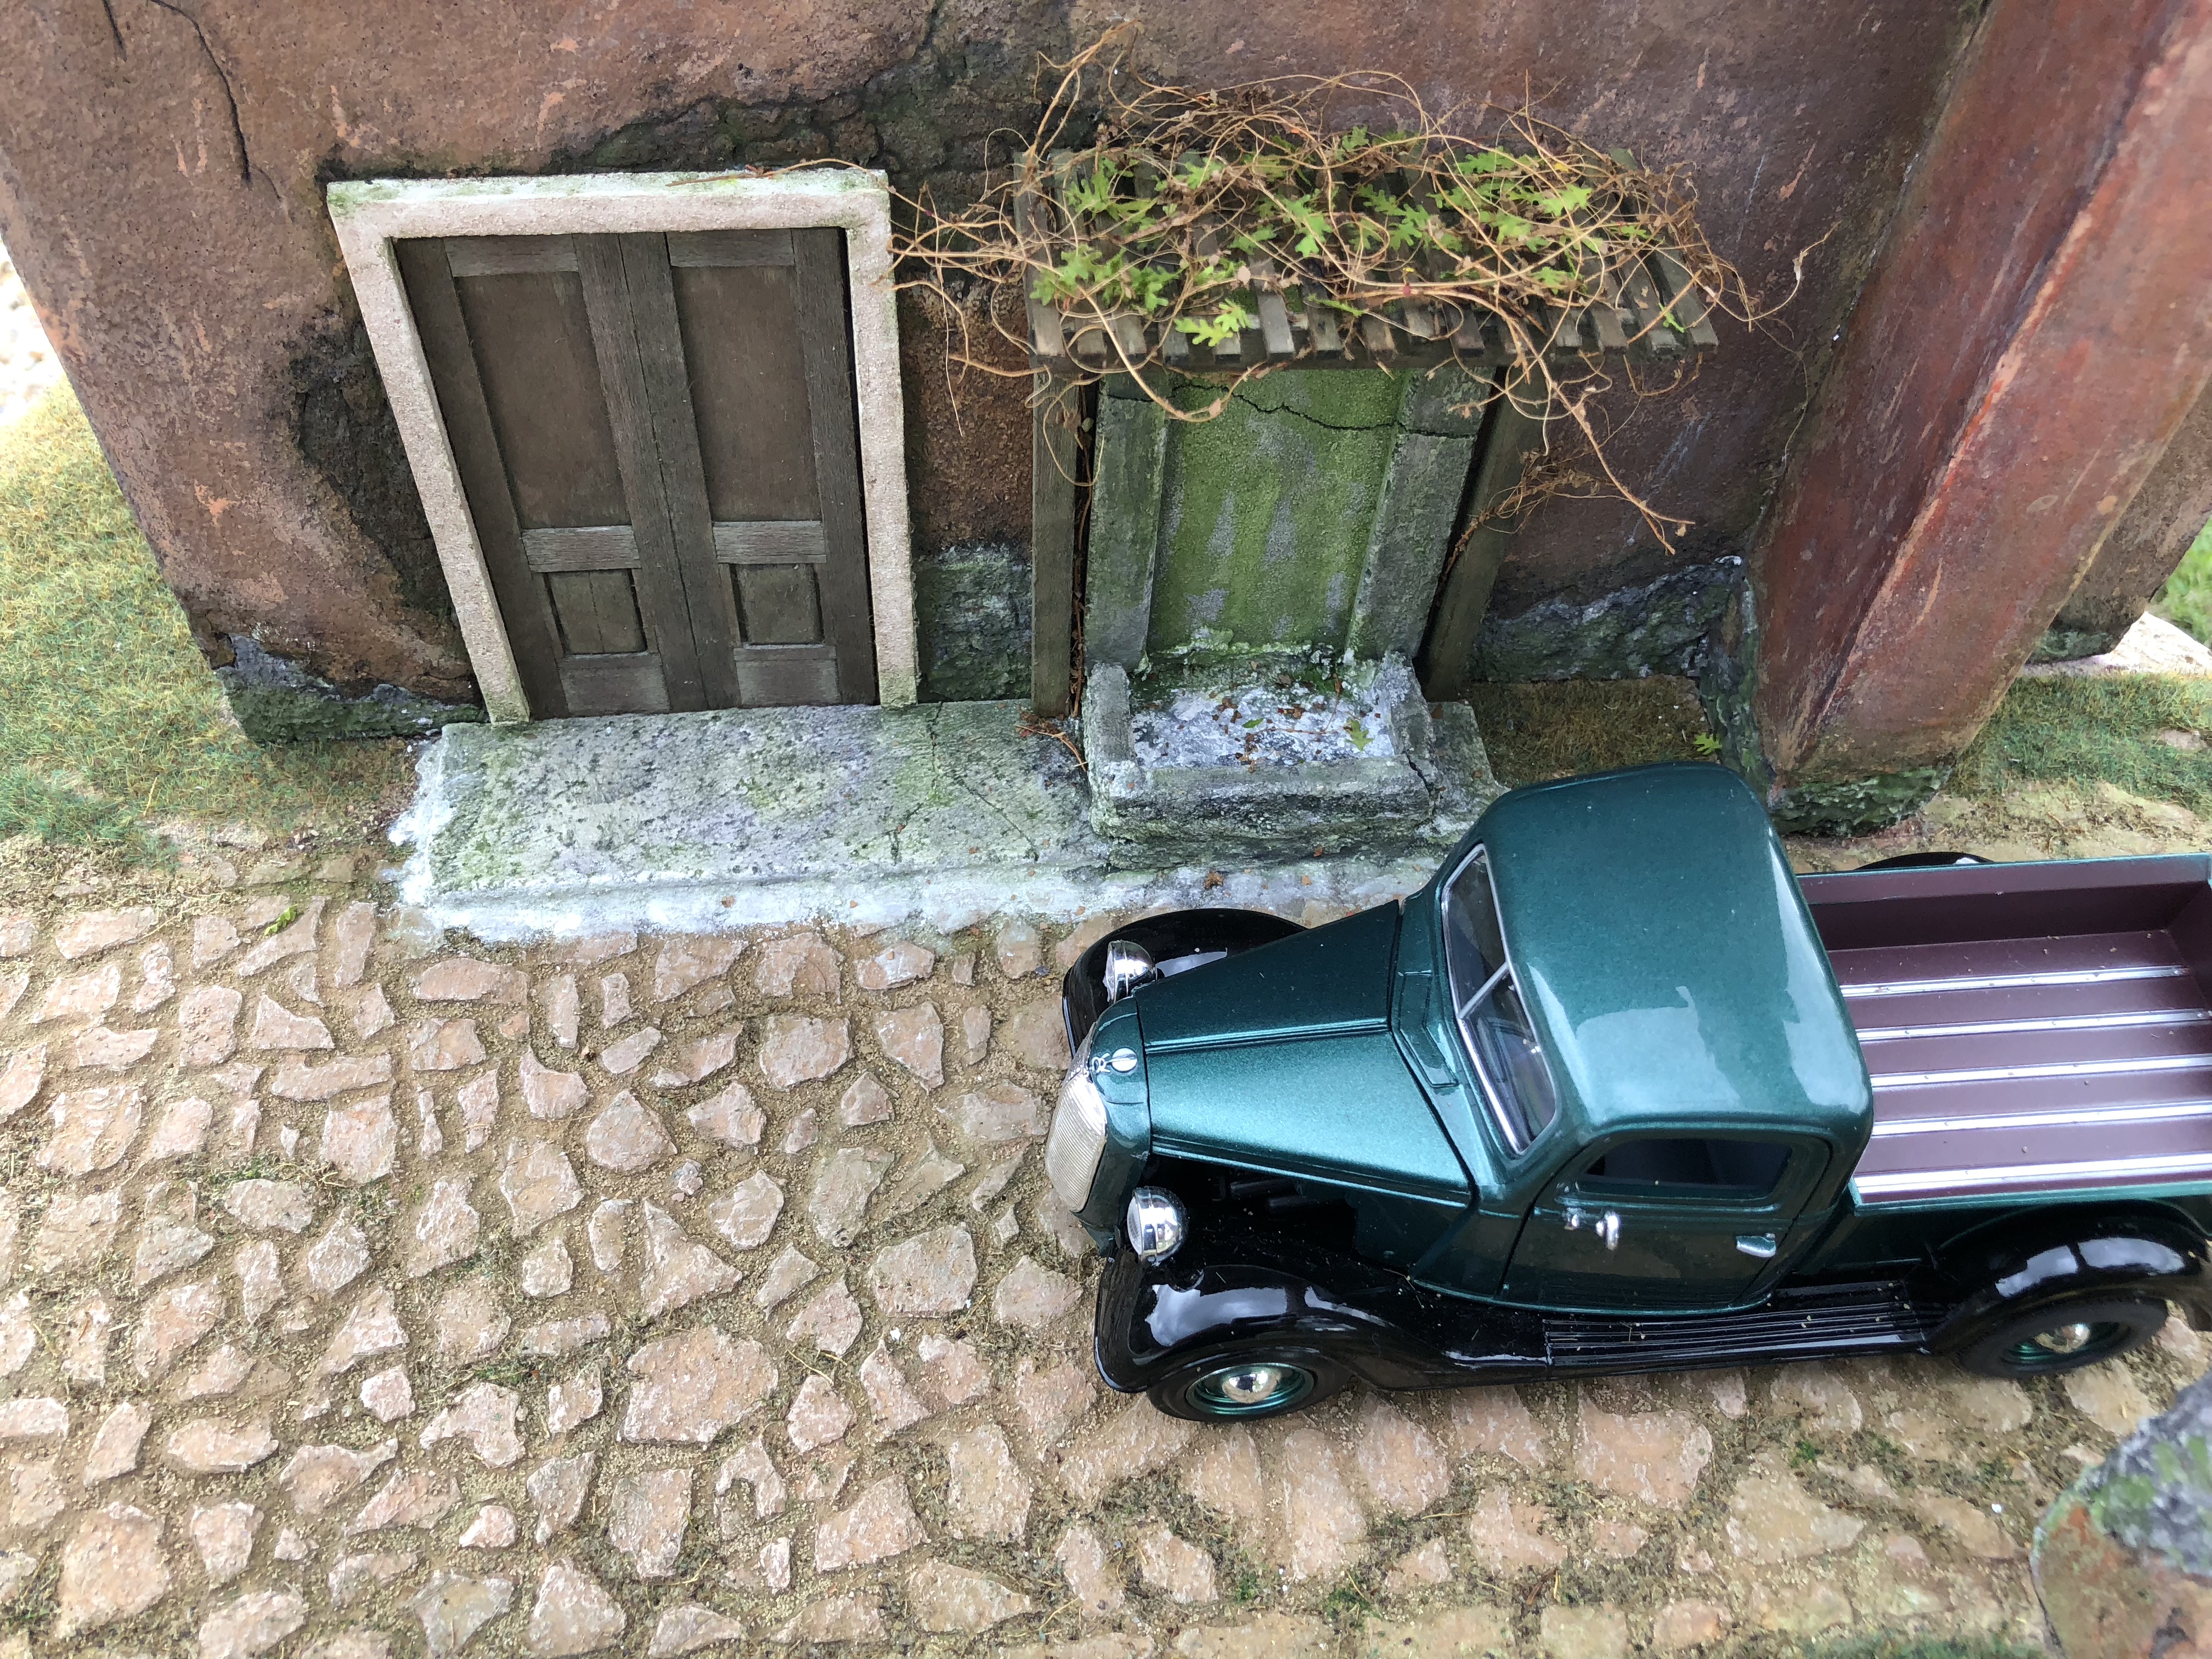
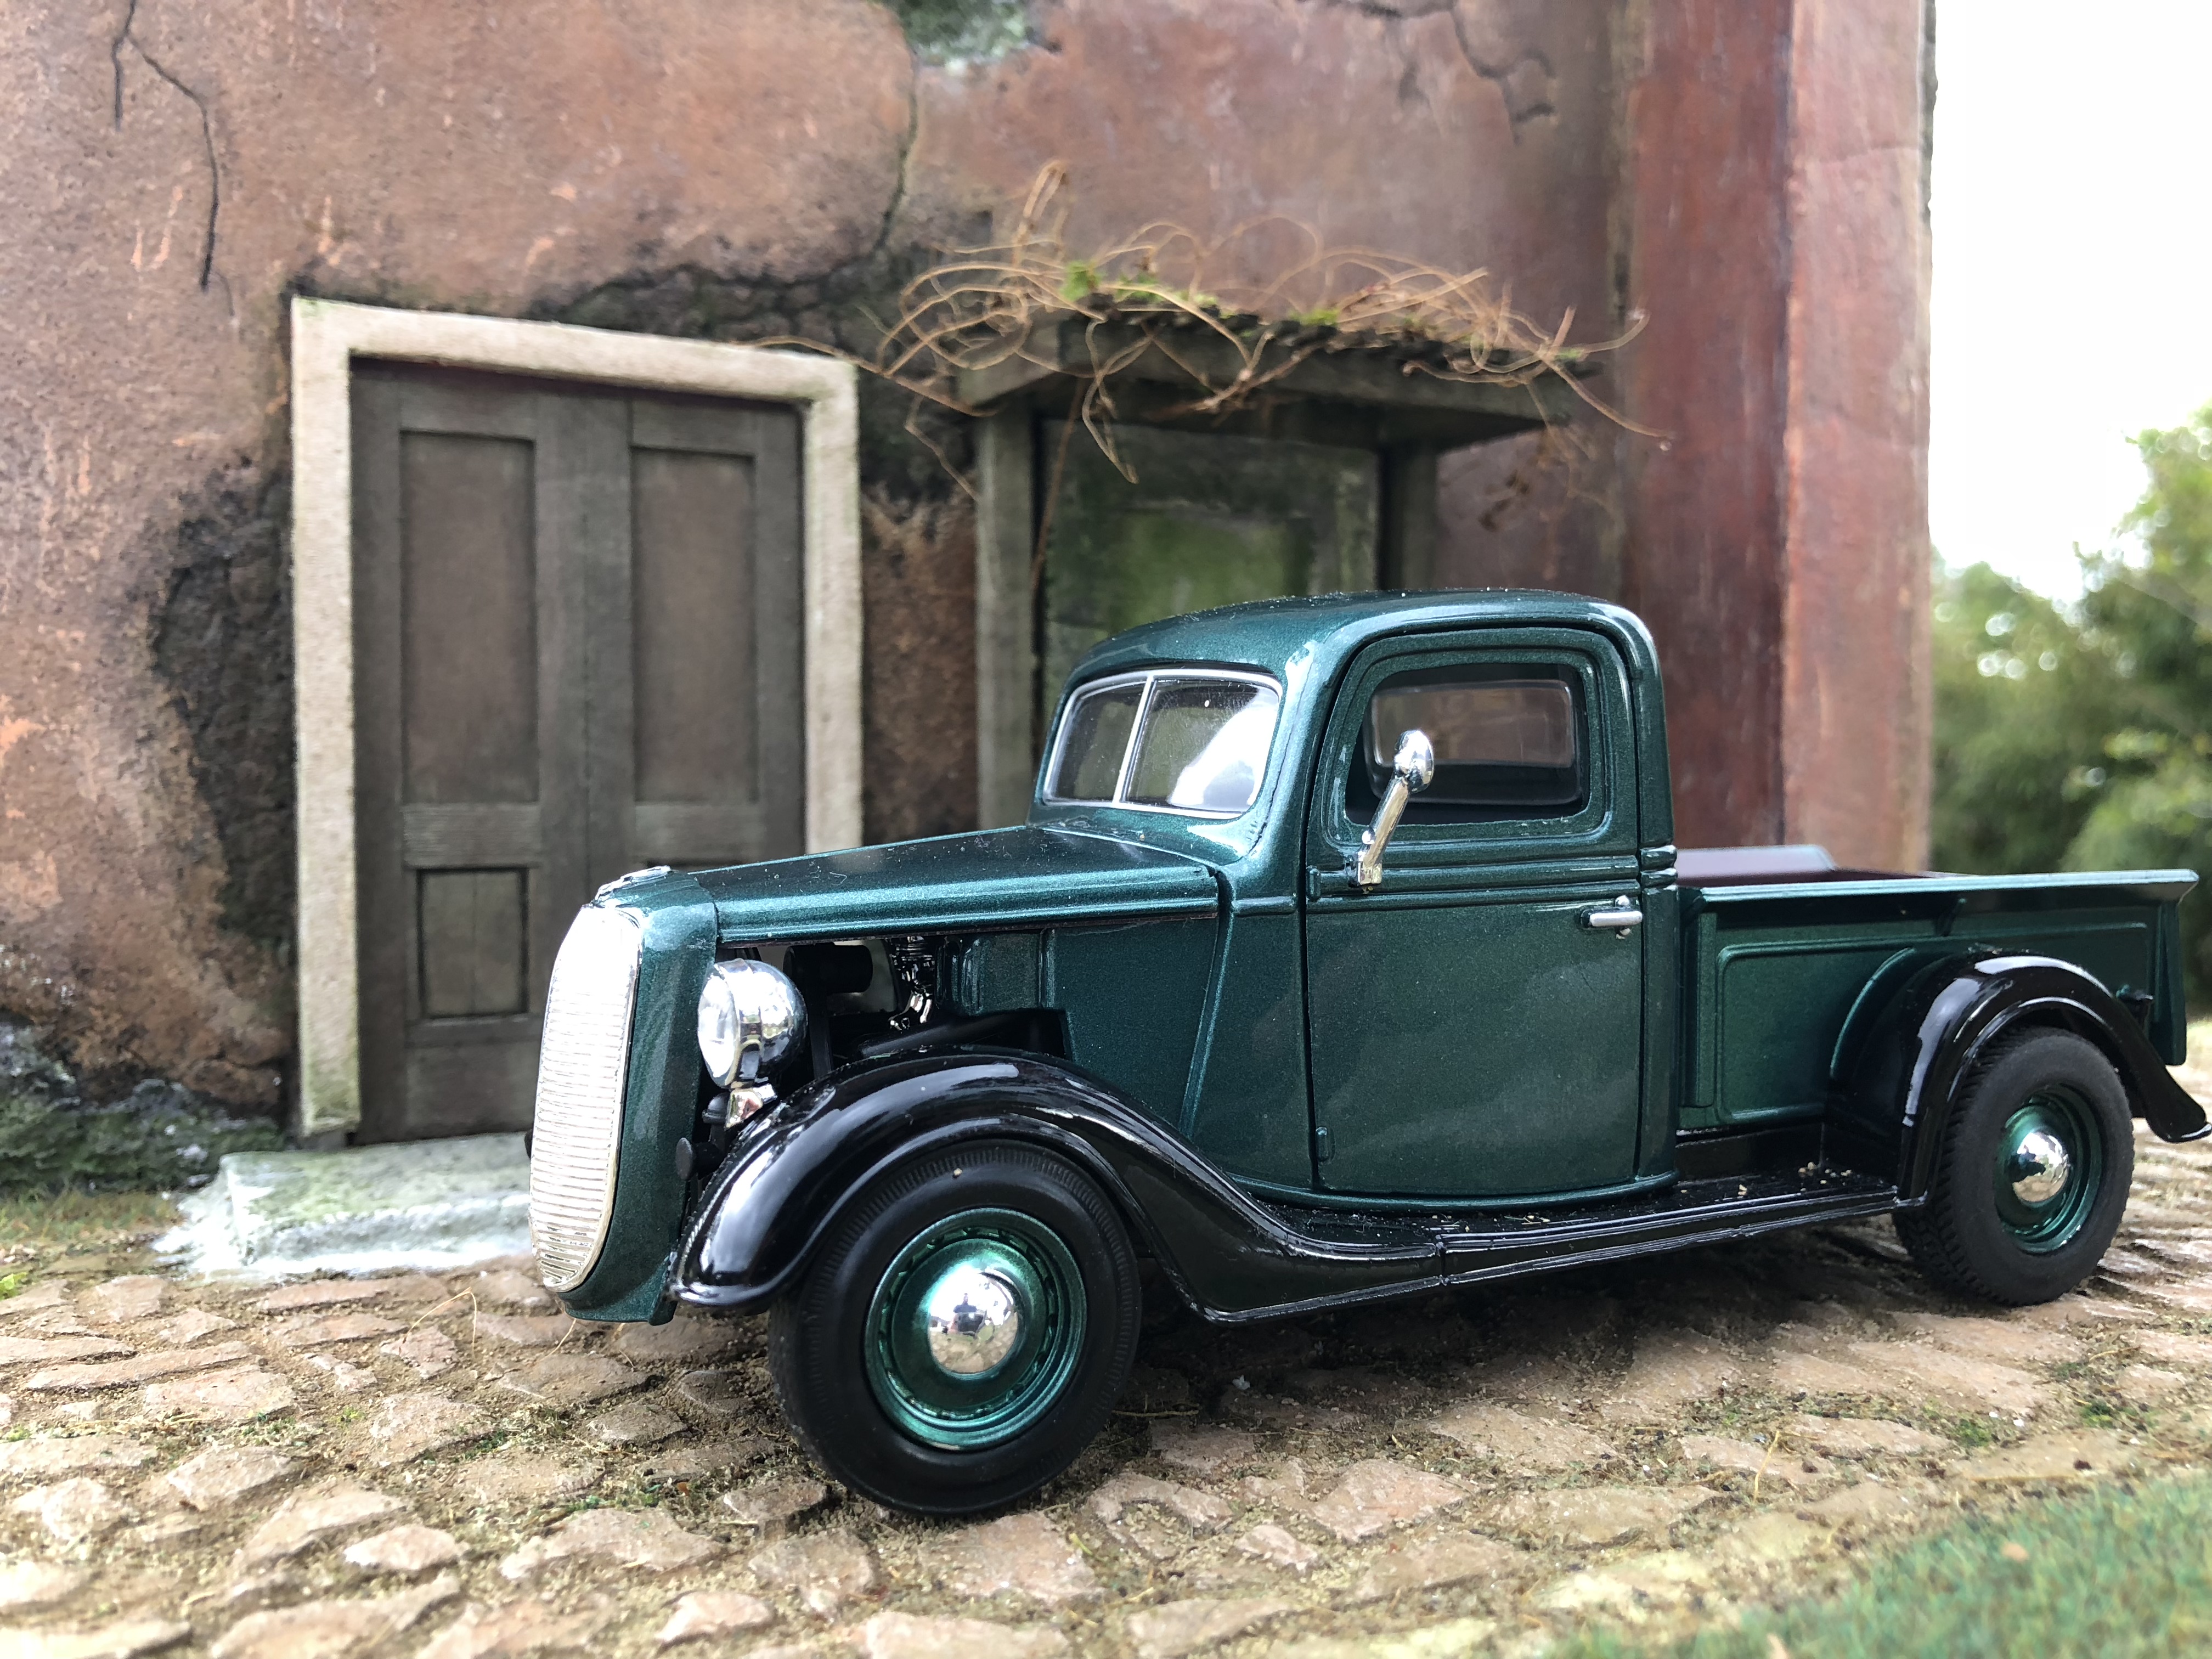
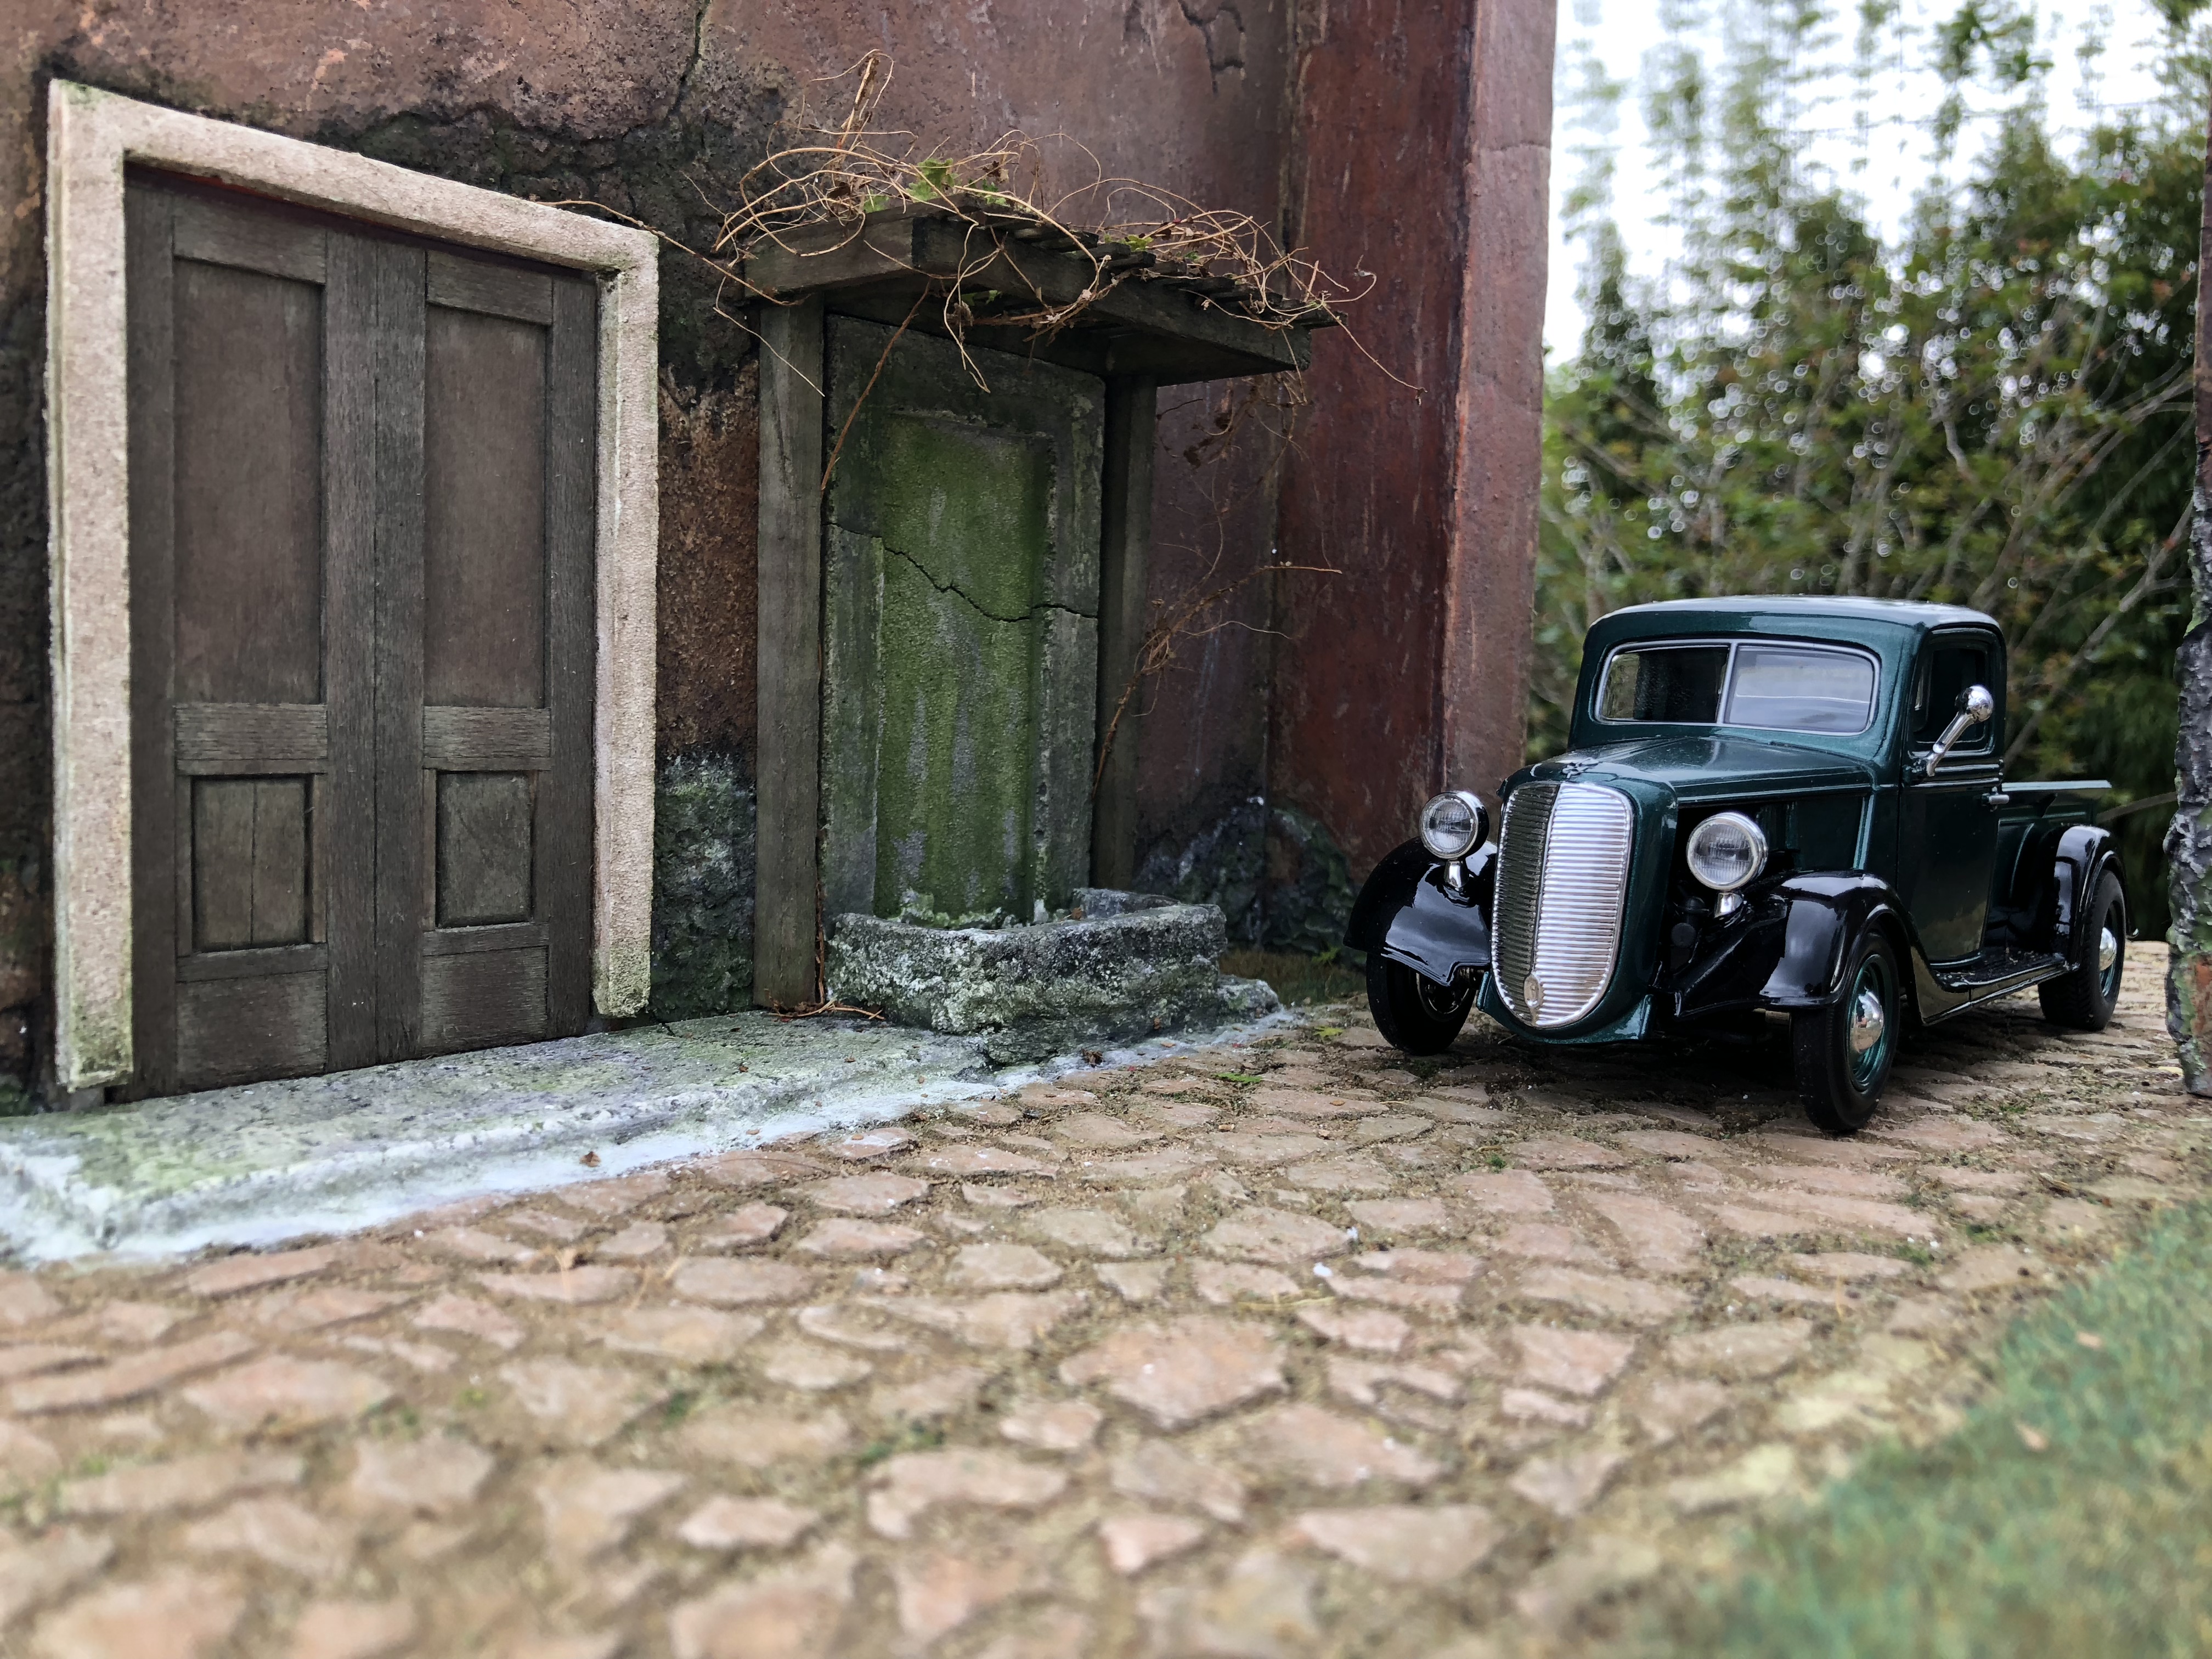
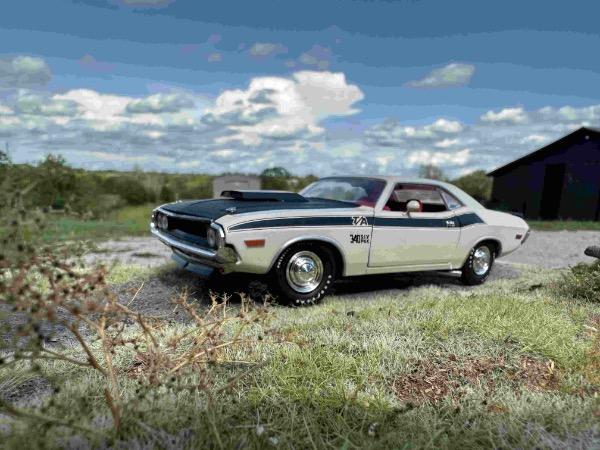
A few shots under overcast daylight.
-
Thank you, Andy. As a newbie I’m still struggling getting the right colors and textures to the right scale, for more realism. I have a long way to go before my eyes are trained to see in small scales.
-
Ok. I get the idea now. Thank you.