QbanFam
-
Posts
226 -
Joined
-
Last visited
Content Type
Profiles
Forums
Events
Gallery
Everything posted by QbanFam
-
Thank you.
-
Thank you. On the positive side, I get to practice the techniques once again.
-
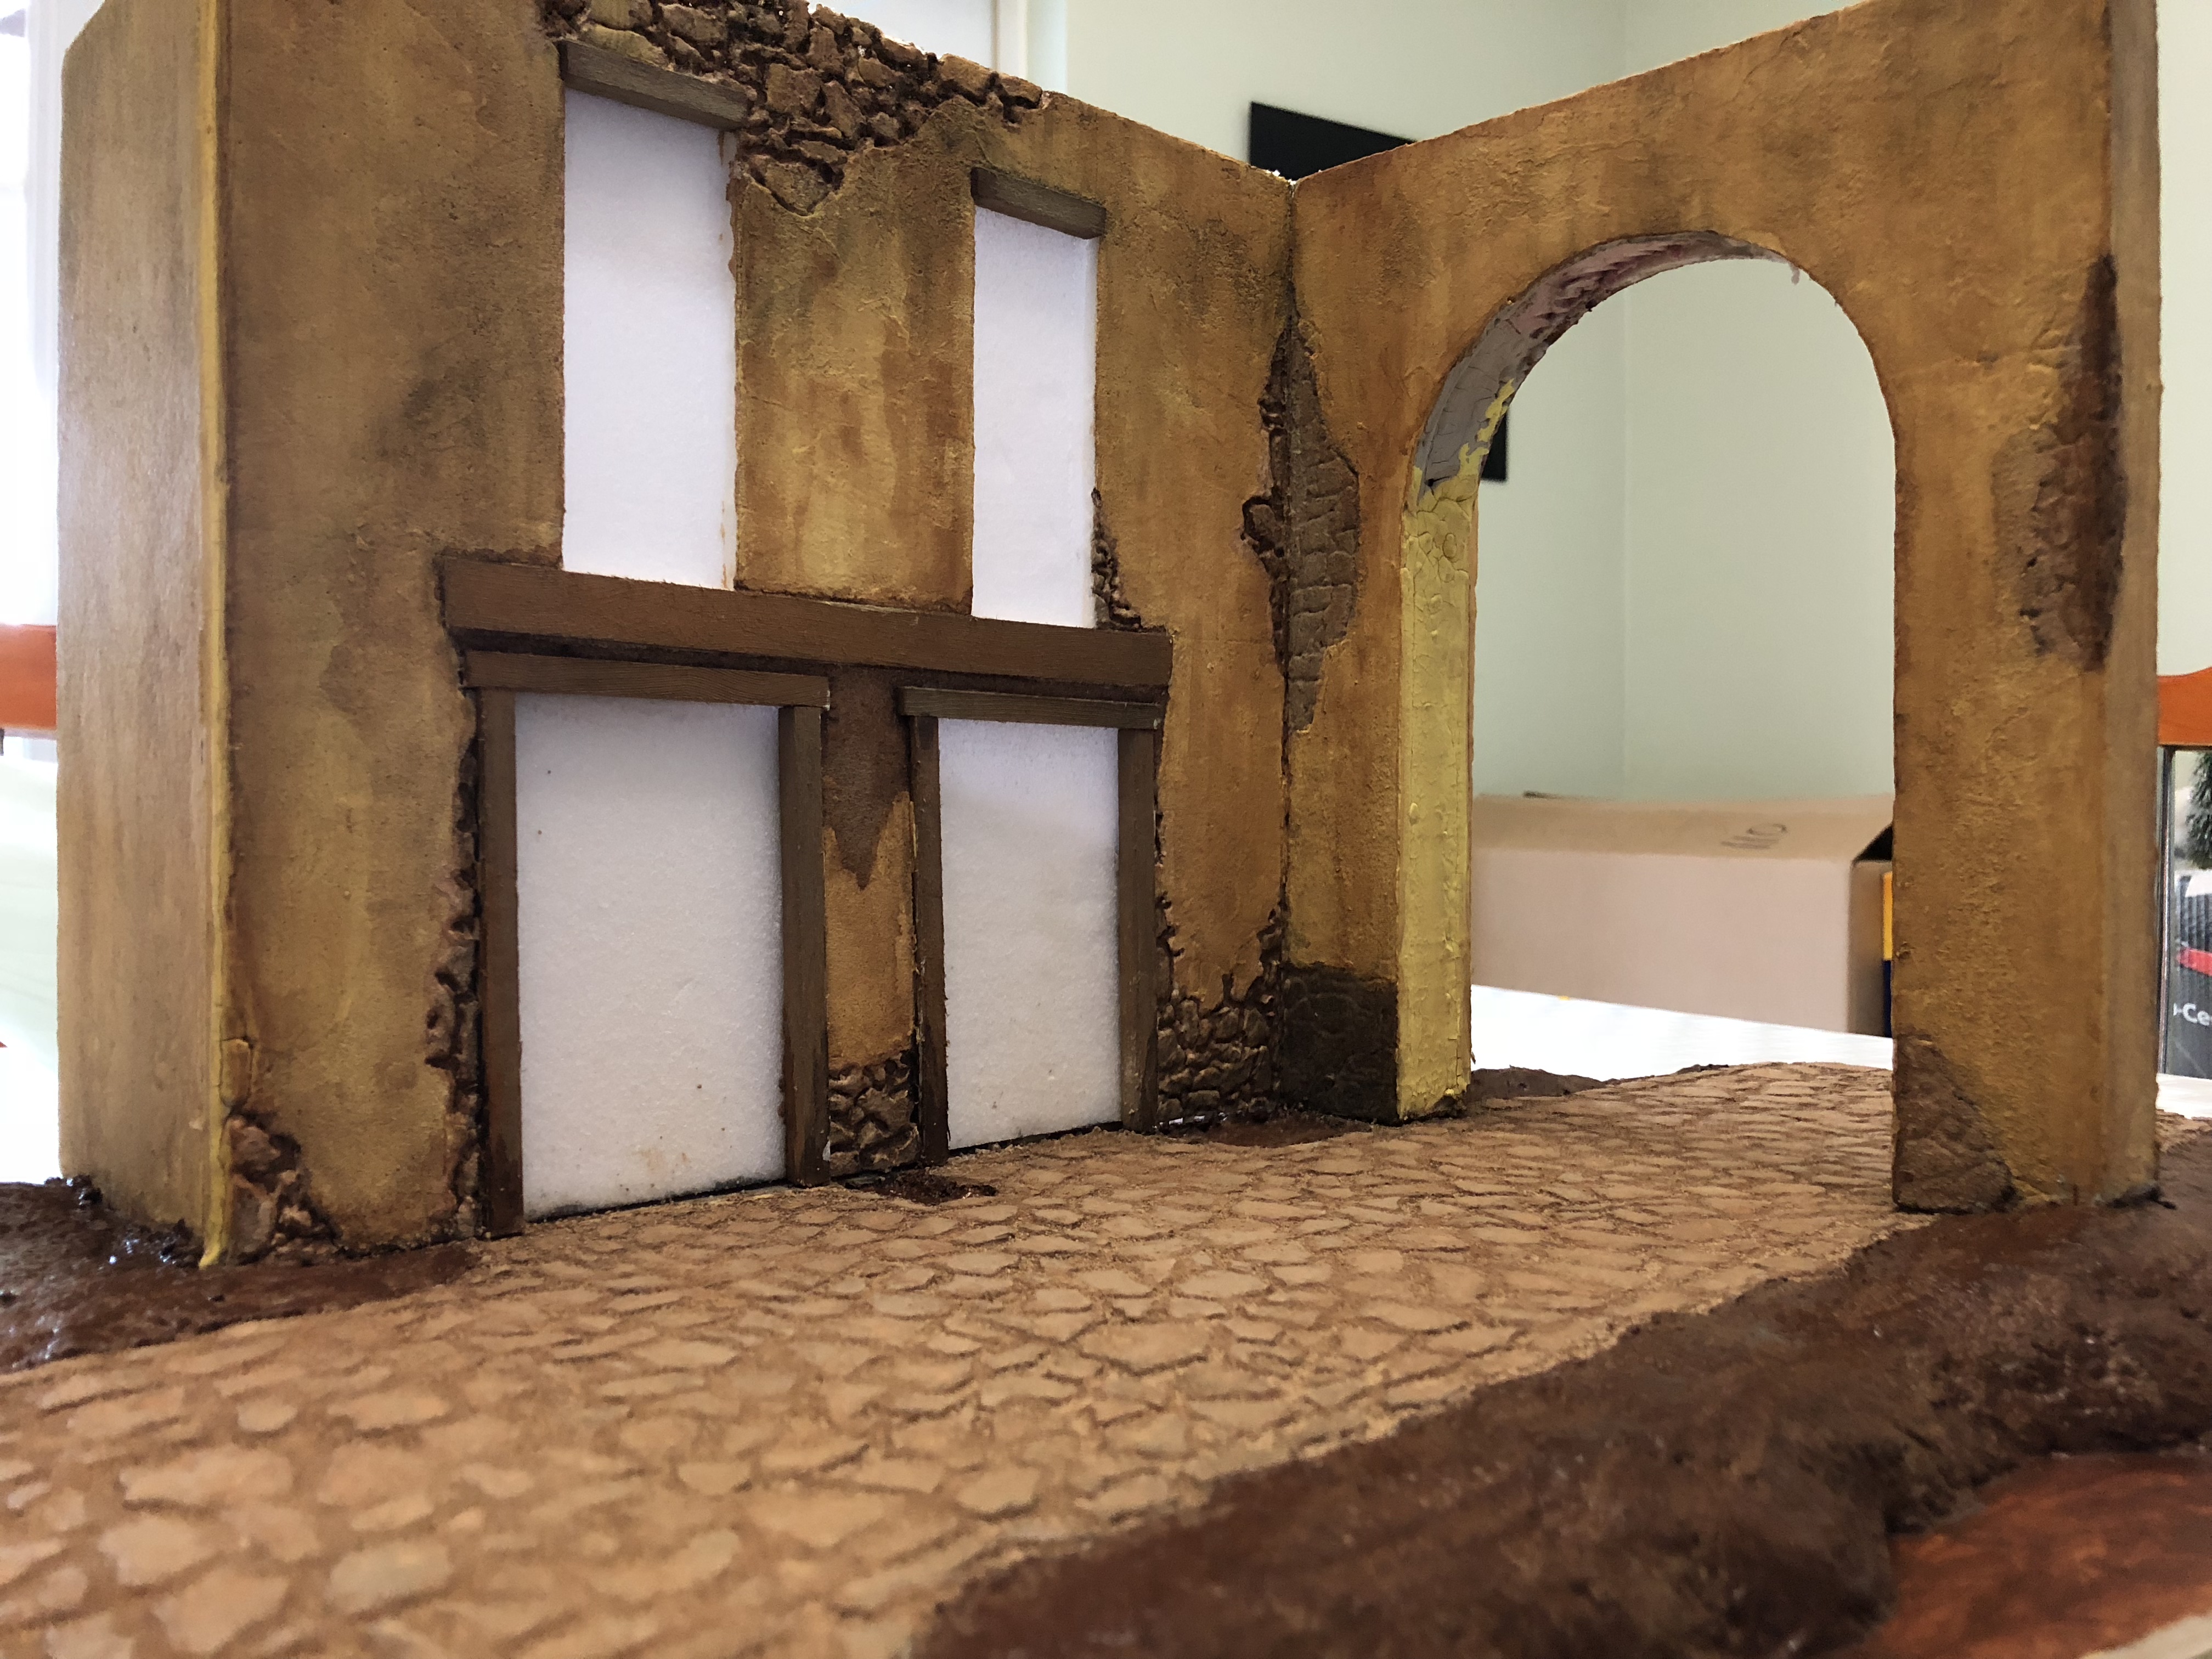
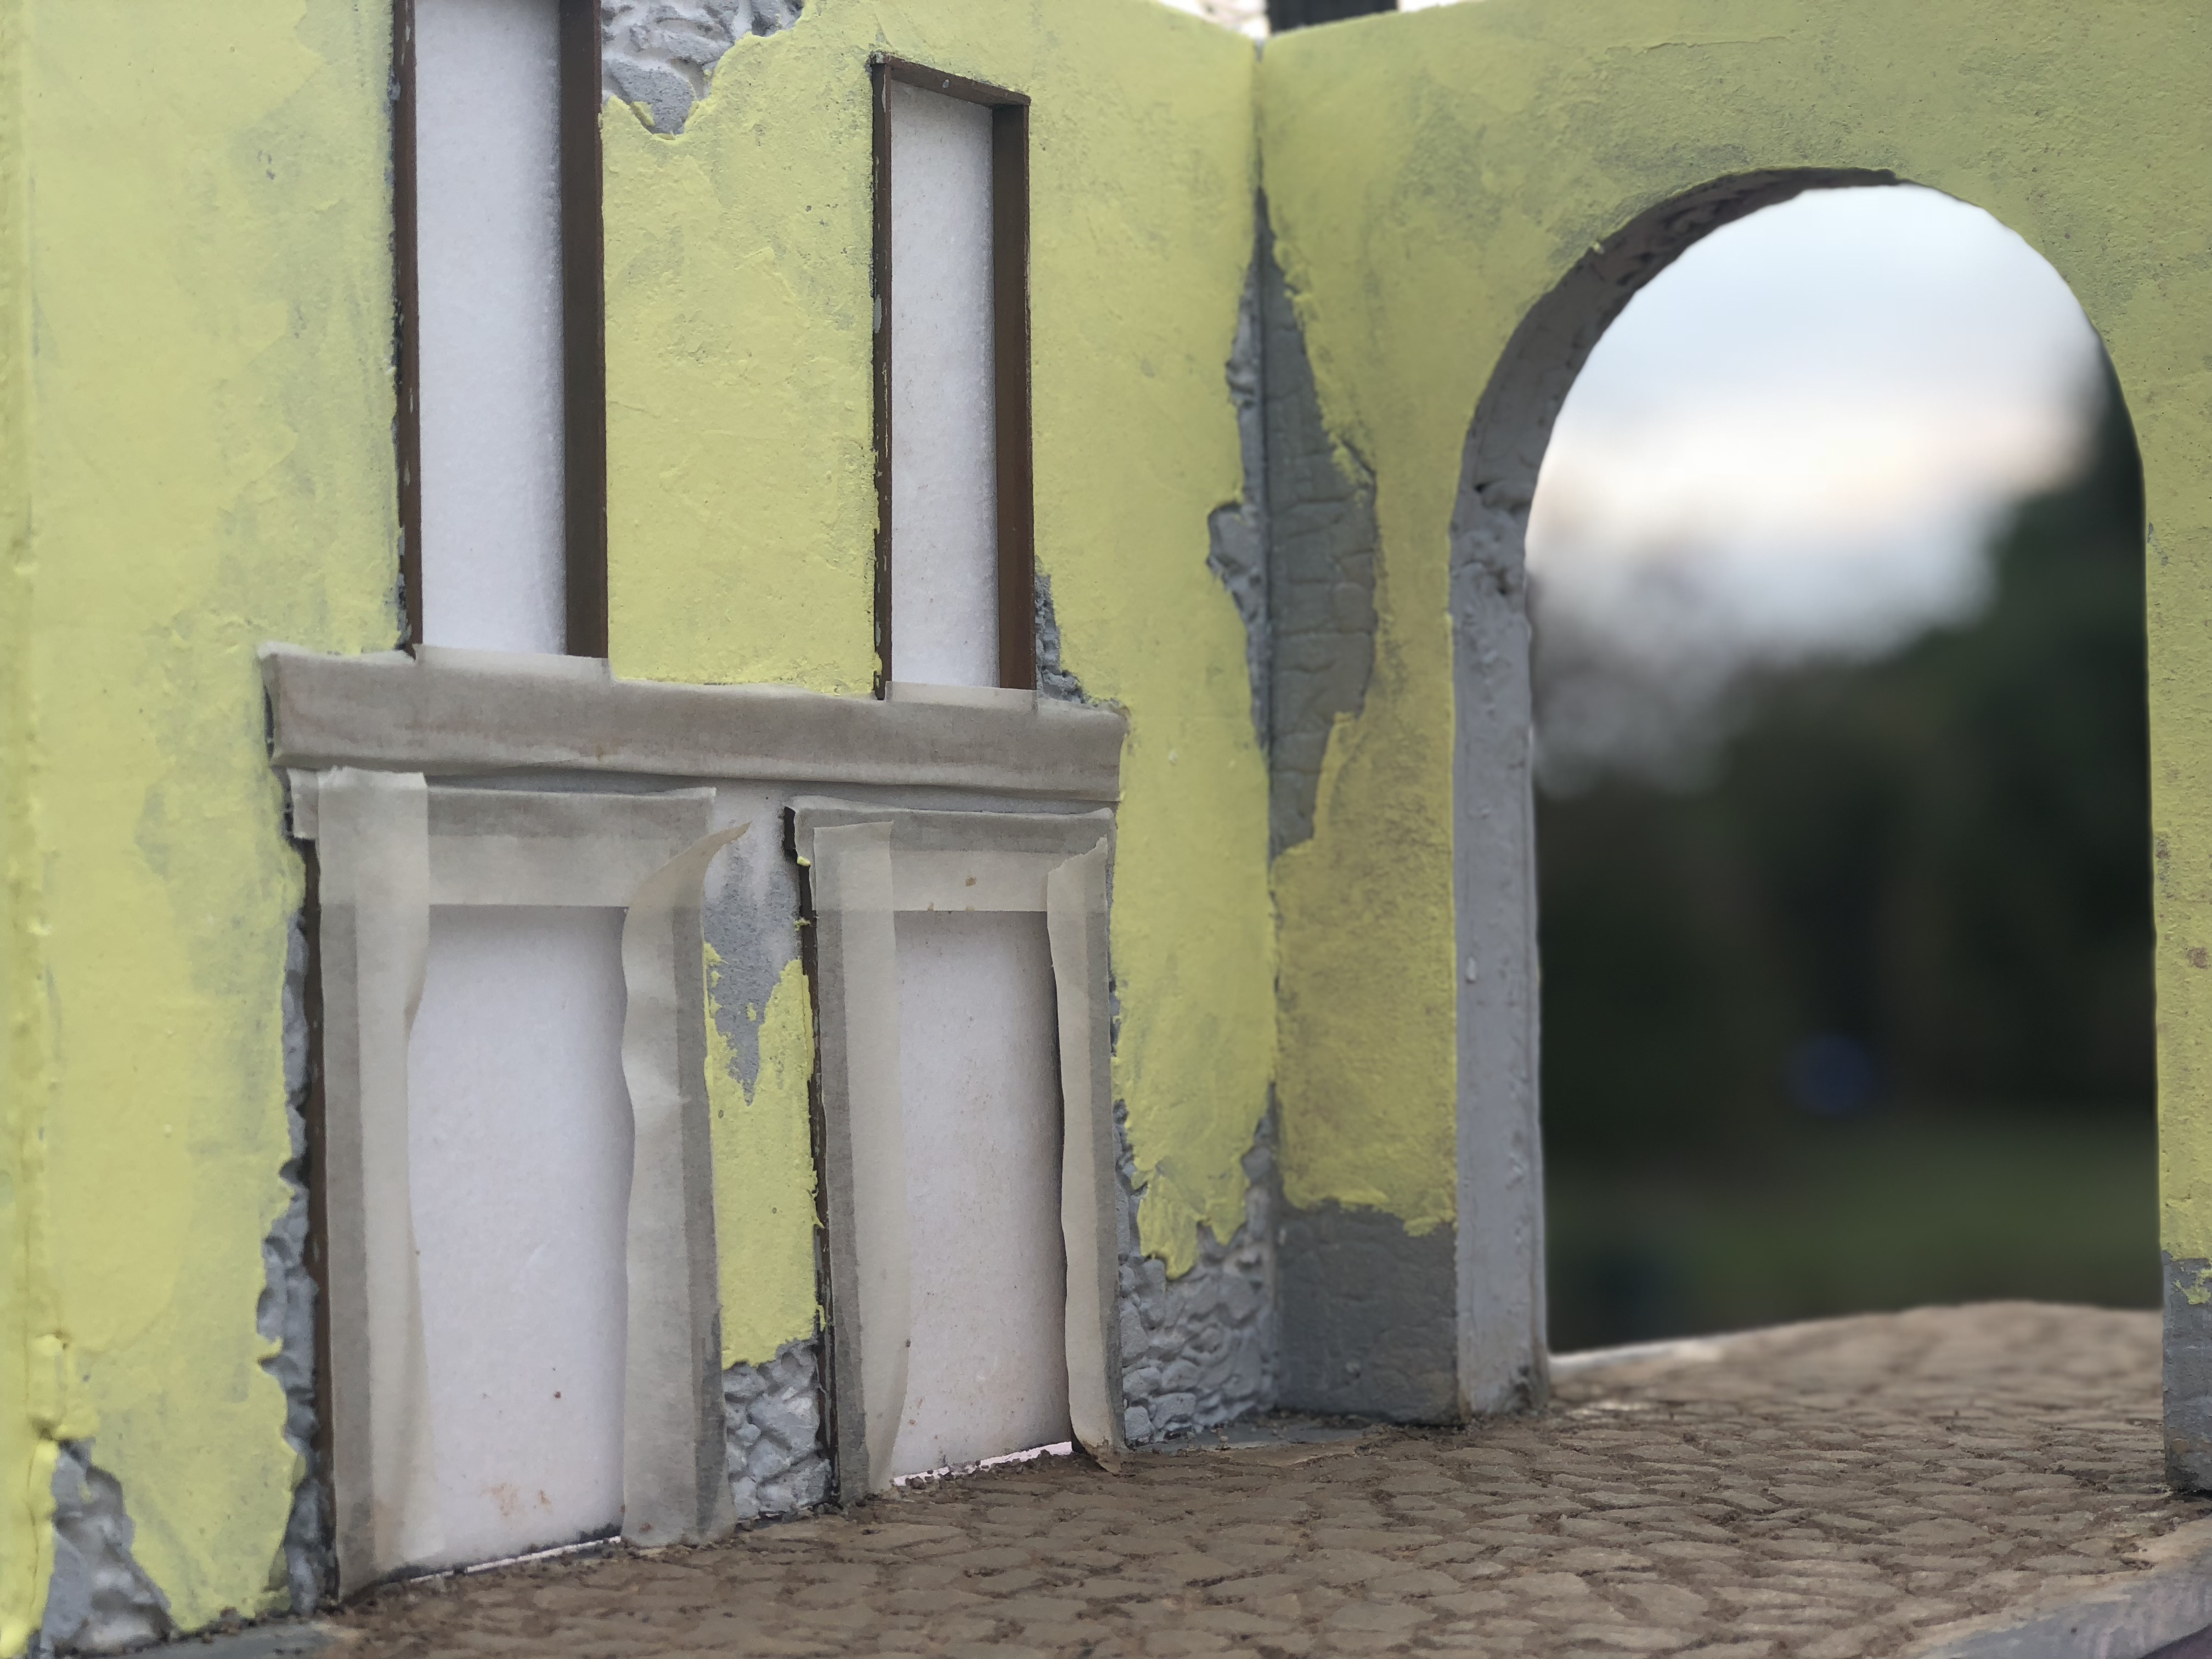
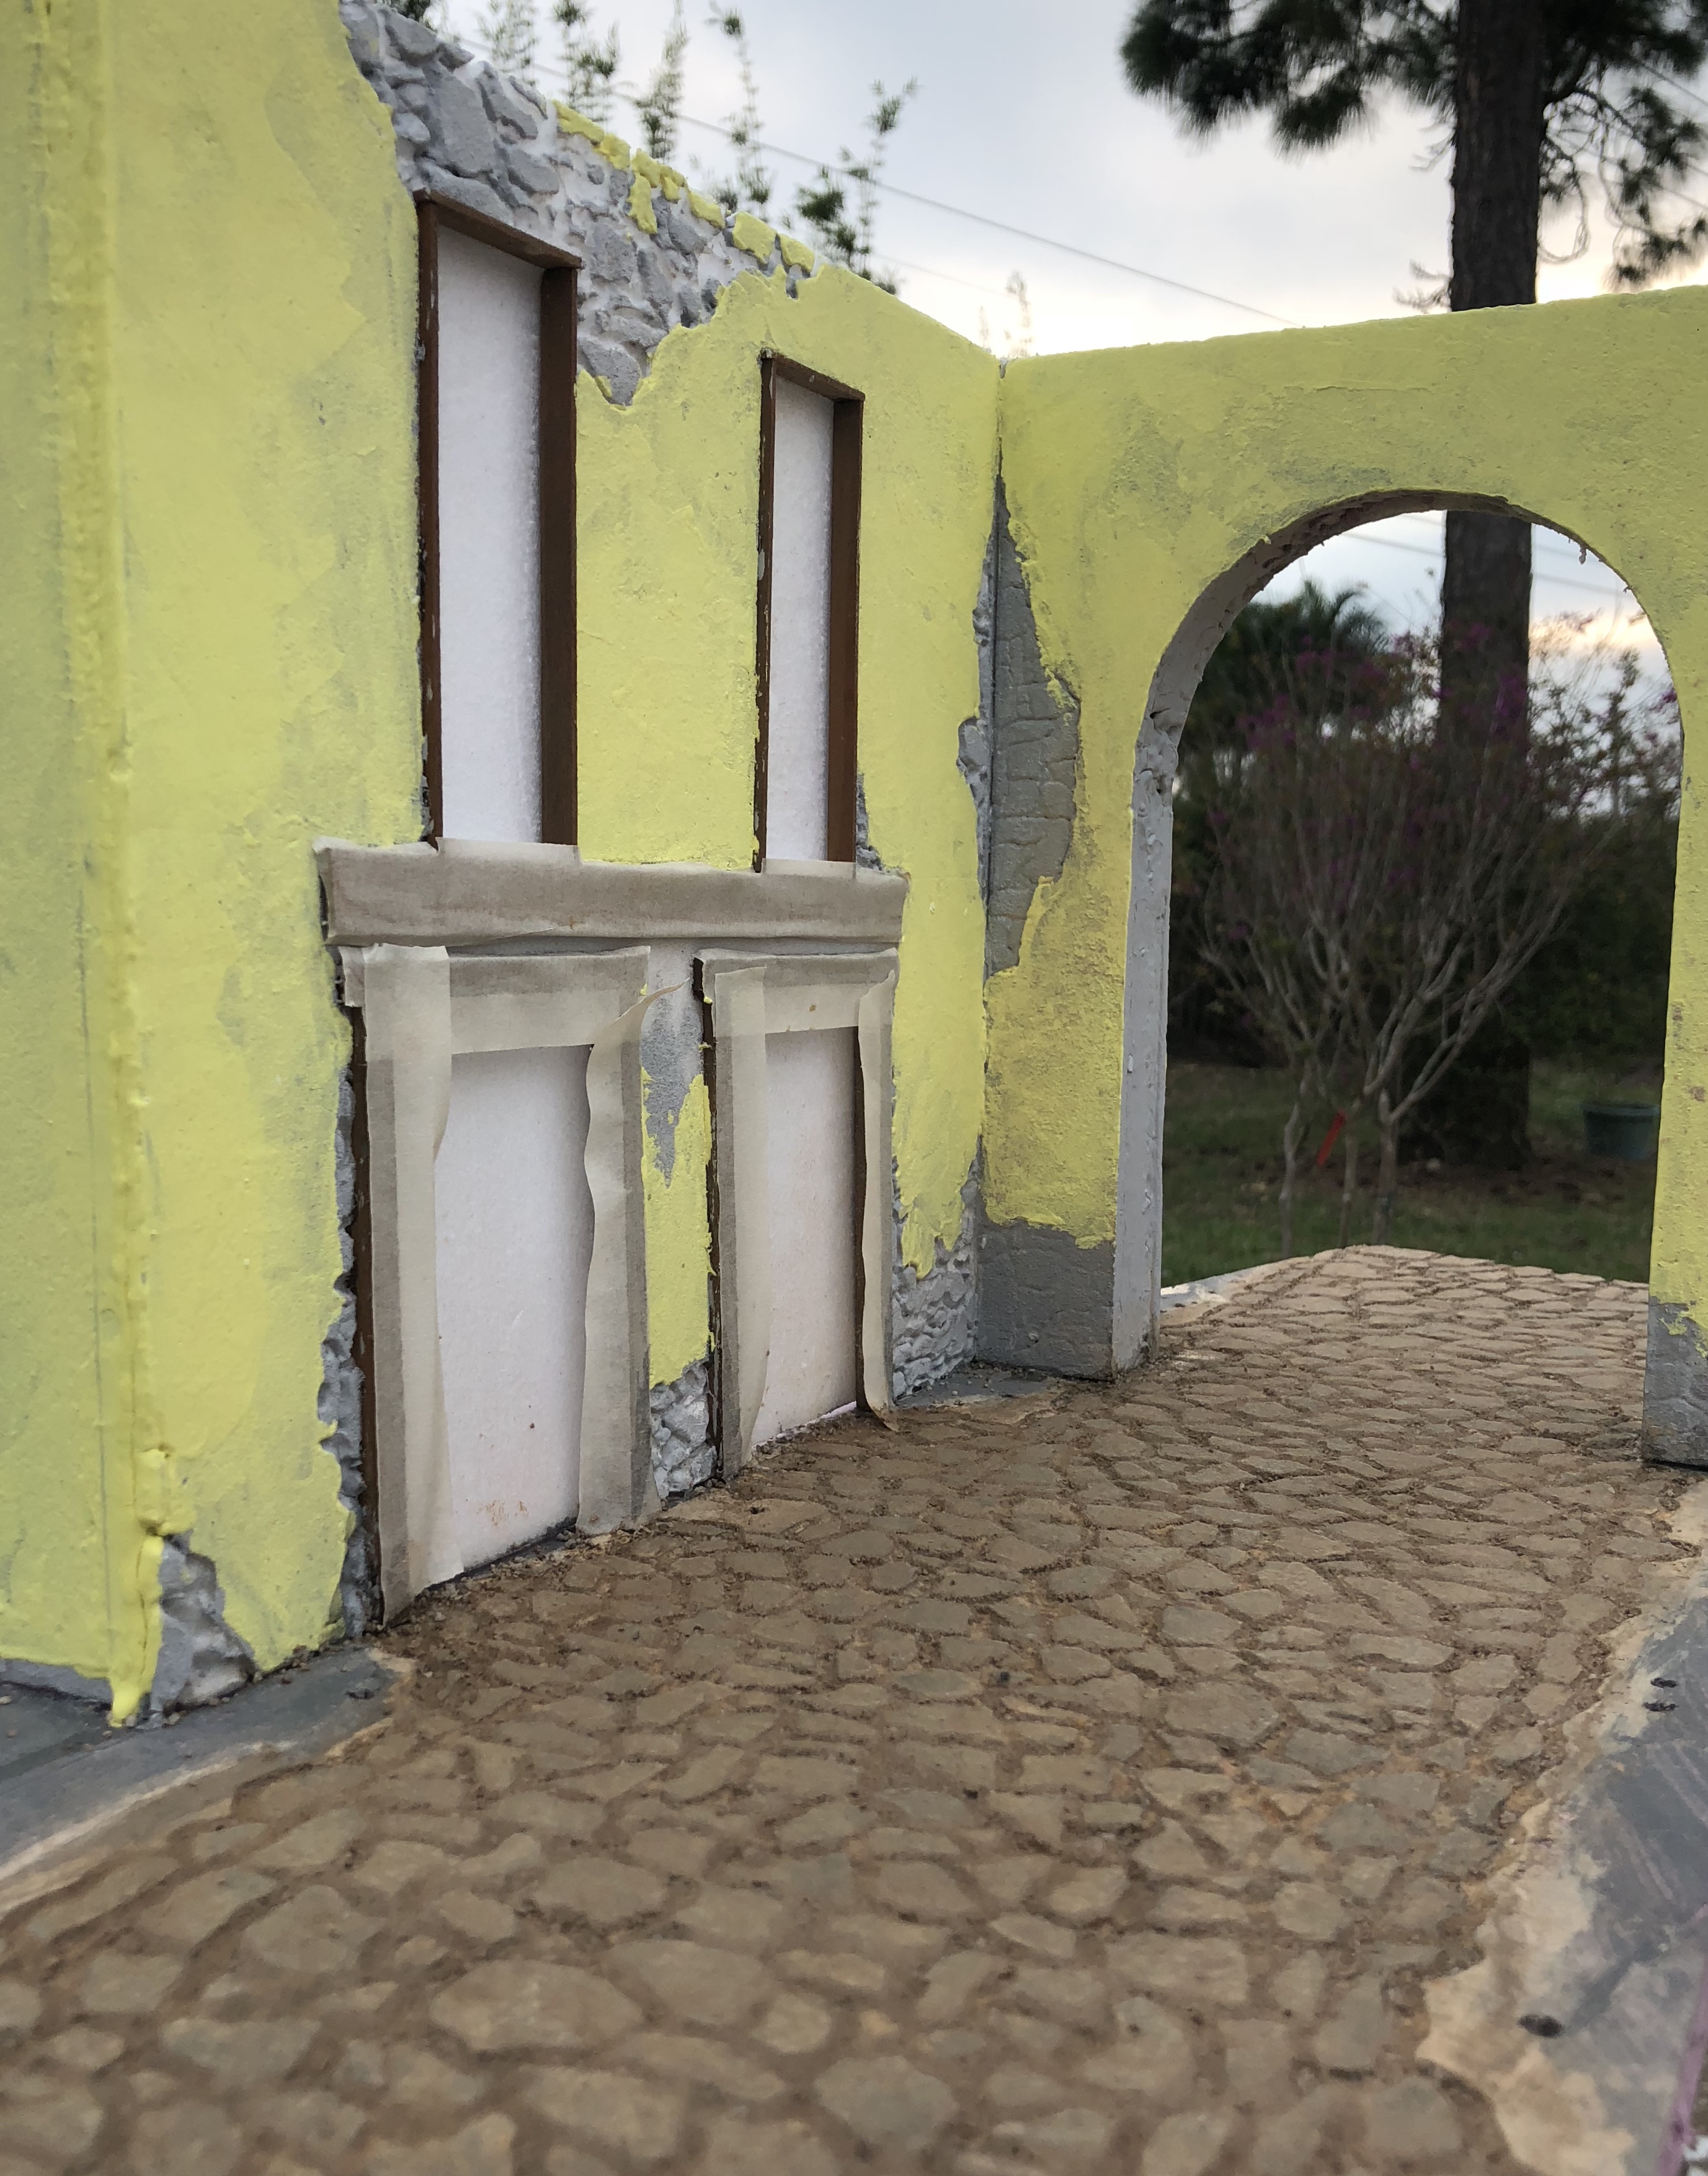
After giving some thought, I have decided to rebuild the building structure. I accidentally dropped it and the walls look crooked, plus other details. I’m taking in consideration some ideas given by members of the forum, which will make the diorama look better. I want to thank everyone for giving me some good points. Here is a picture of just the ground work. I might just work them separately and then attach the building to the base.

-
It makes sense. It would have been perfect match to the entrance arch. I have been trying to fix some things on this diorama. I feel like I should start over. For one, I accidentally dropped it and the building fell apart. I had to glue it back together and patch it.
-
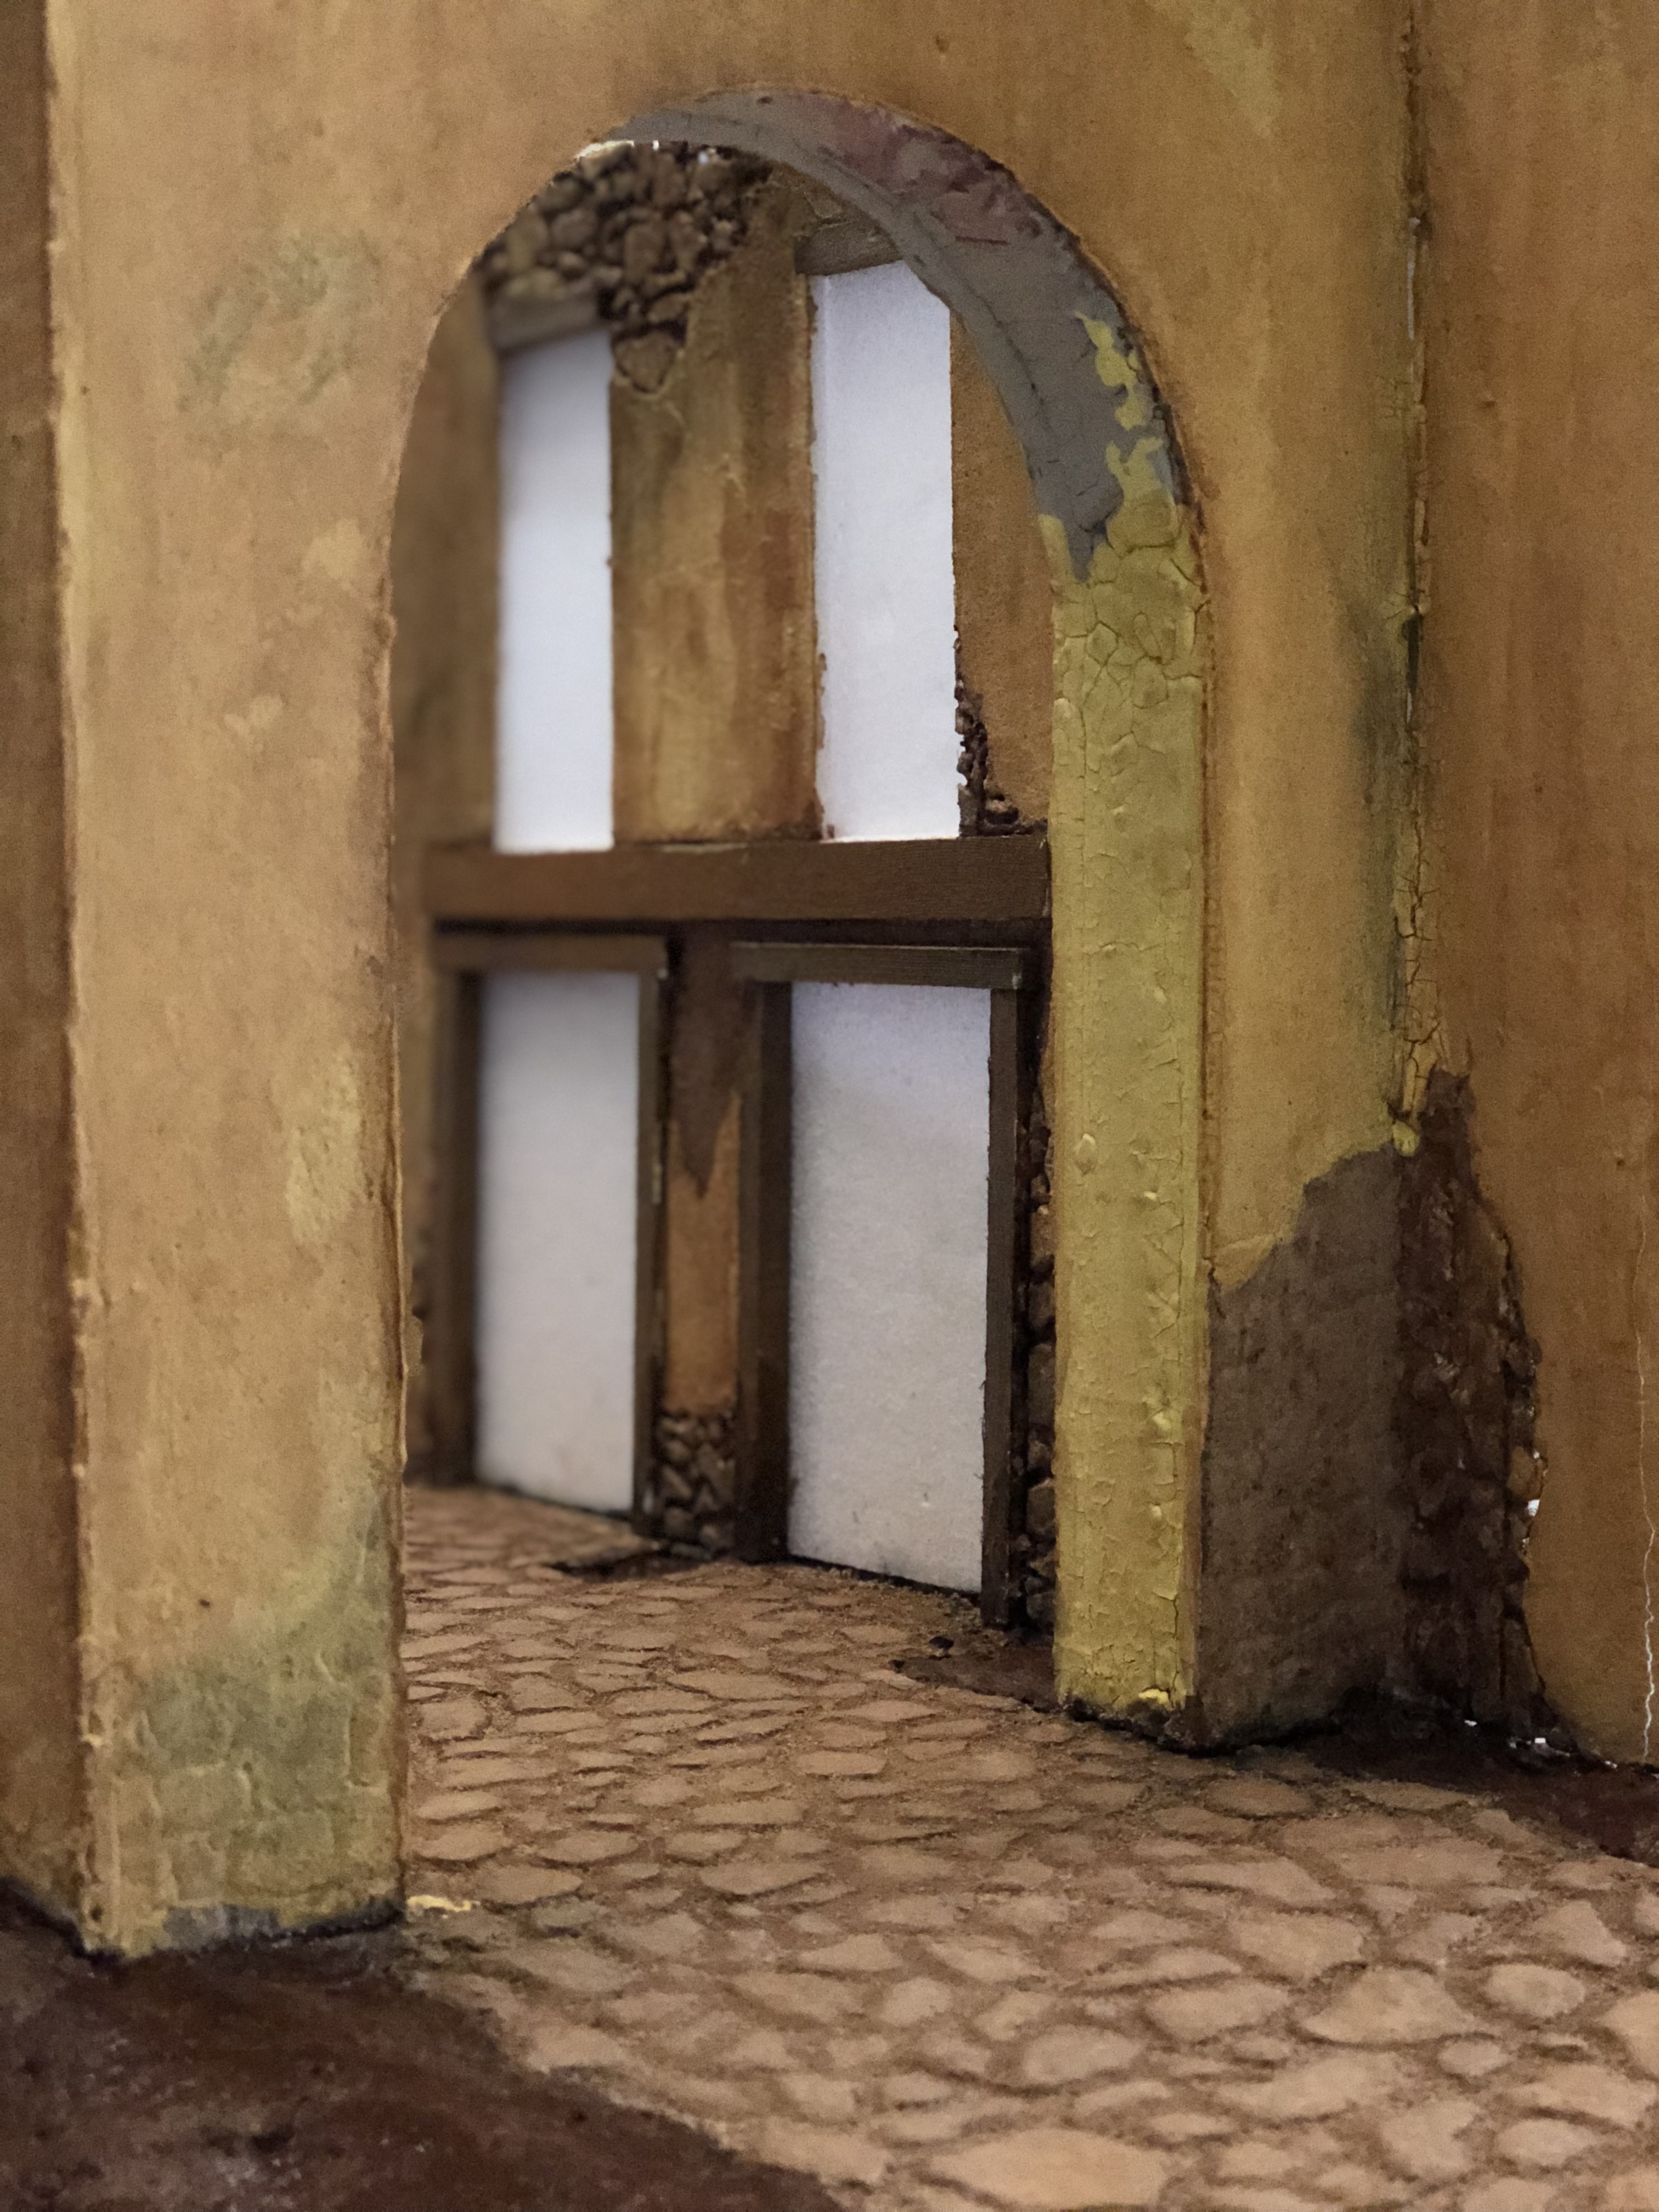
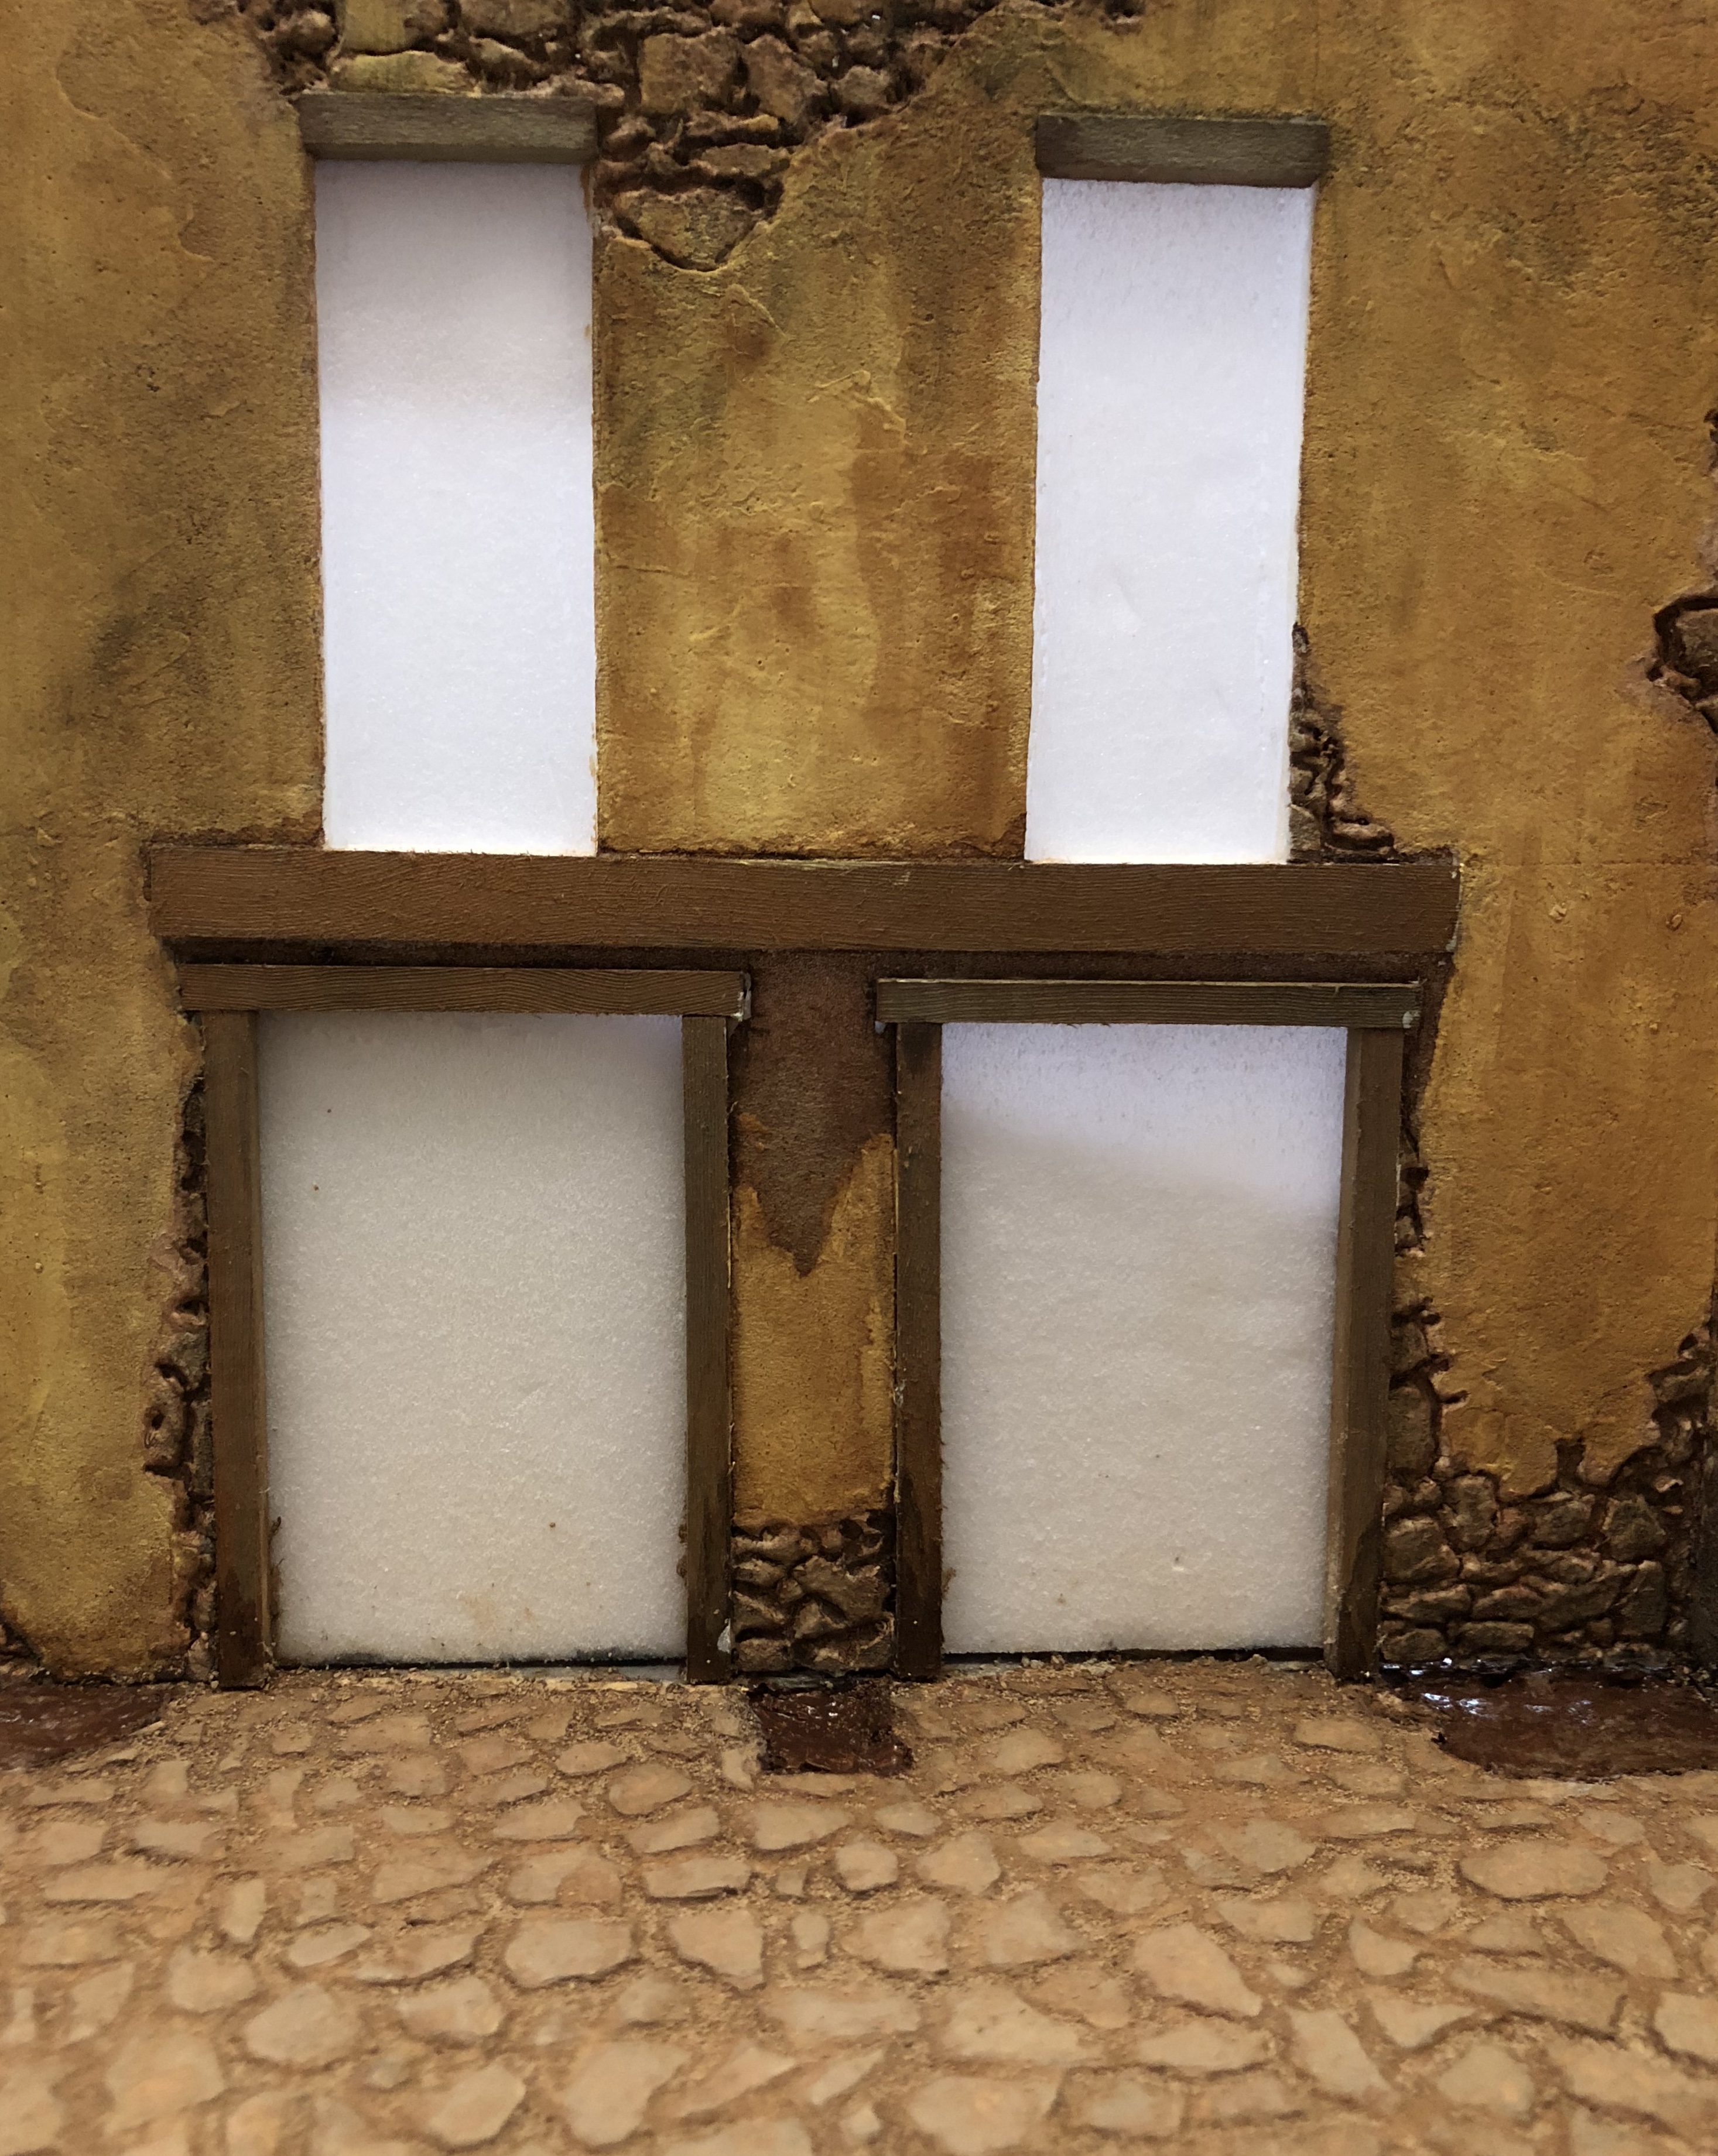
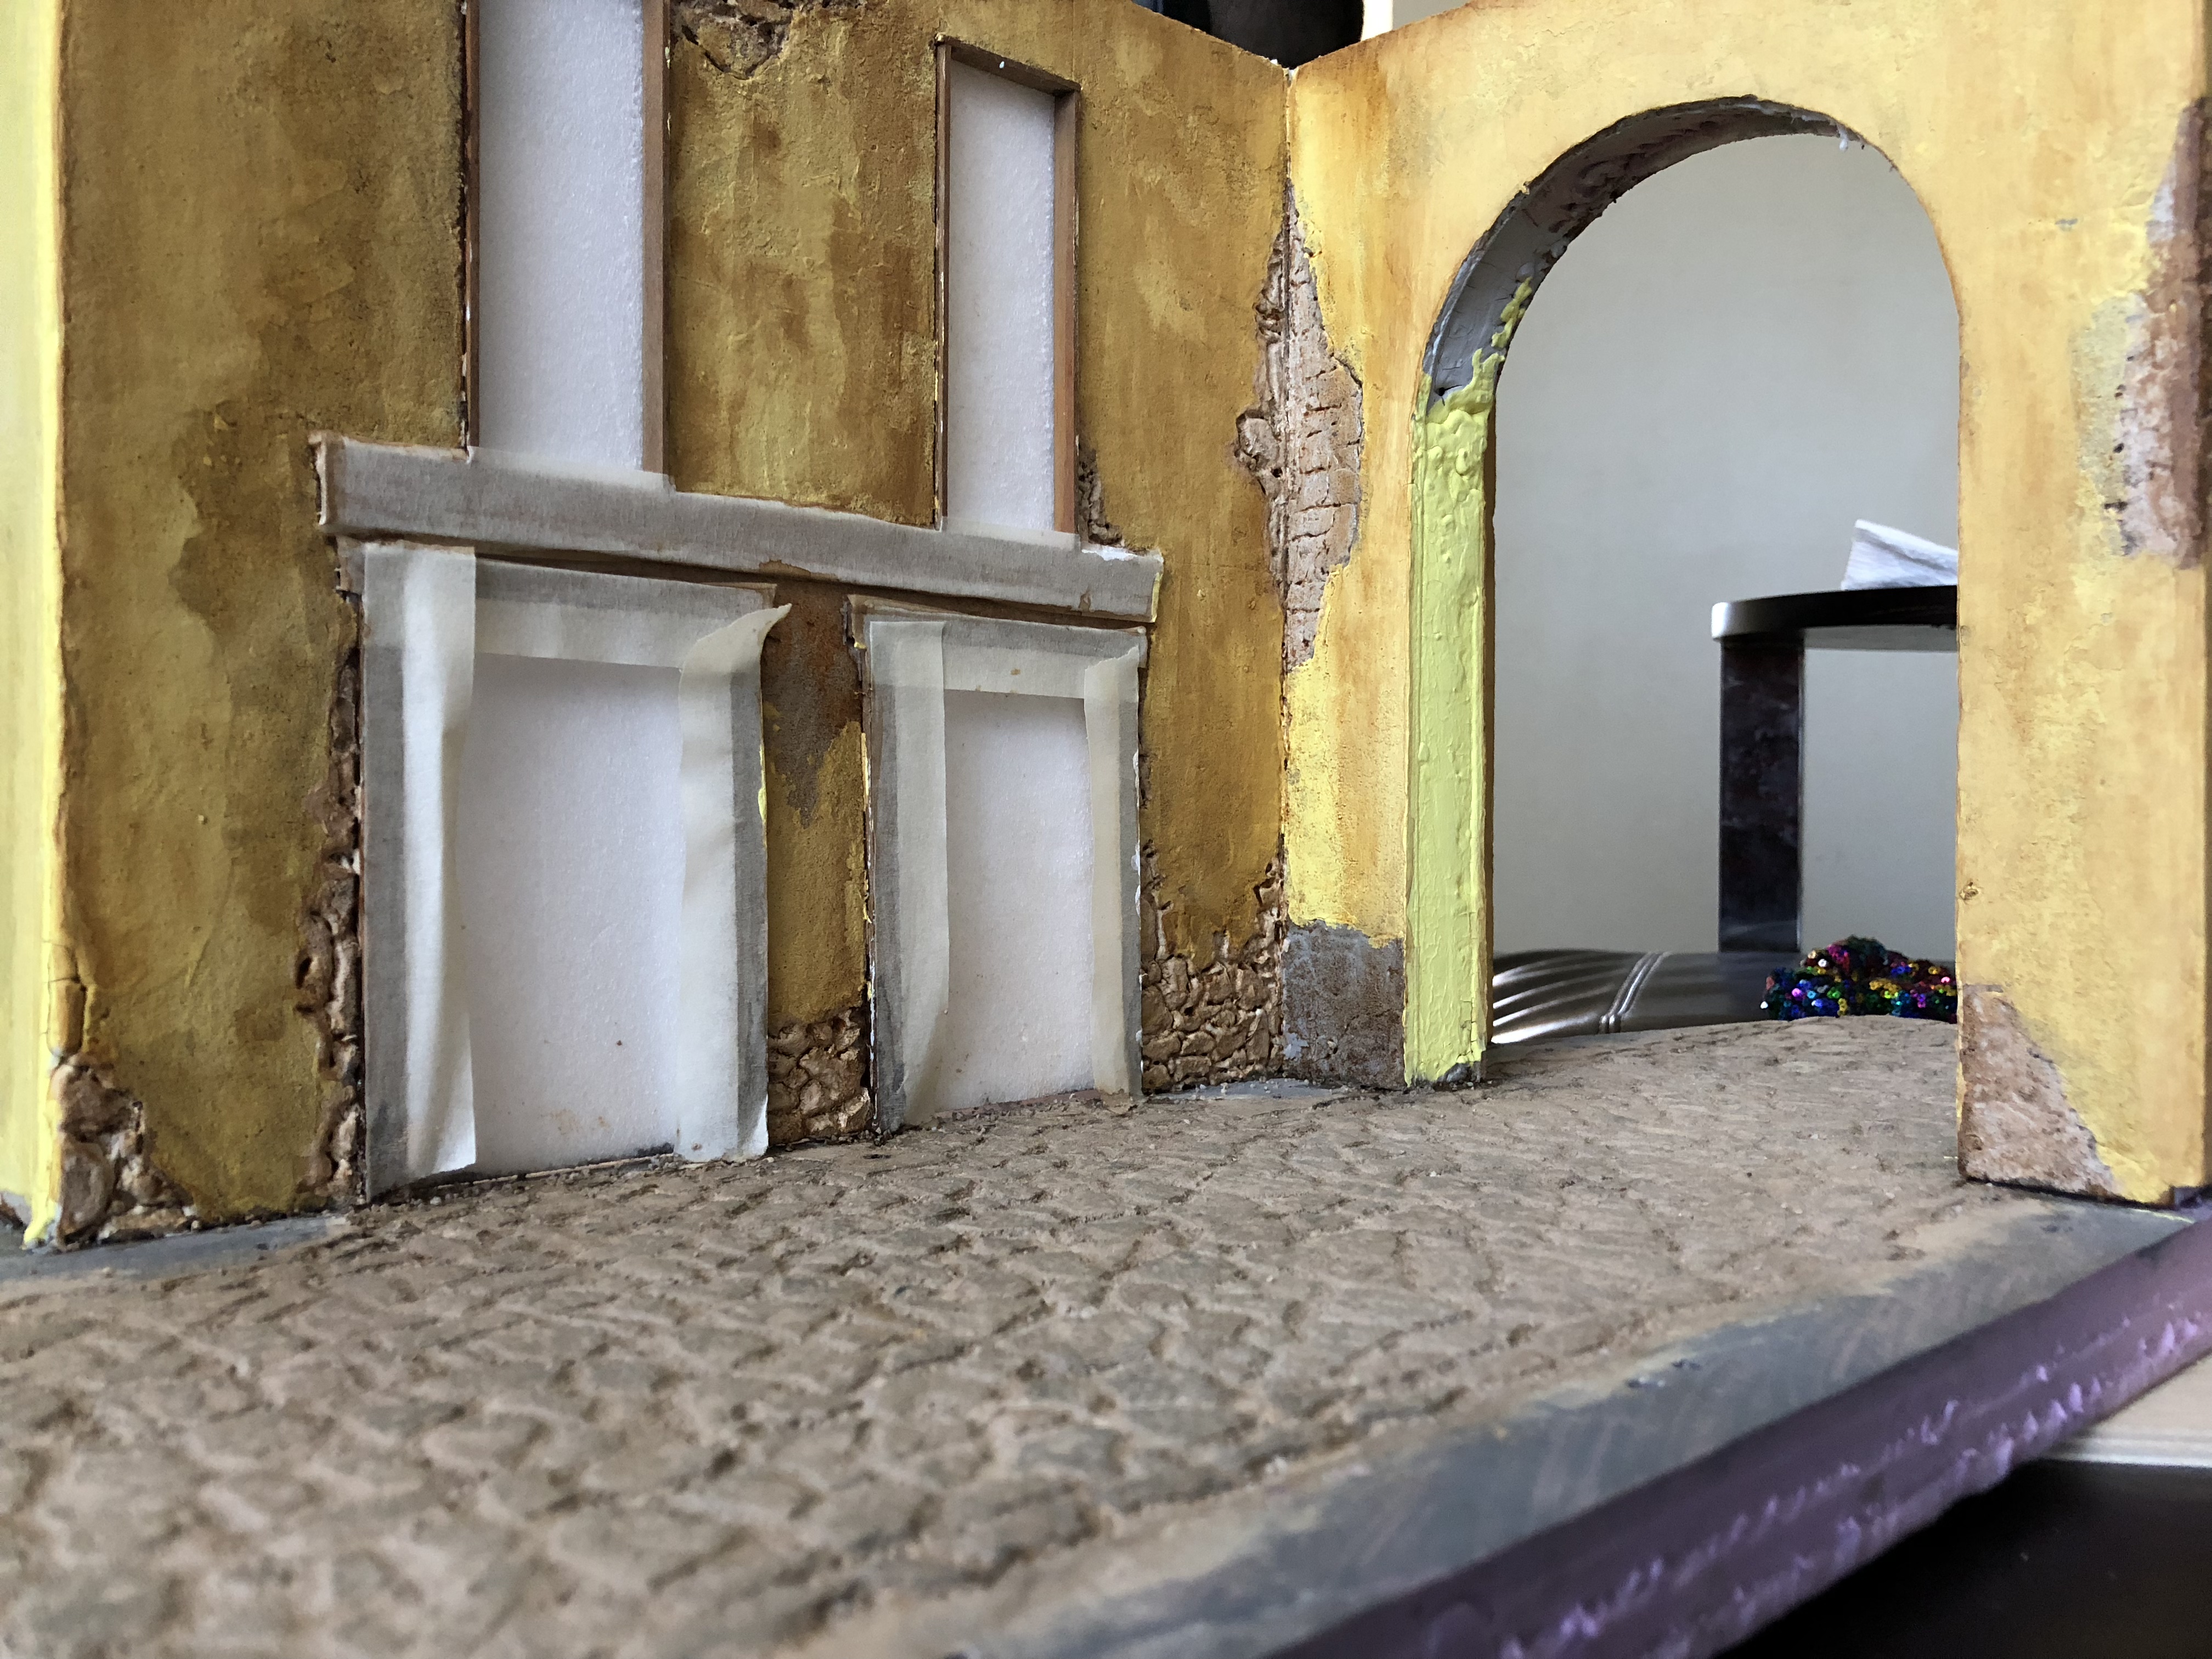
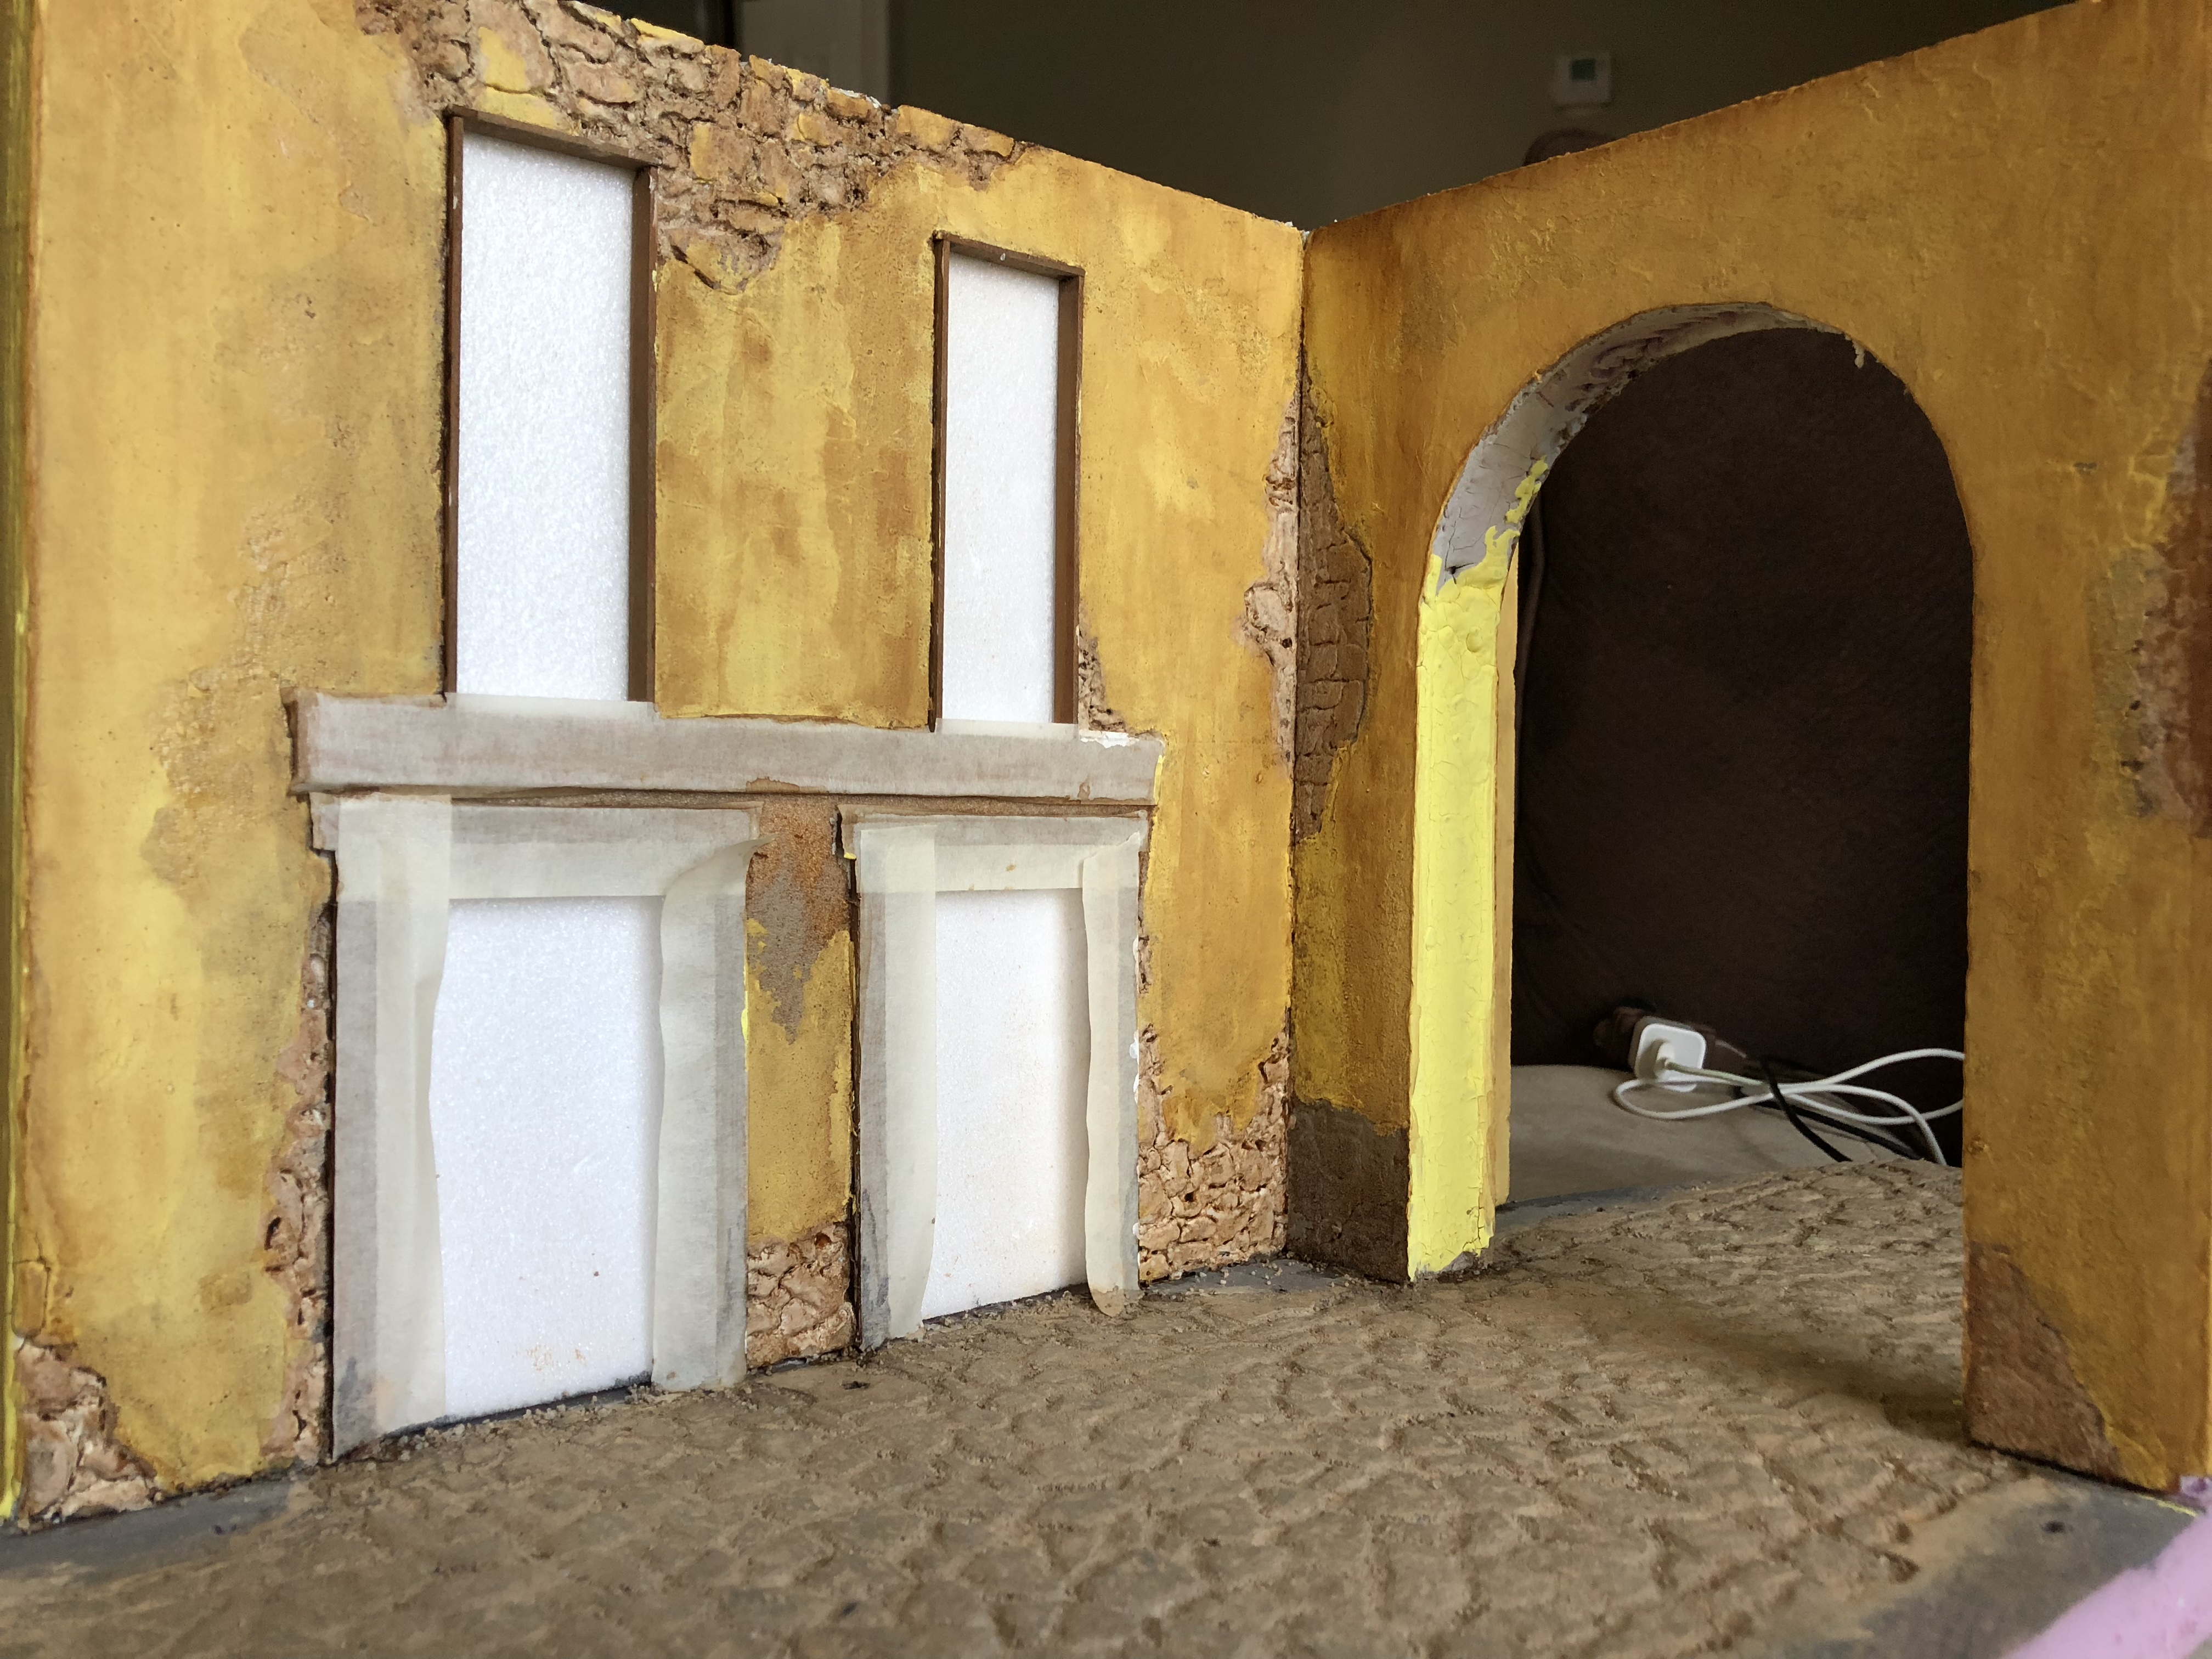
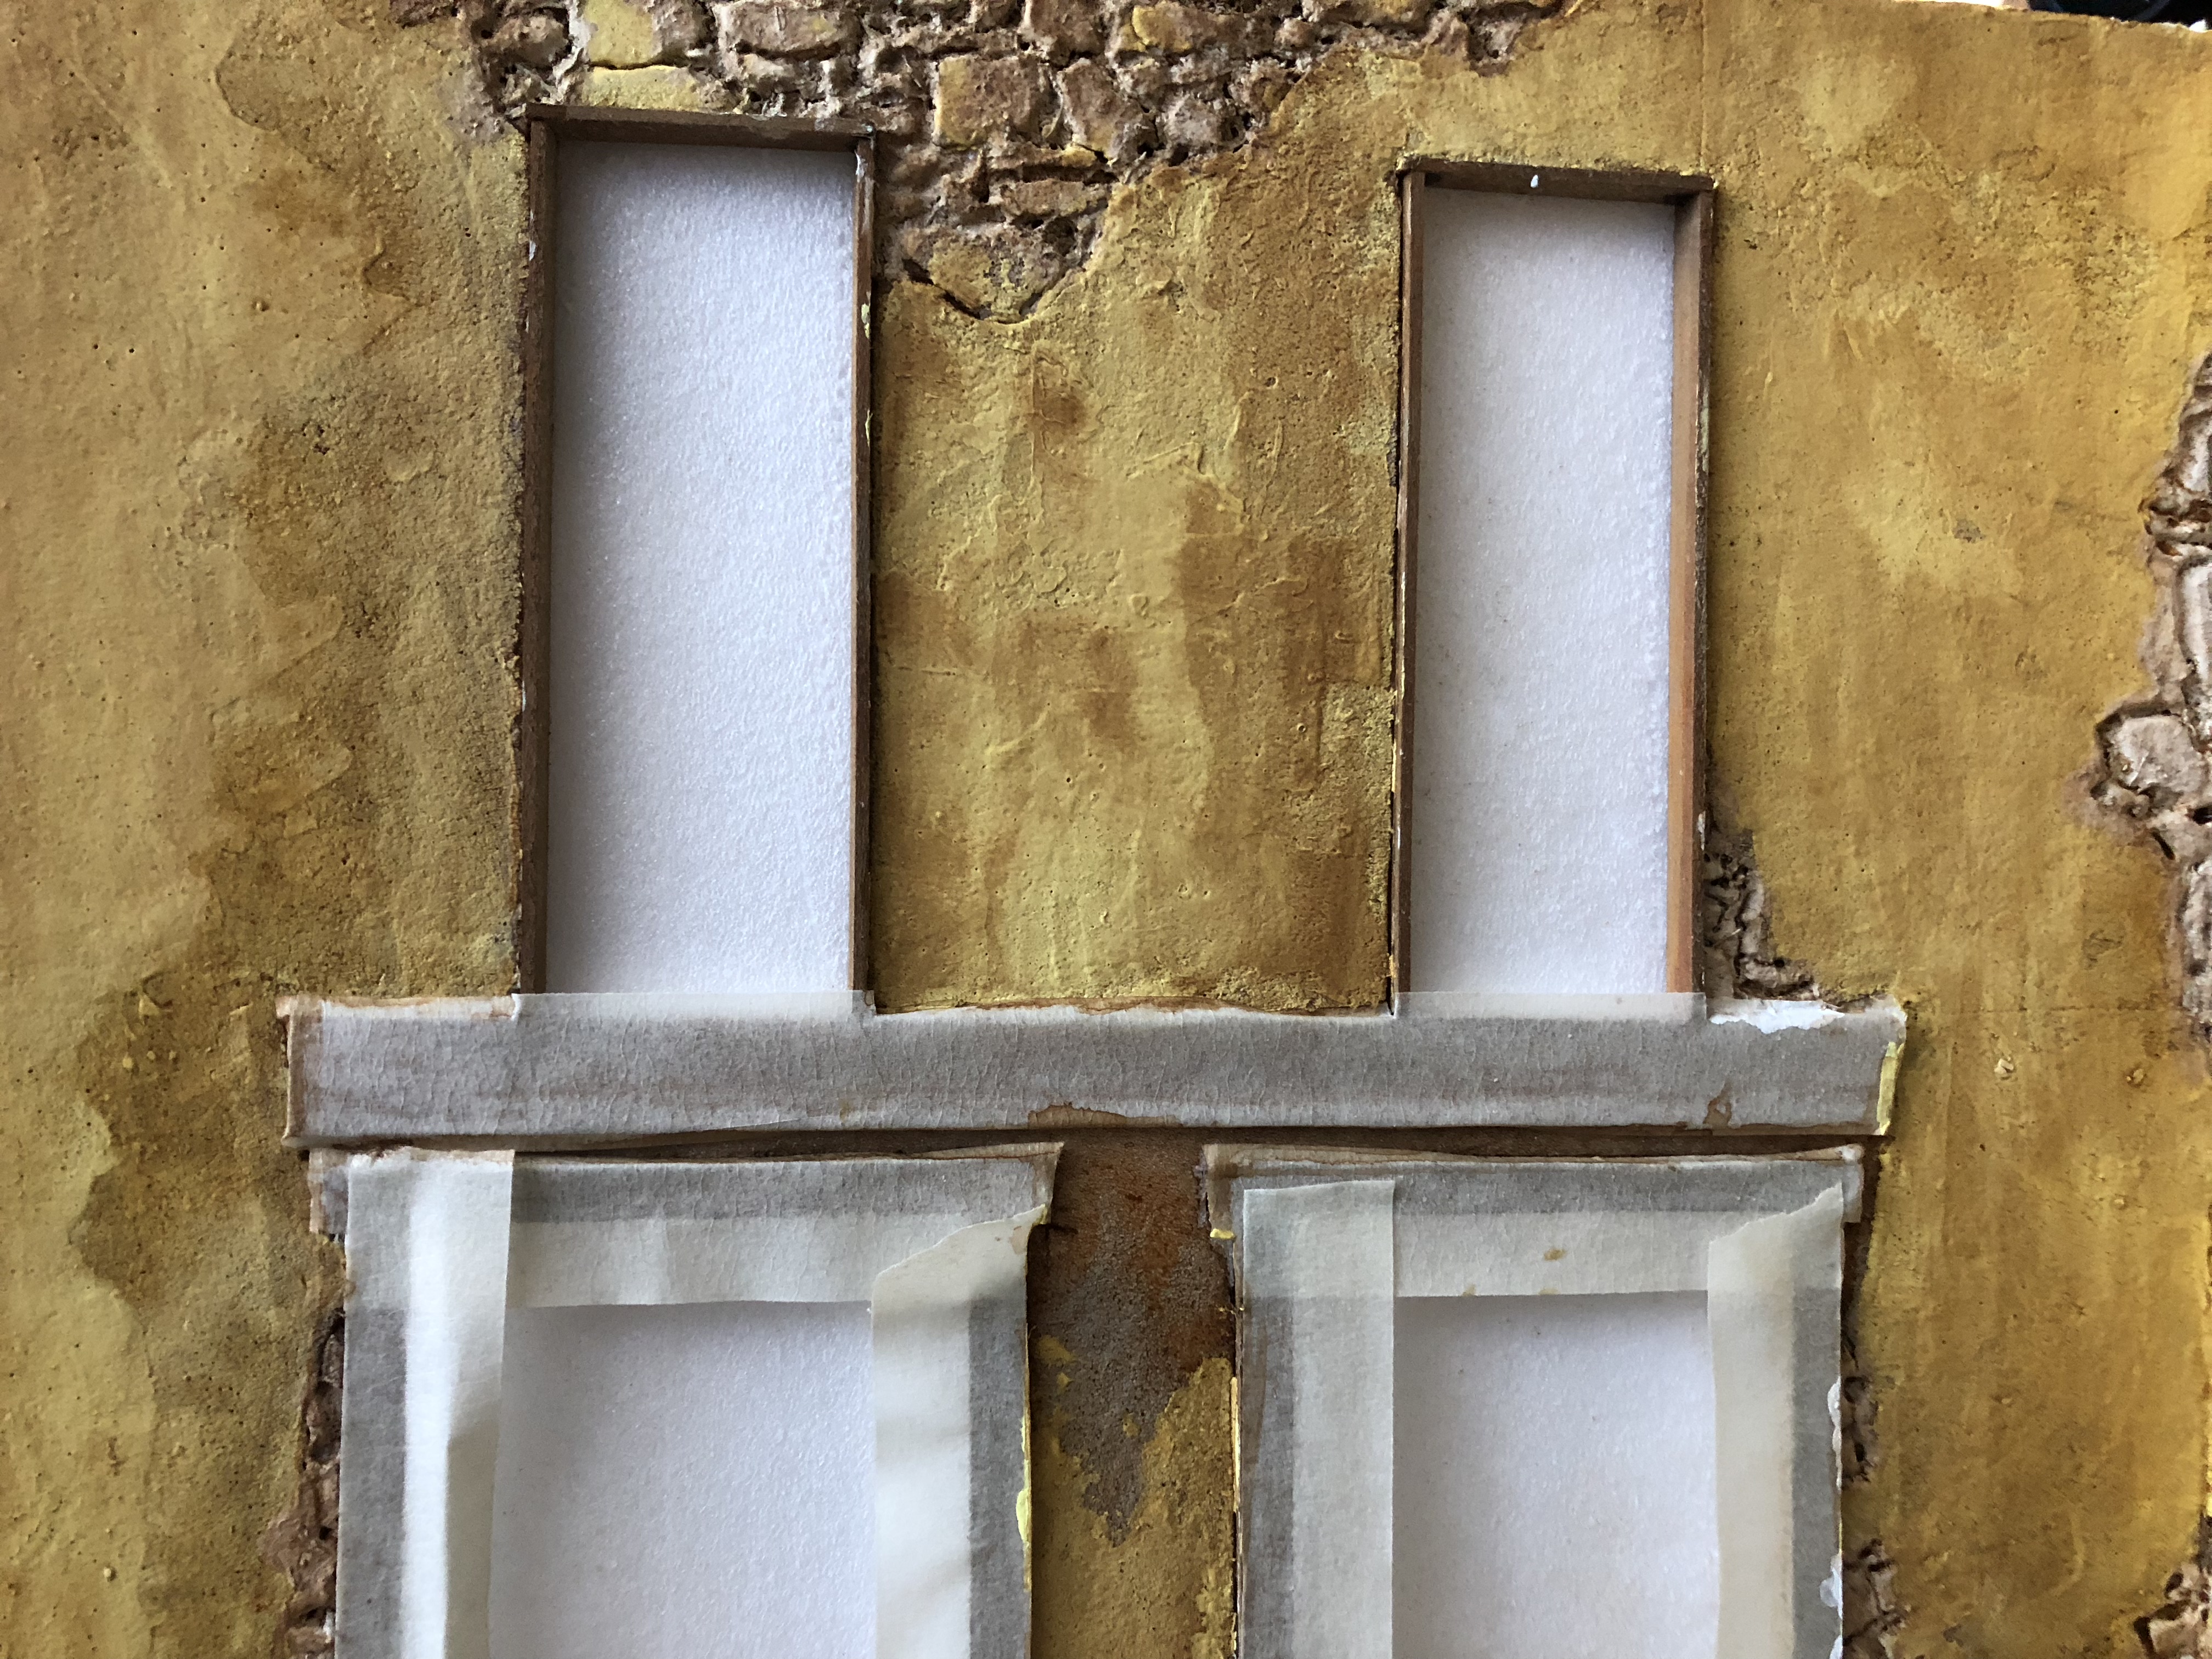
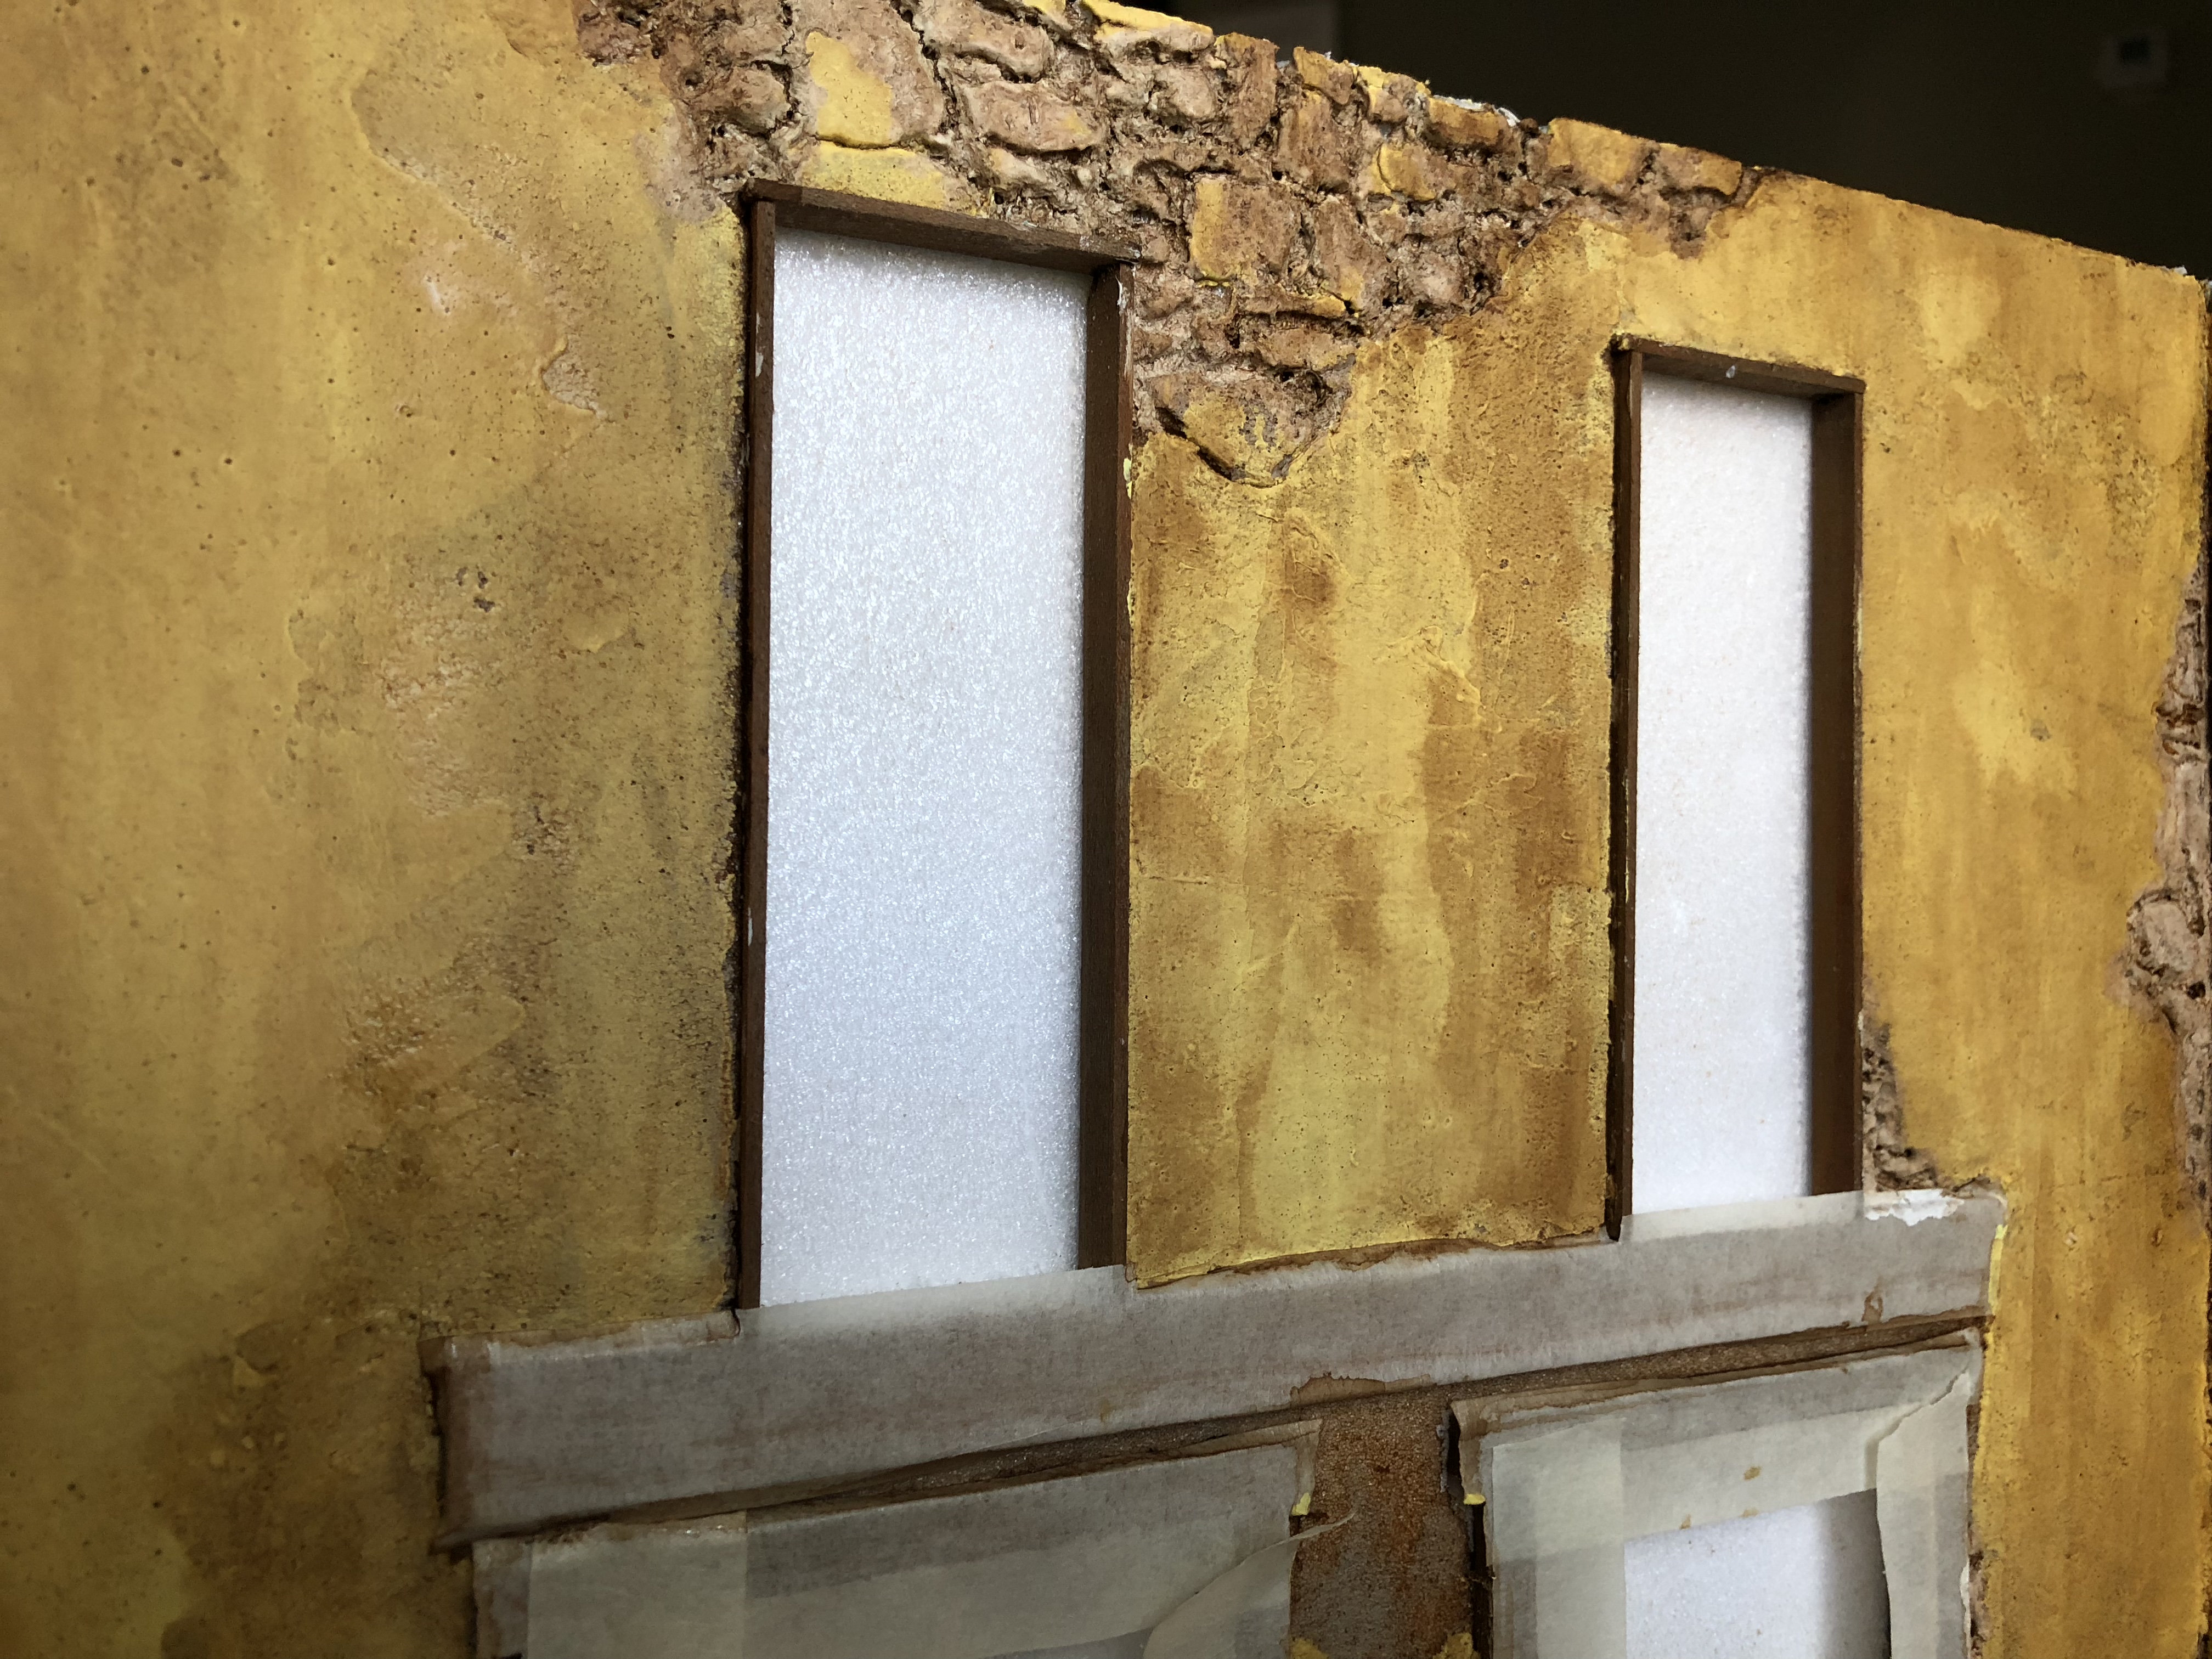
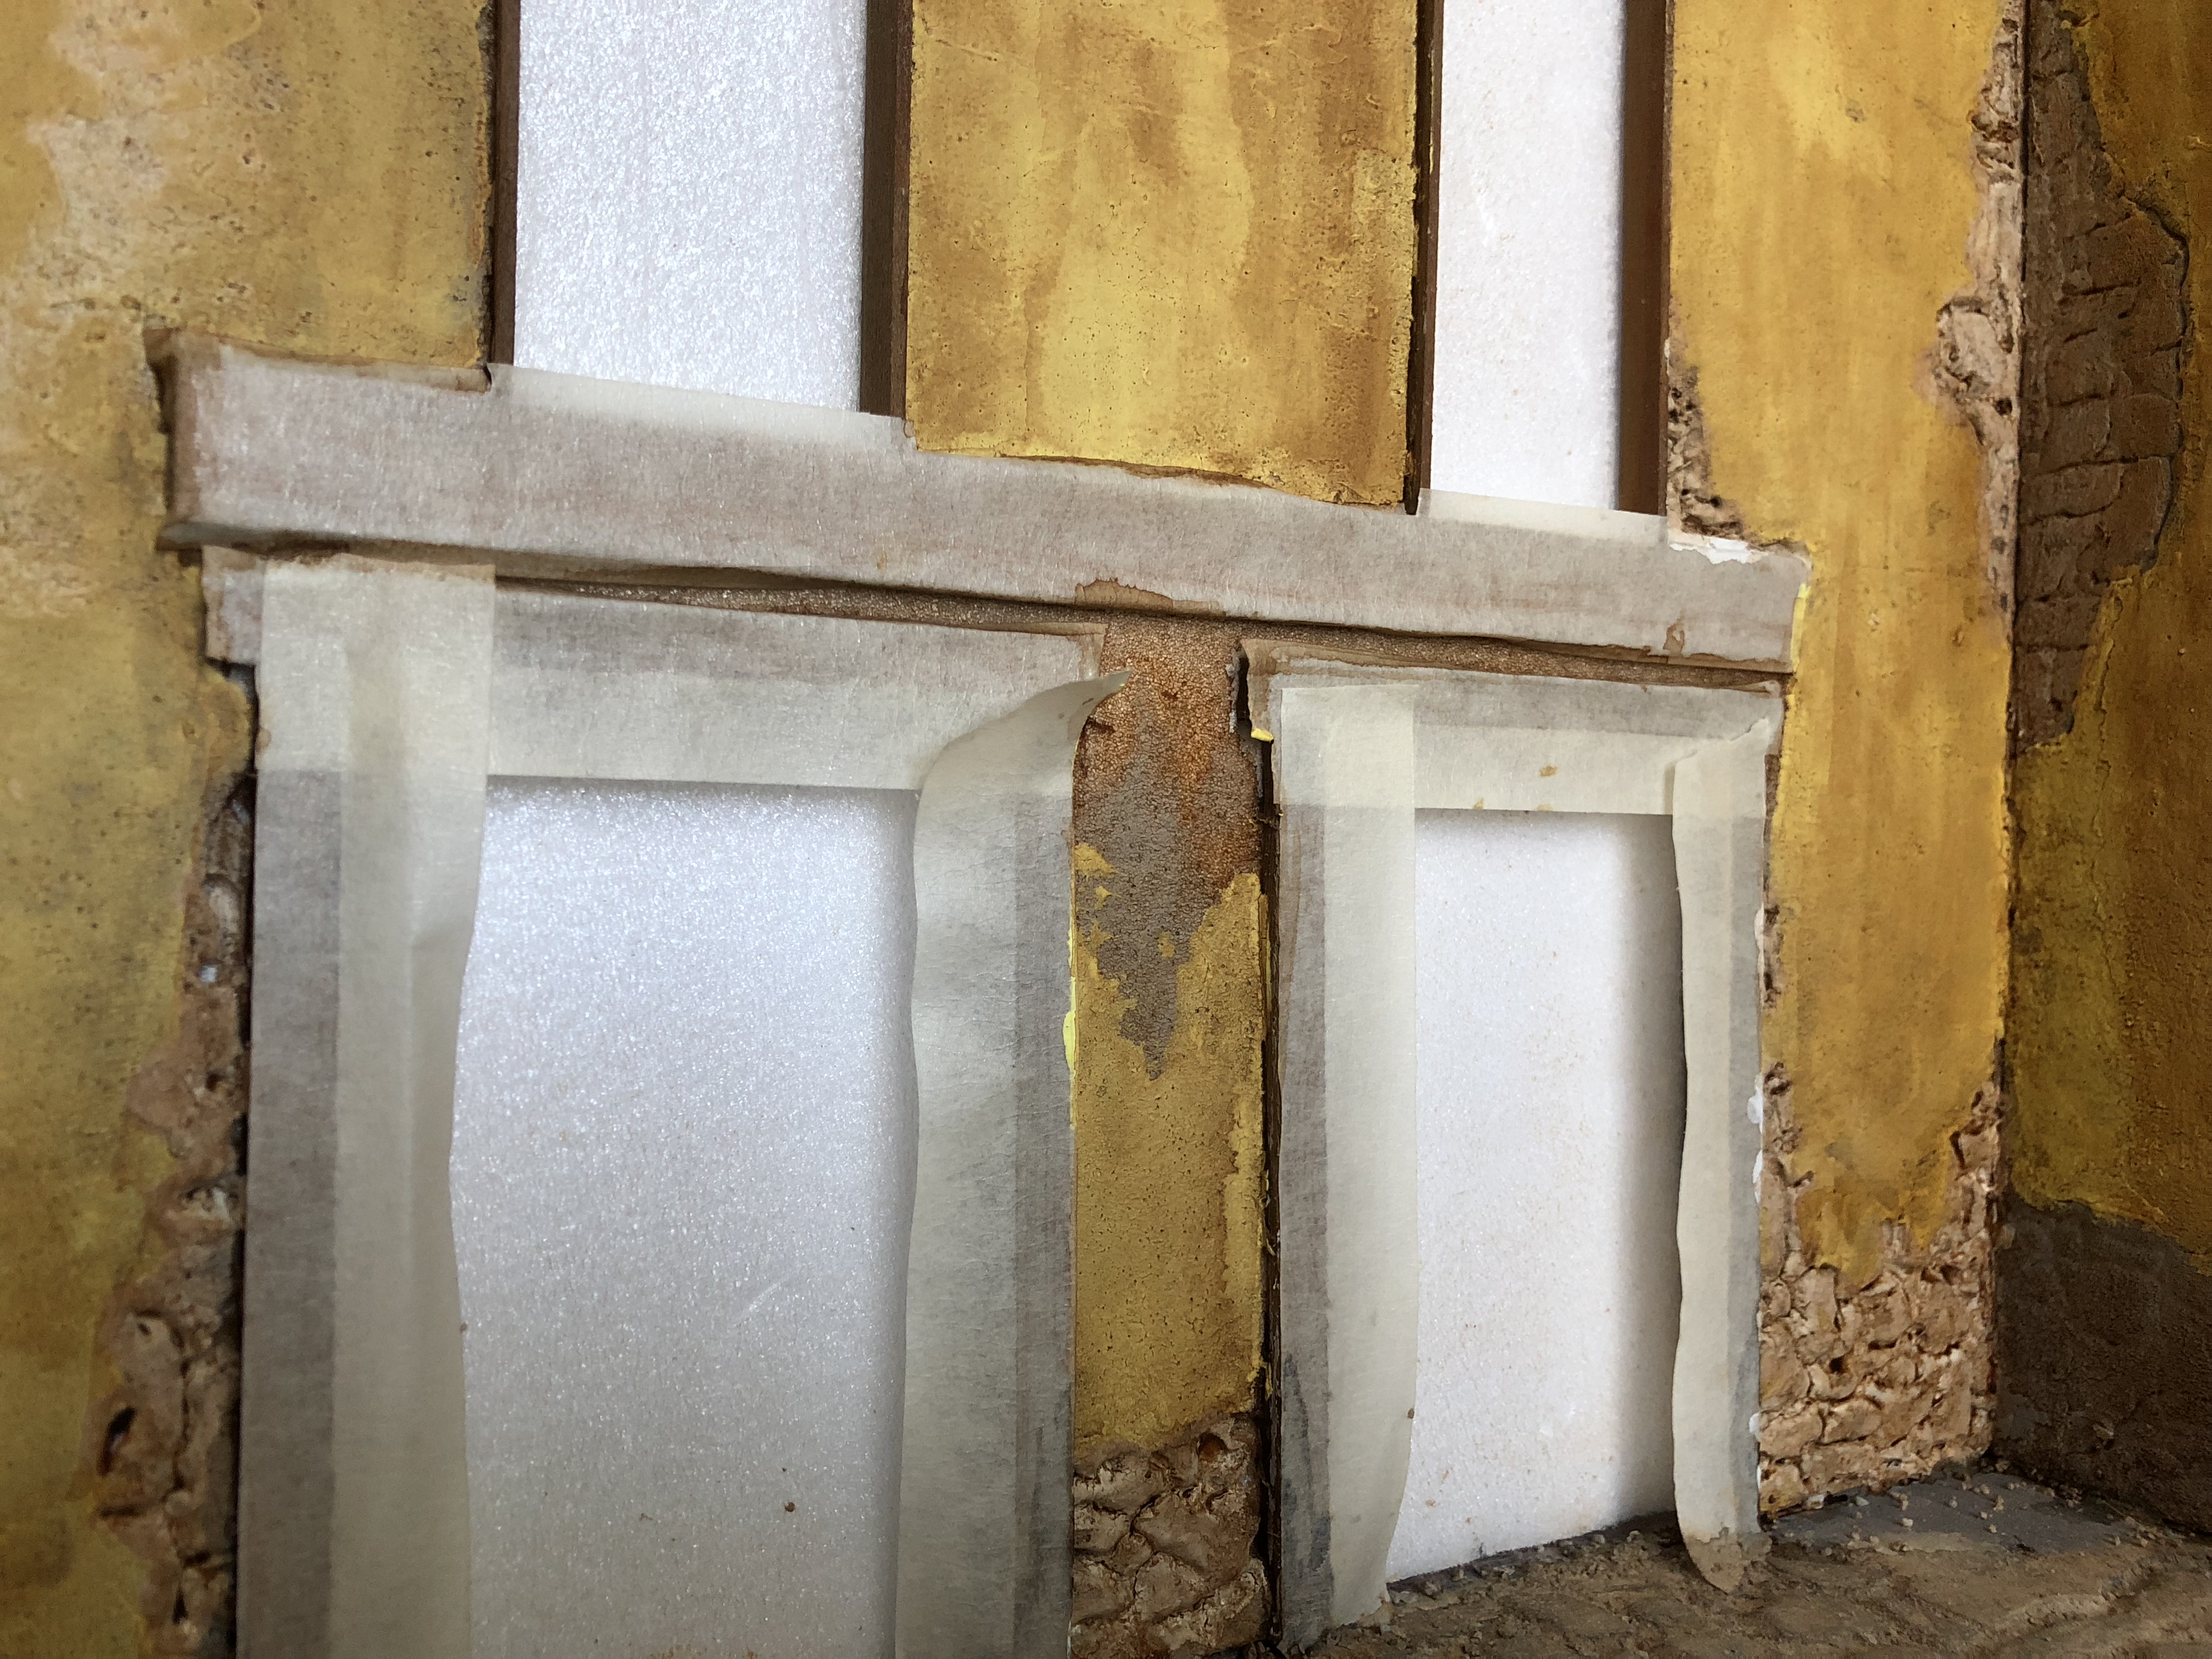
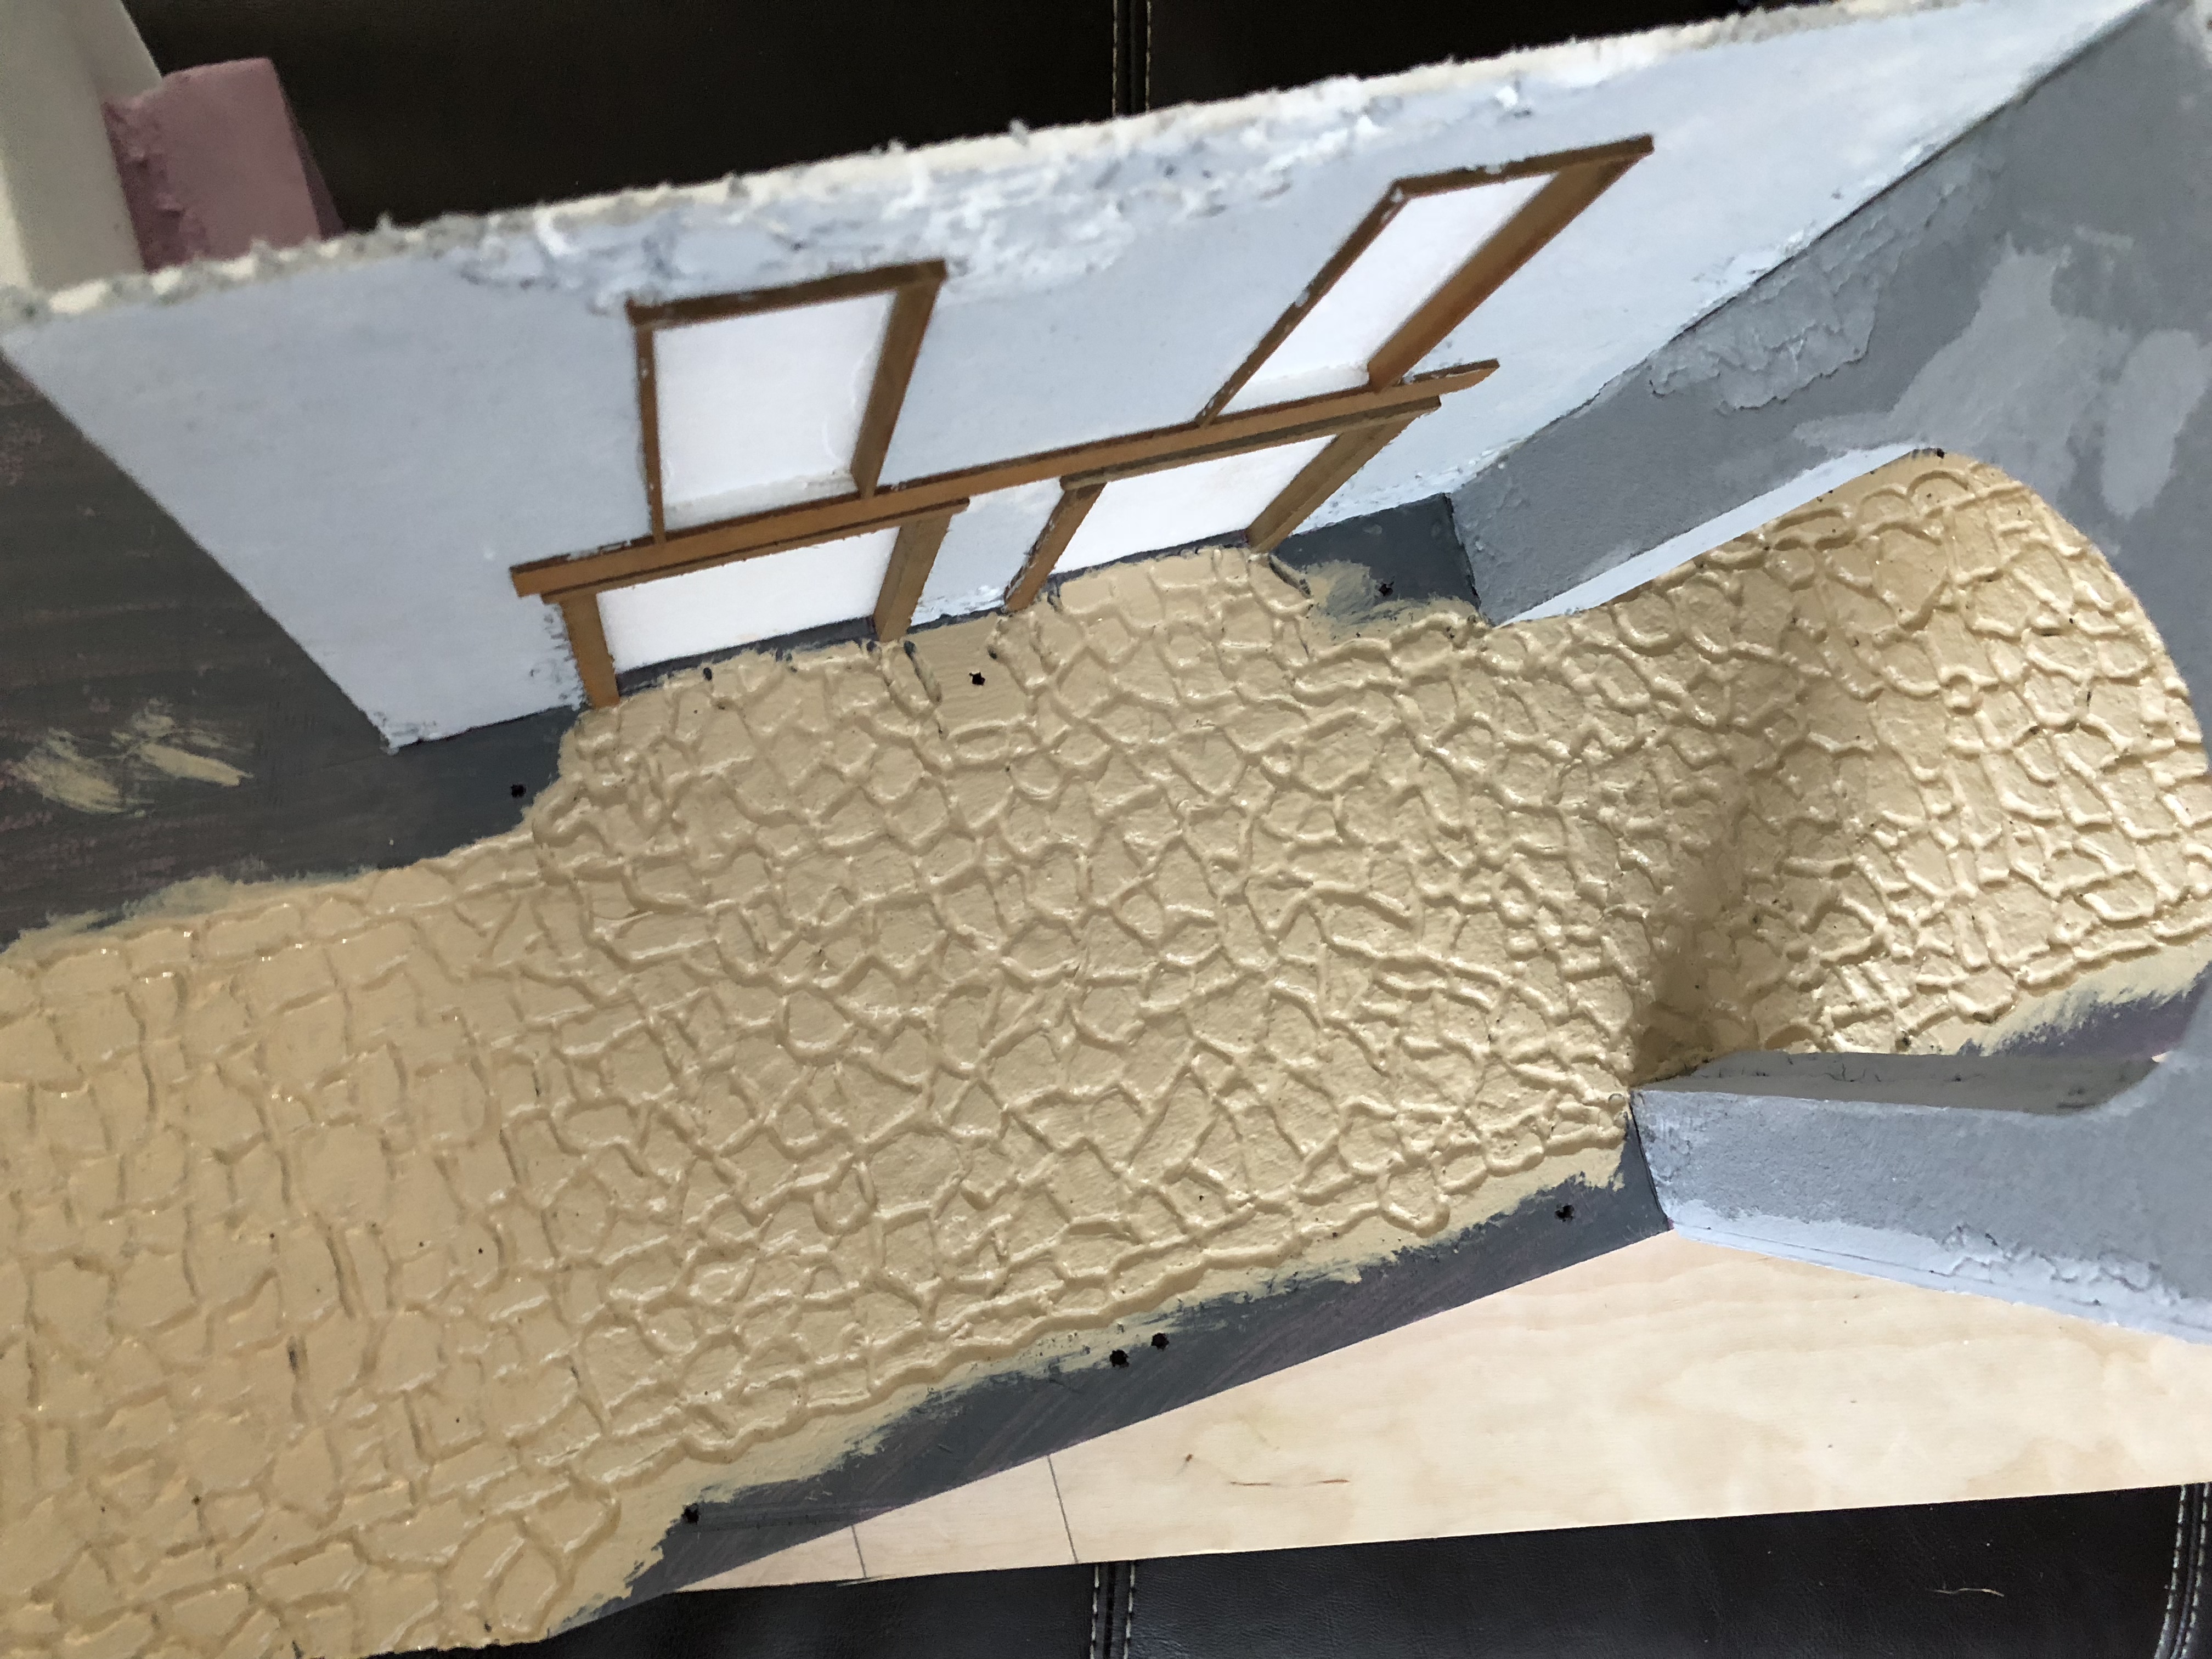
I added somw grime to the walls and added a bigger header to the top openings, which I will convert to windows. I filled up where the ground and grass will go and painted the under cover with burnt umber.
-
Awesome. I should start recycling these materials whenever I come across it.
-

Where Bohemiea Beatnicks and Beer were found - The Village
QbanFam replied to Eshaver's topic in WIP: Dioramas
Looks great. It certainly looks like it took some hours of work. Looking forward to what’s coming next. -
Doing some great work there. What do you use for window glass, acetate sheets?
-
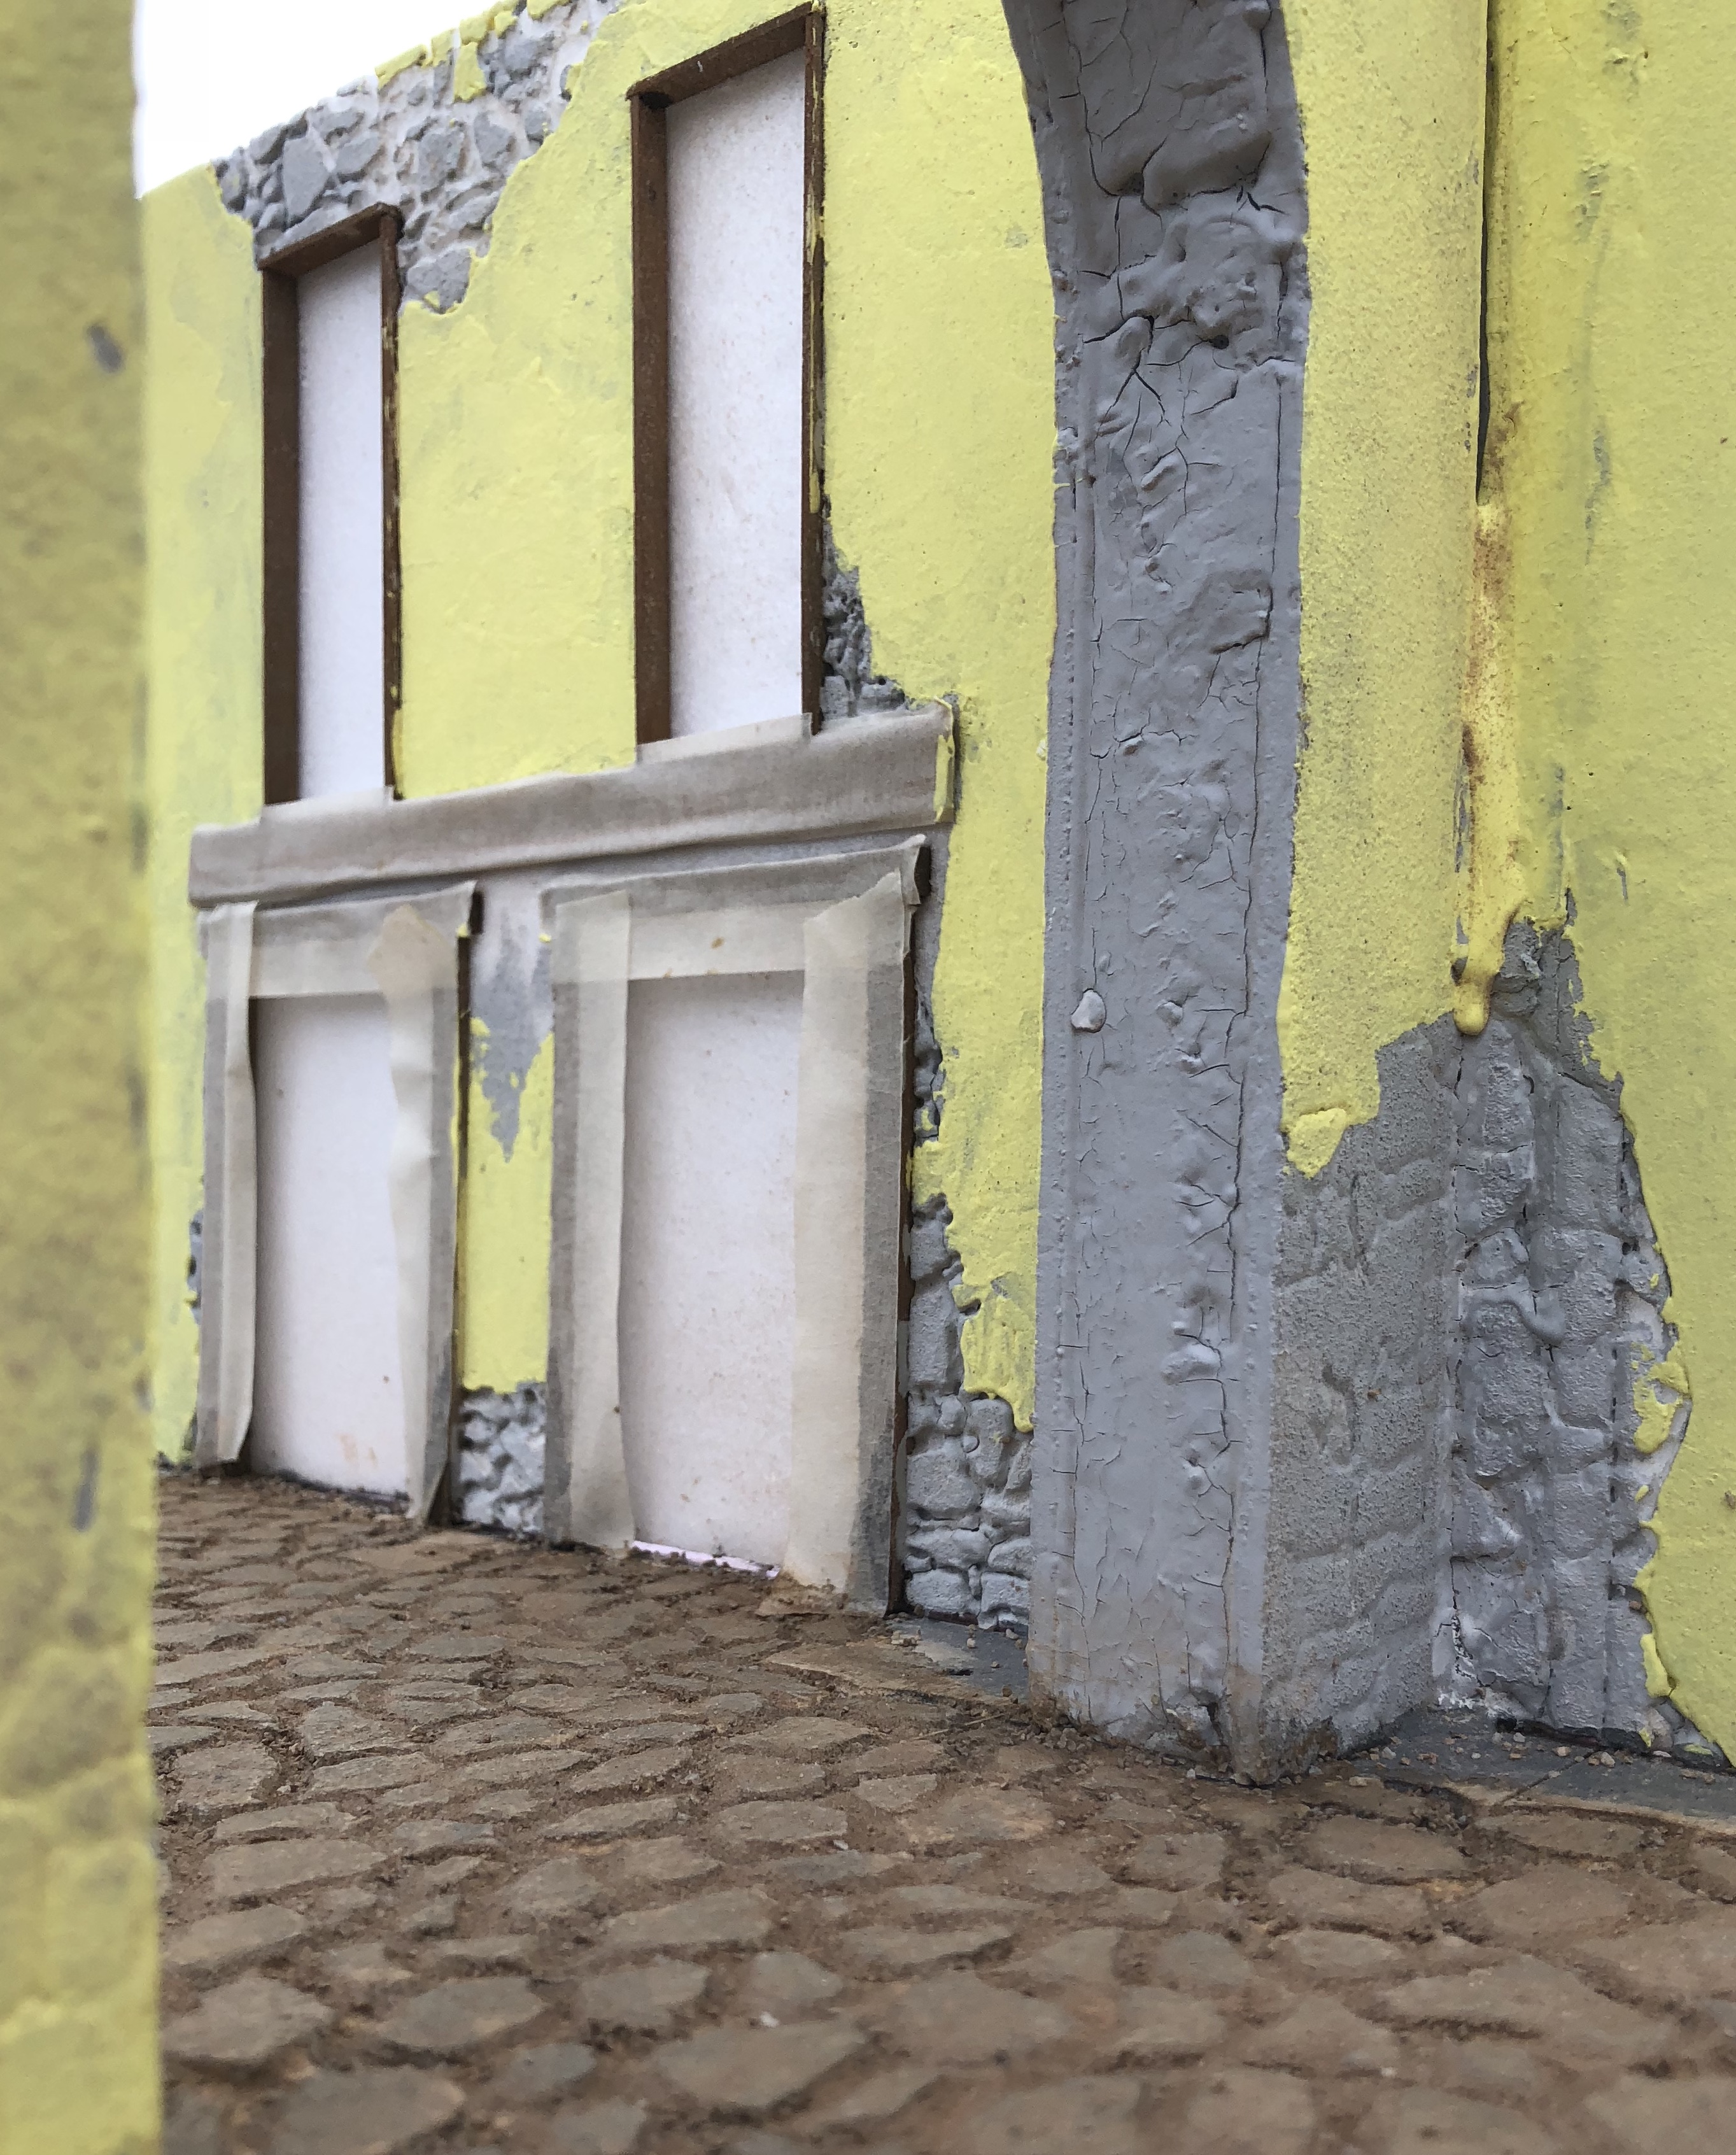
Thank you, David. I still need to apply more layers on the stone and add details to the wall. I might have mentioned this already but I think, to achieve more realistic textures, one has to apply multiple layers. Each layer might represent different things such as: base paint, peeling paint or stucco, grime, mildew, moss, etc. That’s just how it happens in real life and it’s my method of modeling dioramas. Don’t get me wrong, I struggle a lot trying to achieve this. Some day I will be able to do it with my eyes closed. Lol.
-
Thank you.
-
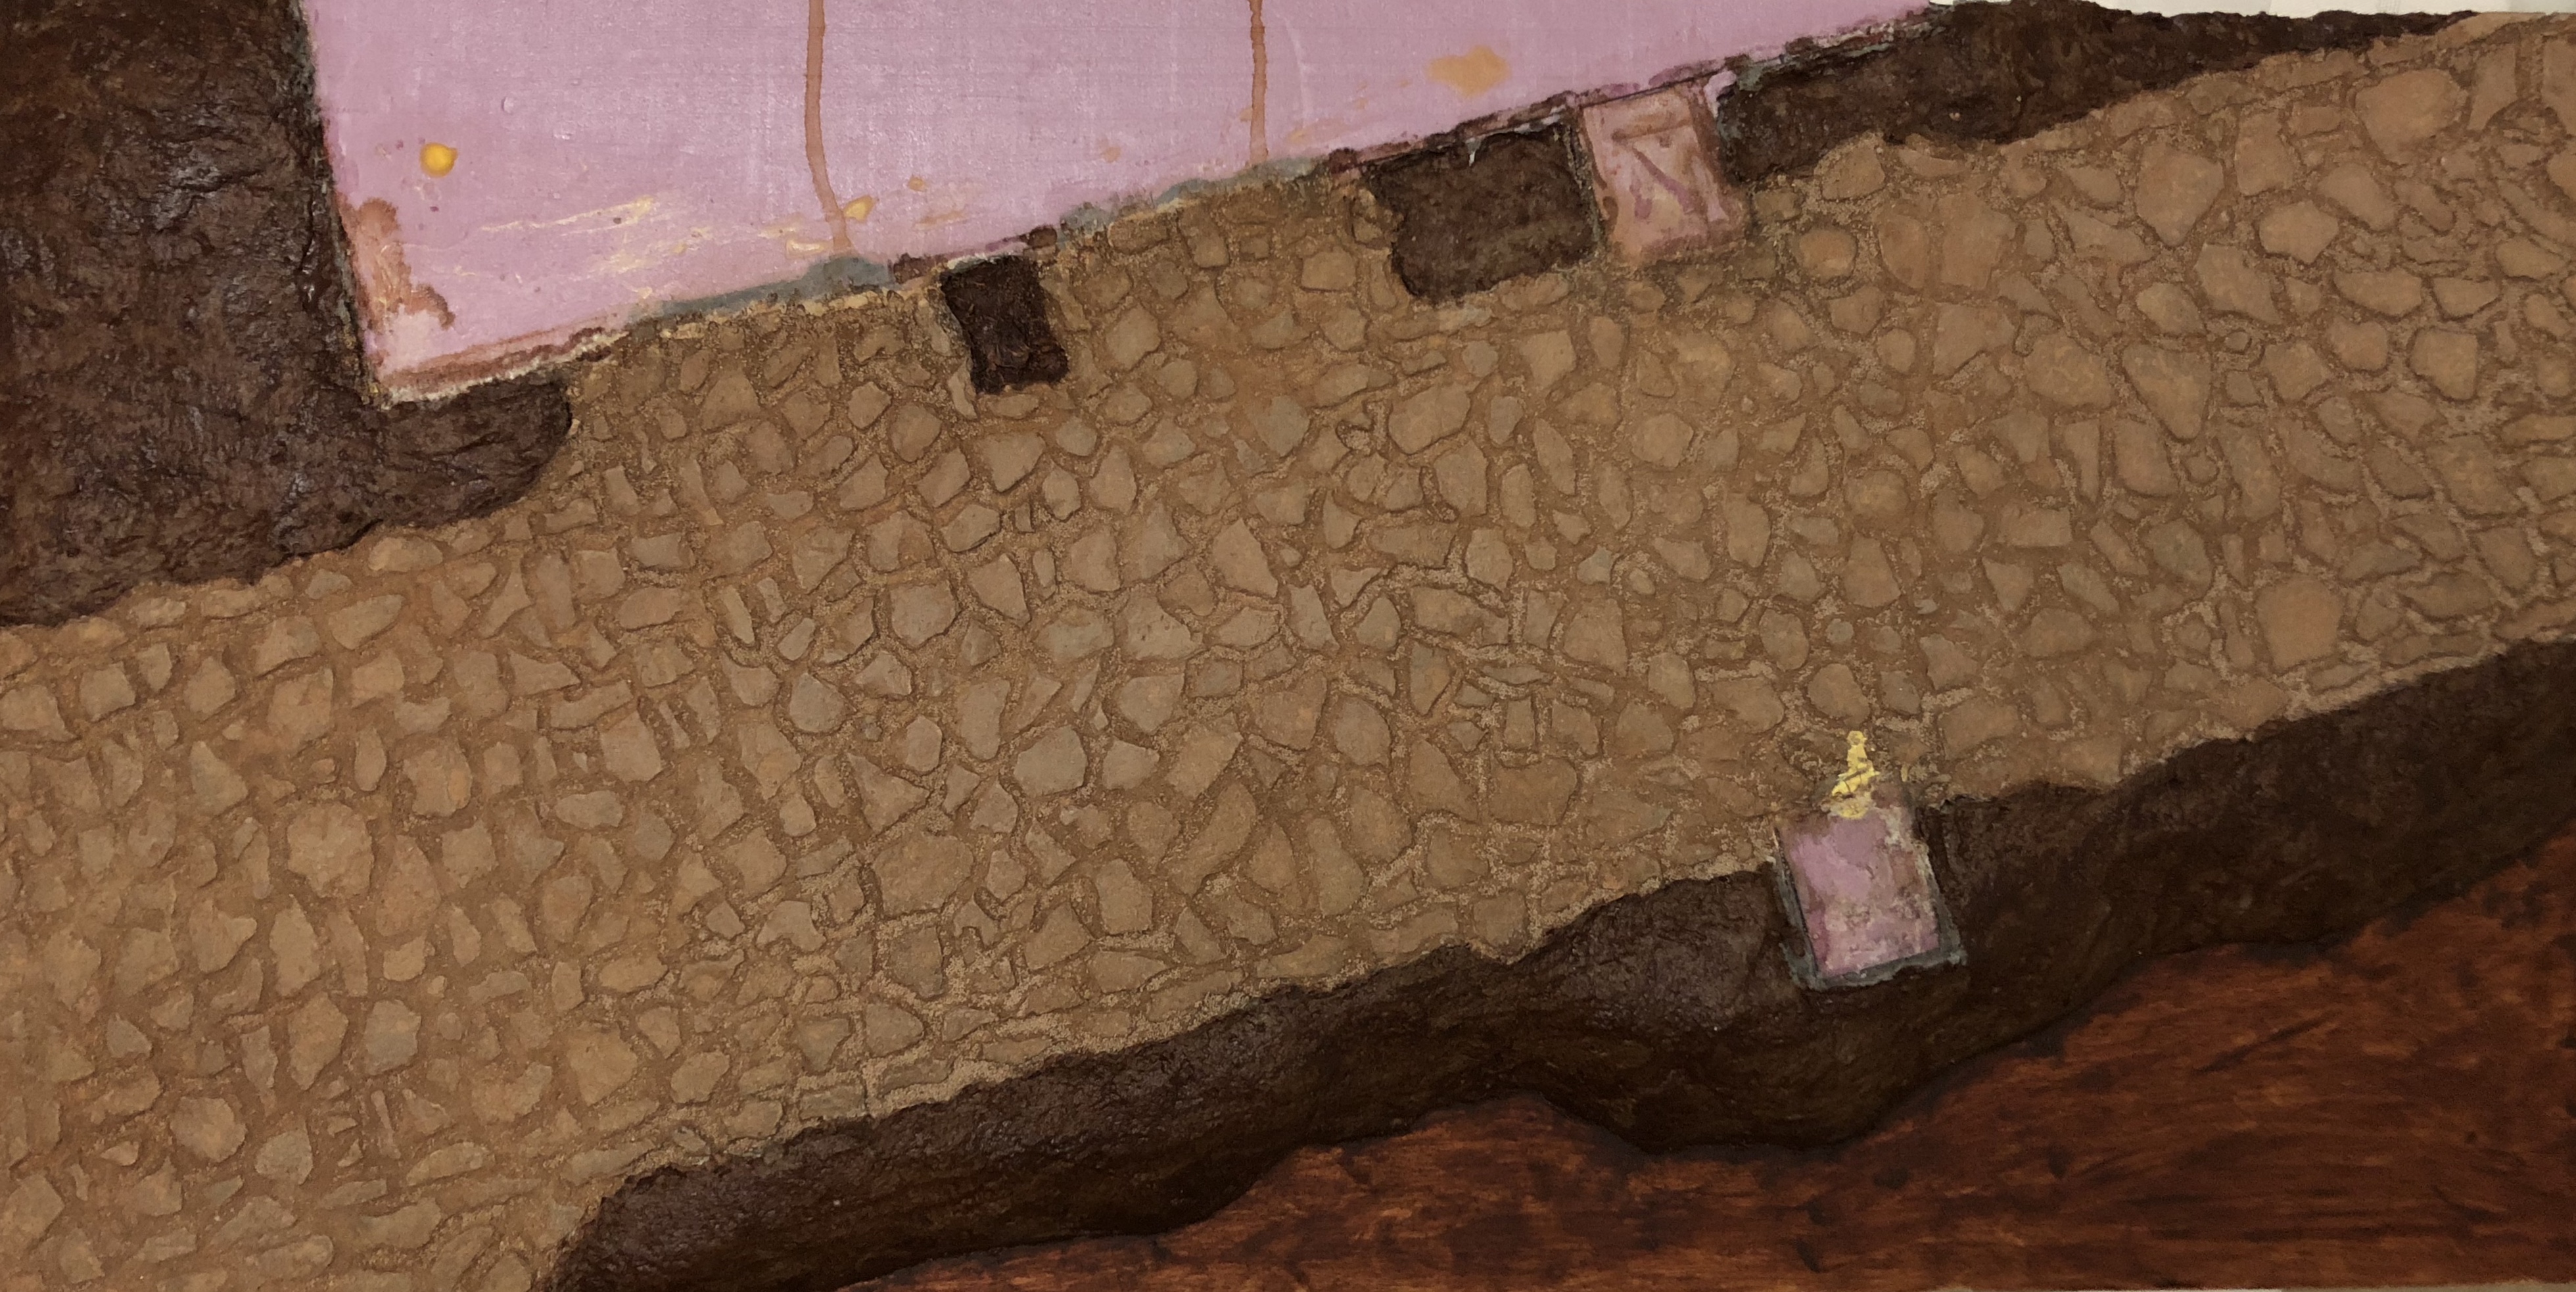
Began working on the building walls. This is what I have done so far: (Note: the next layers will be applied with a small artist spatula.) 1- Applied one layer of acrylic gesso, mixed with a small amount of black acrylic ink to get a gray color. 2- Once the first layer is dried I mixed more acrylic gesso with yellow acrylic ink and applied over the wall randomly and in different directions. I’m going for the Spanish Stuccy pattern (it might be called differently in other regions of the world). 3- I repeated step two, once the previous layer was dried. No with a brush: 1- I diluted transparent burnt umber acrylic ink in water and applied a wash. 2- I repeated step one until desire color effect (It took me 4 layers). to be continued...
-
It’s looking great so far. Are you going to apply a wash on the concrete and weather it more?
-
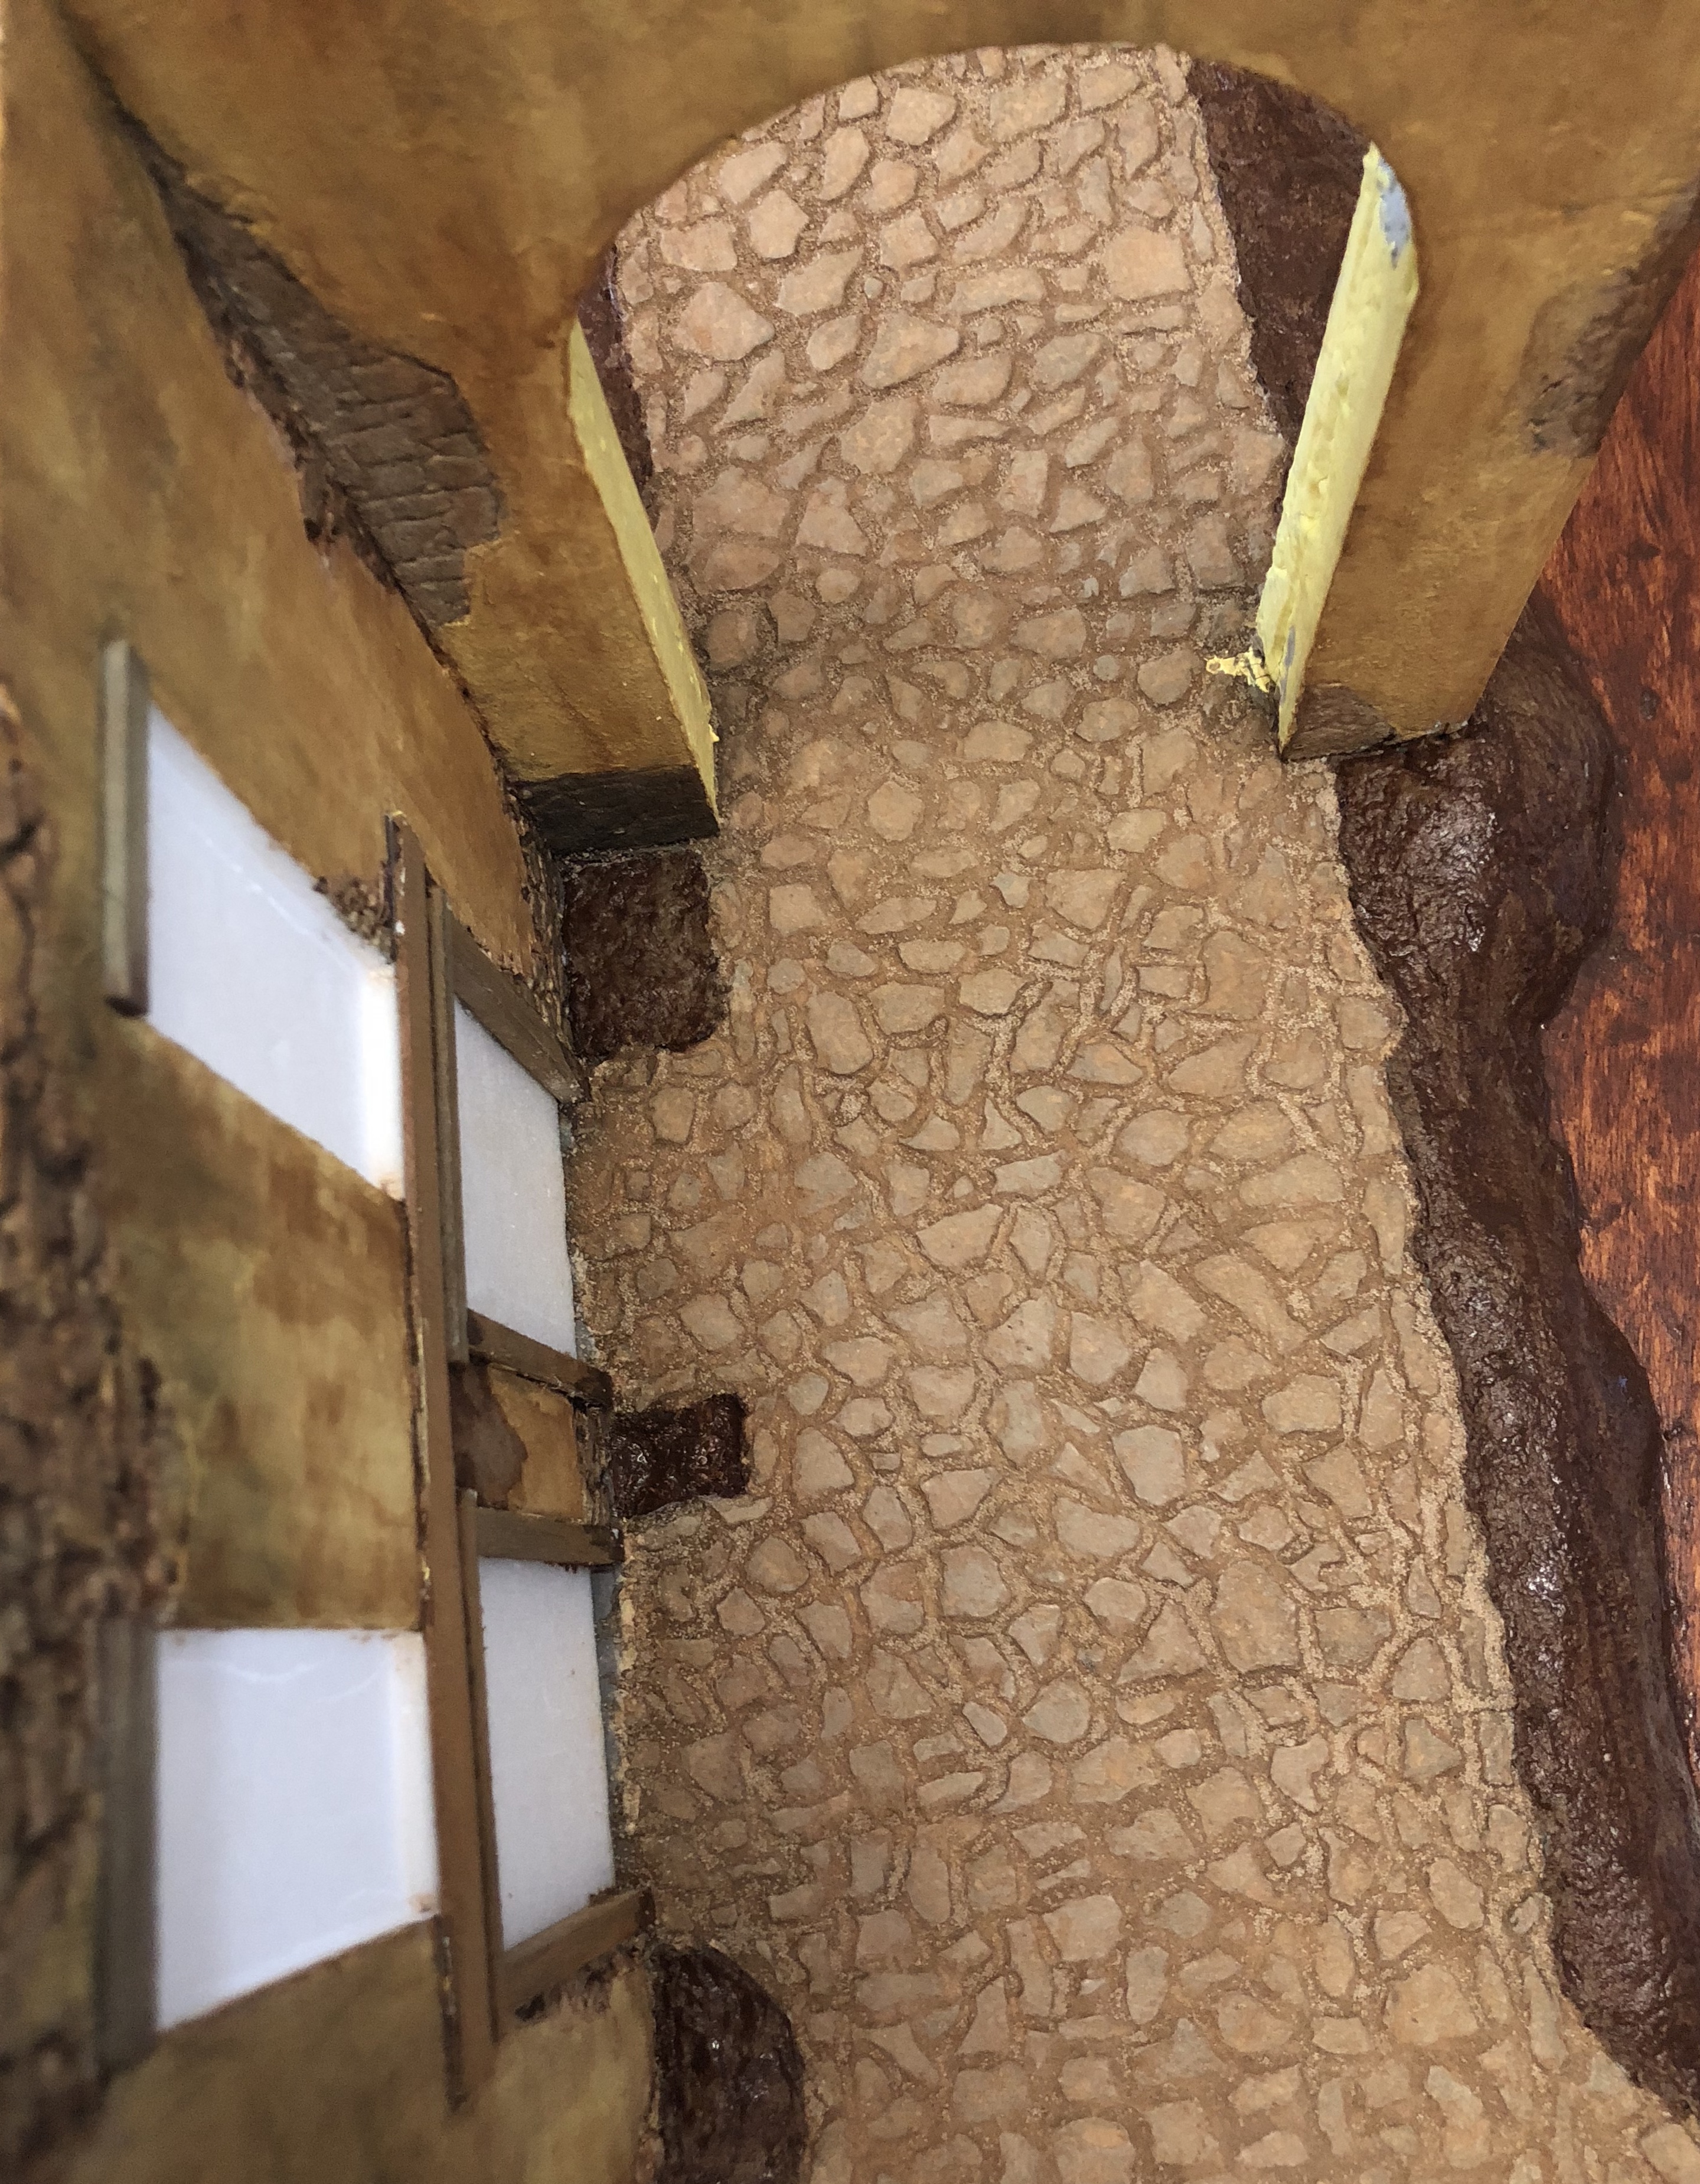
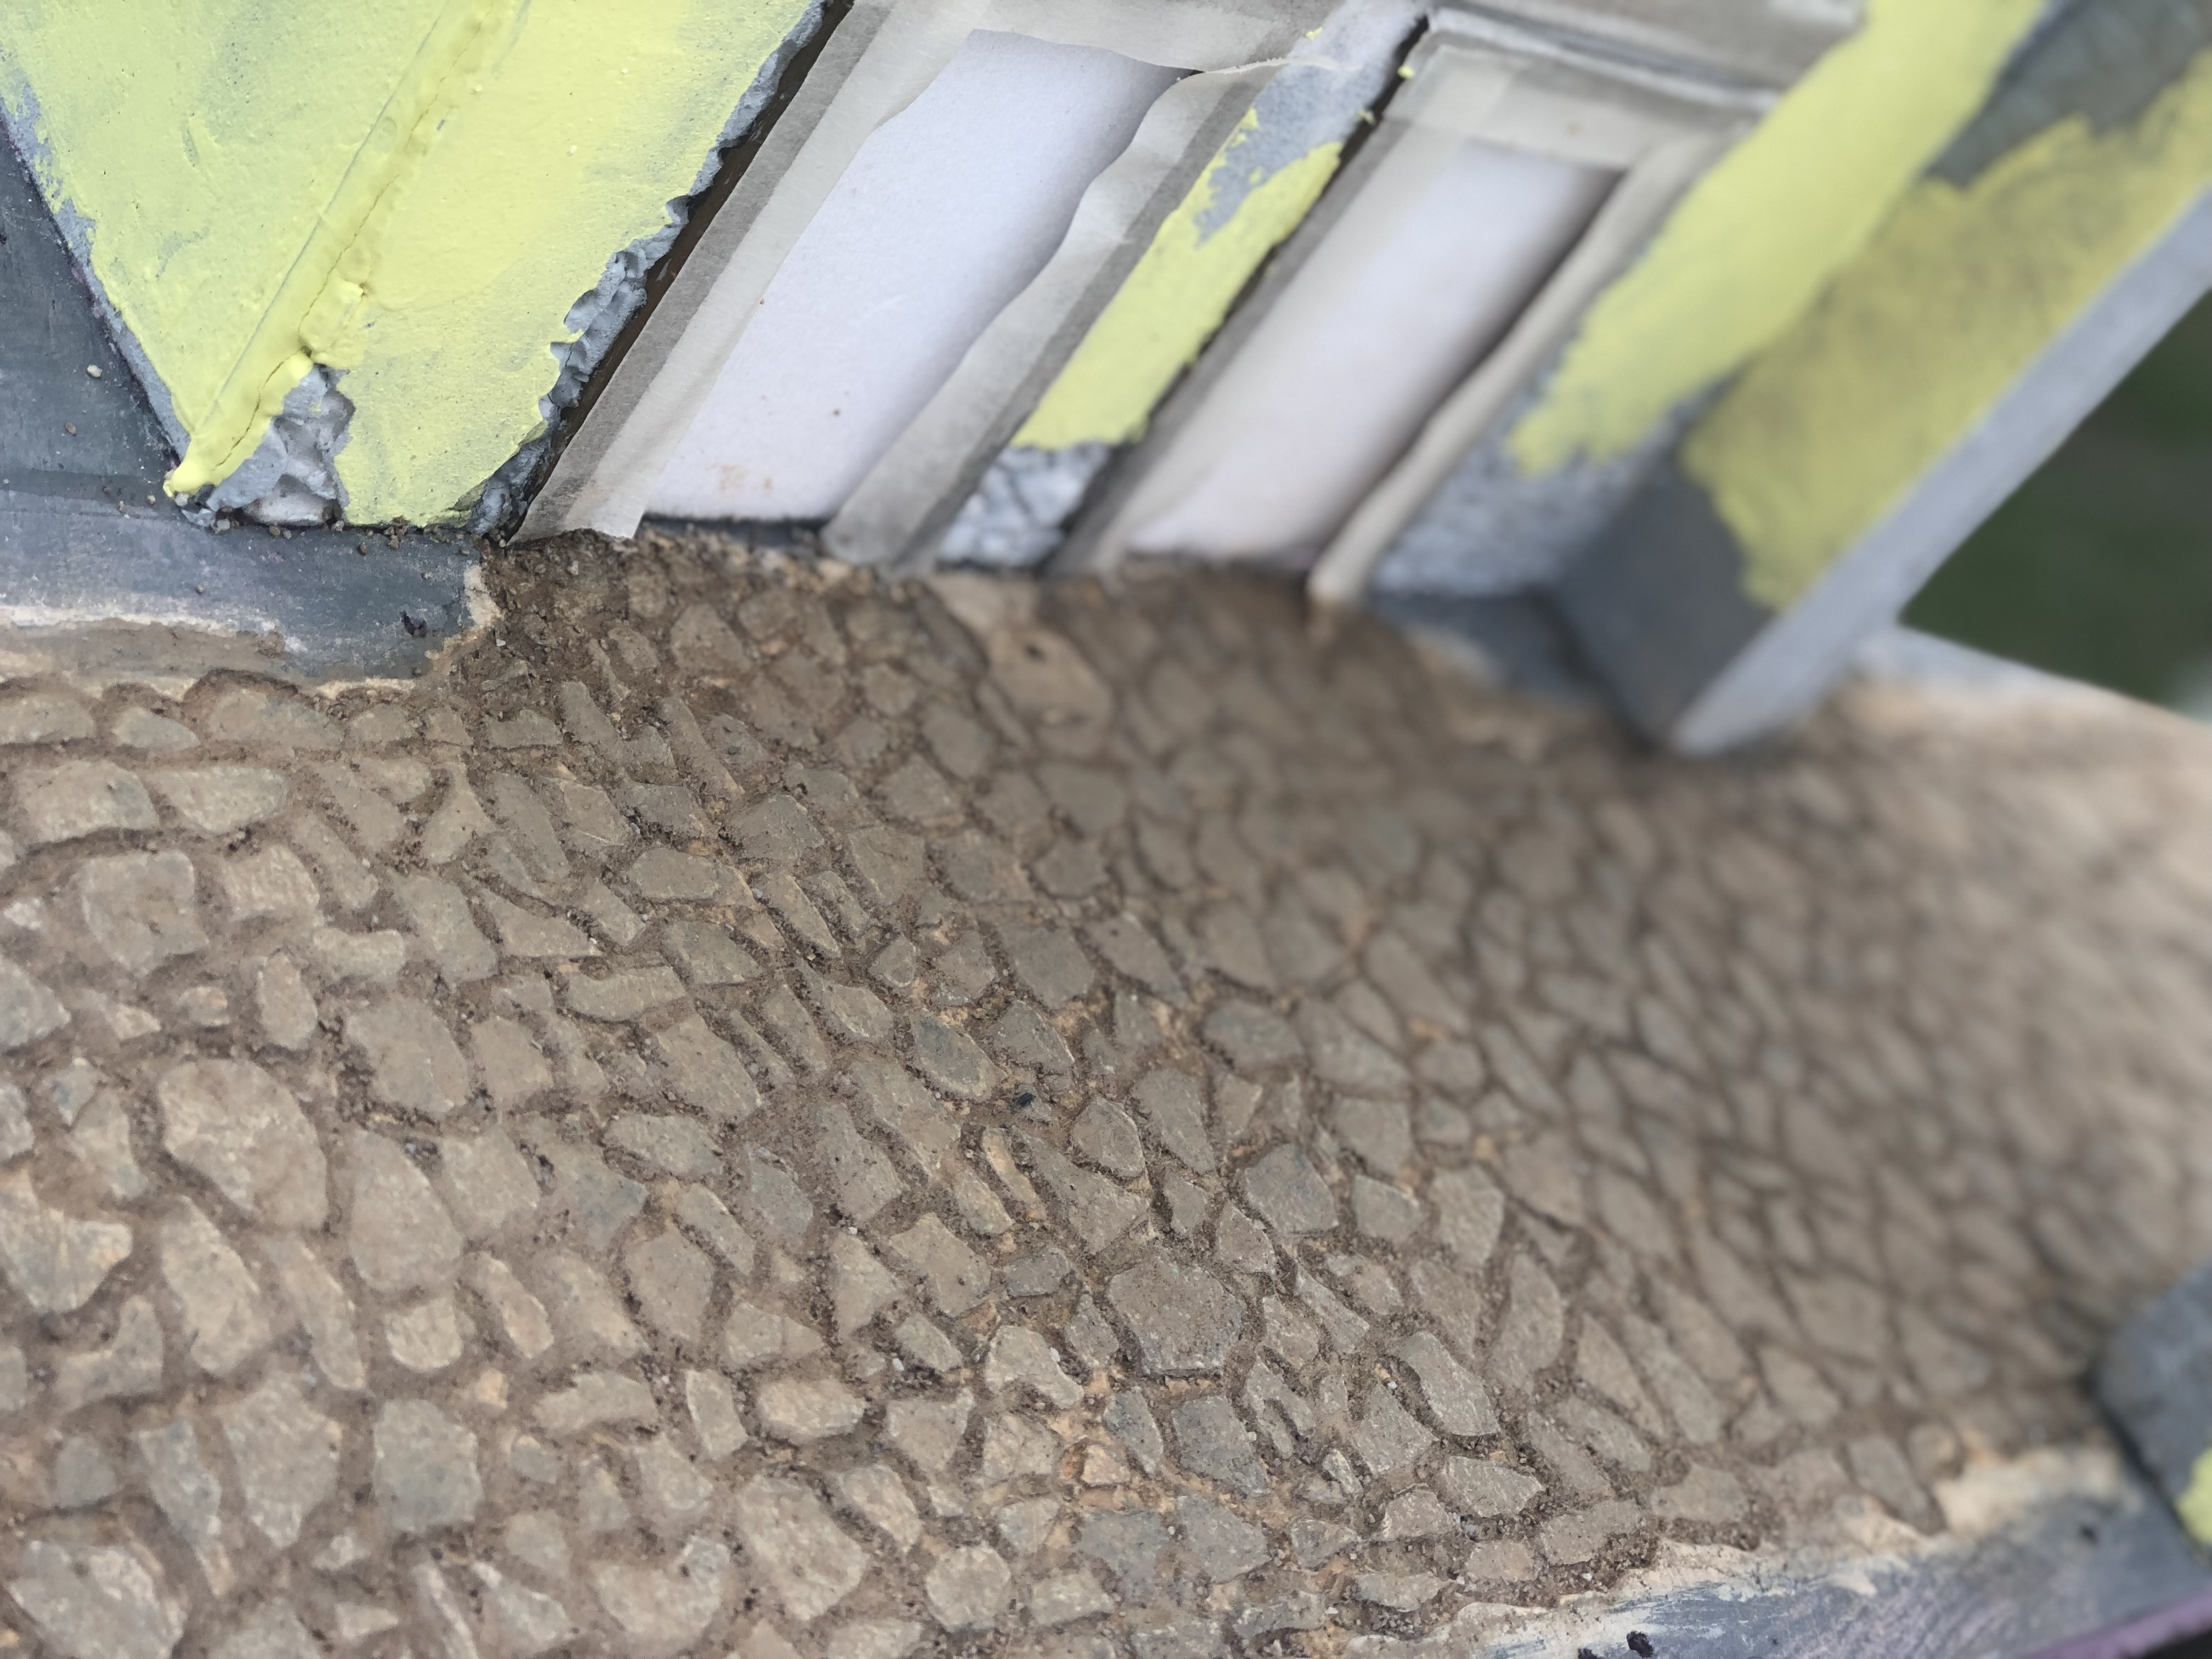
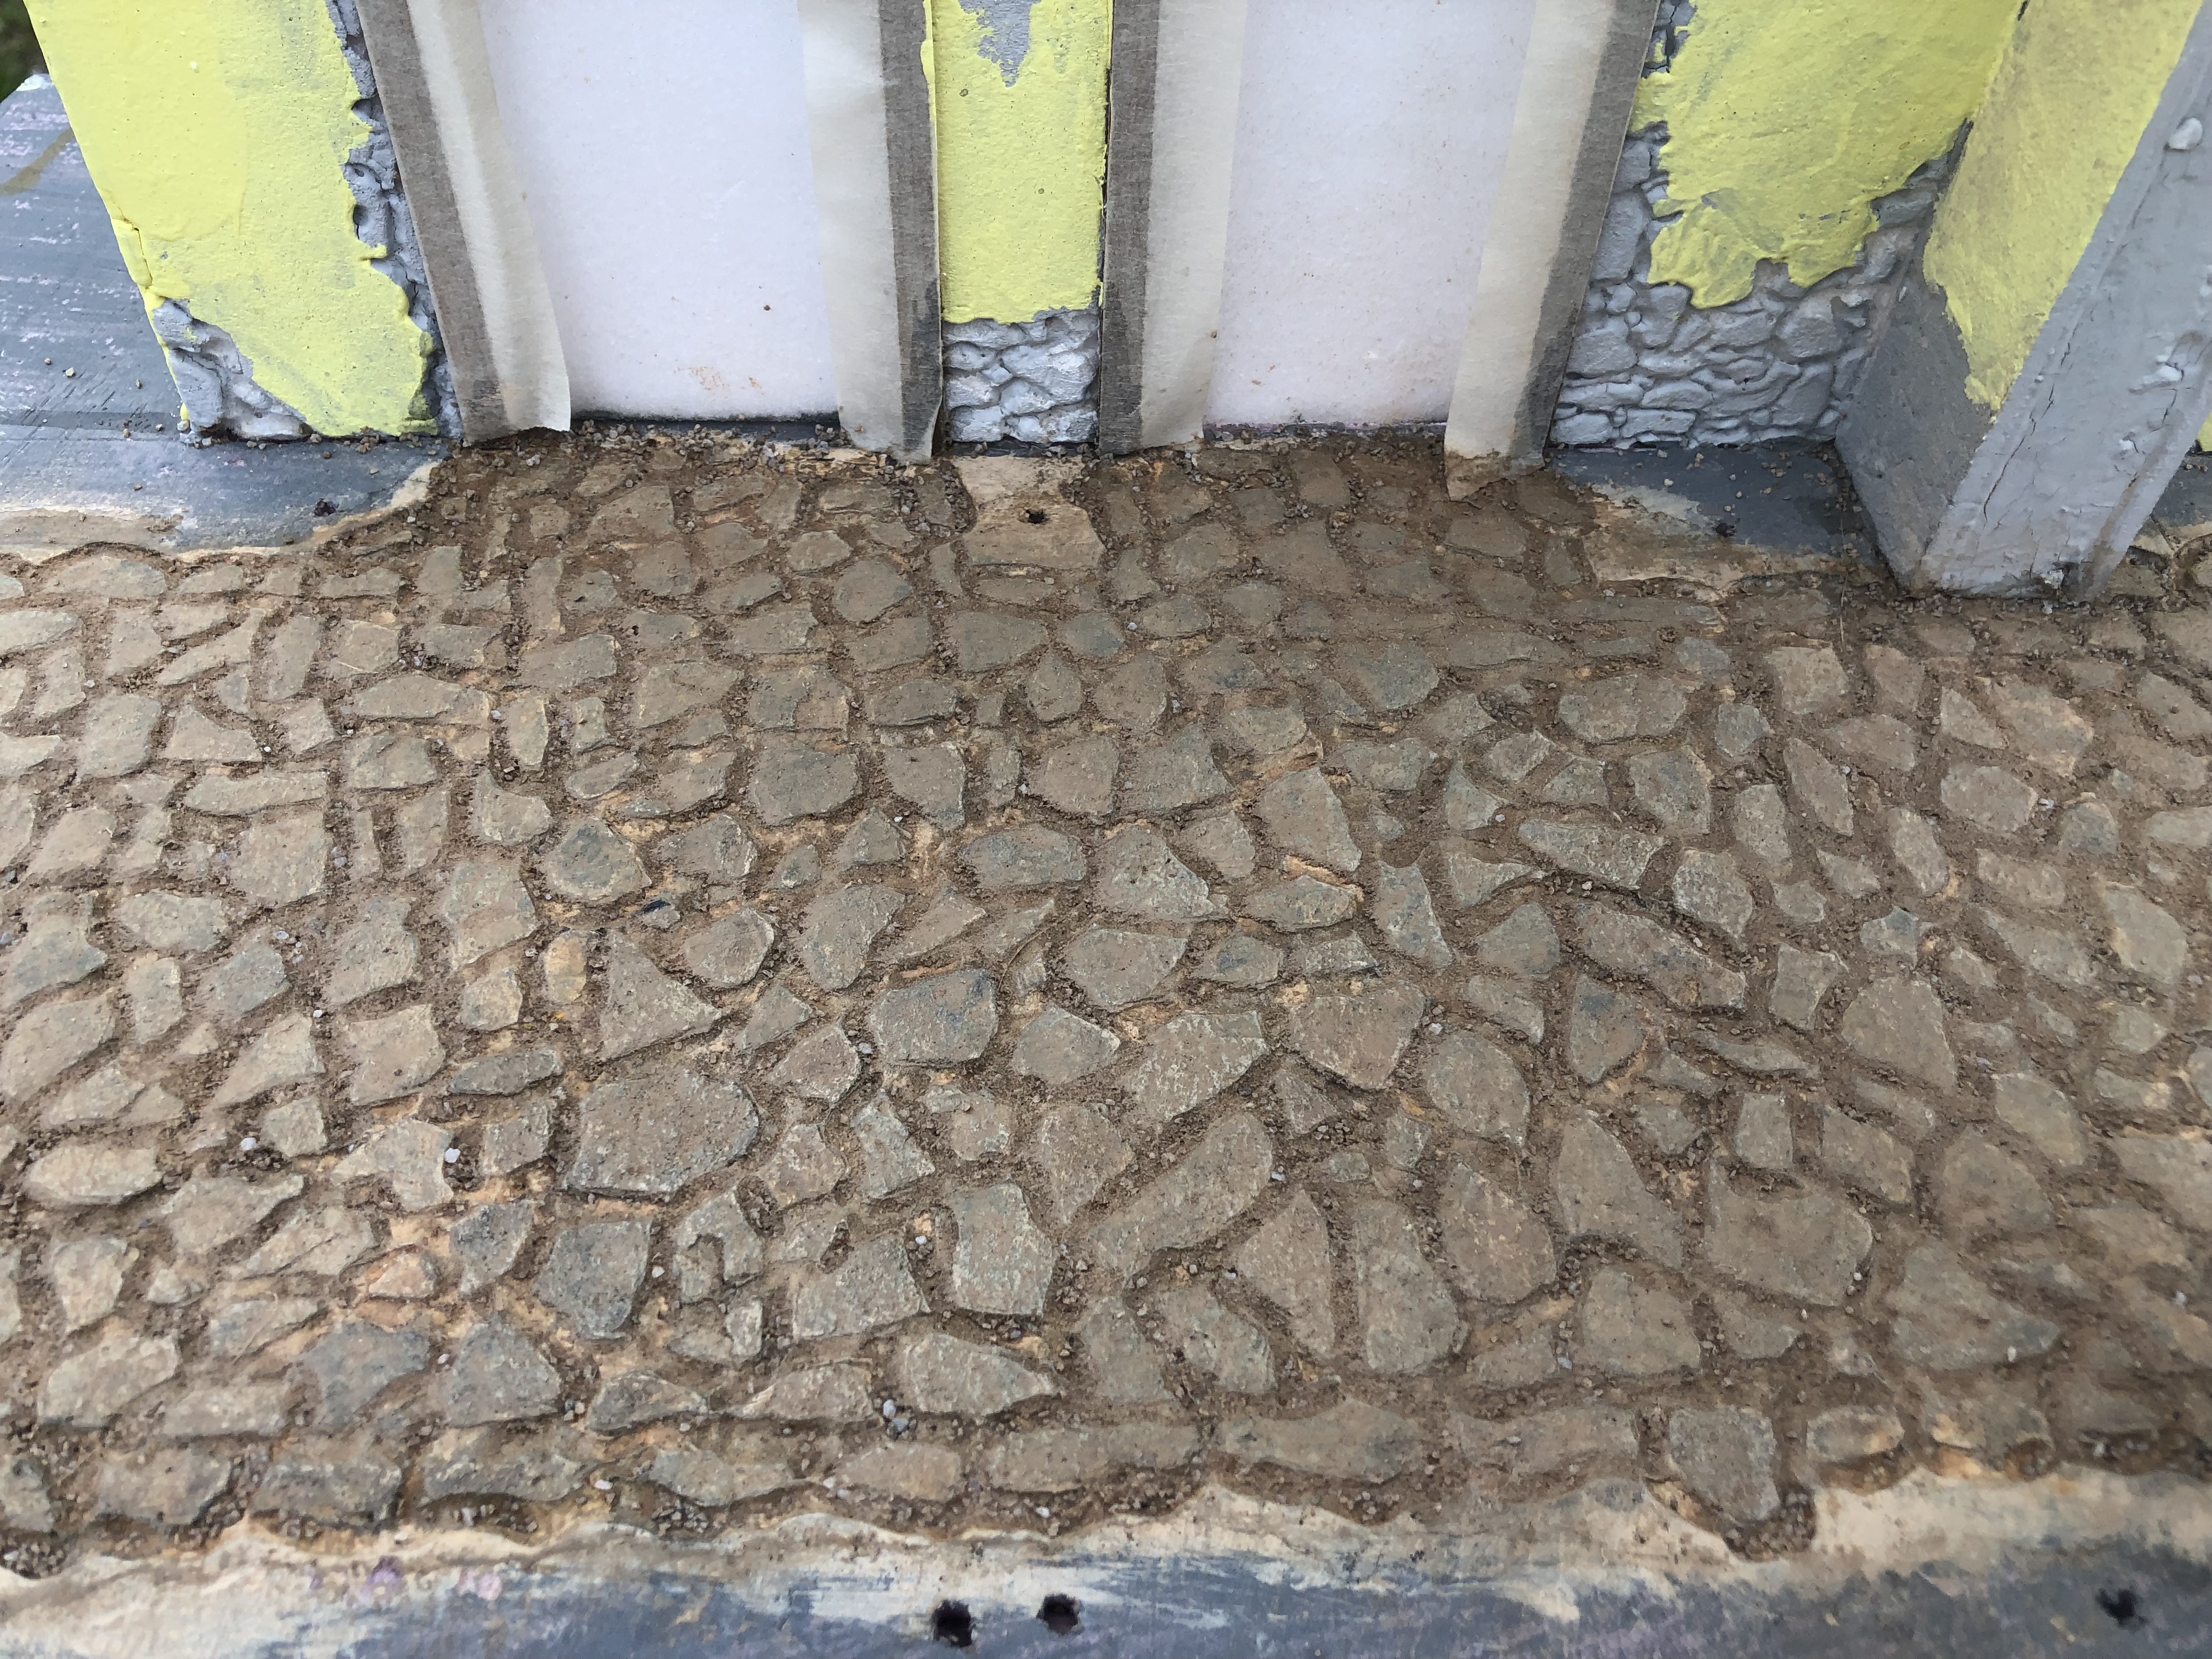
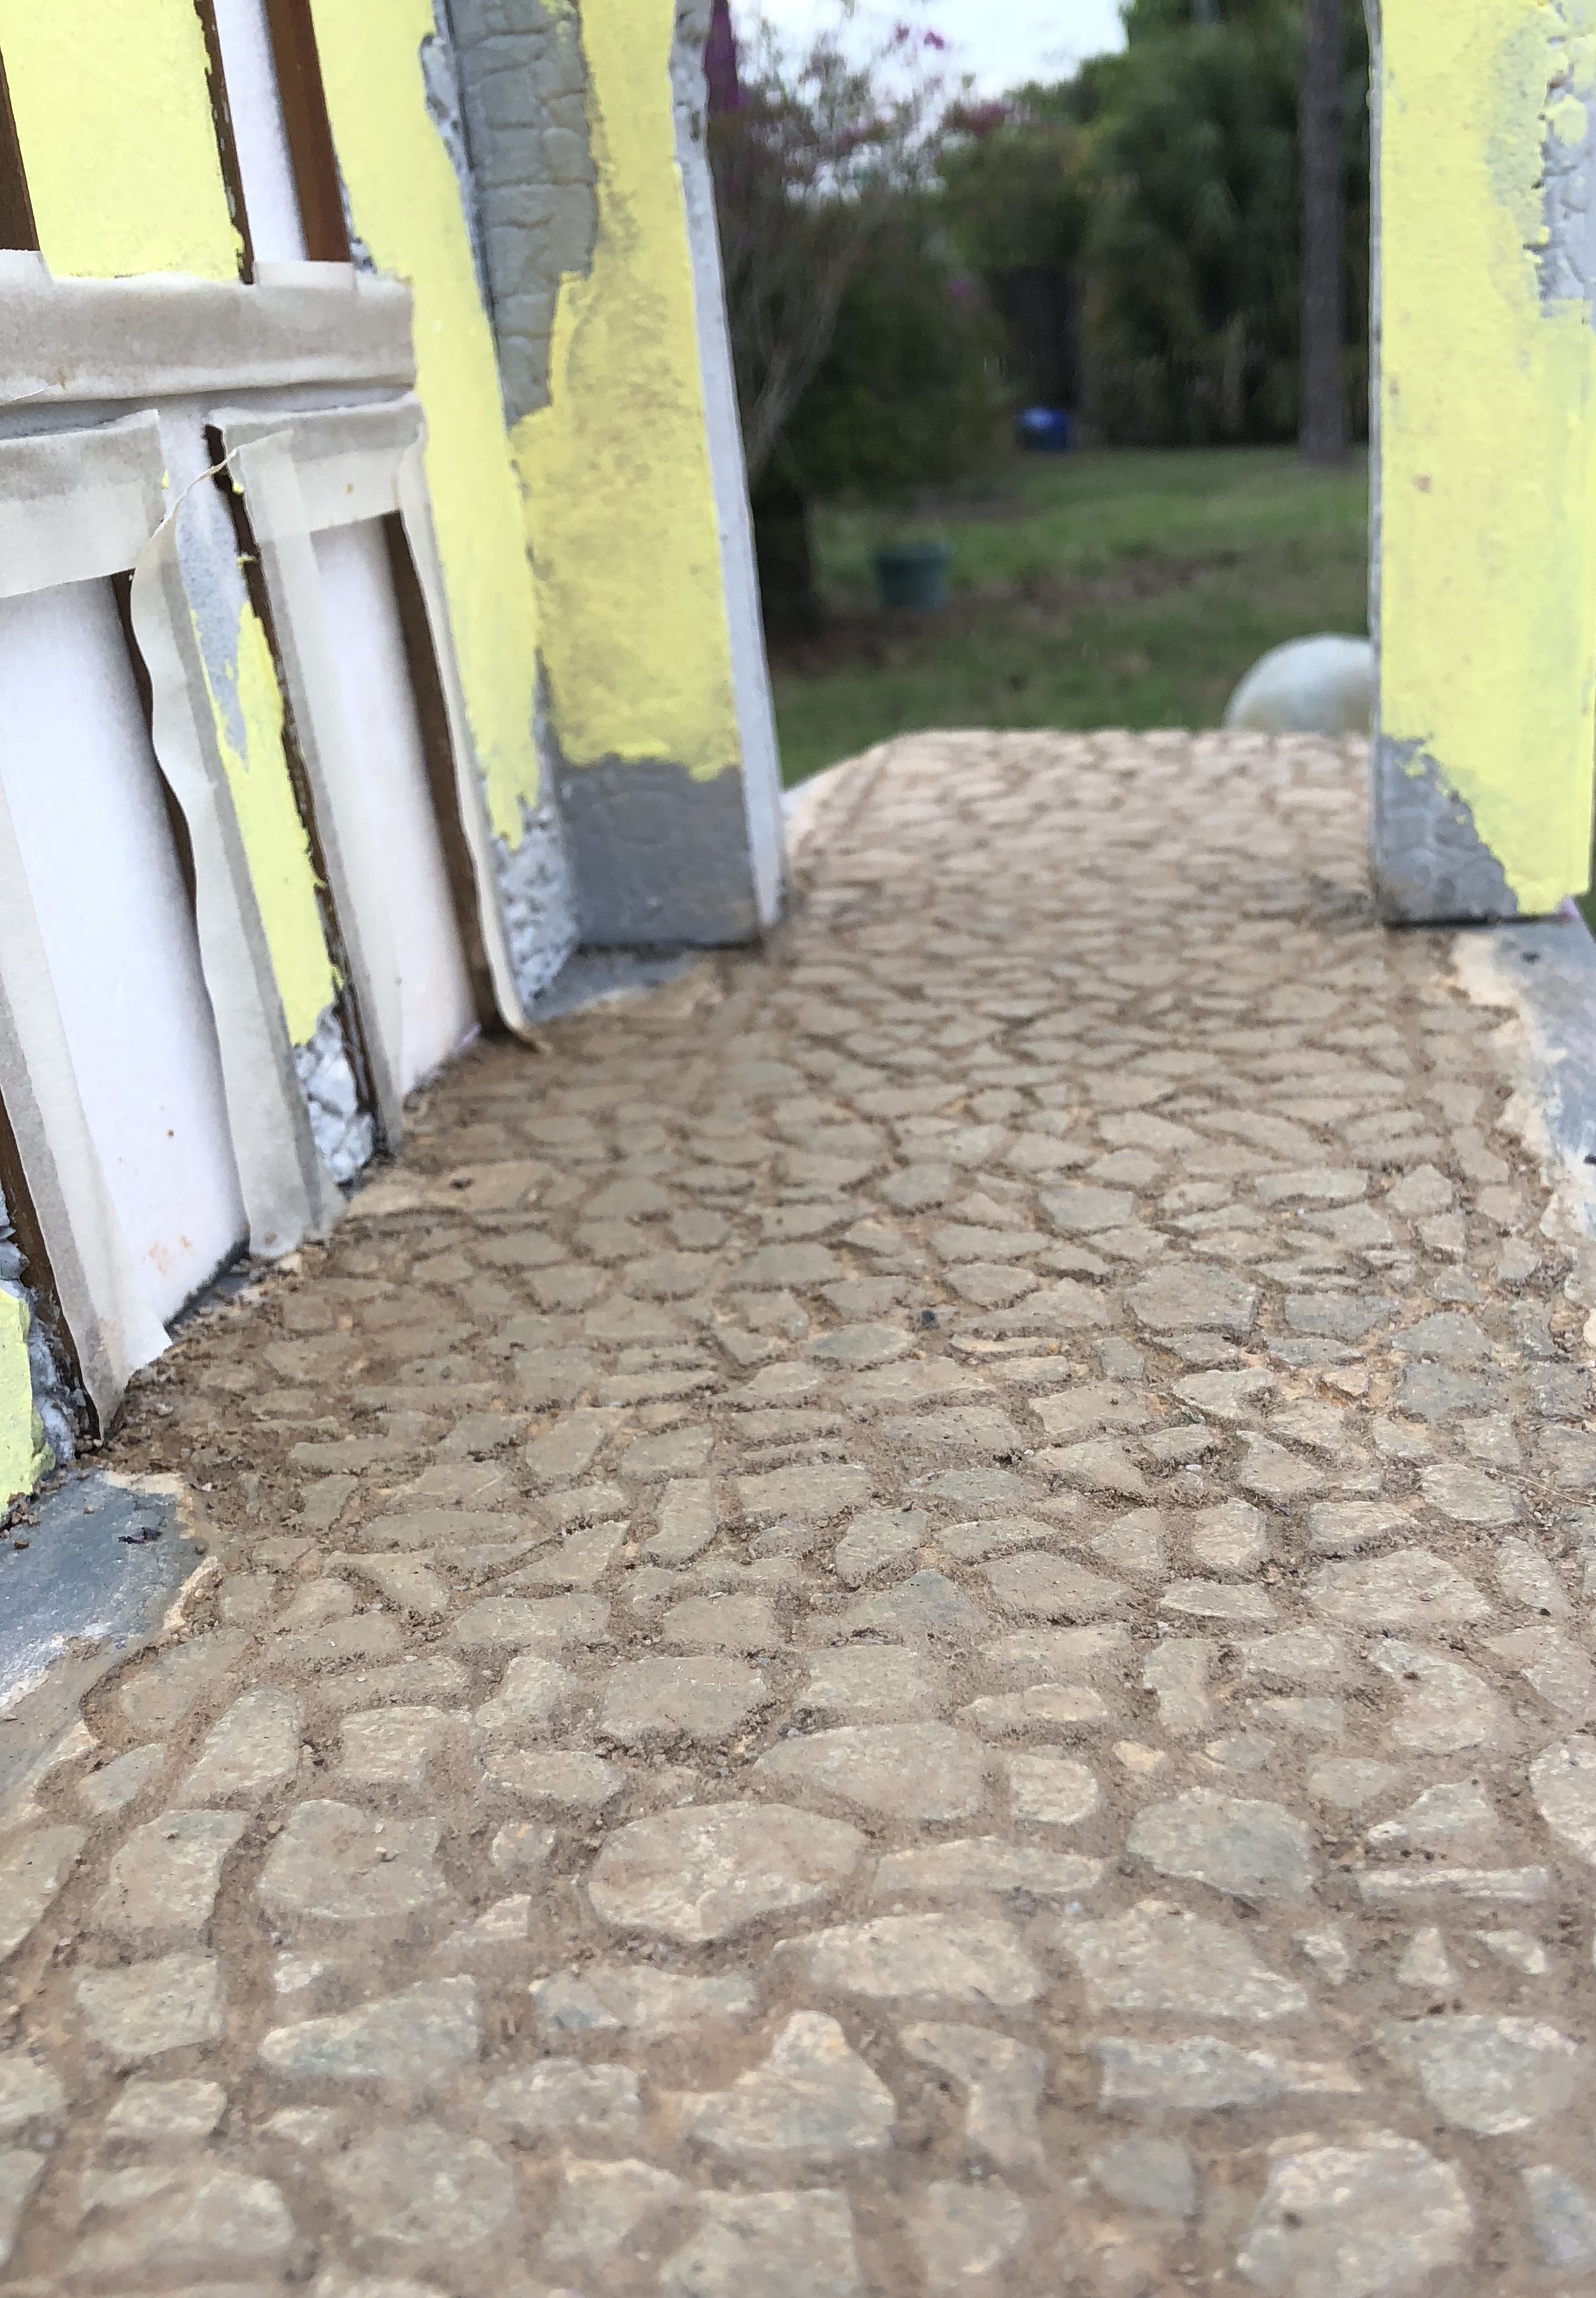
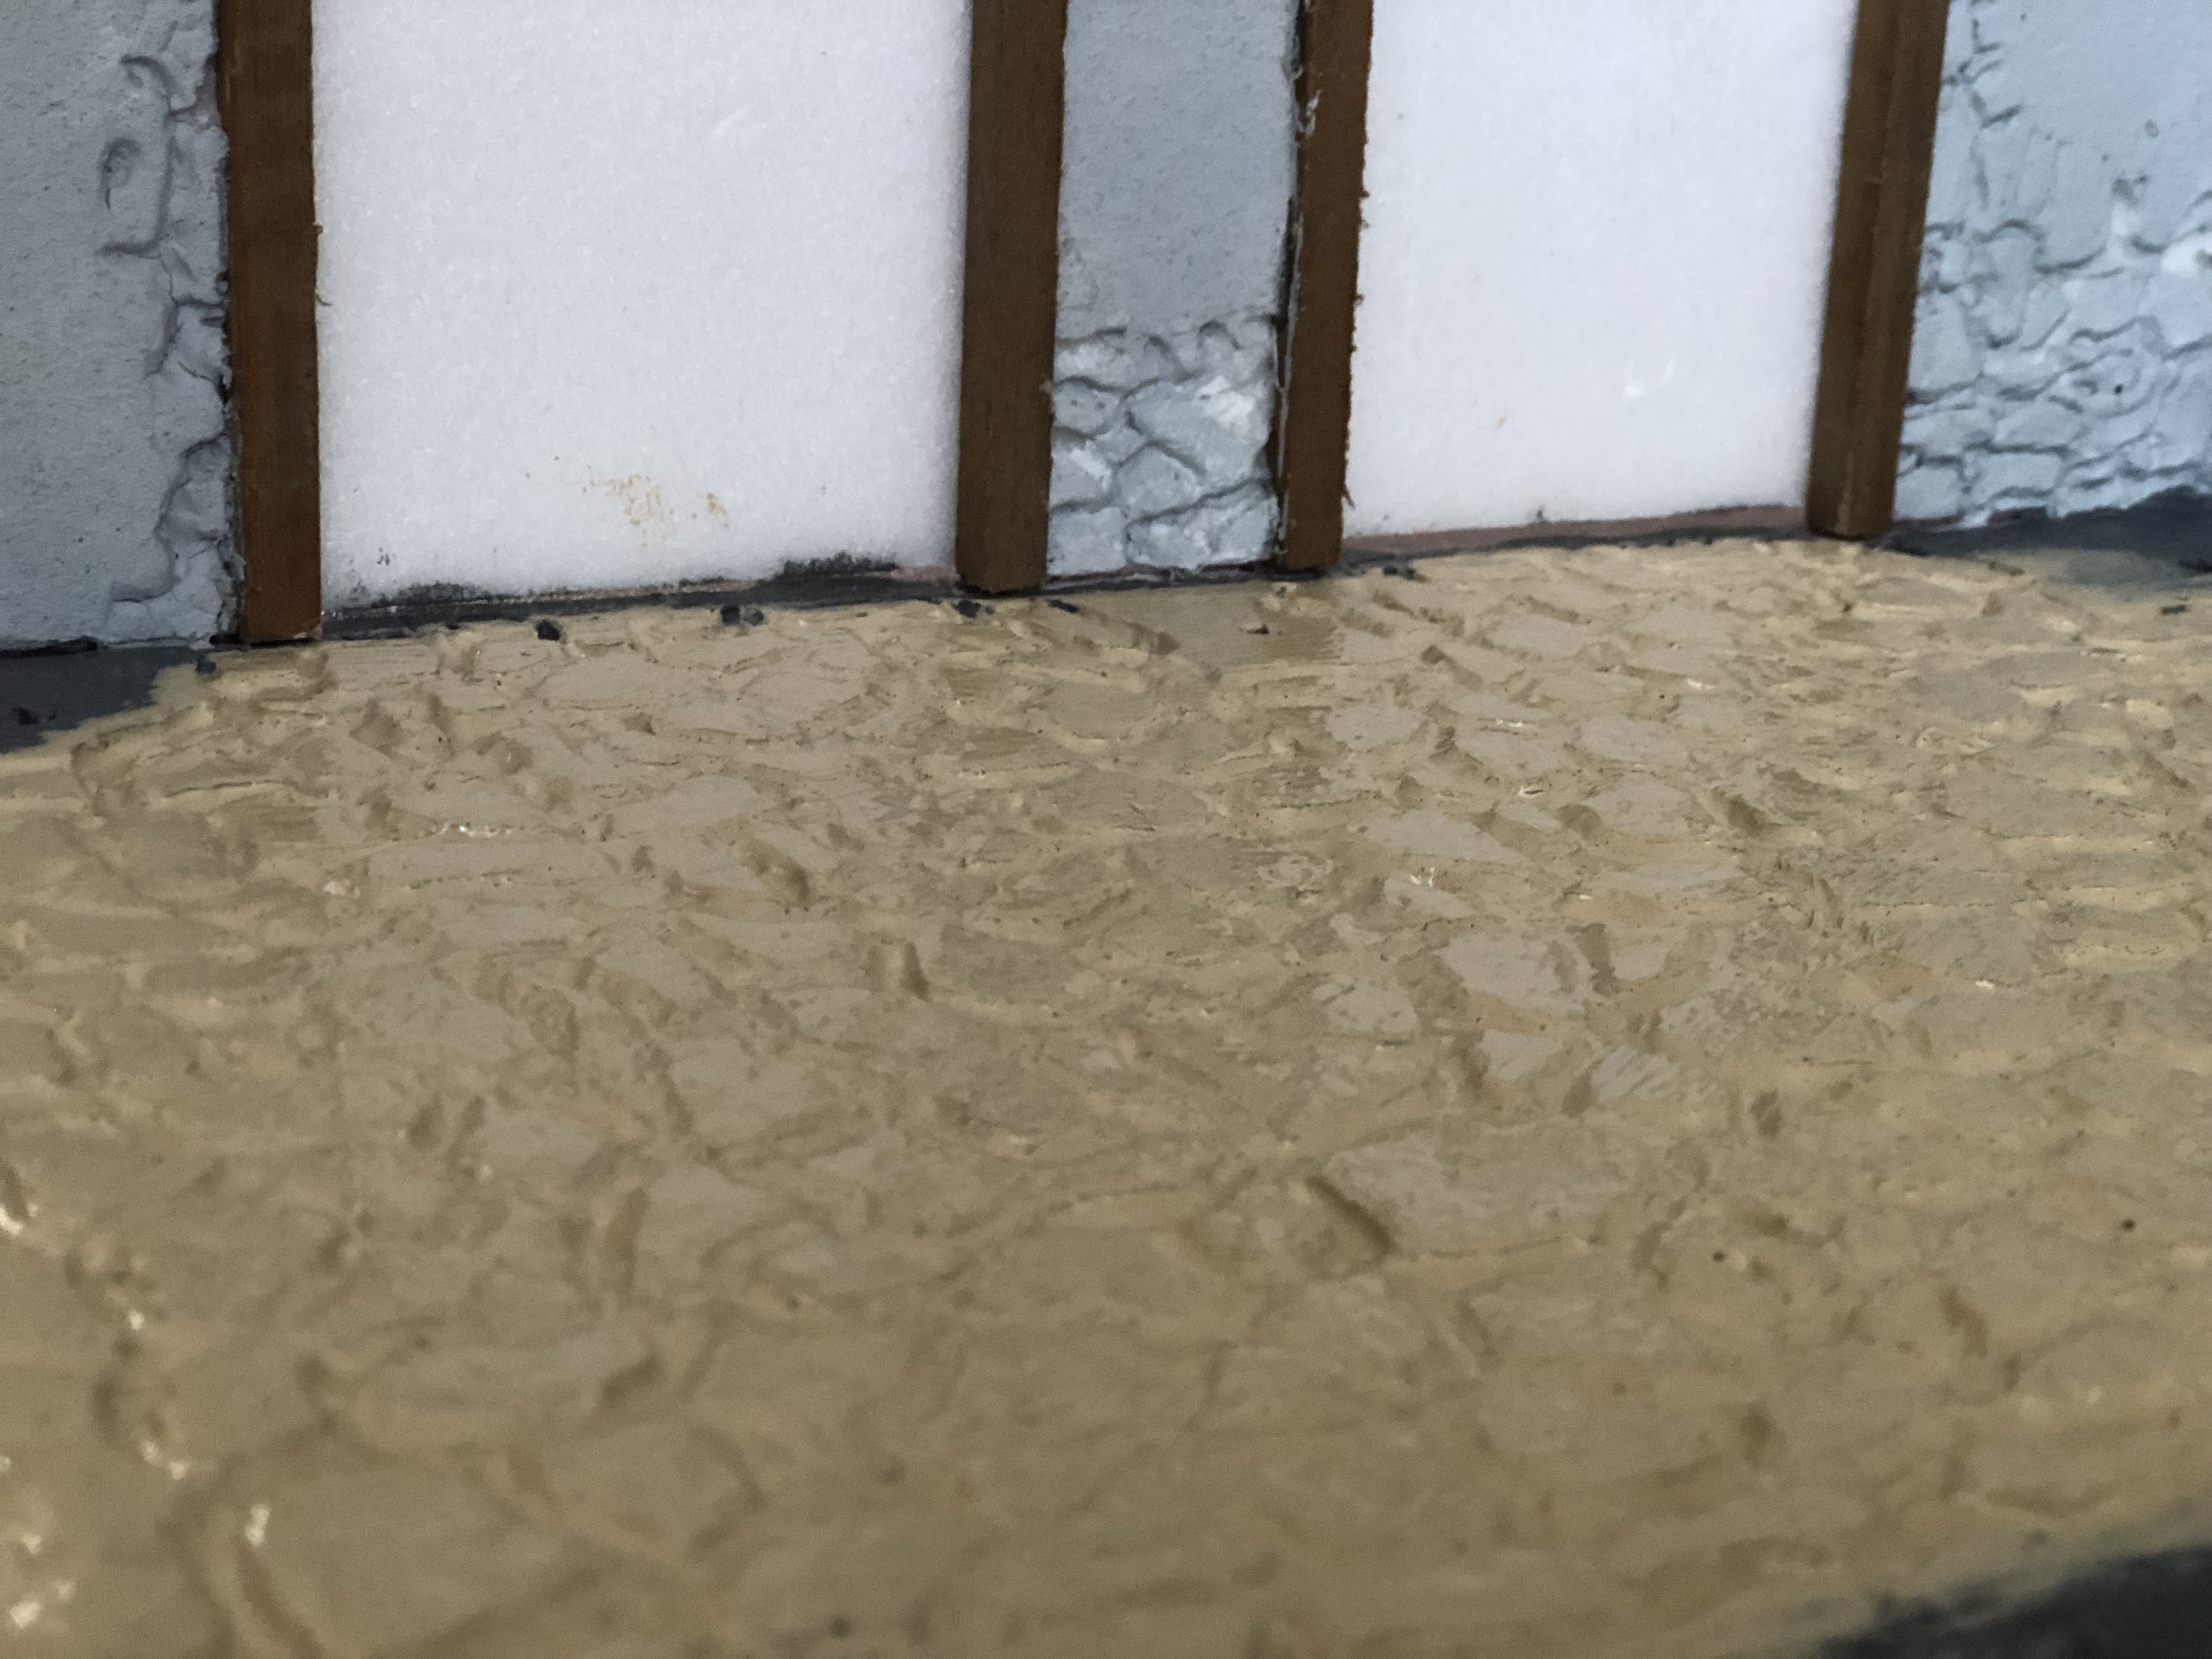
Another layer on the flagstones. 1- Black ink wash. 2- Raw Umber ink wash. 3- Layer of sand color grout, mixed with two grades of gravel, for the spaces. 4- Another black ink wash. ...to be continued.
-
Your work is looking really, really good. I’m anxious to see the final scene.
-
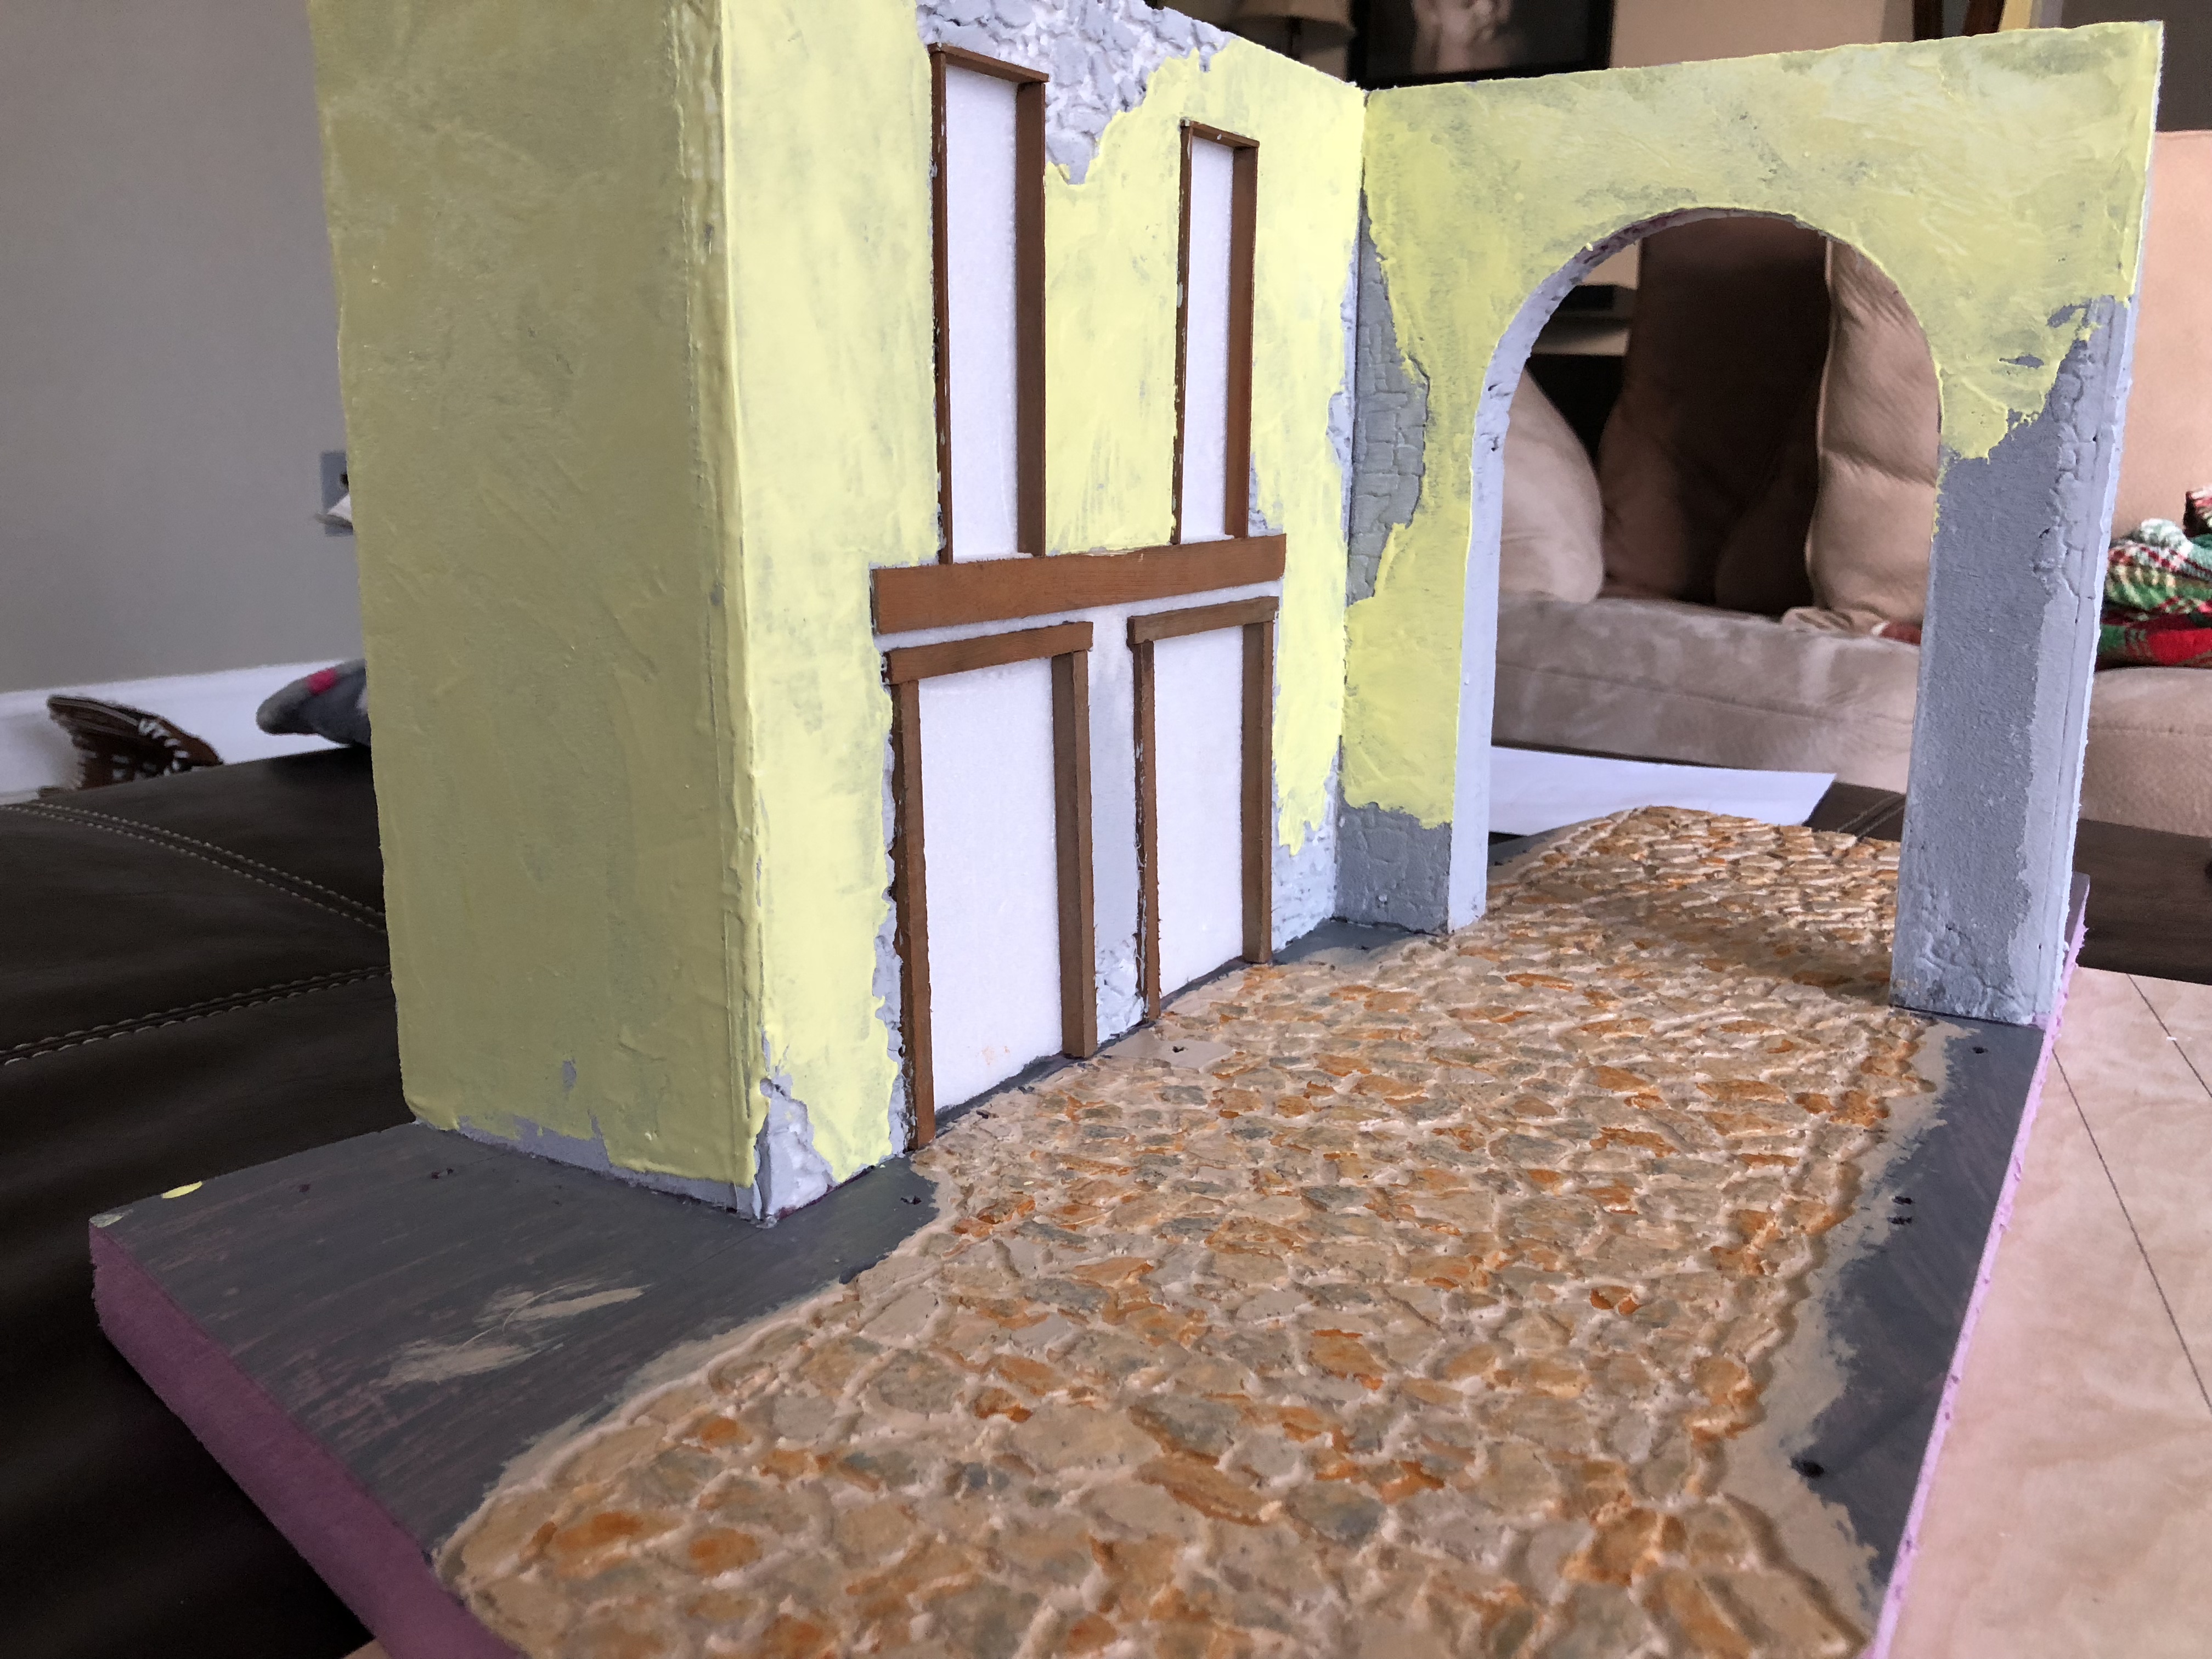
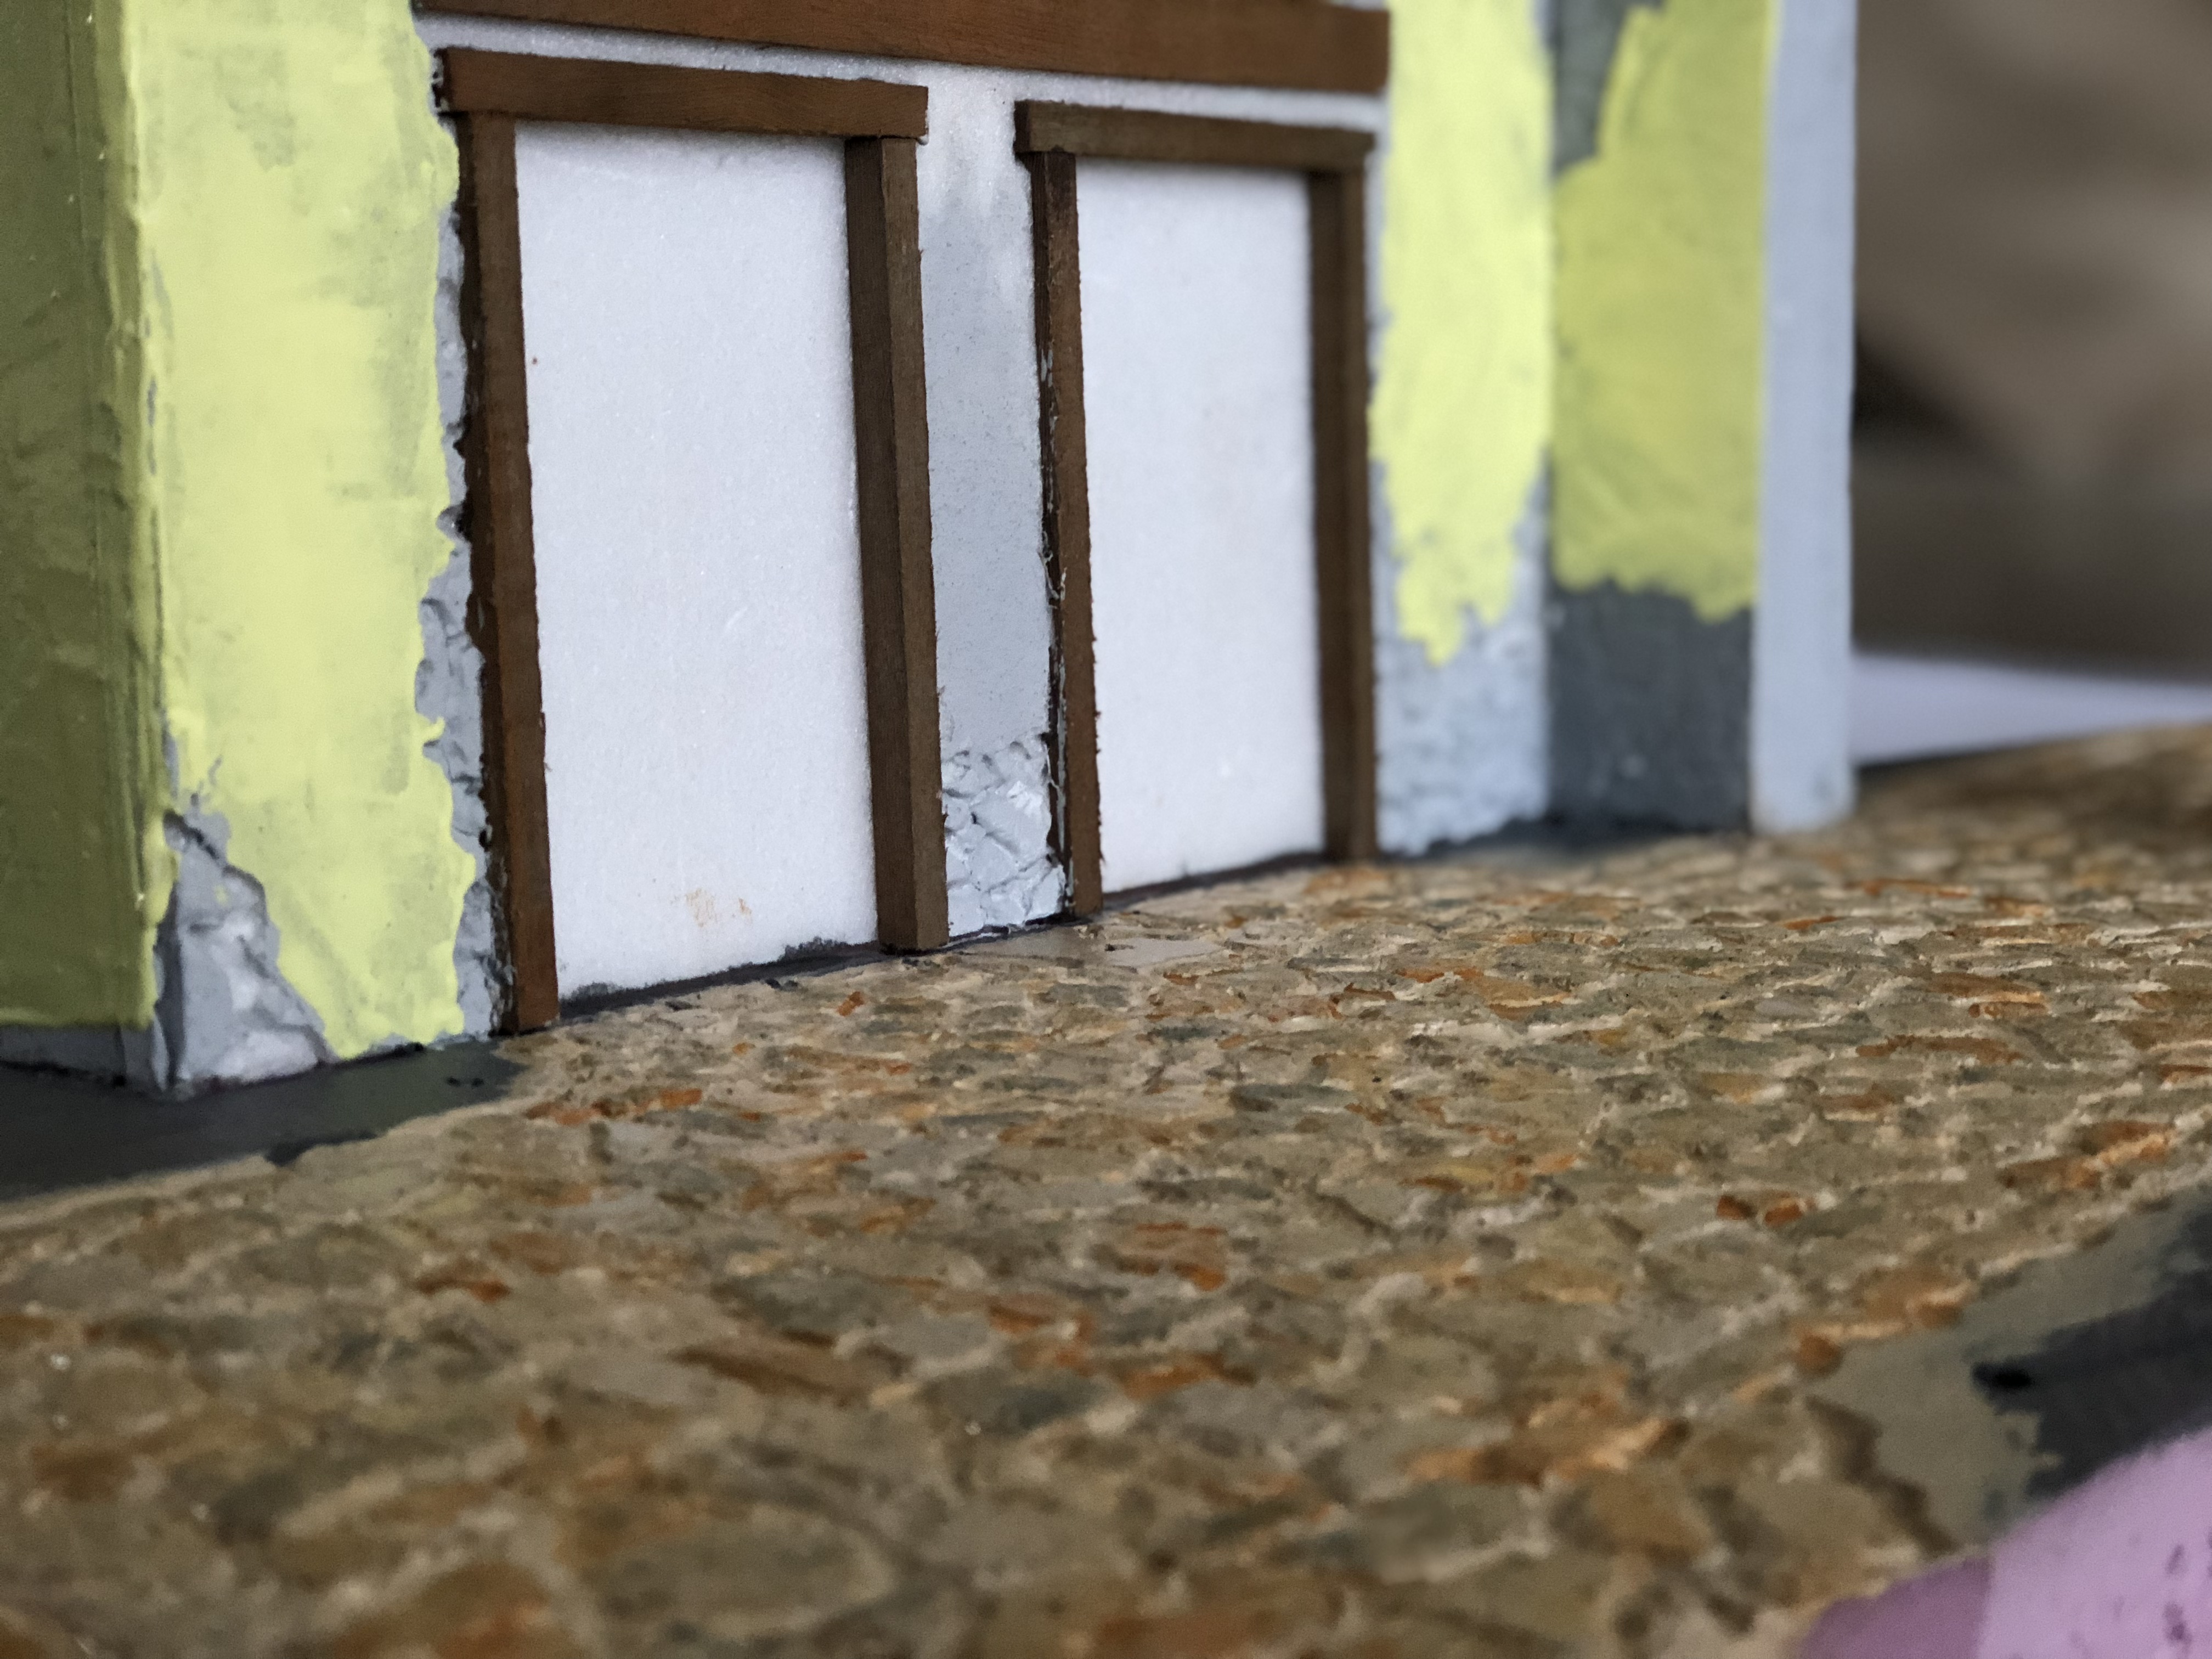
First layers of paint applied to the flagstones and building wall. I painted stones in this order: 1- Dark gray color over all. 2- Tan color as second layer. 3- While second layer was half wet I painted rusty wash color over random stones. Then changed to a darker rusty wash color over random stones. This way the paint blended in different ways. I will then add more washes and dirt to the joints as well as random spots of grass growing around the stones.
-
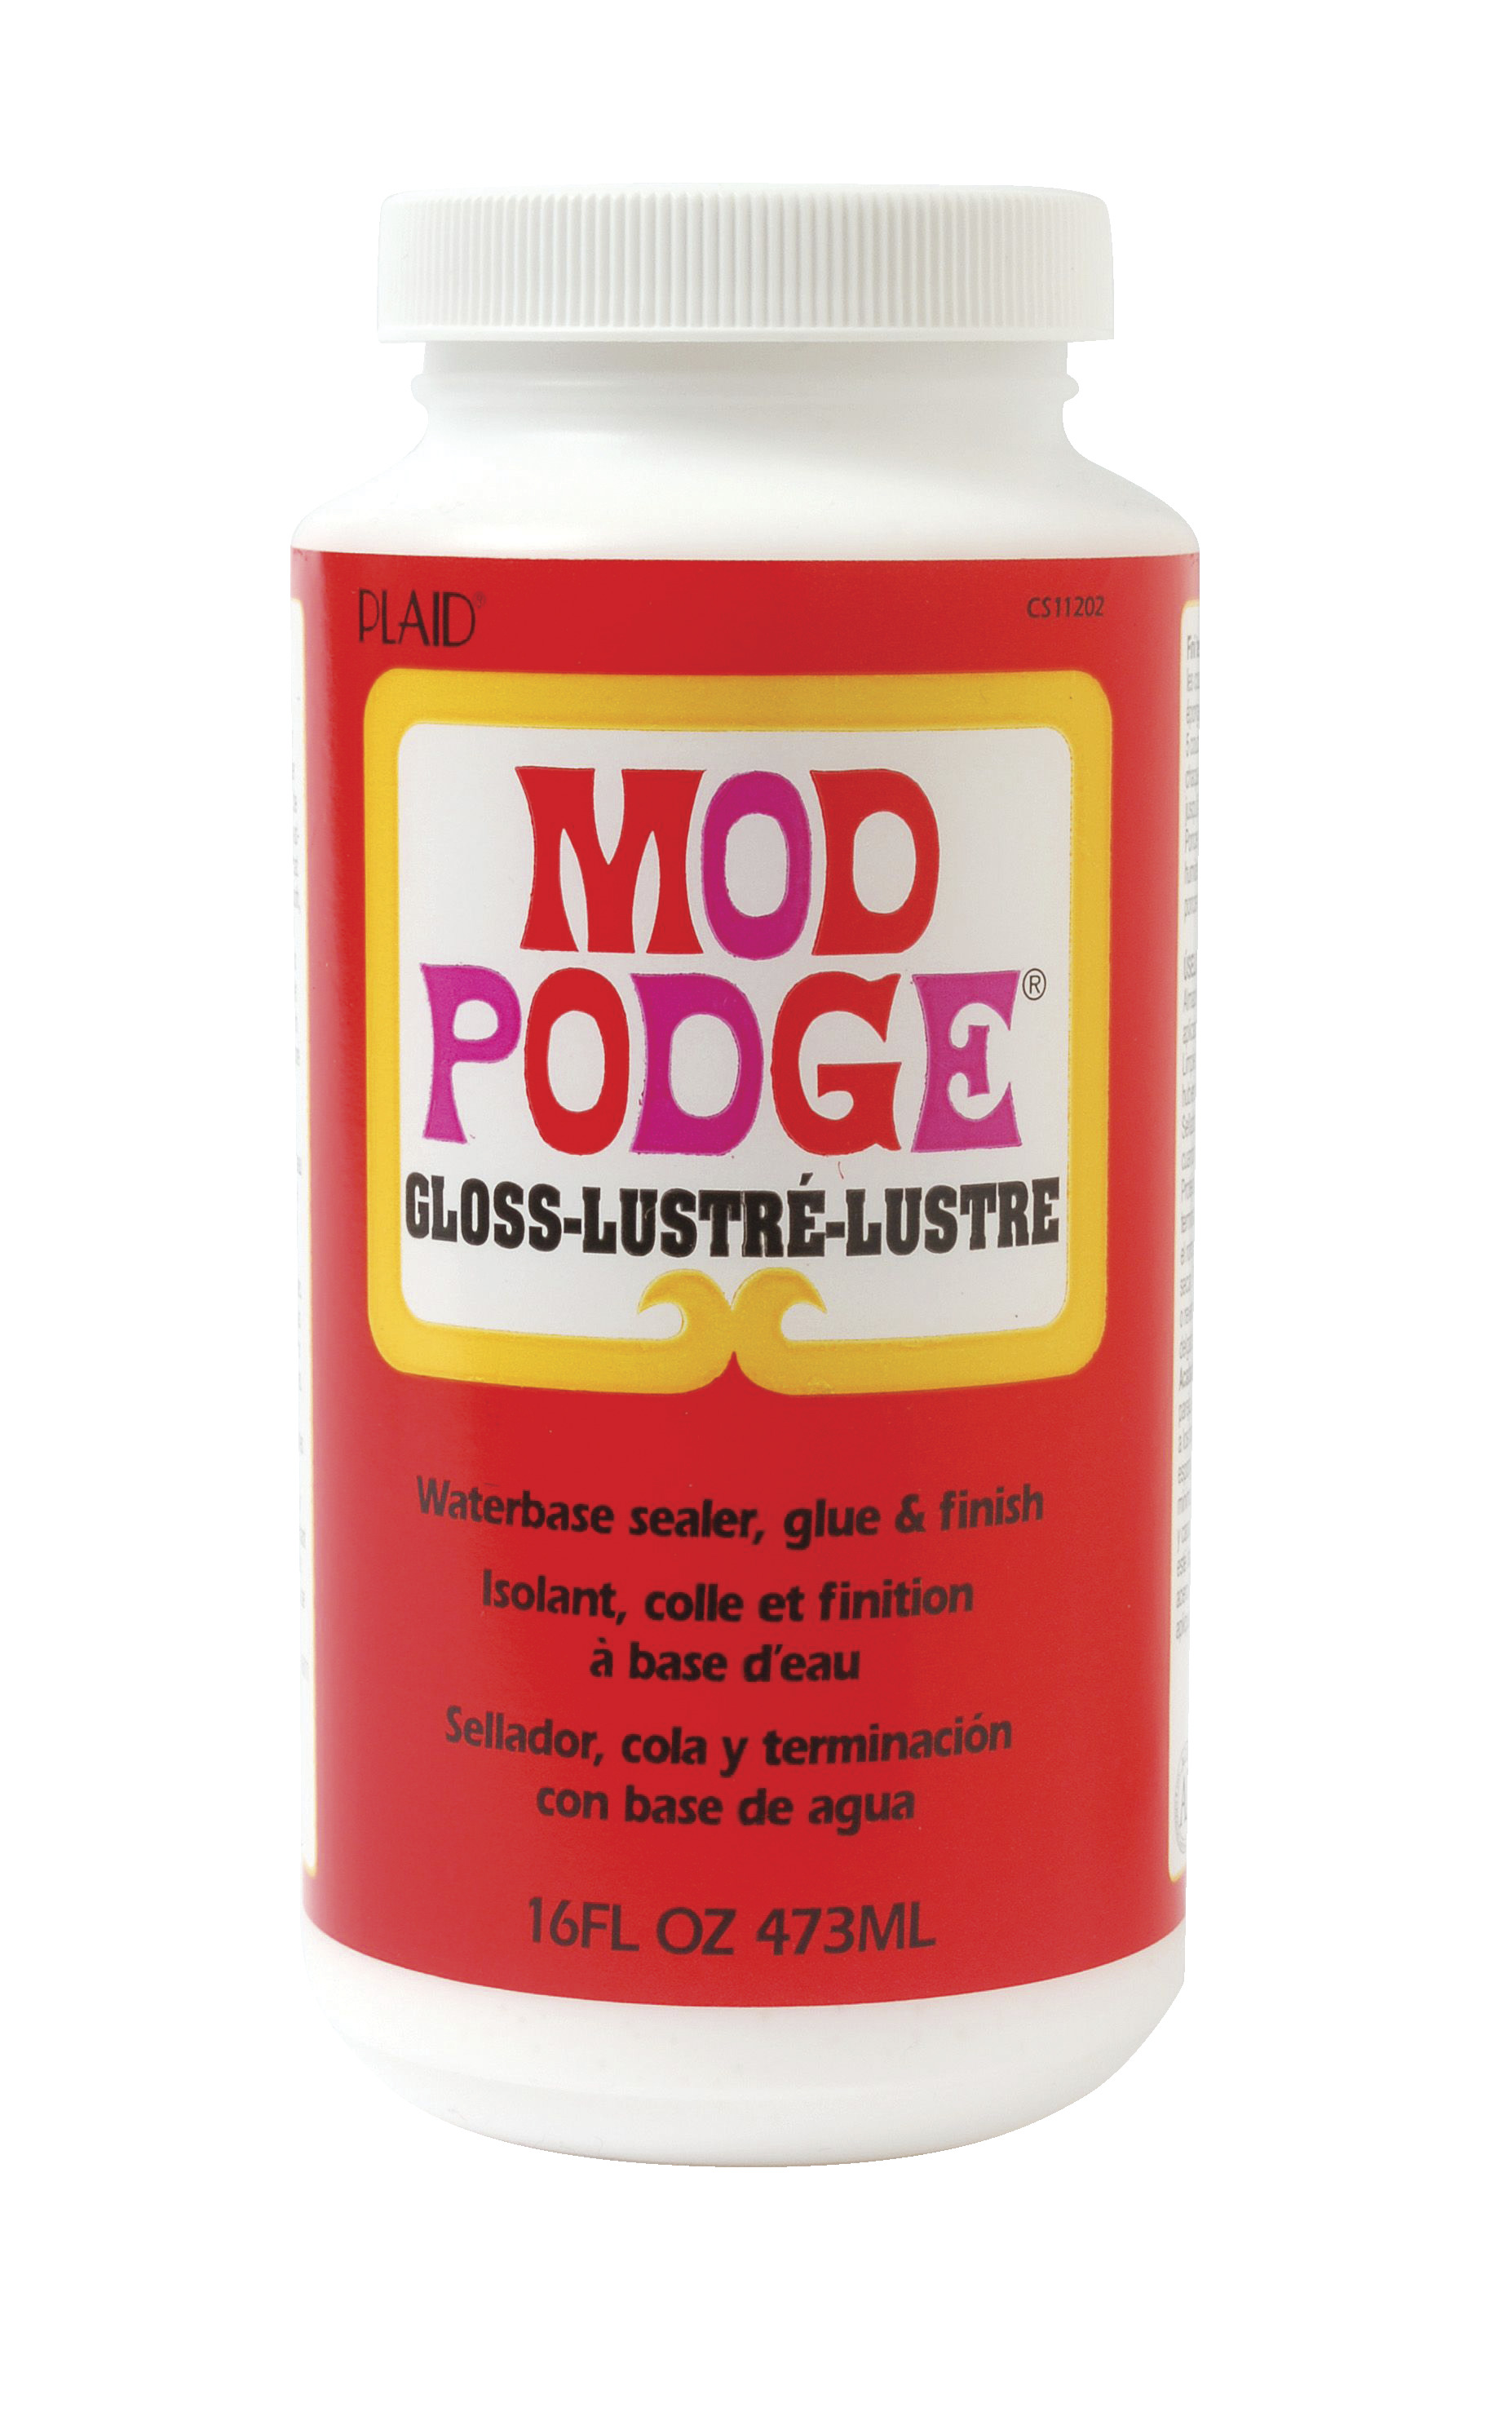
Certainly. Mod Podge has many uses. You can always order online if you can’t find it. The glossy type can be used to middle wet ground and mud due to the glossy look. It is also used for glueing. You can get the matte finish one to use as glue over a surface like dirt (example: if you wanna glue some grass tufts on a terrain you don’t want that sheen on the grass fibers because it doesn’t look too realistic). With your modeling skills, I’m sure you can do more amazing things than what you already do once you get a hold of these products.
-
Thank you Bruce. It has been a lot of work. It’s my second diorama ever. I made a lot of mistakes during the process. Lol.
-
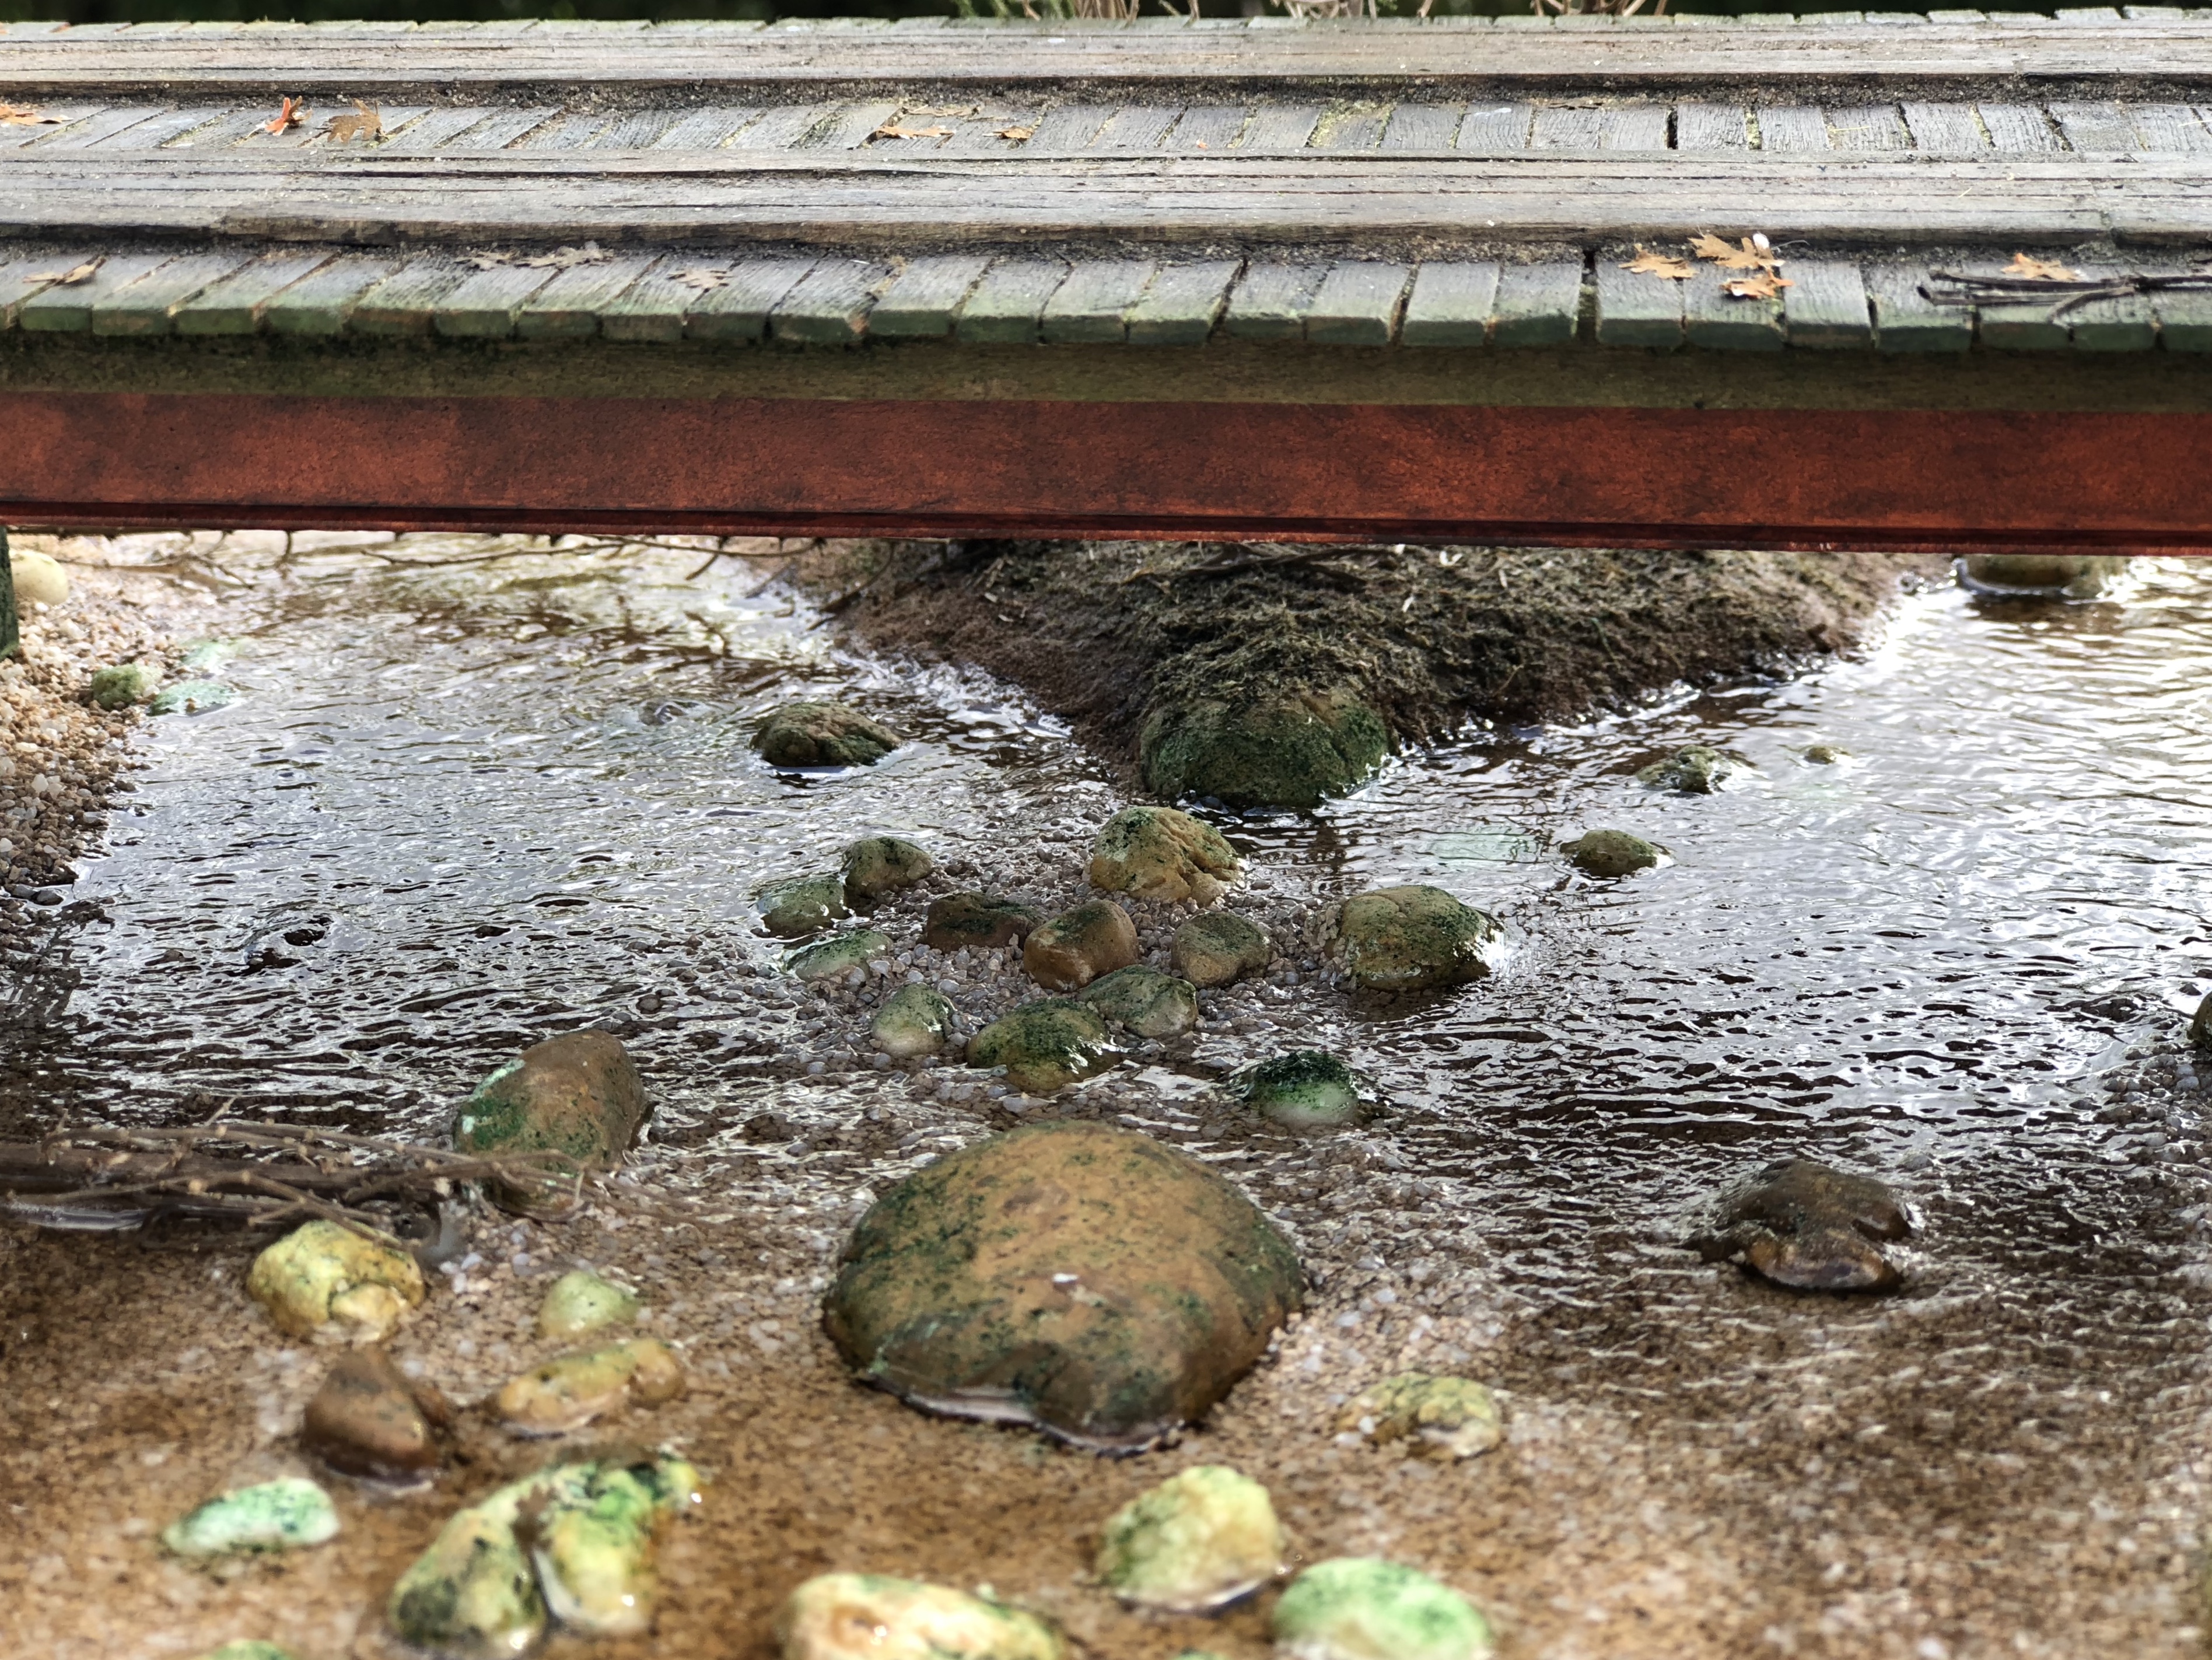
Thank you. It was my first attempt and a very scary one. I thought I was going to ruin the diorama because I attached the bridge before adding the resin. It was a challenge and I had to be extremely careful.
-
Thank you for your kind words.
-
Thank you. The more I spend time on these projects the more I realize that, to make a diorama look as realistic as possible, it has to be worked on multiple layers. That’s how the real environment works, right? Layers of dust, dirt, debris, mildew on bottom of trees and shaded areas, grease from vehicles, etc. And no surface is uniform. I take advice from members of this forum as well.
-
Thank you. It was a recommendation from a member of this forum and it fits well. I take note from any criticism and ideas to make my dioramas better and I love the challenges.
-
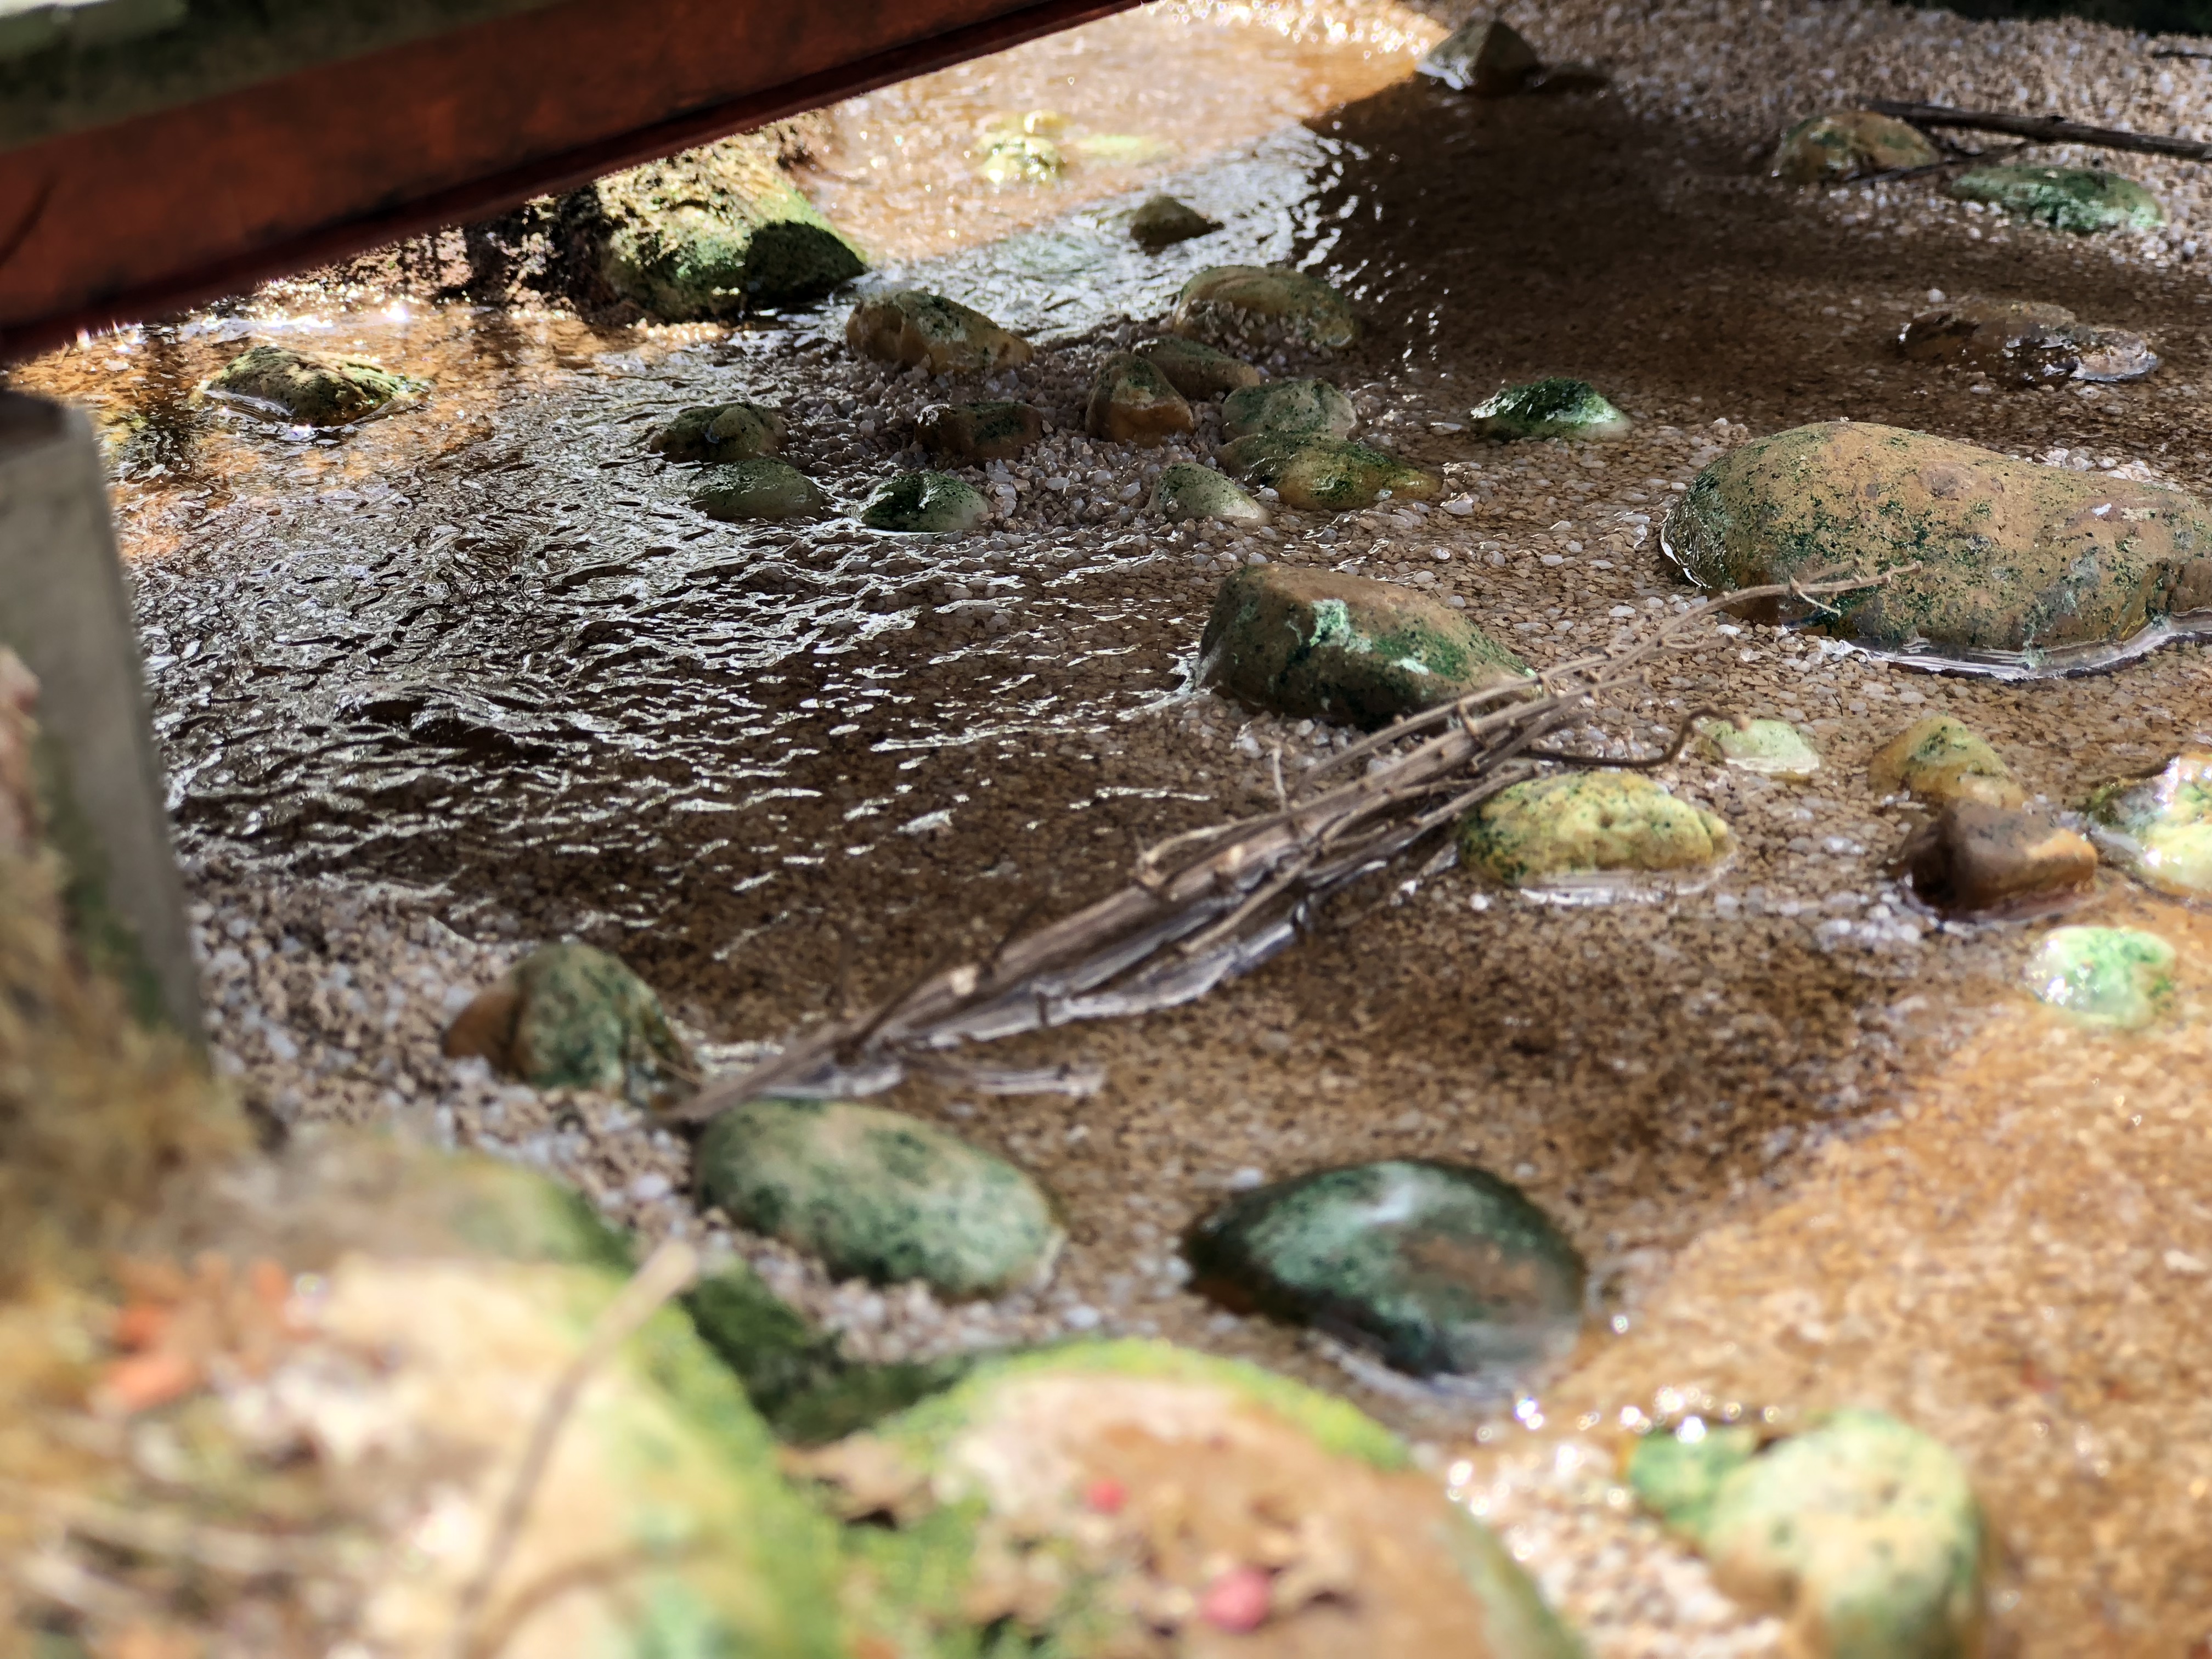
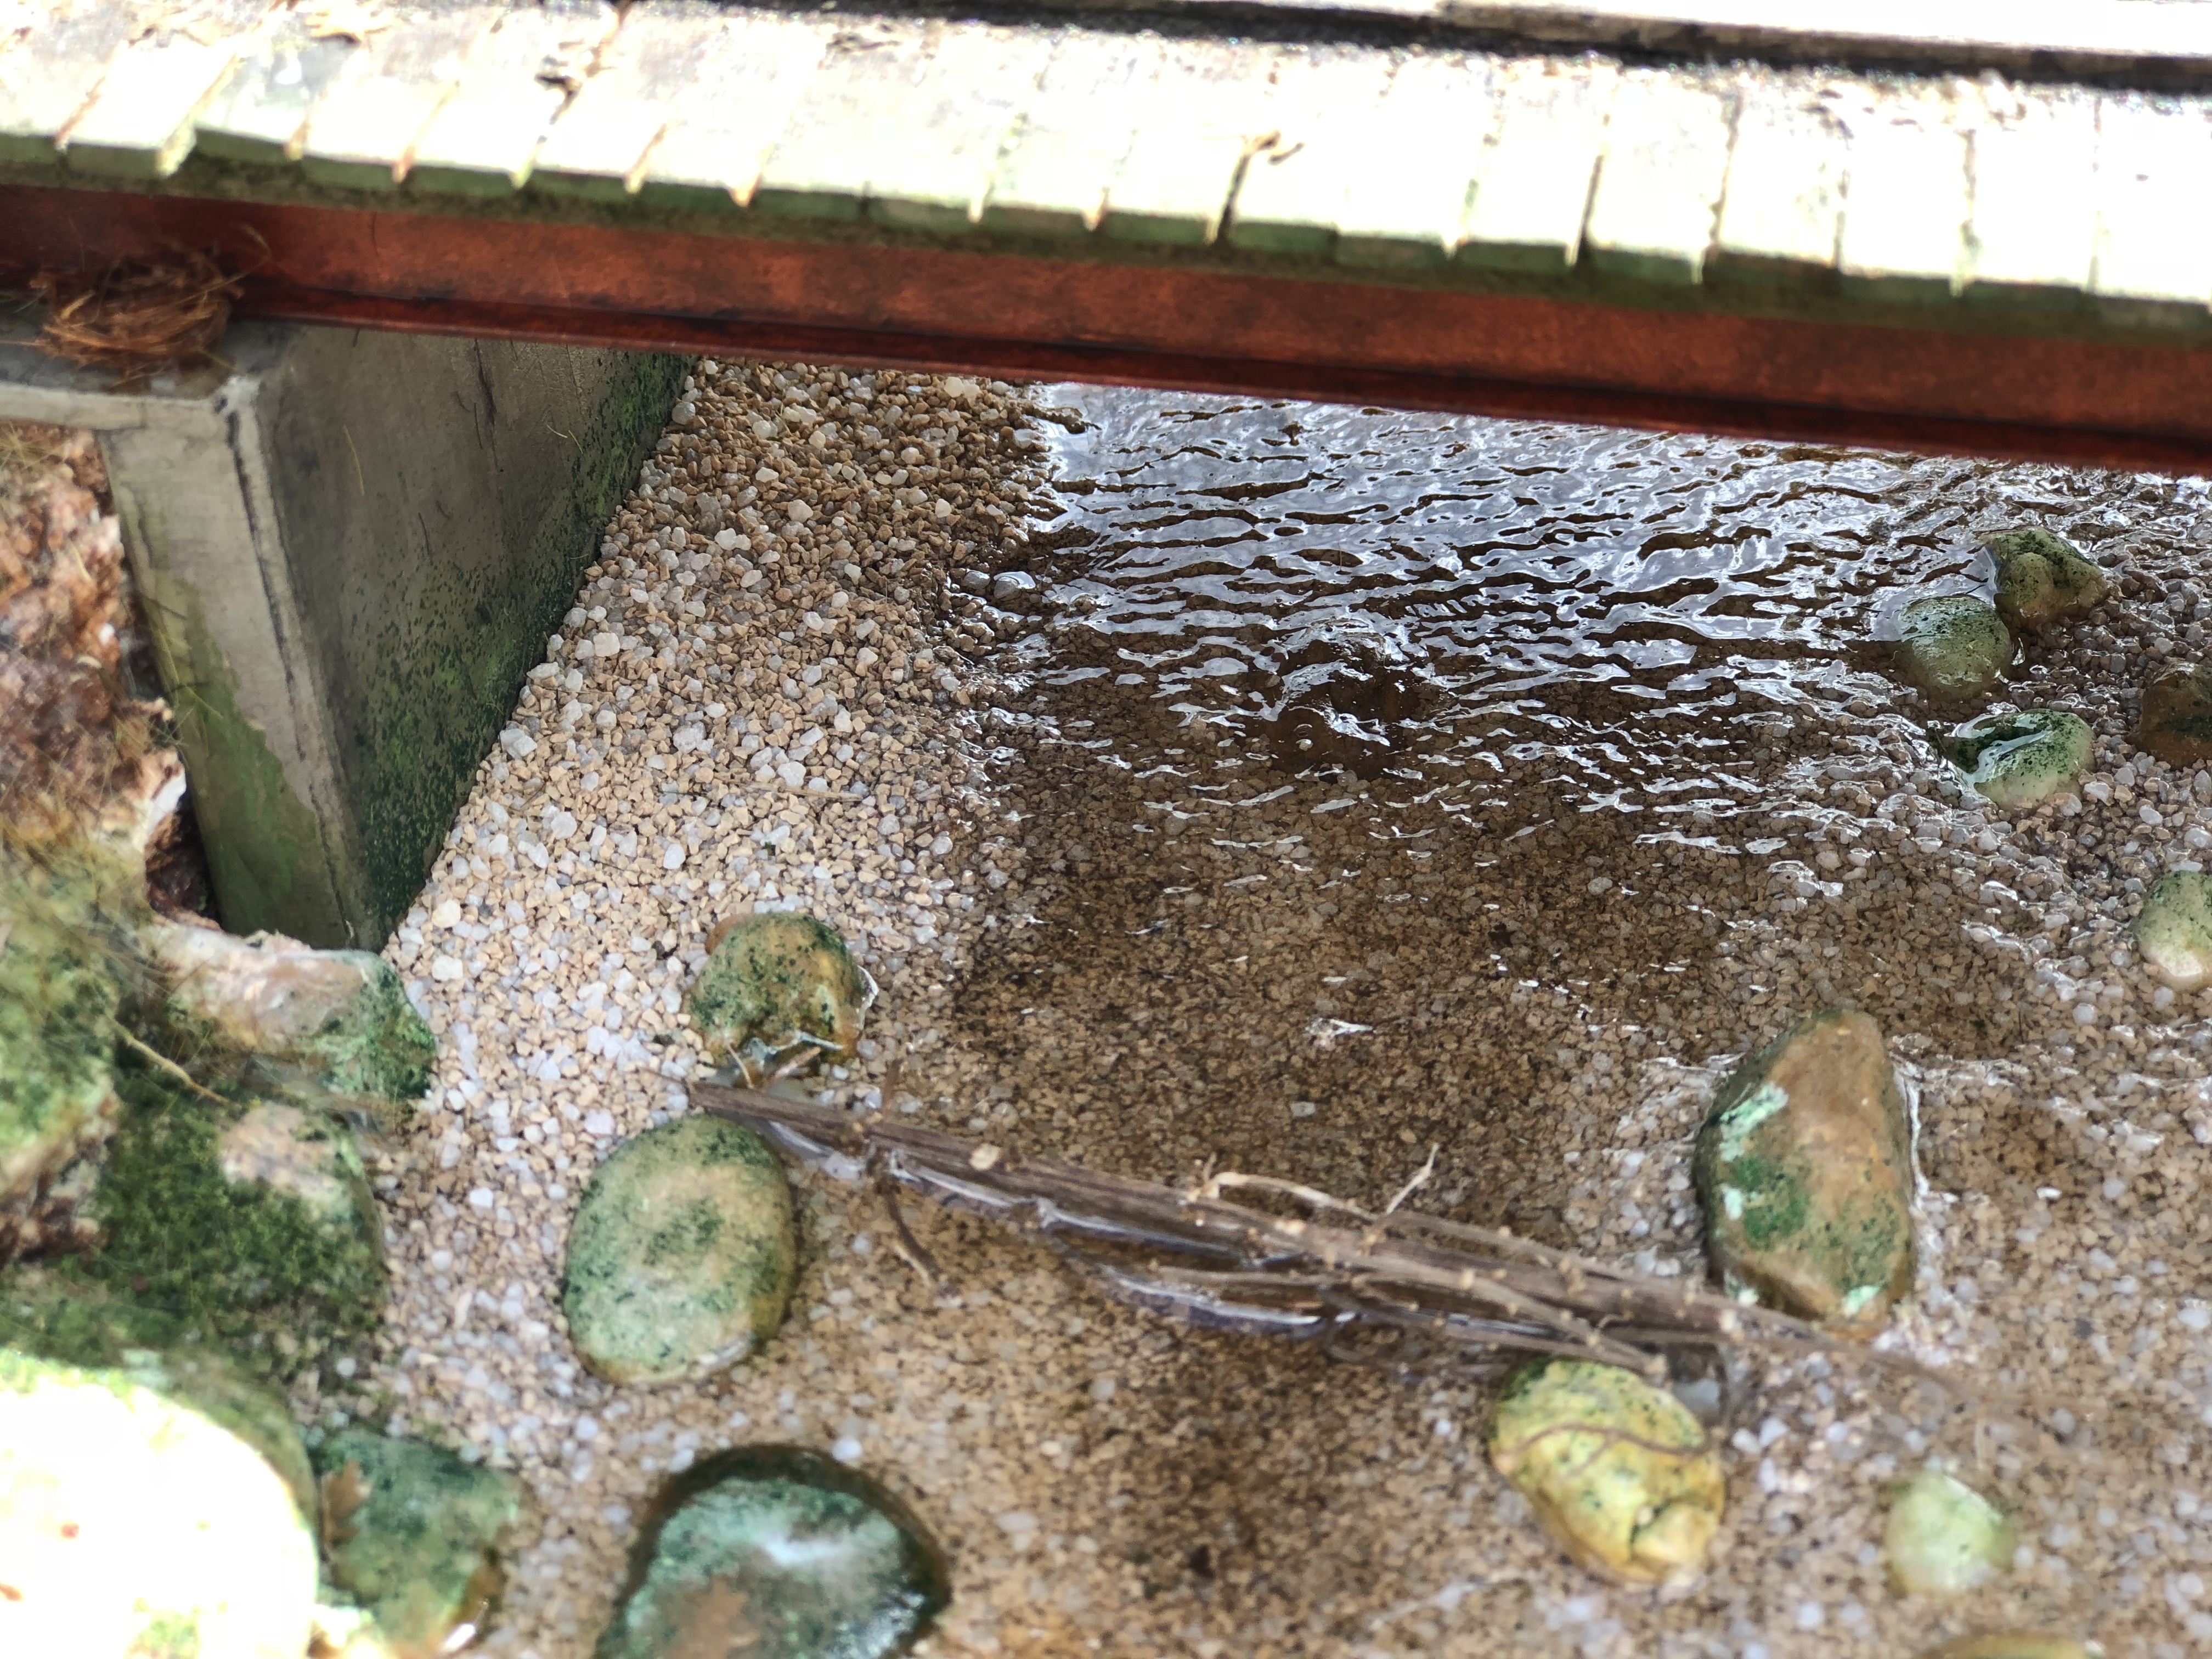
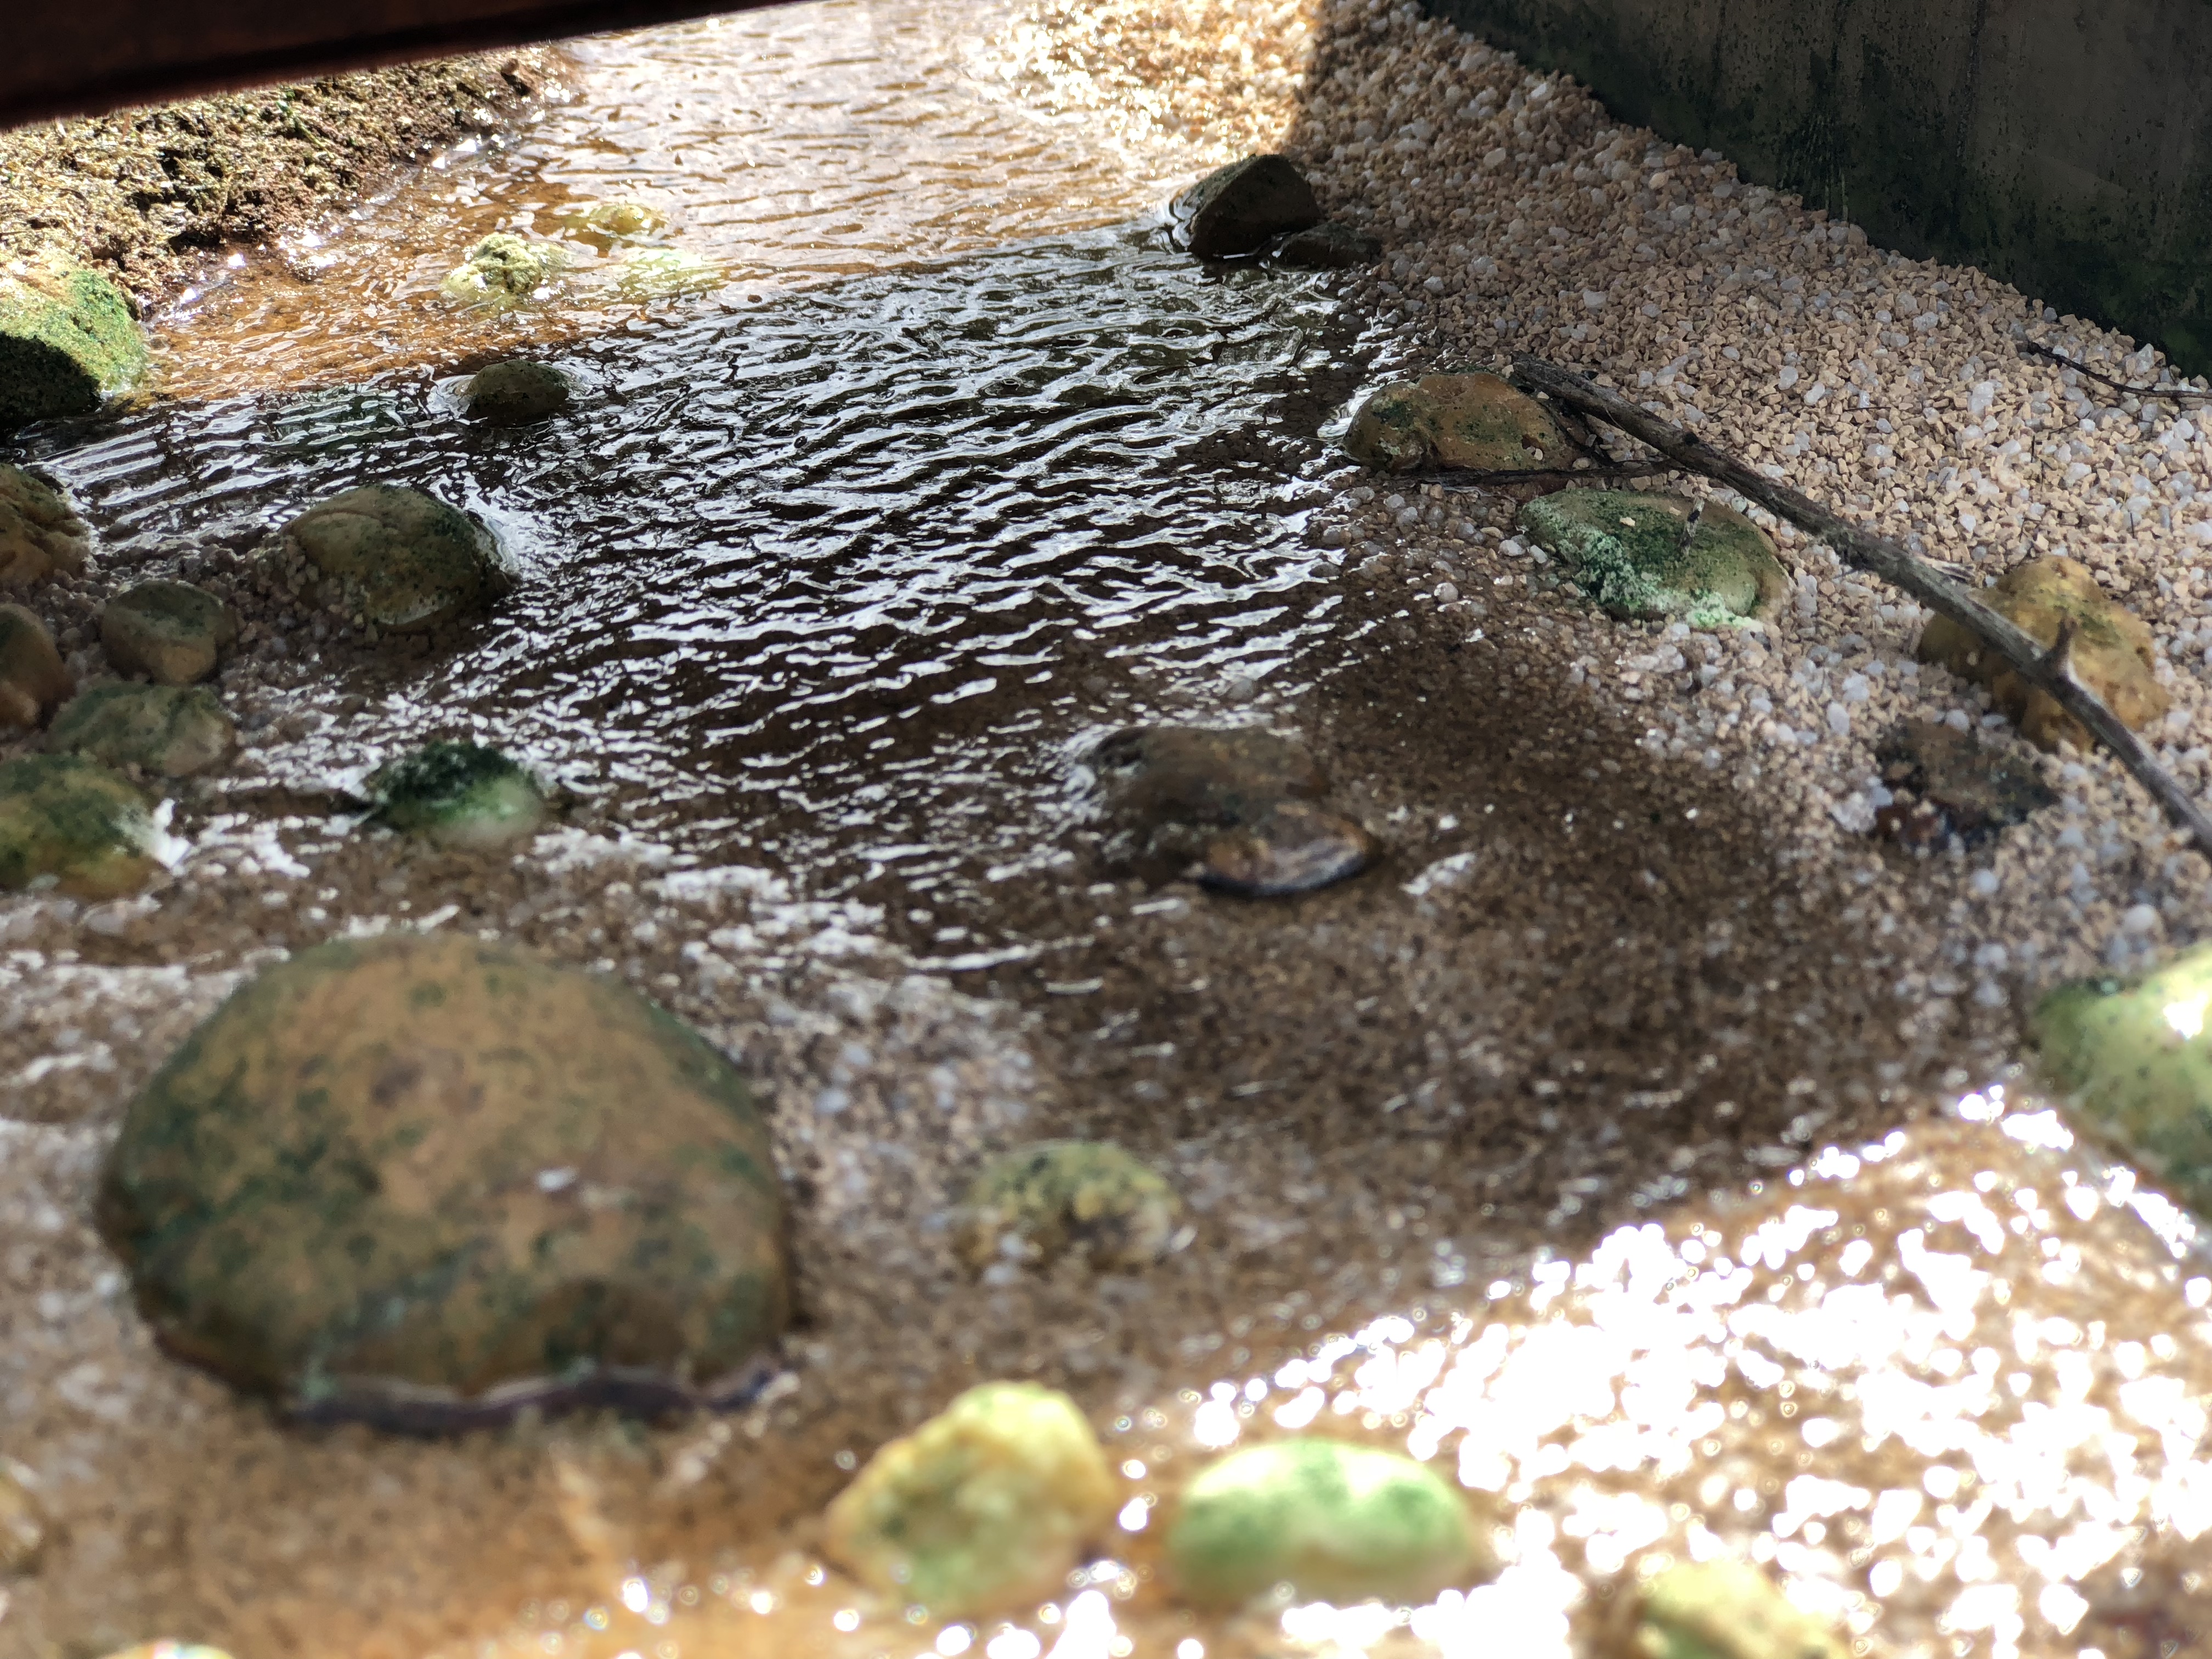
Thank you David. The ripples were added after the resin was dried. I used Gloss Mod Podge and a brush to create it. Just load the brush with the product and tap over the surface. The smaller the texture you give the smaller ripples. You can create bigger ones by layering. It’s white when applied by clear when dried. I don’t know about the competition, though. Lol. I way too far from being near your skills.
-
Thank you, Keith. There is more to come.
-
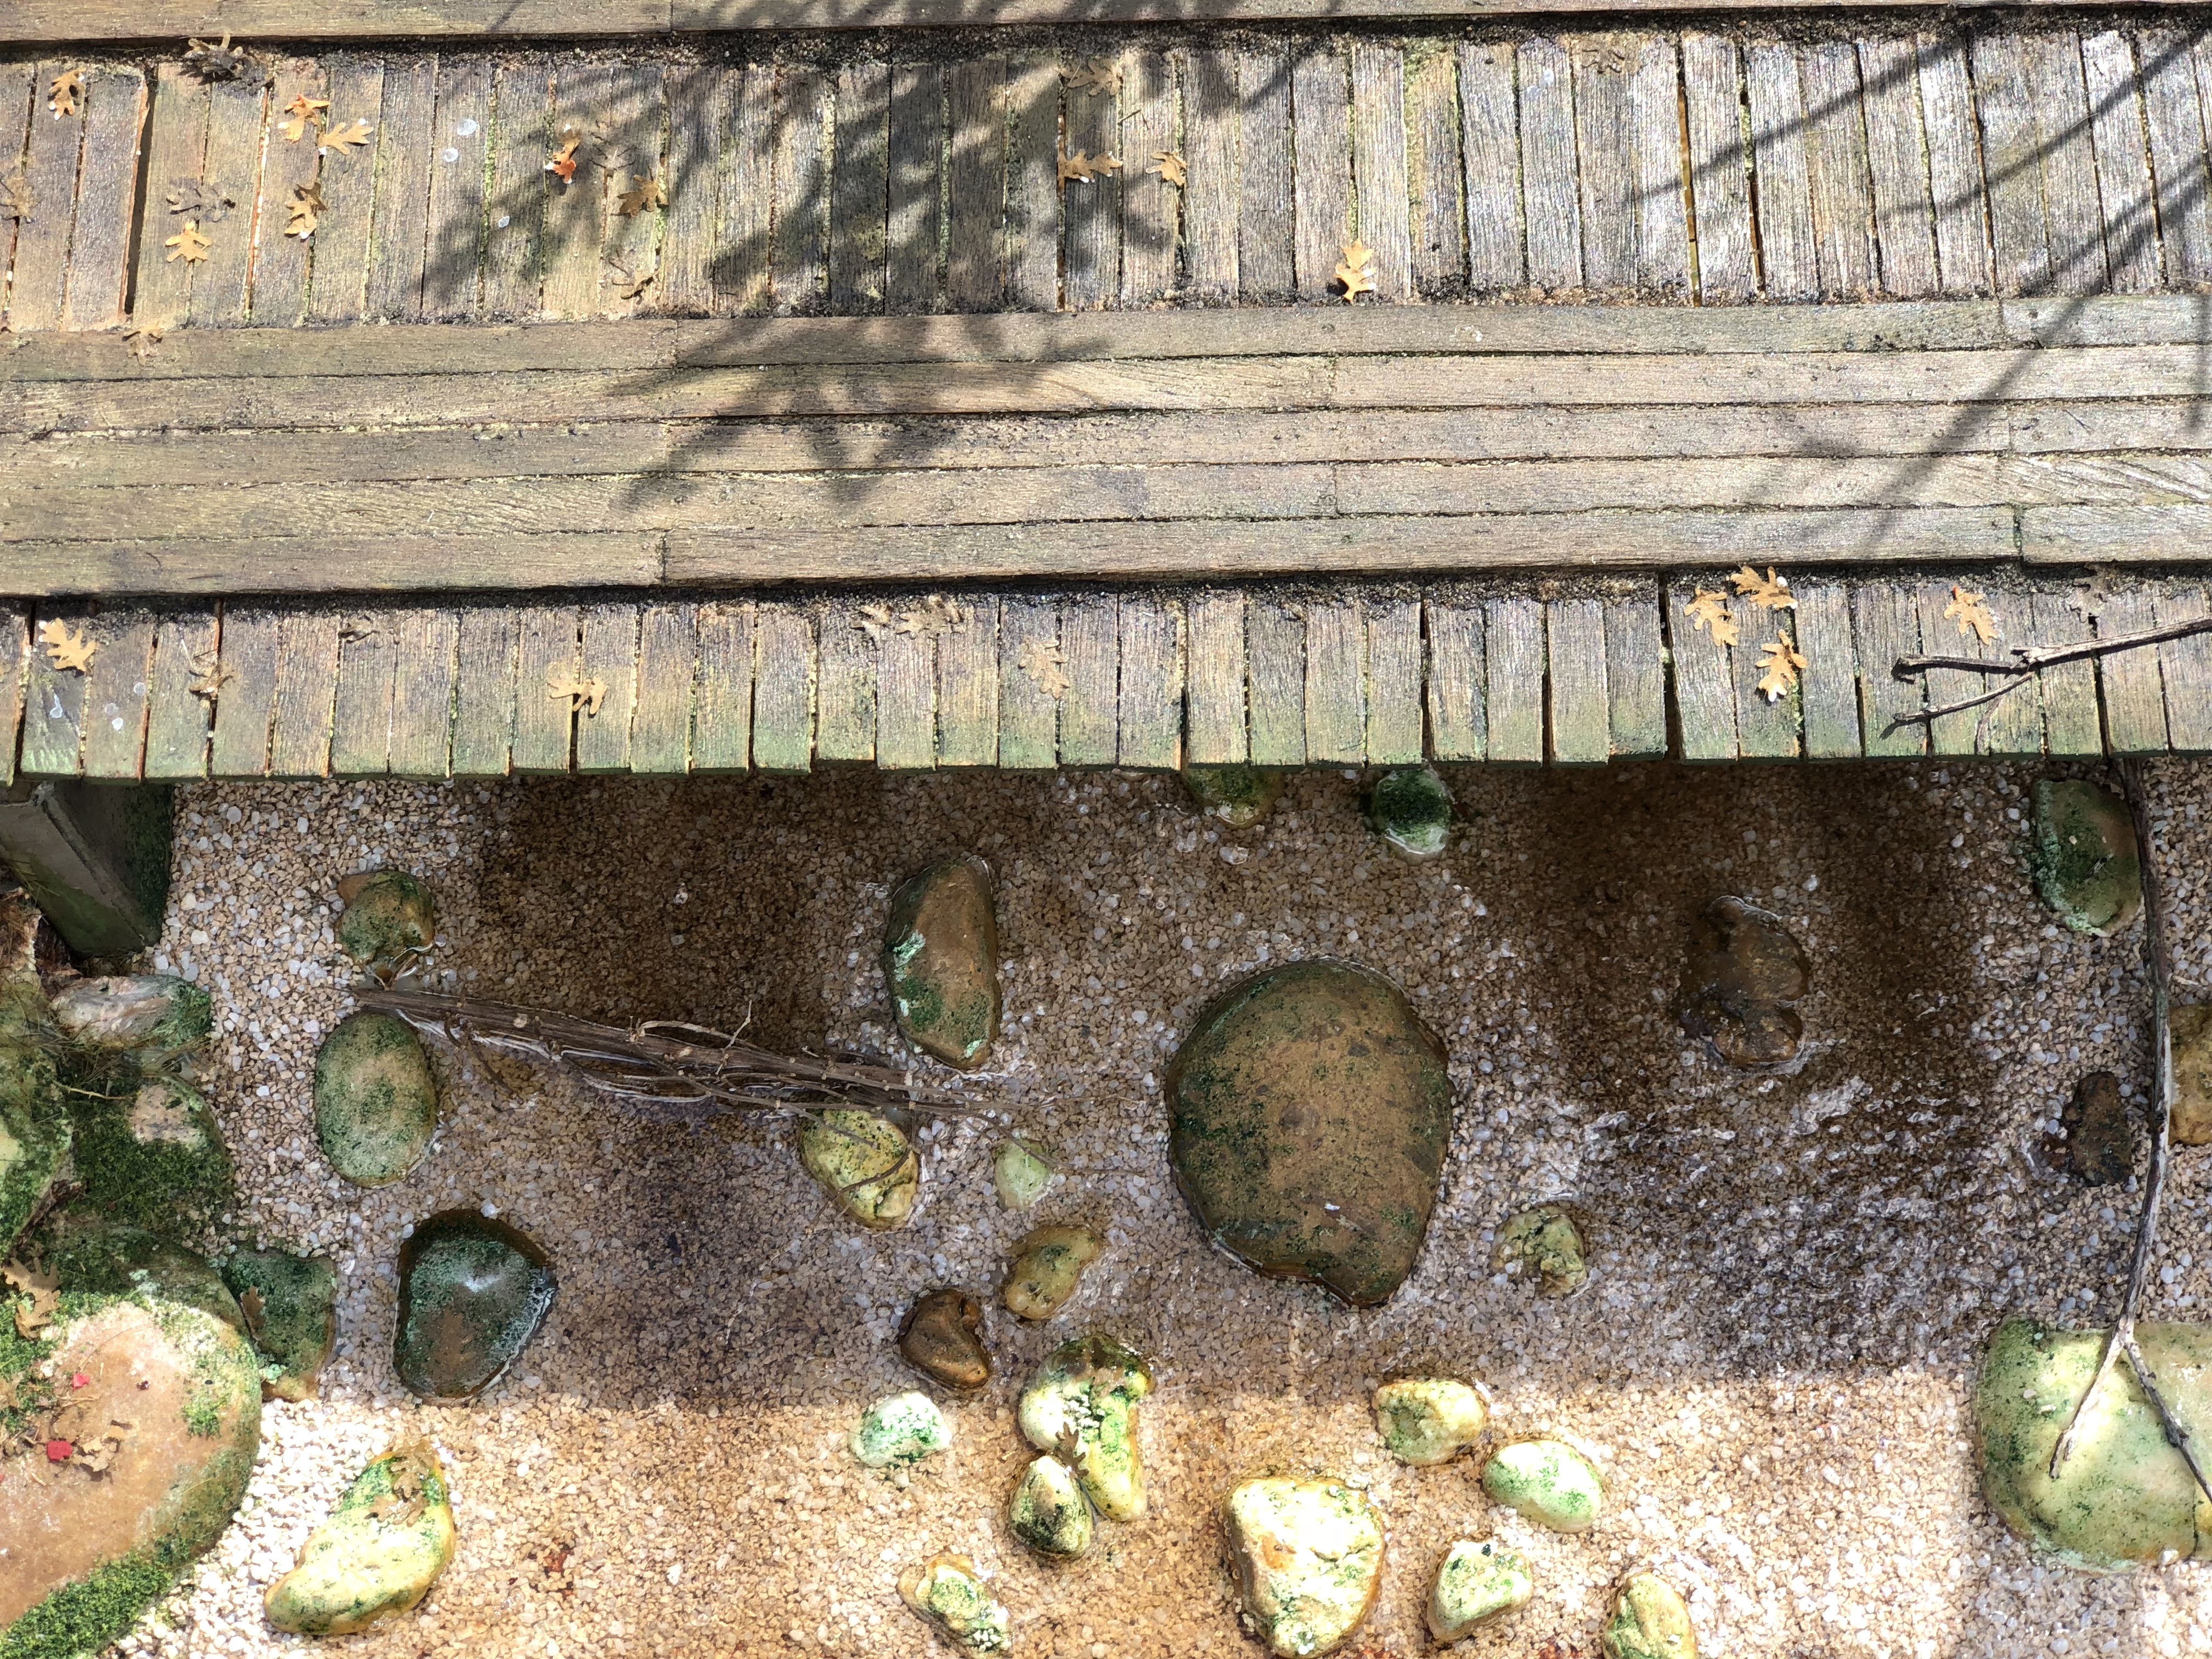
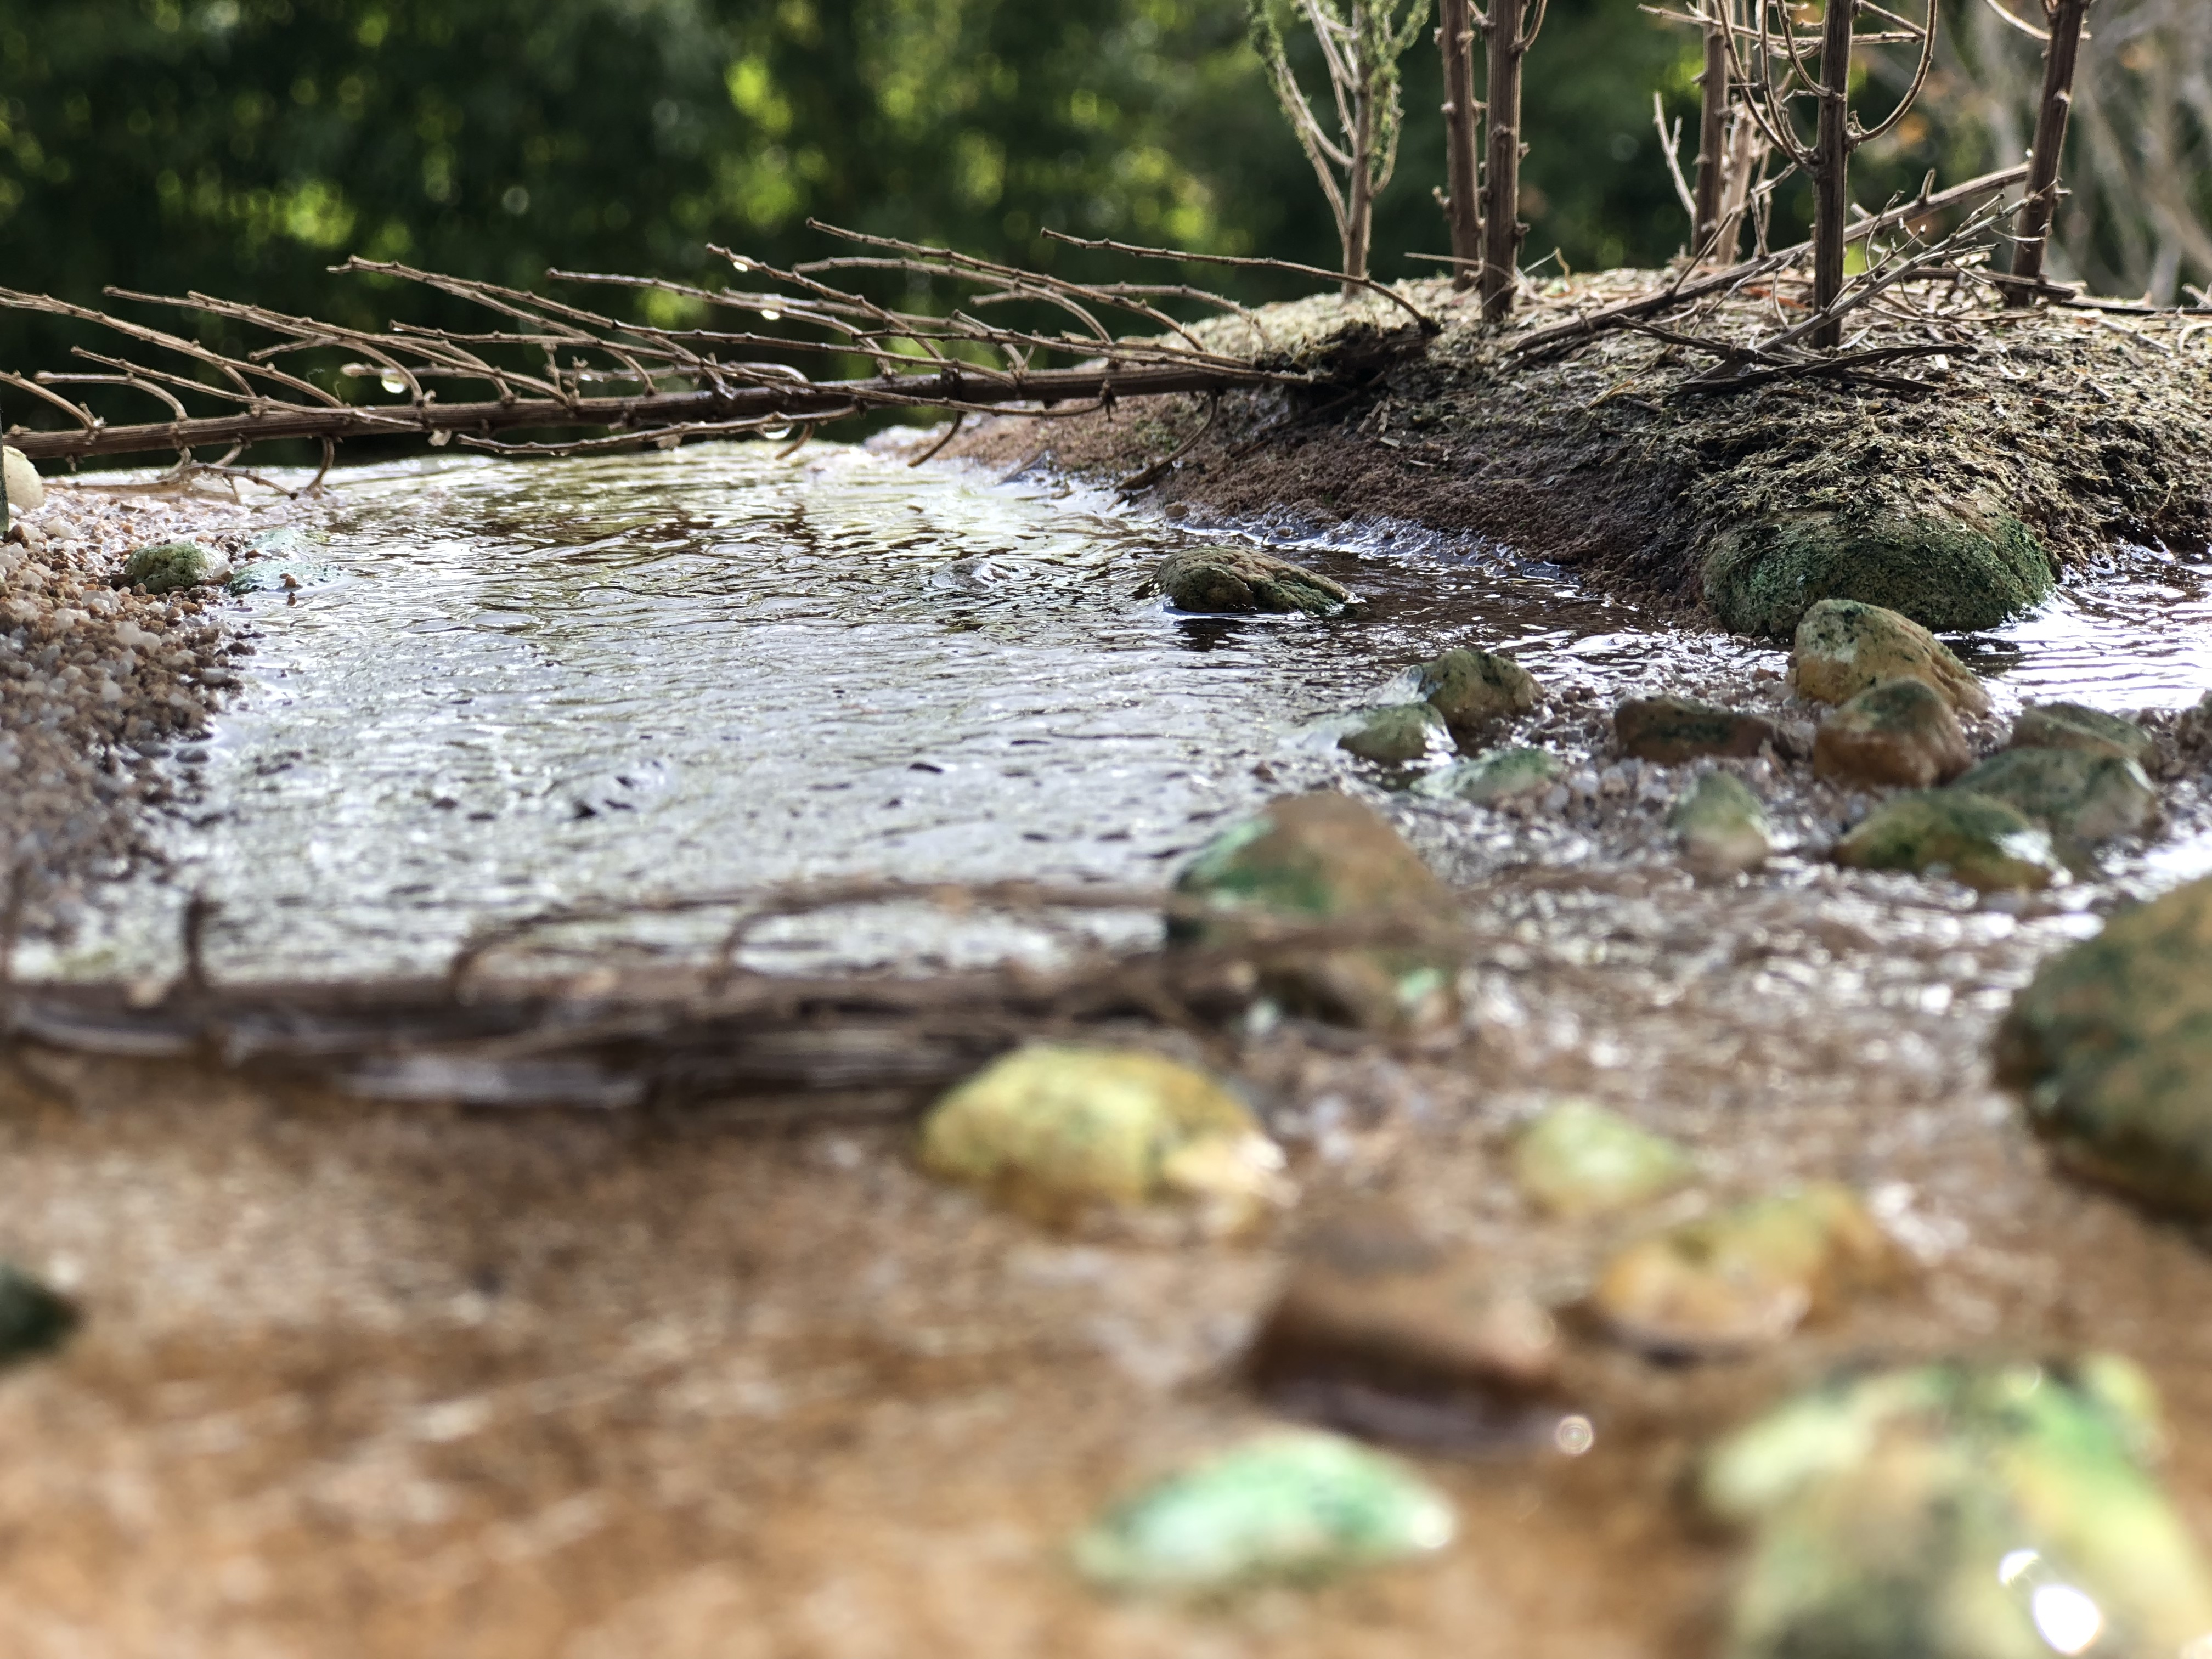
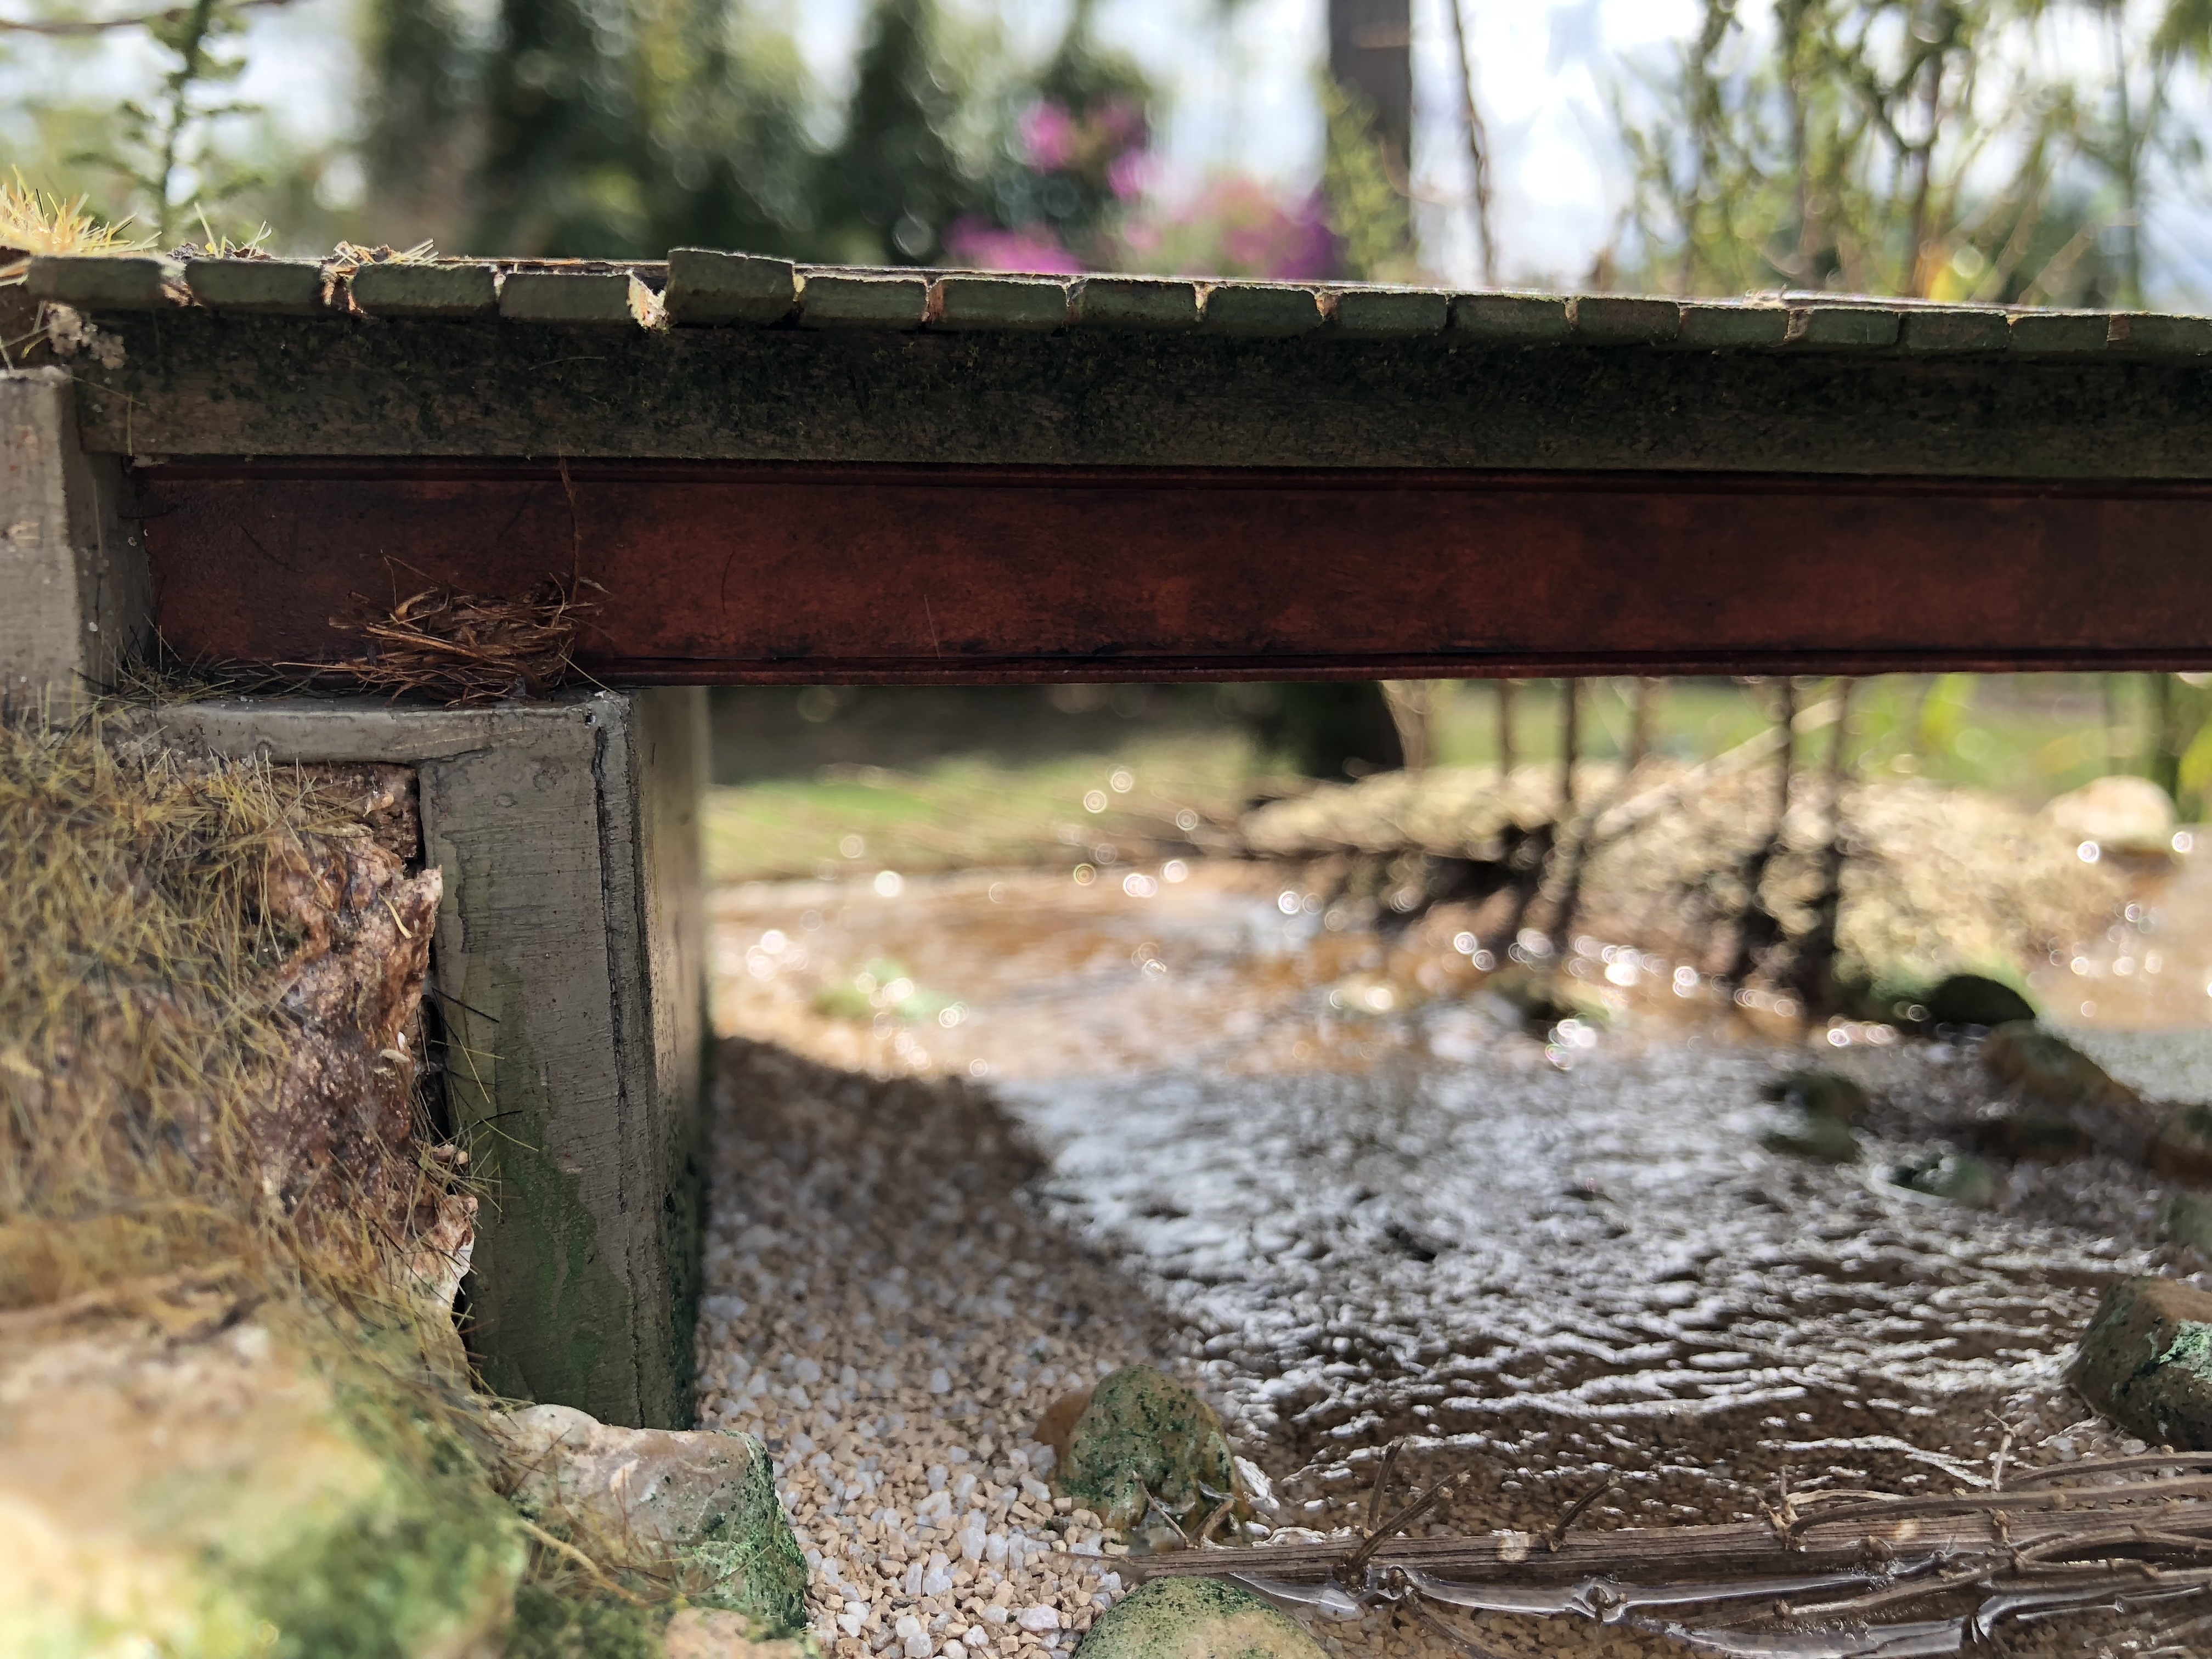
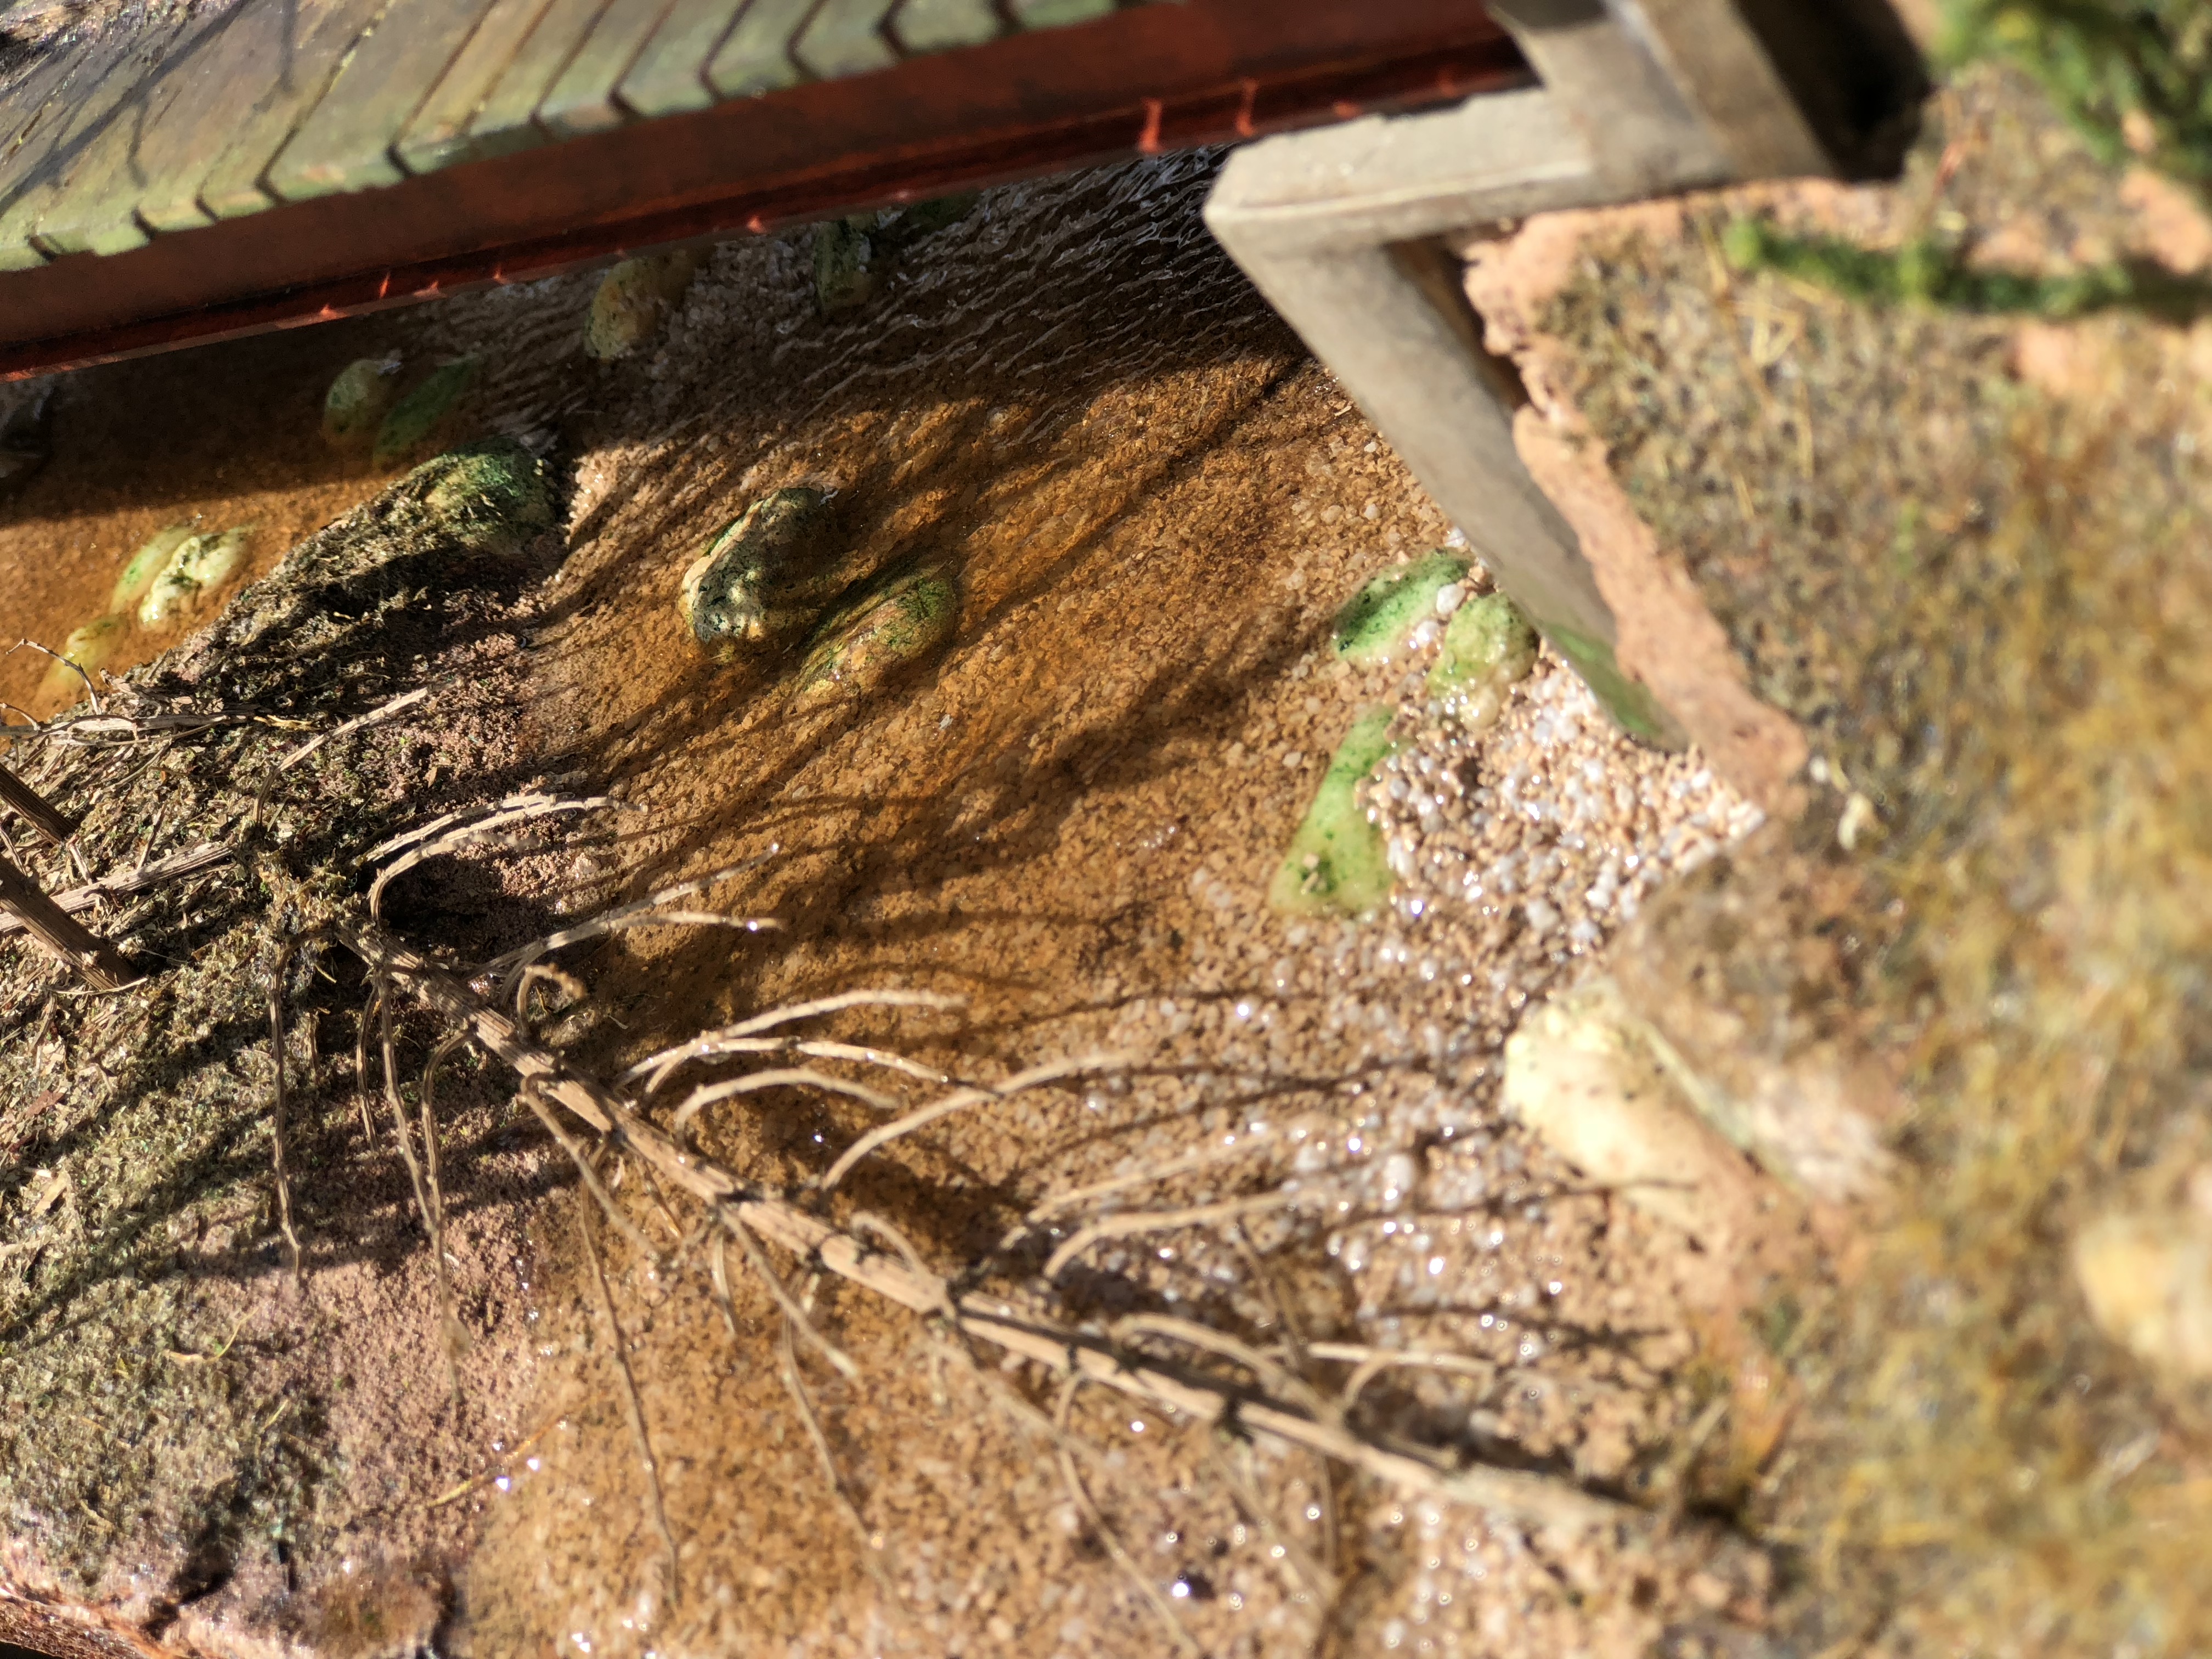
Ripples added to the water. Also, notice the birds nest on the the top of the left abutment (thank you, Raymond, for the suggestion) I used some fibers from a palm tree to make it. Im sure there are better methods but this one looked natural.
-
Thank you.