-
Posts
226 -
Joined
-
Last visited
Content Type
Profiles
Forums
Events
Gallery
Everything posted by QbanFam
-
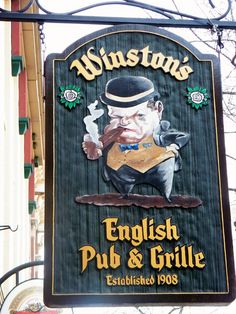
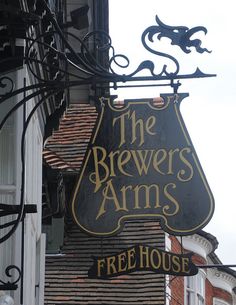
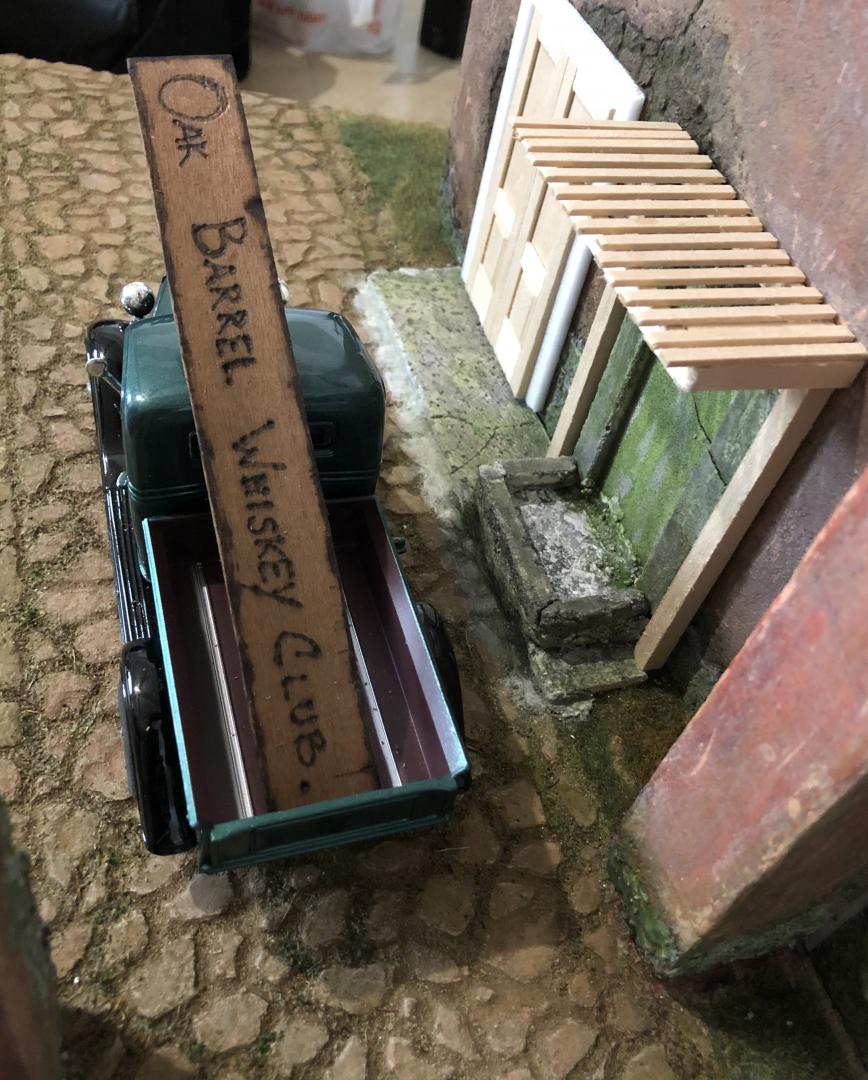
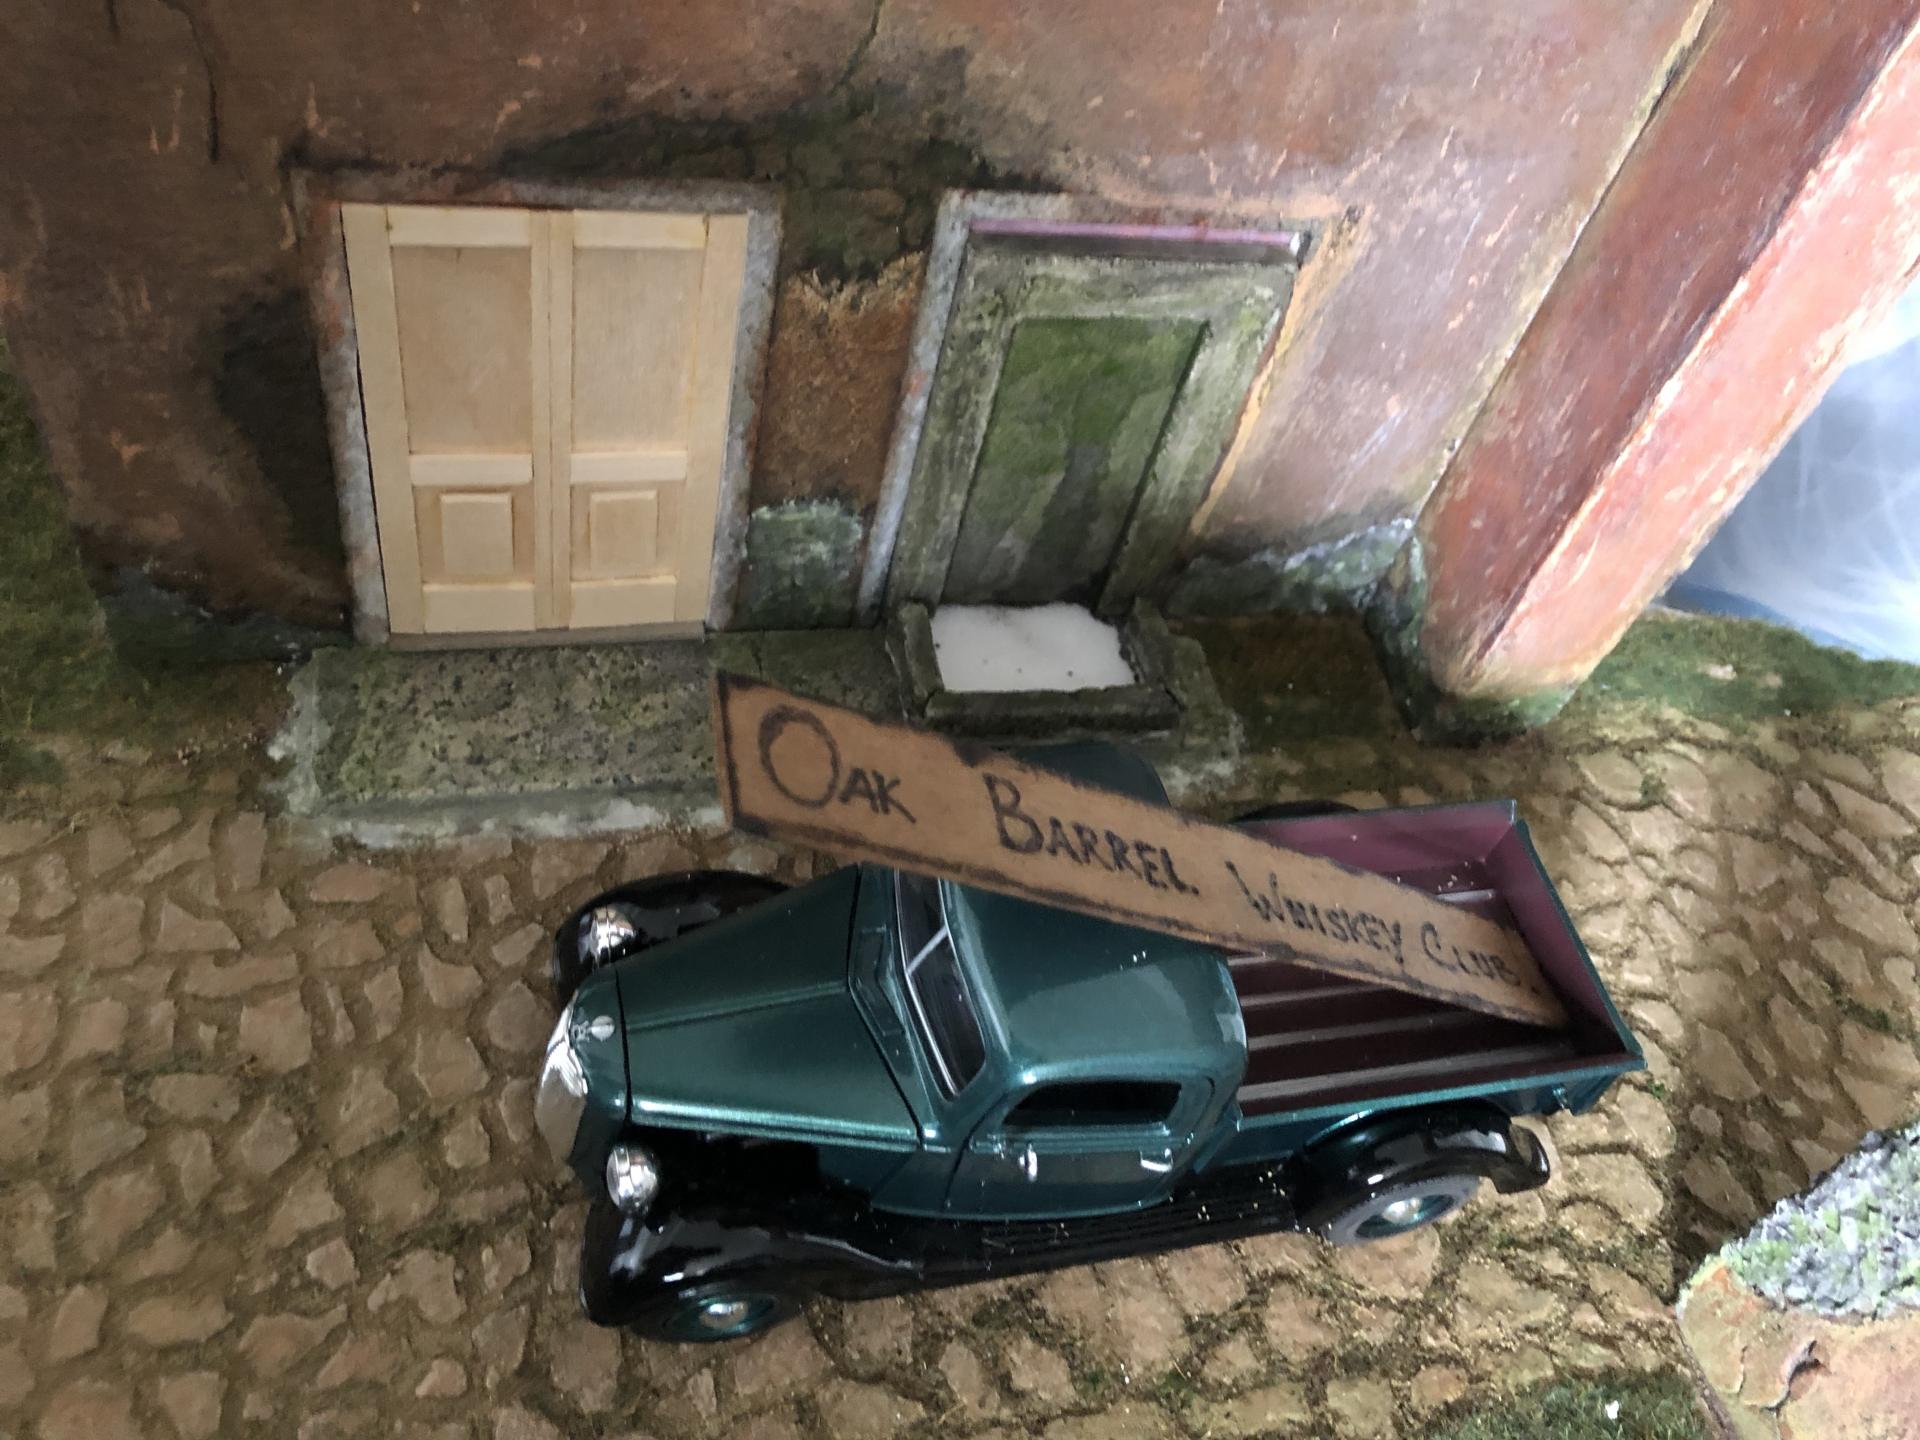
I think you are right, Raymond. Oak Barrel sounds better. Is this the type of signs you are referring to?
-
Thank you for the hint.
-
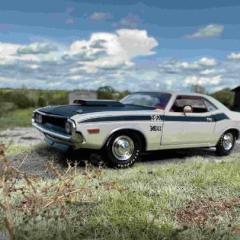
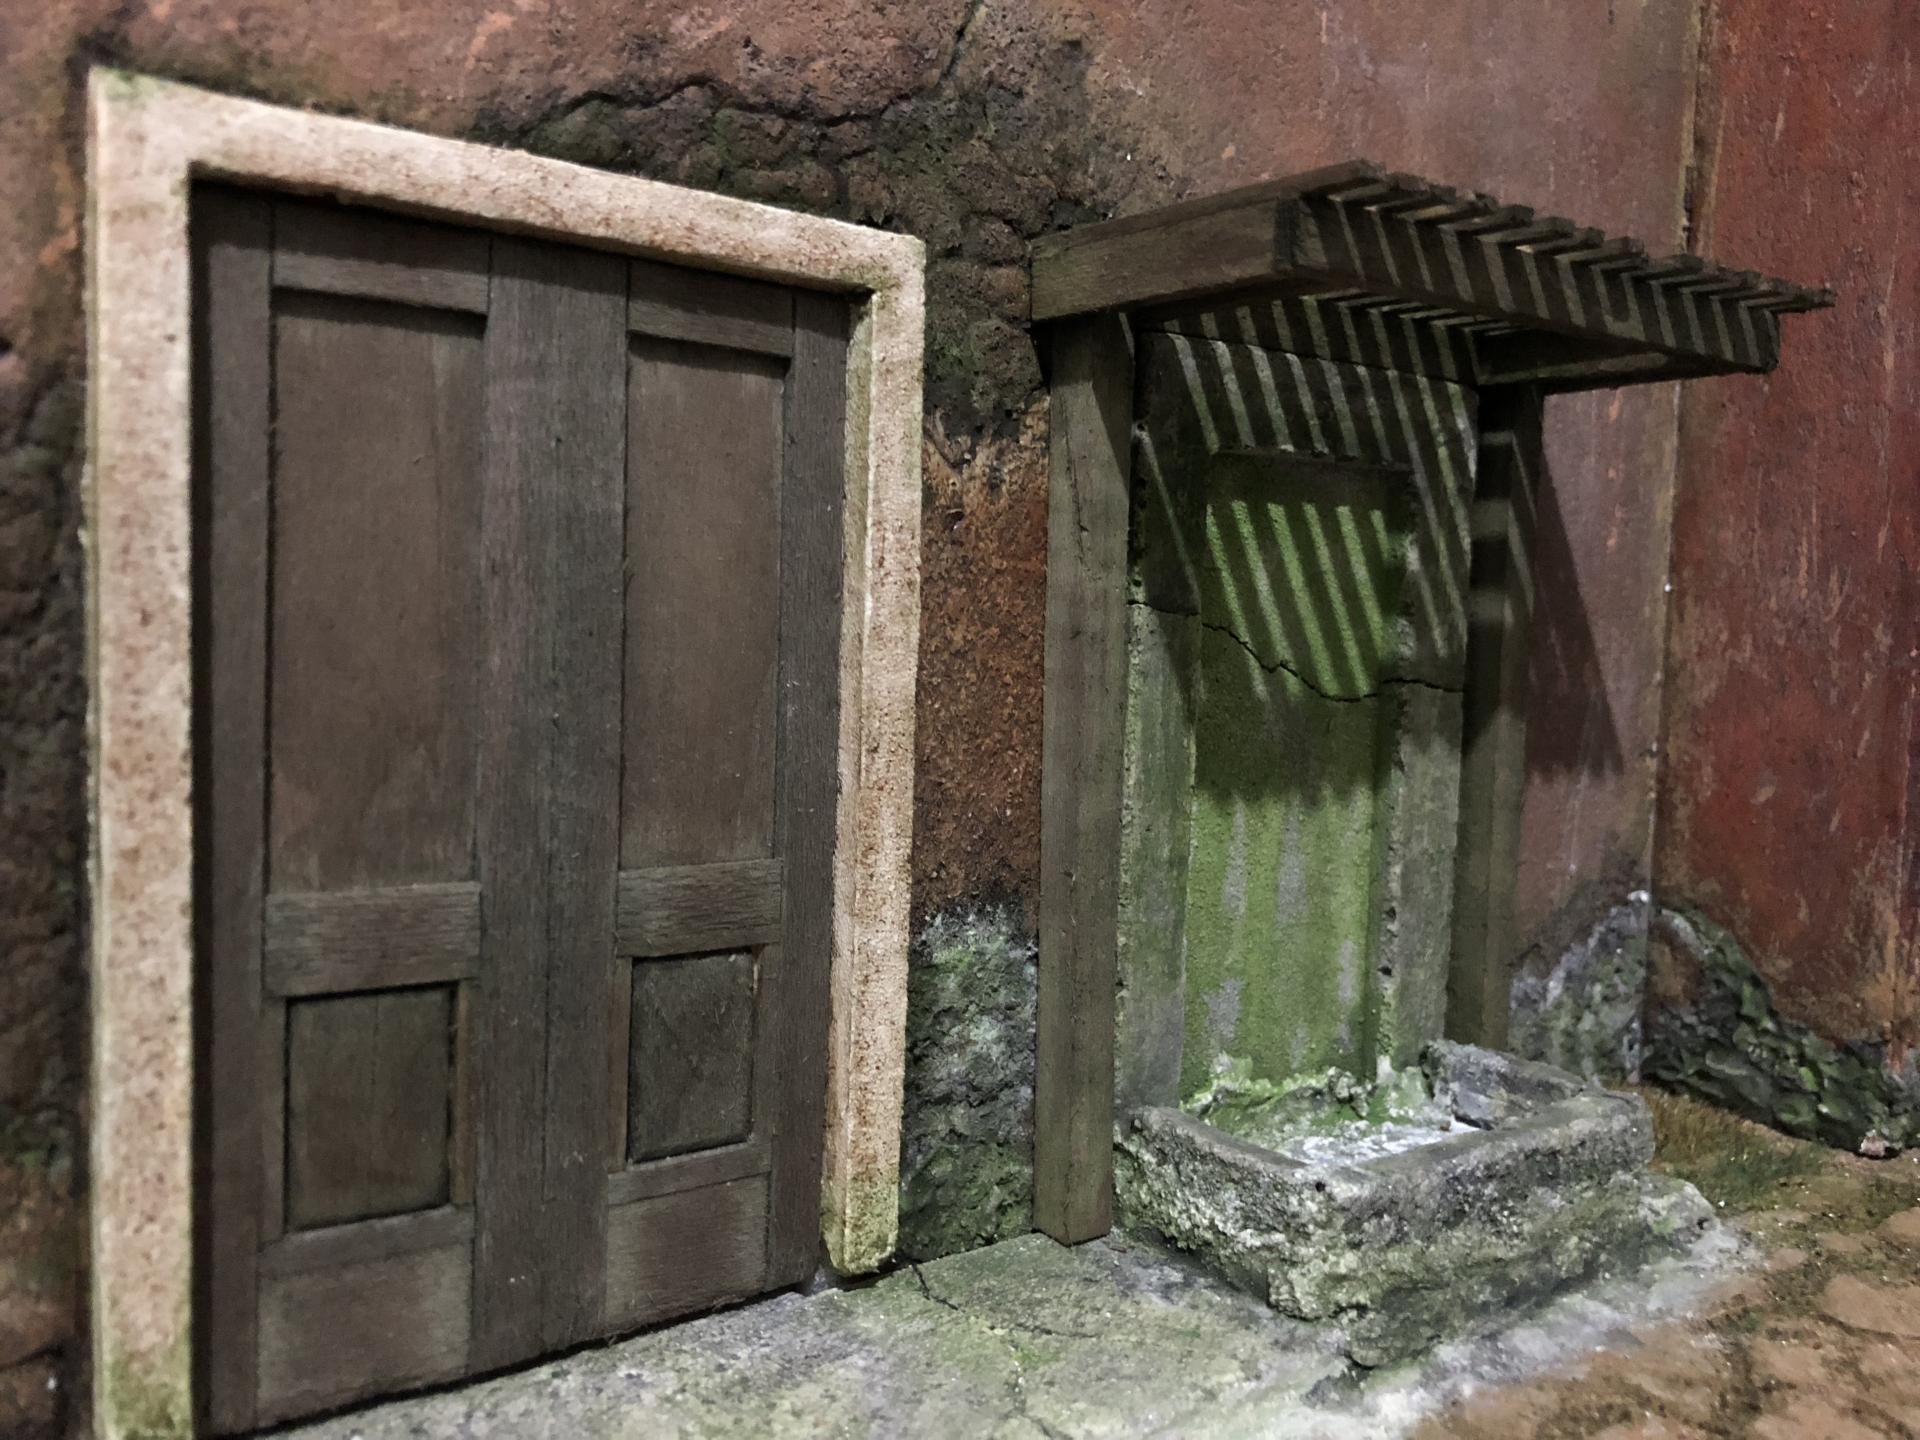
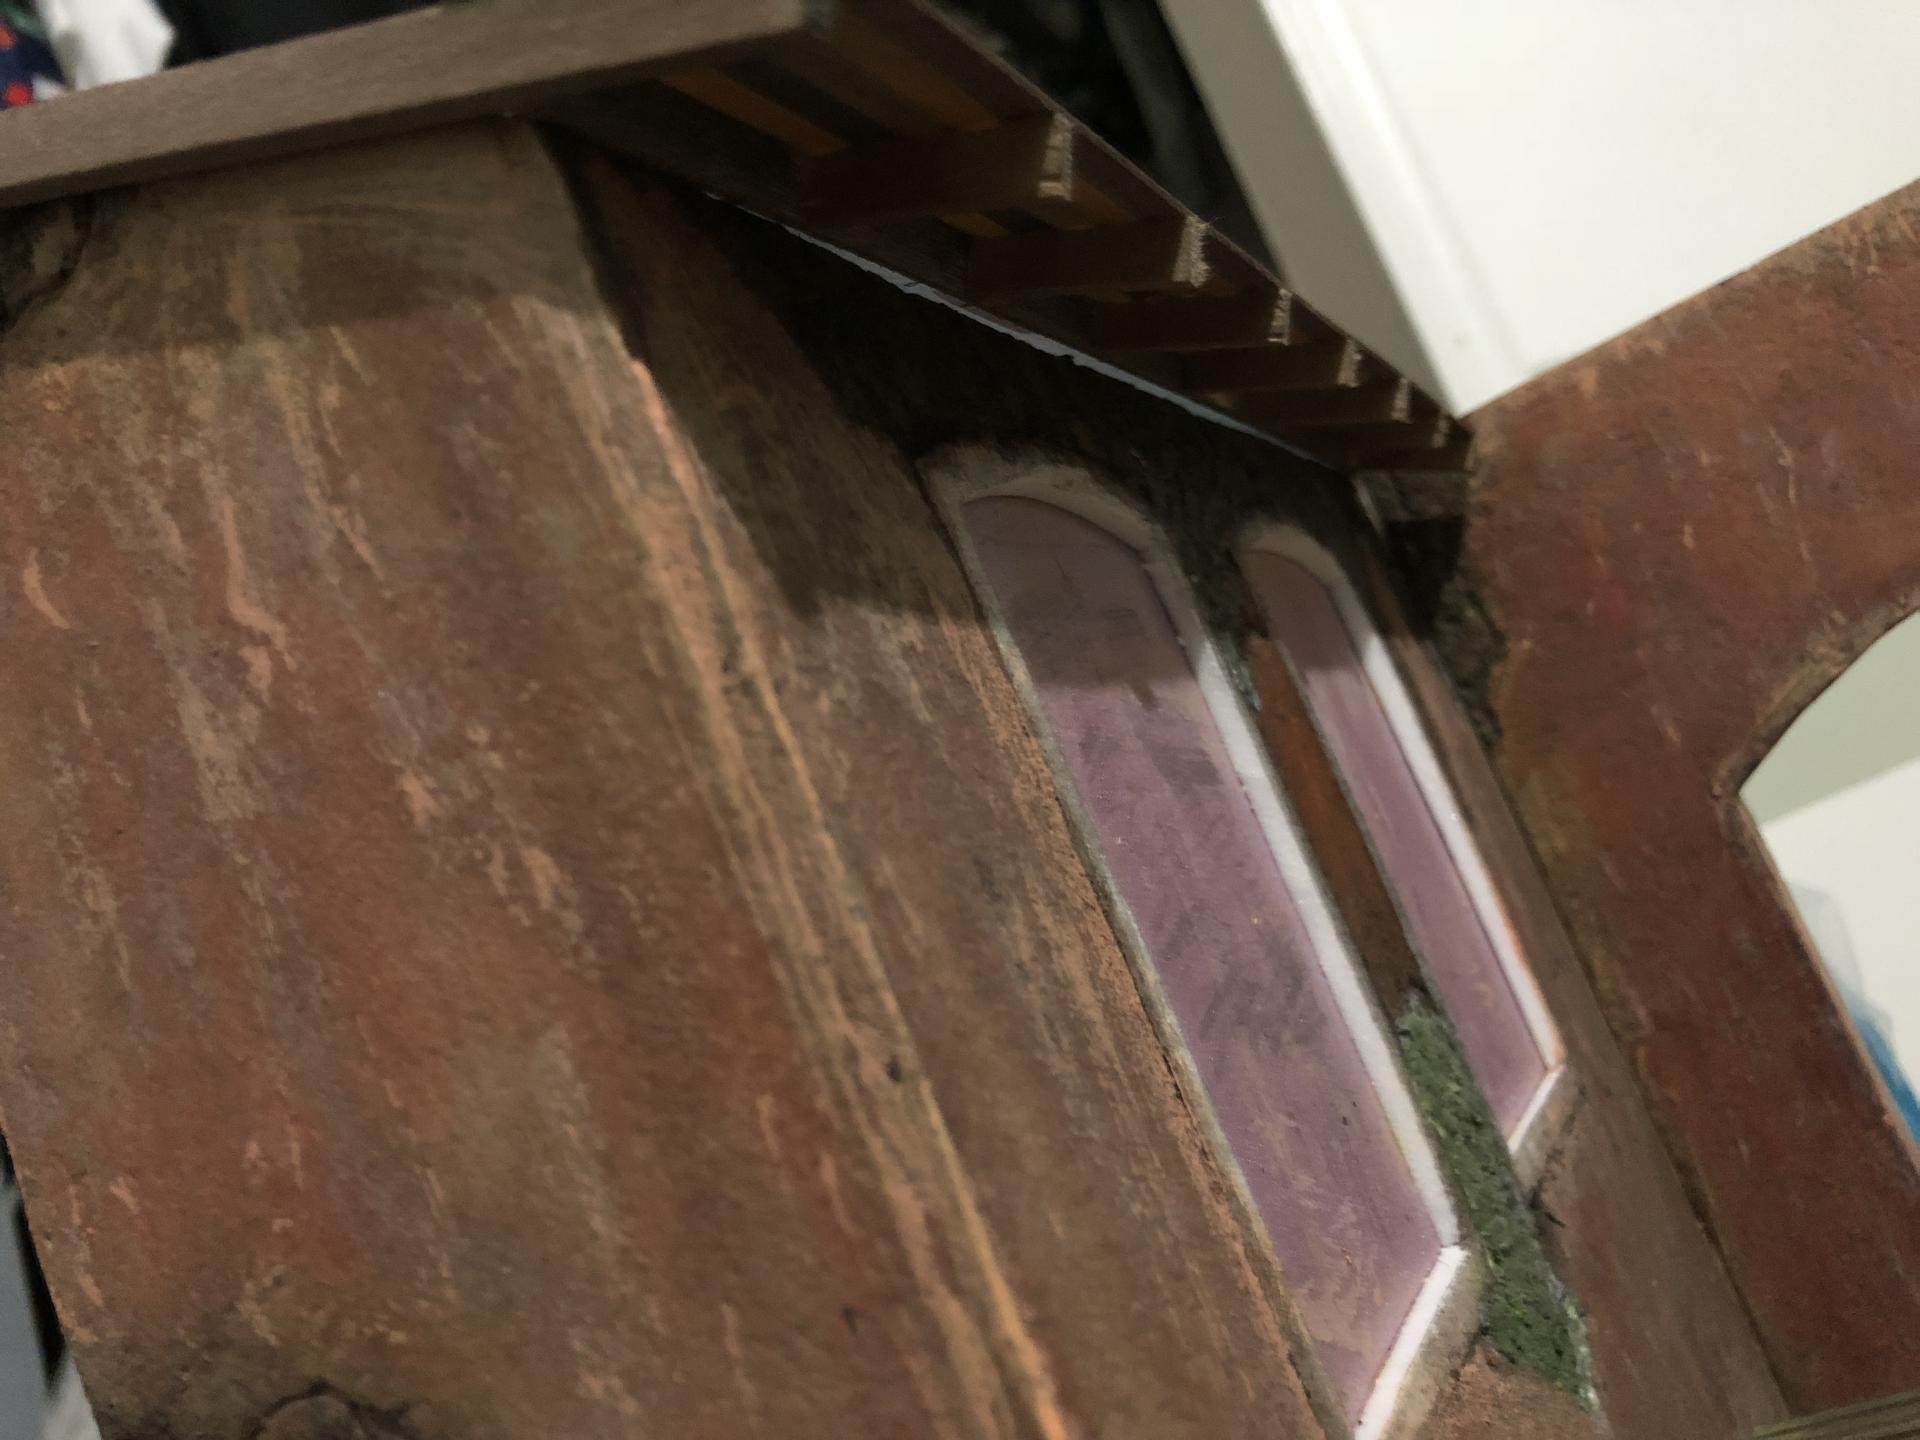
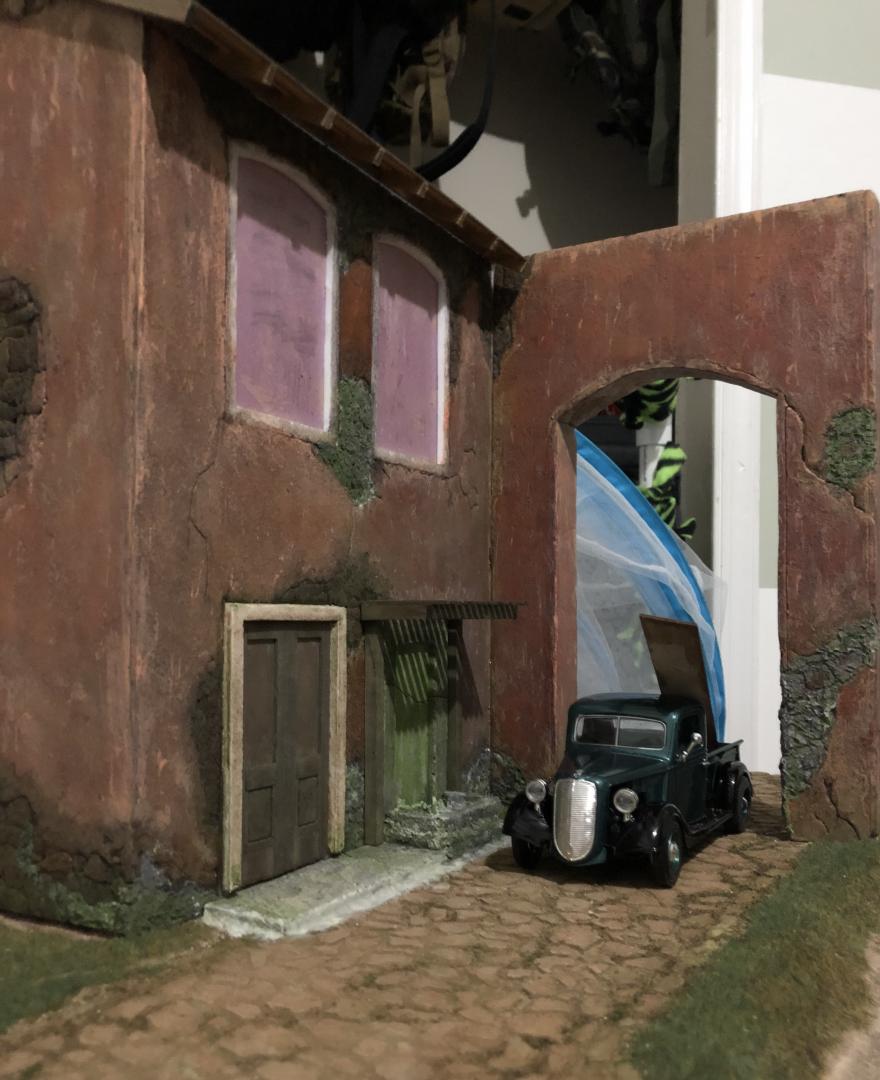
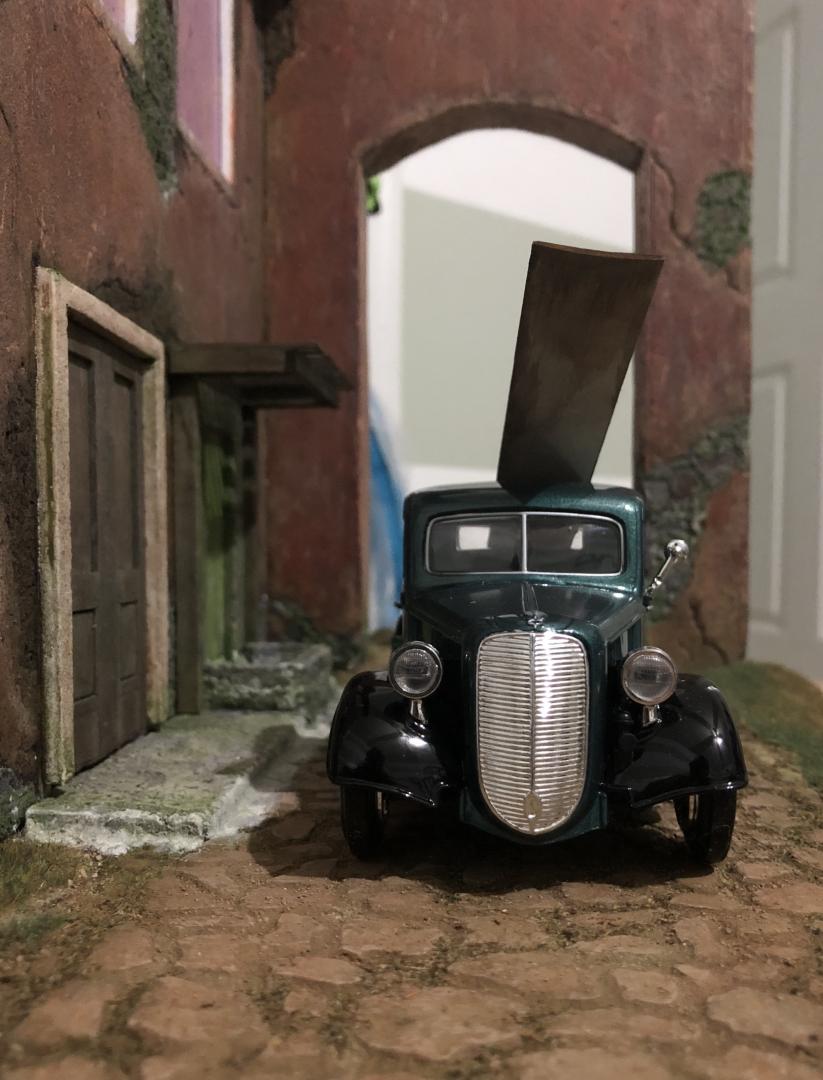
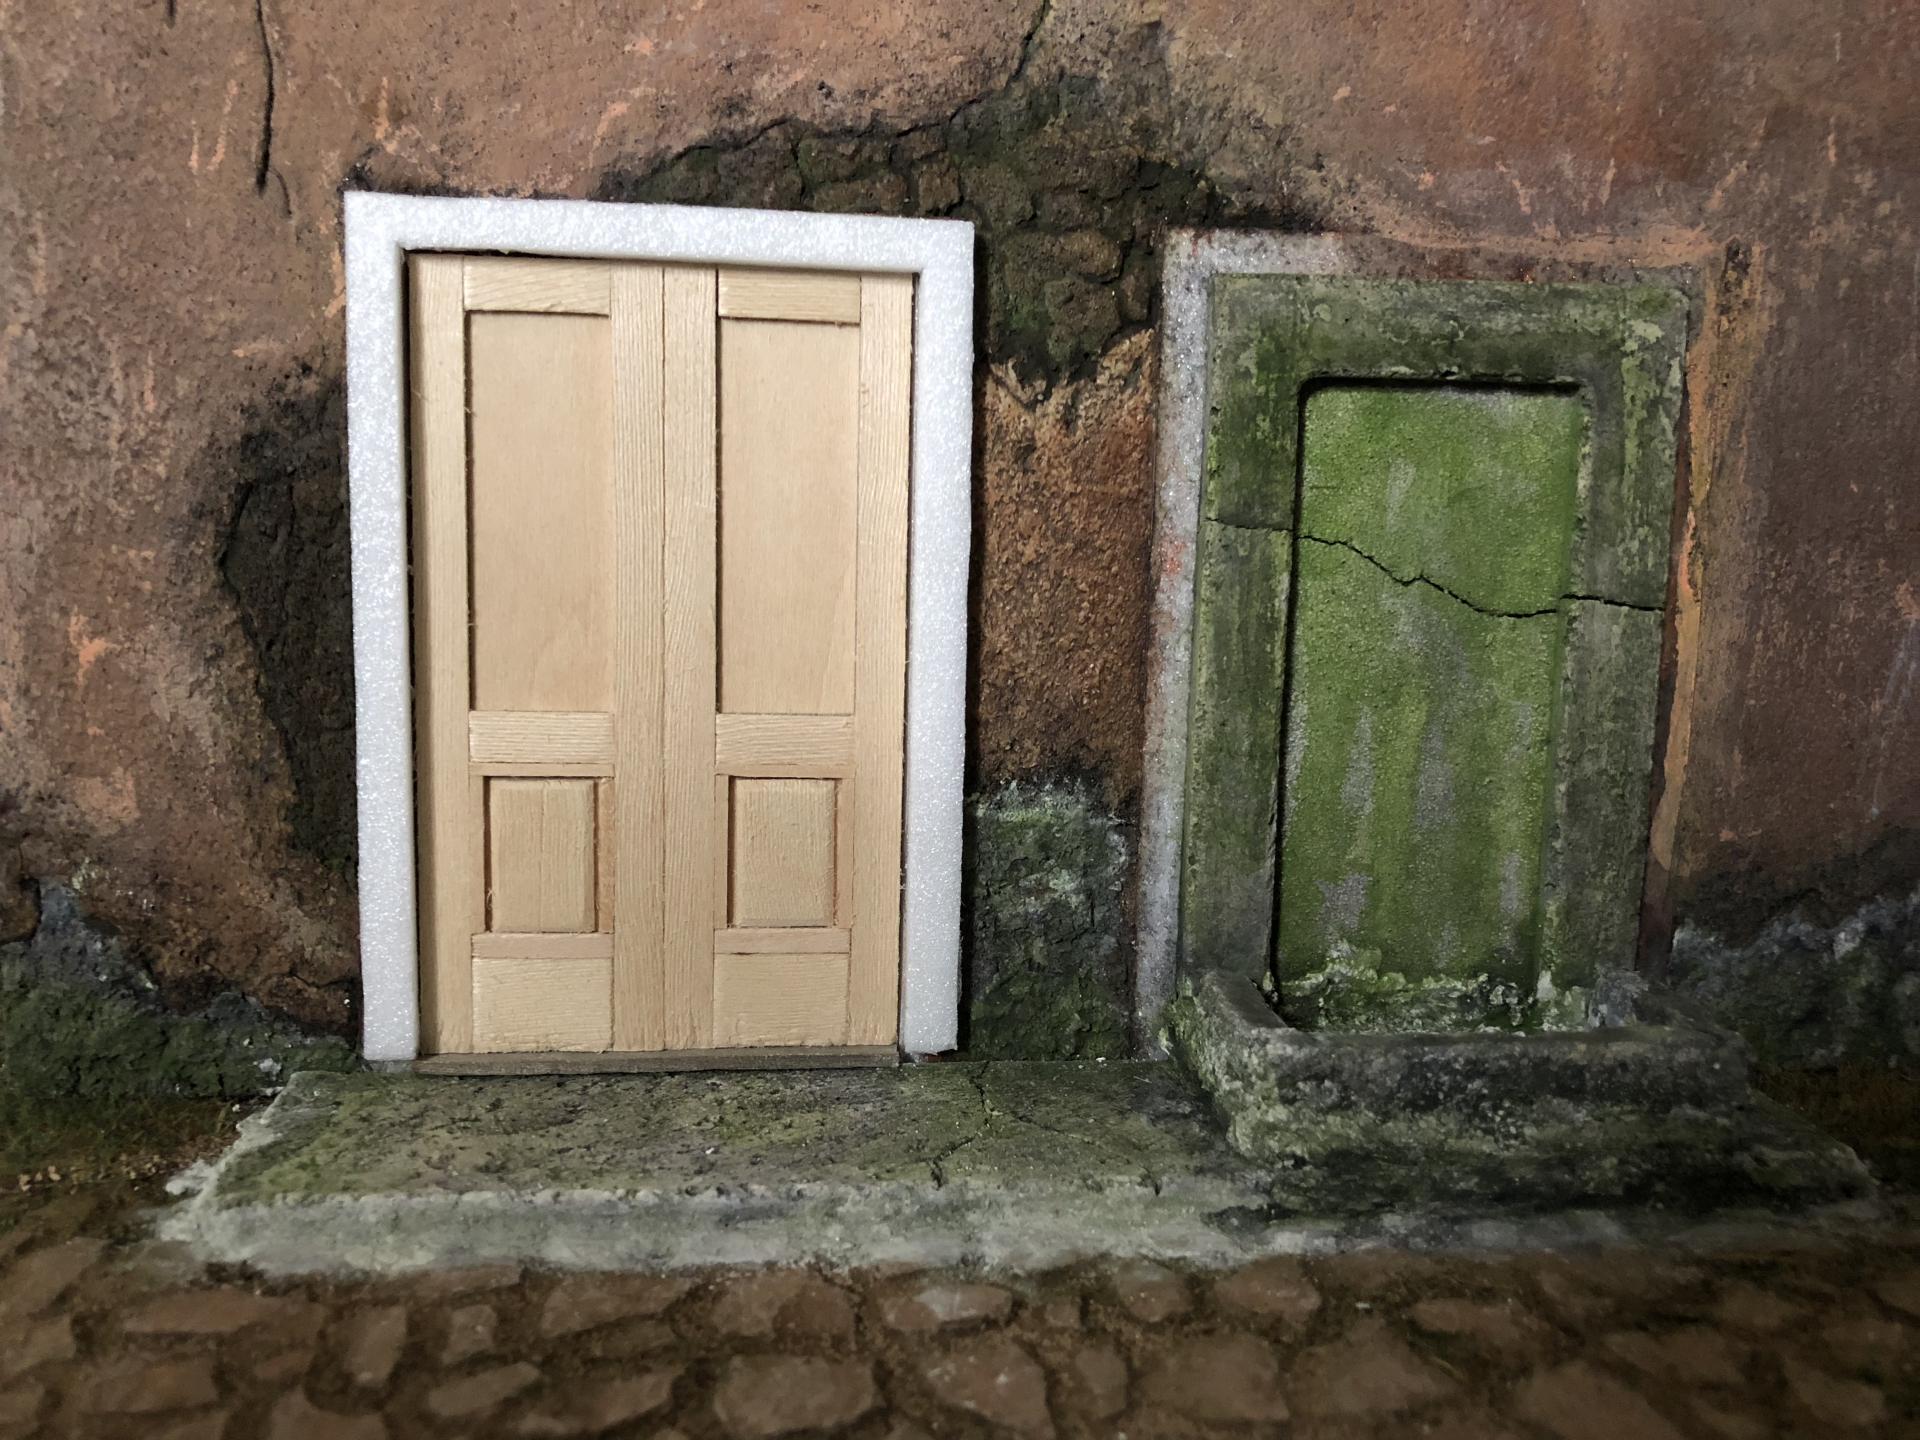
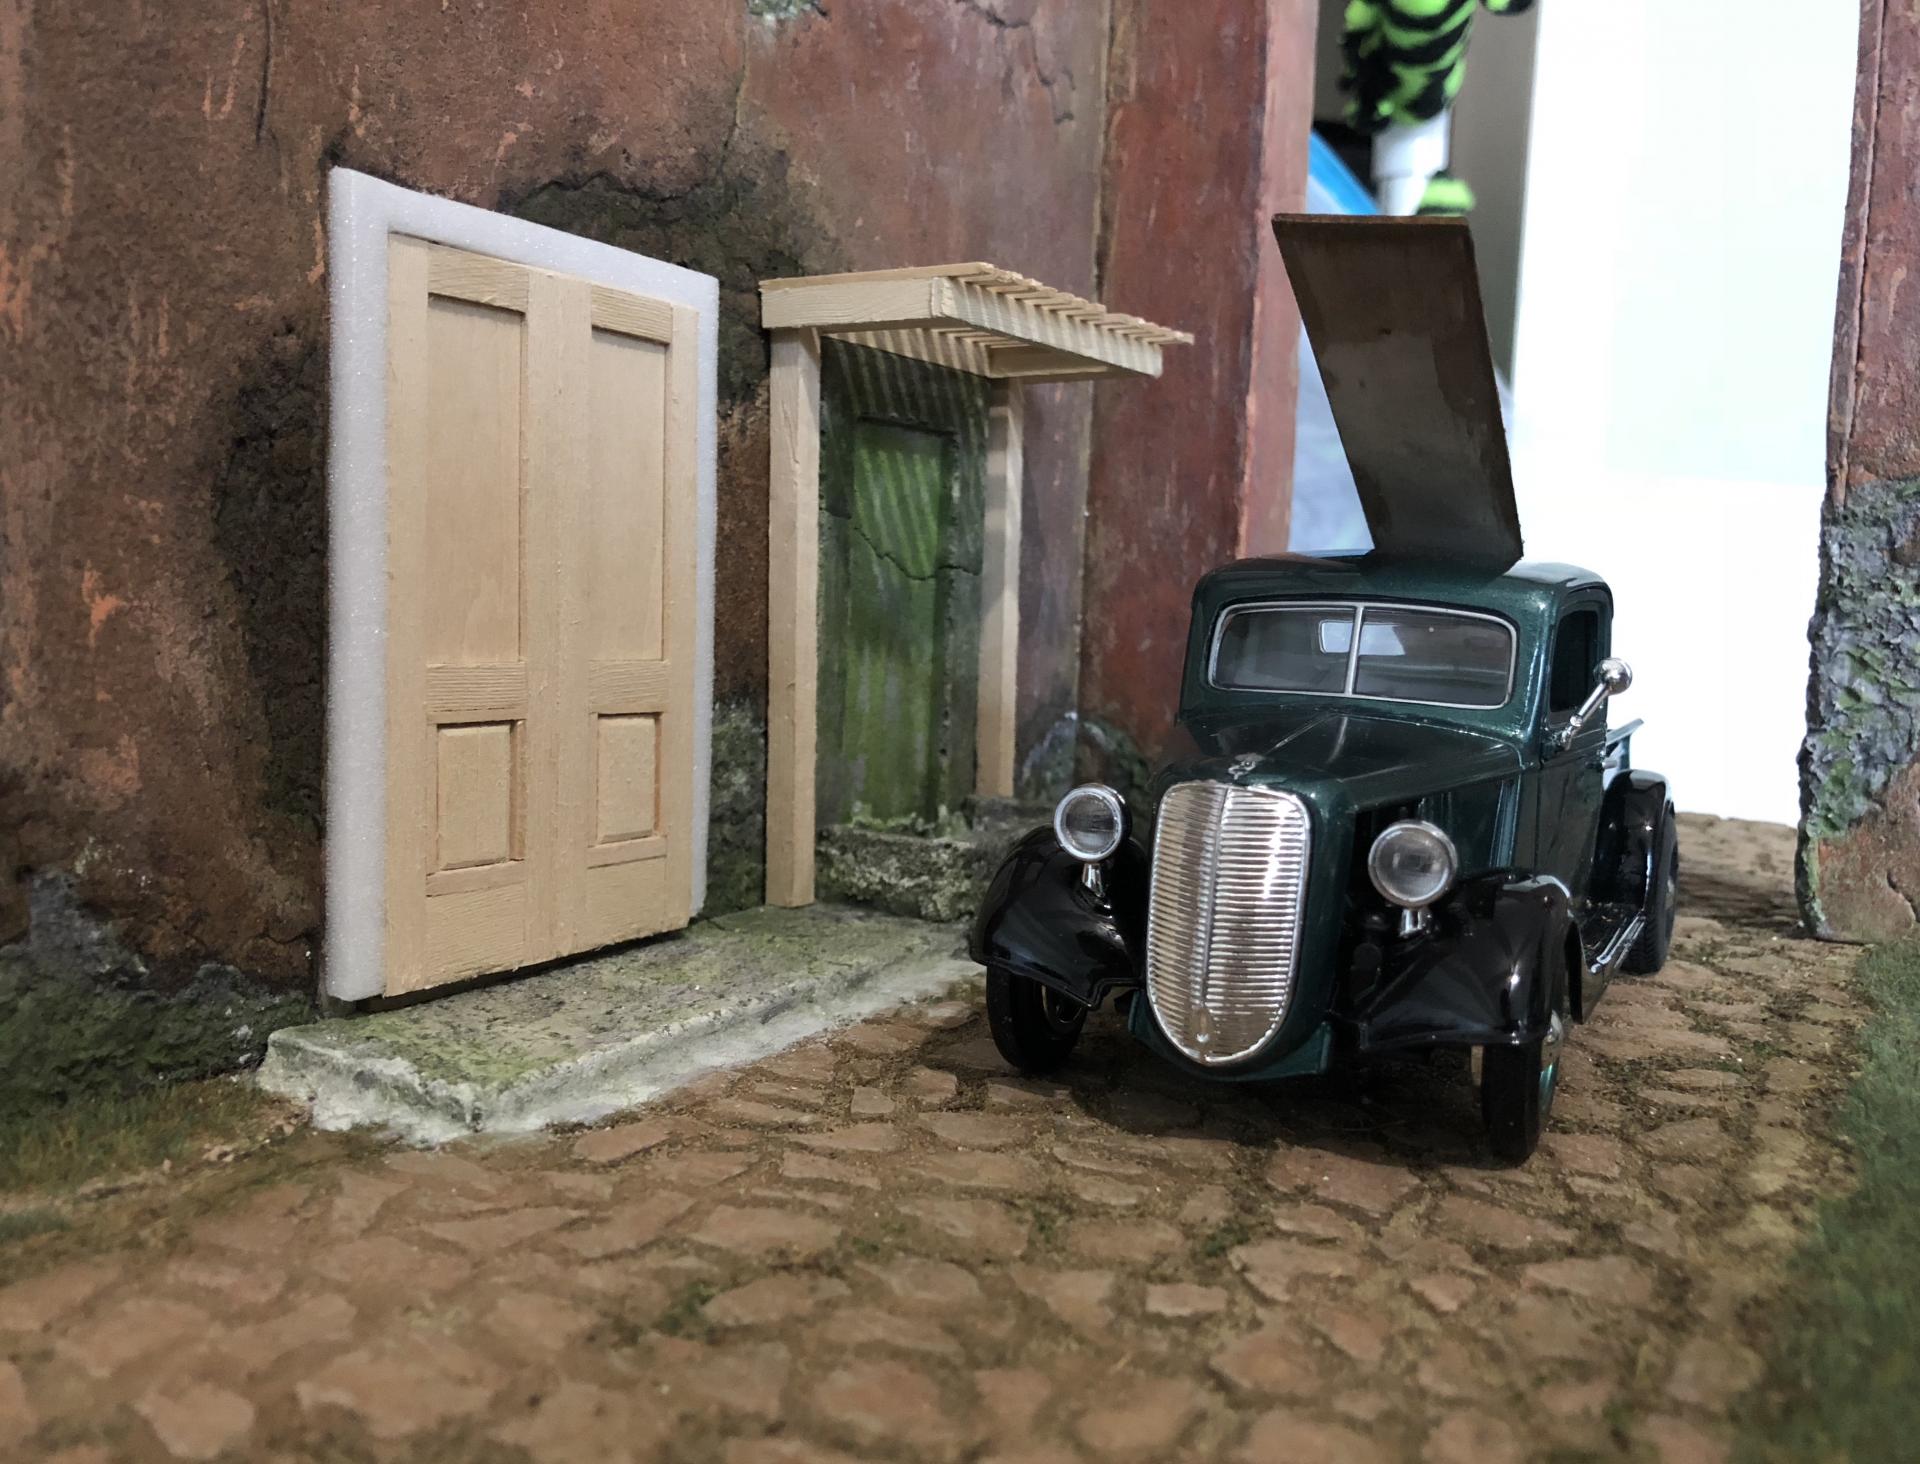
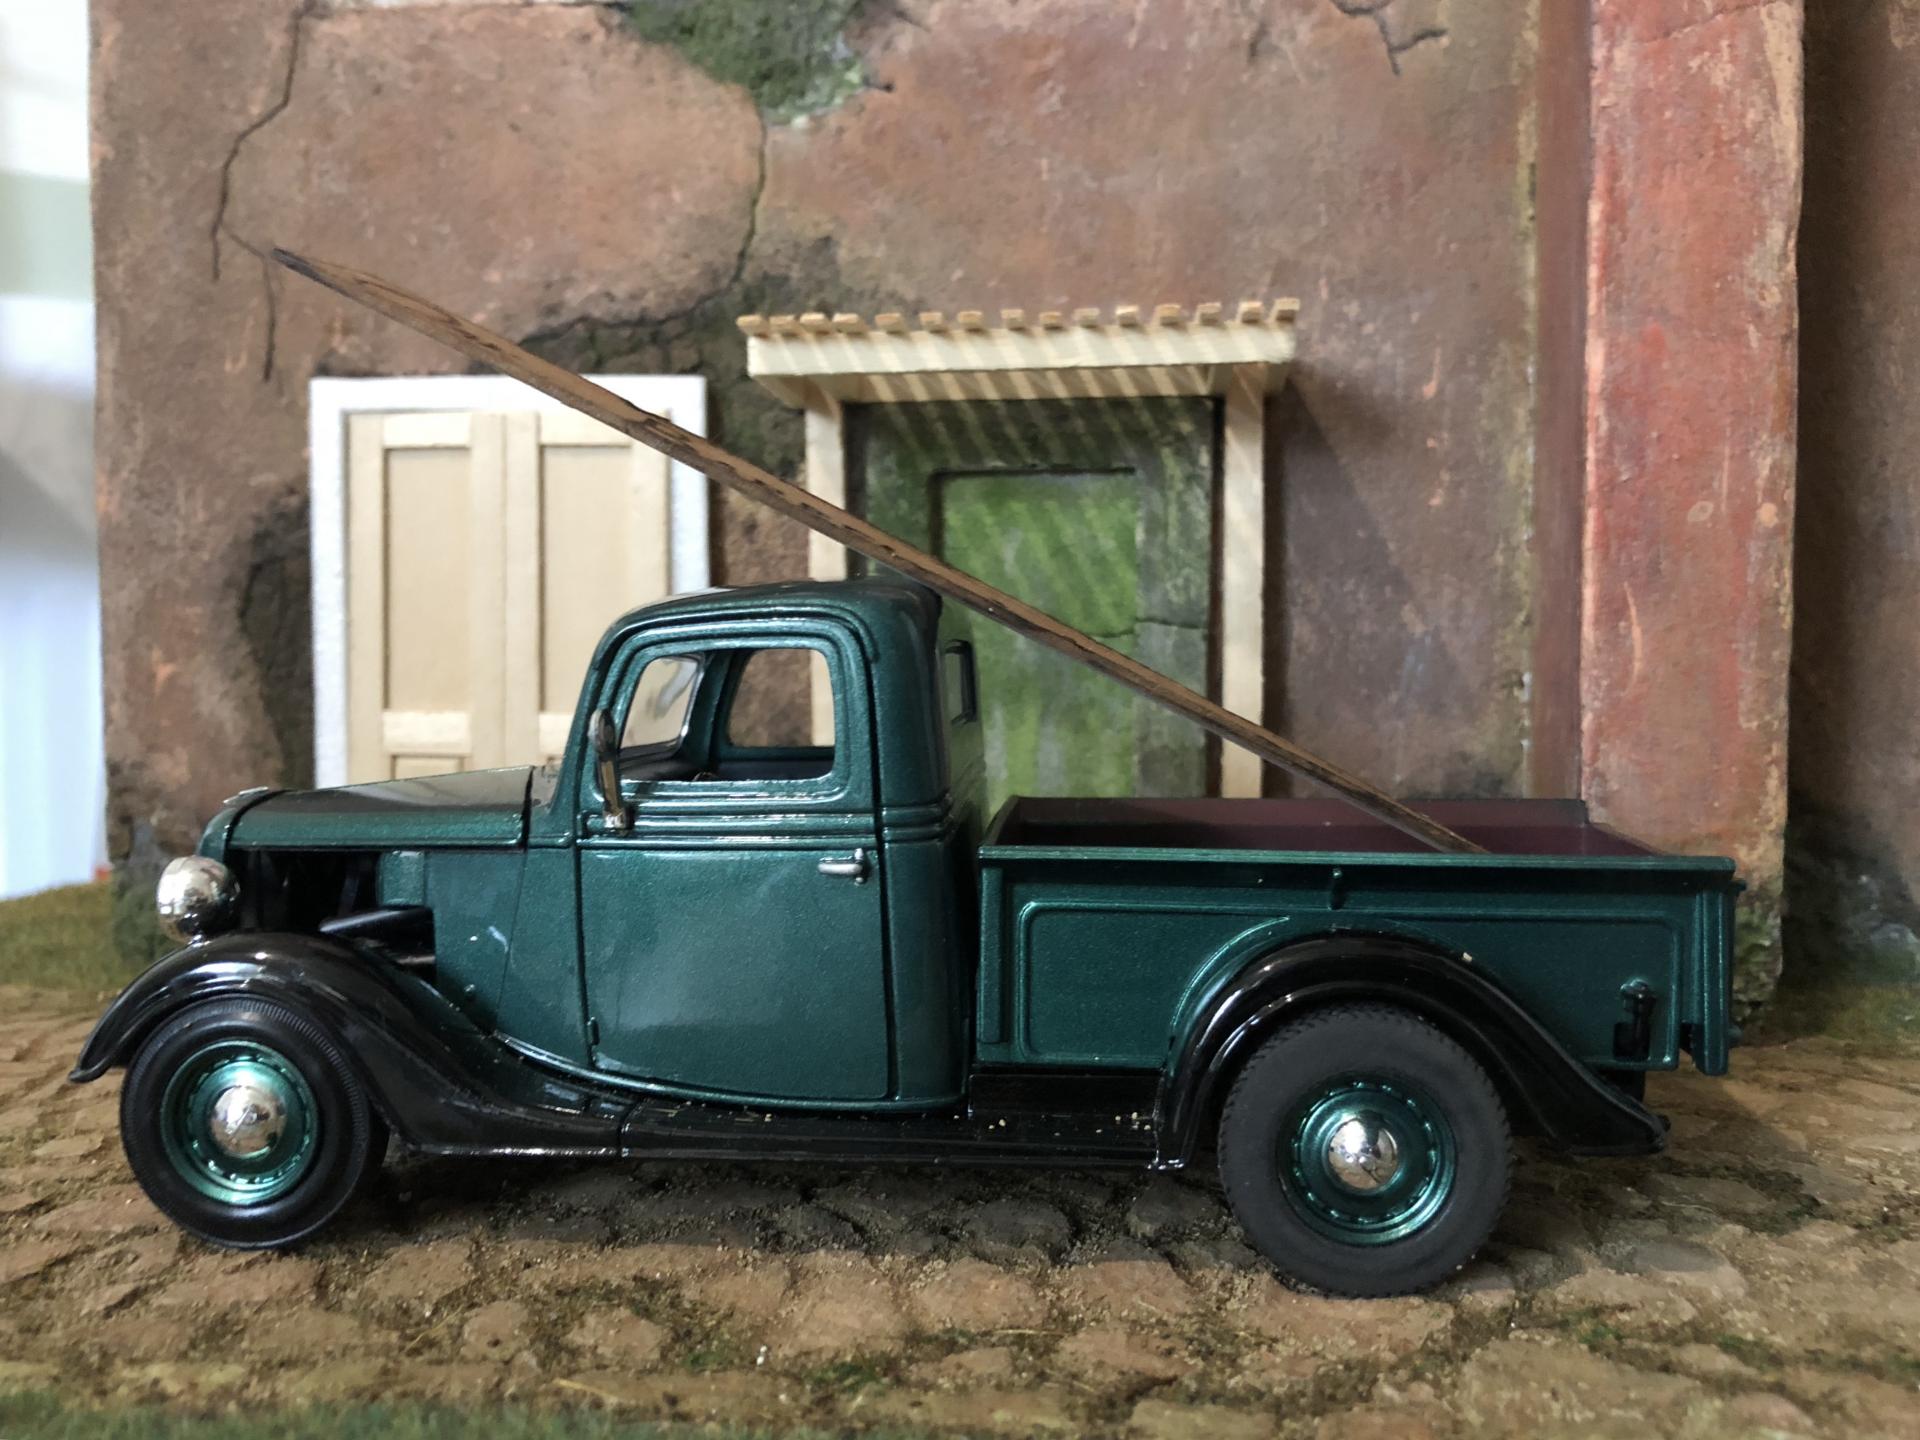
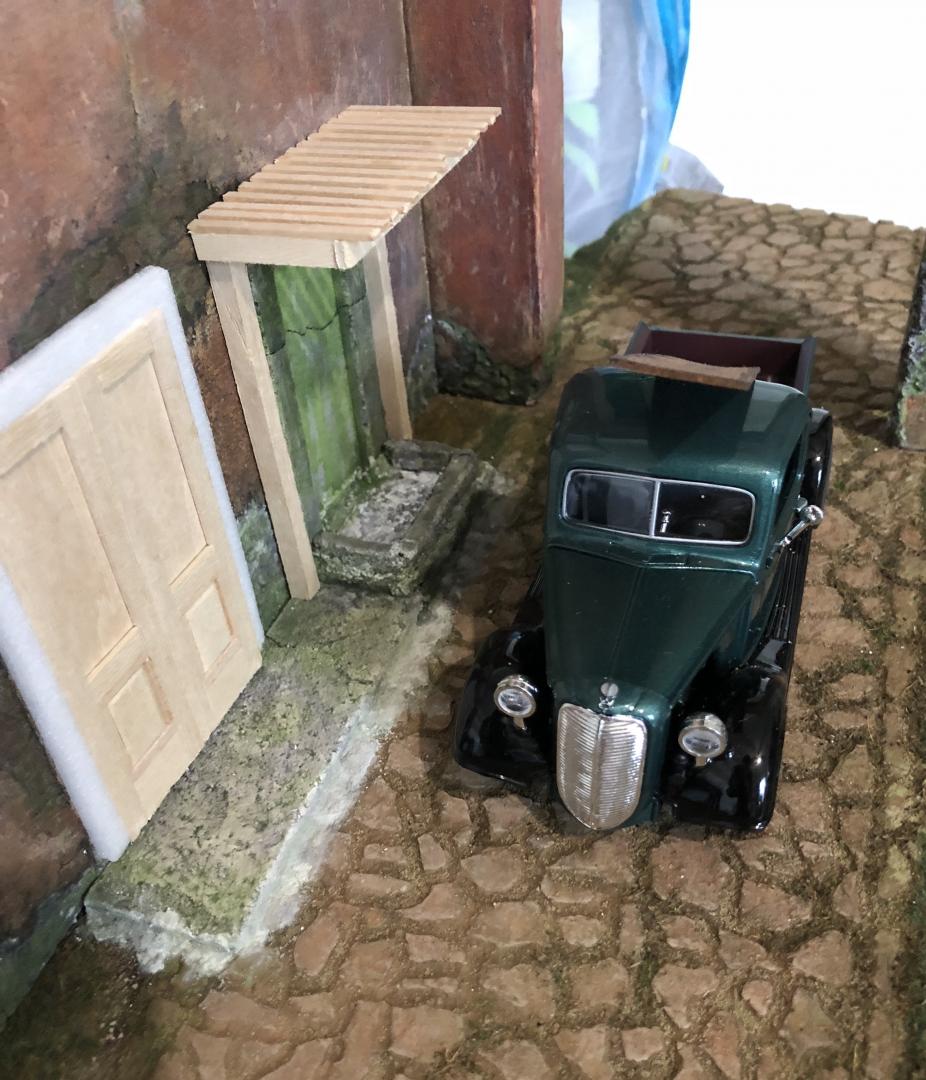
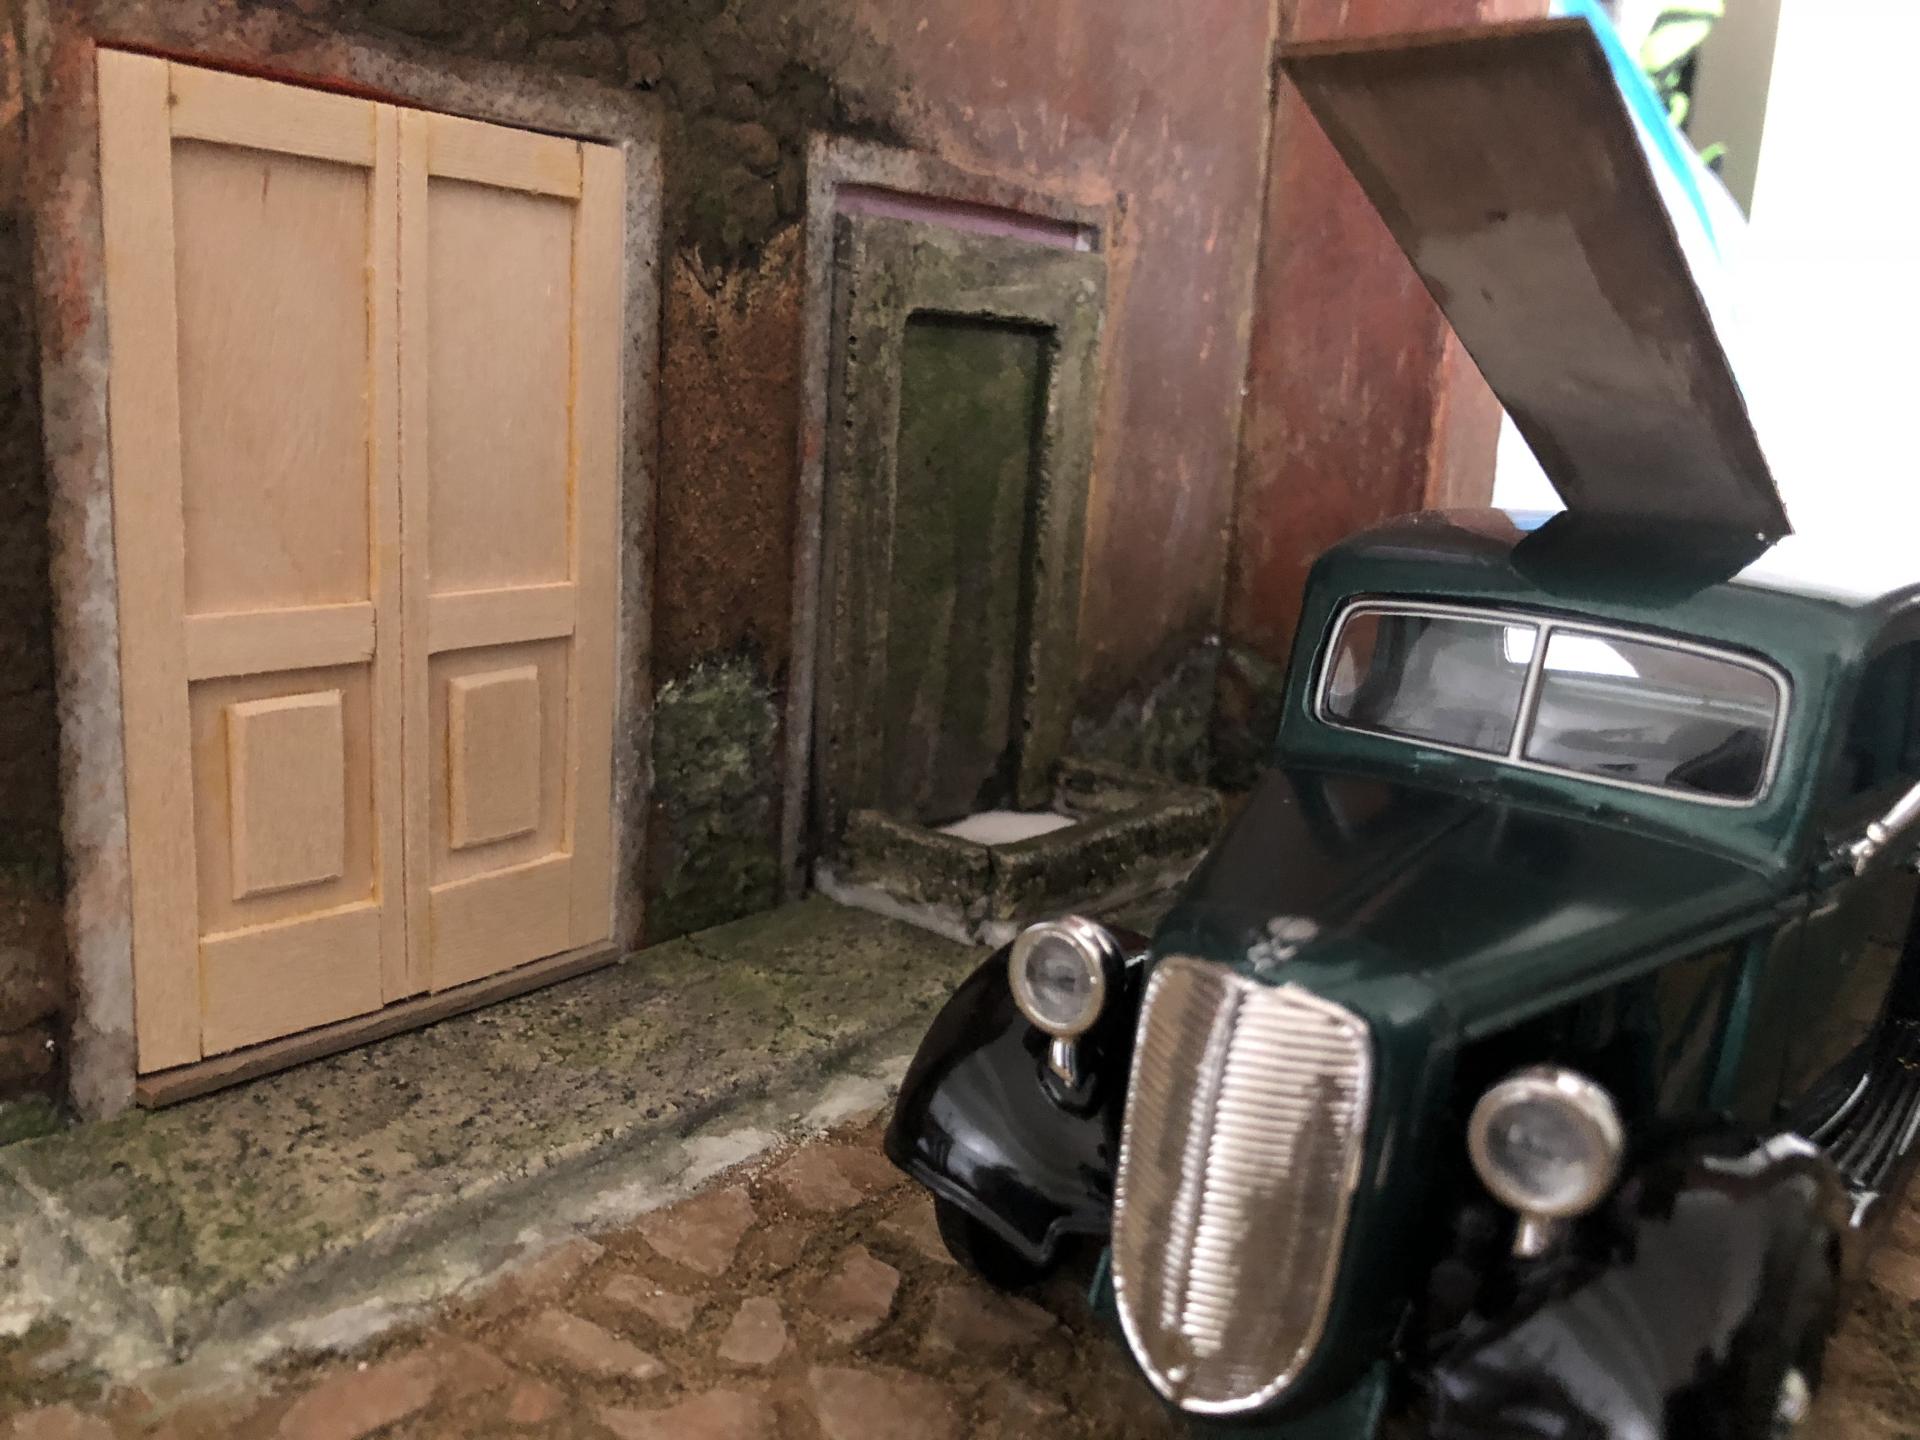
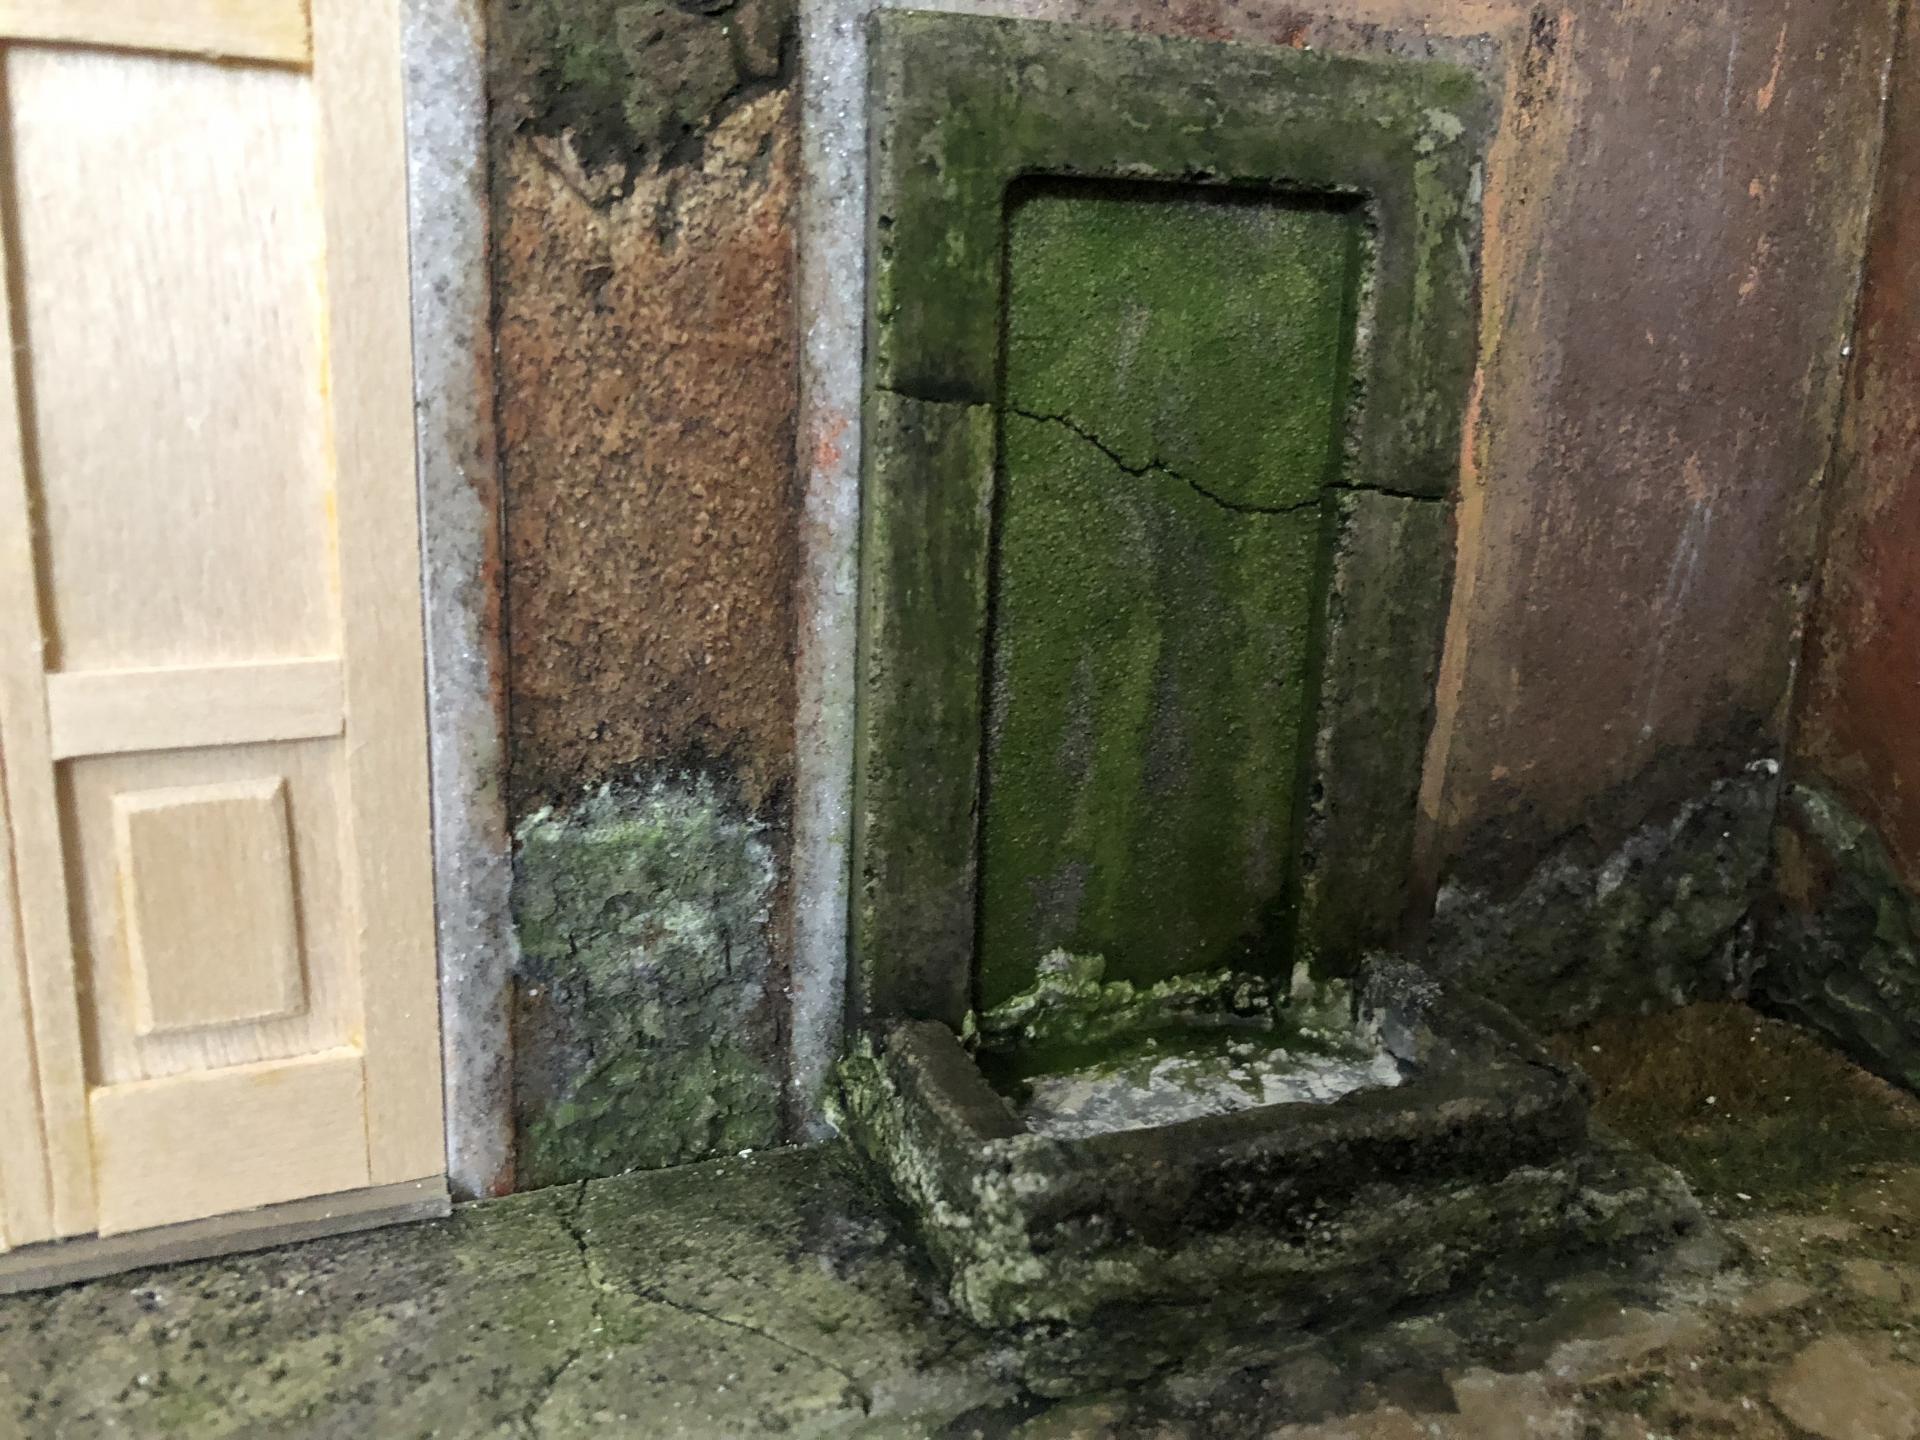
Weathered door and pergola over fountain. I also started the roof. For the windows I need to take a trip to Hobby Lobby to get some basswood strips. Anyone knows I can make the vehicle finish flat, without stripping the paint? It’s a die cast car.
-
Thank you. I noticed I missed the “S” on Barrels. I’ll see if I can squeeze it in, otherwise I’ll have to redo it.
-
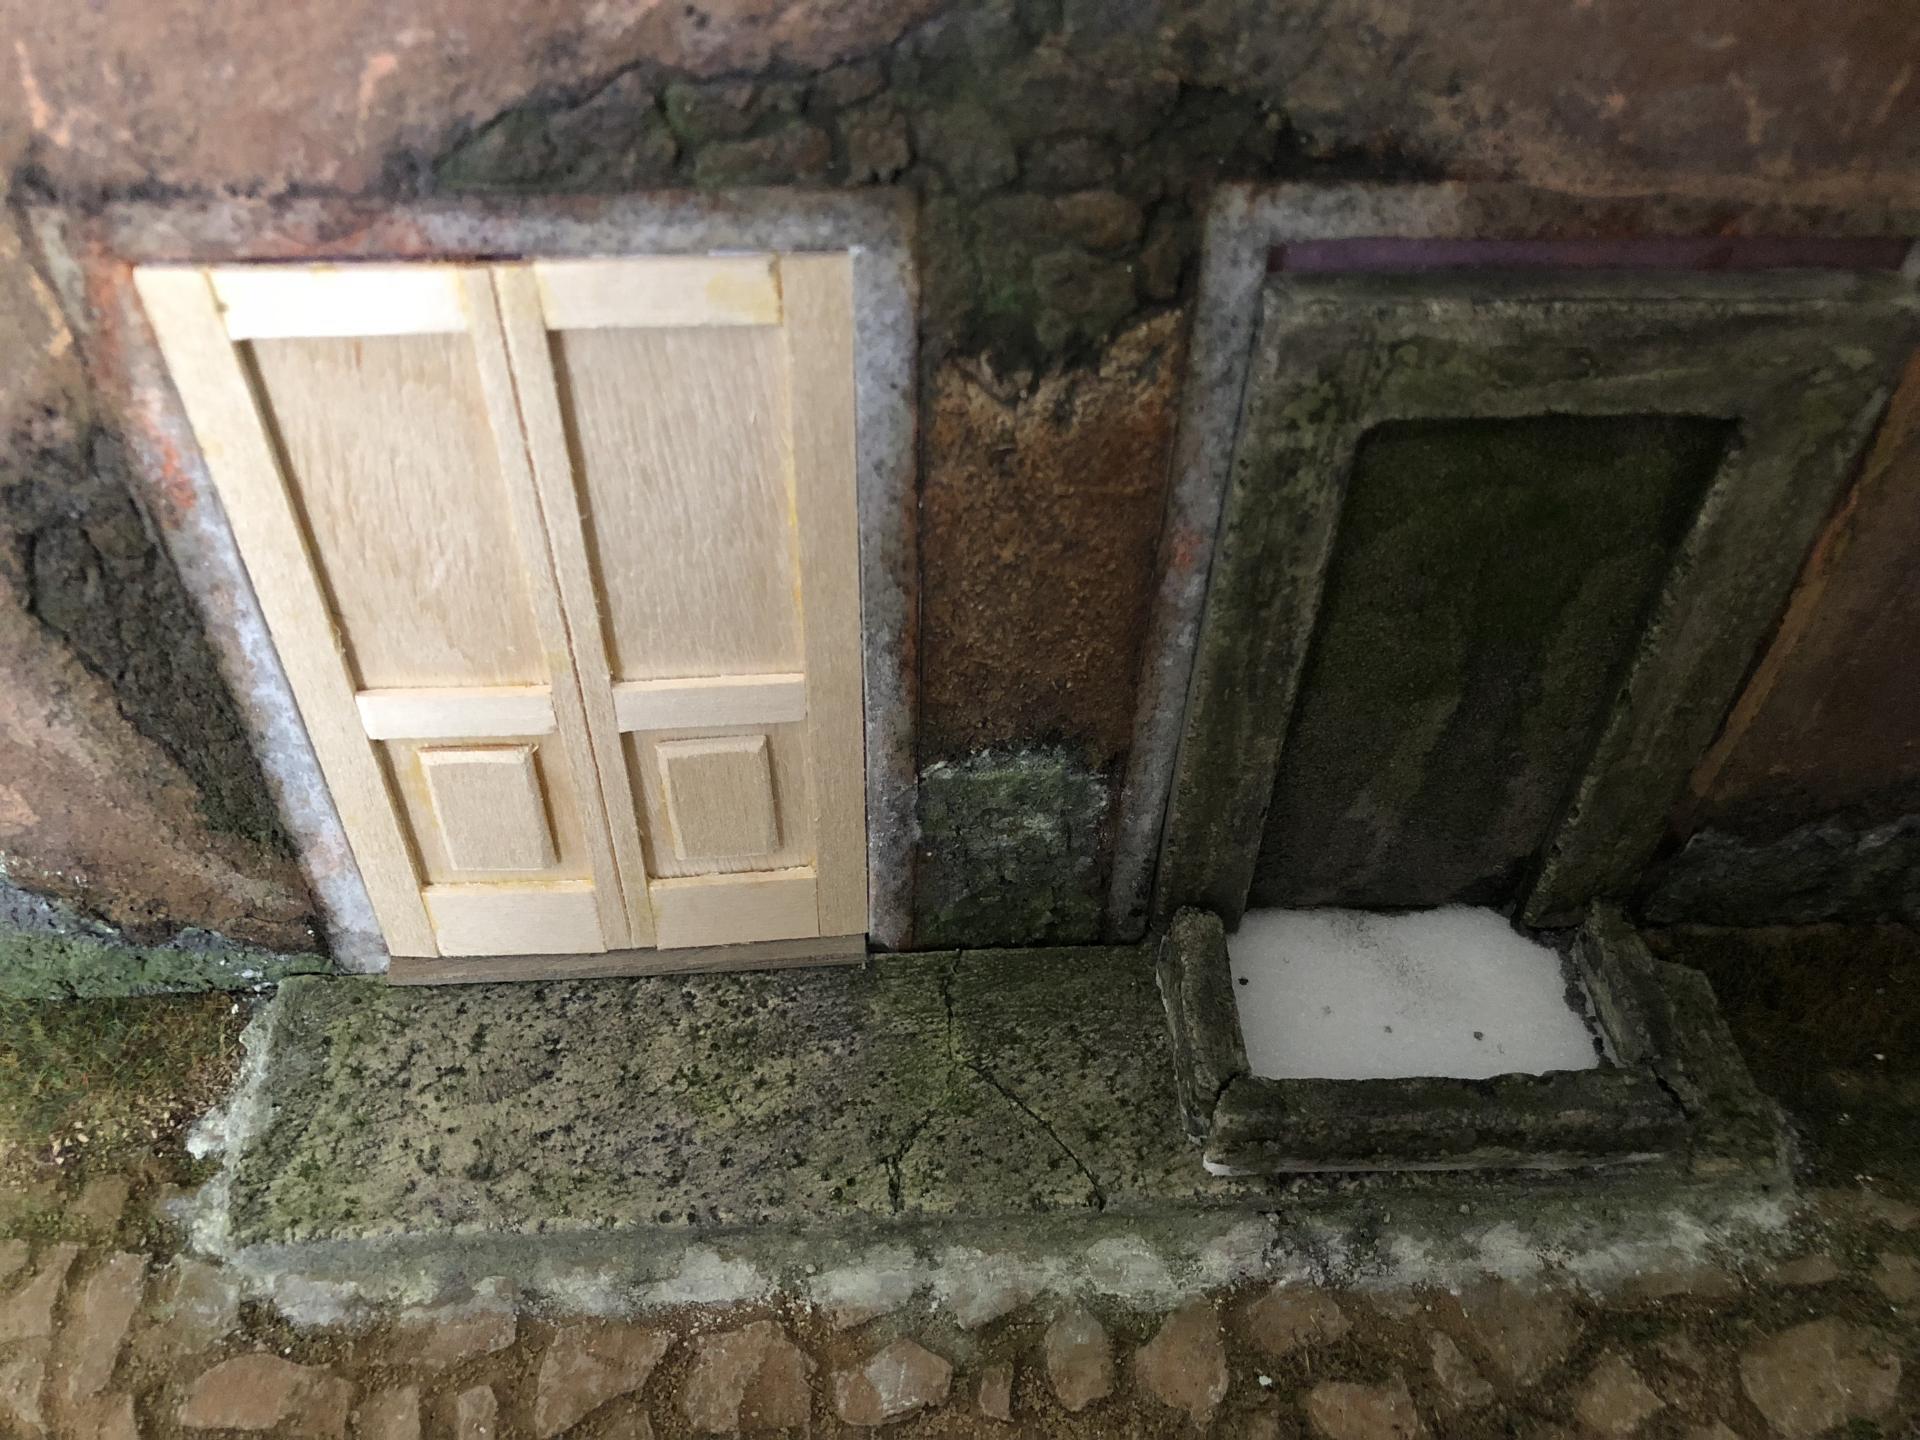
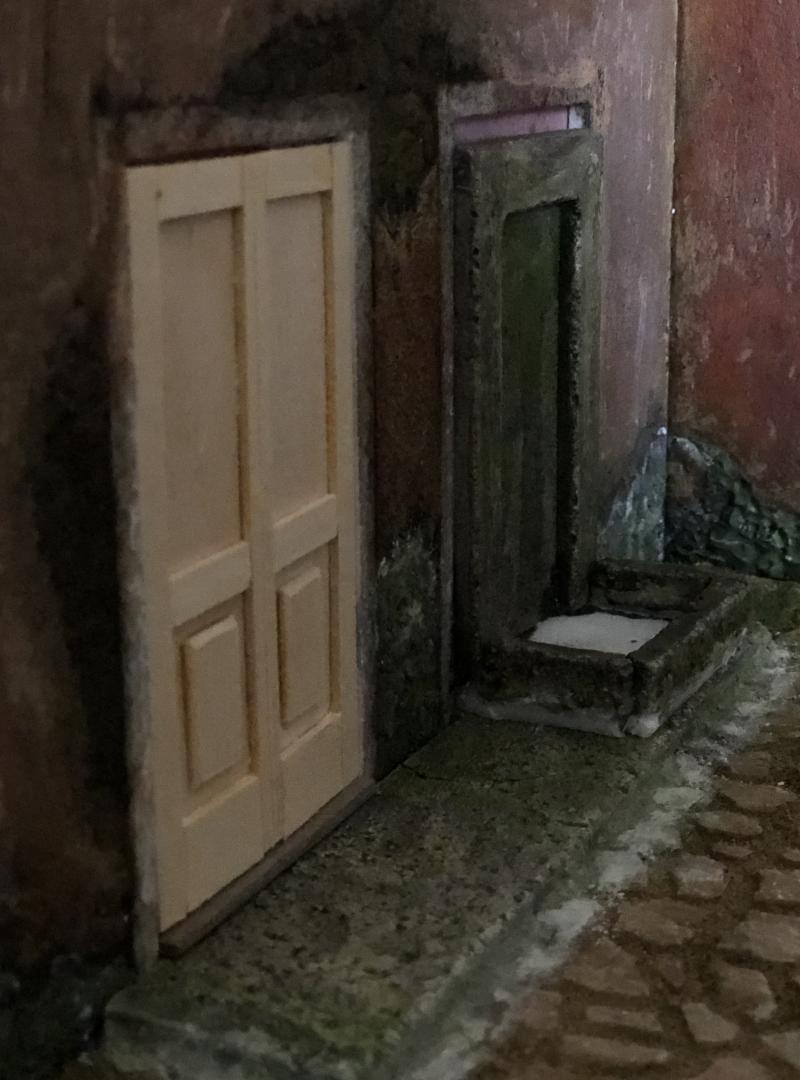
I have redone the door. This is the updated one. Still a few more details before I age it with vinegar and paint it. Also, I haven’t been able to find any 1/24 or 1/25 scale whiskey/wine barrel online that doesn’t look out of scale. I’m planning of just building whiskey bottle crates to place on the back of the truck. Does anyone have dimensions to these crates?
-
I have redone the door. This is the updated one. Still a few more details before I age it with vinegar and paint it.
-
I have redone the door. This is the updated one. Still a few more details before I age it with vinegar and paint it.
-
Yes. They have some interesting stuff.
-
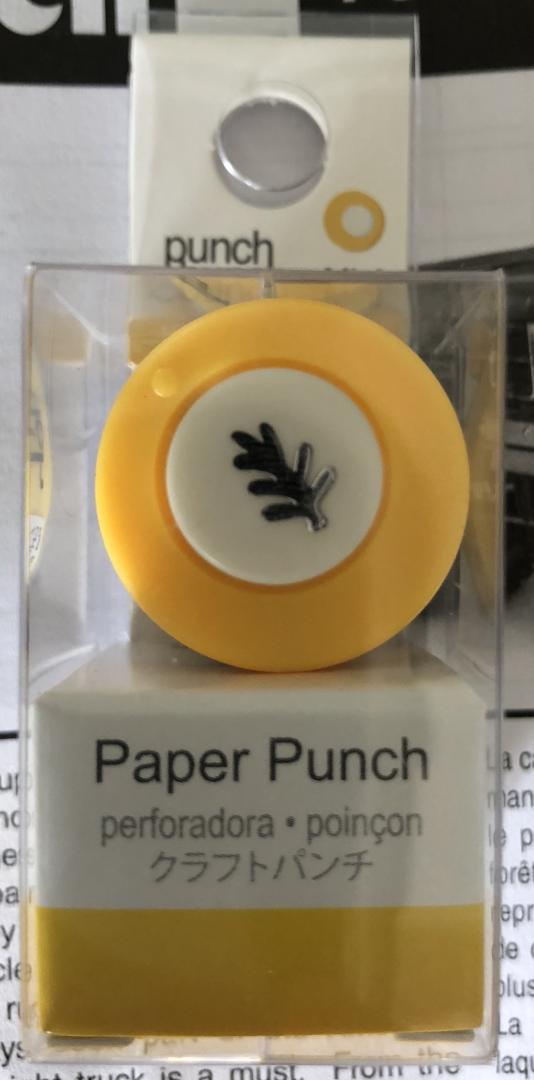
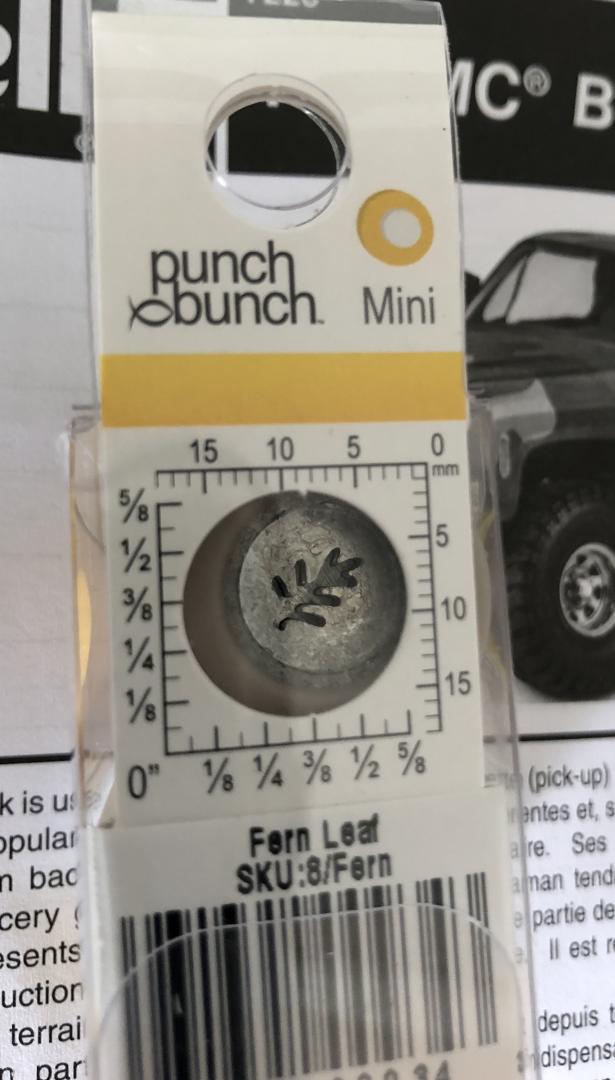
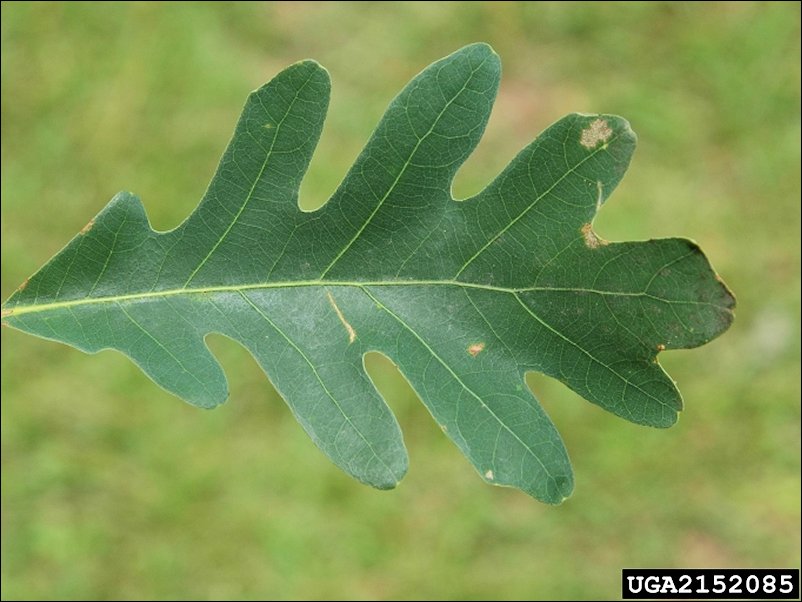
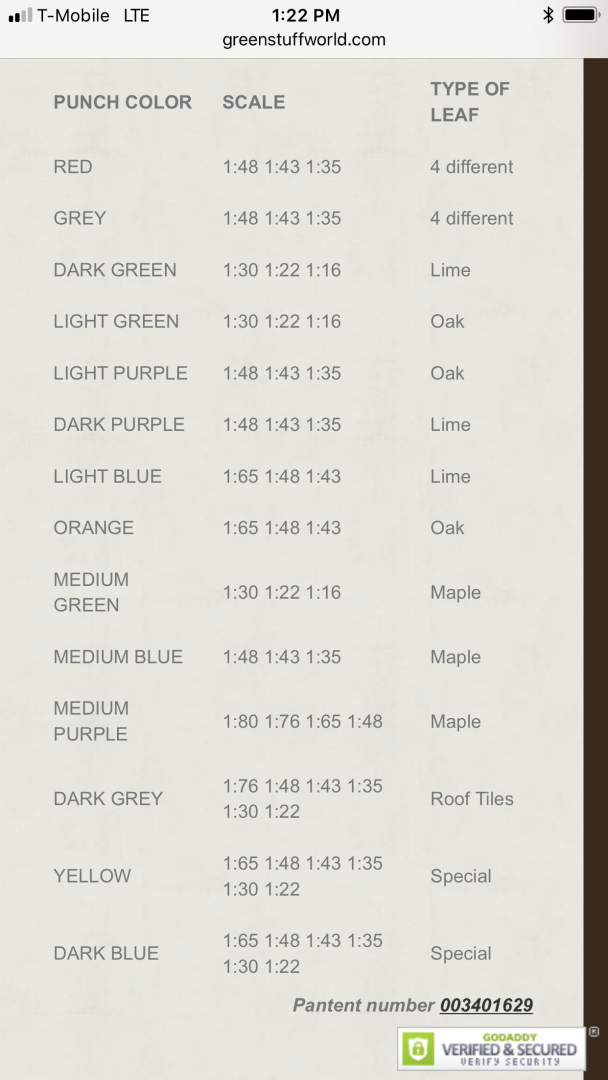
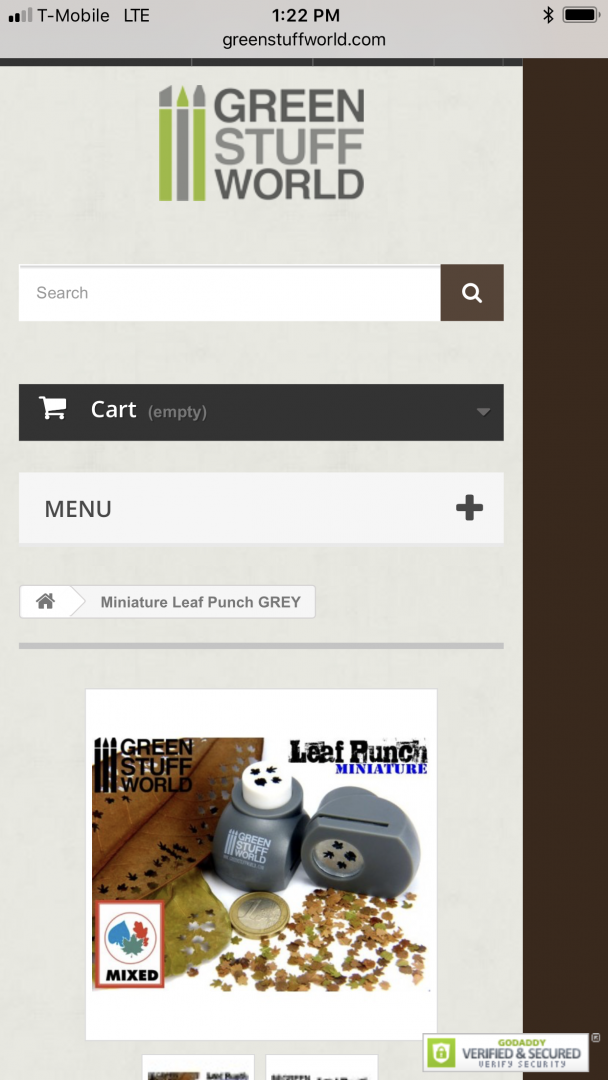
Hi Tom. This is the leaf puncher I used (the yellow puncher).It resembles white oak leaves, which range from 5 to 6 inches in size. I added two screenshots of another brand, which I’m ordering soon, which has a variety of leaves. They come in different scale sizes.
-
I need to redo the door. For now that one is just covering the cutout. I welcome any suggestion or detail I might have overlooked. Just bear with me, since I’m a newbie, and I’m experimenting with different techniques as I go.
-
Thank you, David. When I started doing my dioramas I only thought of doing outdoor scenery. You might not believe it, but watching your builds inspired me to try create a structure. Although I think your buildings are very well made, I could only imagine the next level appearance if you applied some weathering.
-
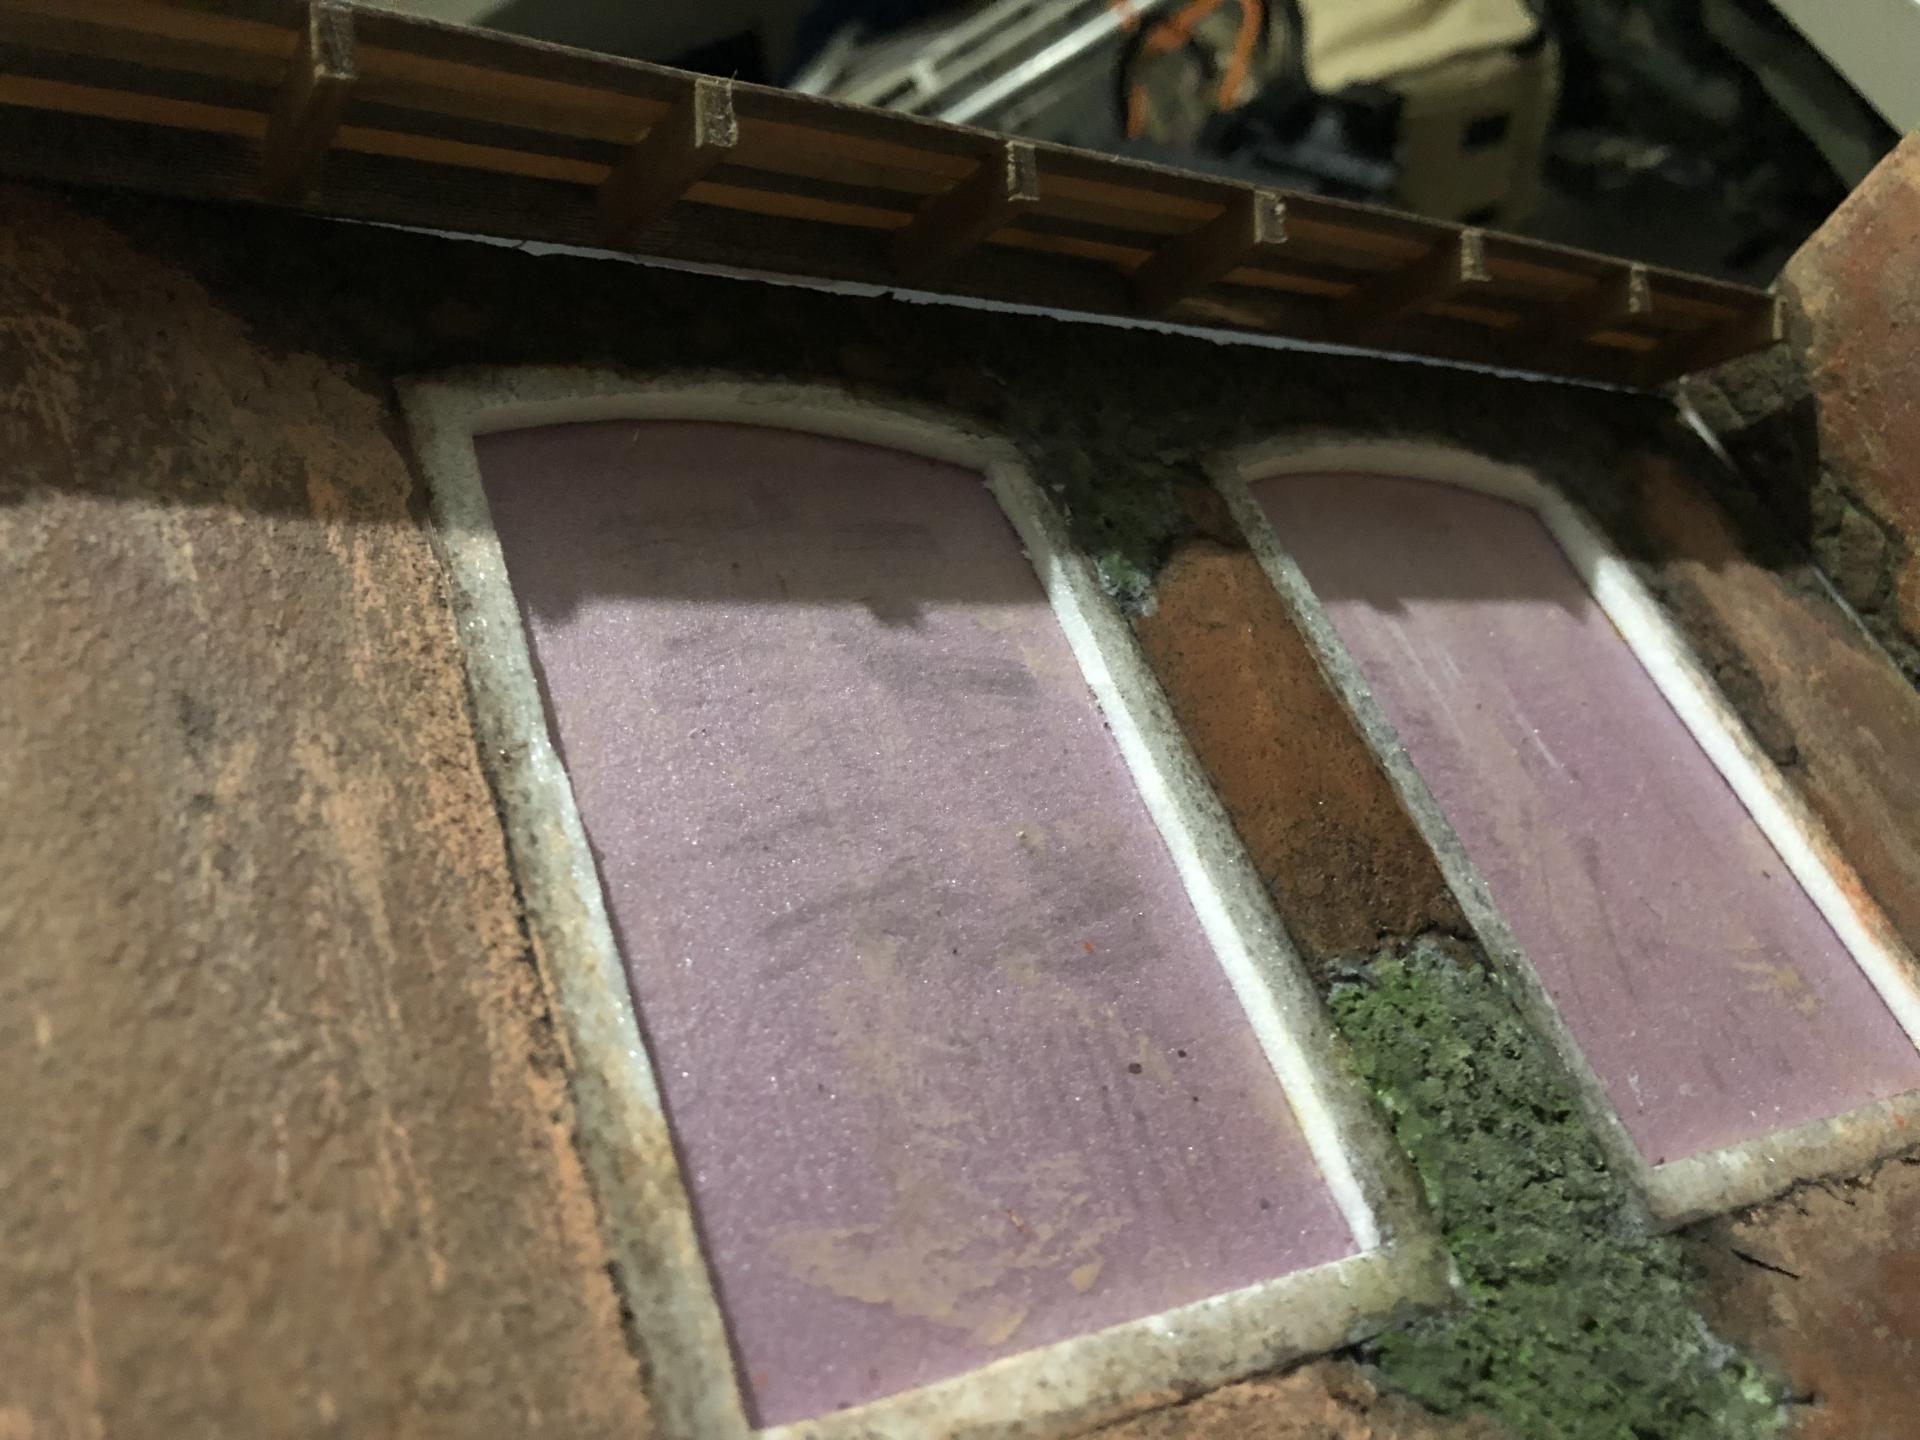
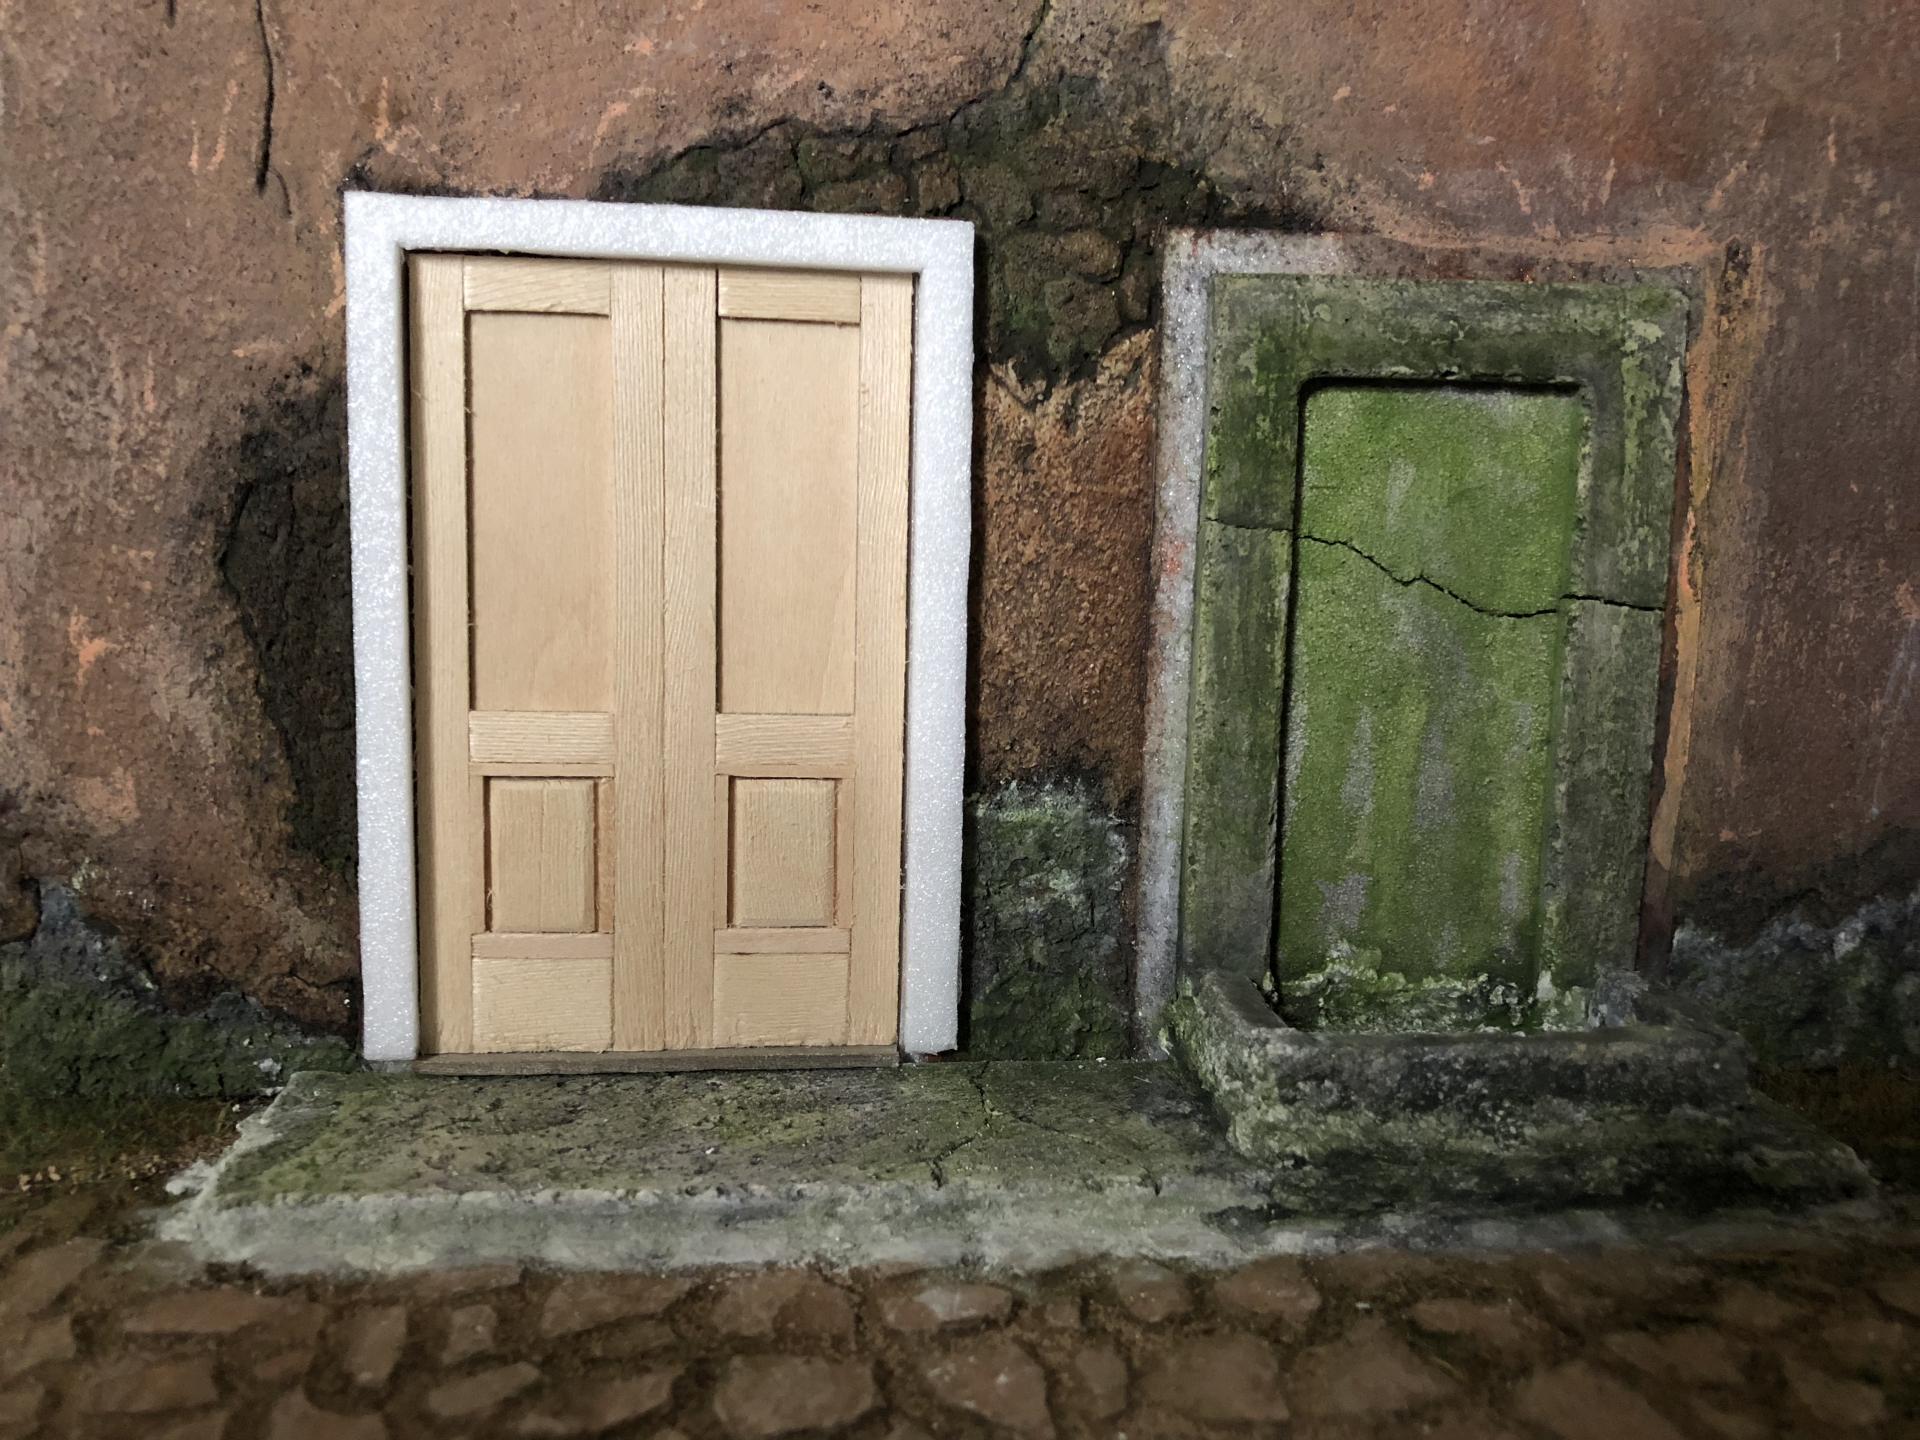
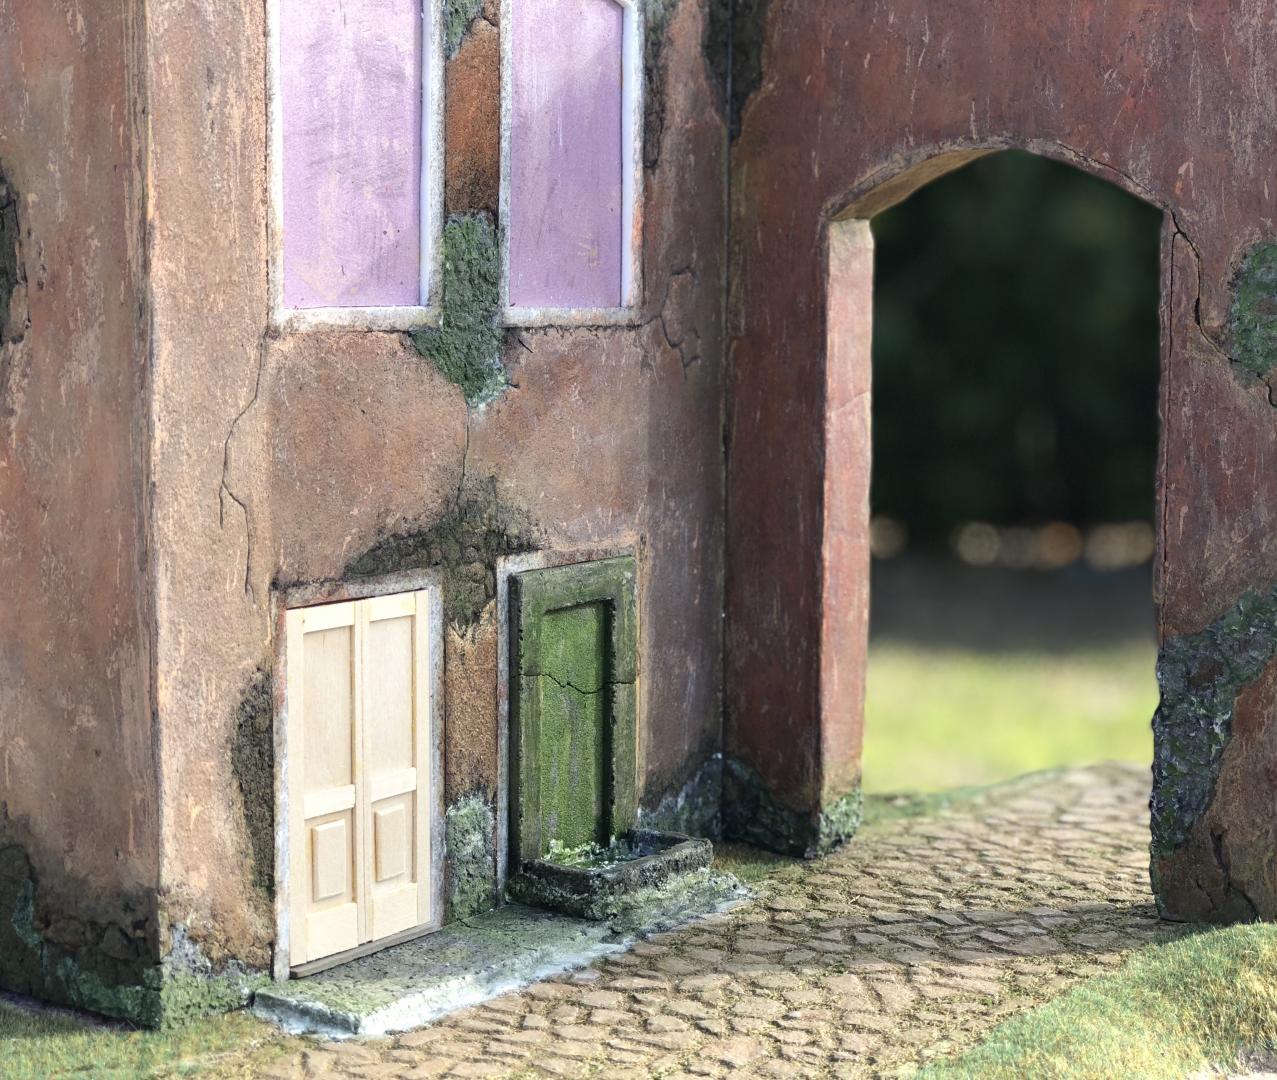
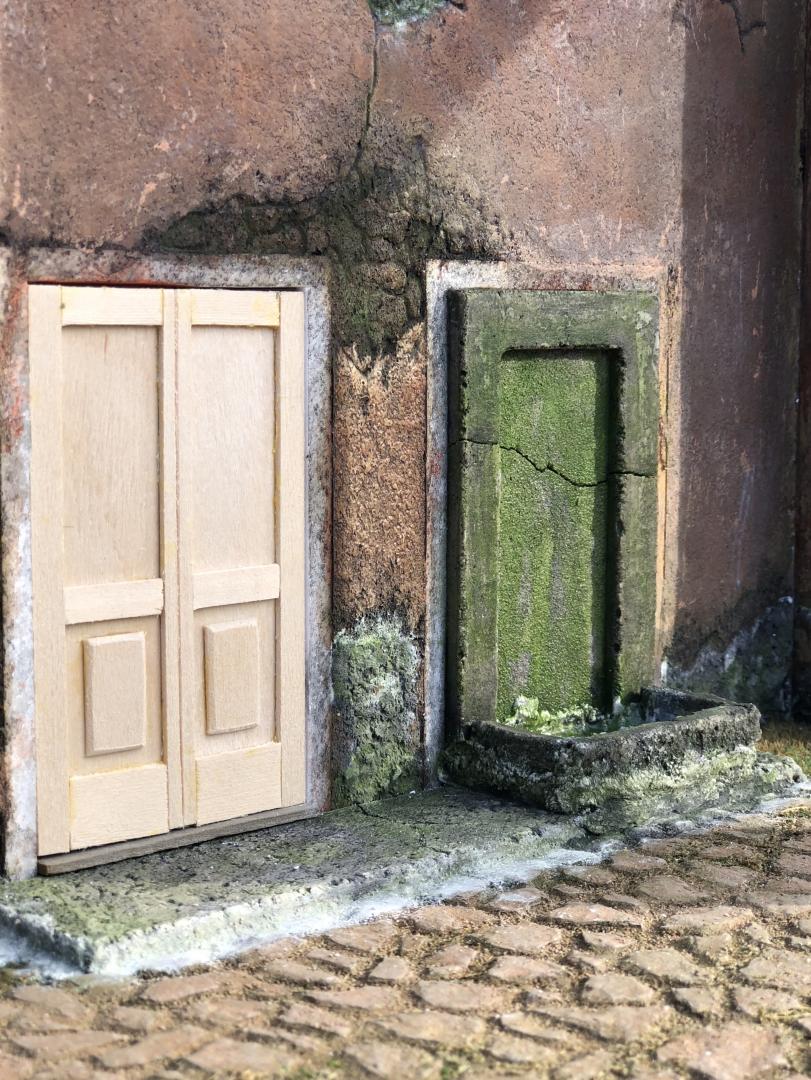
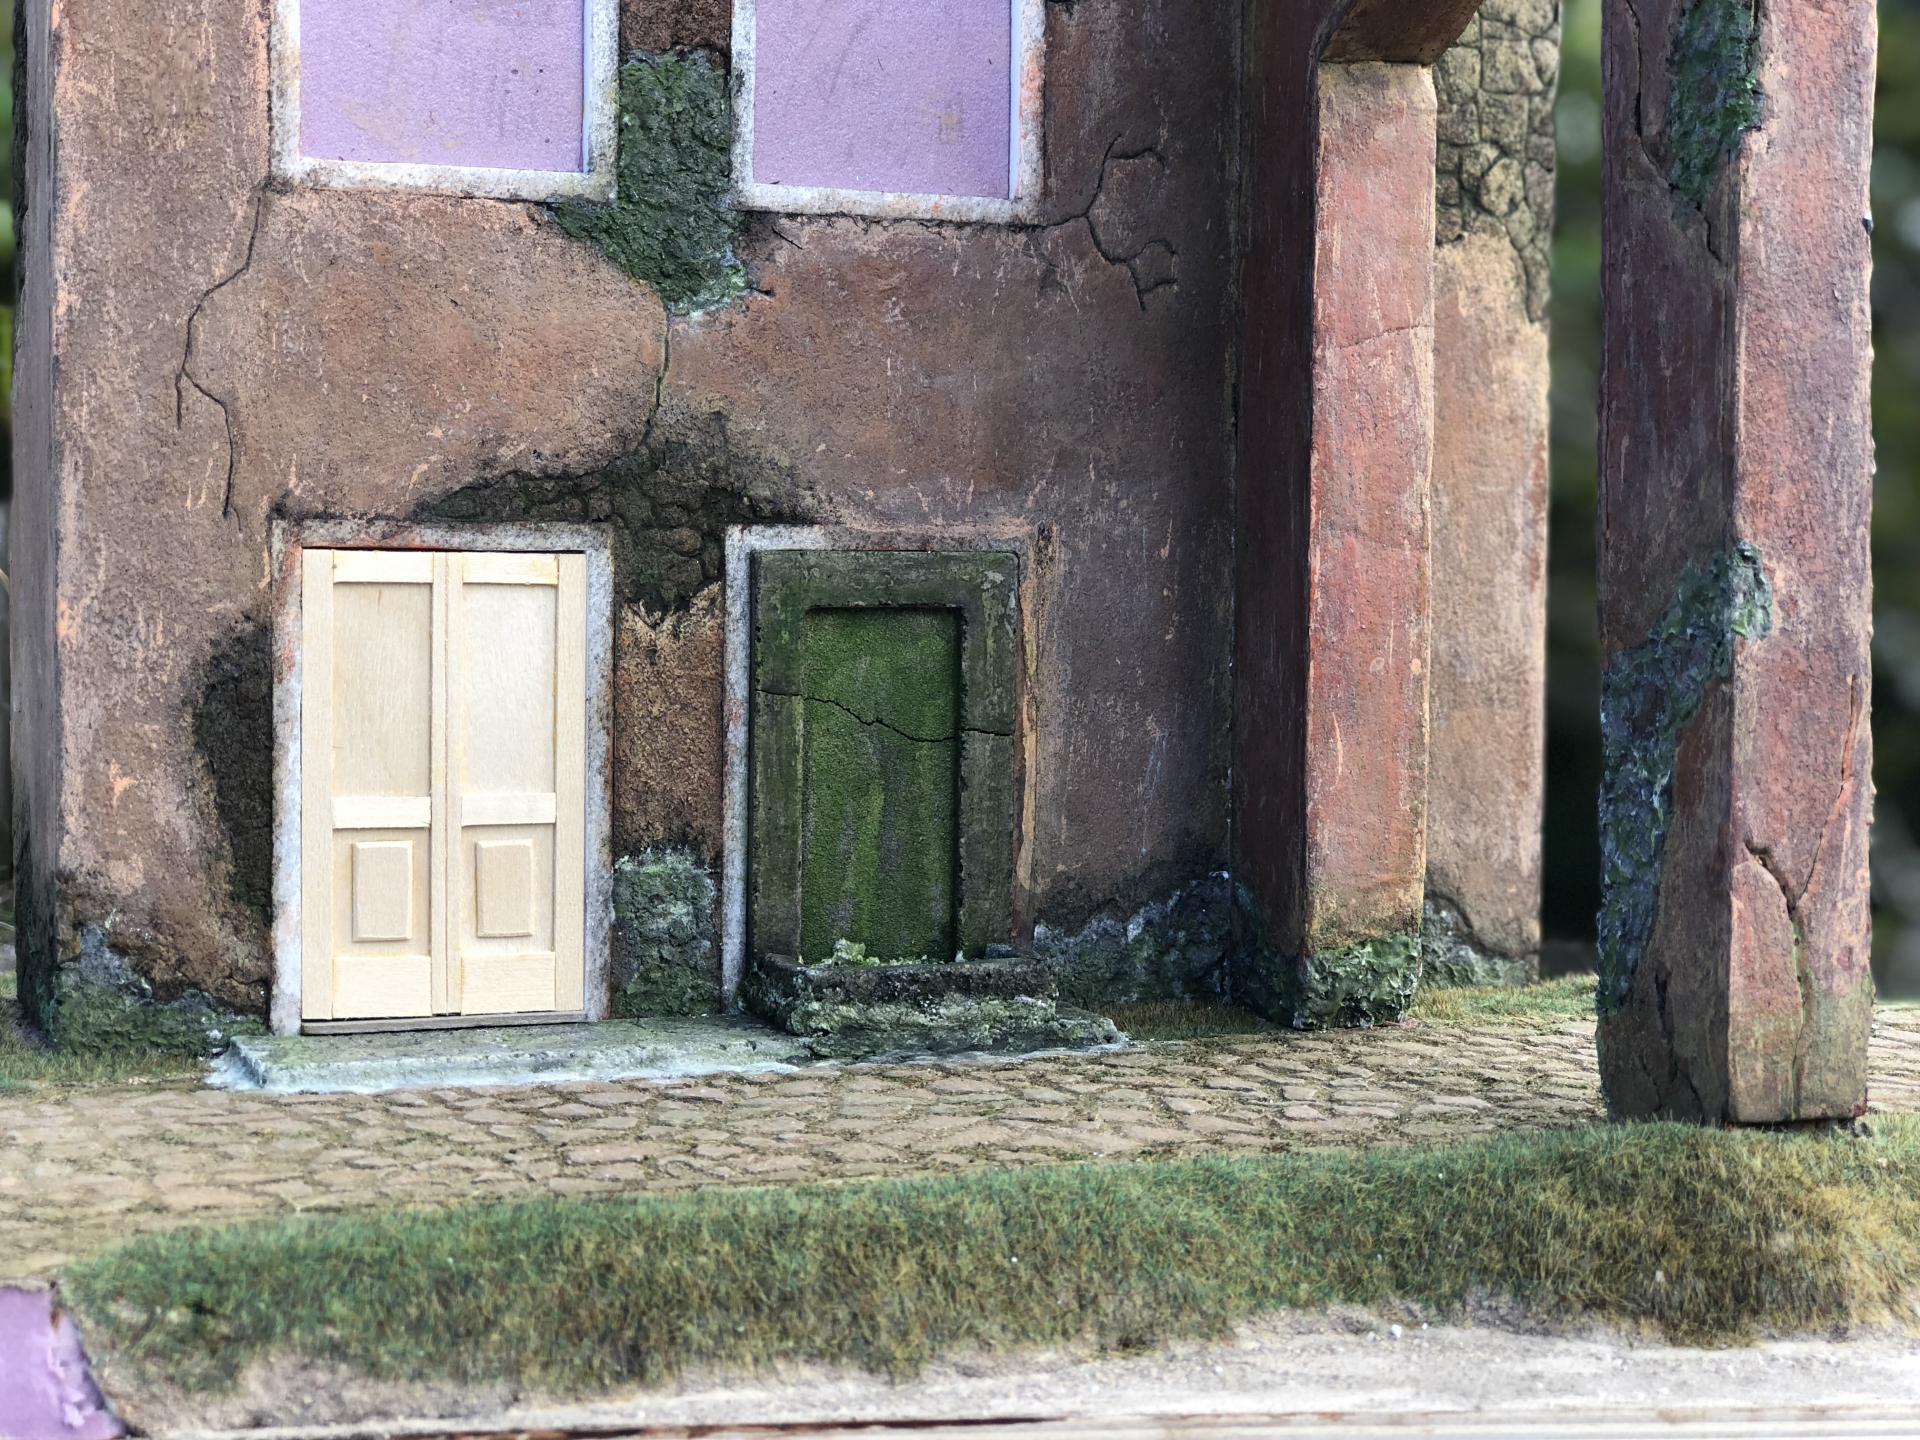
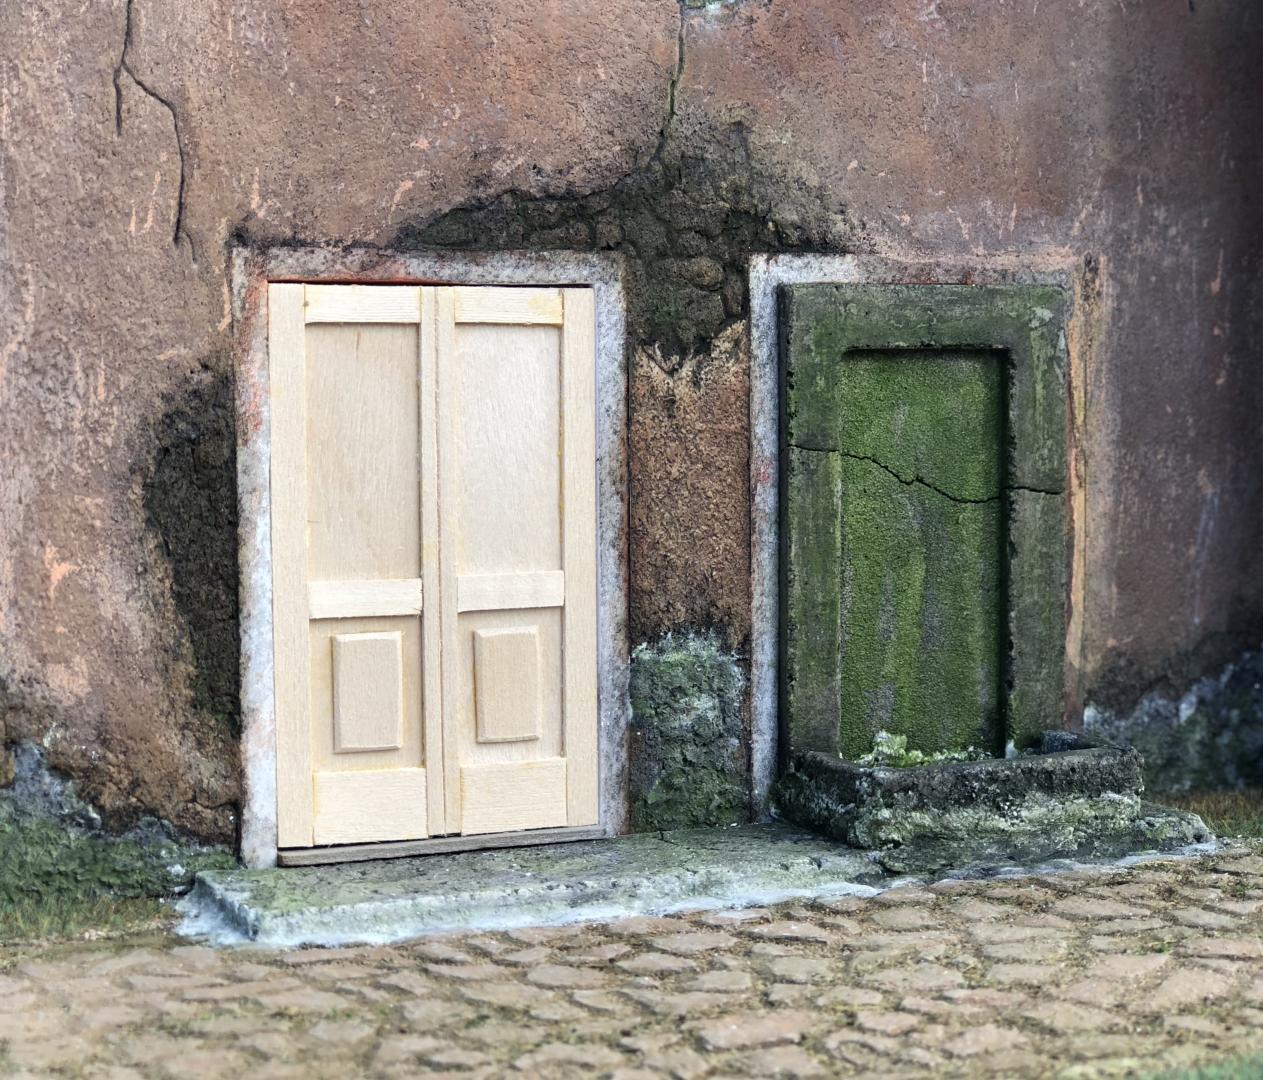
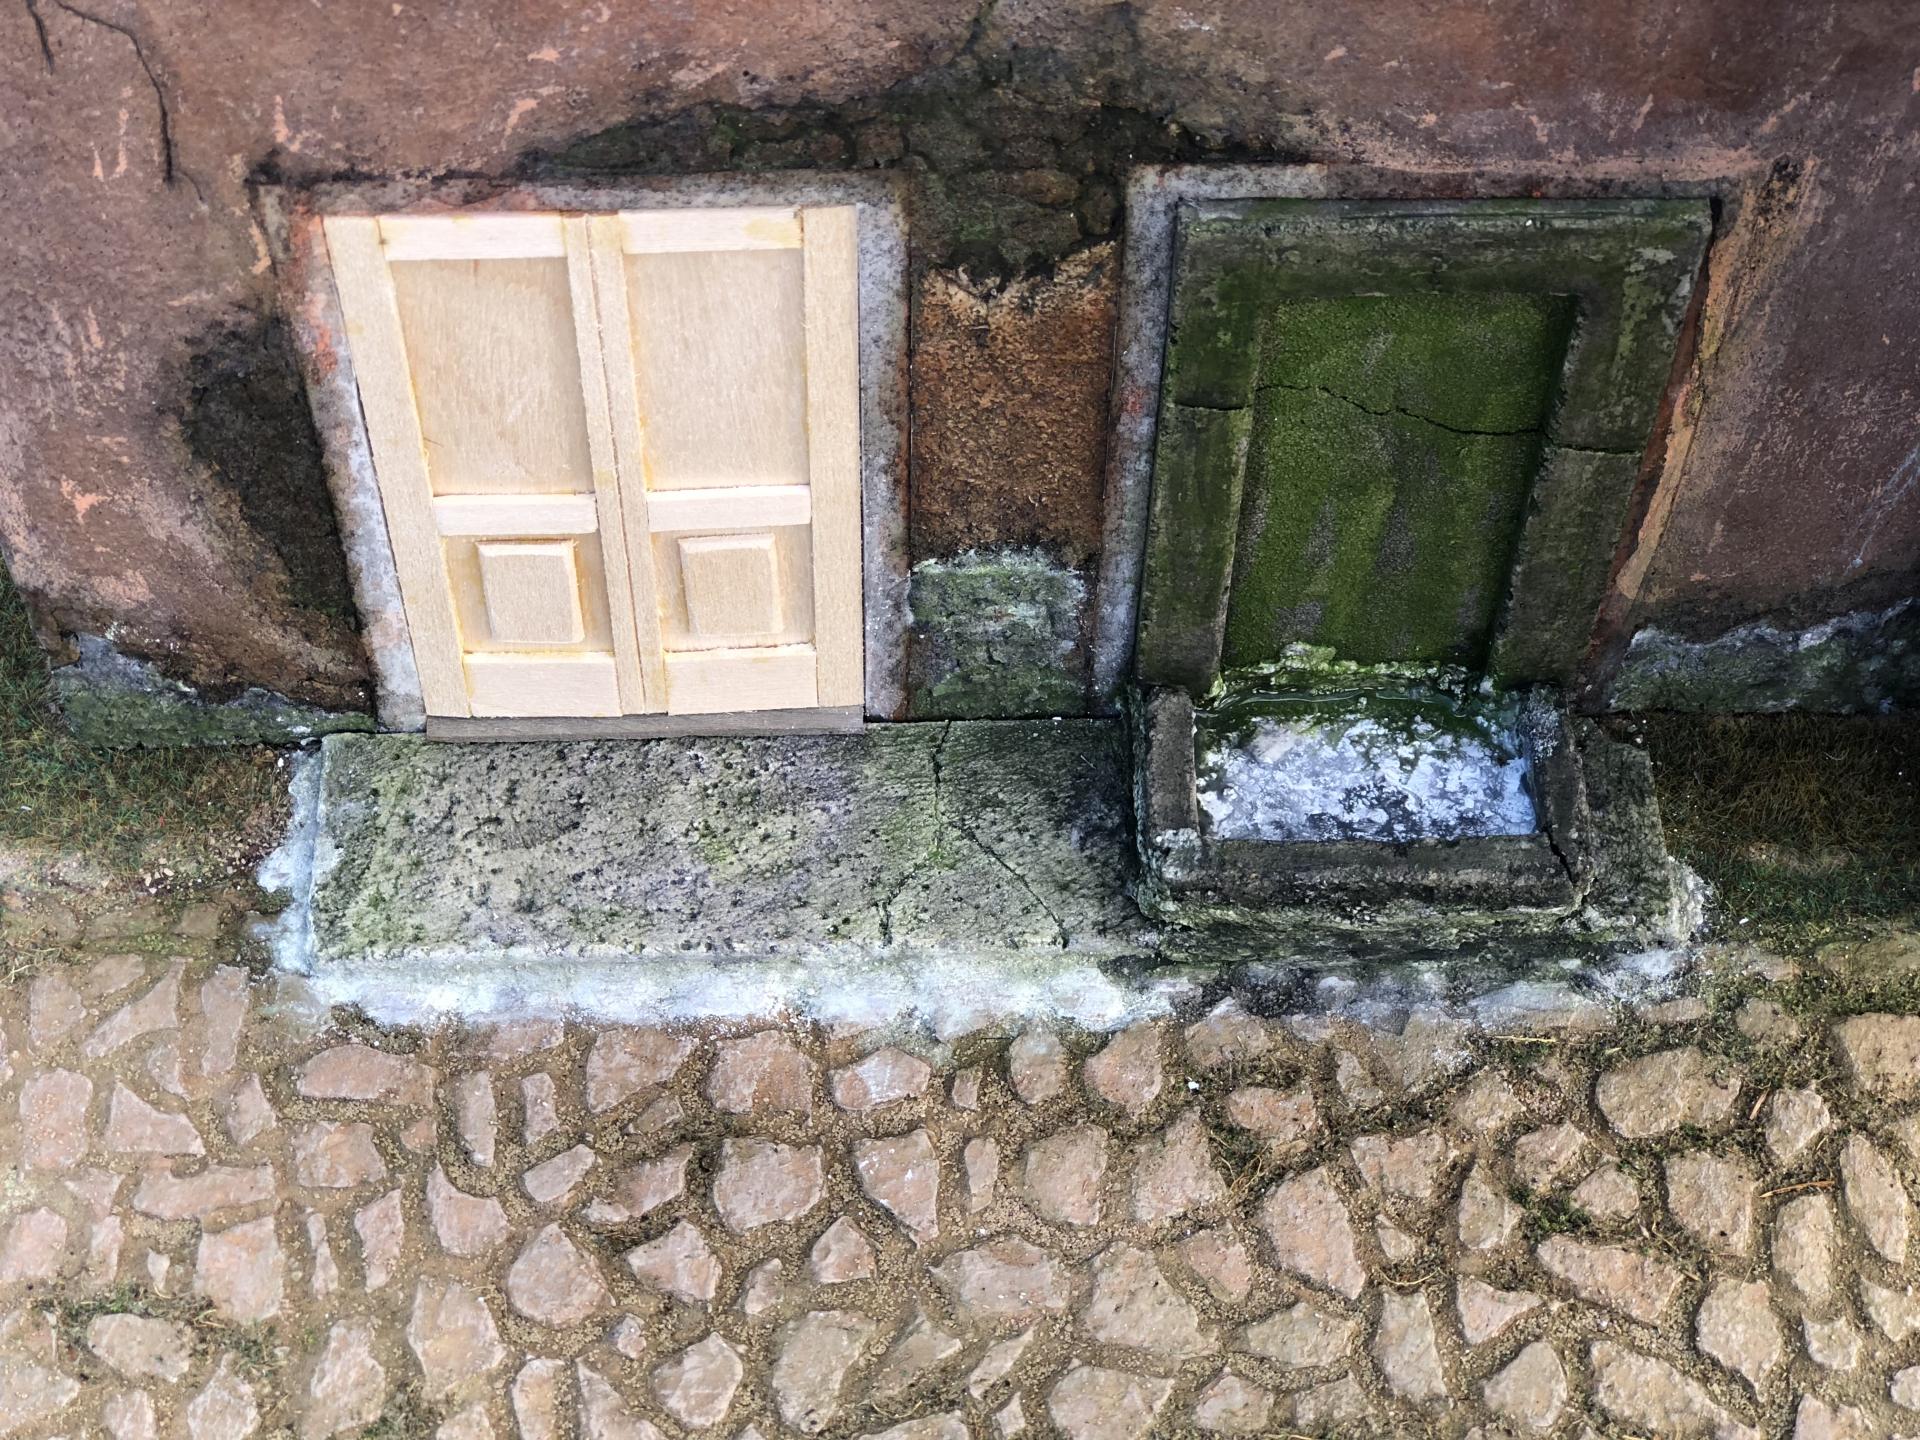
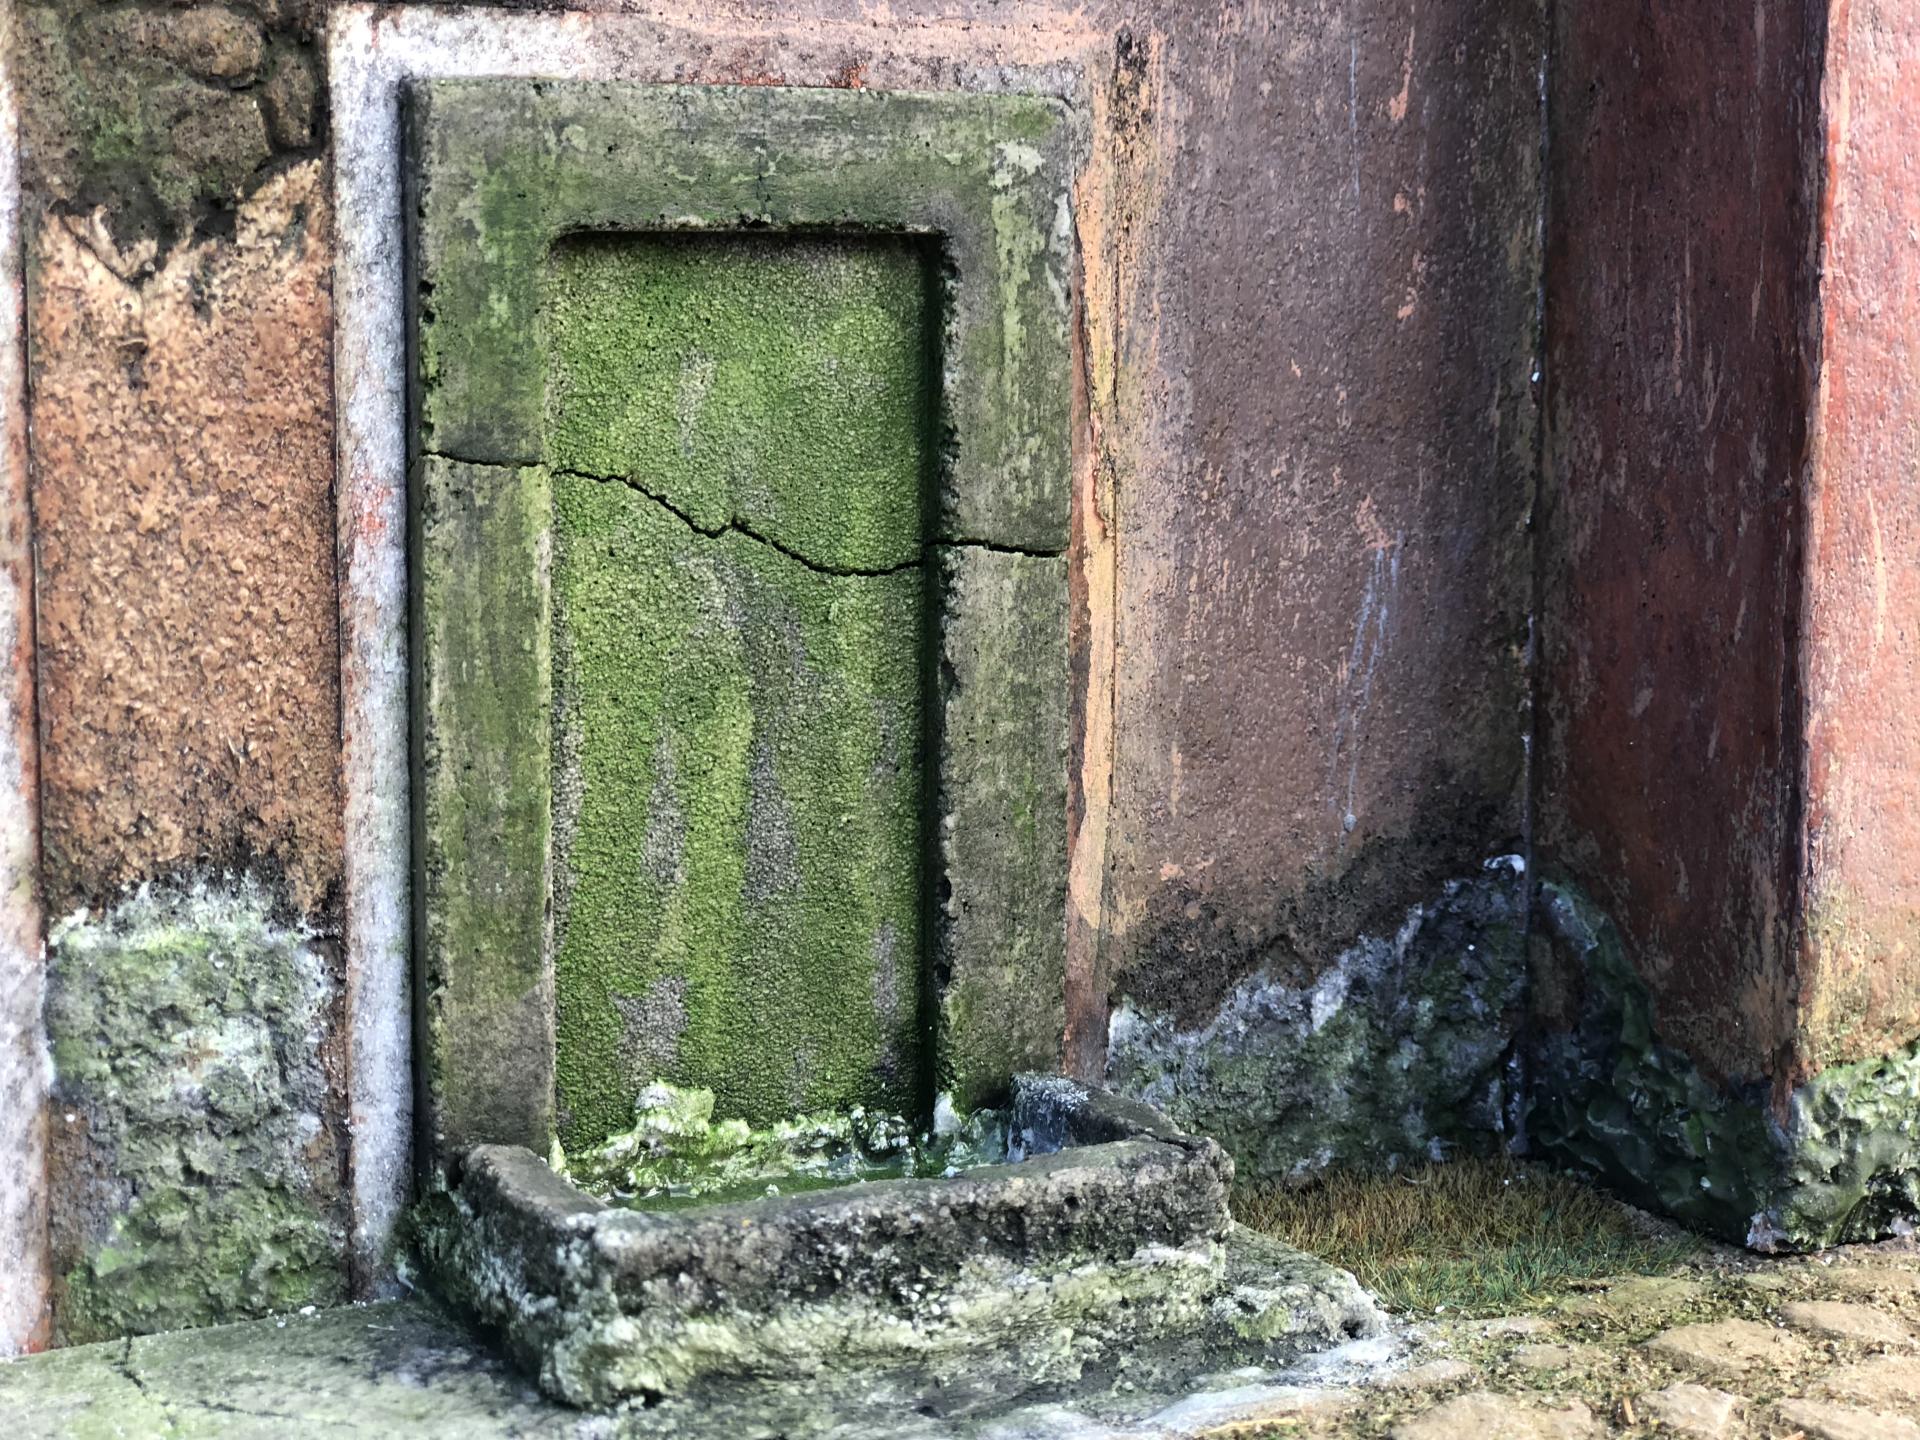
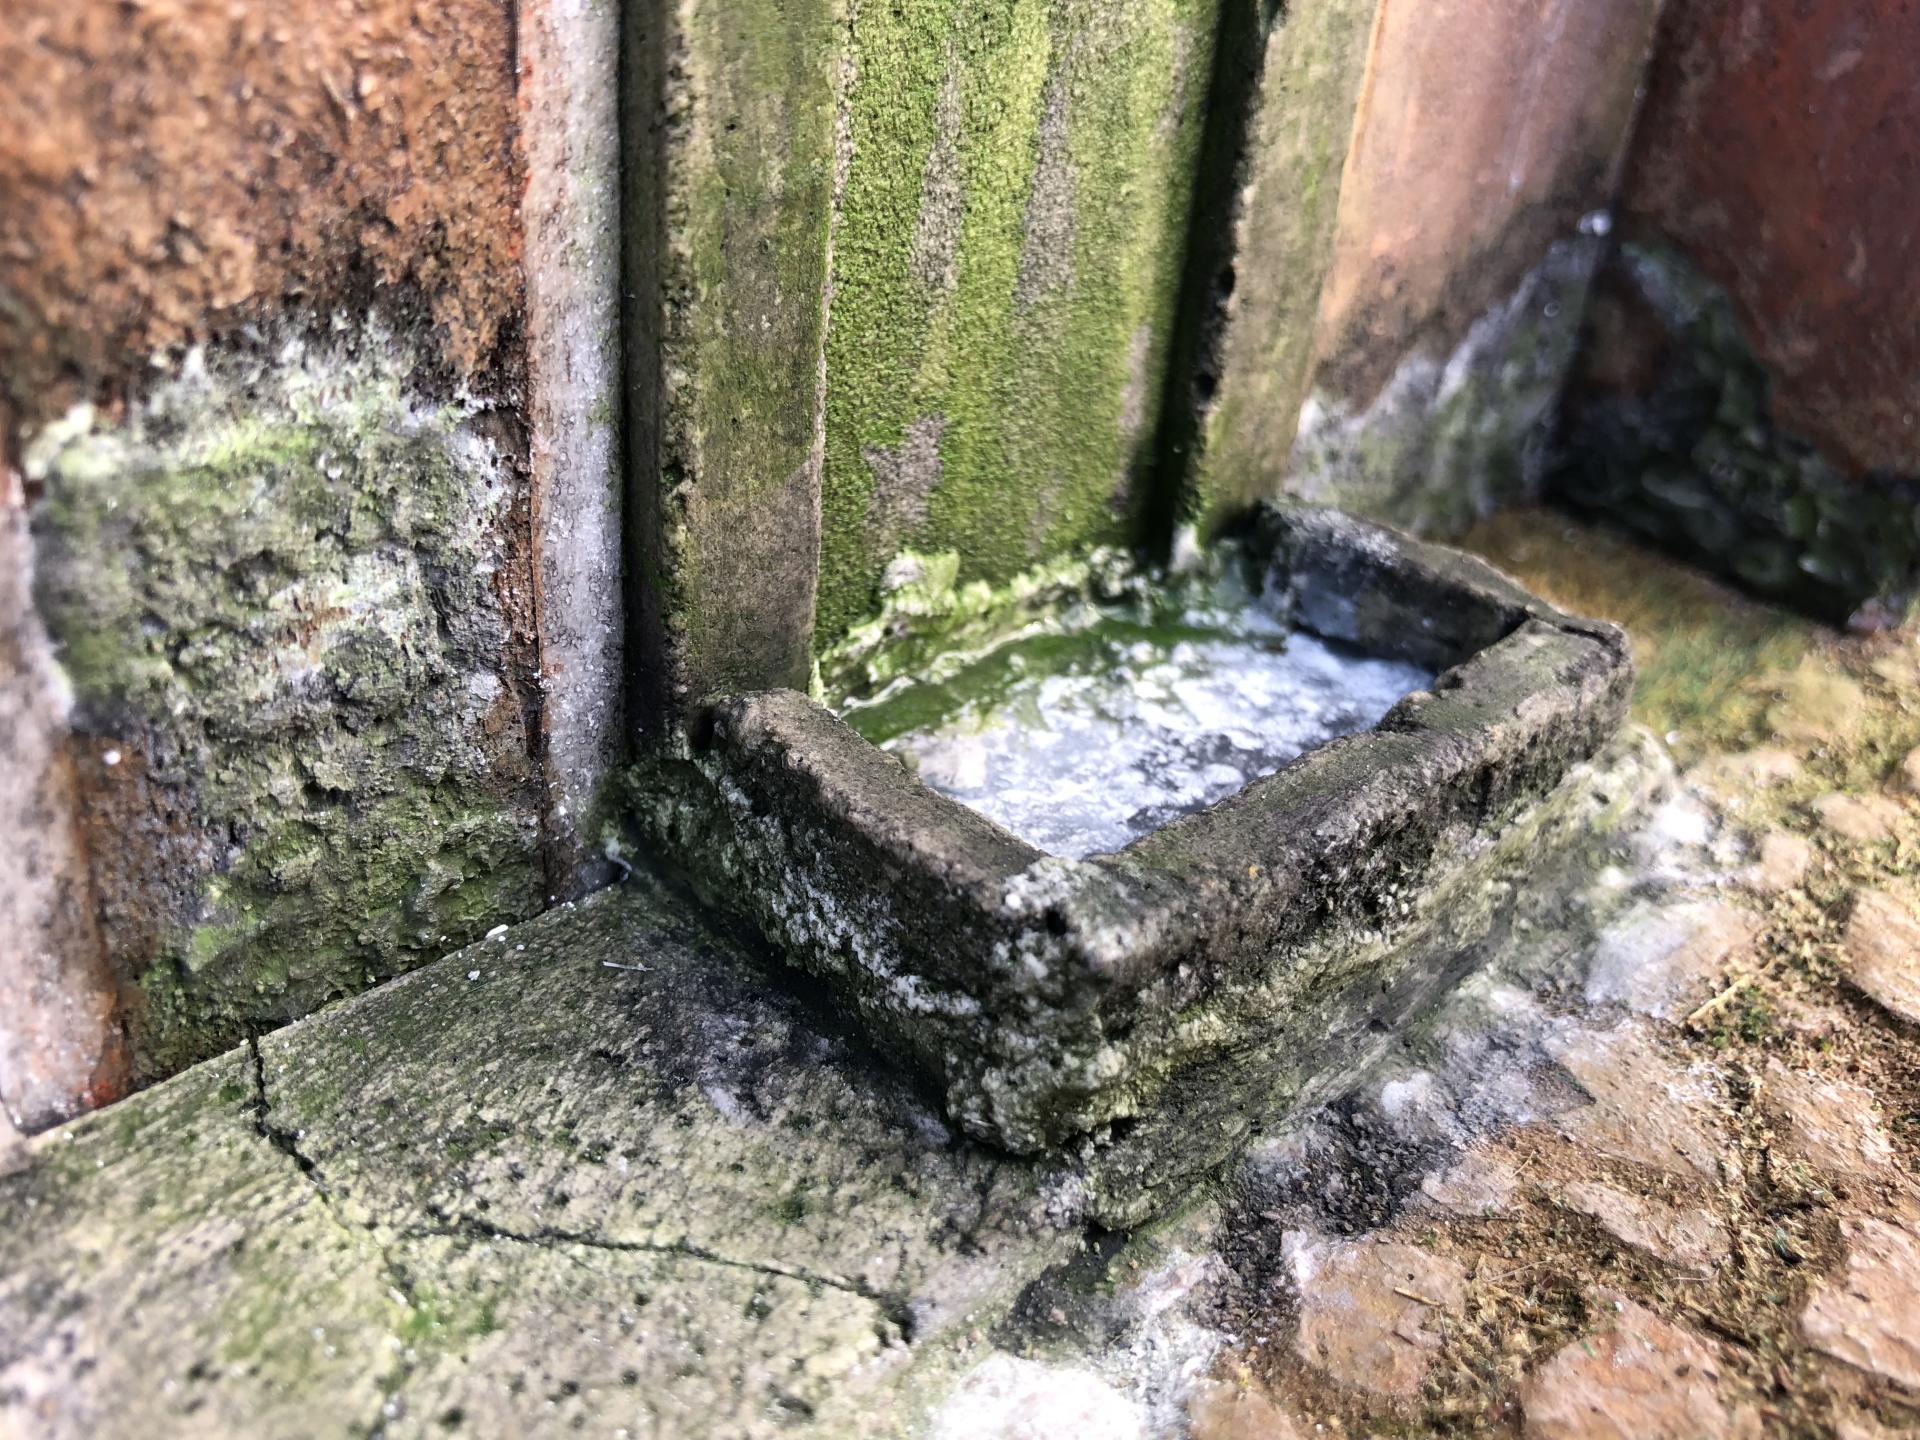
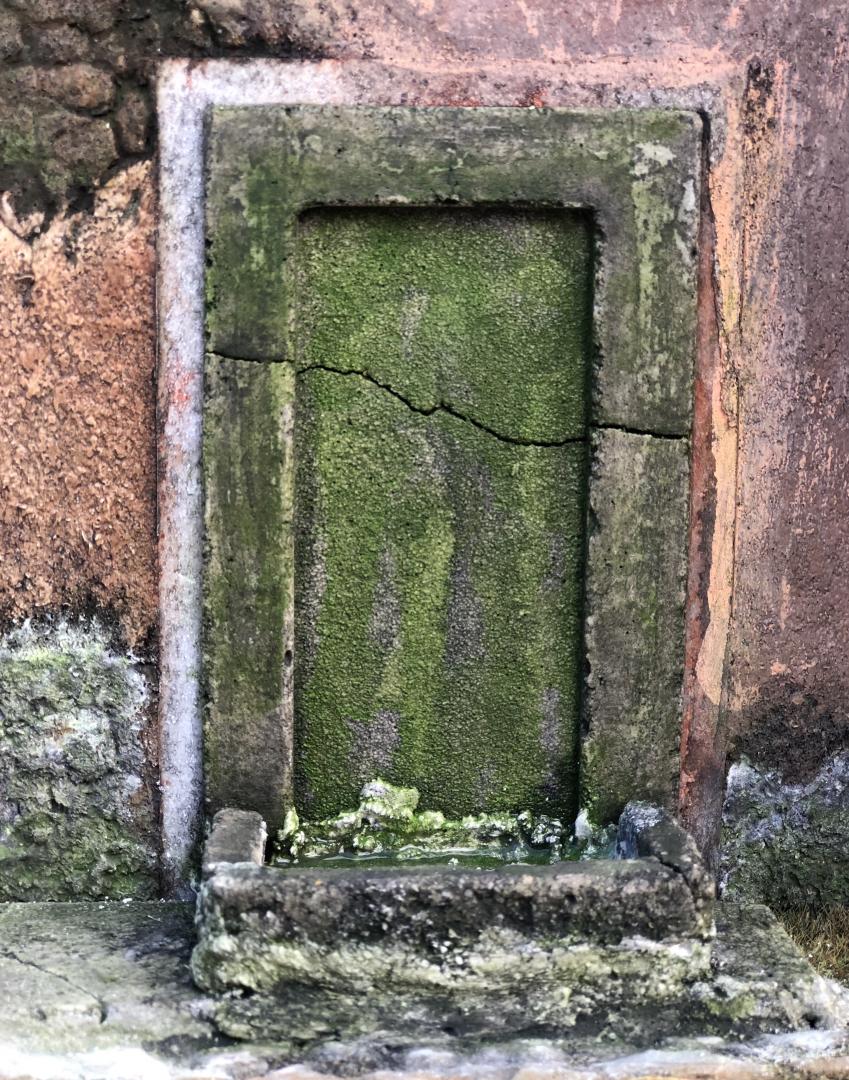
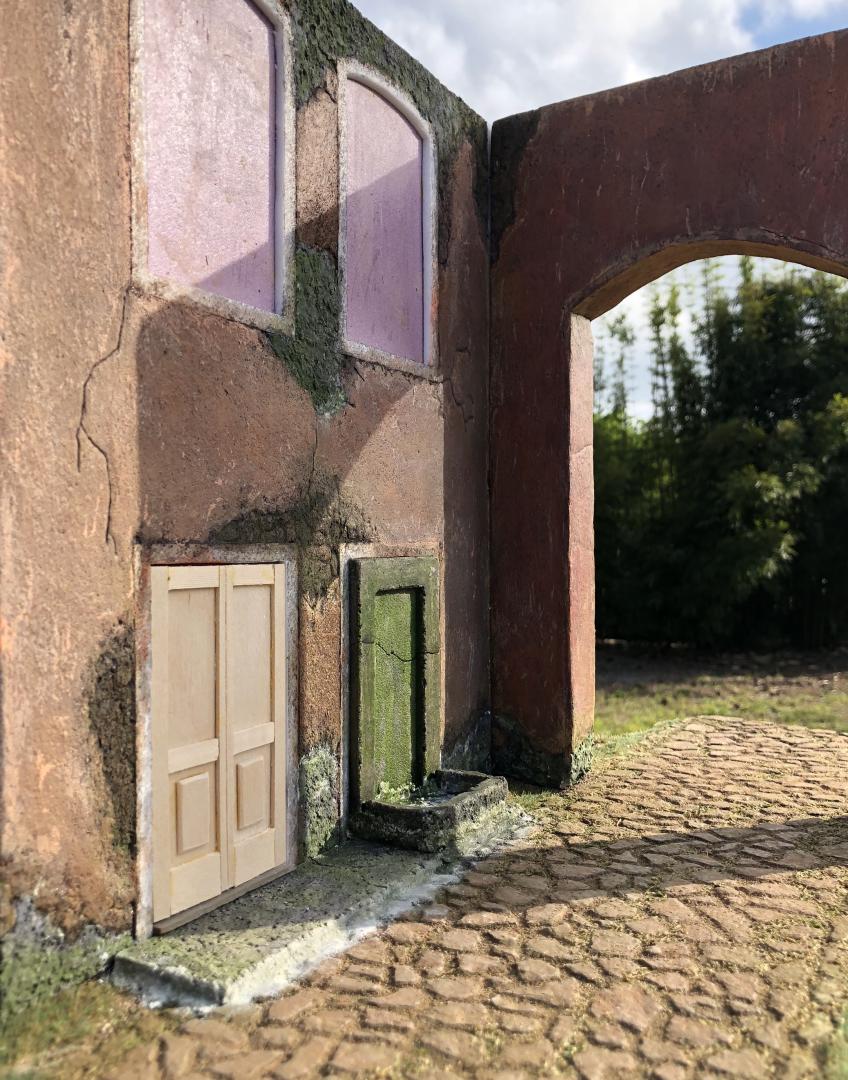
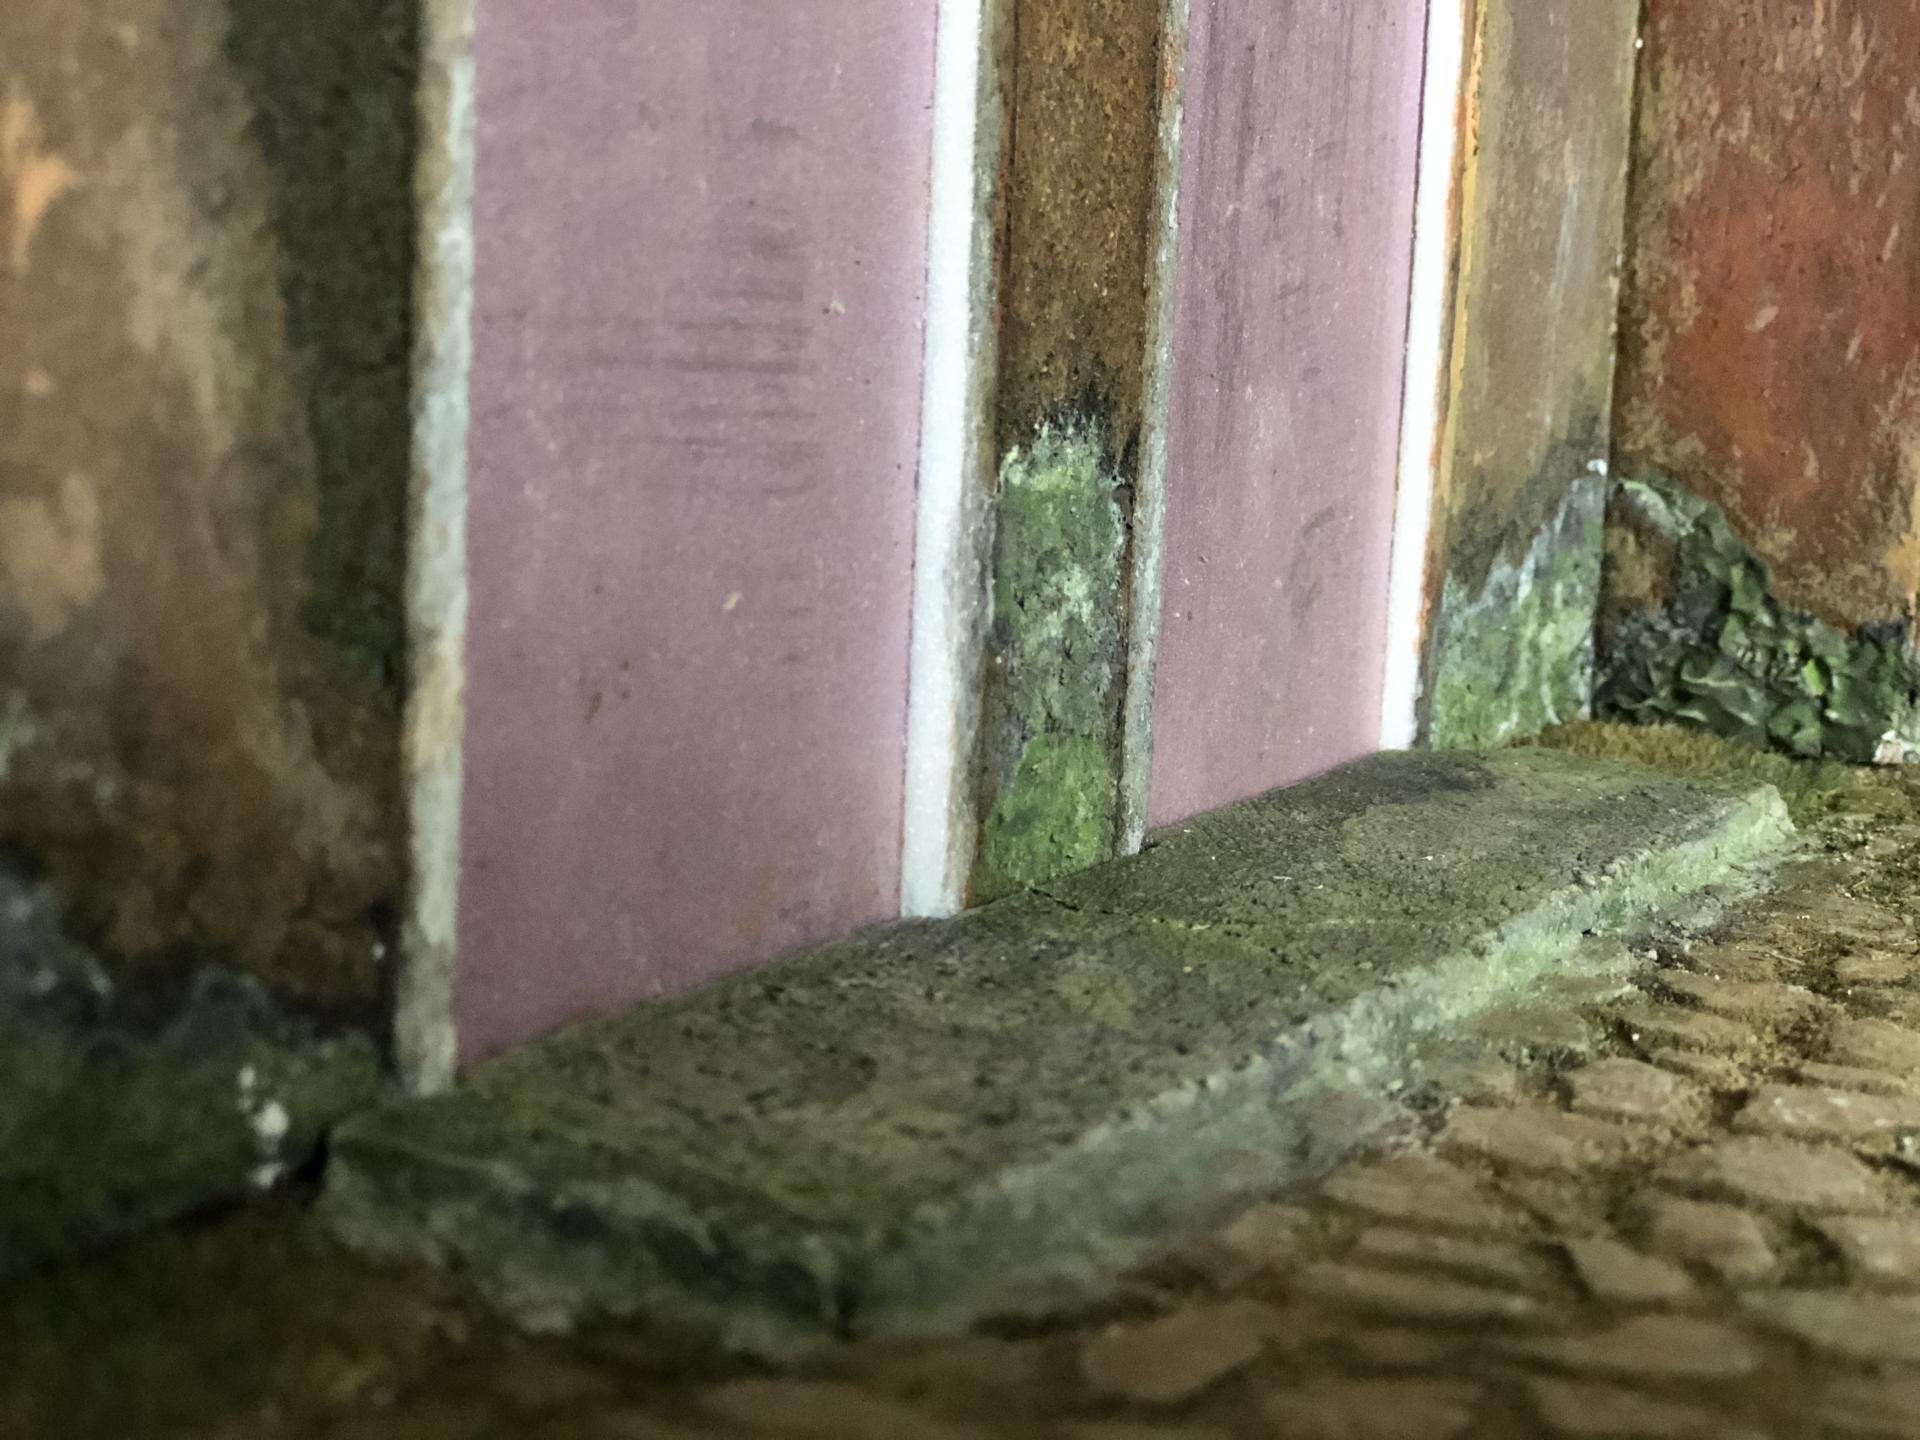
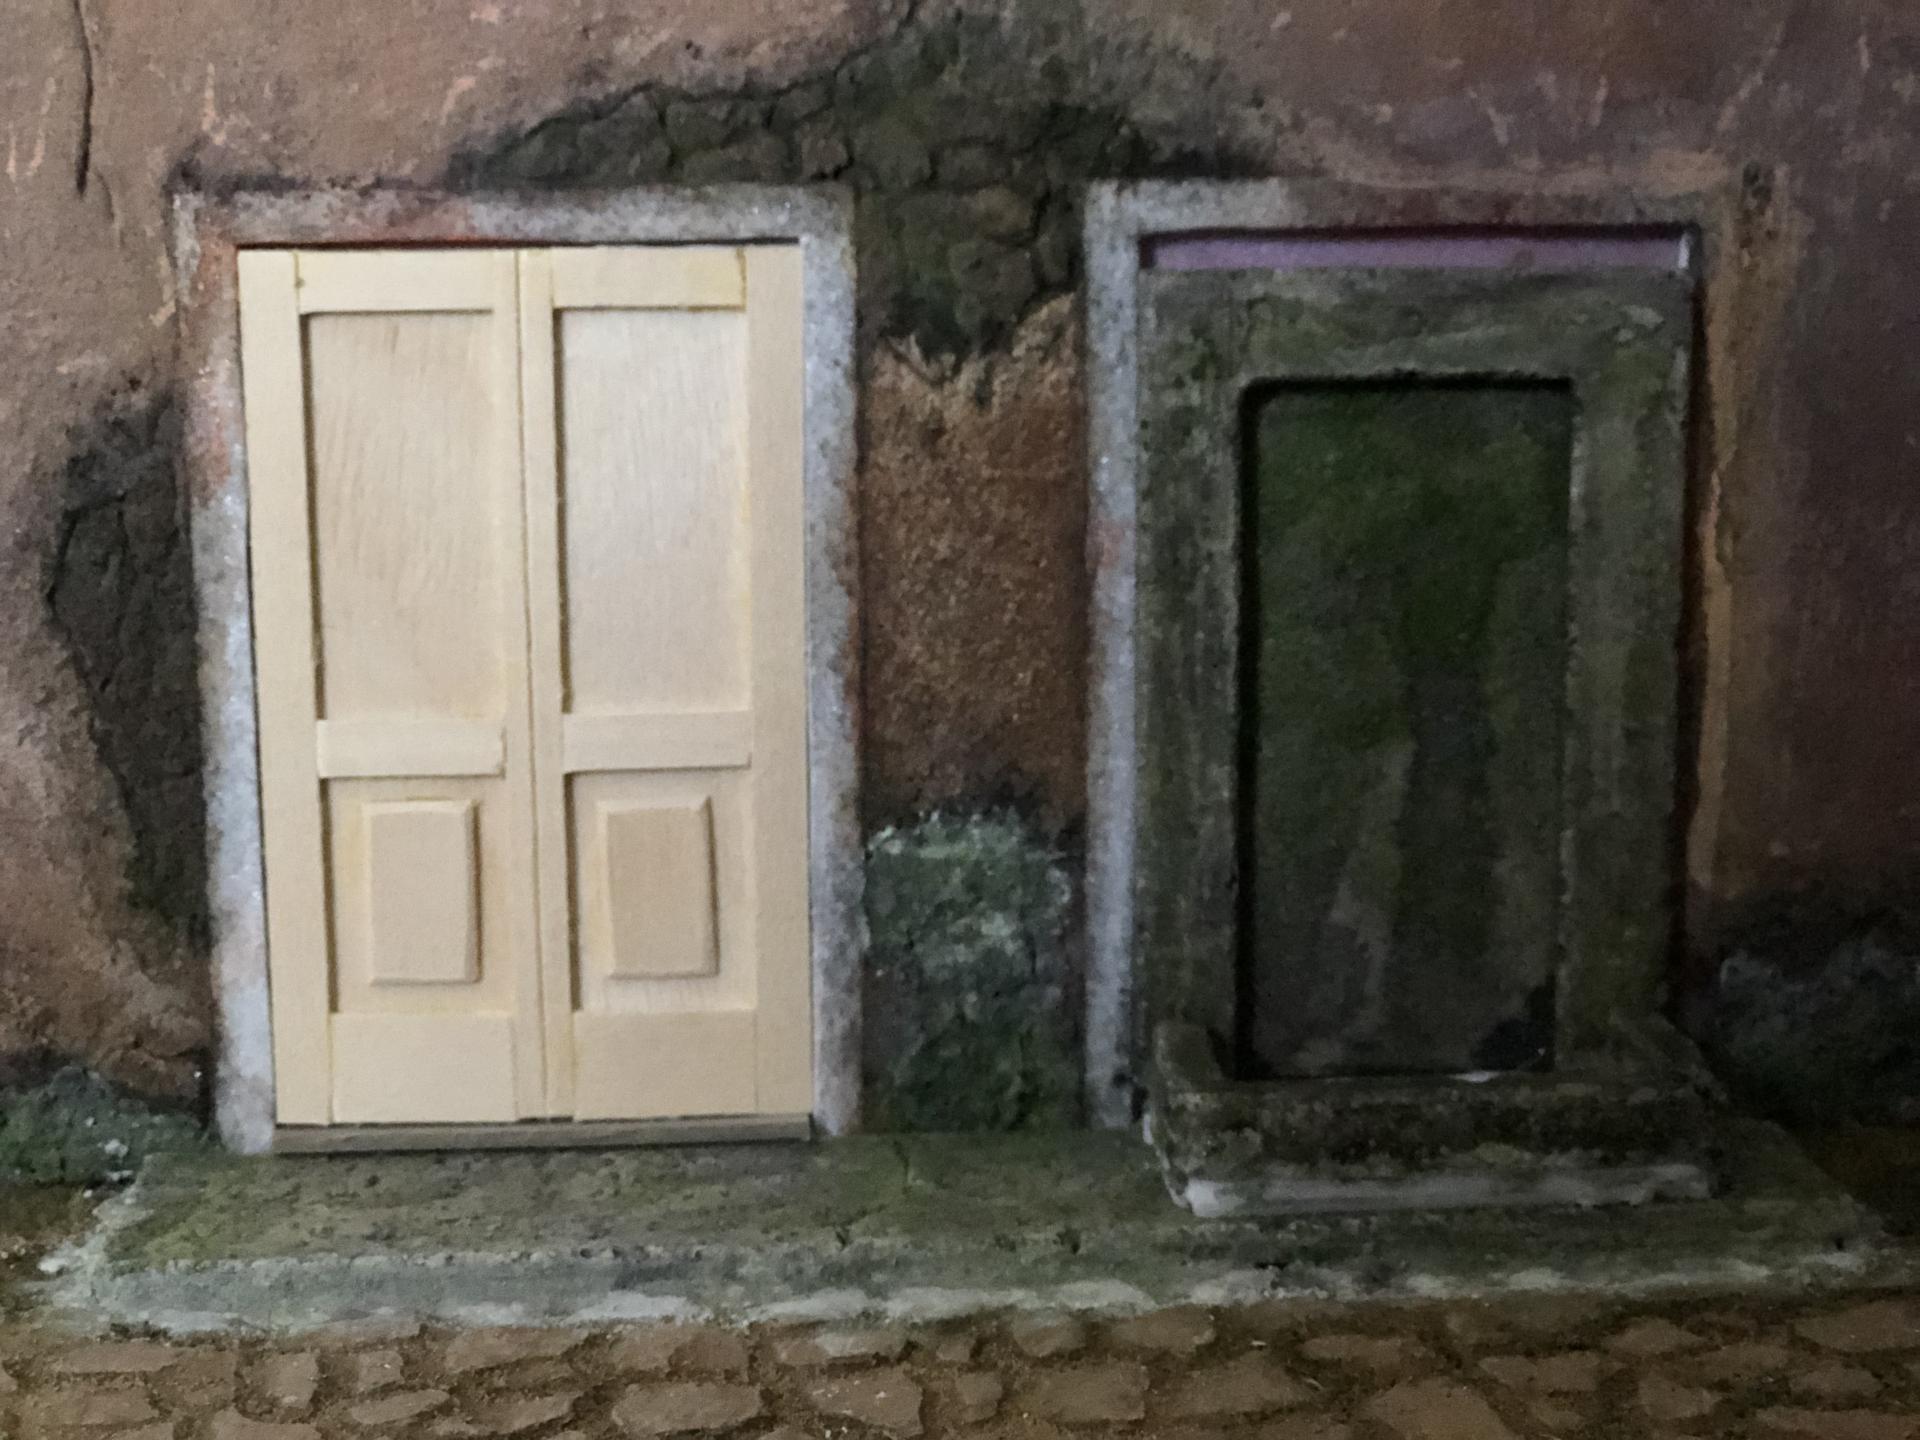
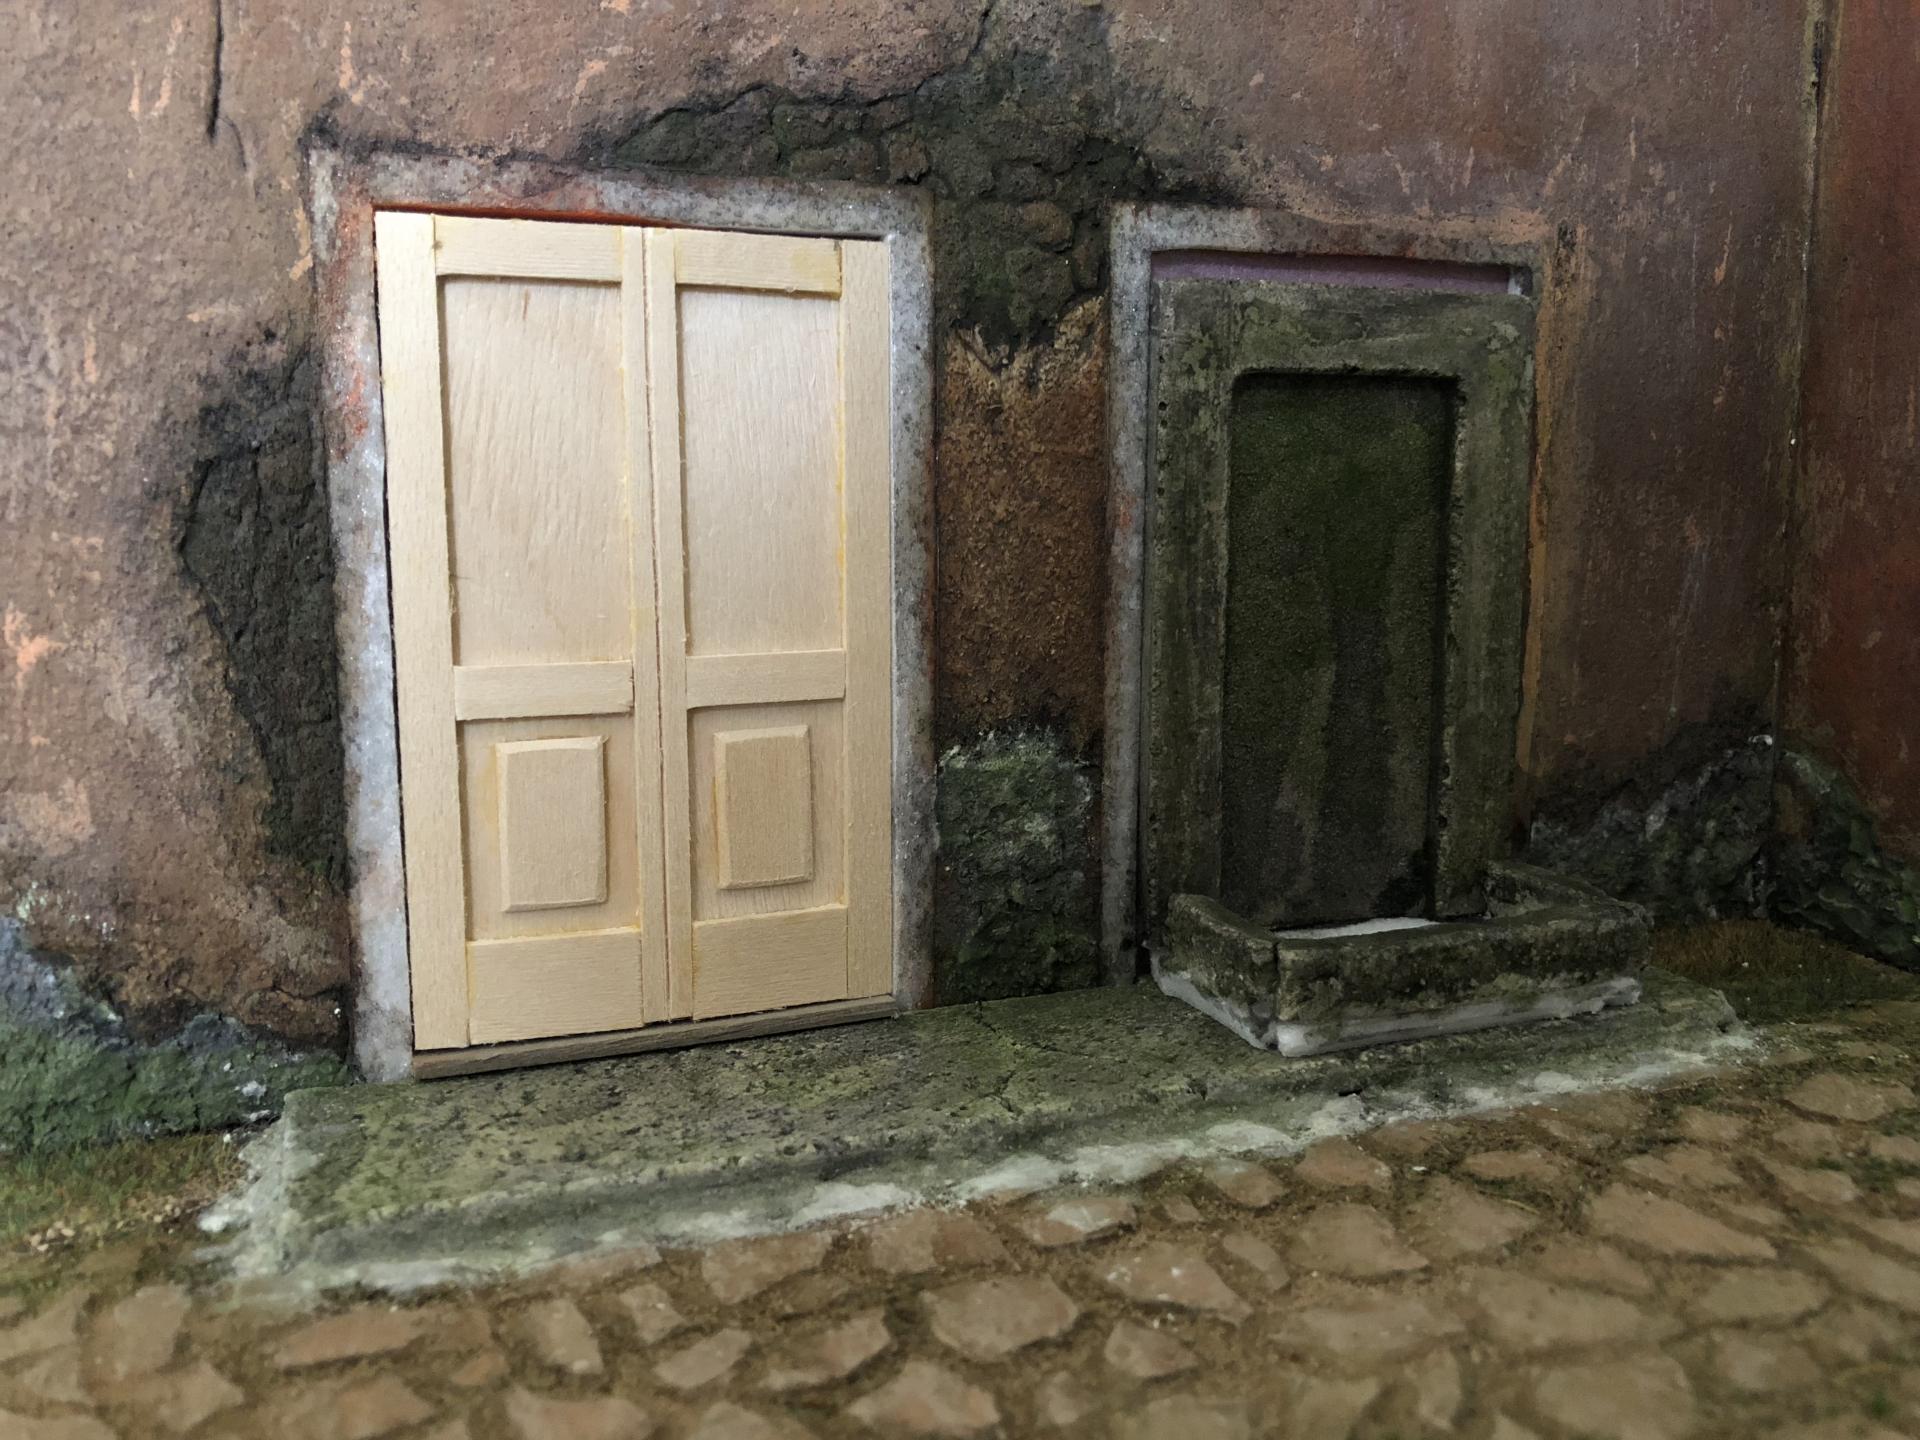
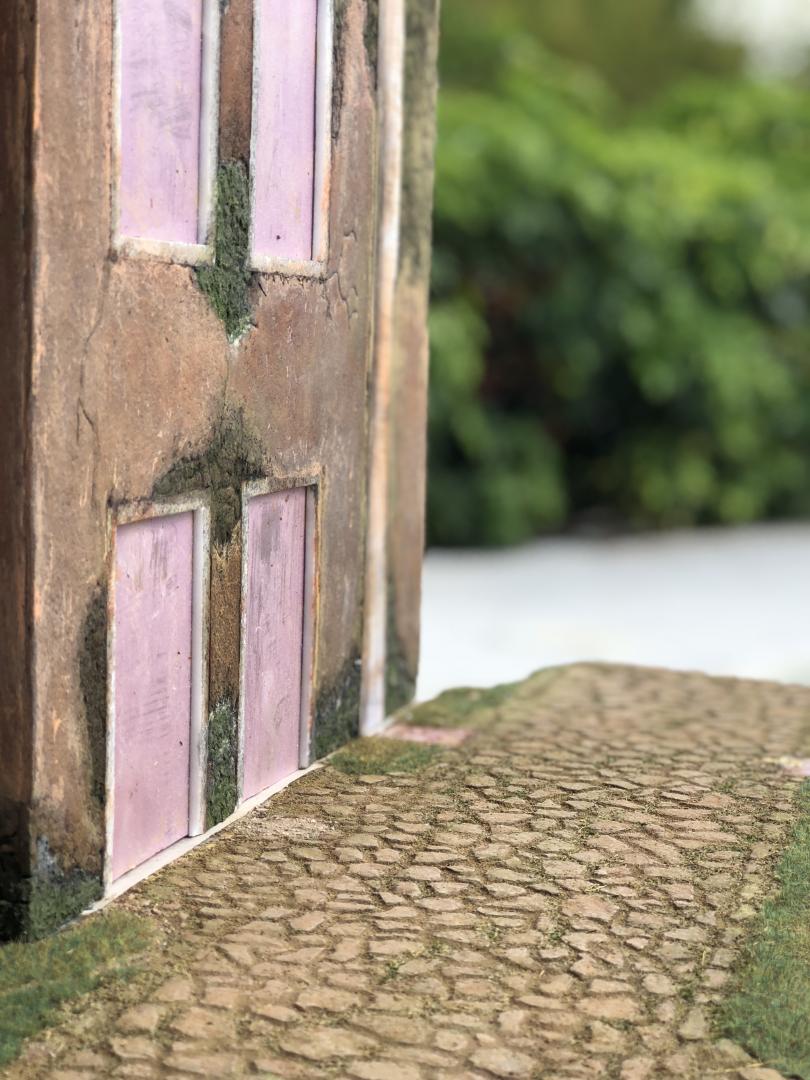
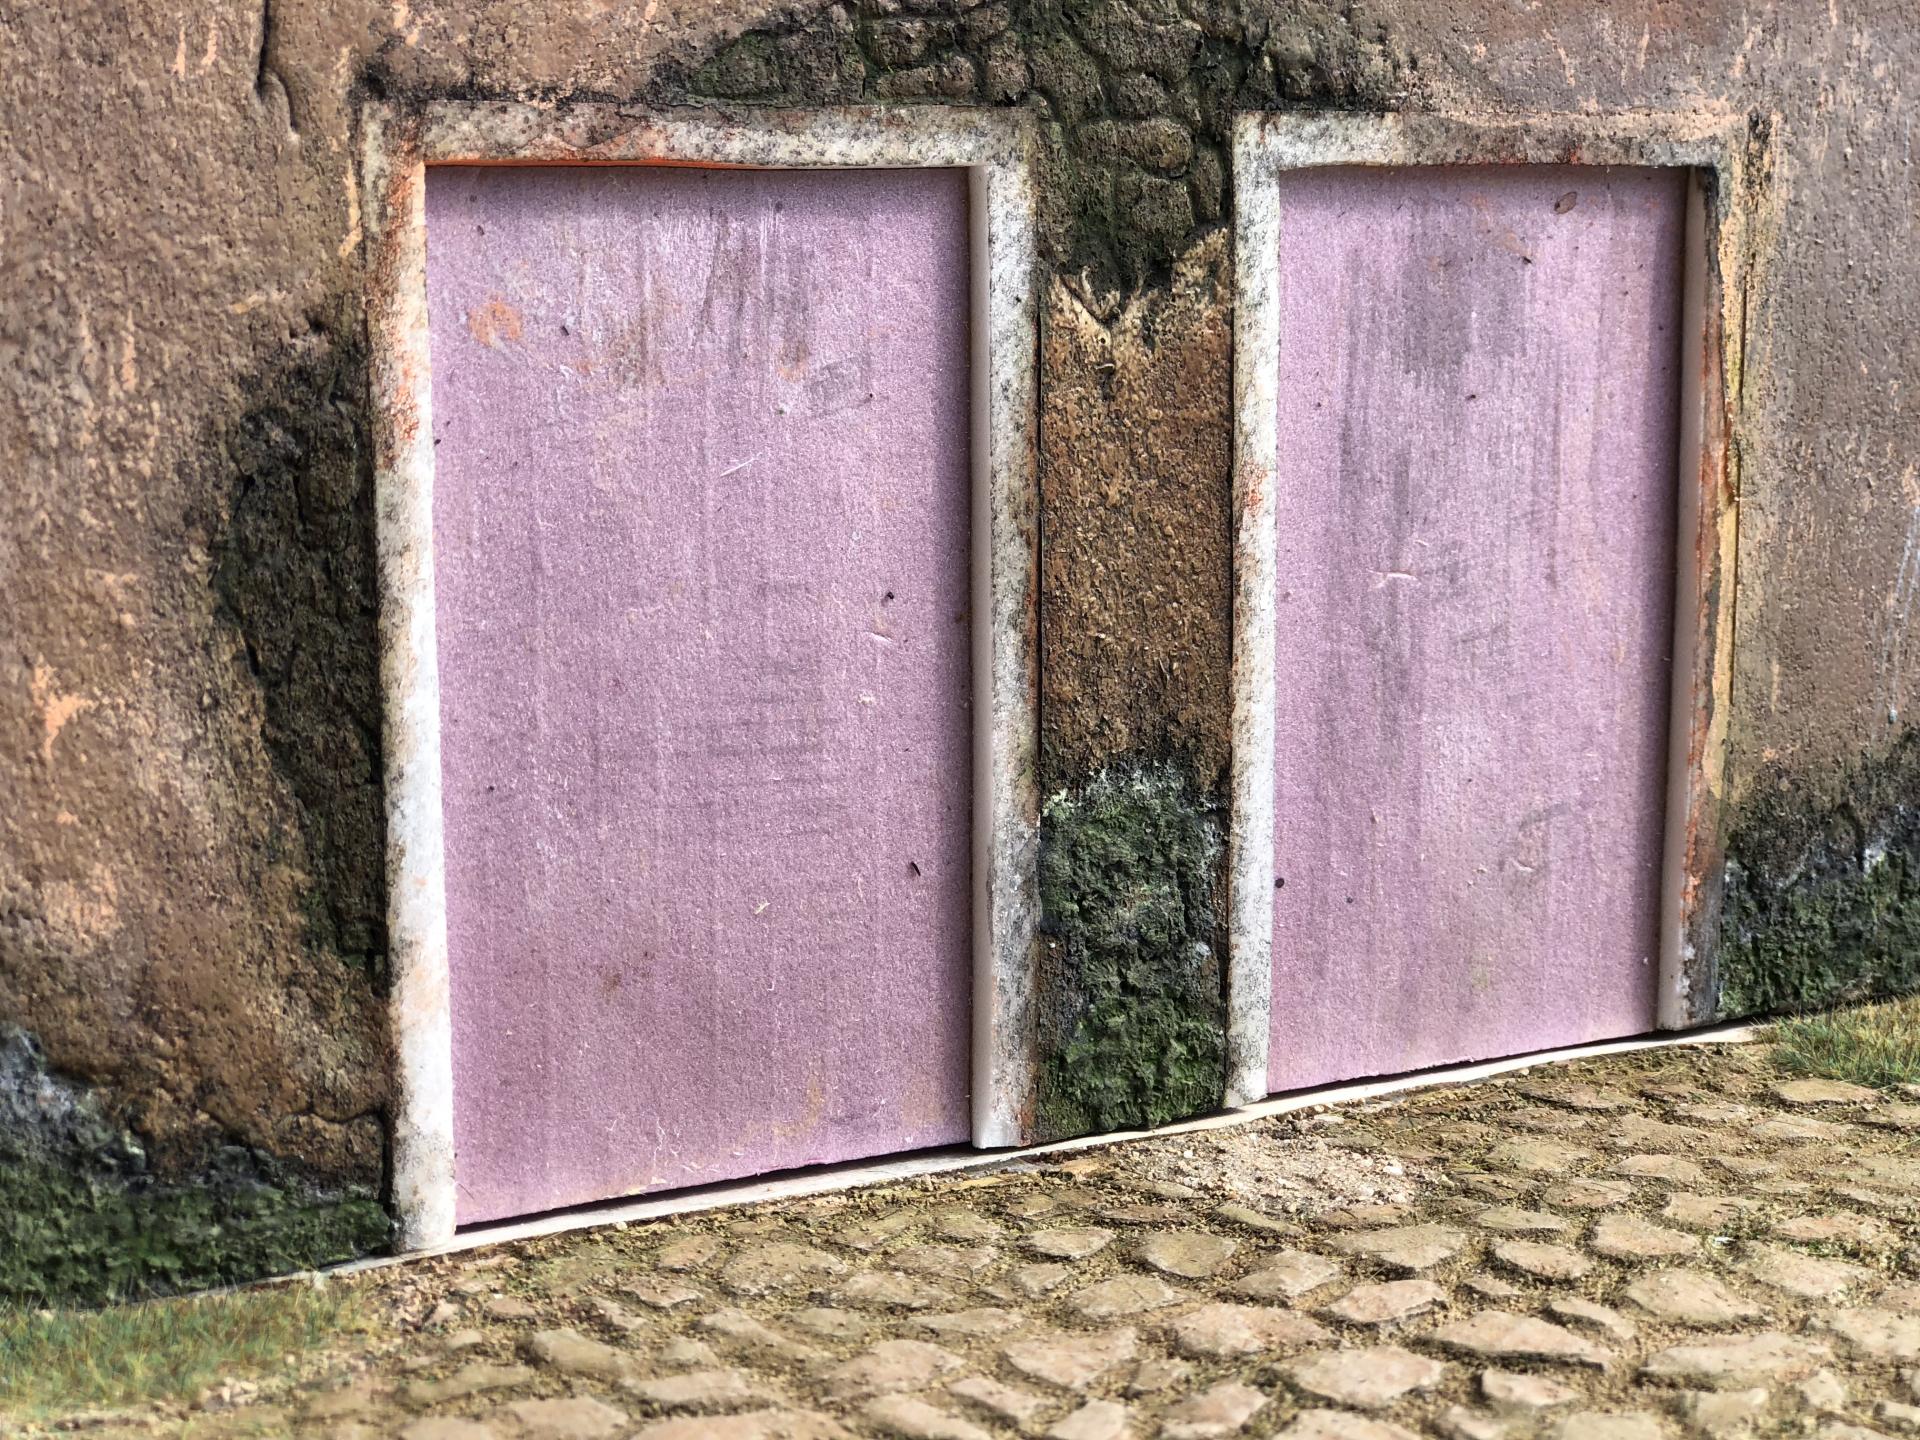
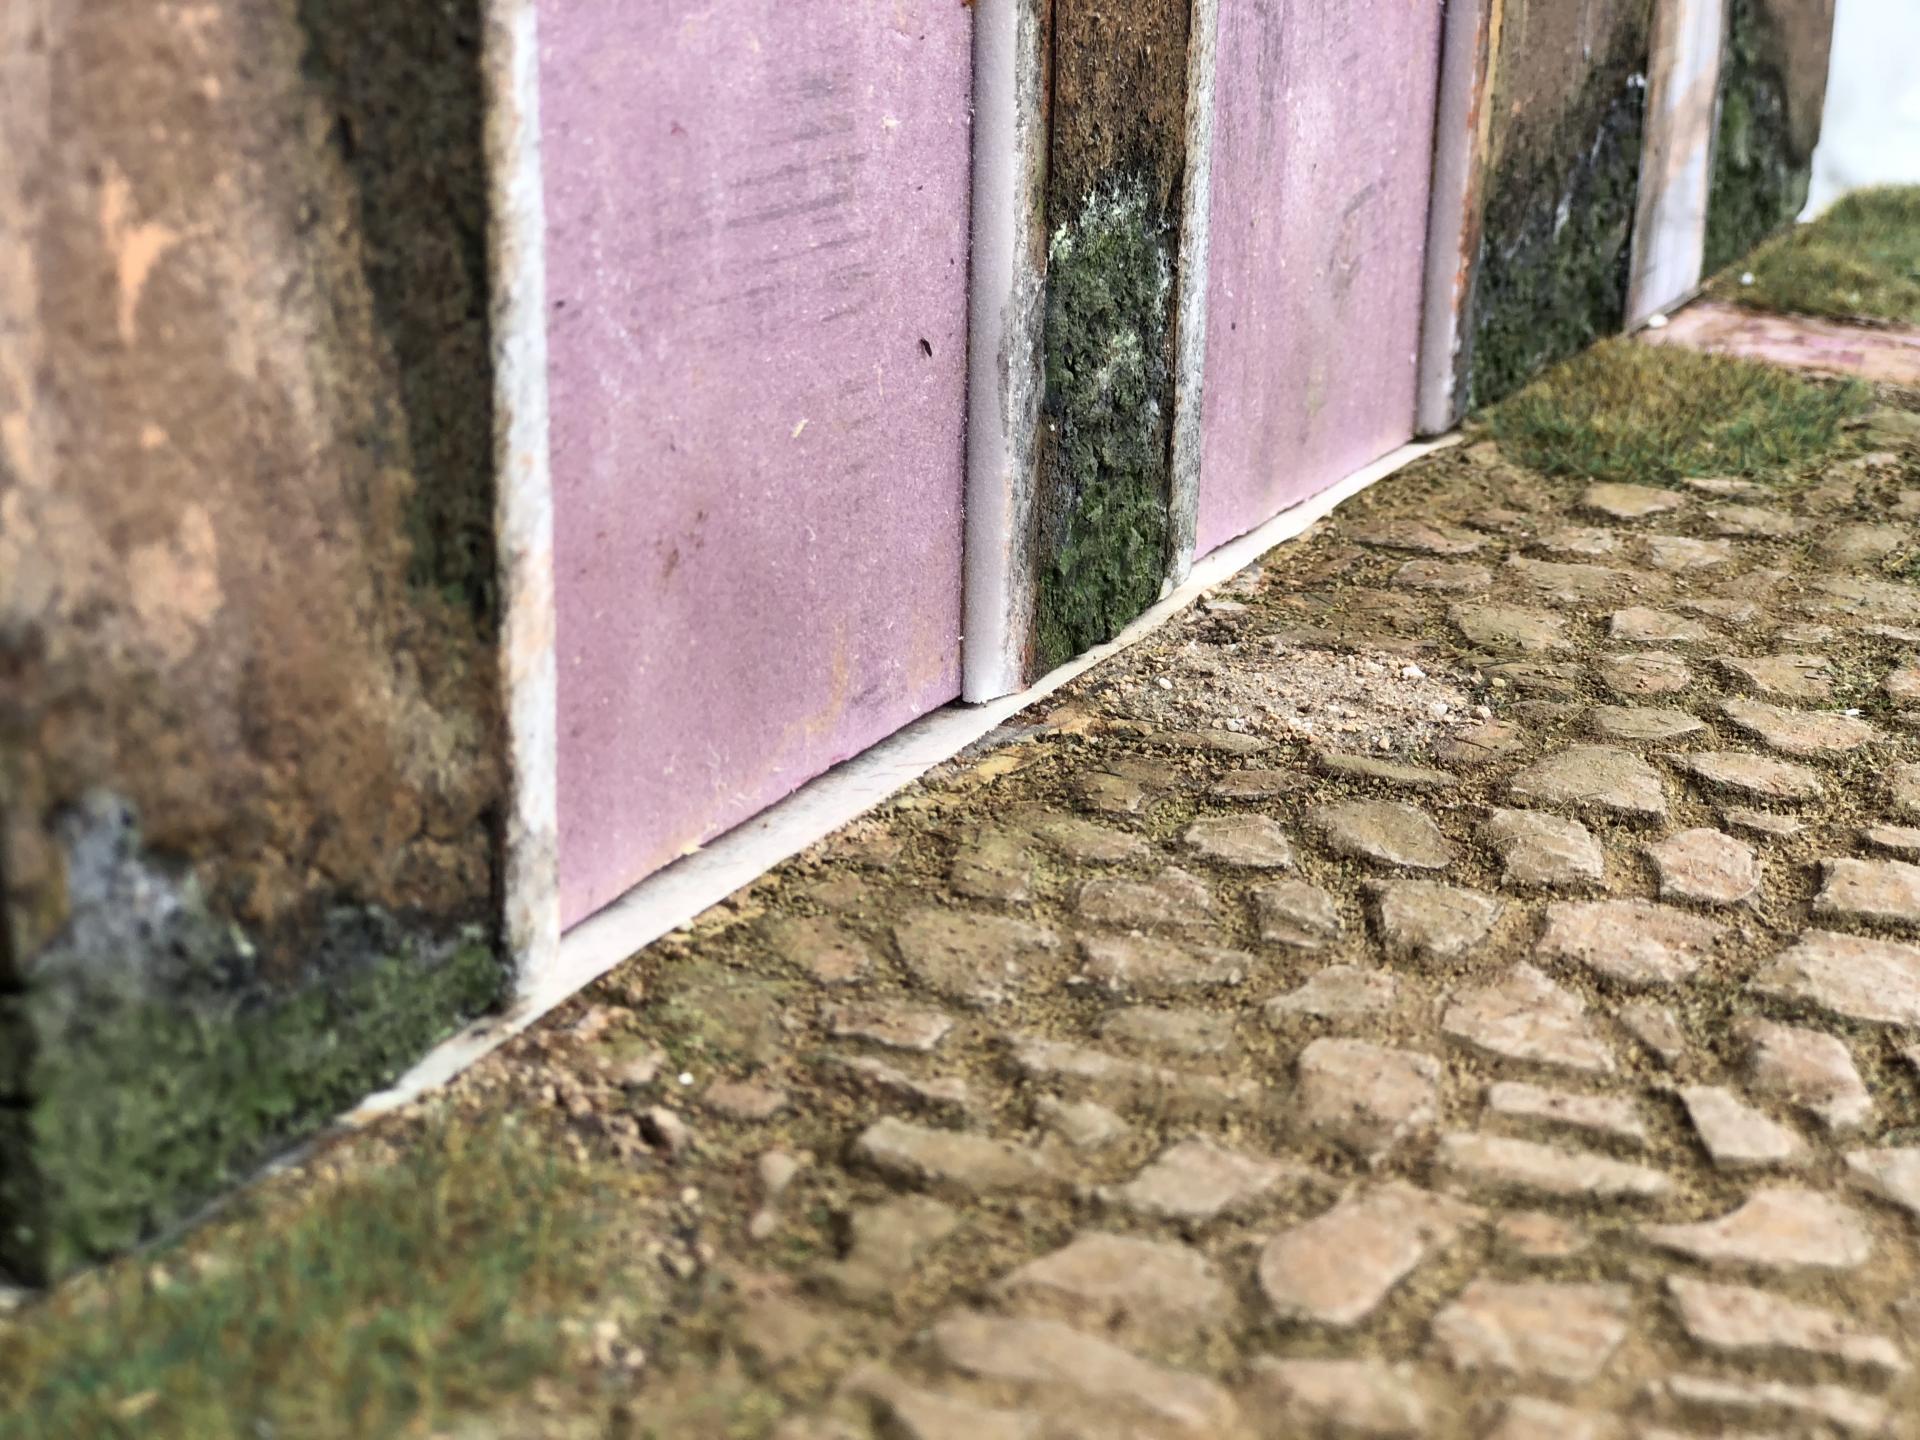
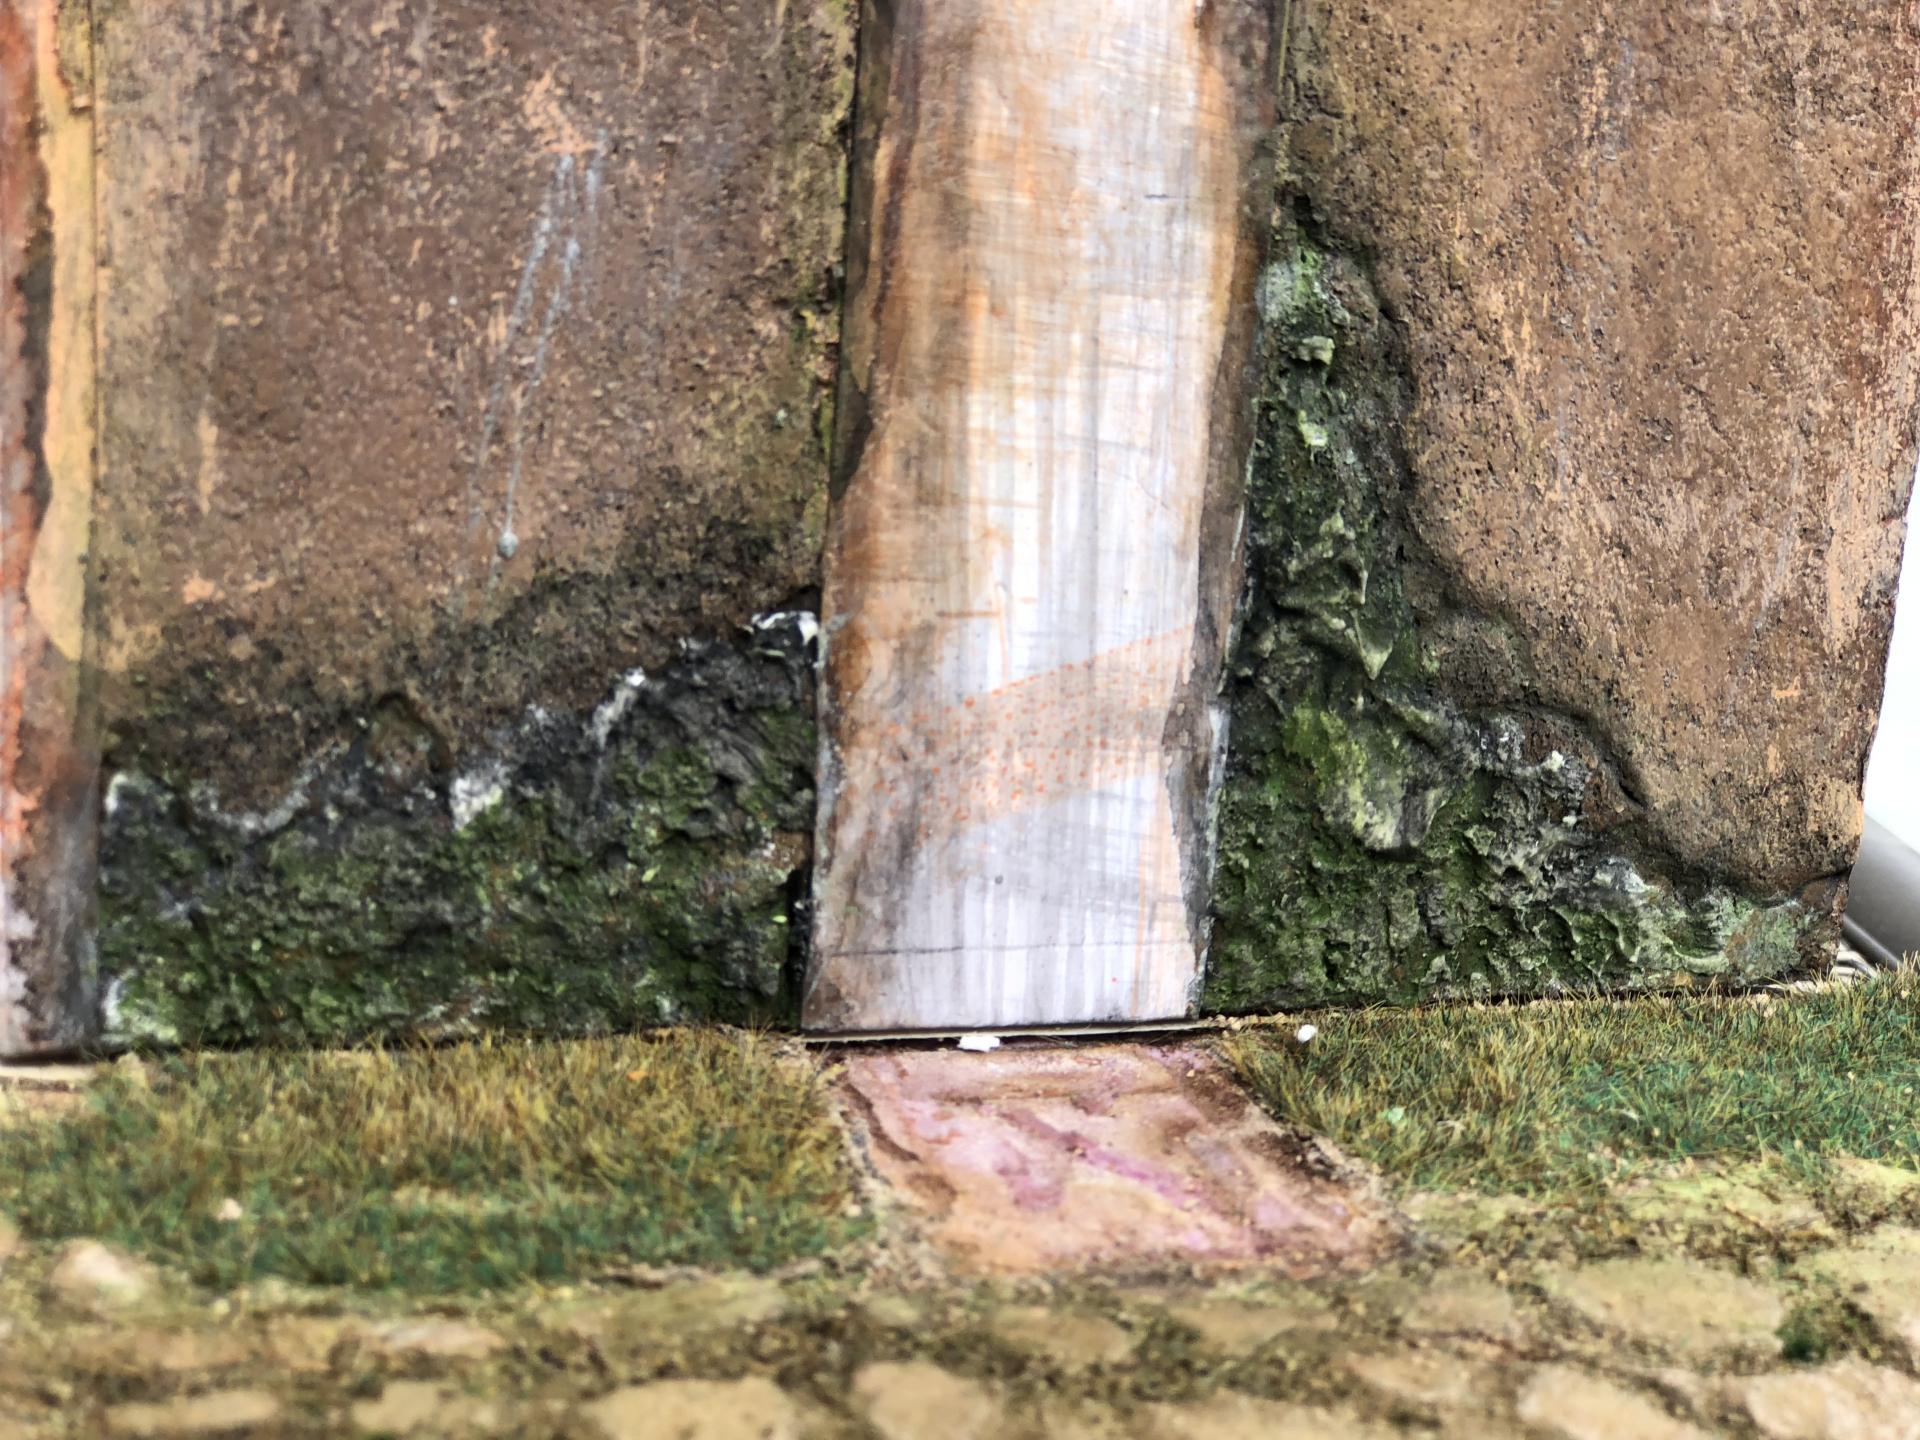
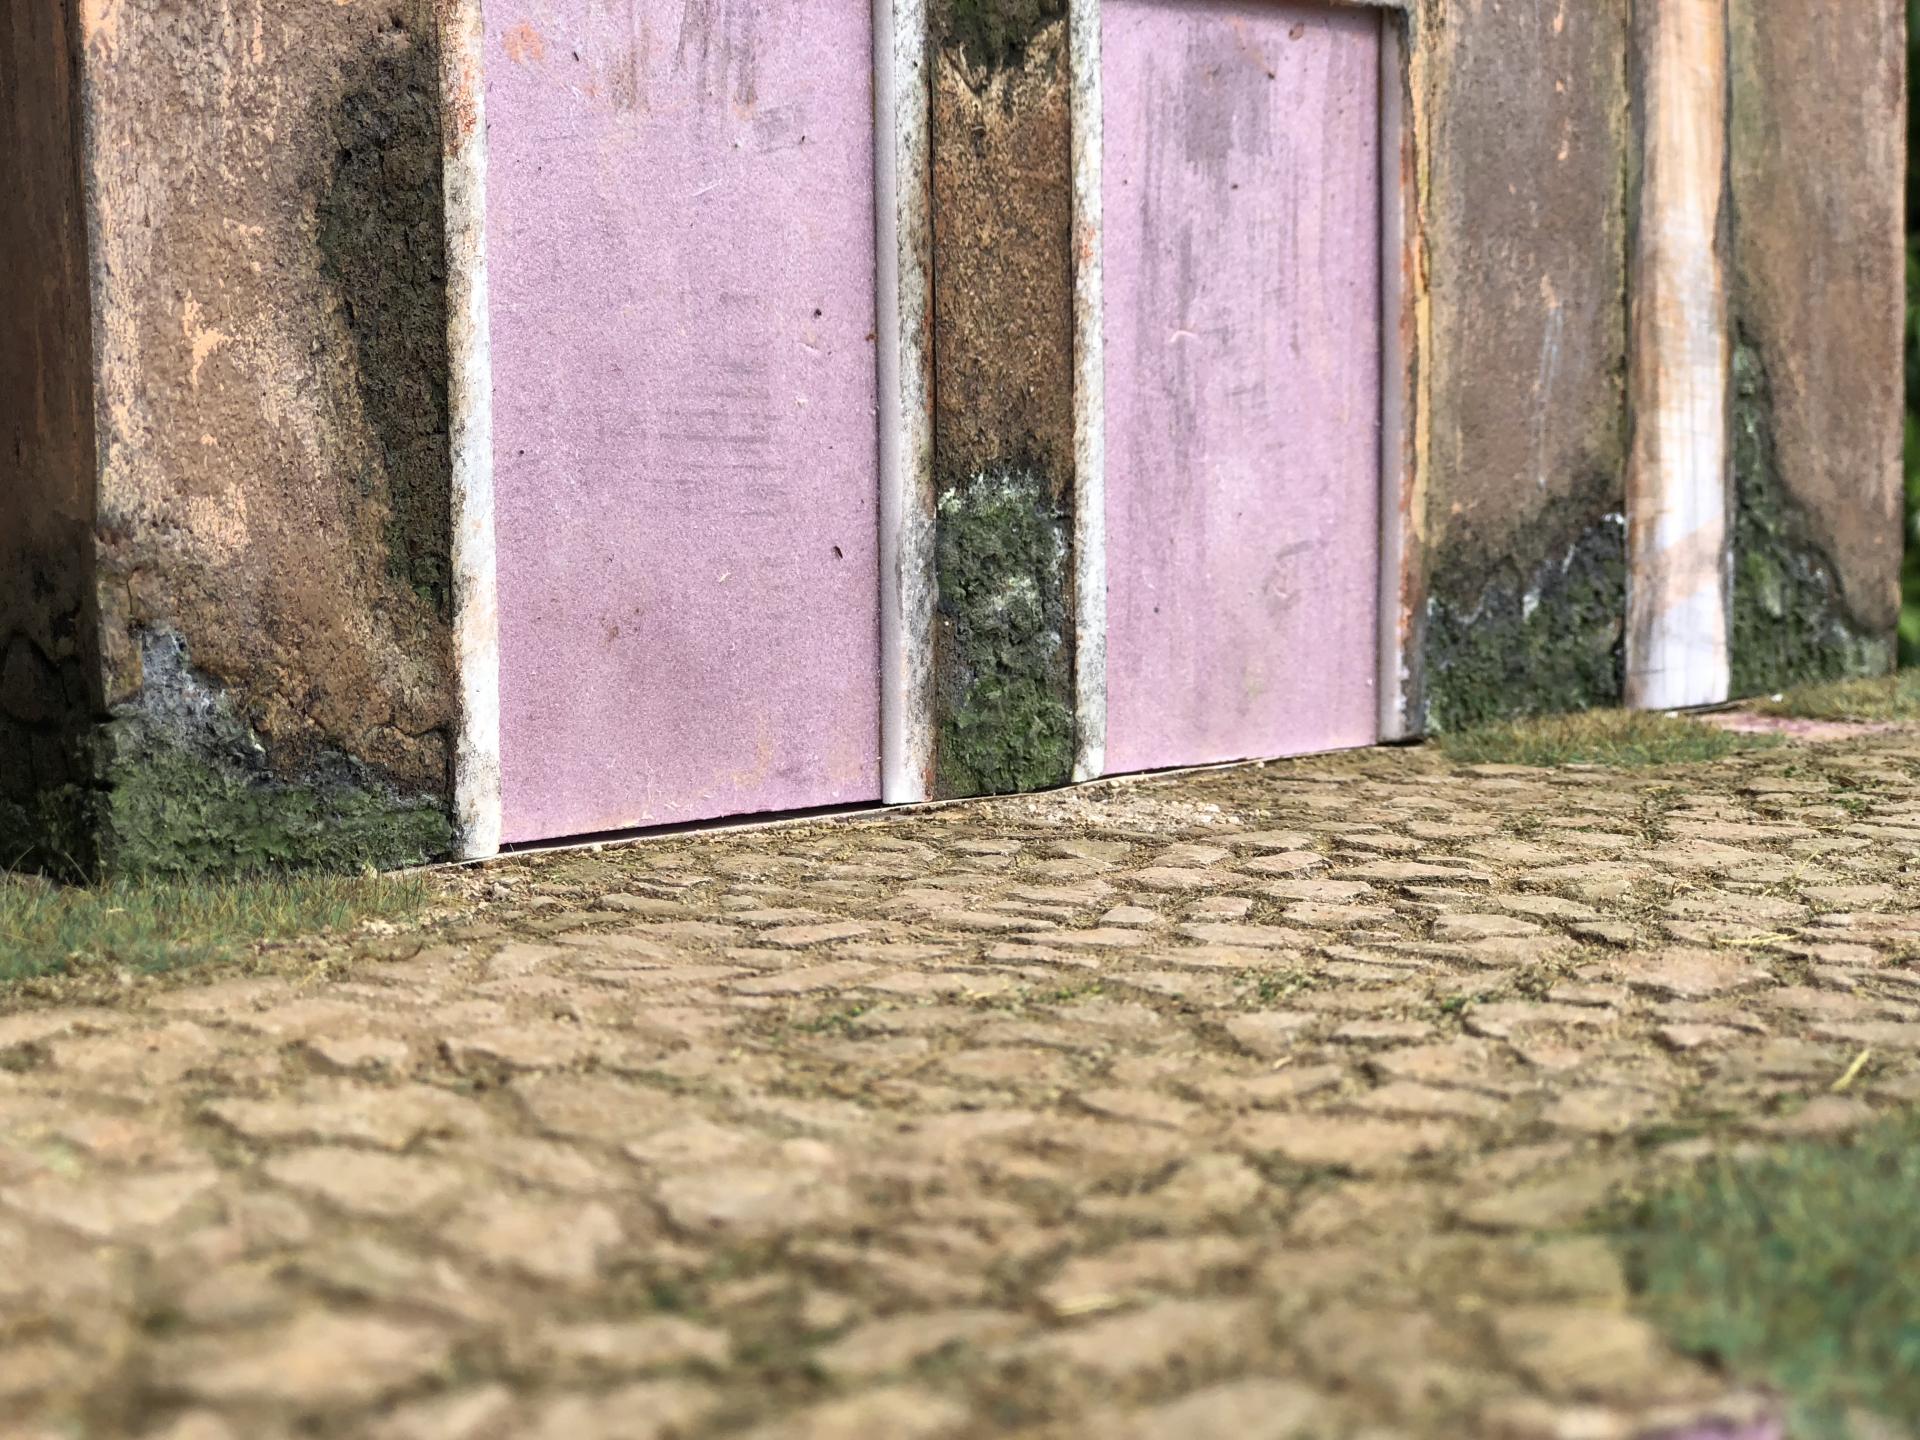
A little extra: 1- Began building the door. It was going to be two doors, but it occurred to me that a water fixture would look nice. So I used the cutout on the right for a wall water fountain. 2- For the water fountain I made two moldings out of foam core board. One for the back and another for the bottom piece. I also made a molding for the concrete level at the door. I mixed water, plaster of Paris and one of my mixture of dirt (very fine sand, woodland scenic fine ballast and medium ballast in buff color). 3- I gave heavy weathered washes of diluted black, then olive green watercolor, since this will represent a very humid area.
-
Thank you, David.
-
Oh Wow. Very impressive !!! Keep it up.
-
I was wondering...have you ever displayed your work in a show? Your attention to detail is extraordinary. Amazing work!!!
-
Thank you, David. I like to share the techniques I use. Hopefully someone will use it and/or modify it to a make it look more realistic. I’m still not getting the actual results I’m wanting, yet, but I have been playing around with scrap pieces to try to obtain better textures.
-
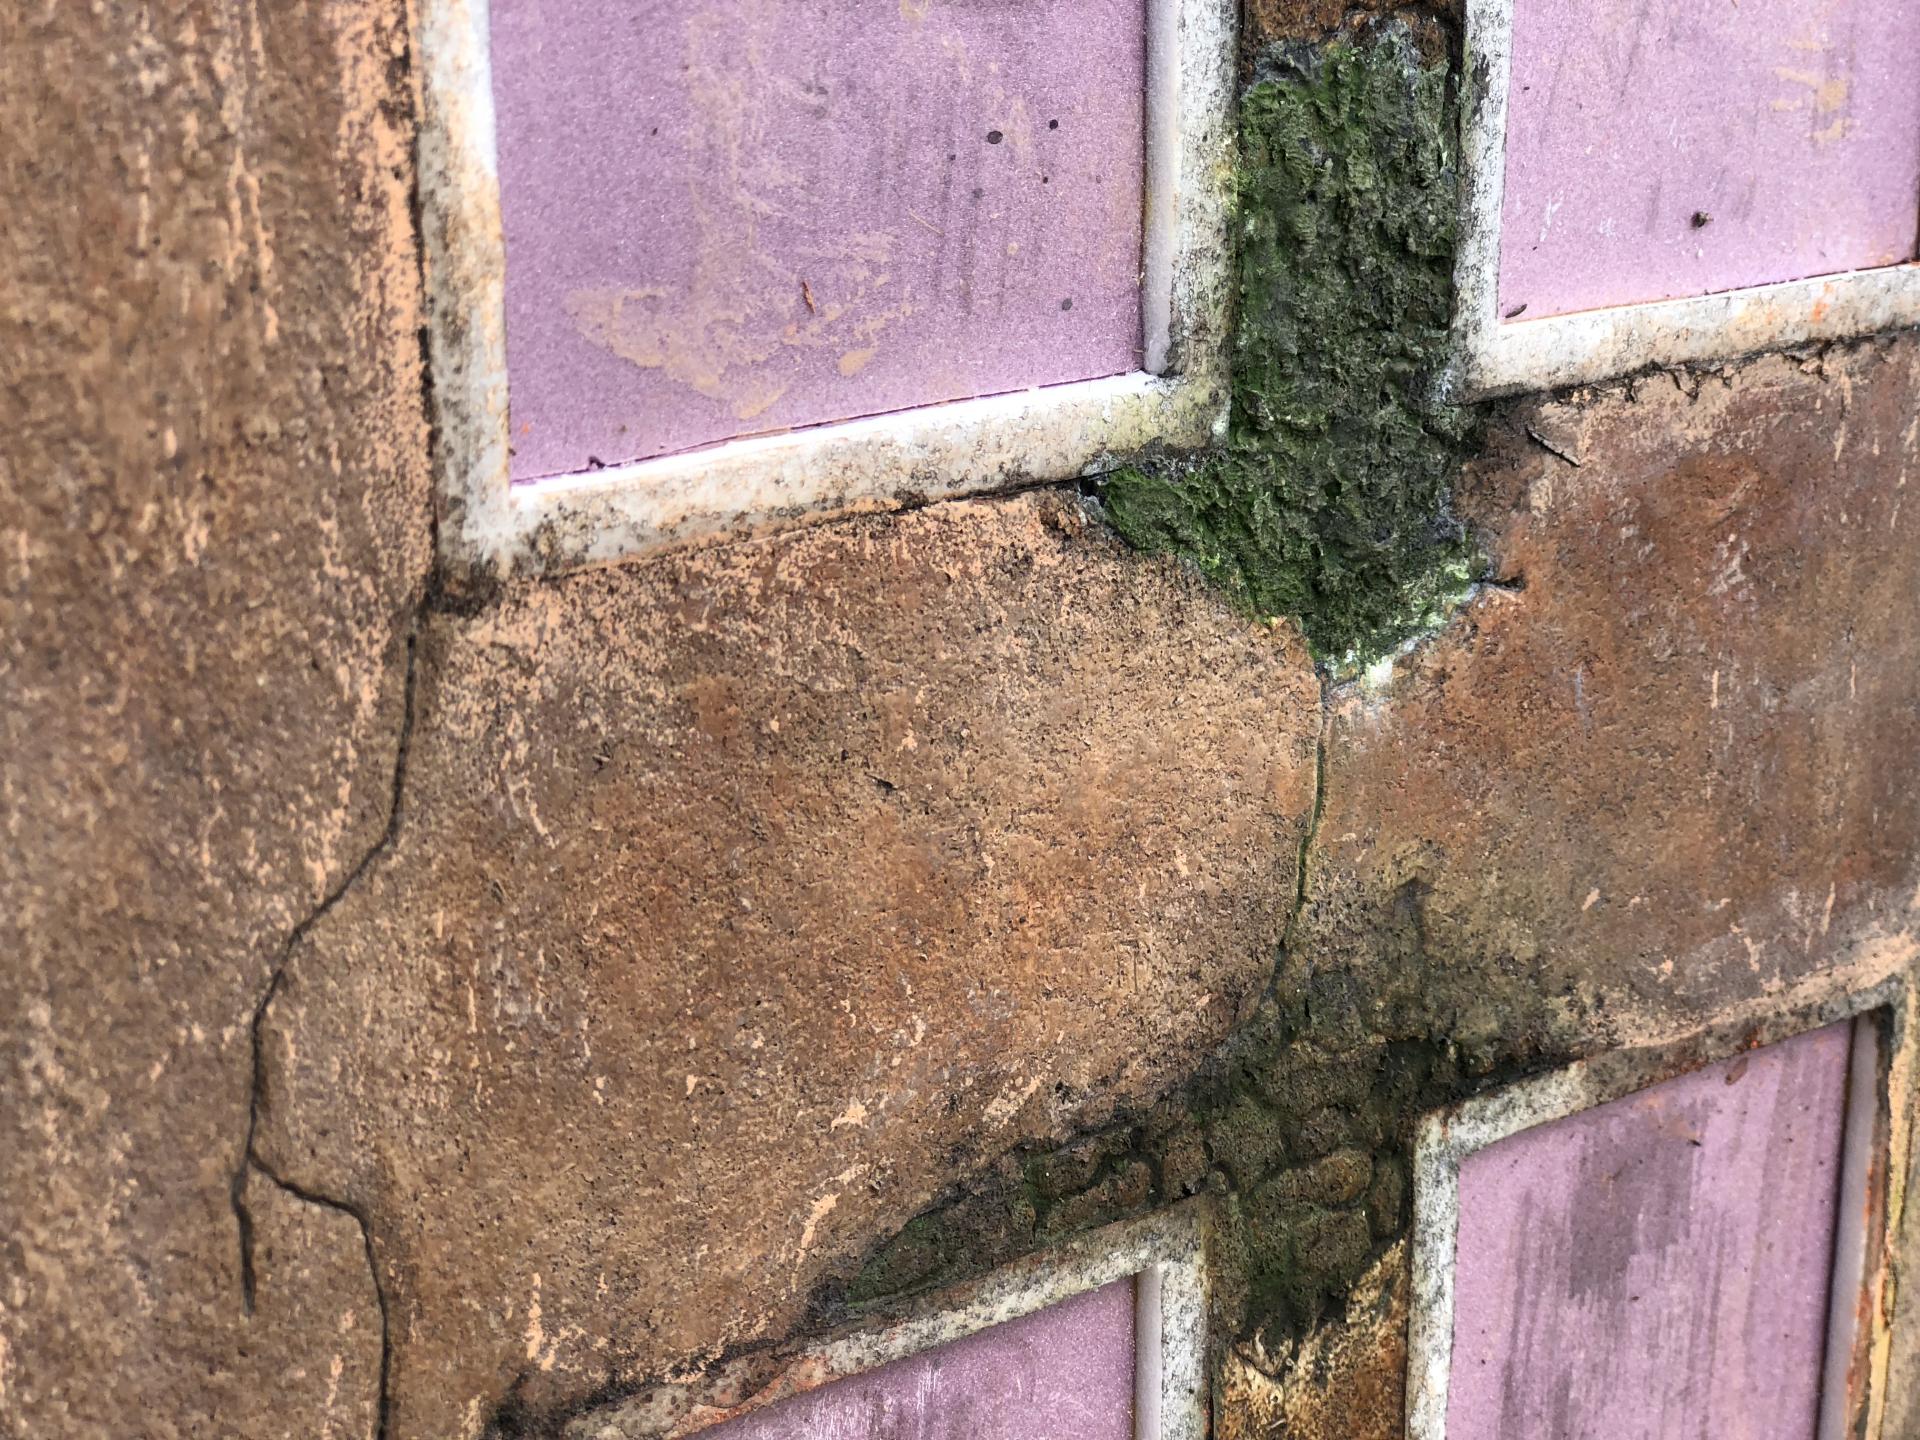
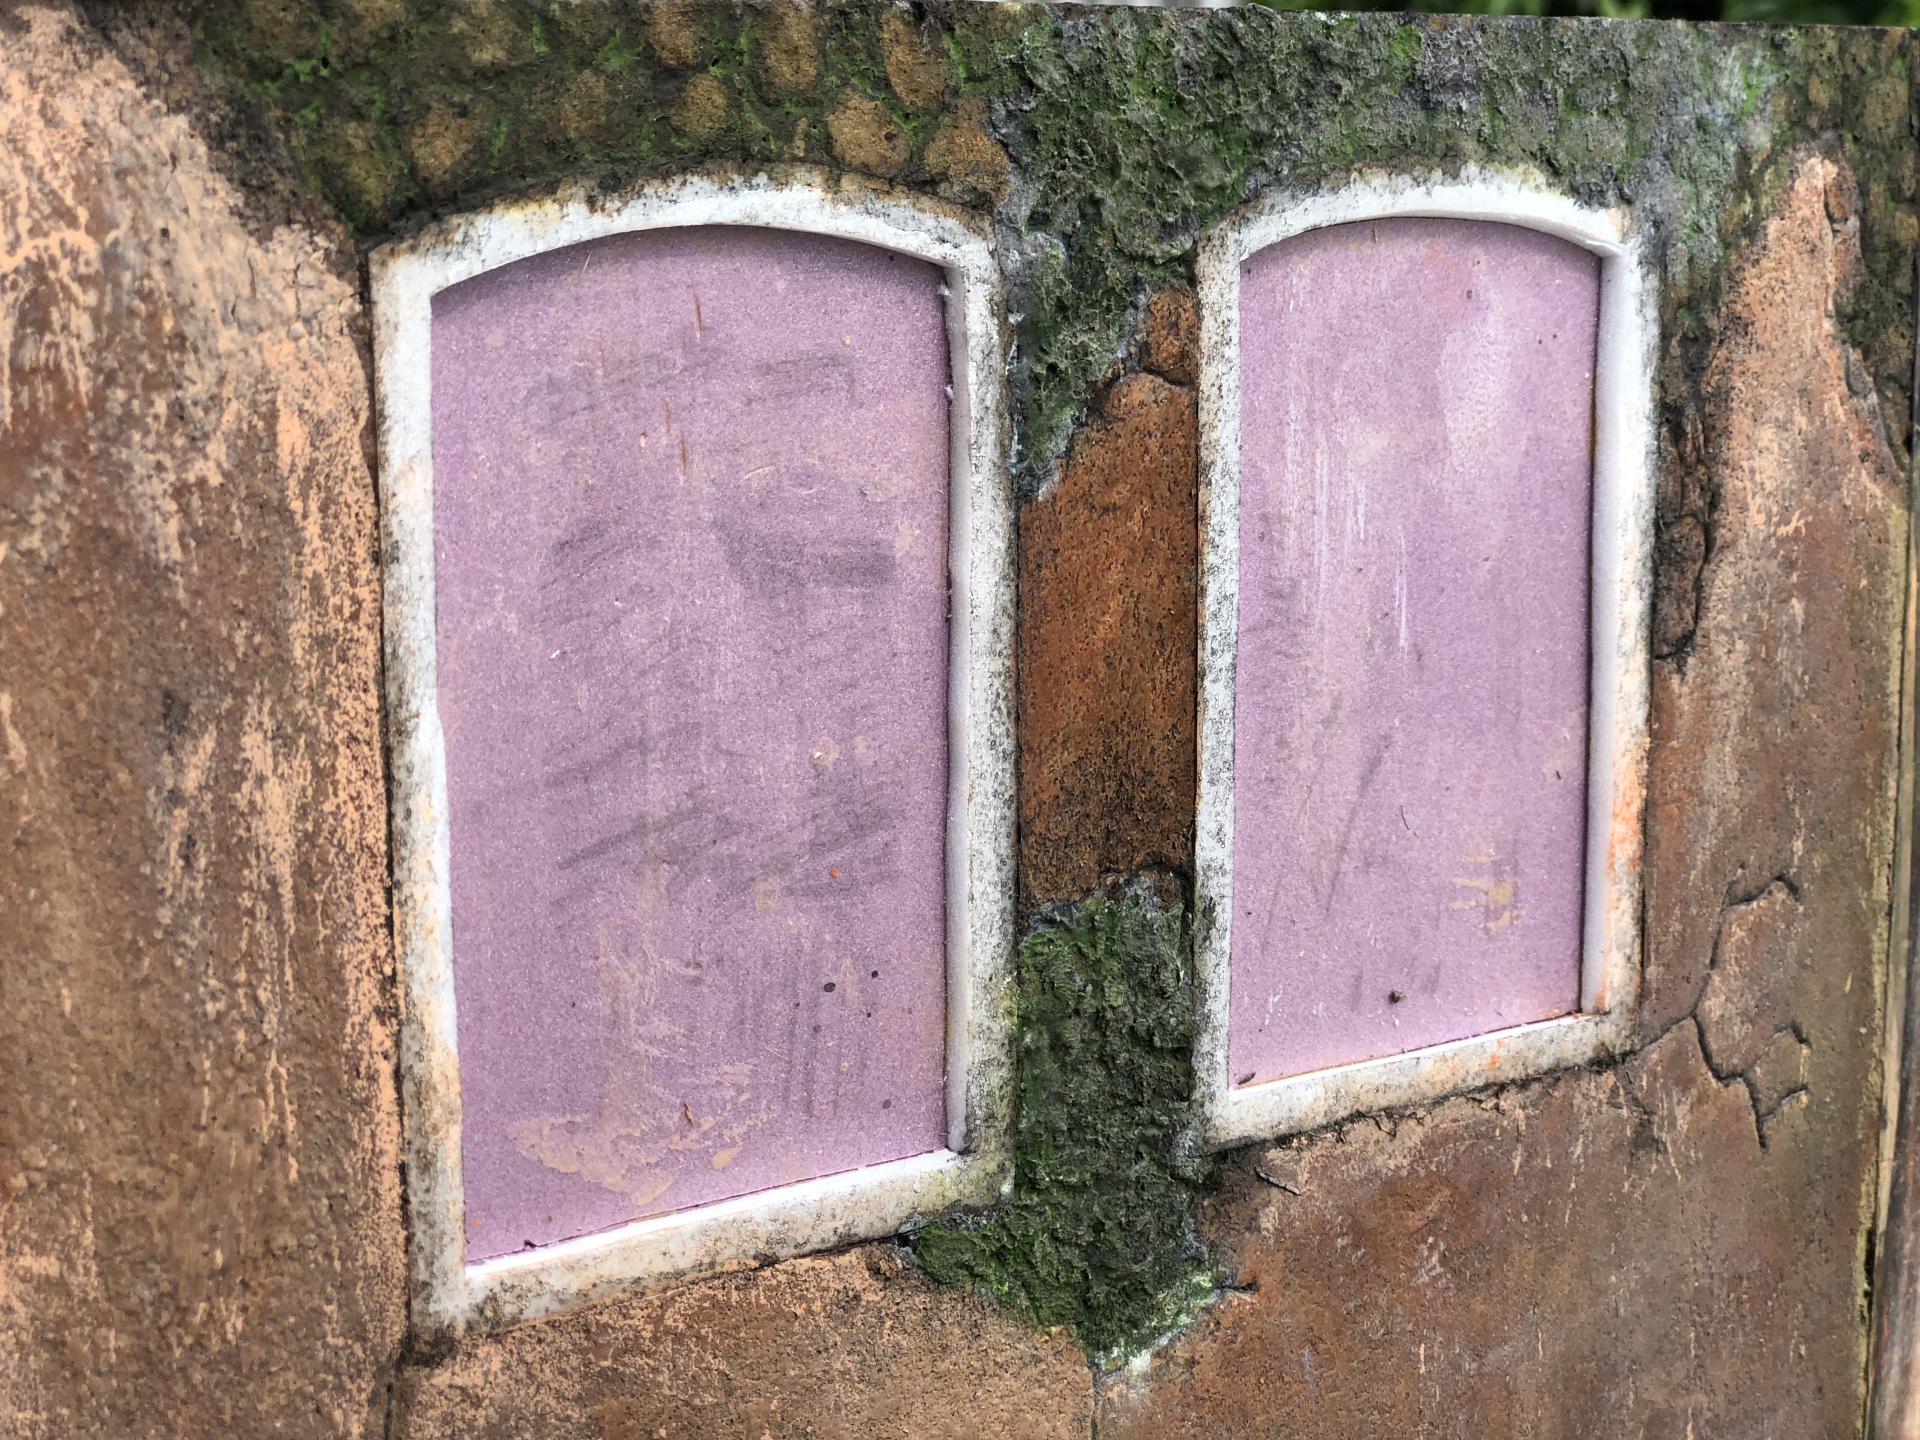
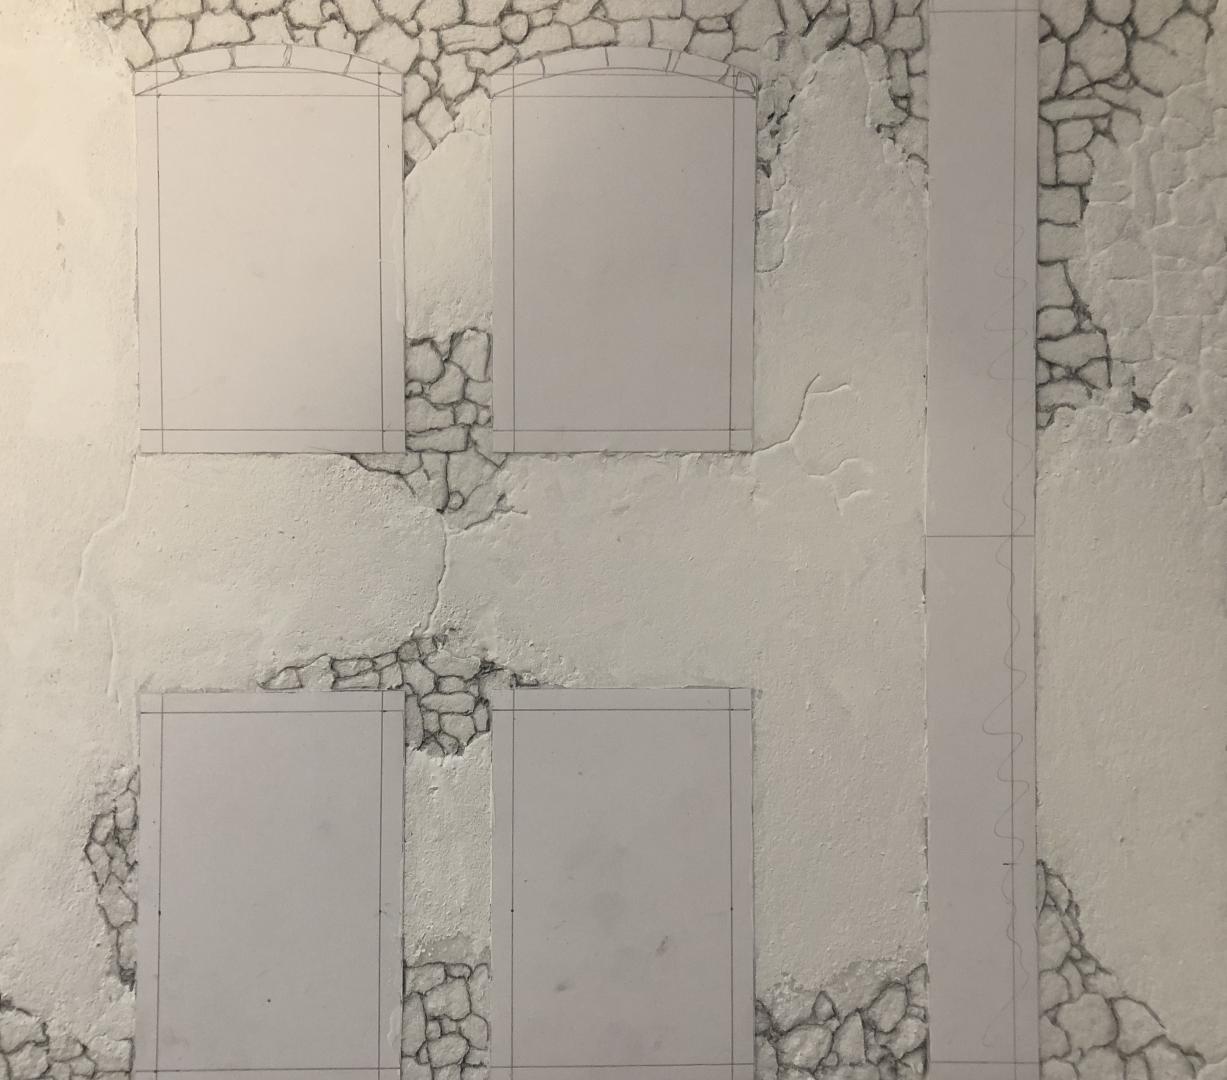
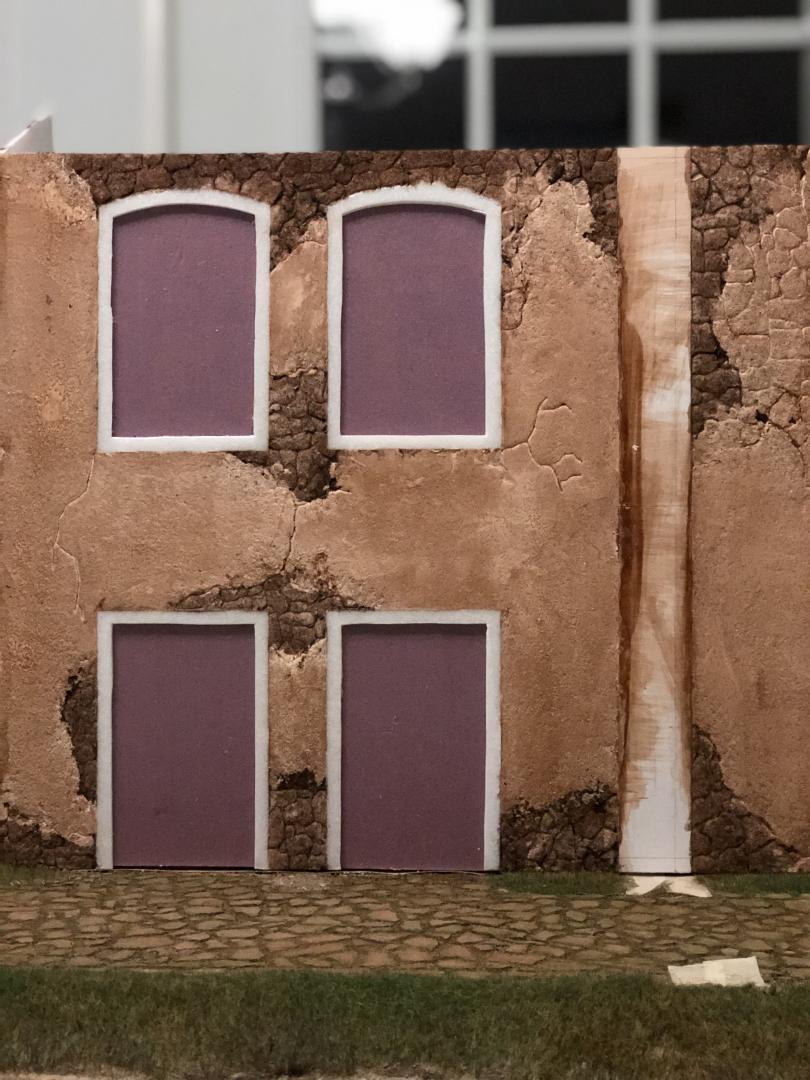
Extra details added to the building walls: 1- A layer of hairspray. 2- Once hairspray was dried ( about 10 minutes in this case) I painted over with acrylic, using a lighter color. 2- Once acrylic was dried (waited about 10 minutes), I used a stiff brush and began taking the added layer of paint off (loading the brush with plain water on every pass). 3- I used plaster of Paris and dabbed on random places around the stones, replicating repair patches with a different stucco texture. 4- I added another very diluted black wash to the entire structure. 5- Finally, I gave a random wash, of olive green watercolor, on the added stucco patches, stones and some cracks. Once I add the doors and windows I will weather around them, adding mildew and moss where needed. I’m still working on the arch.
-
Awesome progress !!!
-
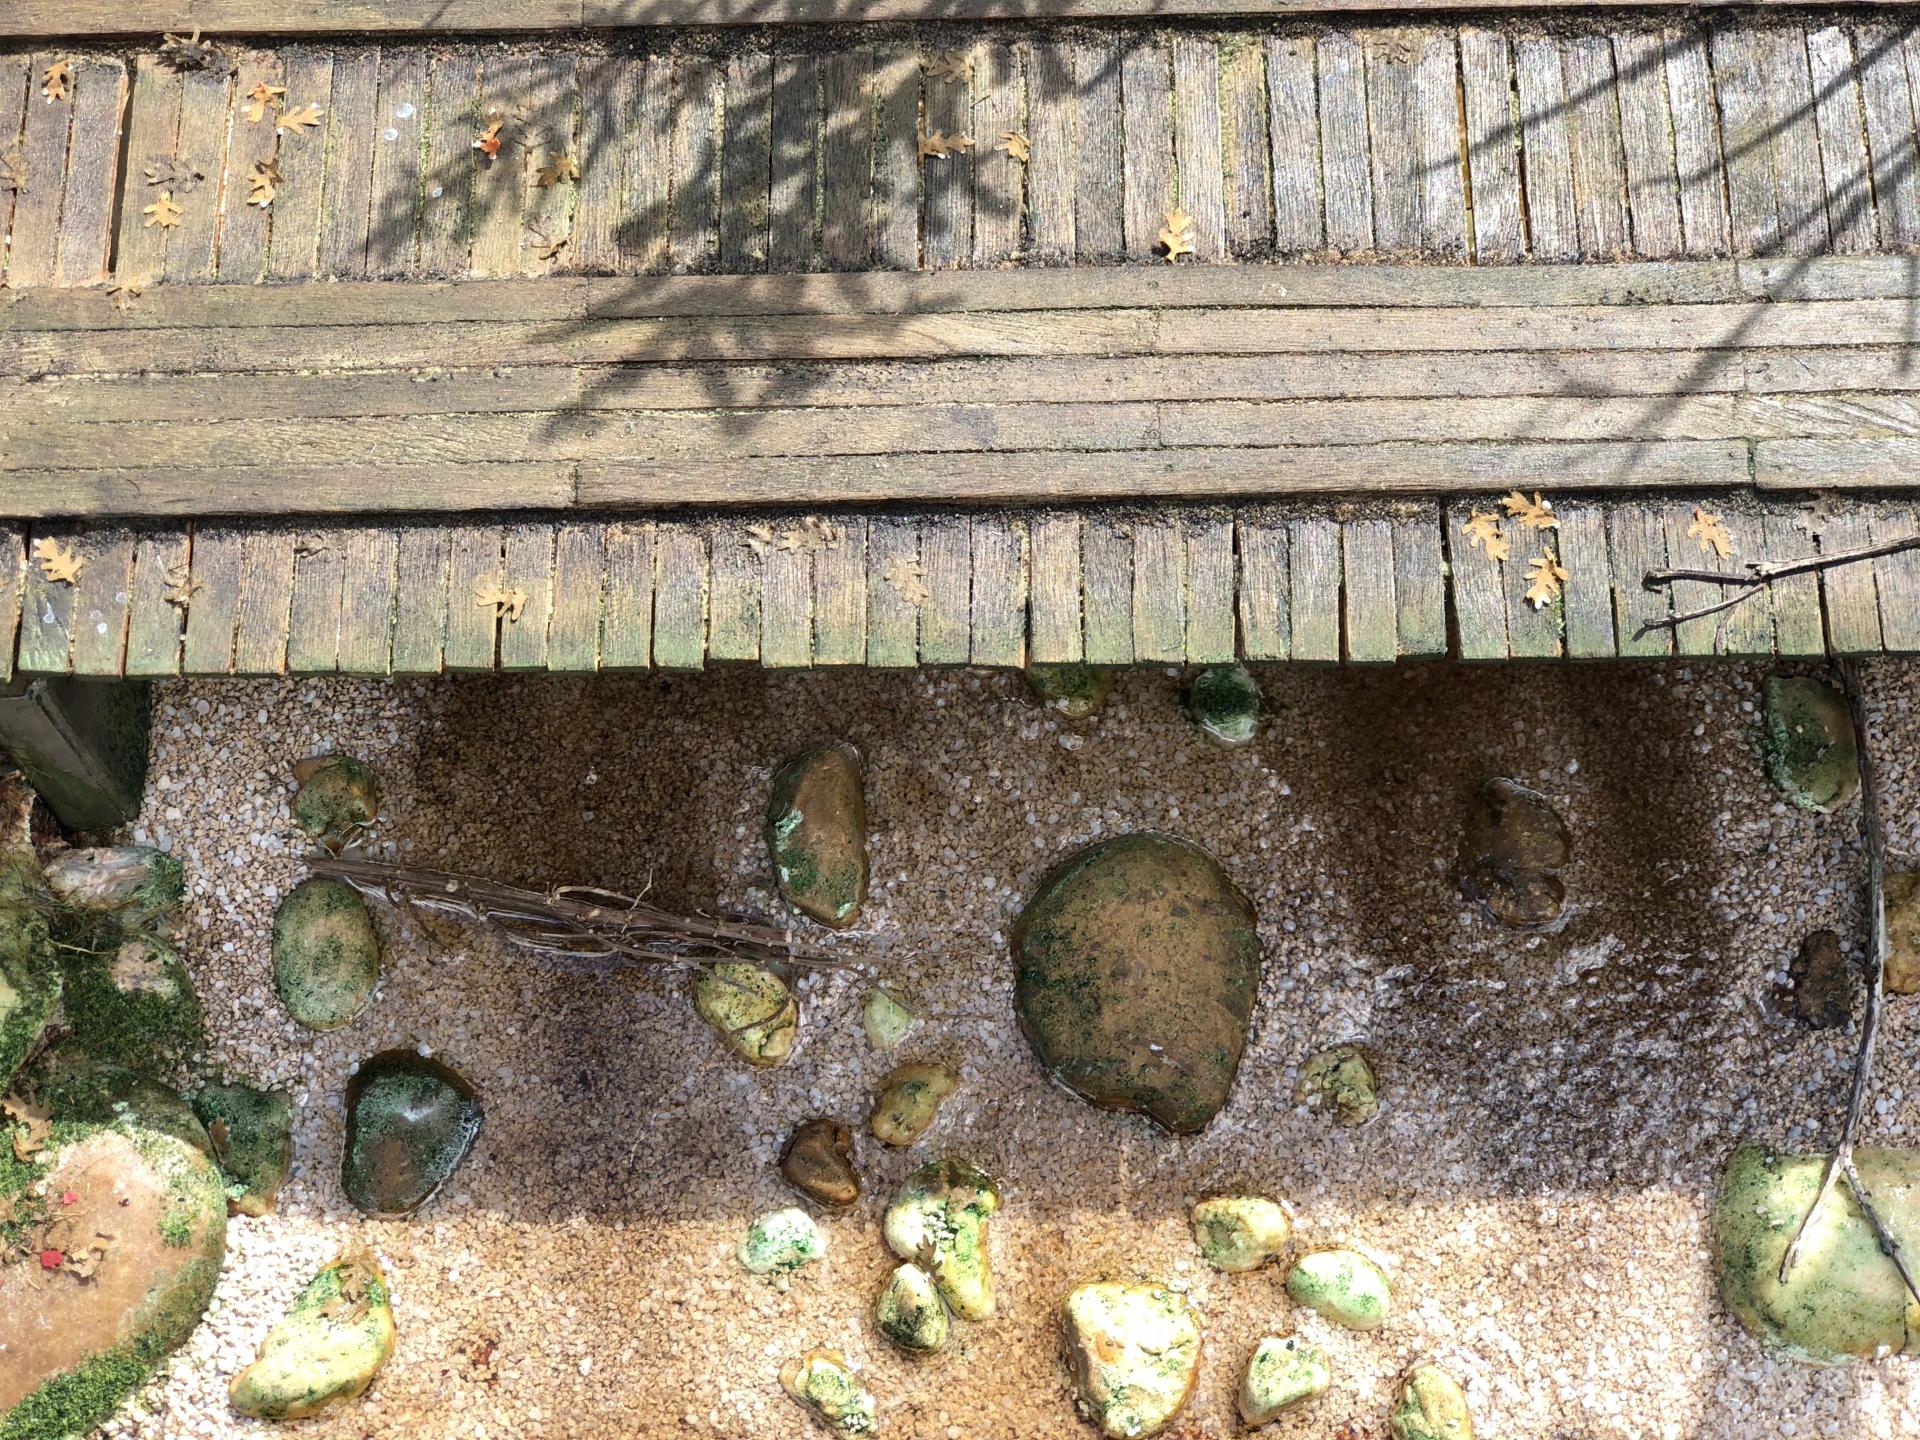
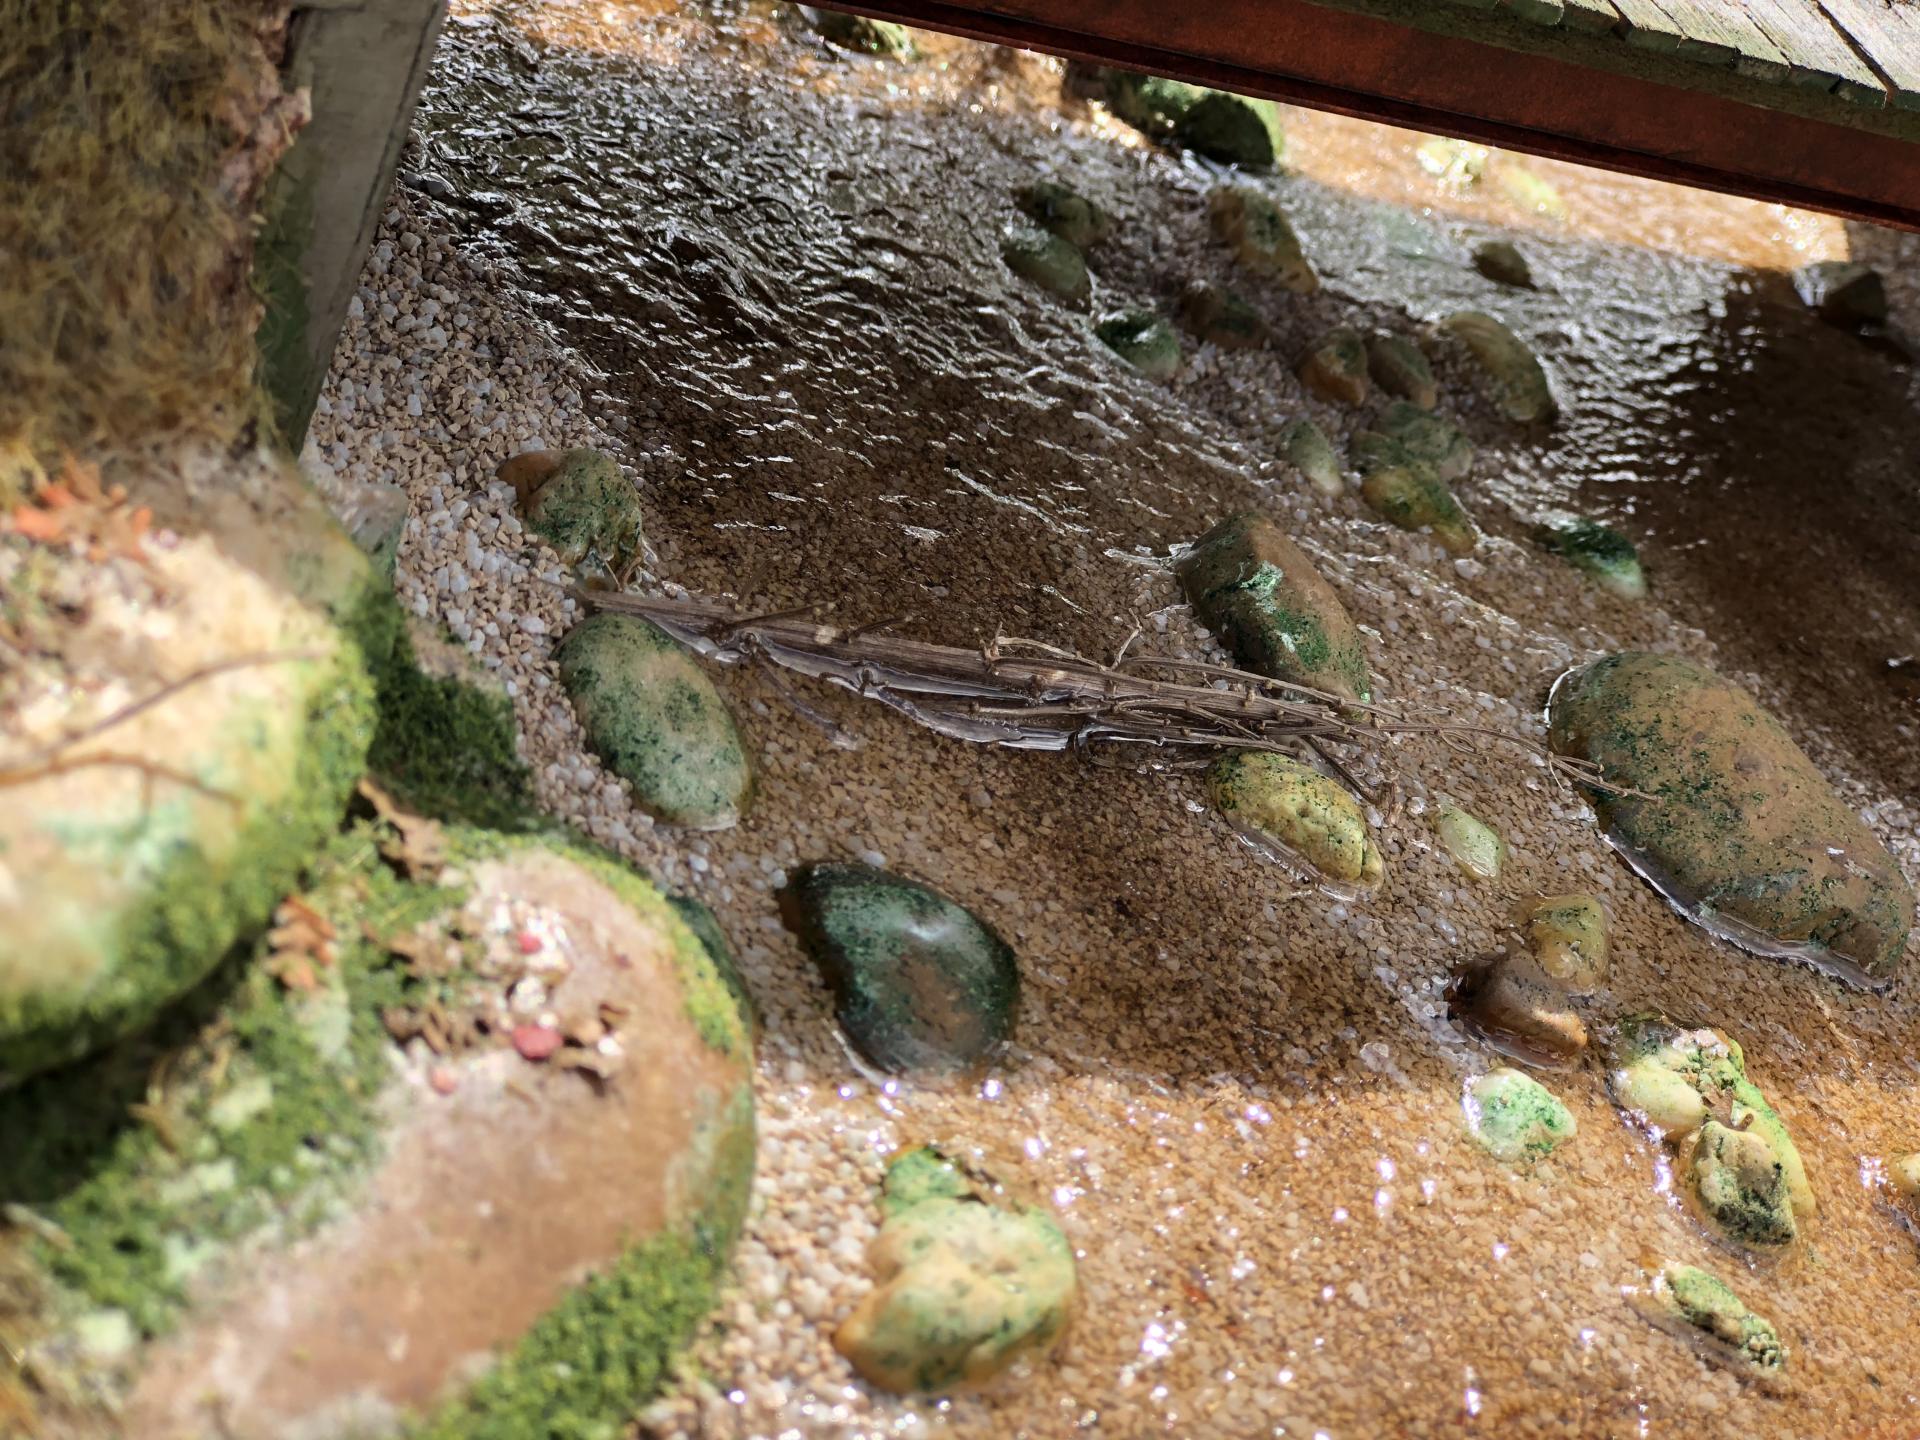
This is one of my dioramas, which I haven’t finished yet. Look at the leaves on the bridge and rocks. I used coffee filters and painted with acrylic artist ink. The filter is thin enough and absorbs the ink evenly and quick. You can be creative with these stuff.
-
Preview of the arch. I think this one came out much better than the previous one. Also, comments on the faded wall paint. I thinking of adding another layer of a different tone but with peeling effect. I might add some depth and realism to the building. Of course the arch will match the building. I found it easier to make separately, then attach once done, and blend with the building wall. There will be final washes and grime on the entire building. (Note: the stones need some work as well).
-
Thank you. I will look into that medium. I could definitely use it.
-
Thank you David. This diorama is gonna take some time to build.
-
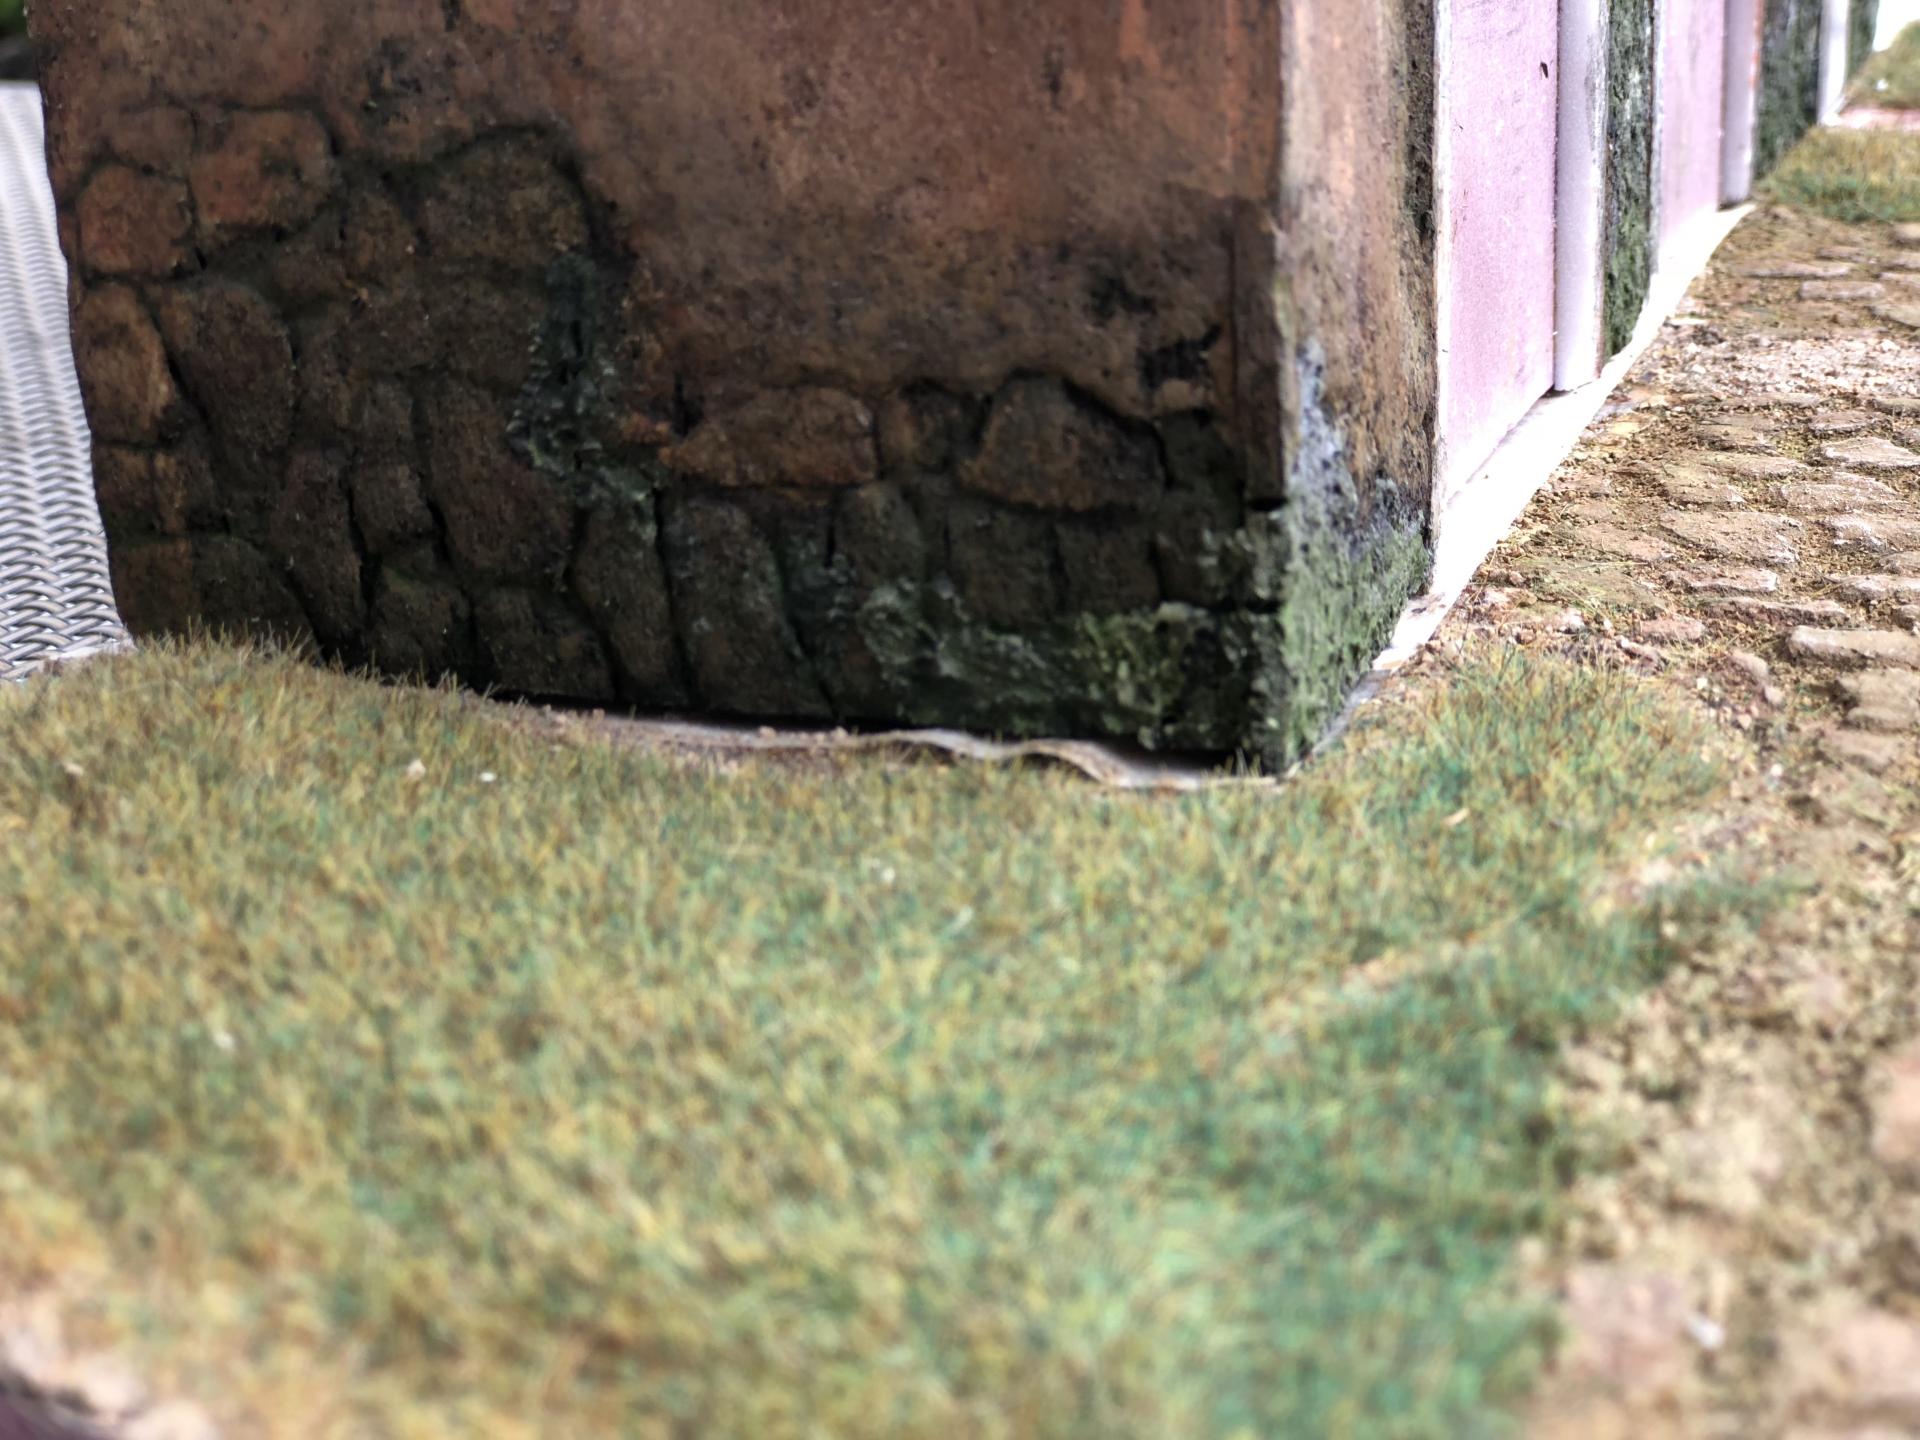
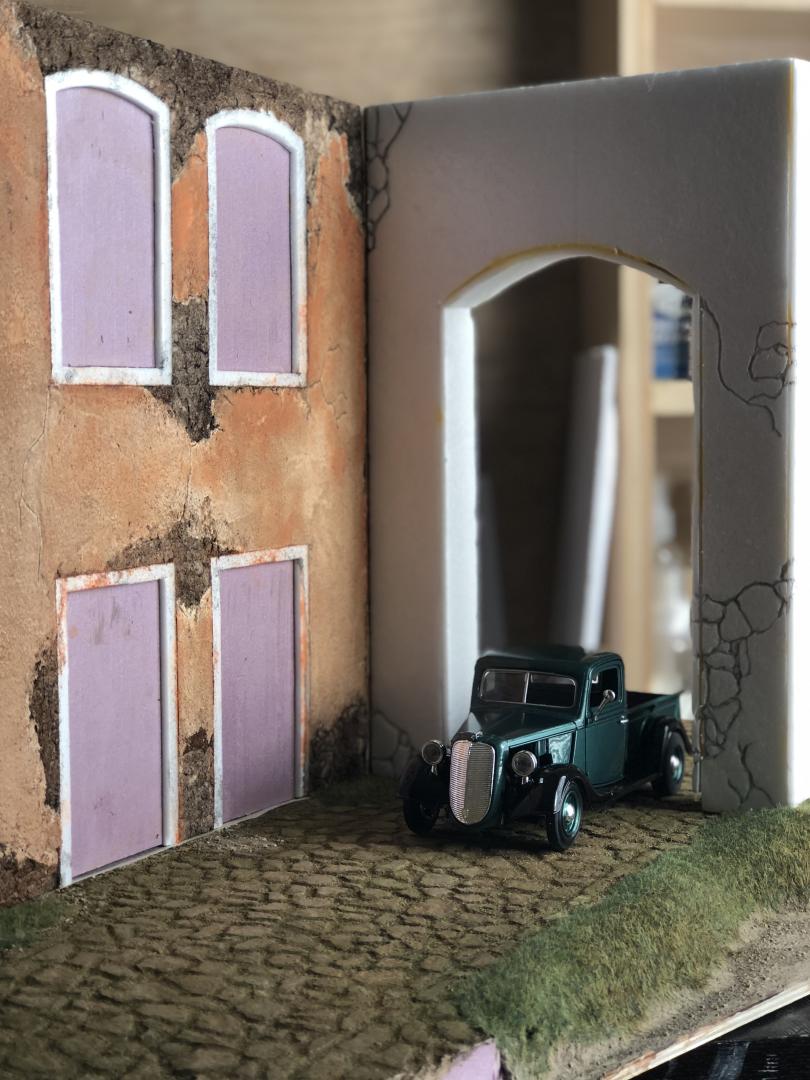
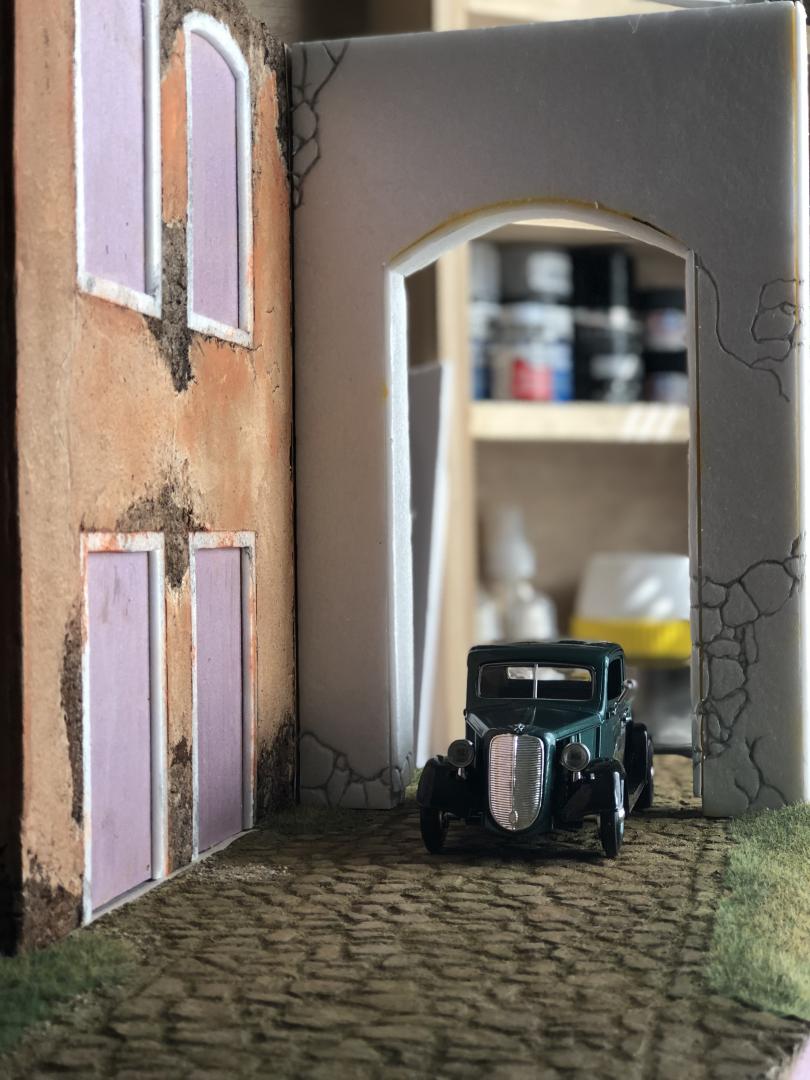
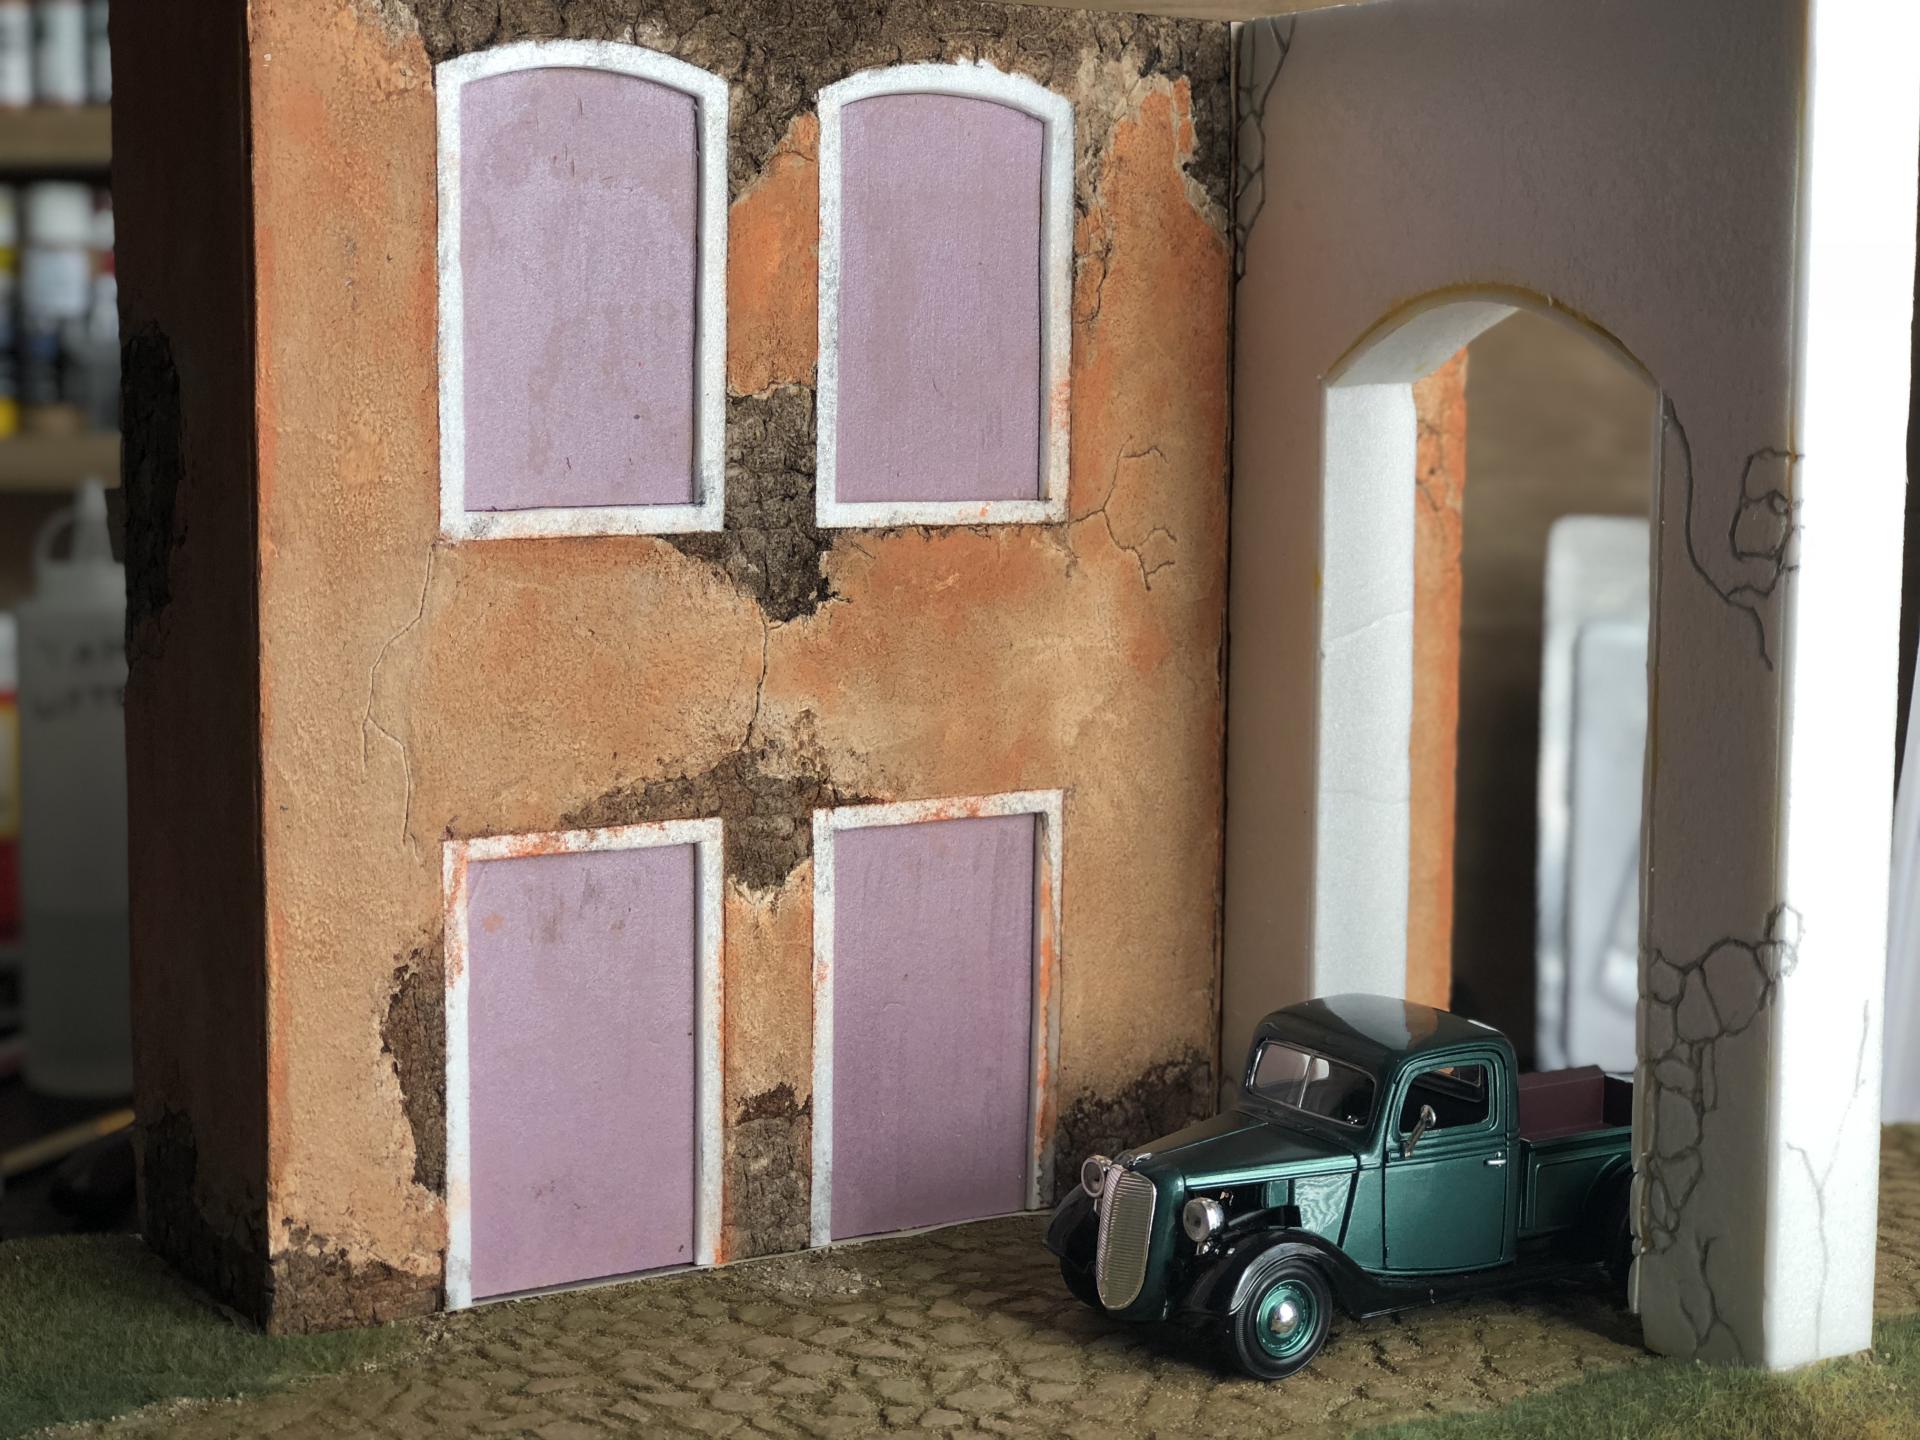
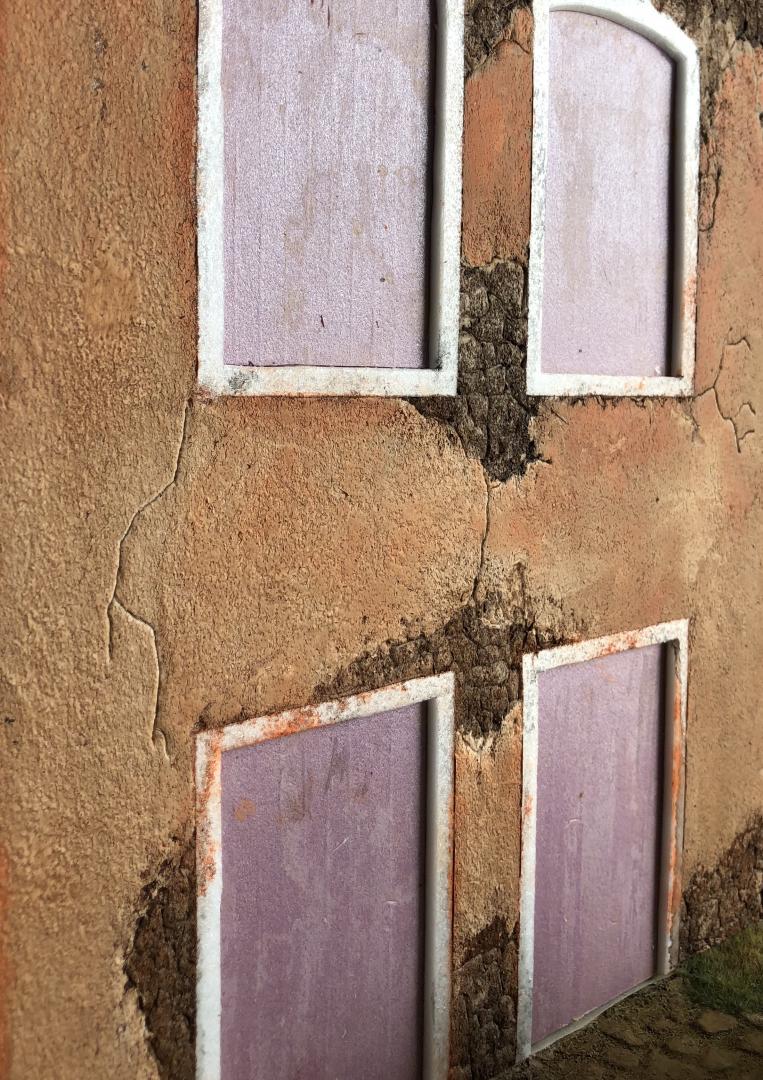
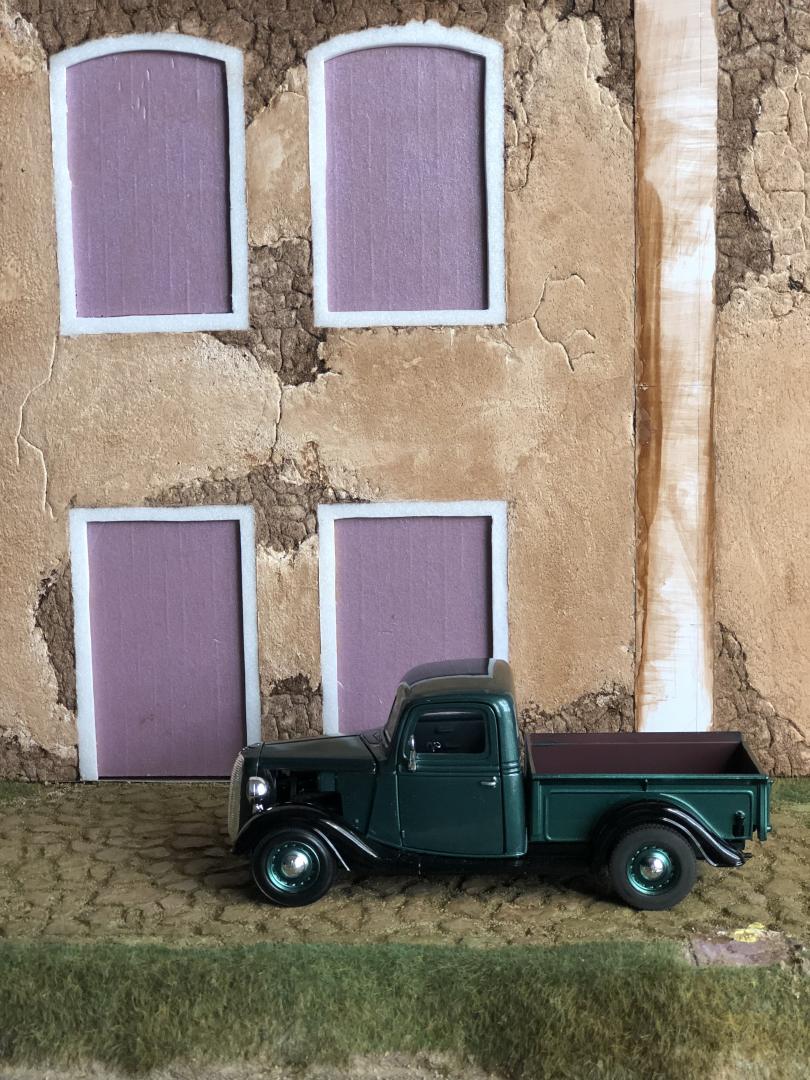
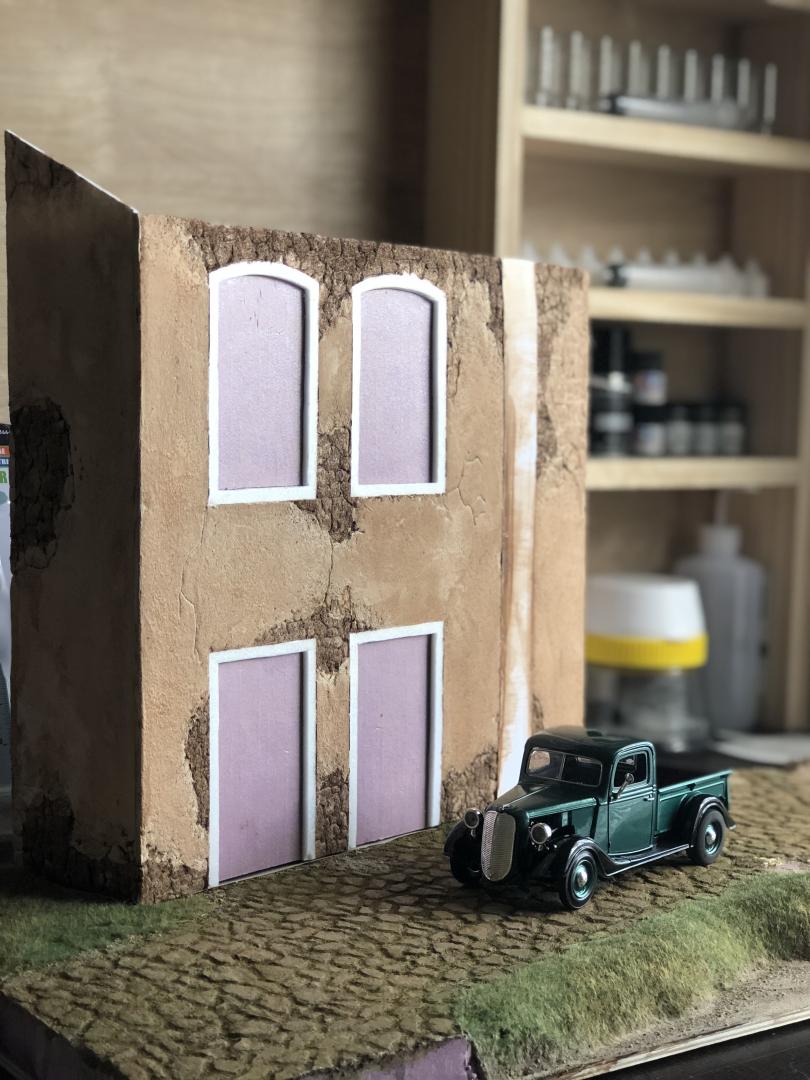
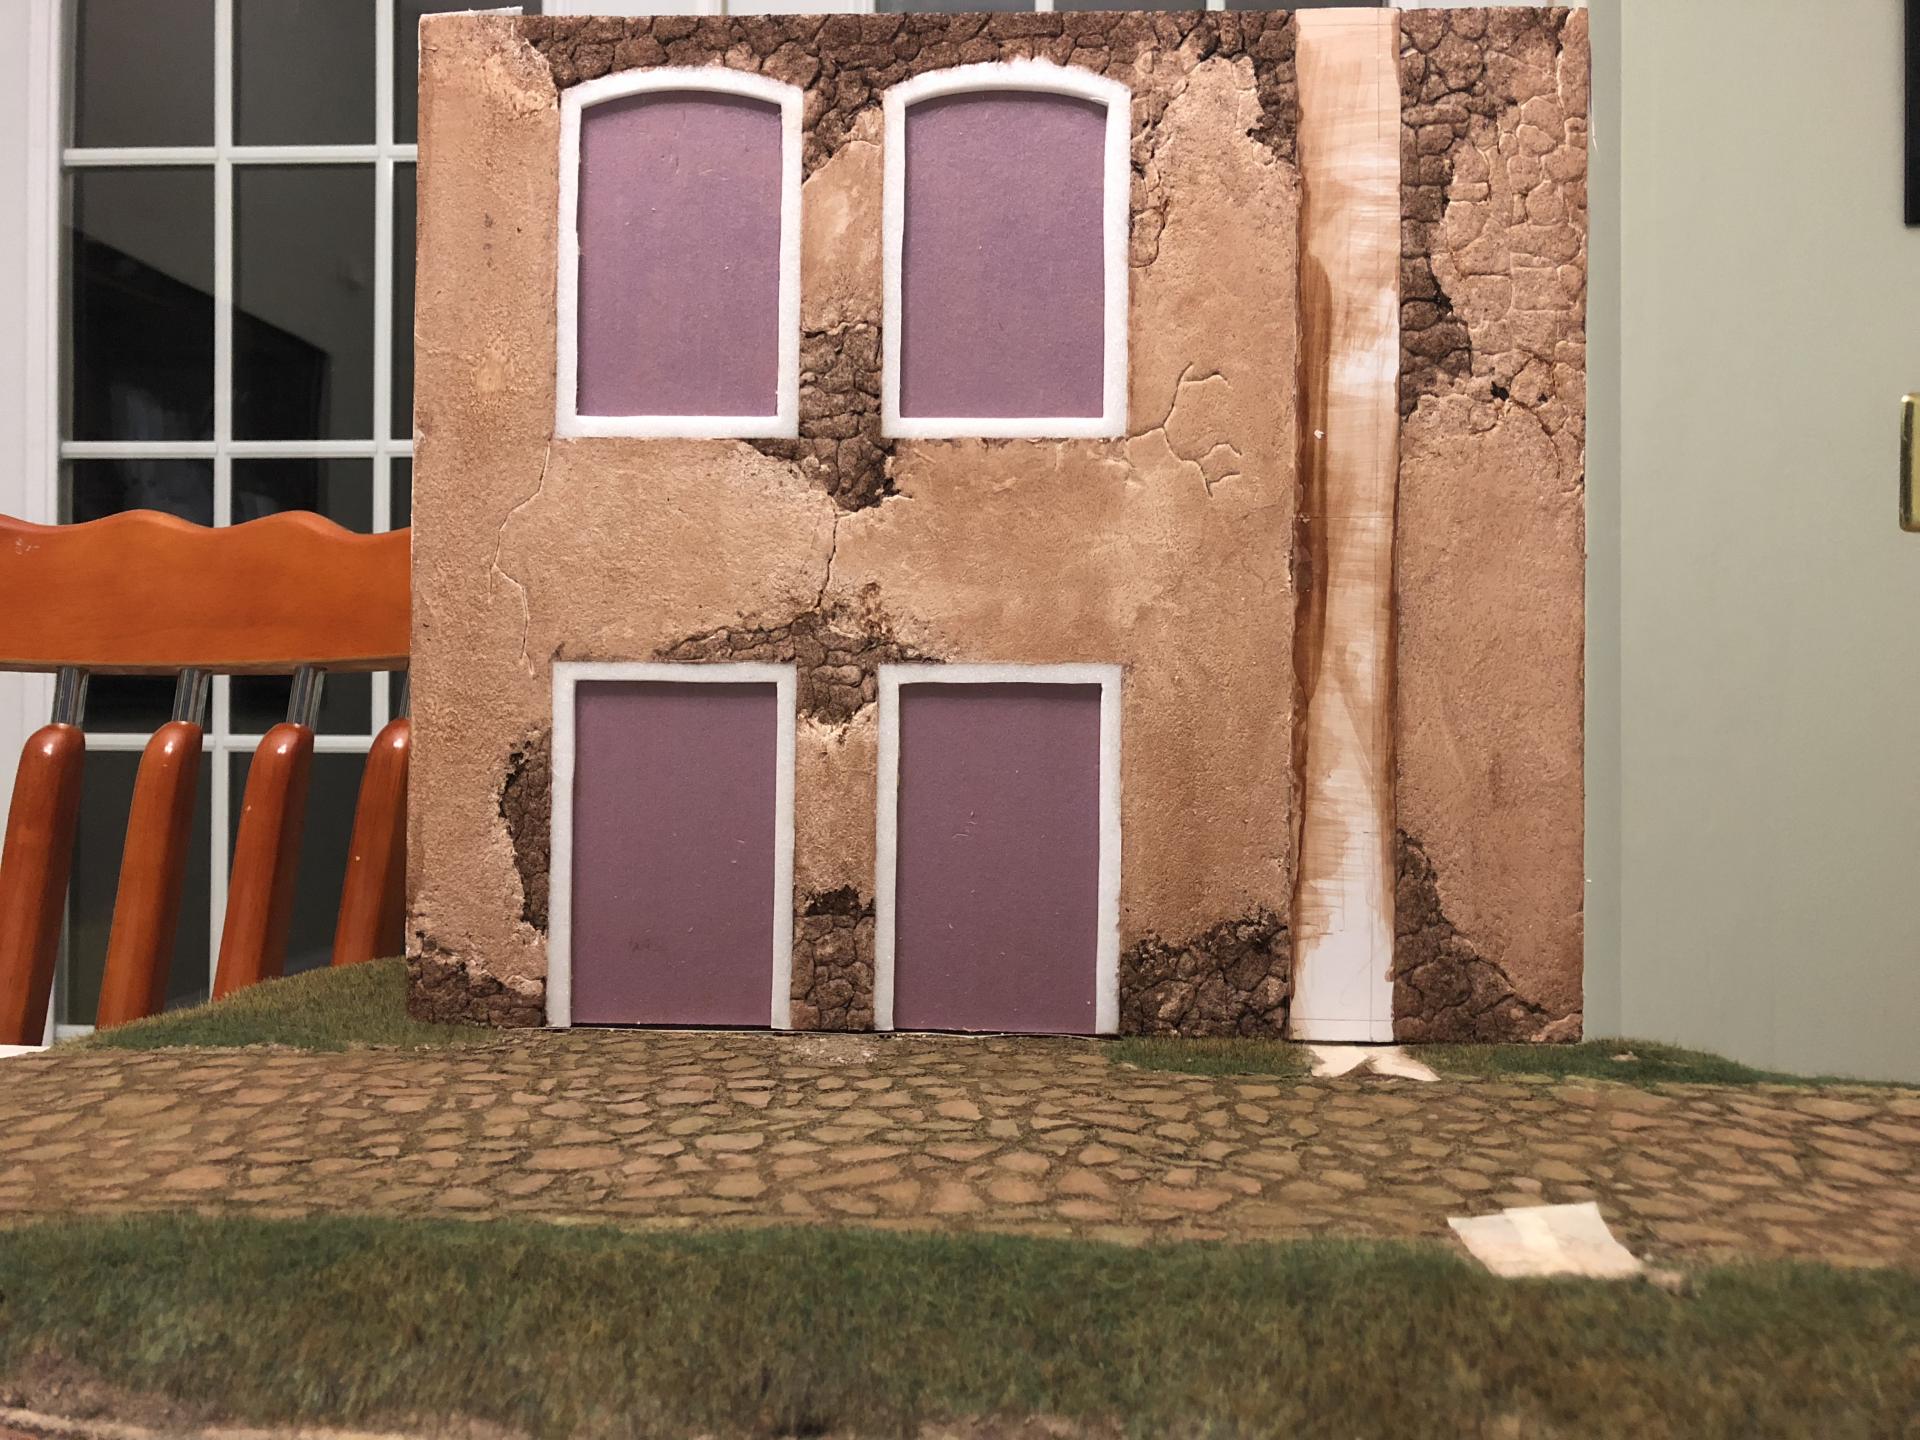
Just some updates. Don’t mind the lighting, since these shots were taken indoors, which will not highlight details. Things I have done differently on this building, compared to the one that fell apart. - Pitch on the side of the building for the roof. - More height to the building. - Window arches. - The entrance arch will match the windows. One the ground. - Just gave a wash of green to mimic algae within the dirt. Gave especial attention to the area that will be under the entrance arch.
-
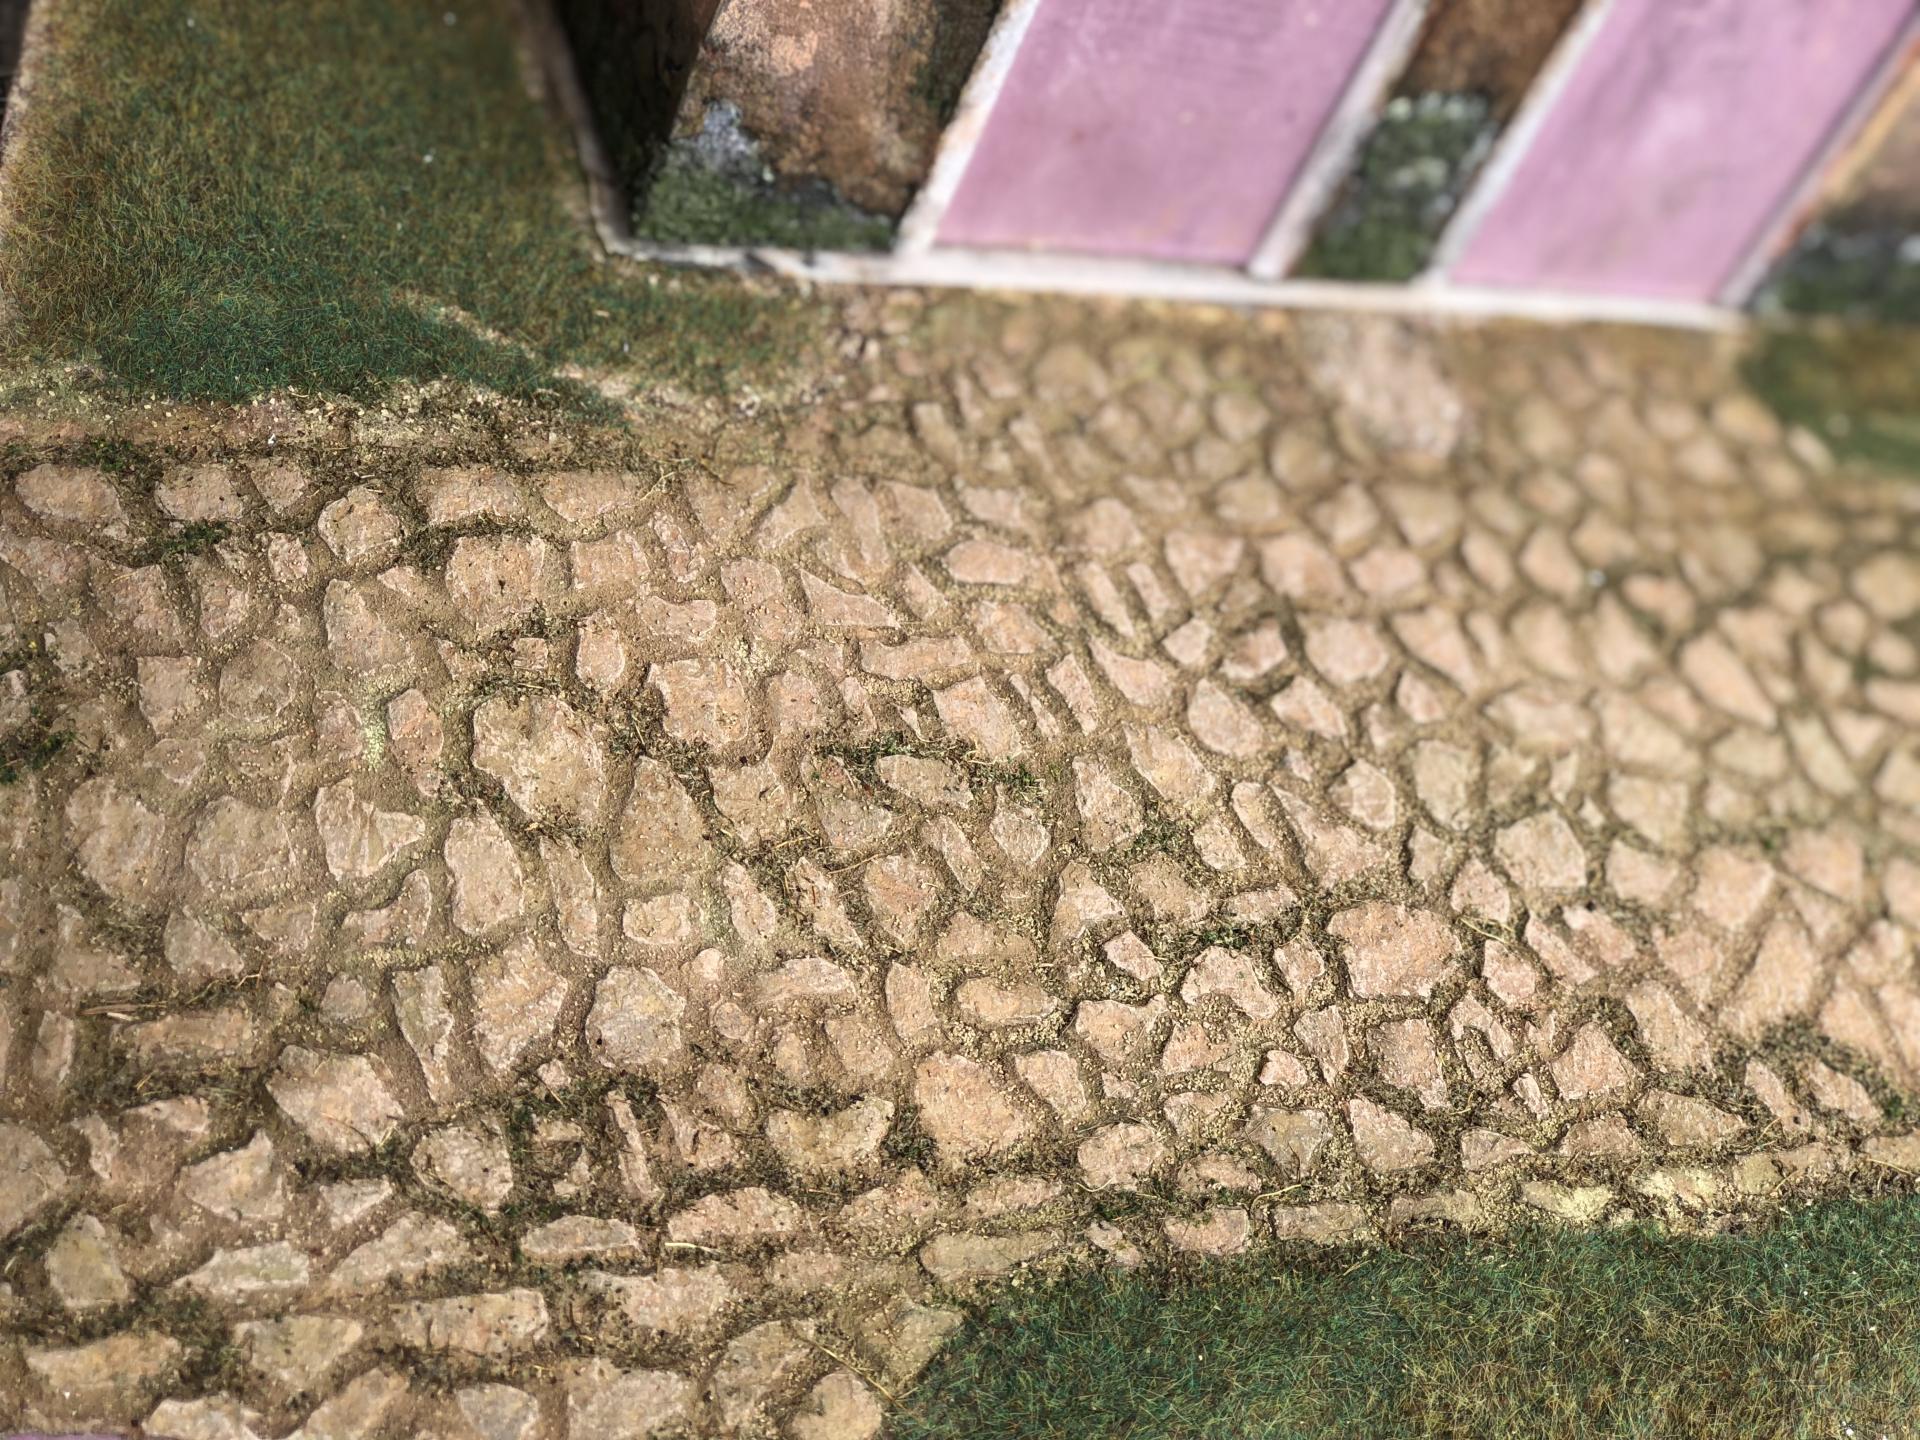
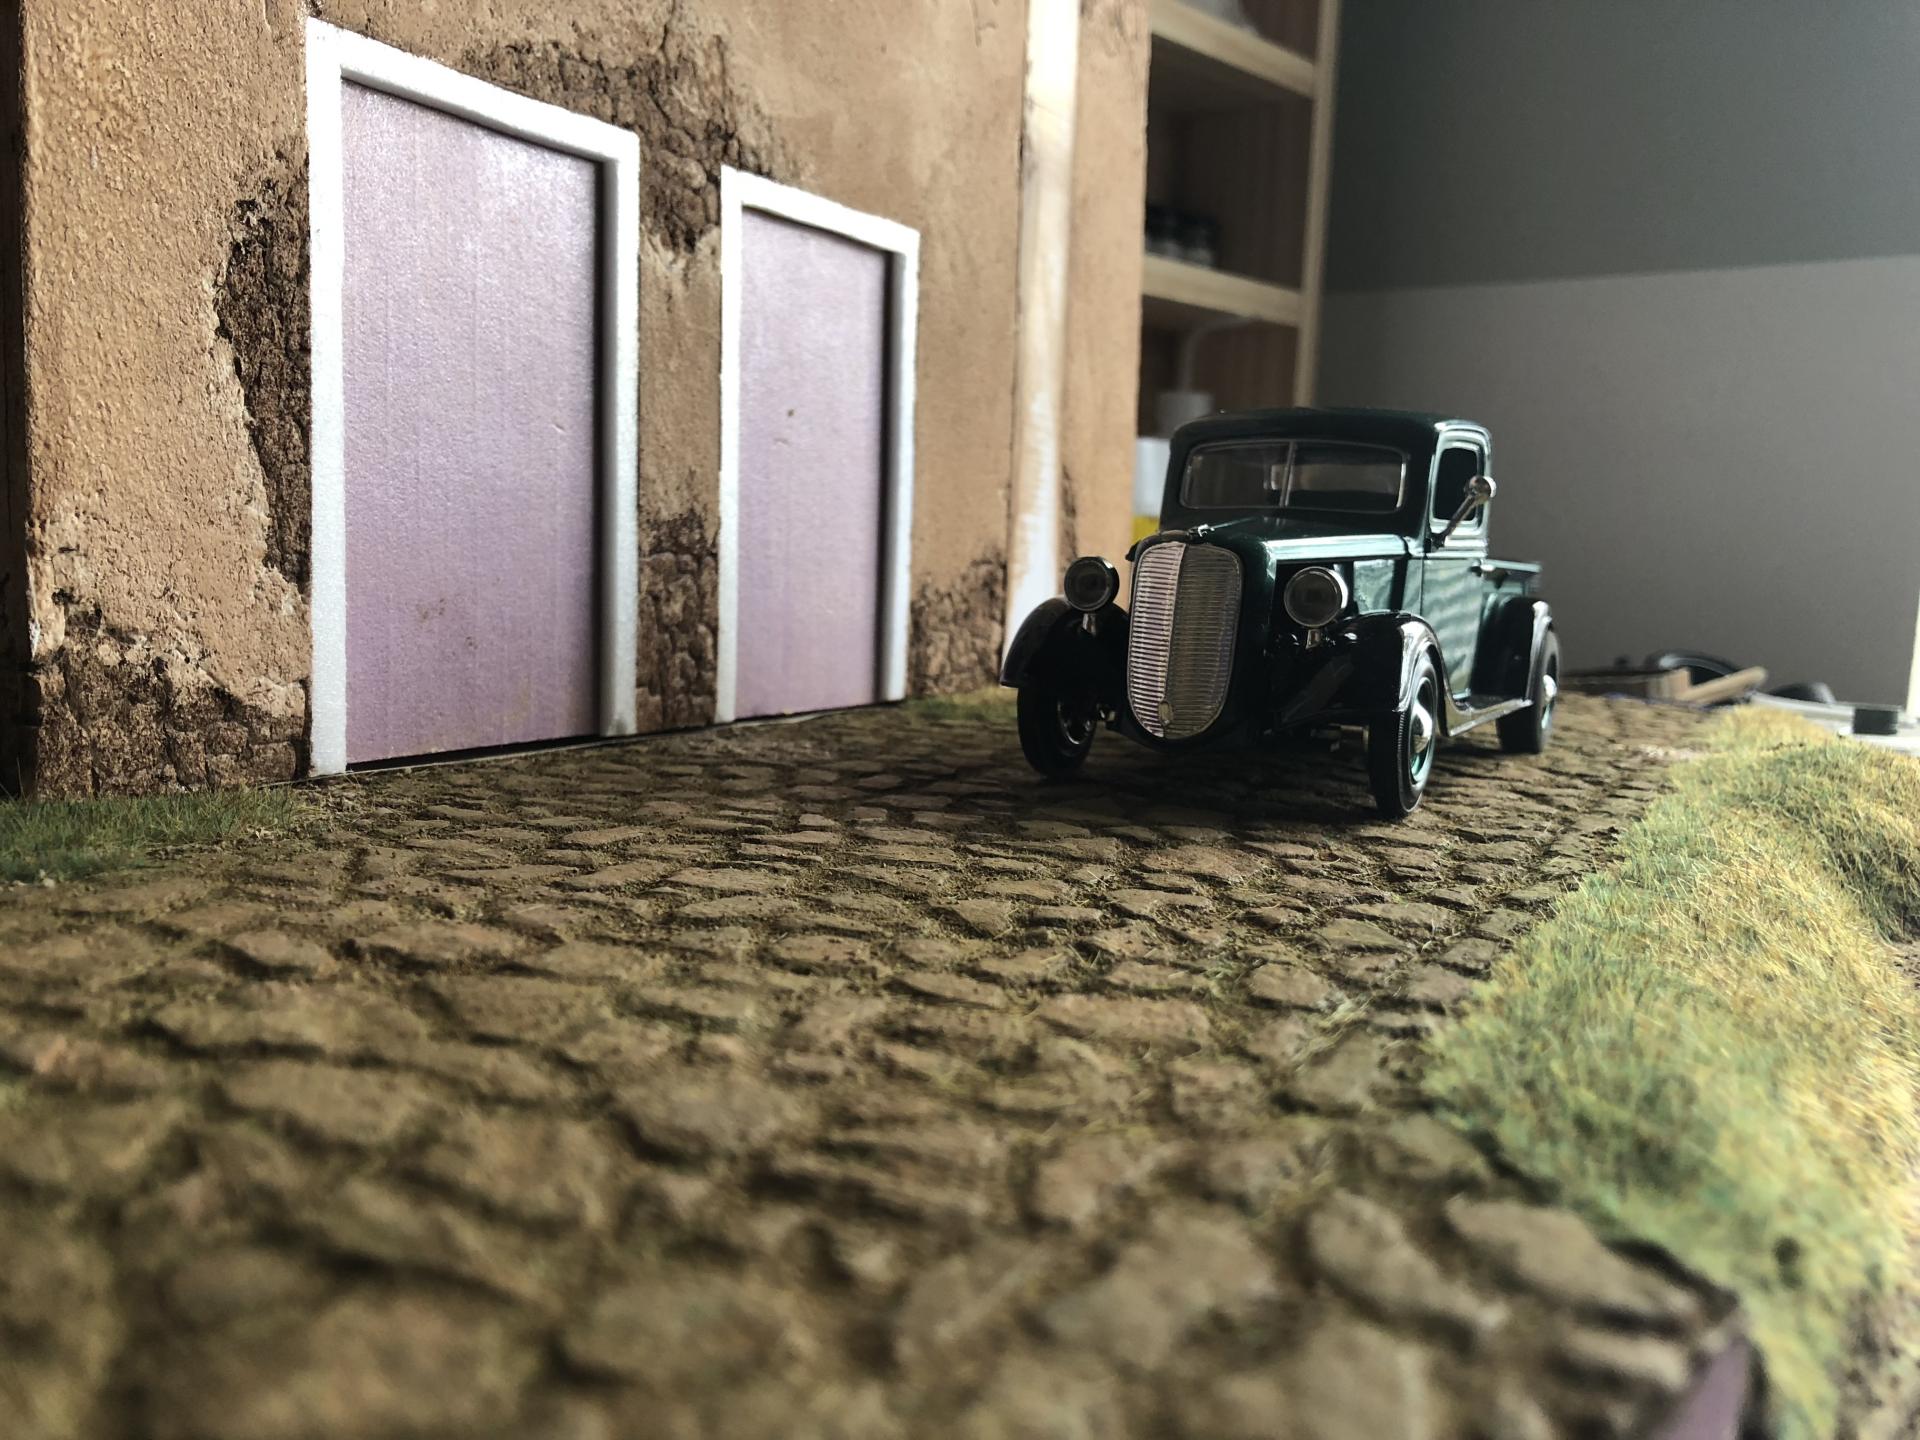
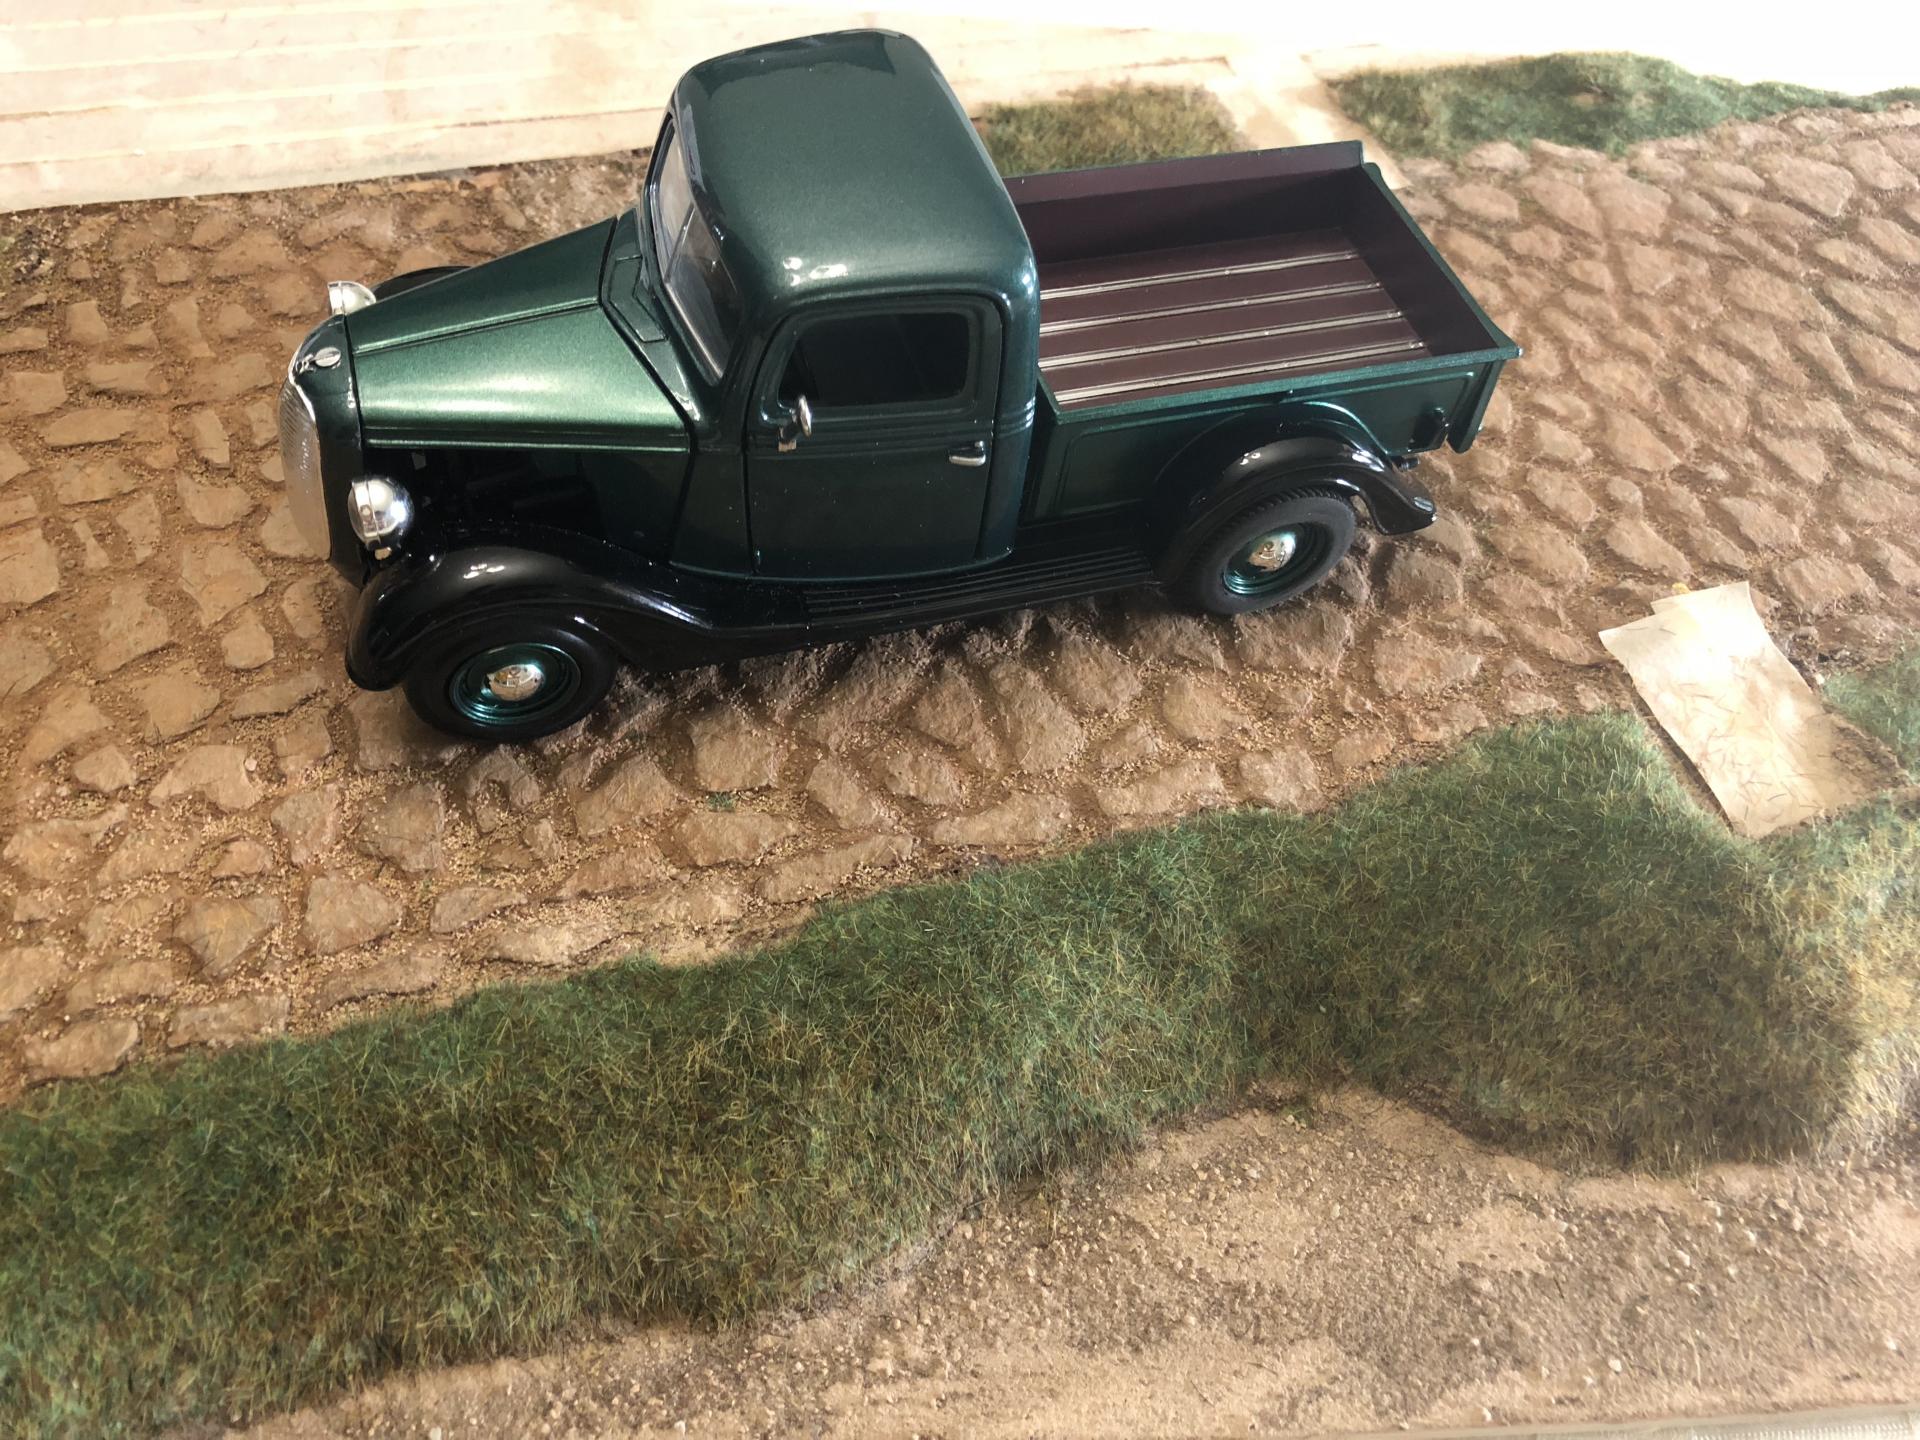
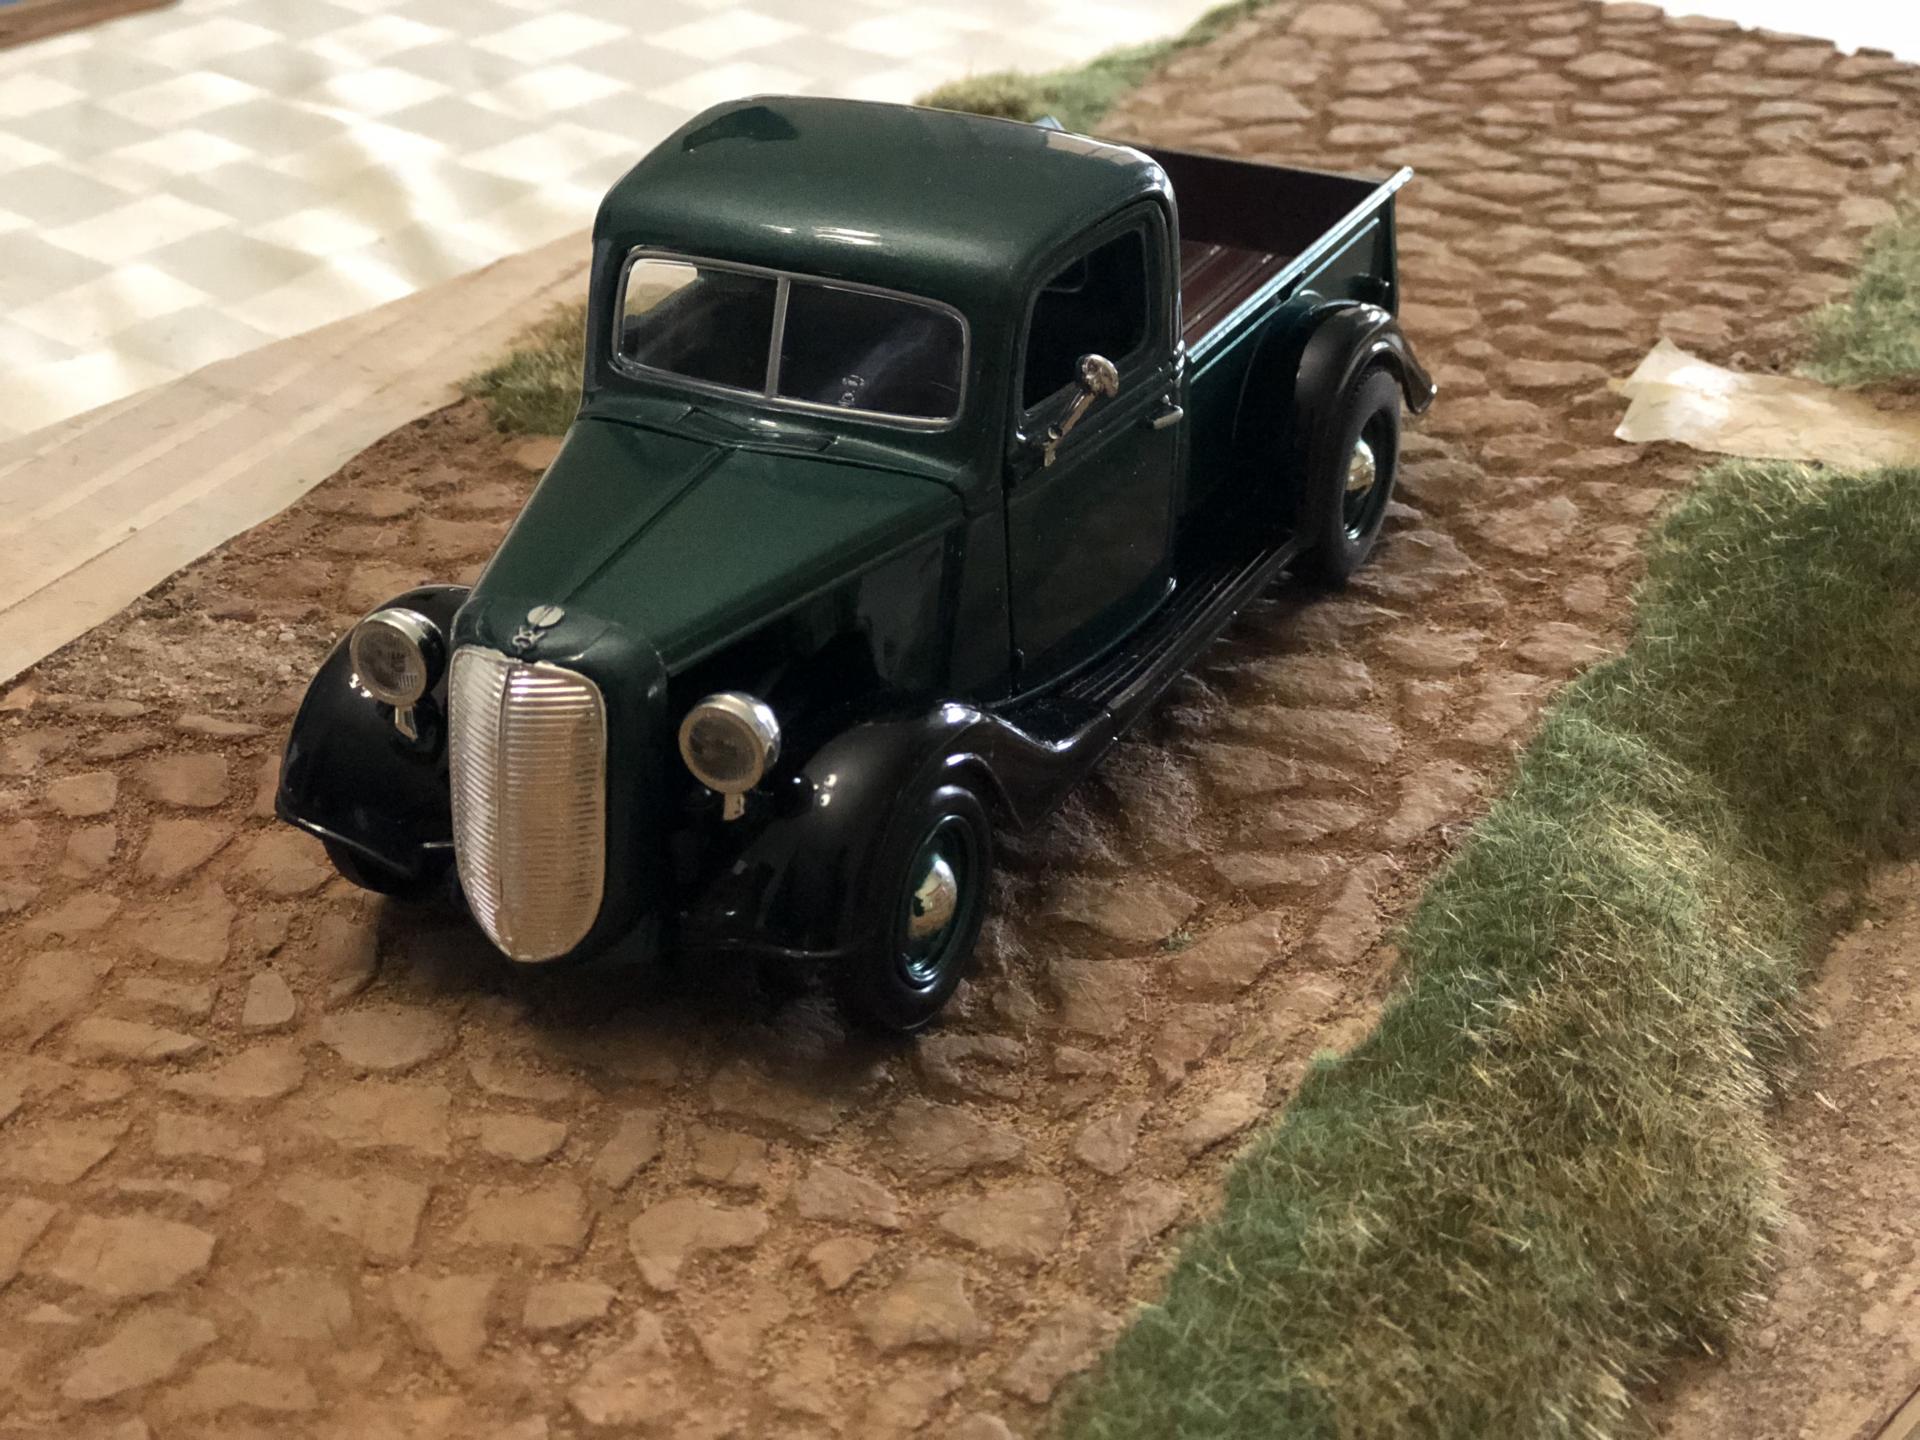
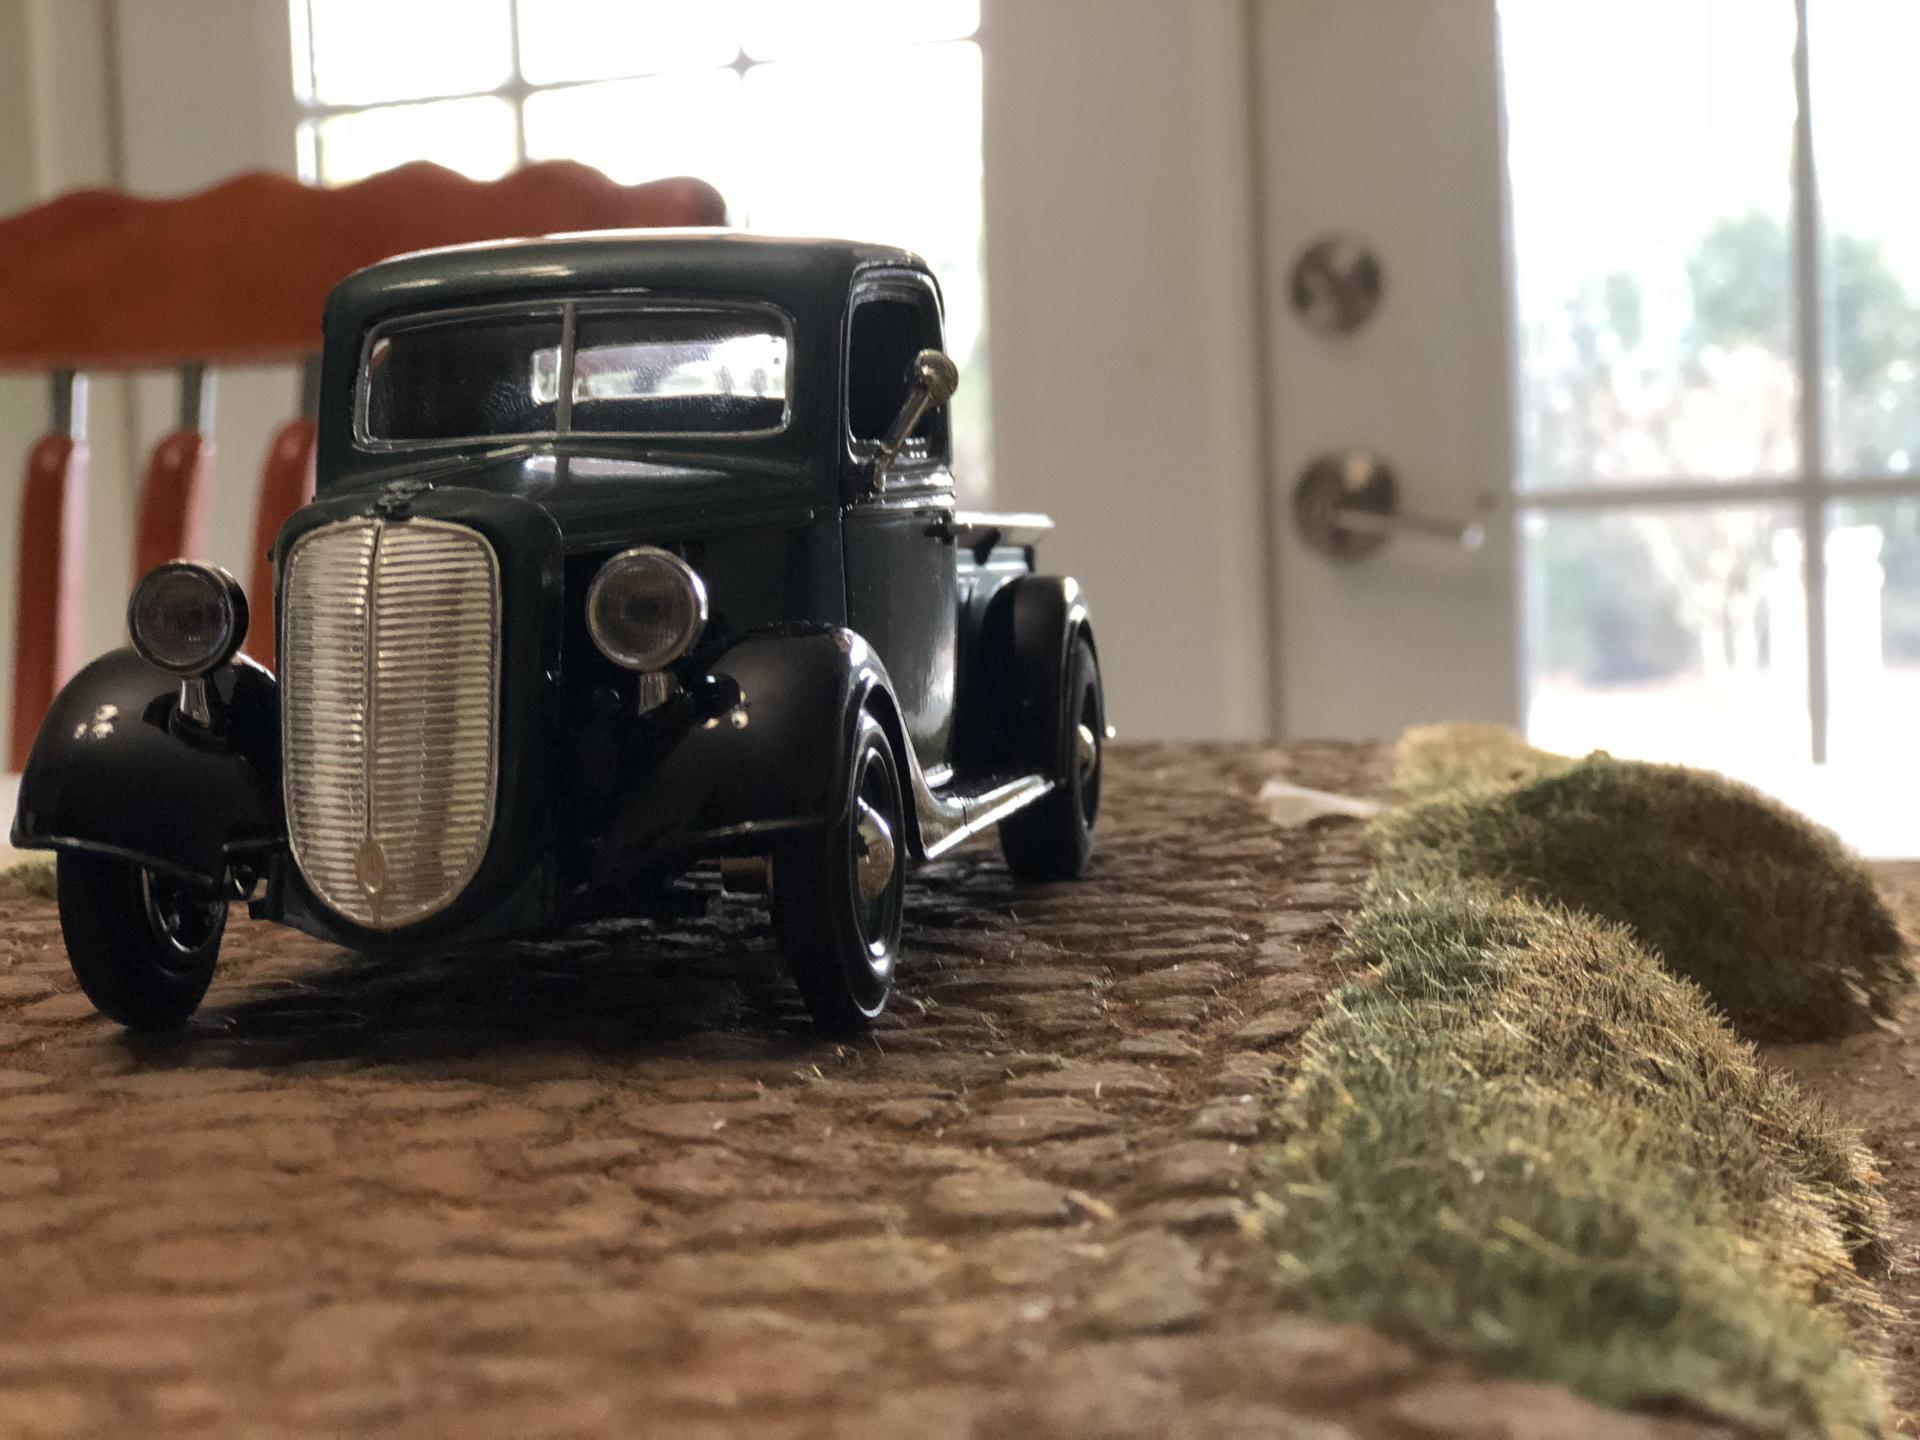
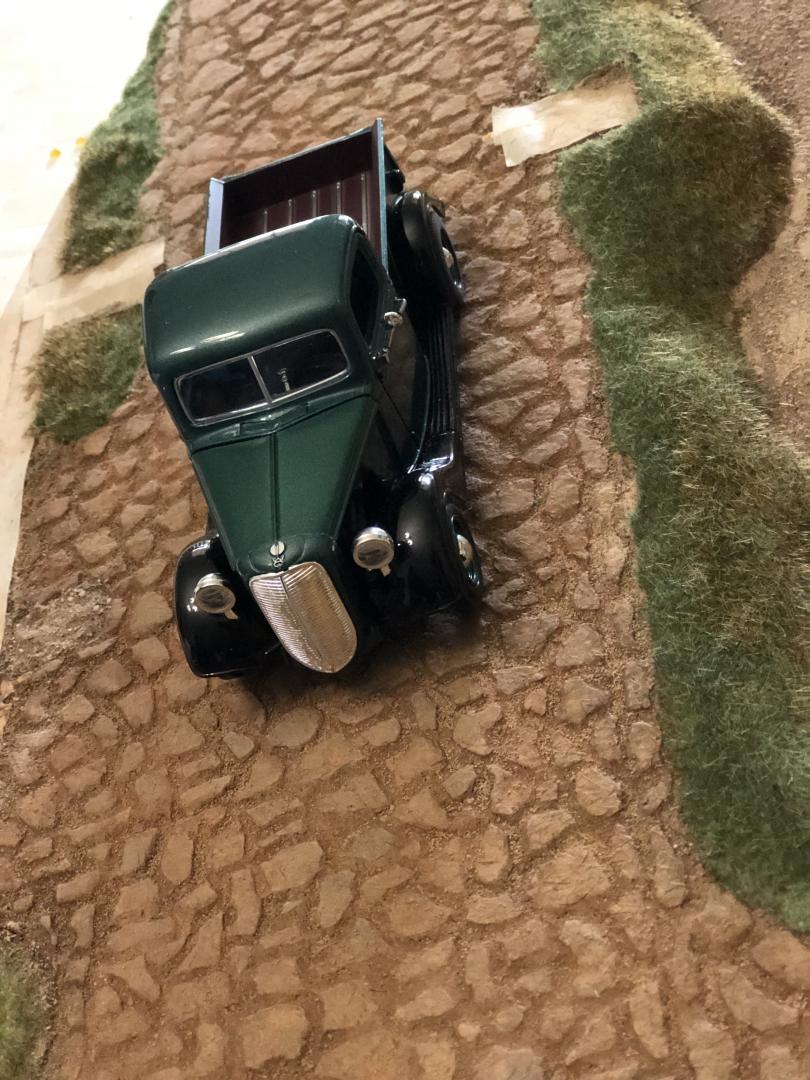
As I mentioned before, I’m going to work on the base and the structure separately. Then, I’ll put them together to continue with details. Here is what I have done to the base. There will be some grass between the flagstones, of different shades and height. There will be other types of vegetation and debris on the ground. Also, a preview of the structure I started. It is different than the previous one. The vehicle will be the last thing I will work on, since it might take extra attention.
-
Thanks for the link. At least I can attempt to make the structure a little better.

