QbanFam
-
Posts
226 -
Joined
-
Last visited
Content Type
Profiles
Forums
Events
Gallery
Everything posted by QbanFam
-
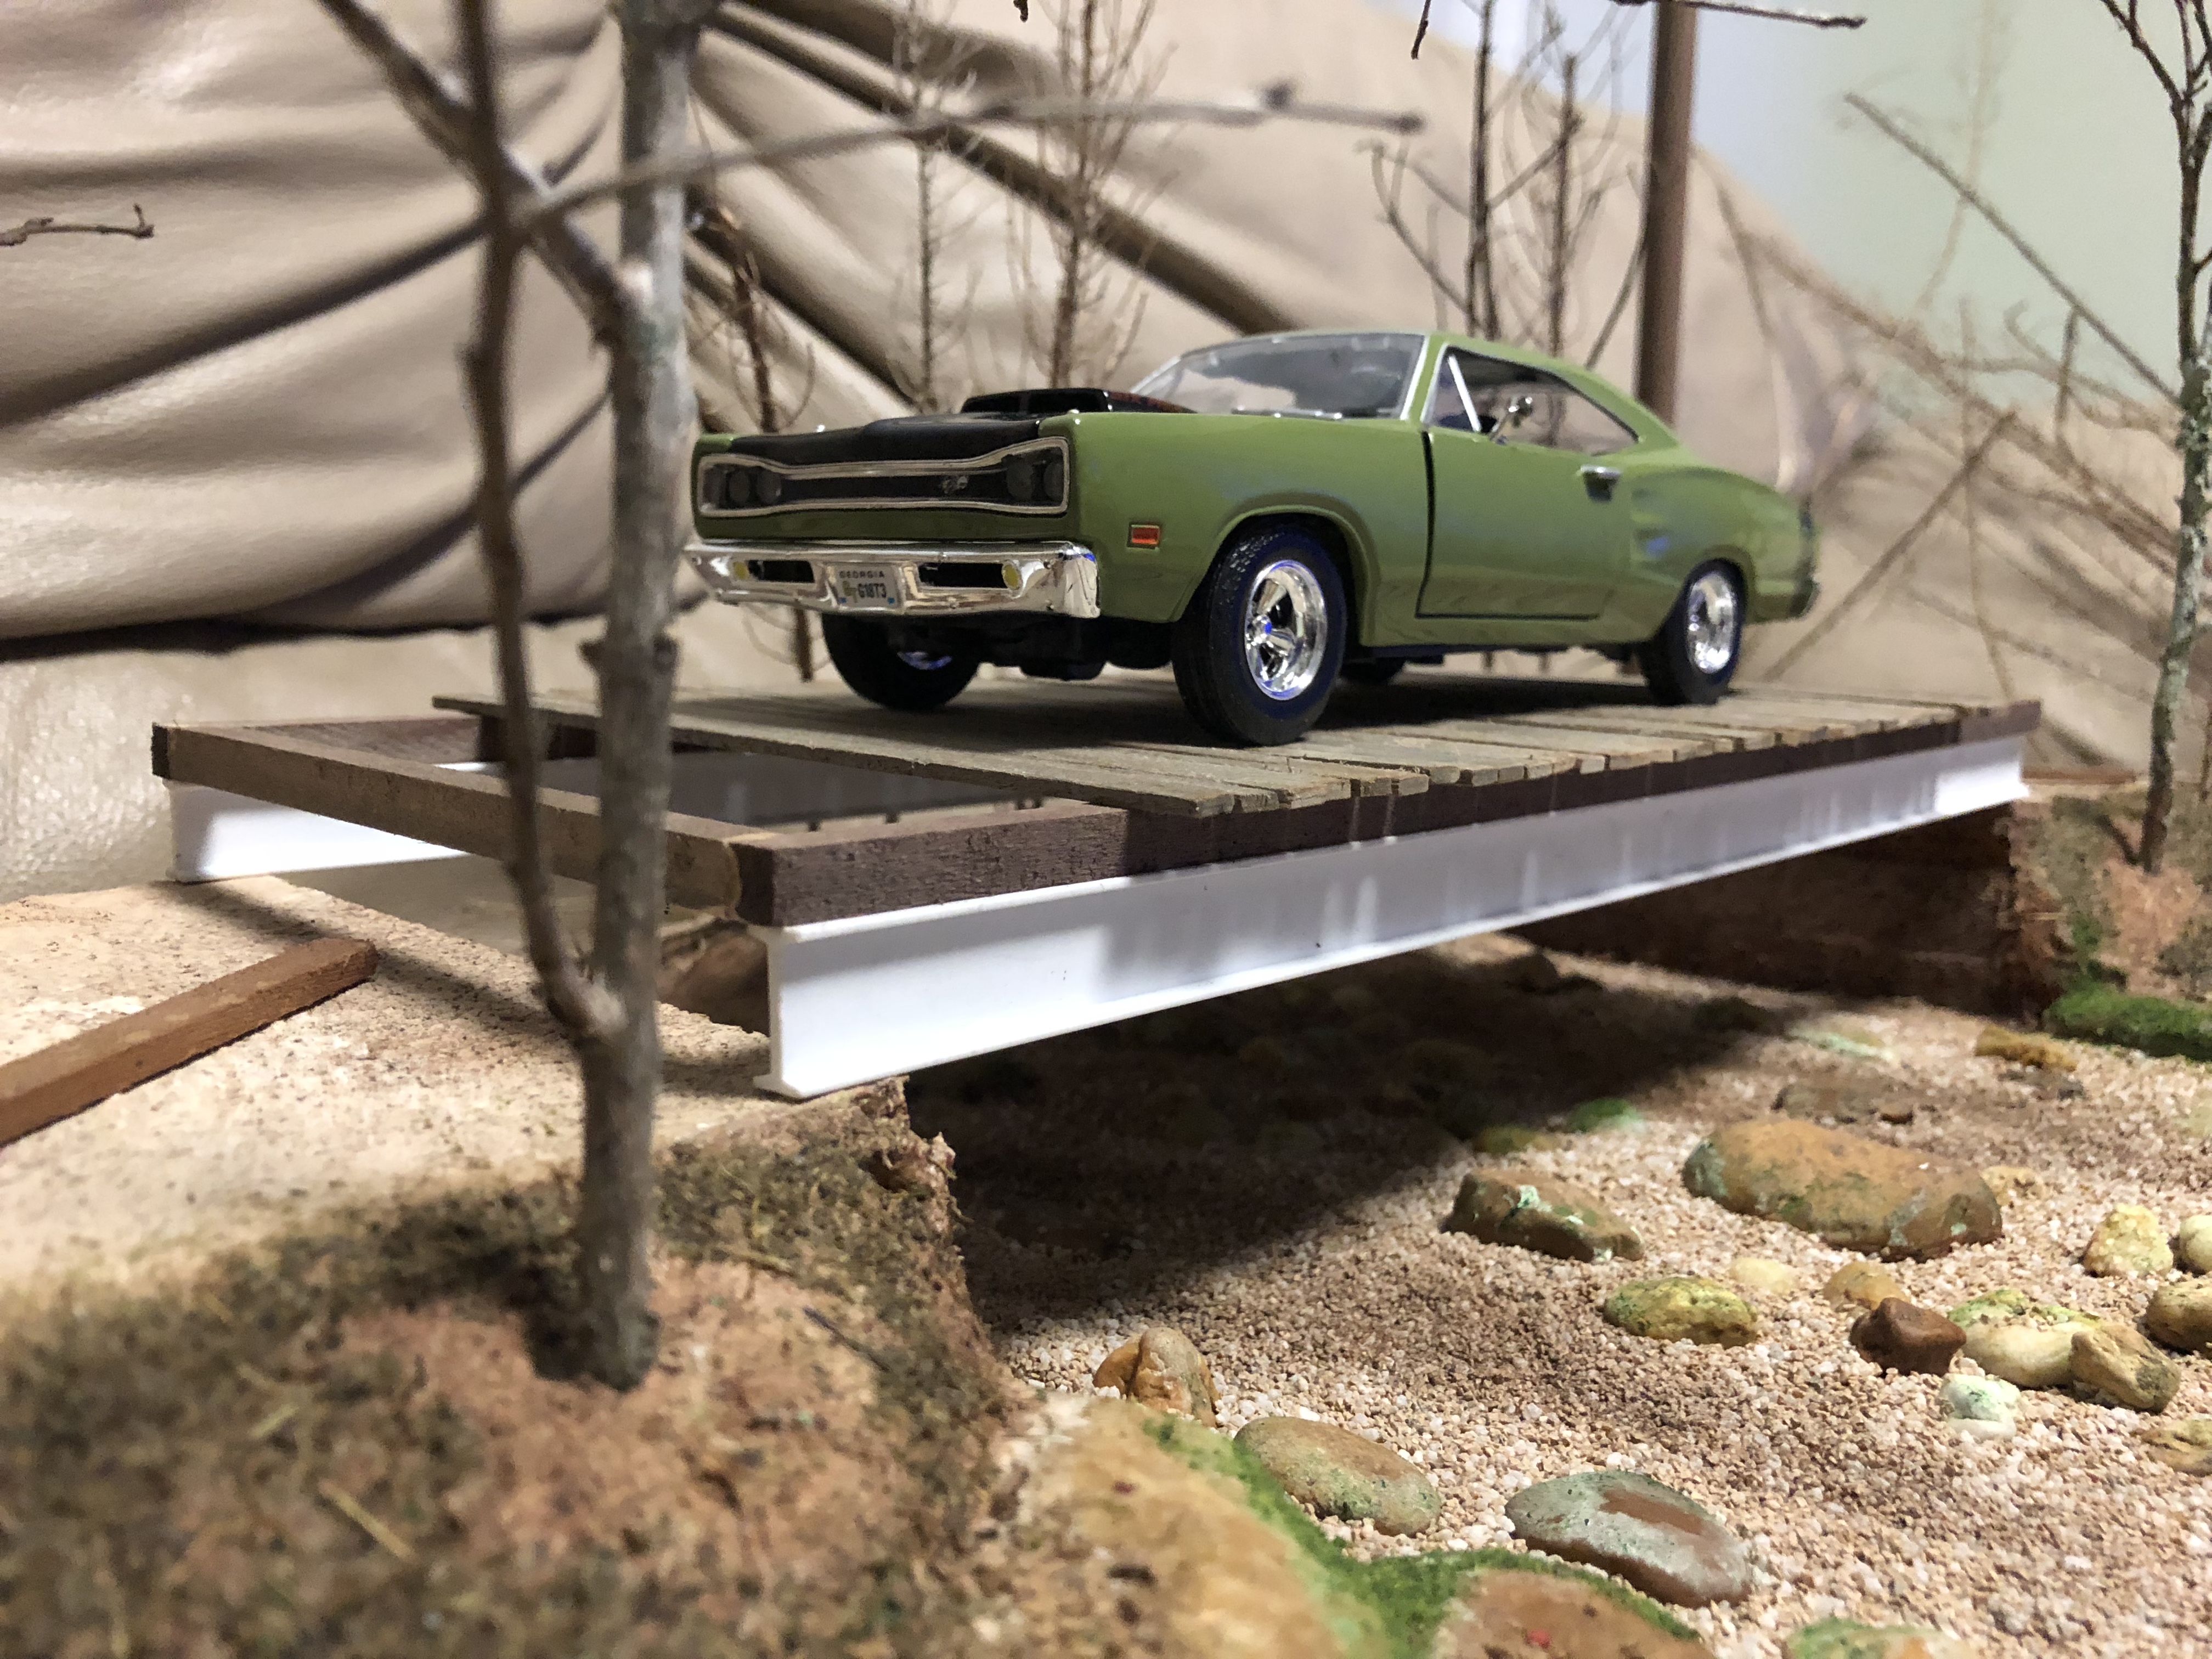
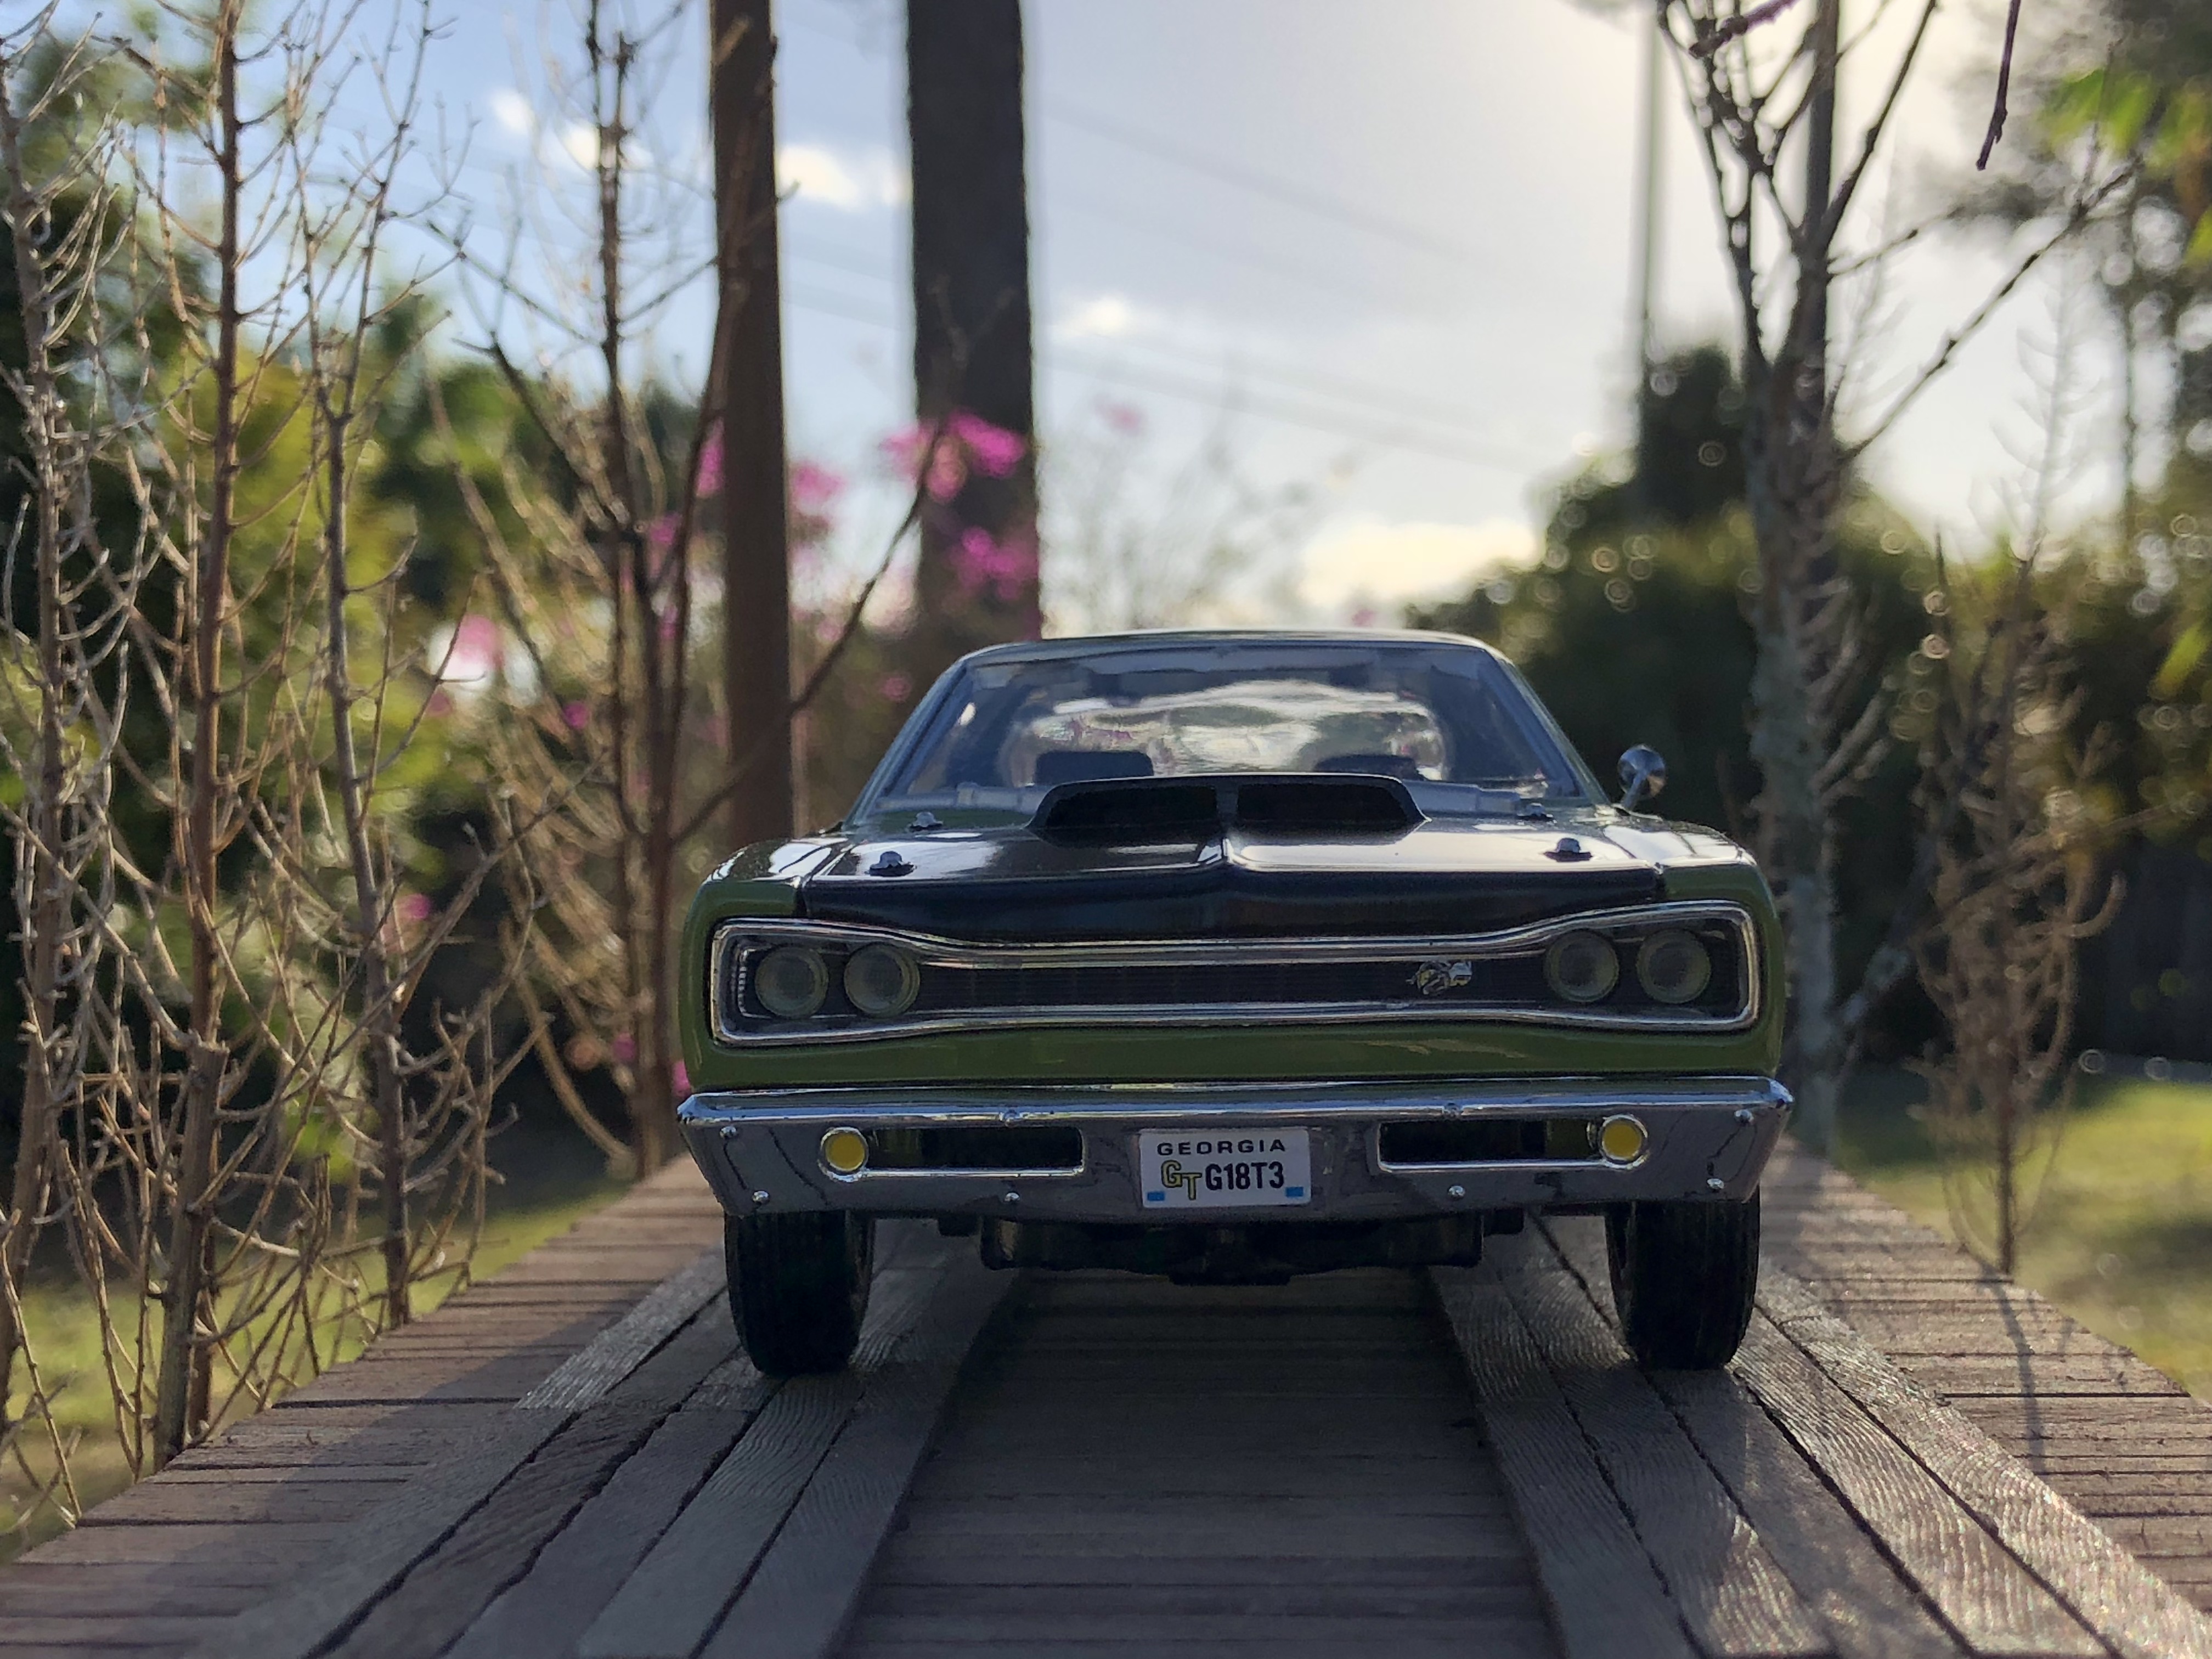
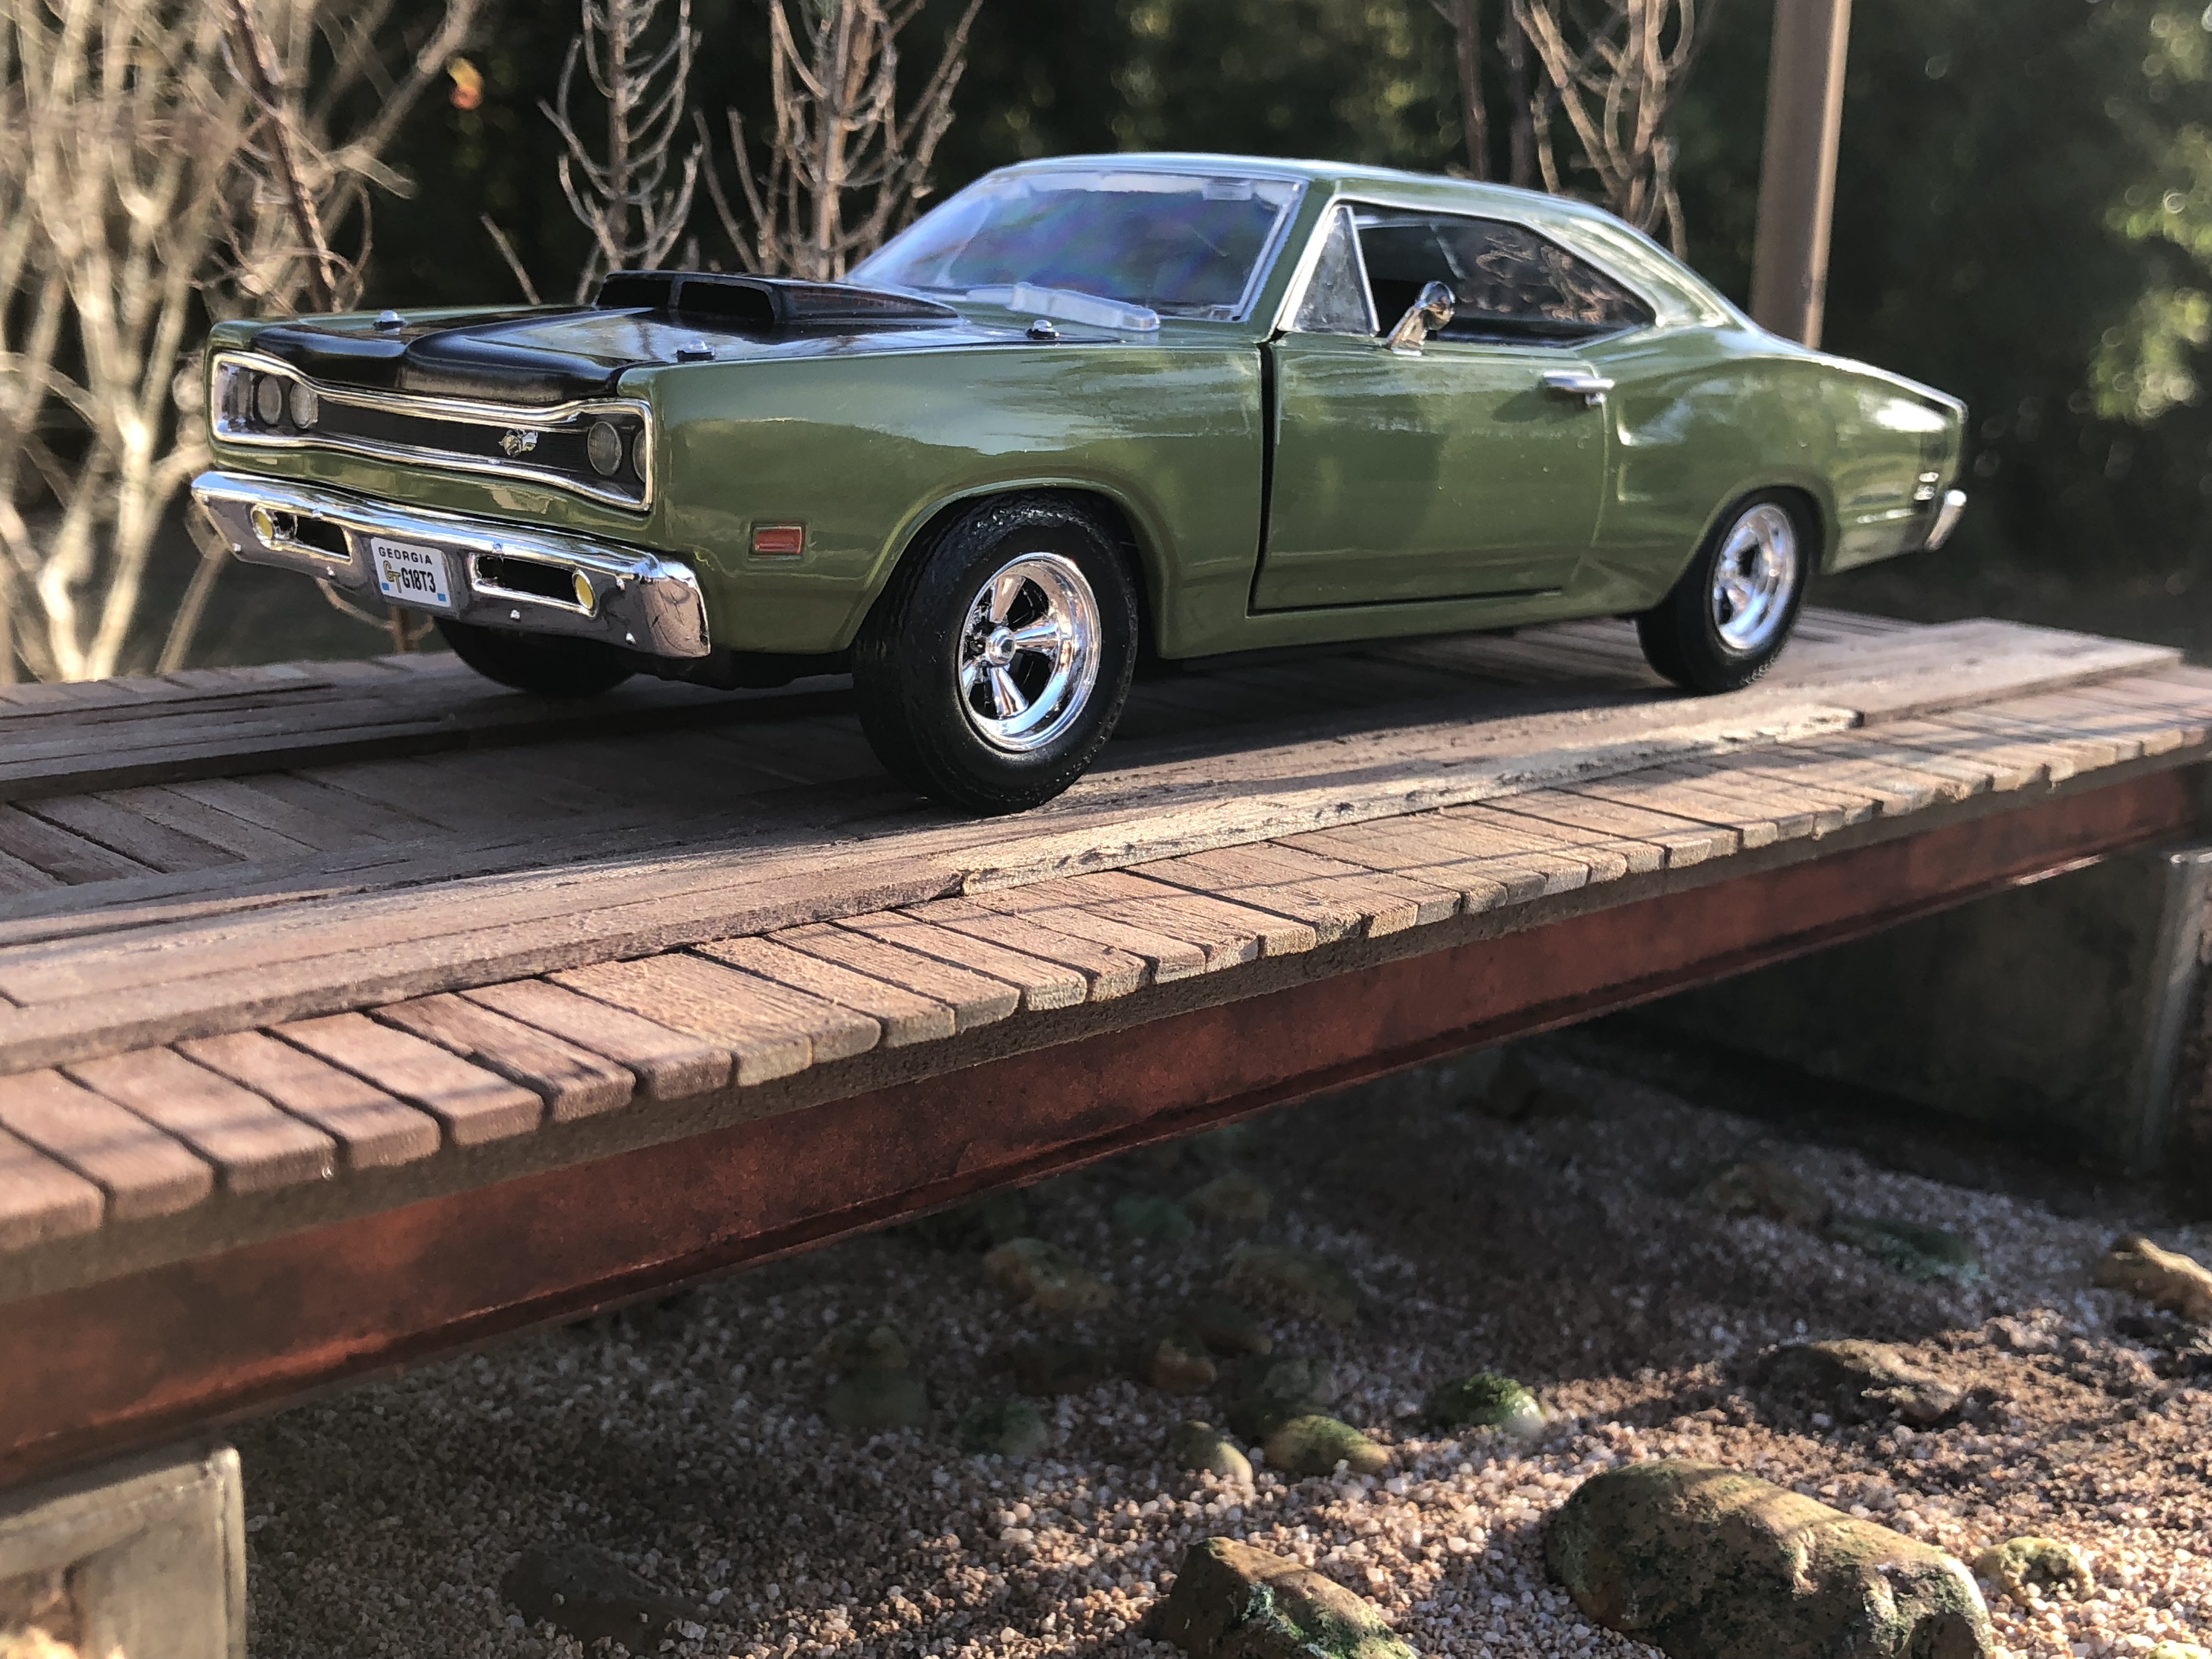
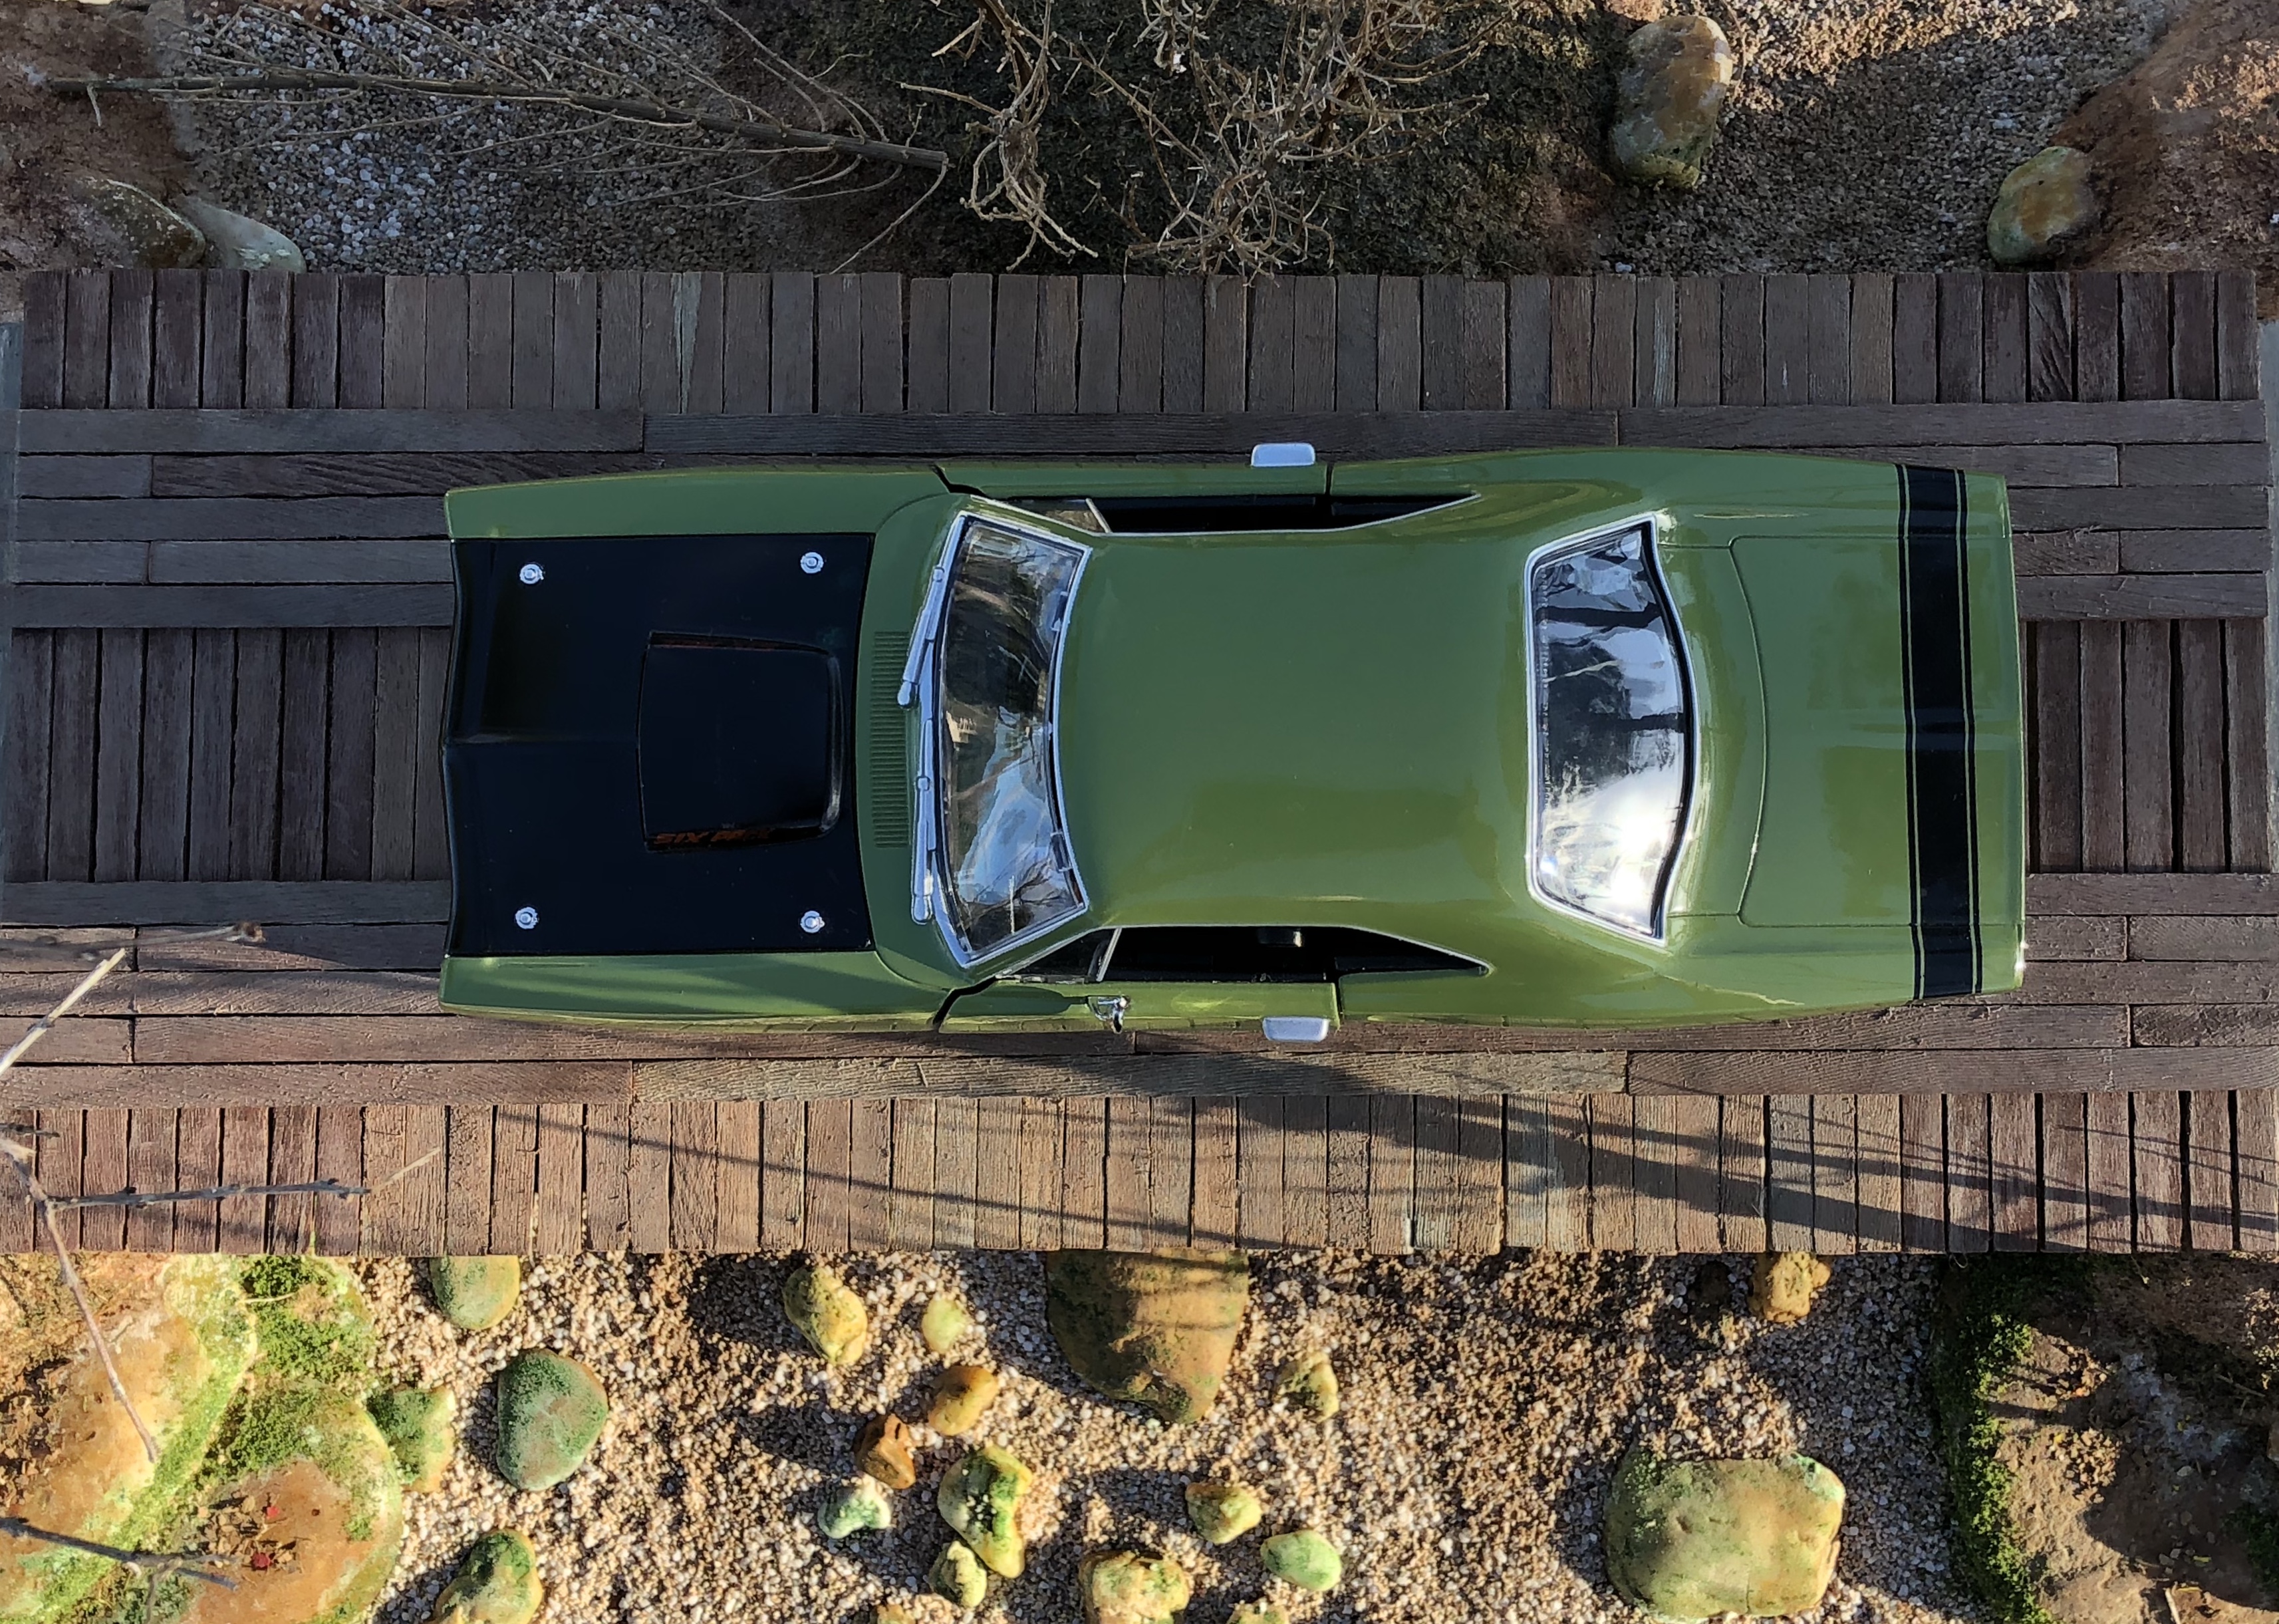
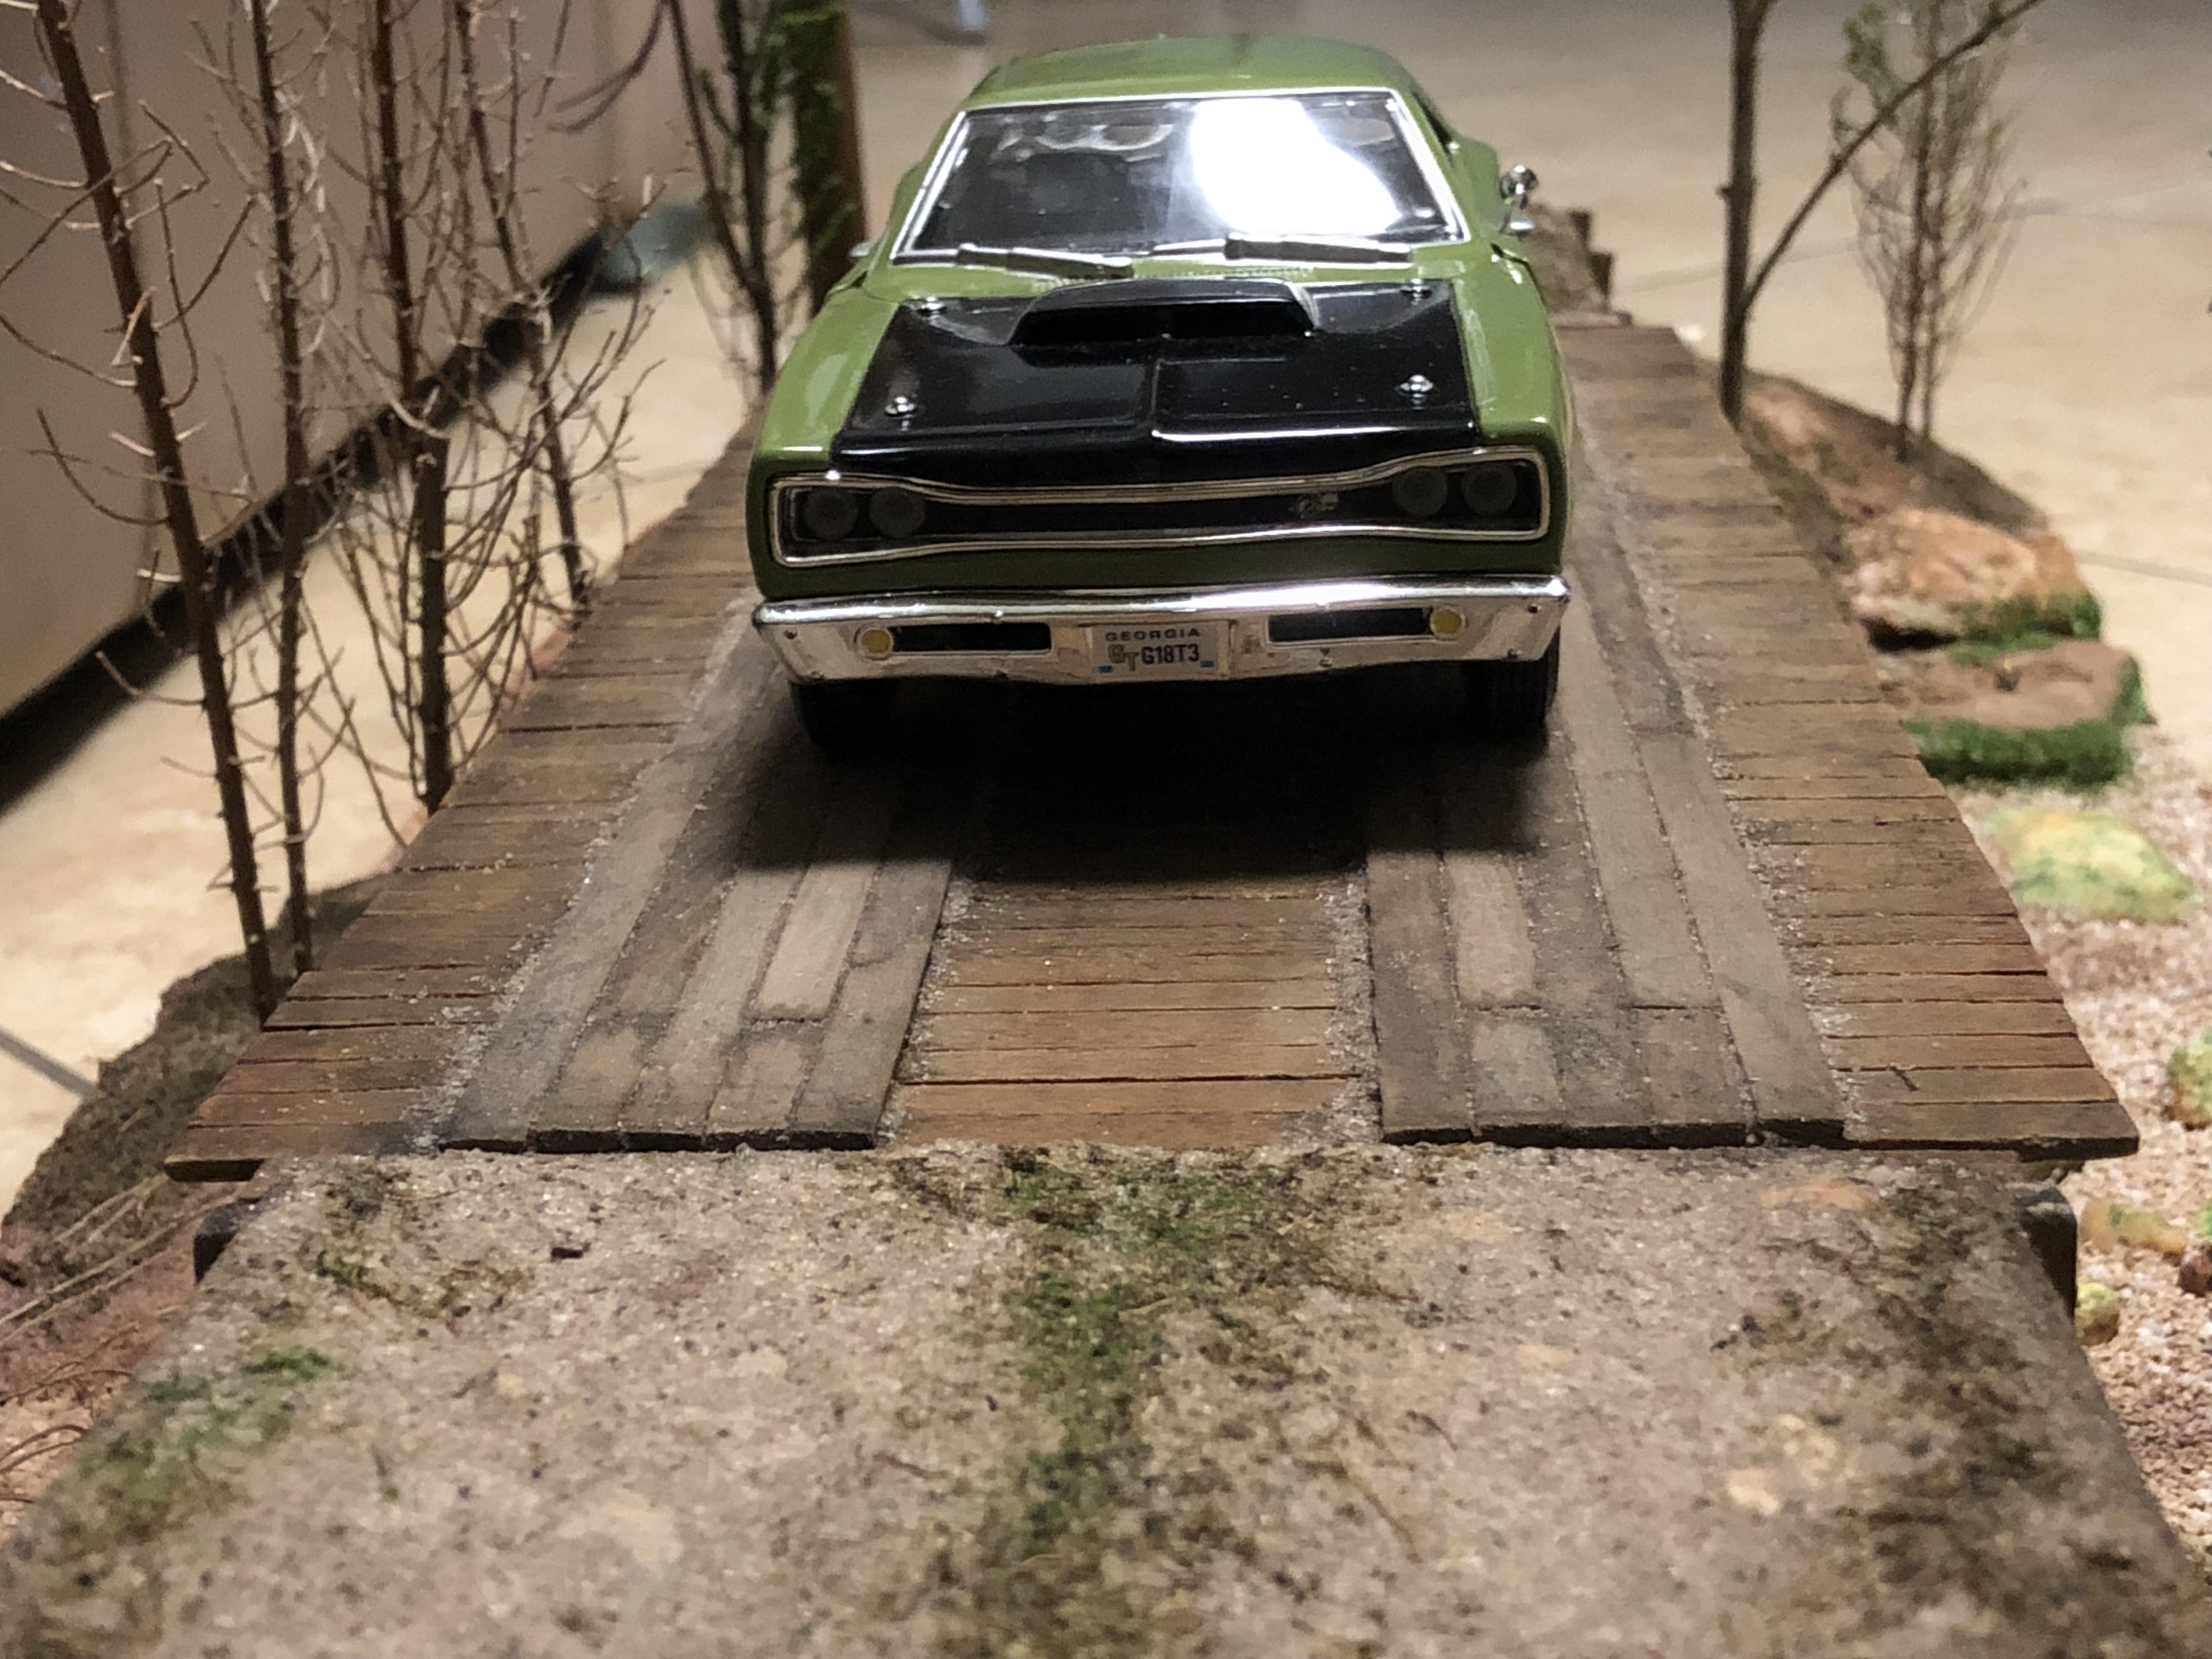
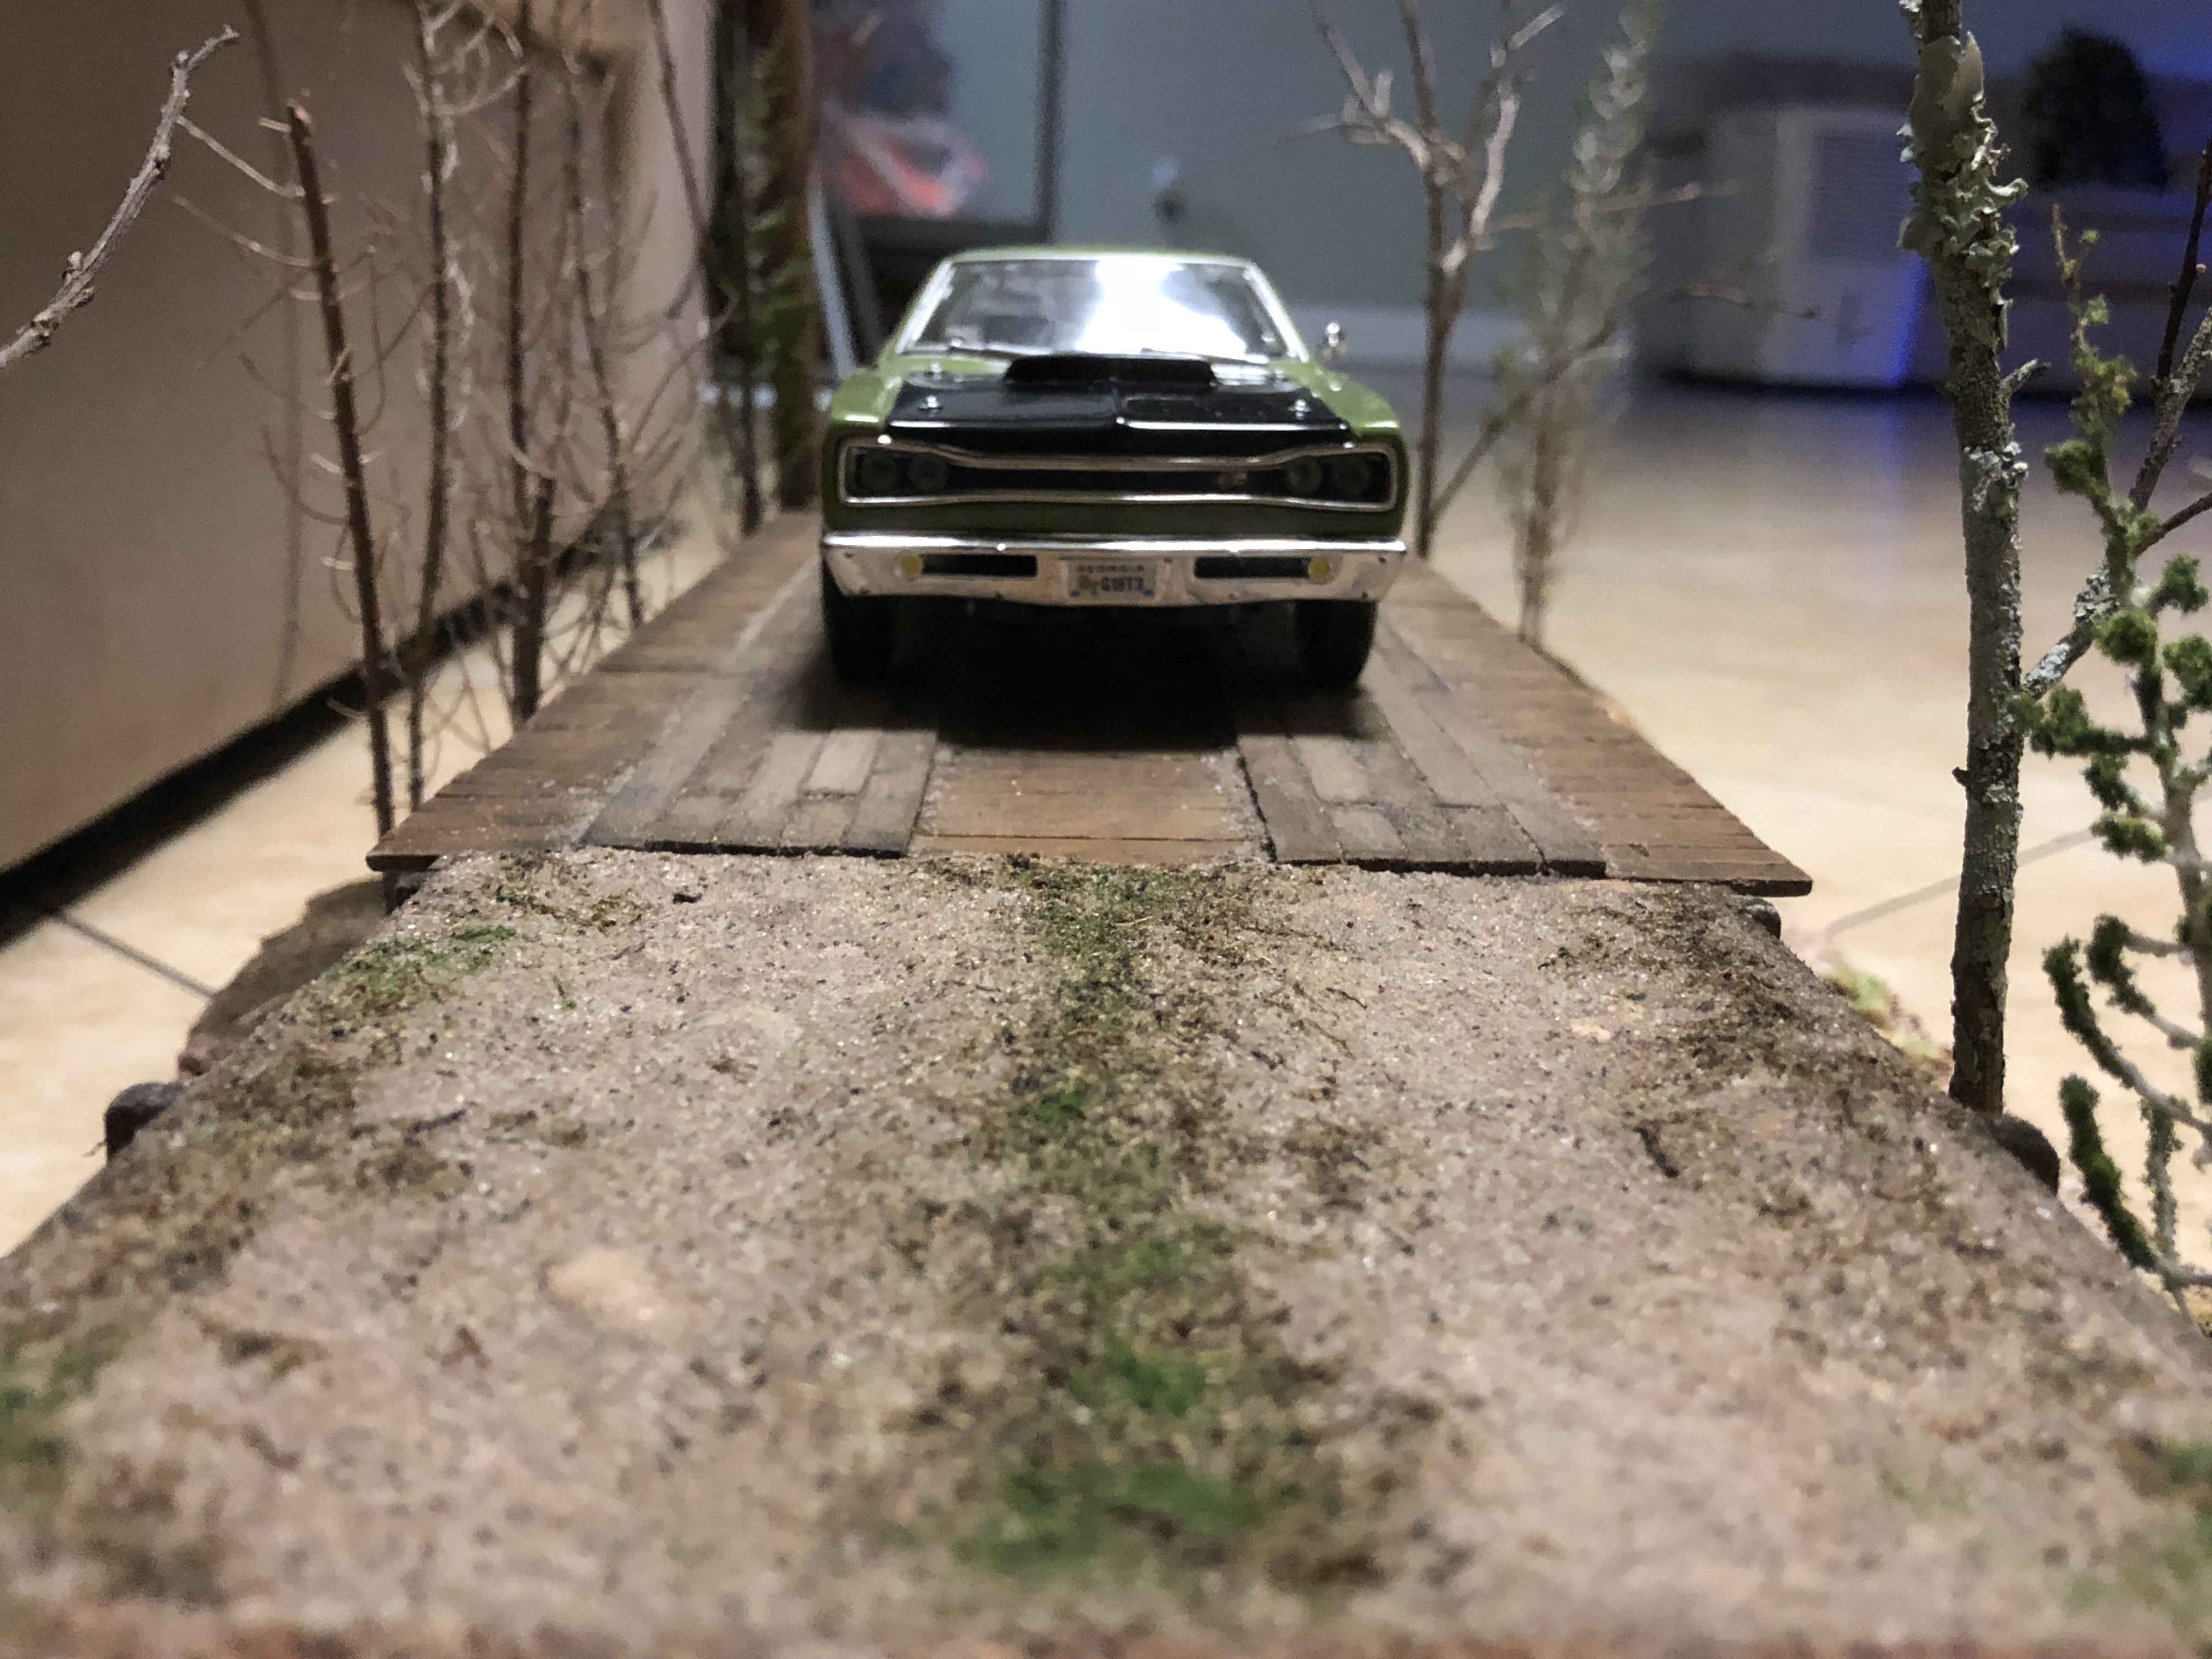
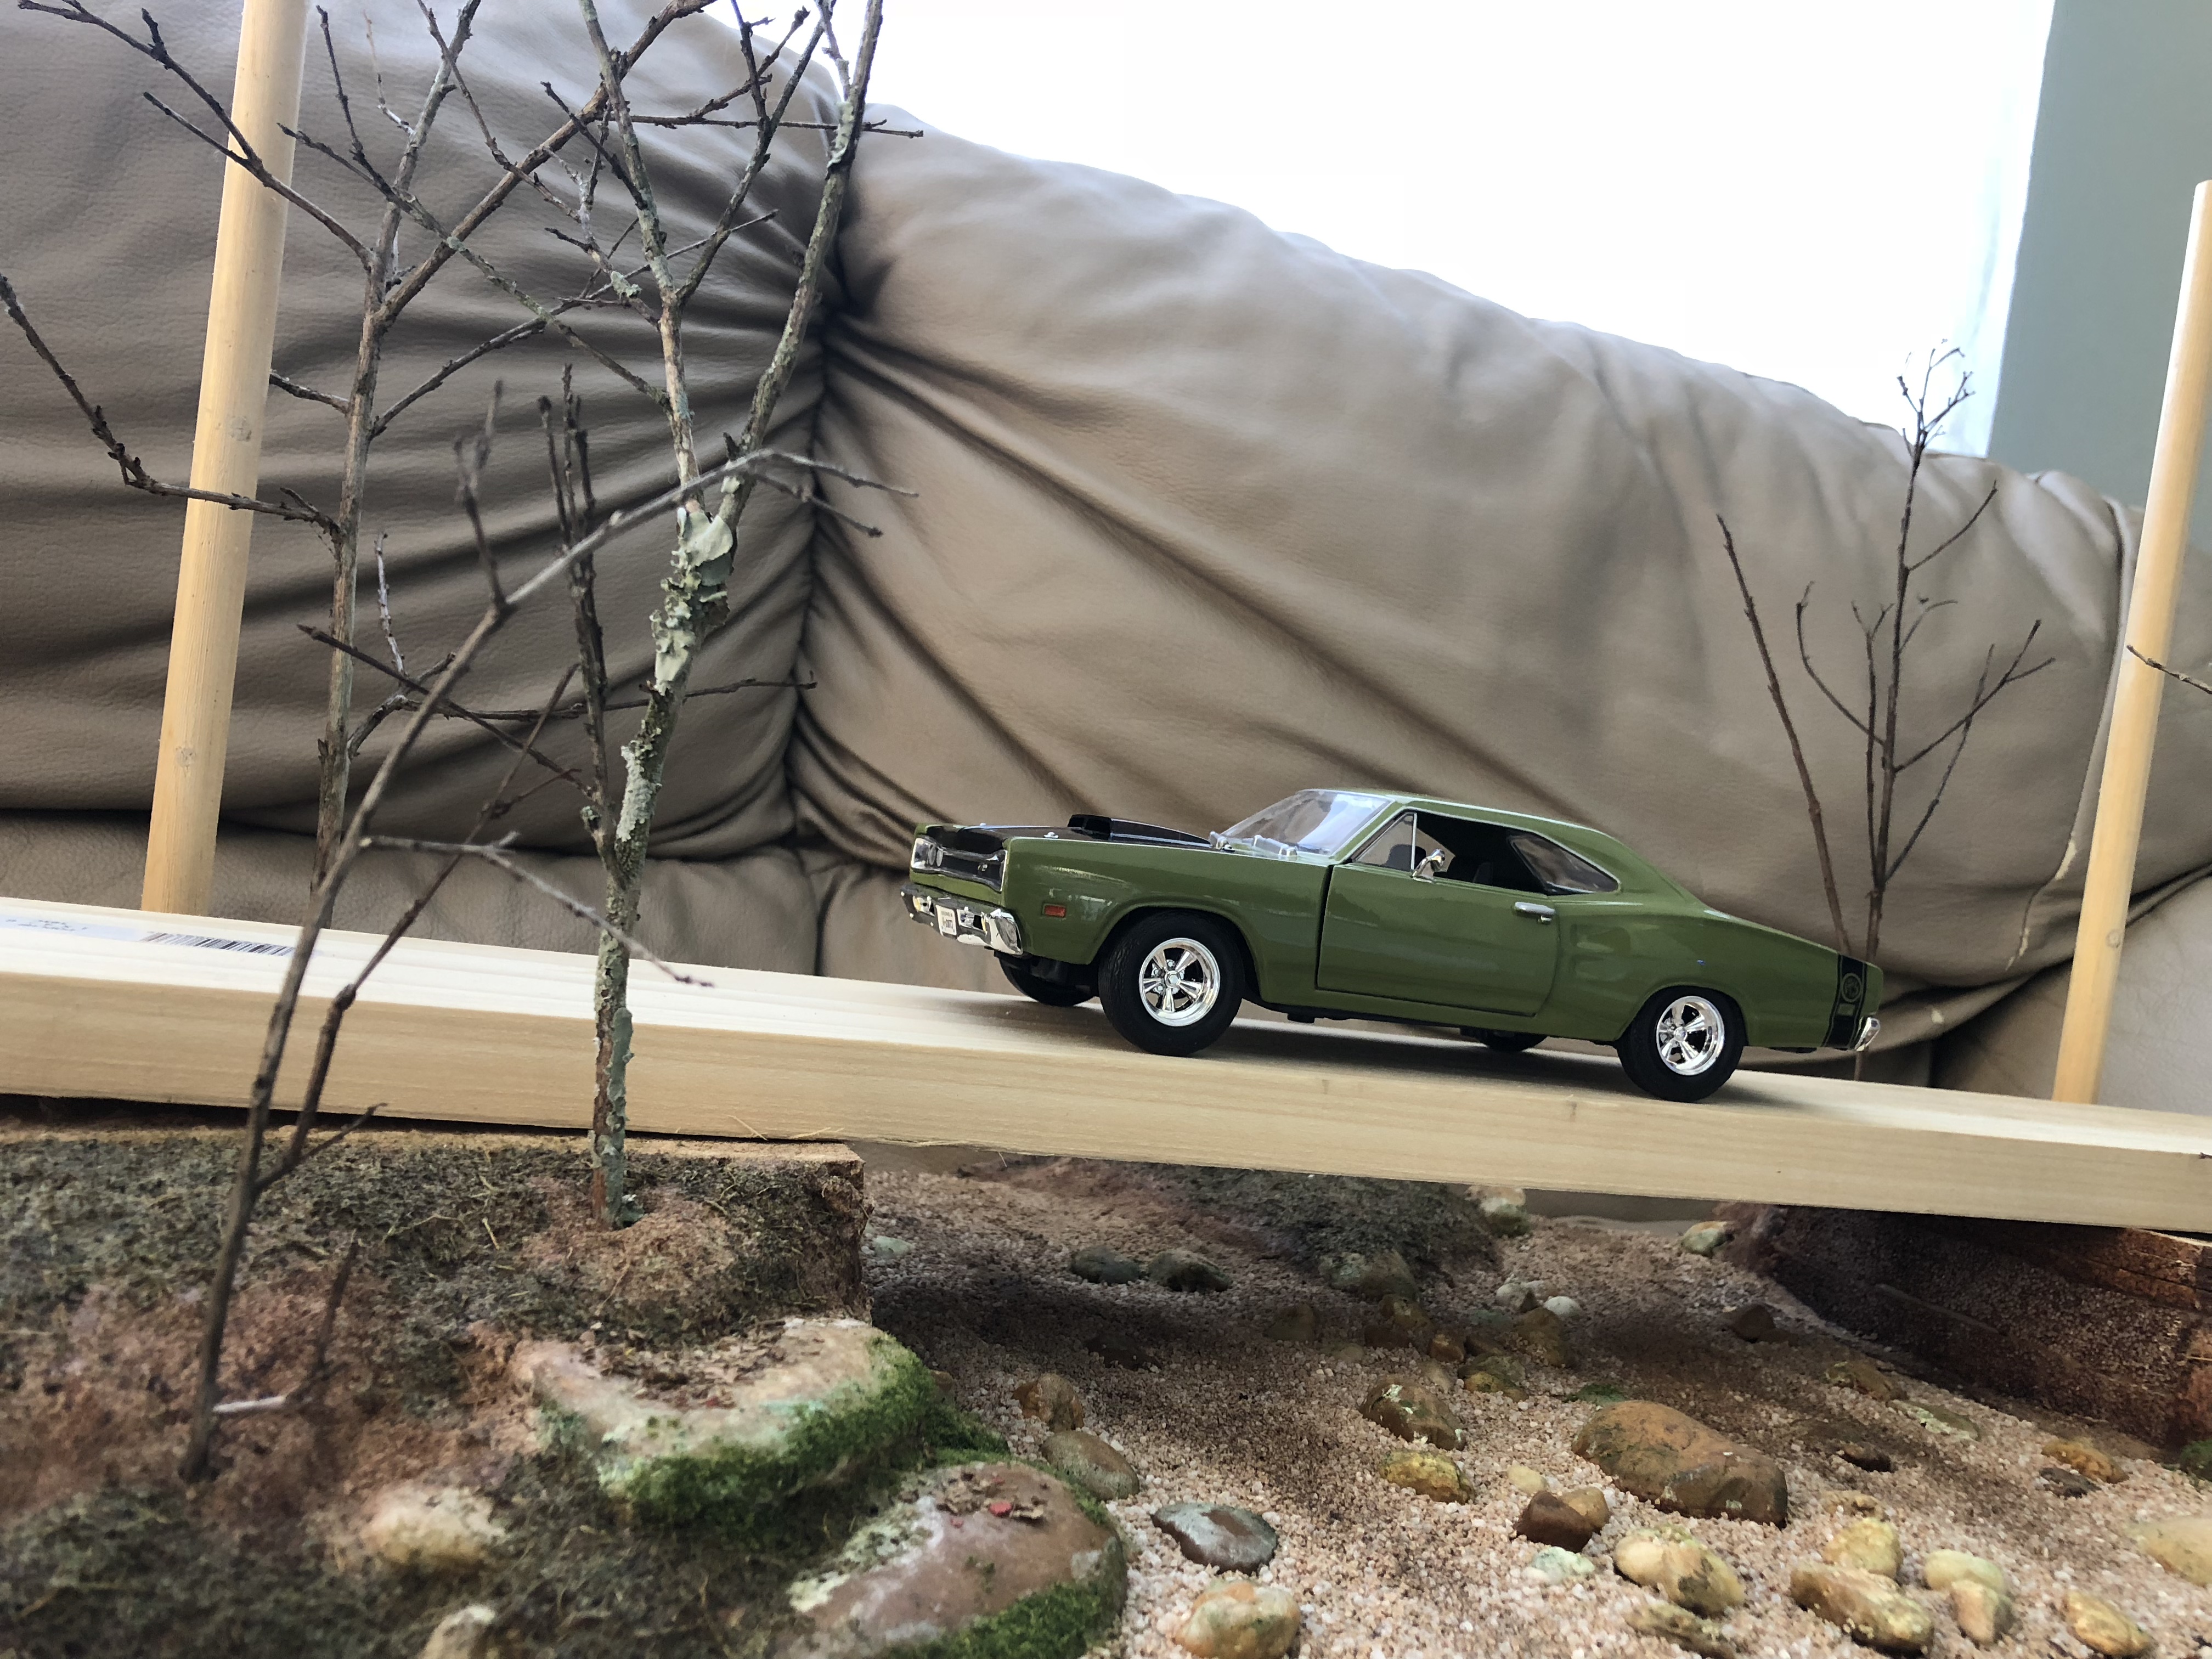
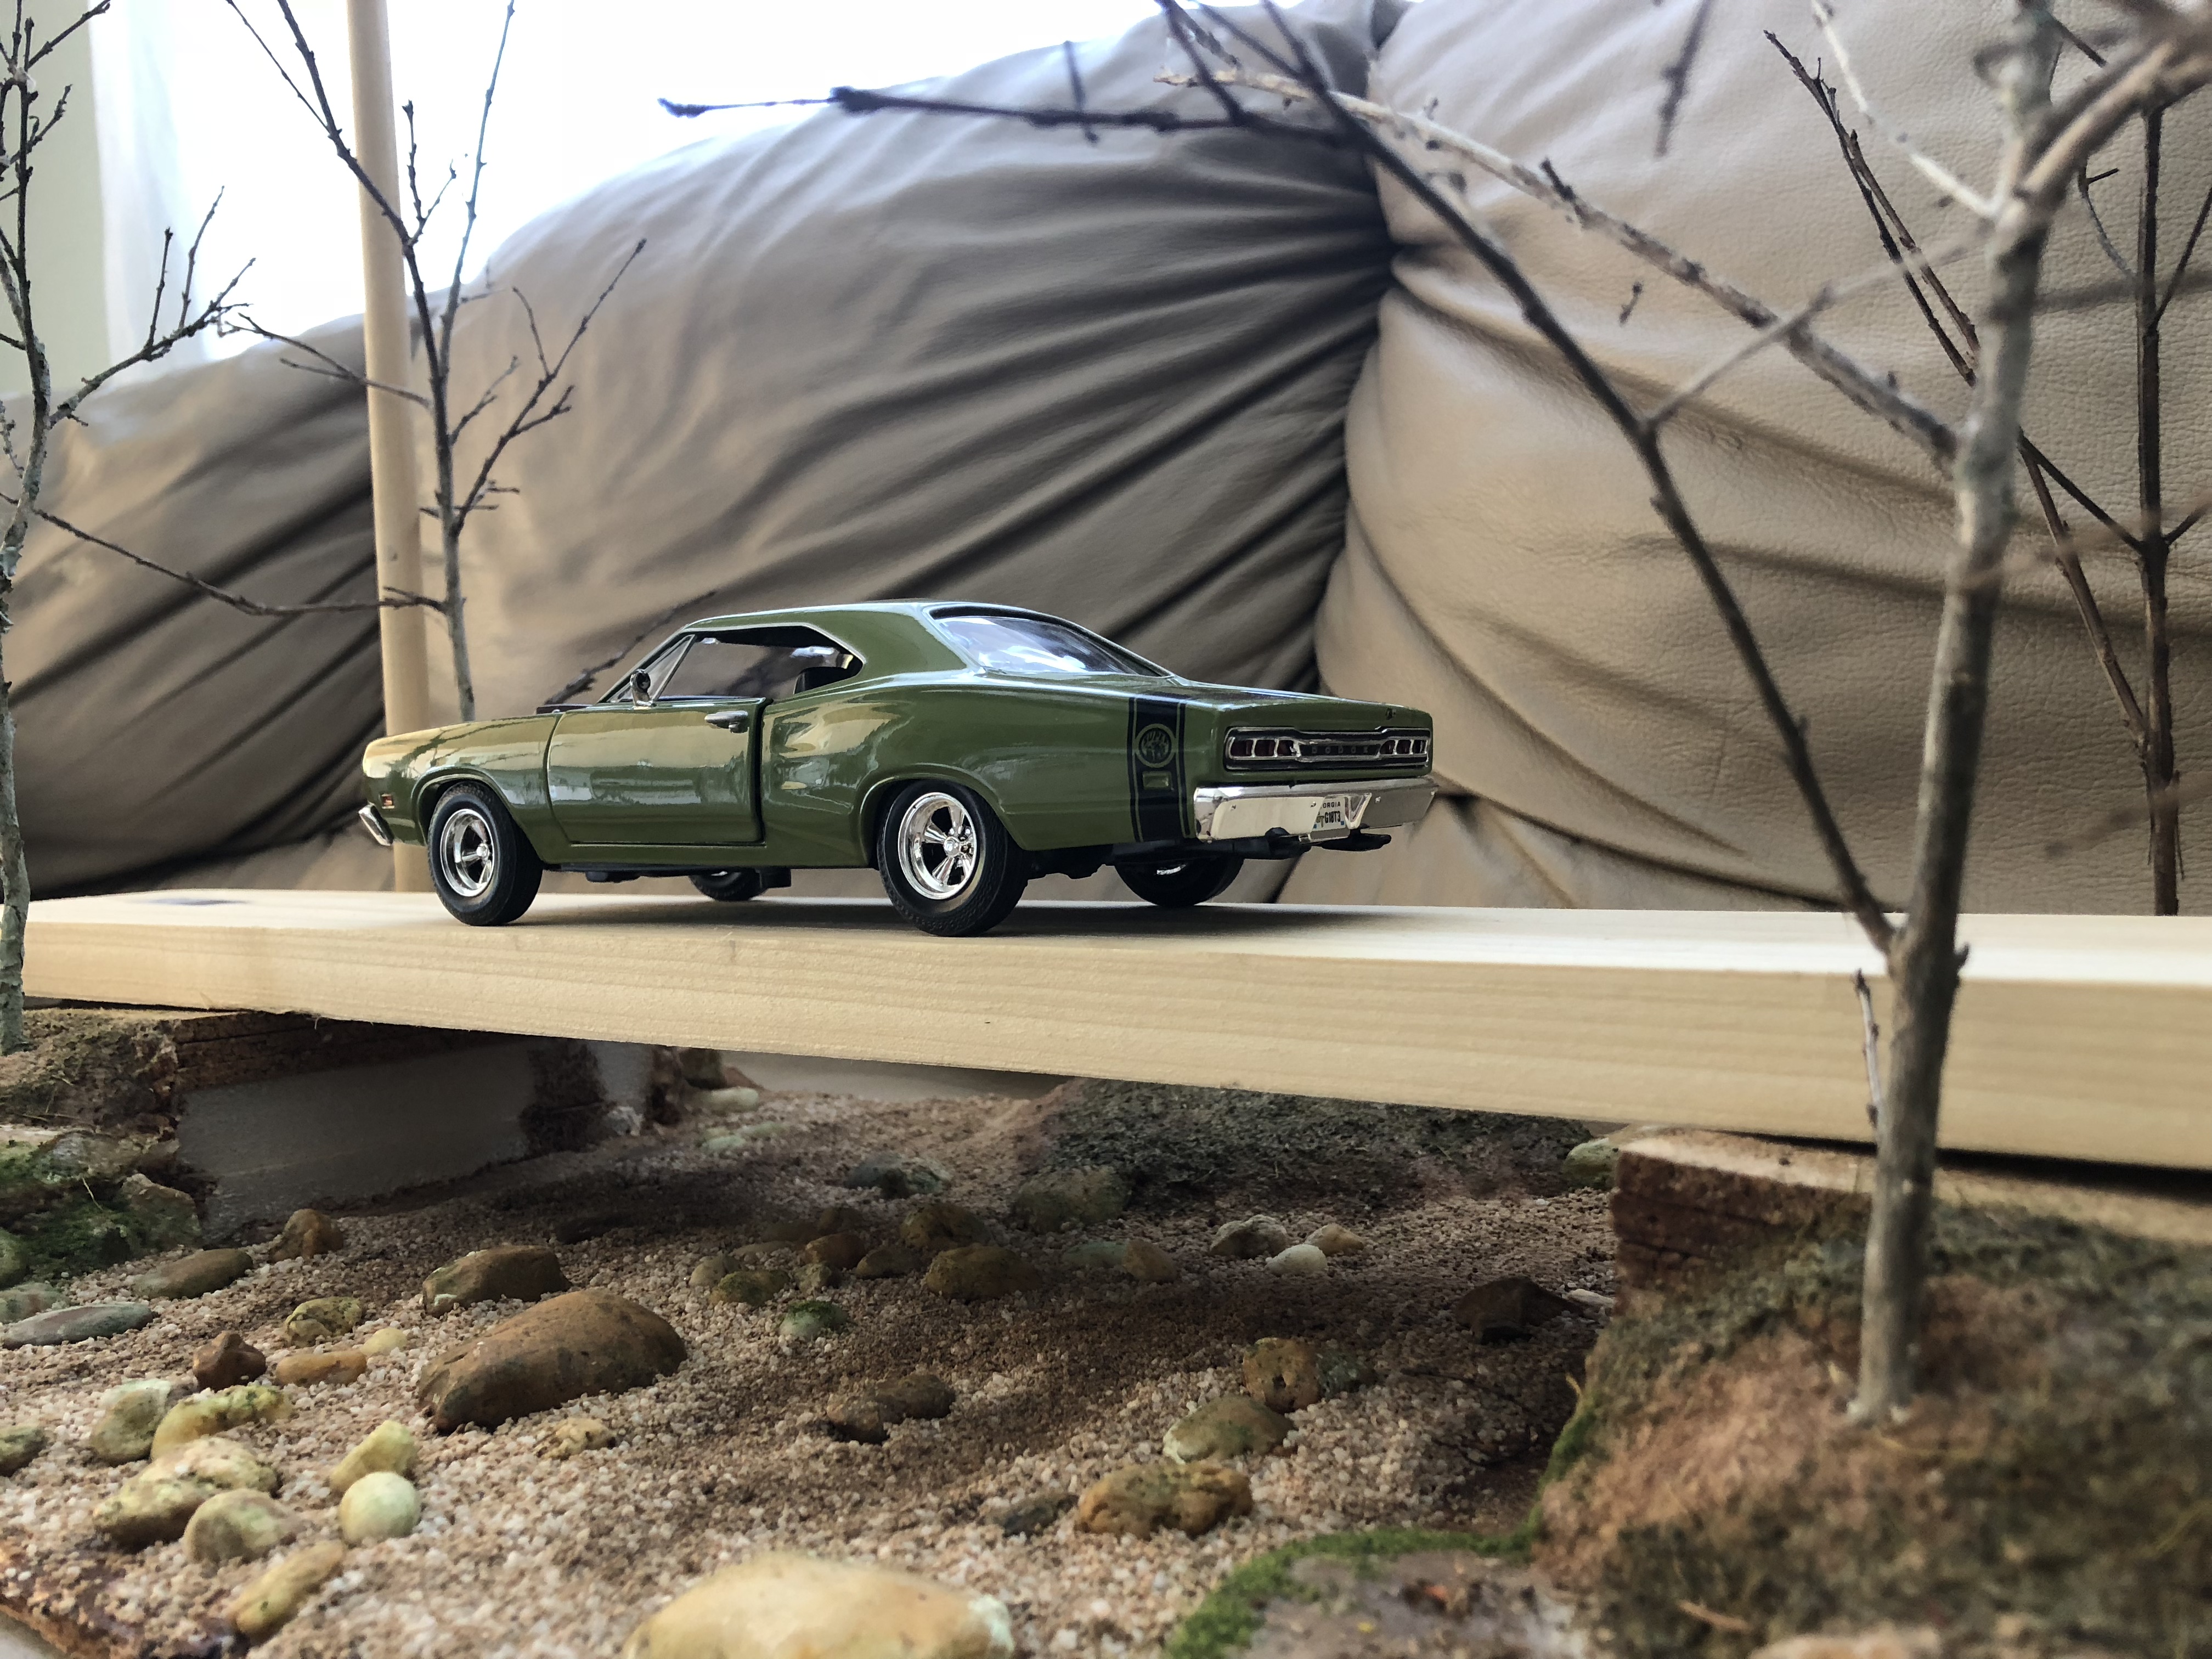
Interesting. You made a great point. My intention was to make the vehicle the focal point but I guess that backfired. Lol. I could always choose a smaller vehicle in the 1/24 scale. Or just move the car back to show more bridge. Thank you for the observation.
-
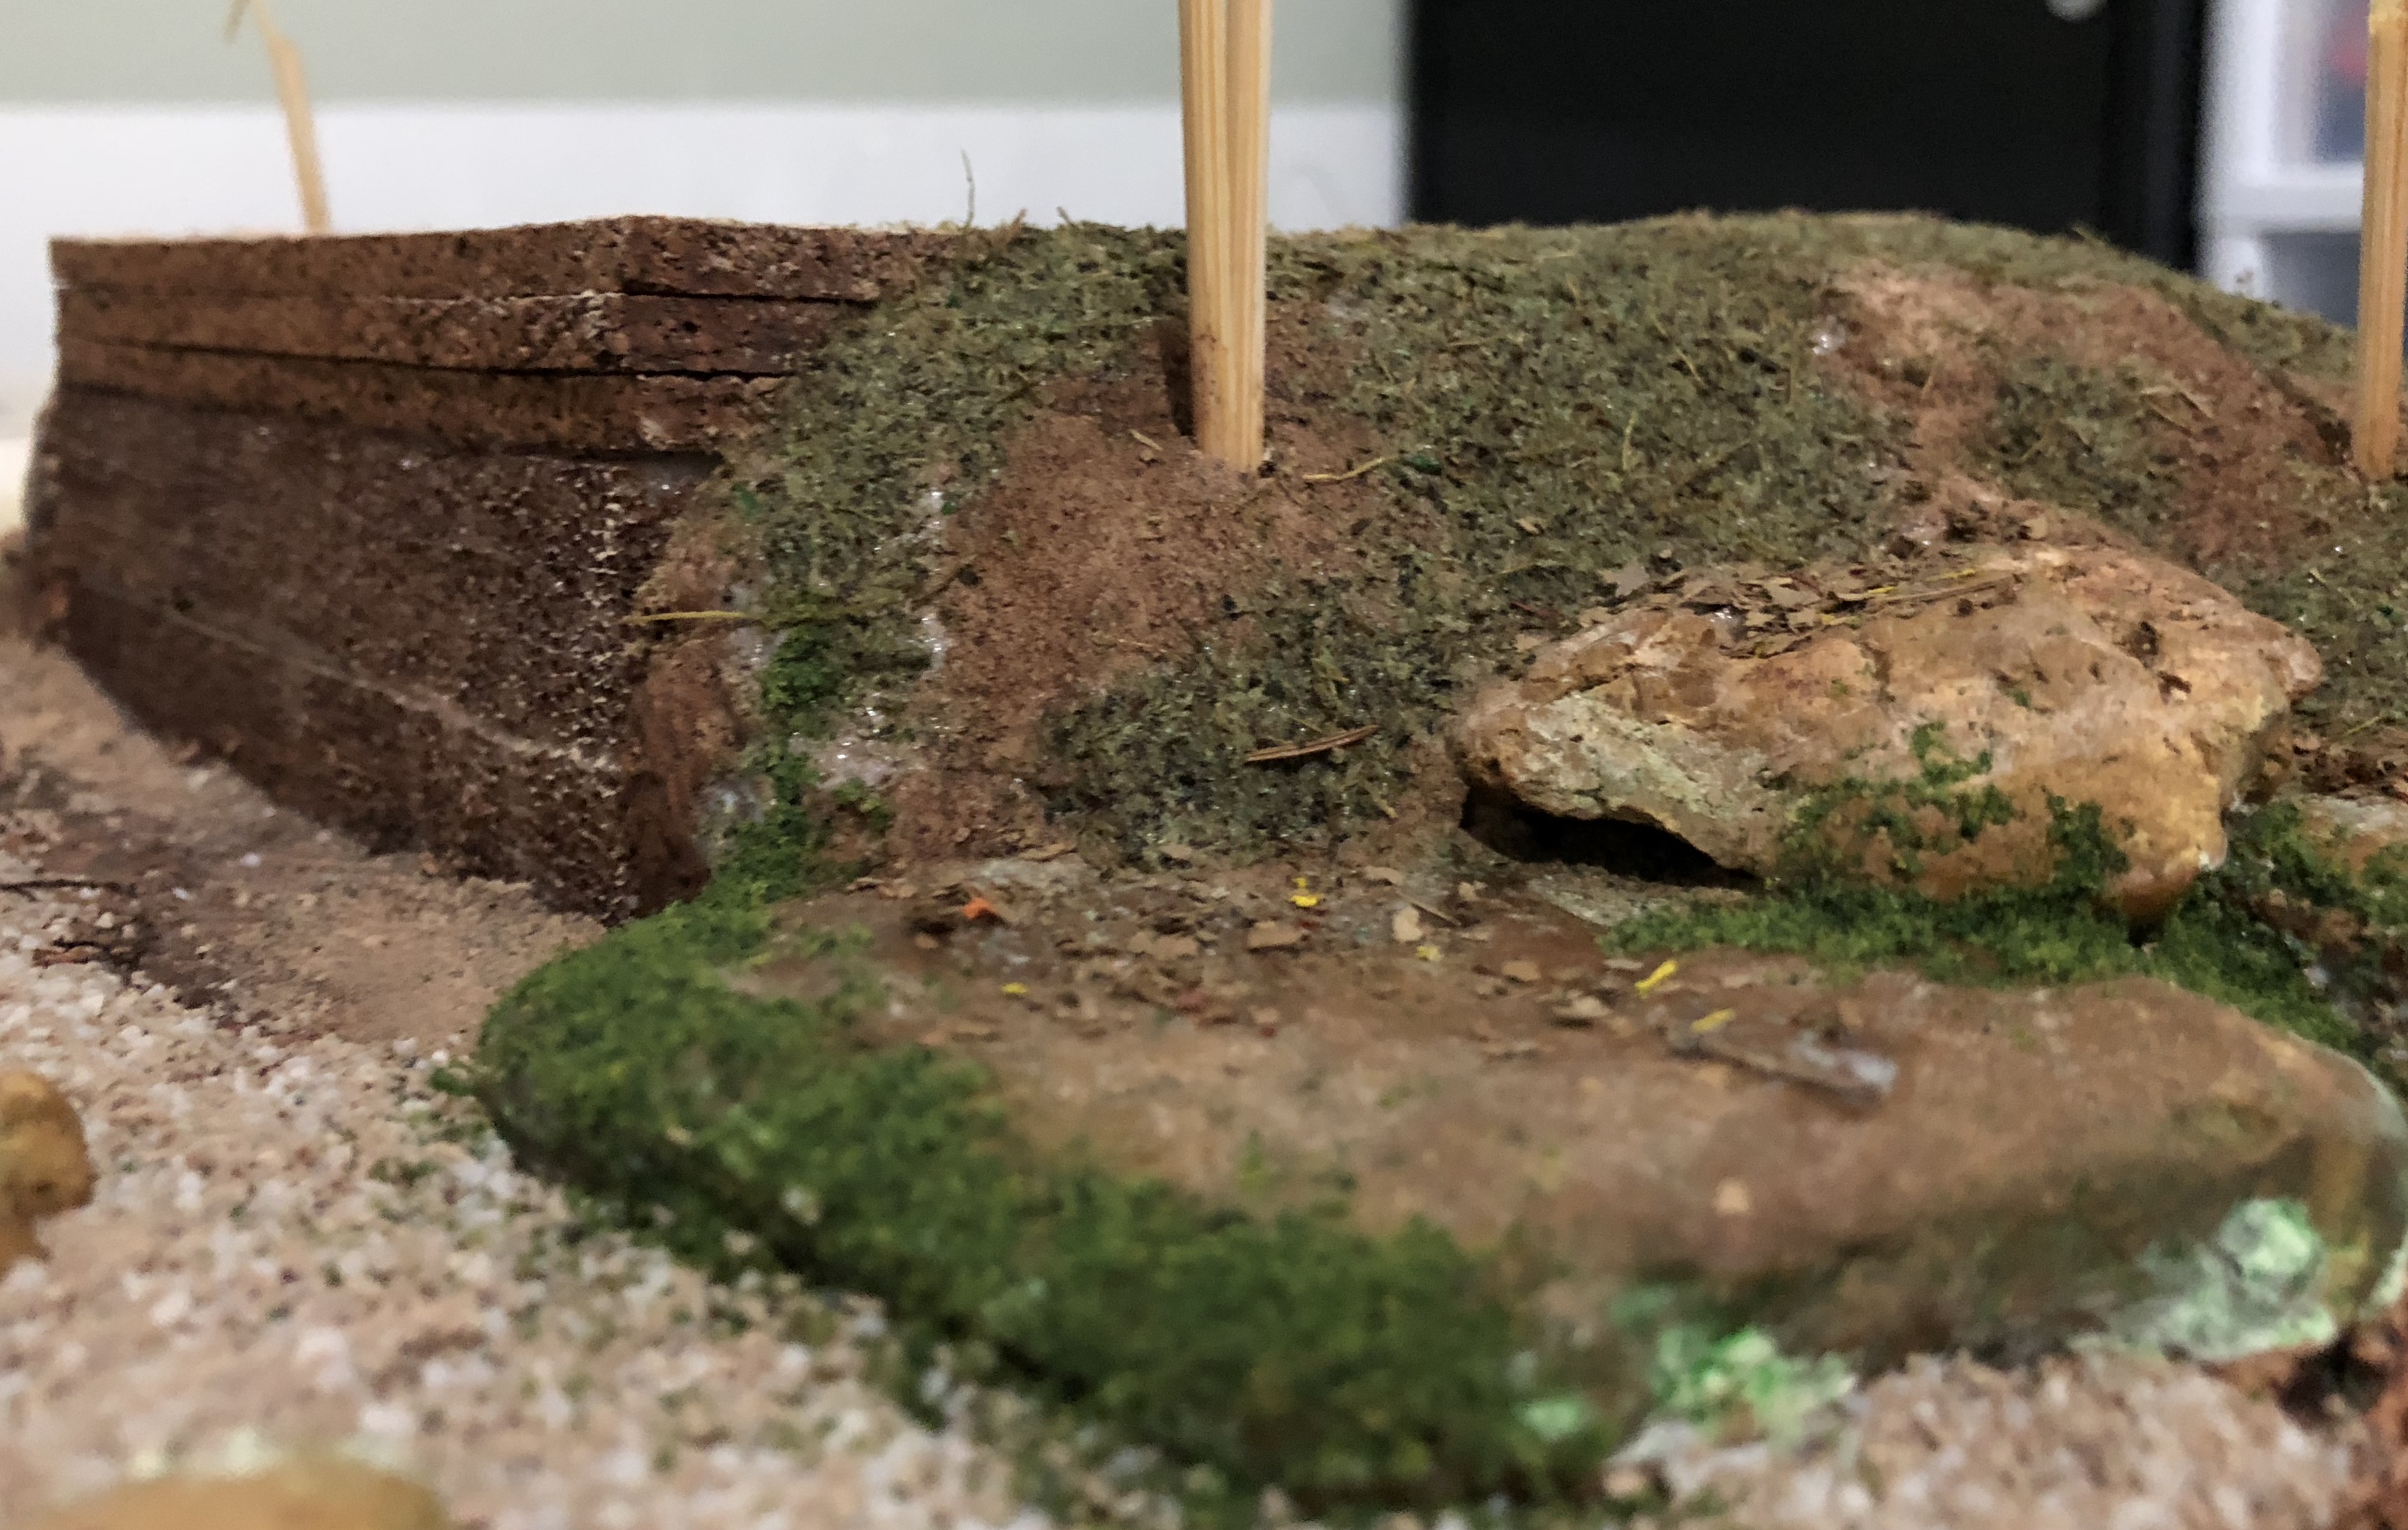
Thank you Gramps46. I weather the wood with vinegar in steel wool (I like when the vinegar has acquired the rusty color). Then I just do a couple of washes with either black or raw umber. Where the wood might be exposed to high leve of humidity I do some random green washes (I use pictures from the web as reference).
-
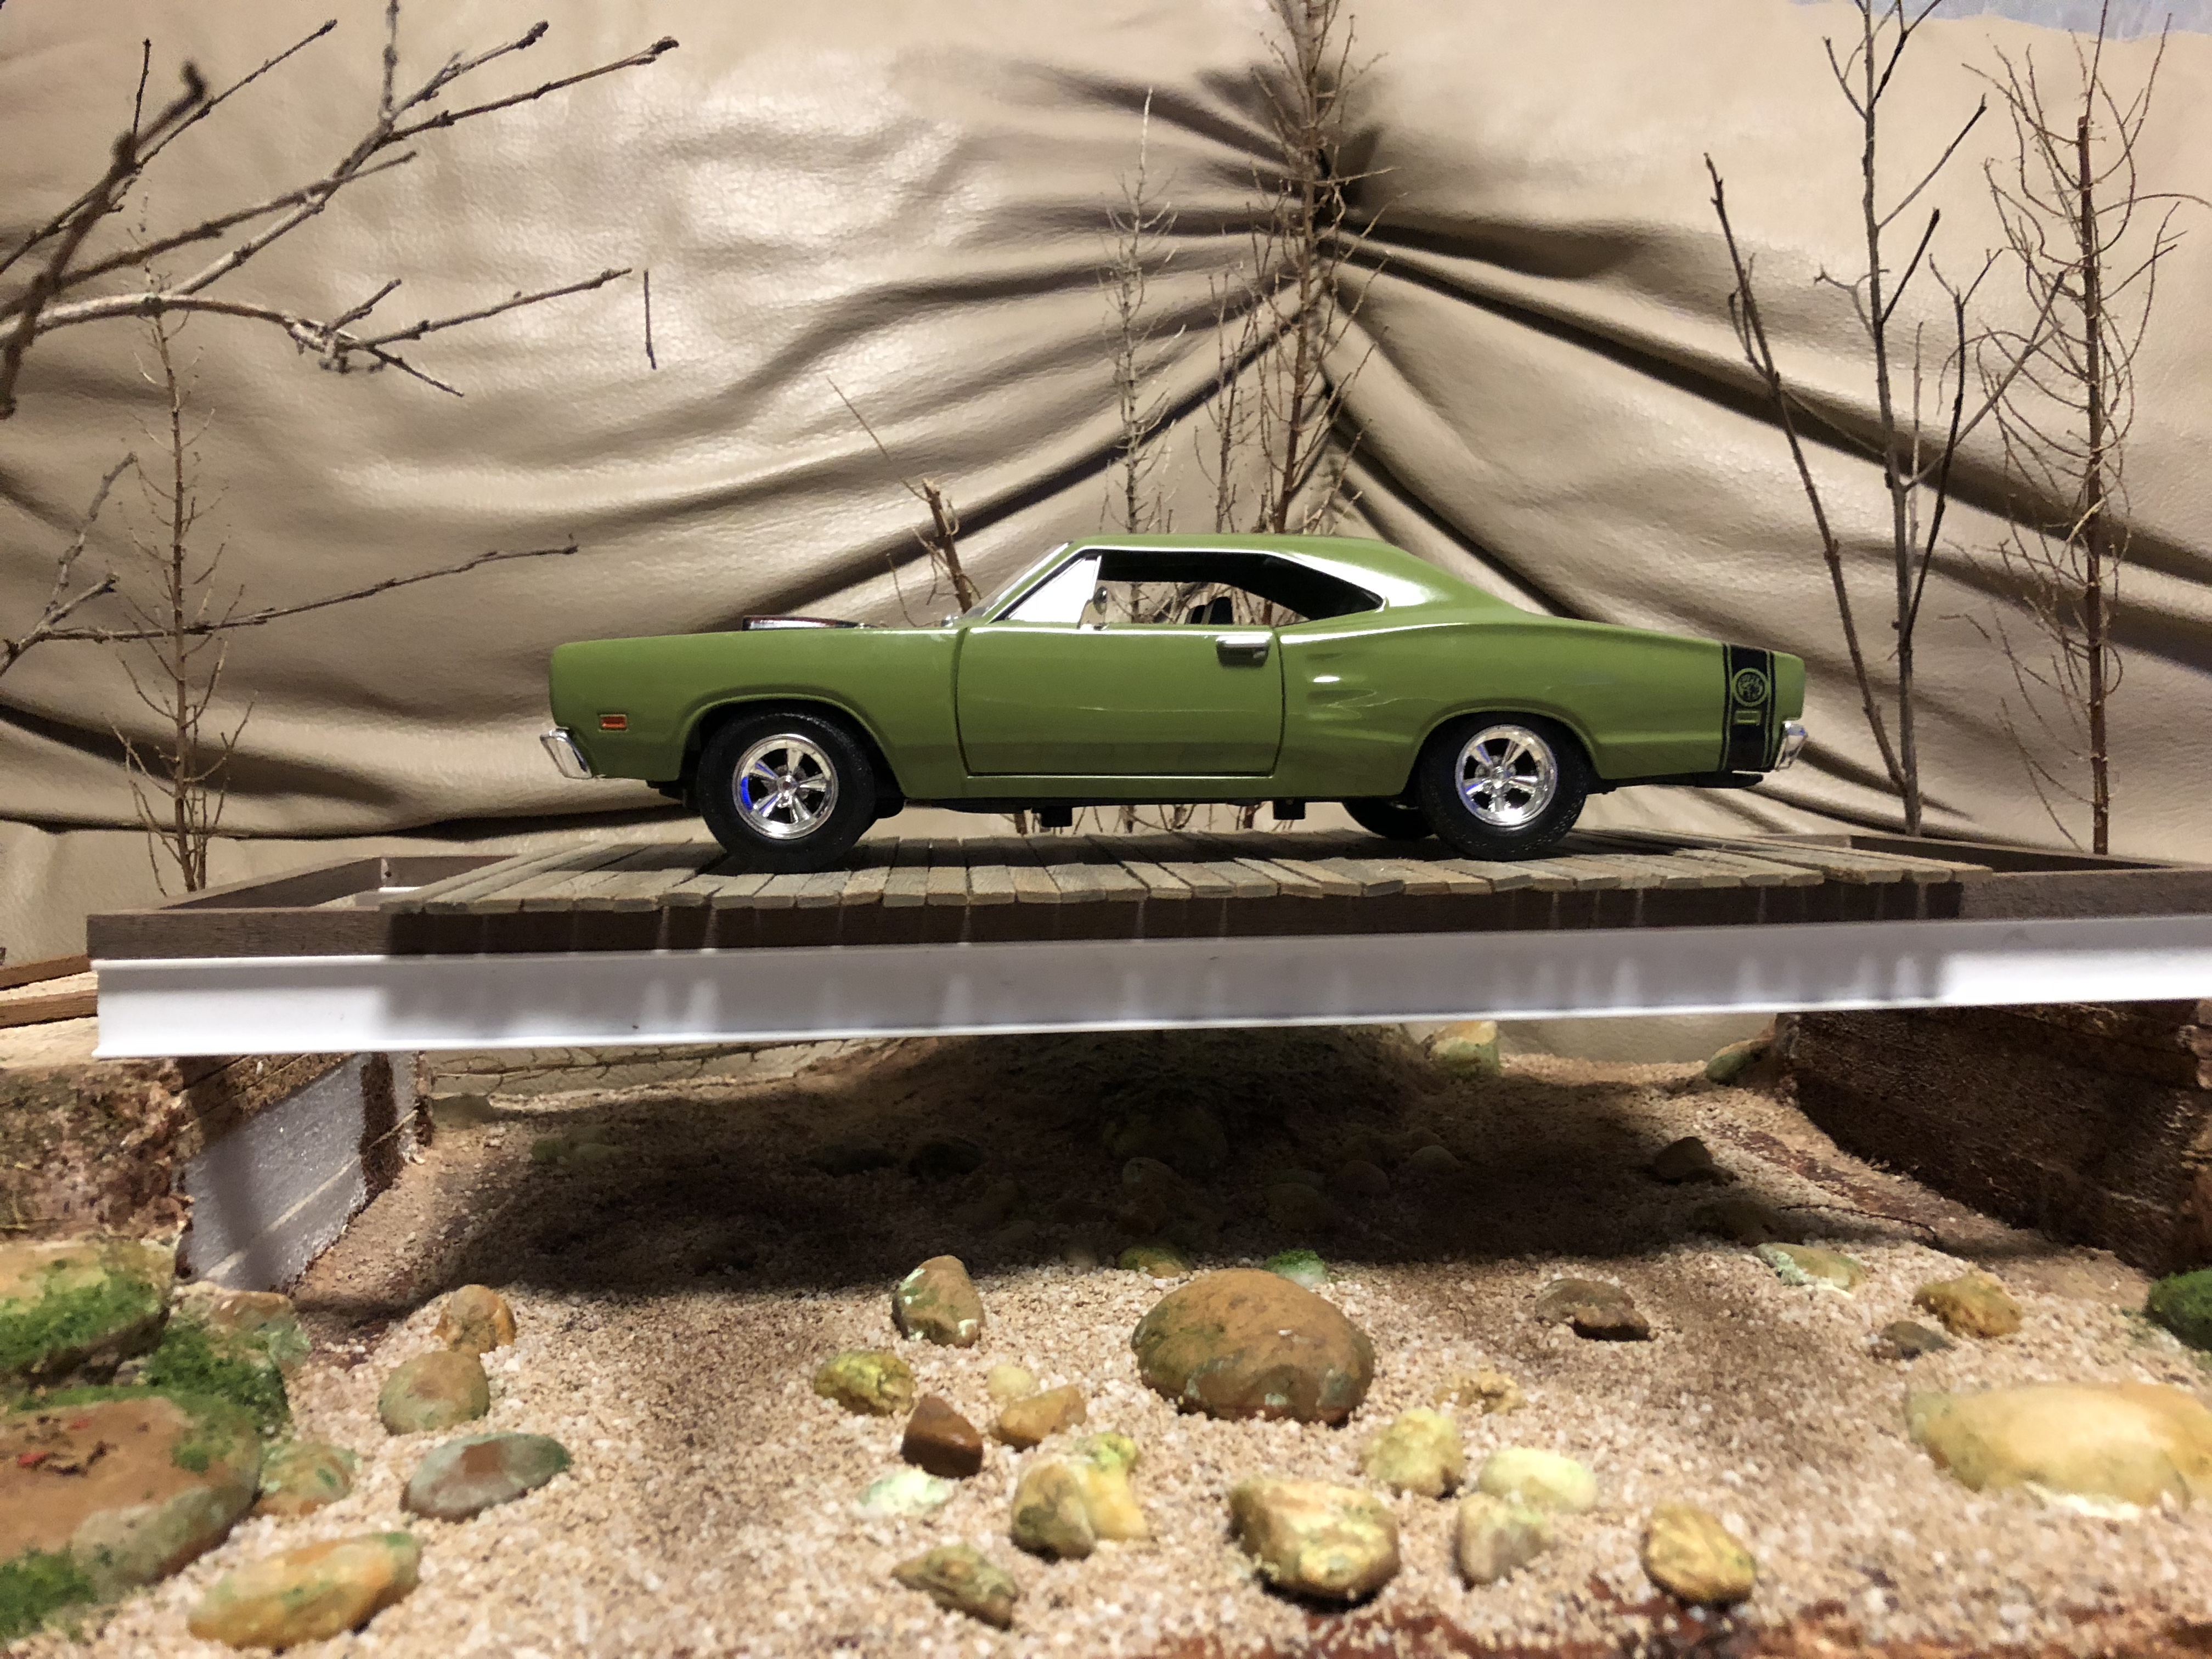
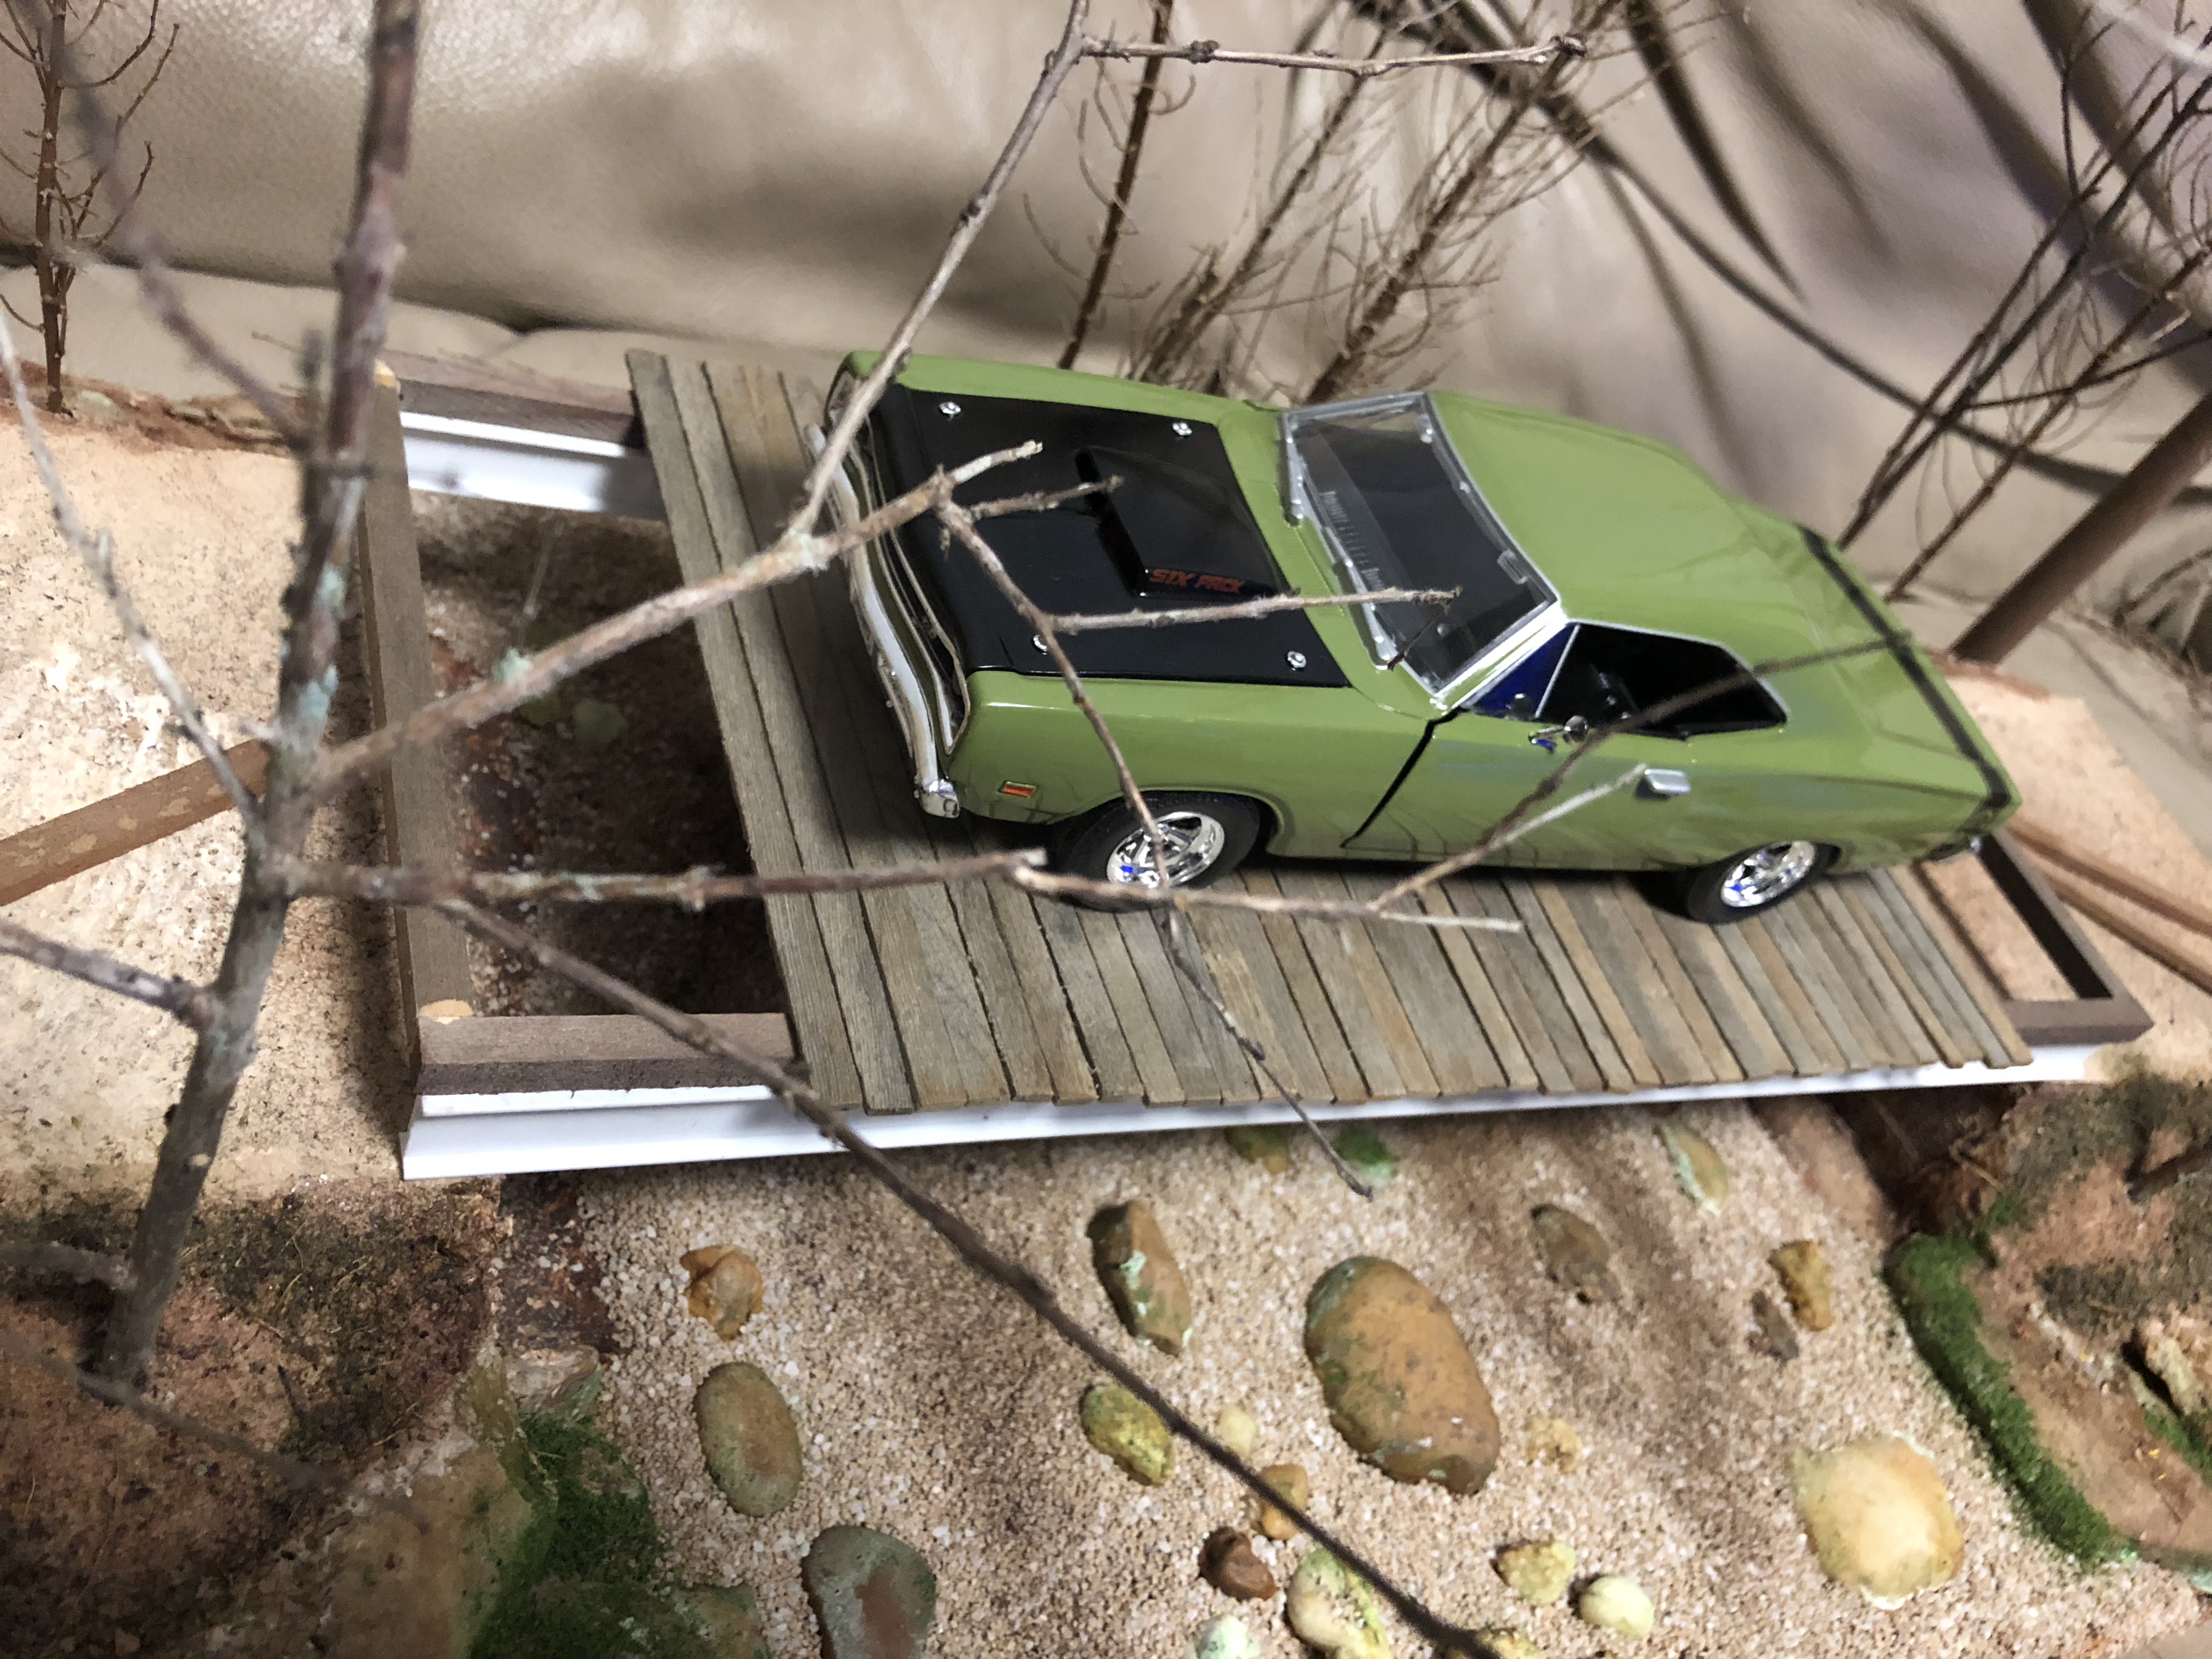
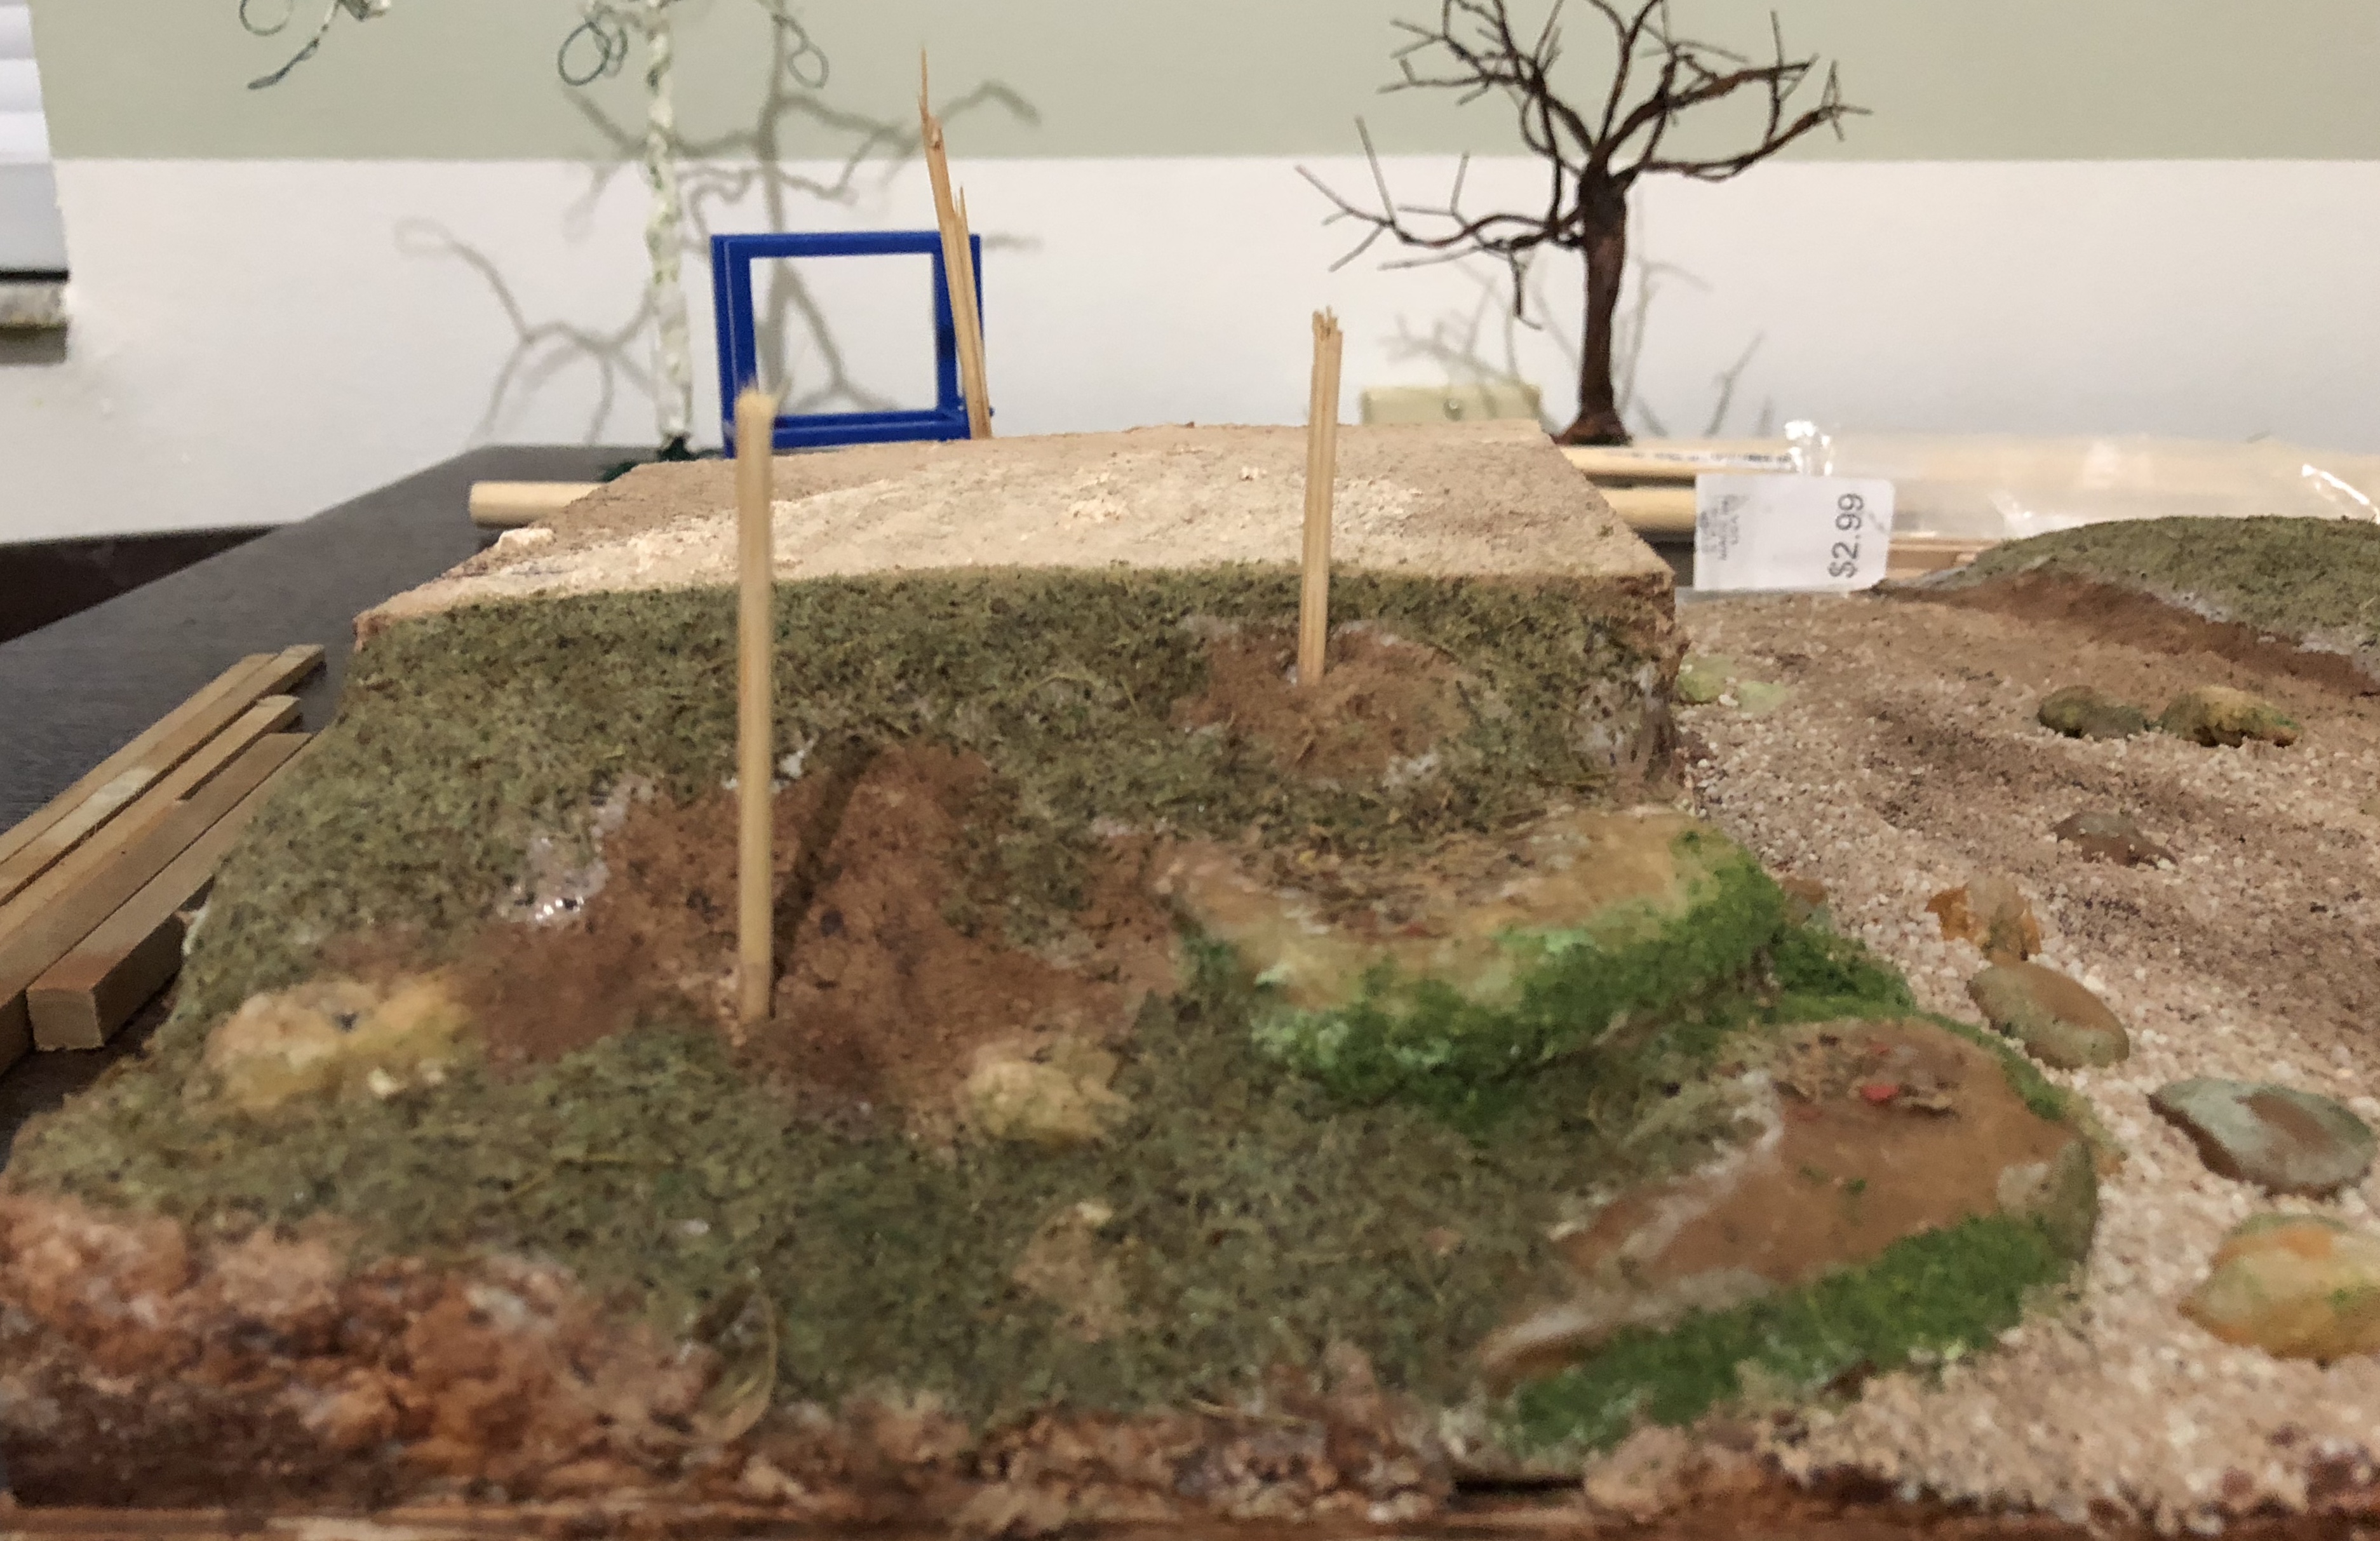
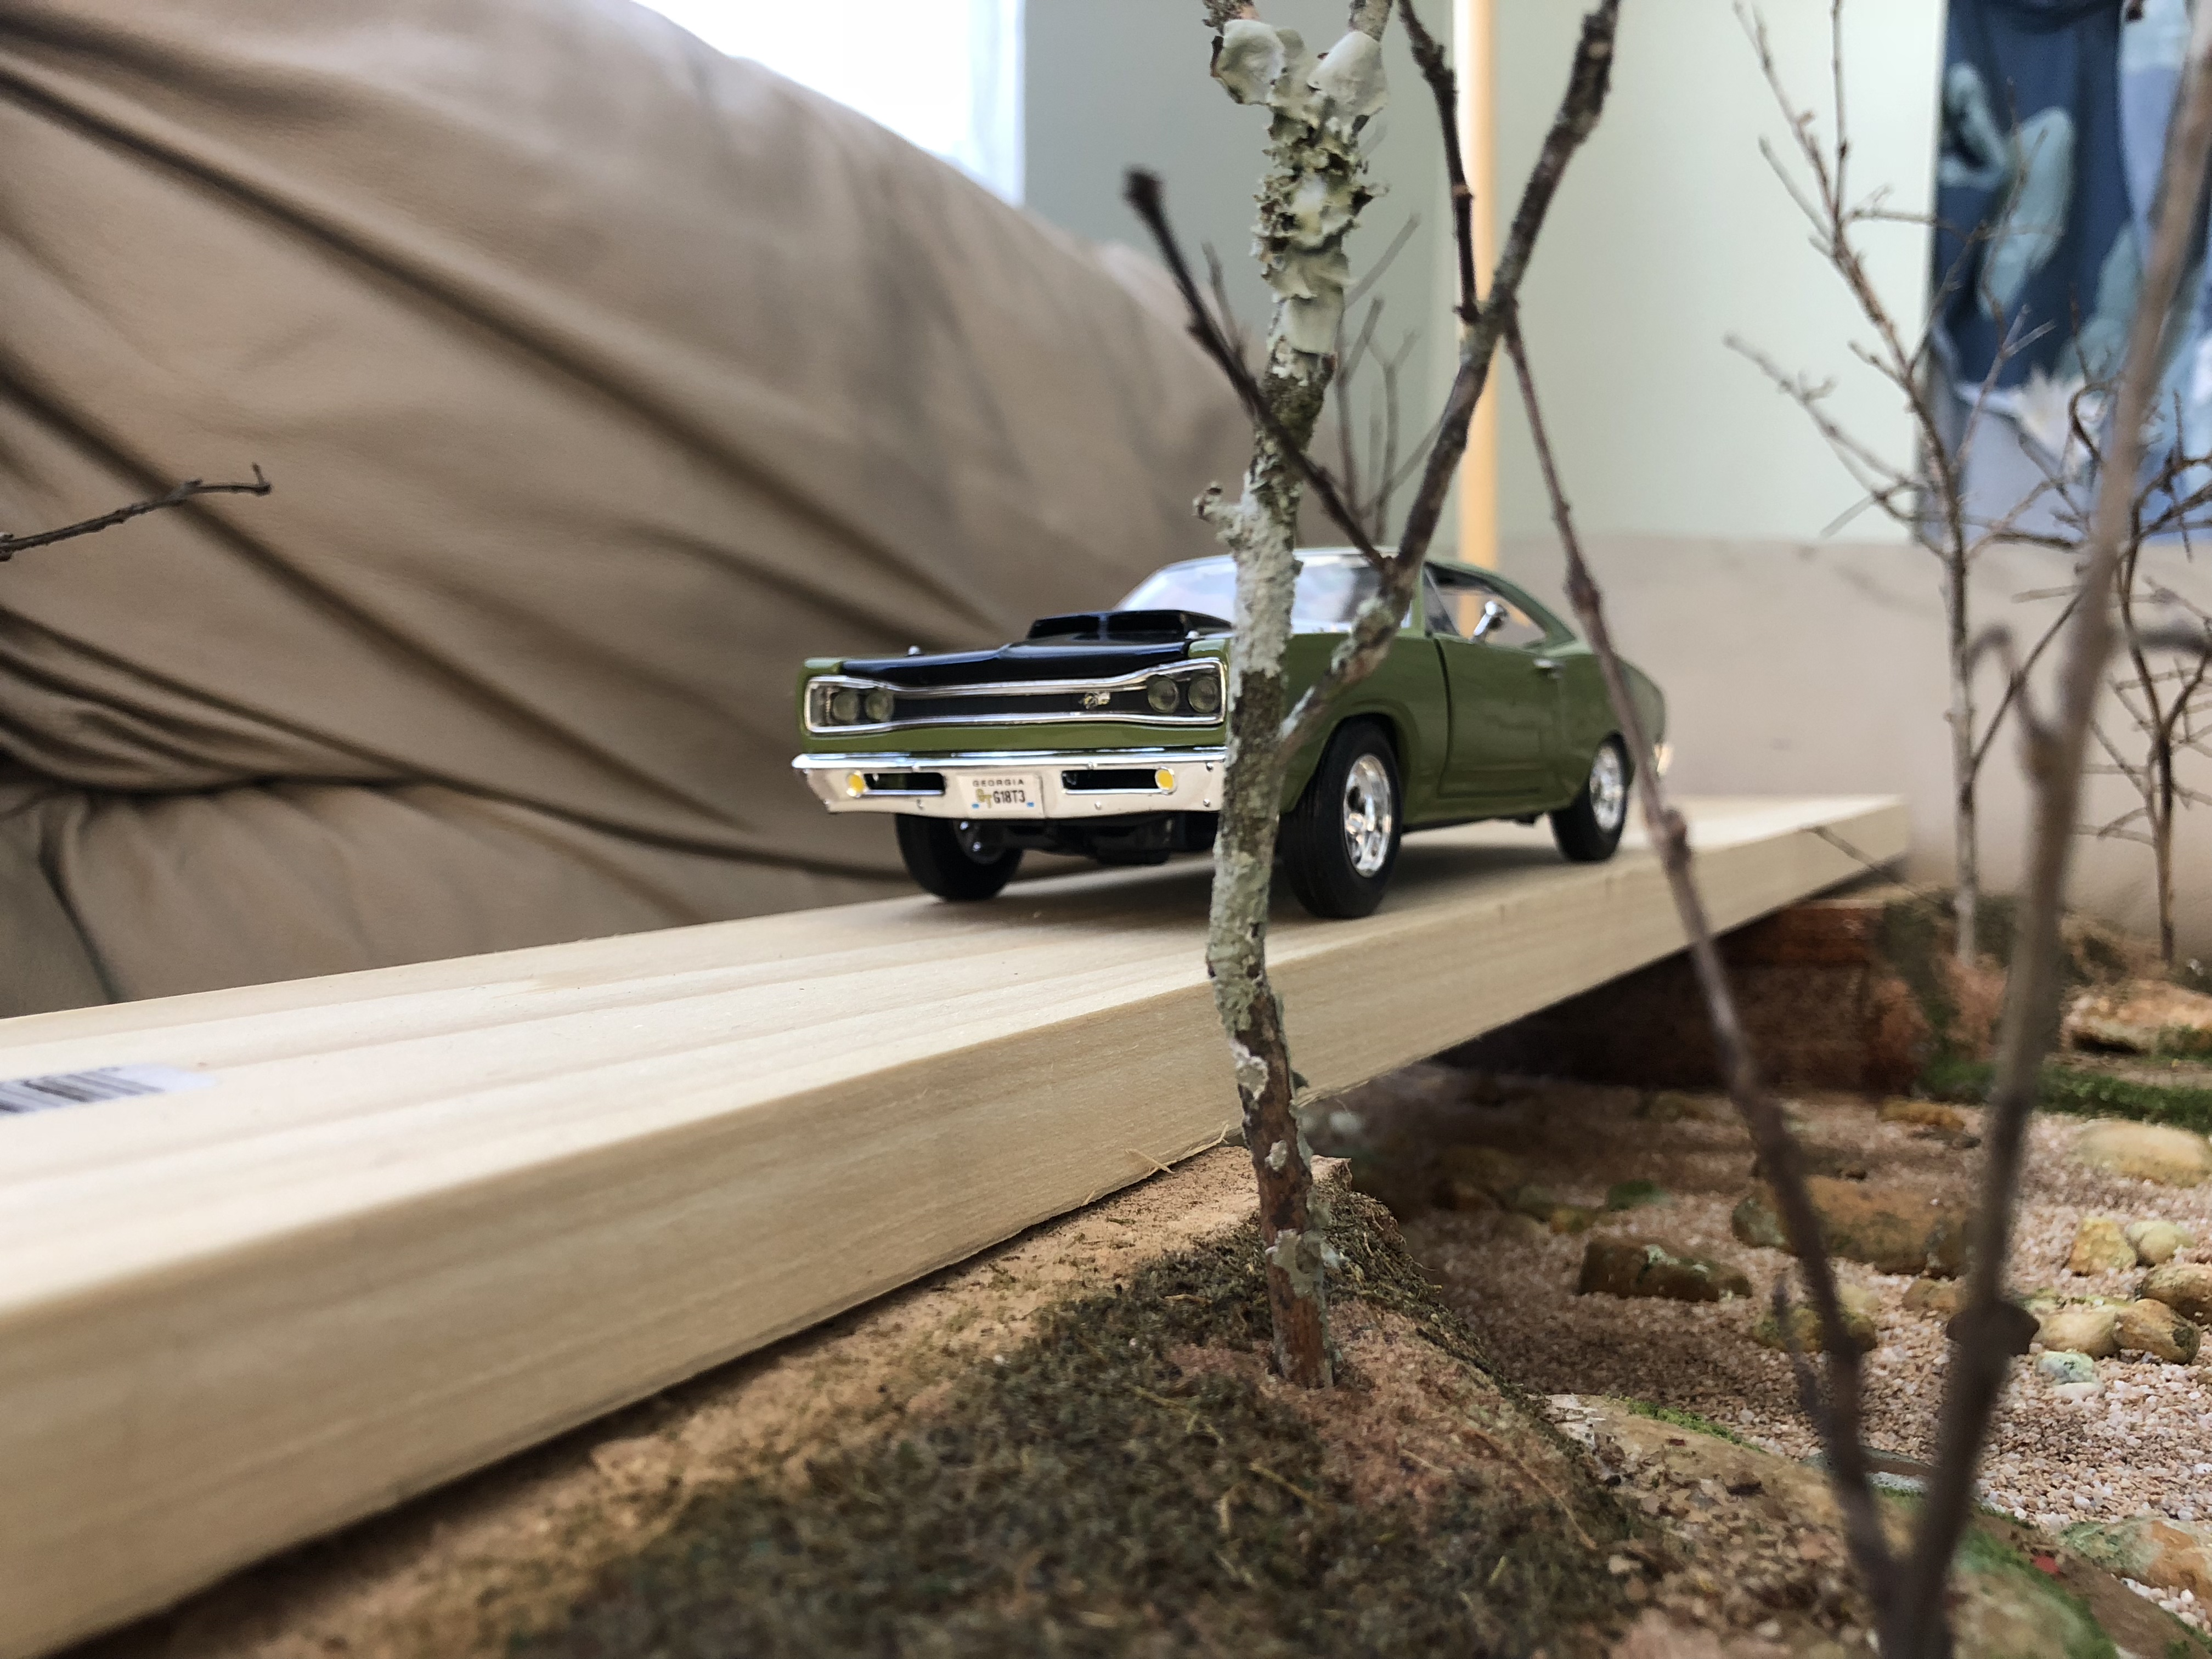
Thank you for Eshaver. I was undecided whether to add rails or not. But since you mentioned it I think it makes perfect sense to do so. Thank you, again. I’m adding updated photos right now. I’m currently working on this diorama, plus one I have on hold because my static grass applicator has not arrived yet.
-
Wow!!! Talk about skills. I would definitely consider this a masterpiece.
-
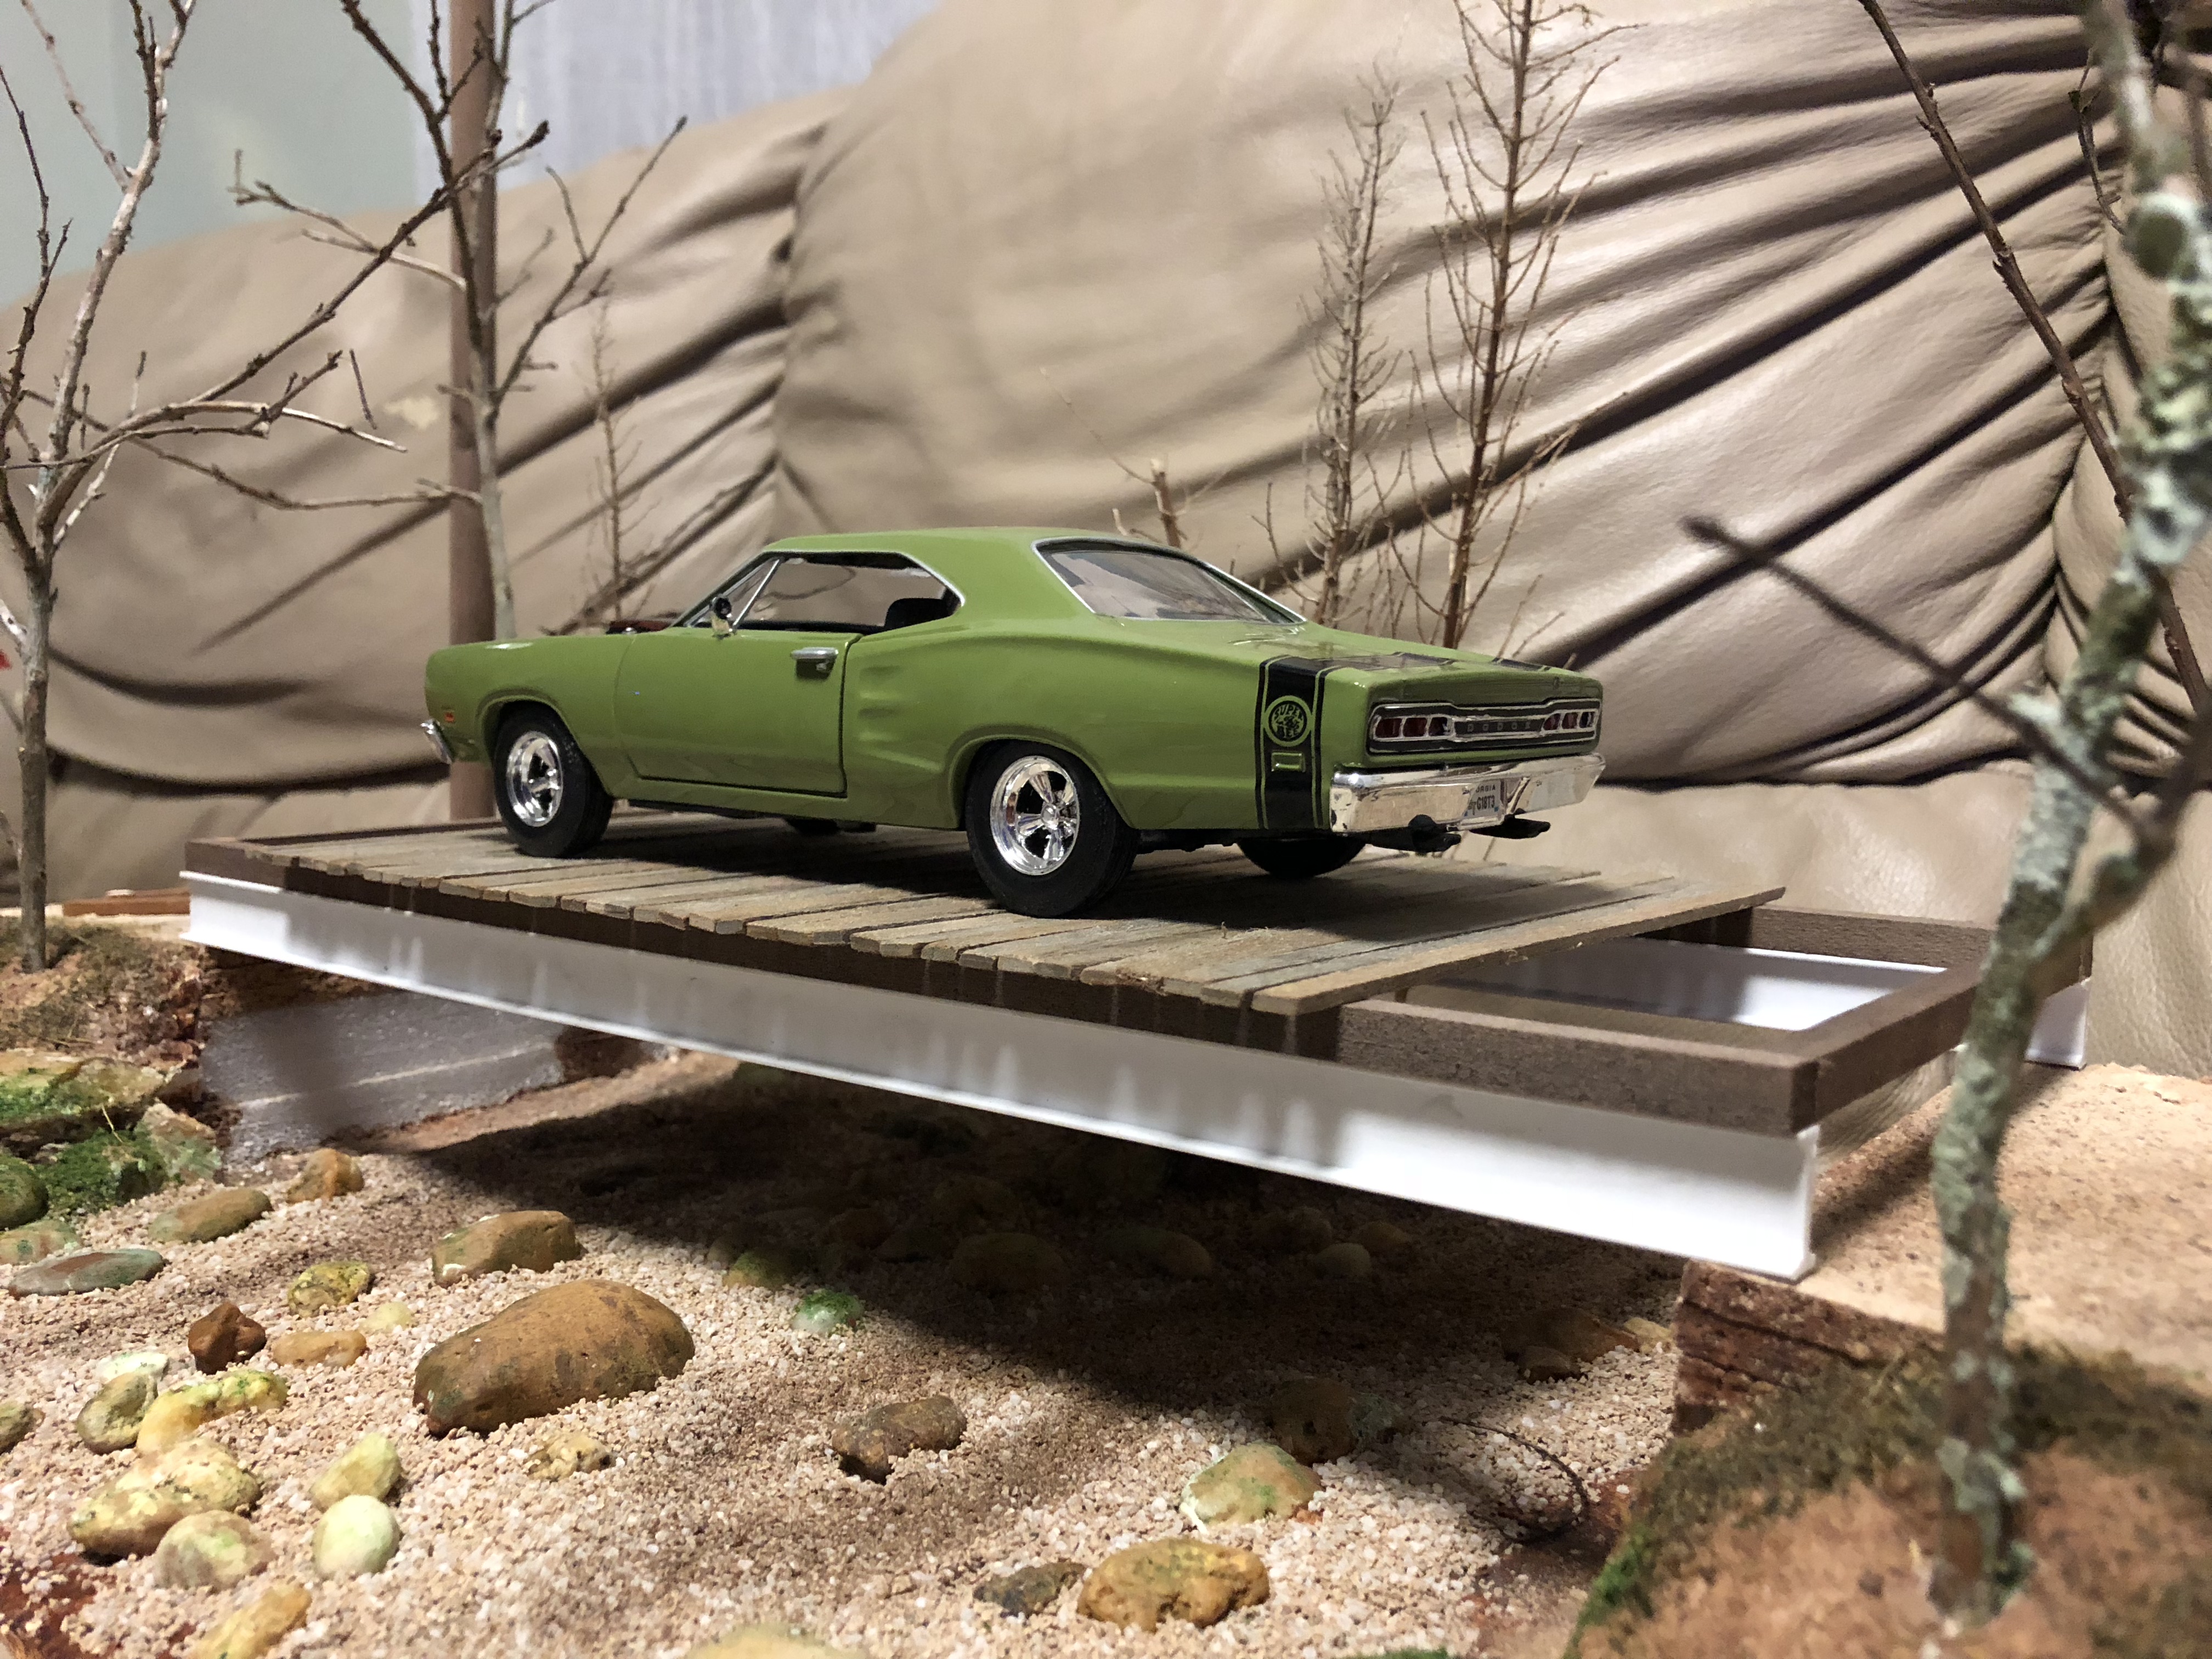
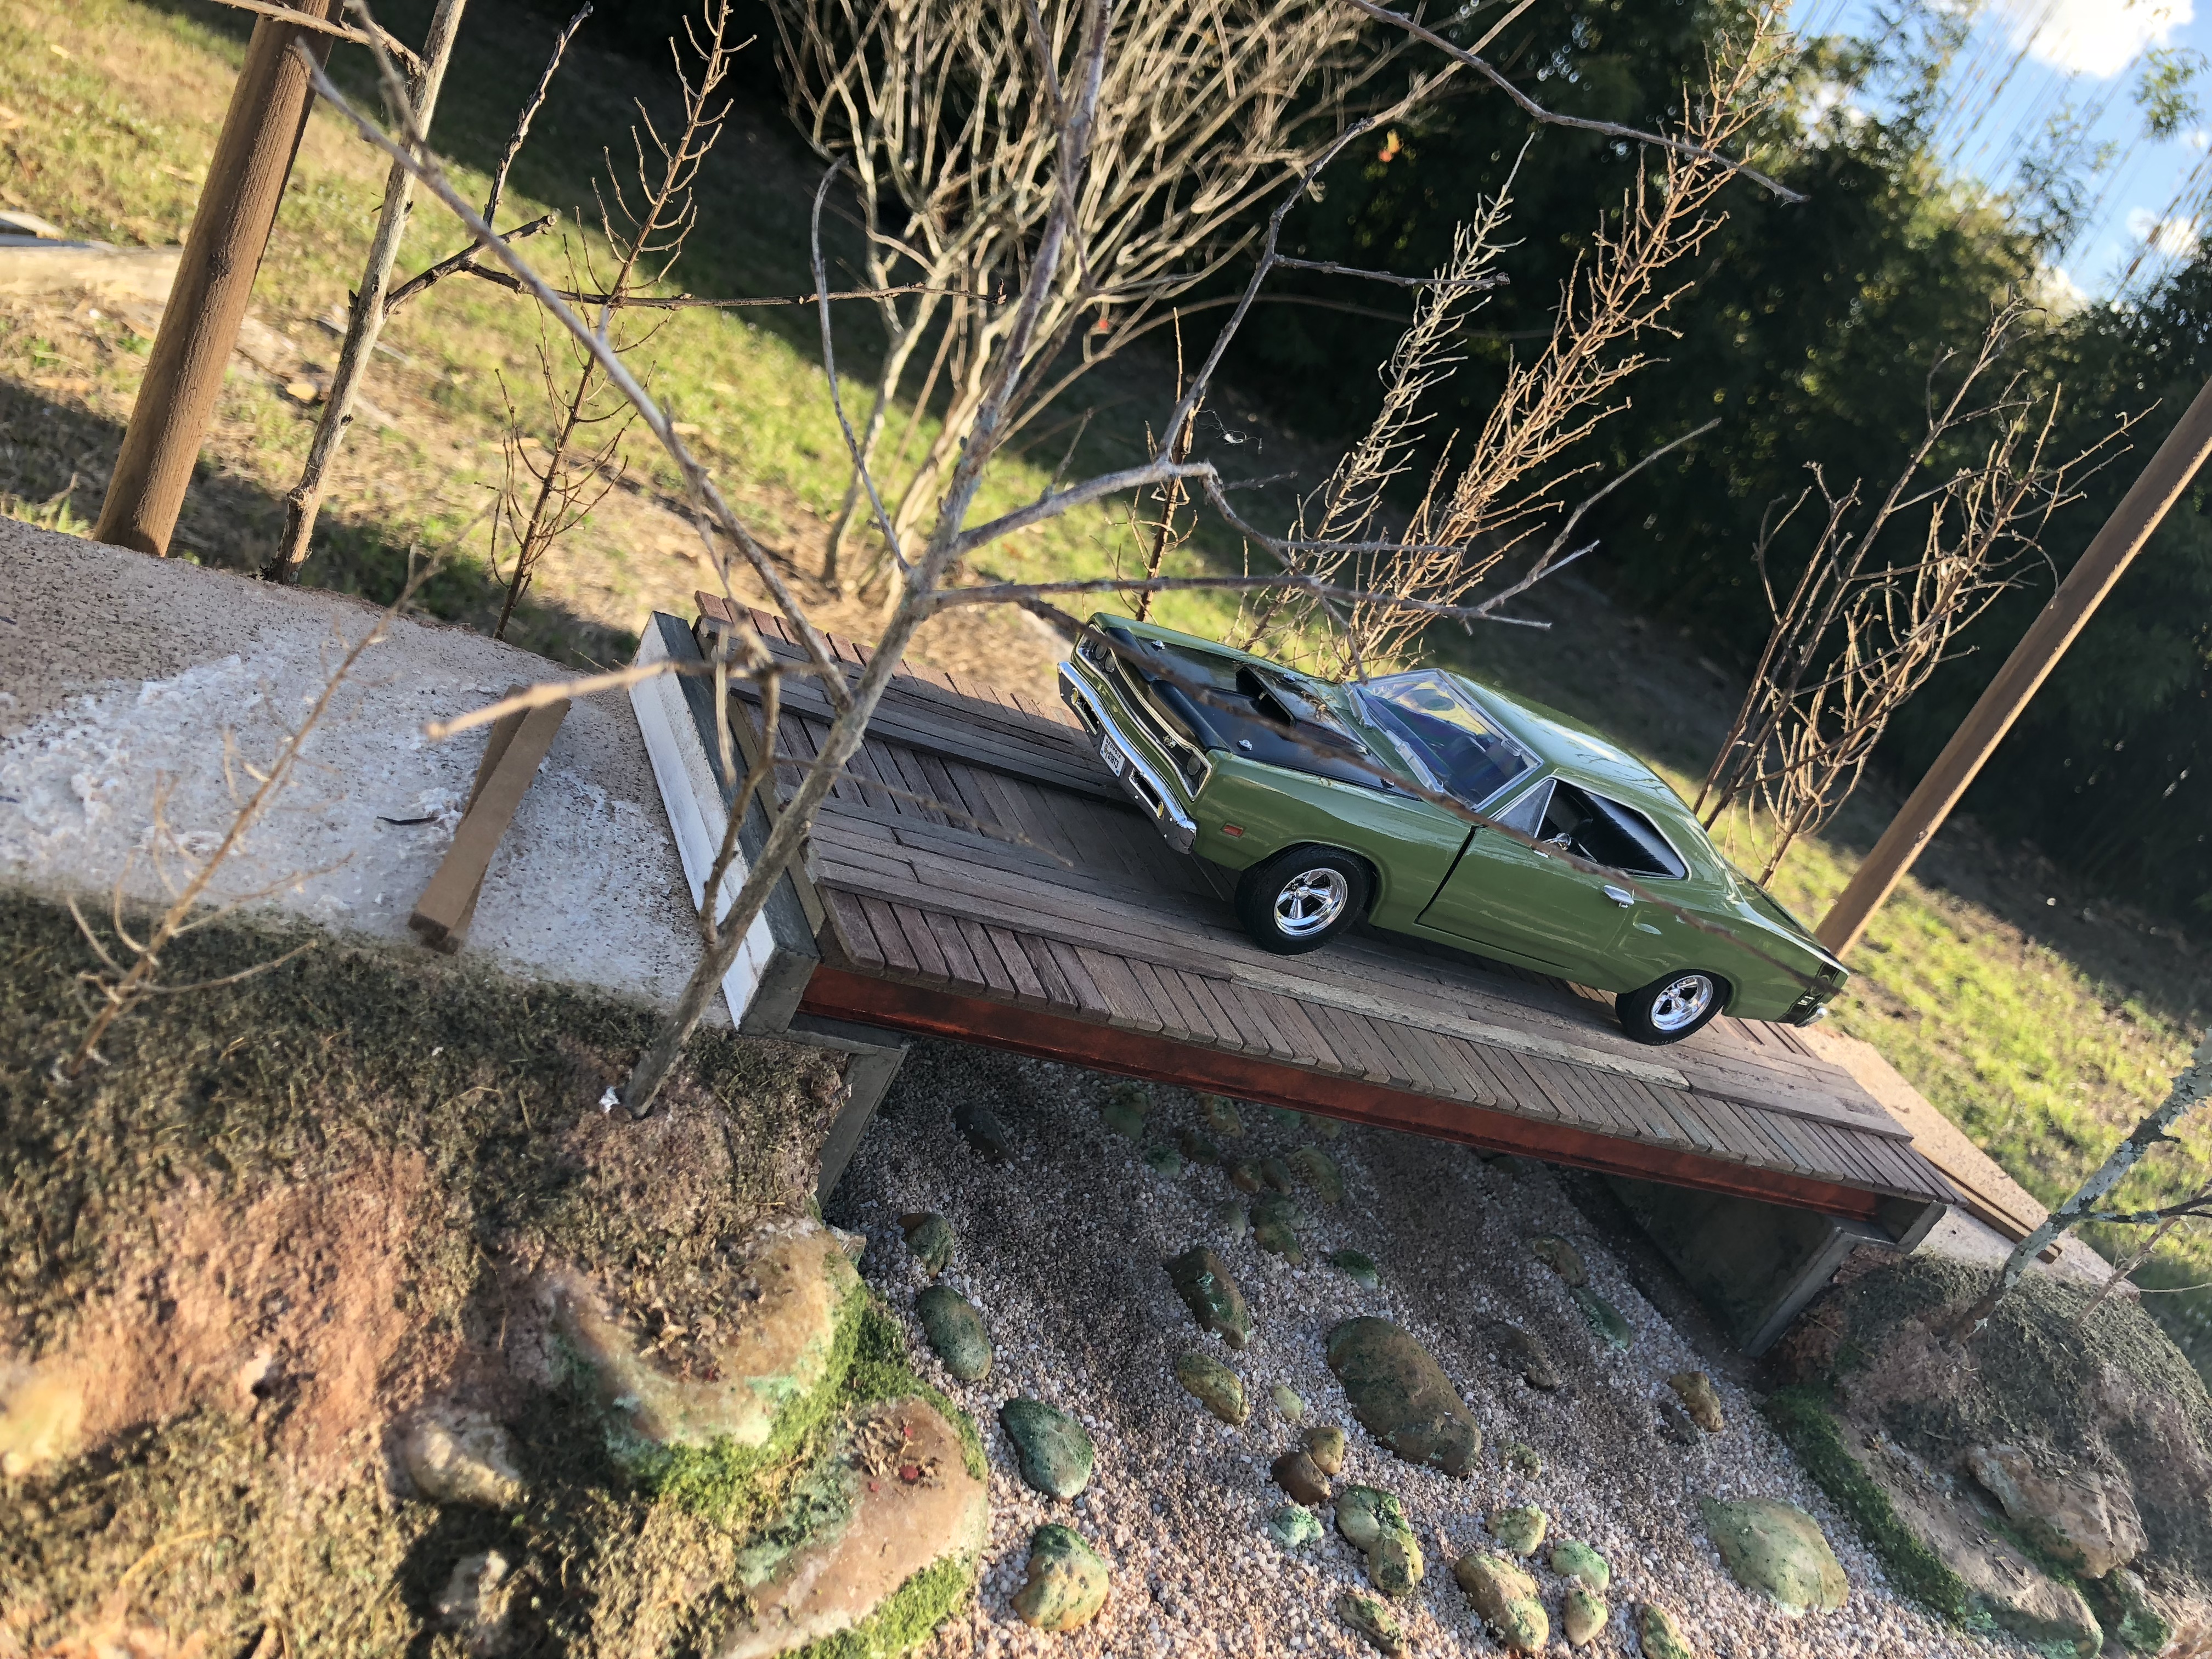
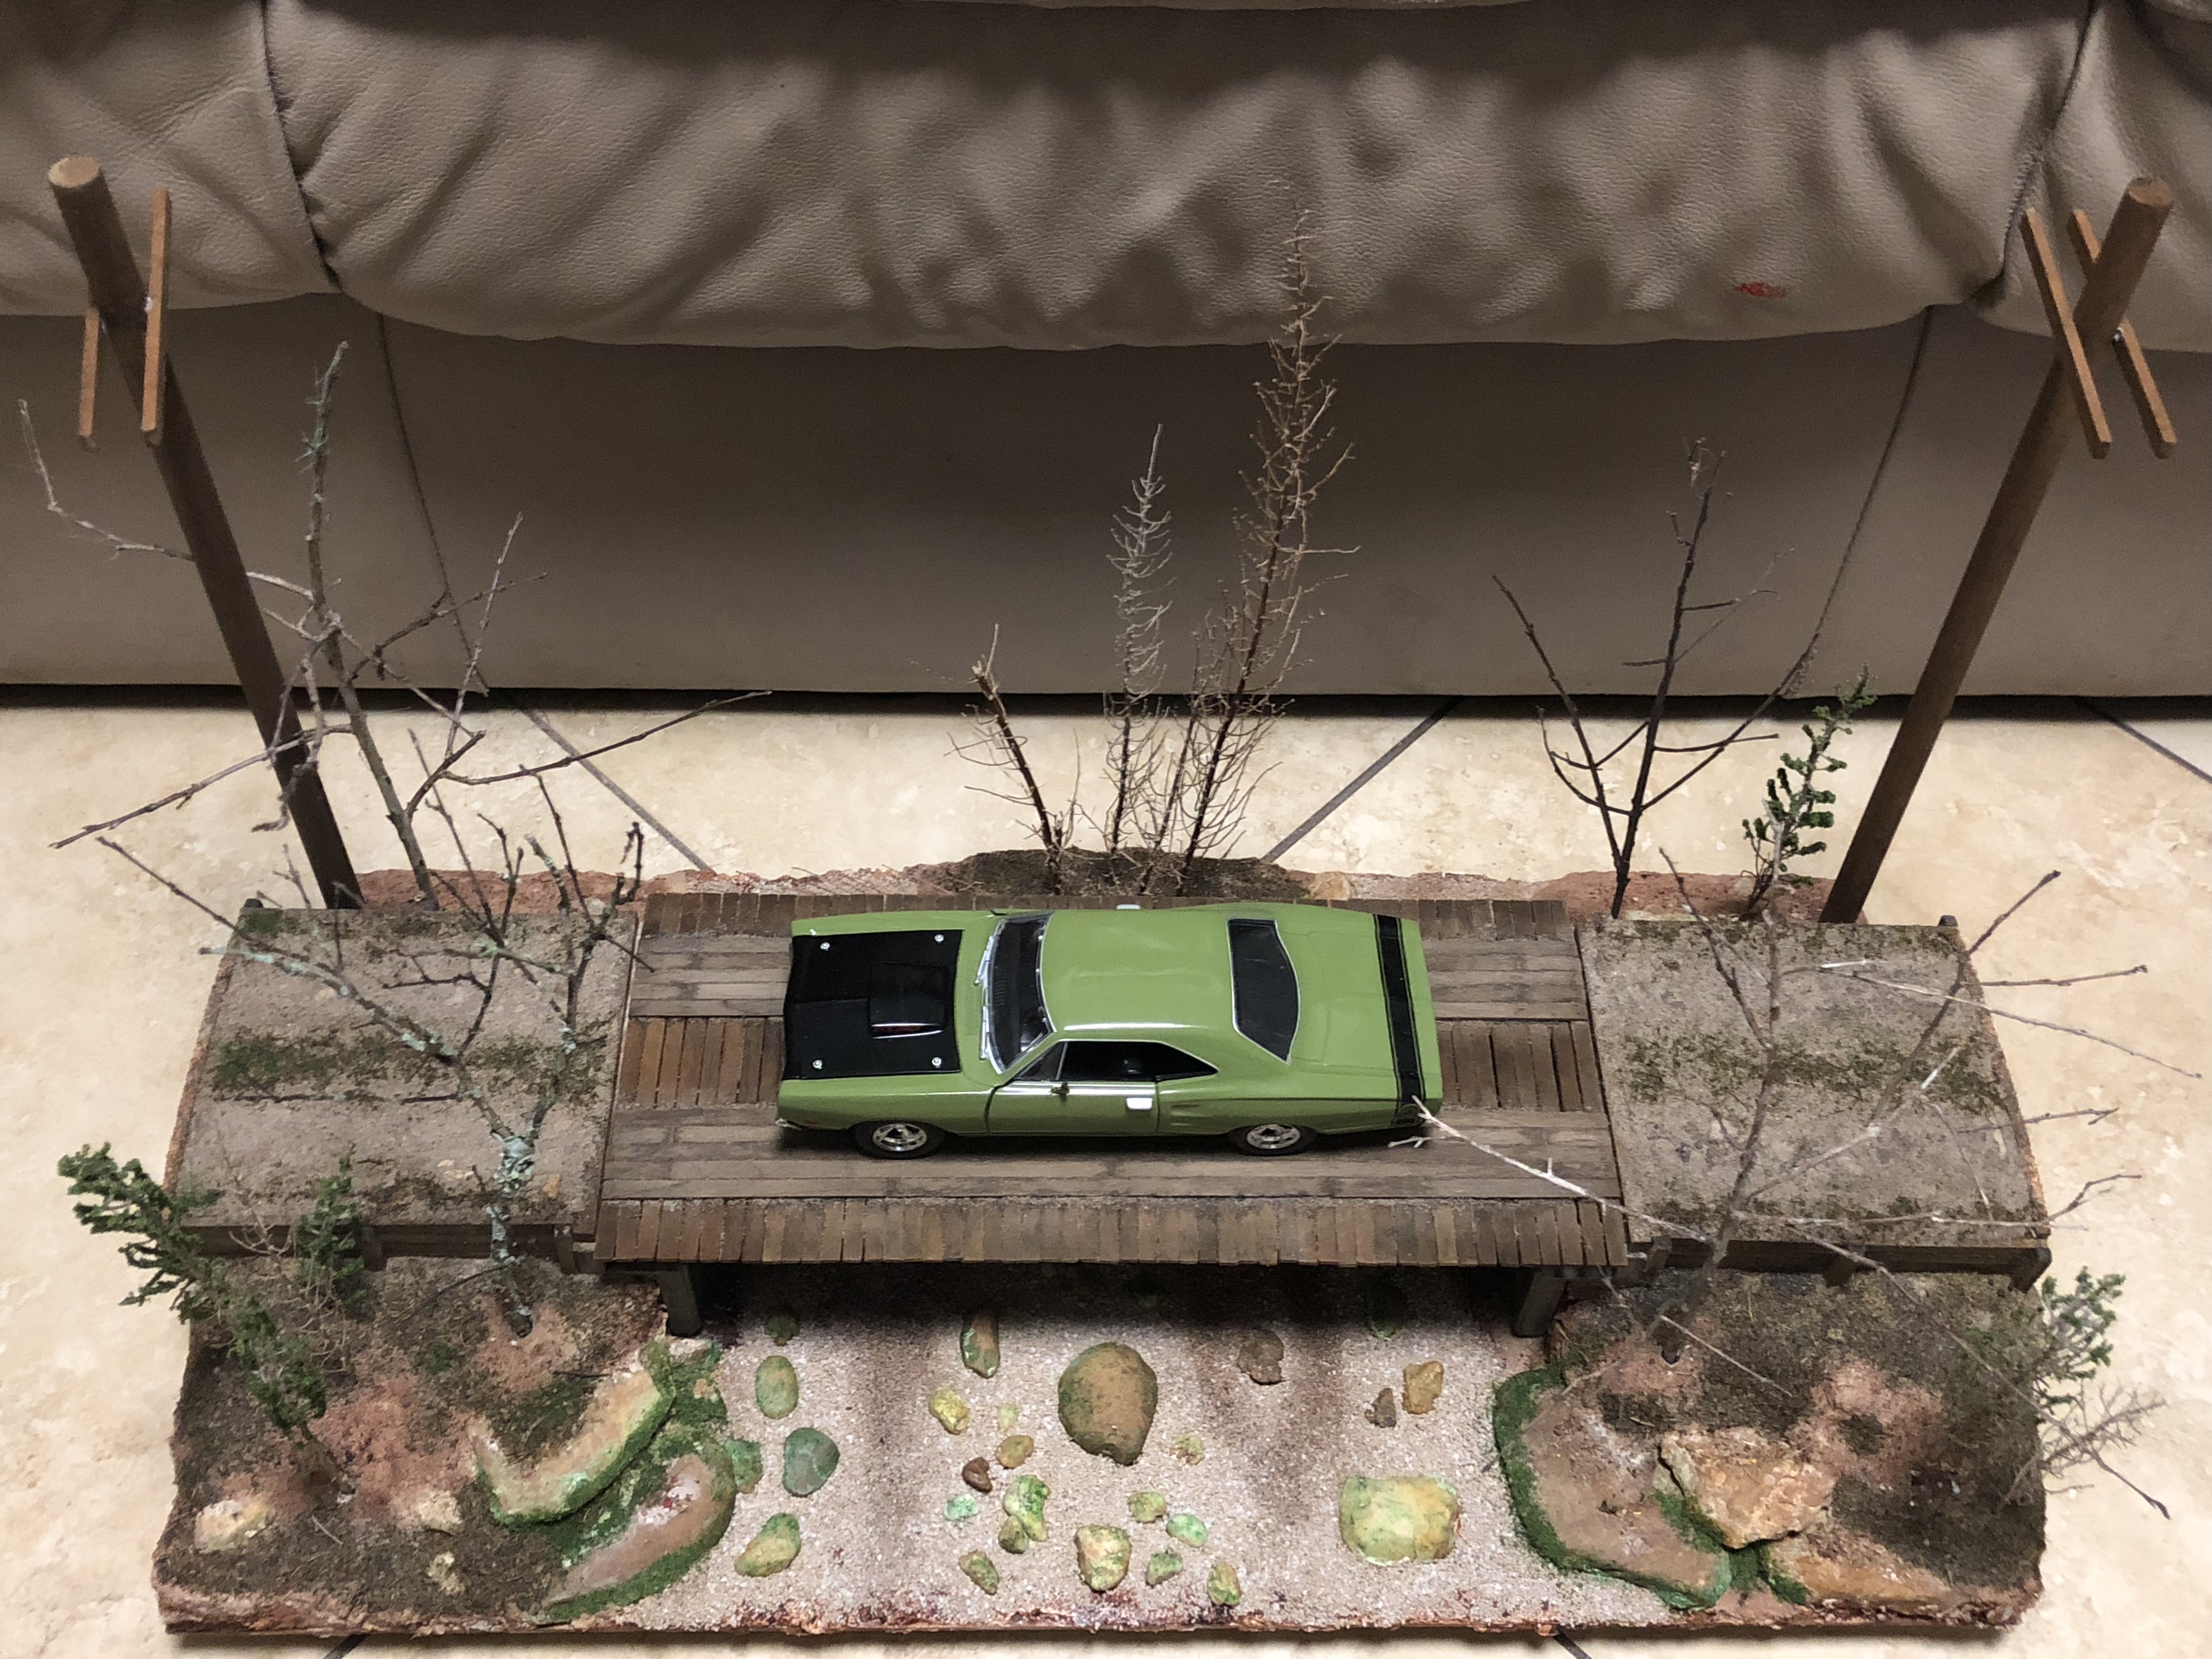
I agree on the third I beam. The bridge is 24 feet length in real life scale.
-
Looks like you picked the perfect spot. Can’t wait to see more. Great job.
-
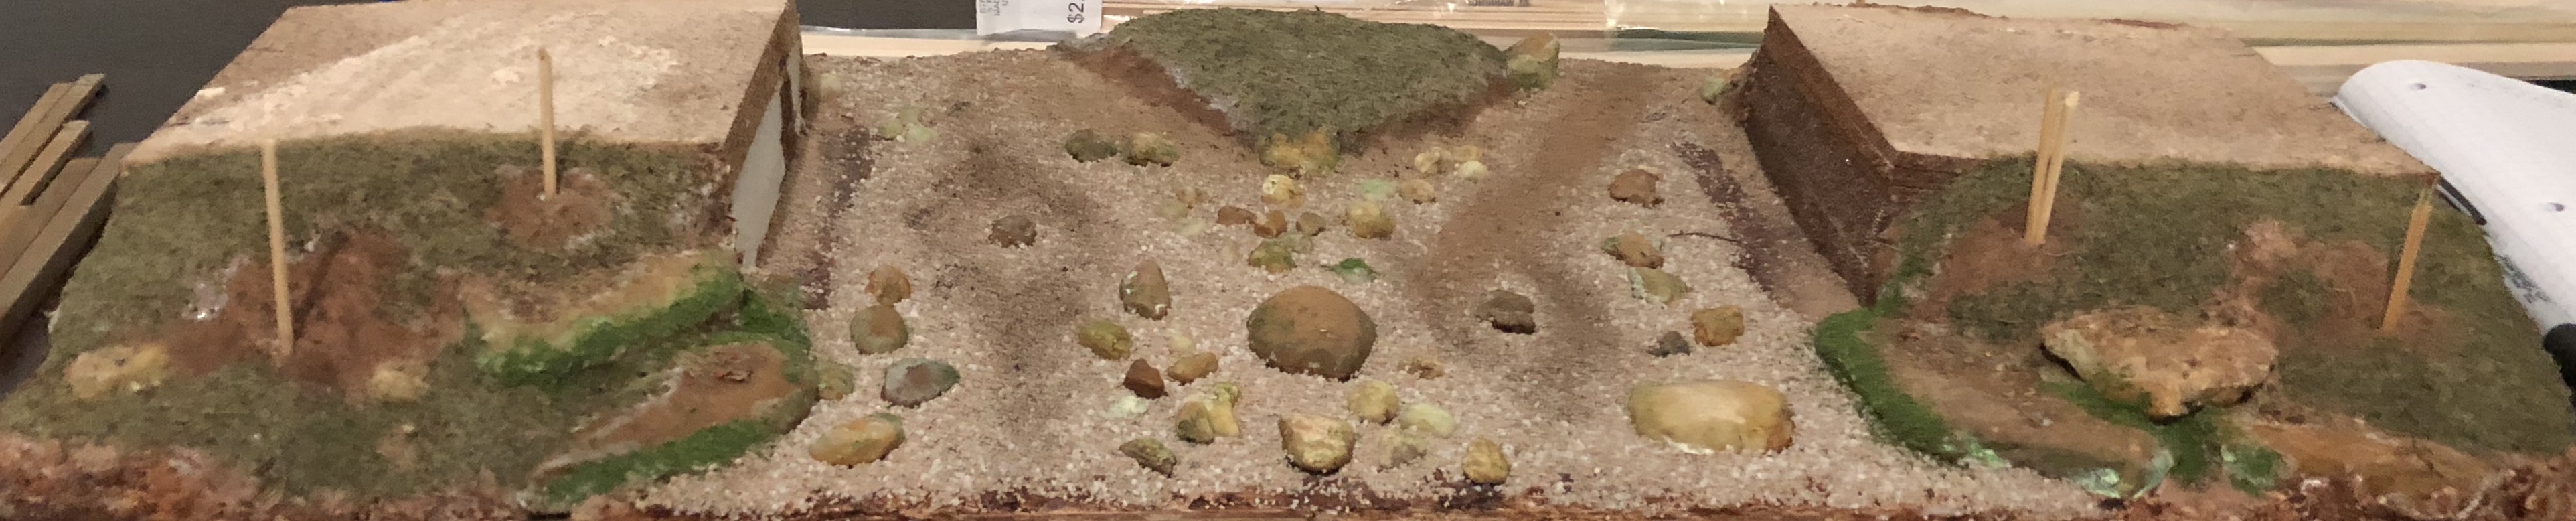
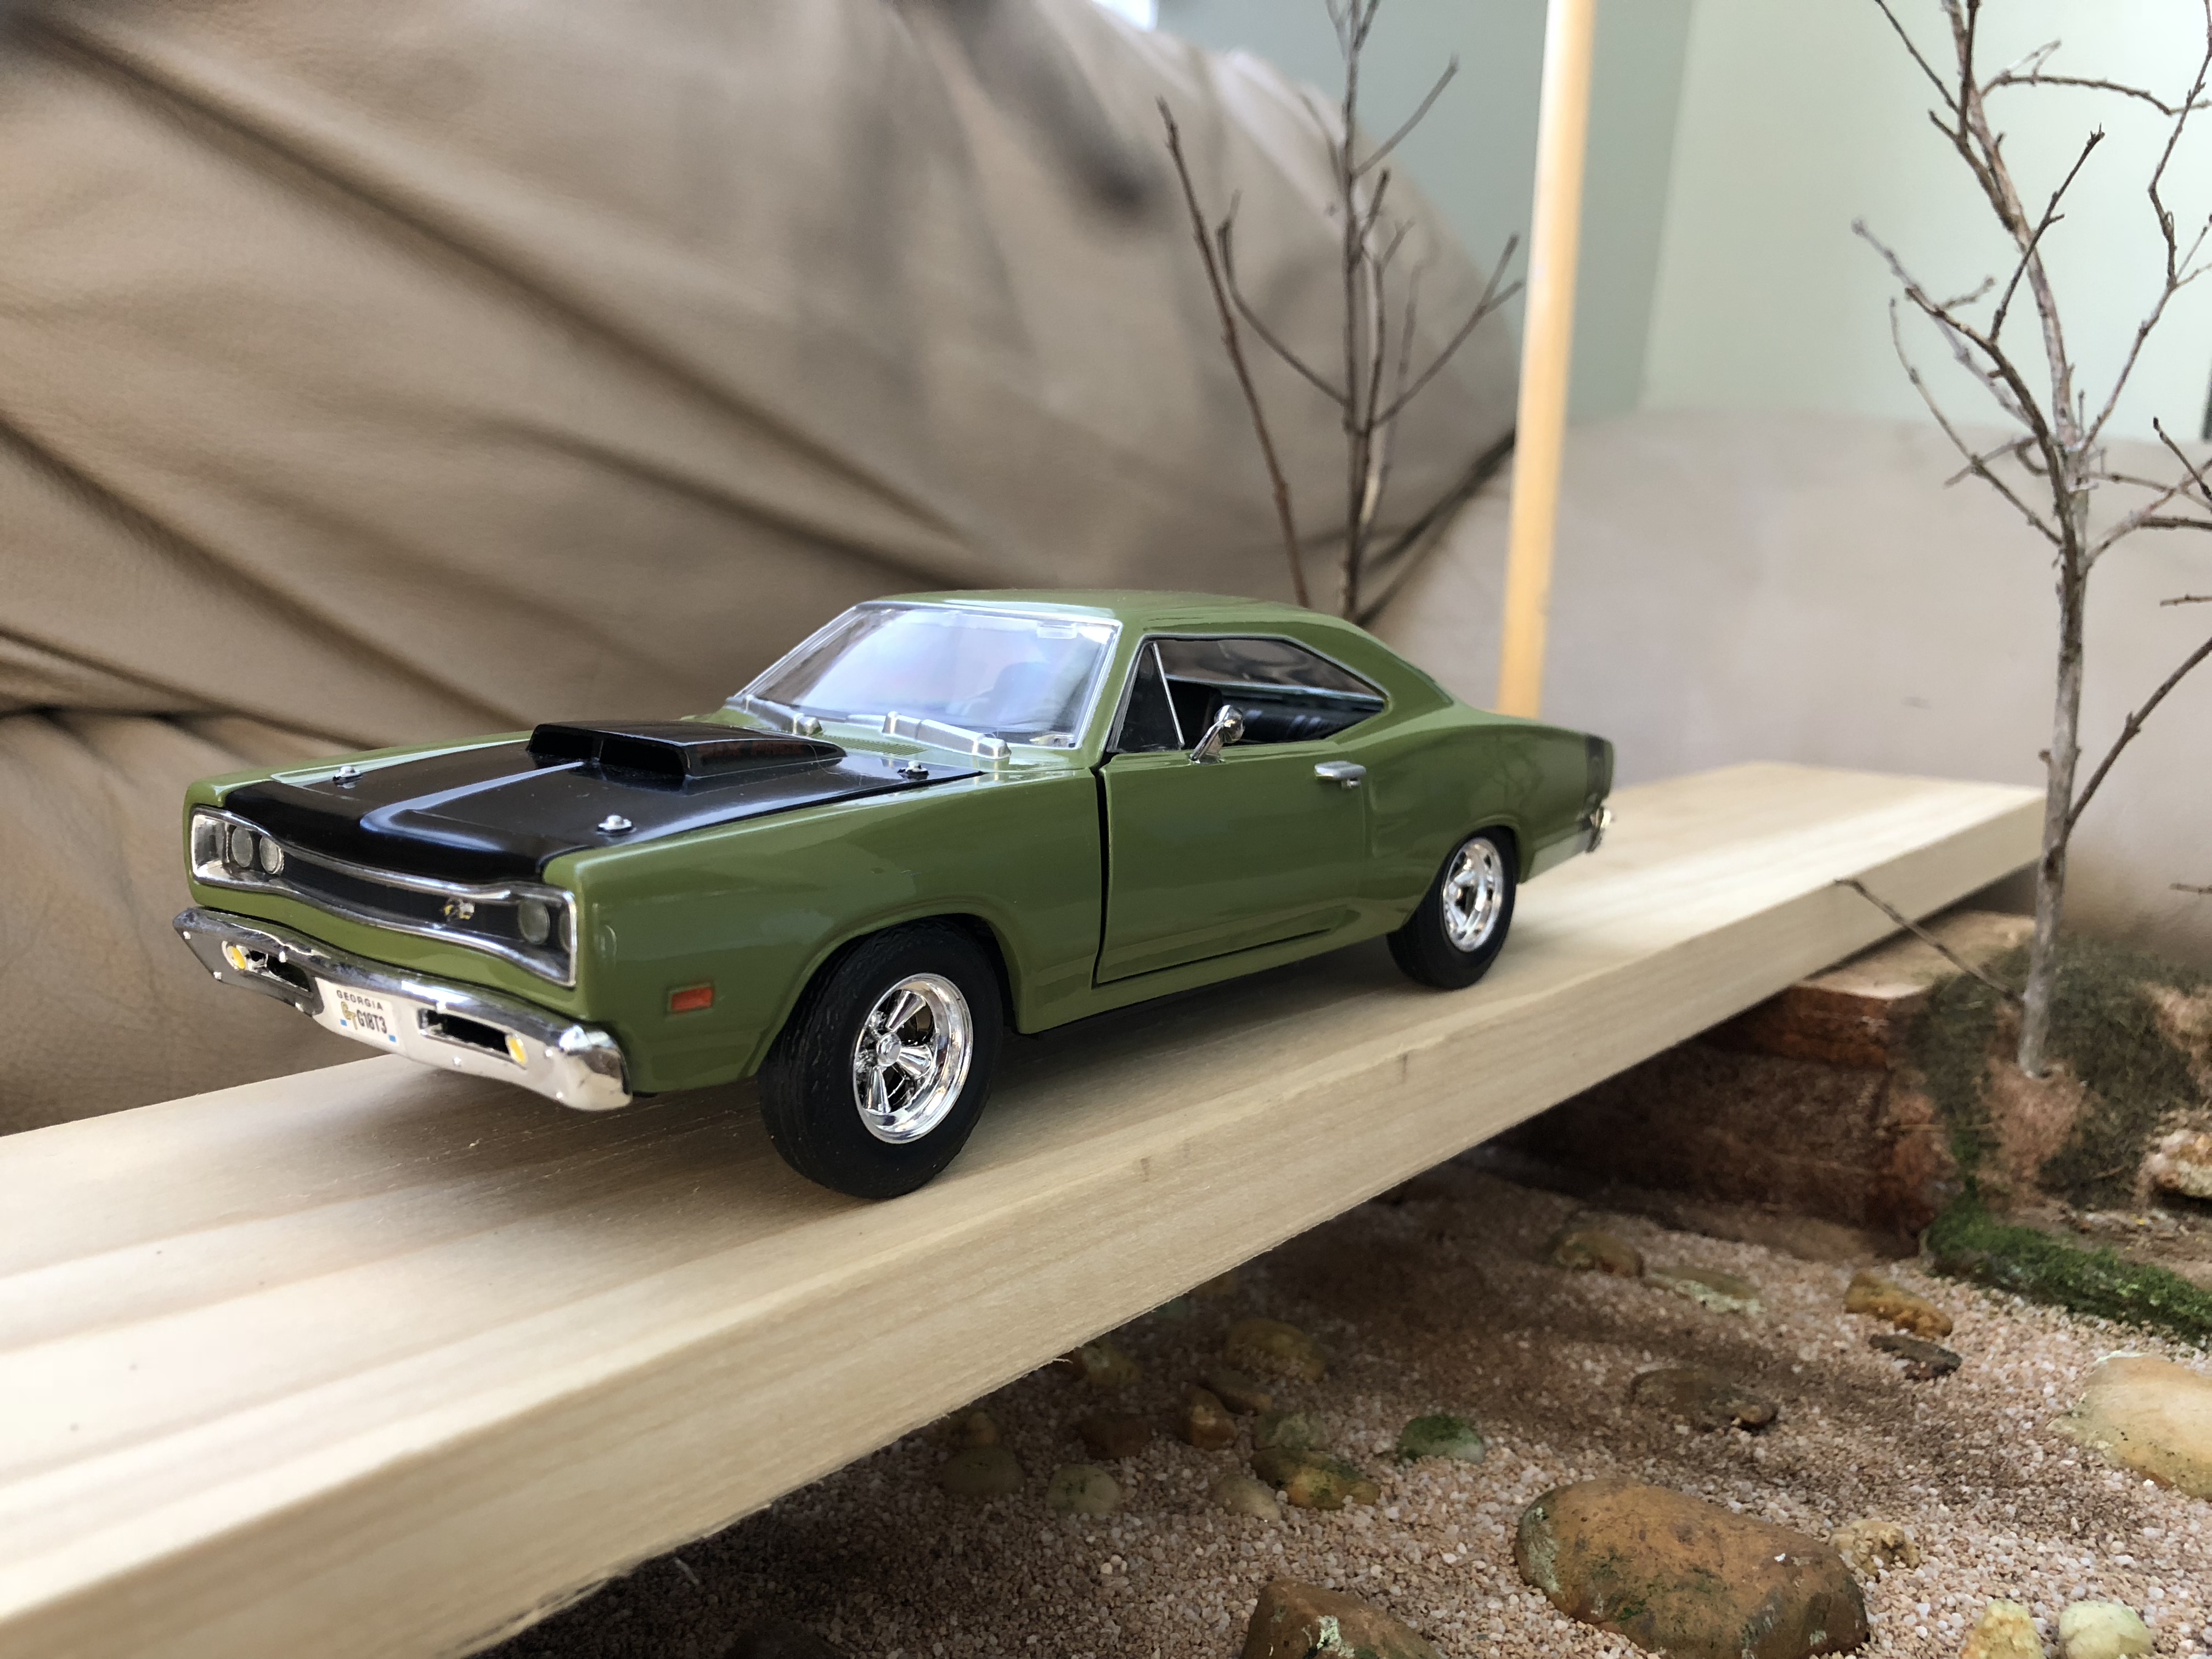
Just a preview (bridge under construction).

-
Amazing and impressive work. I really love the classy theme.
-
misterNNL, thank you for the input. The raised area will be visible. The bridge will be a wooden one with steel I-beams. I purposely made the elevation low so that everything is captured. The theme of the diorama is mimicking a road trip. I will post more later with updates, with the bridge built.
-
That’s a very detail dio. Love the dirty water. I might go that route.
-
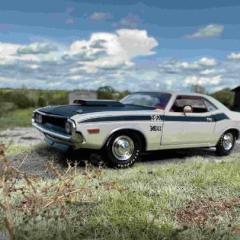
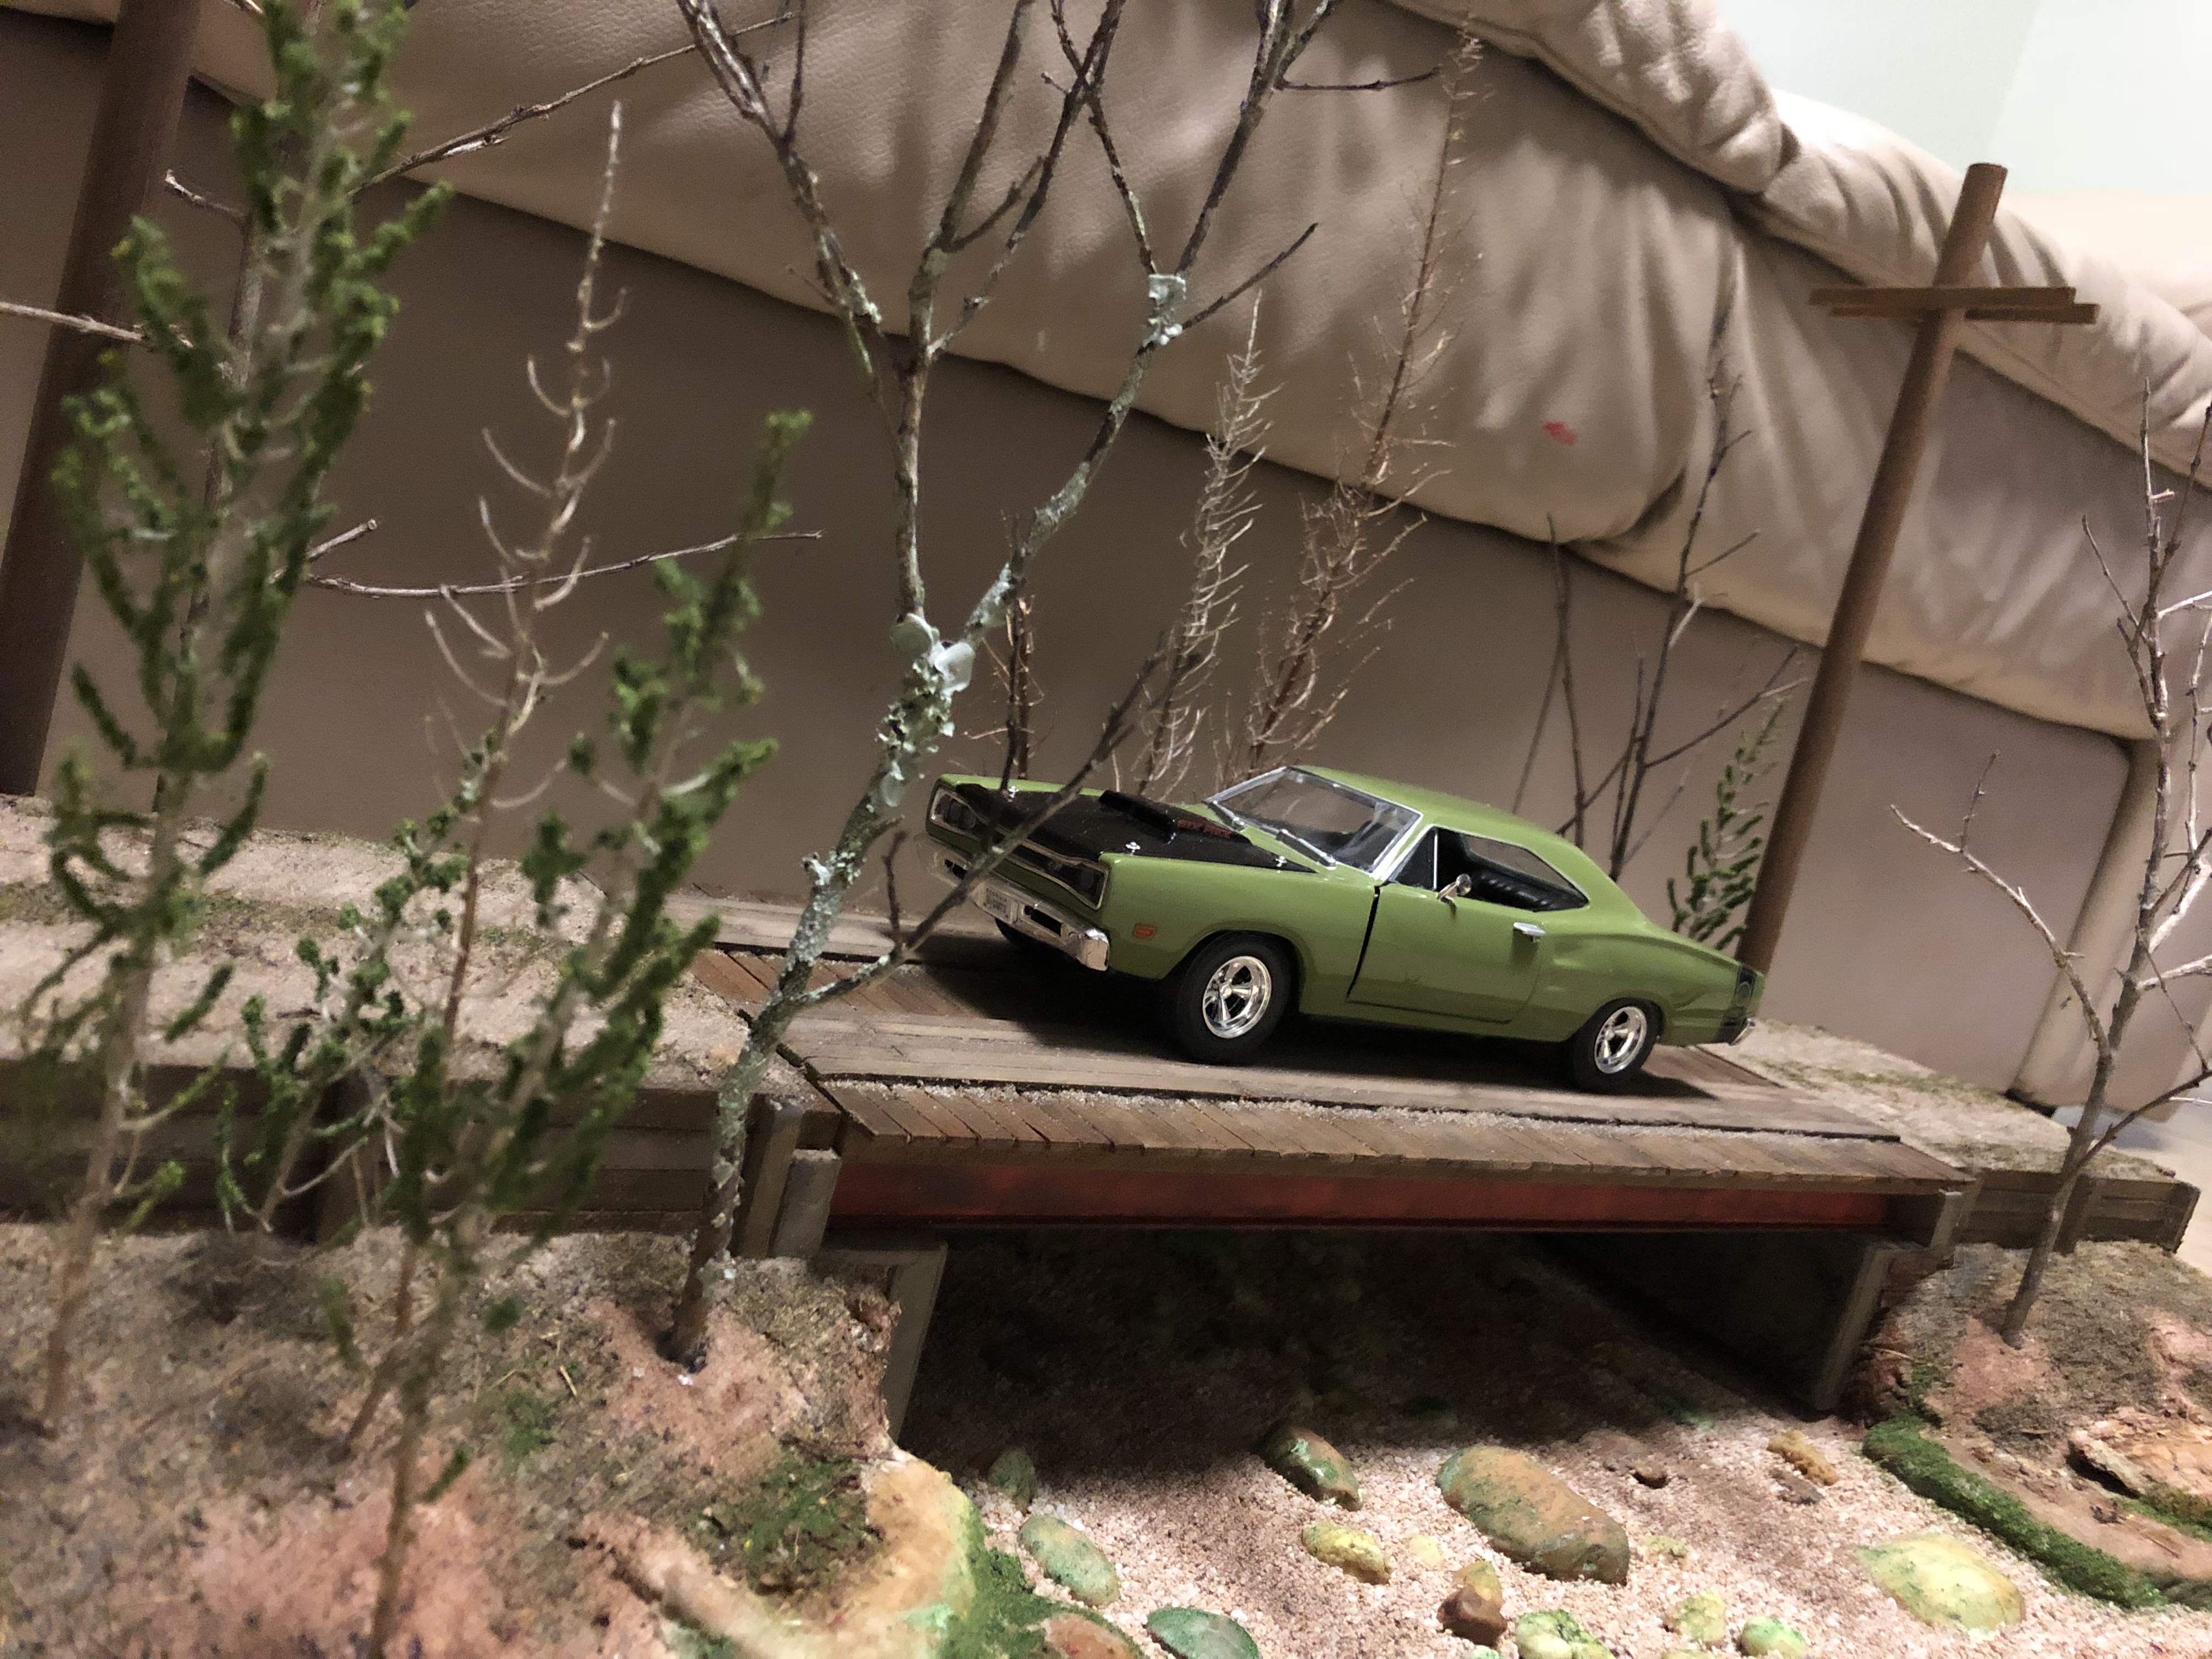
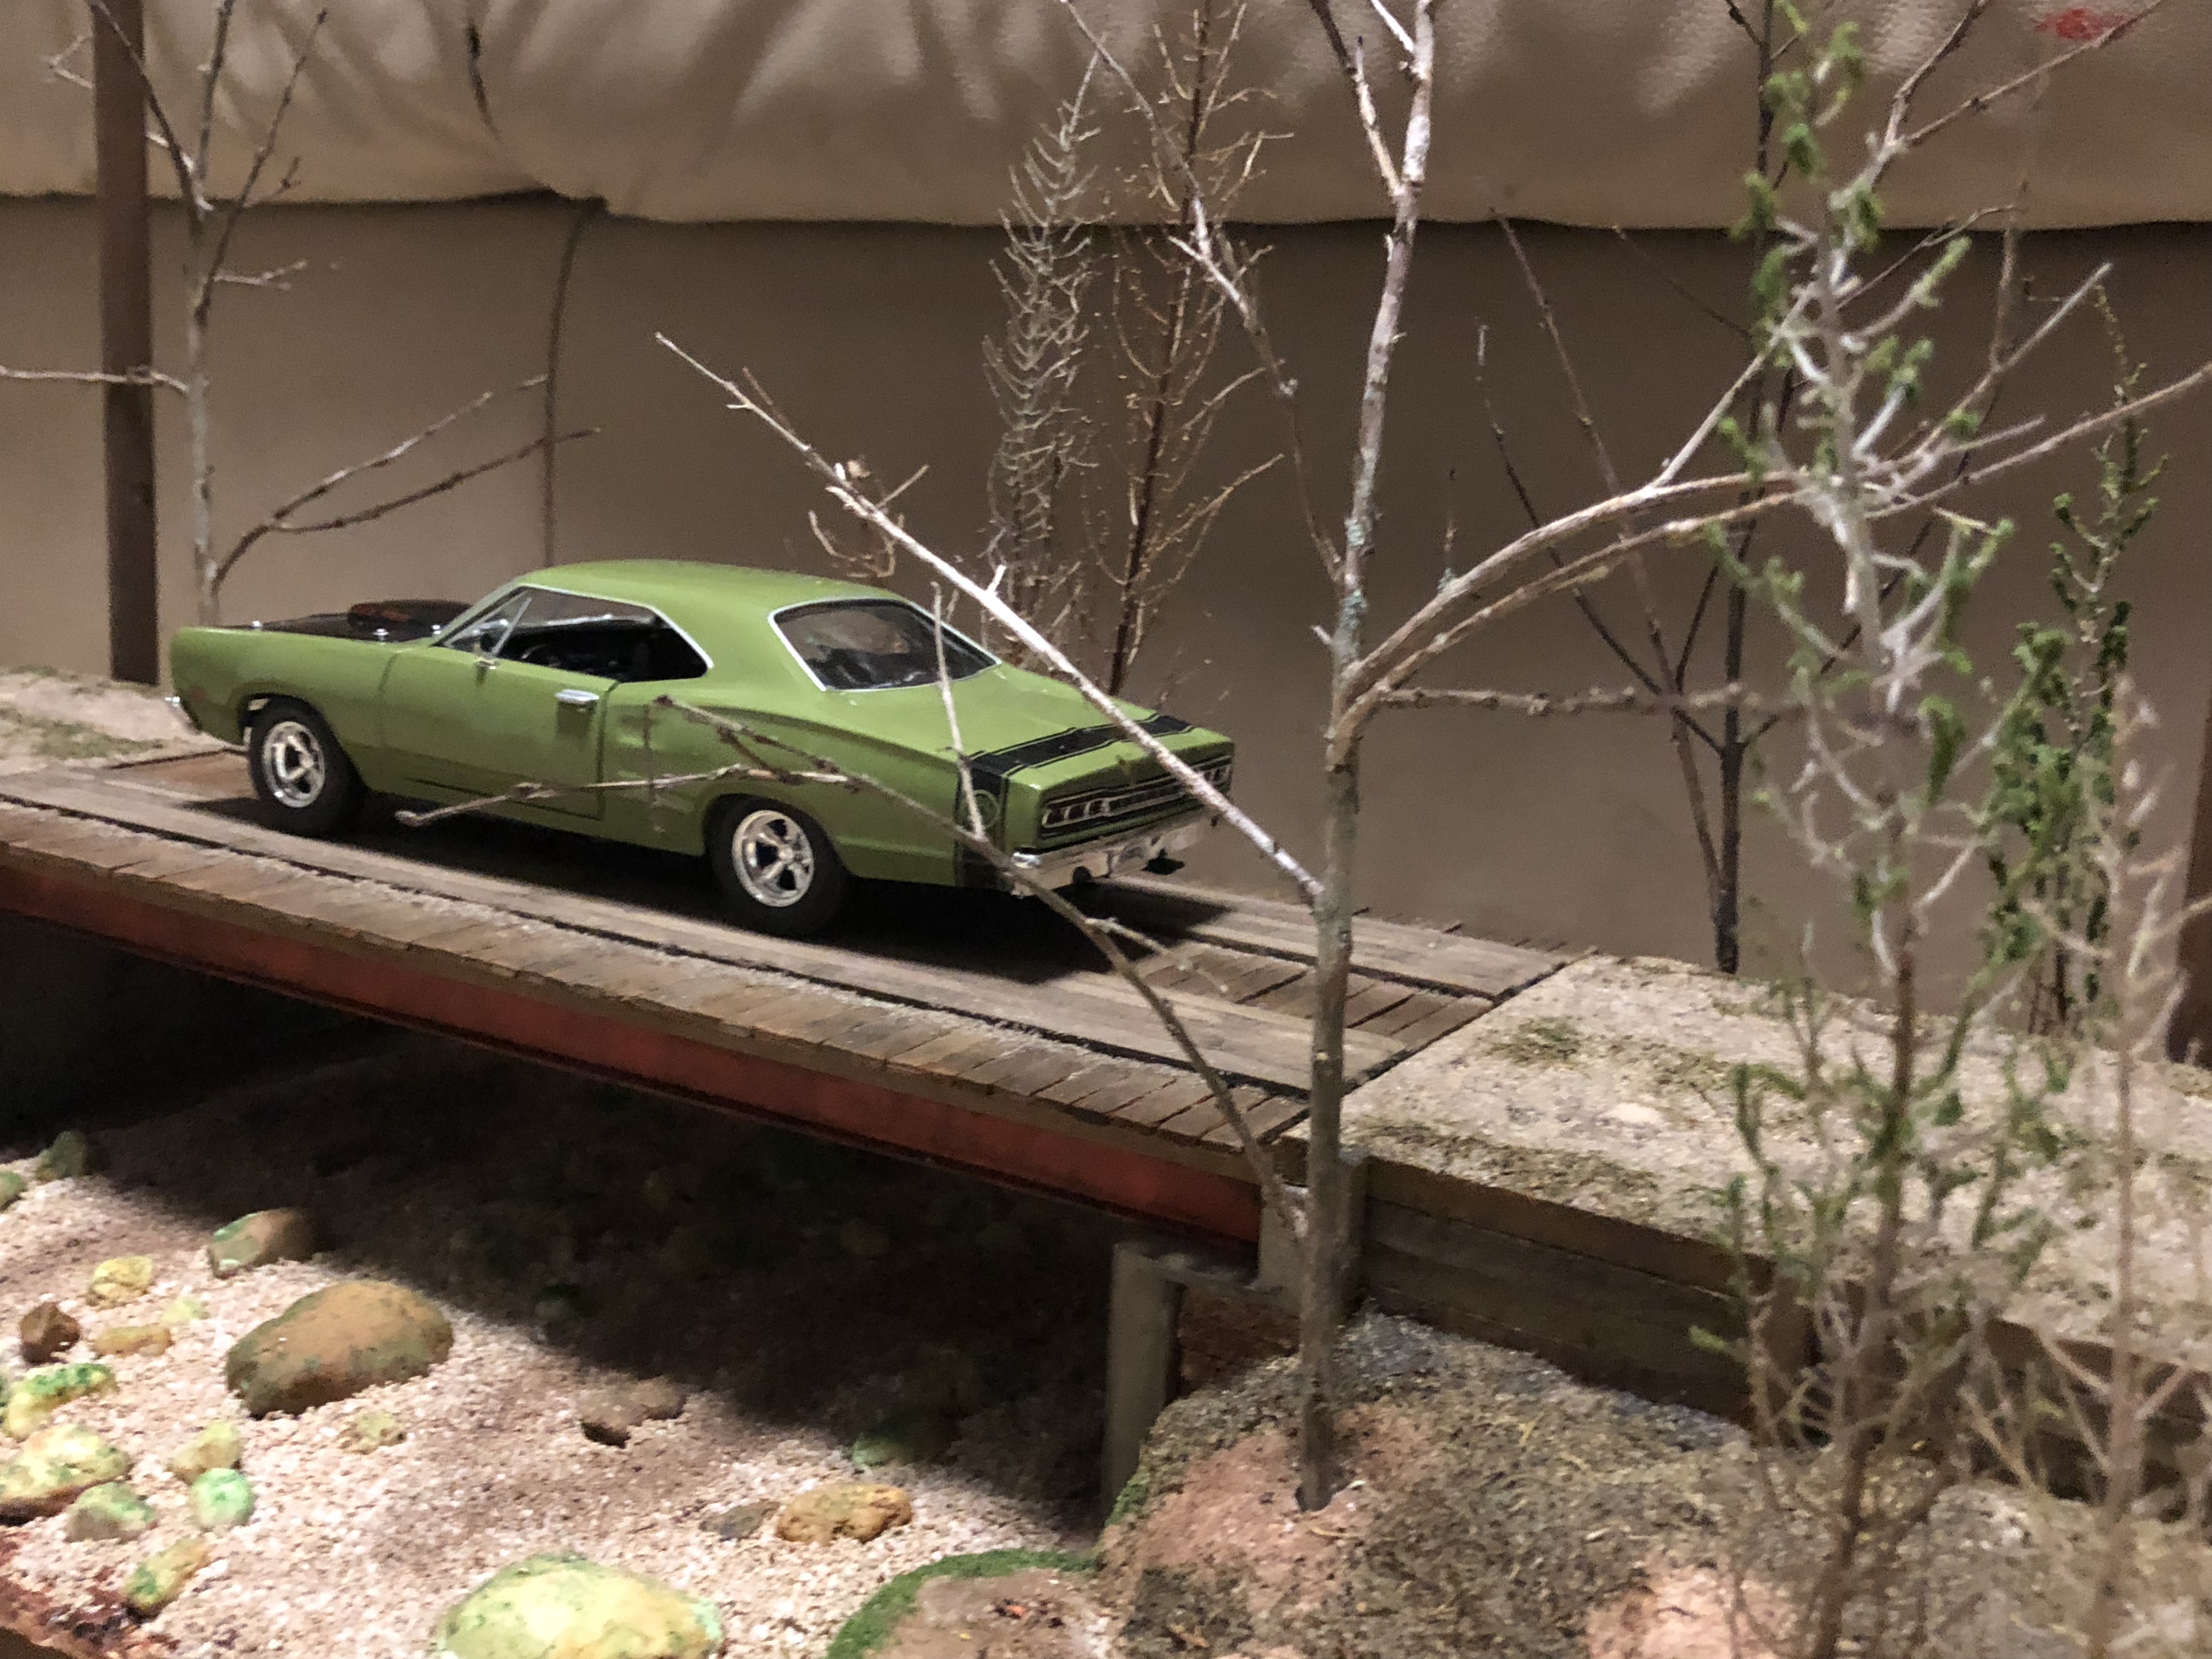
My second diorama in the make. I will give the techniques I used once I put everything together. I welcome criticism, opinions and tips. There will be a bridge over the creek and I’m yet to pick what vehicle to place over it. Will it be a vintage, classy vehicle or a truck? Thanks everyone and forgive the poor quality lighting.
-
misterNNL, thank you for your kind words.
-
Awesome diorama!!! I love the lighting.
-
WOW!! Nice details under that hood.
-
Thanks a lot Davoski. I just use reference photos and use techniques from tutorials I find on the web, including this site. I’m already working in a second diorama. I’ll share the techniques used on that one once I’m ready.
-
Thank you Anglia. I’m hoping to attend shows in the near future. Maybe in a year or so. Still so much to learn.
-
Thanks a lot for your kind words. If, indeed I have it in me, must have gotten it from my mother. She has always been a master in crafts. LOL.
-
Thank you telescope. My wife asked me if there were shoes where I could participate (once I get better at modeling). I really don’t know where to look into it.
-
Thanks a lot Rusty. My brain is overloaded with information. Lol. This is a great community.
-
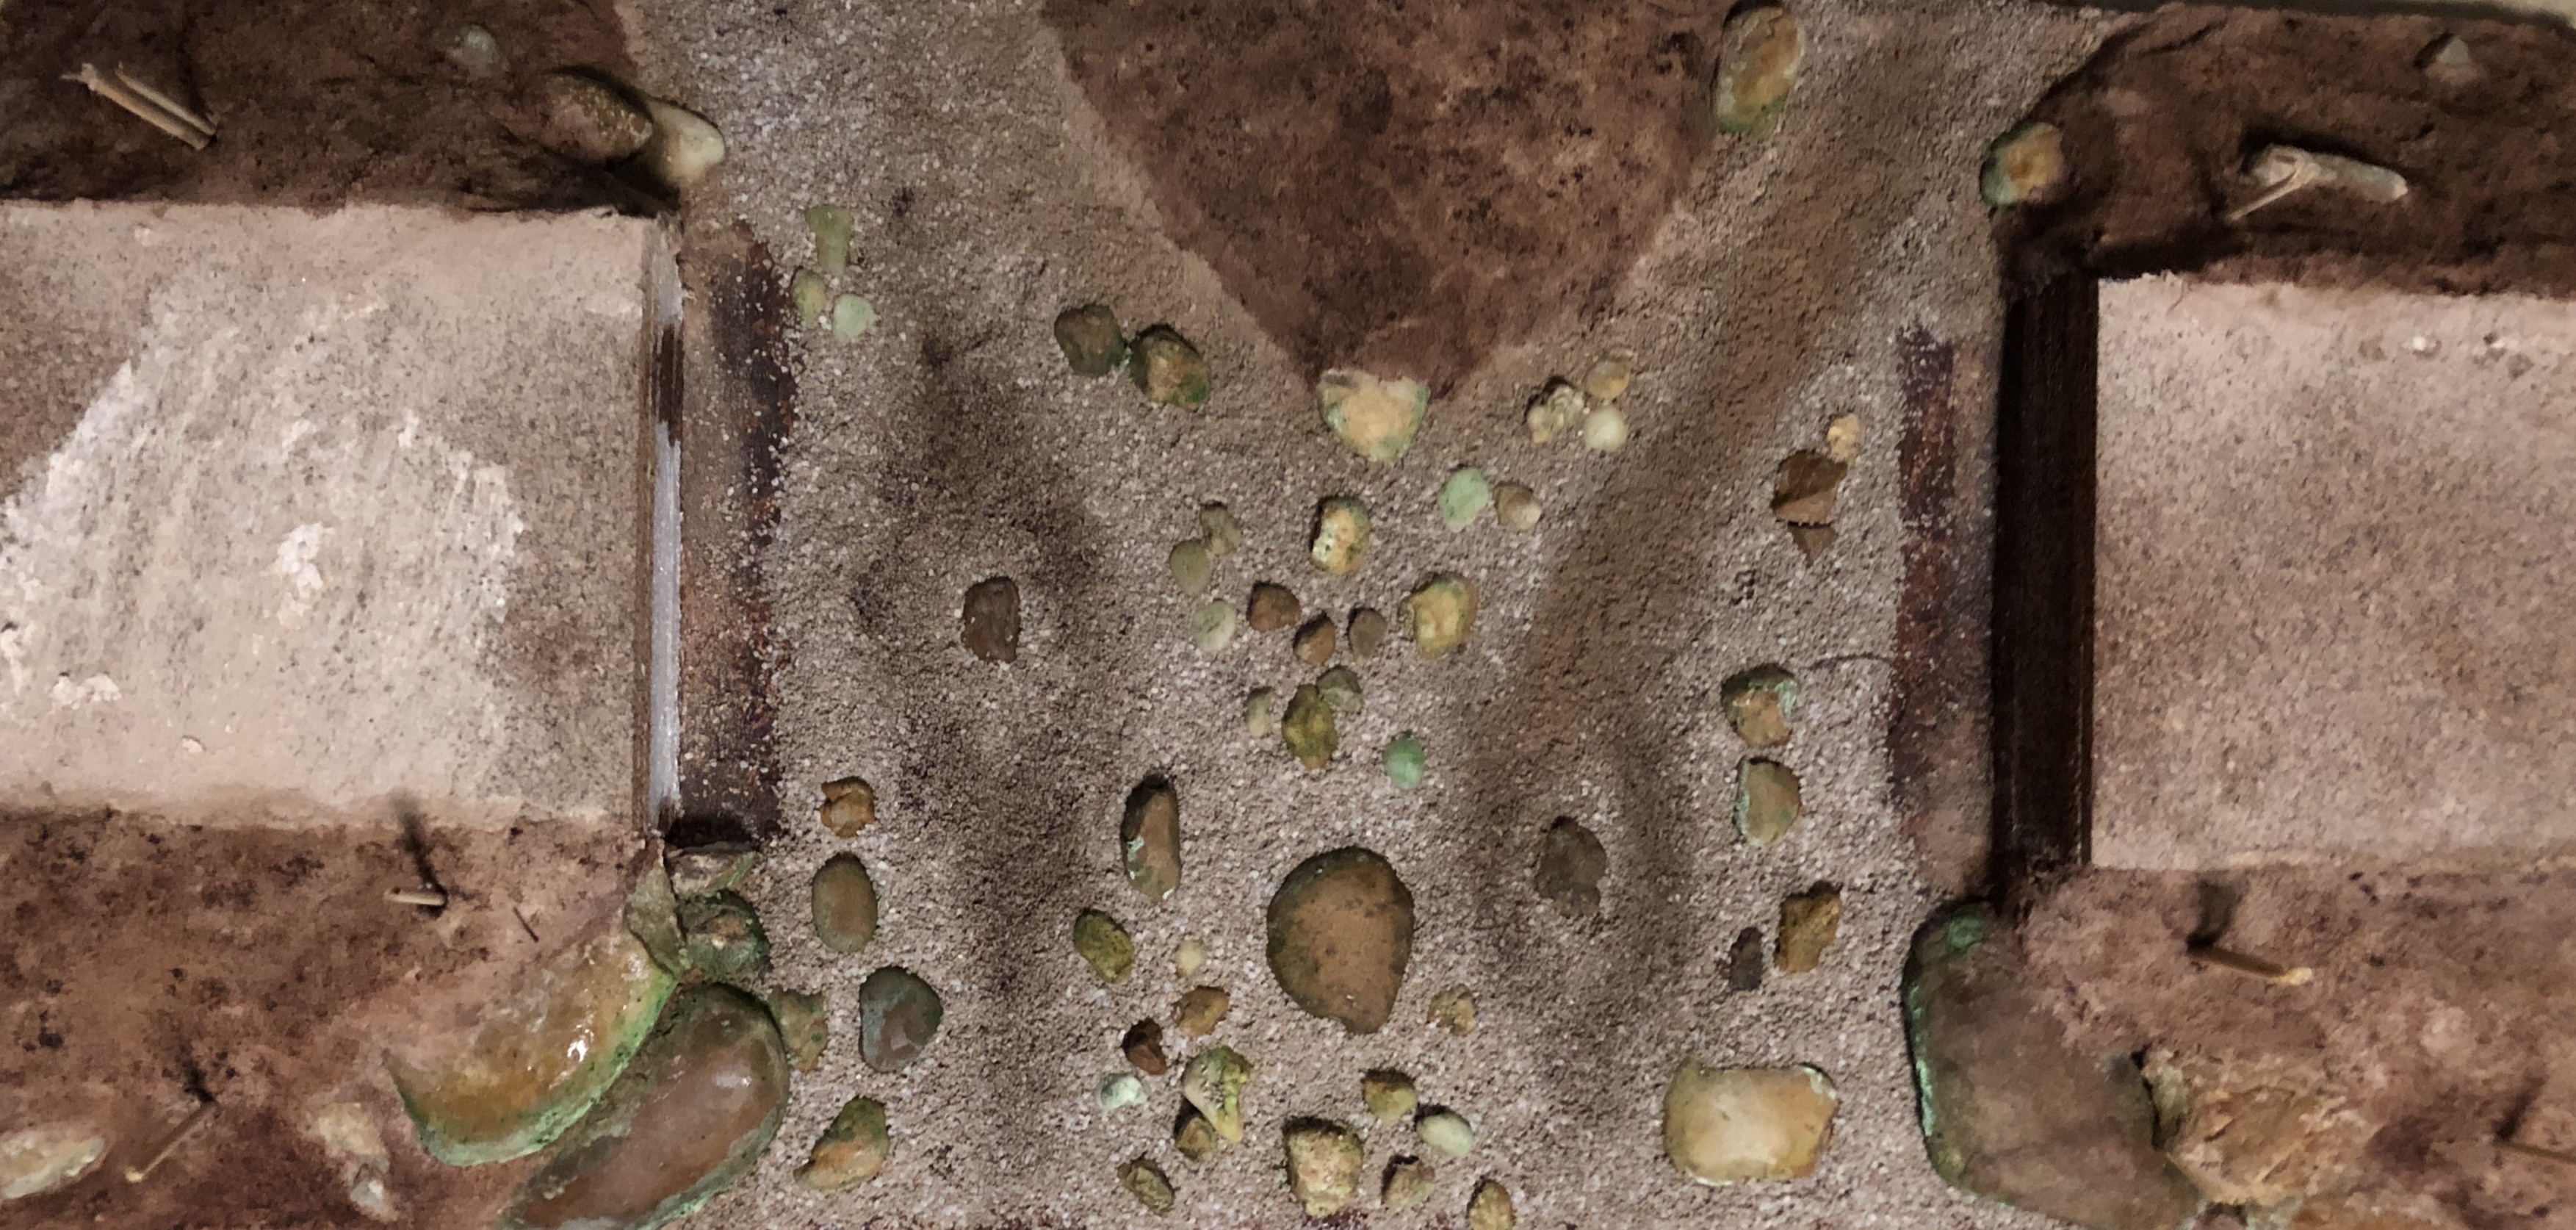
Thank you so much. I did add a layer of dull coat after I uploaded the photo but I didn’t sand it. I will do that on my next project as it makes perfect sense. The ground took two layers of sifted dirt mixed with sandalwood color ground. I used light washes of acrylic to simulate drier areas and the darker to simulate wetter areas. For grass I grinded preserves moss. Sifted to fine particles. I used the fine particles for the under coat and the bigger particles to simulate the bigger grass clumps. I don’t know if it will hold the green over time, since it’s organic, but we’ll see. I’m waiting for the static grass and applicator to finish up the landscaping.
-
Thank you for your kind words.
-
I didn’t know this. Thanks for the input and will certainly keep in mind for my next project.
-
Thank you for taking the time to give me some input. I gotta say...this is definitely a hobby that requires a lot of patience and lots of research. You guys have been great. Thanks a lot, again. I will continue posting and once I move on to my second project I will post the techniques I use (mostly learned from others).
-
Good day uncle. Thank you so much for the tip. You are spot on. I have spent nearly two hours saving photos of old rusted cars. LOL. I will use this as guide line from now on.
-
Thank you. The rusting technique I got from a YouTube video, which I just modified my way by playing with different colors (Can’t remember which one). In this case I just dabbed on a mixture of orange and yellow ocher (mix it to have multiple color variations, ranging from yellowish to reddish). I used a makeup sponge ripped in half and used the rougher side of it. Once dried I dabbed all over with burnt umber with the other piece of the sponge (making sure you can see through the under colors). I took this photo before applying flat dull coat over it, which makes it look more realistic. Now I just gotta continue to weather with pastels and dirt pigments.