QbanFam
-
Posts
226 -
Joined
-
Last visited
Content Type
Profiles
Forums
Events
Gallery
Everything posted by QbanFam
-
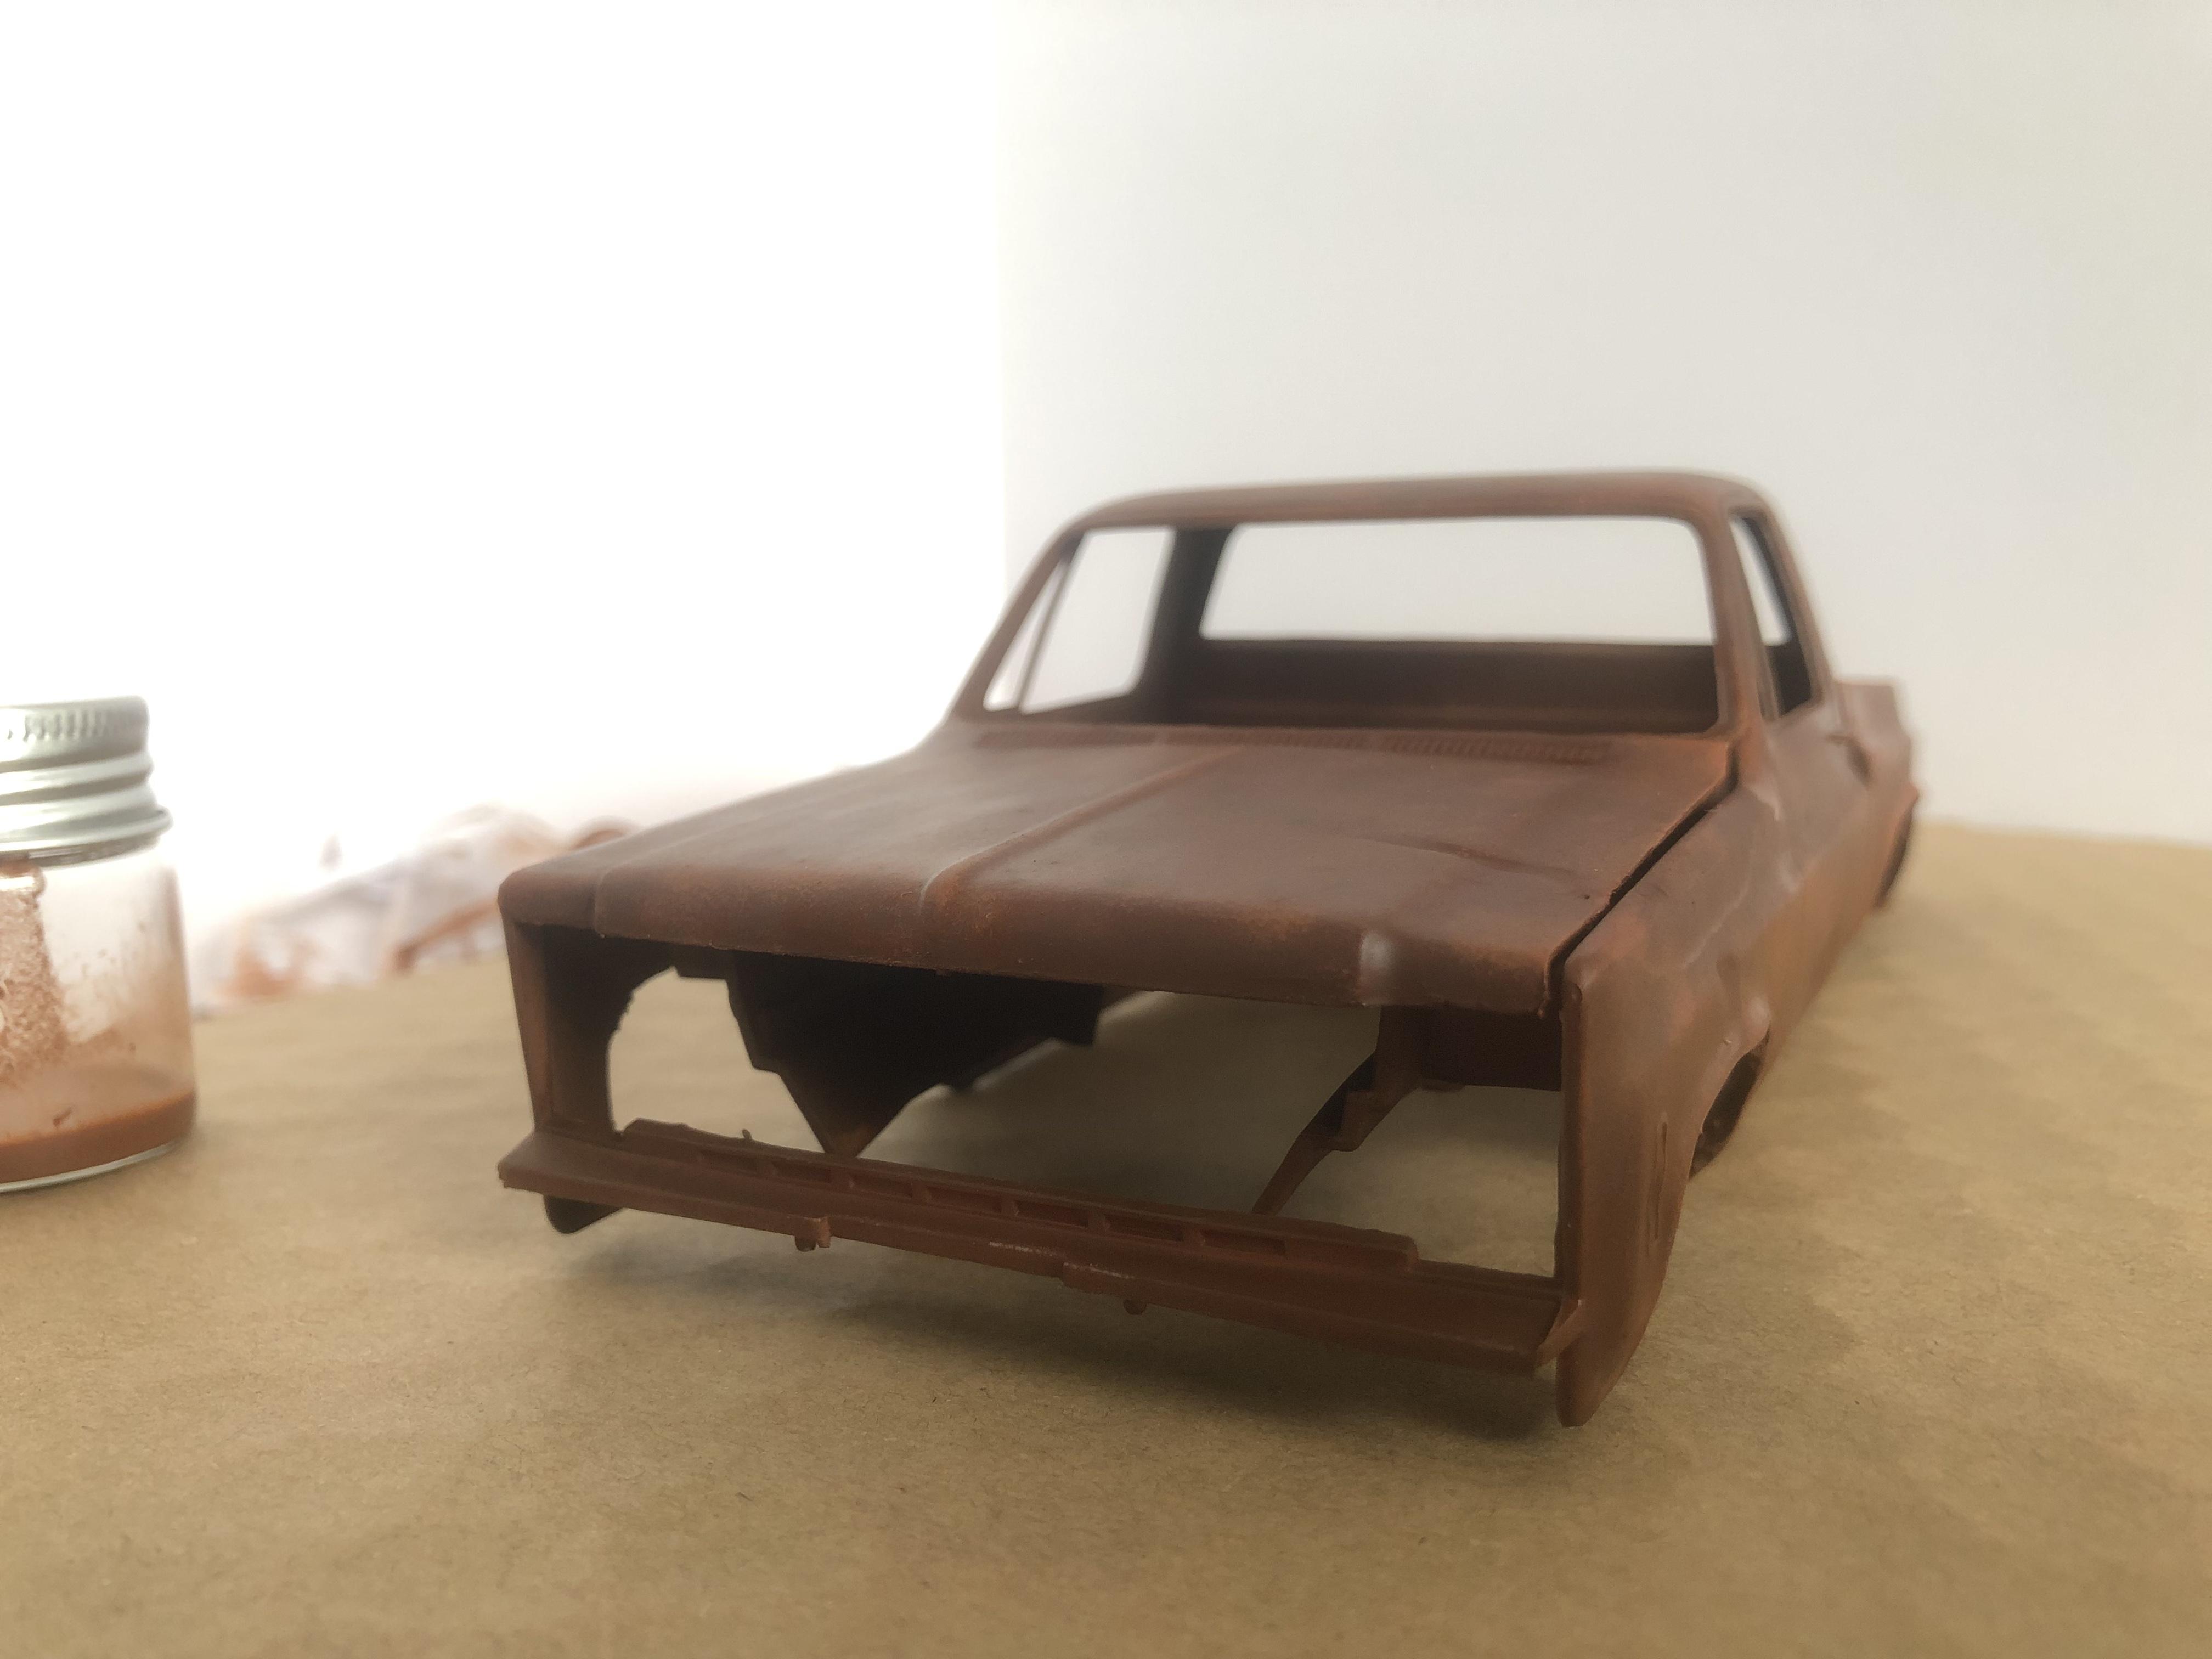
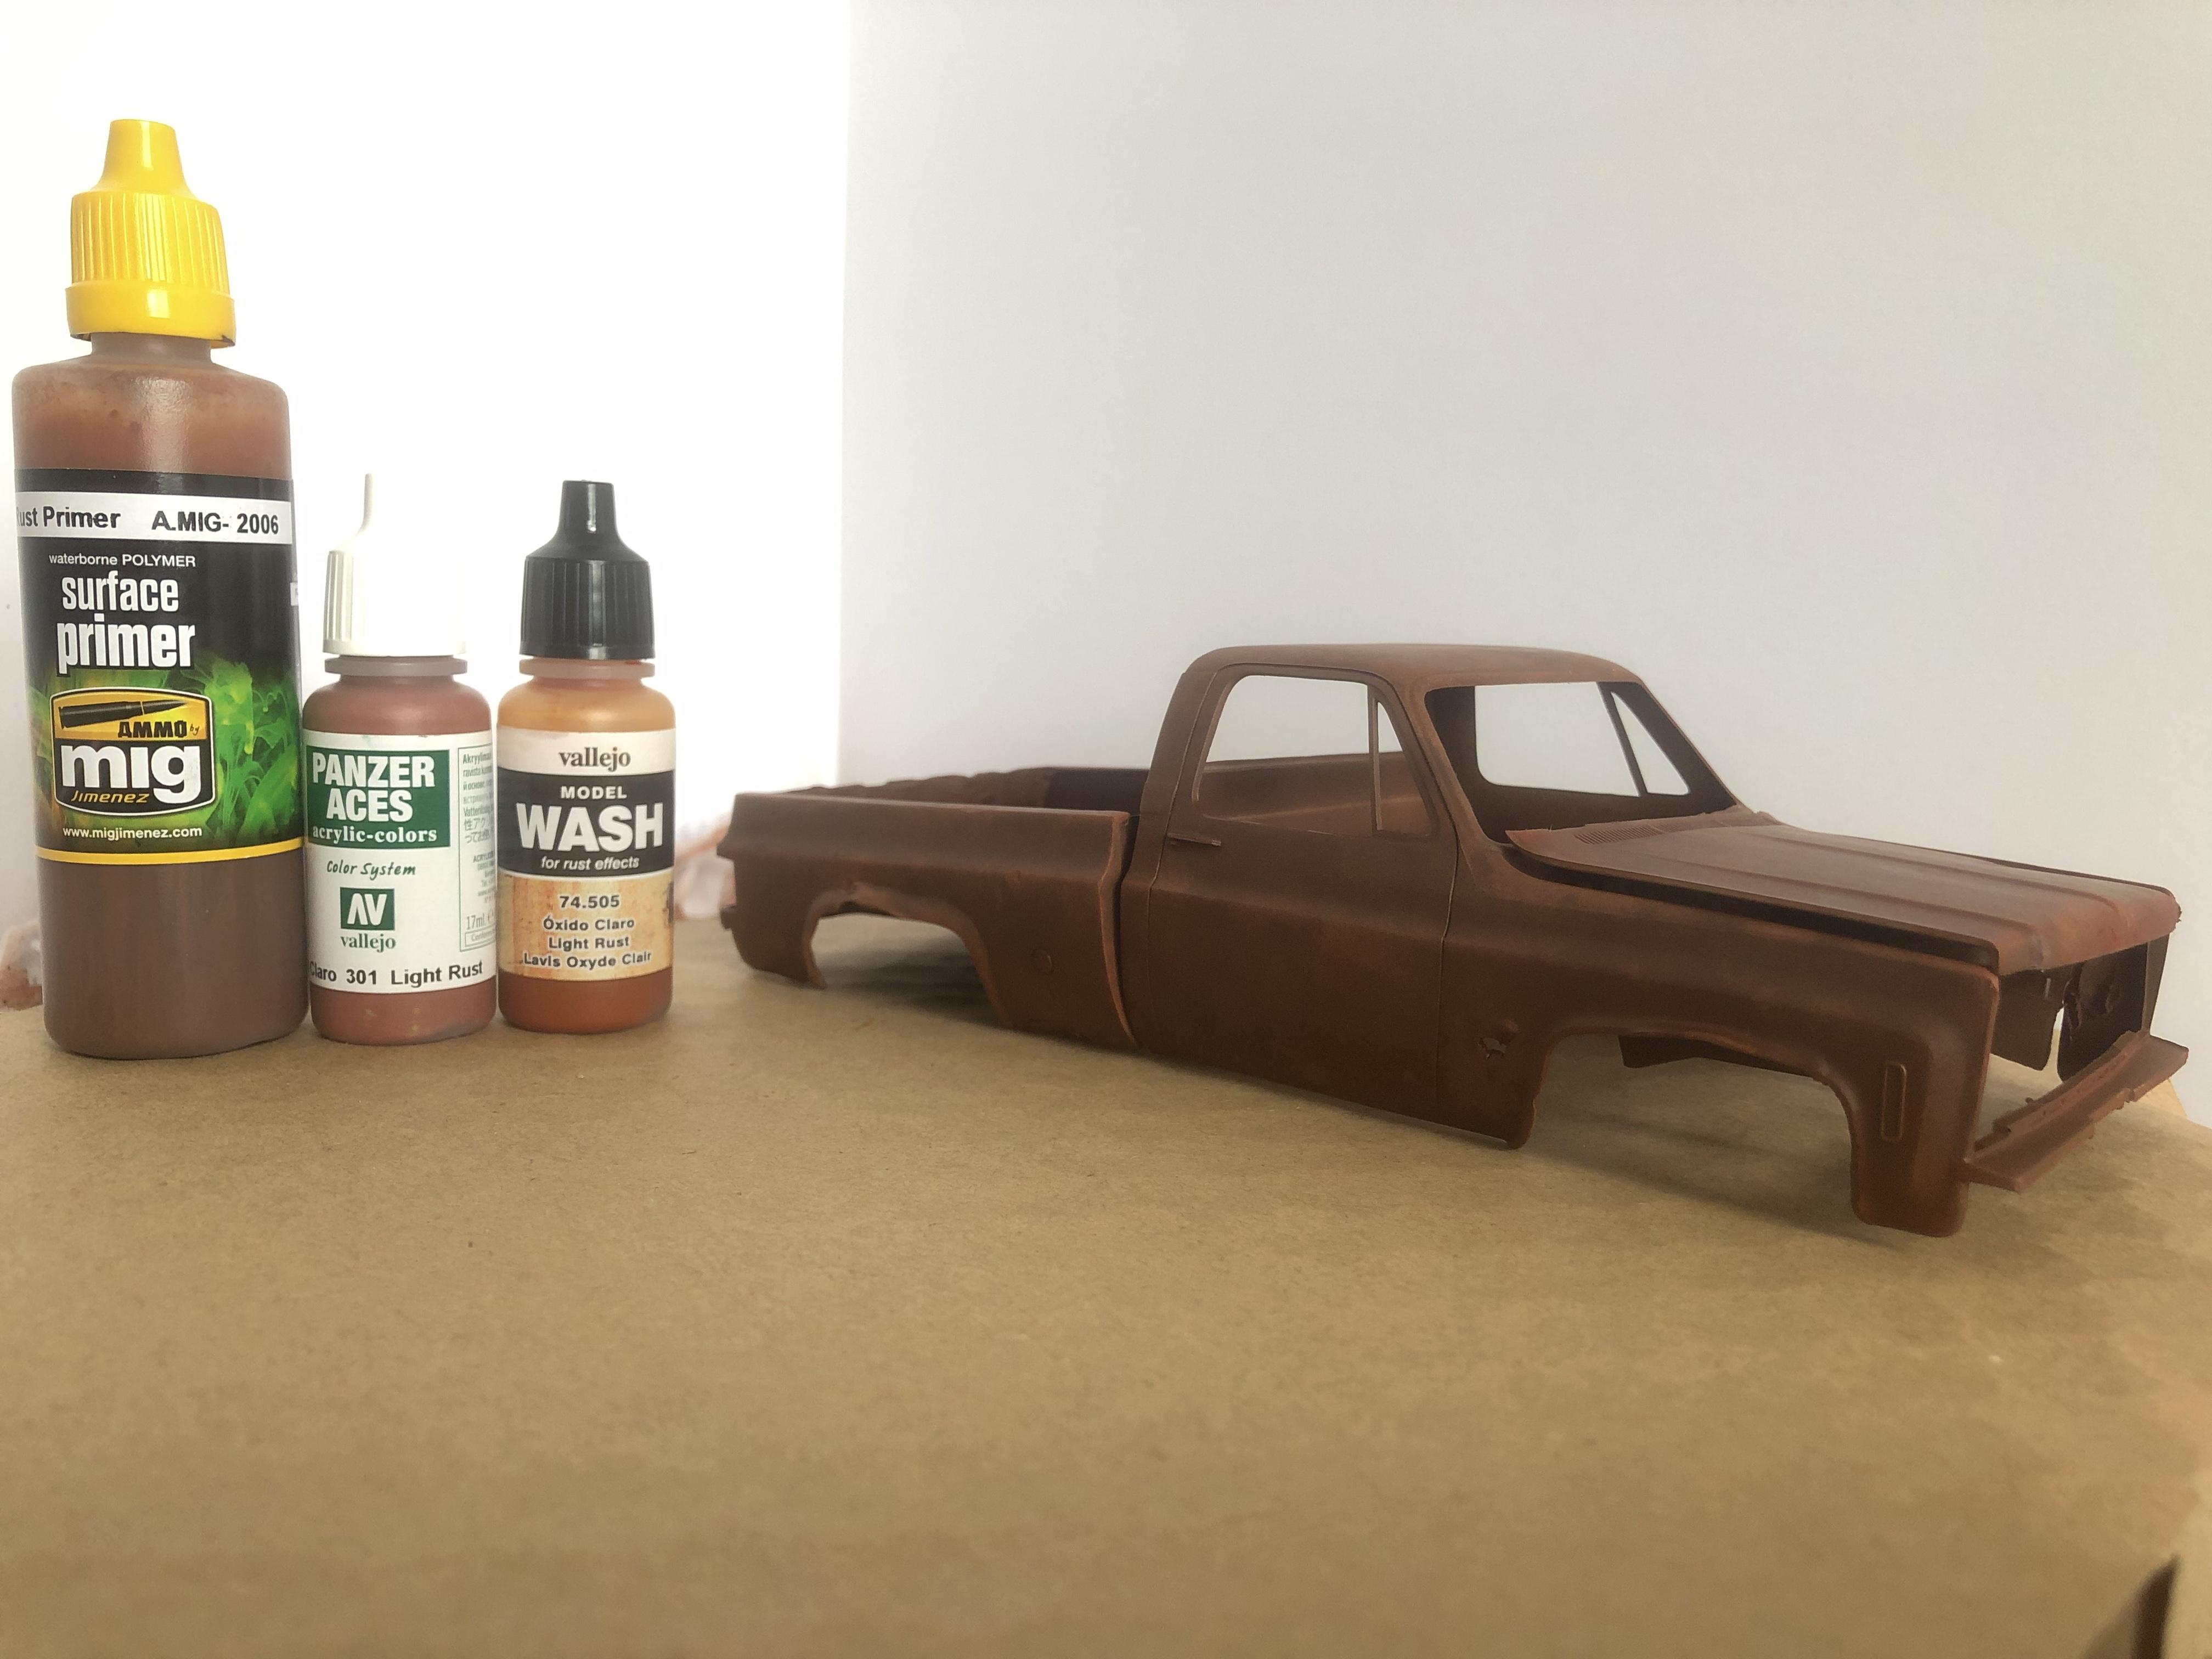
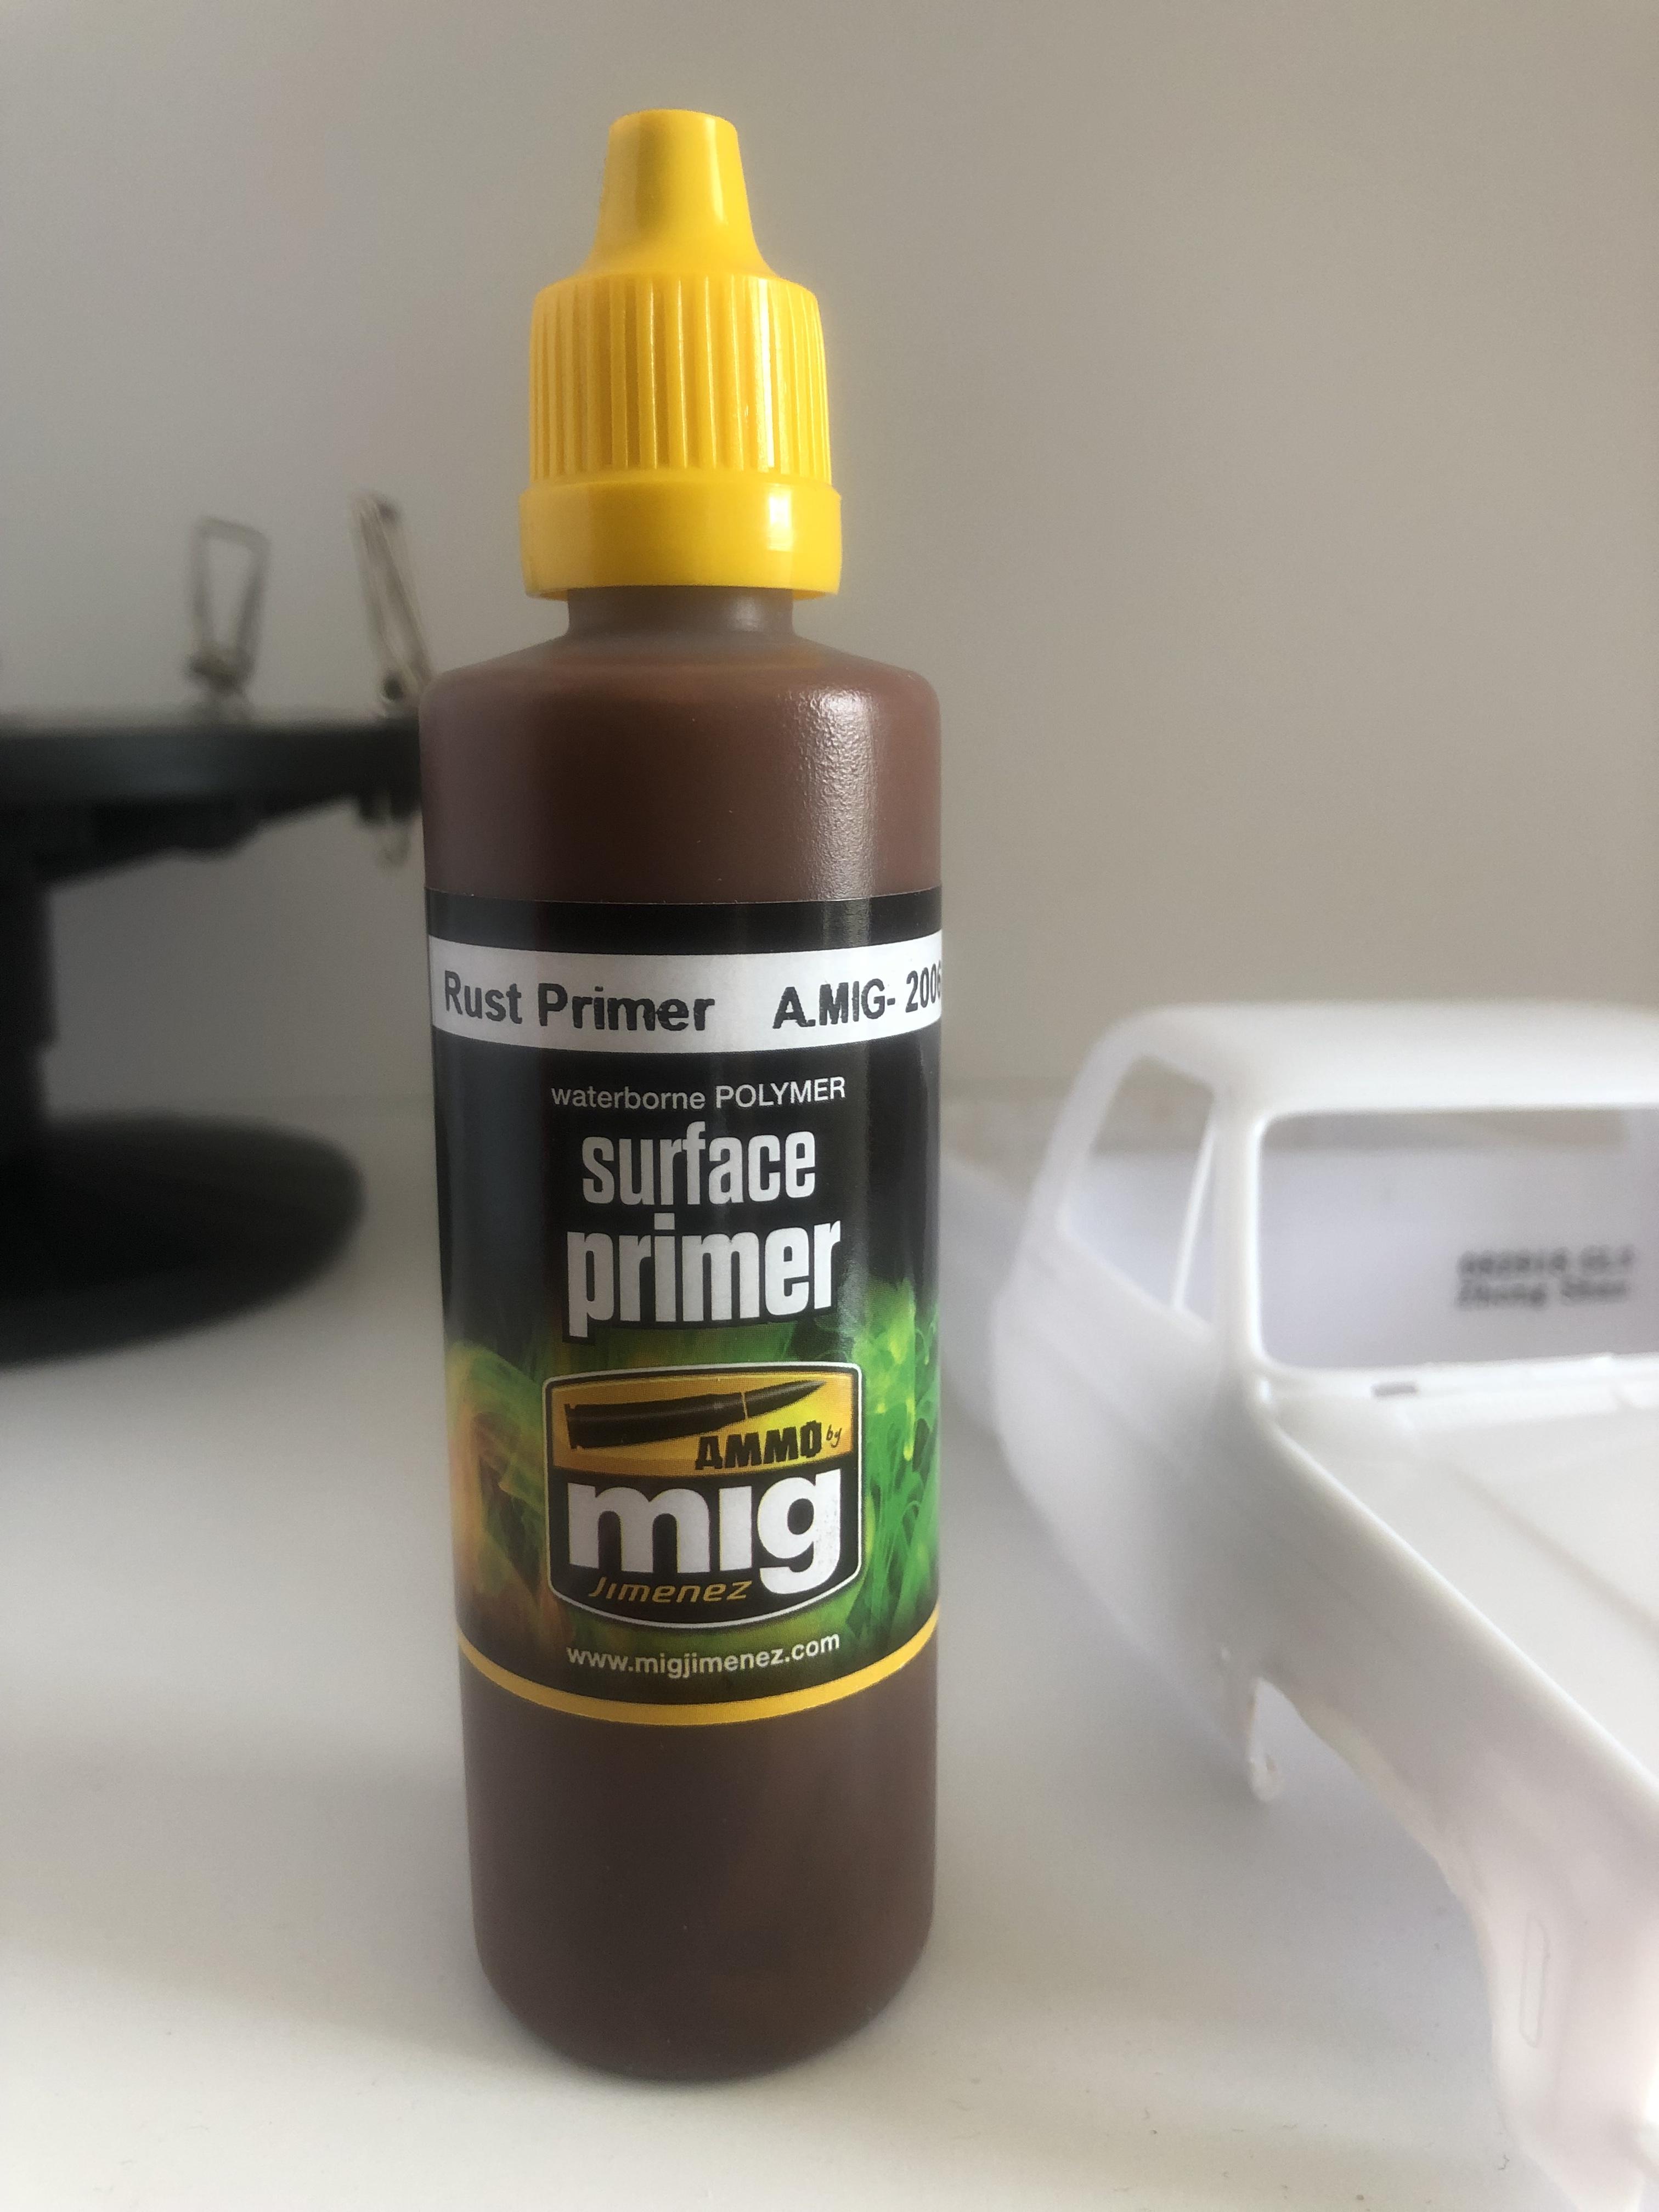
Applied base rust (this was just the base for random rust pattern): 1) Airbrushed Mig Jimenez Rust Color Primer. 2) Once Primer is dried, a) I loaded a ripped piece of make up sponge with light orange acrylic ( I used light rust from Vallejo), and unloaded most of it on a piece of paper to get a dry painting effect. b) I lightly dabbed the sponge, randomly over the body, focusing more on raises areas, edges. Also, hood and roof top. 3) Once dried, I applied a wash of light rust over the whole body. I used Vallejo light rust wash, which has a little bit more orange on it. This is just a wash to tie colors together, somewhat. Coming up next: 1) Seal the base. 2) Prepare for chipping and fading: hairspray and salt application over the body, where rust will be showing. 3) Paint the body and chip away. 4) Apply more light rust wash to blend in the rust showing with the edges of the paint. 5) Rust pigment for texture on the rotting sections. This is it for now.

-
 This is very interesting and well detailed.
 -
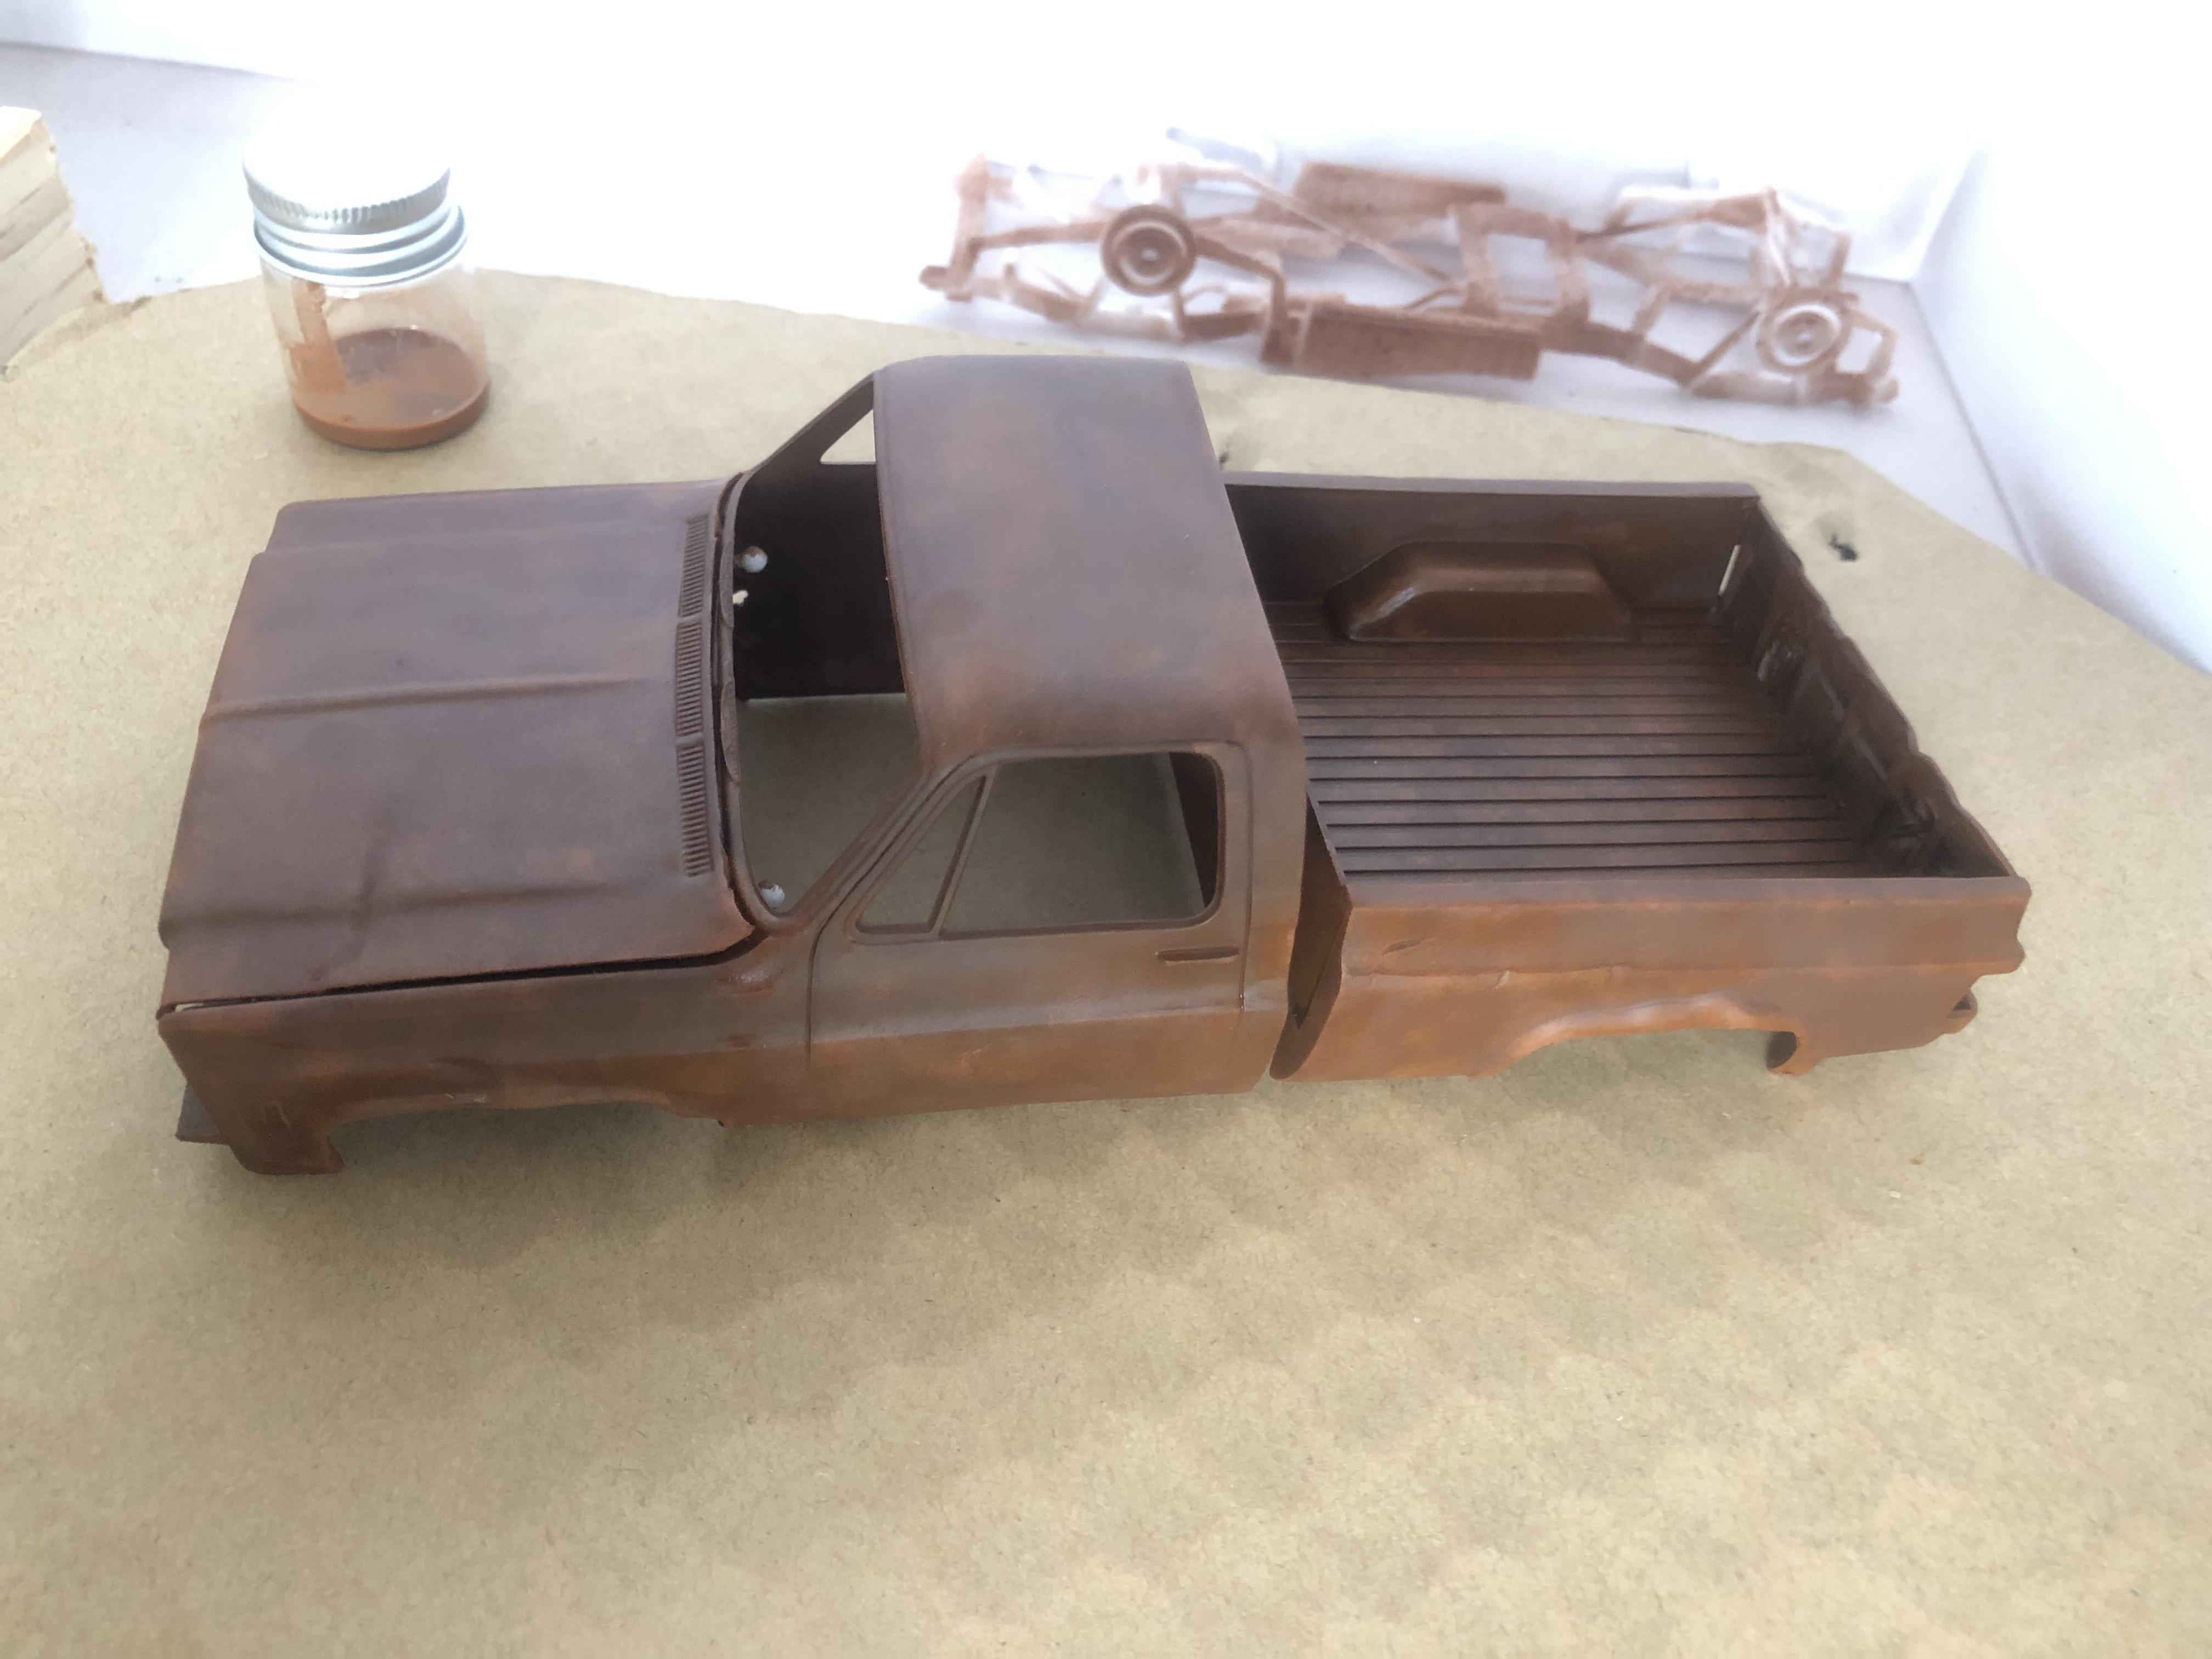
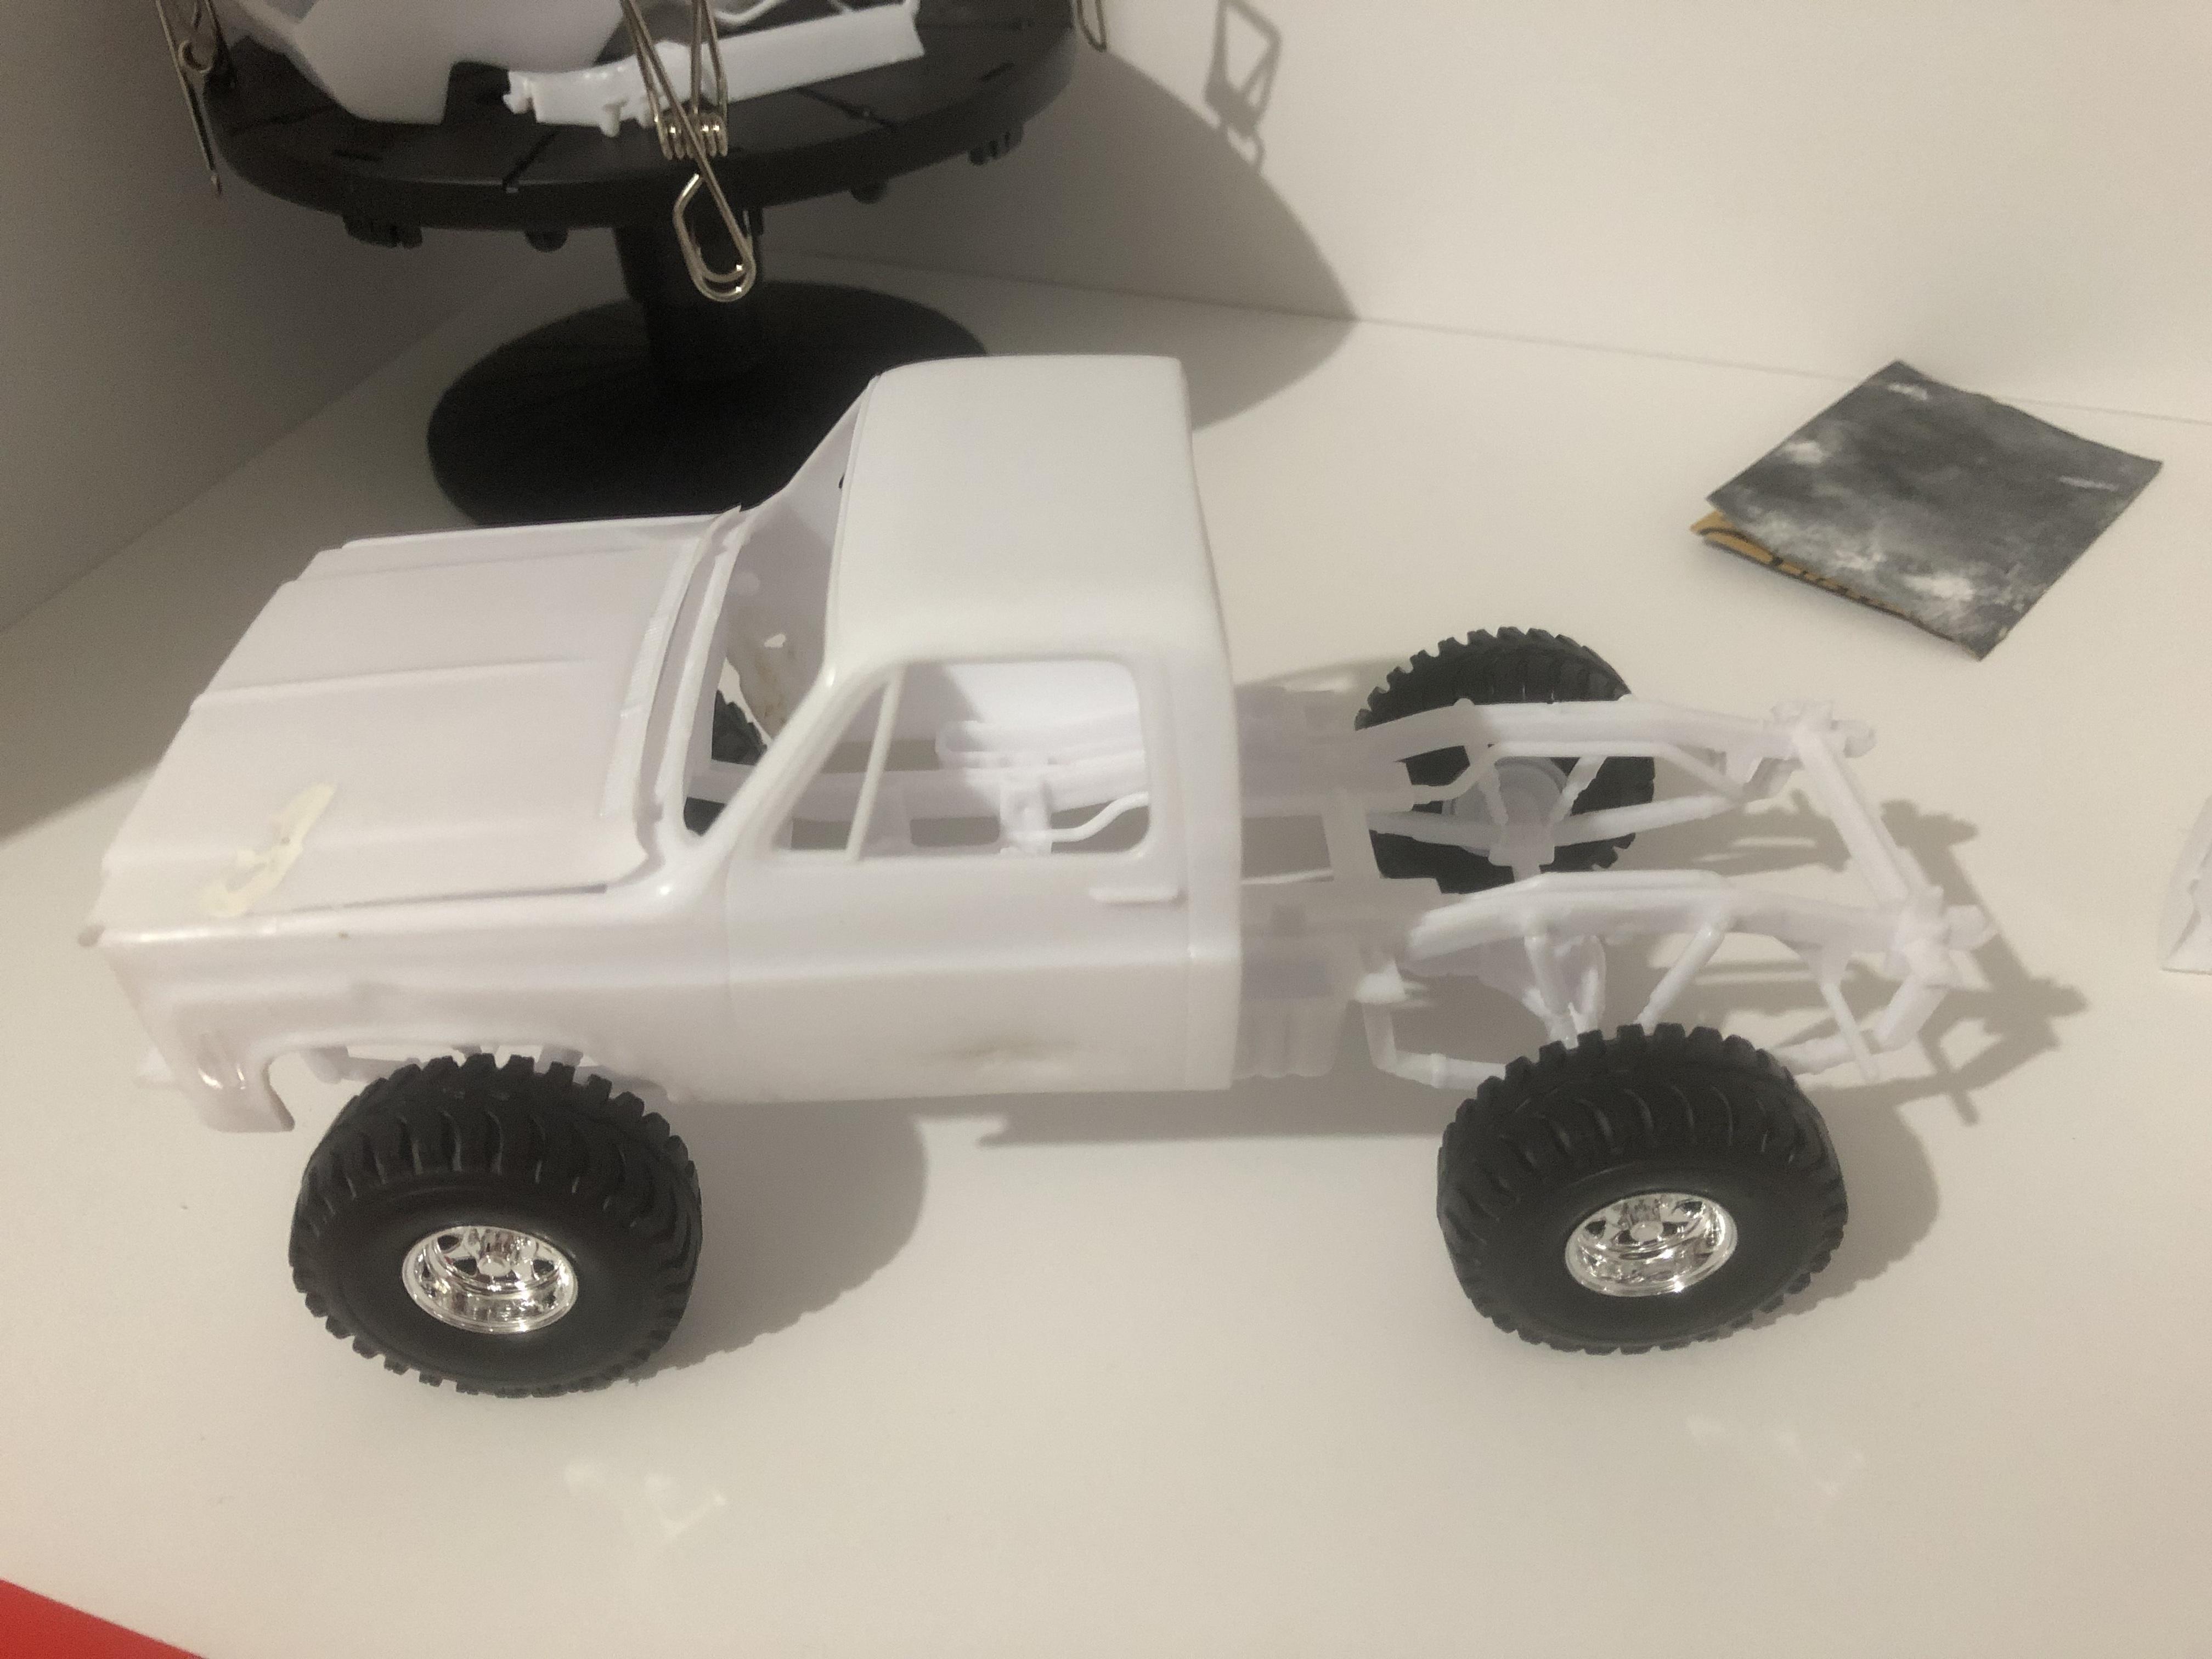
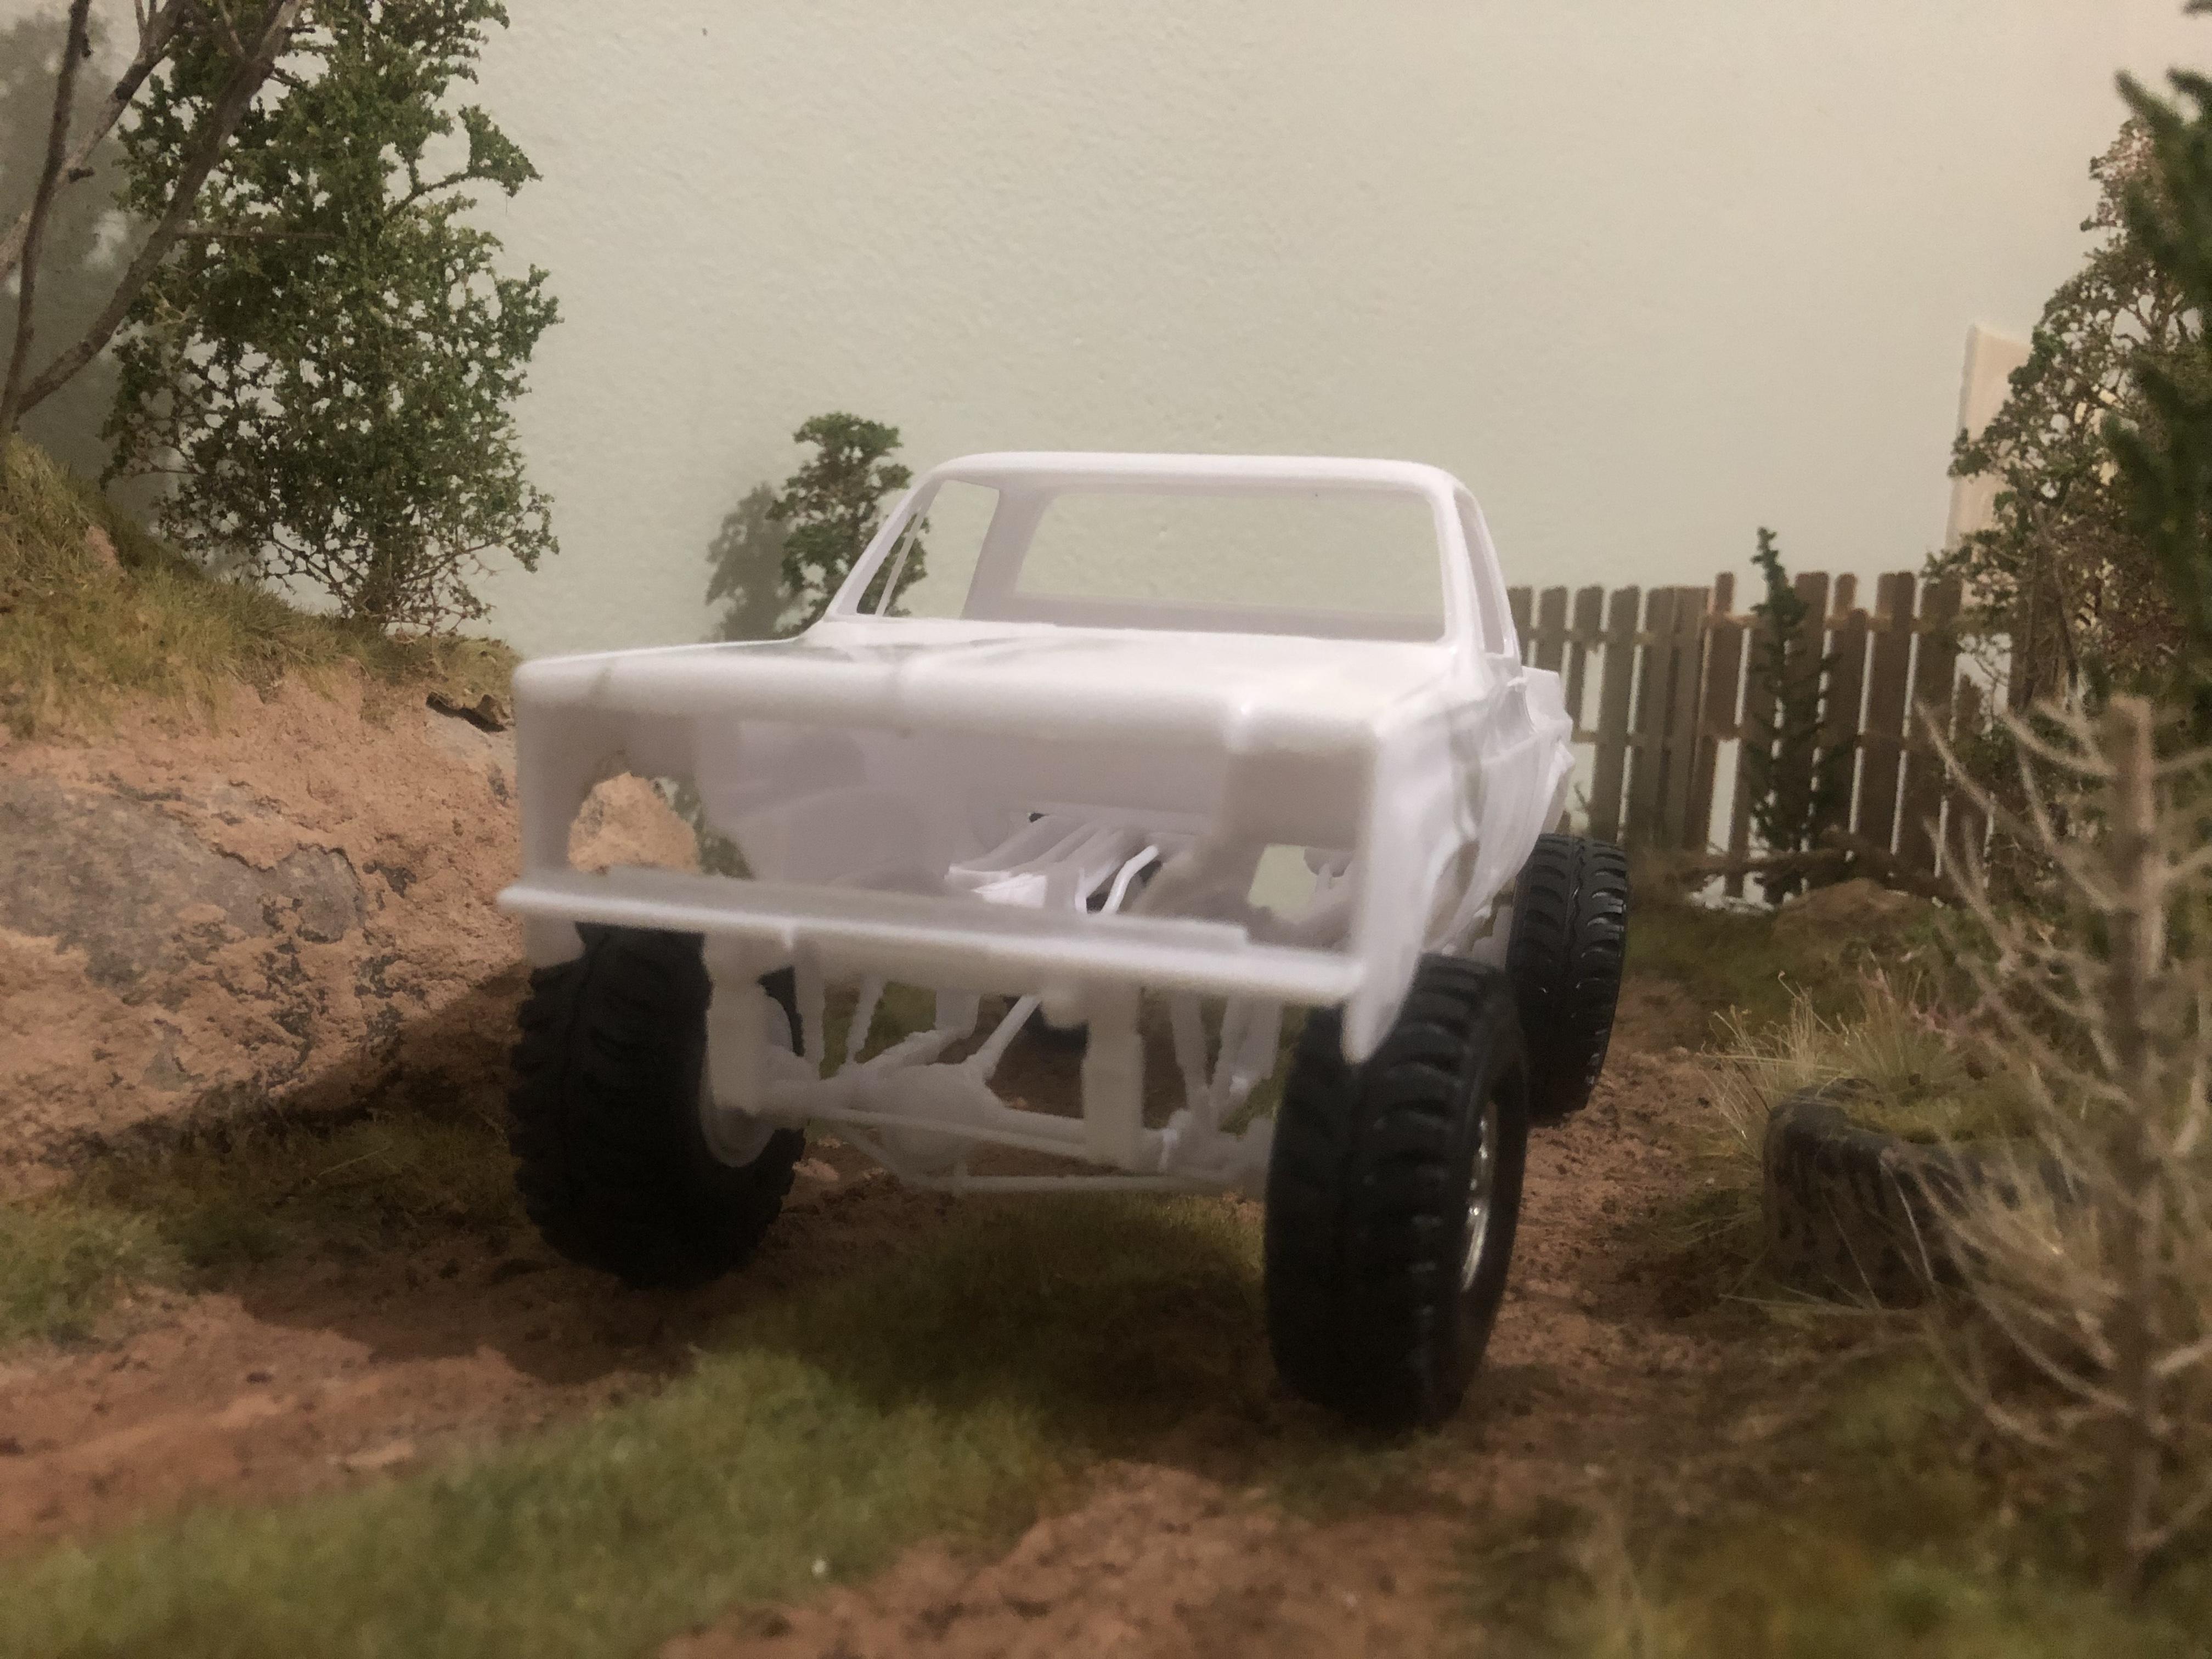
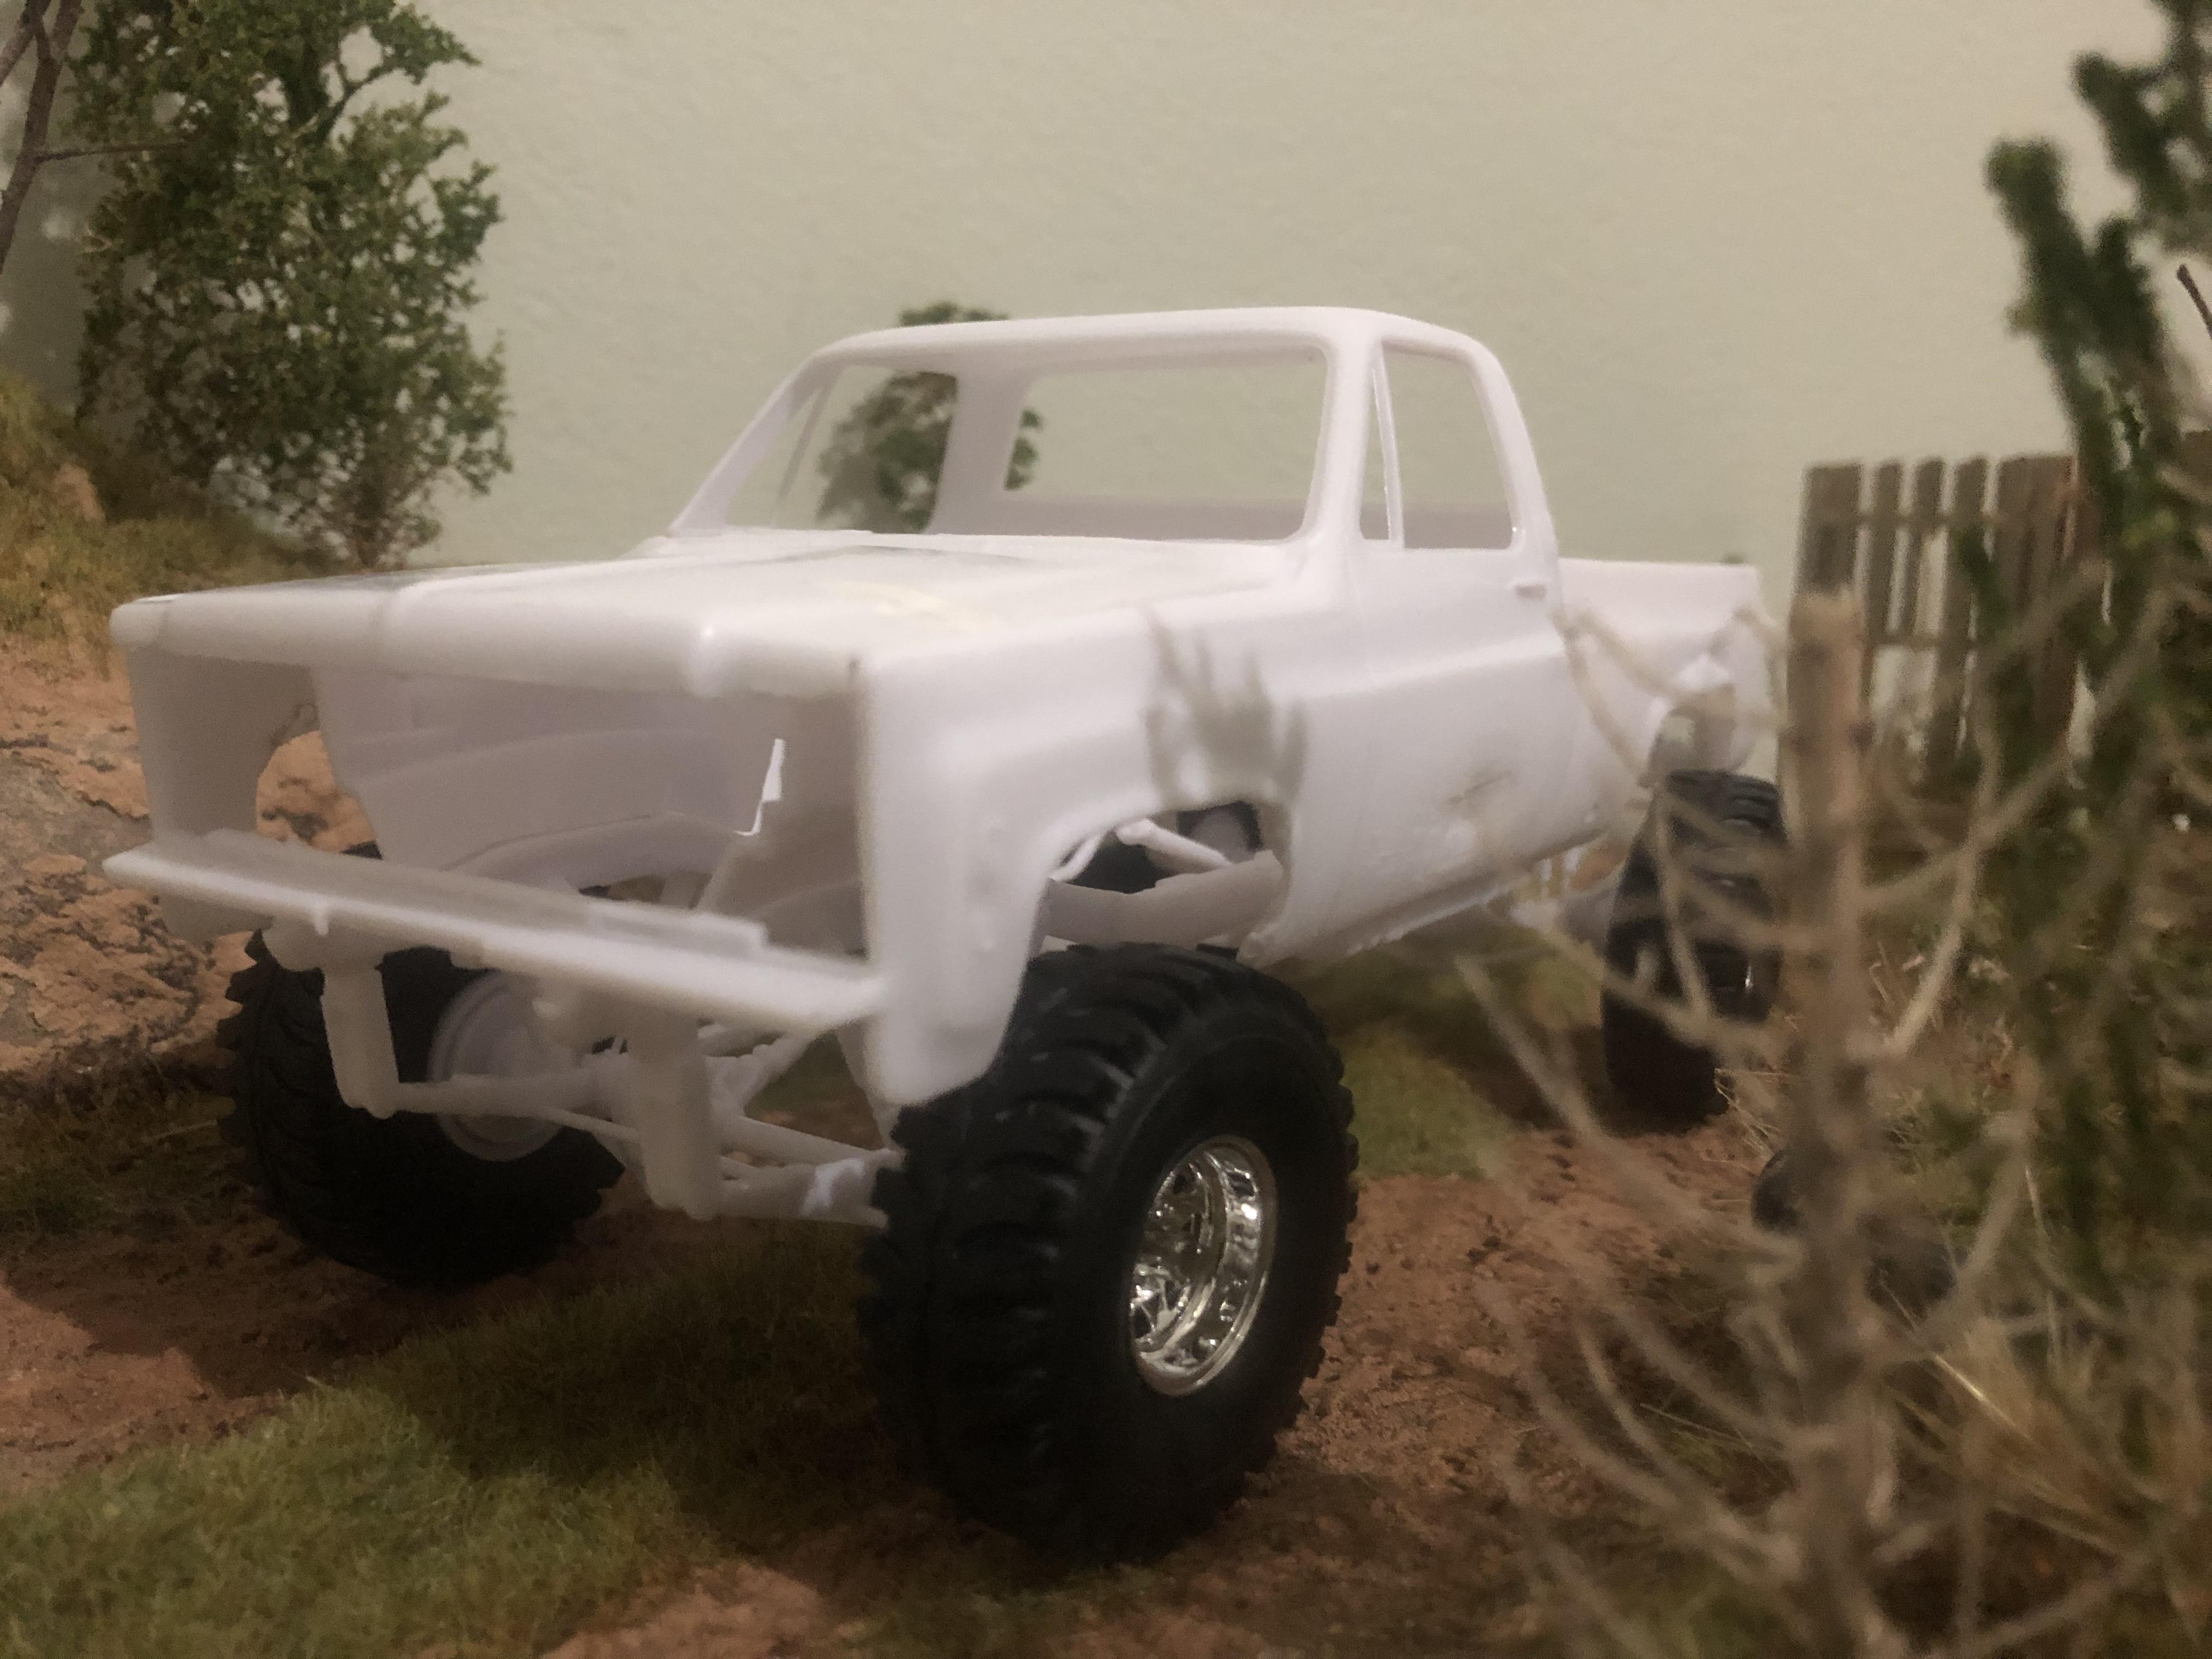
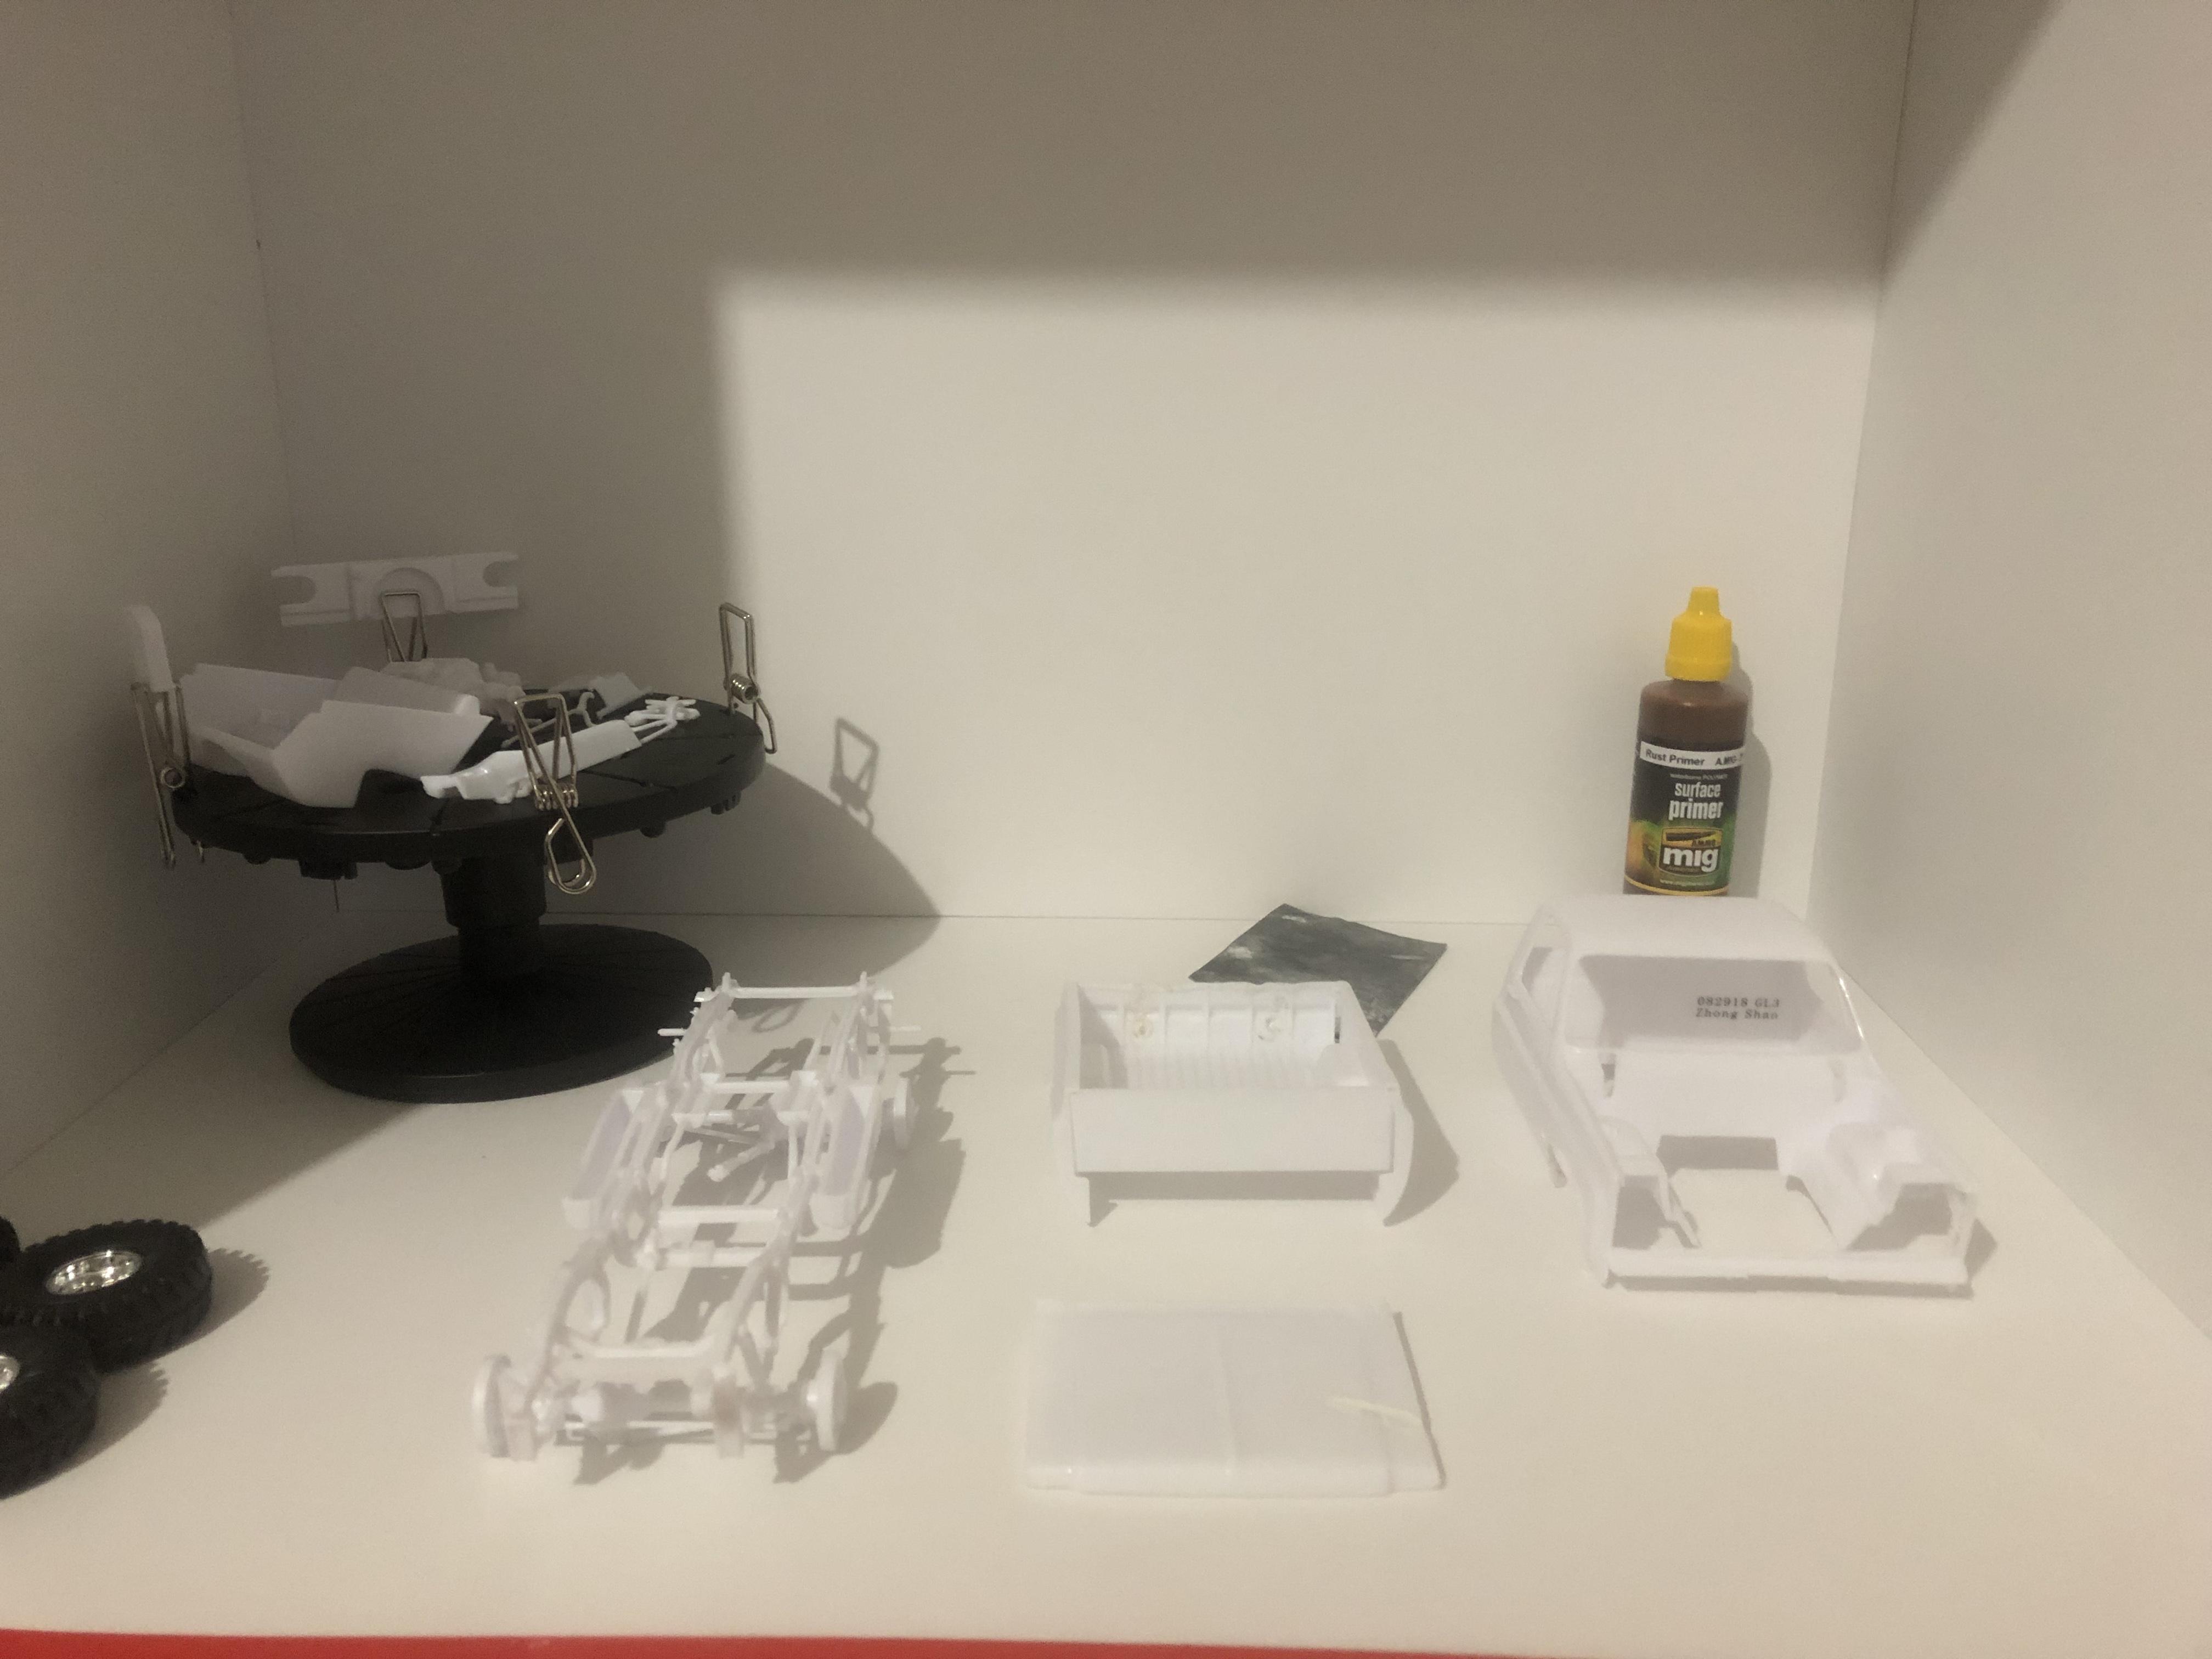
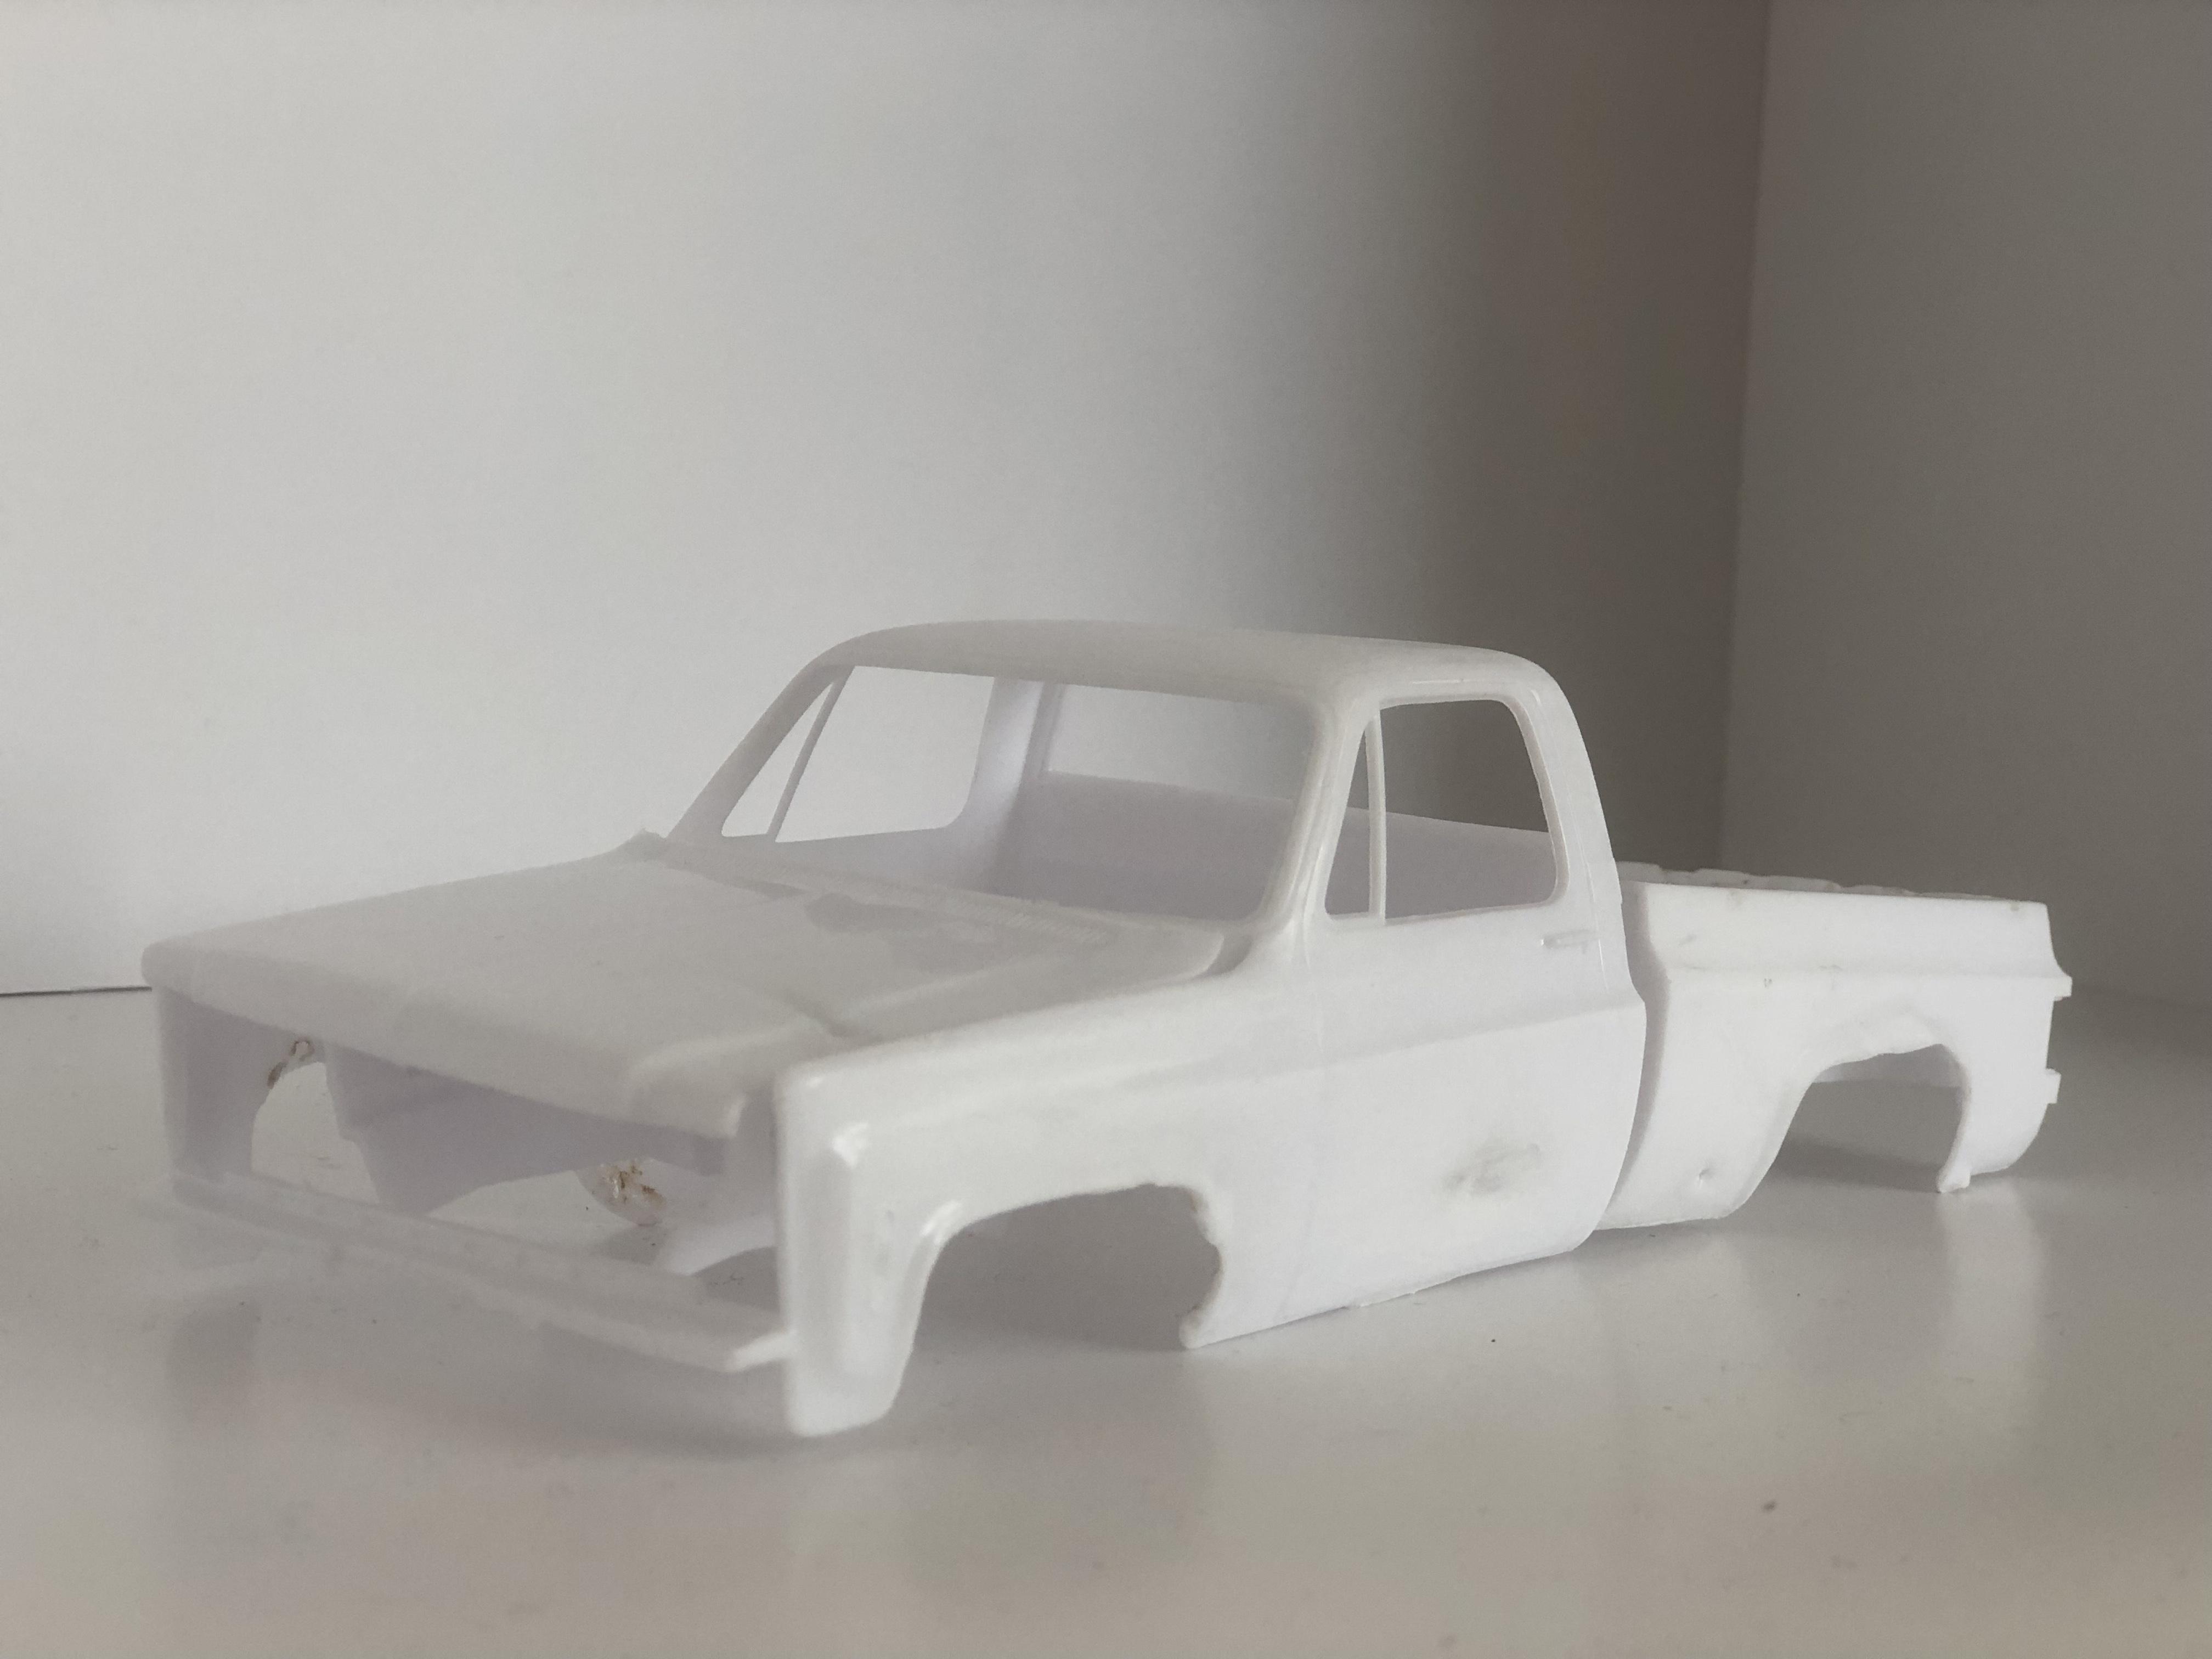
Chassis, body and other parts ready to get painted with rust color primer. Also, a quick look at what the car will look like on the diorama.
-
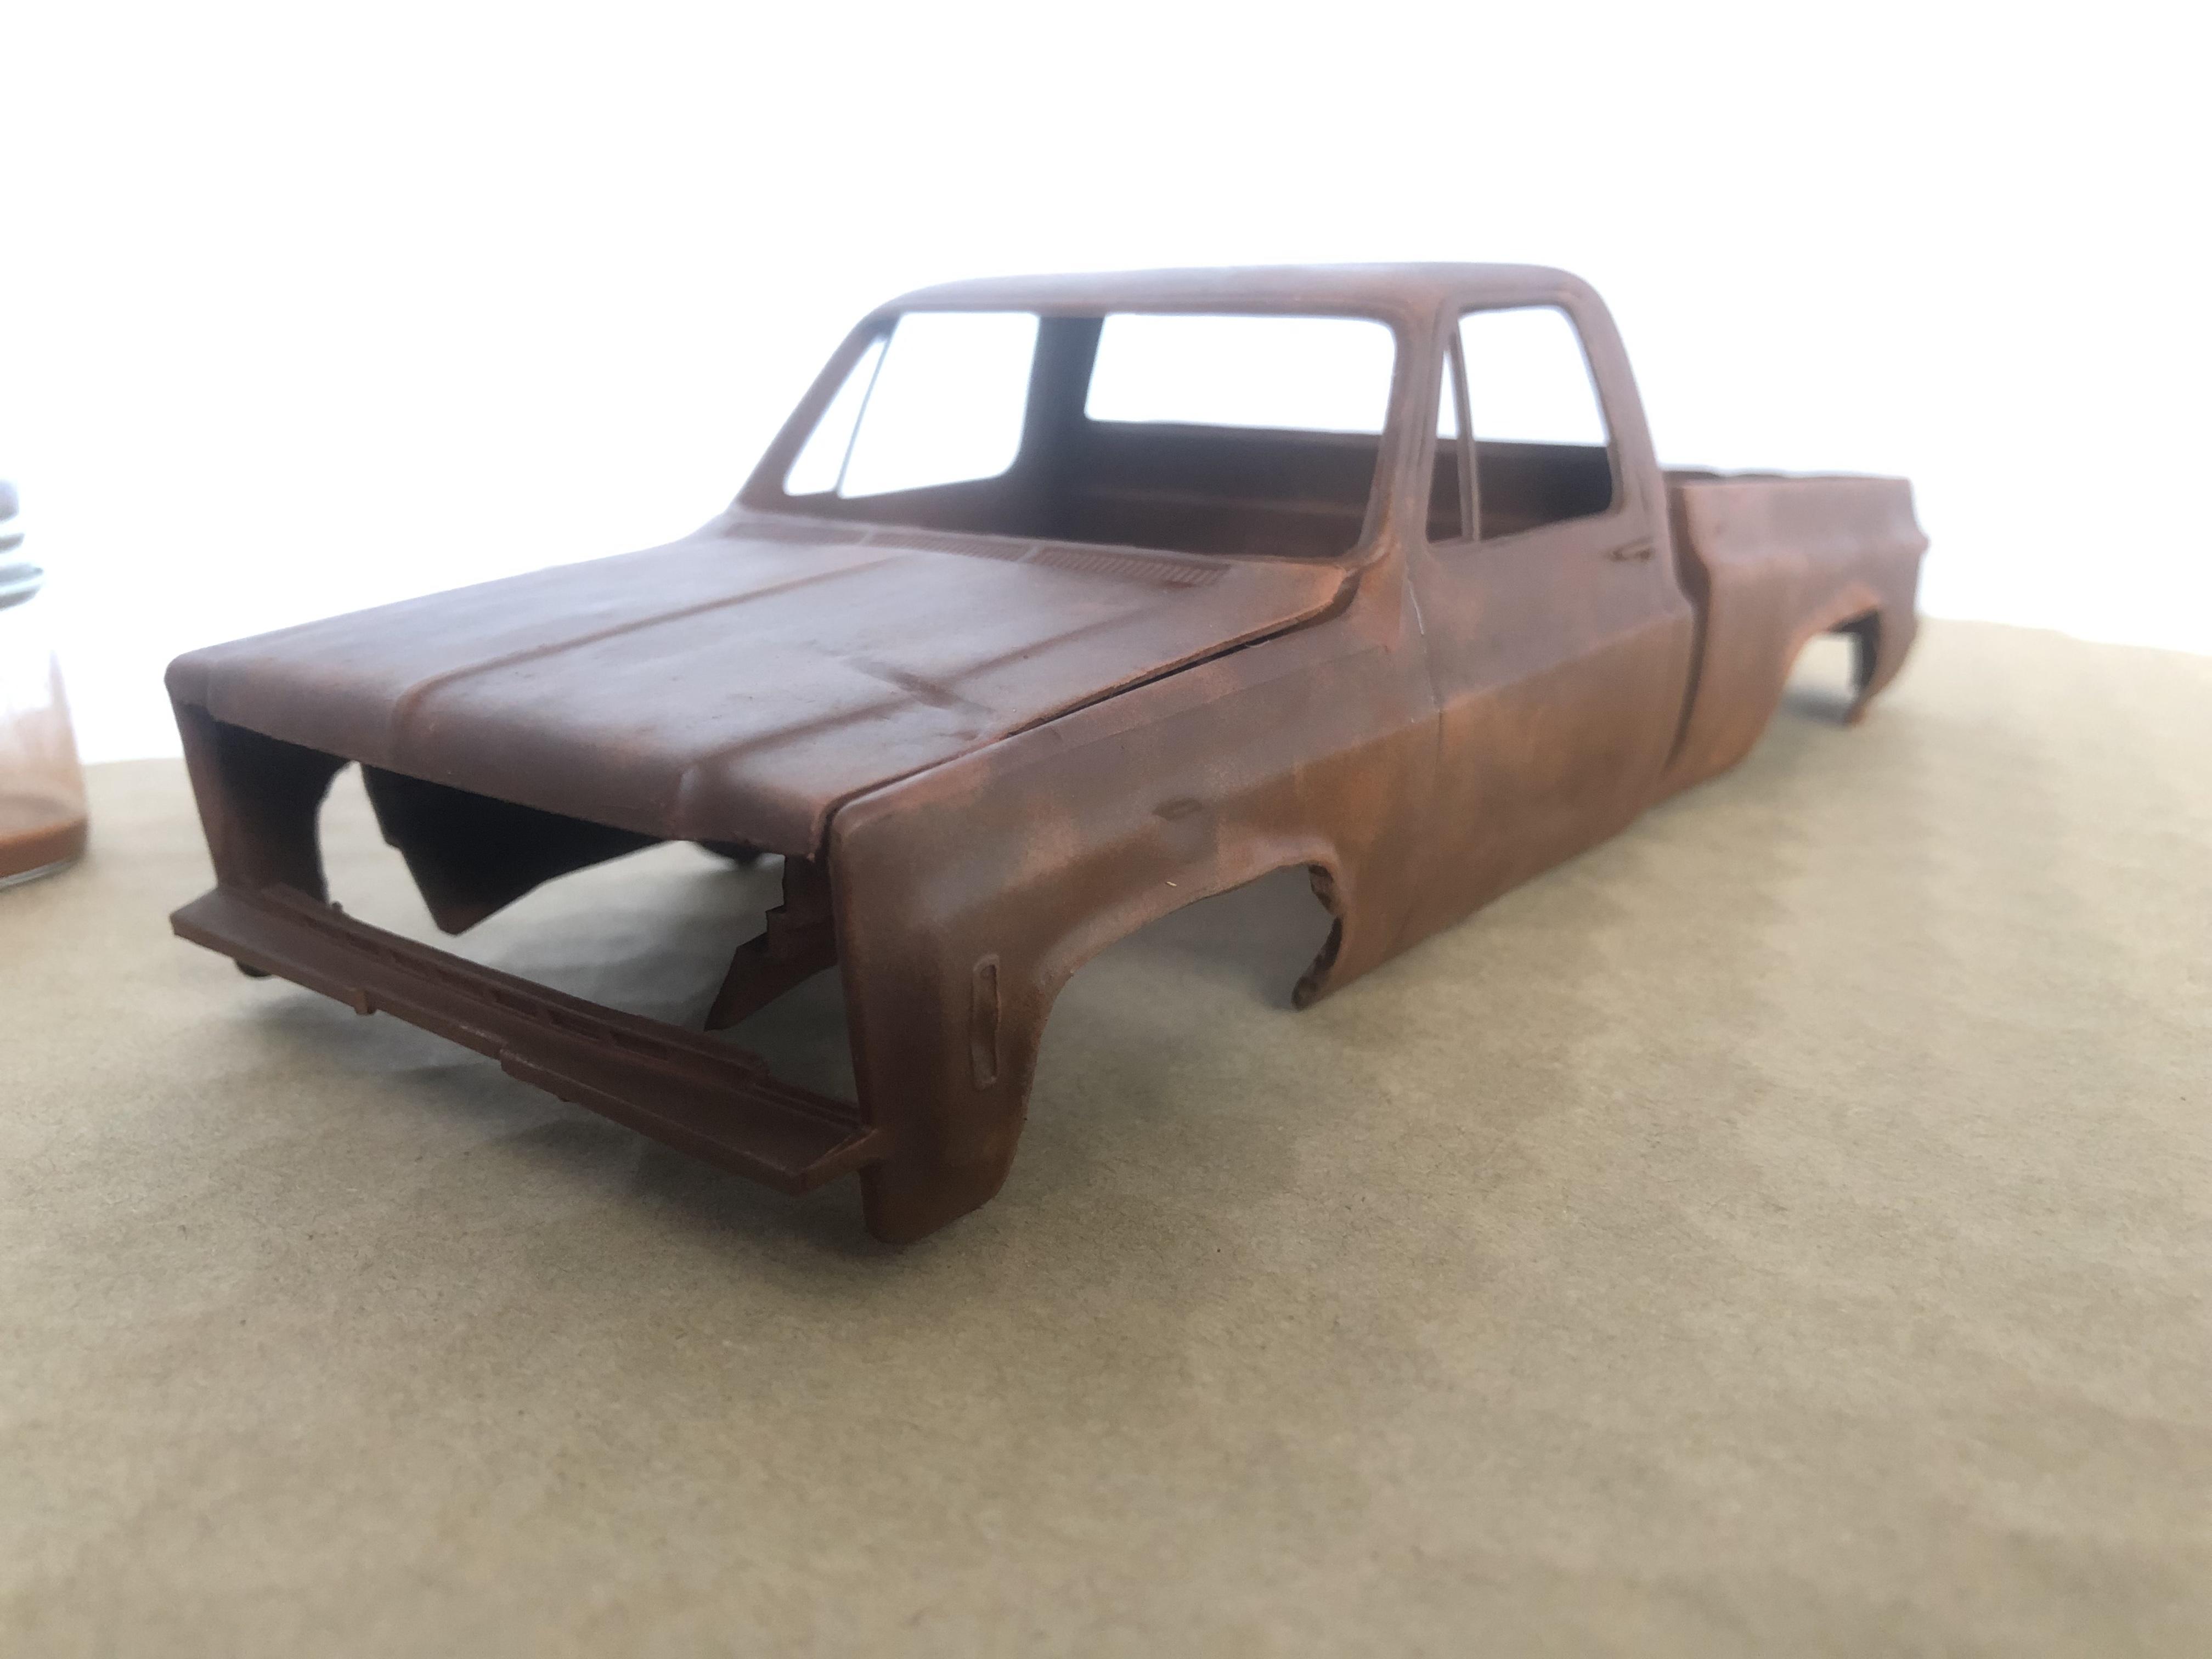
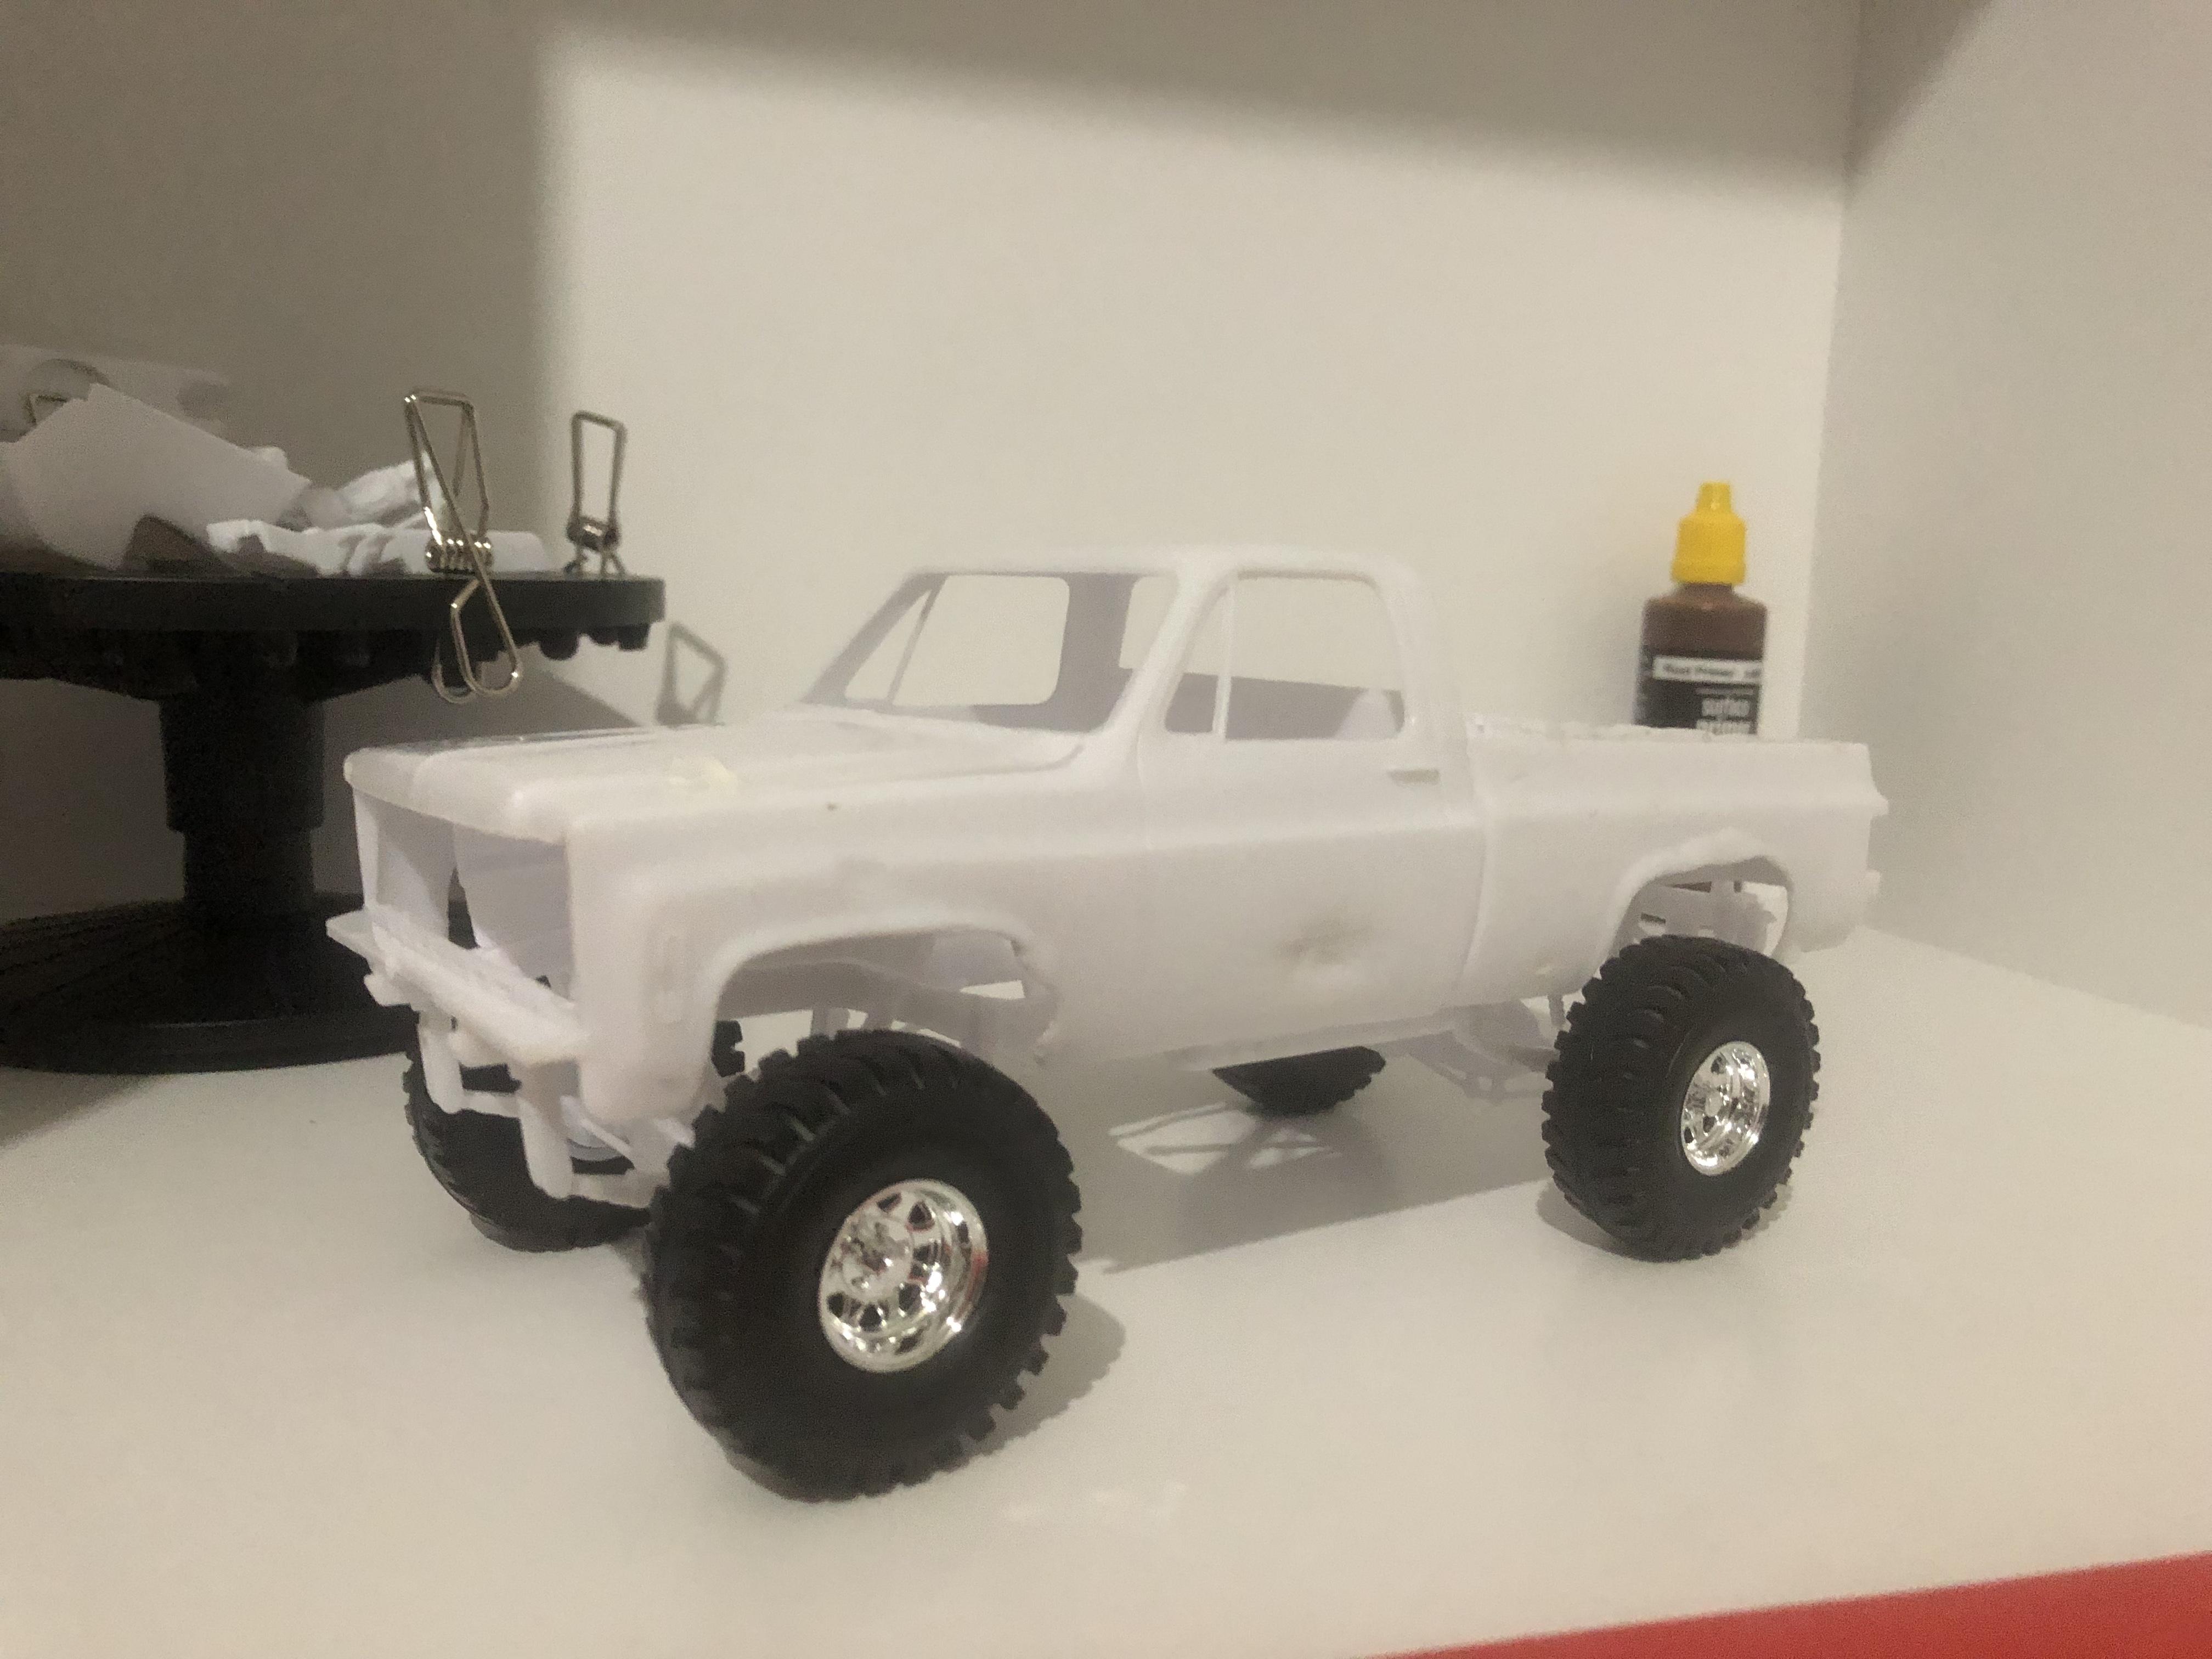
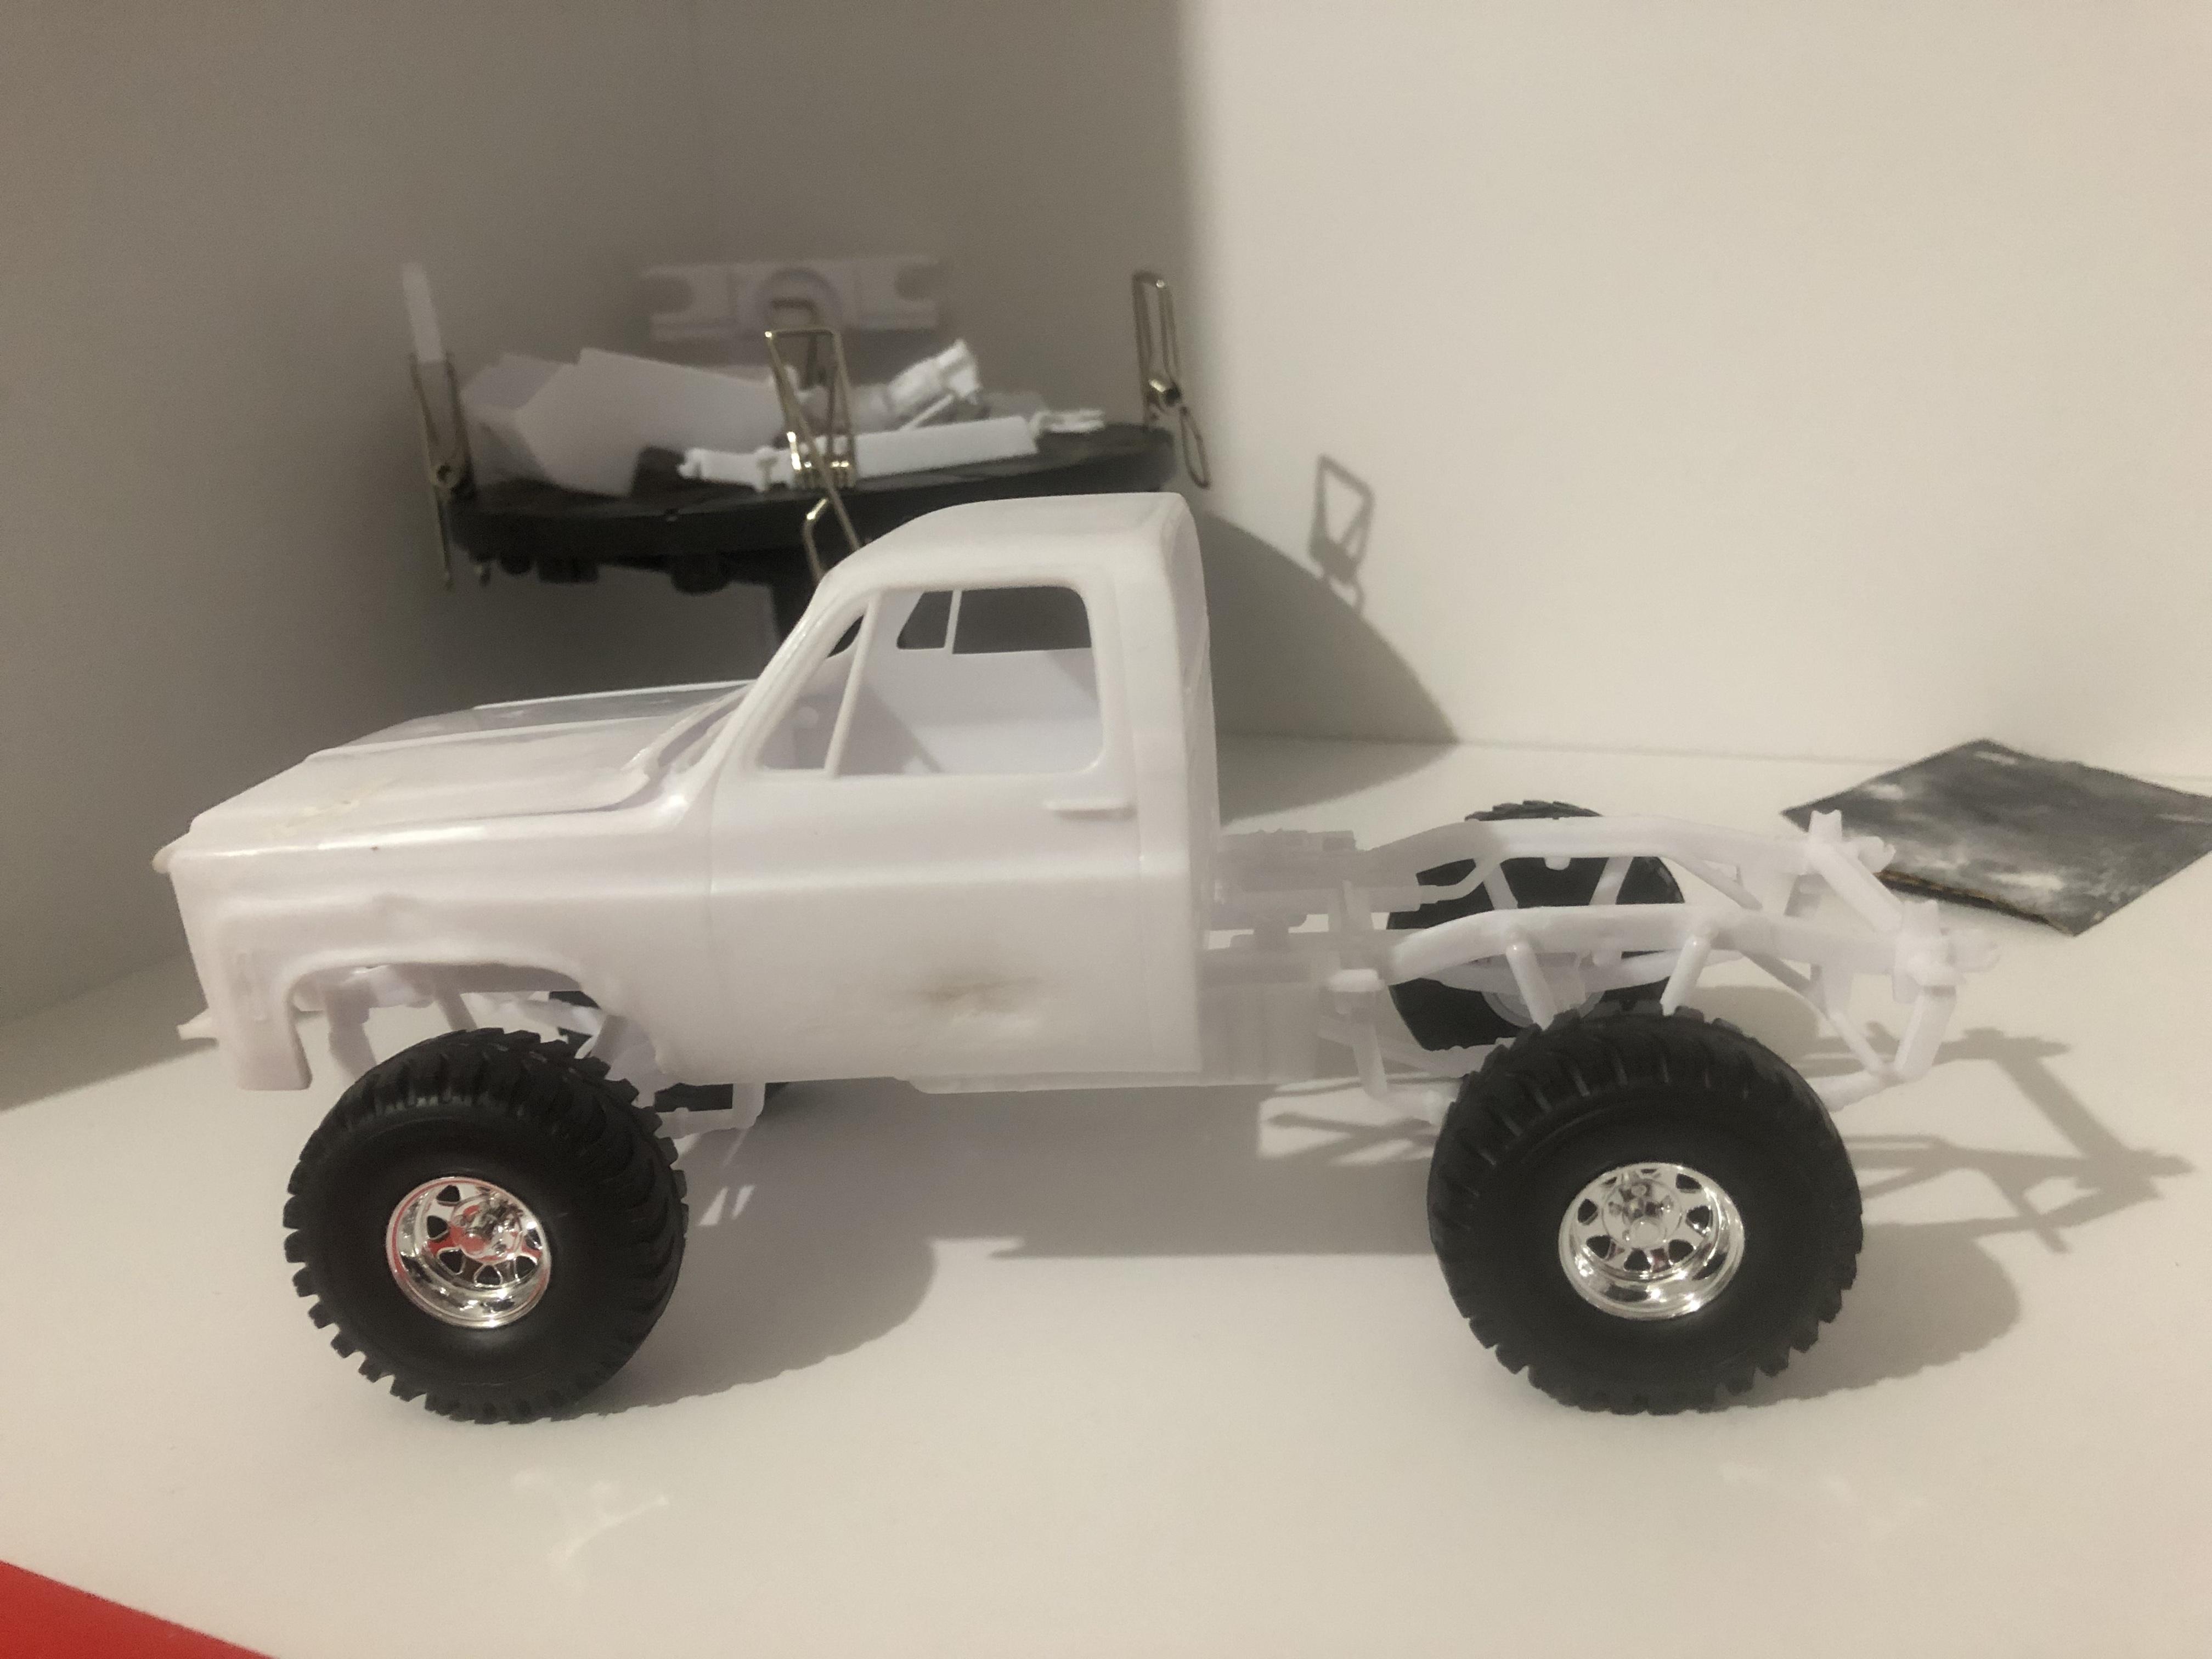
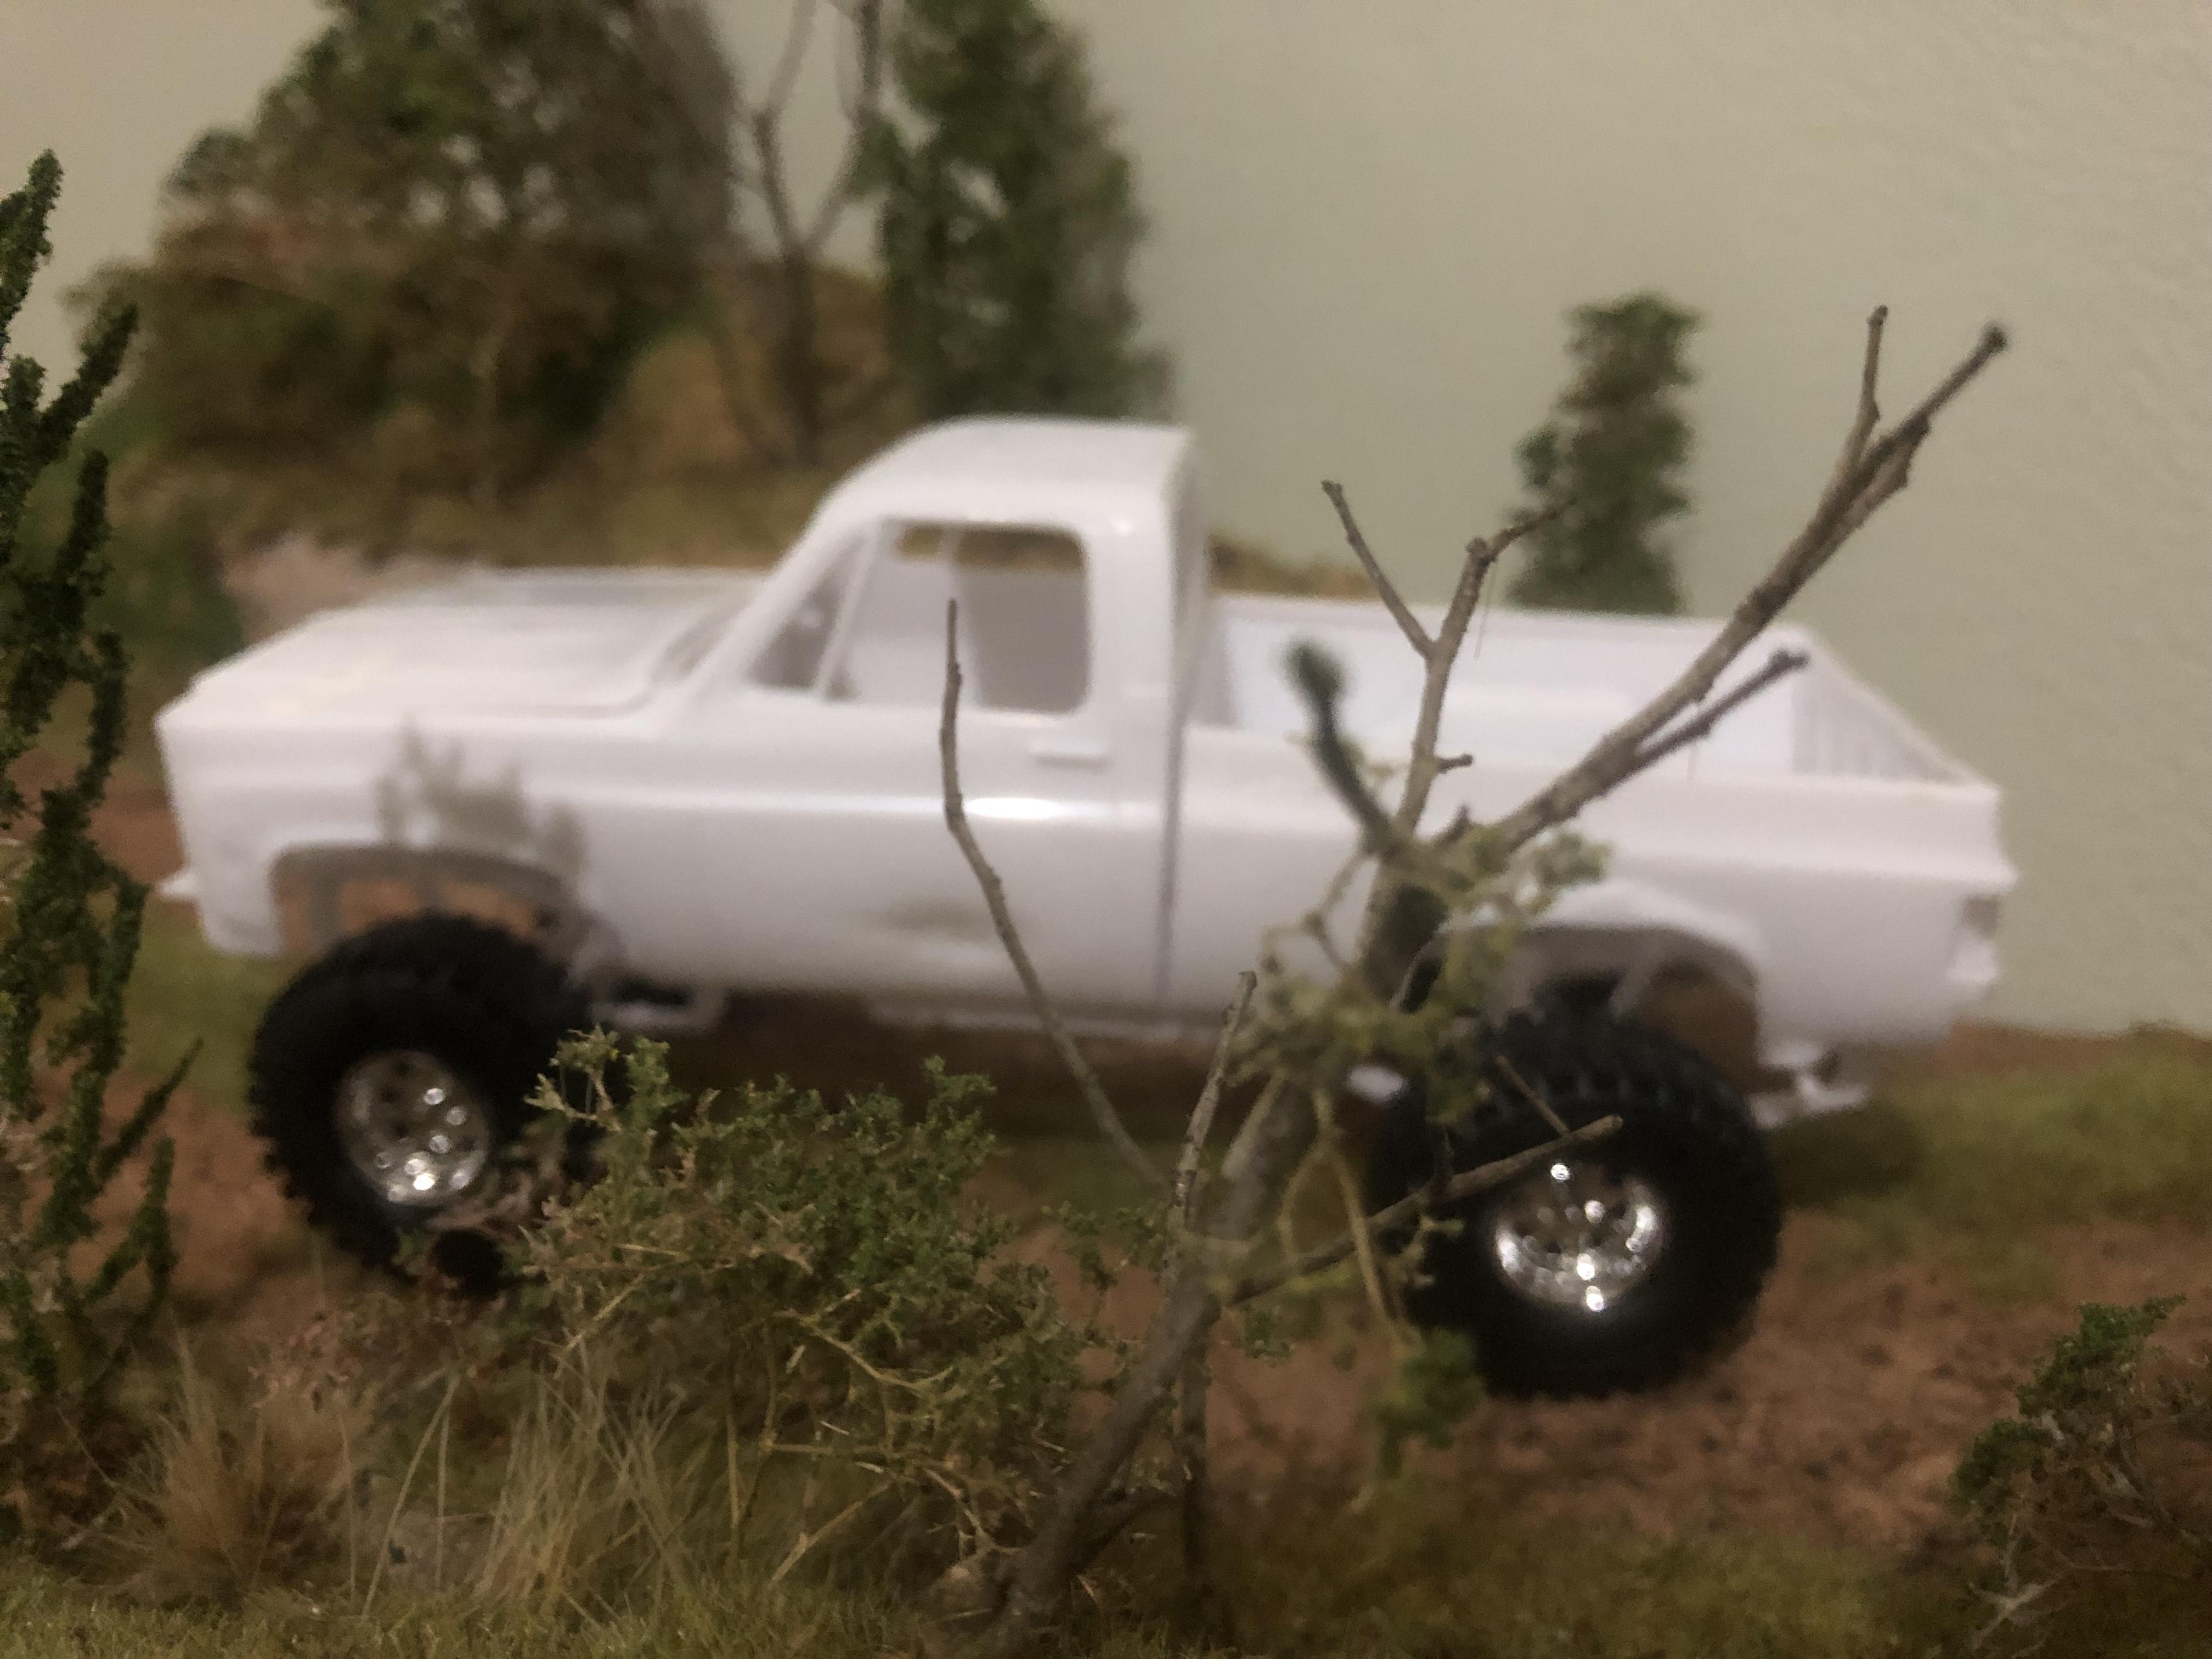
The idea is a beat up truck with faded paint and rust showing. Something that has been used and abused in the country. I’m a little intimidated because I have never built a car from scratch and I have never used the airbrush.
-
Very nice work!
-
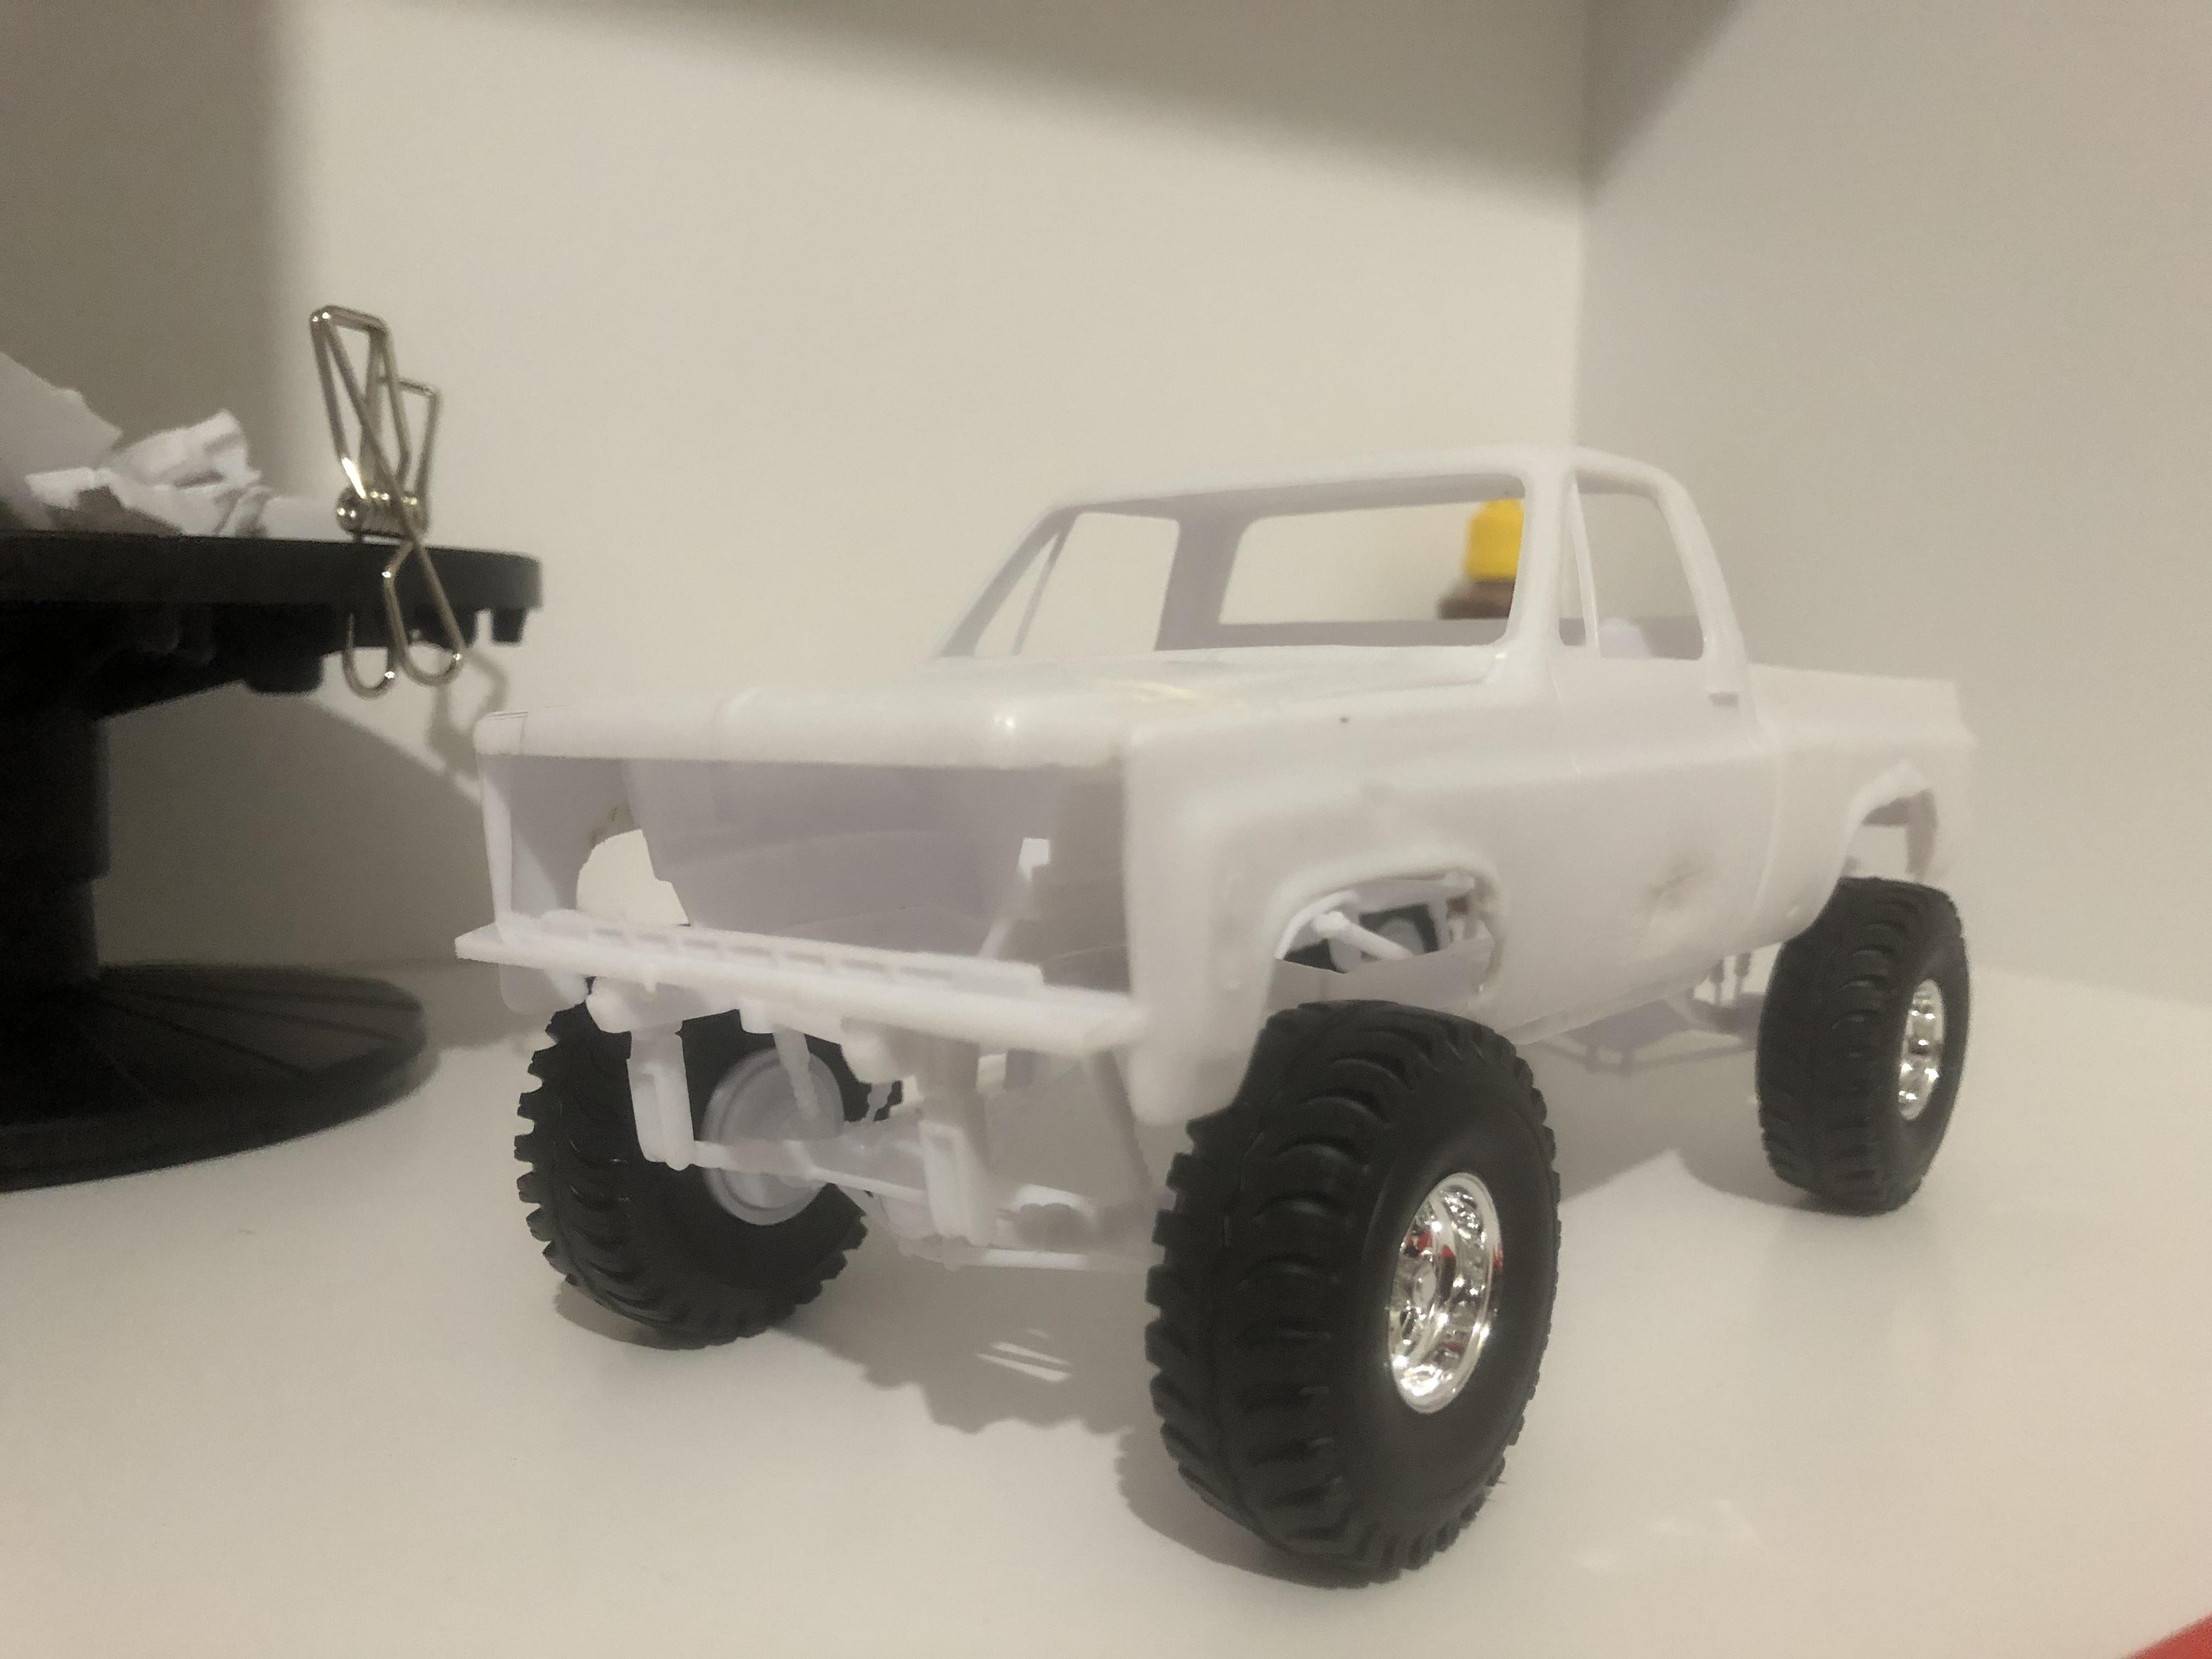
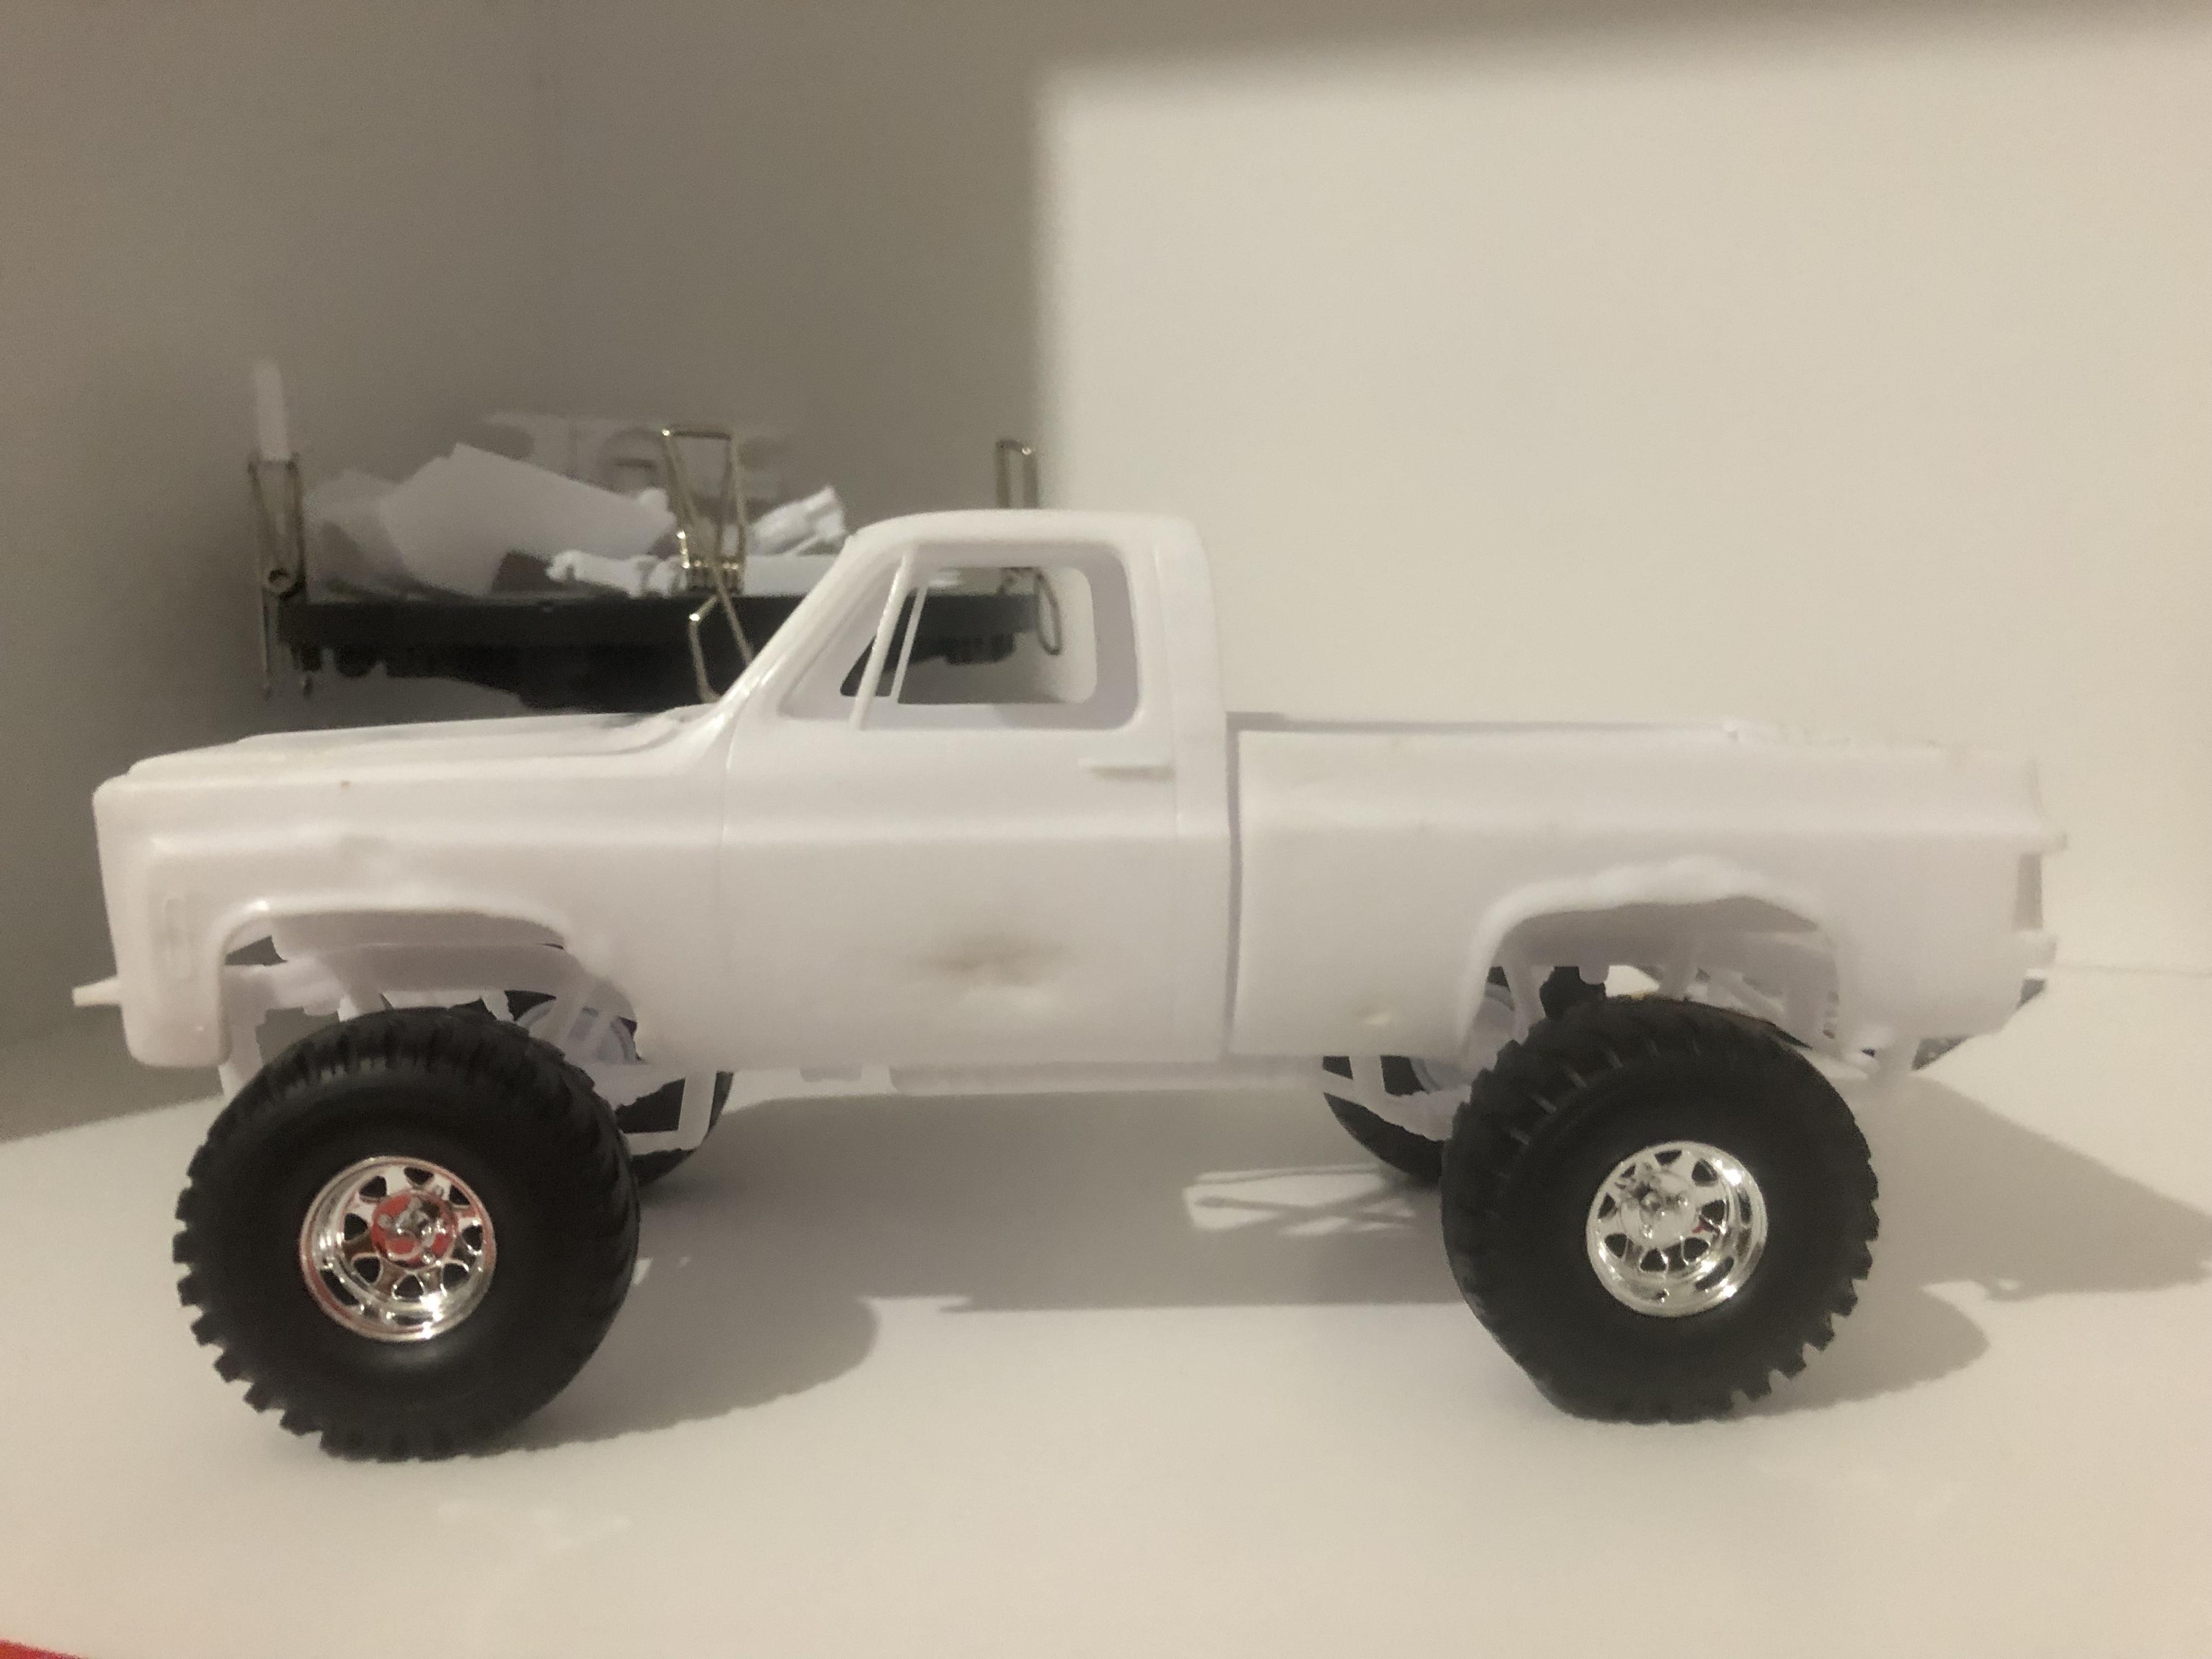
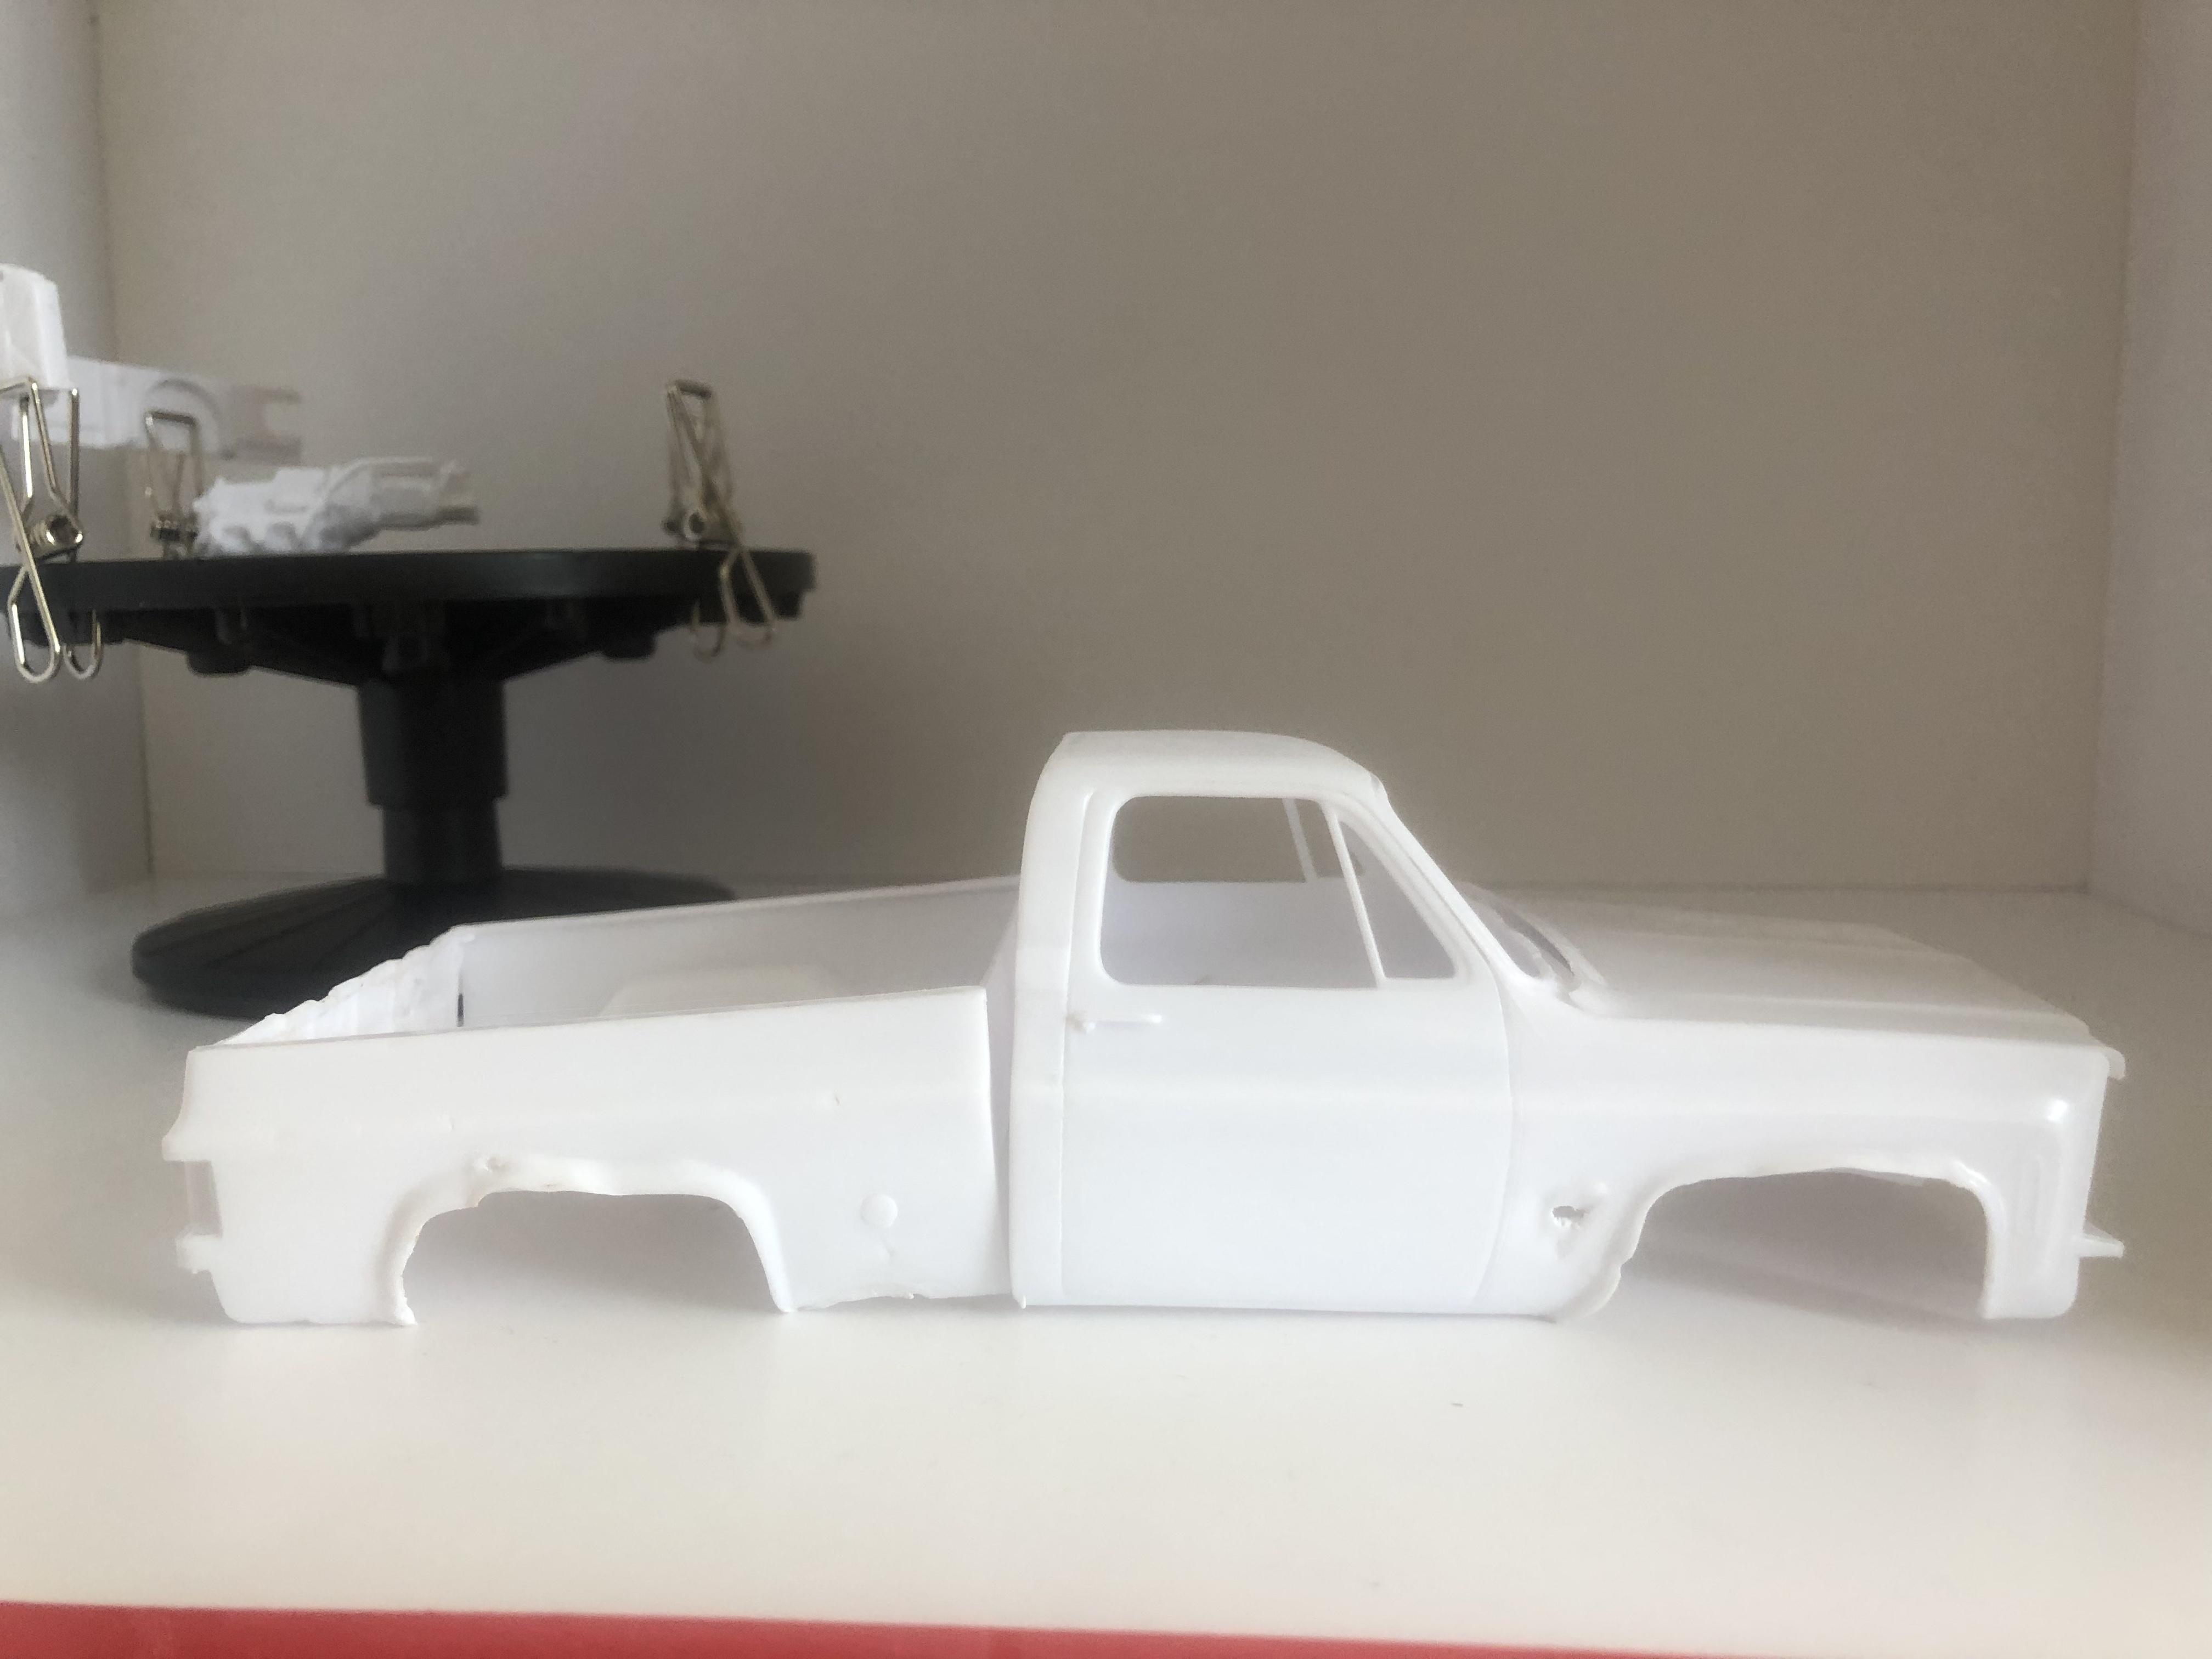
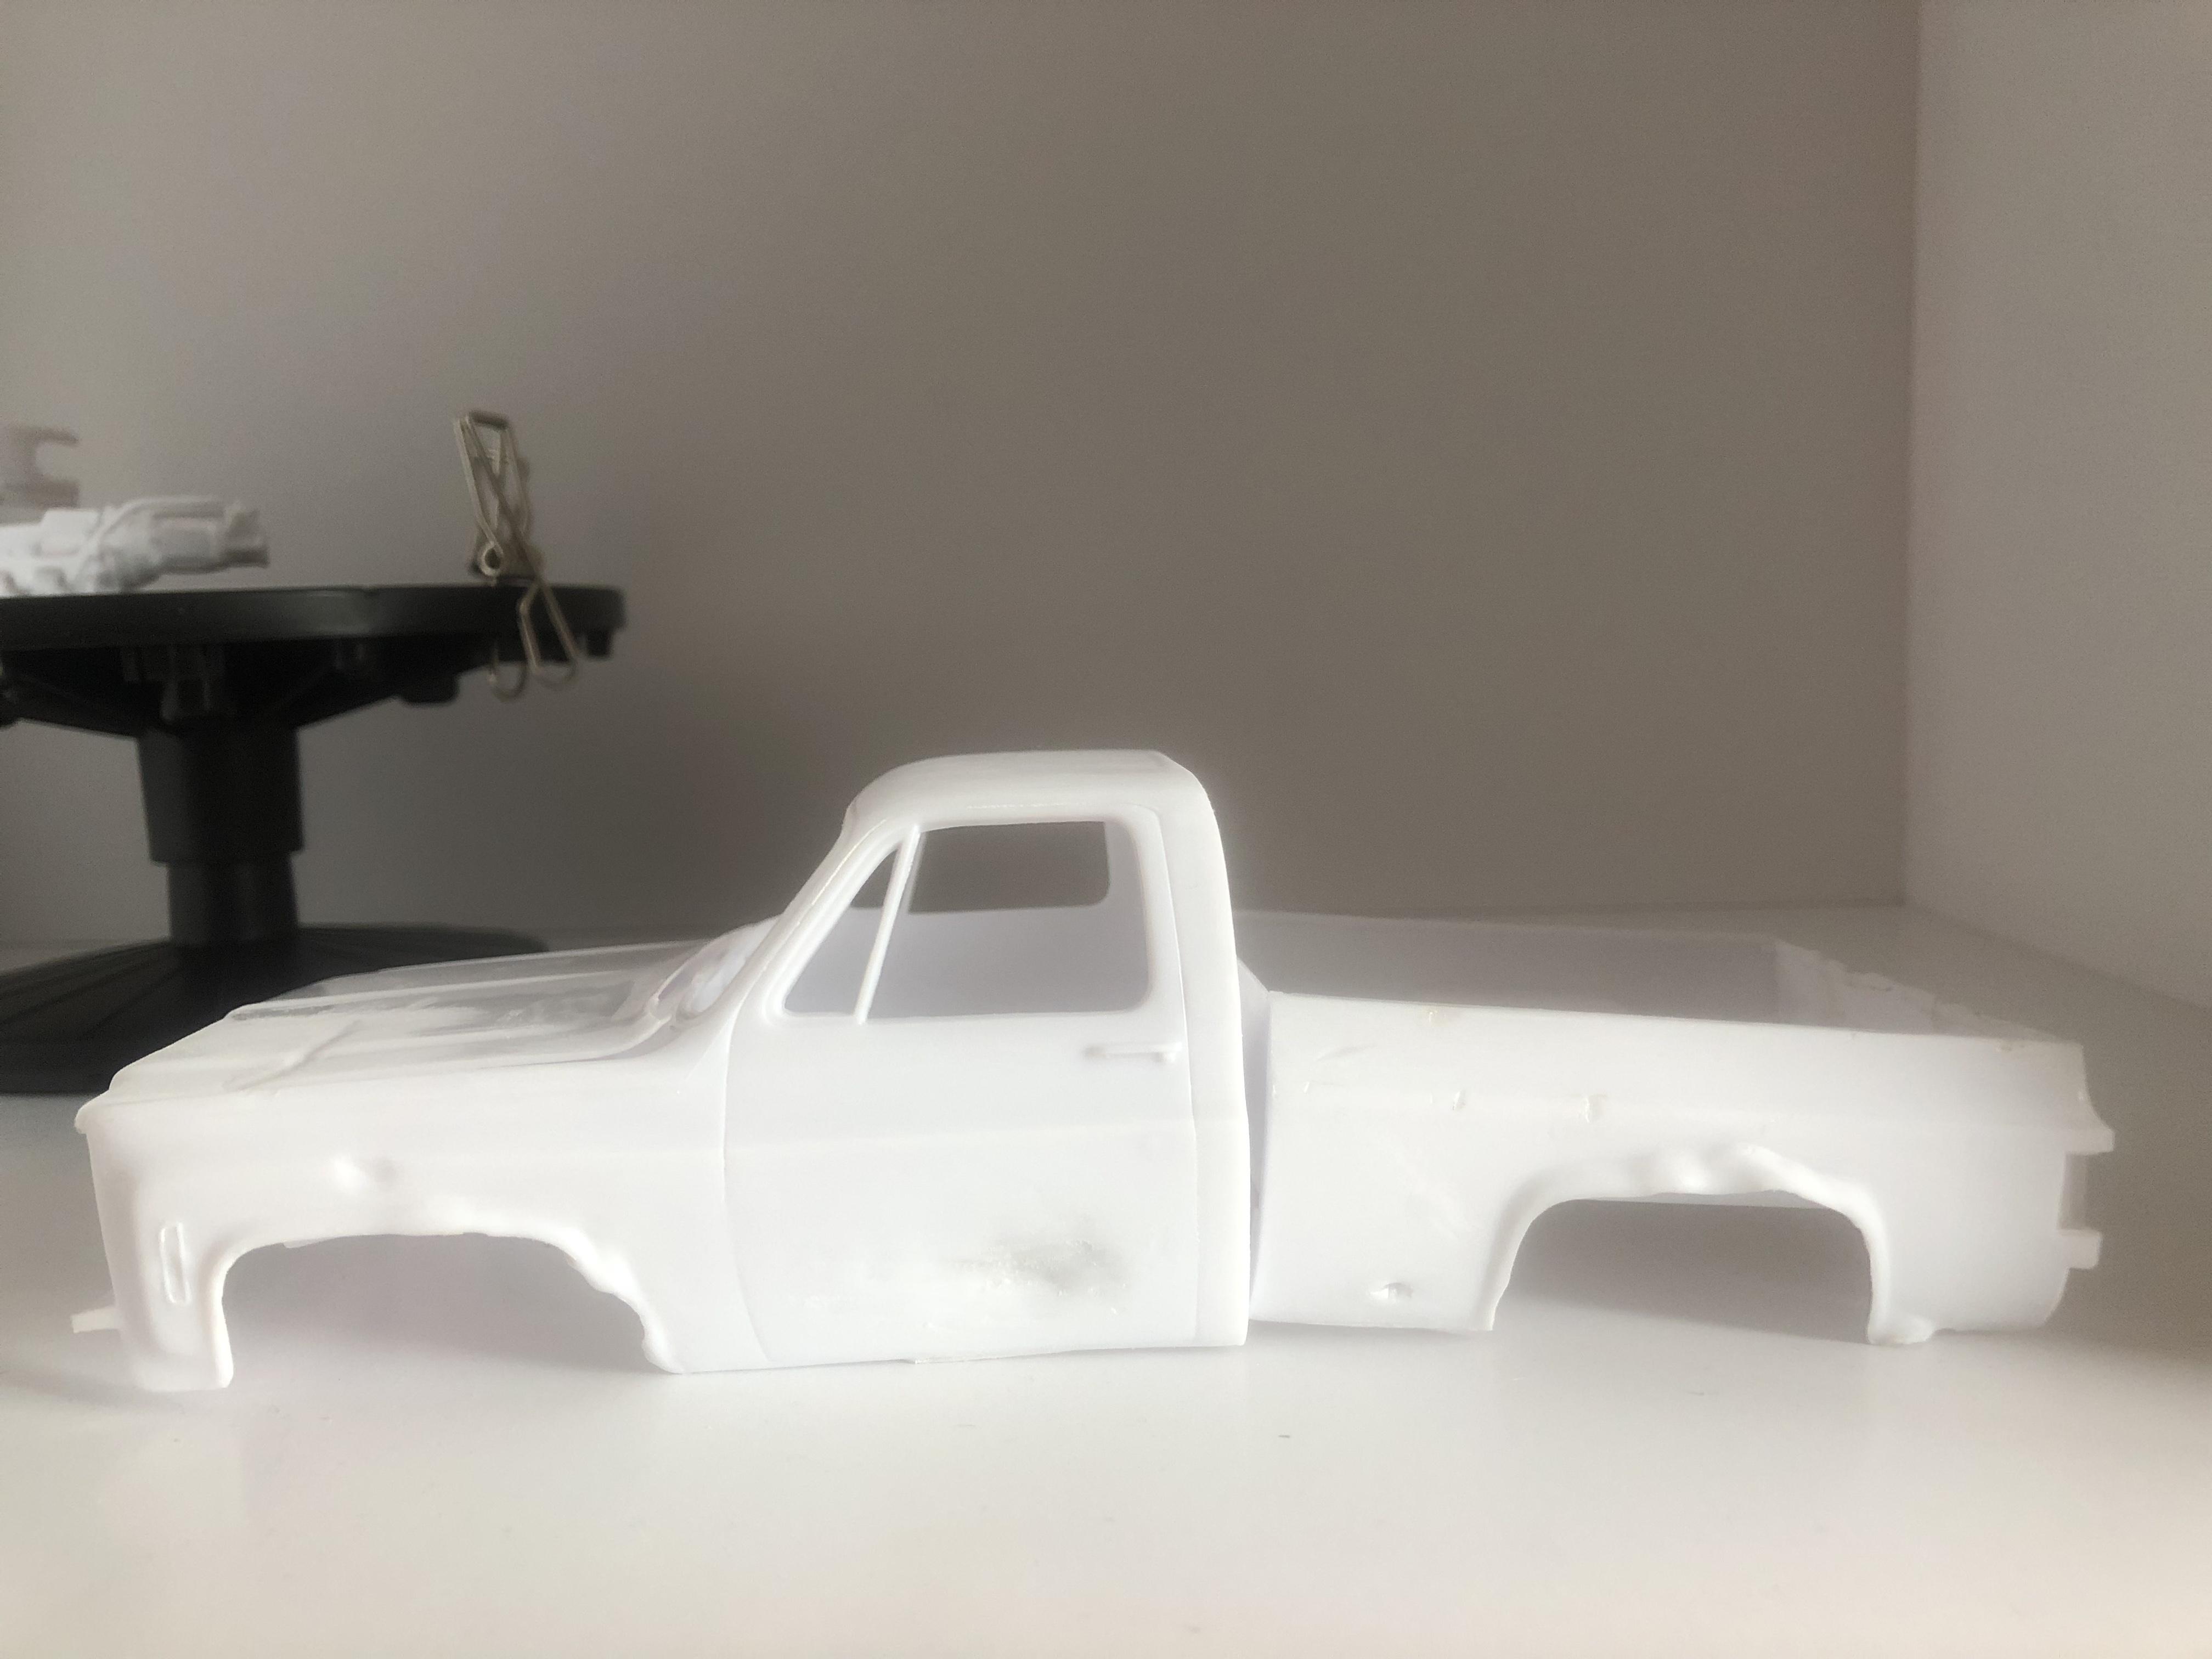
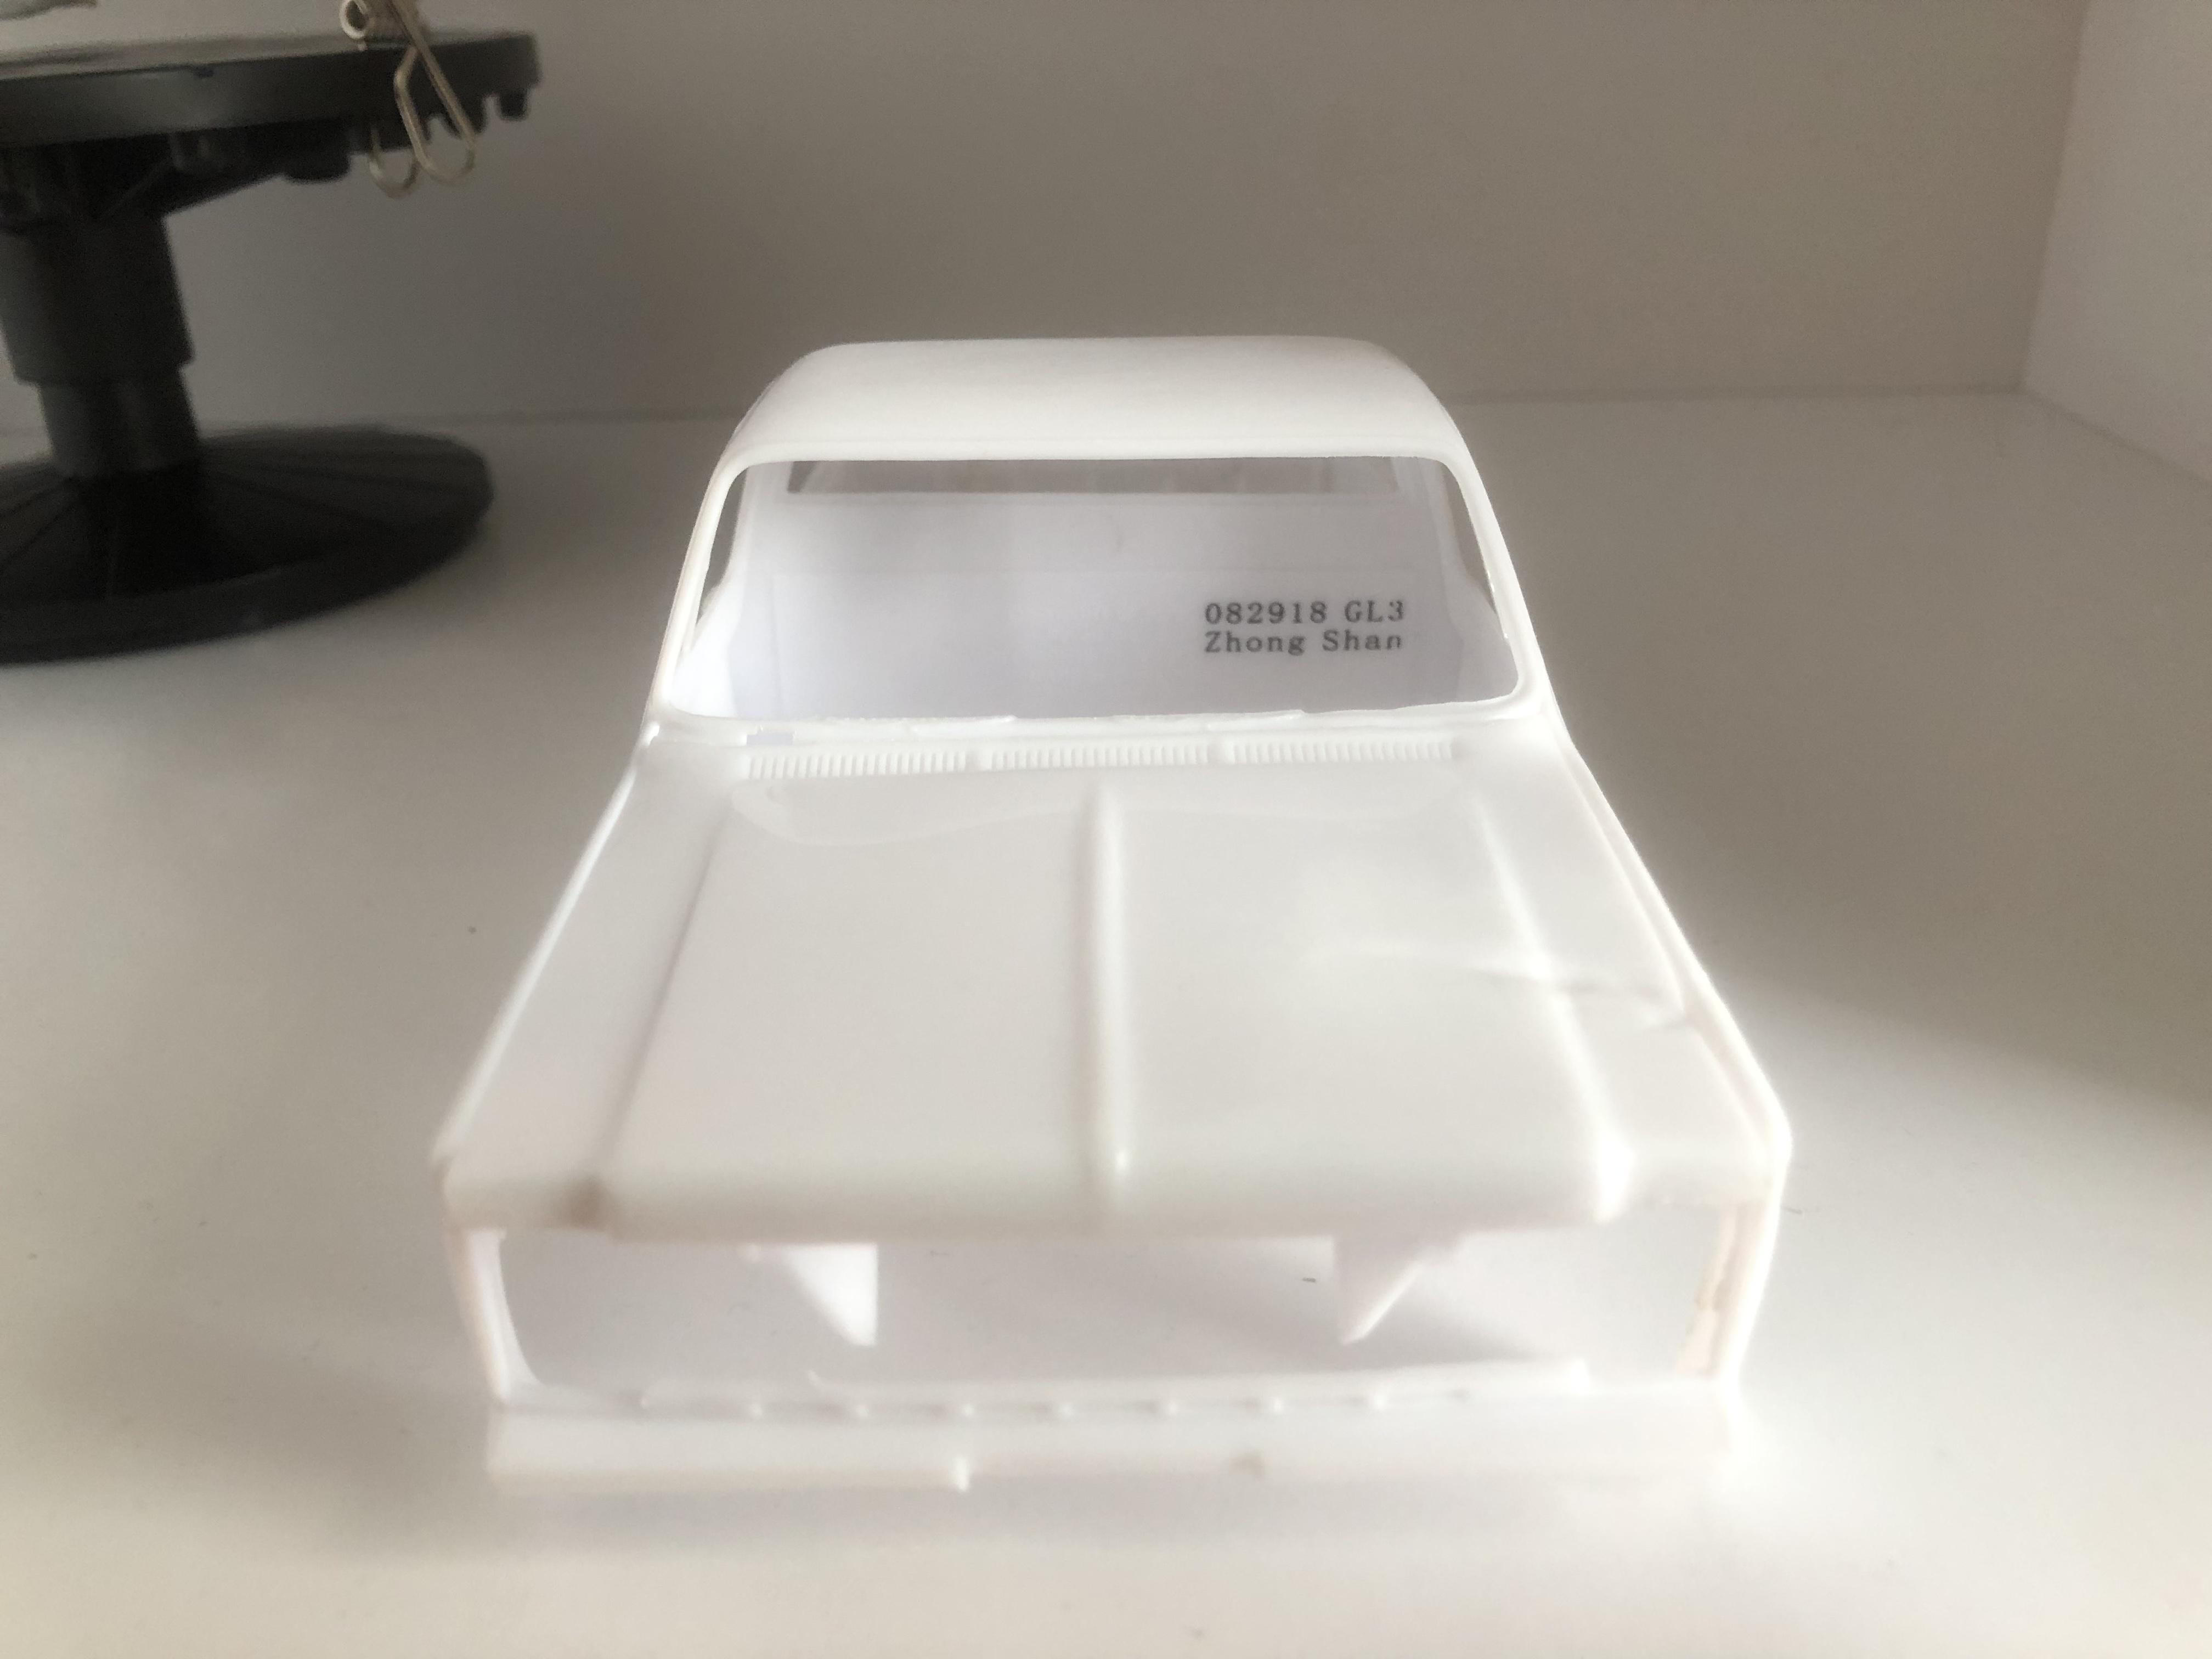
Truck build has begun. I glued some parts together and distressed the body. It still needs some work refining the dents. Soon to start priming with Mi Jimenez surface primer (Rust Primer color)
-
Thank you David. I’m certainly enjoying this project. I’m still trying to better the techniques for better realism. But overall I cannot complain, since I haven’t been doing this for long.
-
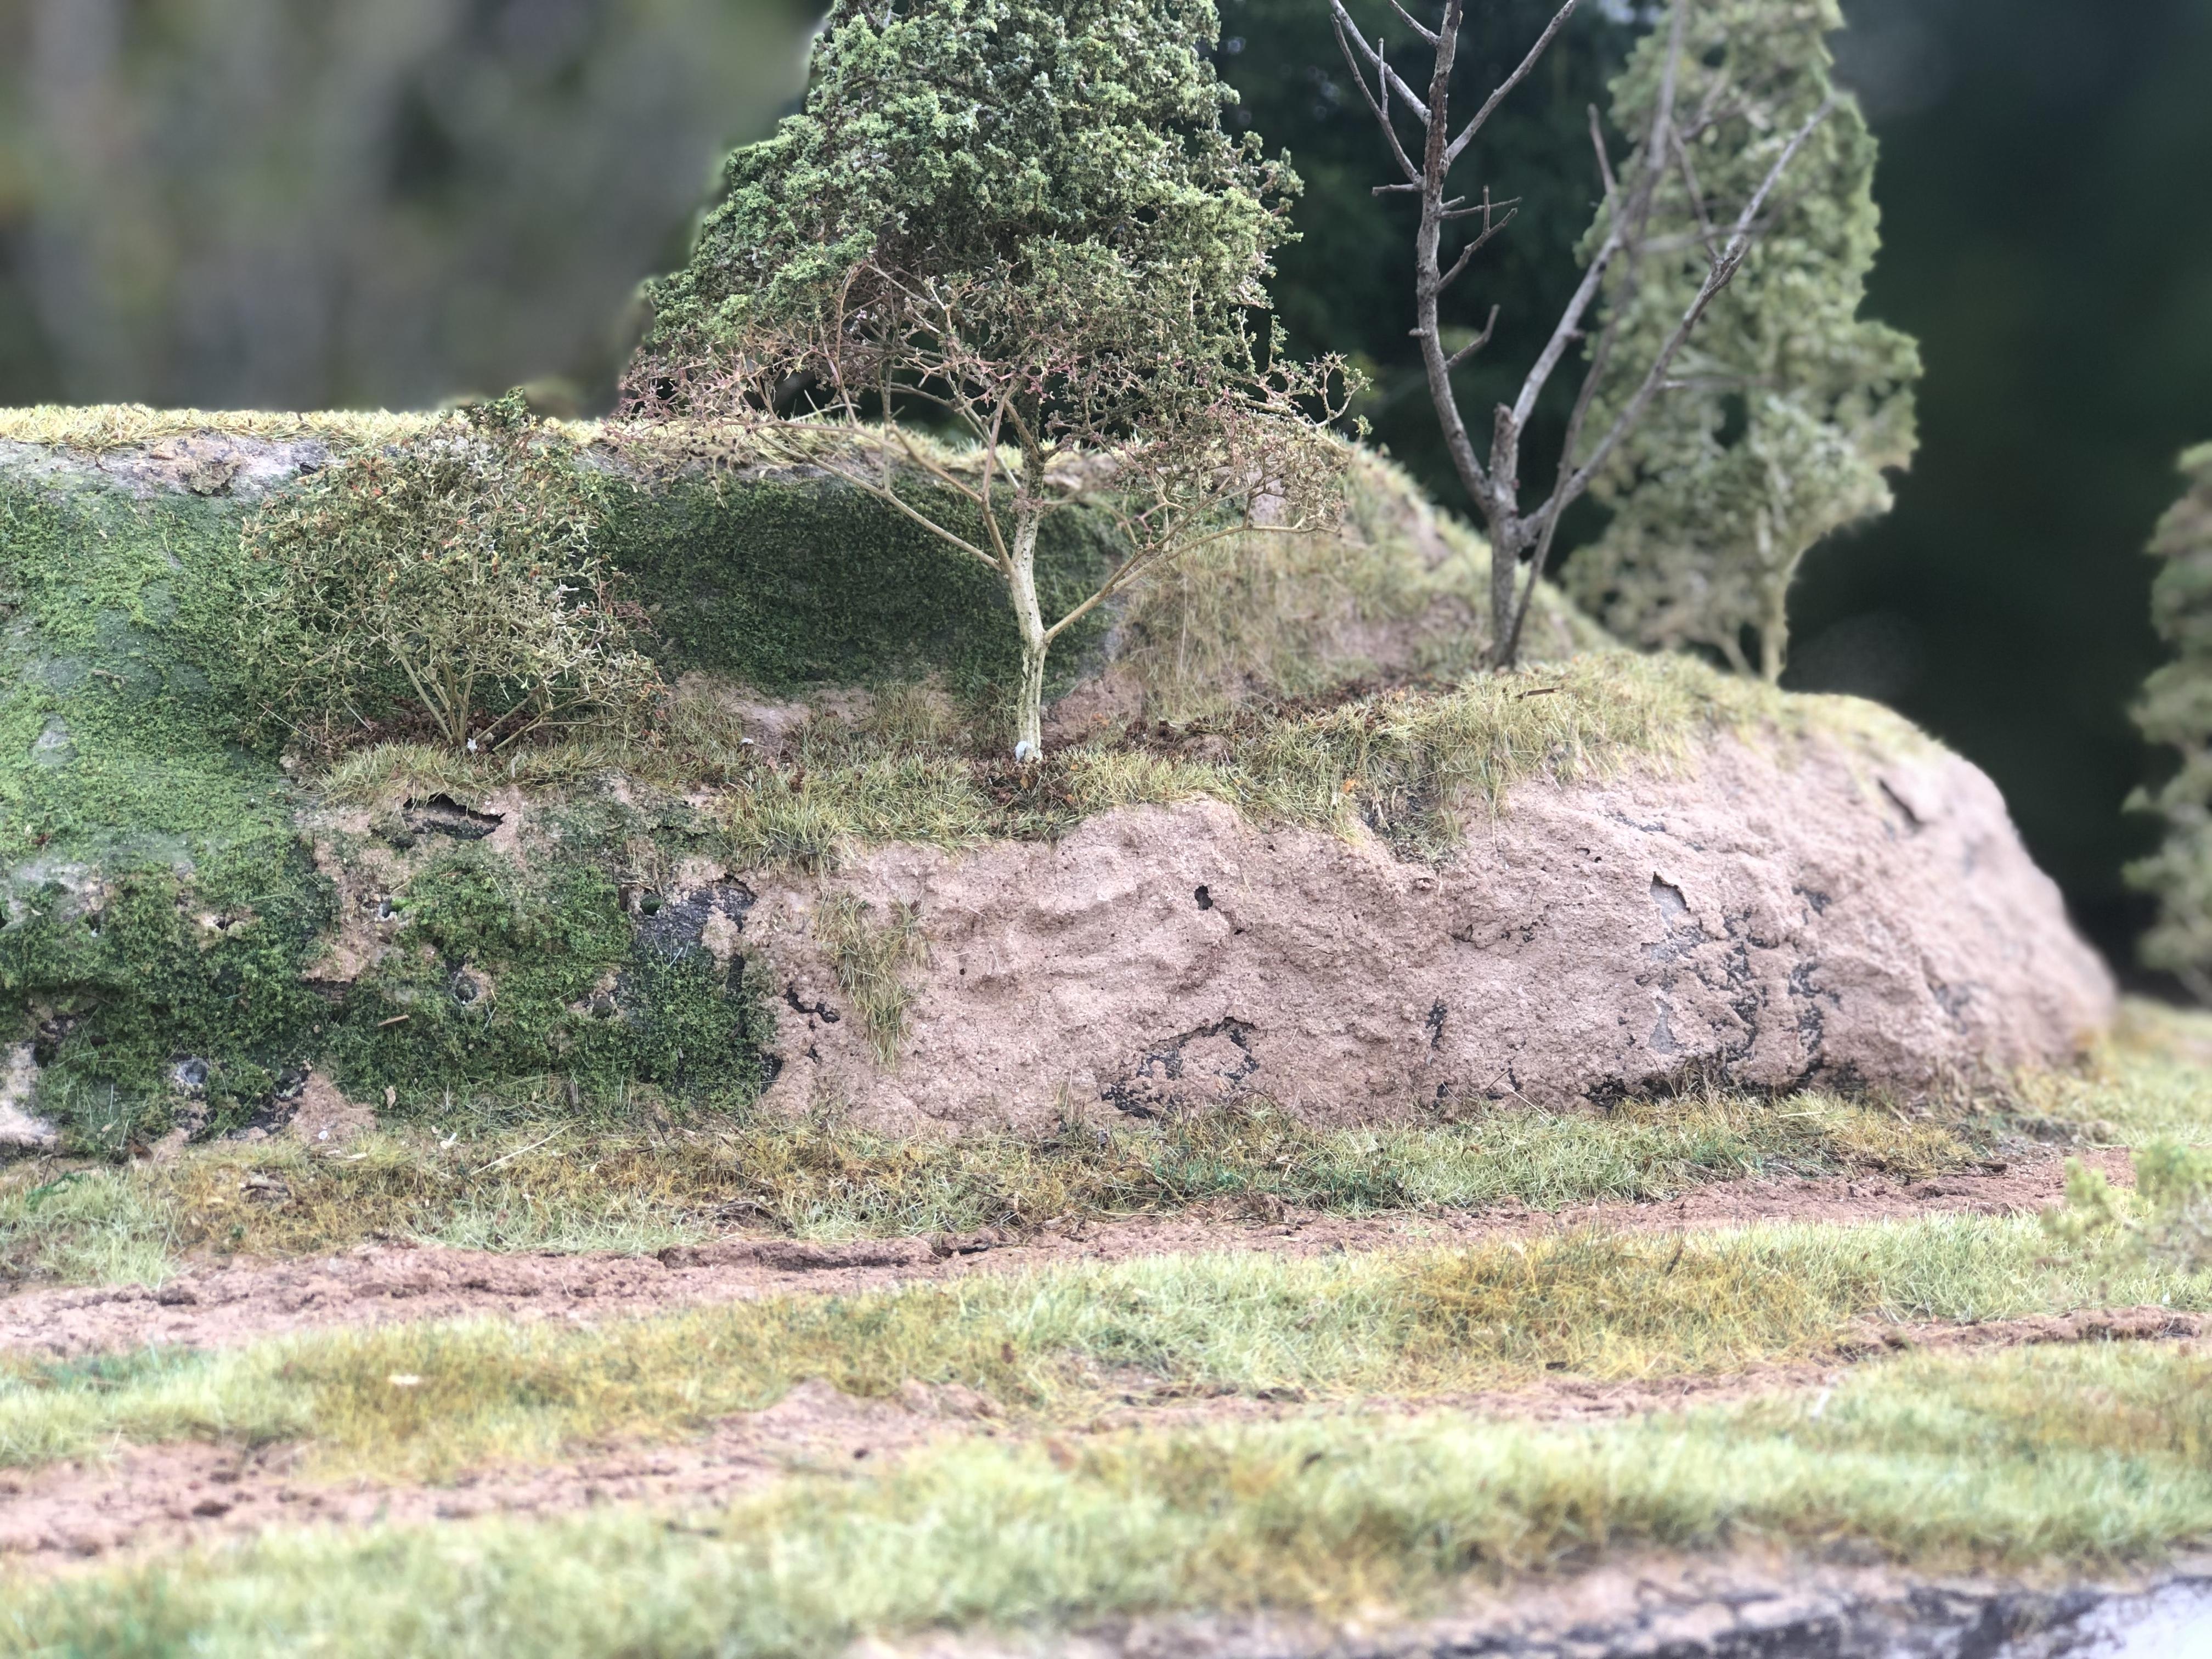
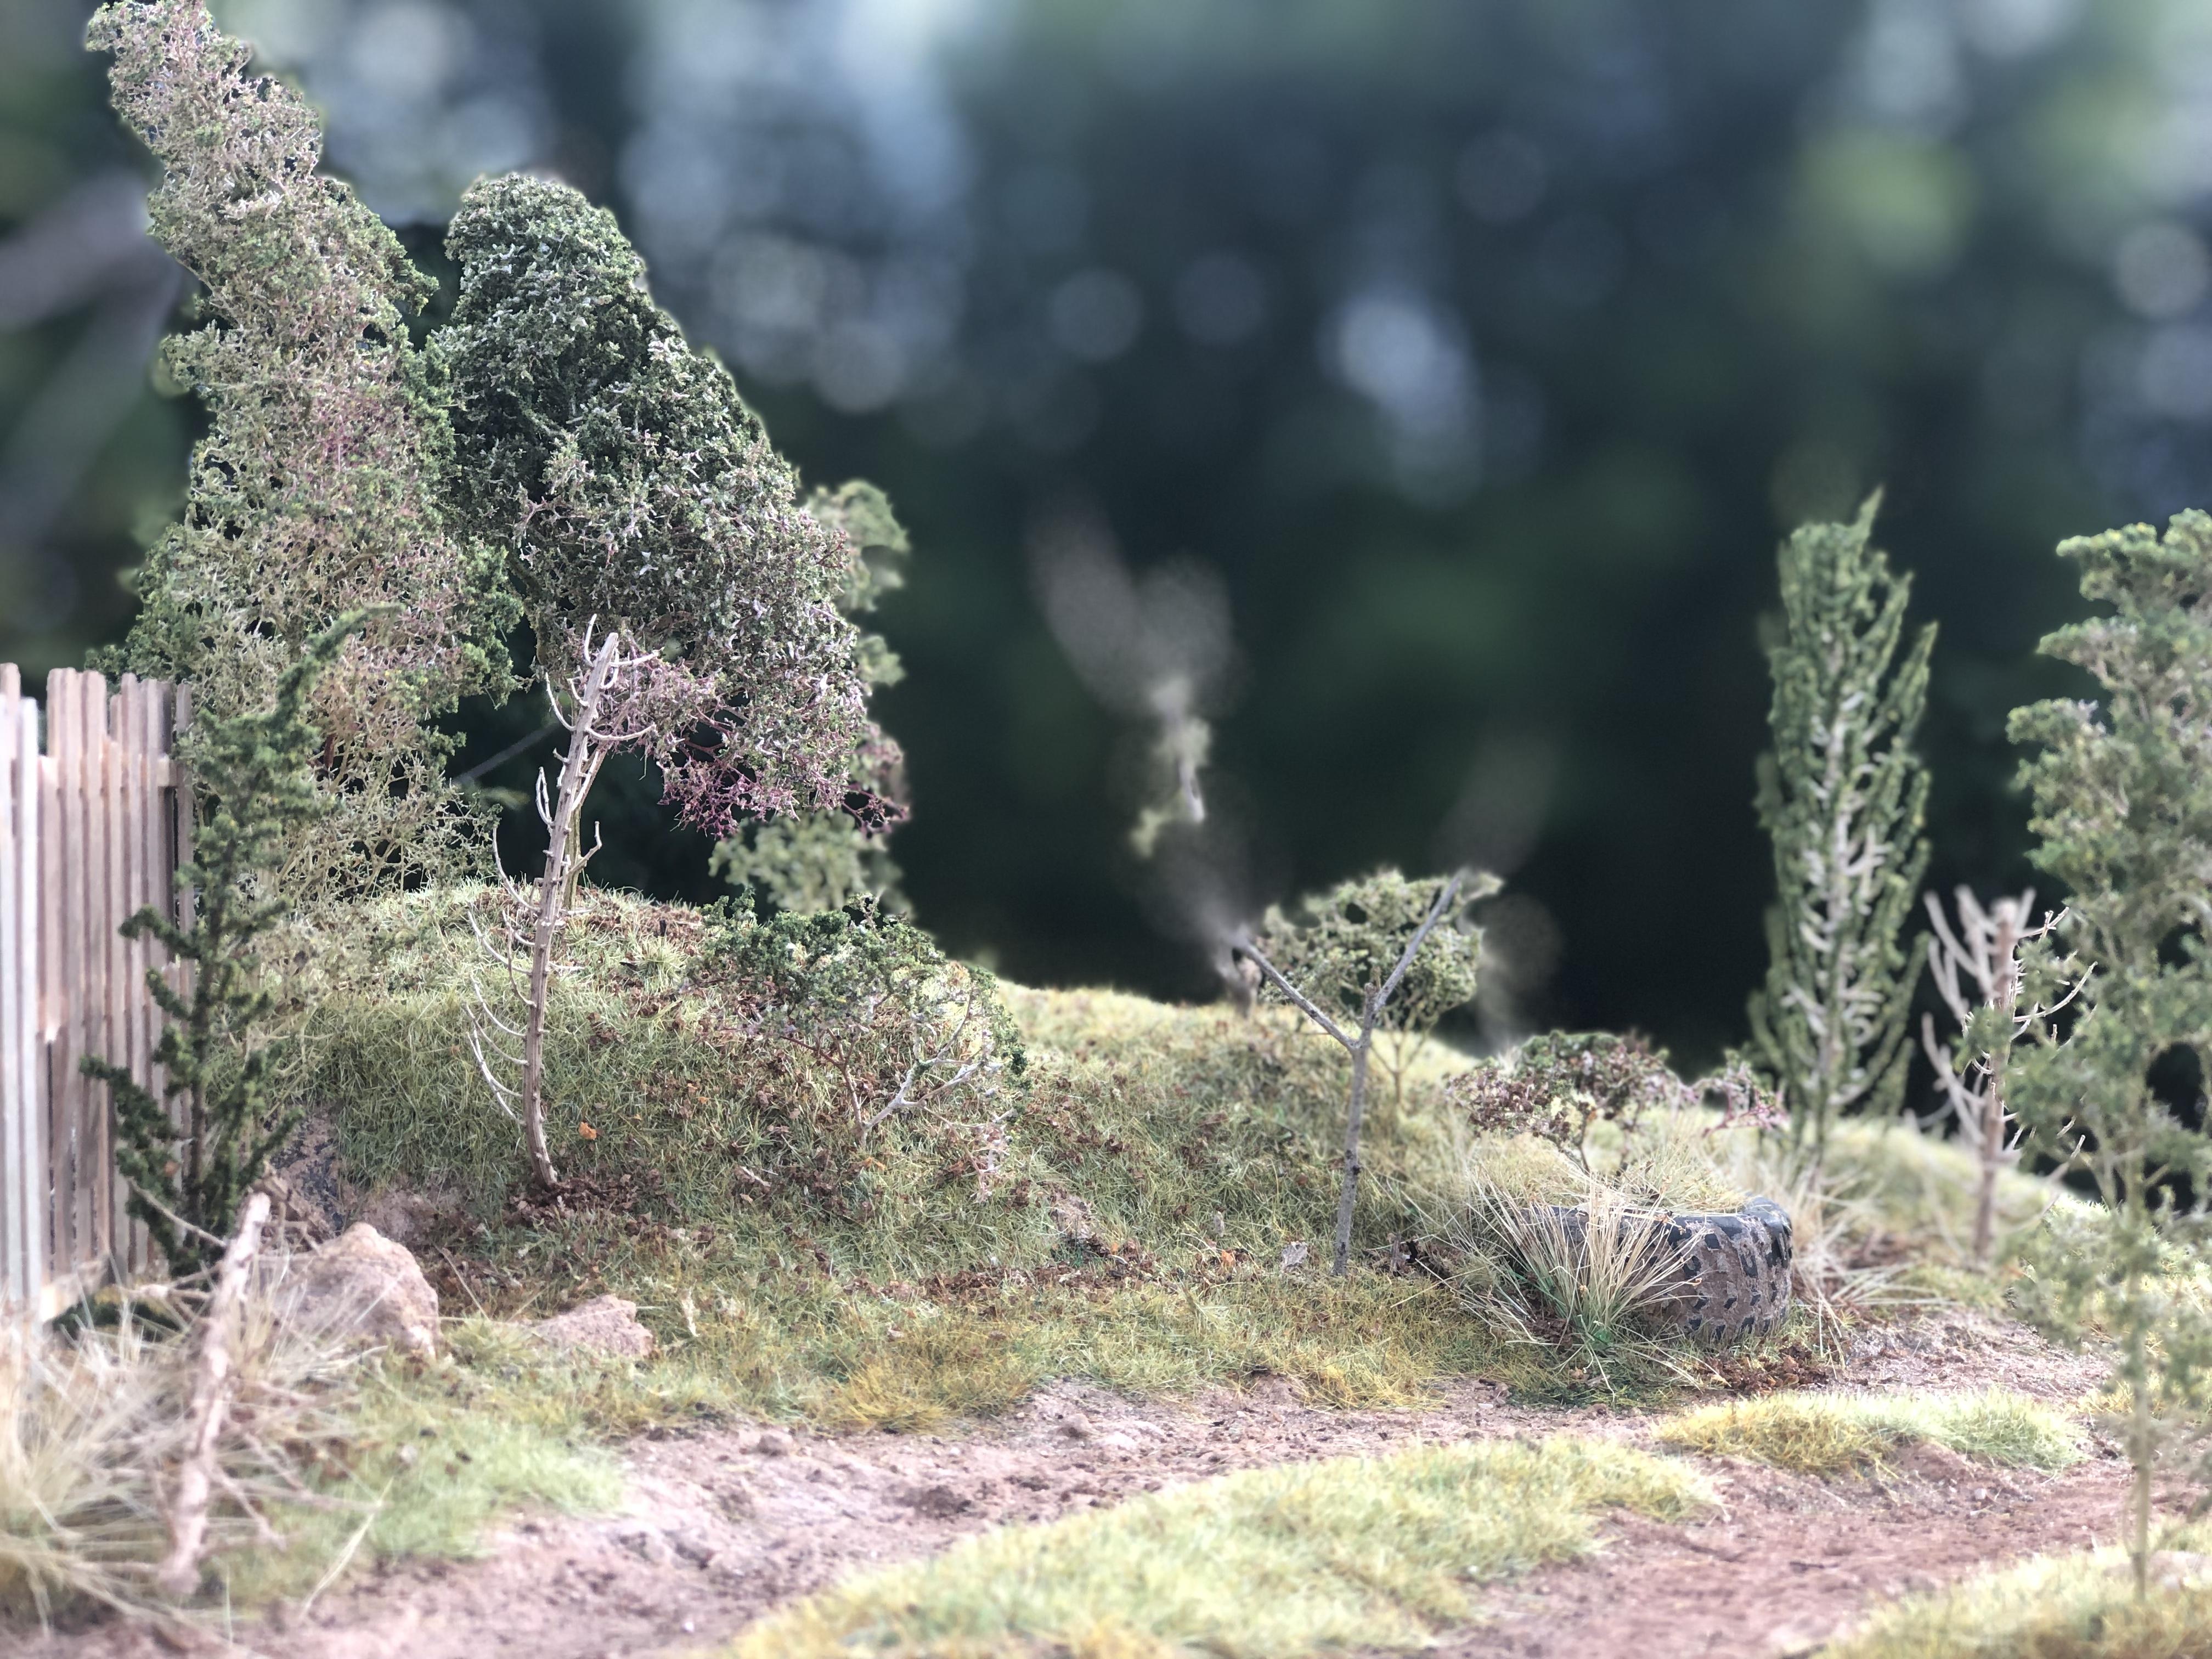
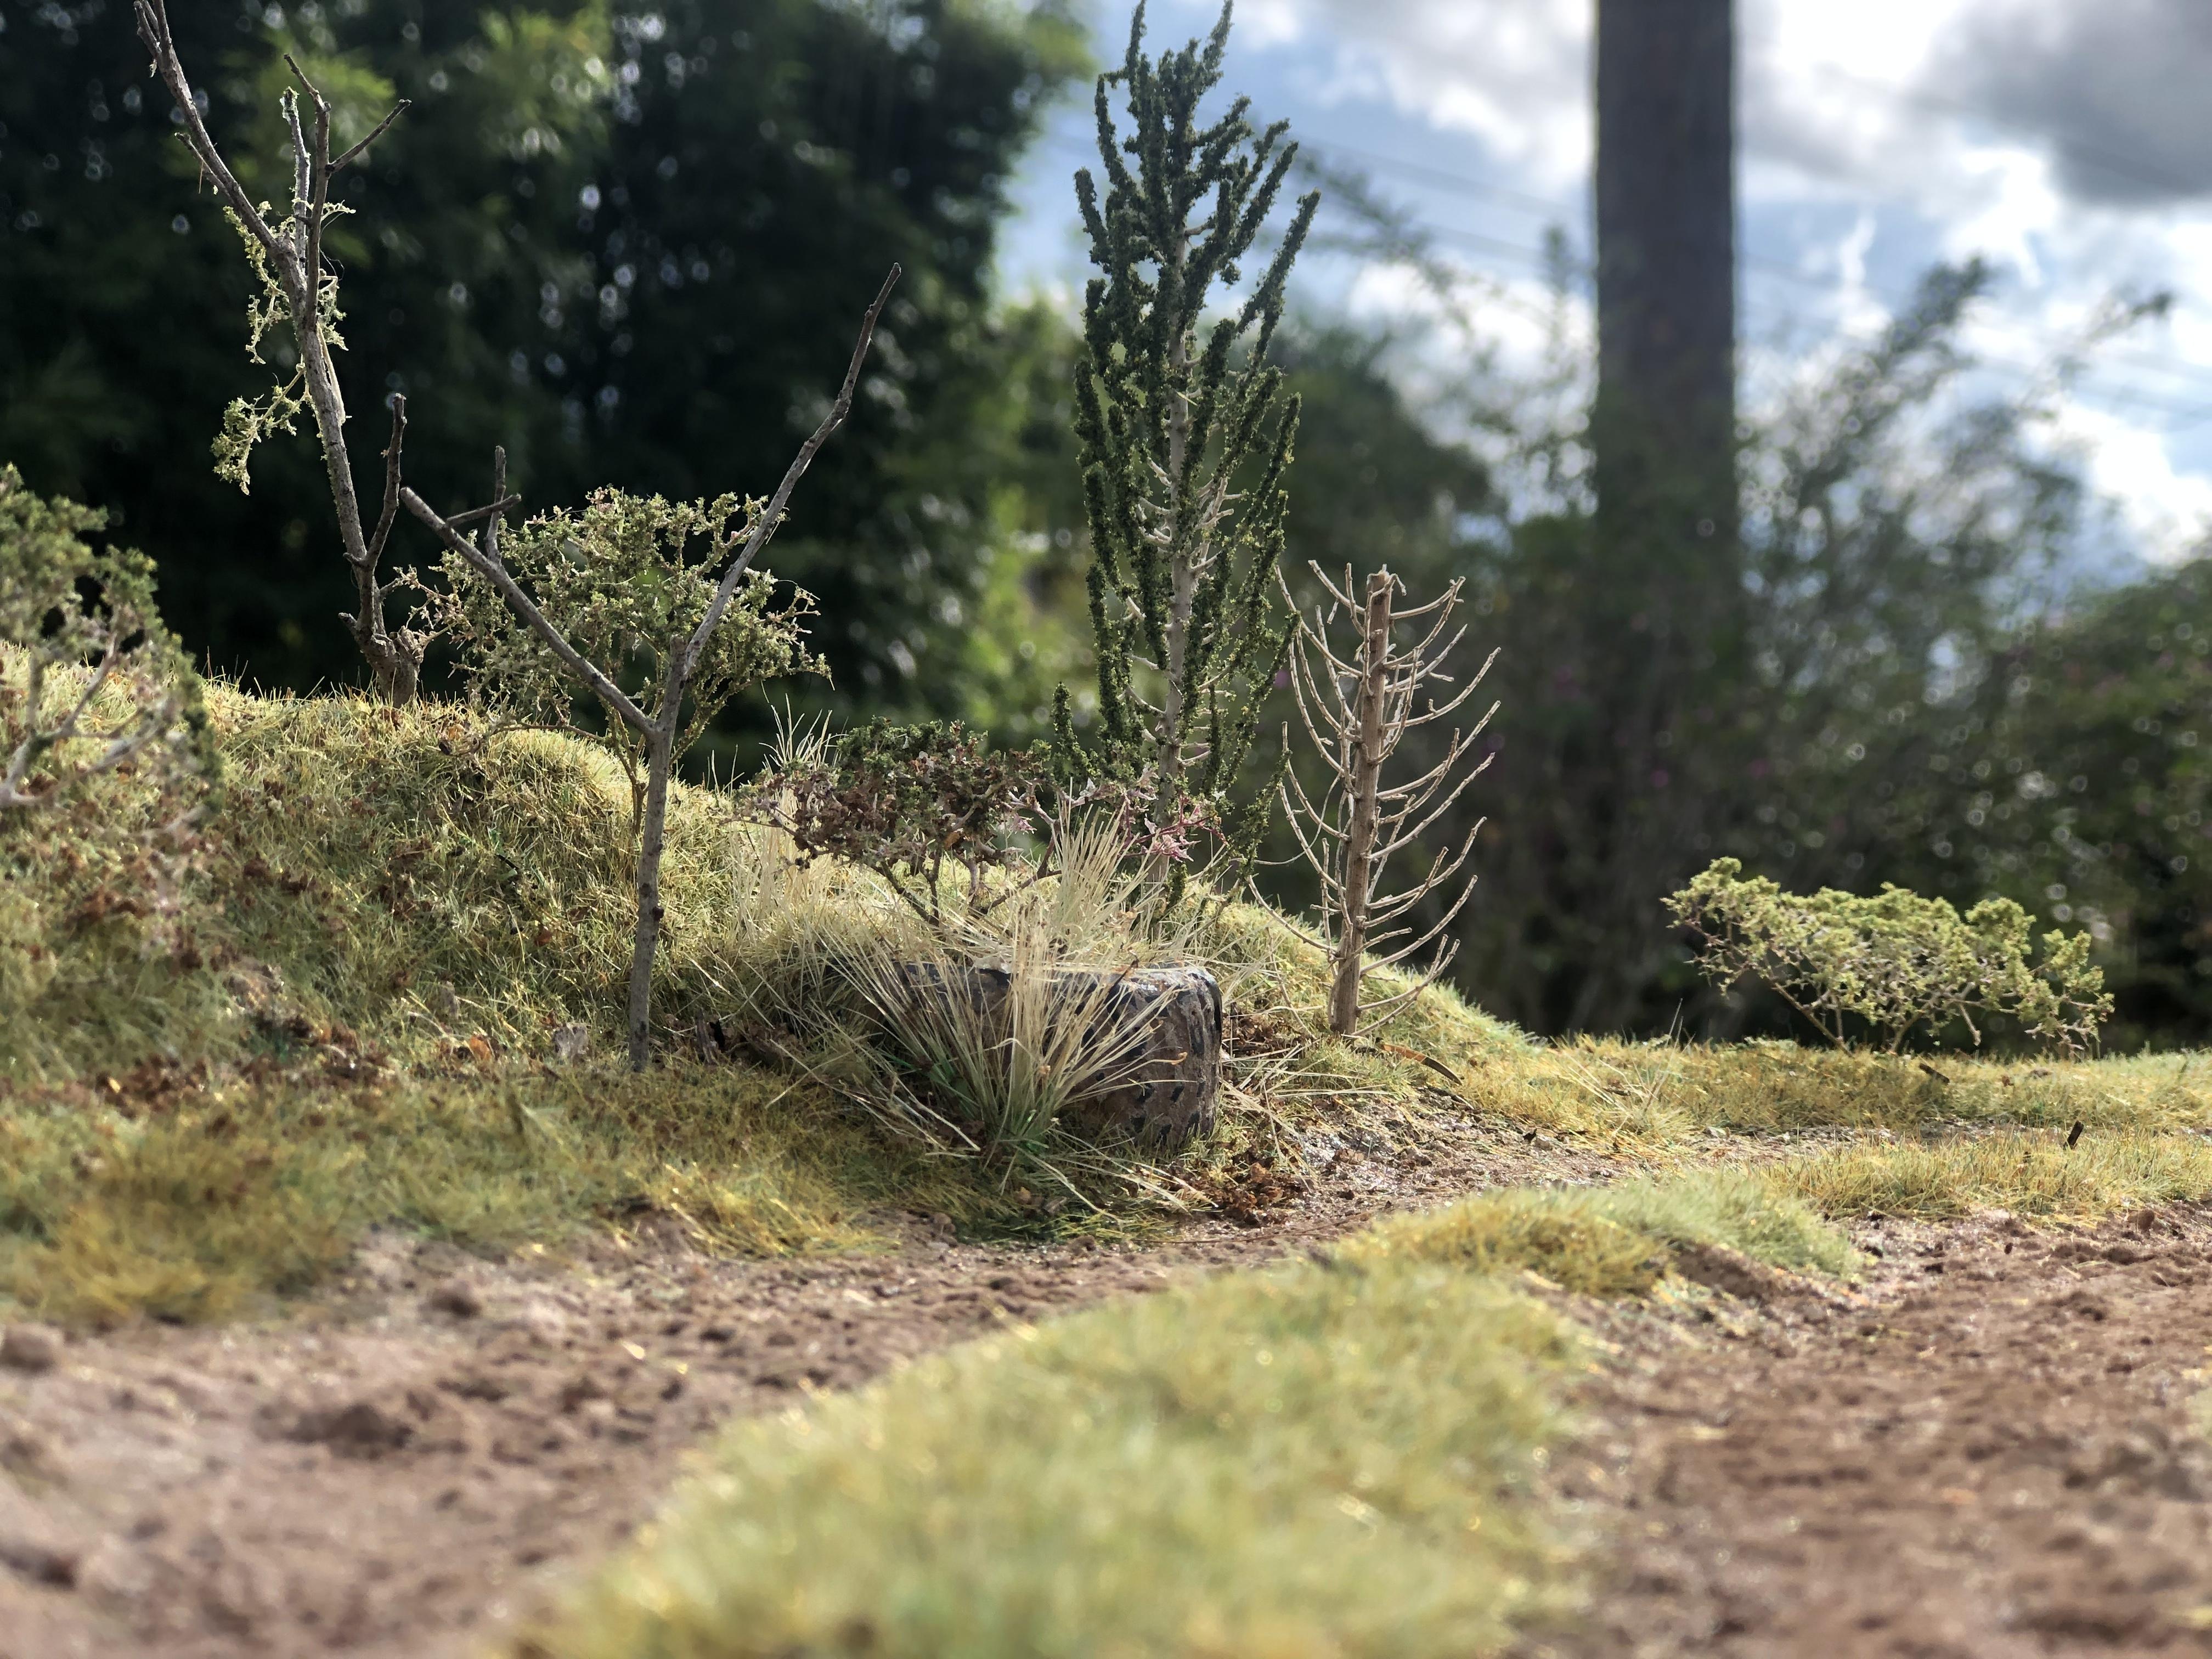
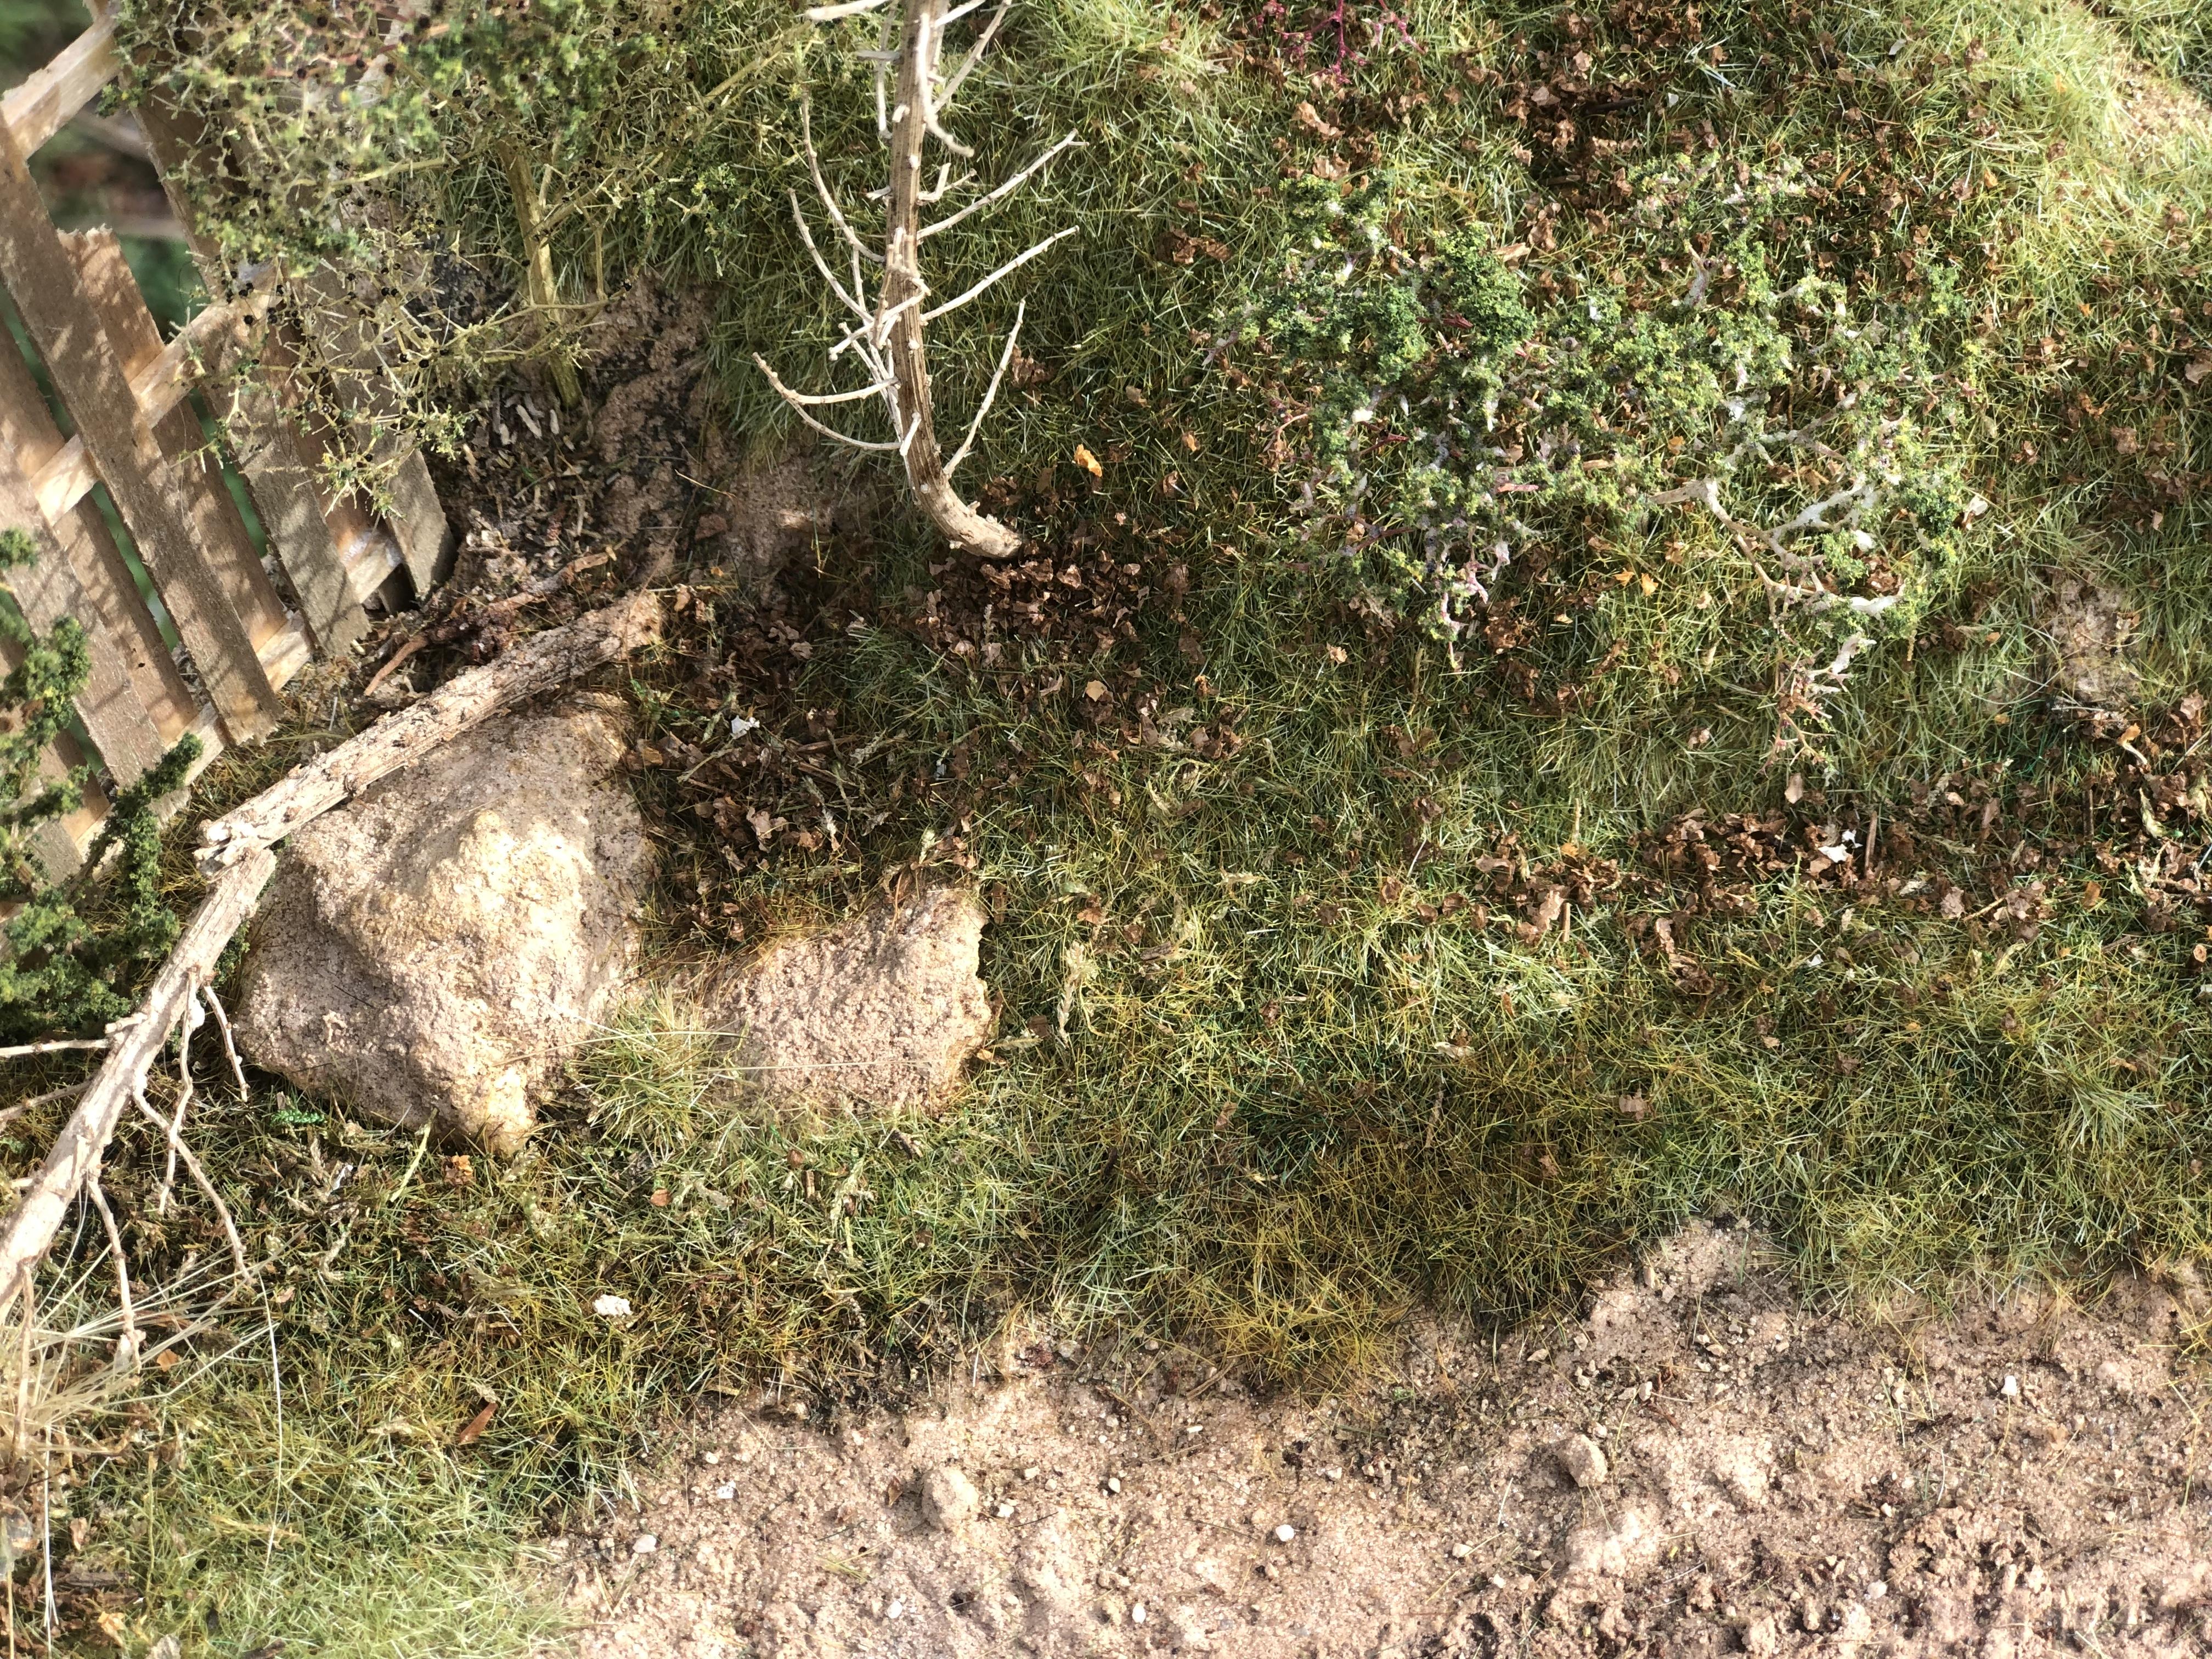
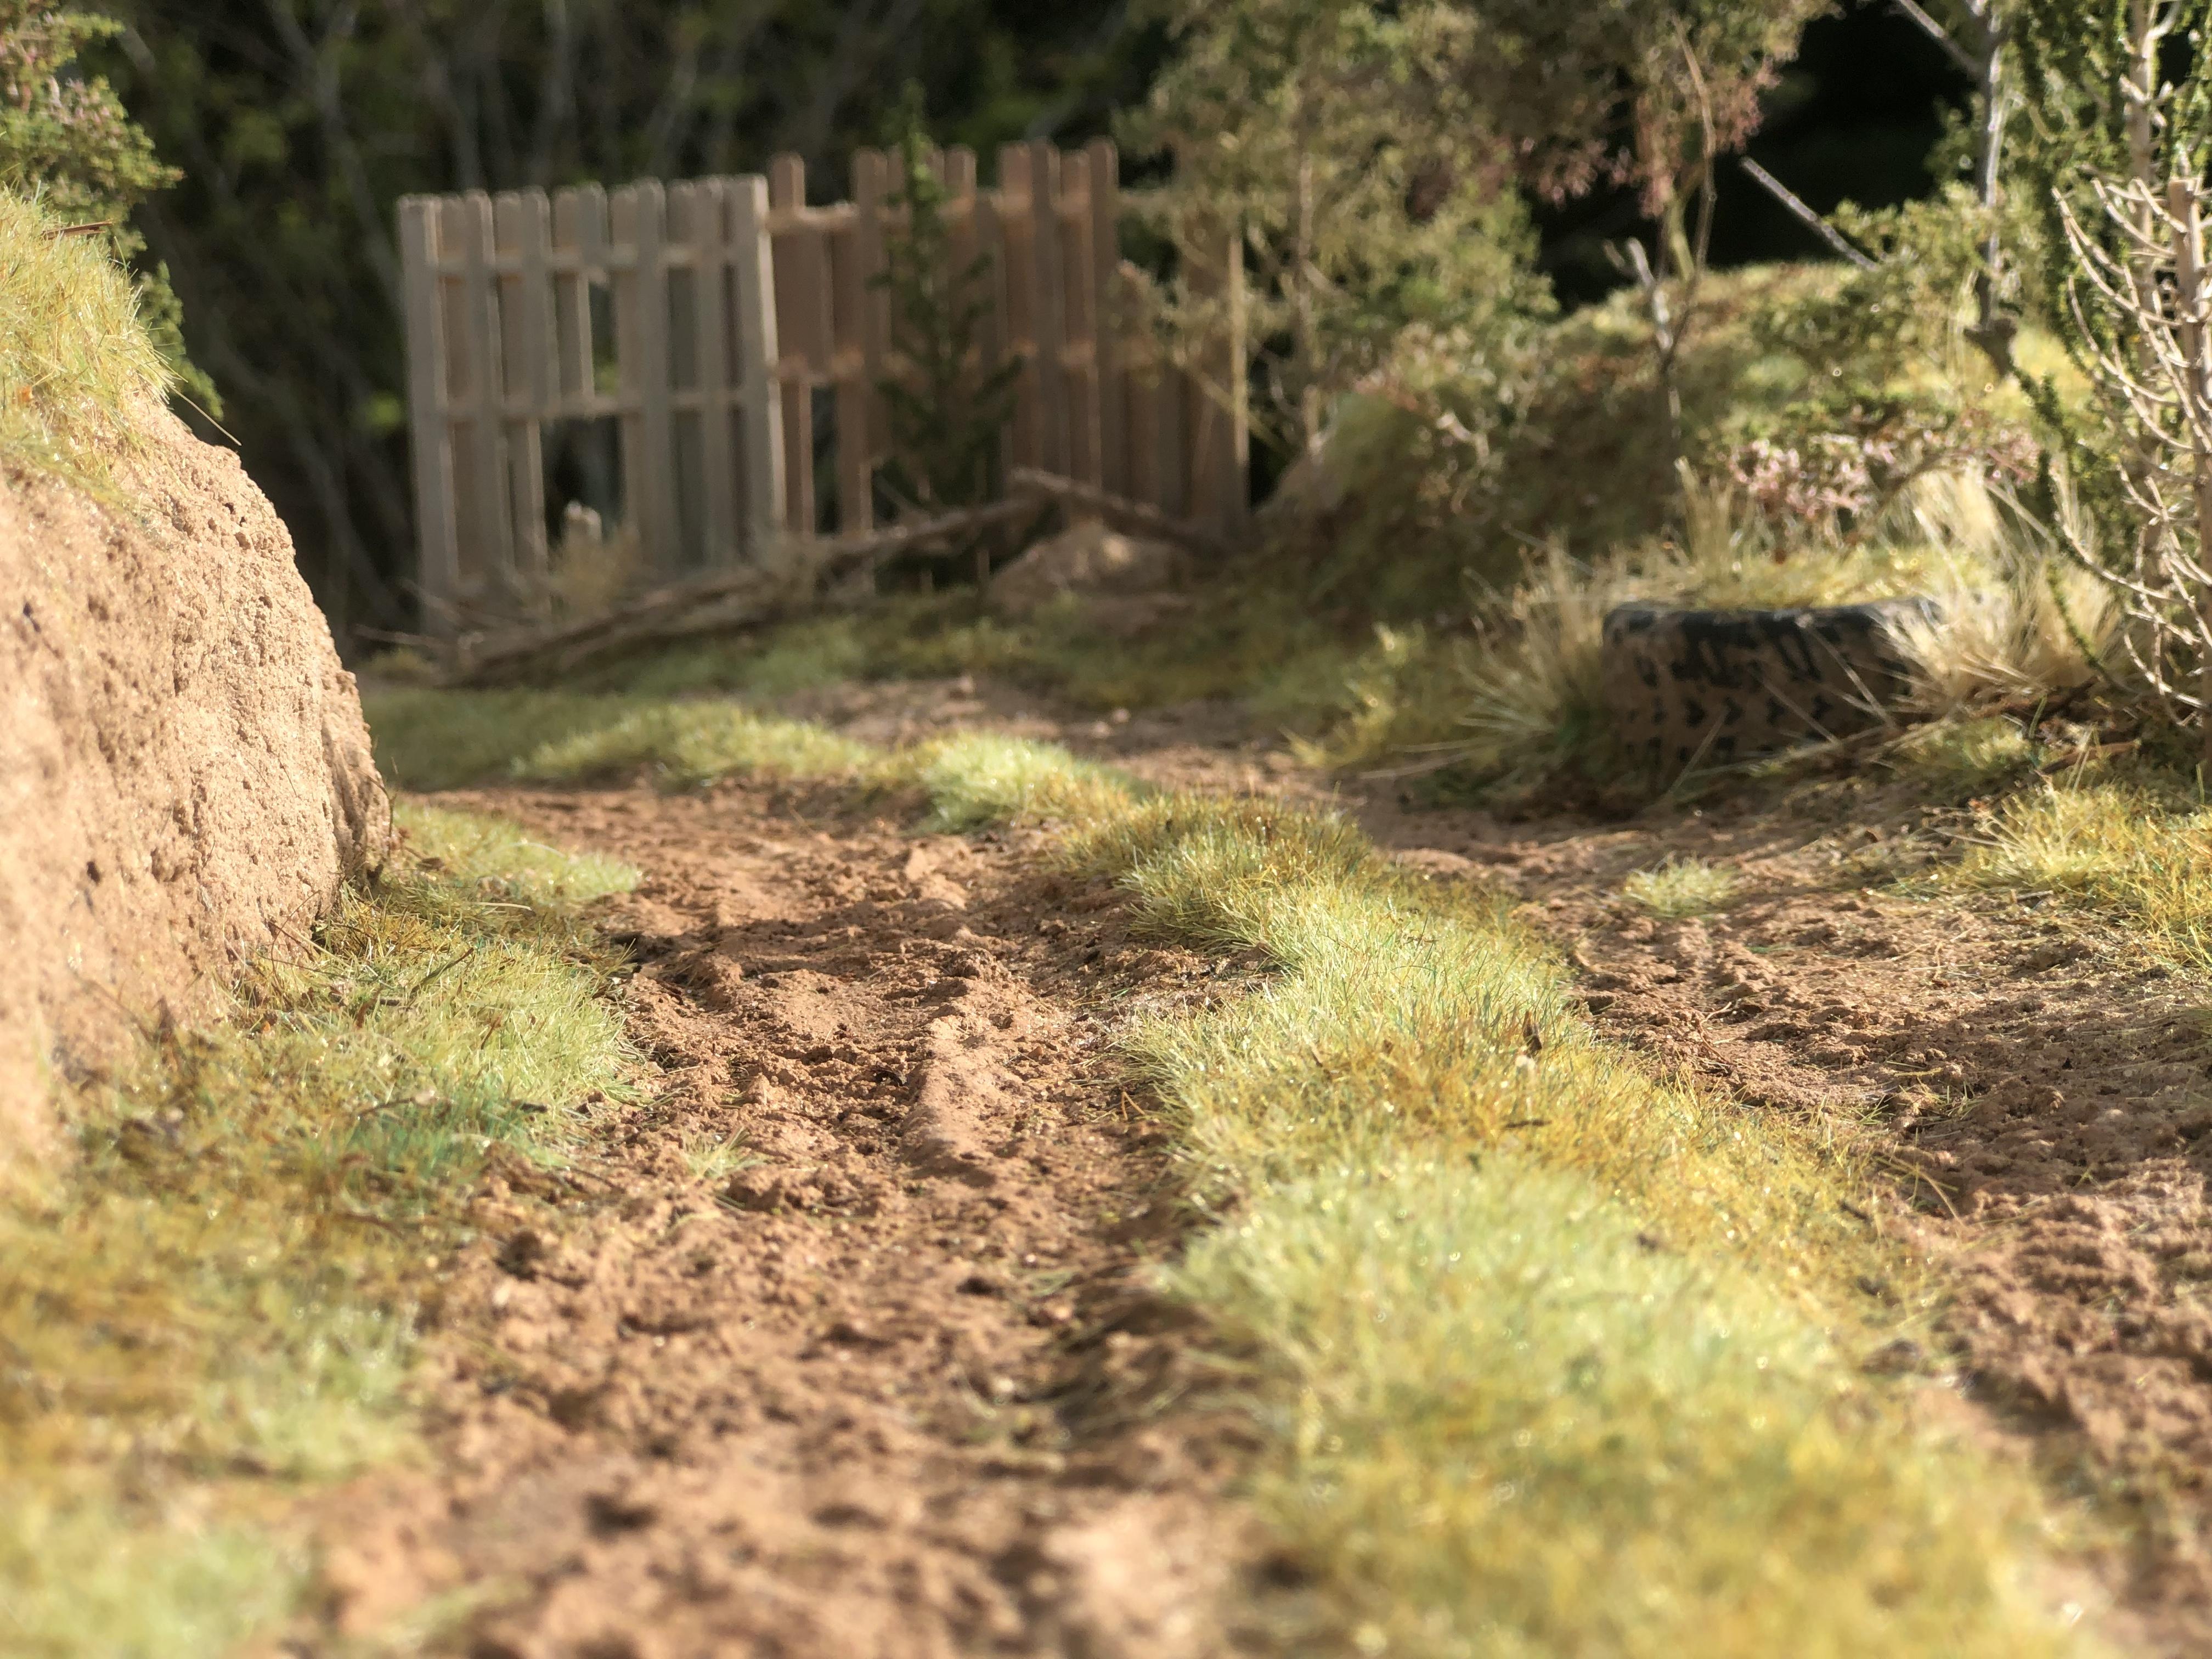
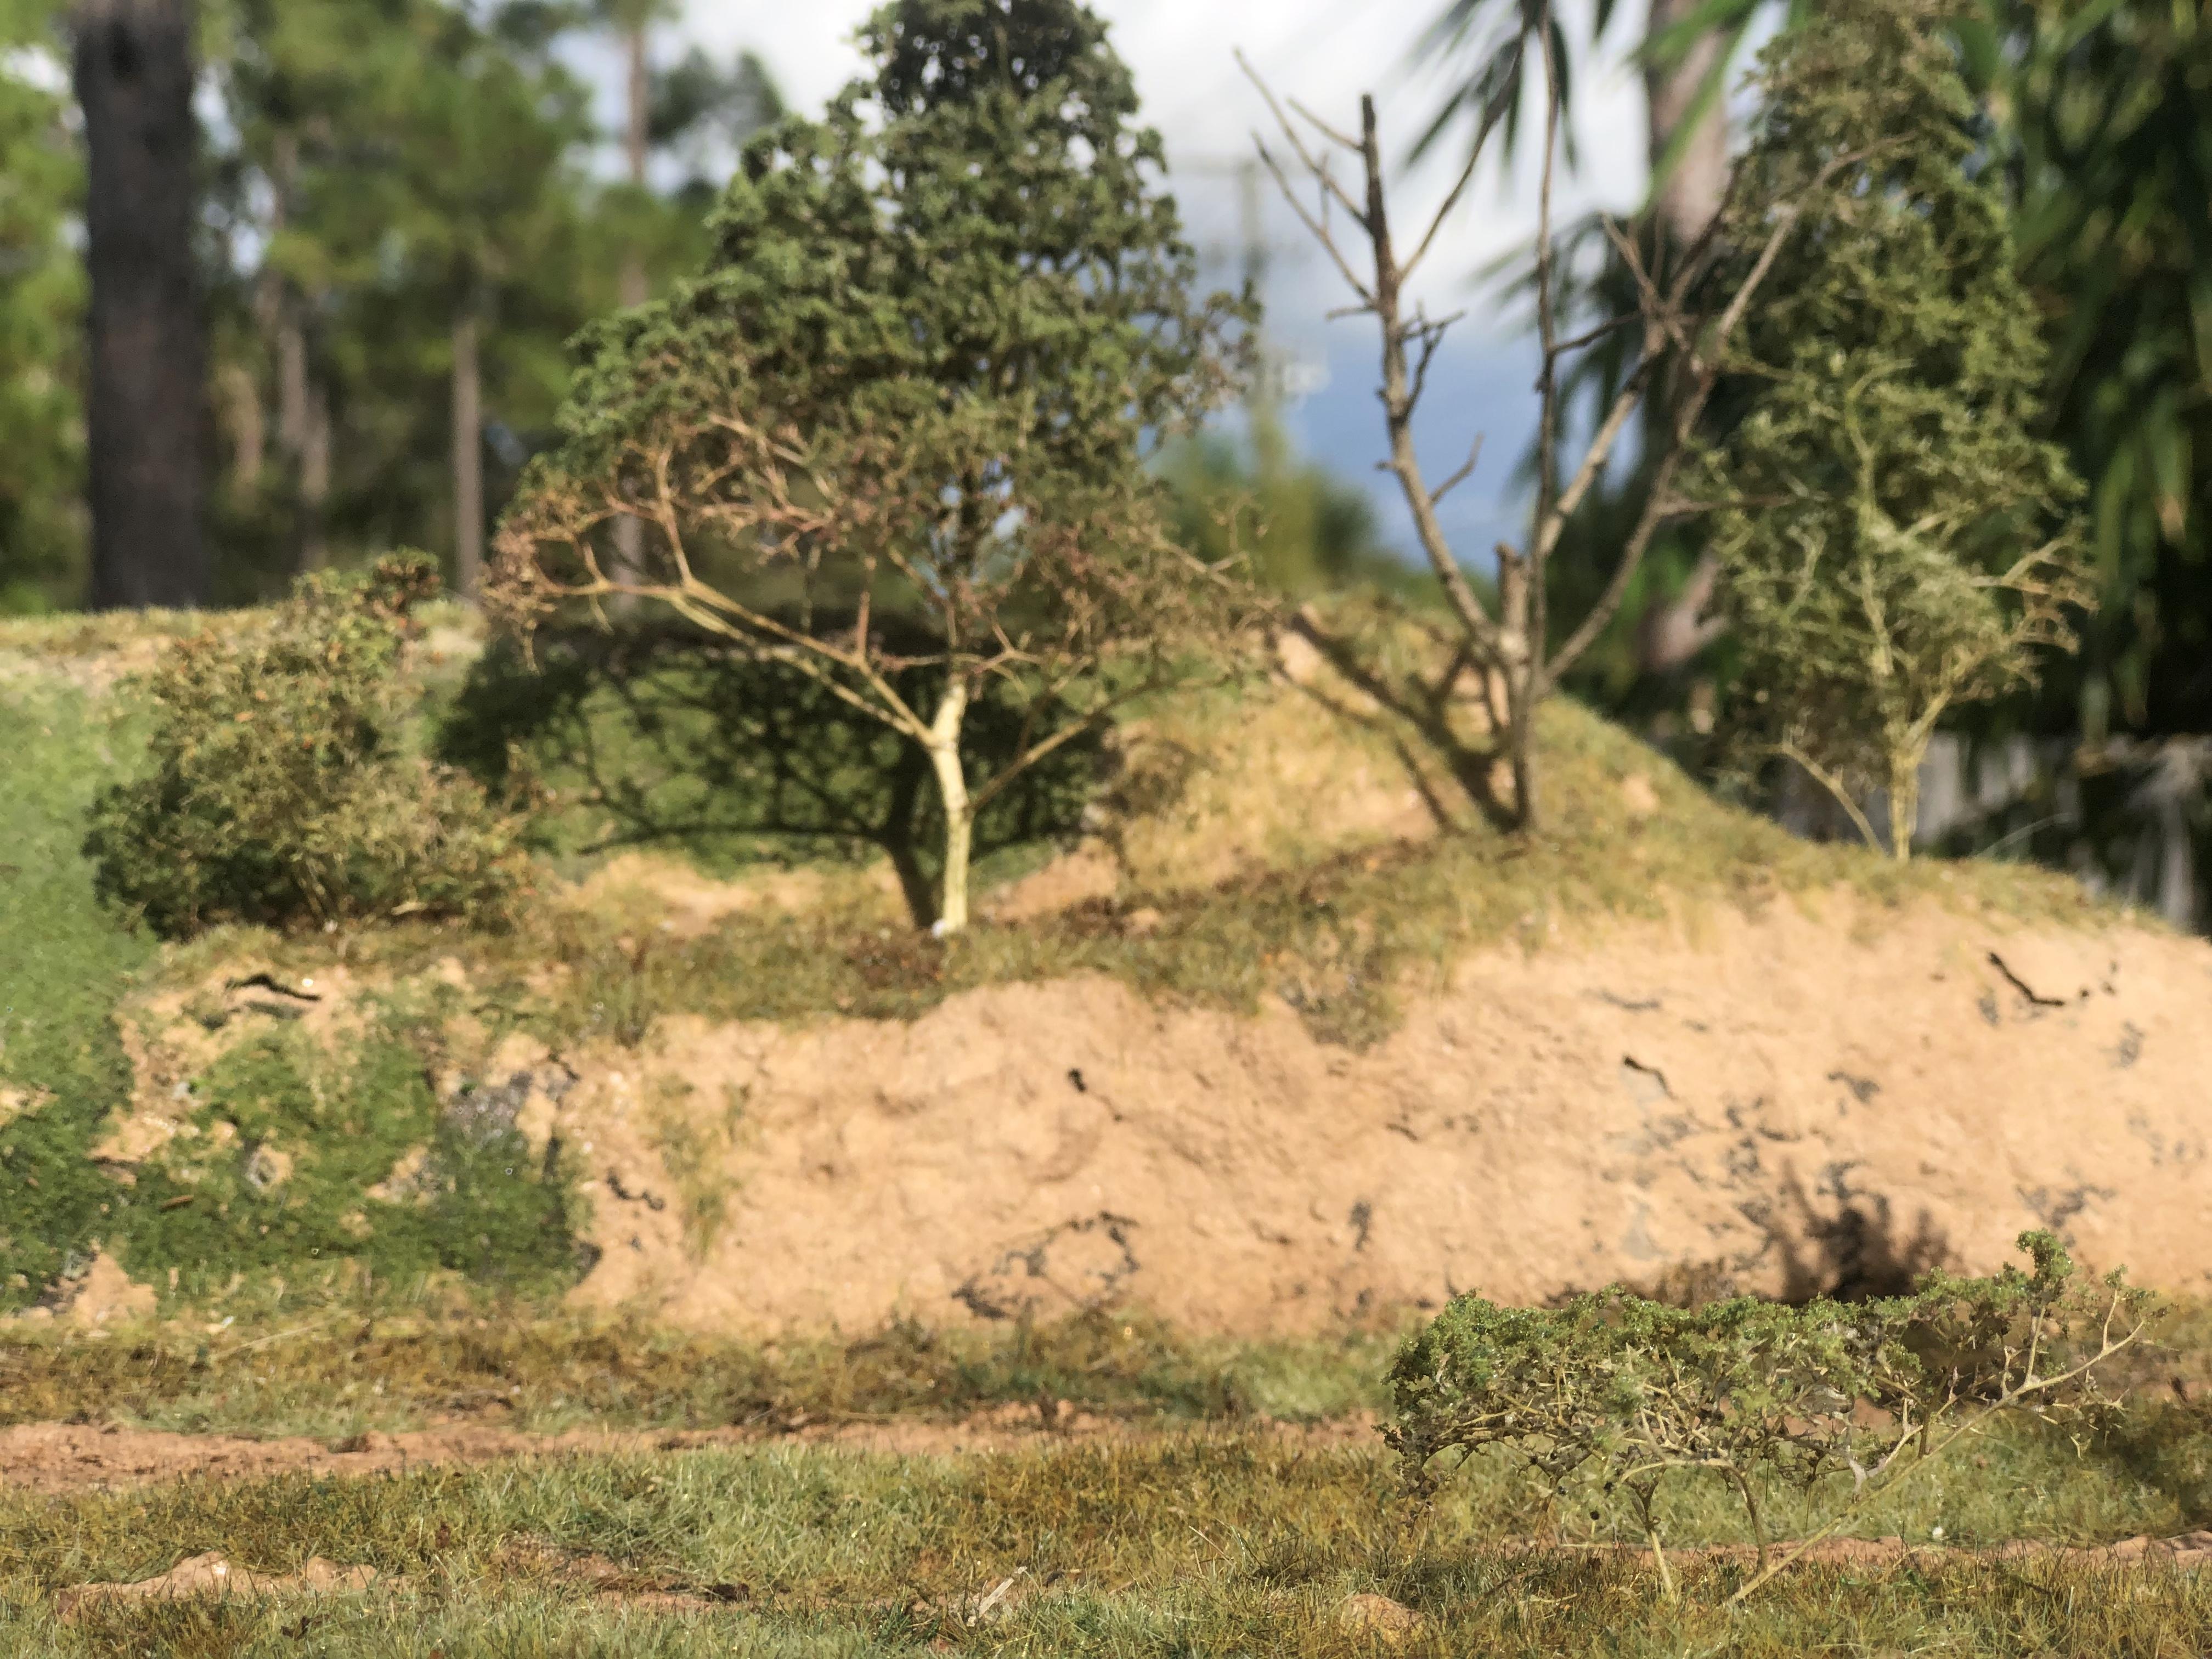
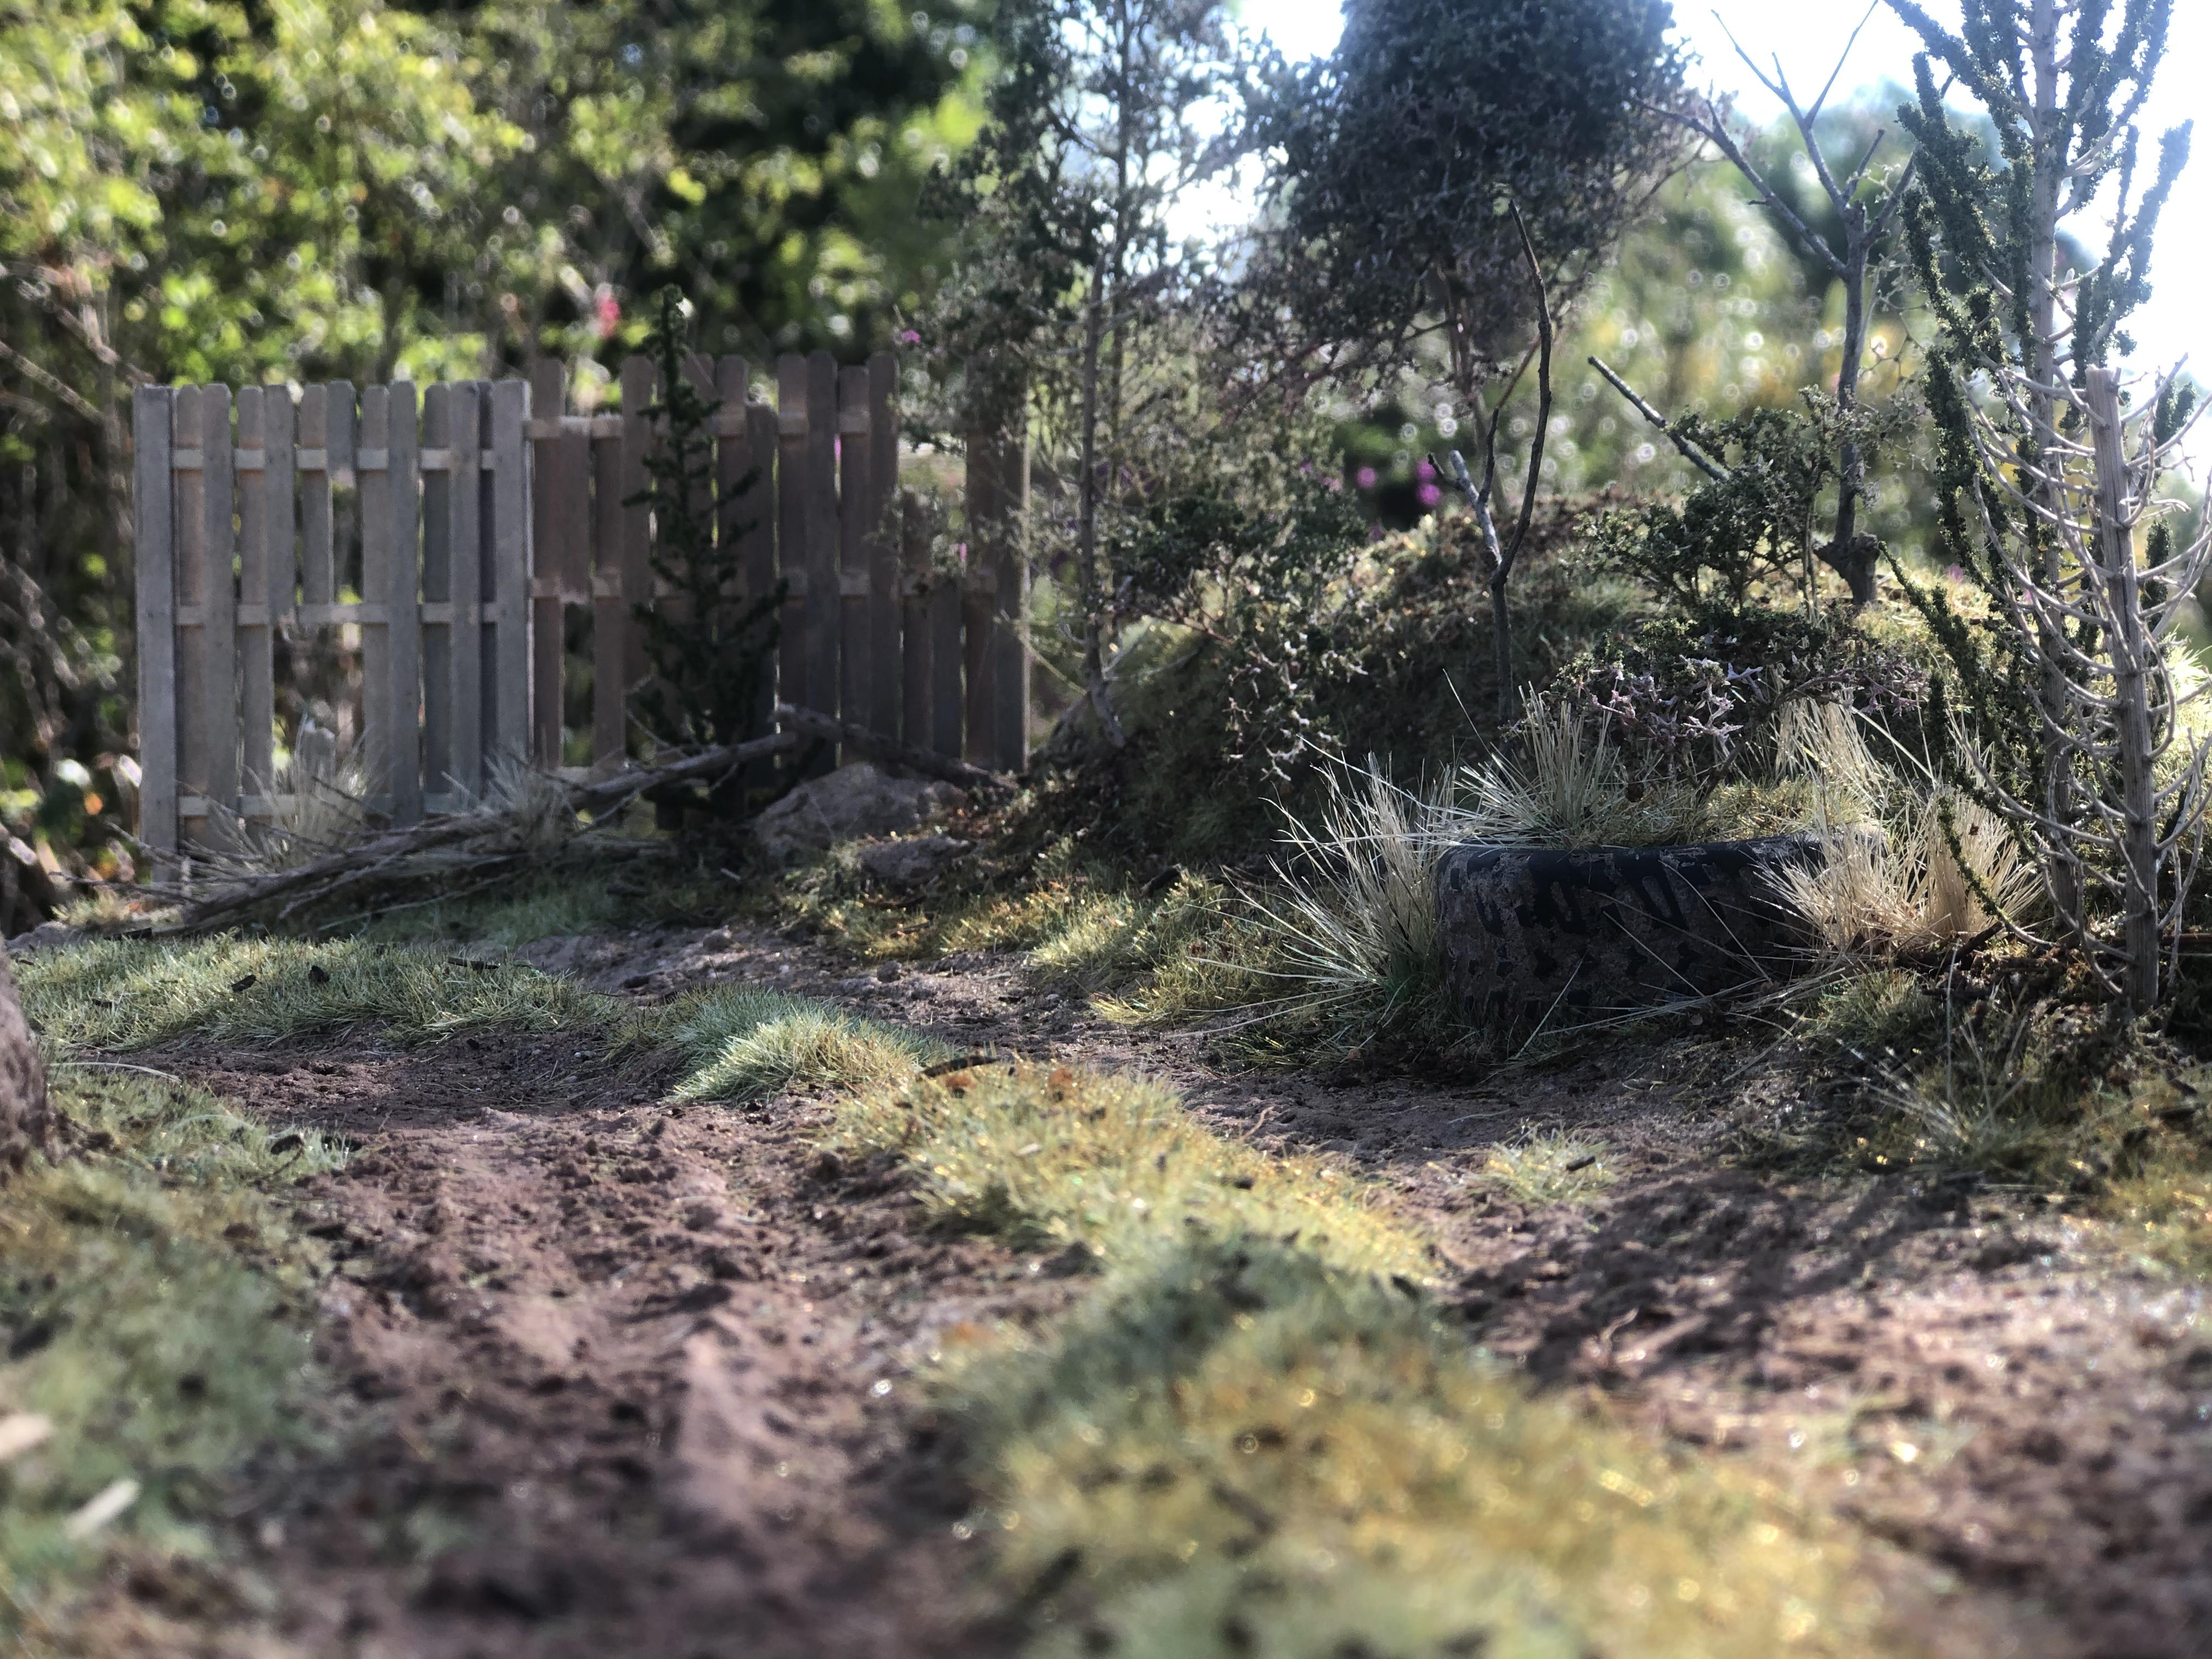
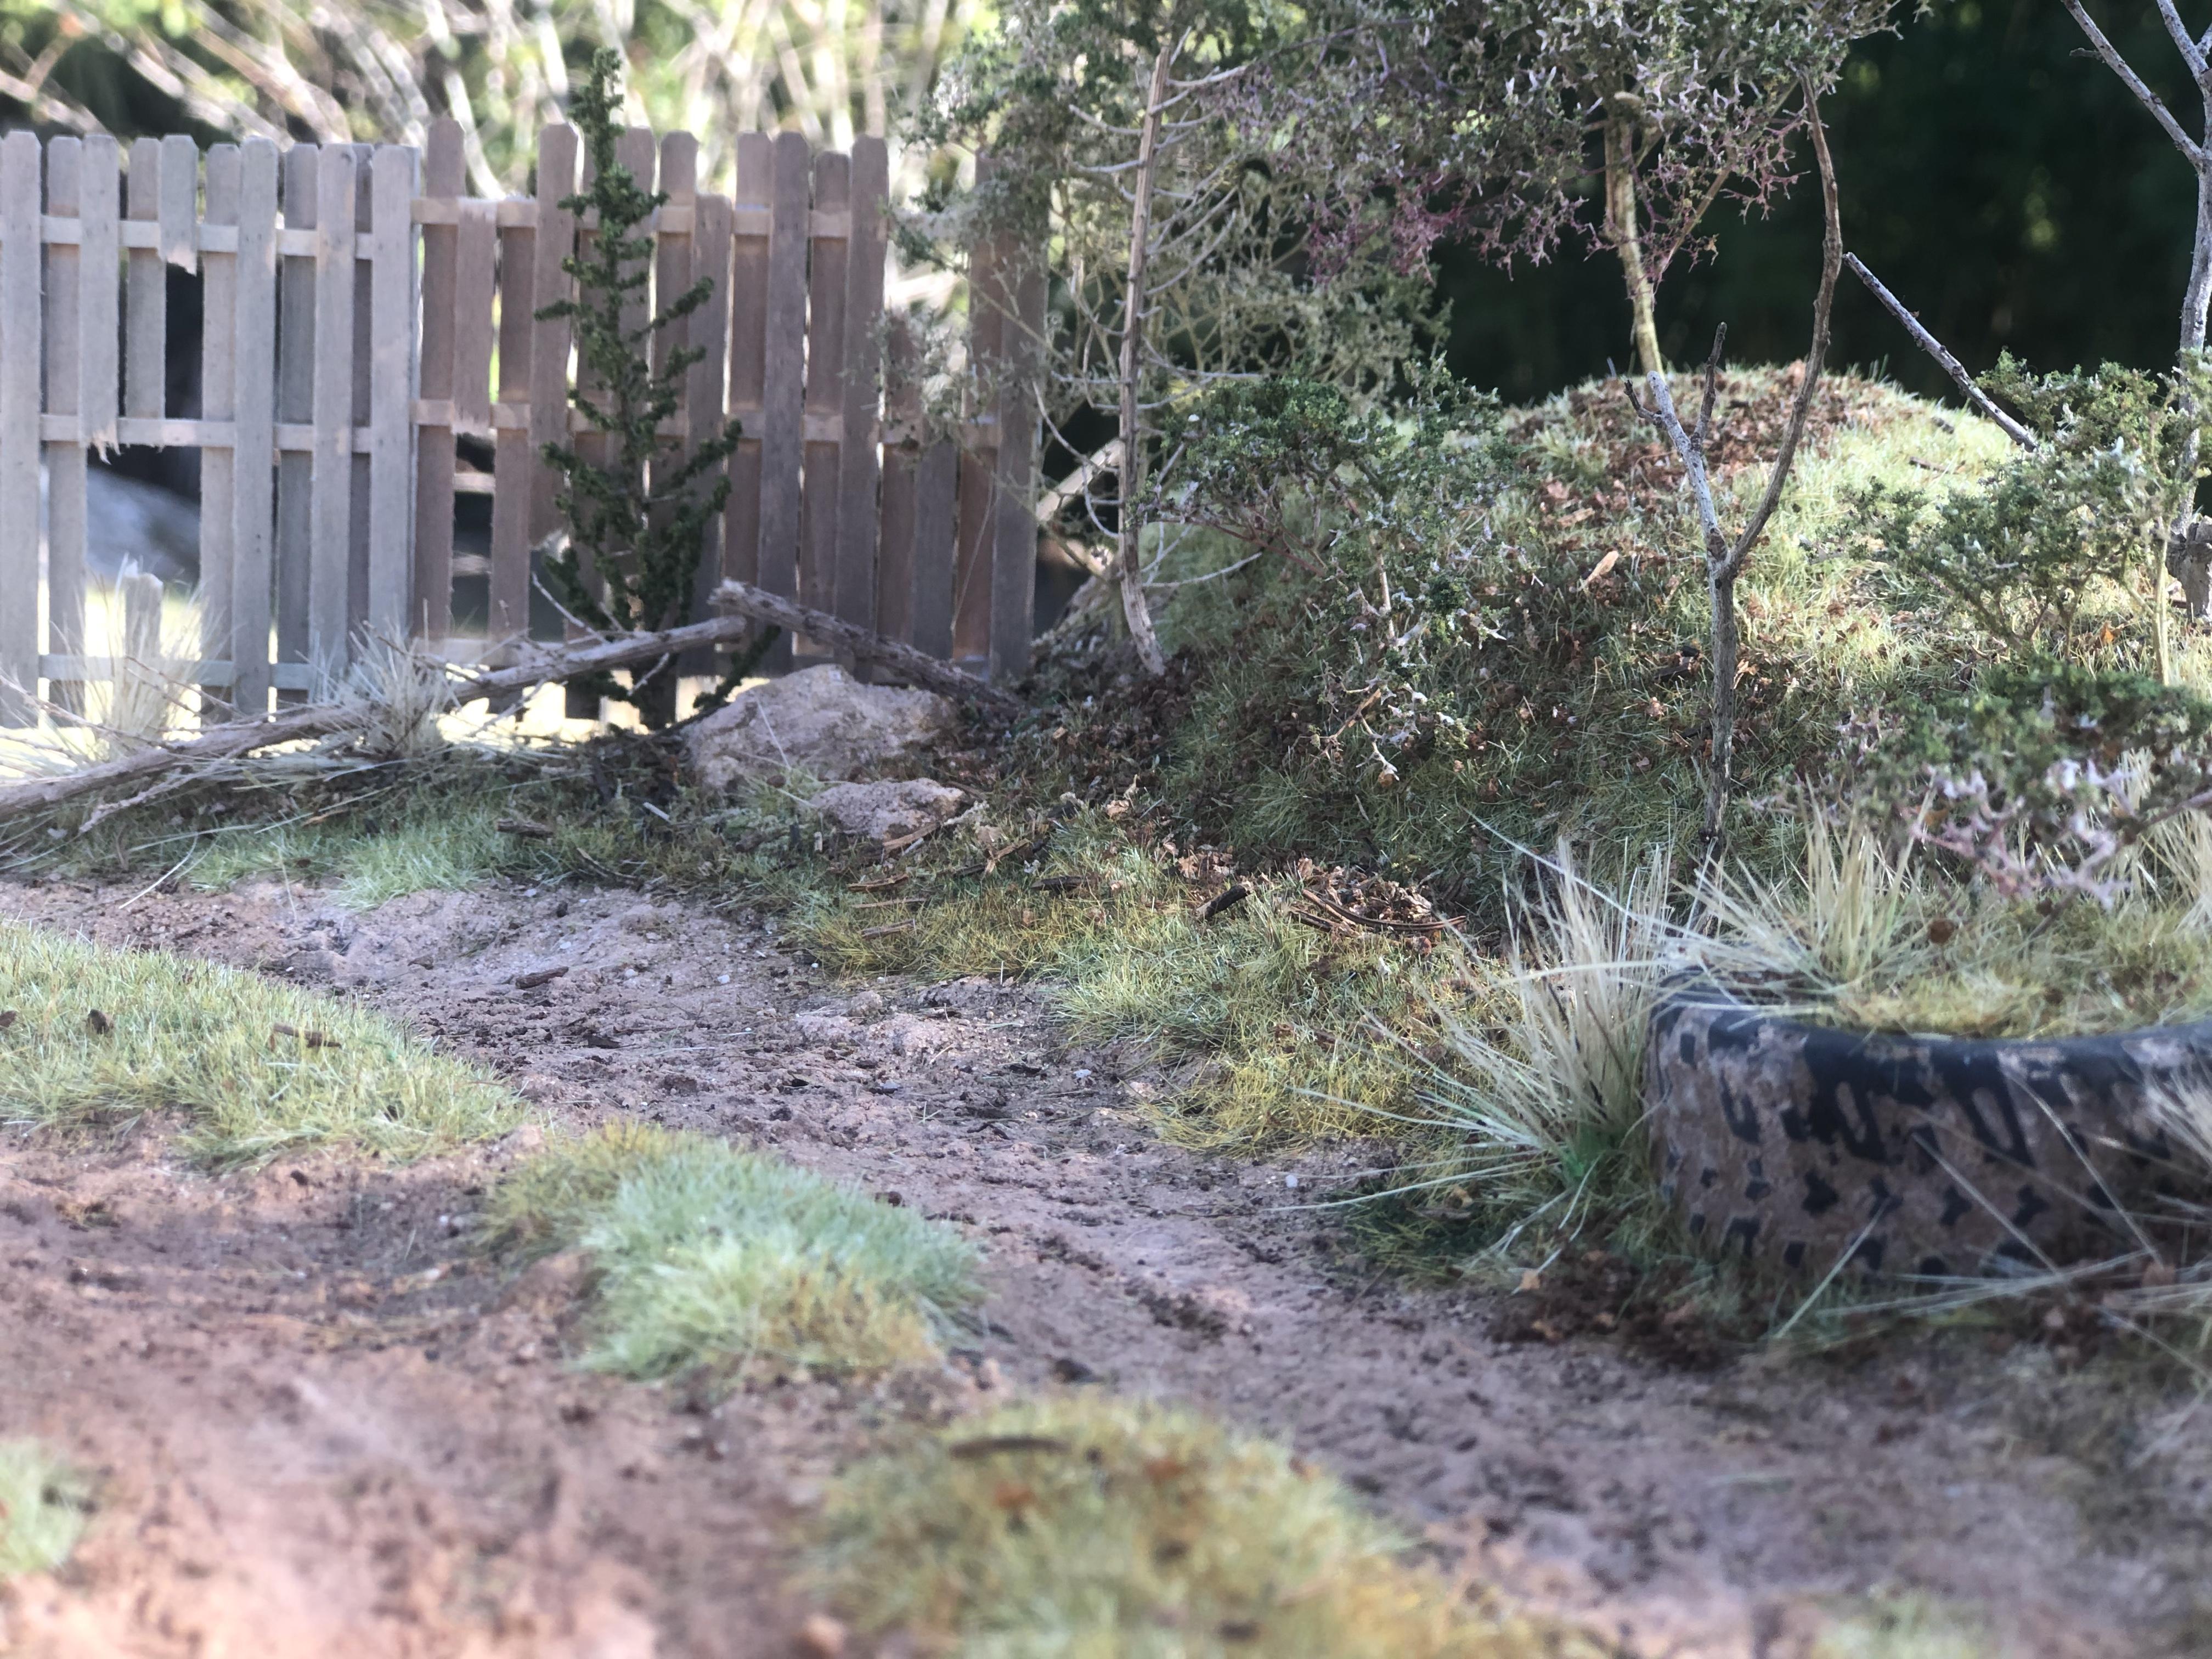
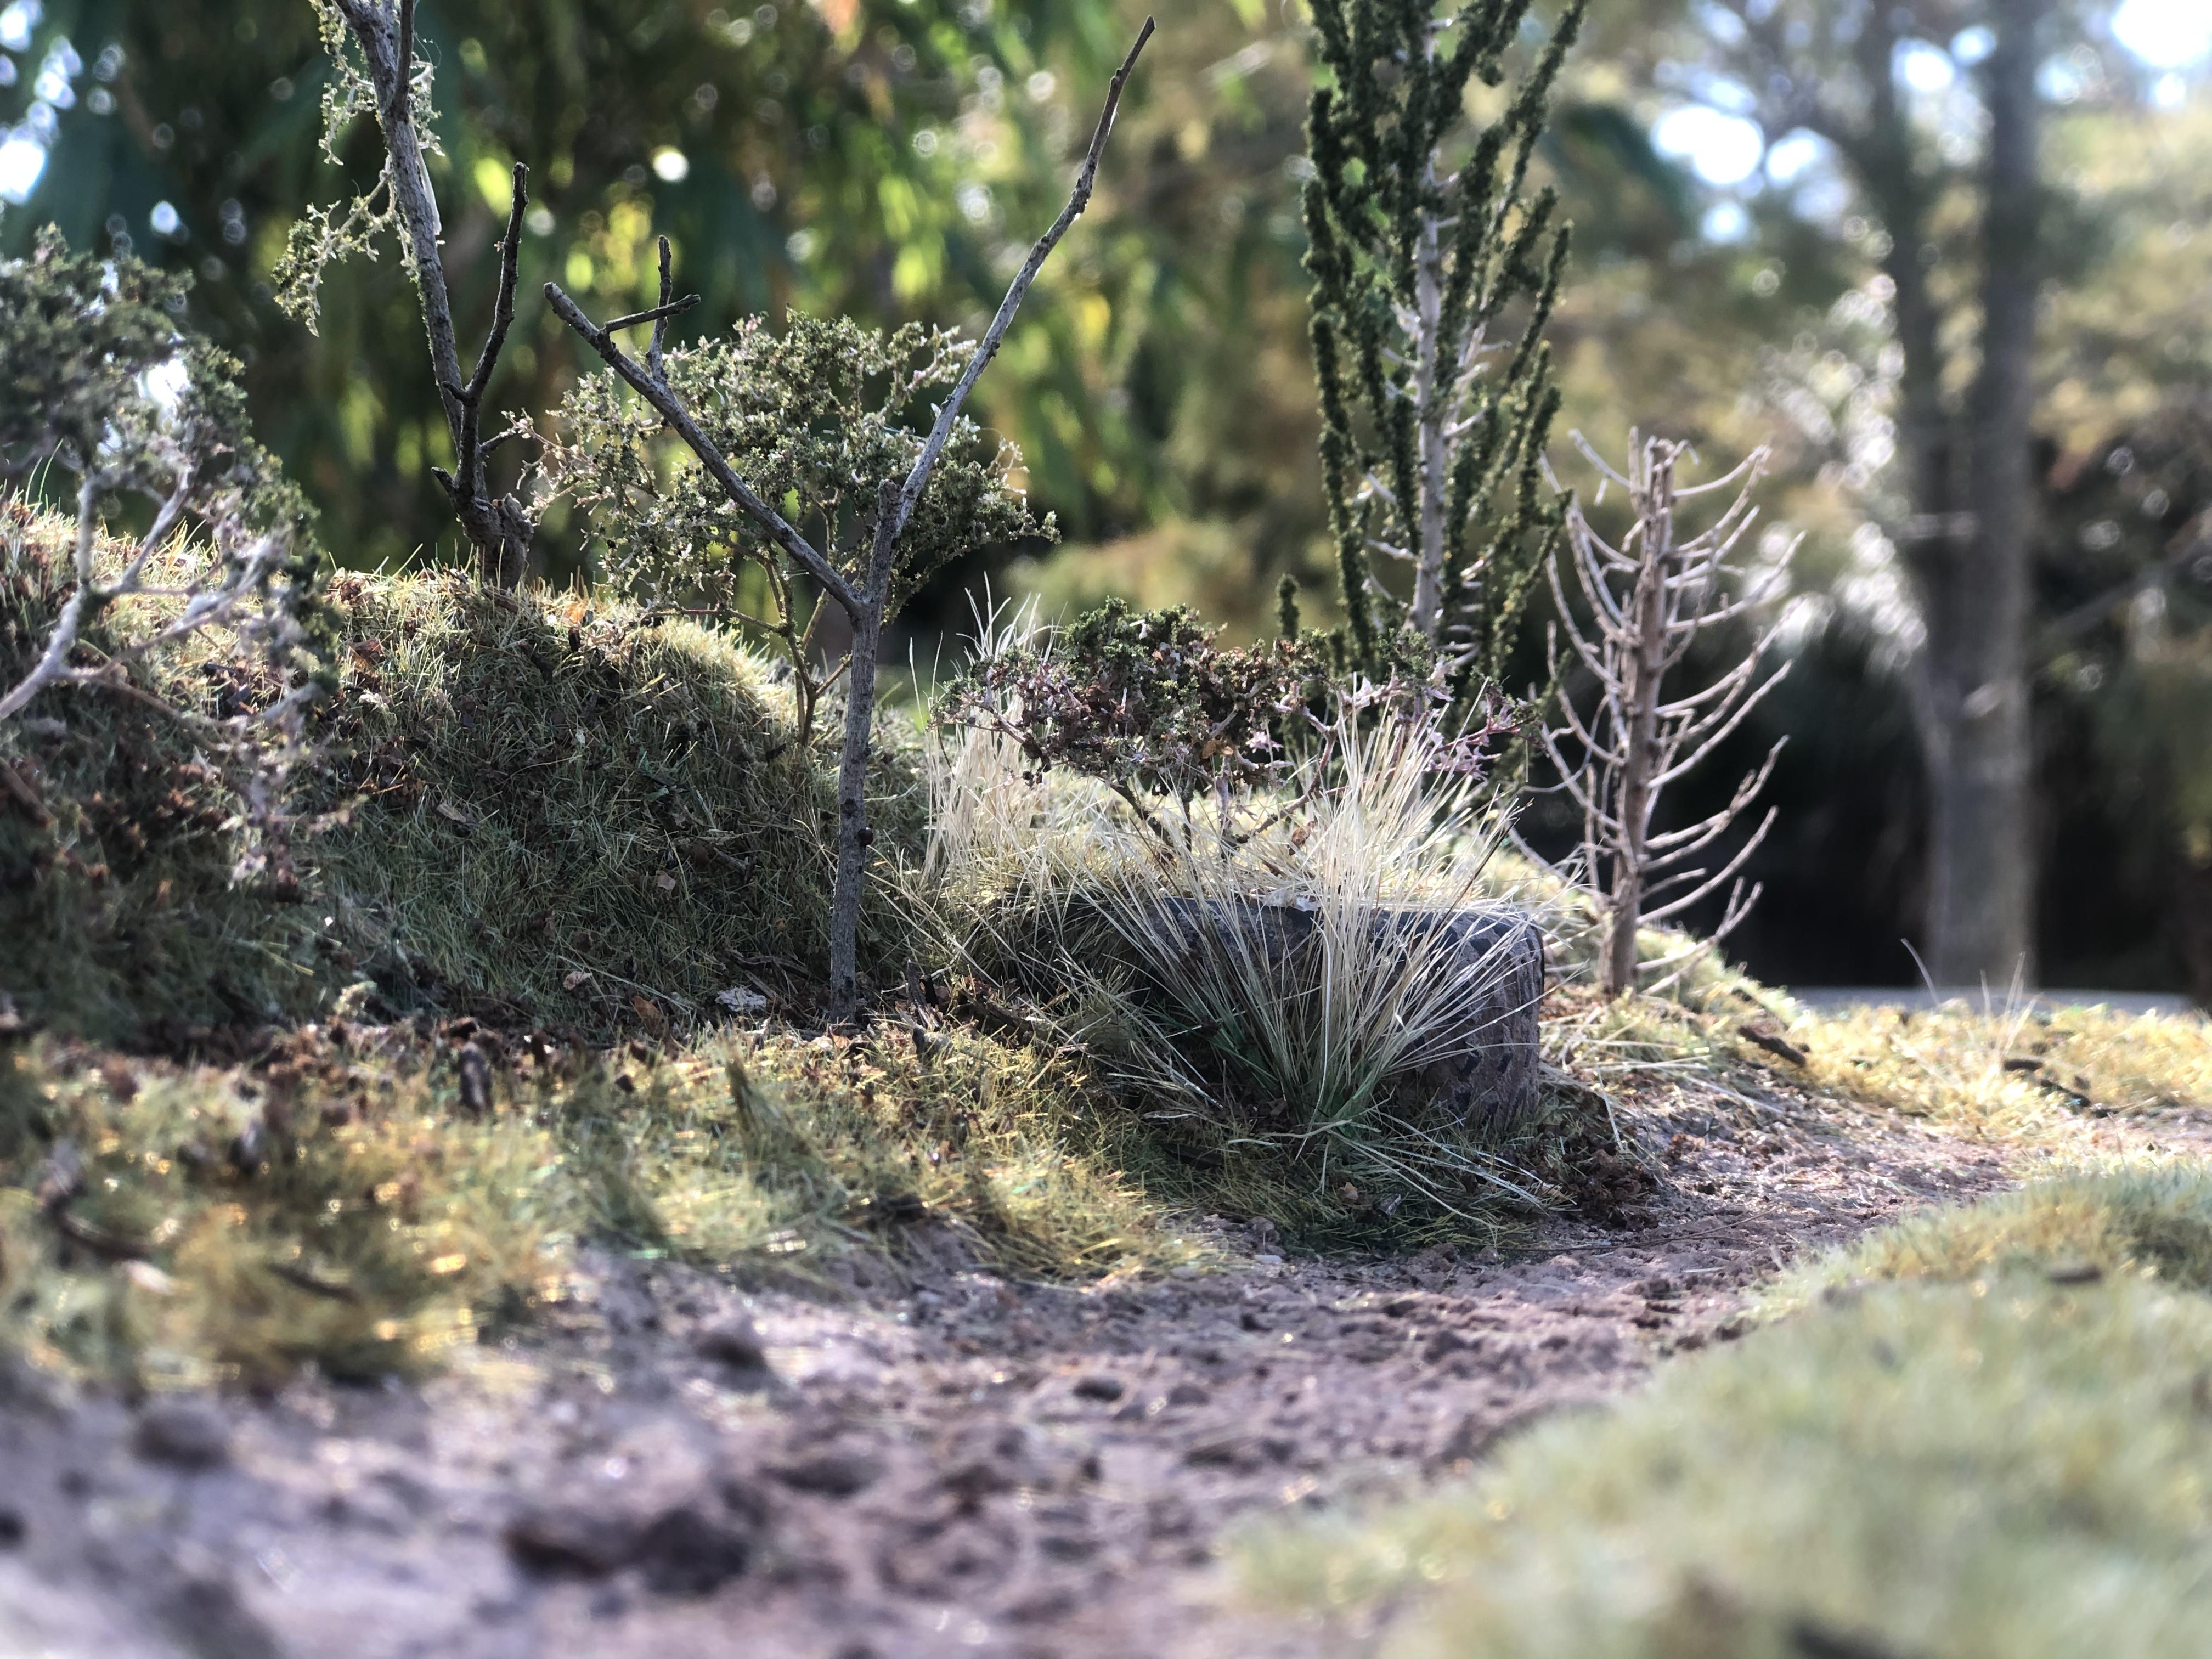
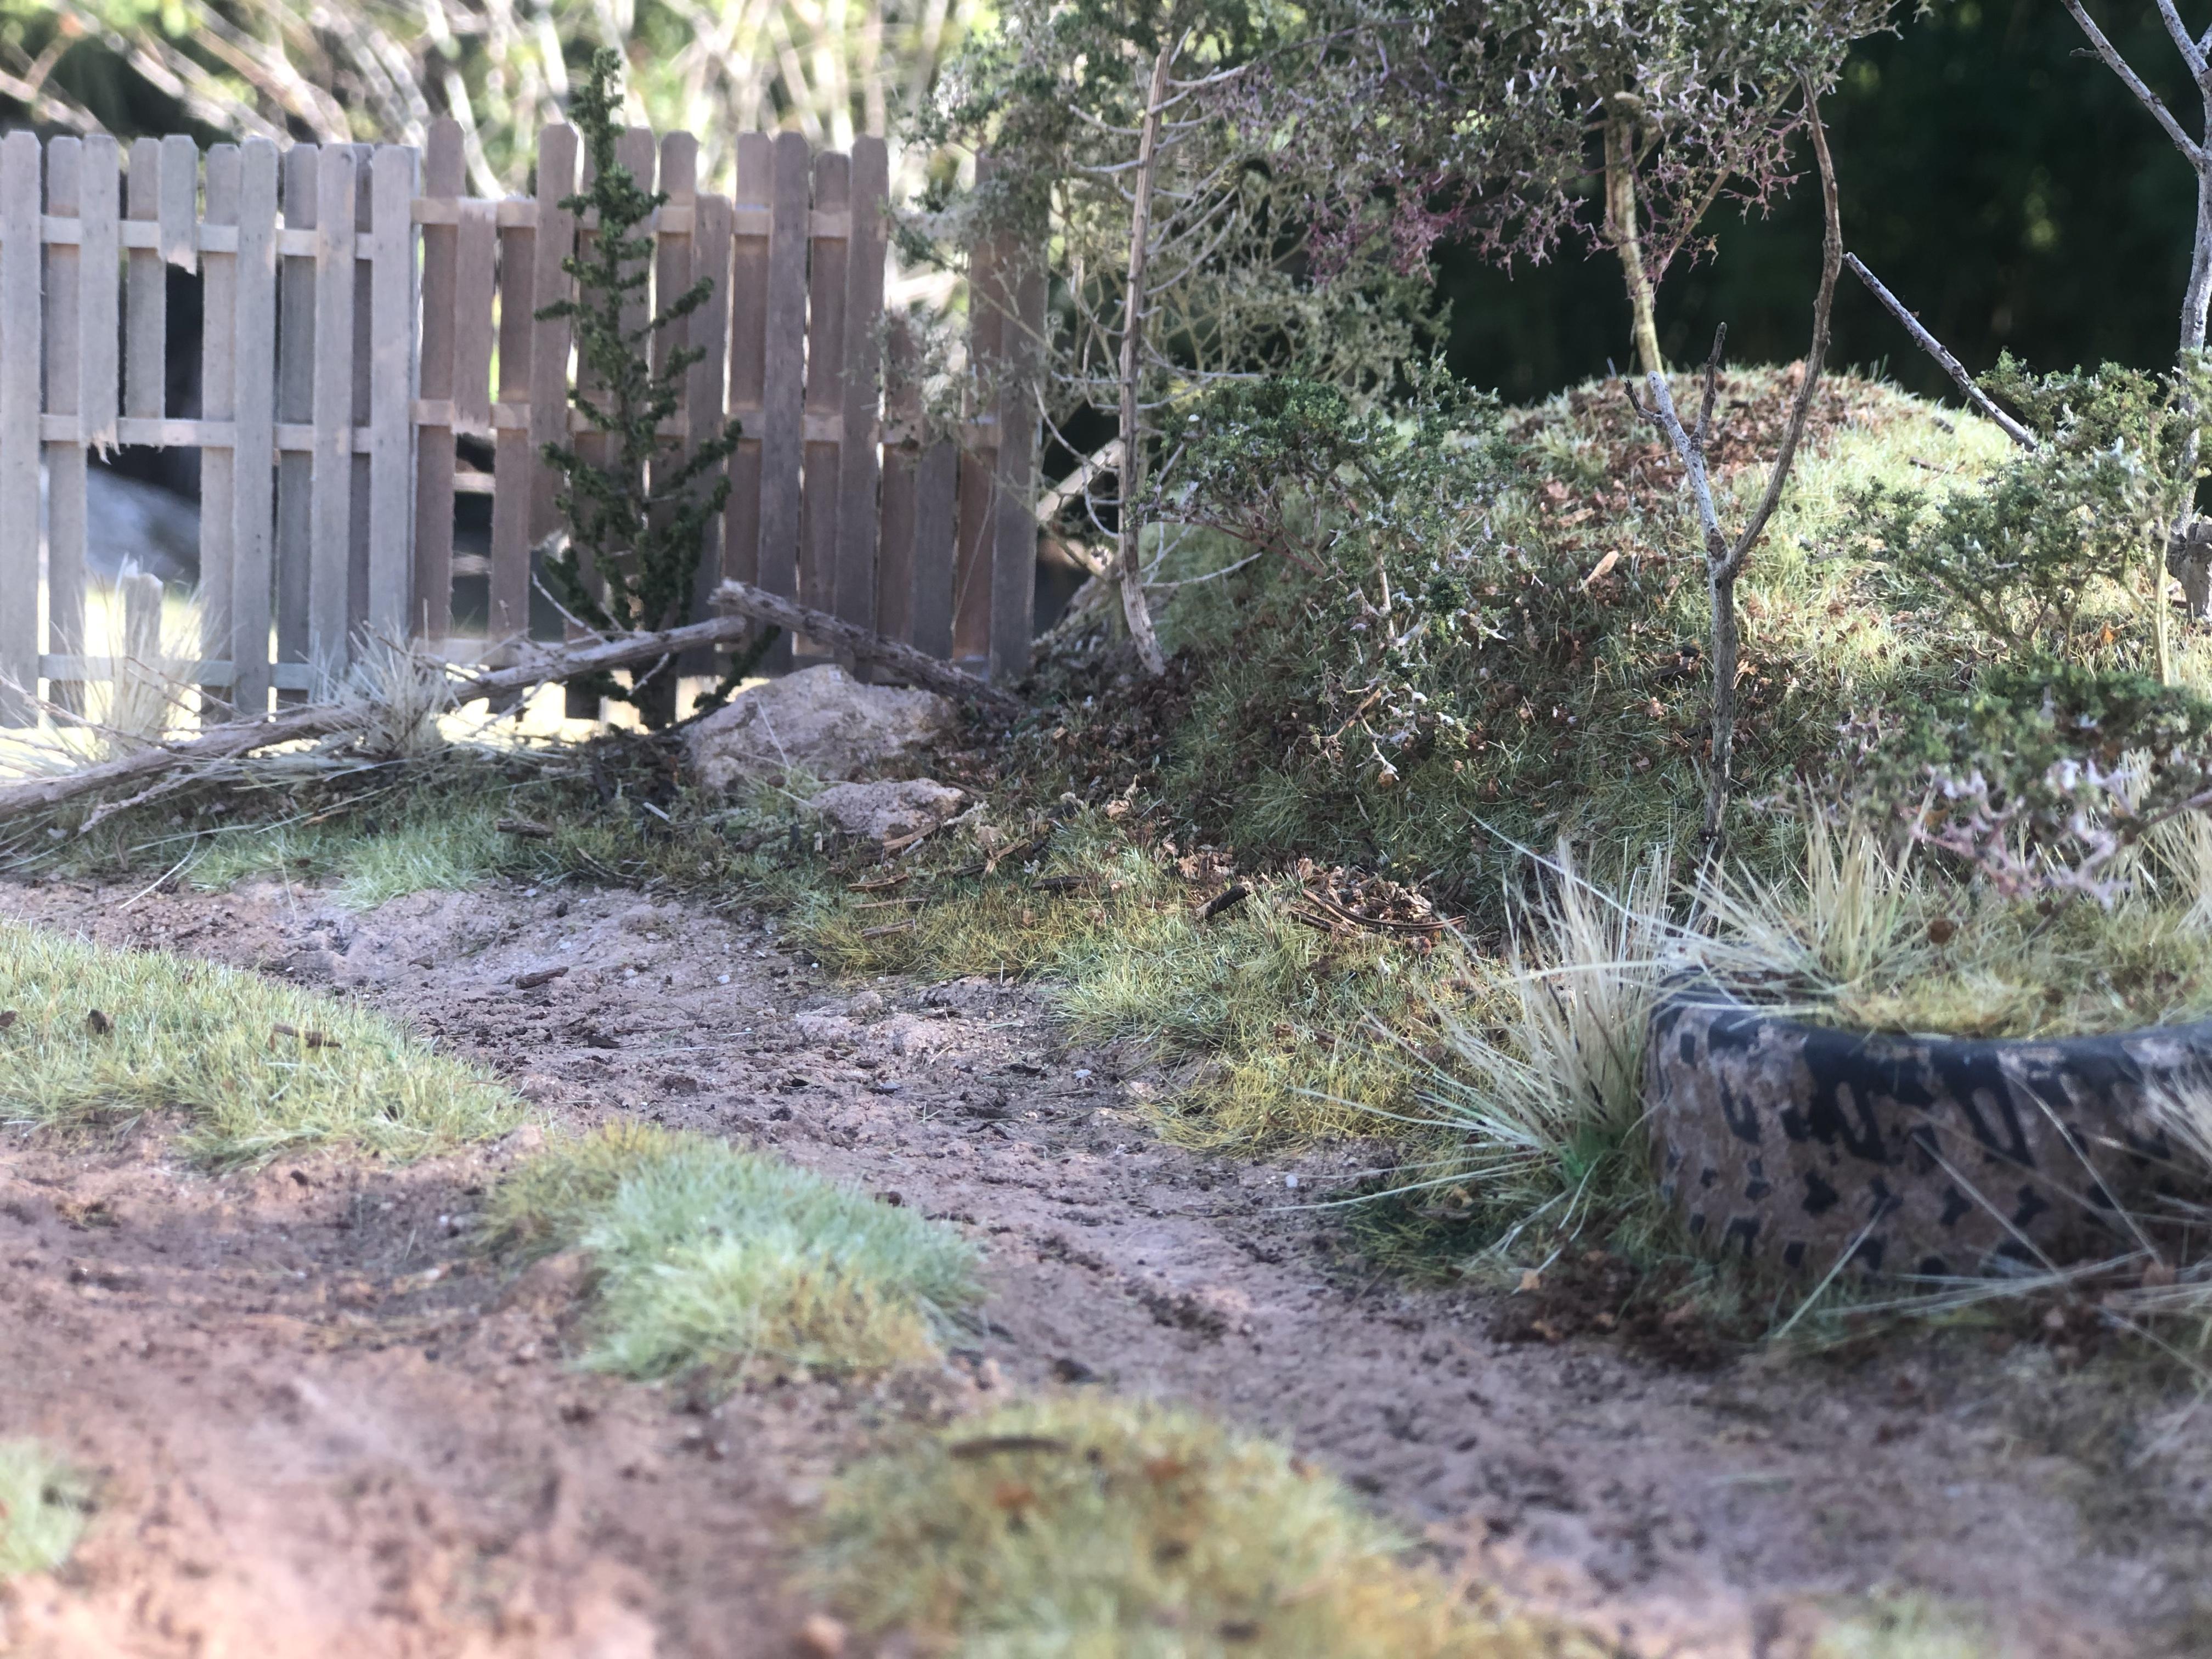
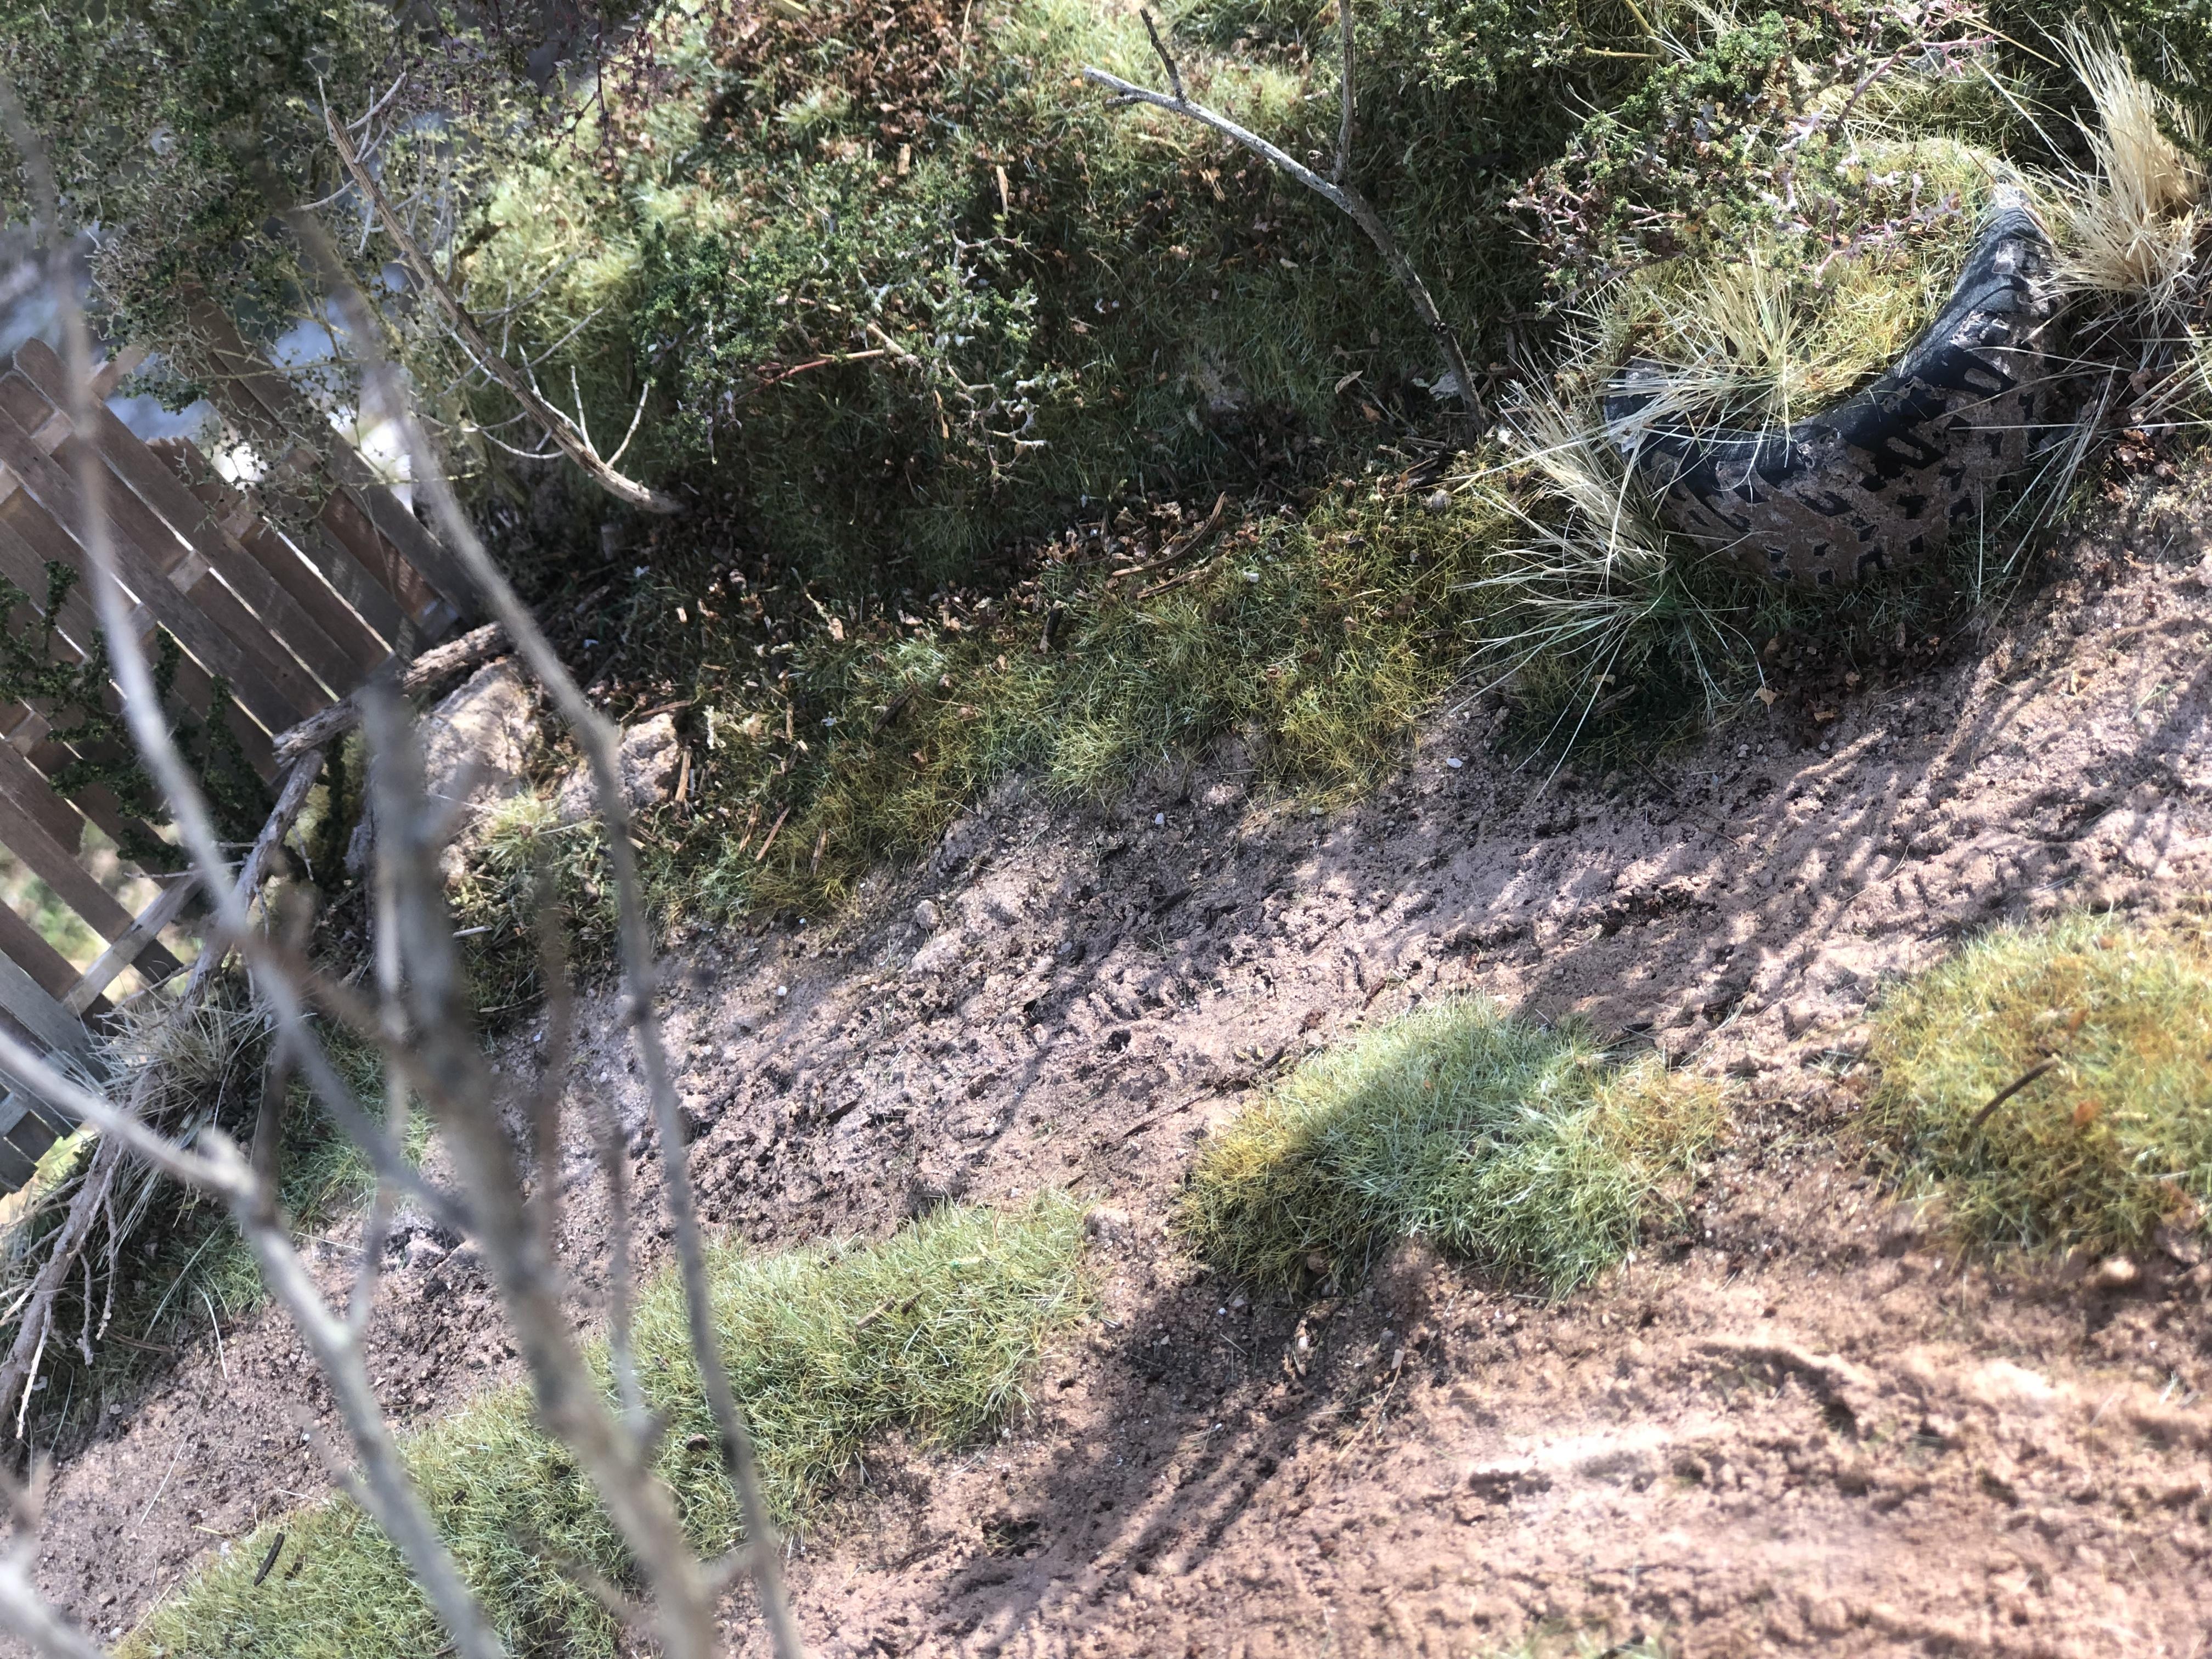
Some updates to the terrain and landscape. Still a work in progress.
-
I like what you are doing.
-
Excellent work. Can’t wait to see the final model.
-
That could work. I also use moss, grinder in a coffee grinder to the smallest particles. For the longer grass tufts I use cheap paint brush hair, which I randomly color at the base with green. I leave the top with the natural color to make it look dry. Once the glue for the longer tufts is dried, you could use a small soldering iron to randomly curl the outer perimeter, or just completely, as if it was completely dead. I think it adds more realism as nothing looks uniform.
-
As always, outstanding work. You are a Master, Sir.
-
Thank you.
-
Thank you so much.
-
Outstanding, very realistic work!!! An inspiration.
-
Wow!!! Your work is amazing. I feel like I can go I there. Extremely realistic.
-
I love this. Lots of details. Great job.
-
Very nice work!!! Keep it up.
-
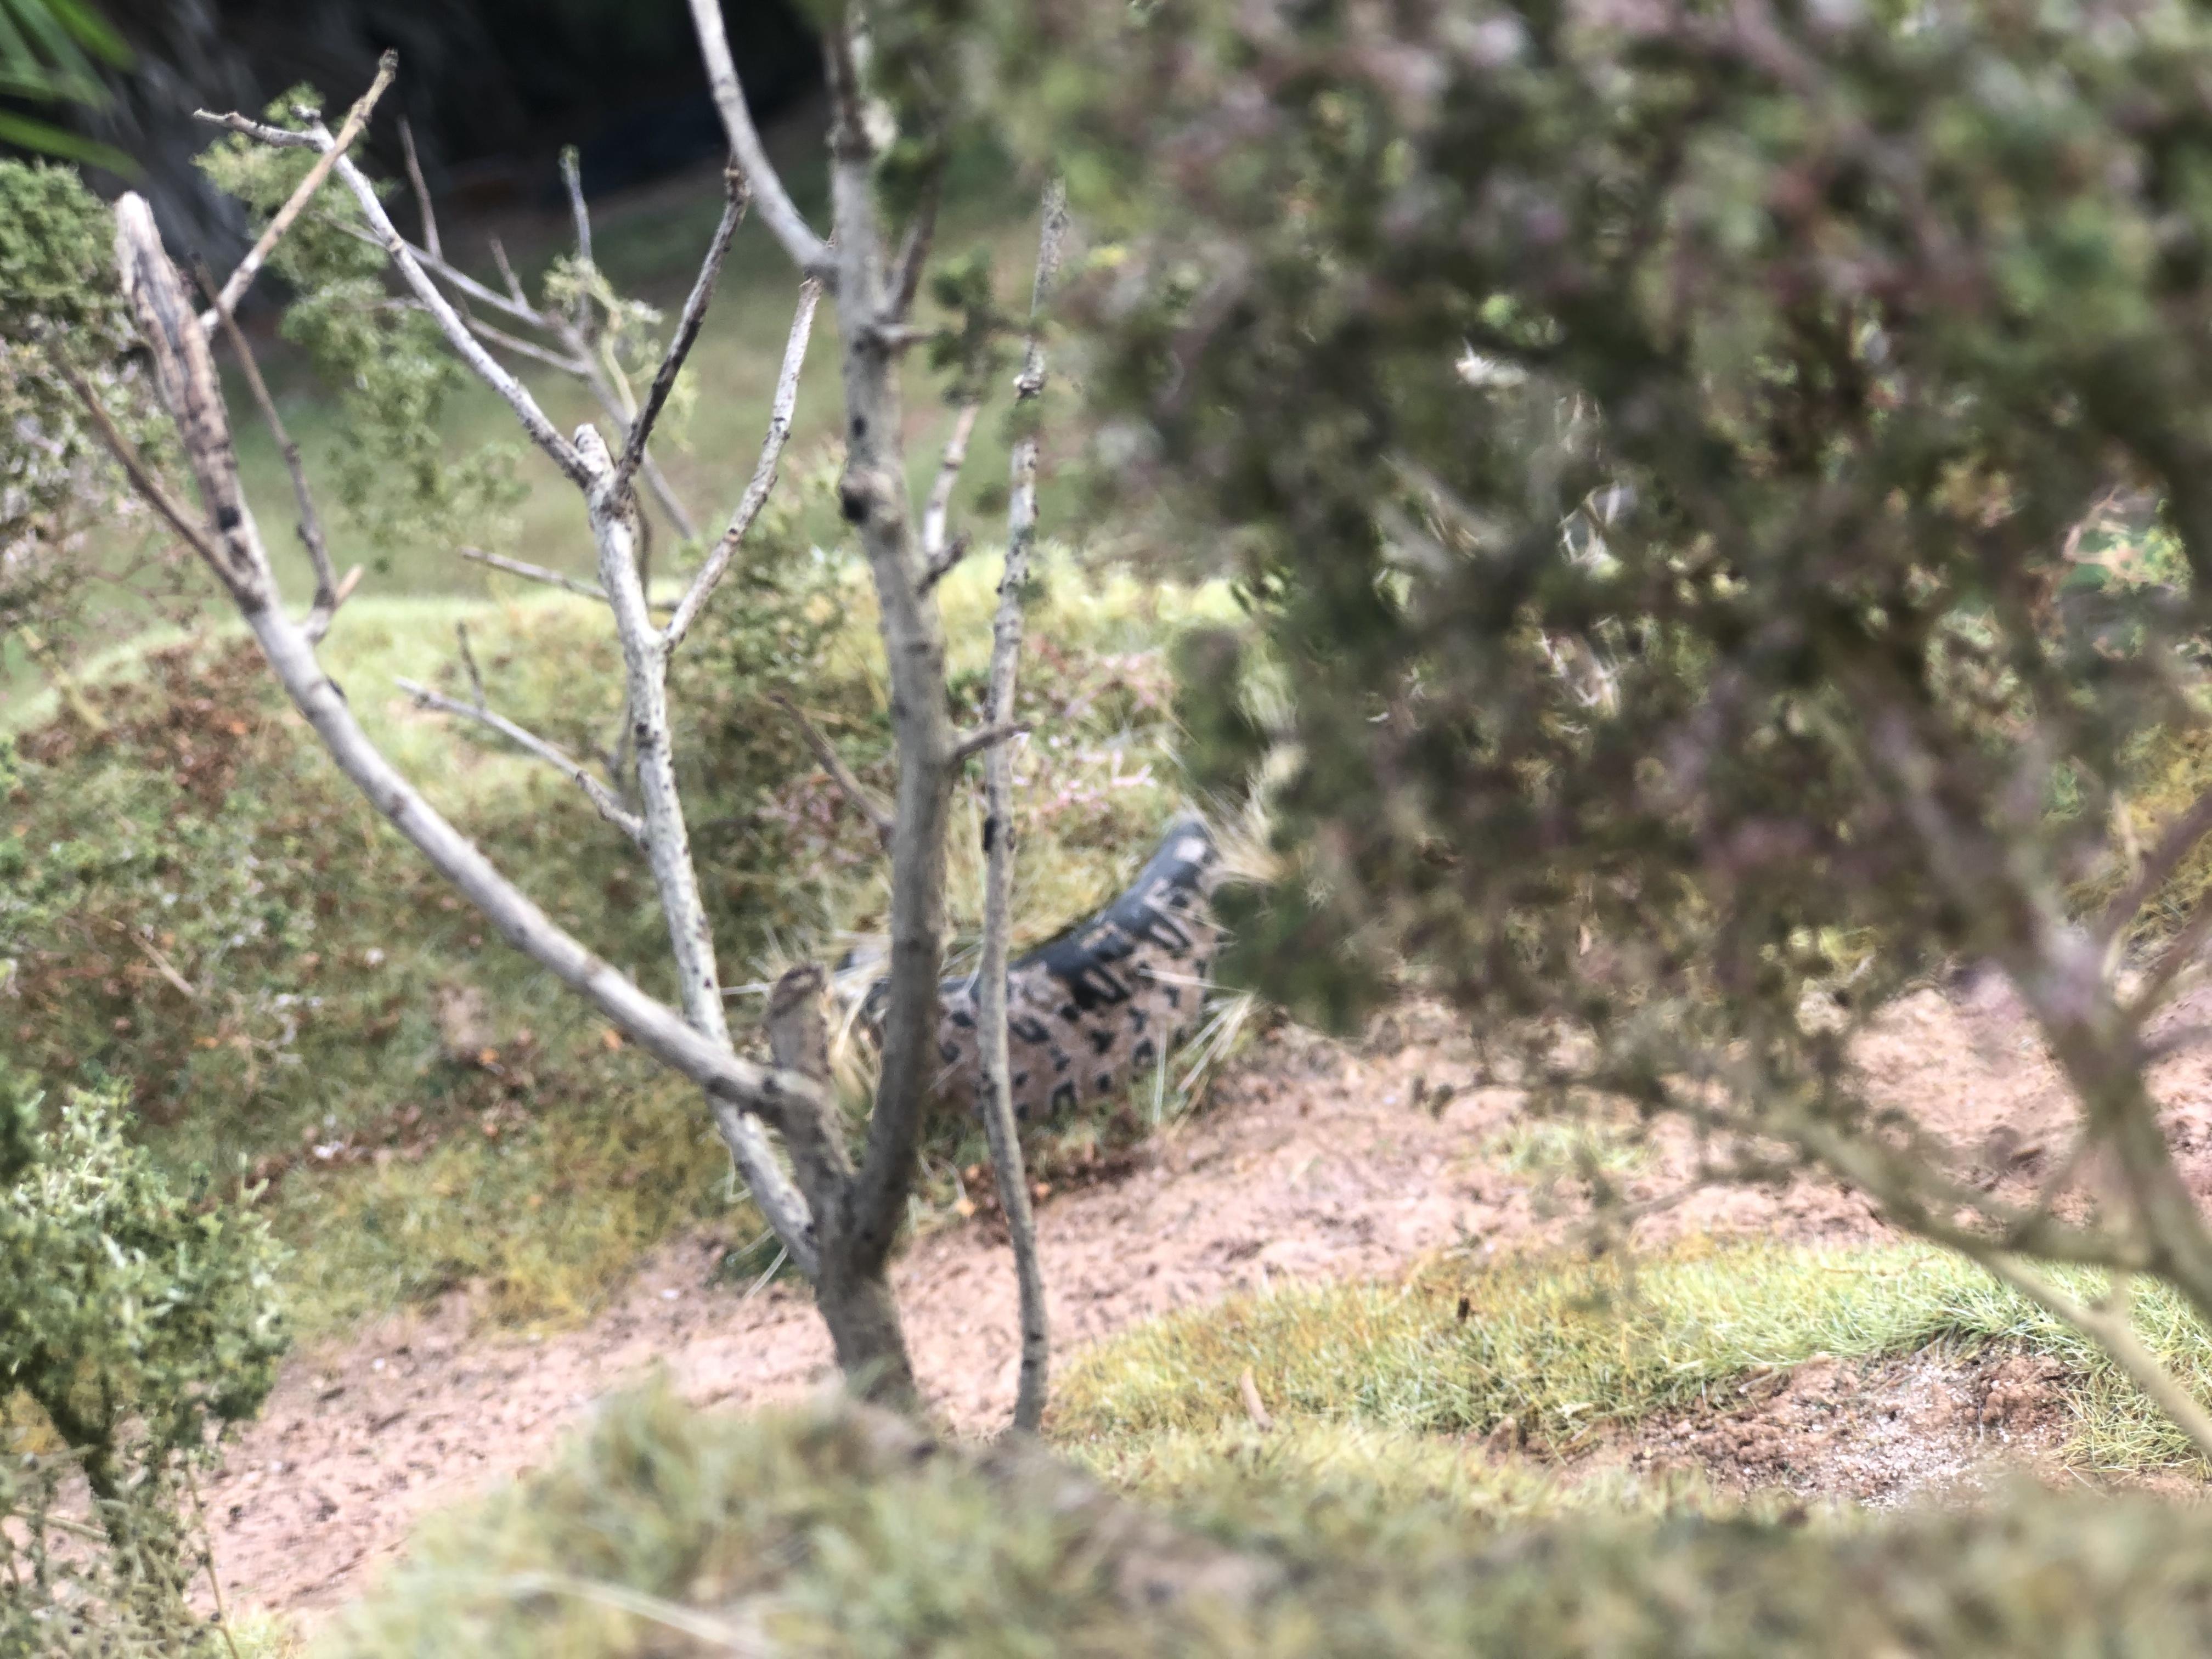
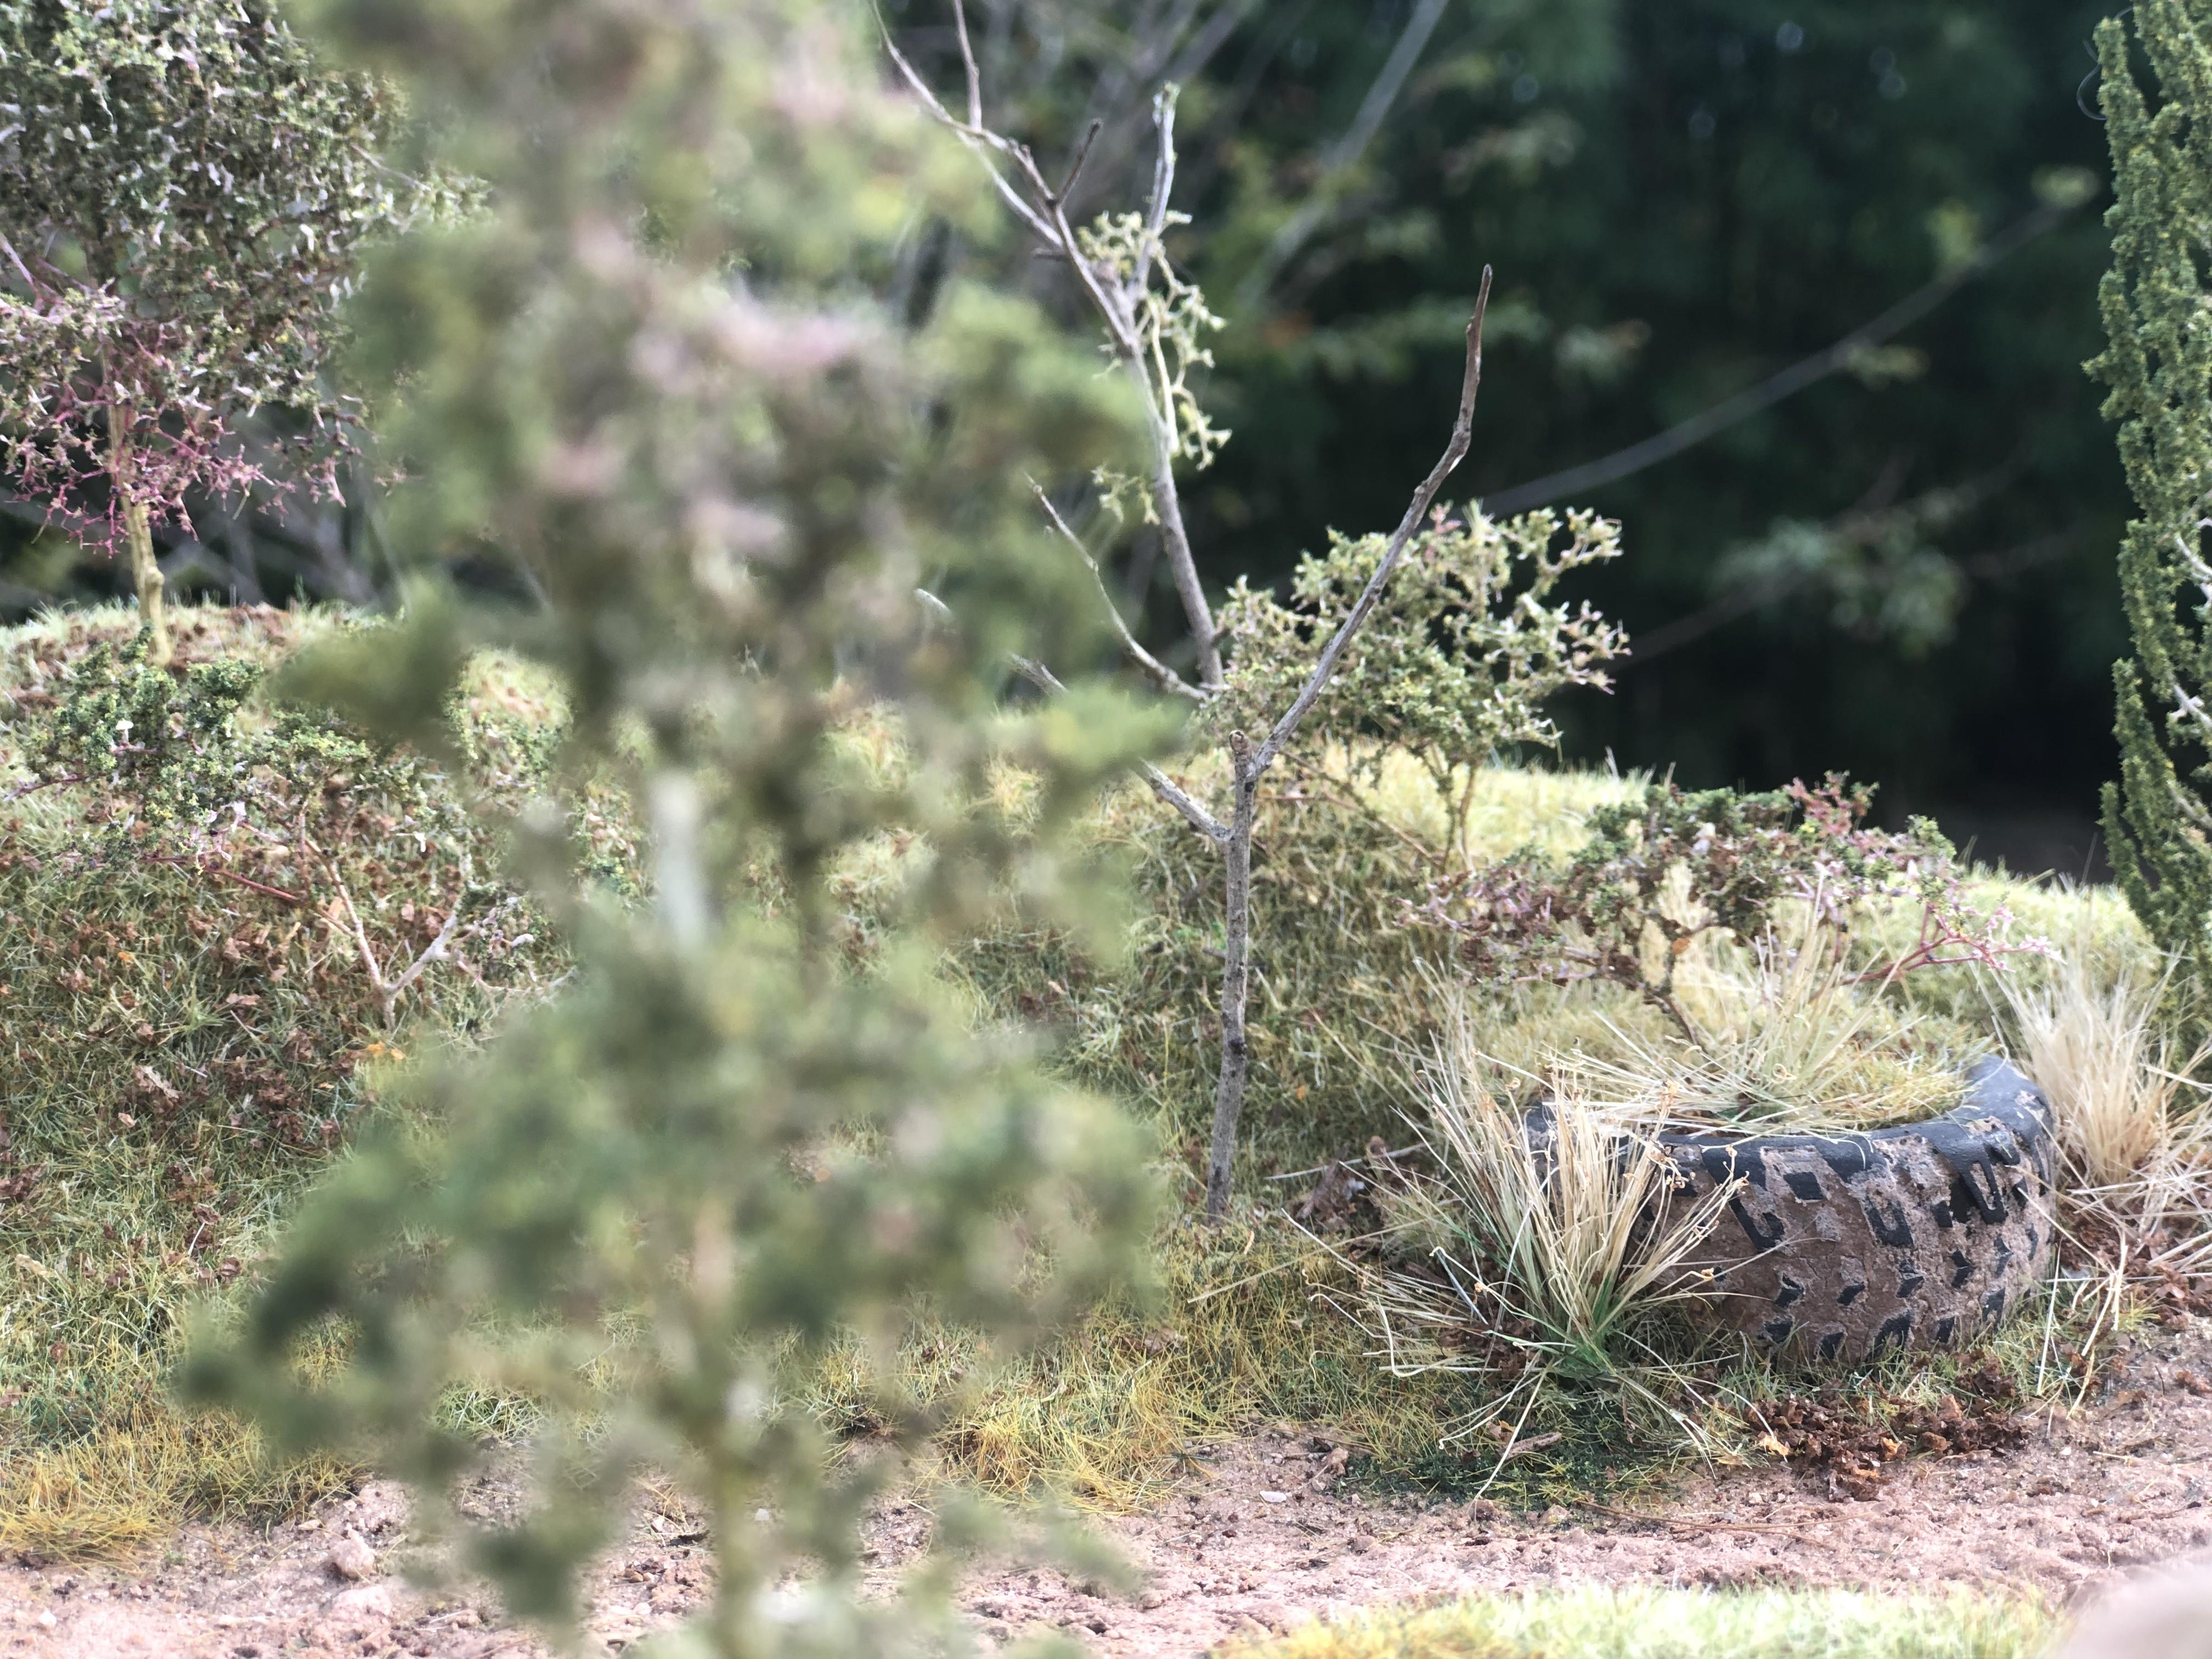
Added abandoned, old tire, on the side of the road.
-
Thank you. I just use real dirt with some acrylic washes for color depth and static grass. I mix different colors of static grass for a more realistic look. In some areas I mix more dead grass with fresh grass. Depending on imagines traffic, sun light and humidity.
-
Thank you. I just use real dirt with some acrylic washes for color depth and static grass. I mix different colors of static grass for a more realistic look. In some areas I mix more dead grass with fresh grass. Depending on imagines traffic, sun light and humidity.
-
Thank you so much.
-
It’s been a while since I have been busy with family stuff. My kids are growing and demanding more attention on extra activities. I will be updating soon. Thank you for dropping some text on the matter.
-
Thank you. It still needs some work done.
-
Hi David, it’s been a while. There will be a vehicle. I purchased a plastic kit (a truck) that I have to paint and assemble. I have never put a kit together, so we will see how it turns out. There will be other details on the diorama suck as an old truck tire on the side of the road.