-
Posts
3,791 -
Joined
-
Last visited
Content Type
Profiles
Forums
Events
Gallery
Everything posted by customline
-
Thanks, Jay. Have you got a thread going on yours?
-
WOW, MAN! Wicked nice !! Is that the Merc roof? Oh hey, got any more like that? I recall a while back Ollie's had those '49 Mercury Police snap kits cheap. 🙂 imagine.....an endless supply of 'niner rooooòves!
-
Yeah, it needs something. It was an experiment, David, and I'm still playing with some ideas on how to improve the balance. The car may get some white pinstriping if I can find something appropriate in my decal stash. Flames are always welcome. I'll see what I can find. Still much to do yet on this one. Thanks for sharing the Joker with us 😎.
-
Ahhh...thanks.
-
I'll say it. CHINA. There now, Bill. 🤓 Nice muffs, Topher! Whats the source?
-

Lindberg's '53 Ford - following the instructions
customline replied to customline's topic in WIP: Model Cars
Thanks, Ken. I shall try but it's all up-hill these days. 😣 -
Yeah, thanks Carl. I thought so too. I think it would have worked better as a metallic or a pearl, though. I think maybe this color would look better as a monochrome treatment on an '90s era car. Right next to "Pepto Bismol Pink."
-
Sharp guage panel, Dennis. Now you need to install a delete panel on the Merc dash. 🤓
-
I dunno, Len. I think I've got at least one good suede paint job in me. maybe a '41......uh.....mmmmm.........naaah. 😔
-
That's a fact. 🙄
-
Ooooooo.....no, Len. Wifey has no sense of humor. 🤭
-
That's exactly what I was thinking, AL. 😅
-
It would certainly save time 🤓
-
-
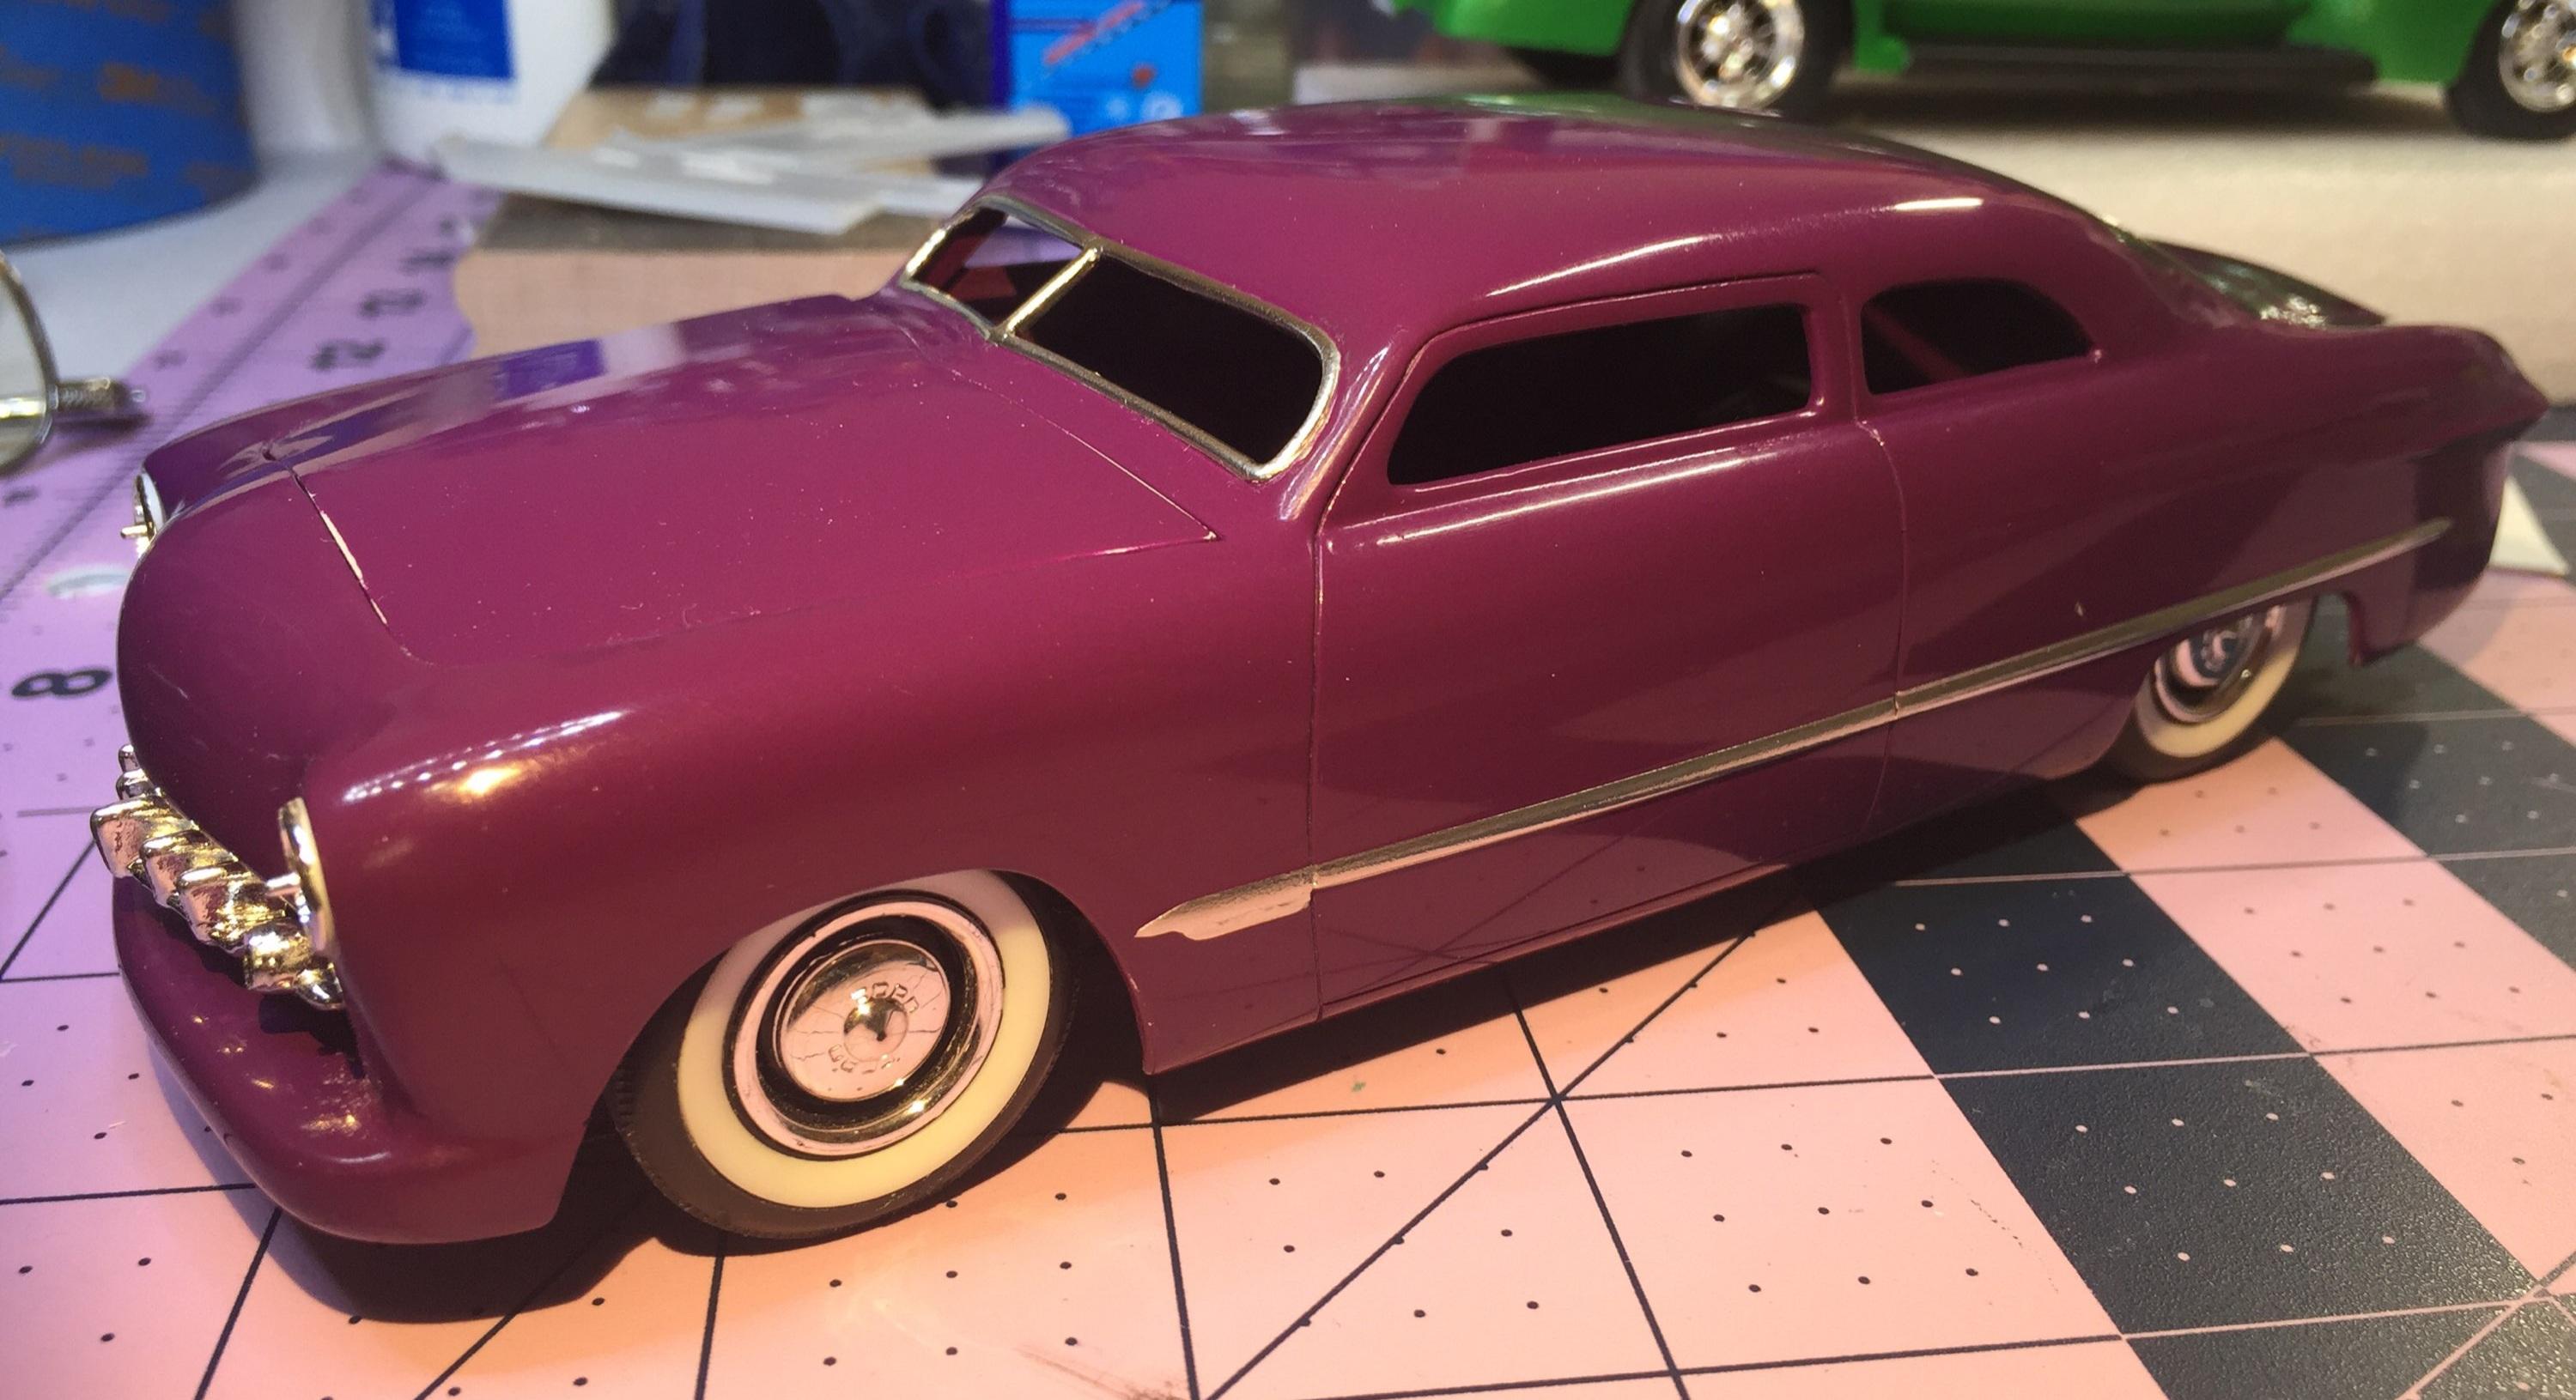
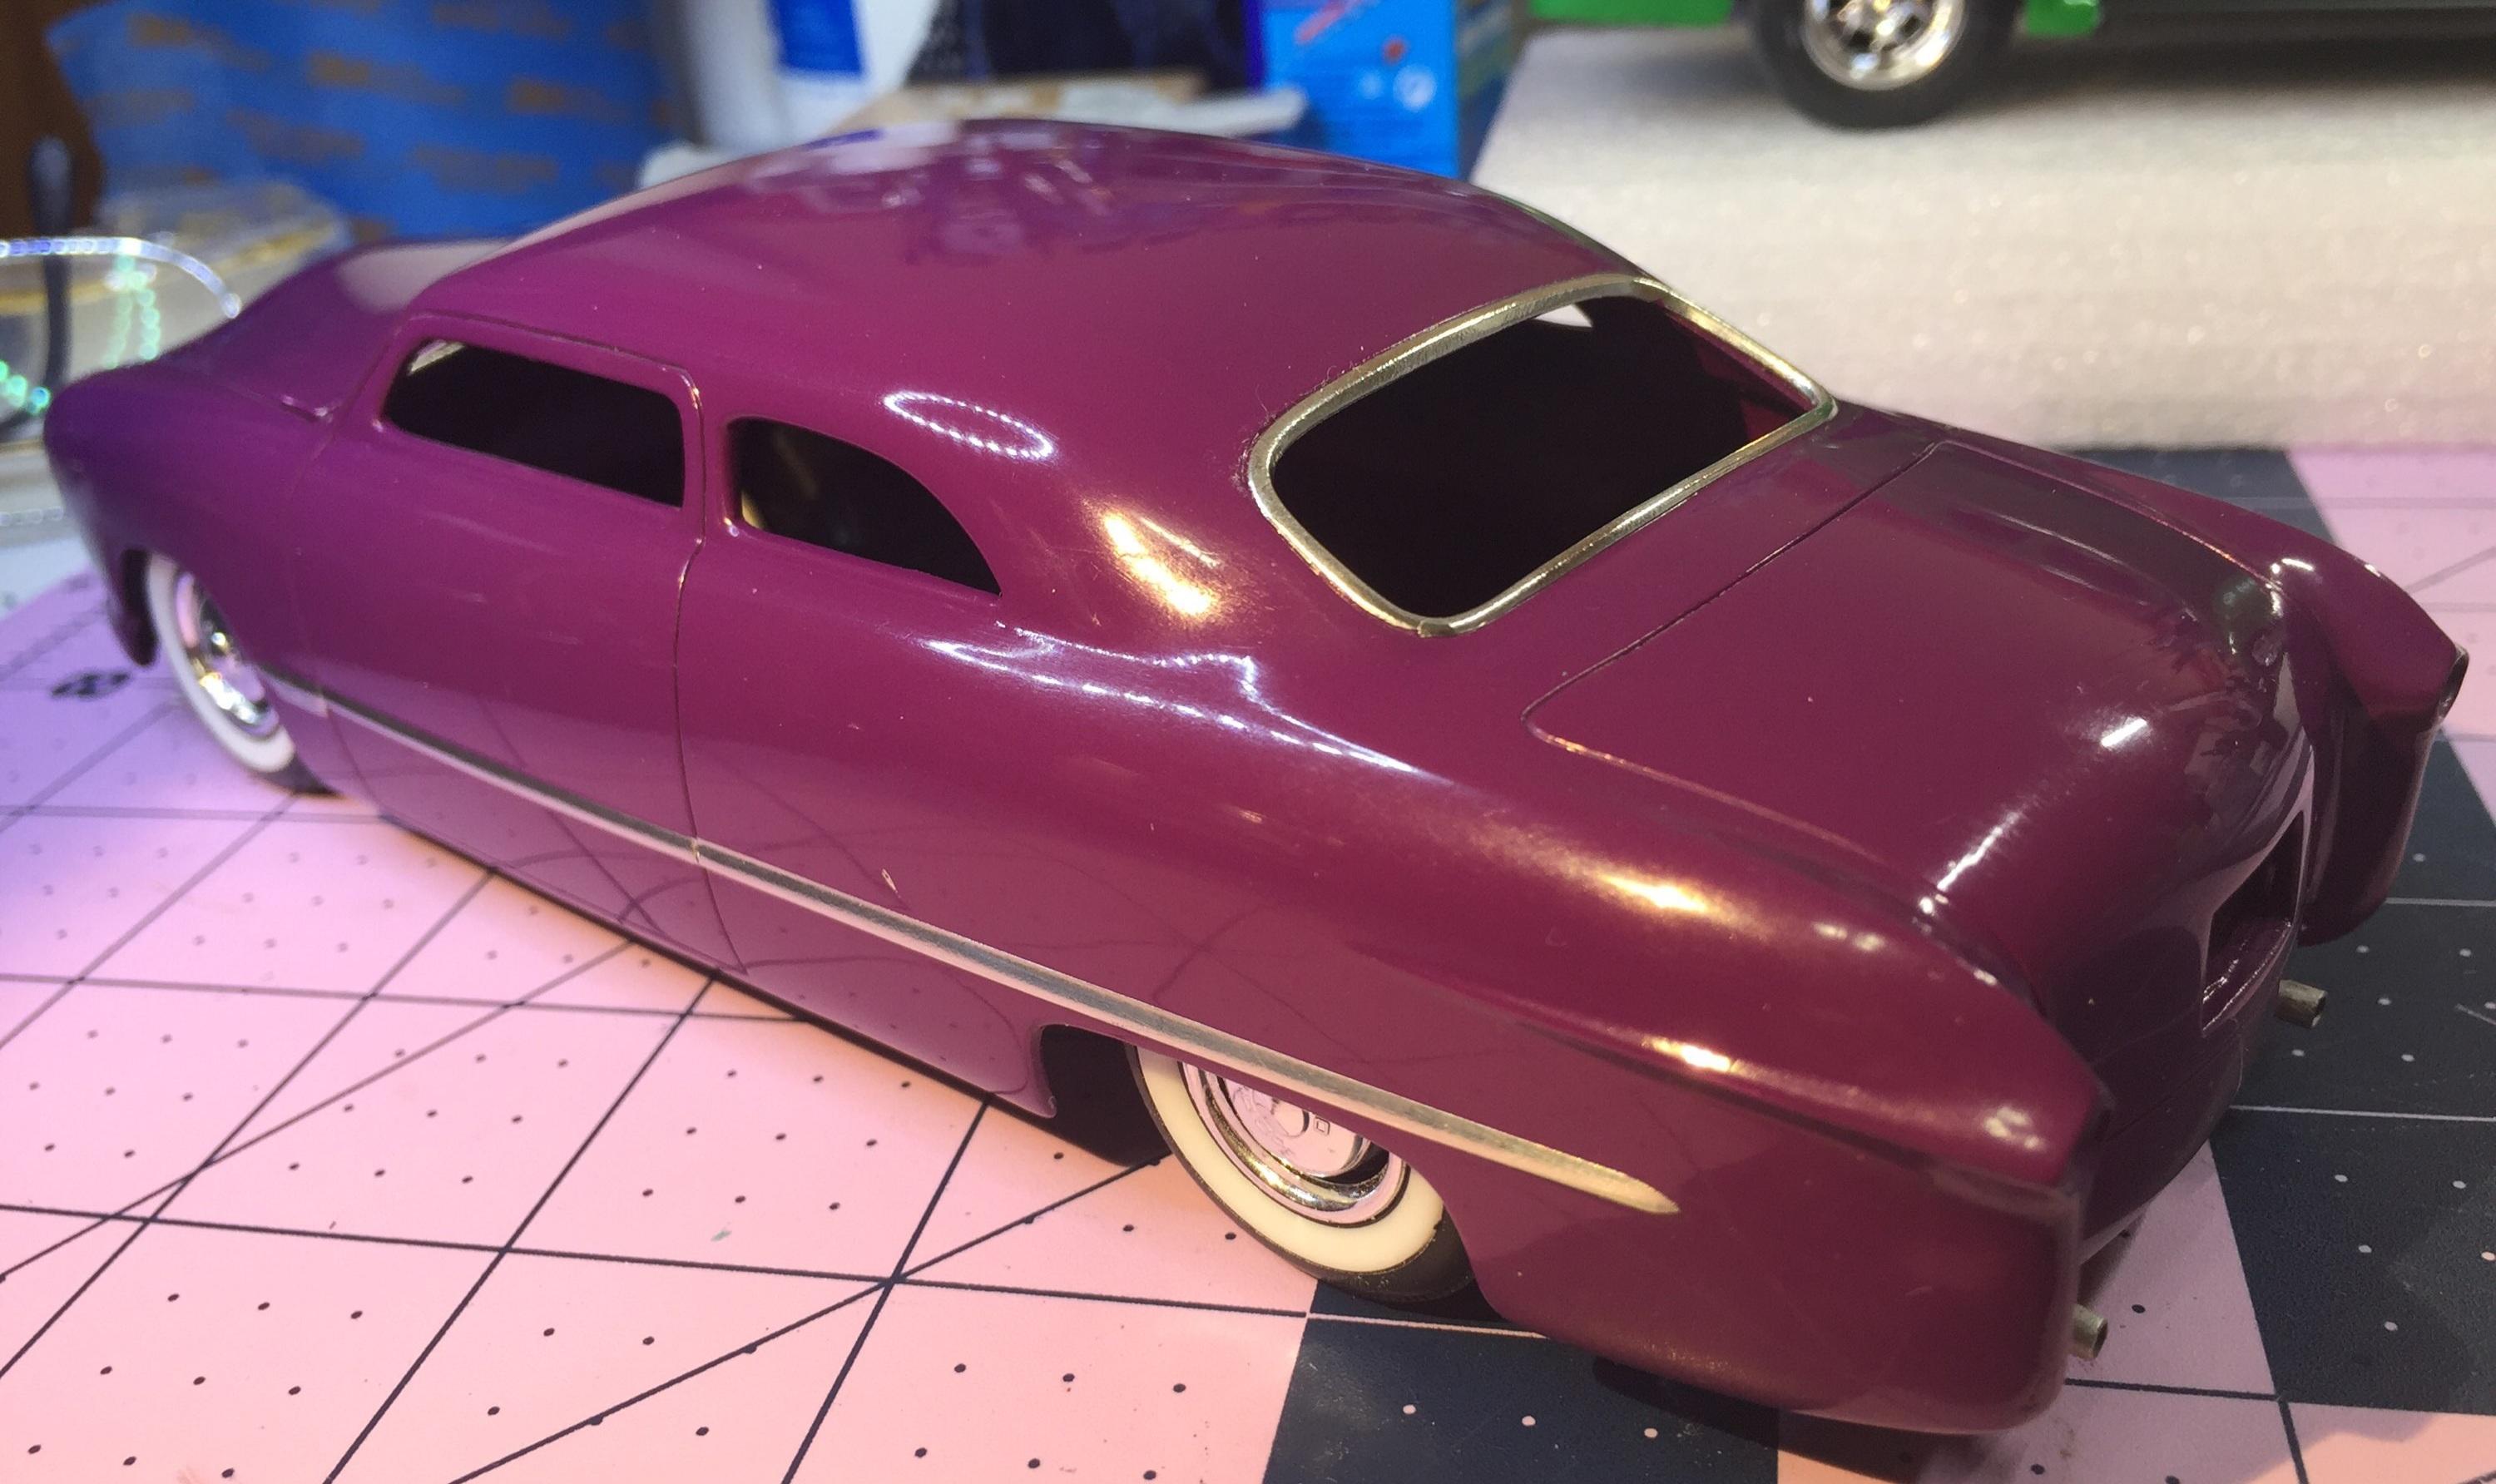
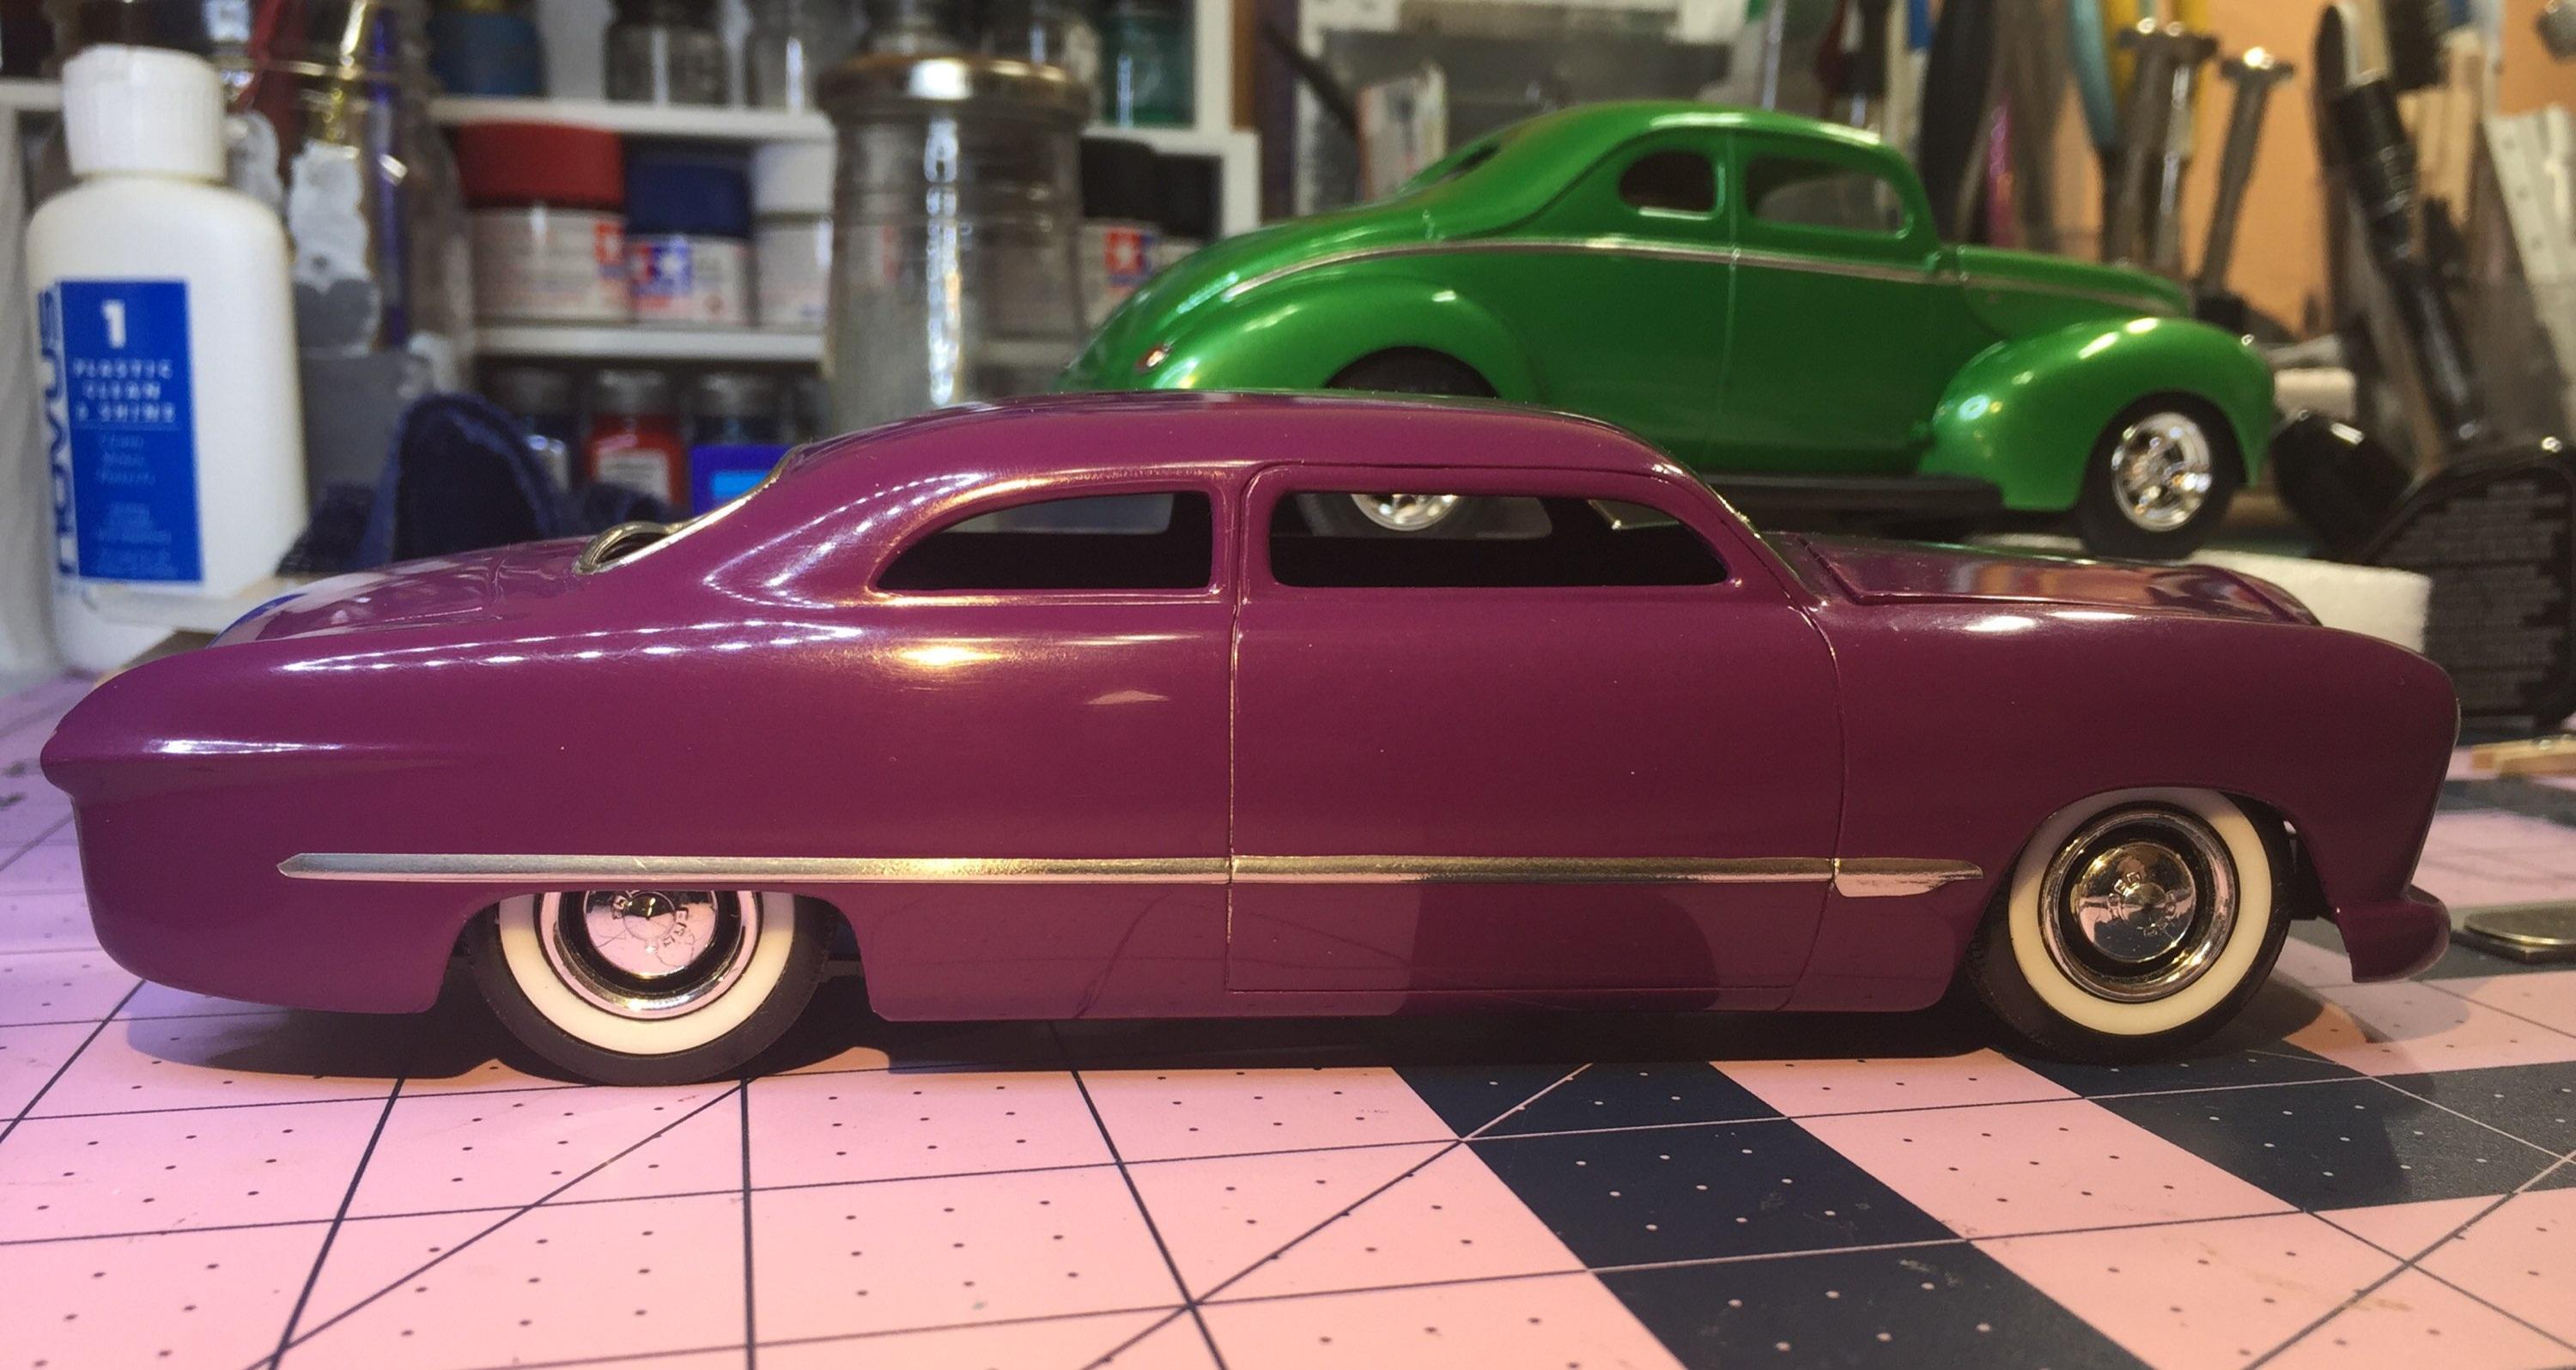
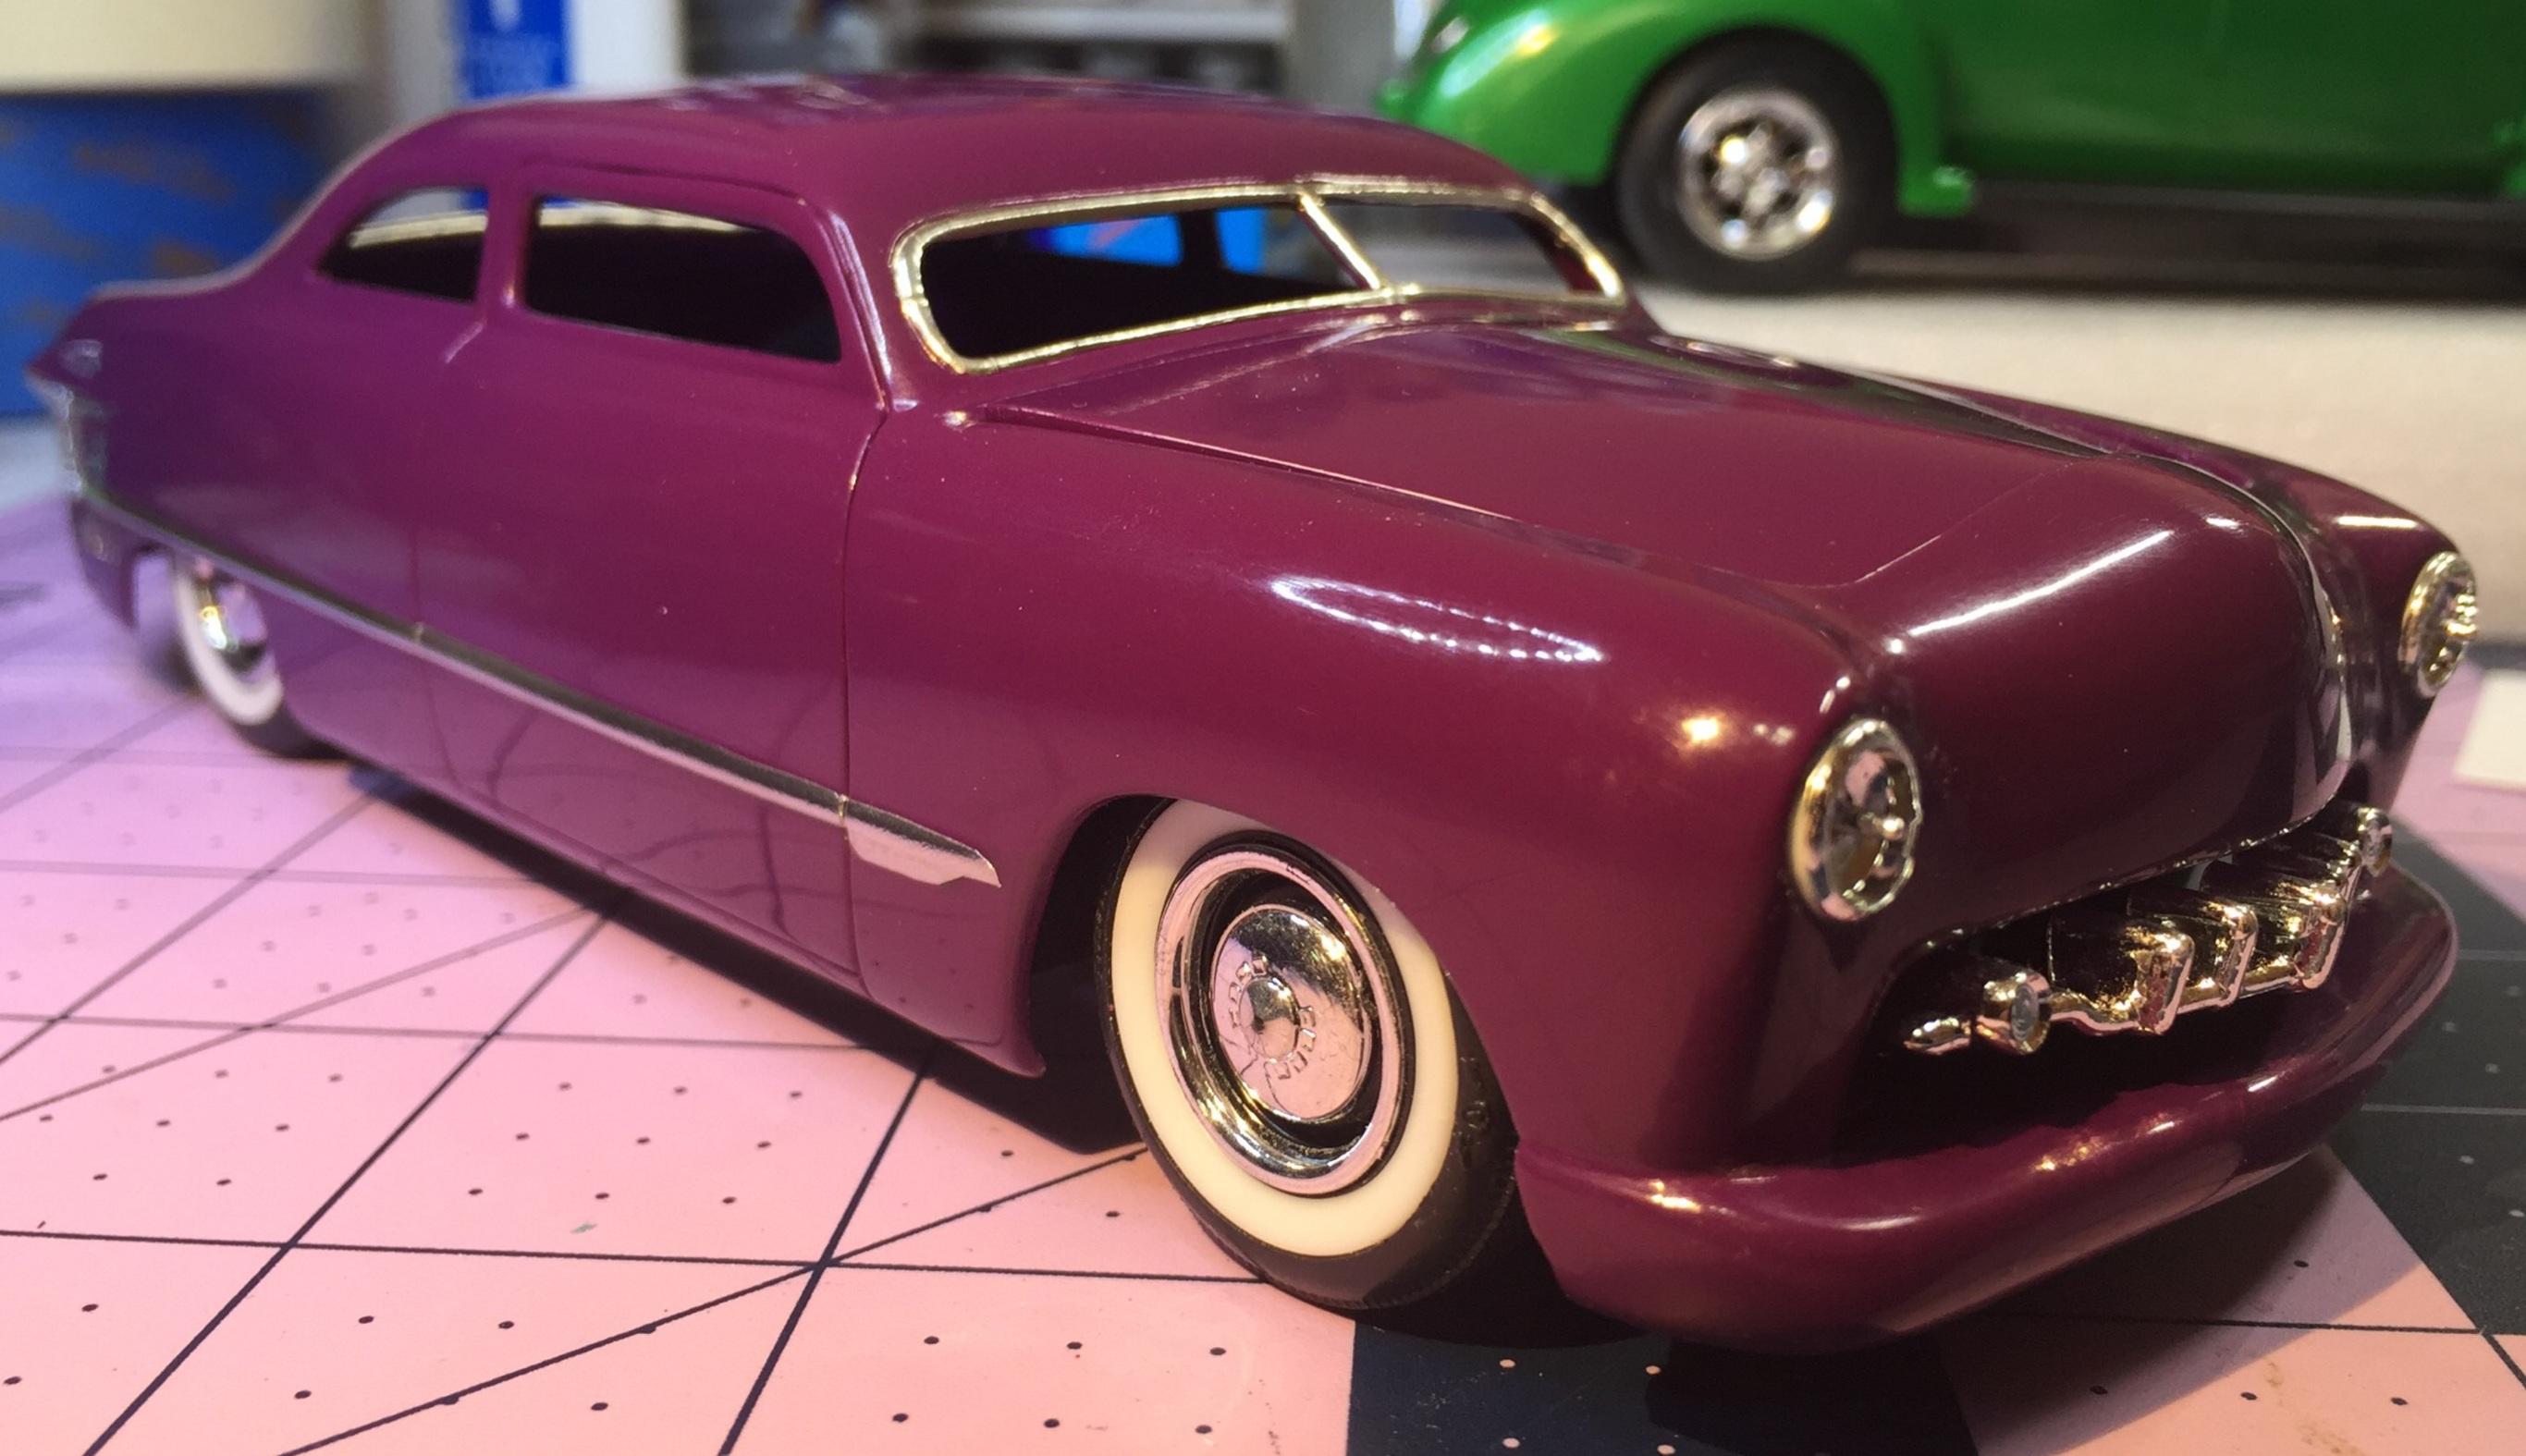
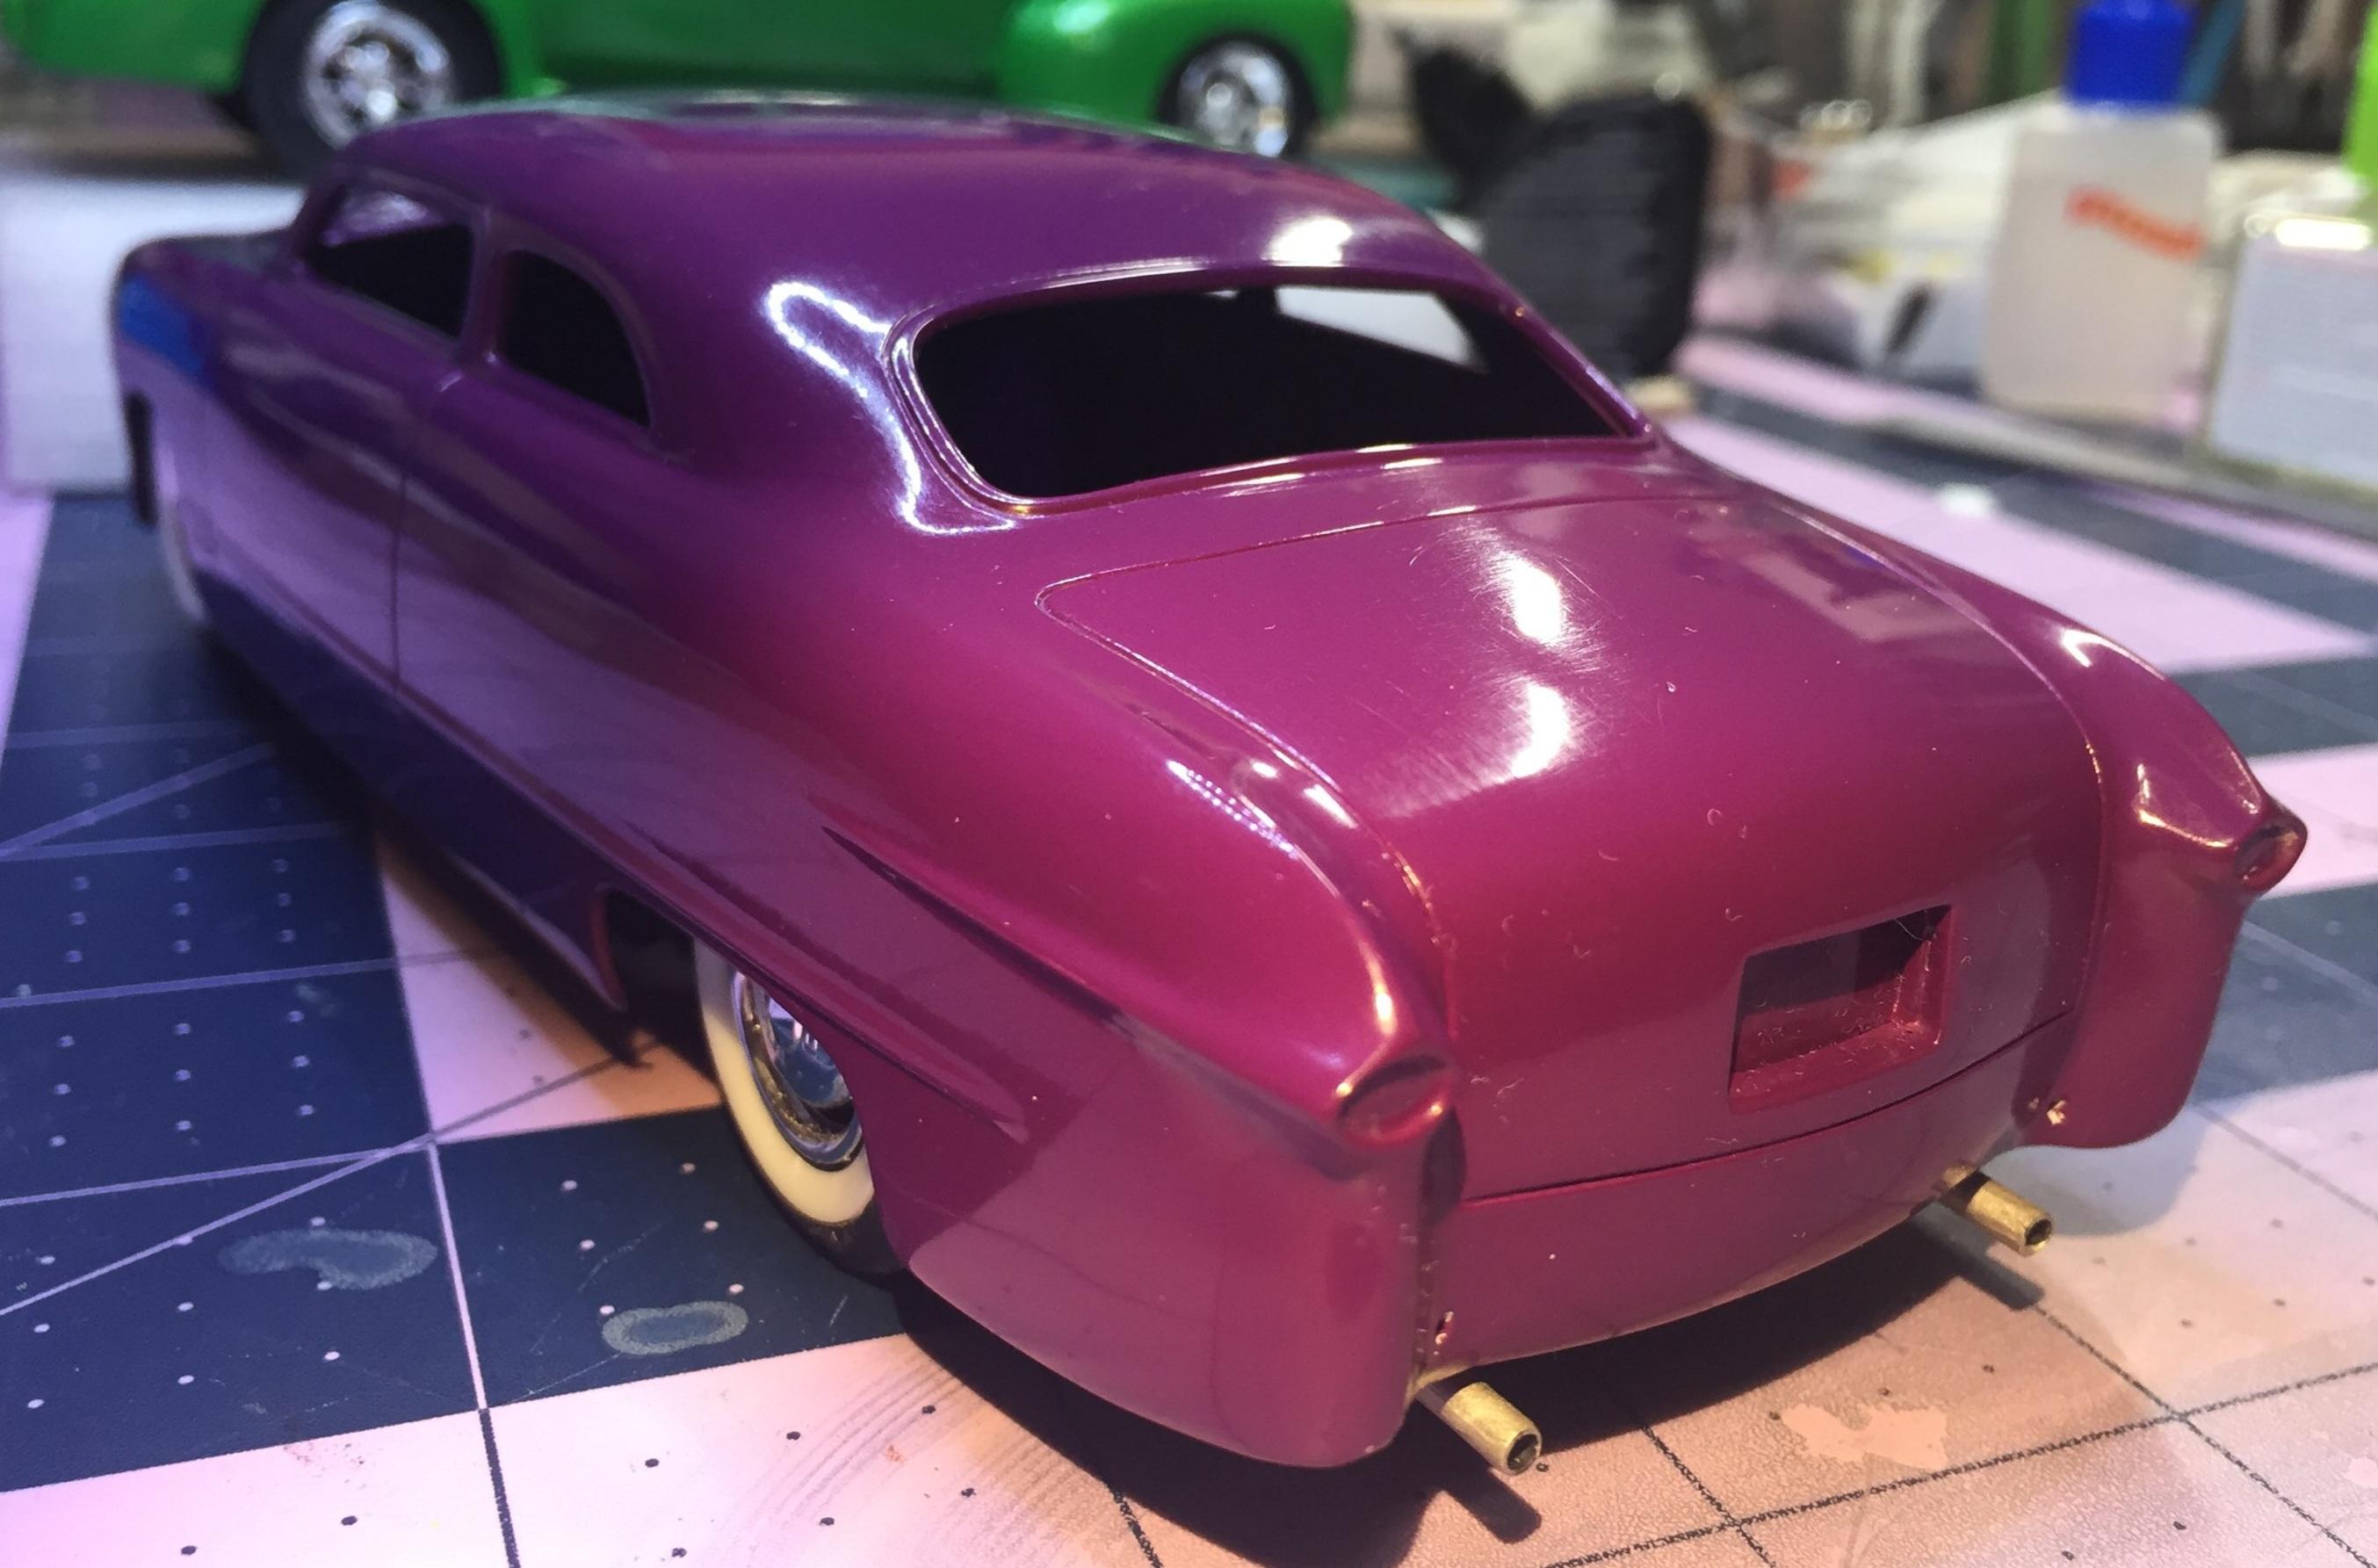
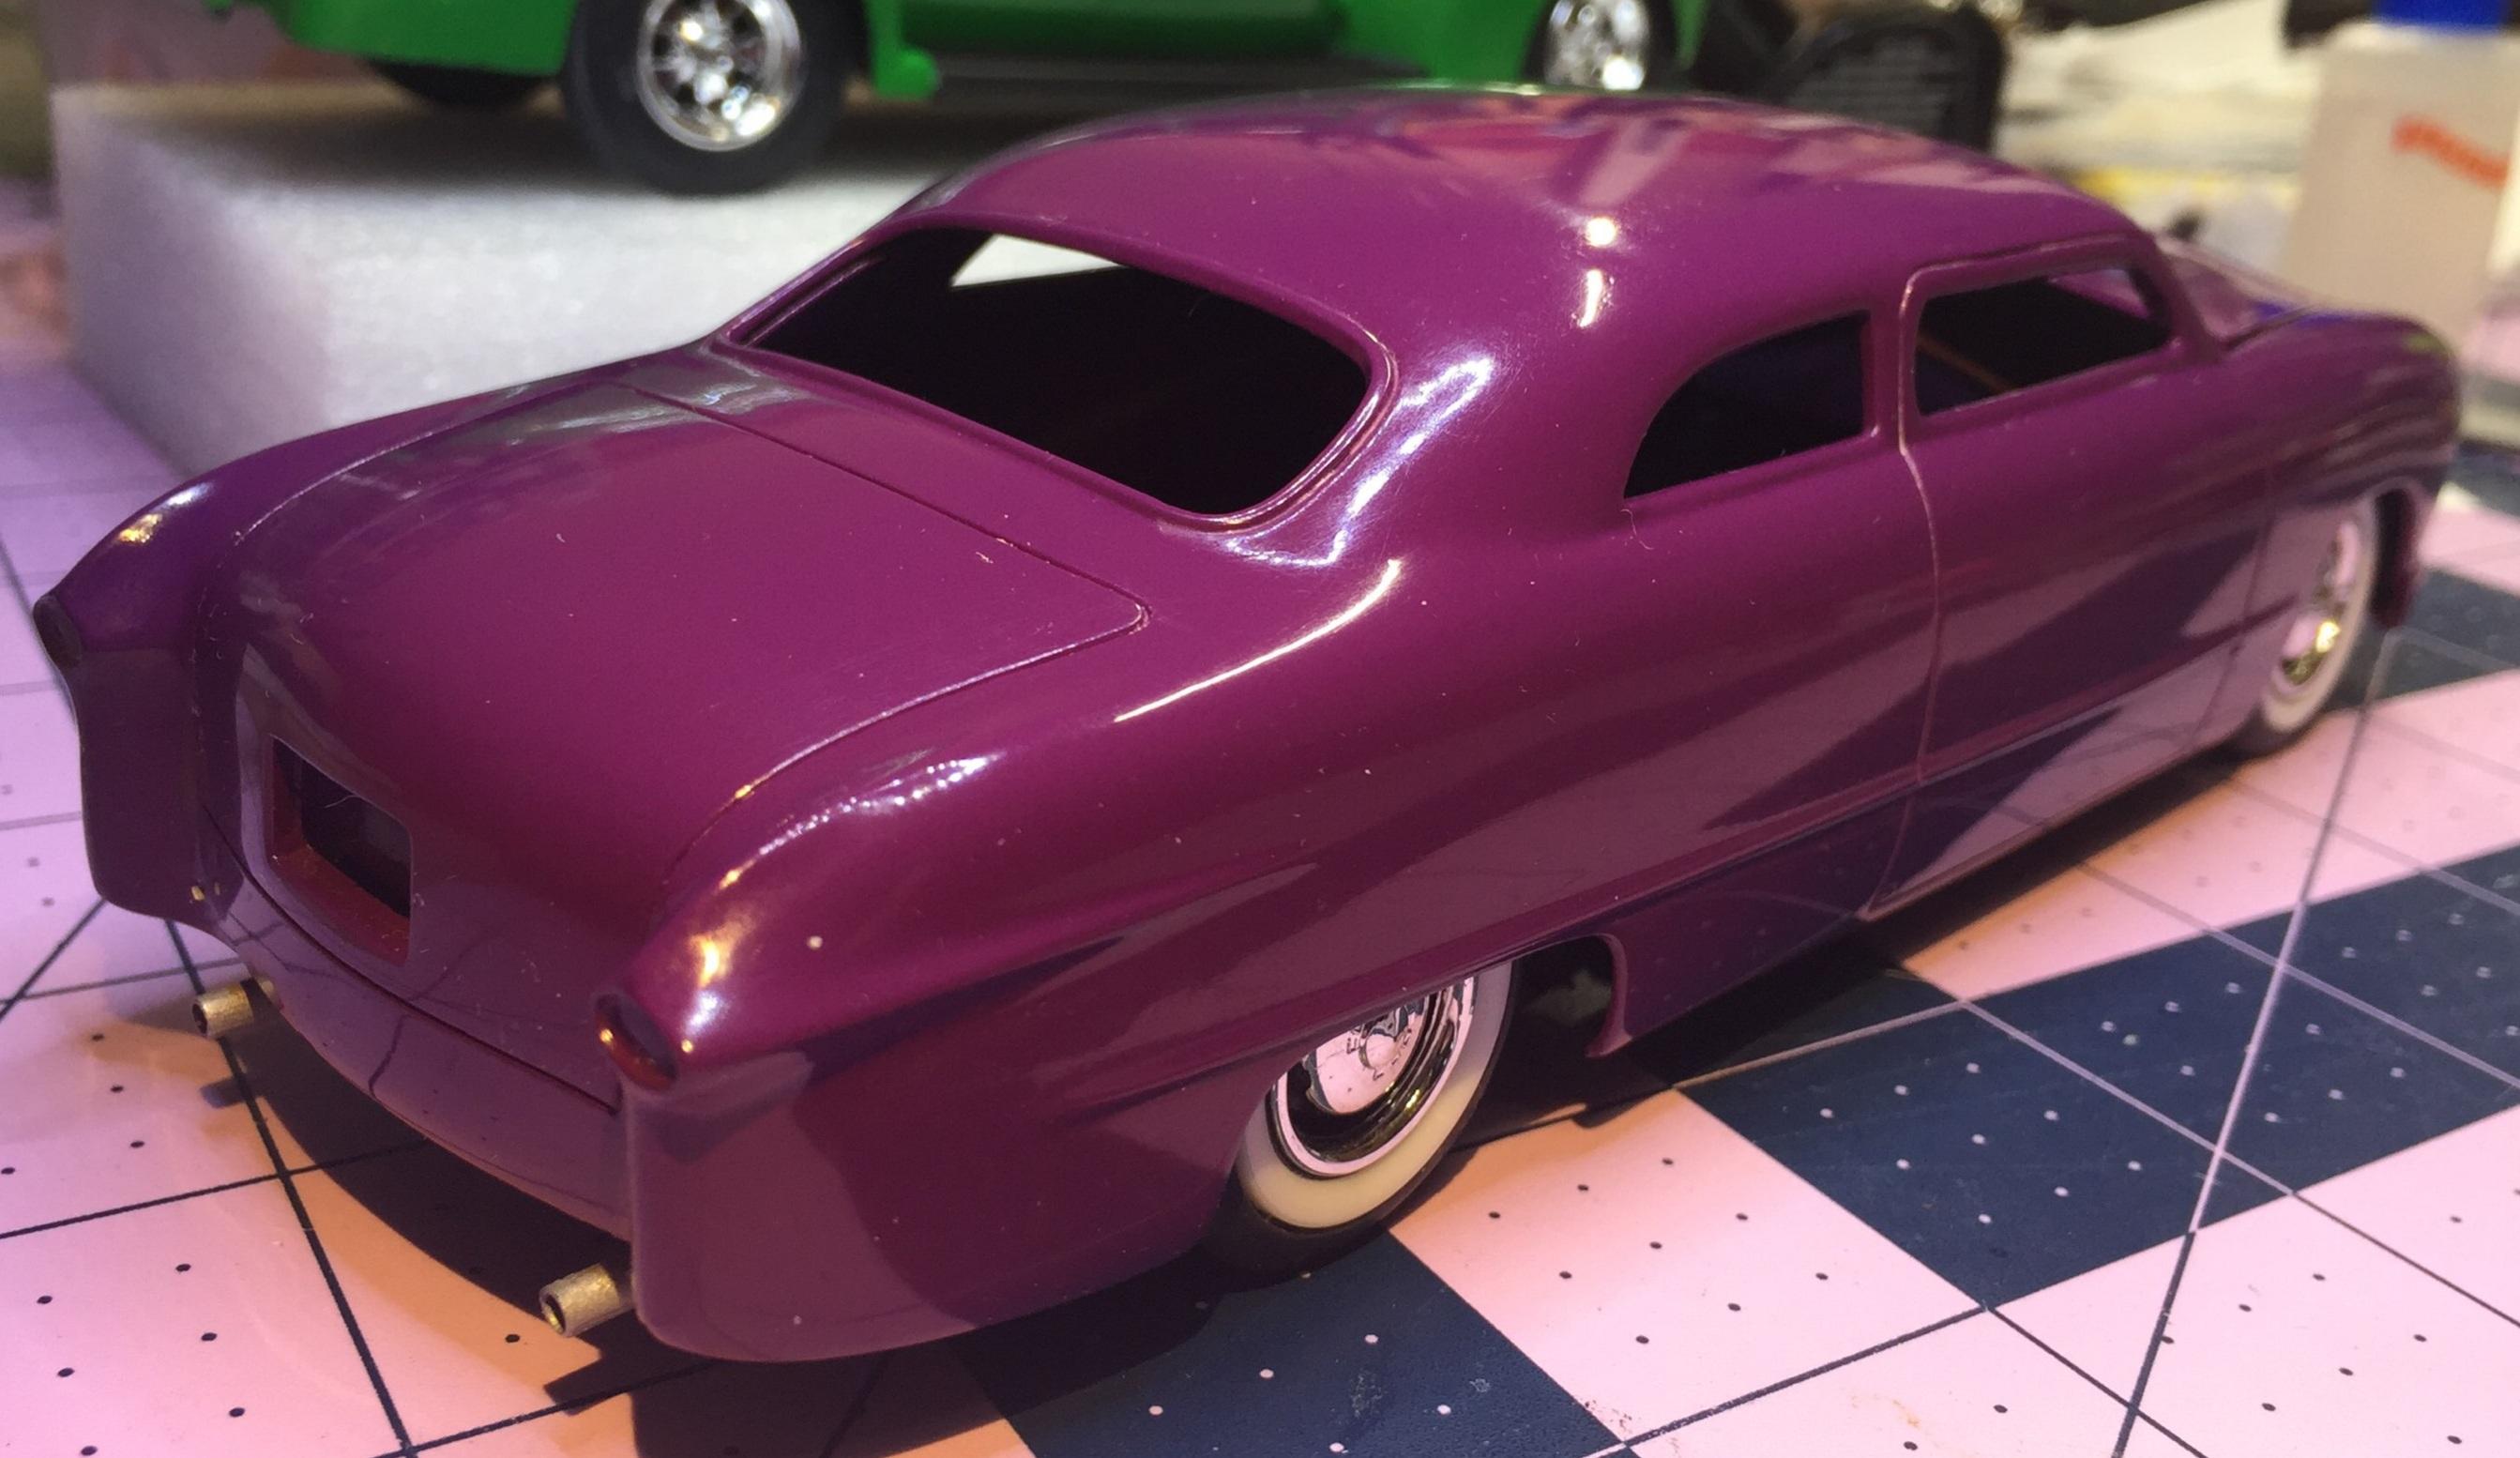
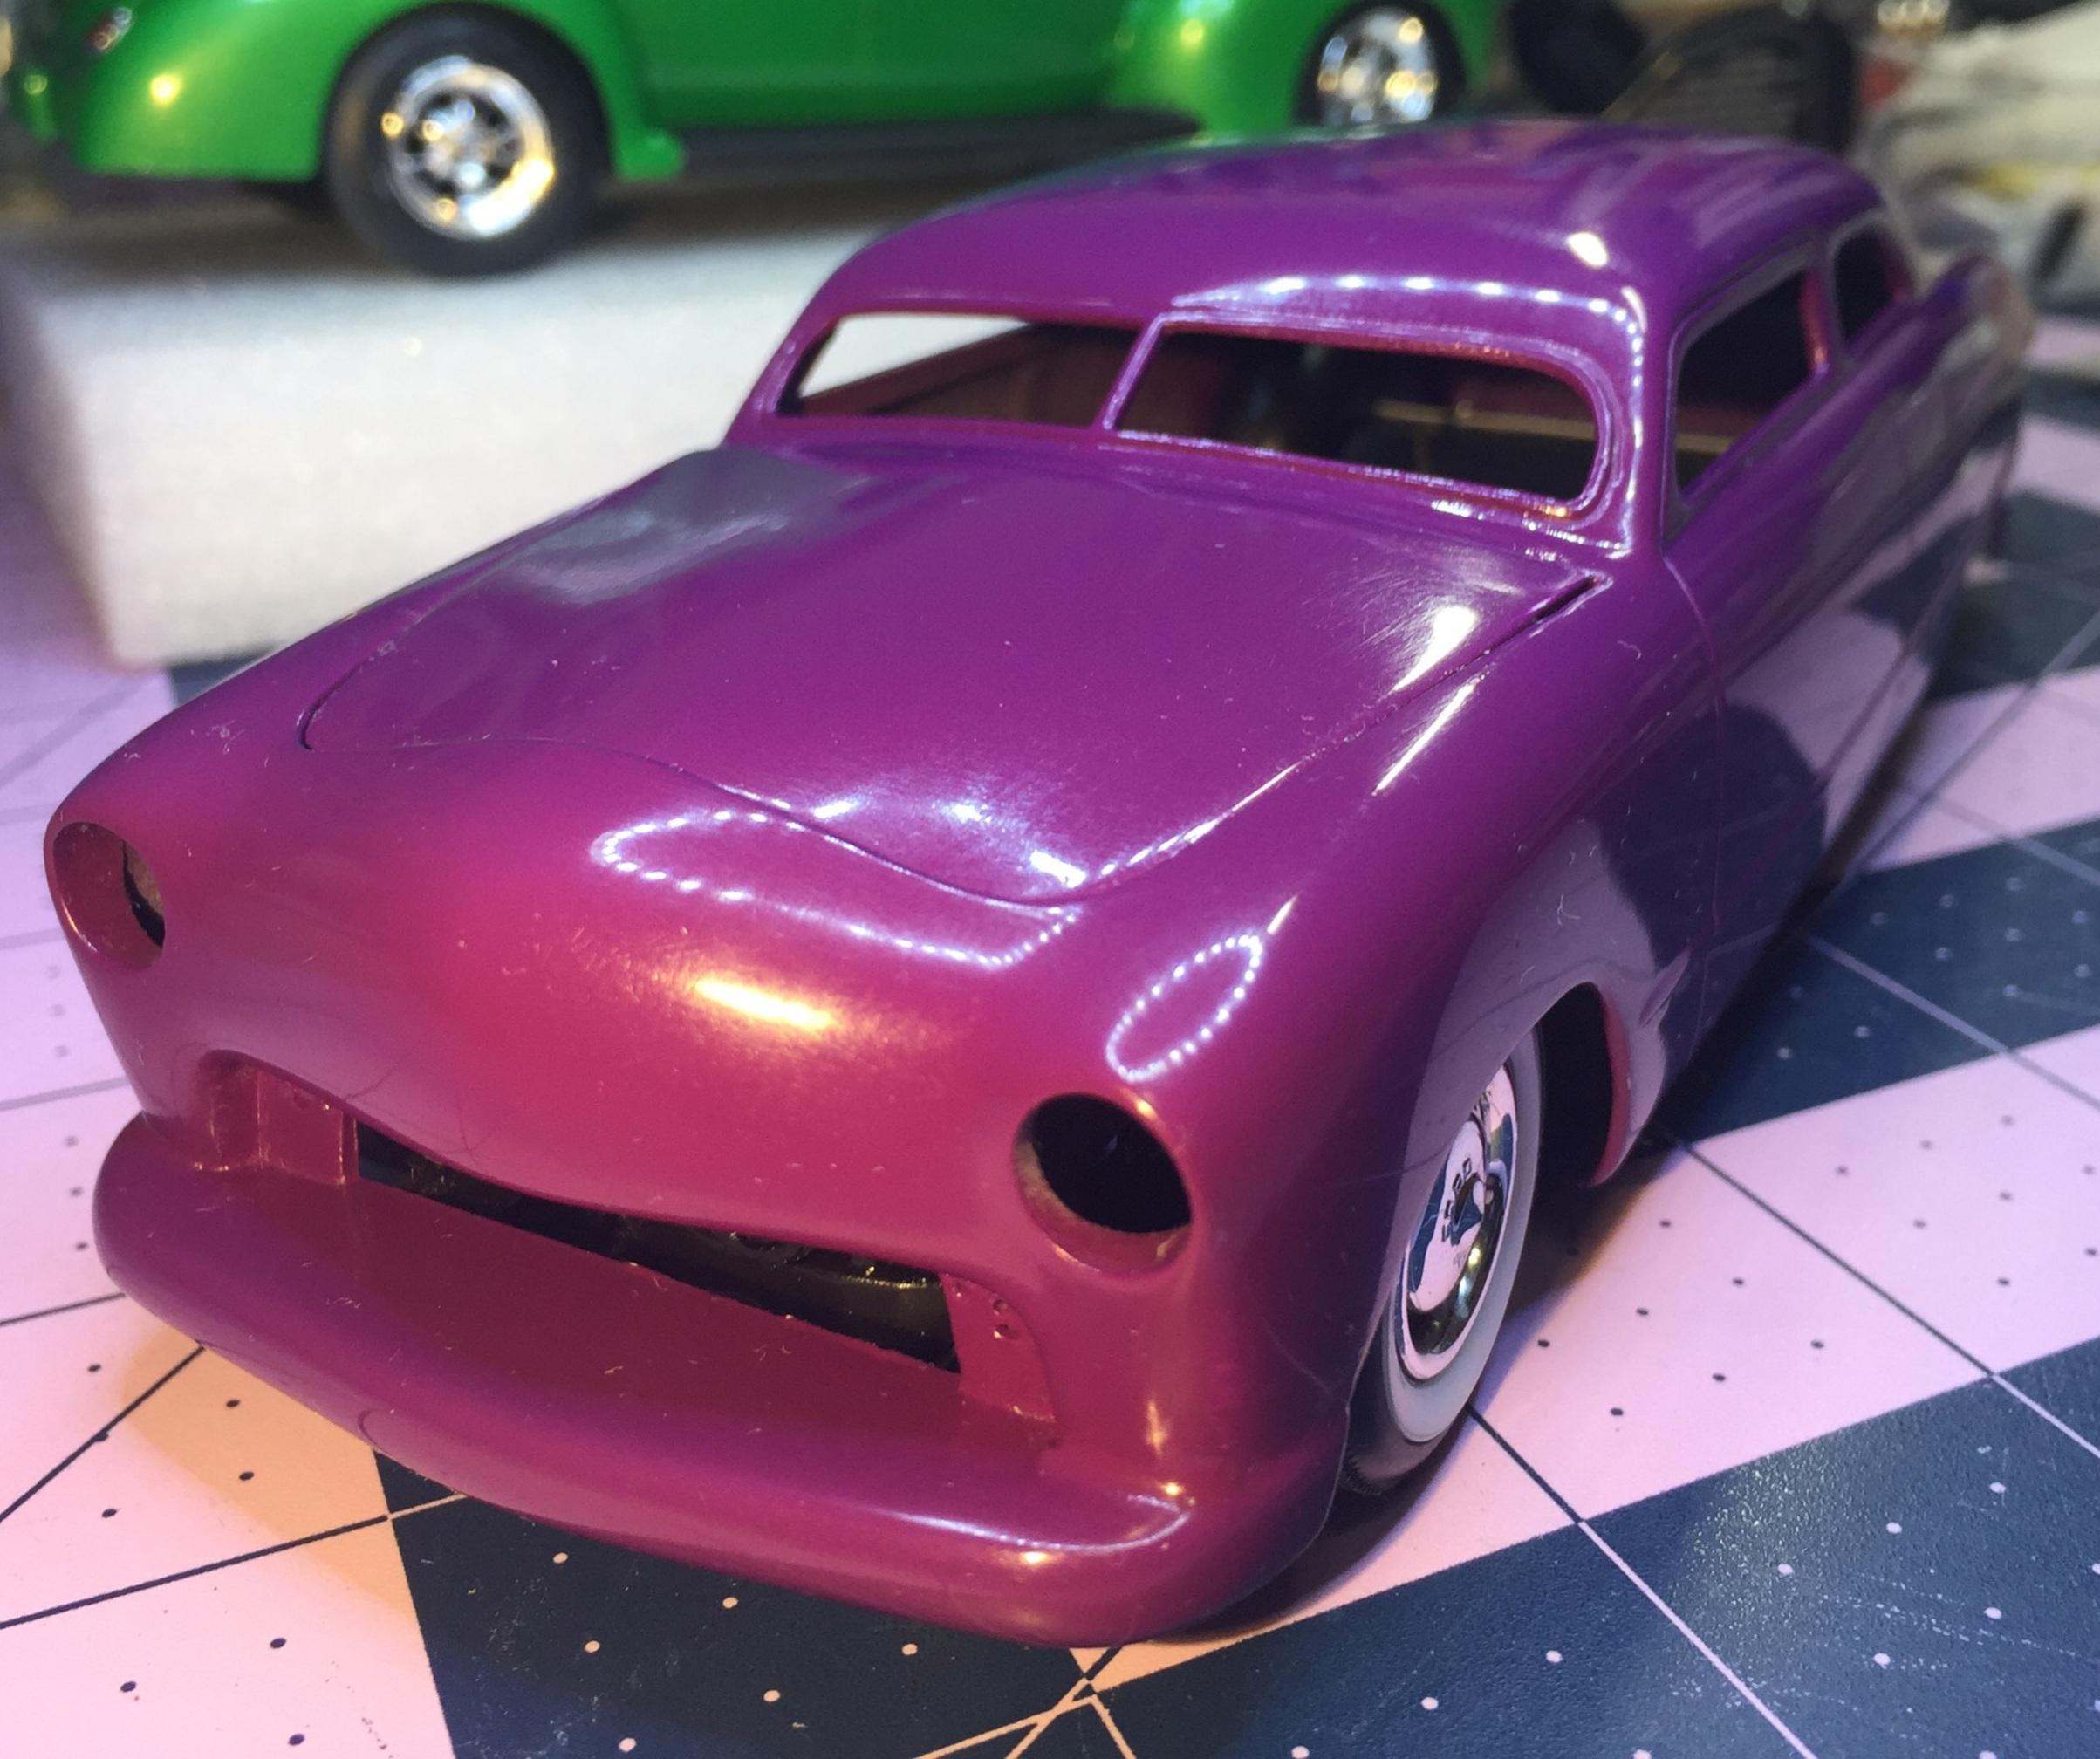
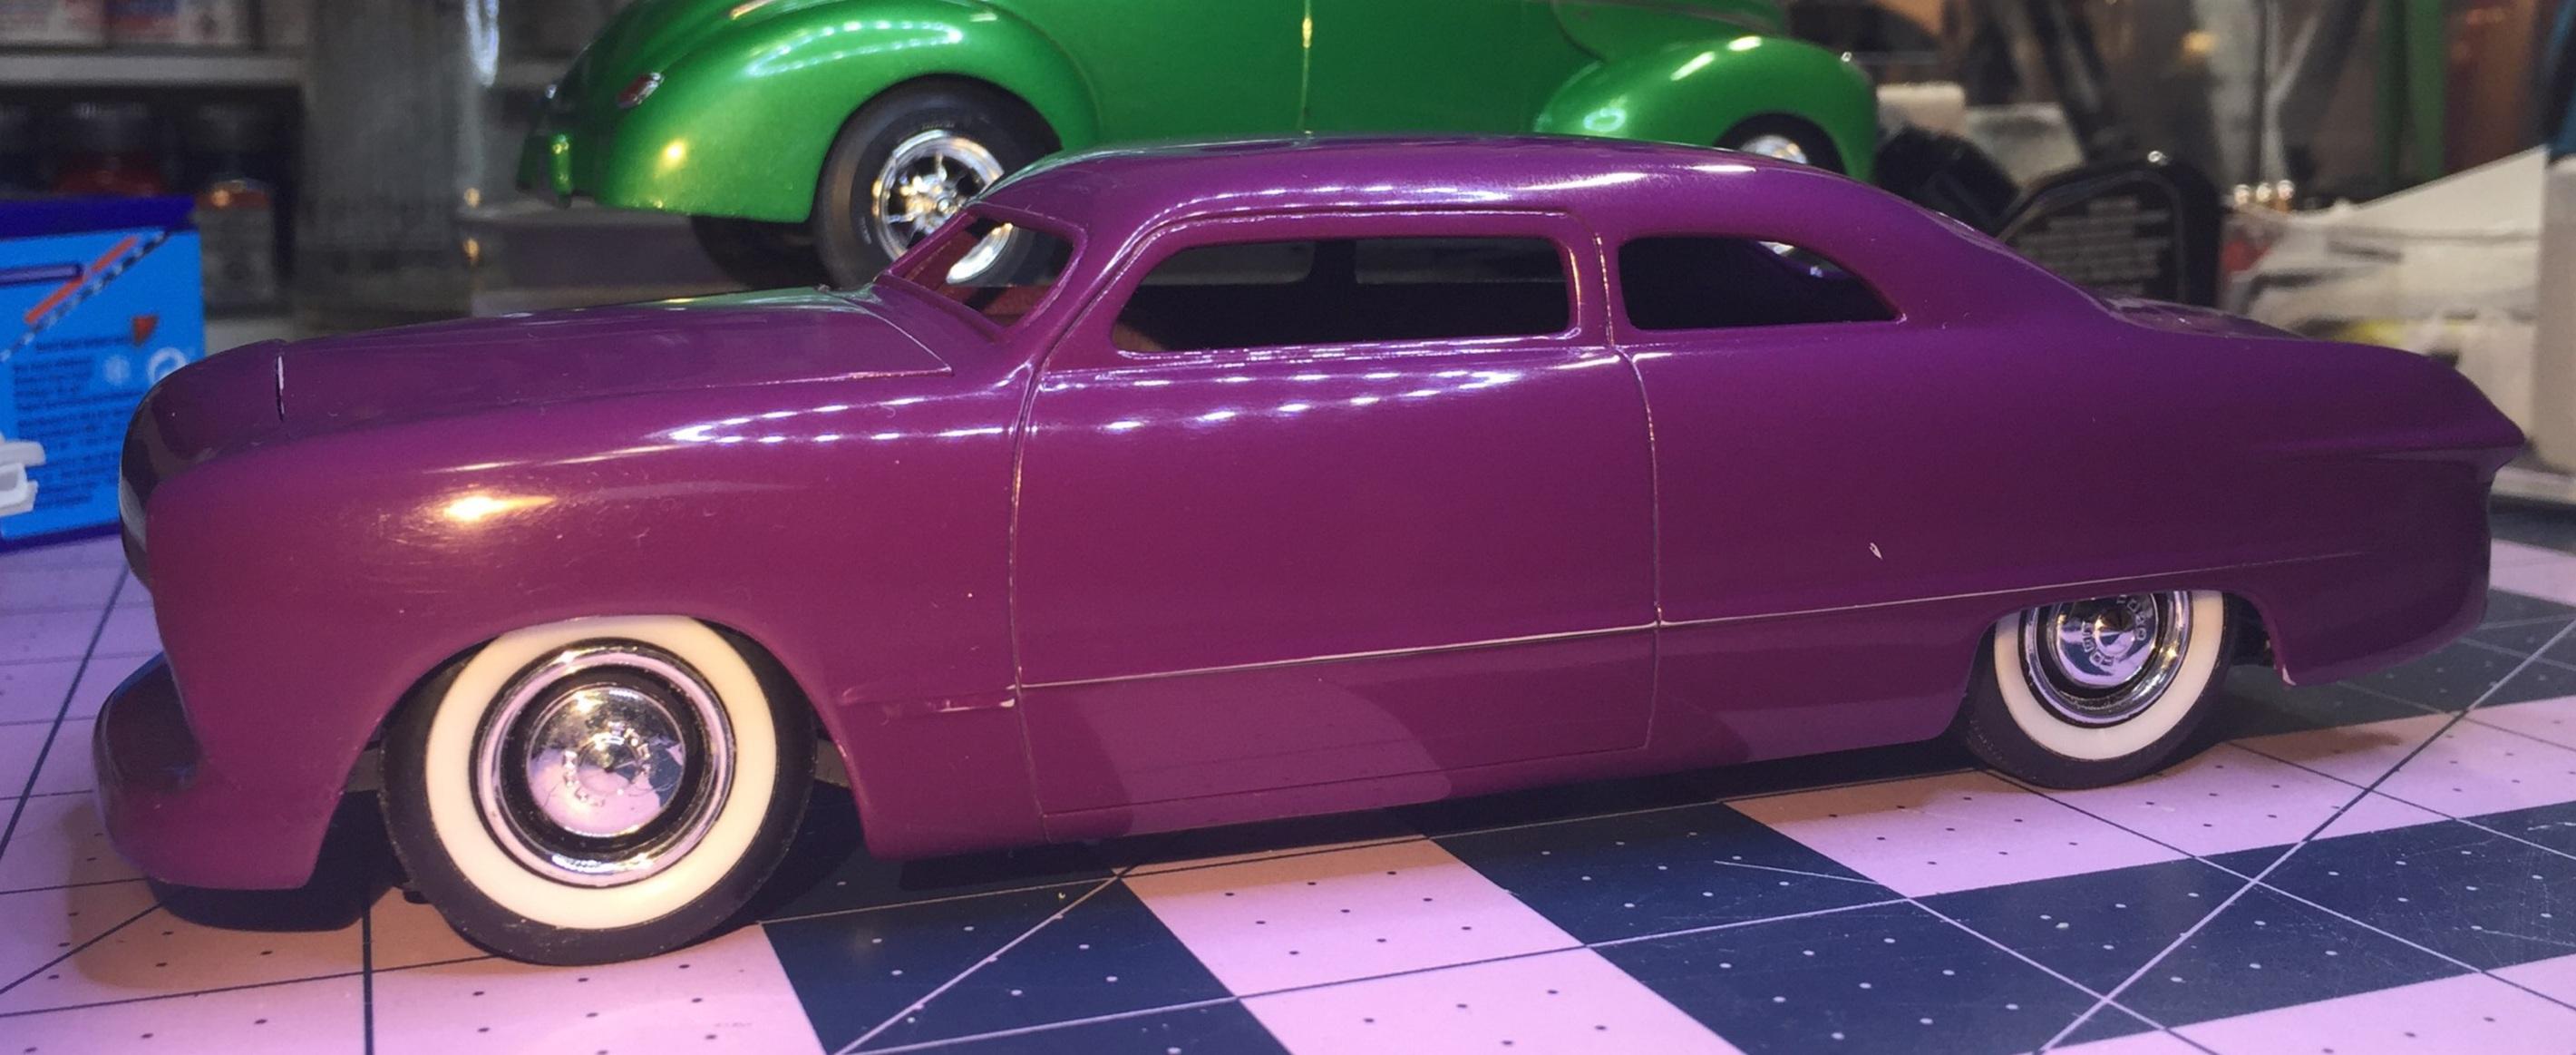
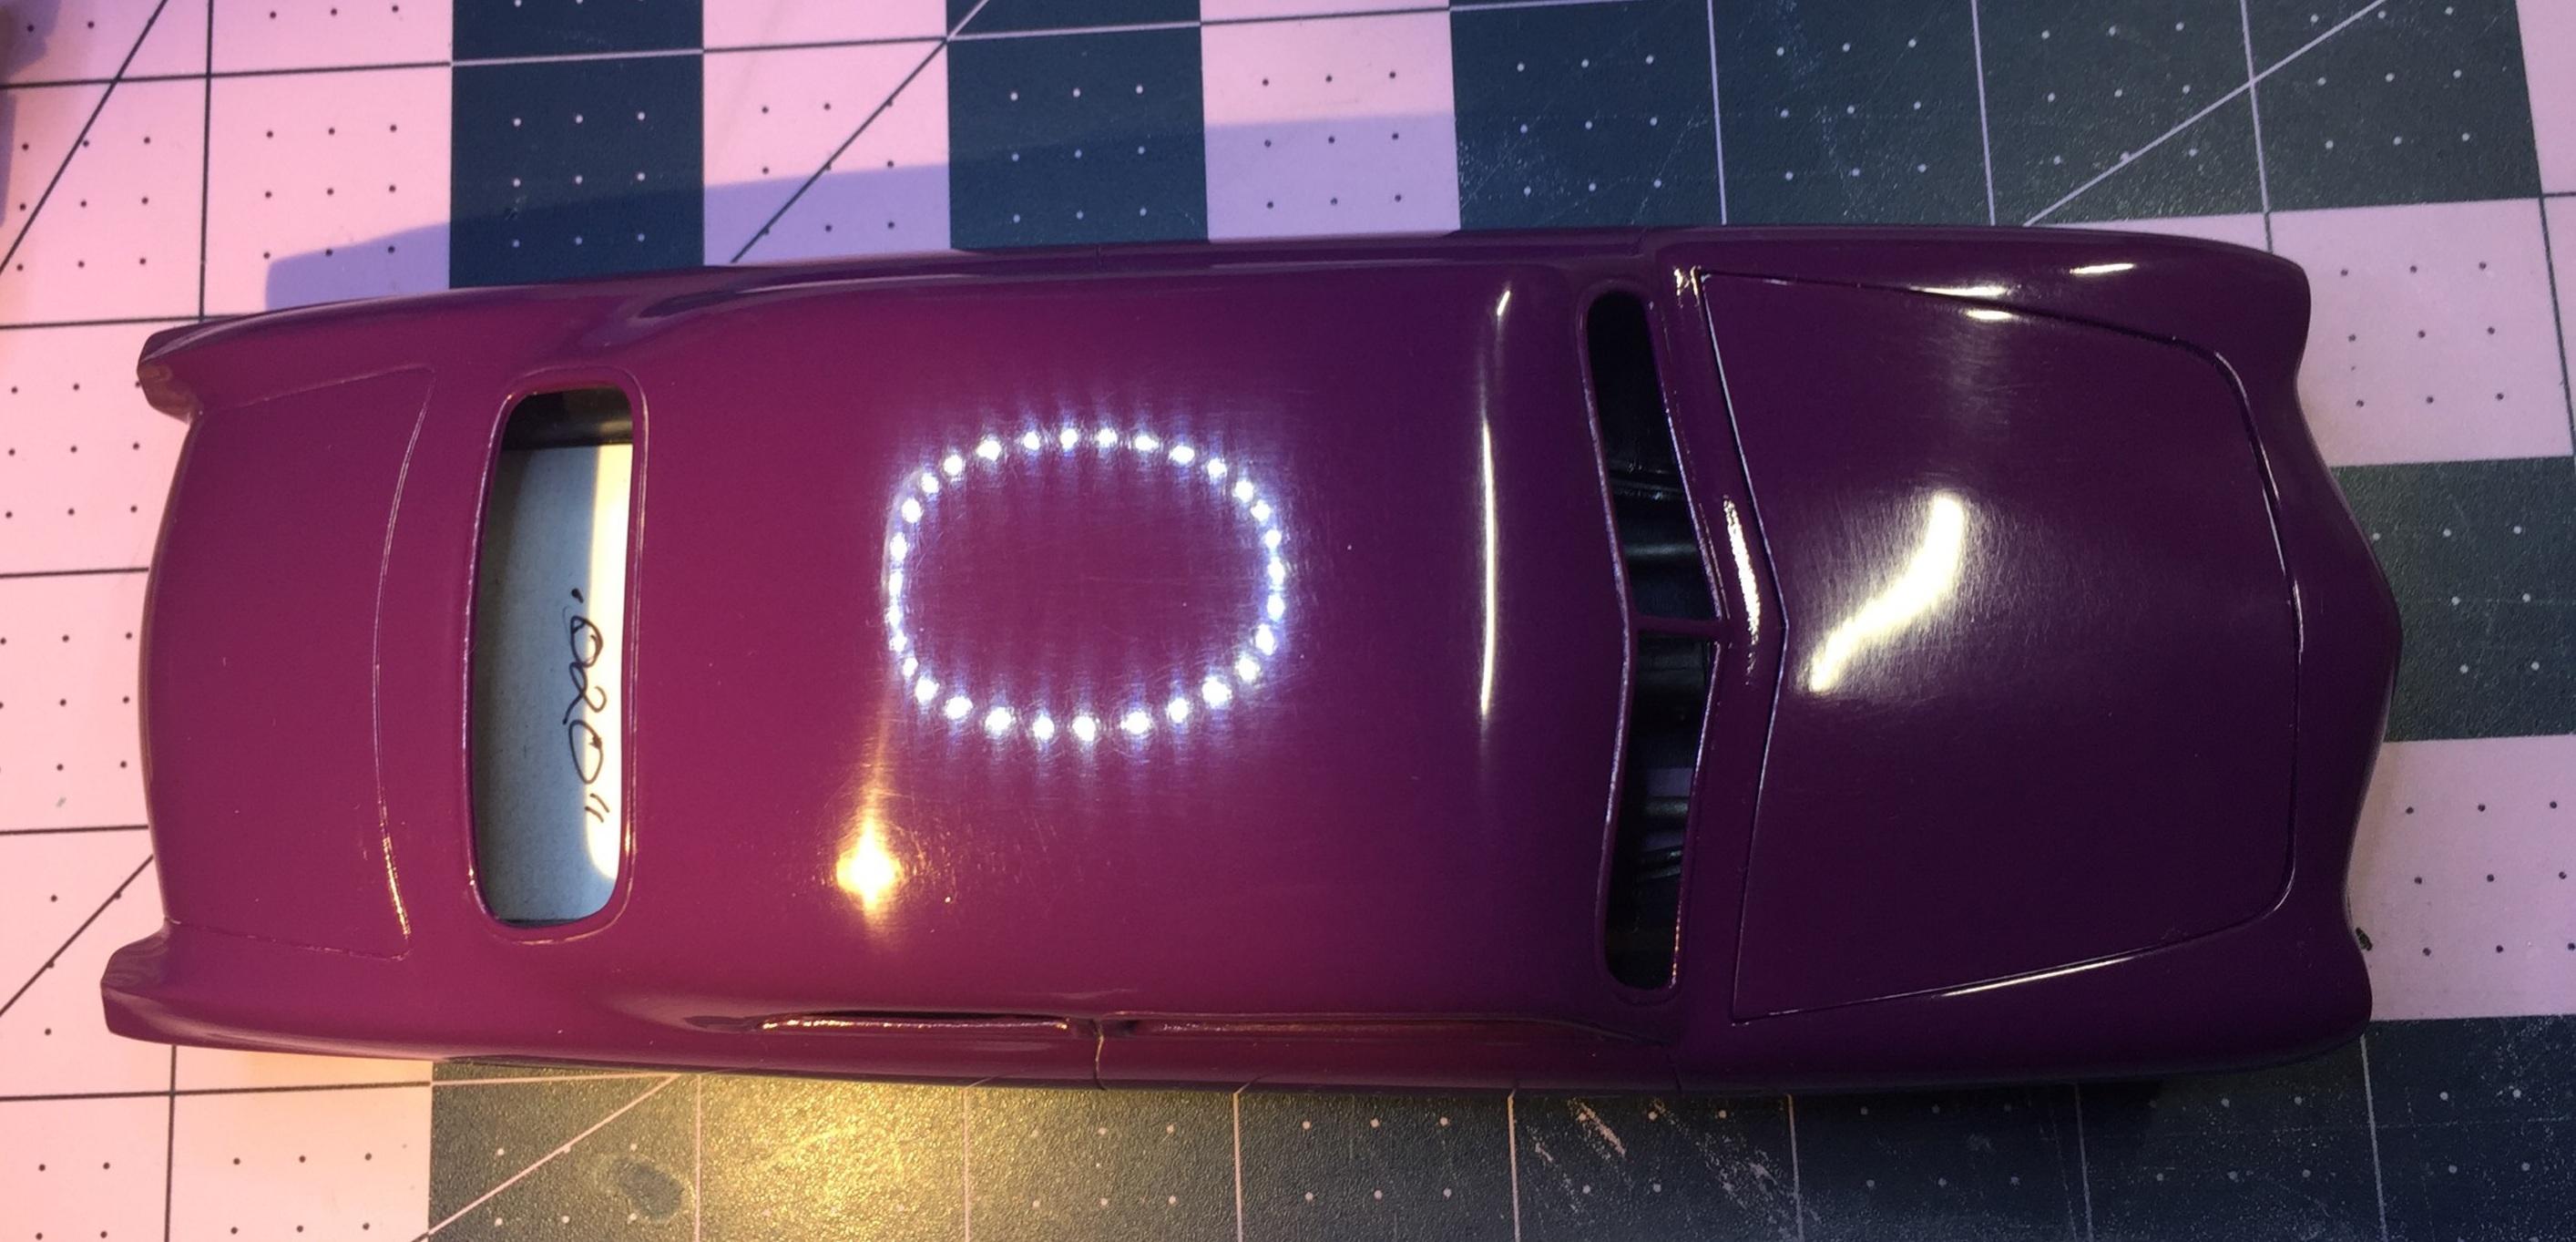
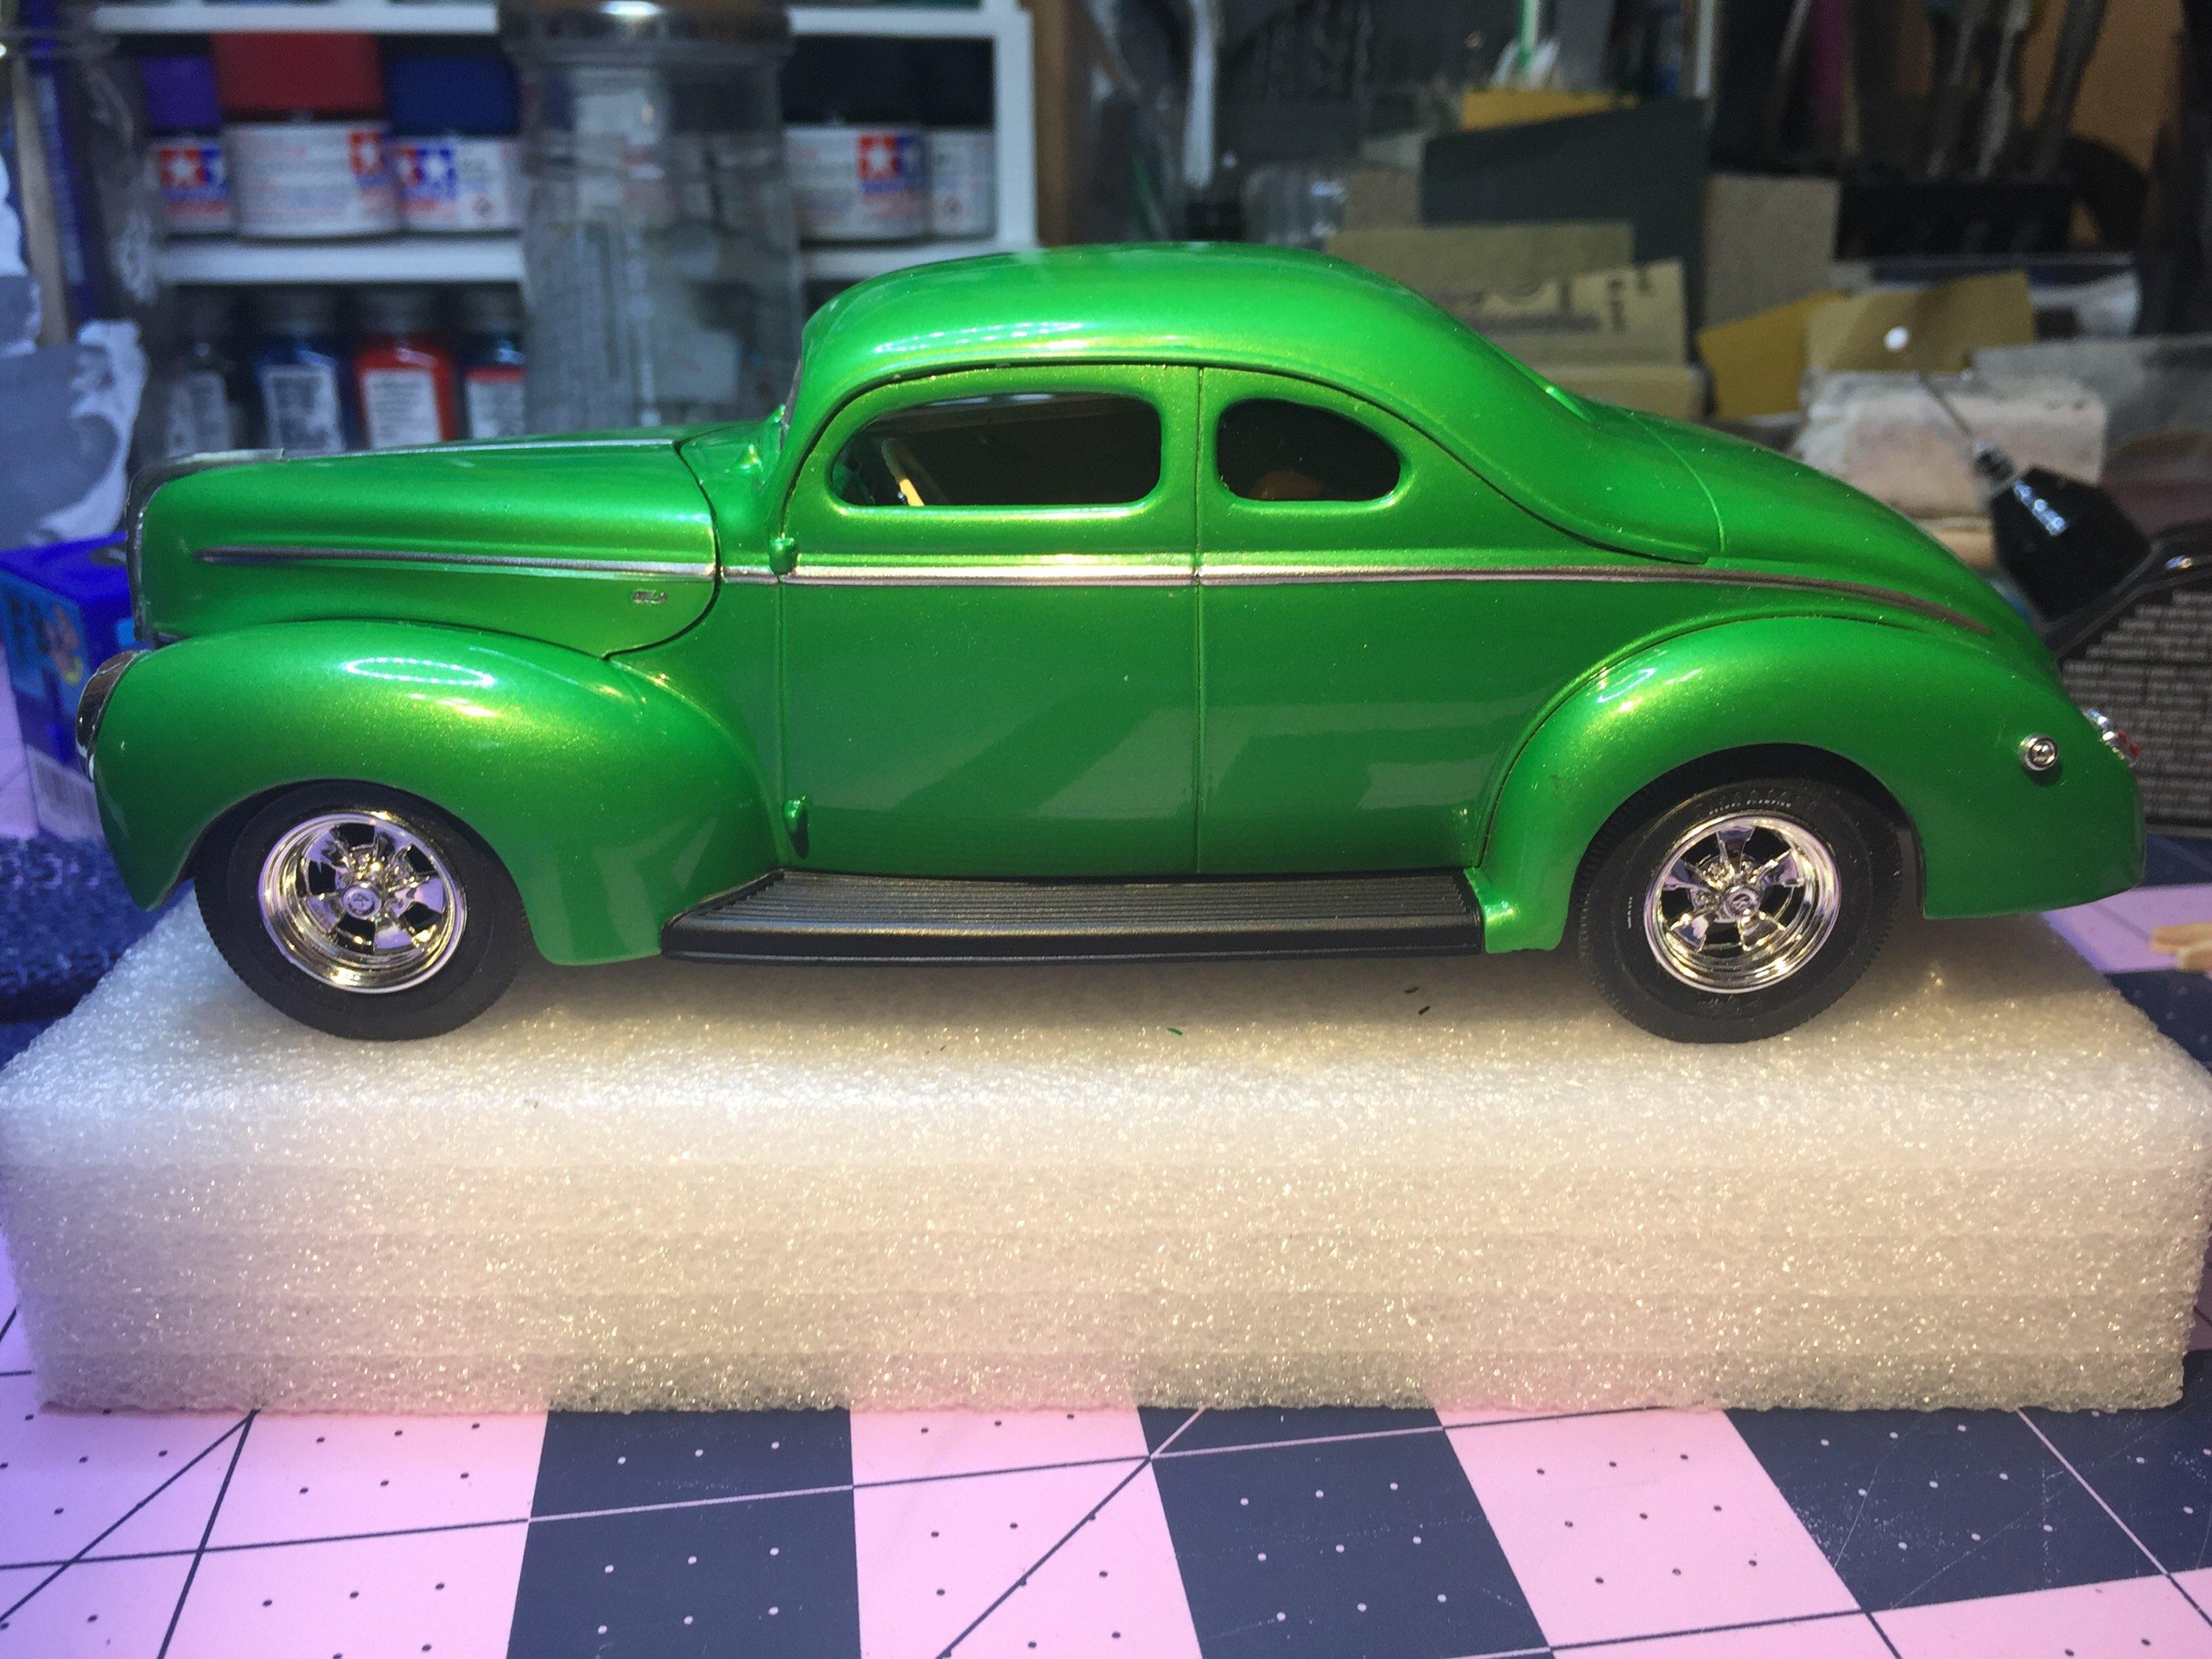
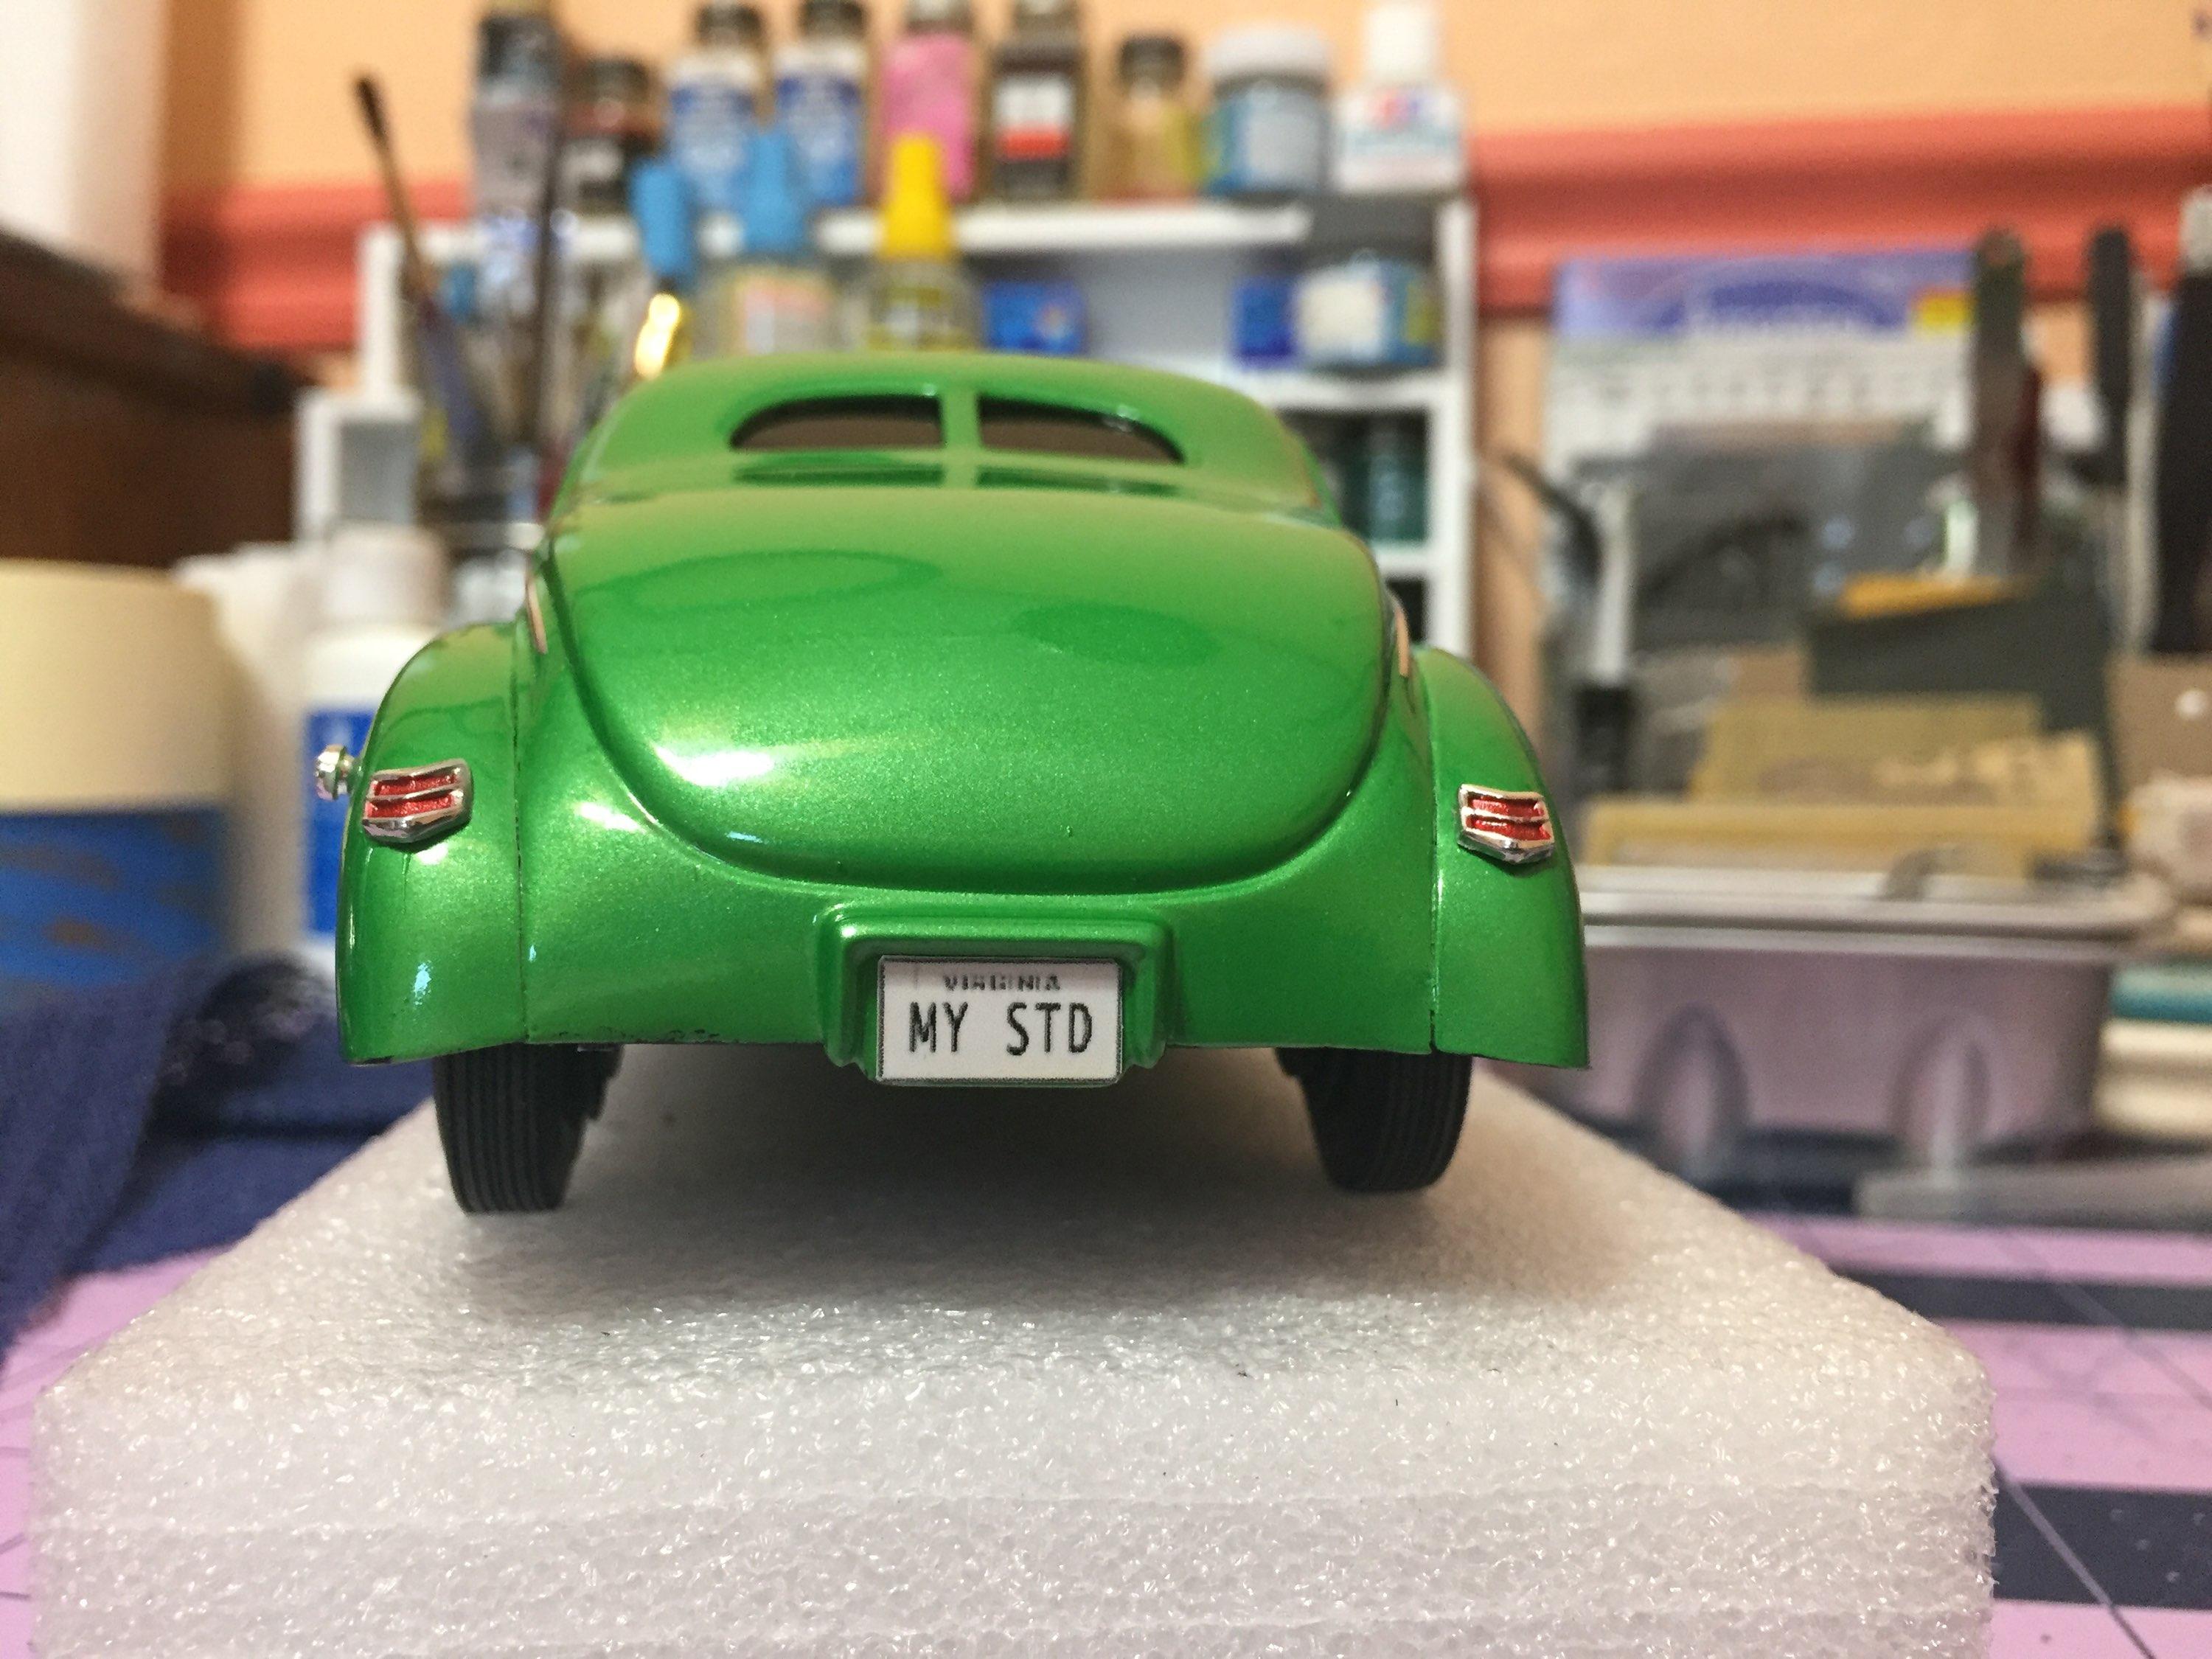
It appears there was enough paint on the body to support the rub-out. No serious burn-through anywhere. The hood will get repainted - too much white around the edges. The should call this color something else. It's not "lavender." Foil is next 🙂
-
I totally agree with Carl and John. Brilliant work on the upholstery, especially the seat inserts. Going with white will help with viewing all that nice work...I wish AMT had made a convertible version of this car.
-
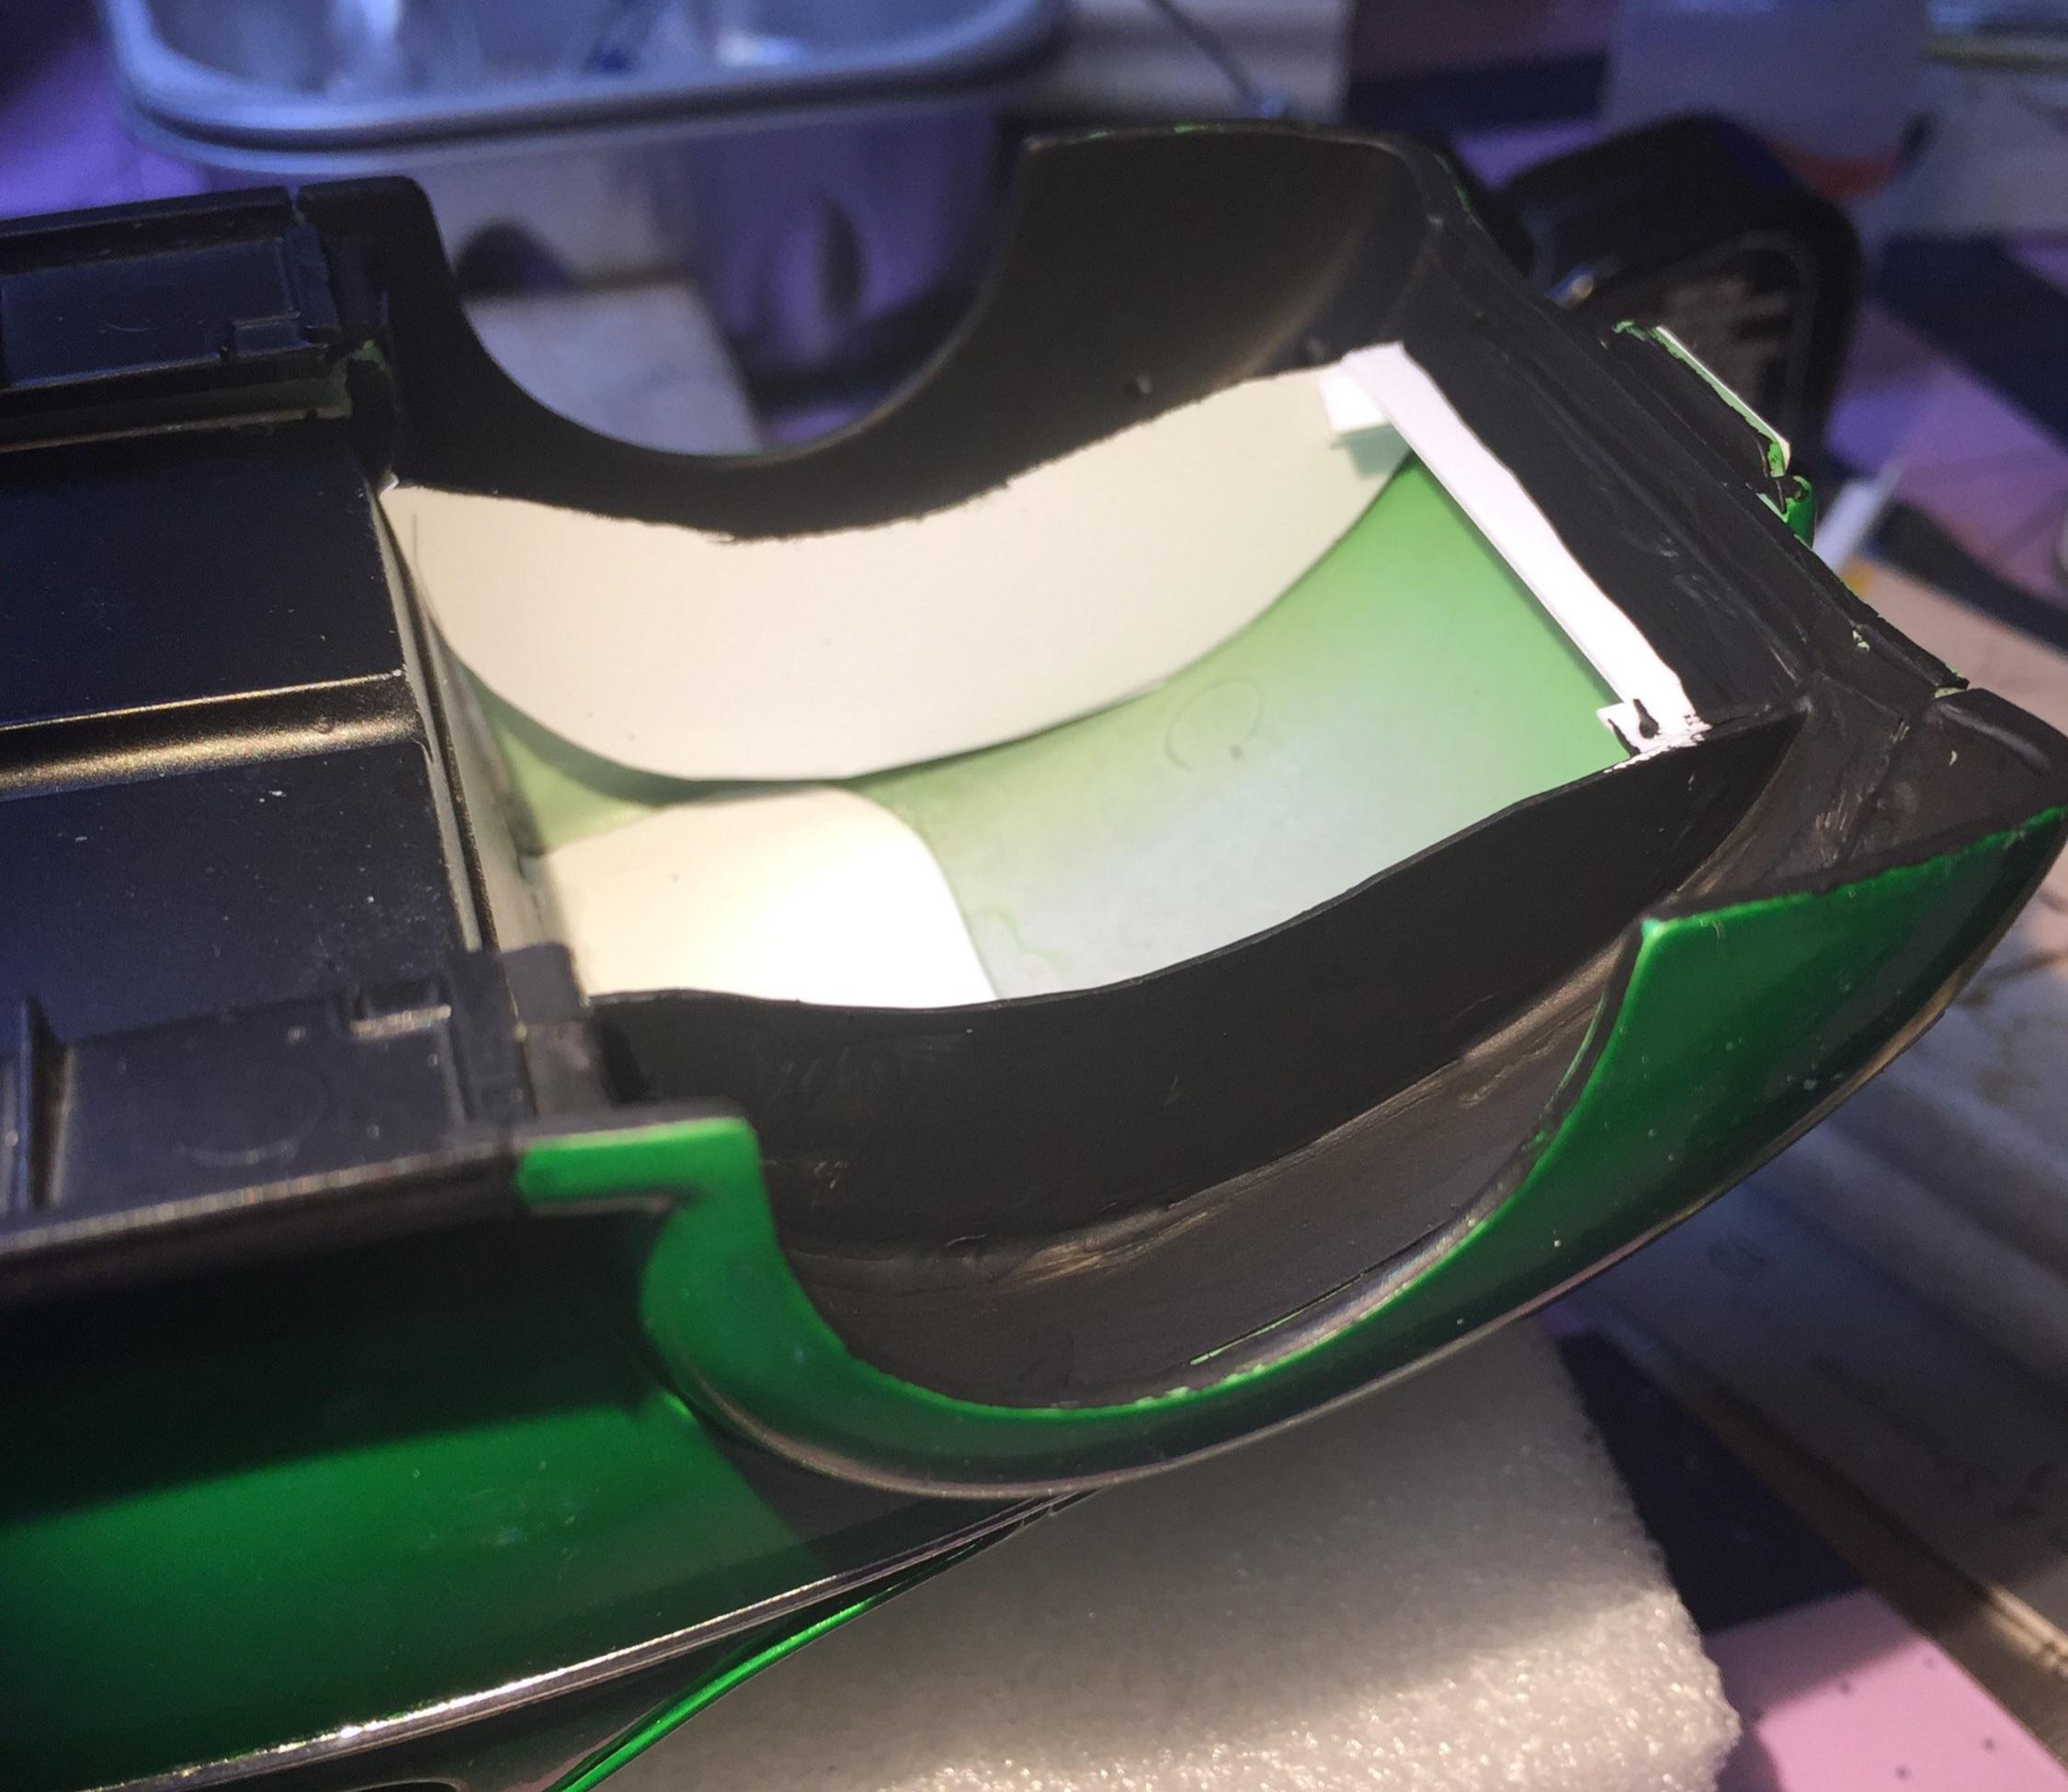
I brushed painted the new sheet metal with some Revell acrylic water base flat black. That's it! Just need to join the body to the chassis and do some touch-up. Thanks for hangin'!
-

Lindberg's '53 Ford - following the instructions
customline replied to customline's topic in WIP: Model Cars
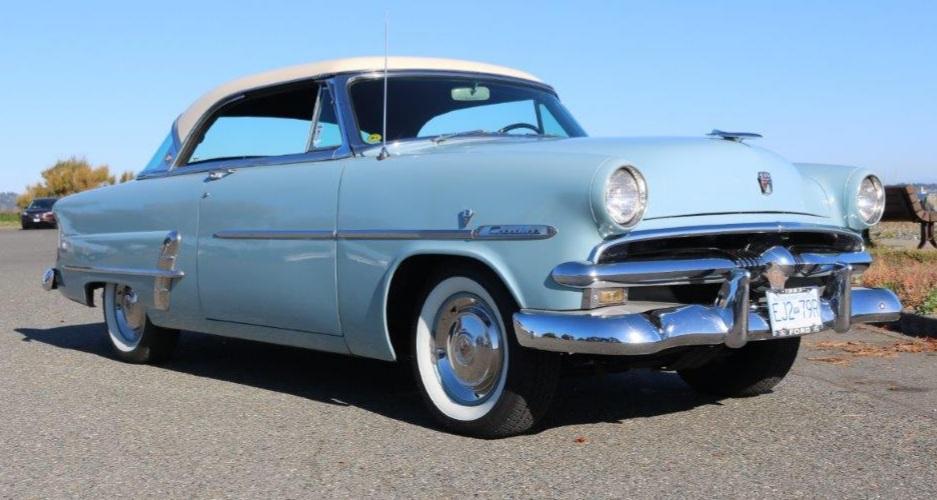
Yay! Looks like I won't be using Greg's handle and crank technology this time (unless I lose one). this makes masking a lot easier. And now....the inspiration. I like this body style in this color combo. The roof, I believe, is "Snowshoe White". I have some left-over "Corinthian White" that will be close enough. I'm waiting on MCW now for the "Glacier Blue". -

Lindberg's '53 Ford - following the instructions
customline replied to customline's topic in WIP: Model Cars
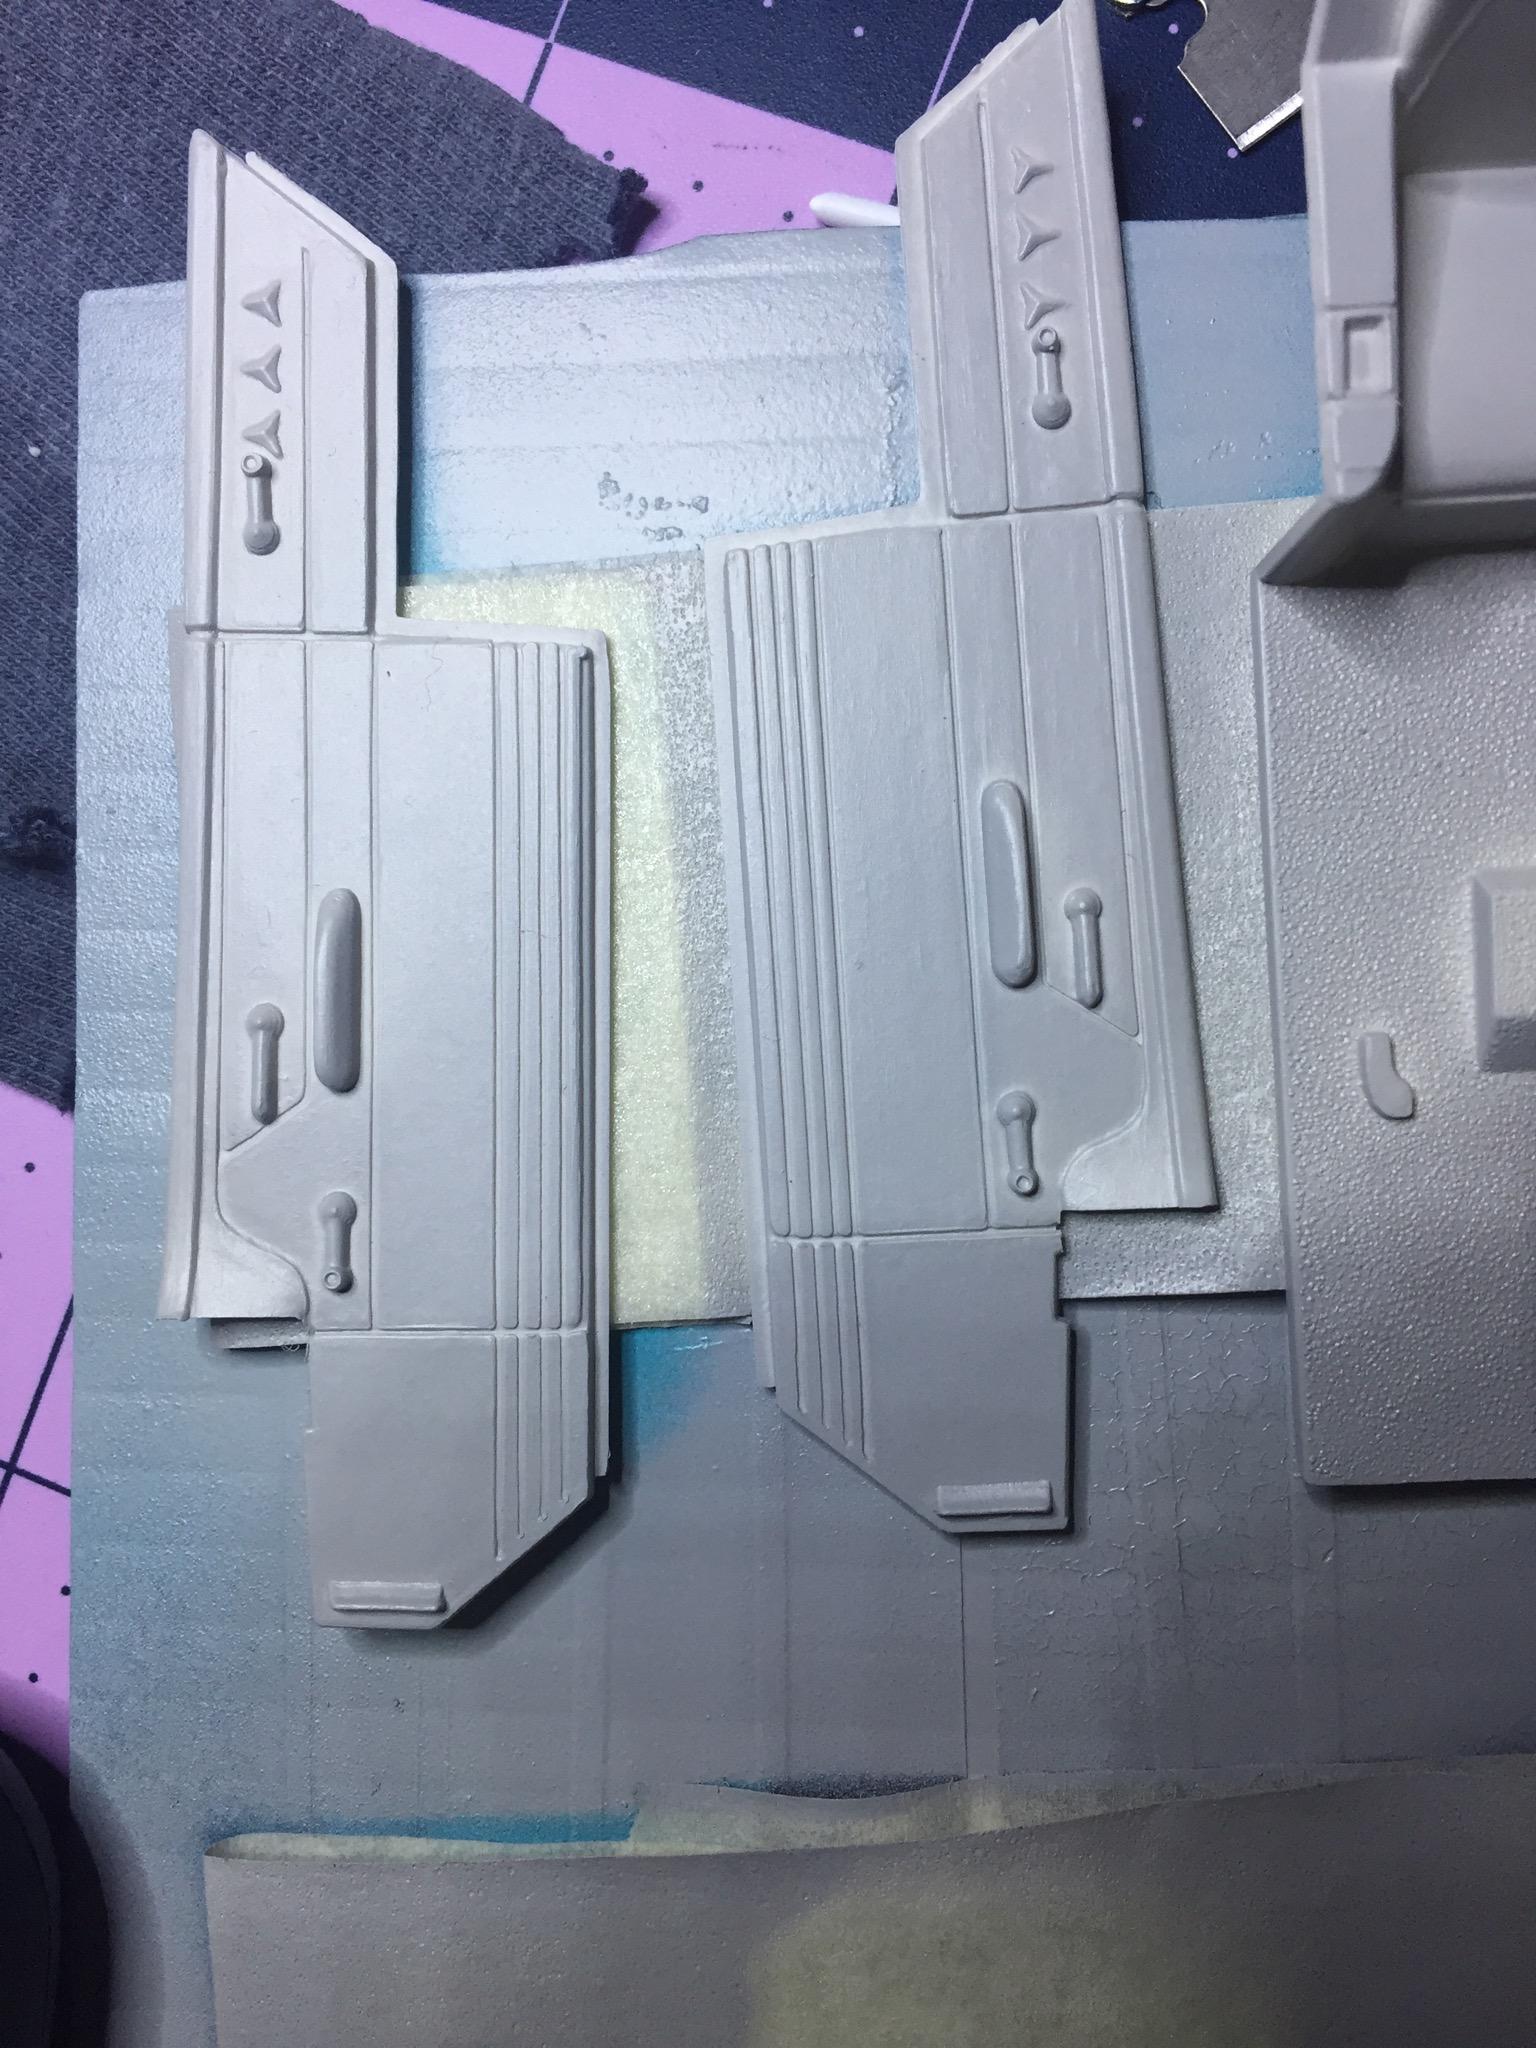
Yes indeed, Greg, the hardware is in high relief and I expect I can remove them and, hopefully, re-use them. Plan B is making Greg handles 😉 -
This is a squirrel, Len.
-

Lindberg's '53 Ford - following the instructions
customline replied to customline's topic in WIP: Model Cars
Yup. I'm gonna break out some fresh chisel blades and get that stuff out of the way so I can mask it. -

Lindberg's '53 Ford - following the instructions
customline replied to customline's topic in WIP: Model Cars
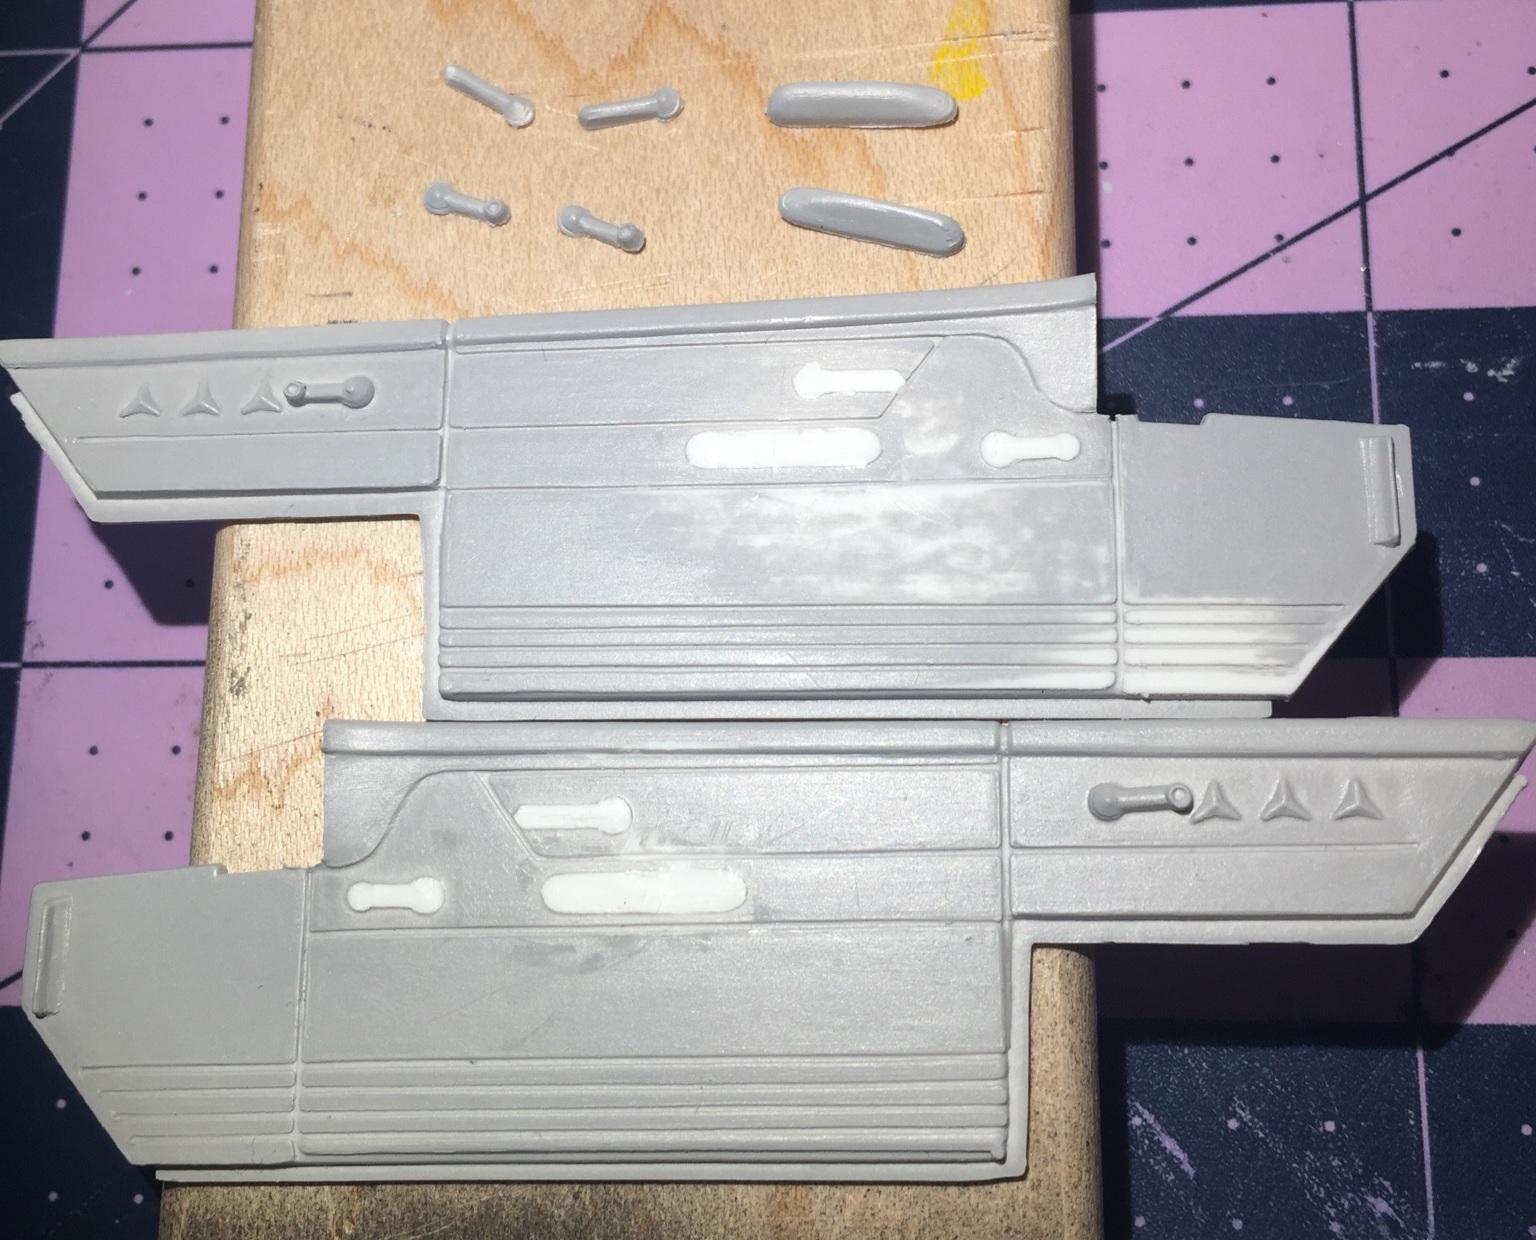
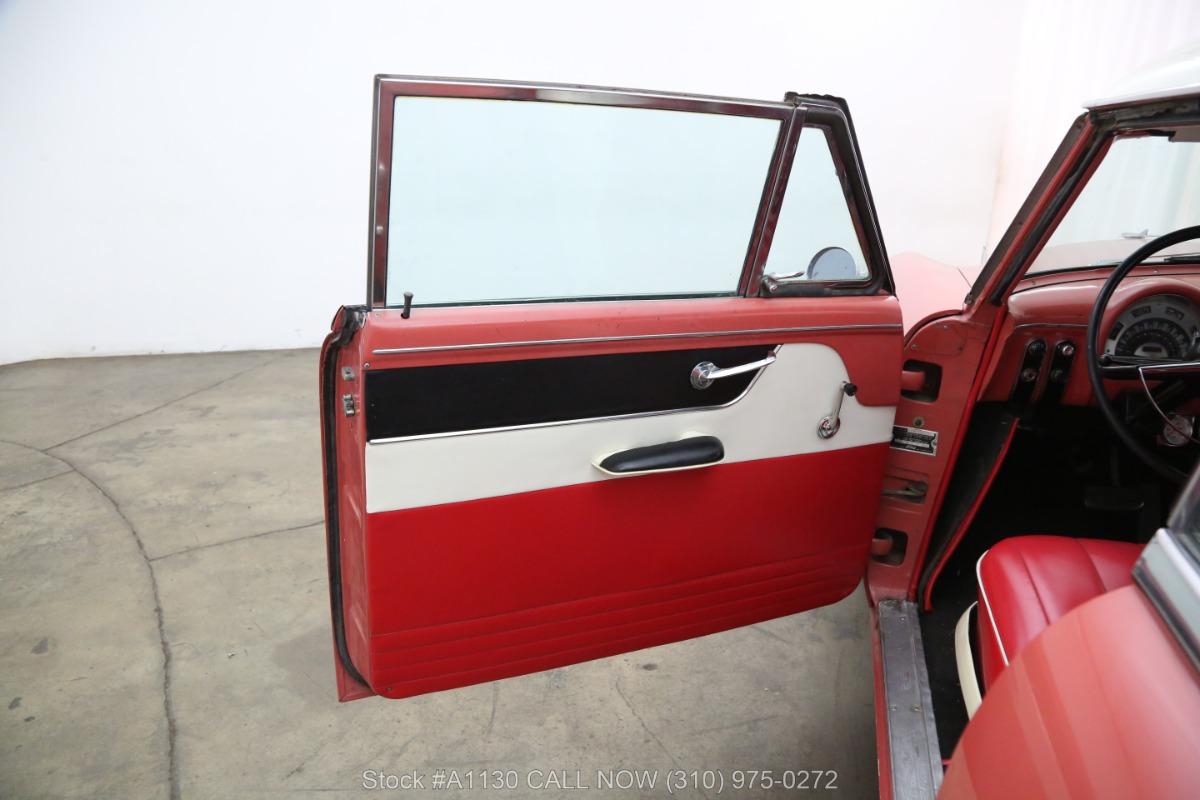
Speaking of side panels.... Above is the color arrangement I'll be using but substituting Glacier Blue where this one is red. Nothing but hours of fun here. Removing the hardware very carefully is the plan. If I can "reinstall" them, great. If not, I'll use "NOBLNG handles" (😉) to replace them. Not exactly OOB but I'm trying. -

Lindberg's '53 Ford - following the instructions
customline replied to customline's topic in WIP: Model Cars
I think you're right, Bob. I'll just paint it like the example and not sweat the stitch pattern. The real work is the side panels anyway. -

Lindberg's '53 Ford - following the instructions
customline replied to customline's topic in WIP: Model Cars
Thanks, Bruce, but that looks like a partial reupholstery job. It could be an option, I suppose. I thought that; but the difference is the piping around the front of the seat. It's all good. It's an OOB so I will assume the kit pattern is legit but ....🥴 -

Lindberg's '53 Ford - following the instructions
customline replied to customline's topic in WIP: Model Cars
Thanks for your tip, John, I'm thinking about it.


