customline
-
Posts
3,791 -
Joined
-
Last visited
Content Type
Profiles
Forums
Events
Gallery
Everything posted by customline
-

Easy door handles and window cranks
customline replied to NOBLNG's topic in Tips, Tricks, and Tutorials
I made one today 😇. I used some .040 X .188 strip and grafted it to some .100 rod. I added a bit of 1/16" for the knob. Slicing it up can be somewhat challenging for a cranky old man but it's totally do-able, even for a space cadet. 😏 -
She's a beauty, Bob!
-
Polycarbonate paint question
customline replied to customline's topic in Model Building Questions and Answers
Thanks, guys, I appreciate the info. -
OK, now it's getting weird 😕
-
But I love old beam axles, Greg. Is there something wrong with me??? 🤪
-
I just wish they would do something about it. I'm not holding my breath.
-
Polycarbonate paint question
customline replied to customline's topic in Model Building Questions and Answers
Thank you all for helping me ! I appreciate it ! -
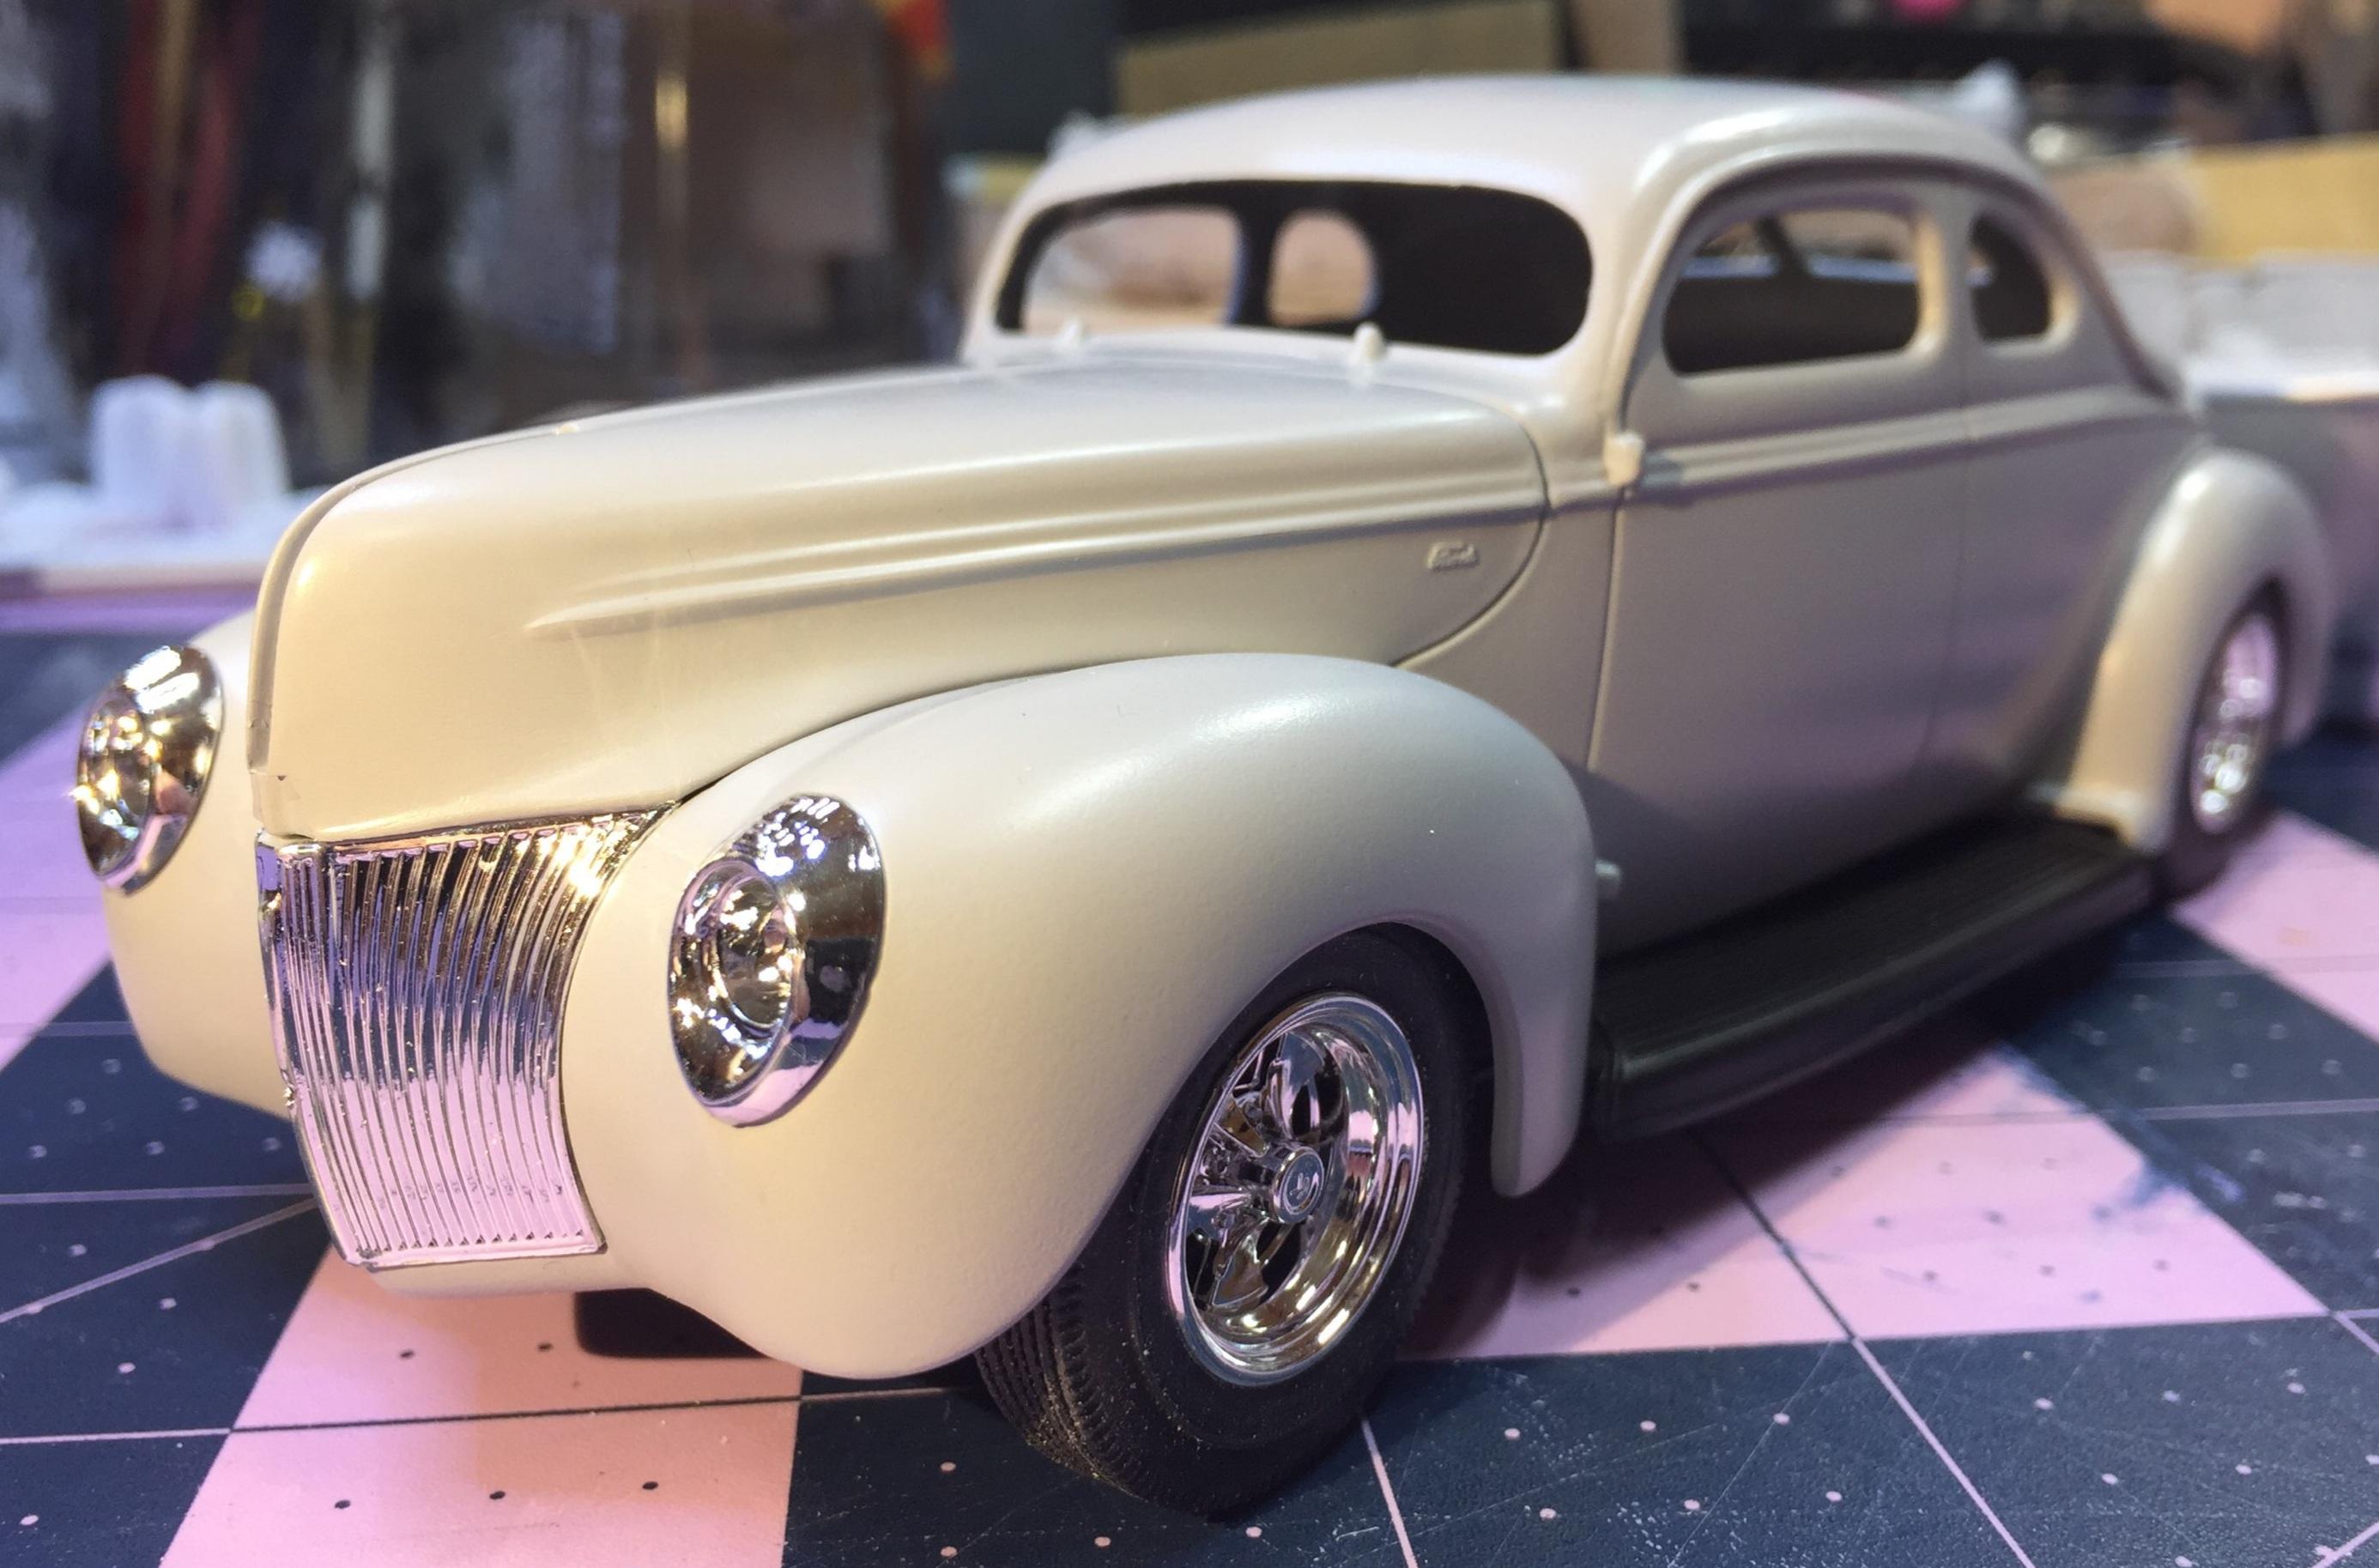
You may have something there, Dave. I'm leaning toward a solid color but pearl yellow is on the list. Oranges and light blue, too.
-
Yeah, I'm a sucker for a set of Keystones 🥴.
-
Thanks, Elliot, the Keystones are from the AMT '40 coupe, Coke version.
-
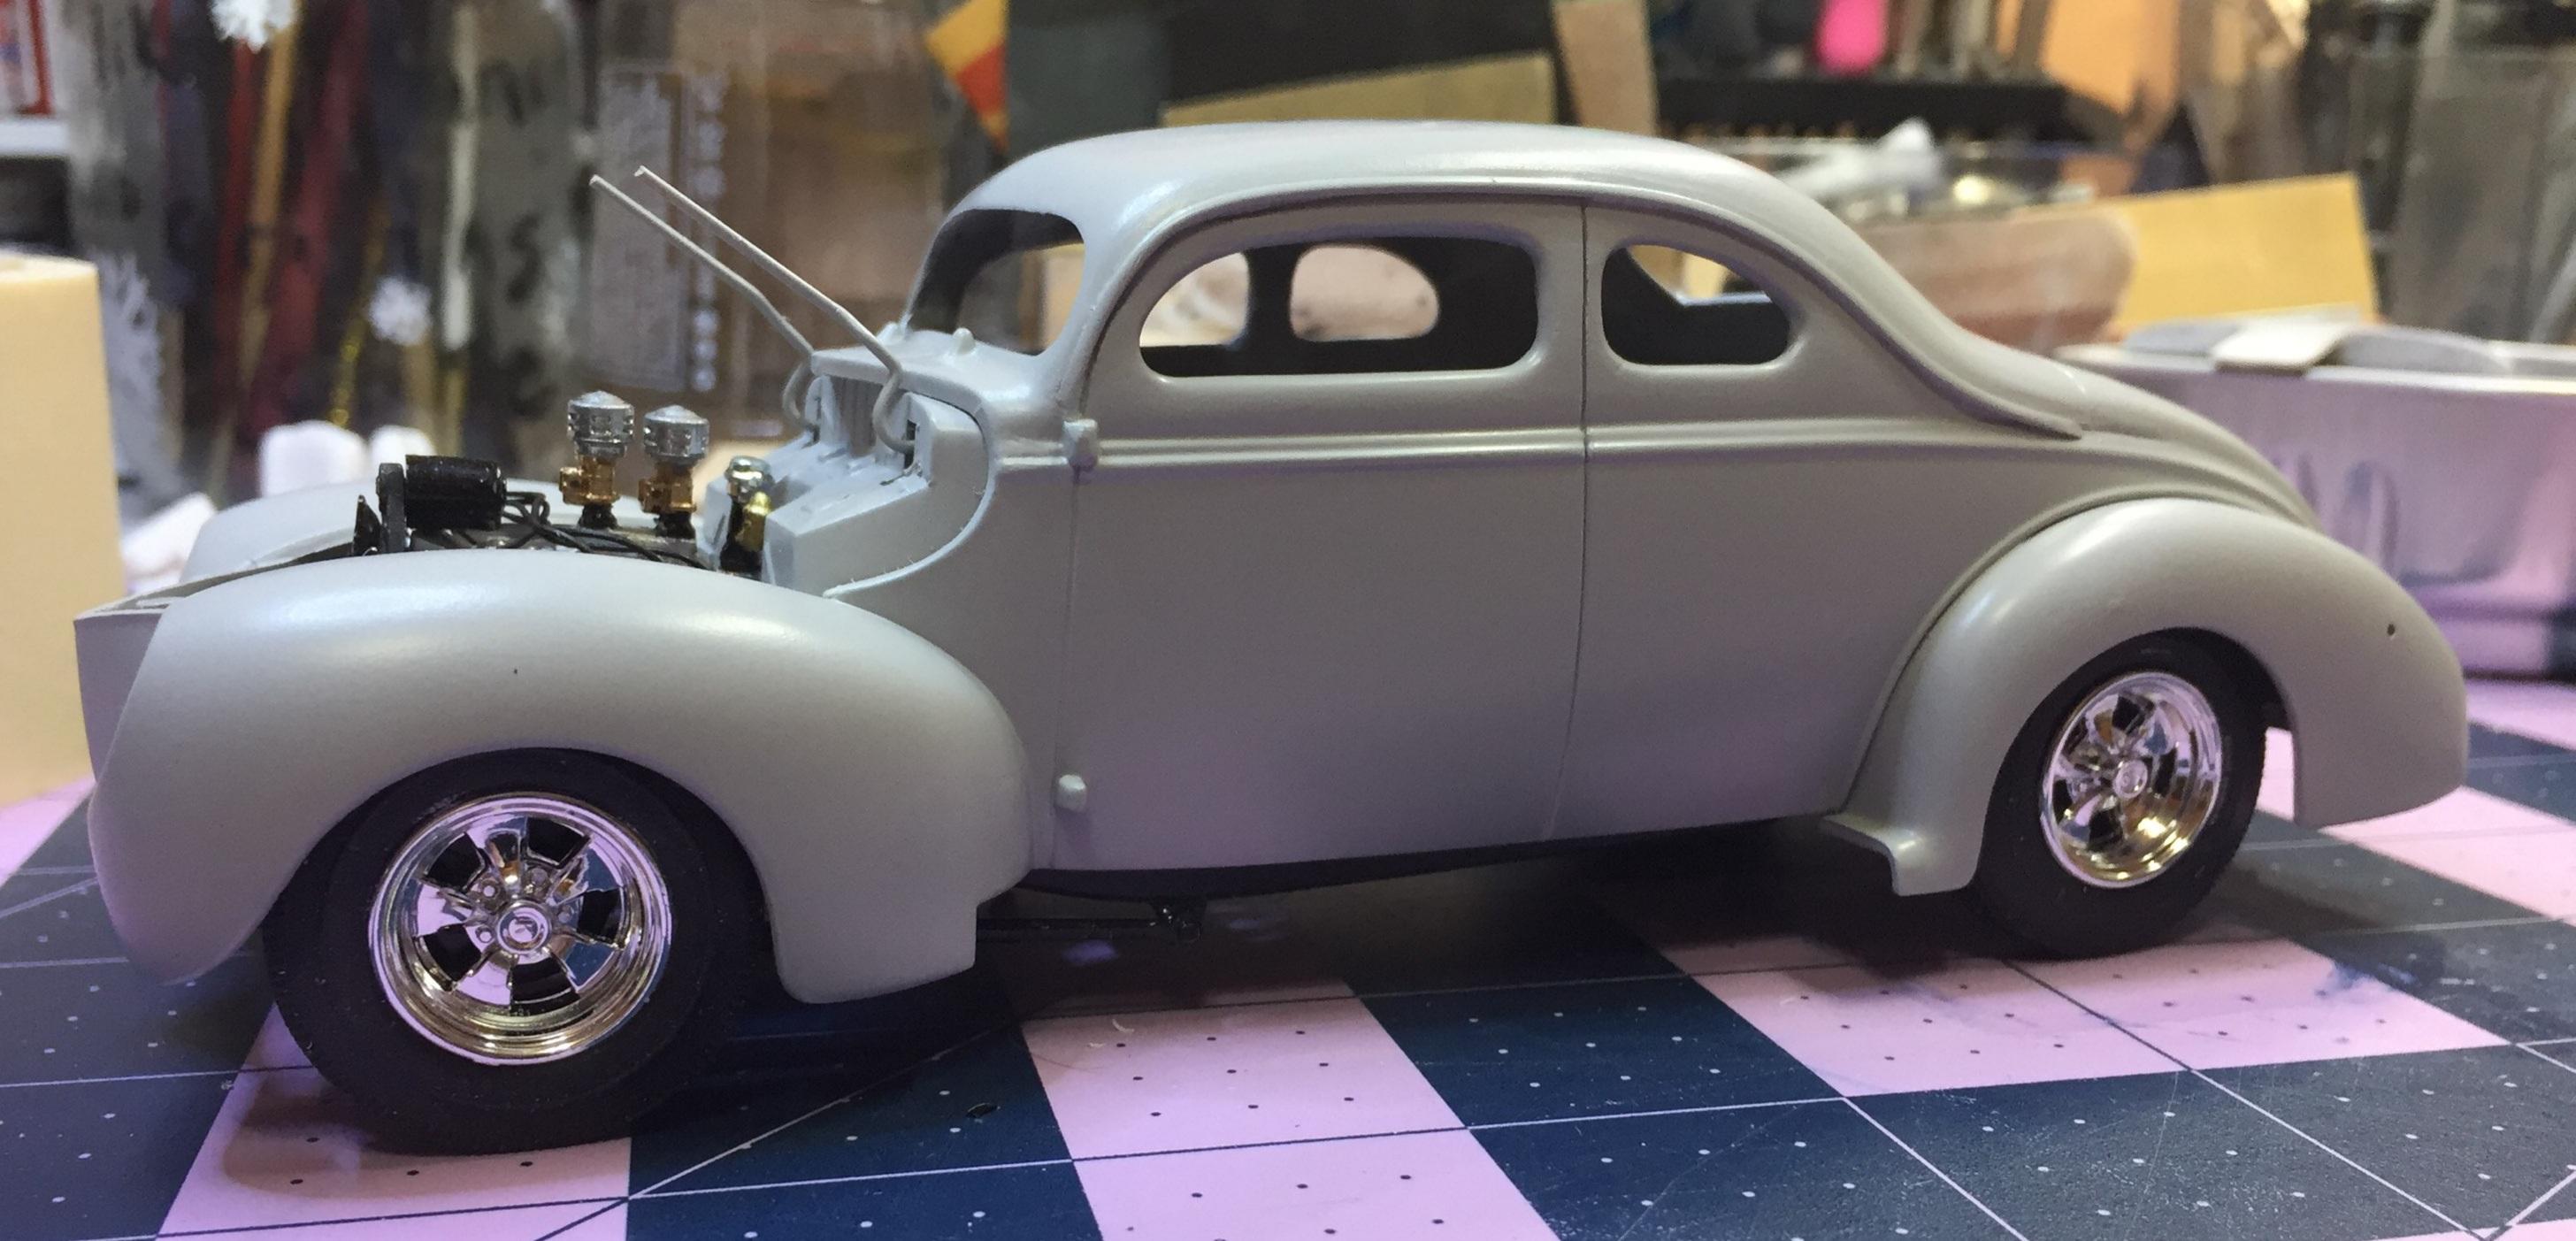
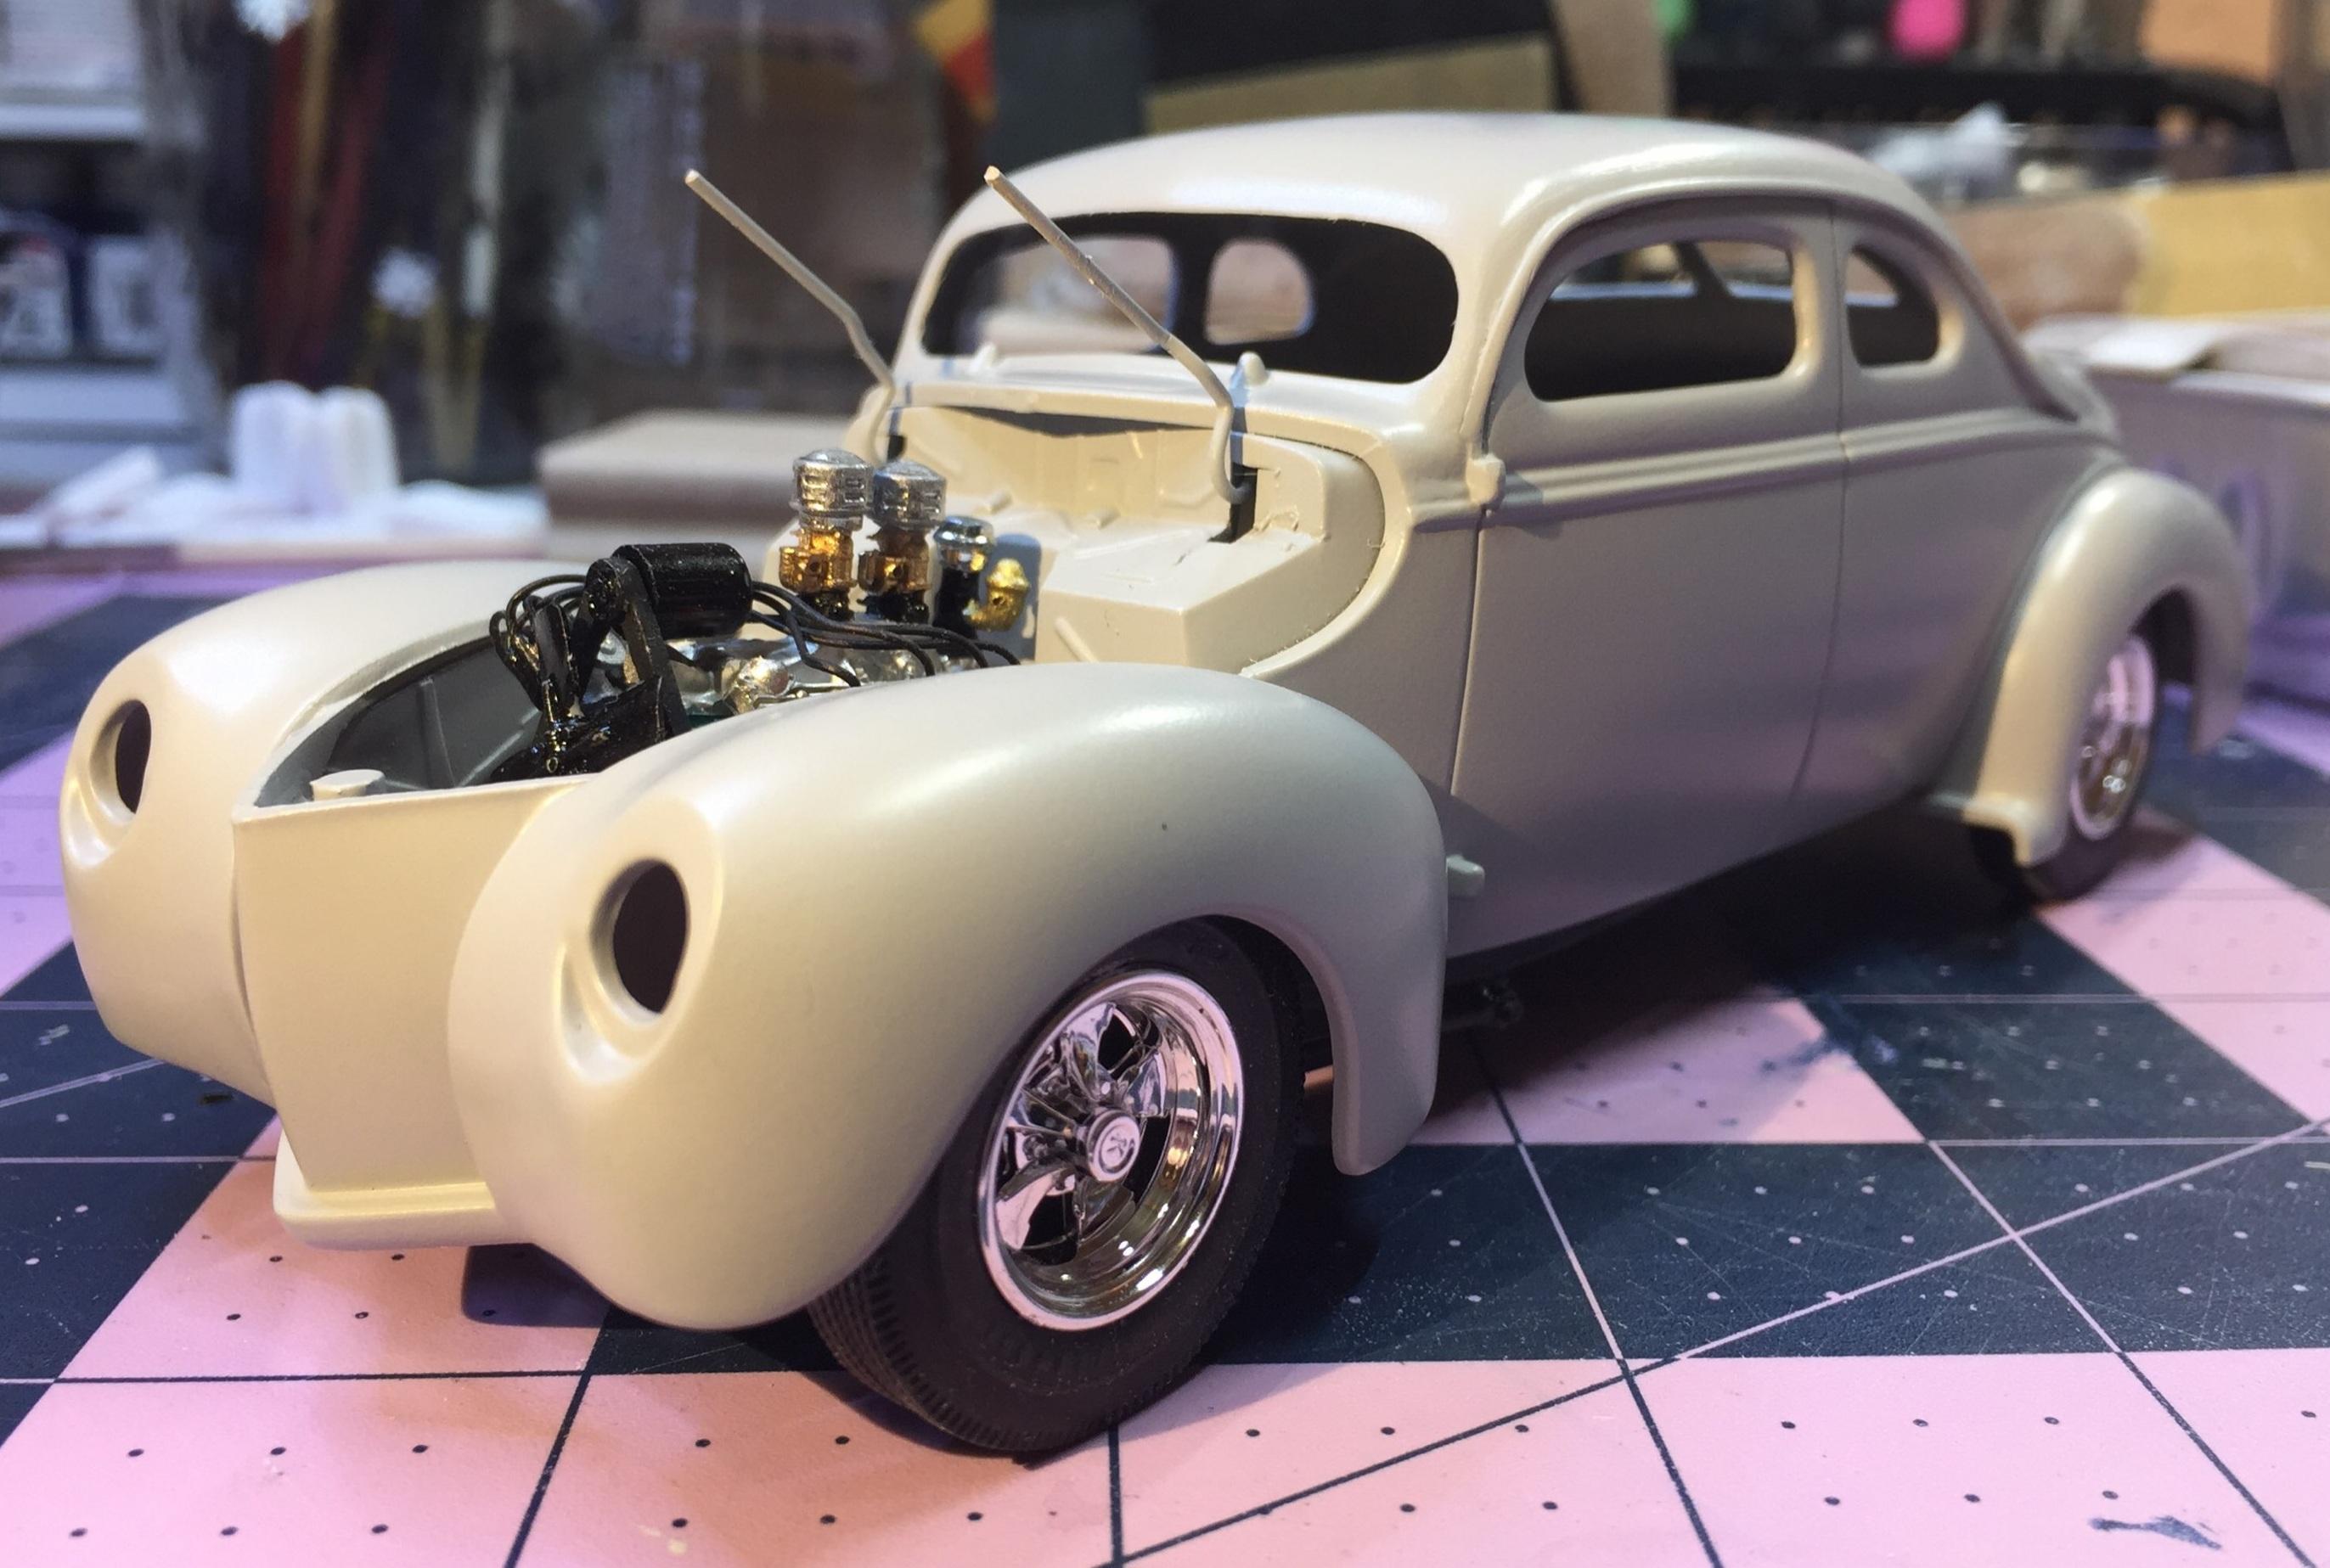
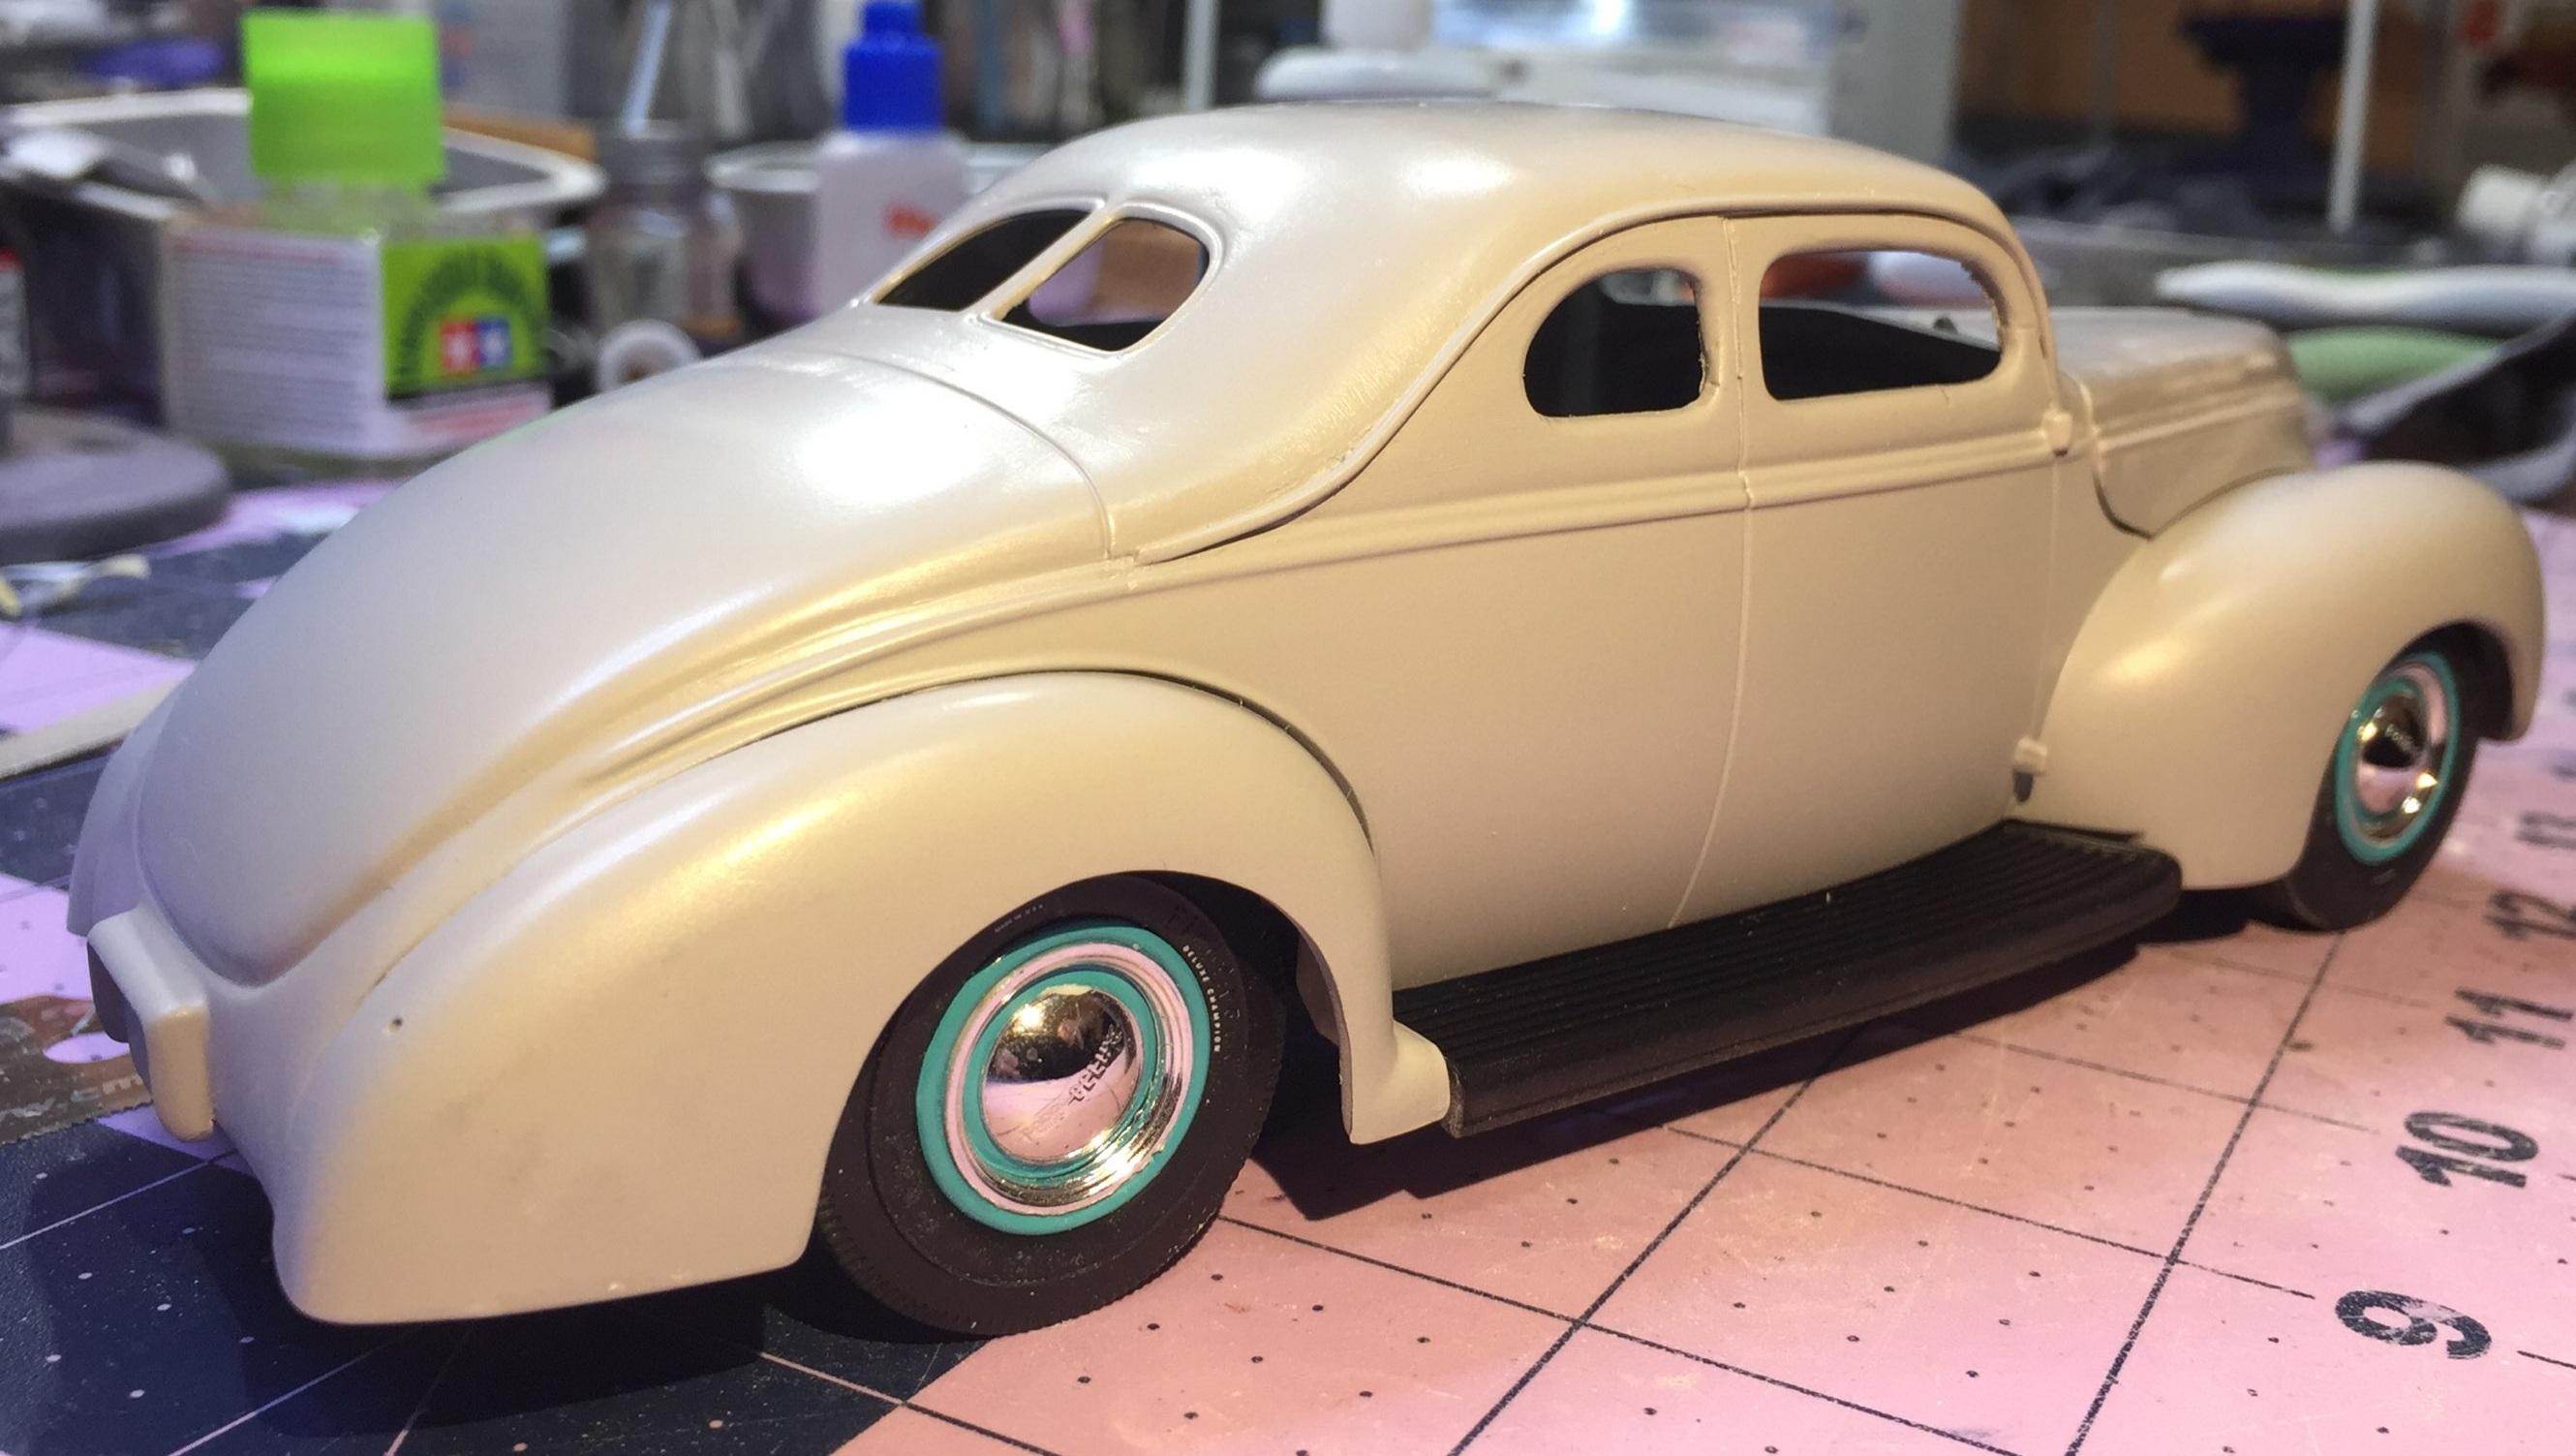
Did some tweaking and primed it again. The wheel change is me changing things around due to a new color choice. I'm wanting bright. Light-ish maybe. Orange? Metallic light blue? Bronze?

-
A light coat of clear first to seal the mask? Edit: .....only because I keep forgetting to do that 😔
-
Paint looks fantastic, Bob. How do you plan to handle the roof situation?
-
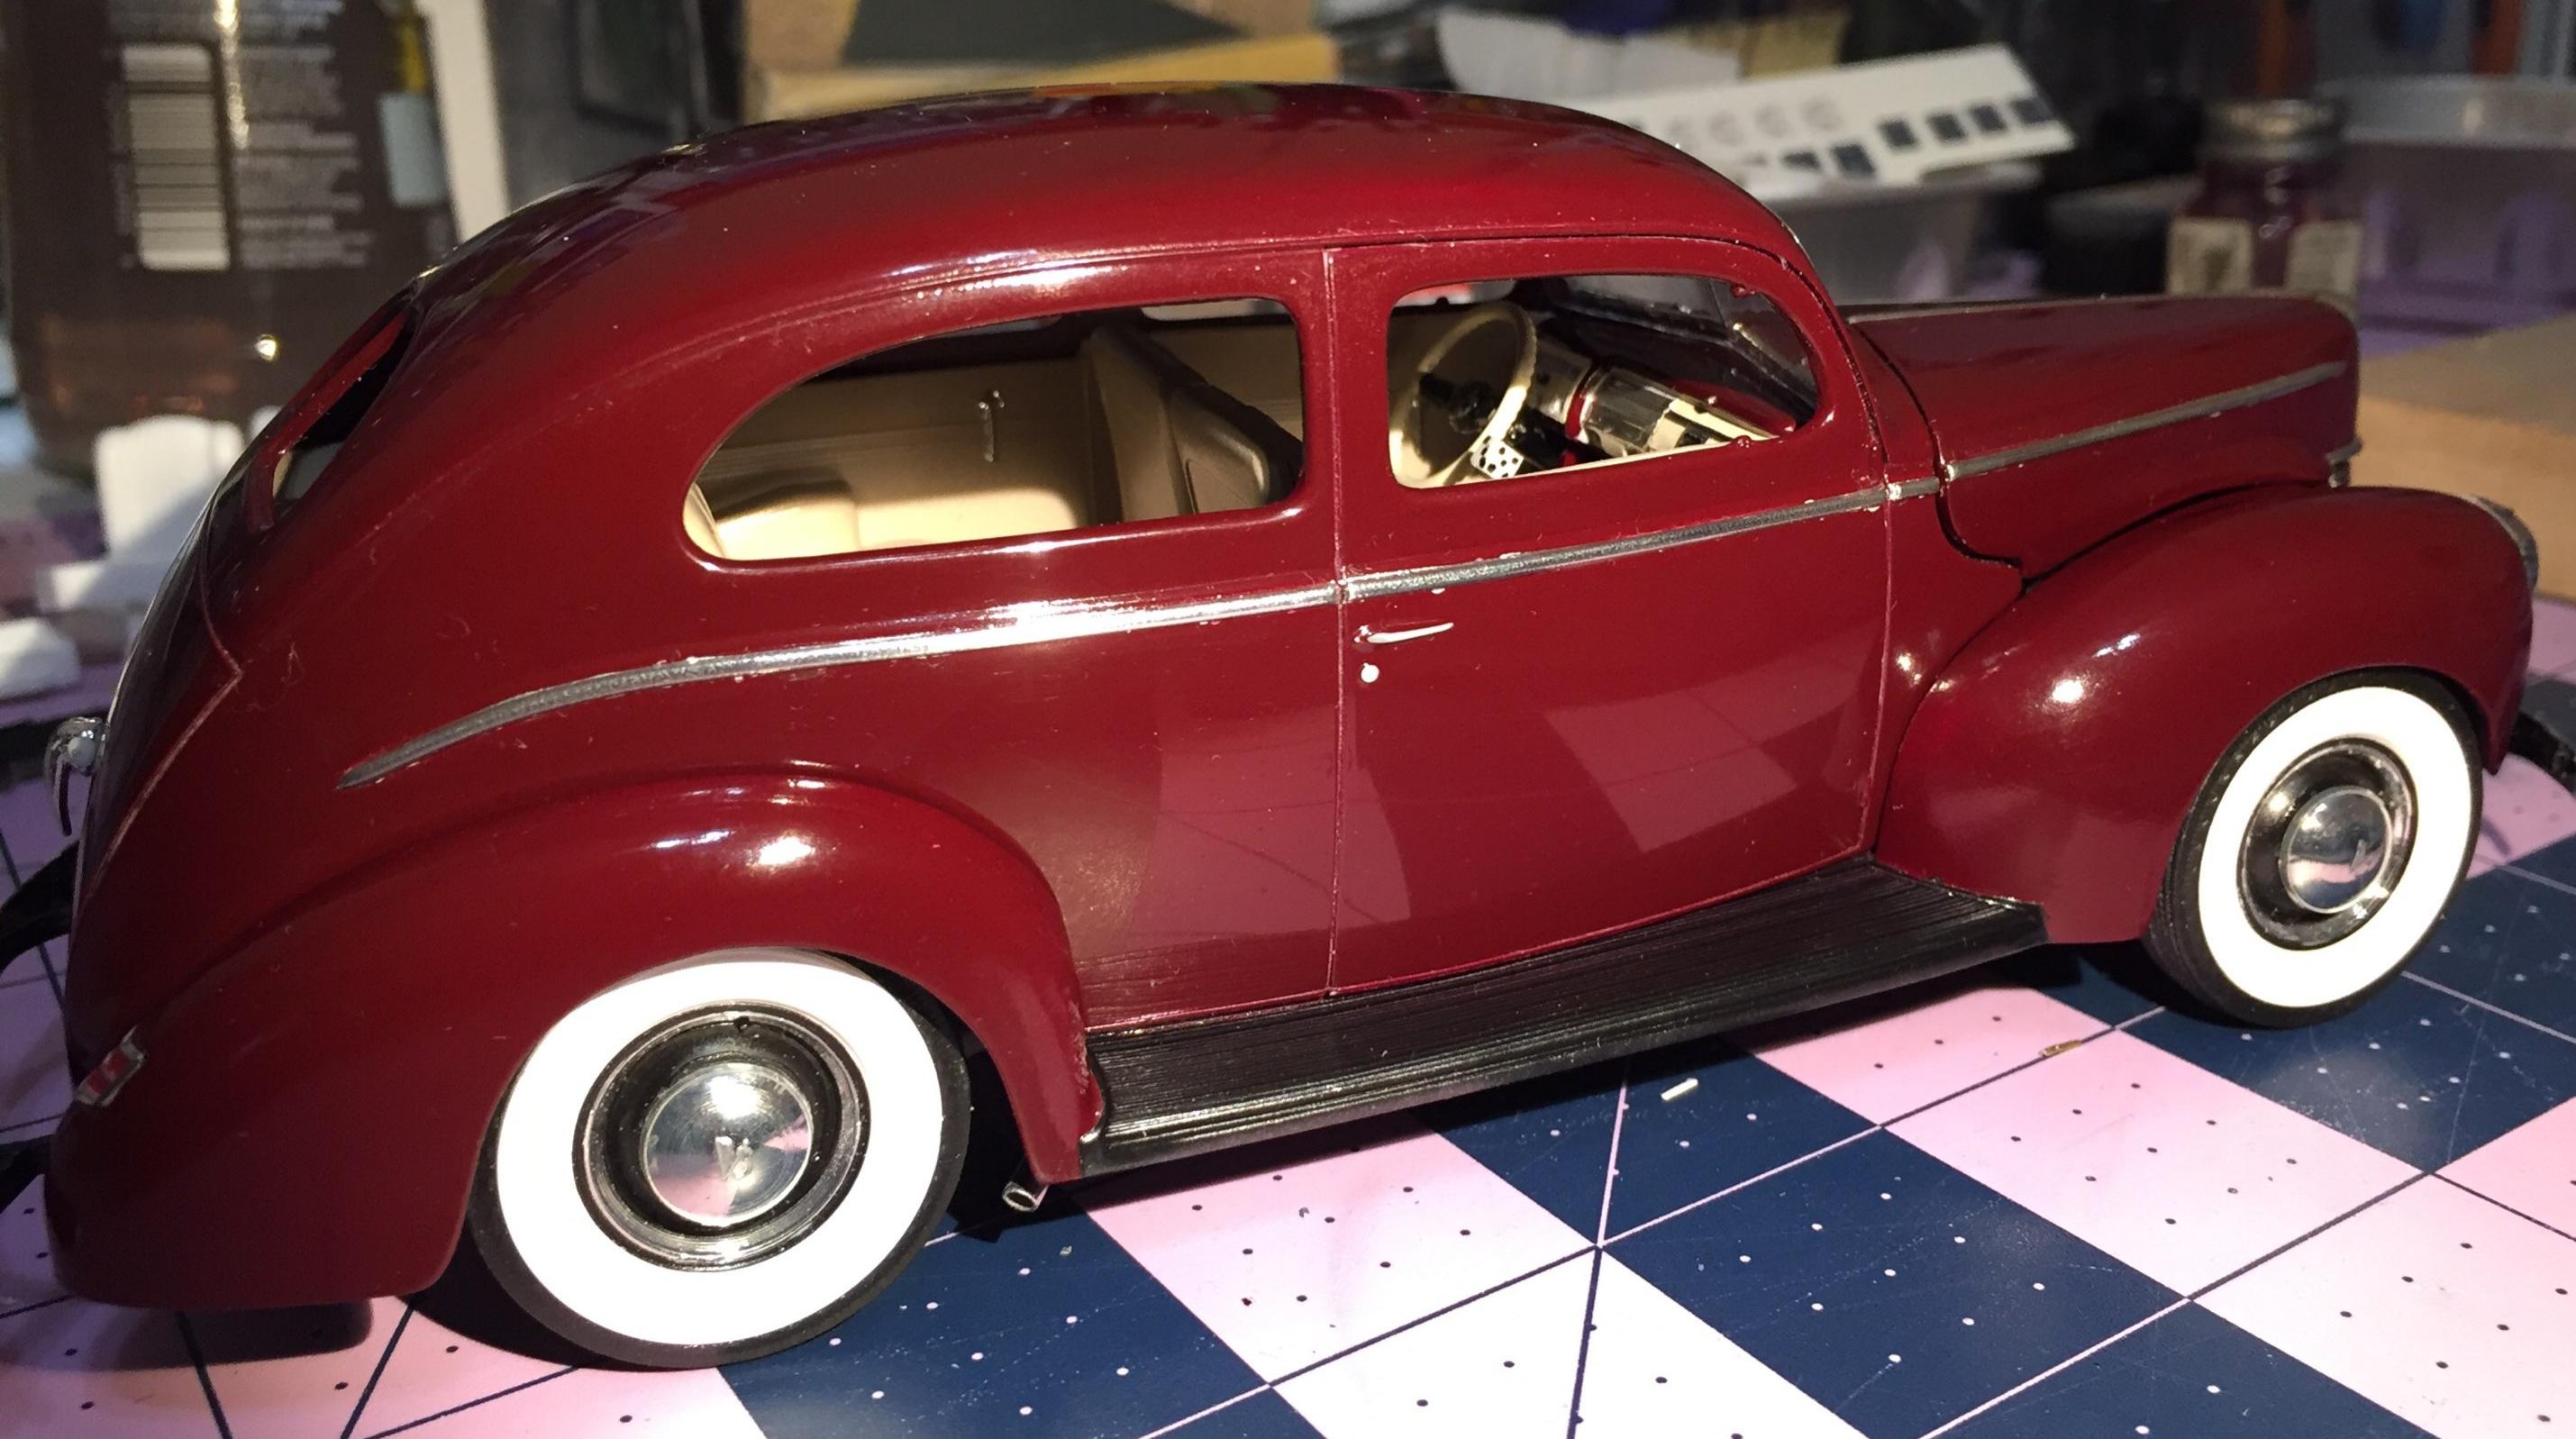
Thanks, Greg, it still needs some adjustments but I'm pretty happy with it so far. Thanks, Rick, I'm happy you noticed the red paint. My first chop on a '40 was pretty tame so I wanted to take more out this time but still keep it "simple" I think there's enough slope on the backlight to look chopped but not butchered. I might have gone that way but I didn't want to get lost.
-
Some time ago I bought a rattle can of Tamiya white pearl paint. Today I located that can and noticed it was for polycarbonate plastic. My question: is there any reason why I can't use it on a styrene project? What's different about it?
-
Yes they do, David 😉! And if not placed precisely, the good they may do could be lost. With bare plastic and Bondo sharing space on the roof, it's a bit tricky attaching the "gutter". Some CA must be used in spots. It's hard to get both sides identical. I couldn't 😔.
-
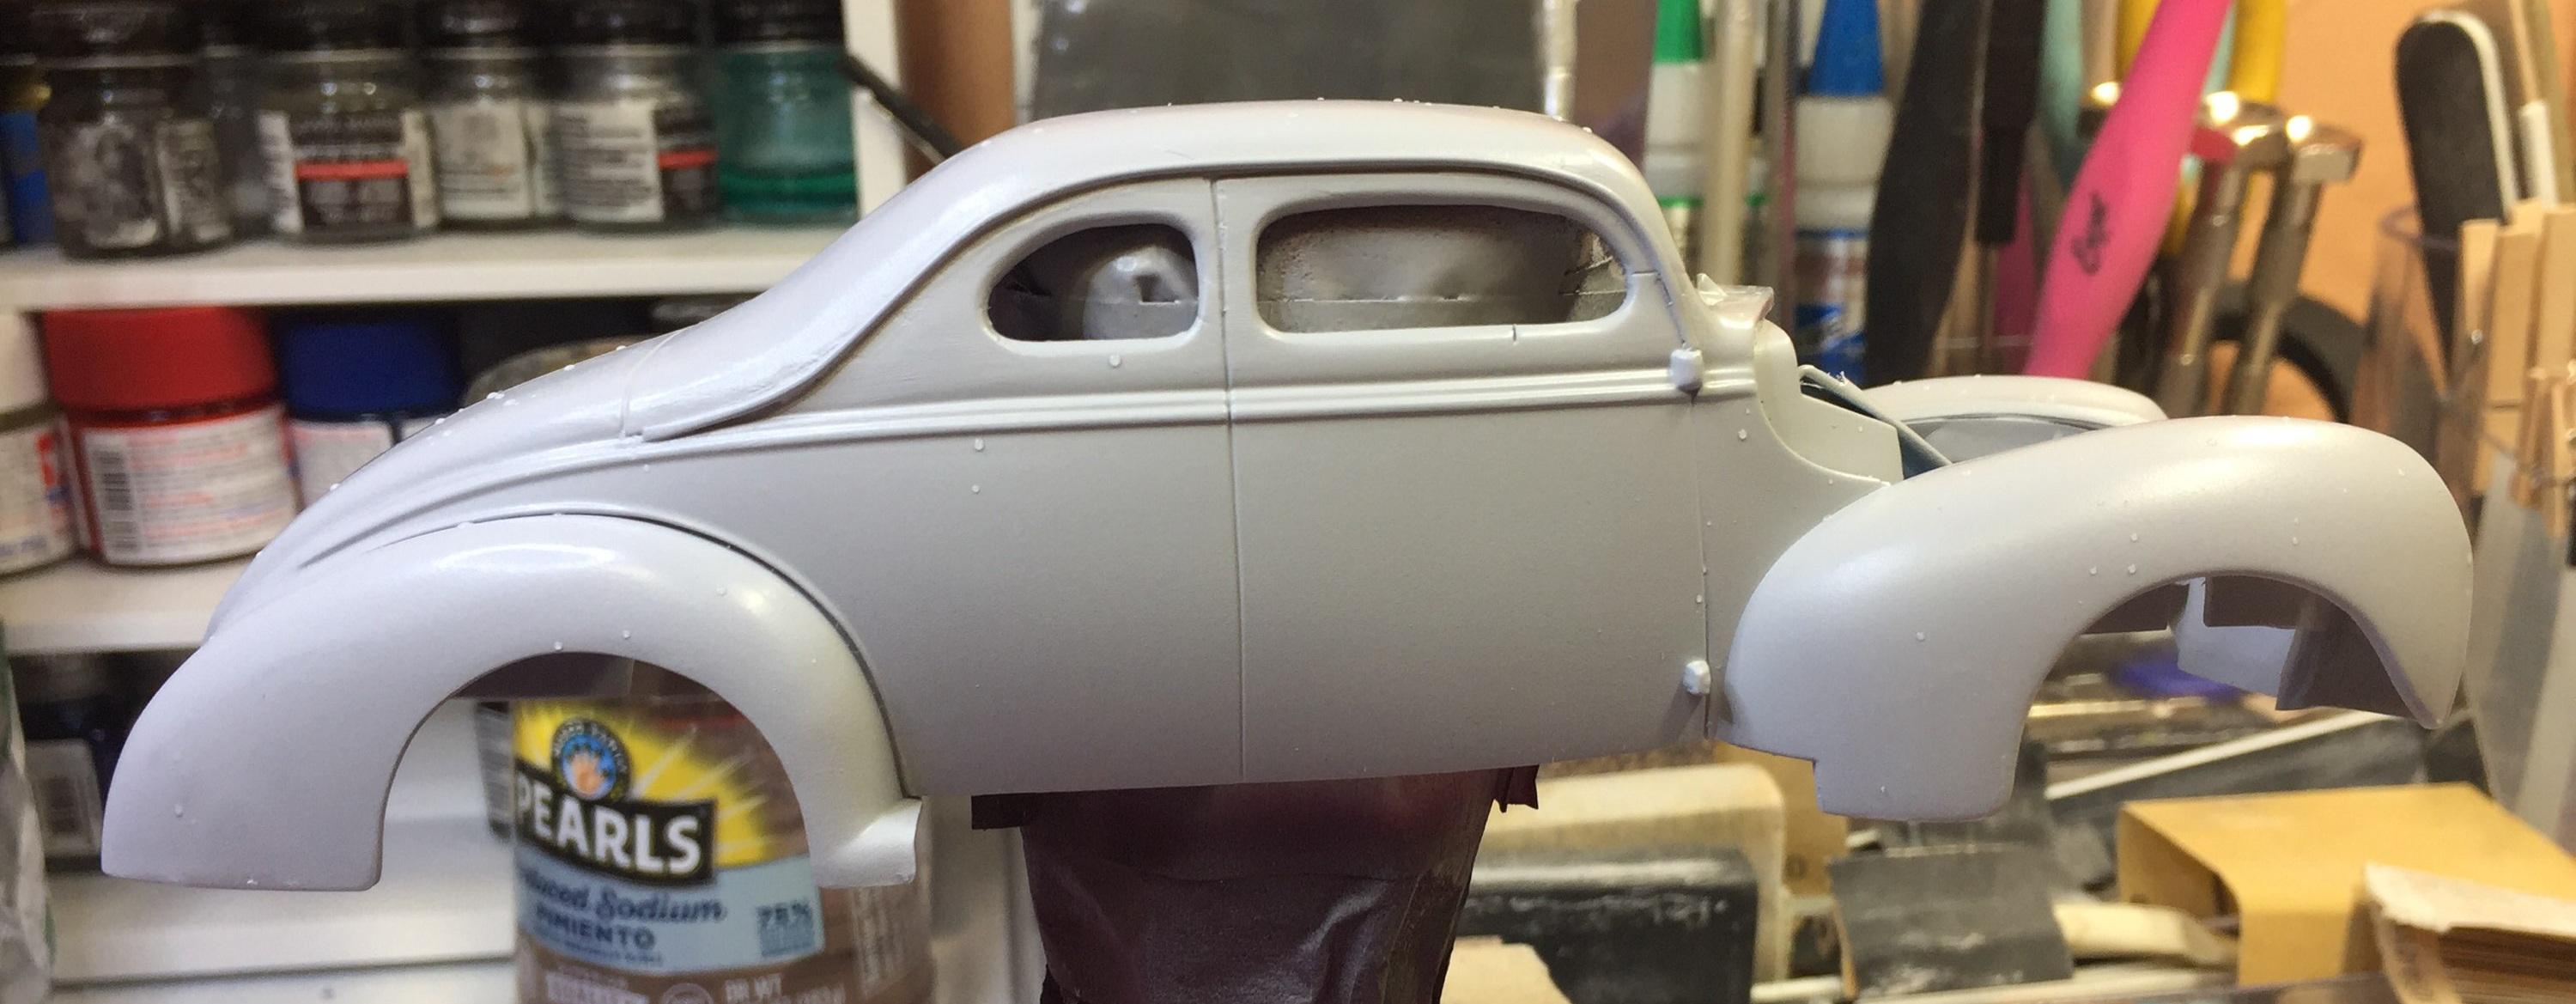
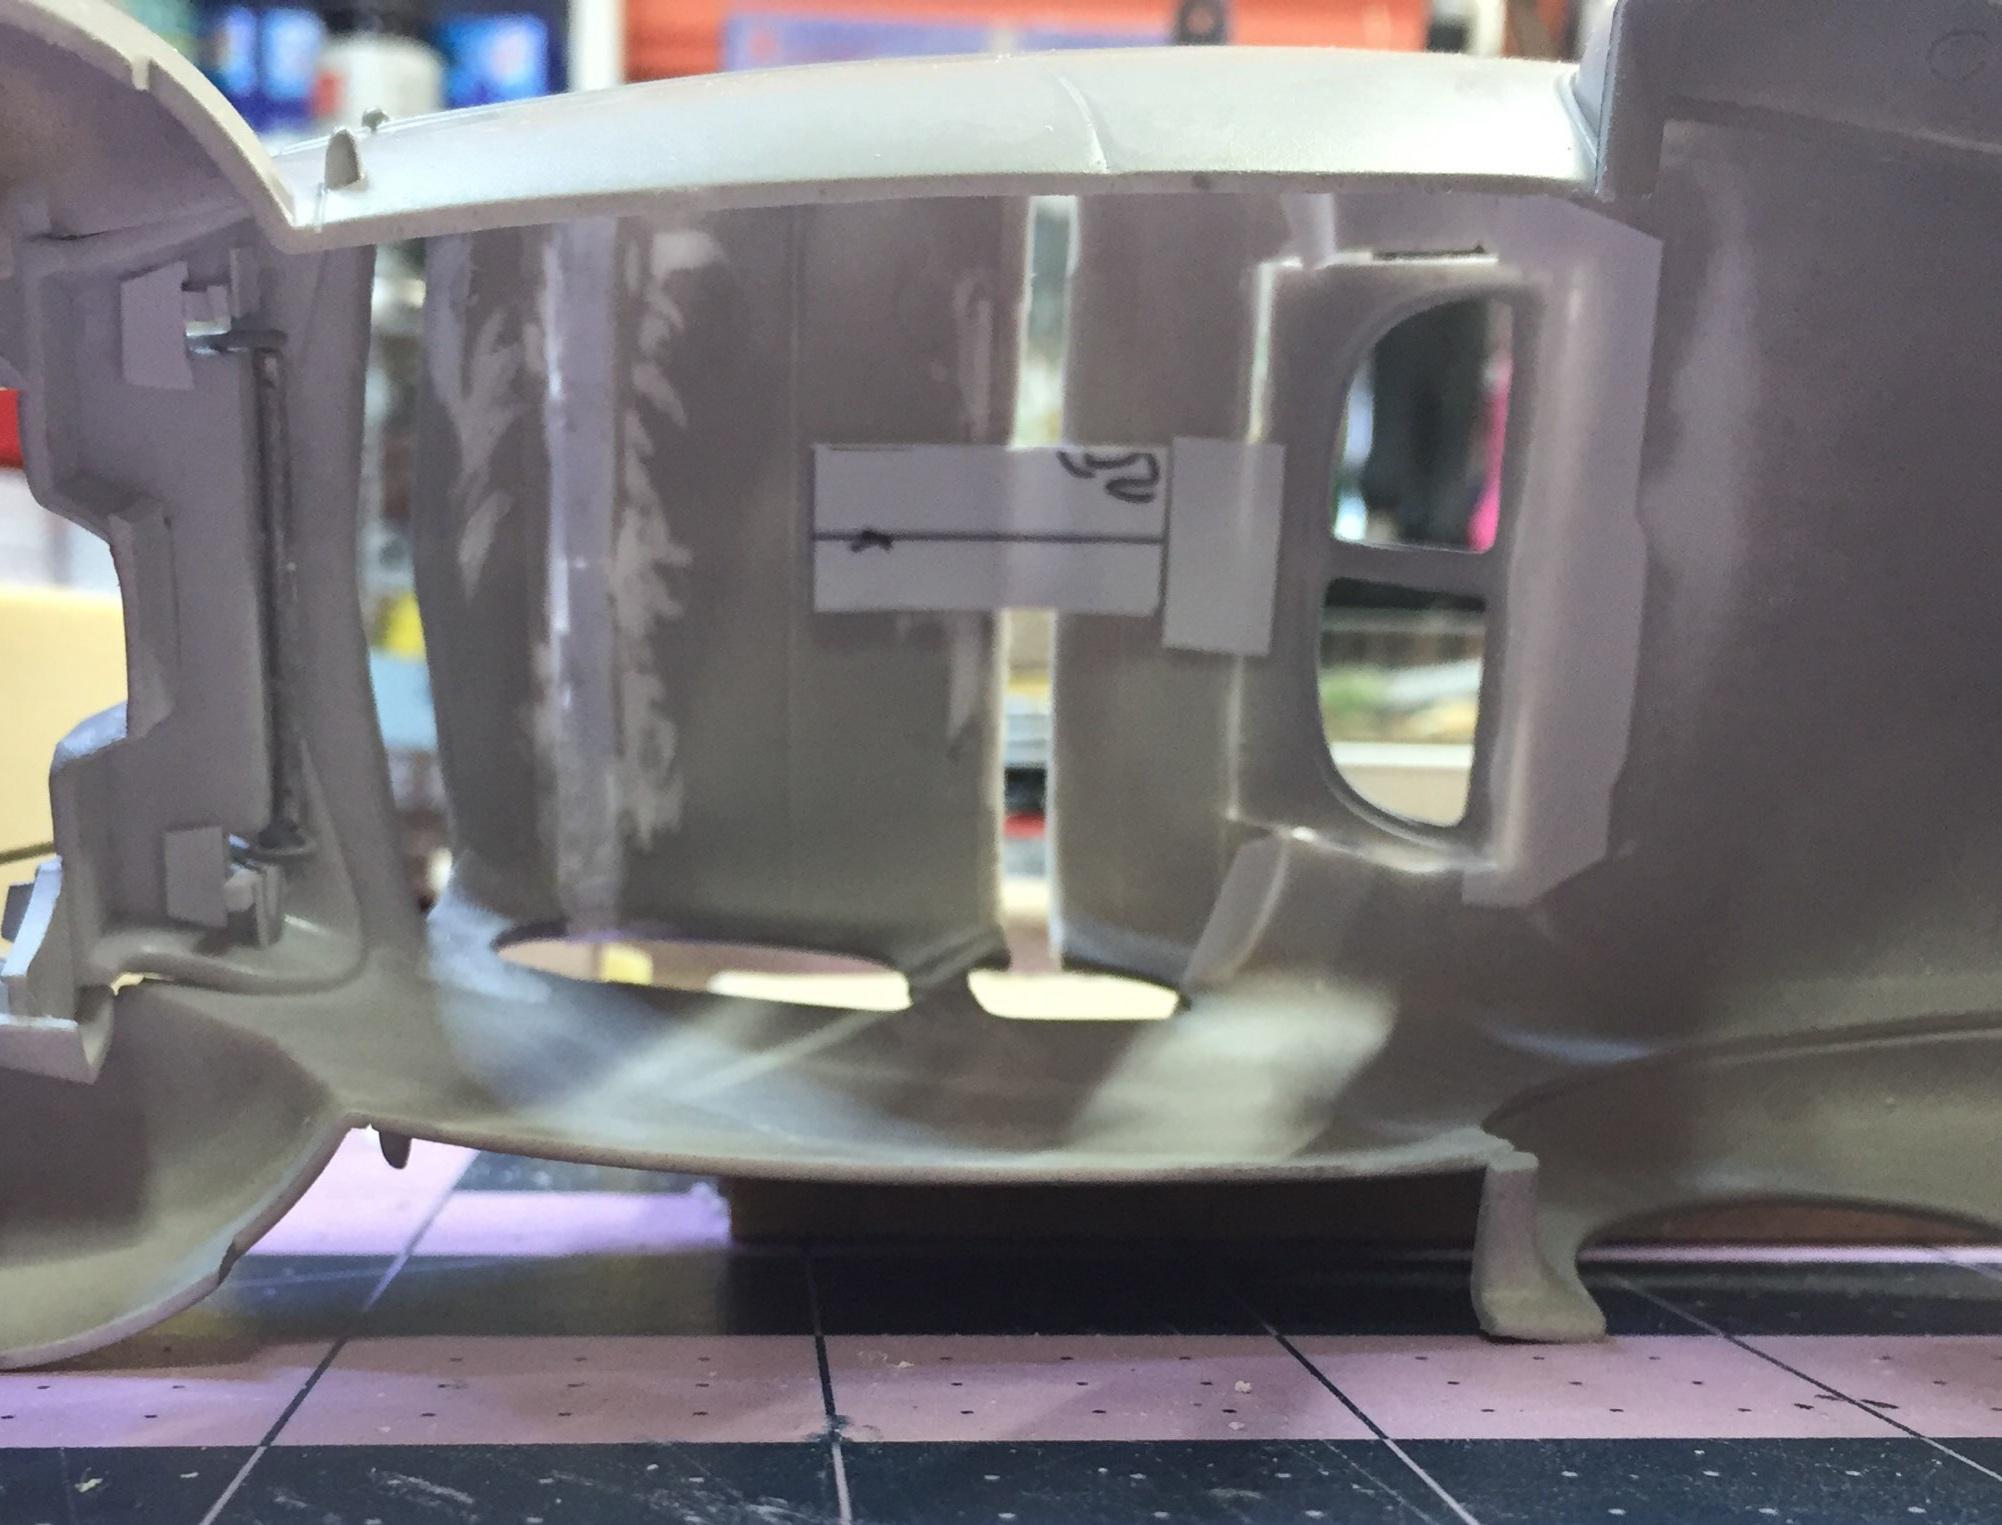
Well....I decided to replace the rain gutter. I think it looks more professional and it hides some questionable work on the door seams 🙂. I'll allow subsequent coats of paint to fill them on top and I will likely sand them down a bit. I'll give it a day or two and then wet-sand this body, fill the low spots , rinse, repeat. A quick mock-up for your somewhat morbid curiosity 🥴.
-
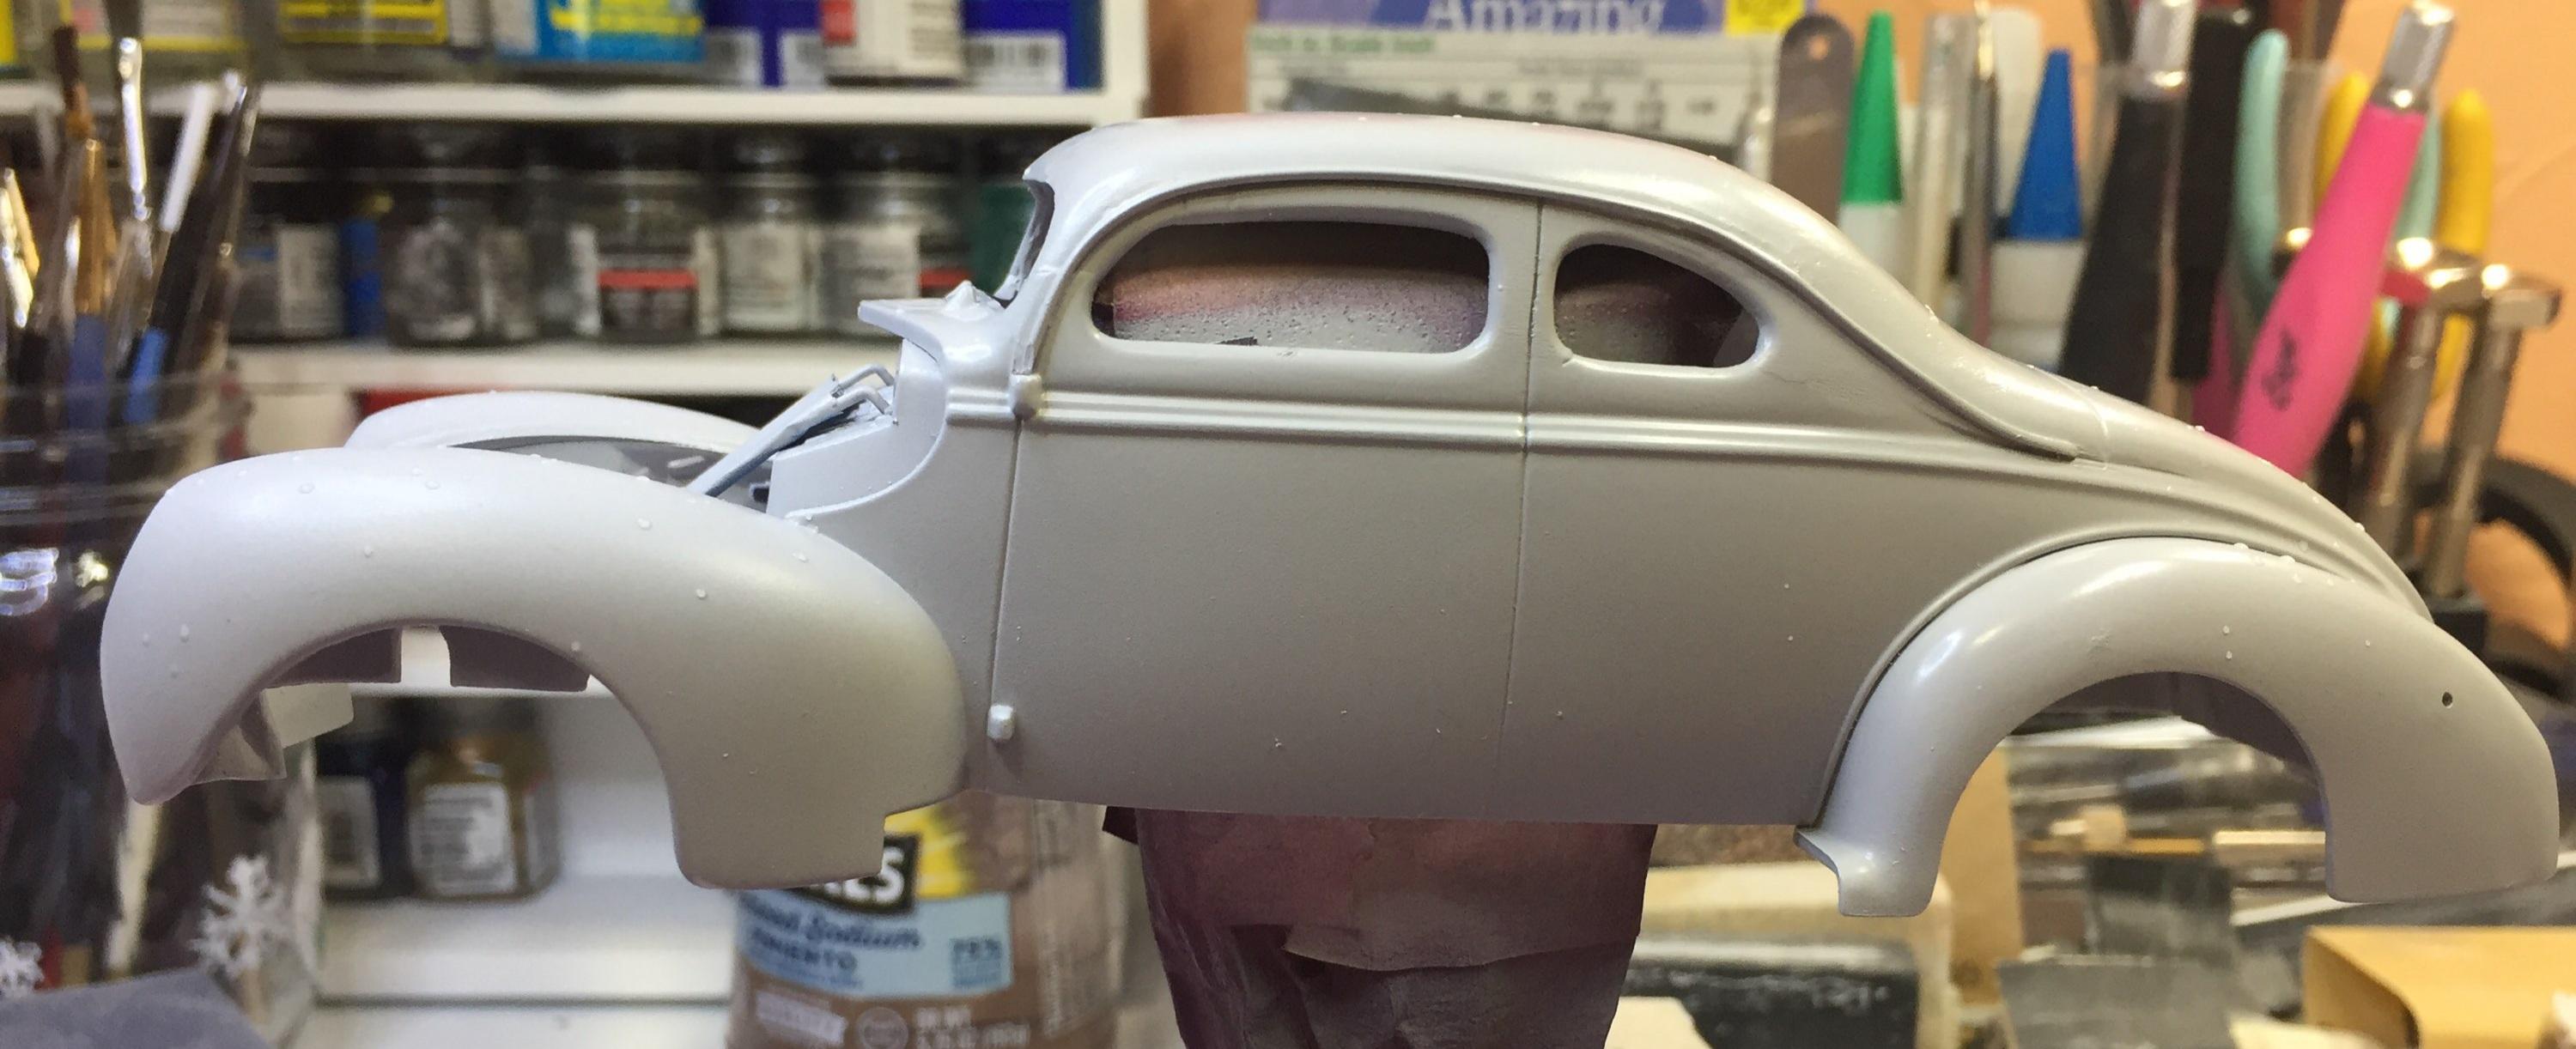
Sometimes I get an urge. Yesterday the urge to whack the Revell coupe got the best of me. I'm not gonna pretend I know what I'm doing and I don't recommend using my methods to anyone. I removed the rain gutter completely and may not replace it, I'm undecided. I removed the backlight section, it stays un-chopped. I took about 3/16" out of the A and B , nothing too unmanageable. The B pillar gets aligned and sets the new height. Then I filled the front gap with evergreen scrap material. This joinery is held together mostly with CA but some of it is welded with Mr. Hobby thin cement. The C pillars needed some help landing so I added some .020 sheet scrap. CA slinging everywhere, the smell of kicker wafting about. A piece was removed to allow the backlight section to be positioned farther to the rear which allows it to lay down a bit more. Incidently, I have employed nail silk on the inside of the pillars and coated with CA as an experiment. Something I learned about on this very forum. 😉 Time for BONDO! I love that smell. Now it's time for getting all the scribe lines straight. I hate this part. Thanks for stopping in 🖐🤓
-
That's looking real nice, Bob. I've always liked the '35.
-
Yep. I like it, Dennis. The Poncho grille is good balance for the Merc tail lights. By any chance, will you be "crowning" this Victoria?
-
Ron, that body does look like new! What brand of purple are you using?
-
Looks like you already have this well in hand, Dennis! (Mine's not RA but it may as well be.) I like the mild custom idea for this body style. In my mind, it needs very little to improve it. It's all about the paint after that, right? It's a great body style. Nice paint and some lowering, that's all.
-
Not much room for that Firedome, huh? Nice job on the doors, Jon, and the exhaust routing! Thanks for sharing, it's a beauty. Super nice detailing. I'd love to see the build thread on it.
-
That color combo looks great, Bob. Using a later flathead is a cool idea too.
-
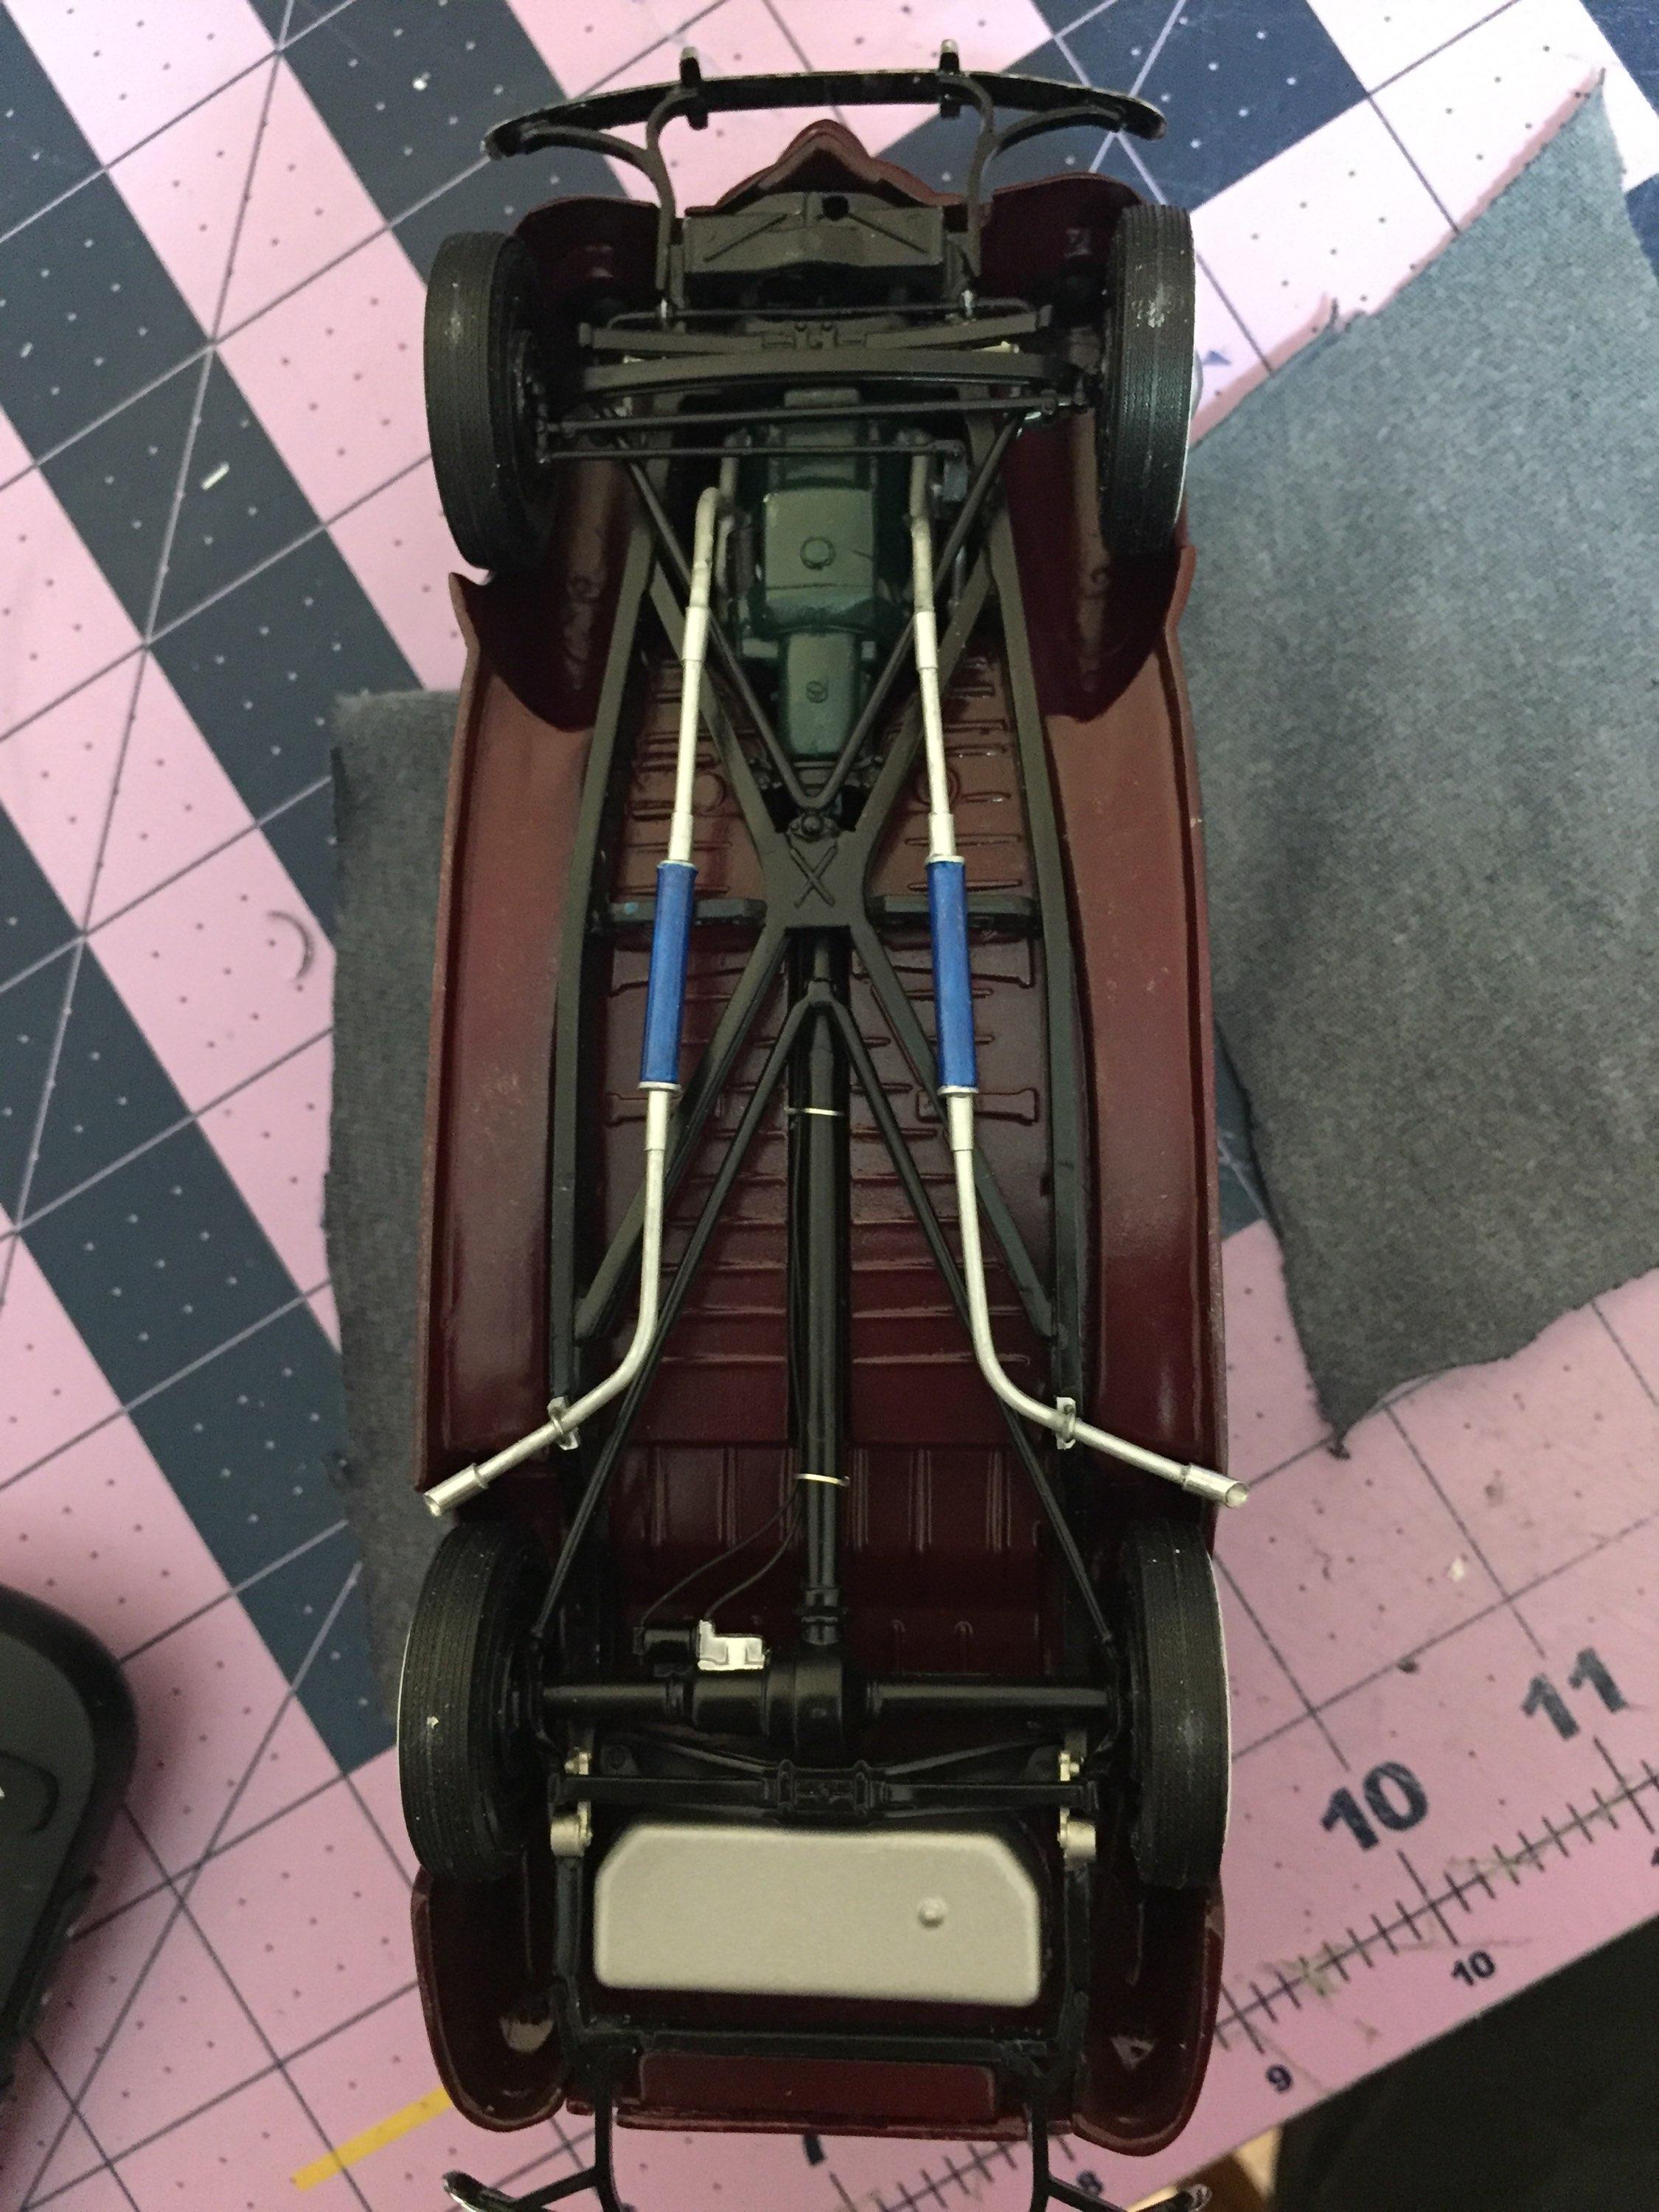
Got the boards painted, and the gas tank. Windshield is in, dash installed. Almost there, thanks for looking.