customline
-
Posts
3,791 -
Joined
-
Last visited
Content Type
Profiles
Forums
Events
Gallery
Everything posted by customline
-
 1.) $180.00 Iwata air brush that I've had almost two years and haven't tried yet. 2.) AK weathering kit 3.) A set of Createx iridescent paints. 4.) A Jimmy Flintstone '53 Ford Country Squire body 5.) Parafilm
 -
I was wondering when you'd stop in, Bill. My first reflex was to just go ahead and do the stuff I did to the '29 roadster/'30 coupe kits to get them lower but I wanted to just build it. The only mods are some engine details,"no outside door handles" and a one piece hood. That's it. A nice fast build with no "creativity" spent on a pretty decent kit. I need to find a pair of '39 taillights, though 😕
-
Revell is good about replacing bad or missing parts. I did it once a few years ago (the '29 windshield frame). Off-hand, I can't recall how to contact them, sorry; try the website?
-
The third member is going to stay put, Craig, too much to undo and I'm too far along but tomorrow I'm going to see if Ollie's has any more (Wifey needs coffee pods-good excuse to go 🥴). I figured those Monogram kits were a special deal. I bought a couple of those too. Nowhere near as good as this kit. I'd like to channel it and get it down in the weeds.
-
You're quite welcome. I like this kit a lot but that may be because I haven't had any disasters yet 😄. There are some things that some might find difficult but not many. Gluing the front fenders raised my BP a little but I got them mounted on the first try. 🙂 This is today's progress

-
Yeah but then it becomes a whole big thing trying to find wheels and adapting them and all that. I'm just not that ambitious. I listen but I hate buying aftermarket stuff because the added expense makes me unhappy ☹. As far as your suggestions goes, try beginning them with the words "I may be totally wrong but..." if the suggestion causes a disaster, you have an out. 🥴
-
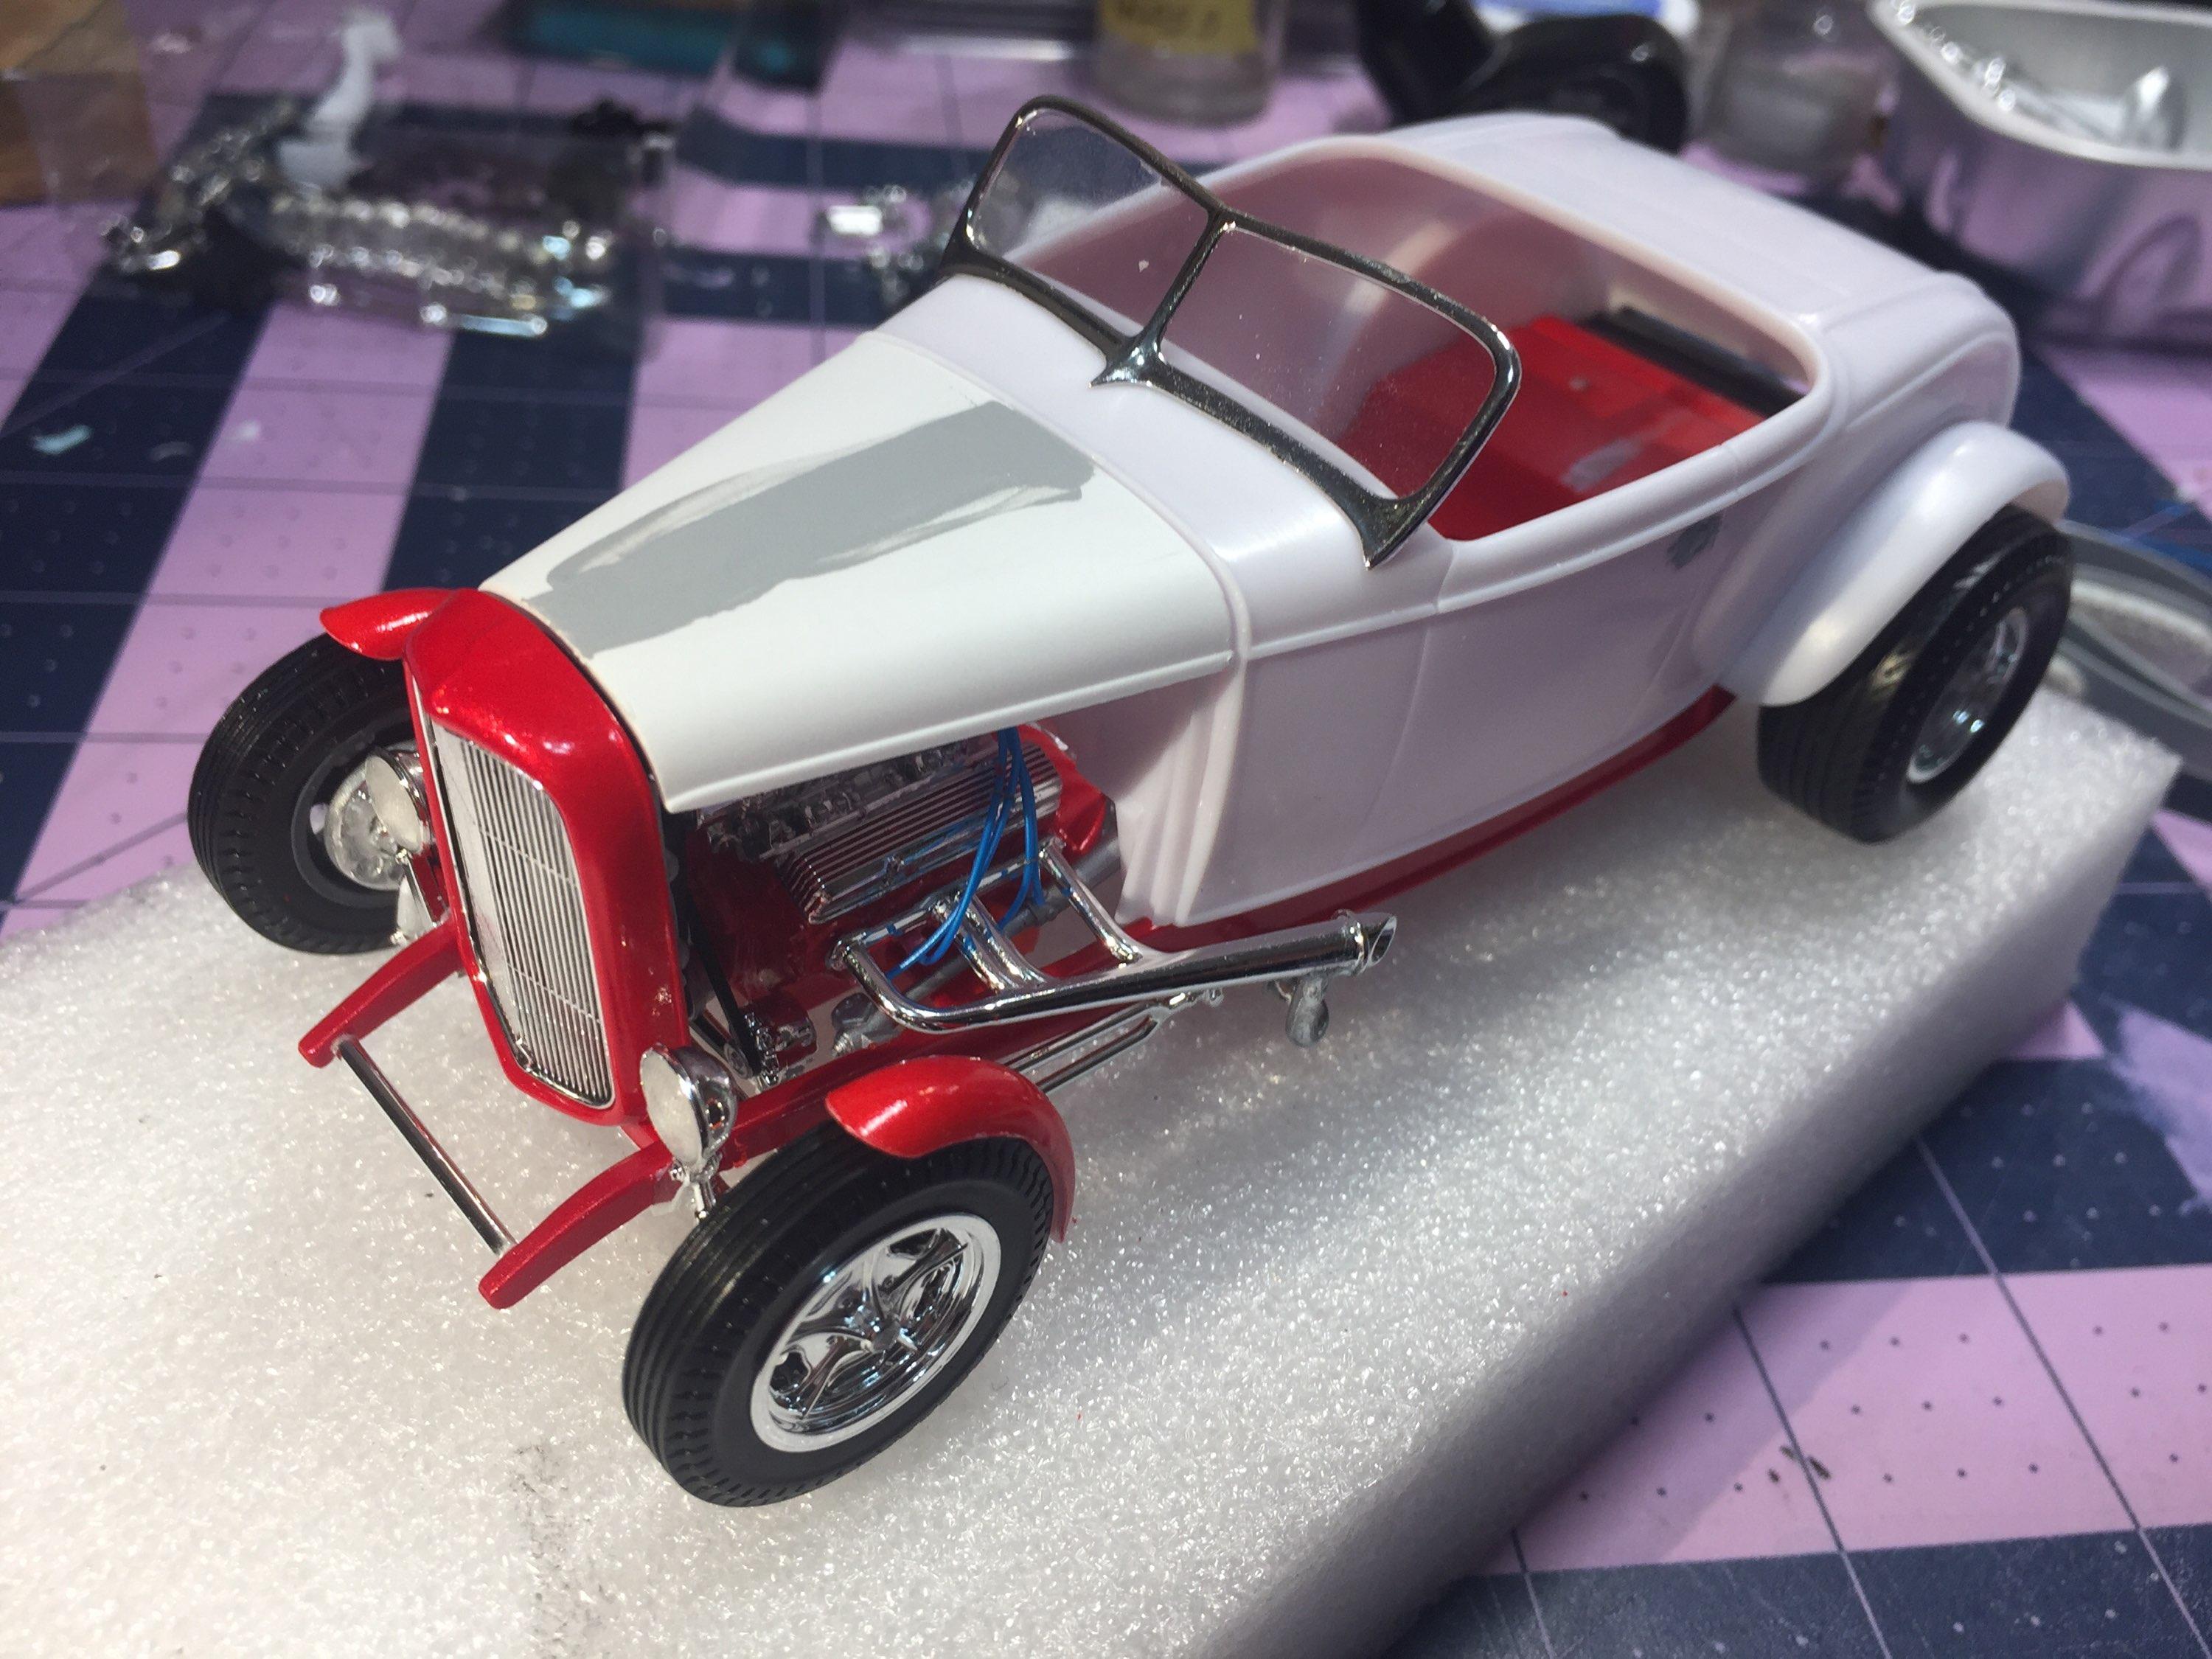
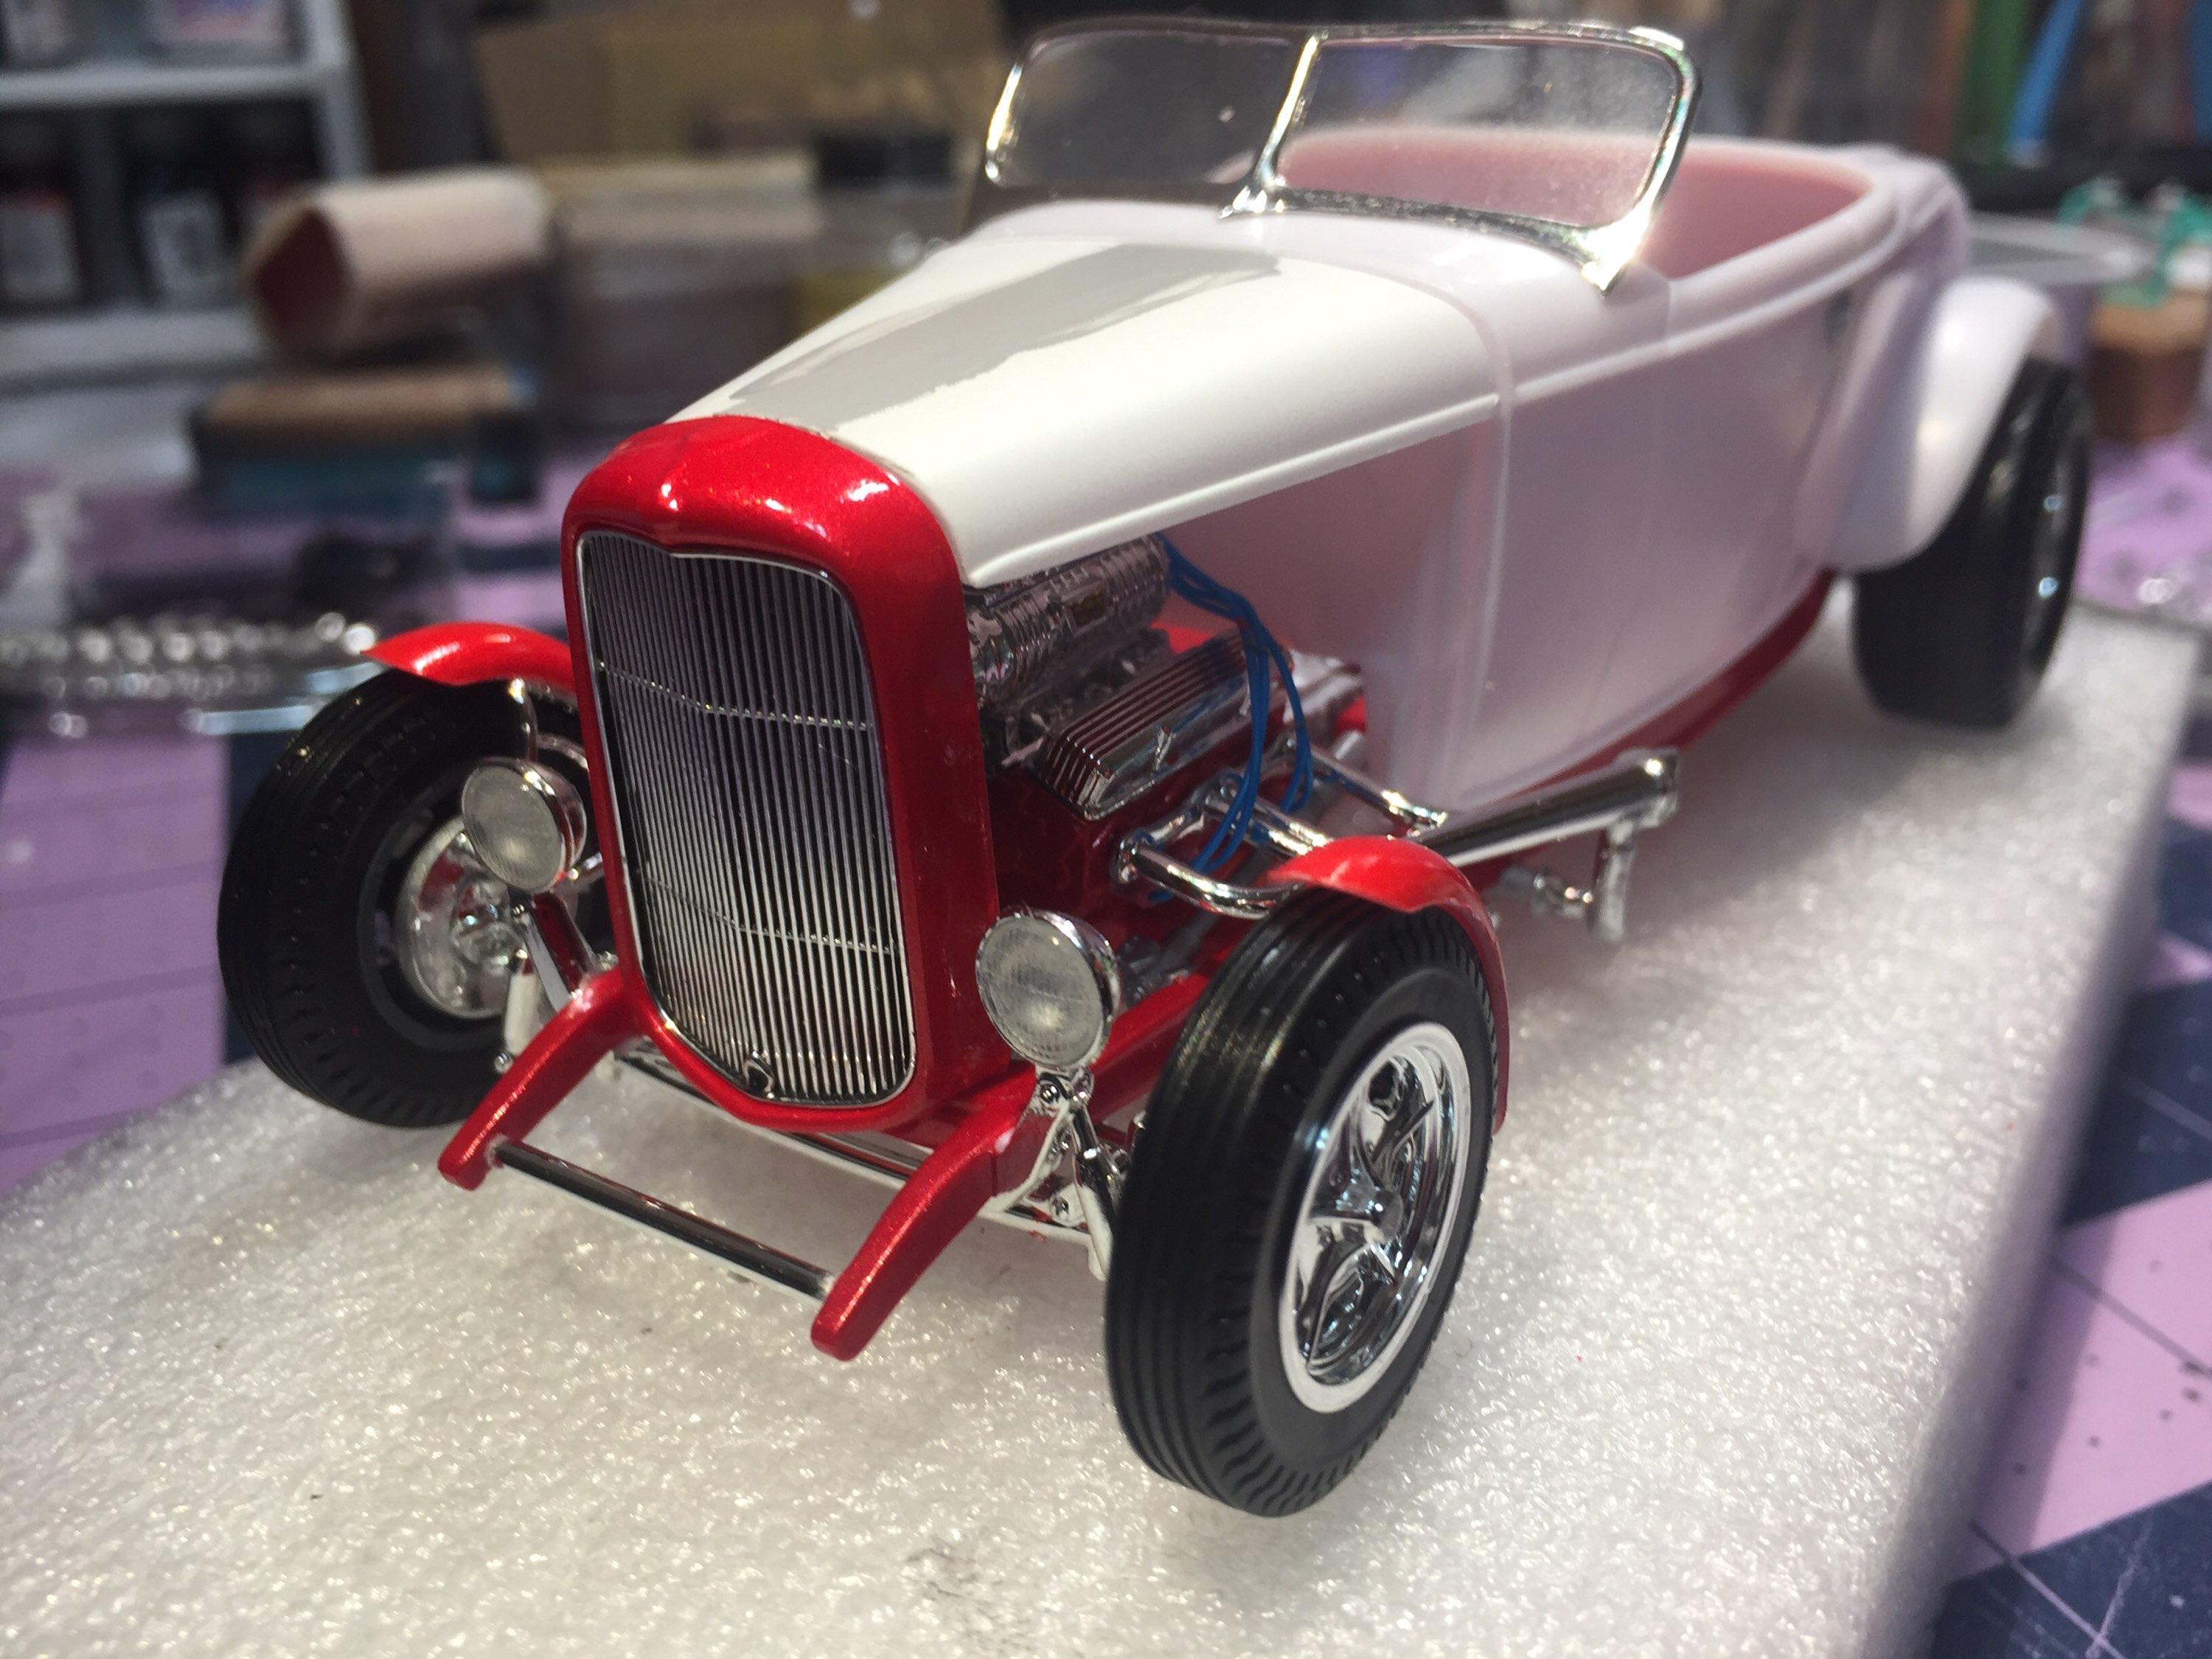
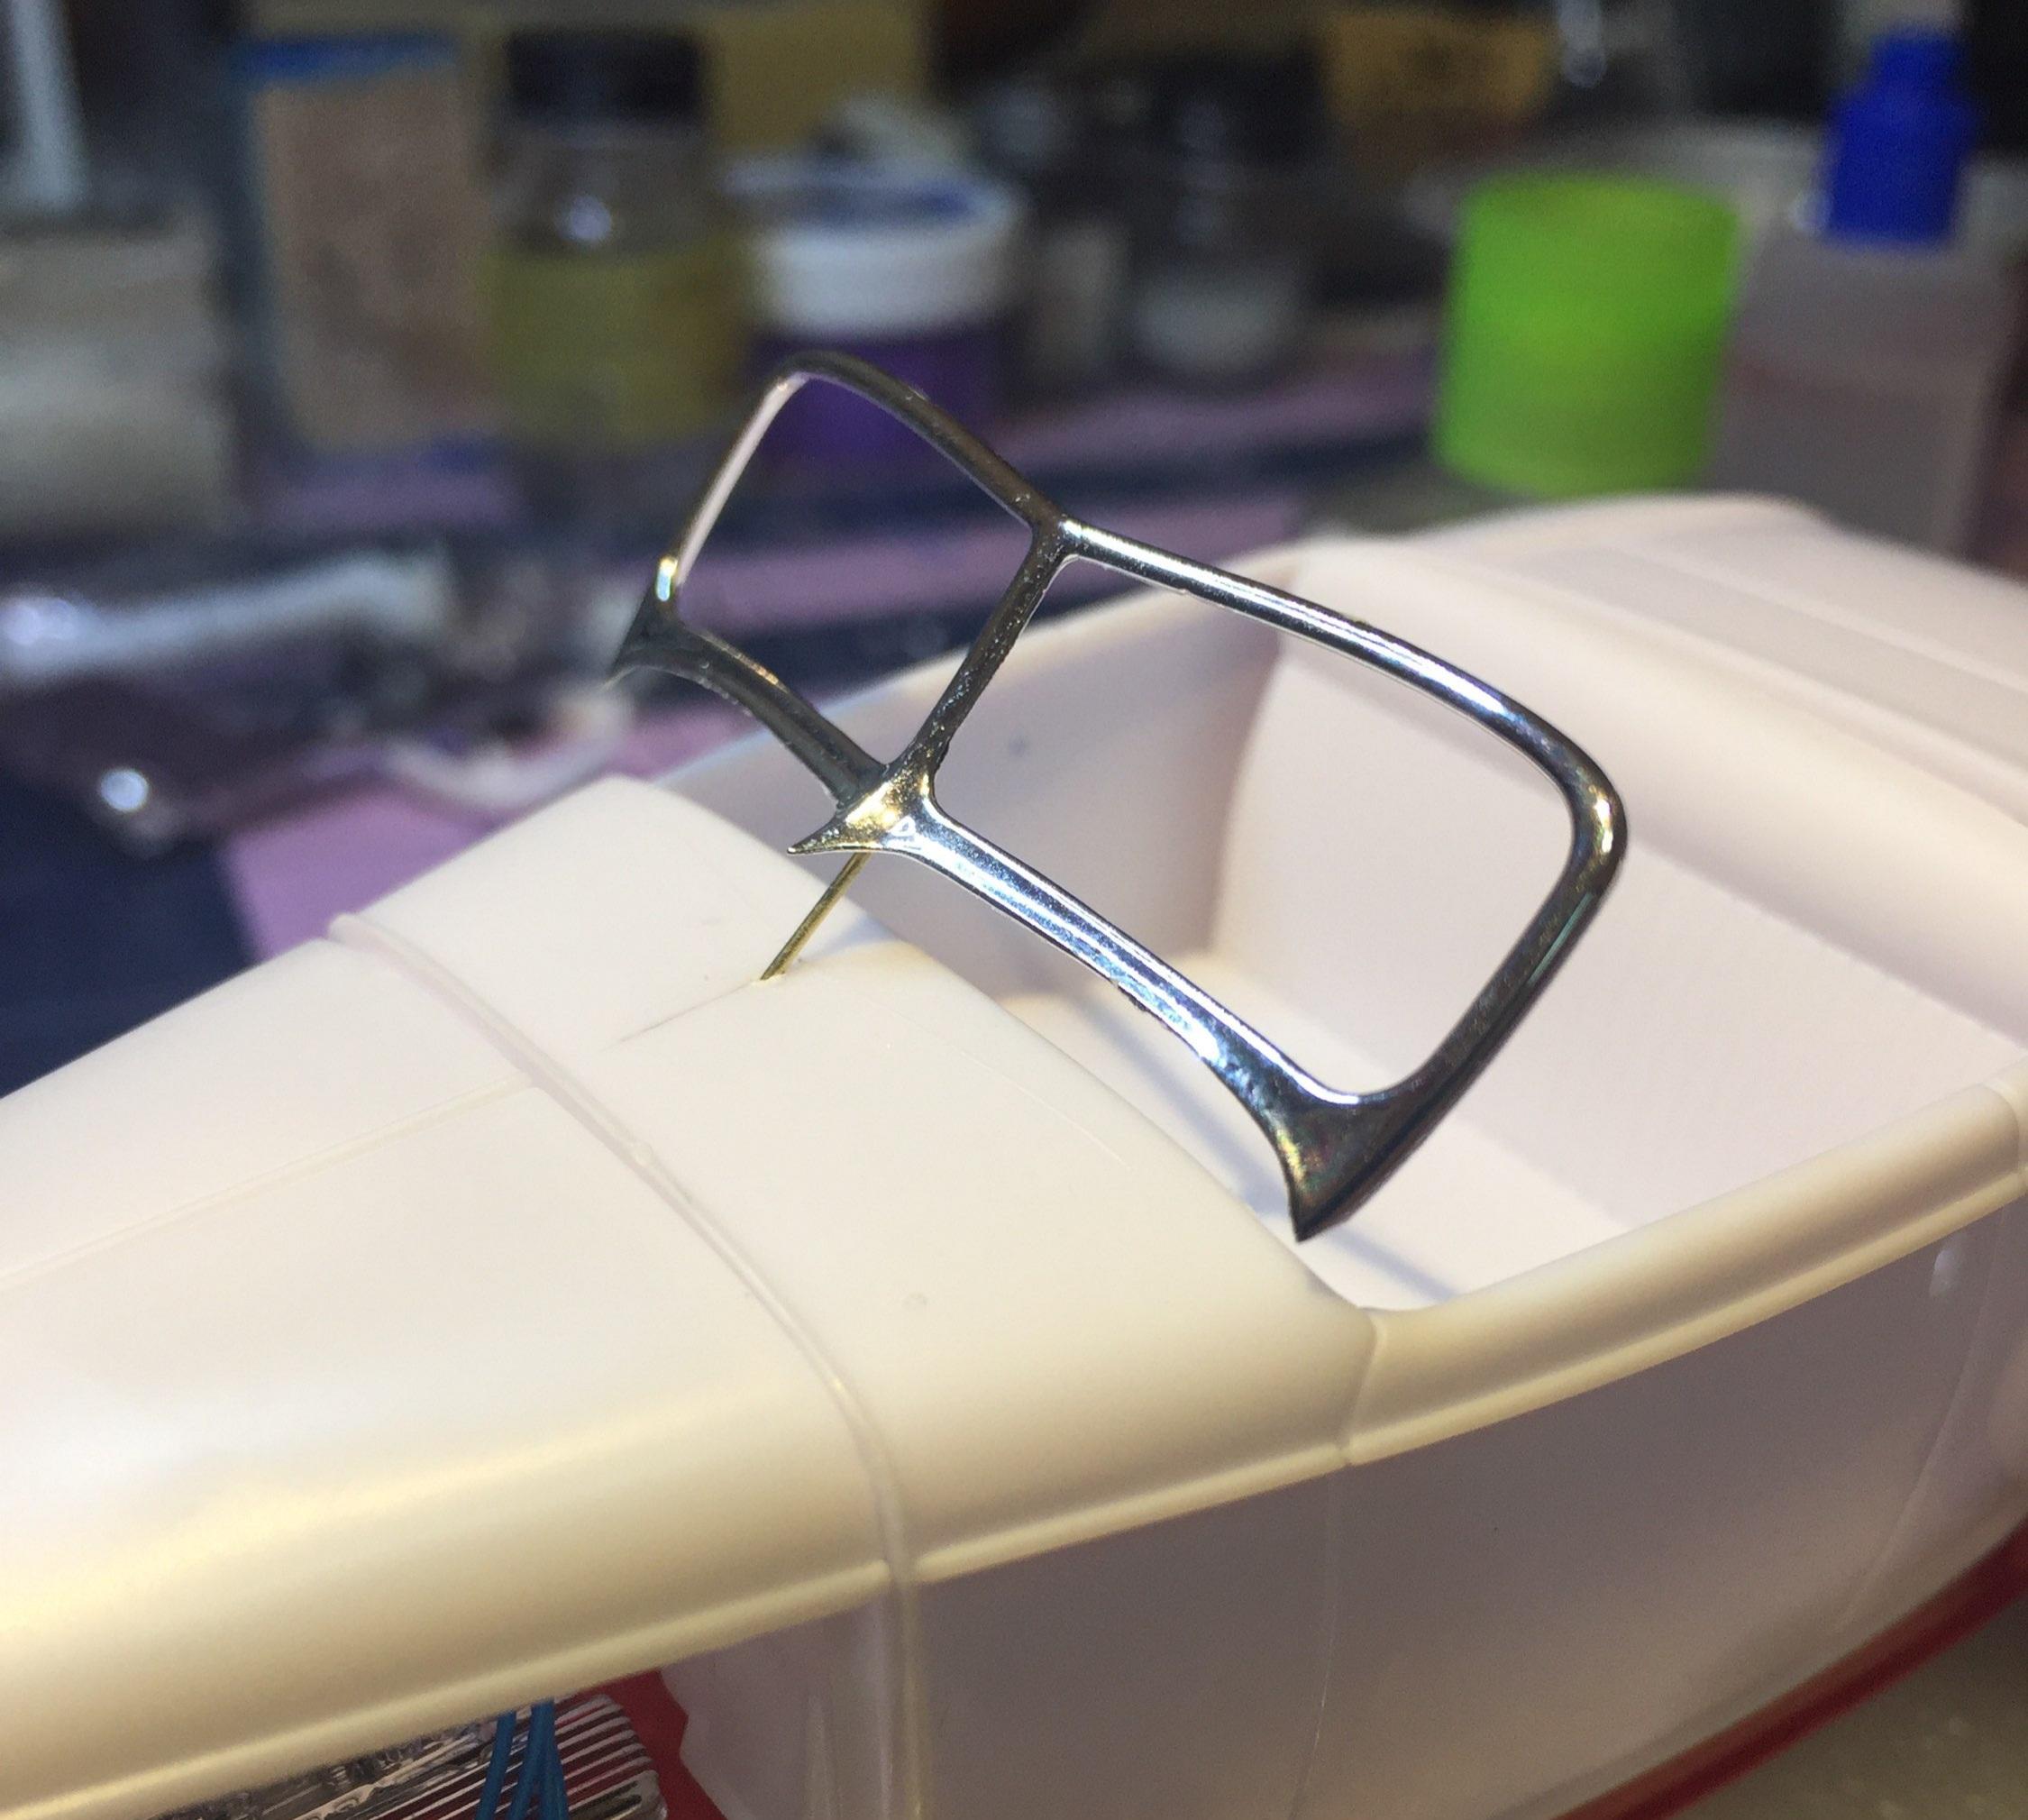
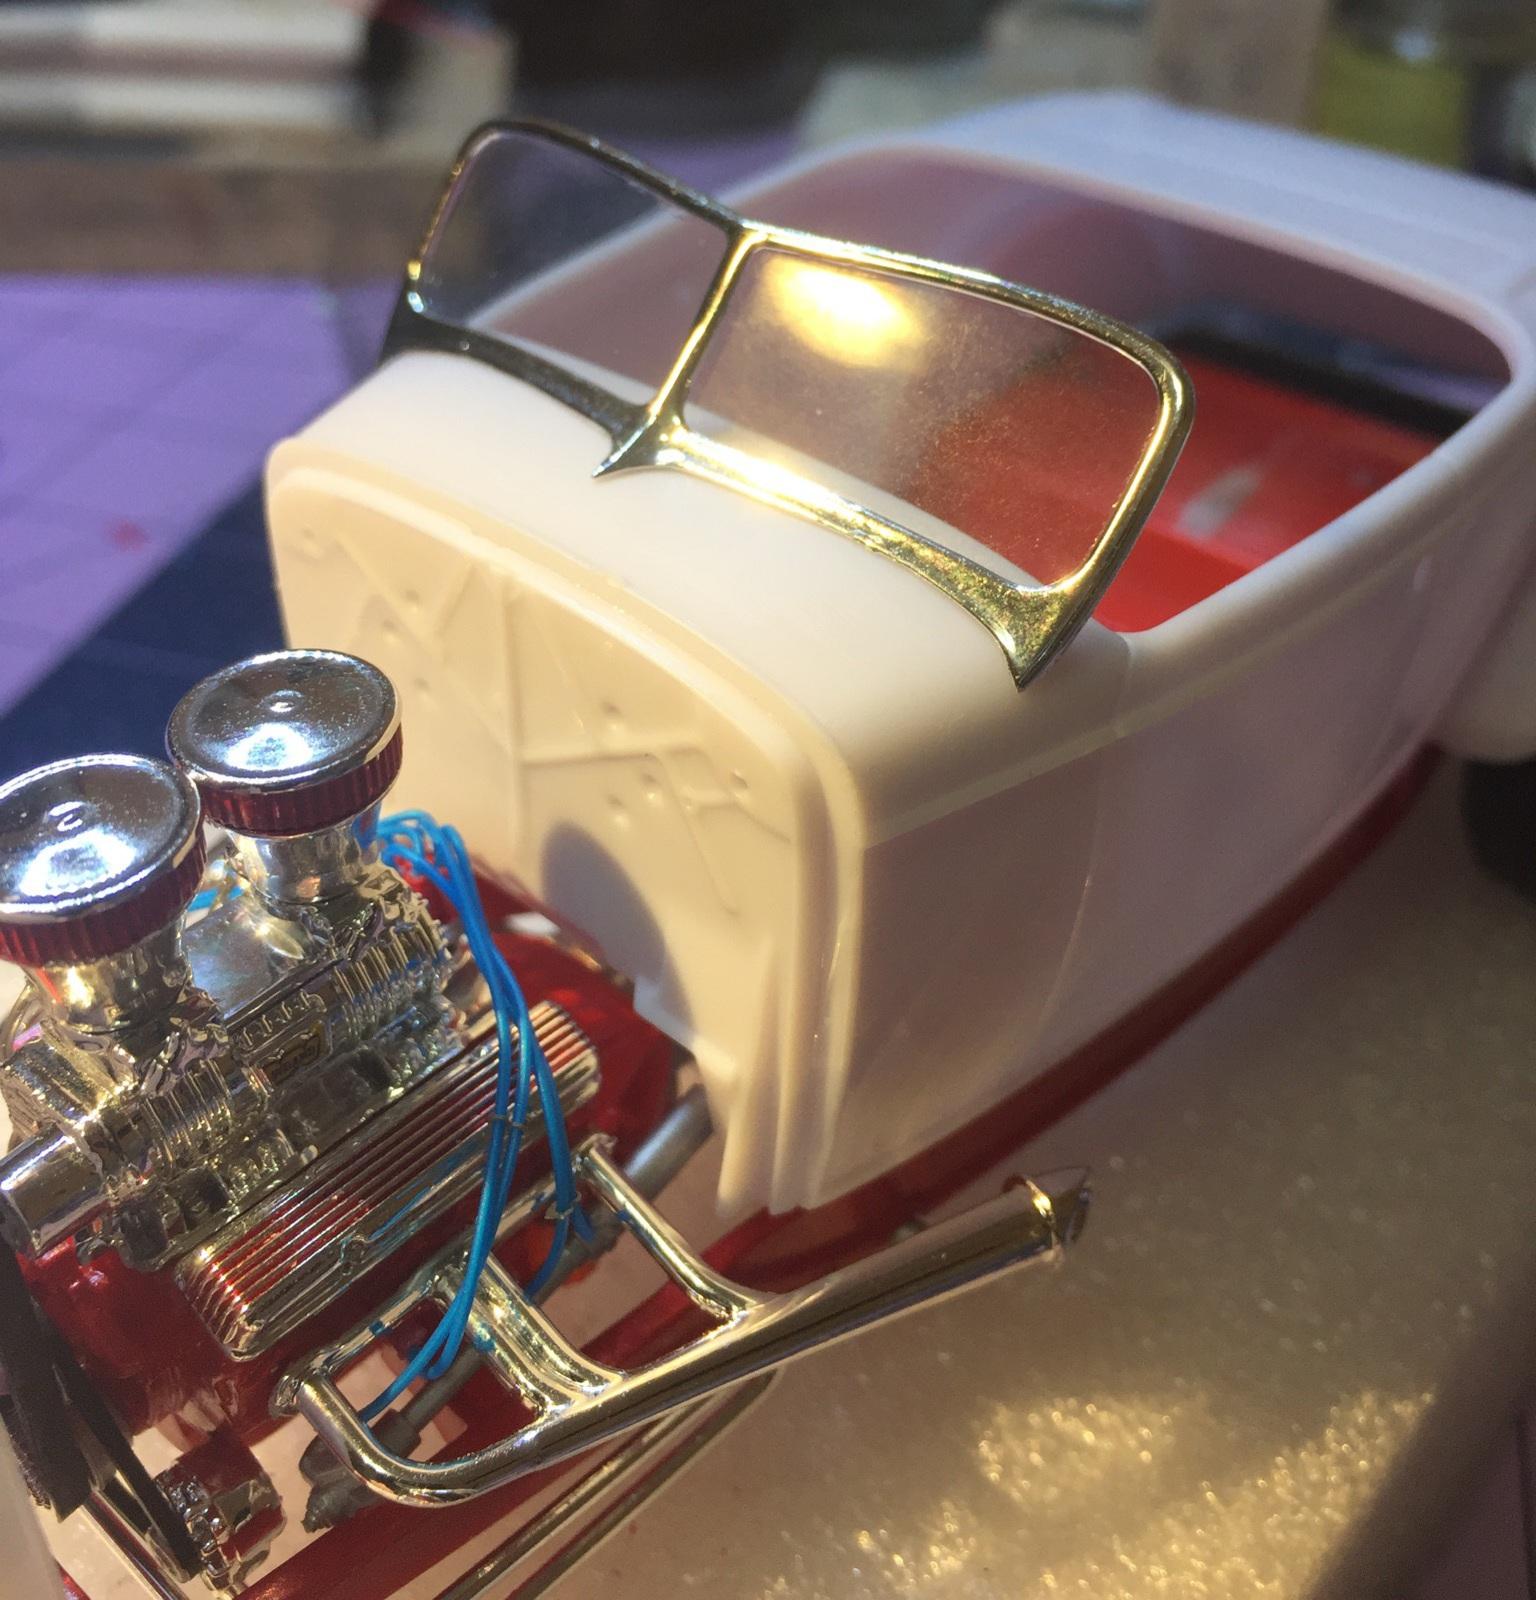
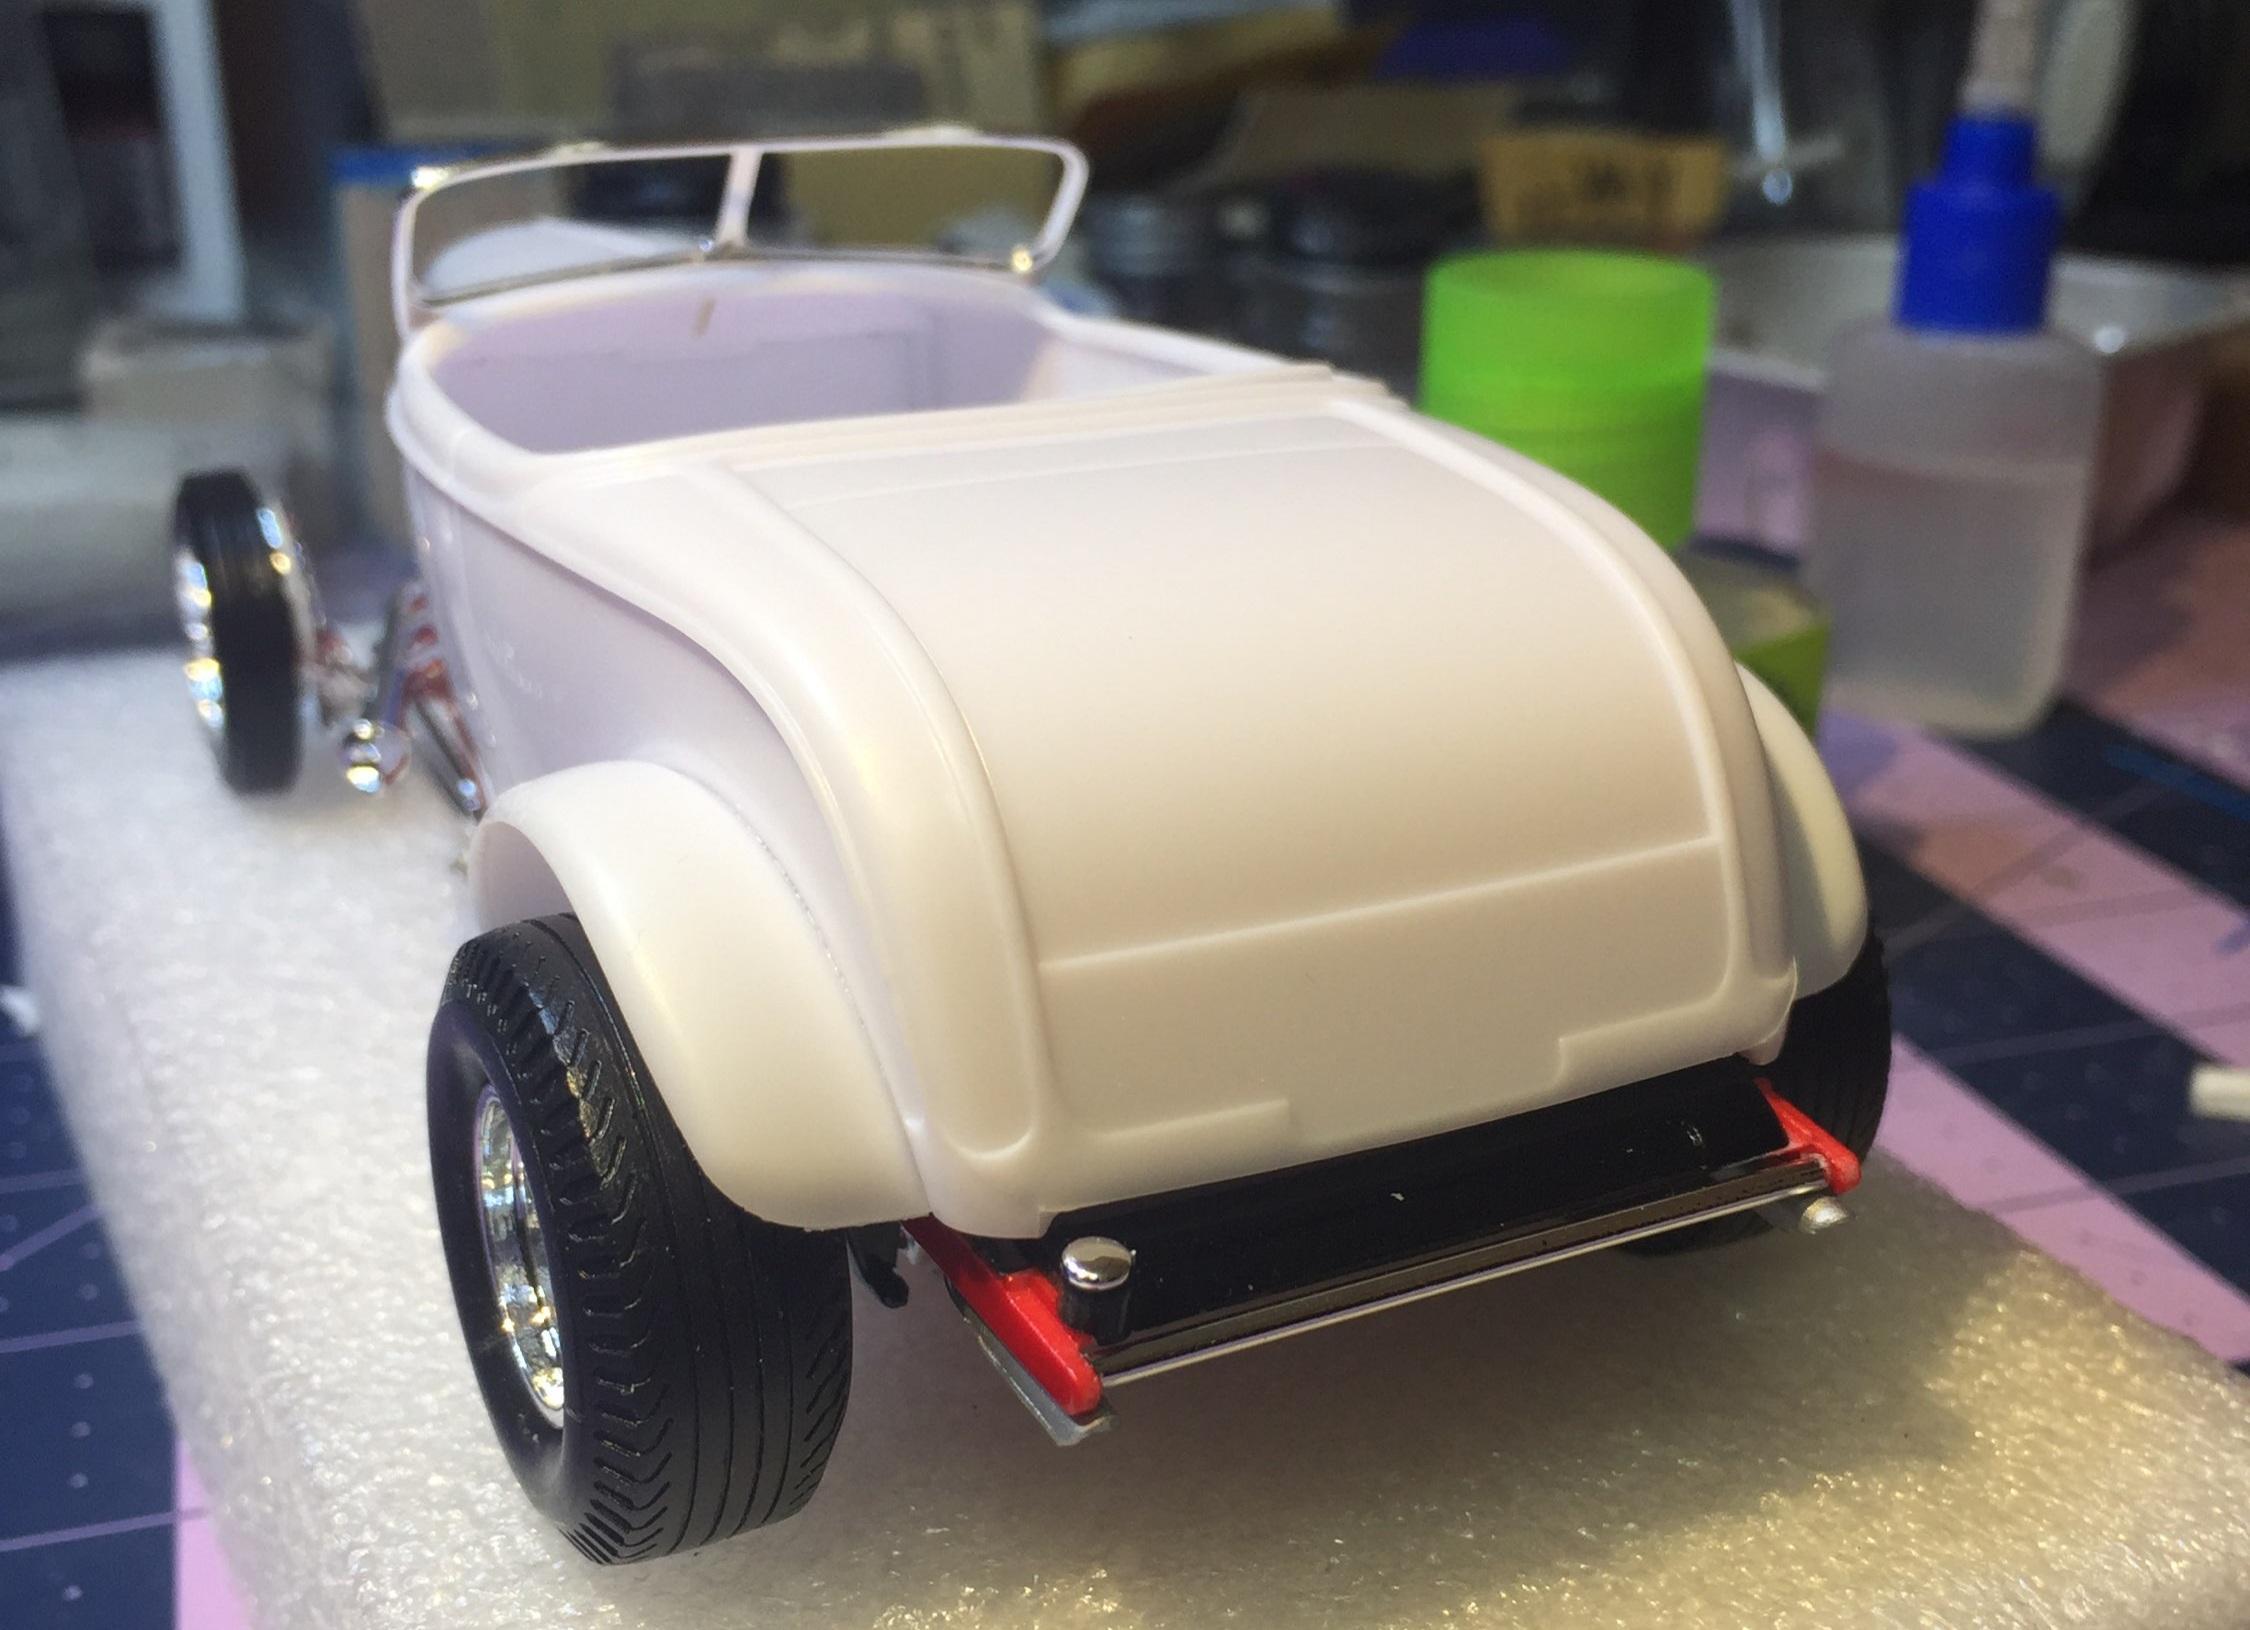
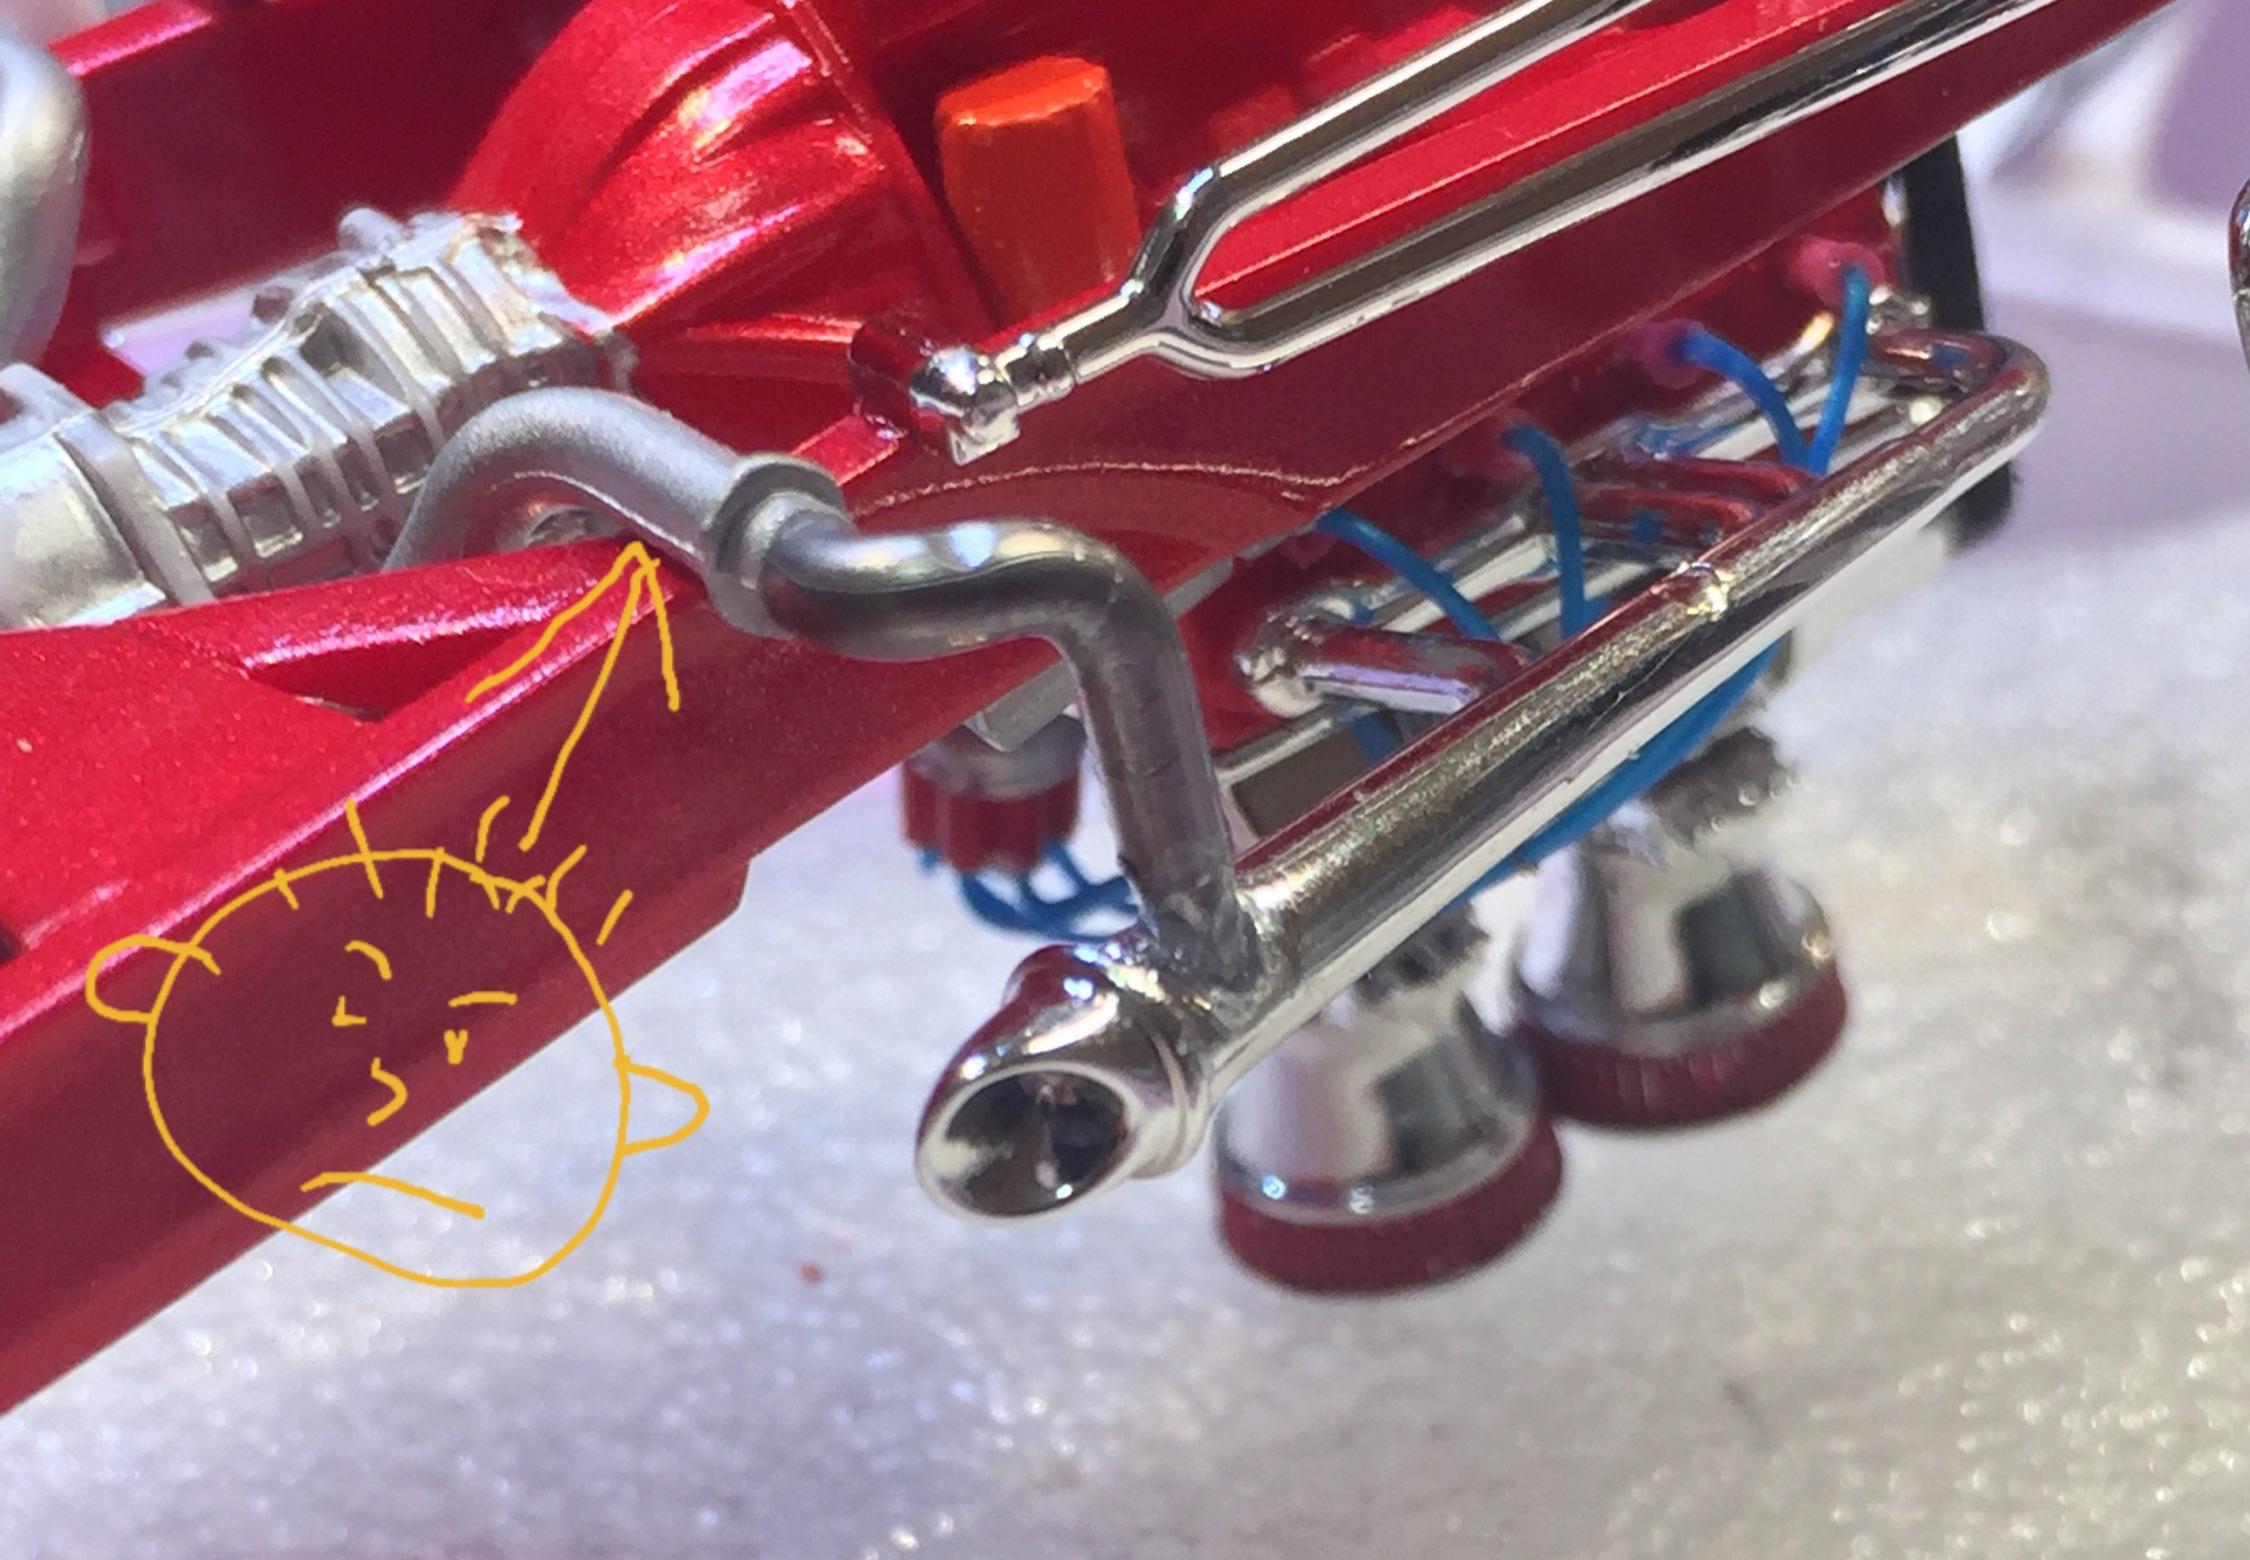
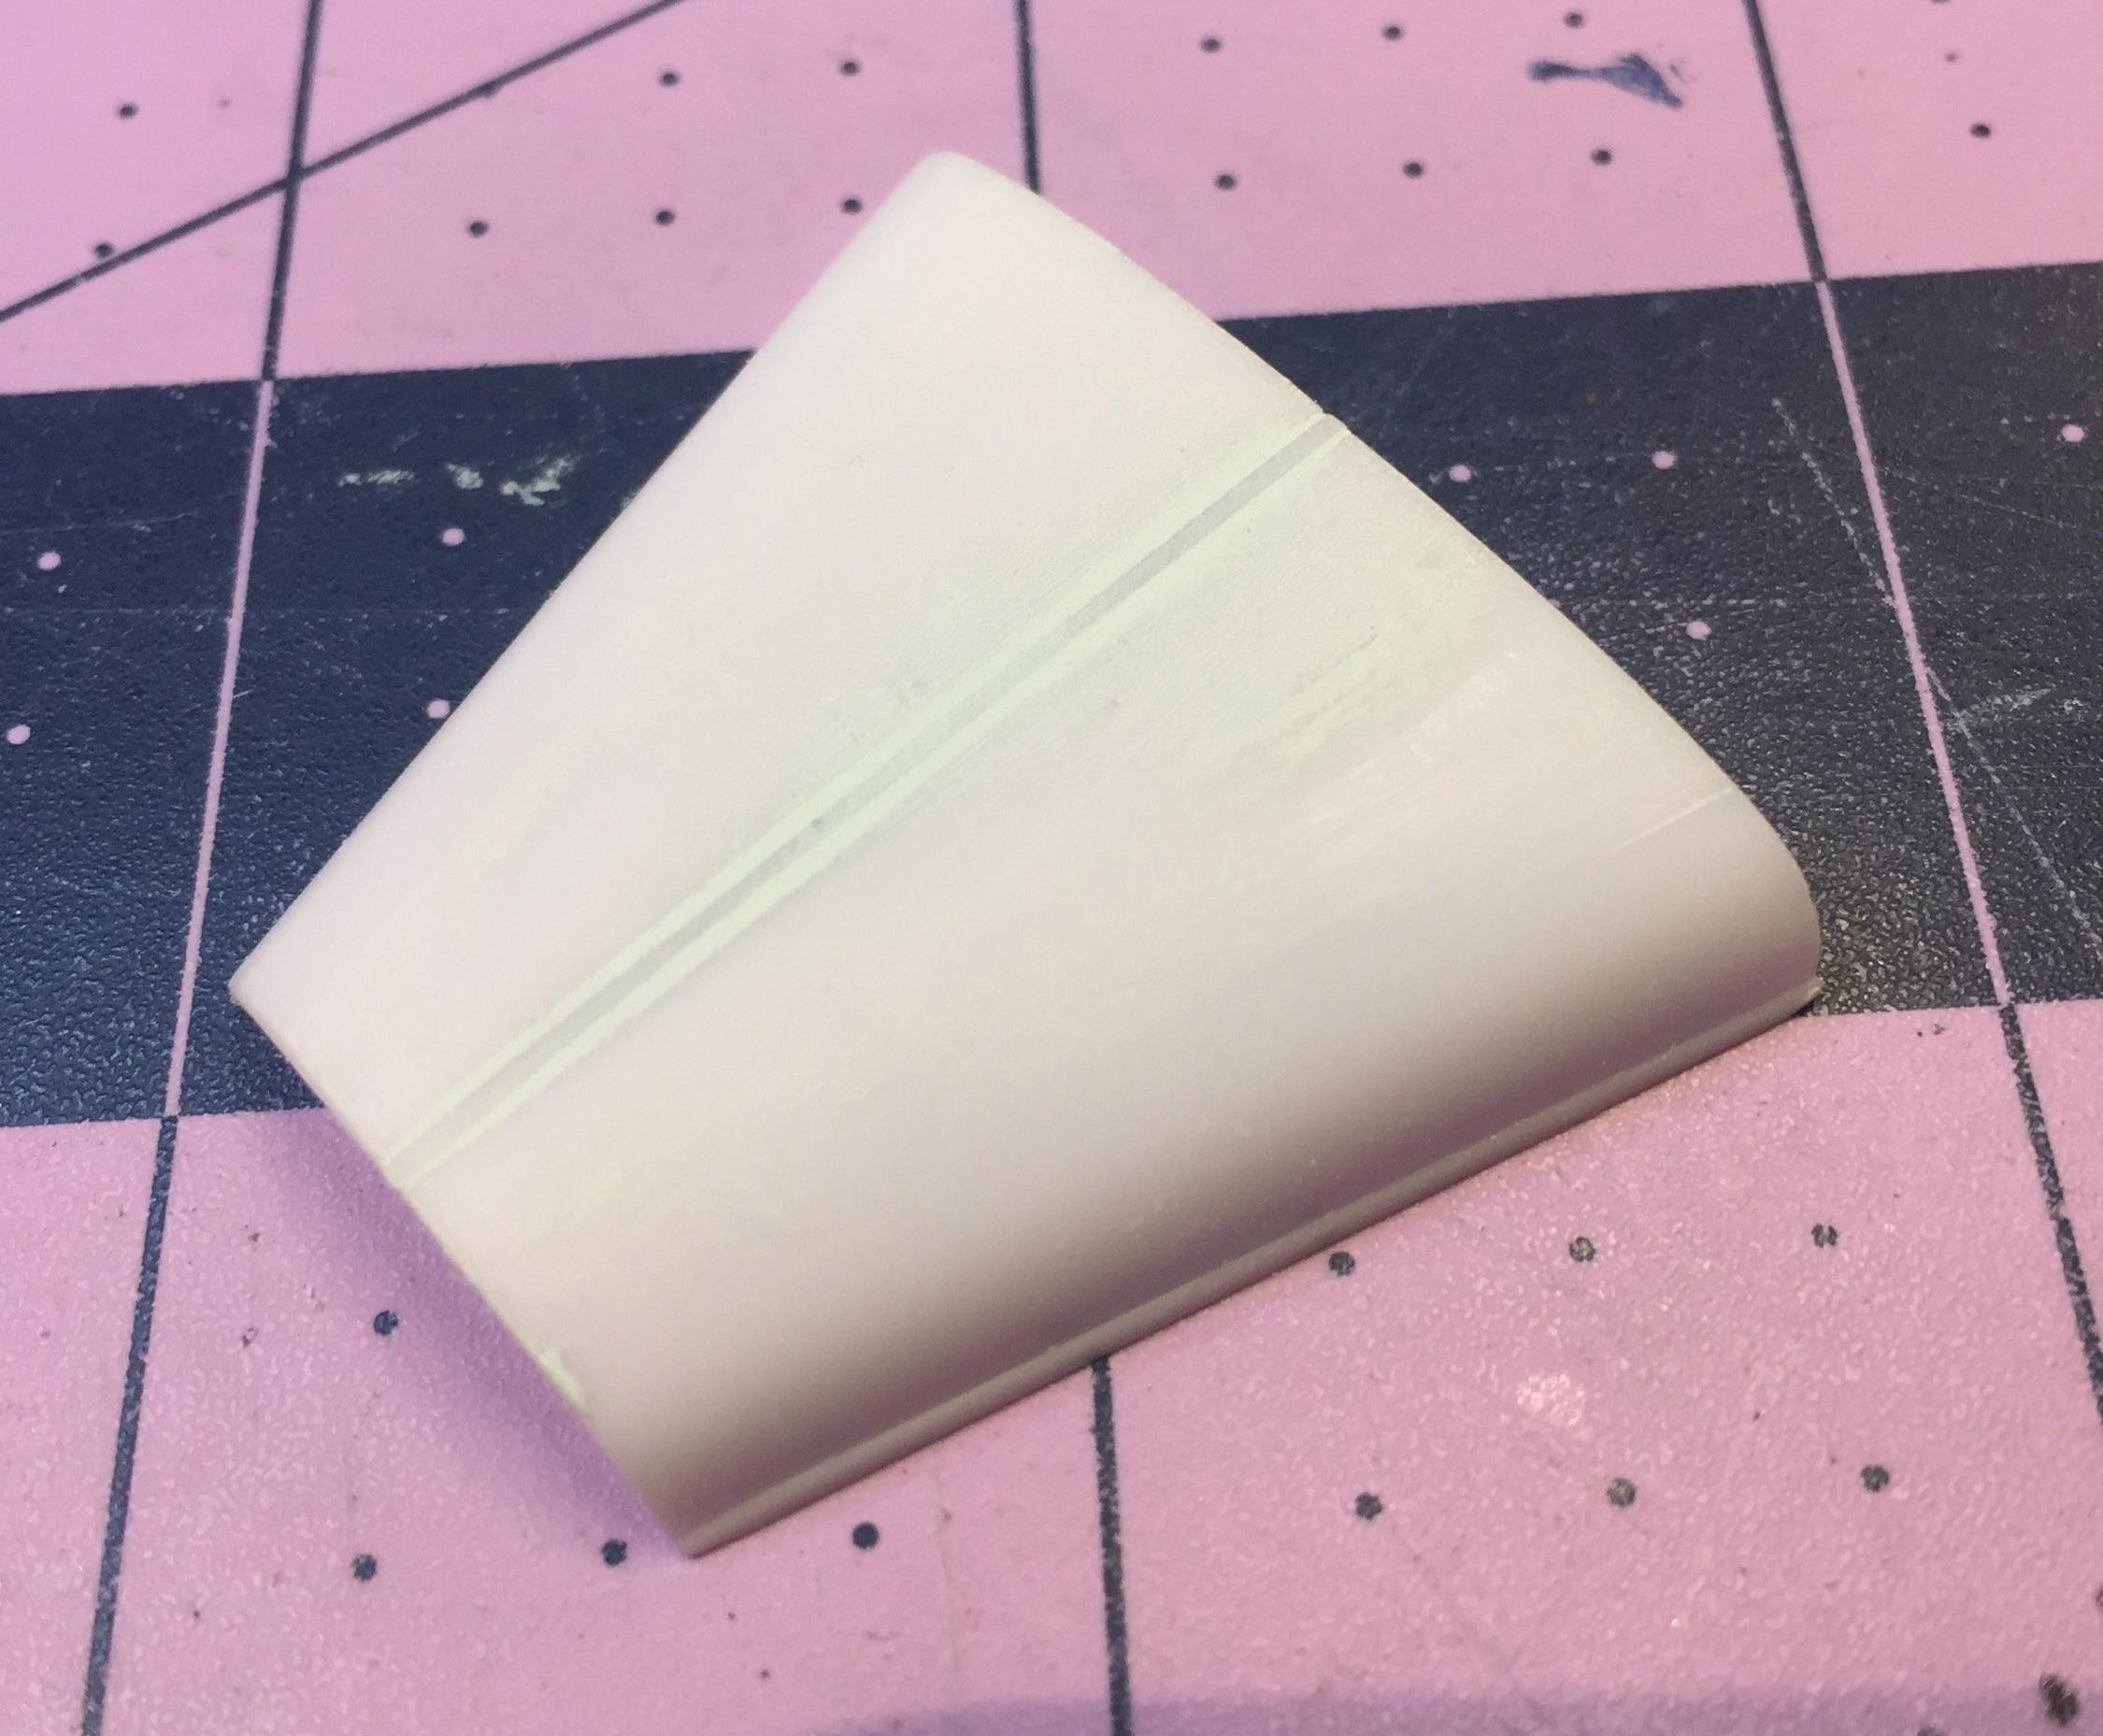
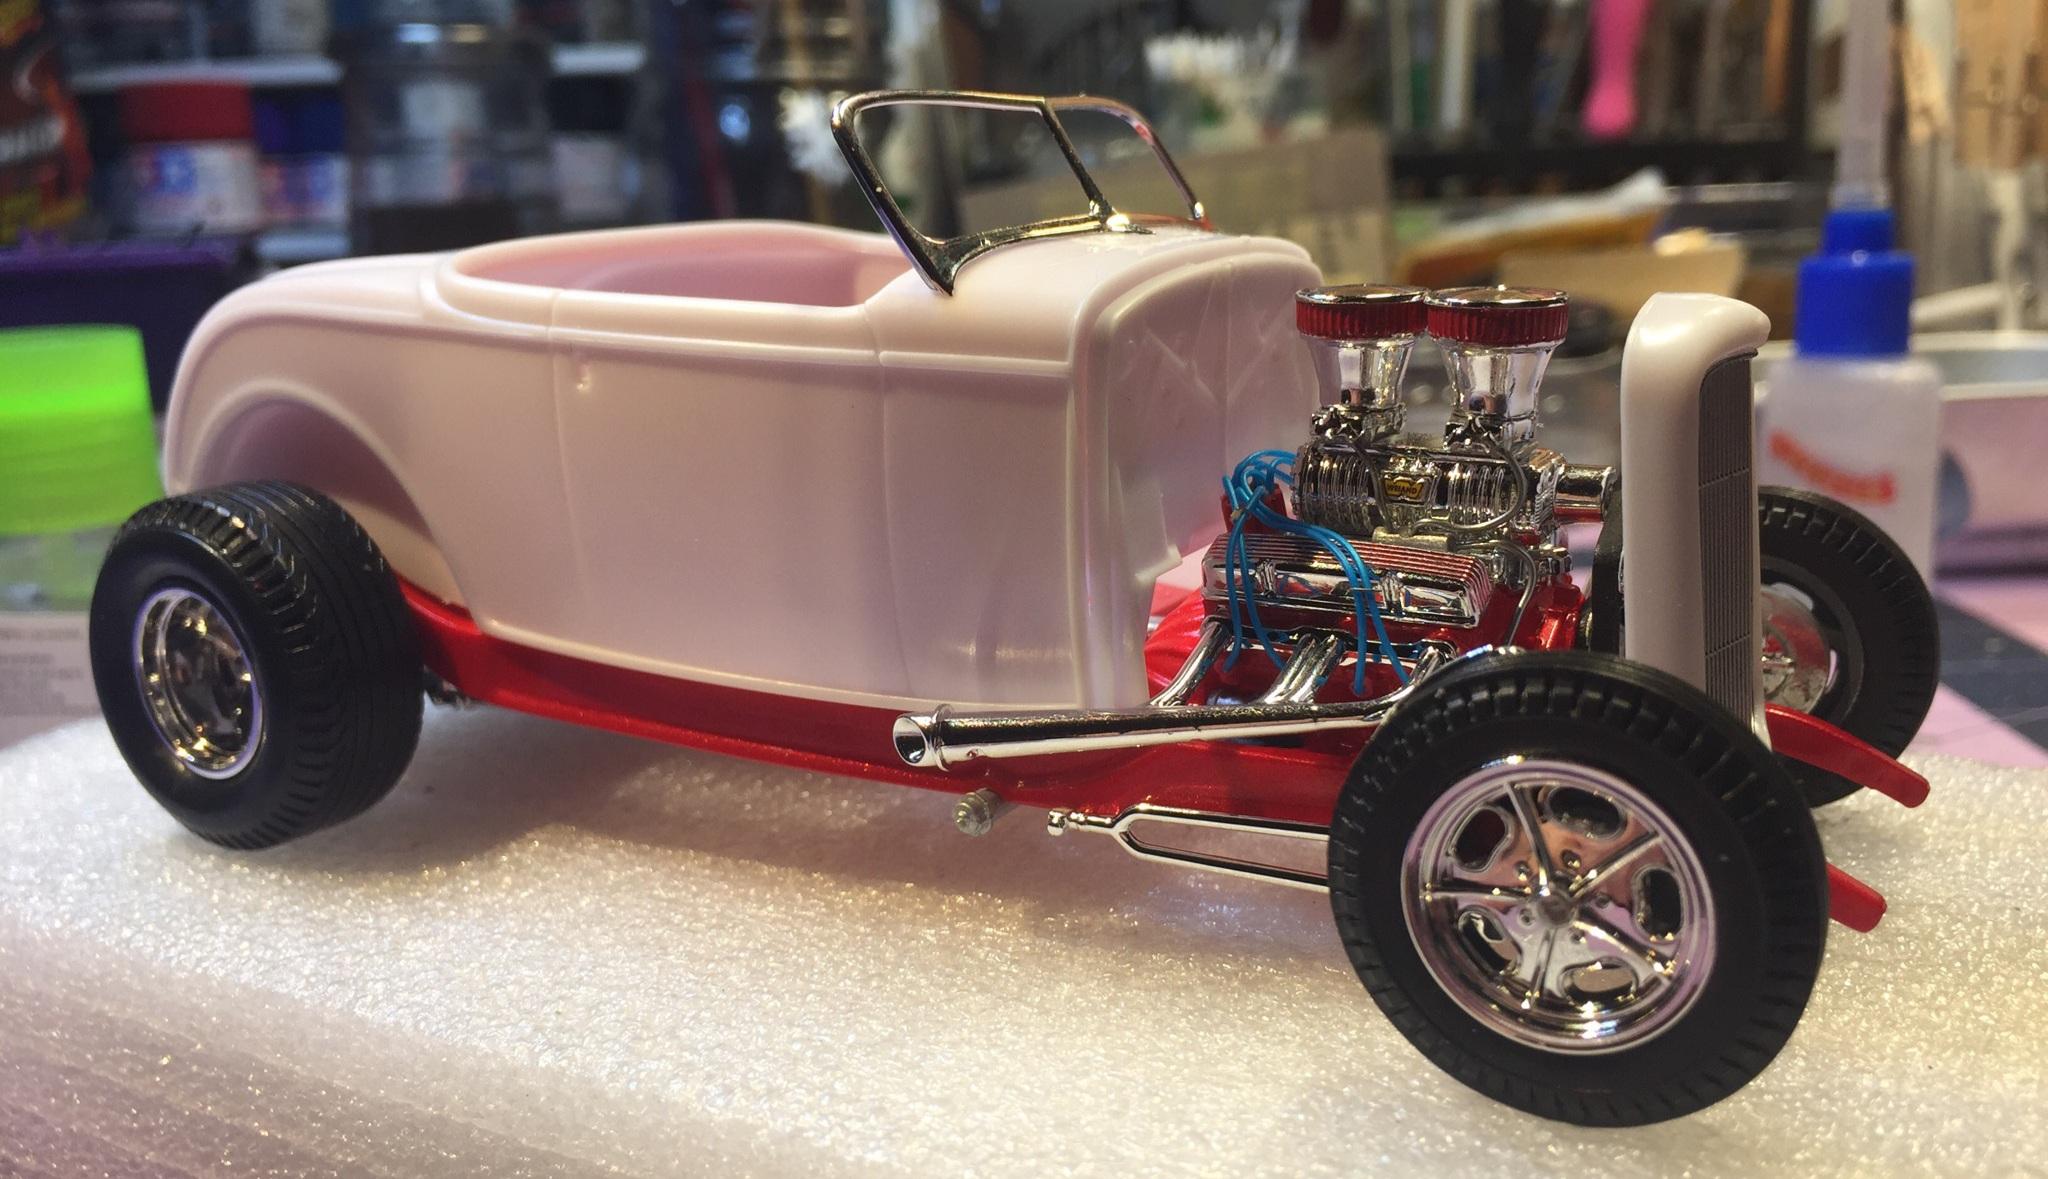
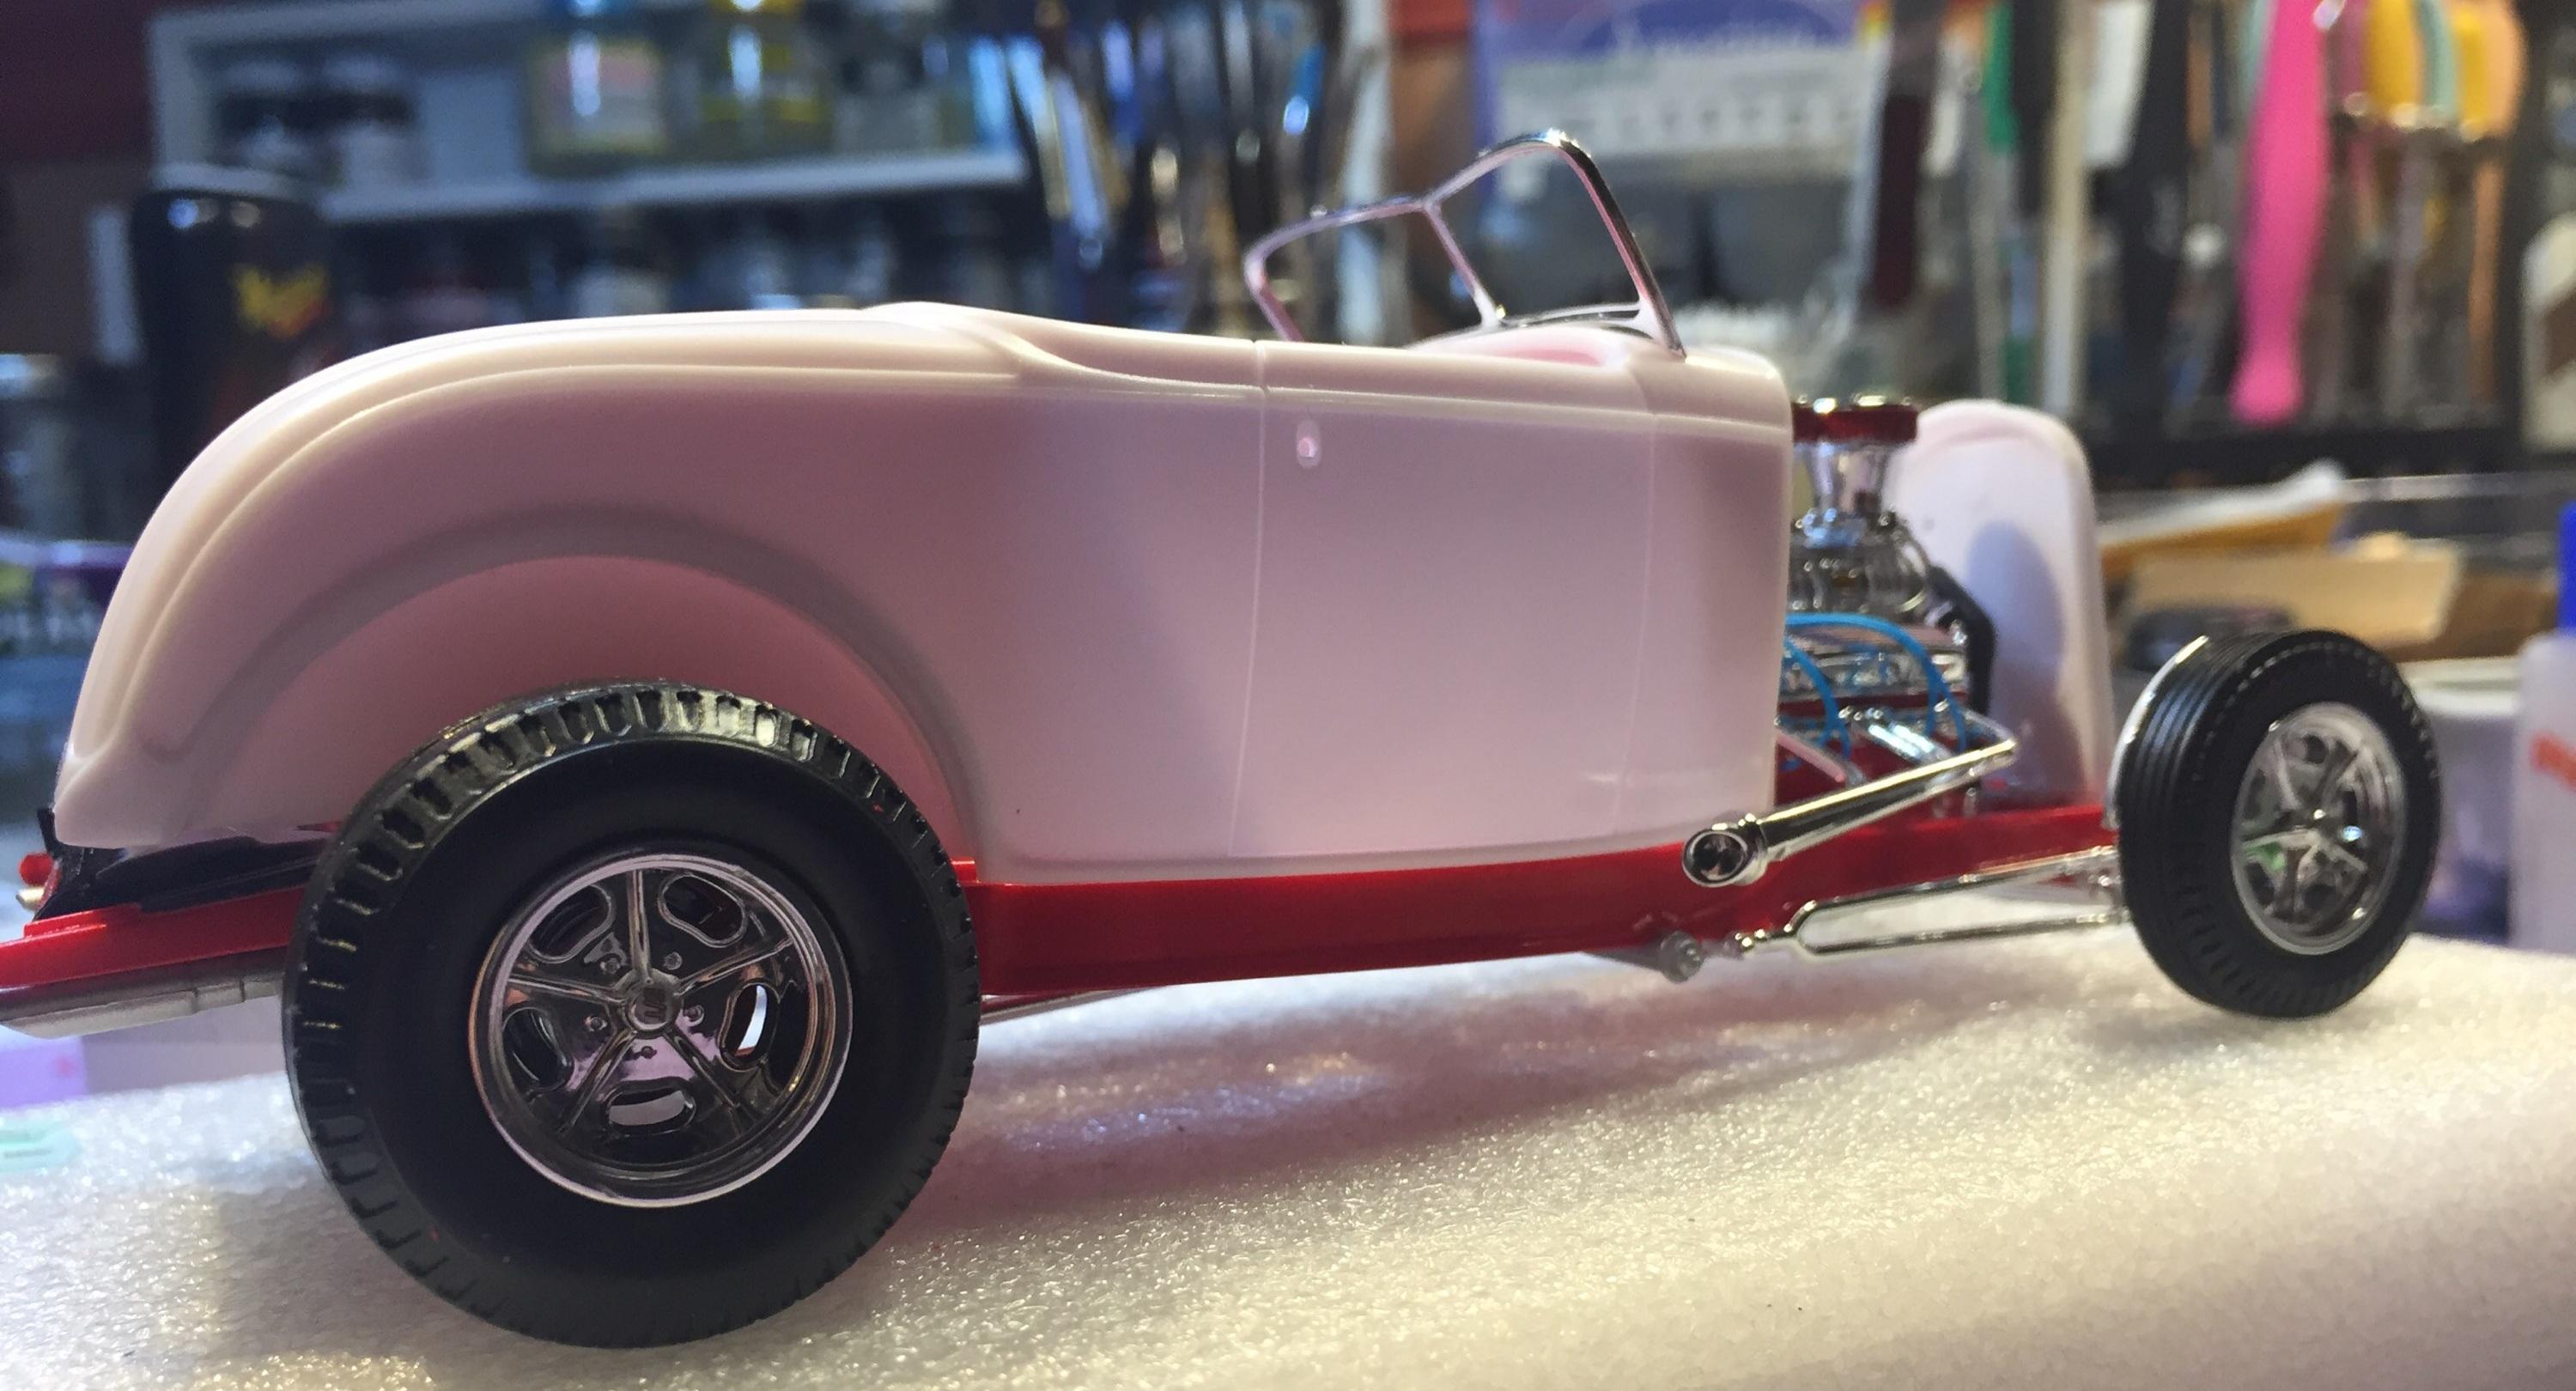
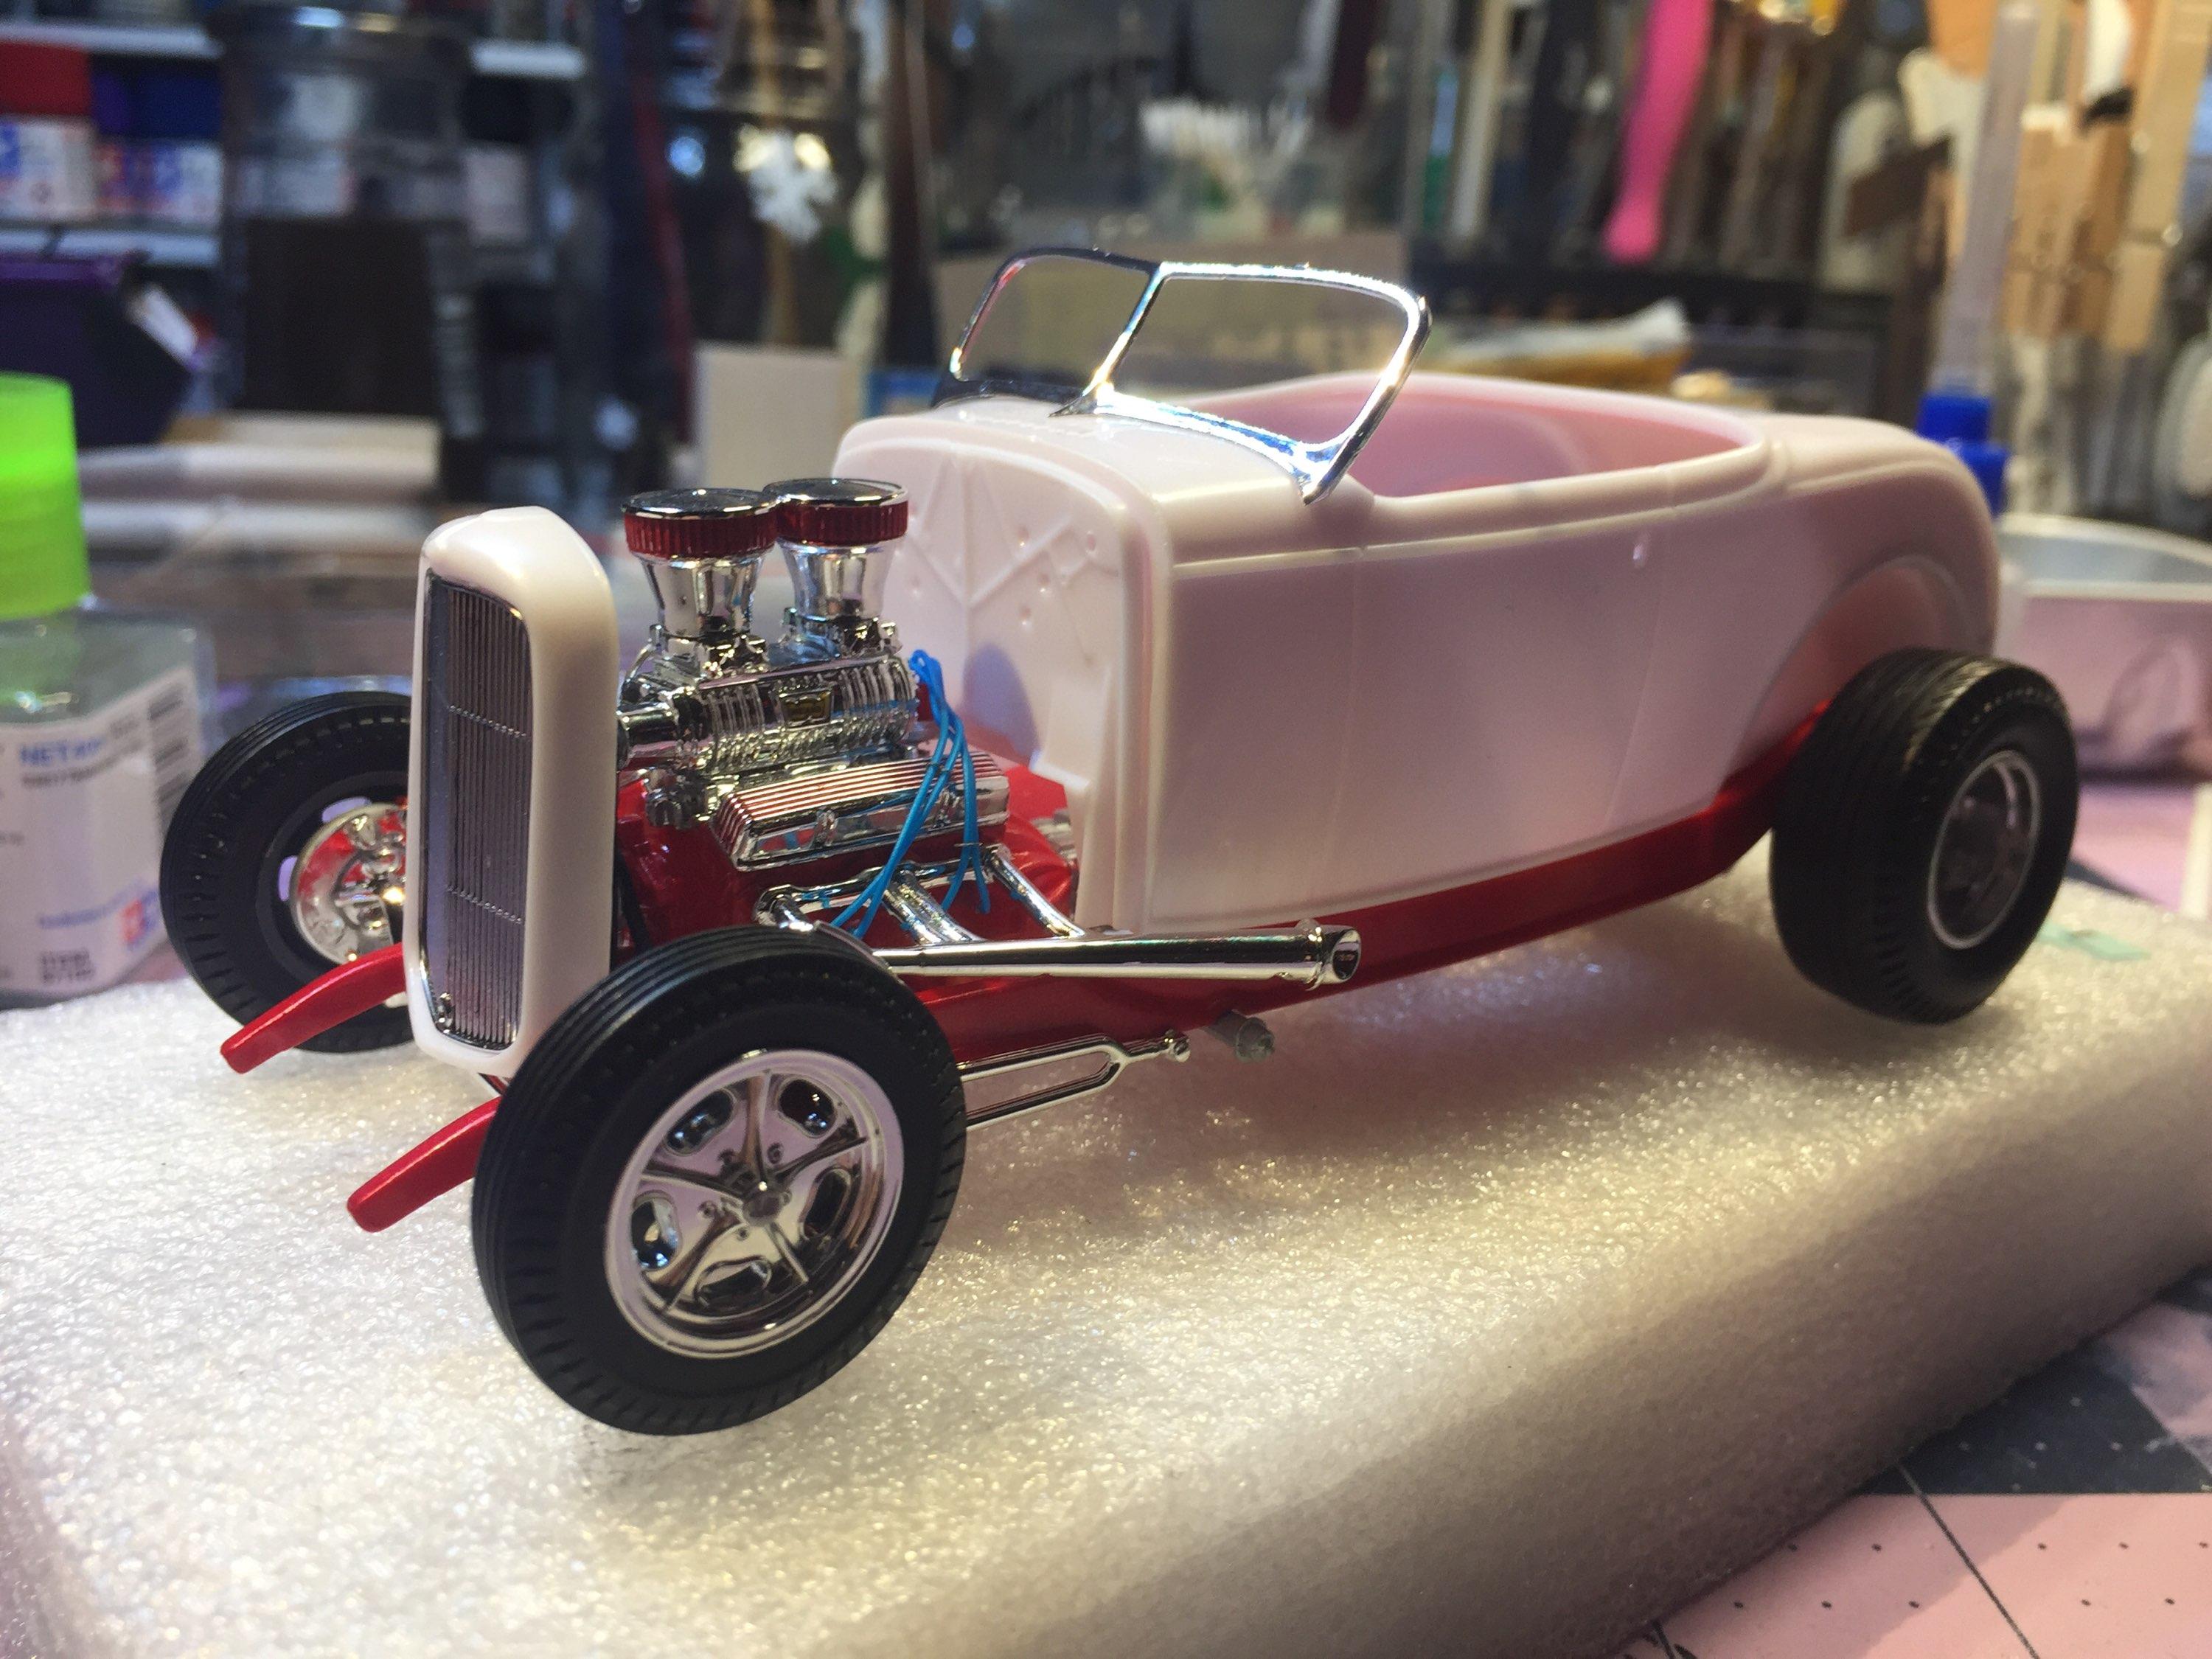
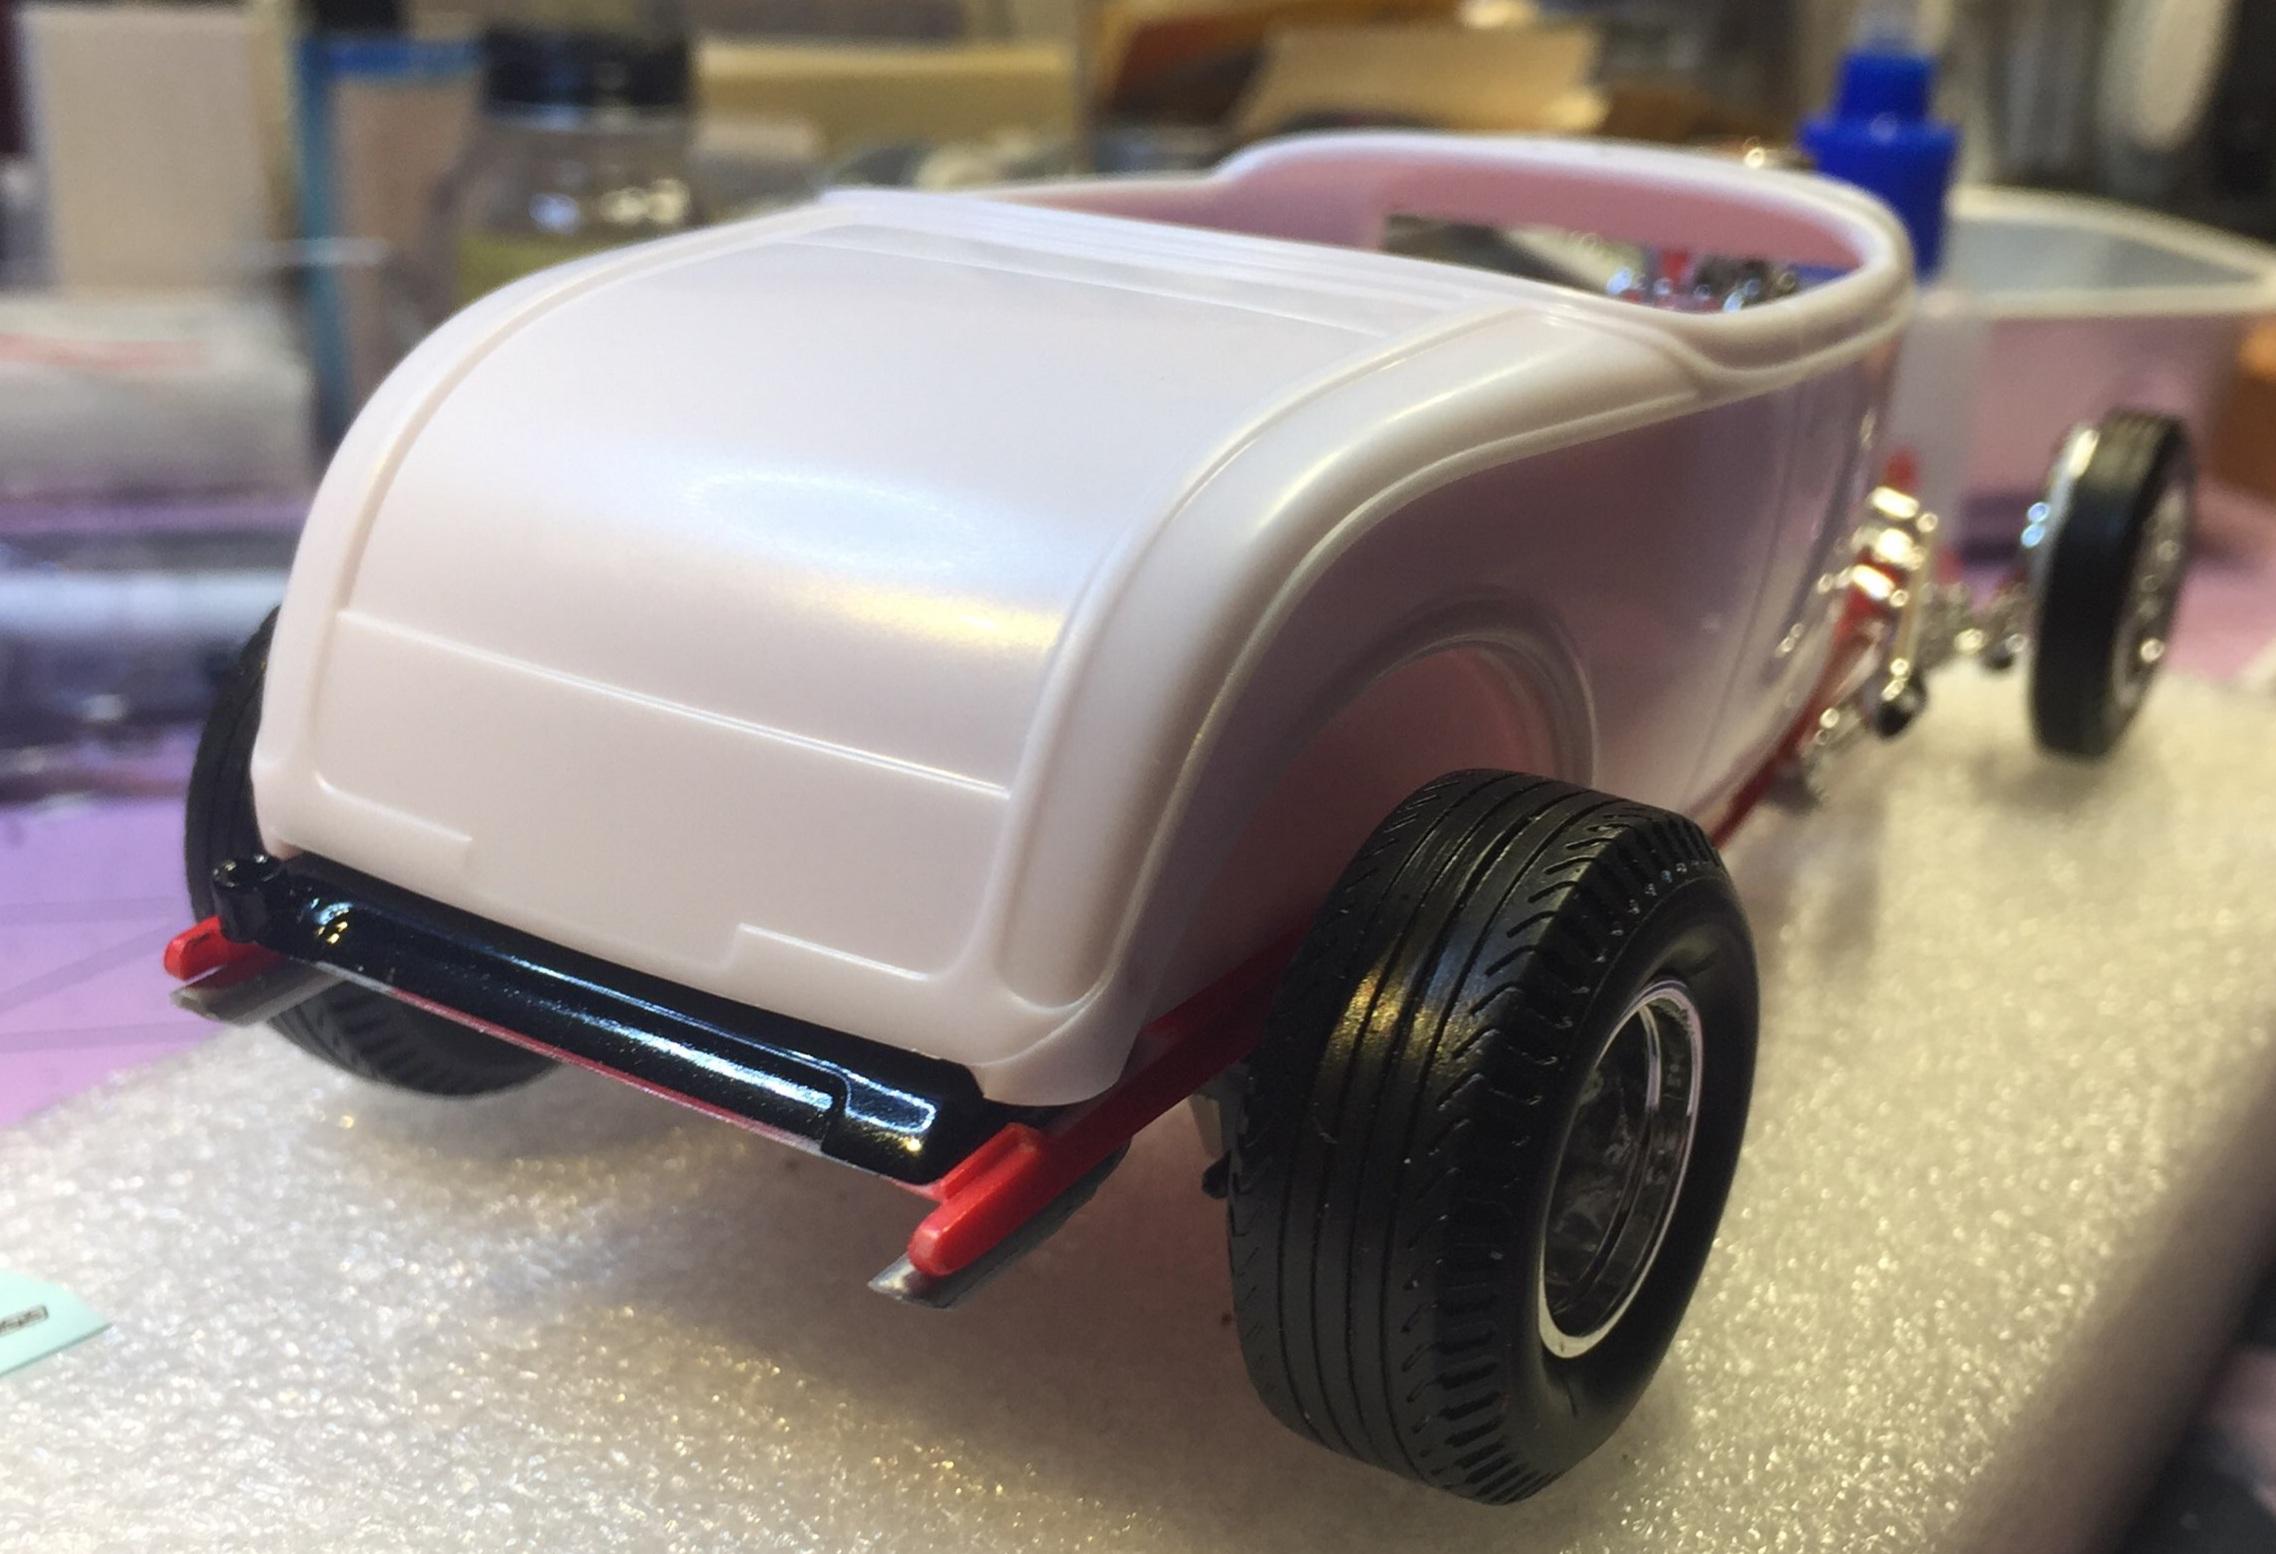
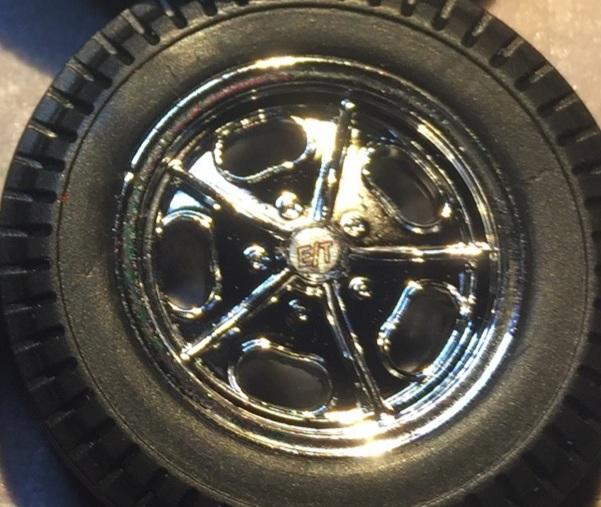
I did some things today that I've been avoiding. One of those is connecting the headers to the muffled system. I like to handle small parts with my favorite spring-loaded tweezers and occasionally I will inadvertently launch an item into the ether. Such an event occurred today. One of the connectors disappeared as I was about to install it. Luckily, I have solder of the size needed to replace the lost part. I need to stop using those tweezers. Anyway, I bolted on the rear fenders, added the gas cap, installed the steering box (it lined up perfectly with the tie rod) and I glazed the Duval frame. The glass is much thinner than regular kit glass. The frame is pretty thin too. I usually like to scrape the plating in the glue surfaces but not this time. I used clear enamel to bond the glass to the fully plated frame. Wish me luck. I thought it might be difficult to glue the windshield to the painted and polished body so I drilled the frame and the cowl for an .020 pin. Yes, it was dangerous. I was victorious 🥴. The arrow indicates how I totally missed this parting line. 💩 That's the solder job☝ The arrow is for the steering box(which includes the shaft and a u-joint) I may run a pin through it just because 🤓 I installed the coil-overs. Big R could have done better here. The locating pins on the axle are three sizes too small for the holes they mate with........ 😉 Moving along..... I thought it might be cool to do a one piece hood. That was easy 😊 WDYT about 86-ing the headers and doing solid hood sides. Or custom louvered ones. It makes sense with the Duvall. Oh, heck, that's the SO-CAL talking. I'm gonna stick my neck out here and say I don't like all that empty space under the rear fender. And that's a pretty big tire. Should it be bigger? 🤔 I'm having sec....47th thoughts about the color scheme. Thanks! Oh, and........... pre-drilled ET Dragmasters are available with polished centers. 😜
-
Ohhhhh.....that Alex 😯
-
Thanks, Carl, those things bother me. If it's an automatic, and the pan isn't a separate part, skinning would fix it, the rest of it I just try to sand out. I don't worry about seams on castings too much because cast components can have mold parting lines. If it's really bad, gotta fill and sand, I guess.
-
OK, Topher, I'll bite. Who's Alex? The only Alex I know goes in a caulk gun. 😂
-
I Thank you, Brian, I'm trying 😌. I have no "hands-on" with deuce bodies but there are fiberglass and re-pop steel bodies out there. The model sits higher than that SO-CAL car. Optical illusion? Trick of the light? I dunno but we have some knowledgeable people here that drop in now and then. Maybe we'll get some Intel on that issue. Stay tuned ! 🙂
-
OK then, scrooge, you'll just have to get your deuce roadster fix from my thread. I'll try to get better pictures for ya 😉.
-
‘55 El Camino
customline replied to NOBLNG's topic in WIP: Model Trucks: Pickups, Vans, SUVs, Light Commercial
I shot Tamiya gloss black (see above) and an hour later I taped it up and shot the red. Brought it in the house and pulled the tape and there it was. It seems that the timing doesn't matter. -
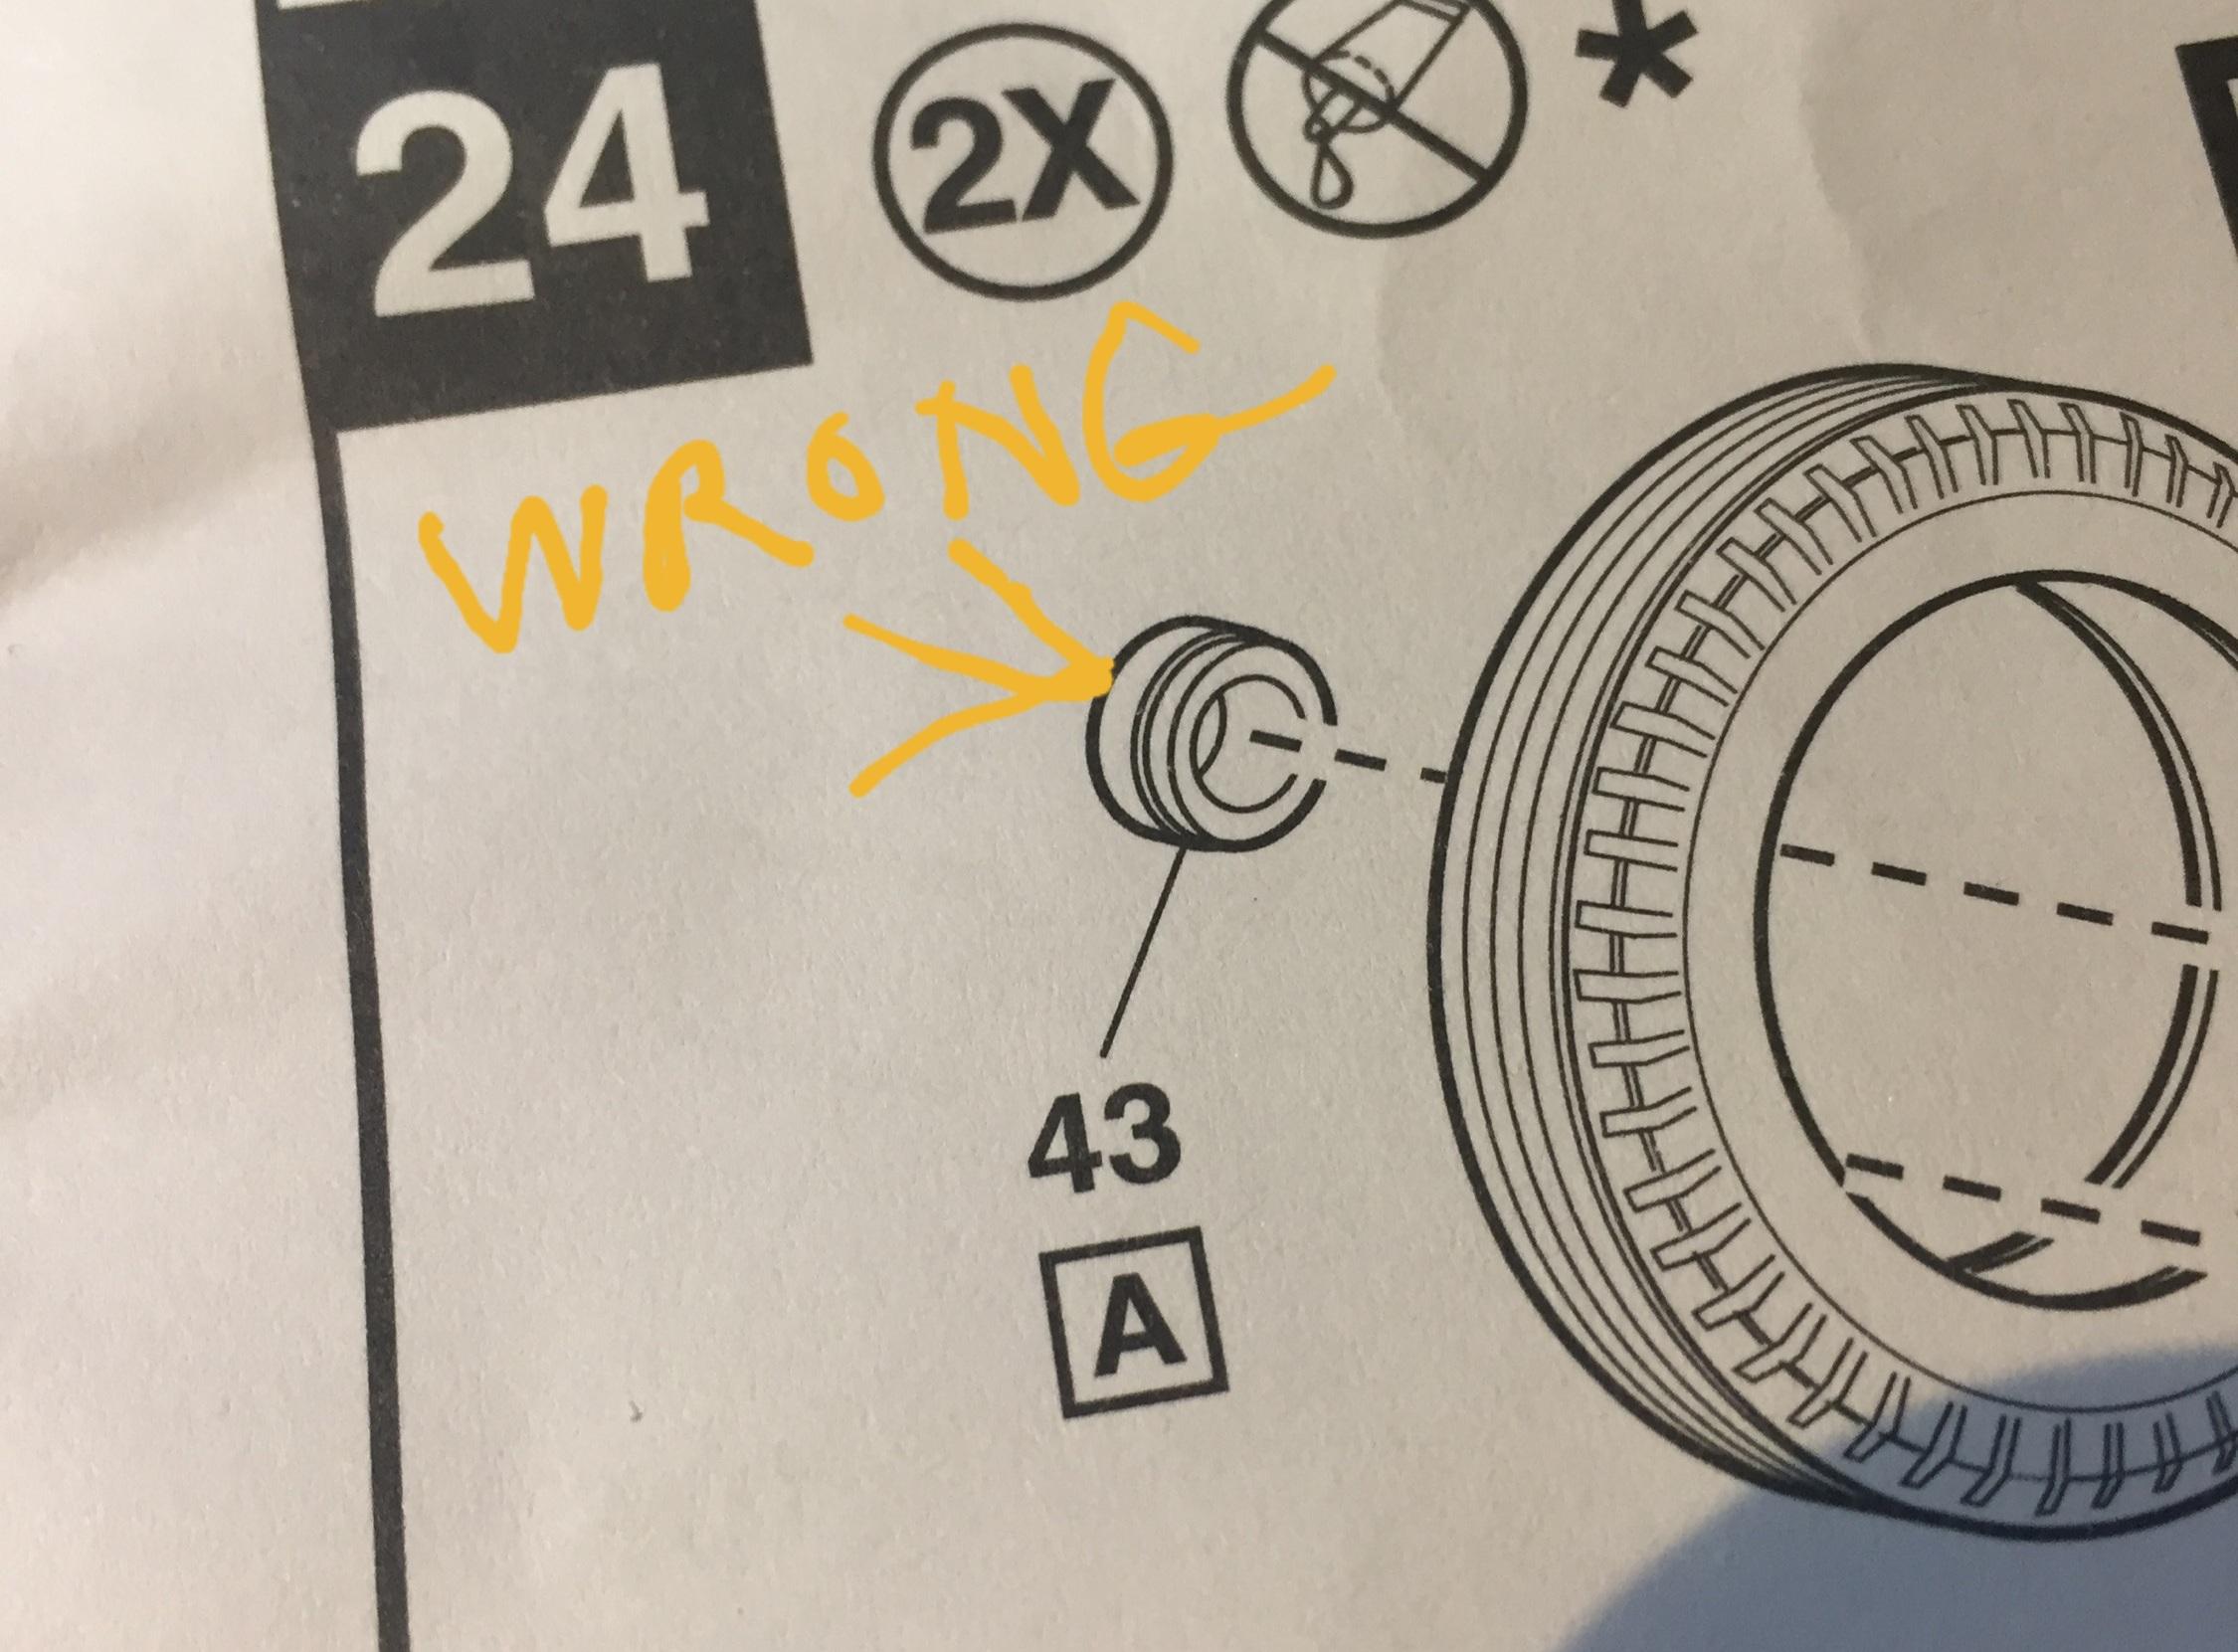
MOCK-UP TIME!!! One thing about the wheels- the little round thingies that get glued to the back of the wheels that snap over the axles? If you follow the directions you may have eccentric wheels and they may stick out a bit too far. I turned 'em around and glued the big end into the wheel. You'll see. 😕 The smallest decal I have ever planted successfully 👇 😞 well, almost. And yes I will be running fenders Thanks for staying up late and diggin' this mock-up. I have an urge to paint it like a a SO-CAL car 🙂
-
Yeah, boss, I thought it was time for a change 🥴
-
‘55 El Camino
customline replied to NOBLNG's topic in WIP: Model Trucks: Pickups, Vans, SUVs, Light Commercial
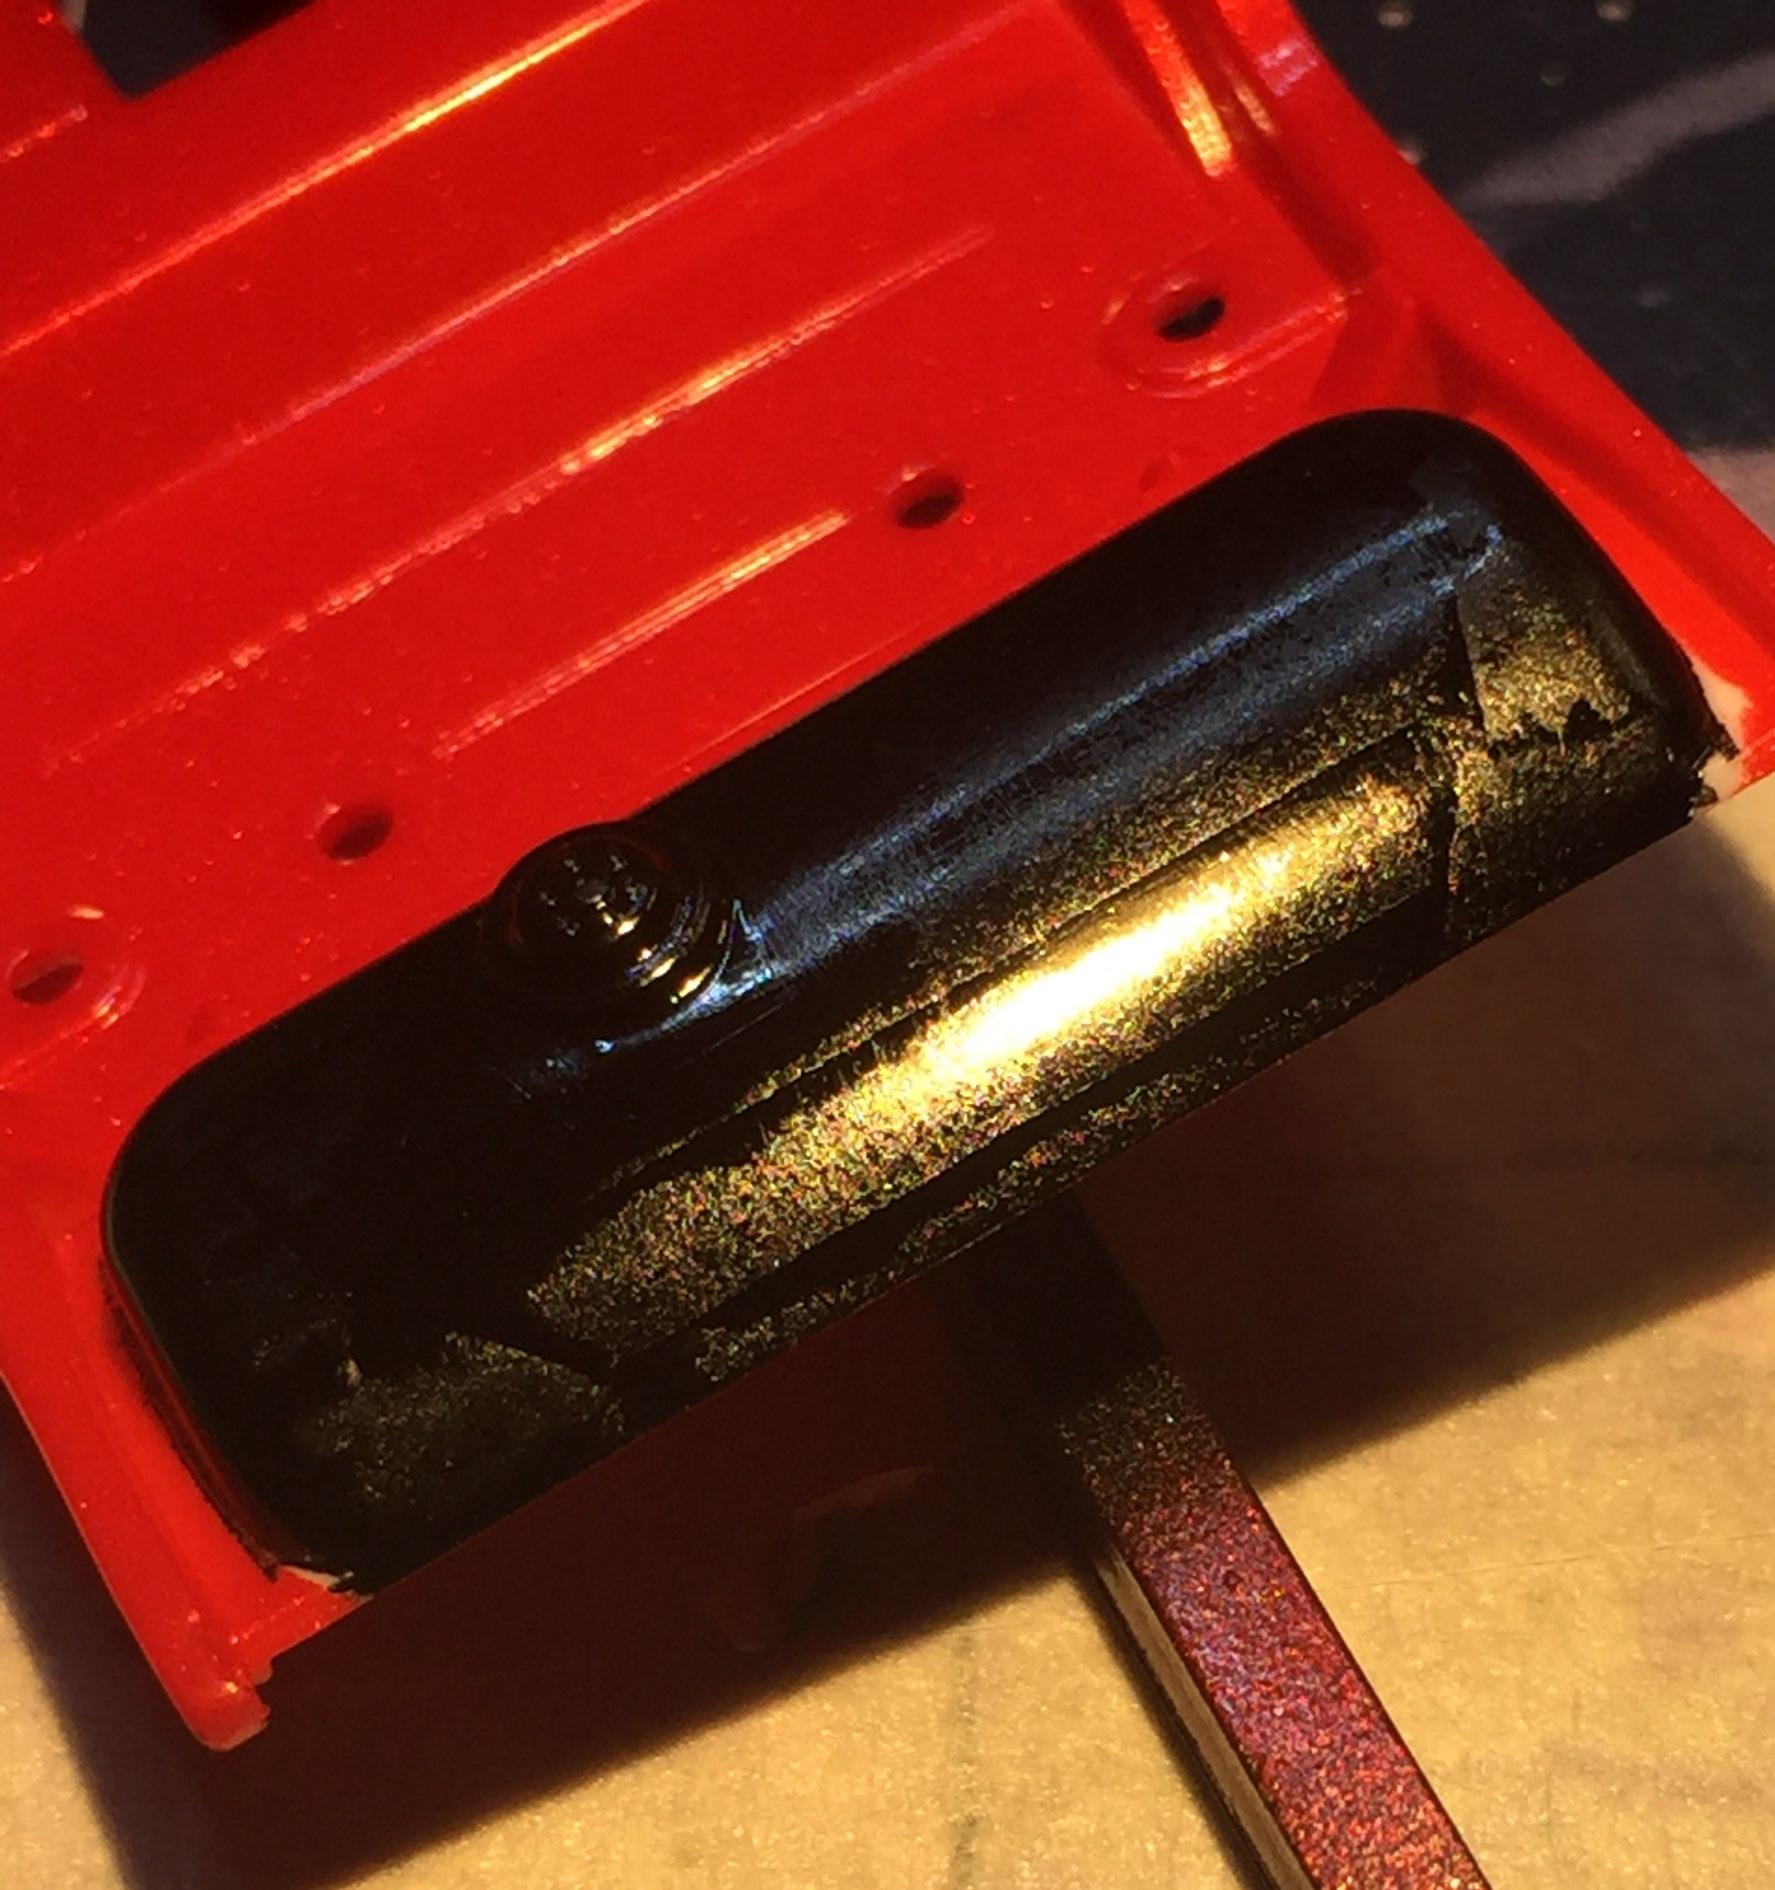
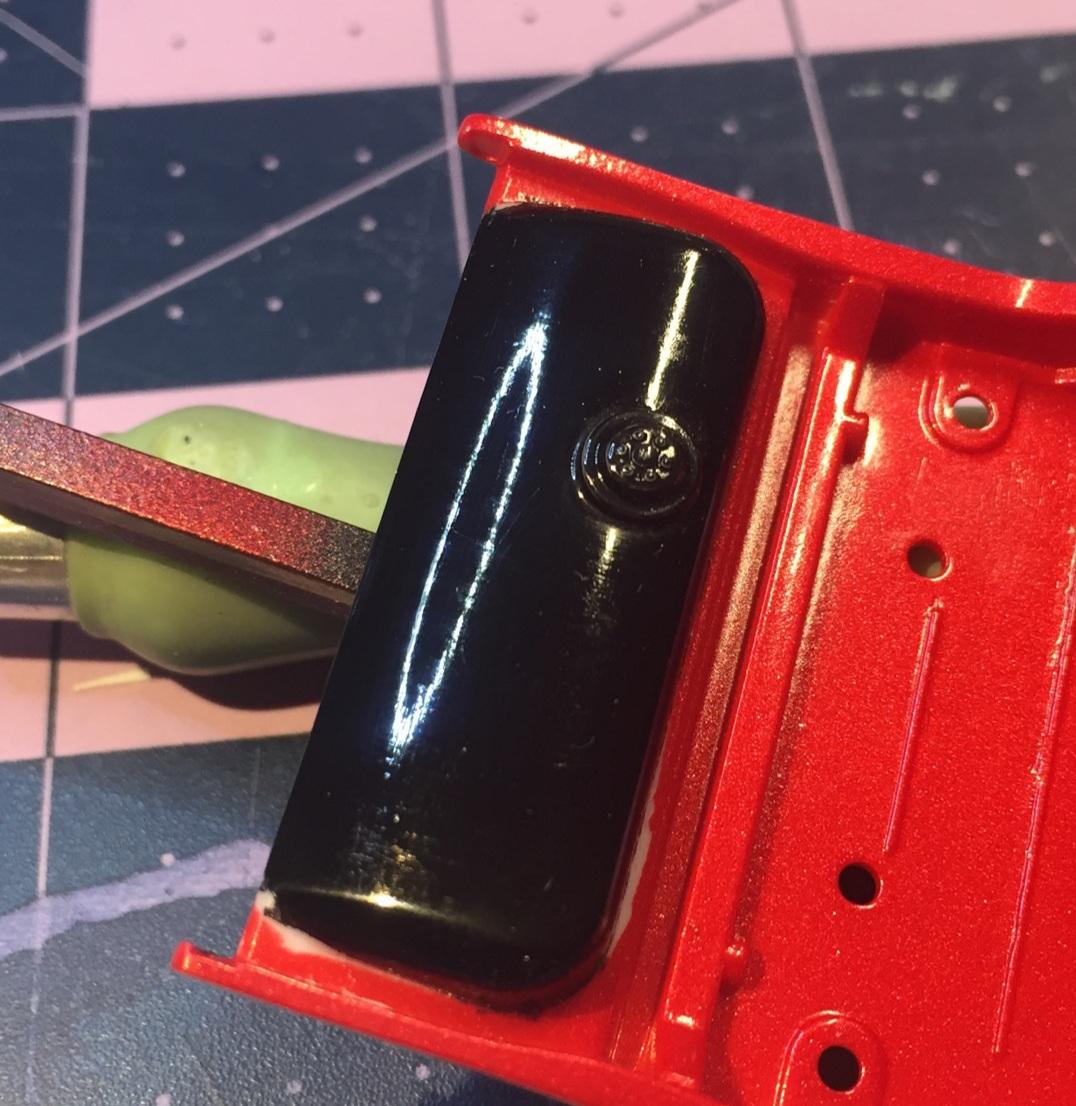
That roof should be good with some clear, Greg. I just got a dose of it today. I was able to rub most of it out with Scratch-X but if you know it's there, you can see it but it's no big deal.....it's a gas tank, not a roof 🥴👇 Tamiya paint, Tamiya tape. Good R & D, huh? It's still there but now it shines! 😃
-
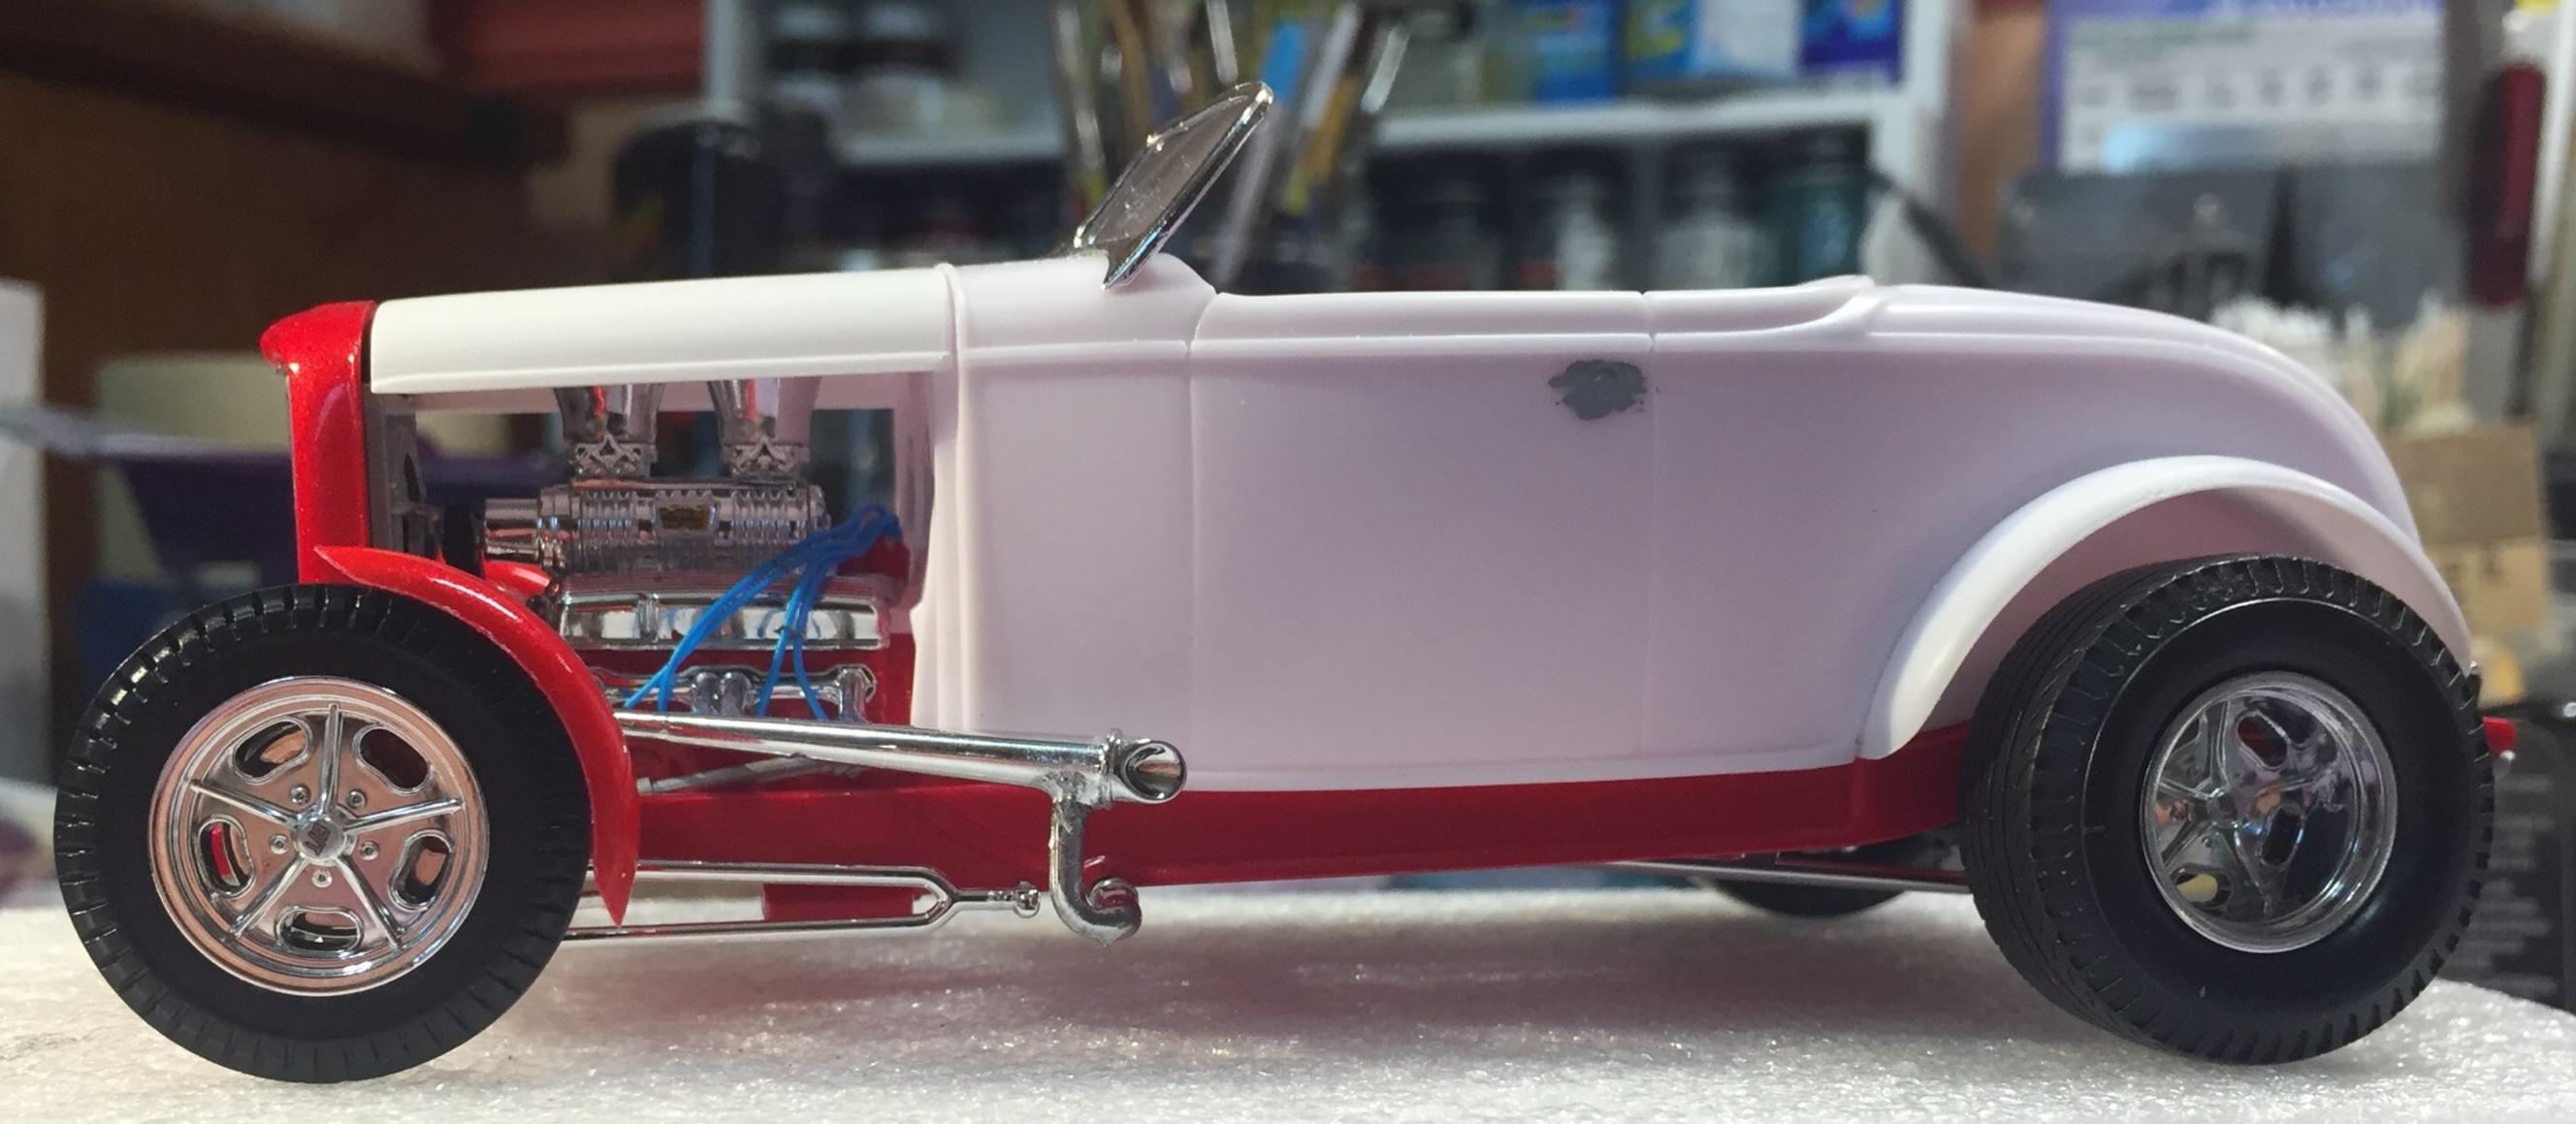
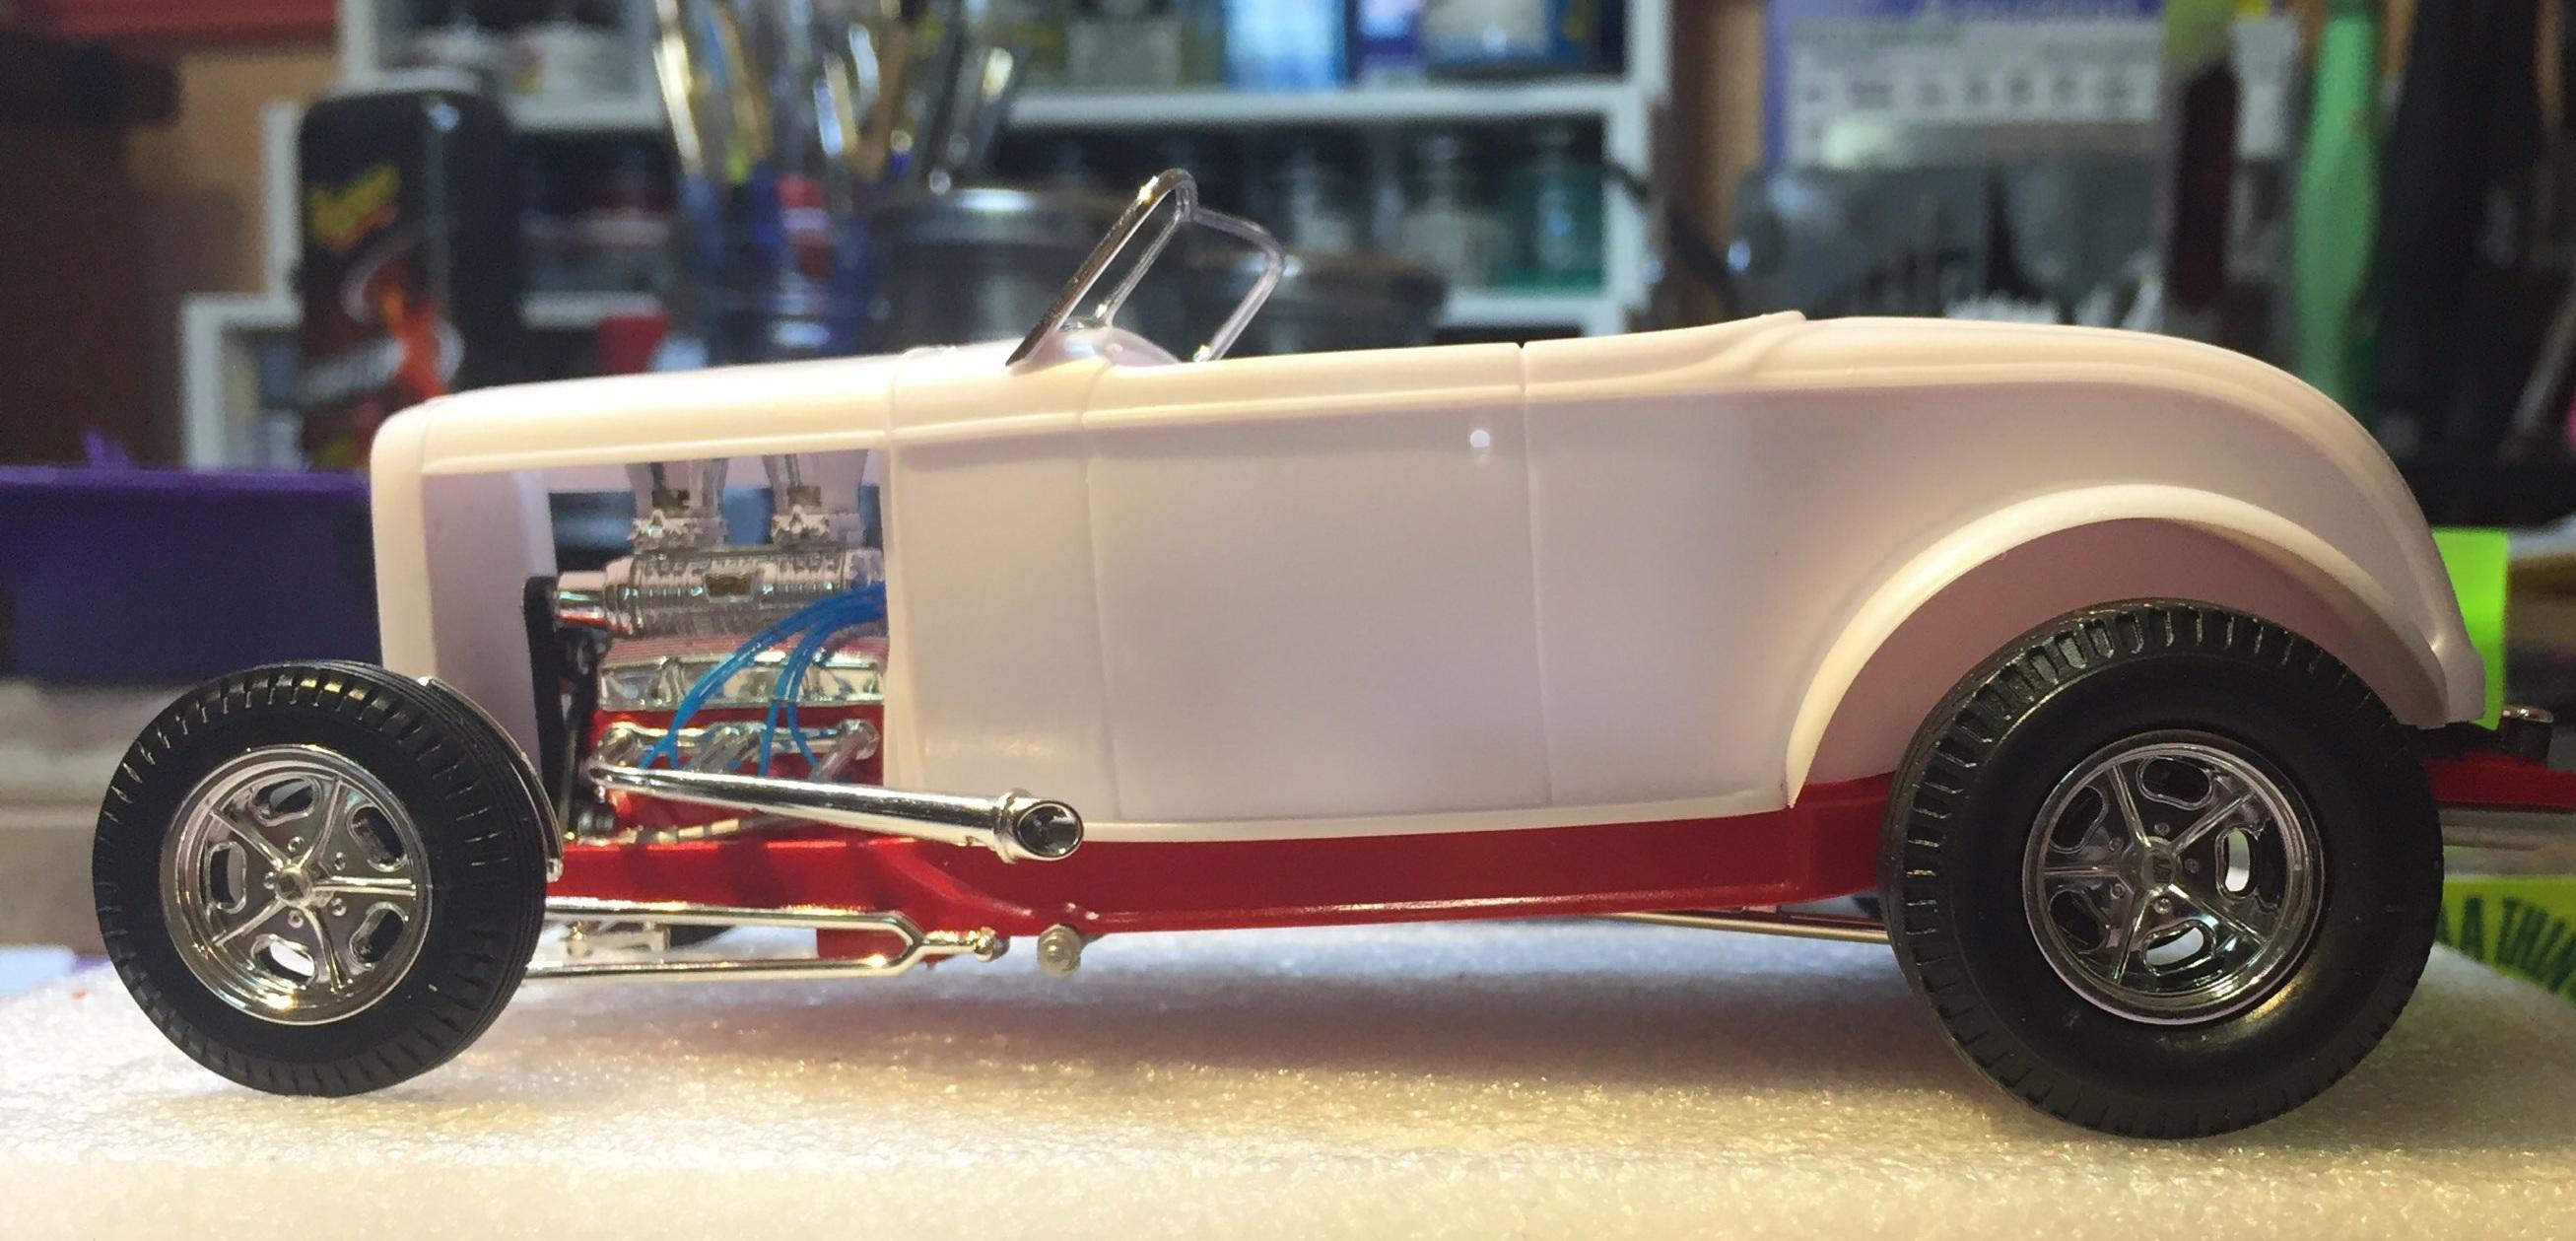
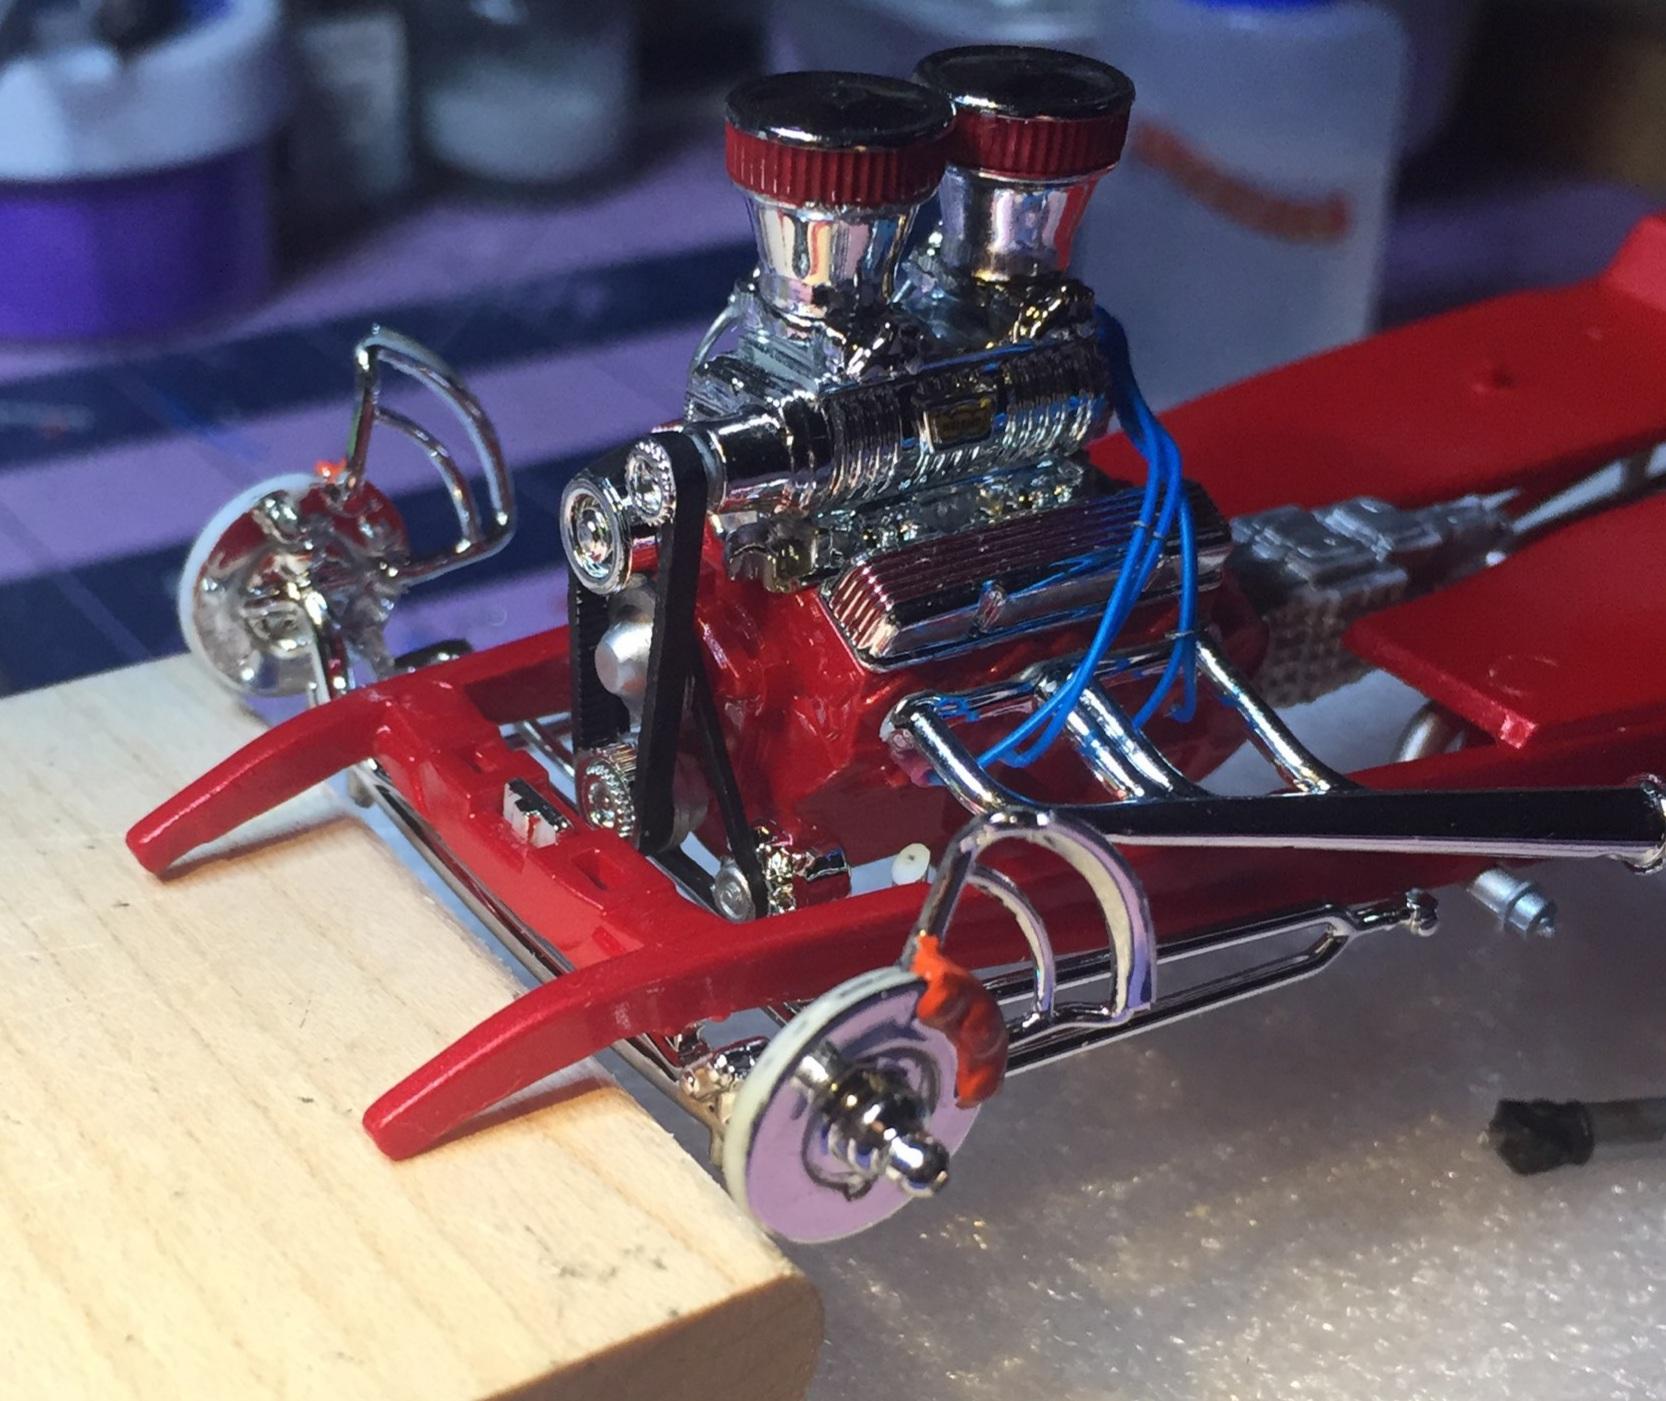
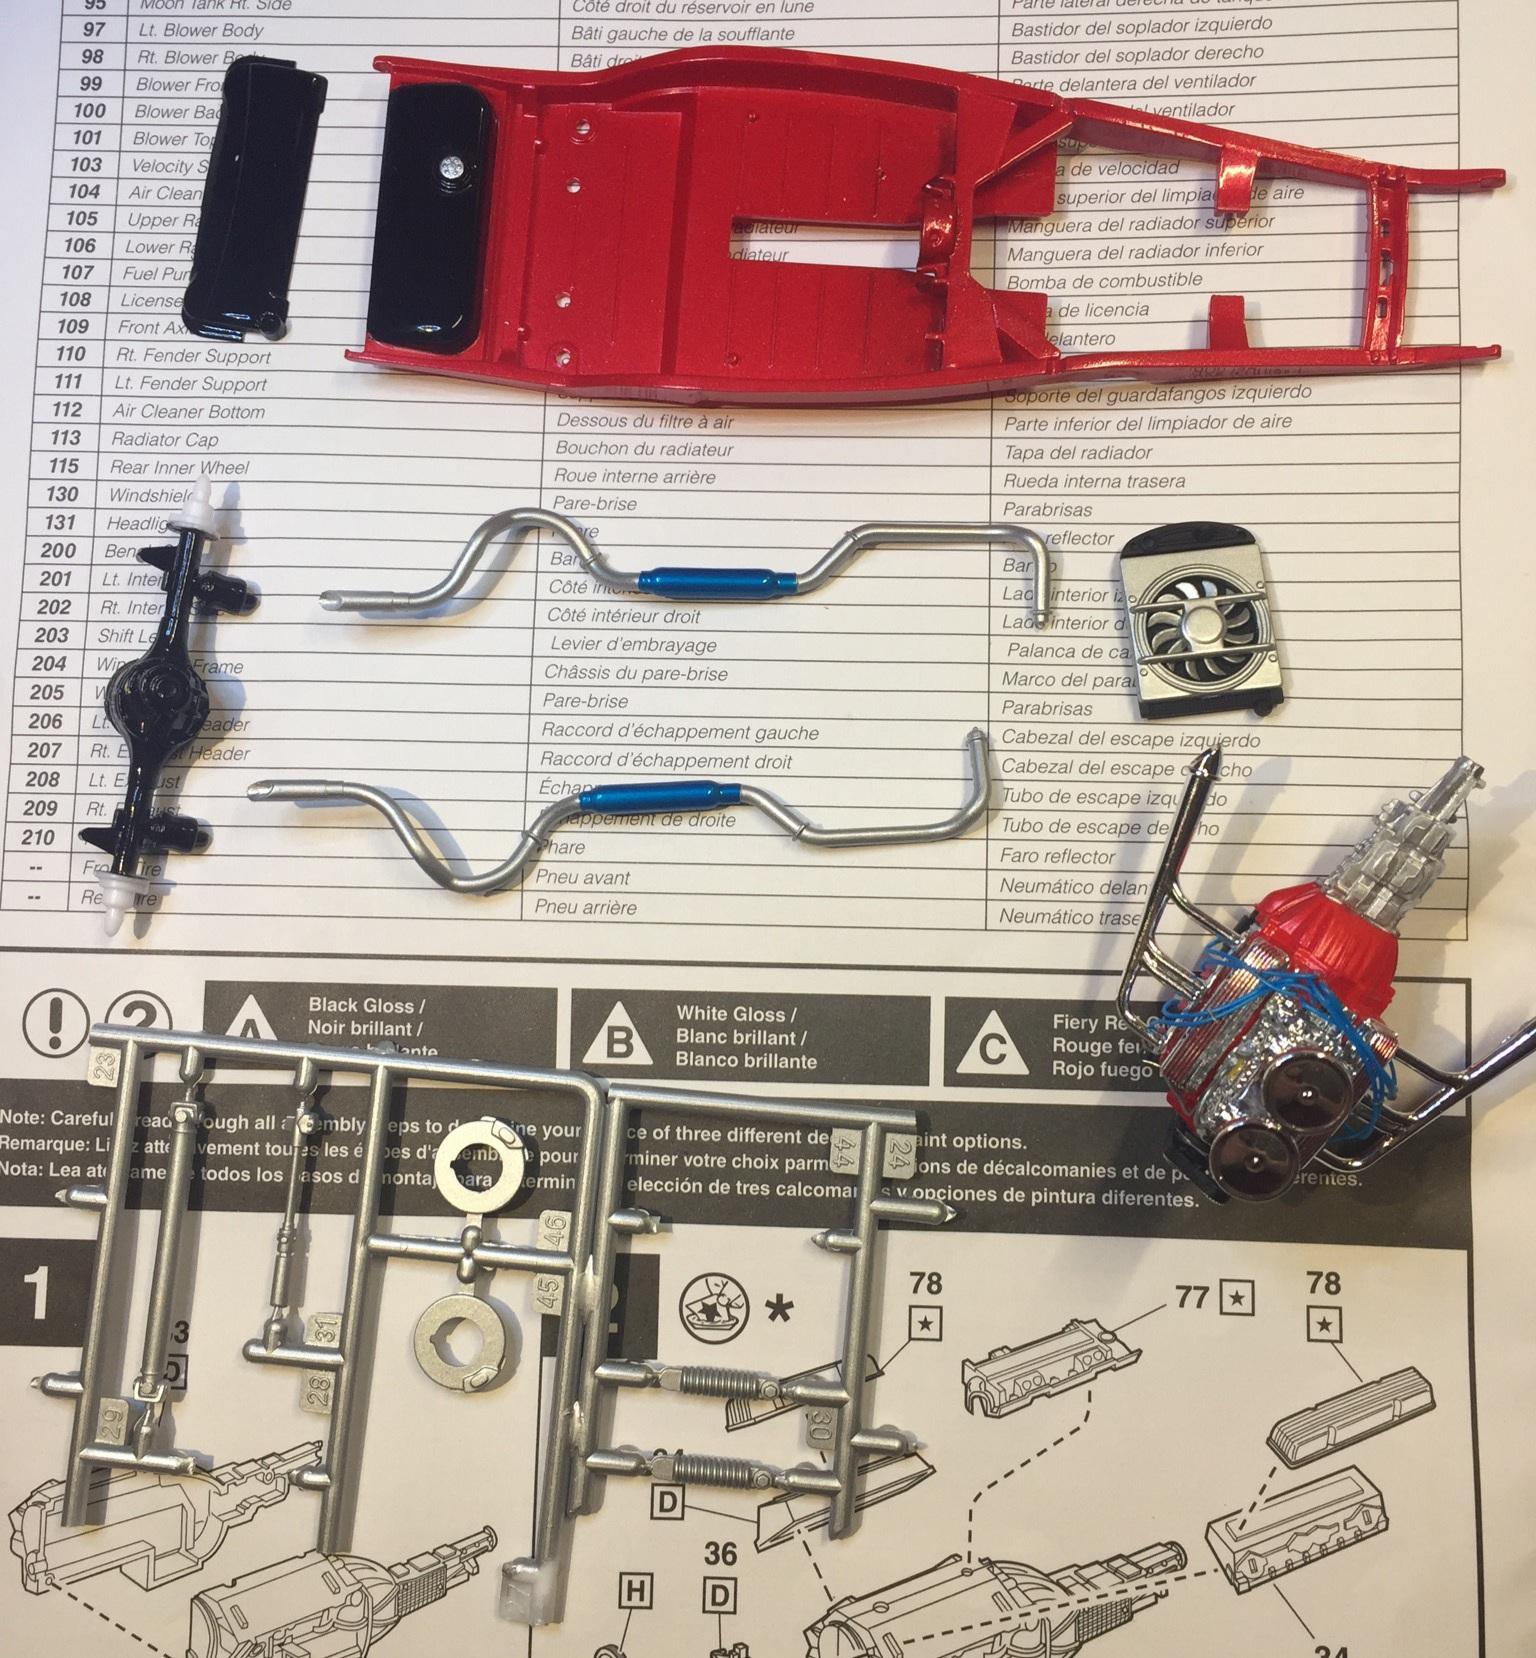
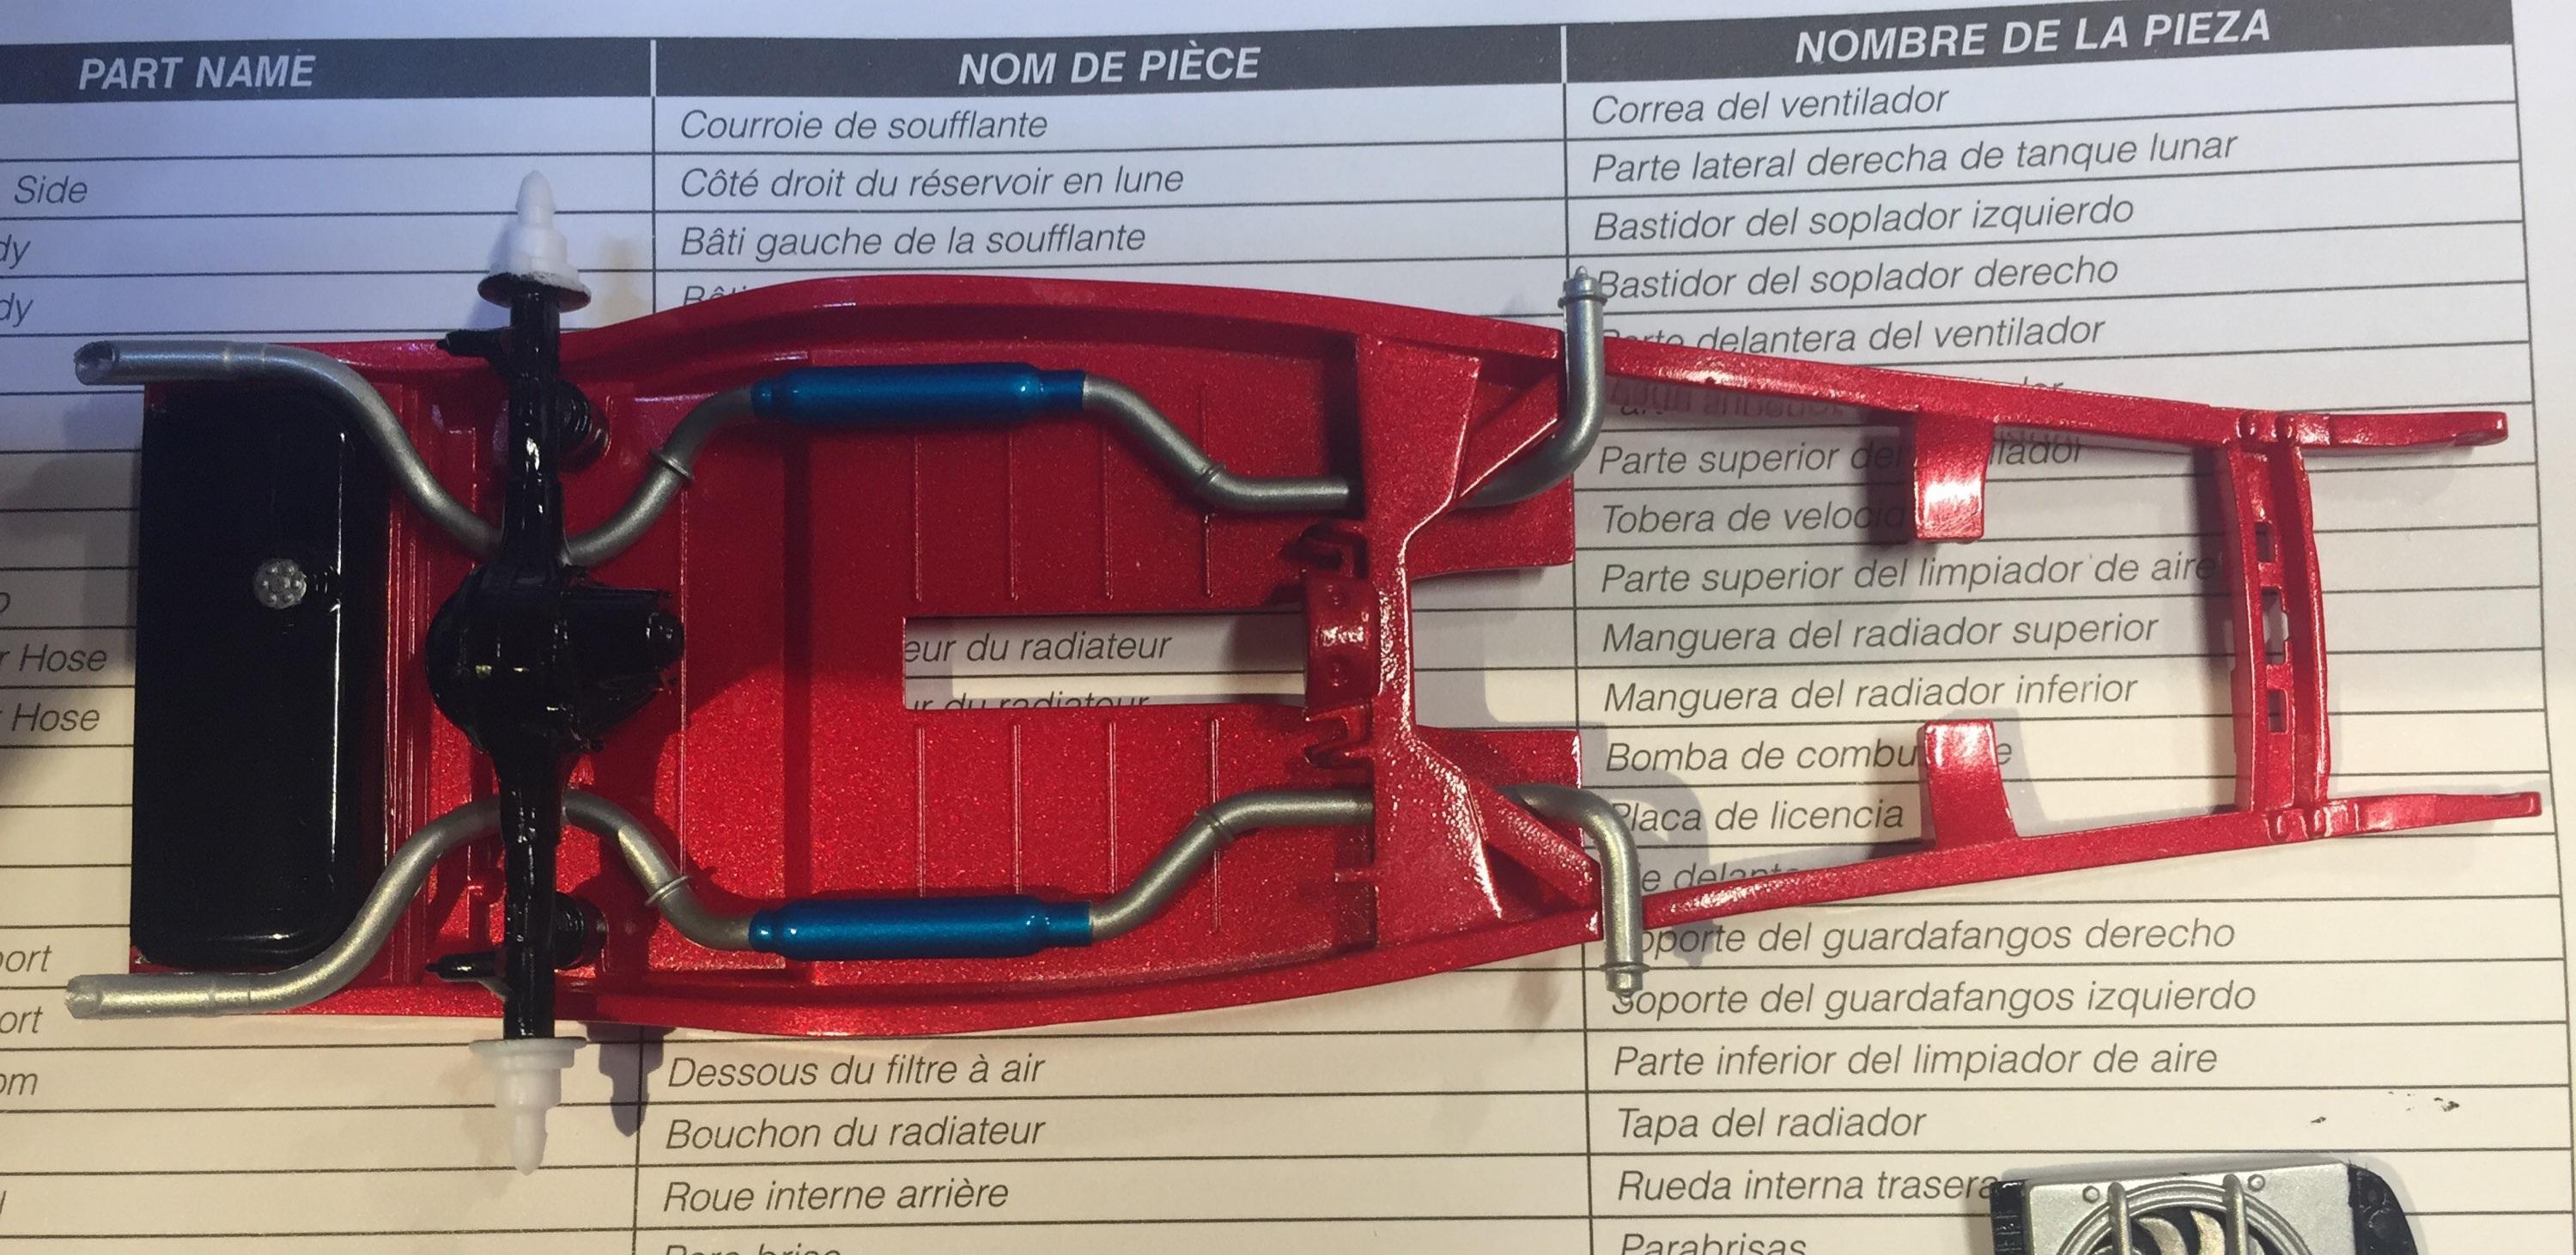
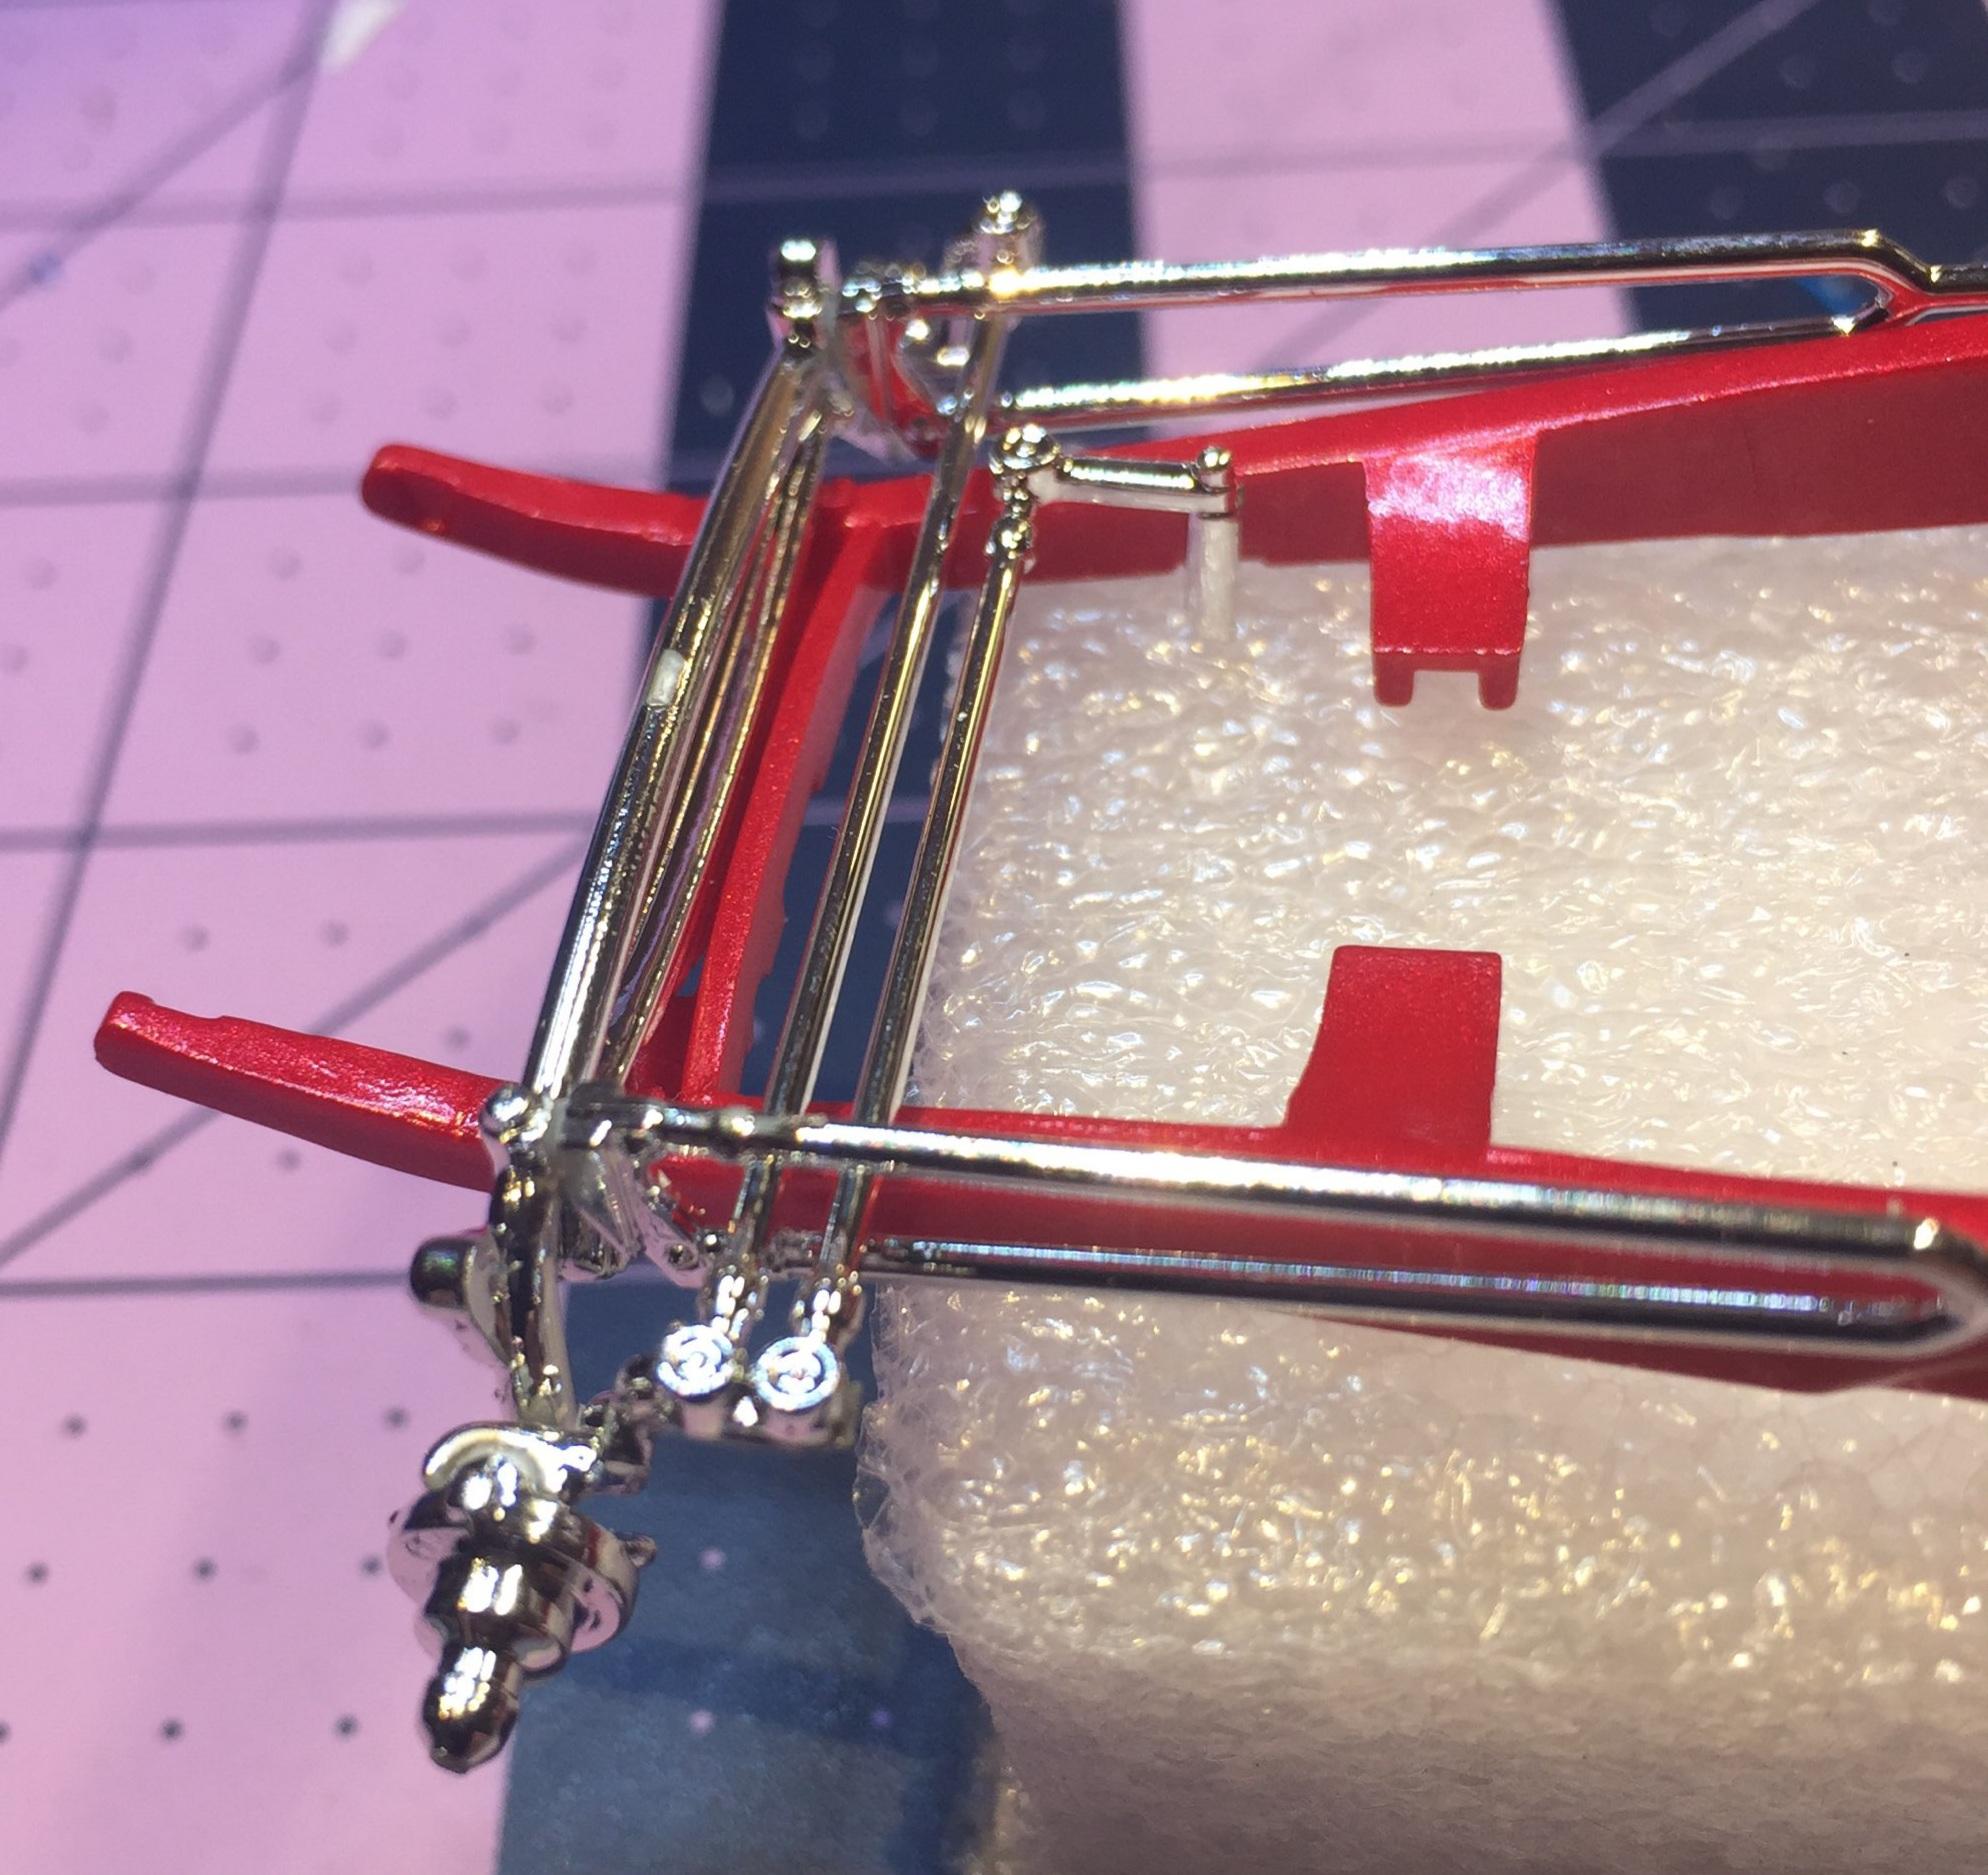
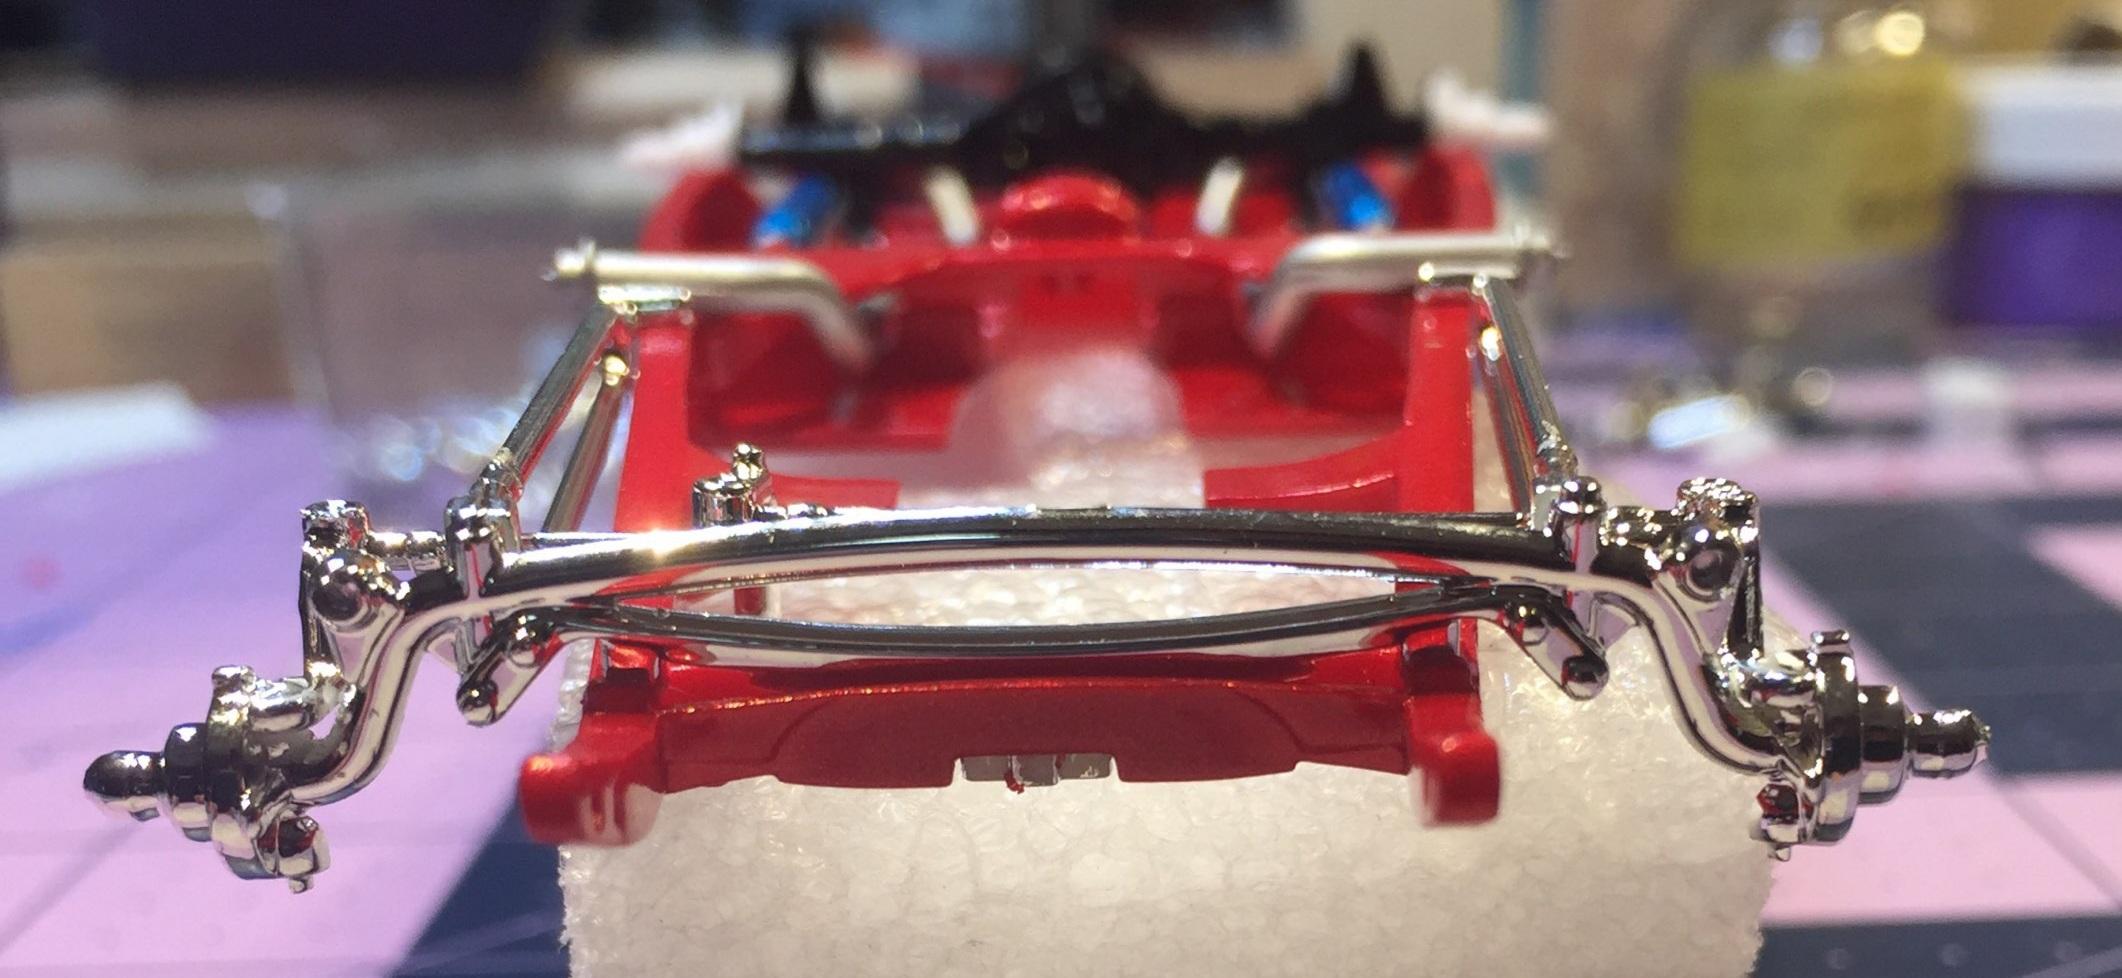
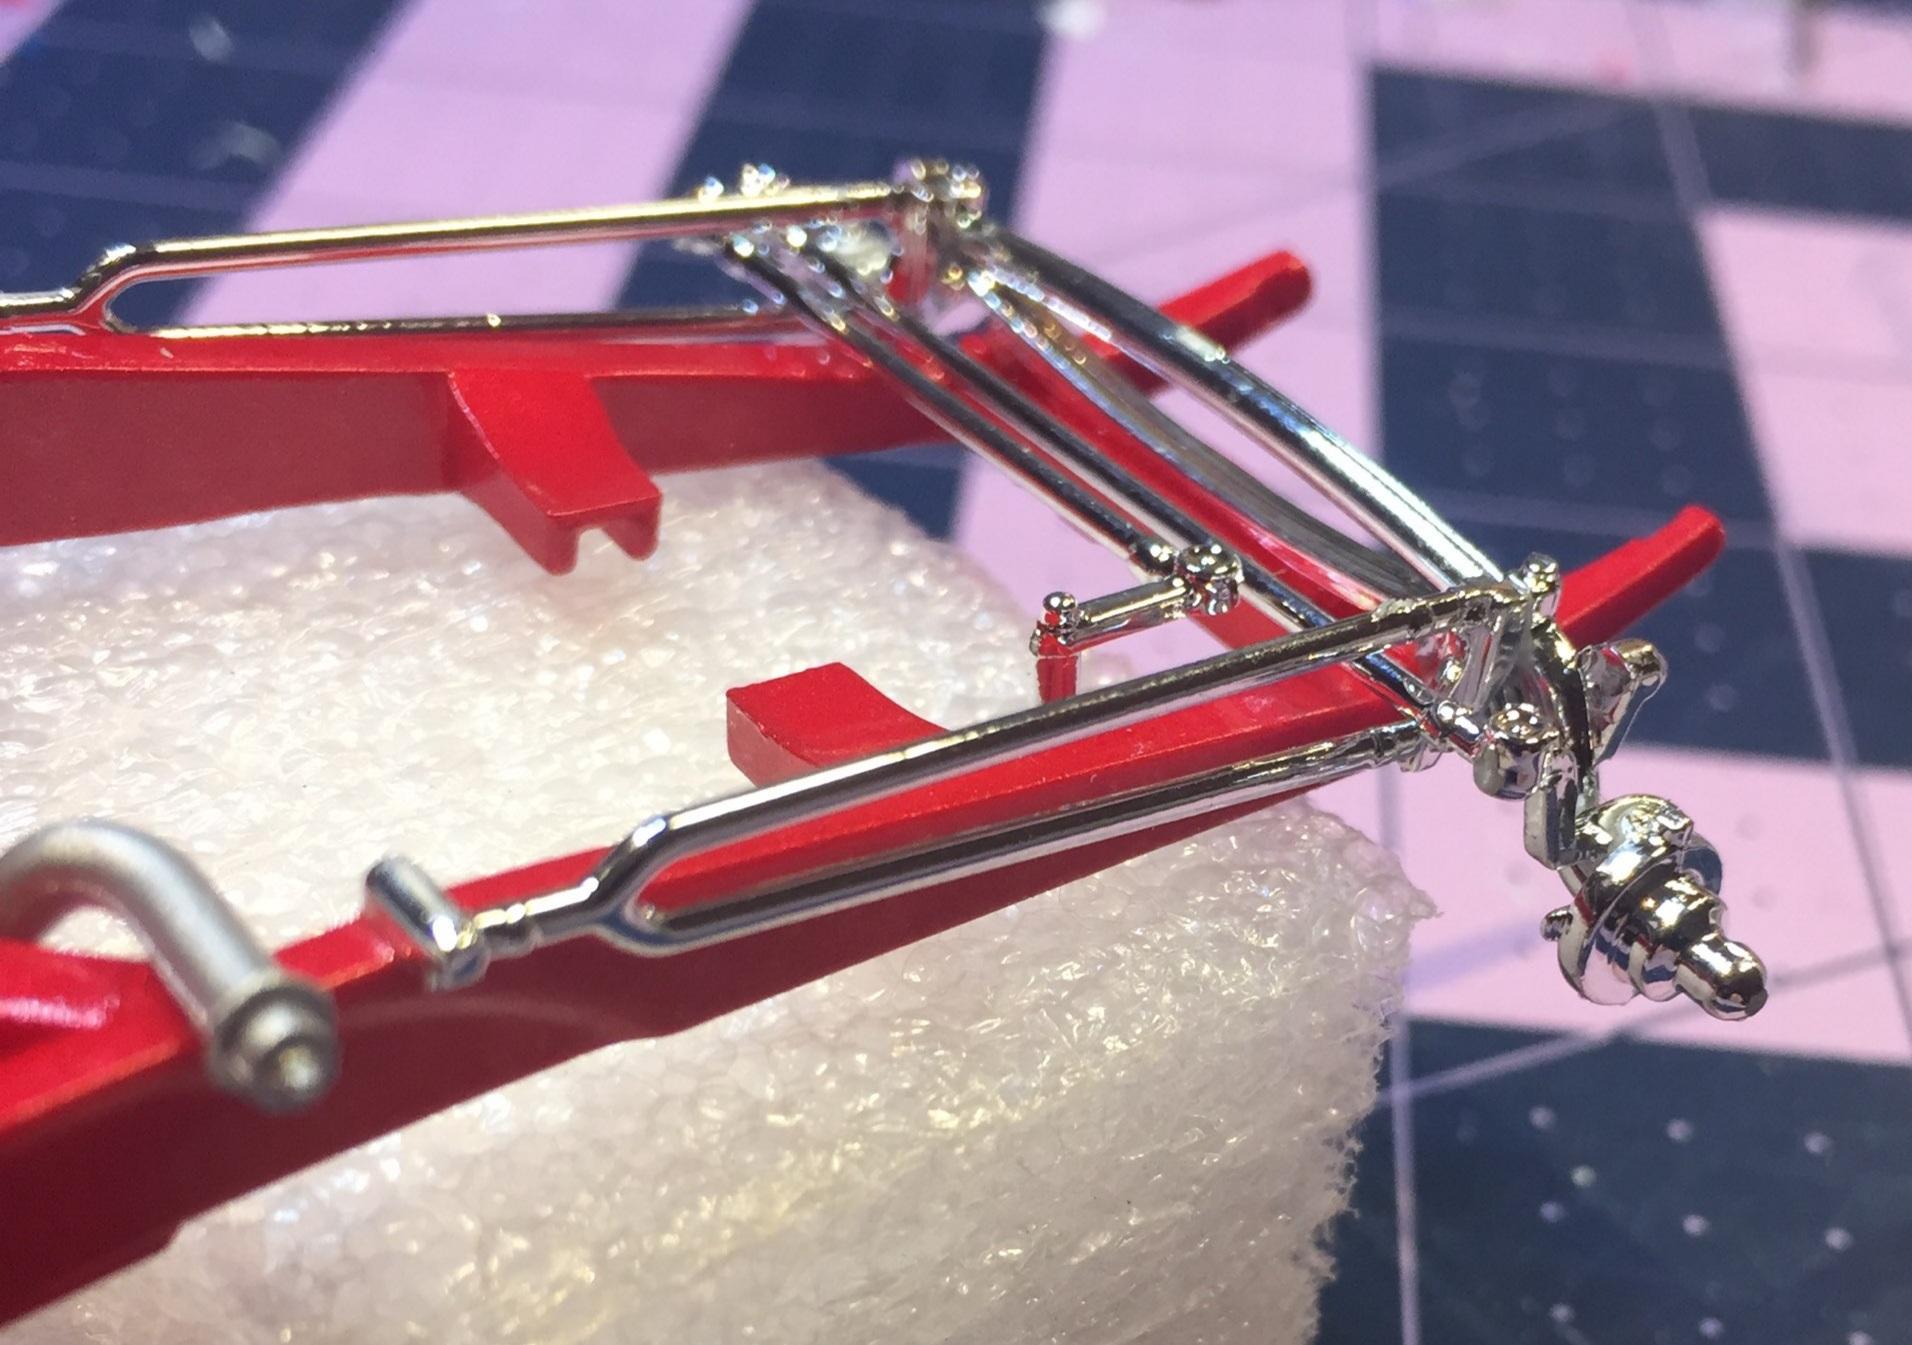
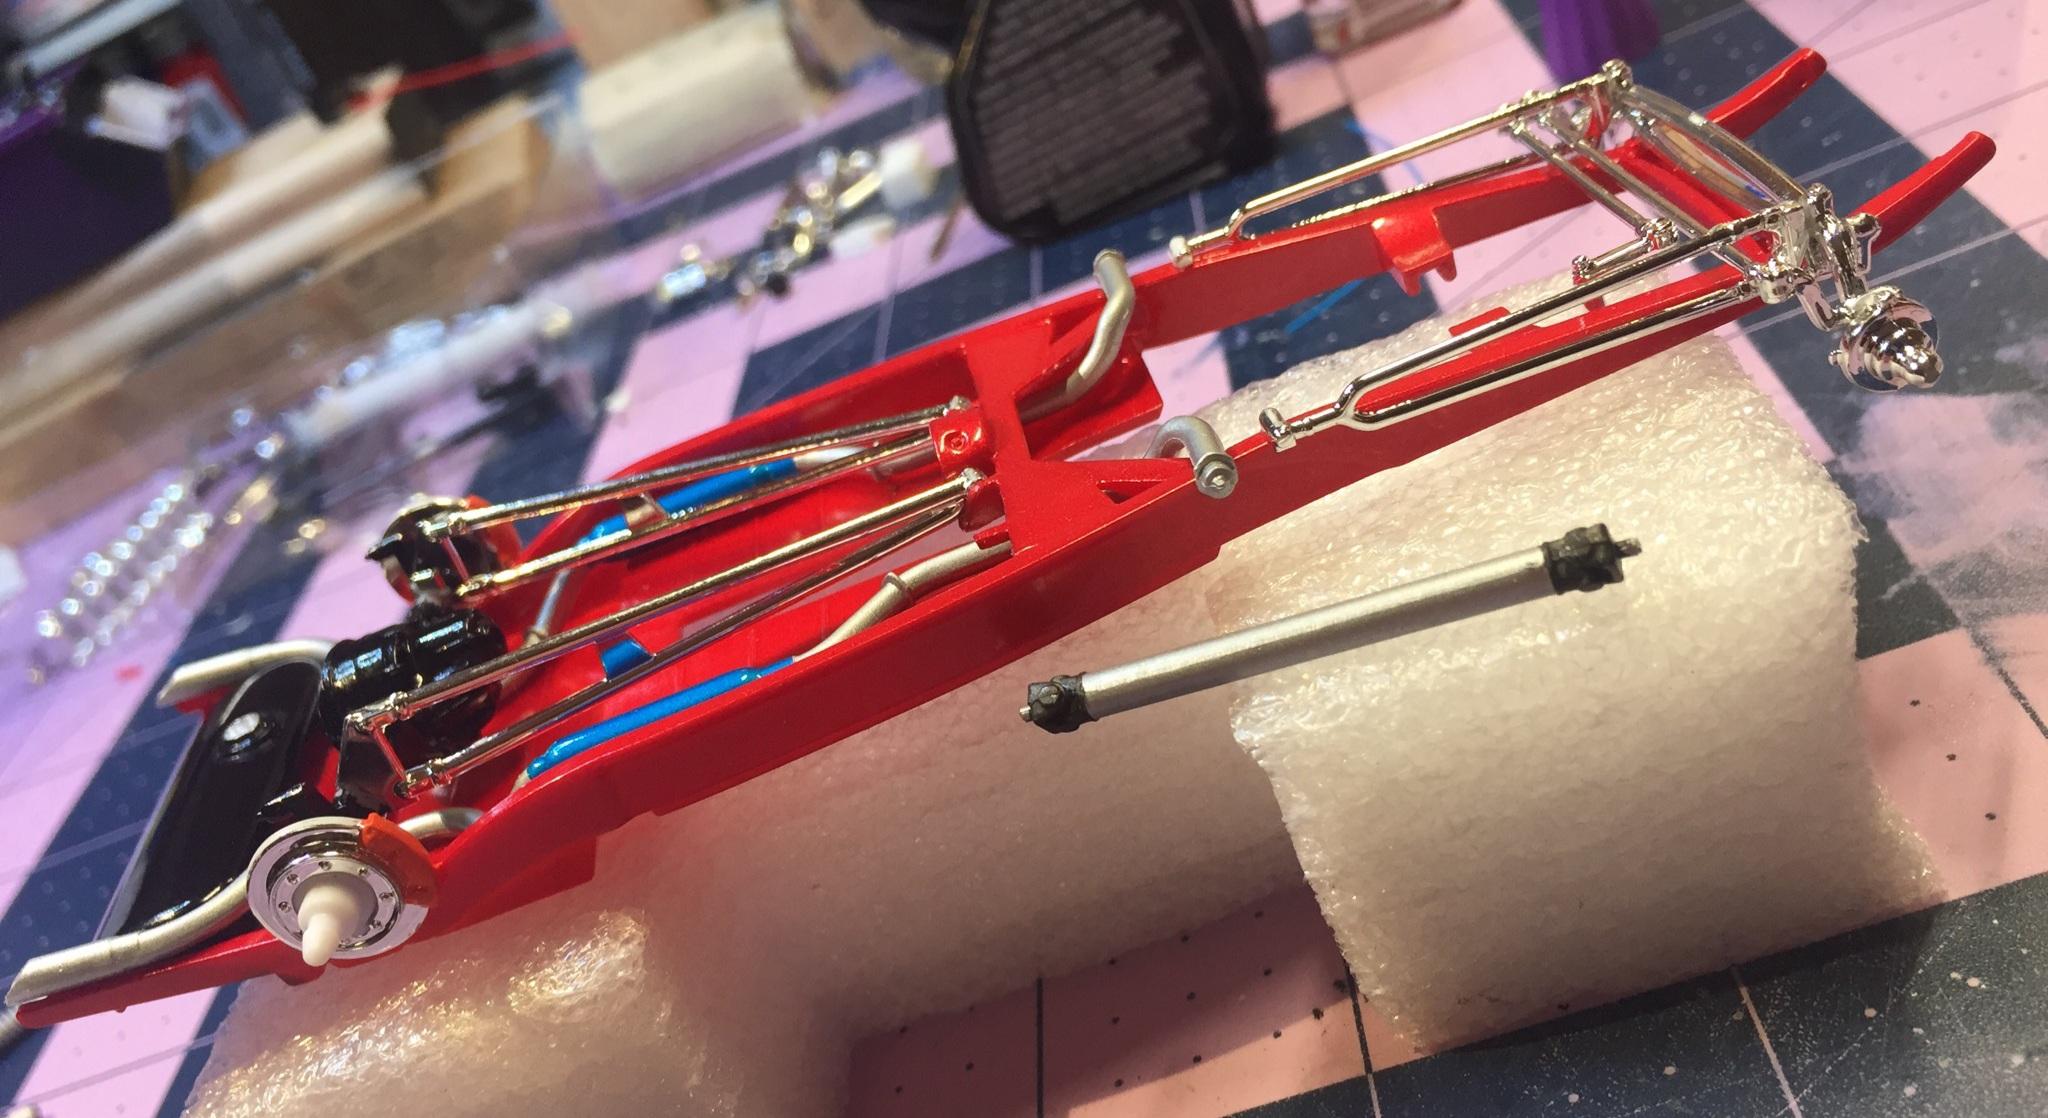
Got some painting done today despite the oppressive summer weather. 🥵 I did experience a bit of blushing but nothing I couldn't polish out. I want to get this puppy up on all fours so I began by painting the chassis and attachments to it using Tamiya rattle cans. The chassis is "mica red". Mufflers are "clear blue" over "gloss aluminum". The K-member is a little fiddley so it was glued in place after enlarging the holes for the exhaust. Very fragile steering and plated as well. Kinda tedious scraping the contact points. The axle is a bit different from the coupe and the Model A kits in the way it sits in the cross member. I didn't try to lower it more. I thought I would just keep the stance they gave me. The instructions show you slipping the extremely fragile tie rod through the hairpins and then attaching hairpins to the axle and the tie rod to the spindles simultaneously. That looked way too fiddley so I glued one hairpin to the axle and the frame. This made the whole mess simpler. After that set up,, I slipped the tie rod through that one and then slid the other hairpin over the tie rod and glued it in place. Then, very, very carefully attached the tie rod to the spindles and centered it half-way between the two hairpin bars. The CA fogs the plating but some molotow touch-up is always needed with all this chrome anyway. Note to self: paint hairpin frame mount You may want to strip the plating from the rotors. Thanks for dropping in 🤠
-
I'm sorry I got your hopes up, Topher. It's the luck of the draw. I think the way these stores are stocked doesn't include any sort of consistency from store to store. It's whatever is on the truck. I'd like to know how these kits are obtained. A couple of years ago I bought some kits that had Ollie's price tags under the original celophane! That made me wonder. I check every time I go there because one day I'll find some nice Special Edition '48 Ford Custom Coupes for $12.98.......😂
-
Mmmm...yeah, that last thing.....😕
-
‘55 El Camino
customline replied to NOBLNG's topic in WIP: Model Trucks: Pickups, Vans, SUVs, Light Commercial
Hopefully, there's enough paint rub out. That's what I always worry about. What color is the primer underneath? -
‘55 El Camino
customline replied to NOBLNG's topic in WIP: Model Trucks: Pickups, Vans, SUVs, Light Commercial
What exactly did the tape do to the paint? -
Yeah....I've run that scenario a few times. 😵 It always ends the same way.
-
Good resale item for sure, Ace. 13 bucks? No way to walk away from that.
-
Yeah, that stinks. It's not stock though, Bob, it's raked back and chopped. I'd like to use it on some future project.
-
Wait till you see what I don't do next! 🥴 Hey, I promised myself I wouldn't buy another kit but I couldn't pass on this one. Ya gotta have at least one deuce roadster with the Duvall.