customline
-
Posts
3,791 -
Joined
-
Last visited
Content Type
Profiles
Forums
Events
Gallery
Everything posted by customline
-
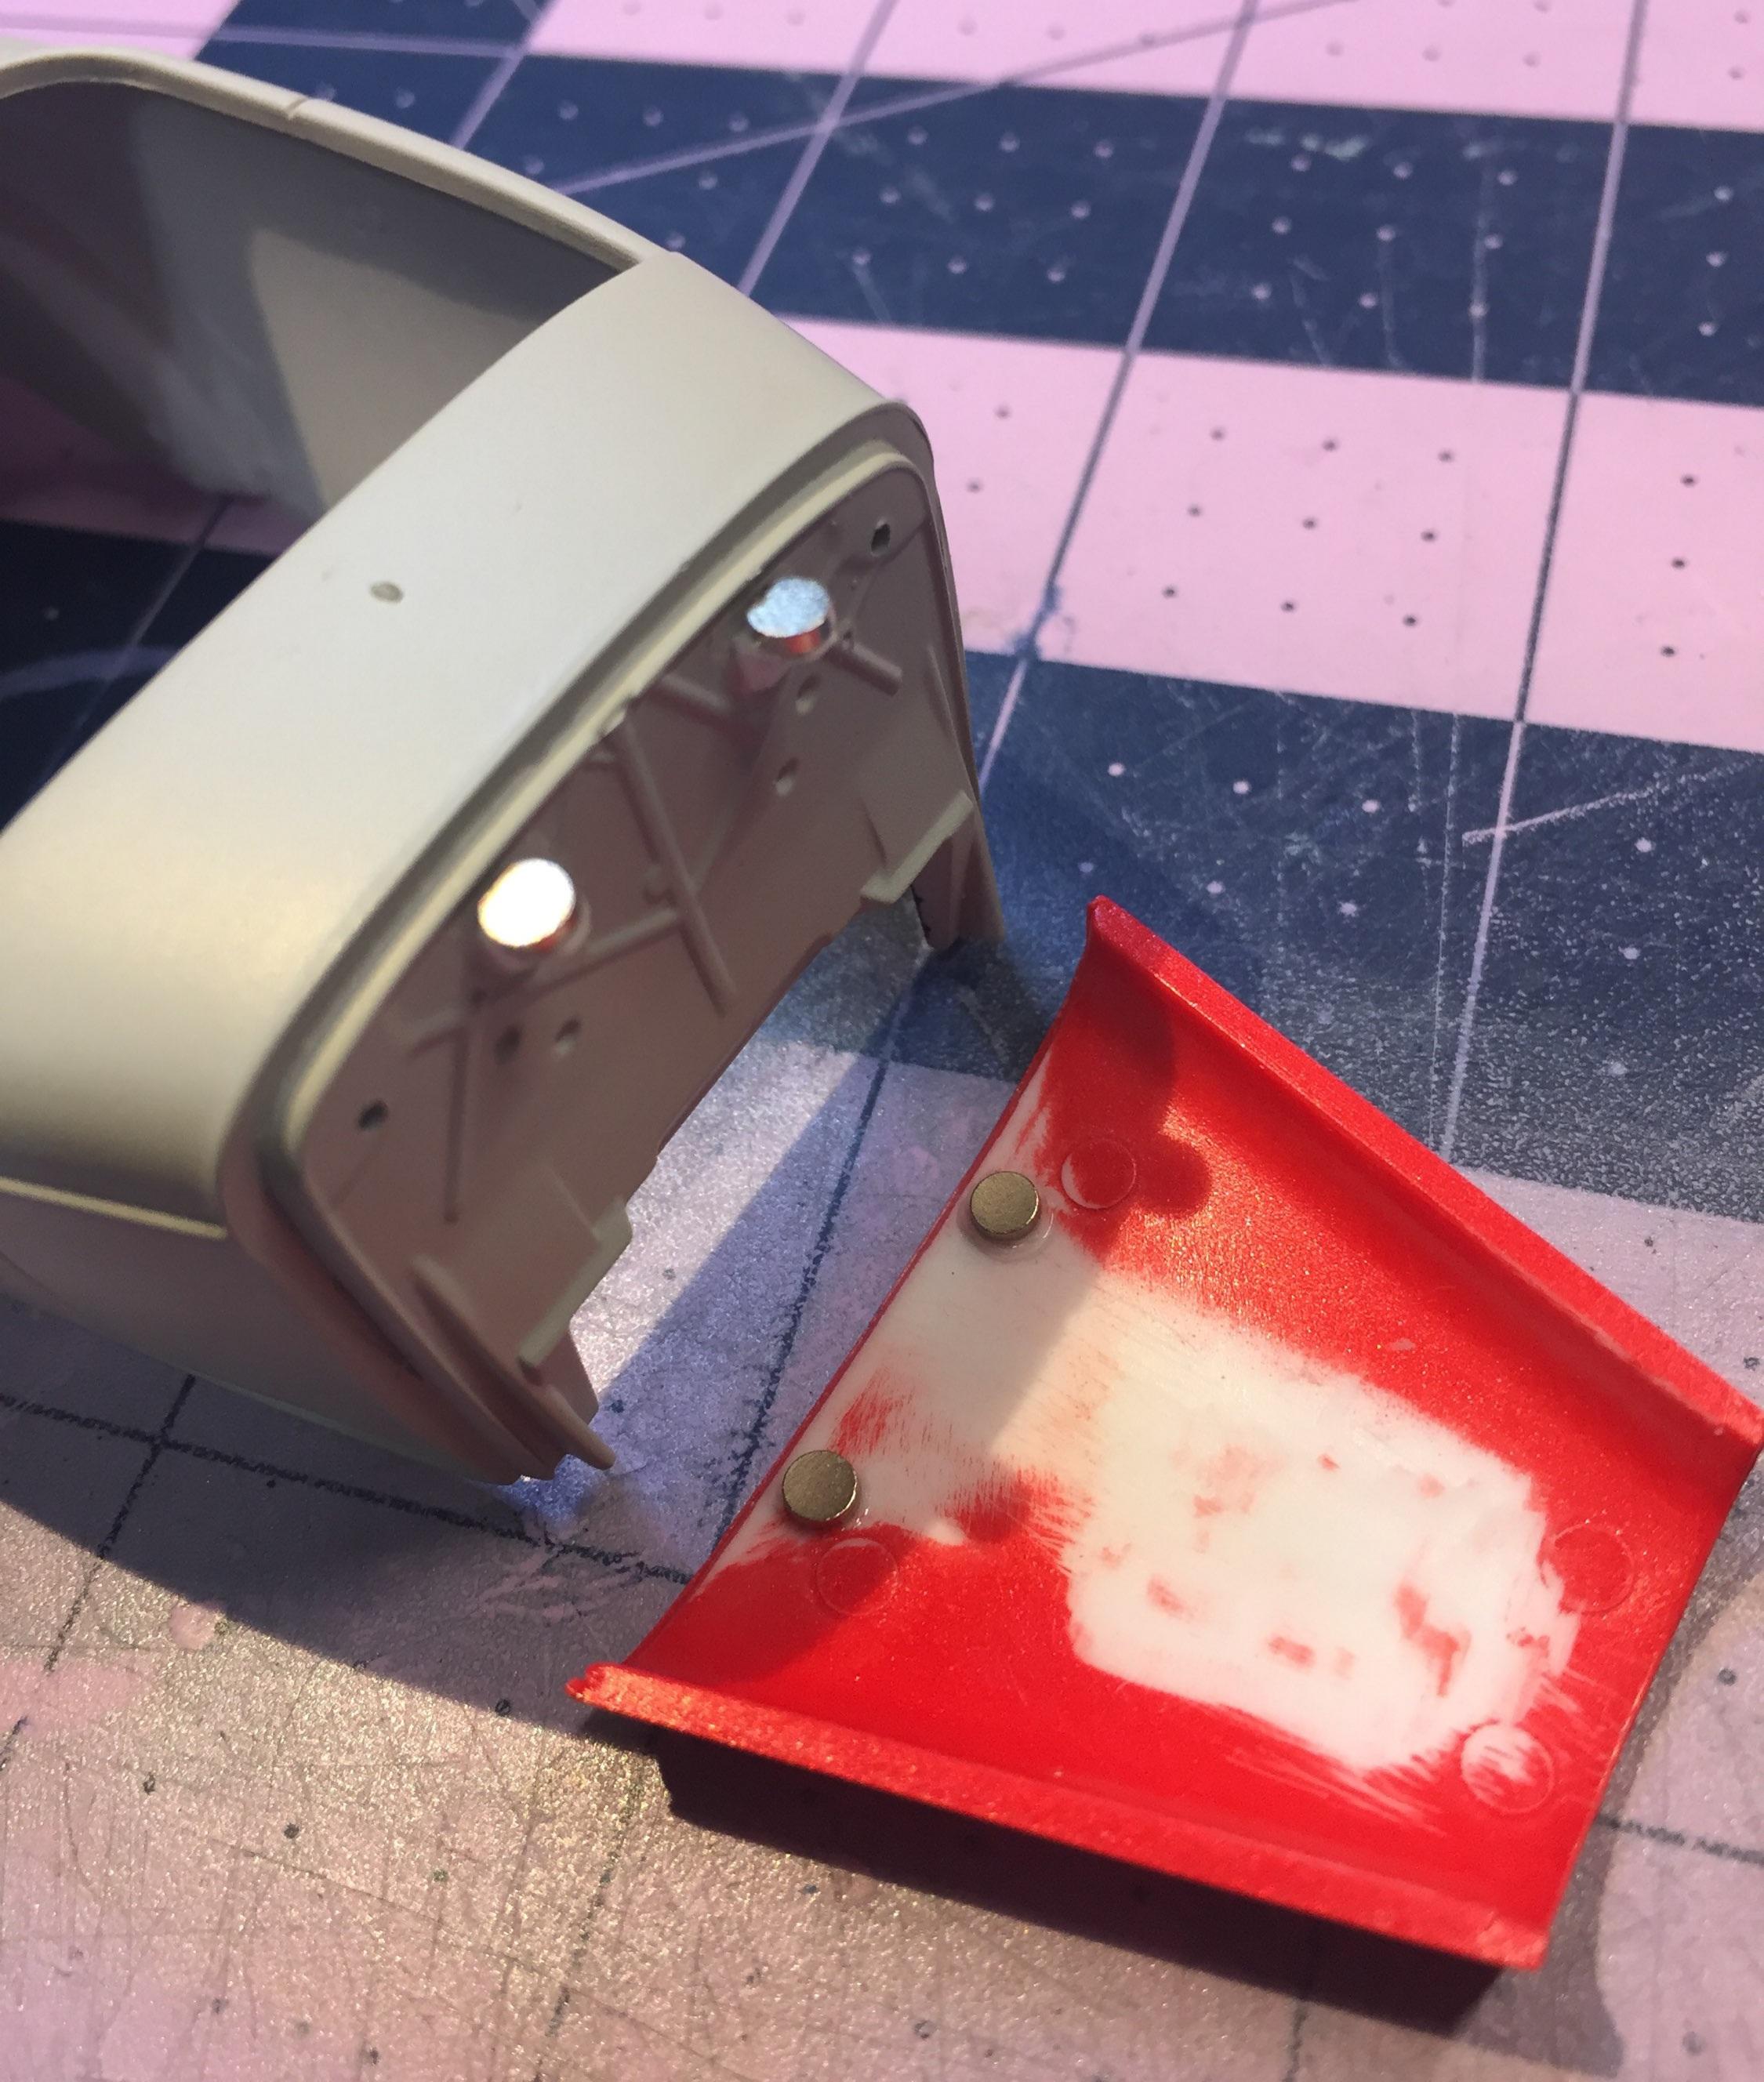
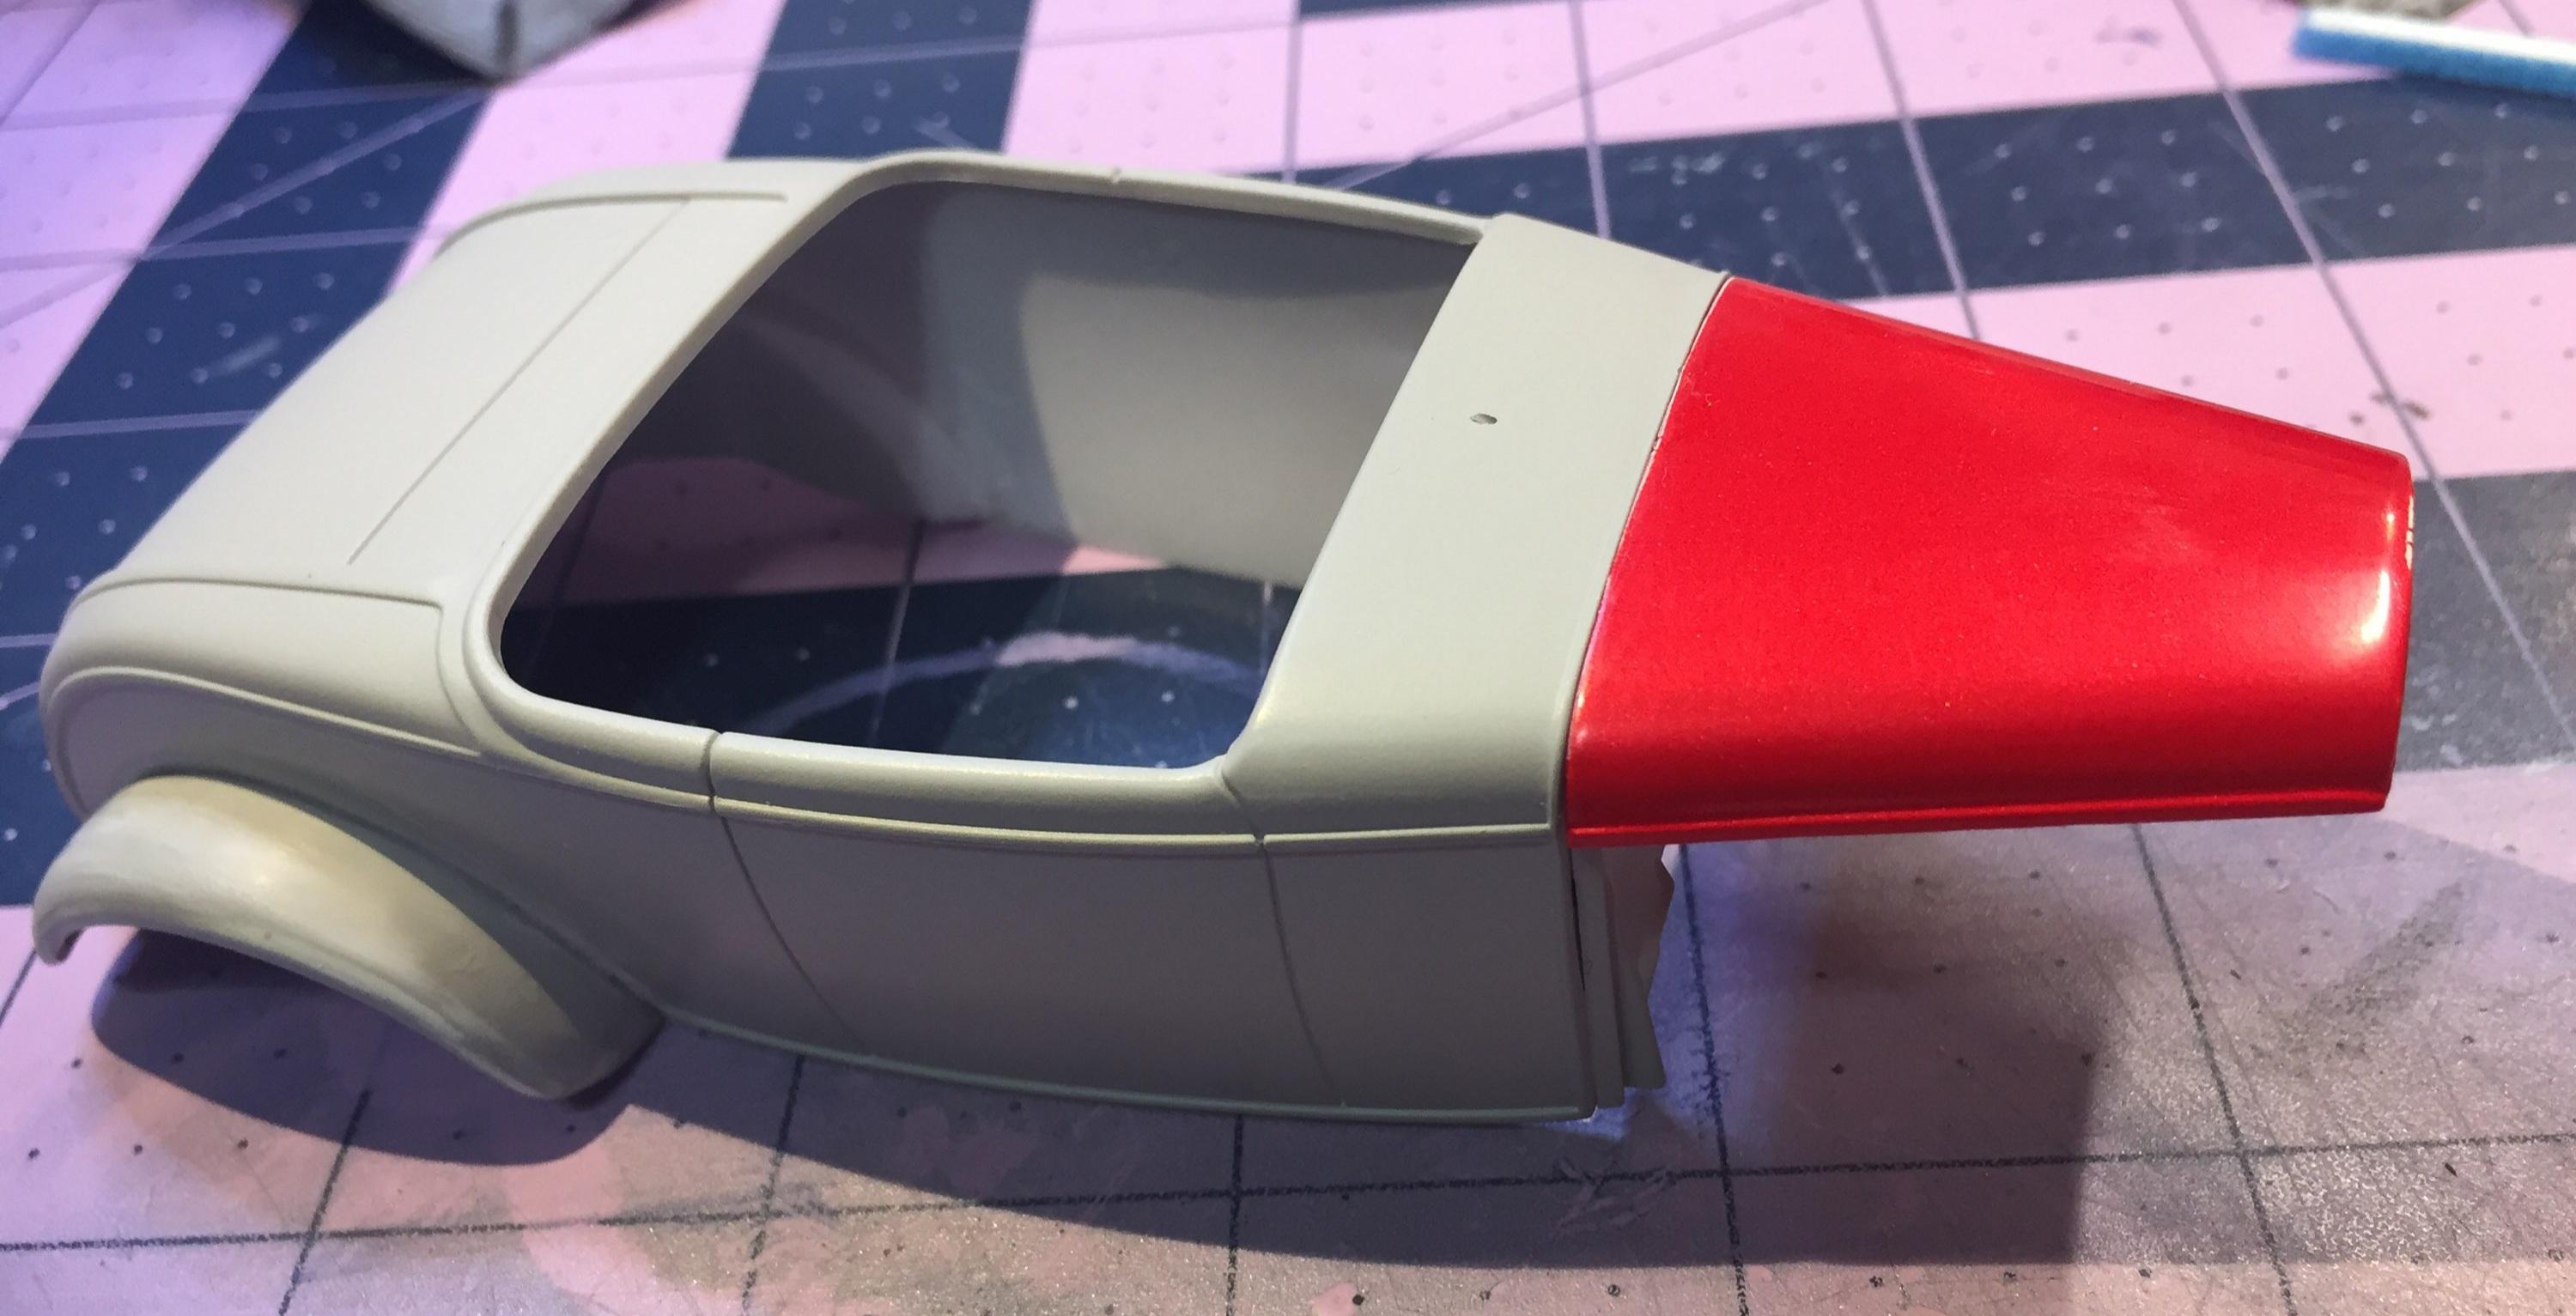
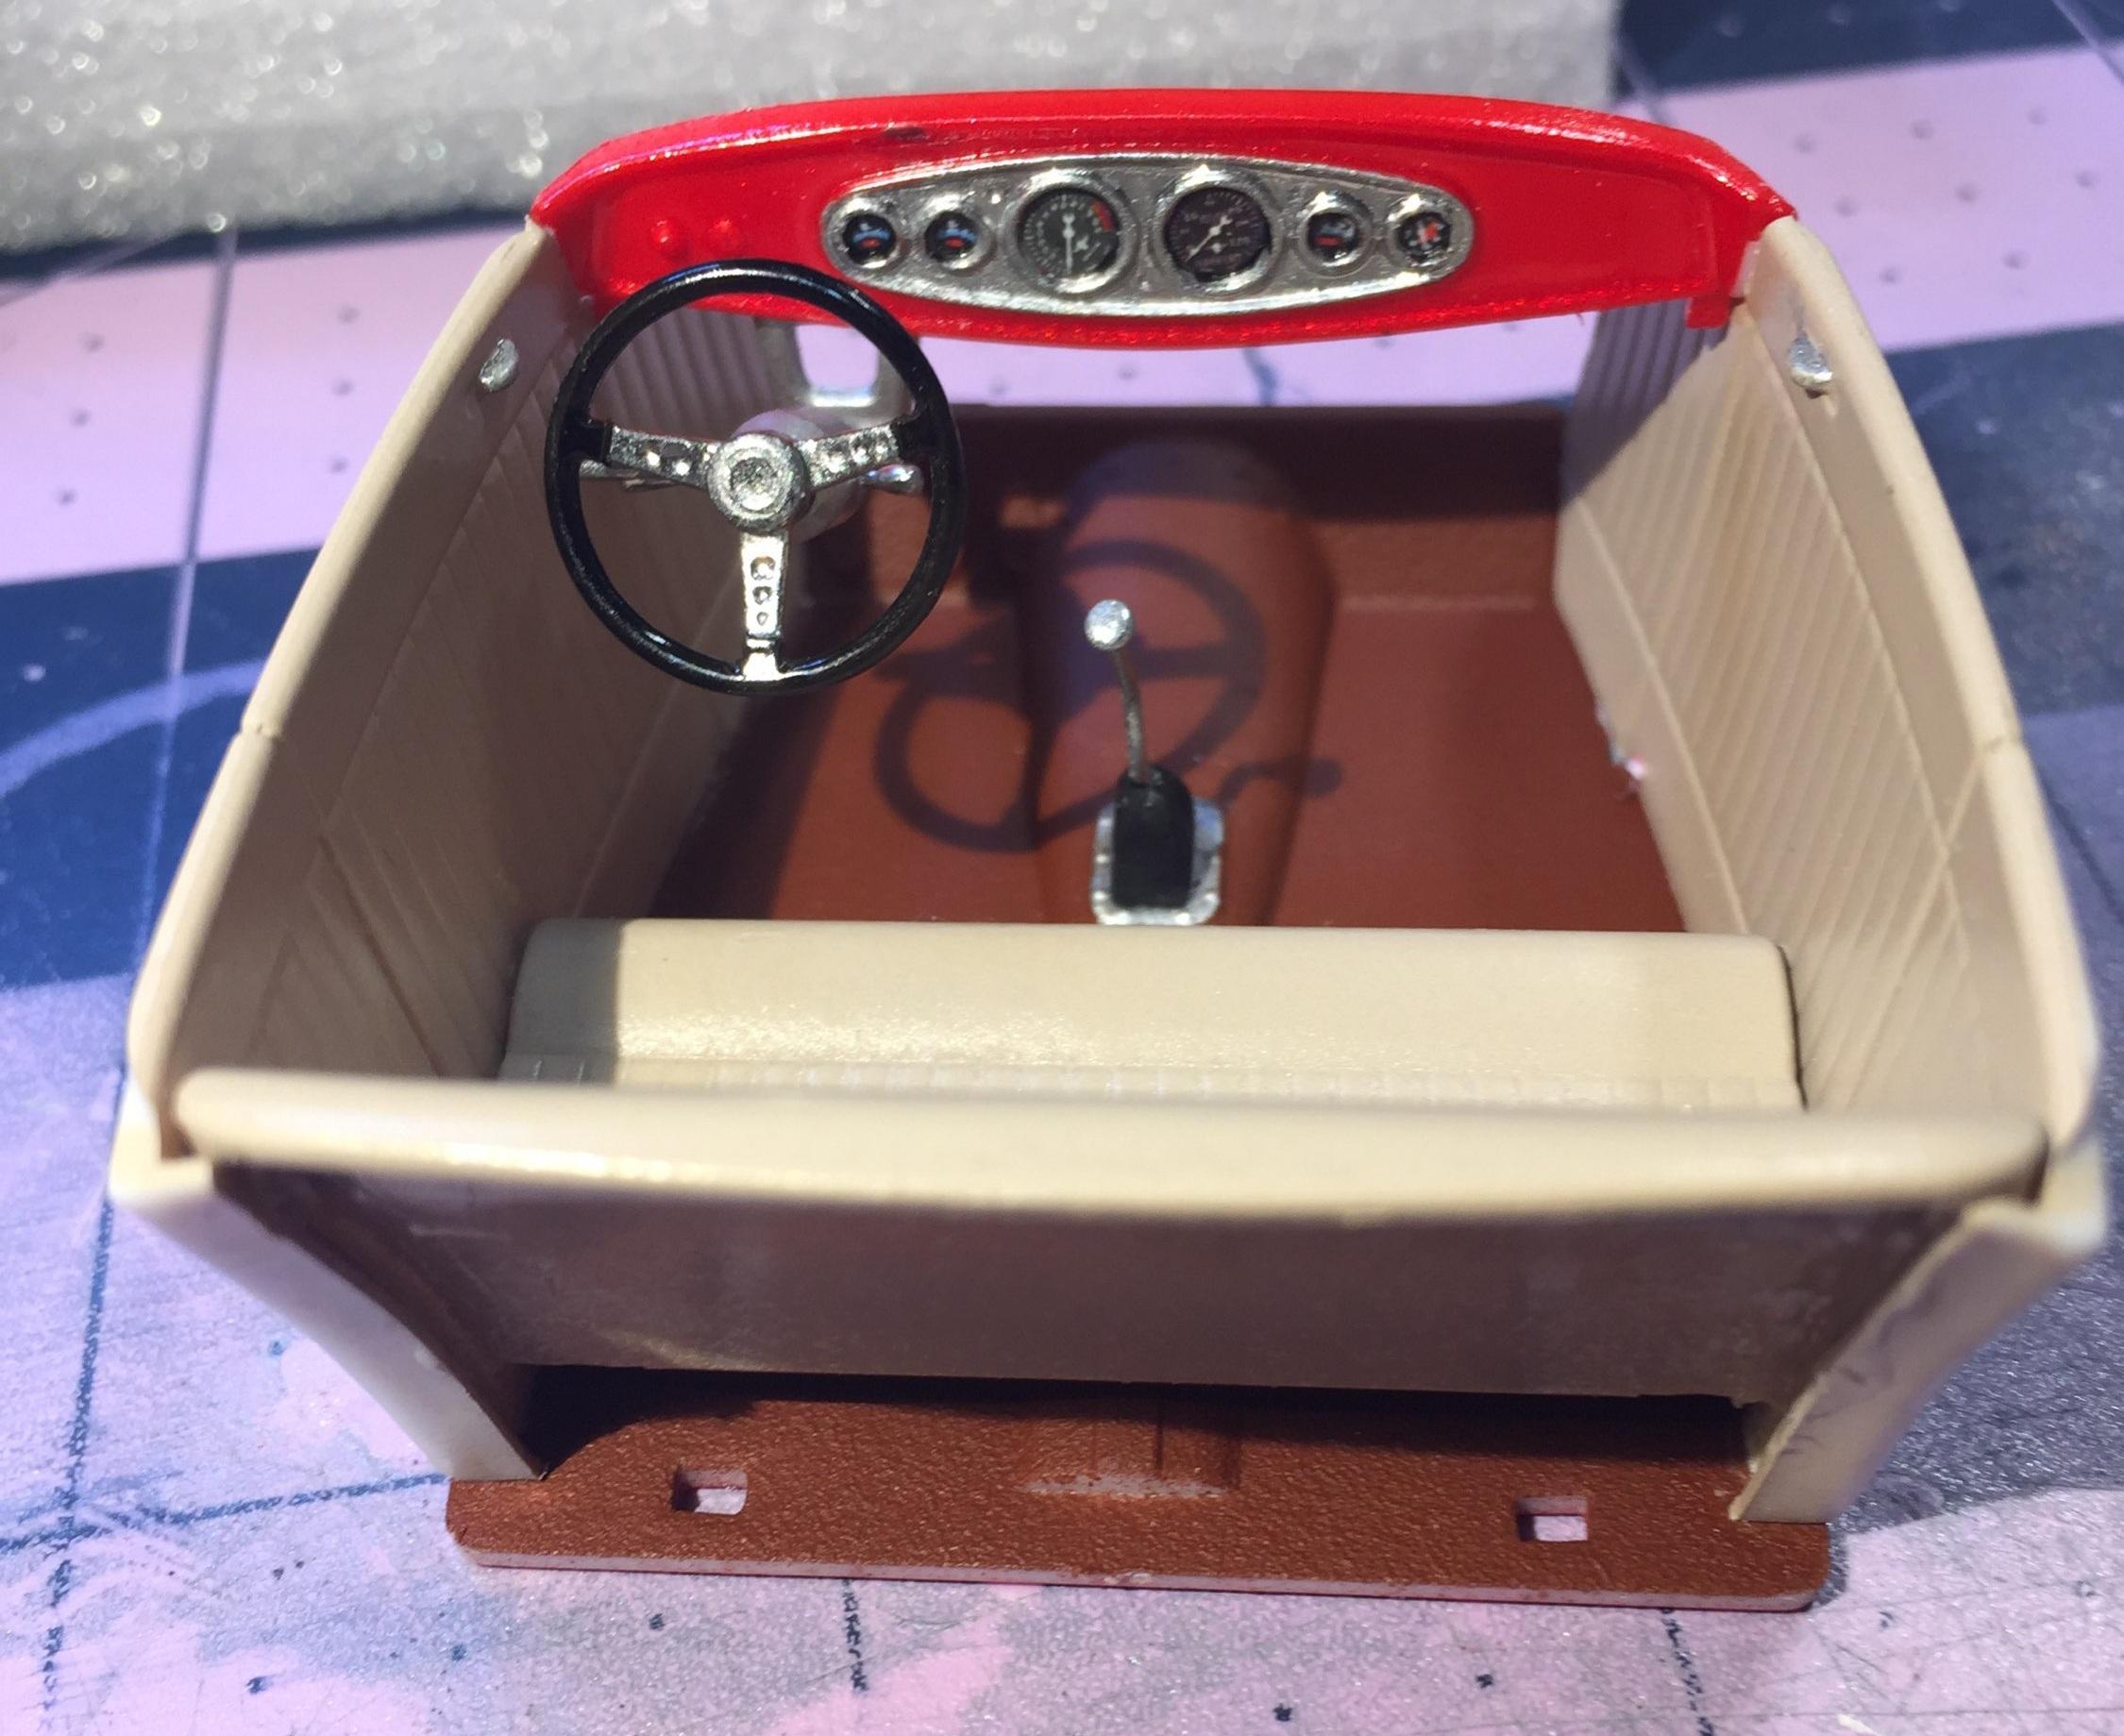
Today's late edition DO NOT ZOOM ON THE DASH 🤨 It was a terrible time. The guages are so tiny i kept losing them.. I recommend drilling out the holes and give it a skin on the back for the decals to sit on. The guage panel was too deep to foil. After 3 attempts, I couldn't not tear the foil so I gave up and painted it. I forgot to chrome the knobs. Note to self: ..... And then I tried to rub out deep scratches on the hood to no avail. But it's ready for paint.....again. then I fitted it with hood magnets. I think I've got the scratch issue under control. We have good painting weather coming and it's not quite ready. Much to do, much to do..... I told you not to zoom on the dash, didn't I? 🤮

-
Now I know why the handle 🥴 That's a great shade of gold, Jeff. What is it?
-
I see Ace knows what I'm talking about. 🥴
-
Actually, Craig, it was nothing I haven't done more times than I can count. I'm not a multi-tasking sort. I tend to focus and ignore what's around me. That leads to a lot of "Oh $hit !"s. 🥴
-
I am always open to advice from y'all. I am somewhat stubborn and it takes time for input to fully hit bottom. I appreciate all of it, Craig.
-

Lindberg's '53 Ford - following the instructions
customline replied to customline's topic in WIP: Model Cars
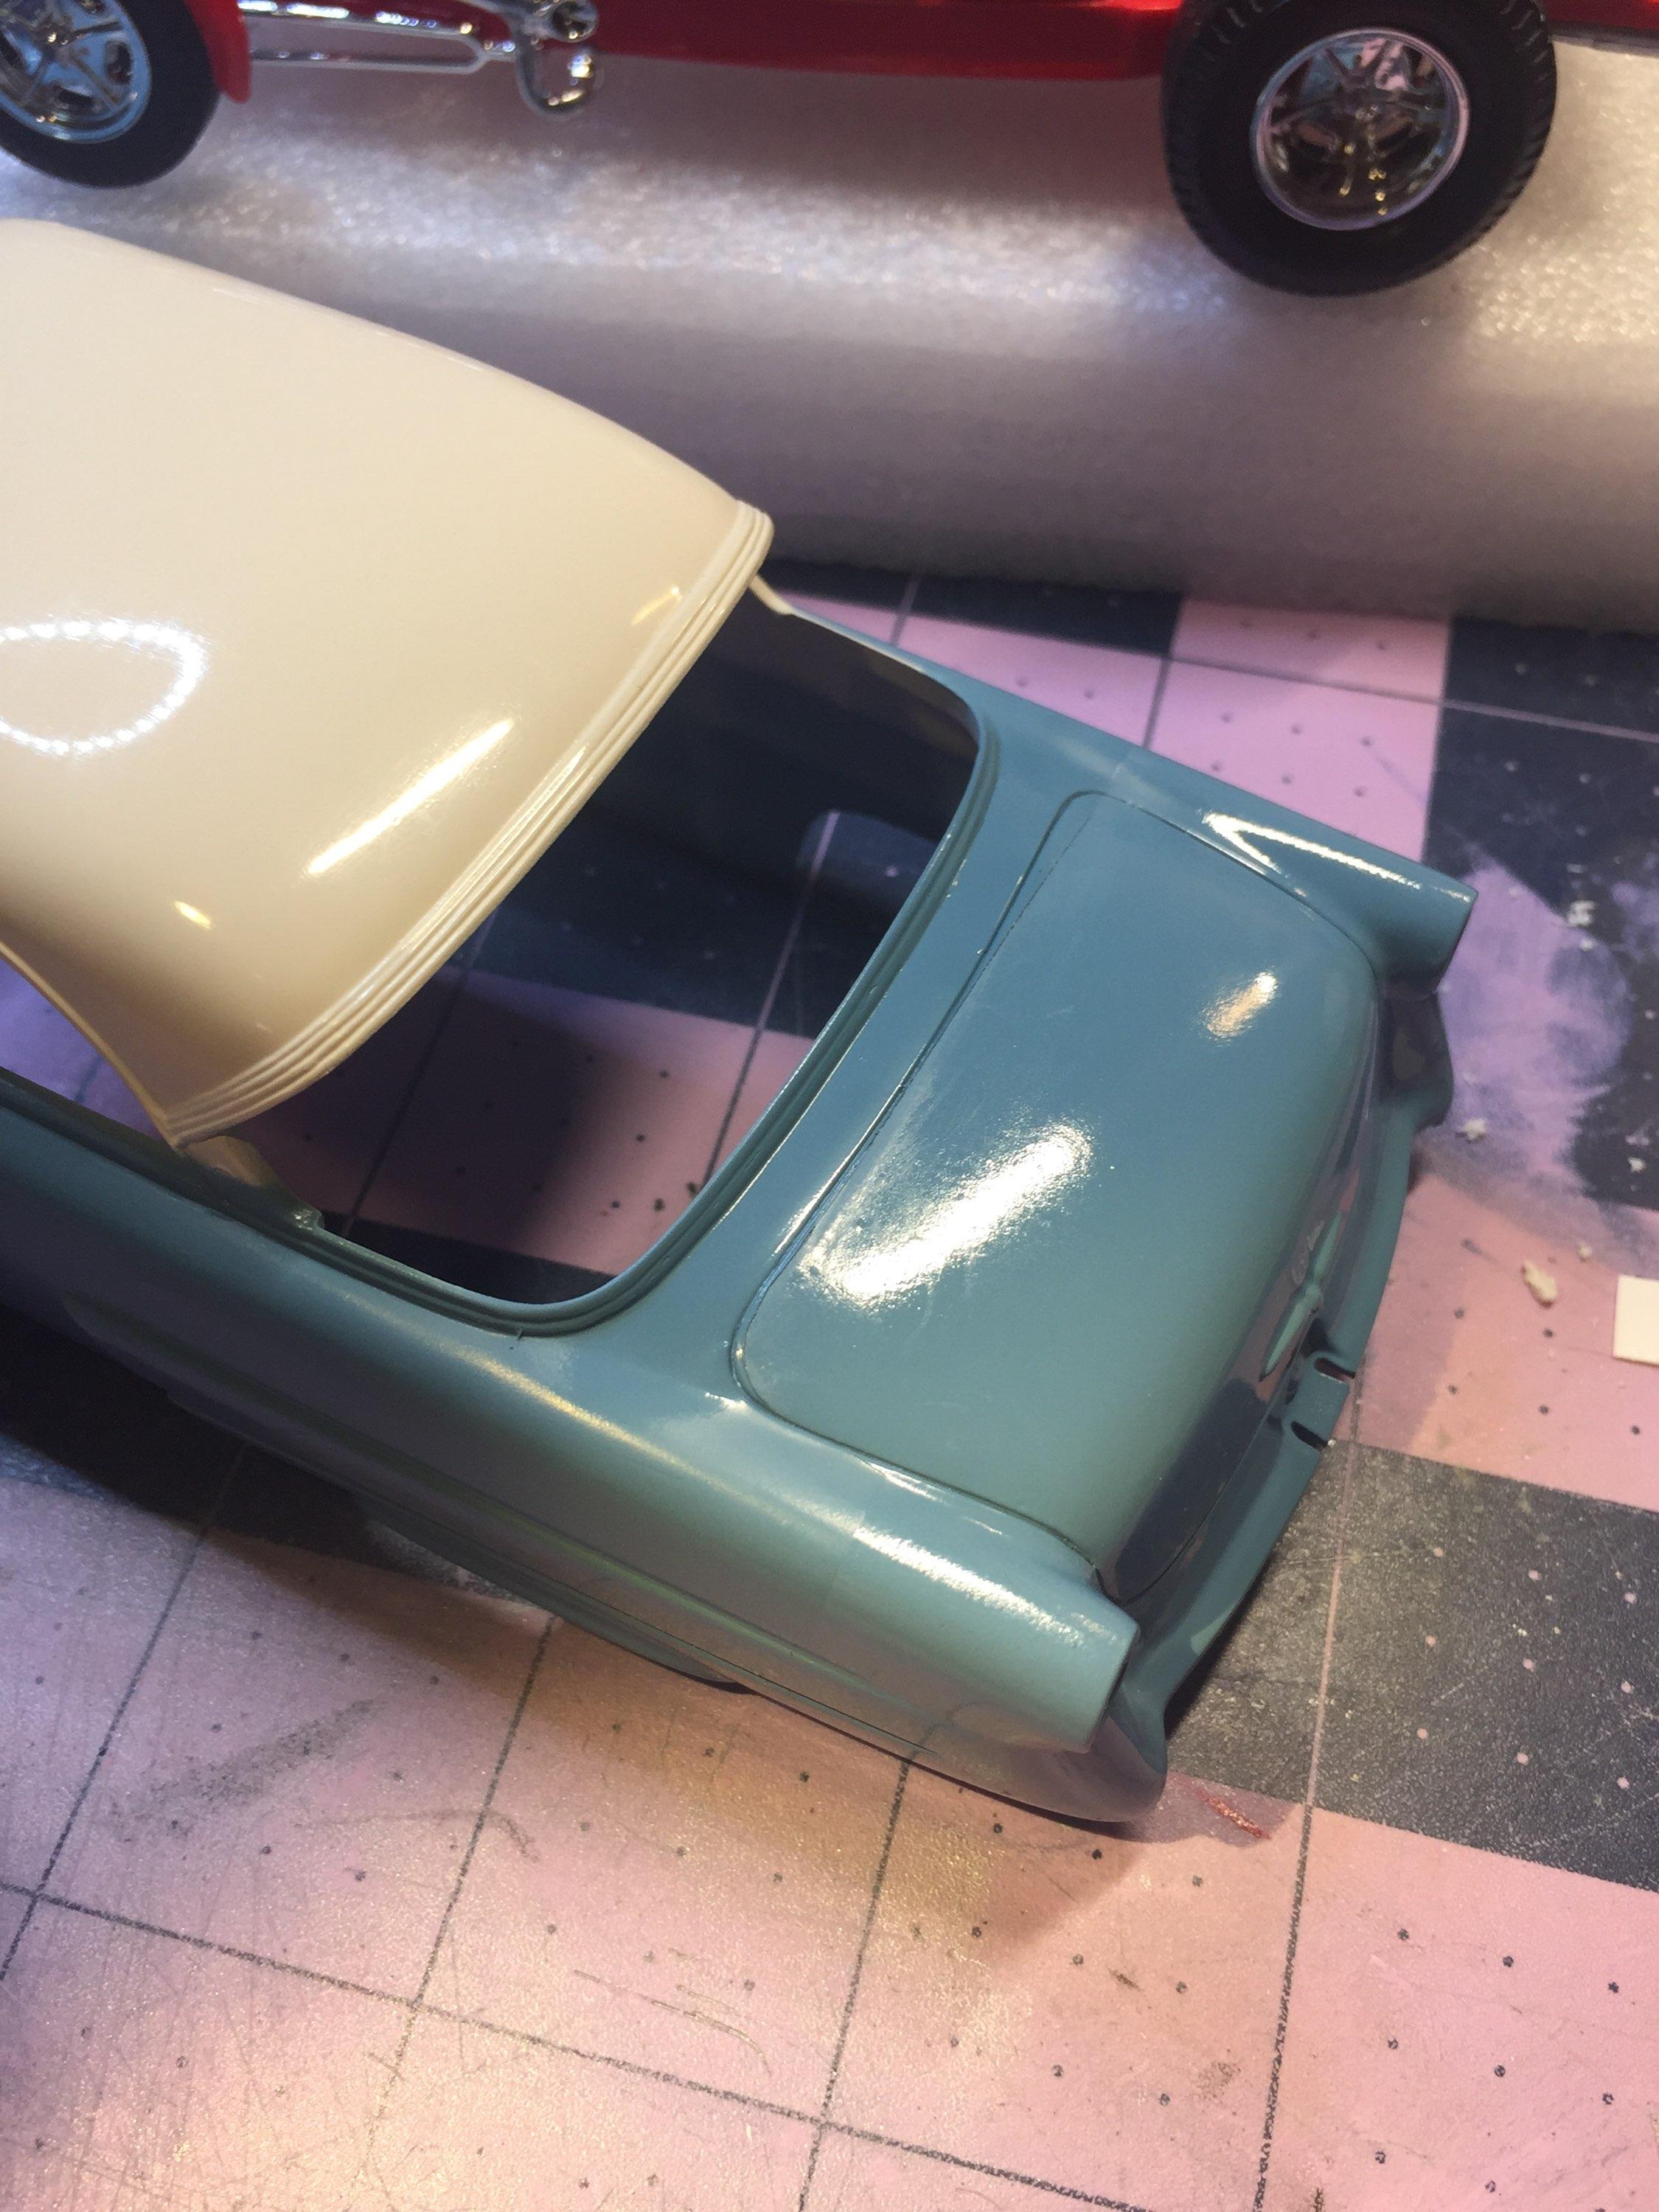
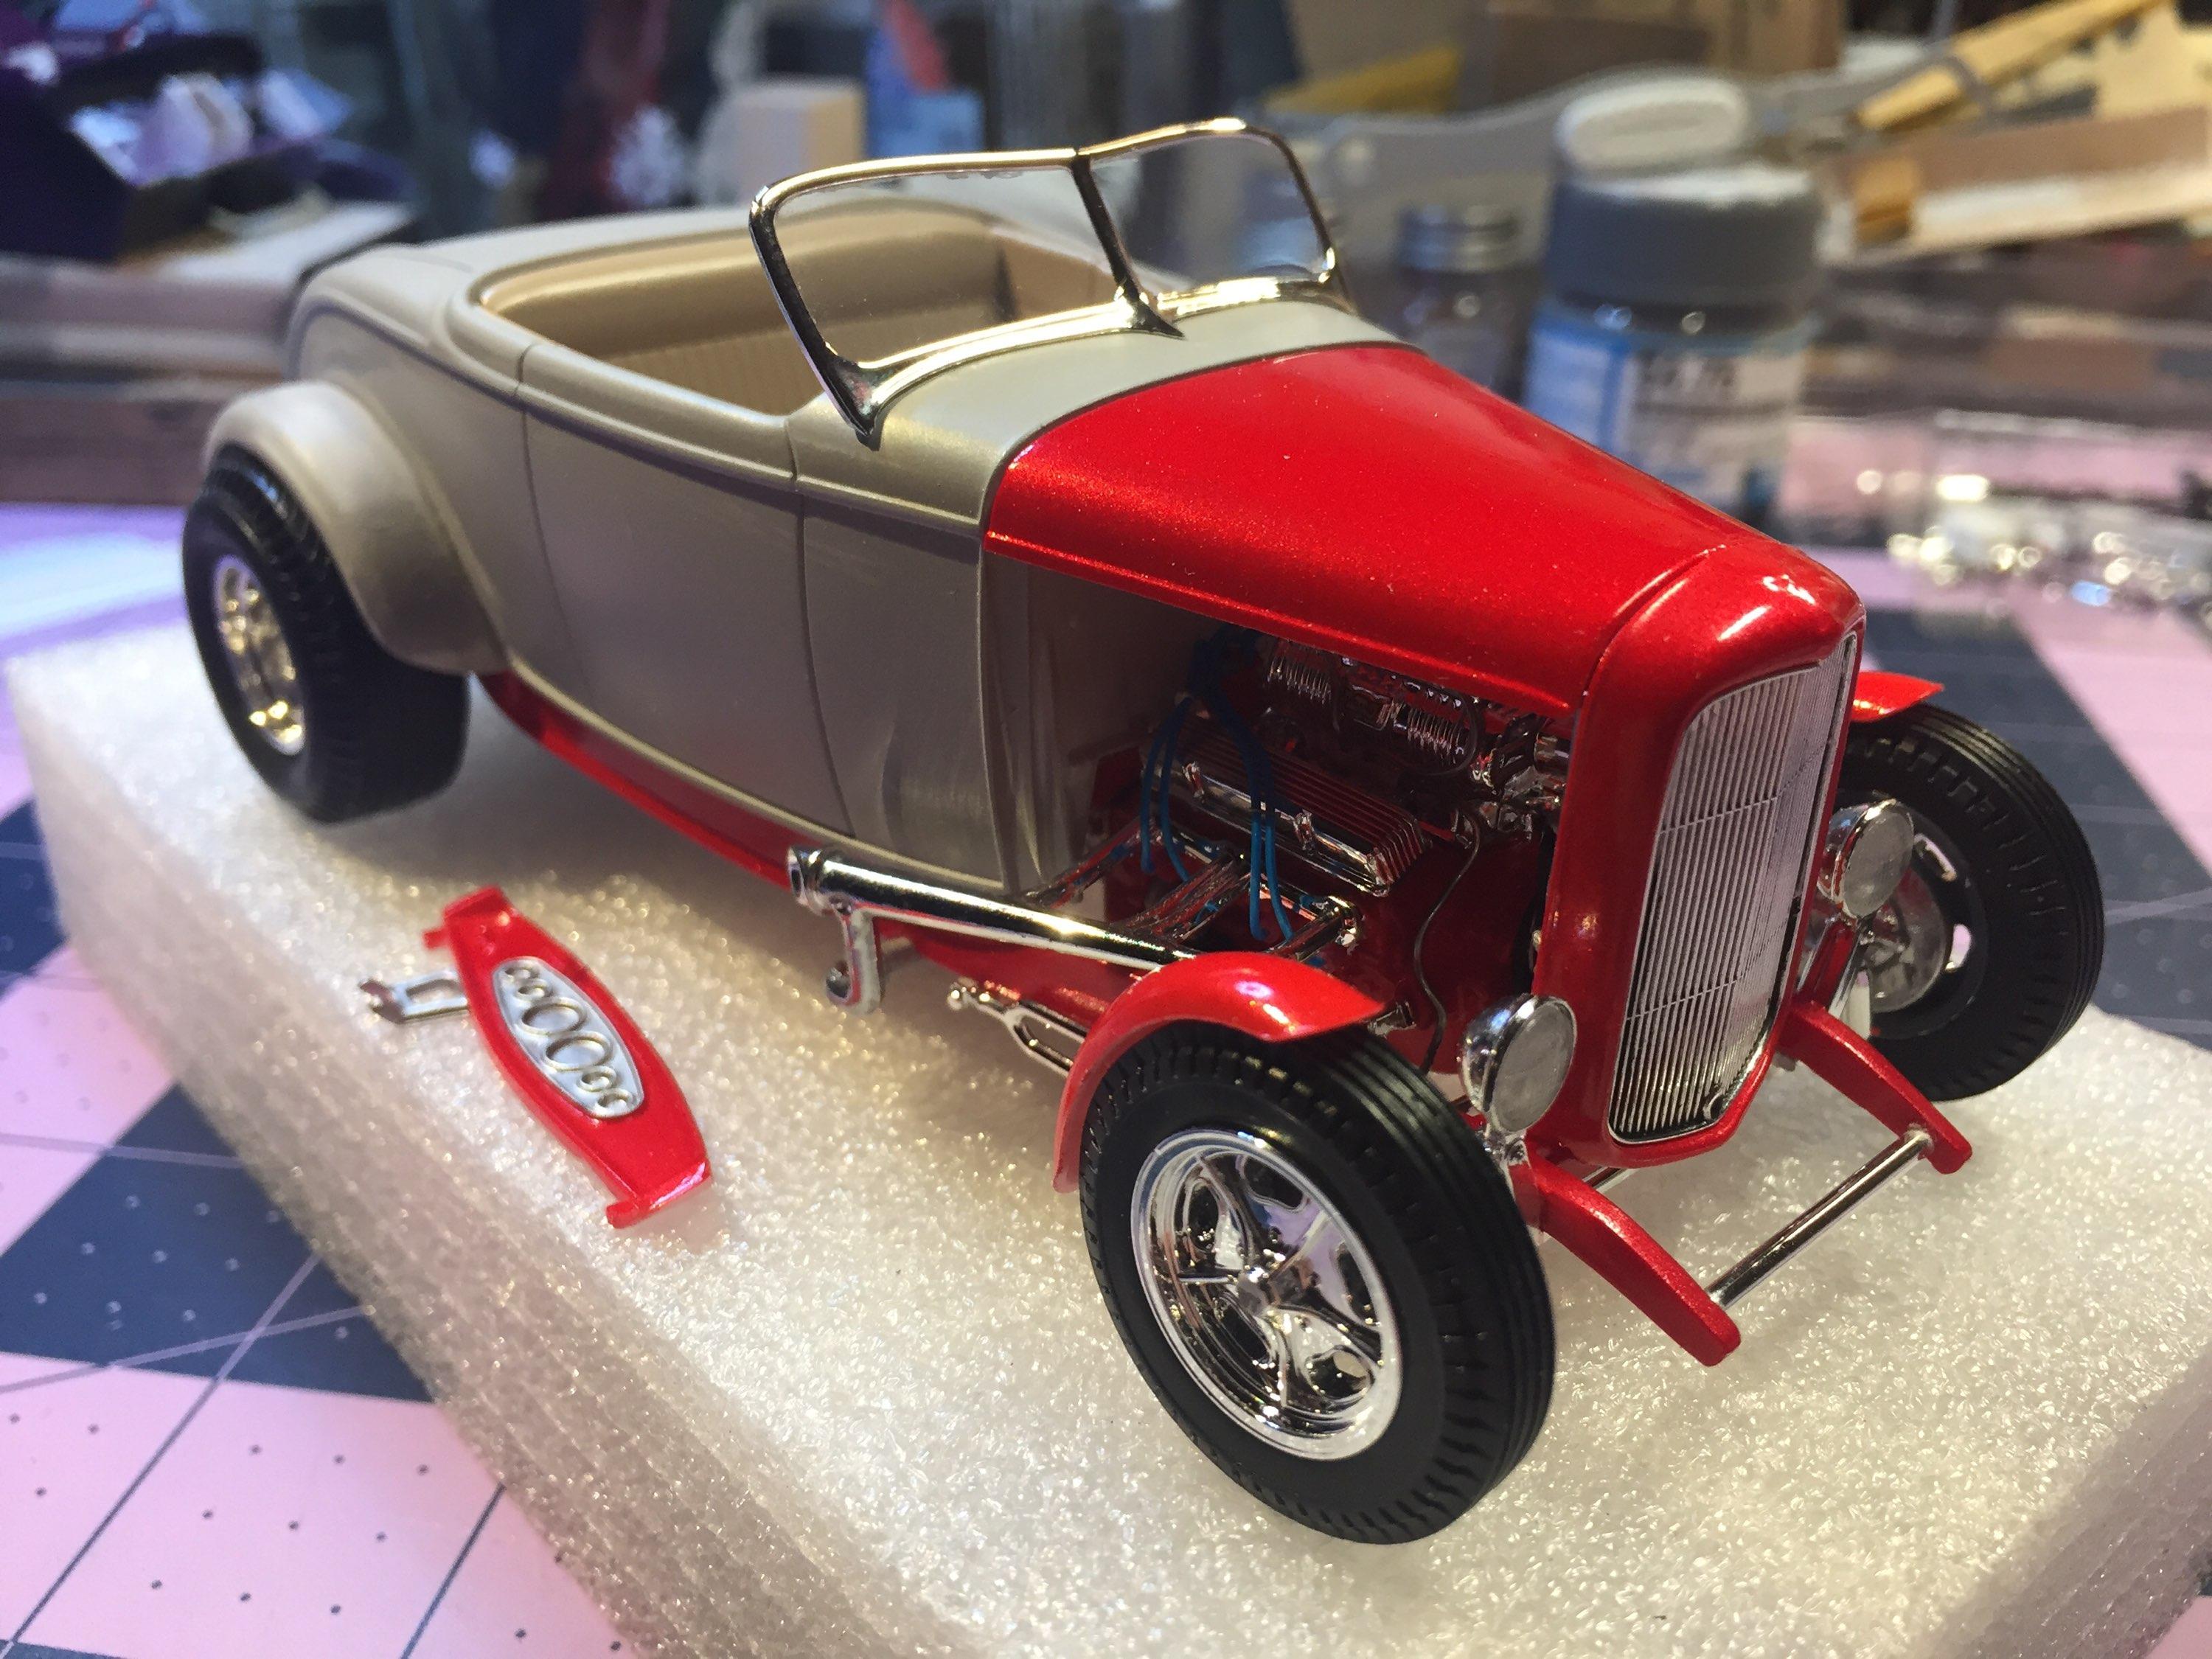
OKAY THEN! I used my cheapie two stage to apply the paint. It seems to be the correct tool for this job. Now I need to do a little wet sanding with some 2000 grit and patch up the clear. After that, an over-all rub-out on the blue/clear. Wish me luck.
-
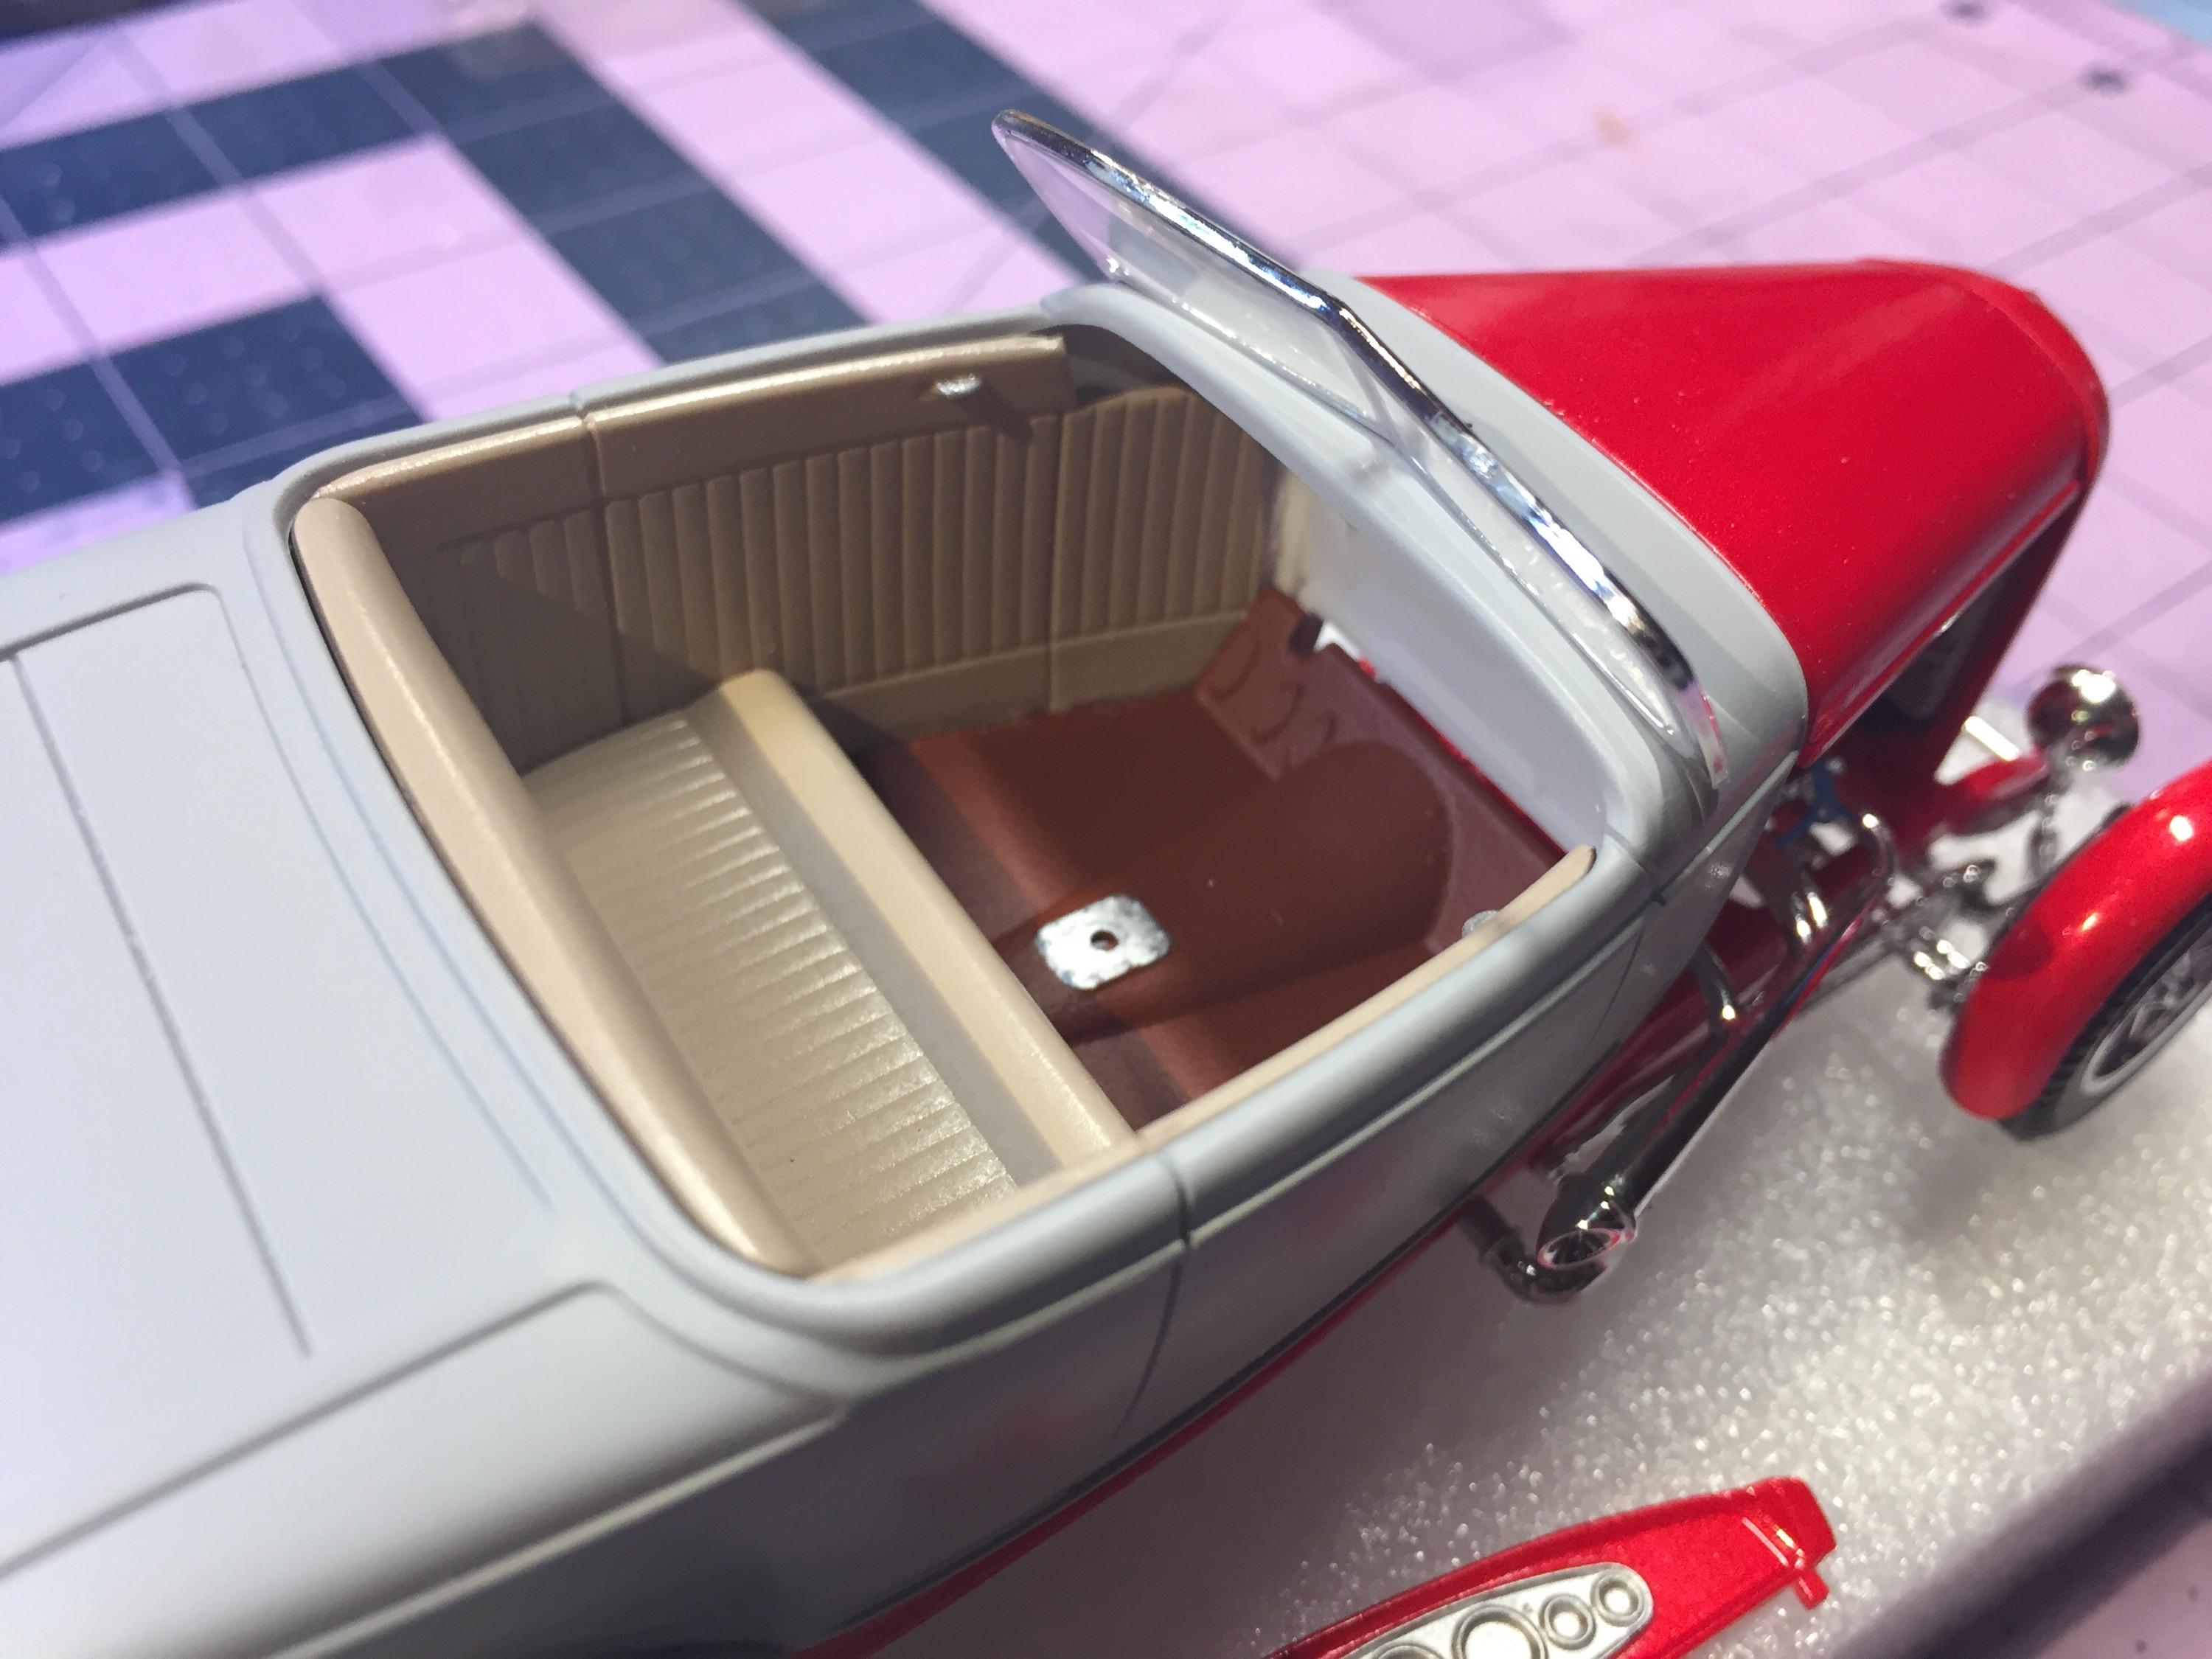
The interior is pretty simple so I kept it that way 🙂. I found some Krylon matte "sand dollar" and covered it with Tamiya semi-gloss clear to give it a little shine. The floor has some off-brand rattle can primer I found at Ollie's. It's red oxide but, as you can see, is quite brown. While I was in a painting mood, I put color and clear on the hood and dash. I put a driveshaft together and got the coil-overs back in place too. Thanks for sticking around 🥴 BTW, the hood would not sit down all the way. I was able to sand the inside of the hood in the middle where it was contacting an air cleaner. The instructions want you to feed the completed interior in from the bottom but that's before the firewall and rear inner fender panels are in place. Since I have already assembled those parts, I could not install it that way. I was, however, able to install from the top. I trimmed the side panels a bit at the front, top corners to make it a bit easier. It may not be necessary to do that but I was desperate. You may only need more patience. 😕
-
Thanks, James. I think I might see if I can get another one. Yeah, Dave, they look like they should be that way. I'm happy with the result. Sorry. I had no idea it would cause a problem 🤣. Thanks, Quiet Eric.
-
Oh boy! More '40s! Yay! I'm following, Jeff! I'll try to be quiet. 🤐
-
I'm glad you like my "skinning" idea. A broken clock is correct twice daily 😌 Thanks for the suggestion on the interior. I have nice light tan in a can but I may venture out today. I also have "Corinthian White" which is a....well.... light tan. More like cream in some light.
-
😩
-
Yeah, boss, it's good! I had to rip the rear end out of mine. Consider yourself lucky. 🥴
-
Took it out to the paint shop for some primer. The first two shots are for you. 😯 The other four are for me. Gotta zoom for a look at what I need to do to smooth it out. You may as well see it too. 😕 Taking suggestions on interior colors, y'all. 🤠
-
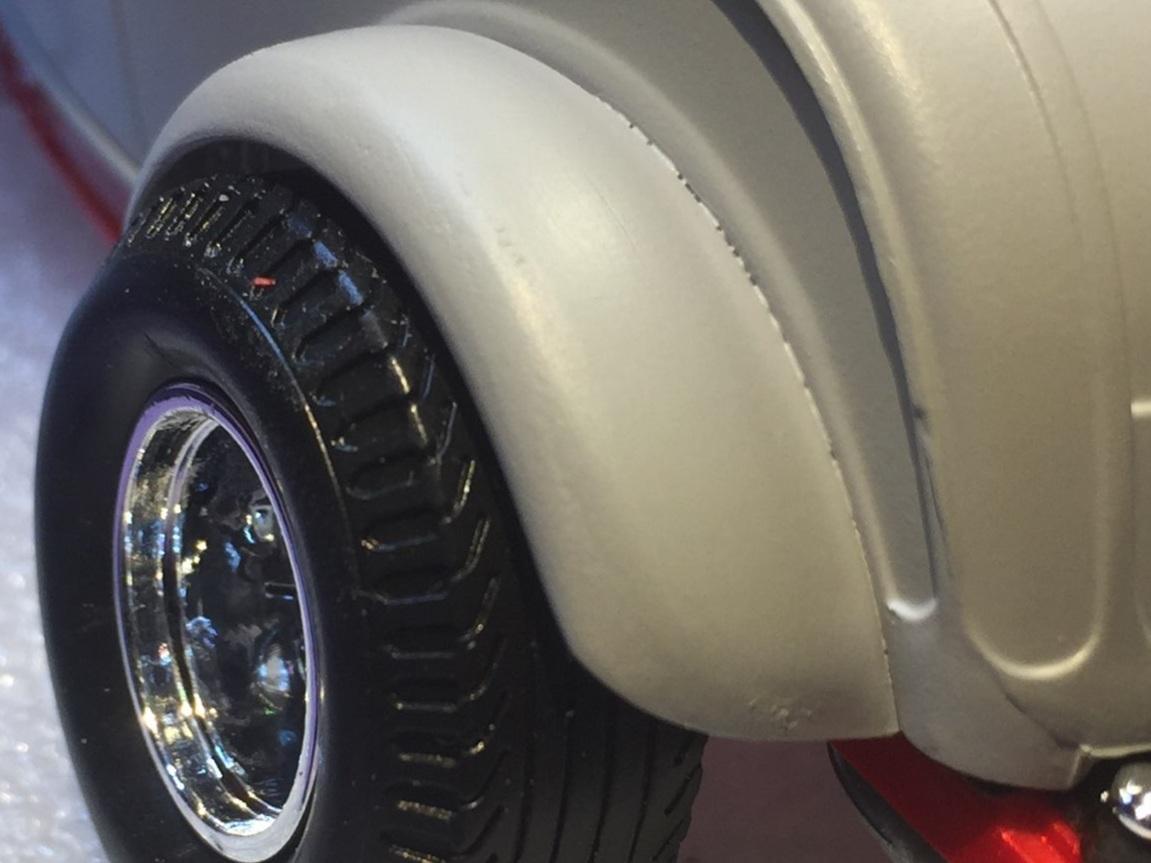
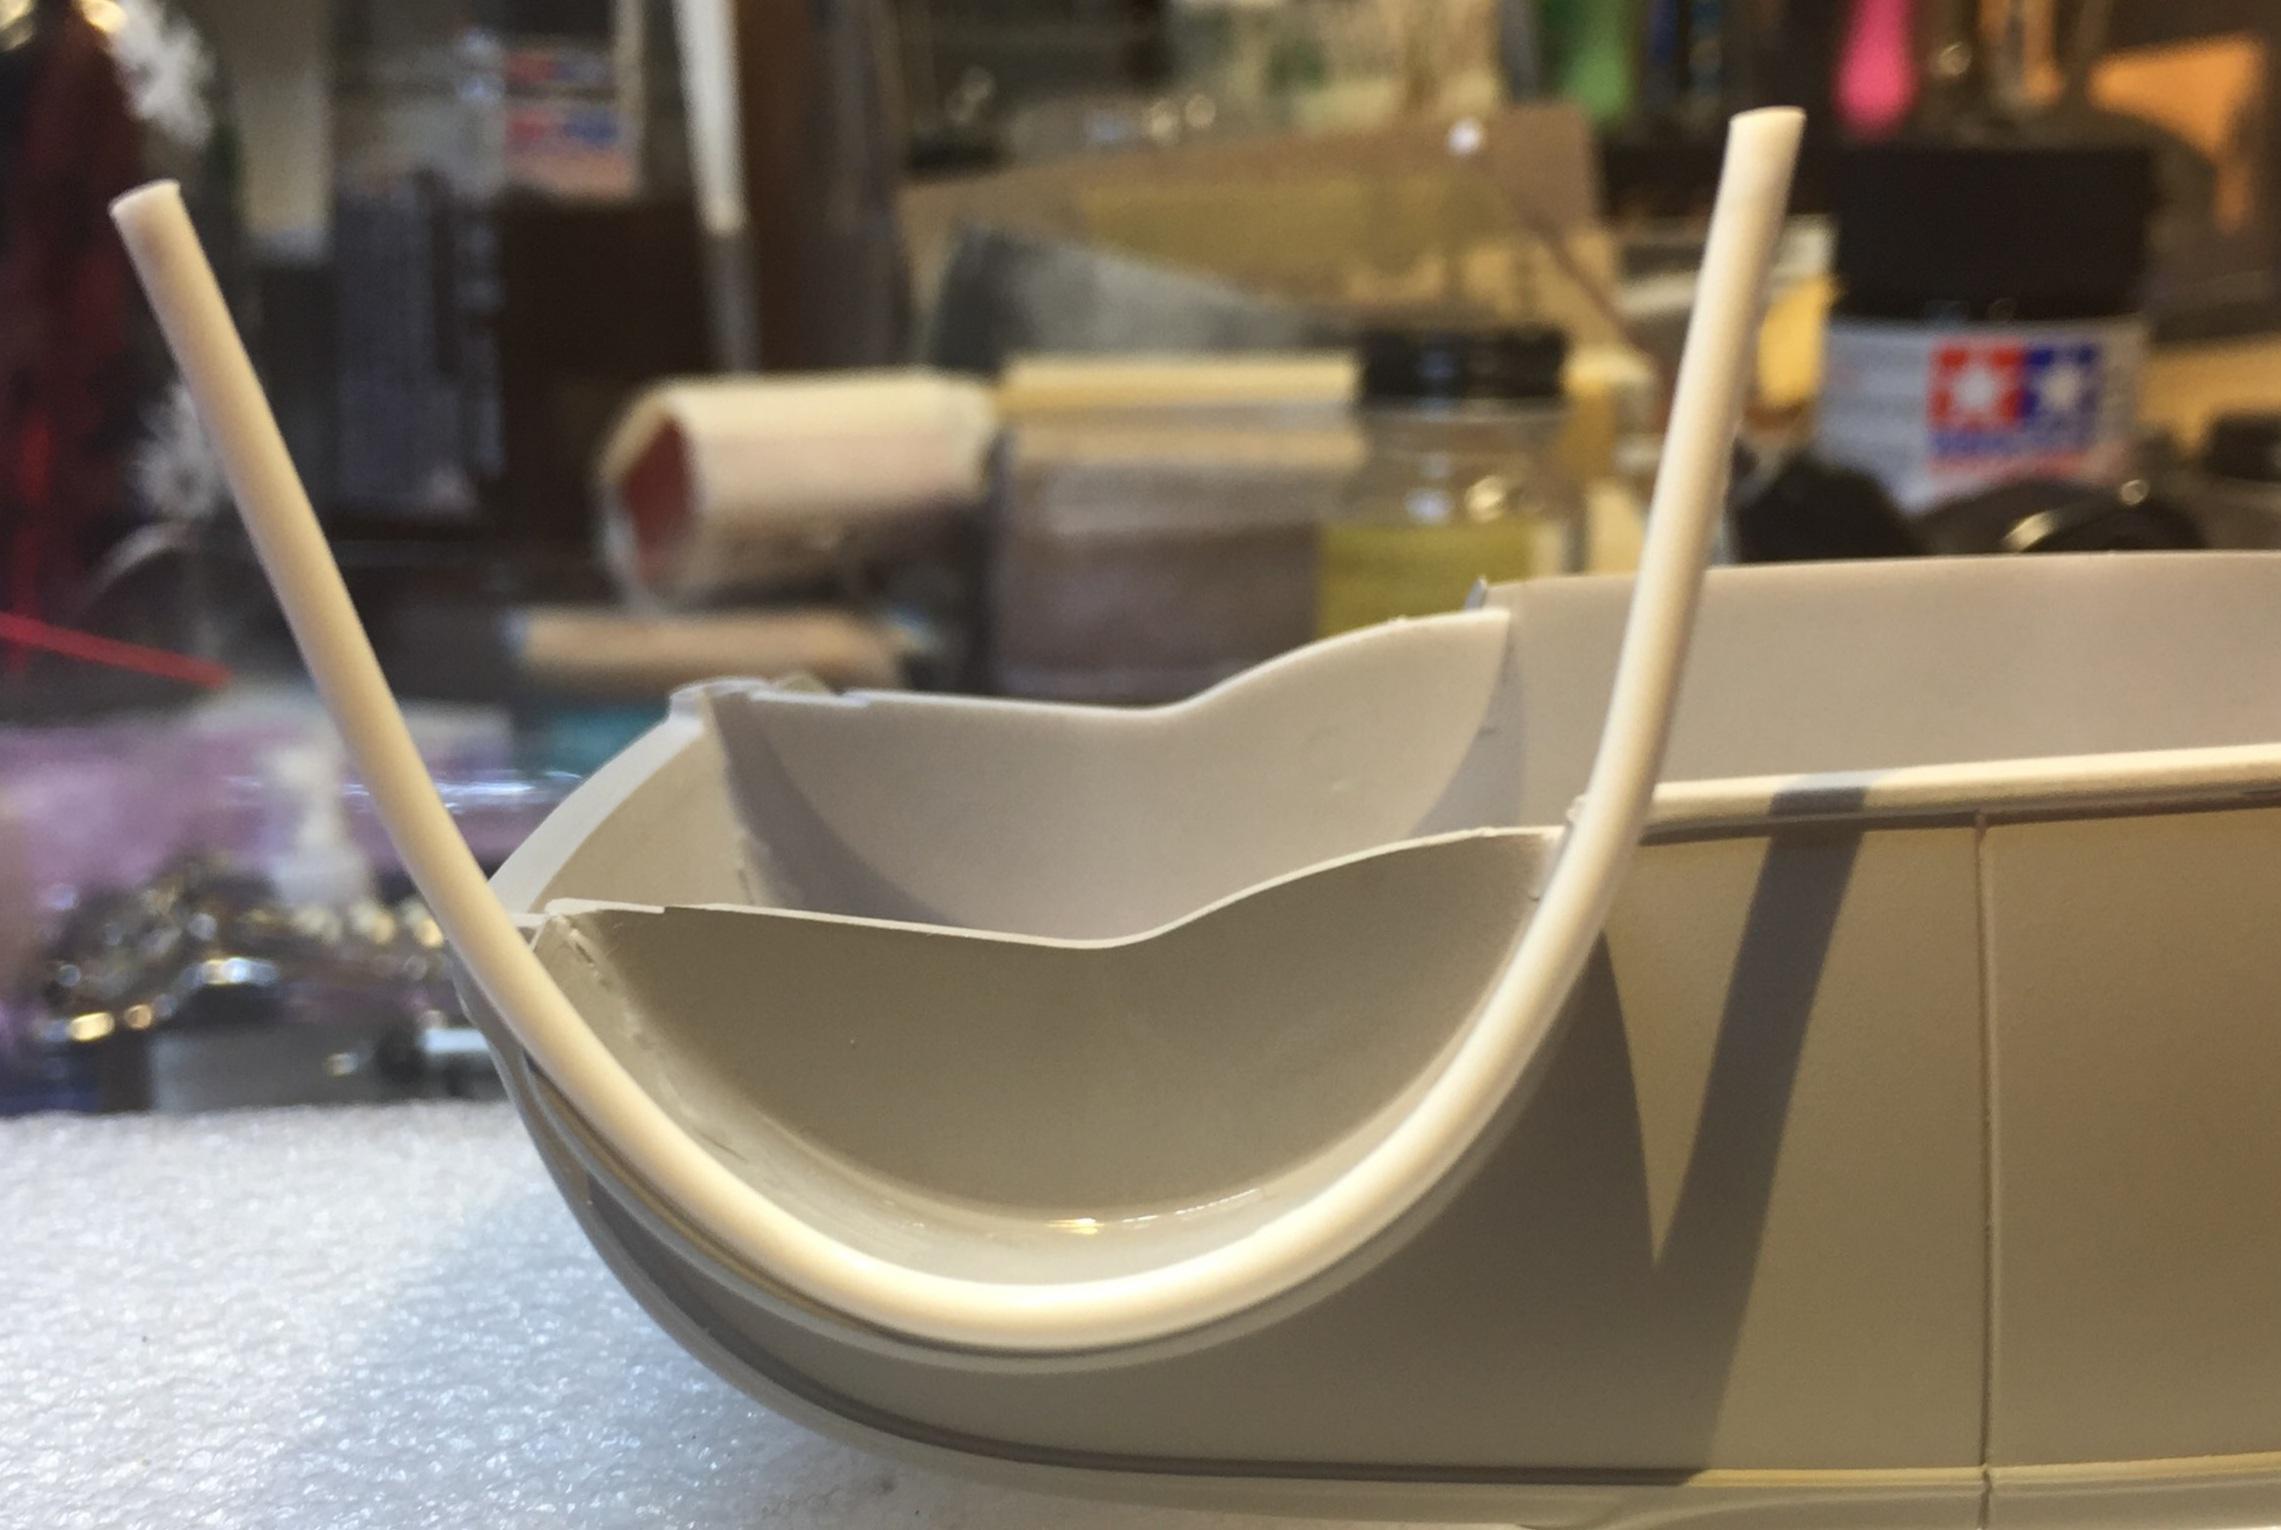
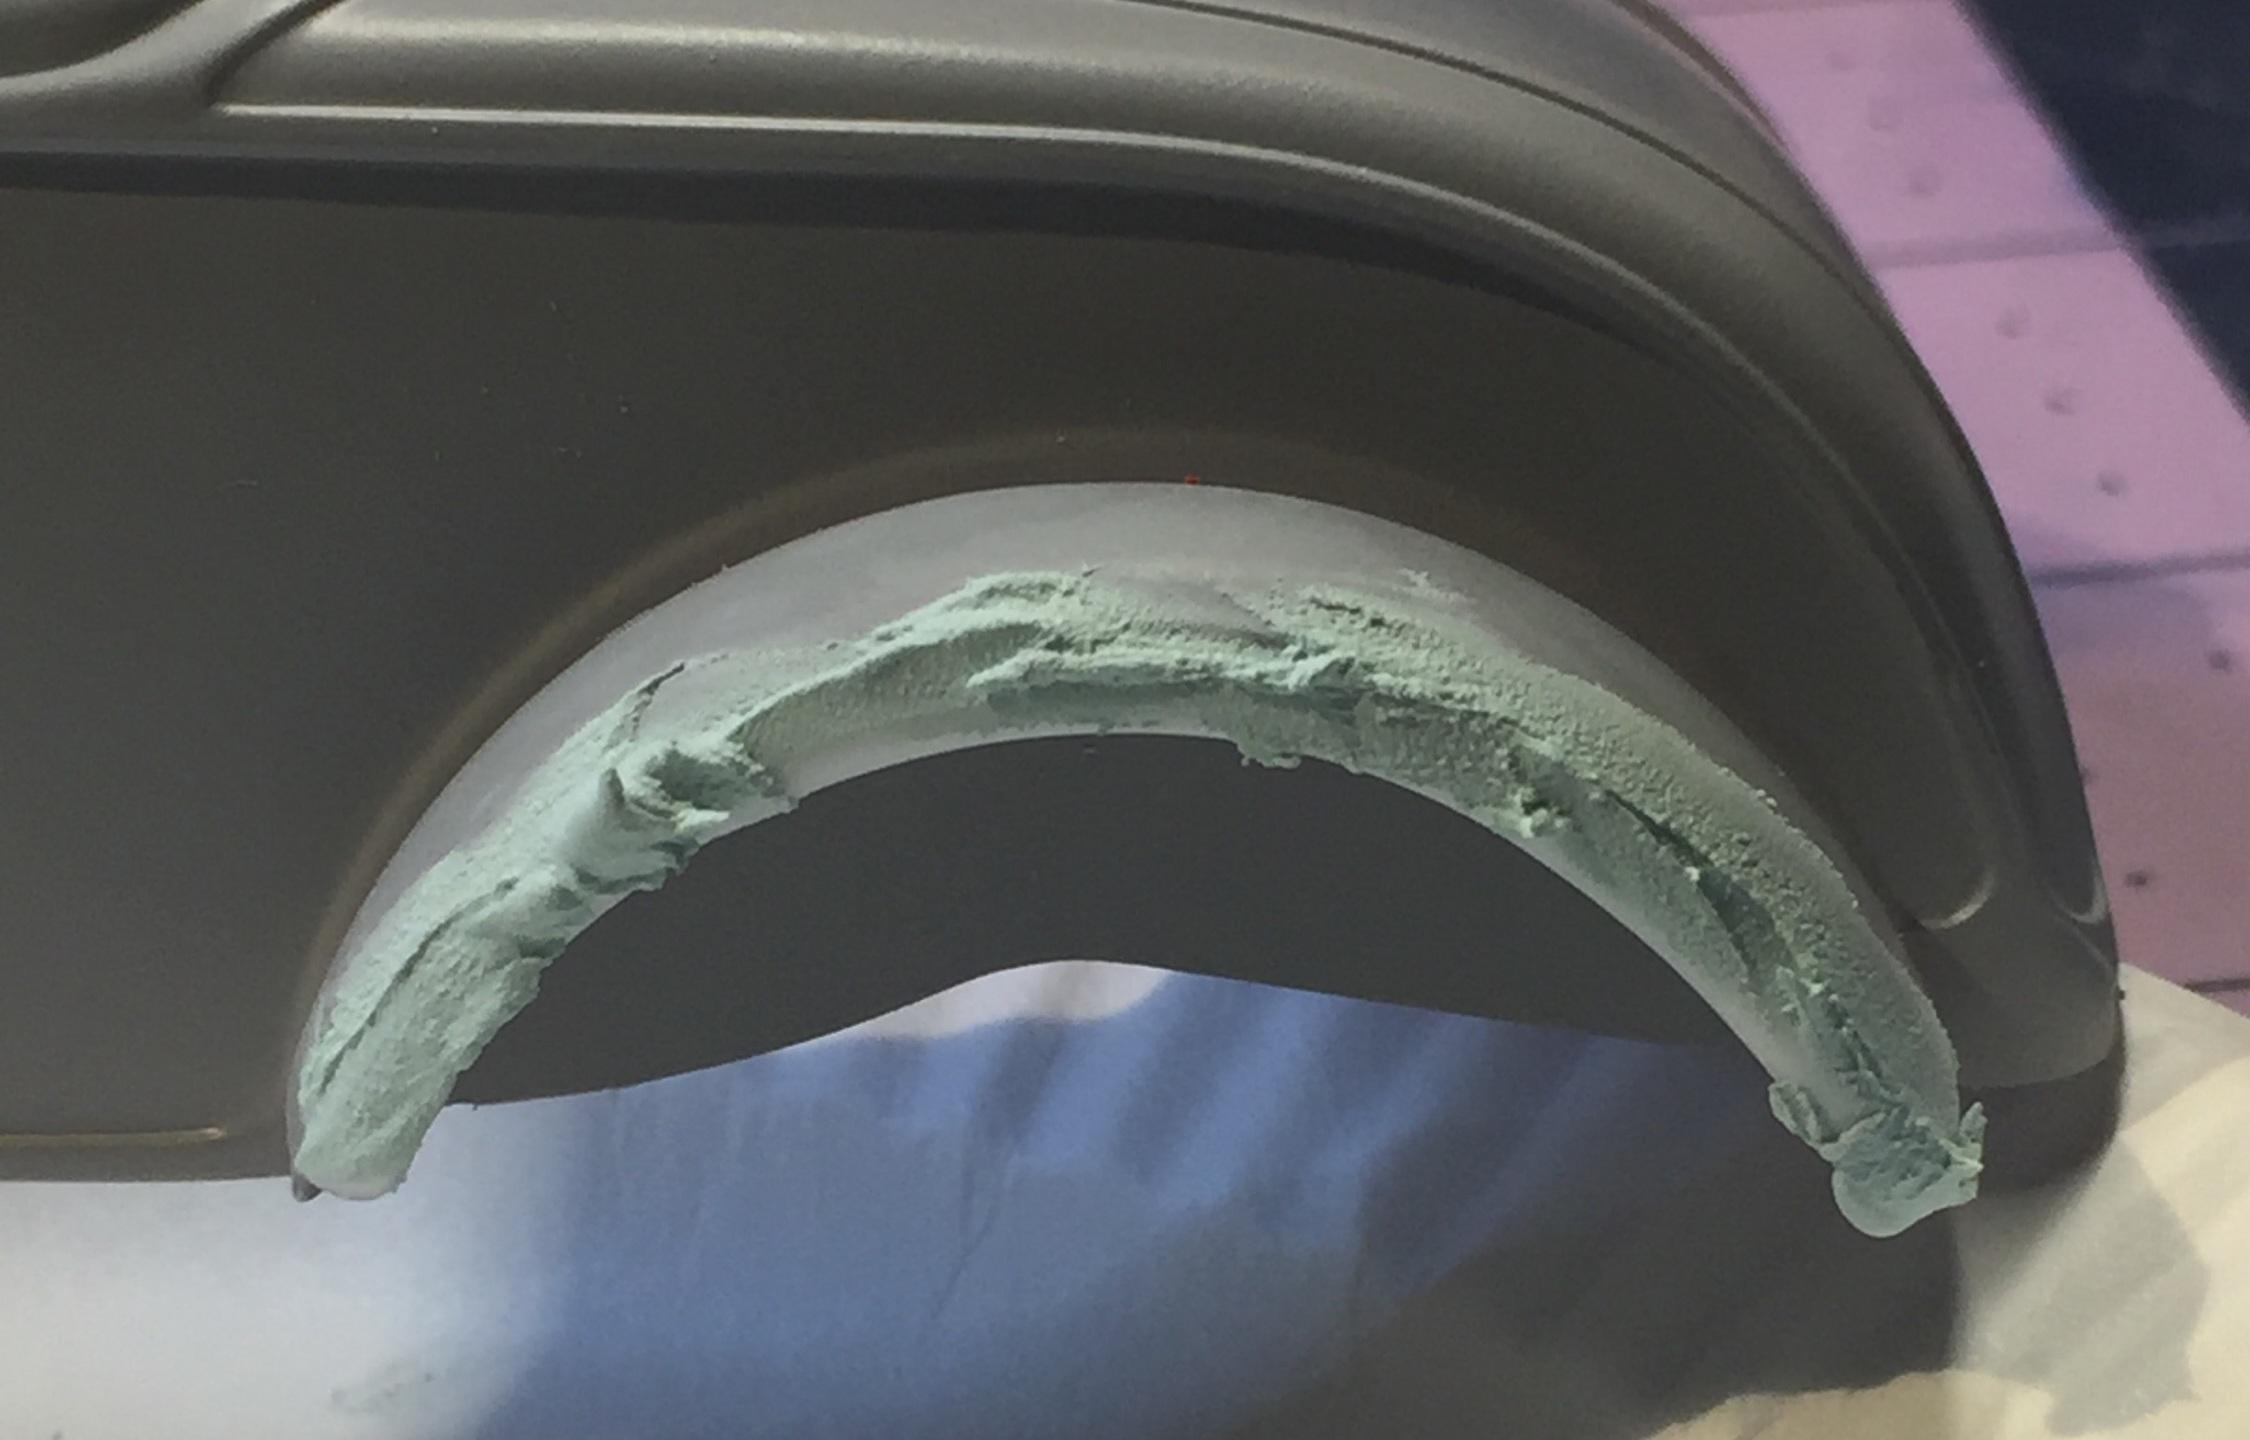
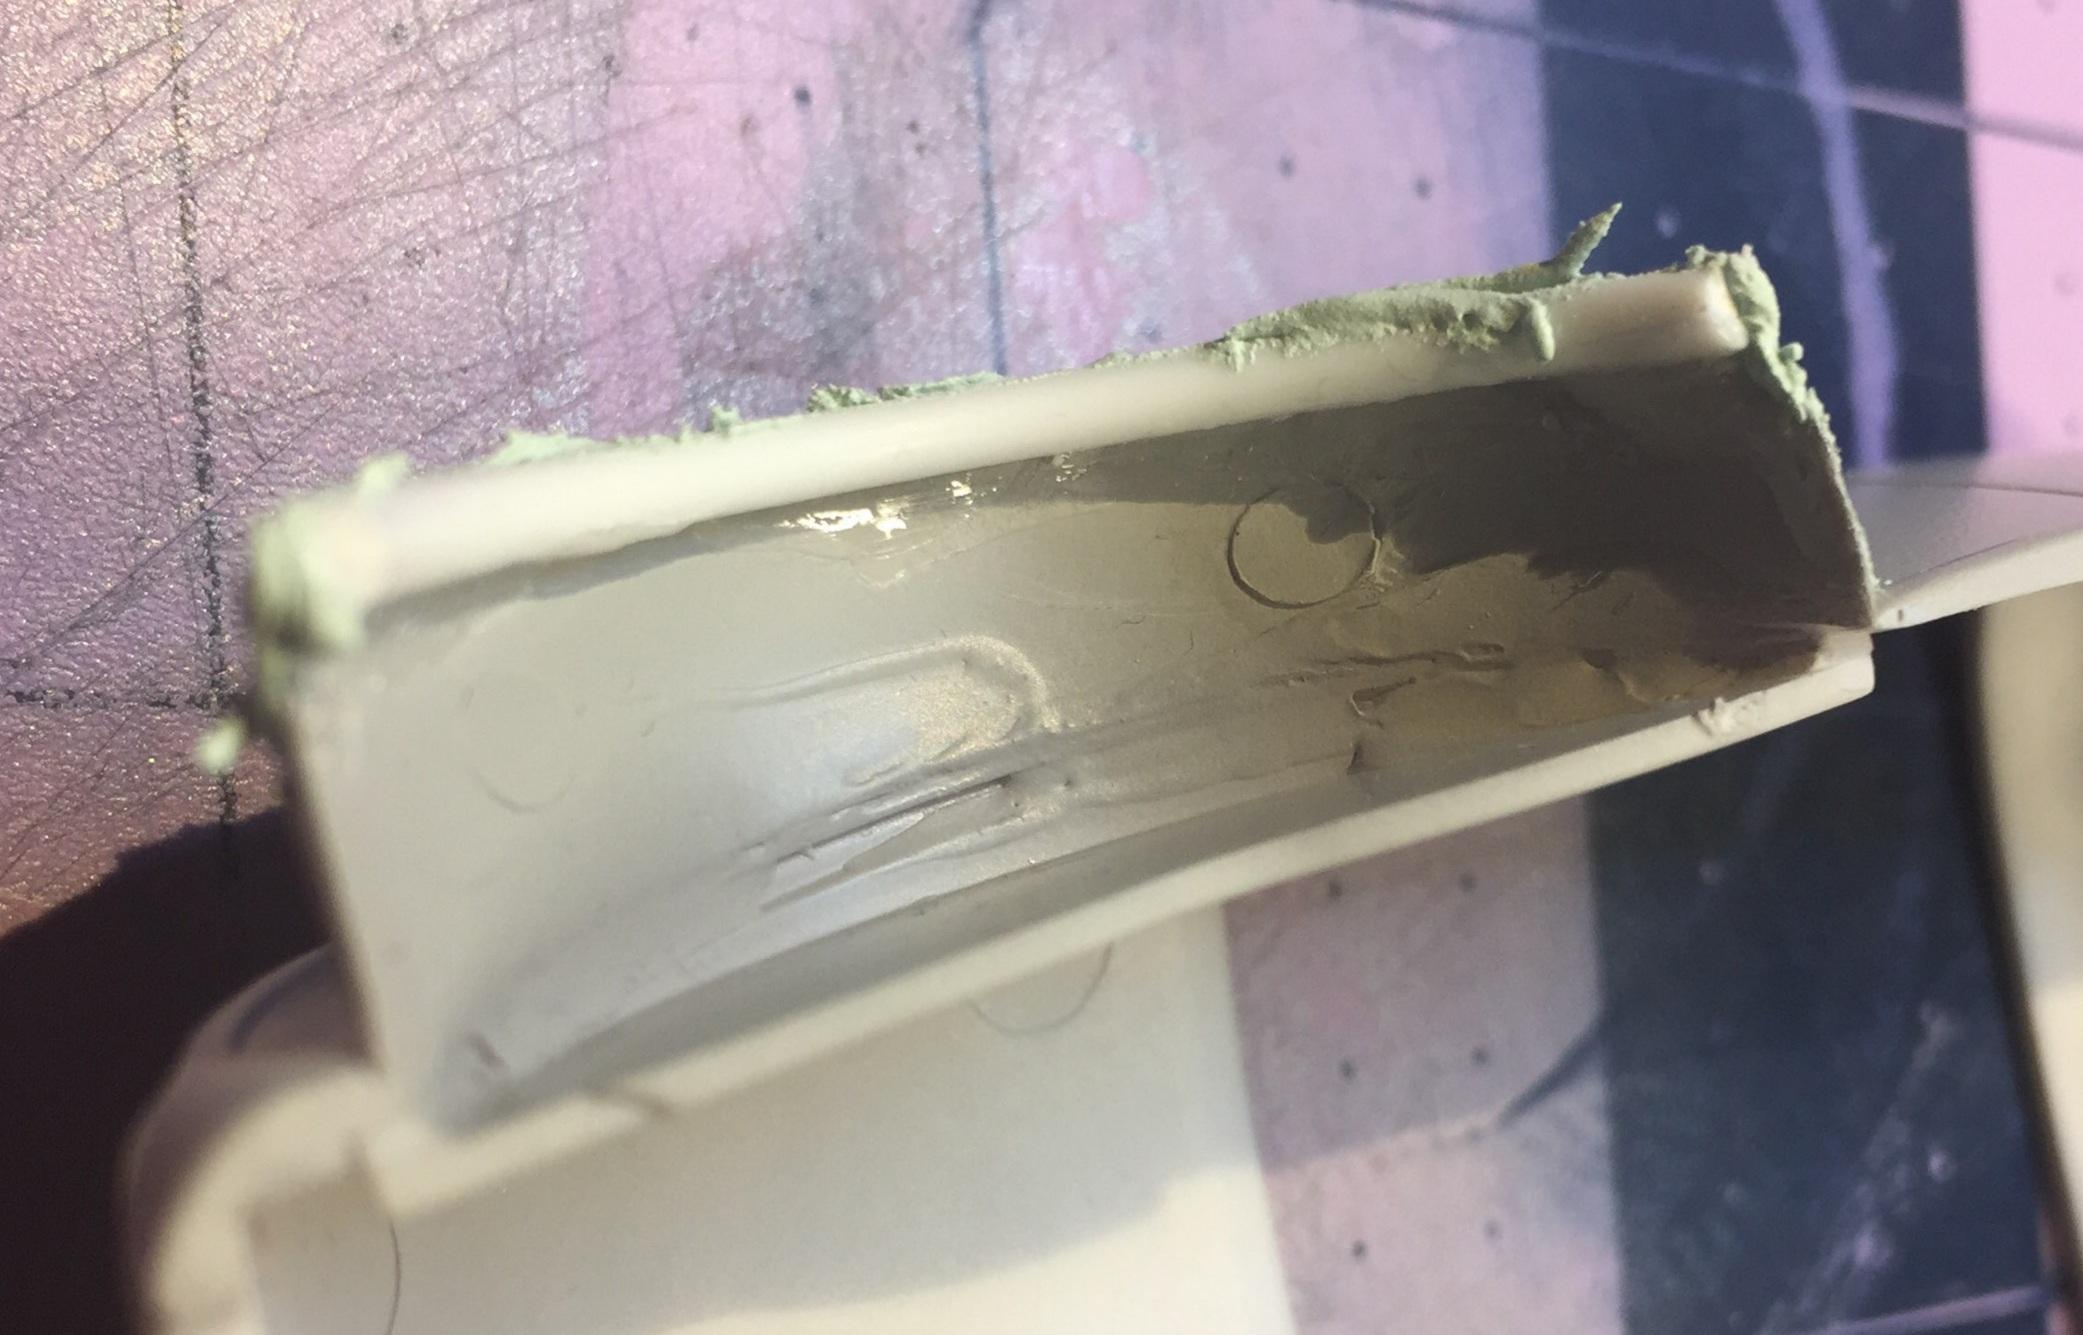
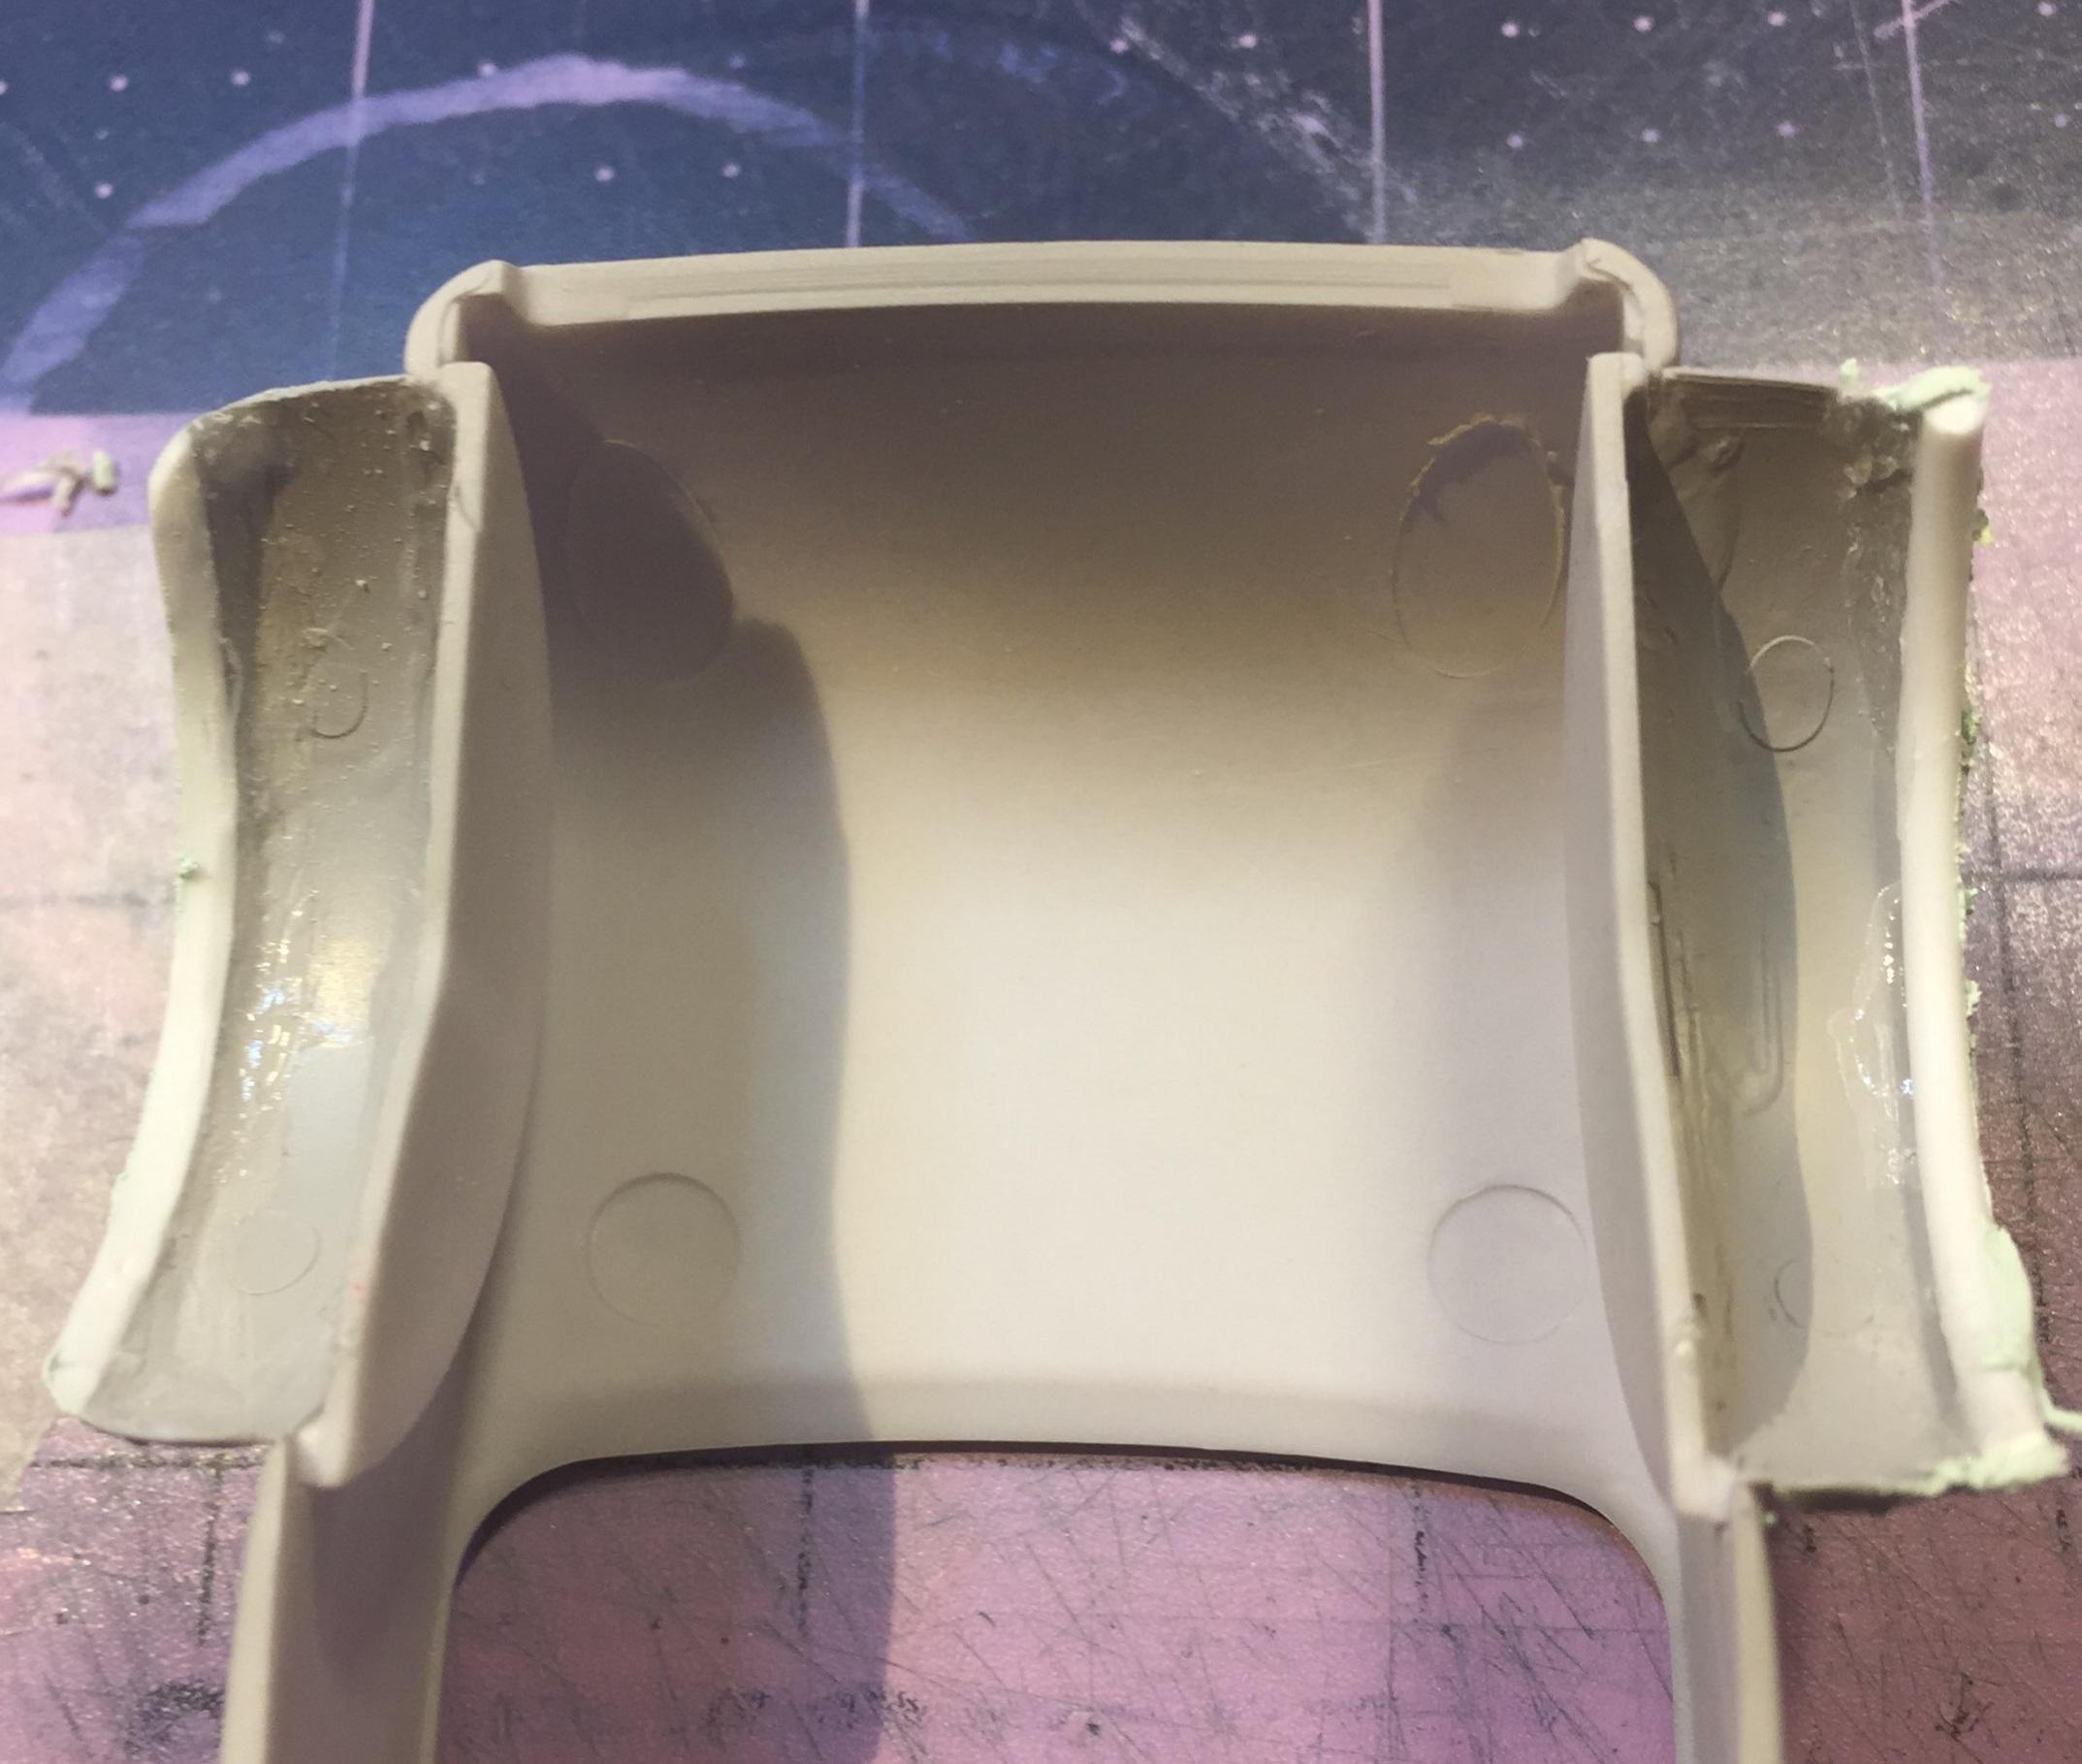
I stopped by the body shop for a bit of custom work. It's a little awkward to hold cold-curled 5/64 rod while gluing and kicking but I managed to do so without my fingers becoming part of the fender. Bondo time! My cheese grater 👇 The inside needs some love too. Just some quick work with sanding drums to eliminate the roll-under and make it look like a normal fender. This should make everyone happier now. 😉 Thanks for sticking around if you did. If you didn't, well.....you missed it!
-
. ...And why can't they all be like that?
-
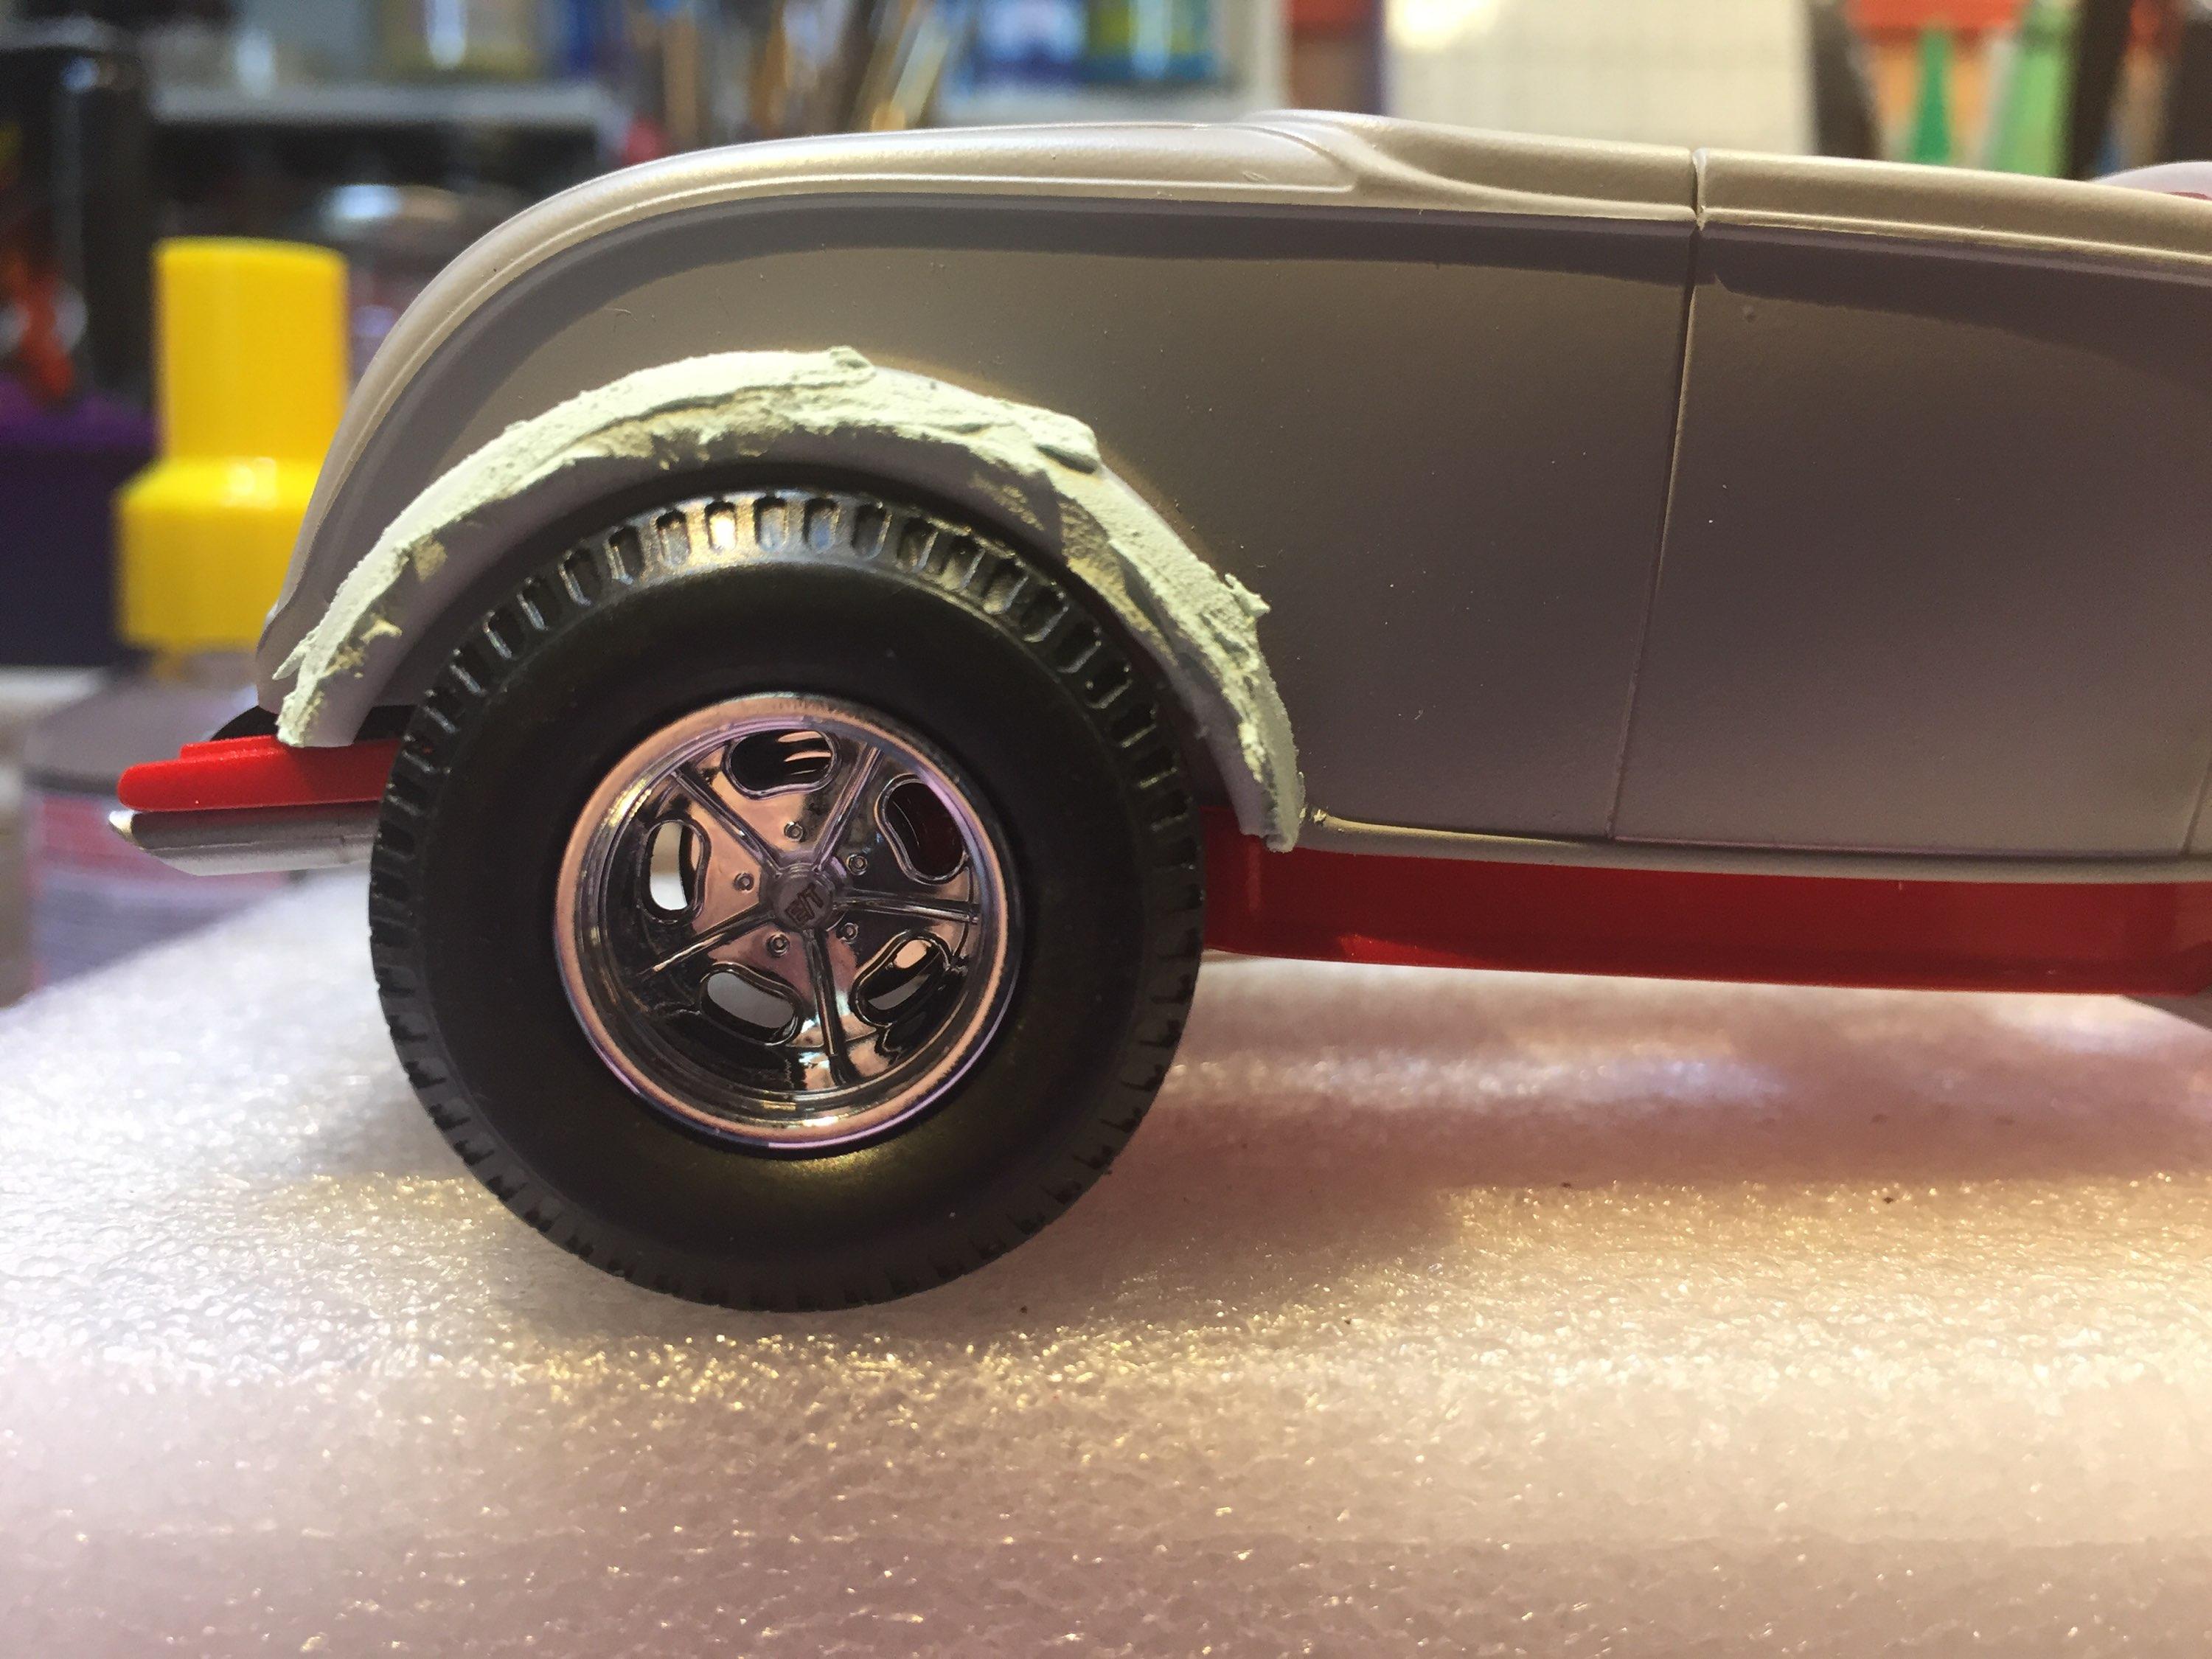
WDYT about adding styrene rod to the rear fenders to create a rolled-over lip. This would reduce the radius evenly and shrink that unsightly void over the tire? 😏
-
Yup, thanks, Bob. I do listen to y'all. Sometimes. 😌
-
The device is a mini-vise I got from Micro-Mark many moons ago. It helps to cut a square end on small stuff like the driveshaft. In other news.... This is my deuce body with the deuce frame from a '29 or '30 kit snuggled inside like they were made for each other. My firewall is in place, otherwise it would go through at the cowl. Some minor tweaking of the inner fenders might be needed. A deuce frame that's already pinched for a Model A highboy or a channelled deuce. Cool, huh? I love those extra frames. 🙂
-
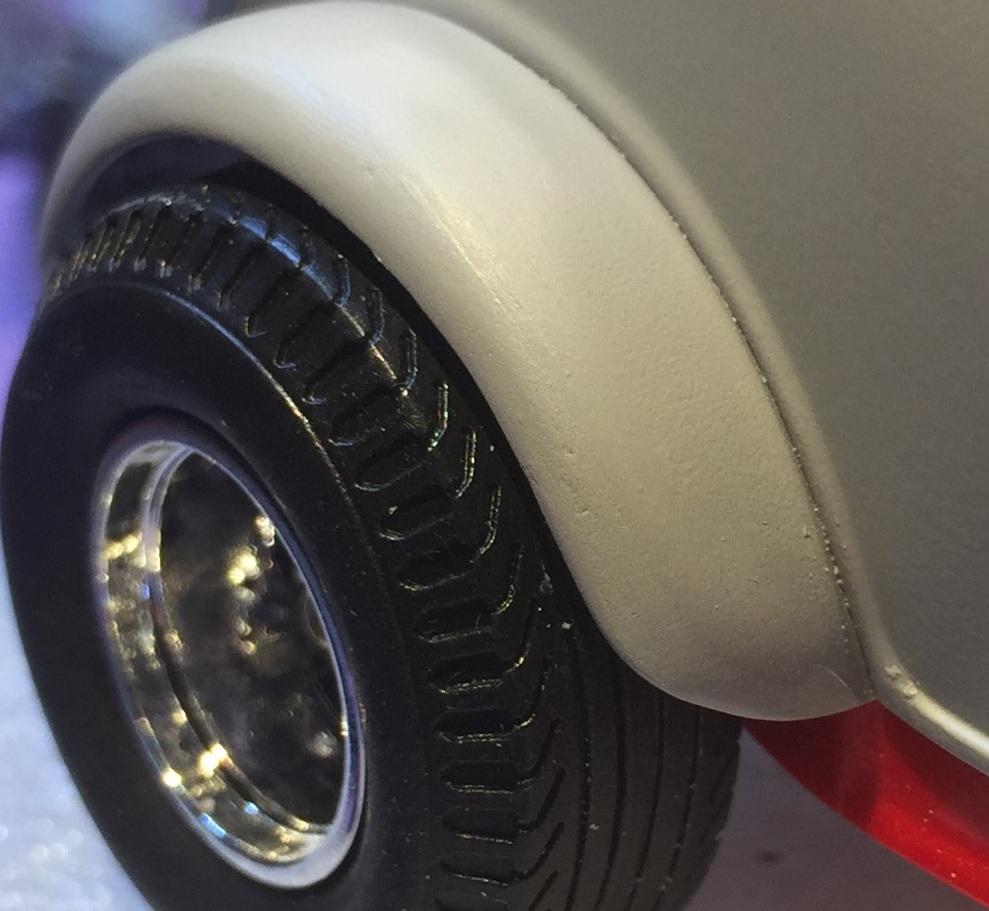
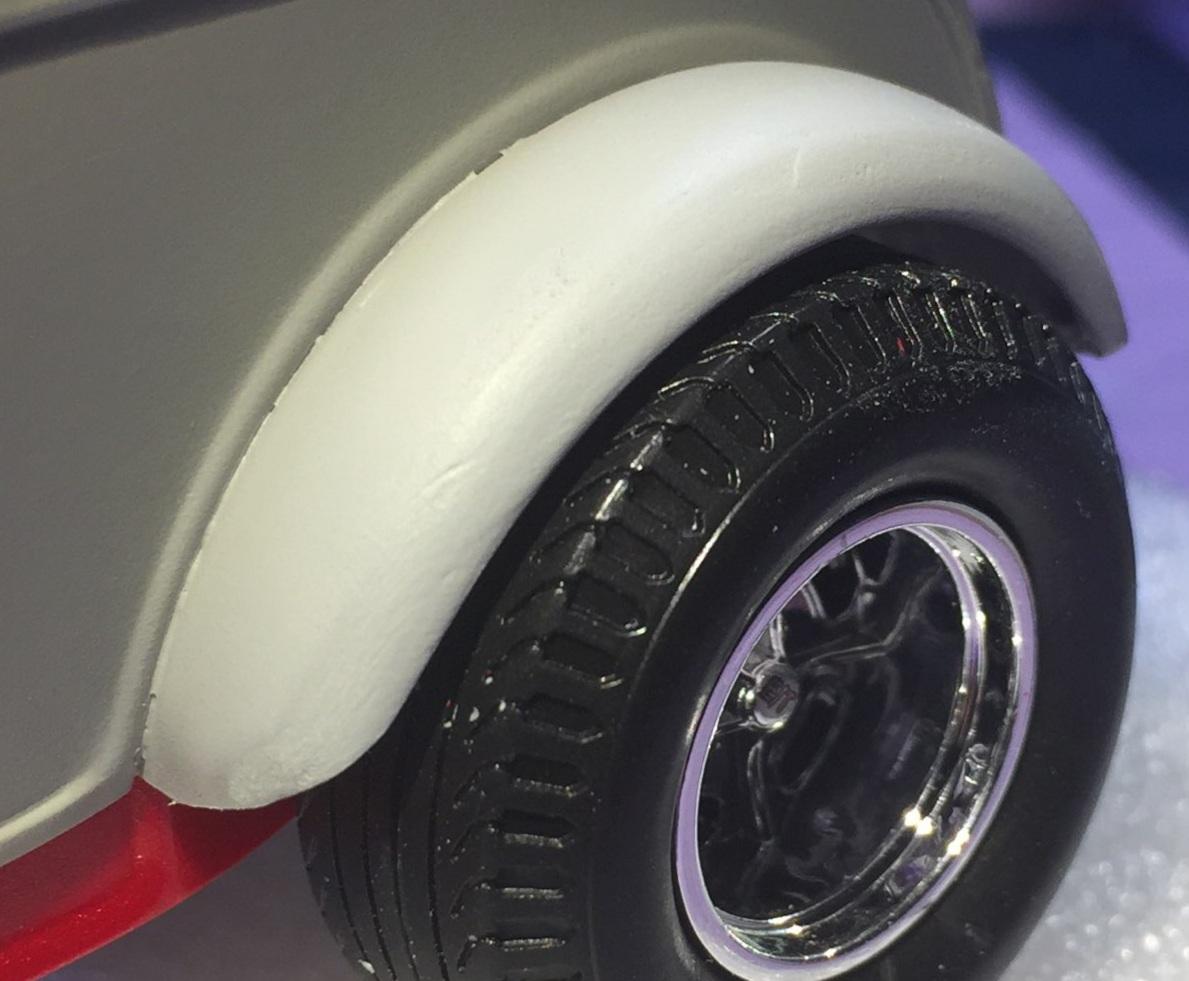
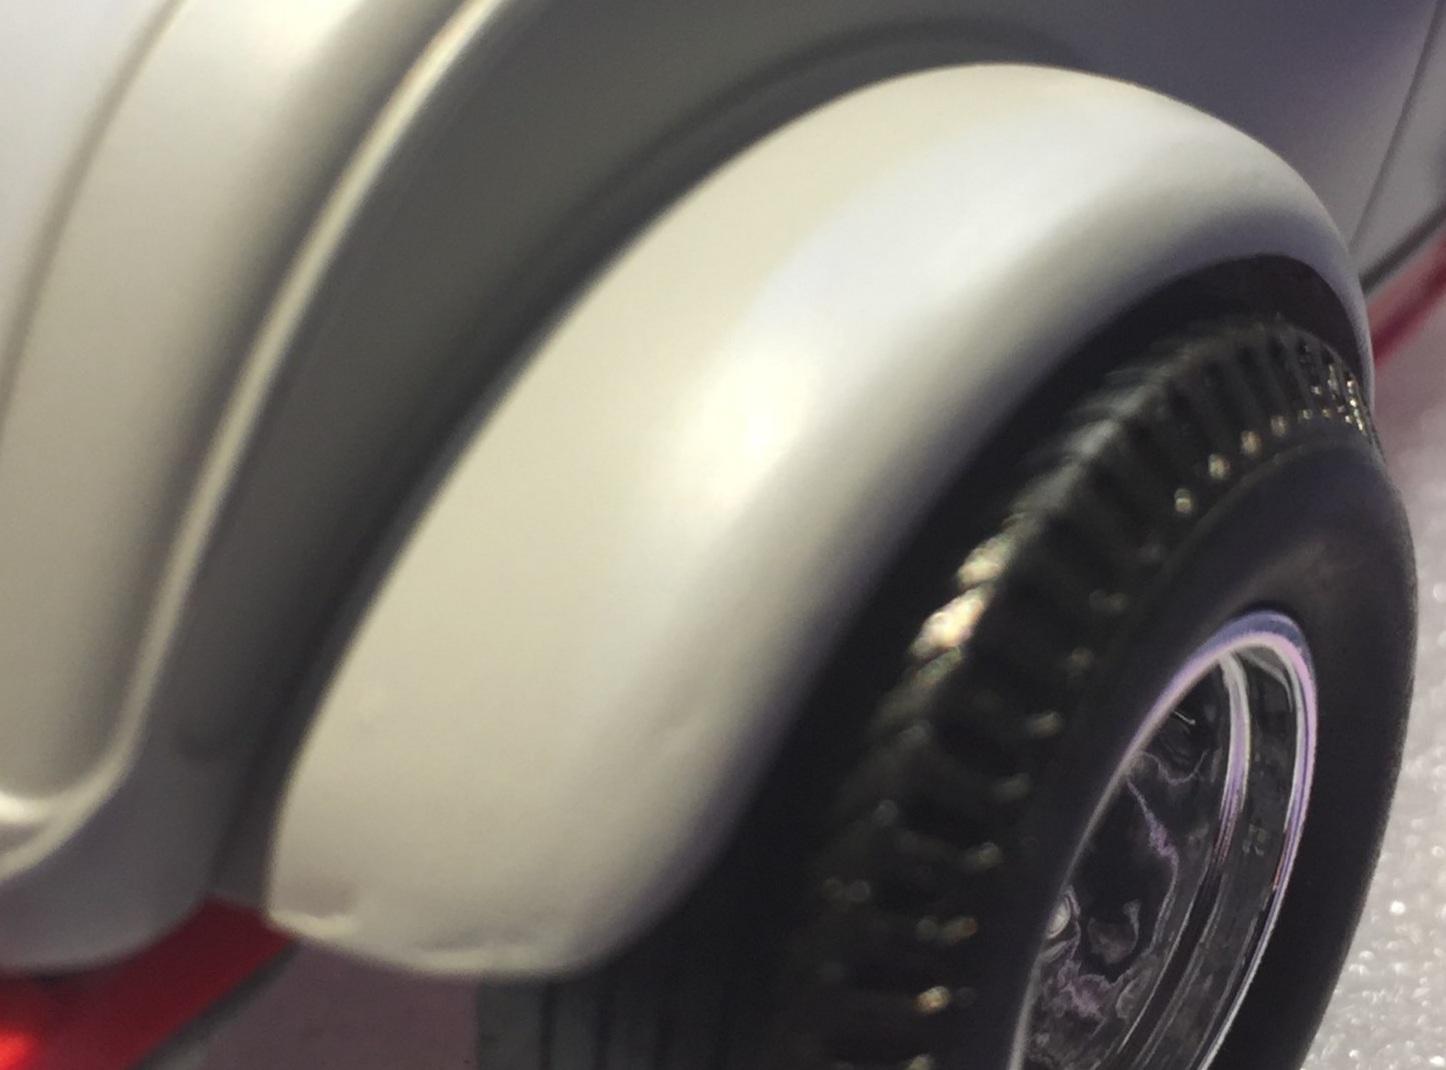
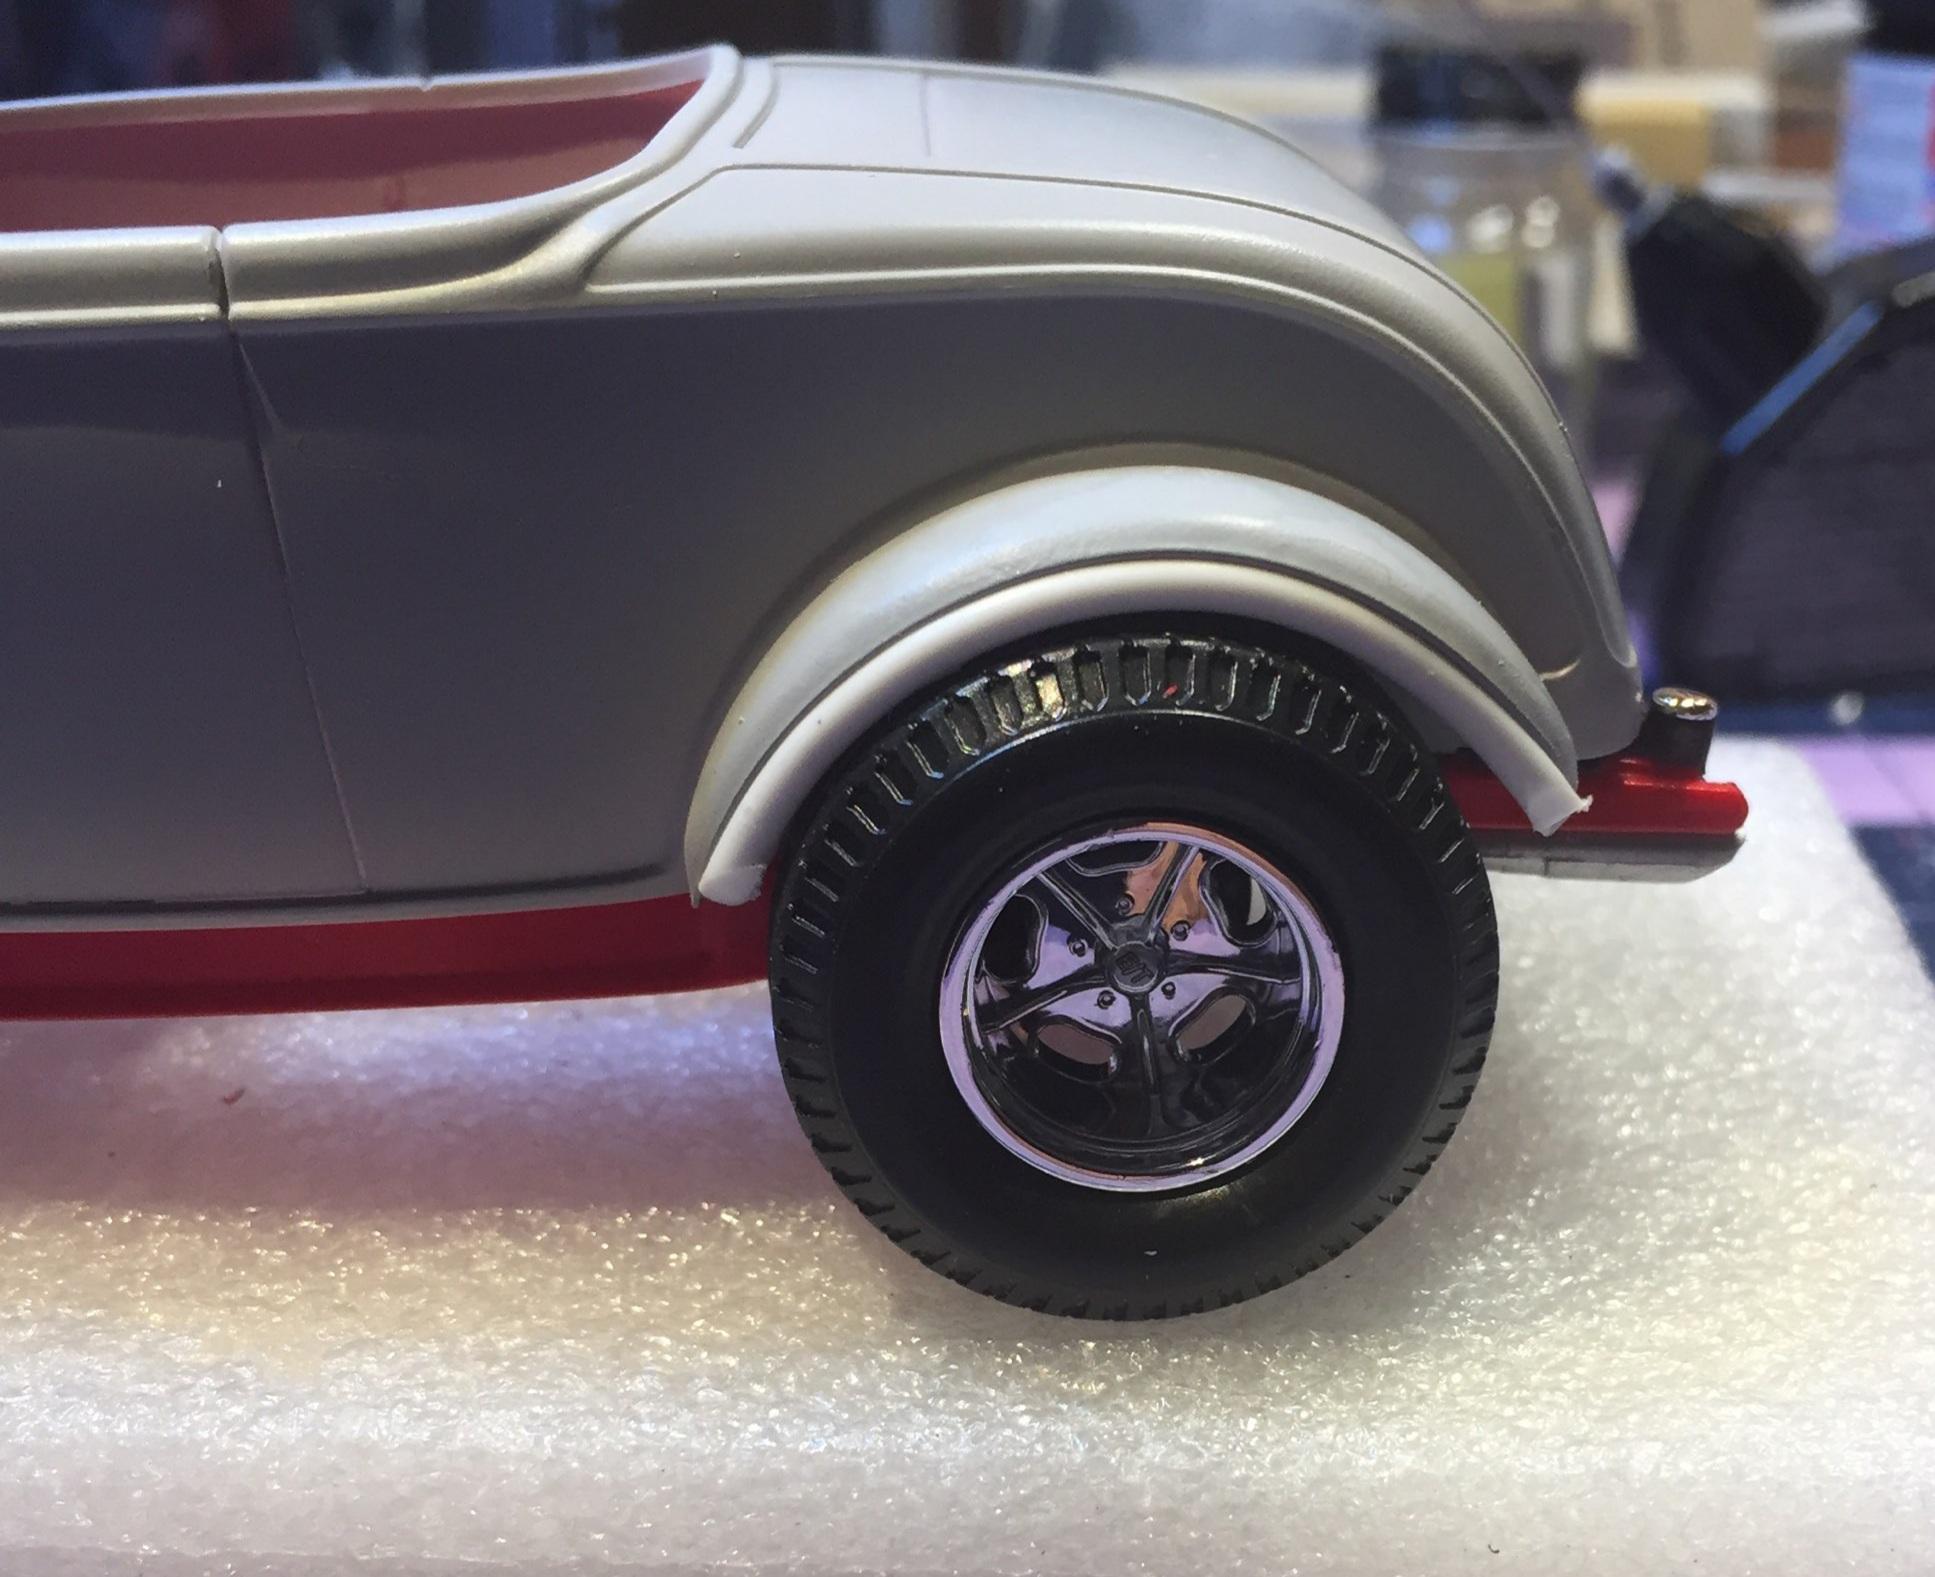
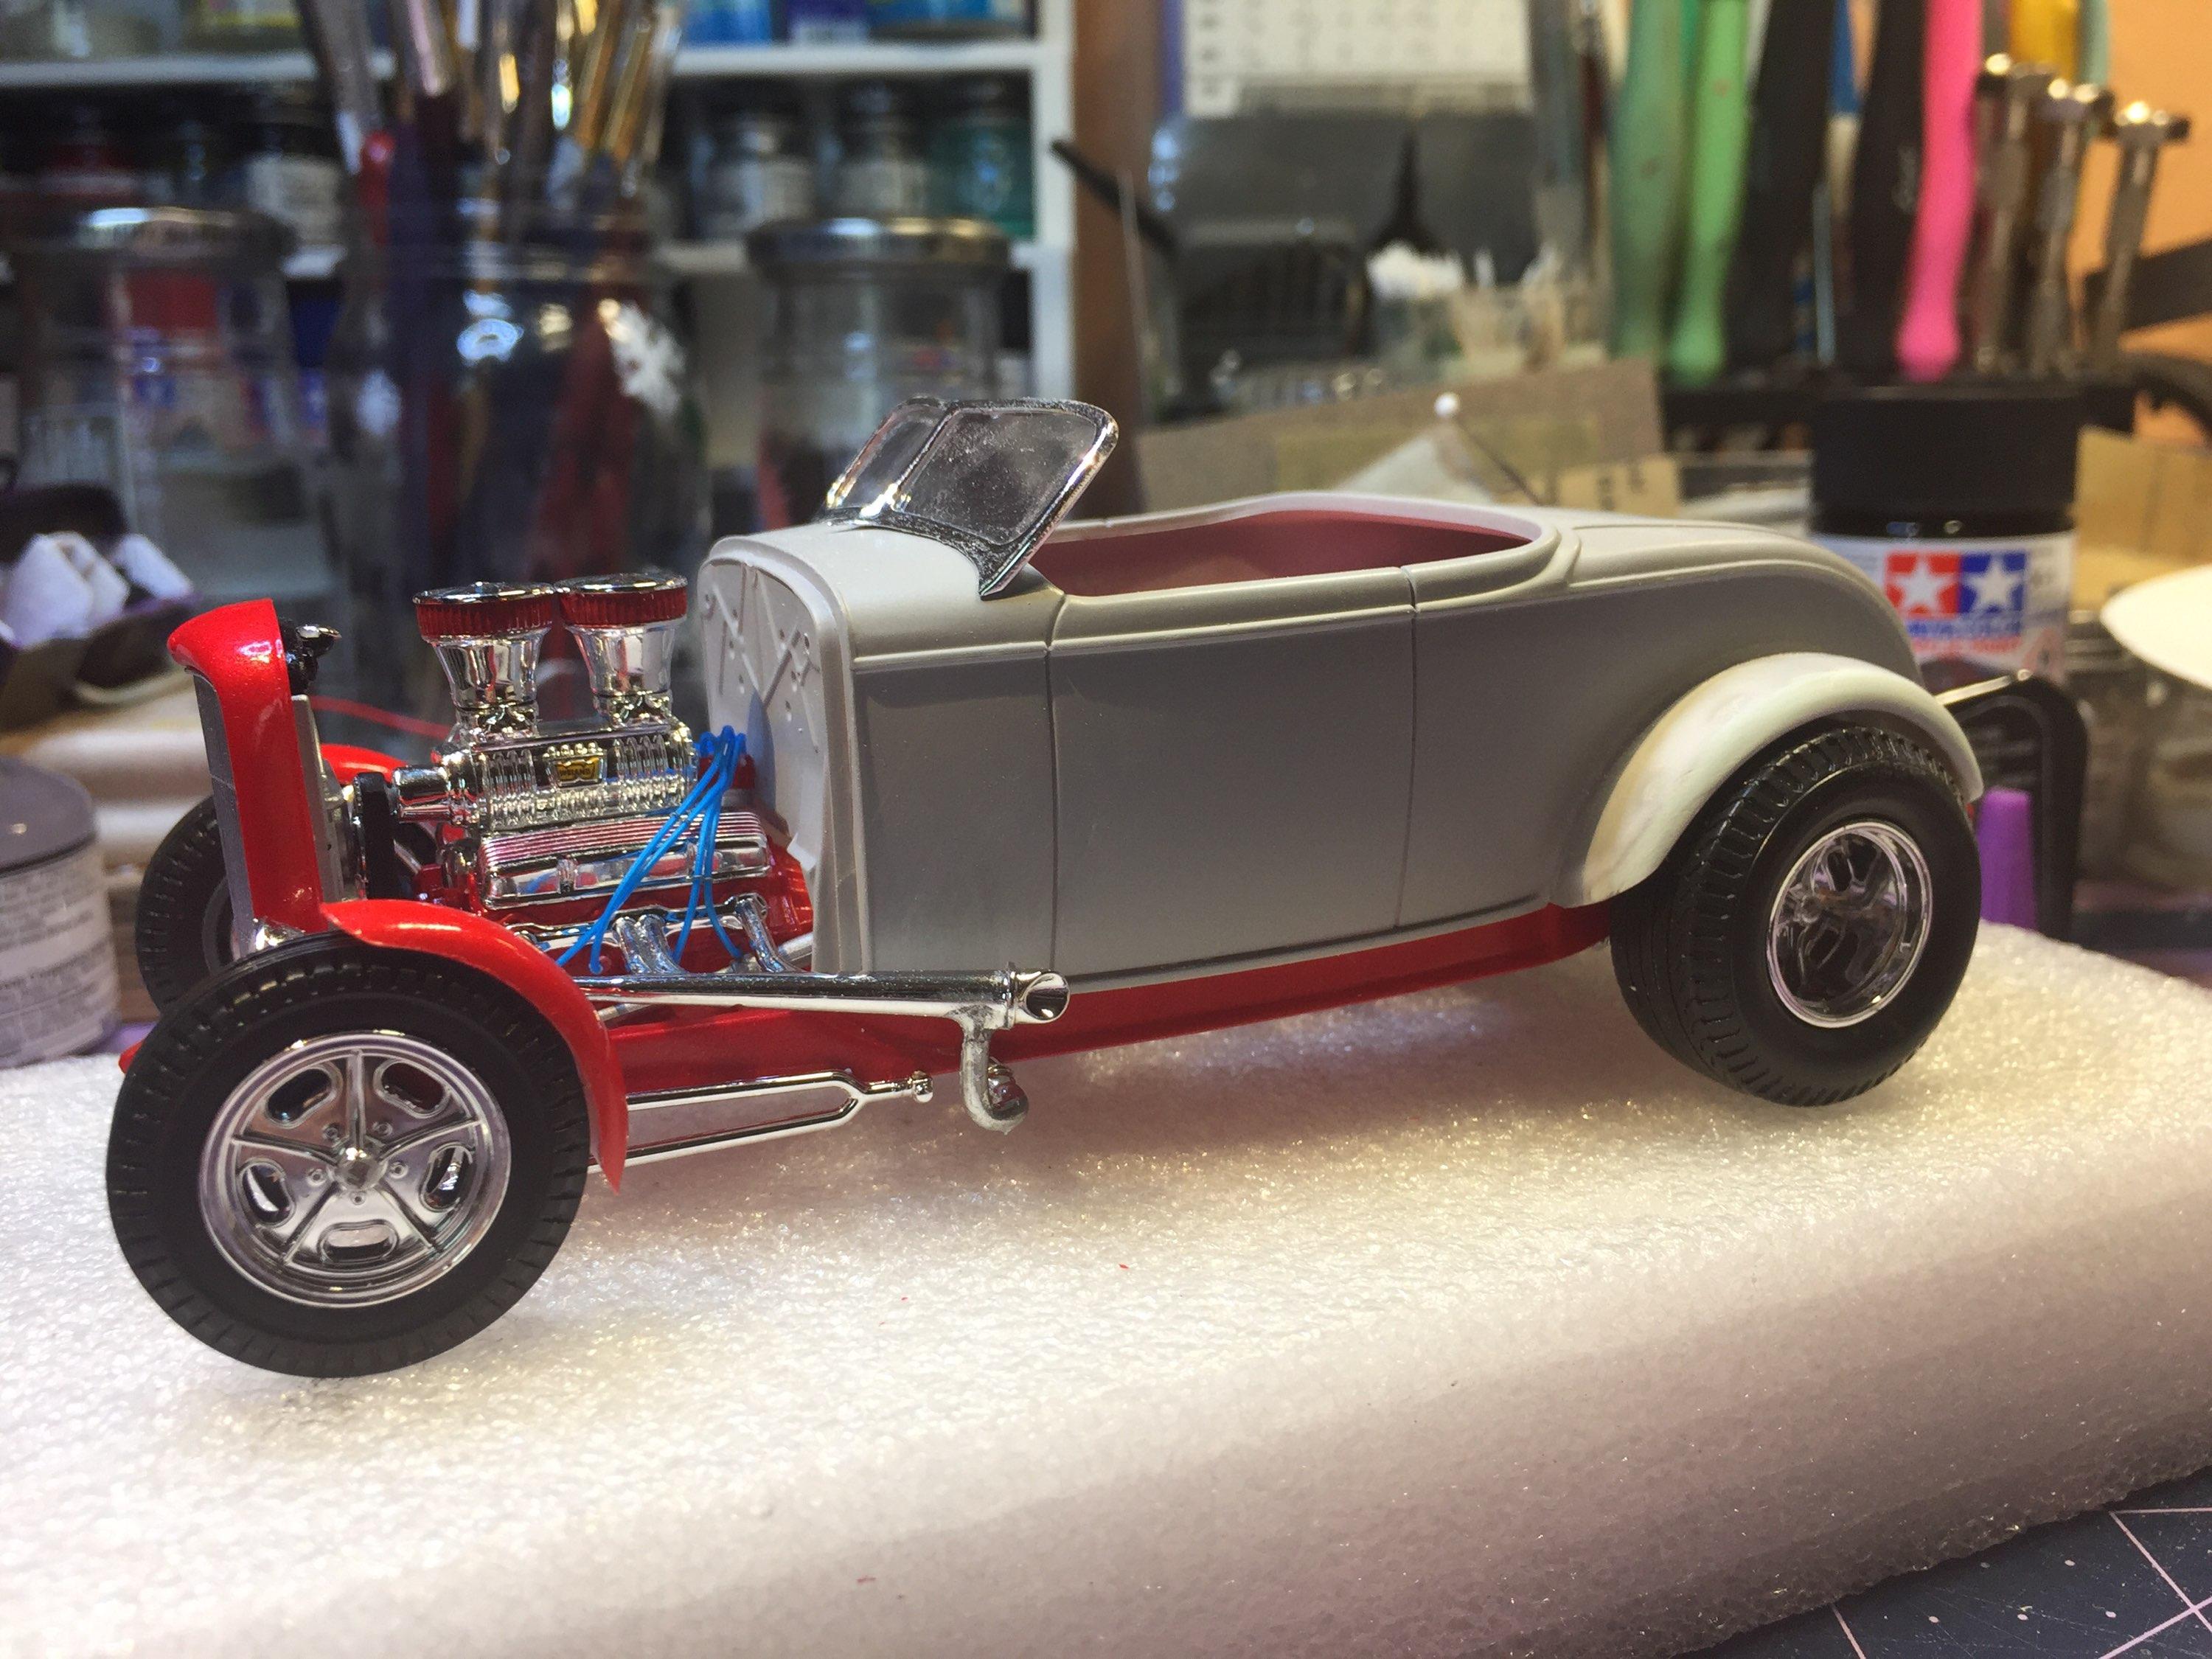
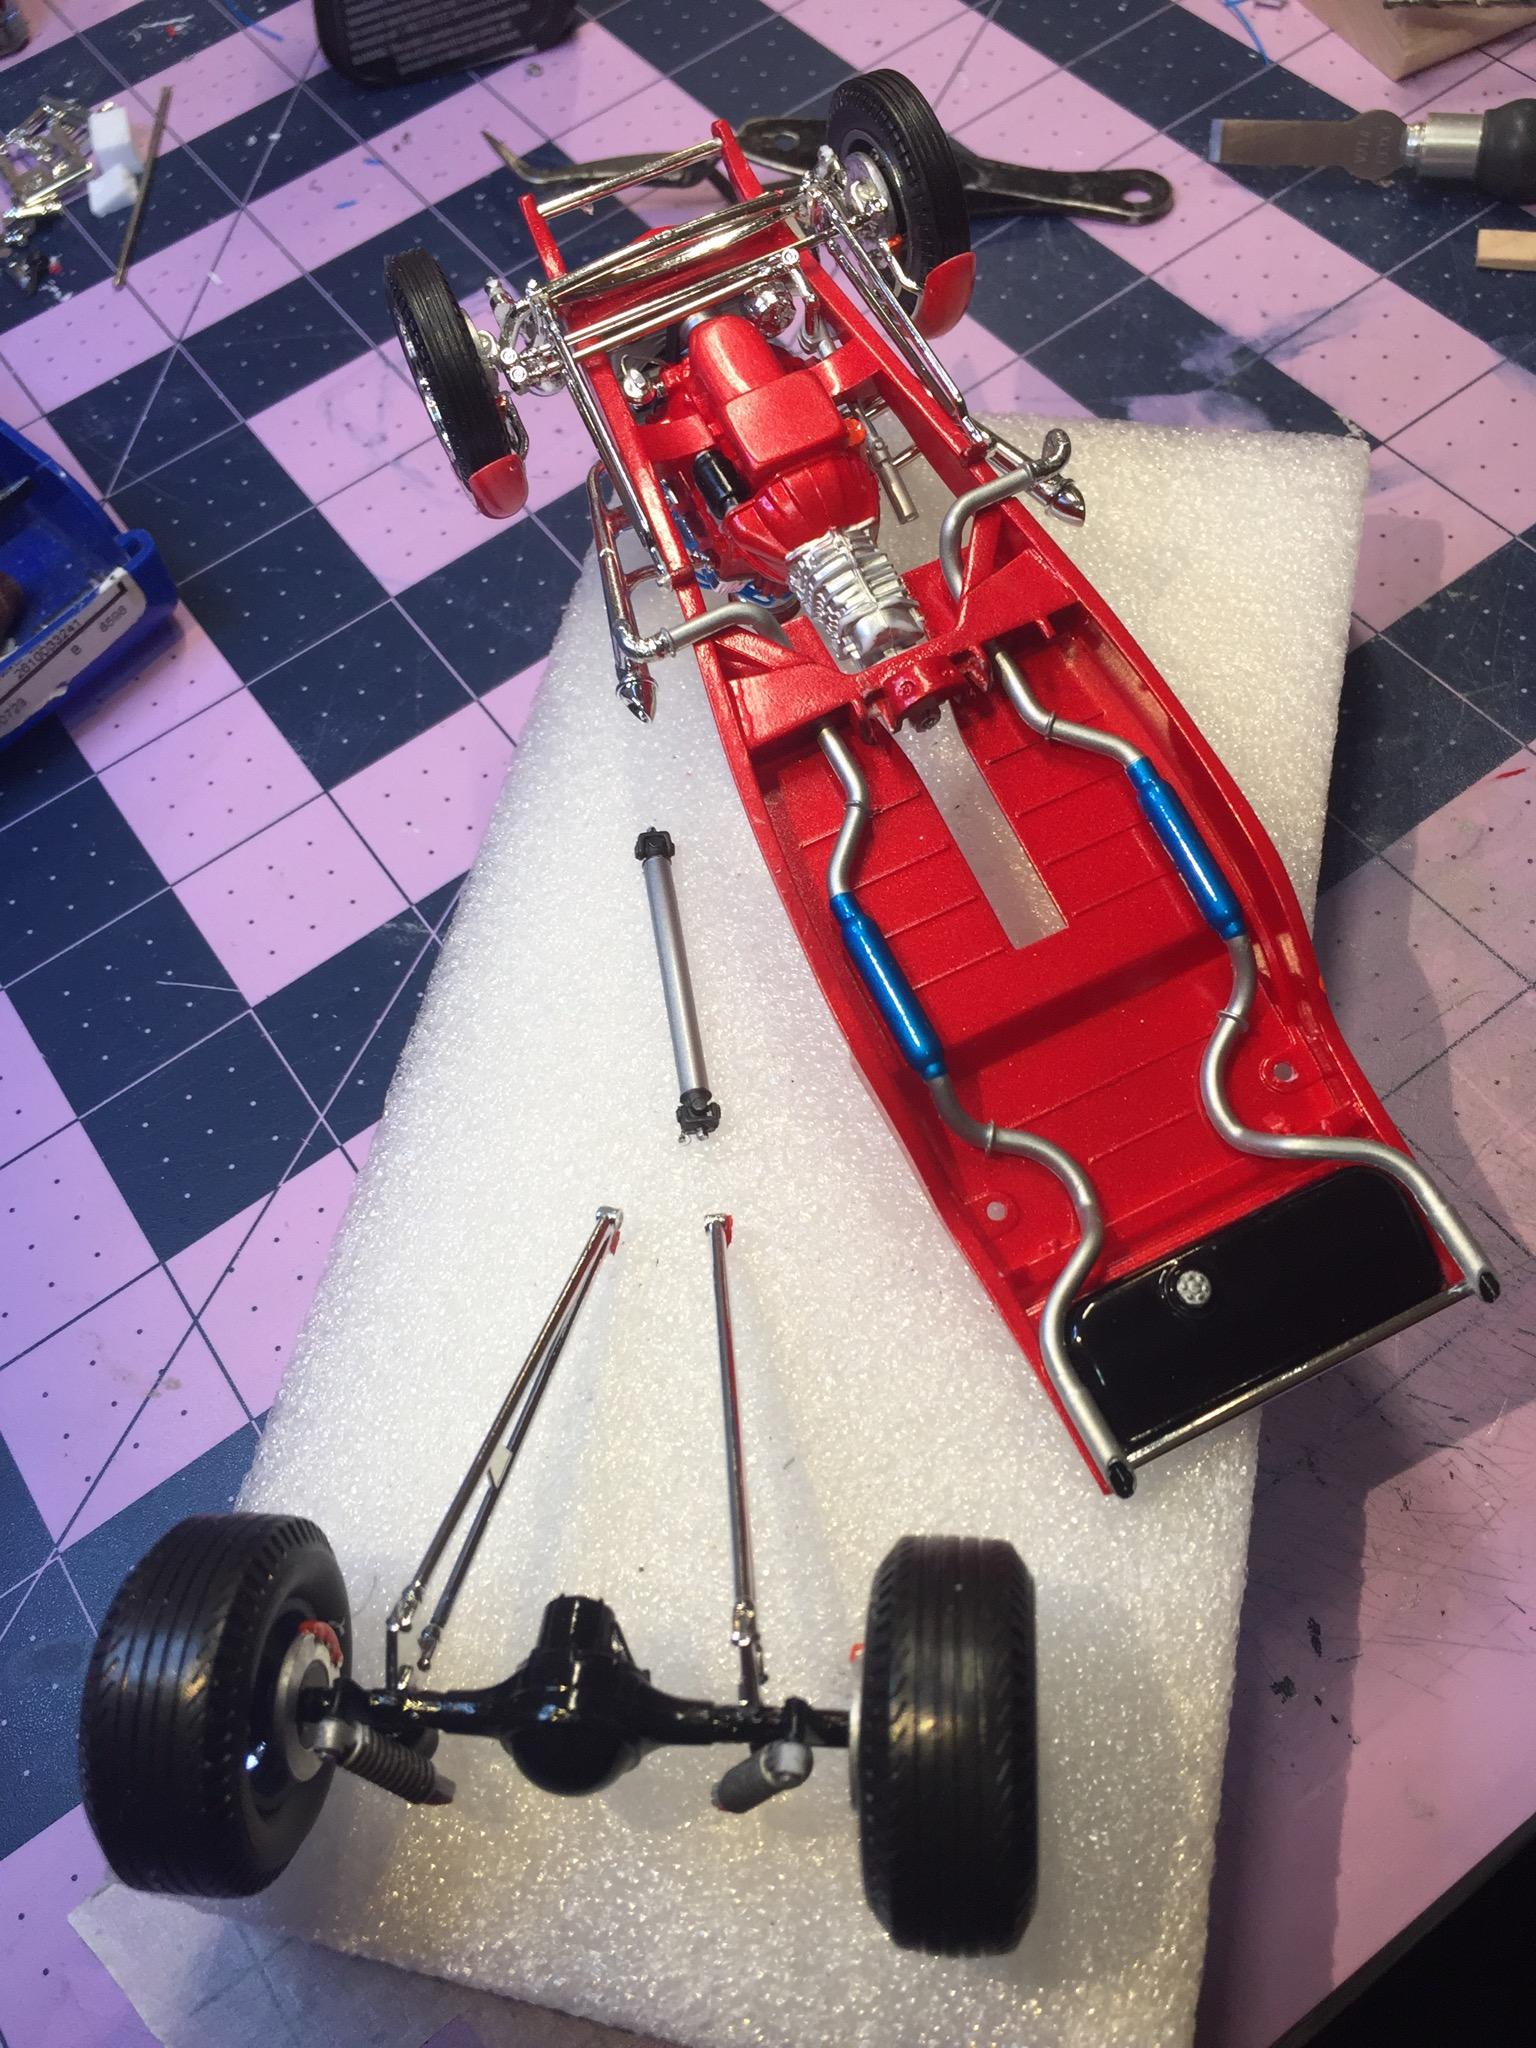
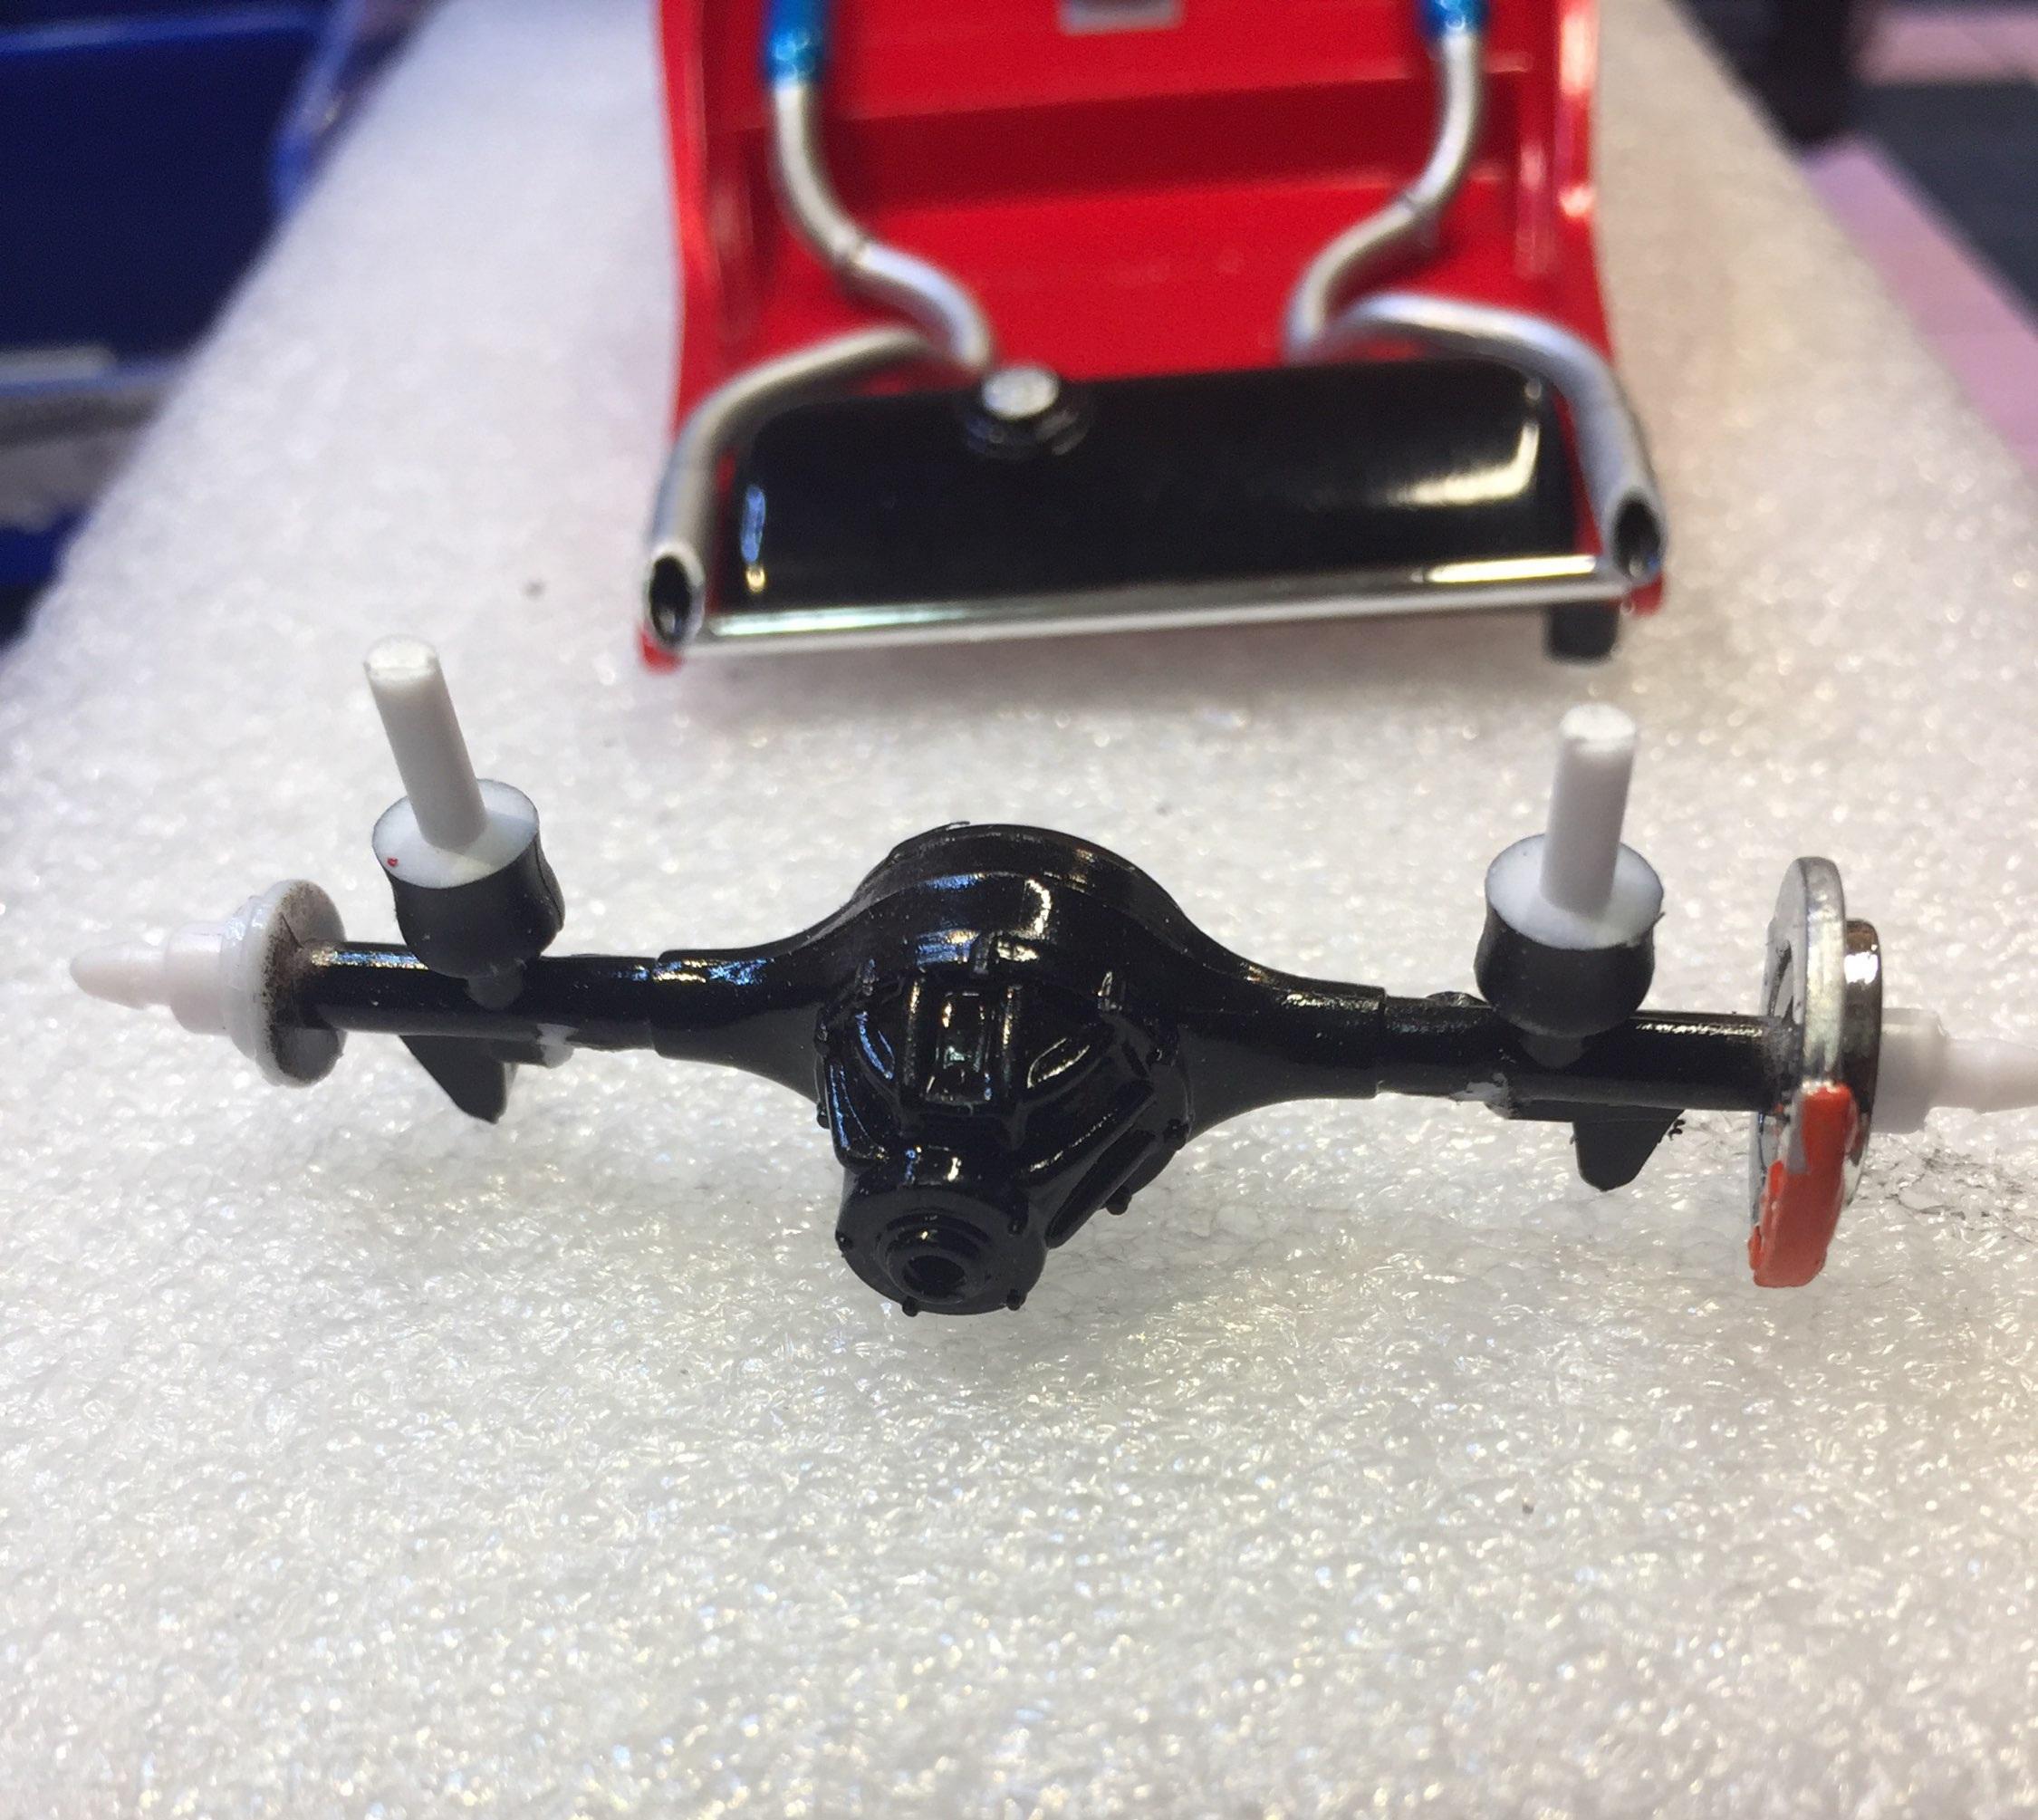
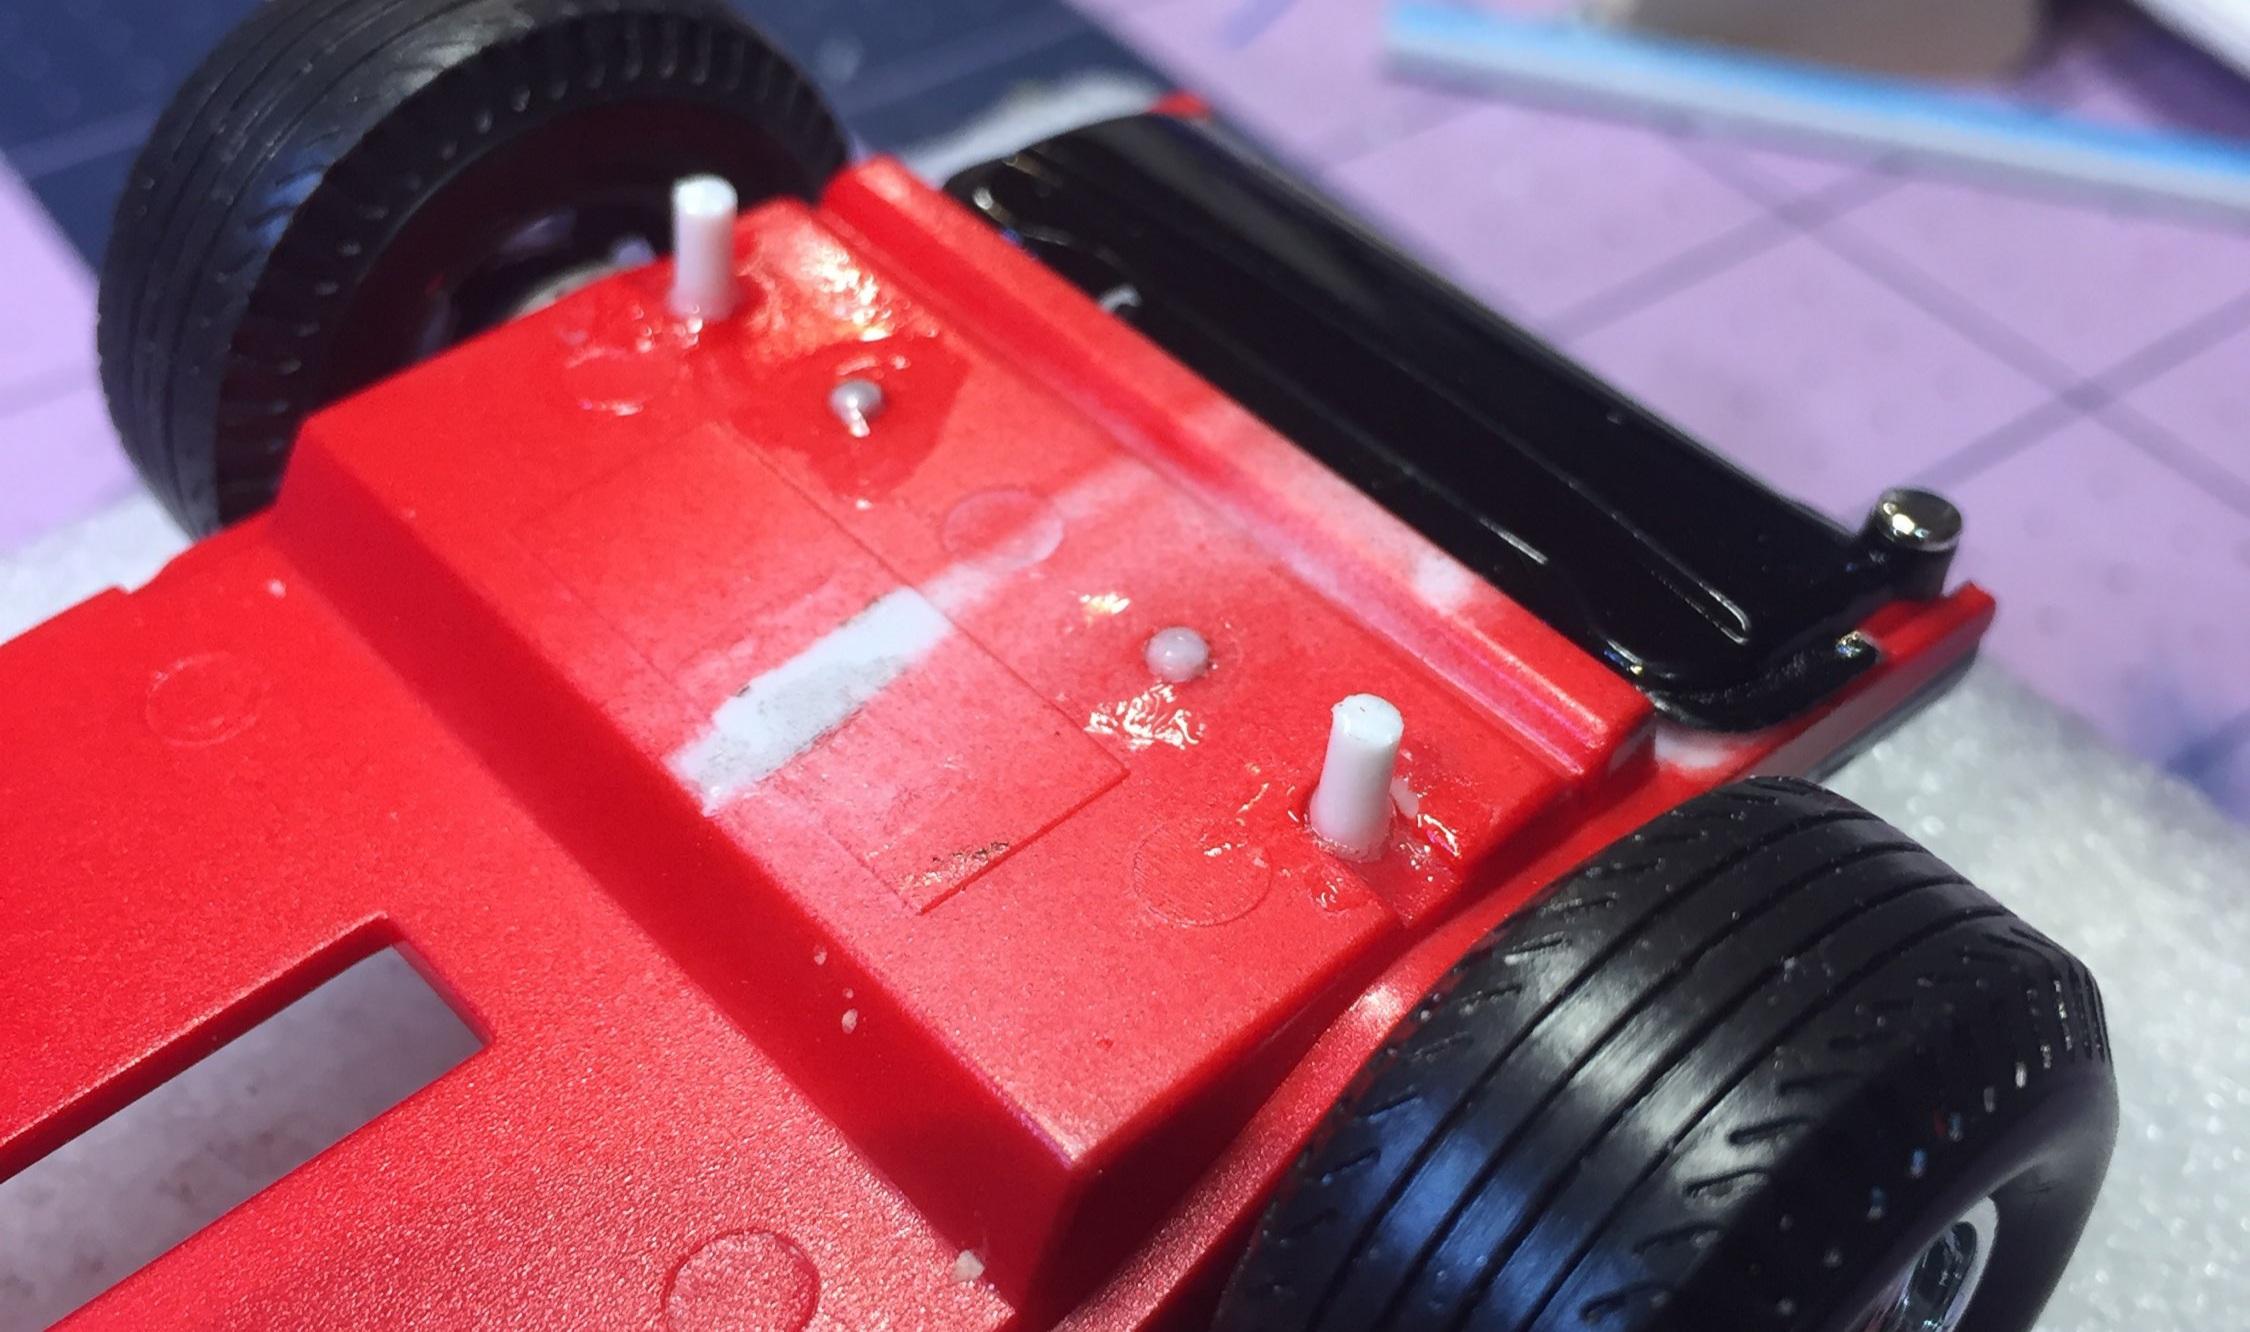
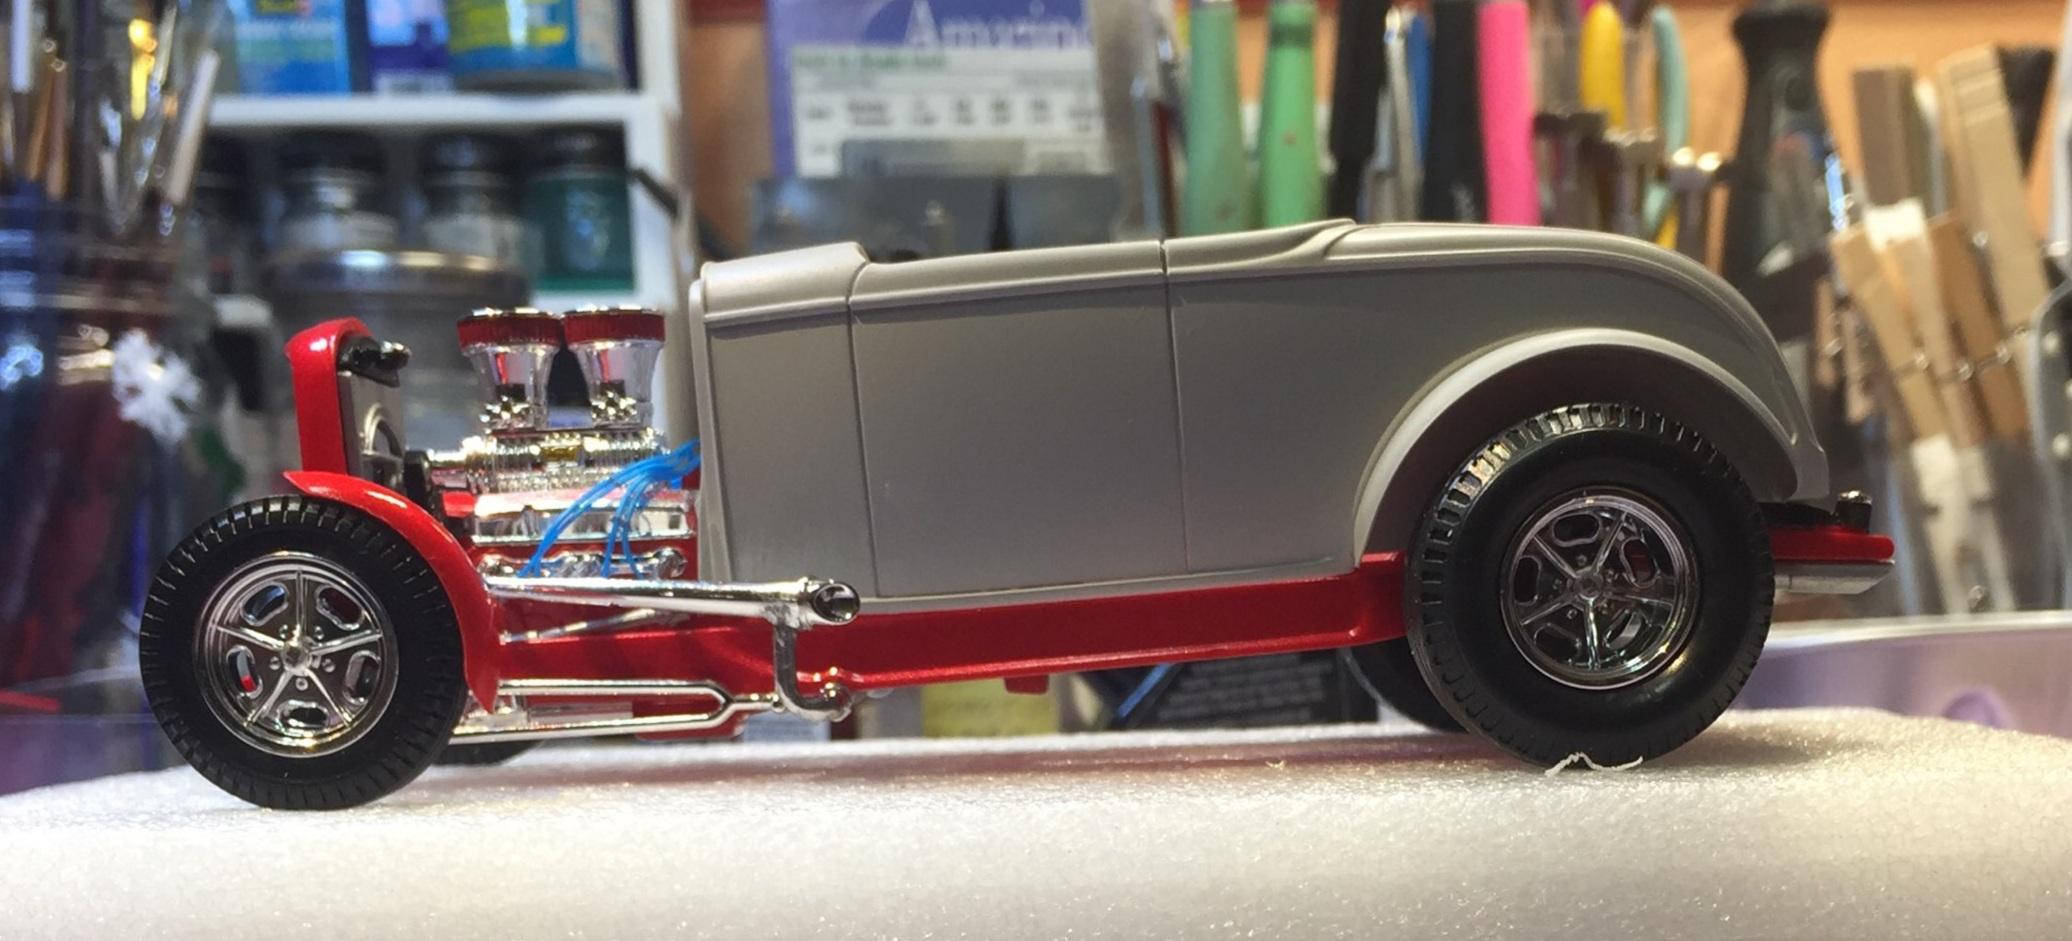
After much internal debate, fear, weeping, and denial, I came to the conclusion that I needed to bite the dam bullet (a wad cutter, thankfully) and rip the rear end out and cut those stupid air bags down. You talked me into it, Craig 😪 This could have gone south on me pretty quick but it must be my lucky day. I drilled out the air bag posts from the top side and shaved a few mms off of them. I drilled them for new posts and cleaned up the CA from the contact points. I knew the wheels were not centered and that's what made my mind up. Assembling the rear axle and radius arms without the wheels mounted is to do it blind. That's how I did it. 🥴 now I get to correct it! The thing is, when the wheels are centered, the drive shaft is too long. I had to move it forward to center the wheels and everything should fit, right? Nope. That's why the big fat posts sticking out of the air bags. They fit through the drilled out holes in the floor pan. So with the wheels on, the axle in place, the body in place, I centered the wheels. I then removed the body (very carefully ) and dropped the CA on the posts and kicked it. And this is what she looks like now. 👇 The radius of the fender and that of the tire are equidistant throughout the curve. That's a win. It's not a heck of a lot lower but it's much better to my eye. I will still darken the wells. The big victim in all this is the drive shift. Thank for helping. You know who you are 😉
-
Ohhhhhhh.......🤣.....hey, maybe...🤔
-
Great story, sir! Do they still put shingles (shakes?) on sidewalls?
-
Thanks, Greg, it's okay to be wrong. In order to channel this car, you would need to pinch the frame. I was wondering if the deuce frame from the '29/'30 A kits might let the body fit down over the rails. The highboy frame in those kits, I think, are narrowed to accommodate the A body. I have a few of those hanging around. Then you could probably use the short interior side panels. I will check that in a while, but I have an important (to me 🥴) update to post. As far as the radiator goes, I have been informed that the blower drive is out of scale and the belt isn't on the pullys correctly. I don't want to keep re-doing stuff any more than I already have,and I could be wrong, but your idea is the way to get that issue straight and I appreciate your help.
-
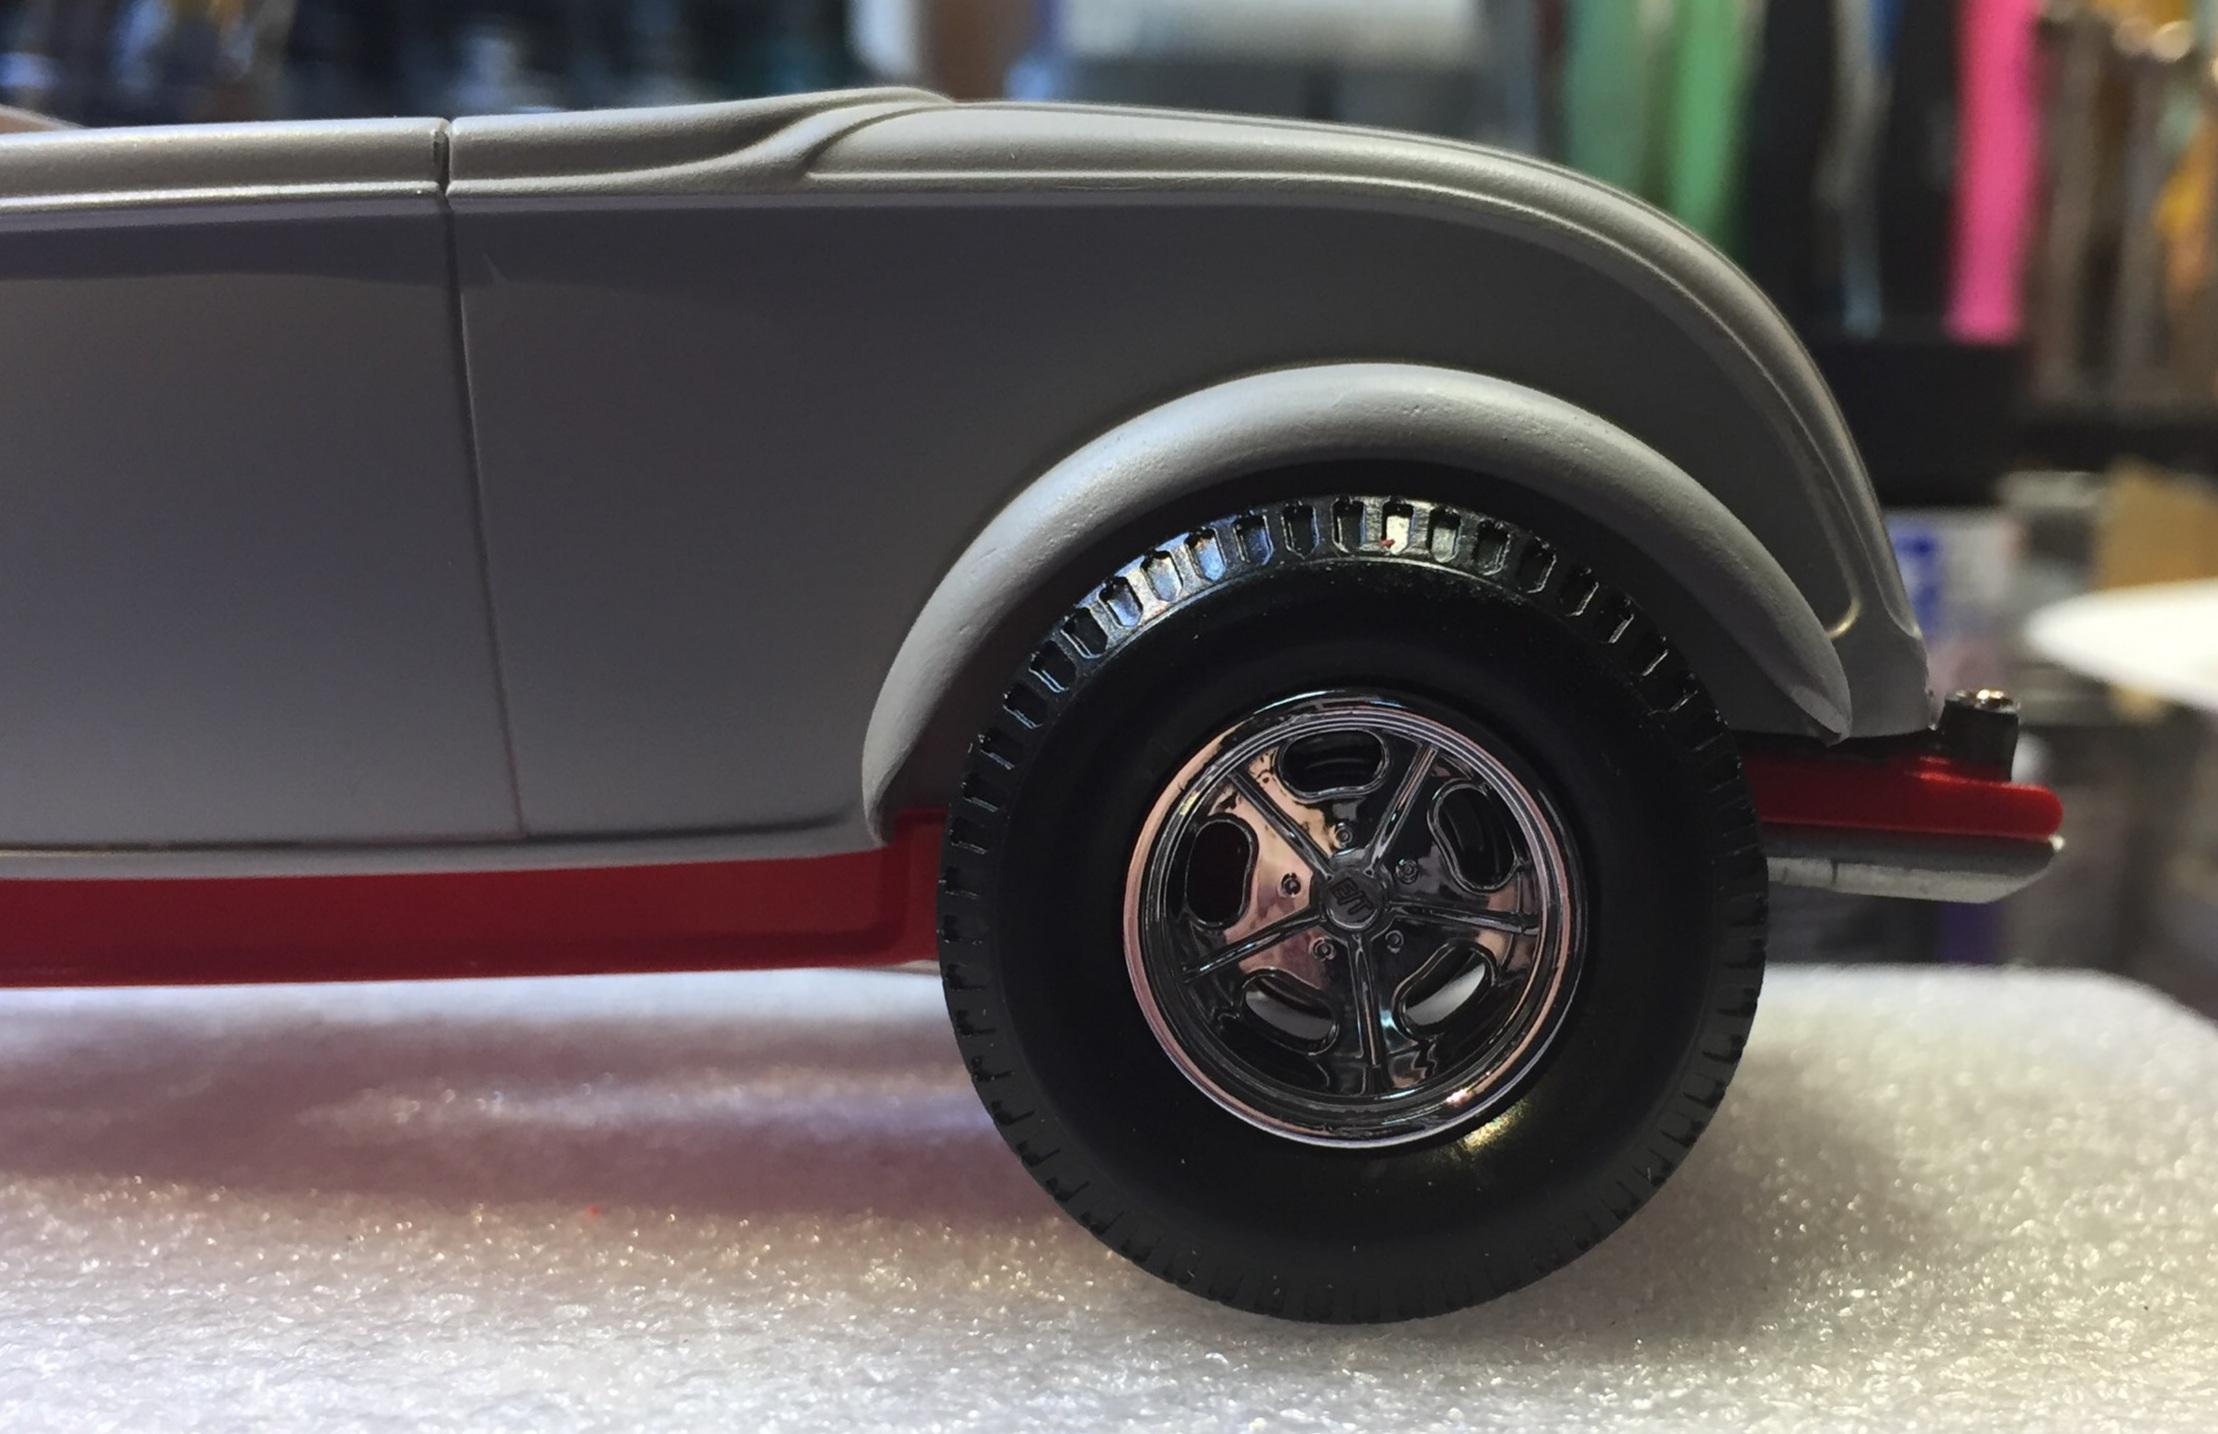
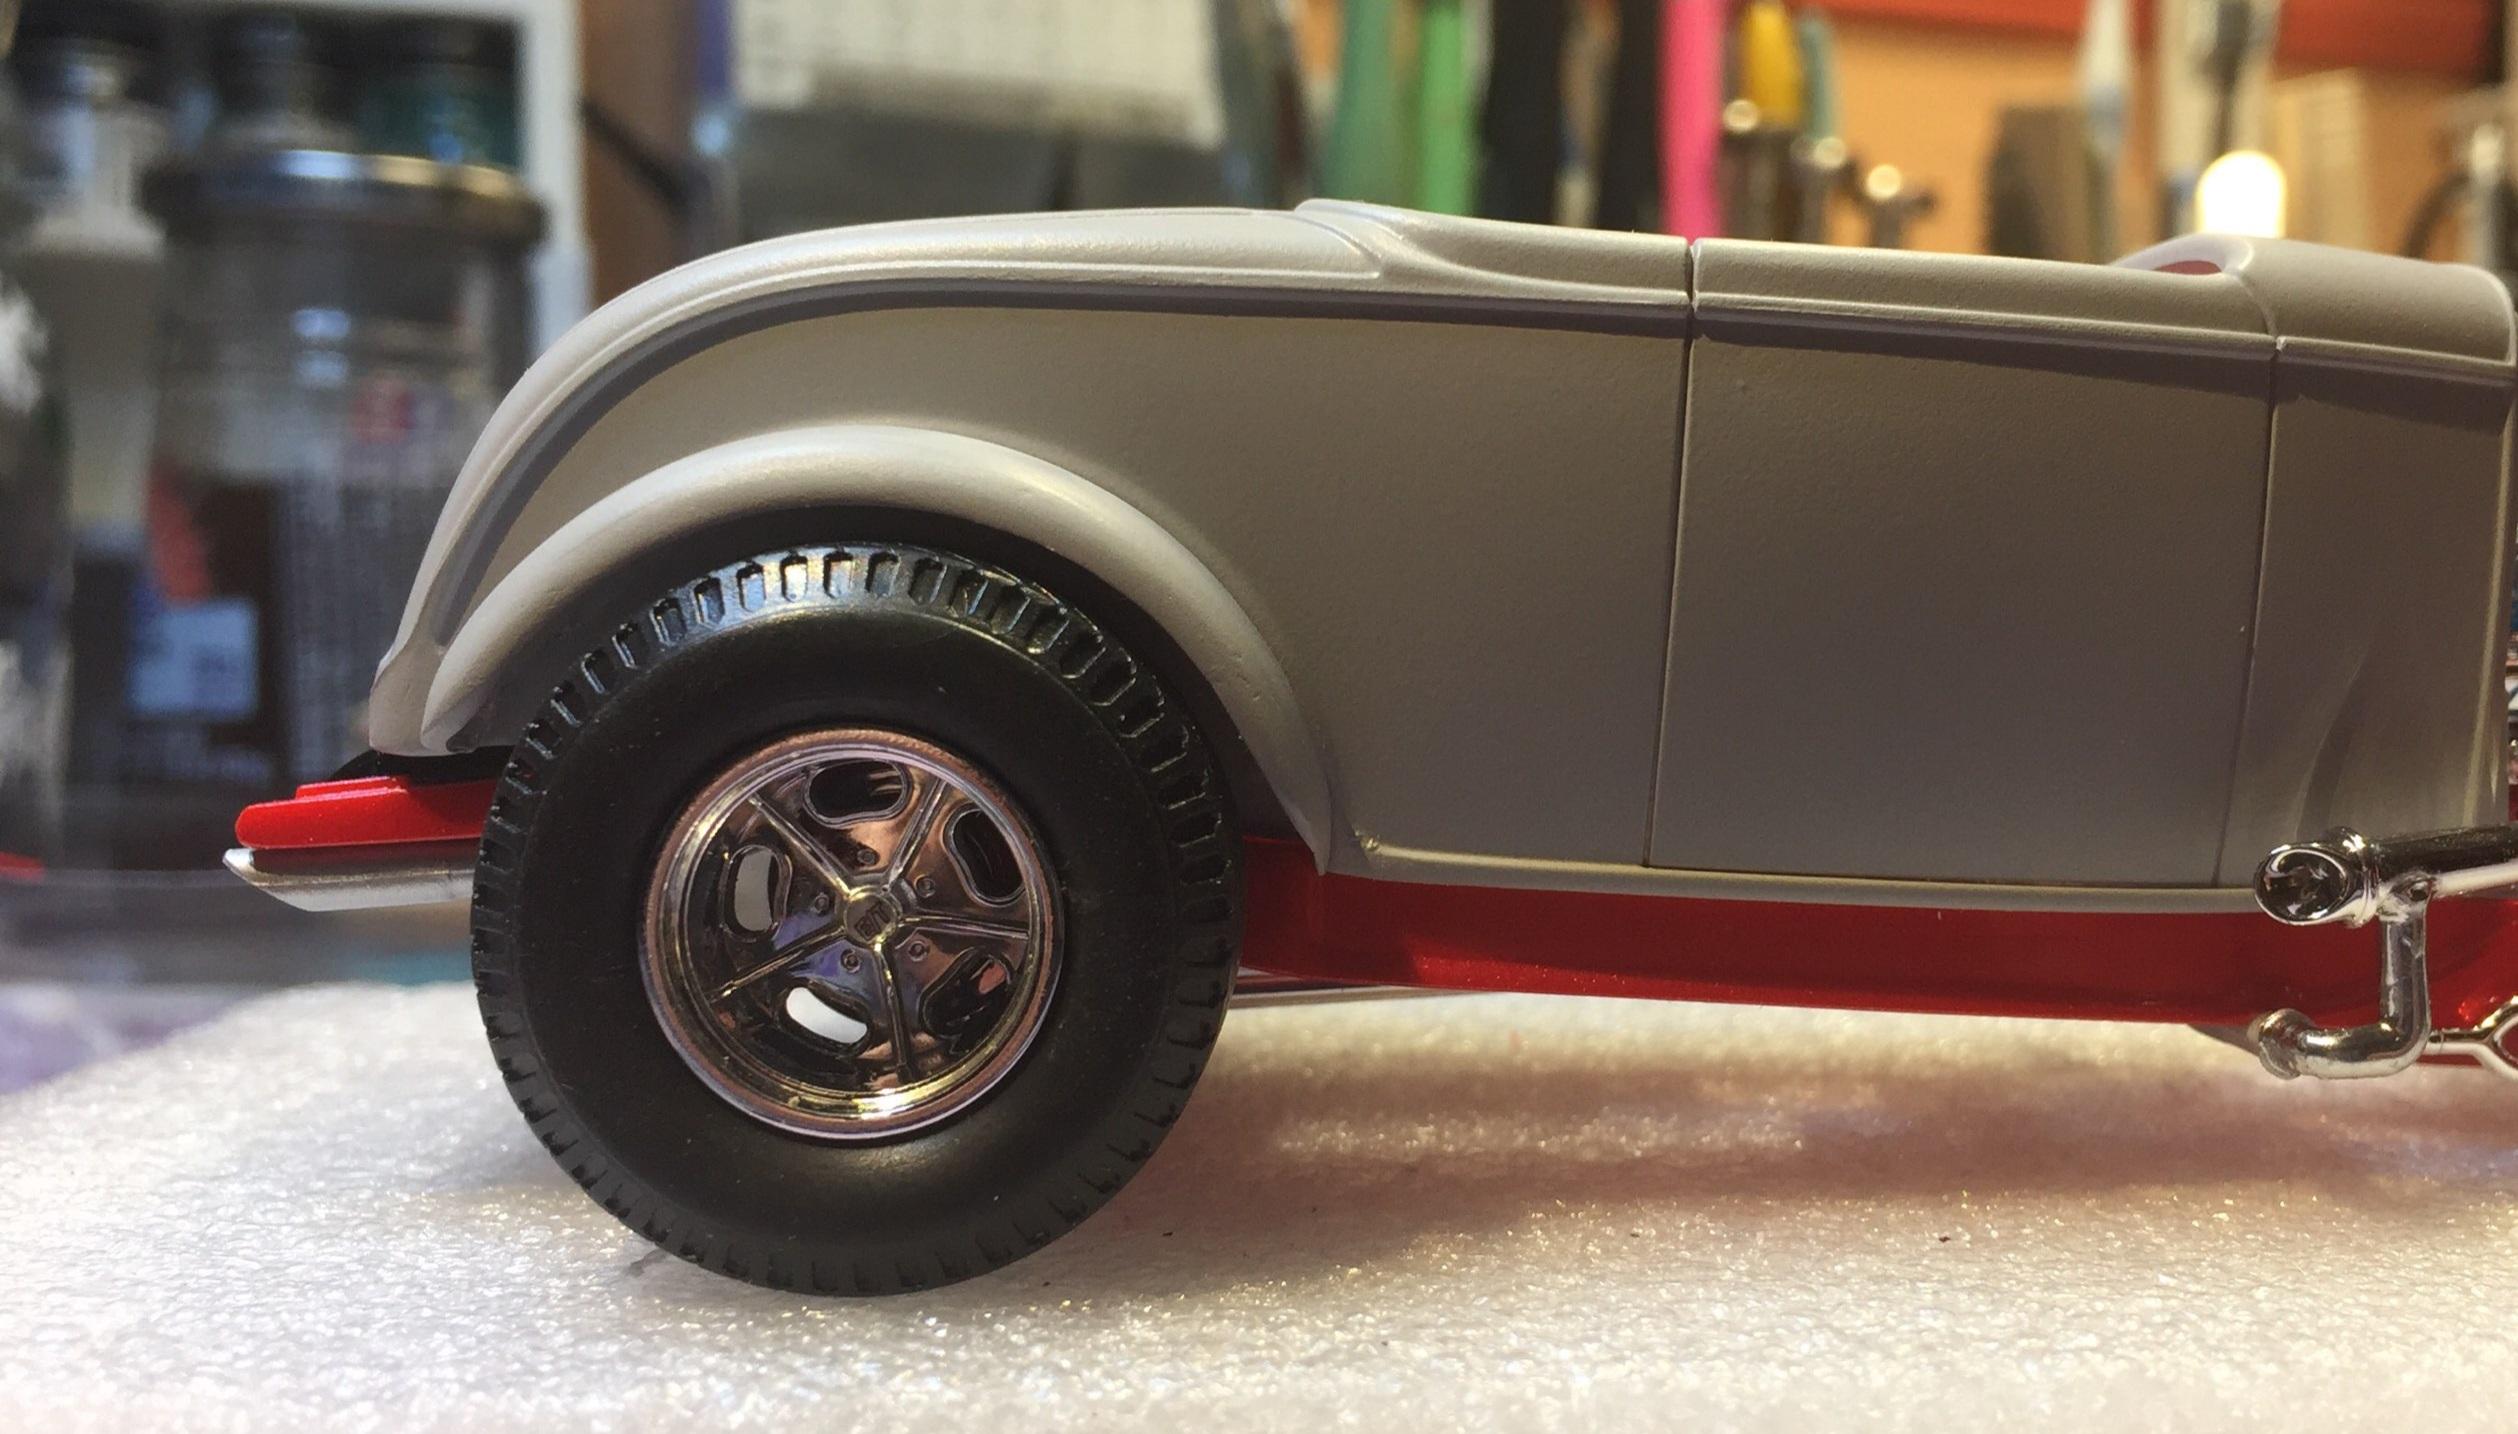
The blower drive came straight from the kit; it's not my fault 😔. Great idea on the wheel wells! I thought about painting them black, but only for a few seconds. I think some gray primer just under the fenders should darken it without being too obvious. Thanks for the idea, sidcharles!
-
I got that stuff ( many years ago) because someone on another forum said it wouldn't leave residue. It did. Not sure why I kept it. Has residue ever been an issue for you? I'd be willing to try it again. My big concern about residue these days is Tamiya masking tape ruining my Tamiya lacquer paint jobs but that's for another thread.
-
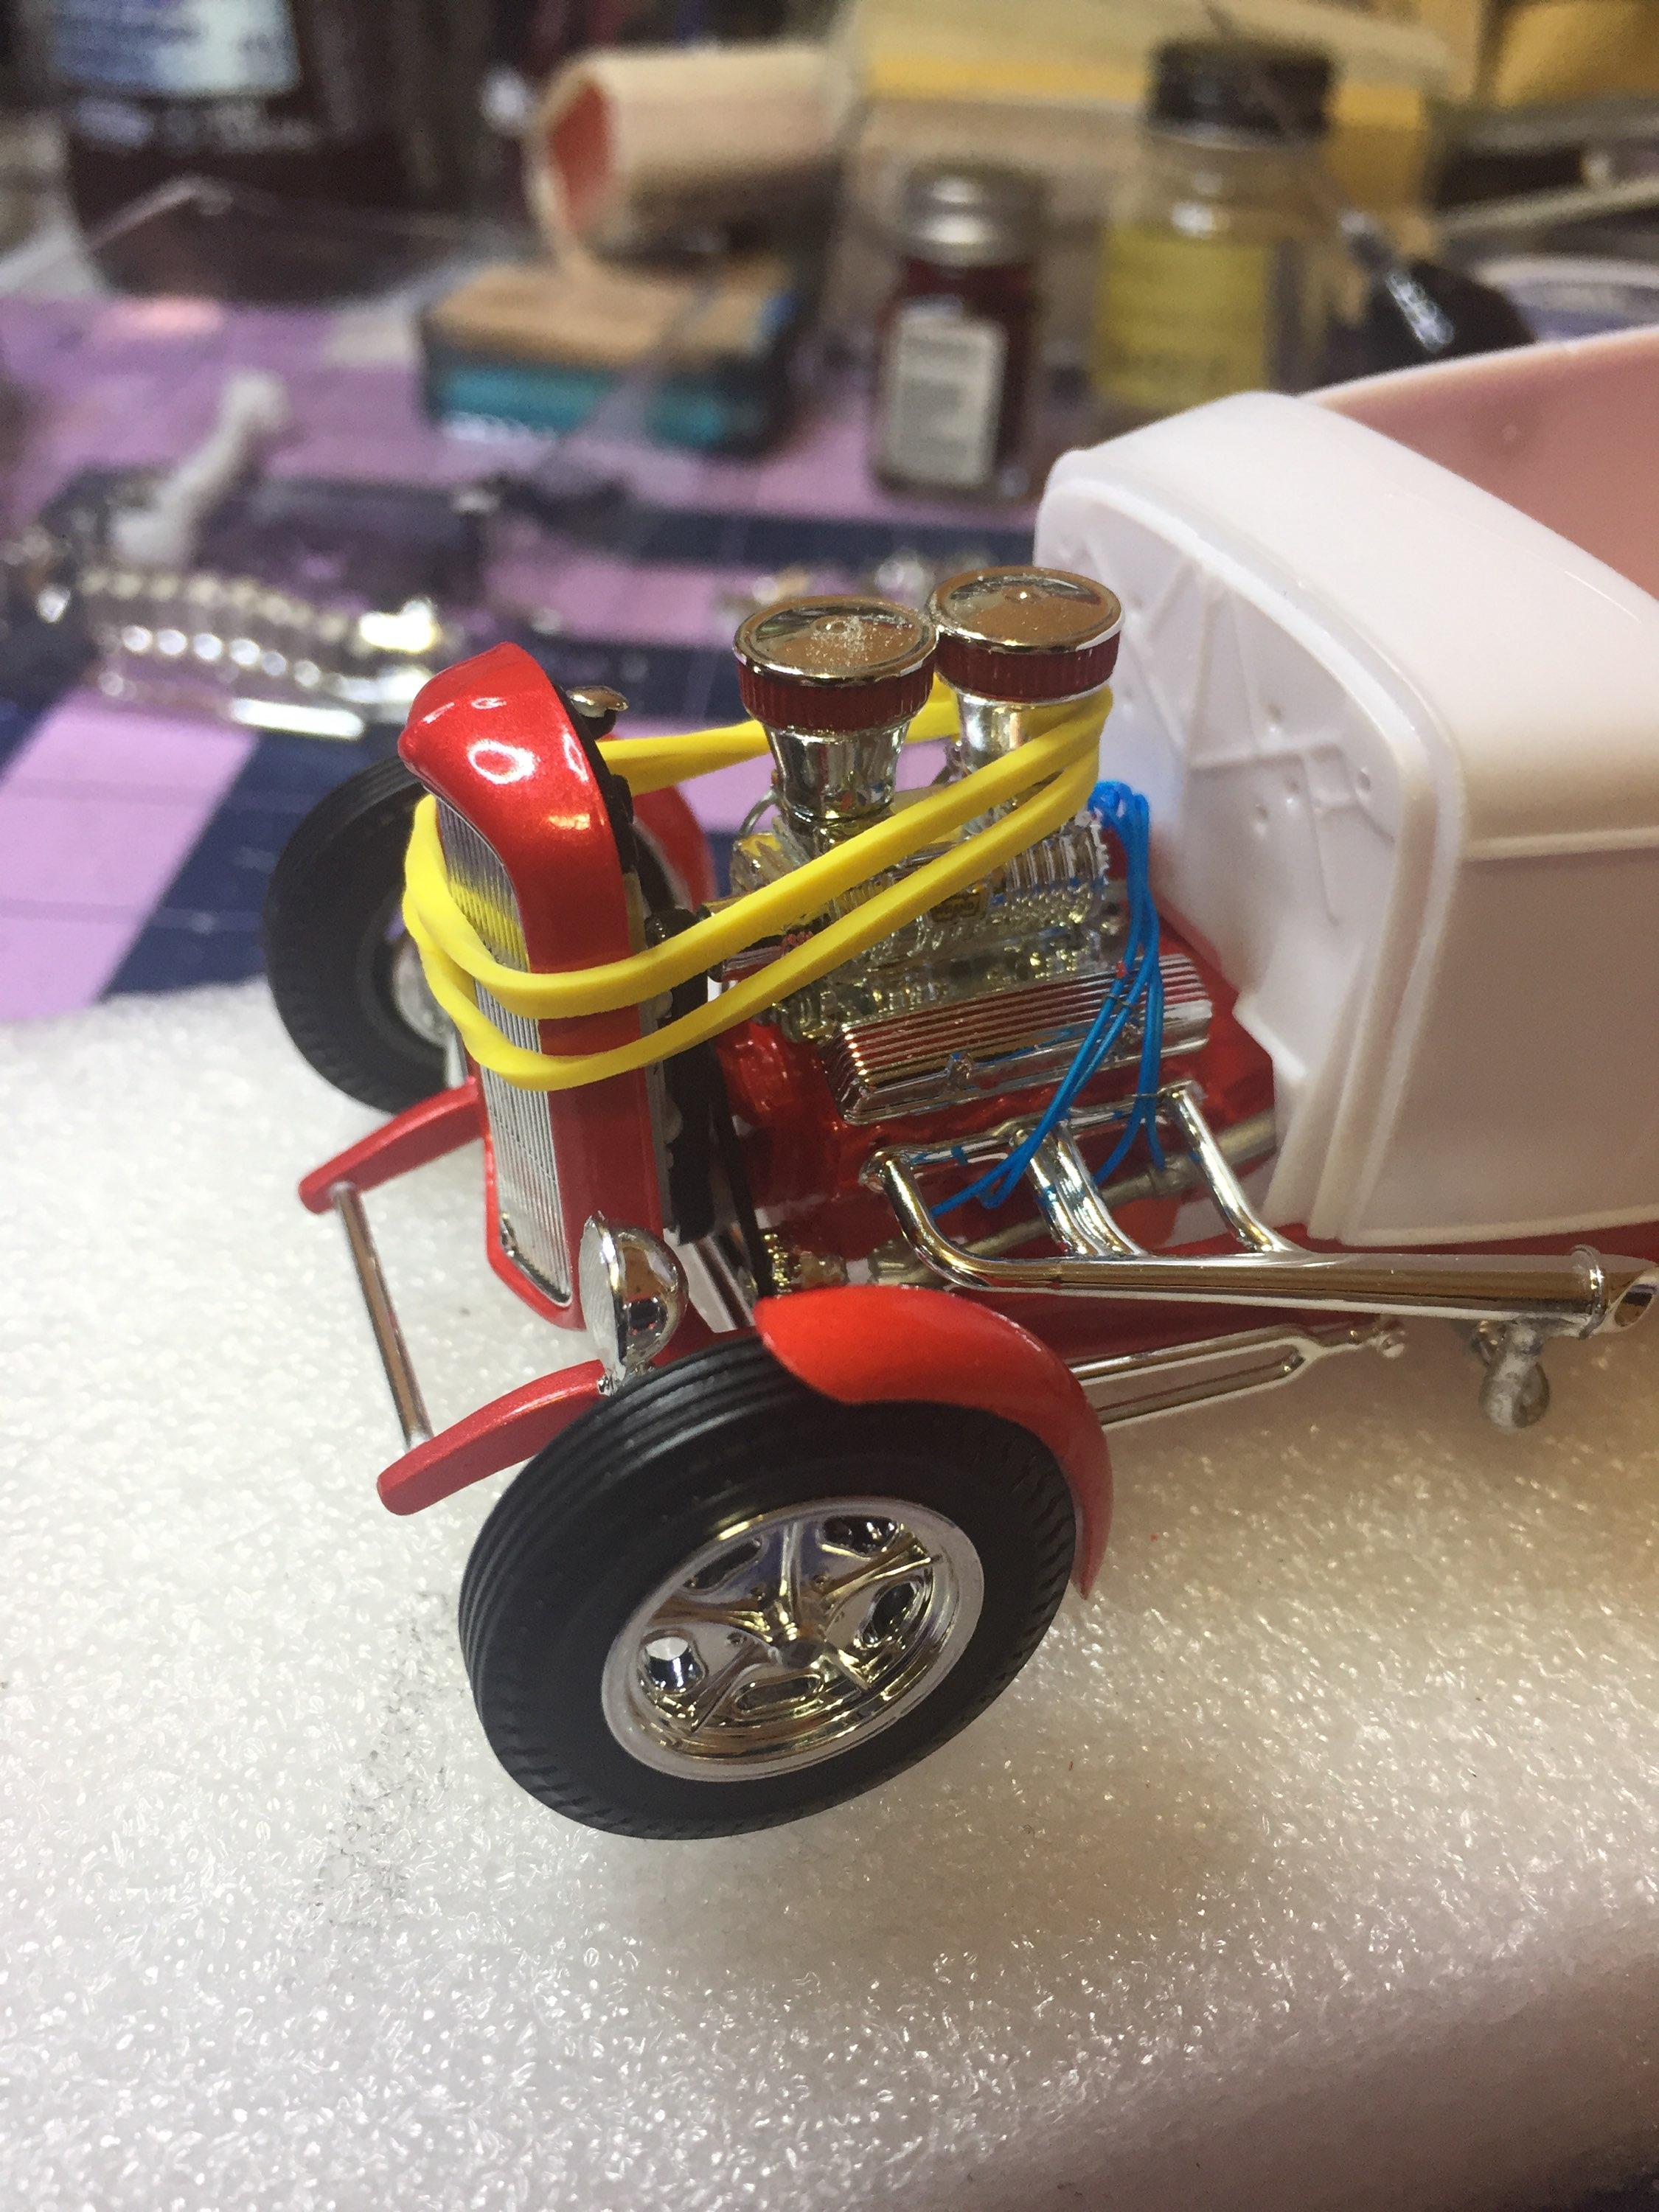
Just a word about the grille/radiator assembly. It's a very tight fit. So tight in fact, it must be positioned up hard against the blower drive. The engine is located by a pin-in-hole scheme at the tail shaft which locates it positively. No mistake there. In order to fit the hood correctly, the grille assembly must be hard against the drive pulley. This may make you uncomfortable..... I used 5 minute epoxy for this. I'm certain that I had a good reason 🤔