-
Posts
3,791 -
Joined
-
Last visited
Content Type
Profiles
Forums
Events
Gallery
Everything posted by customline
-
No...but orange is a good possibility for the tudor if I can get the paint off it before September. I got some primer on the coupe yesterday and I'm liking the idea of Boyd's Purple Pearl which I've been saving for a special project. I think this one qualifies. After seeing Greg's red wheels against the green I thought I would take a shot at that sort of "contrast" with my wheels and got those painted and assembled. Photo later.
-
If you like wrinkle paint, it would be pretty decent. 🤓
-
Ohhhhhhh. My eyes are worse than I thought. 🤣
-
Greg, this thing is a showstopper. Very unique, and very clean. I like the red wires as much as the '37s. They both work, imho.
-
OK, I get it. I'm trying to find a good decaf but it's not easy. Especially in K-cups.
-
Well I see you haven't been paying attention, Mister Benson 🤨. There is only one tudor and yes it is, or was (hopefully) a beautiful shade of beige. I probably should rename this thread but that may cause more confusion. The coupe is, for now, safe from the paint demons but it is in queue for primer. Iceman will be providing engine parts in a few days. The AMT chassis has been painted without incident and will be....Bil? BIL!....... Edit: I didn't love the "beige" either 🥴
-
Gee, Len, it wasn't my idea. 😥
-
I put one of these in my shopping cart last night after reading this thread. It looks like a really good way to get a square cut on small tube, rod , and strip styrene and probably aluminum so it's worth trying. I use PE blades so....anyway, for 20 bucks and no shipping, if you're a Prime member....I'll know in a day or two. Good info is where you find it 🥴
-
Yes indeed, Carl! And I will probably screw up in a different way but to the same degree or even better 😉. Thanks for the encouragement!
-
It was 65f / 23%rh today. I couldn't get out to the garage fast enough. Long story short 😫👇 That's it for the tudor for a while. Edit : while I'm here, I have removed home-made high-rise along with "the girls" in favor of another home-made two-carb and I have ordered some MCG 97s. The reason for the change is that if I wanted the hood to close all the way I would have to sacrifice the hard-earned rake a bit and I didn't want that . 😢 I may also swap out the heads for some front outlet units. The center outlets caused interference issues, but mainly the center outlets are not correct. Thanks for your commiseration. 😔
-
The exhaust tips in front of the rear wheel idea has merit and tucking into the rocker sounds good too, if you embrace that idea and make it a real feature. You've got a mild custom now, so why not? Maybe a pair of square or rectangular tips set into a recess surrounded by a little flare. Of course the frame would need to be notched a bit but hey, it's a good possibility and the 17s could stay (I like the 17s, Len. 🥴)
-
That looks like a winner, Ken. I've got one of these in a box waiting for me to second coat it with more Rustoleum. I didn't get enough on it the first time around and it didn't survive the polish-out. Did you decant or is this straight from the can? This is such a great kit. I suppose you could get BMP's photo reduced guage faces to replace the decals. I'm following 👍
-
Mine always hates it no matter what it is. I've learned to hope for indifference 😔
-
We have to stop this 🤨 (what word? 🤓)
-
Remember the guy with the motorized fan? What was his handle?
-
Don't you dare. You'll be boring and we don't want that. 😉
-
I can't recall you starting with anything that wasn't a beater. 🥴
-
Well, yeah 🥴. But if you need one tight accurate bend, I know it will work for that much Edit: how about TIG gloves?
-
Wow on those wheels, Greg. They are gorgeous! 😛
-
I'm making do with Wifey's for now because of the low setting. If you're only making a single bend, why not slip your styrene rod inside two lengths of tubing so you can be holding close to the bend with the inner ends and your fingers are at the outer ends of the tubes? I was making bends a little while ago and the light bulb only came on now. 😯. Maybe using copper tubing reducers, you could neck it down to a small exit. Of course you risk causing a problem with the heat gun but it should have a limit switch to protect itself but maybe not. It's something to maybe experiment with. Edit: if anyone is still interested in this, there are some heat guns that come with nozzles for various tasks including one that is 1/2" diameter. They have digital readouts for wide range temperature settings and fan speed. (After this discussion I checked out Amazon and whattayaknow 🙃)
-
It was pretty easy, Brian. The rods are longer when I make the bends. I cut them afterward. I get the center pipe the way I want it and then tailor the others to it. The toughest part is getting the holes in a nice straight line on the block, especially with my hands. I have had success bending cold but the heat gun I used was made for paper crafting with a low setting. It's very do-able. The set I made for the tudor was done cold. This set was quite a bit easier using heat to bend. There's a bunch of short pieces when you're done but I save the scrap for other things. Thanks for your interest.
-
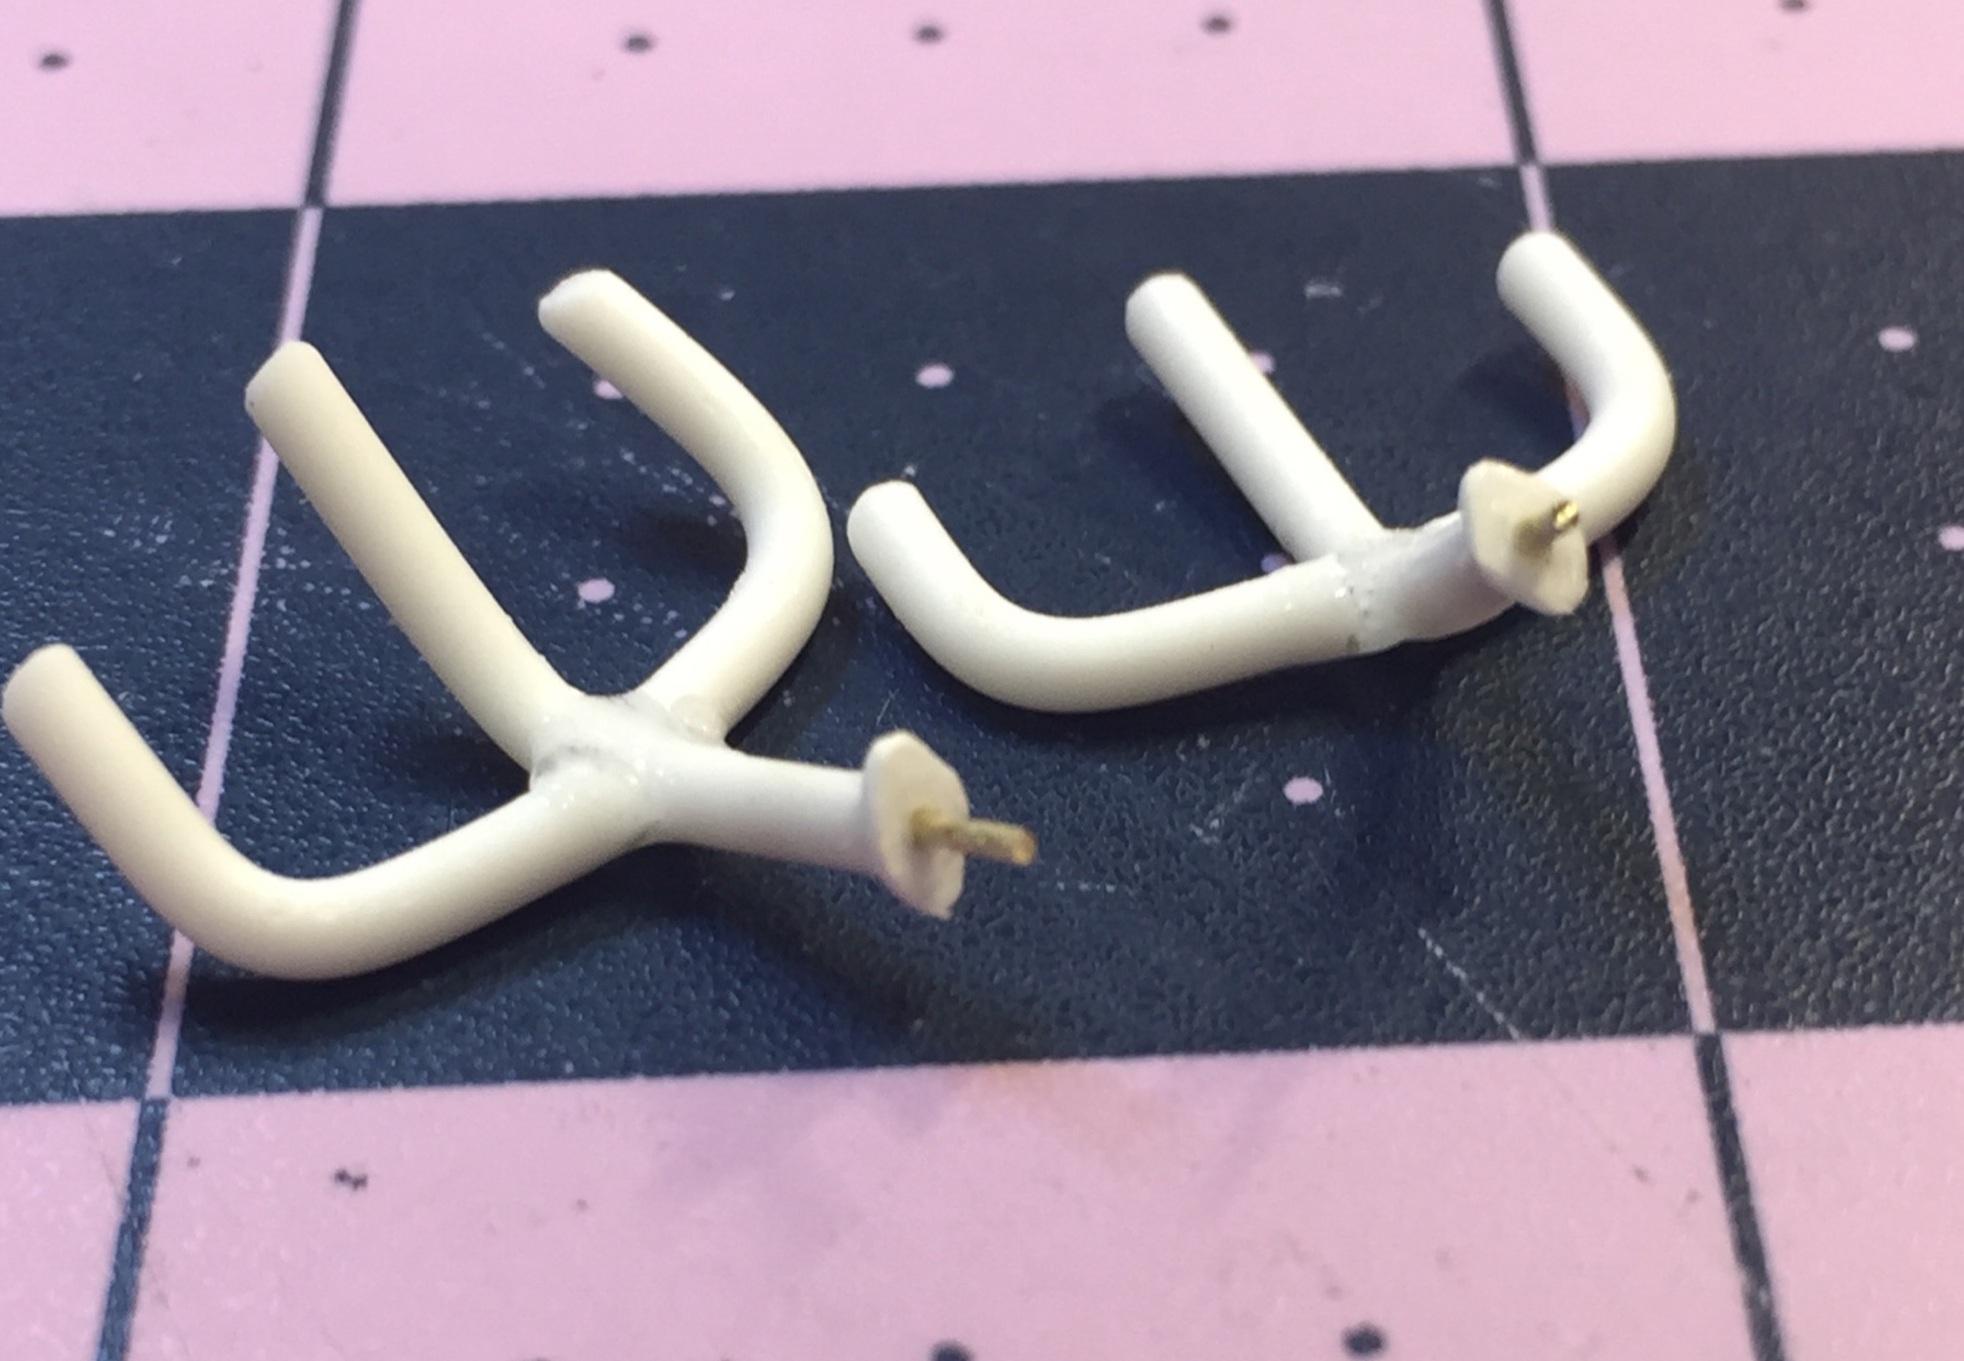
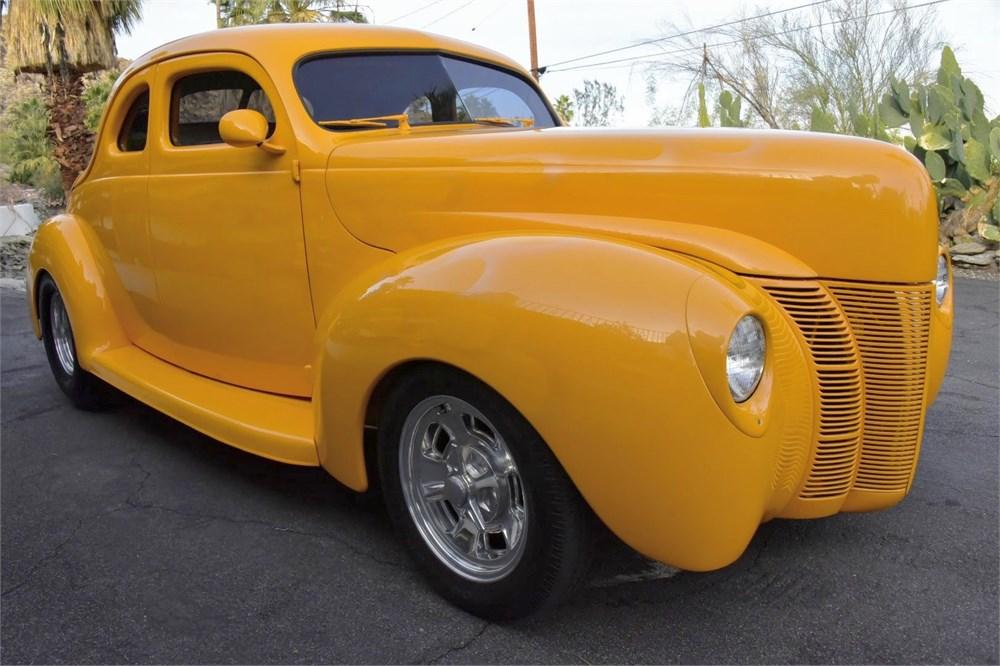
I just thought I'd throw this in here. It's not relevant but it is kinda cool. The monochrome treatment works really nice on this one. Notice the tasteful chop...I thought about doing it on my coupe but then I thought about how much work it is and how much time I spent making stupid carb linkage and I totally relented. I did get the engine painted and assembled. Not crazy about the wire boots. I couldn't find the black wire I used for the tudor. It's way out of scale but I felt like it has become standard so who am I to buck the system? Anyway, this is as much as I got done this weekend. The engine is now identified. It's a '49 Mercury! I borrowed Wifey's heat gun and made these headers. Her heat gun has two heat settings. I used low to bend the 1/16" rod. I used .015 sheet scrap to make flanges. Teeny, tiny flanges. 😓. I'm not sure how many I lost in the process but I finally managed to fasten two of them to the pipes and I remembered to drill and pin the headers before installing them. This time 😔. Thanks for stopping in if you did. If you didn't, well,......you probably won't 😉
-
And I thought I was nuts.....🤣 Edit: I just watched the video. It brought me back to some fun days removing sludge from some y-blocks back in the day. Gotta love those.
-
This is Virginia, Lenny, Walmart is waaay worse than that 😉 If this keeps up, I'm going to need to use my rescue inhaler 🤪


