customline
-
Posts
3,791 -
Joined
-
Last visited
Content Type
Profiles
Forums
Events
Gallery
Everything posted by customline
-
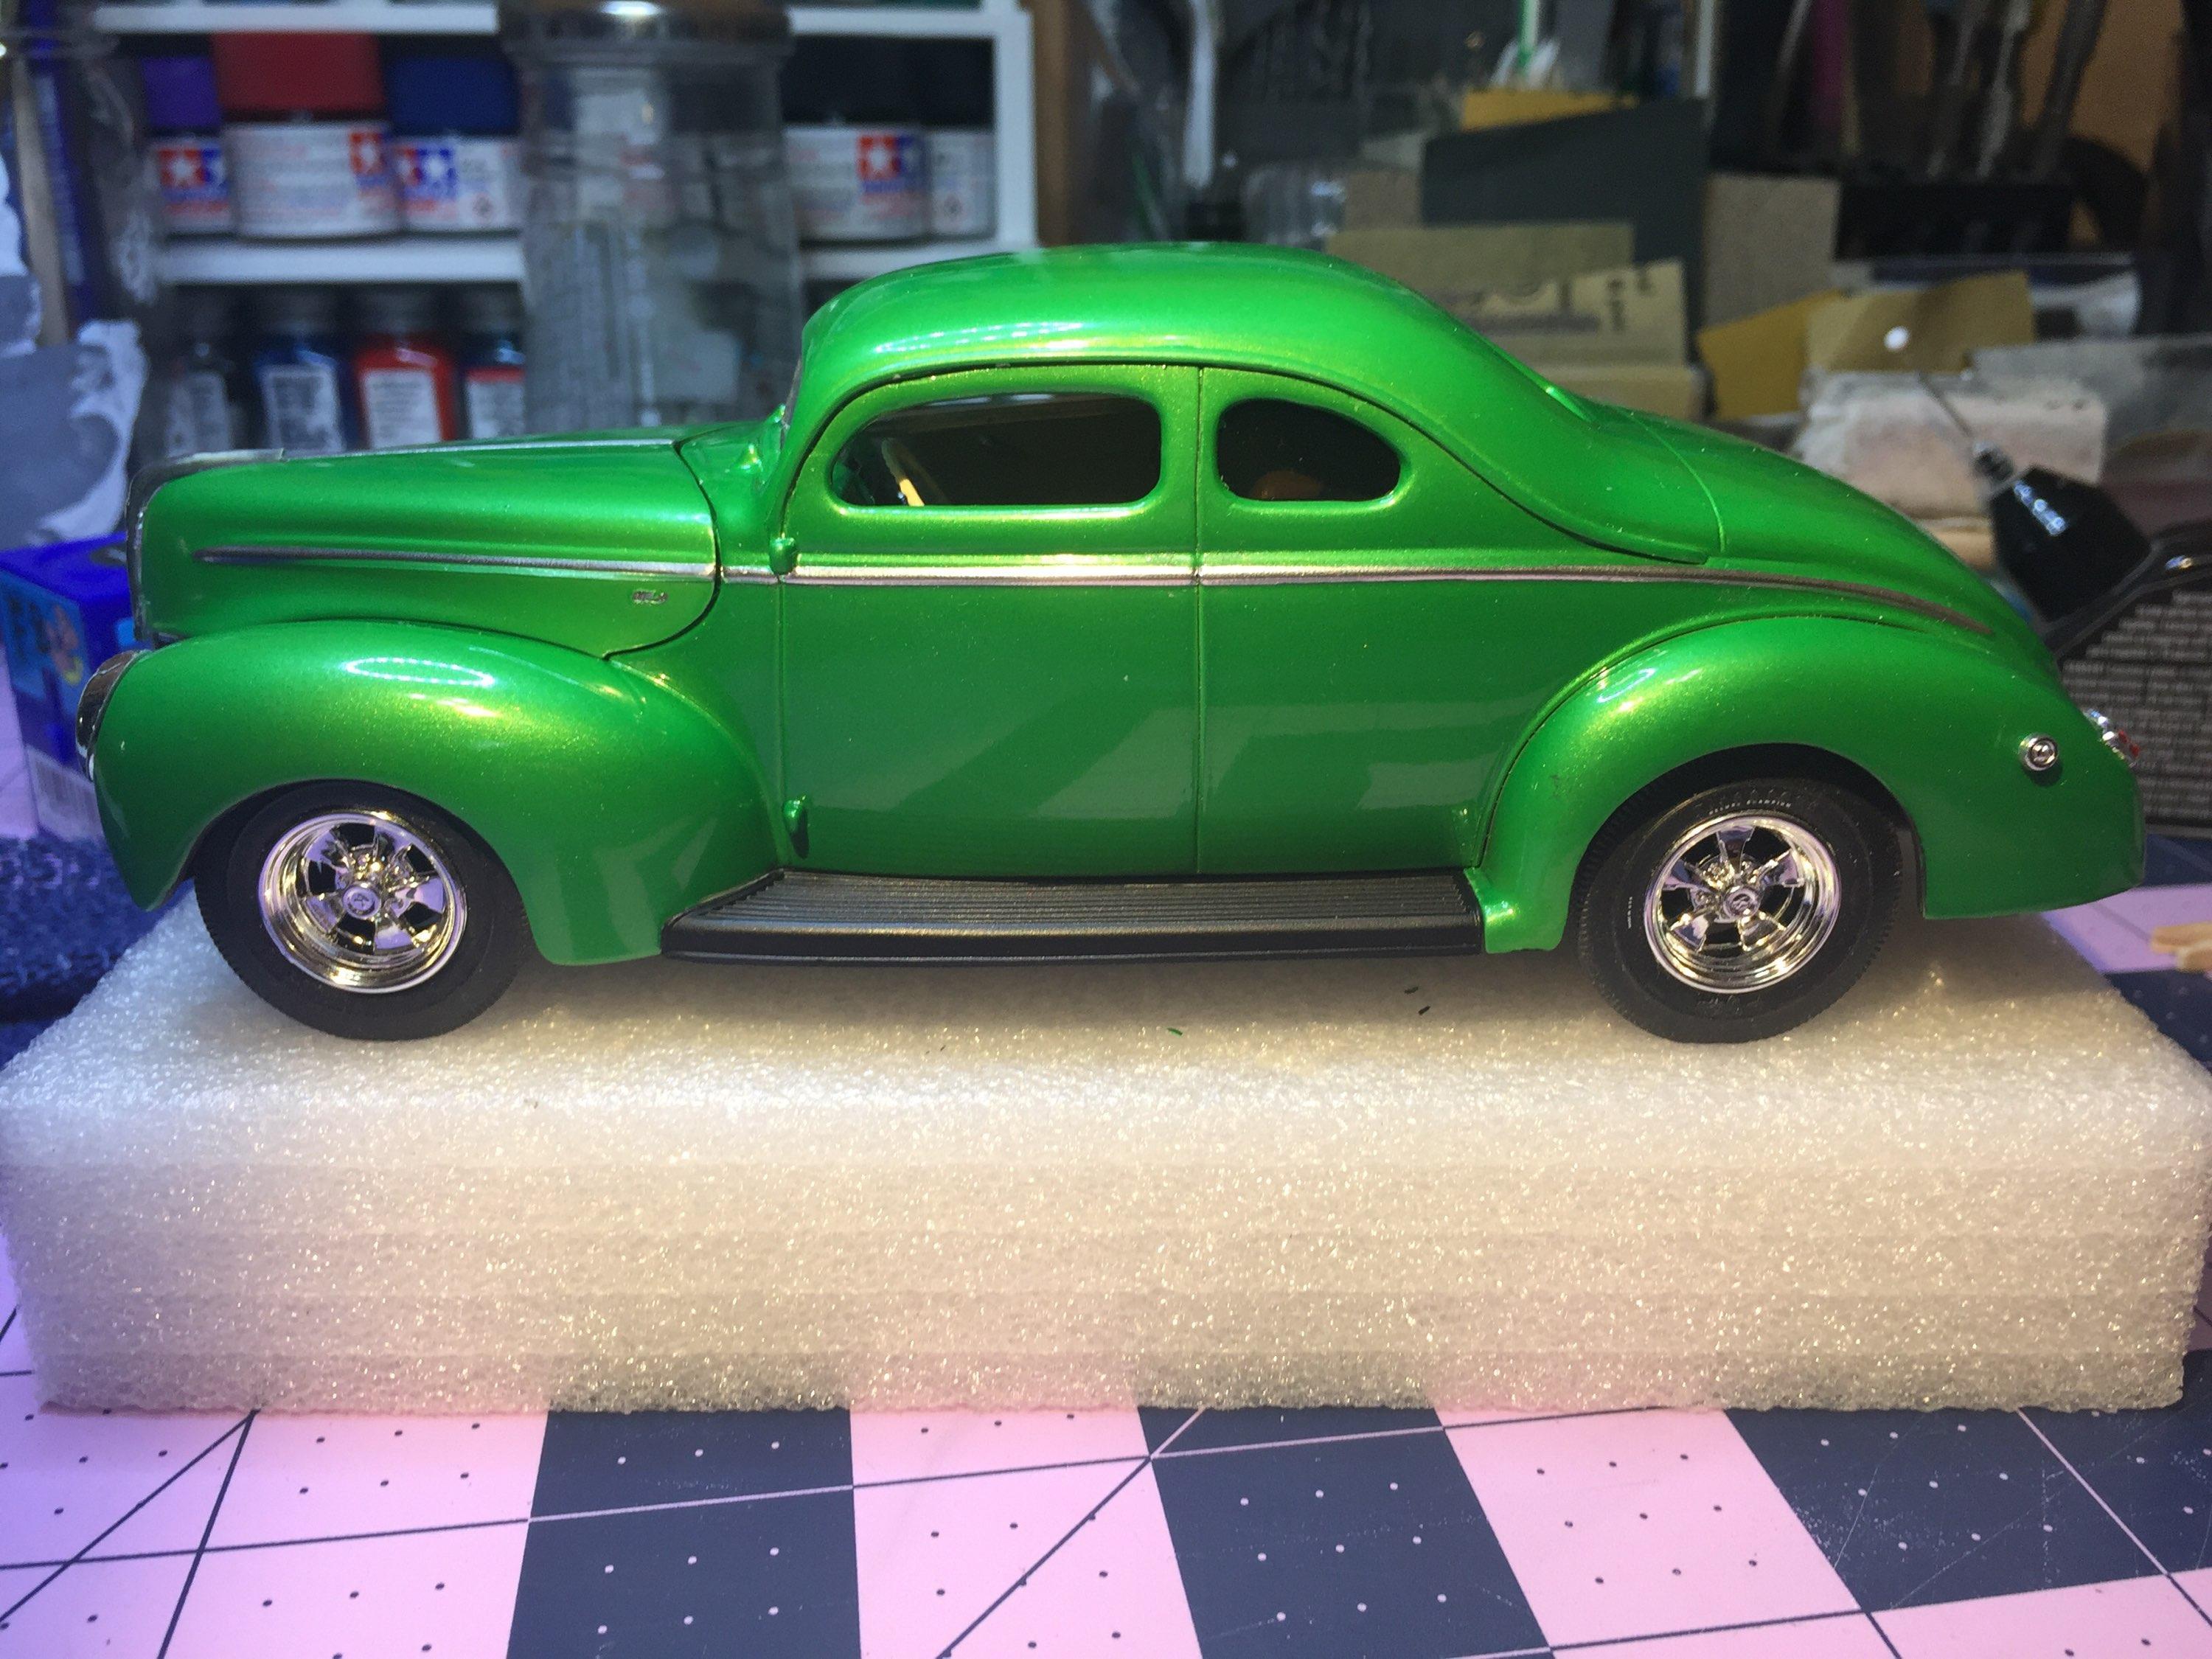
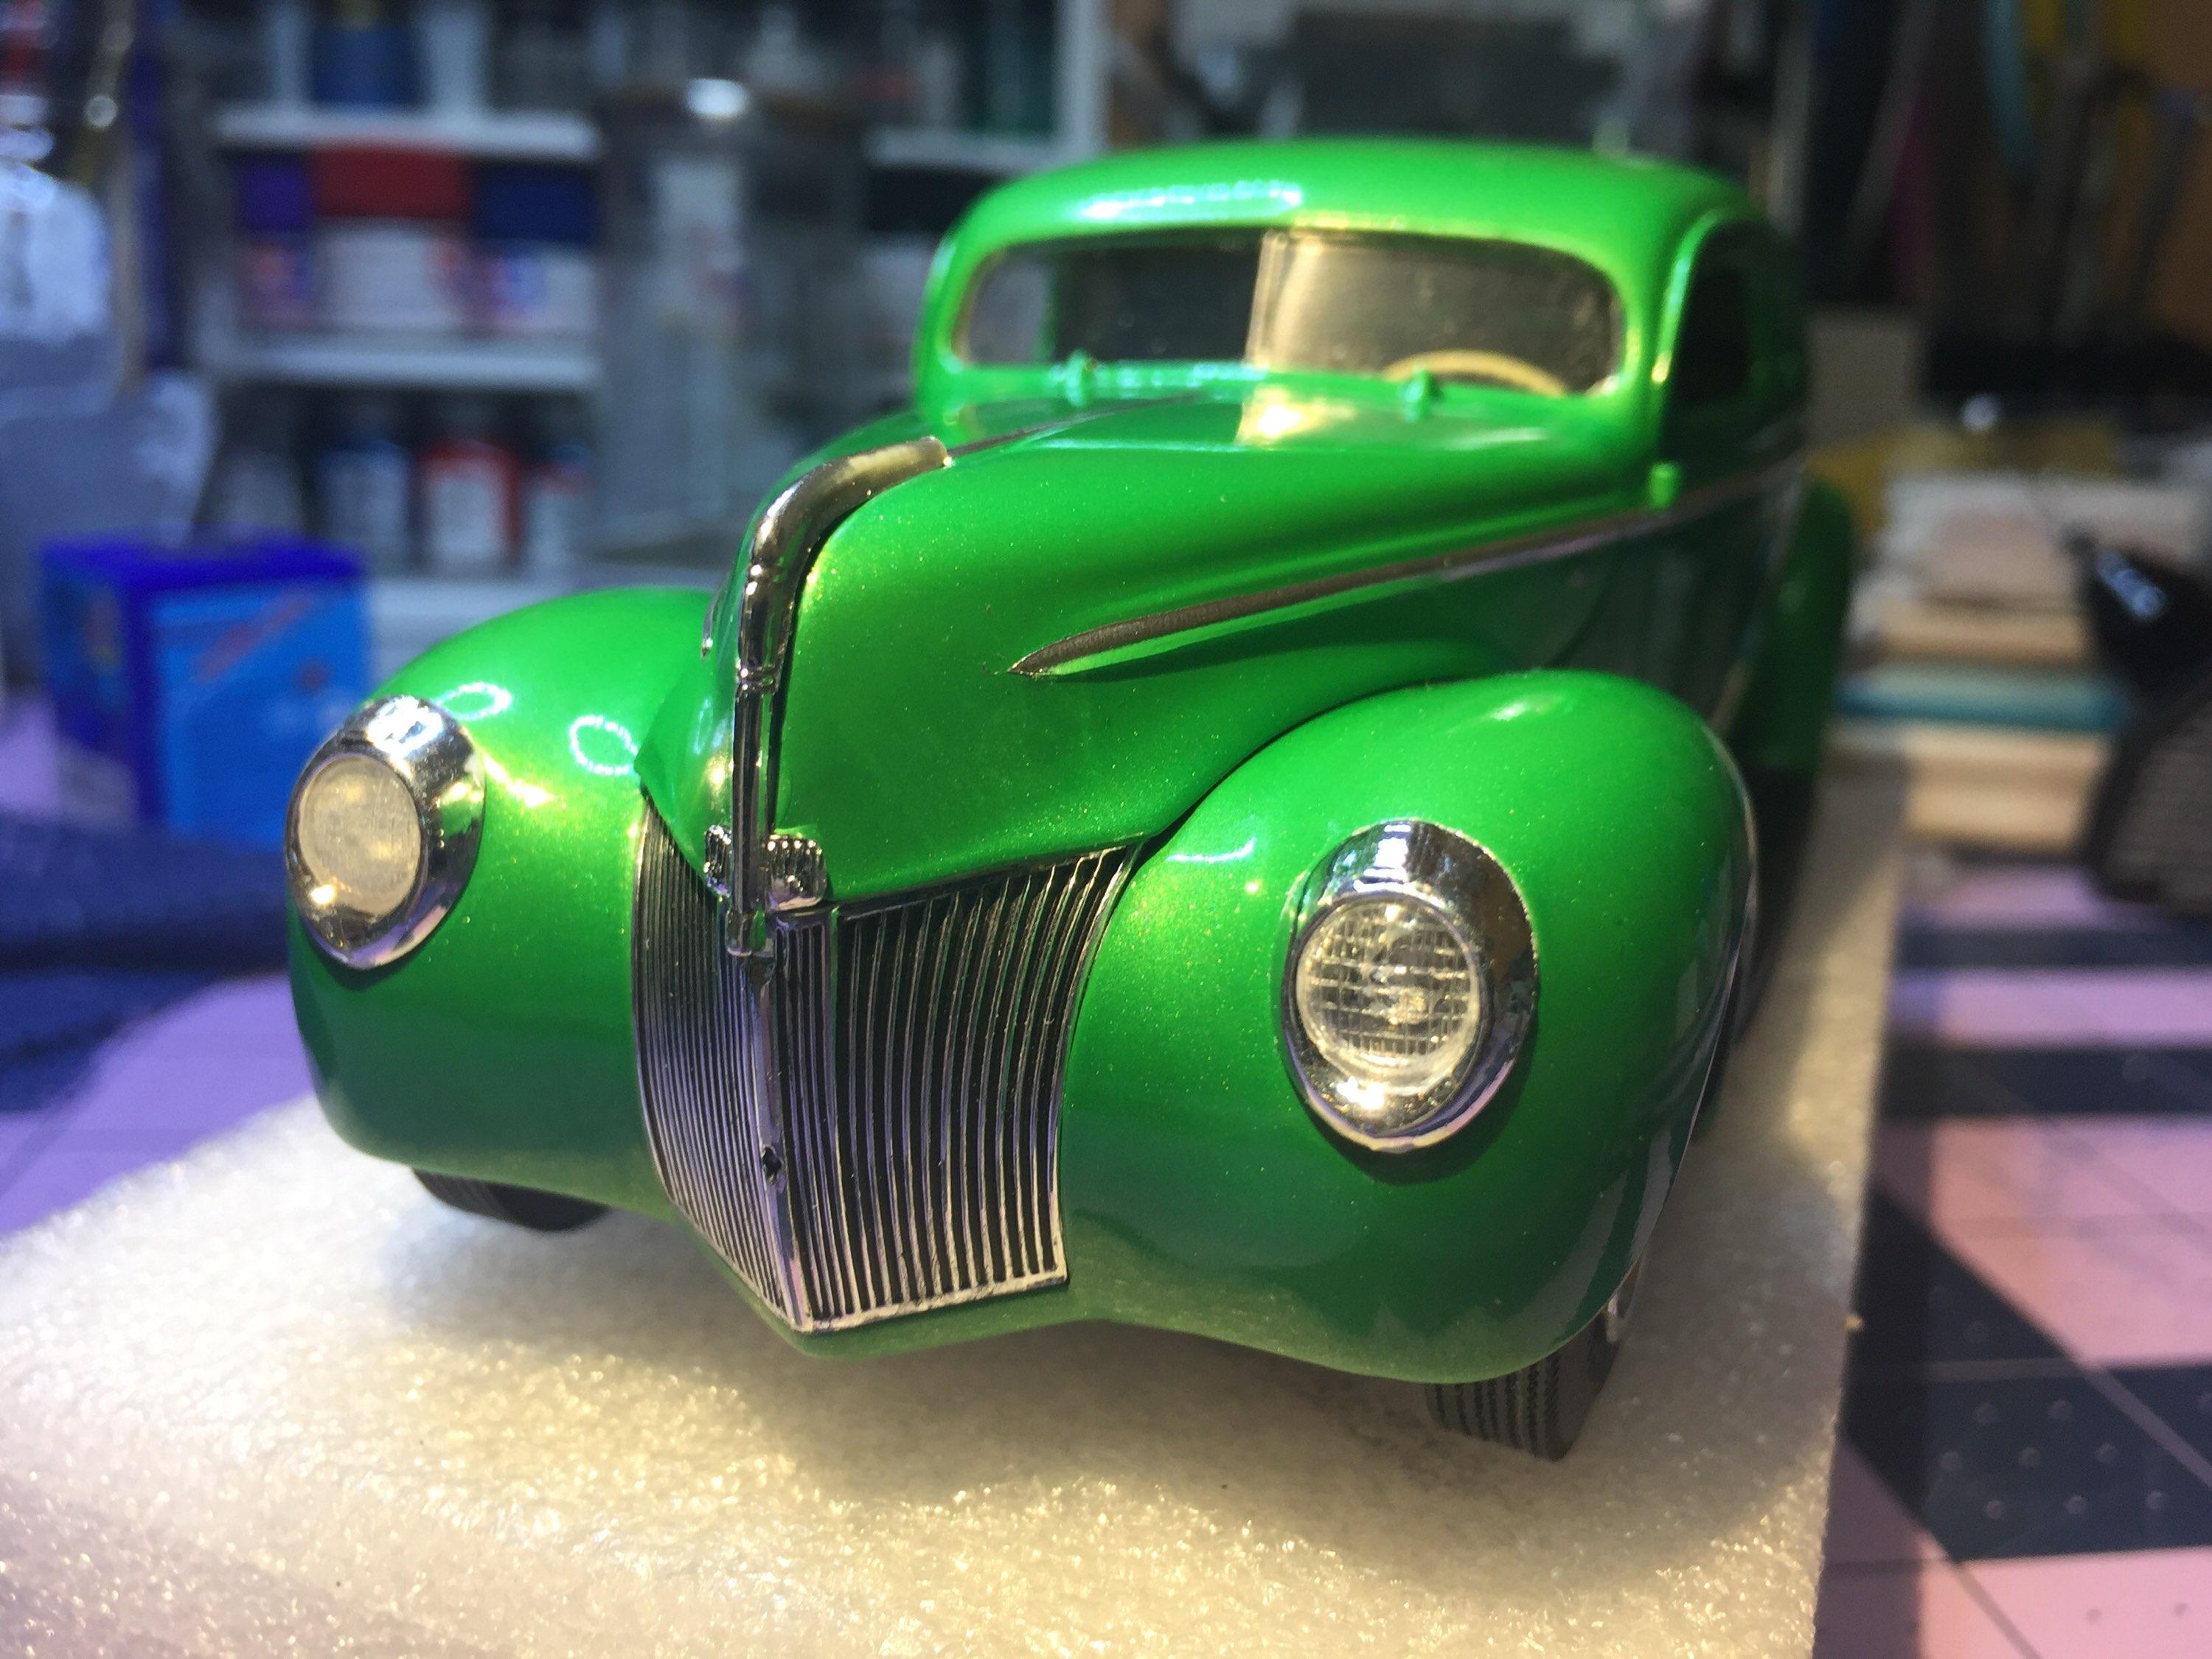
This is an older build, Andy. I have since built a few more. The forty never gets old.

-

Monogram '32 roadster: a red-headed step-child.
customline replied to customline's topic in WIP: Model Cars
Yeah...it's an oil base tint and I fear wrecking an otherwise decent paint job. The first and only time I used it was not pretty. I'm gonna go with water base thinned out. We need to get Ollie to build a store out there on Oak Island for you, Bil. 🥴 -
Monogram '32 roadster: a red-headed step-child.
customline replied to customline's topic in WIP: Model Cars
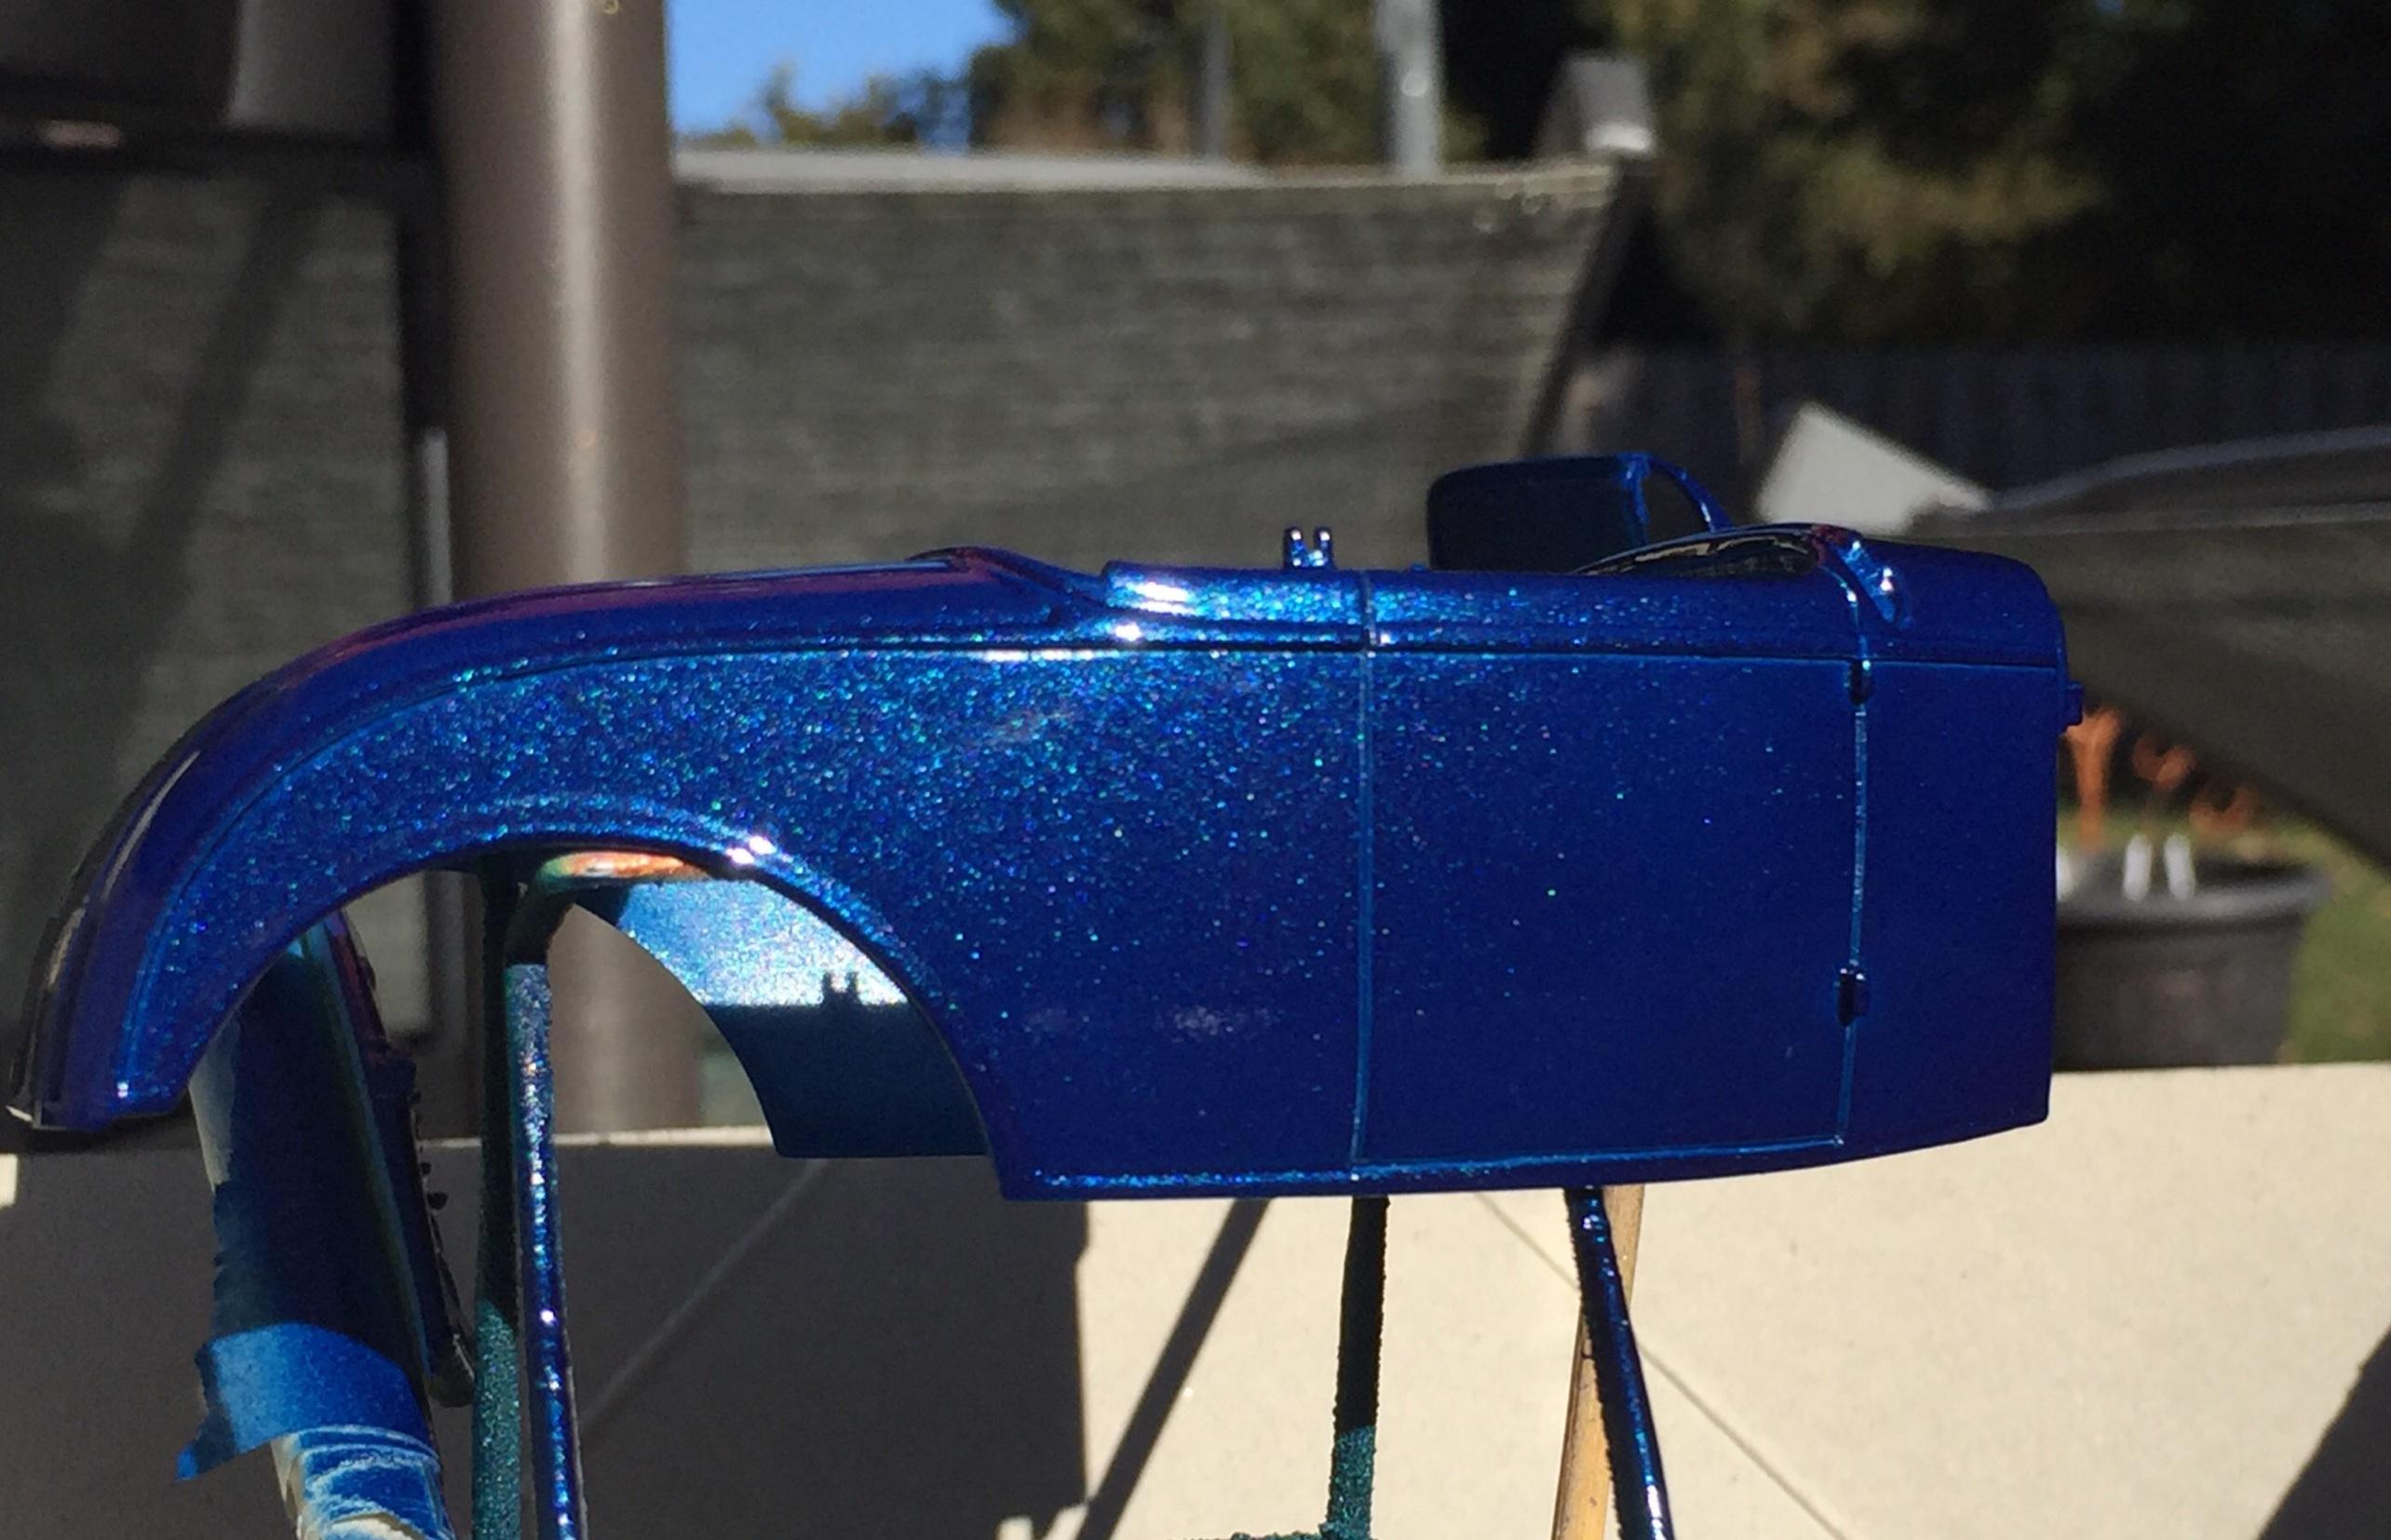
Yes, it is, thank you, but it's not working against the black as well as I hoped. I'm happy that it looks good, Bob, I was expecting the pearl would be obvious but all I see is a metallic. Maybe it's just me. This paint doesn't look very pearly. It looks more like Testor's Extreme Lacquer with the big metal flake look. Gotta wait a few days and give it some clear. I need to do something about the panel lines, they didn't get enough paint down to the bottom. I've got Tamiya panel line stuff but I'm not looking forward to that. Maybe thin down some water base black or dark gray craft paint. In the meantime I'll work on the dash. It needs a drive shift and exhaust system, too. Thanks to all for your approval. Edit: I'll do a full mock-up today and see if it makes me feel better. 😕 -
Monogram '32 roadster: a red-headed step-child.
customline replied to customline's topic in WIP: Model Cars
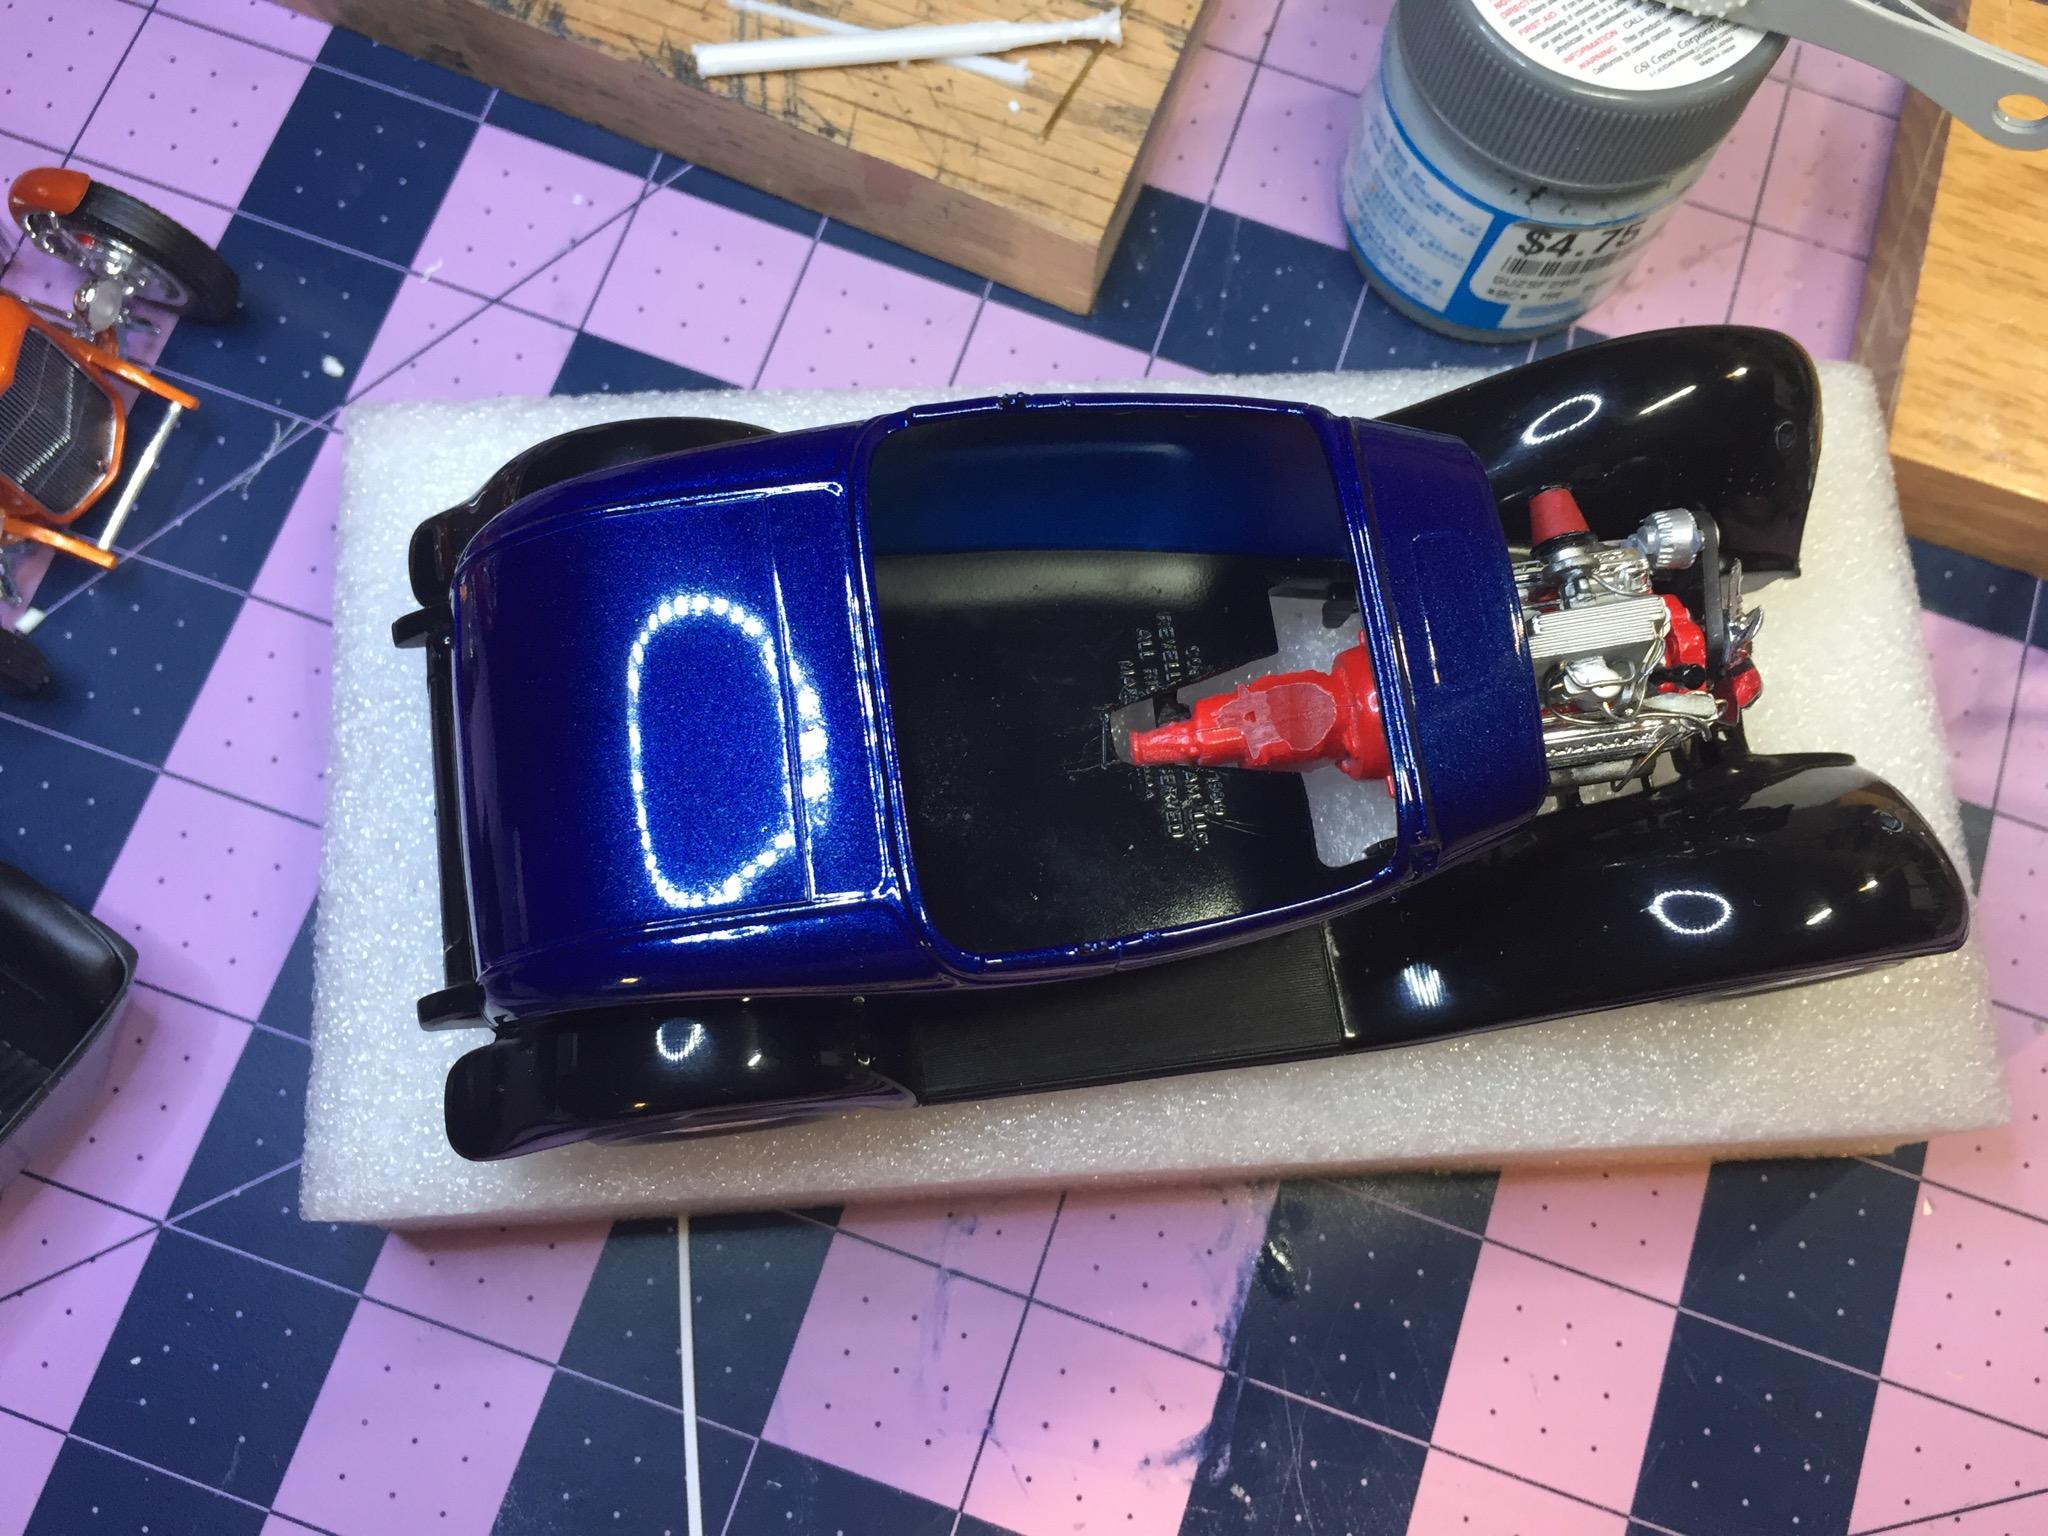
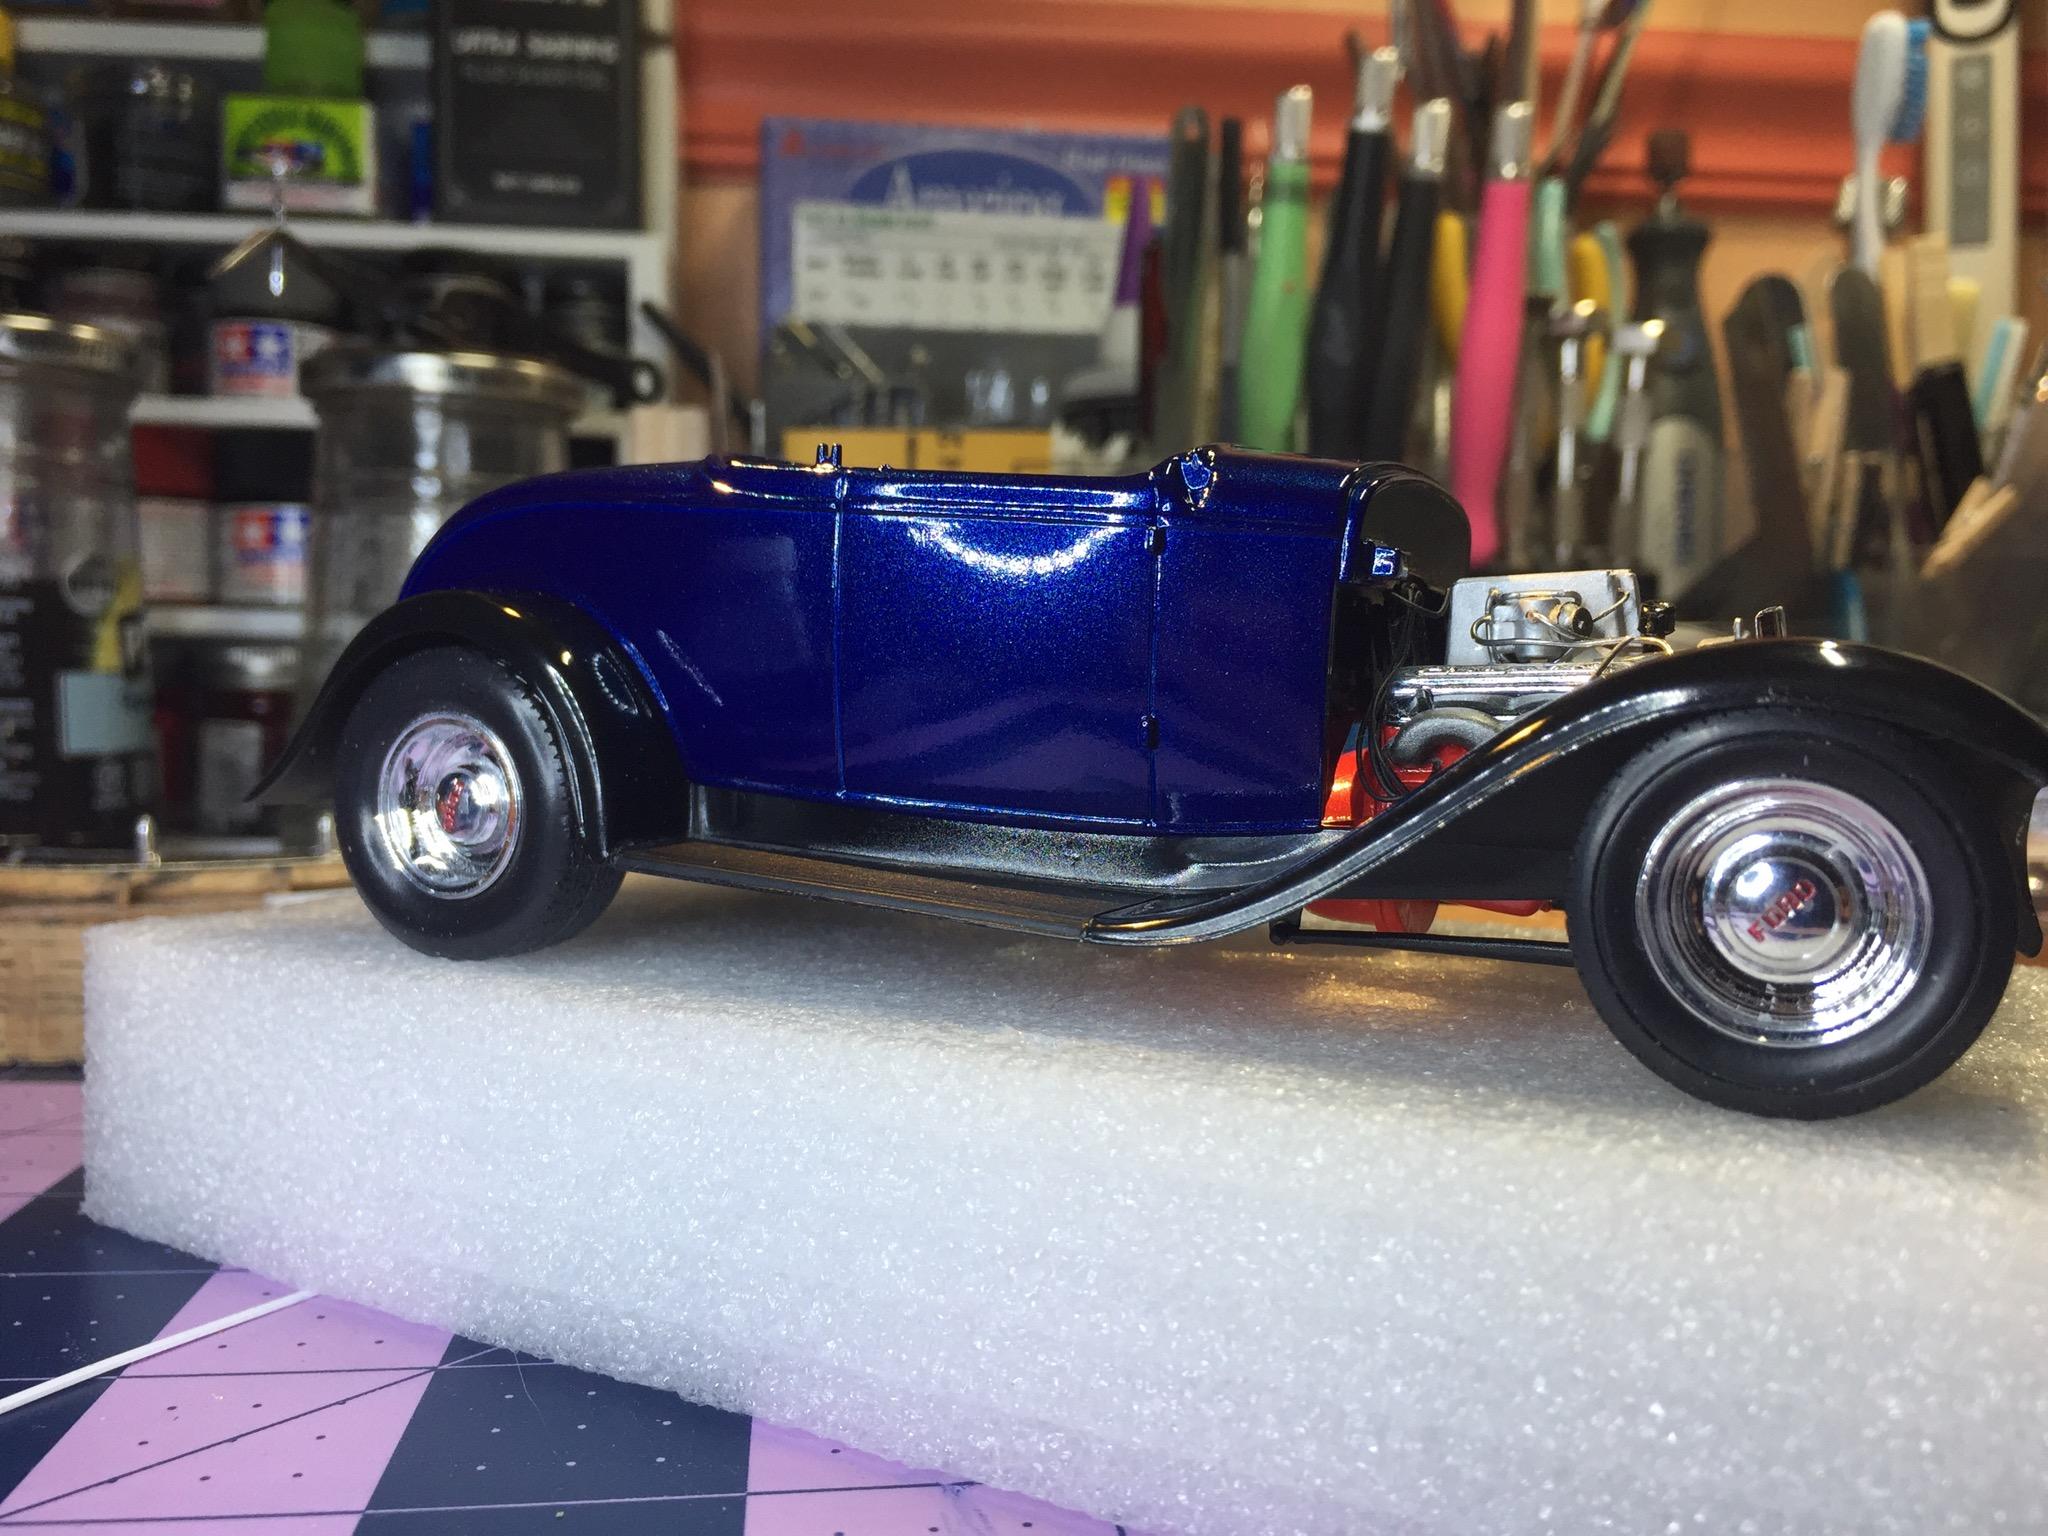
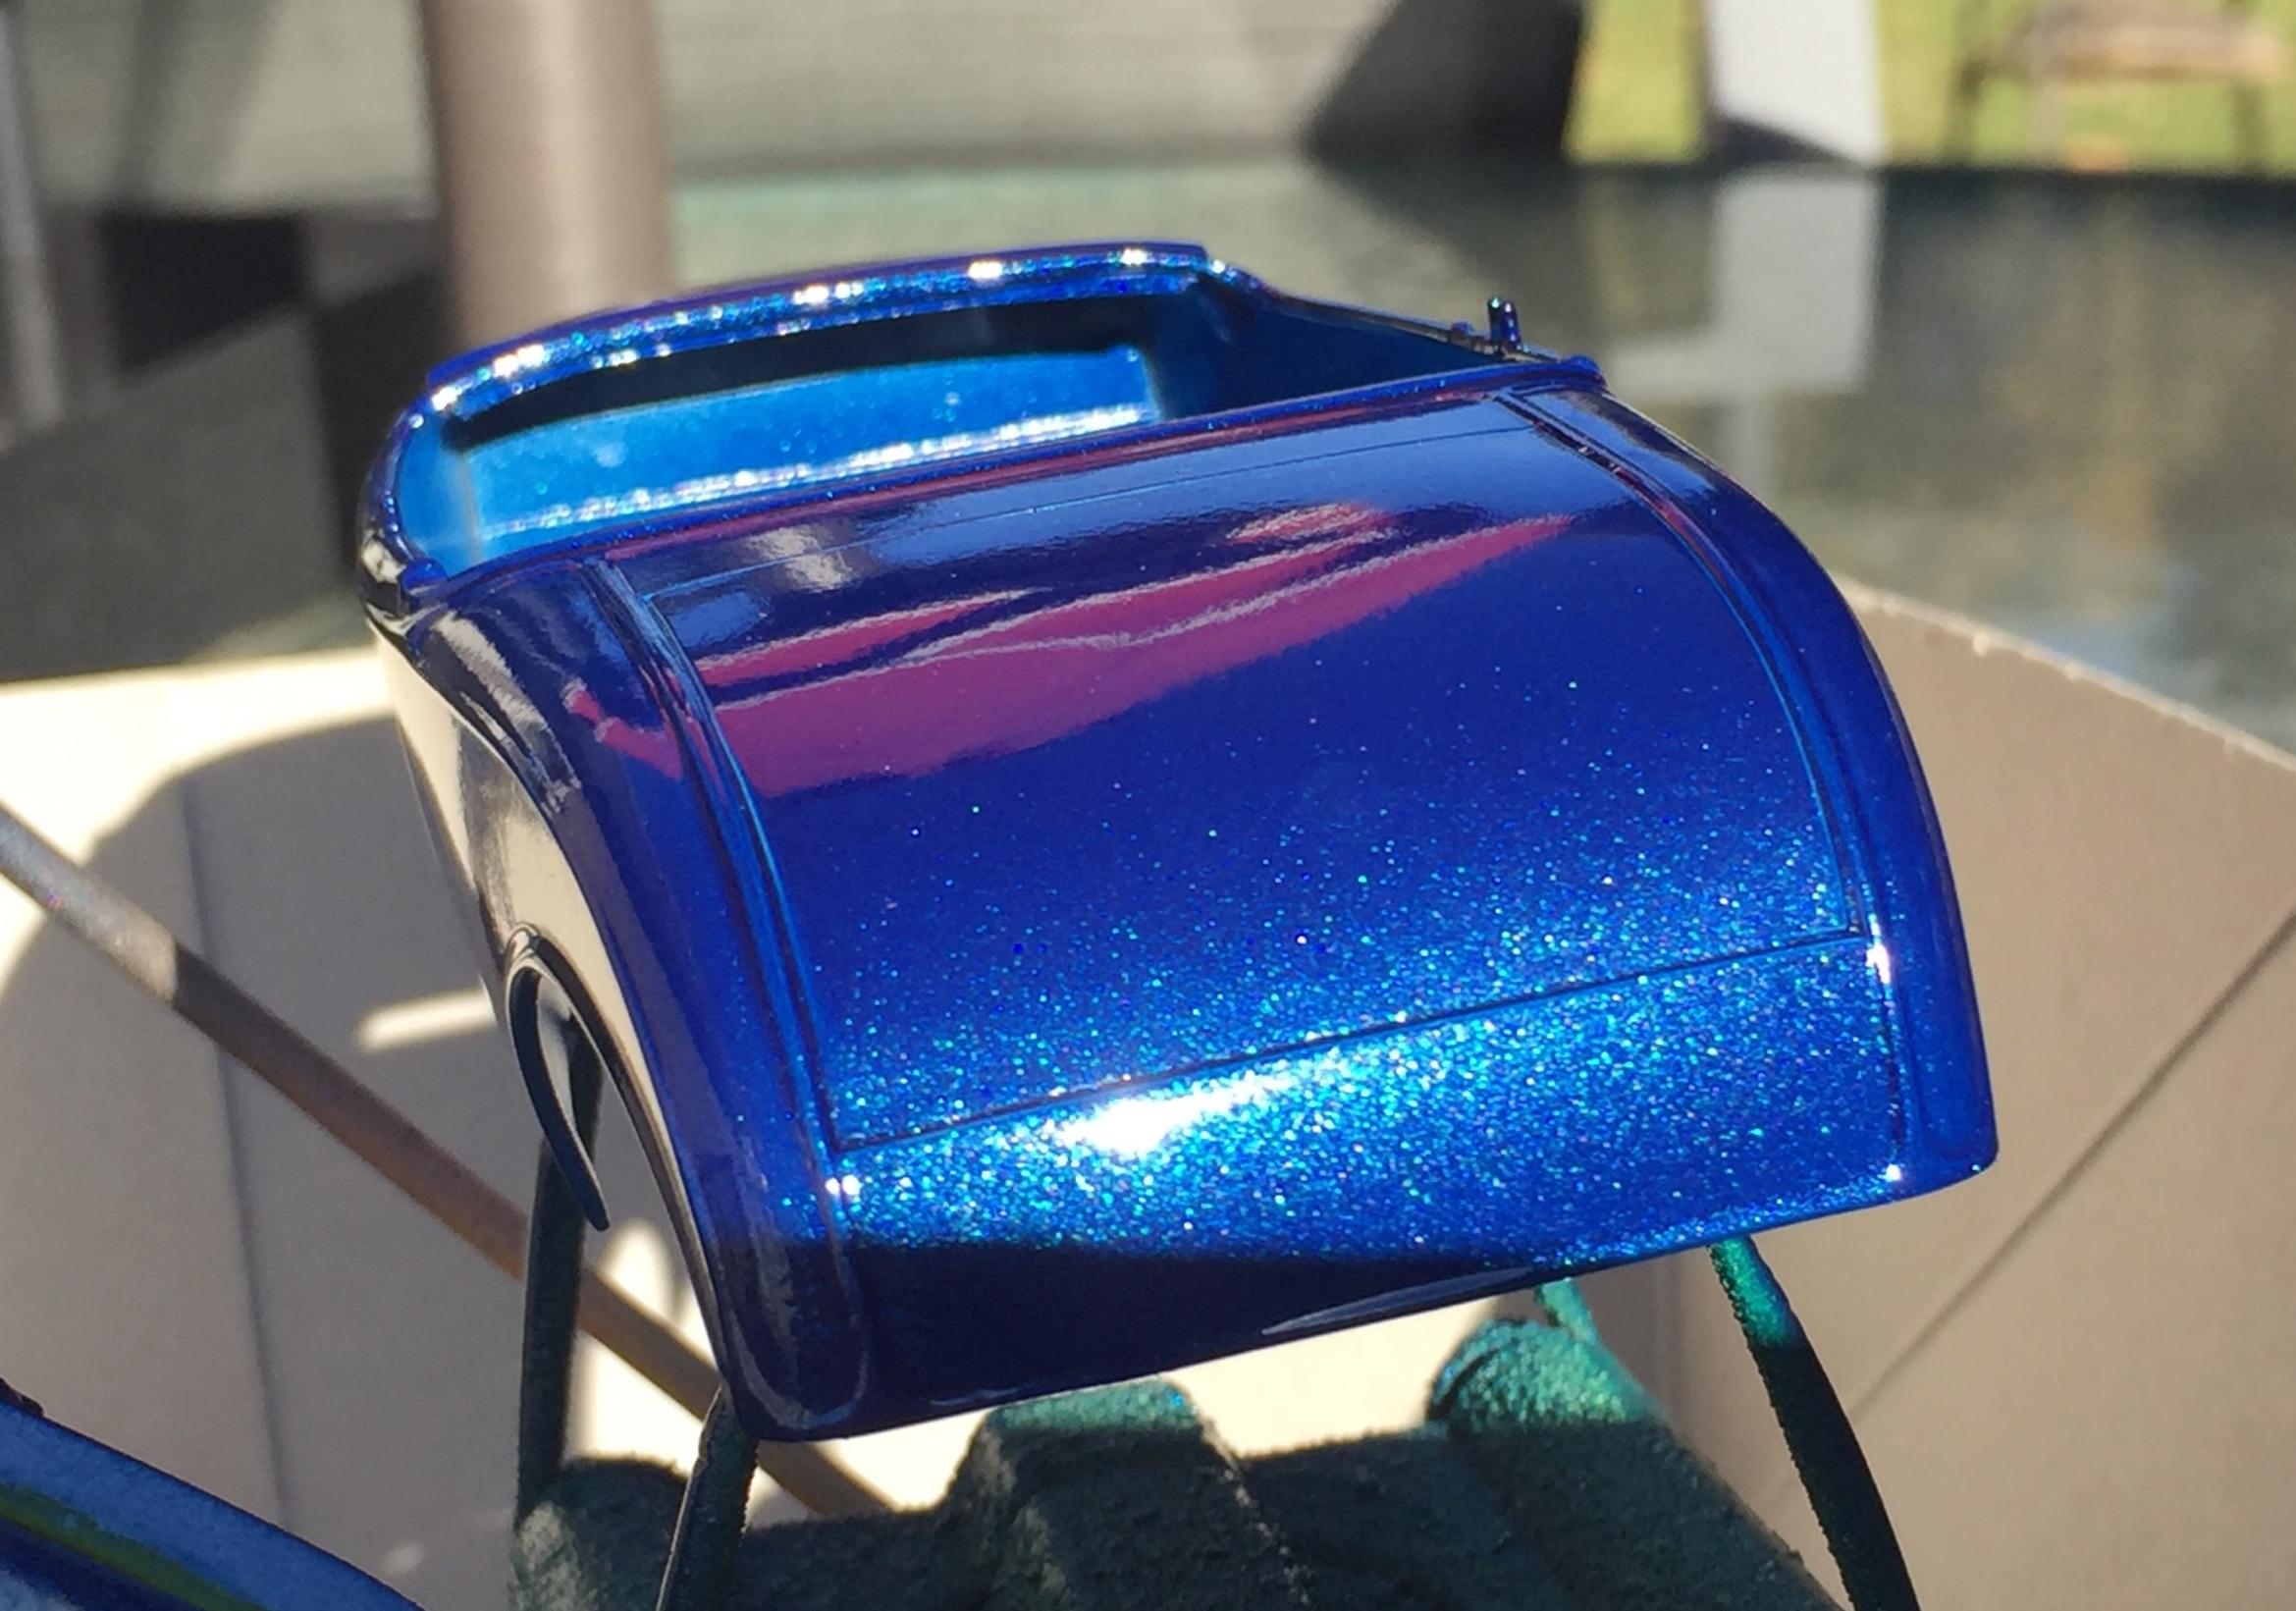
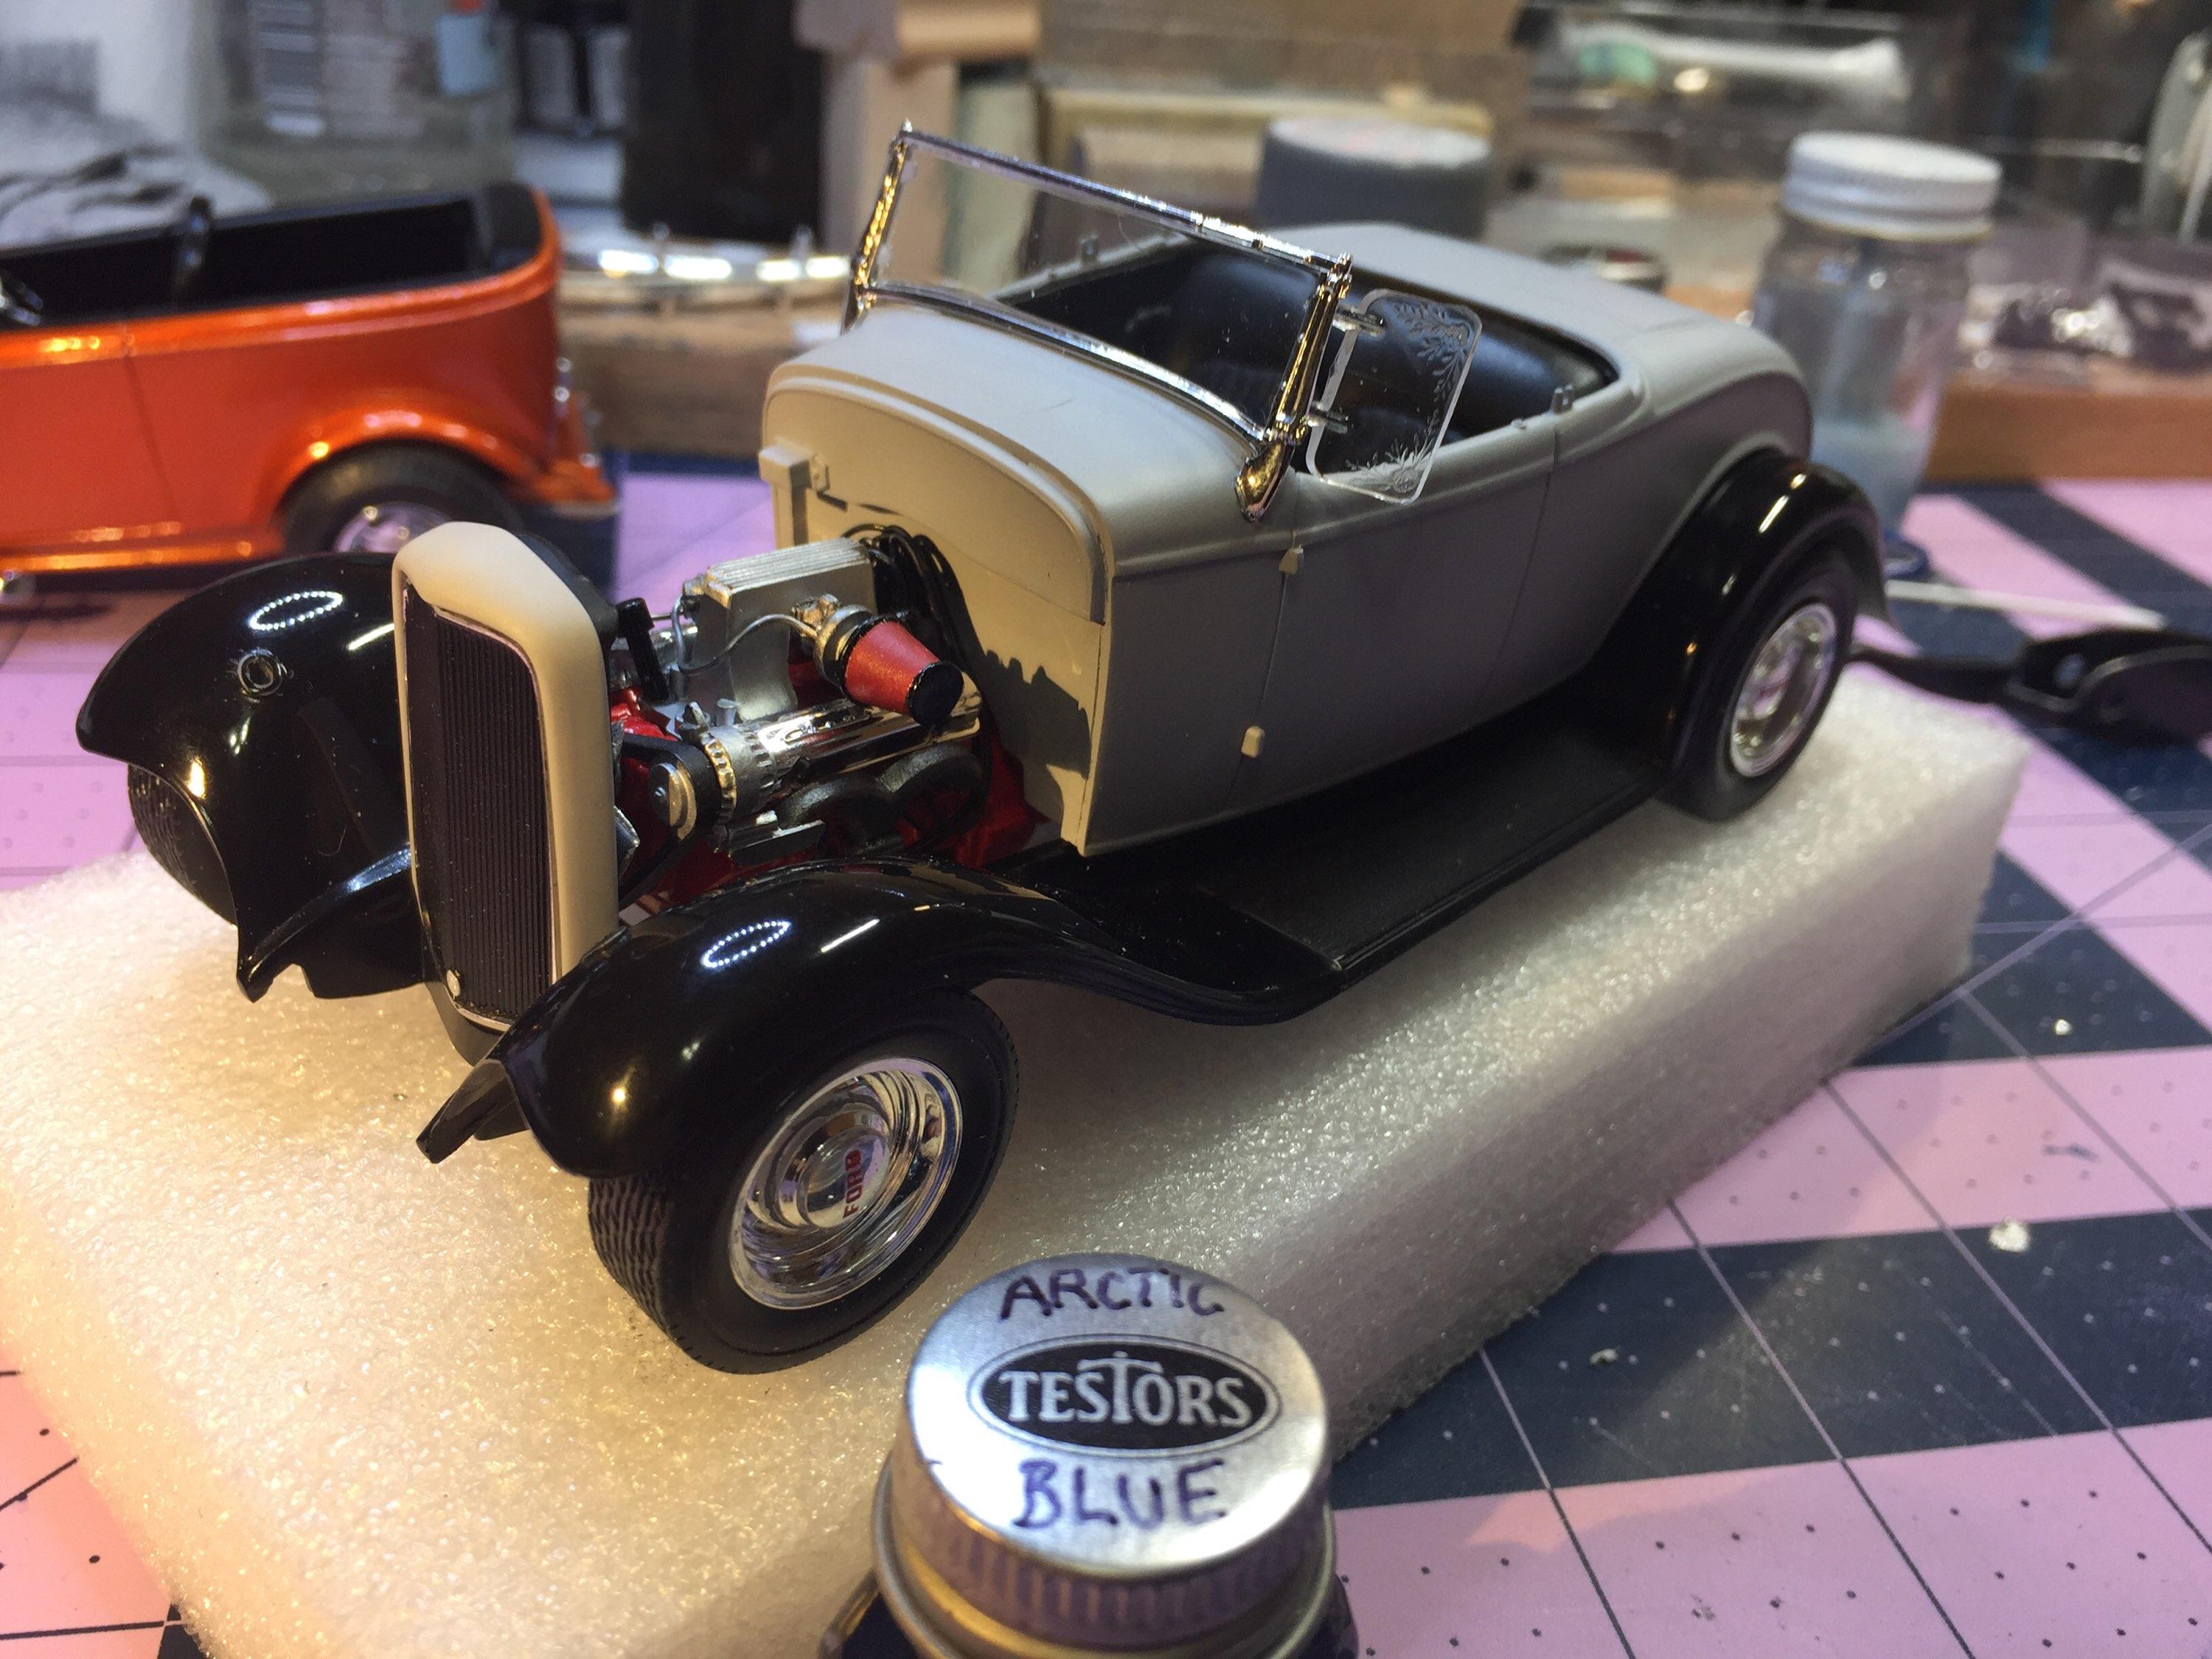
Low RH today, 43%. Ran out to the paint department and warmed up a can. This is Tamiya lacquer, Blue Pearl. The first two shots are in 4 pm sunlight. It showed thin areas so I added another coat to even it up. Yeah....a tad too bright 😪 Oh well...🤤 like I say👇
-
Yup. And they are out there gathering nuts. You could be next, Topher! 🤣
-
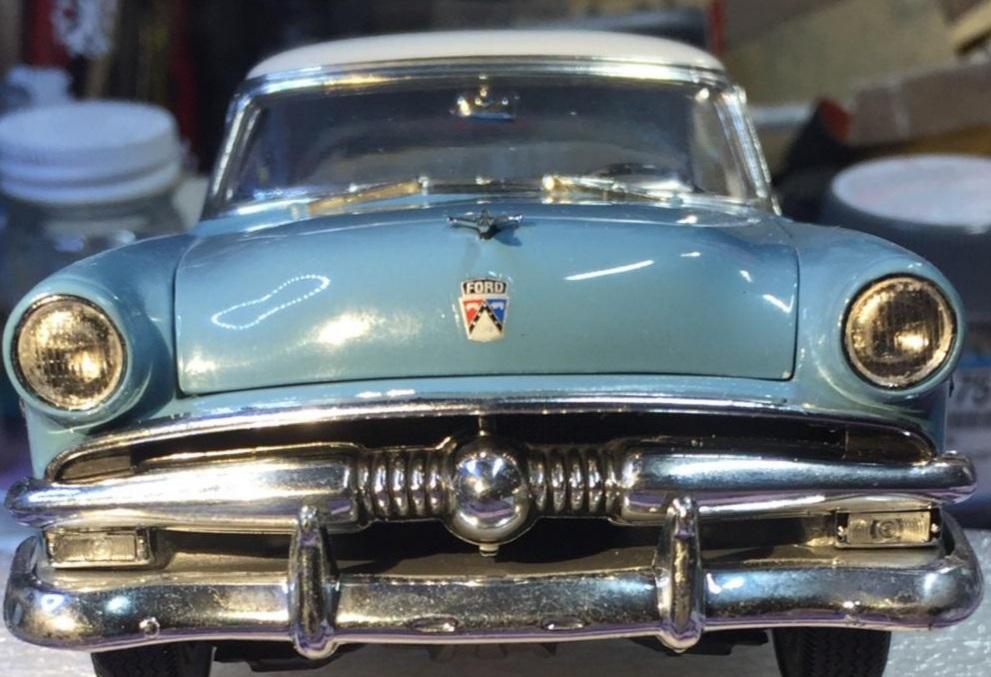
I had sprayed the bumper gloss black in preparation for Alclad II chrome, which I have used before with success. I was waiting for a good day but, in the meantime, I found FusionFirm liquid silver foil. This is a very quick way to get something looking like chrome. As far as using the clear acrylic (provided in the kit) goes, I have not. I'm listening to advice if you have some on that. The jury is still out but it's looking pretty good. They say leave it alone for a few days to fully cure and then it can be handled. So far, so good. Sorry it took such a long time on this but it's squirrel season. Thanks for stopping.
-
Thanks, Jim, it's one of my better builds. I keep a long stick with a ball of masking tape, sticky side out, on the end of it, and a Streamlight on my table. If I can't find it, it didn't deserve to be found. 😉
-
Monogram '32 roadster: a red-headed step-child.
customline replied to customline's topic in WIP: Model Cars
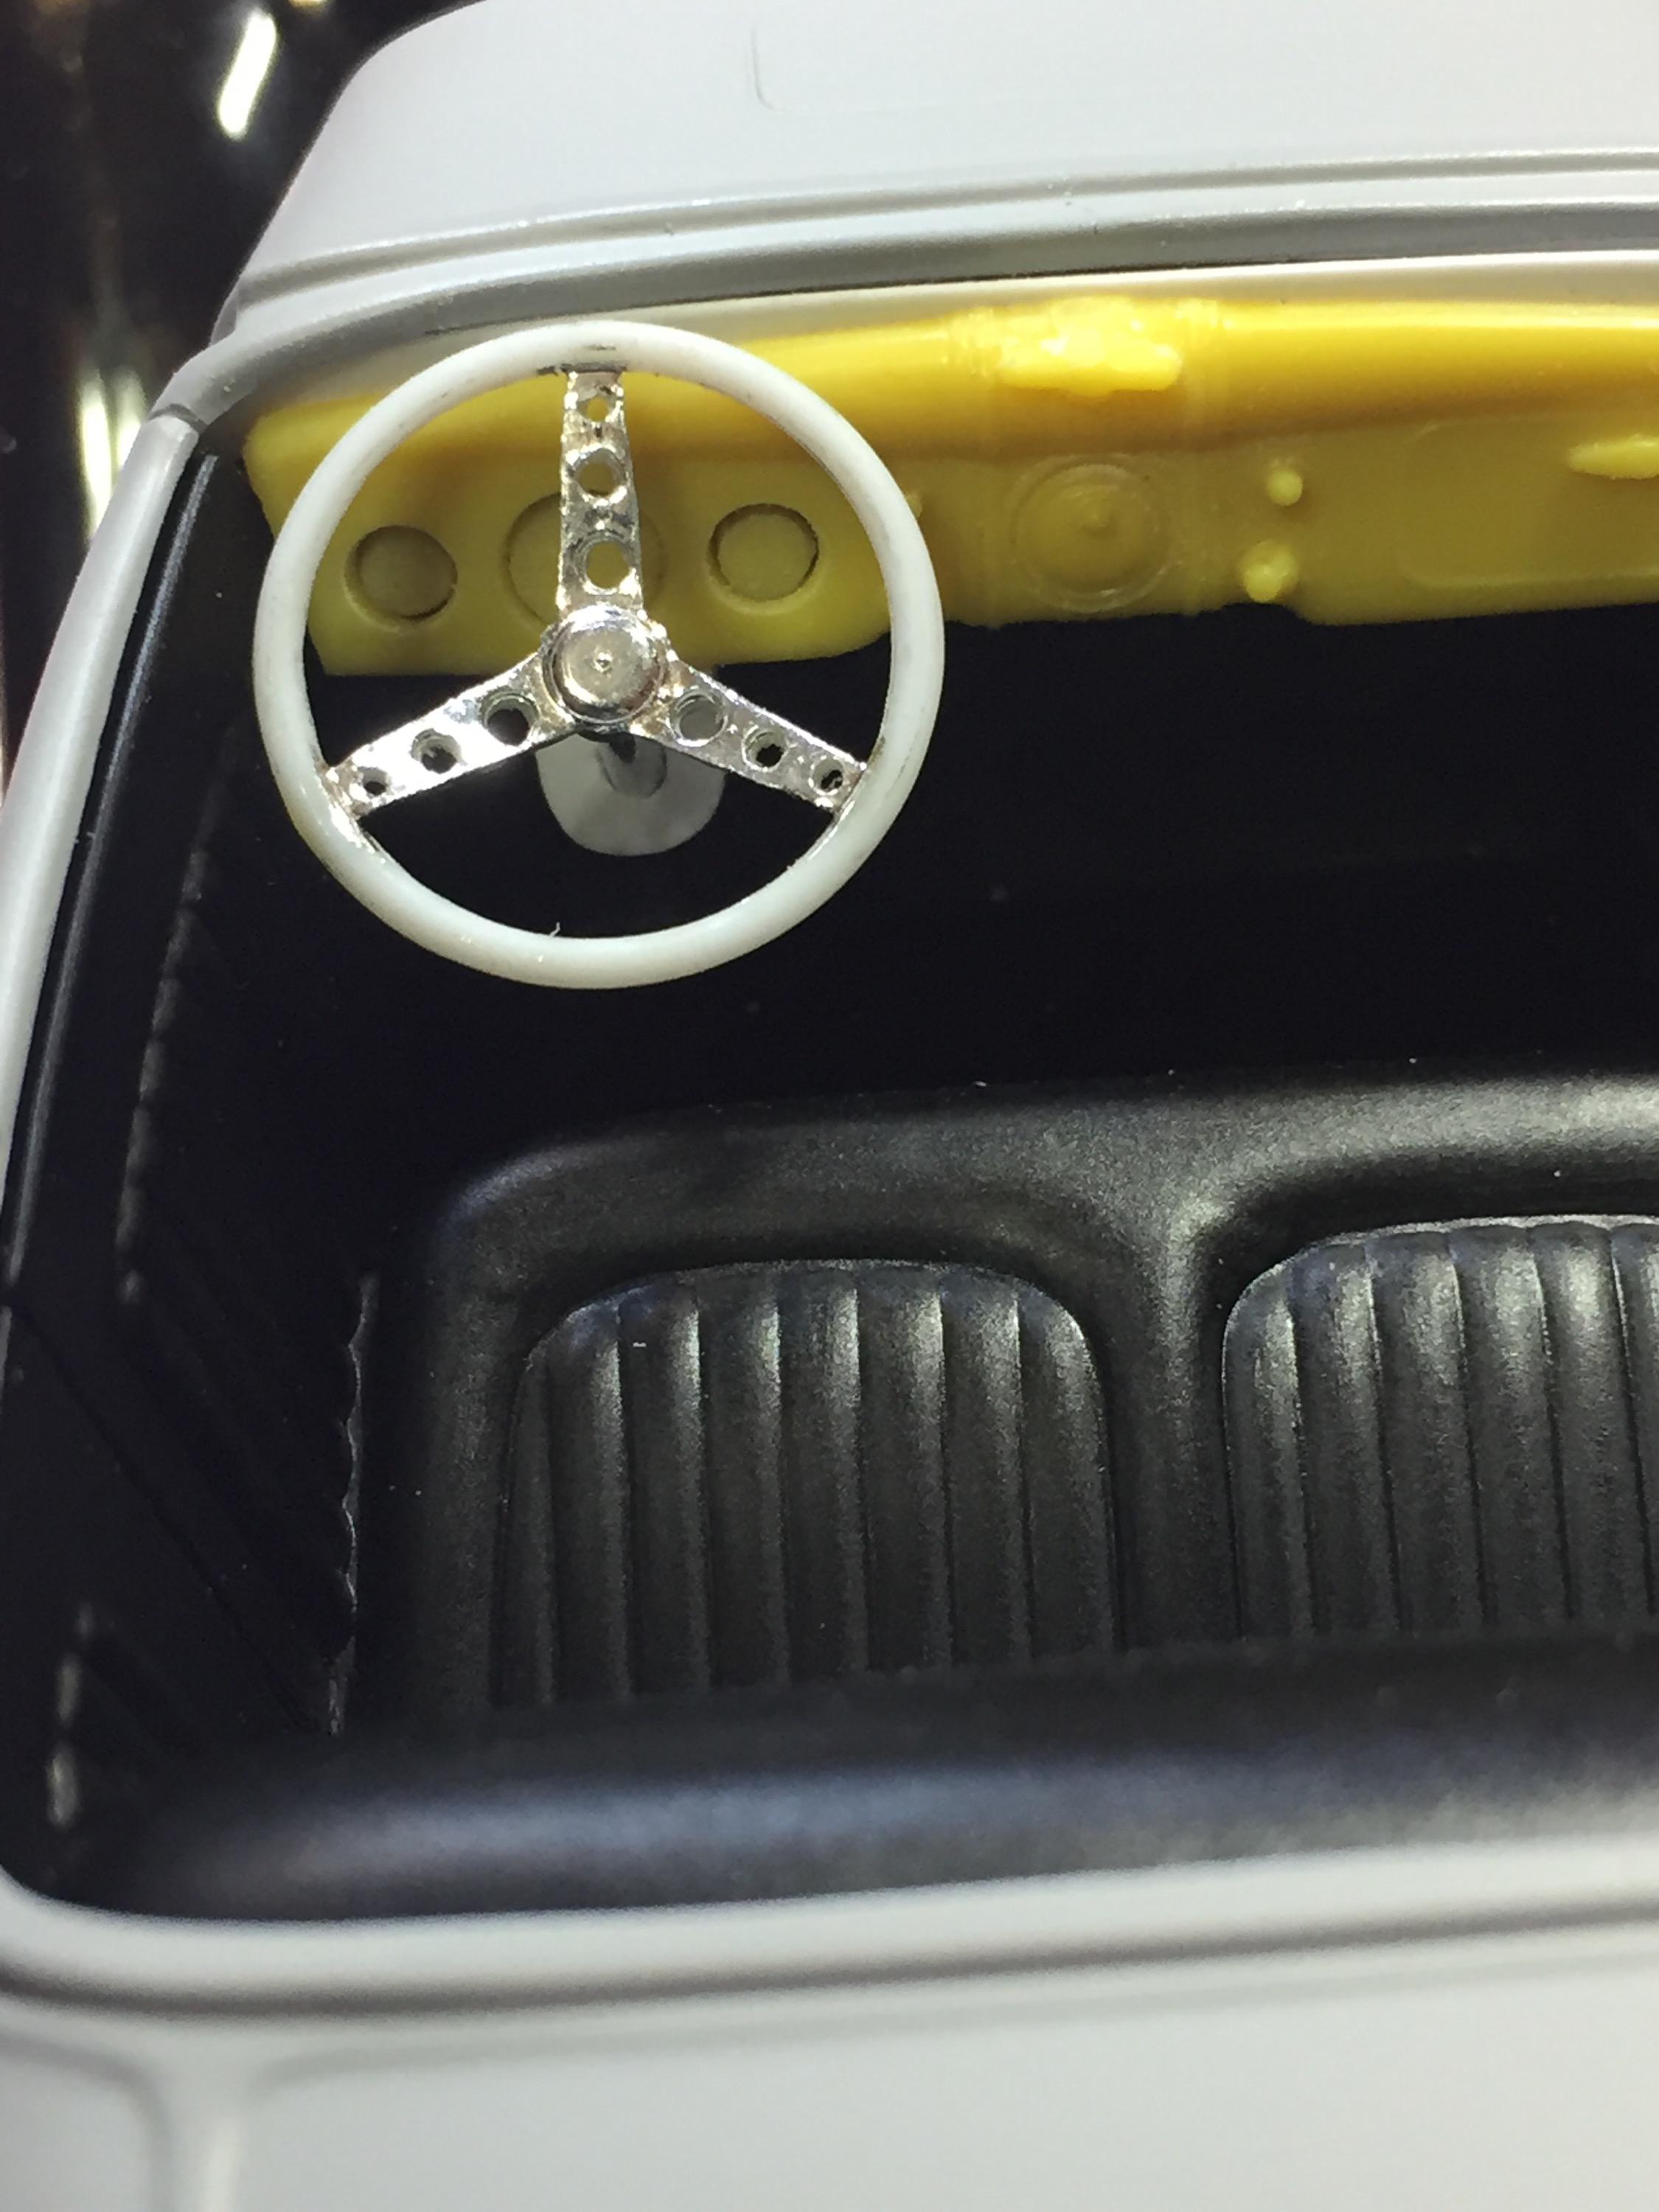
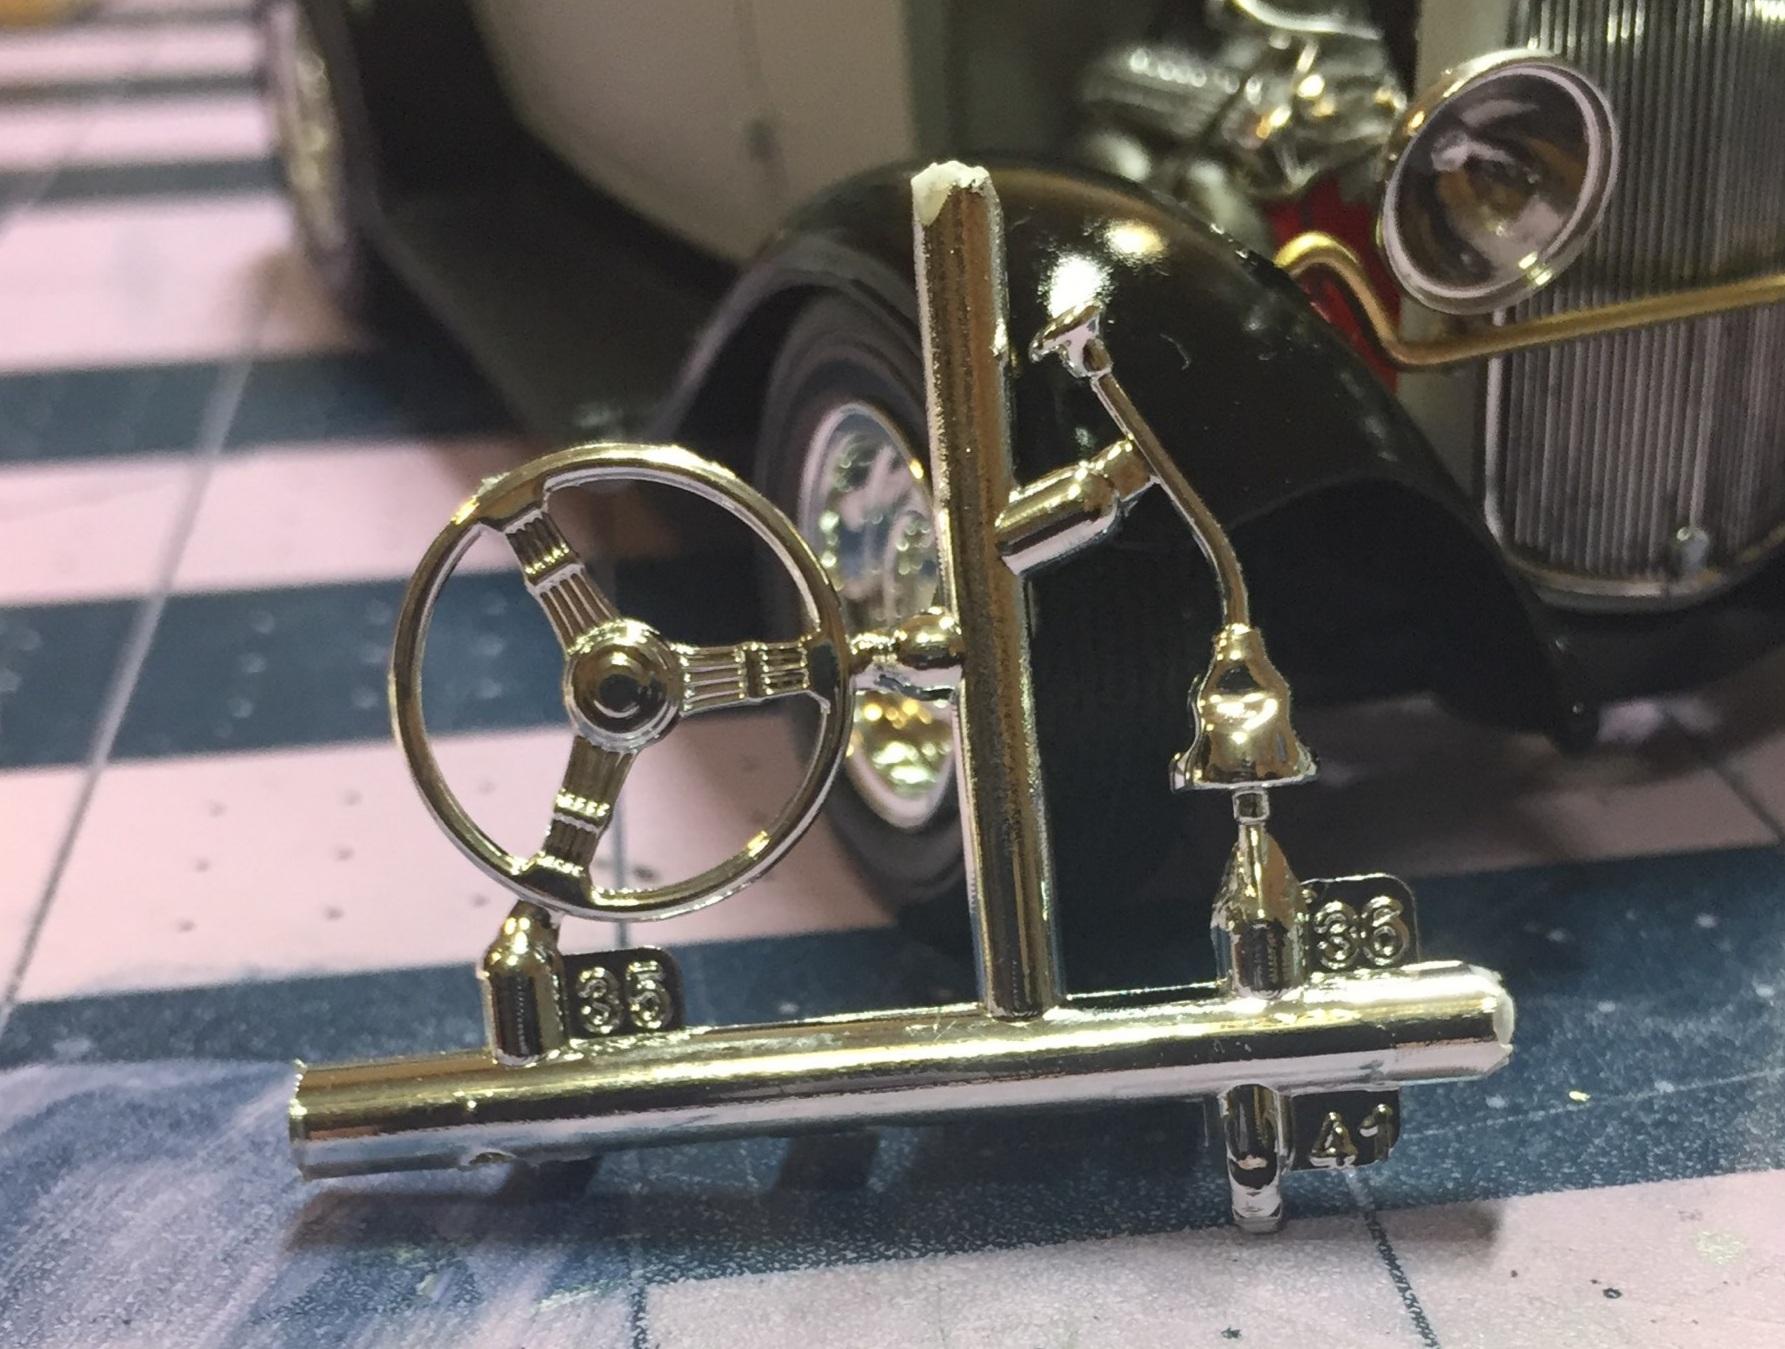
A bit more.... I drilled the steering wheel spokes and got glass in windshield frame. Oh...and I tried "frosting" the wing etchings. Nah, bad move, Jimmy 😕. I'm very close to a decision on the body color. Oh...and there's this. My first hands-on with FusionFirm. I'm very happy with it. Hey! Remember me? Got my bumper on. Yay! 😊 It ain't chrome but it matches the foil pretty good. A soft brush is all you need. The one in the bottle is good too but I melted mine trying to clean it with acetone. 😅 That's all folks 🐷 thanks for your unbridled fascination 😜
-
Monogram '32 roadster: a red-headed step-child.
customline replied to customline's topic in WIP: Model Cars
How far is it to Bangor? -
Monogram '32 roadster: a red-headed step-child.
customline replied to customline's topic in WIP: Model Cars
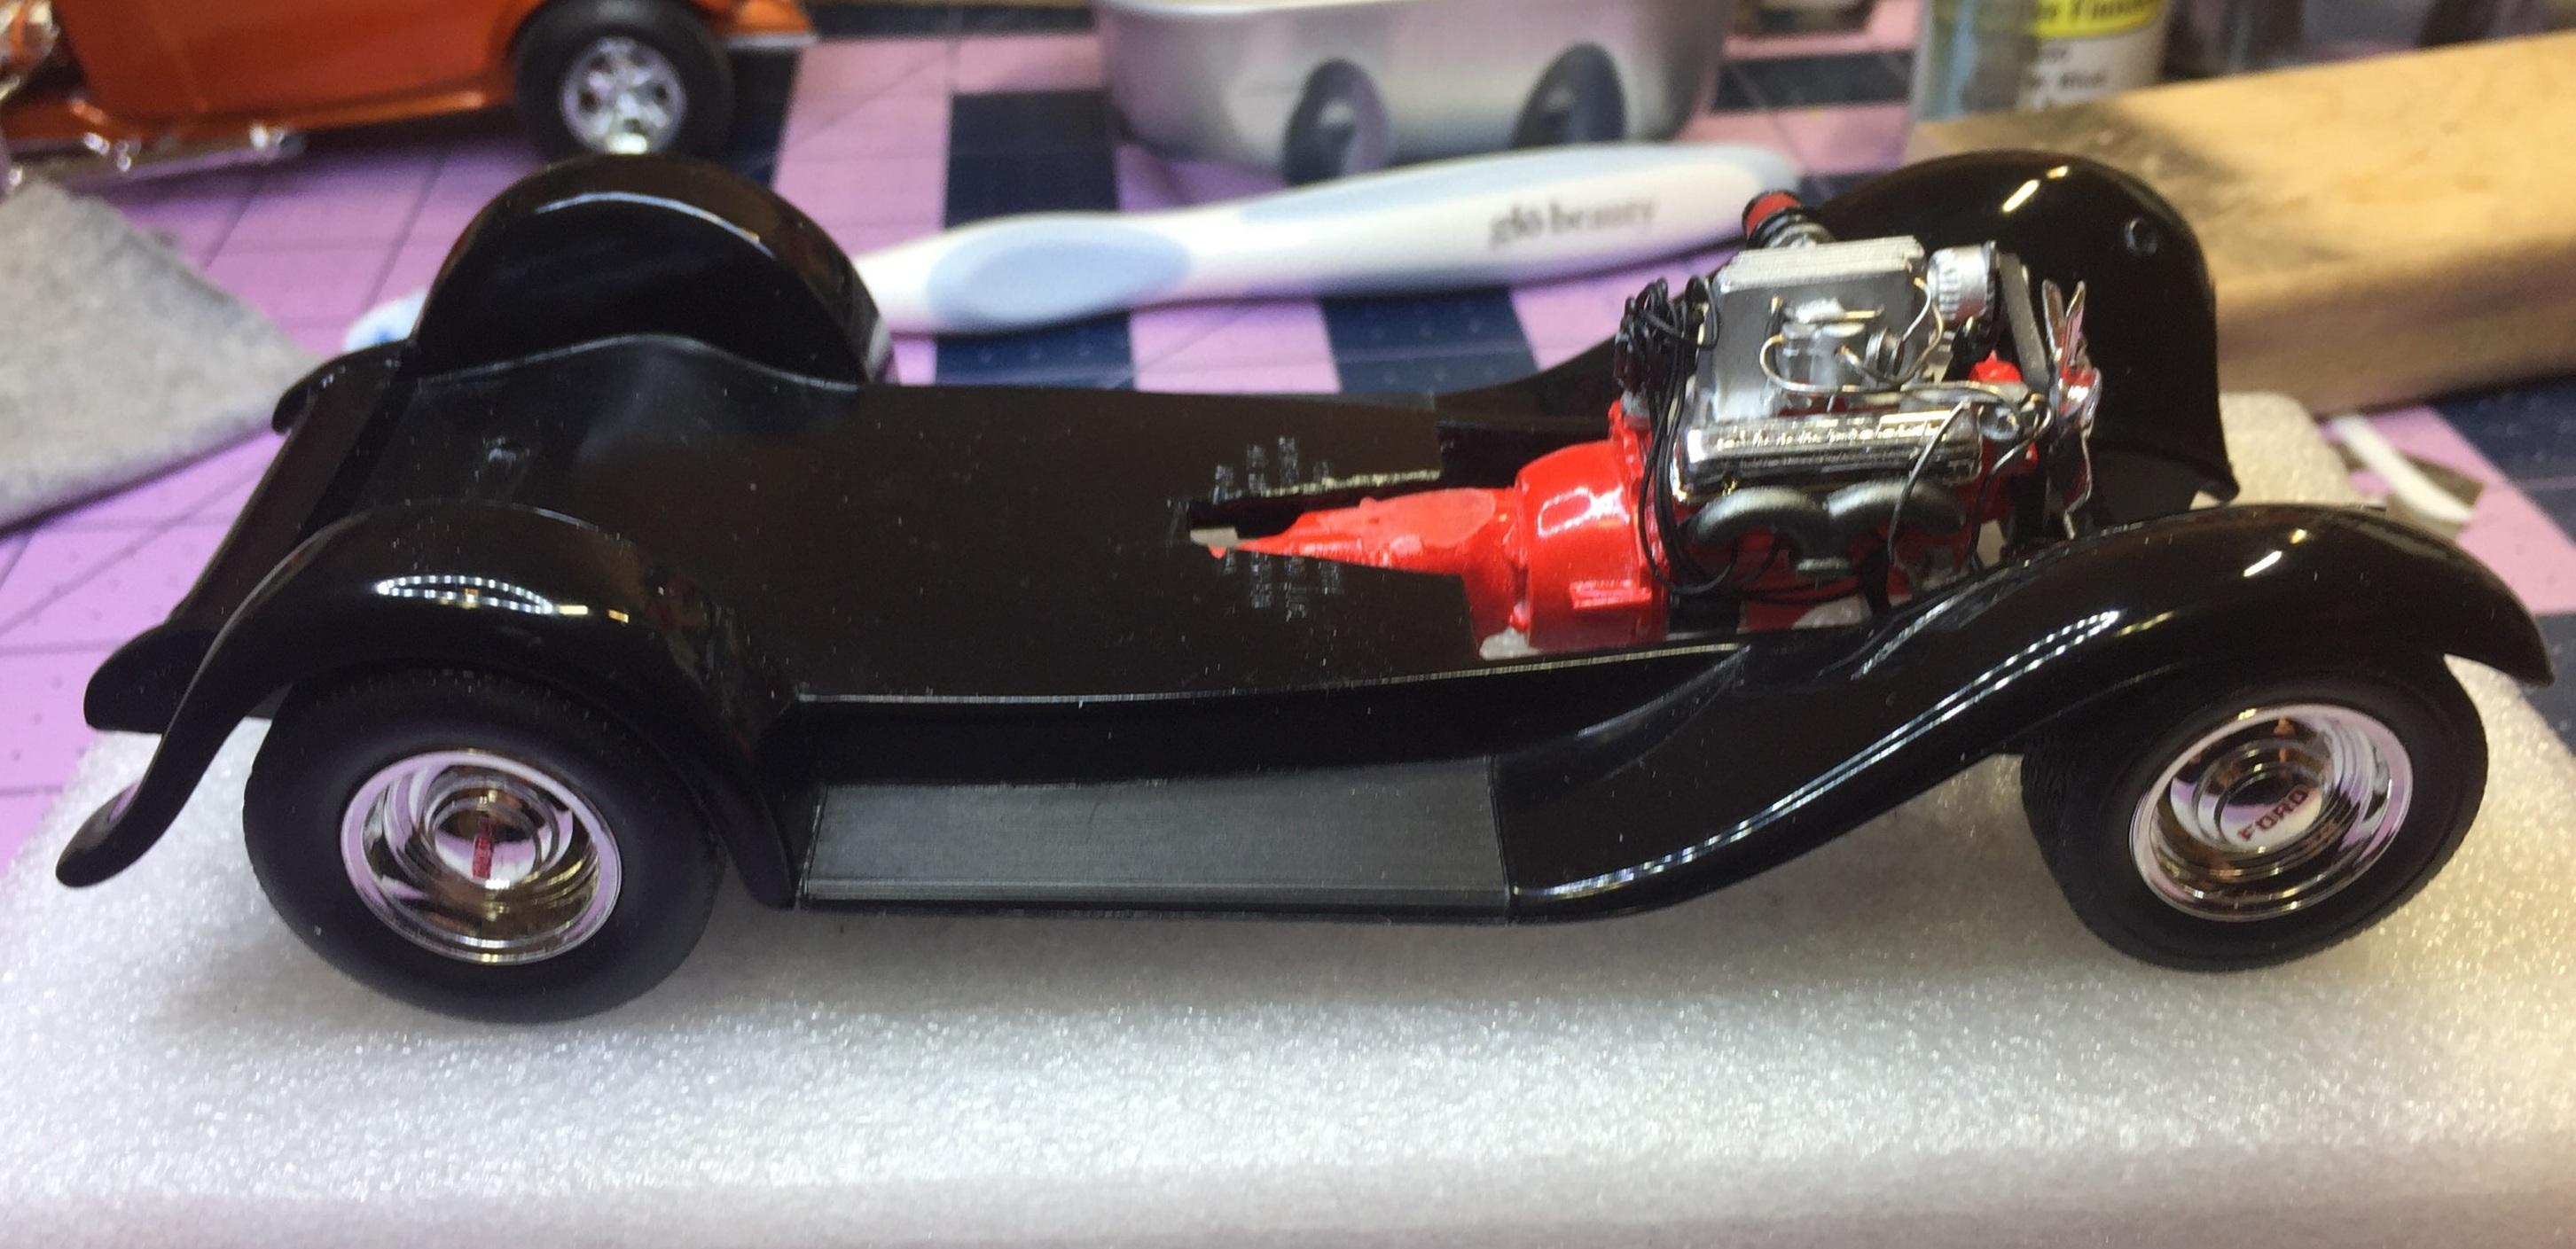
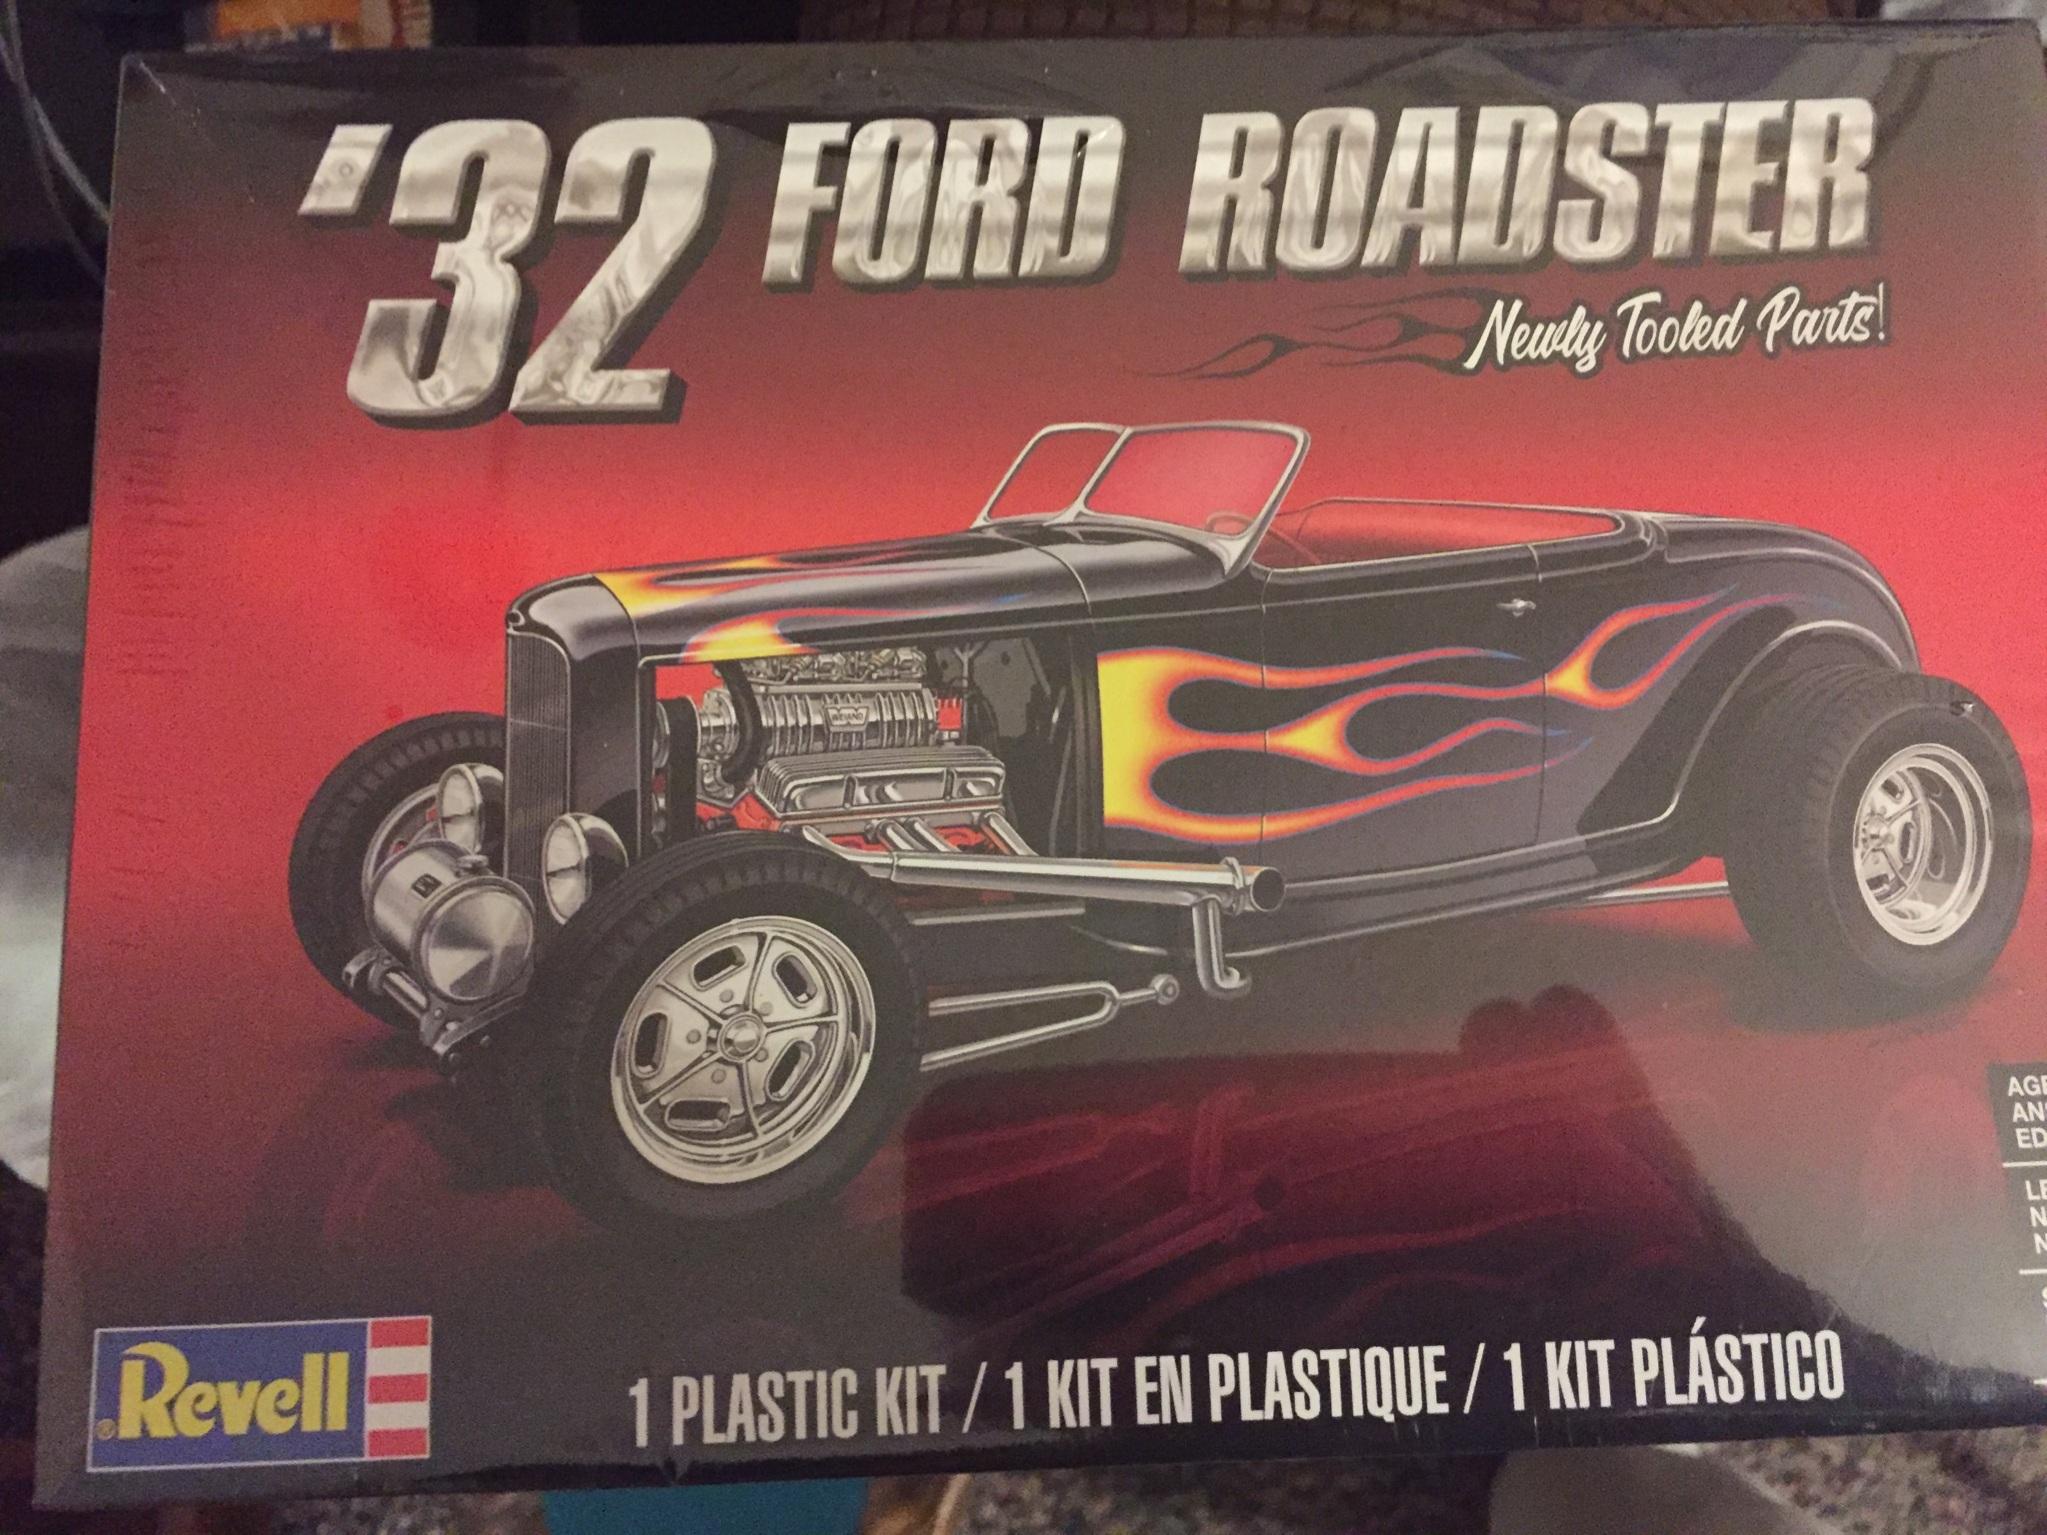
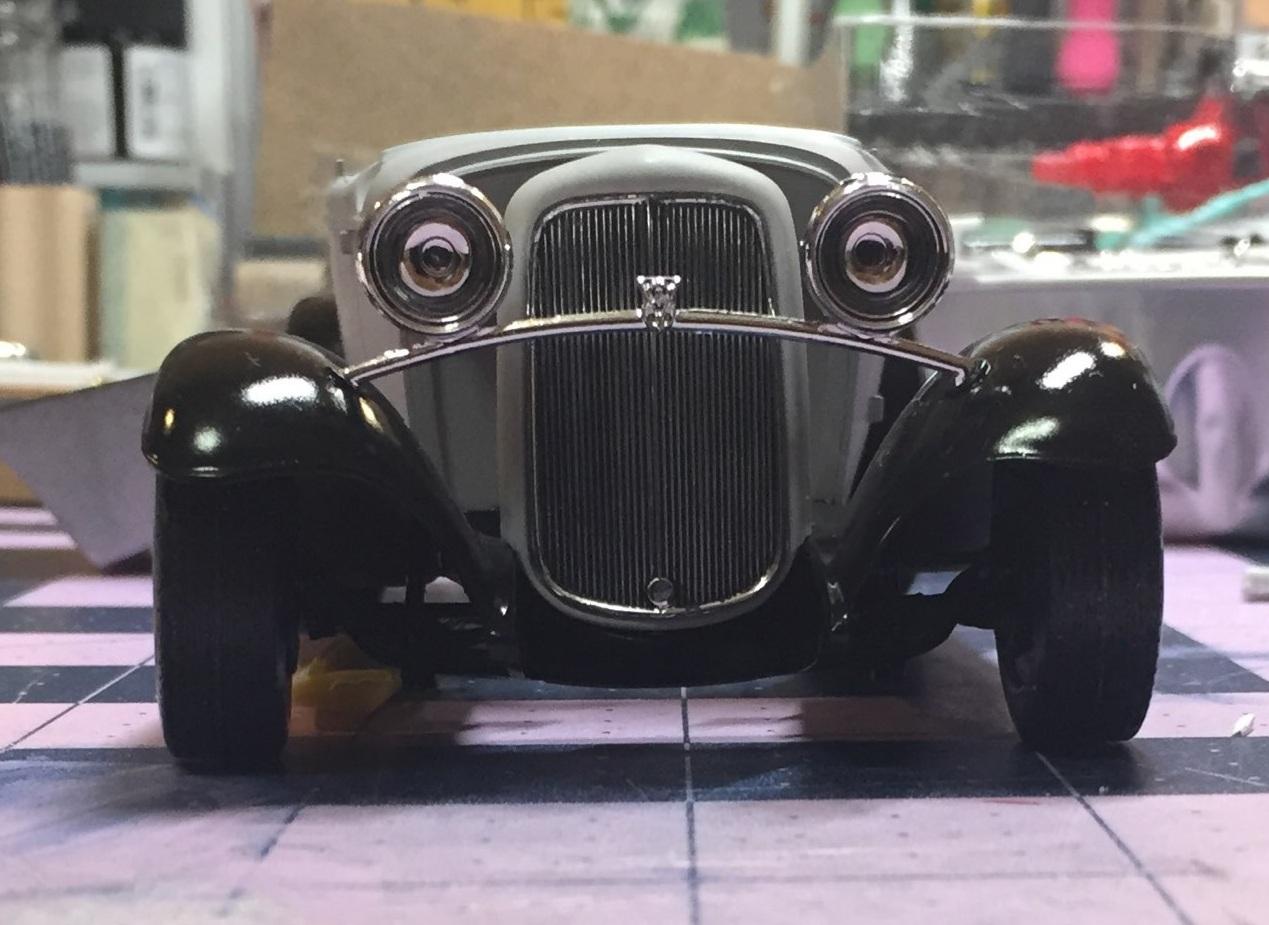
More chores done. Chrome added to headlight bar assembly. Dash mods moved ahead. Still needs column drop. I don't know where the original went. Not bad, eh? Wheels permanently attached. Hub caps added and decorated. Engine permanently attached. That's all for now but check your local Ollie's. I hit them yesterday and they had a bunch of 1:24 Monogram red-headed step children on the shelves. '56, '57 Chevys, a Firebird, a '64 1/2 mustang, and this gem. They still had the Duval and I couldn't help myself.
-
Monogram '32 roadster: a red-headed step-child.
customline replied to customline's topic in WIP: Model Cars
That's why we are here, Craig....to right the wrongs of otherwise good kits. I remember those early Monogram kits. You could whip one together in a few hours, no painting needed. I built a few. But not this one, until now. When I was 11 years old, I think I would have spotted the gas tank thing but wouldn't have cared. That's why they did what they did. It was just for kids. -
Monogram '32 roadster: a red-headed step-child.
customline replied to customline's topic in WIP: Model Cars
Thanks, Greg, it was fun 🙁. How about Ford Glacier Blue?
-
Monogram '32 roadster: a red-headed step-child.
customline replied to customline's topic in WIP: Model Cars
Third time's the charm, Bil. 🙂 -
Monogram '32 roadster: a red-headed step-child.
customline replied to customline's topic in WIP: Model Cars
Third time's the charm, Bil. 🙂 -
Monogram '32 roadster: a red-headed step-child.
customline replied to customline's topic in WIP: Model Cars
No, Topher, not that IPA. The other one !🥴 -
Monogram '32 roadster: a red-headed step-child.
customline replied to customline's topic in WIP: Model Cars
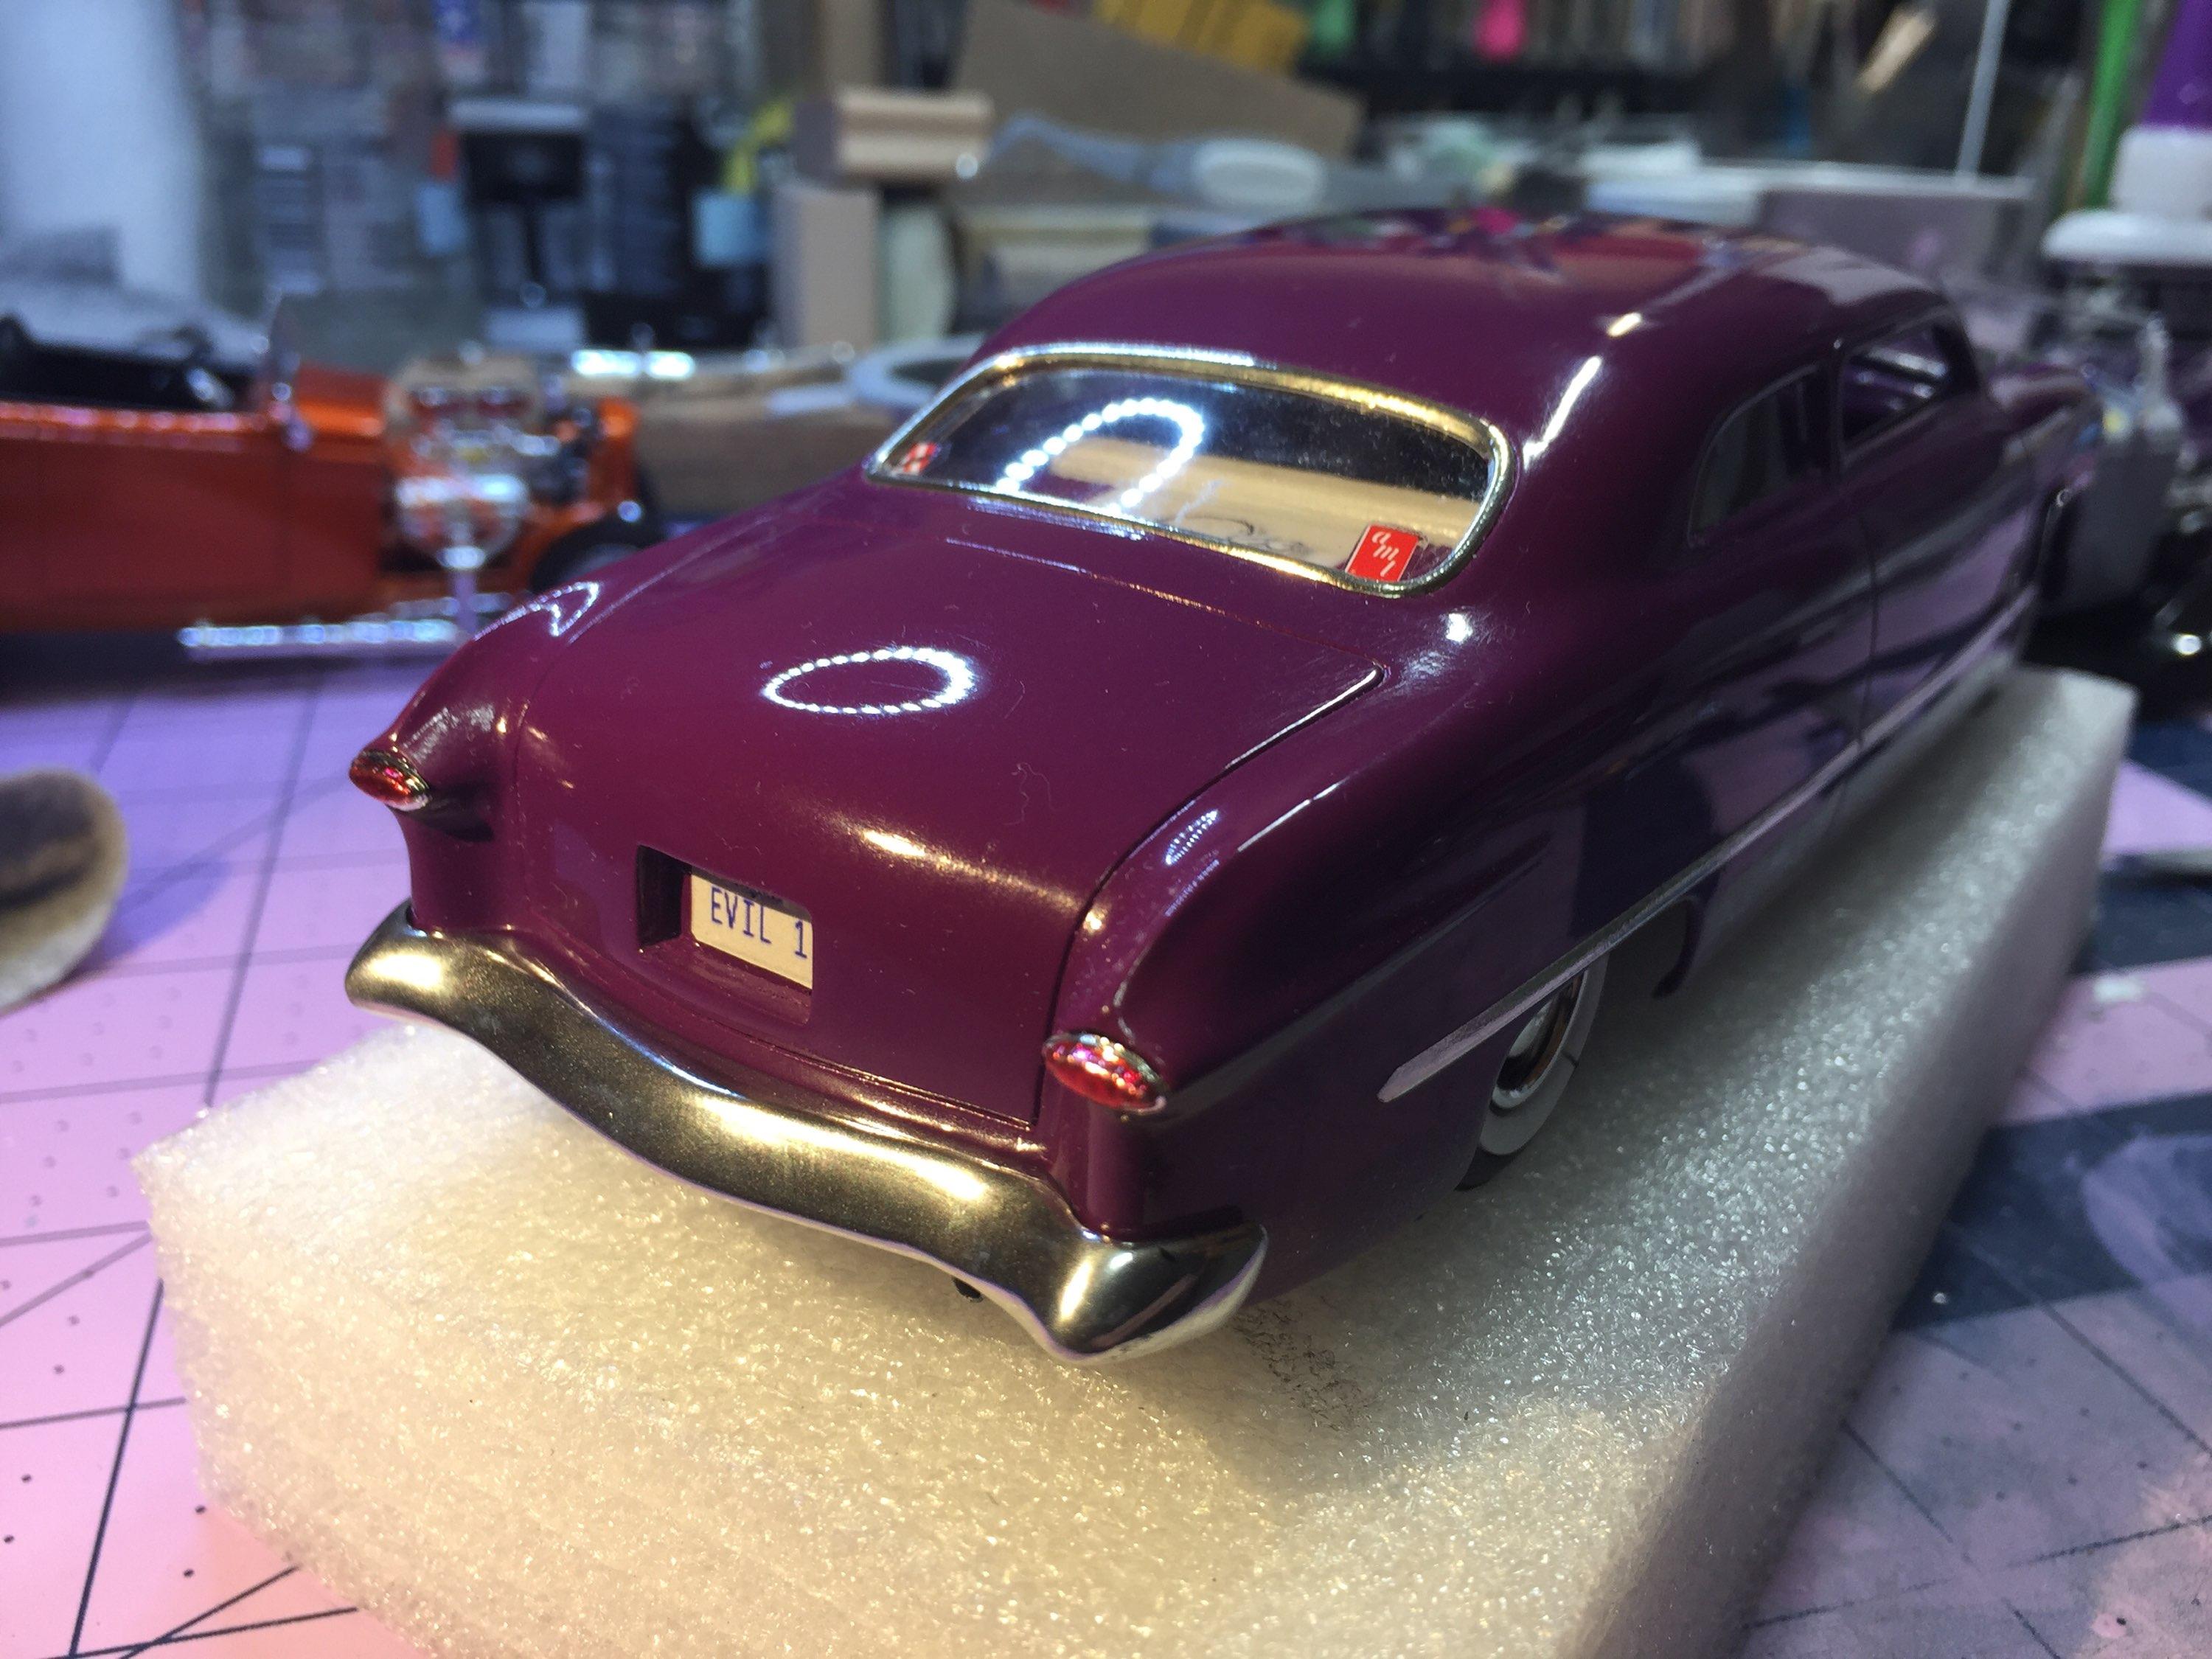
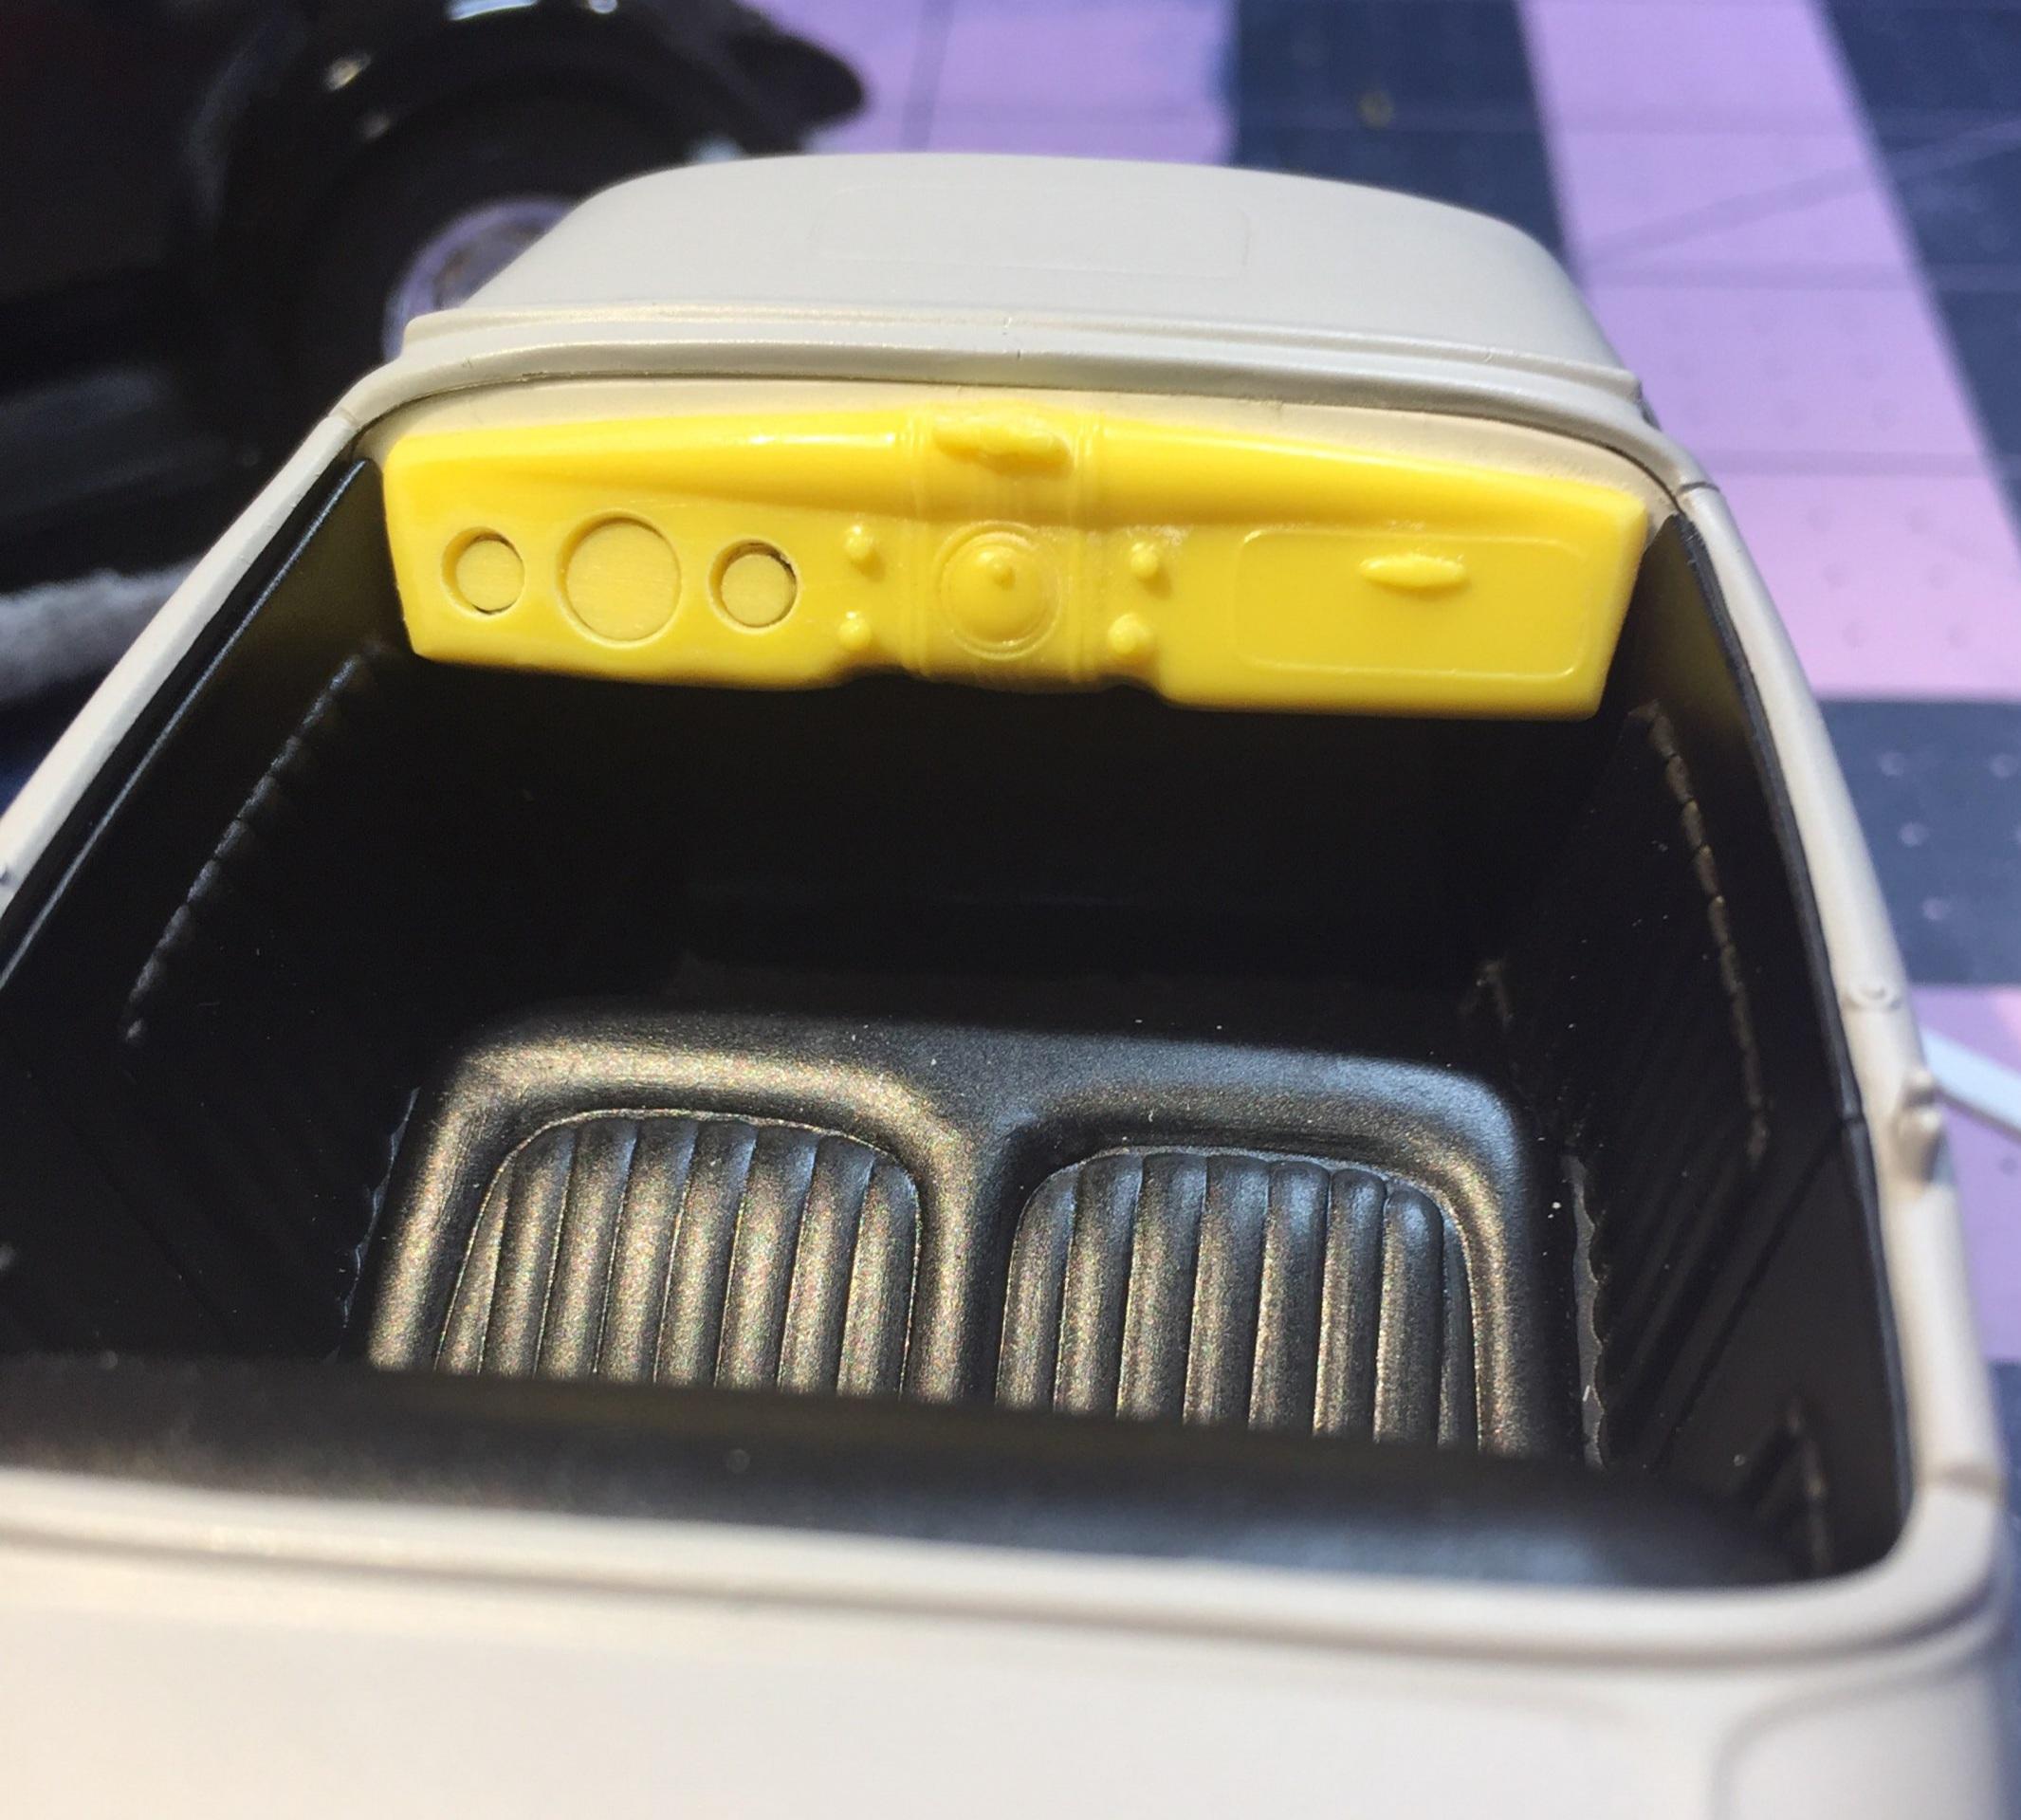
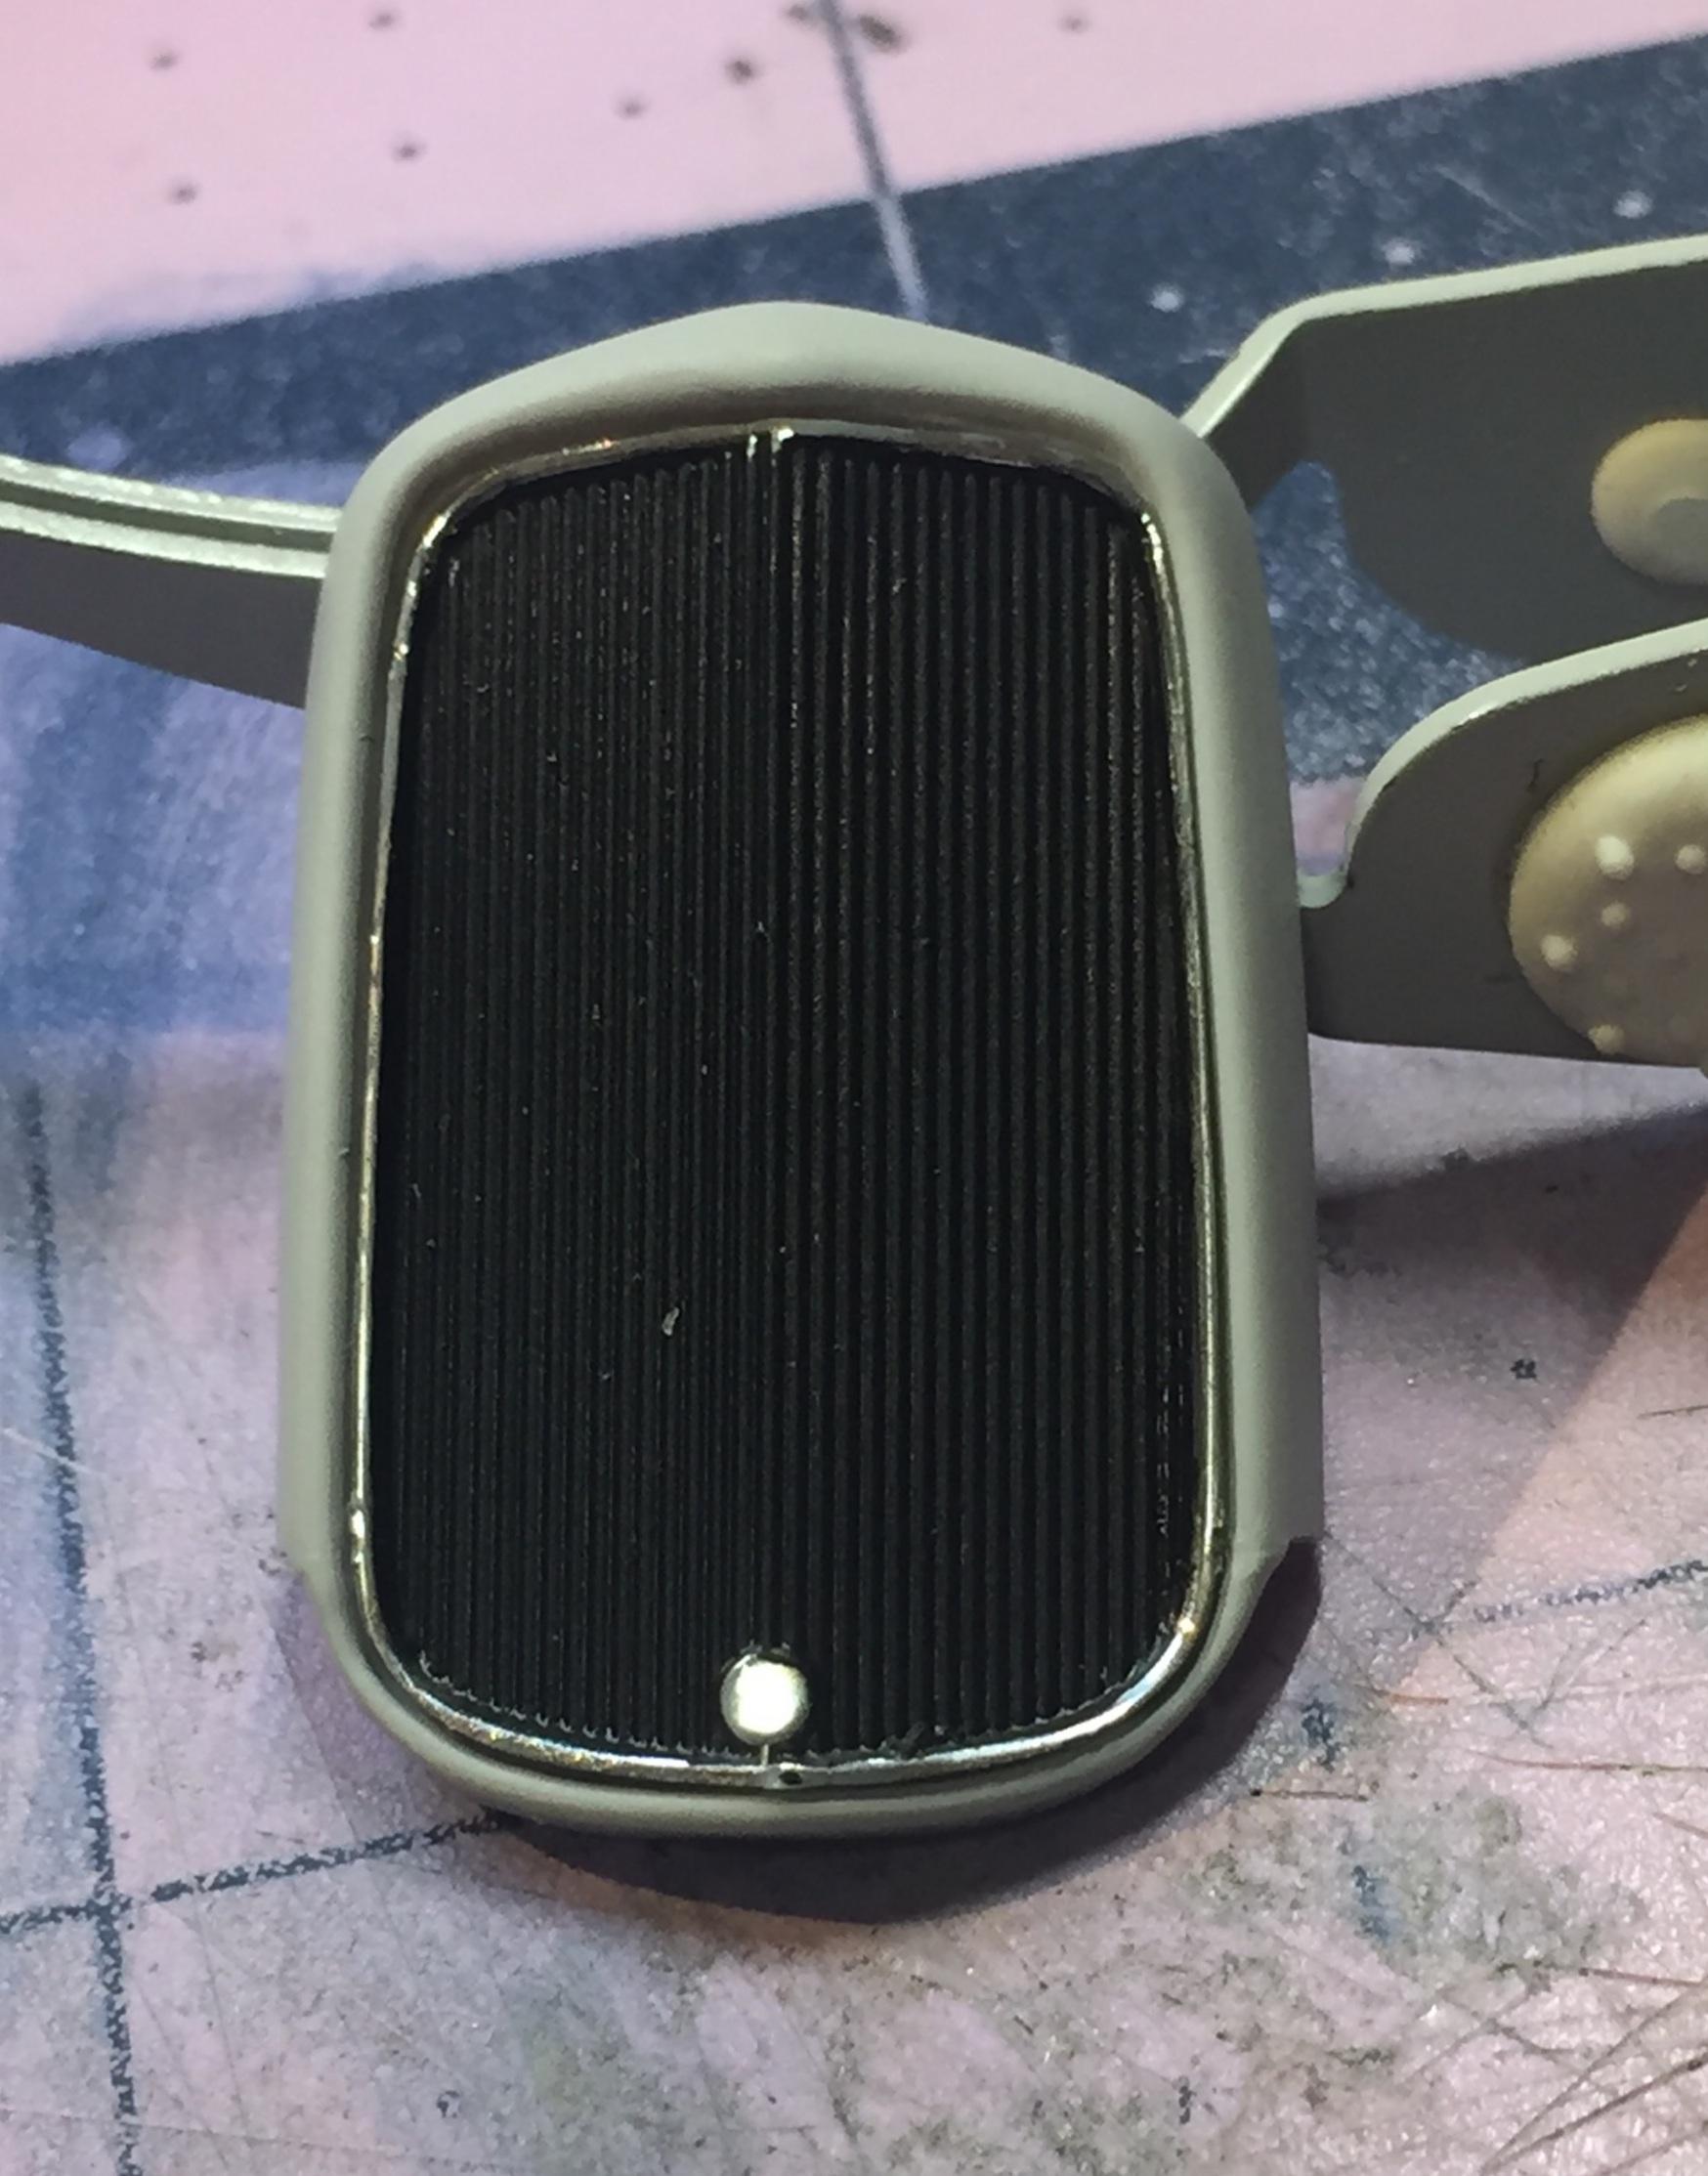
Got some chores done I polished the fenders.... I accomplished this with a 30w pencil and rosin core stuff. I don't recommend it. I know what I gotta do next time. Anything else. I faced the rain this afternoon to get a bit of s/g black done. Gonna be a tiny bit dramatic. With this in mind, I'm wondering about color again. I drive myself crazy. Always liked this look. I sprayed it and swabbed the perimeter trim with IPA. I missed a spot 🤓. I'm giving this a shot. I found the "instruments " and they'll do to plug the holes, I guess. I welded some .020 sheet to the back of the '36 dash. Later I will reinforce with CA and then shape it to play well with the underside of the cowl. Then I deal with the tub. It'll work. 🥴 thanks for understanding.
-
Monogram '32 roadster: a red-headed step-child.
customline replied to customline's topic in WIP: Model Cars
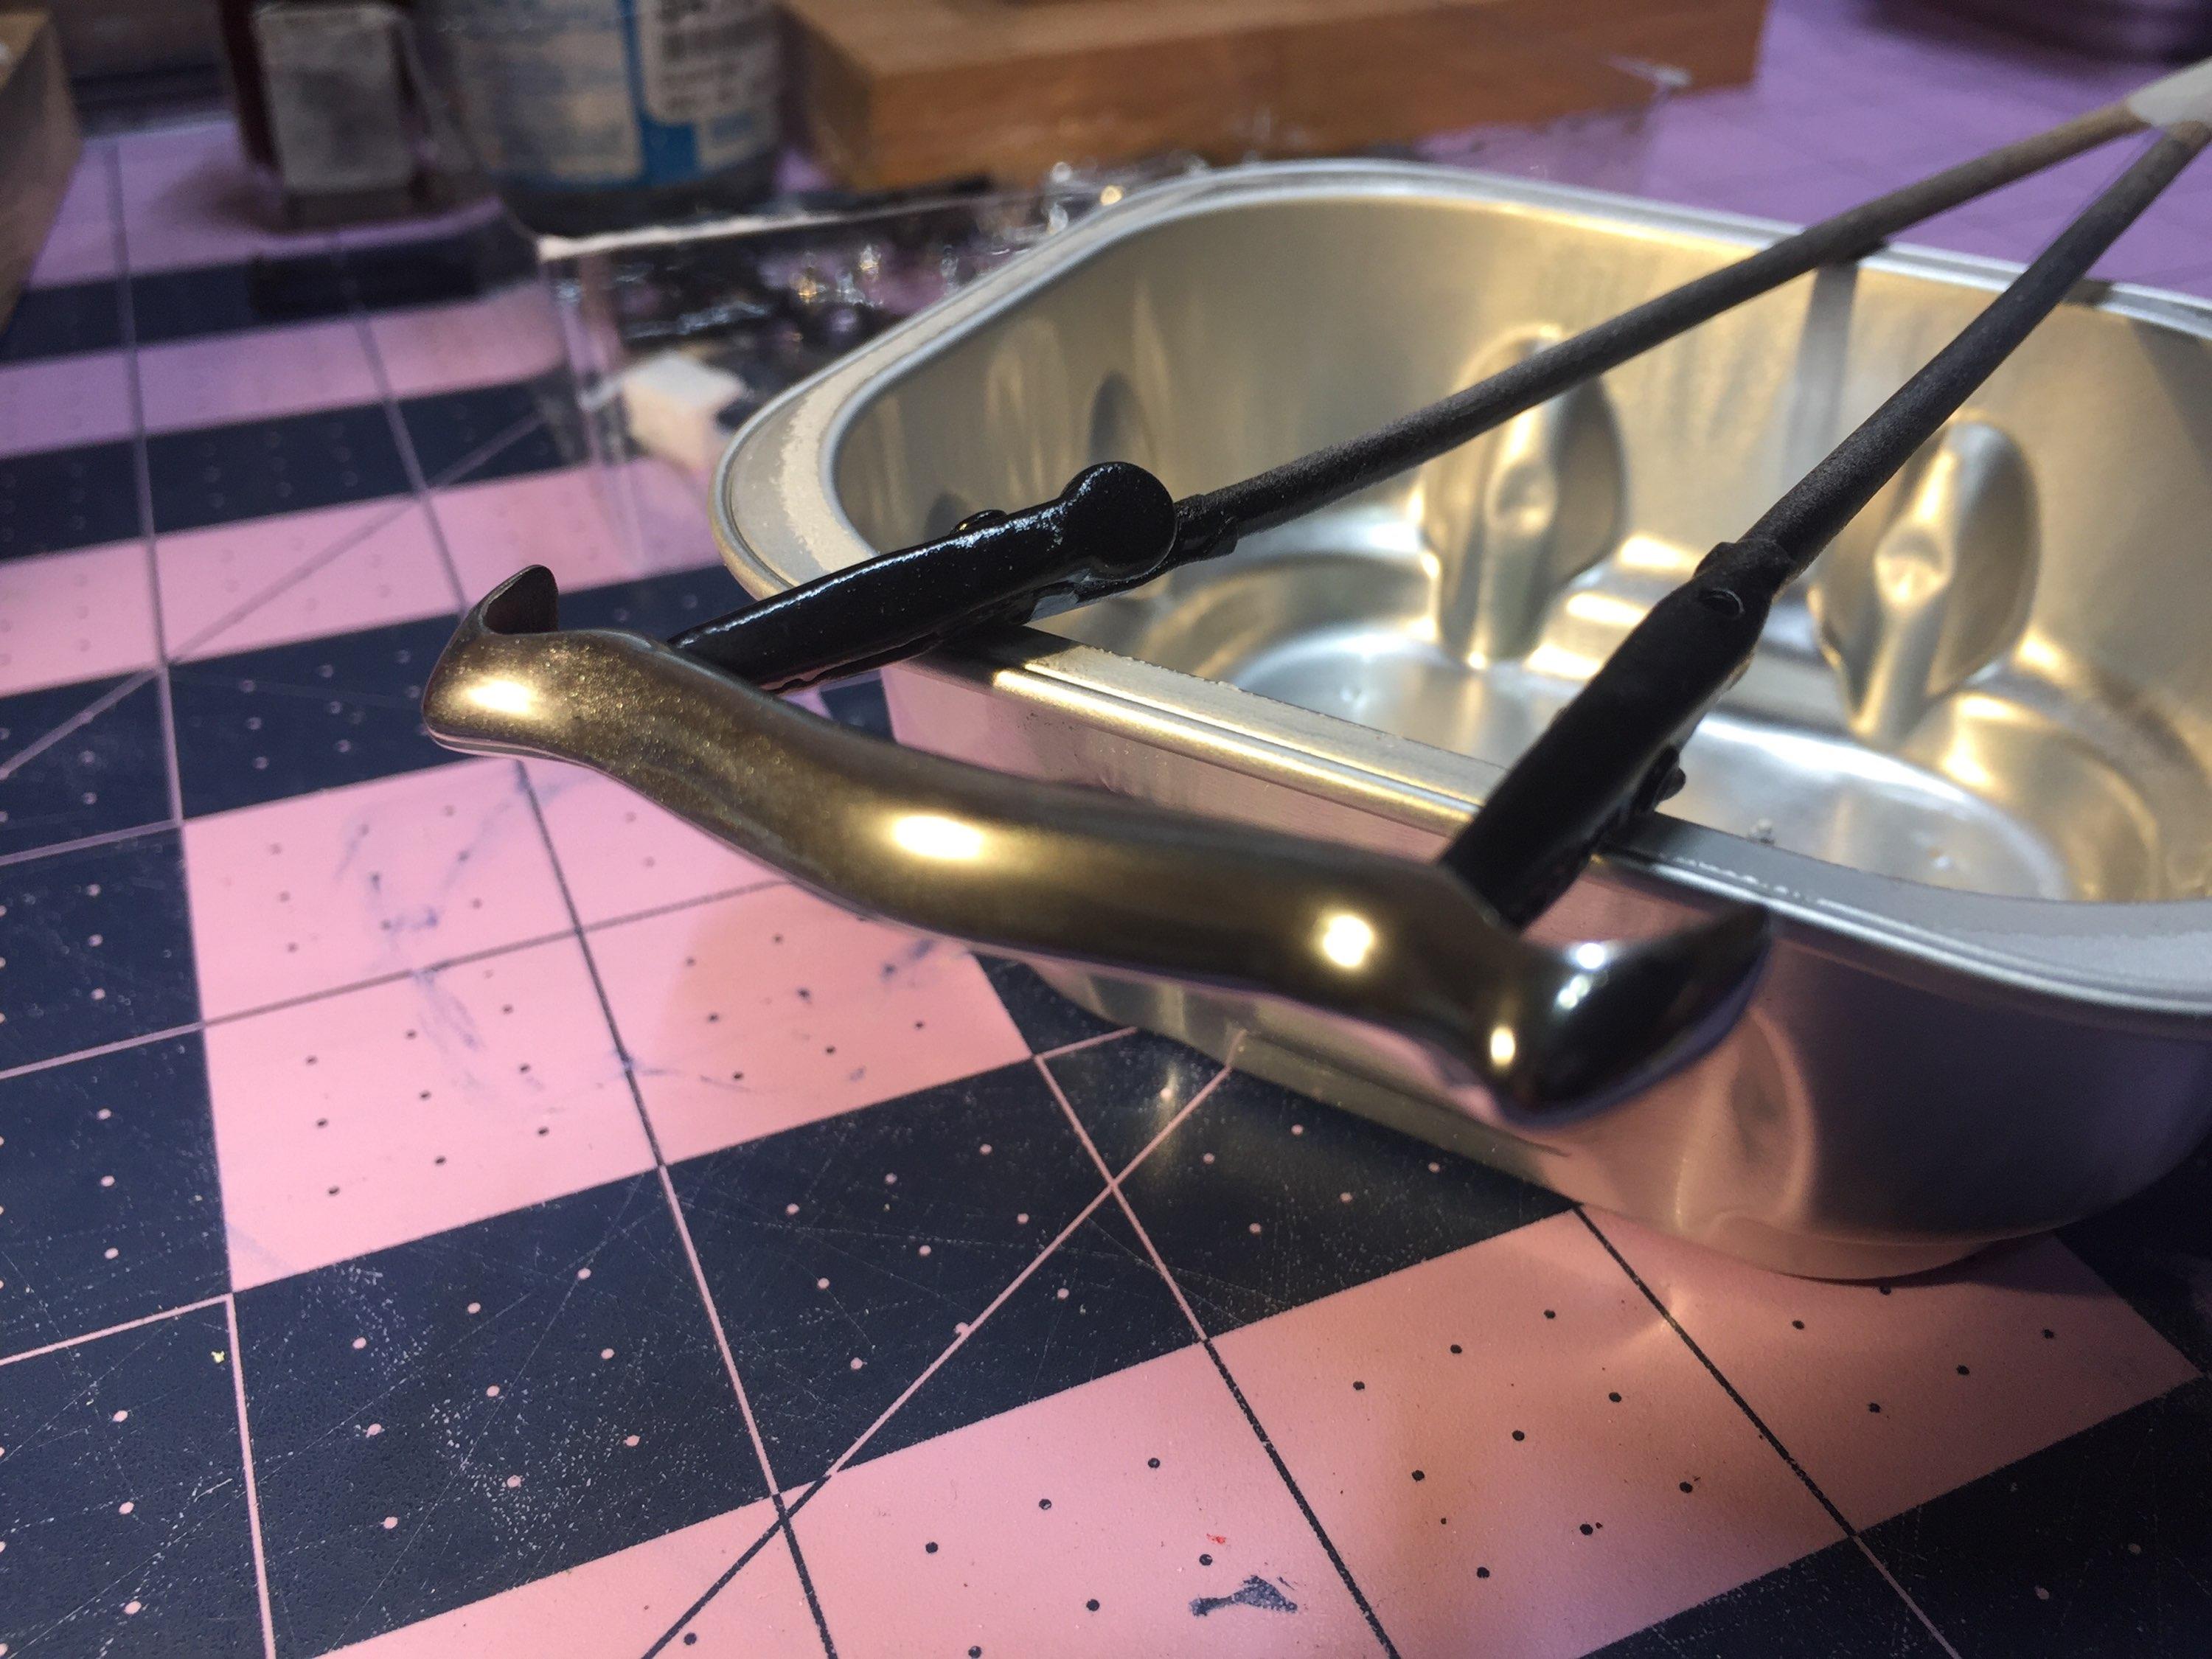
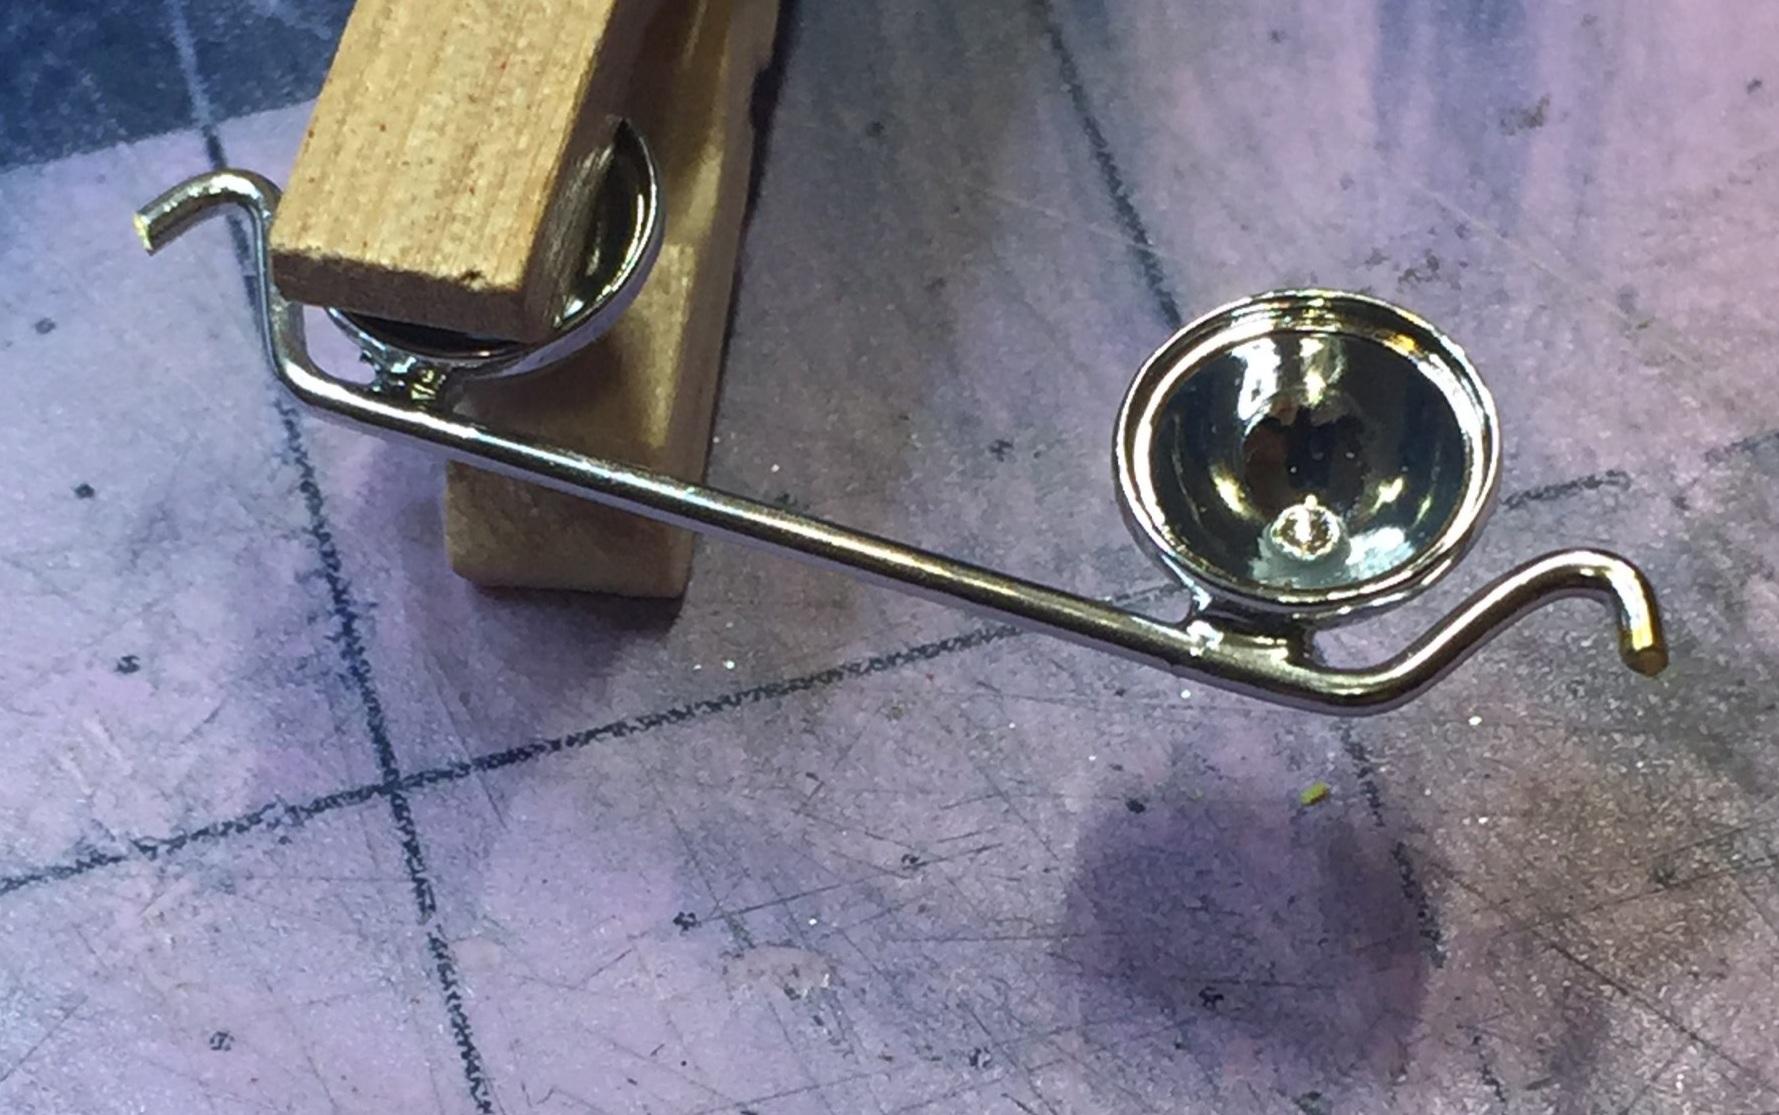
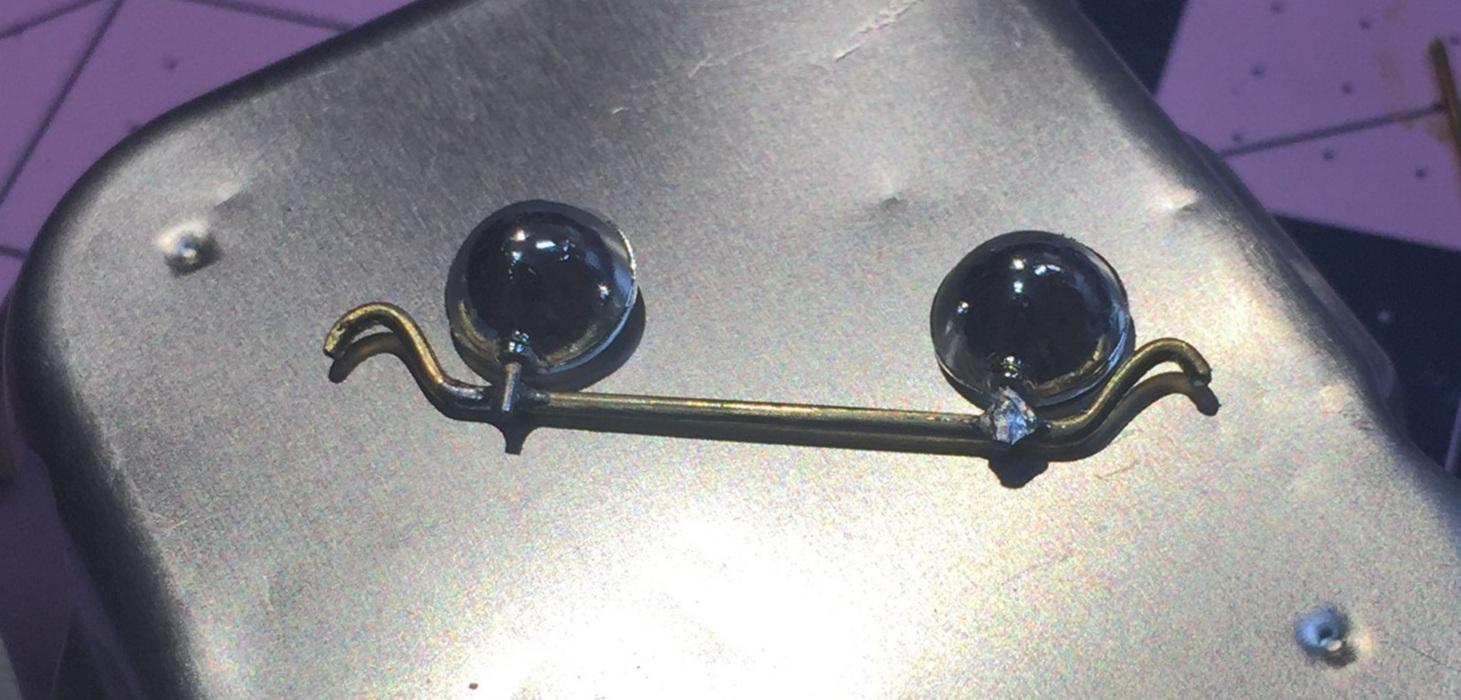
It was that or it would live on as a bull frog 🐸 I made a new bar tonight, Elliot. I'll have pix up in a while. -
Monogram '32 roadster: a red-headed step-child.
customline replied to customline's topic in WIP: Model Cars
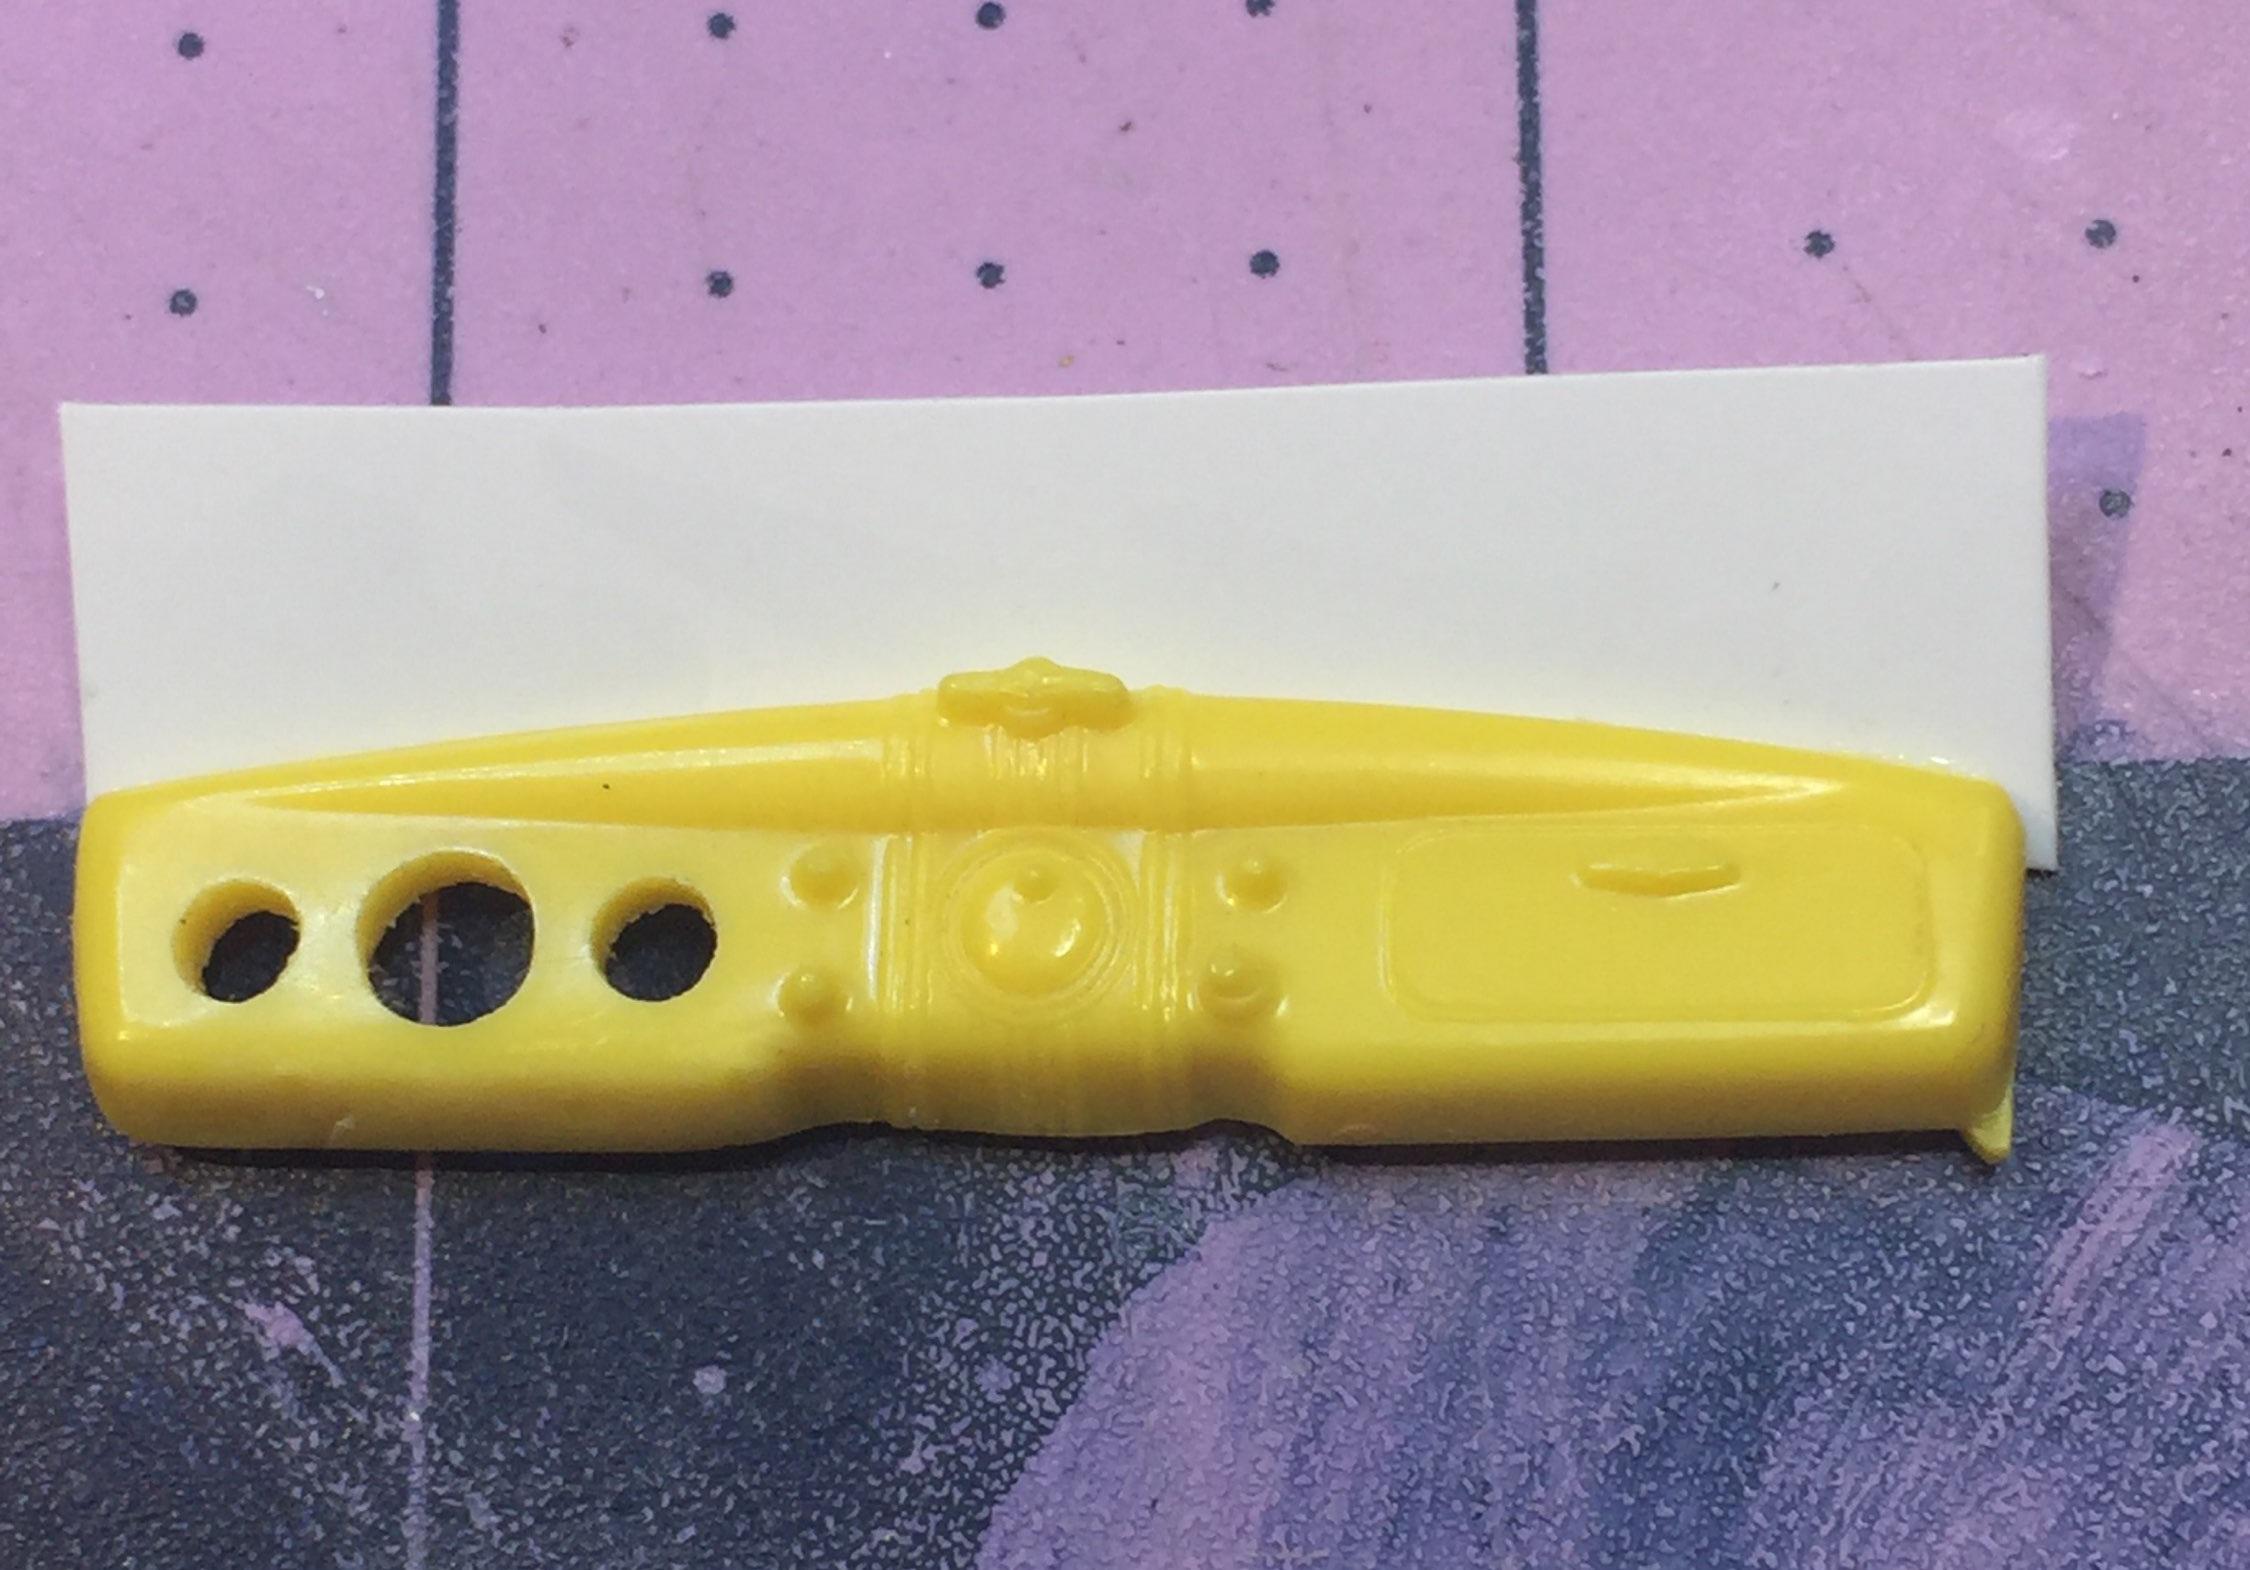
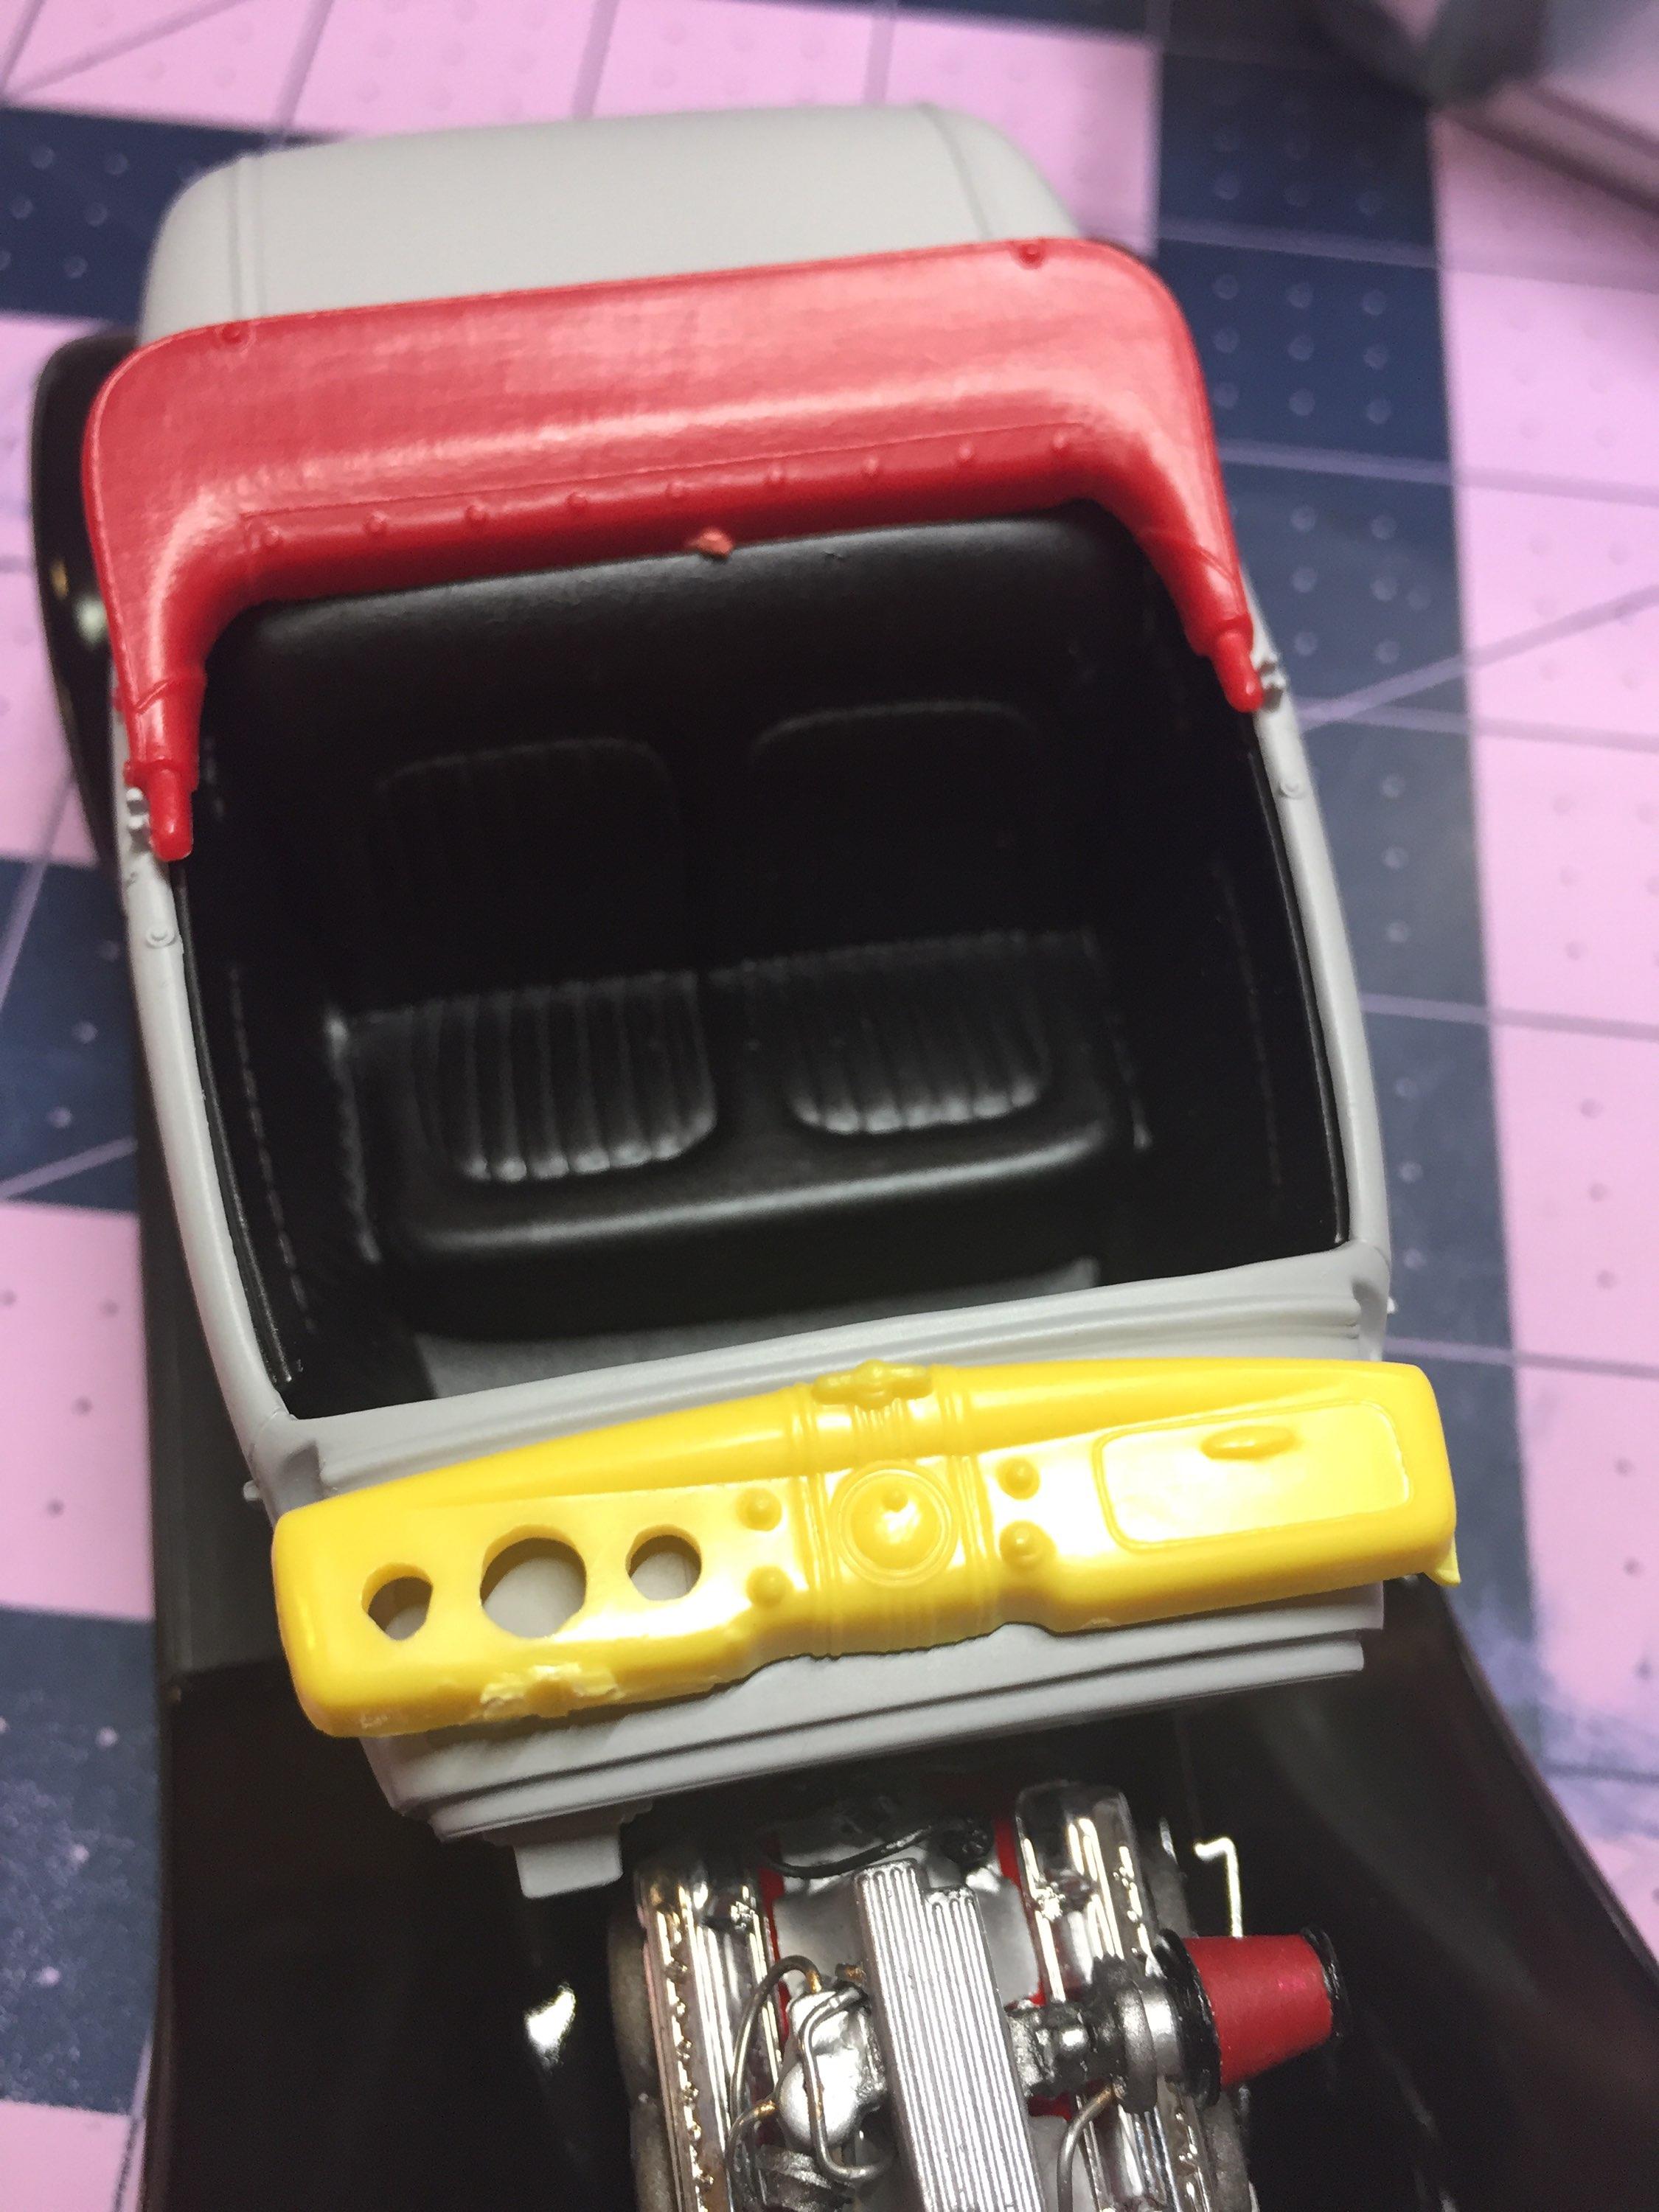
Yes! That's exactly what I was thinking, Bil ! I'm not leaving it yellow, though. 🥴 Now I need to go through the small chrome junk for the gauge insert. Pretty sure I have it. I hope. -
Monogram '32 roadster: a red-headed step-child.
customline replied to customline's topic in WIP: Model Cars
Thanks, Jon. When was the last time your eyes were checked? As we get older...... Hopefully that new chrome stuff will help. I'm not totally happy with it. I may try again today. -
Monogram '32 roadster: a red-headed step-child.
customline replied to customline's topic in WIP: Model Cars
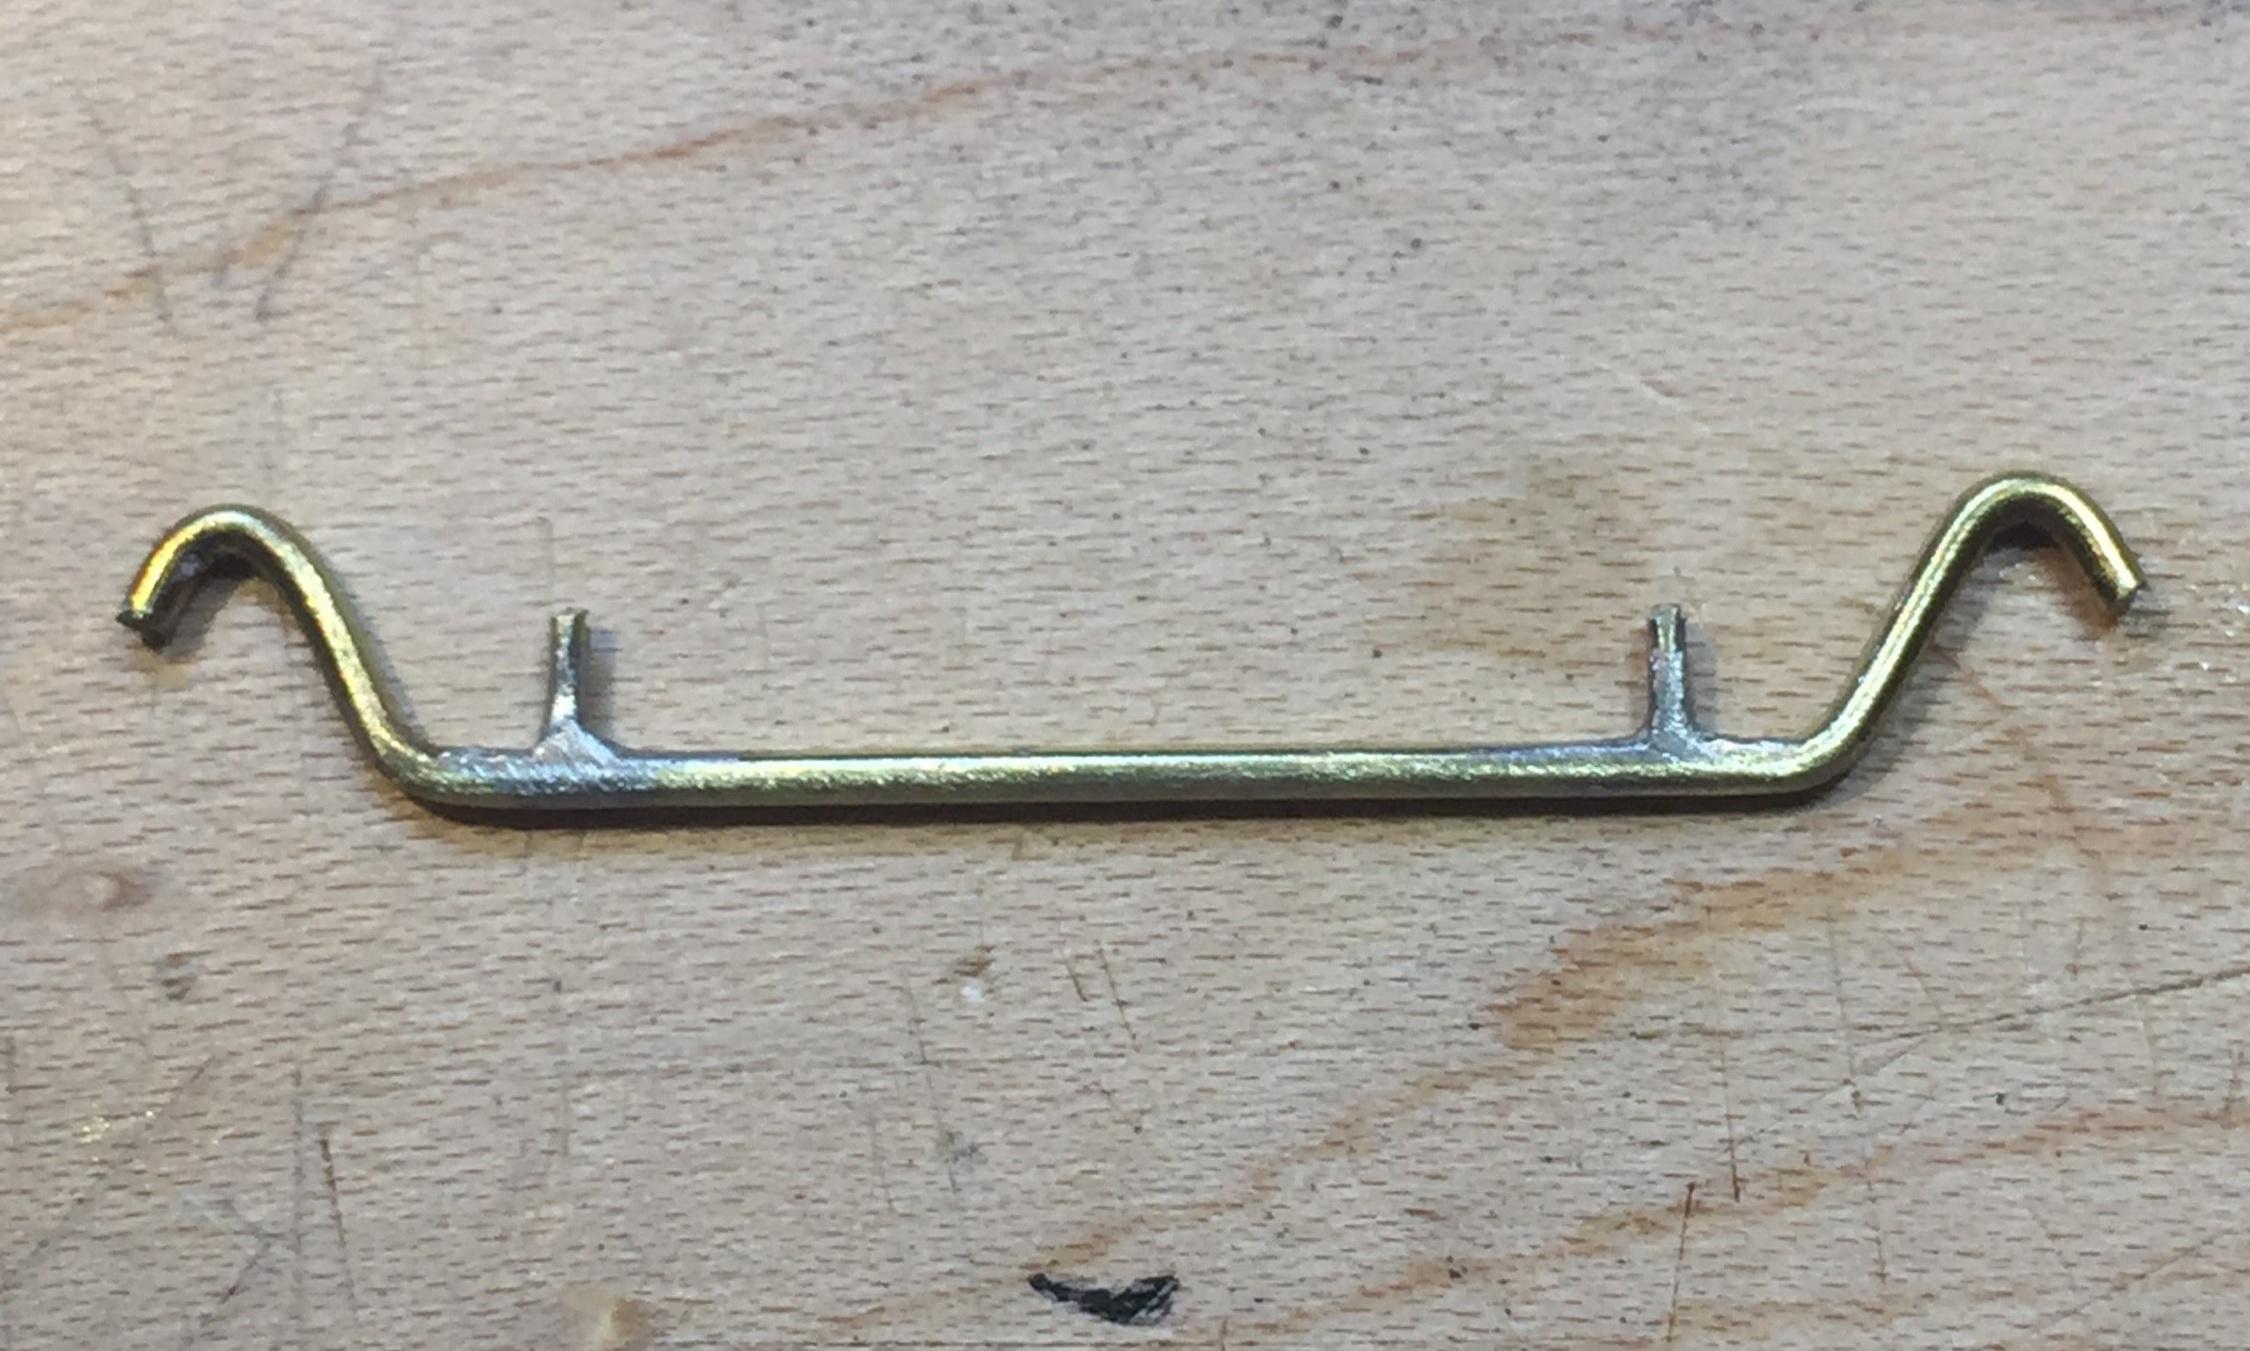
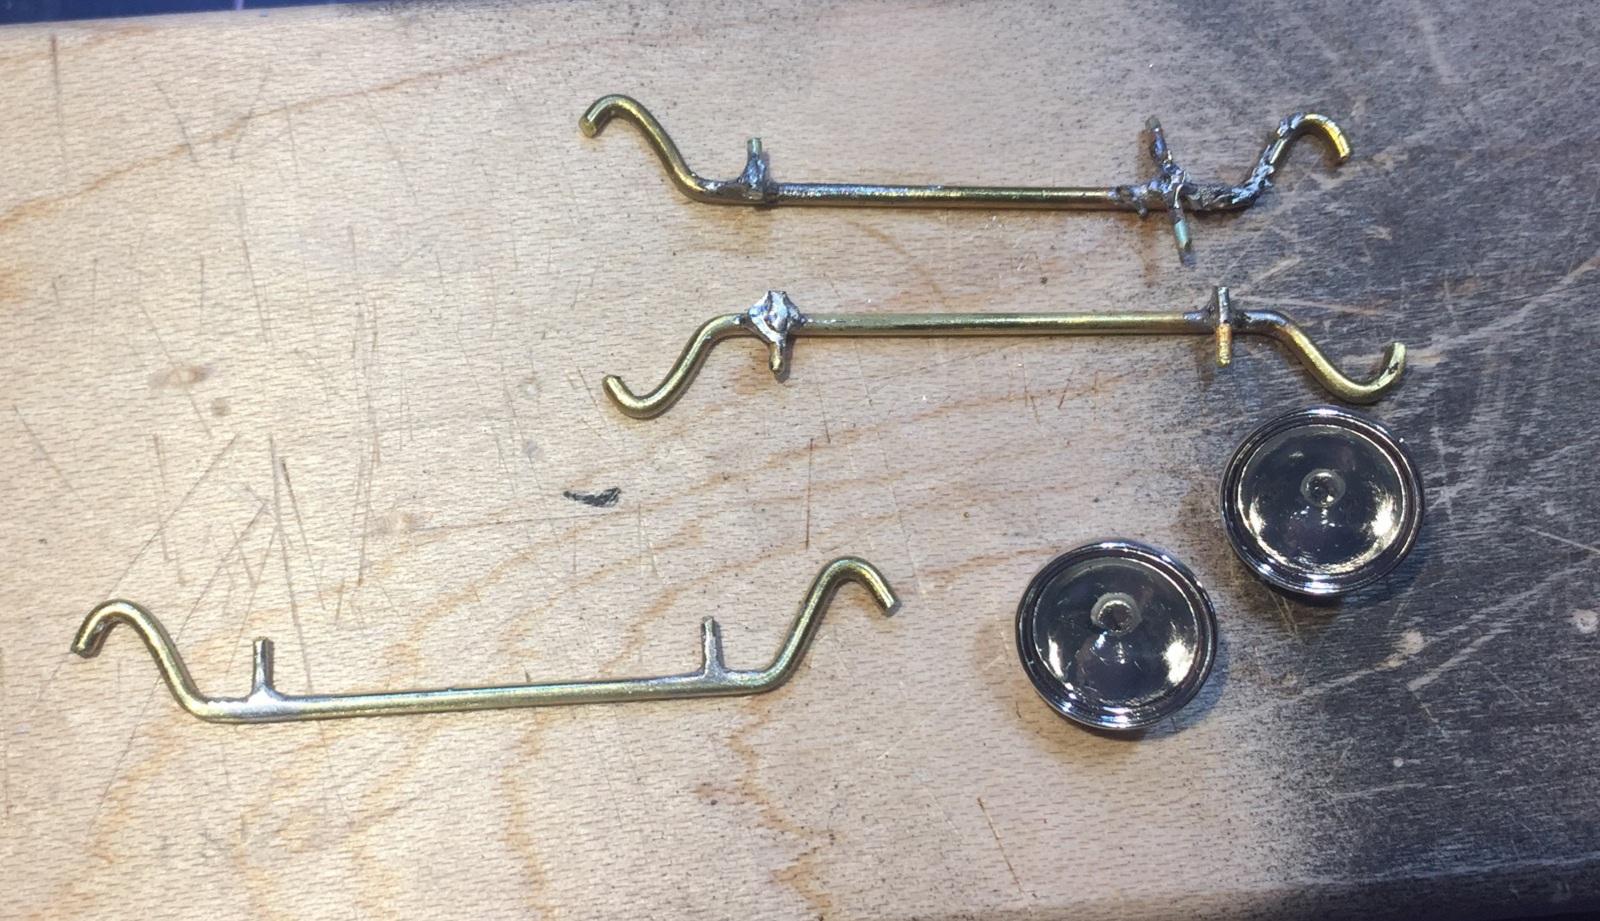
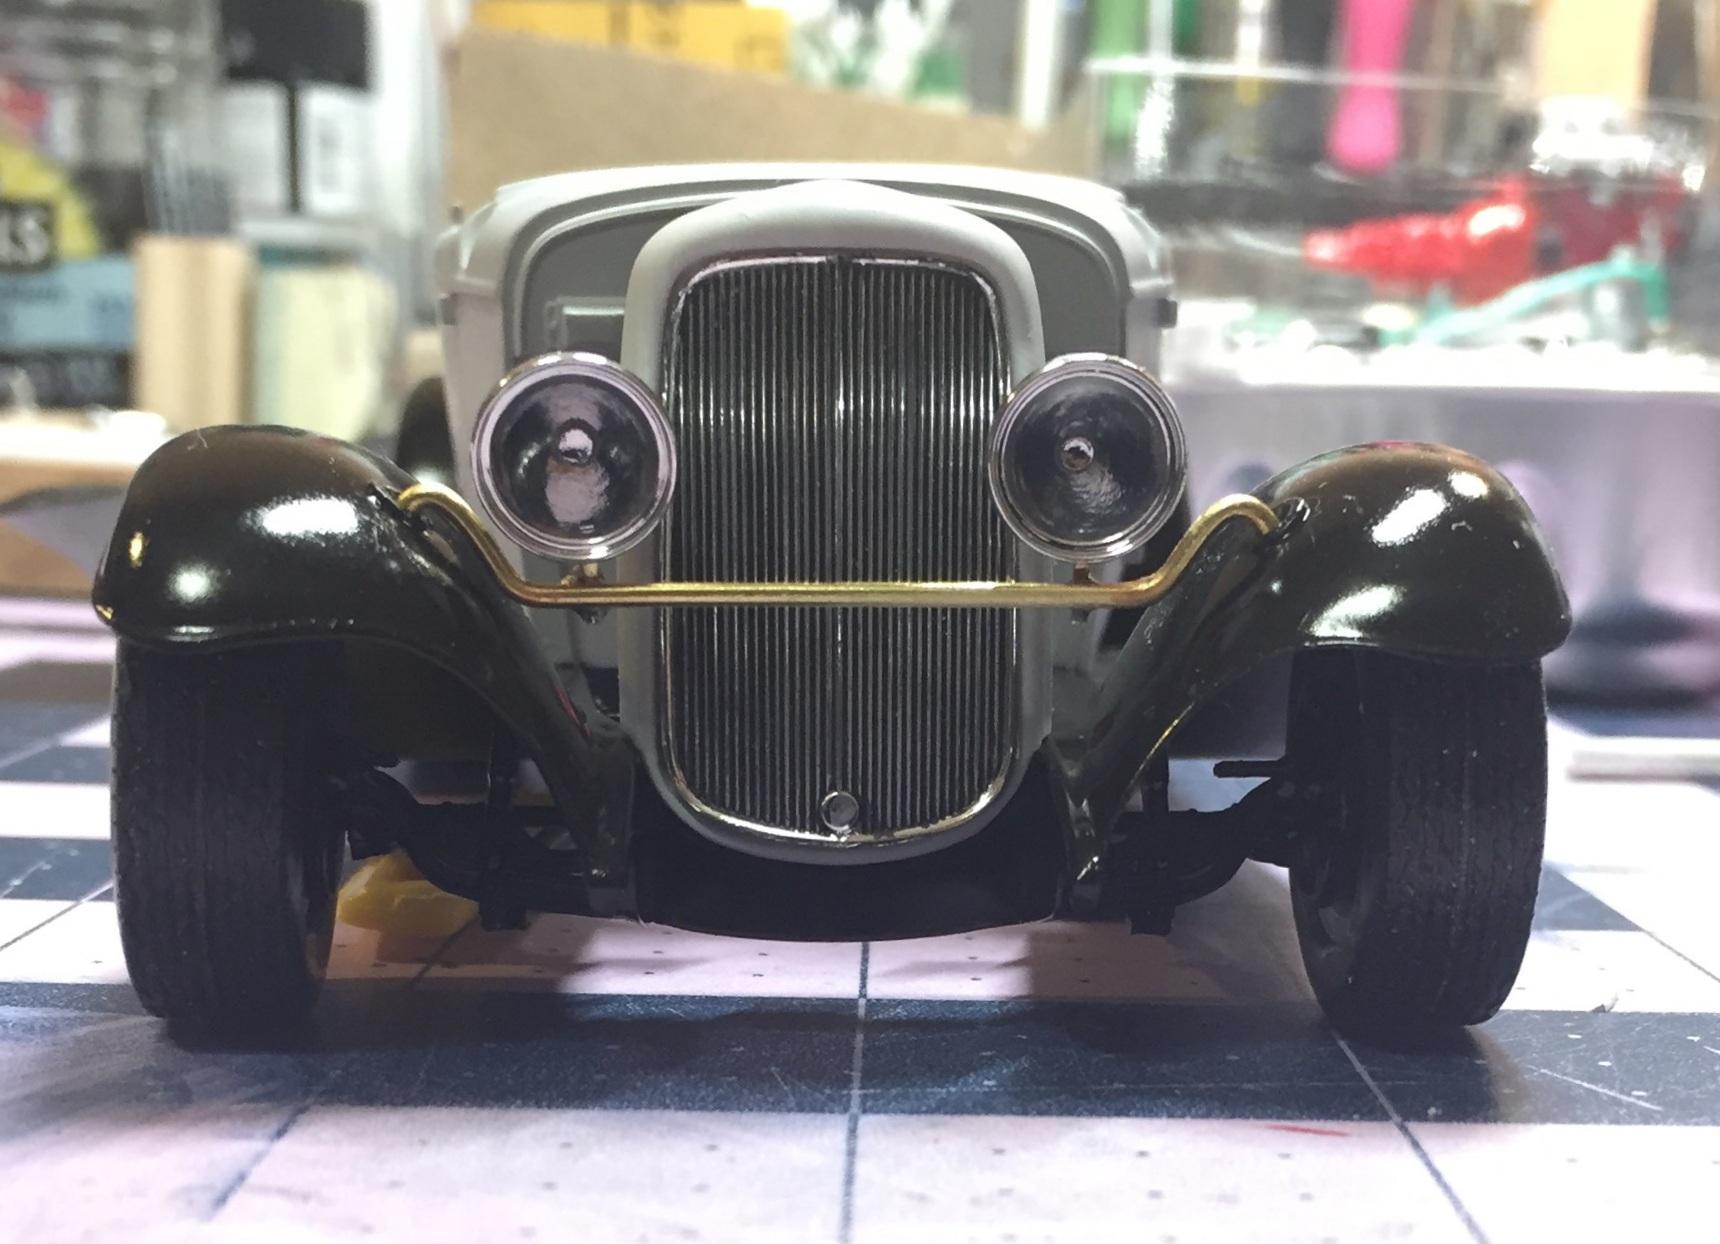
The stock headlight bar is evidence of the disregard for standard practices for early Ford hot rods. I found three dropped bars in my stash but they were all 1:25 and would not reach the holes. My only move here was make one. I wish I had some smaller lights but this will do. I found a few things in the stash that might find a home. Notice the roof anchors molded on the body. I'm glad I left them. Yes it's a model A down top, so what. How 'bout the dash? Thanks for showing up once again ! 😀
-
Monogram '32 roadster: a red-headed step-child.
customline replied to customline's topic in WIP: Model Cars
Yup, nope. 😂 Thanks, David. How about Ford engine blue? Well it's down to an Ollie's give-away now. Good fodder for bashers. Thanks, Zack. Dave can't be cool with the gray. Gotta decide on an actual color. -
Monogram '32 roadster: a red-headed step-child.
customline replied to customline's topic in WIP: Model Cars
Thanks, Jon. I do too. But I'm thinking a light yellow or mint green...maybe maroon. I won't know until 5 minutes before I paint. 🥴 -
Monogram '32 roadster: a red-headed step-child.
customline replied to customline's topic in WIP: Model Cars
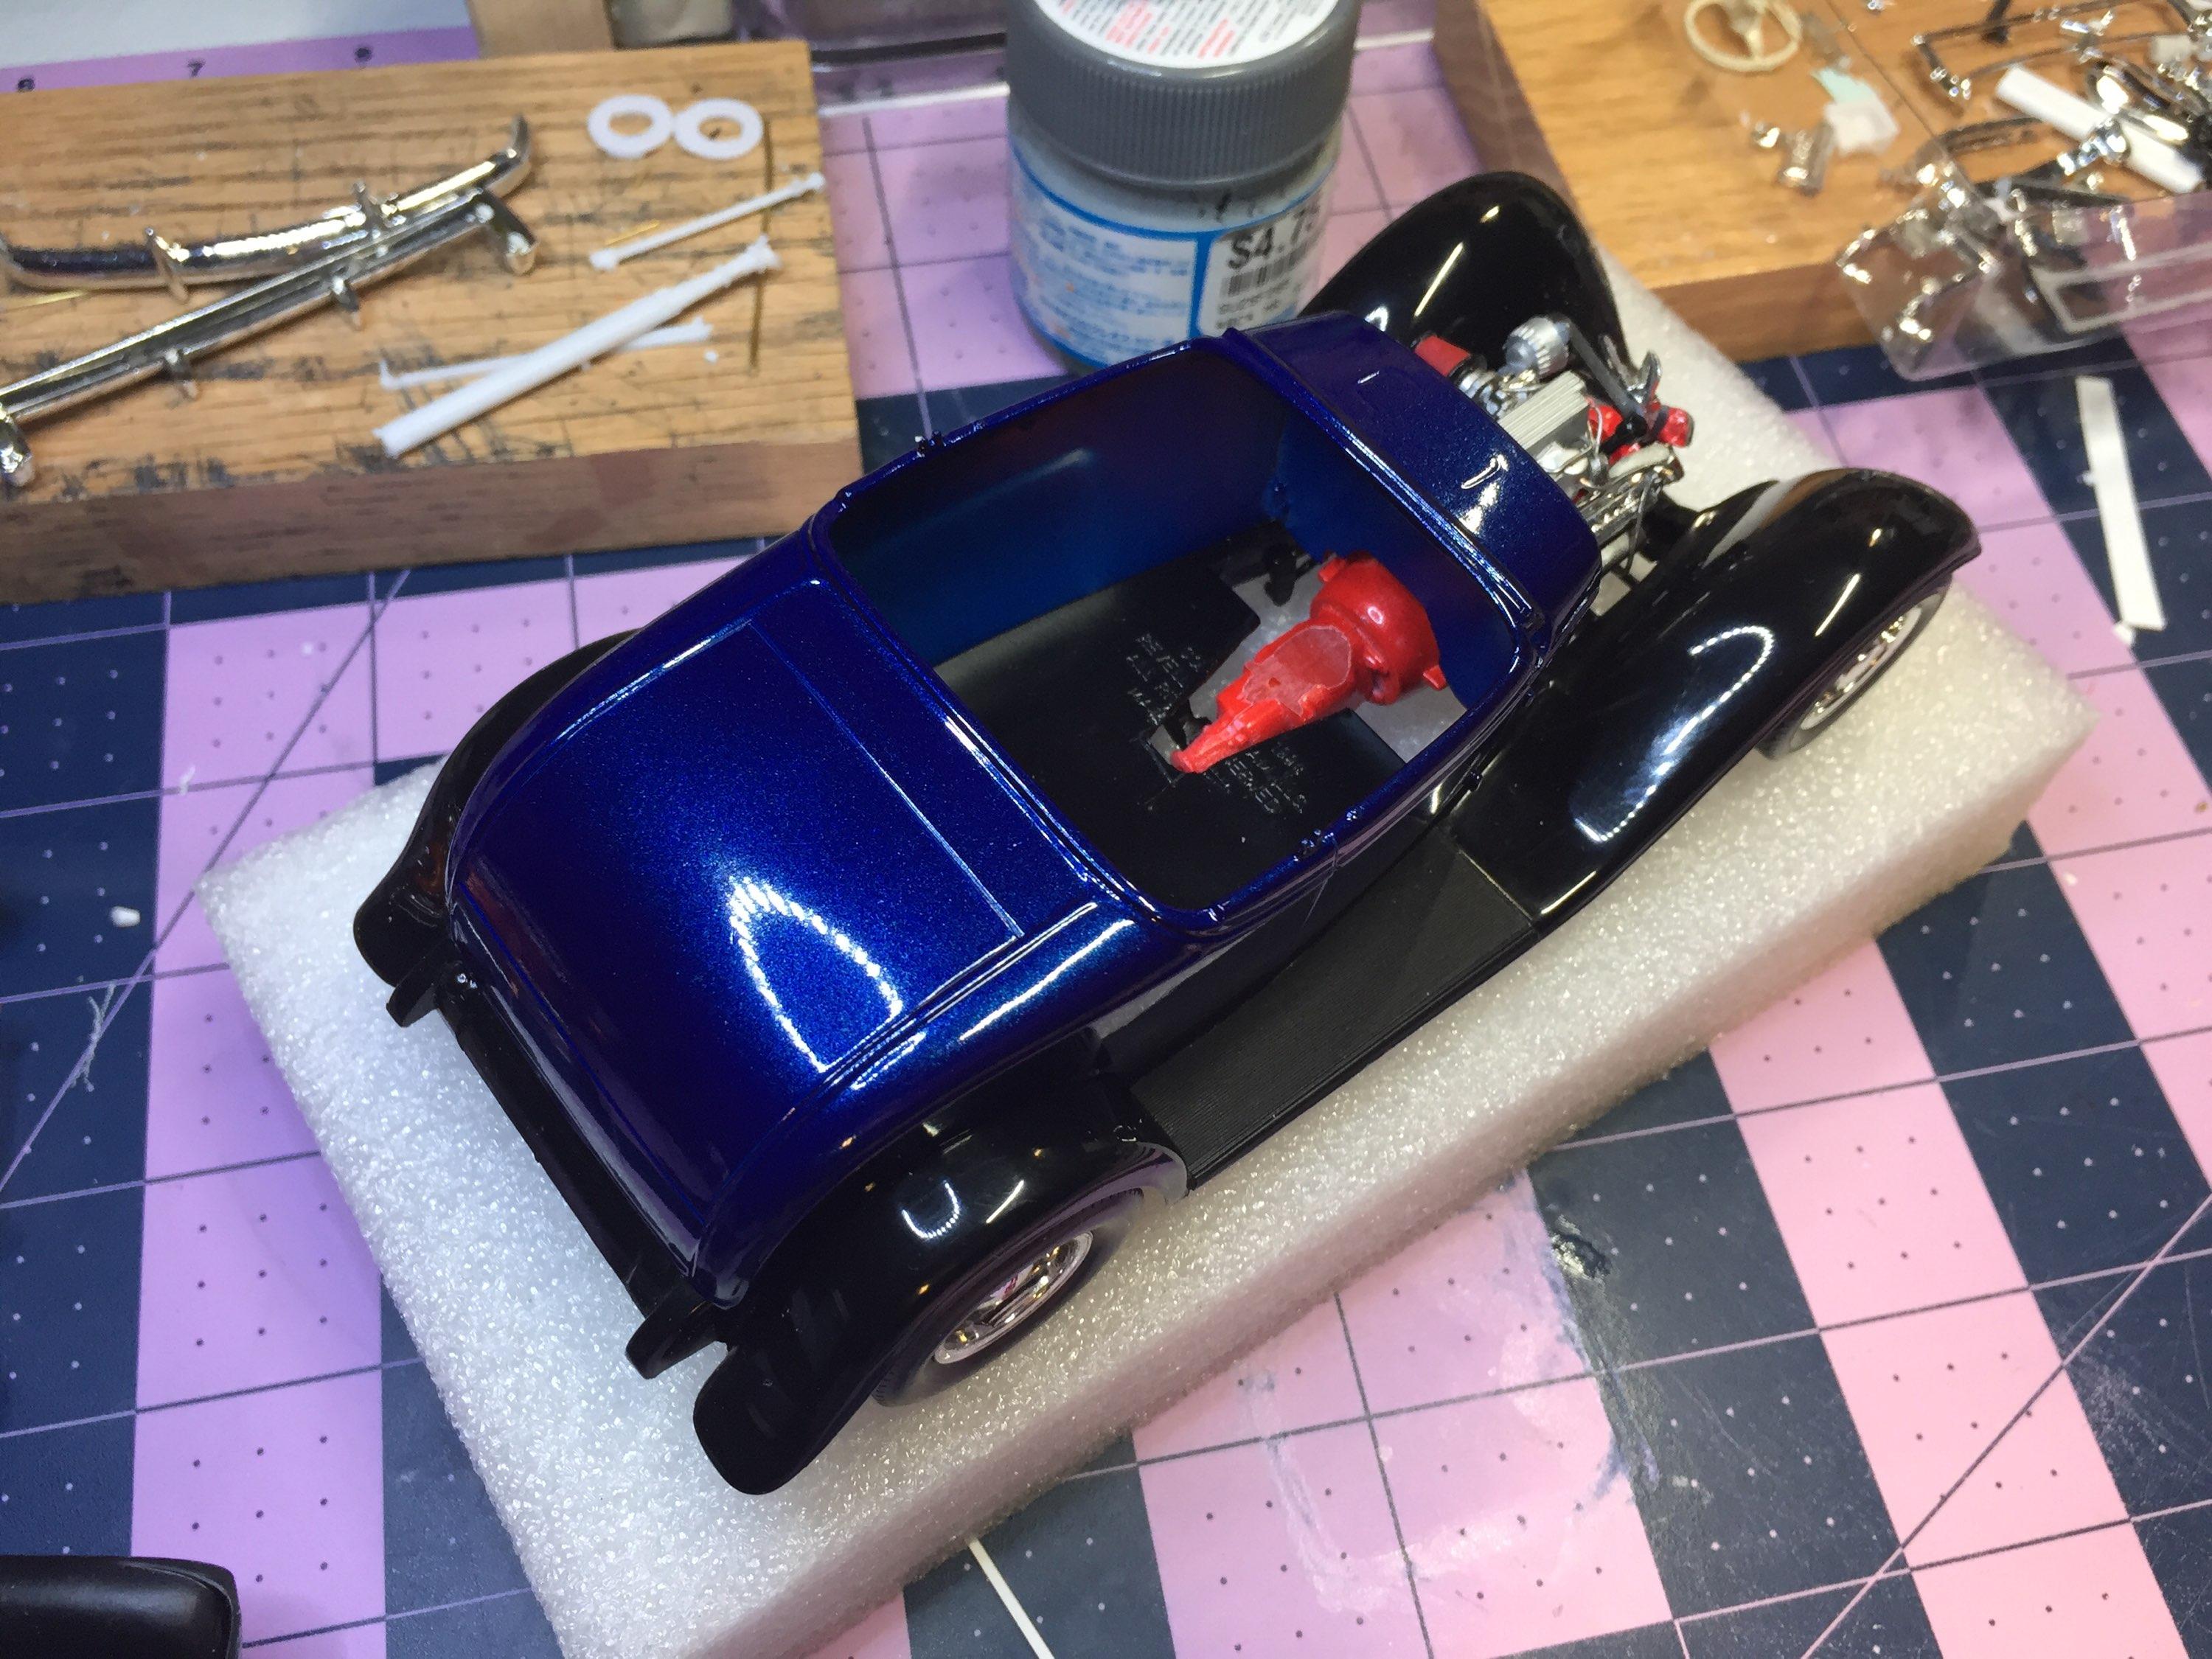
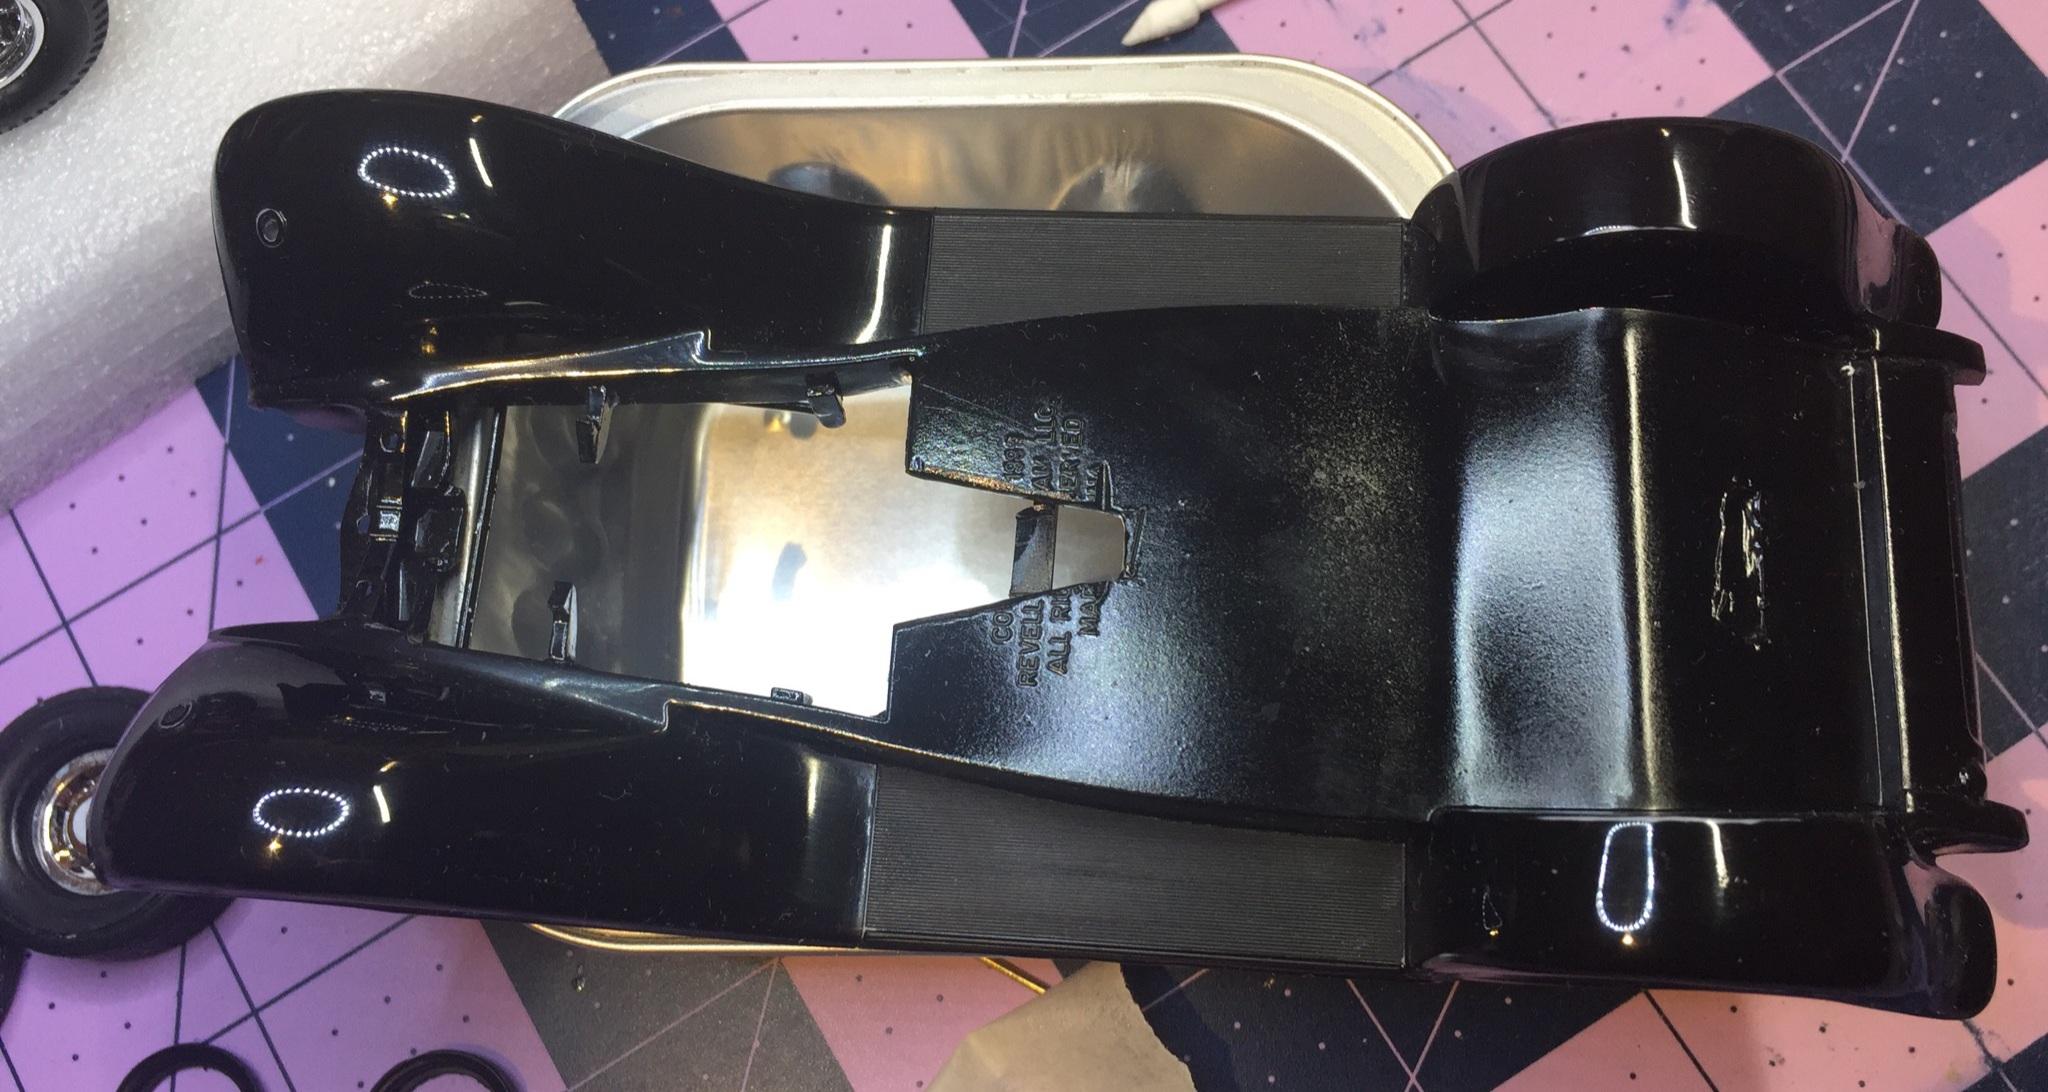
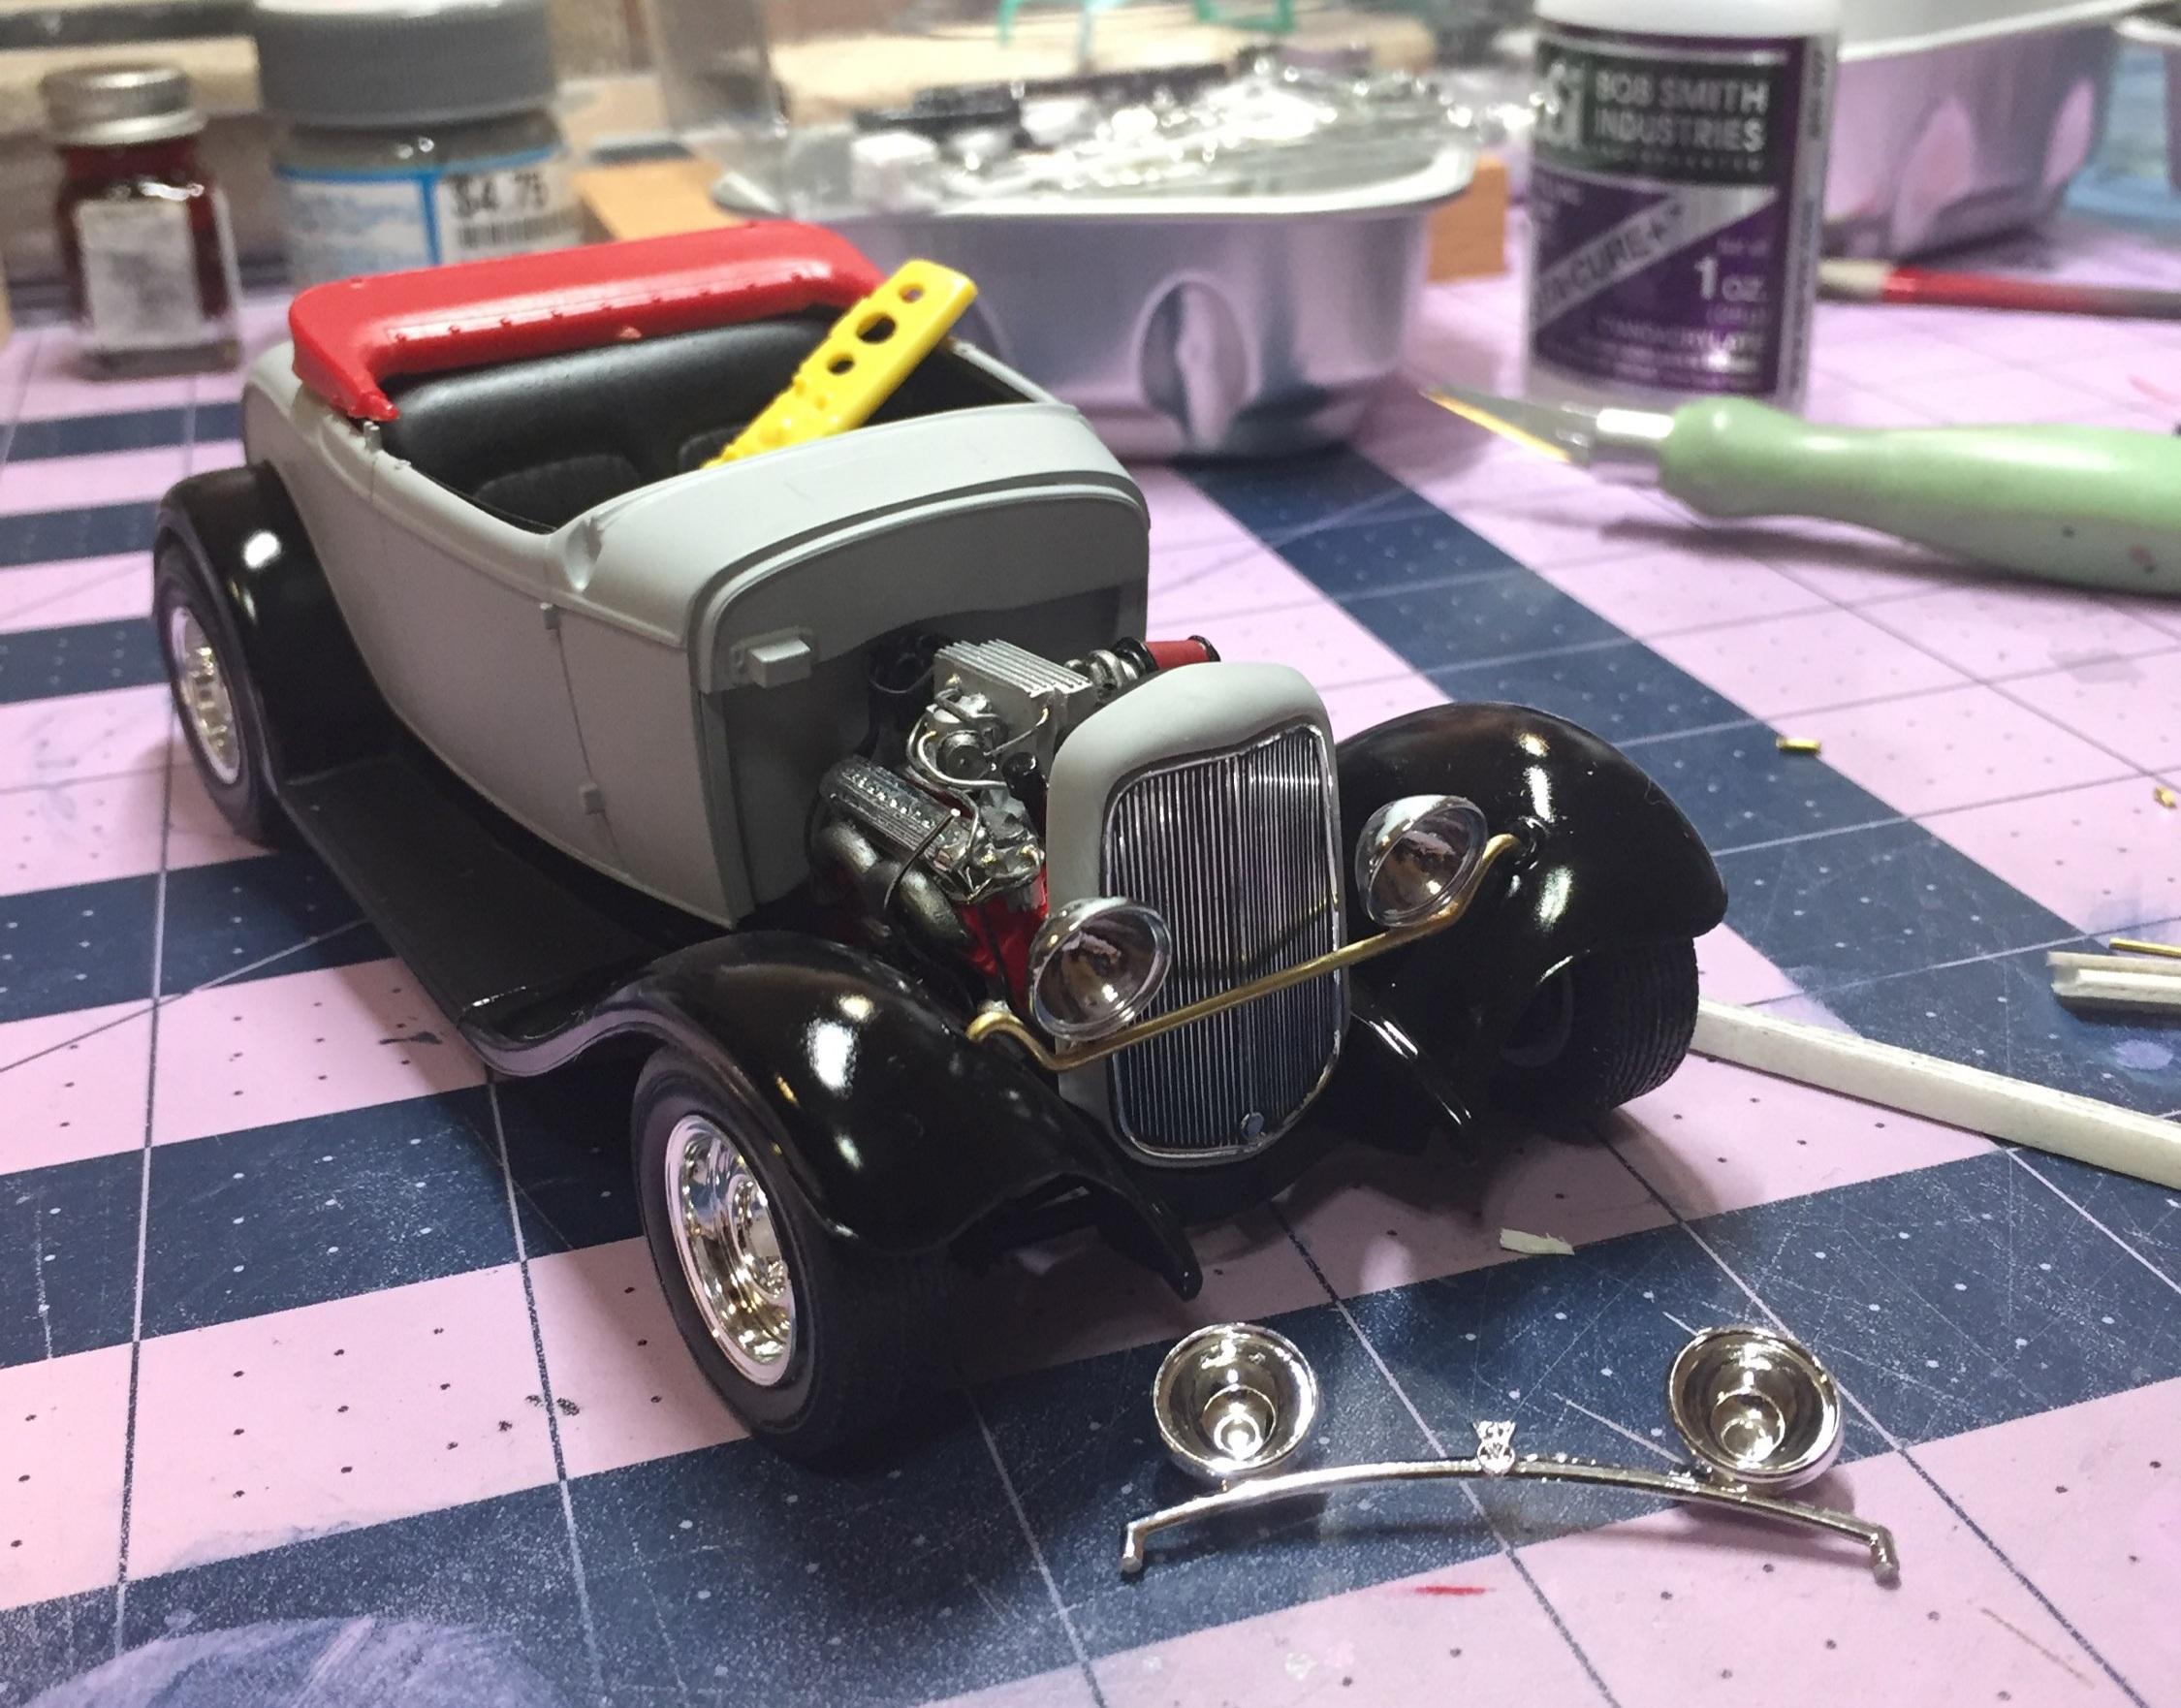
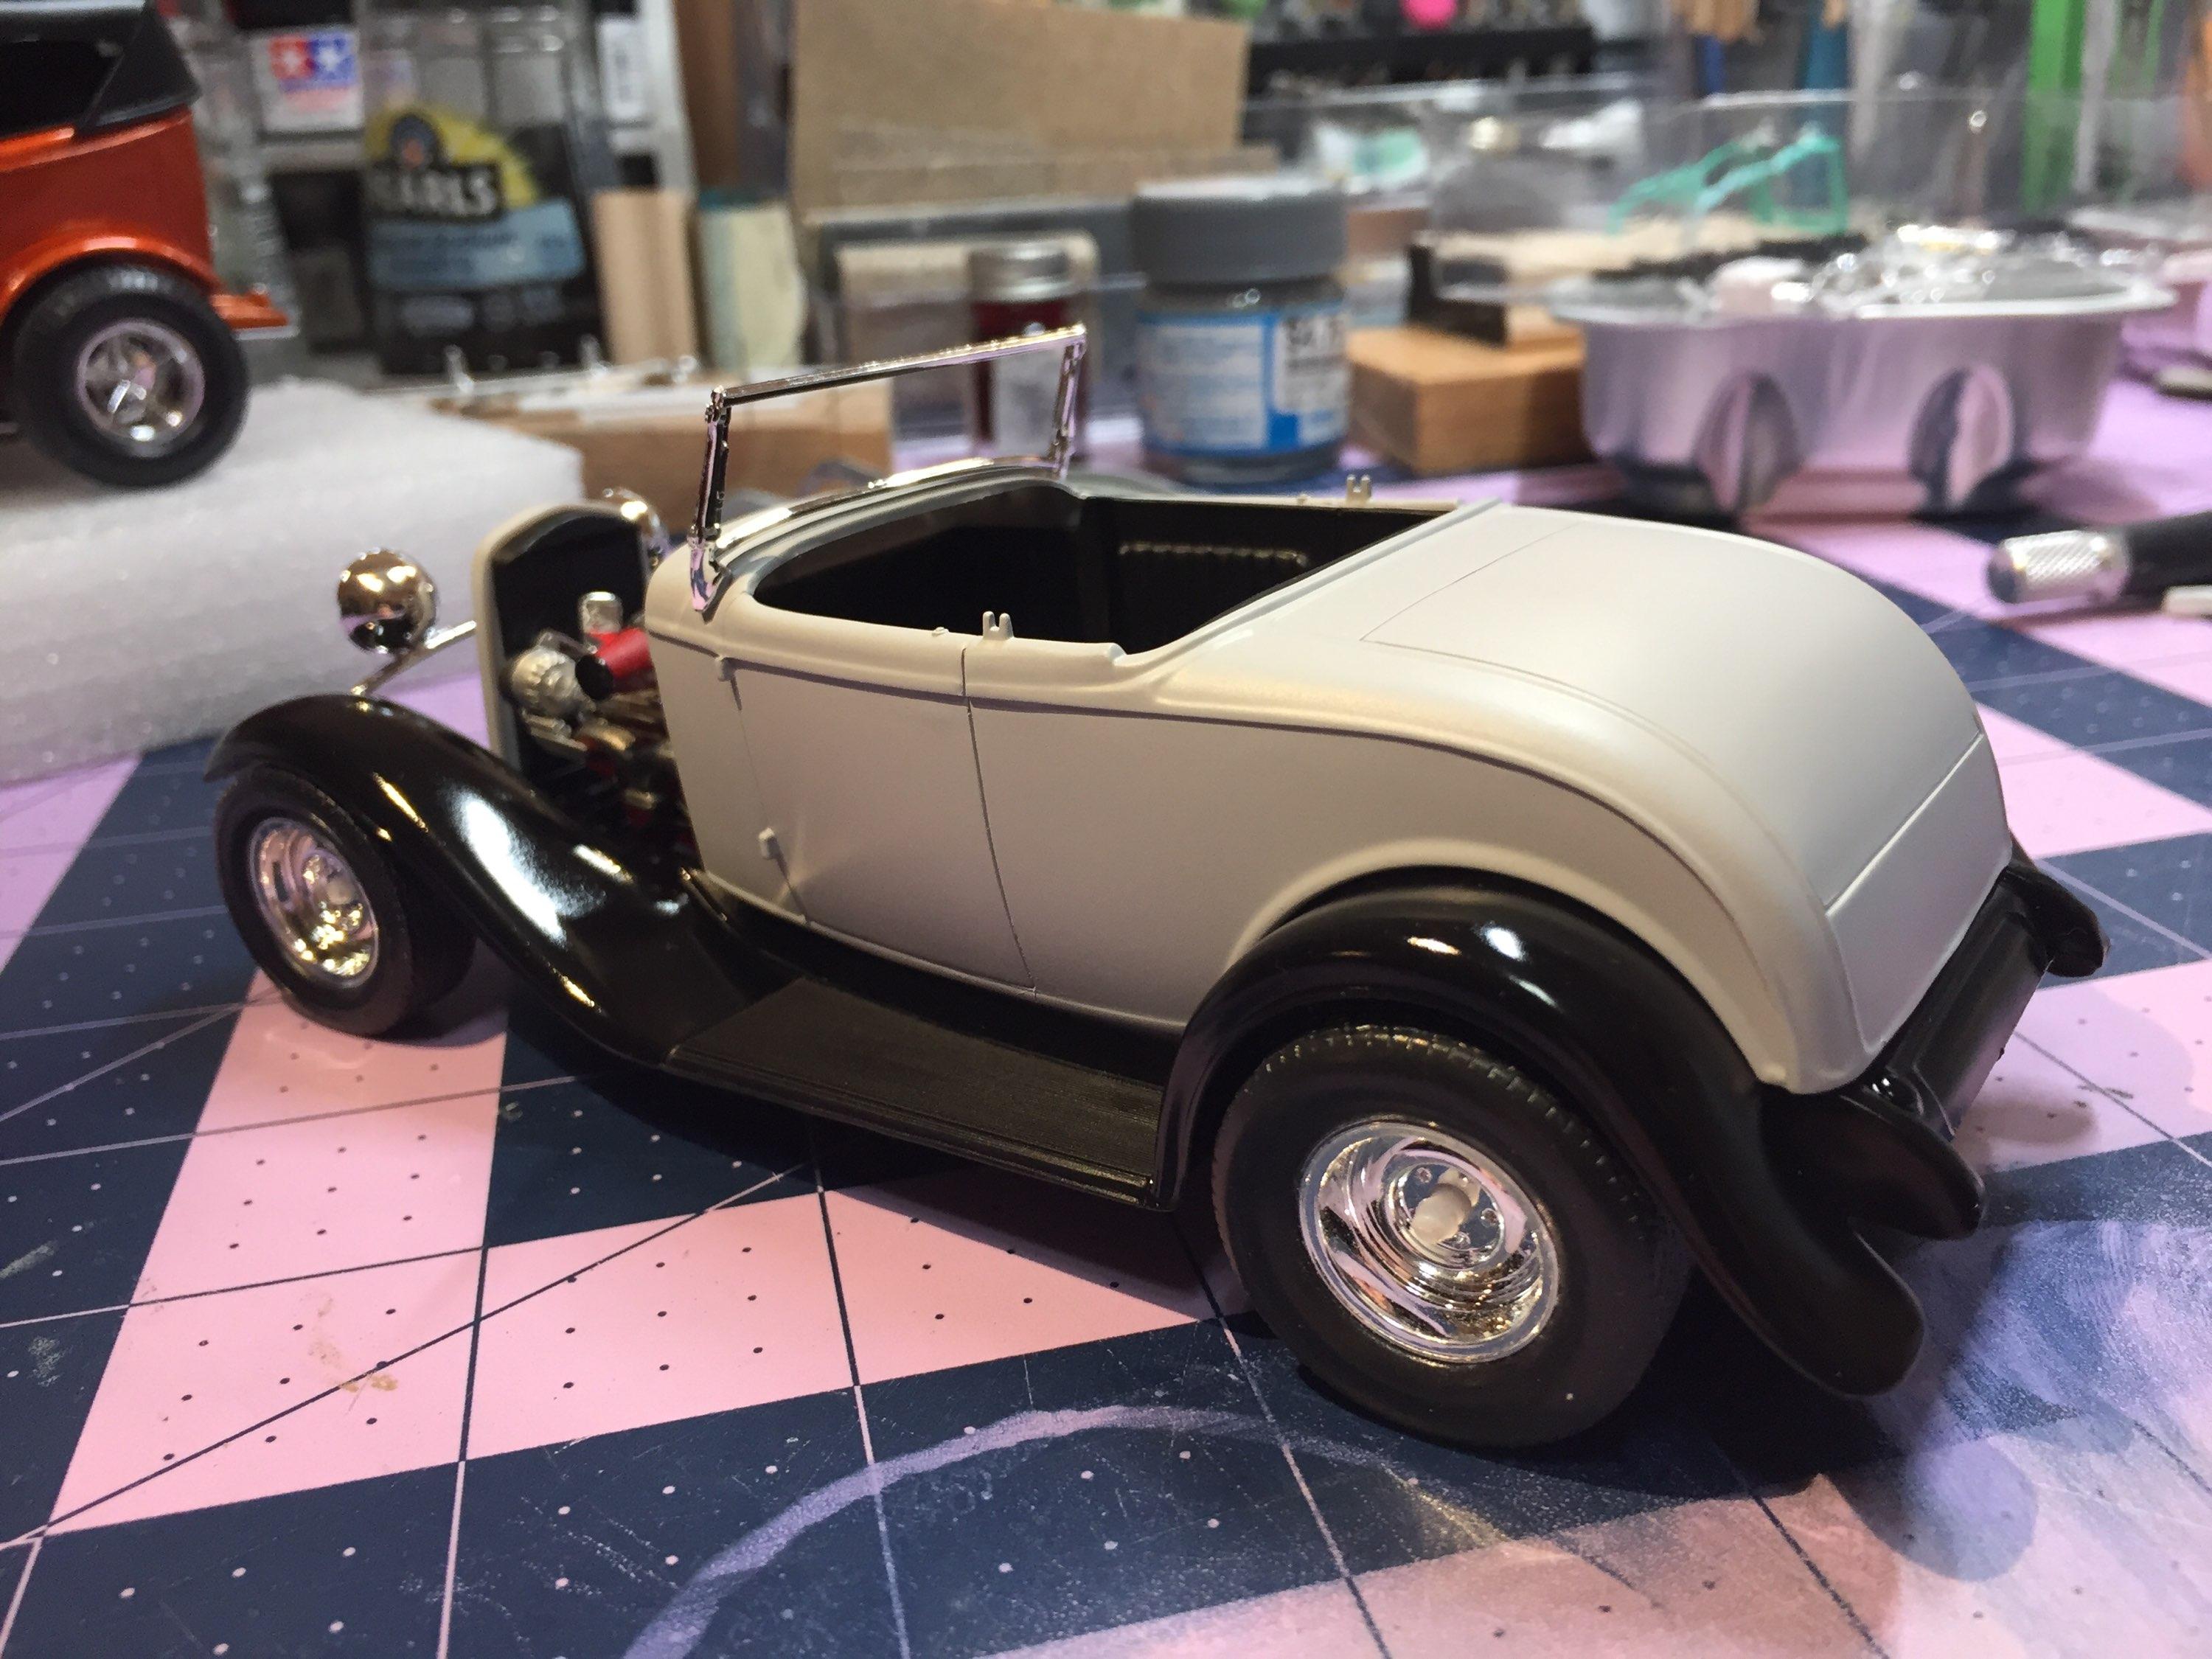
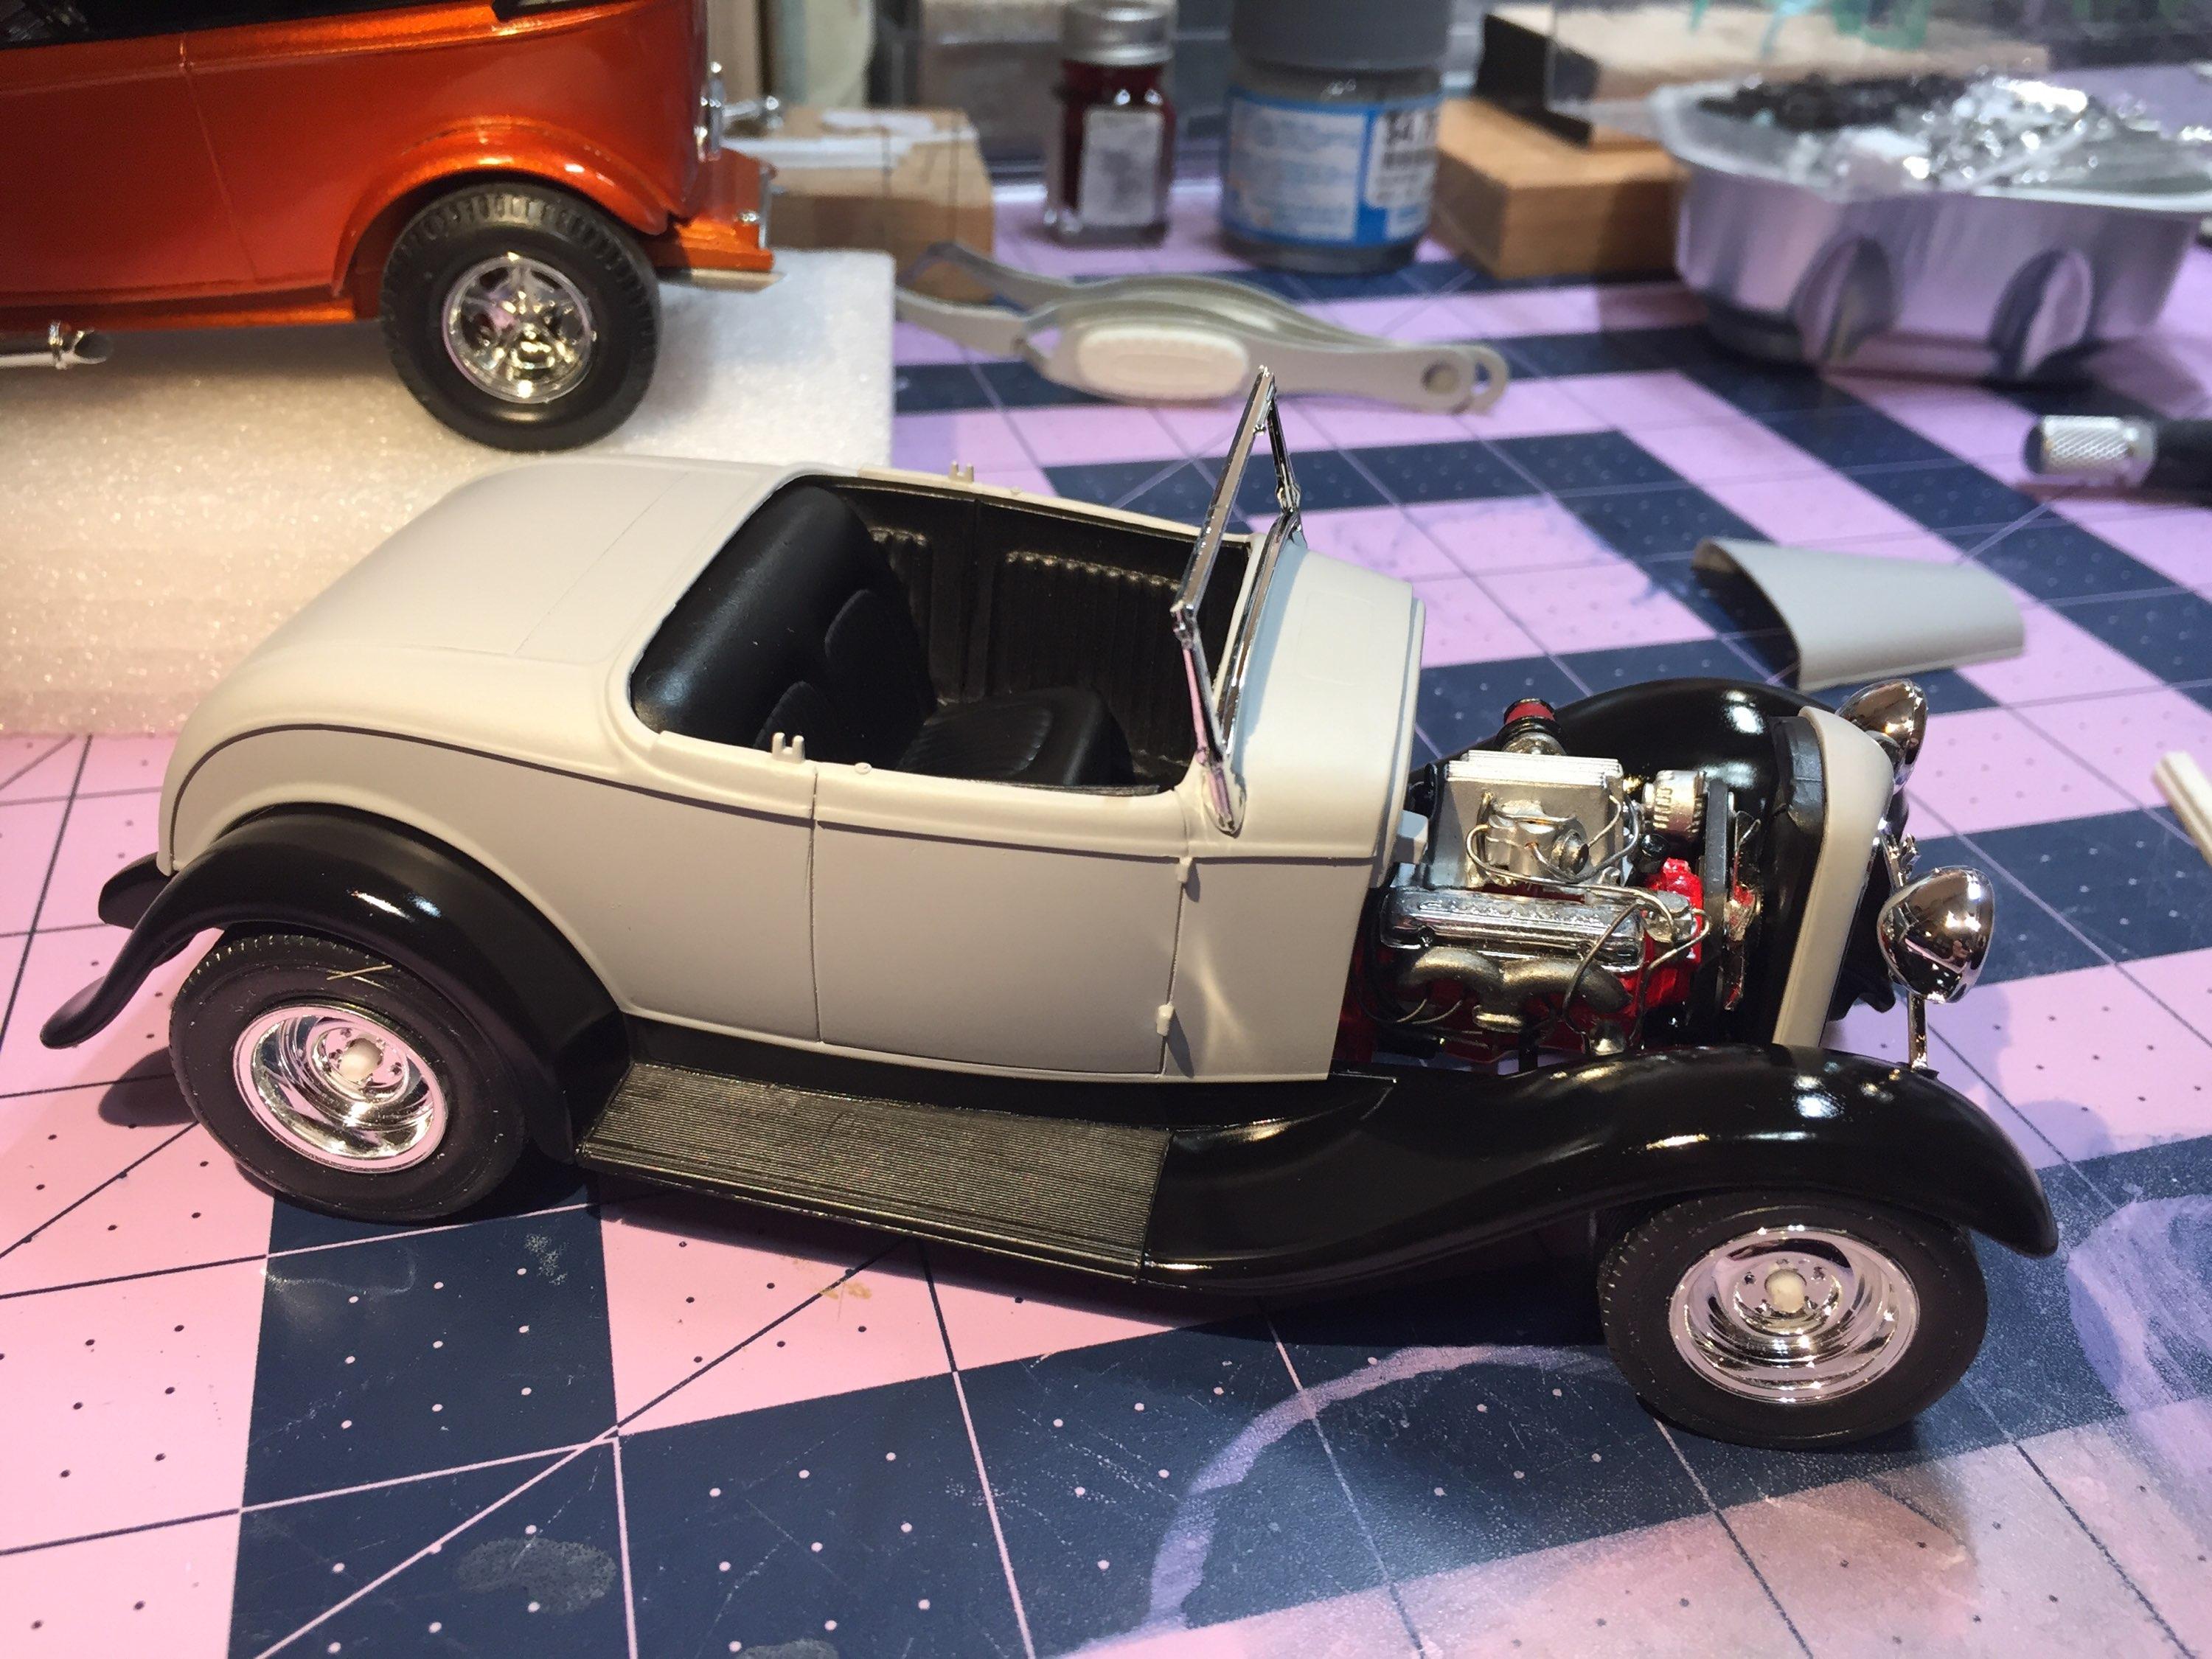
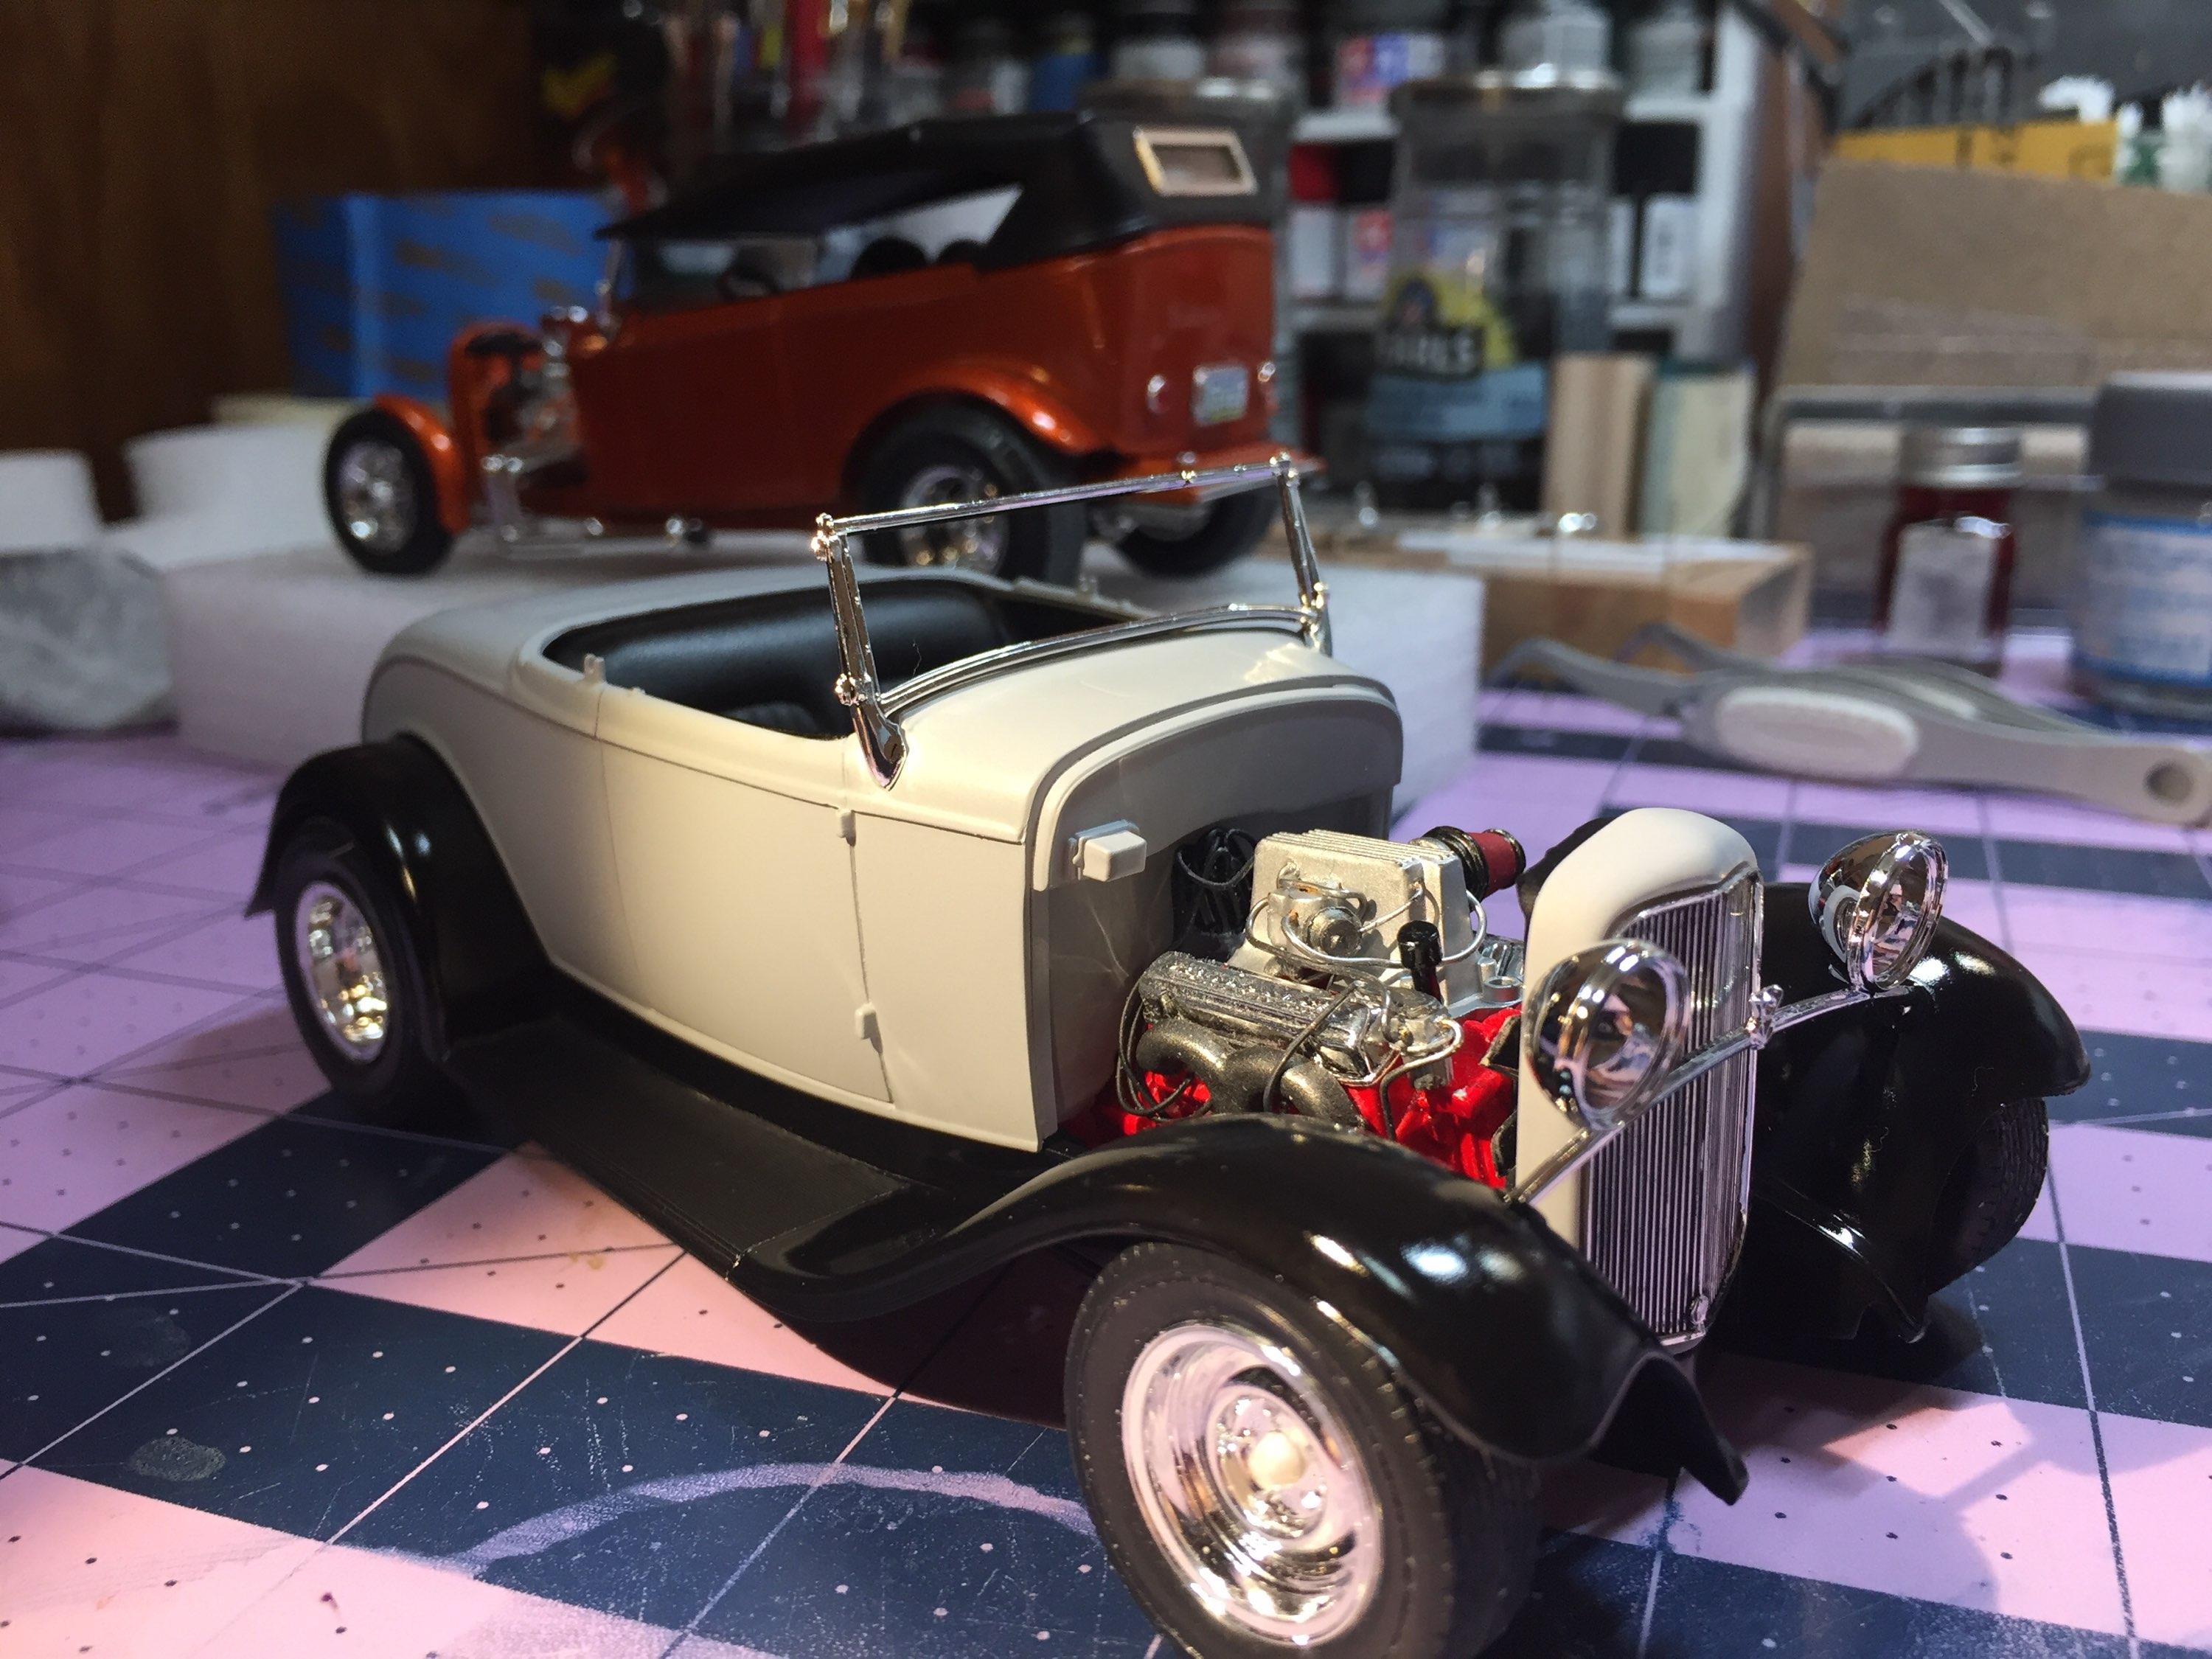
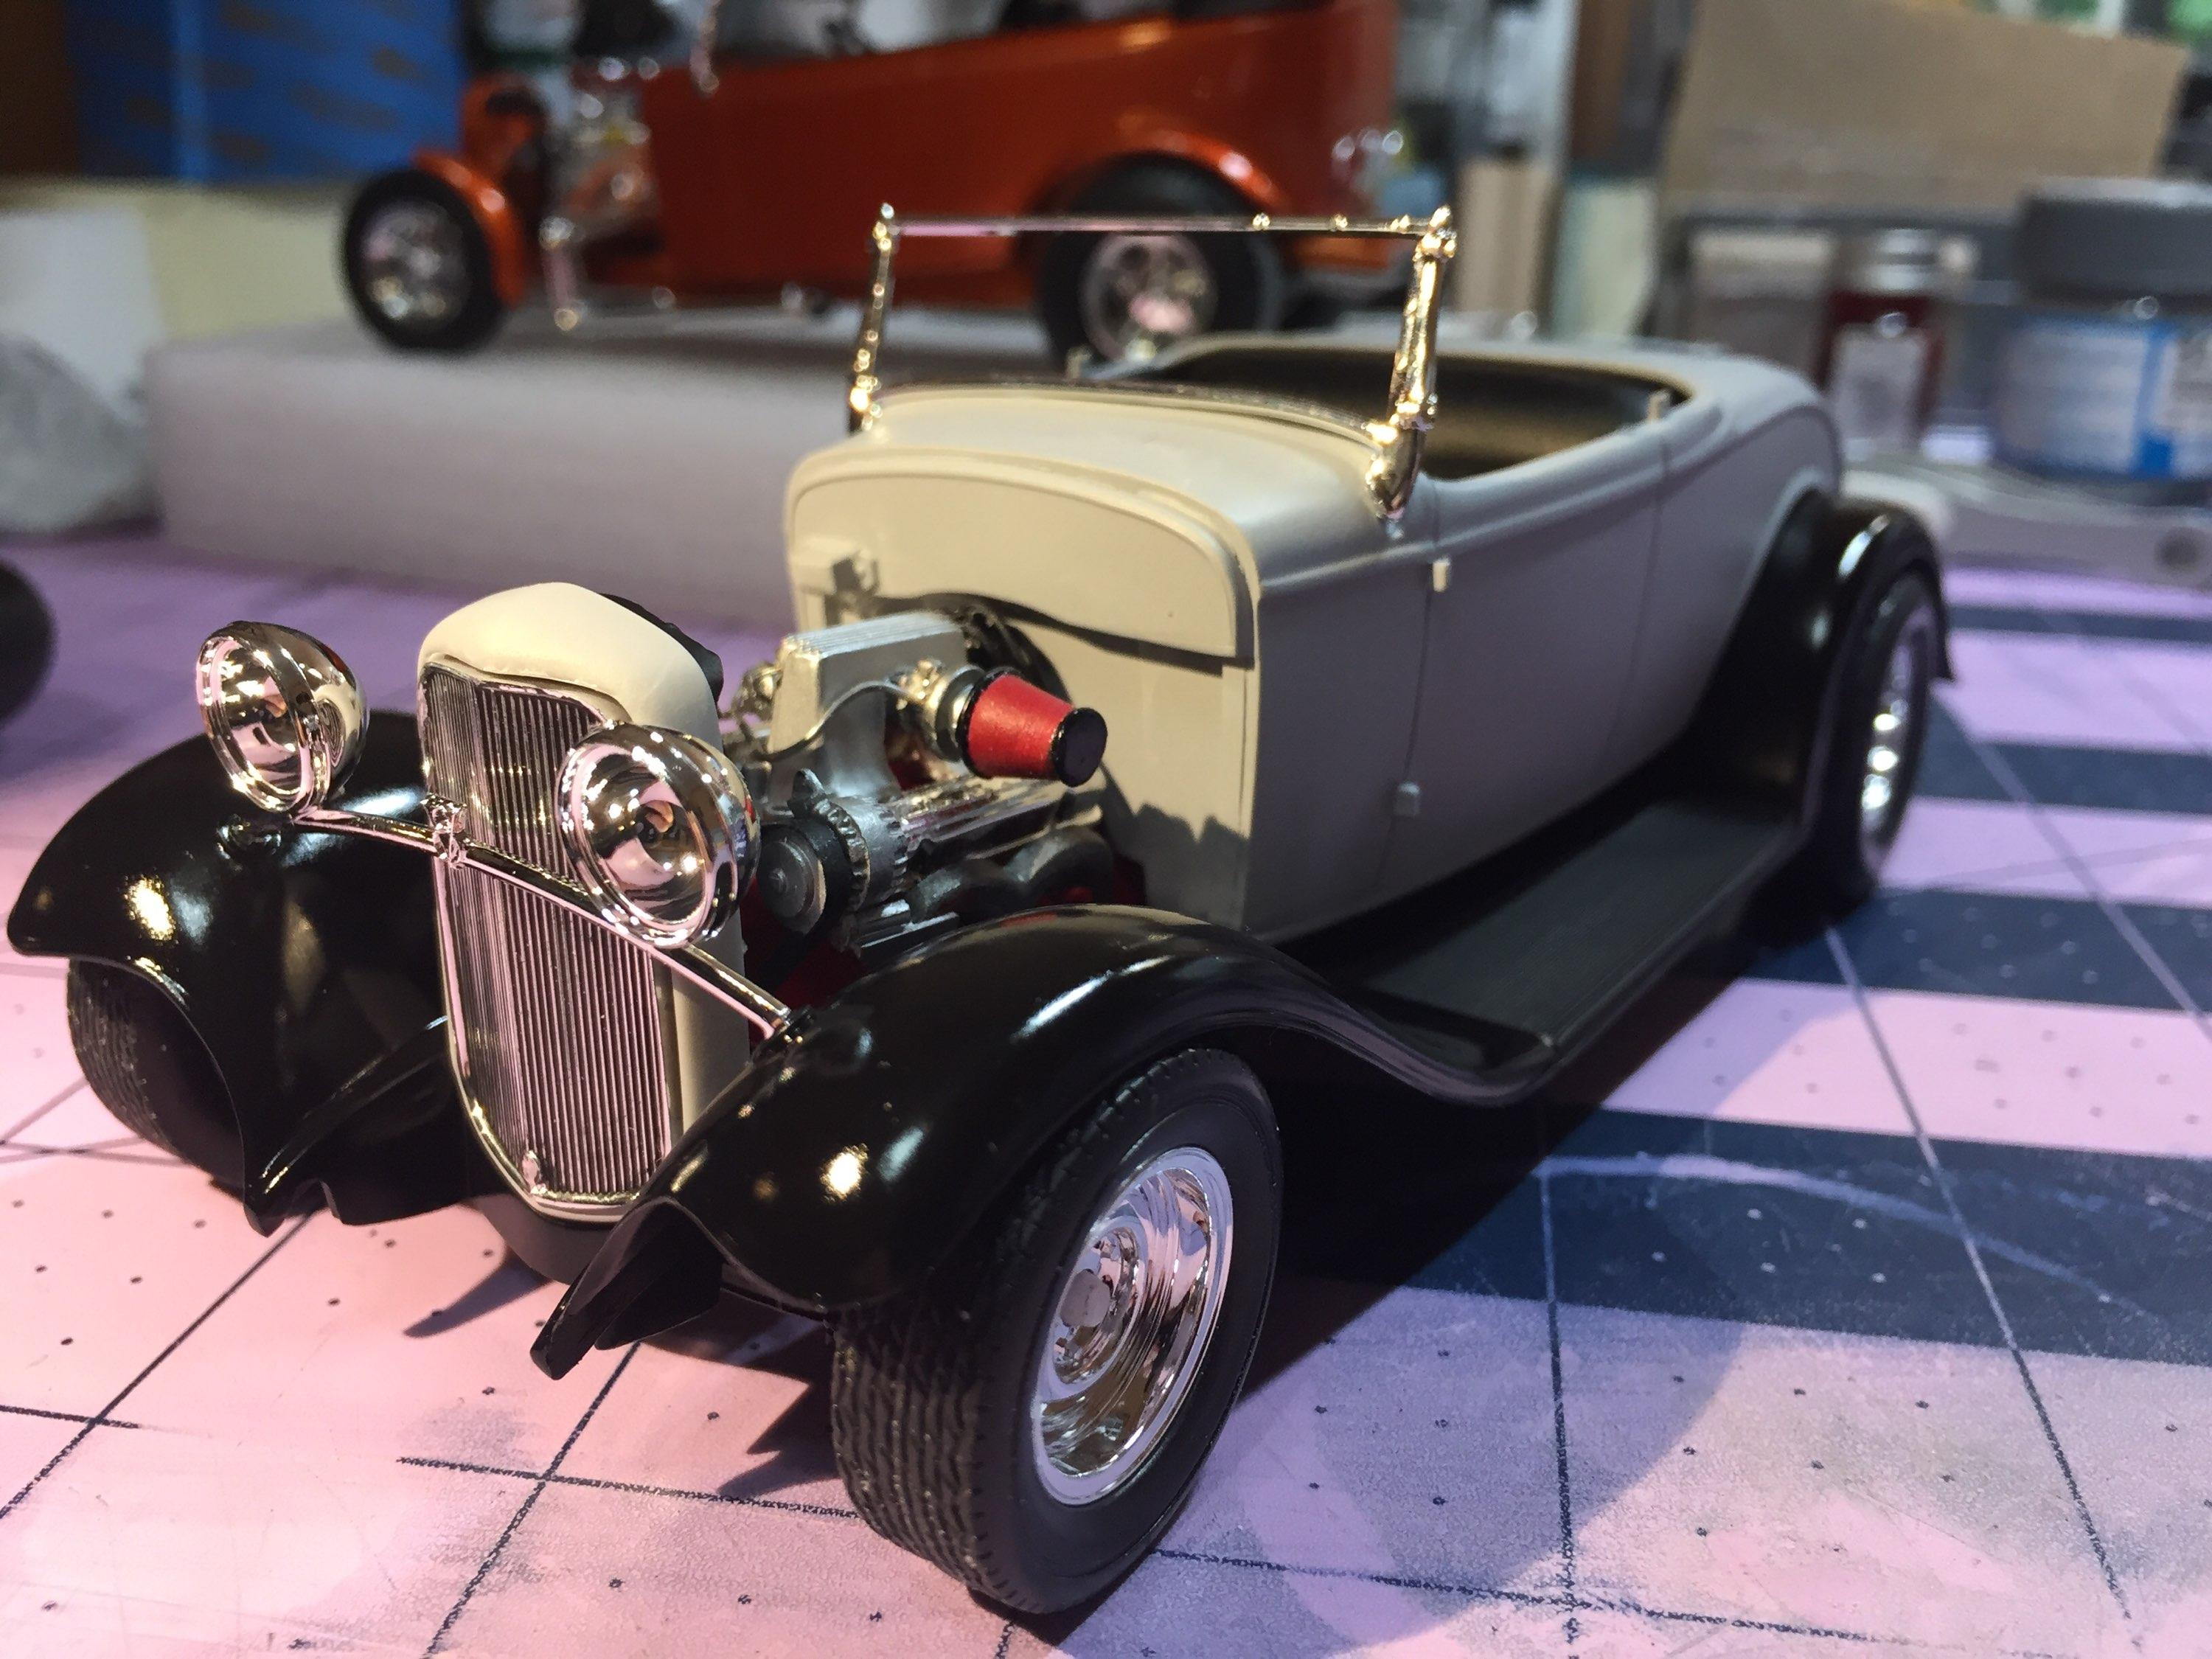
Here's where I'm at with this one. As you know, this kit provides the chassis and fenders in one piece. This configuration presents a painting situation. I sprayed the bottom semi-gloss black...this car will be hoodless to show off the F.I. SBC. The frame that shows needs to be glossy. It's a masking nightmare if I want the fenders a color other than black. So I just went black on the fenders and three coats of clear. I'm not decided on body color yet but I kinda like the gray 🤔. Yeah, those lights need lowering. I'm on it. Thanks for not telling me.
-
That's some pretty amazing work, Jon. .
-
Jon, what are you using to sculpt the various mods such as the above trim elements?