-
Posts
3,791 -
Joined
-
Last visited
Content Type
Profiles
Forums
Events
Gallery
Everything posted by customline
-
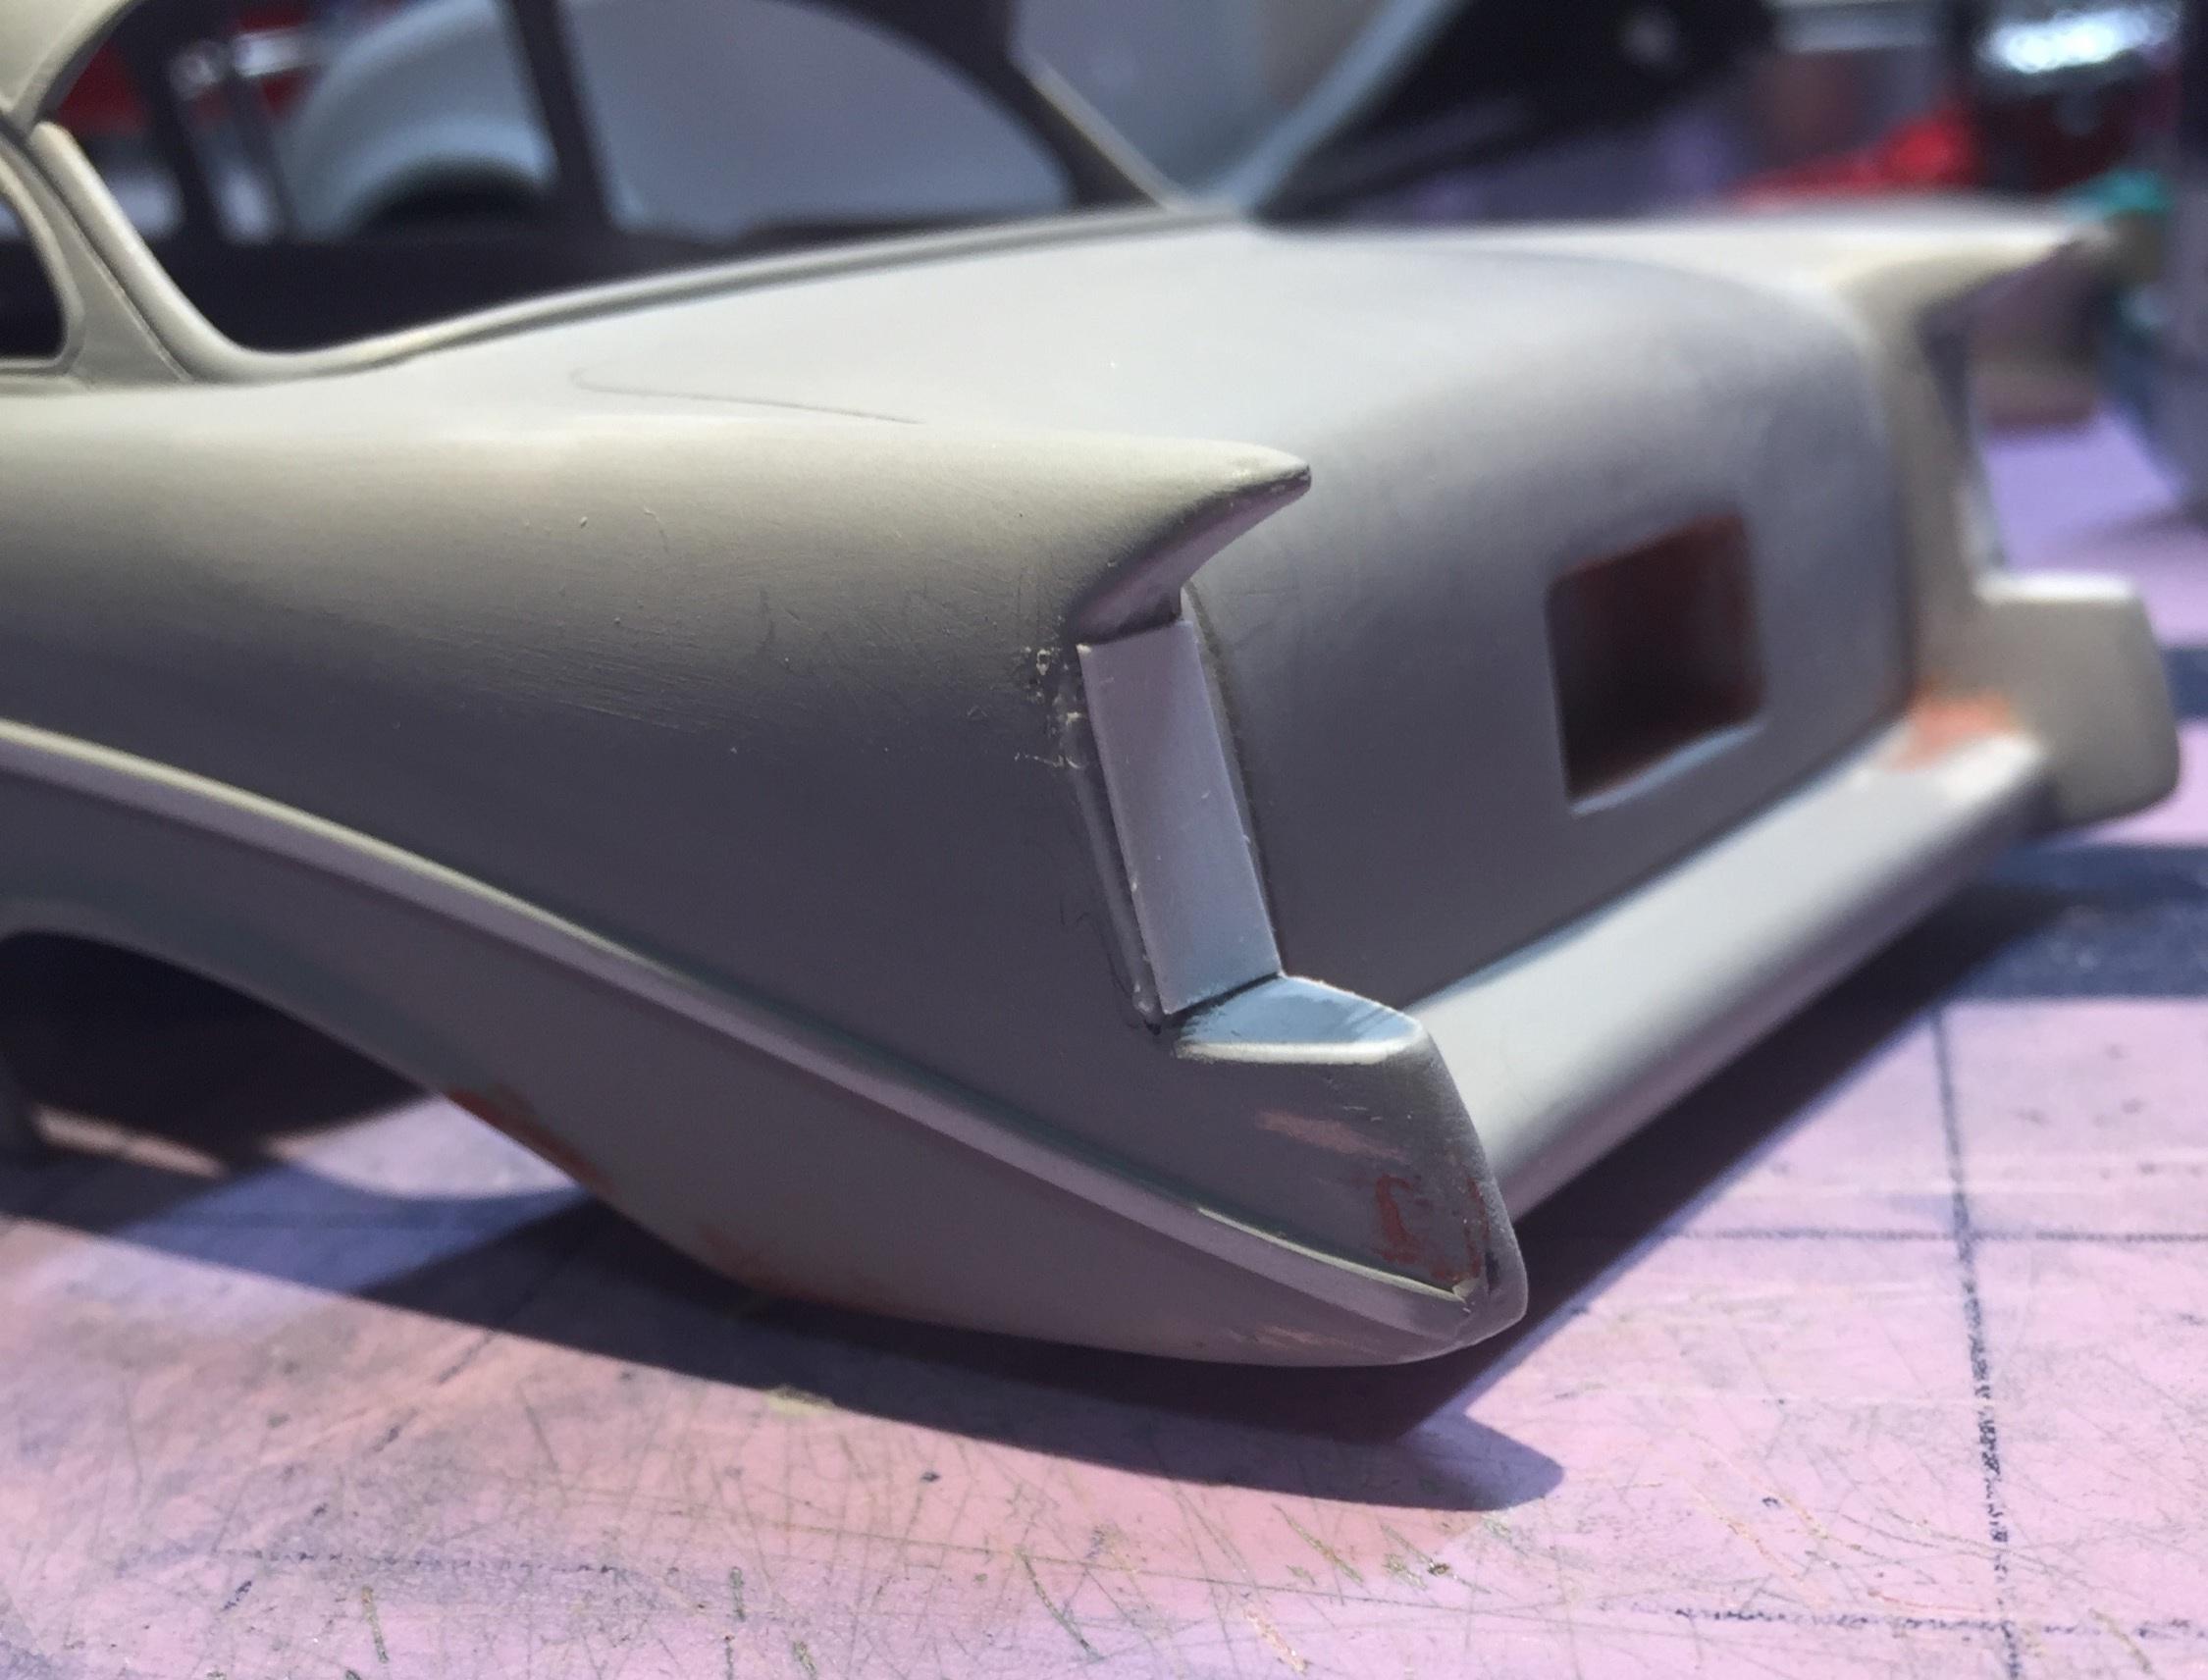
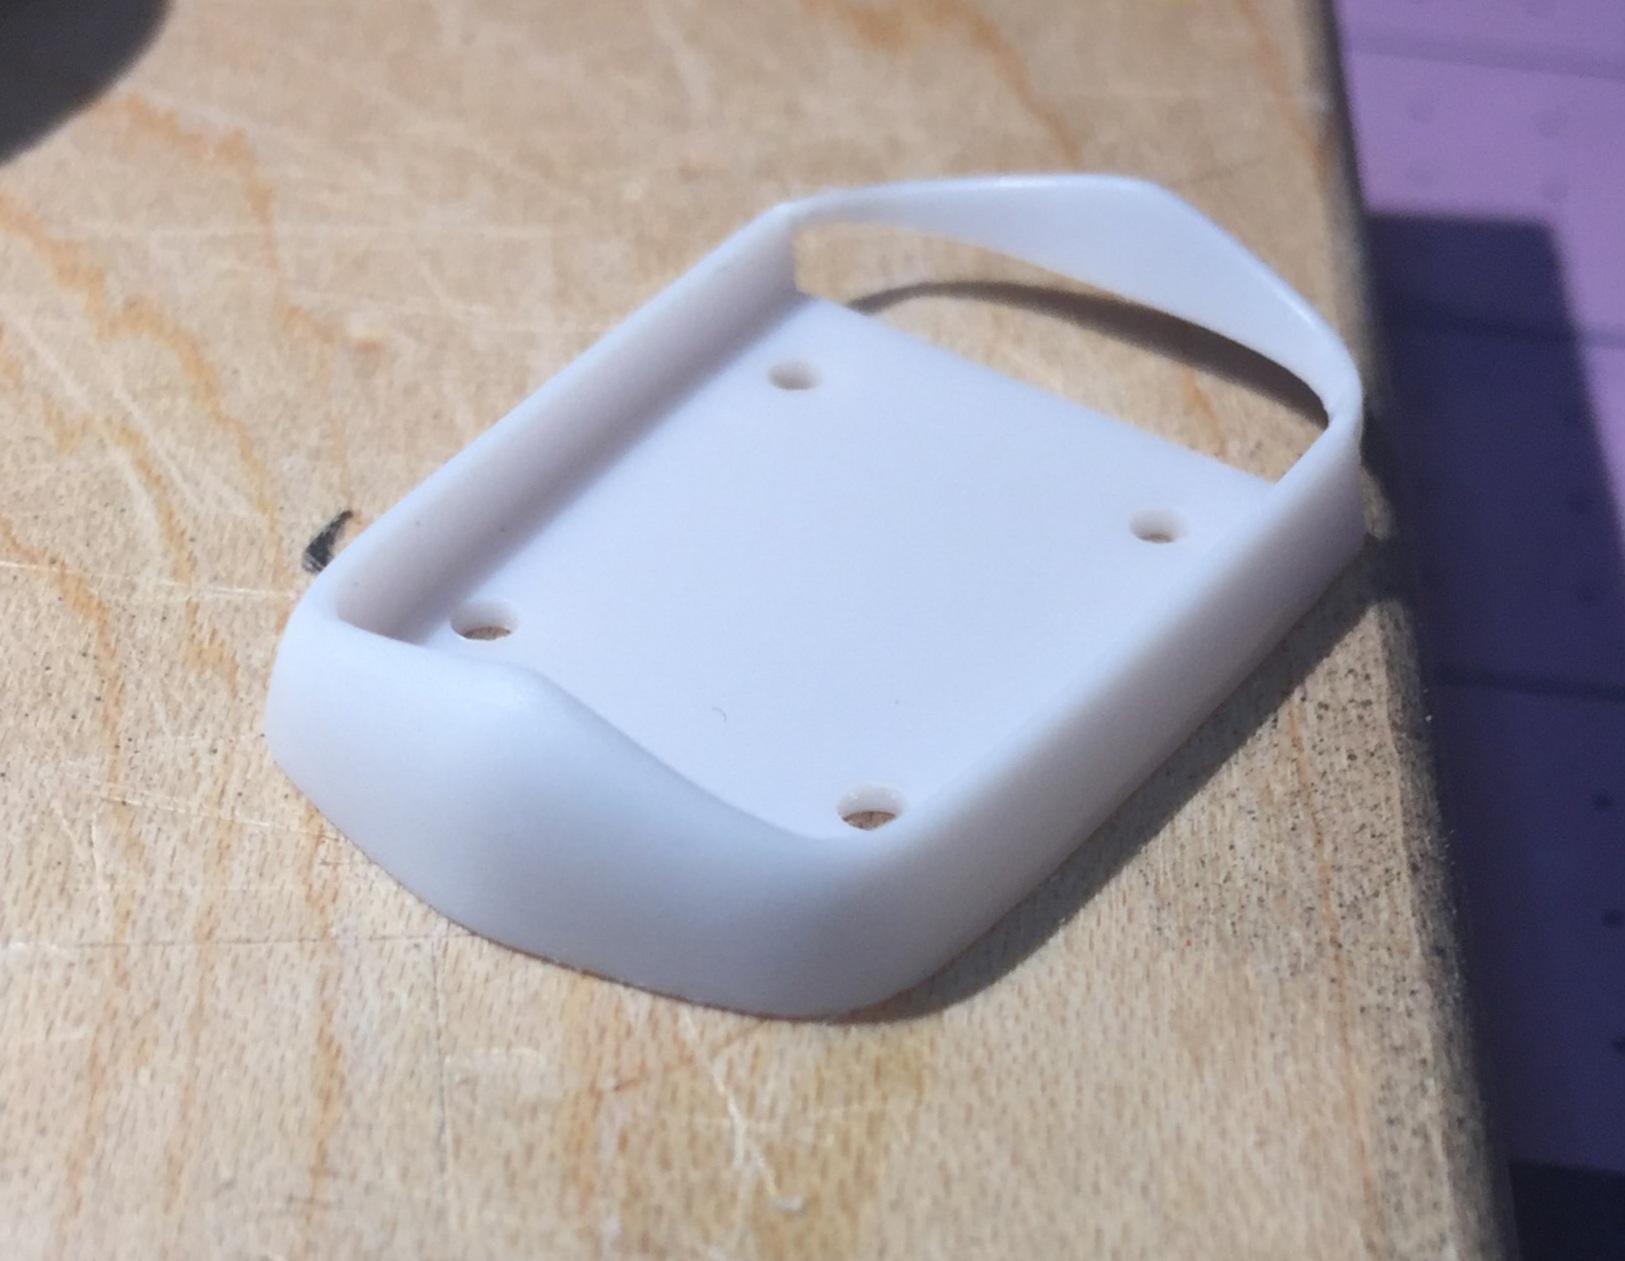
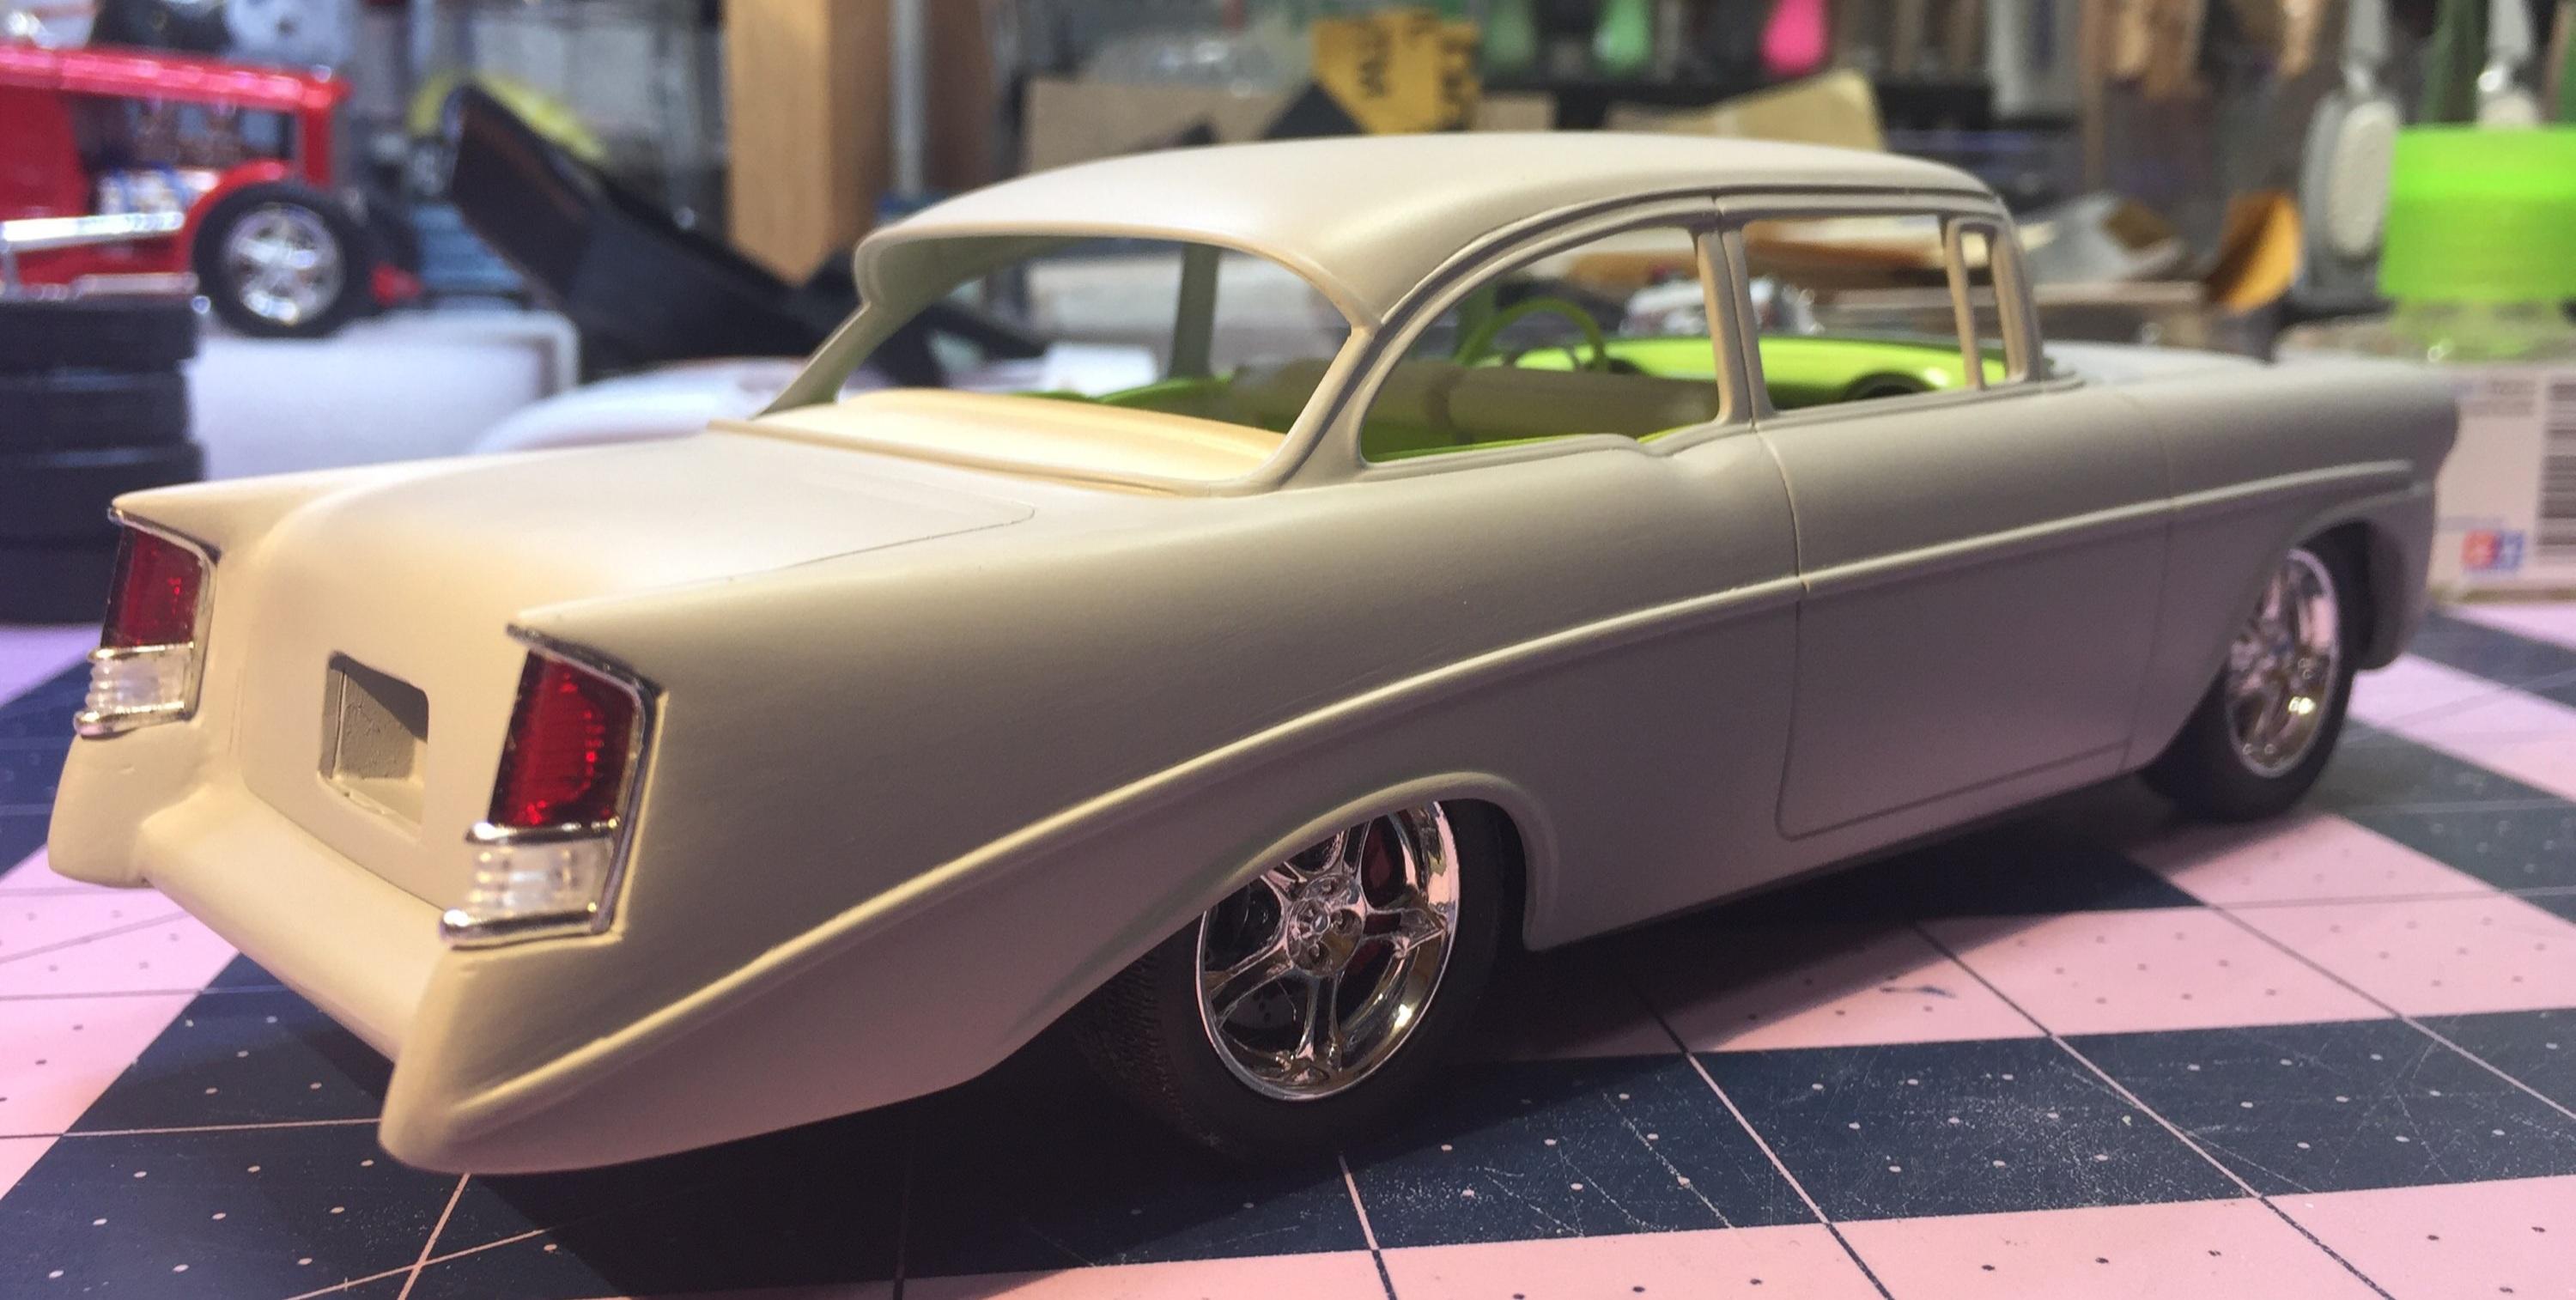
It's time to get these tail lights looking more like "factory," Greg 🥴. It ain't easy. I'm working on it, though. Trying to get the body to match the contour of the bezels is tedious, as you may know. The easier way to do this mod would have been cutting the body parts (the what?) From the tail light donor and grafting the body parts to the Deviant. You can see I've almost got it on this side, just a bit more tweaking. The other side....not so much 👇😔. I've added a piece of .015 to get the light in a better situation relative to the body. Later tonight I'll add filler and sand, filler and sand, filler and sand.... catch ya later.
-
I have not noticed anything like that, Ulf, but I'm not surprised. I have seen this type of thing with other kits. It's unfortunate that you got that far before finding it. When I wet sand the surfacer on my roof, I will be looking for this and I thank you for the heads-up. There may be a way to deal with this issue without a dip in the pond but I'm no expert. I screw up at least 75% of my paint jobs. 💩
-

Monogram '32 roadster: a red-headed step-child.
customline replied to customline's topic in WIP: Model Cars
I dunno, Toph. Touched, I thought, meant "mentally challenged ". "Common" is usually followed by m***** f***** every time it was thrown around. "Touched" seems like a charitable term. What do I know? I'm a Yankee. -

Monogram '32 roadster: a red-headed step-child.
customline replied to customline's topic in WIP: Model Cars
Oh, sorry, Topher....are you.... no......not that "common". When I moved south to Virginia many years ago, i found that the natives here use that word differently. It sorta means 'low grade'. When referring to a person as common, it can lead to an altercation involving violence. The Brits have a "house of Commons" but then it's not a derogatory term, just a way of expressing one's social standing. I meant it in the worst possible way and emphasized it by adding the hyphenated suffix. It might have been a bit strong. 🤓 Ollie's had those kits many months ago. The Duval Deuce is what's in my local stores now, or recently was anyway. But Christmas is coming! You never know what you will find ! I'm holding out for Moebius kits 😏 -
Ooooo.....nah, the wiper will hide that. 🤓
-
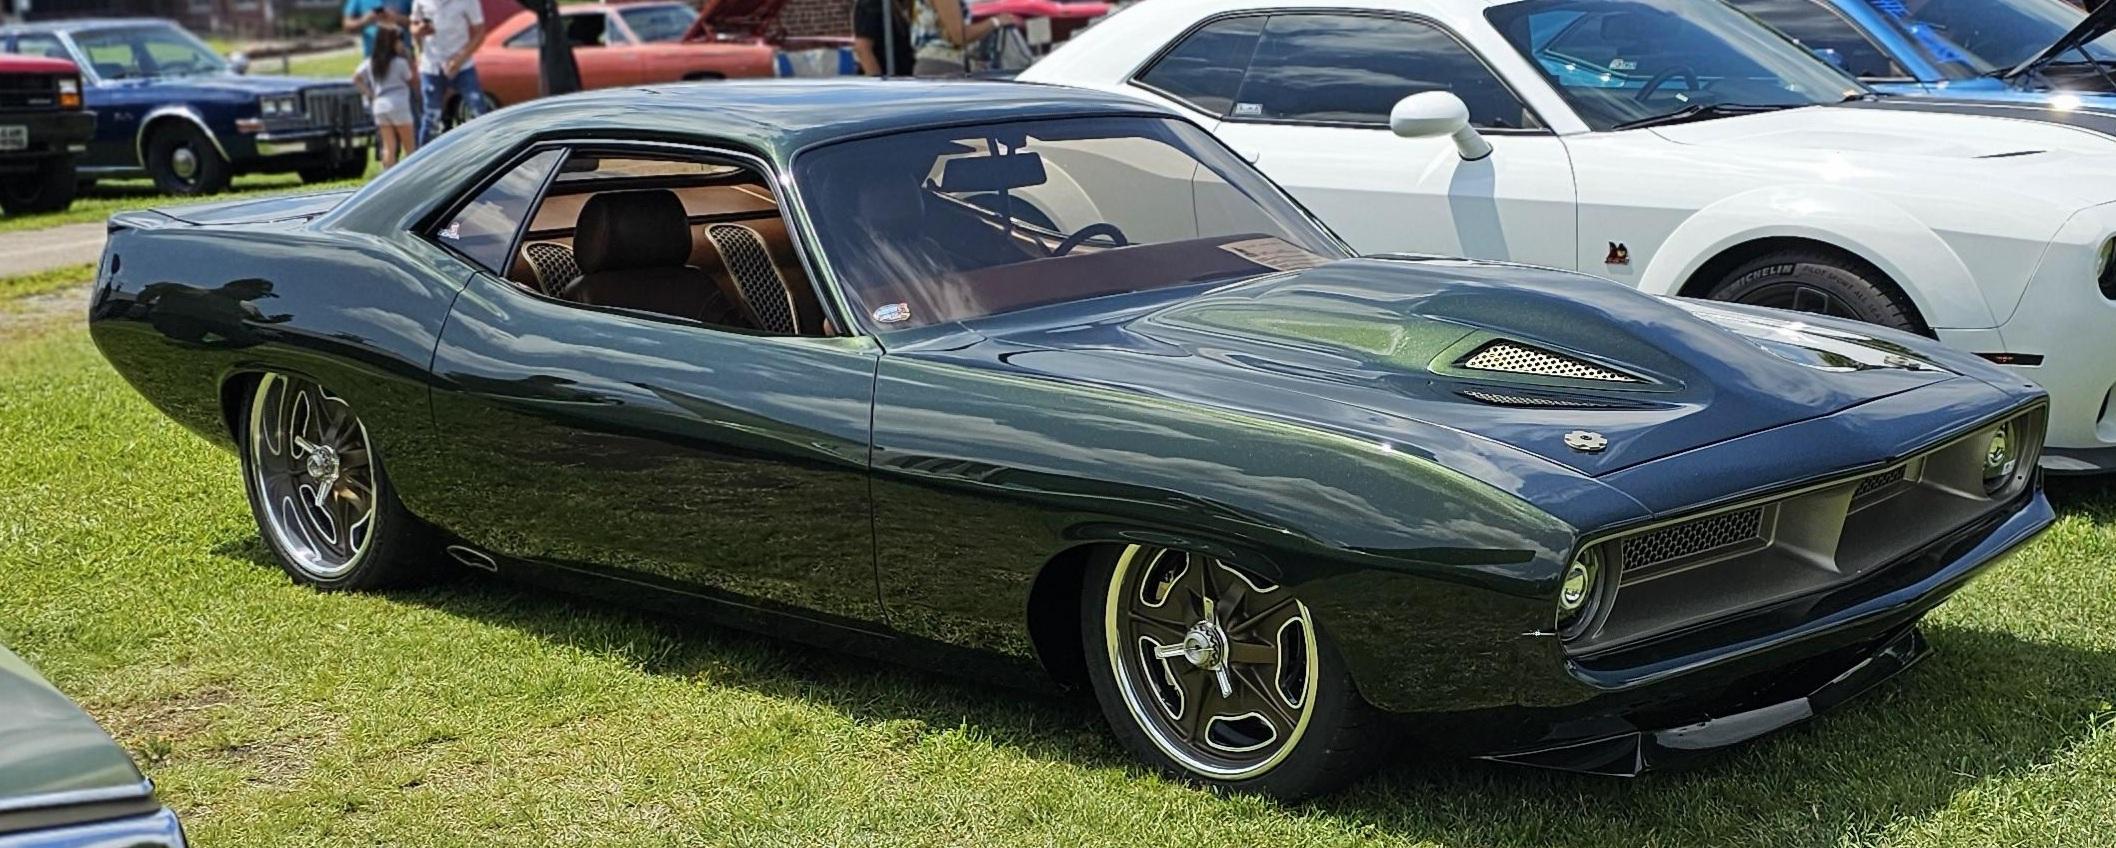
It's phenomenal all right, Topher. That hood mod looks like alien technology 👽. Totally amazing. The reflections are mirror-like. Fantastic 😎 I cropped the photo for those of us that don't know how to zoom in ( many older members here, Topher 😉). The photo is very high resolution so zoom if you know how, folks! 🥴
-
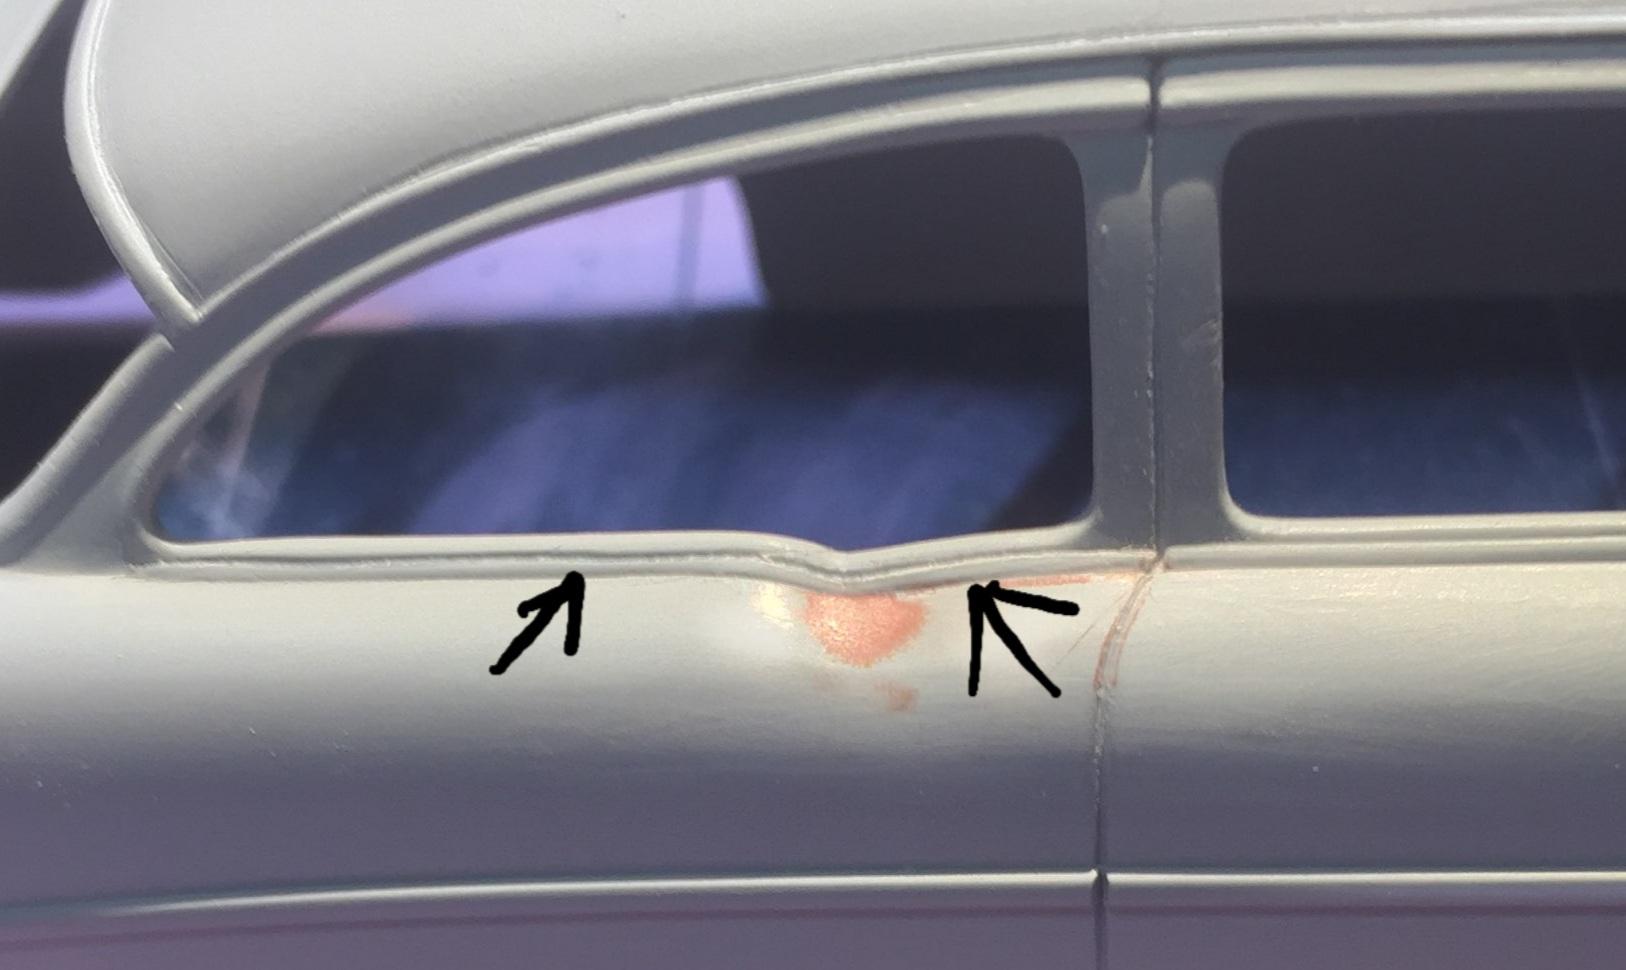
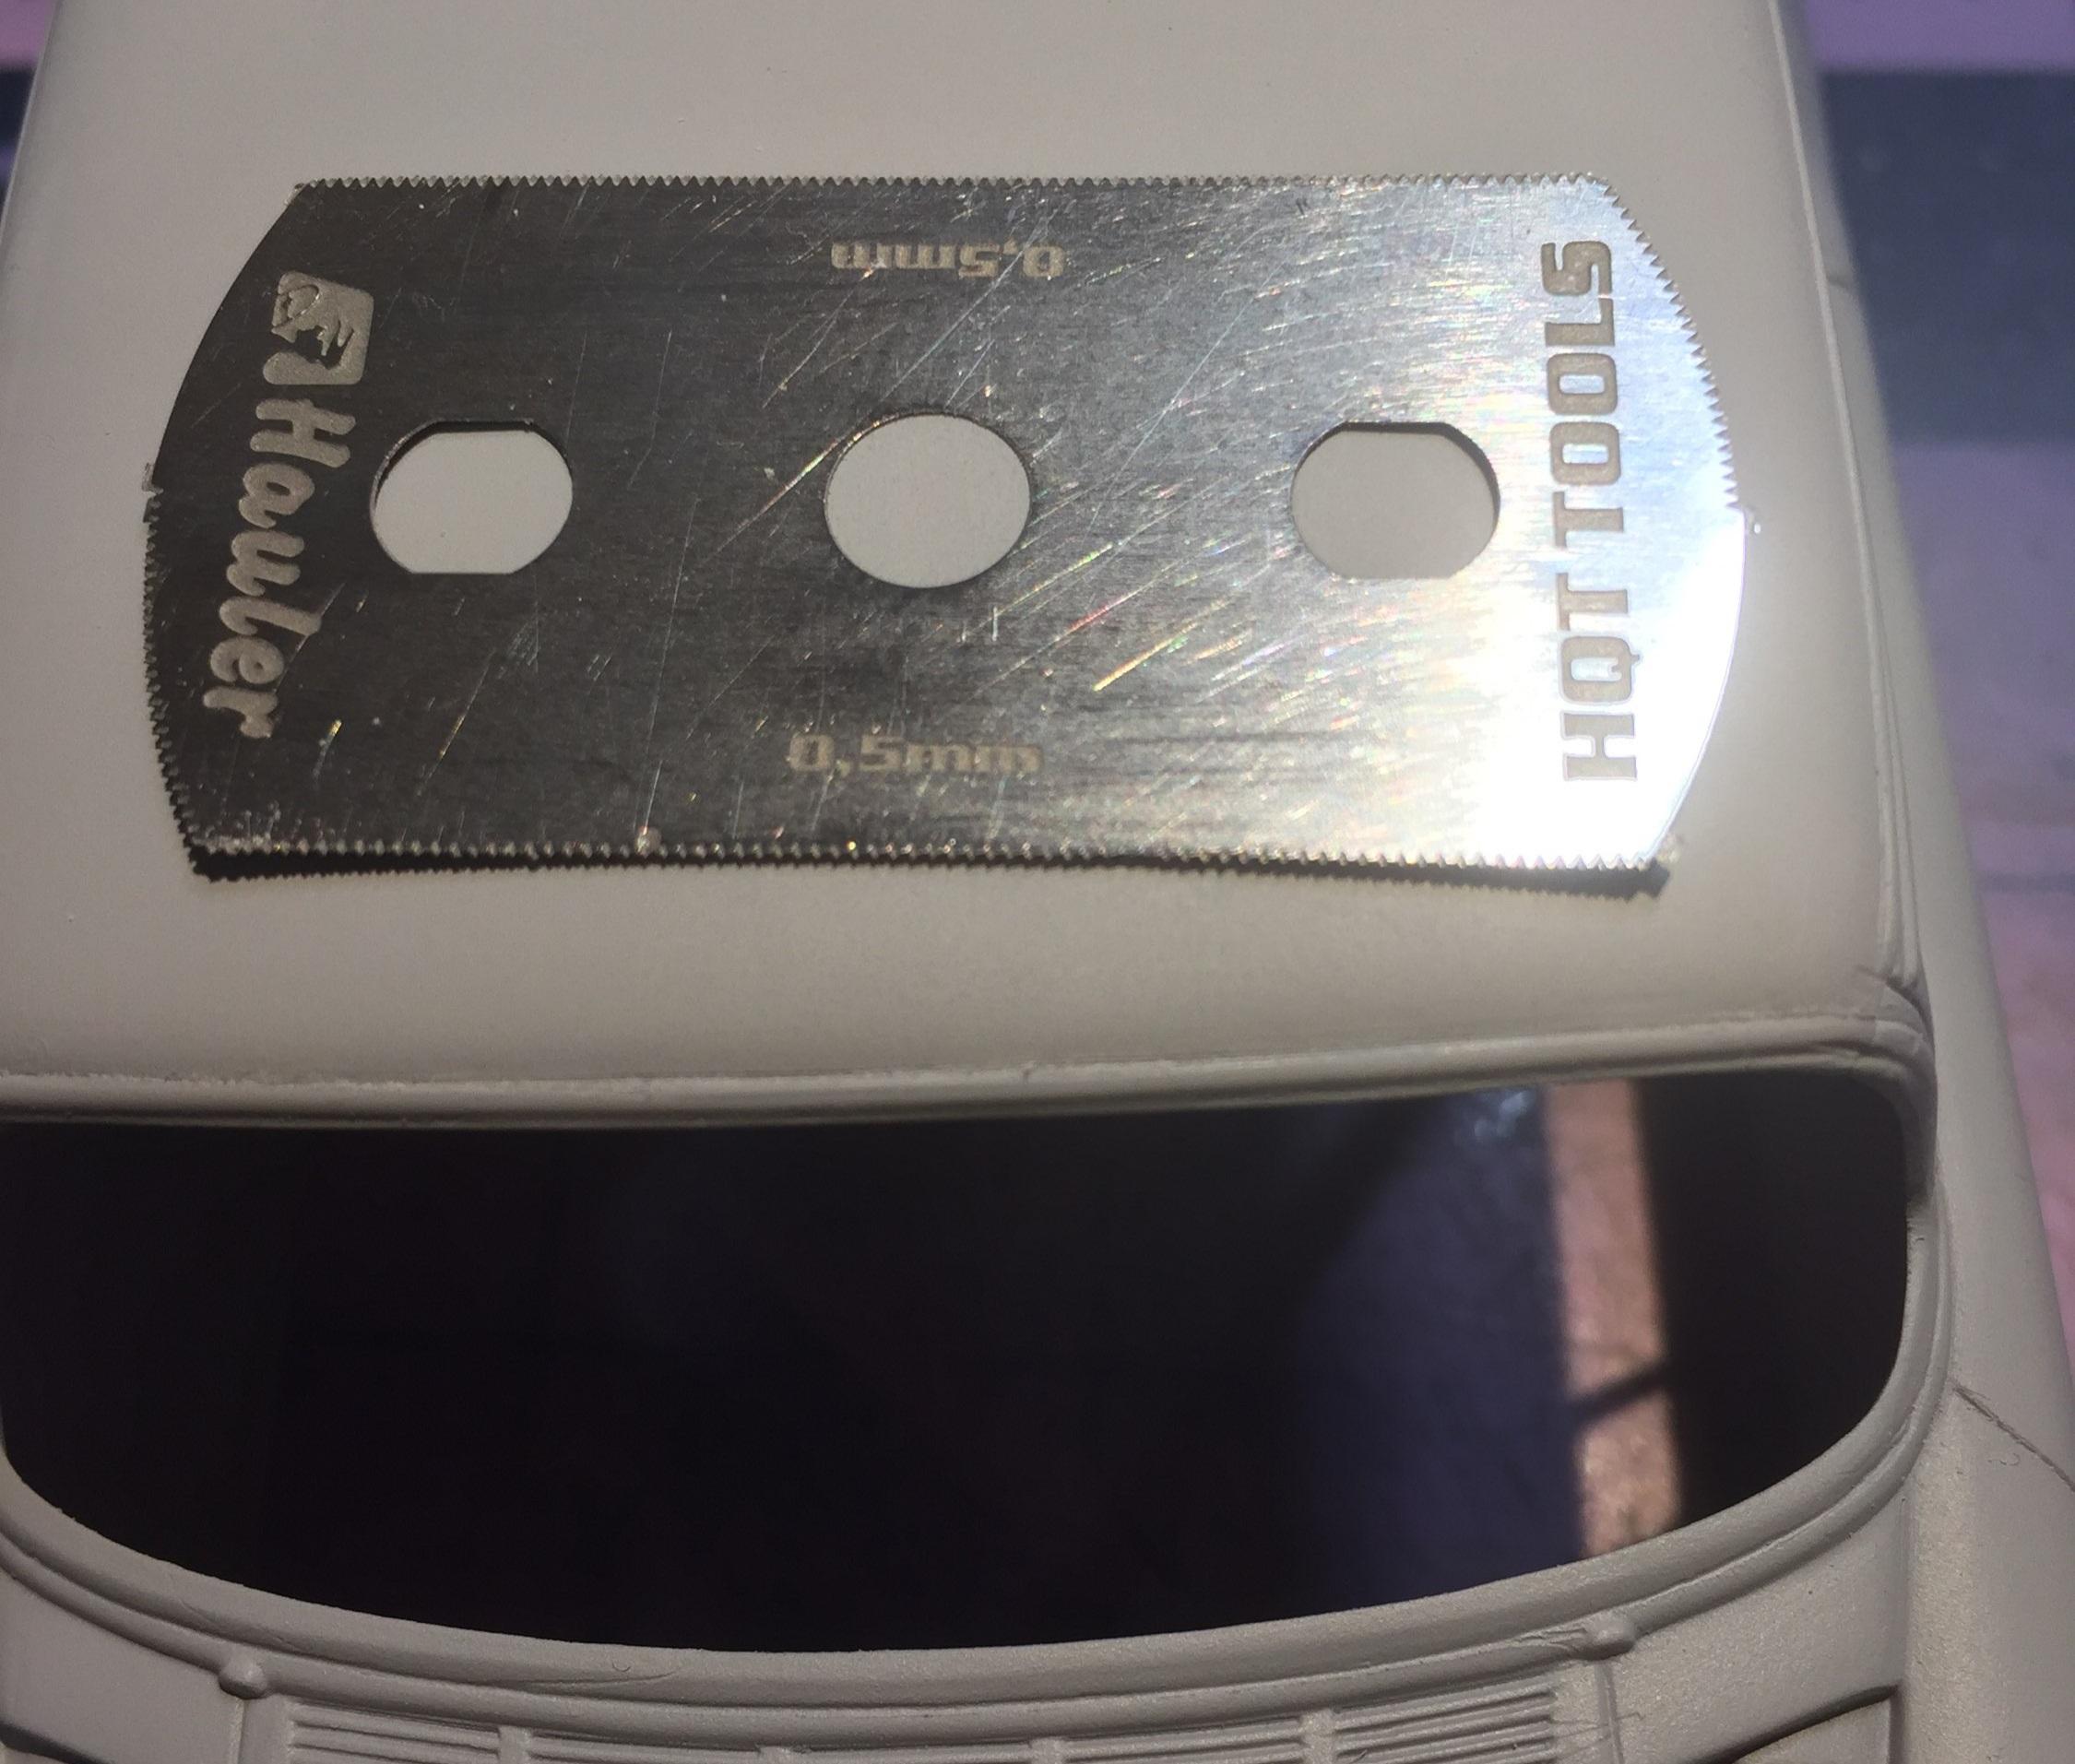
Yeah....that might not be a good idea, Elliot......but I'm working on it 😕 This stupid little trim strip is just killing me. If I thought I could remove it cleanly, I would. I probably can but it's like I can't let it beat me. It's personal now. I still have some tricks to try to smooth it enough for a decent foil job. I worked on this upper windshield trim tonight, deepening the faint line Revell provided. That saw blade is now my go-to tool for panel lines.
-

Monogram '32 roadster: a red-headed step-child.
customline replied to customline's topic in WIP: Model Cars
Yeah, thanks, Elliot. I can't believe I'm spending this much time on a common-a$$ kit like this but I enjoy the work. It gives me purpose 😌. -
Yeah, okay....keep up the good work 🥴
-
Well you're just on fire today, Len. 😉. ( Don't encourage him, Topher! )
-

Monogram '32 roadster: a red-headed step-child.
customline replied to customline's topic in WIP: Model Cars
Hey, ya know 🤔......I think I have some Ace Premium sun yellow...... -
Thanks, Ken. There's still some nicks and scratches to iron out but I'm getting there. I don't see that stuff until I post the photos and zoom in. 😰
-

Monogram '32 roadster: a red-headed step-child.
customline replied to customline's topic in WIP: Model Cars
-

Monogram '32 roadster: a red-headed step-child.
customline replied to customline's topic in WIP: Model Cars
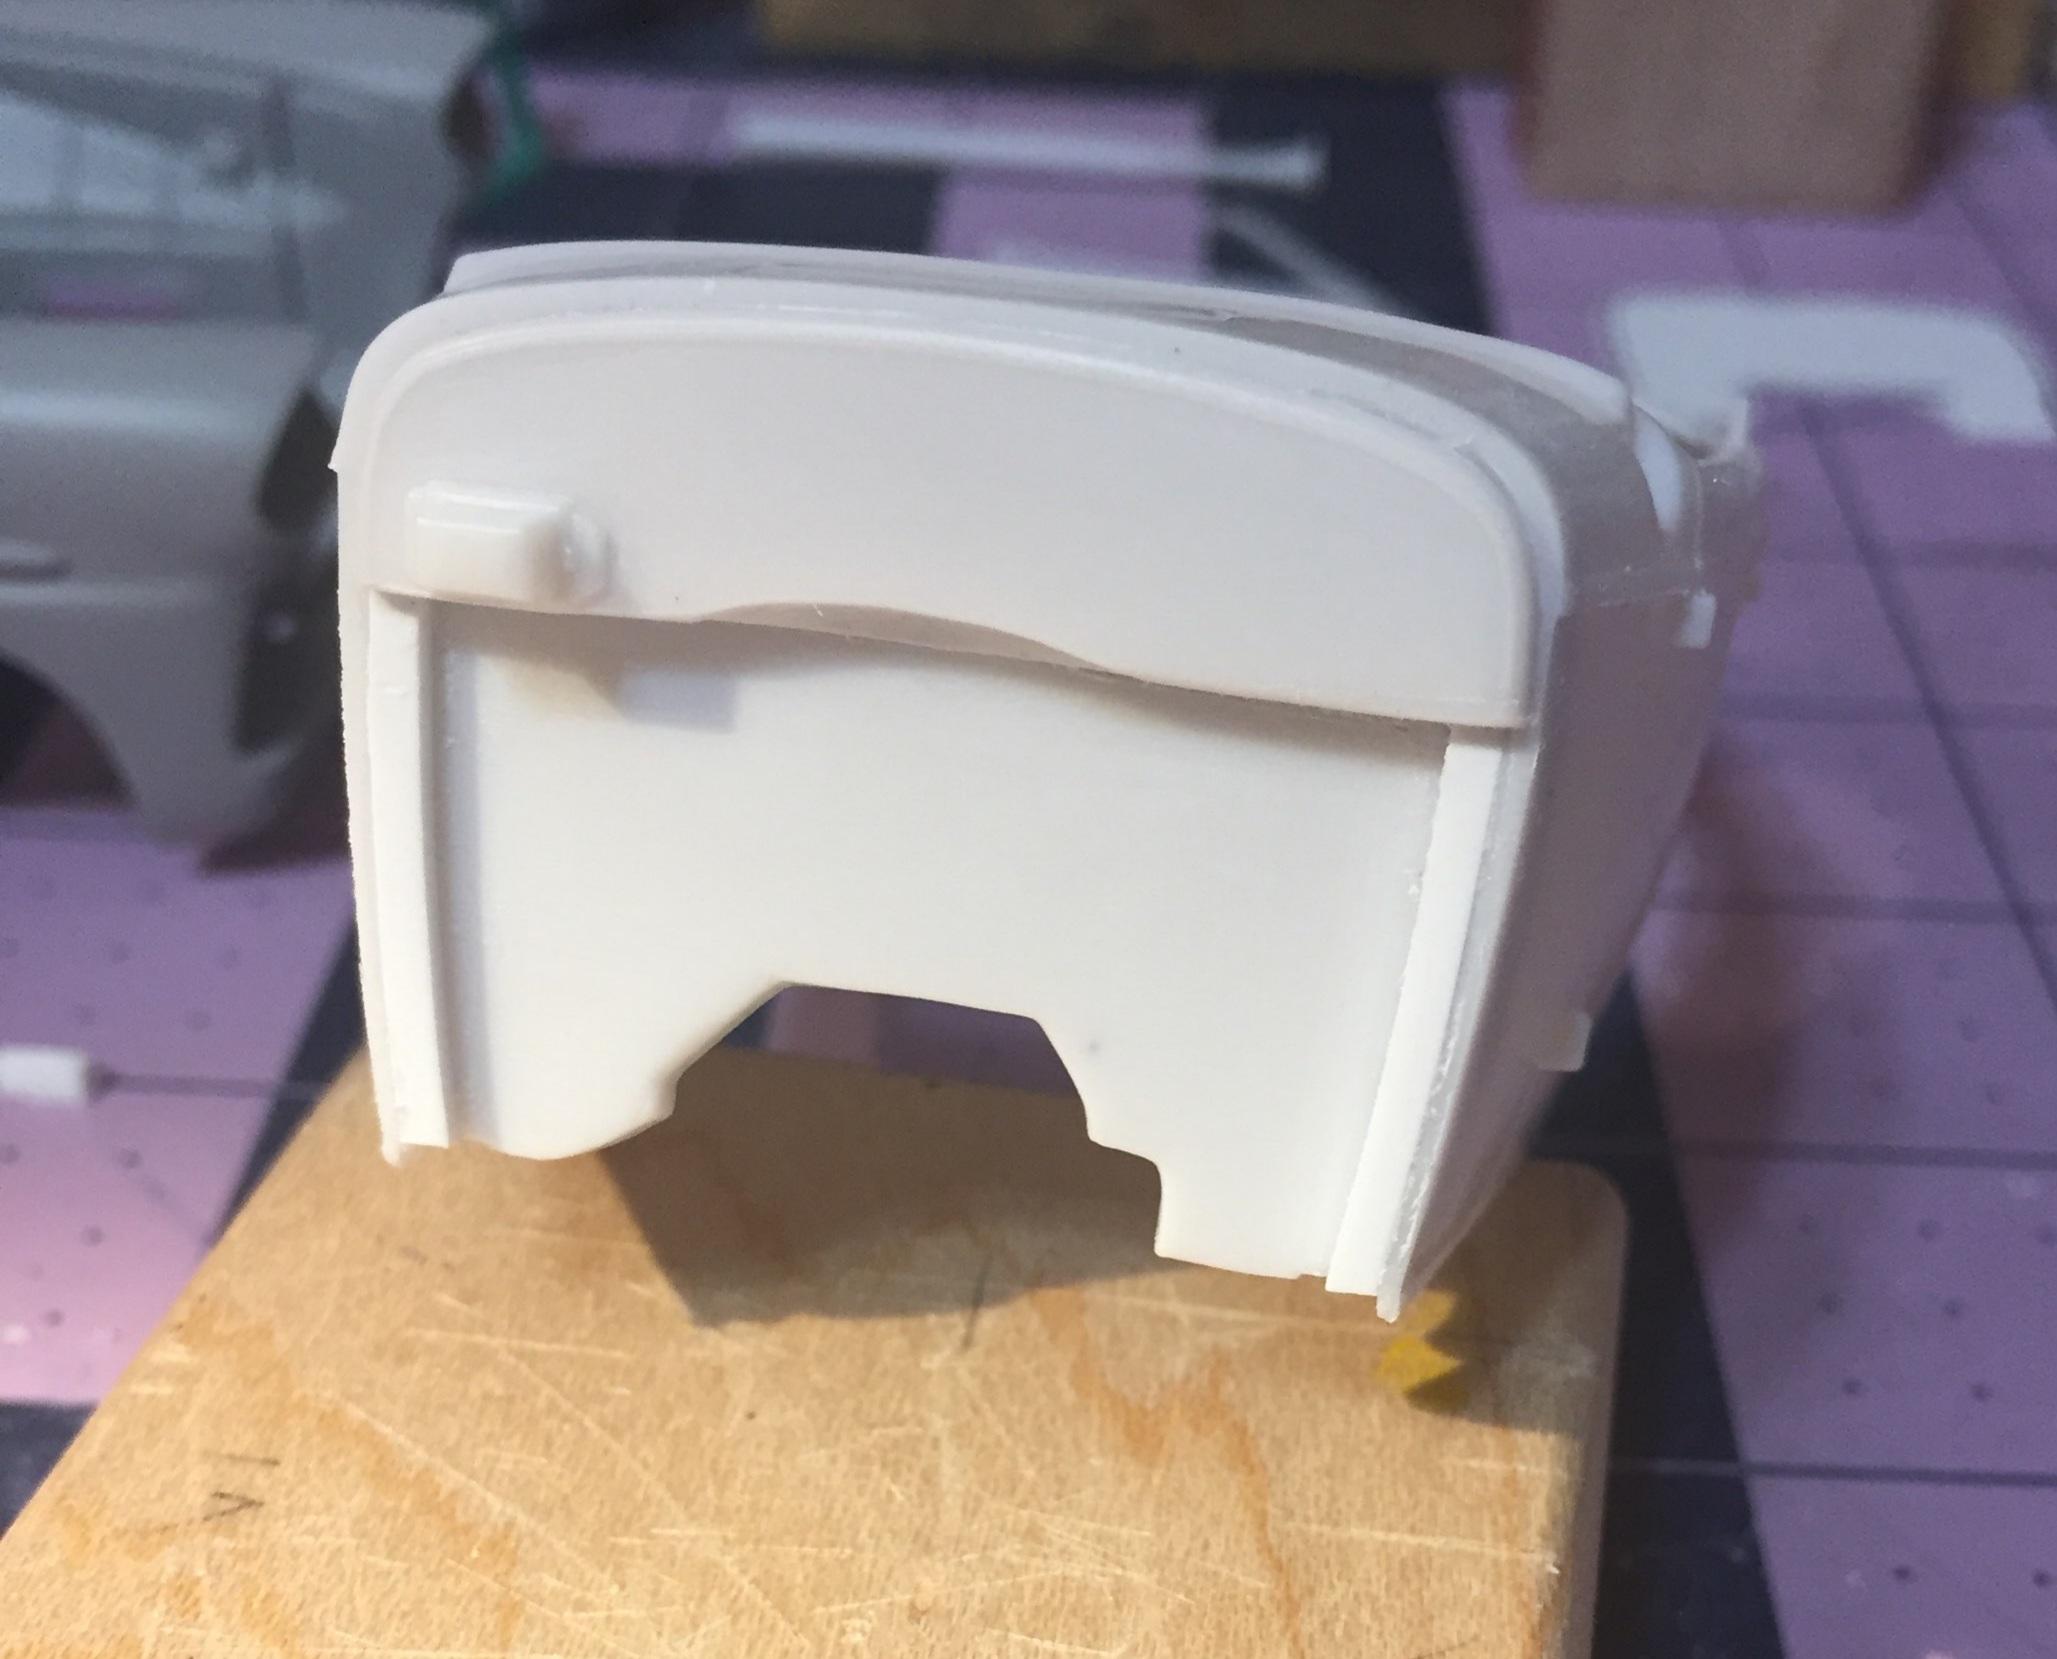
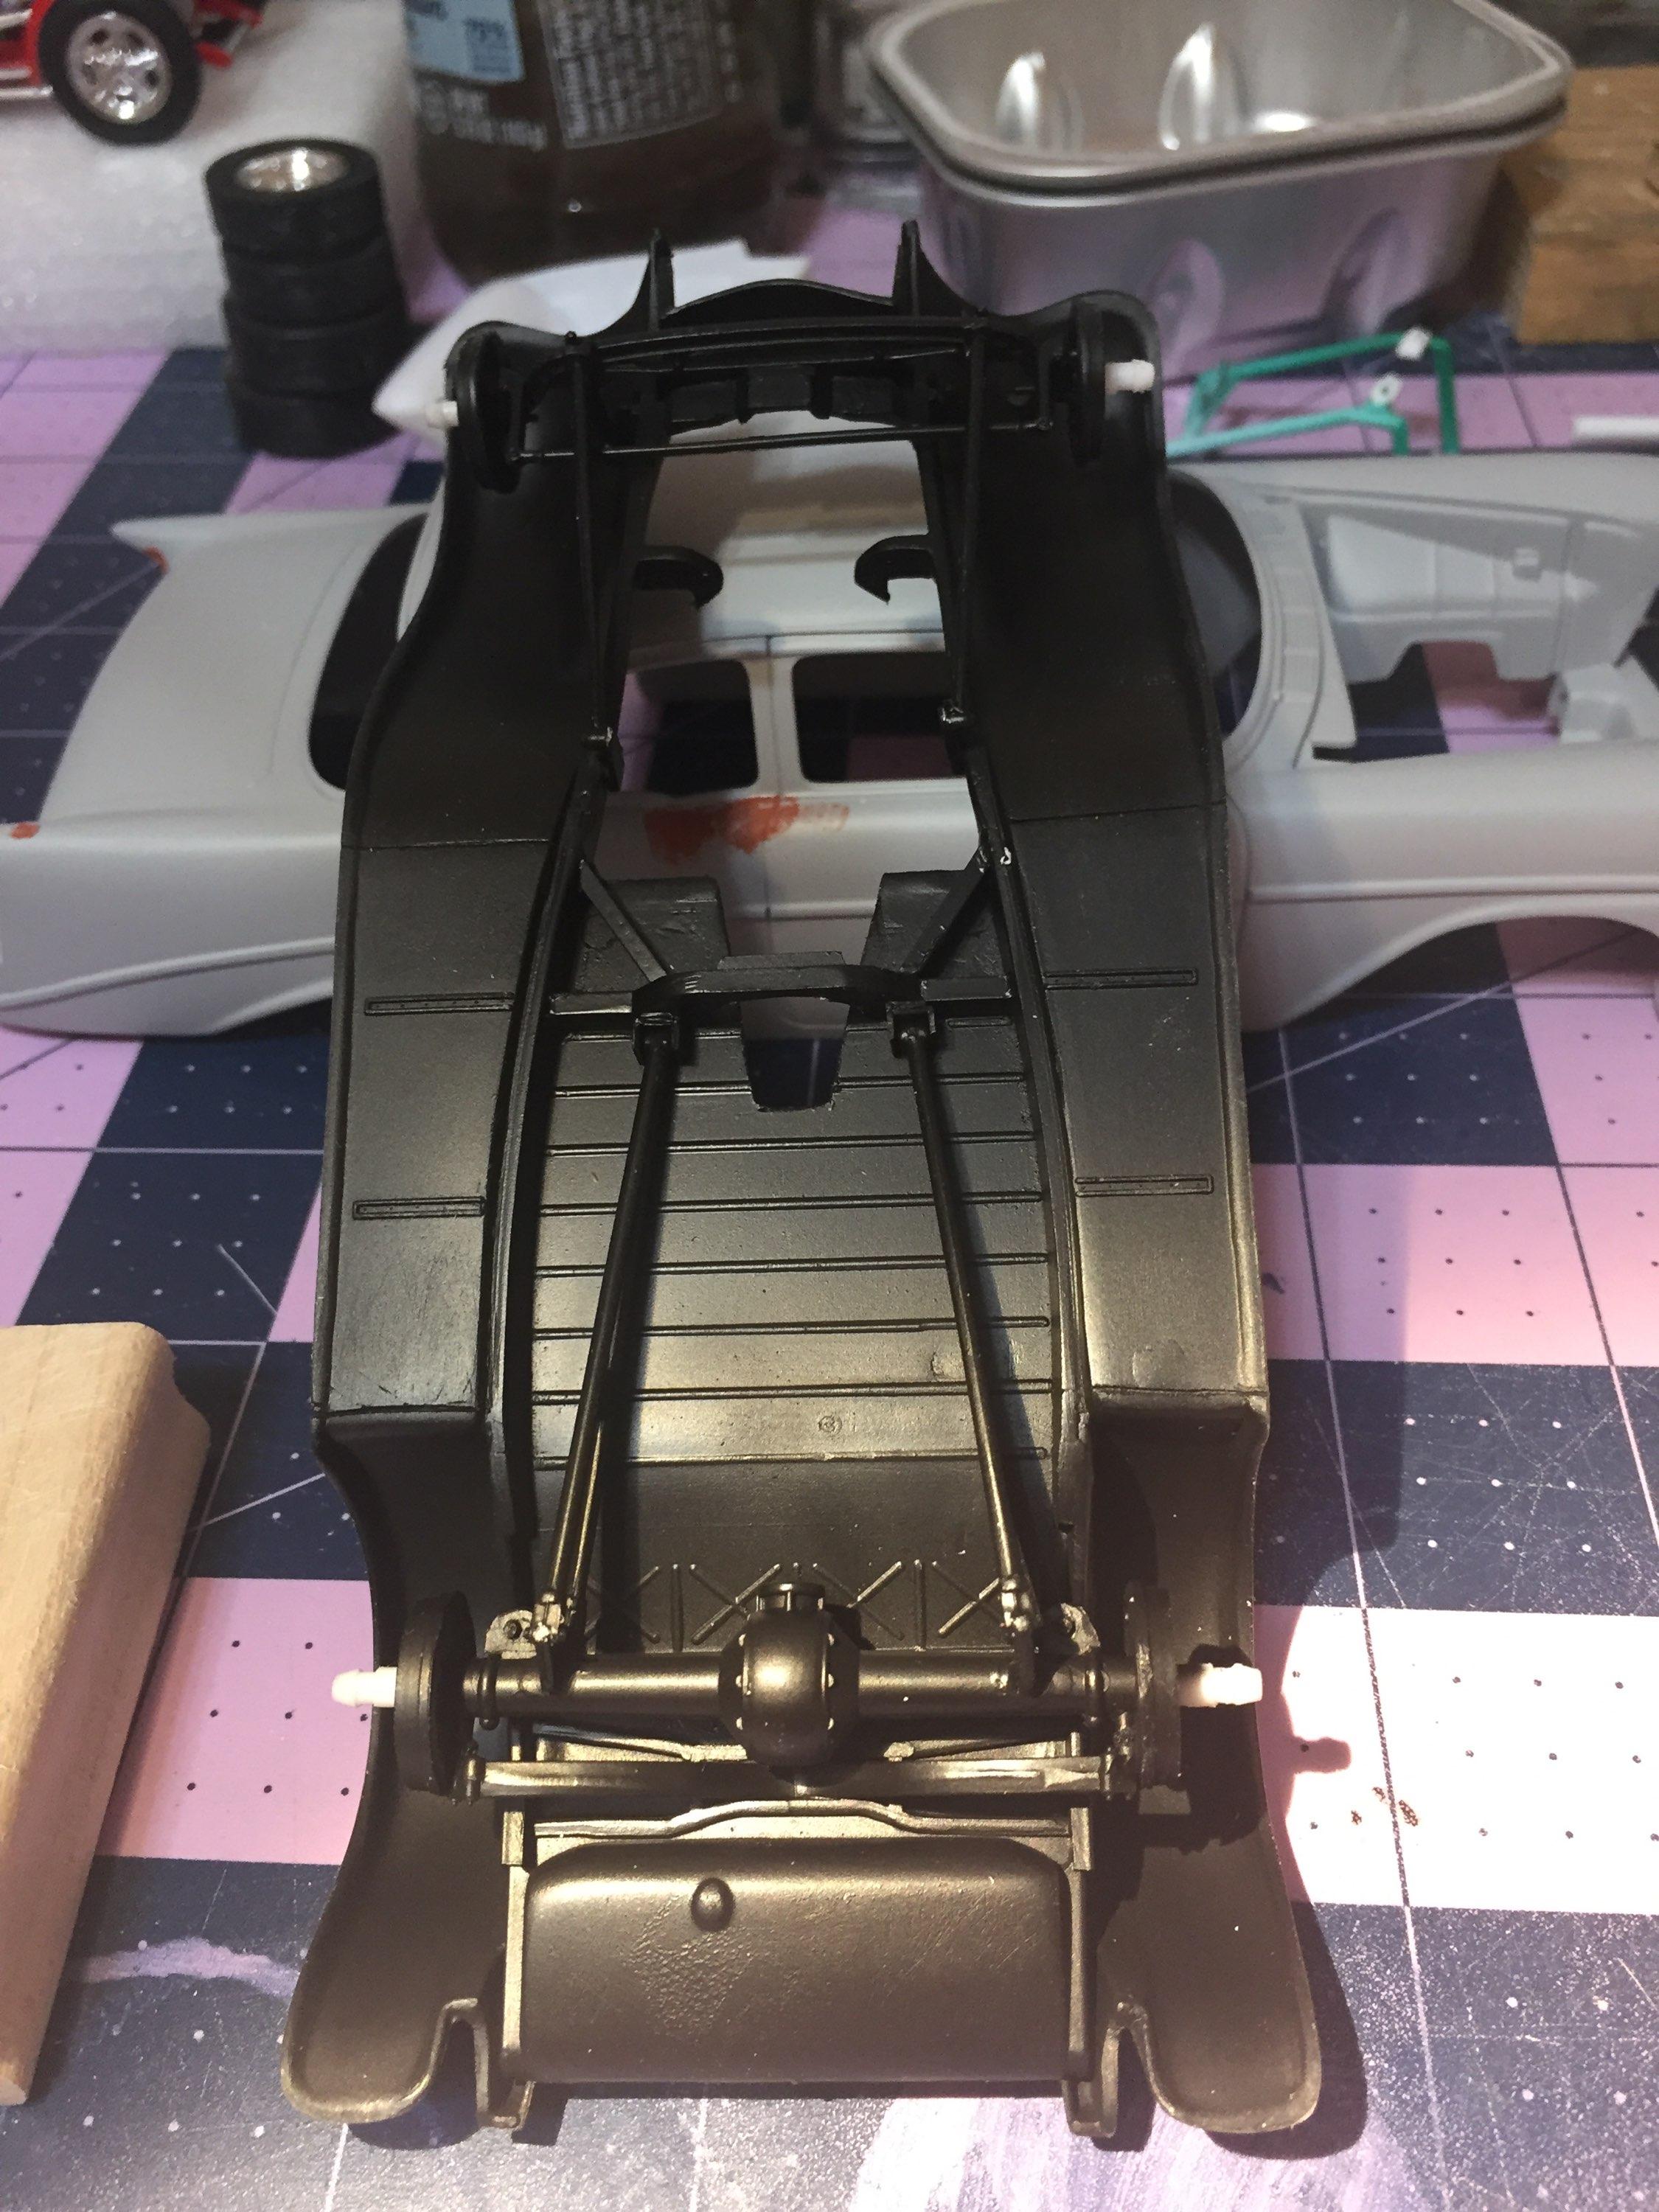
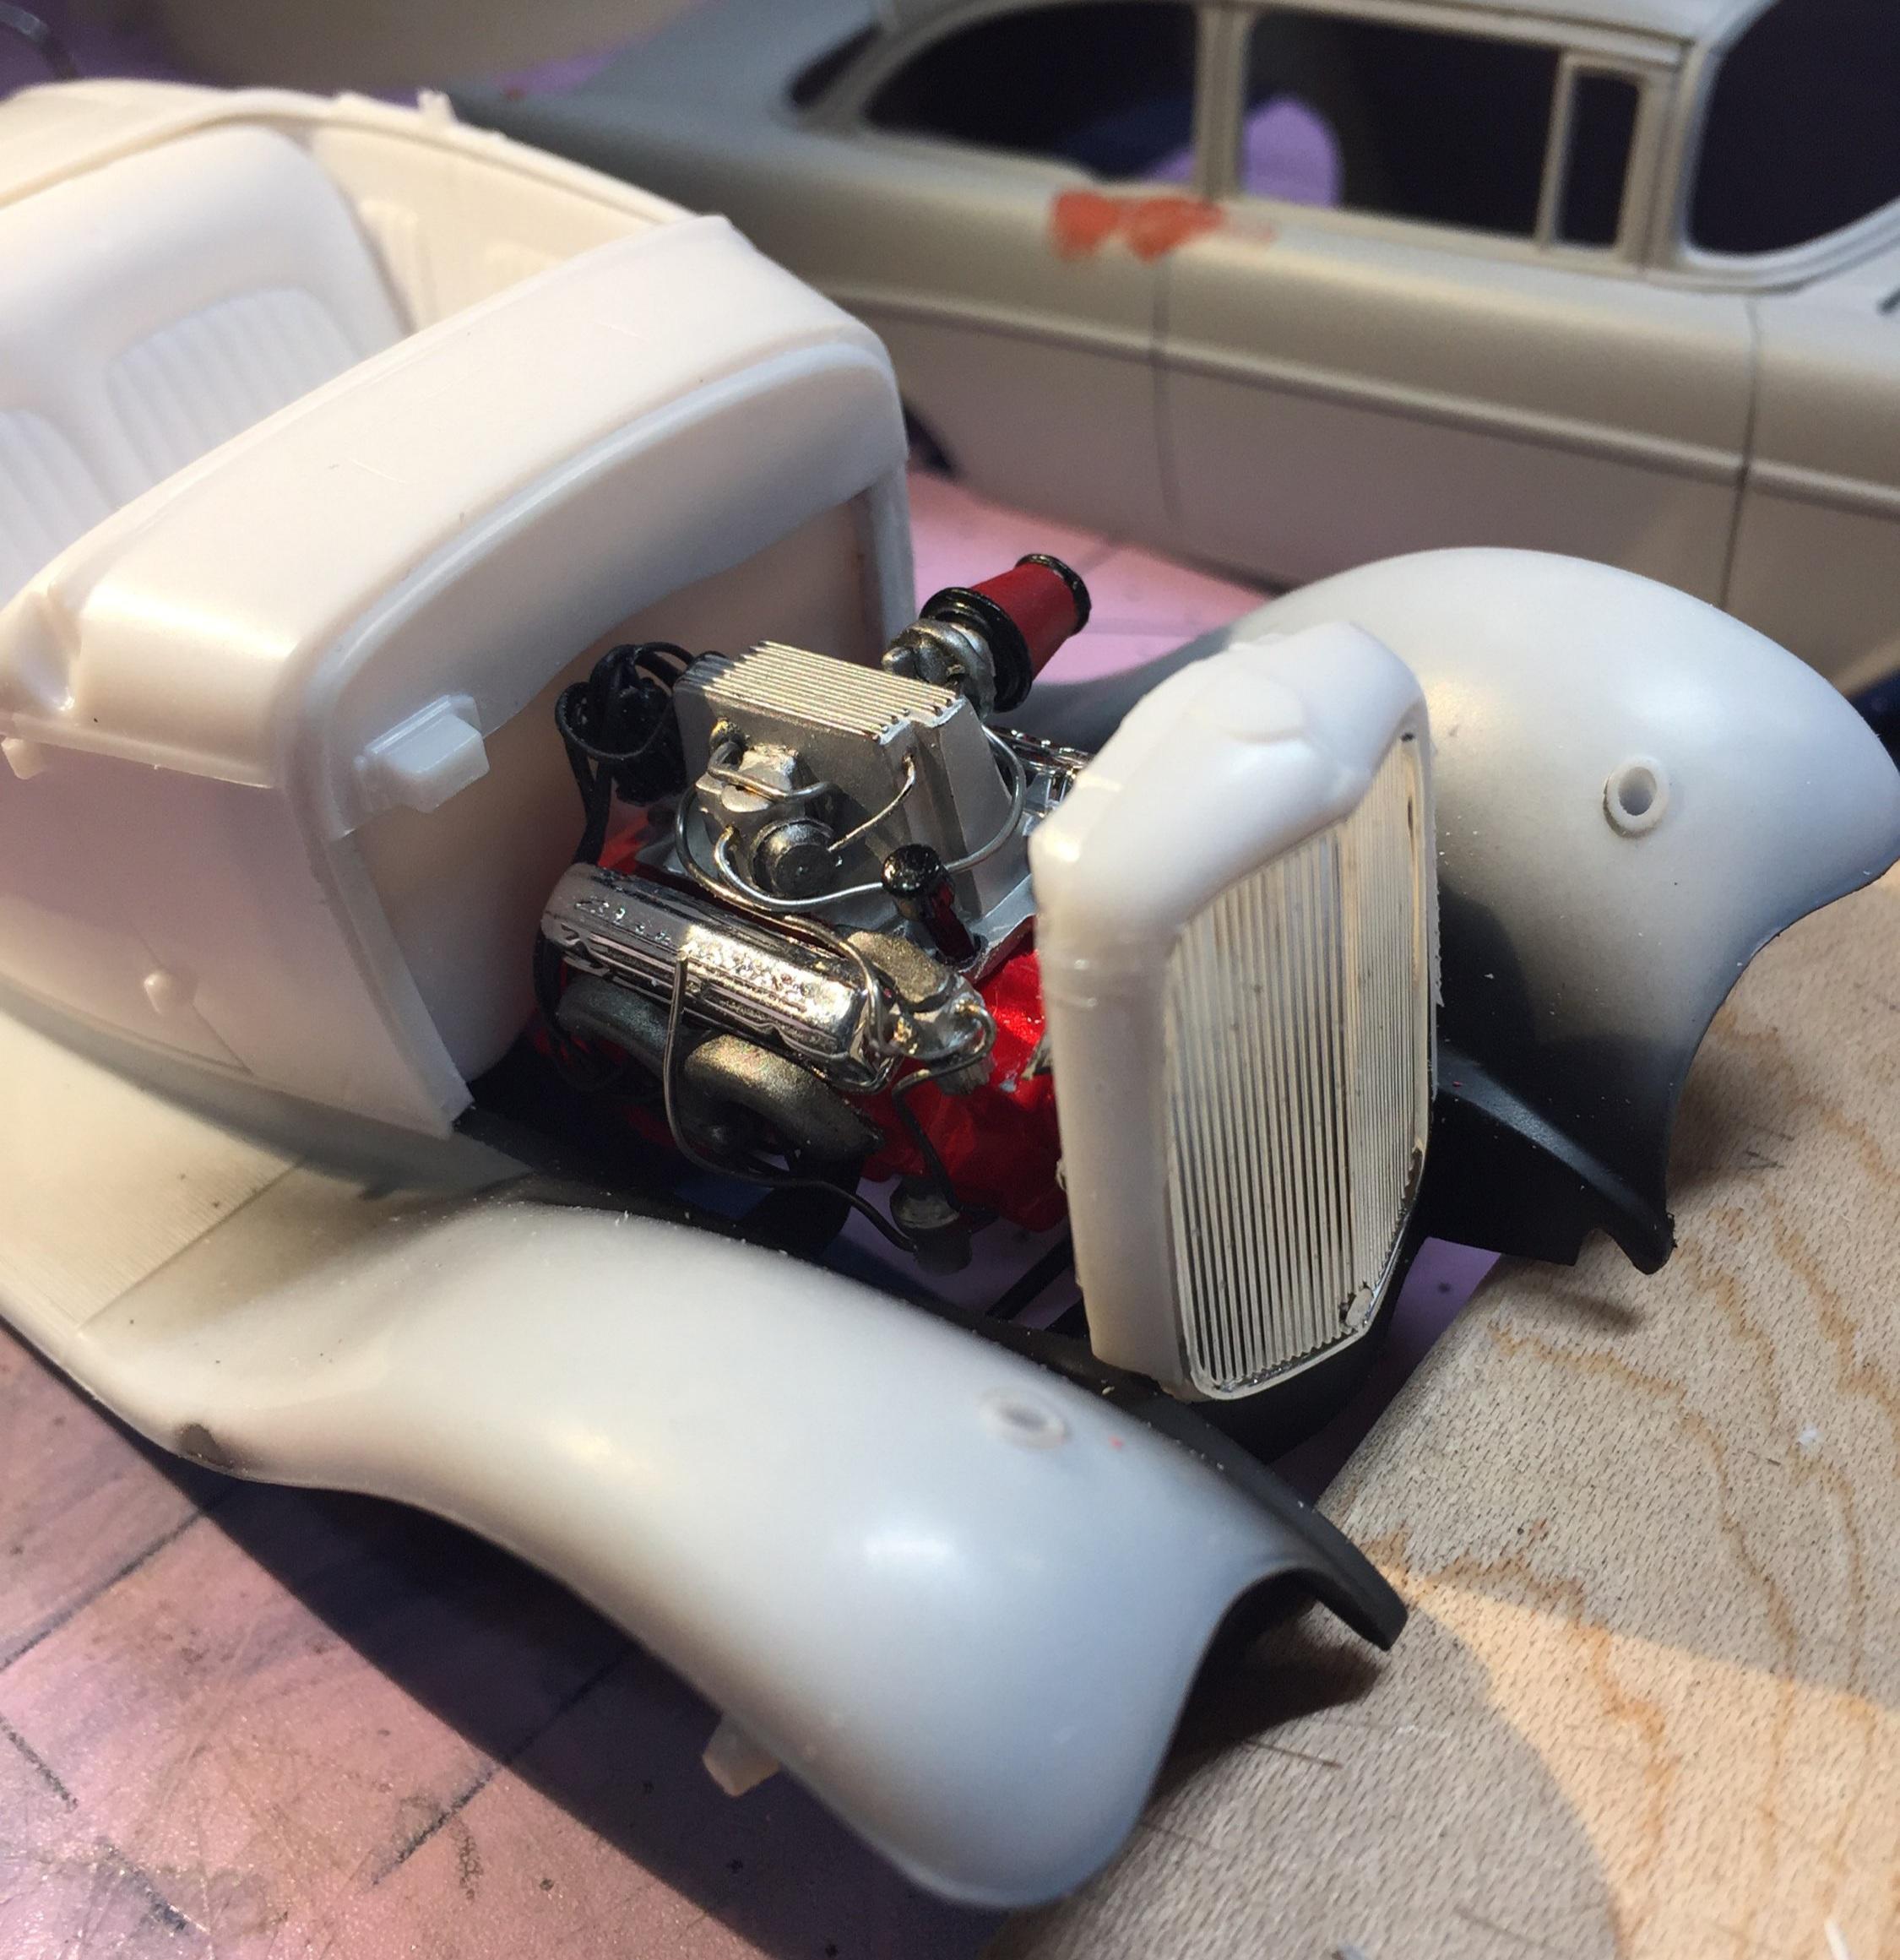
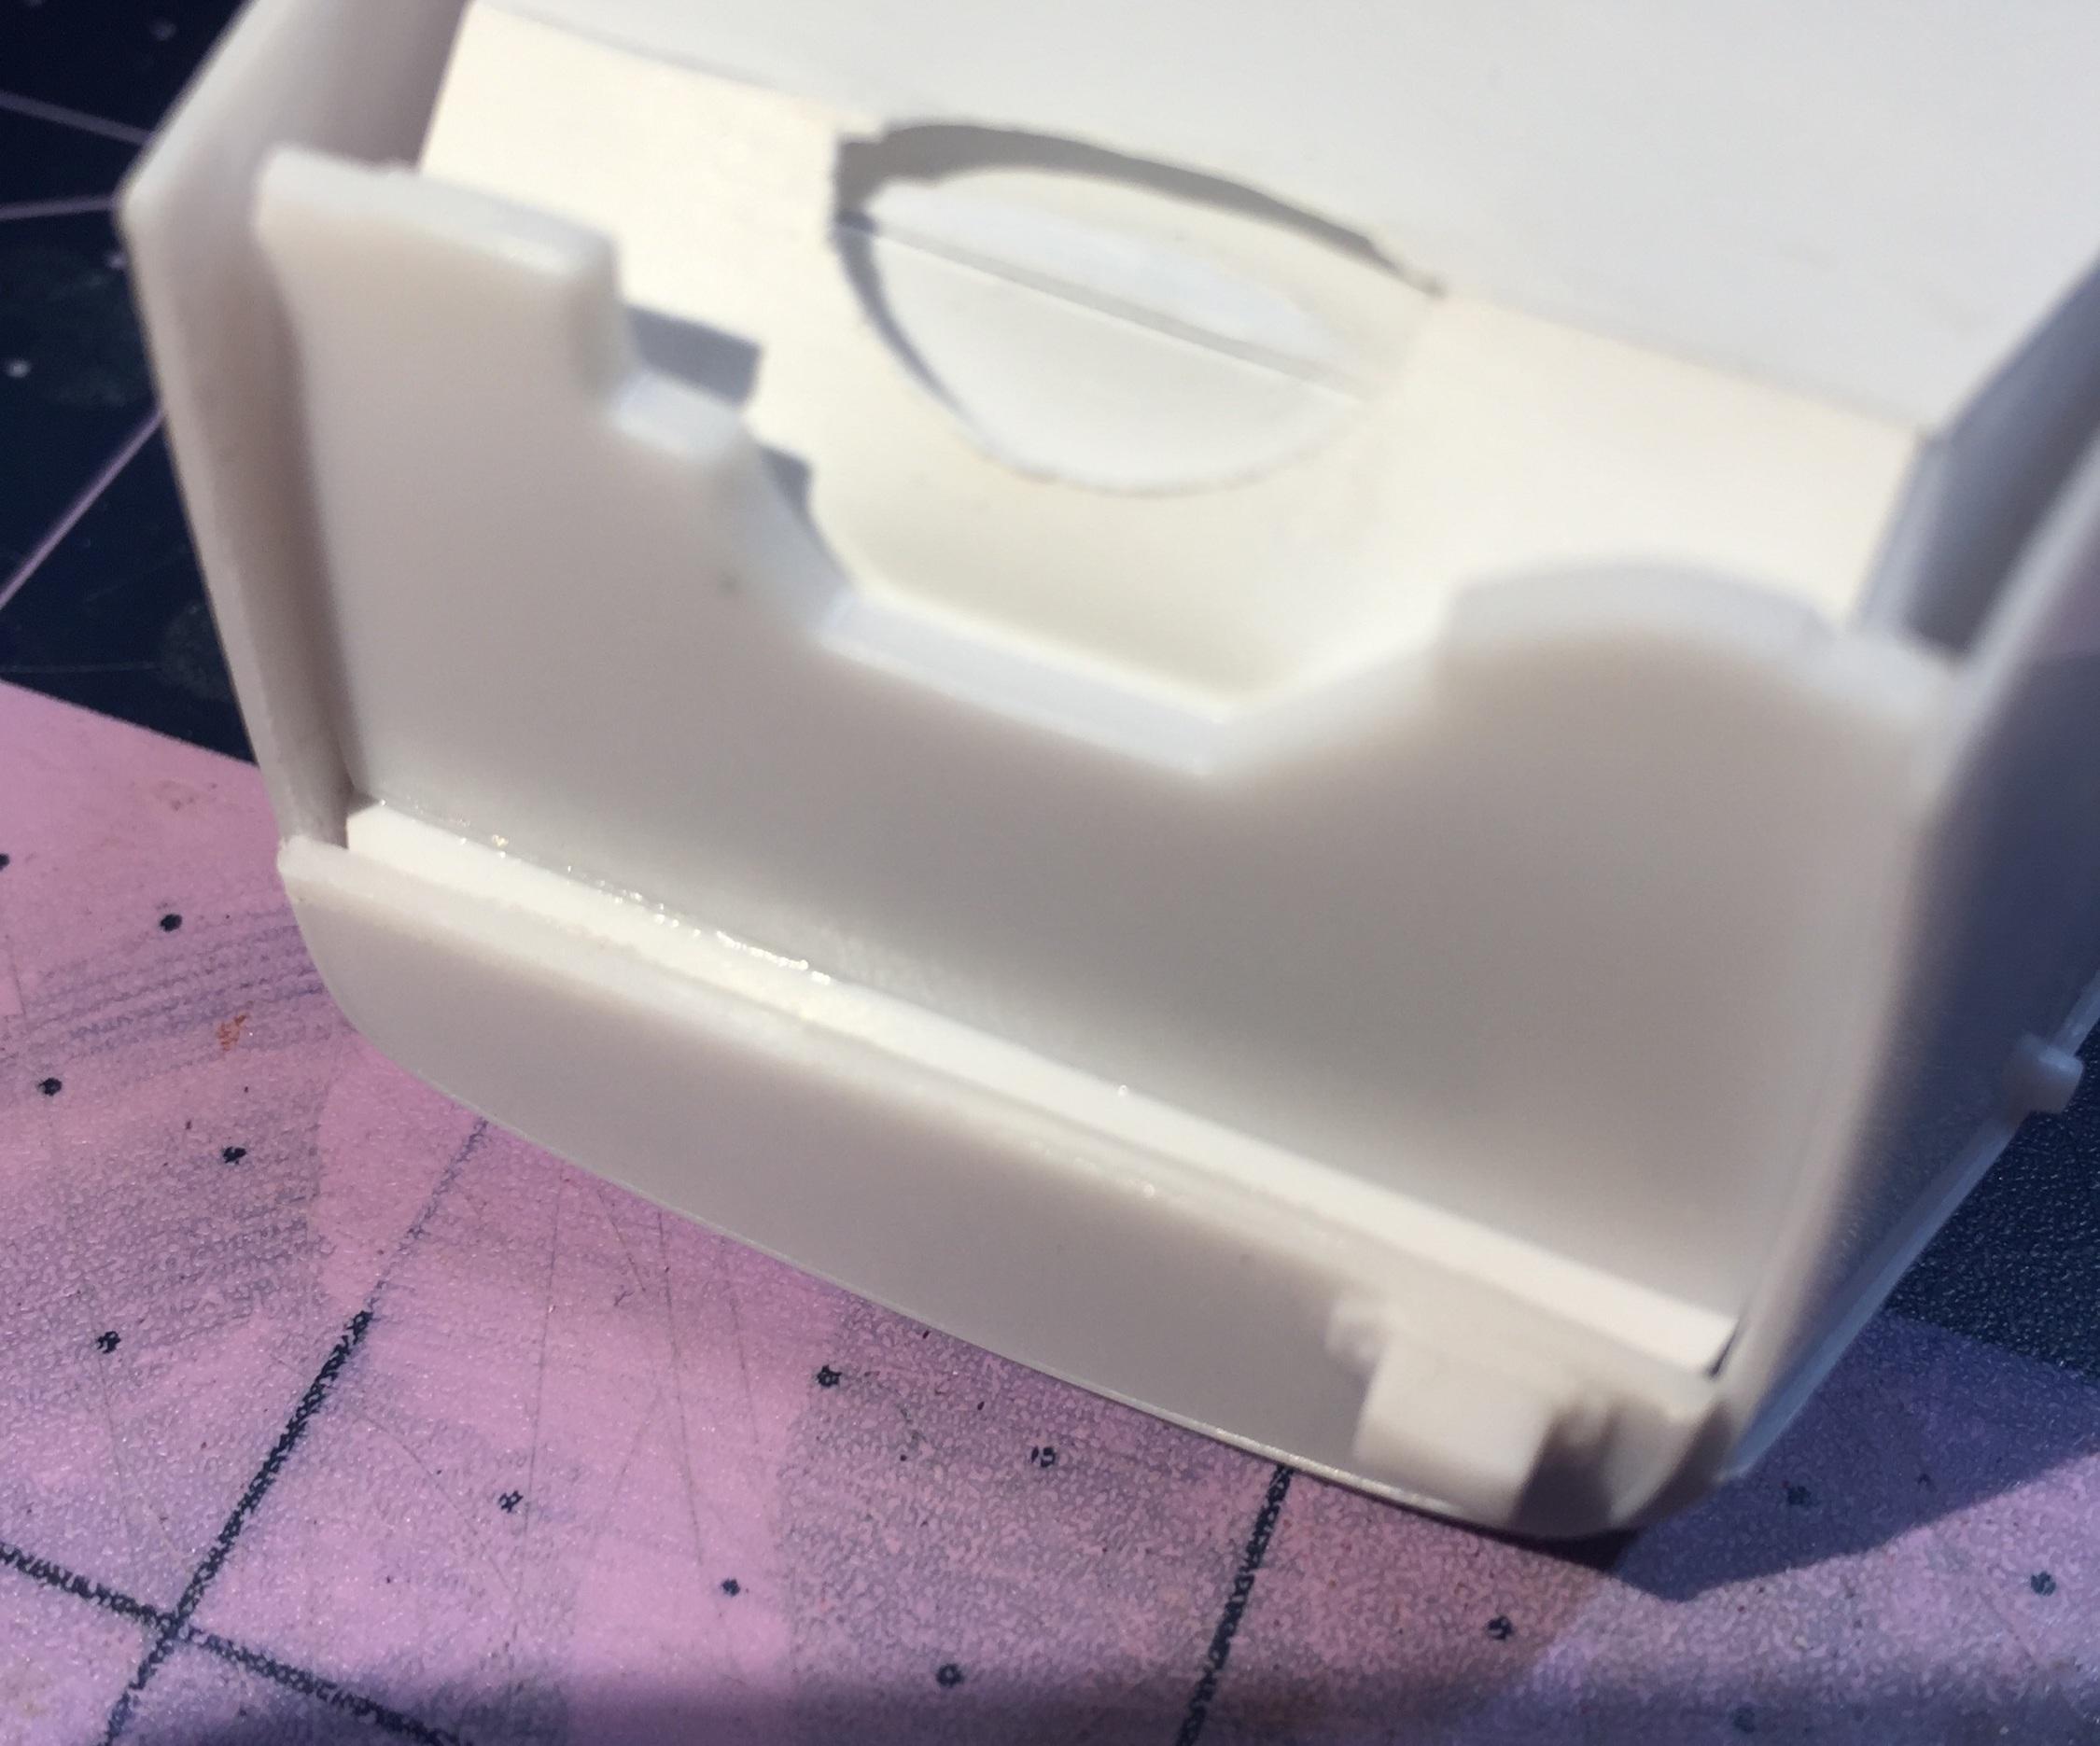
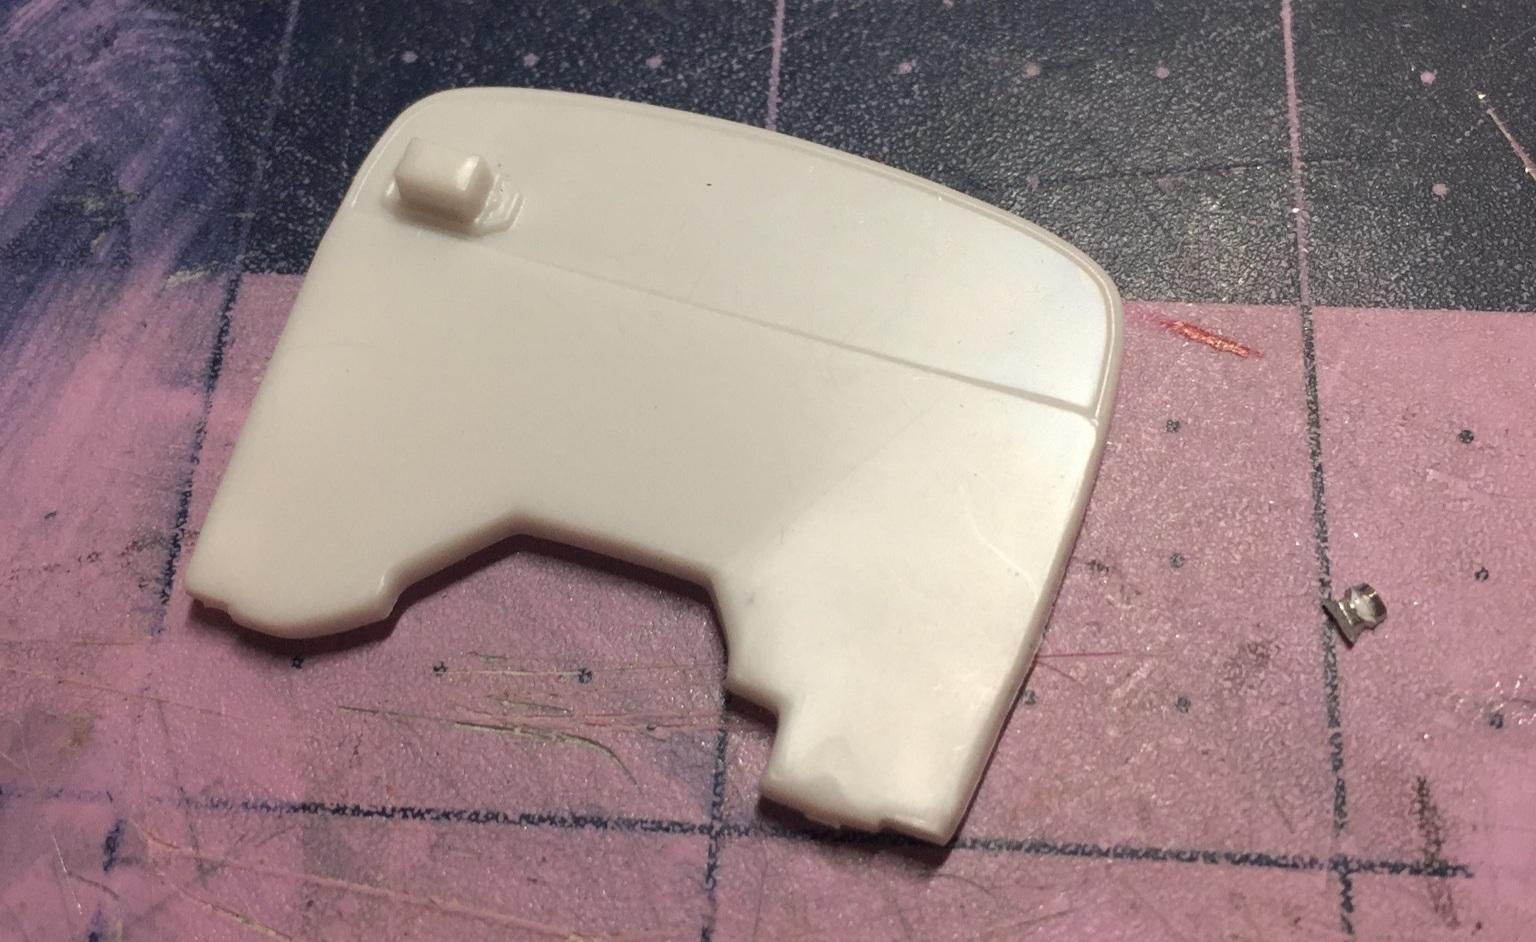
Well, it ain't much but I did something on it tonight. The '57 Nomad engine needed a bit more space than the truncated kit unit so I tried a fully recessed firewall but I just didn't like it. I tried to modify the kit unit using a cap that comes on the replacement brush cartridges for my Sonicare but I didn't like that either. So I grabbed another kit firewall from a previously busted kit. 👇 I cut the second kit firewall just below the voltage regulator along the molded-in "seam". Then I glued a length of Evergreen strip to the back side and set the bottom part against the the interior tub, butted up to the Evergreen strip. I added vertical strips to the outside for solid attachment. It still wasn't enough. I tried "trimming" the mounting points of the engine to get it lower in the frame but it still wasn't enough so I ground a relief in the top portion for clearance. I hated doing that but there's a limit to my patience. Then I remembered to shave the grille shell I wanted to get the wheels on so I decided to airbrush the chassis with semi gloss black enamel. However....because the fenders and frame are a single unit, painting this thing has me wondering just how the he'll I'm going to do it. All I can think of is paint the fenders and frame ahead of the firewall gloss black. Then, I guess, paint the body some cool color. 🤔. I dunno. It's that or paint the entire car black. Anything else is just too complicated for me at this point. Thanks for checking in! 🤓 -
I'm thinking it's more the adhesive on the tape. My wife had some medical issues that involved the use of bandage adhesive where she had some extreme reactions on her skin to the adhesive. My thought is maybe there's something new in adhesive technology across that industry. Maybe Tamiya paint is just sensitive to it. I dunno. Heat, I suppose, may be a factor in our case. Somebody smarter than me will figure it out eventually. I'll be cautious till then. What a PITA 😓
-
Well I appreciate your interest. This one is moving pretty slow and it's not quite ready for paint. I'm juggling three others at the moment and the squirrels are waiting for me outside.
-
Thanks, Michael. Slow night, huh? 😅
-
This space for rent
-
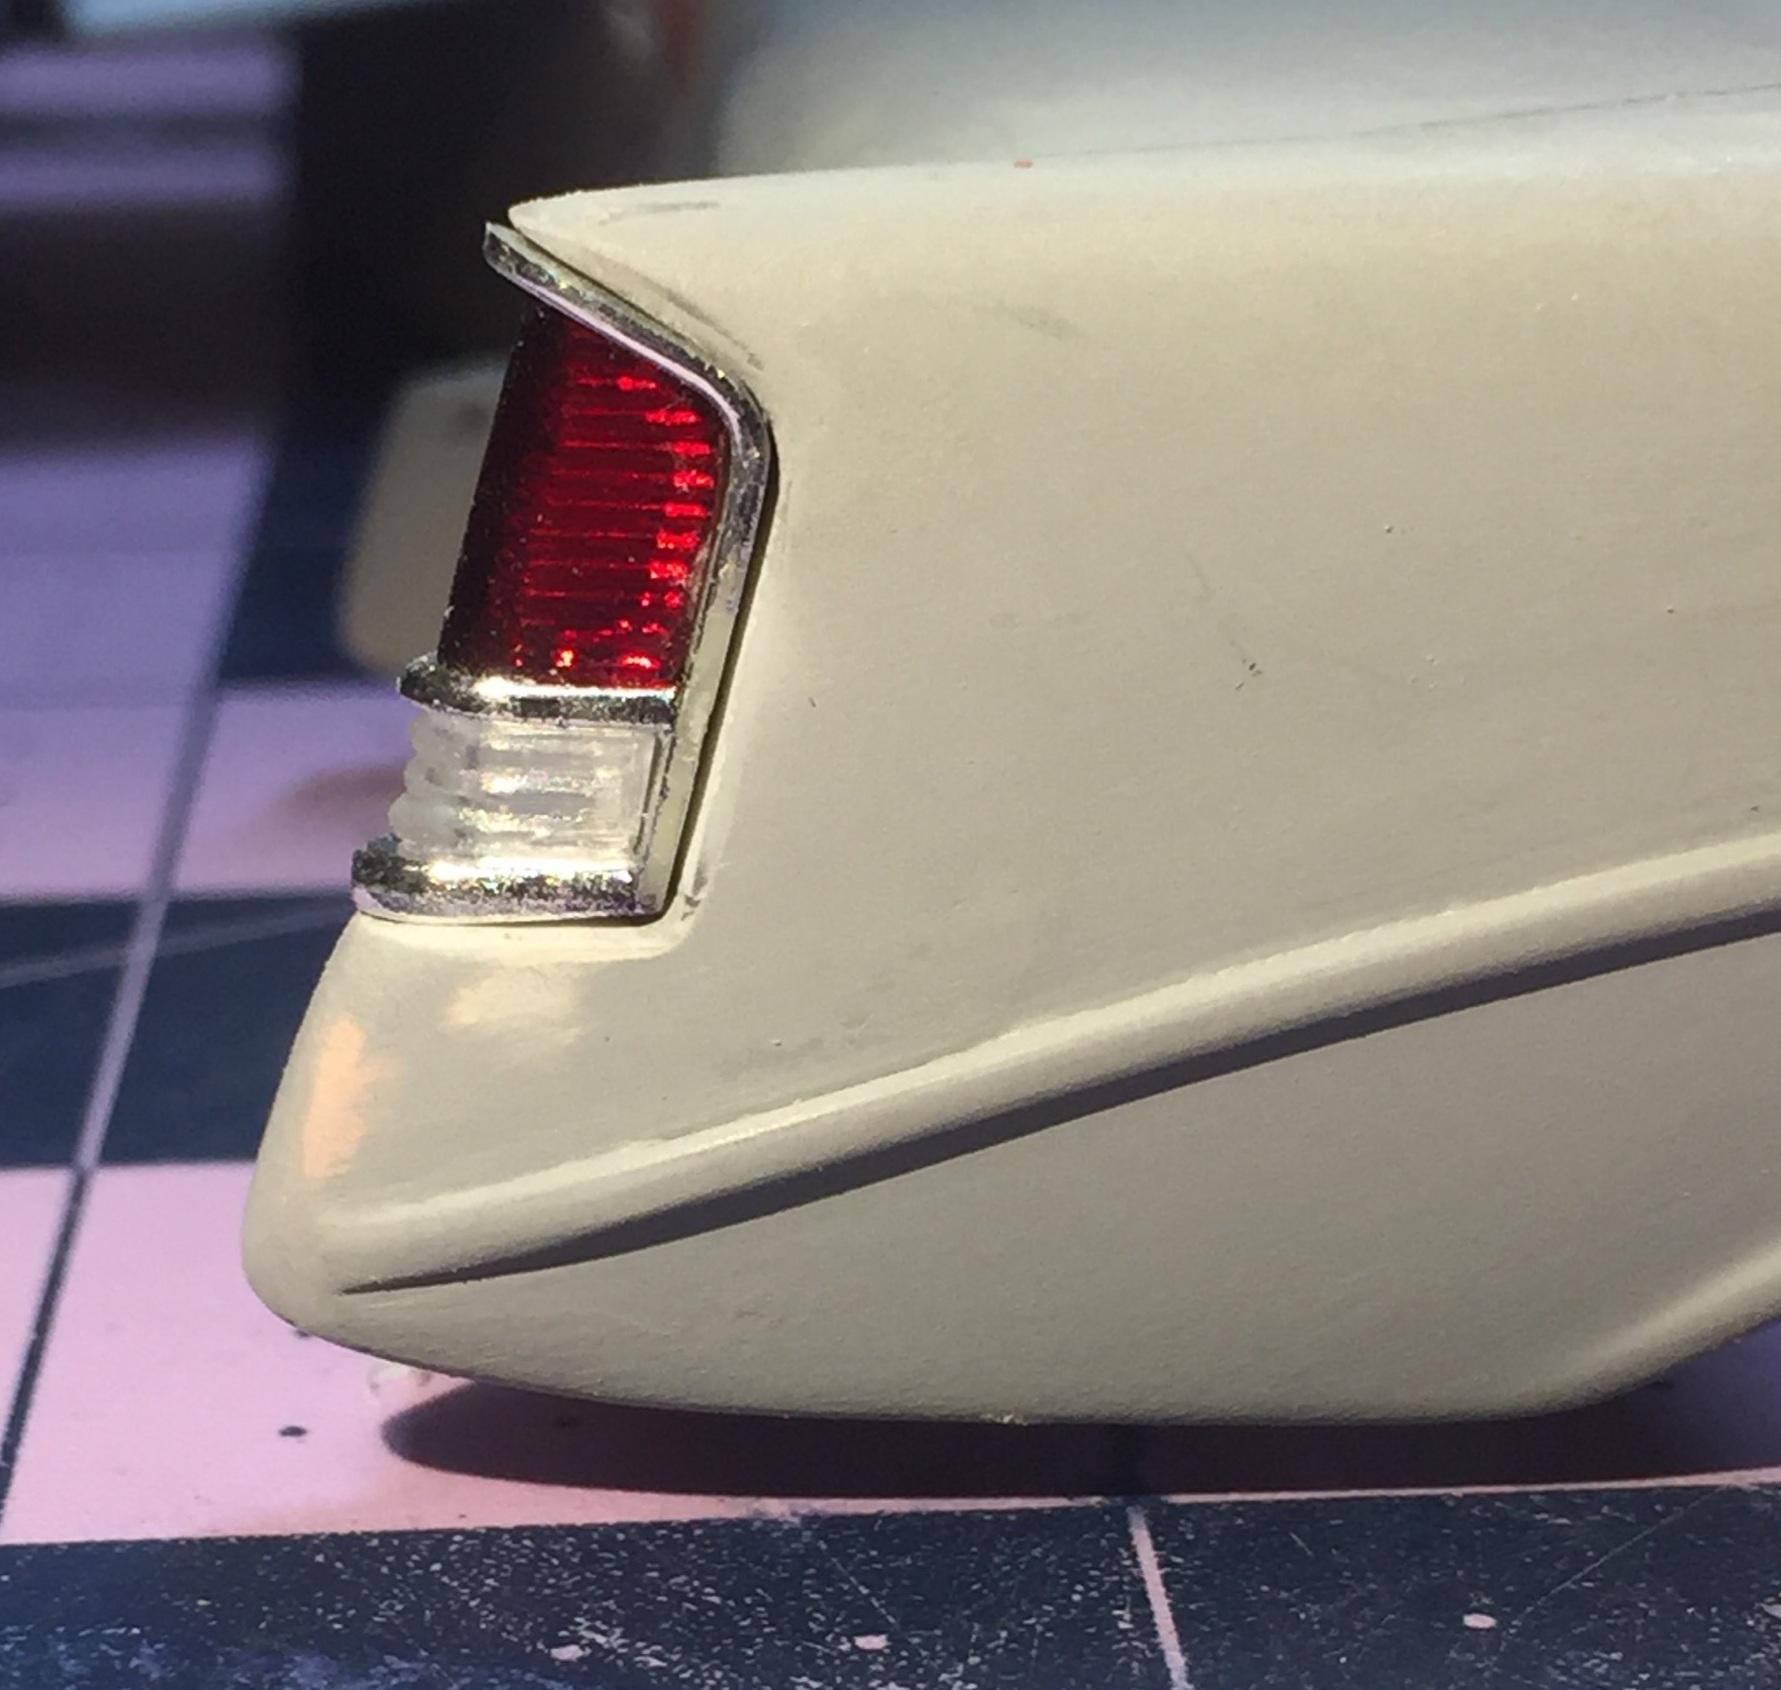
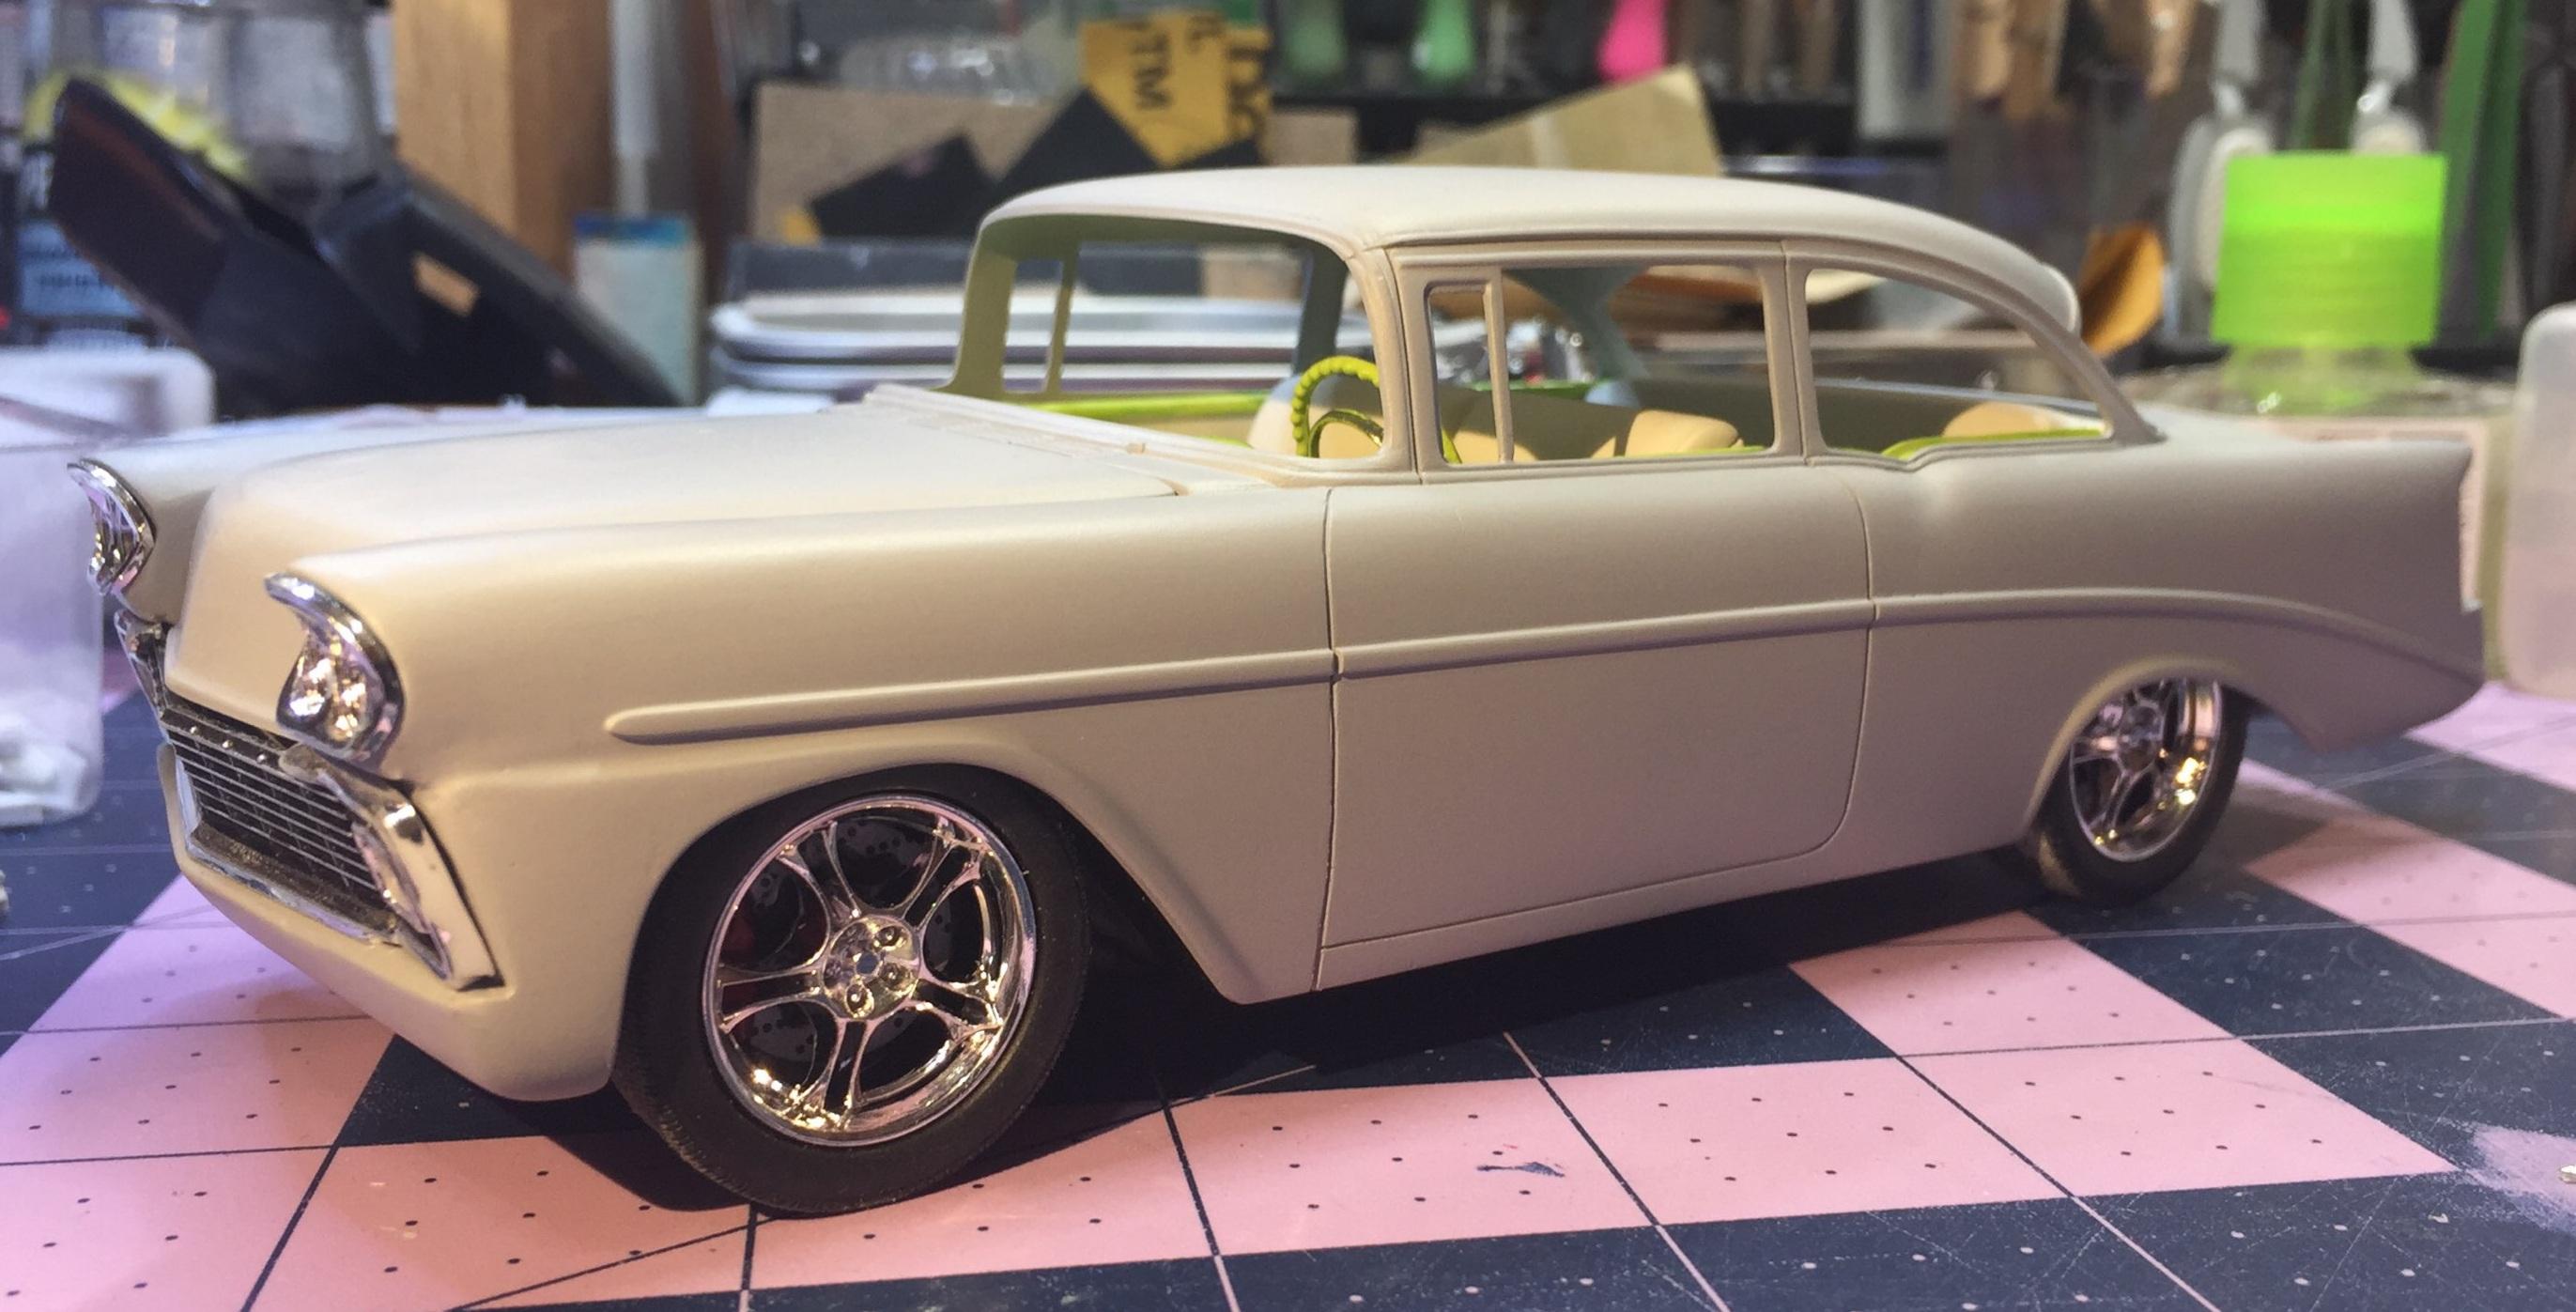
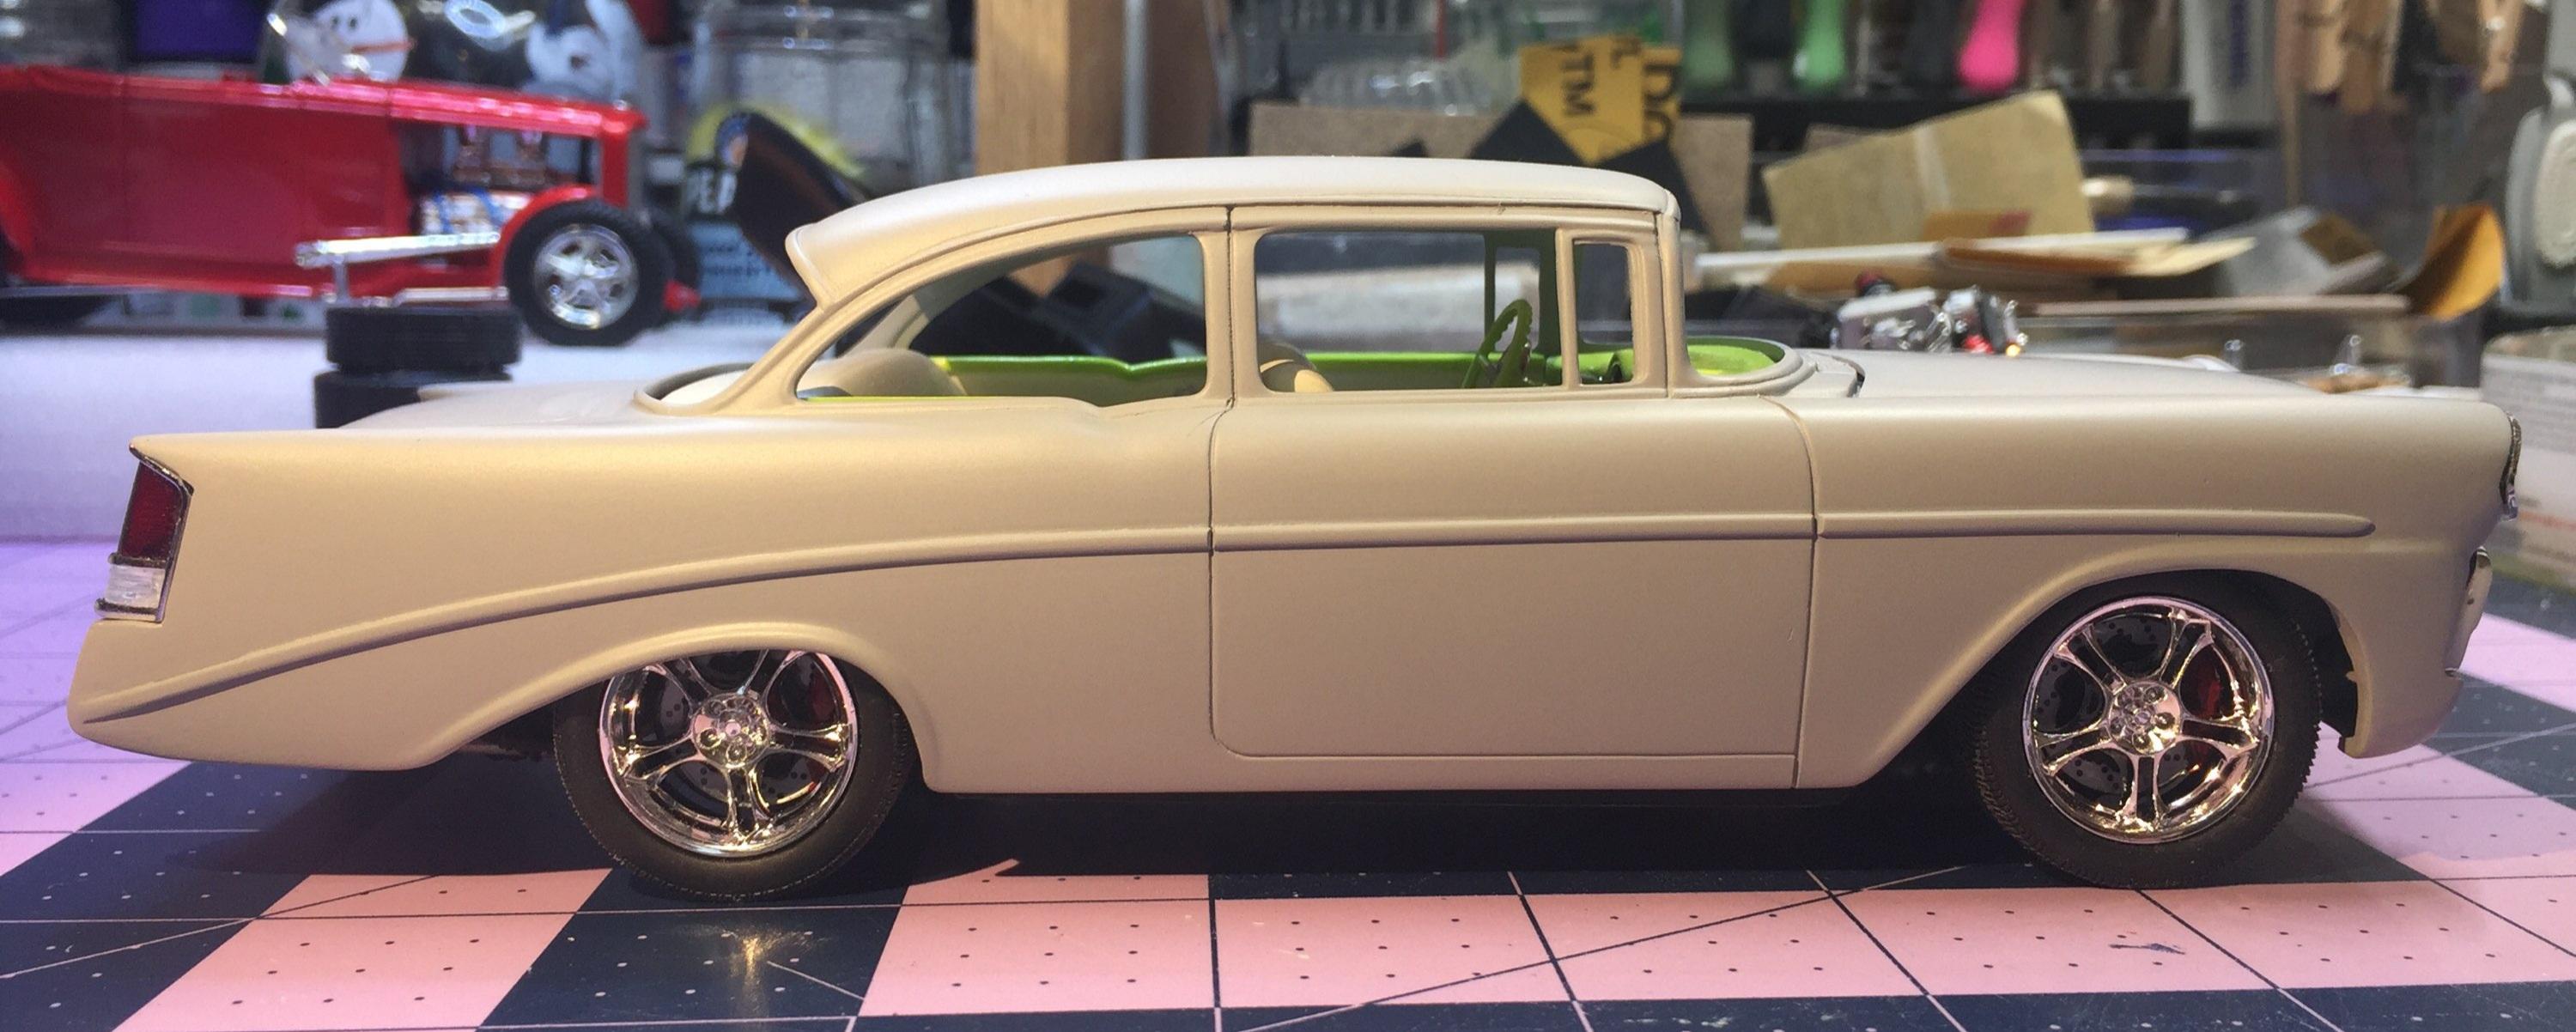
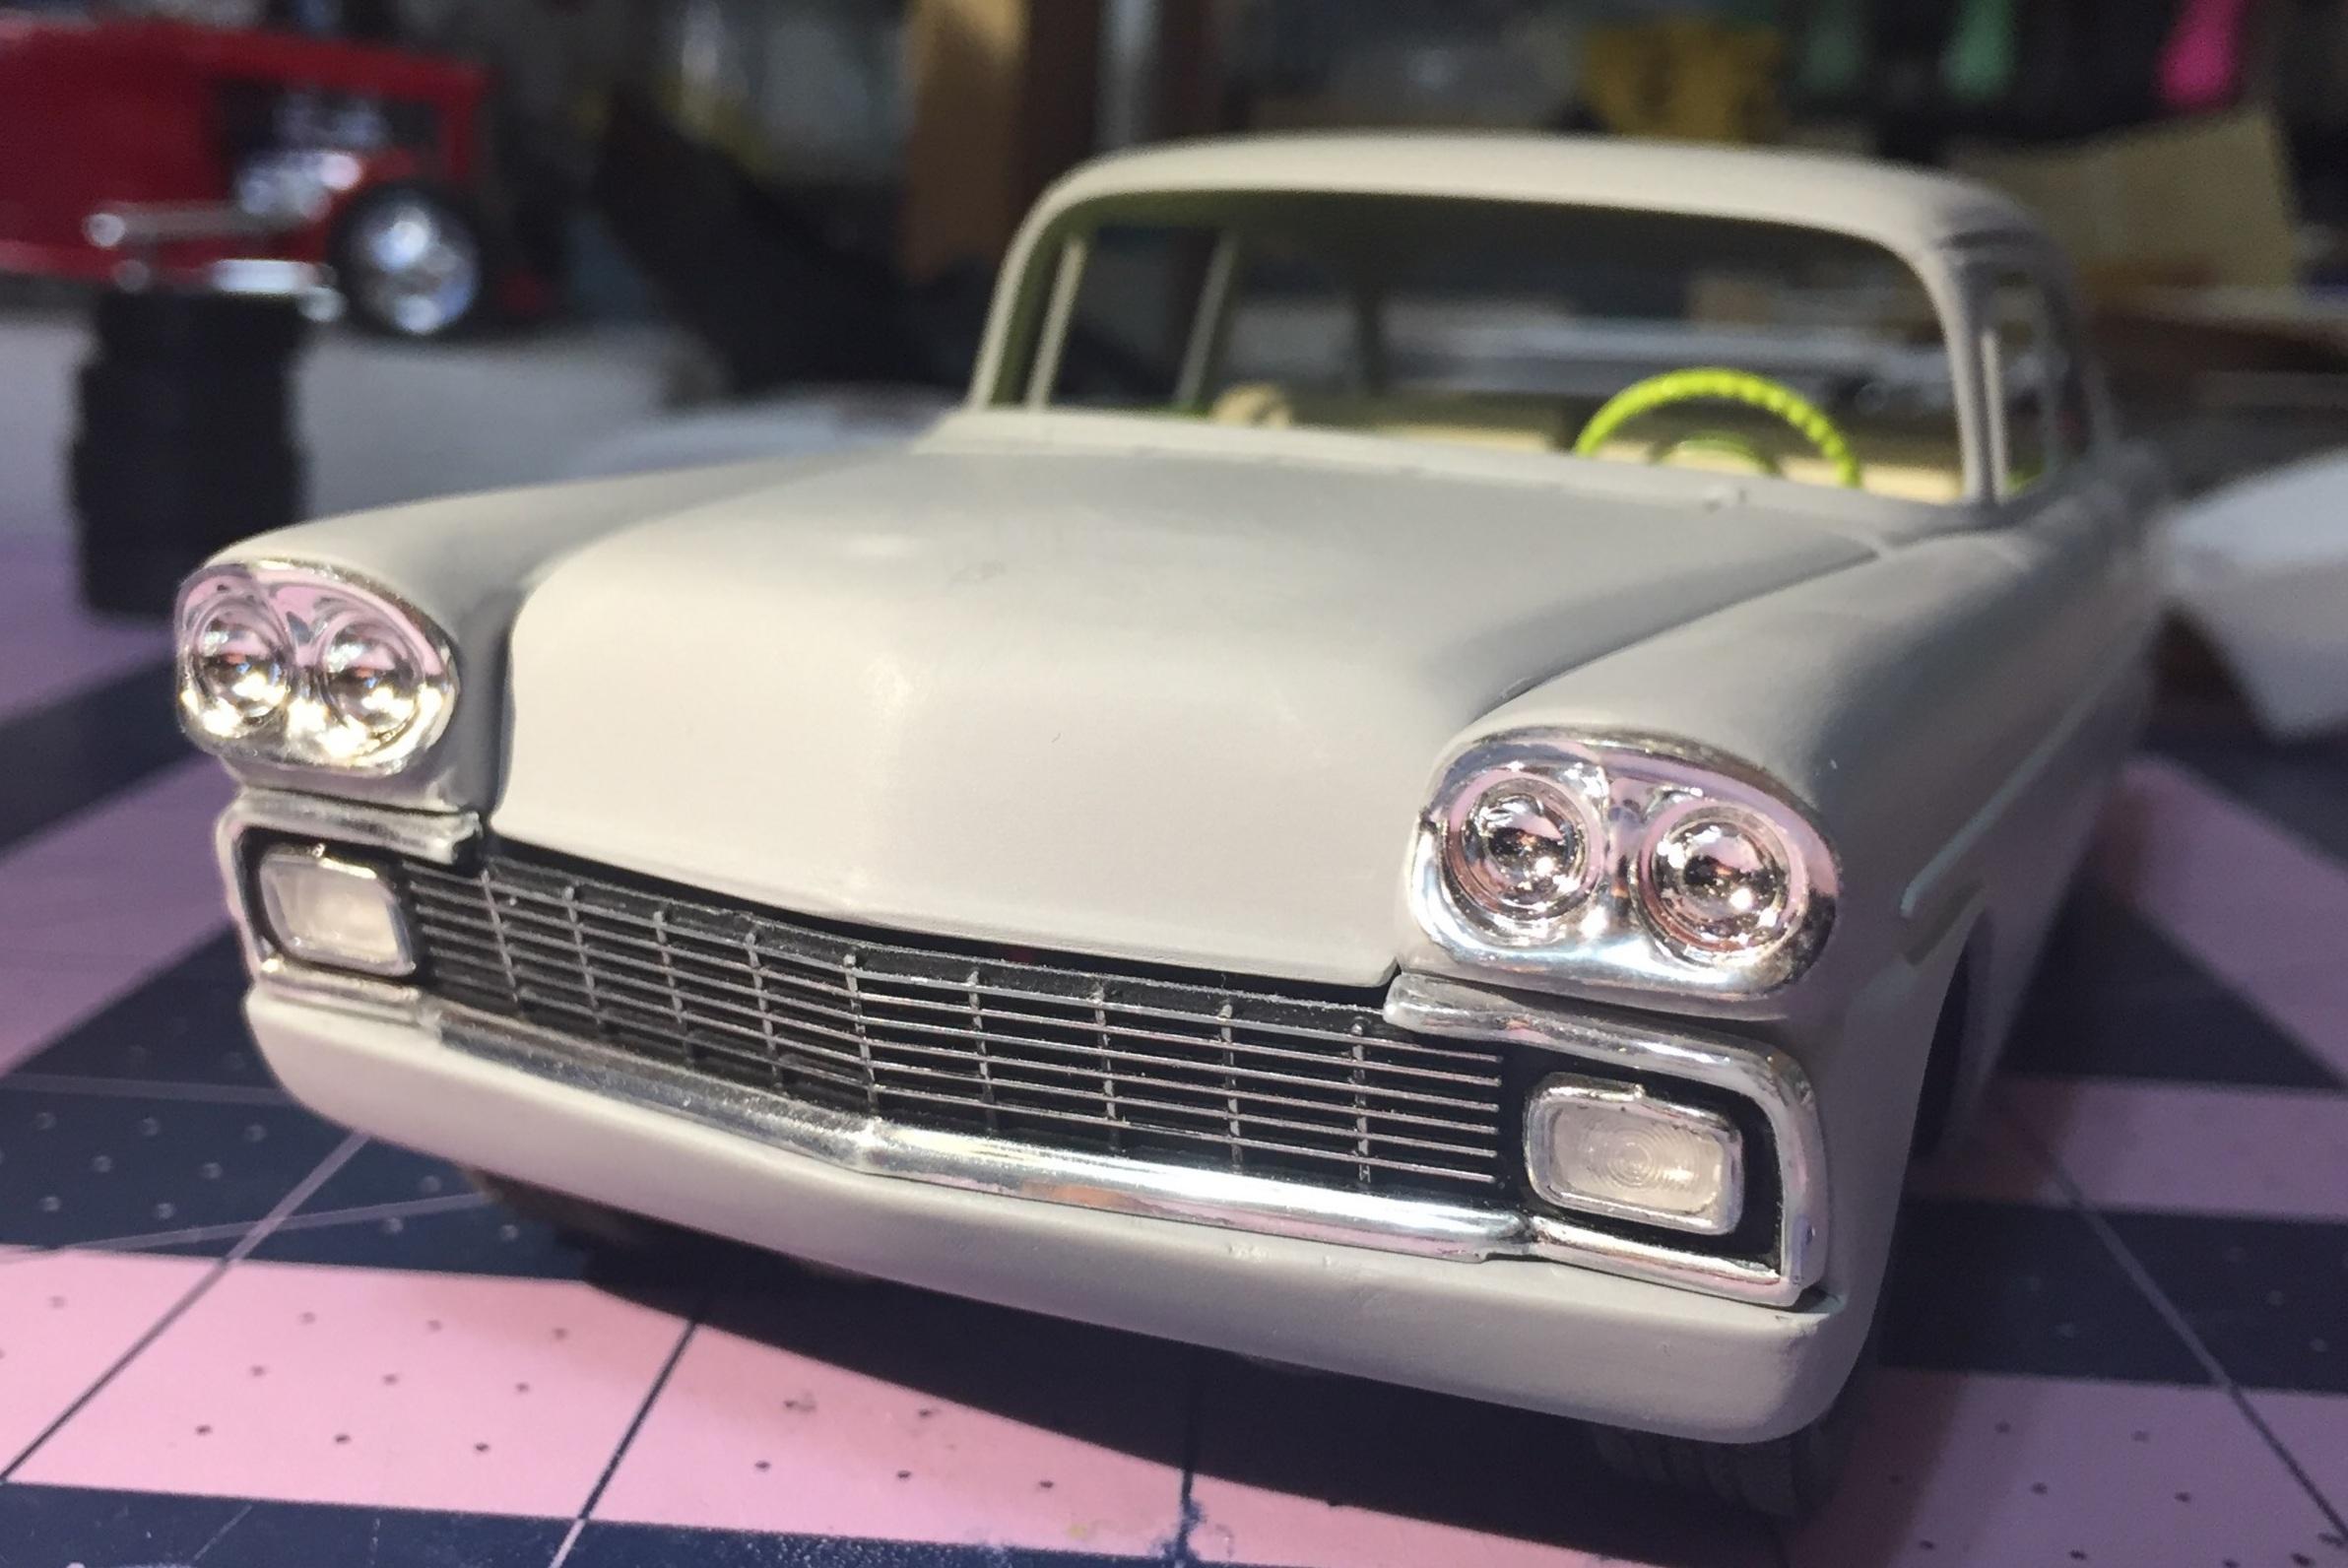
Thanks, Greg. The tail lights were factory units...just not on a Chevy 😂. After reviewing these photos, zoomed in, I see there's a little more "smoothing out" to be done. I just may two-tone it now. But not with Tamiya paint. 😕
-
Thanks, Jon. Virgil Exner would have gotten a good laugh over it.
-
Well, I got things smoothed out and shot a coat of primer on it. Next is a wet-sanding with 2000 and, if I don't have any more bothersome details to deal with, it's on to a nice Krylon job. 🙂
-

Monogram '32 roadster: a red-headed step-child.
customline replied to customline's topic in WIP: Model Cars
Amen. Thankfully, there are some well designed and detailed kits from current manufacturers. That said, the old stuff does have a certain charm. Well...some of them, anyway 😒 -

Monogram '32 roadster: a red-headed step-child.
customline replied to customline's topic in WIP: Model Cars
That was fairly easy. The rest is pure fun if you enjoy kit bashing and scratch building like I do 🤓 -

Monogram '32 roadster: a red-headed step-child.
customline replied to customline's topic in WIP: Model Cars
Thanks, Michael. It will certainly keep you busy. 😂 -

Monogram '32 roadster: a red-headed step-child.
customline replied to customline's topic in WIP: Model Cars
I had a plan when I bought this kit. I saw it as a dry lakes car in survivor dress. That was before I found out about the non-existent frame. Imagine my dismay when I opened it and realized it was not to be. I have a few deuce frames left over from the '29/'30 kits. All I need is a decent flat-motor. It could happen. 🙂 I have a second kit (which begs the question "why didn't you just use one of the spare deuce frames for this one?....🥴)

