customline
-
Posts
3,792 -
Joined
-
Last visited
Content Type
Profiles
Forums
Events
Gallery
Everything posted by customline
-
Thank you, gents, and happy Monday to you both.
-
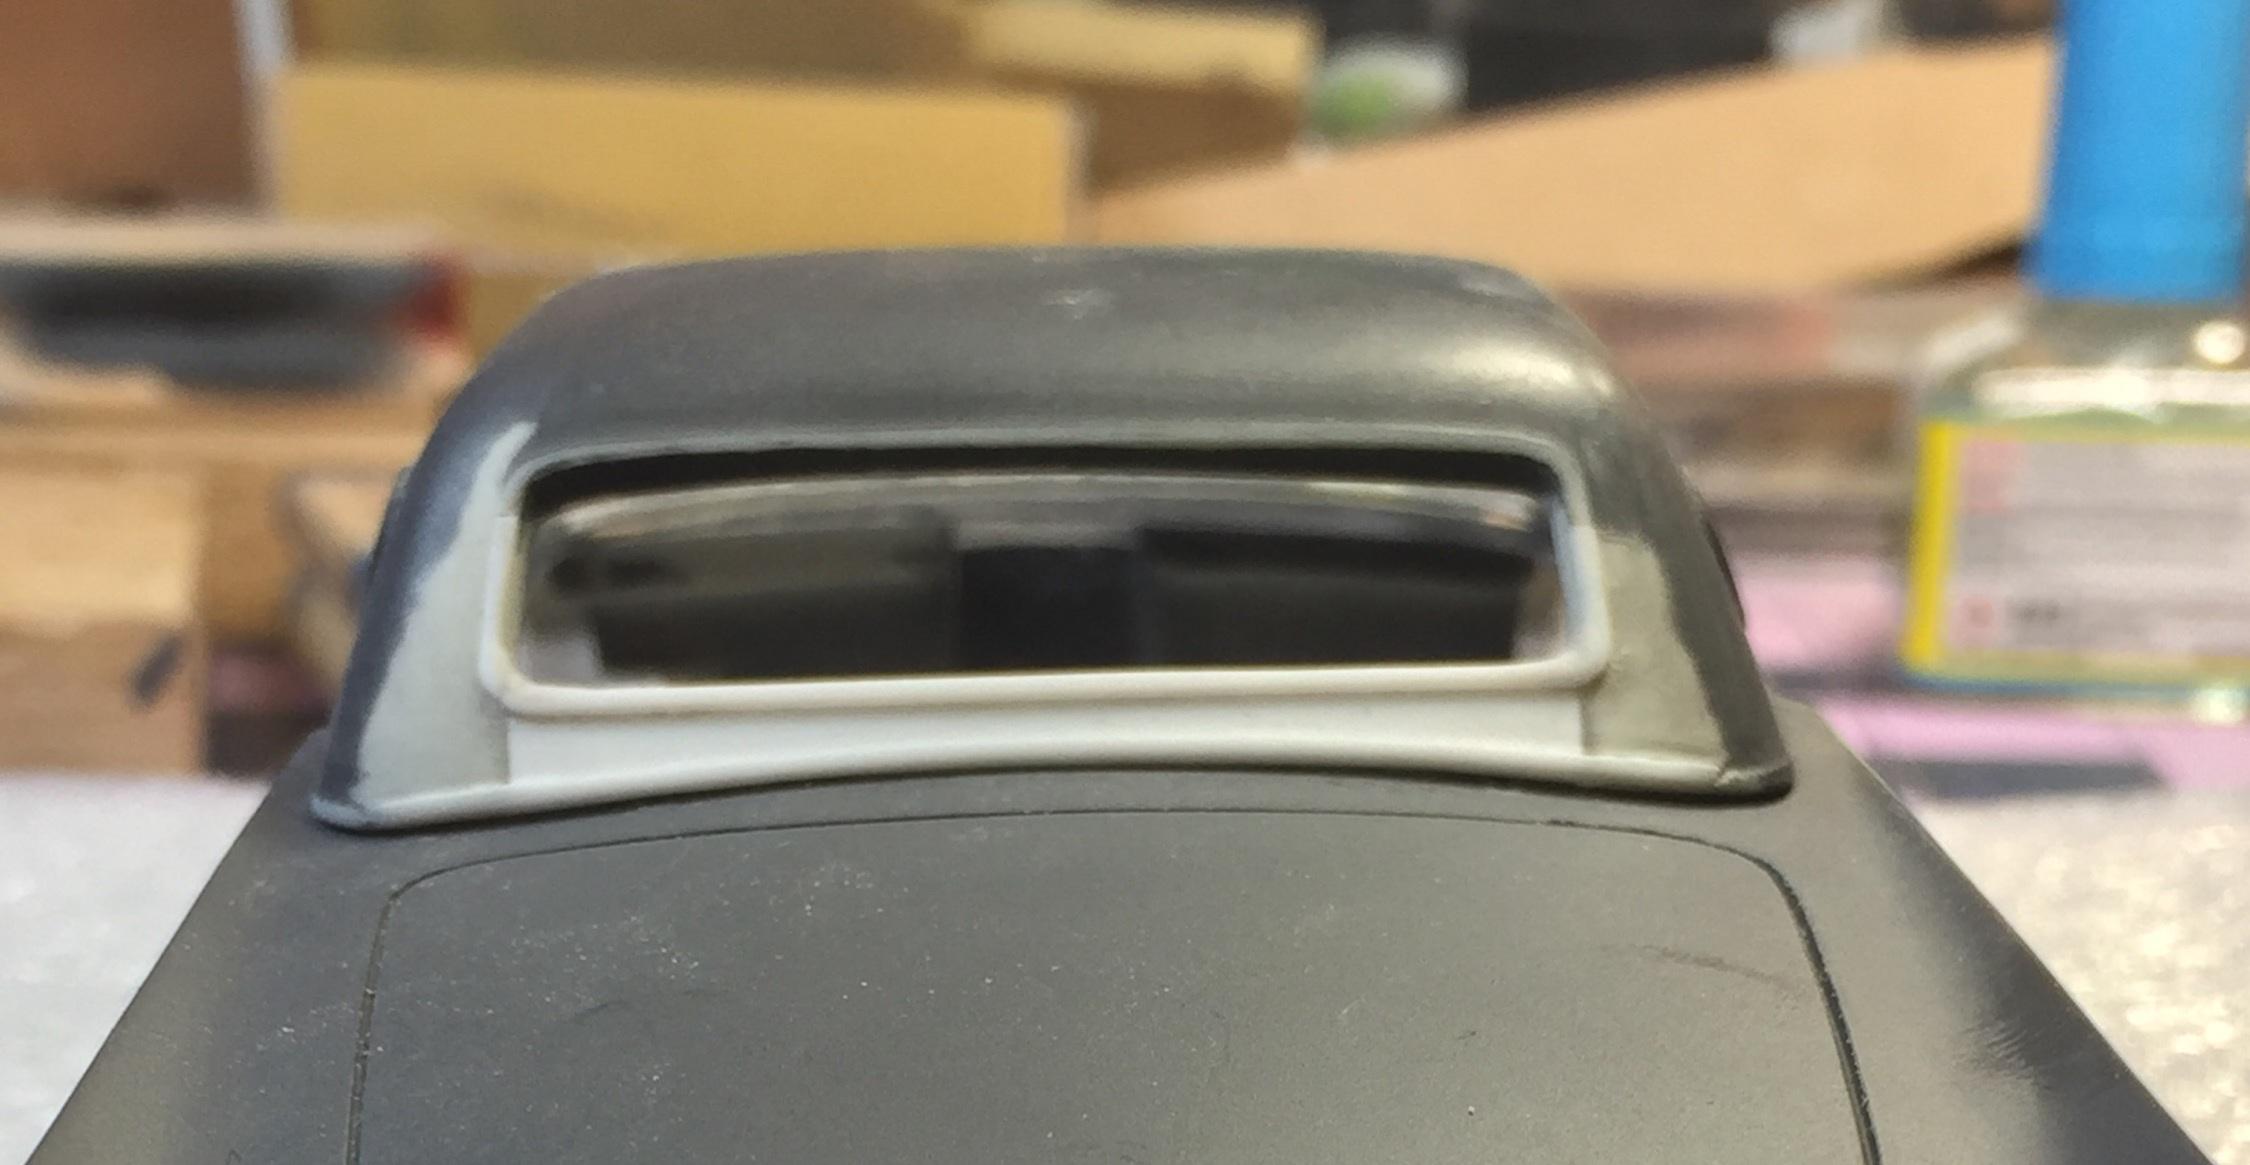
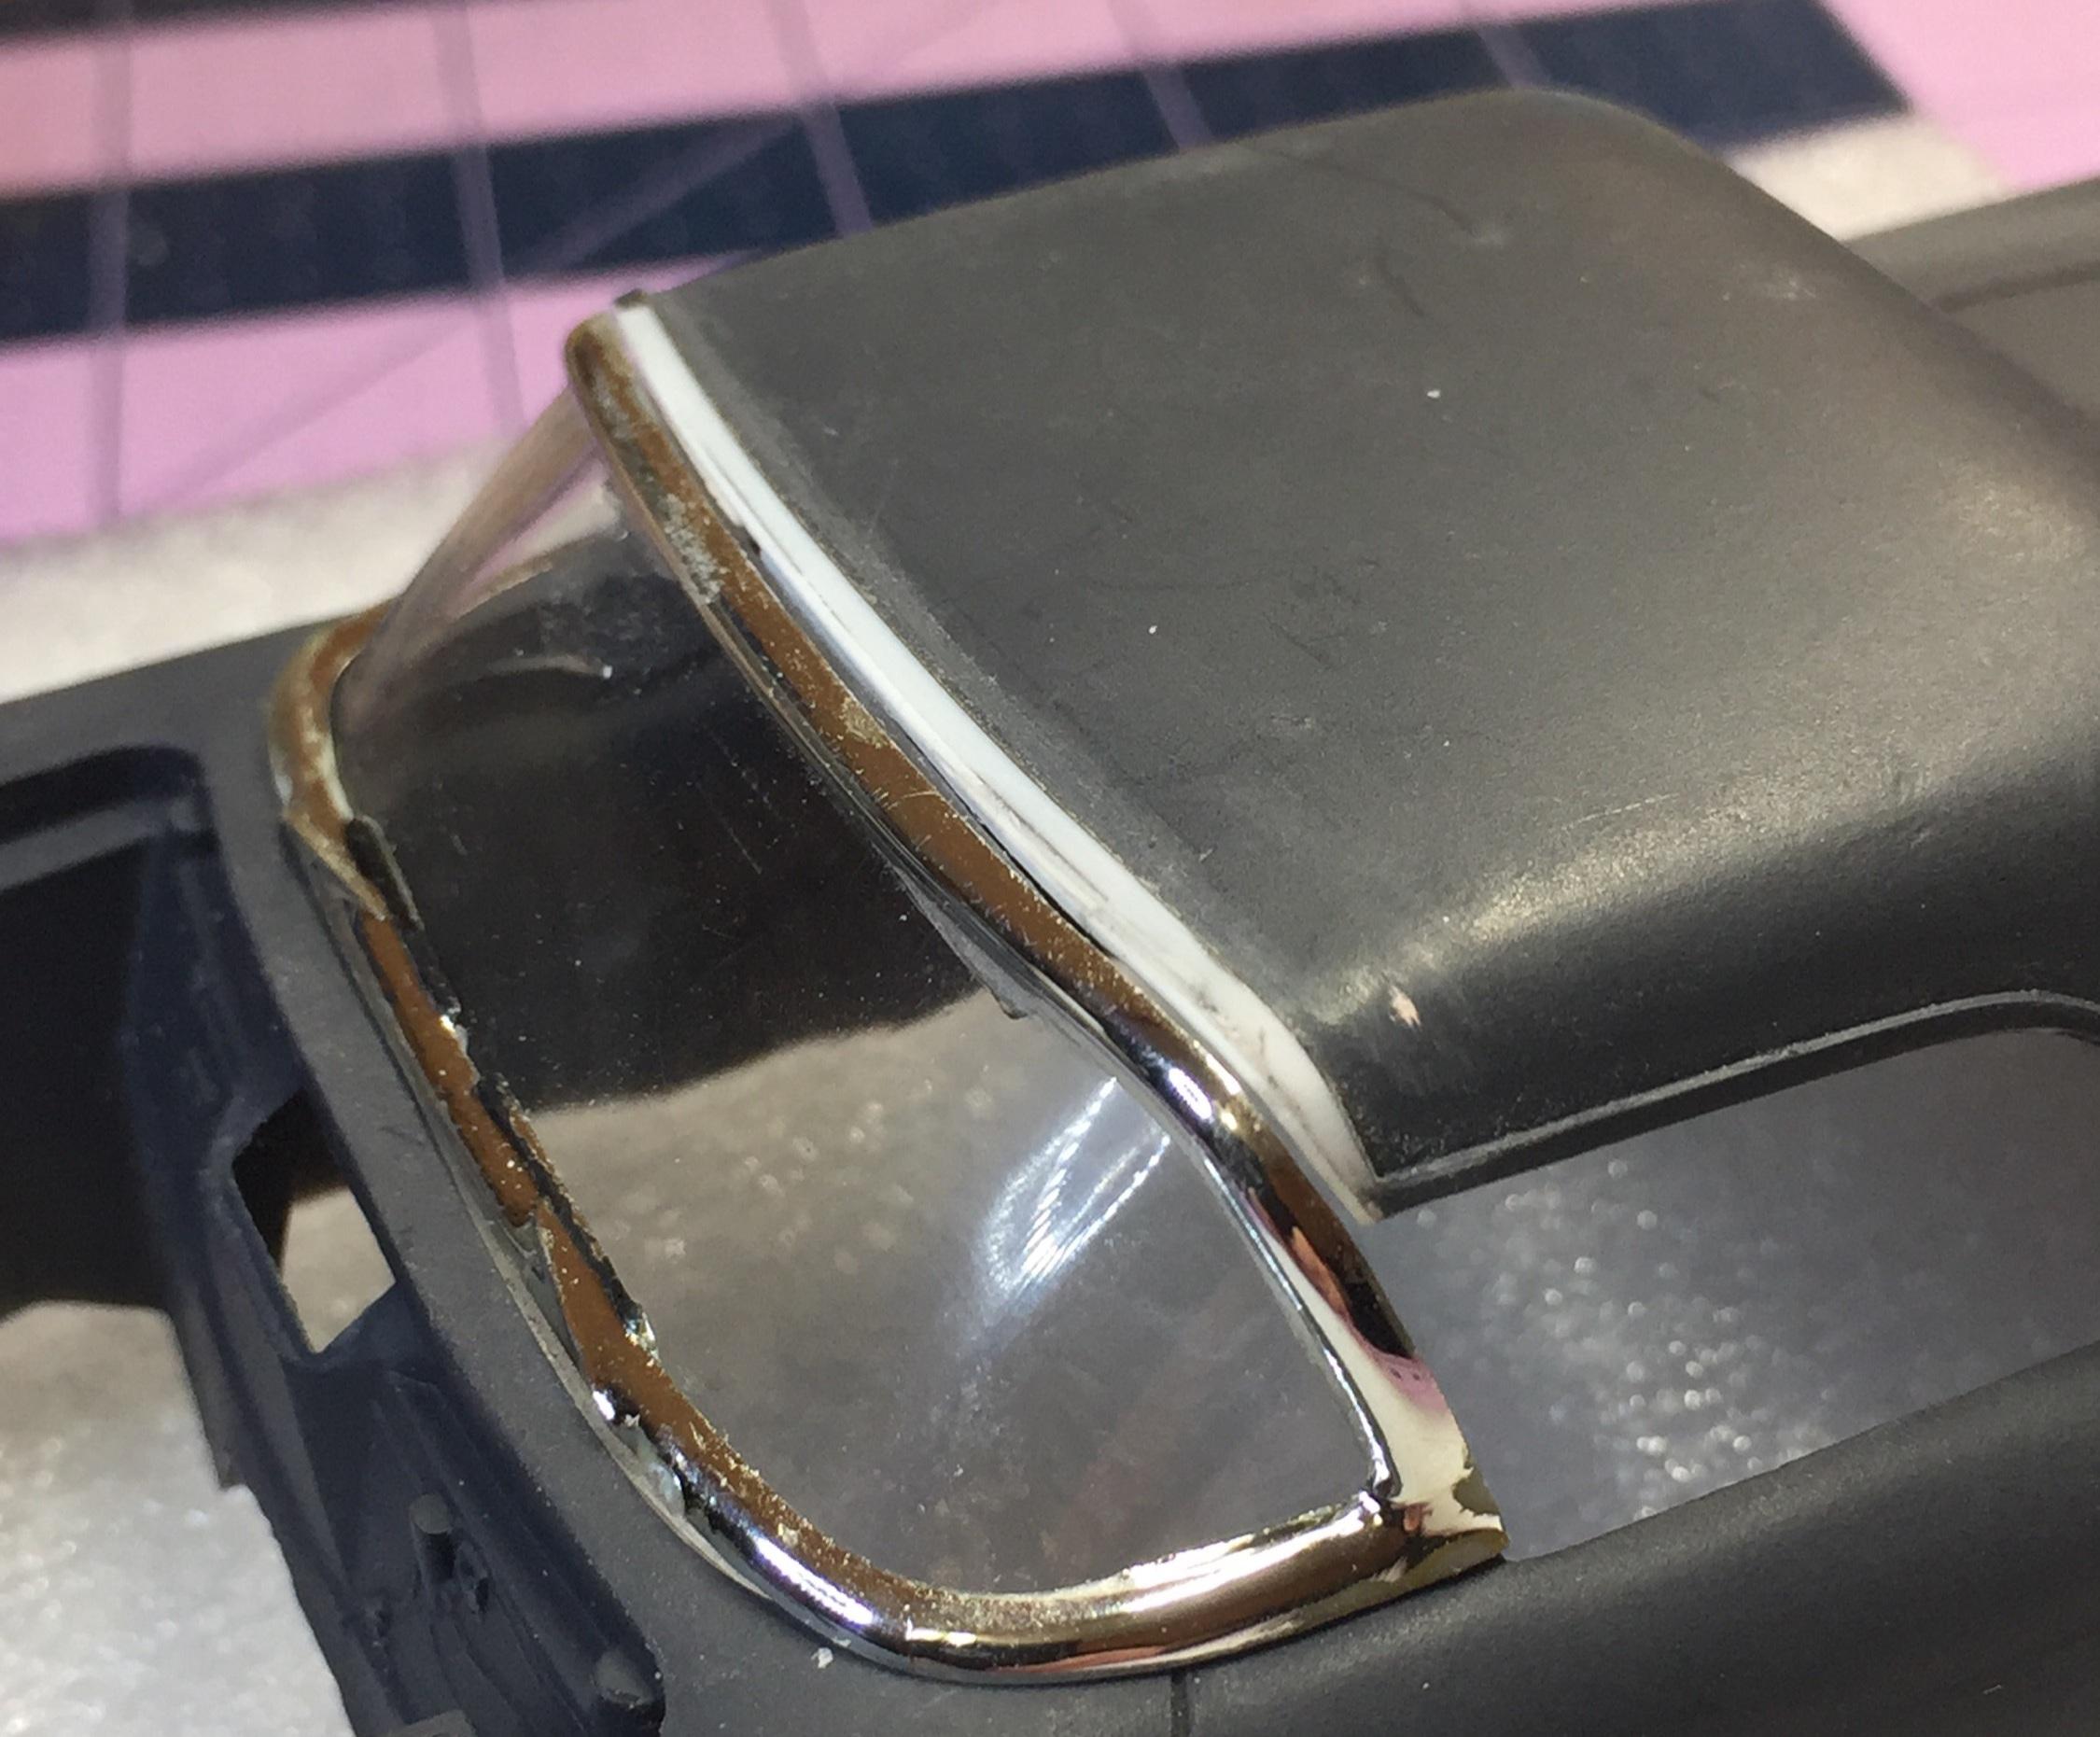
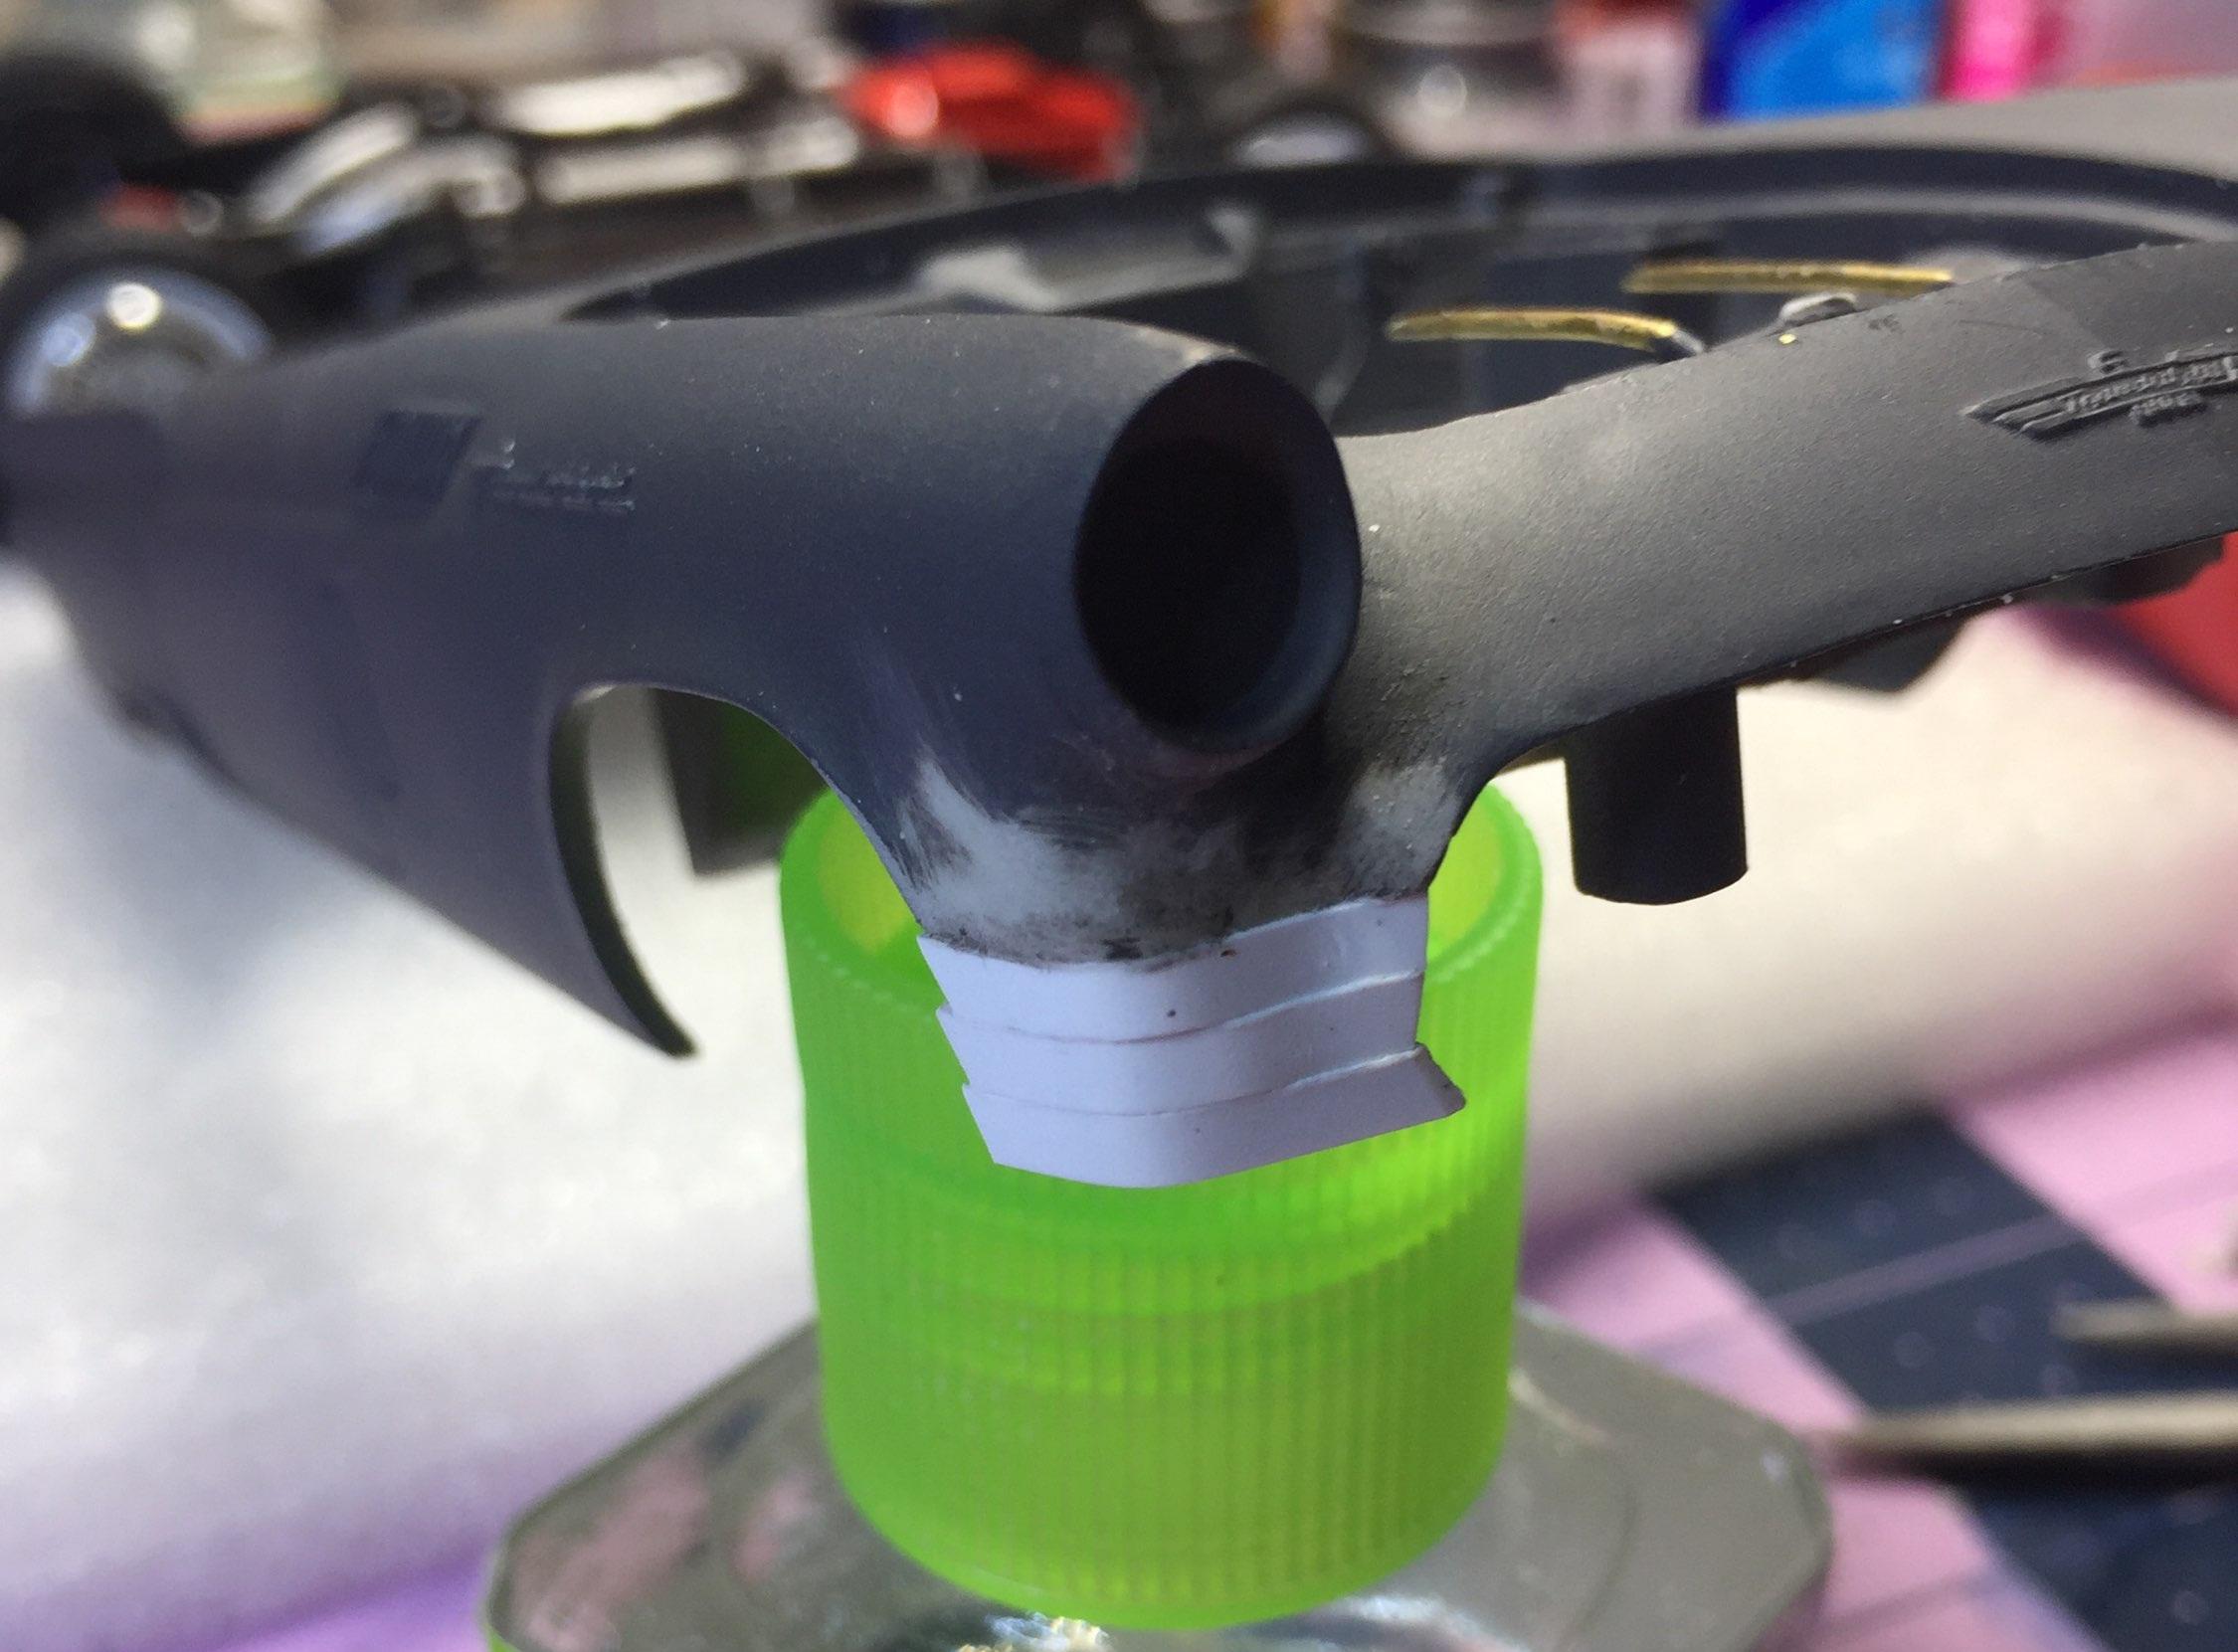
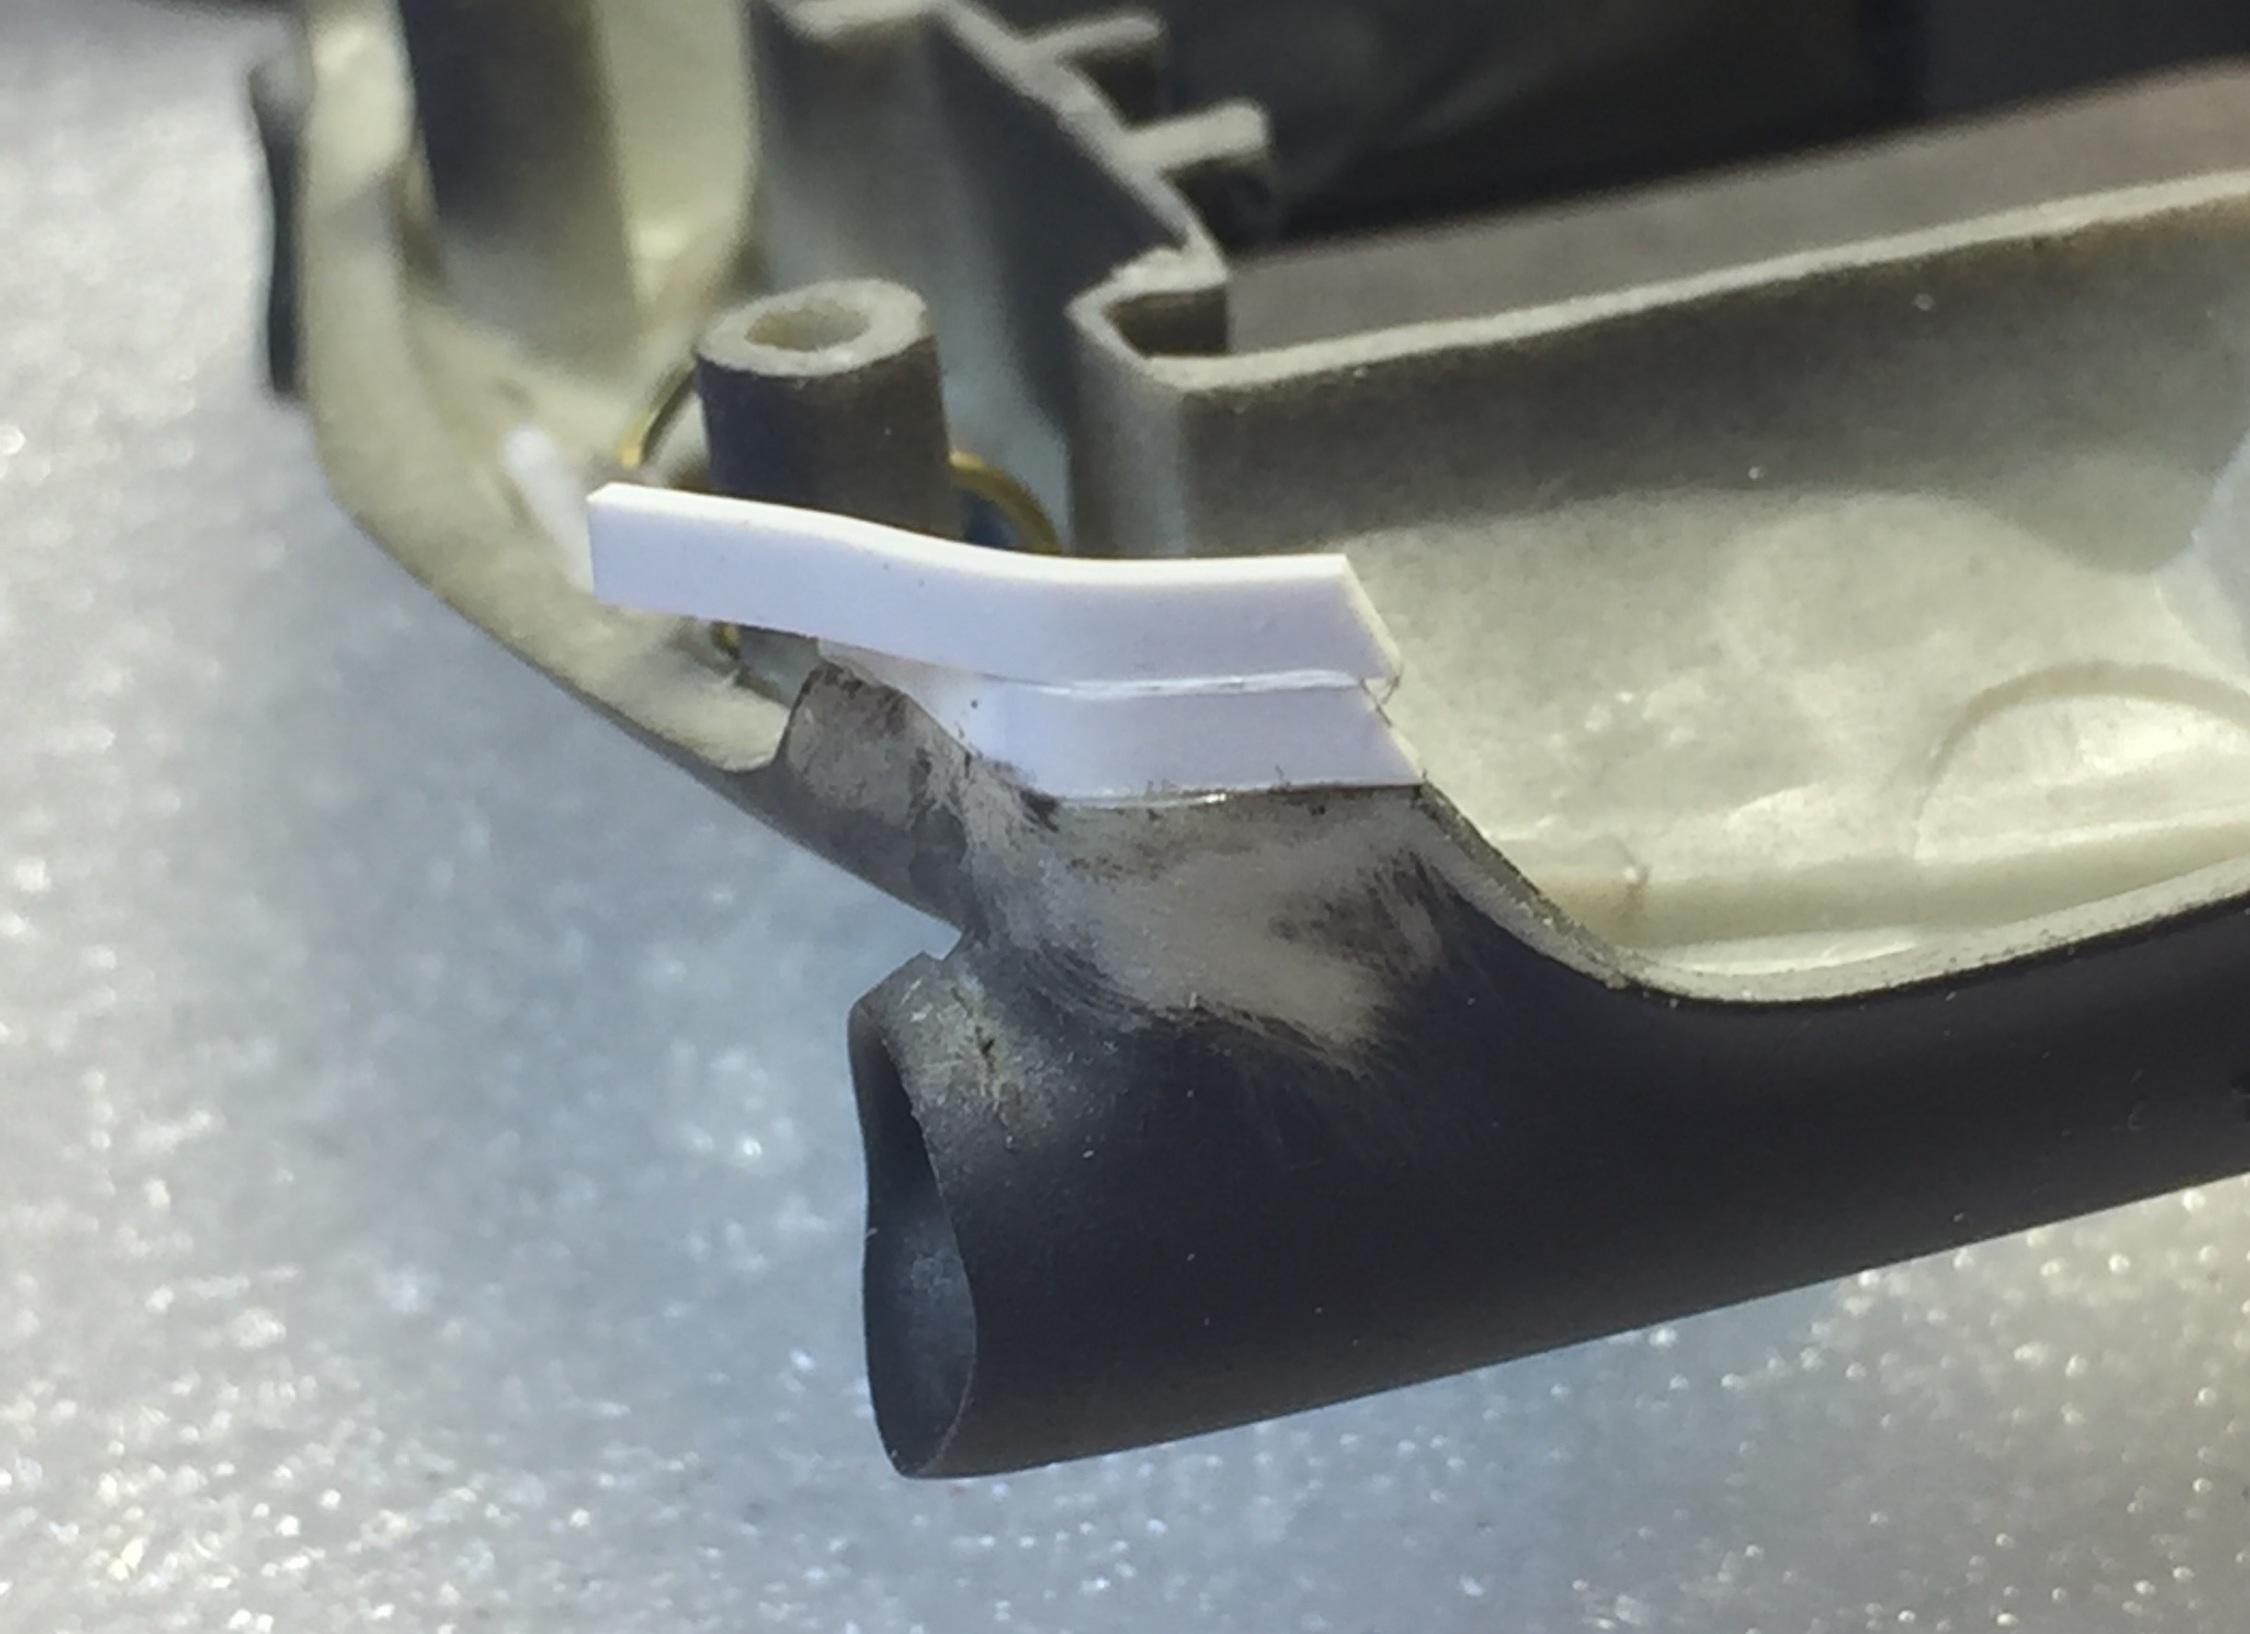
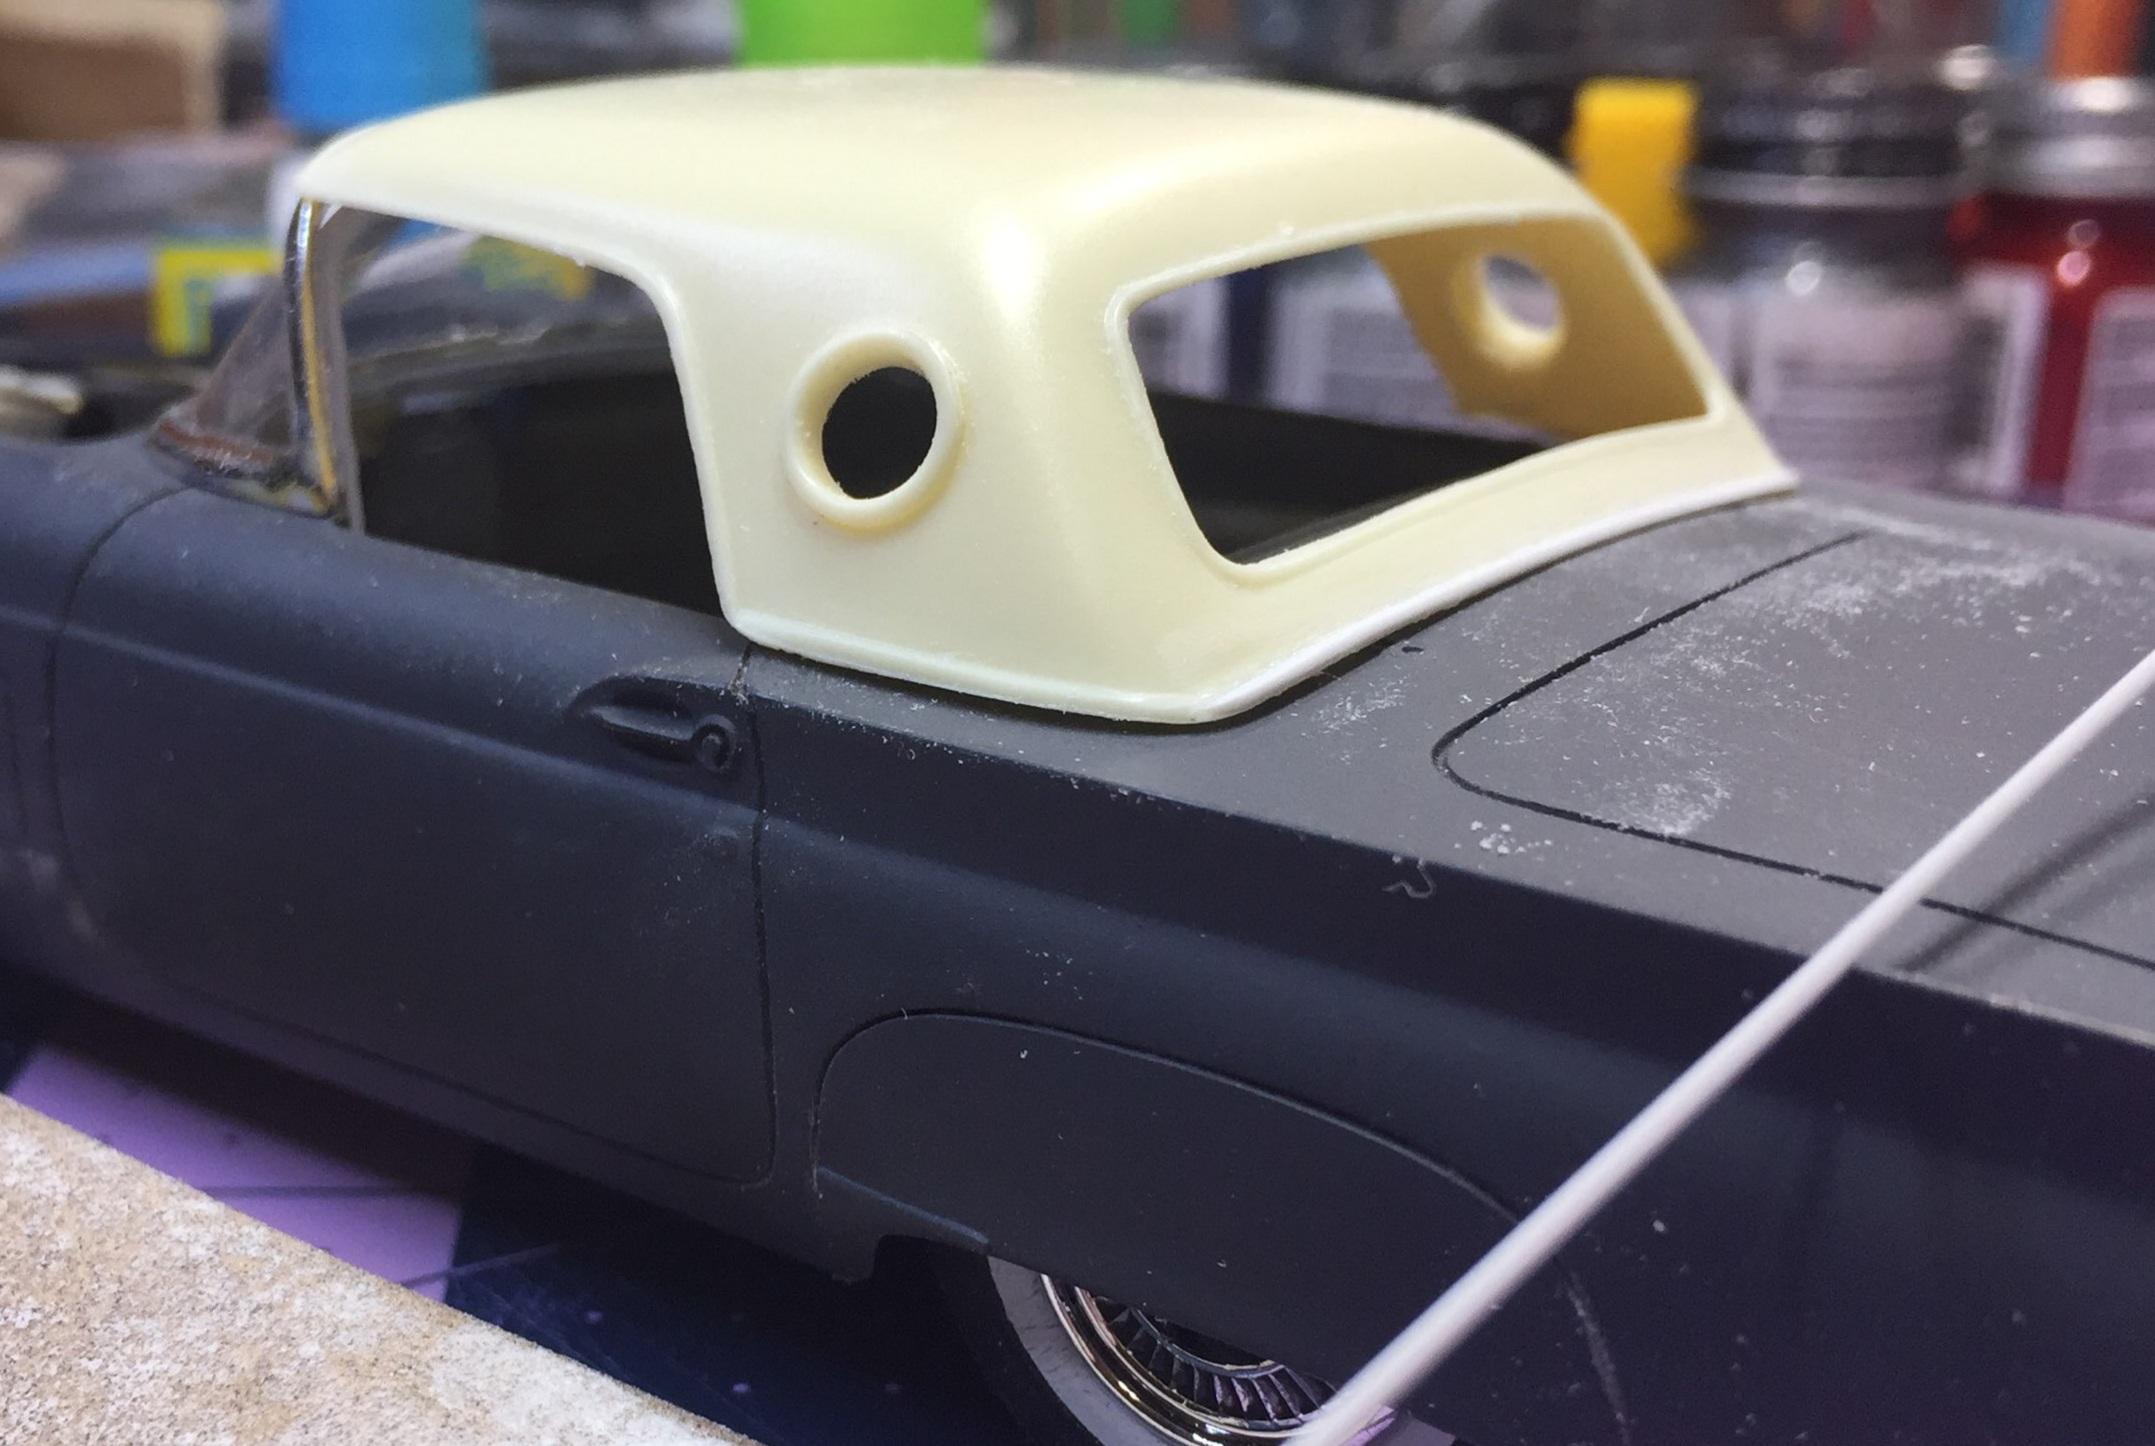
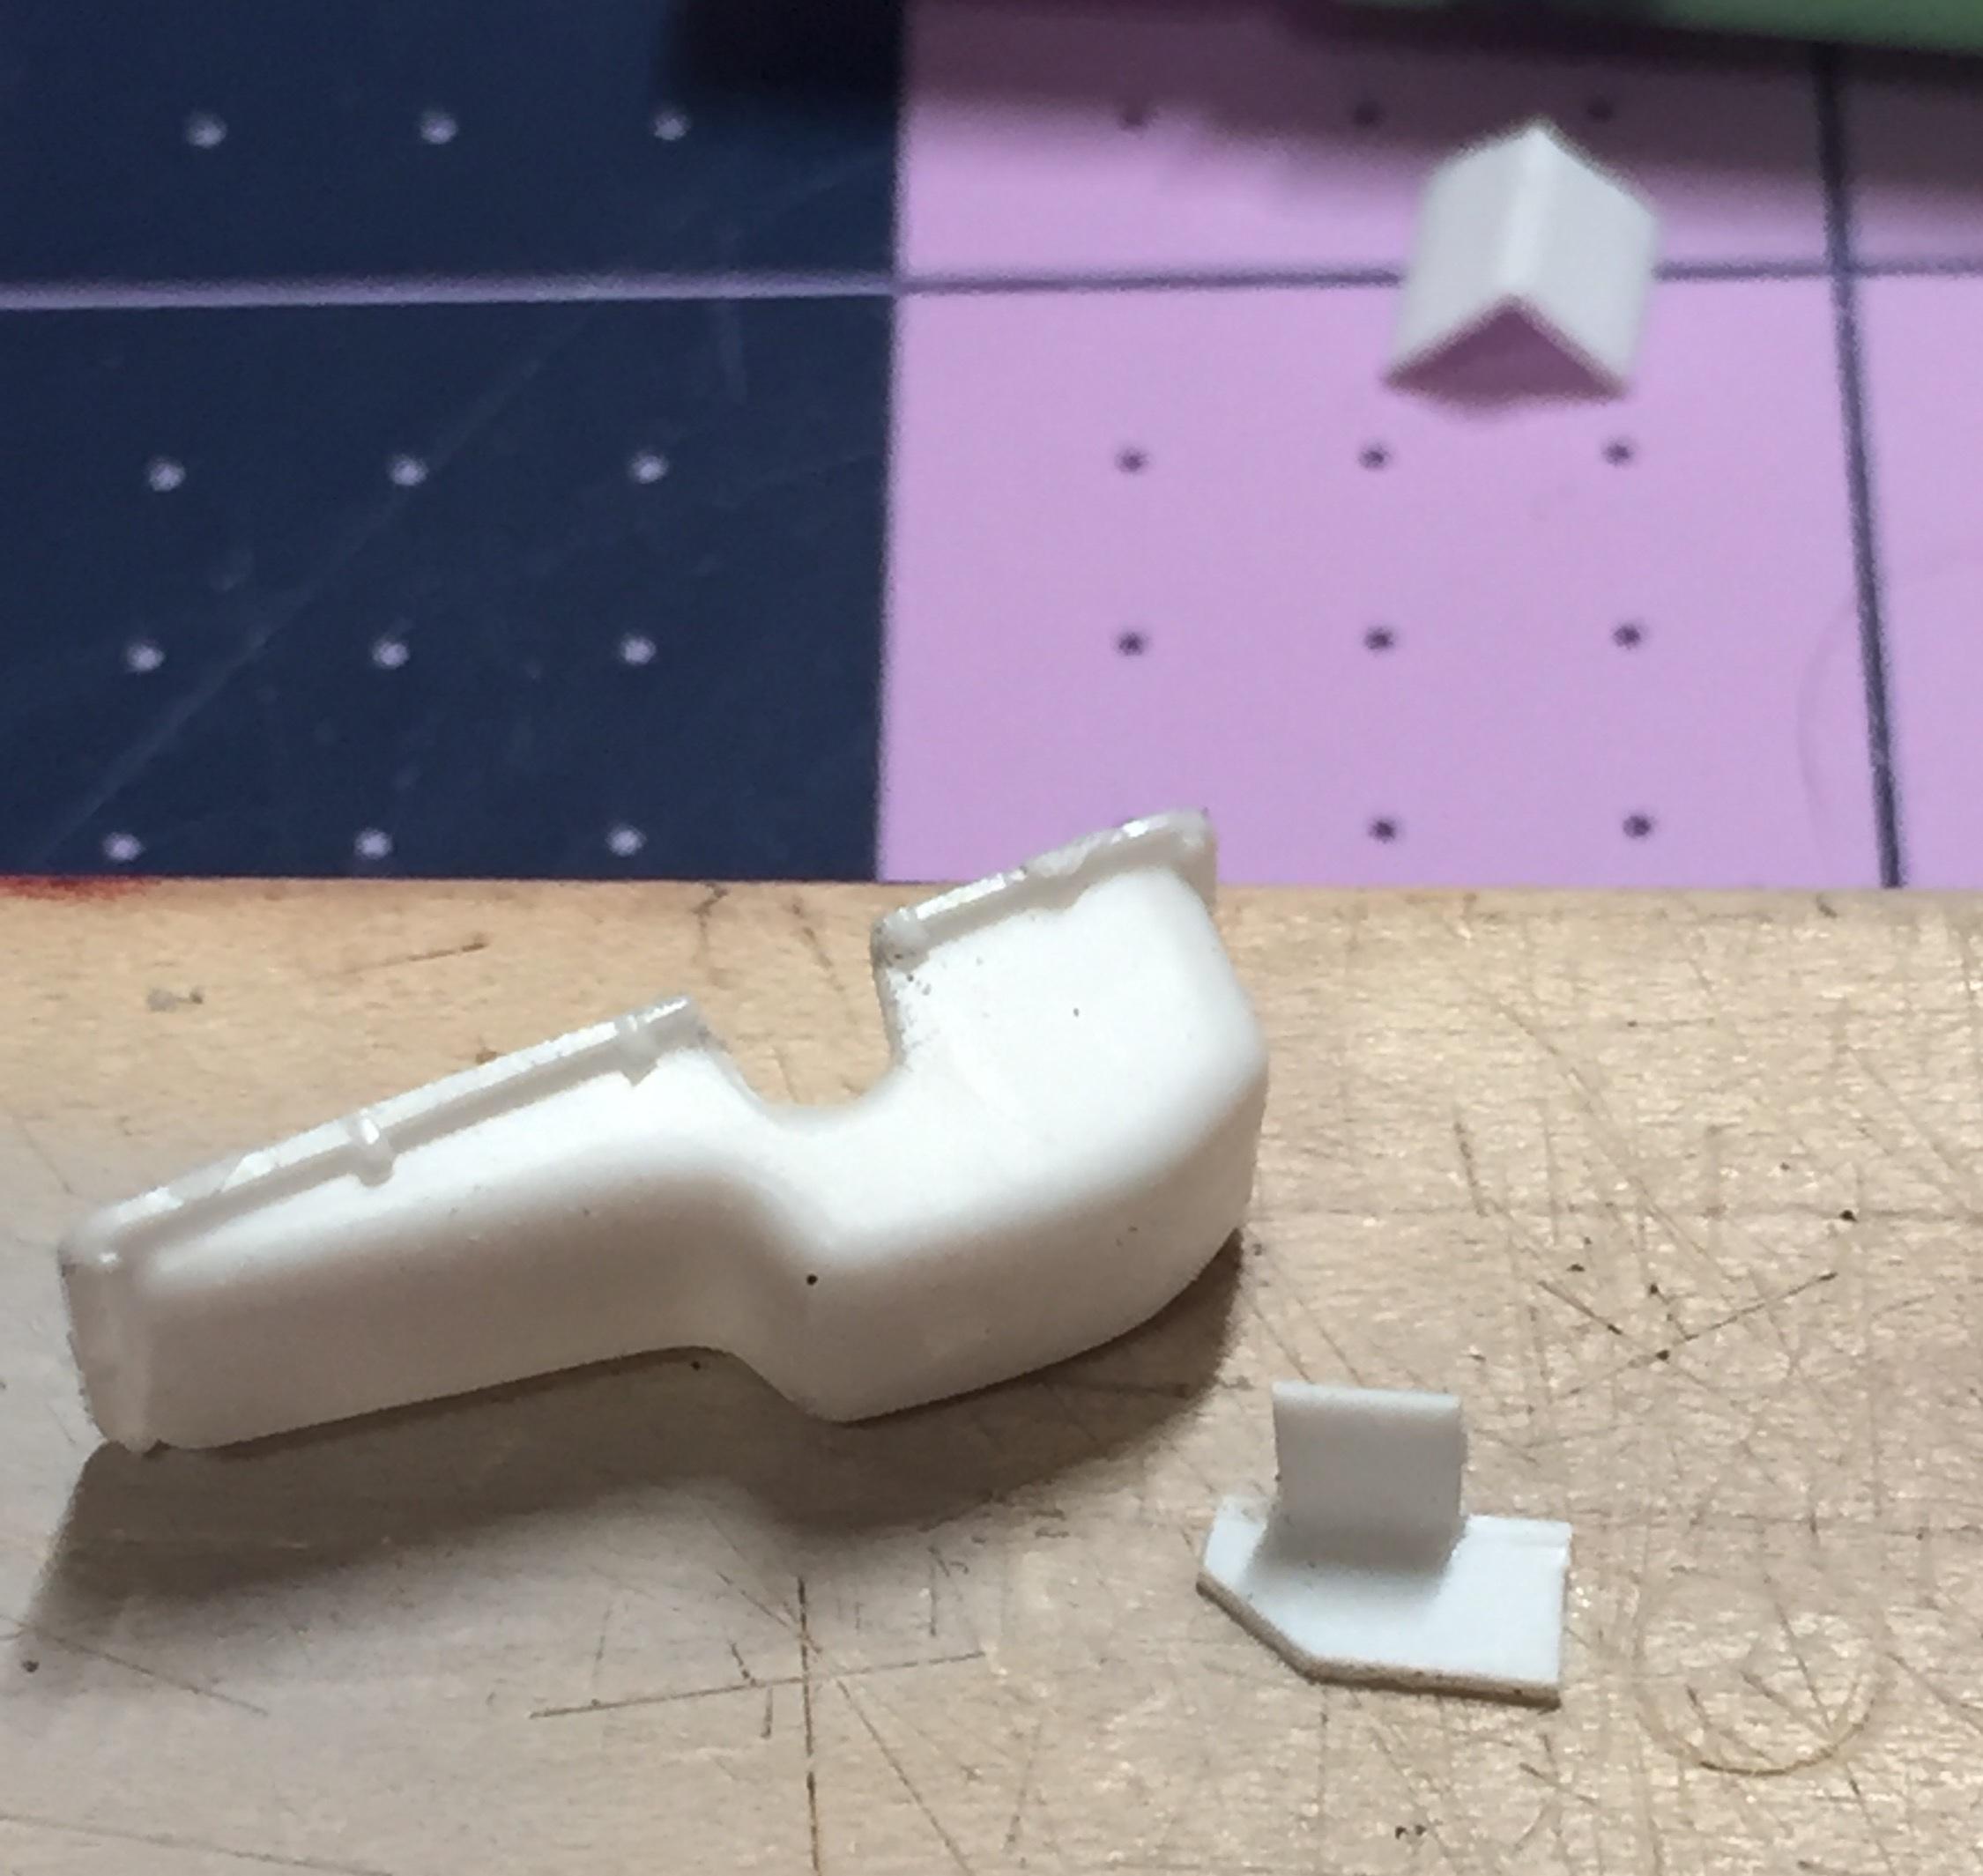
Greg gave me advice and I finally acted on it. The resin top is a good fit at the windshield and after spending $12 for it I felt compelled to make use of it. I shaved the "trim" off and sanded the mating surface under the backlight to better conform to the curve of the rear deck. Man, does that stuff stink! ? I replaced the trim with .030 Plastruct triangular strip and sanded it down to match the rest. It's not perfect but it's acceptable. Now I can move on to the body. Thanks for checking up on my bird ? Before After....good enough?

-

The "waste-not-want-not" Starliner project
customline replied to customline's topic in WIP: Model Cars
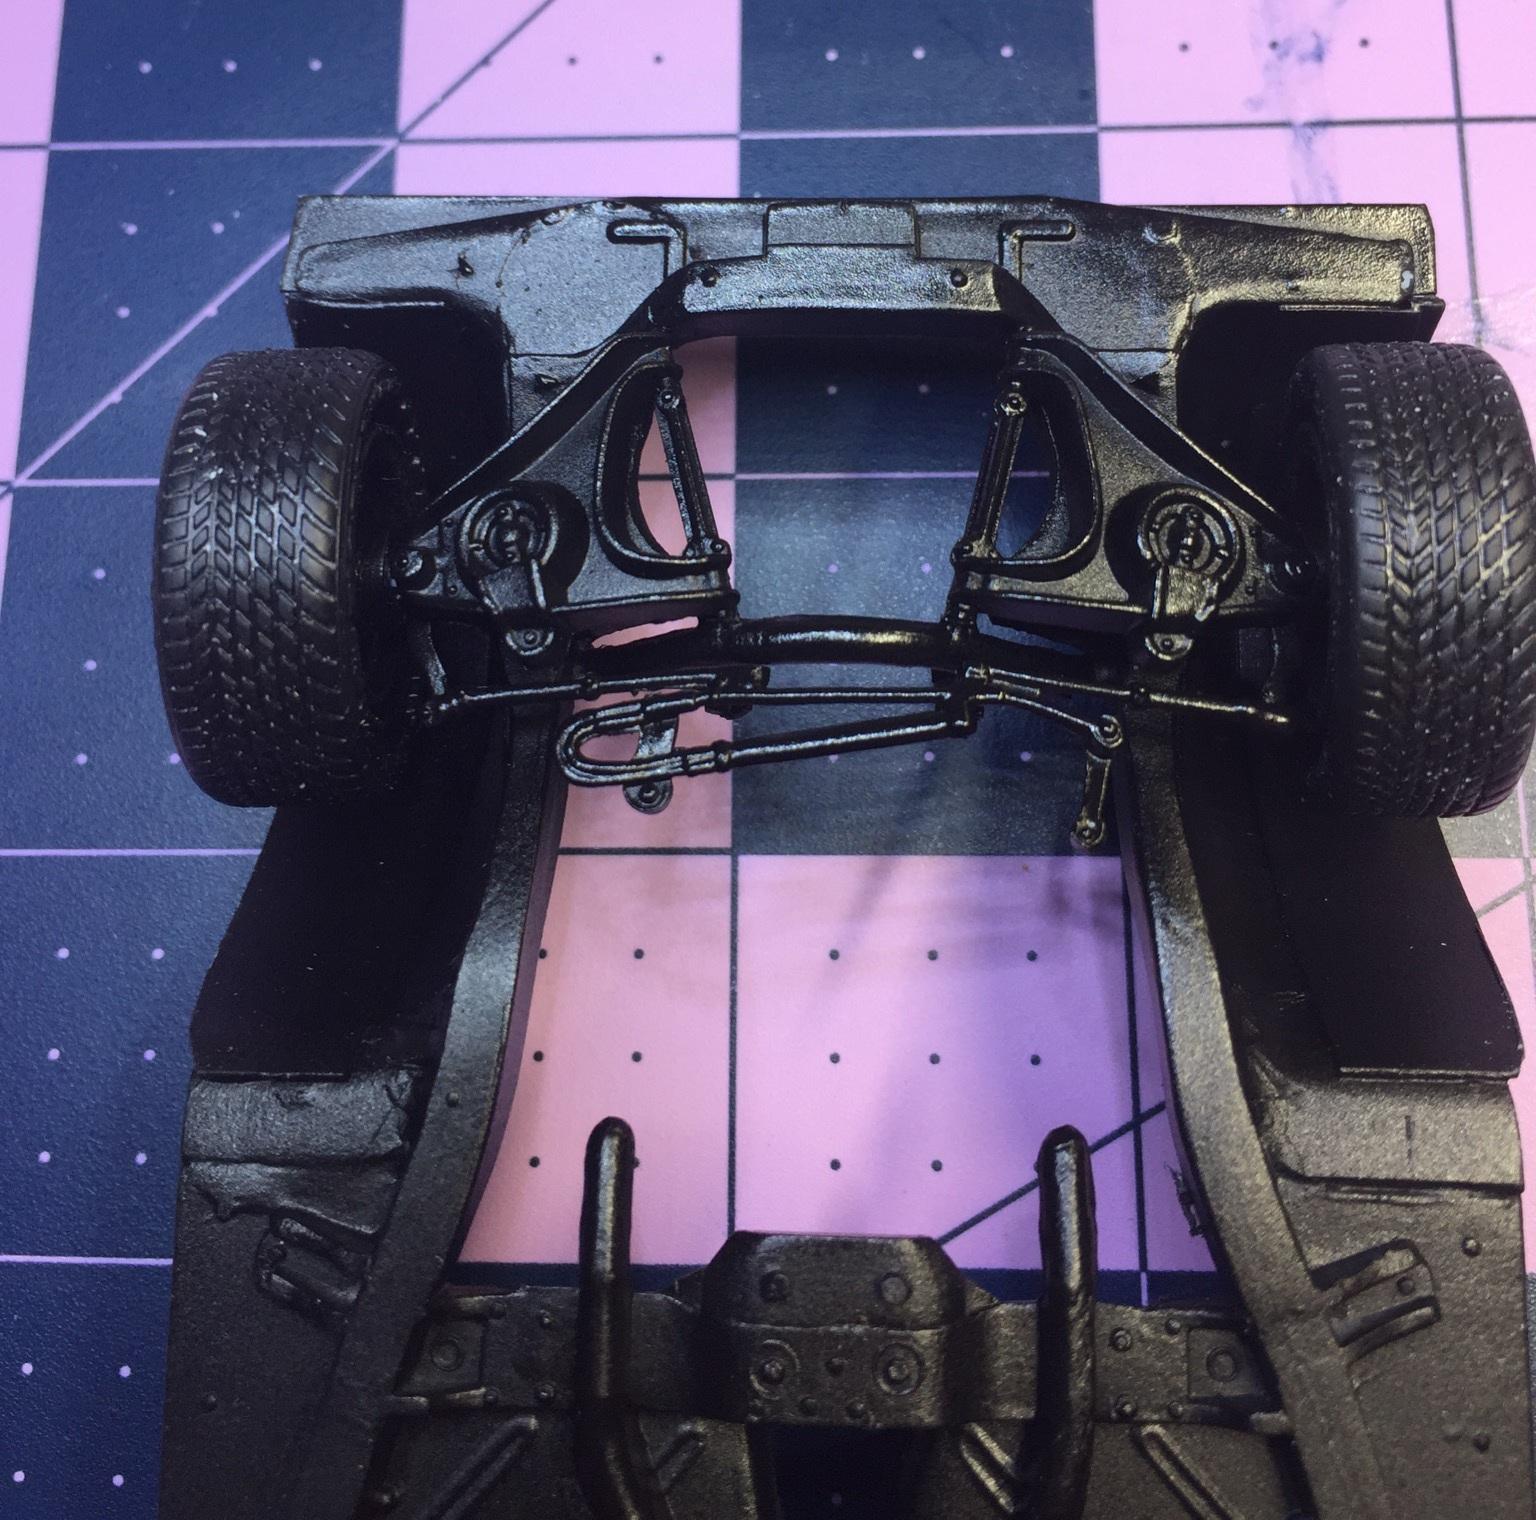
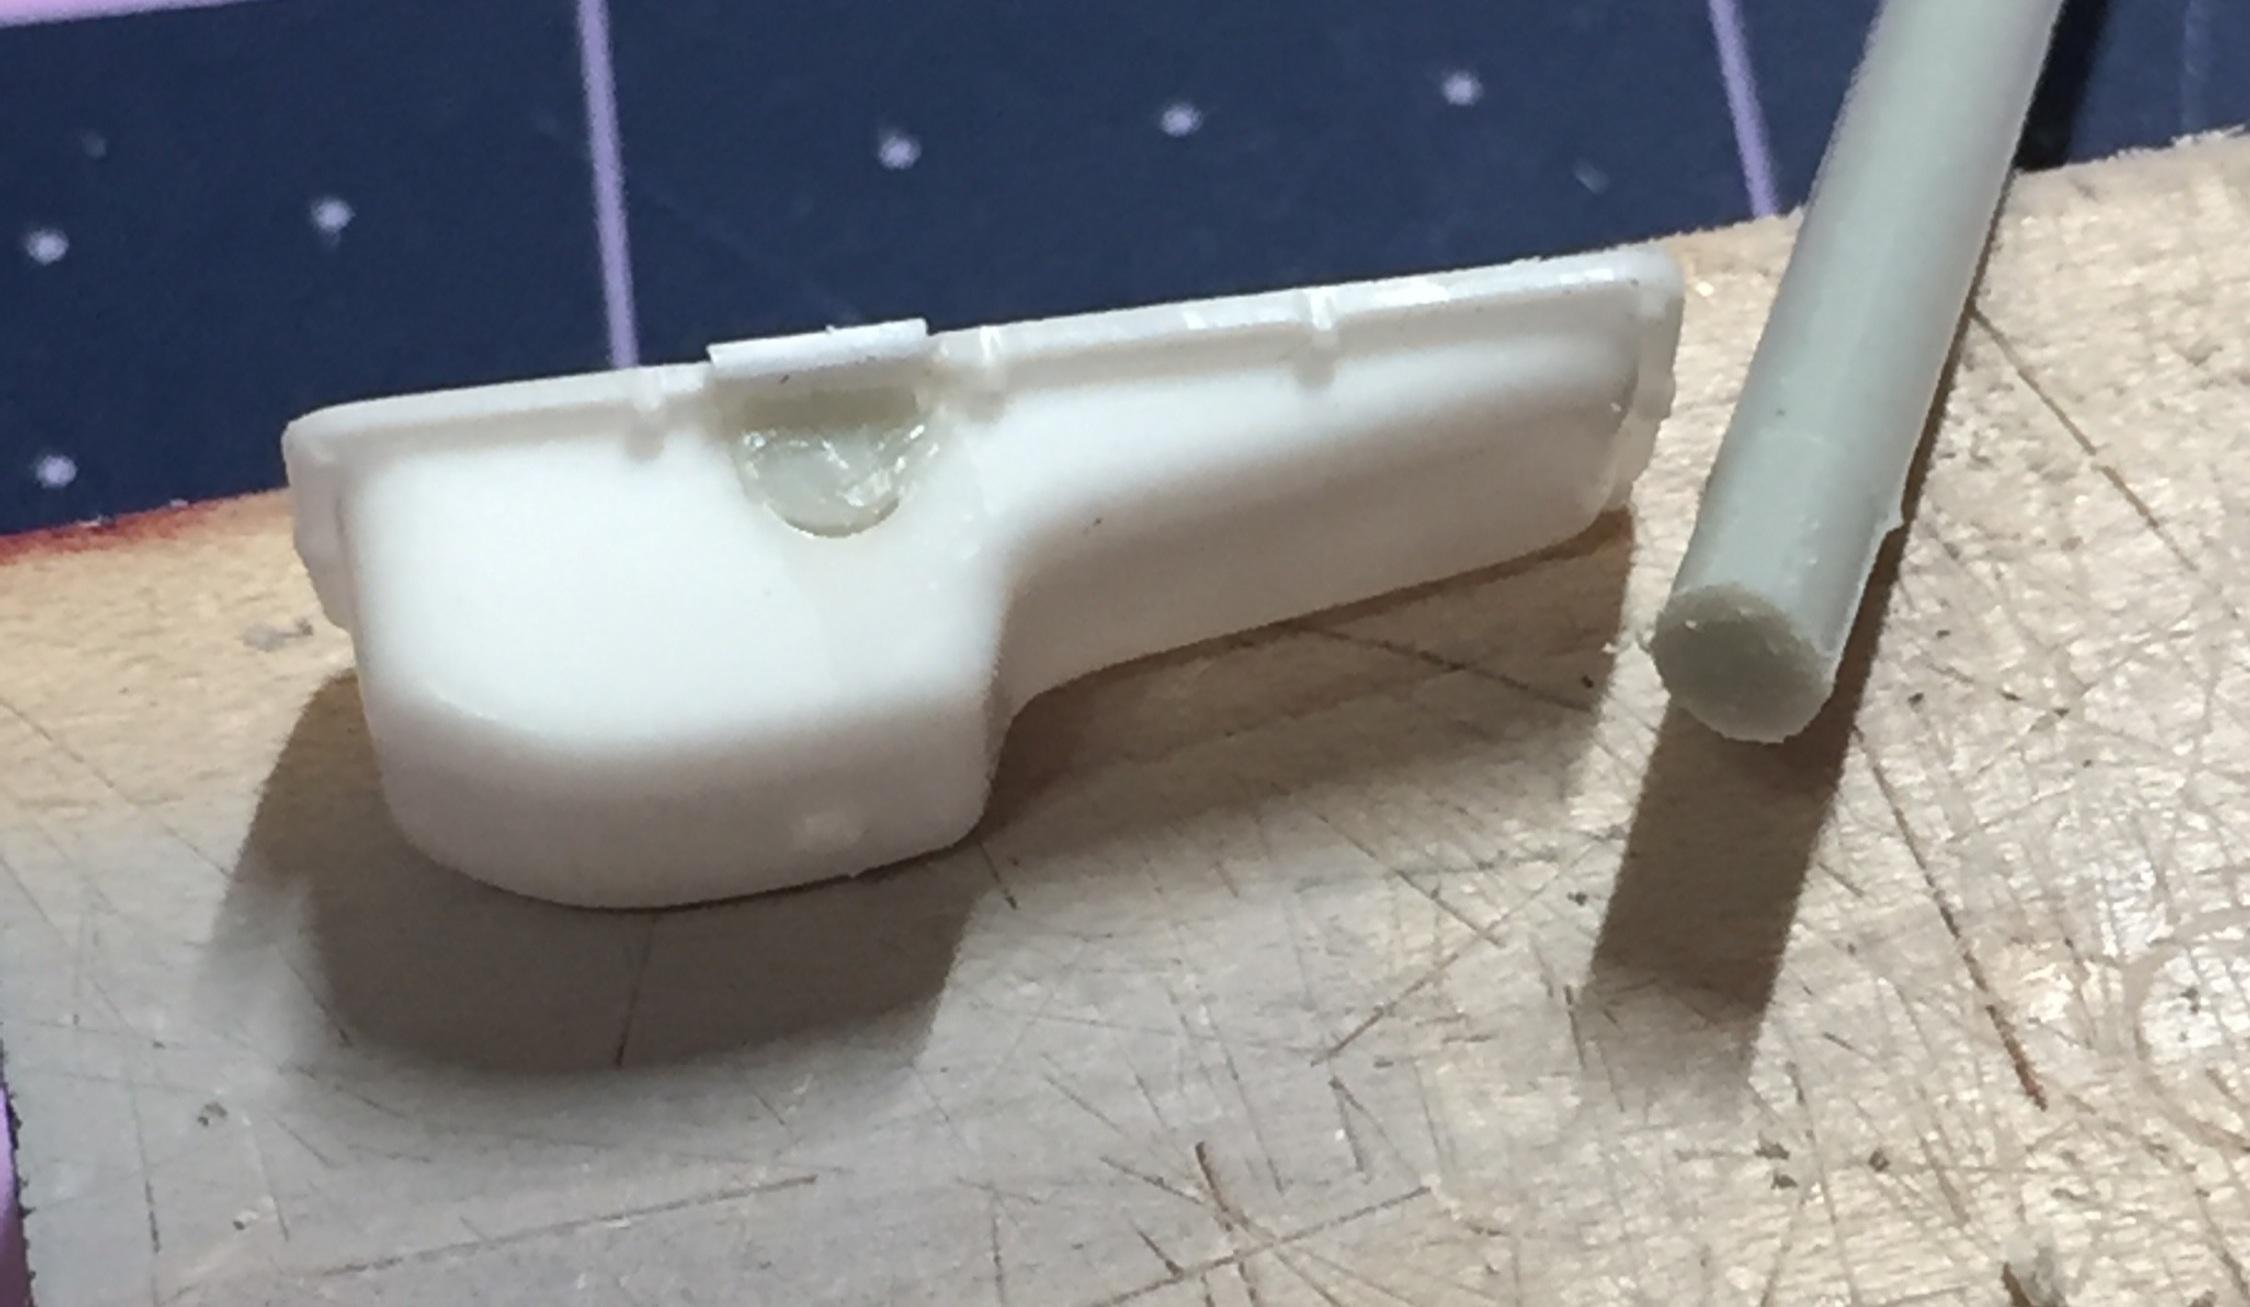
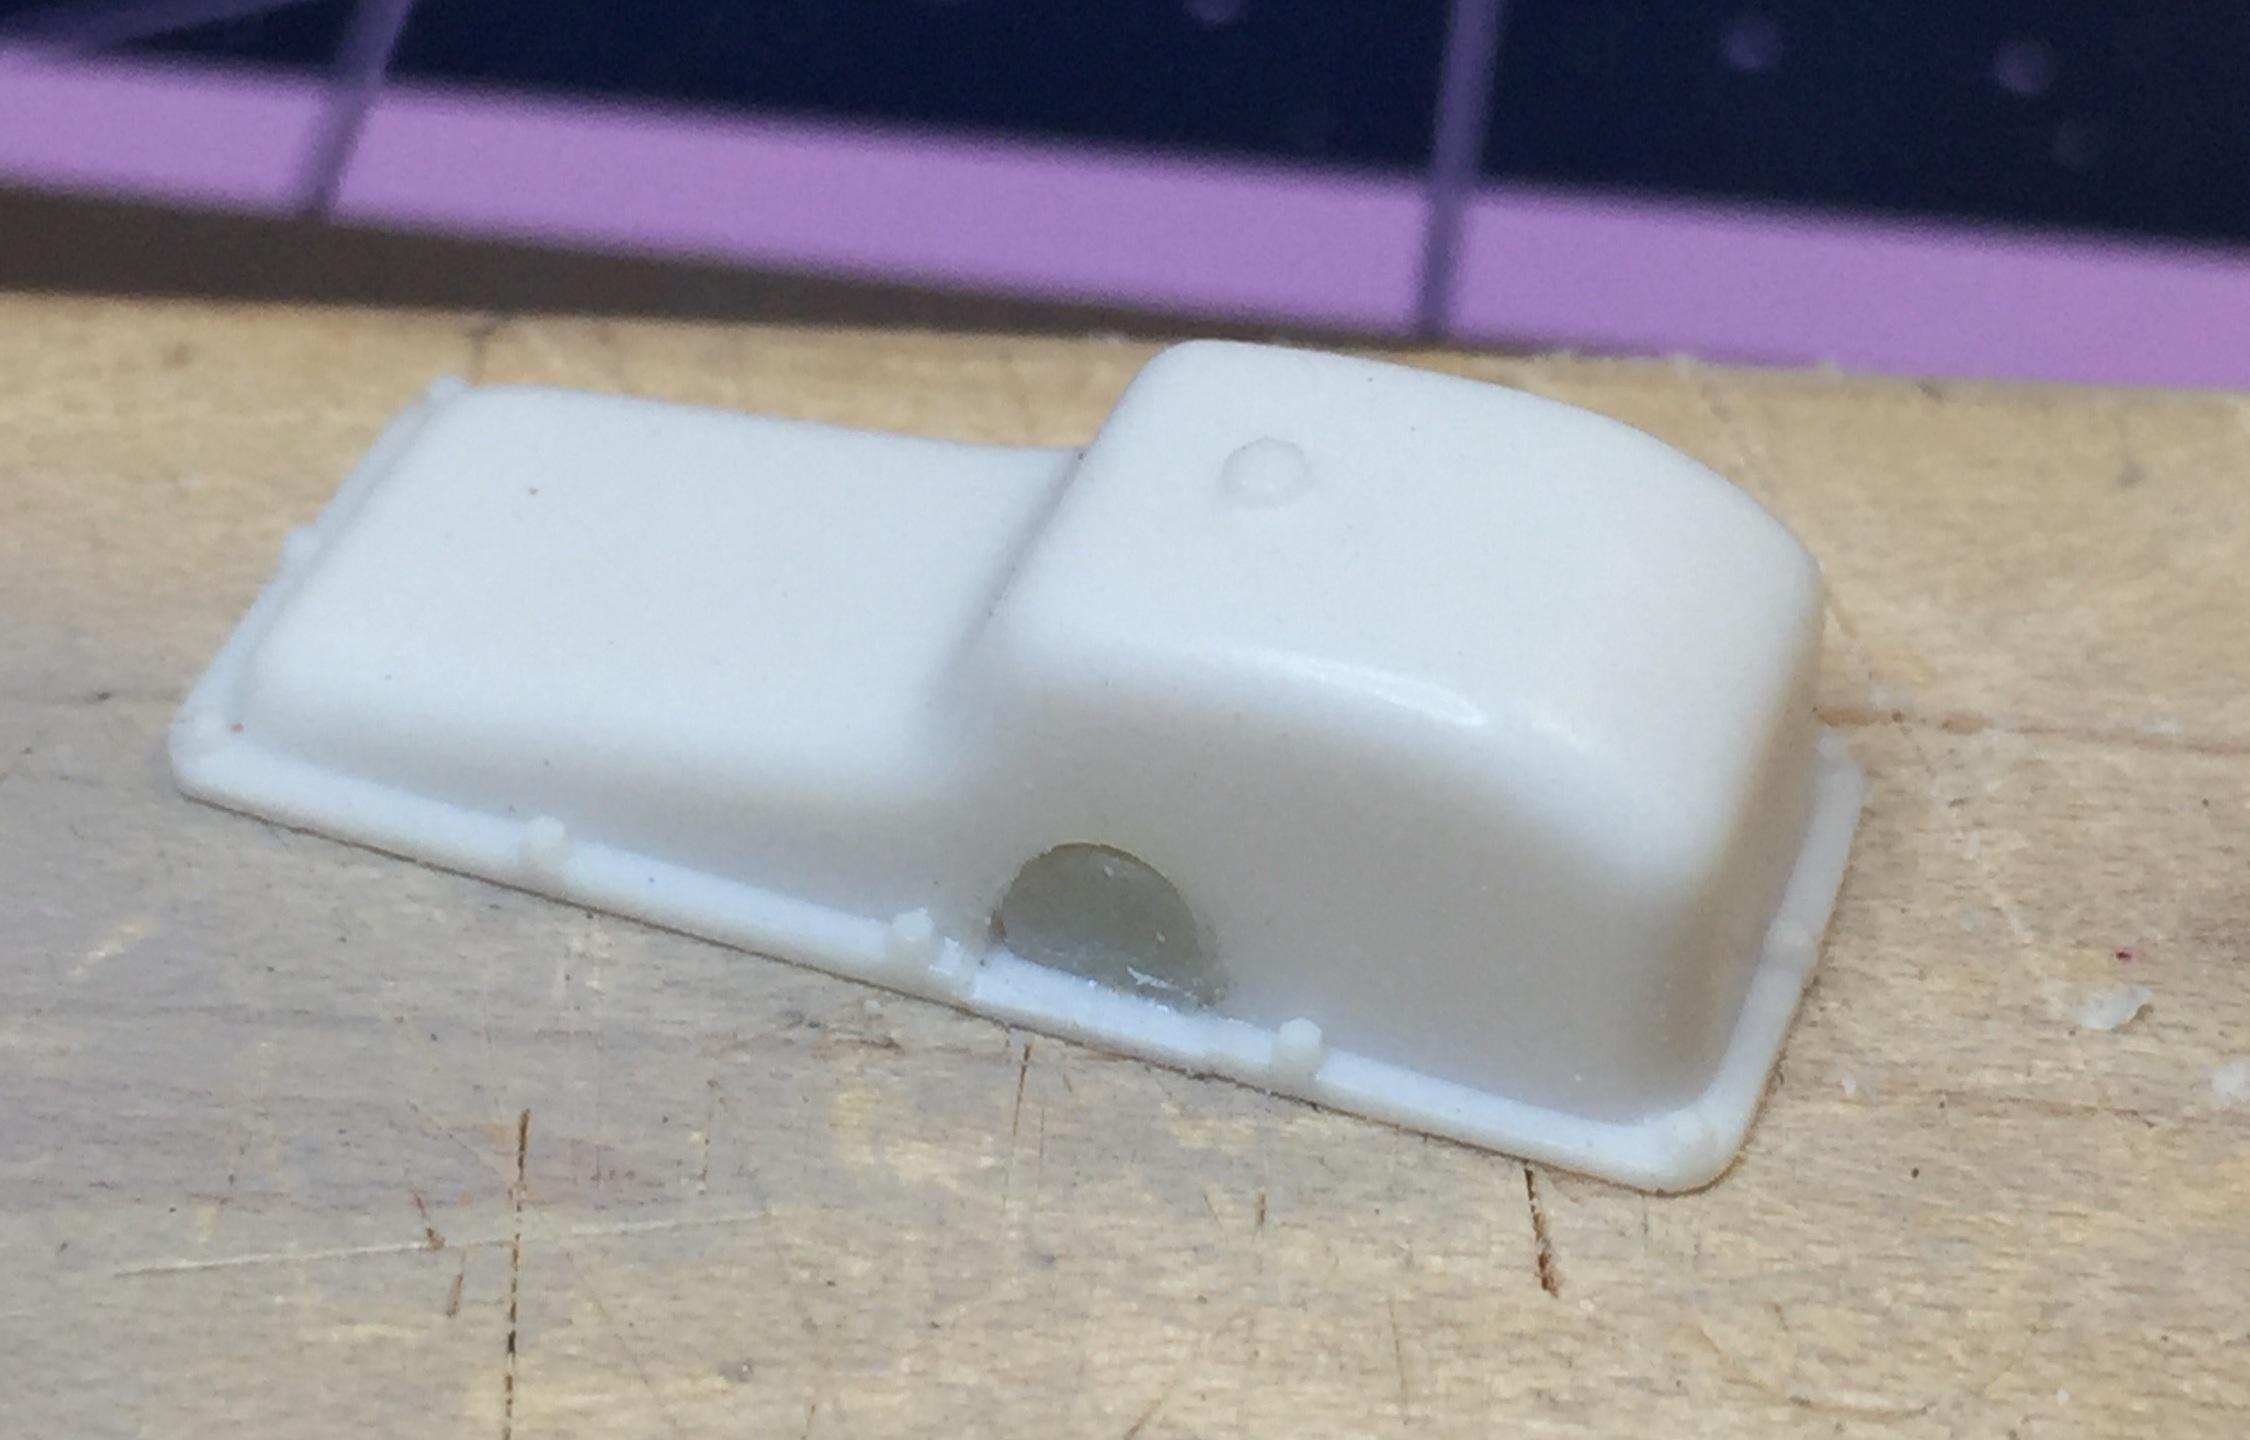
A very a quick update for you night owls ? ....there's been a change. The '63 mill is now out. I found, while rummaging through some boxes, a completed FE that appears to be a 390 and its ready to go. I wish I could recall what it was for and why I didn't use it but it's perfect for a street custom like this. Chrome generator and fan, three deuces, and I had to use the "funky headers" from the '63. it has a genuine Fram oil filter! I had to turn the oil pan around and add a long tail shaft that resembles a leg off a table from my granddaughter's doll furniture. I got the wheel backs and the ?? chassis painted. If it's not still sticky (the paint) tomorrow, I will paint the exhaust system, gas tank and shocks. The lower A-Frames, I think, are from some Revell kit, maybe the '59 Impala? I dunno, but the power steering looks pretty much like Ford of the era. I suppose I've gotta hang a pump now. ?. good fit ?
-
Who knows how to even spell that word, Lenny? Isn't there a "j" in there somewhere? Or an "H"? ?
-
Is There Room For Another 41 Plymouth or Two?
customline replied to LennyB's topic in WIP: Model Cars
Basically, Len, you are not gonna keep that old woody from having his way with that younger Gal so just mind your business and give them some privacy. Who knows, maybe by spring there will be a little mustang running around ?. The trim wood looks nice, Len, and I would definitely use the decals but maybe not dipped, but cut and glued on with white glue or a contact type glue. I can't recall off-hand if the ,panels have a molded-in grain or not. I gotta go look now I've got a woody to do one of these days, so help me God. I have a '53 Country Squire resin body haunting me....3 am it wakes me up - "c'mon Jimmy, I'm waiting for you to work your magic on me".....and I'm scared, Lenny, the truth be known. There are no decals for the panels ! and you've seen my woodgraining..... ?? <- this is going to be my new sig line ? -
The "waste-not-want-not" Starliner project
customline replied to customline's topic in WIP: Model Cars
Sounds like a handy way to pick up the tiny parts you drop. I'm still using a long stick with a ball of masking tape on the end. Crude but effective ?. It's a neat idea, though, I should rig something like that to clean my work surface. Hmmmmm.....?...thanks, Greg! -
Monogram's 1955 Lincoln Futura Concept Car: WIP
customline replied to David G.'s topic in WIP: Model Cars
Now that's actual talent, Dave! The figures are superb and the Futura is fabulous. I love it! Edit: We have Hummels that don't look that good ! -
The "waste-not-want-not" Starliner project
customline replied to customline's topic in WIP: Model Cars
Thanks, Dave. I don't know about actual talent, but I do enjoy scratch-building and, thanks to AMT, there are plenty of opportunities to do so. It makes quite a mess and I need to vacuum frequently. ? -
The "waste-not-want-not" Starliner project
customline replied to customline's topic in WIP: Model Cars
What? ? Greg, that's the kit engine from the '63, as is. It'll be fine ?...the distributor? that's funky! The way the heads fit, the compression ratio is 00:1 ? Bob, I did know that the '60 was actually over some legal limit for a passenger car width but I can't quote the source. You would think the big GM cars were likewise, though. I had a '60 Olds 88 that was quite a driveway hog. As far as rot goes, I think the '58 was the big winner. Up north, the top of the front fenders, at the headlights, were perforated by Memorial Day, 1962. When you say rot, that's the one that pops up in my head. The '57 was no prize, either. The inner fenders didn't protect that area from the splashing of salty slush during the winter. Death, taxes, and rusted out Fords. -
The "waste-not-want-not" Starliner project
customline replied to customline's topic in WIP: Model Cars
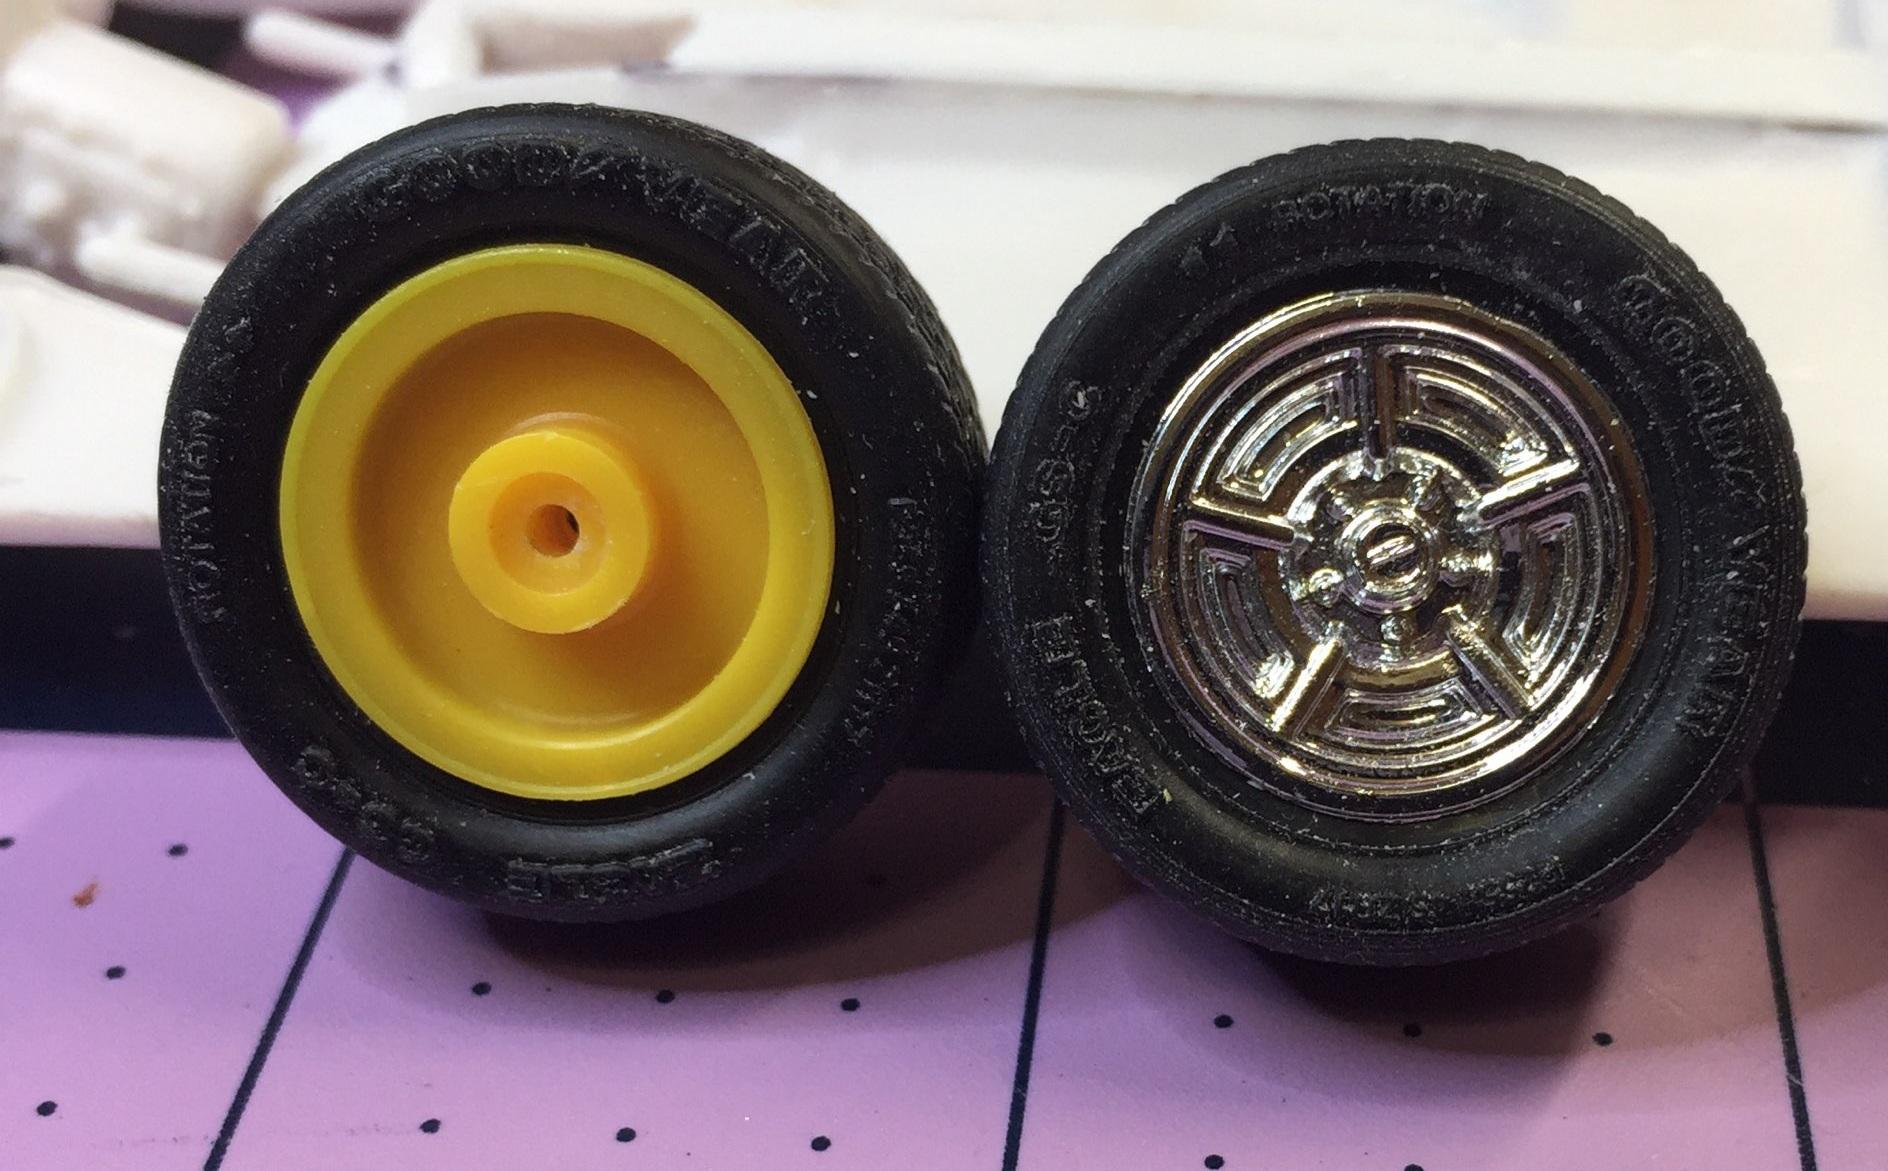
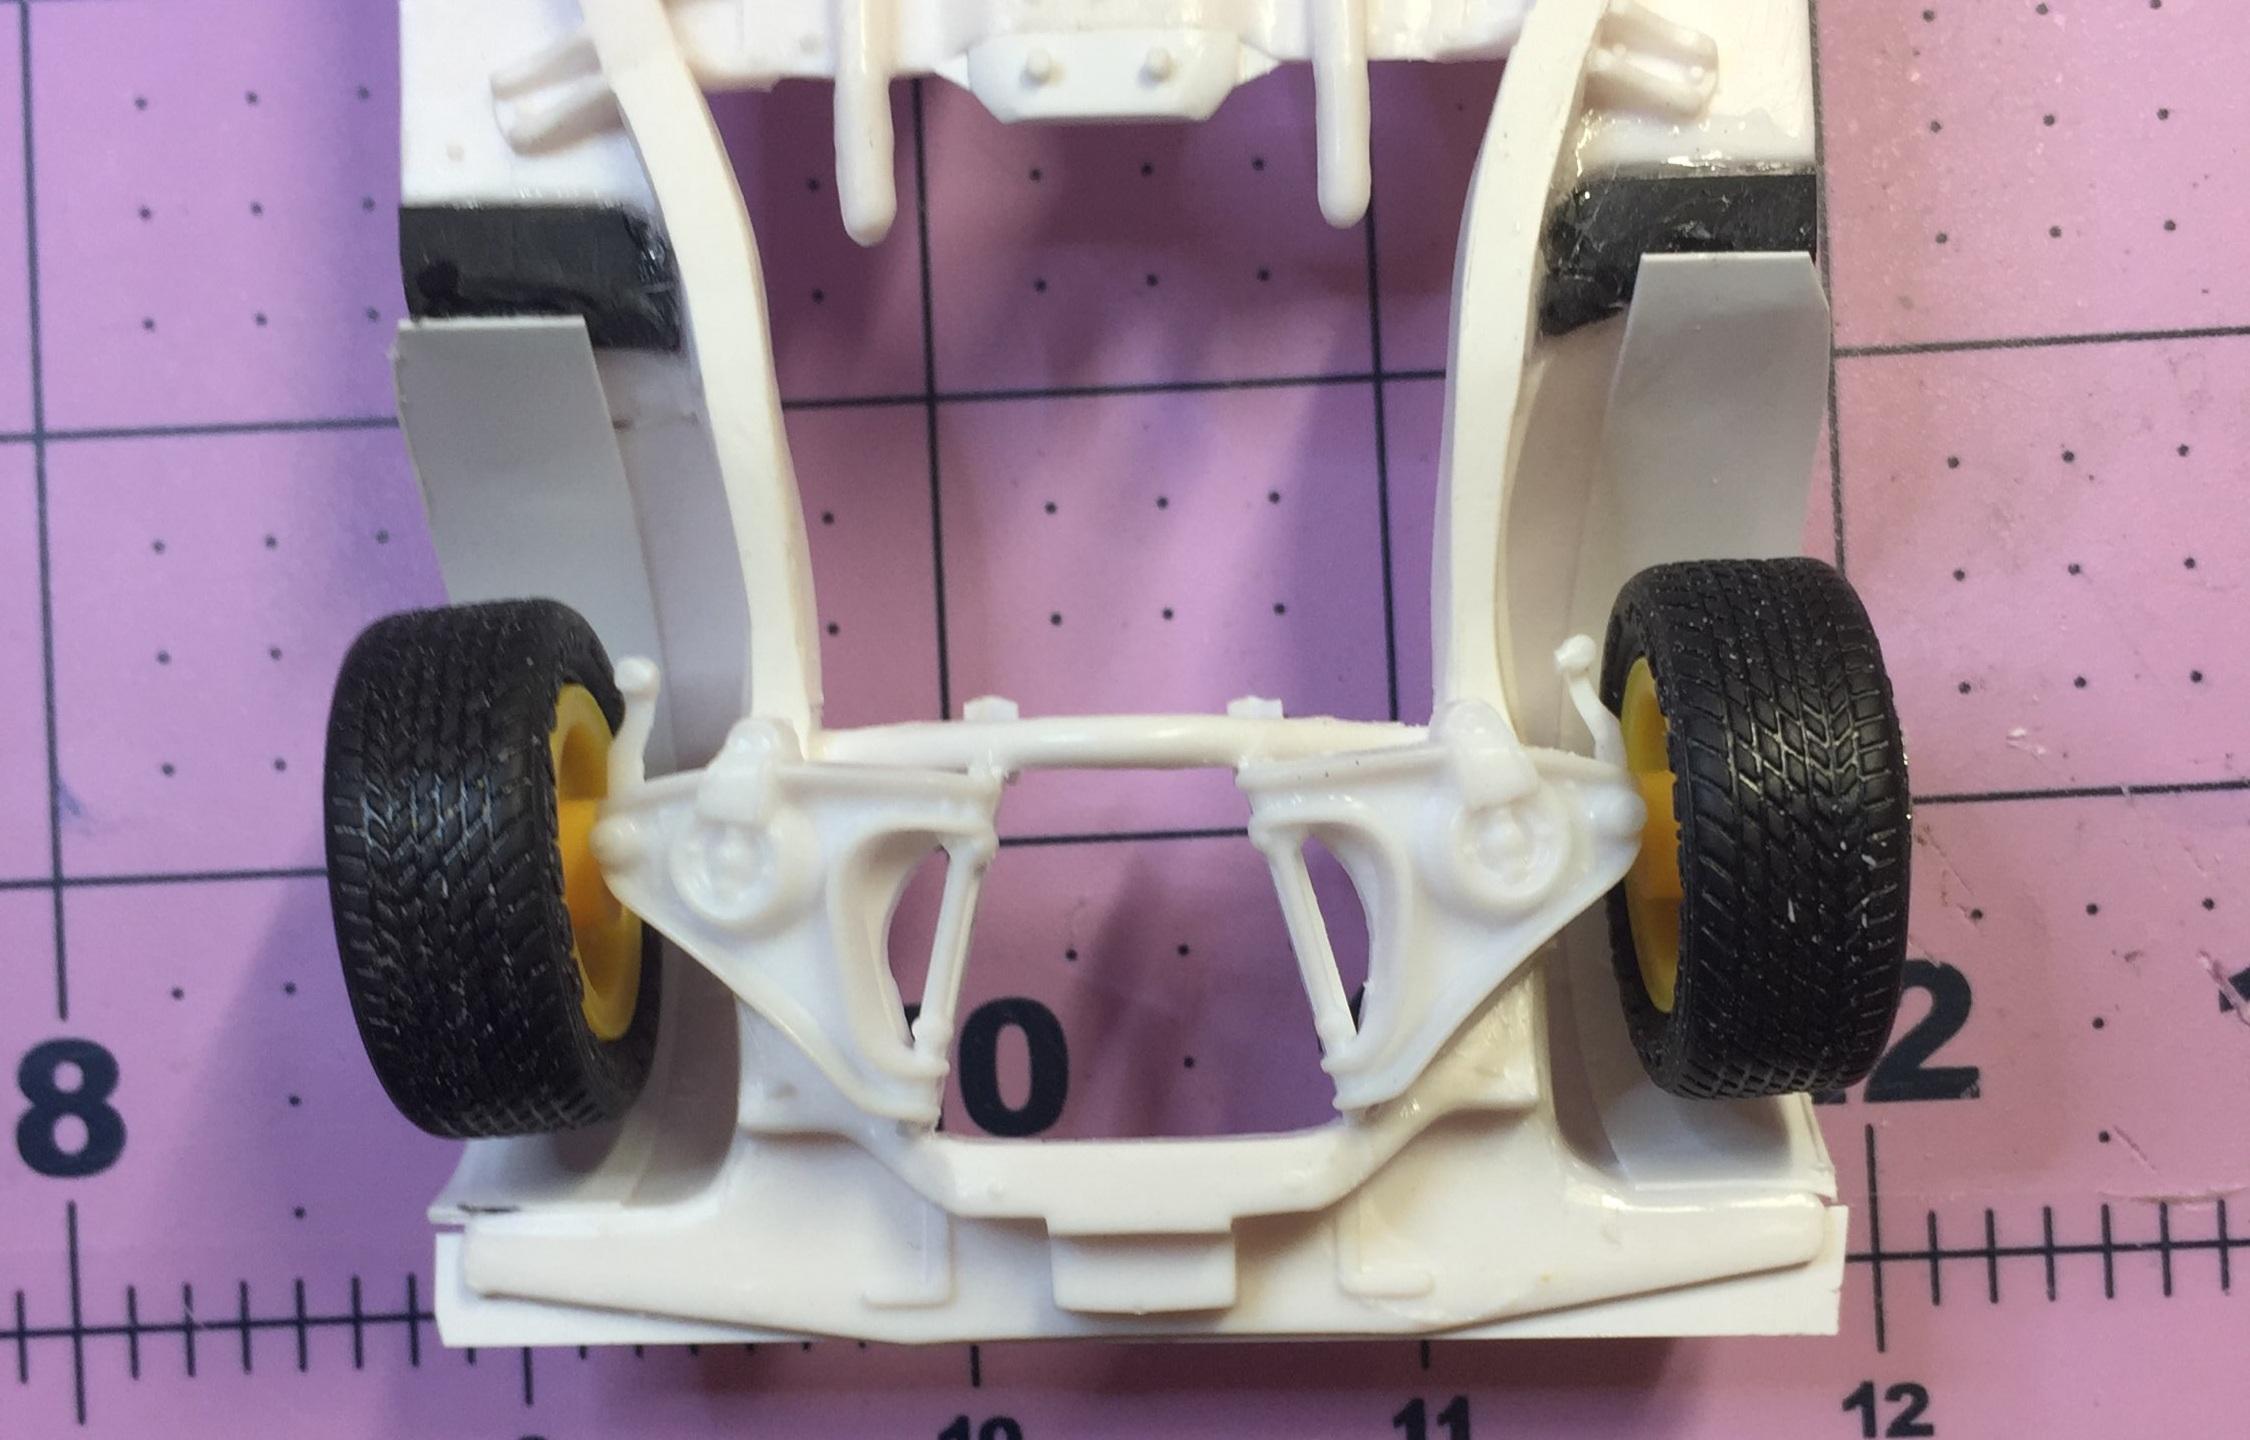
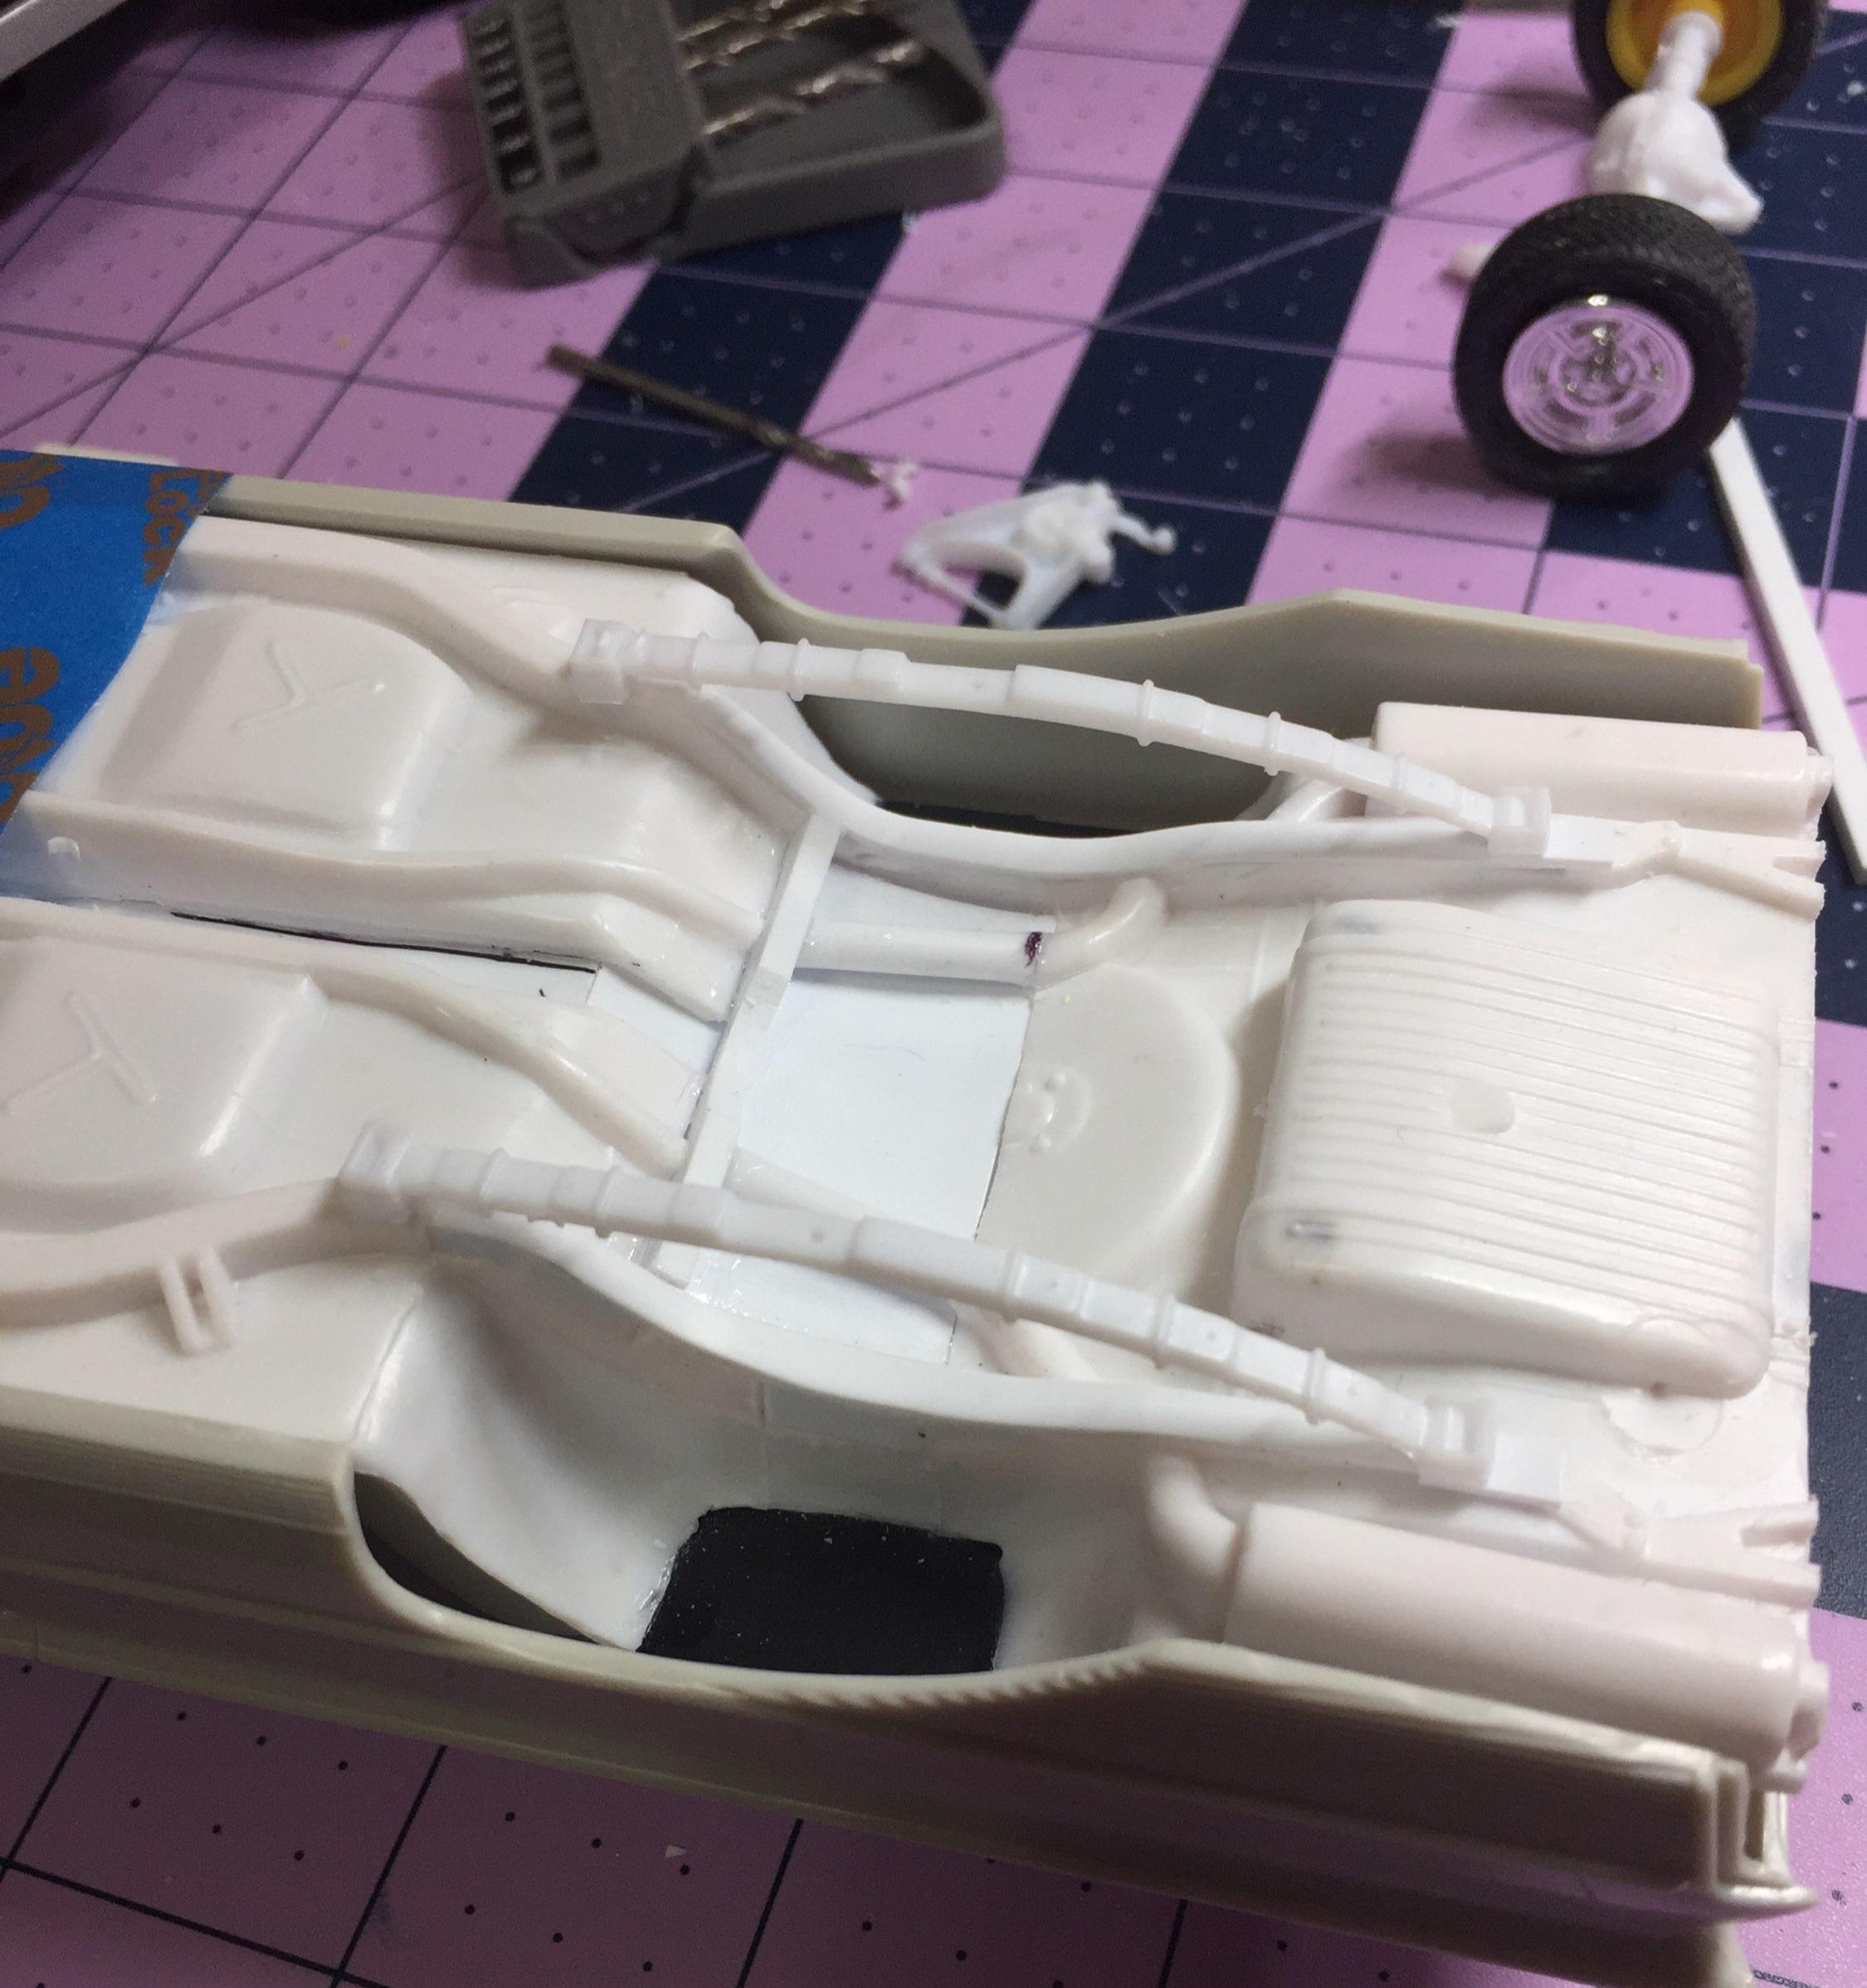
A fairly productive day for me. I was able to secure the rear axle housing to the suspension and I fabricated a pair of shock absorbers to give the dog-poop chassis some detail. Satisfied with that, I moved on to the radiator support wall using some .020 sheet and .060 strips. I improved on the non-existent side motor mounts (by creating them) and fiddled with various dysfunctional items that are not worth mentioning. So far everything seems to be working. I'm not happy with the wheel/tire combo but it will do until I can find better. Thanks for following ??
-
The "waste-not-want-not" Starliner project
customline replied to customline's topic in WIP: Model Cars
Yup. Stay away from Jiffy Lube ? -
The "waste-not-want-not" Starliner project
customline replied to customline's topic in WIP: Model Cars
Yes it is, Greg, right down to the pointey skull ?....I added the cleft chin for effect, though, that's pure fiction. I kept that 352 from the '60, like I said, for a '53 build. There was a car I wanted back around 1969 that my wise father said no to. It was a '53 or '54 Ford convertible that had an FE transplanted. I just love that body style. Dad was more concerned about the mechanical aspects and my ability to behave properly with it. It was a very cool car. ?. The ubiquitous '41 Plymouth kit has become, for me at least, an icon of the loved and, at the same time, hated. It's a red-headed step-child. The yellow "Coke" version is the worst of them and I have a few. I see them now only as a source of parts for more important endeavors like saving the Starliner, which will ride on a set of inner wheels from one of those horrid kits. Thanks for your encouragement on the WNWN Starliner, Len. ? You and me both, David. I'm pleased that you used the word "eager" rather than "anxious". Thanks for your praise ? I actually enjoyed the heck out of it, Elliot! It's more intense than building "by the numbers" and I get to "fly by the seat of my pants" ( gotta be careful these days, though ?). I kinda didn't want to use that Dana but I had been saving it for a while and, well, it was needed. The original plan was to use the '63's FE motor but now....I dunno. What would explain the rear end swap? The 9" would have been fine under any circumstances. Why do I worry about such things? ? I need a good back-story. Edit: Sorry about your wife's Hyundai ? -
"The 777" Tasca Ford '63 lightweight Galaxie
customline replied to customline's topic in WIP: Drag Racing Models
Thank you, Scott! ? -
The "waste-not-want-not" Starliner project
customline replied to customline's topic in WIP: Model Cars
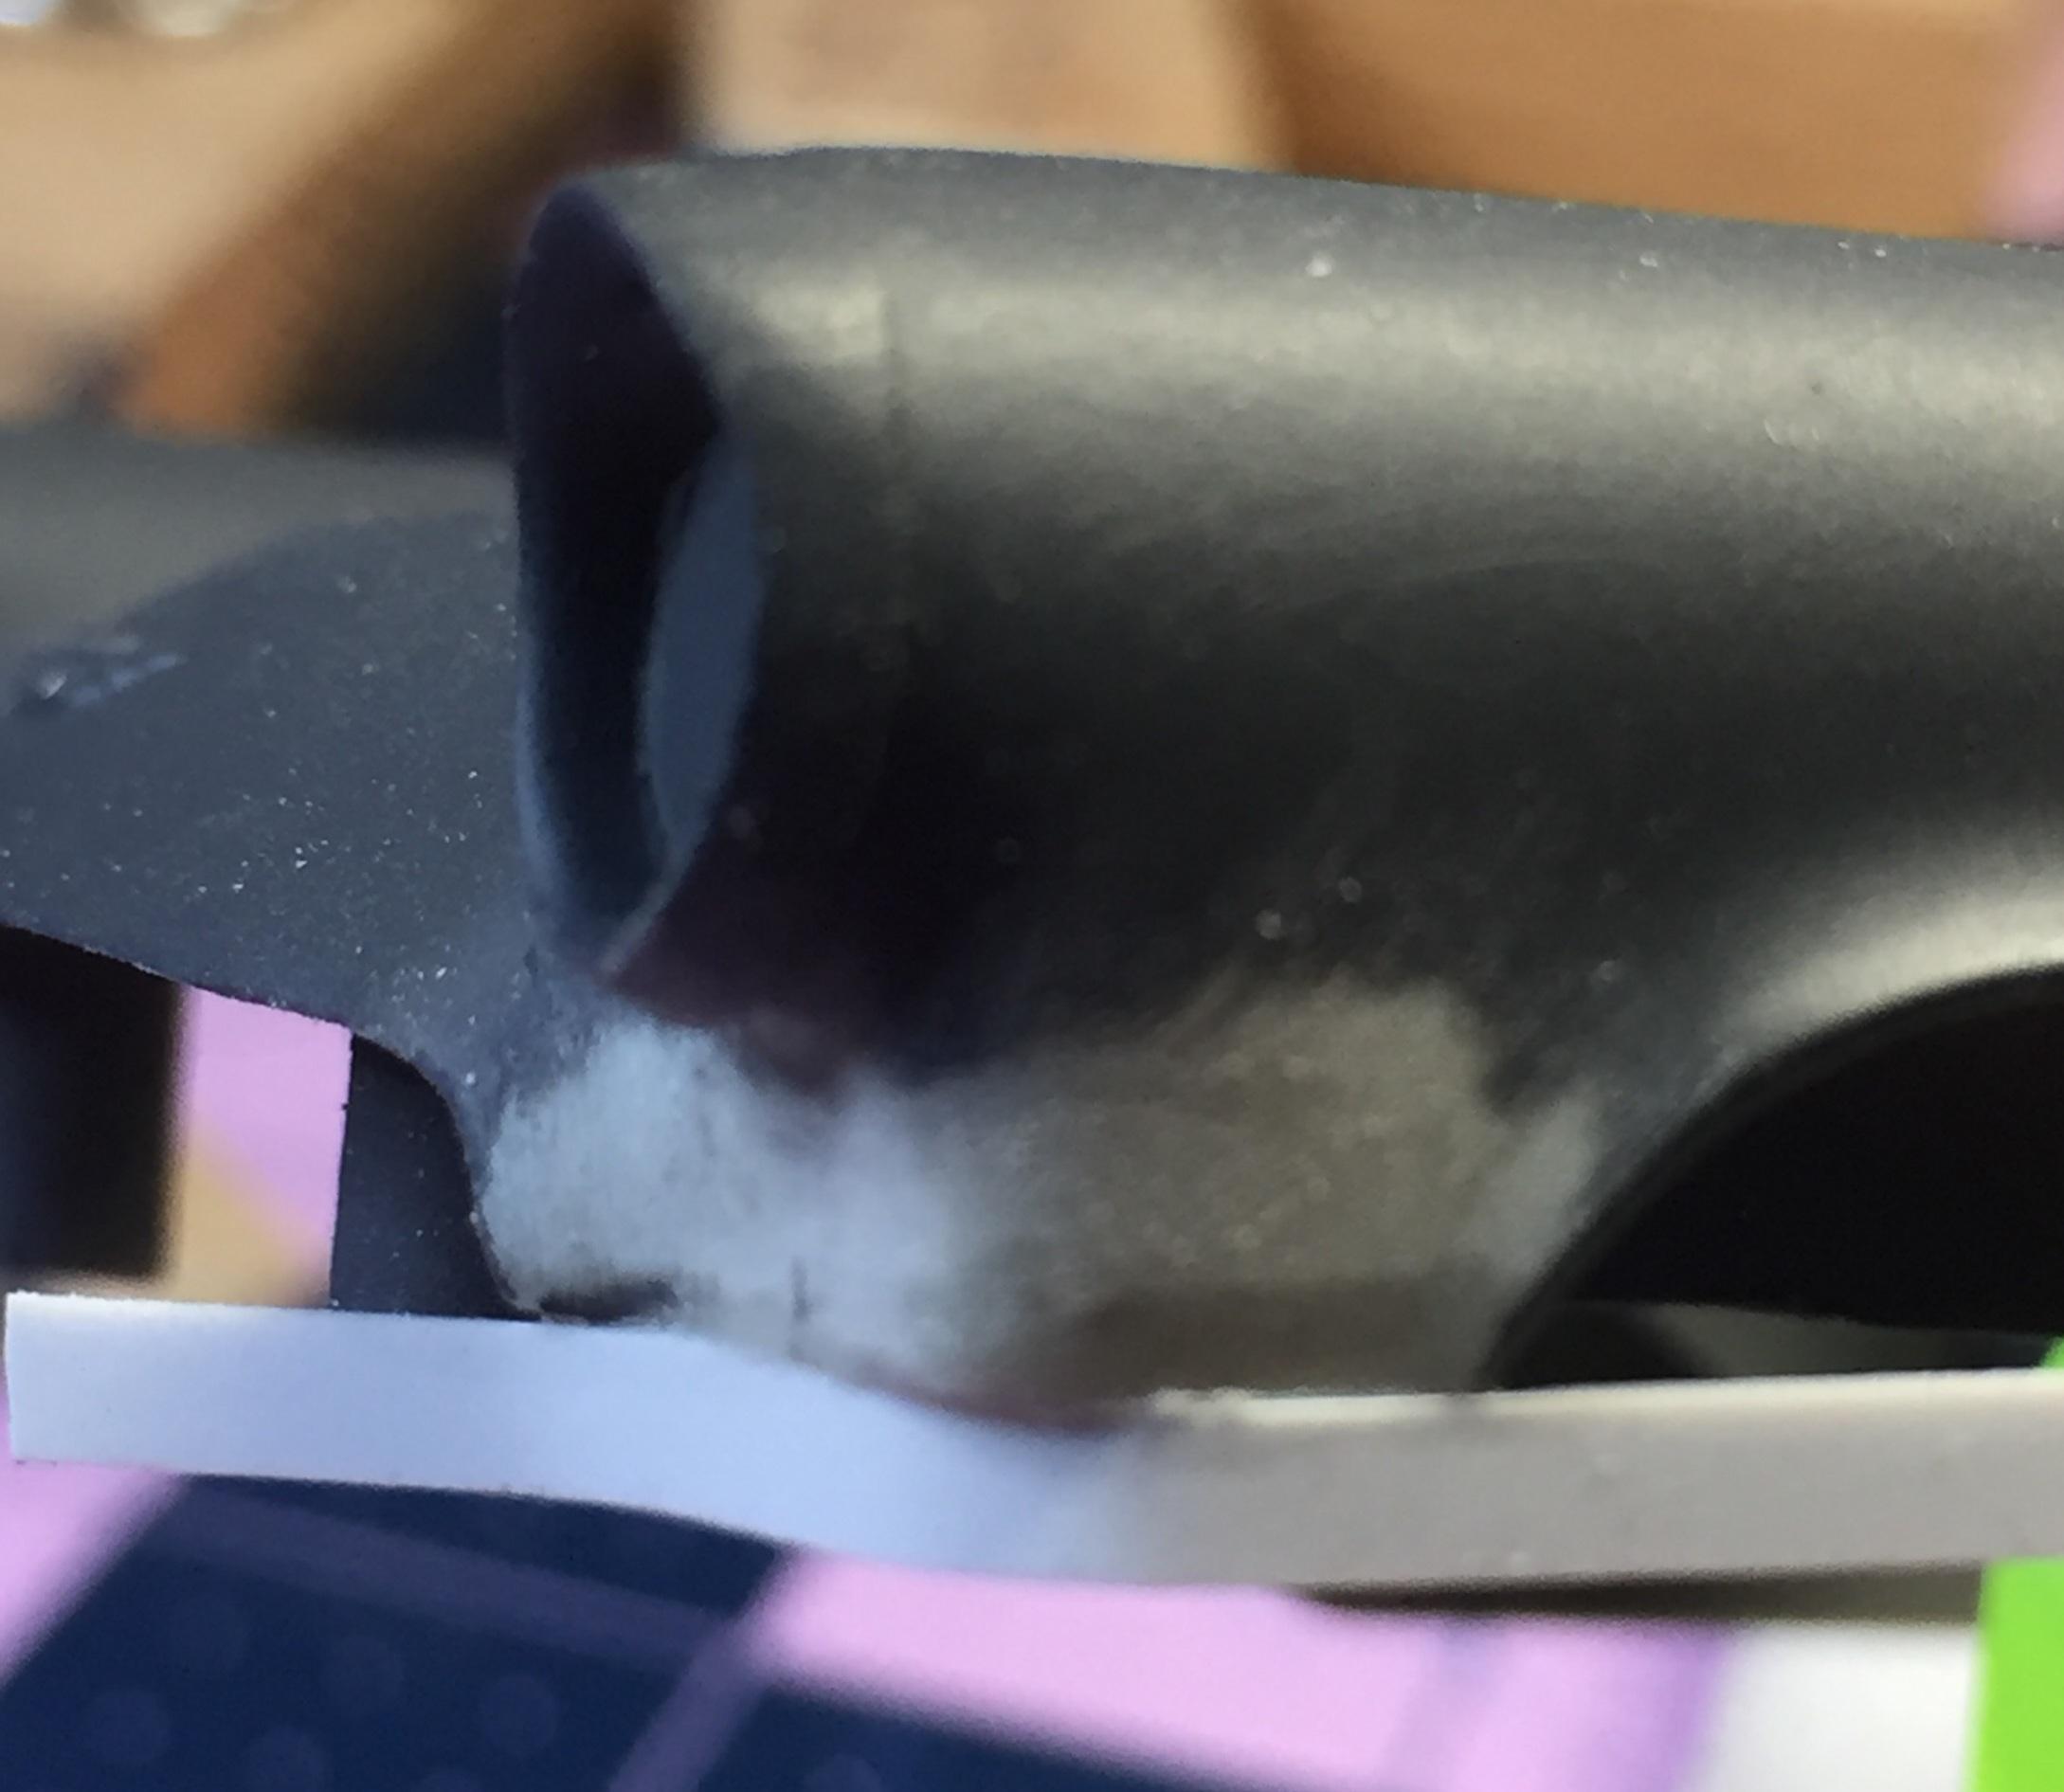
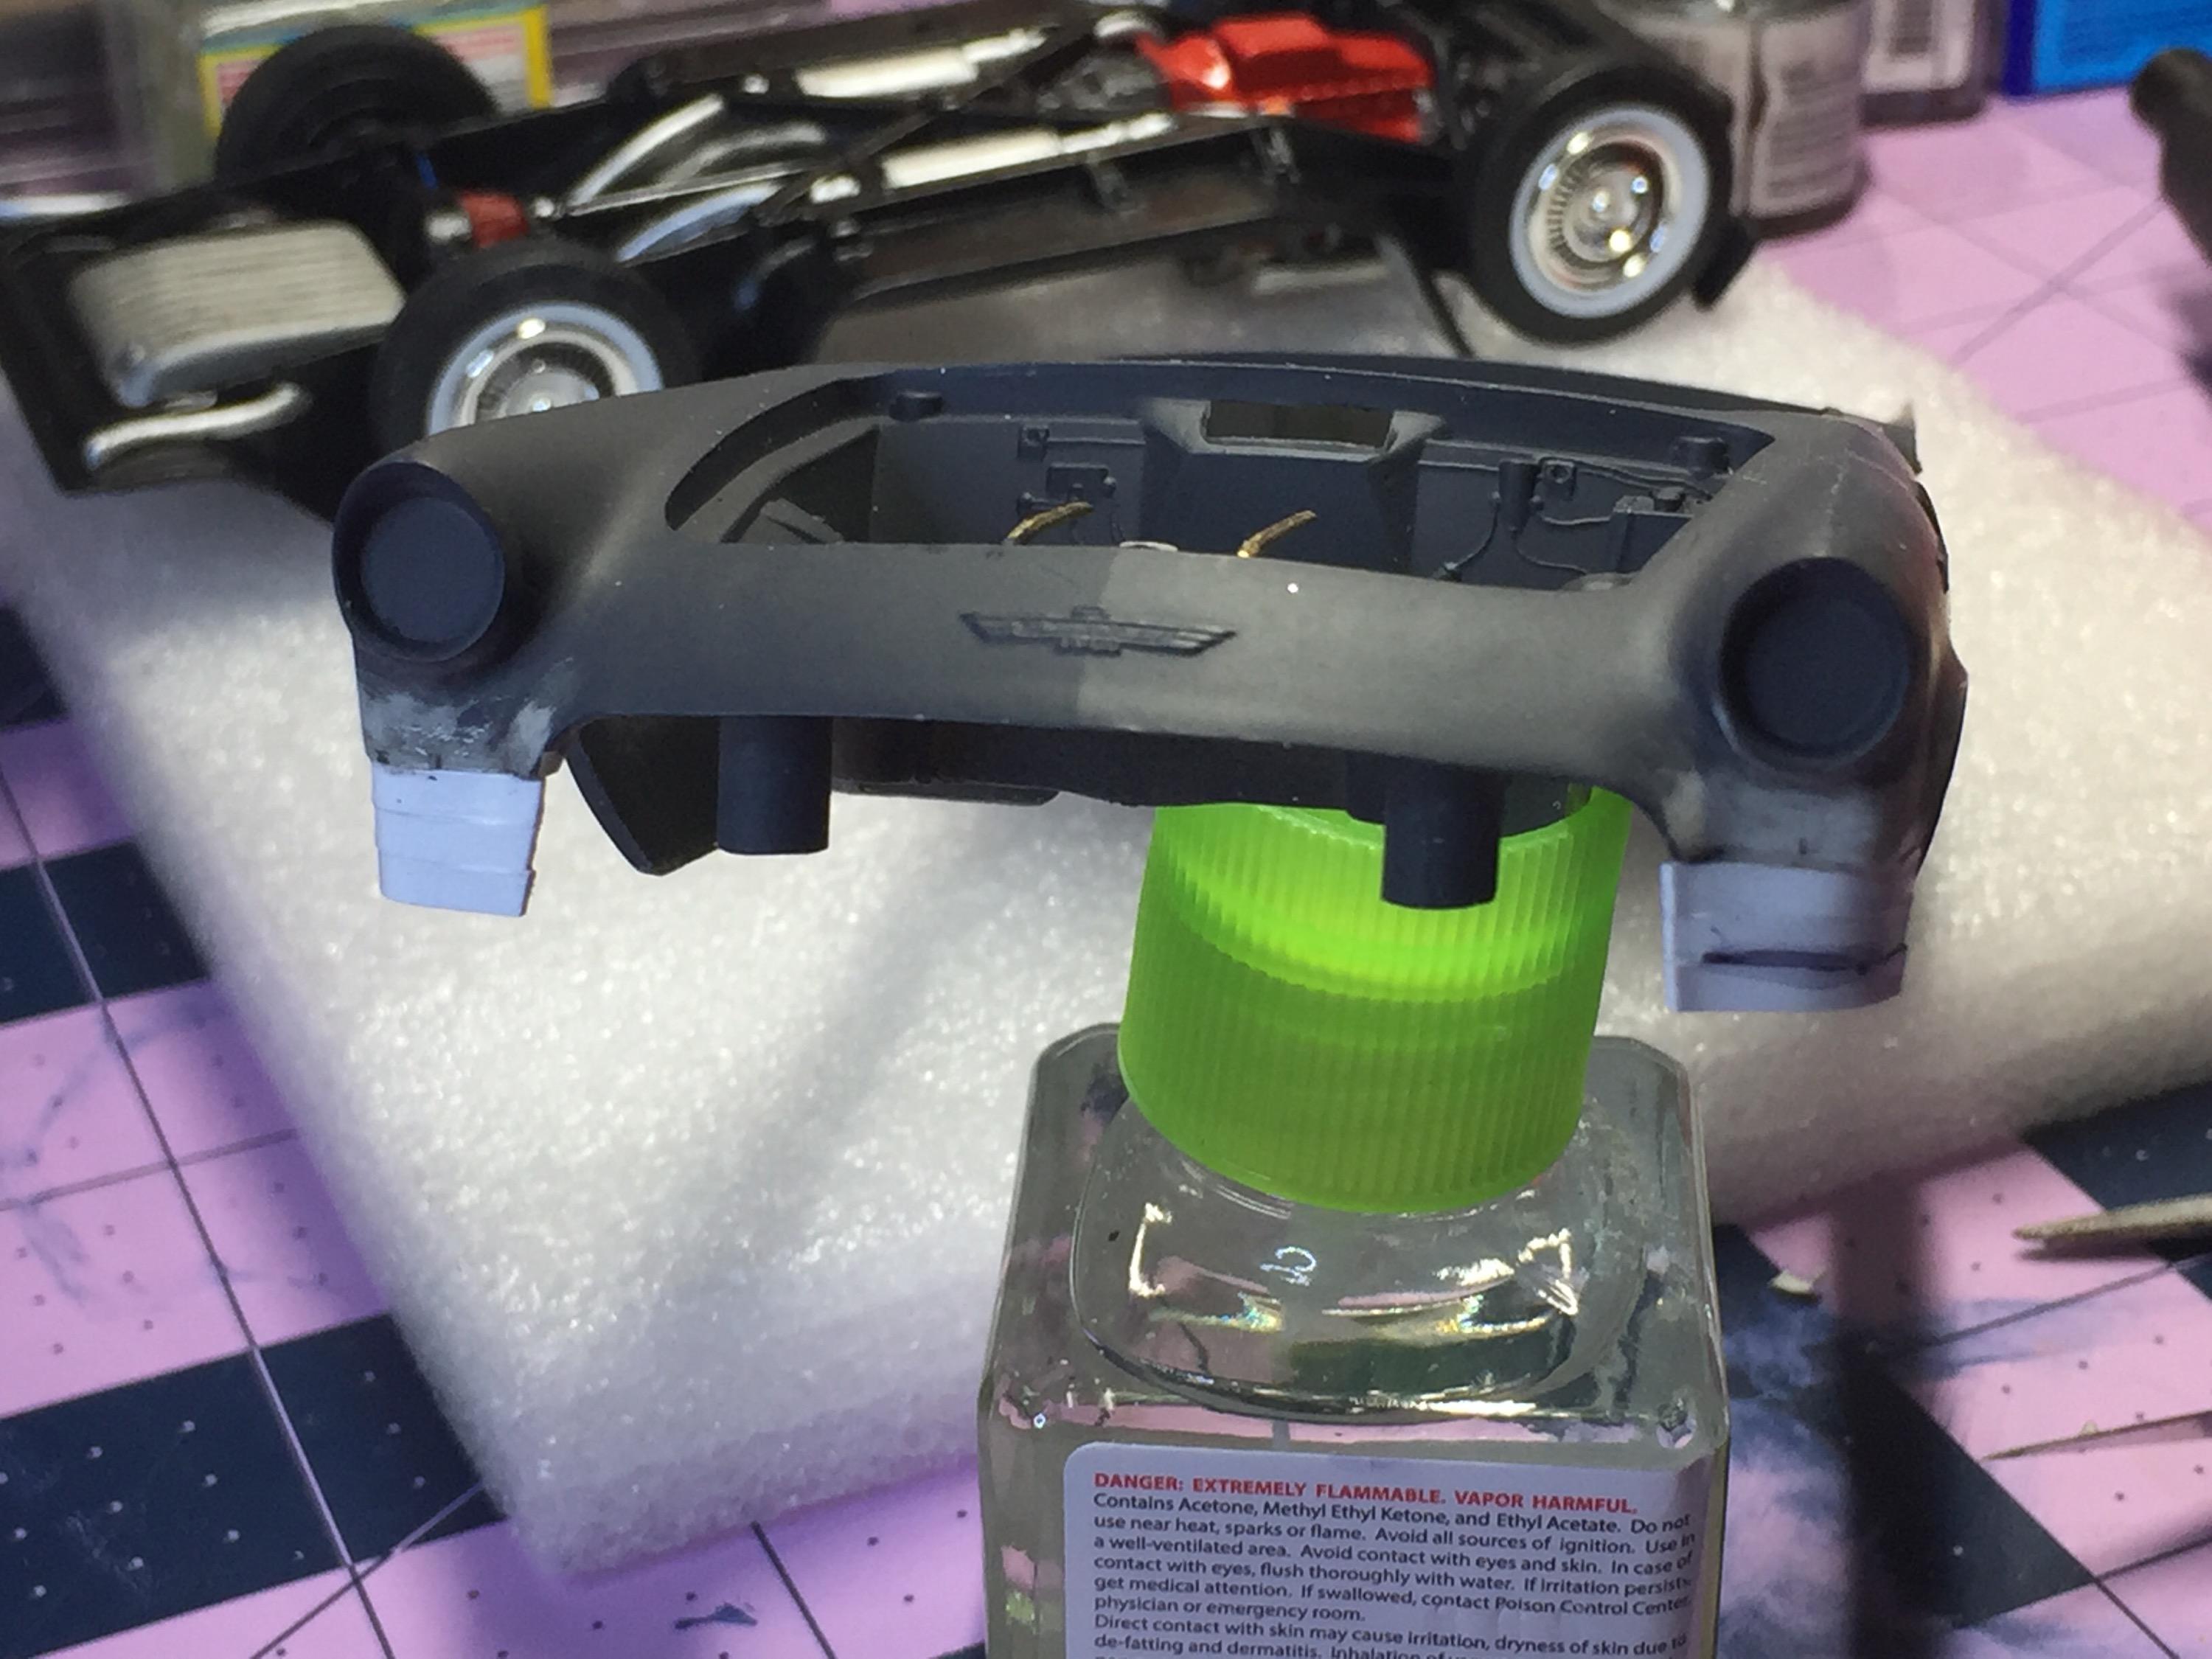
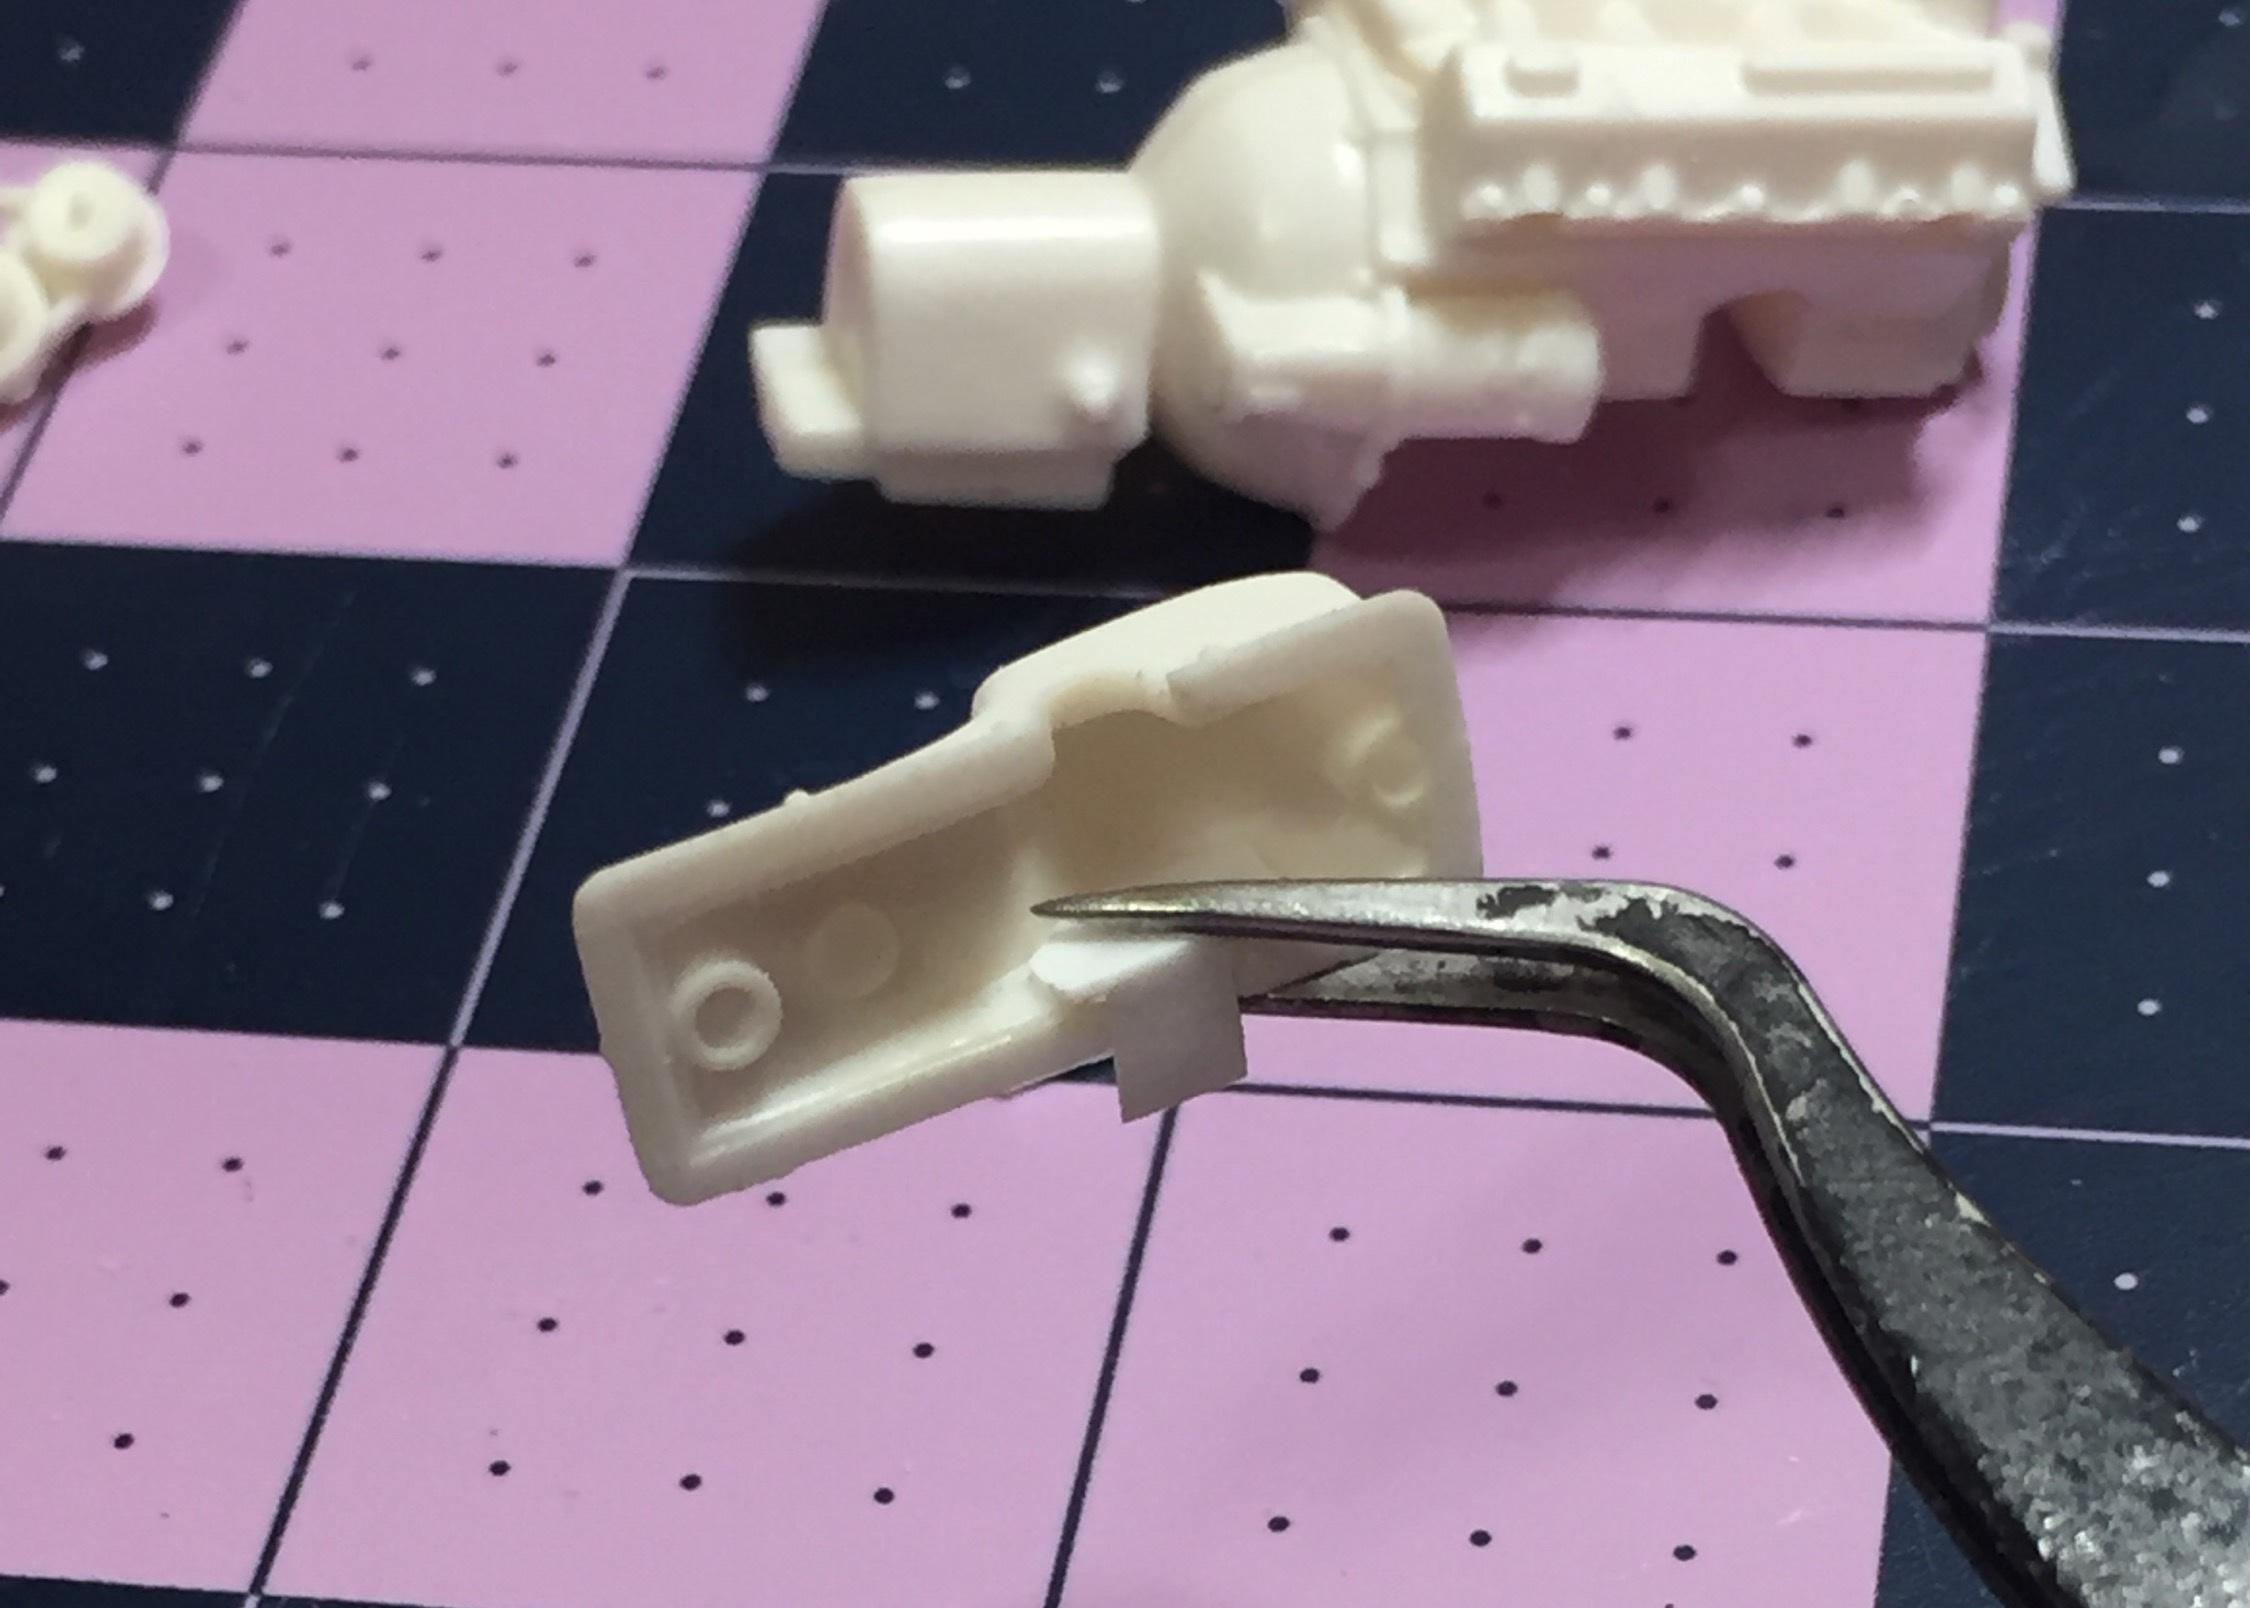
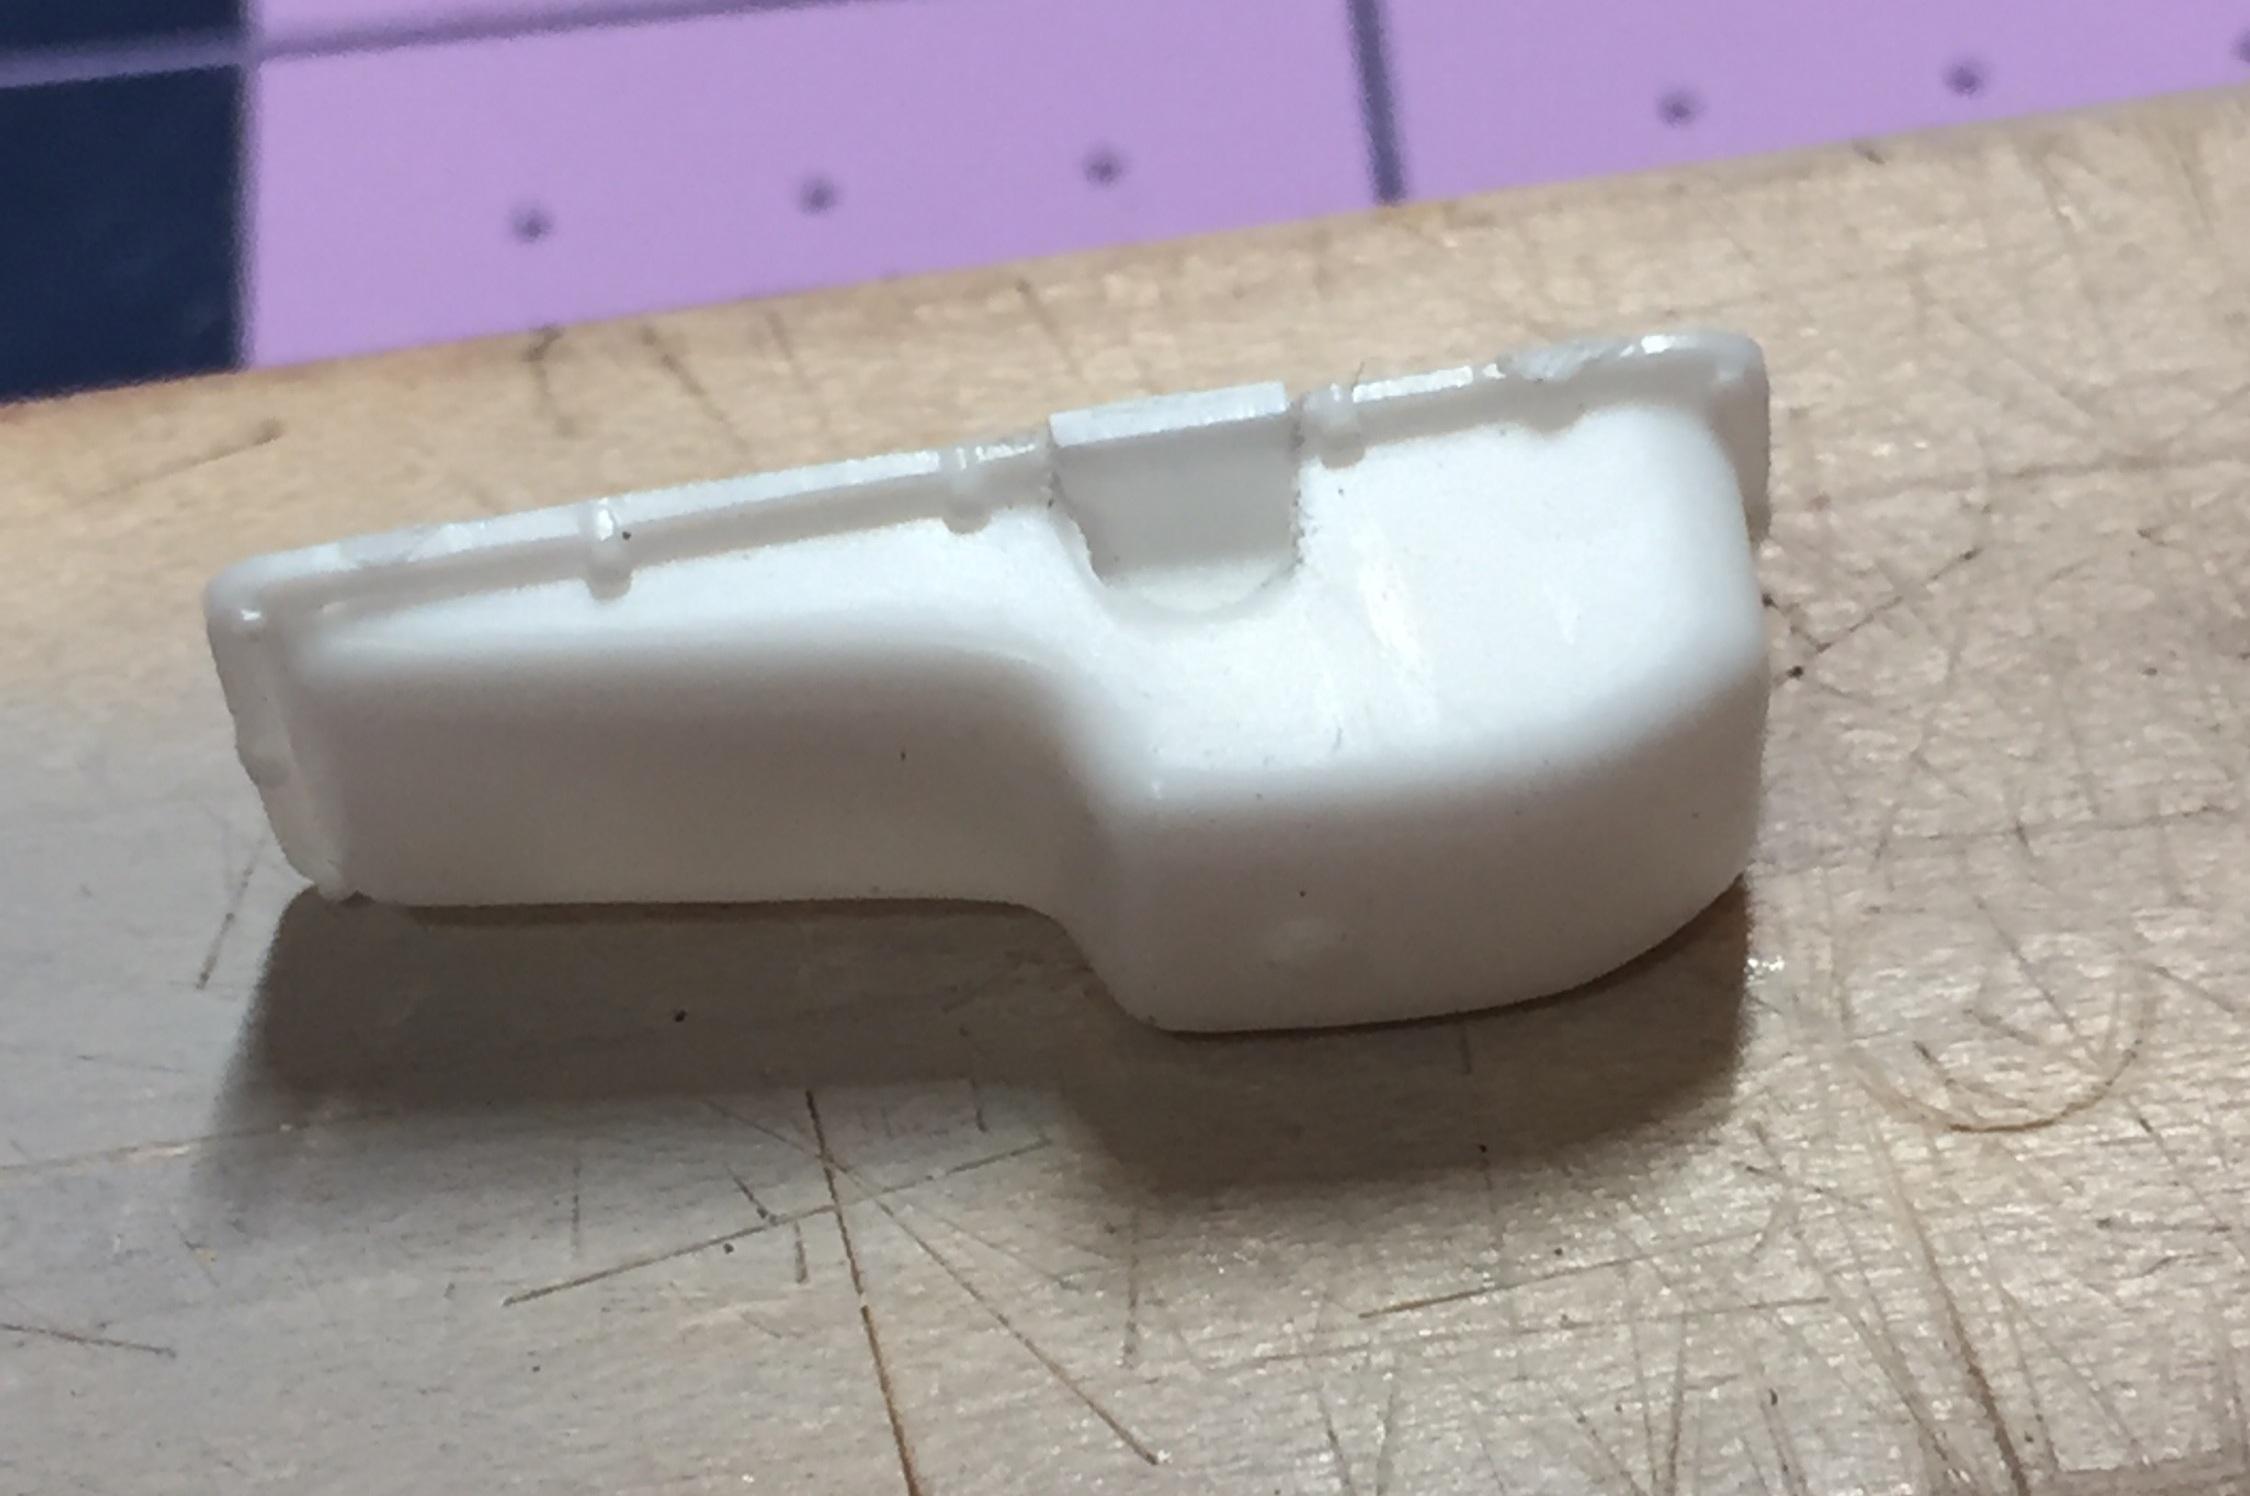
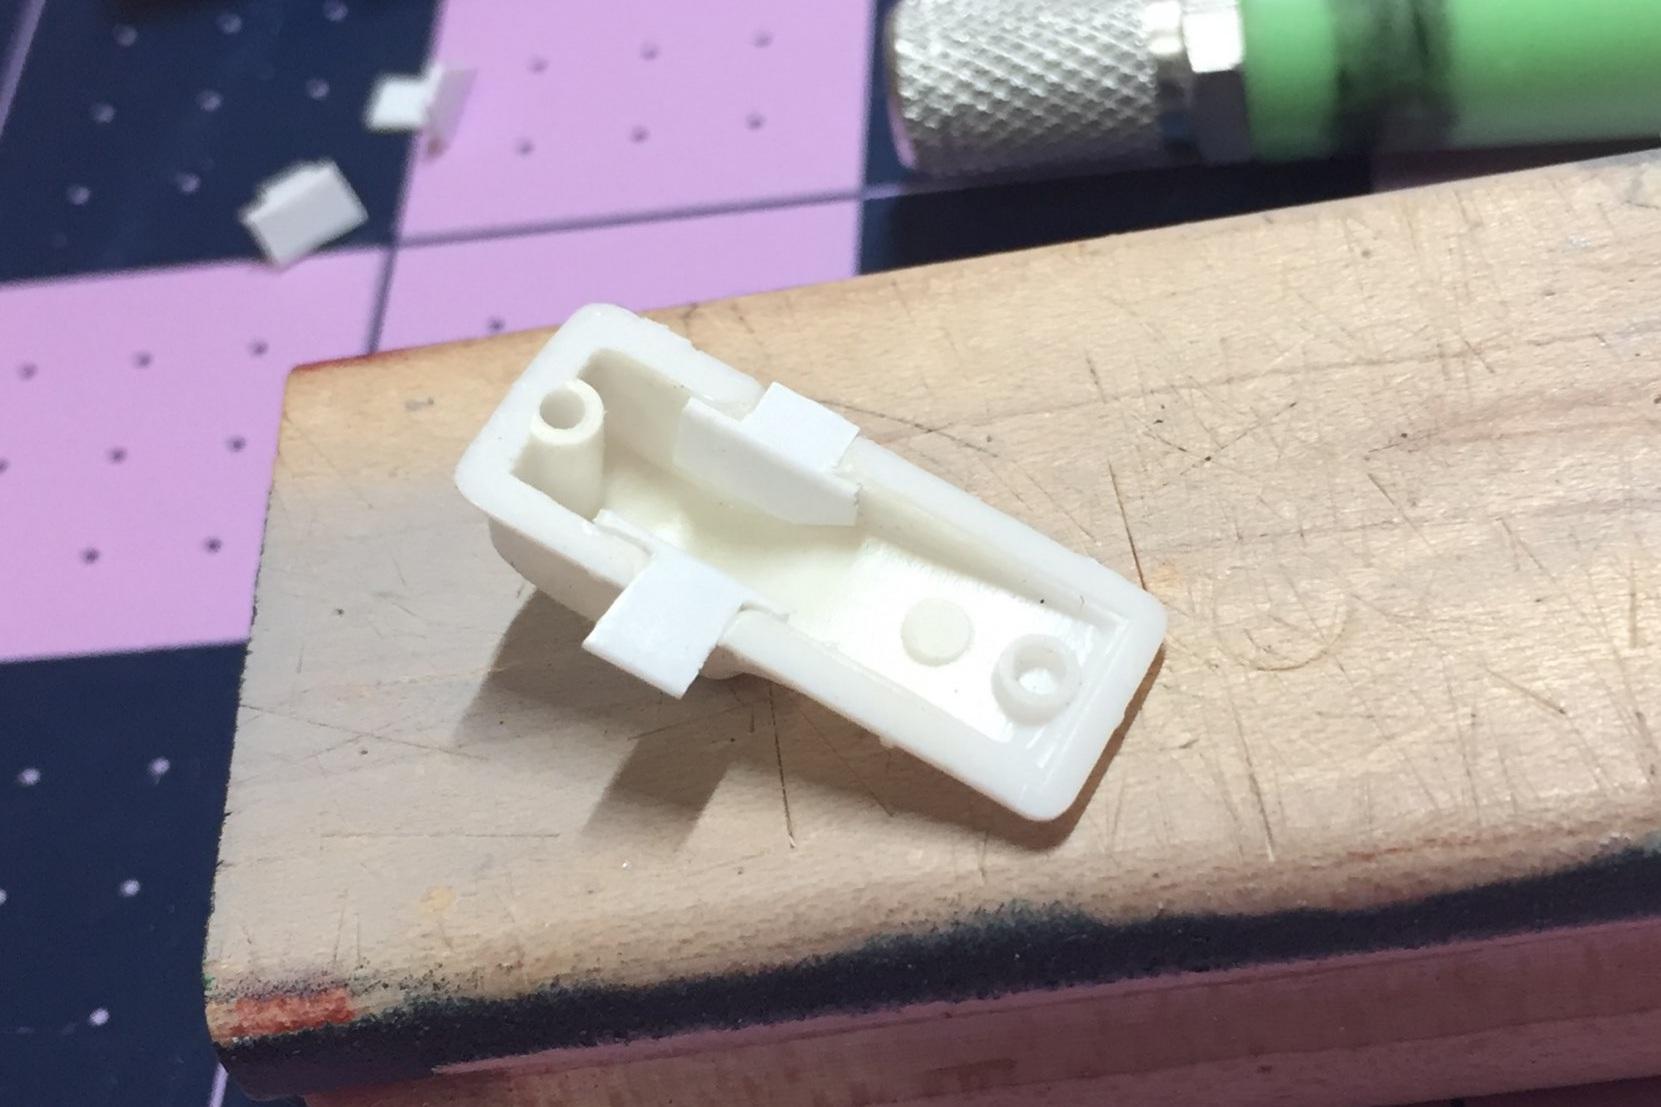
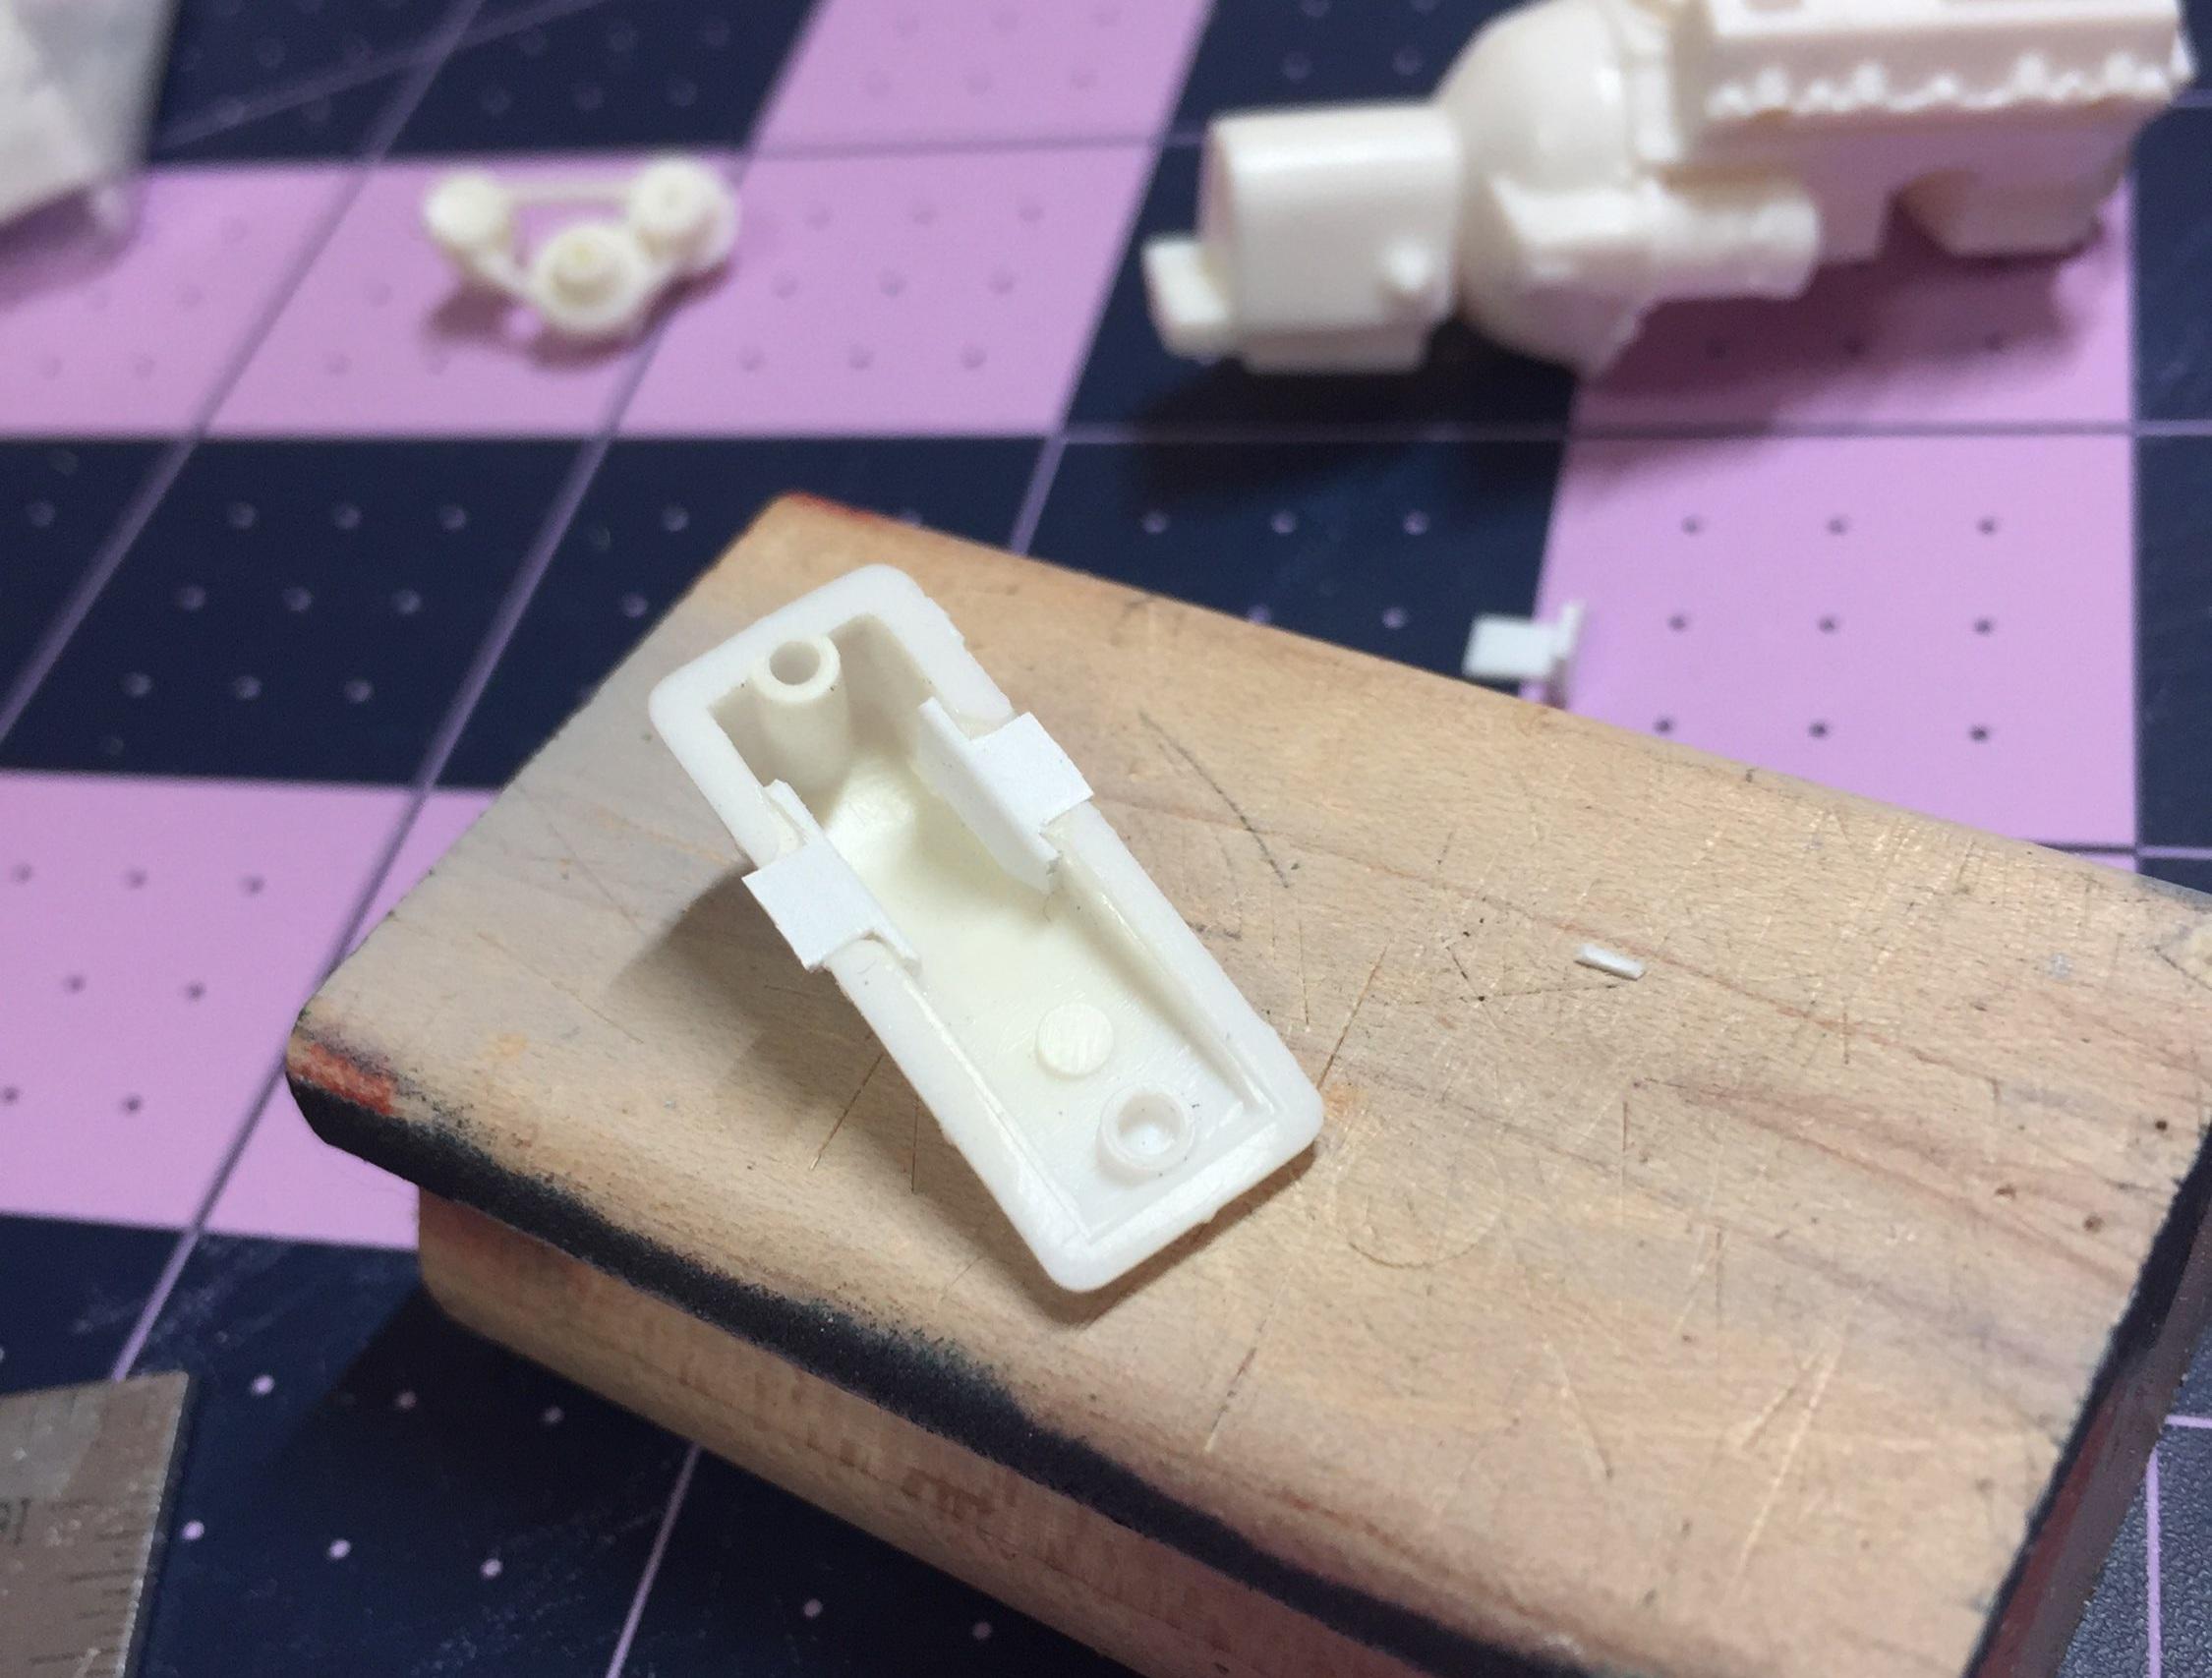
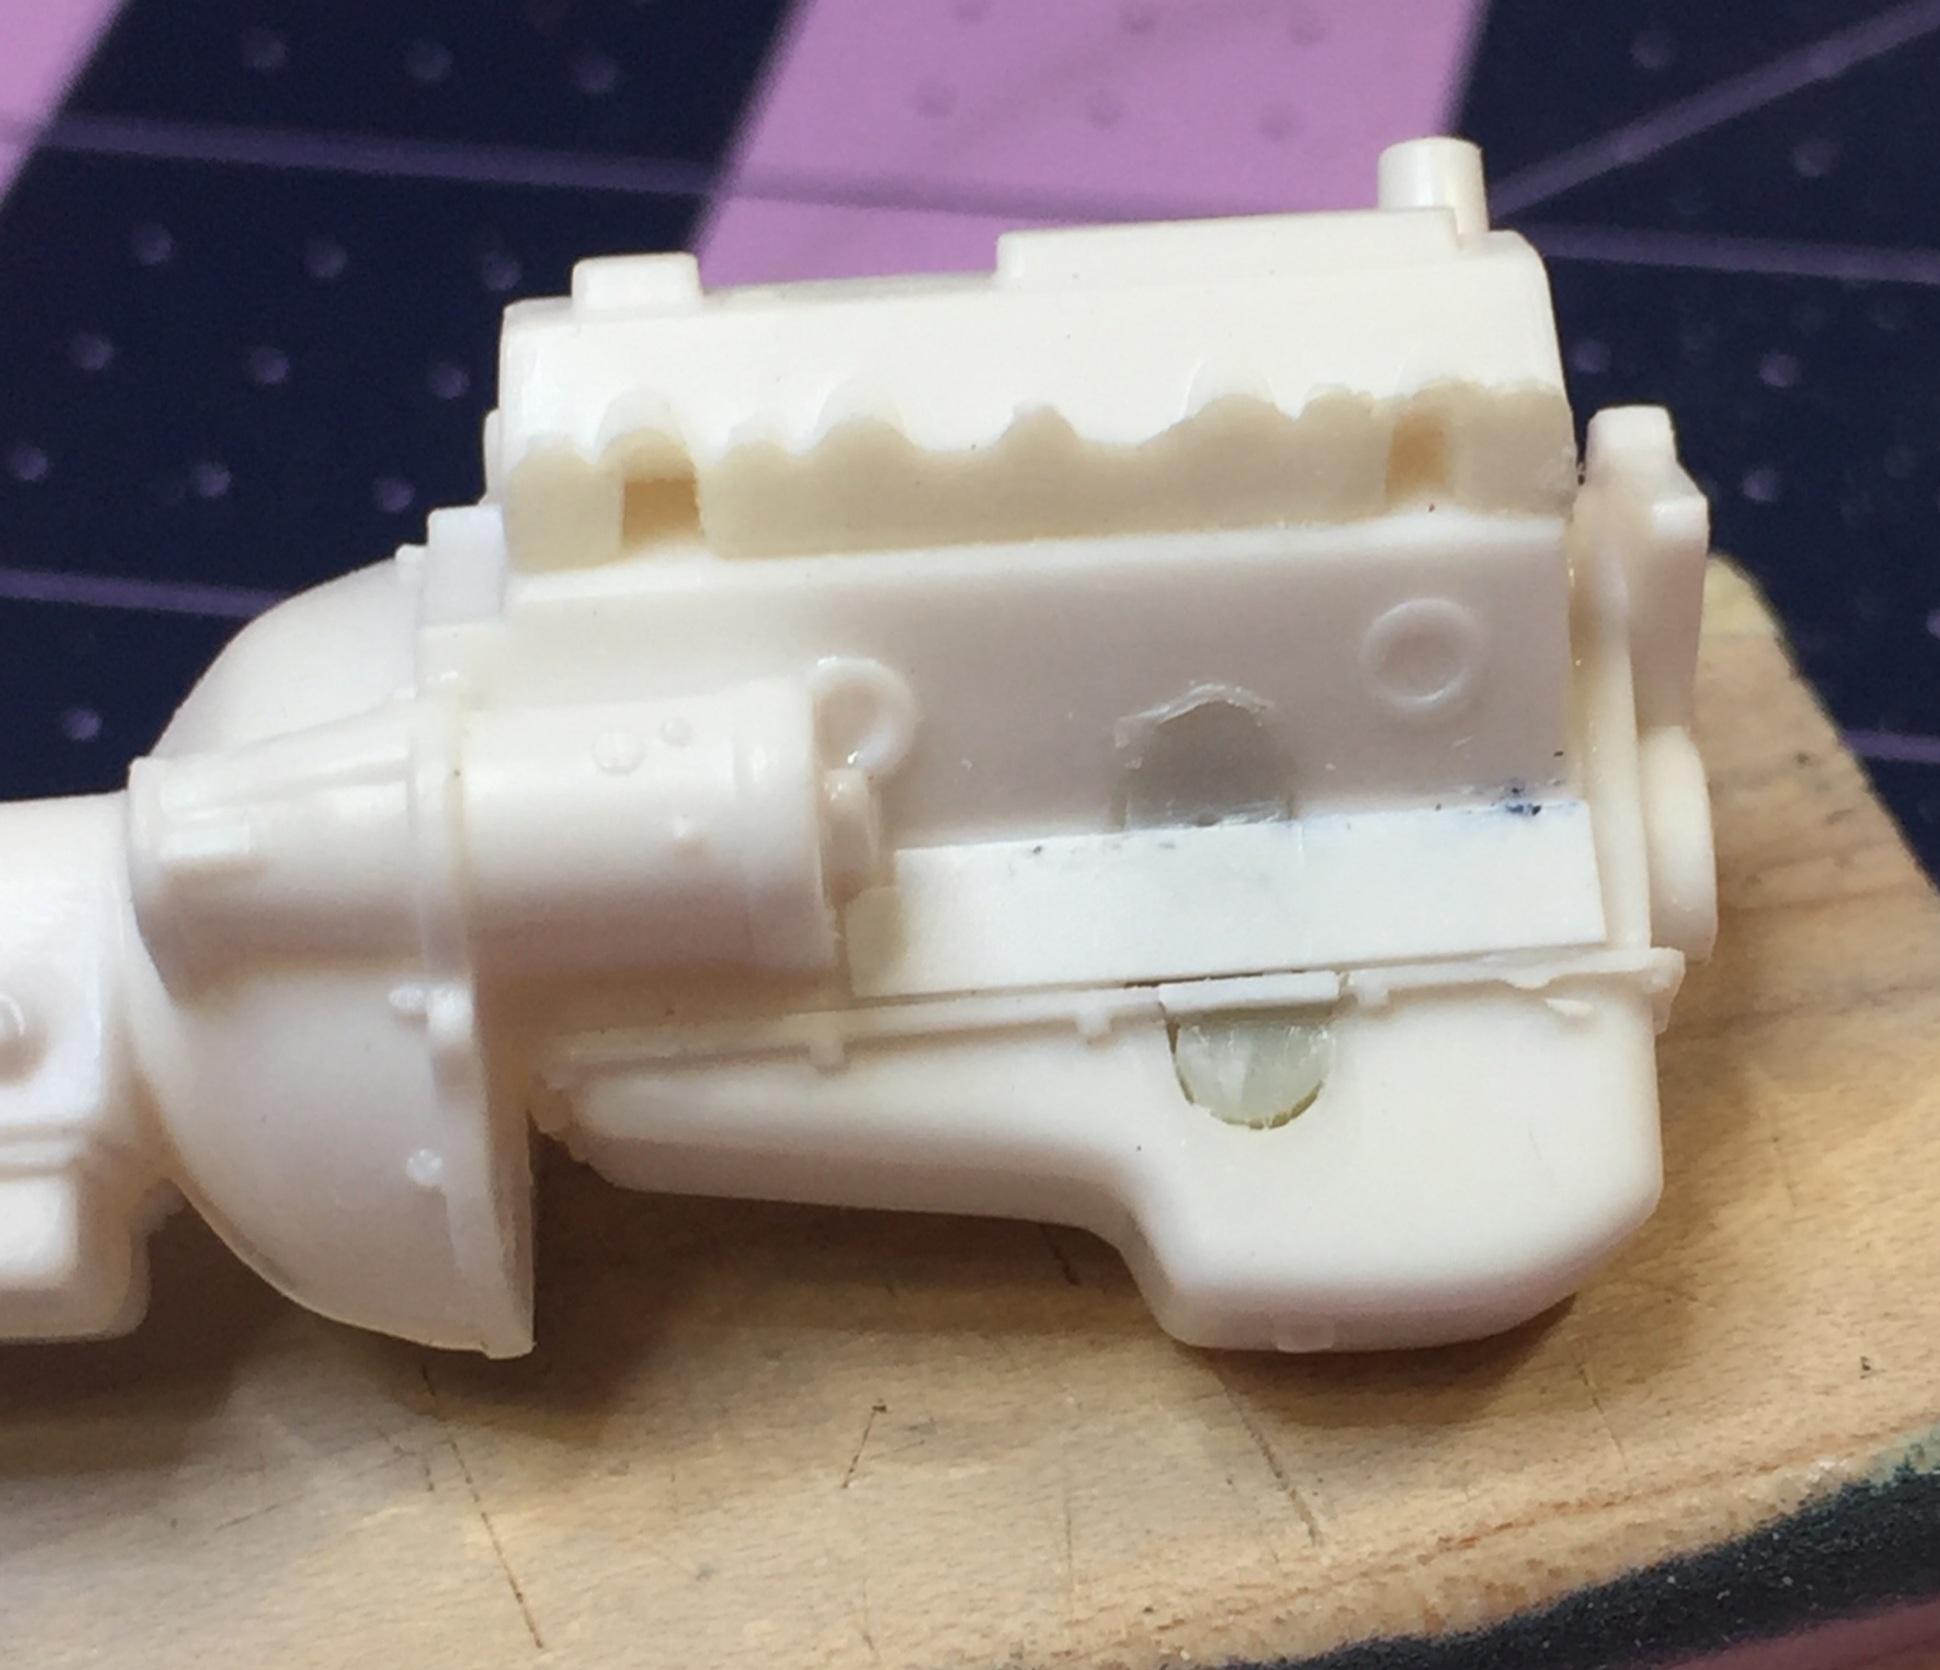
This is how I dealt with the '63's big FE with the breezeway in the side of the block. This is the one thing I absolutely will not tolerate. I can turn my head at the molded-in exhaust or even the rear end growing out of the floor pan but a gaping hole in the egine is like some creep whistling at your 13 year old daughter. I have the kit engine from the Starliner because I used the 427 from the Fairlane kit for my lightweight. I figured I would save the 352 for a '53 Victoria build. A little work on the '63's engine and it will be whole ?. Thanks for coming back! no more wind whistling through the engine. Just a little filler now and done.
-
Greg, that coupe is BAD TO THE BONE ! and it looks great just the way it is! It's done! But I suppose you're gonna paint it, huh? Oh well. ?......orange pearl.
-
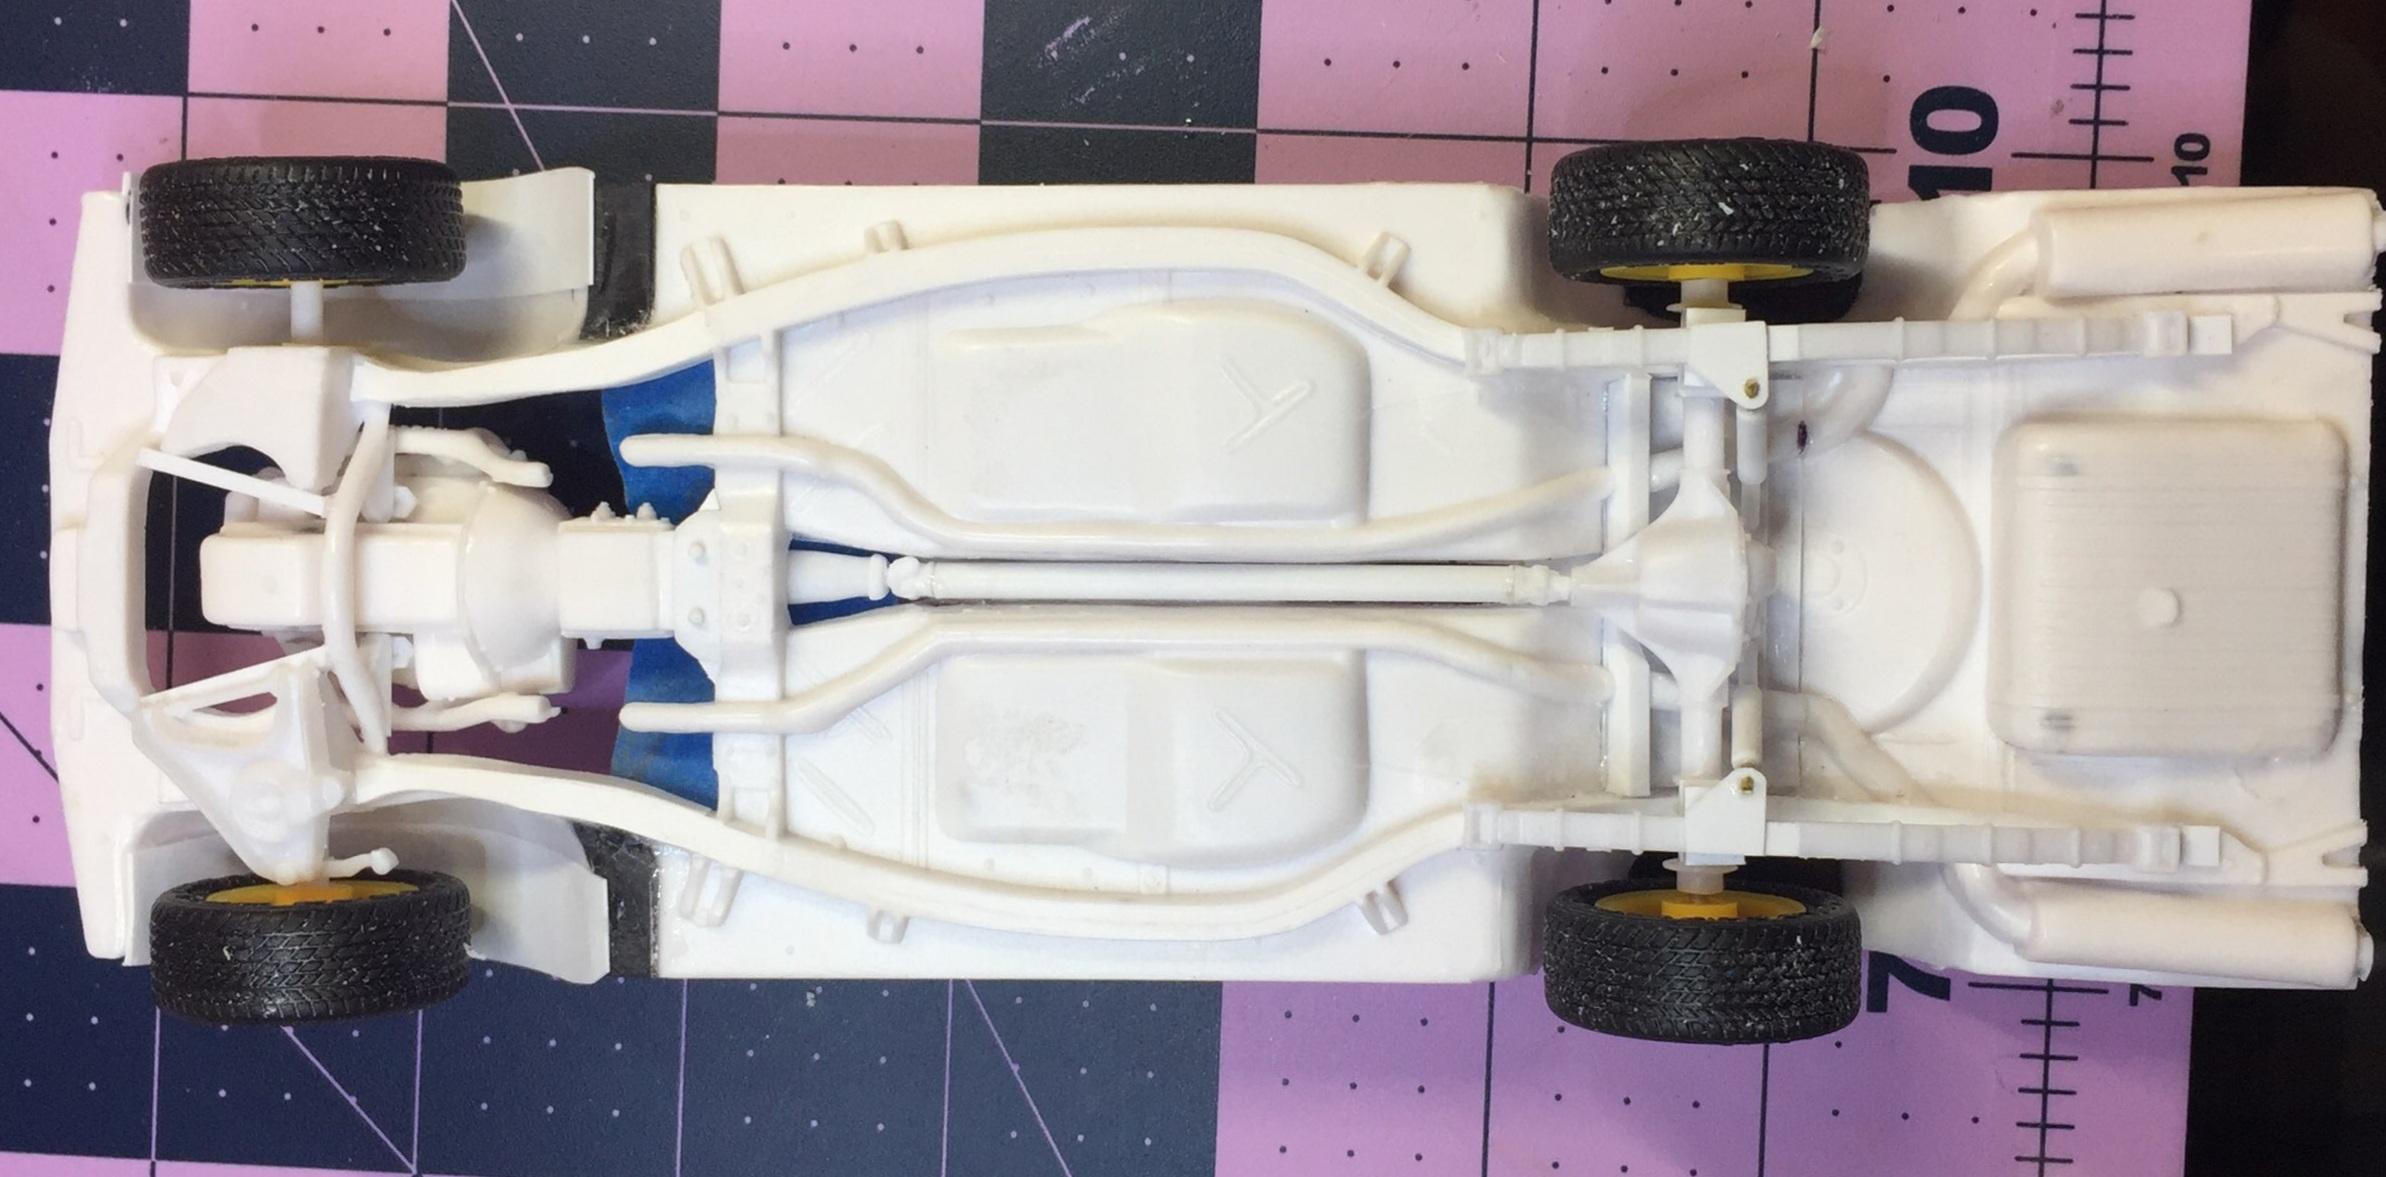
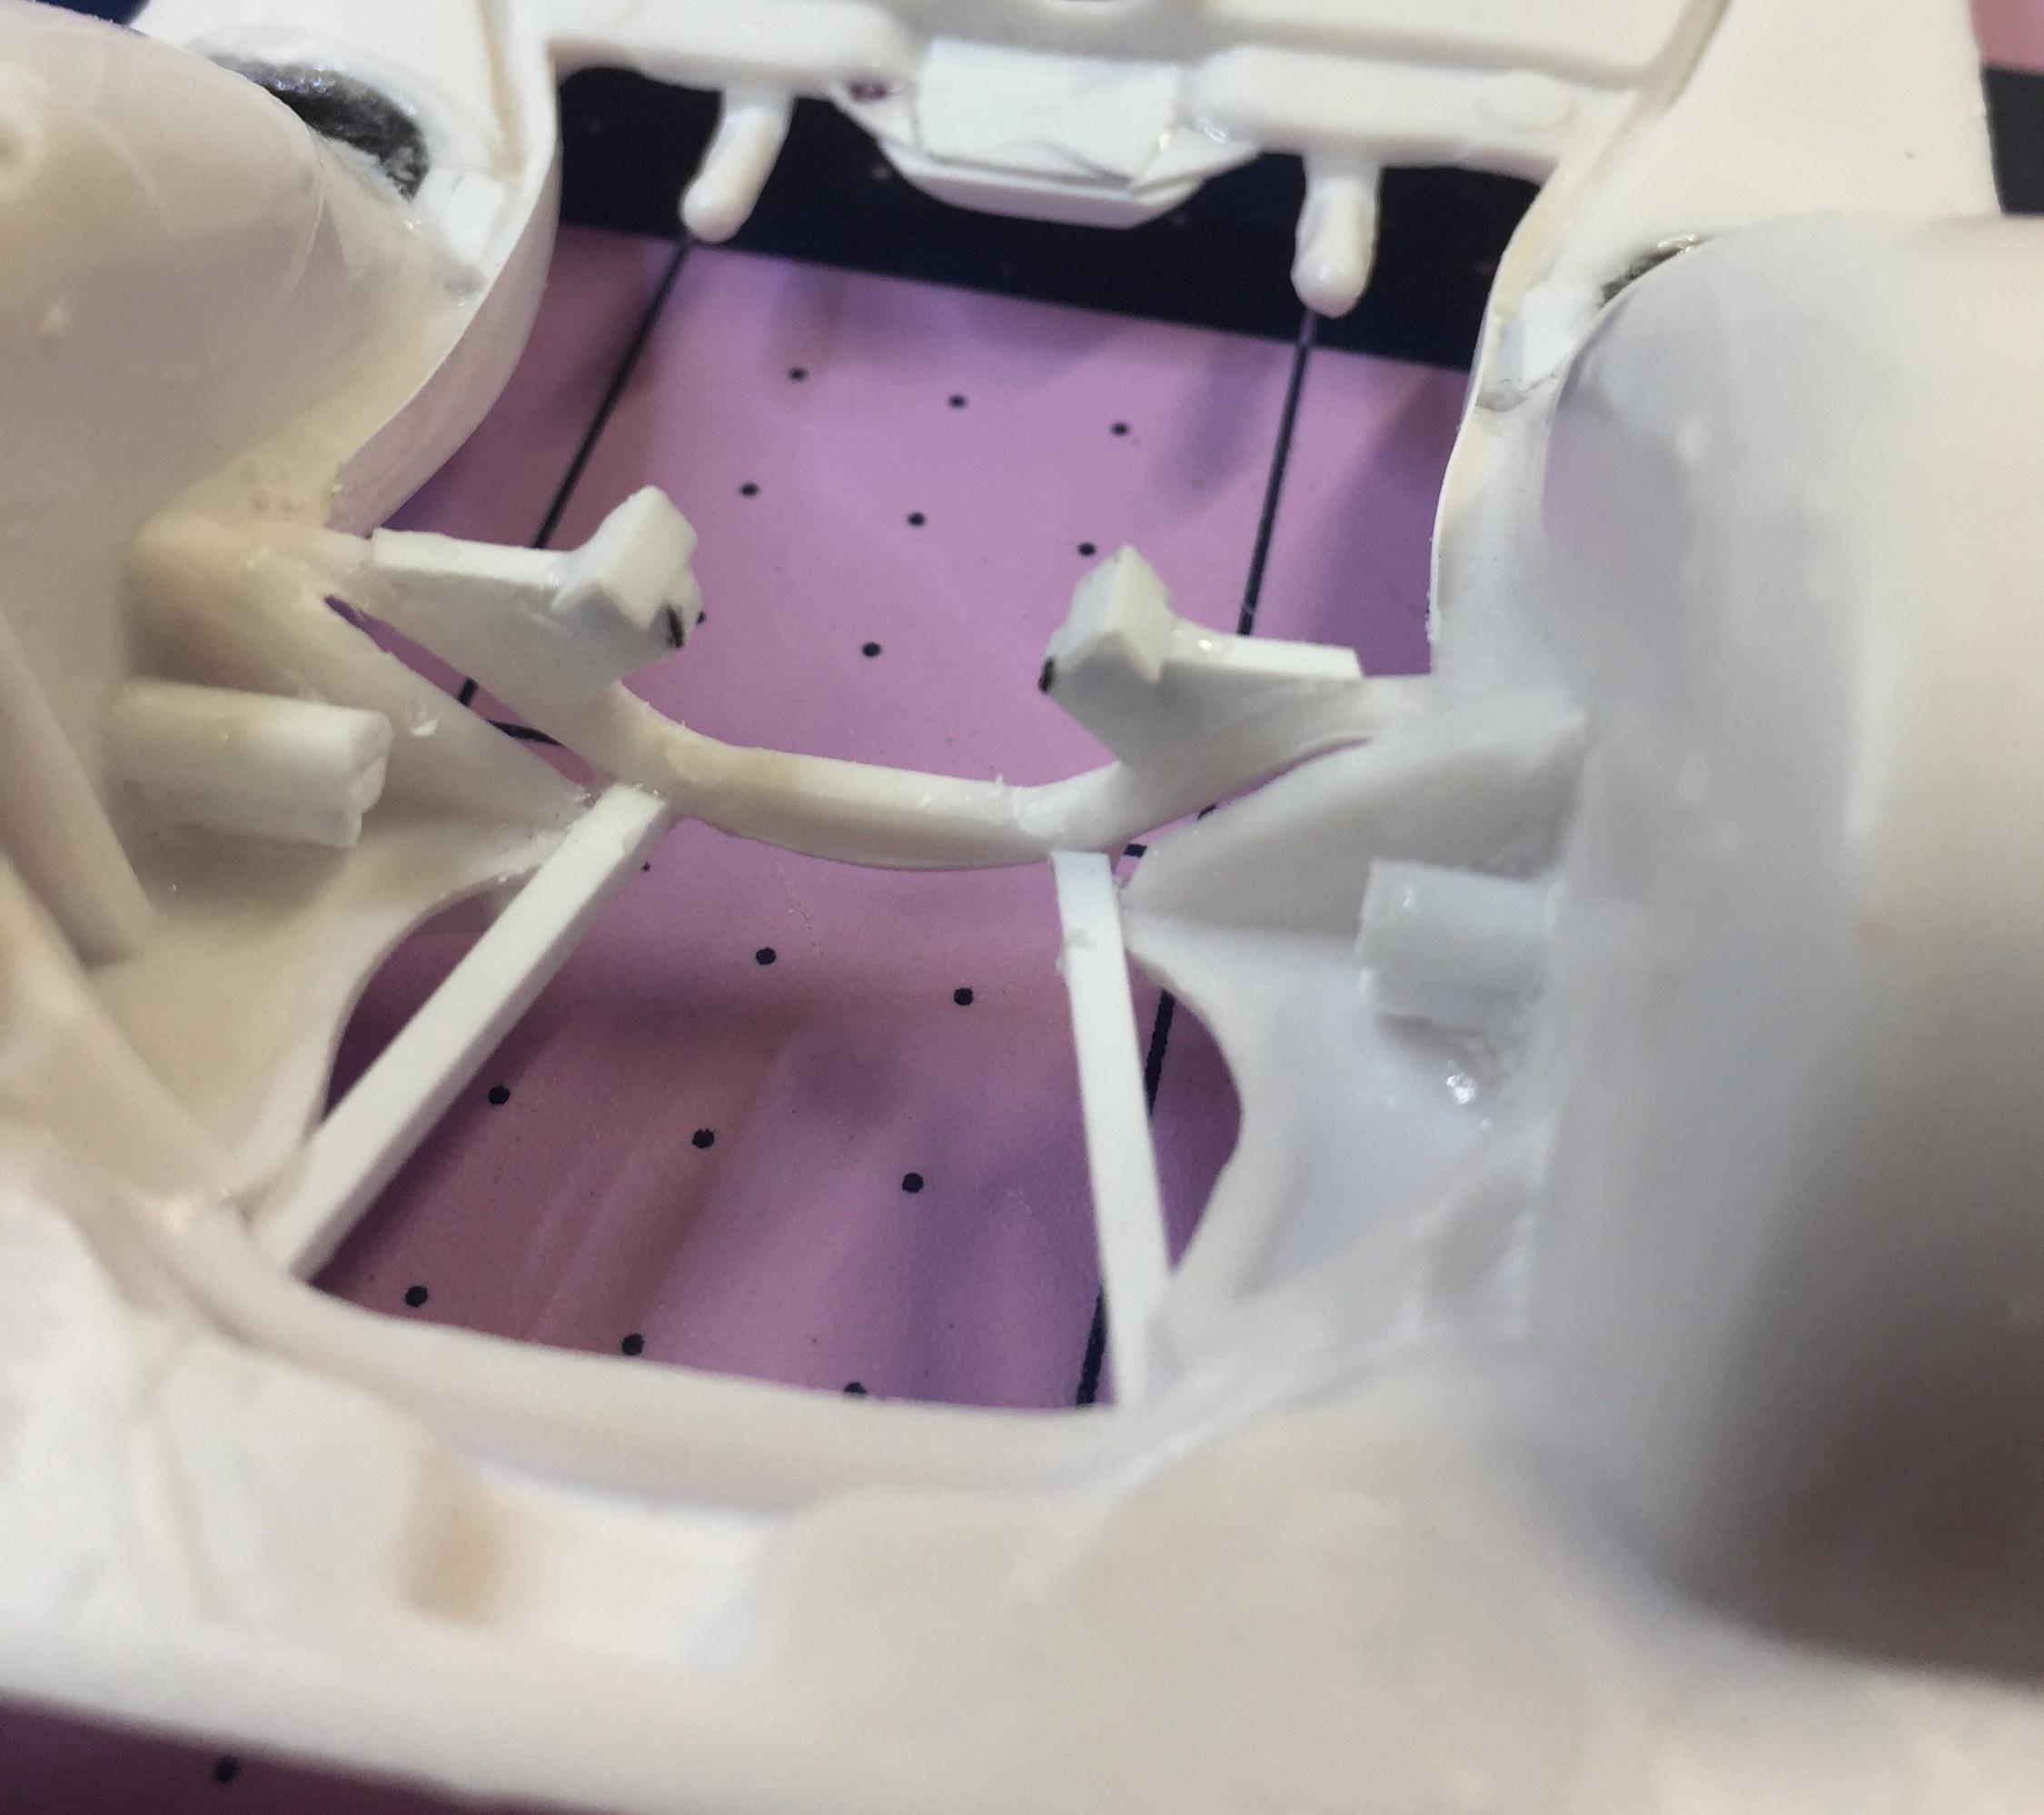
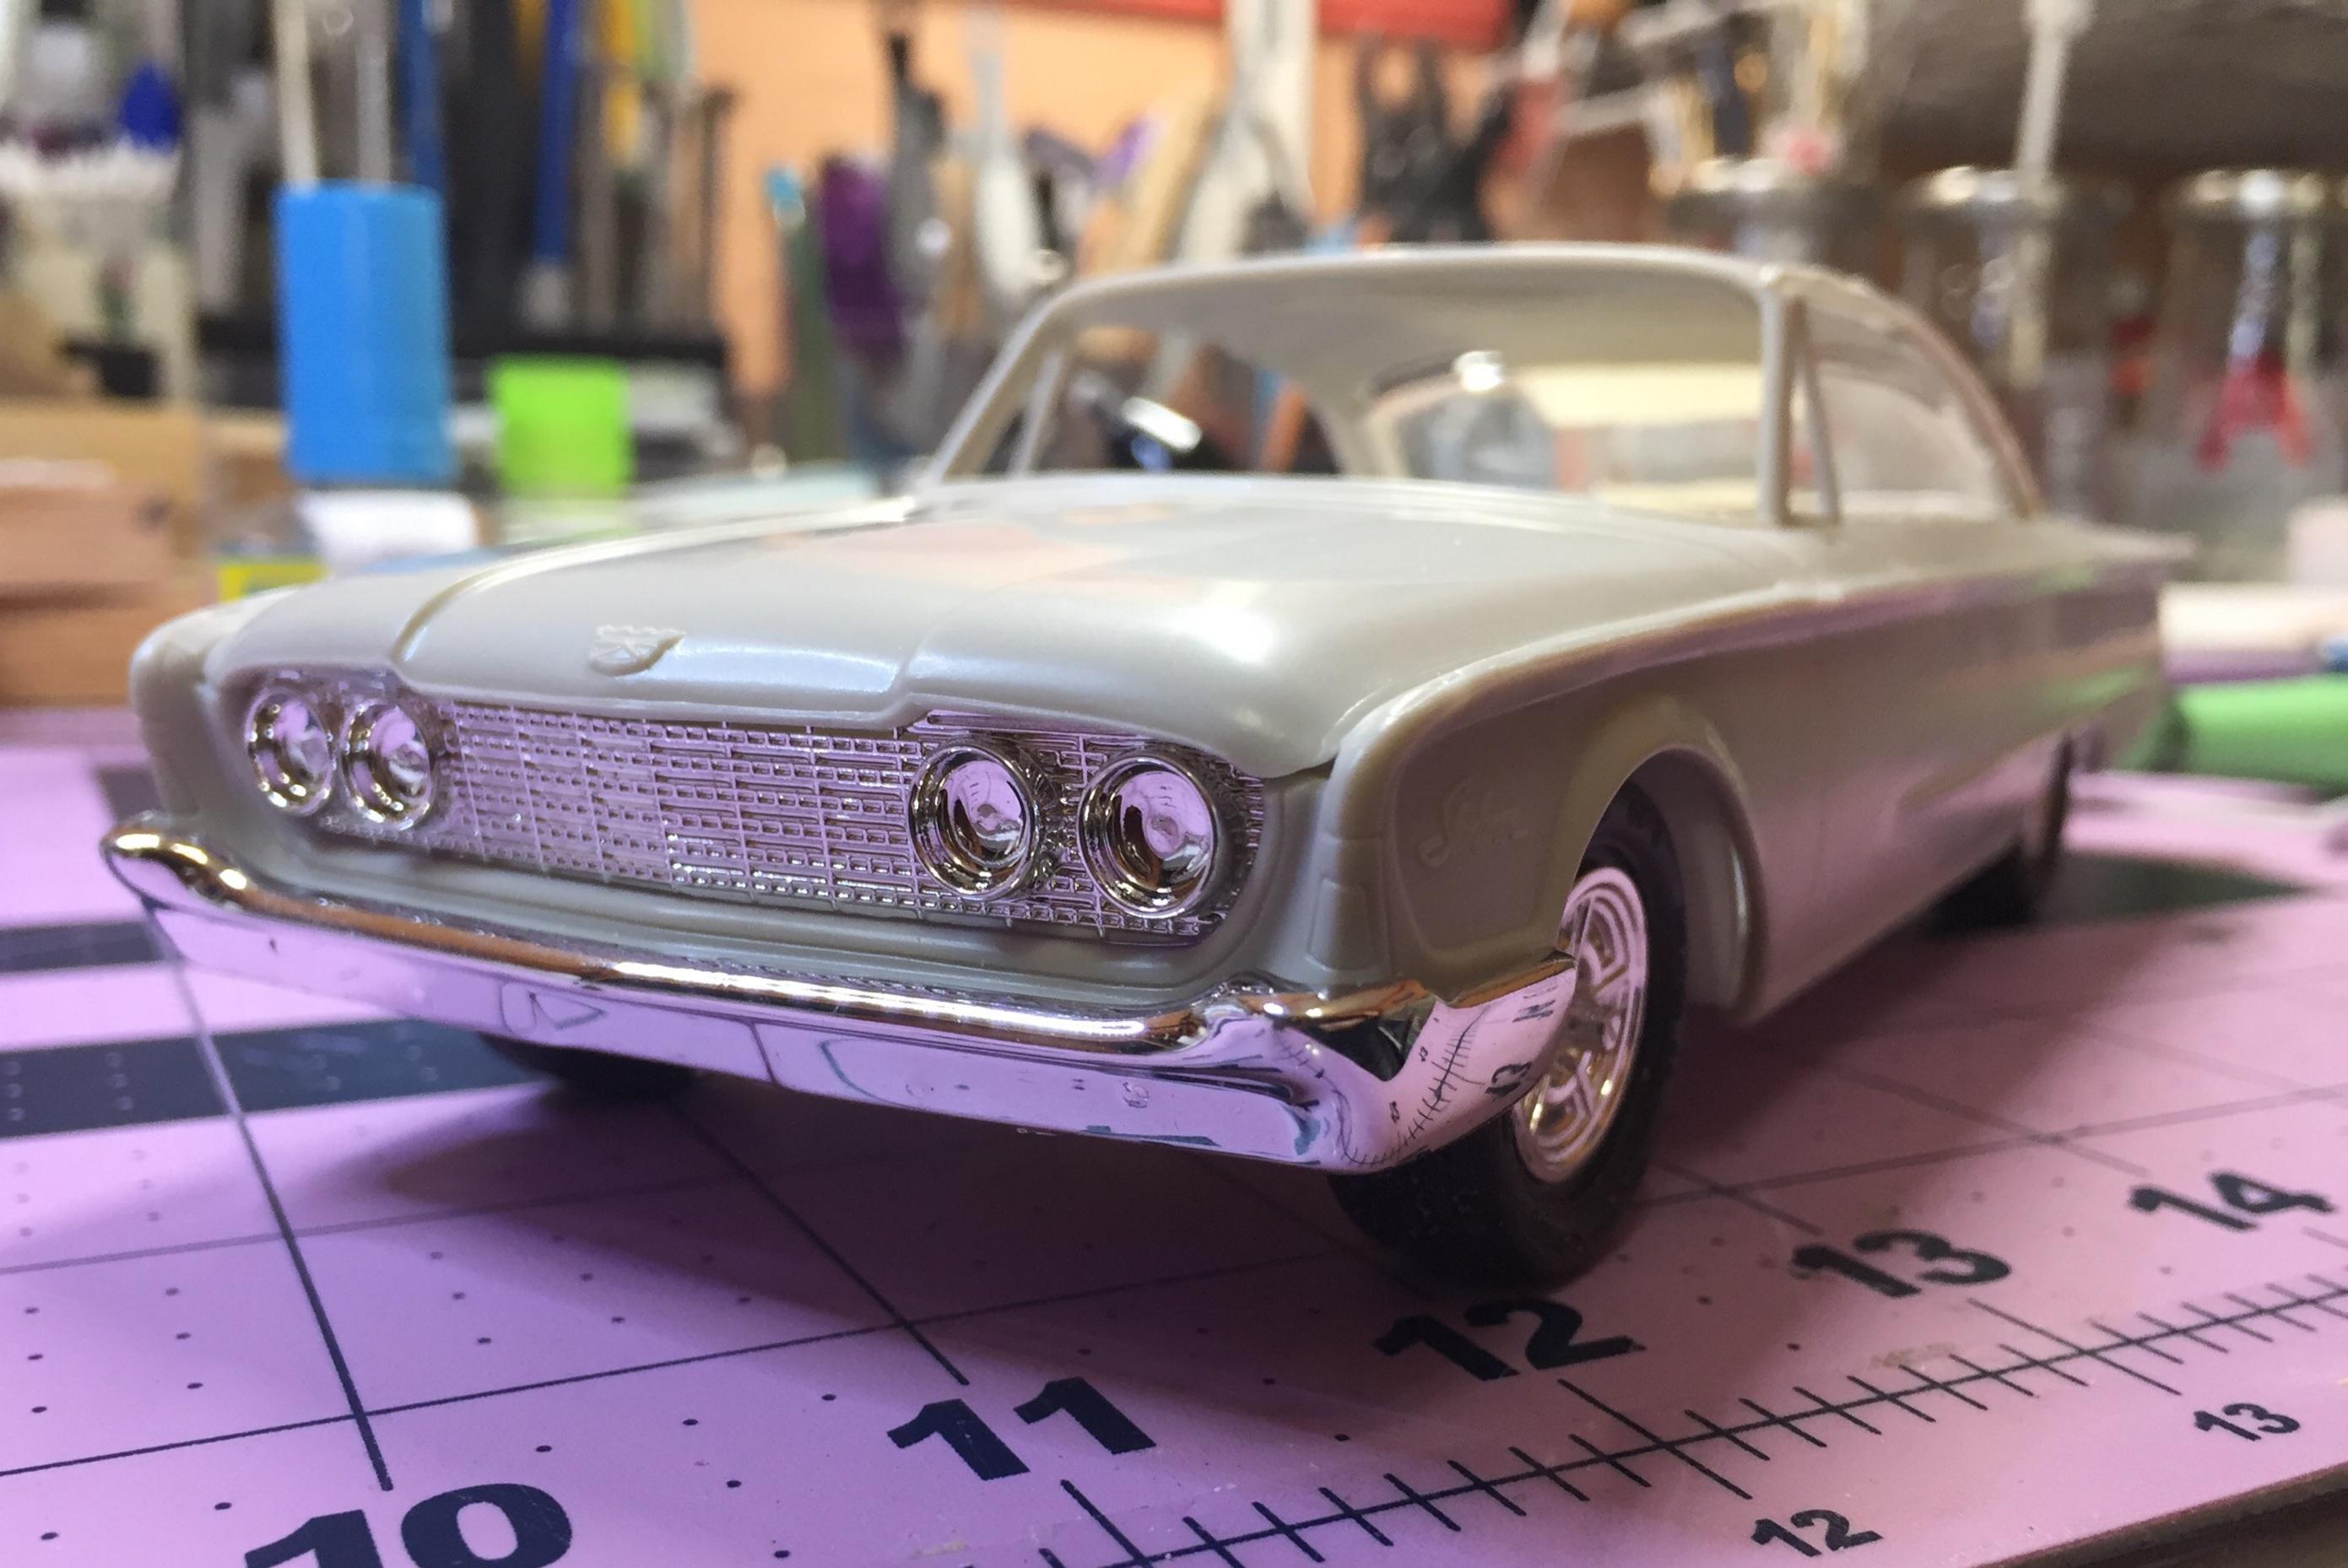
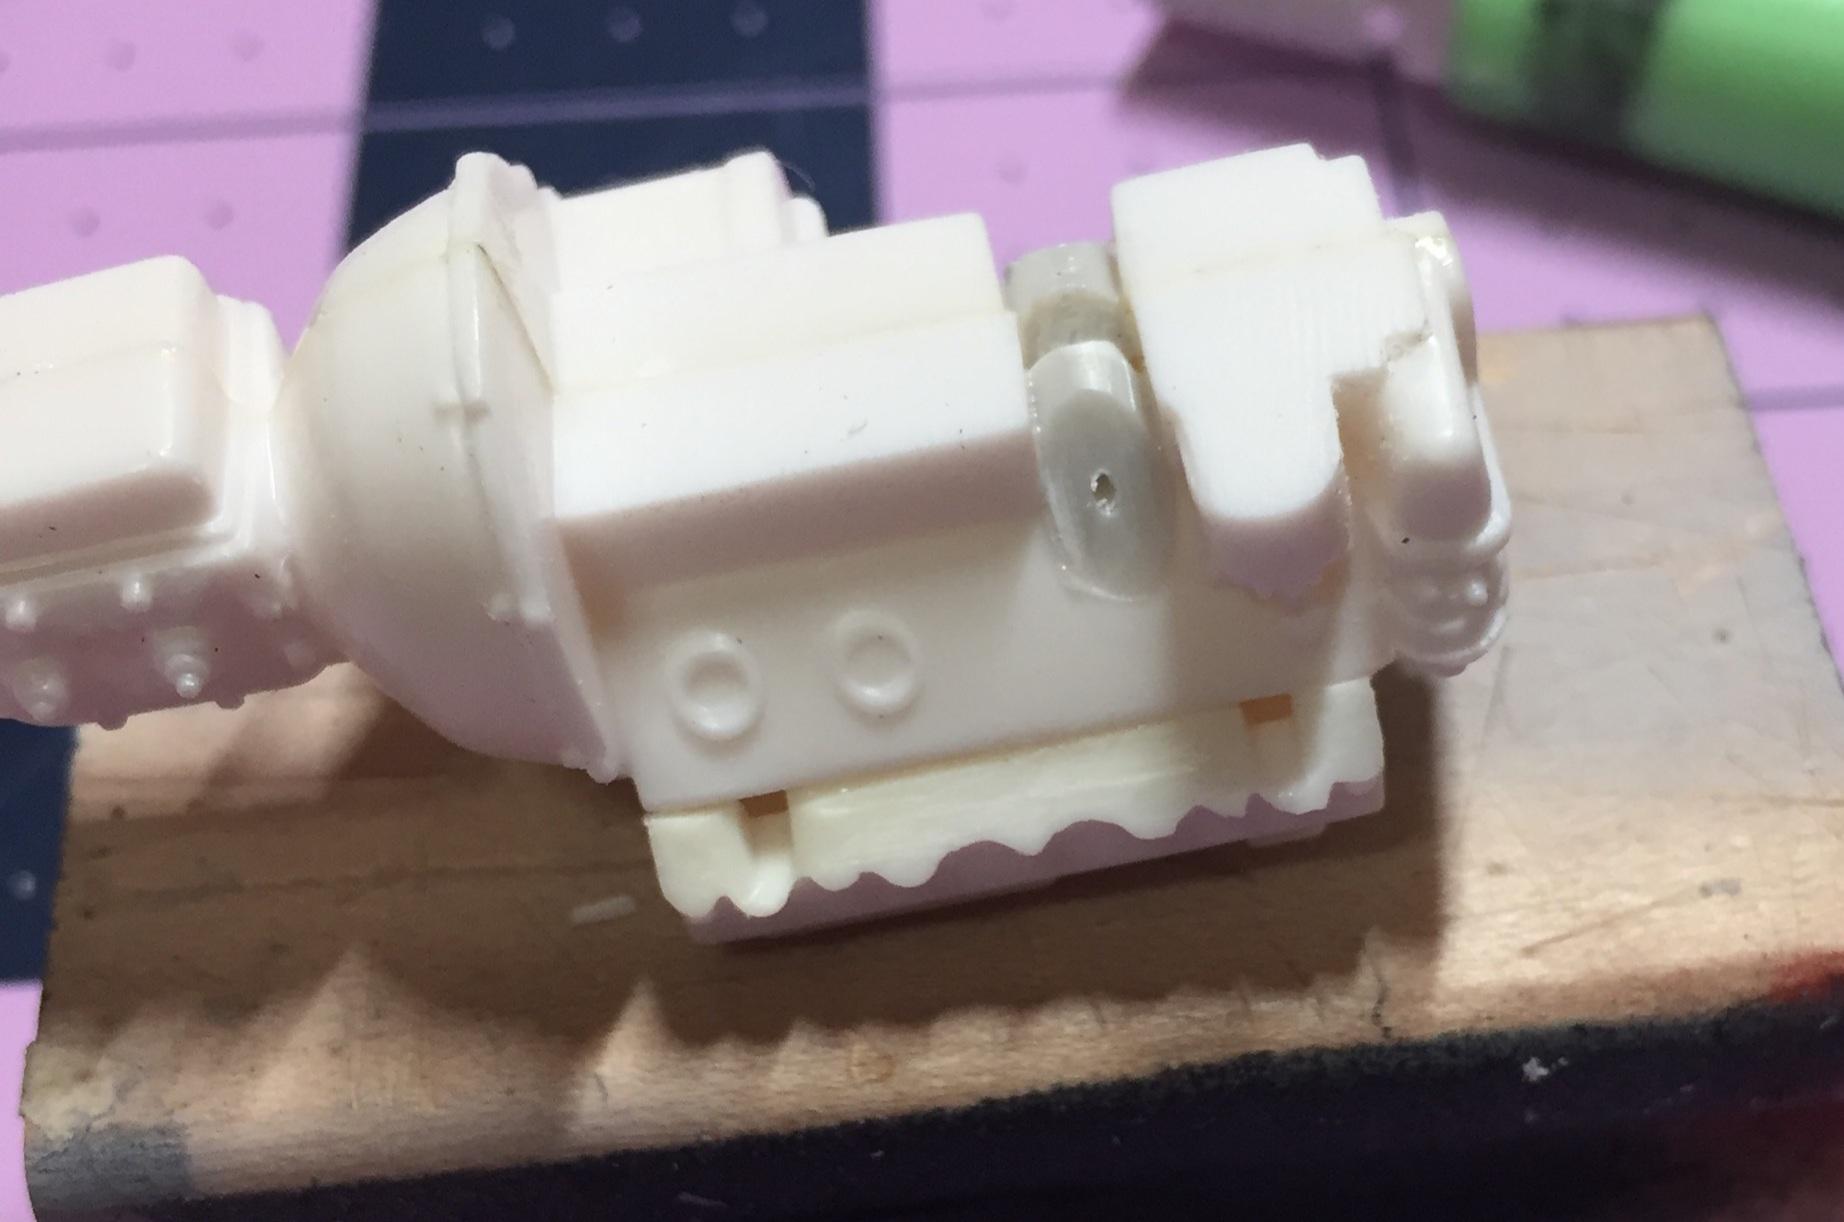
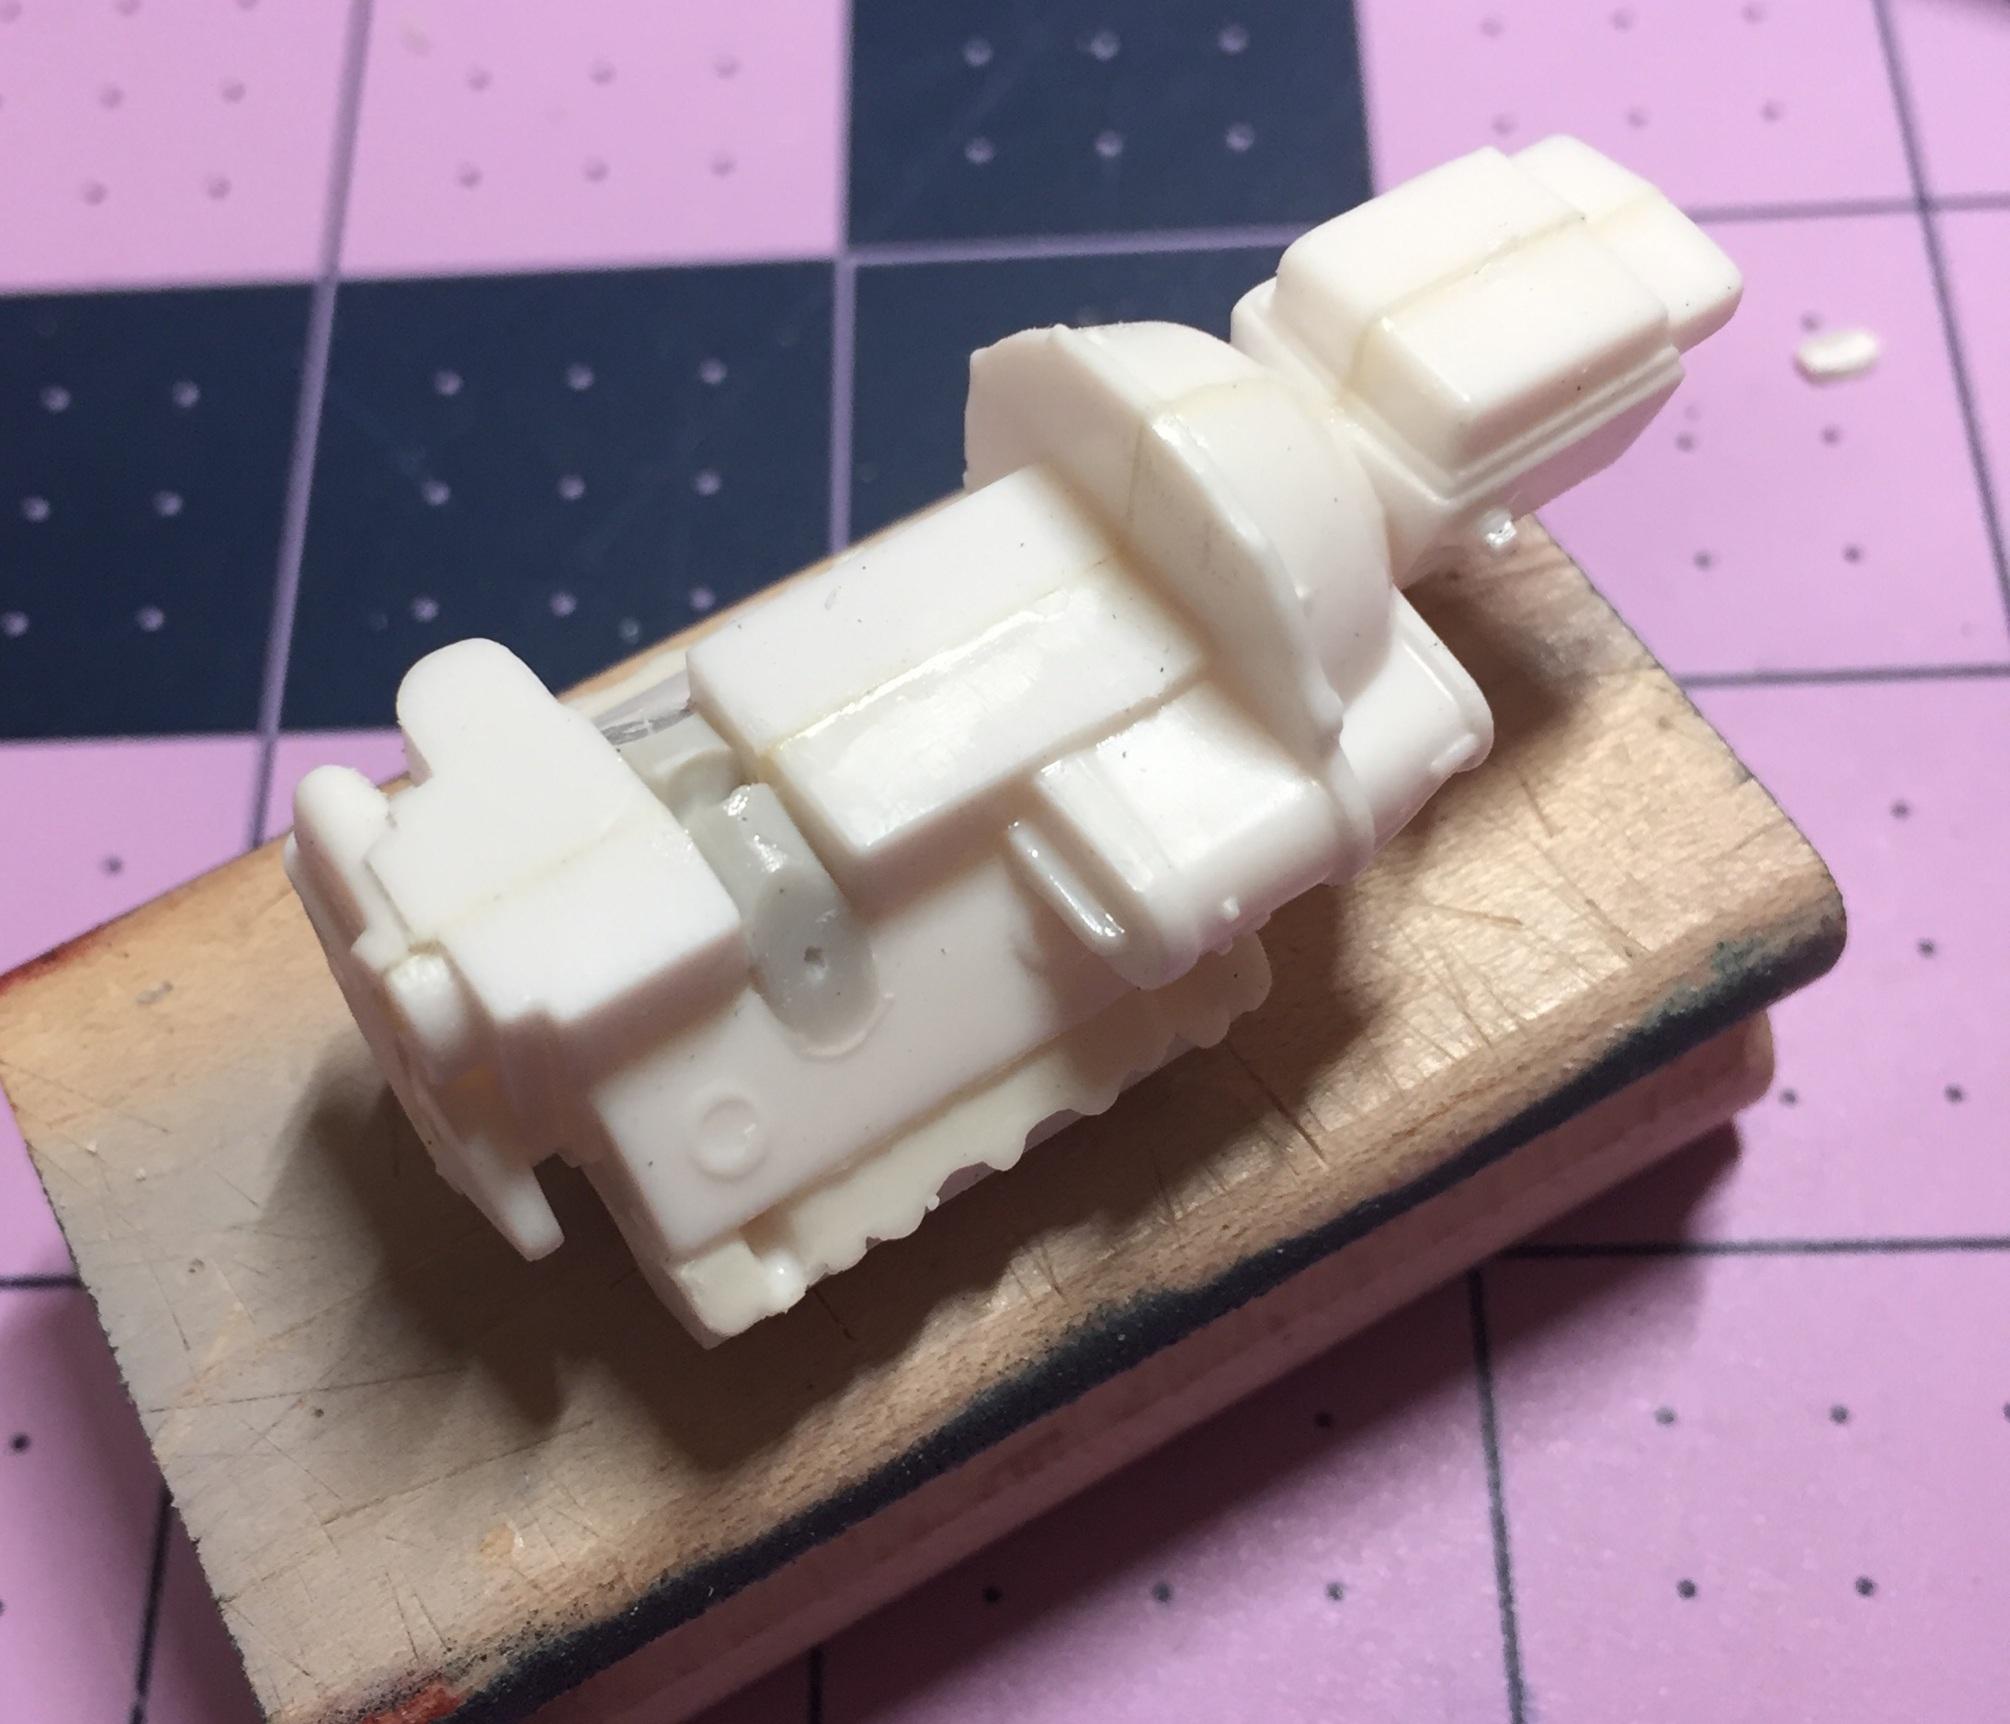
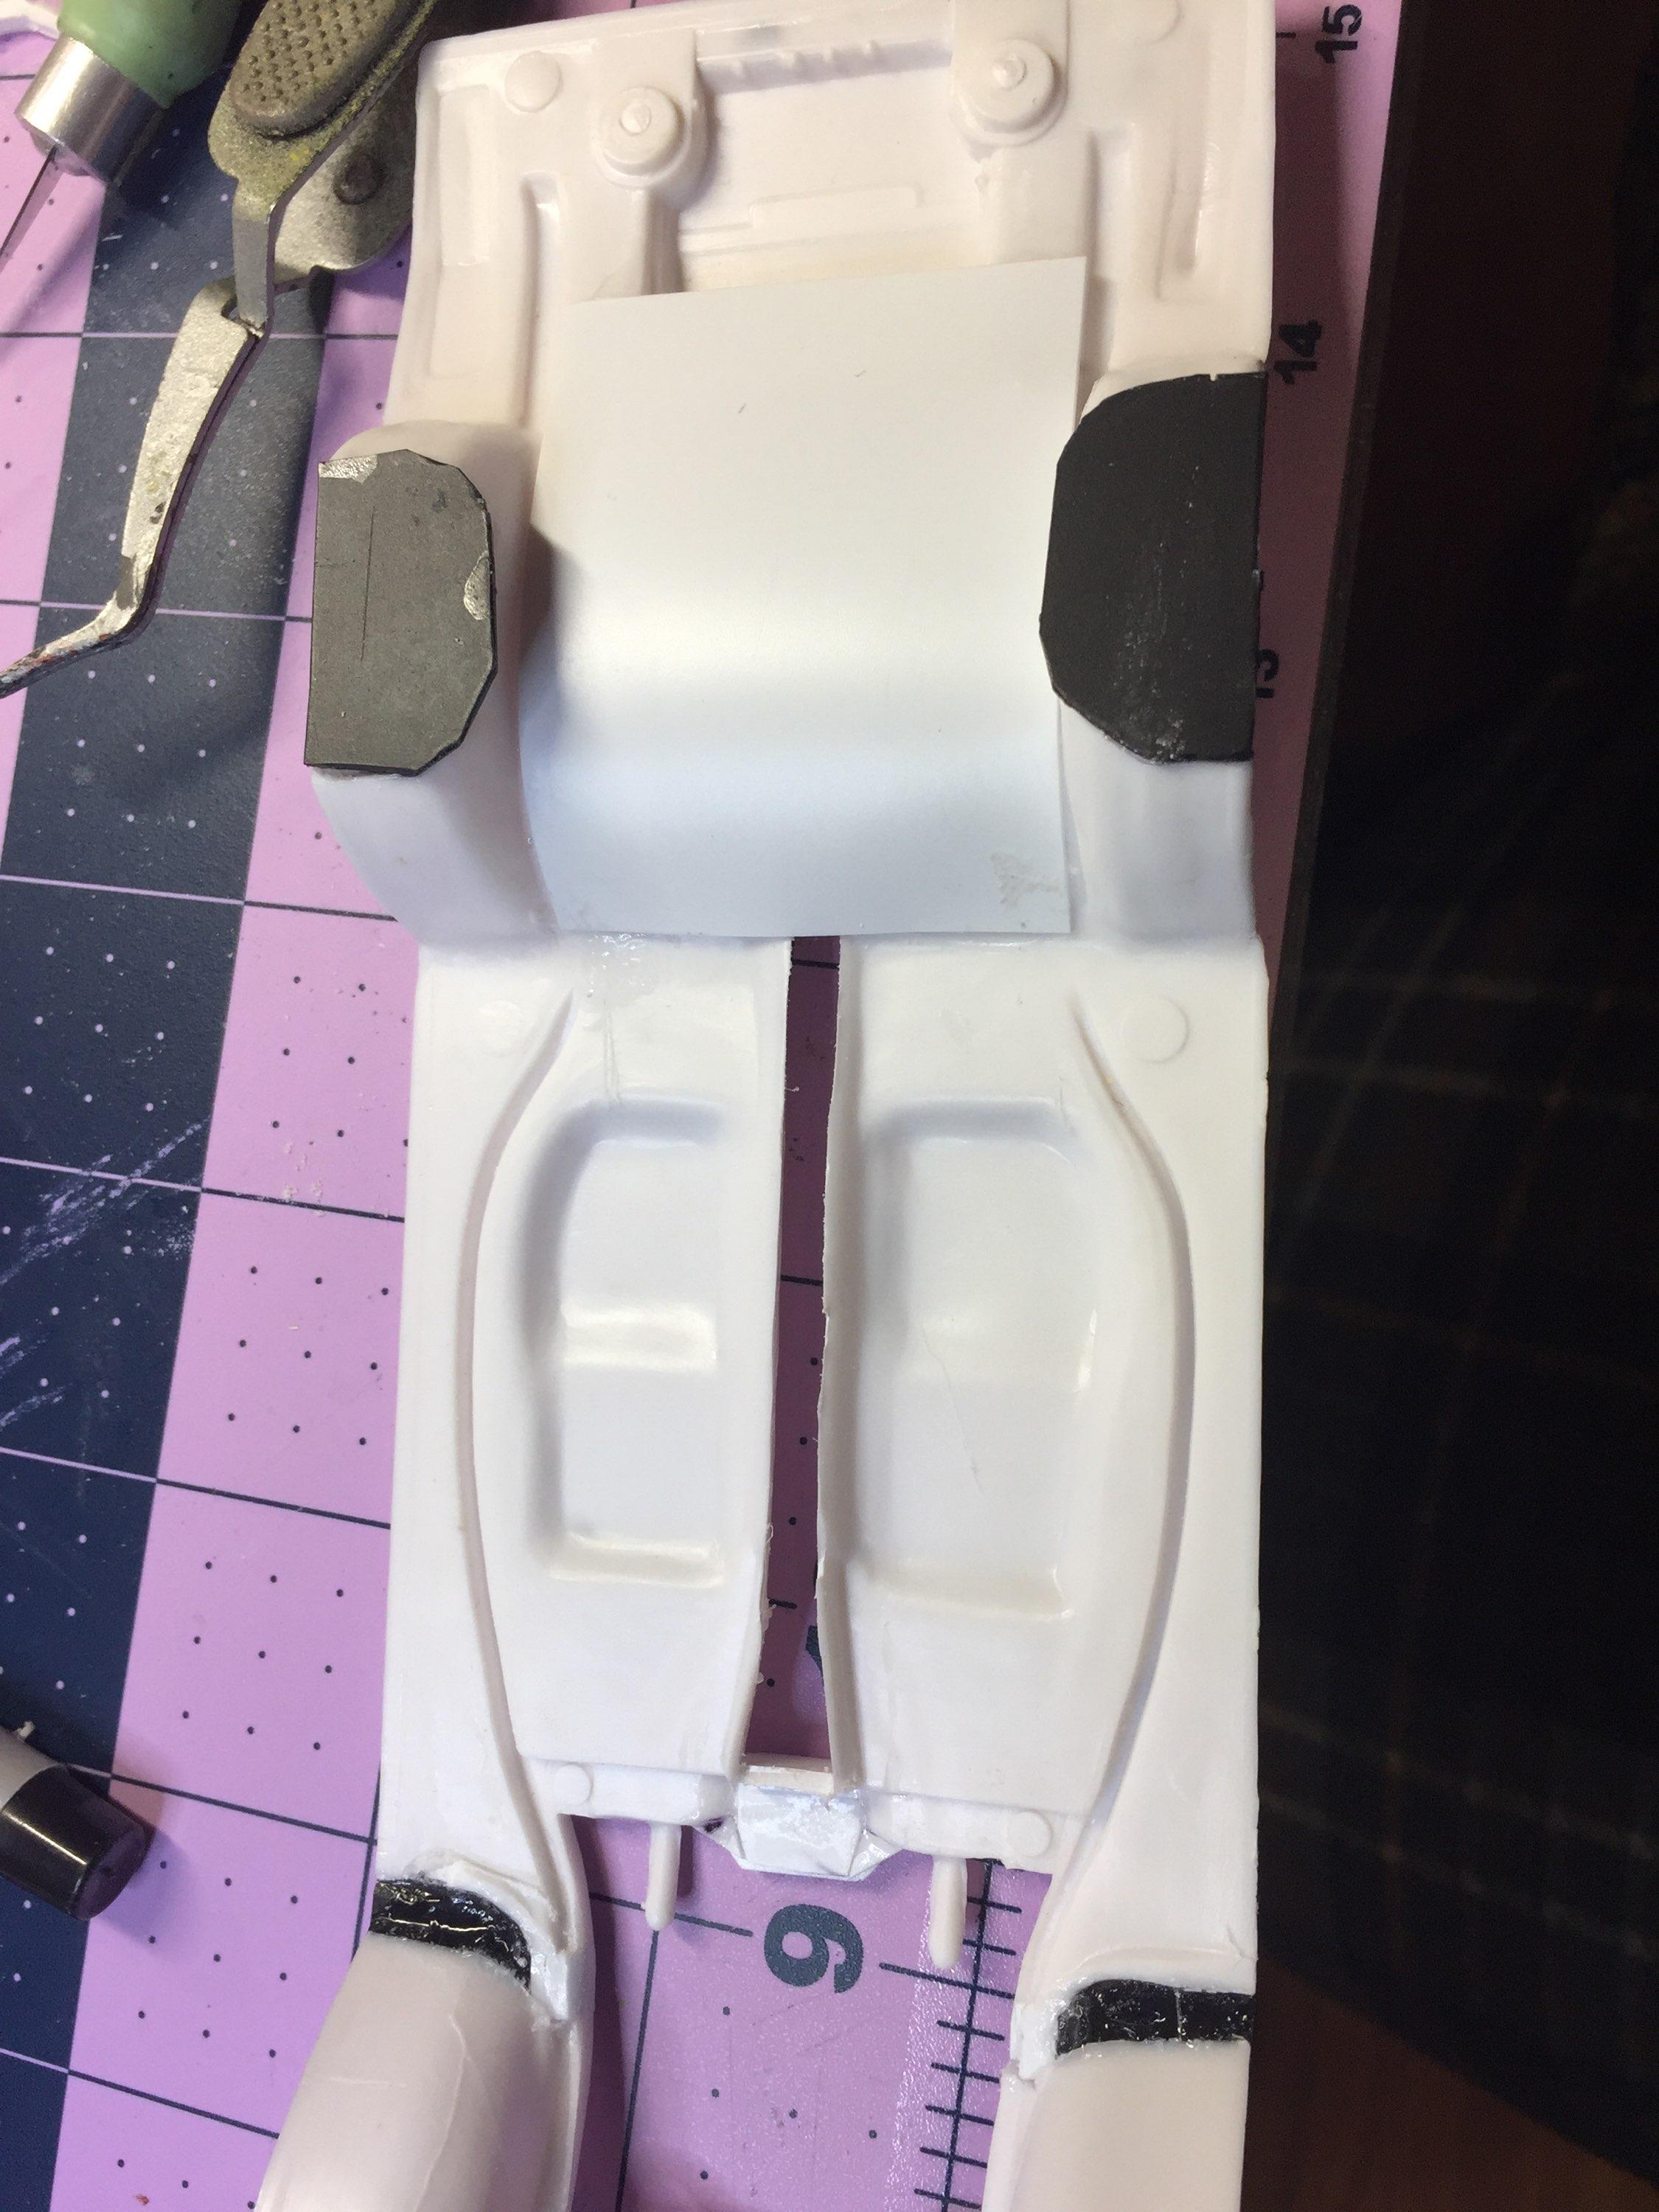
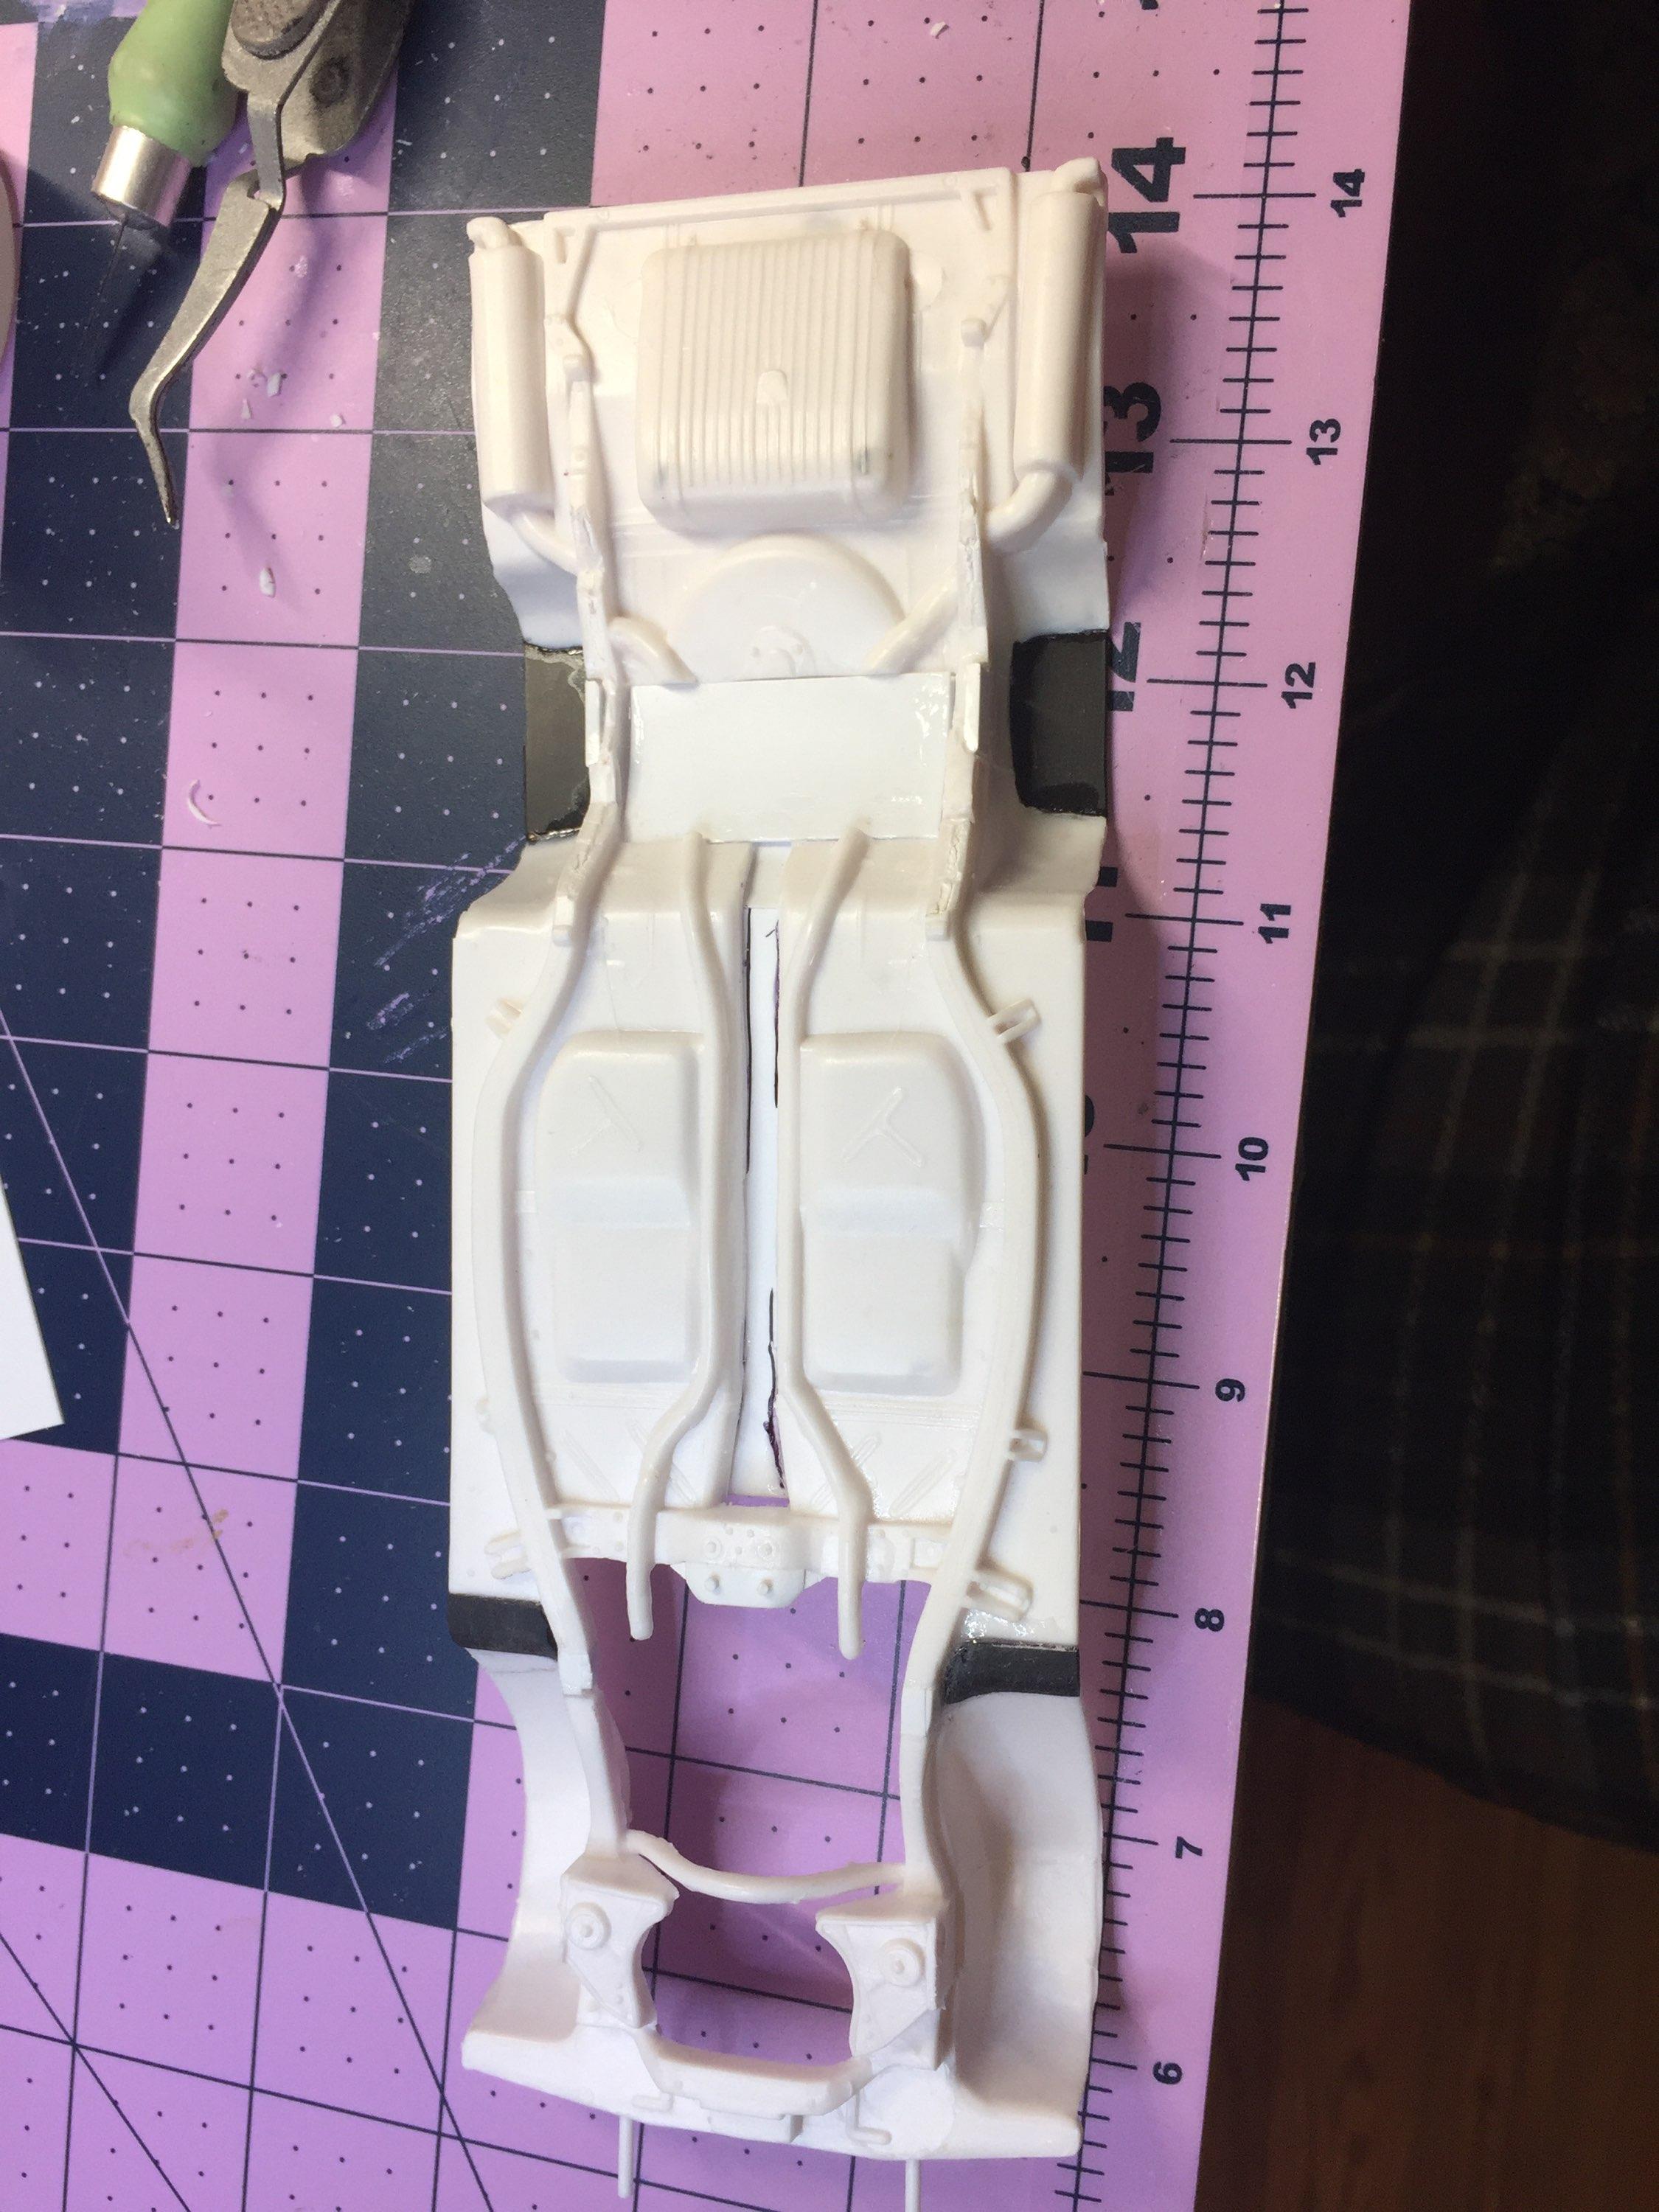
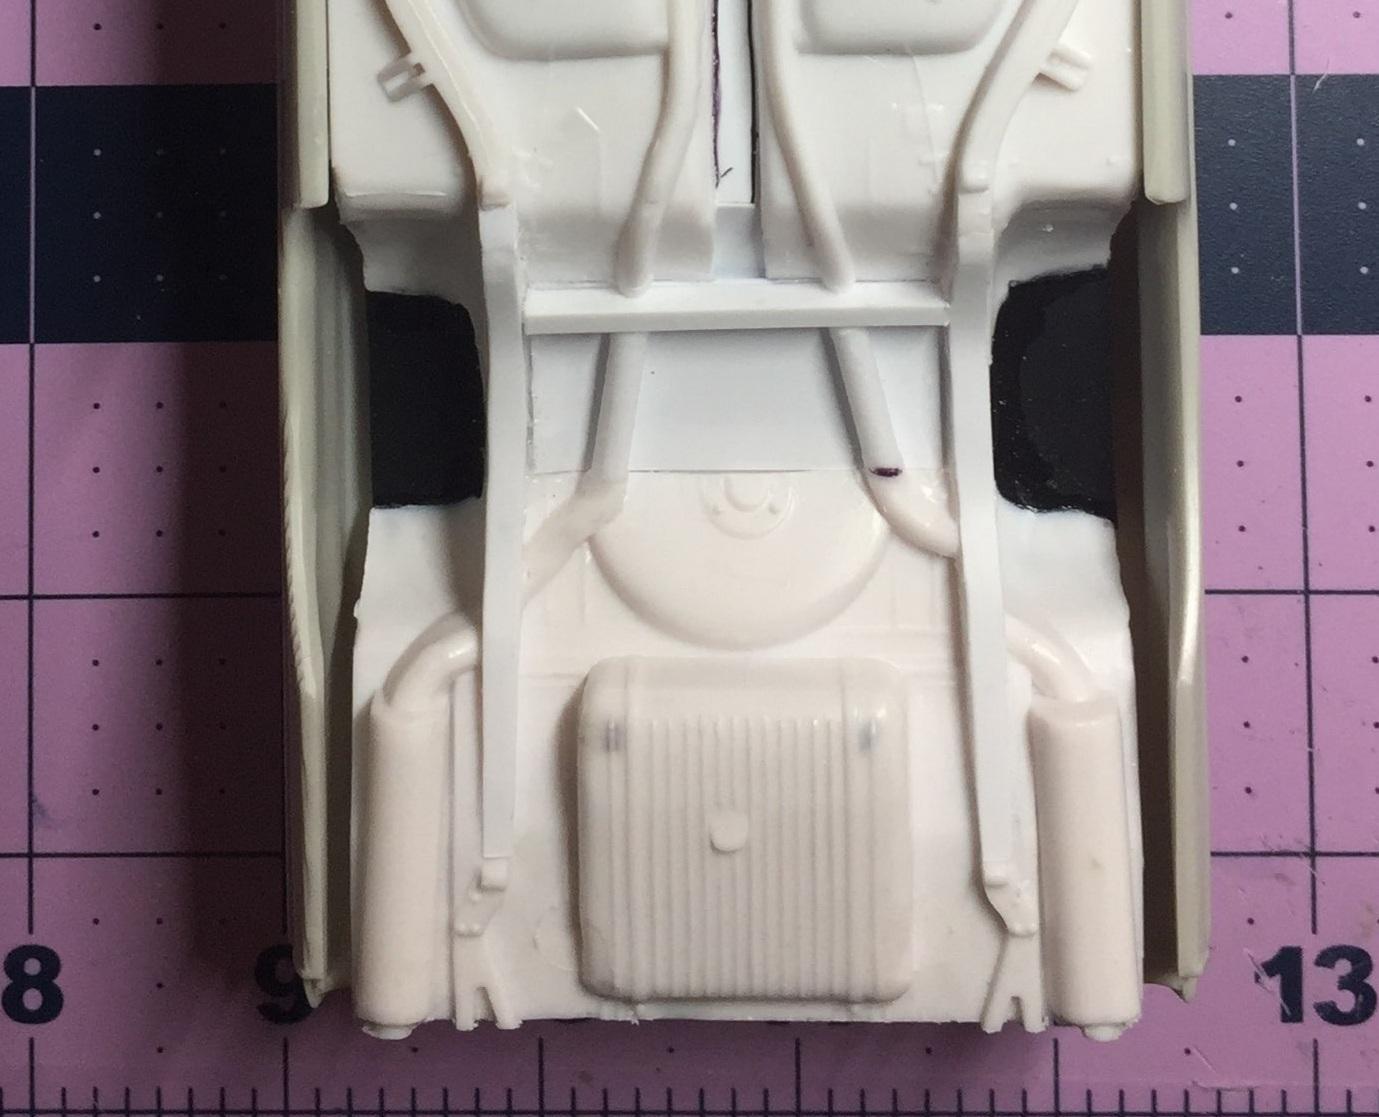
After having bought a nice '60 Starliner kit only to steal the chassis and firewall, etc. in order to build a decent model of a '63 Galaxie lightweight, I fell in love with the awesome body style of the '60. Being a cheapskate and somewhat thick-headed, I decided to use the discarded '63 chassis/floor pan under the gorgeous '60 fastback Starliner. This necessarily includes the '63 firewall which ain't too bad, really, but the chassis is pure dog poop. I started hacking away on the chassis and you could describe my actions as "going off half-cocked". I lengthened the chassis at the firewall.? - not sure why but I decided to leave it that way. It seems to work except the rear axle thingie was too far back. I suppose I could have just drilled holes a bit forward (I did ?) but I knew I wouldn't be happy with that (I wasn't ?). It was time to get serious and force my will upon this turd so I spent several hours today beating that P.O.S. into a real....um.....well, you decide. I attacked the blobular rear end with my sprue cutter. When the violence subsided, I closed the holes with some .015. I made quite a mess so I cleaned it up a little with my trusty Micro and patched in the somewhat vague frame over the axle area. I could not come up with a proper 9" Ford axle but was able to locate this nice Dana unit from the Revell '68 Dart GT. I replaced the cross member that I hacked out earlier and patched in the tail pipes (it ain't pretty but it's way better than what was there ?. The length of the springs is perfect but the axle locating pins are a bit off. On the axle housing, the spring pads are too far in-board also. Some minor evergreen work and it should fit nicely. I won't go into the wheel selection process but I will say that I'm grateful for the '41 Plymouth kits lying around here. I think I have the rear end located to my satisfaction now. Thanks for reading all this, you must be very sorry that you didn't just look at the pictures ? ? I'll bet you're wondering what this is all about ☝️
-
Mmmmmmm.....I dunno, Len. This one is a really good candidate for box duty. Not as a punishment but rather to save it for a time when I'm too feeble to finish it. ☺️ Well thanks, Greg, I need some kudos to keep this one afloat. It looks pretty good without a top so if all else fails....? You may be right on the resin top, though, I think that might be the solution.
-
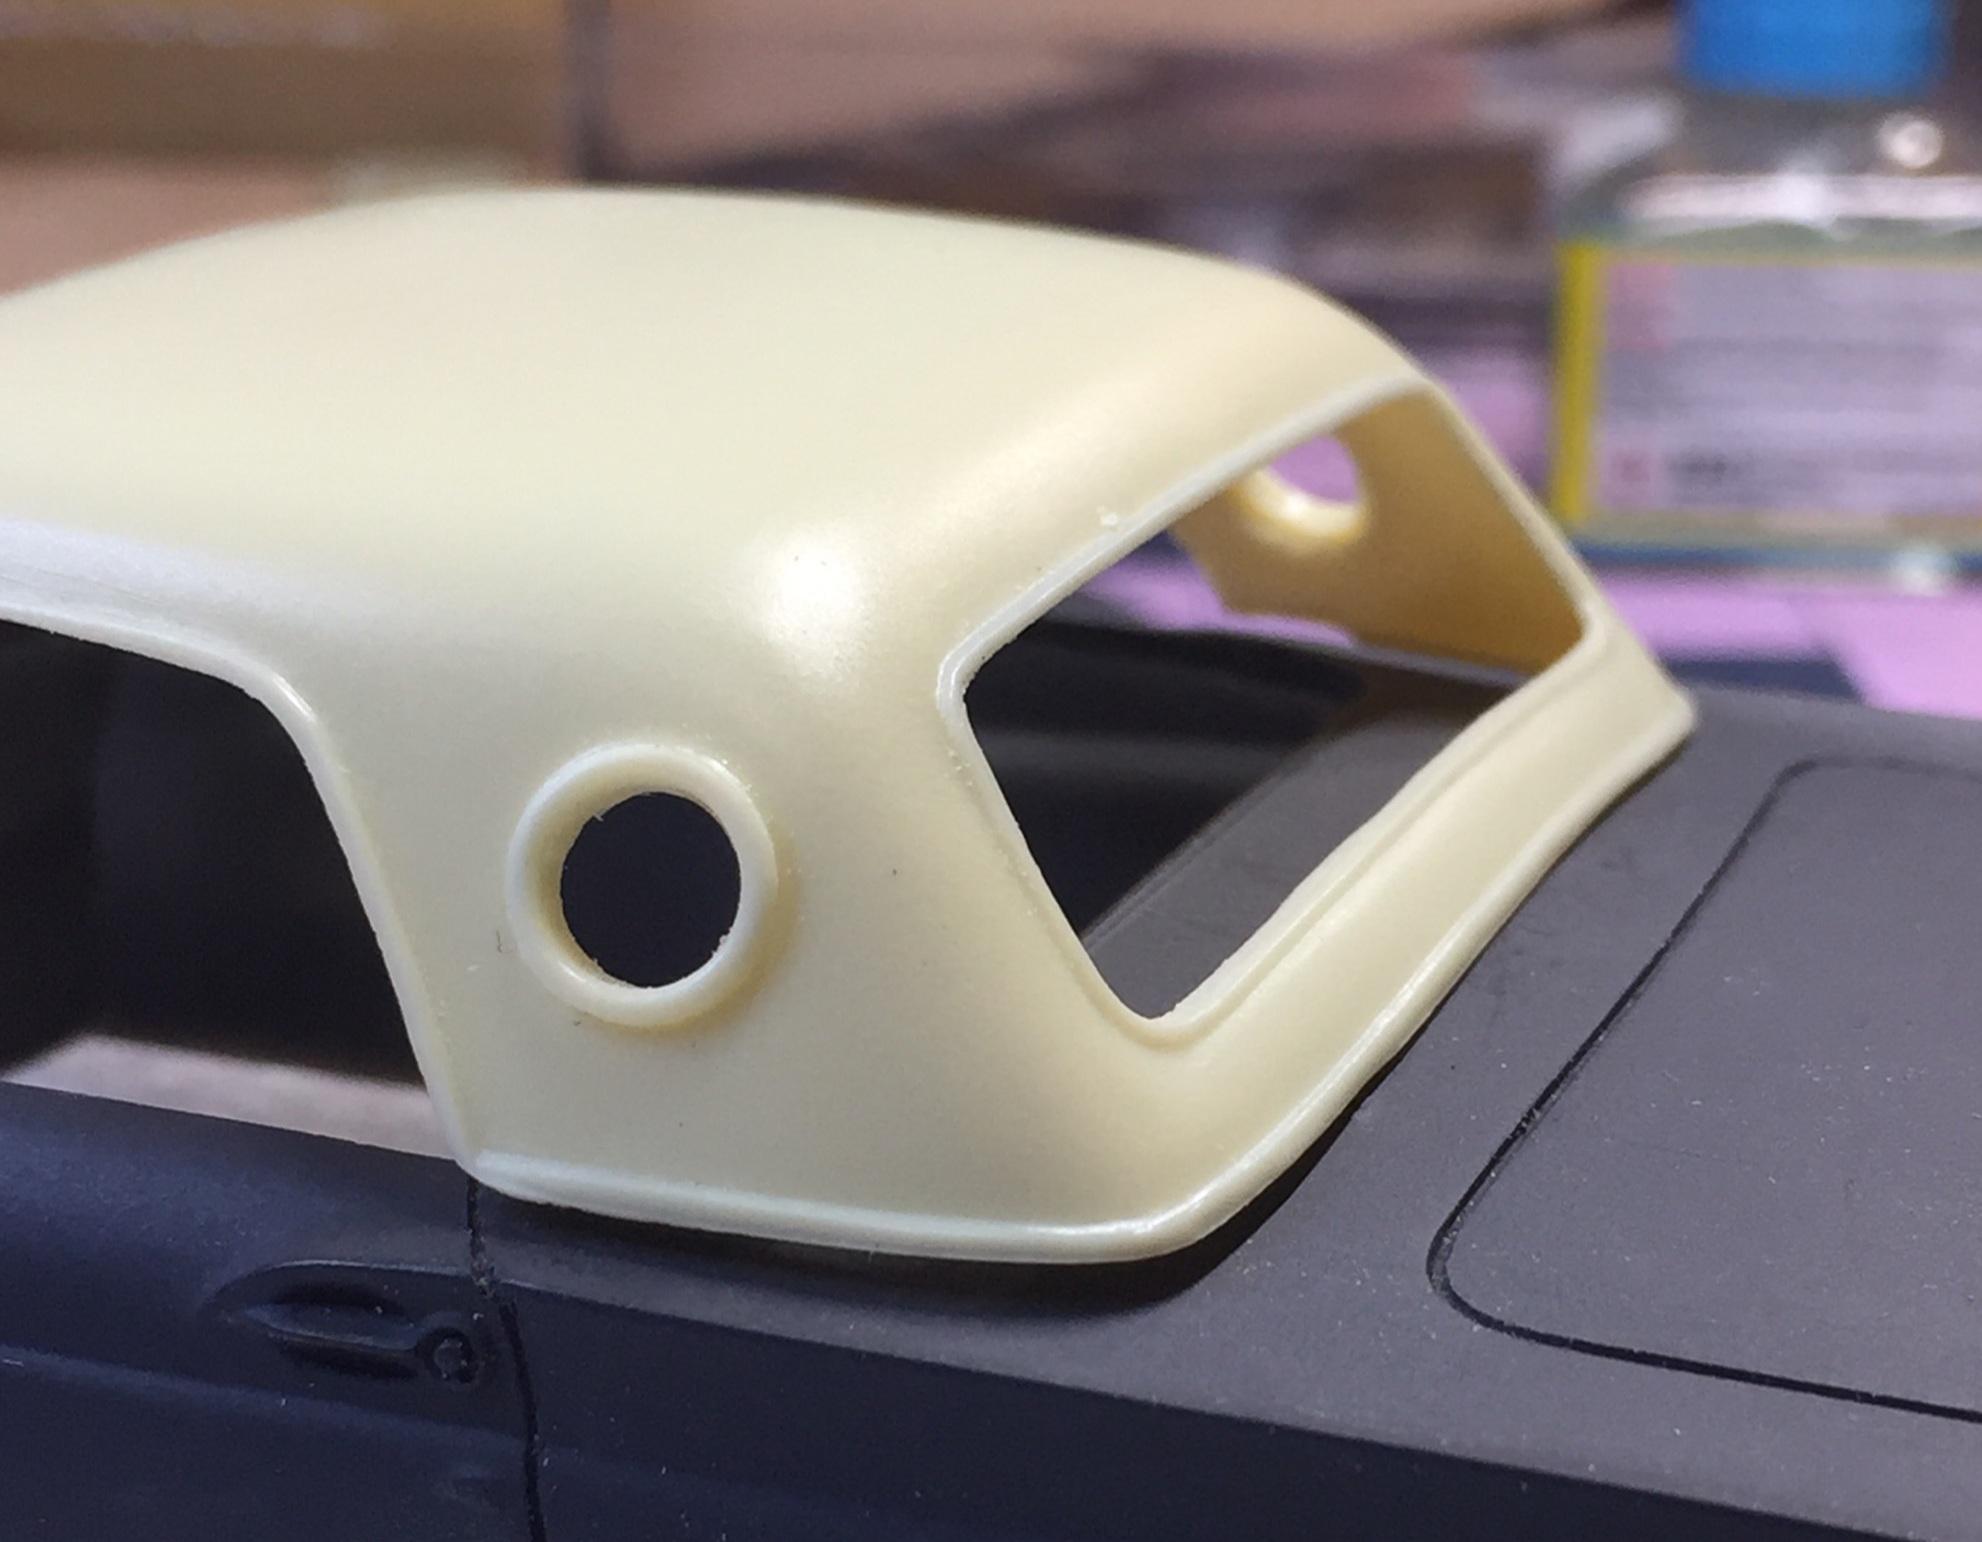
The body work continues. I'm happy with the fender/bumper mod. Great idea, Andy. Getting closer all the time. Pretty soon it will almost be an authentic scale model ?. It's a small thing that one wouldn't notice if not actually involved in the hobby (Wifey would never understand this if I was ever stupid enough to try to explain it to her) but WE KNOW ! So I put that aside. After comparing the two tops, I'm not real happy with the way the resin top fits the deck so I decided to try and fix the kit unit again by replacing the section below the backlight. Result is fair, maybe acceptable. Maybe something can be done with the resin top to fit the deck better. I dunno. One step forward, two steps backwards. It is a convertible, after all. ? It's summer. I'll leave the top down.
-
Thank you, David. Gonna spend some time on the fenders today. It's Bondo time! ? I love the smell of Bondo in the morning. It's got that...that....Polyester smell ?
-
I knew that ?
-
Oh.........never mind ? How would one order a color that's not on their website? Factory codes?
-
Well.....I guess I'm in good company, Greg! ? I have another 'Bird on the way, Mgram '56, so maybe I'll get MCW's paint in two different colors and figure it out from there; just rely on my mood on paint day ?. I have paint coming out of my a$$ and I need to stop buying more and use some of what I have ?. There, I said it! ?.....but I won't.
-
Hey, the Drag City top from Spotlight came in today. The interface with the windshield is great but at the deck is too straight across the bottom, leaving gaps at both corners. I'm considering a more profound repair on the original top and see if it will fly. As far as the resin top goes, I wonder if it can be slightly reshaped in the area below the backlight by some process unbeknownst to me. On a lighter note, the paint I found in the garage could be a candidate but it's a bit too dark for my liking. MCW has one they call Willow Green/ *** and they don't show all the T-Bird colors. I sprayed the stuff that I have on an orphan body (Lindberg '38 Ford "van" ?) and it might be OK but I'm not totally happy with it. SCALE FINISHES has raven black....period. So it's MCW or Krylon. We saw a newish Ford Focus today in a very light minty green that Wifey and I loved. I may look for that! AAAUGH!!!
-
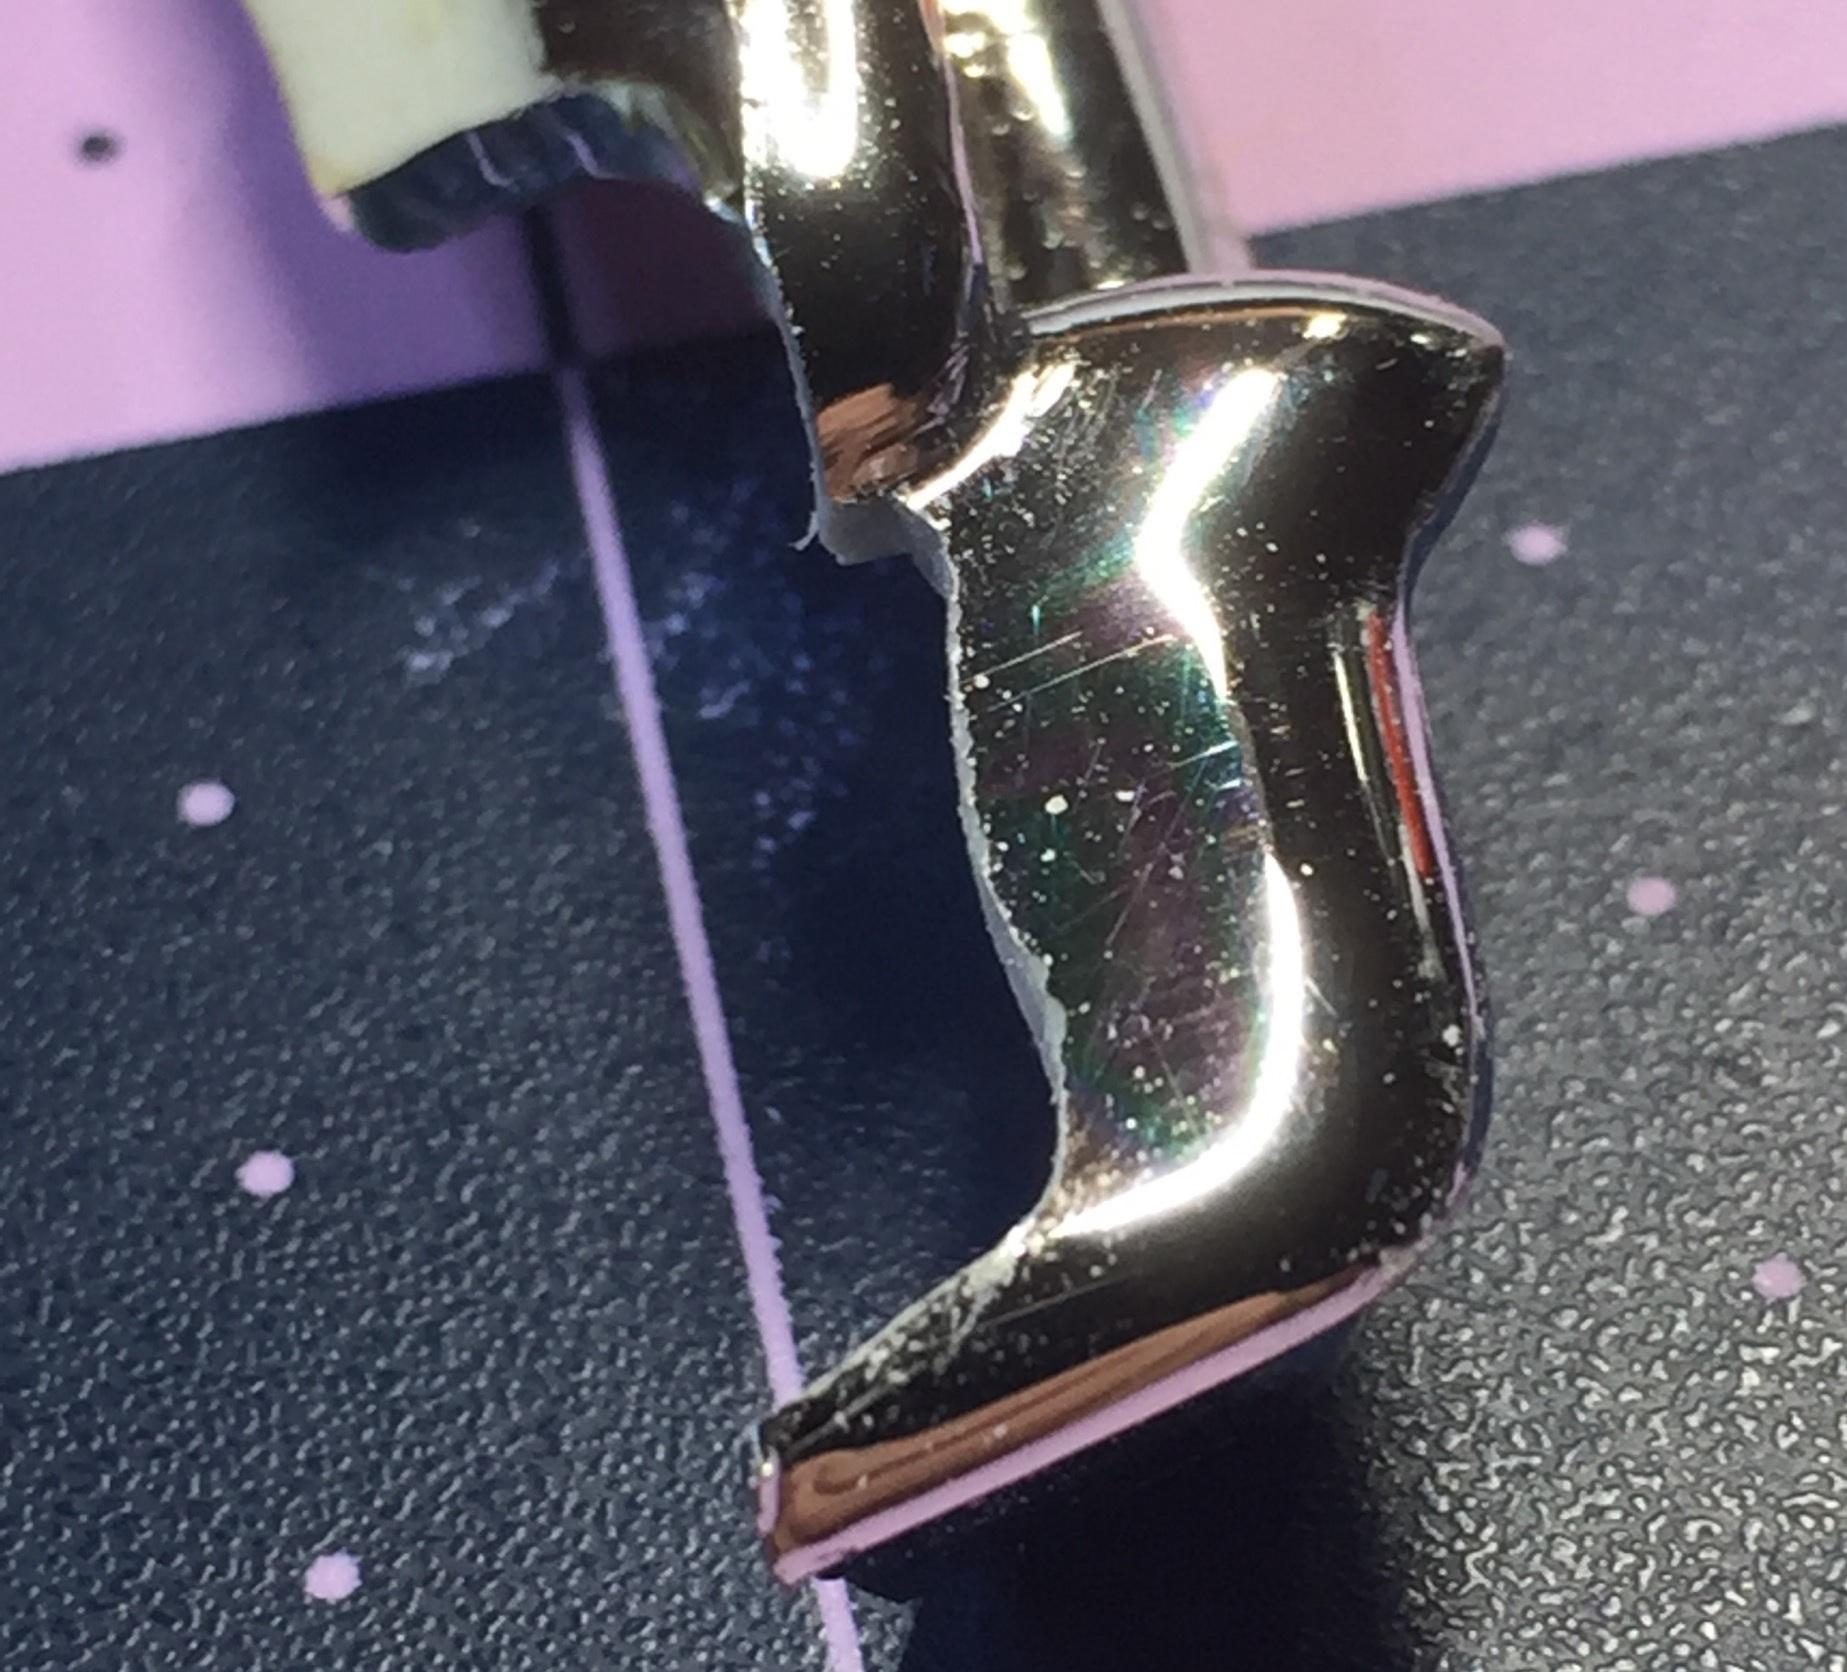
The only reliable comparison would be an actual, proper, in-the-flesh paint chip or a car painted with that color, in the same light. It's close enough for my purpose but a test is always a good idea. The can is a few years old, I am guessing. I've re-read this thread to find who suggested extending the front fenders and modifying the bumper to look more like a 1:1 and still can't. I decided to do that mod last night and here's some pix. I hope it works the way I executed it. I'm pretty sure it will after Bondo. The bumper suffered some chipping of the plating but it still needs some fine tuning. I do see the point of this mod, though and I want to acknowledge the idea guy by name if I could only find it. Raise your hand, man! I used some evergreen strips and thin solvent to make a sort of lamination and this morning I reinforced the back side with CA. Bondo later but that's it for now. Wish me luck! ? Oh! I found it! It was YOU, ANDY! ???
-
If I can save some dinero on this one and use some of this stuff up before it solidifies in the can, I probably should. I think it's a very near match but I won't know until I clear it and polish it out. Then I'm stuck with it. ?....and then, Donald, I'm going to blame the guy that suggested it ? I believe I will, Alan, it's just so...so......um......ahh......so, um.....happy ? Besides, Wifey said it was good.....oh....I may reconsider ?.


.jpg.31871b6cf93cbc8f5071baf6ecd4669c.jpg)