customline
-
Posts
3,791 -
Joined
-
Last visited
Content Type
Profiles
Forums
Events
Gallery
Everything posted by customline
-
I think I have successfully turned the Dodge Magnum into a a Nash Fairlane. ?.... pretty cool, huh? ?
-
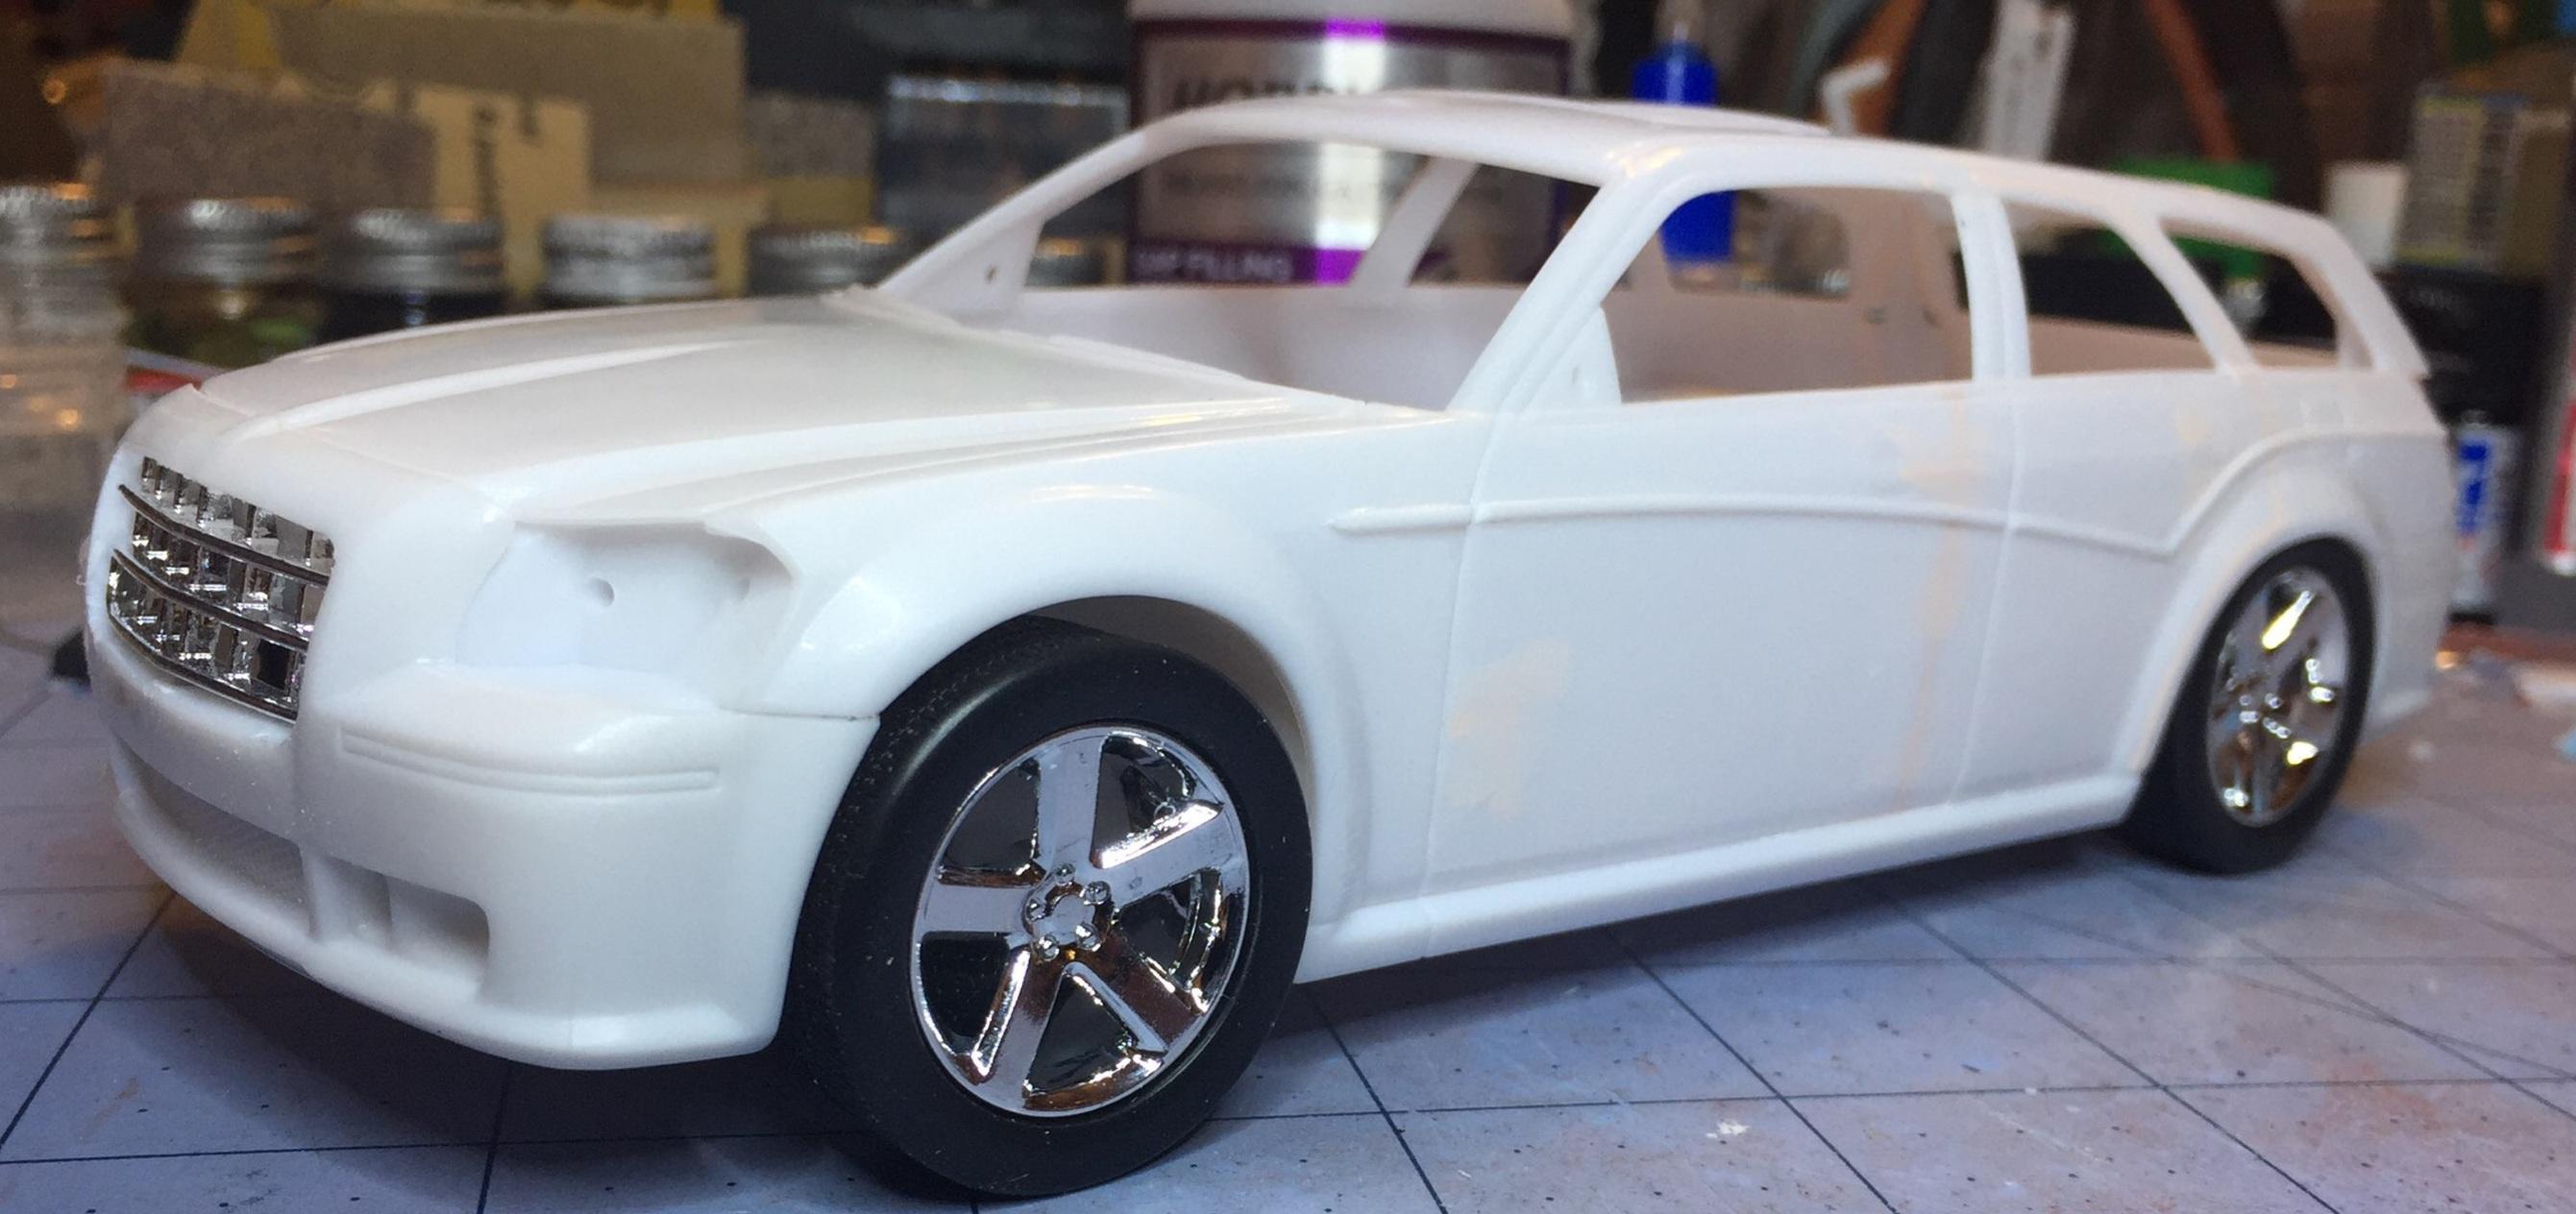
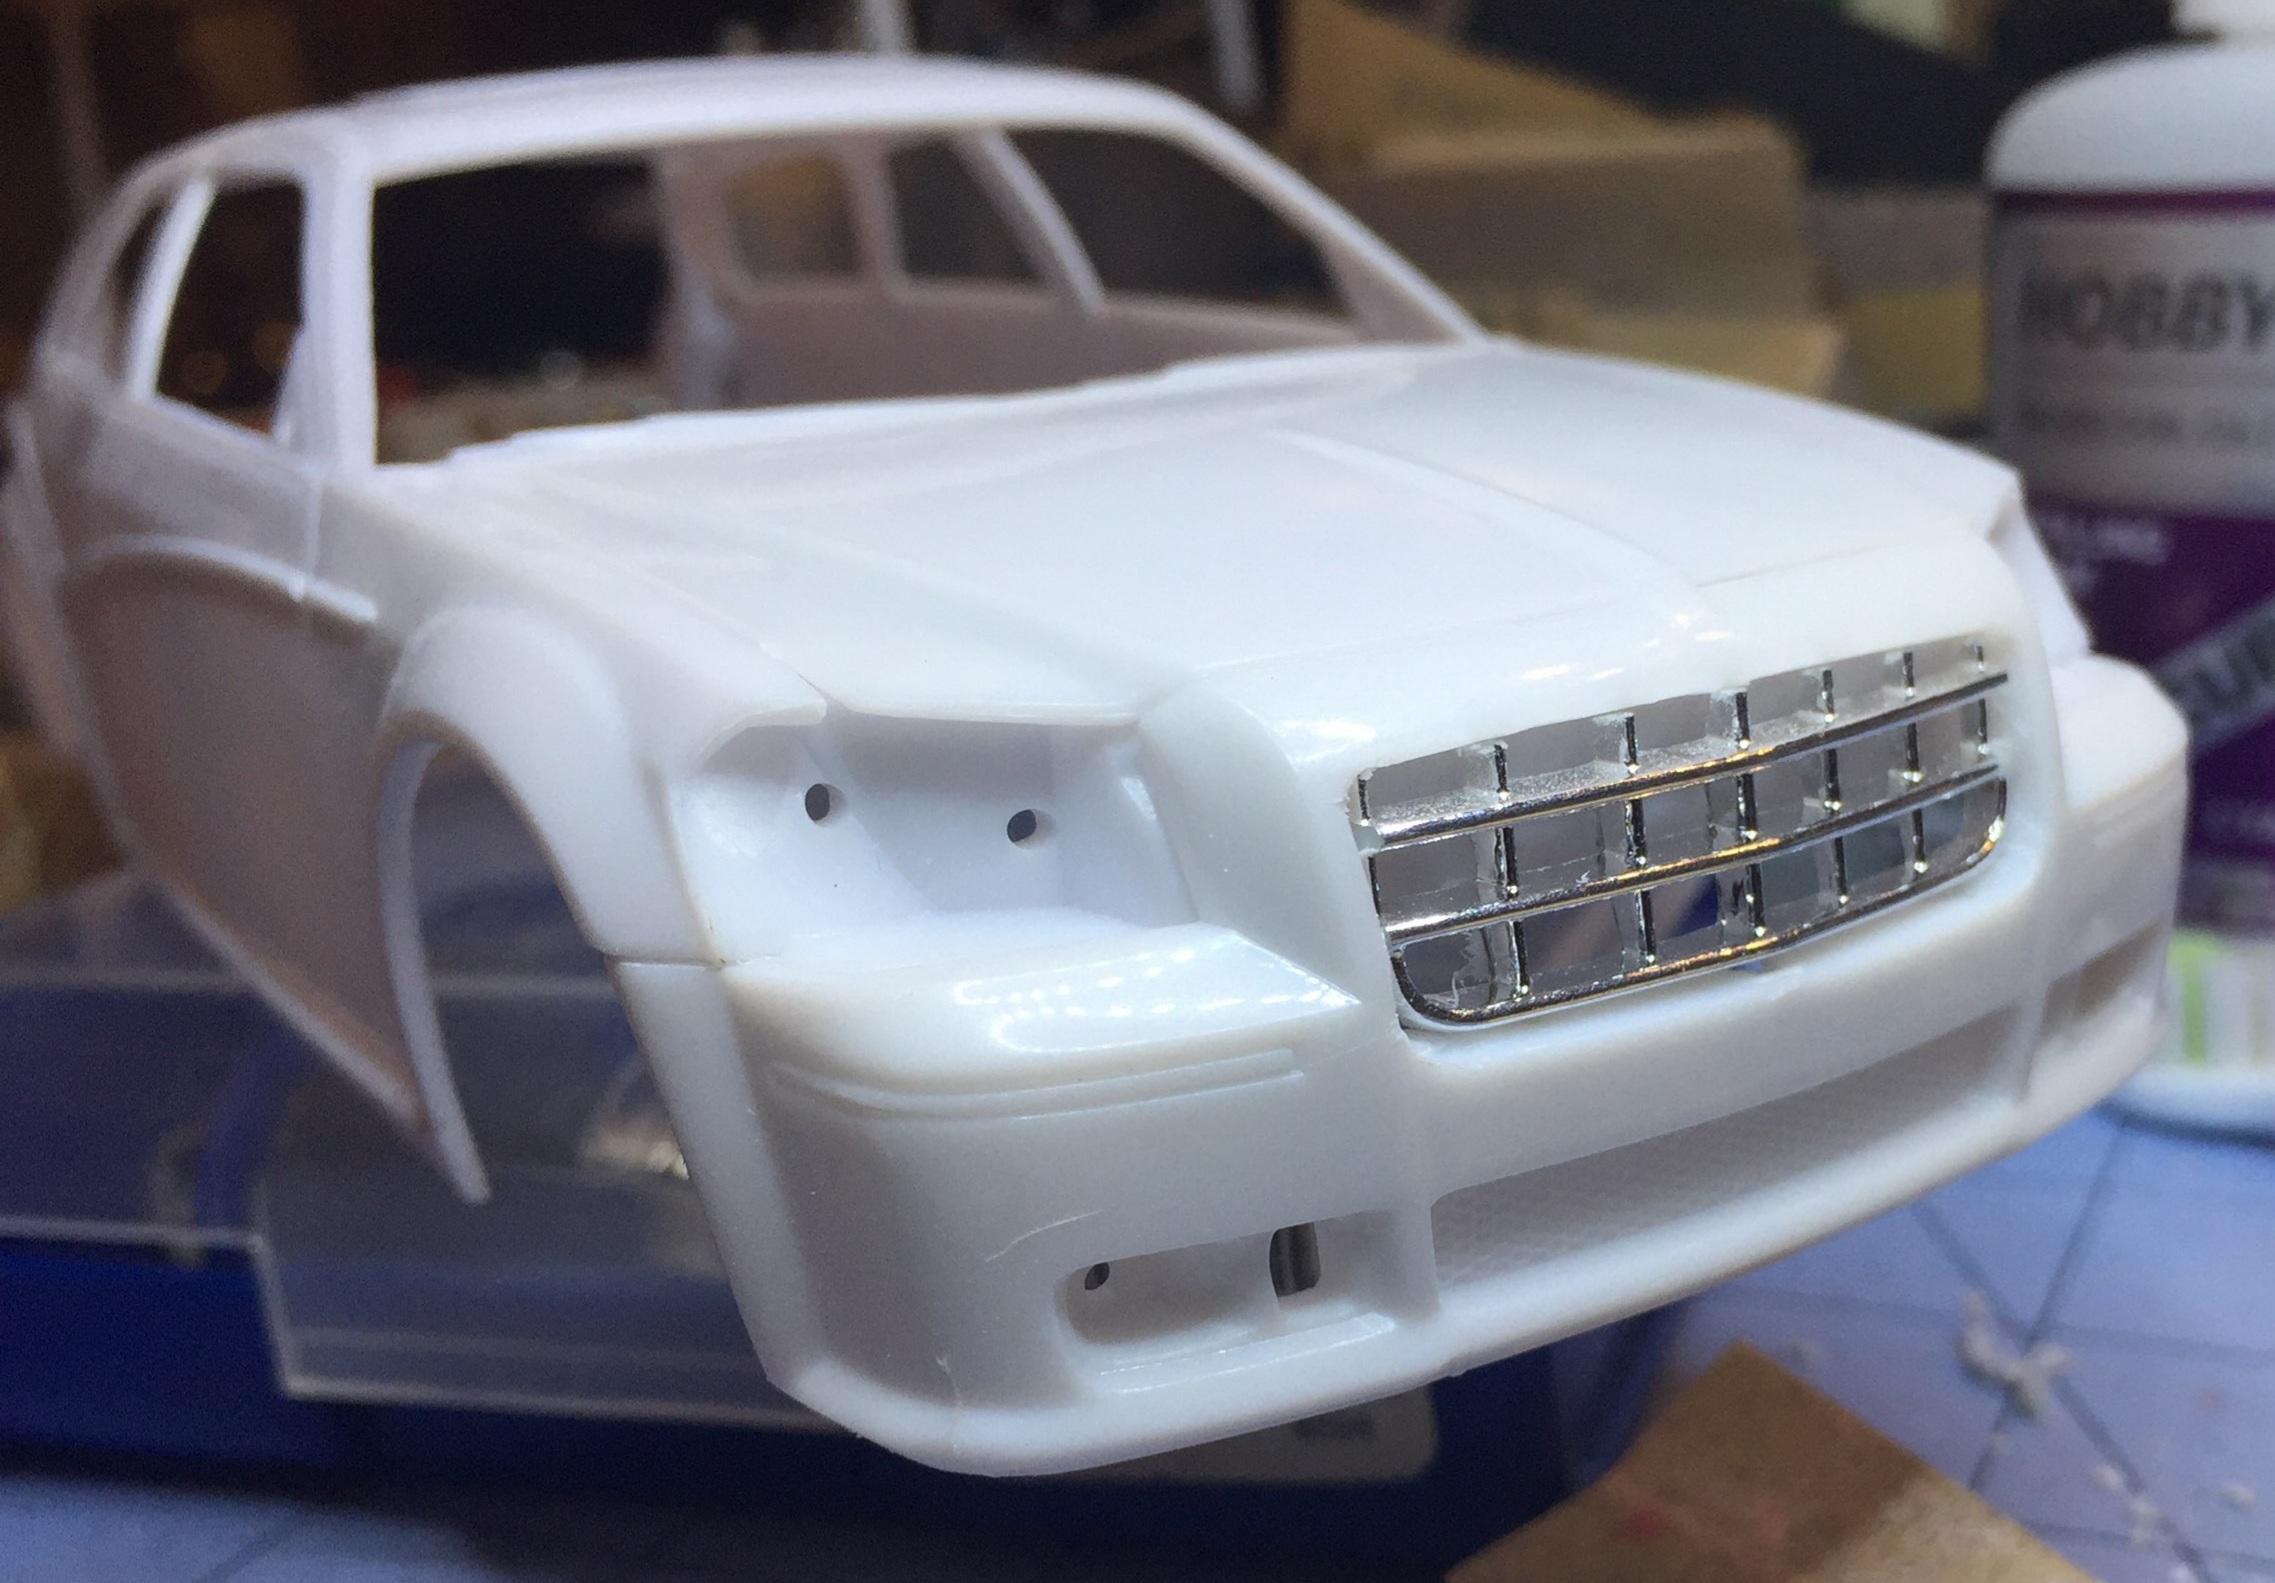
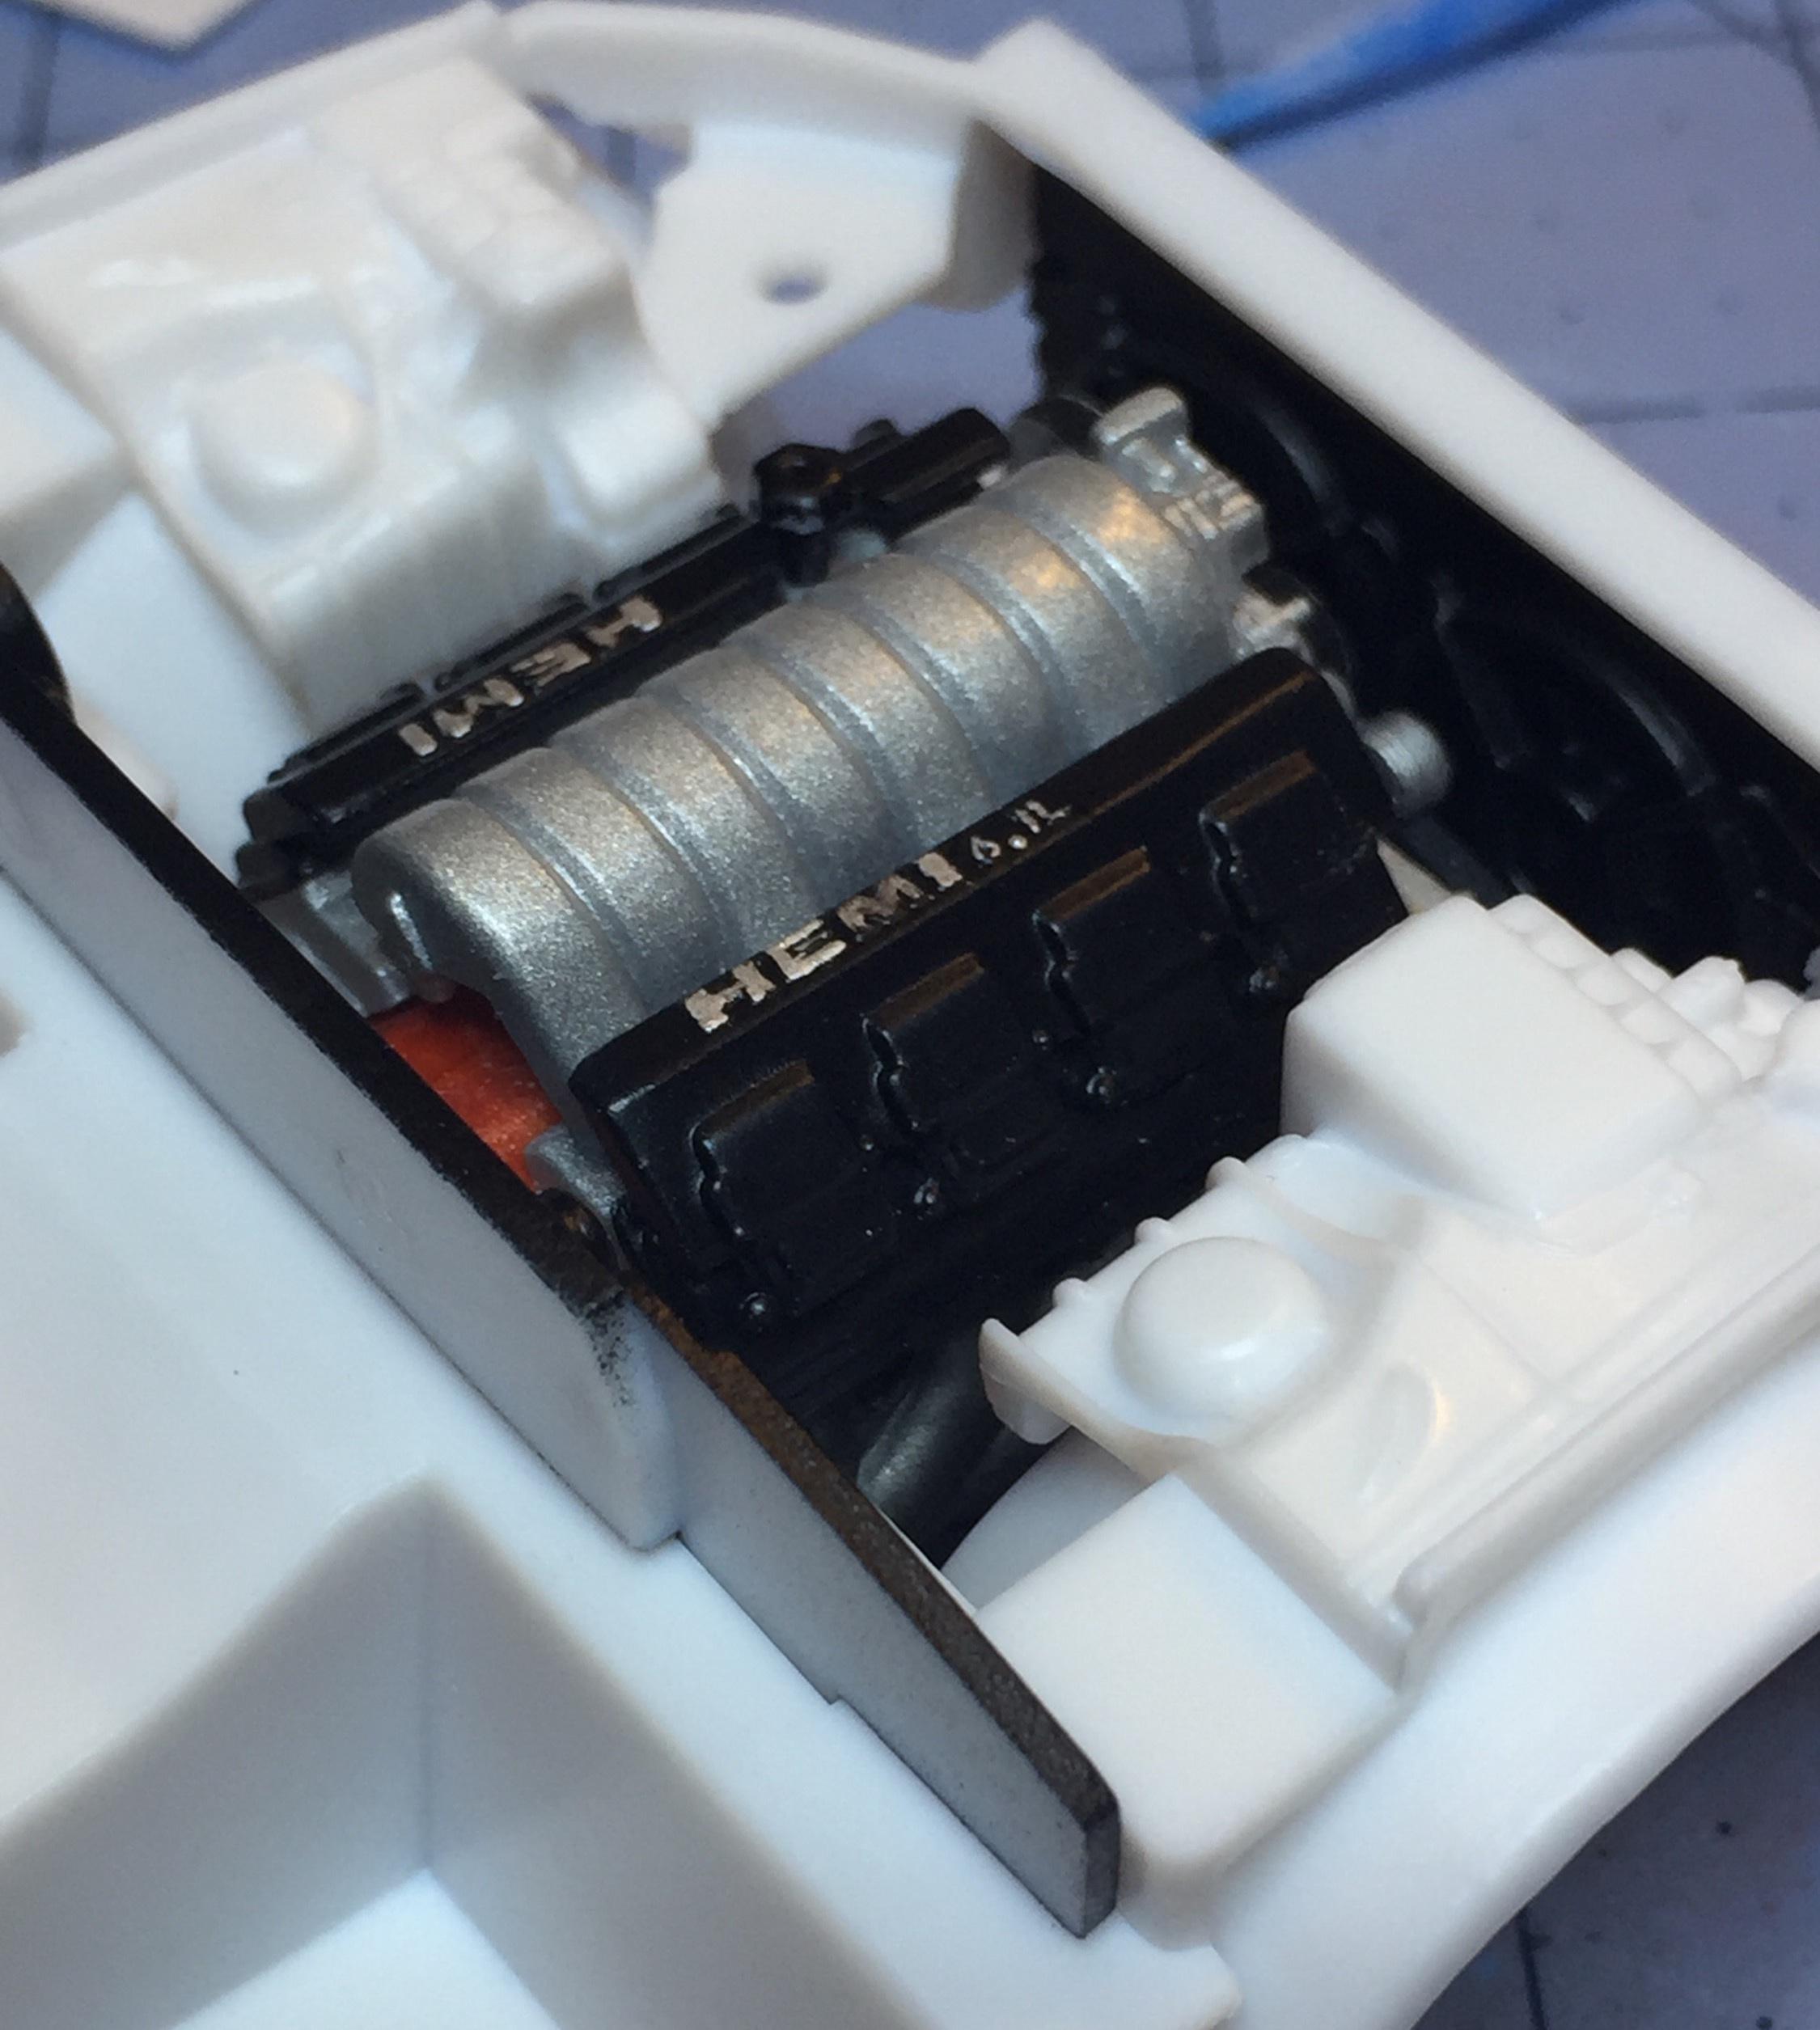
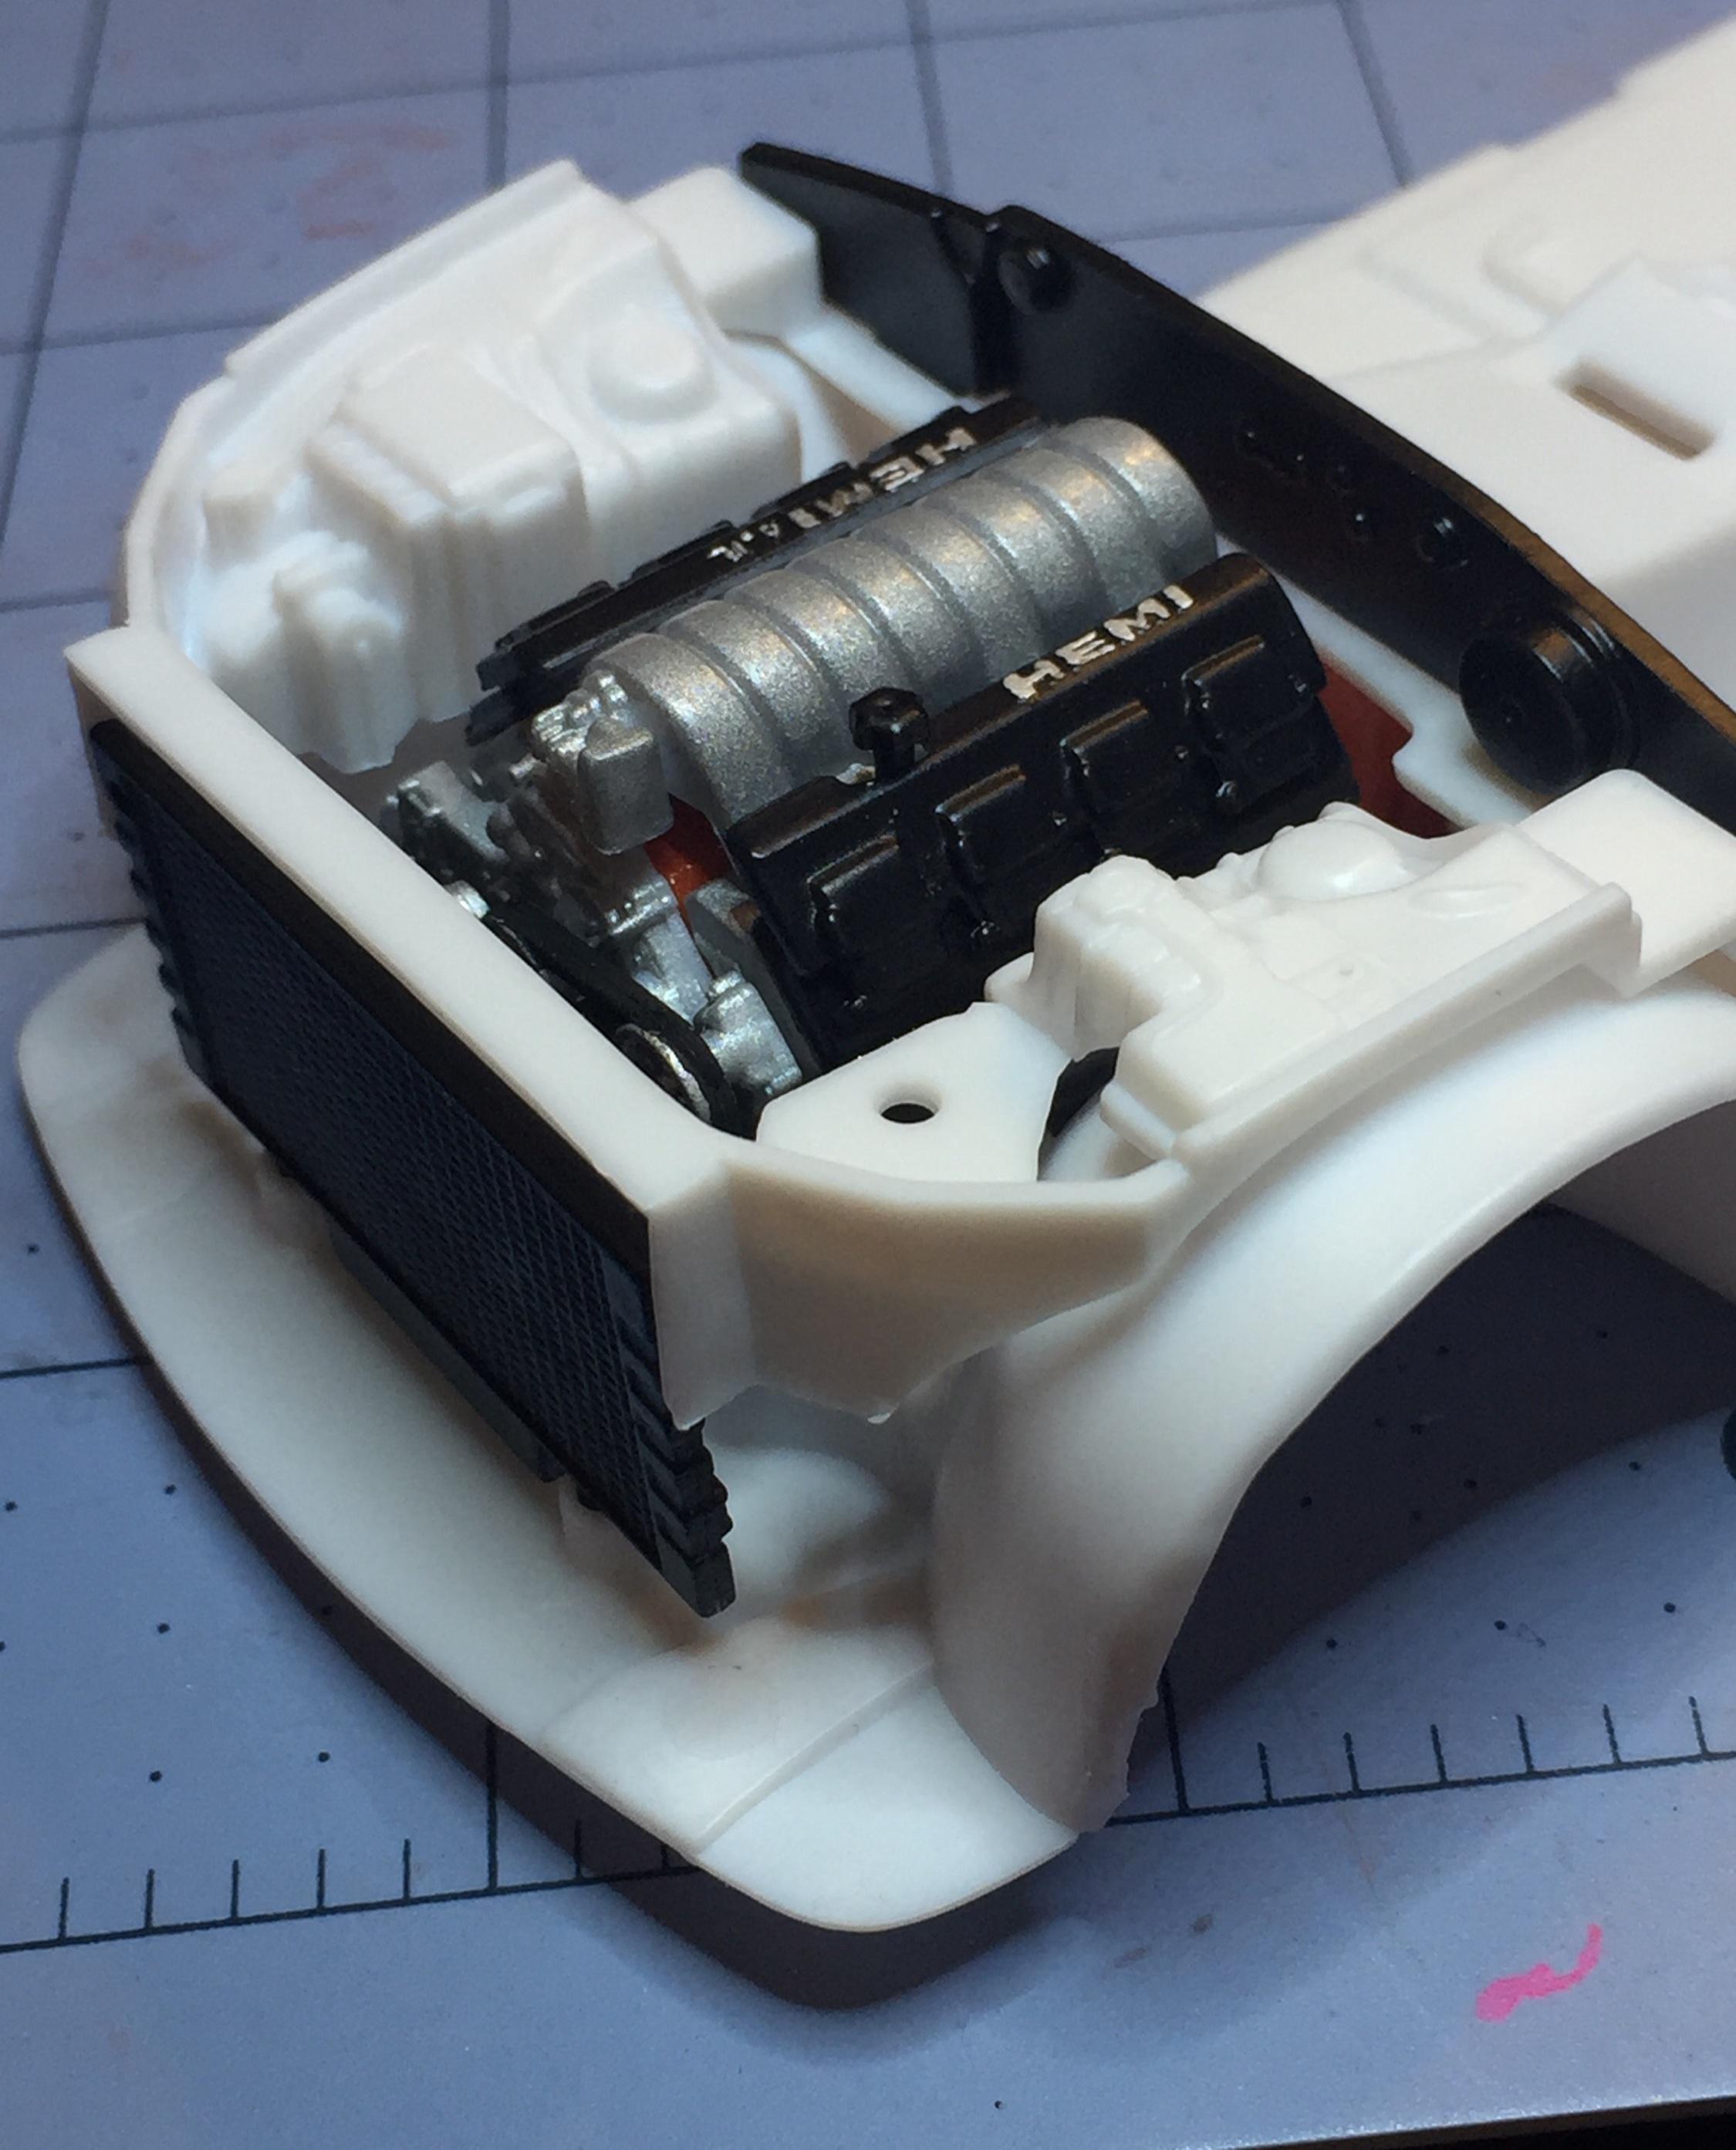
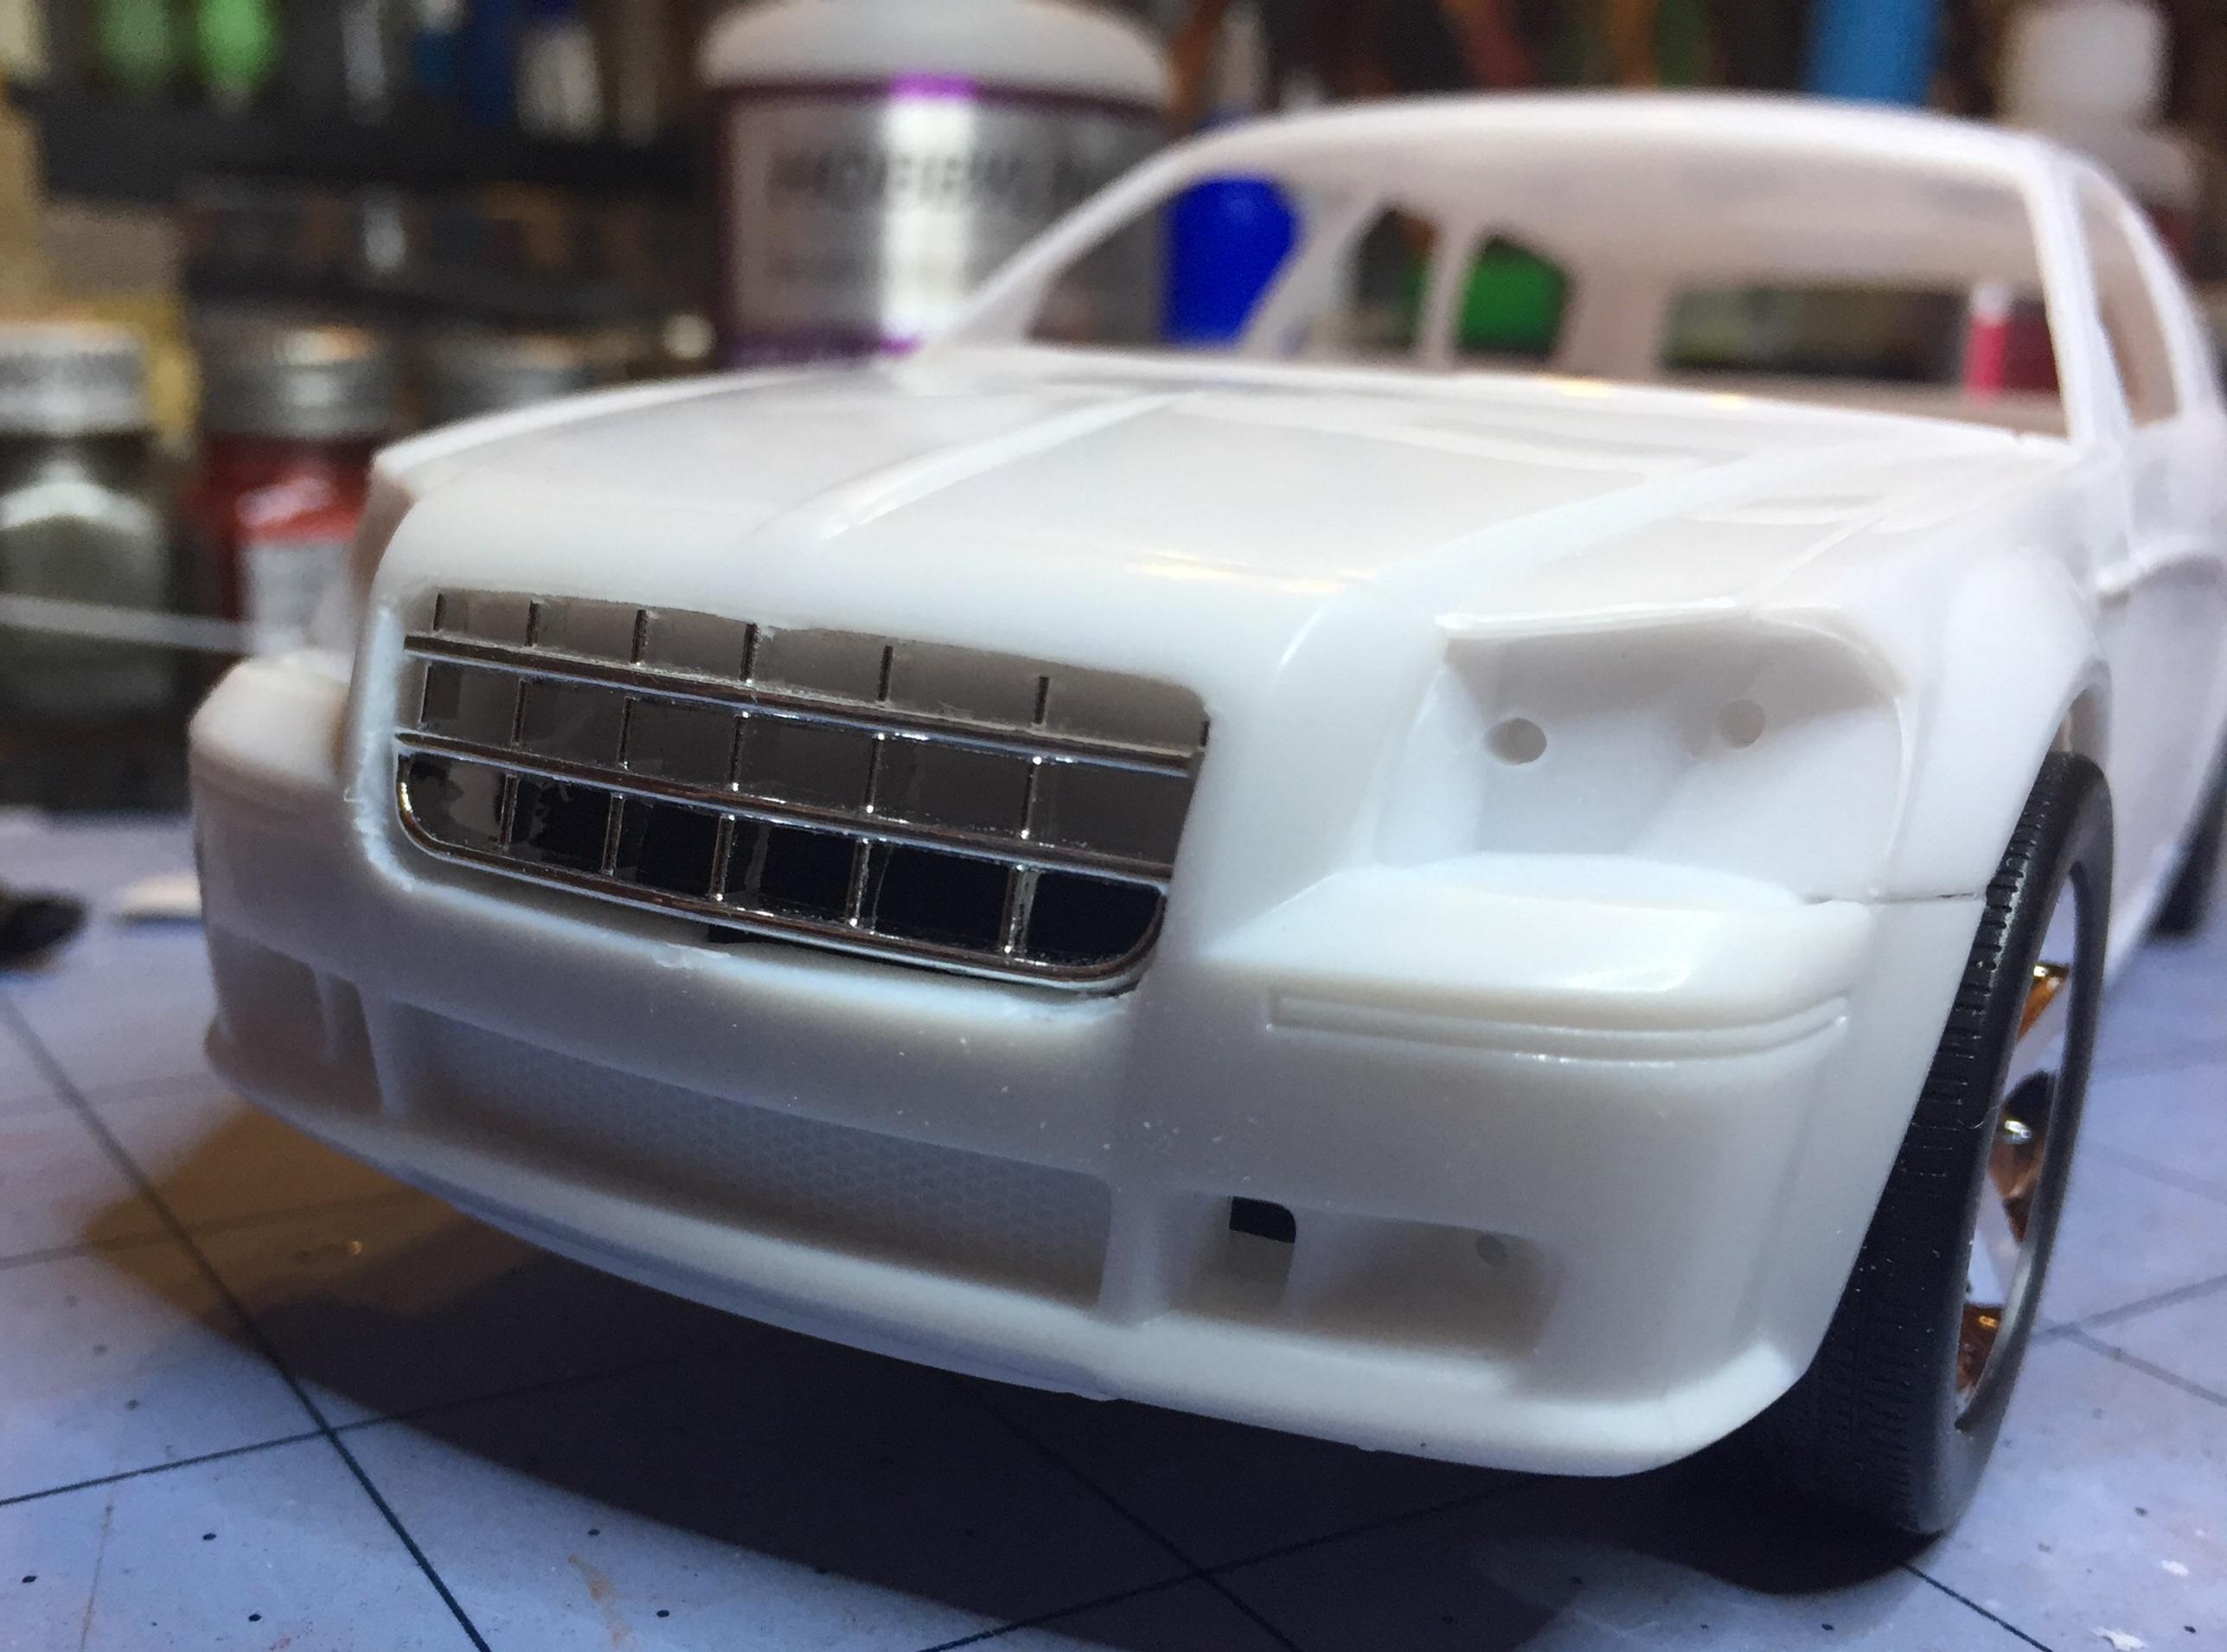
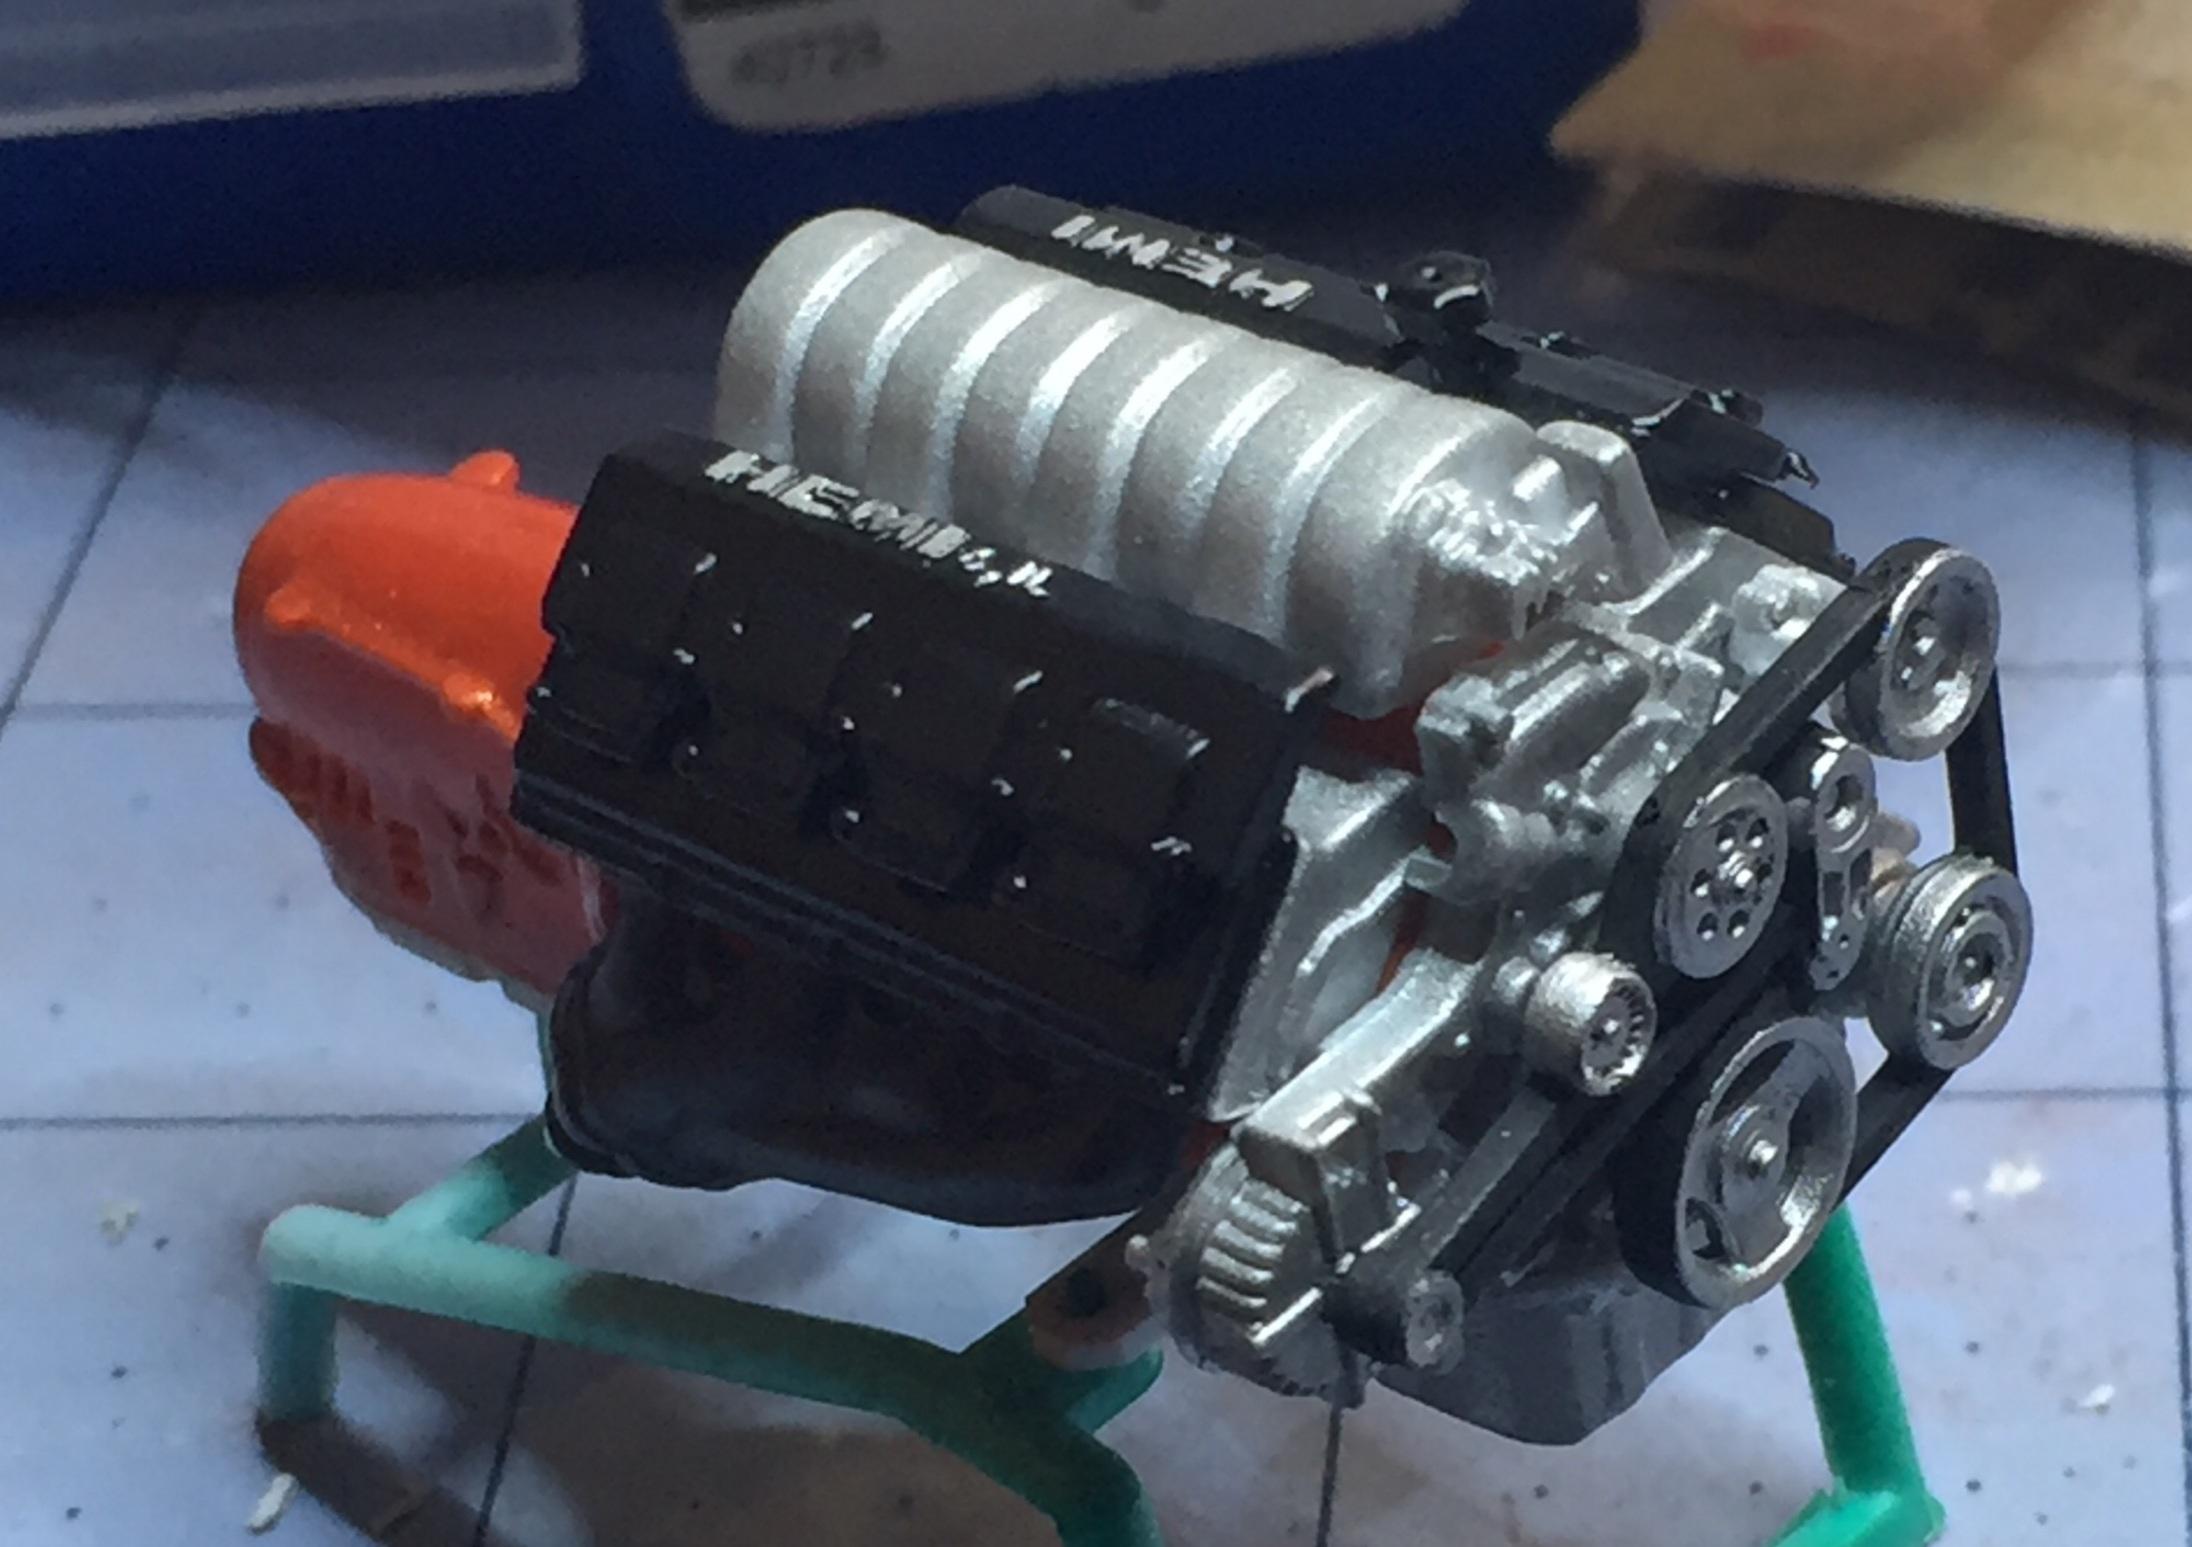
Thanks,Carl. I got more for ya ?A NEW FACE ! it was the voices again. Retro side trim too. HEMI ! Tight squeeze Betcha can't guess where the grille came from ? (not a mini-van ?)

-
Yeah, David, I know about Duplicolor's plastic melting tendencies. Gotta use a good primer/sealer. Best way is to decant it and airbrush it. If I go with rattle-can paint, I have some Krylon that I have used on another project. It is a really nice metallic aluminum that I think would be dynamite on this car. I'm also thinking about some minor esthetic mods. Stay tuned. ?
-
Mmmm....naaah. this is a totally different tool. One piece body. I thought because it was Revell and around the same age I could just swap nose parts figuring they had used the same basic platform... but no. I can cut the nose off and destroy a decent kit just to keep the voices in my head happy but I'll defy them this time and maybe one of my grandsons will want to take a whack at this pimpmobile. It's really more work than I want to put in for this particular project. Nope. Mild custom Maggie. The 2 door conversion is done and now it's just the usual stuff. The pix I see on the web show mostly gray/white schemes inside but I need to check my paint supply for something fitting. I have some Duplicolor cans that may be good for this and a bunch of Testors Extreme colors. Any thoughts, Dave? Flashy or sedate?
-
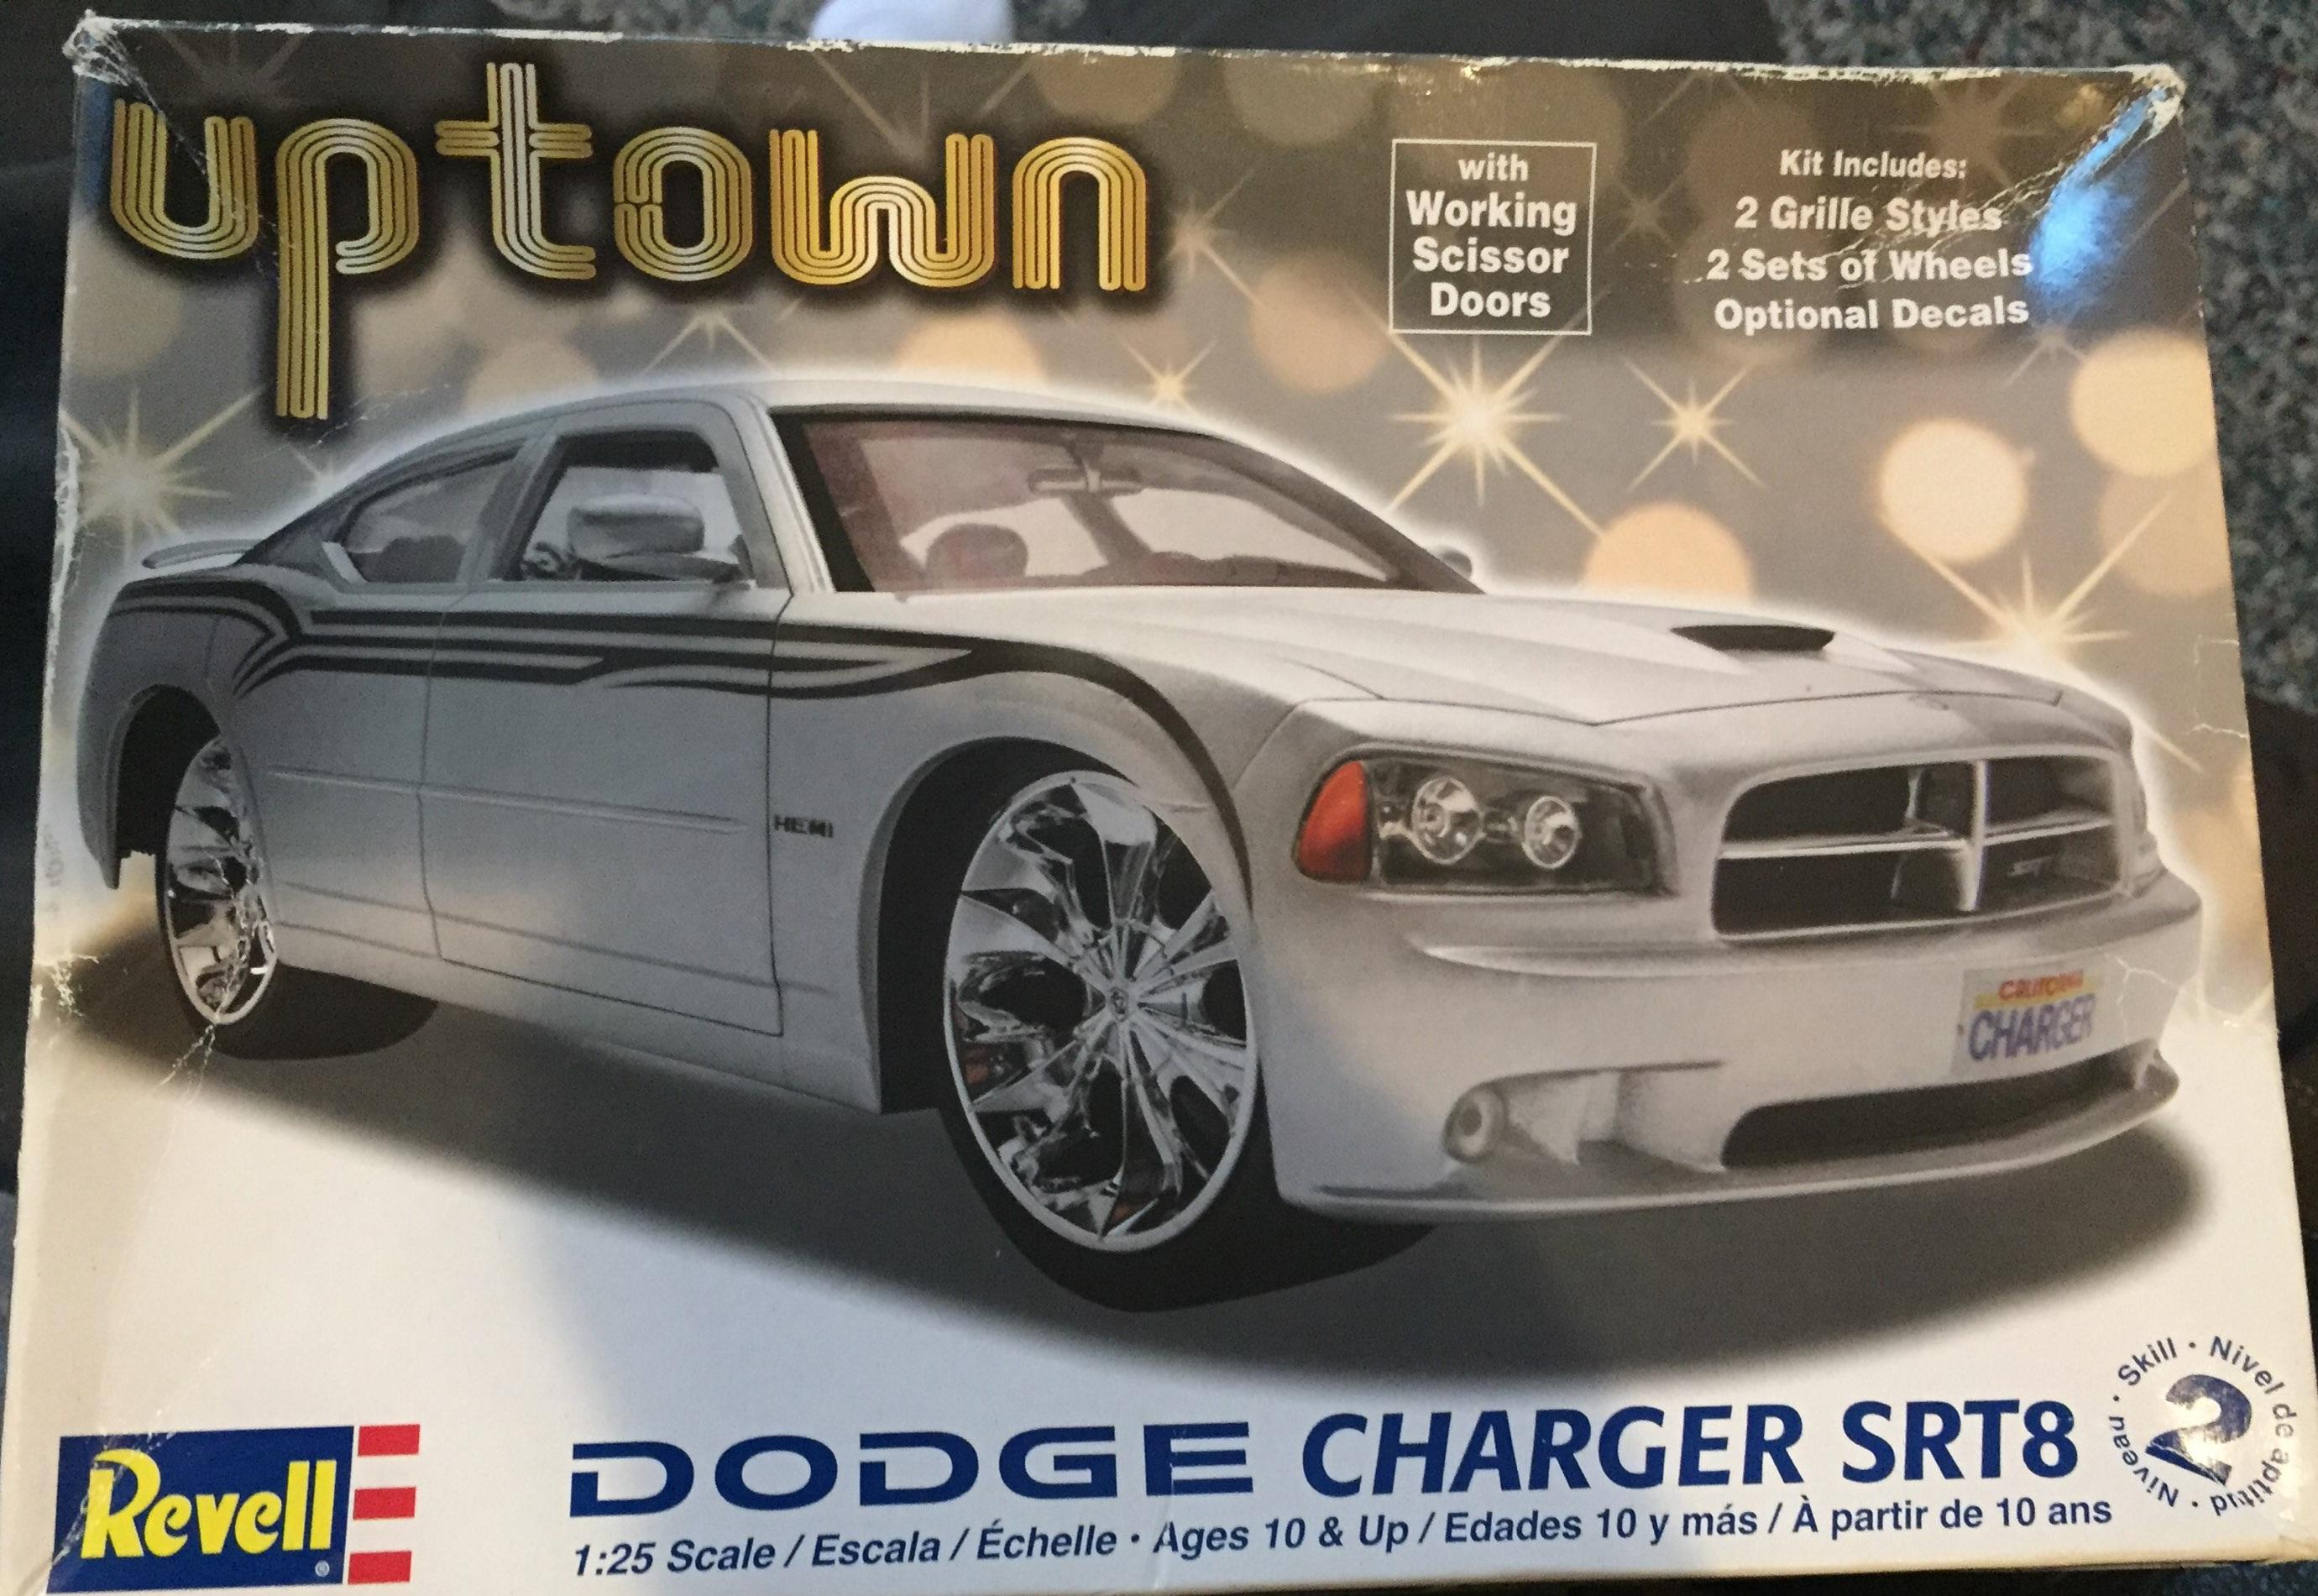
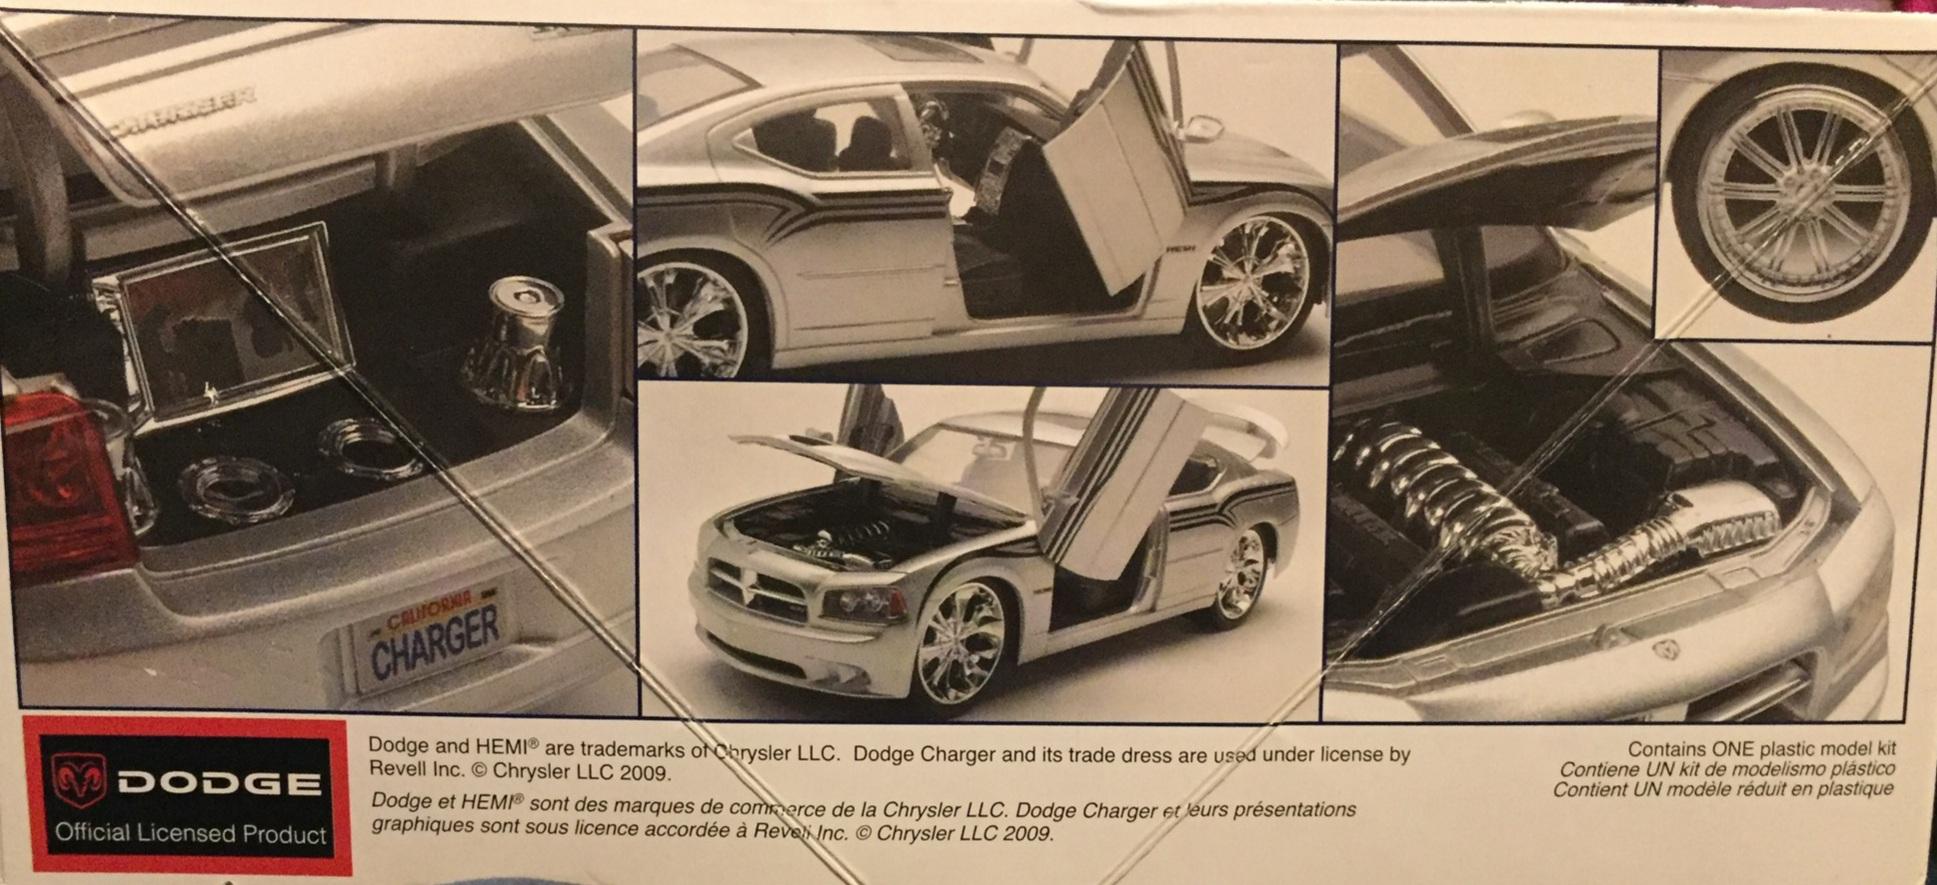
The Charger found its way to my zip code this afternoon and I couldn't wait to get my hands on it. When I did, I got a surprise. I knew it had "scissor" doors. That's OK because I was just going to use the nose. I thought it was going to be a kit like the Magnum kit. Nope totally different except for the front seats. It's a great kit to build OOB. Its appears to be larger than 1:25 and I think it was originally a Monogram tool. It's molded in white, medium gray, and black, with transparent gray glass. There's a bunch of tiny screws and two metal axles. It's made like a promo with all the chassis details molded to the curbside style floor pan. There are engine parts to add on top but it's just cursory. There's some blingy rims with watchband tires and sub-woofers, 3 video screens and that sort of nonsense. But it is a Charger, and if I want that nose for my Magnum I'll have to cut it off and graft it on but I'll be destroying a fairly cool Charger with flip-up doors. Personally, it's not my thing but it will make a pretty cool display. So the Magnum will keep its mini-van nose. Sorry to disappoint ?. The Charger was an open box buy and I am going to build it but it's way down in the queue. Maybe I can trade it off to a millennial for some brownies ?
-
I just take good pictures ?.....wait....ya know....that's not a bad idea ?.
-
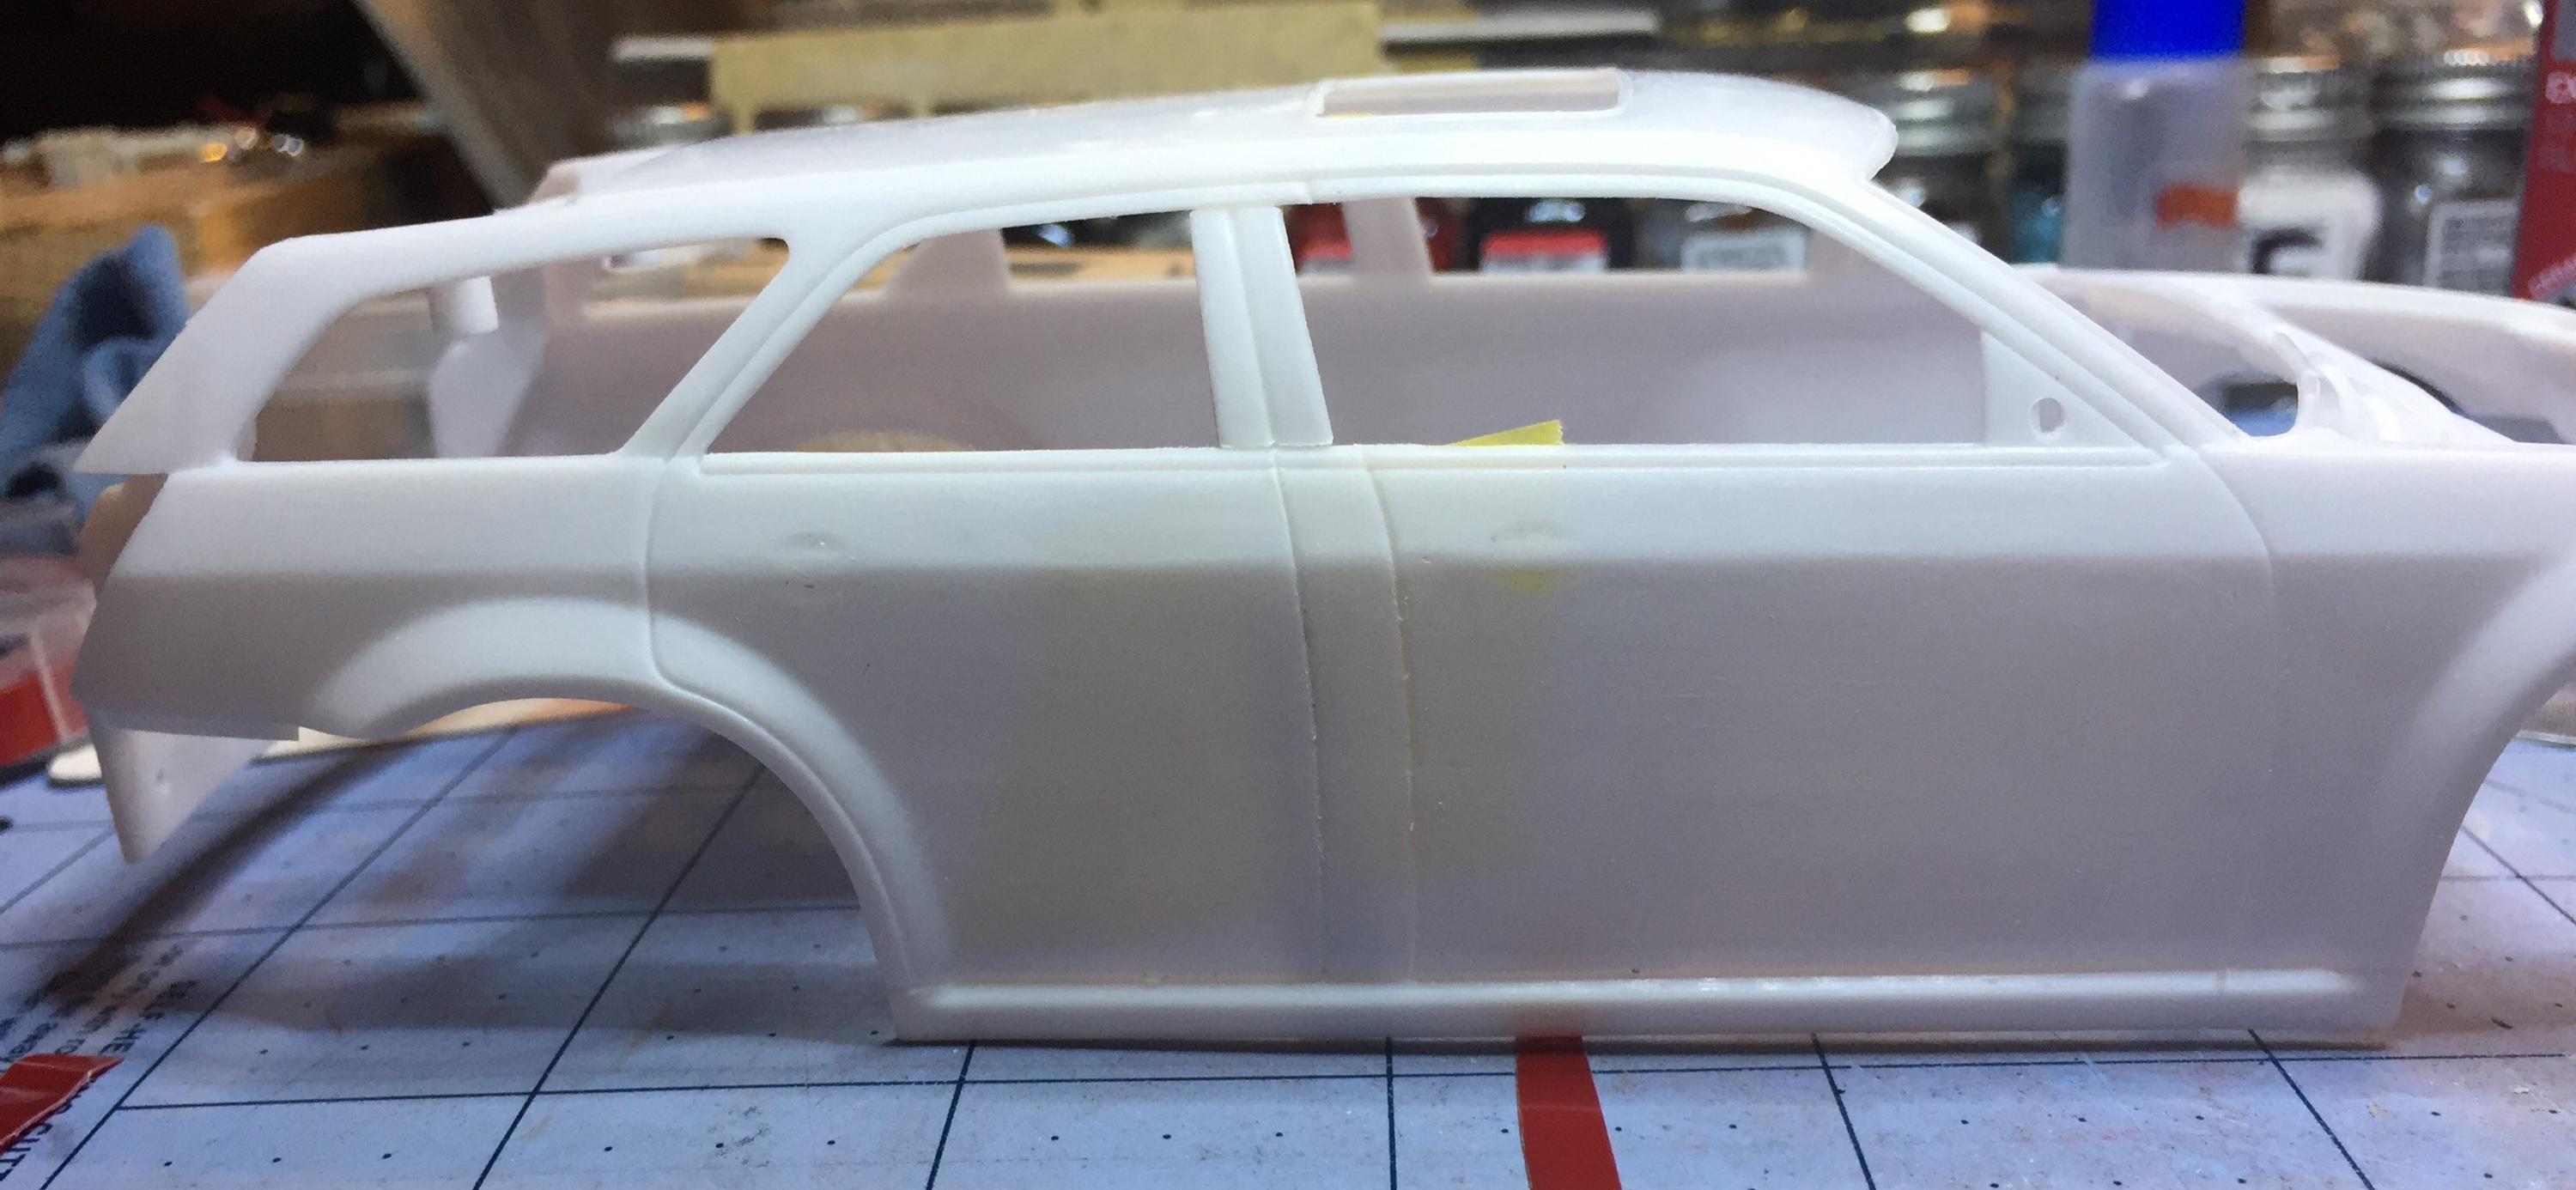
Once assembled, the mods will pretty much disappear unless you look for them. It's all about the overall 2 door look. Some people won't even notice the change ?. Incidently, this thing goes together phenomenally! ?
-
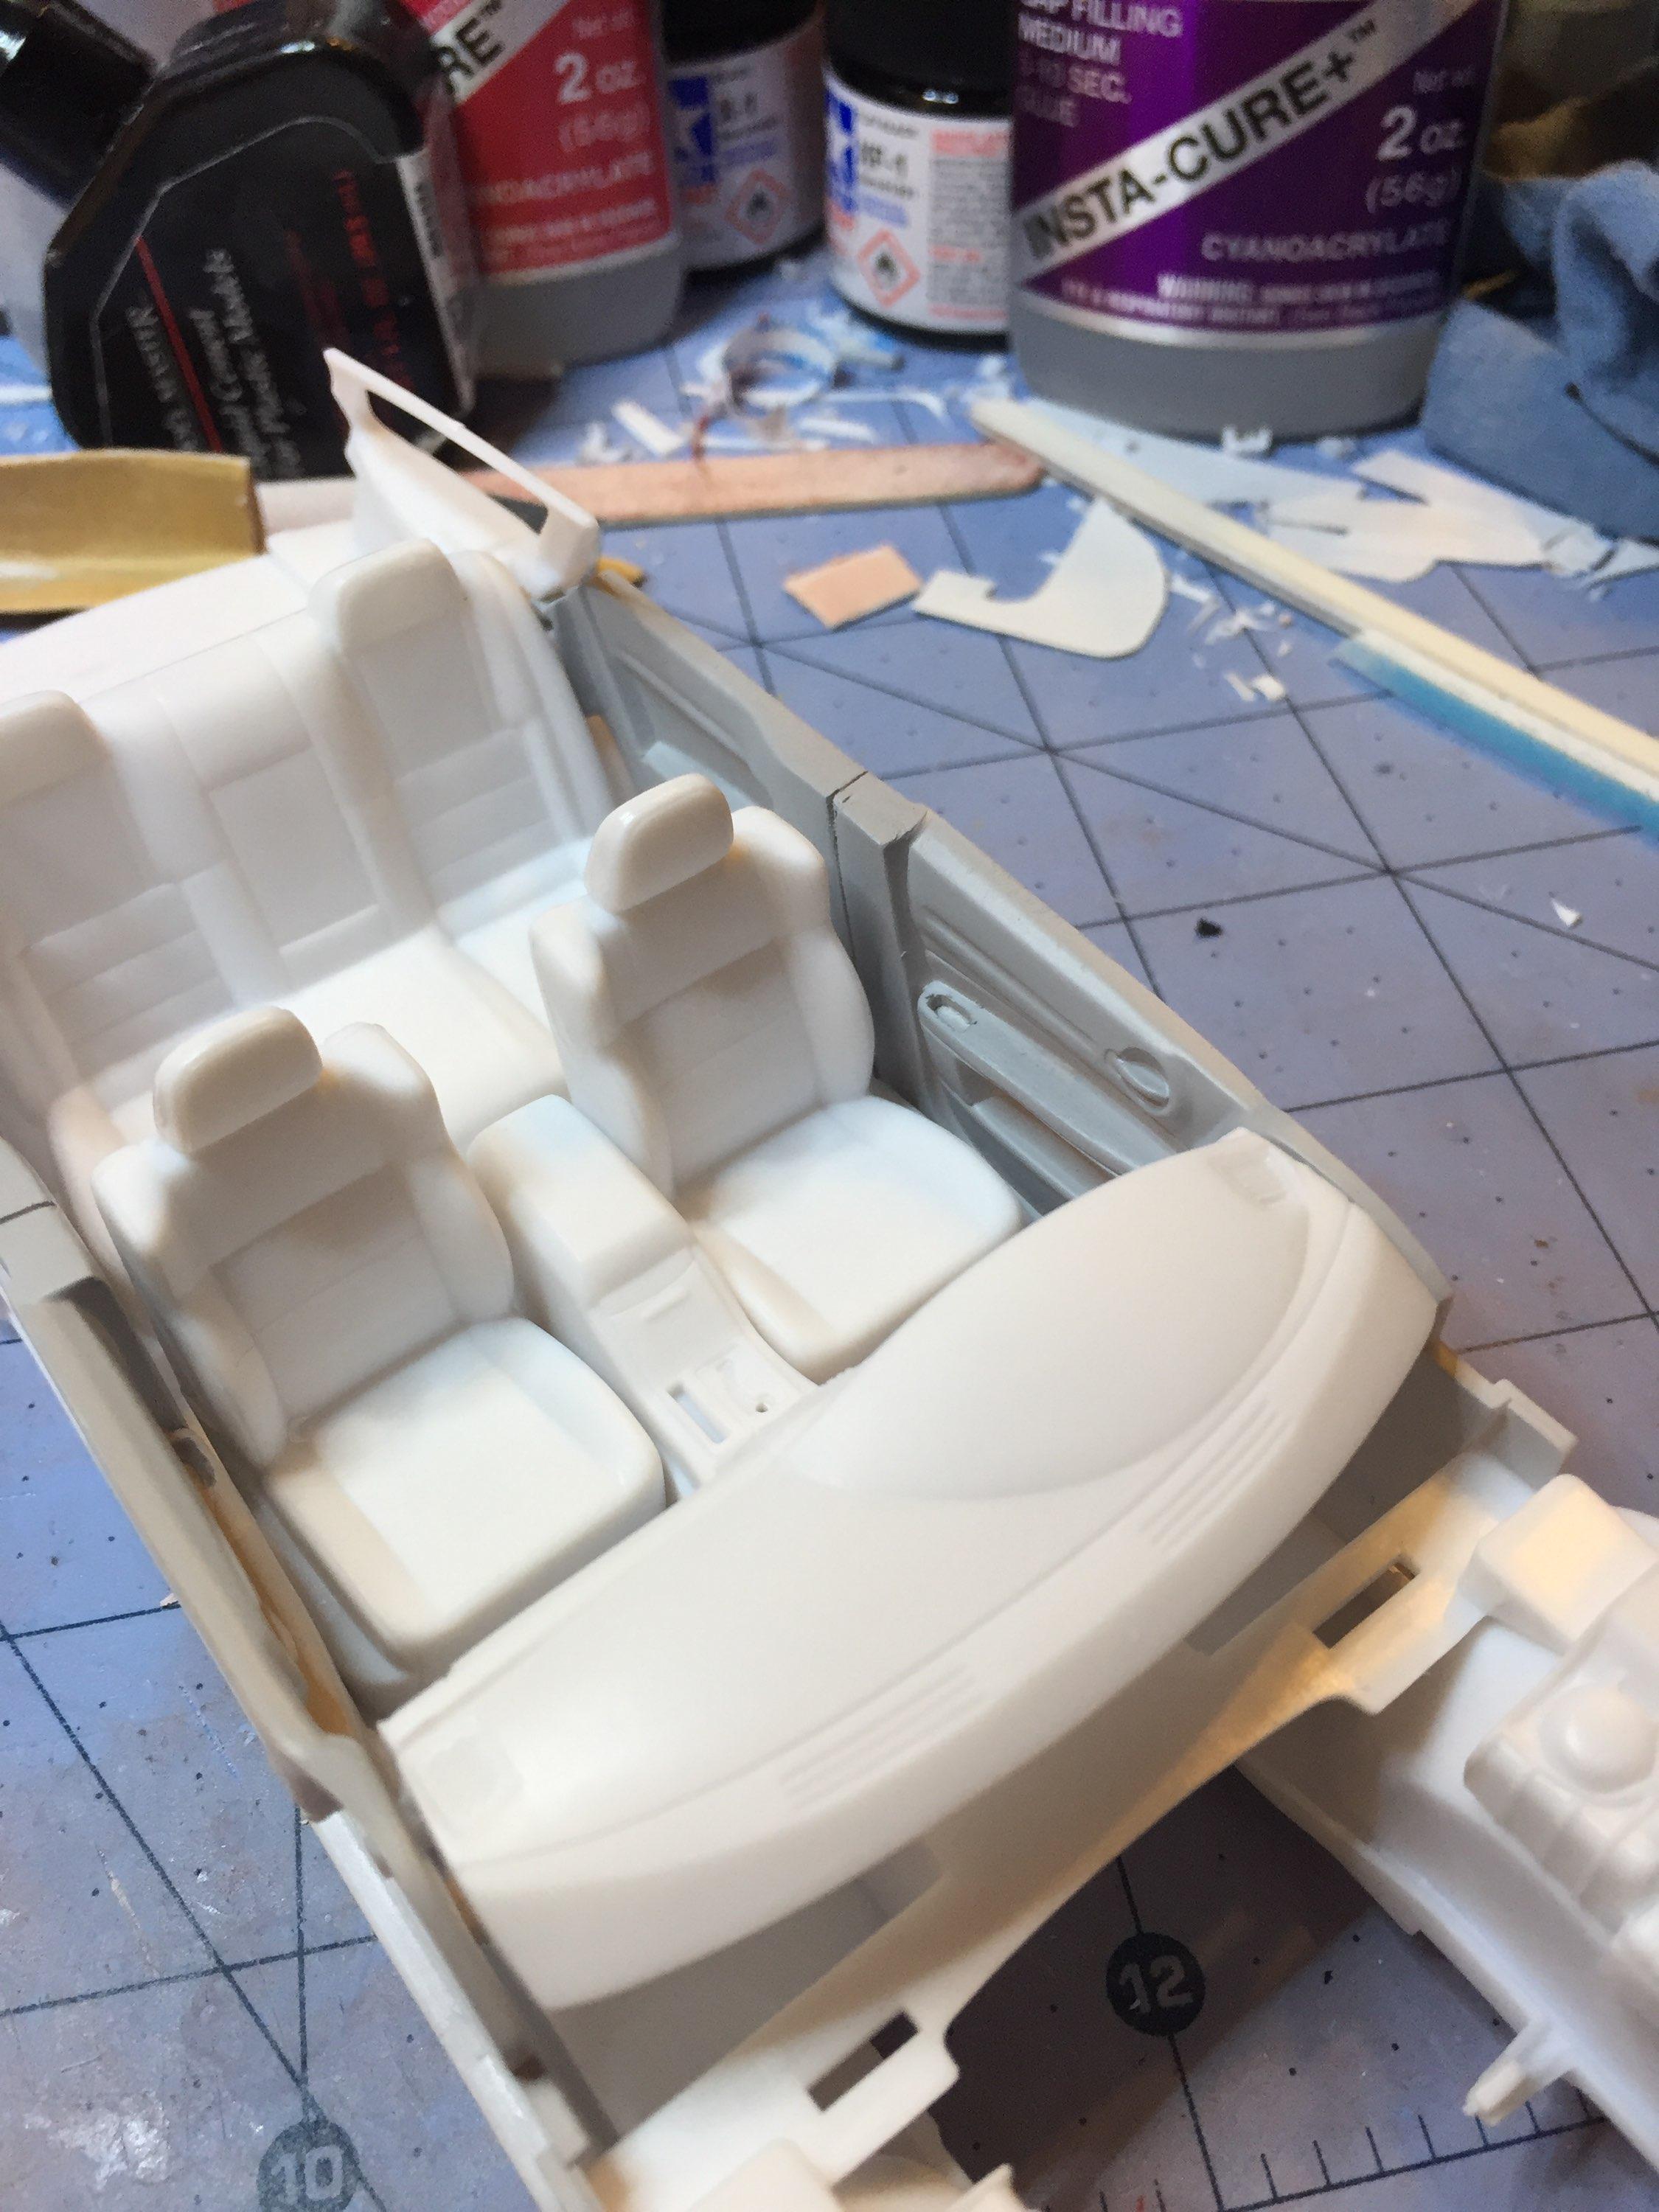
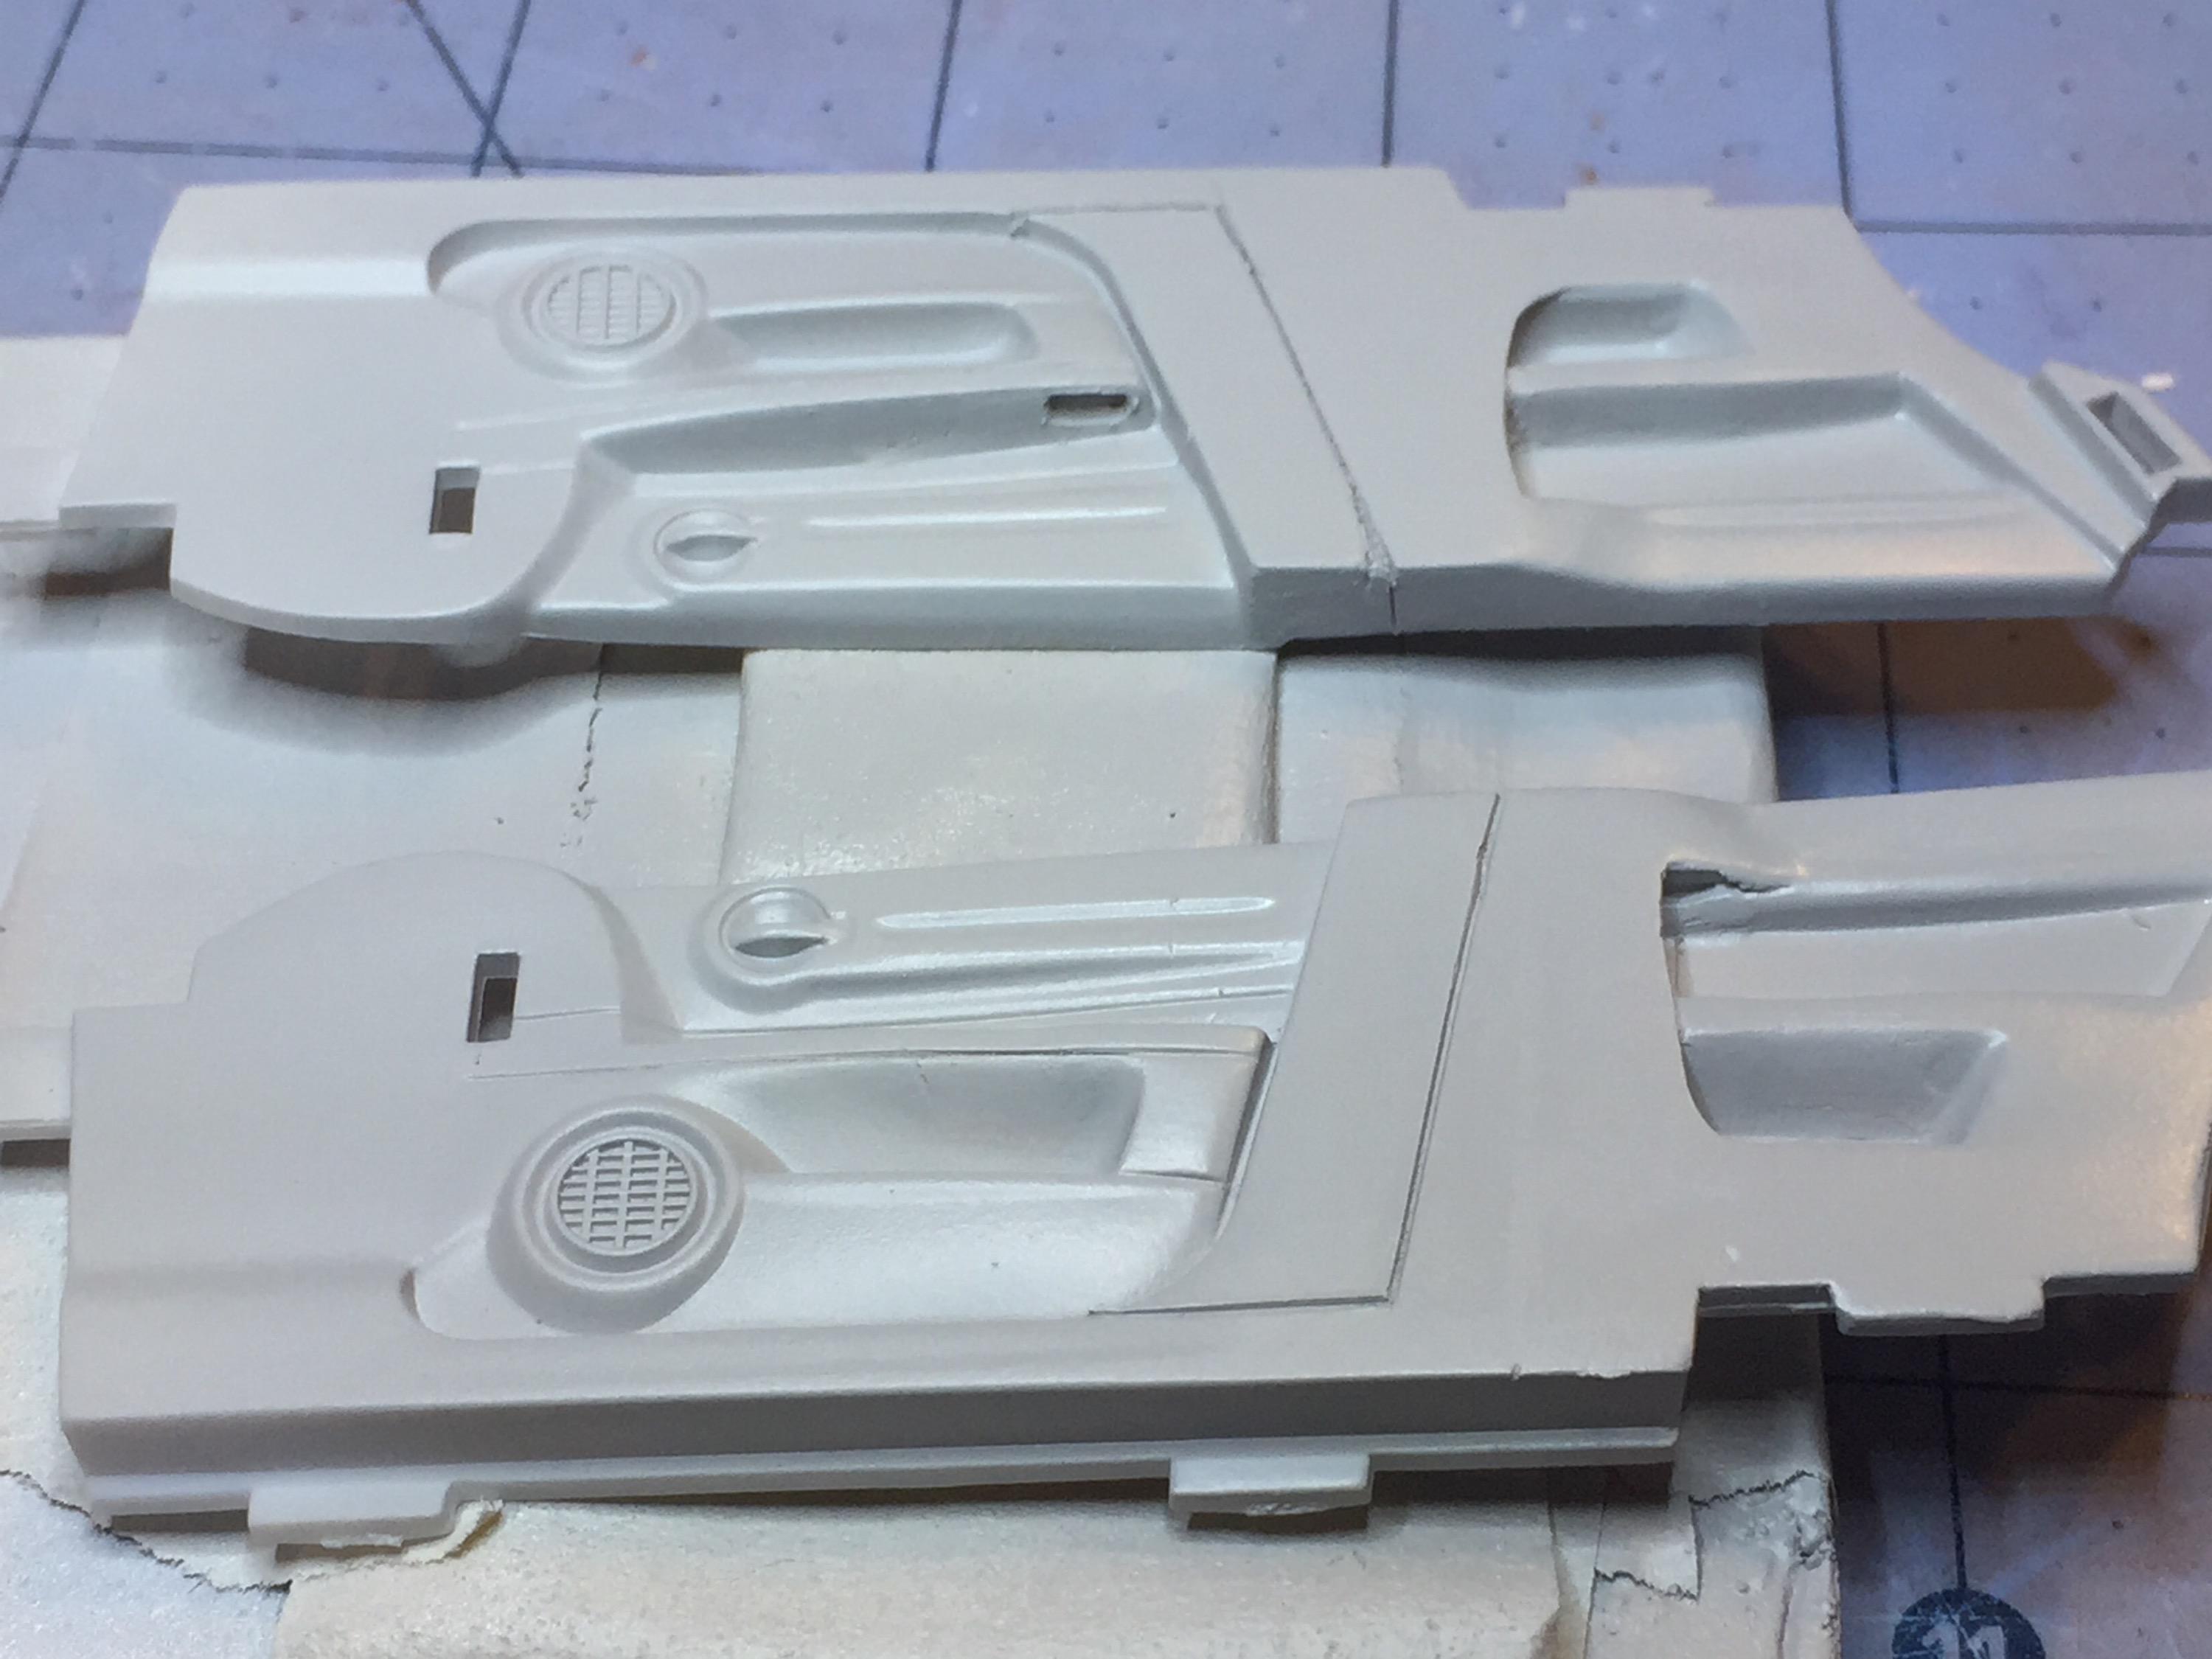
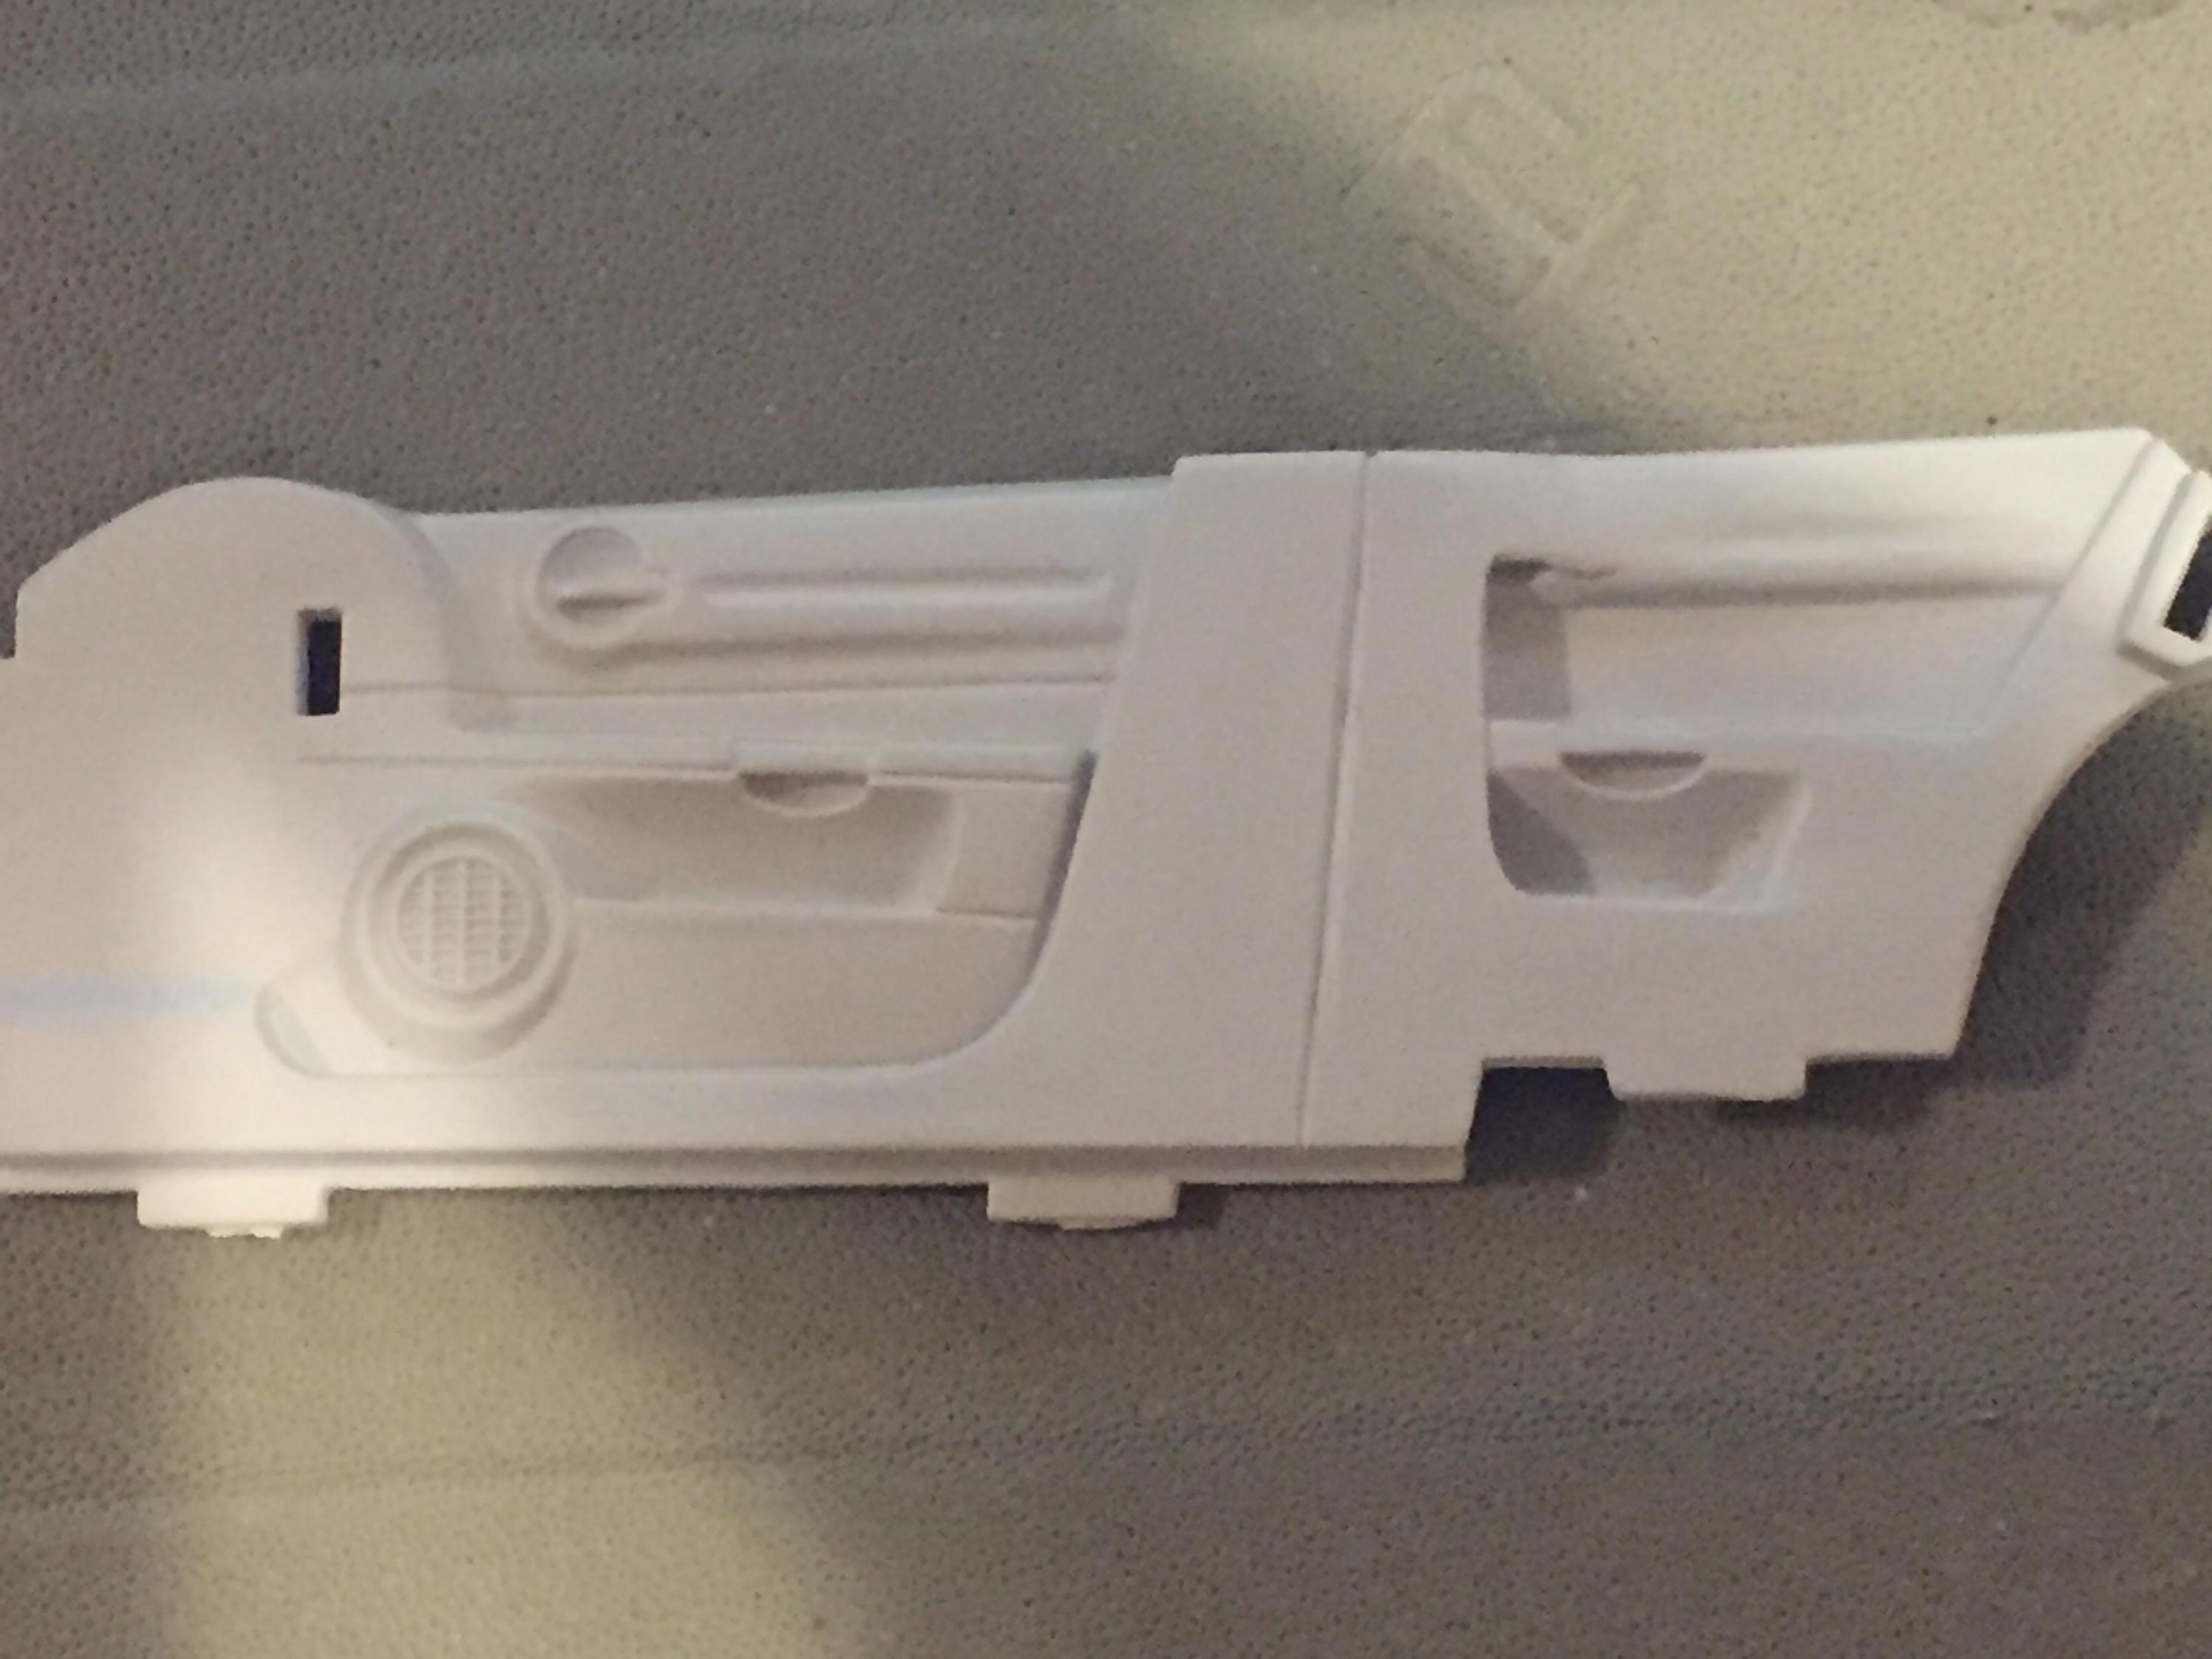
Just a quick one, friends.... they need a little Mr. Surfacer to make 'em right but I think this will do. I think a gray/black factory-like scheme will work, keeping it simple and stock looking. I made simple door pulls further back on the arm rests with a drill and some scrap on the underside. My Charger kit seems to have been diverted. Hopefully, it has reached it's destination today, although tracking said it had but it had not. ?. Thanks for stopping by ? Oh... I know it doesn't make sense if you scrutinize it to much but it didn't make sense to make a Magnum with all those doors to begin with.... Jus' sayin' ?
-
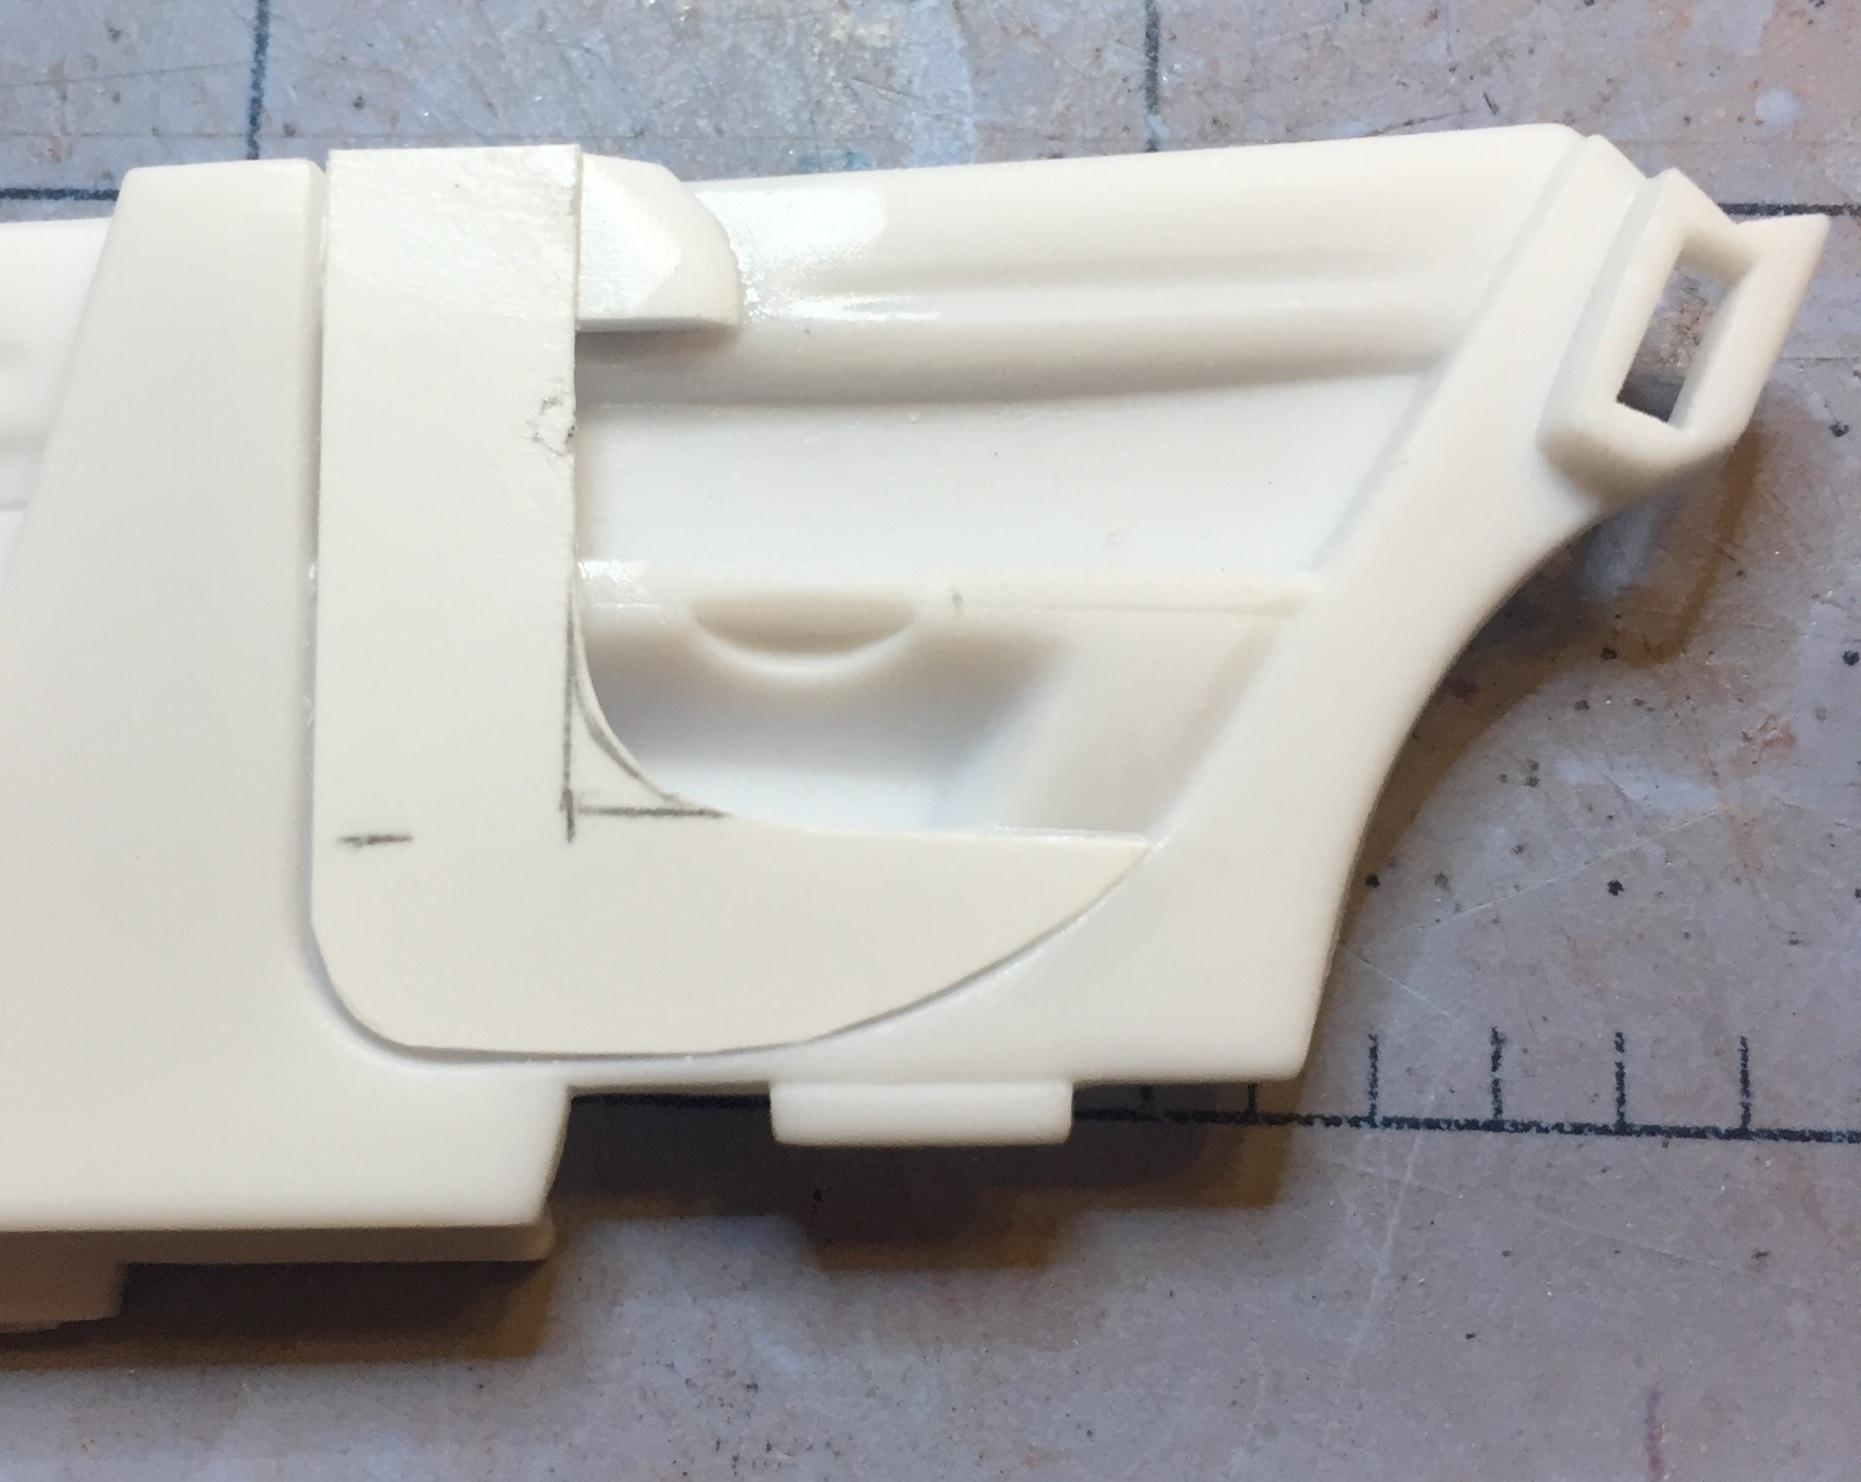
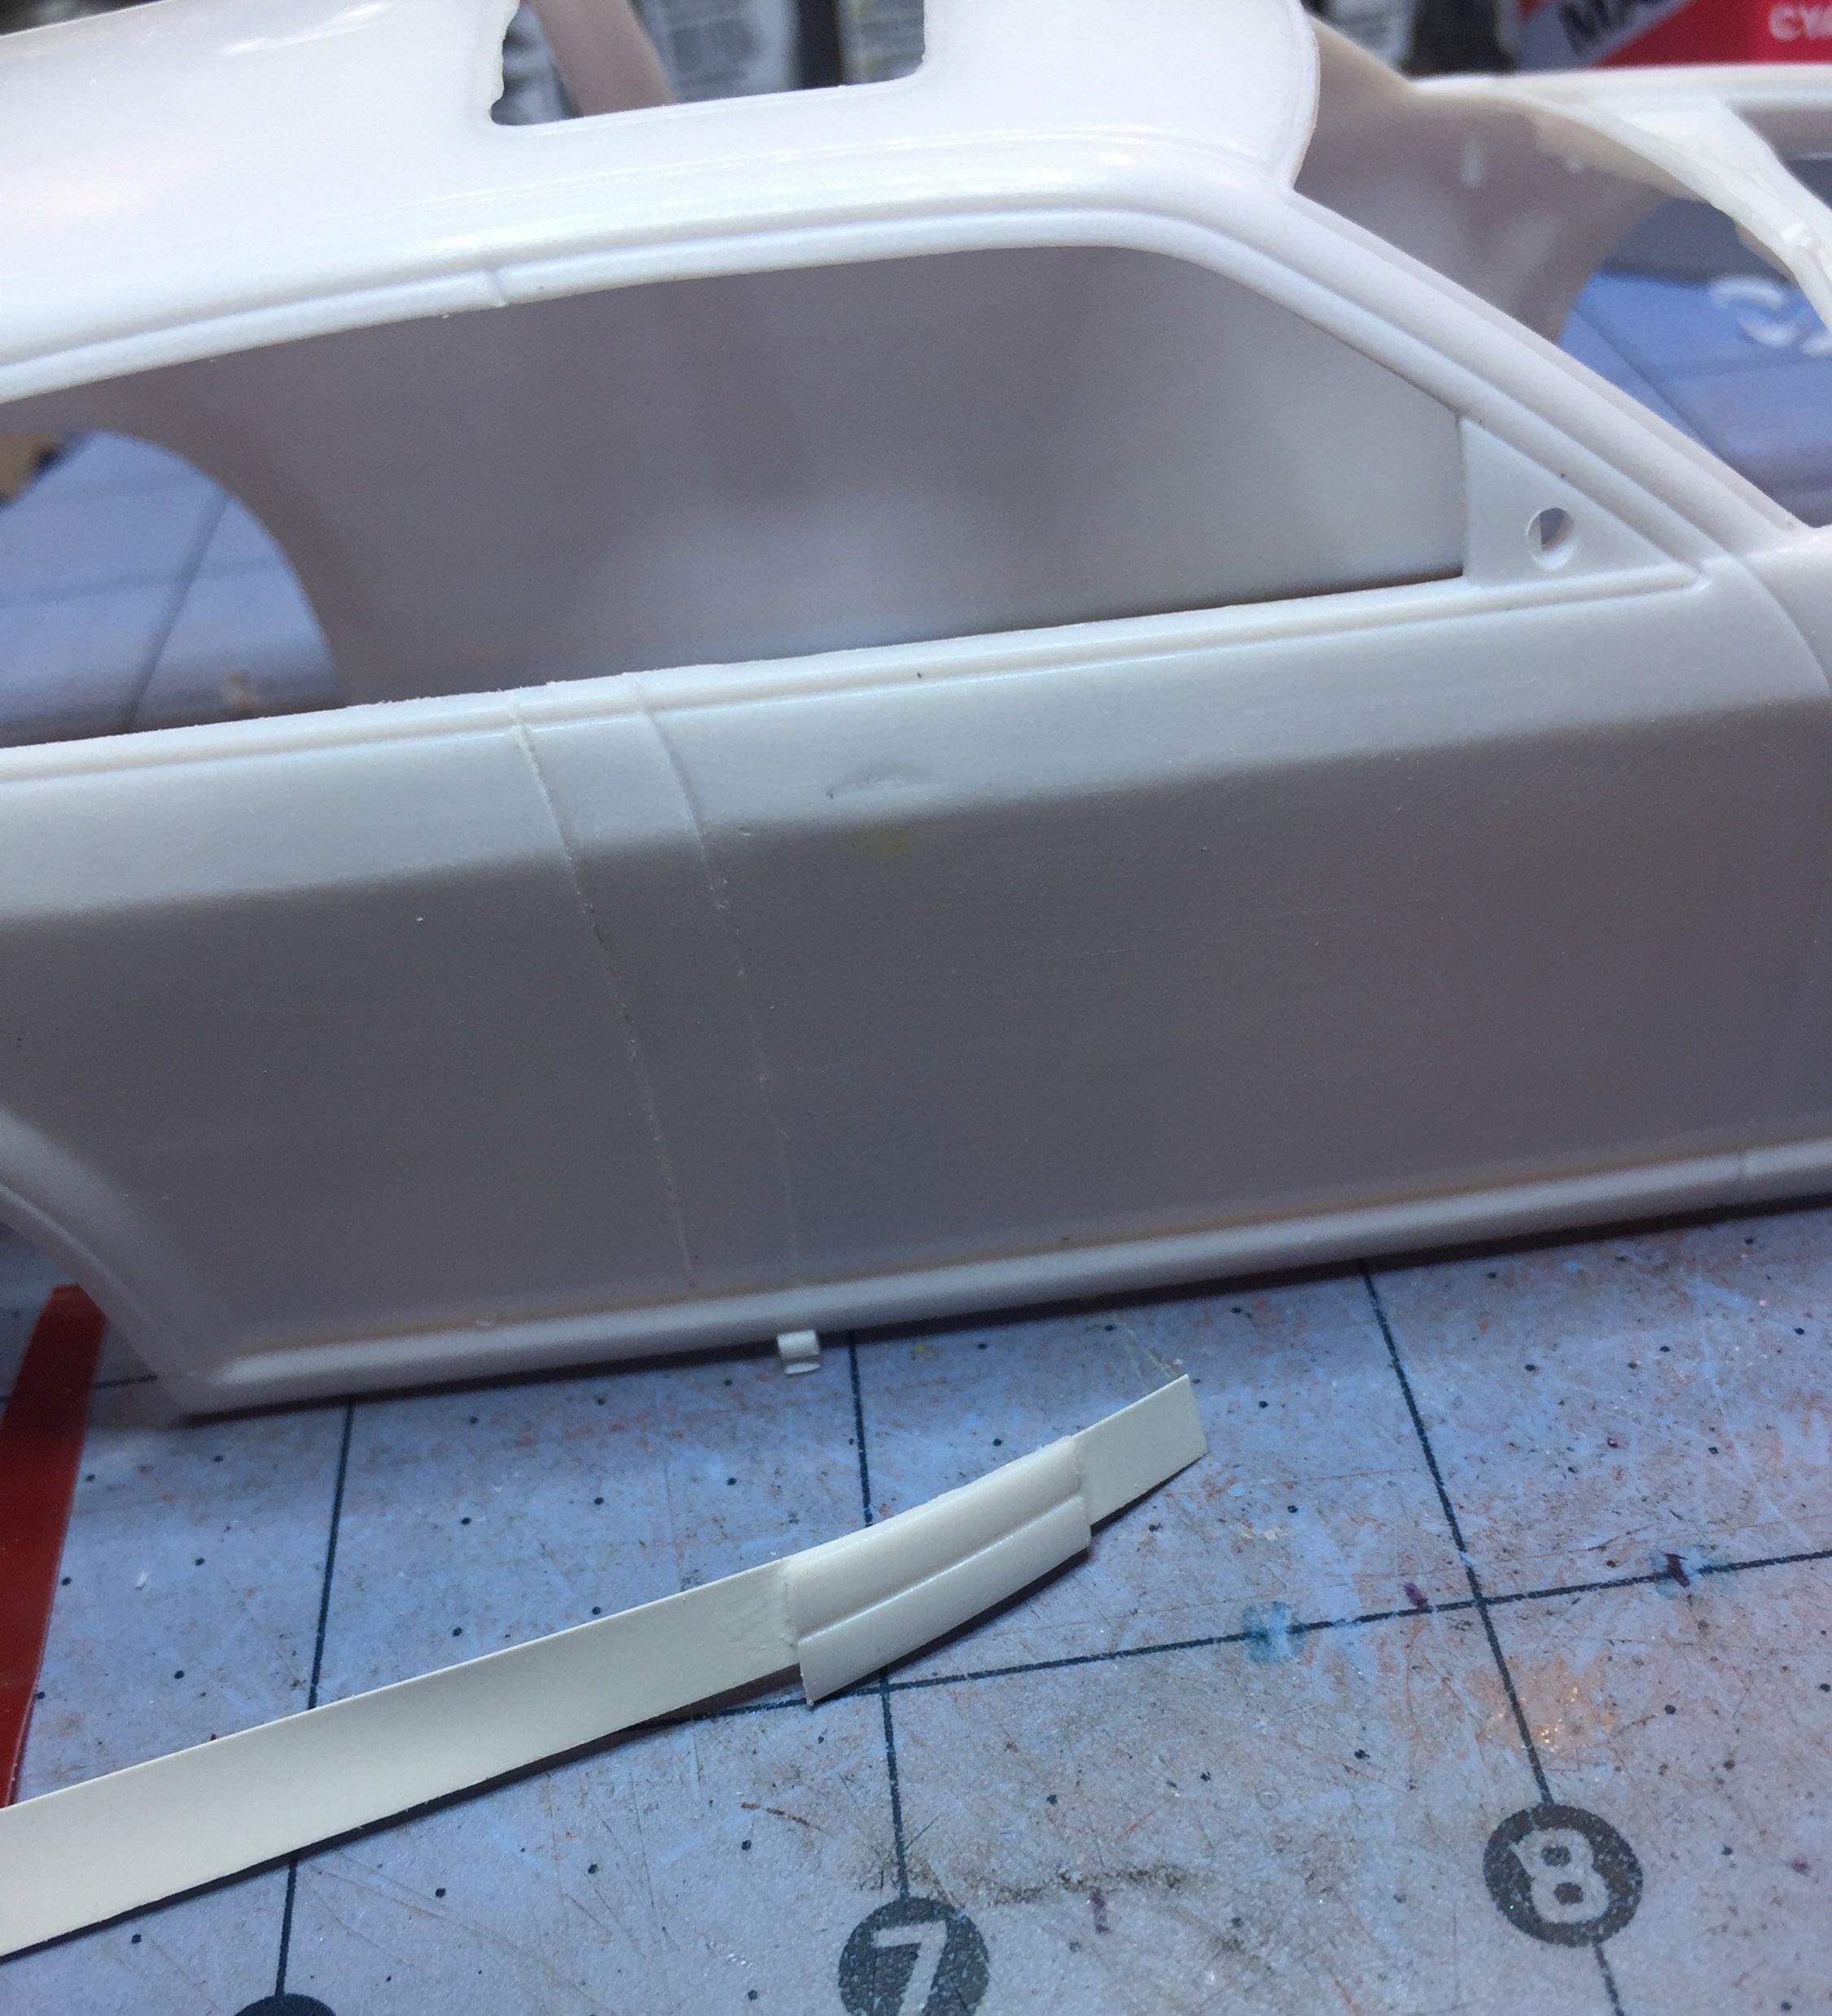
John just made me aware of a mistake. I need to move my new scribe line forward. It would not line up with the outside line. ?....It should be 1/4" back from the original inside line. My bad ?. The door pulls will be filled and the front one ....well...I dunno. Ain't this fun? ?
-
With a scribe line. I'm creating an illusion. I still need to re-configure the "grab handle" in the front and fill the one in the rear. Thanks for asking, John, you just helped!
-
Thanks, Dan, I hope you're right.
-
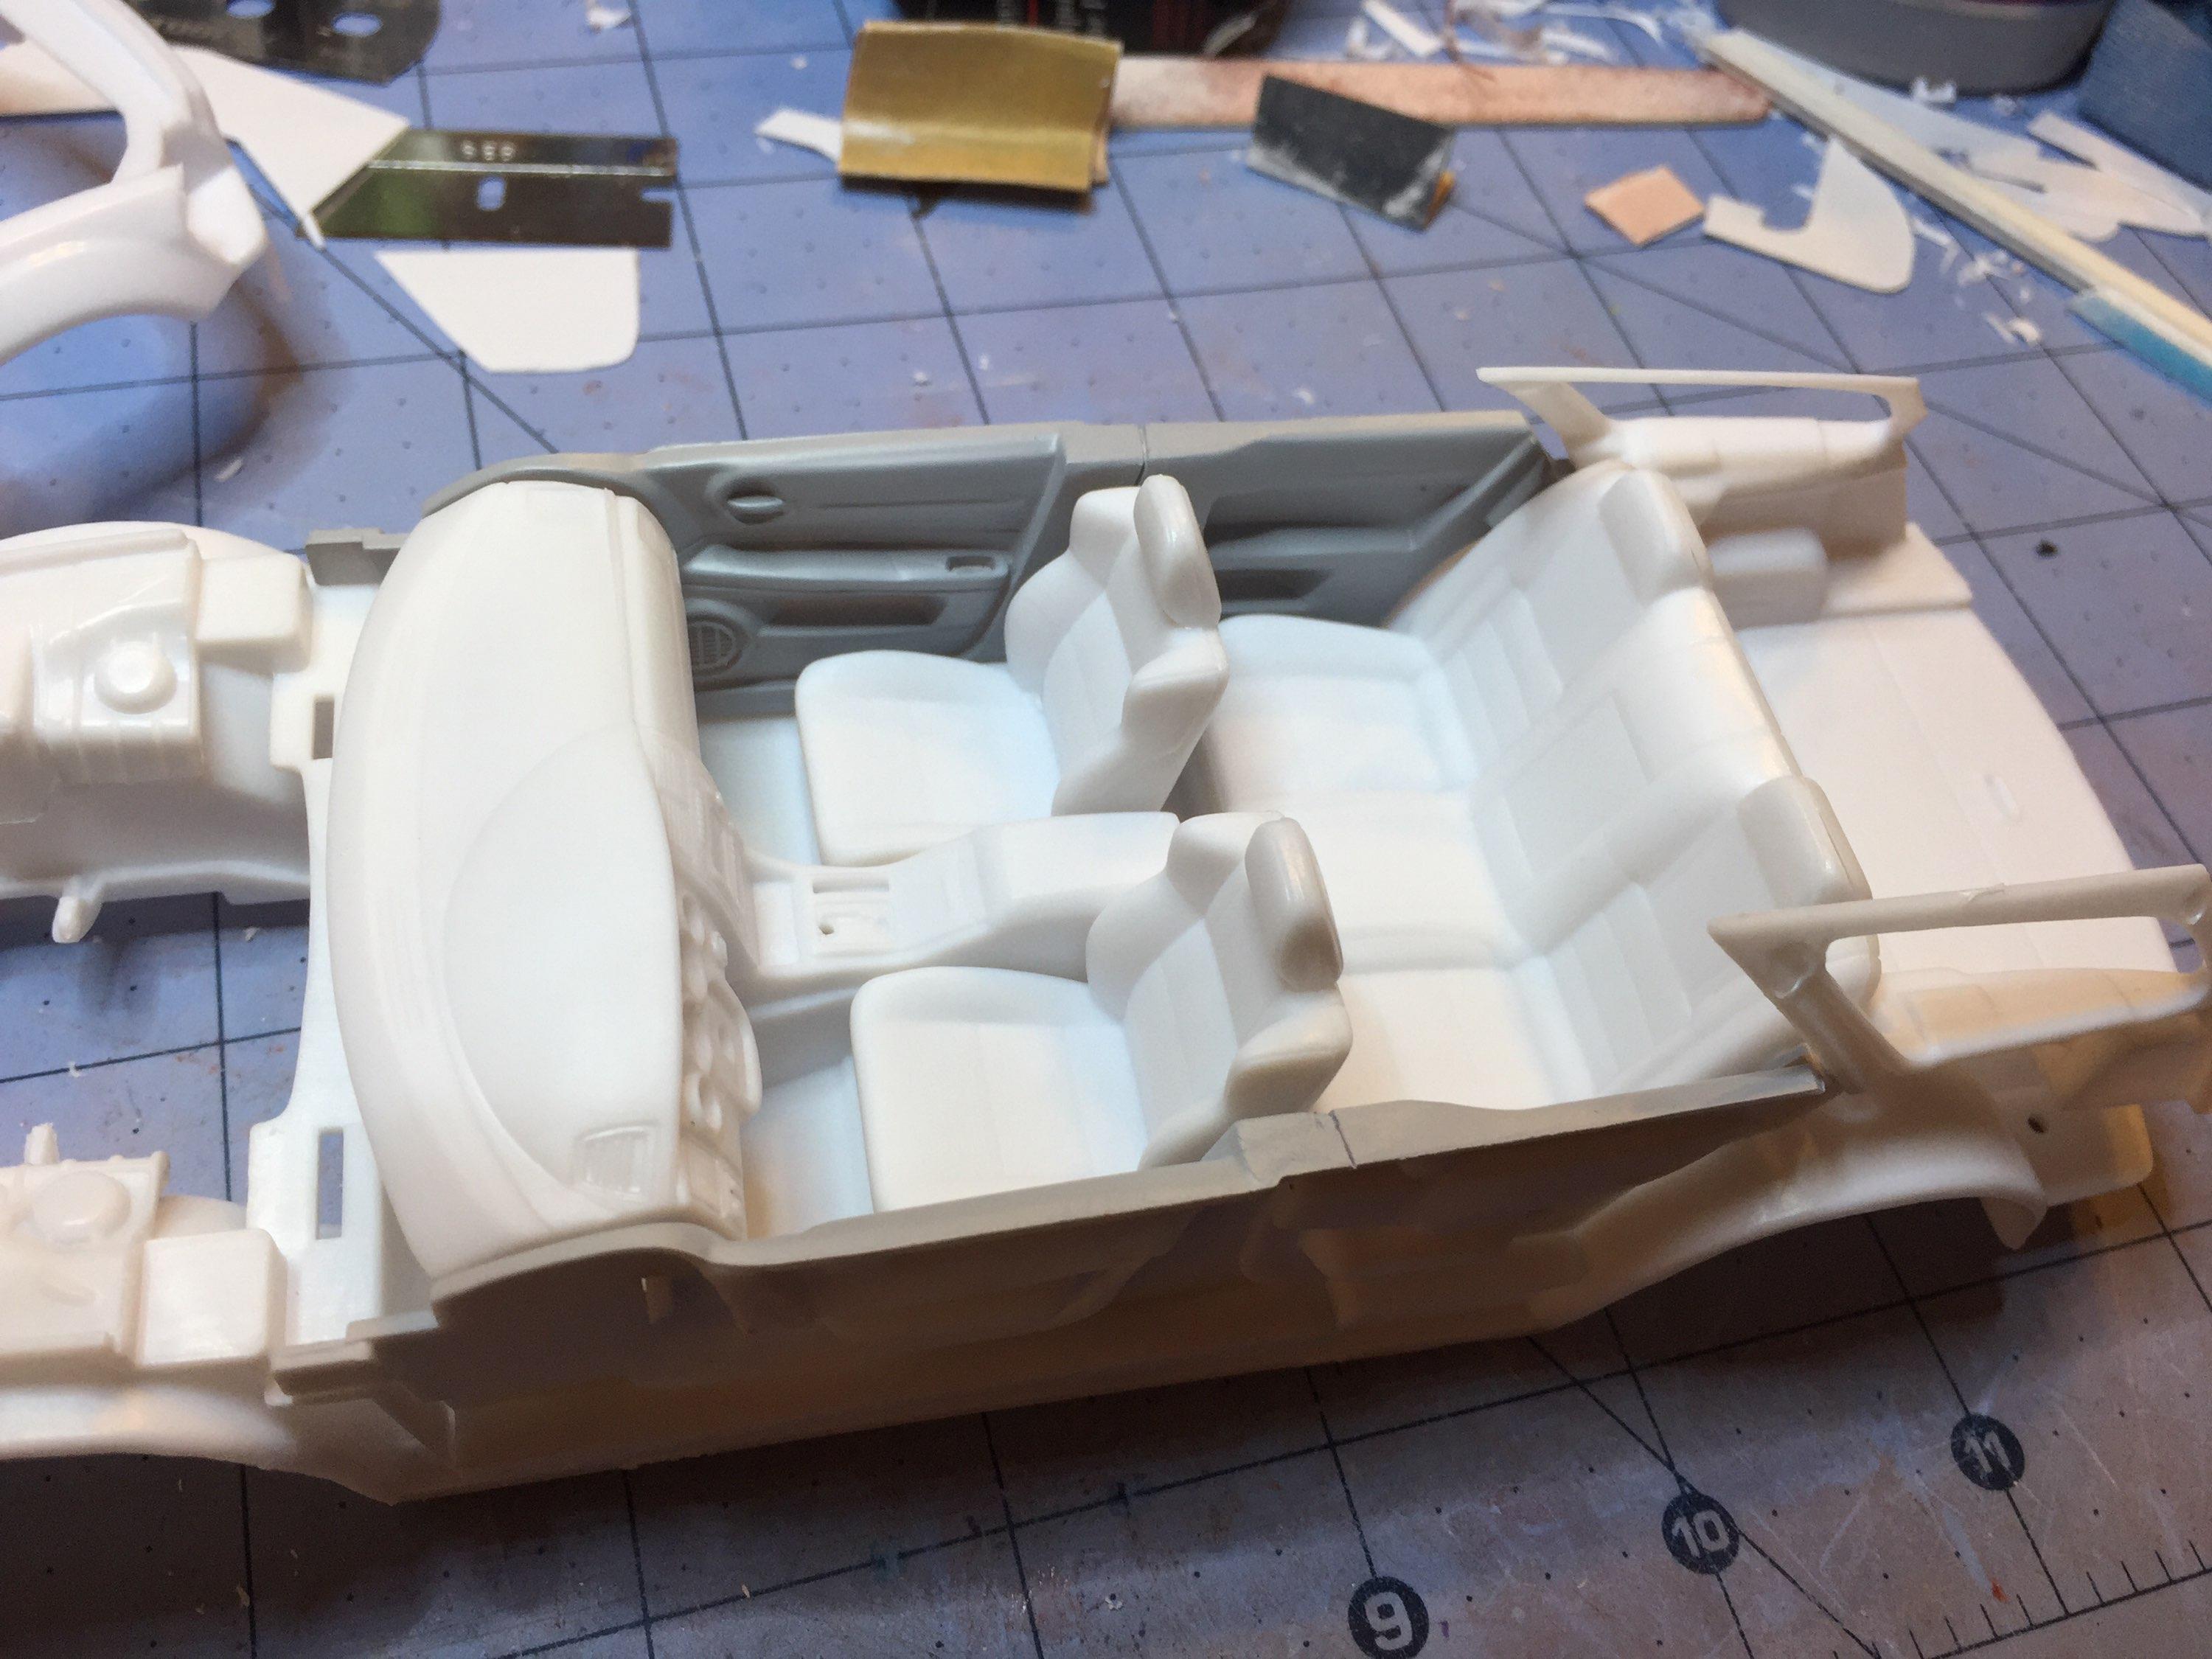
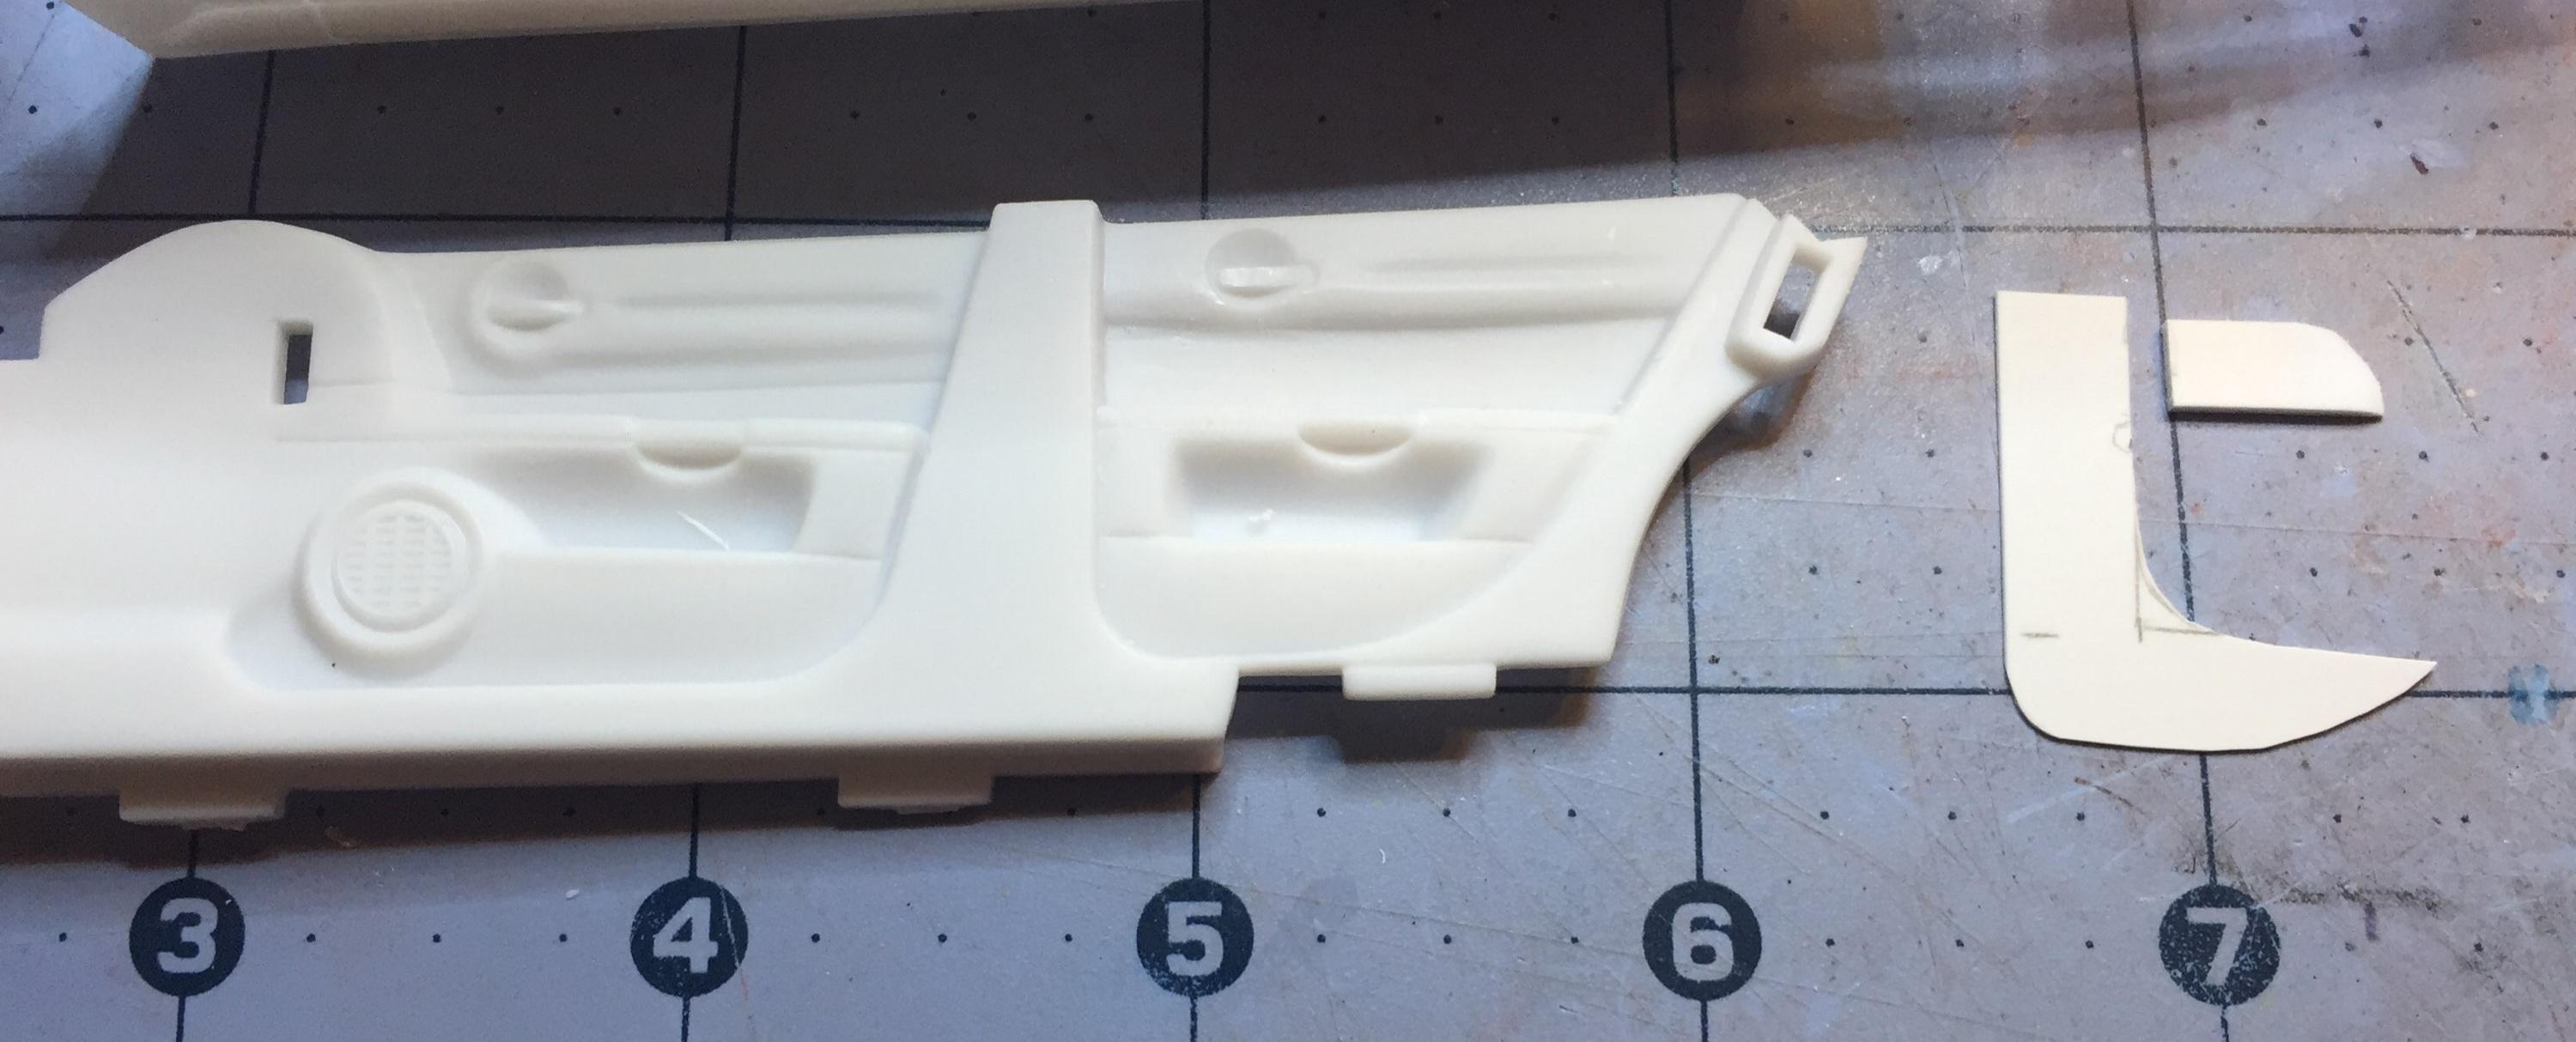
Then it occurred to me that I had to make changes on the inside too ? . The interior panels have a pronounced post area between the doors and it had to be matched up with a B pillar that was now 1/4" to the rear. I needed a practical solution and this is what I came up with. I removed part of the rounded area below the inside handle and the handle itself and covered the handle area with styrene scrap. I cut a piece of .010 sheet to fit into the recessed area and then filled the void at the front of the arm rest with more scrap. BONDO TIME ! More later.....thanks for not judging ? #2 a
-
Look around for small over-the-counter plastic pill bottles with rounded bottoms or bubble type packaging. Or maybe an old discarded model floor pan with wheel wells that . you can cut patches from. Bottle caps. As long as CA will stick to it. This bottle is a bit large but hey, look around, yeah? All you need is one. Scratch building at it finest ?
-
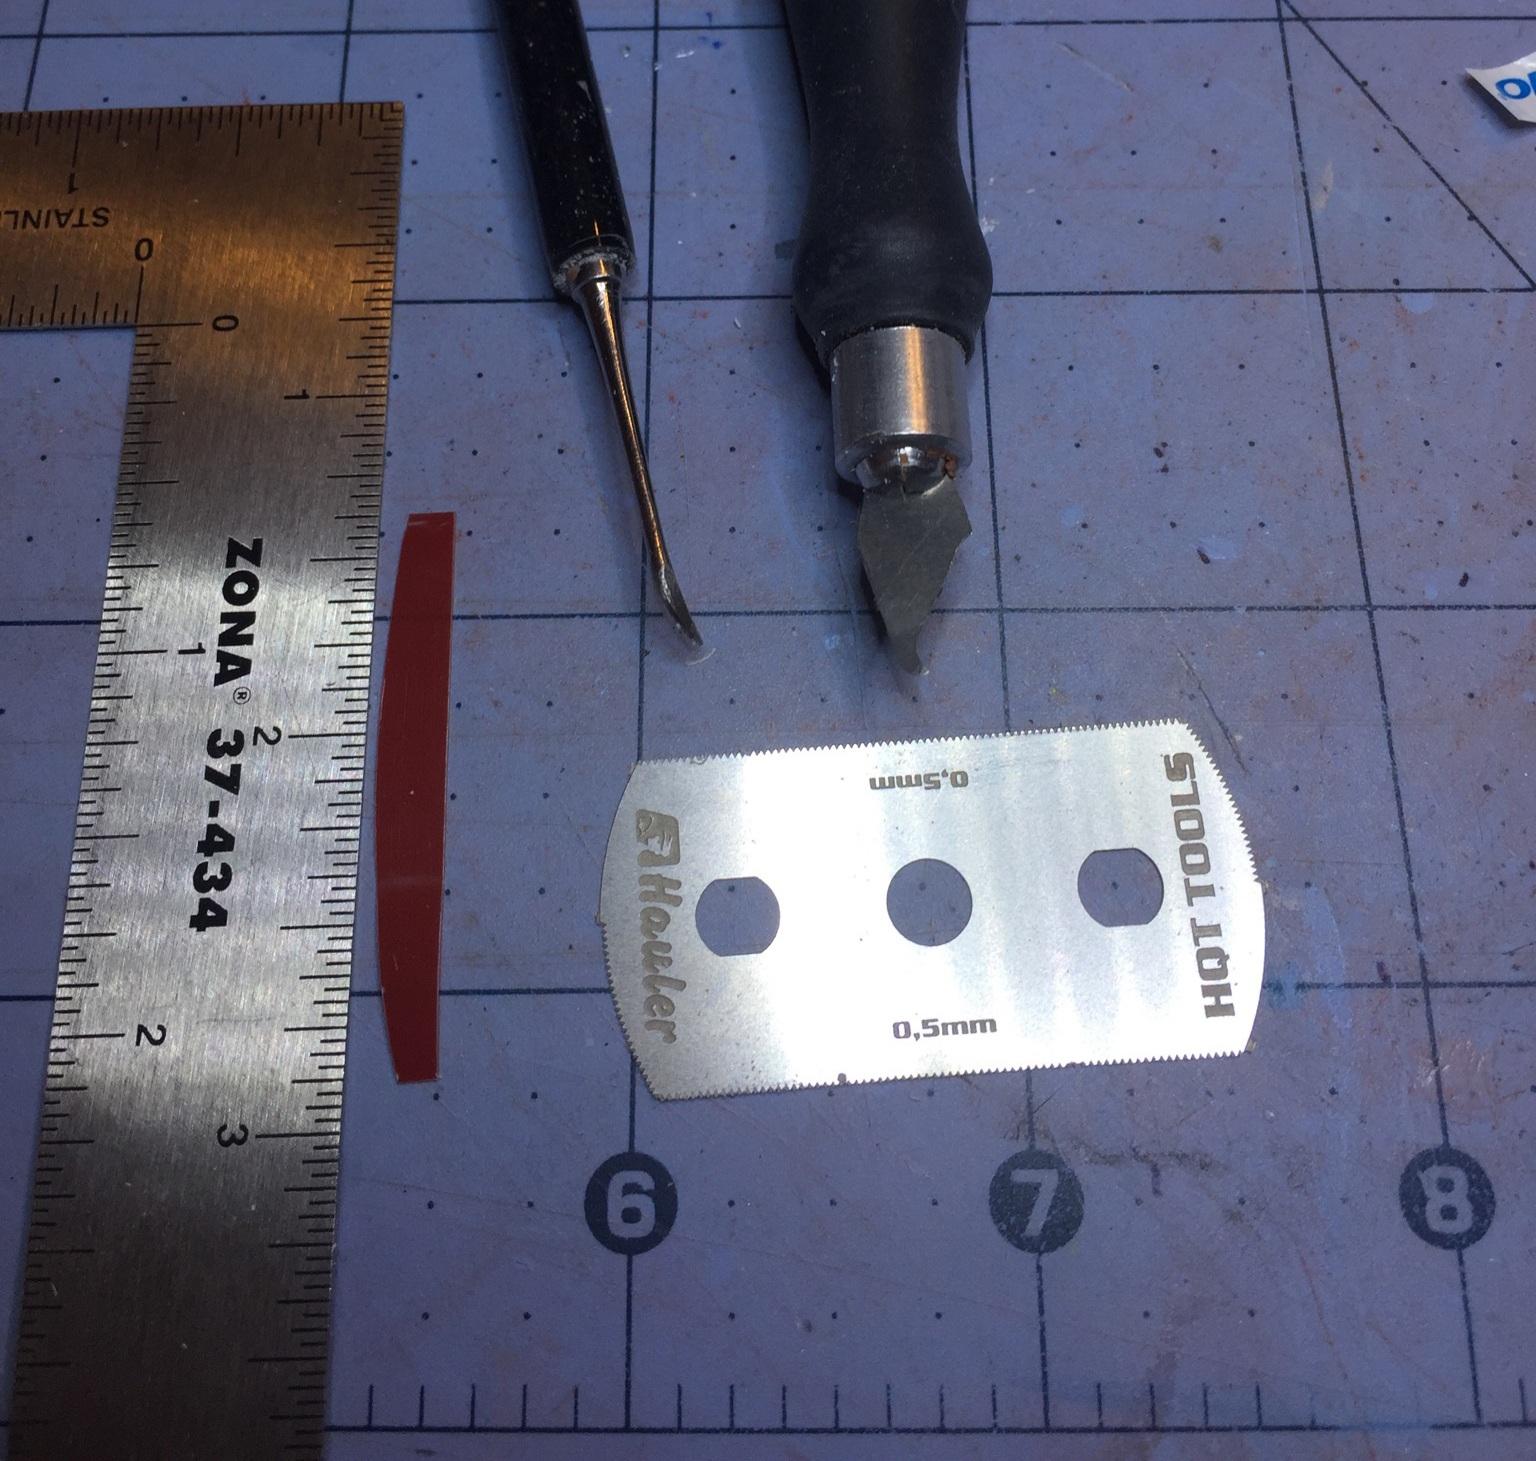
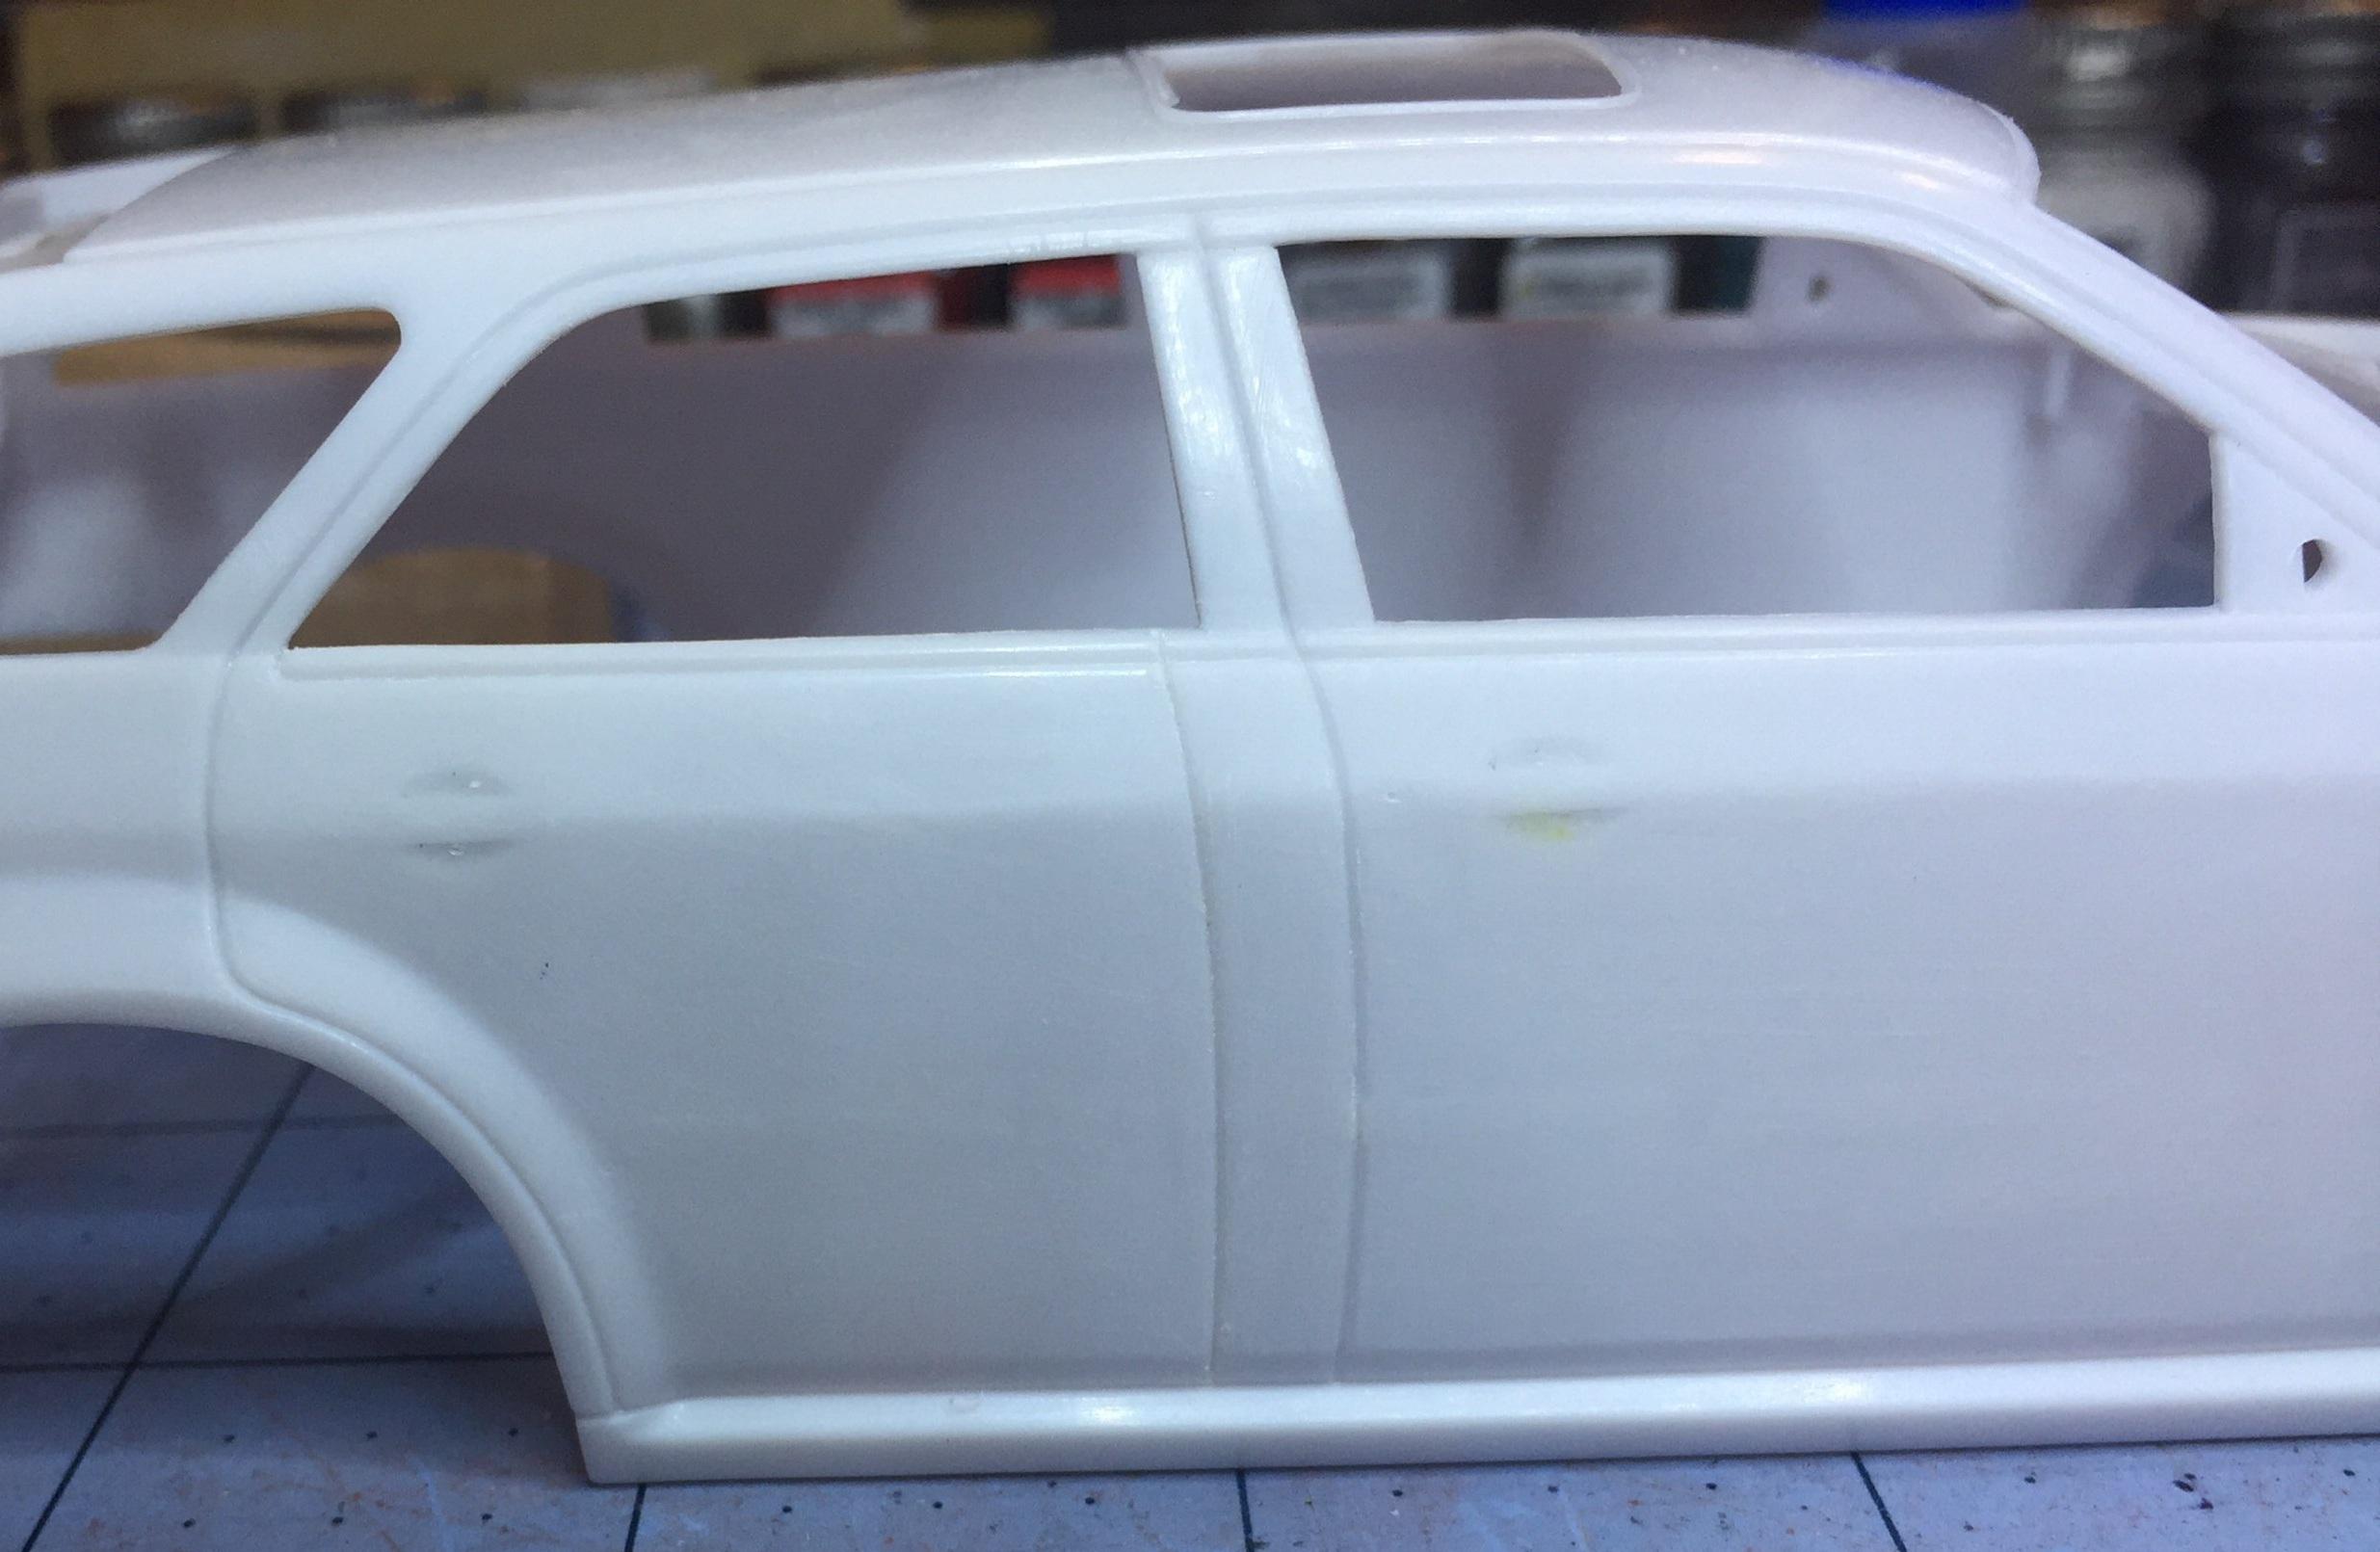
Here we go....for now, anyway. I started by removing the door handles and side trim. Then I cut a new door line 1/4" back from the existing, giving me a scale 6" longer door. Then I removed the filler in the back door because it breaks up the smooth lines. The glass just won't go down as far but it looks better. I cut the B pillar with my favorite new tool, the PE razor saw. Then I glued a strip of .005 scrap to the back to facilitate re-installing it over the new scribe line (it's only taped right now) Gotta be really careful removing the door handles because of the character line. I will need to re-constitute it where I rounded it. Bondo time....gotta fill the unused door lines and handle depressions anyway?. I actually filled the handle depressions with CA and kicker but, in retrospect, Bondo would be better. I expect the Charger kit tomorrow. Can't wait. Thanks for hangin'!
-
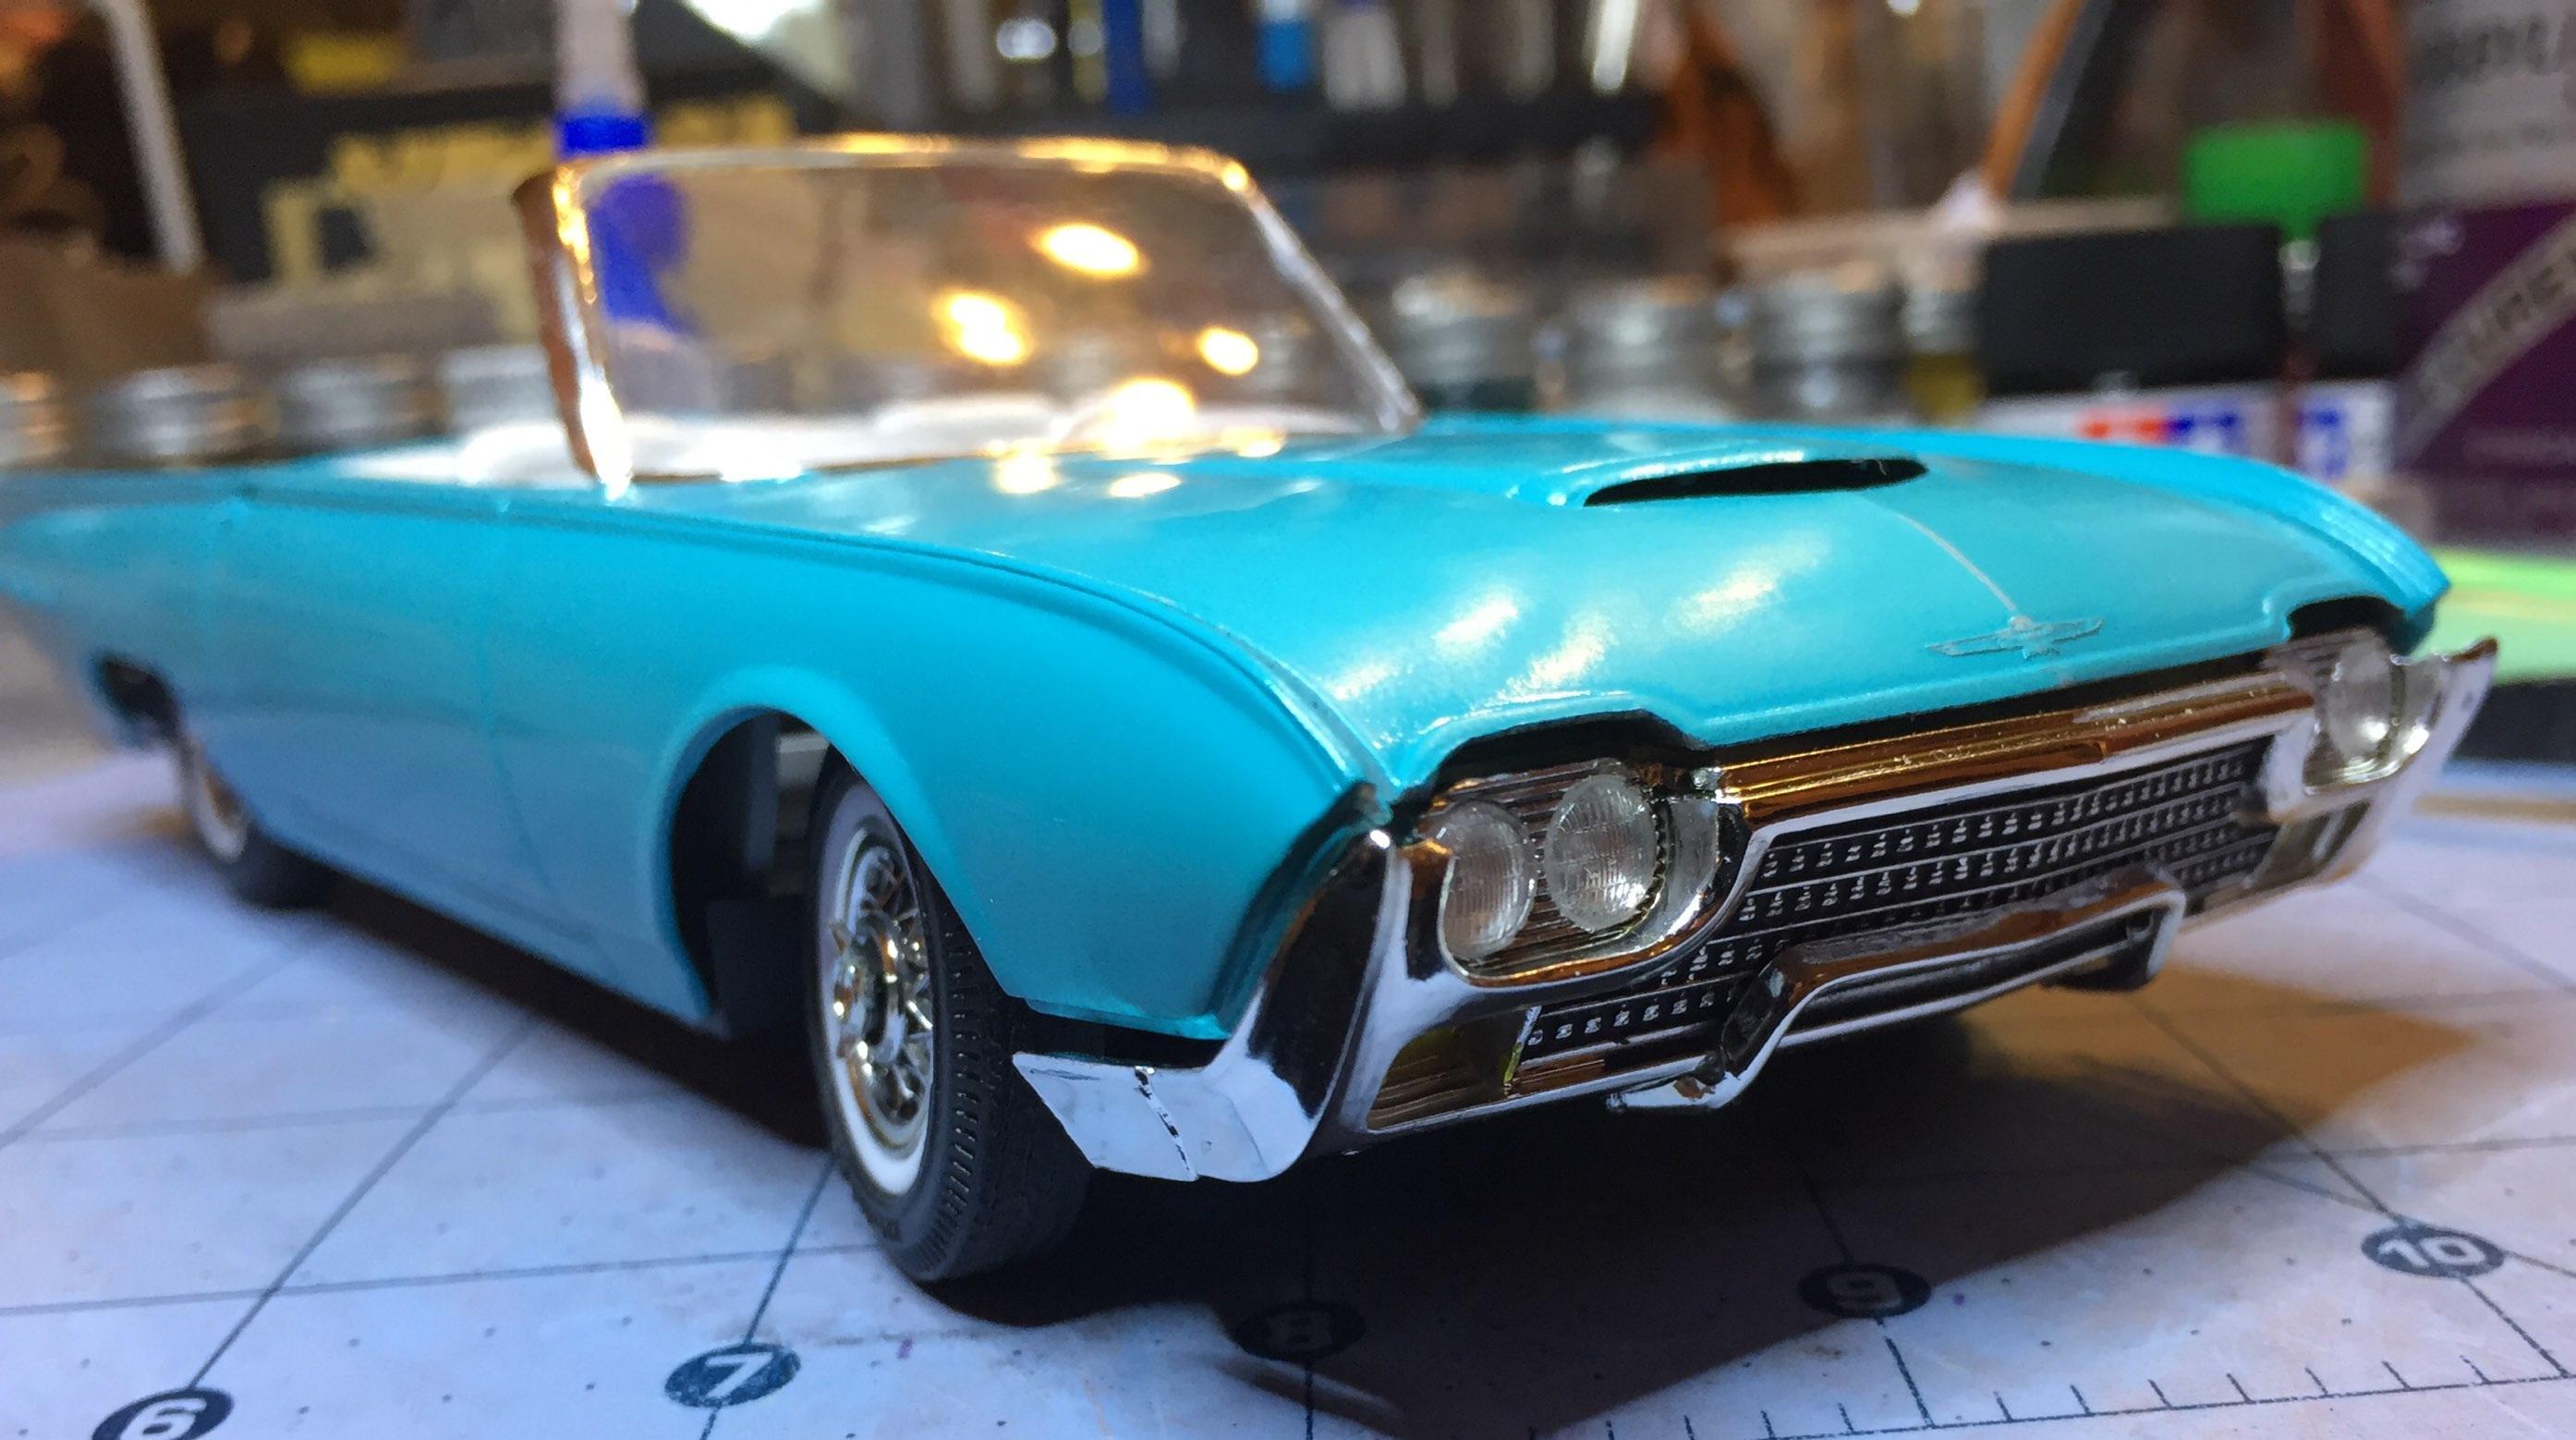
Well, I'm not getting any younger, Steve. That may be a factor. When assembling for a mock-up, things move around and that's probably what's going on here. Once I start gluing, it will work out, I'm sure. Gotta put more paint on it and shine it up first. Foiling that full length ridge trim should be fun. It really is a nice kit.
-
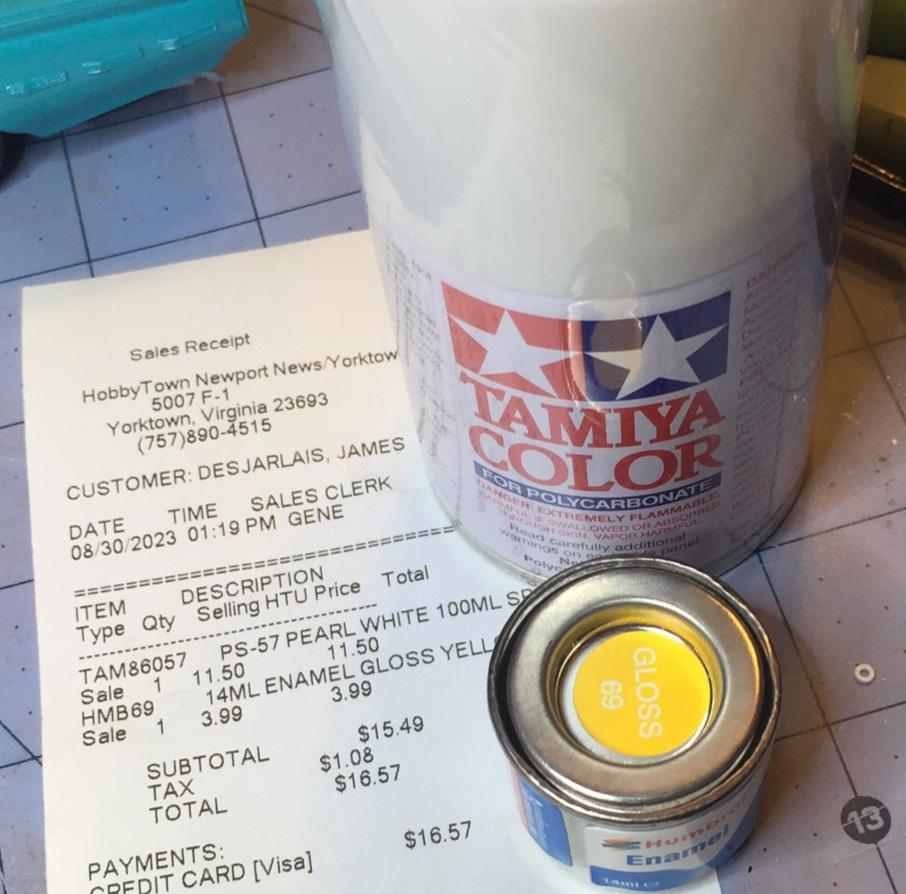
I'm trying to move two projects along with extreme prejudice so I swung by Hobby Town to get a 1/4 oz. Testors gloss yellow and another can of Tamiya white pearl spray. I am so done with that place. They don't carry Testors any more and the only enamel is this Brit stuff. The Tamiya is outrageous.
-
Of course you will be building a "pick-up" floor ( I would make mine from diamond plate and foil it with chrome or use real wood) but what's wrong with the original rear fender wells? Where'd they go? What am I missing, Rick?
-
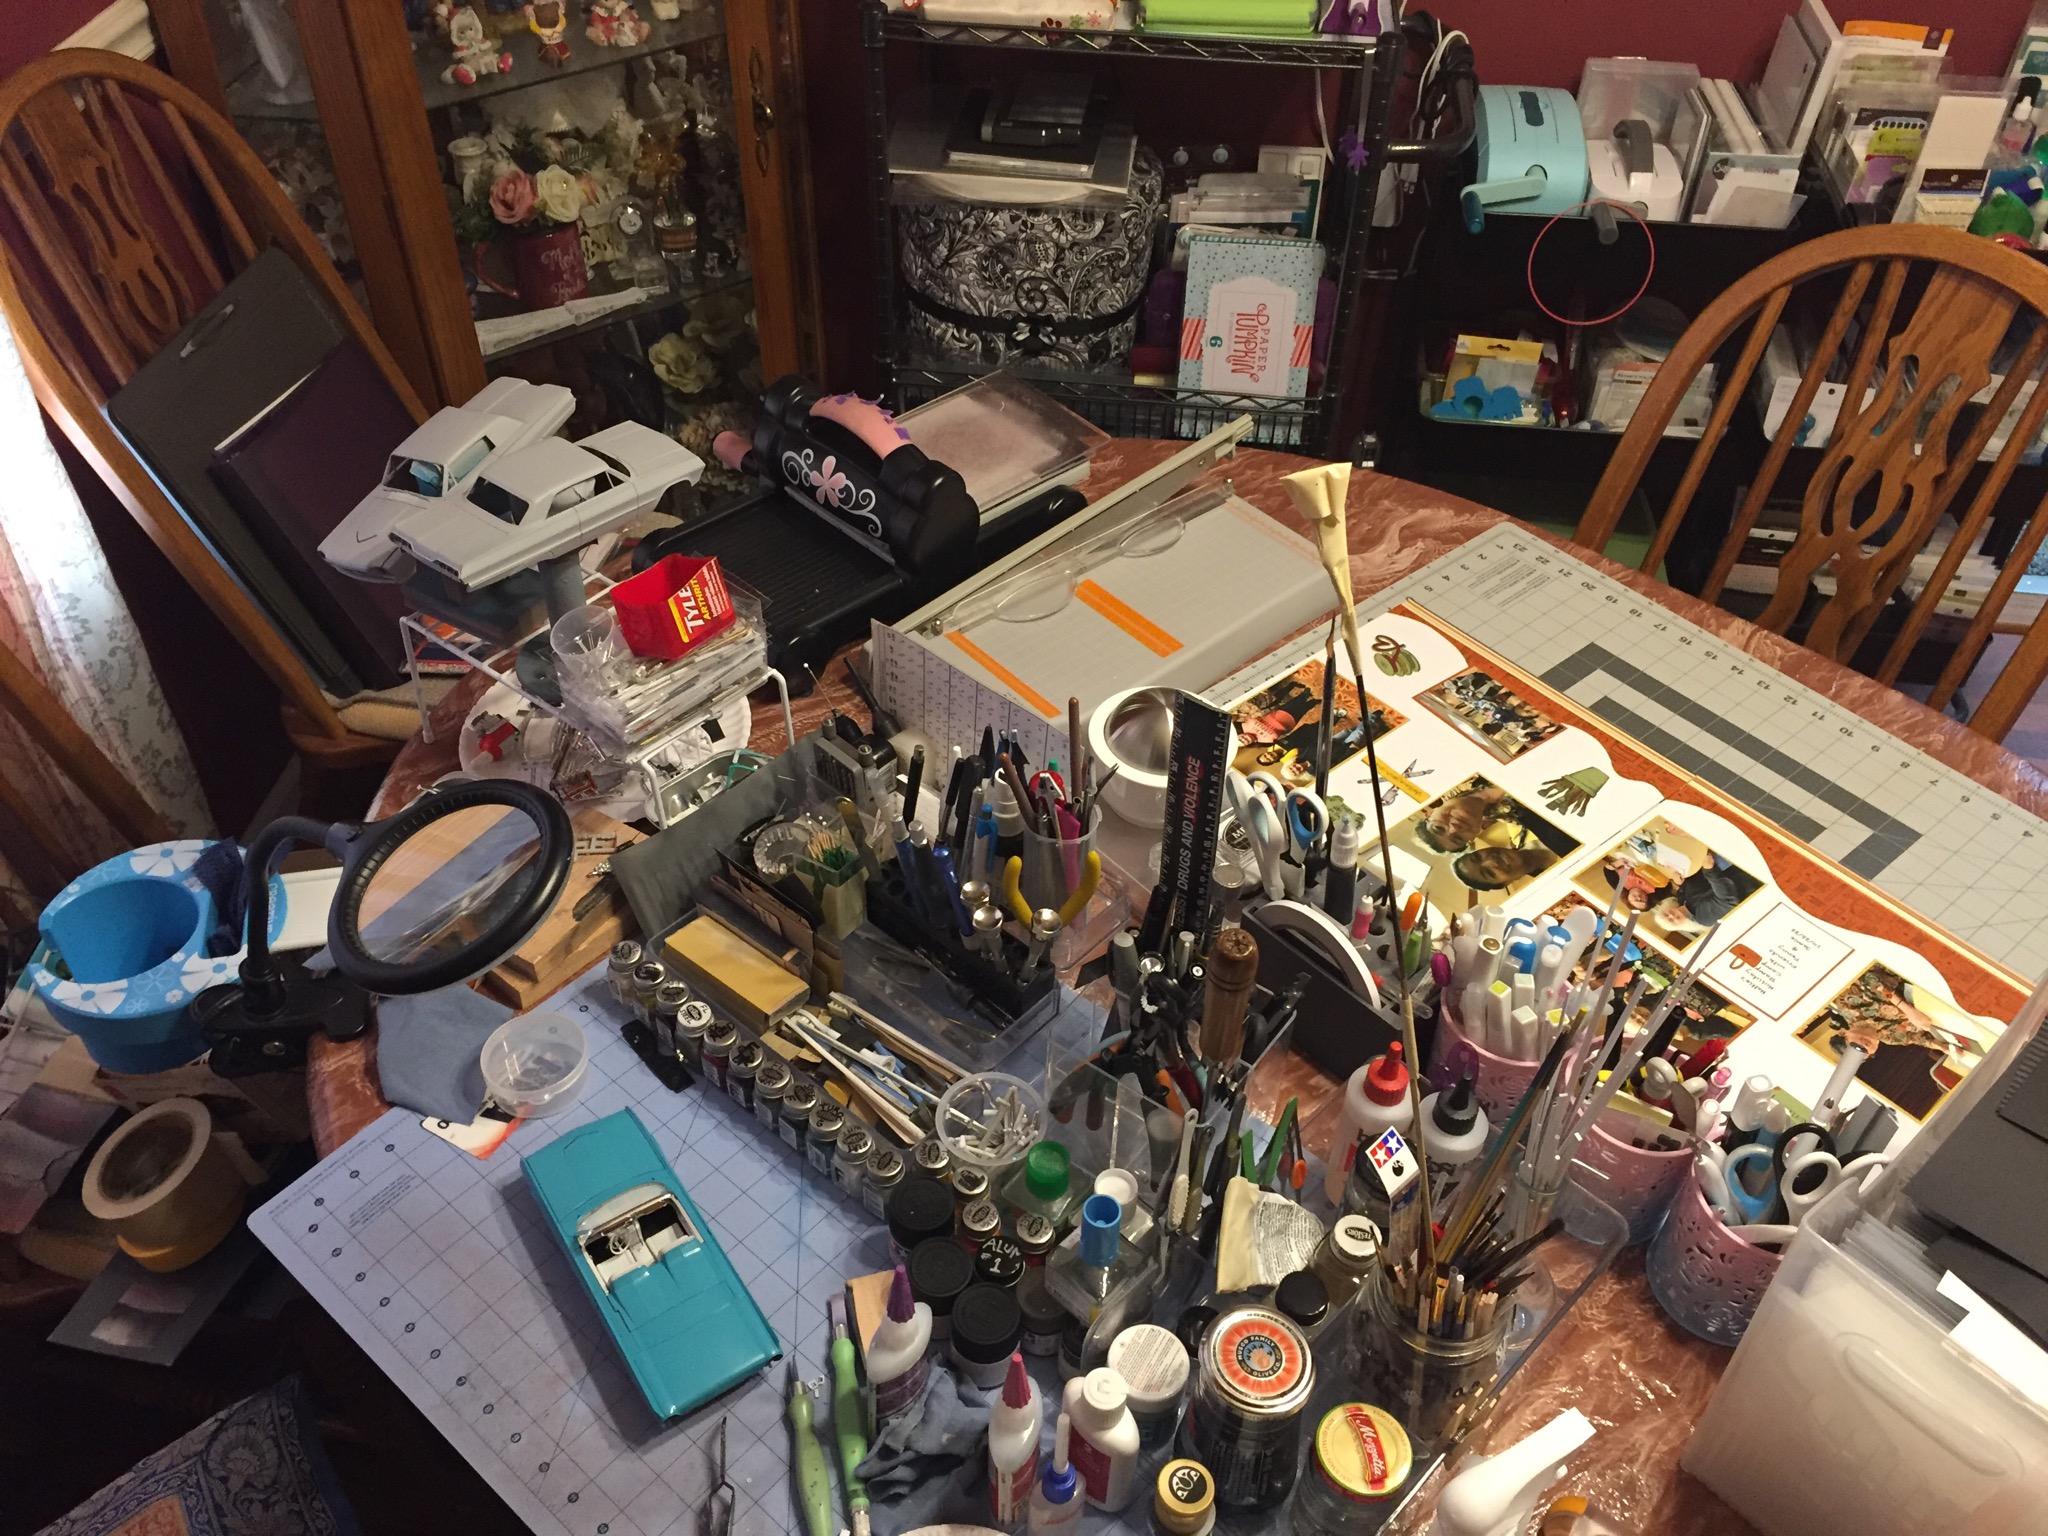
Hey Bob, does your dining room table look anything like this? or this? As you can see, there's some unfairness evident here. We need to do something about this ?
-
I never think to look at the upcoming show section on the forum but I did last night, Bob. And whattayaknow.....there's a show in Norfolk, the TAMS show is in October and it's less than an hour drive. I've never been to a model show/contest/flea market so I'm planning to go to that one to see what I've been missing. ?
-
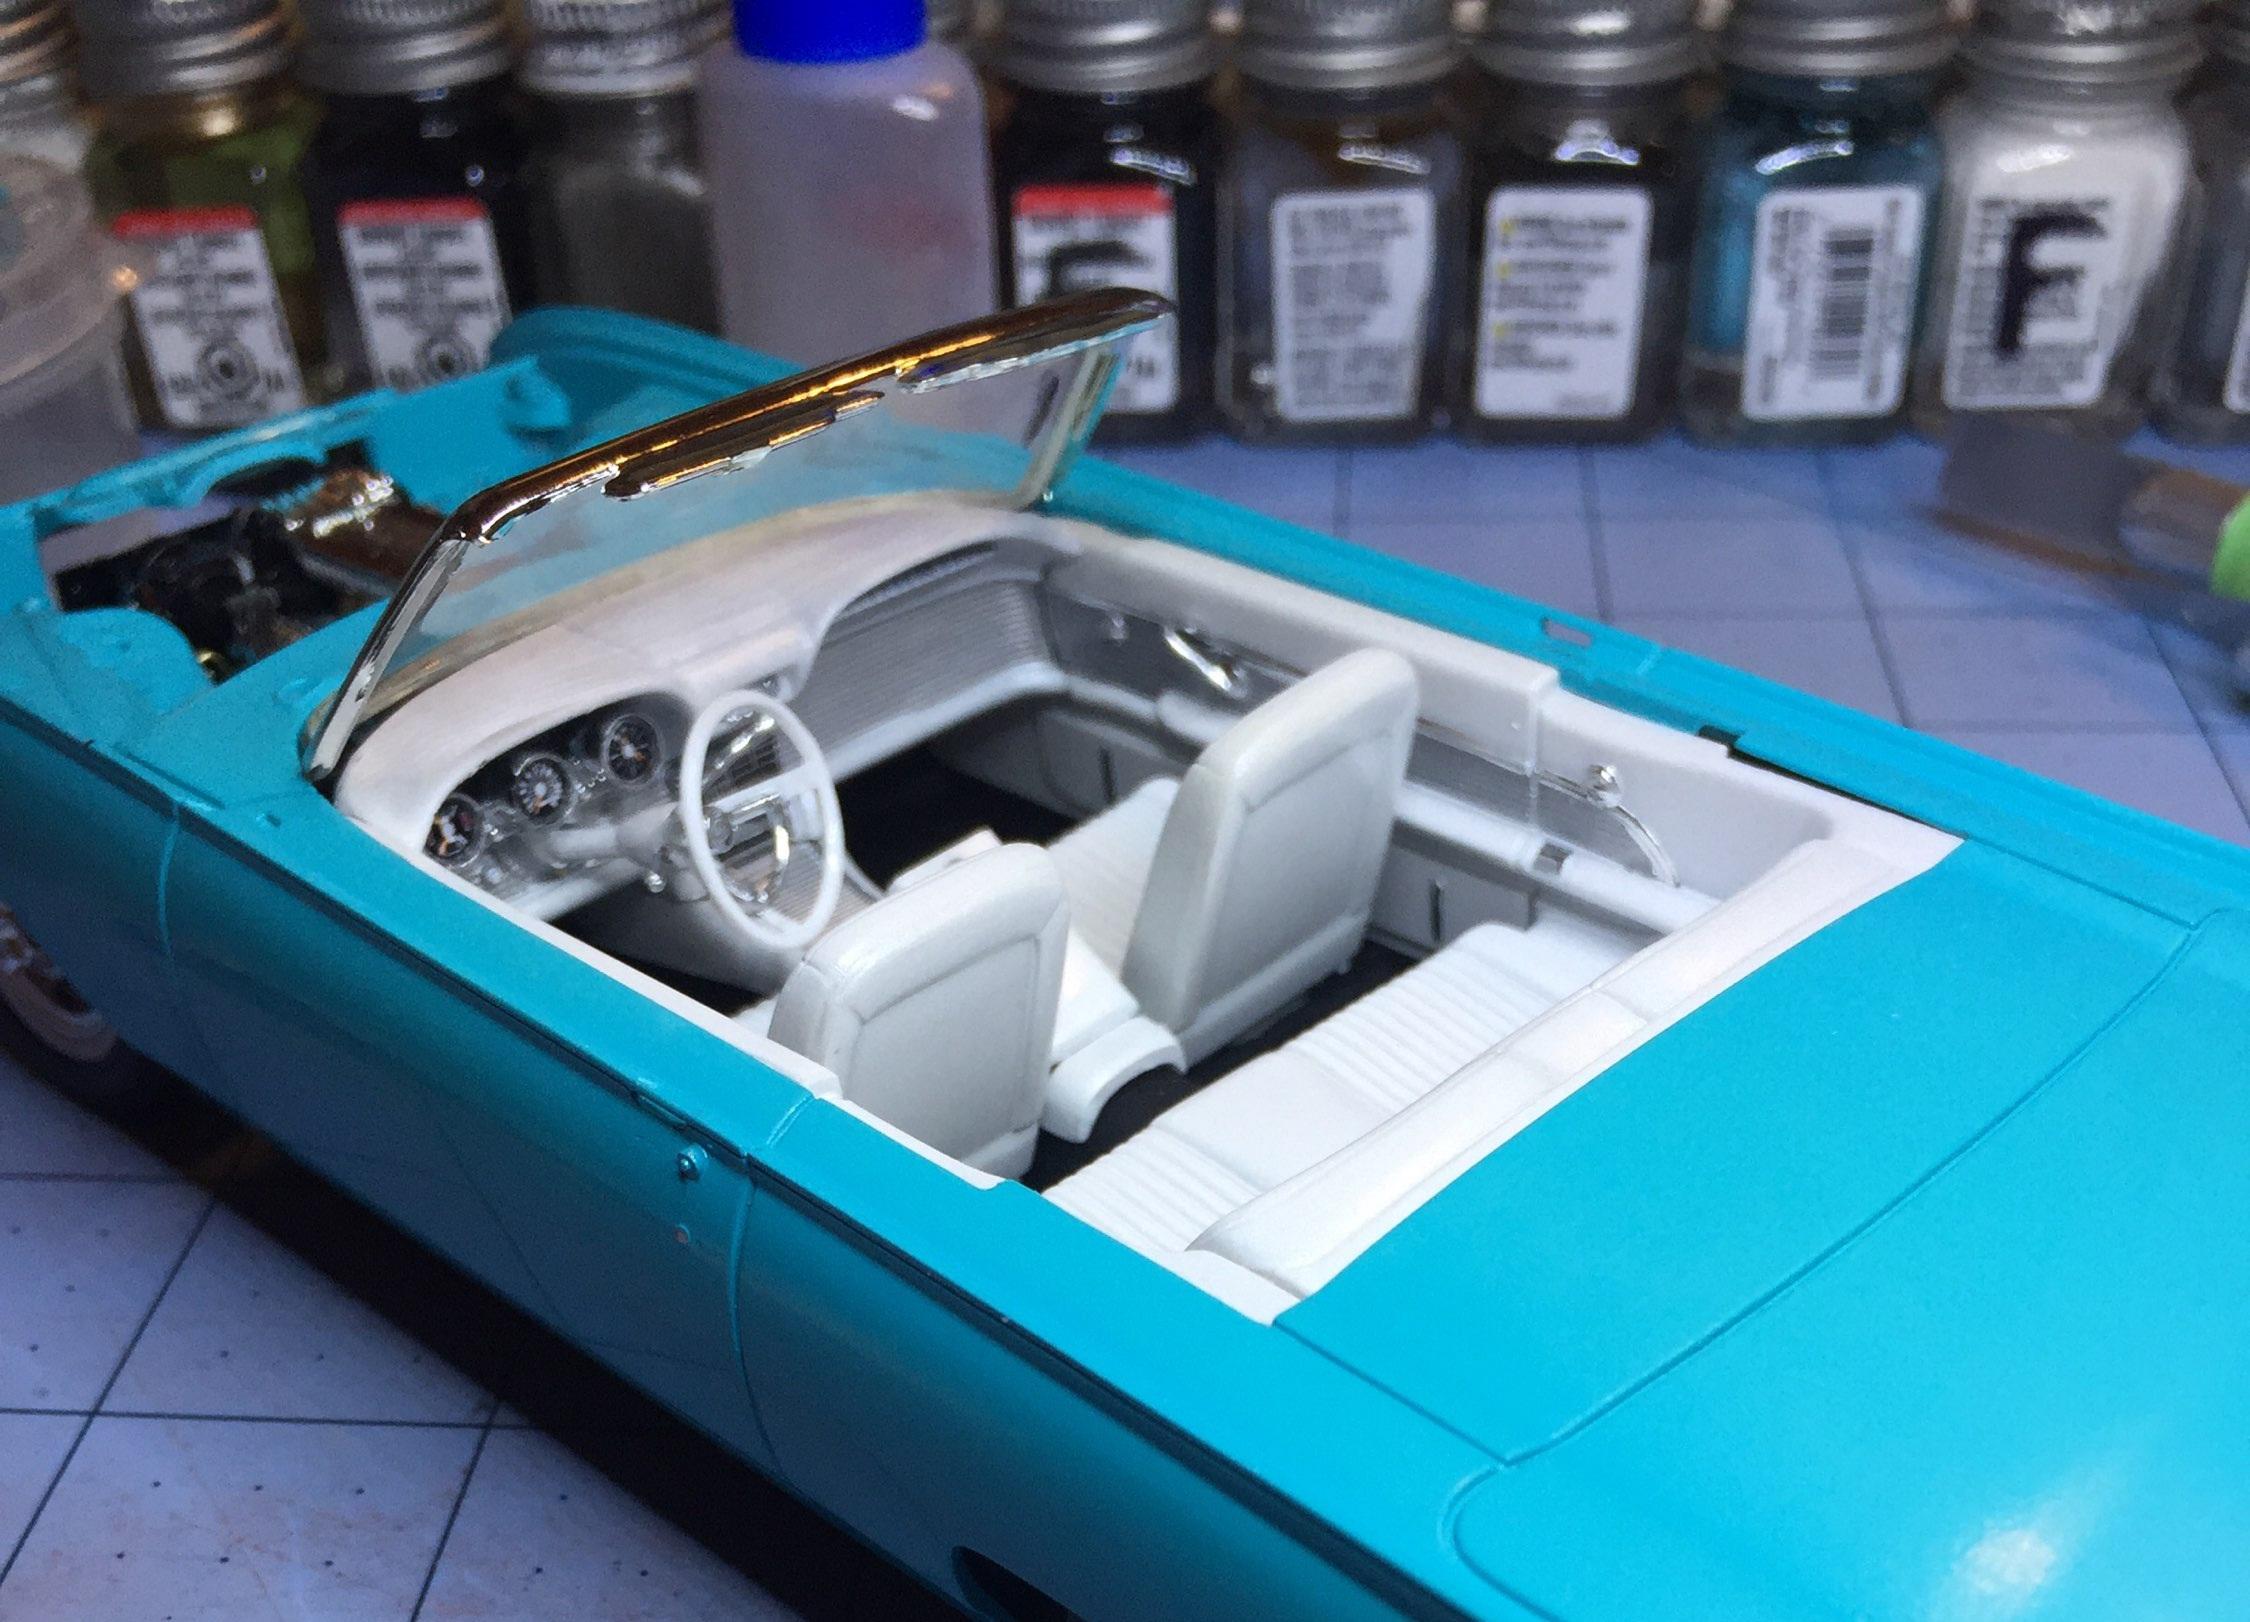
It's a plated kit part, Sonny. And it fits very tightly and must be lightly forced into place. Mocking up is an awkward affair with this windshield. The "glass" is pretty thin and fits the frame perfectly on a dry fit. I used the "gold" thin CA and held the glass in the frame and used the capillary action to cement the parts together. I suspect it may have moved a little during the operation. When I install it on final assembly, I will be adding the vent window assemblies, which will establish the angle. In this mock-up, the windshield looks too high. A lower angle should make it look right. ? Thanks for your interest!
-
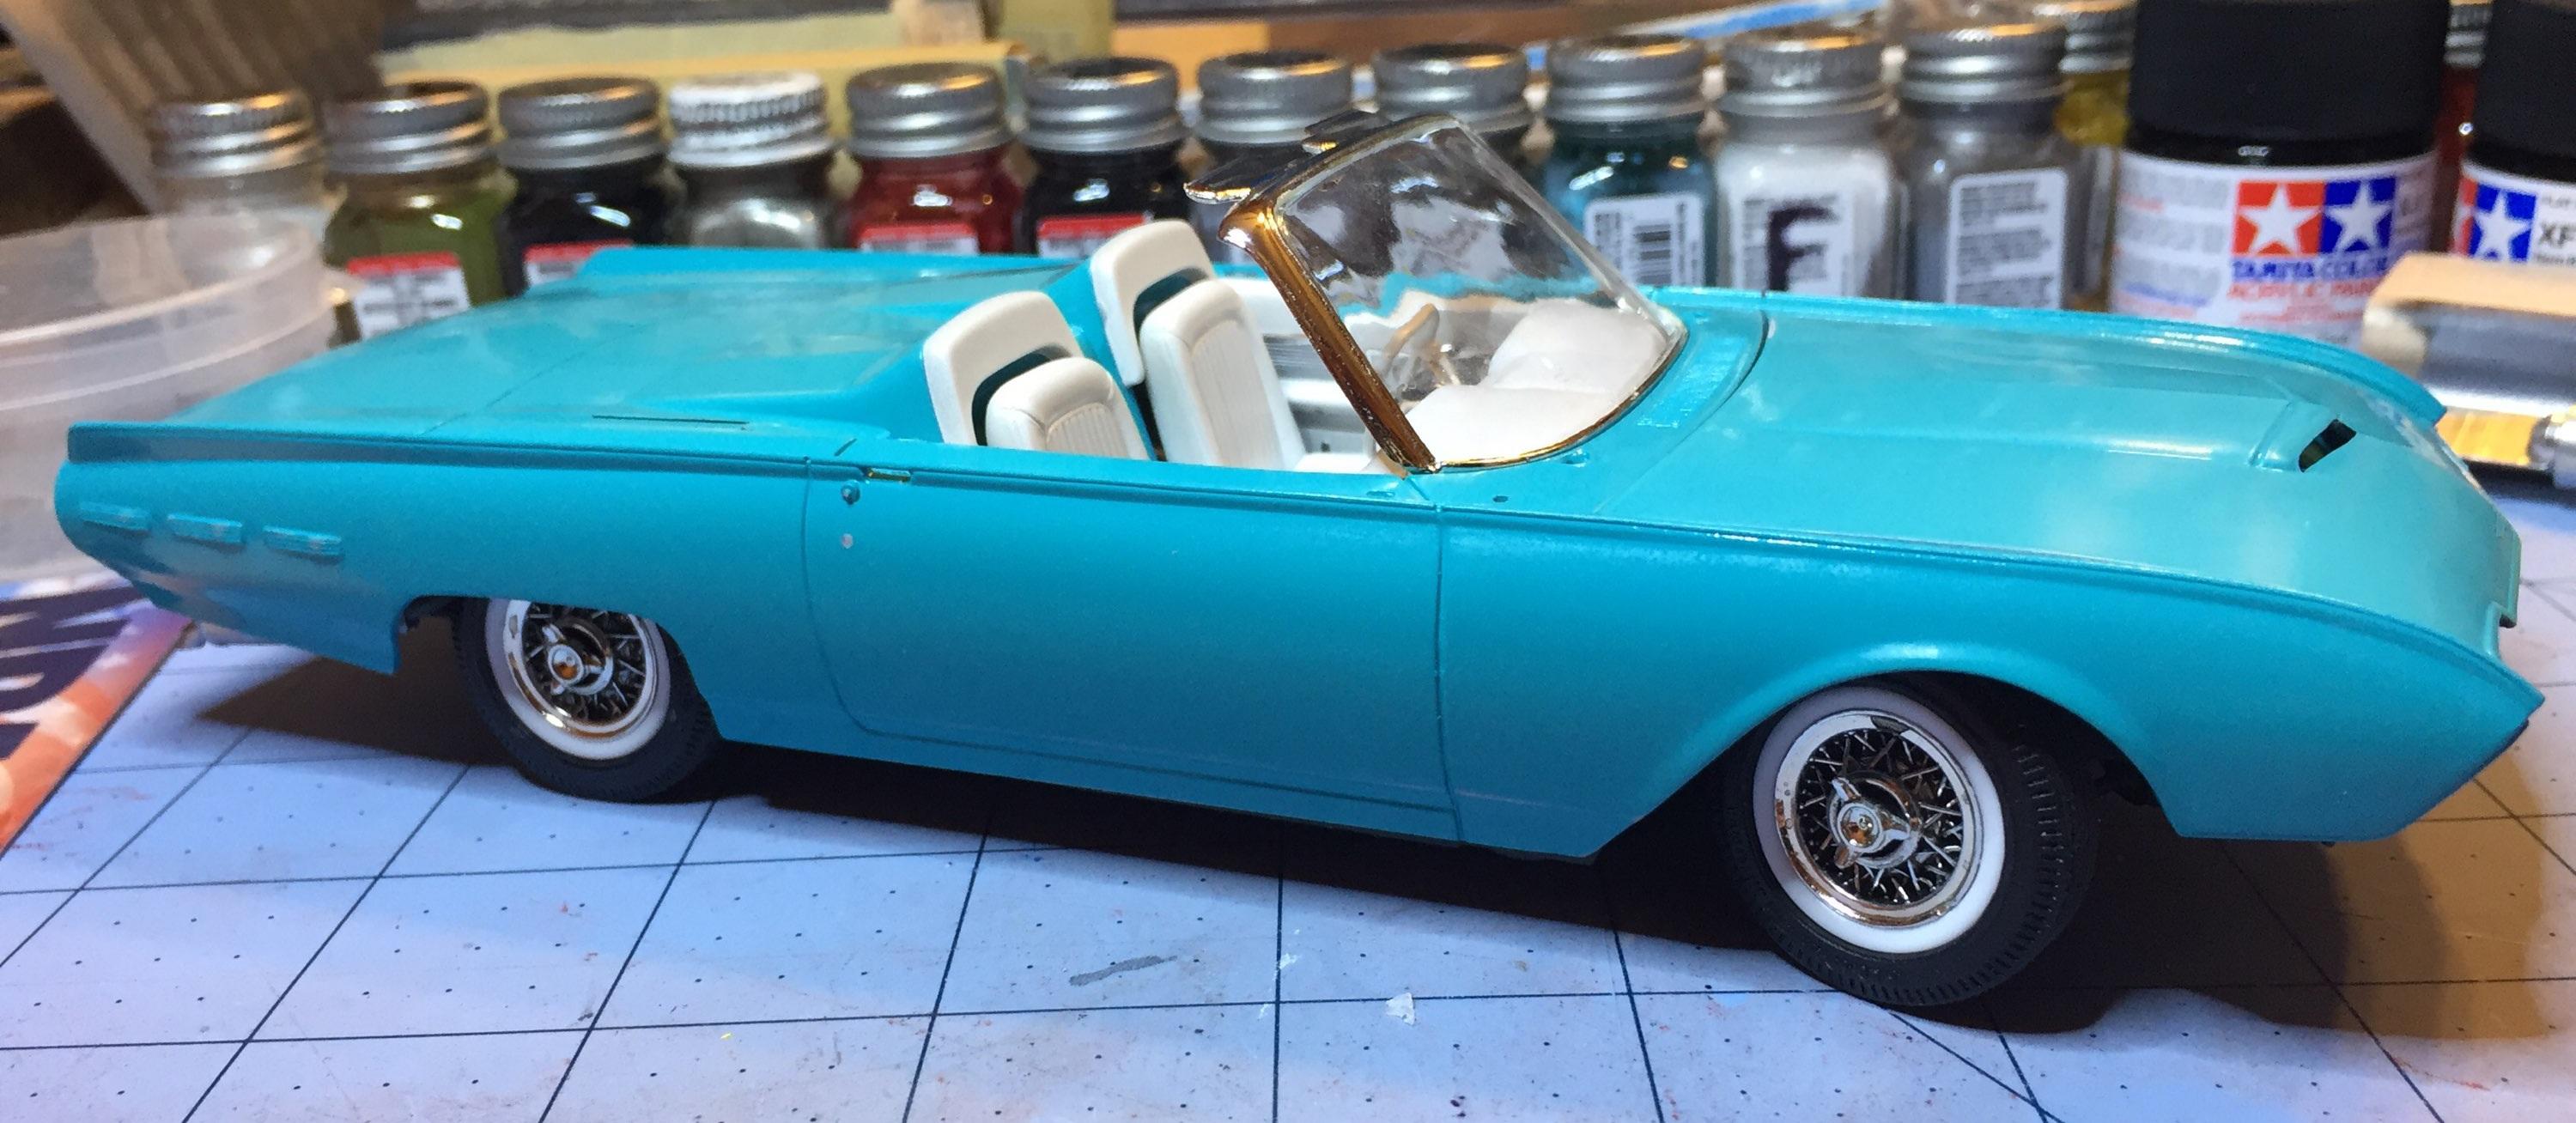
Thanks, TJ, I don't think it's a real fit issue but rather something I may have done or not done. I trial-fit most things but I may have missed something. I know about windshield/dash problems with a whole bunch of kits and I'm OK with fixing those. The fairing is probably something I did. I wanted a "baby" blue but my local Hobby Town had a fairly run-down selection and this color seemed pretty good for this car. It kinda Florida-ish. You can almost smell the sun screen ?. Where can I get a 1:25 scale driver figure that looks like an 85 year old golfer? The dash was painted black first but I switched it to white and I don't like it now but it's a done deal. Everything is an experiment. Never forget that!
-
Beautiful rendition of one of my faves. Love the paint! Ice cold frosty blue. Nice detailing, very impressive, Bob.
-
WICKED FREEKING COOL, STEVE ! no, really, it gorgeous ?. It's striking. I want one.
-
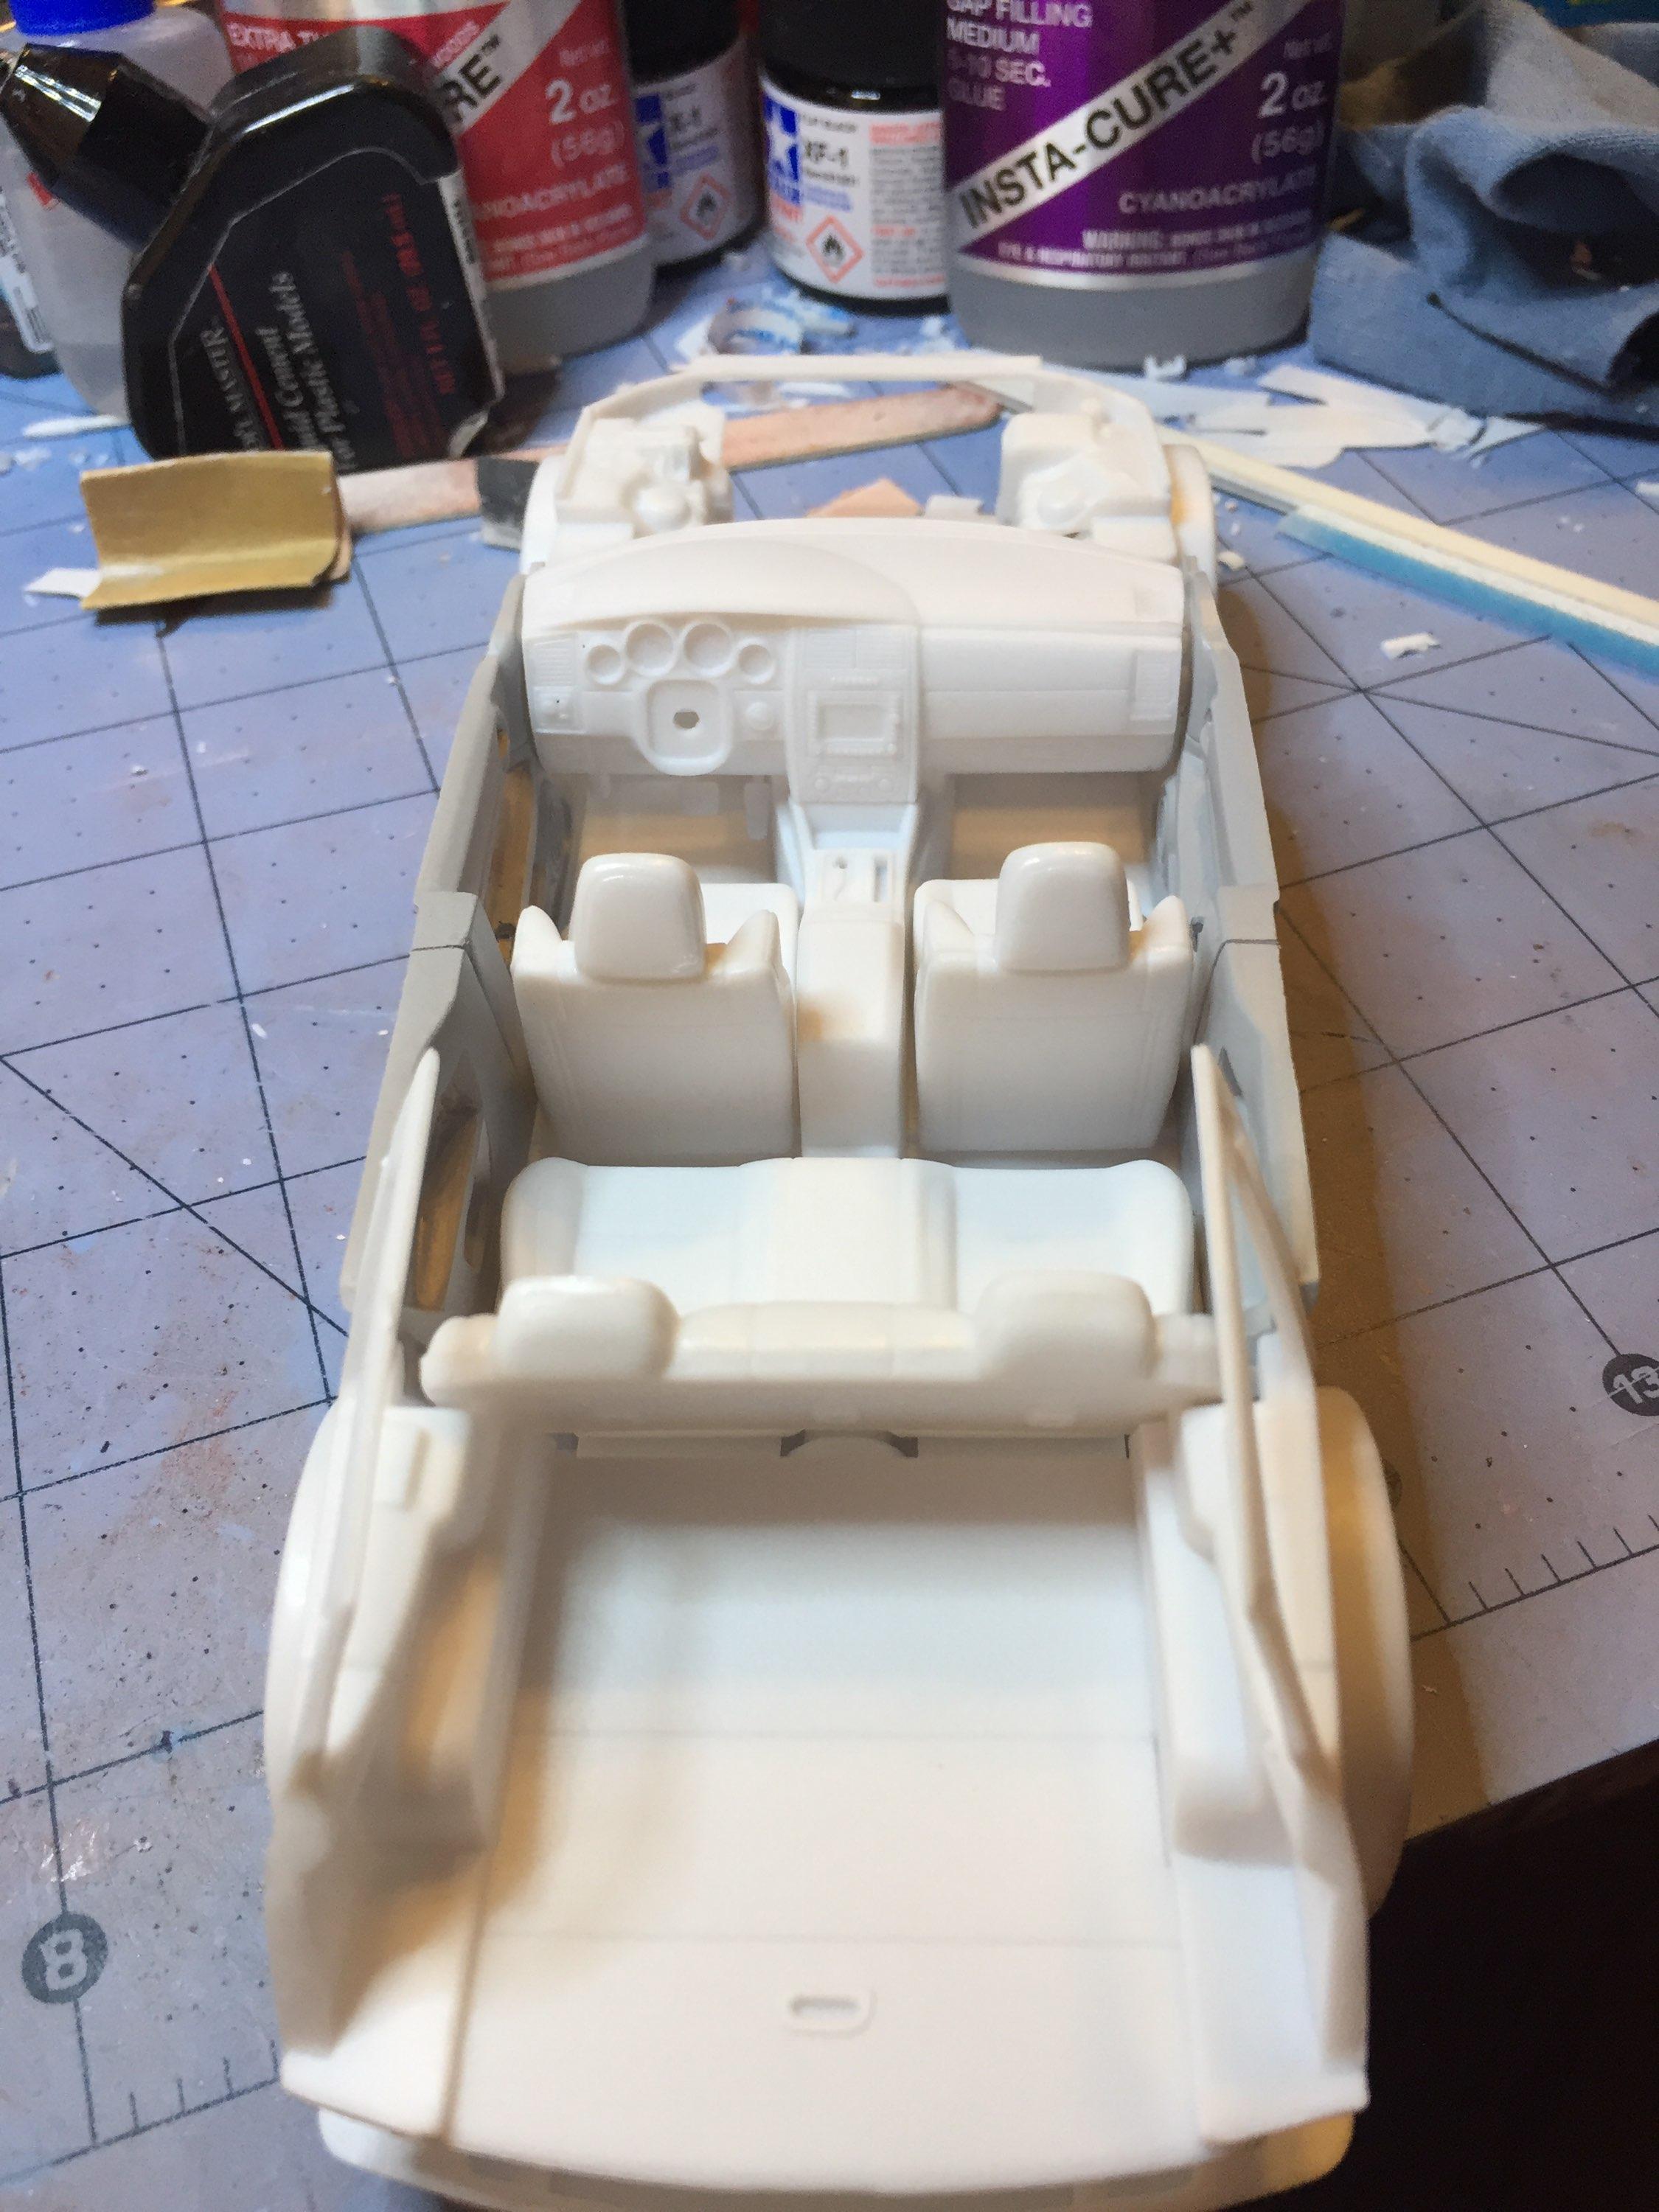
Update: Not enough paint on her. Tried to smooth out the paint but the sharp edges got me. Gotta wait for another good day but that's just around the corner (I hope). A light coat of the color followed by some clear this time. But the interior is done now and I just had to see what that would look like all together. After the first fit-up I found there was a fit issue with the roadster fairing so I adjusted the left side interior panel tighter to the back seat but it still won't play well. There's something interfering with it that I can't see. Also the windshield looks too tall and the up-top does too. I checked the fit by trying to see if the vent windowwould tell me something... it did.. it seems like the dash may be pushing on the bottom of the windshield frame, affecting the angle. Anyone run into this? Maybe after everything's glued down it will be obvious and my guess is the dash will need some Dremel work. Or the windshield frame. ?. It's a common problem, I'm finding out. Anyway, thanks for your anticipated approval ! ?
-
Oooooo yeah.....but it's still a four door. Thanks Andy!