customline
-
Posts
3,791 -
Joined
-
Last visited
Content Type
Profiles
Forums
Events
Gallery
Everything posted by customline
-

1964 Pontiac Bonneville Convertible.
customline replied to StevenGuthmiller's topic in WIP: Model Cars
Right now he's trying to figure out how to get a working clock small enough...... -
1964 Pontiac Bonneville Convertible.
customline replied to StevenGuthmiller's topic in WIP: Model Cars
? -
1964 Pontiac Bonneville Convertible.
customline replied to StevenGuthmiller's topic in WIP: Model Cars
Ya know, Steve, the dash is super but there's one thing you missed. ?...............you didn't set the clock to the right time! ? -
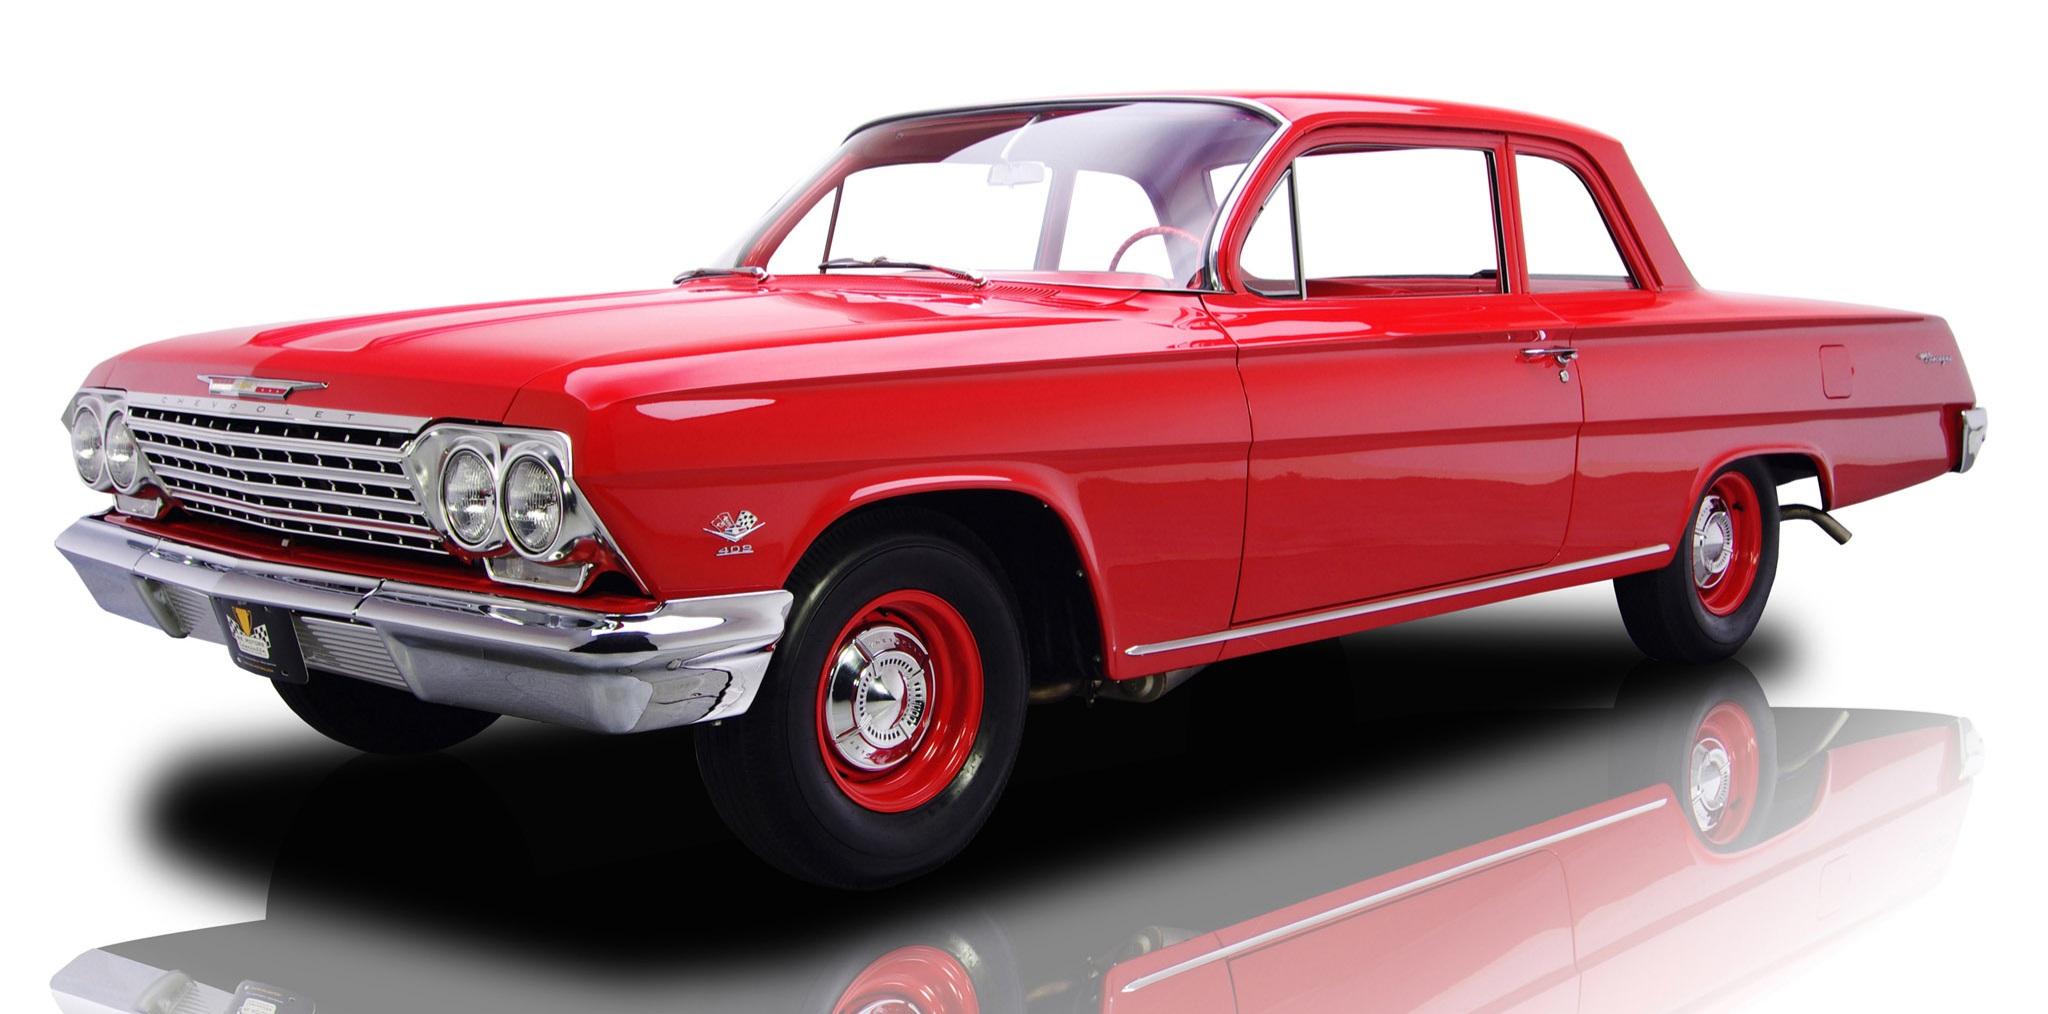
Silver is a fine choice for a formal roofline Impala but I don't think the dog dish wheels work as well in that context as would a set of 5 spokes, John. A Biscayne would have "doggies" (bought that way with drag racing in mind....a sleeper?) An Impala would have full covers, right? I like the dog dish idea but not on a top-of-the-line Impala. But that's just me.?

-
I haven't built it yet but I have this one and it seems like a very good kit. I already stole the engine ?. I'm following. ?
-
Maybe add a bit of orange peel...?
-
Kudos on the wheel choice. I wish I could put 5 spoke mags on everything. I guess I'm just stuck in the 60's. ?
-
You do know that you can edit, right Joe? Three little dots in the upper right. ?
-
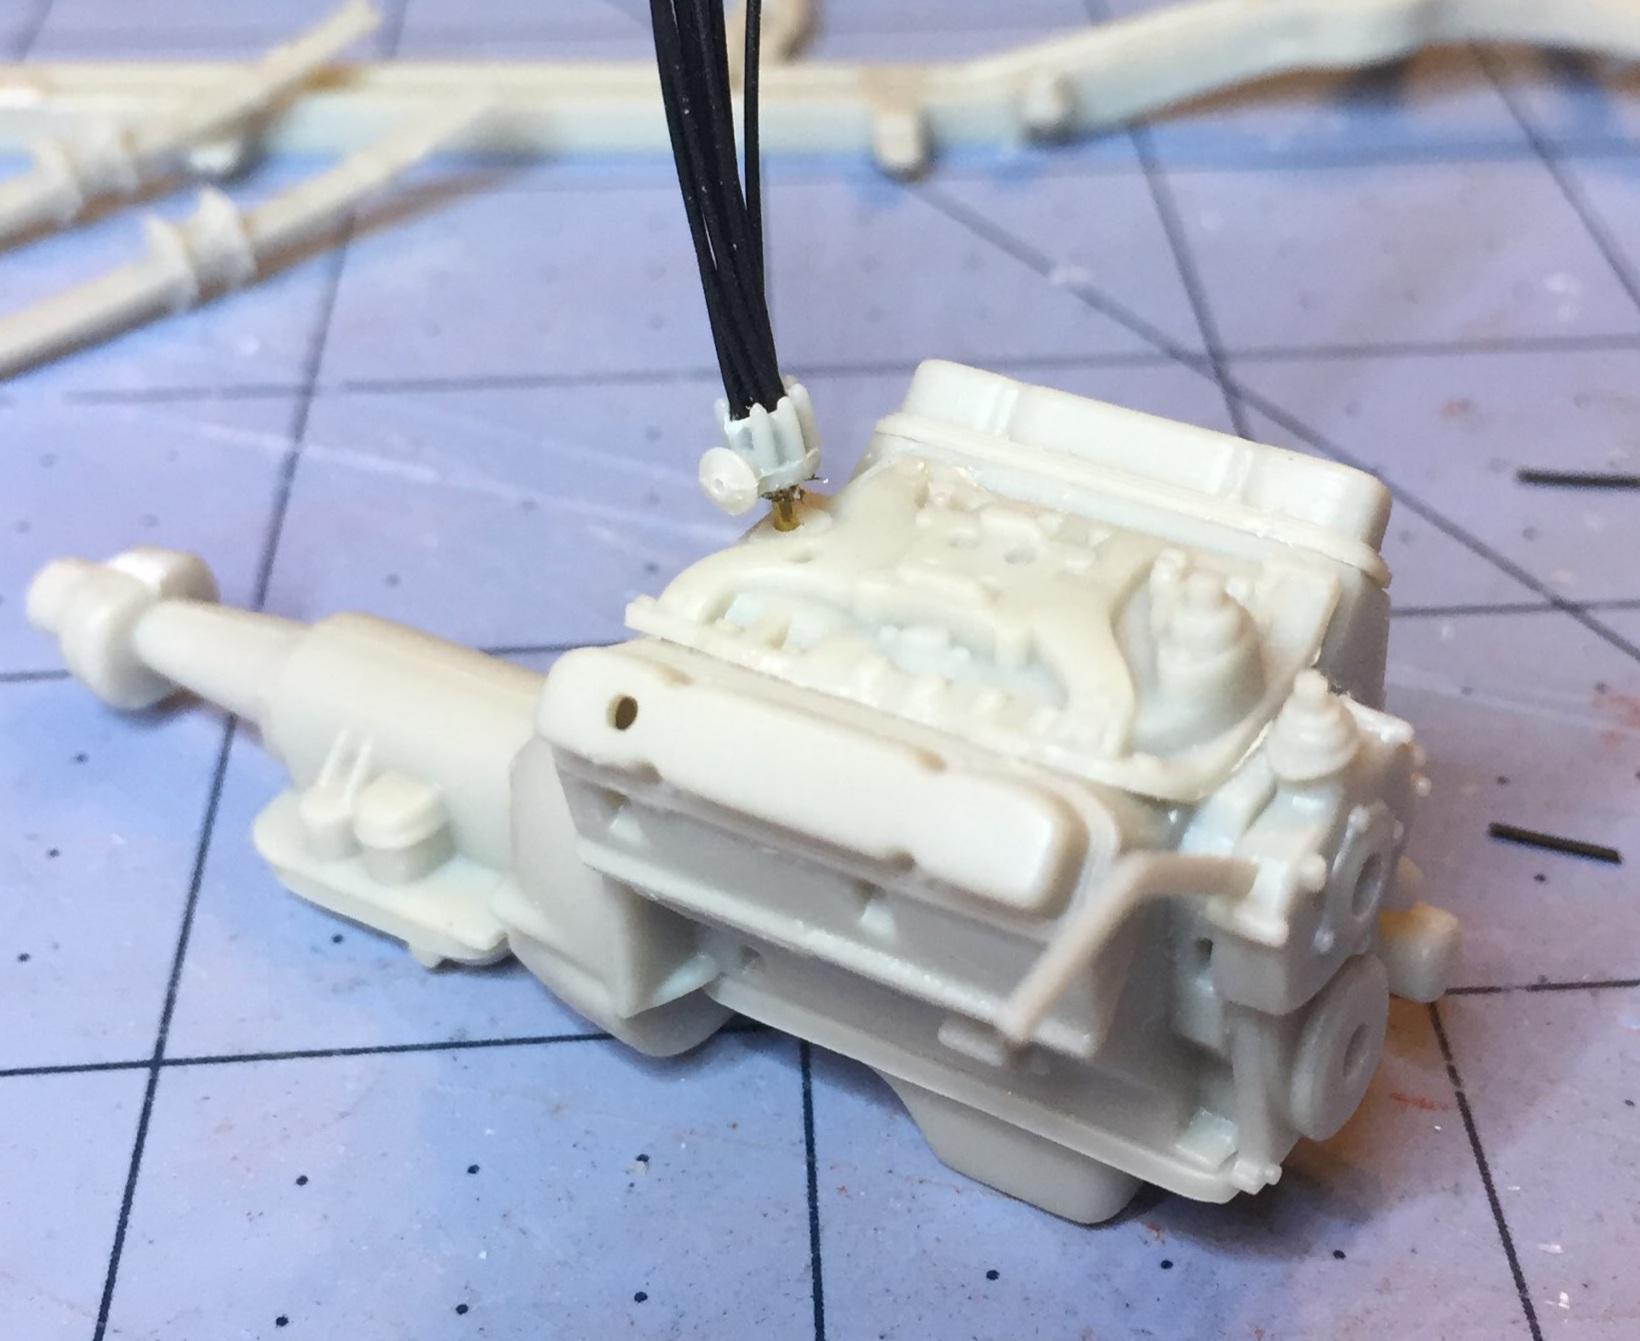
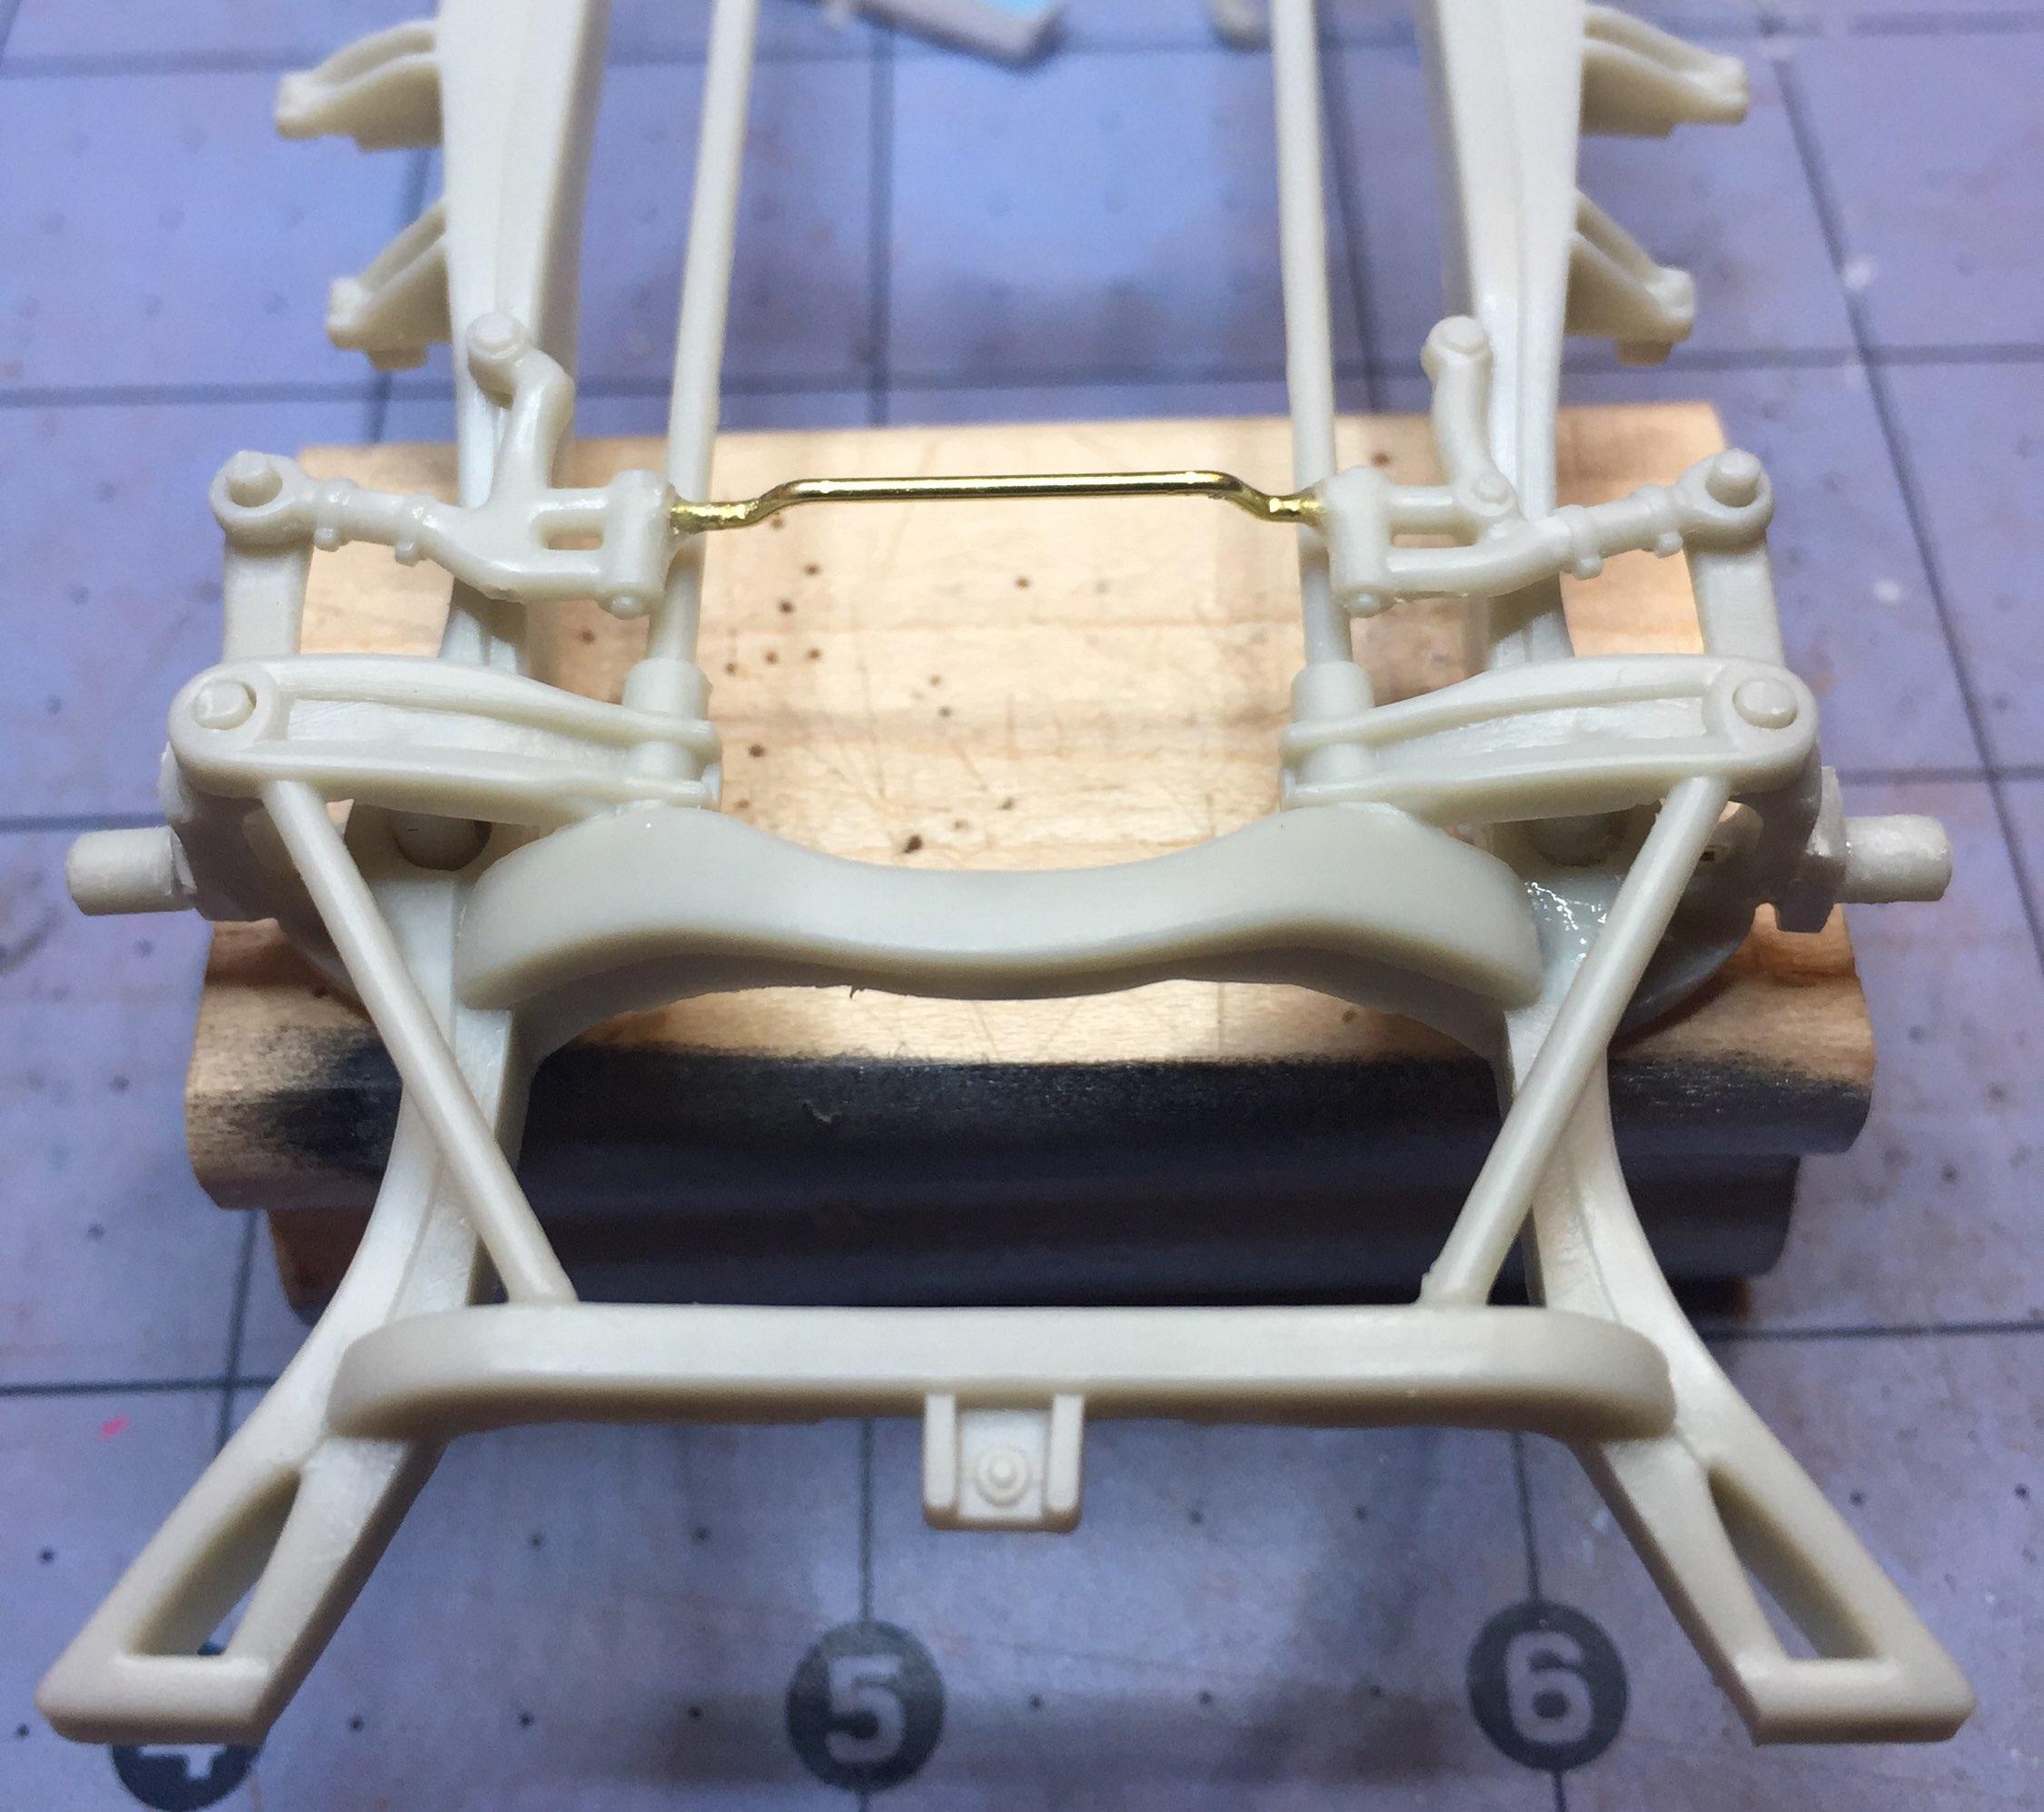
I found an appropriate kit to bash. The Vanishing Point Challenger. The wheels and tires and the smooth chrome rocker covers. There was a vestigial intake but no carbs and the junkyard was fresh out. I would have used the 440 too but it only has the Shaker air cleaner so I'm sticking with the kit unit. I painted it gold and removed the water outlet from the intake and painted that aluminum. You'll see. It's a phantom ?. I have lowered the car arbitrarily so I hope that works out ☺️. I won't know till I do a mock-up. I had to do a little correction on the toe-in by replacing the center link with brass rod. Anyway, thanks for stopping by! It should be noted that the working "steering" provided in the kit is a bit out of scale. I tried to reduce the spindle arms thickness but I can't do much with the rest of it. I came very close to swapping out the whole chassis and drive train with the Daytona but, again, I don't want to bust that kit for this one. But you could probably swap almost any Mopar chassis with little modification.
-
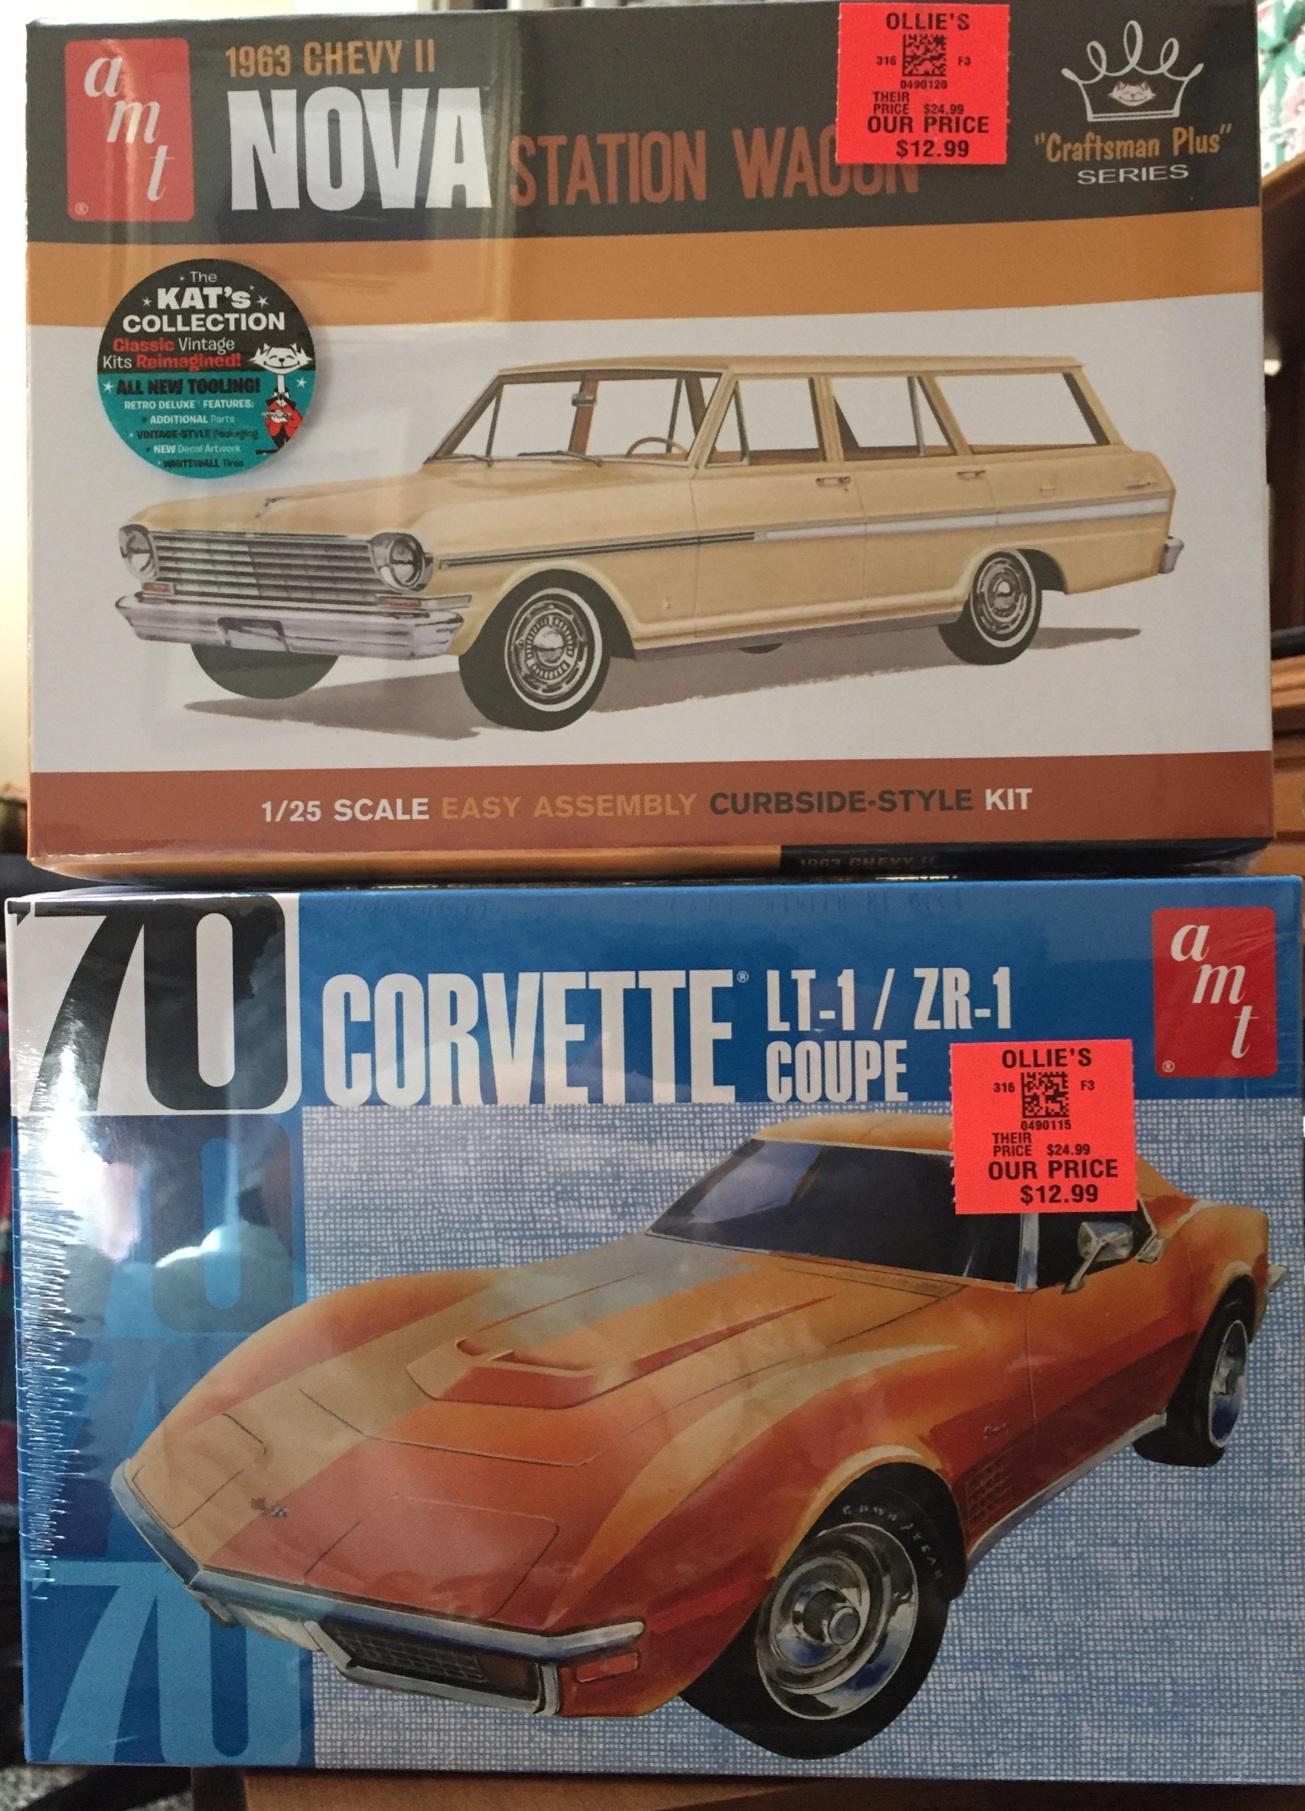
Gotta follow this thread. I arrived here accidently (a slip of my fumbley digits) but I'm glad I did. I just picked up this kit on Friday at Ollie's along with another AMT kit. If anyone has an Ollie's near their home, you may find the kits shown (among others.) Go grab a couple of 'Vettes and follow along! (Notice the price stickers) Sorry for jumping in like this (I got excited ?) but it may help someone get some cheap kits. Nice work on the engine, Joe, and great idea for the pedals! I'm following ?
-
I'm fresh out of those, Ken. I could borrow a 440 from a Revell Daytona kit but I don't think it's worth busting that kit for this build. I have too many busted kits already. Nope, that kit engine is staying.....as a rare option ?
-
Guys, I'm sorry about all this nonsense. I'm going to pretend I never noticed the engine issue. This is on the R&D Department at AMT/ERTL/RC/XYZ. Clearly, they were confused and the executive in charge was not very concerned about authenticity. The engine looks good and is nicely detailed, even though it's a complete fiction. The instructions say I should paint it silver so, since I know that they are full of $H1T, I'm going to paint it some nice bright color and pretend it's a rare optional experimental engine. Problem solved.
-
THIS JUST IN..... I WENT TO OLLIE'S TODAY AND THIS IS WHAT I FOUND ?
-
I appreciate your input on this, Steve. I think I may have some 440 intakes. Thanks for the intel ! Mopar engines in the '50s is a murky affair. If this was a Ford or Chevy, I could (maybe) figure it out. ?
-
So which radiator hose connection should I delete? ?
-
1964 Pontiac Bonneville Convertible.
customline replied to StevenGuthmiller's topic in WIP: Model Cars
Ahh..thank you sir! -
That's a keeper, John. Beautiful!
-
My distributor is at the rear. I think maybe somebody goofed.
-
So I'm not crazy Where do I drill my holes? ?
-
So I'm not craz Where do I drill my holes? ?
-
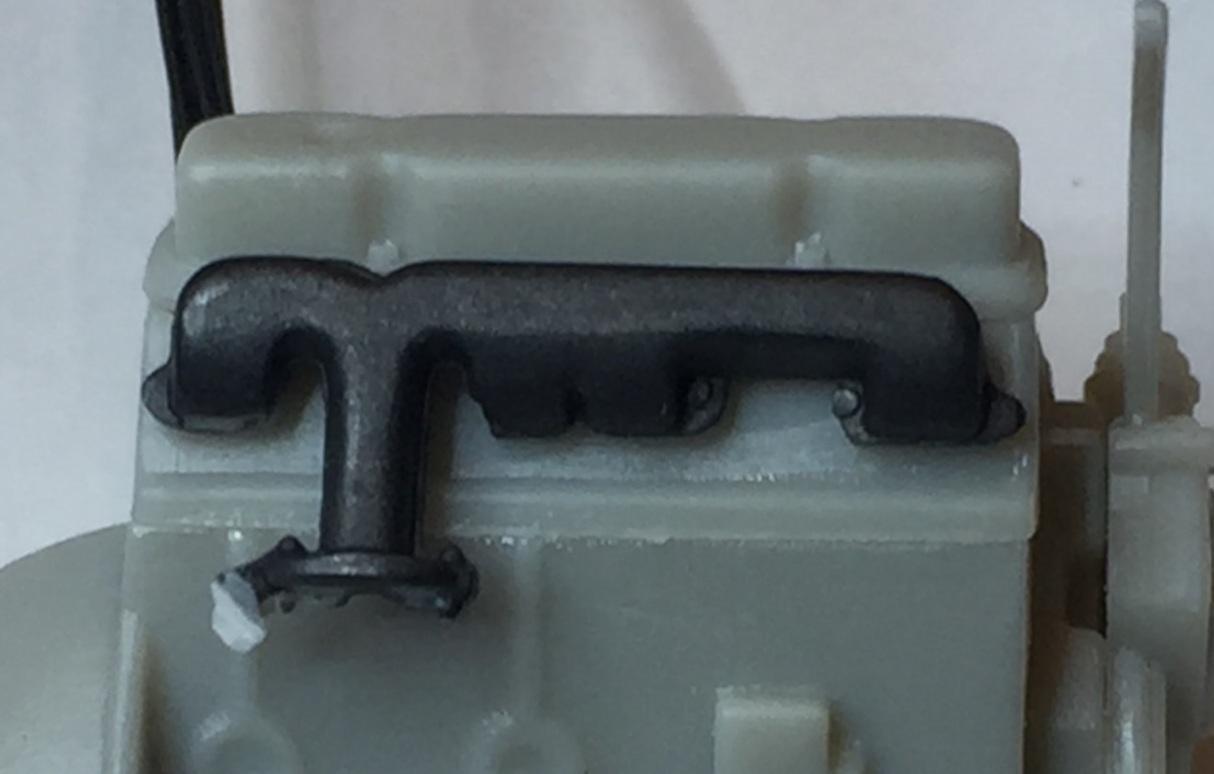
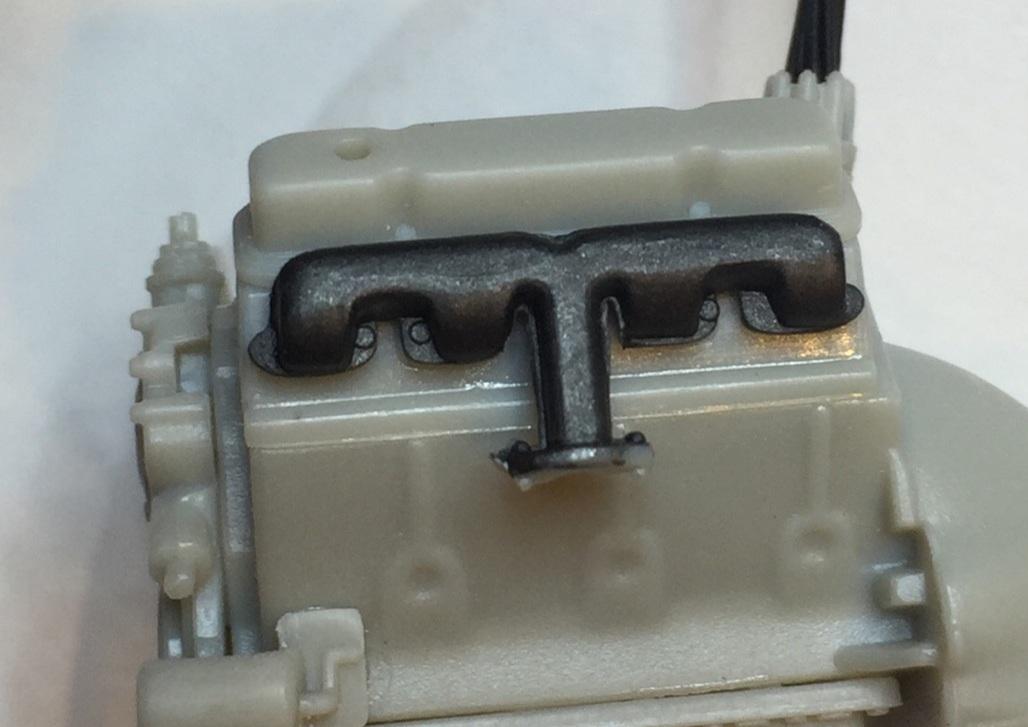
Yeah, Dave, I'm still undecided on that trim but I'm leaning toward foiling the roof trim and eliminating the fin-top trim. I eliminated the front fender ornaments and I'm thinking about shaving the hood, like that awesome custom above. In other endeavors....I put the engine together and I have come to a dead end. It's time to drill the heads for wires. What engine is this? It's not a "Golden Commando" because the distributor is in the wrong place. It's not a 318 because the heads are wrong. What is it? And why does it seem that it has a right head and a left head; the exhaust ports are not the same on both heads according to the exhaust manifolds. I haven't yet found anything that looks like this kit engine. I'm baffled.
-
1964 Pontiac Bonneville Convertible.
customline replied to StevenGuthmiller's topic in WIP: Model Cars
Looks fantastic, Steve. The effect is amazing. I believe it's really carpeting...are you applying the embossing powder the same way you would apply flock? My wife has a ton of that stuff. I'm sure she wouldn't mind....? -
Oh heck yeah, Steve, that's a beautiful rendition! I need to try a fog job. That is excellent. Without side trim, it looks like a 300C with a better greenhouse The Micro was plan B but my perseverance was fully charged. I was tempted but I didn't want to gouge it all up . This was a job for a belt sander. I wonder why they didn't just do that with a decal. Not all Belvederes had that fancy anodized trim. Thanks for those luscious photos!
-
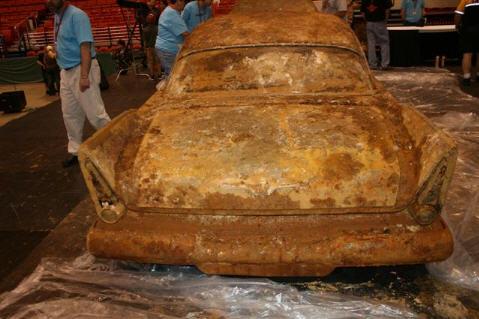
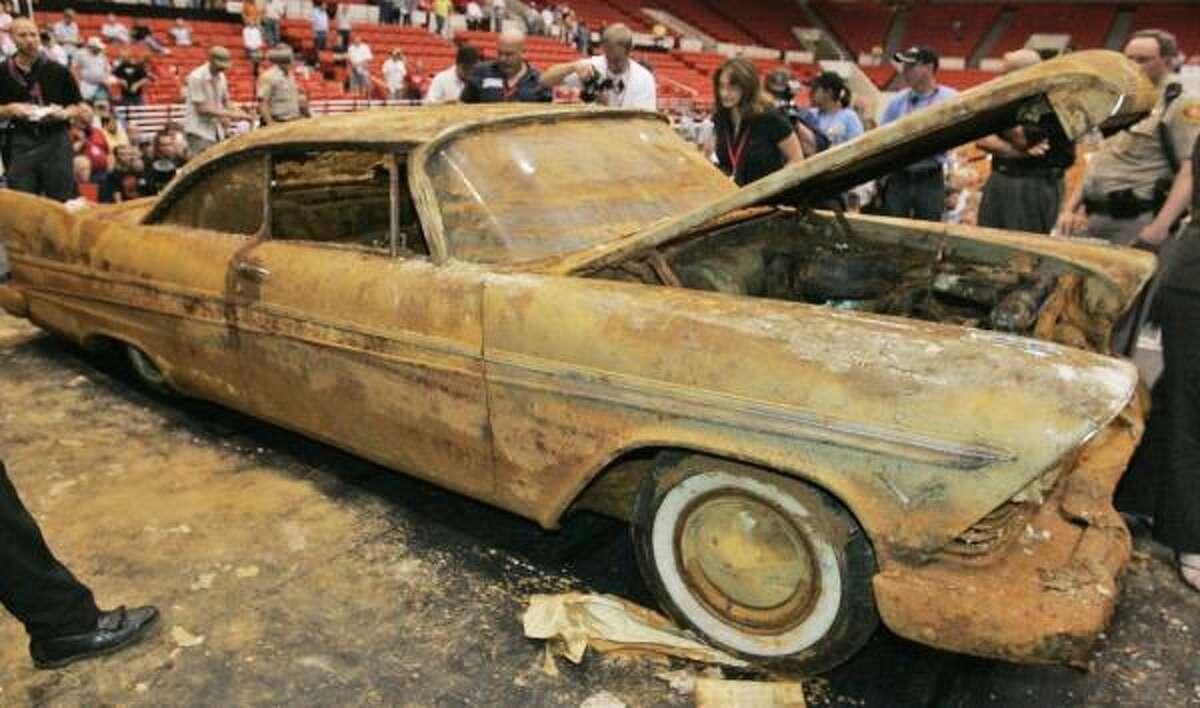
Maybe a little weathering.....☺️
-
I'm so sorry. I didn't realize this was going to cause a problem.? Thanks, Gary. ?


.jpg.2482264de98f95d8813418cf1b63a438.jpg)
.jpg.3a287ea3c1c8a4bc058e9f86b163afa6.jpg)
.jpg.8bcc62c6f29684b992d1c816cb11fce4.jpg)
.jpg.44ab42e7eb55ef9668e37dce4a1c1d59.jpg)
.jpg.23245e46b5bb6bb1d55574506eea6739.jpg)