
mopar_guy1
-
Posts
153 -
Joined
-
Last visited
Content Type
Profiles
Forums
Events
Gallery
Everything posted by mopar_guy1
-
You're very welcome.
-
The black interior really stands out with the sublime/lime light color.
-
Thanks Bill. A comment like that coming from you is very flattering. I've seen your aluminum Hemi and i'm totally humbled by your work, which obviousely is out of this world.
-
My next A body will be a dart..
-
My 1969 Pro modeler Dodge Daytona charger finished kit
mopar_guy1 replied to mopar_guy1's topic in Model Cars
I was hesitating between two colors. Glad i choosed that one... -
As every model maker knows, it's really not easy to simulate wrecked sheetmetal out of plastic. Plastic don't behave like metal. You've done a great job Kerry. Very nice.
-
Looks great. NIce paint job and interior.
-
I carved a long cylinder out of a piece of plastic tree. Then i cut two short pieces out of it. The hard part was to drill minuscule holes in their center to pass a tiny wire thru them... Lost a couple of brain cells in the process....lollllll I need a beer...
-
Great suggestion. Thanks. I will definately take it in consideraion.
-
Here is my 426 hemi engine for my 1967 Dodge charger ''Revell Muscle'' series. Took some extra parts fabricated from scratch.

-
My 1969 Pro modeler Dodge Daytona charger finished kit
mopar_guy1 replied to mopar_guy1's topic in Model Cars
Yup, was a not so easy build. Especially the decals. Since it's a old kit, the decals cracked up upon installing. I totally ruined the entire rear stripe. I had to paint it. -
My 1969 Pro modeler Dodge Daytona charger finished kit
mopar_guy1 replied to mopar_guy1's topic in Model Cars
Thanks David. -
My 1969 Pro modeler Dodge Daytona charger finished kit
mopar_guy1 replied to mopar_guy1's topic in Model Cars
The pro modeler Kit also provides a 426 hemi but the race version. Could be easily turned into the street version borrowing intake, carb and air filter cover from other kits. I decided to go with the 440 simply because it was the most common ordered engine for the street daytonas. -
Looks a lot like the Spoiler Vette MPC kit.
-
Hahaha You're totally right..... Edit: Just added the detail... Fixed
-
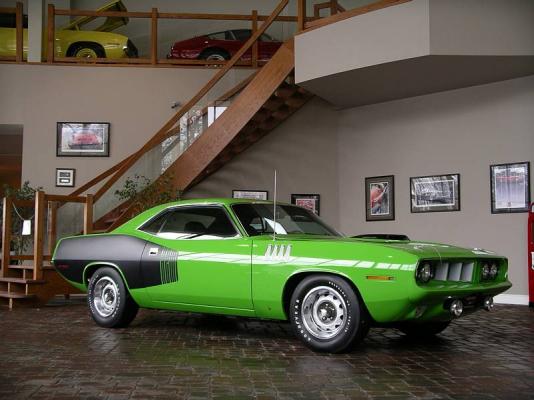
Here is my PLymouth Duster 1971. Like my charger, i decided to go with a color not available for 1971 mopars. FJ5 Lime light. It stands out with black interior.
-
GREAT :) Certainely glad to know that.....lol
-
Thanks for your sugegestions Mike. I will certainely pay a close eye to that. I'm always looking foward to improve my build.
-
My 1969 Pro modeler Dodge Daytona charger finished kit
mopar_guy1 replied to mopar_guy1's topic in Model Cars
Thanks for the comment Monty. Really appreciated. The trick of getting the details right is to: 1- To have good photo references of the real one. (For the ones who like to reproduce "stock" faithfully) 2- To see clearly what you work on. Really important. Good lighting mixed with the use of magnifying lenses, similar to the ones jewel makers use. 3- Steady hand and quality brushes. 4- Choosing the proper size wires. My firewall is a mix of painted raised line and added small wires. -
Great detailing job. Event to the fuel and brake lines. From seeing that, i think i'm gonna start adding brake lines to. lol Looks MUCH better that painted raised lines. Good job.
-
Thanks. Yup Go Mango was dropped after 1970. I was aware of that fact, but i like this color. I decided to go ehead anyway... Thanks again for your comment, it's appreciated.
-
Here is a few shots af my 1971 Dodge Charger R/T. The AMT kit offers great details. Strangely, for a kit of that quality, the windshield washer fluid reservoir was omitted by AMT, so i had to fabricate that part from scratch. The same goes for the A/C freon reservoir & lines. But besides that it a great kit to work from. Even if the "go mango" body color was not available in 1971, i still used that color for my model. Was reluctant because i usually have the "factory specs" approach, but i liked the color so much that i said: "What the heck" loll
-
My 1969 Pro modeler Dodge Daytona charger finished kit
mopar_guy1 replied to mopar_guy1's topic in Model Cars
A few undercarriage shots. -
My 1969 Pro modeler Dodge Daytona charger finished kit
mopar_guy1 replied to mopar_guy1's topic in Model Cars
Thanks. Was not an easy built. I had problems with the decals since it's an old kit. I had to paint the entire rear stripe. The decals cracked apart upon installing. -
Great choice of body color. Looks amazing. Great work.

