Metalmad
-
Posts
1,309 -
Joined
-
Last visited
Content Type
Profiles
Forums
Events
Gallery
Everything posted by Metalmad
-
 Thank you David ! Next I will be working on getting the body tapped off around the headlamp and lower light buckets to shoot them a semi gloss black the I'll install the lights and the light covers.
 -
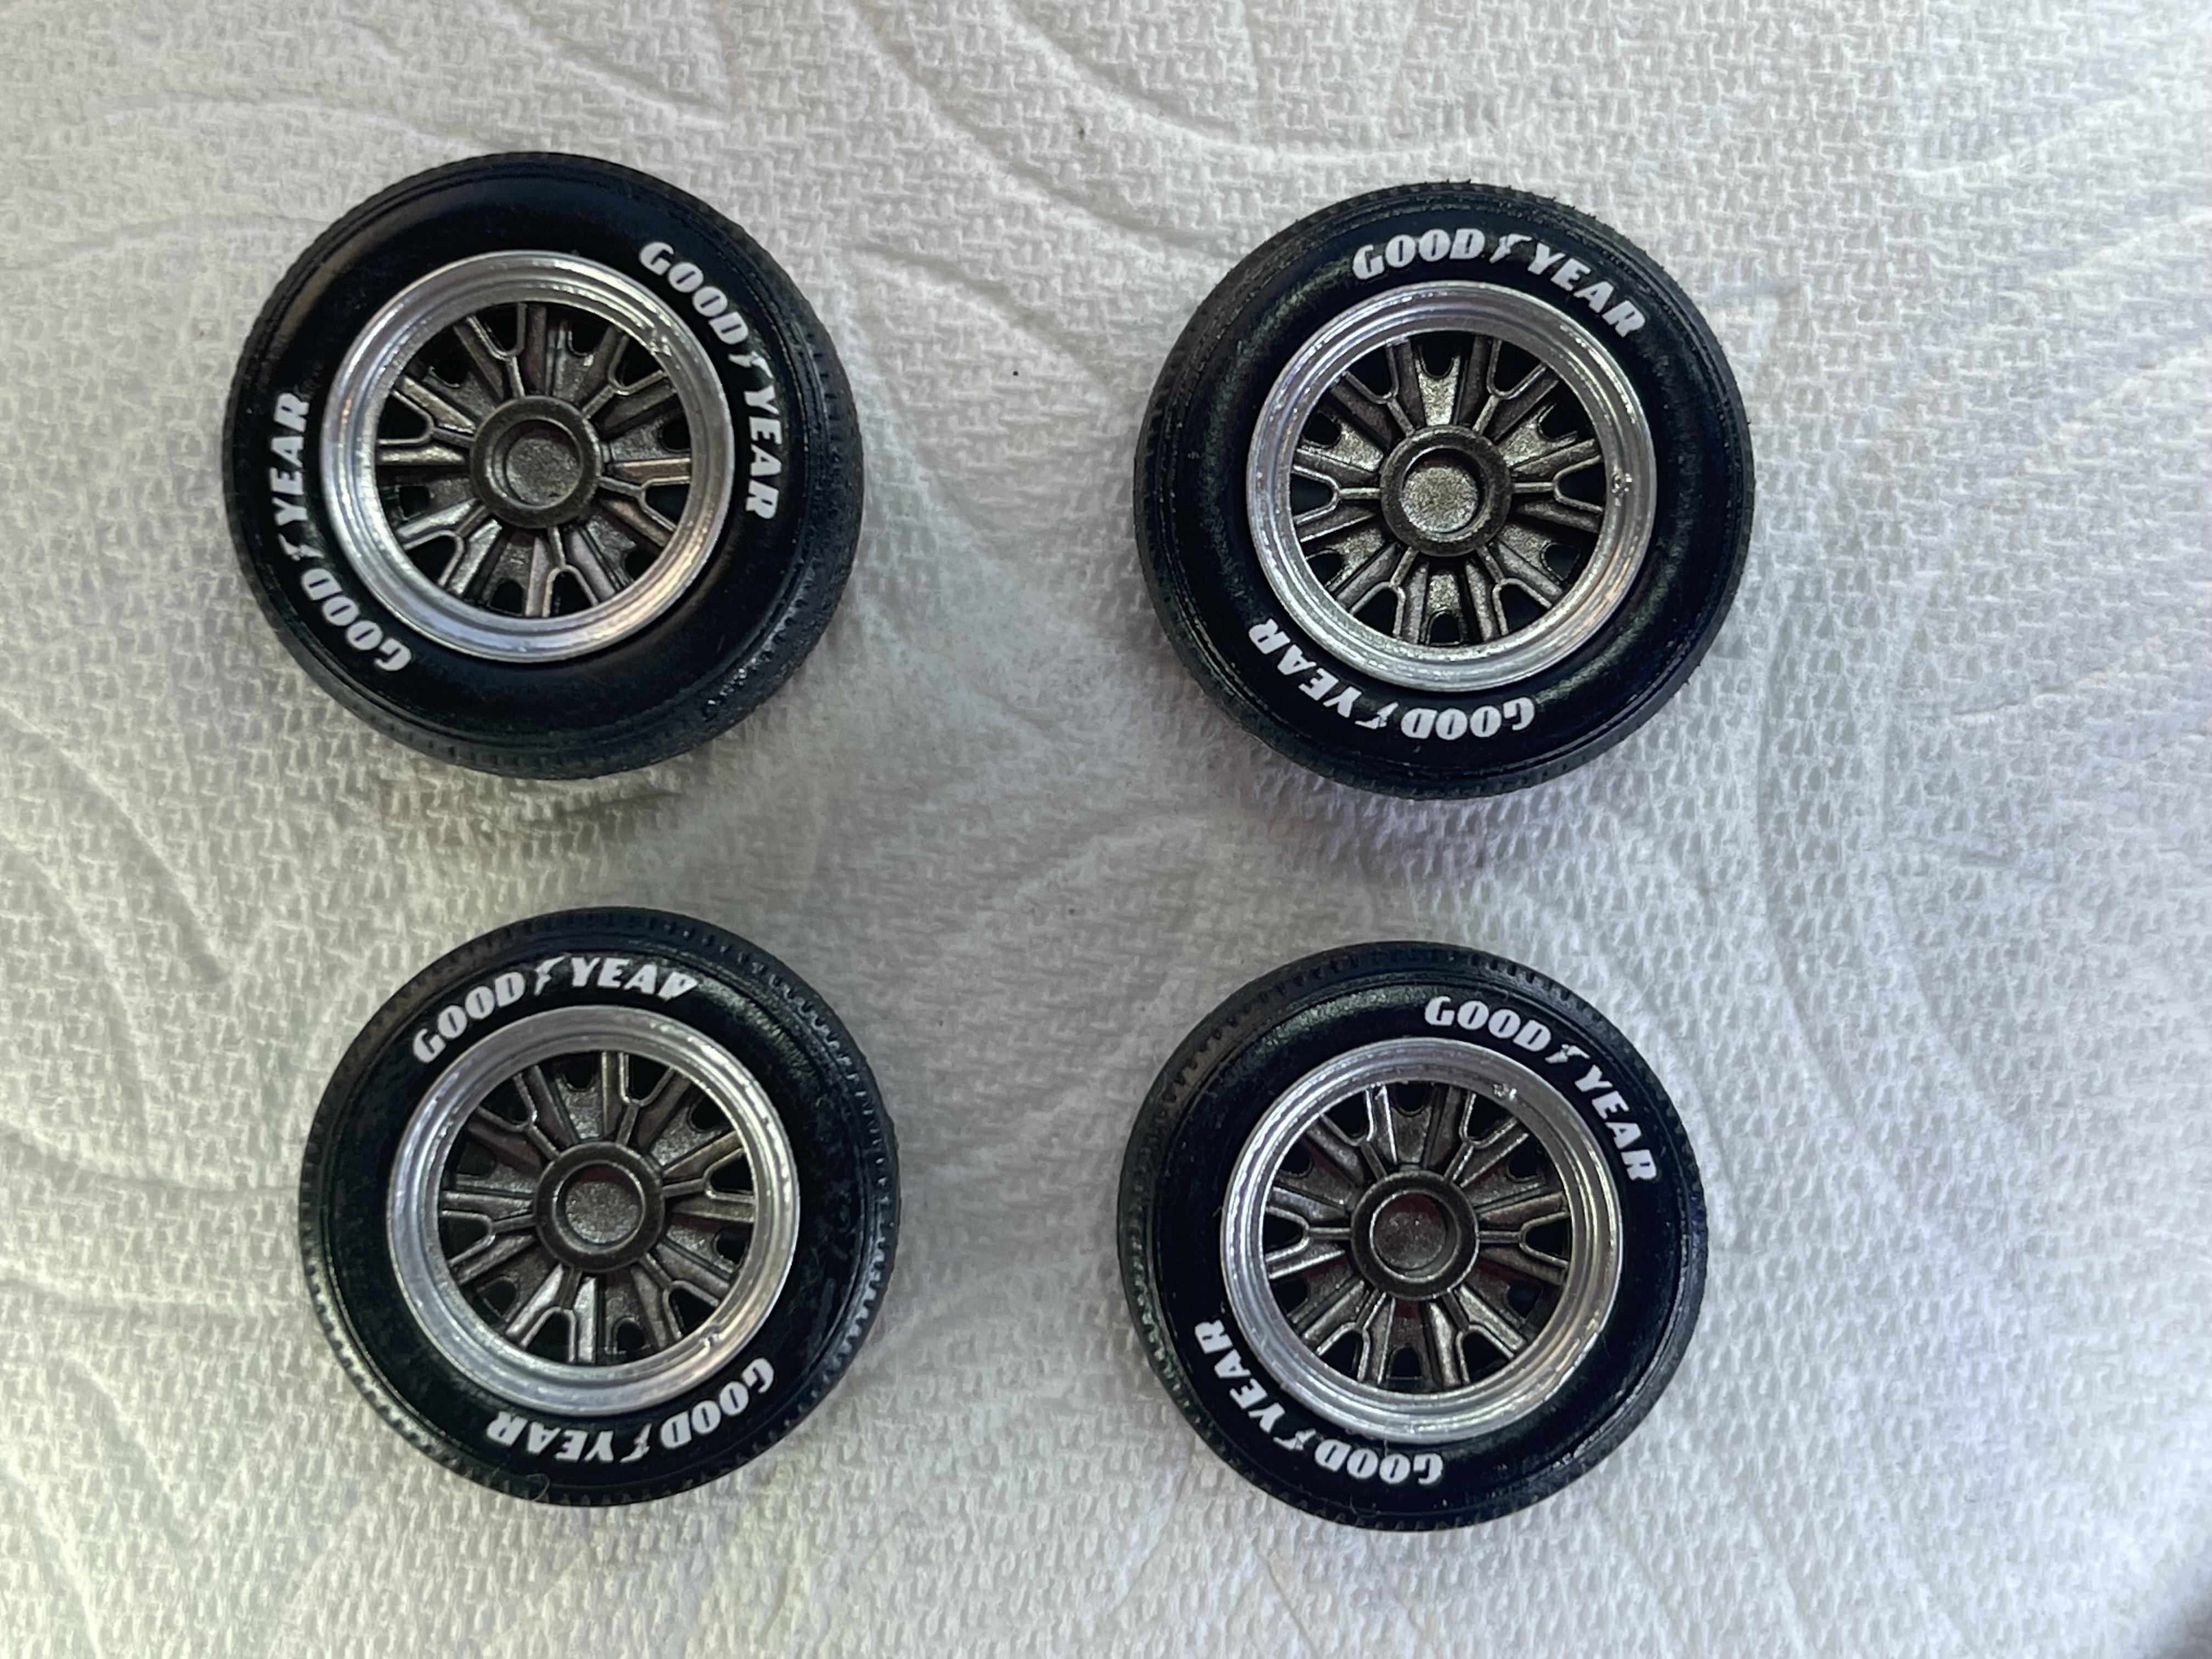
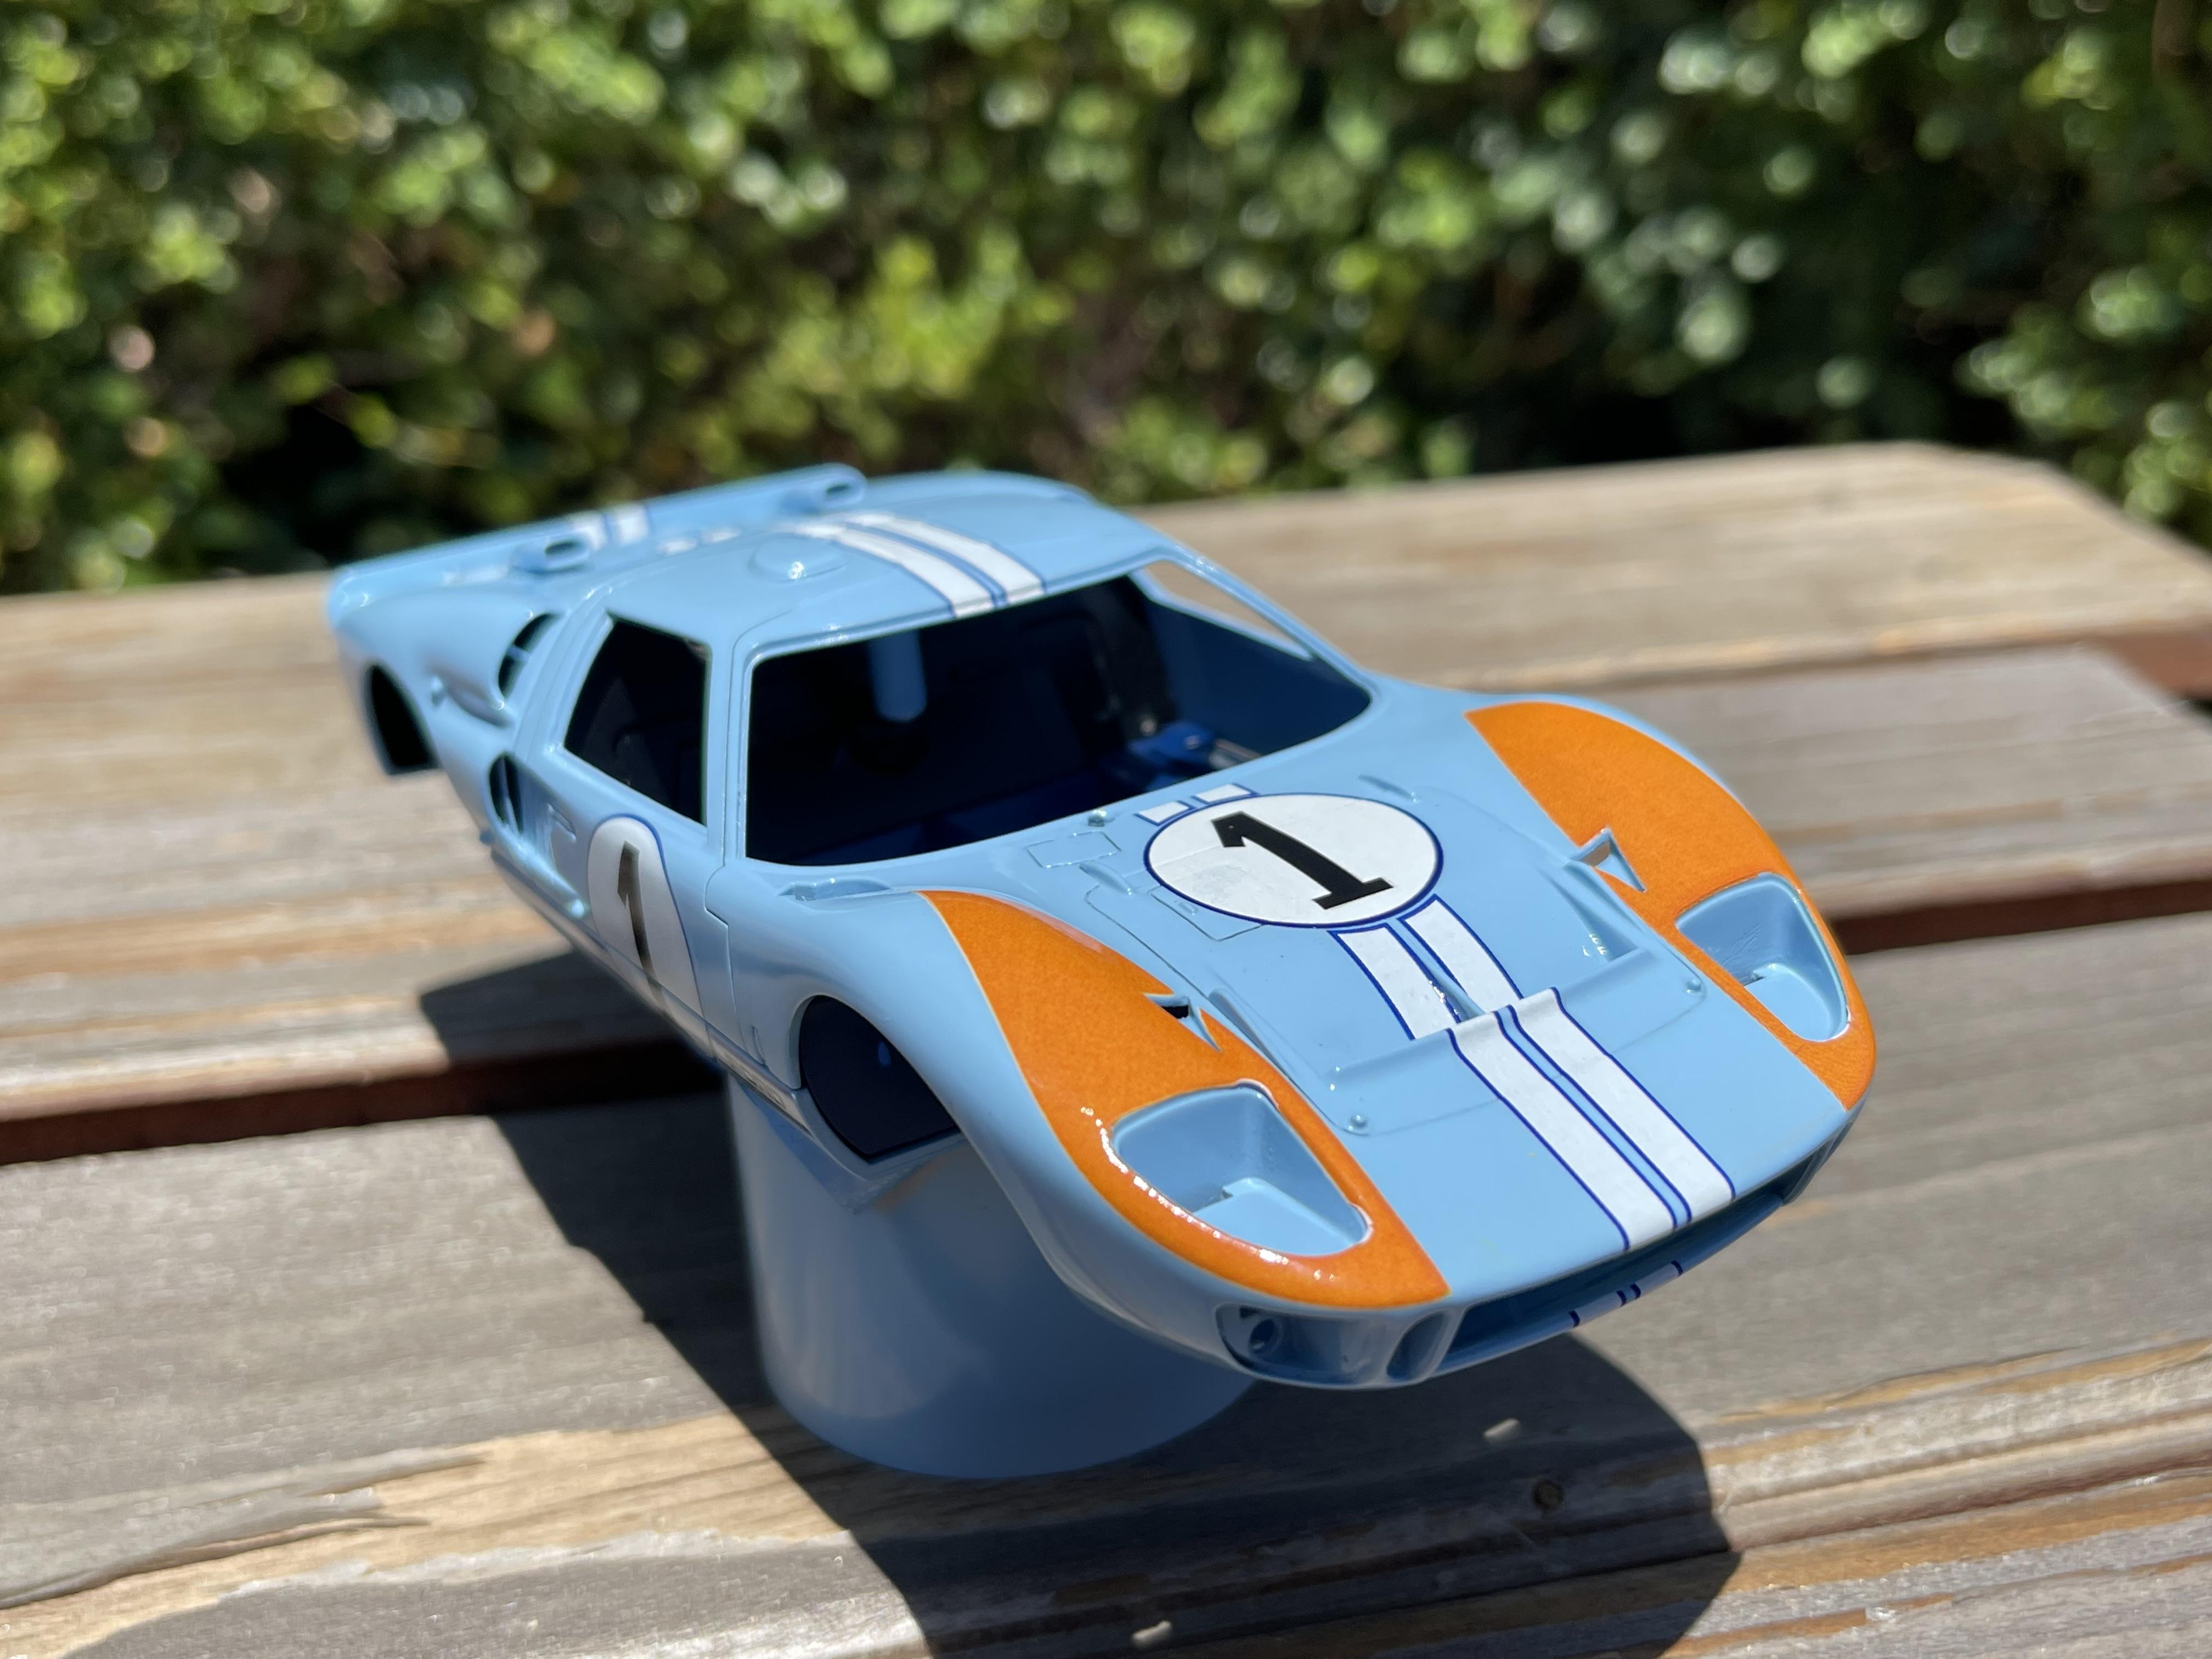
Hello All, Just a small update which I have applied the last coat of clear and I also started on applying the decals to the tires after I shot some clear on them and now I'll wait until the decals cure then I'll shoot some semi gloss to seal them.

-
I use Tamiya masking tape on all my masking do to the fact that all the 3M blue and green tapes leave a residue
-
Elegance with horse power !
-
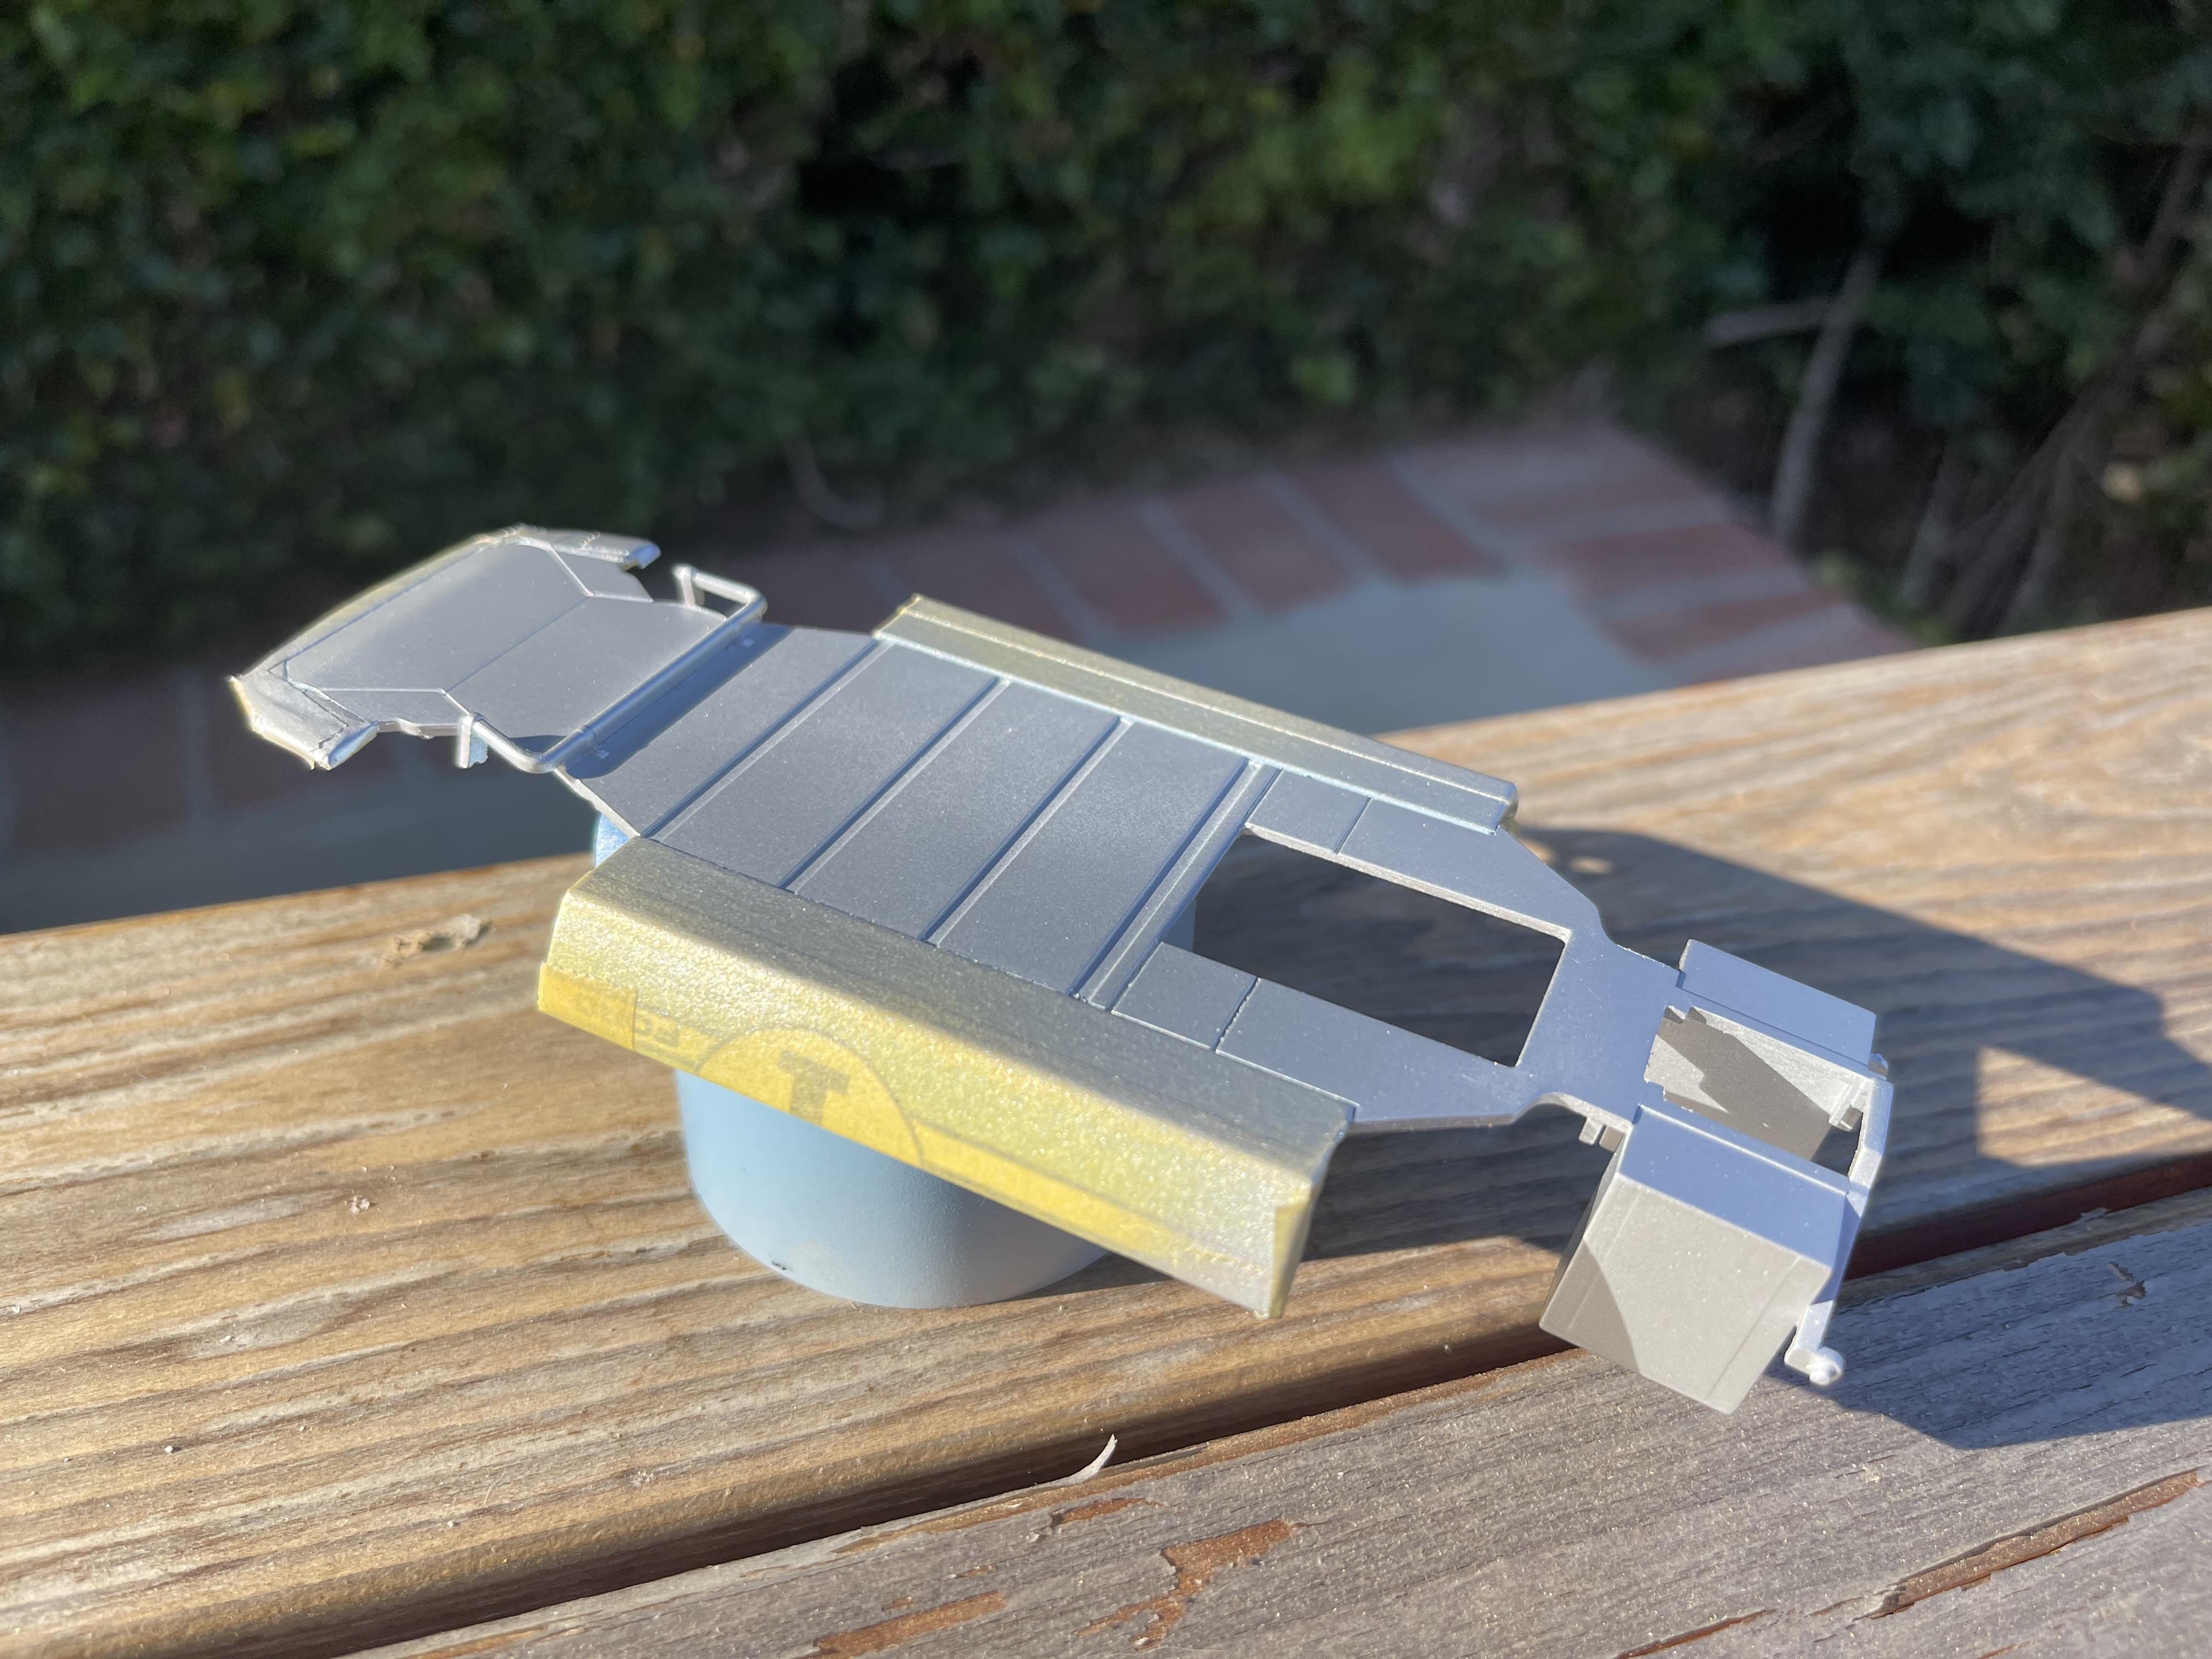
Here is a small update and some pictures of the painted bottom pan and after she dry's I will mask off the air box's then shoot the blue to finish off the bottom pan. I was also able to apply decals to the dash today and started detailing the dash switch's as well. Happy 4 th of July to everyone and be safe !
-
Thank you Pierre ....... Was able to tape off the bottom pan to shot some Tamiya gloss aluminum on the rear air boxes then after that dries I will tape off the boxes then shoot the blue and then shoot some semi gloss over the blue.
-
Thank you Mike !
-
Thank you Anton......its been a little bit of a struggle with the paint and decals but I'm taking my time on her.
-
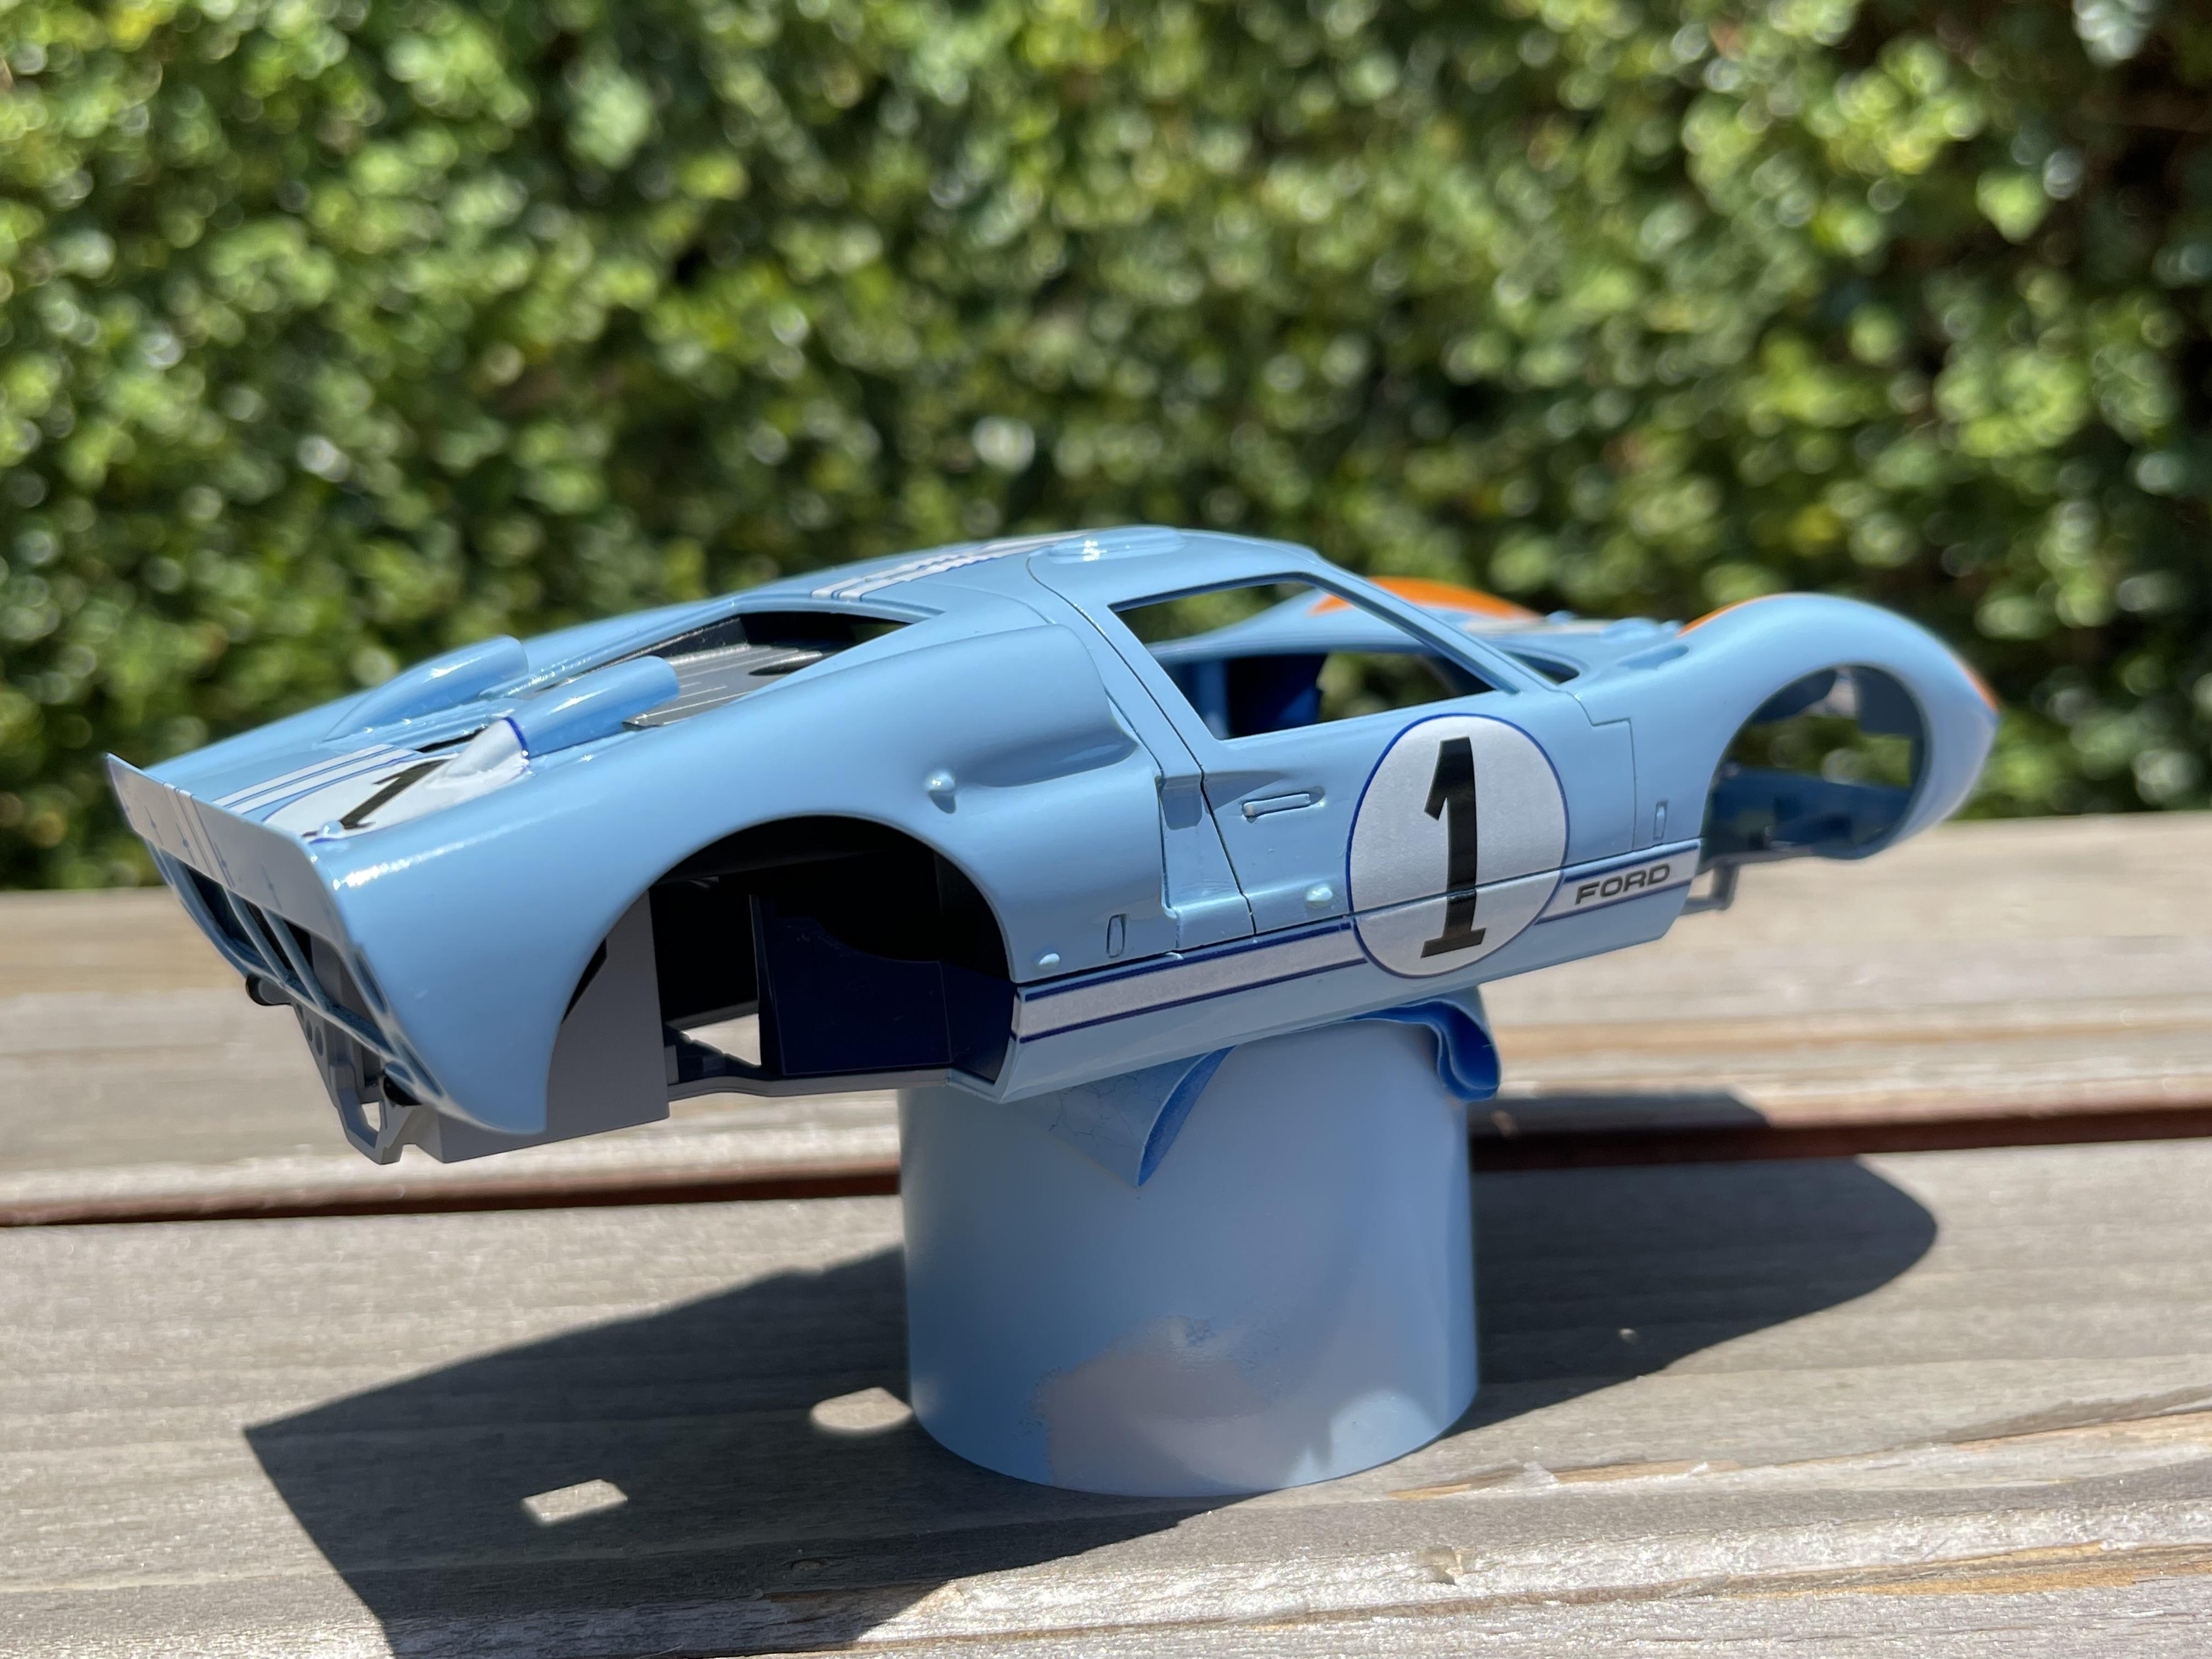
Received the replacement indycals decal Friday and was able to apply the decal over the existing decal that had the body color bleed through.So after letting the decal set up and dry for 24 hours I proceeded to shoot the clear on the body and cure then I will need to mask off the bottom pan and shoot the dark blue on the belly after the clear is completely cured and also mask off the body around the light enclosures to shoot some black.
-
Cool Build !
-
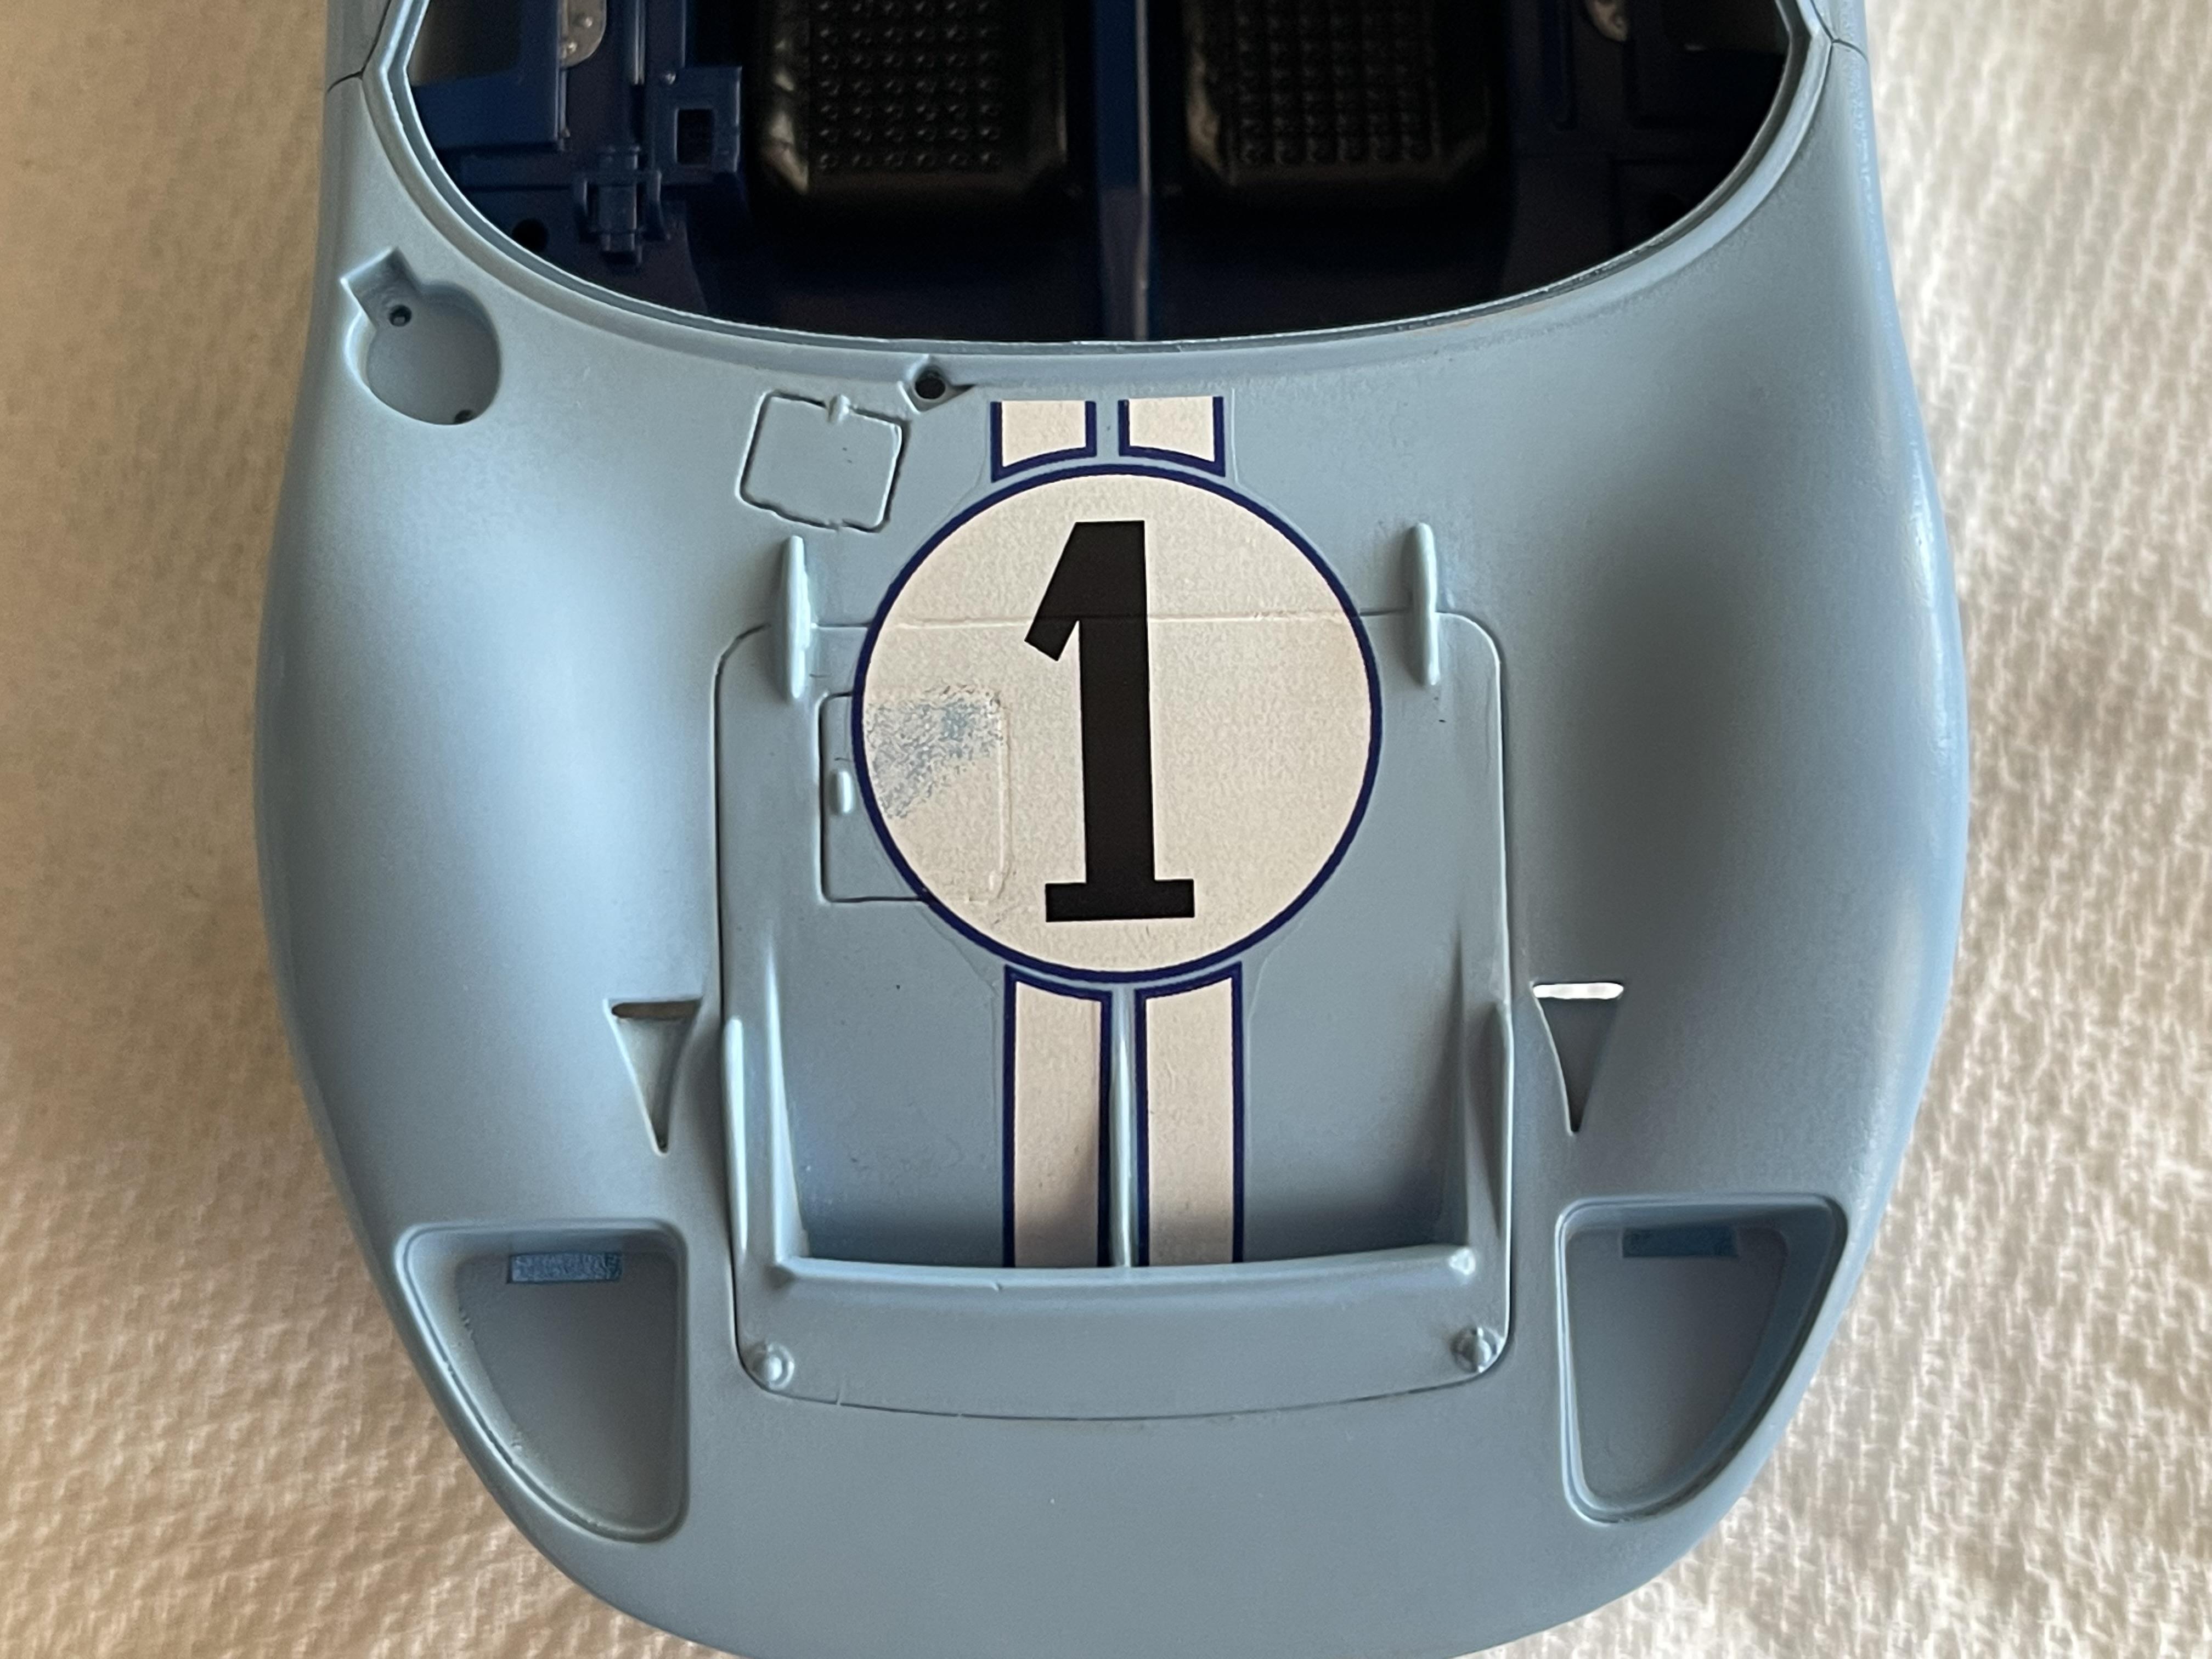
After emailing Michael at indycals and informing him about the issue I had with the one decal which I also sent him a picture of the decal issue. He responded quickly and he will be sending me out a replacement decal at no charge. What a standup guy ! I really appreciate his customer service.
-
Started laying down the indycals decals and noticed the on the one that I had applied to the hood you can still see he body color underneath in one area of the white as you can see in the pic. I have emailed indycals about this issue and I also have ordered another set of decals from indycals which upon I will then just lay down another decal on top of the one that has been already applied.
-
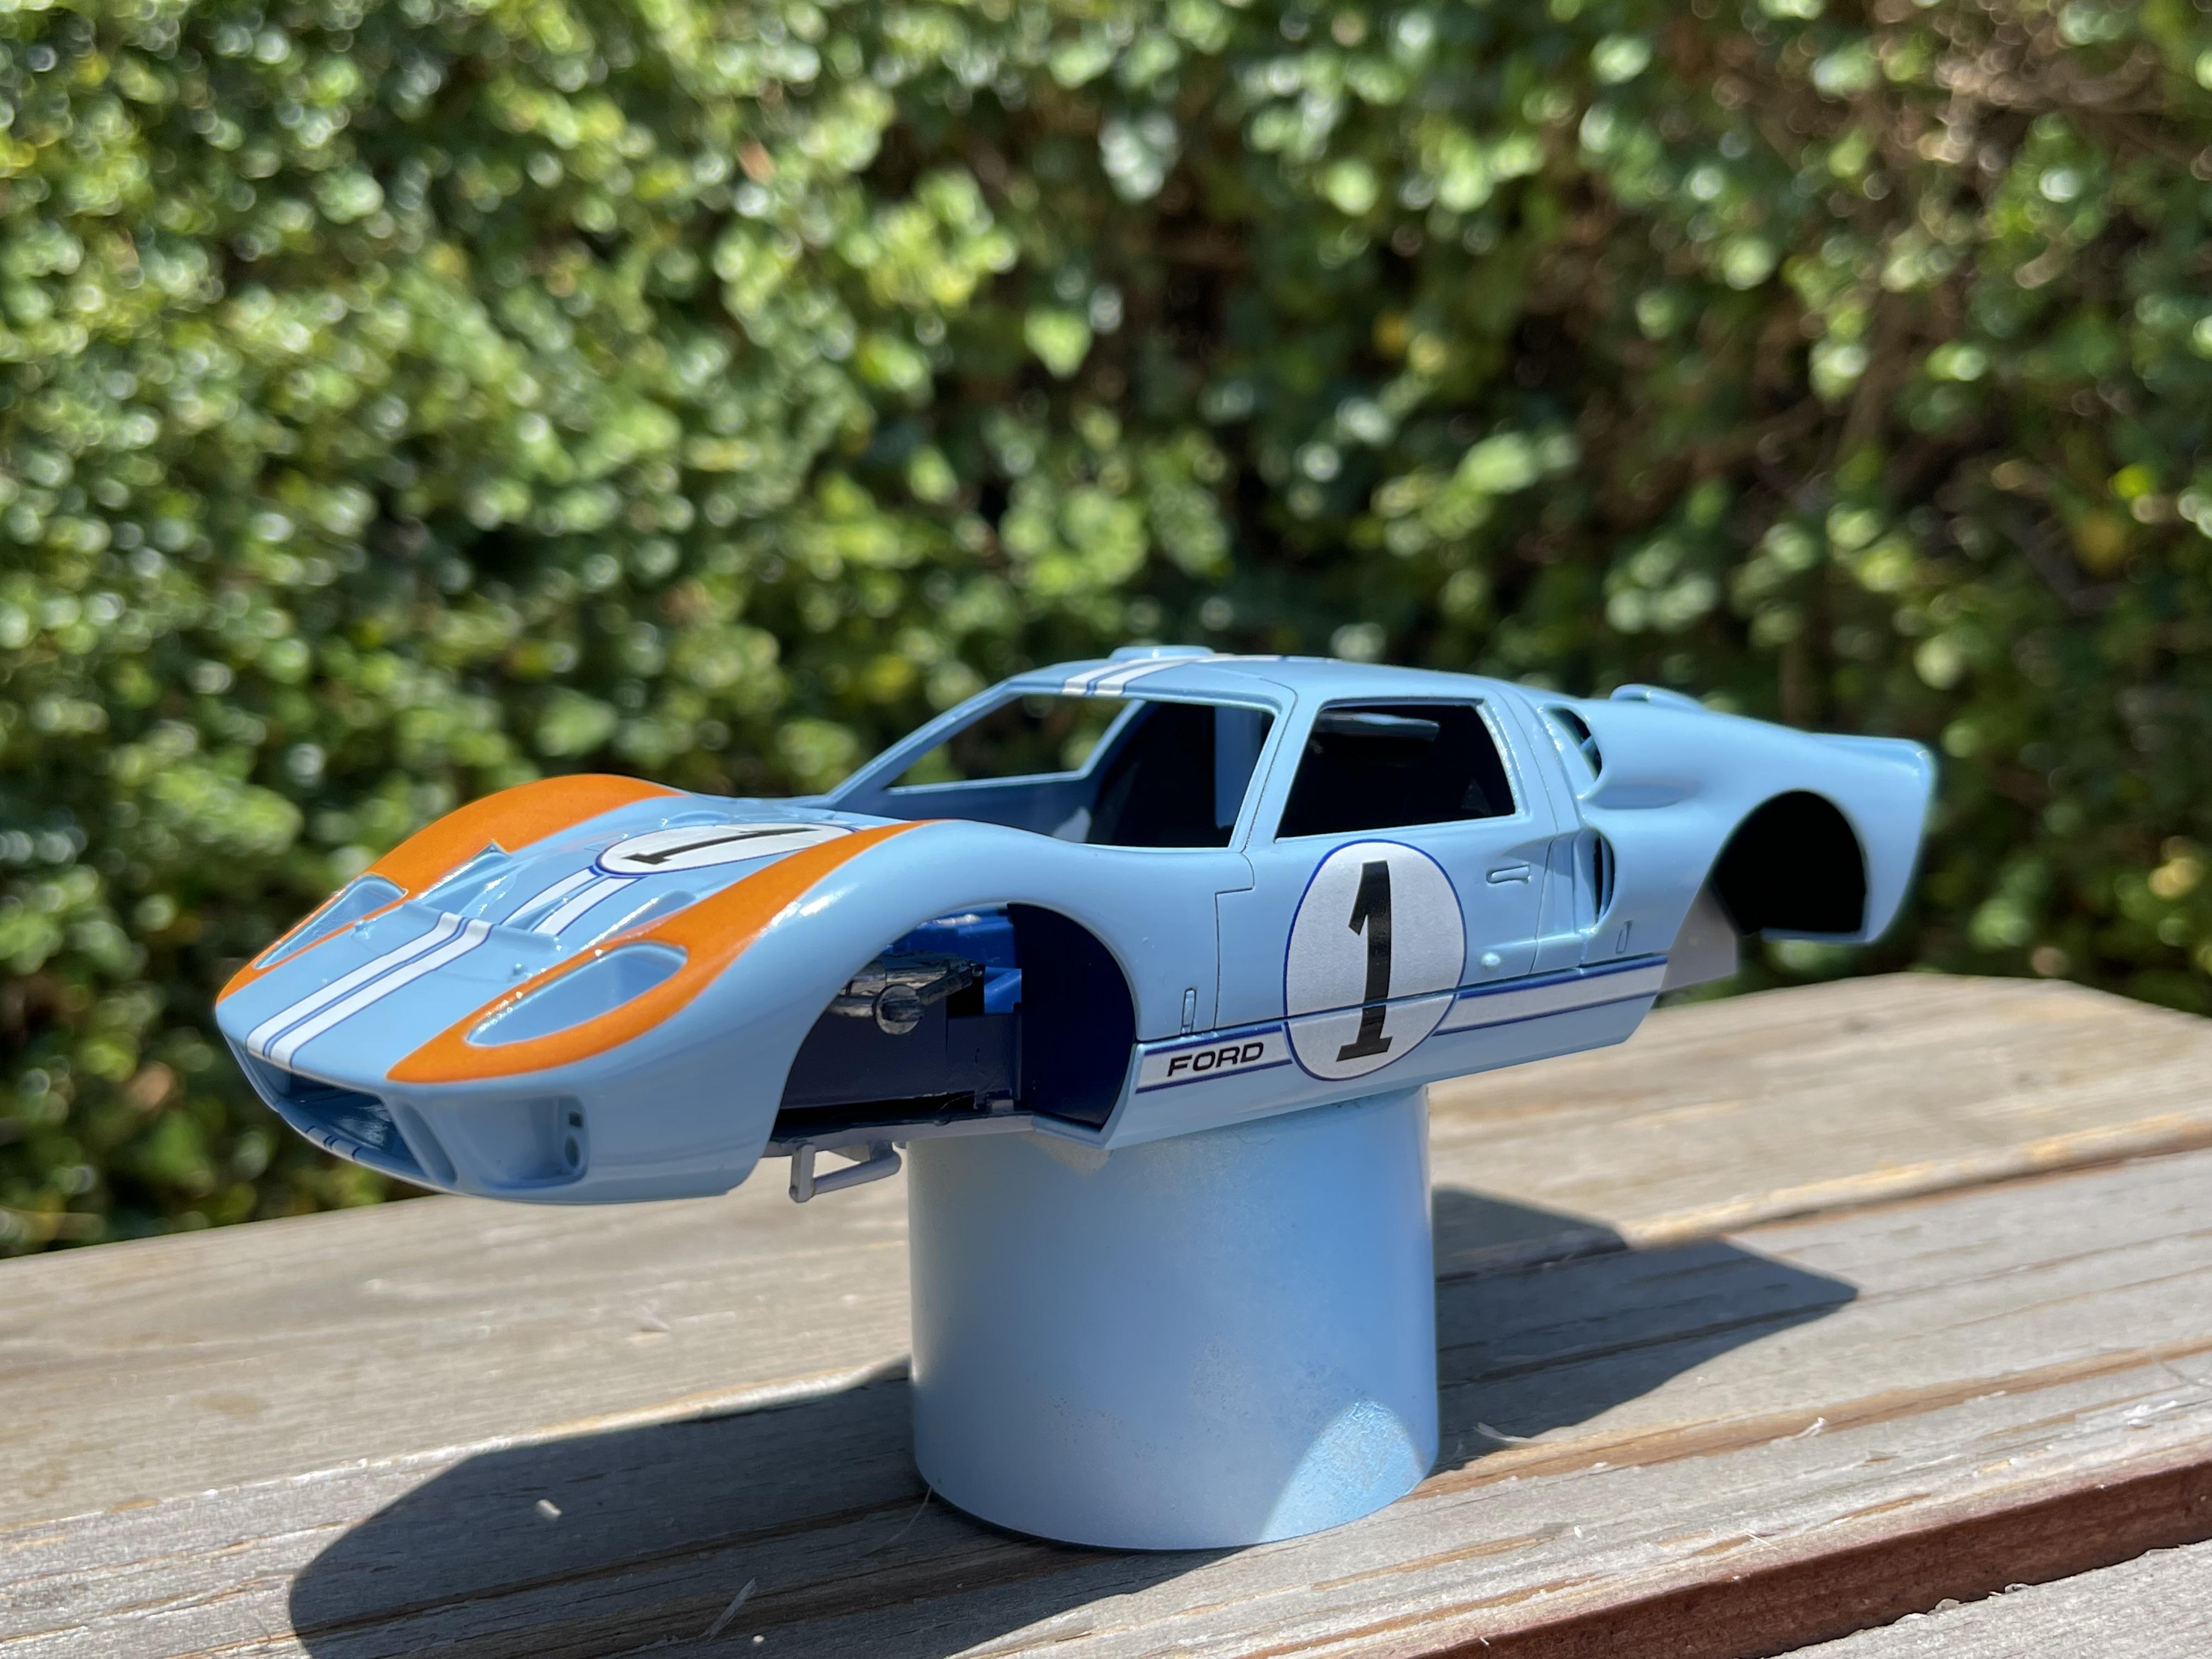
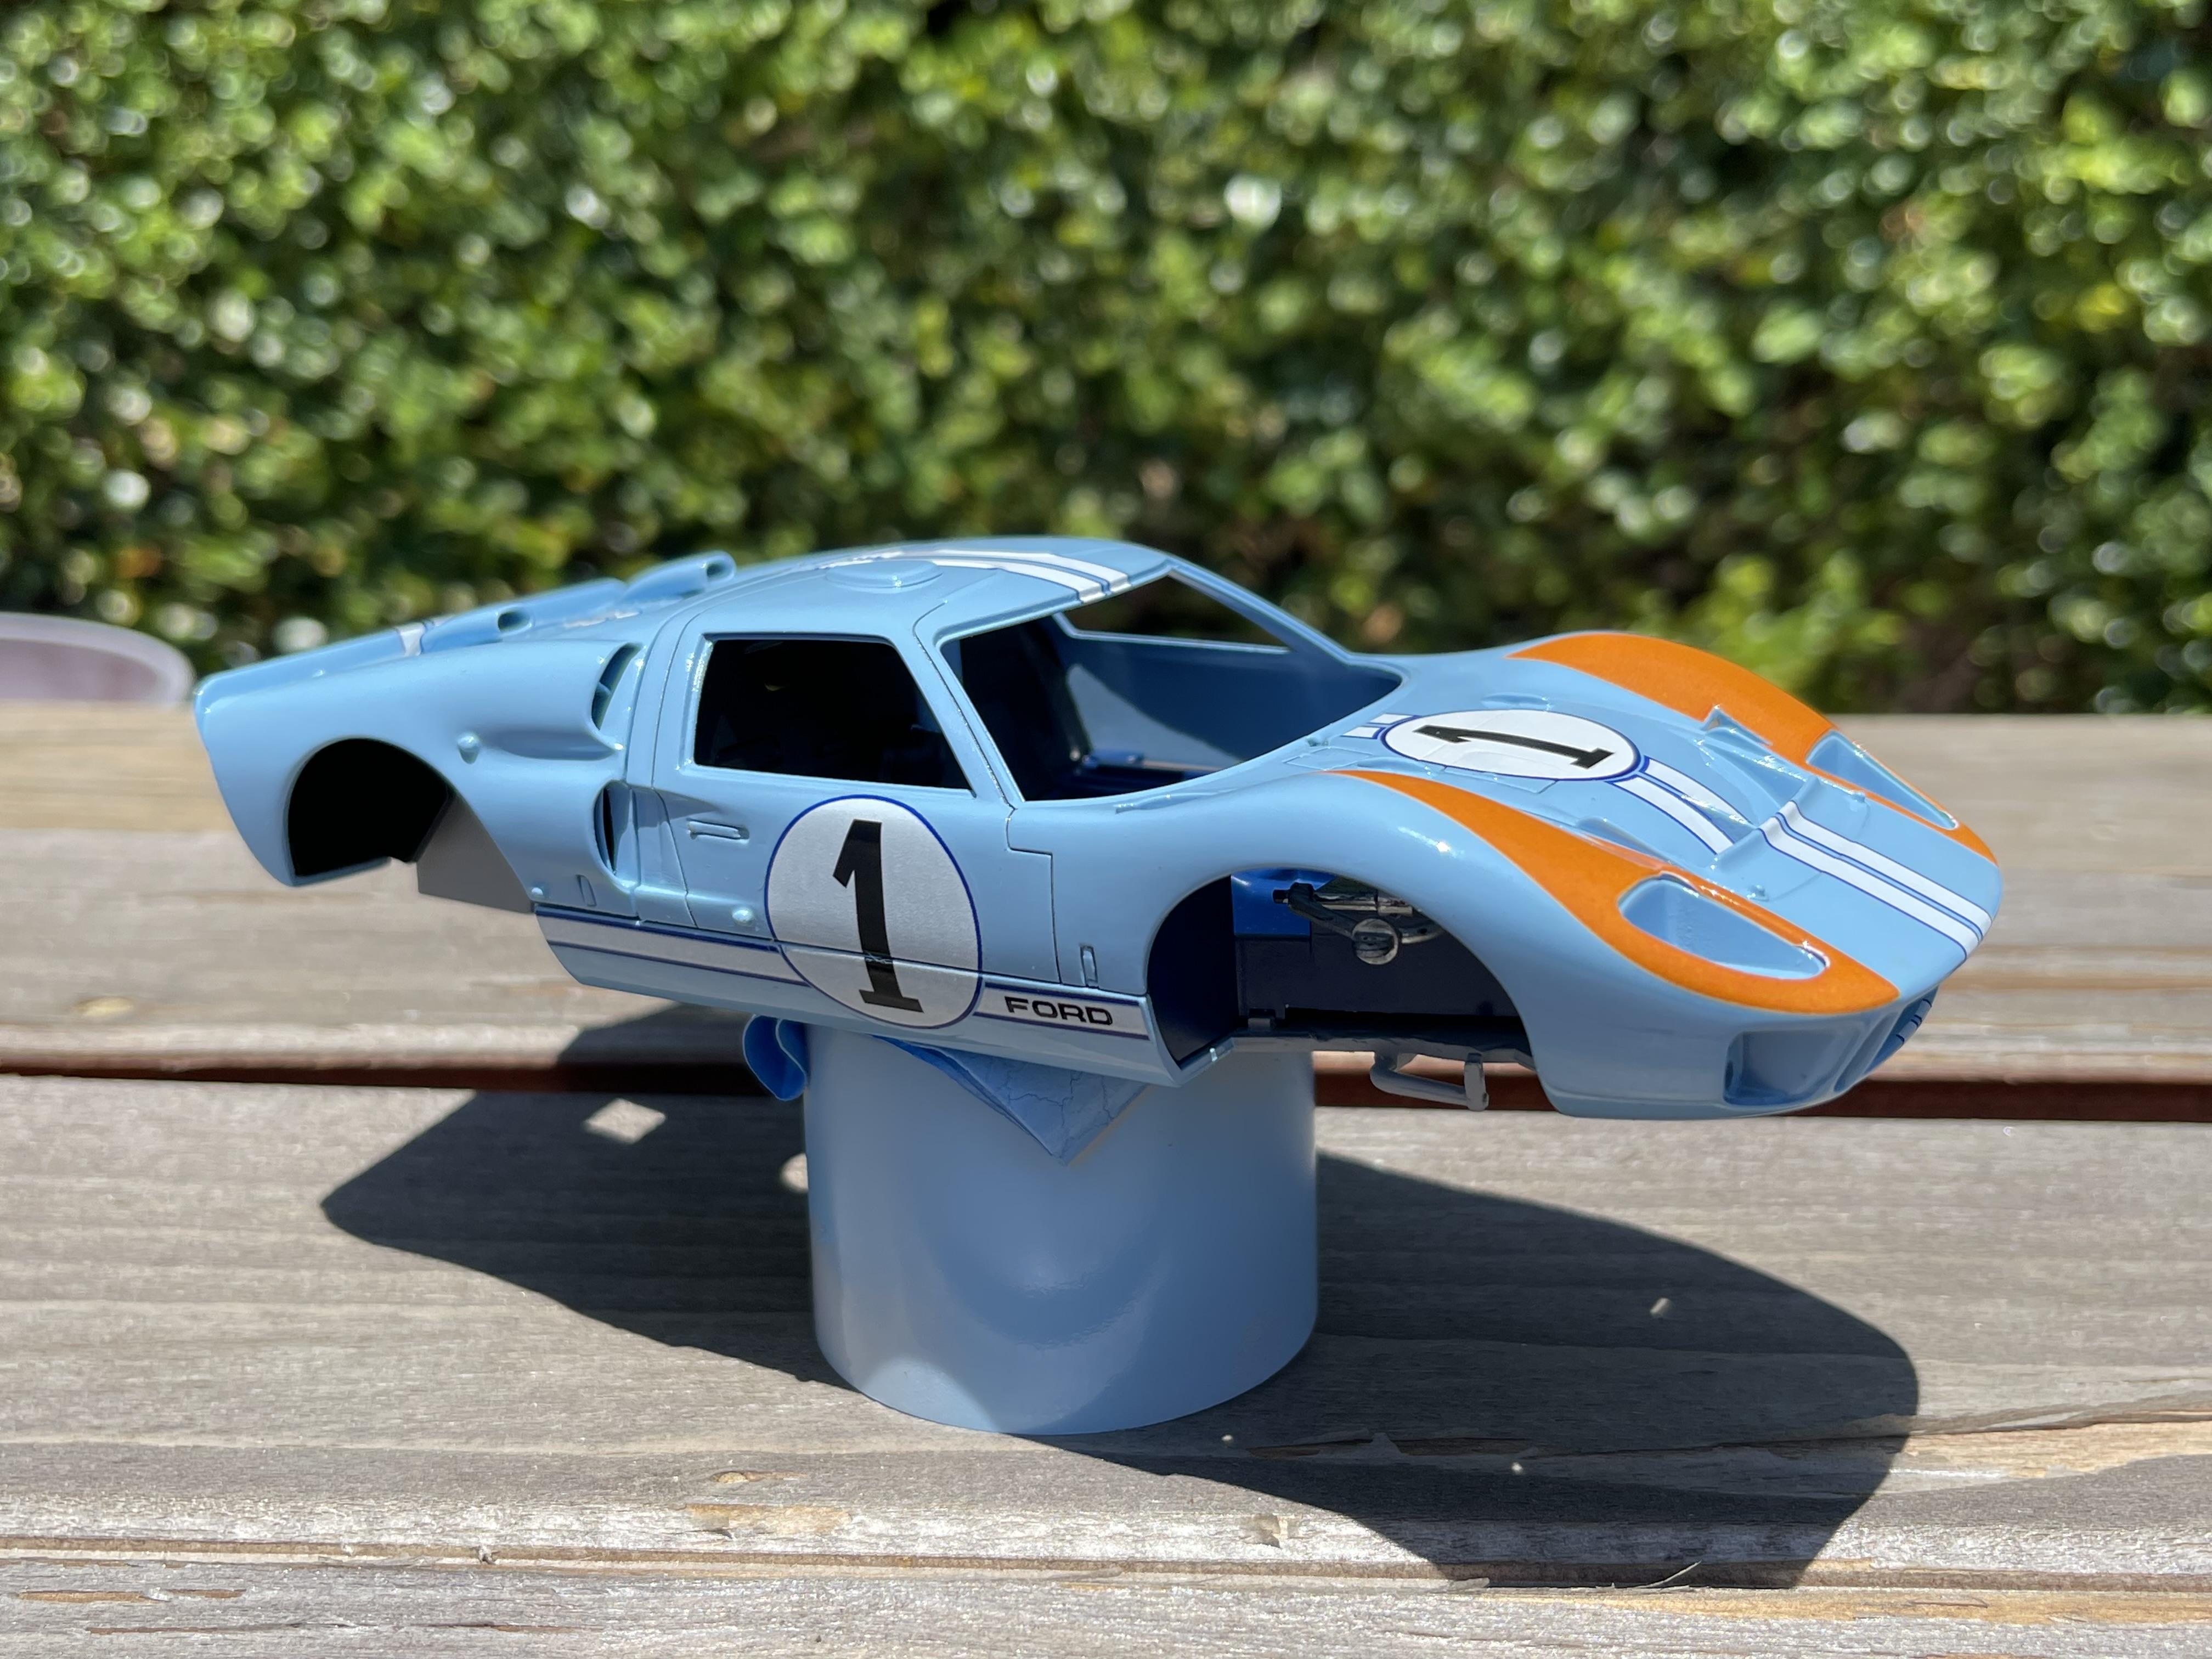
I finally was able to shoot the light blue lacquer paint this evening which it was a bit warm out yet this evening but it came out looking pretty good so after the paint flashes out I will wet sand her to smooth the paint out a bit then add the decals and then hopefully shoot some clear on her. Will try and get pics up soon.
-
She's looking good !
-
Well I have received the decals from indycals and I have the paint stripped from the body which then I proceeded to shoot the body in primer. So my next step is to get her painted in the light blue from MCW.
-
Well done ! Nice and clean build.
-
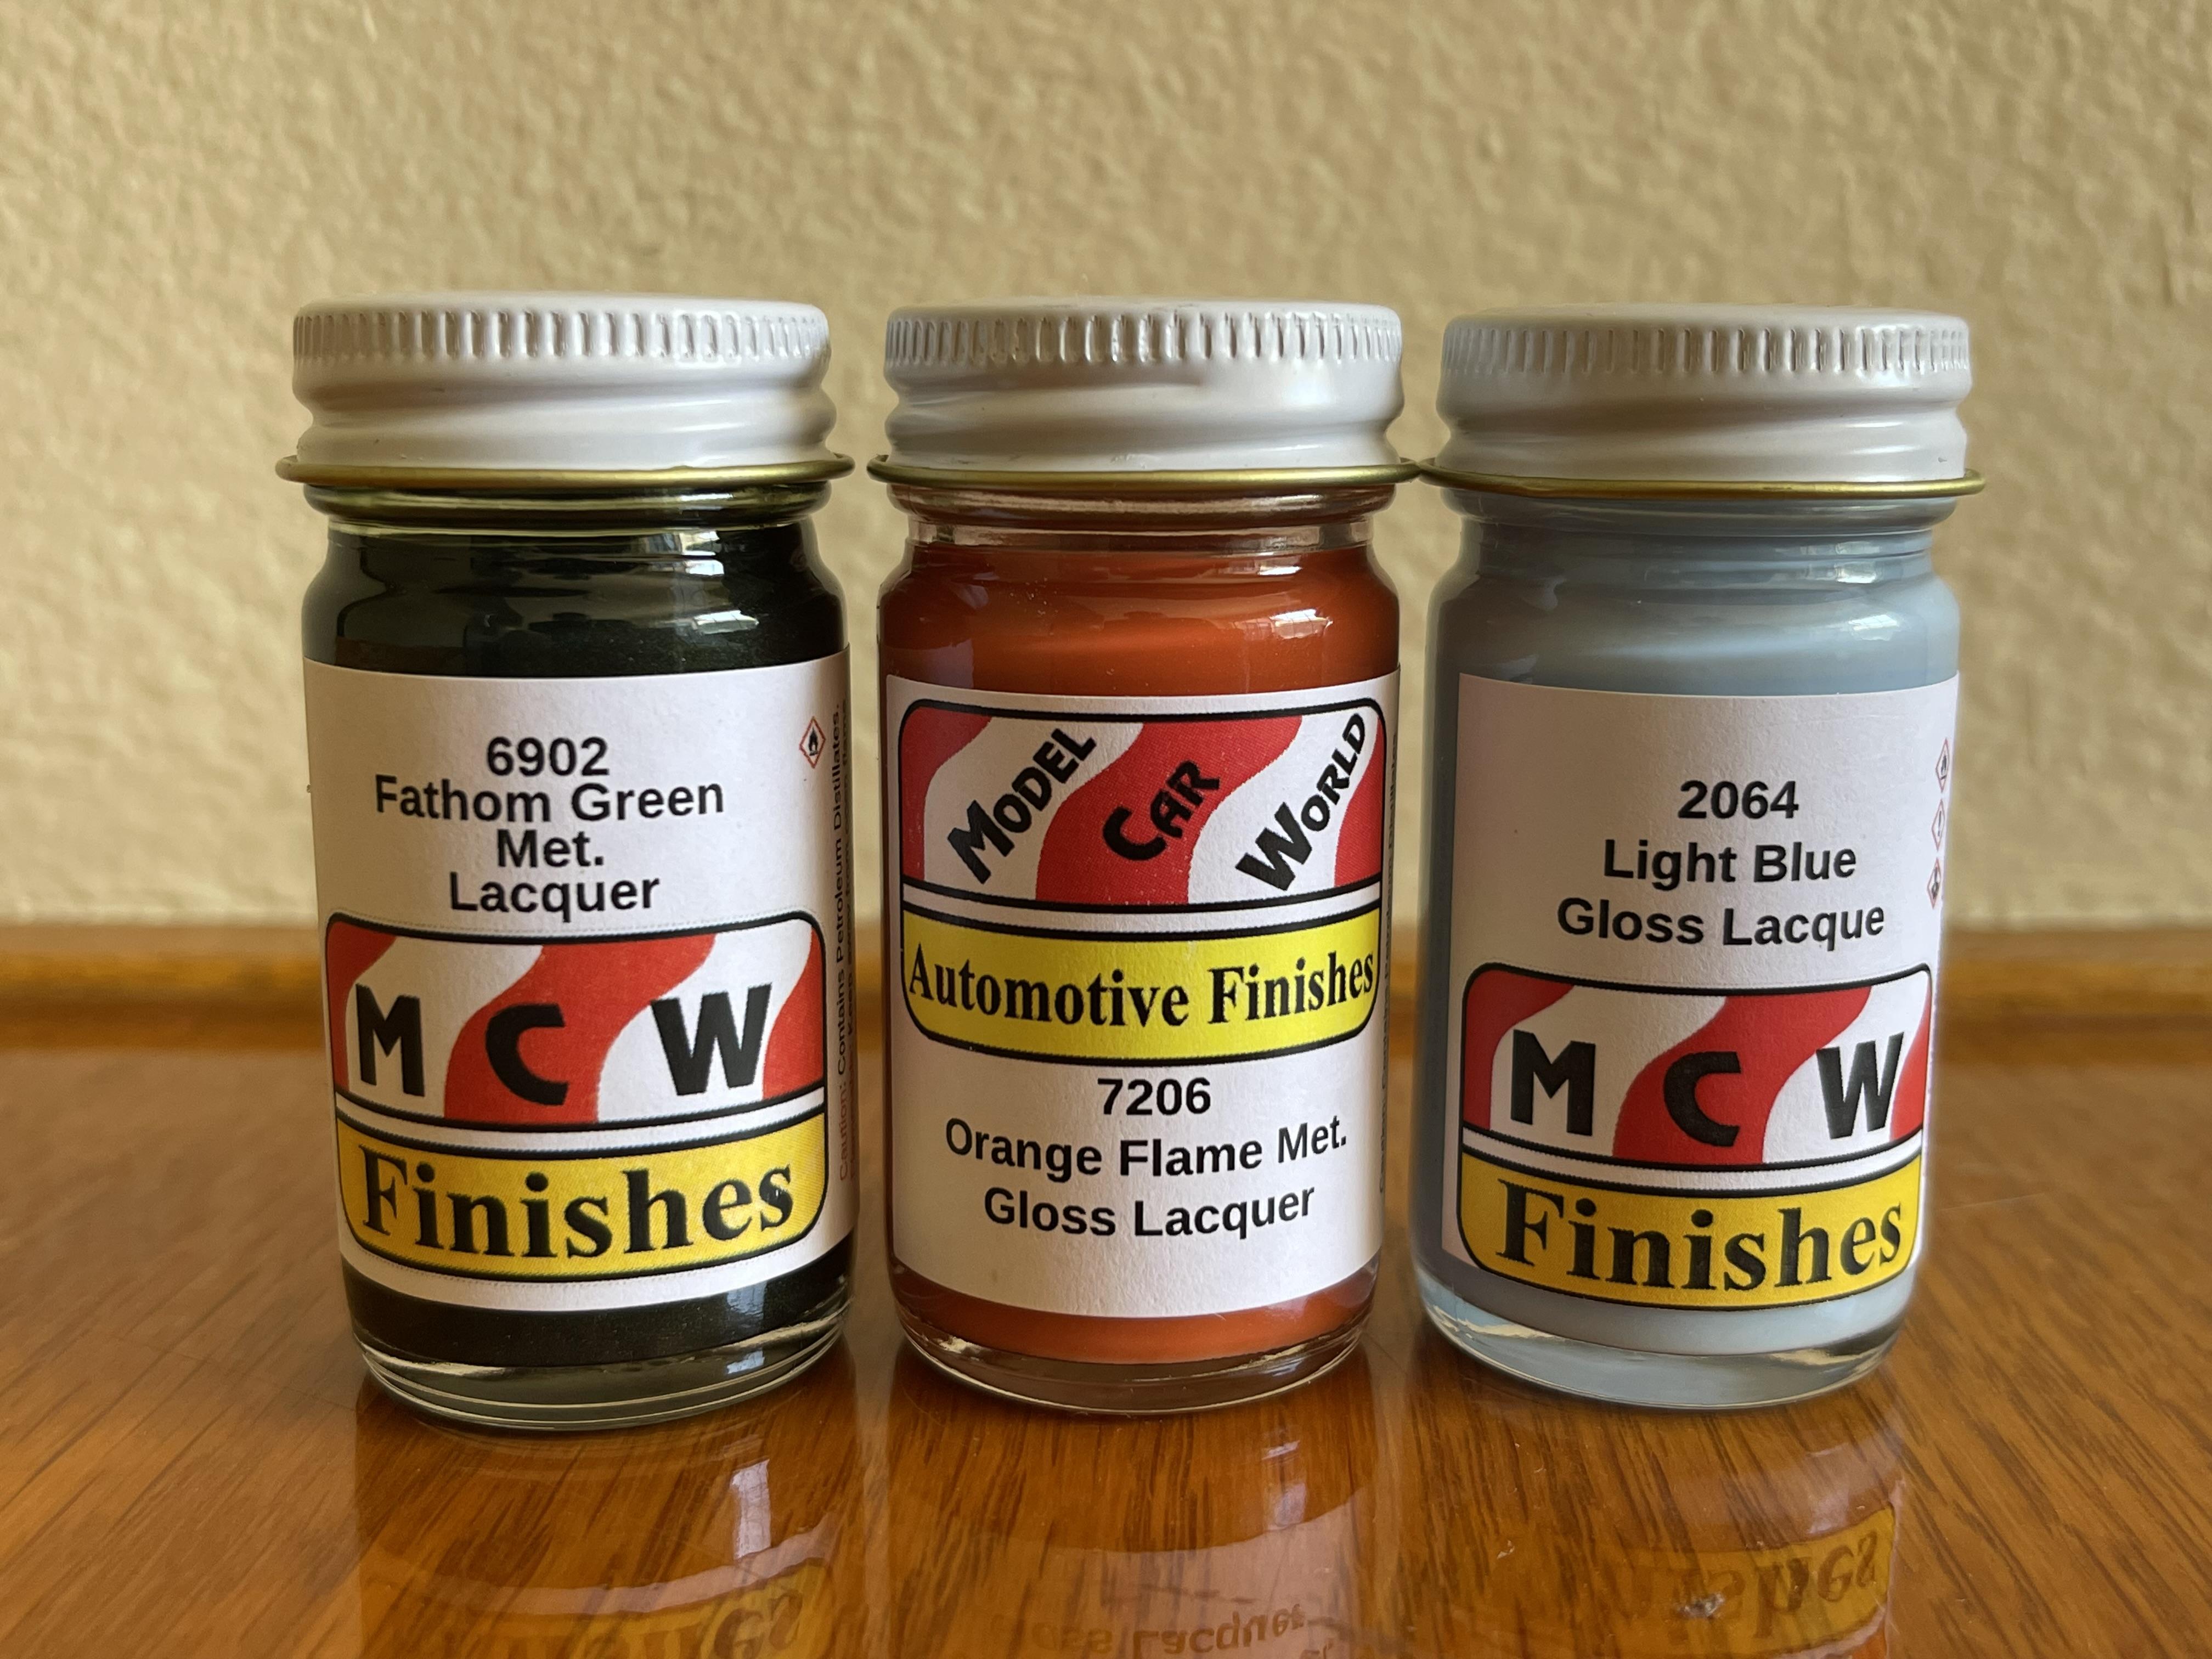
Light Blue paint from MCW has arrived today and I also ordered Fathom Green Metallic and Orange Flame Metallic for two other builds. I must say though that the MCW paint arrived quickly so kudos to MCW ! So hopefully I can get the body prepped and in primer this weekend and painted.
-
Small update which now I will be repainting the body because of a small mishap with the decals separating off the lower body while removing the masking tape from the upper bottom half that separated the two different colors of the bottom dark blue and the body color light blue and I think the cause of it was the decals not adhering to the acrylic paint. So I have some lacquer paint on its way from MCW for the repaint and another set of decals coming from indycals.
-
She looks awesome !
-
I also have recently purchased this kit as well but it will be a bit before I start building it ....... I'll be following this build though.
-
Cool Build !
-
Looks like we will have a baseball season after all..... first games set to play April 7
-
Liberty Walk Lamborghini Aventador
Metalmad replied to Jay's topic in Other Racing: Road Racing, Salt Flat Racers
Wow she looks awesome ! -
Looking Good !
-
Very Cool show and a great turn out ...... and I was surprised that I took 1st & 2nd in the Street Machine & newer category with my 1957 Ranch Wagon Del Rio 1st place & my 1970 Dodge Super Bee took 2nd place.