gwolf
-
Posts
434 -
Joined
-
Last visited
Content Type
Profiles
Forums
Events
Gallery
Everything posted by gwolf
-
Sweet ride! Welcome back to the hobby.
-

Dom's Charger Fast Five Build Update 5-01-13 Finished
gwolf replied to TFchronos's topic in WIP: Model Cars
Man, I love the fact you can move the turn indicators back, primer it and it looks like it was made that way. You have any advice for sanding the fill putty and scribing out door panels where putty filled them? -
The first car - A foray into manhood.
gwolf replied to Shelby 427 1965's topic in General Automotive Talk (Trucks and Cars)
Hey man, how's the GTI doing? My first GTI was an MKII like yours, but white. I'm on my fourth one now. My favorite was my 97 1/2 VR6 in Ginster Yellow. Wish they made that the VR6 into a model kit. Give us an update. -
Man, that is just gorgeous. Great job on this one. I wish they still made Chrysler / Plymouth / Dodge kits from that era.
-
Horrible Neighbors, Terrible Kits and a New Dremel
gwolf replied to gwolf's topic in WIP: Model Cars
Haha, that is brilliant, Kerry. It may come to that. -
Wow, that paint job is nice. What kind of paint are you using?
-
Horrible Neighbors, Terrible Kits and a New Dremel
gwolf replied to gwolf's topic in WIP: Model Cars
Thanks Joe. I'm not at all concerned making about show quality models, I just do it for fun. I kind alike getting mad at at a kit, sticking it out and having something in the end to show for it. -
Horrible Neighbors, Terrible Kits and a New Dremel
gwolf replied to gwolf's topic in WIP: Model Cars
Thanks Robert! I enjoyed cutting those fenders off. -
Update: (32 Ford) Horrible Neighbors, Terrible Kits and a New Dremel
gwolf replied to gwolf's topic in WIP: Model Cars
Thanks, Adam. I will add that black wash tonight. Good call! -
Update: (32 Ford) Horrible Neighbors, Terrible Kits and a New Dremel
gwolf replied to gwolf's topic in WIP: Model Cars
Thanks guys! -
Horrible Neighbors, Terrible Kits and a New Dremel
gwolf replied to gwolf's topic in WIP: Model Cars
Oh, they're still there. We are still working on that project, Tim. -
In 1988 when I was 15 I was over my head in love with an old blue 1959 Dodge Royal that was for sale near my parents house. I imagined myself handing over the $2300 they wanted for it and driving it to school and working on it over the weekends. Well, my father took one look at it and said "no way" and my dreams were crushed. My absolute favorite car of the 1950's. Gorgeous job on this, man.
-
That's just gorgeous, man. Never even knew there was a kit for that year.
-
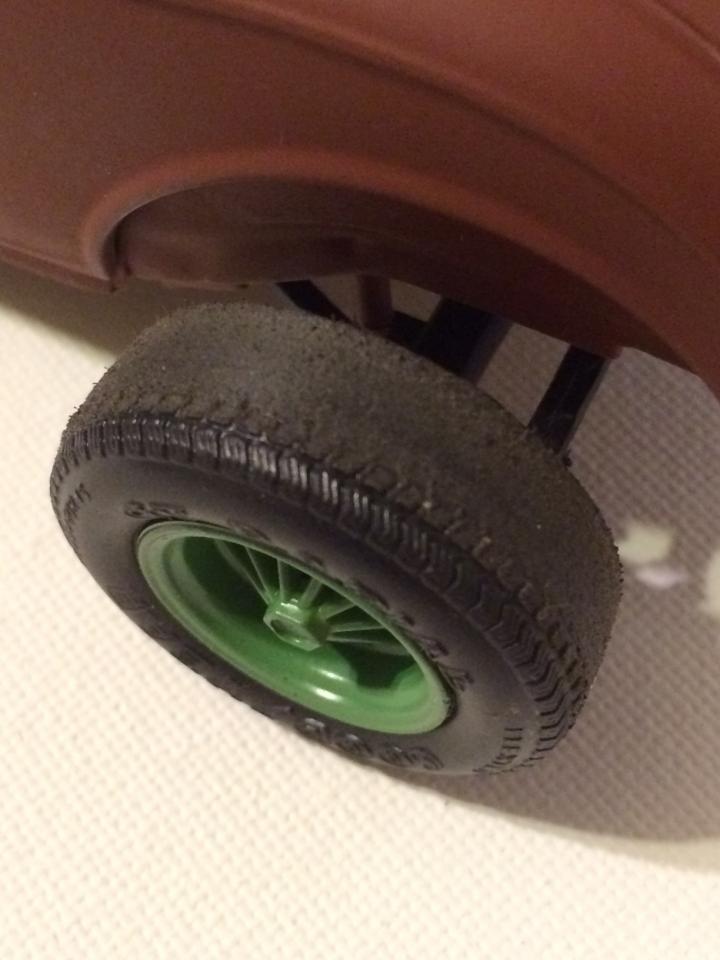
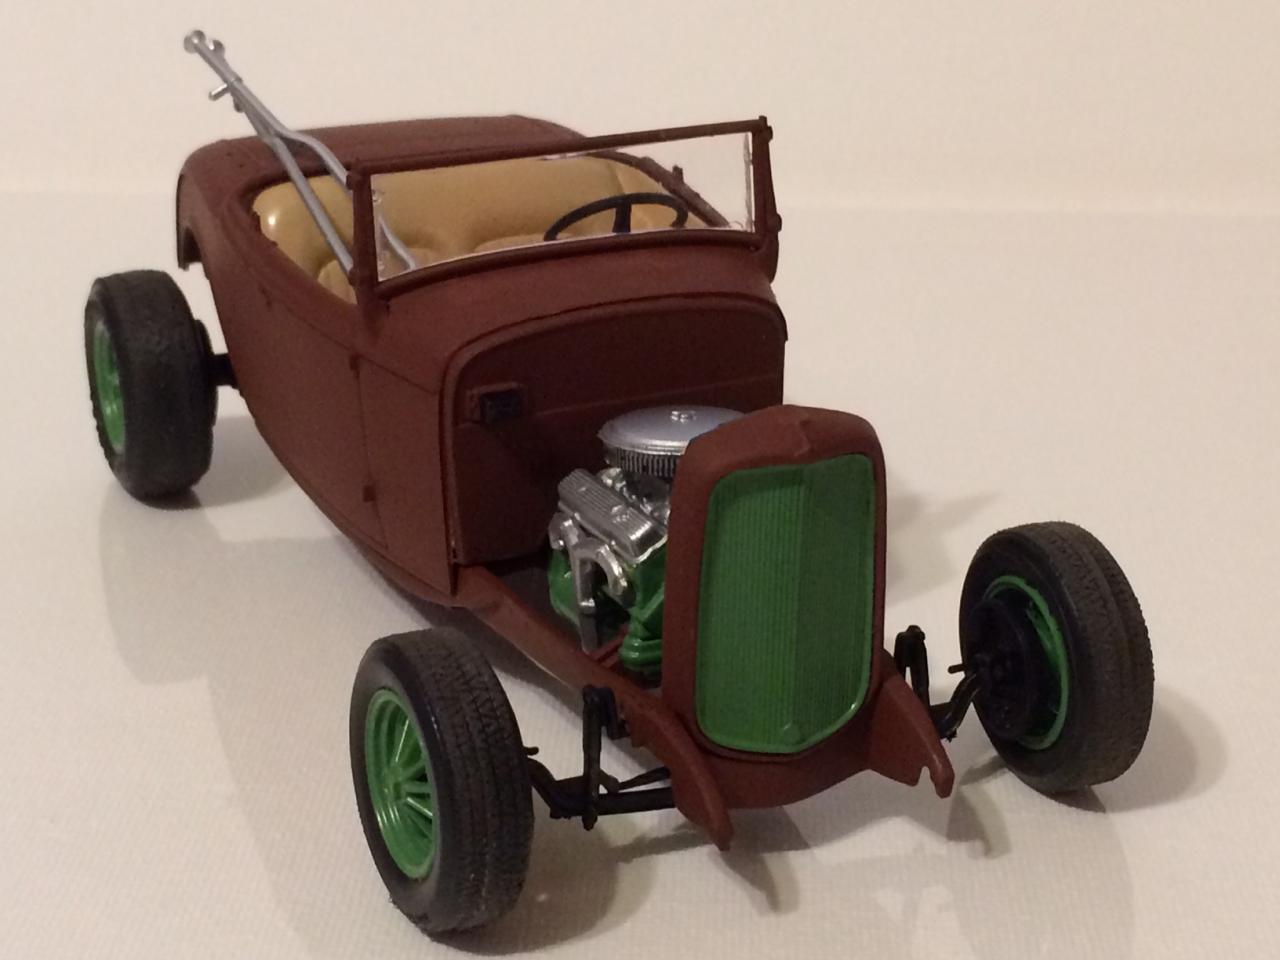
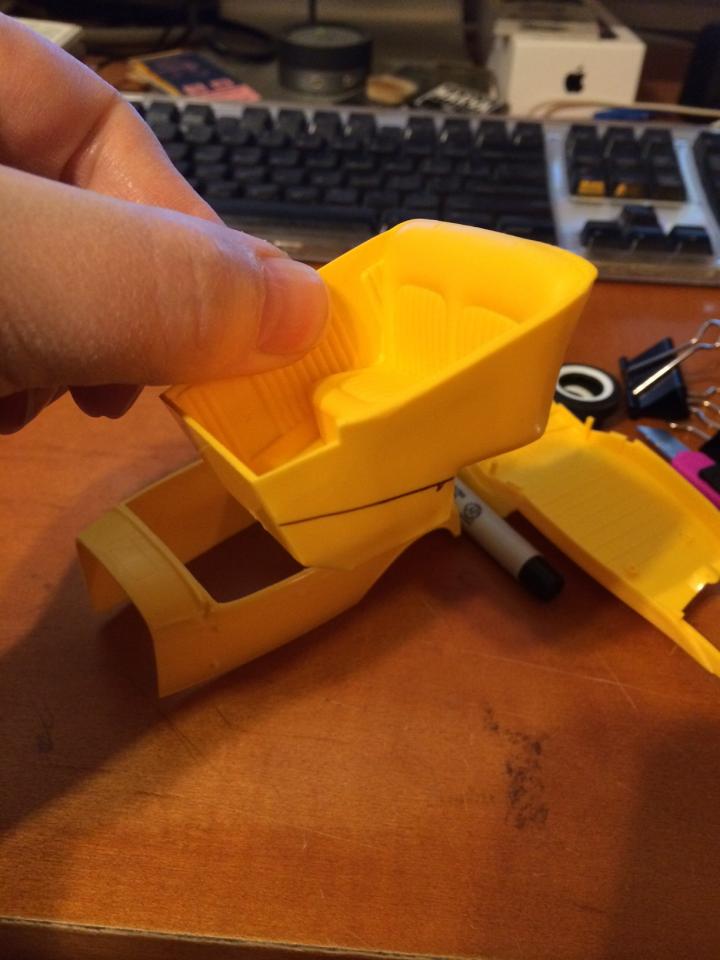
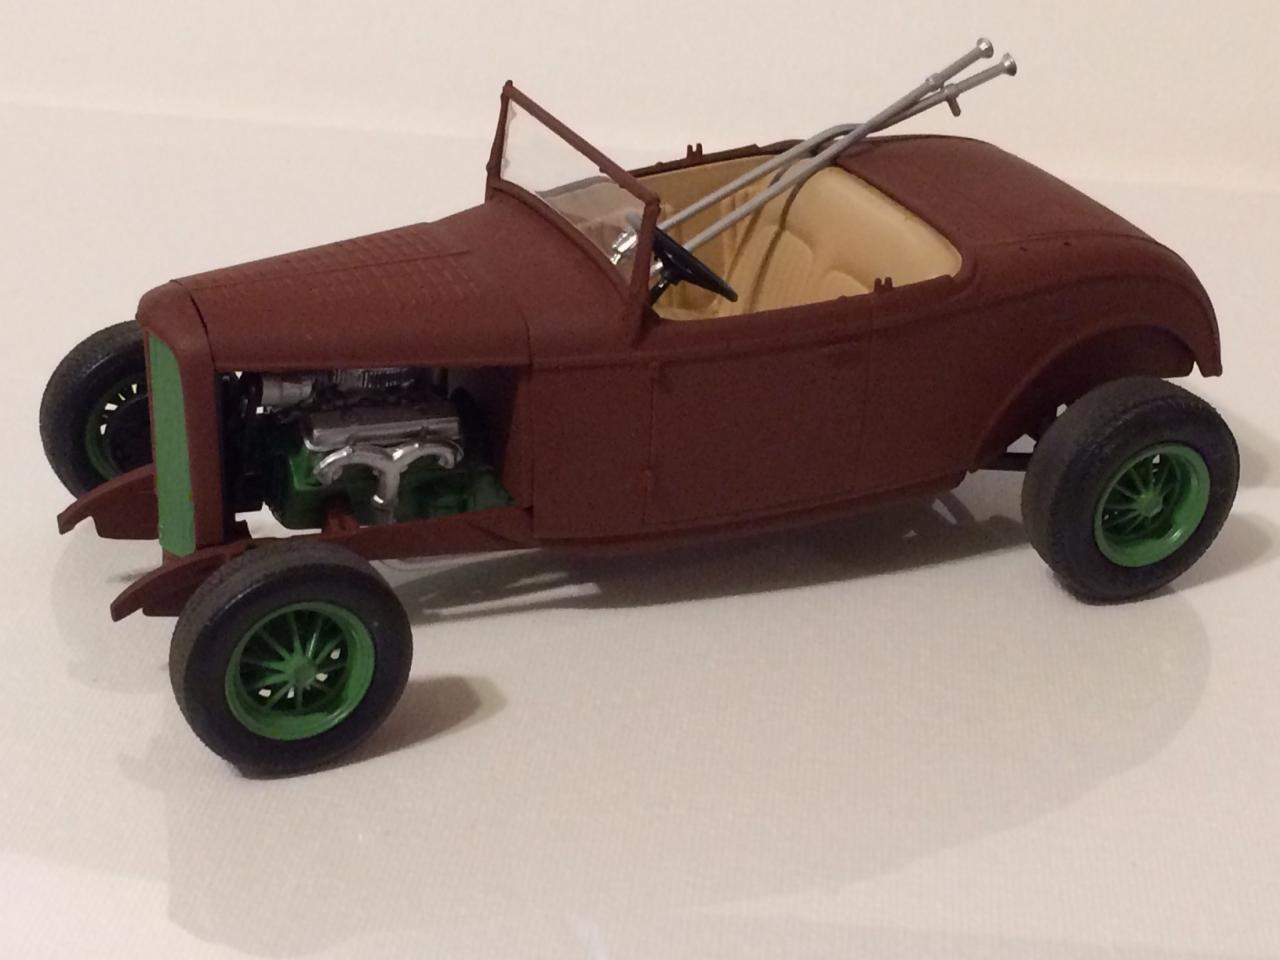
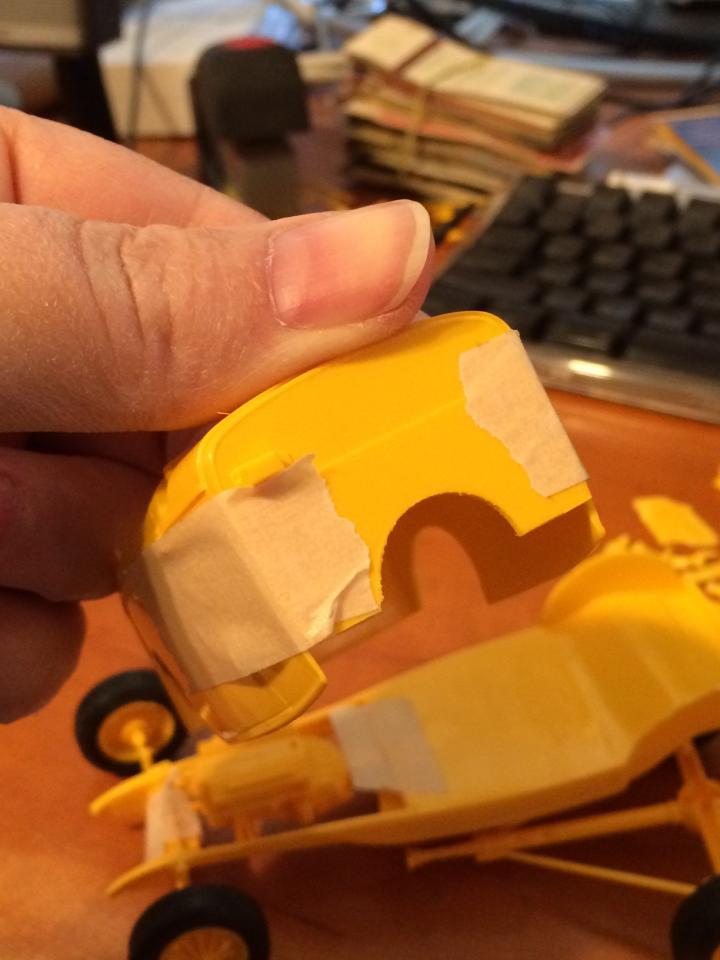
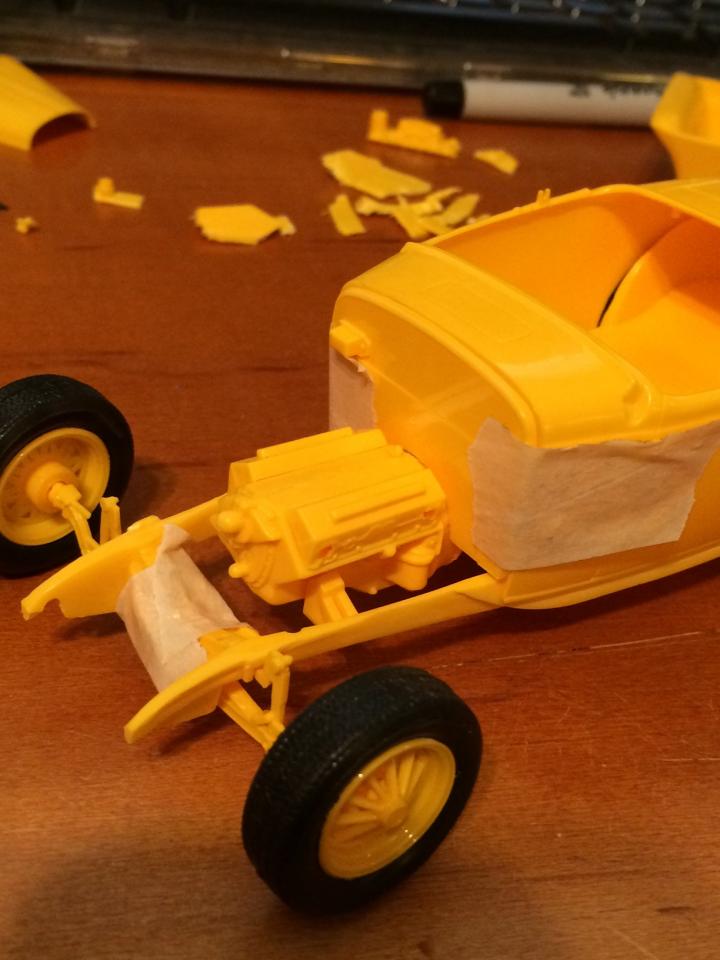
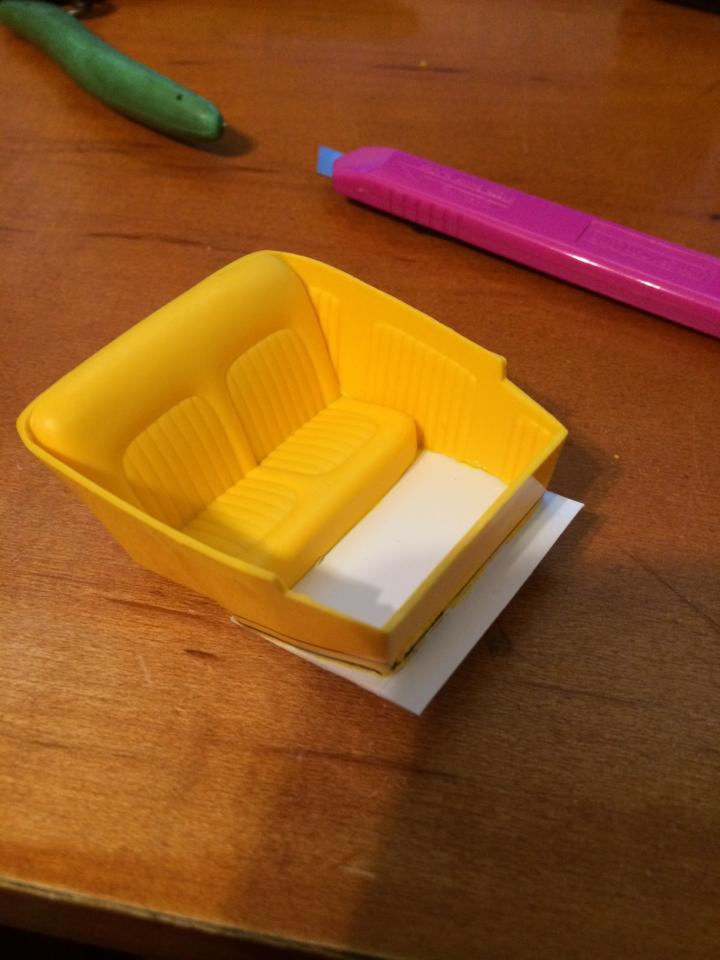
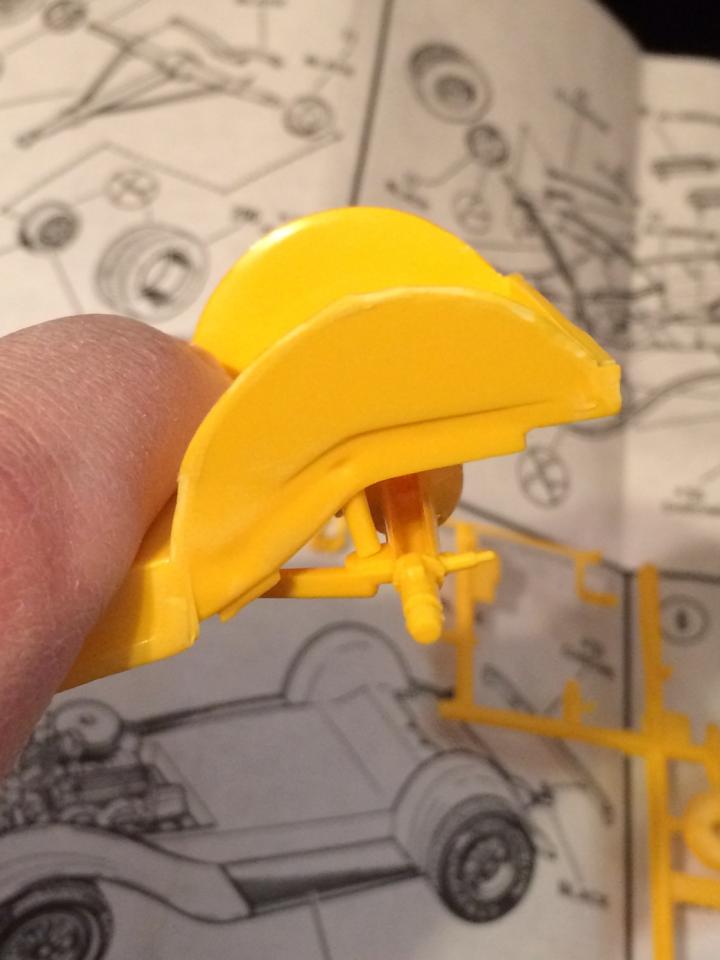
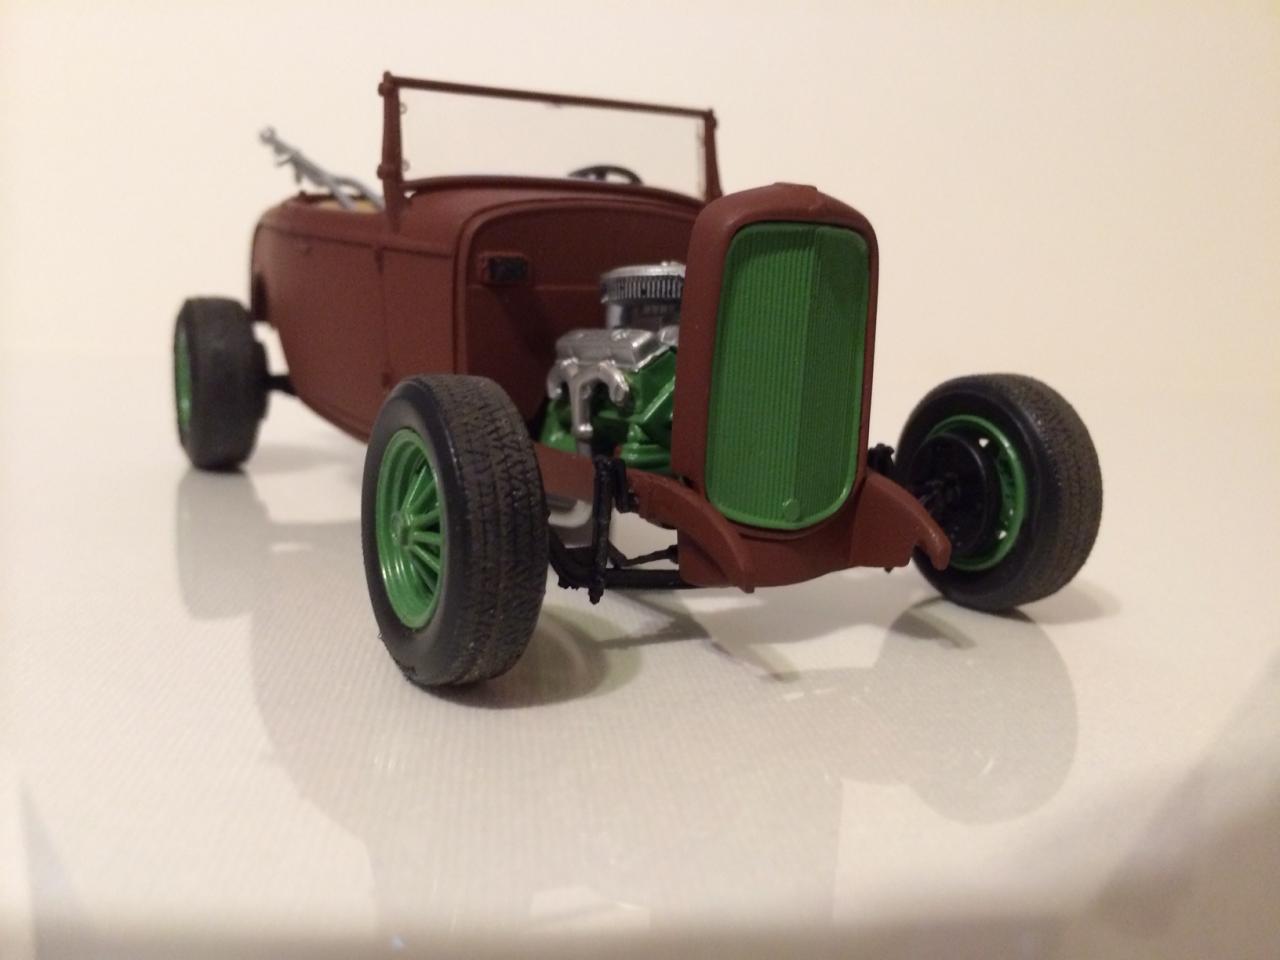
This is an update to my original post of last year ( http://www.modelcarsmag.com/forums/index.php?showtopic=77263&page=2 ) OK, nearly a year later, I'm here to finish this Monogram 32 Ford project, and finish it in a day nonetheless. First off, I finally realized that the chromed tree of parts was included, however they have never been chromed. So I retract the statement in my original post that seller had clear coated them. You can see in the photo, below, it does look that way. I know that I'll need to trim the firewall and open up the area for the transmission and engine to fit through. So I clipped a little more than a 1/4 inch off the bottom of the firewall (the same amount of space the body is being lowered onto the frame) with nippers and enlarged the hole where the transmission will go through with a sanding drum bit on a Dremel tool. The body is set where I want it over the frame and the engine now fits through the firewall. Note that the seat tub is not in place yet. The seat tub will not fit since the ride has been lowered, so that will need to be modified. I used nippers to clip out the area I didn't want and cut around the tub. I saved the boot area where the shifter sits and will place it on the new floor. After trimming out the seat tub I sanded down the underneath so it was level and smooth. This is going to be a rat rod, so it doesn't have to be fancy. Below, the seat tub is cut and sanded all the way down tot he base of the bench seat. I made a new floor out of Evergreen sheet, glued it together and let it sit for about an hour. After the glue dried I trimmed out the excess Evergreen sheet, glued in the shifter boot and painted it.. I replaced the box shifter that was way too tall and replaced it with an older parts box one. I don't know where this kit originated from, but some things about it just didn't make sense; they went through the trouble to add a very nice cut glass design to the side mirrors (see below) but added a horrible pad and pin system for the rear suspension that just sits on top of each other, it doesn't even pop into it, it juts sits (see below). So in general, this kit was terrible, but it was a fun way to spend an afternoon on Easter Sunday. The distributor was molded in to the manifold and I honestly didn't feel like drilling it out then drilling out spark plug holes and putting a nice, pre-wired distributor in it. I would have liked to use the AMT Firestone whitewalls, but could not get anything to fit. The kits rims are ugly, yes. The wheelbacks were the type that snap onto the axle and I just didn't have anything else to make it work. The convertible top was missing when I purchased it, but I wouldn't have used it anyway. So this trash heap of a kit was built essentially in a day and there's a few parts missing, but I kinda dig the way it came out. Anyway, off to paint, well primer, it went. Since the parts that should have been chromed weren't, I just painted them what I wanted. Here's the finished product. [ attachment=61694:side.JPG] I bald the tires by attaching them to a variable speed drill and pressing them onto a sanding block. The exhaust pipes wouldn't stay glued in place so I thought why not just put them in the passenger seat like the owner just bought them down at the auto parts store. And yeah, the owner didn't get around to getting headlights or license plates either. Happy Easter, folks.

-
Horrible Neighbors, Terrible Kits and a New Dremel
gwolf replied to gwolf's topic in WIP: Model Cars
OK, nearly a year later, I'm here to finish this Monogram 32 Ford project, and finish it in a day nonetheless. First off, I finally realized that the chromed tree of parts was included, however they have never been chromed. So I retract the statement in my original post that seller had clear coated them. You can see in the photo, below, it does look that way. I know that I'll need to trim the firewall and open up the area for the transmission and engine to fit through. So I clipped a little more than a 1/4 inch off the bottom of the firewall (the same amount of space the body is being lowered onto the frame) with nippers and enlarged the hole where the transmission will go through with a sanding drum bit on a Dremel tool. The body is set where I want it over the frame and the engine now fits through the firewall. Note that the seat tub is not in place yet. The seat tub will not fit since the ride has been lowered, so that will need to be modified. I used nippers to clip out the area I didn't want and cut around the tub. I saved the boot area where the shifter sits and will place it on the new floor. After trimming out the seat tub I sanded down the underneath so it was level and smooth. This is going to be a rat rod, so it doesn't have to be fancy. Below, the seat tub is cut and sanded all the way down tot he base of the bench seat. I made a new floor out of Evergreen sheet, glued it together and let it sit for about an hour. After the glue dried I trimmed out the excess Evergreen sheet, glued in the shifter boot and painted it.. I replaced the box shifter that was way too tall and replaced it with an older parts box one. I don't know where this kit originated from, but some things about it just didn't make sense; they went through the trouble to add a very nice cut glass design to the side mirrors (see below) but added a horrible pad and pin system for the rear suspension that just sits on top of each other, it doesn't even pop into it, it juts sits (see below). So in general, this kit was terrible, but it was a fun way to spend an afternoon on Easter Sunday. The distributor was molded in to the manifold and I honestly didn't feel like drilling it out then drilling out spark plug holes and putting a nice, pre-wired distributor in it. I would have liked to use the AMT Firestone whitewalls, but could not get anything to fit. The kits rims are ugly, yes. The wheelbacks were the type that snap onto the axle and I just didn't have anything else to make it work. The convertible top was missing when I purchased it, but I wouldn't have used it anyway. So this trash heap of a kit was built essentially in a day and there's a few parts missing, but I kinda dig the way it came out. Anyway, off to paint, well primer, it went. Since the parts that should have been chromed weren't, I just painted them what I wanted. Here's the finished product. I bald the tires by attaching them to a variable speed drill and pressing them onto a sanding block. The exhaust pipes wouldn't stay glued in place so I thought why not just put them in the passenger seat like the owner just bought them down at the auto parts store. And yeah, the owner didn't get around to getting headlights or license plates either. Happy Easter, folks.
-
Excellent paint work!
-
Beautiful job. One of my favorite kits.
-
1000% better. Nice looking ride!
-
Nice resto!
-
Love it!
-
1957 Dodge - - Finished - - Class of '57 - Entry #2
gwolf replied to Ramfins59's topic in Model Cars
I love the looks of any late 50's Dodge. Superb work! -
I have seen 1:1 cars like this in southern Ohio. I love that the rims on the front are different than on the back. It simply adds to the realism. Great job on the weathering. The electrical tape repairs to the seats is fantastic! 10/10.
-
Love GTI's...I'll be watching your build.
-
Seats look fantastic!
-
Nice! I love those late 80's early 90's Pontiacs. Great work!