LokisTyro
-
Posts
256 -
Joined
-
Last visited
Content Type
Profiles
Forums
Events
Gallery
Everything posted by LokisTyro
-

What have I got myself into... Mustang Triple.
LokisTyro replied to Shelby 427 1965's topic in WIP: Model Cars
The styled steelies look pretty good. Thanks a bunch for taking and posting pictures. Good work so far. I'll be checking in again on this one. -
What have I got myself into... Mustang Triple.
LokisTyro replied to Shelby 427 1965's topic in WIP: Model Cars
Very ambitious! If you don't mind, and if they were included, how well cast are the steel style wheels for the 2+2 ? -
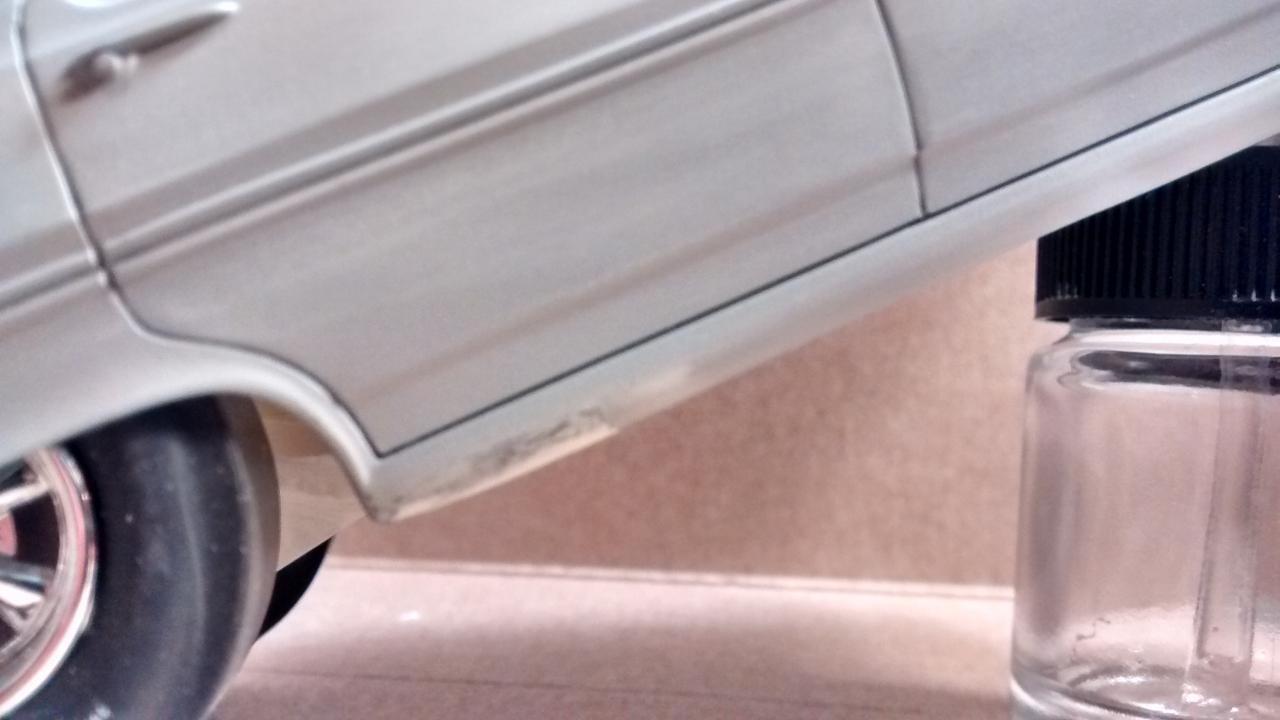
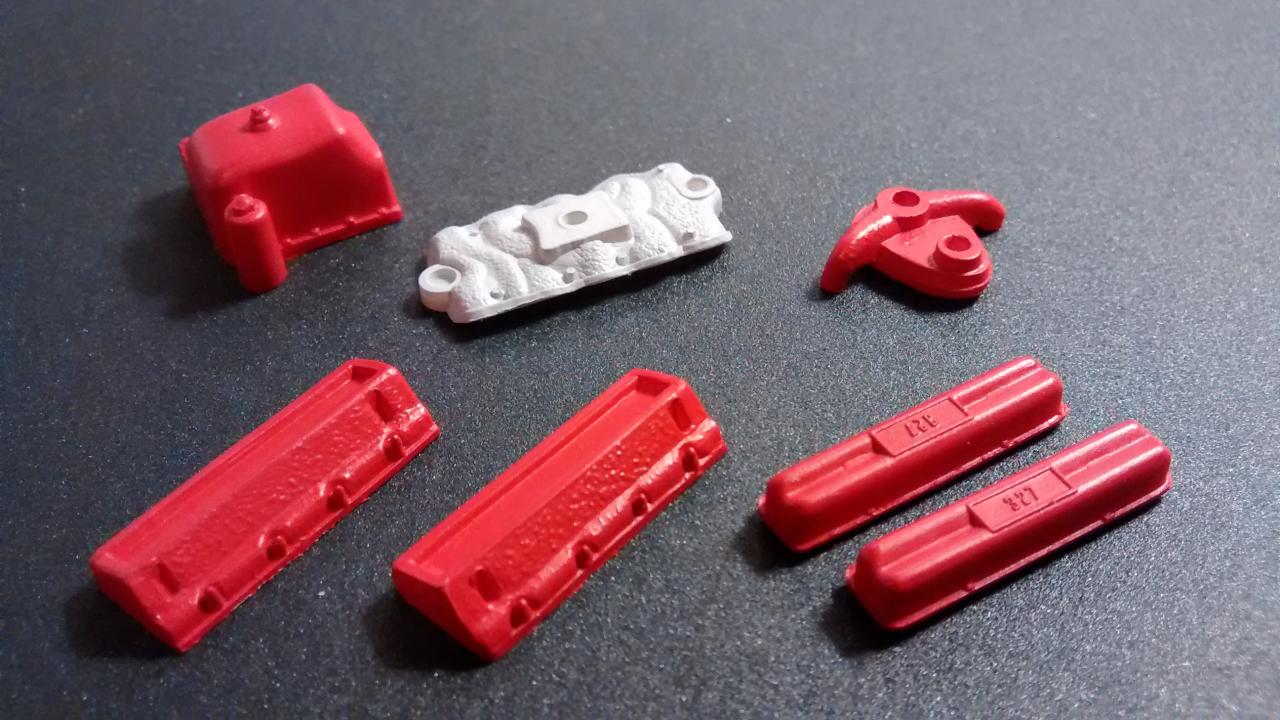
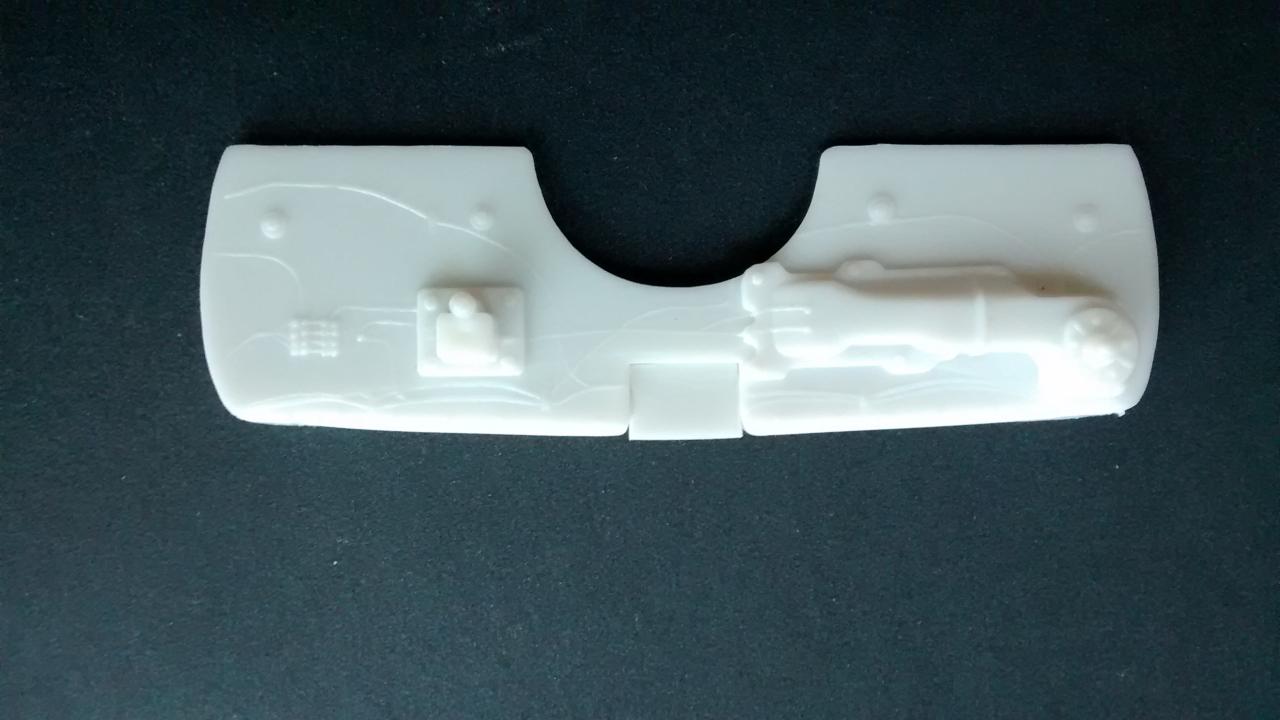
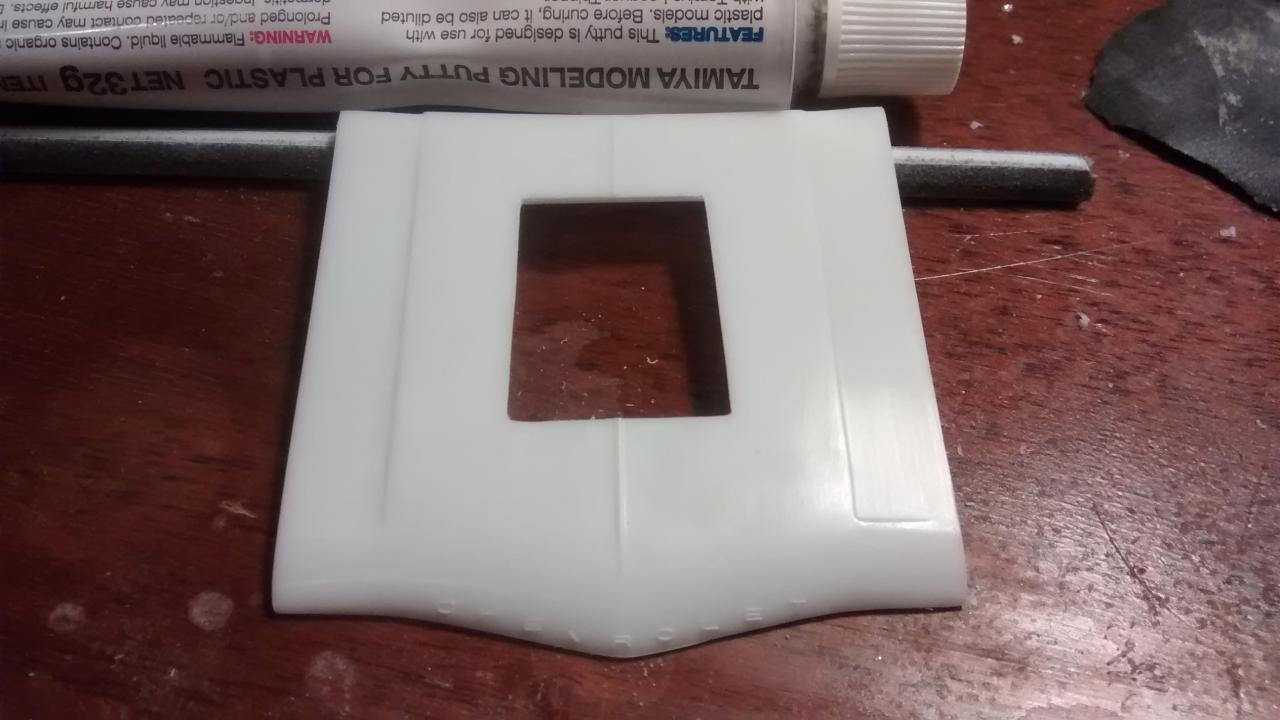
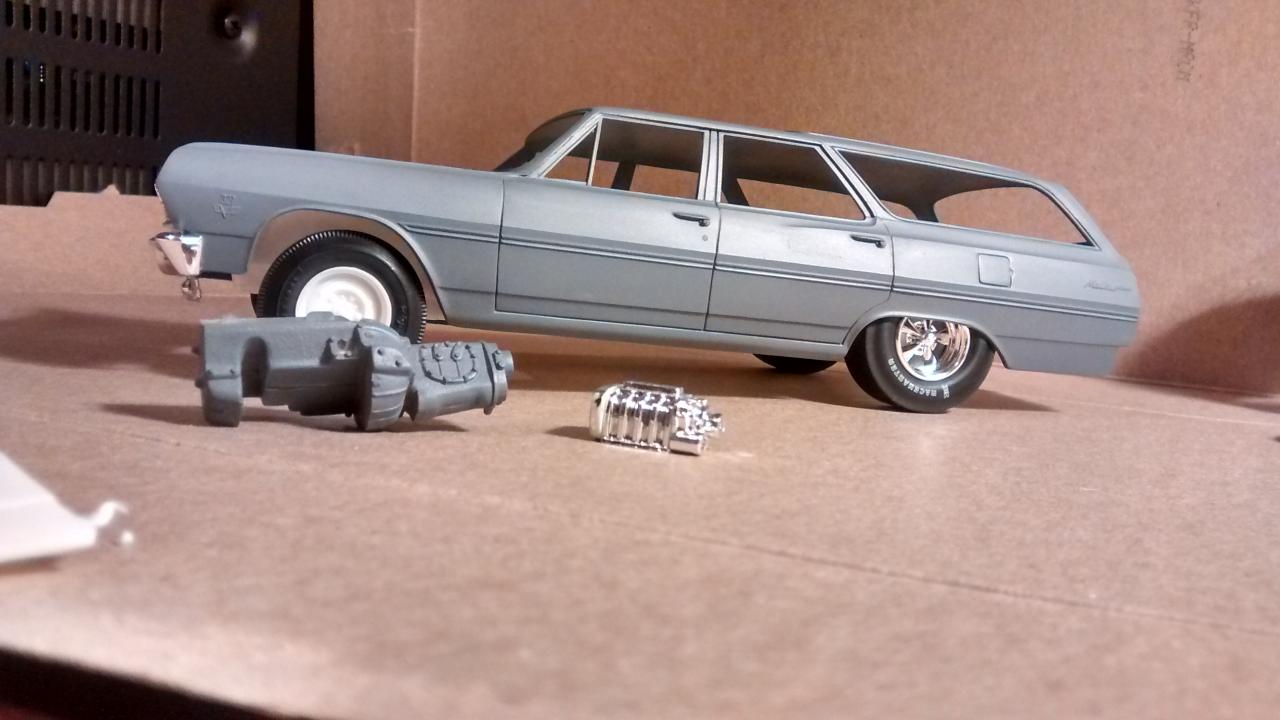
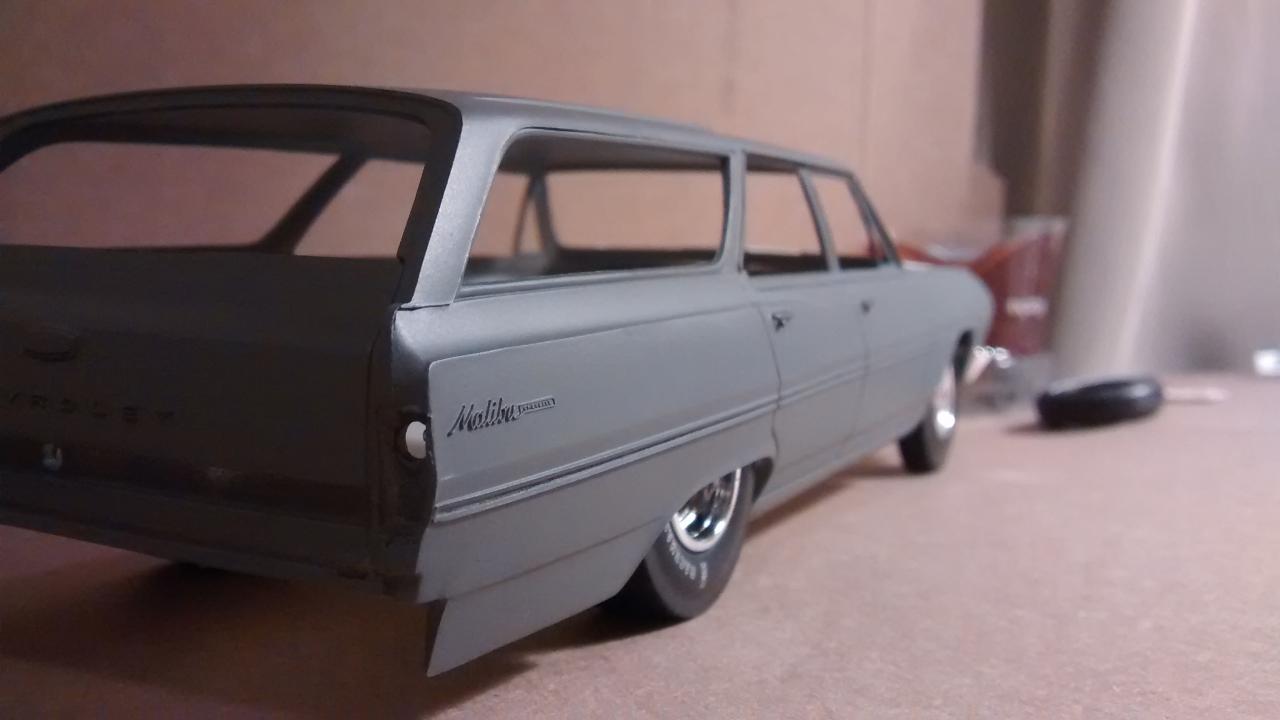
Thanks for the inspiration guys. I definitely need it with how much the body (and filler) is fighting me. I'm not impressed with some of the panel gaps and trim or body lines but I'll be on to the 4th and last coat of primer soon. Got a few of the engine parts painted. It's not close to the Chevy color so I might put another coat on with some orange mixed in. I got real lucky during cleanup too. So lucky I thought it was pic worthy since my cell was there lol I started work on the firewall. The fit is good but I need to fill in the gap for the mounting tabs on the cowl and hood. A piece from the hood cutout was glued in, filler putty will smooth it out.

-
Really nice looking interior Jeff! The gloss, or lack of, is spot on. Too bad about the mirrors. If something can't be mixed up to match alclad/metallizer wouldn't kill it. I wonder if it's possible to get it back to WI, or Casey, for the NNL show. I'd love to see it again, complete.
-
That's one Packin' Pacer! Loving your work.
-
I see that car at GLD all the time!
-
They staged the scene and you captured the moment.. Very cool.
-
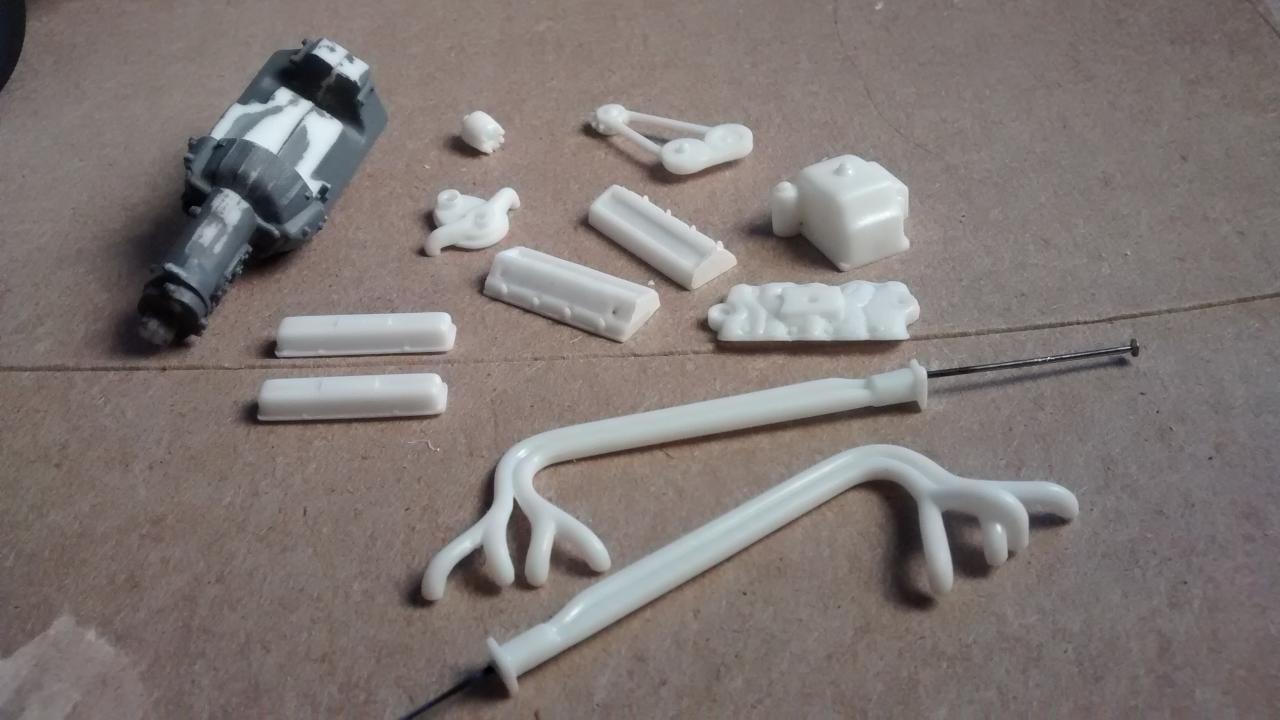
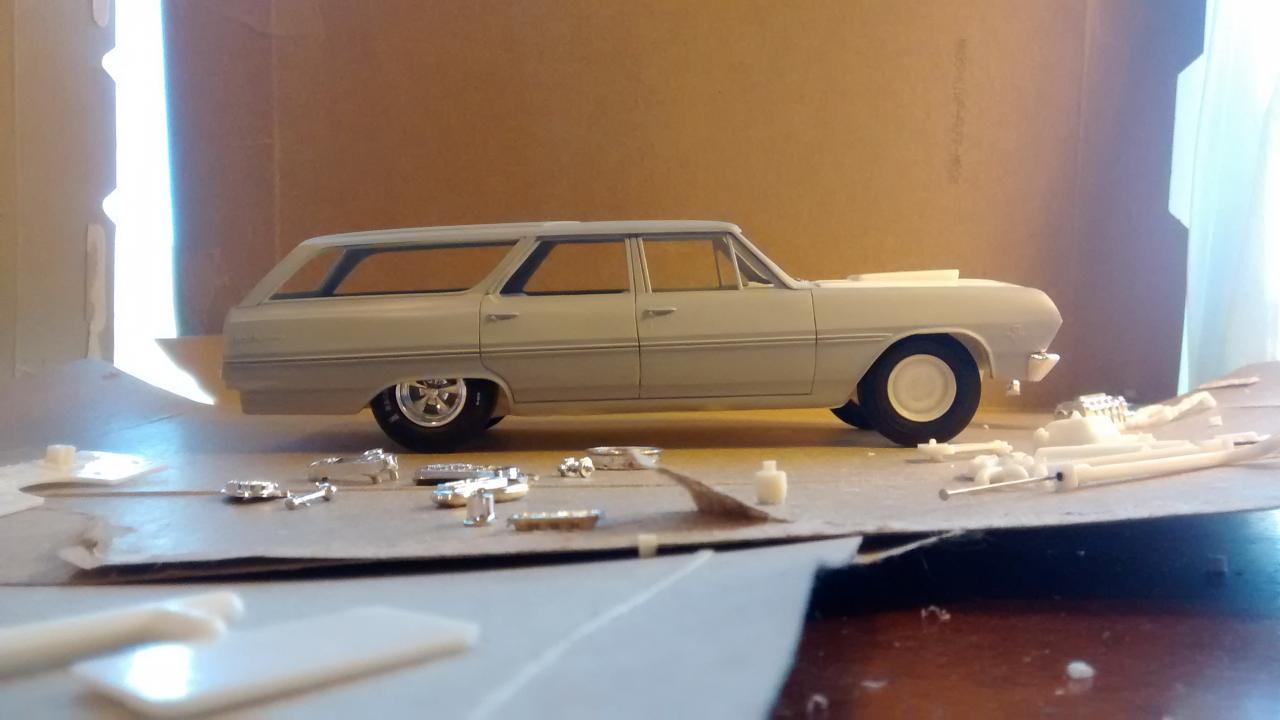
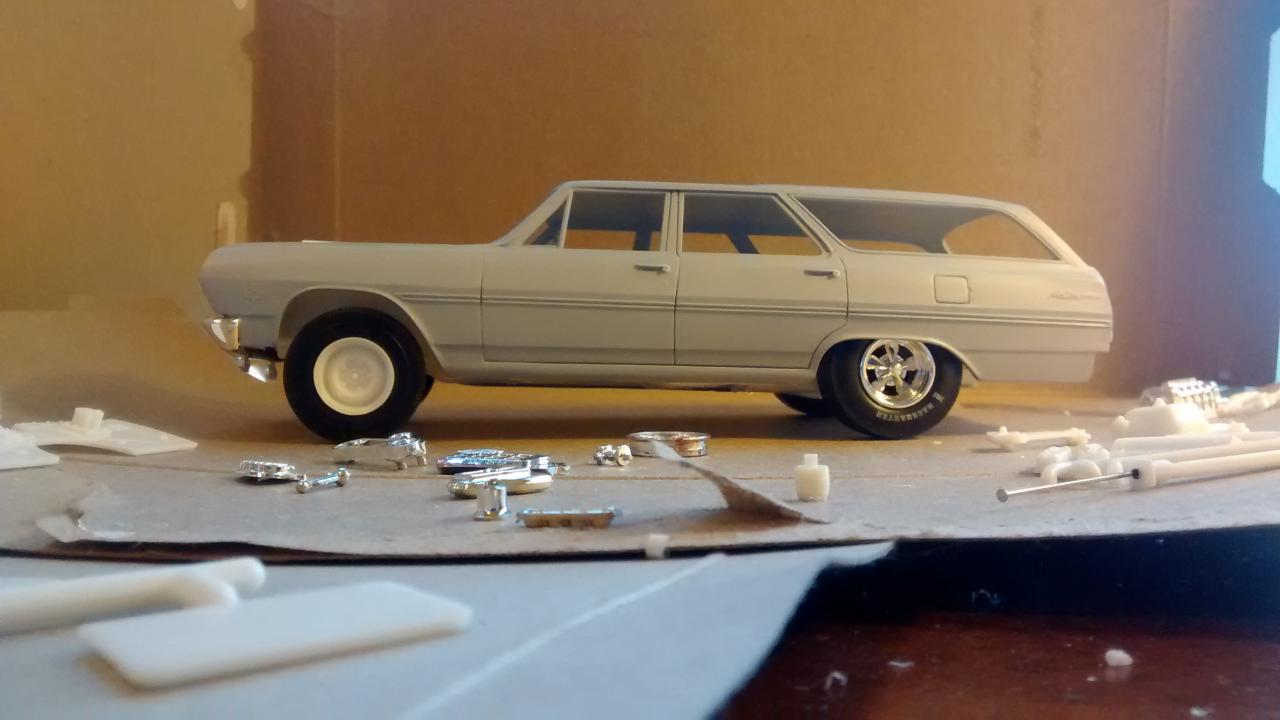
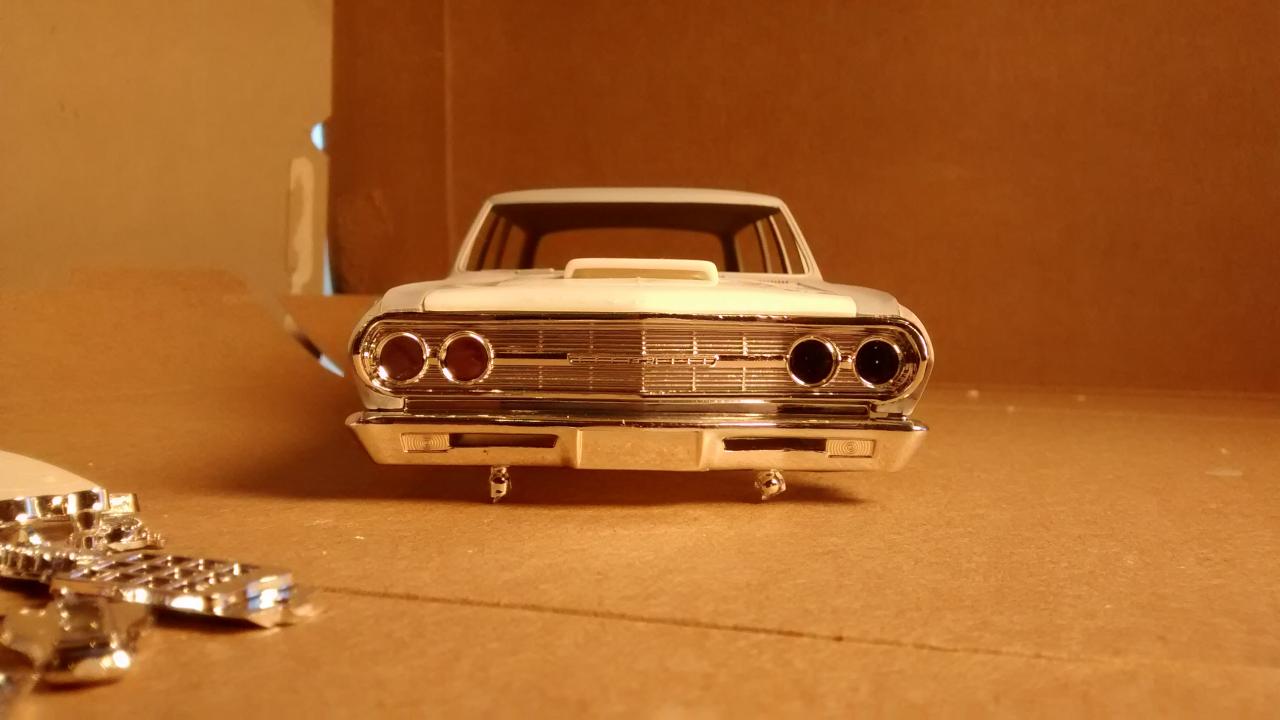
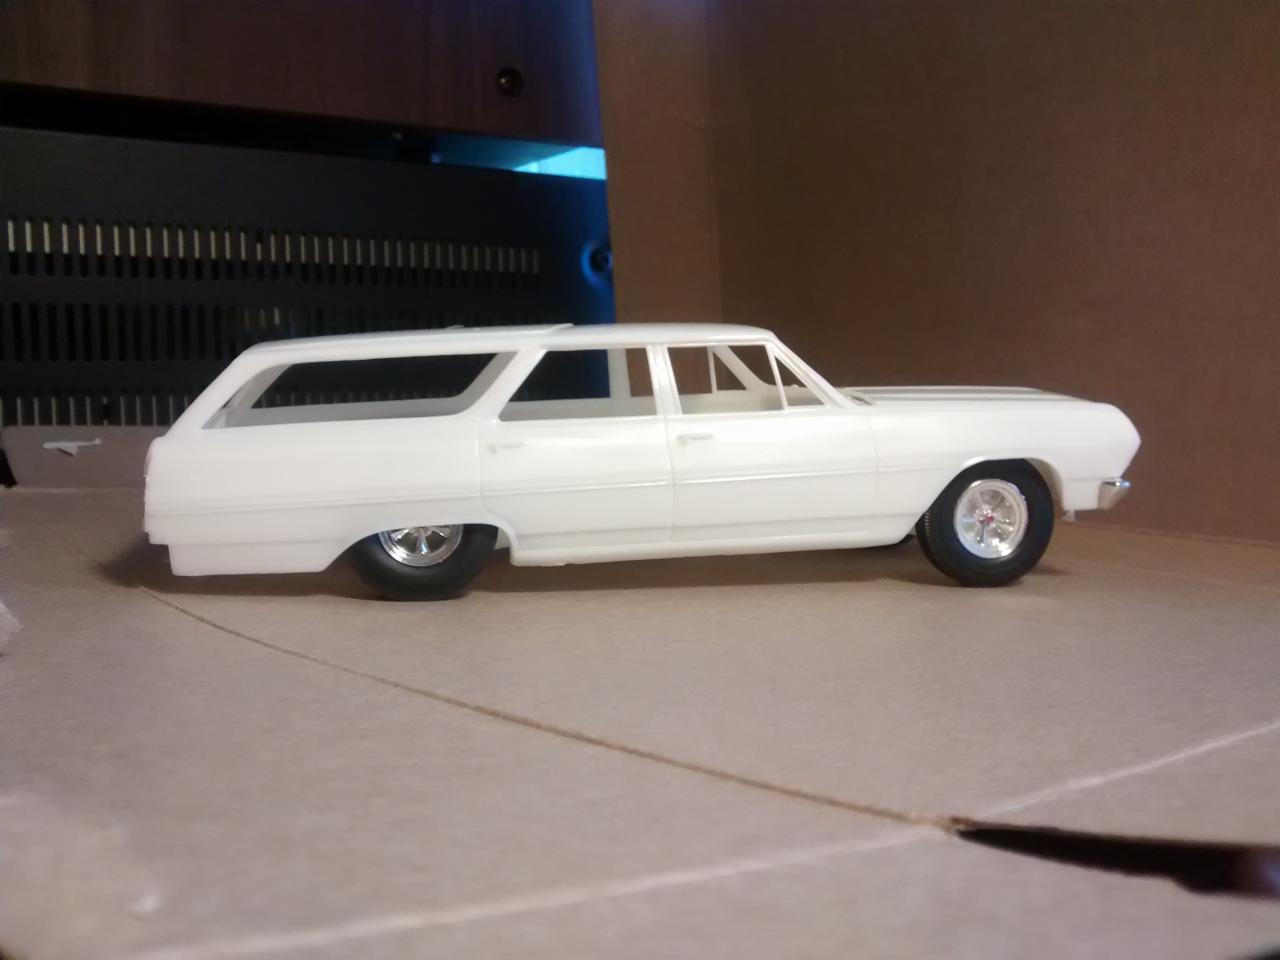
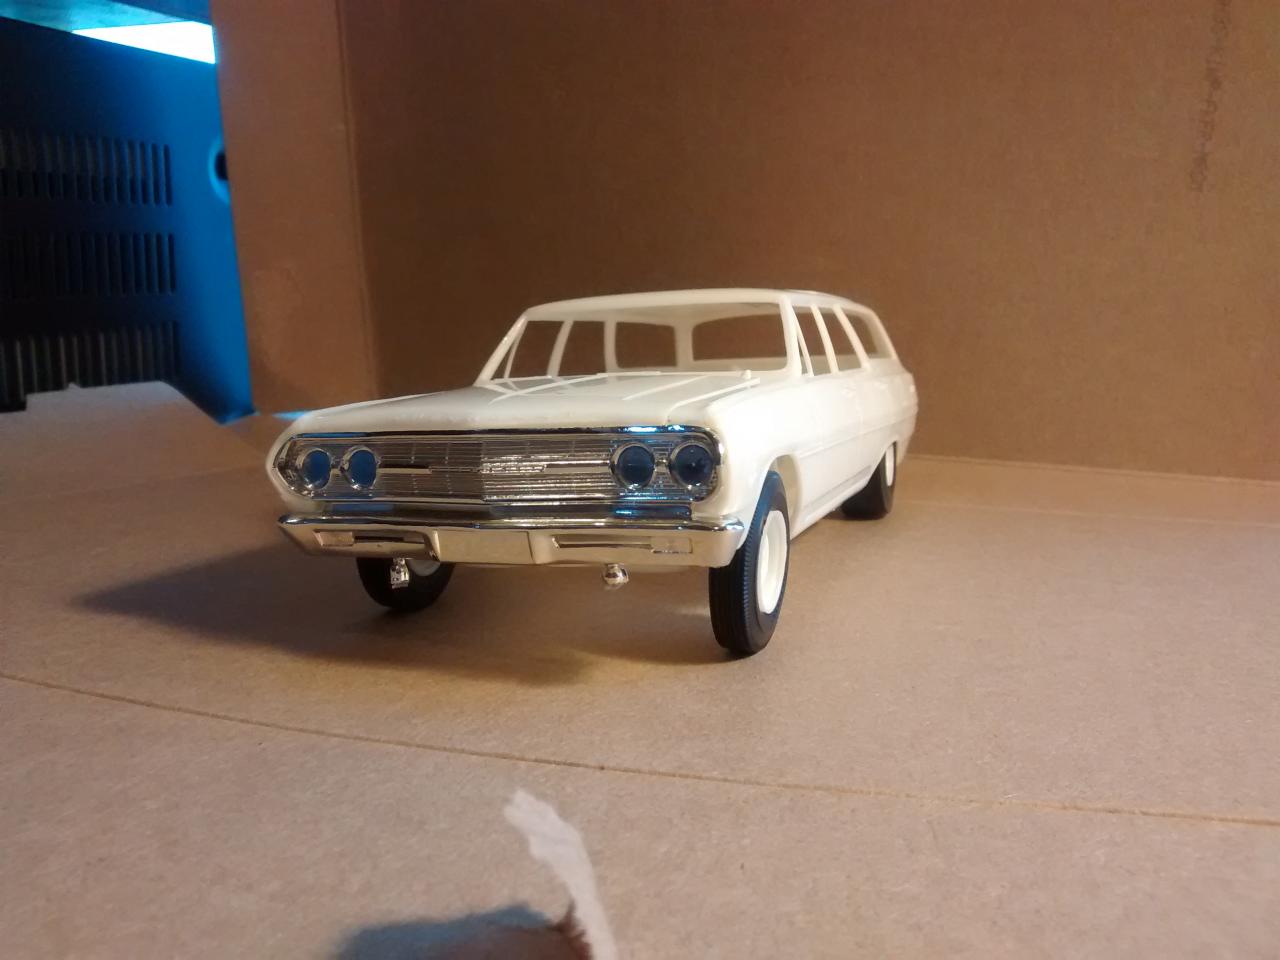
I'm having trouble choosing a color. I wanted to do a deep burgundy but I haven't found anything yet. I may attempt mixing something up. I've done more body work, cutting, fitting, adjusting, sanding, filling, filing, glueing and swearing. I decided against using the blower so I'll try to find a better carb for it. I should have a double pumper somewhere. I'm glad I saved all my old "junk" from building when I was younger. I picked up some styrene sheets to scratch a few things like an updated battery, ignition, shifter boot and possibly some other race bits. I was going to be more ambitious and tub the rear wells but I want a little styrene experience before I make some "deep cuts". I have none in scratch building thus far. So here's some pics. Some look the same as before but they're not, the stance has been changed and I think I managed to glue the scoop on fairly straight. I love the scoop on this thing.
-
49 WOODY WAGON , [ DRIFT WOOD ] GASS MONKEY ,
LokisTyro replied to bpletcher55's topic in Model Cars
Nice!. DRFTWD would be my personal preference. -
Yeah it has molded axles in the chassis with metal rods connecting the wheels. I just changed their location and made some new holes until I felt it looked okay. It made it really easy for a beginner lol I narrowed and bent the rear "axle" ends to keep a flat contact patch buut that needs work yet. And yeah the wagon would have been lowered. I wanted the rear bumper to be close to the ground but not touching so there may be some tweaking yet. Those soft rear tires kinda flop around so the passenger rear should end up a little higher. Thanks a lot for your feedback and tool suggestion.
-
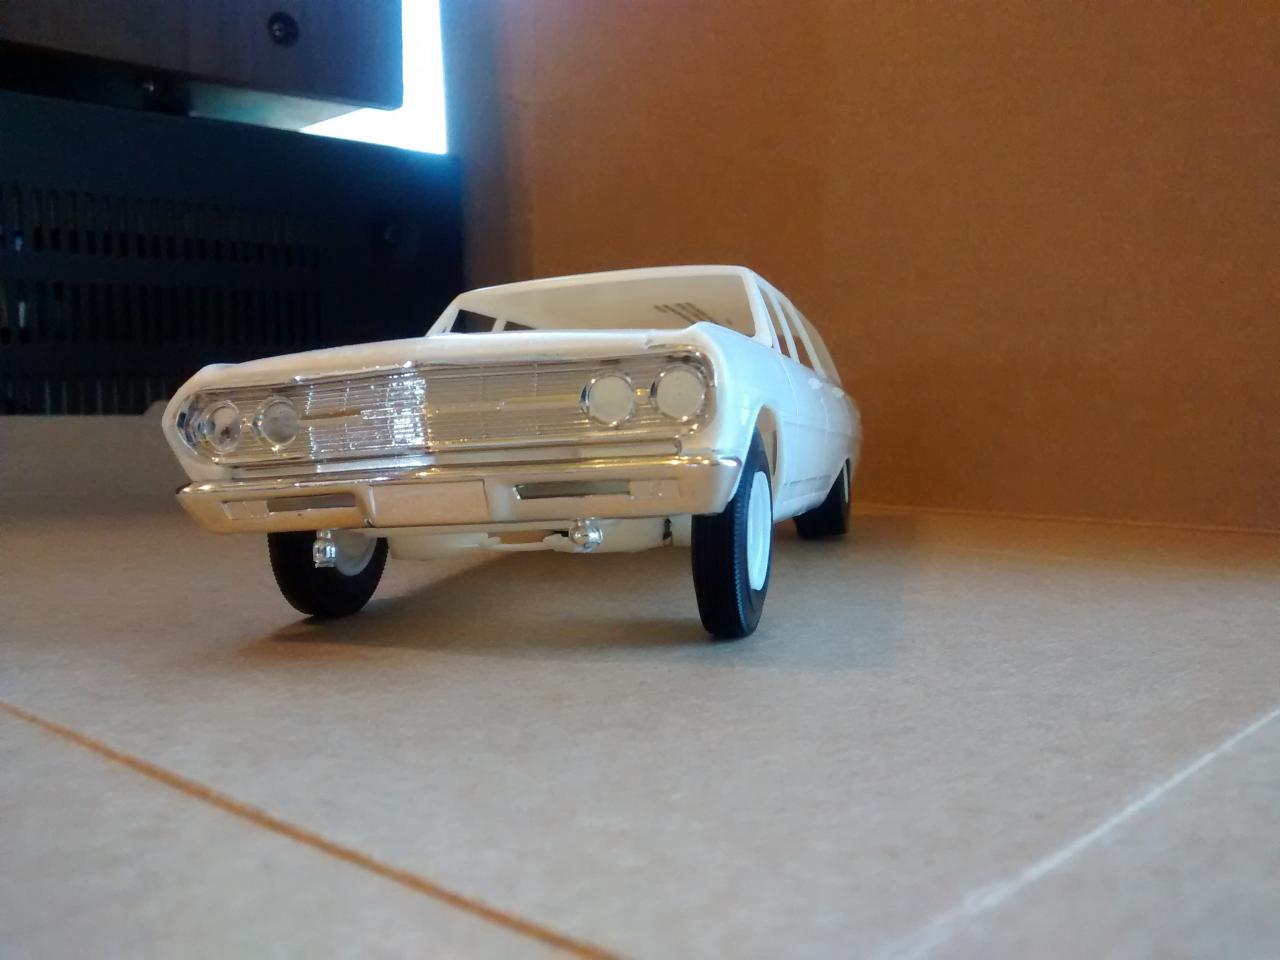
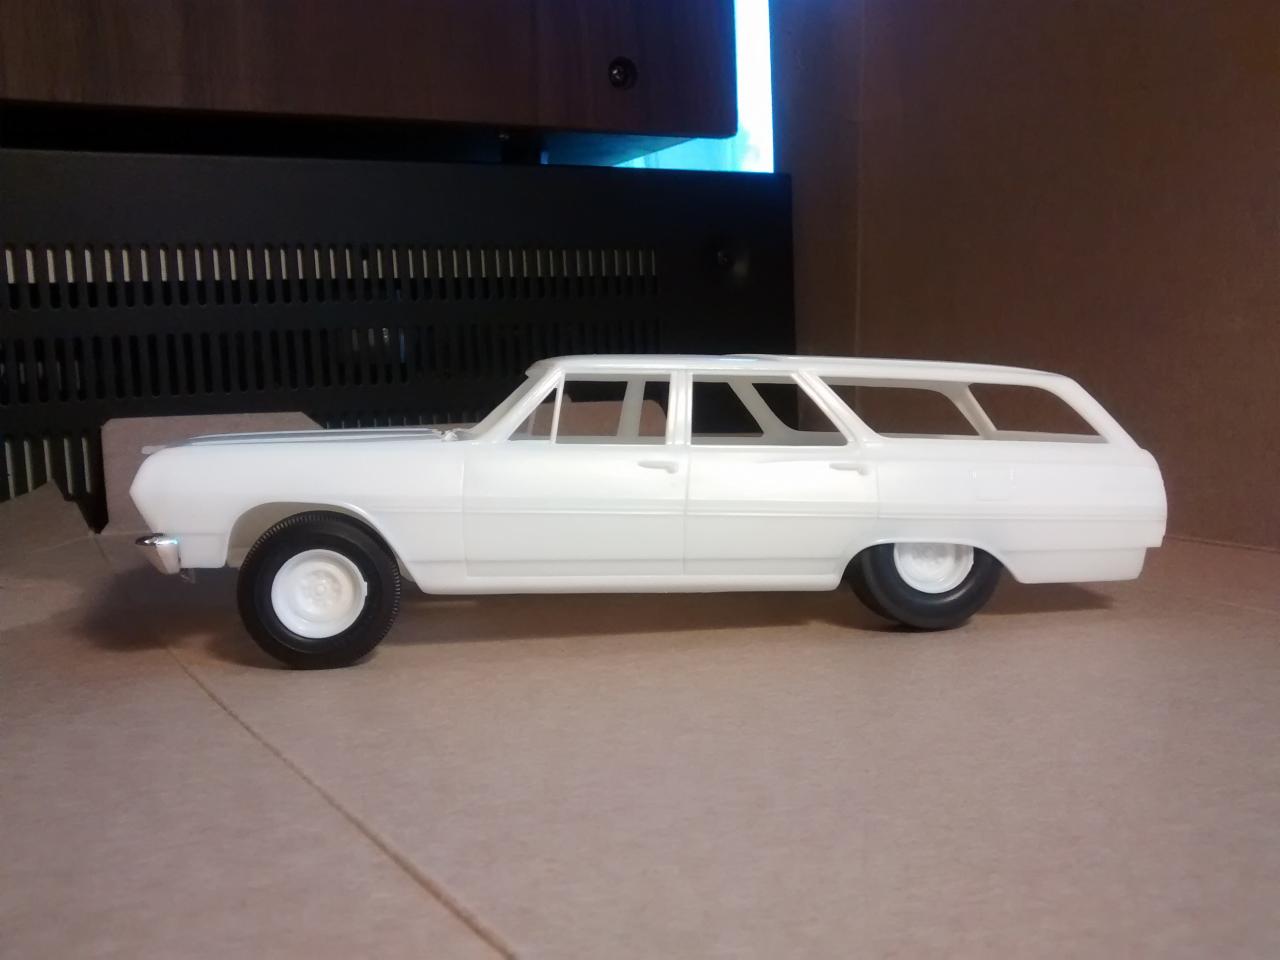
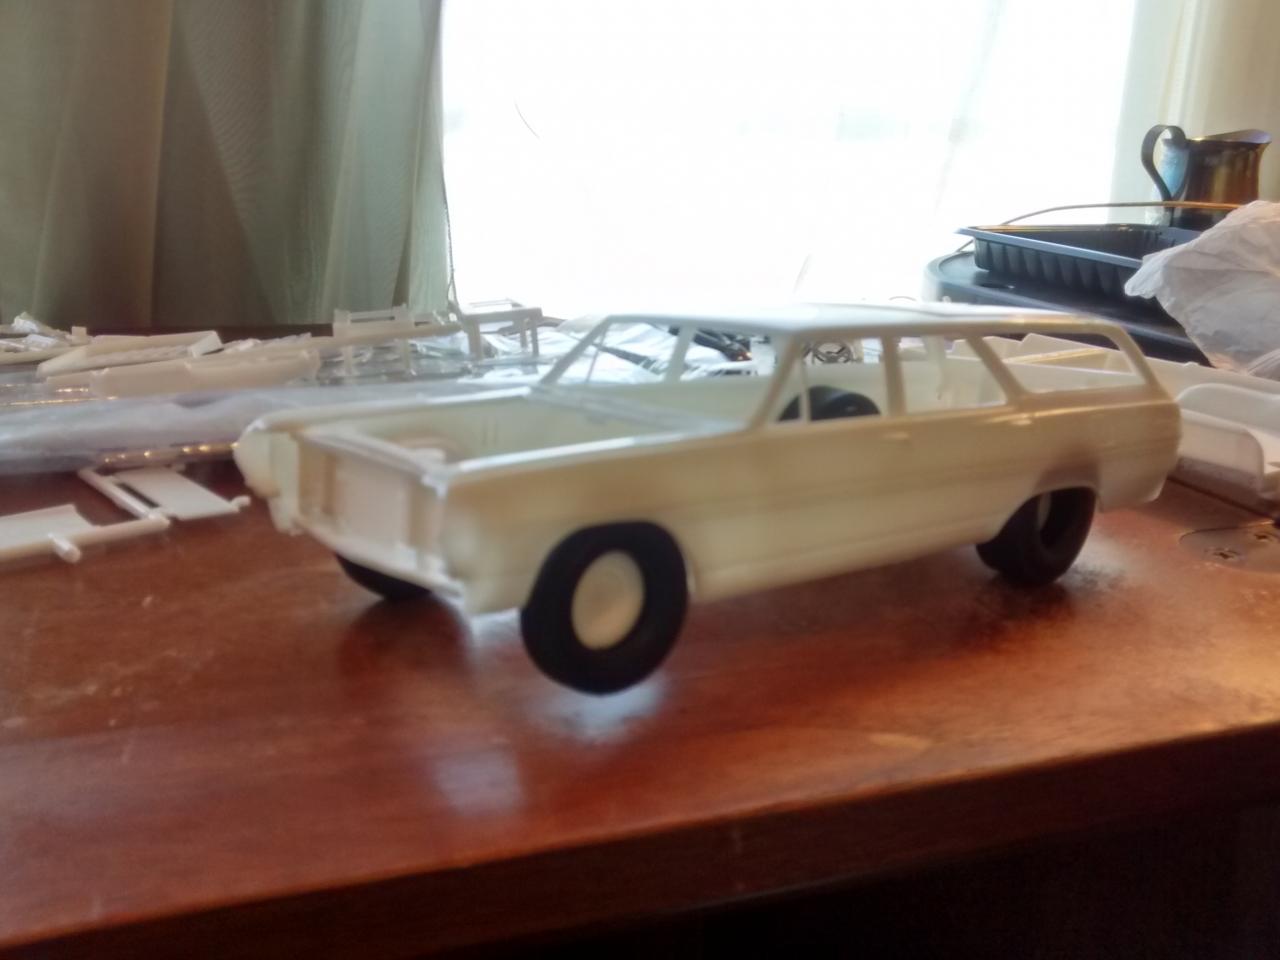
Shot the body so i could see what was going on after initial prep. I'm surprised it looks as good as it does.. This kit's a minger! Engine halves and blower glued up. What works best for scribing in body panel gaps and such? A sewing needle?
-
Worked on the rod axle placement.How natural is this stance? I was thinking of adding positive camber to the driver side front wheel. Thoughts?
-
I'm on the bench! I wanted to do a model with full engine plumbing/wiring and a lot of detail so I chose this model for it's simplicity compared to more modern cars I have in storage. And lots of chrome! It will be my first go at major detailing so I'm sure it will take longer than the CB Torino I'm looking forward to it. So far all I have planned is a stance, which will be a drag launch/torque twist. Any tips/pics are welcome!
-
If I had known this build was going to take closer to two years than 1 I would have prepped more lol
-
That's one exceptional build. I'm thinking of writing a love song about it.
-
It's just going that fast!
-
You guys have done a bang up job so far. It's taking a lot of time, but it's well thought out and executed and you can't argue with that. I don't care for the Mustang seats. The width is a bit narrow and the height maybe a little too much?. Maybe a pic of the interior tub installed into the body would help. But you guys keep on doing what you're doing. I'm sitting back and enjoying the build no matter what. \m/
-
Glad to see it's still a work in progress. Needs moar pics though.
-
Very nice work, Billy! Looks superb!
-
Very good work. Those pipes are perfect within thousandths!
-
Nice build!
-
Sweeeeeeeet!
-
Glad to see that the project is still going. Can't wait to see some paint hit this thing. Any spoons yet, Billy?
-
Very cool!
-
Effects of Water and Paint
LokisTyro replied to LokisTyro's topic in Model Building Questions and Answers
Do you use a tack cloth as well? How do you apply the iso?