

DiscoRover007
-
Posts
437 -
Joined
-
Last visited
Content Type
Profiles
Forums
Events
Gallery
Posts posted by DiscoRover007
-
-
21 minutes ago, Italianhorses said:
Chuck a piece of clear part tree into a dremel and sand it down. You also shape it like a bulb!
Excellent idea!
-
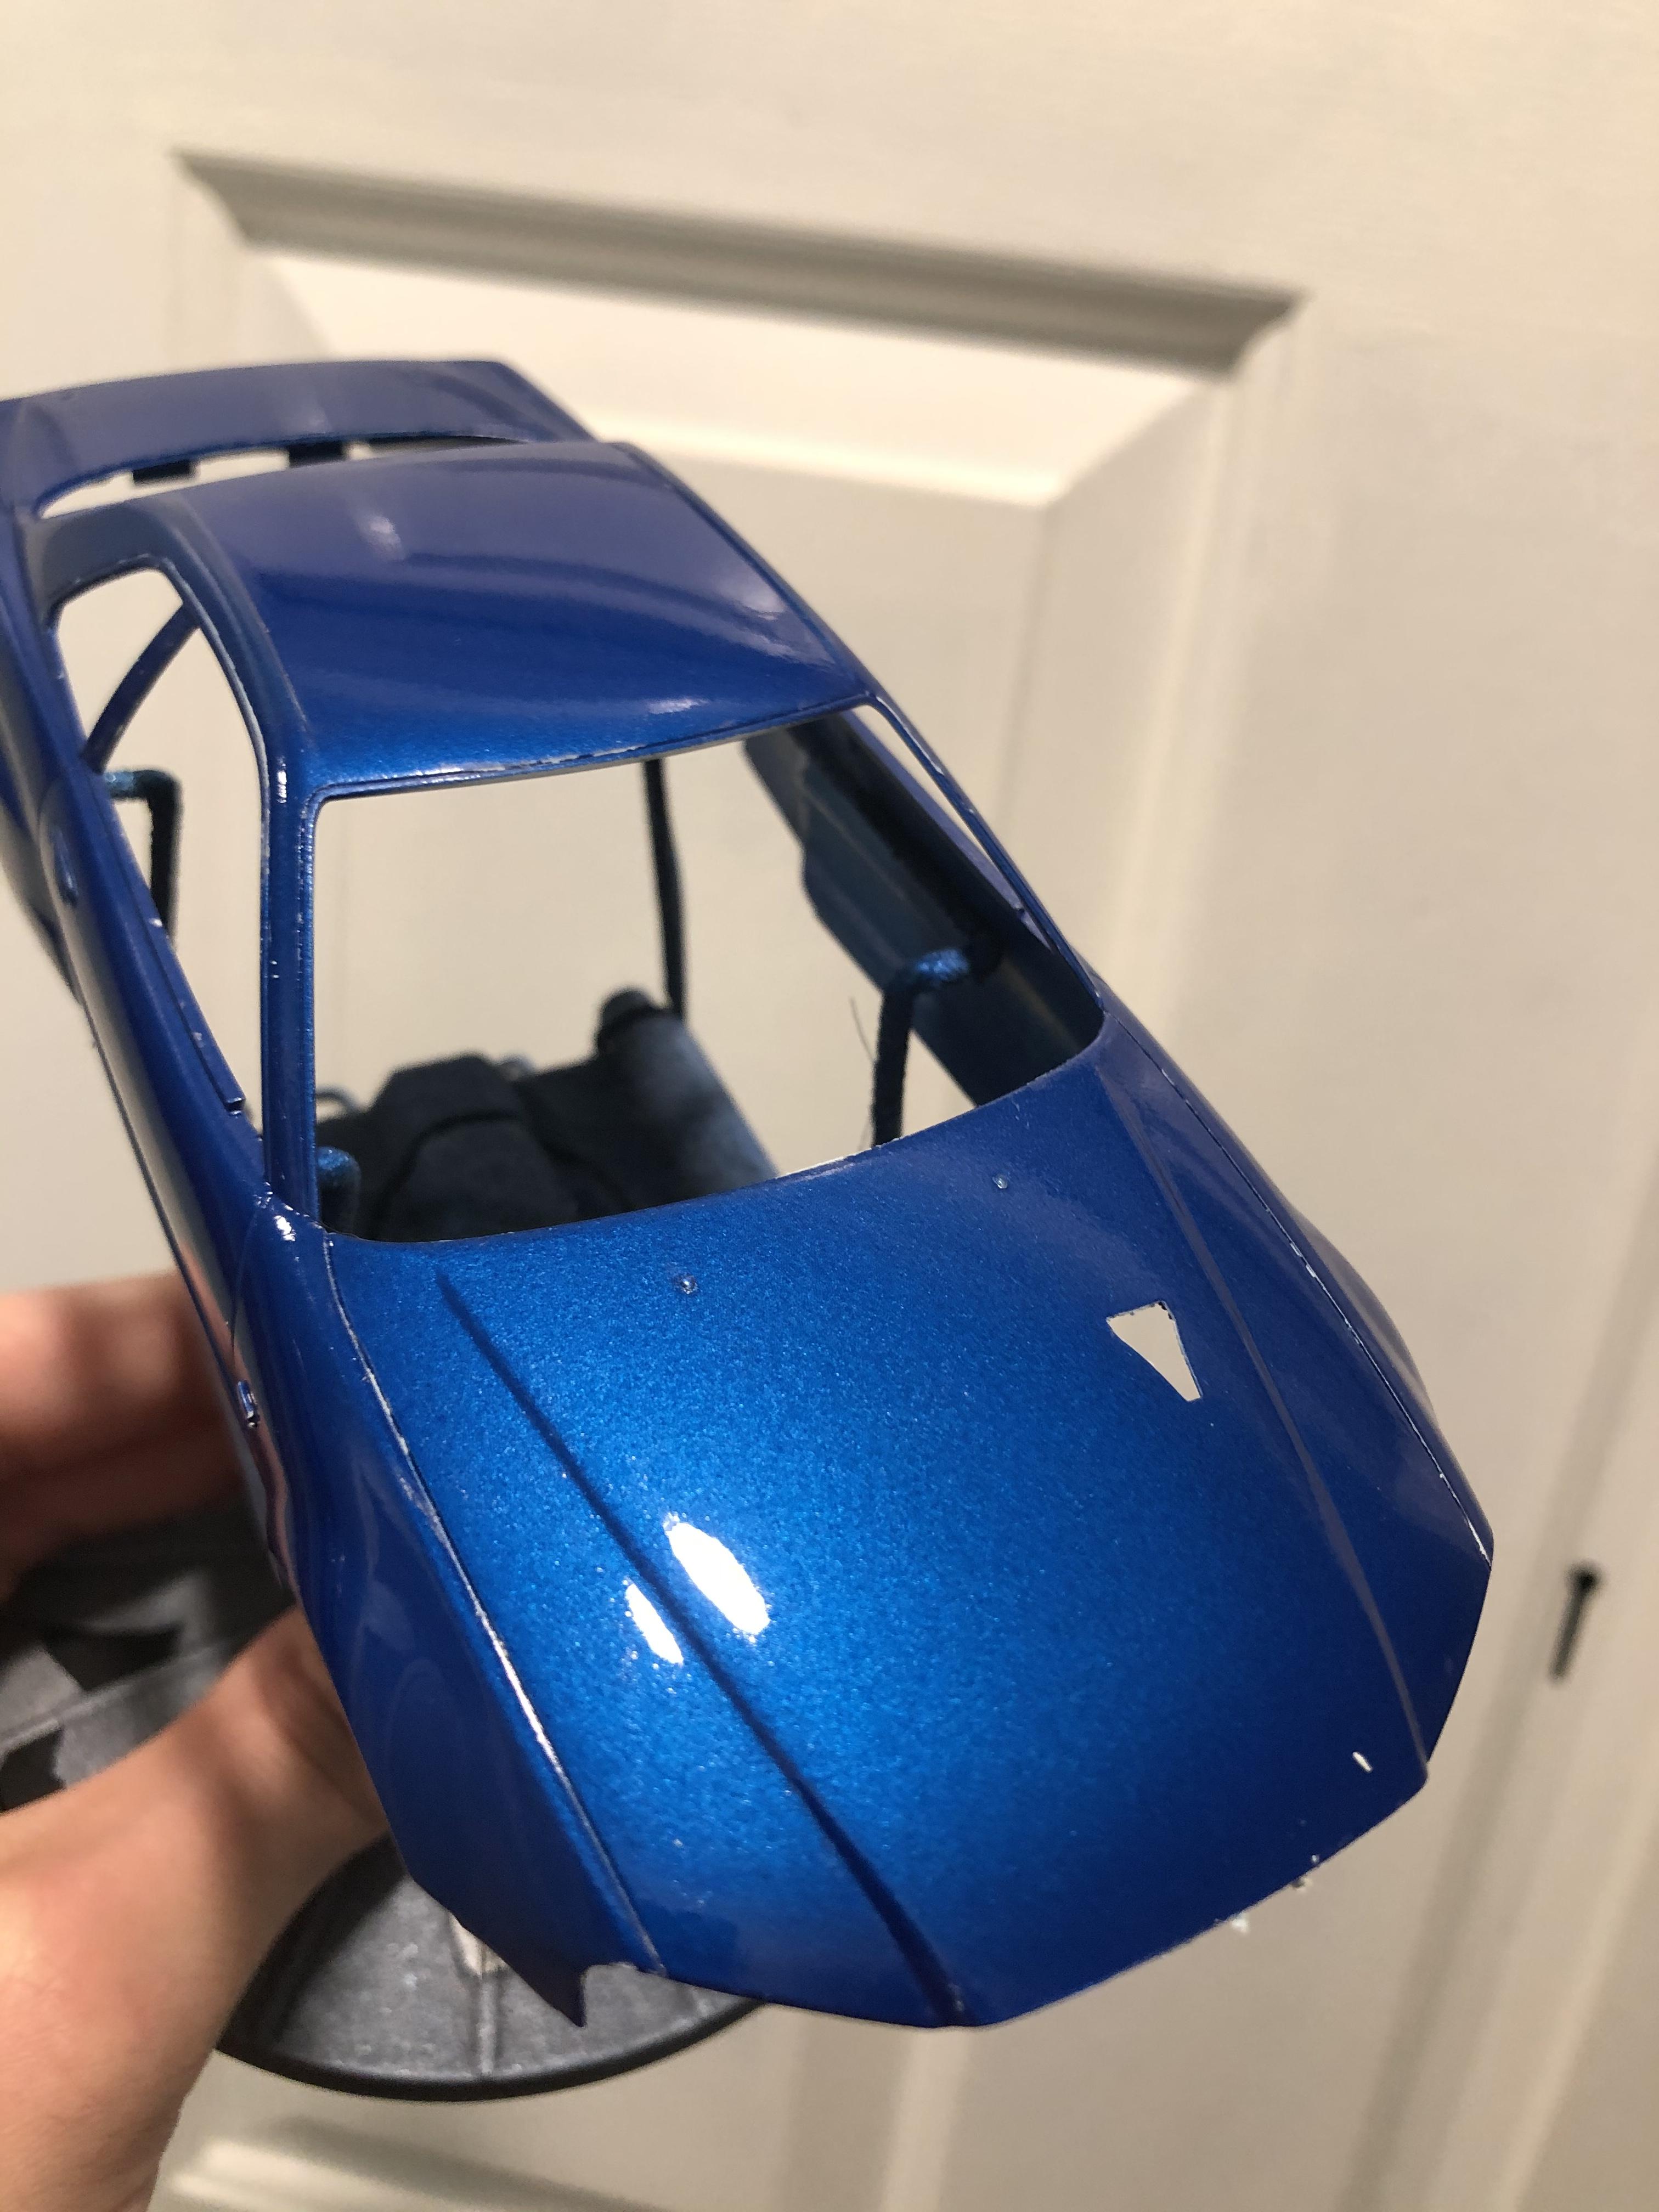
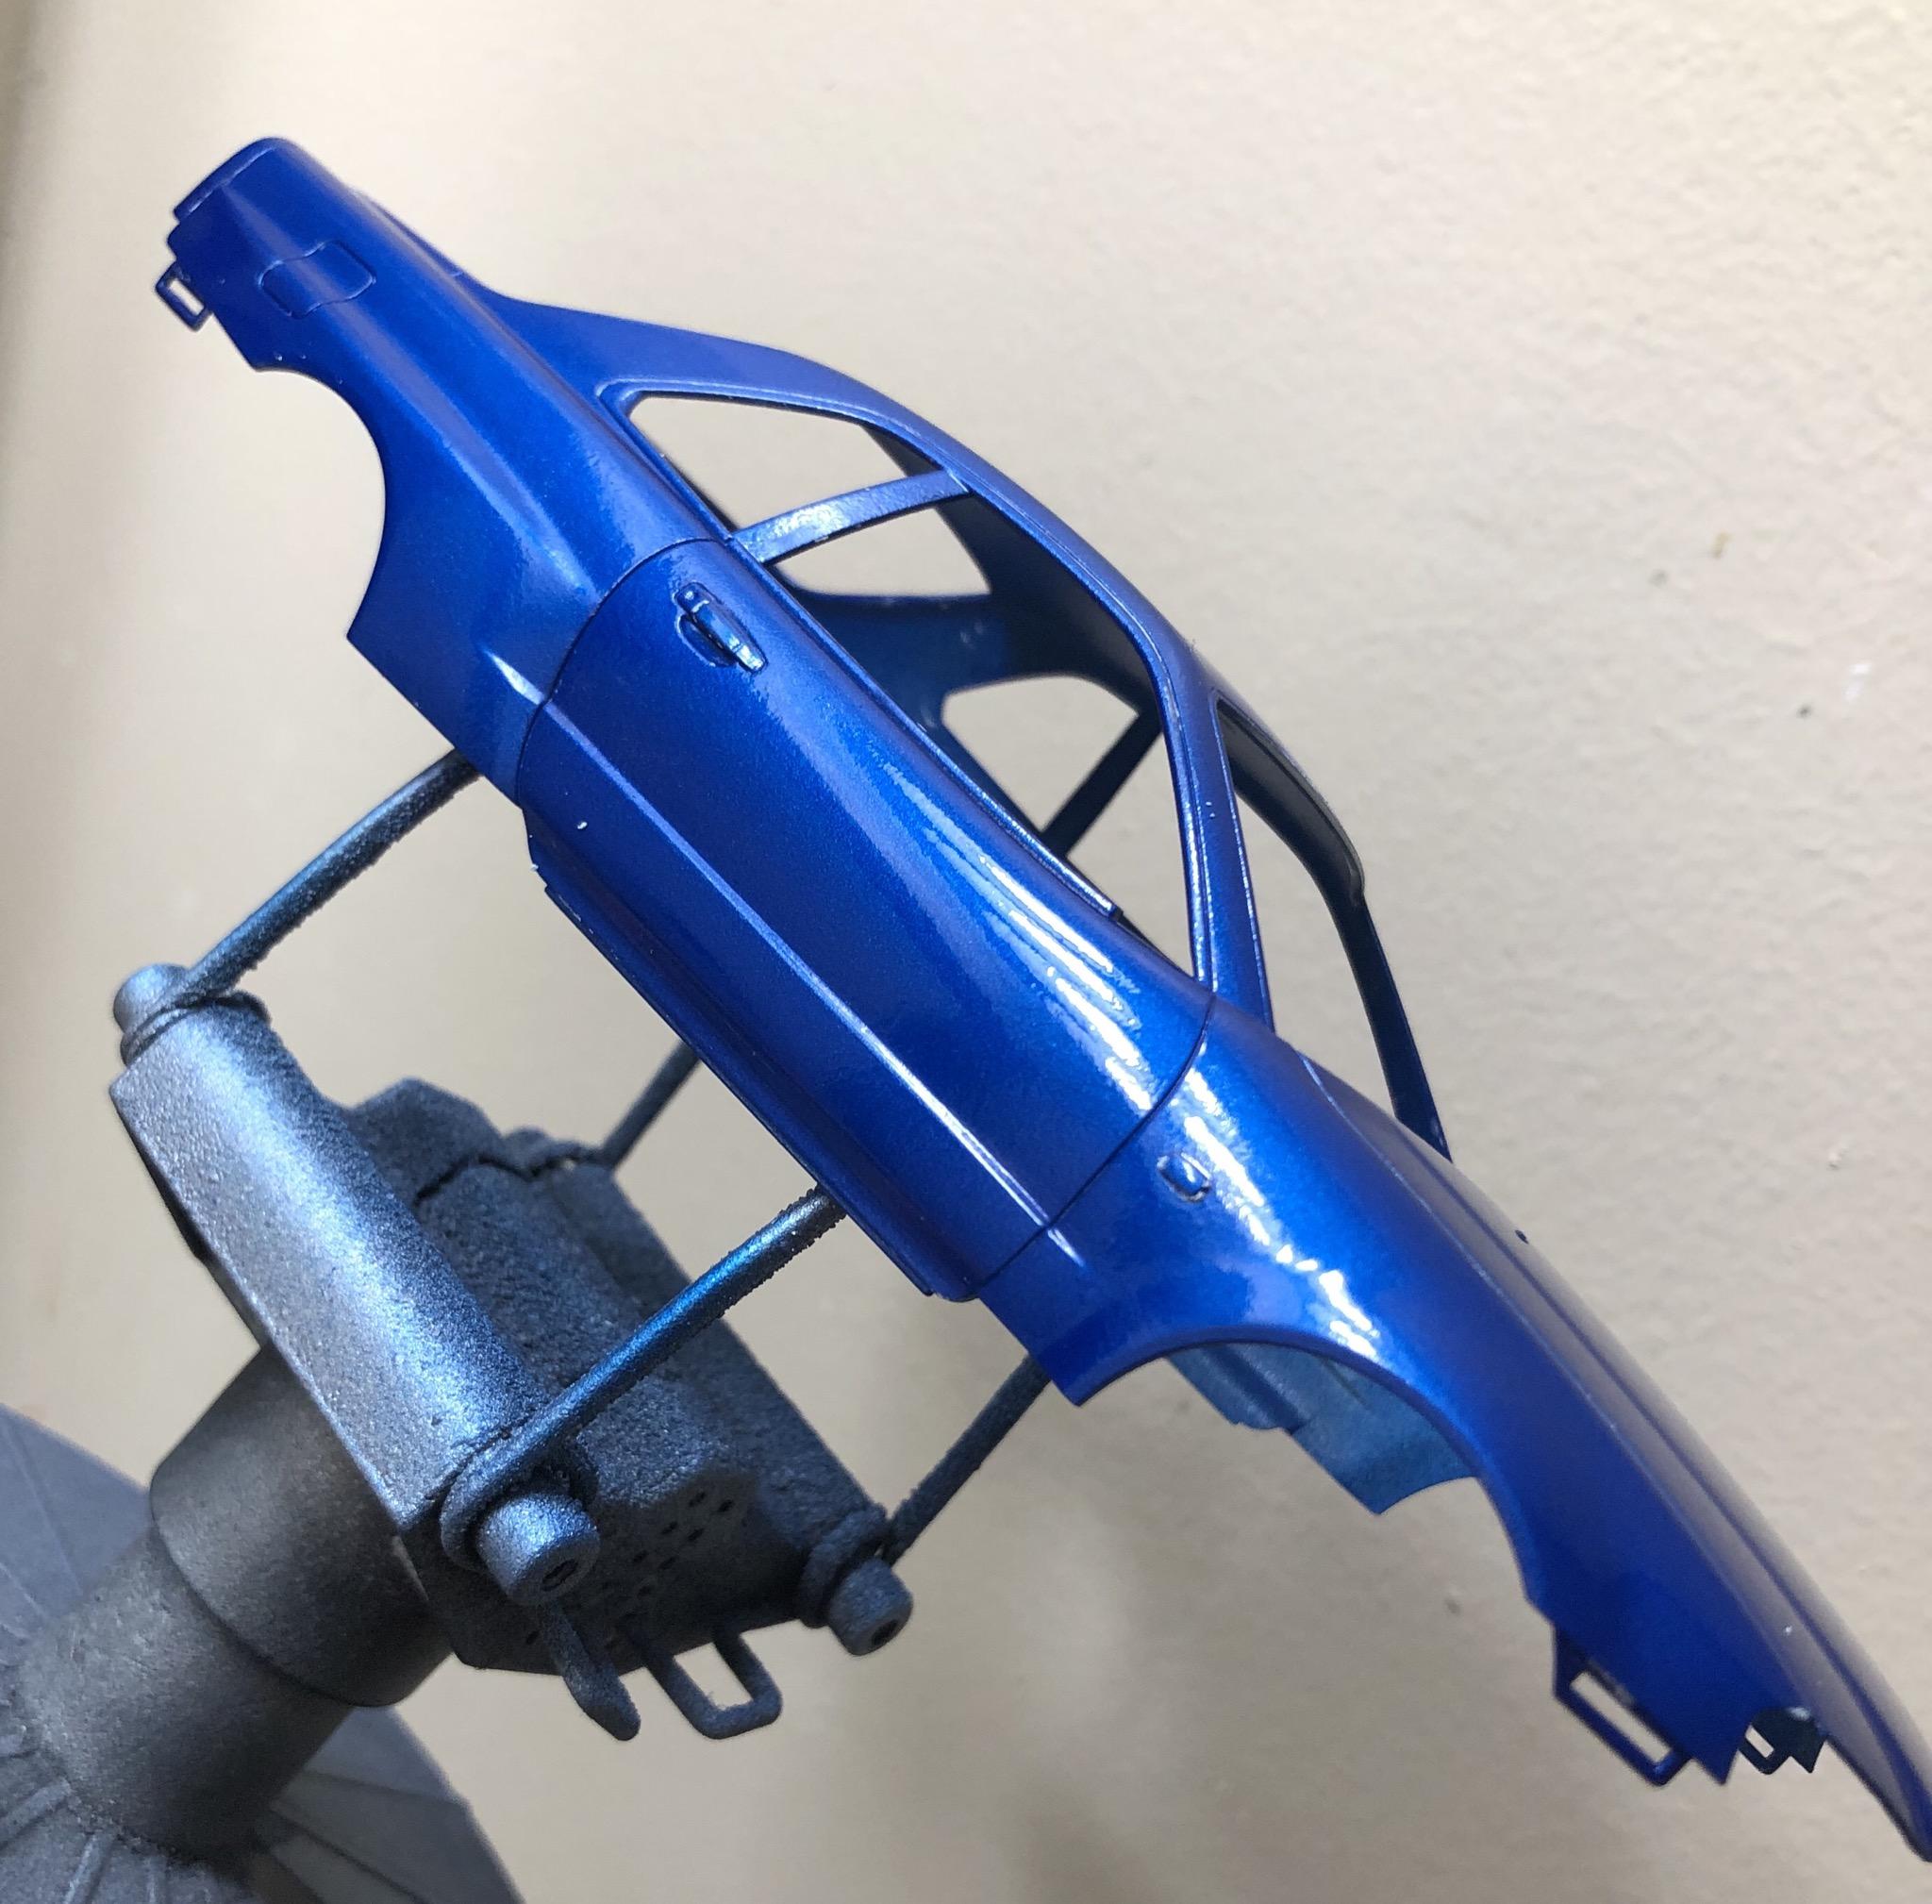
Here’s the painted body. Pardon the wax residue. . It’s been a nerve racking job with this one because I had a lot of orange peel. I unfortunately realized I burned through the paint when polishing in a few spots.So it’s been a lot of back and forth of polishing and small resprays.
So I carefully resprayed these areas last night with the airbrush. It was tempting to just chuck it in the brake fluid because you can usually tell with metallic paints where spots have been fixed but it came out pretty good. I also didn’t want to waste what would otherwise be a good paint job.
I unfortunately chipped the paint pretty bad on the front bumper when I drilled into the fog light so I’ll be respraying that. That’s not as big of a pain because I still need to paint the spoiler.

-
1 hour ago, Italianhorses said:
Looks good. If you use clear rod, and then put some foil at the back end, it will look even better.
That’s what I was thinking to use but I don’t have clear rod thin enough. I tried to melt some clear plastic under a lighter but it kept catching on fire hah. Any tips on that end?
-
On 5/10/2020 at 11:29 PM, Jhedir6 said:
Personally I'm not a NASCAR guy, tho if they did a Mustang I'd likely get a few, but I am ecstatic over the GT4.
Hopefully Tamiya will notice, to be honest, I think they already have. The Ford GT must have done reasonably well as they made another trip to Canada to scan the Mustang.
I'd still like to see them do a full Raptor. Personally I'd rather see the Gen1 Raptor, but the Gen2 is more likely, if at all. Tho the Gen3 is due for 2021? so that would be cool as well.
A C8 would be nice but they seem to only be dealing with Ford.
I've got three coming up from the US this week as well as a couple sets of Indycal decals. Something to work on at work as we head into another month of lockdown.
Would love for Tamiya to do the C8. Ive always wanted them to do the Dodge Viper also.
-
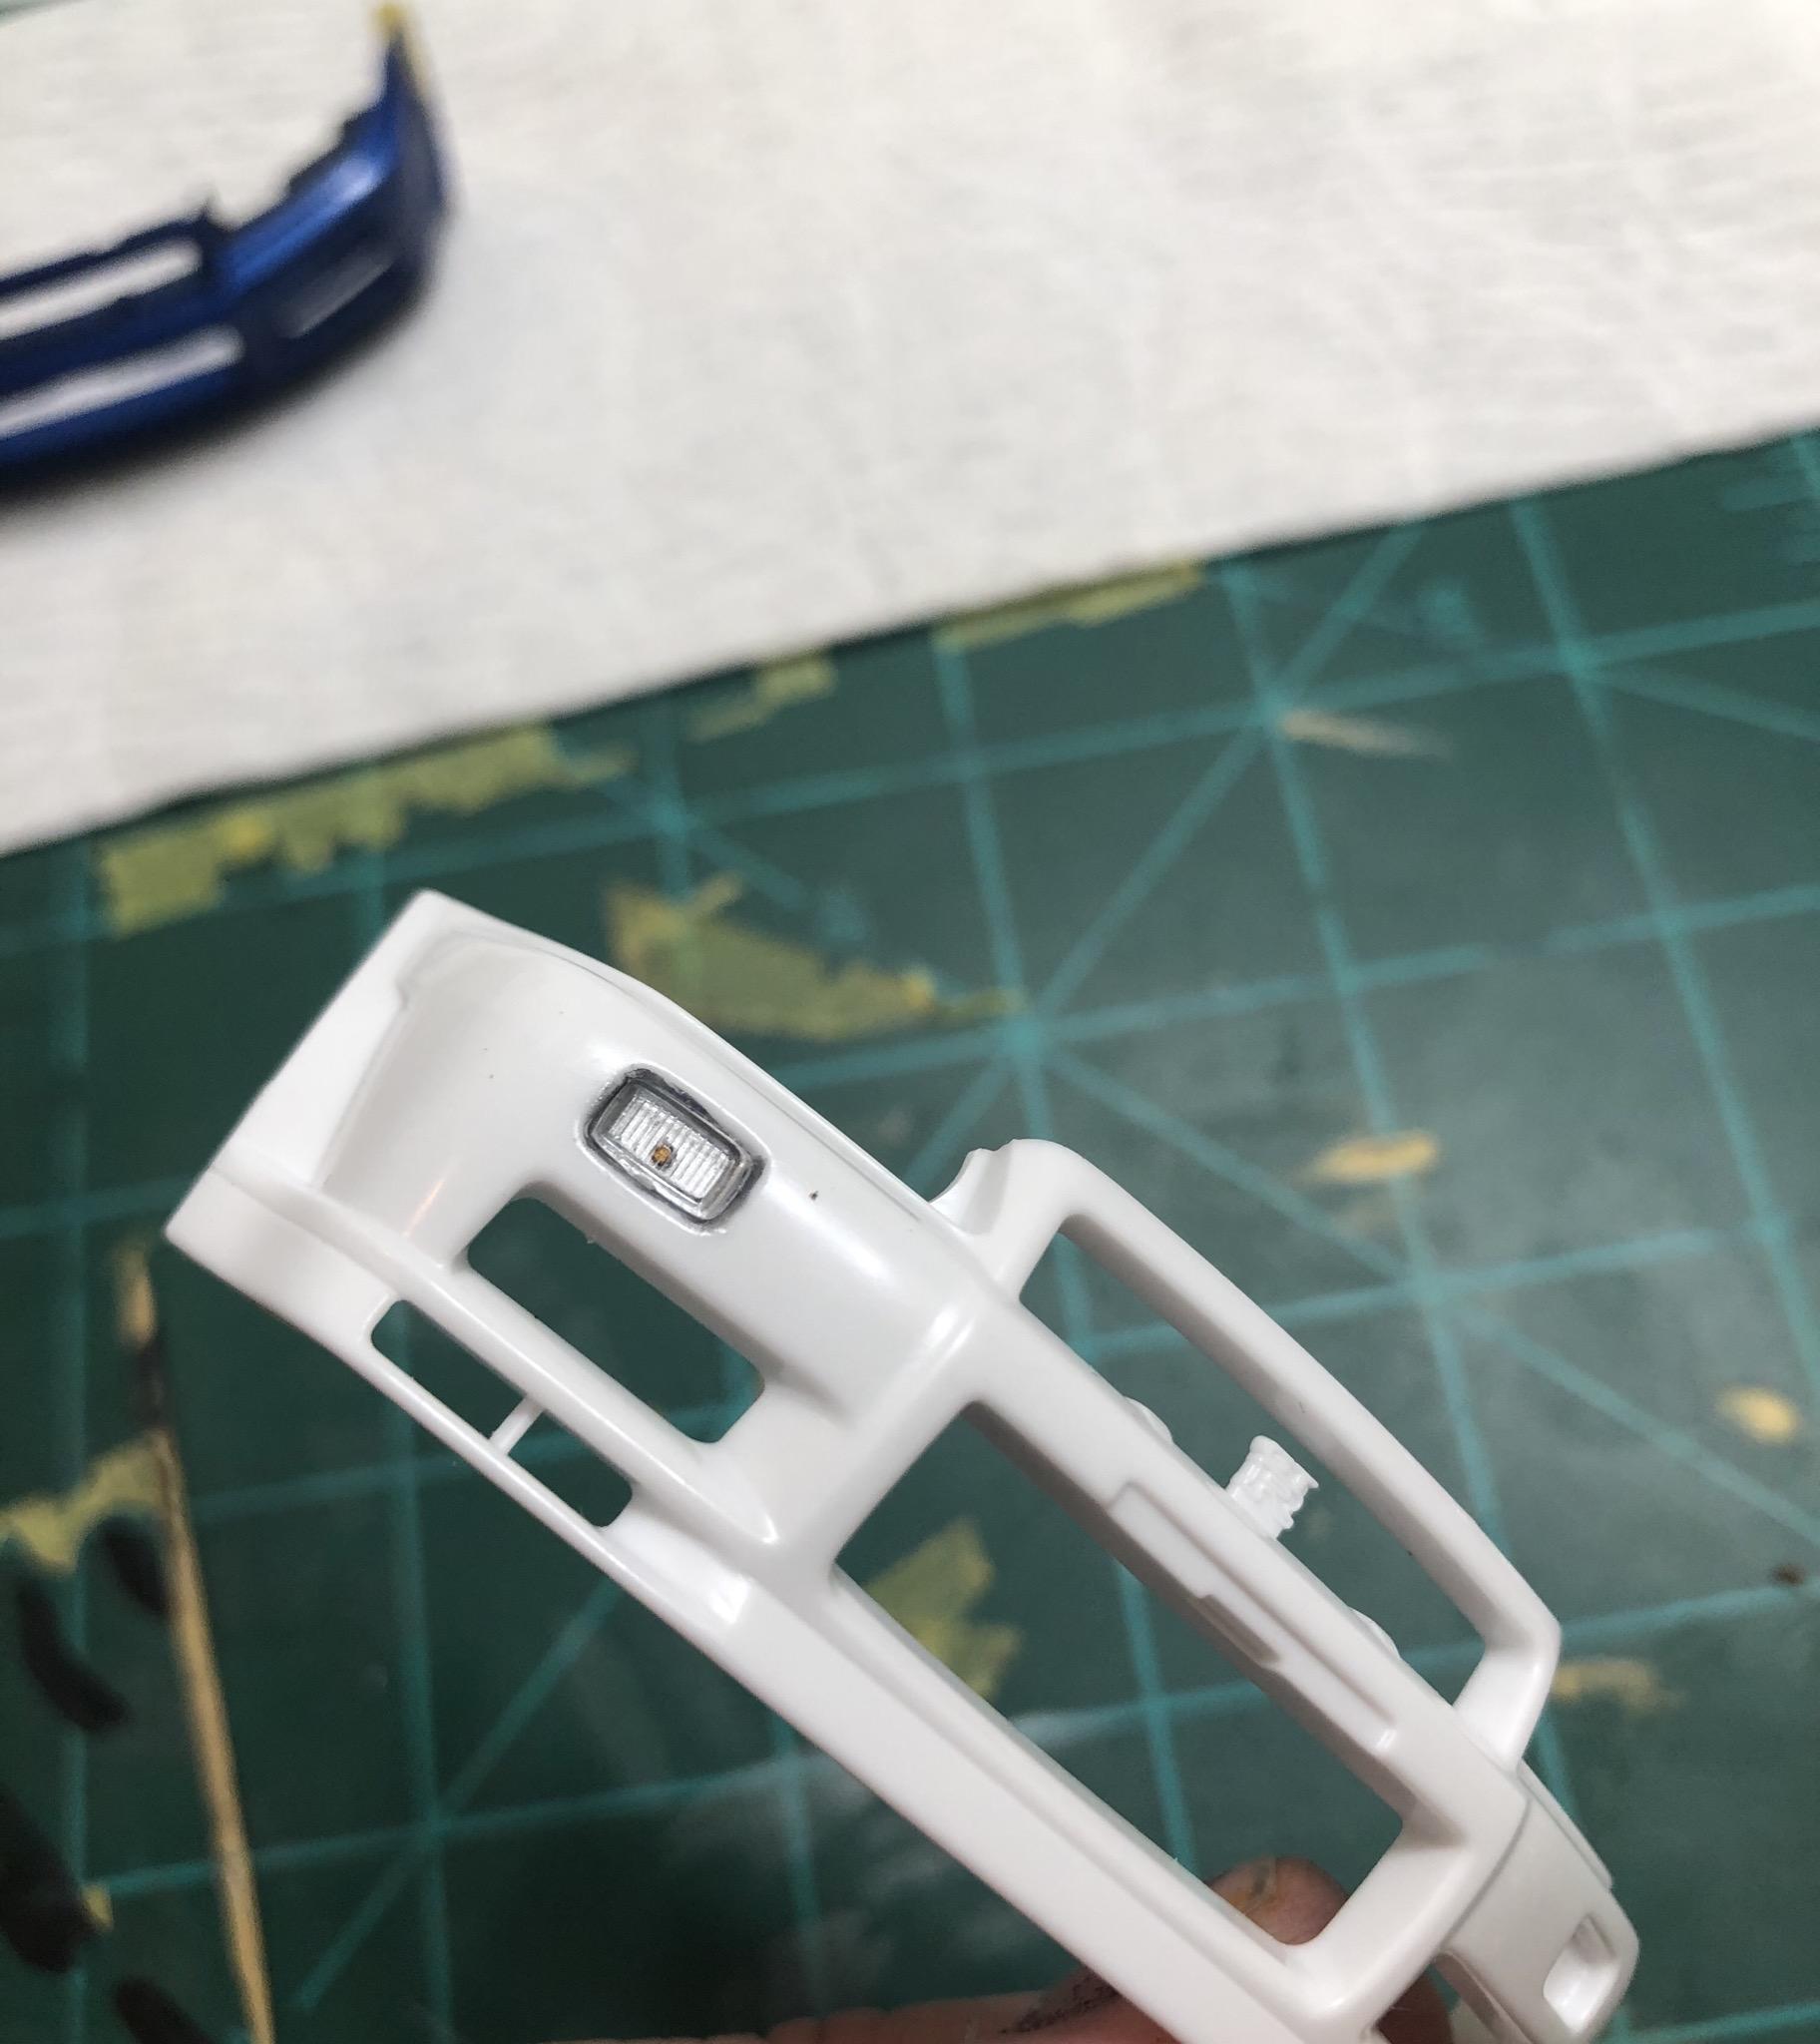
Little experiment I’m testing with the front fog lights. This is a spare bumper I had. Painted the bucket of the light with Vallejo chrome then drilled and inserted plastic rod that was painted clear orange. The actual fog lights have an orange bulbs and chrome housing. You can see the painted bumper in the back.
-
15 minutes ago, Italianhorses said:
Excellent flocking job! Where do you buy DM flocking nowadays? I can't find any at my usual suppliers.
I managed to find a pack off eBay. It was a small package but it covered very well so it must have been a dense material.
Im usually using black or tan flocking so I bought those in big bulk bags a few years ago off ebay too.
-
On 5/10/2020 at 12:51 PM, 89AKurt said:
Looks awesome, the "weathering powder"? Makes a huge improvement.
Thank you. I have a couple of Tamiya’s weathering powder kits and just sort of light dusted the exhaust. Doesn’t look like the r34 pipes get too heat stained from photos.
On 5/11/2020 at 12:56 PM, lghtngyello03 said:Looking great so far! The R34 Tamiya's have to be my favorite kit so far. Excellent to build up and look awesome when finished. I have built one of these and an R32 Z-Tune, and have 2 more in the stash for future plans. Looking forward to seeing your build finished up.
Oh yeah they are great. Curbside but very well engineered.
On 5/11/2020 at 6:02 PM, Funkychiken said:Sharp work on the chassis !
Appreciate it.
9 hours ago, martinfan5 said:Real nice work so far.
Thanks ?
-
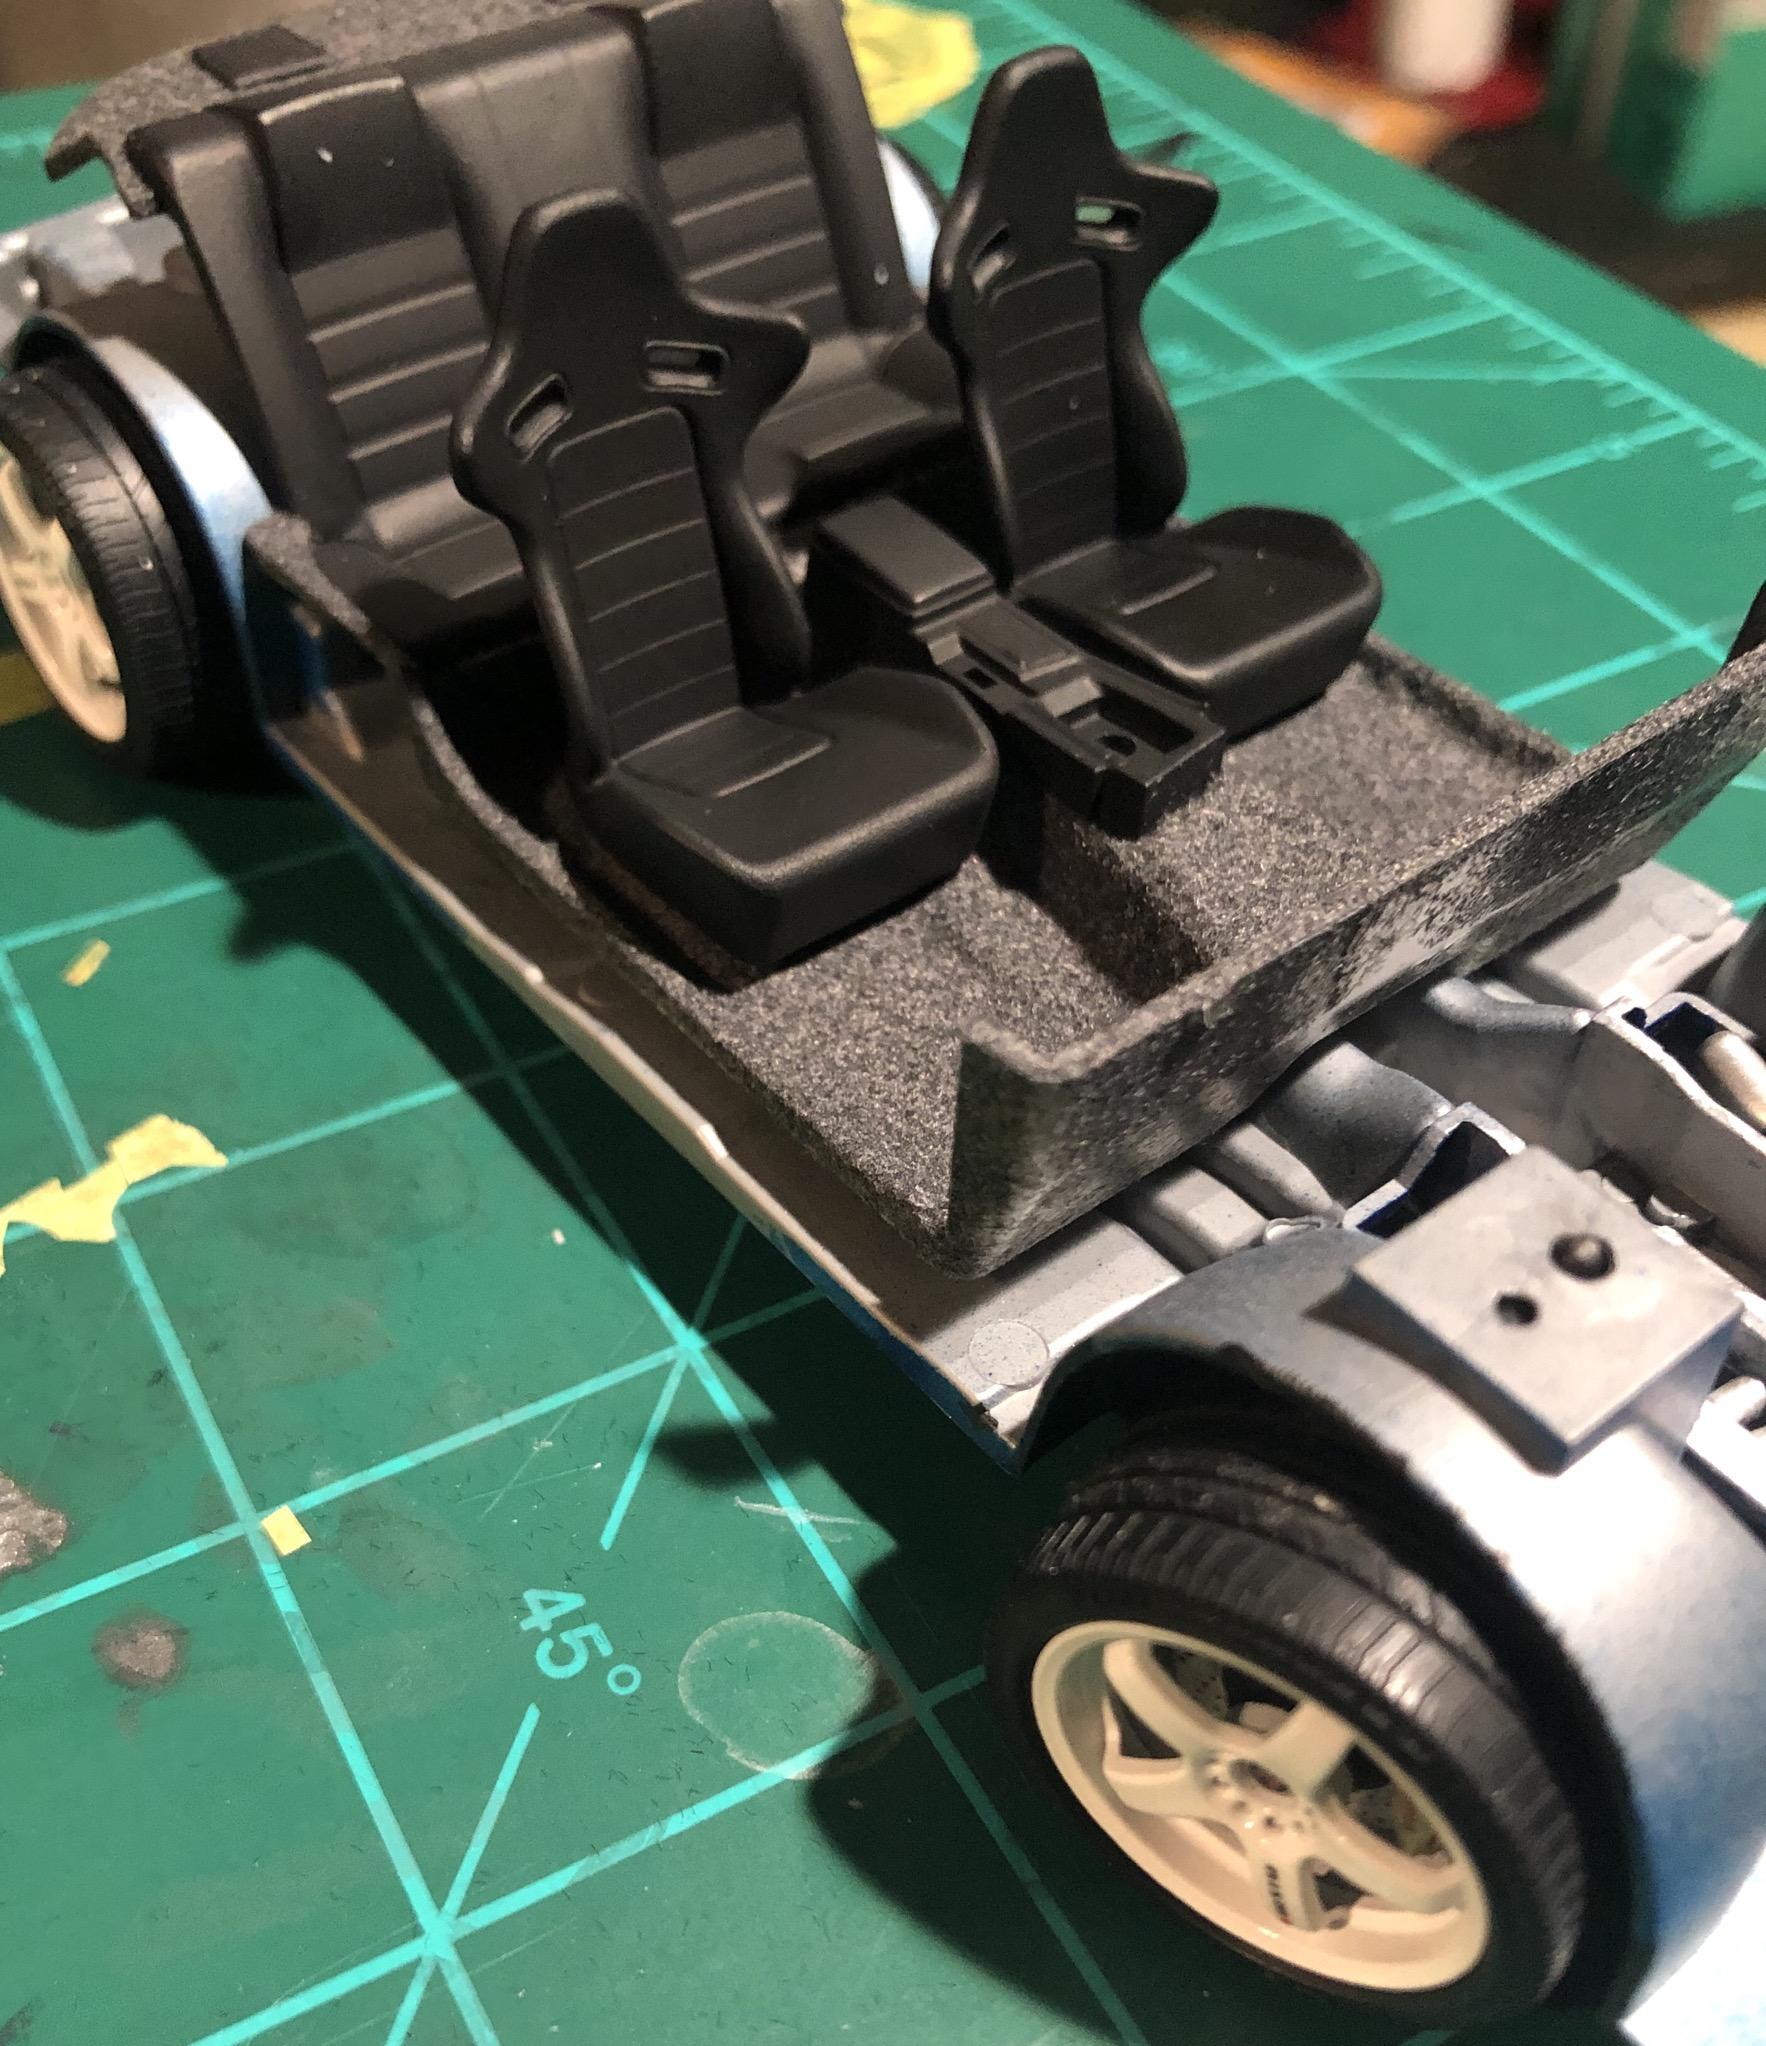
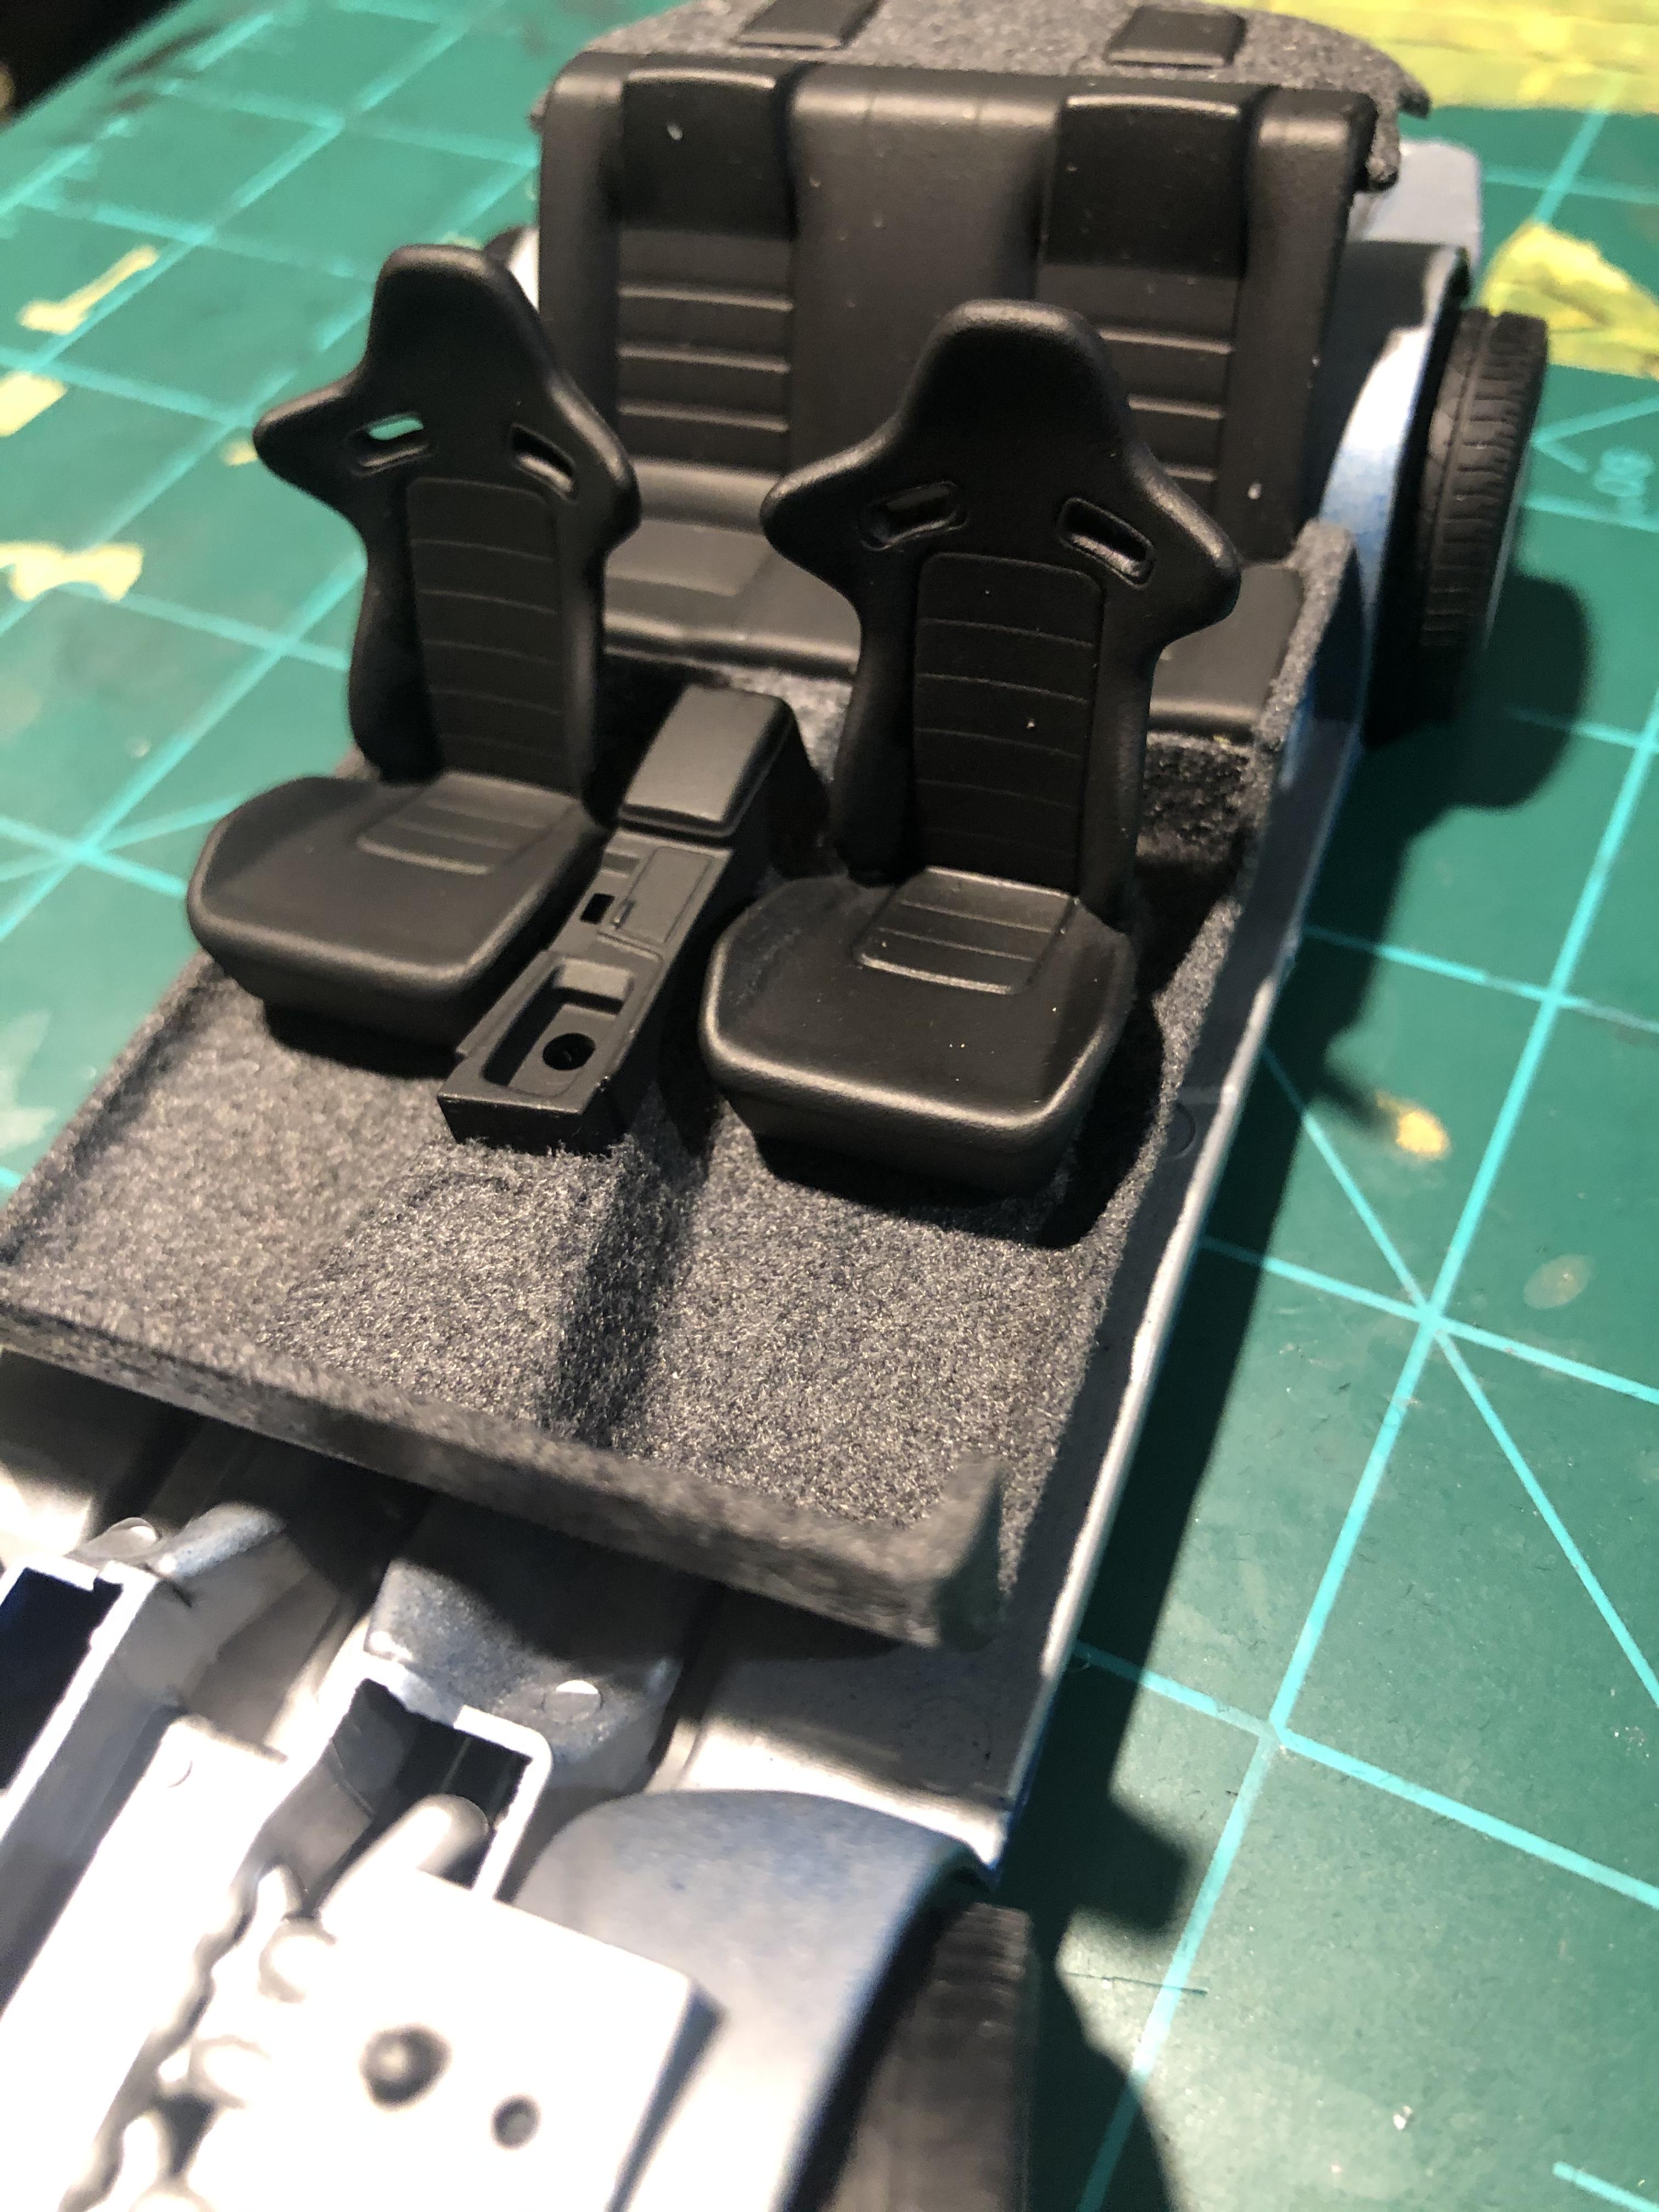
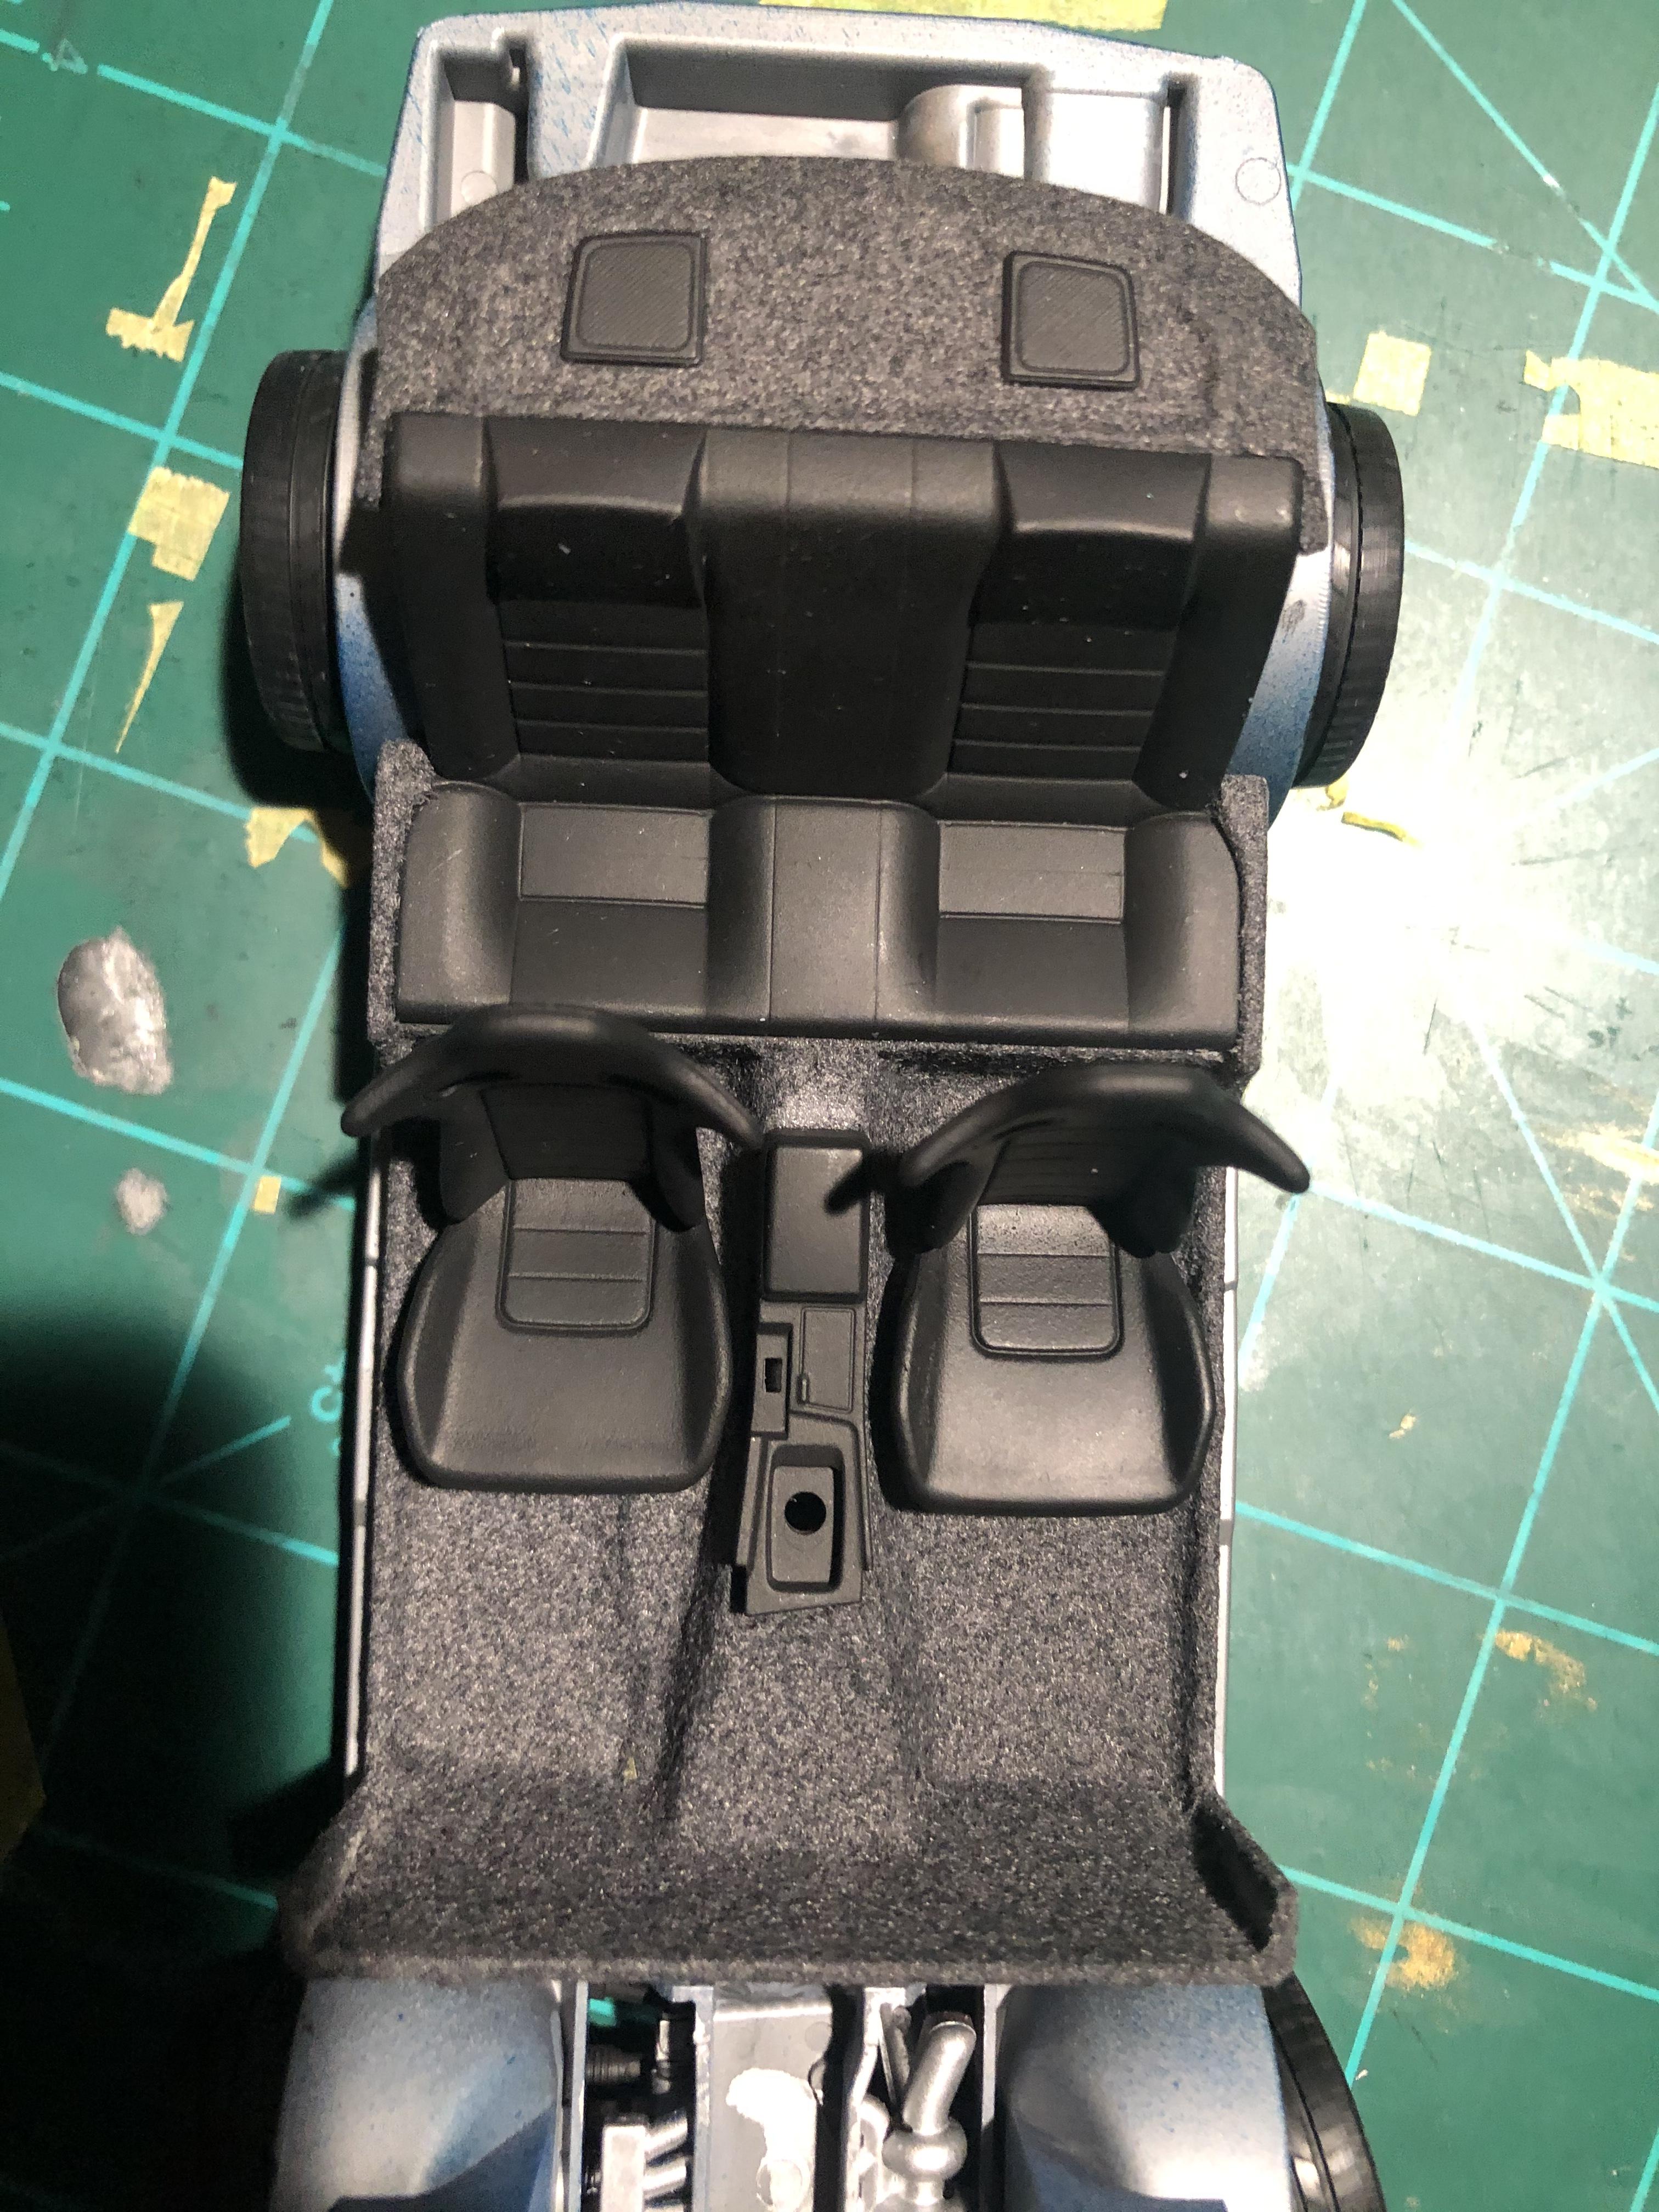
Got the interior tub sprayed along with the the seats and door cards(not pictured). I sprayed the interior with Vallejo air black. I was originally going to do the typical two tone with a dark grey on the inside of the seats. However I found a really nice M-Spec R34 with a full black leather interior in my research and decided that would be nice on my version too.
For the flocking I used detail master grey. I use spray adhesive to apply my flocking after masking the areas I don’t want covered. It takes a little more work and time than the white glue or enamel paint methods. But I tend to get better results this way.
You might notice a few paint chips in the back seats from where I took the masking tape off. I’ll have to patch that with the air brush at some point. I also need to patch the area behind the center console with flocking. I’ll probably use white glue there.
-
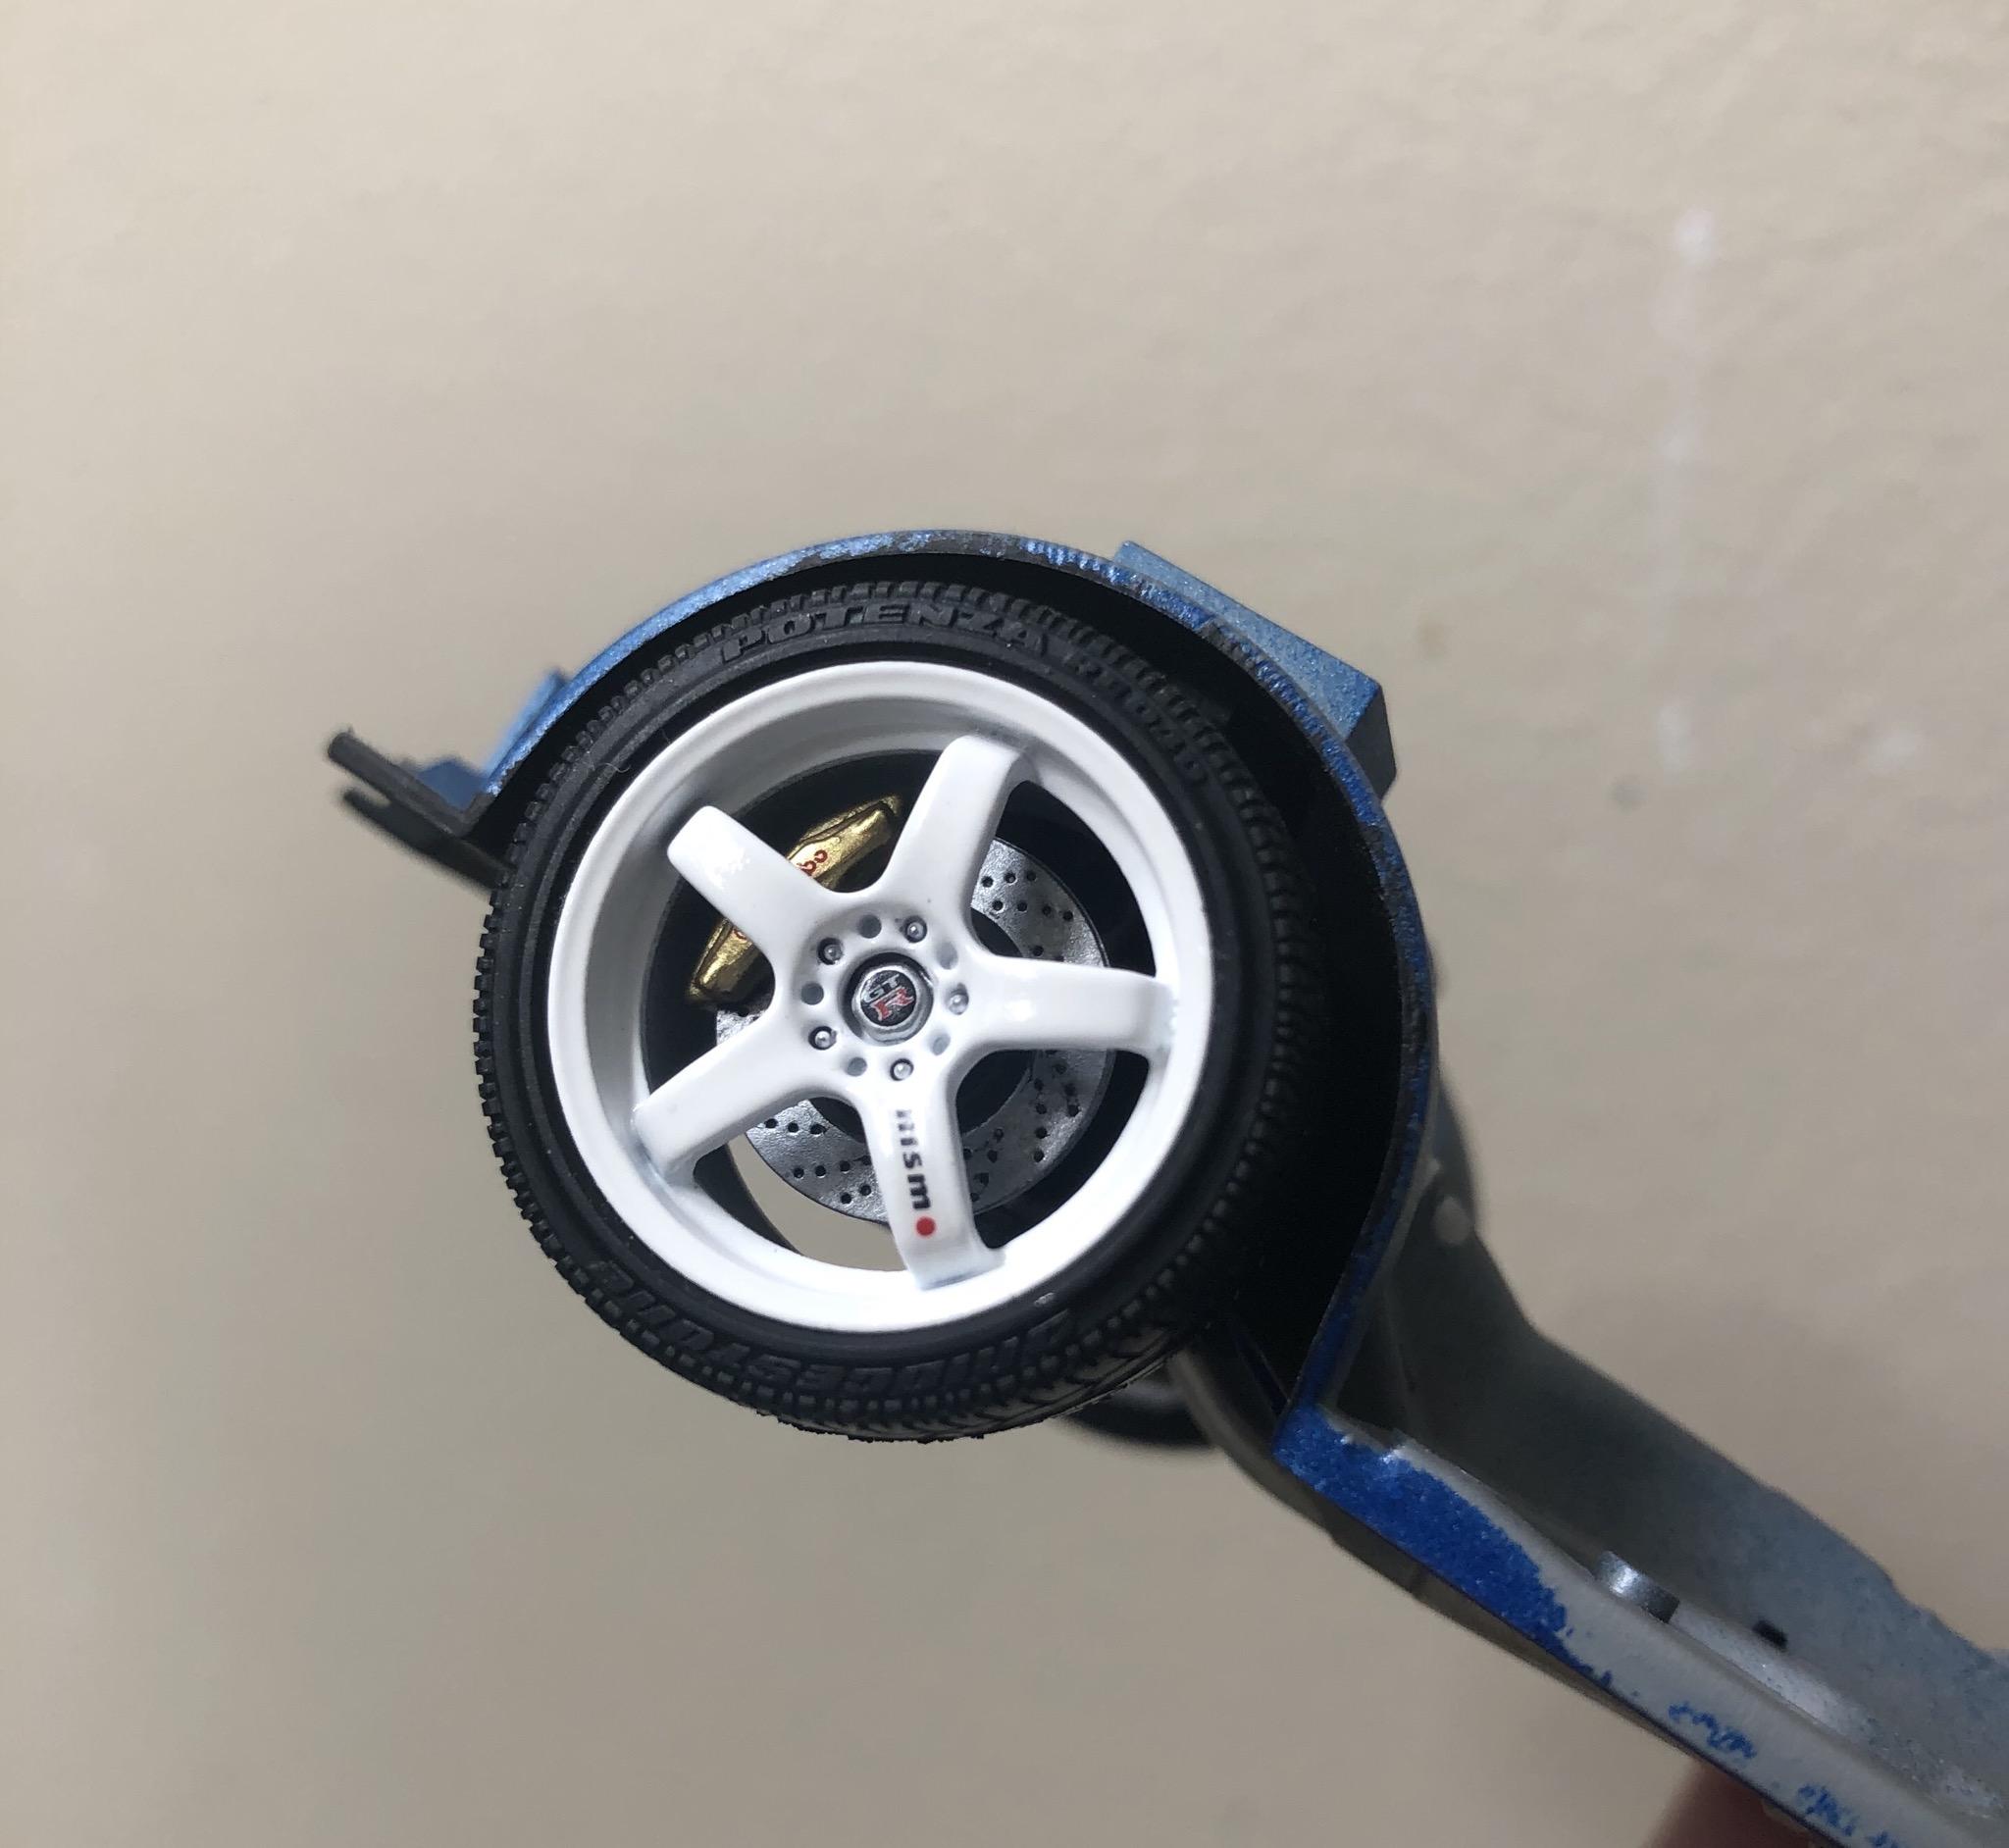
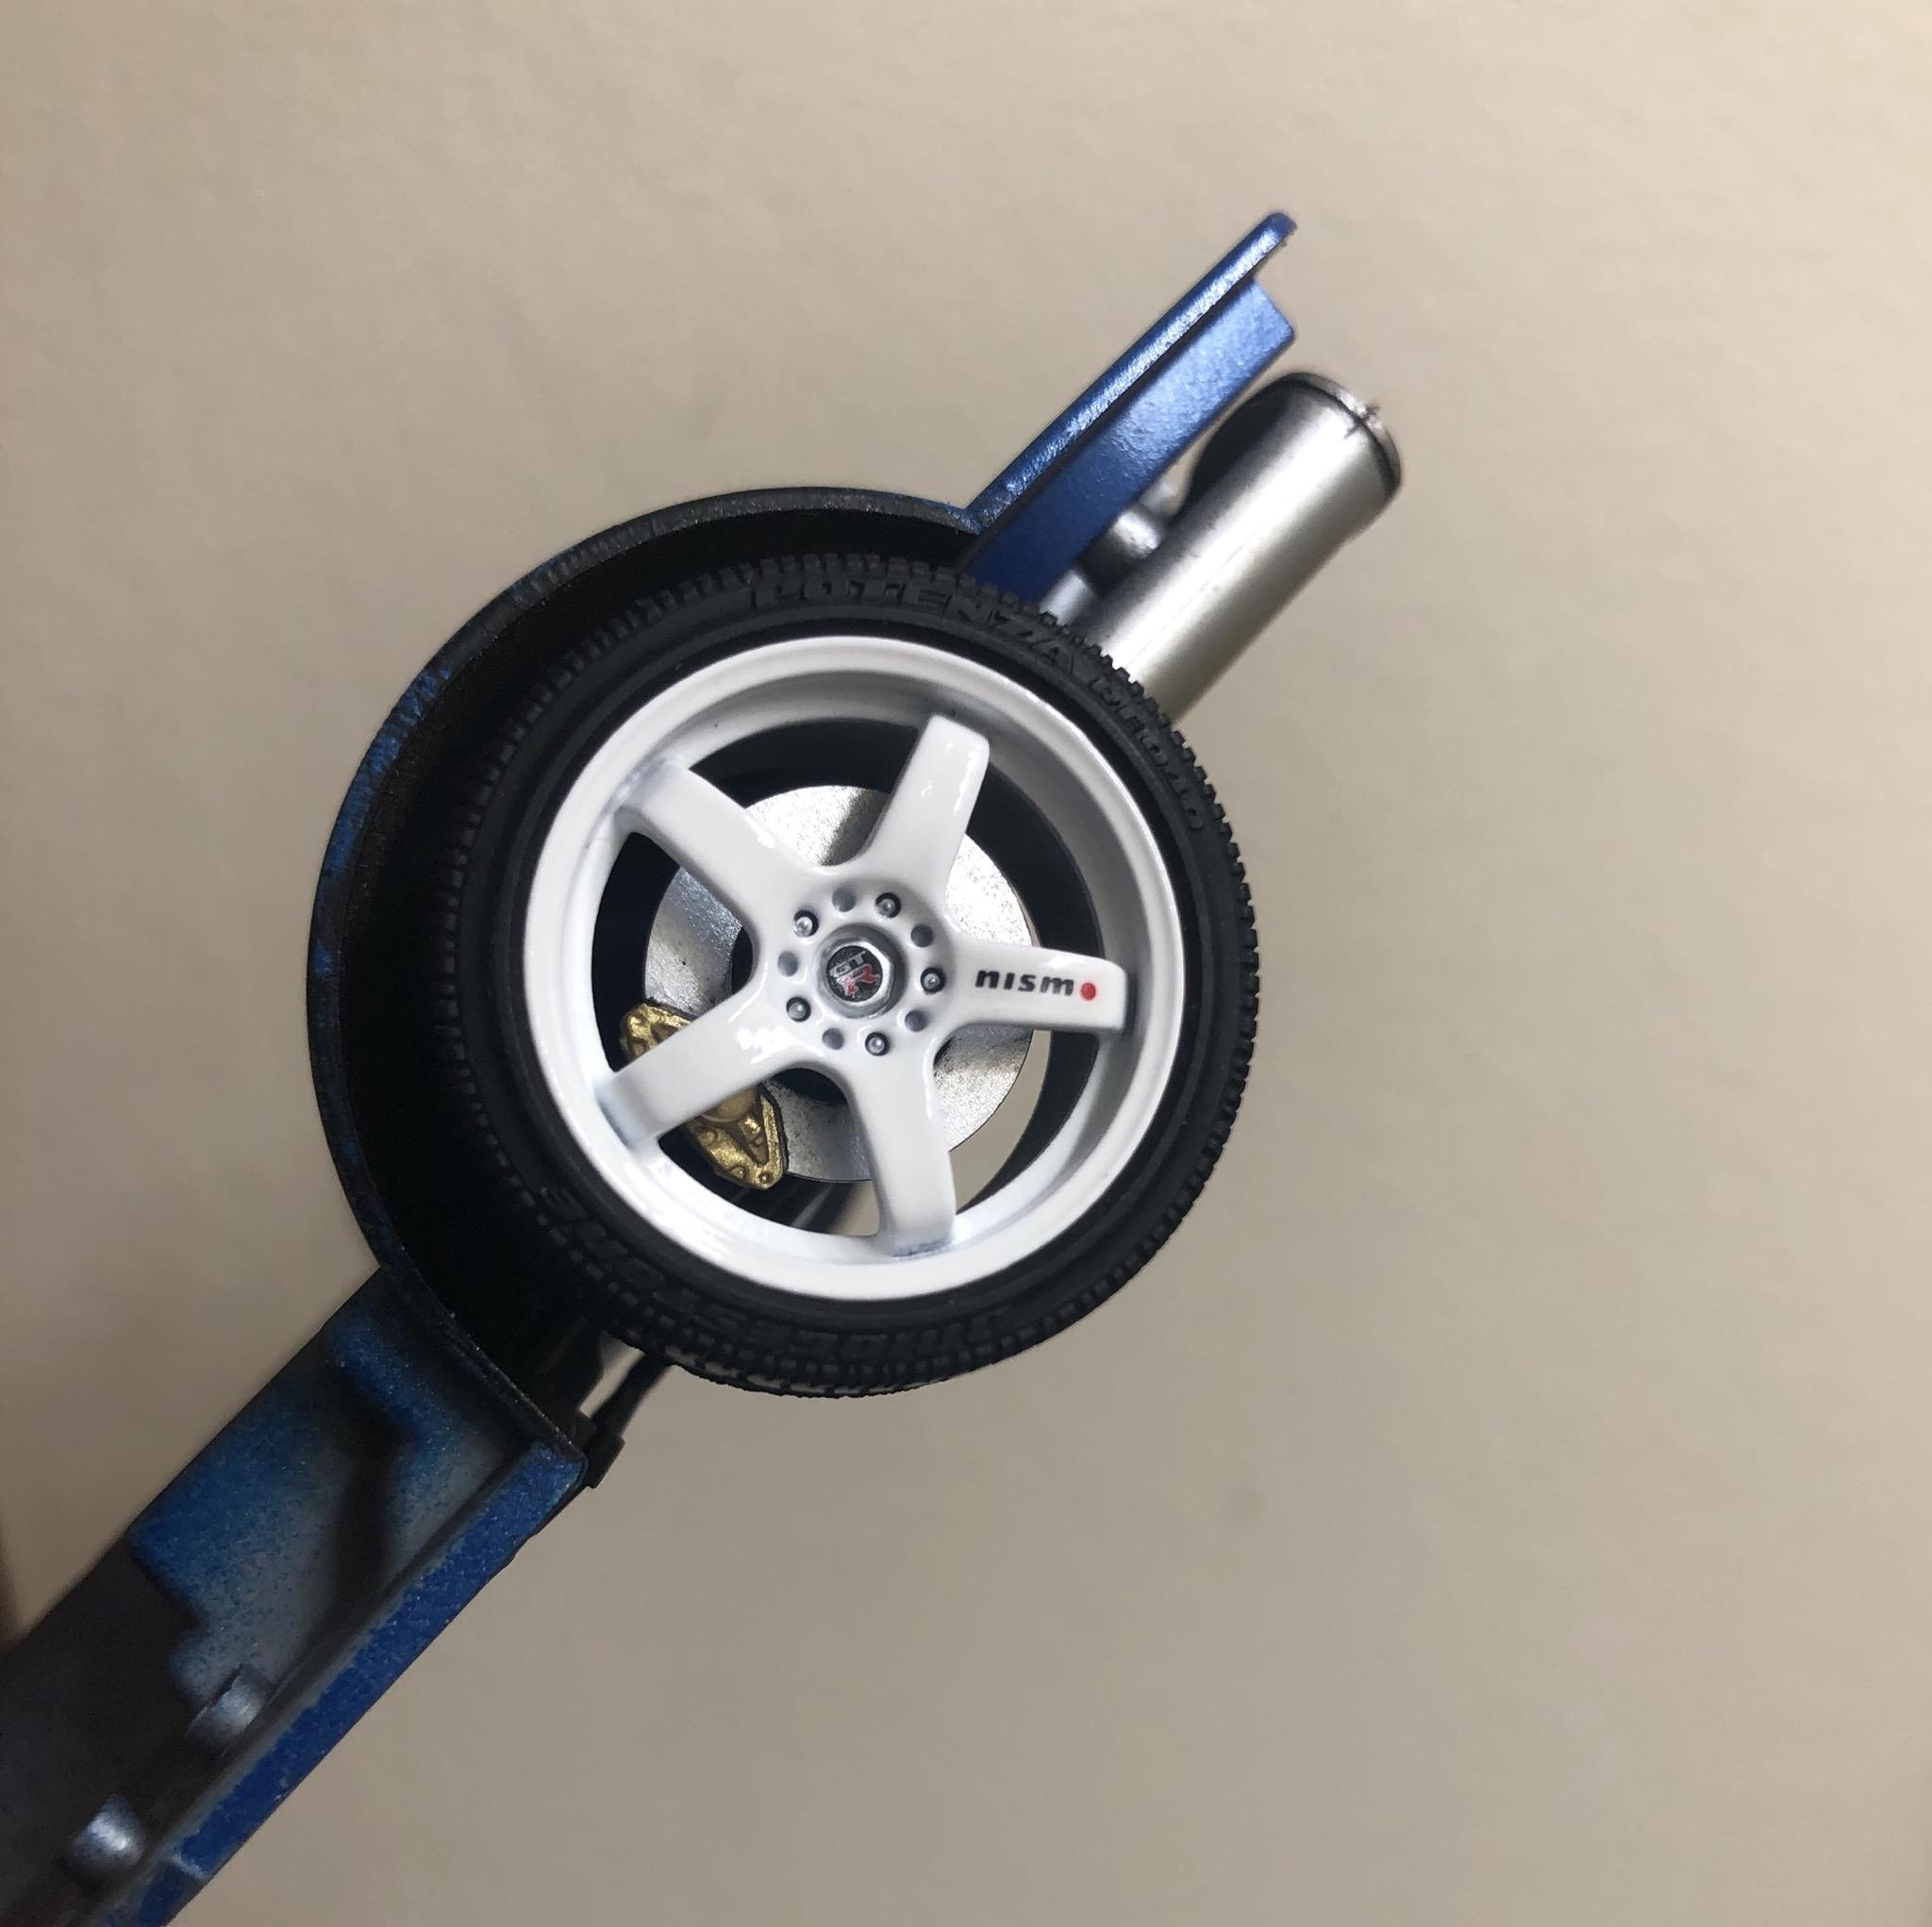
Wheels painted and installed. This is Testors lacquer gloss white. I initially gave them a flat clear coat but realized they would look better glossed so I shot some ts-13 over them. Then used the kit decals. Center caps were painted Vallejo air silver with a brush. Micro Sol for the decal solution. Love the look of white wheels.
-
Sounds like humidity. You can eliminate it by spraying and putting the body under a lamp briefly to get out the moisture. But then you risk getting dust in the paint when you move it around. I'd wait until a dry day.
-
11 hours ago, Italianhorses said:
Looks real good man. I've built this kit in the past, its a great one.
Thanks Alex. And Im actually well aware of your R34 build. I used it as a reference quite a few times already!
-
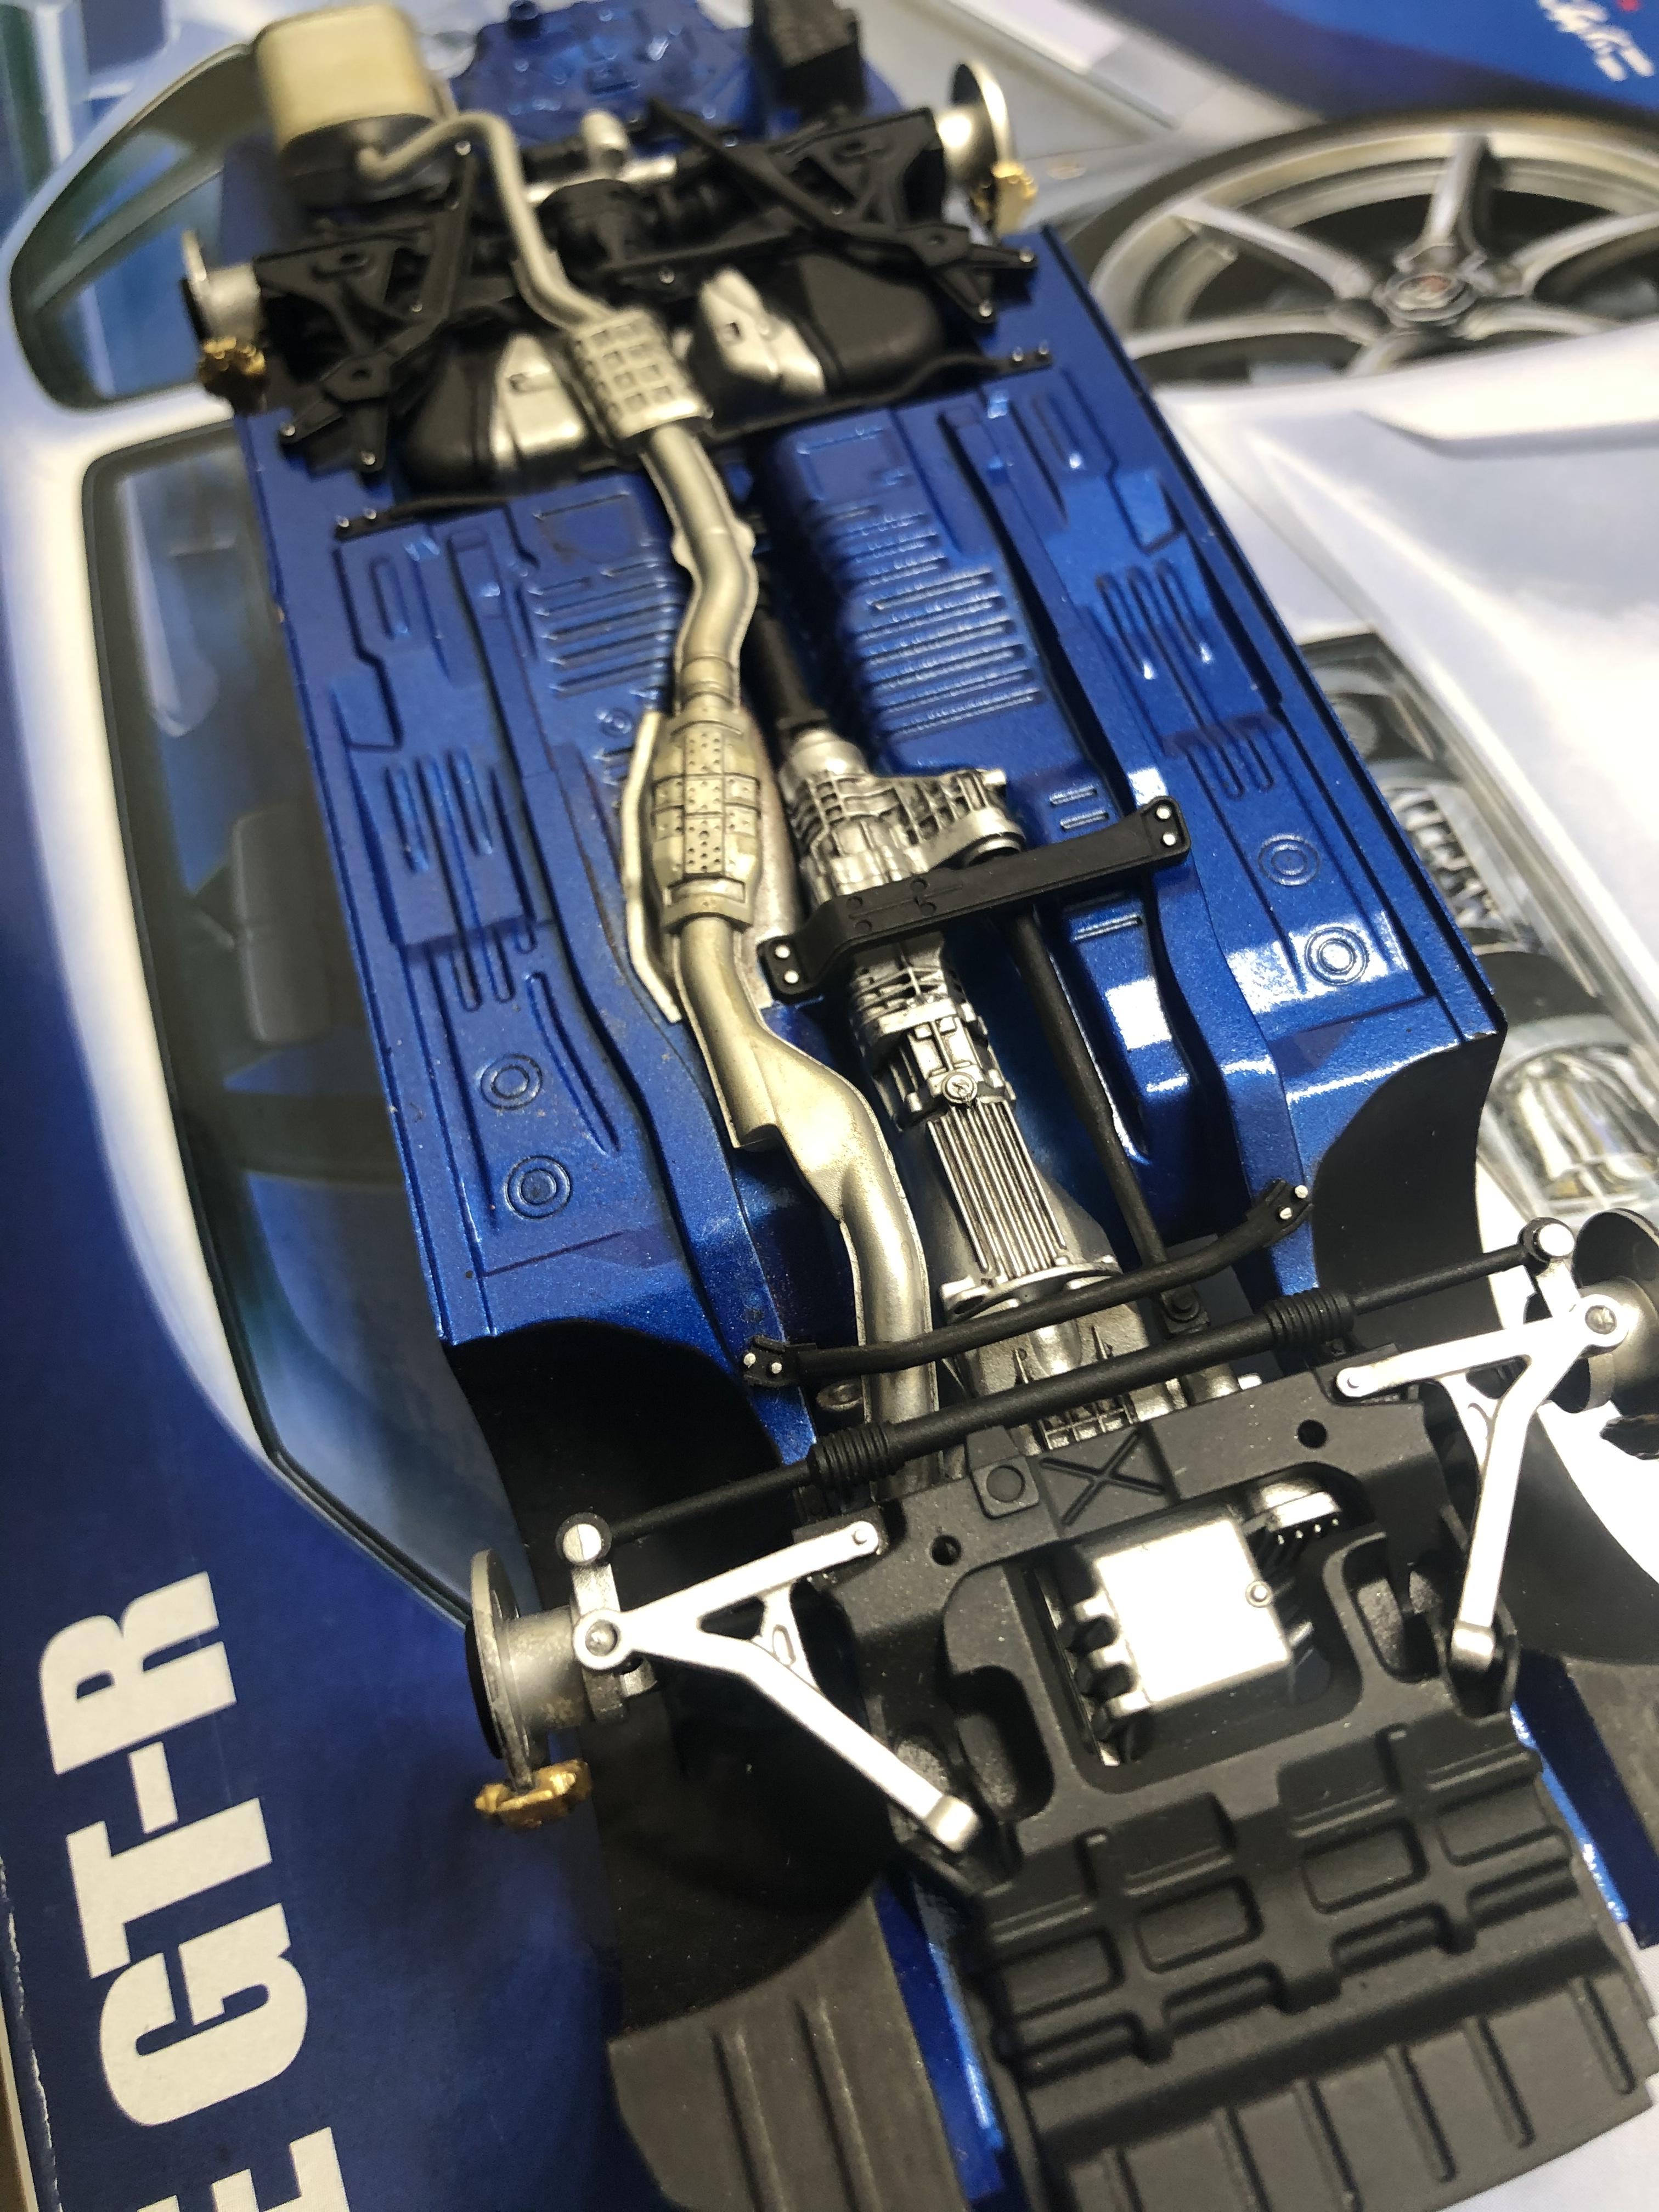
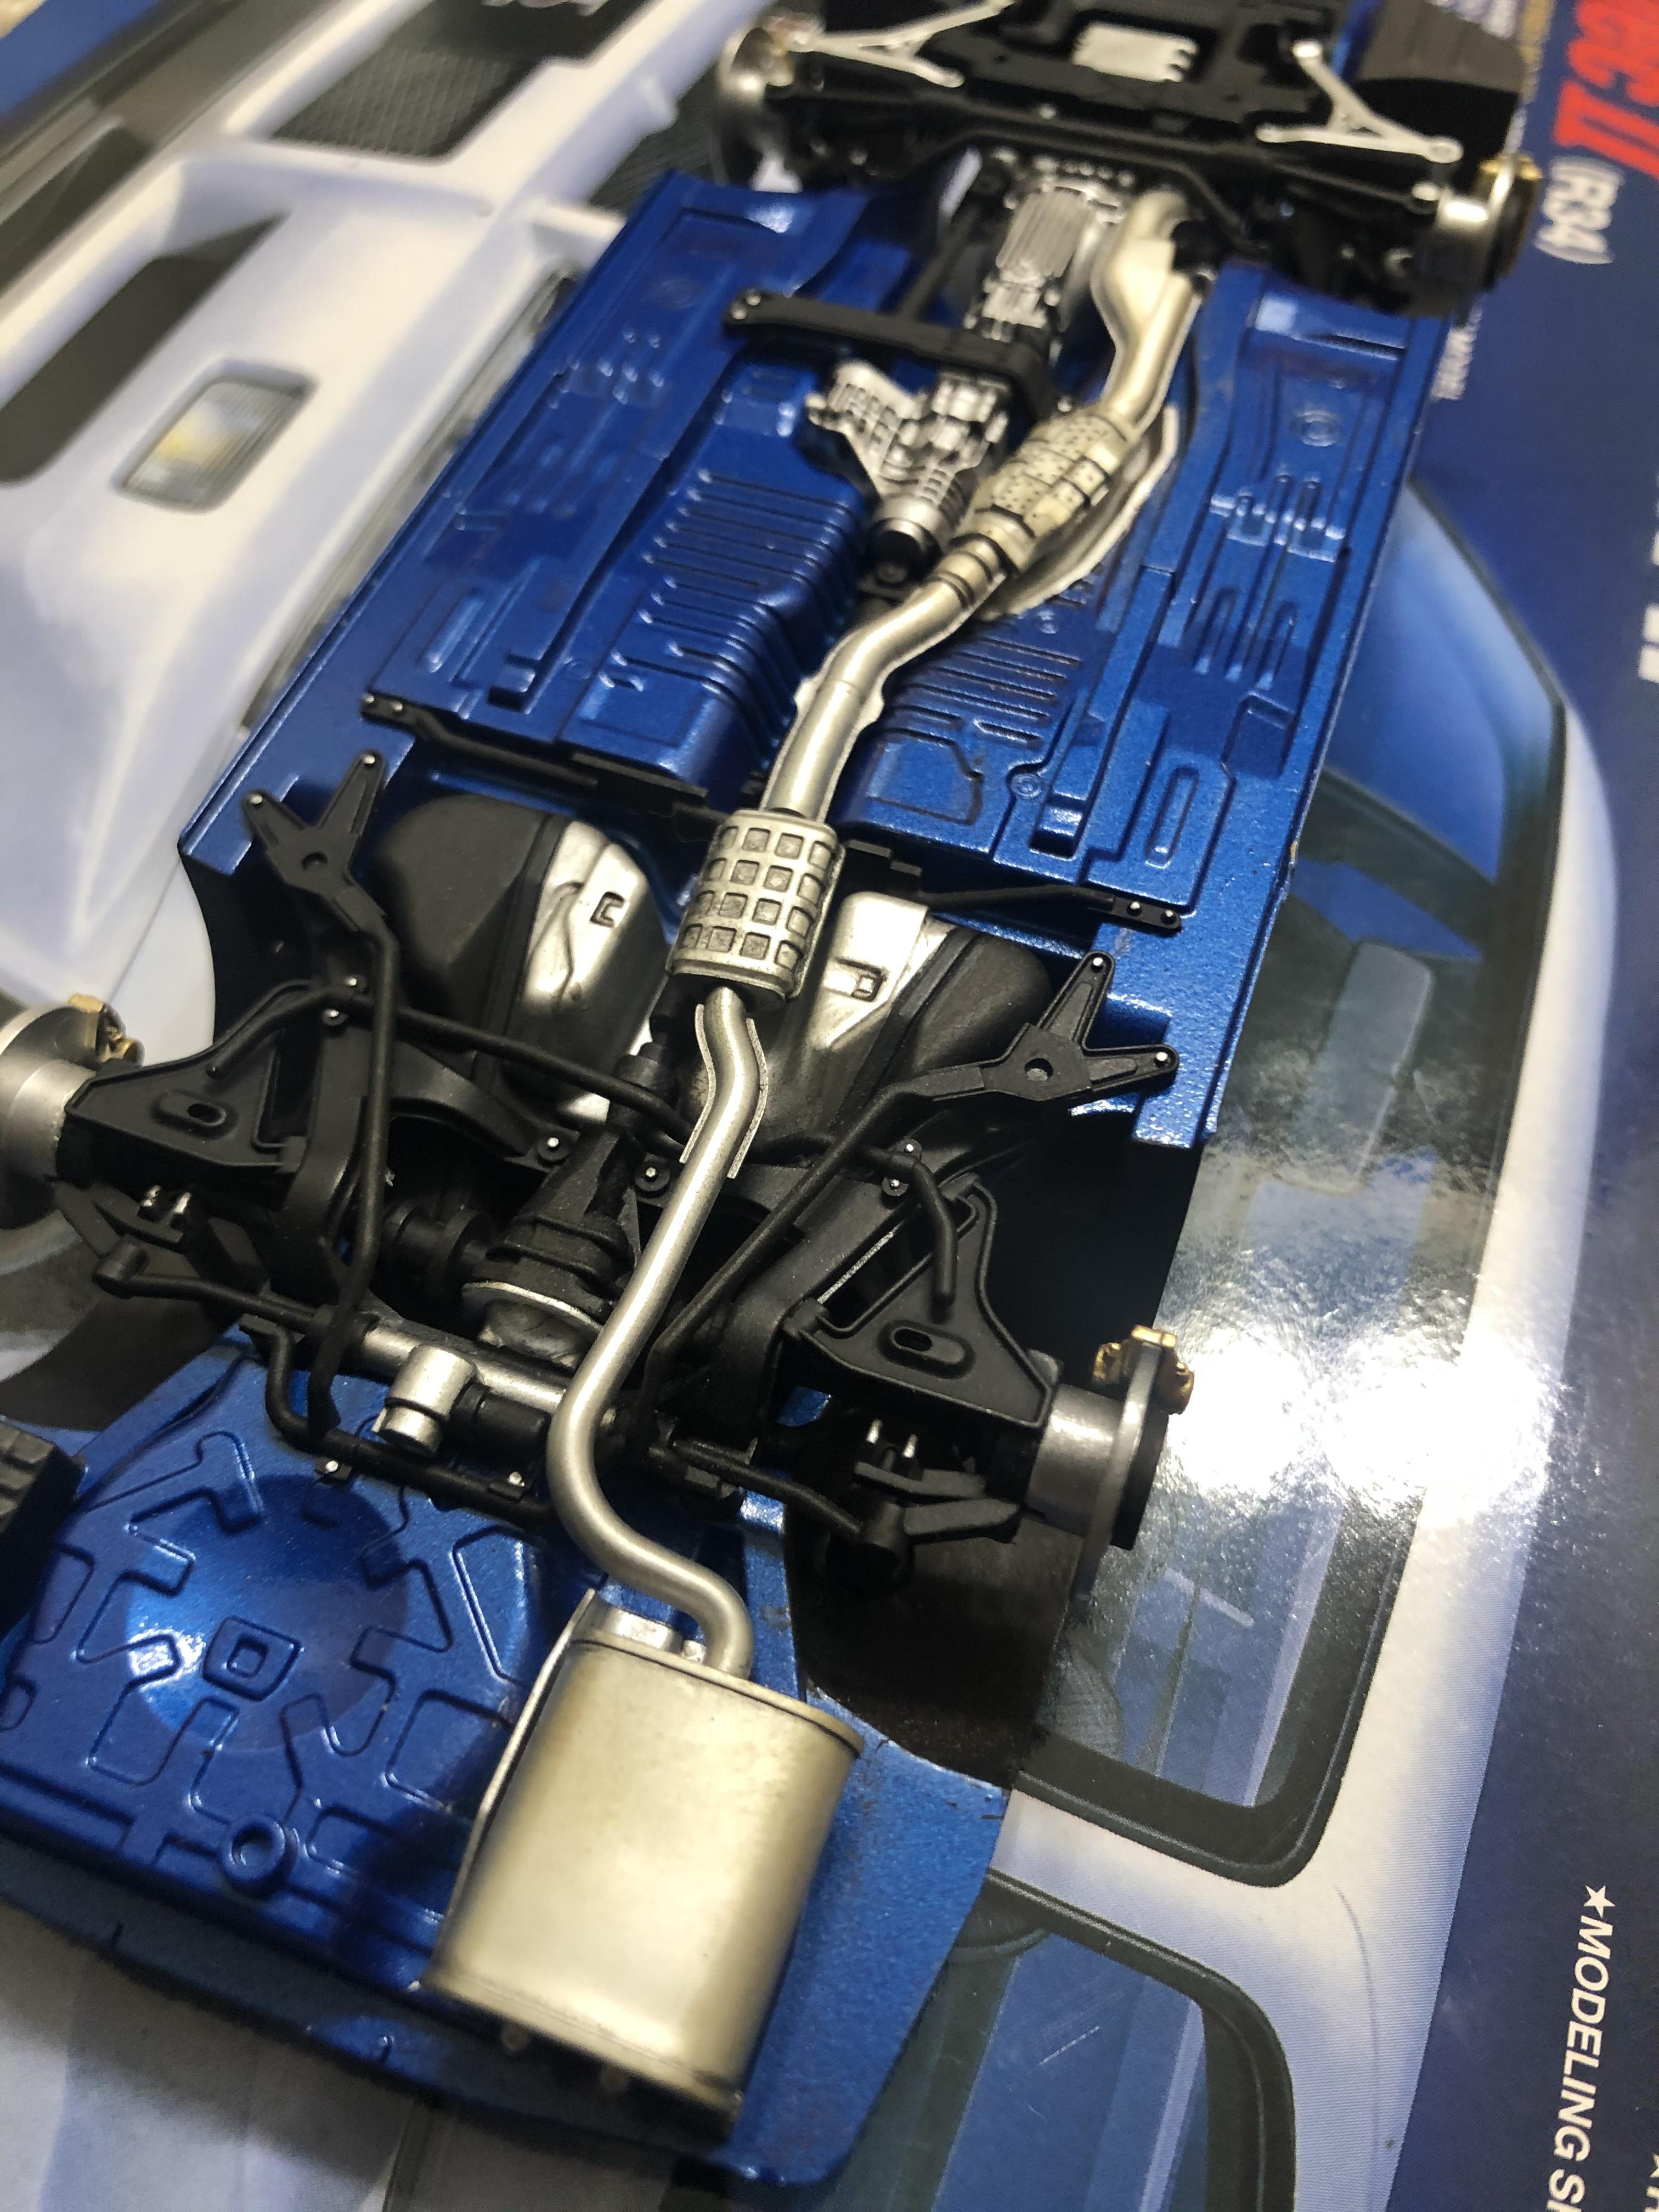
Hey guys so this has been my official build of the quarantine. I’ve actually got a few going at the same time but this is one I’m most comfortable posting.
This is an excellent kit. I’m going with the Bayside blue with white nismo wheels. I’ve got the body painted in Tamiya mica blue and I’m currently in the polishing process with that. However I just finished the under carriage. Still need to add the exhaust tip but it’s coming.
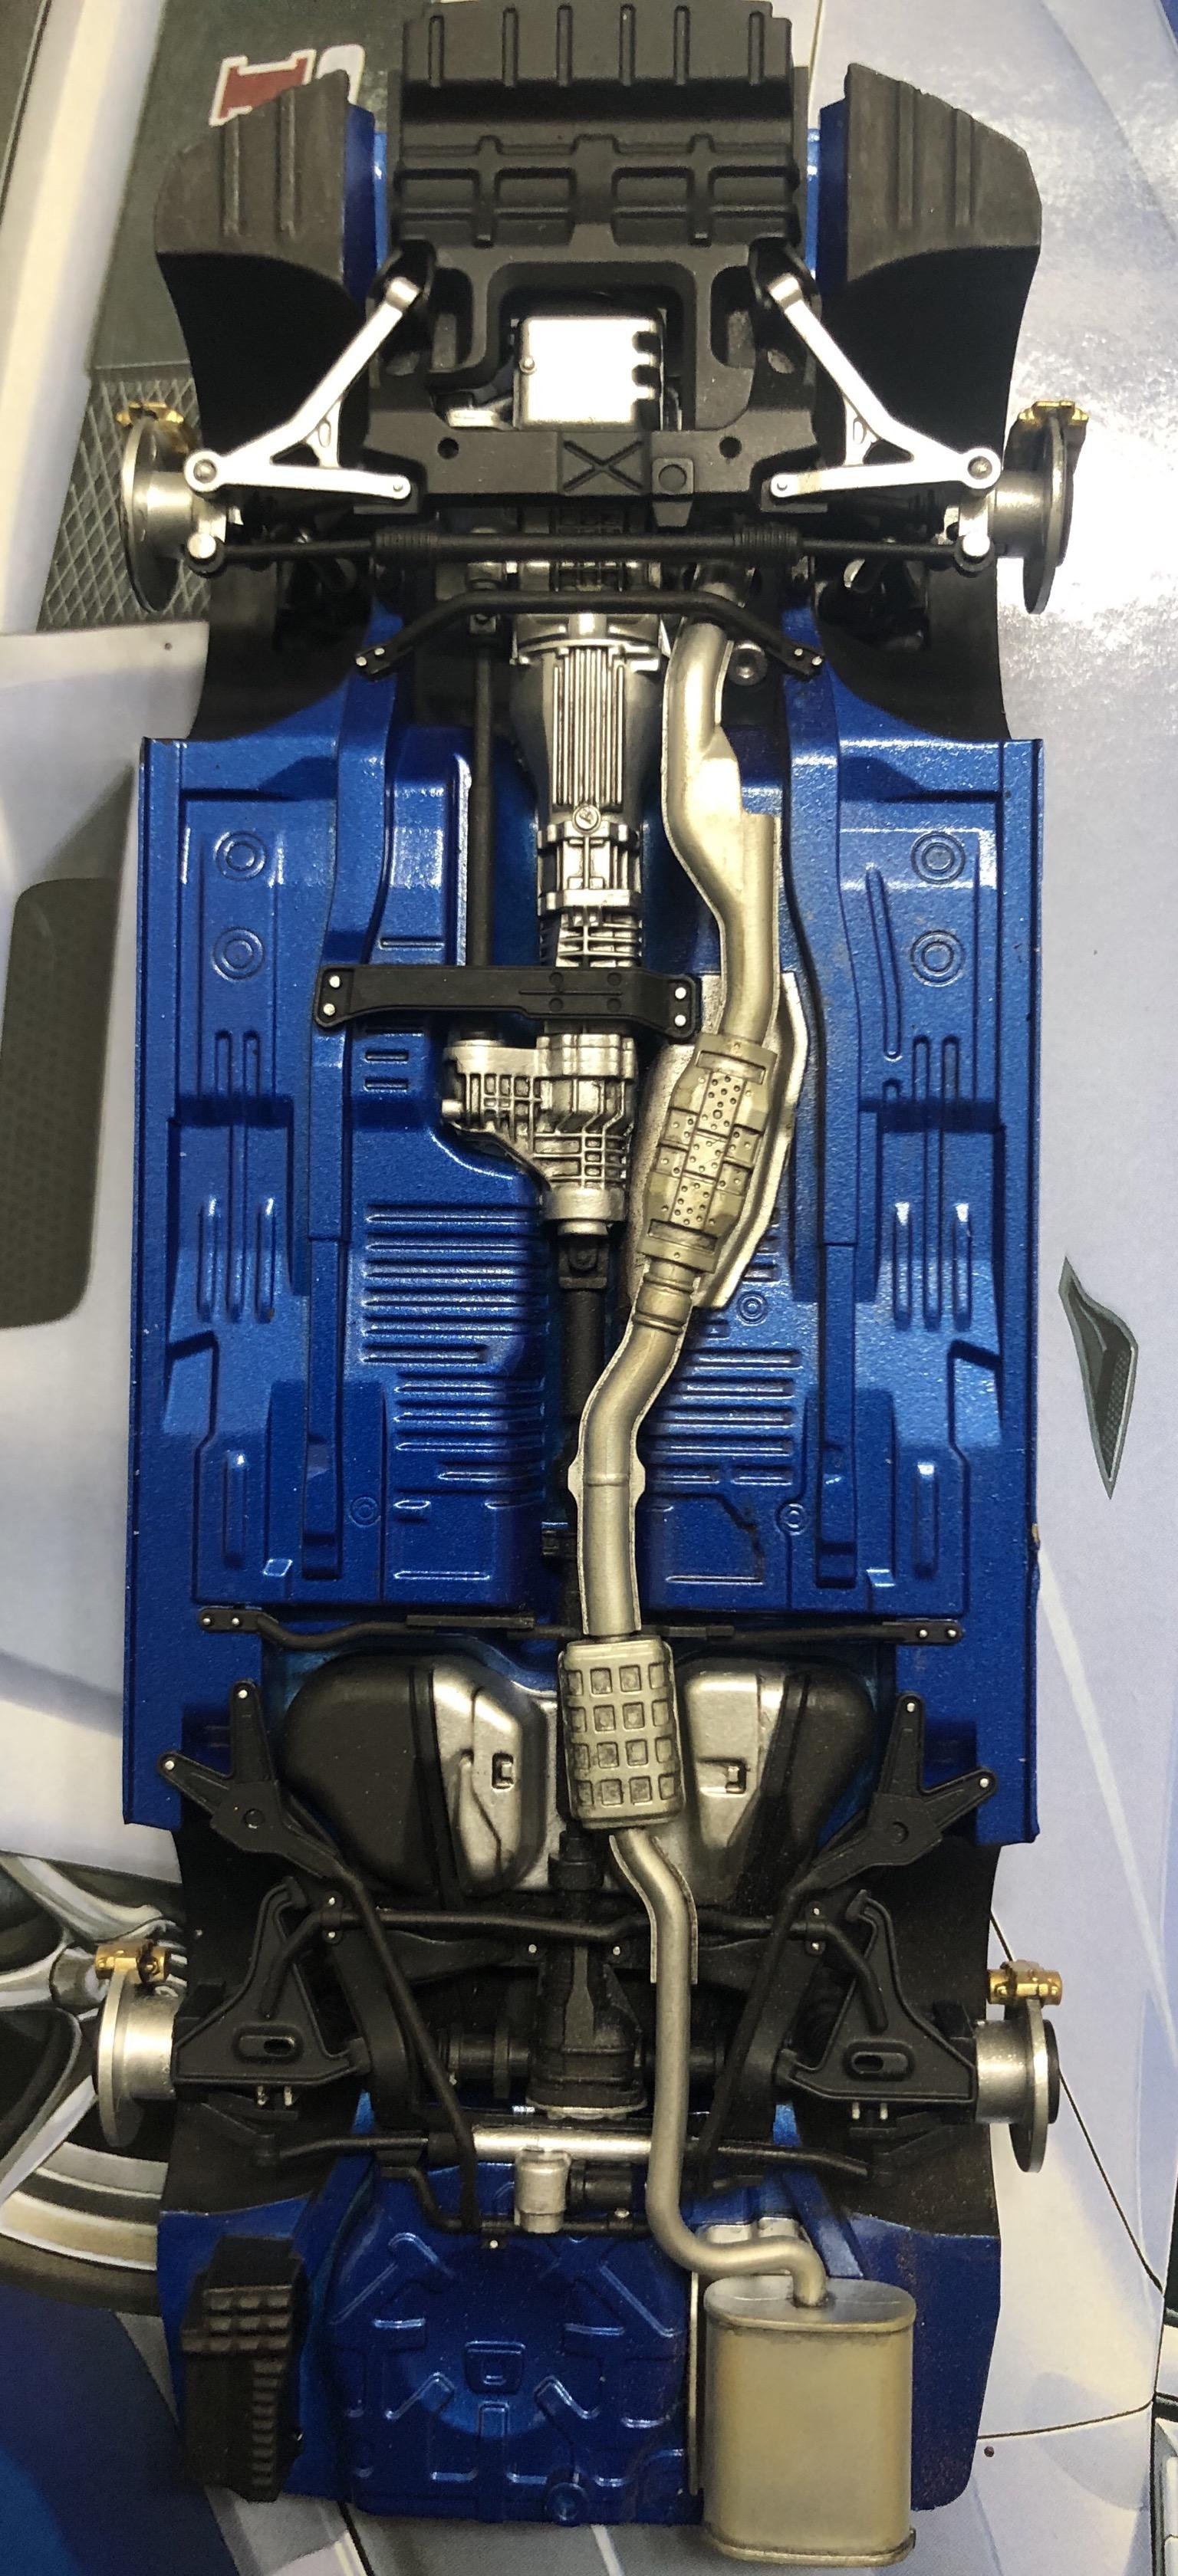
So I painted underside with Tamiya mica blue. Gave it a light clear coat. The wheel wells and gas tank are painted with Vallejo black with a brush. The engine and the other molded in silver bits were painted with Vallejo air silver with a brush also. It’s a god send of a paint because it doesn’t leave brush strokes.
Ive taken quite a liking to painting the underside of car kits now. It’s usually the first or second thing I do. It’s an enjoyable process and lets me treat the whole kit like a work of art. It’s also forgiving because of weathering.
Suspension pieces were airbrushed with Vallejo air black and the bolts were picked out with a tooth pick with some silver. The exhaust is Model Master Aluminum plate buffed. I then used a little bit of some weathering powder and used Tamiya panel line accent on just about everything to define the parts better.
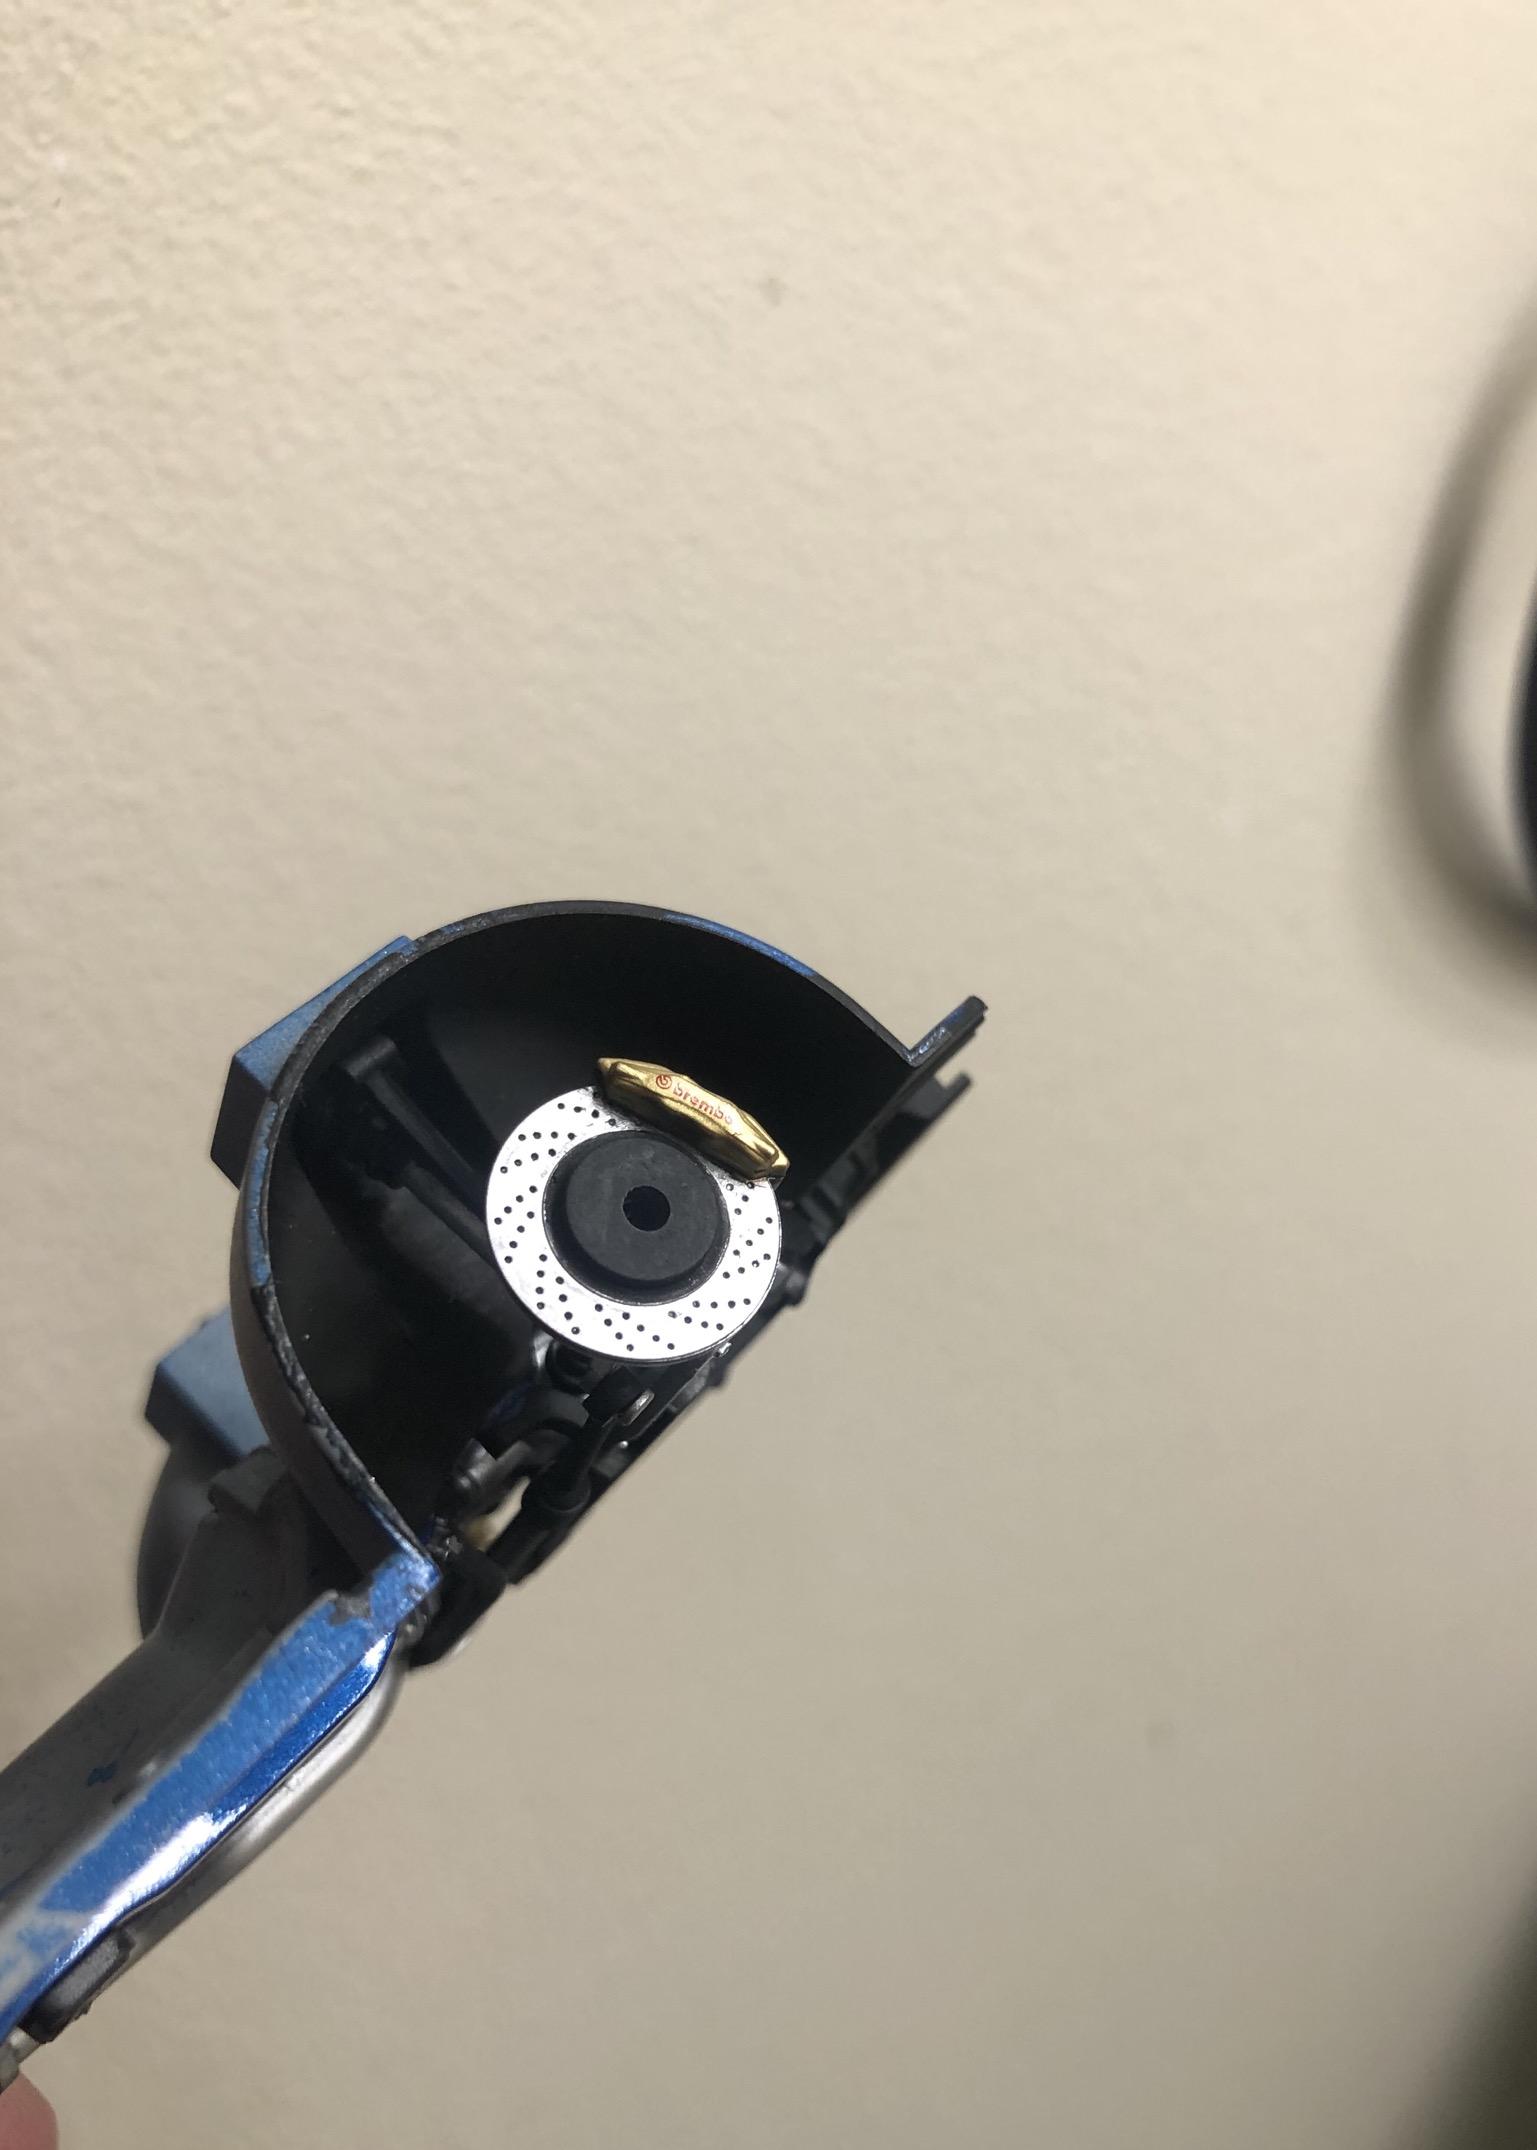
I used the optional nismo brakes and am quite pleased with how they came out. They have a nice sheen. This is MM aluminum plate, buffed, no clear. I then used Vallejo gold with a brush for the calipers and used and acrylic wash to define the drilled brakes. I then used a q tip to shine up the rotor again. Probably not quite as good as a PE part but it’s a lot cheaper! Need to retouch the black a bit though.
That’s it so far. Interior up next. Thanks
-
Looking awesome
-
11 minutes ago, Snake45 said:
Nassau Blue was not offered (standard, anyway) for 67 Corvette. It might have been possible to special order it and GM did a lot weirder special paint orders in those days.
Marina Blue is a little darker and a little more blue than Nassau Blue. It might look a little darker shot over black primer. I've only ever used it over light gray. I think you could get away with it if you want to. If someone calls you on it, just claim "scale effect."
Are you building Revell's roadster or coupe? The coupe is fine, but if you're building the roadster, you should be more concerned about the bloated, mis-shapened forward body than about your blue paint being a hair too light.
Building he roadster. Thanks for informing about the body. I'll have to examine that when I get my hands on it. That's interesting thought about using a black primer. That might work. I wonder if perhaps a light mist of Tamiya clear blue over Nassau Blue might get it even closer?
-
Once again Alex you are putting on a clinic. It's looking flawless. Curious as to what black you used for the trim and engine bay?
Also, have you used Vallejo acrylics since you've been modelling again? There brush paints flow quite well and don't usually leave brush strokes. Their model air paints are also pretty amazing. BTW I'm just throwing it out there but I'd love to see you take a stab at one of Aoshima's kits in their Lamborghini series. I think you'd find their Countach quite enjoyable.
-
Hey guys so the 67 Corvette is one of my all time favorite classic cars. i just ordered the kit from Revell. I want to paint it a light blue. From my research it seems that Nassau Blue was used on the corvette until 1966, and then in 67 they went to Marina blue. They are very similar colors. Does anyone know if Nassau blue was still a color option for 67 and later?
I'd like to paint the car a period correct blue. I noticed that Testors makes a lacquer of Nassau Blue Metallic and I'd like to use that color. Usually I'm a stickler for using the correct stock paints. However I'd like to know if its feasible that Corvettes were still painted Nassau Blue in 67 or later? I suppose many restored 60's vettes are also painted this color.
This is the only example I can find online of what appears to be a factory 67 in Nassau Blue. But I do wonder if the dealer is mistaking it for Marina blue though. Mainly I'd like to ask if I'm justified in painting it Nassau Blue and it being completely a reasonable and a realistic option. It would also be an easy paint to acquire. Marina blue would have to be sourced and or guessed with Tamiya lacquers for me.
-
One thing you might want to try is to pick up a Tamiya static display brush. I use this between my paint coats and it goes a long way to removing dust in my paint. I also mist the area Im spraying with water before painting.
-
5 hours ago, ScottH454 said:
This has been what I've been using. Keep trying to go with a cheaper paint but most are now designed to be heavier extra coverages. You'll be paying for it but has always looked and worked the best.https://www.semproducts.com/product/color-coattm-aerosols/15013
Curious to see how that looks. Any photos you could post?
-
23 minutes ago, Goodwrench3 said:
Yes that's their spray can. They make a black spray. It comes out like a flat black but lays down extremely well. You might find it labeled as a primer but I think thats just a mix up in labeling. Duplicolor, Rustoleum, and Krylon make a semi gloss black that you are welcome to try. I'm just nit picky with my paints.
-
I don't think there is one to be honest. Vallejo makes a really great flat black in a spray can that I use for mass painting. Thats not to say there isnt one you could use. But for semi gloss black its hard to beat the use of an airbrush. It looks more realistic and atomizes the paint better. You could try krylon but I find it to be too glossy. Tamiya TS semi gloss black could work but again would look better through an airbrush.
-
22 minutes ago, Exotics_Builder said:
As Kurt mentioned. There are different hood pin sets, especially for foreign cars. Some require no hole. The other point is that if the body part on the model is not to be opened, there are options to simply glue on a hood pin without drilling.
Right there does seem to be different types. I personally would like to avoid drilling into the bonnet but I looked up the detail master set Kurt mentioned. It looks pretty similar to the ones used on this car. I just wonder if there is a good aftermarket set that can simulate this without drilling. I have a pin vise so I can drill it if I must. But I wanted to see if there was someone that makes this style without that being necessary.
-
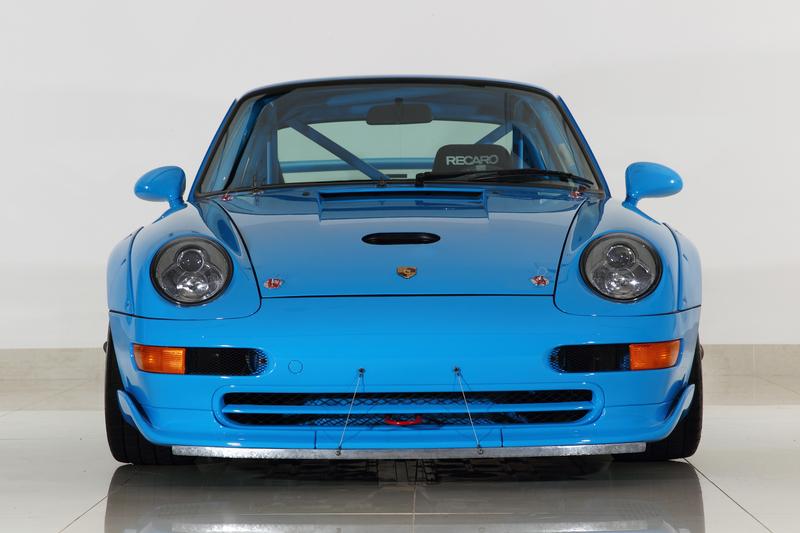
That's a good point! Here are some photos I found.
-
Hey guys I have a question in regards to using photo etch hood pins. I recently bought the Tamiya porsche 993 GT2 kit. It has molded in hood pins on the hood. I want to sand those off and use photo etch as a replacement. My question is, do I need to drill holes into the bonnet where the pins will go? Or do you simply bend the photo etch in such a manner that you just glue them in place?
-
Looks great!
Awesome to see a legend in the hobby back at it!


")
.jpg.2cbe5a0ecfa26f1681751aa875ce4f46.jpg)


Tamiya 1/24 Mazda MX-5 Miata NA BRG Edition
in WIP: Model Cars
Posted
Looking fantastic