-
Posts
6,398 -
Joined
-
Last visited
Content Type
Profiles
Forums
Events
Gallery
Posts posted by mustang1989
-
-
Dang Jurgen! I just don't know what to say......really! The only word that comes to mind and that don't even do it justice is.........masterpiece!!!
-
Thanks Chris. I tried to make the paint the highlight of this build in addition to the cockpit upgrade. Most of my aircraft get completely opened up but opted not to do that on this one for sentiment sake. I built this same kit when I was 12 and tried not to go too wild with it.
-
Such talent! You really nailed it Harry.
-
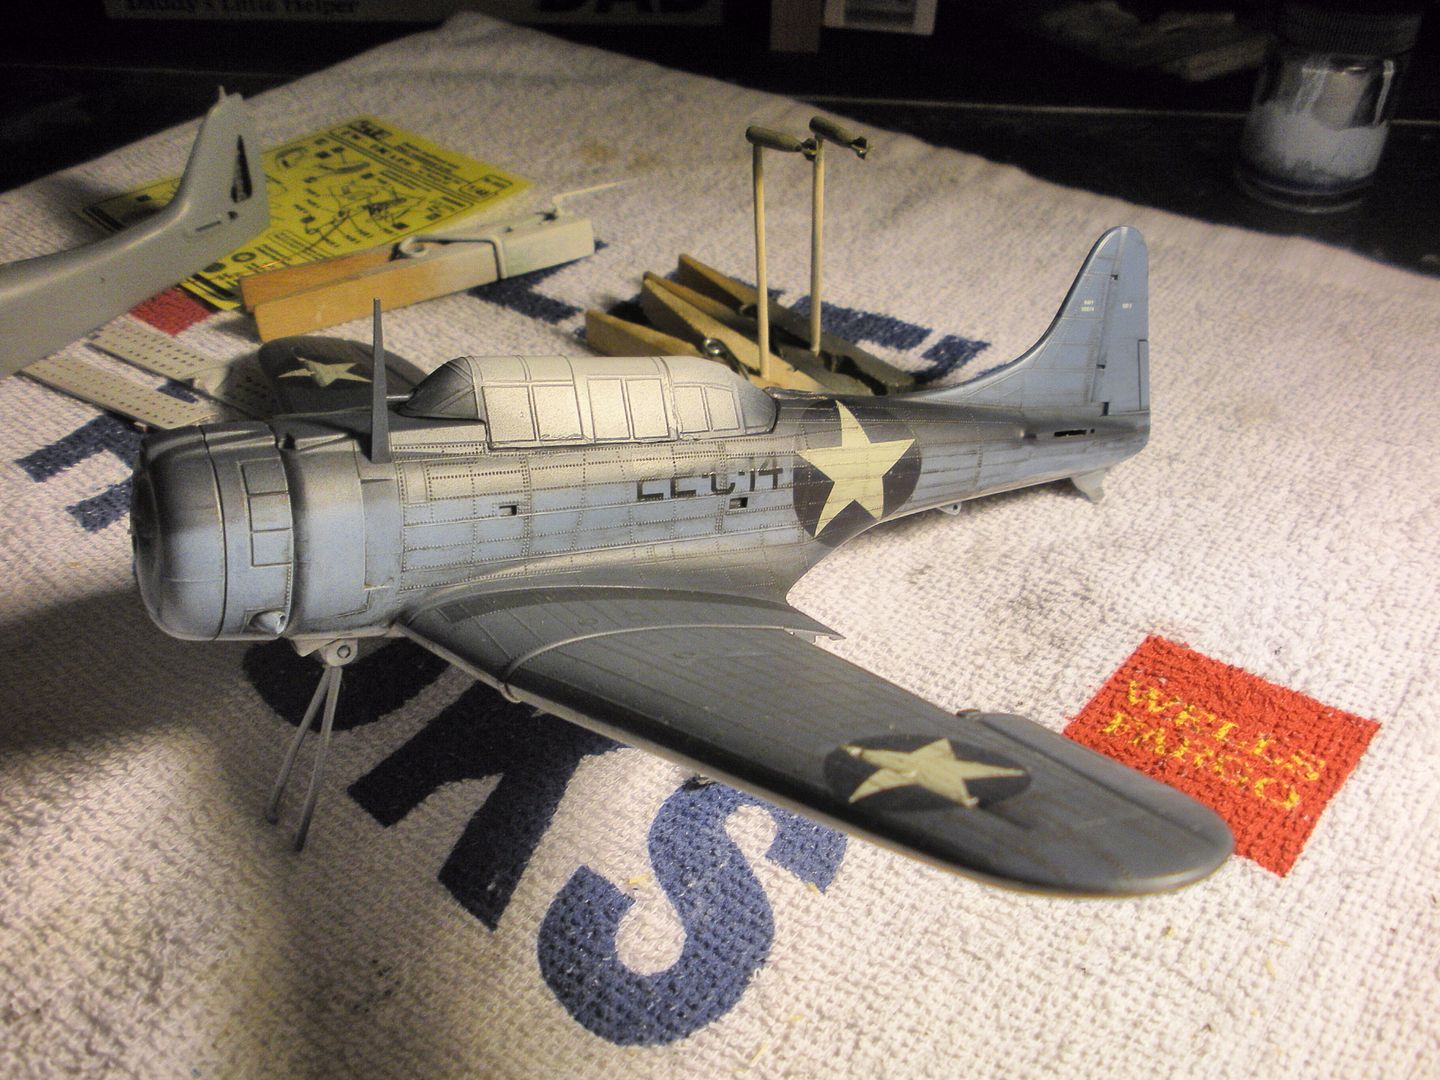
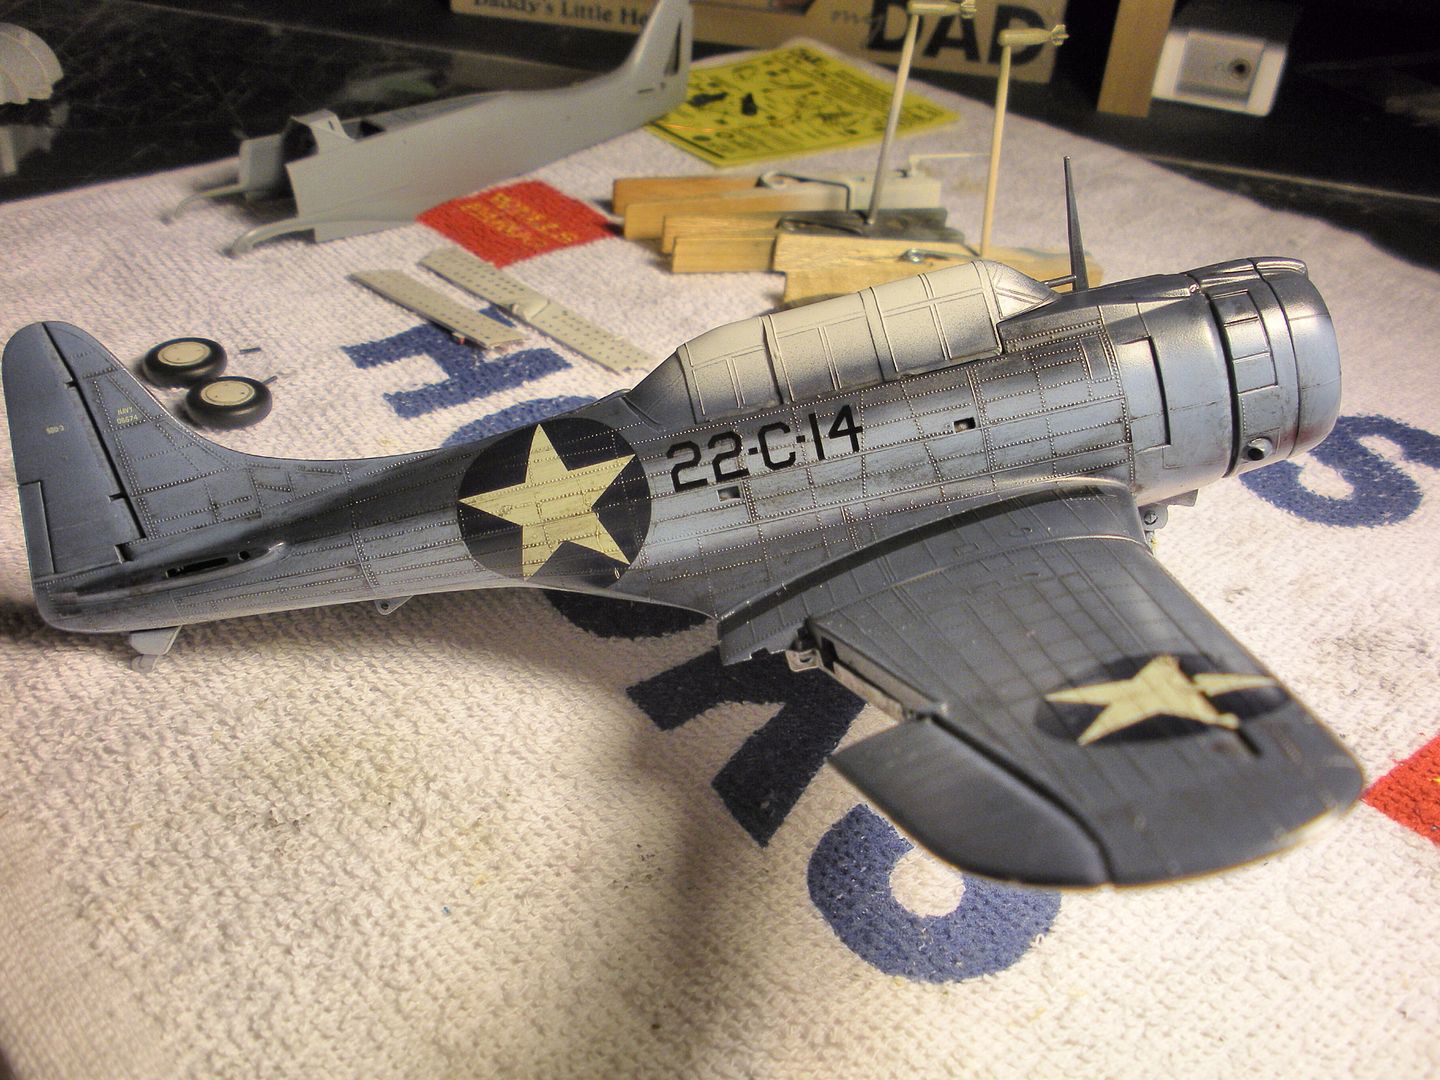
Ok everybody. I'm not done but the finish is now in sight. All of the things you see on this thing now I have had done for quite some time now while waiting on decals, paint, washes and all of the clear coats to dry out. I still have to weather the exhausts ALOT, install all of the guns and ammo belts for the rear, finish up fitting the canopy pieces, install the elevator/ stabilizers , install the tail hook, install the pitot tube, top dive brakes and rig the aerial antenna. All in all that aint much. Any ways here's the latest,

-
Those are some cool looking set of wheels you built there! I have the 66 Mustang in my stash and think its about halfway built but may have to re-hash it. Good job on your builds!
-
Thanks Chris! Nearing the end I think!
-
Glad to have you aboard neighbor!!

-
I have a feeling that whatever color you chose it would have come out great. The finish is awesome on that thing! Good job!

-
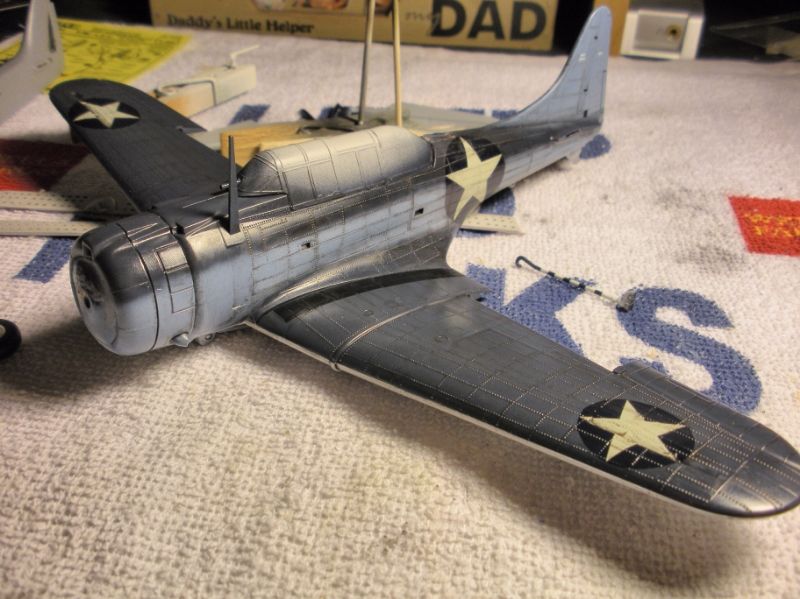
Todays update is my adding the bleached effect to the paint. Man , What a difference. Just to recap here's an earlier pic with just paint and decals from a similar angle:

and one after the dull coat/ light grey mix for the bleached effect:

Looks like its off to the subtle isopropyl alcohol application, painting and installing some of the final details and we are off to unmasking all of that hidden detail!!
-
I can't remember. Are you using enamels or acrylics?
-
I really enjoy seeing what everyone has been working on in person and meeting people who share this great hobby.
I would love to have an opportunity like that. It's rare, and I mean rare, to see someone locally who really participates in this hobby locally. There are those that think what people like us do is totally friggin awesome but don't build. That is where folks like you all come in to play. I just appreciate the fact that we have a place to come where we can actually carry on a conversation about modeling, learn a thing or two and pass that info along to others.
-
I haven't gone to one in YEARS but want to. I went to a couple of IPMS shows while I was around the Dallas area and had a blast. I entered in a build but it lacked the skills that I have gained in the last couple of years and I'm sure it was passed up for that reason but it didn't stop me from having fun. I look forward to it again, maybe in the San Antonio area this time. To my knowledge there are no modle shows here in Corpus. No LHS either.
-
For me armor is a whole world of its own. There was a GB going on last year in the armor section called Steel Cats and there was the craziest stuff coming out of that build! I have a 1/48 scale German 251 halftrack and I plan to build it after my skills have advanced to that level.
-
Atta boy cheecho! That really brought the detail out!!!
-
Thanks David and Rob! This has been a fun project that's taking me back 30+ years to when I first built this kit. The answer to irregular surfaces and decals..............Microsol, Microsol and more Microsol. The letter/number decals were ALOT easer to get to lay down due to the fact that they are Microscale decals from Yellow Wings. All the other decals were the Hasegawa offering and those SUCKED! They were thick, prone to lots of bubbles and refused to suck down to the rivet detail with out 8+ coats of Microsol. These Microscale decals took only one or two applications of Microsol and I had not one bubble form under the decals.
Looks like its off to a gloss coat and then a dullcoat with a little grey mixed in for that sun bleached effect. Then I'm going to try something I've never tried before but have seen good results and shoot a light, and I mean LIGHT coat of 70% isopropyl alcohol over the whole top side of the bird for that dead flat look.
-
.
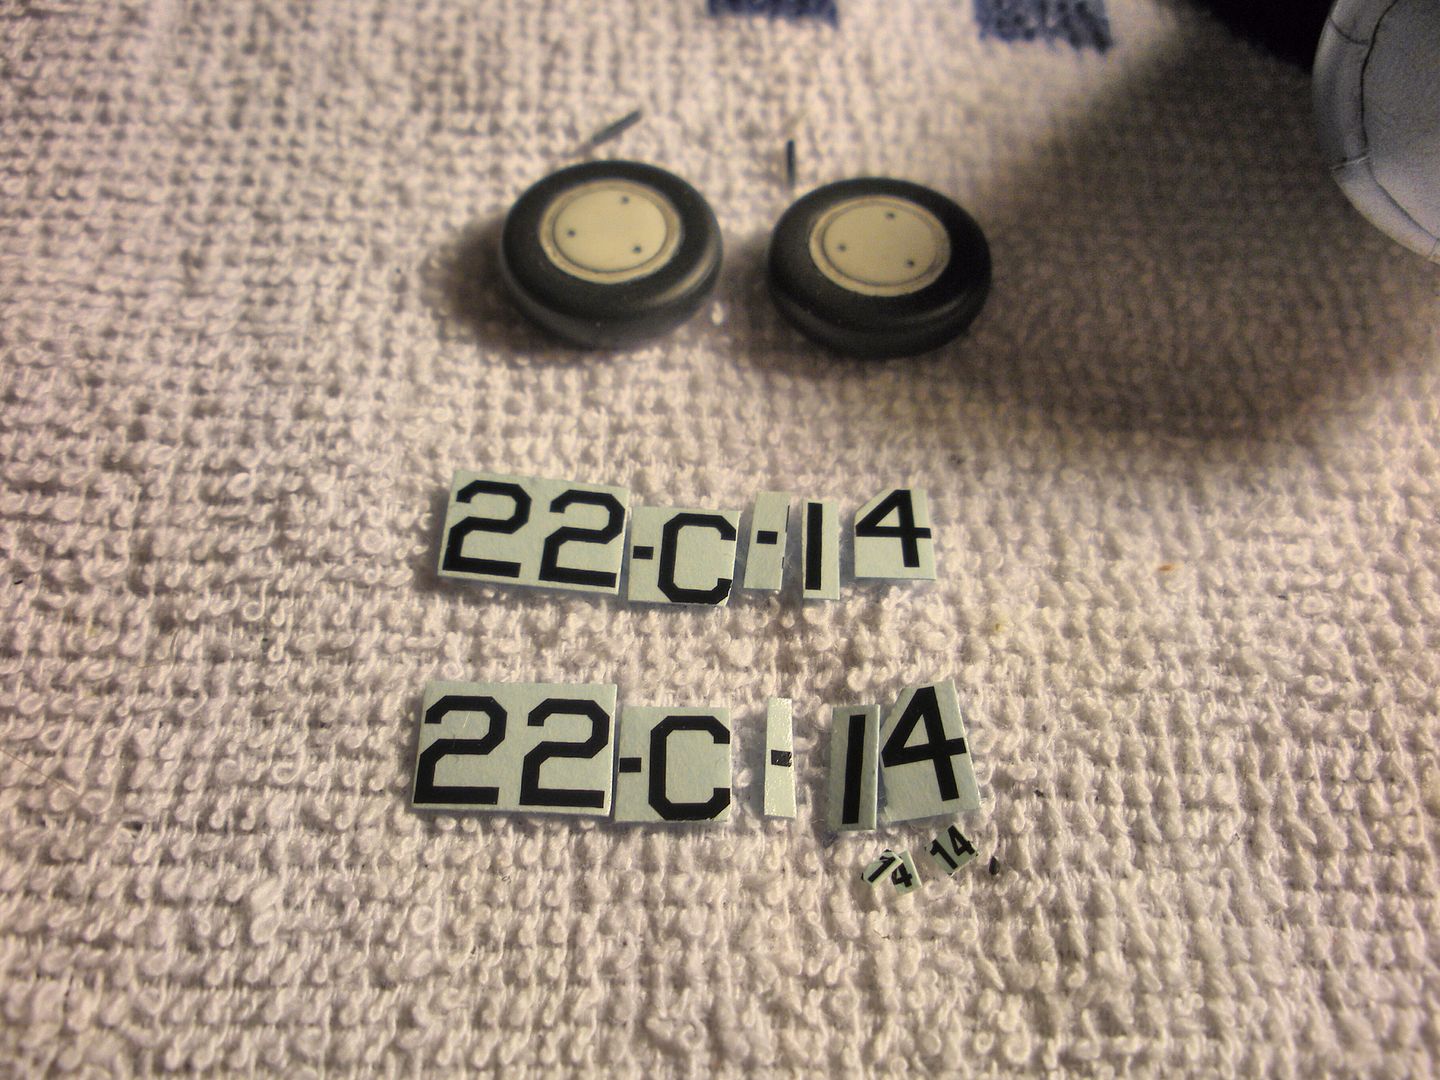
Well folks I applied the squadron letter/ numbers to the sides. I'm sure somebody here has attempted applying individual decals in a row before and knows how meticulous that is! I looked at this thing from every conceivable angle , looked at it sideways, looked at it mean
 , looked at it worried
  , looked at it dismayed
  and made all kinds of adjustments and finally I just accepted them the way they were. It seemed like every time I looked at them again that one of the letters, numbers or the dashes looked crooked. I think I have it all together now though. Here goes:
-
Ok everybody. A little update here. I applied a wash several days ago but was not really happy with it overall because it was too heavy. I got up this morning and toned it down a bit and cut out the squadron numbers/ letters from the decal sheet that I received in the mail yesterday.
This thing took a wash application really well with the rivets holding on to a bigger portion than I wanted so this morning I applied wash thinner to lax things up a bit. I'm alot happier with the new results. Heres the latest on that:

and the decals cut and ready for application:

-
Looks like it was made that way!!! There's some good imagination and creation going on here!
-
Aircraft air my main "meat" with WW1 subjects being my favorite.
.
My thoughts exactly regarding aircraft(WWII Luftwaffe stuff is where its at for me). I mean automobile builds appeal to me as well, which is why I joined this forum, but aircraft are my mainstay.
-
Sweet! I was thinking all the masking for that kind of paint work would be a pain in the neck to pull off. Do-able but a pain!
-
Really nice!! I have never tackled one of these WWI bad boys but have alot of respect for the builders. How did you apply the camo to the top of the wings?
-
Man Wayne! Armor has always scared me because it's usually in larger scales but this thing is a wonder of its own. Detail packed in smaller scale stuff has always caught my attention. Nice job!!! I work primarily in 48th scale stuff so I can identify with the headaches behind the eyes! LOL
-
.............waiting on the decals to get going with this thing. Hopefully it's sometime this week! I did manage to apply a gloss coat over what I have and apply a wash. All thats left is decals, a light coat of gloss over those and then it's flat coat time. After that will be the sun bleach effect.
-
That .................is friggin cool!!! Way to go!!!


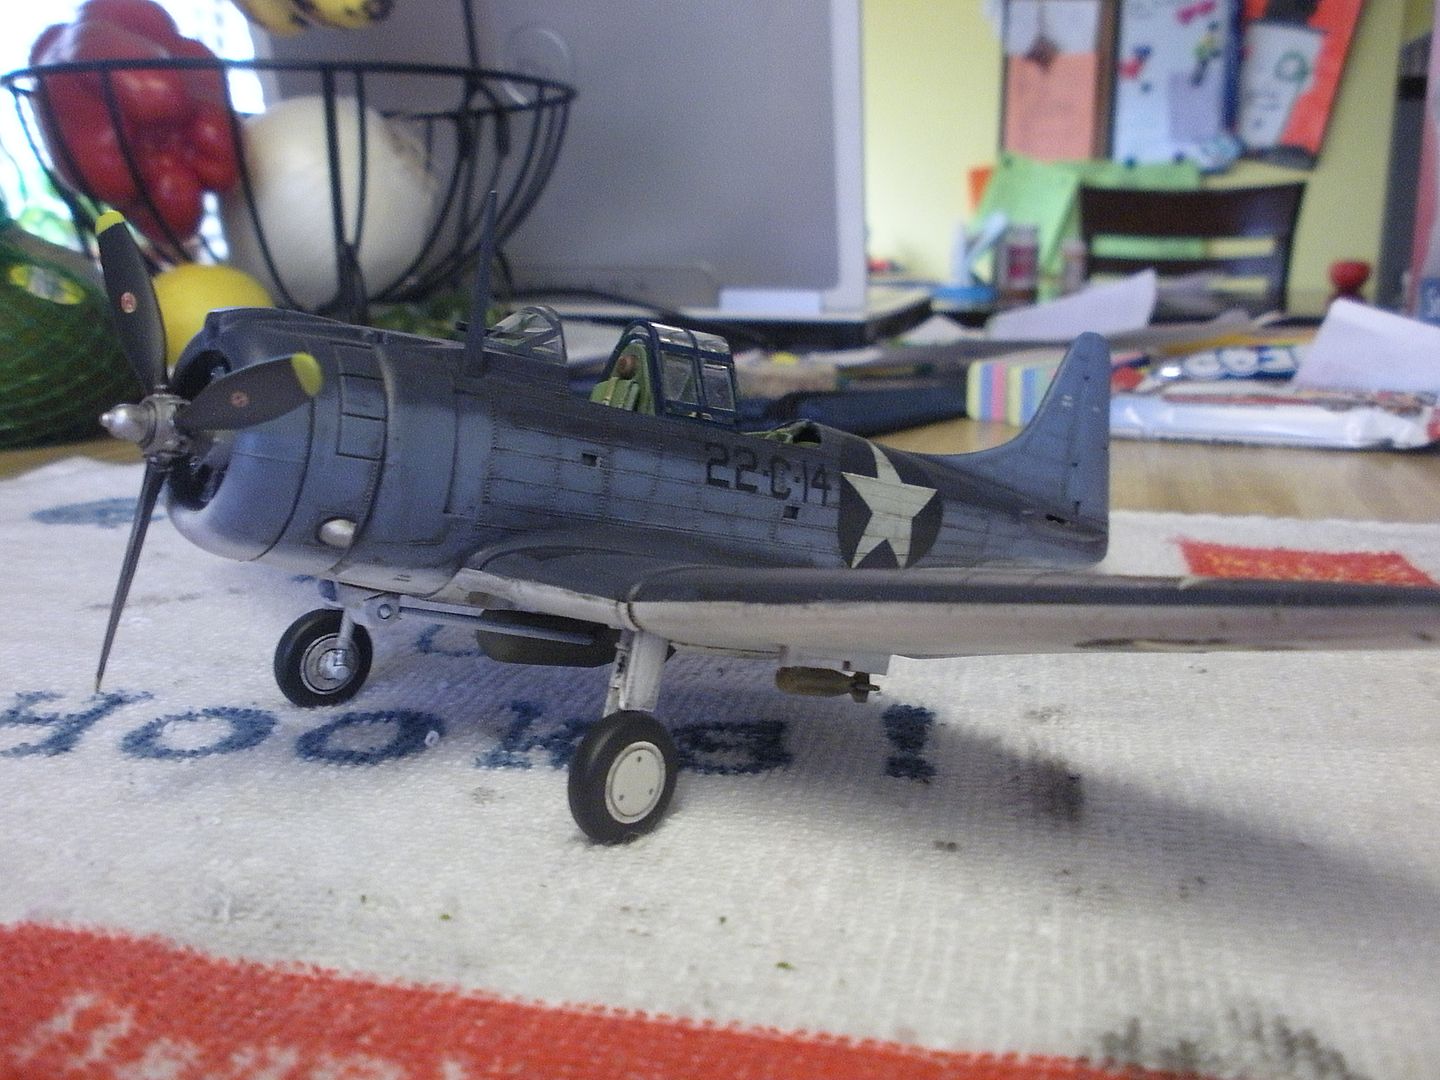
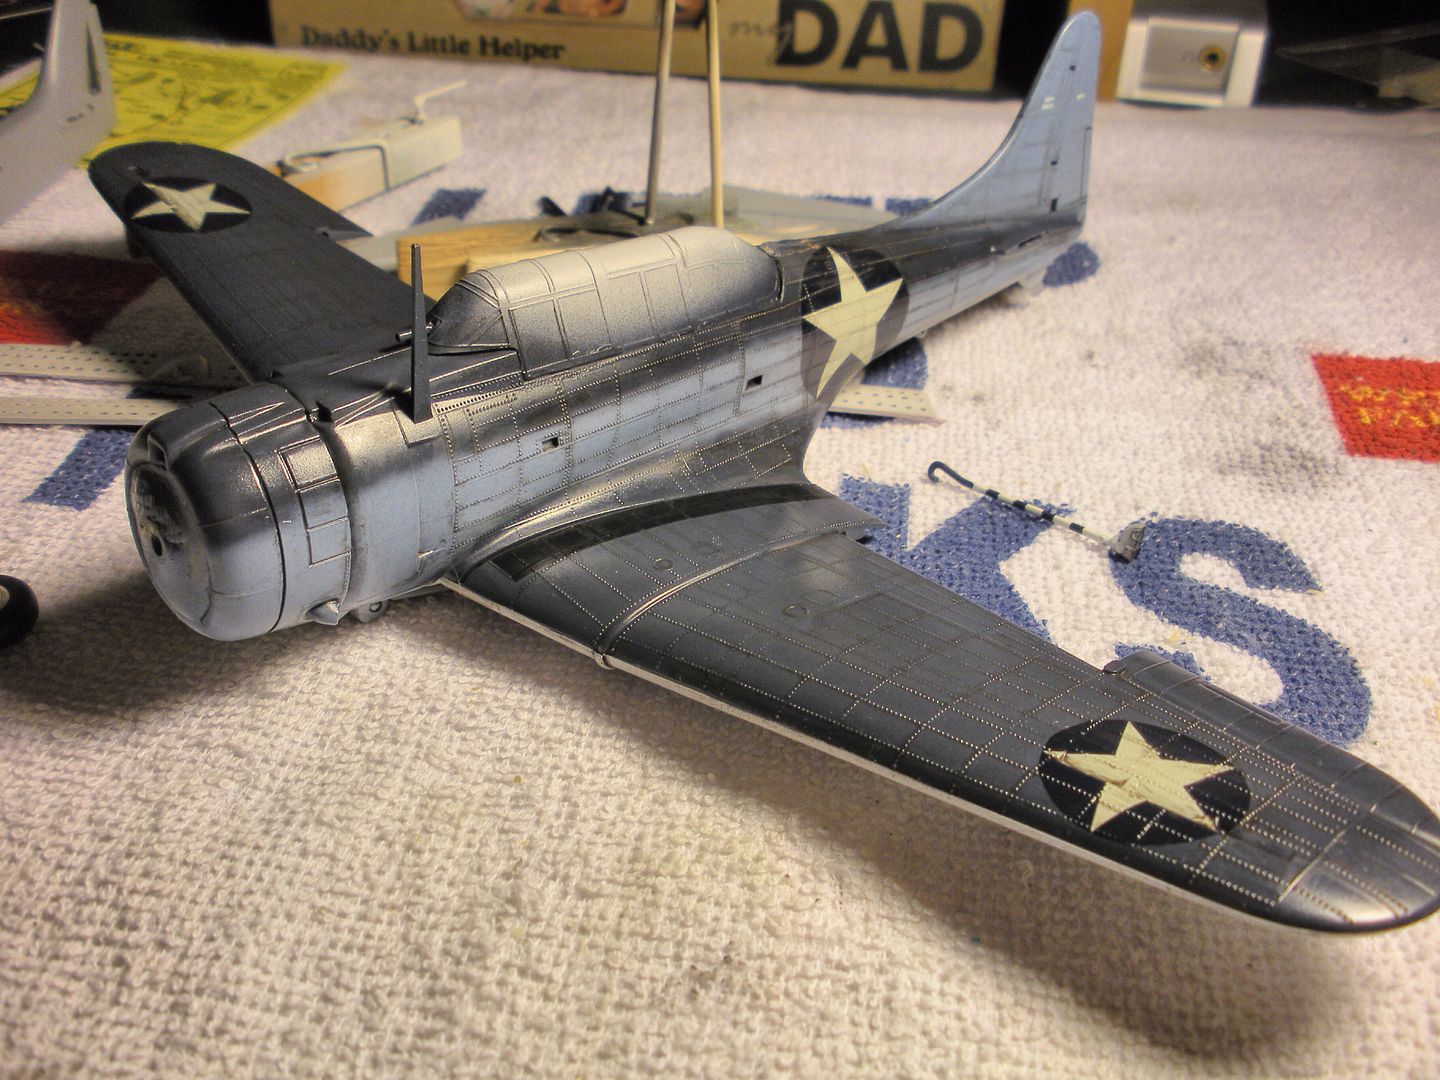
1/48 Monogram SBD Dauntless -------Finished--------
in WIP: All The Rest: Motorcycles, Aviation, Military, Sci-Fi, Figures
Posted
Thanks Dave! I'm hoping to finish this thing up by November 31st. Today I installed the upper dive flaps, weathered the exhaust and applied some exhaust soot to the sides of the fuselage just behind the exhaust pipes, and installed the tail hook. Although not a truly authentic Dauntless build, I also tried to keep it's 1960's Monogram signature toy look. I look forward to building an Accurate Miniatures SBD-4 for the double throw down in authenticity.