dougwintz
-
Posts
347 -
Joined
-
Last visited
Content Type
Profiles
Forums
Events
Gallery
Everything posted by dougwintz
-
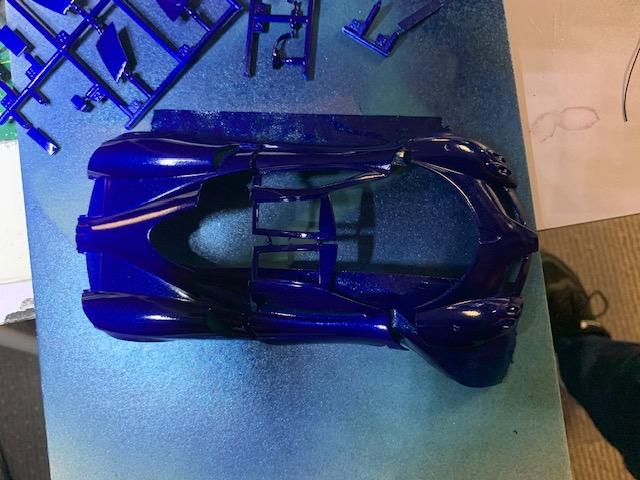
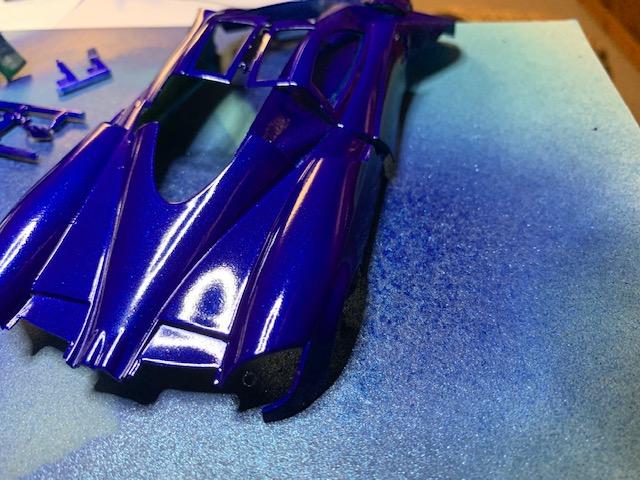
Hi. Starting a build of Aoshima's Pagani. Lot's of parts. But it's also a good opportunity to talk about some paint ideas. The blue is Testor's De Ja Blue, with a overcoat of Tamiya Clear Blue. It's not polished out yet, I'm debating on whether to use the micro mesh sanding pads, or just do a polish with Novus. I kind of don't want to do anything - but need to smooth it out a bit. The combination of Tamiya clear colors painted over other lacquers is something I've been experimenting with. You can get some unique color shades out of it. Attached are a couple of other examples. Tamiya Clear Orange over Tamiya Brilliant Orange. And Tamiya Clear Red over Testors Mystic Maroon. Still getting the hang of these. I'll post more of the Pagani build as I get into it.

-
Ok. Here's the 99% finished product. I have some minor detailing to do, but this one is basically done!
-
-
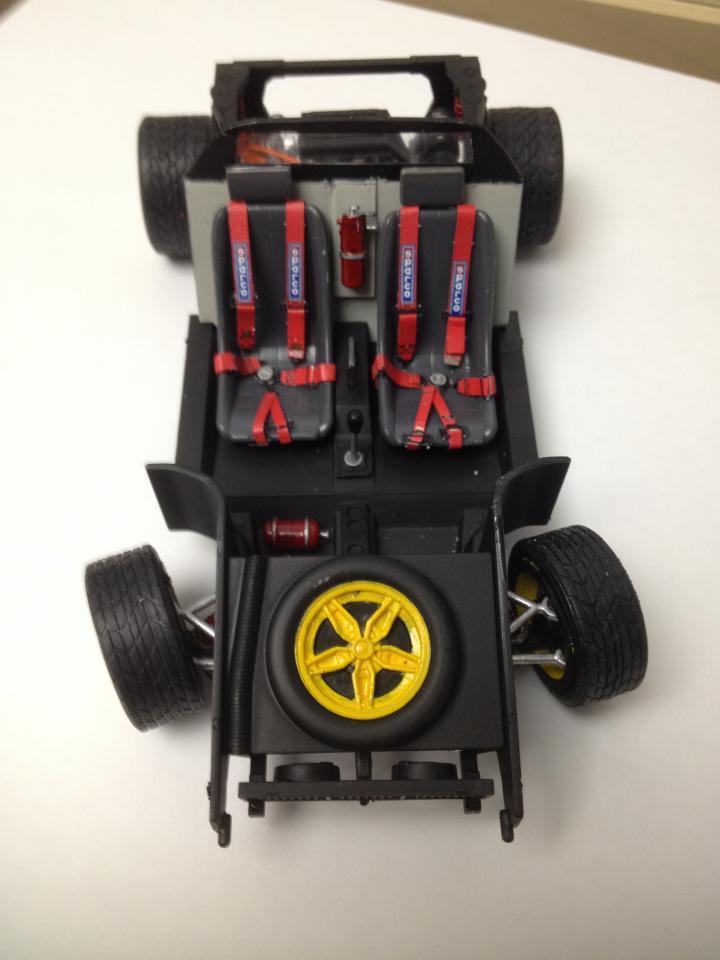
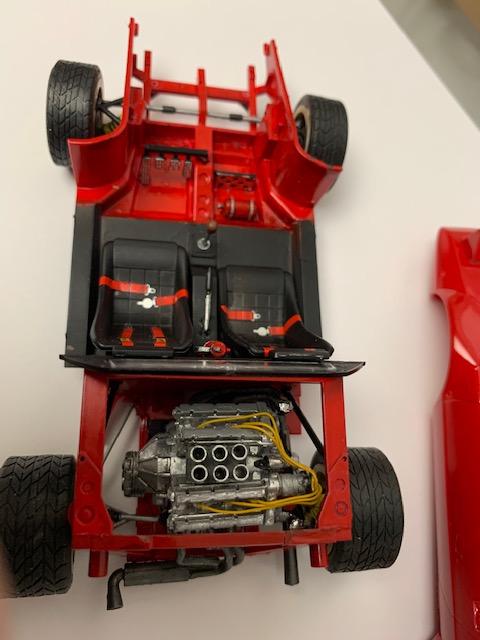
Moving along to the chassis and interior
-
Amazing. I've been looking for those and the prices are sky high. How is the detail those kits?
-
Hey Rich. Wow that's an impressive collection. Do you have a Doyusha 1/12 model in there? If so, double wow, that's like the holy grail! I have another couple of Hasegawa's with different livery. I'll get around to building them someday. Then I have a Fujima 1/20 scale but no engine and the decals are pretty well faded.
-
Hey Nacho. Thanks for the comment and your suggestion to open up a thread. The Alitalia's engine came from the engine in Fujima's Ferrari Dino GTS. I think it's the same used in the Stratos. The Chardonnet Stratos engine was ordered from Spot Model, they have a vendor called Reji Model that makes the same engine.
-
Hi Kurt. Yes, the Stratos' are both Hasegawa and they come with treaded tires.
-
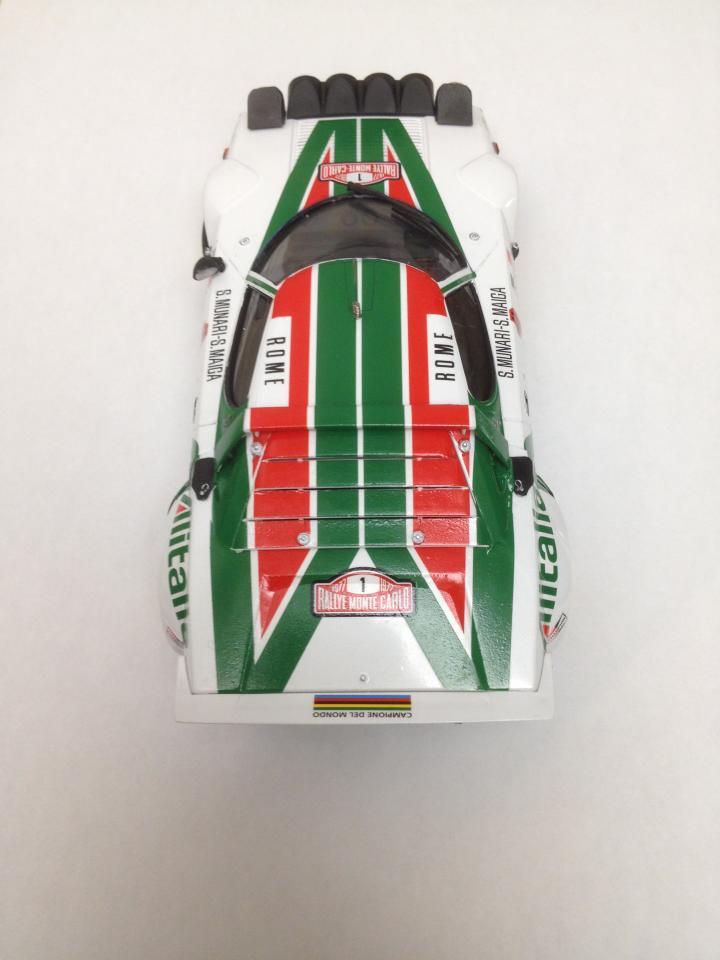
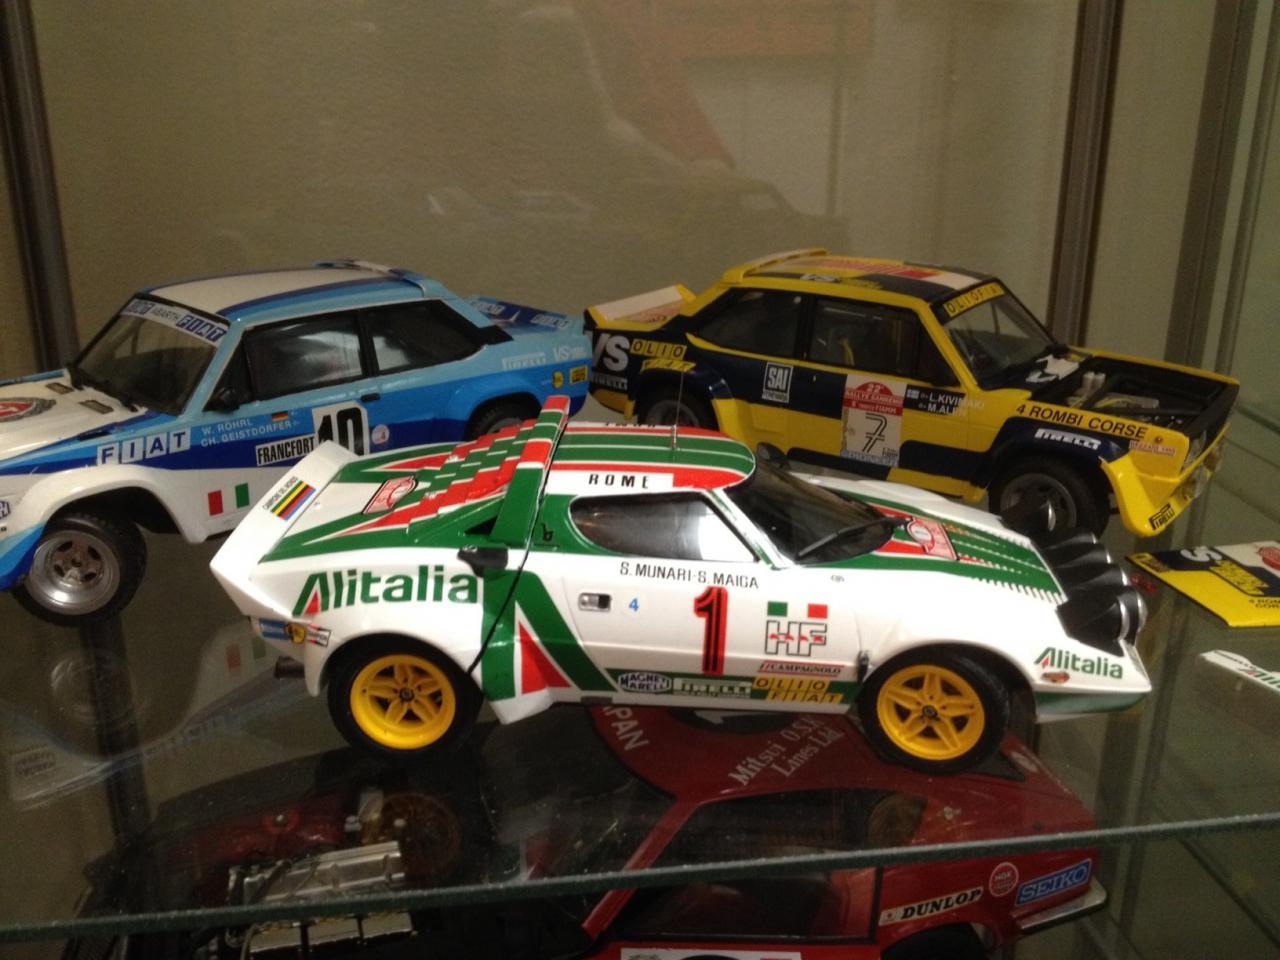
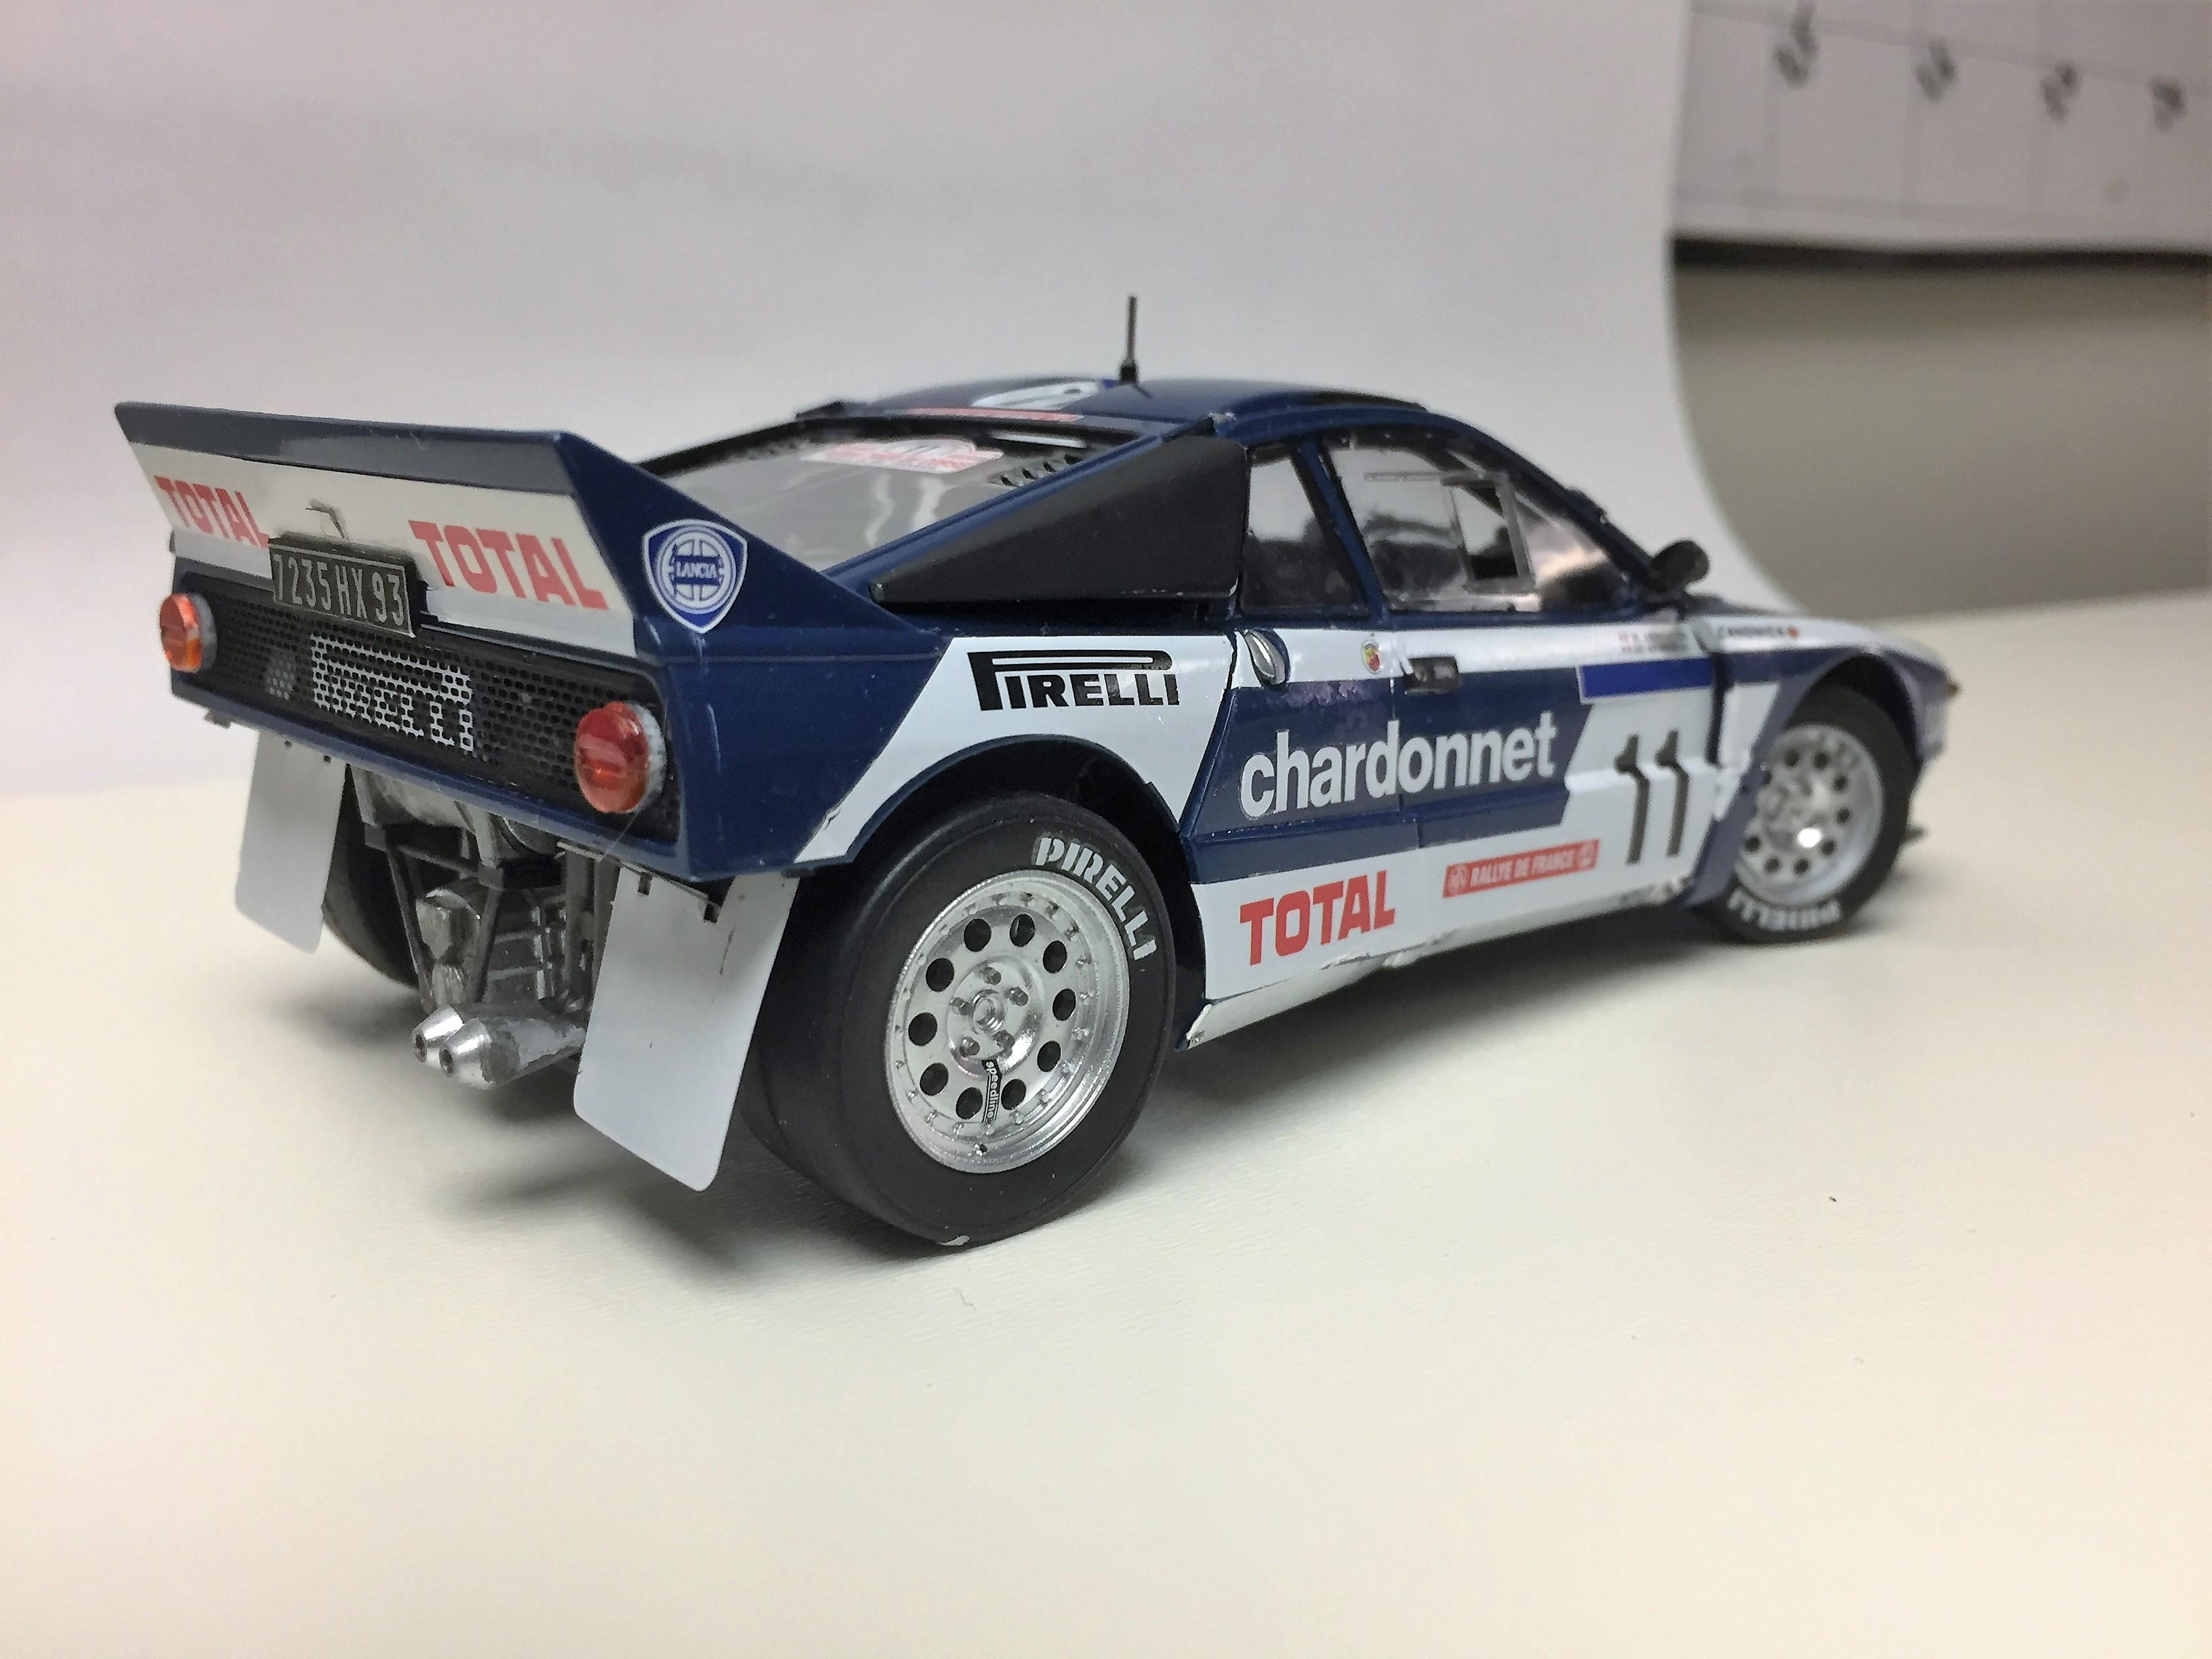
Hi. Starting a thread here on the Lancia. Feel free to jump in with pictures of your Lancia rally cars. I included a couple of Stratos, and an 037.
-
-
Ok....allmmmost done. I think the final pieces are gas tanks on either side of the engine, and a battery. maybe some additional plumbing.
-
I'll check it out. Thanks.
-
We have a winner! Nacho, you're right. When they were on the sprue I thought, hey, those headlights are the same. Glued in, and under magnification, I saw the difference. Its like a movie about the future, but someone on the set left a KFC wrapper in the background.
-
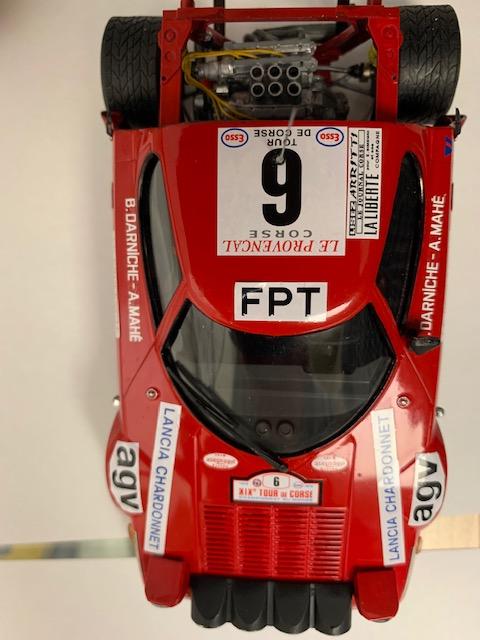
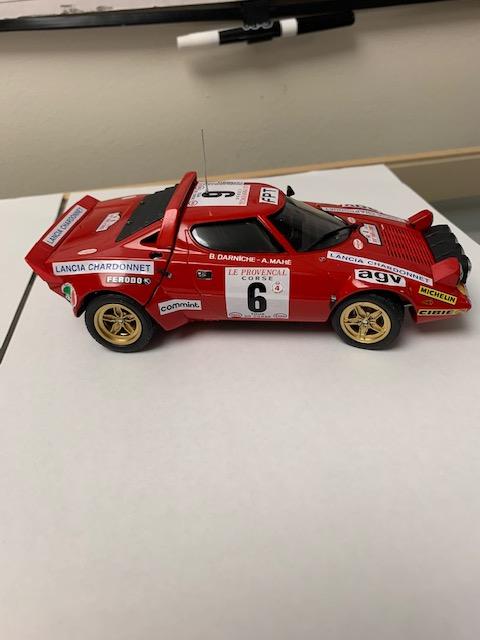
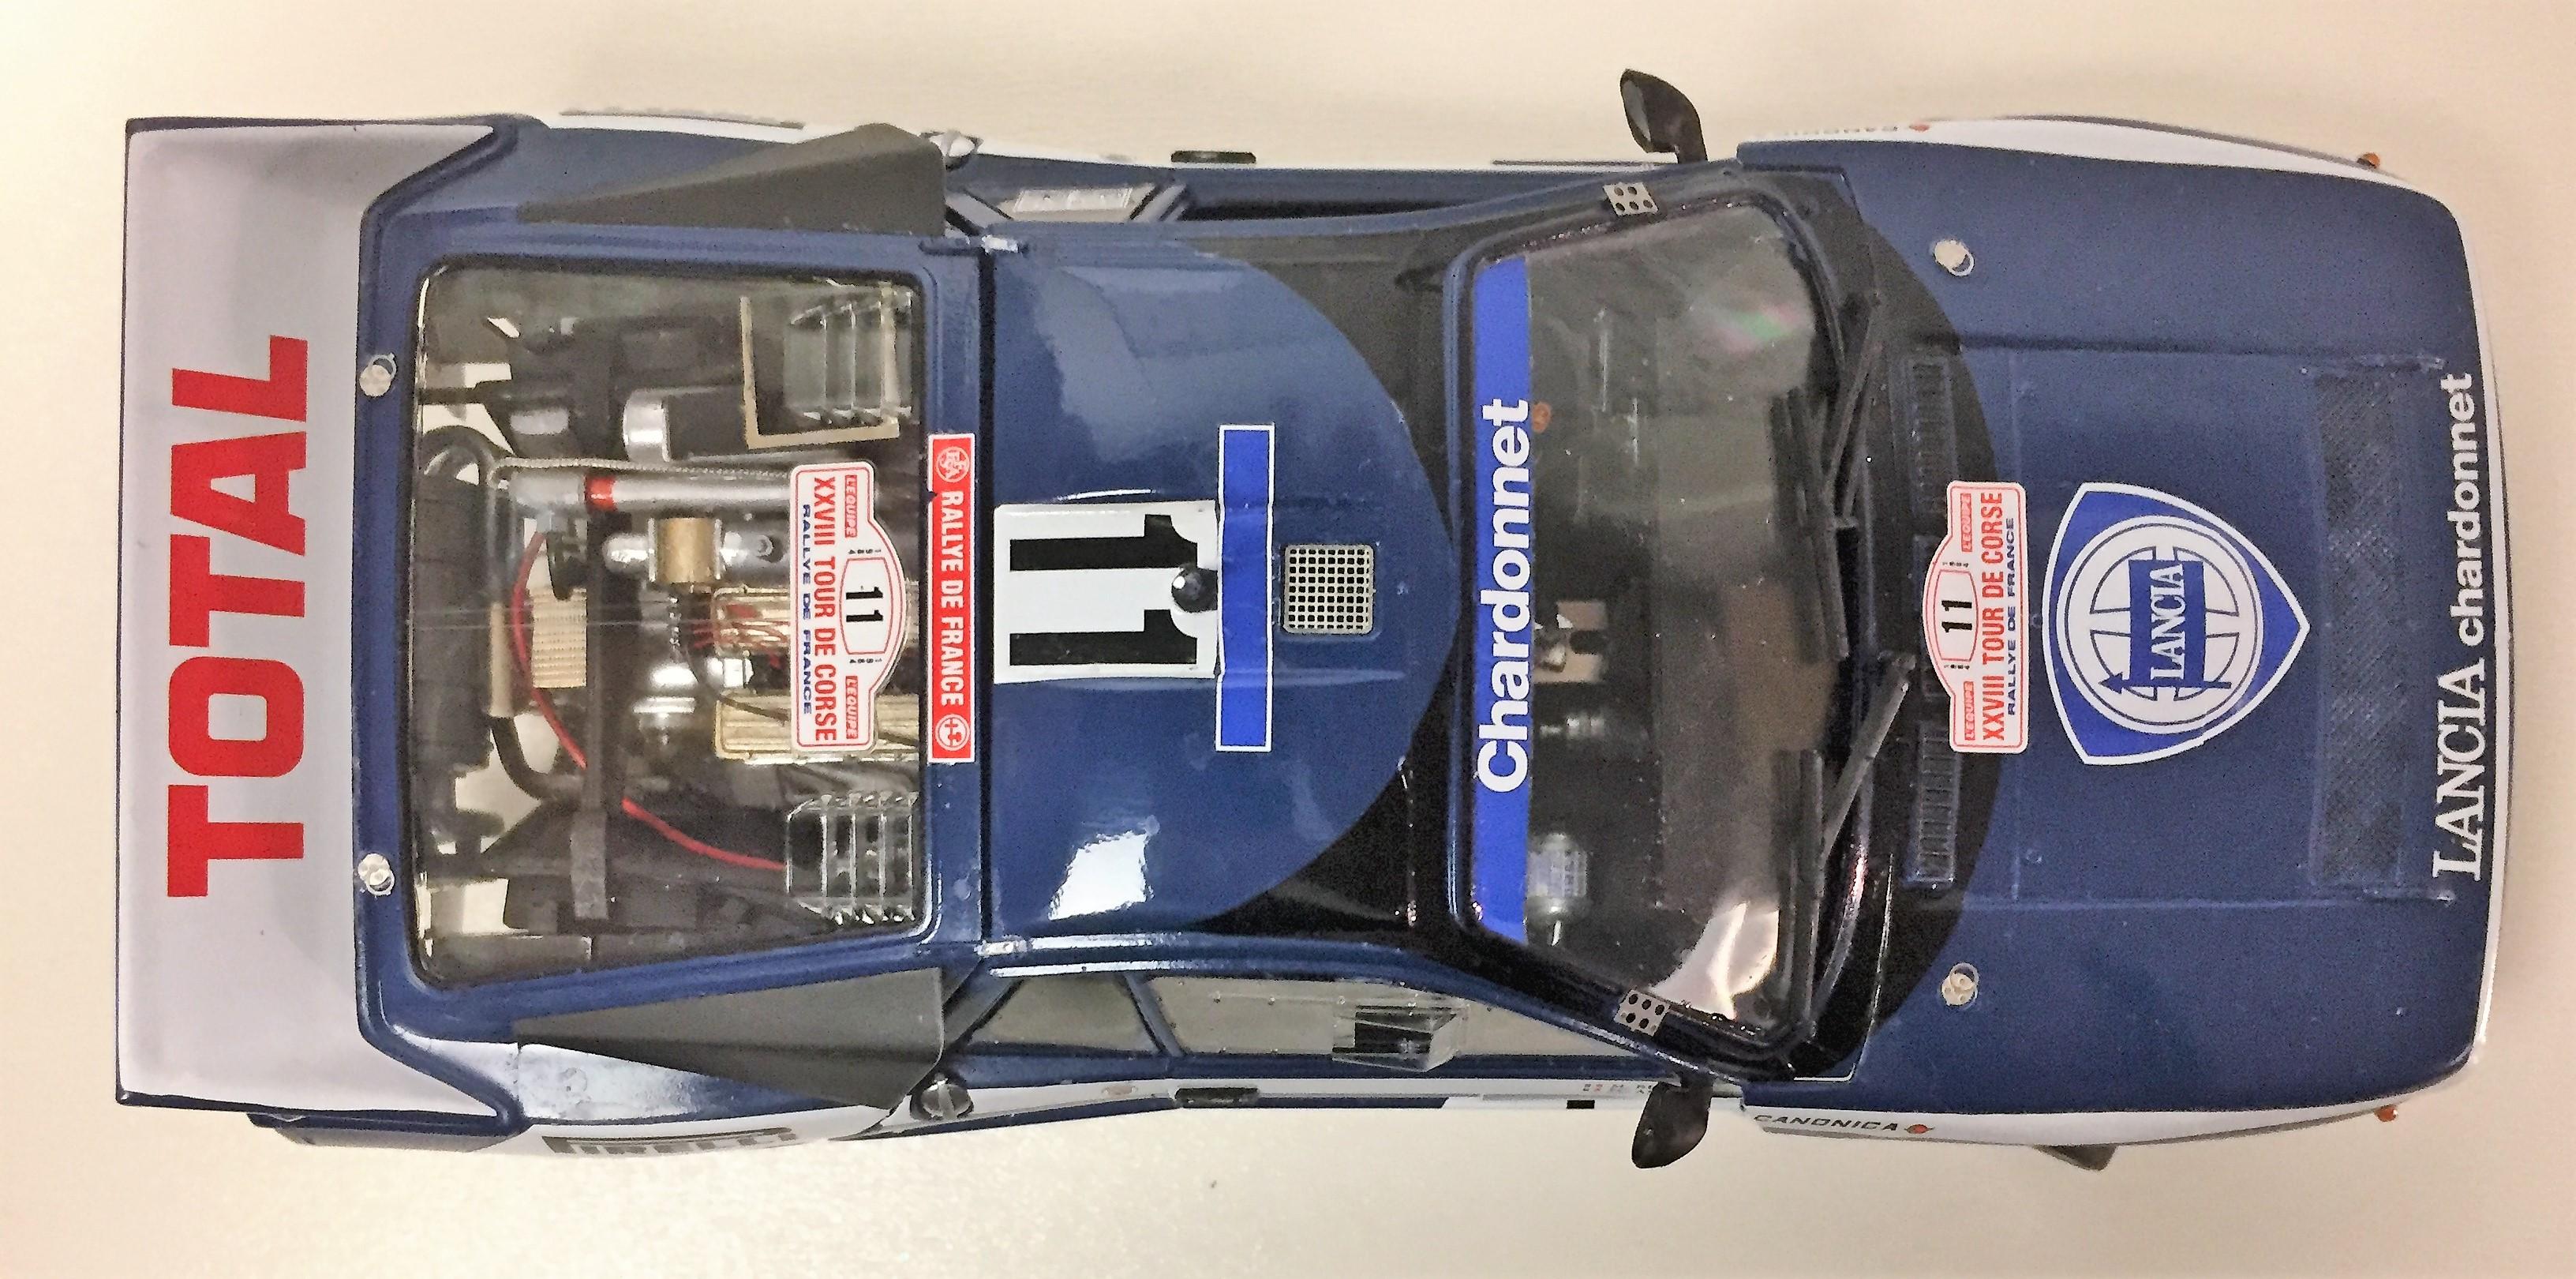
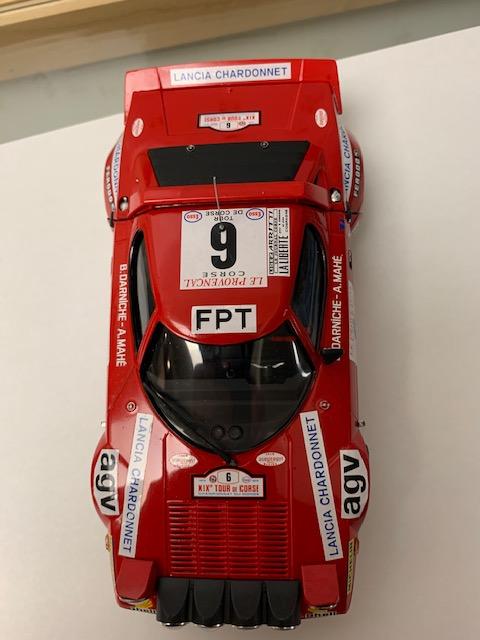
It's the 1975 Chardonnet. I already have one in the Alitalia livery.
-
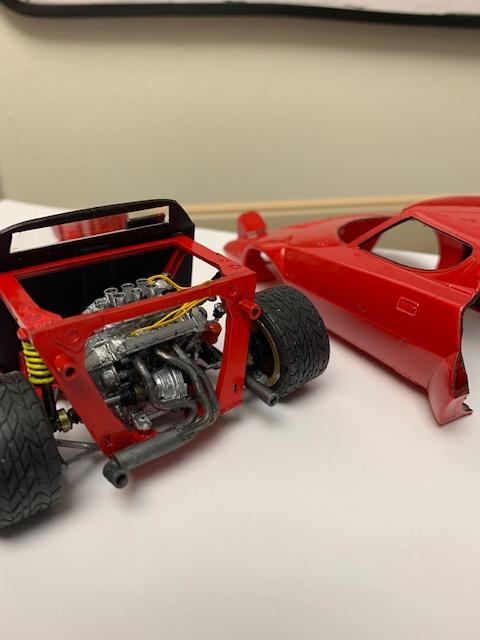
Here are some more pictures of the work in progress. Ready to finish the trim and livery for this one. I'm not terribly excited about the gap between the front/rear of the car, but not sure that can be avoided given the shape of the join between the two. The headlights are always tough to get clean without any glue smears. I did make a mistake there - can anyone tell what it is?
-
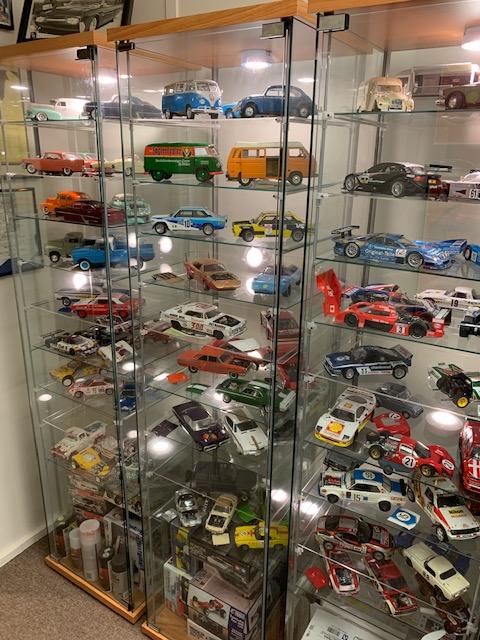
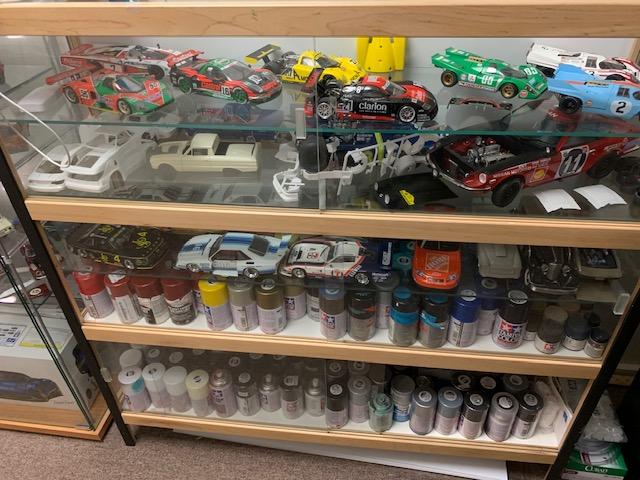
Hi. Is there a separate thread where display cases are posted? Mine are in a very small office space in the basement.
-
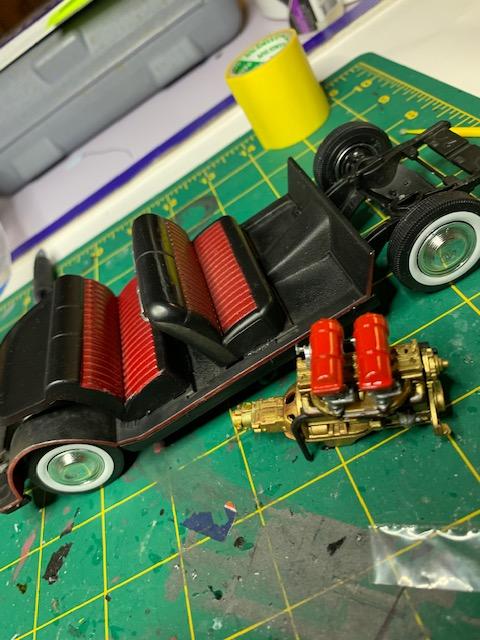
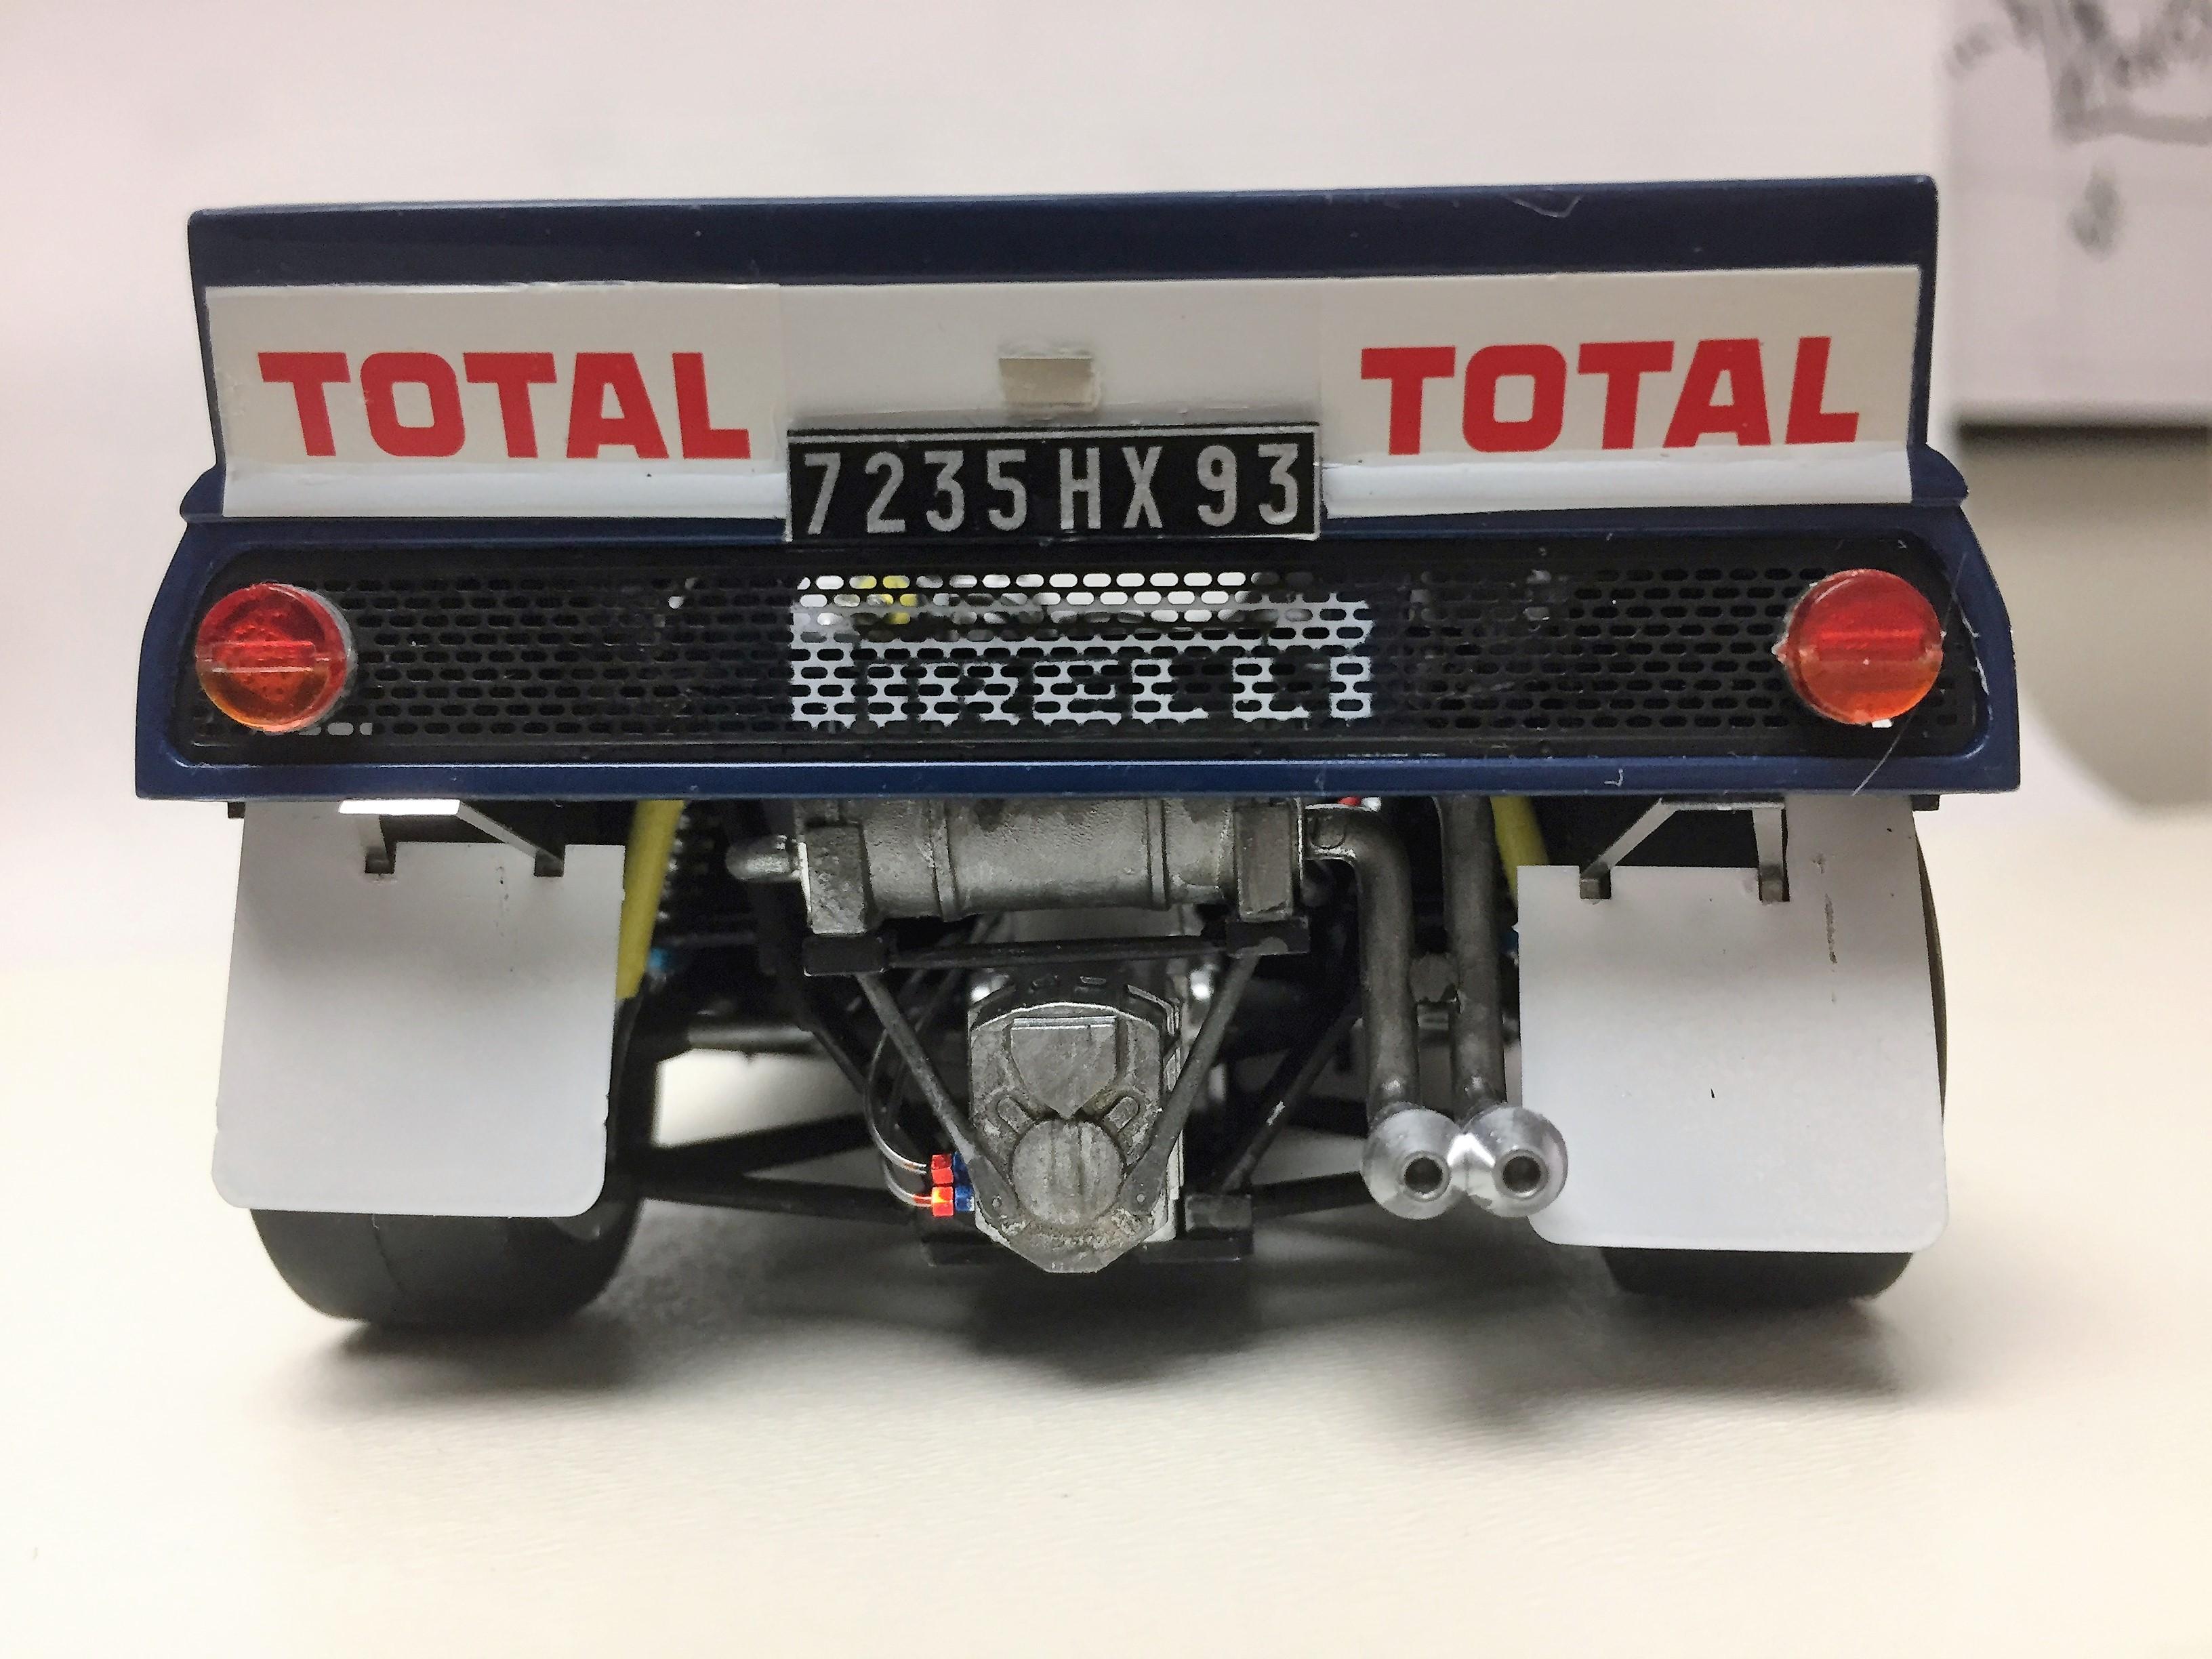
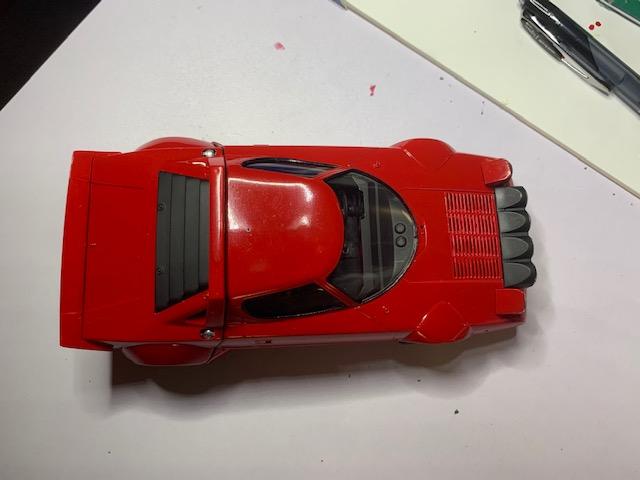
Hi. Getting to the tail end of this Stratos build. The engine is from Reji models - I did another Stratos with Alitalia livery and transplanted an engine from Fujima's Dino GTS kit.
-
Work in progress
-
"Never attempt foil when you are aggravated". AMEN. Thanks for the tip on the xacto
-
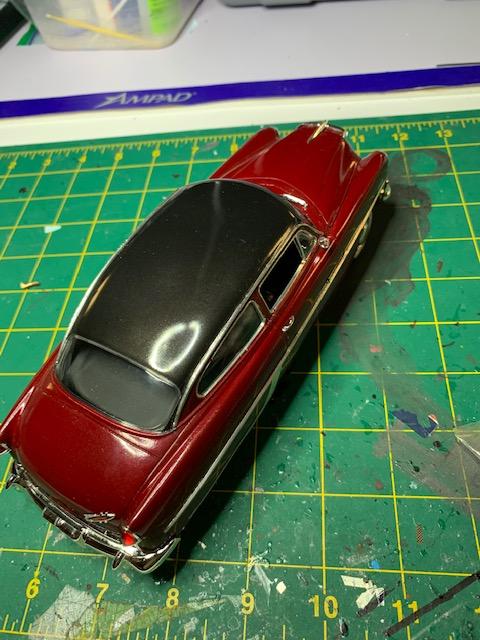
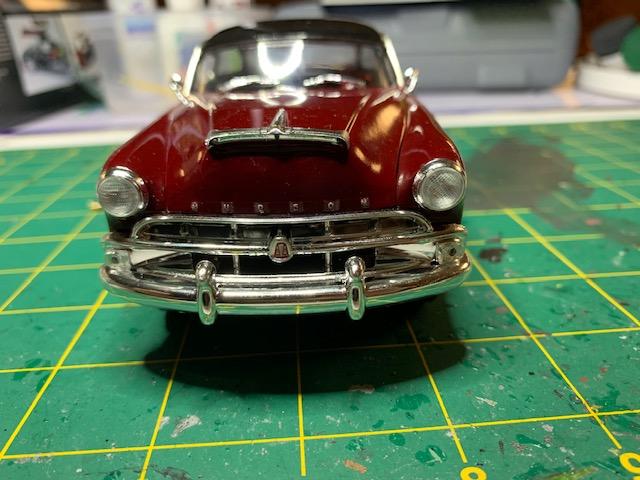
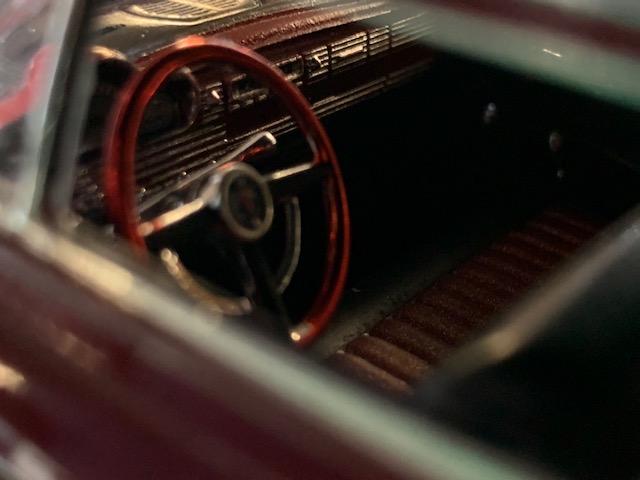
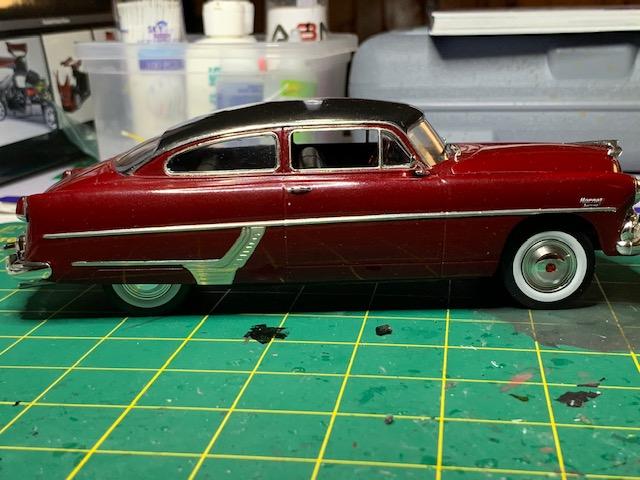
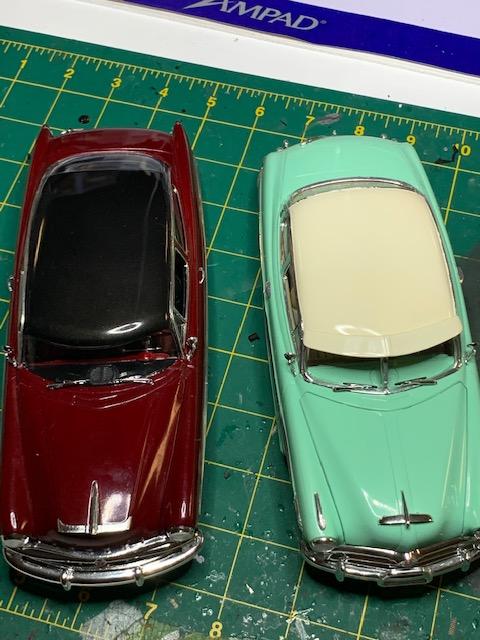
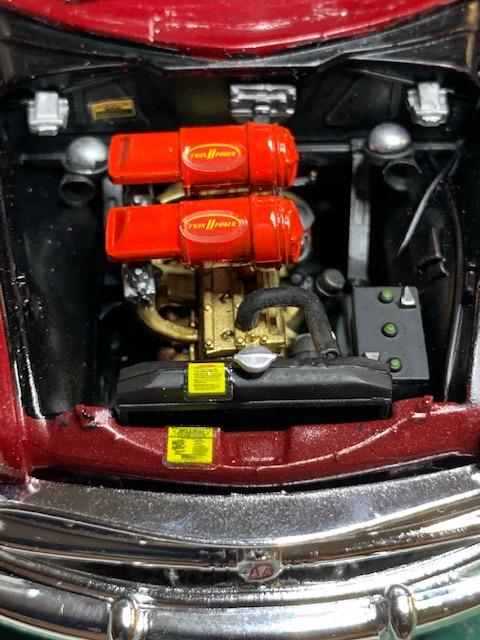
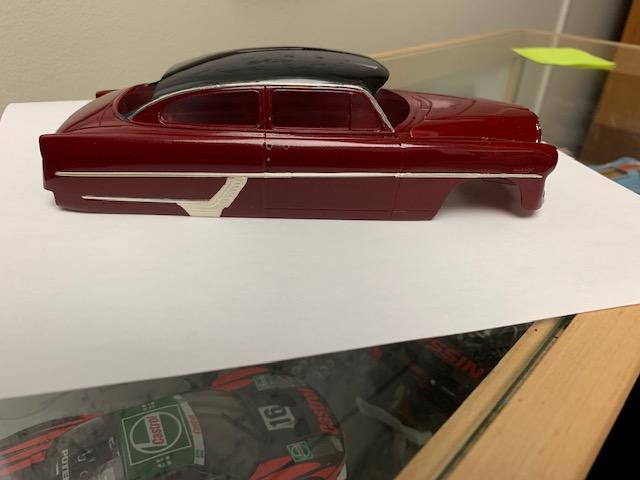
Hi. I started working on my second Hudson. I've been experimenting with colored, clear overcoats. For the new Hudson, I used Testor's one-stage lacquer and then sprayed Tamiya Clear Red. The result came out pretty good. Then for the hood, Tamiya Gunmetal with a coat of Tamiya Smoke on top. Again, I liked the results. My biggest challenge with this is the bare metal foil. I thought I had sanded the trim smooth but after applying the foil, I could still see some particles poking out of the trim. Aaargh!! Kind of defeats the purpose of having a nice paint job. I think my next step will be to re-apply the foil after I clean up the surface a little better. Always something to learn. I included a couple of photos of the first Hudson too.
-
Hi. I think I built this one 10 years ago (!) but the decals were so bad - thick, inflexible, just awful. So it sat on my shelf unfinished. Fast forward 10 years and i found this guy Michael from Indycals who had what I was looking for. And the decals were GREAT! Very thin, conformed to edges well. So I cleaned it up a bit and finished it off. I have the Citgo and Whistler versions of the kits, so I bought those decals too and looking forward to using them. Indycals - highly recommended. And no I'm not related
-
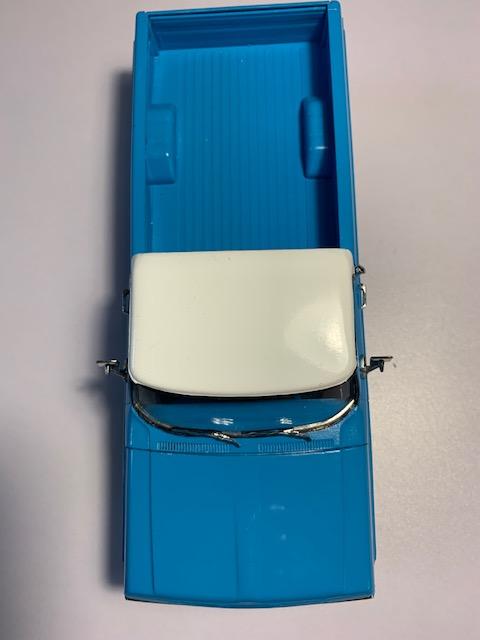
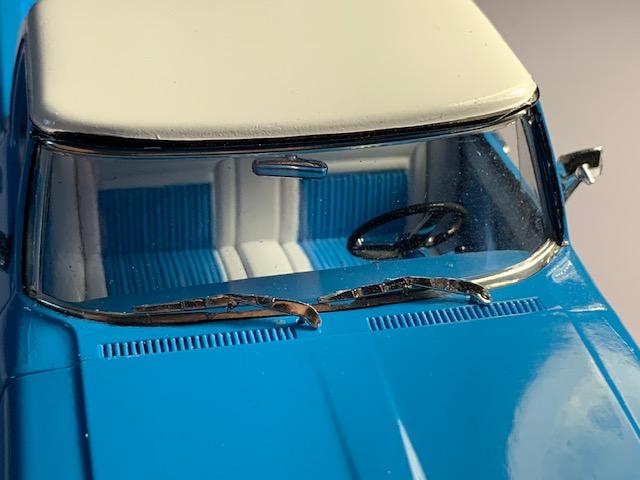
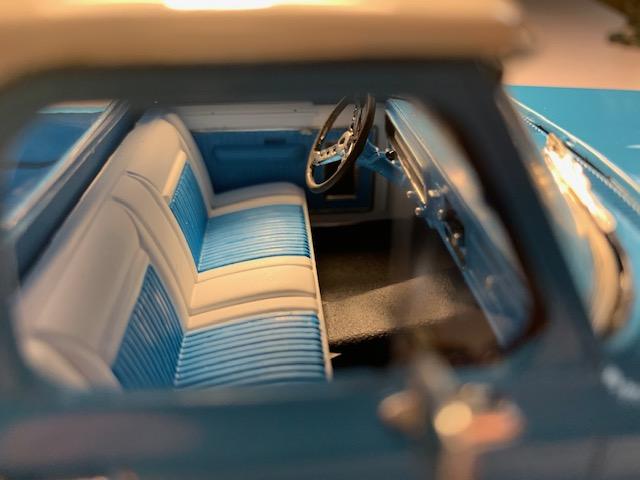
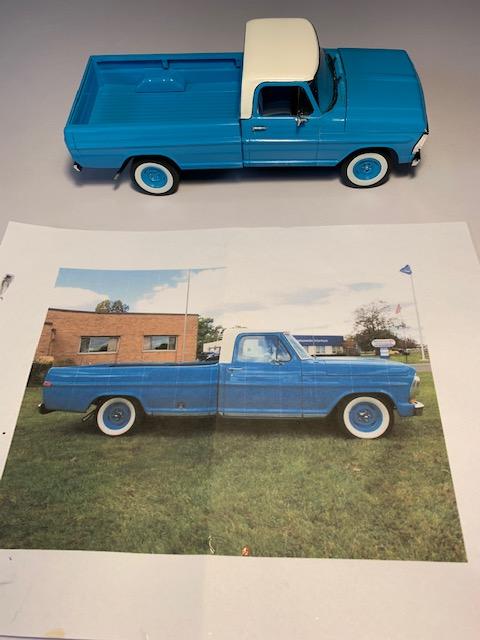
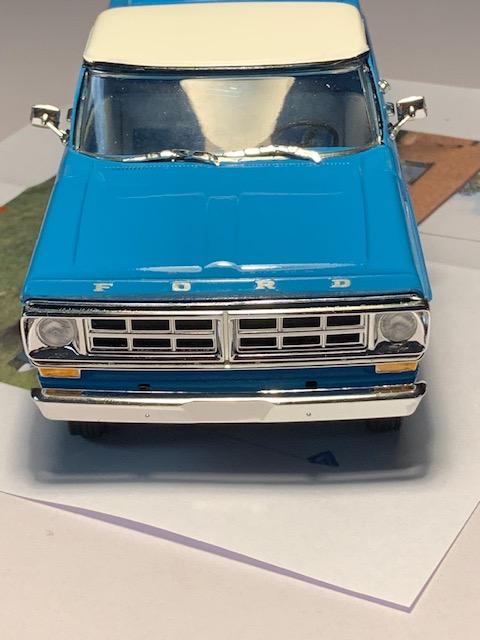
Ford Ranger - Moebius
dougwintz replied to dougwintz's topic in Model Trucks: Pickups, Vans, SUVs, Light Commercial
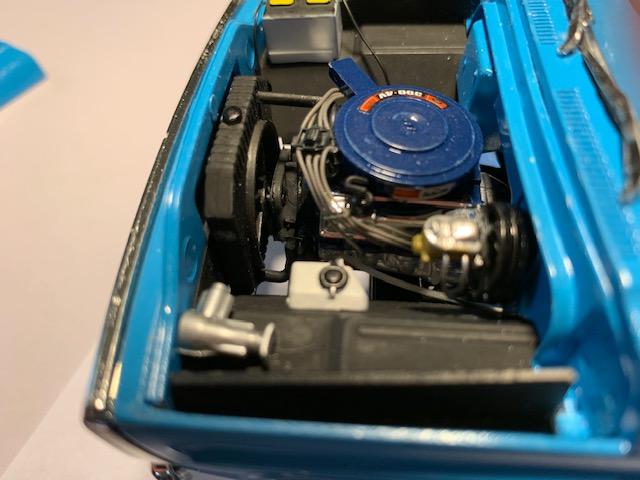
Sadly, it was not deliberate. I got the distributor from Teds Modeling Marketplace, I didn't pay attention to the make - I just didn't put 1 and 1 together to make 2! -
Ford Ranger - Moebius
dougwintz replied to dougwintz's topic in Model Trucks: Pickups, Vans, SUVs, Light Commercial
Busted! -
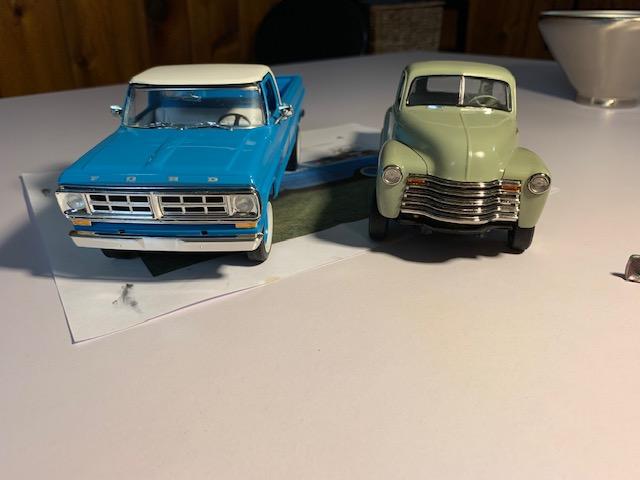
This one gave me fits on a number of fronts. I decided to use the Model Master 2 stage lacquer, which was very unforgiving. Did not go on smoothly, required a lot of sanding and respraying. Then the fitment for a lot of the Moebius parts were off. The hood was warped, and i couldn't quite get it into shape. The deck, same thing. So a lot of fiddling. In the end in came out ok. I tried to replicate a 1:1 version which you can see in the photos. Some minor aftermarkets like the distributor and the tires. I'm looking for a better set of windshield wipers when I find them I'll swap them out.
-
Citroen
dougwintz replied to dougwintz's topic in Model Trucks: Pickups, Vans, SUVs, Light Commercial
Thanks. I did a lot of research on 1:1 versions, and the colour scheme is actually based one I saw online.