dougwintz
-
Posts
347 -
Joined
-
Last visited
Content Type
Profiles
Forums
Events
Gallery
Everything posted by dougwintz
-
Thanks inter2353. I was leaning in that direction too. Happy New Year to all the MCM forum members.
-
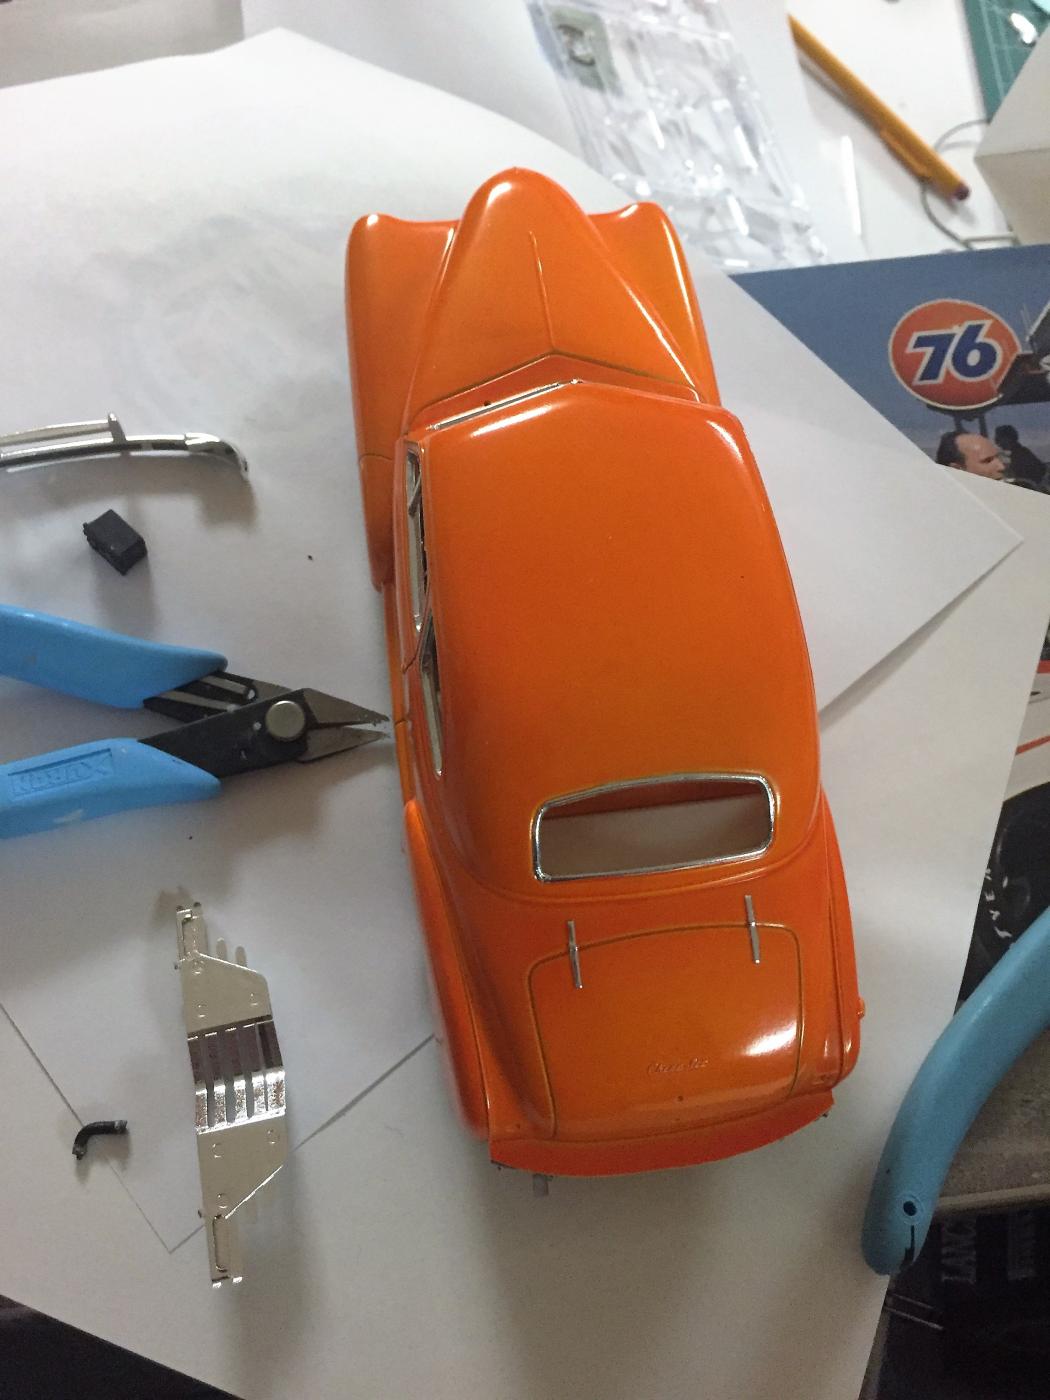
The only fitment problem I had was with the hood. Couldn't quite get that to fit tightly and I had the same issue with the panel van as well. At some point, I have to just move on.

-
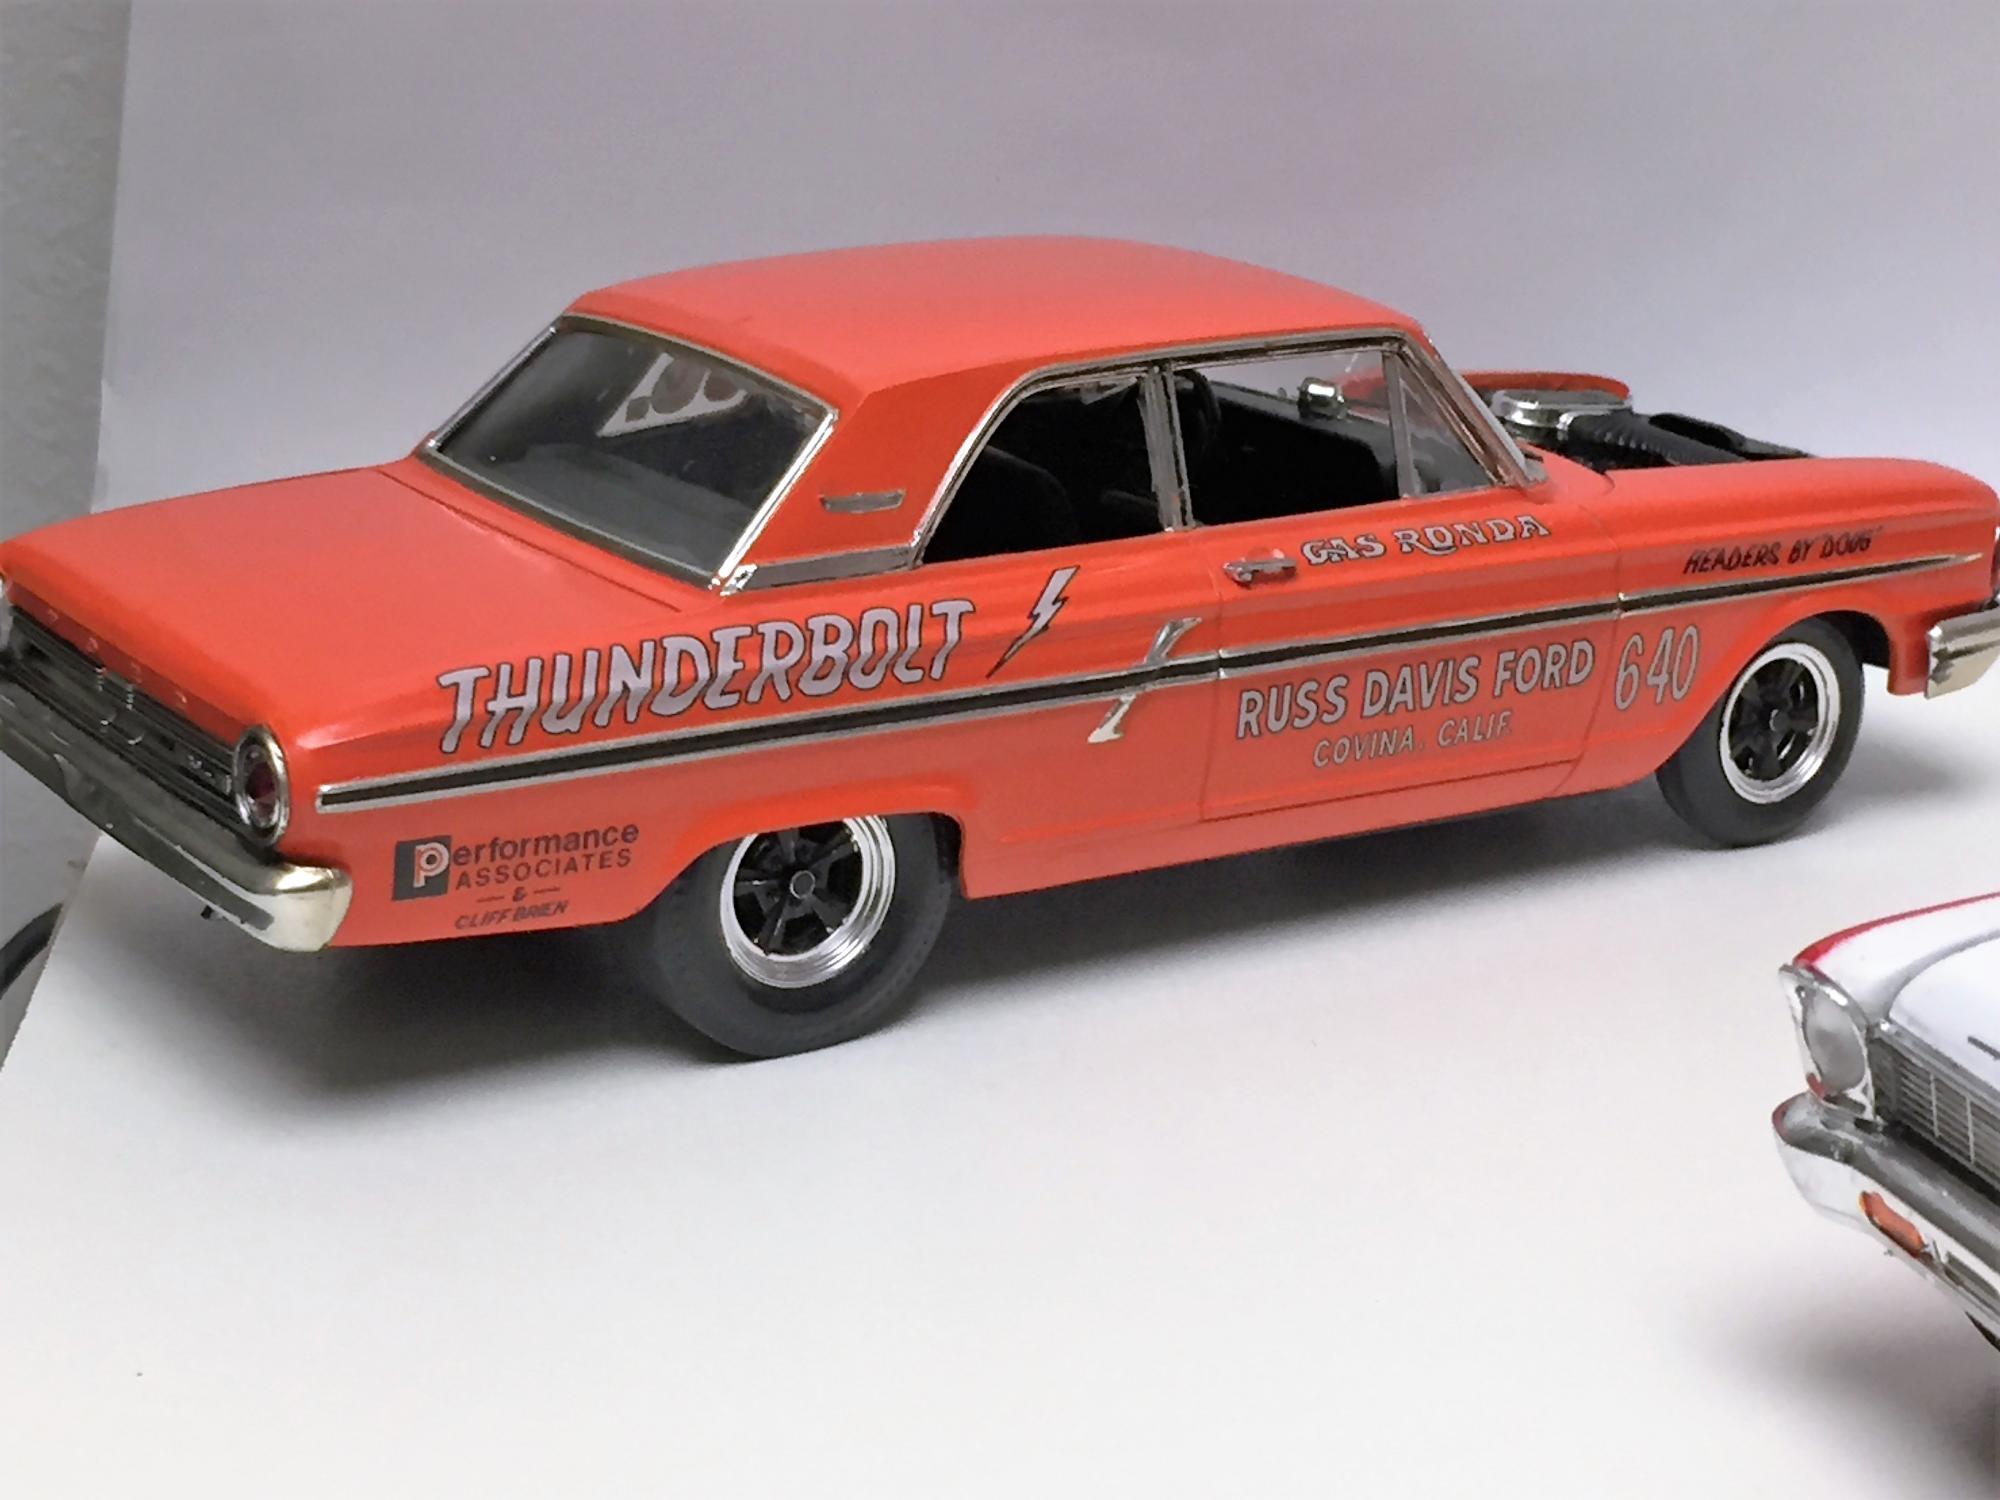
Thanks, guys. The color is tamiya clear orange over white primer.
-
Finally finished this off before the end of the New Year. Definitely a challenge, but fun. Did some "on the workbench" photos here http://www.modelcarsmag.com/forums/topic/119251-47-chevy-fleetmaster-galaxie/
-
Ok...on to some test fitting and detailing. Have to figure out a way to clean up the panel lines - got a couple of ideas on that. Next shot will probably be the completed model
-
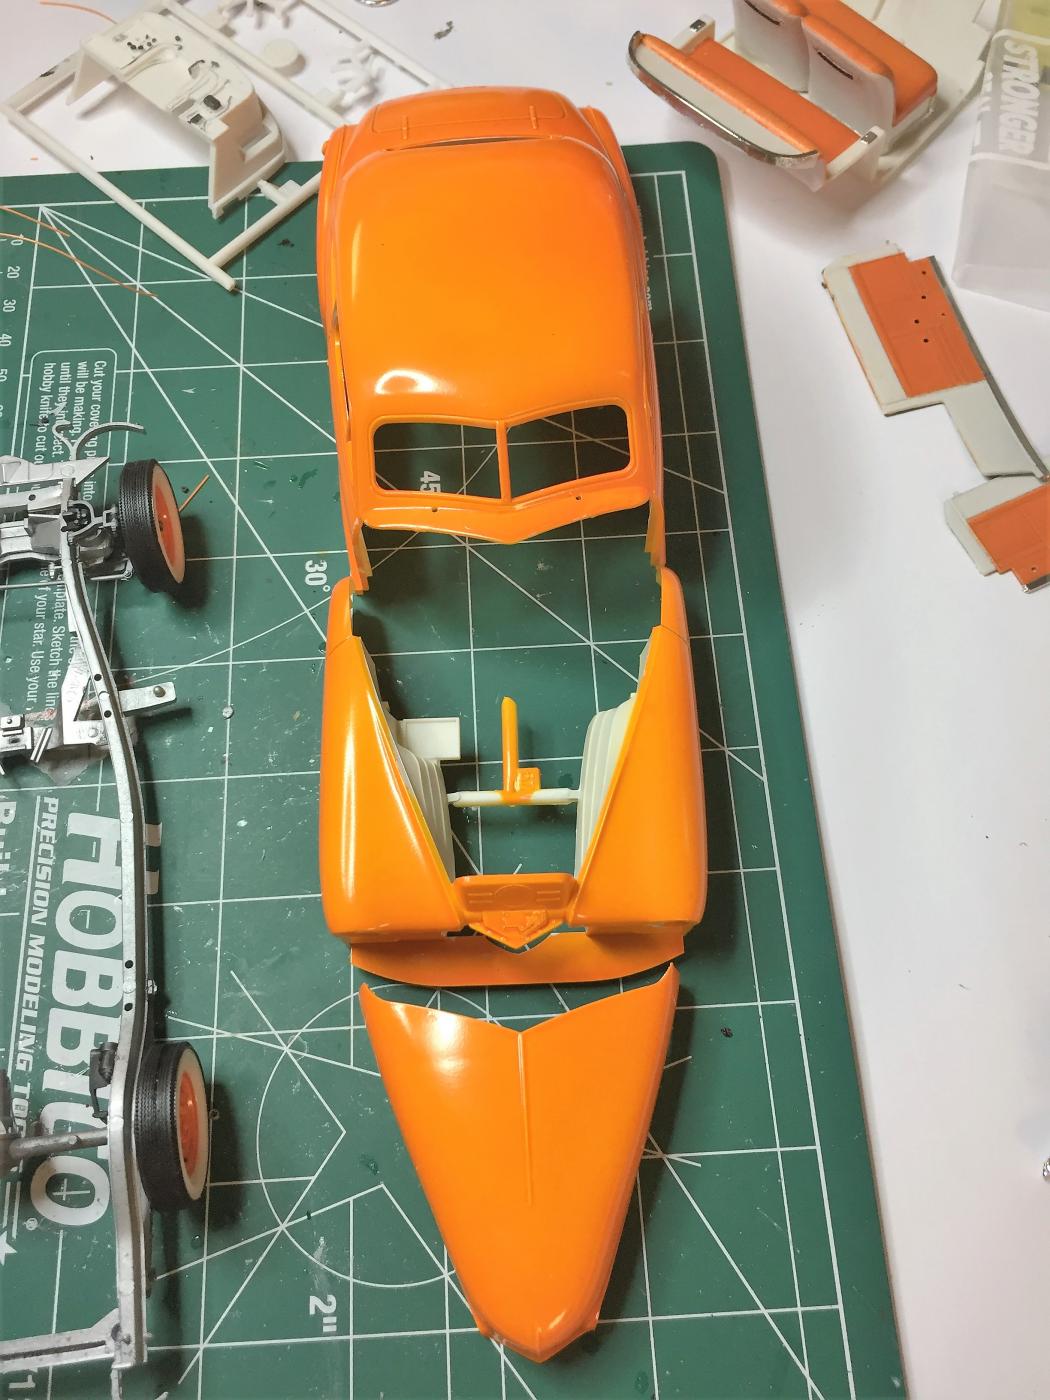
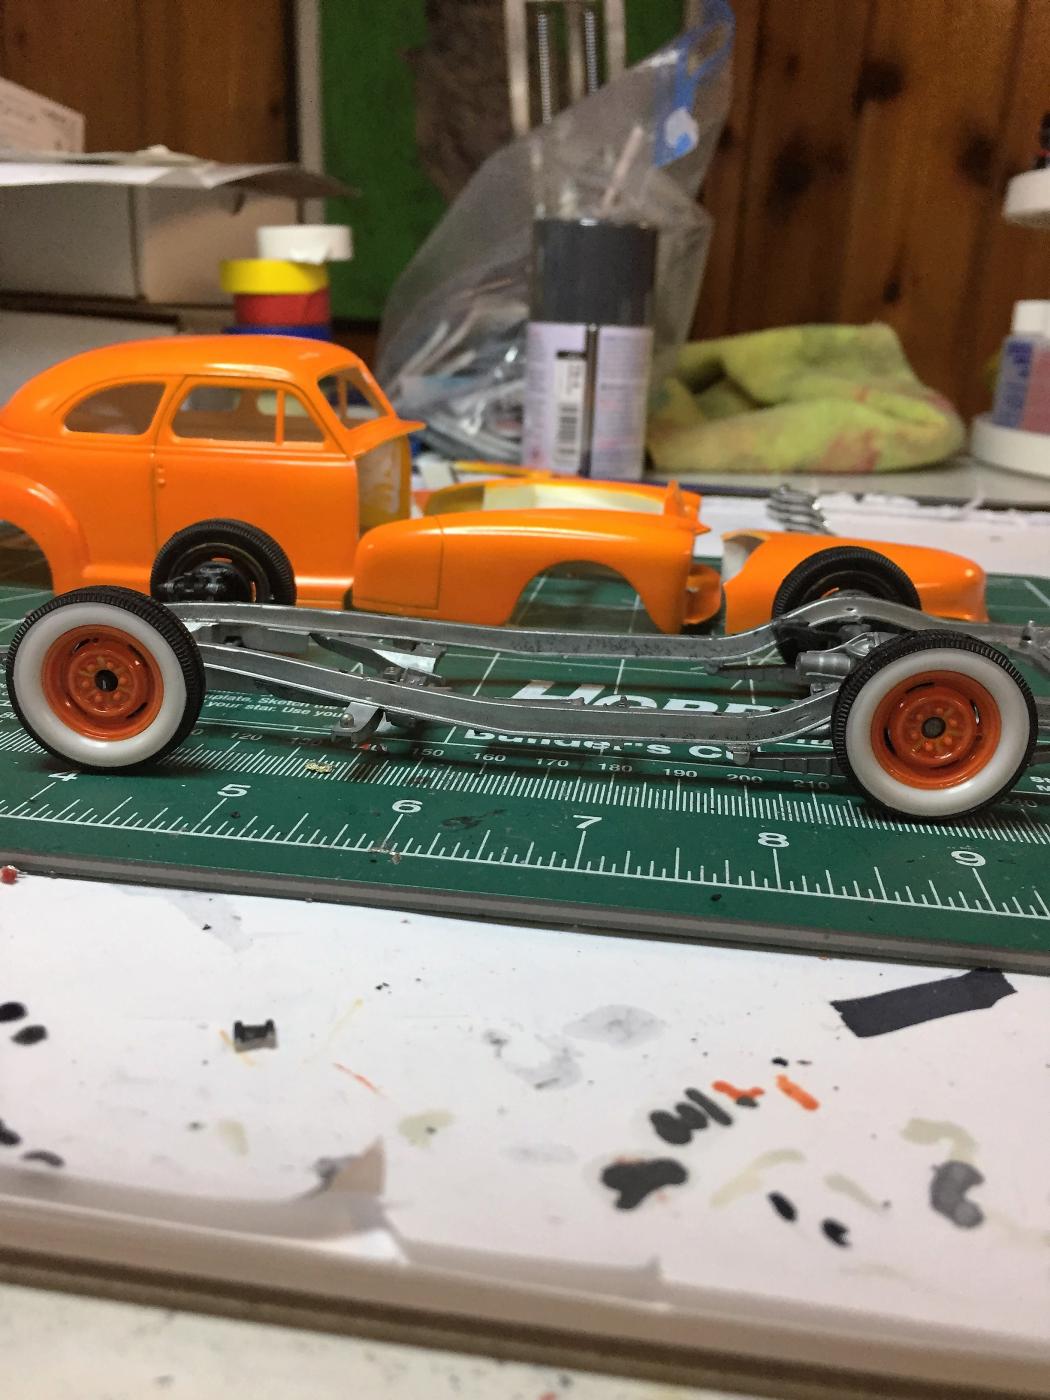
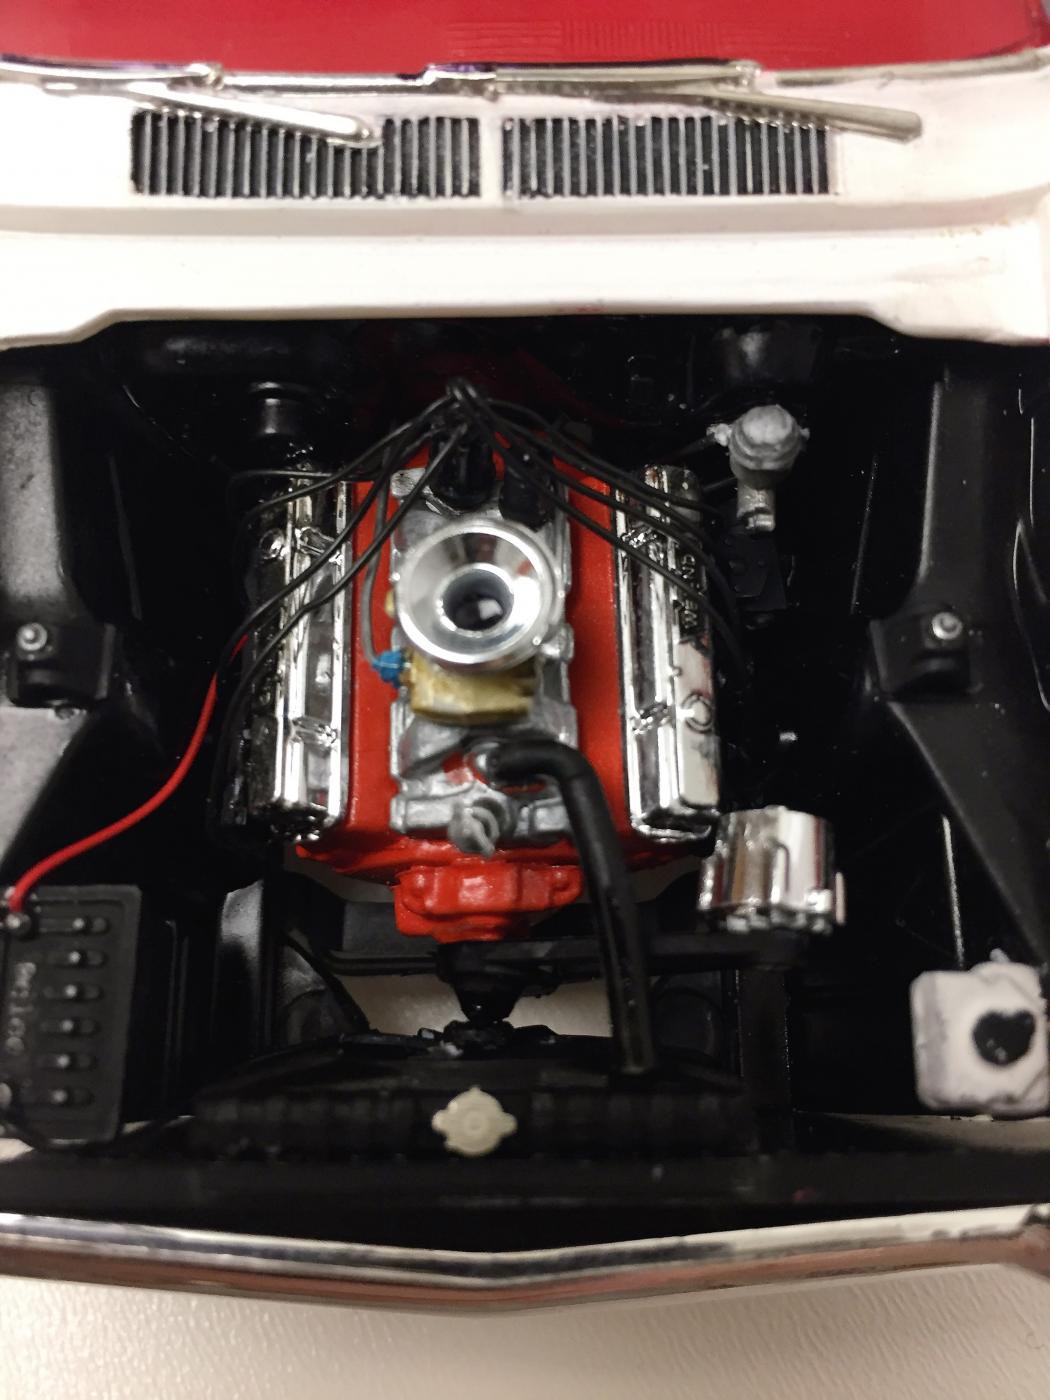
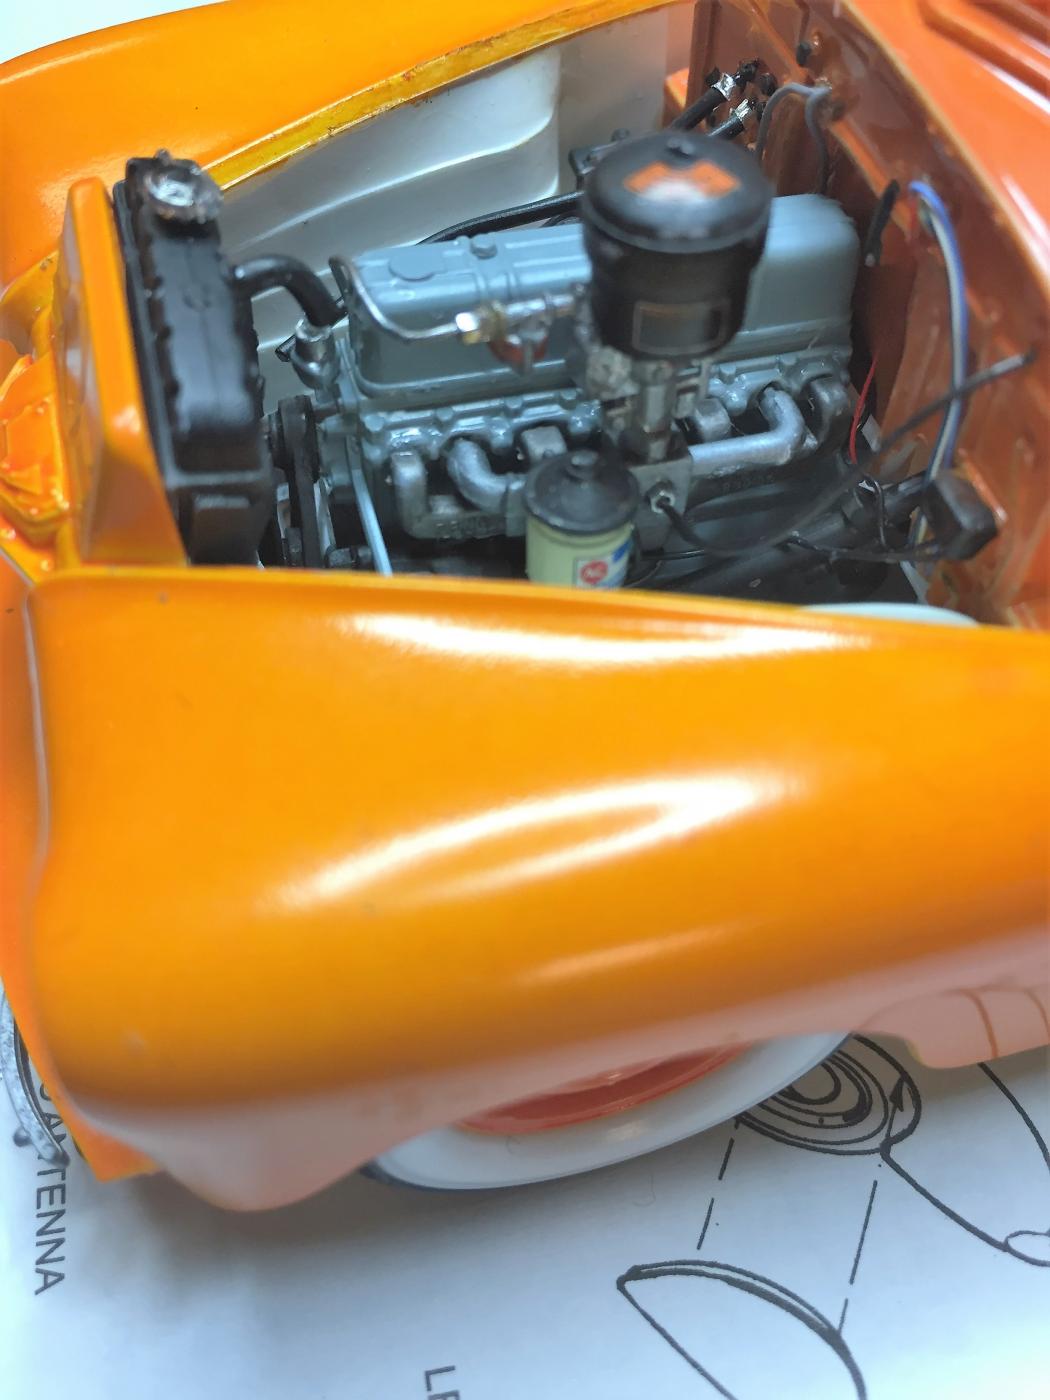
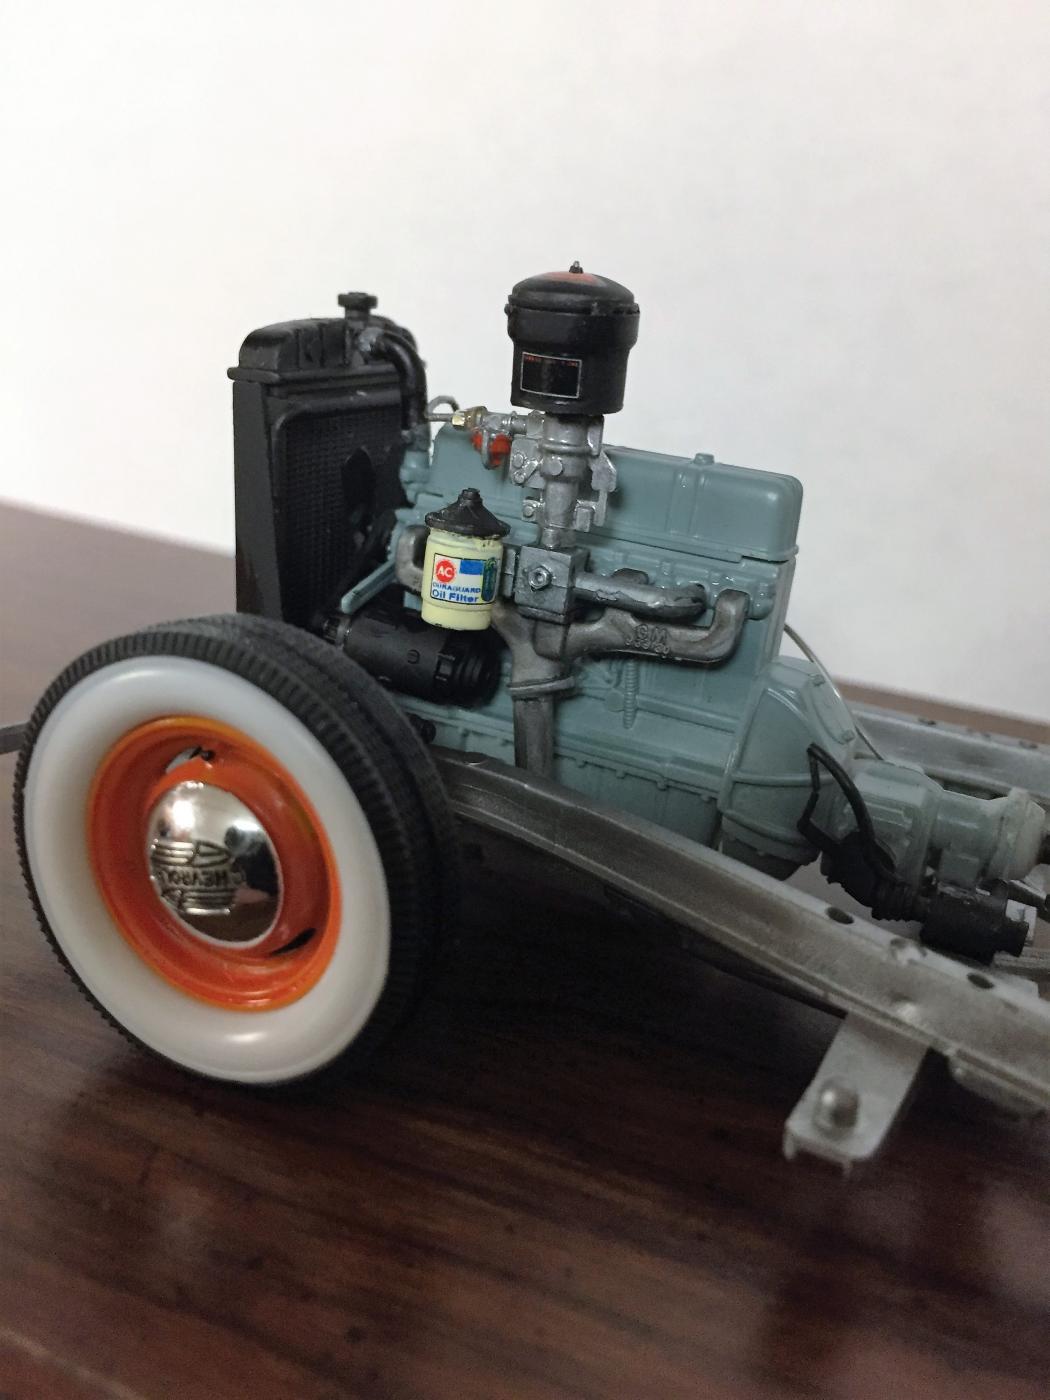
If you have this same kit and are thinking about building it in the lowered position (like I am) - a friendly tip. You'll have to 1) trim the firewall and radiator from the bottom so the hood fits. 2) Trim the air cleaner from the bottom so it fits lower on the carb - then the hood can clear that piece piece too.
-
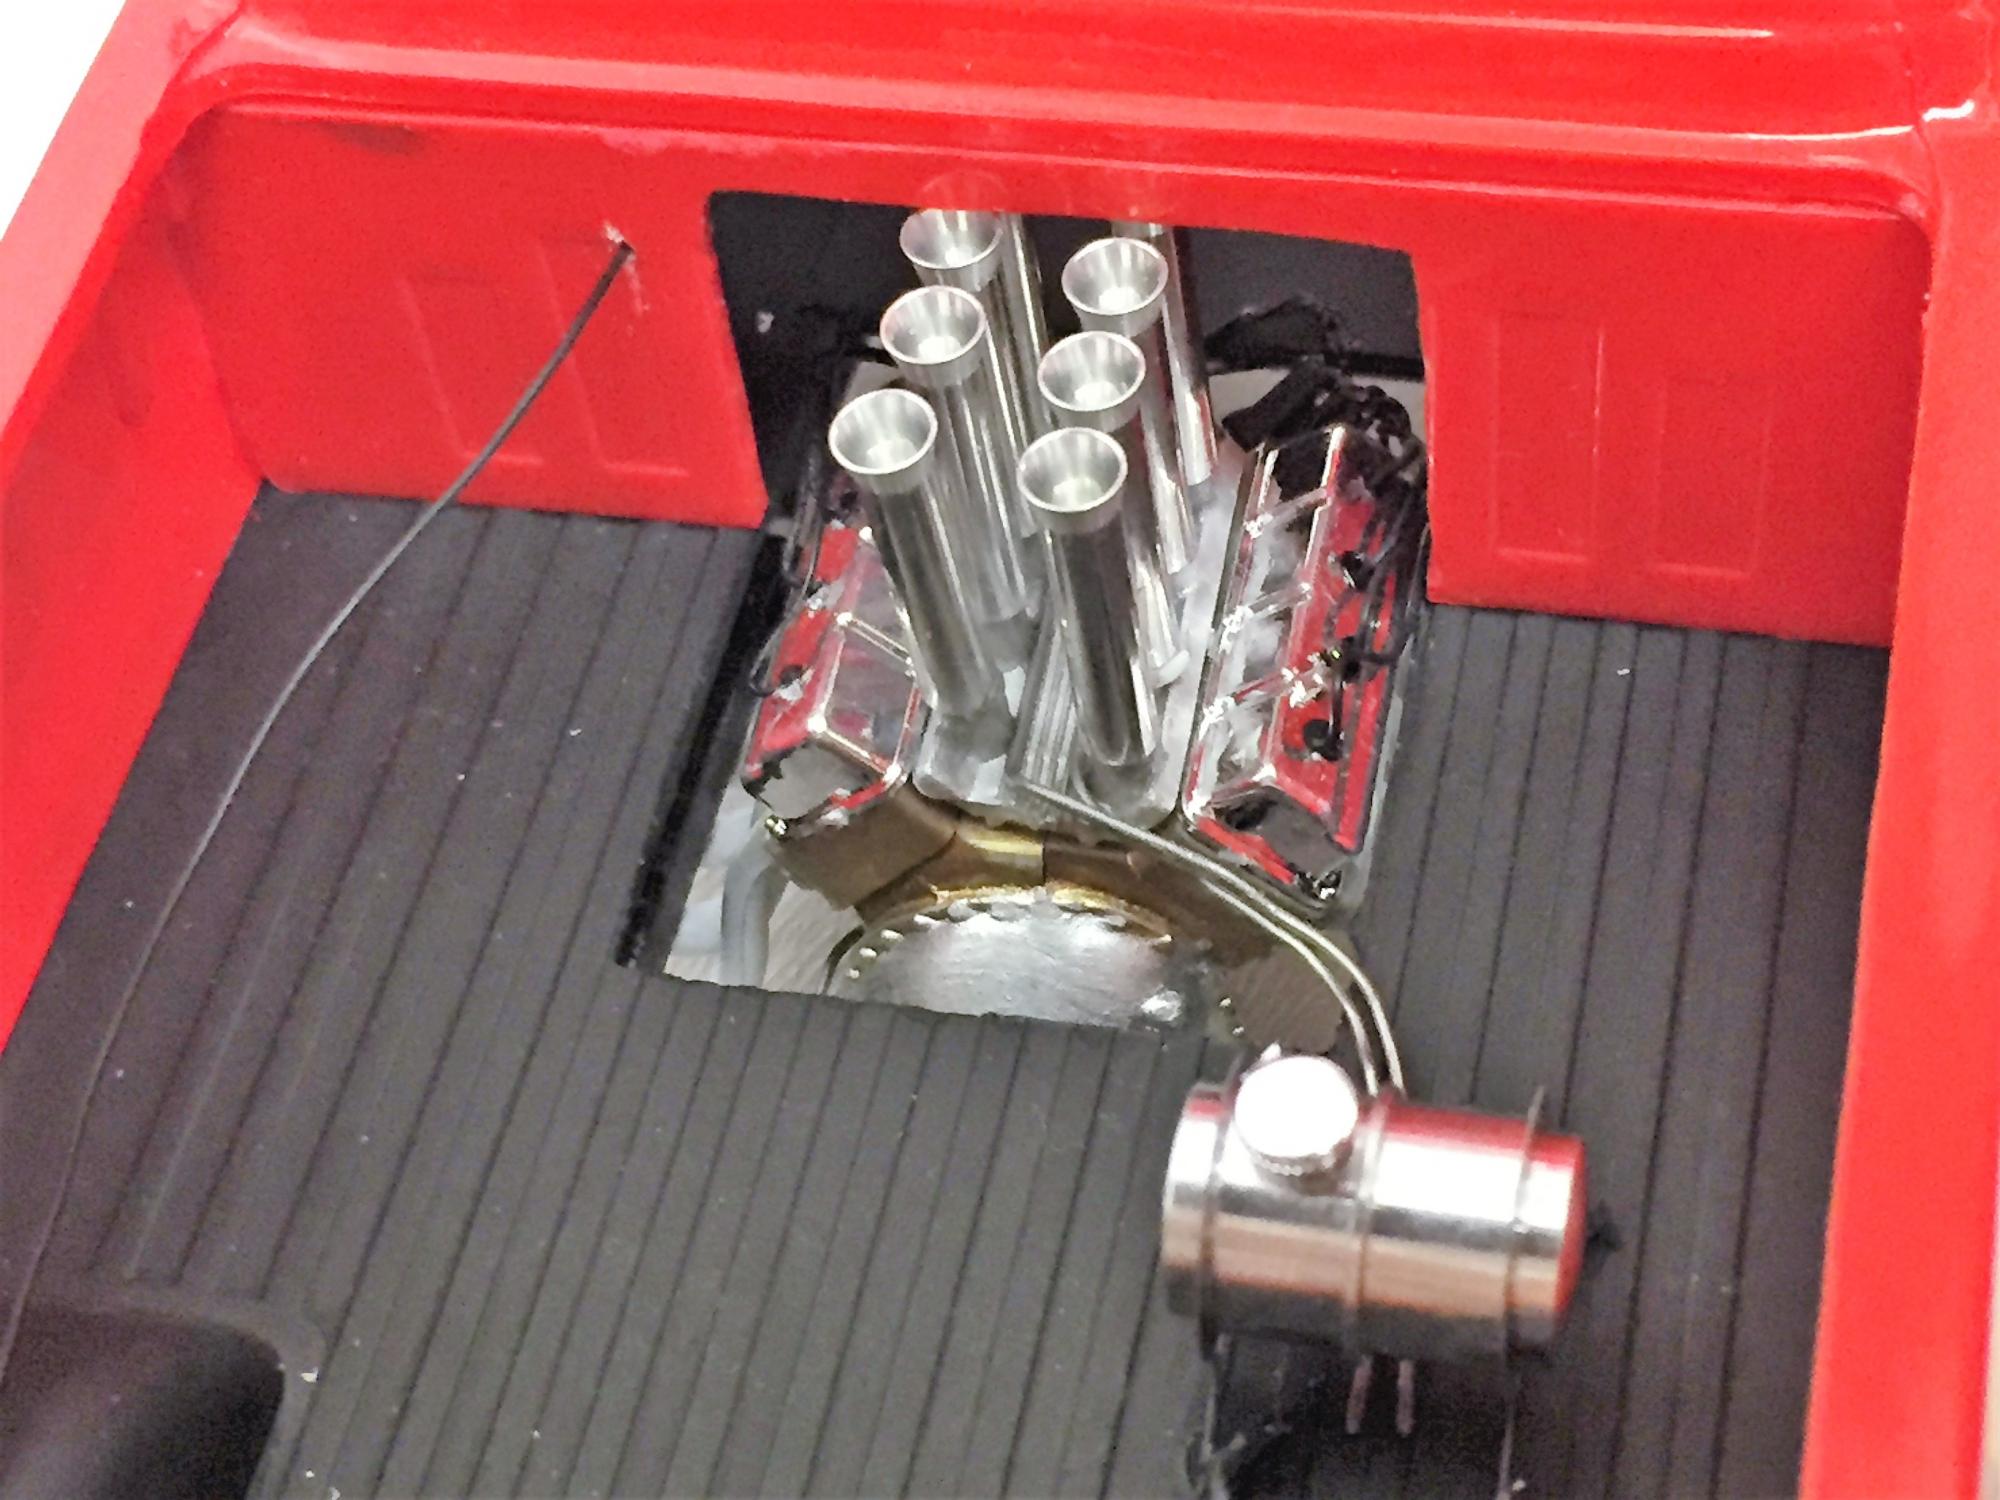
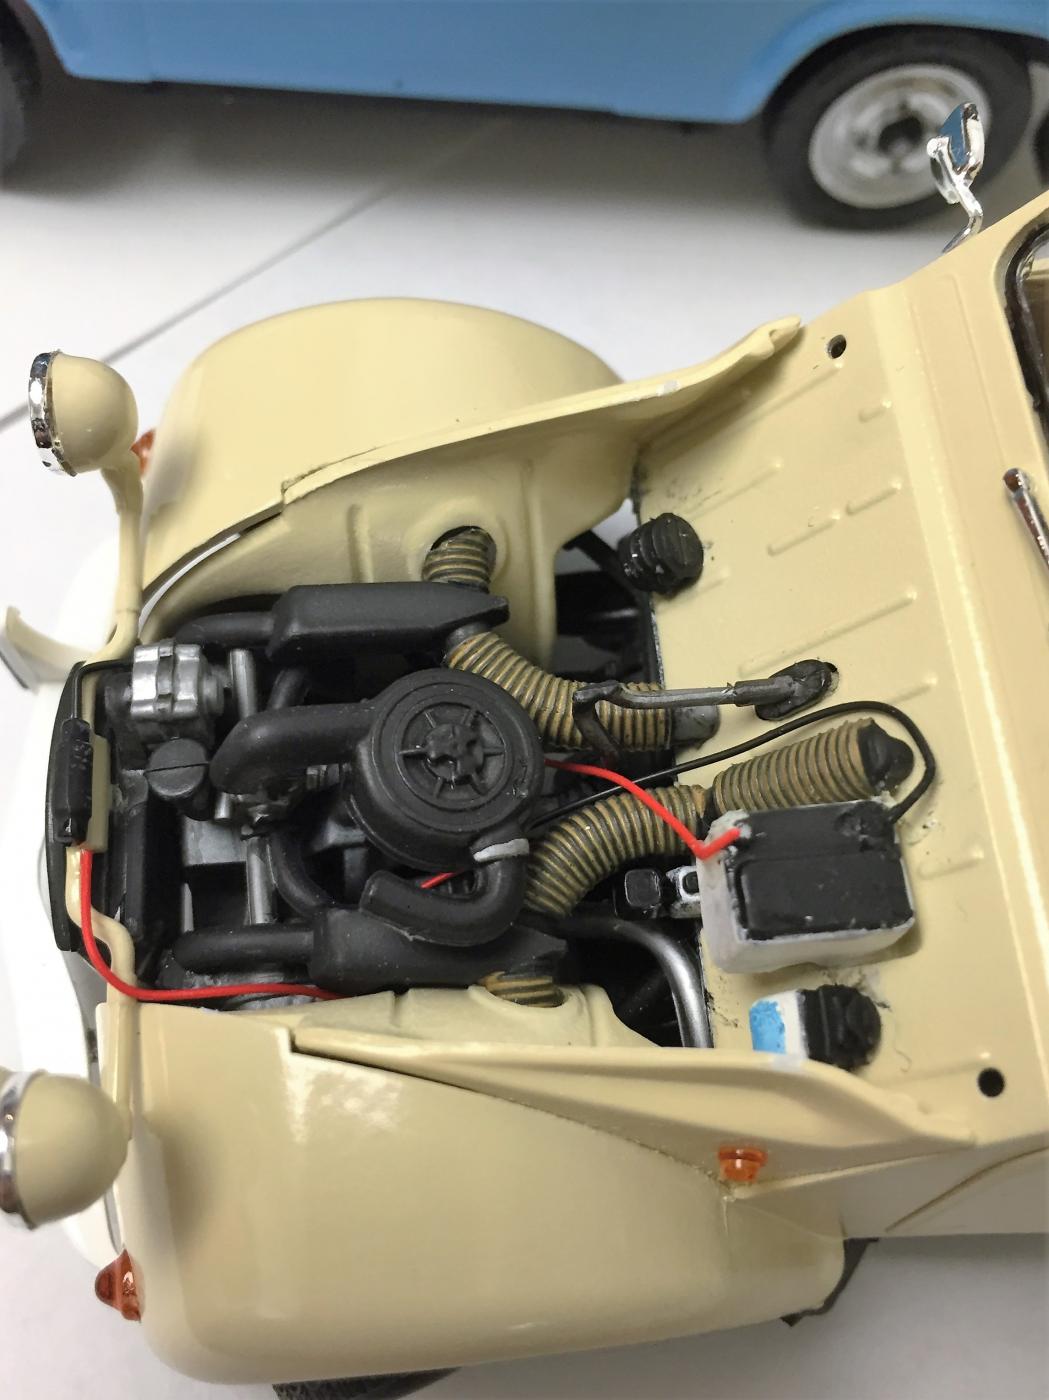
I agree, I think it's something like a blower motor. I did some research and it seems like the master cylinder on the 1:1 is between the frame and the passenger seat. Like Chris said.
-
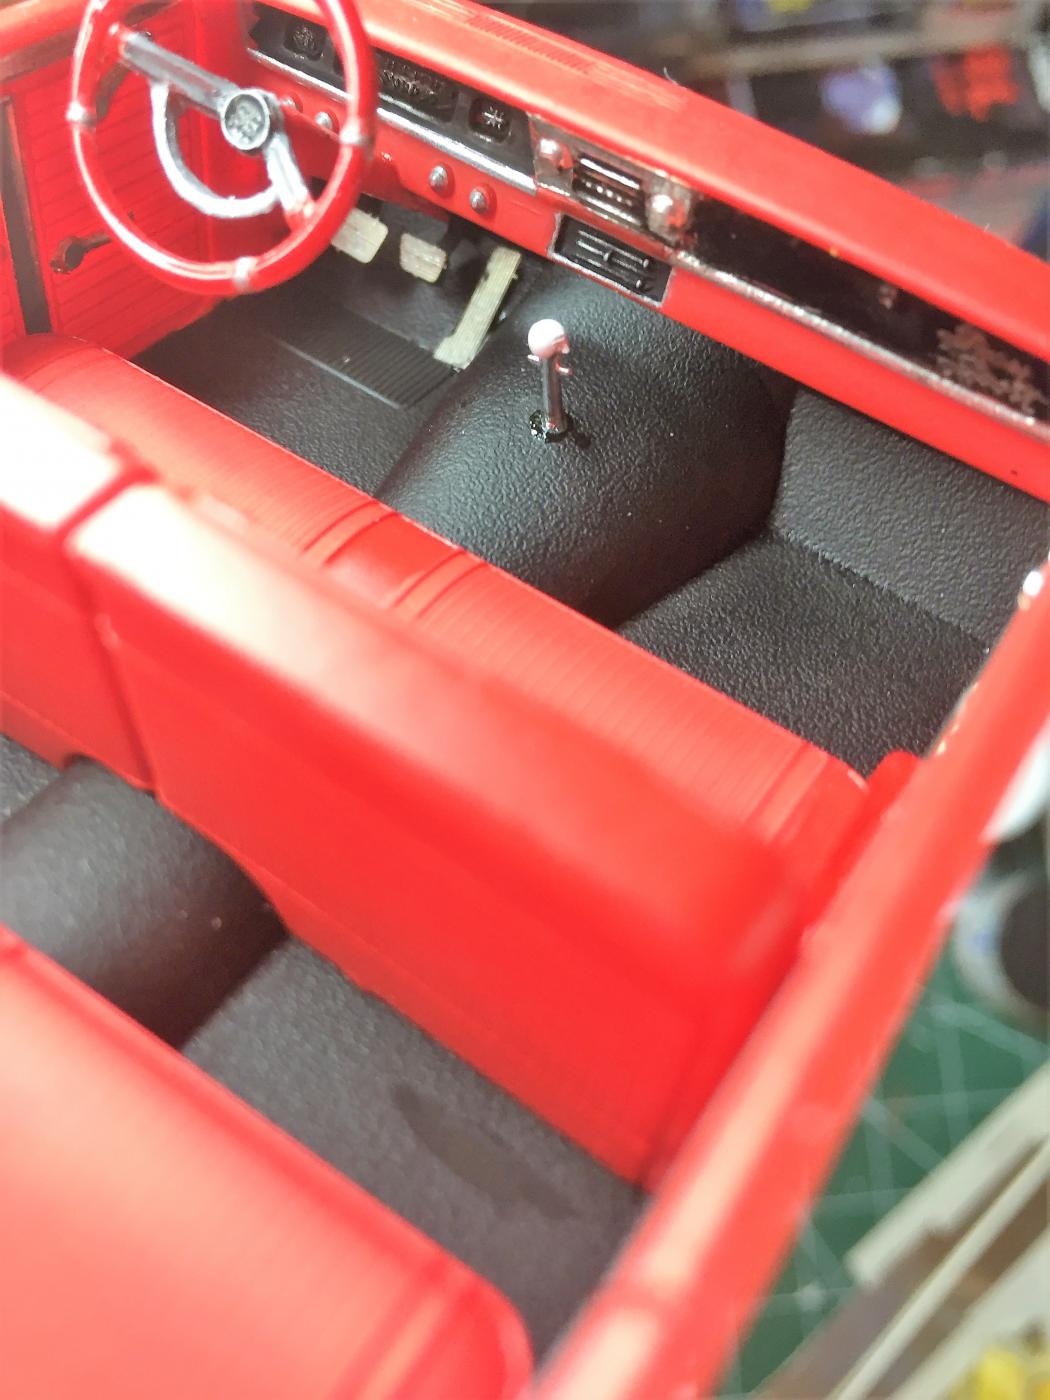
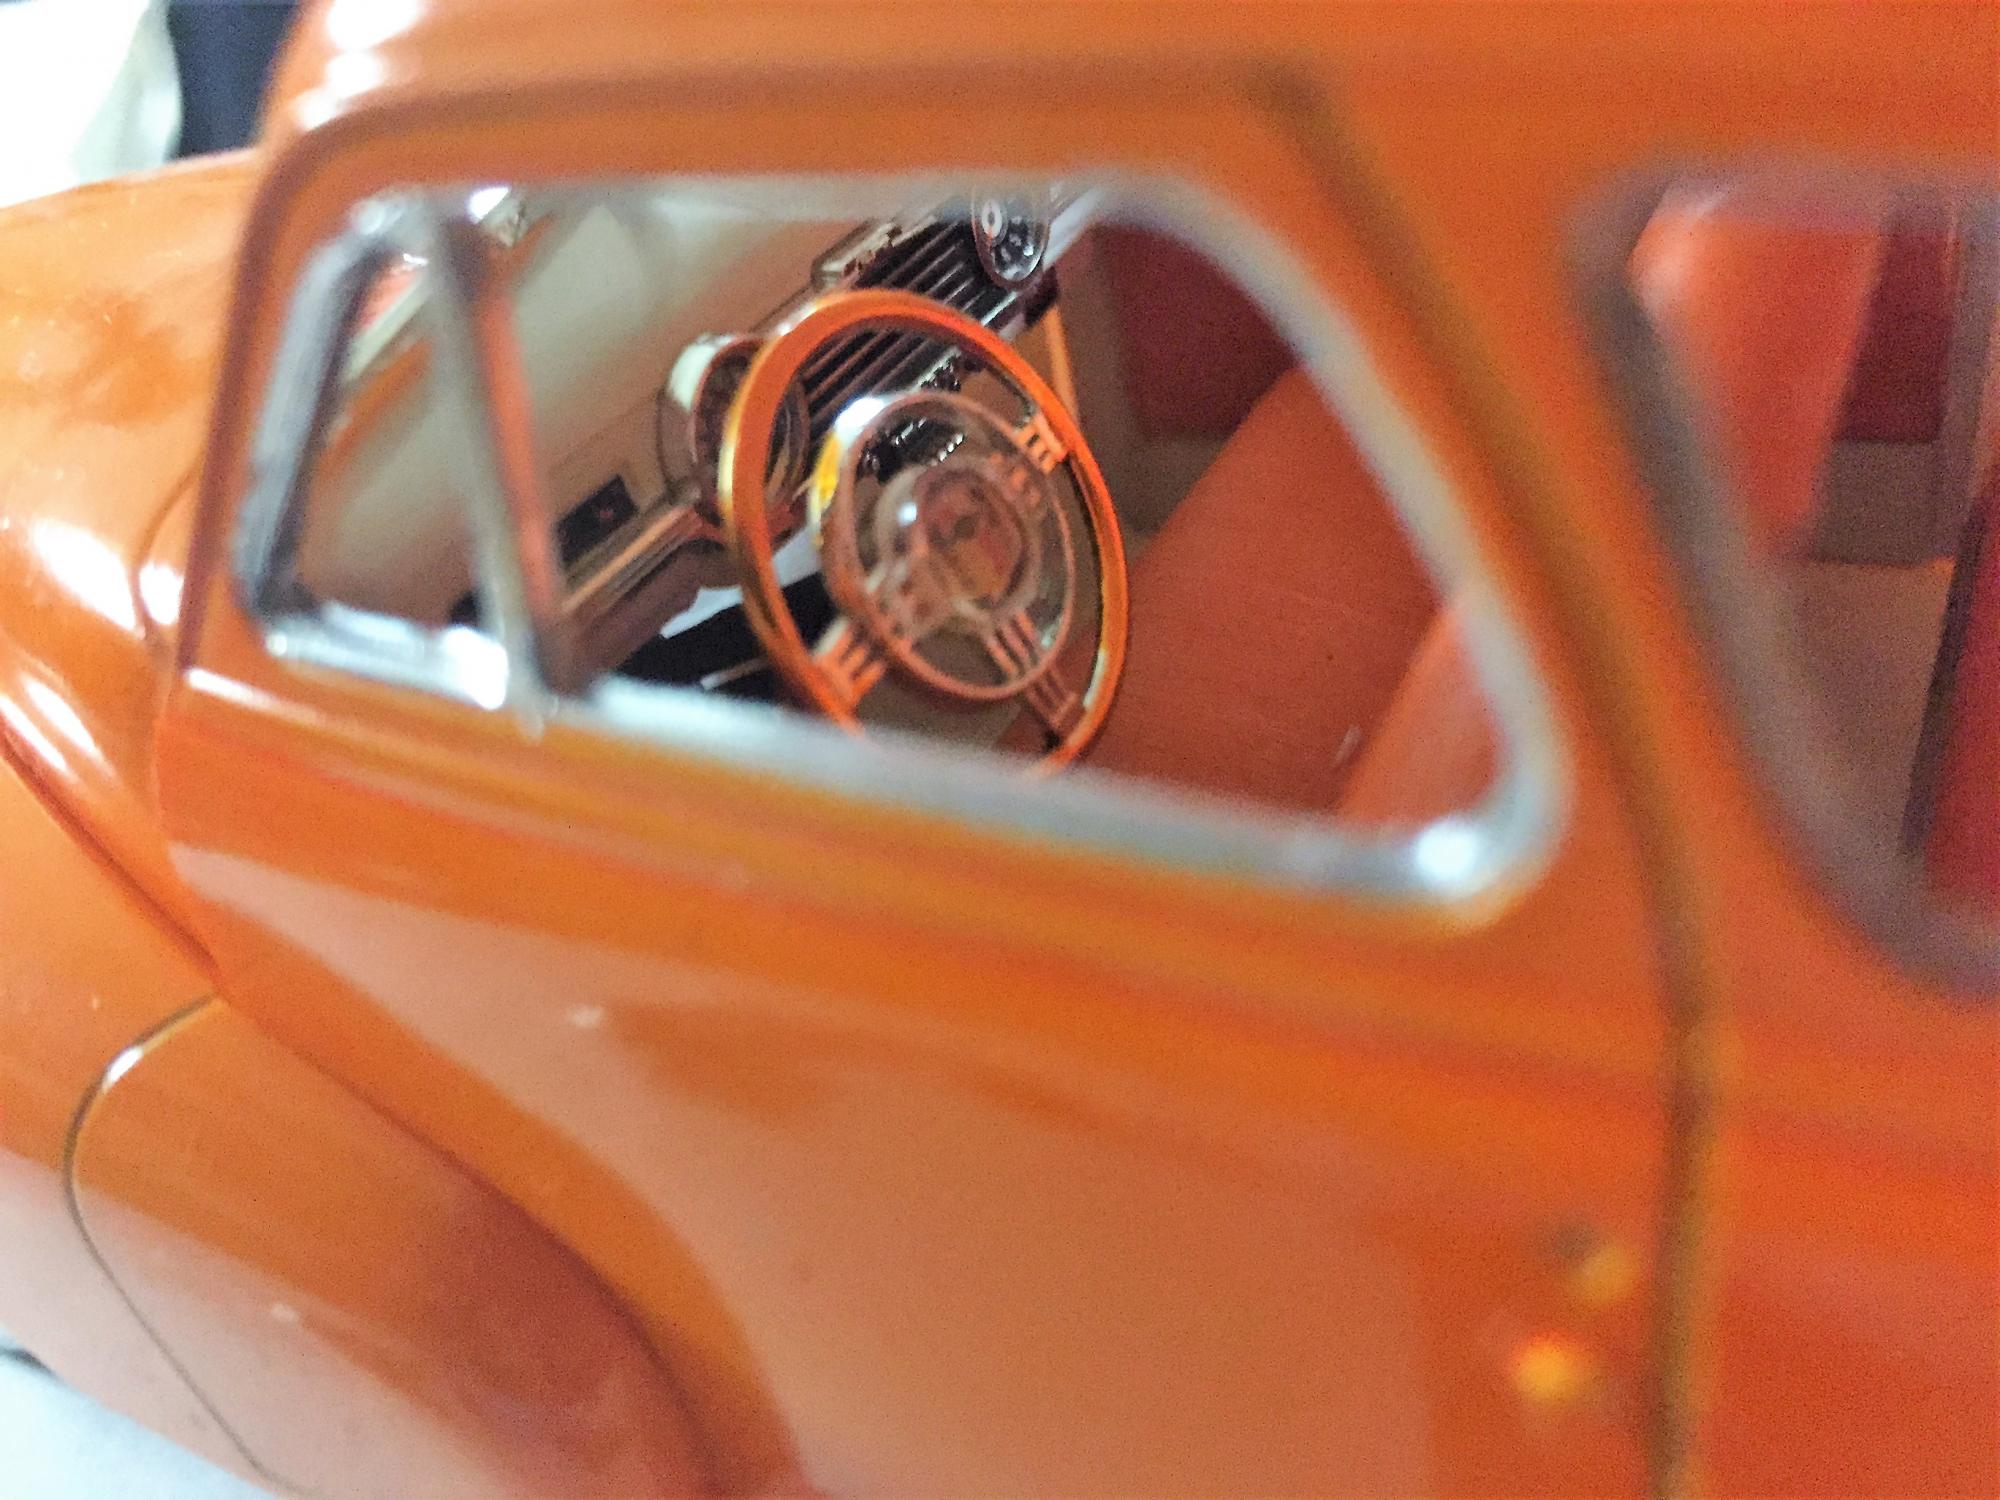
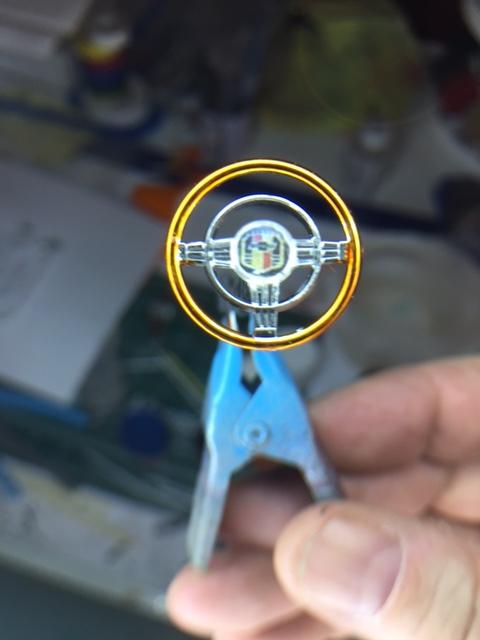
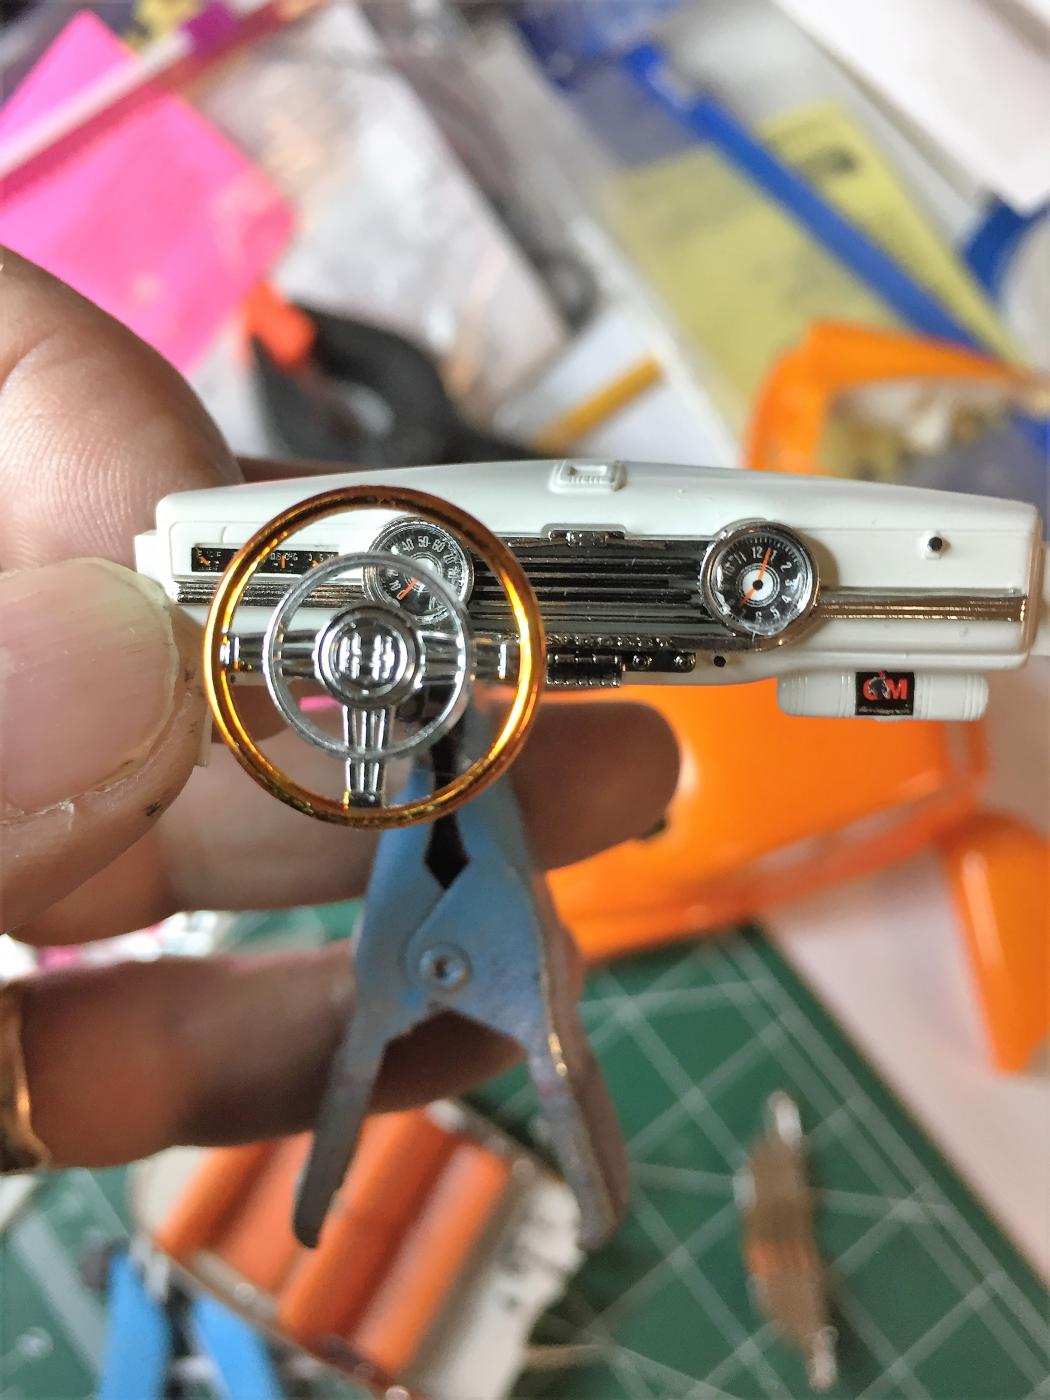
The logo in the steering wheel was a good idea, but I realized after seeing it that it should probably be another 50% reduced in scale. Oh well. I could fiddle with it more, but it falls into the category of knowing "when to say when" for me. Onward.
-
Thanks for the responses, guys
-
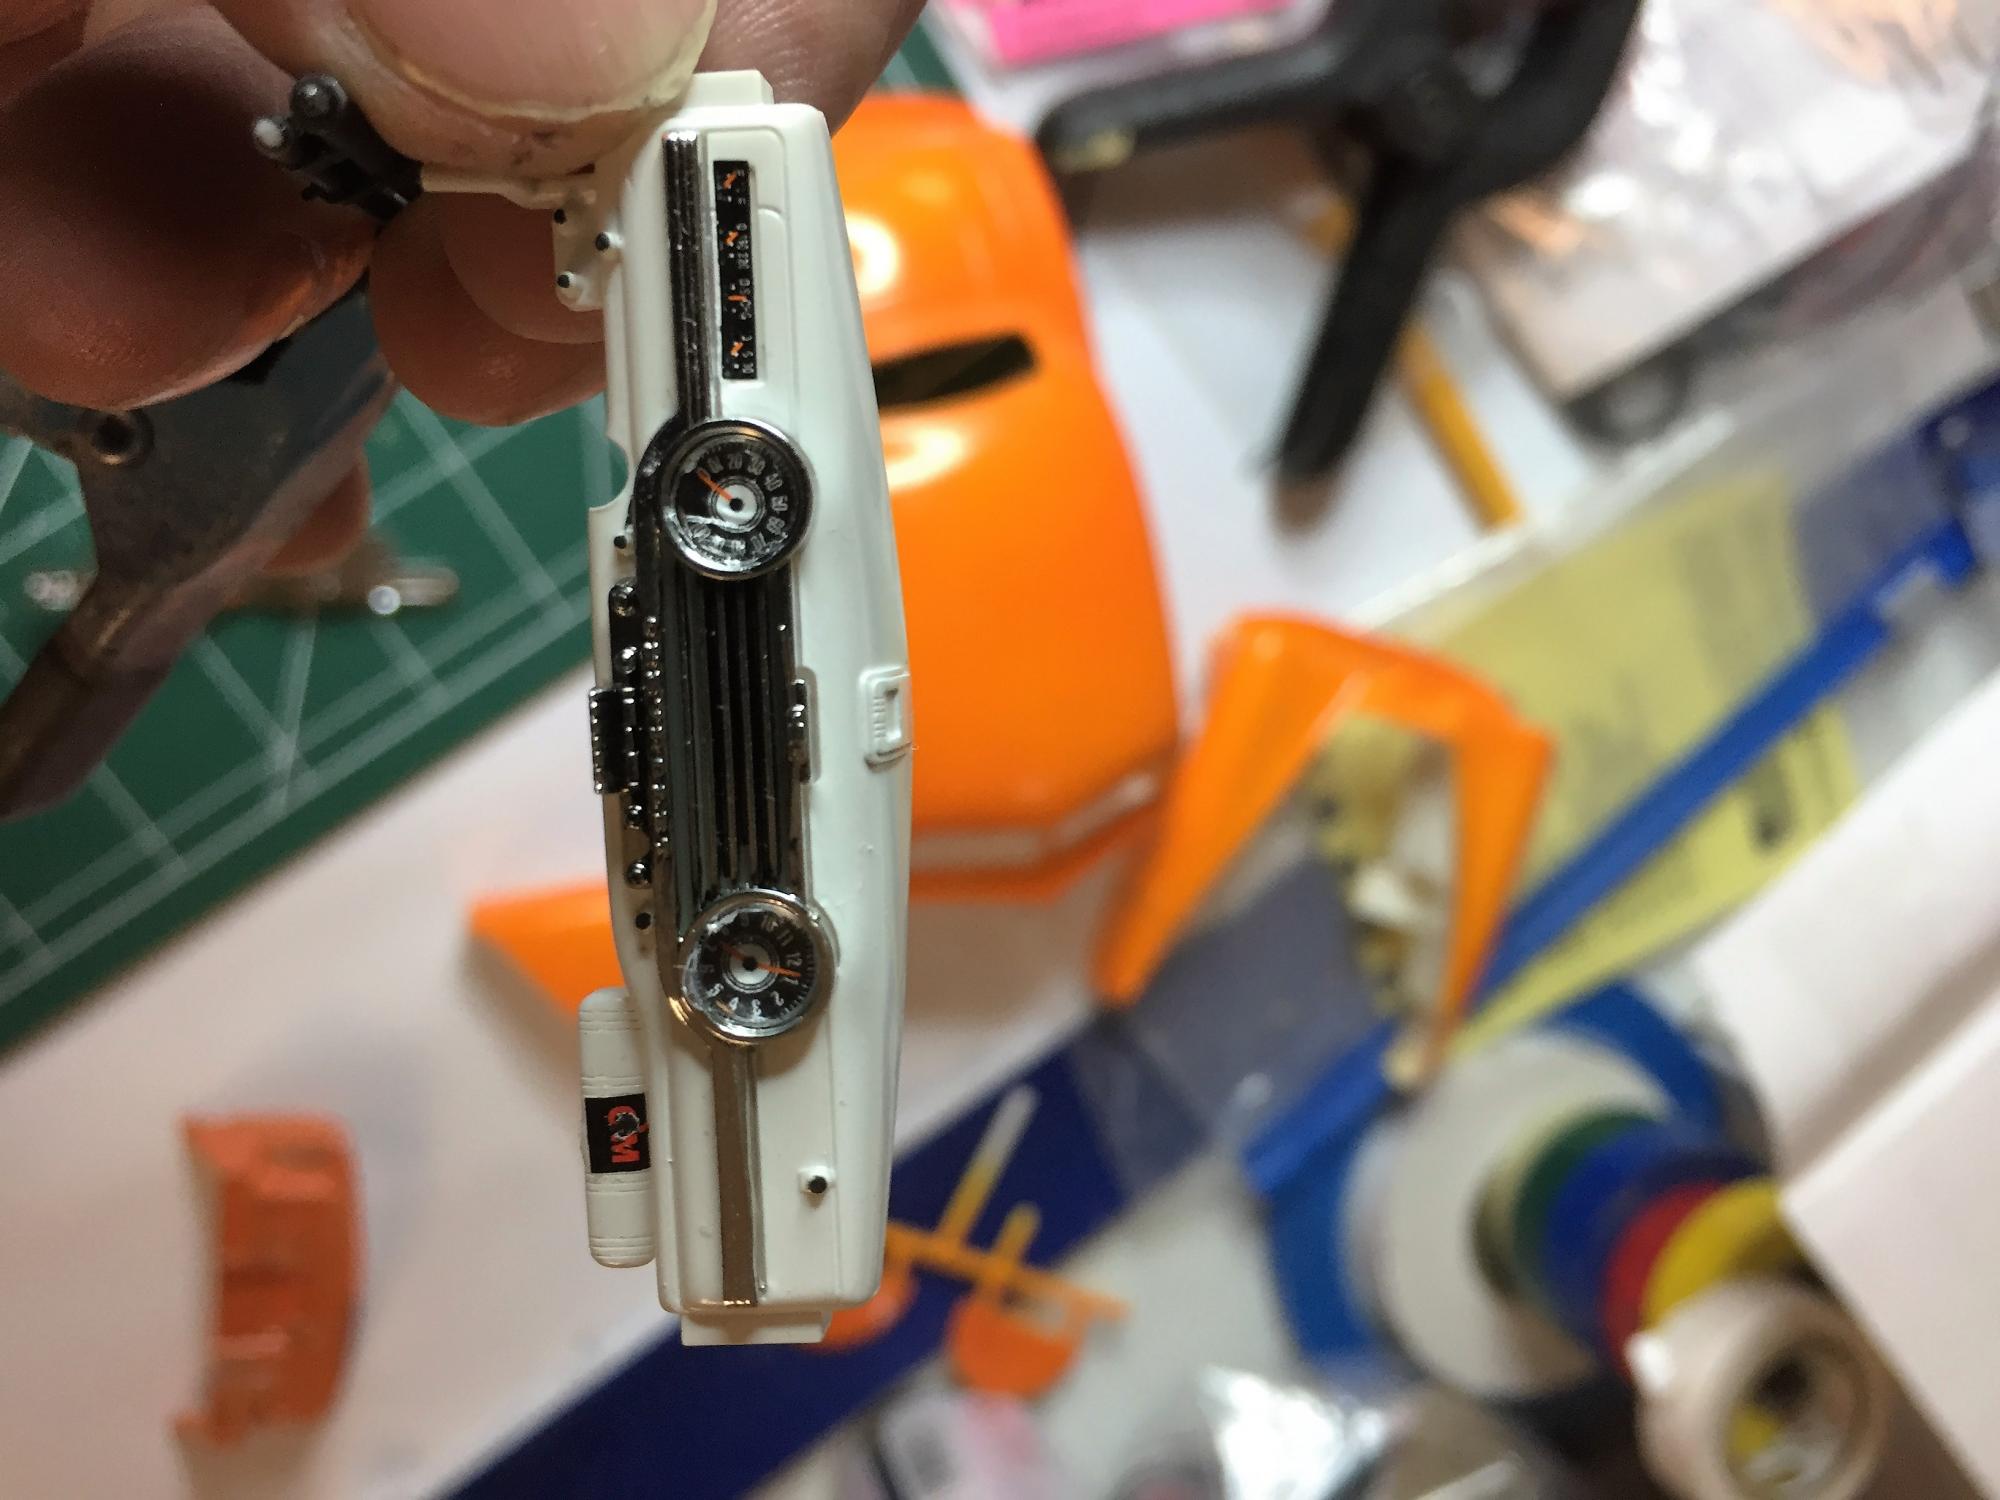
Pretty sure it's not a body mount. The dashboard - 70% due to Galaxie. 30% to builder
-
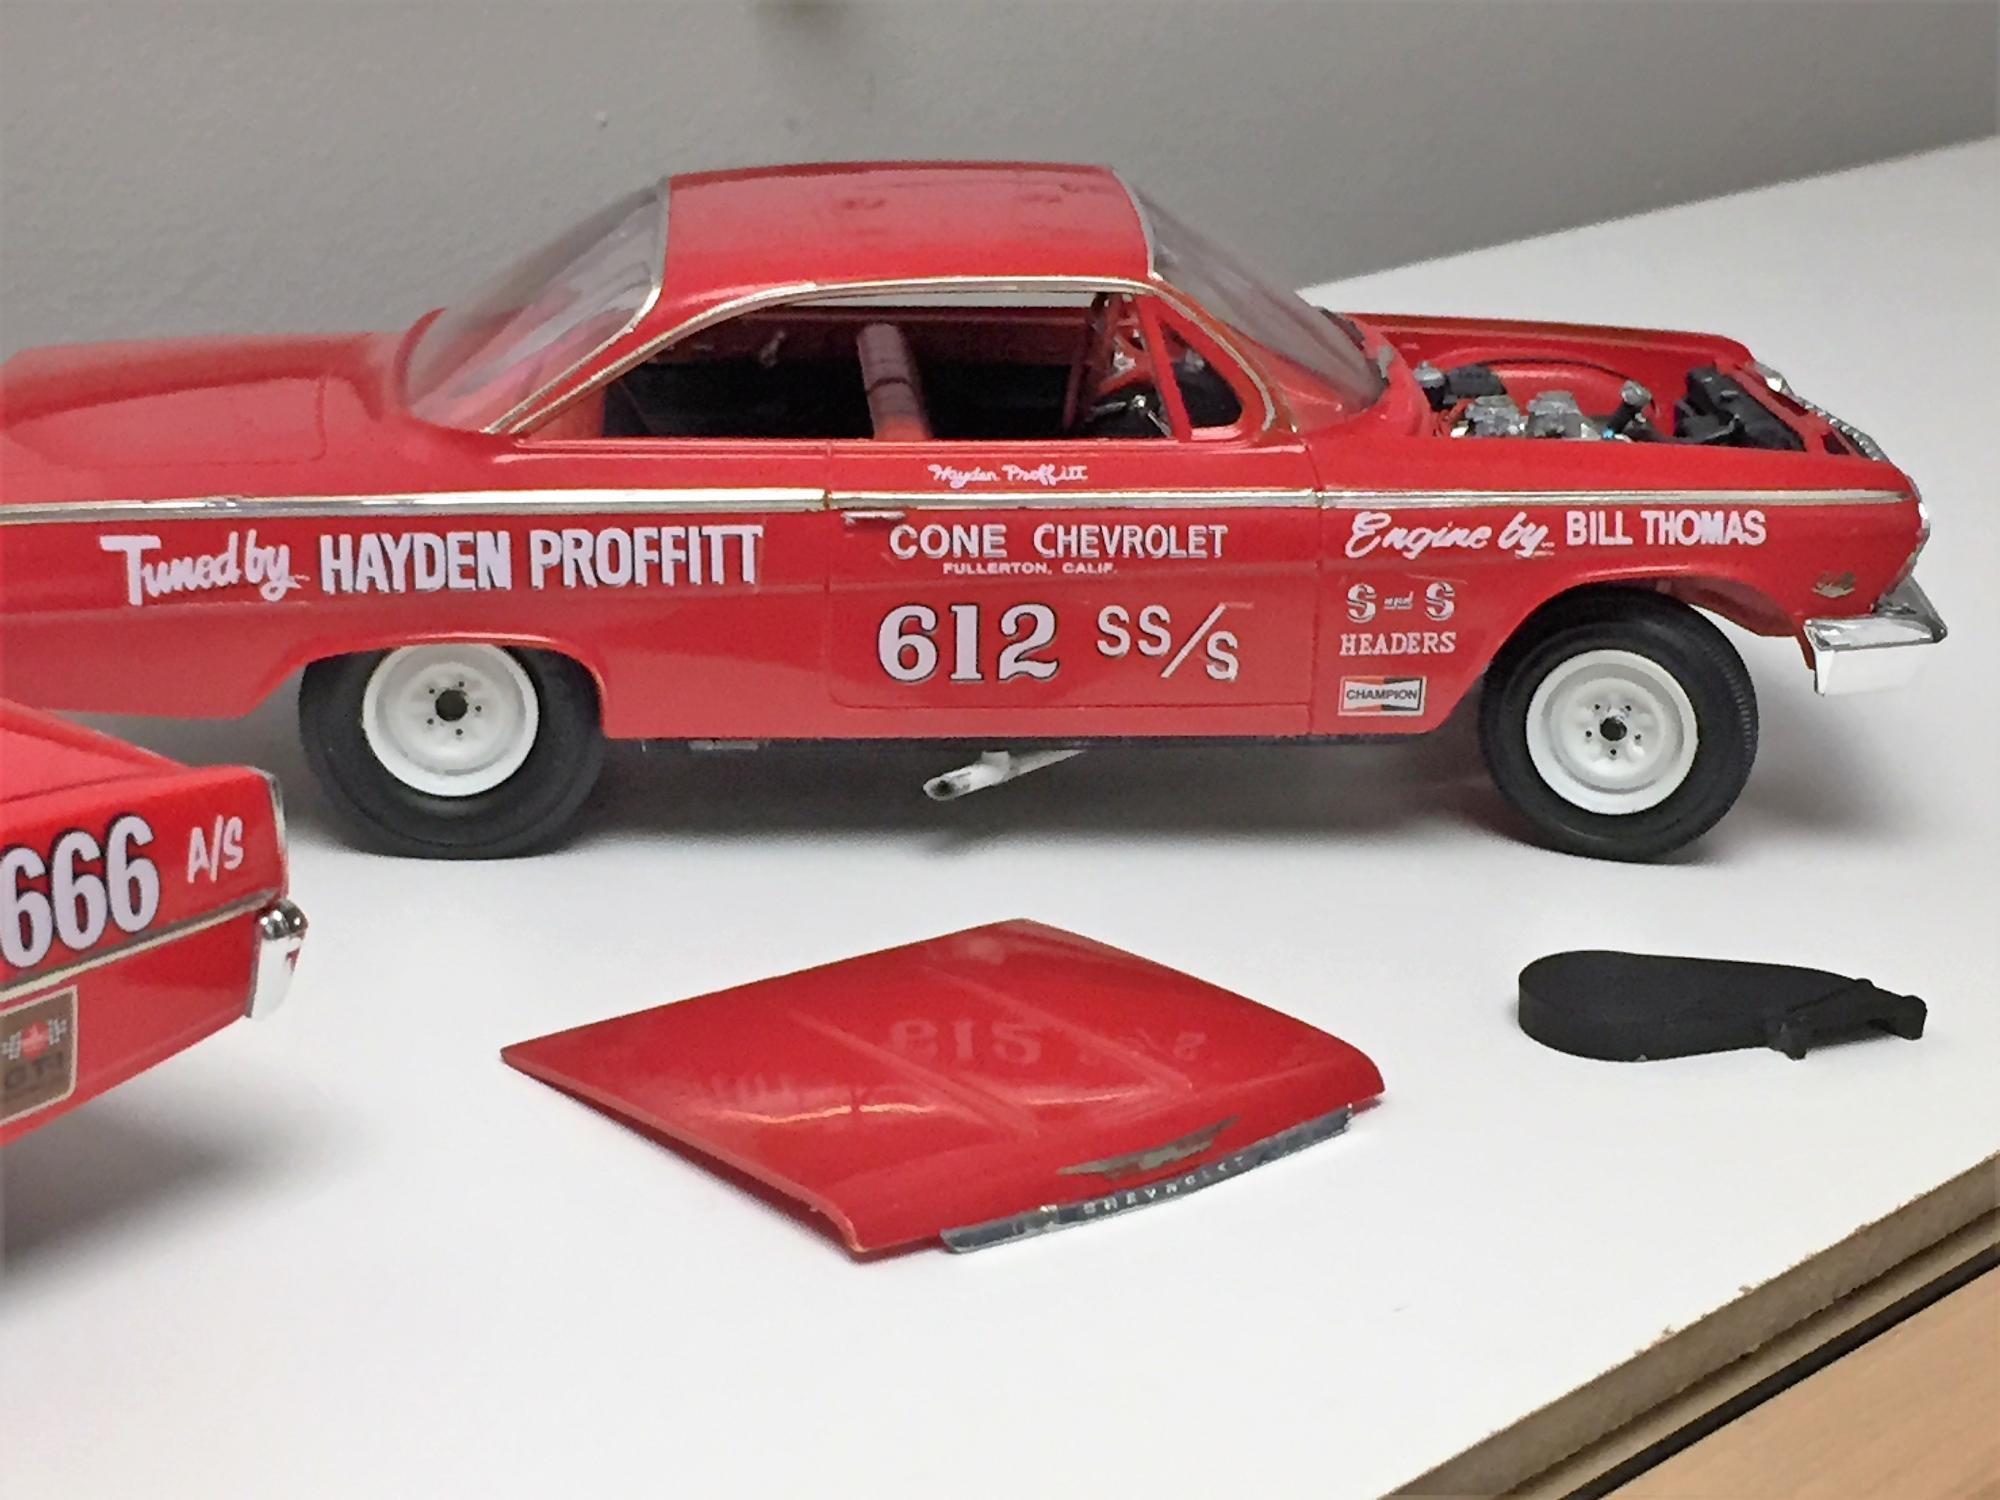
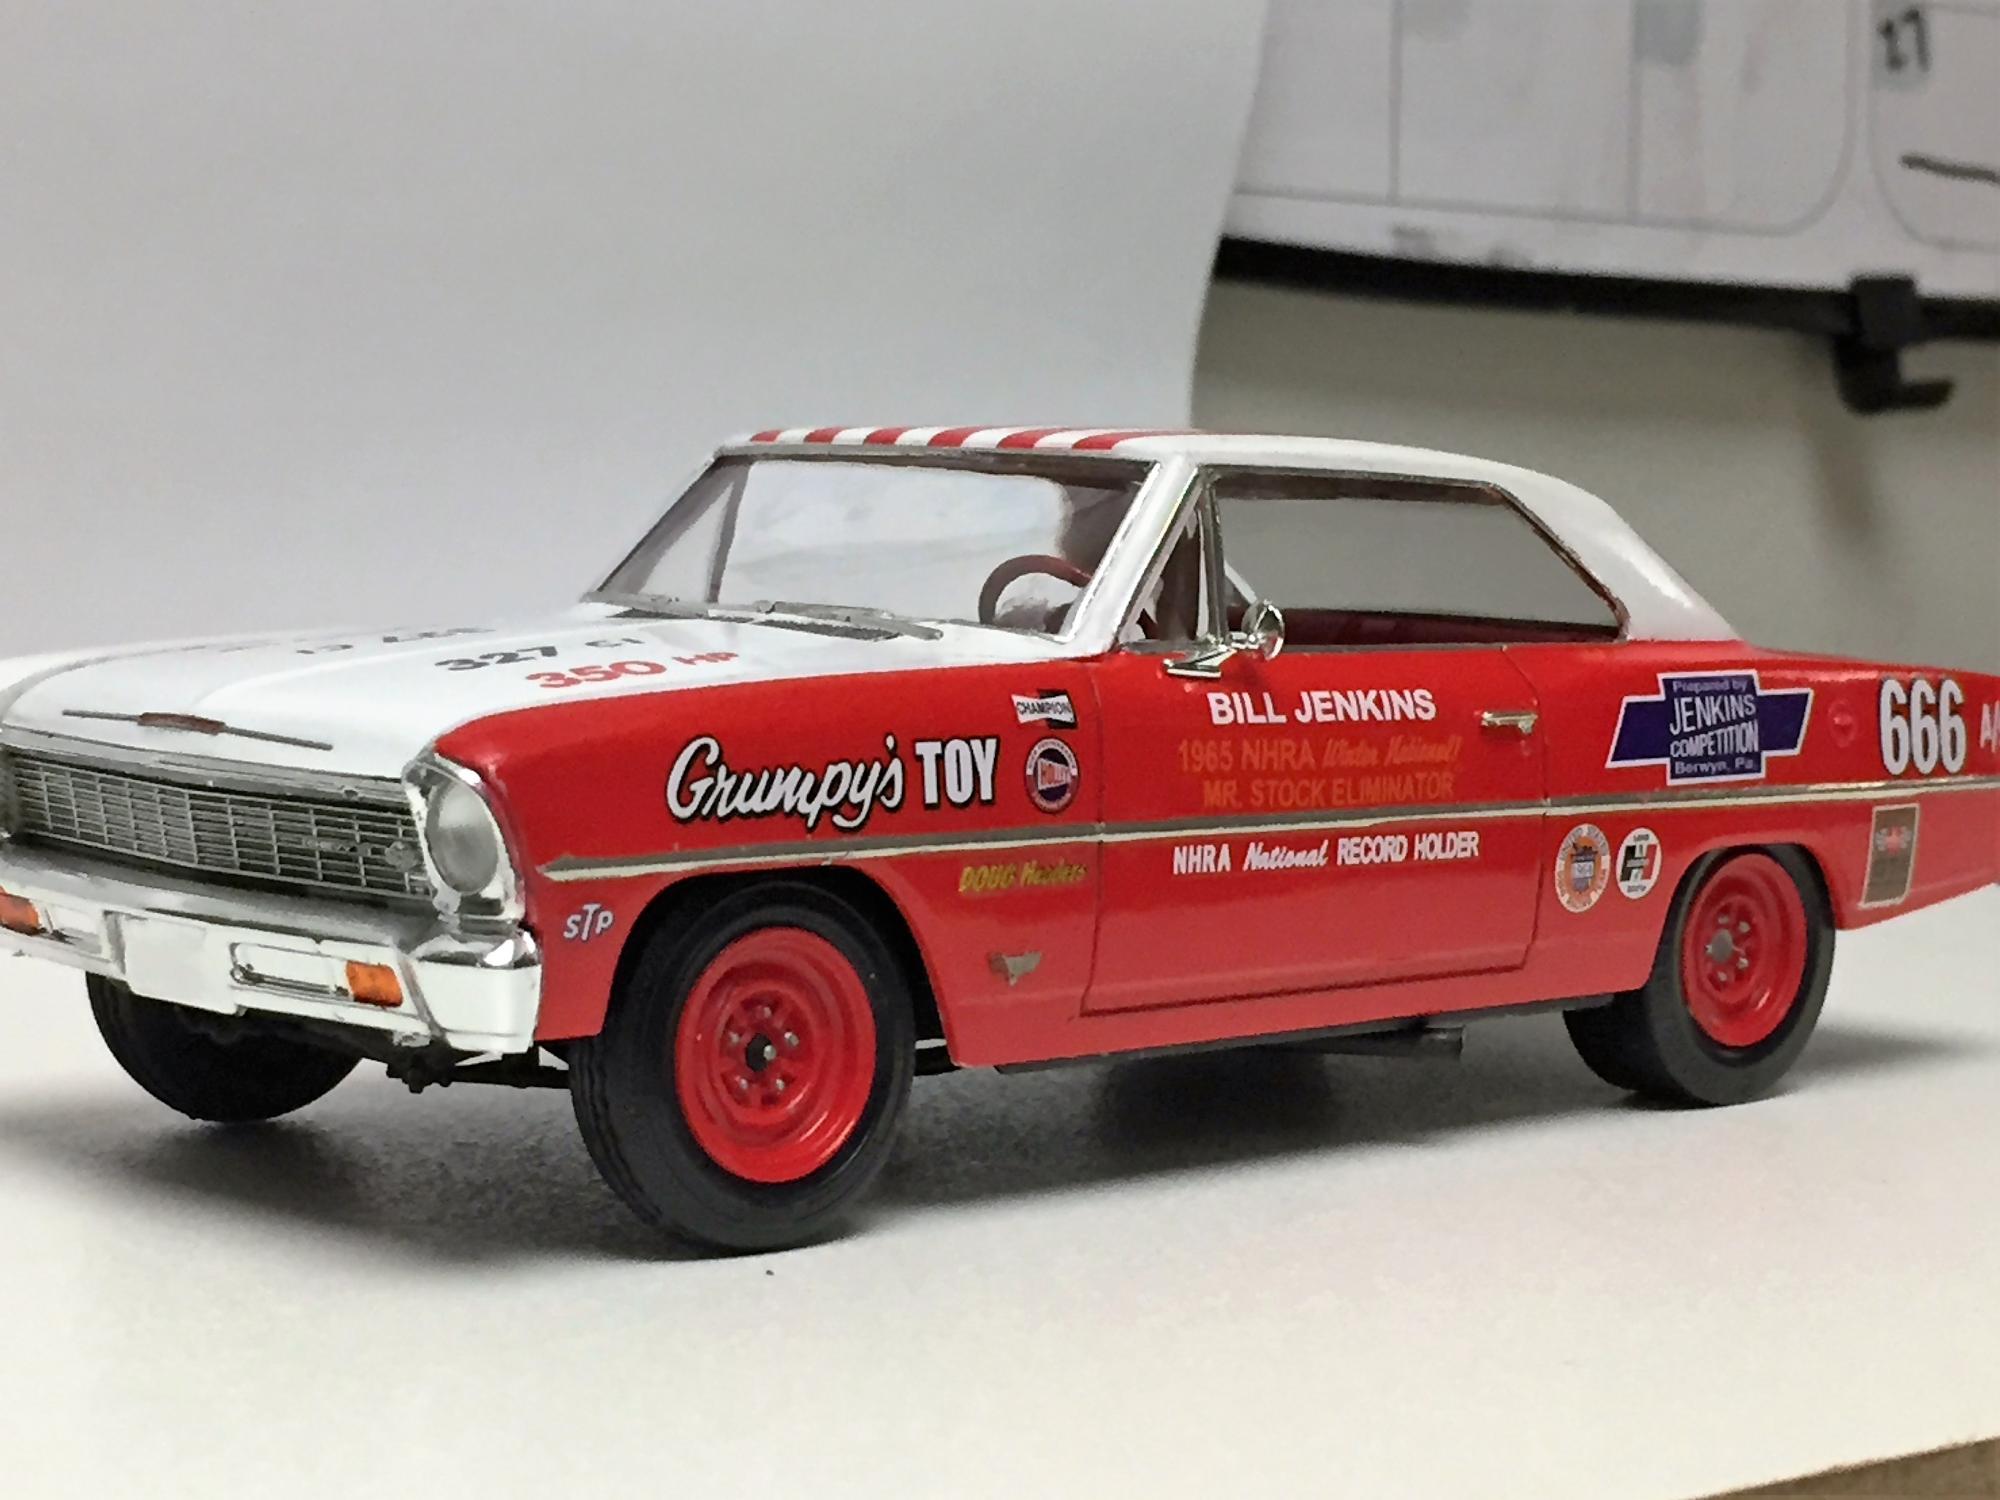
Well, the work on this continues. This is a great kit - complex, but everything fits right (Unlike the Grumpy's Nova I just finished!!). I need some help, though. Does anyone know what that circular object is on the chassis?? - picture below. I don't think it's the master cylinder because all the research i've done seems to indicate it is right on the frame? So what the heck is that thing?
-
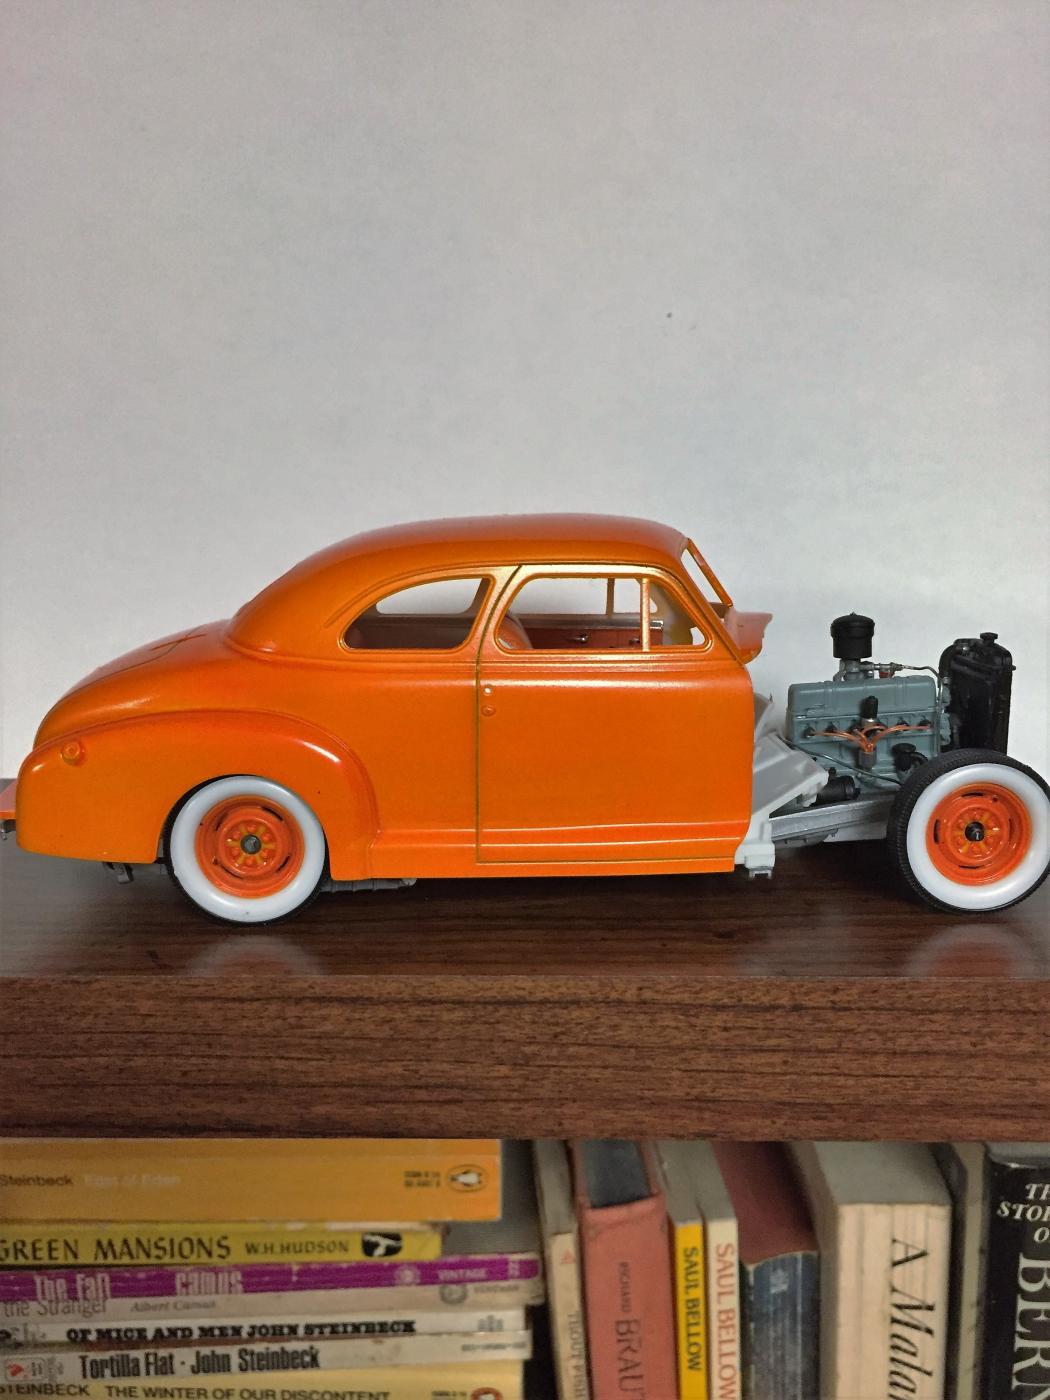
Hi all and happy holidays. These pics show a build I hope to complete before the end of the year. I tried something new (for me) which was spraying the body with Tamiya Clear Orange over white primer. I found it to be really challenging because the clear is unforgiving if you make a mistake. If sprayed too heavily, it pools into a darker color. Really tests your patience! The hubcaps have nice engraving and if you flow some thinned black paint into them it looks pretty cool. More later.....
-
Thanks for all the supportive comments, guys. Appreciate it.
-
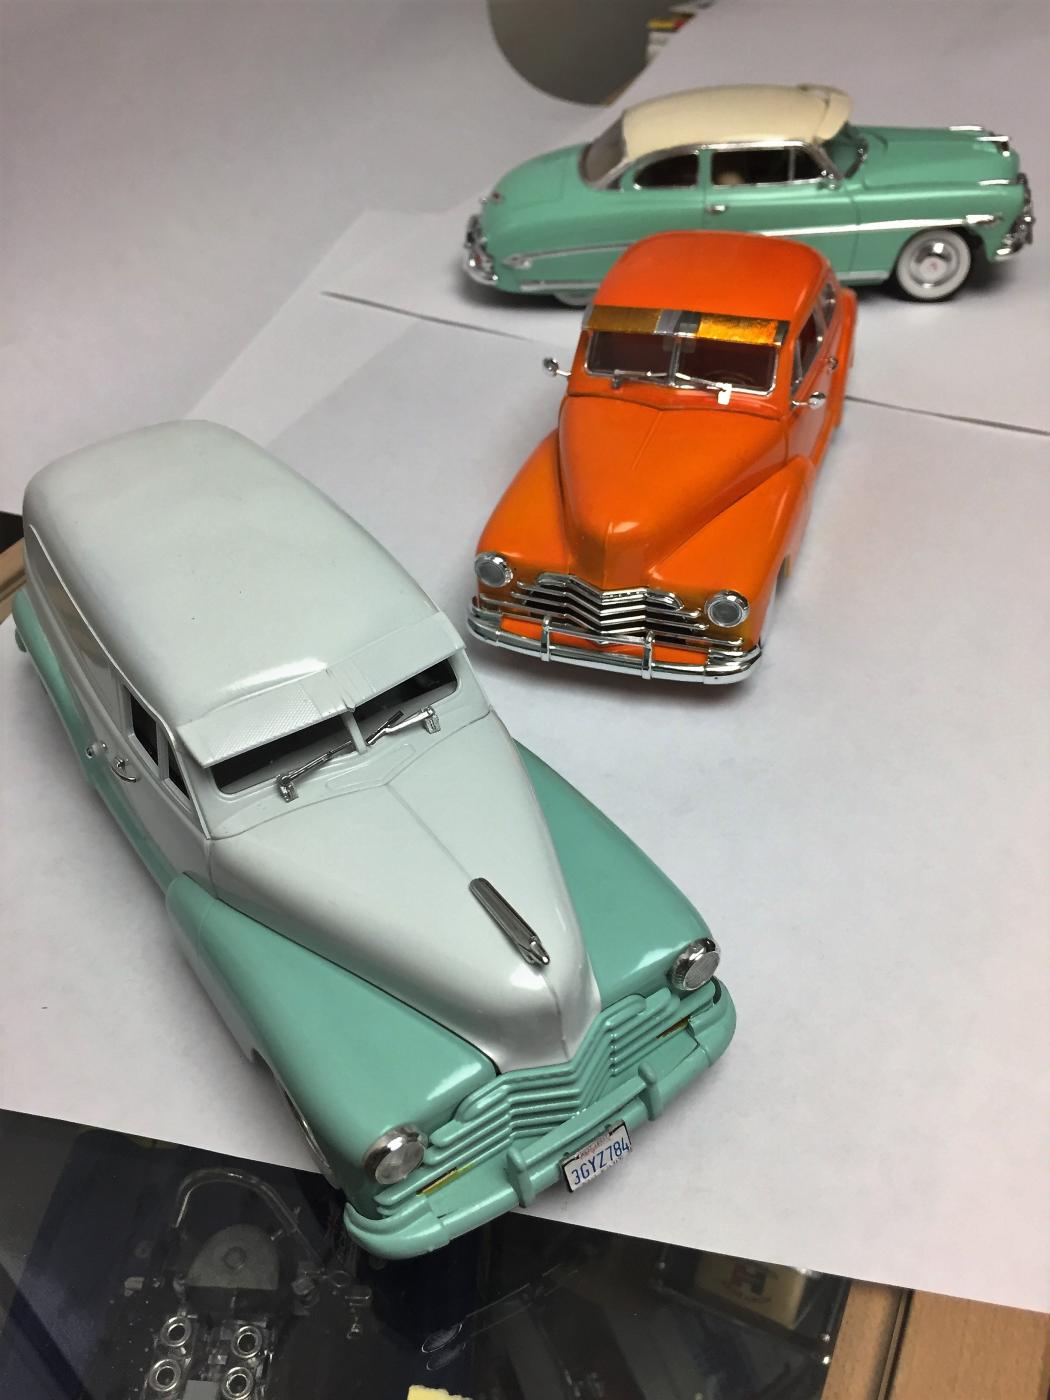
And I realized I had some other red (or red-ish) builds already done, so they'll be grouped together
-
Now the finished model
-
Just finished this build. It was probably one of the most difficult ones I've done because of all the fitment problems in the kit. Hood didn't clear engine. Wheels didn't fit wheel wells. Etc. So a lot of plastic carving. Here are some of the prelim stages
-
10Thumbs - I have another of those Trabants. I was thinking of slamming it, painting it a matte color - so may the injected small block will be included.
-
Go Trabant, Go!!!
-
Wow...great info. Thanks
-
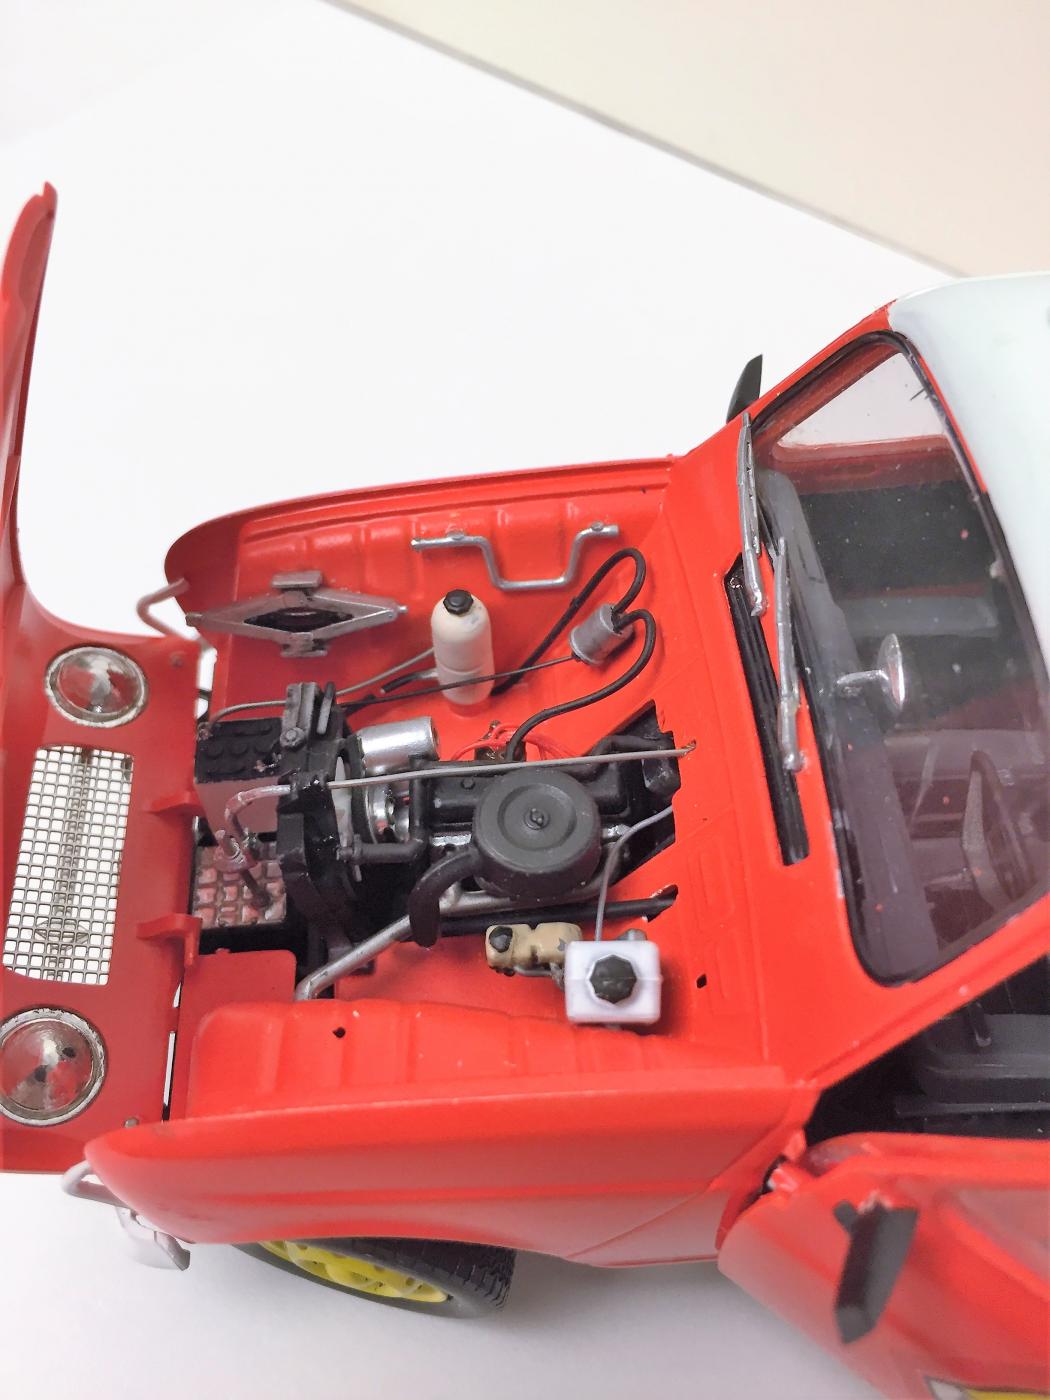
Thanks for the comment, guys. . I'm all for more detail - I may check out reference photos to see where those headlight wires go.
-
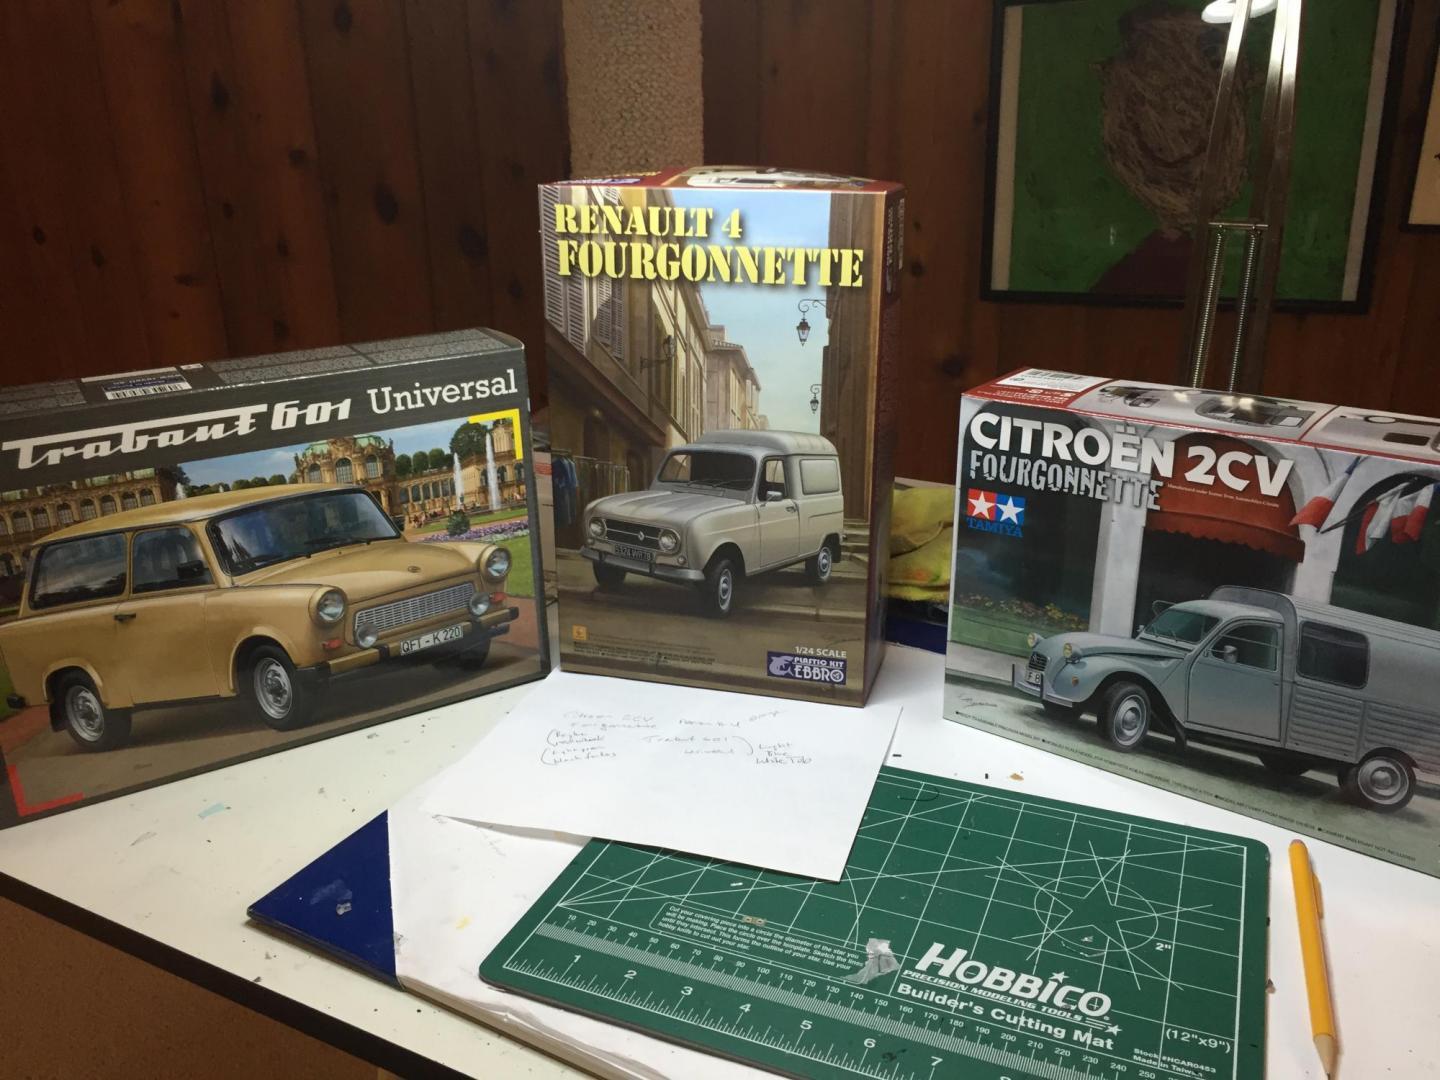
I can't believe how long it took me to get around to building these models. Maybe a year! I thought they would be Winter 2015 builds. Of the bunch, the Trabant was the toughest, mostly because of the trim. With the other builds, I tried my hand at making workable hinges and it turned out ok. I used reference photos of the 1:1 cars to decide on the color schemes. Purchased some aftermarket decals for the Renault.
-
Love the brake lines - and the whole build is great
-
Thanks for the comments everybody. Greg, the colors on the Hudson are Model Master Fifties Aqua #2942 and Light Ivory #2909. (Hey, my sister lives in double bay, AU. Was married to Murray Rose.) Dave - wow you did the decal art on that Tim Flock racer and lived next to the Ms! That's cool! Stephen - the foil is kind of a pain. But I try to replicate the 1:1 versions so if they have chrome, I'm in. Taking me a while but finally figured out that prepping for the foil is a must - just like painting, if you've got bumps or debris where the foil goes - it gets picked up once you put it on. Curves are also a pain.
-
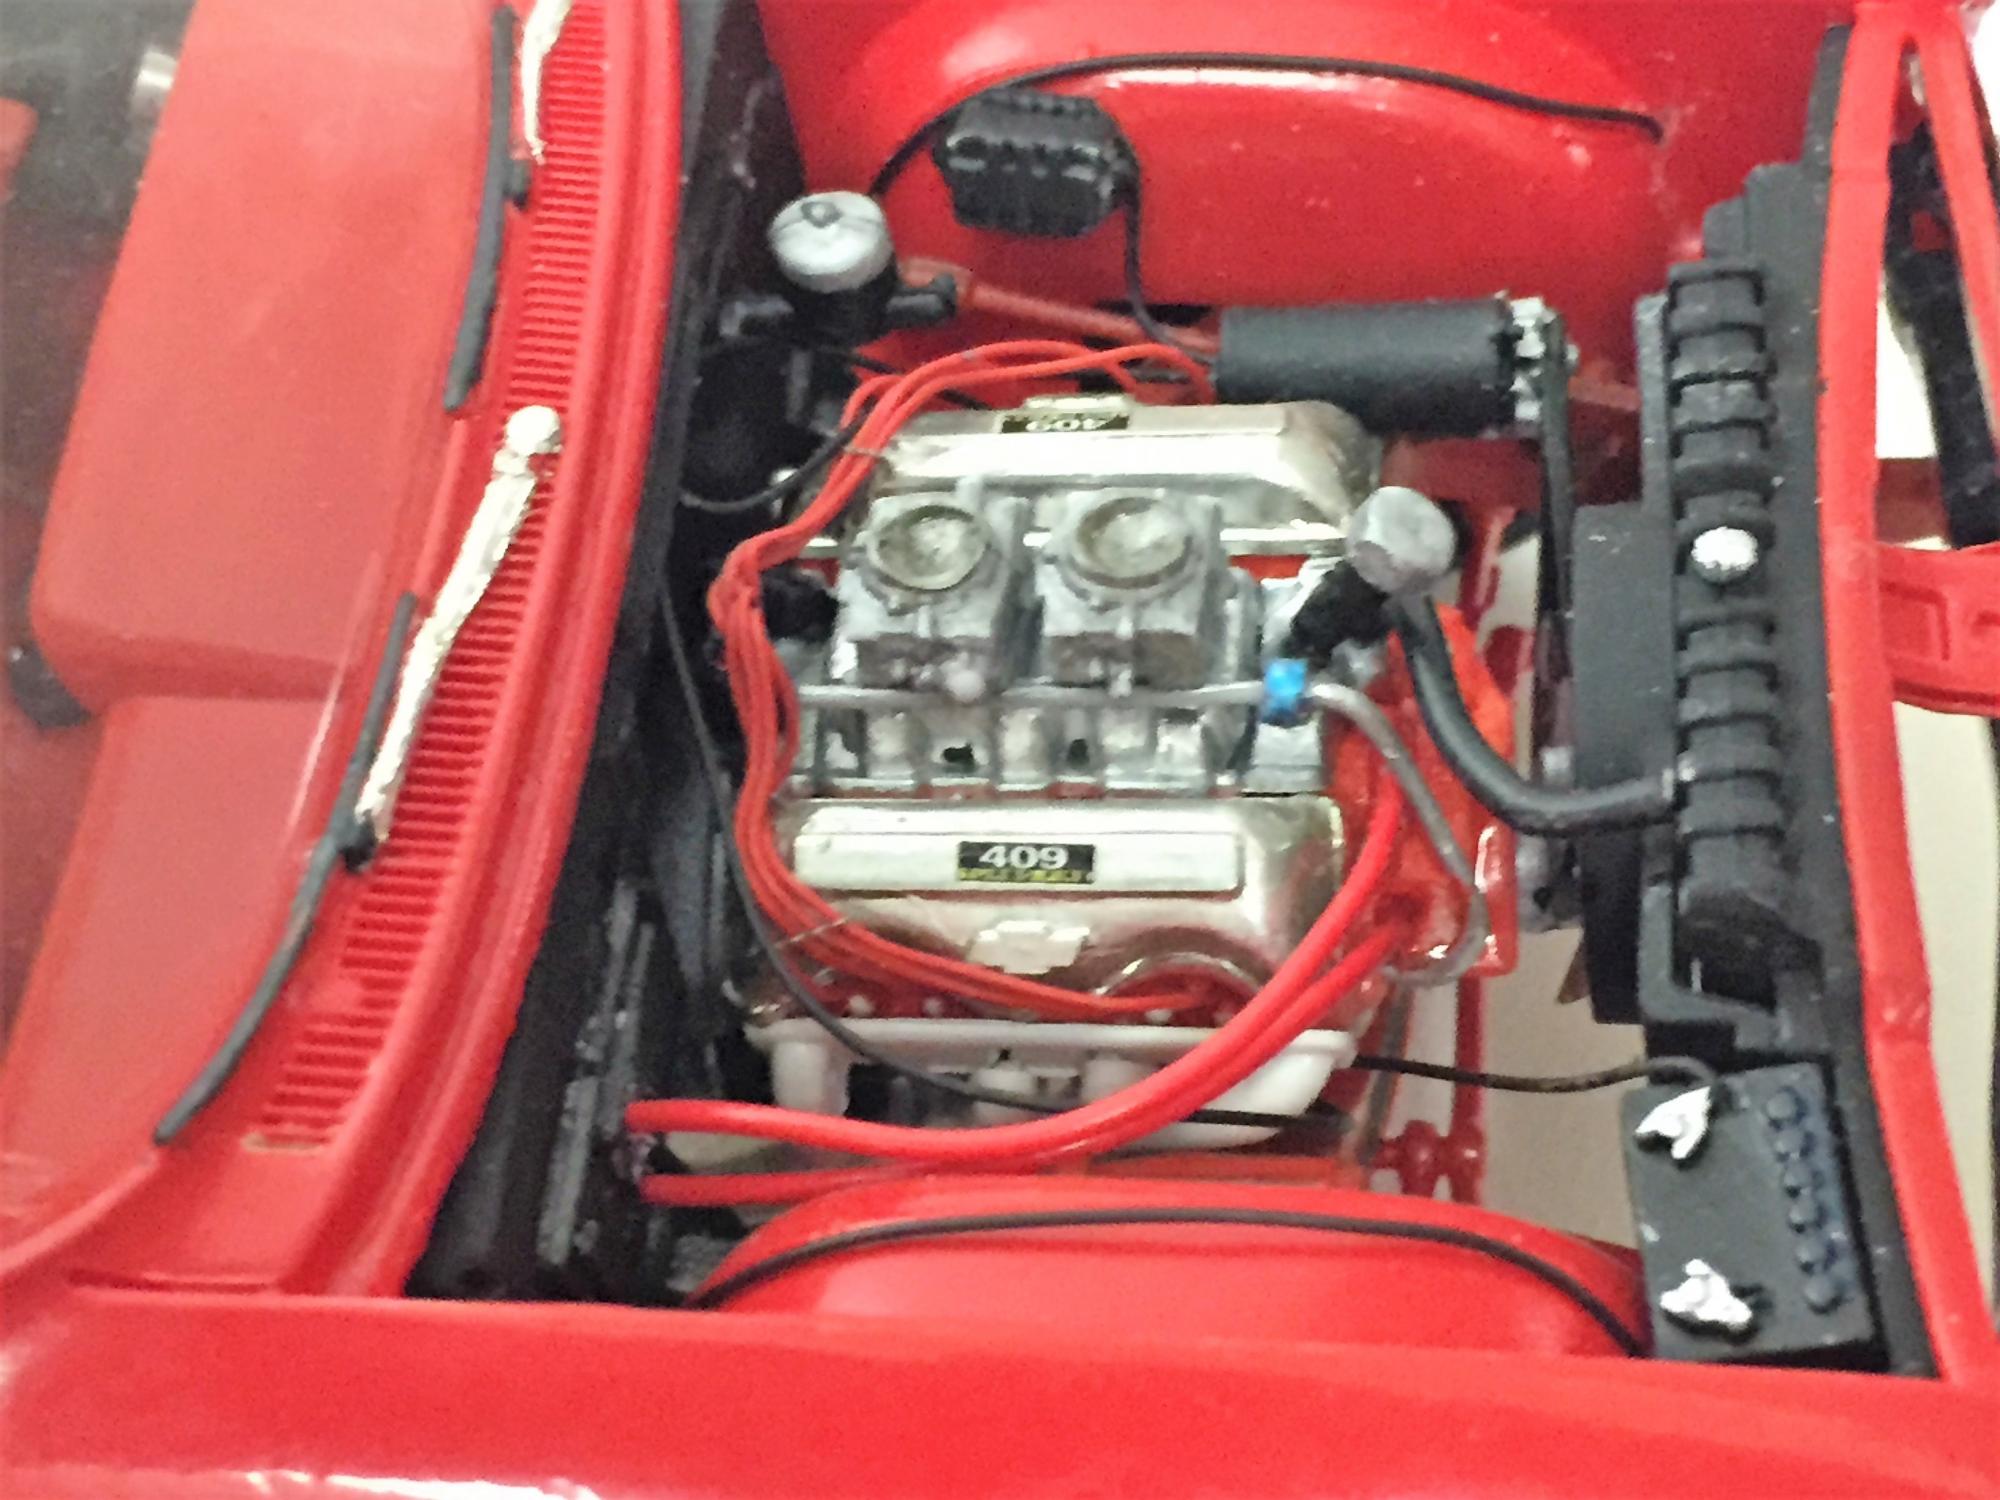
Man, that engine work is amazing!
-
Like the heater hoses

.JPG.33a3172c48b65b8a7bdcf688306f2ea1.JPG)


.JPG.103f515a18893870ad22b4c0336b7168.JPG)


.JPG.cbdf96d89061cbec7b6c222dca475258.JPG)