landman
-
Posts
7,921 -
Joined
-
Last visited
Content Type
Profiles
Forums
Events
Gallery
Everything posted by landman
-
 Installed in the "shop". Its location may change as other pieces of equipment arrive.
-
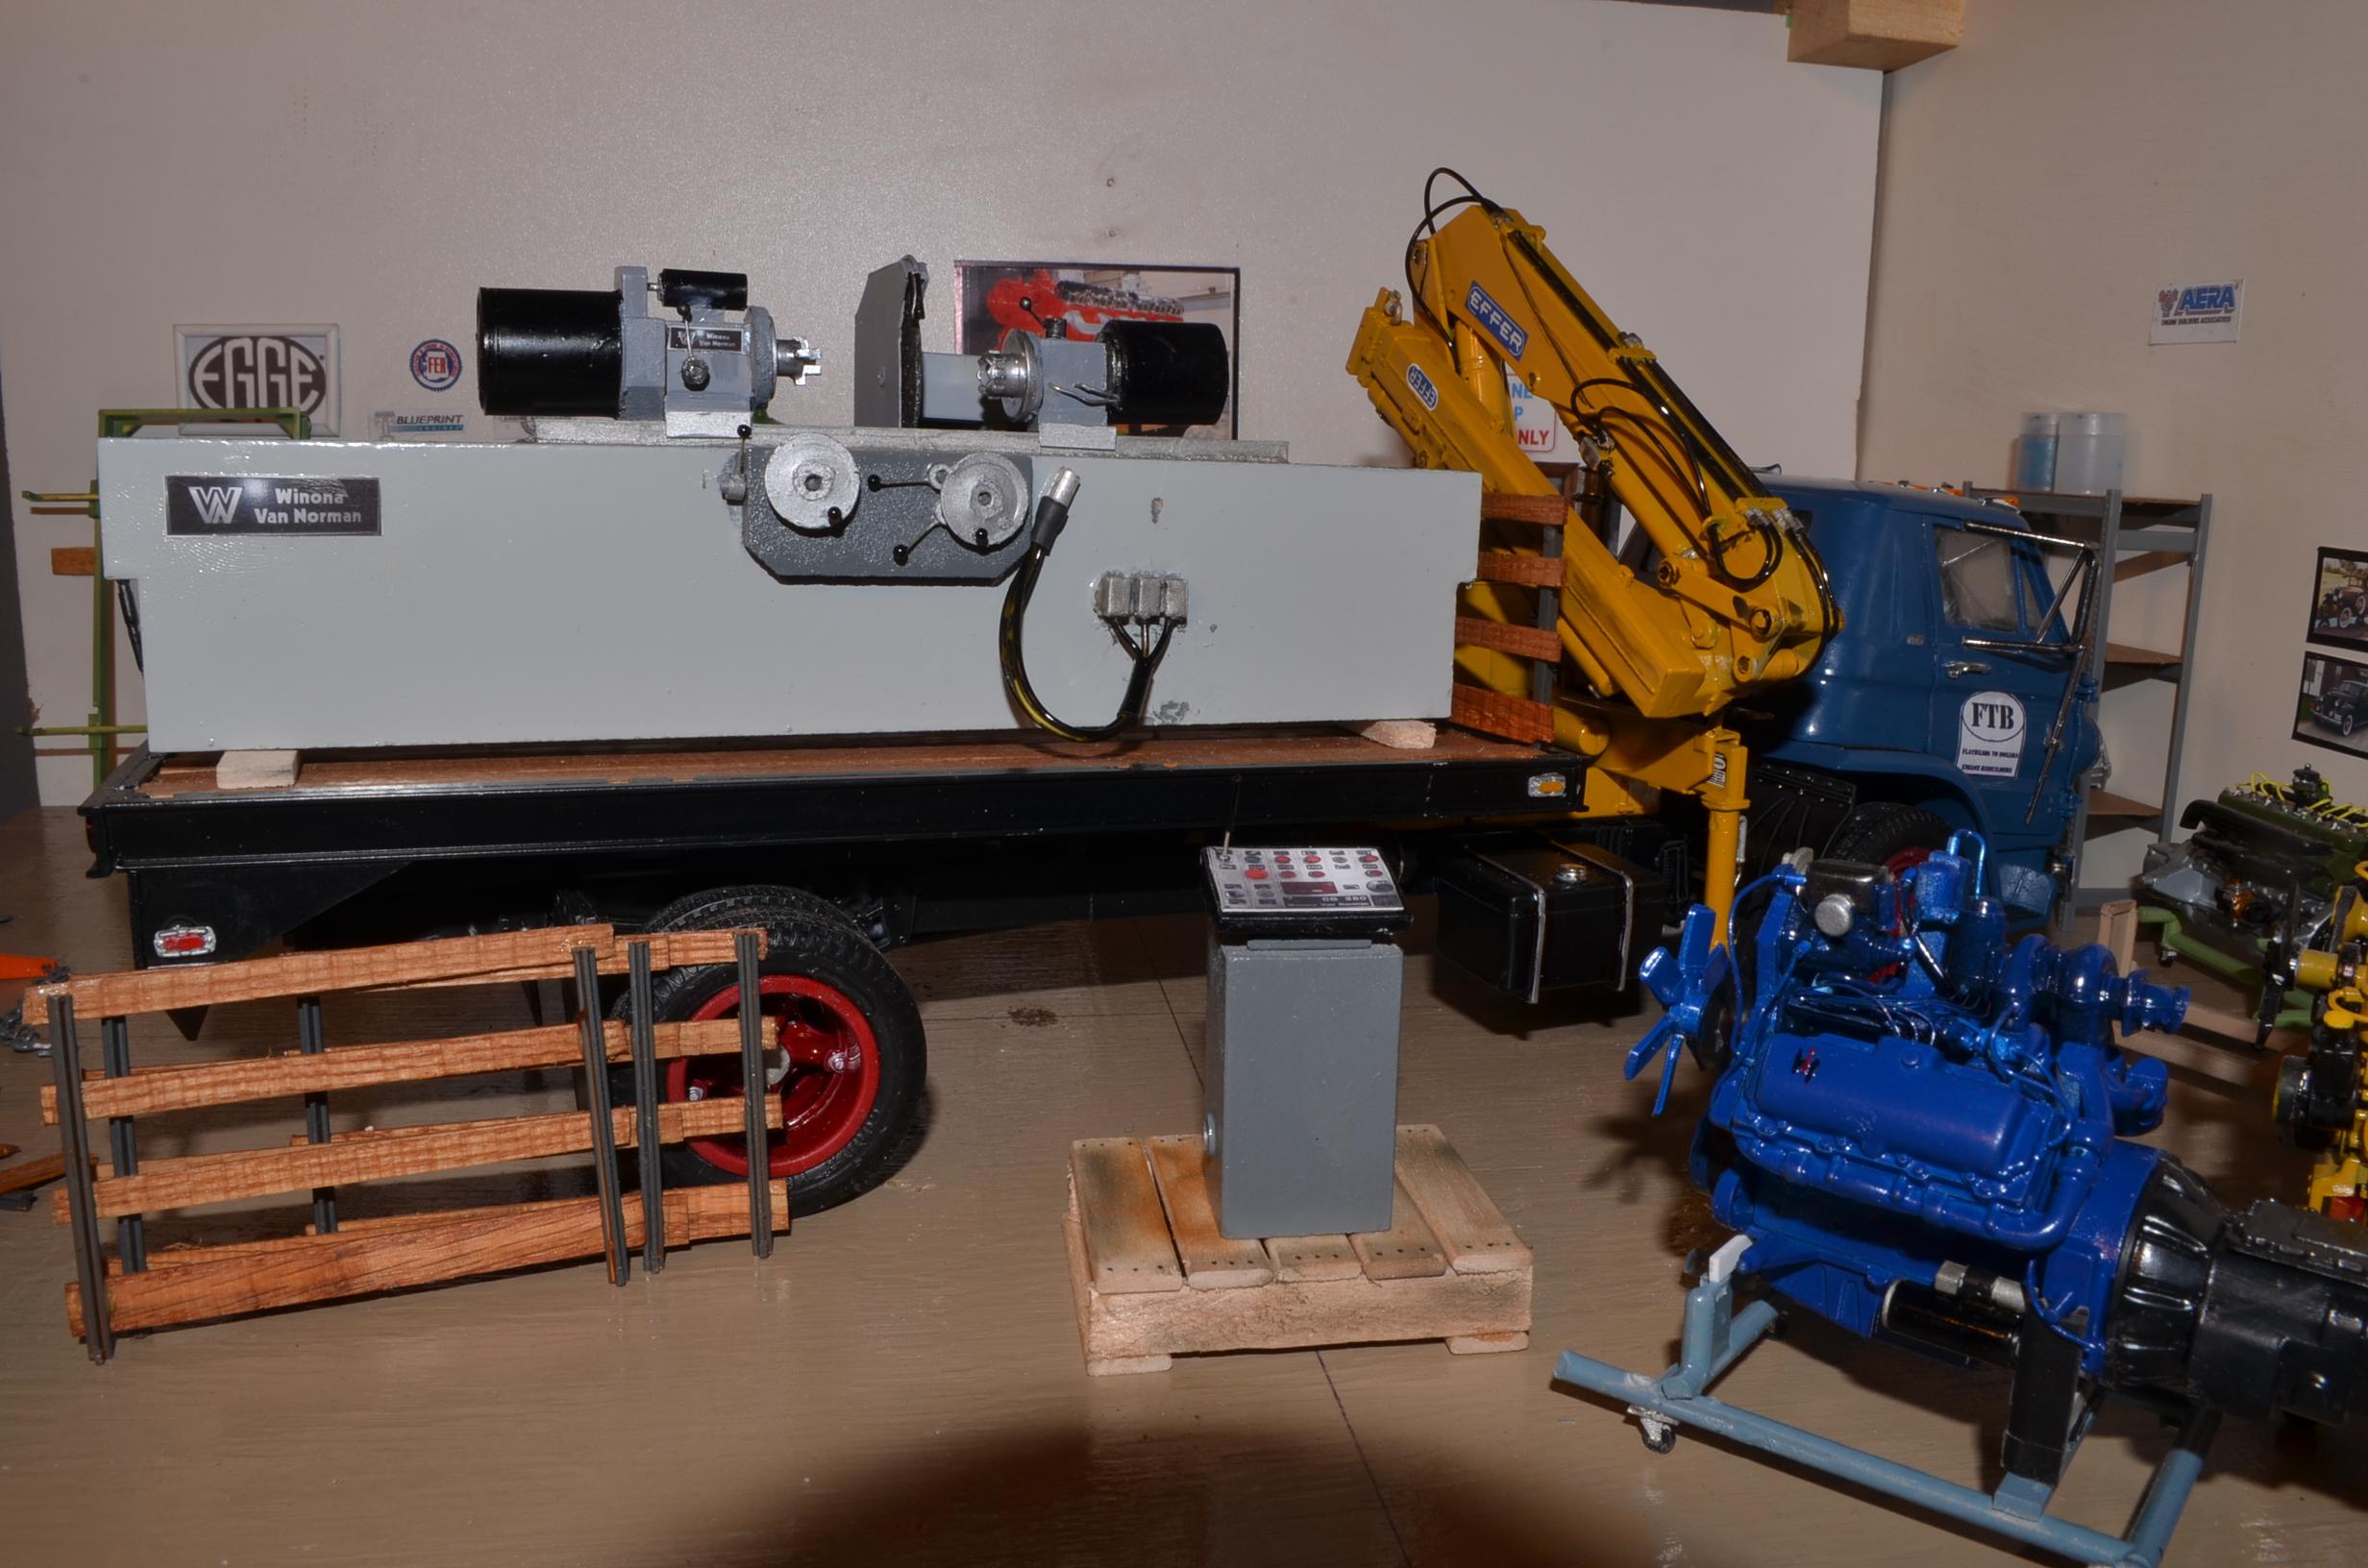
The machine is being delivered to FTB. The controls module is already on the ground.
-
Beautiful work.I wish I could splice in new styrene this neatly. Mine always winds up being visible. Great work on the rear suspension. You are right, it is tough getting all those sparate pieces straight.
-
Thank you Mr. O'Dell. A bit more progress. Added water tube to grinding wheel housing, adjusted the wheel mount to allw the wheel to reach the crankshaft,. Started working on the controls console.
-
Played Need for Speed for a long time until my program got corrupted somehow and quit working properly. Lately I've been playing Real Racing 3 on my iPad.
-
The elusive GMC B-7000
landman replied to landman's topic in Model Trucks: Big Rigs and Heavy Equipment
It does look like that doesn't it. It's mostly because I don't see anything that excites me in styrene. Maybe an old Transtar cabover some day. -
The elusive GMC B-7000
landman replied to landman's topic in Model Trucks: Big Rigs and Heavy Equipment
Well.... it's a toss-up. Either this one in FTB colors Or this one done as a plain old daycab tractor with a scratchbuilt Blue Diamond.
-
Mack B-81
landman replied to LineDigger87's topic in WIP: Model Trucks: Big Rigs and Heavy Equipment
Love that scratchbuilding. The rest too. -
Here's a little more progress. There is everything from the junkpile in there. Aluminum & copper tubing,MDF, wooden dowels, sprue, strip styrene. The front handwheels are vinyl washers from my old sheet metal shed. The red "chuck" in the tailstock is from a ball point pen clicker. The grinding wheel is a cutting disc from my rotary tool kit. Its housing is made from a business card and strip styrene. Who says it has to cost money to have fun.
-
The elusive GMC B-7000
landman replied to landman's topic in Model Trucks: Big Rigs and Heavy Equipment
Thank you all for the kind words. Despite the hurdles, I actually enjoyed this build very much. Meanwhile I started on the large tools for my engine shop diorama. I tackled a crankshaft grinder first. -
My dad's first car was a 1934 Chevy coupe he got from his brother around 1945. He parked it behind the equipment shed at my grandfathers' around 1950, where it sat for 50 years until I picked it up in 2001. It now sits in my garage. My mom's first car was a '61 Vauxhall much like this one.
-
The elusive GMC B-7000
landman replied to landman's topic in Model Trucks: Big Rigs and Heavy Equipment
Helmut, the cab is a resin piece by Frontier resins. I got it on eBay. -
Thank you Sean,Marc,Brian,Terry& Clayton. I've posted some better (I think) pictures under glass.
-
Here is what I ended up with. It was a big job. Turned out not too bad.
-
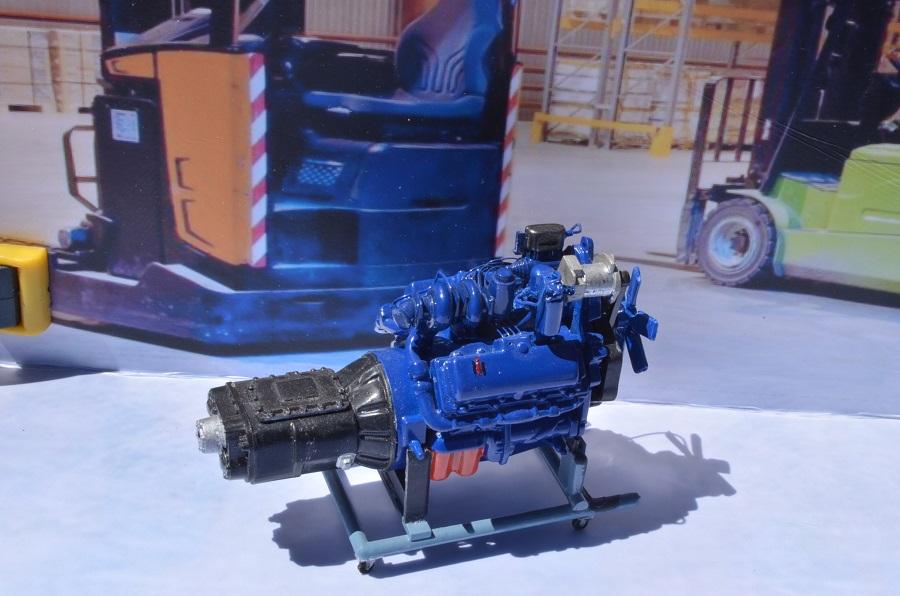
One last peek at the 702 before I mount the cab. Here 'tis gents. I still need to find small clearance lights for the cab.
-
Thanks Terry, I'm kinda happy with the way it turned out too. Still too squat but it'll have to do.
-
And it would too! Super build.
-
I've started building a crankshaft grinding machine.
-
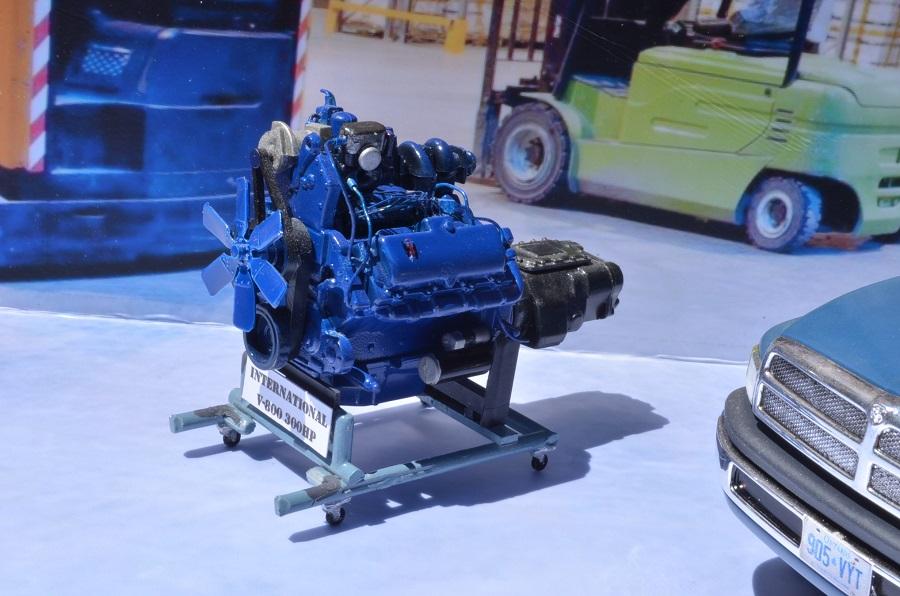
The V-800 is done. Still need to make a stand. Working on the cab. Painted window "rubbers, added a few details & decals.
-
Beautiful! I can just imagine driving it......
-
Made some mudflaps and used my new fancy equal lenght cutting jig to cut the t-bars. While the paint is drying on the cab, I amused myself detailing the Paystar's engine using a Ken Smith how-to article. The blotchy blue was just a paint test.
-
Nice job Ulf. Are those wheels plastic or metal?
-
Sorry Sam, couldn't help it.
-
You're kidding, right?
-
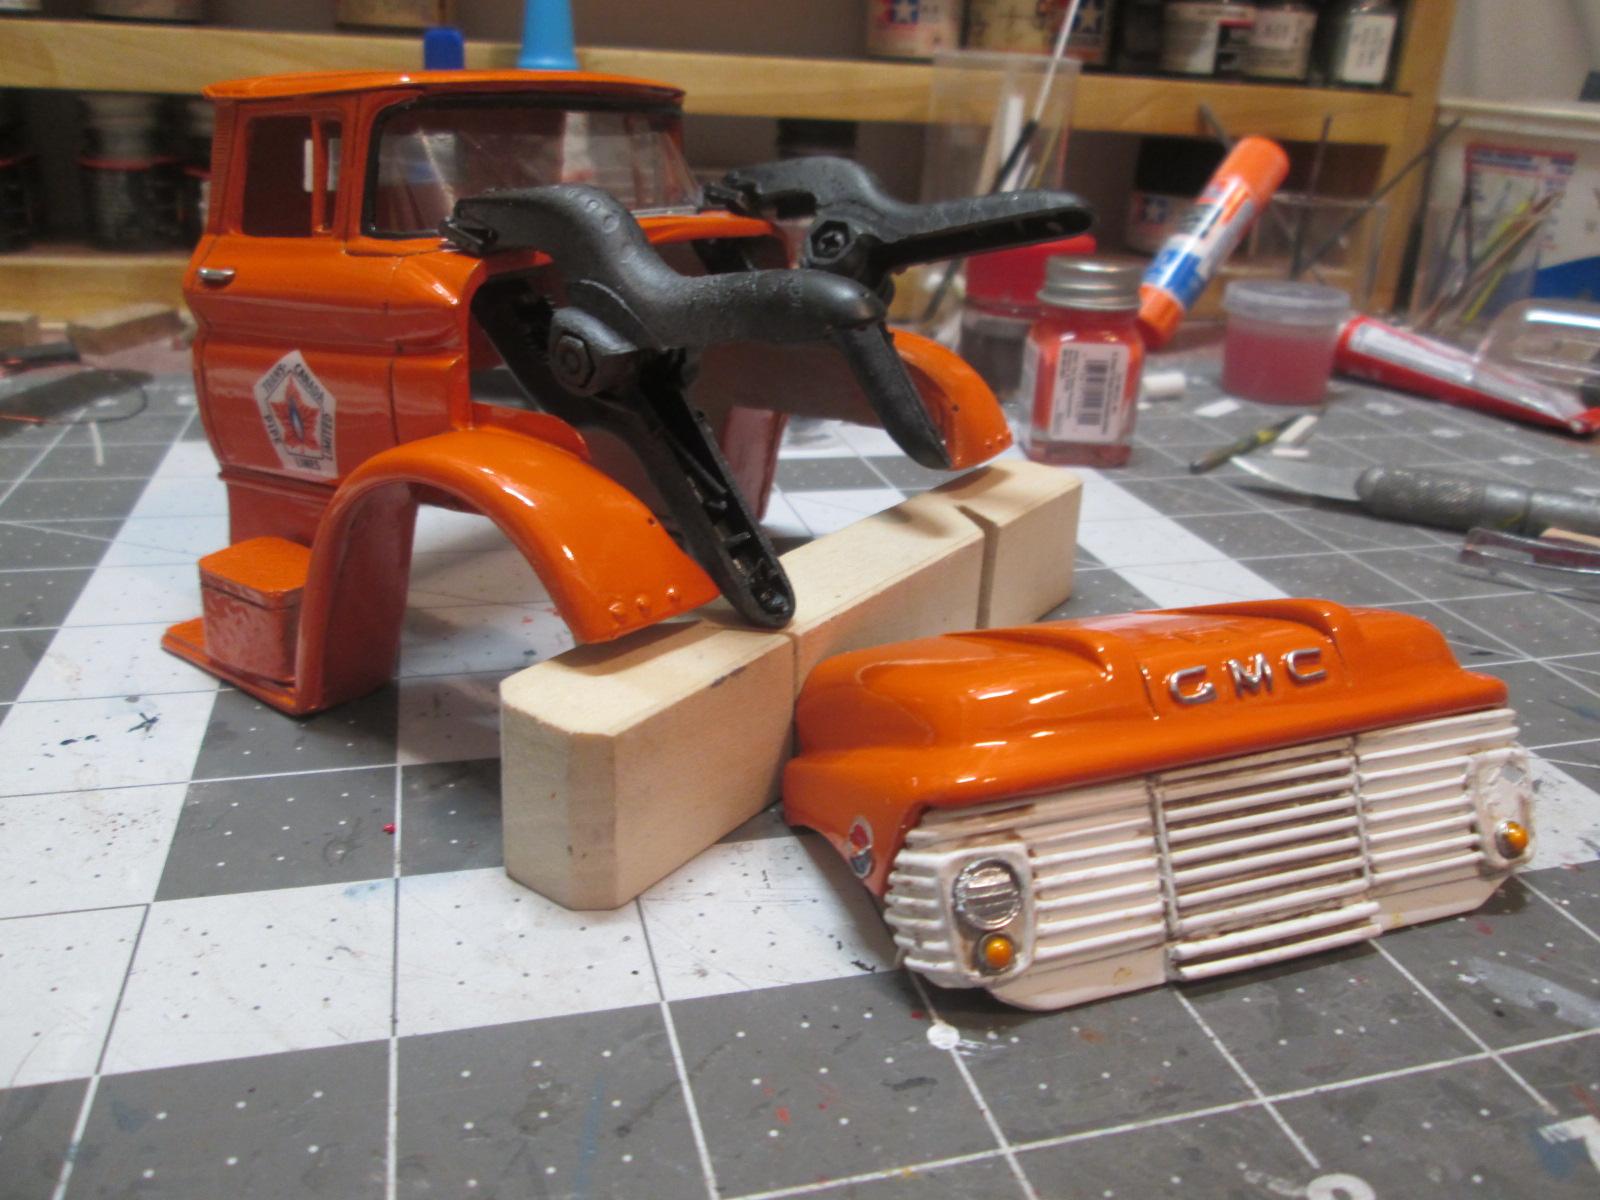
Added the lights and some grime to the grille and a bit of paint to the cab.
.JPG.dc92db9e91492774abb879fb12d72734.JPG)
.JPG.be559f059daabc76bdf5409ef3b7a20f.JPG)
.JPG.d2fb741080a14445bacb093f25c177f5.JPG)
.JPG.6efa80a82b0c0c1058d5d966cbc64591.JPG)
.JPG.d62a9d30b86e3fb94b7c6cccf463c4c3.JPG)
.JPG.9448456fe6c32783756e0f0d4f29d846.JPG)
.JPG.1760bd18526b672b0090fb96d3159e7f.JPG)
.JPG.605cfead0b460e437c7334a2d7d2a76e.JPG)
.JPG.9783db706e13e67758e26b8172bd2d13.JPG)
.JPG.bb0b9471936aa4781e480449920eca9e.JPG)
.JPG.4dace8fc56056bad02d100a49b0f9929.JPG)
.JPG.db073aa5a0fa80793537812e18f55715.JPG)
.JPG.00d4d2bbb738229941c8095574ef8383.JPG)
.JPG.b145aebaf30c3051e59297129ff192f8.JPG)
.JPG.bc9ca9521981786cbf6a3a1188cbc3c9.JPG)
.JPG.27a074556ce86309ebfc1f8d6ef12907.JPG)