landman
-
Posts
7,921 -
Joined
-
Last visited
Content Type
Profiles
Forums
Events
Gallery
Everything posted by landman
-
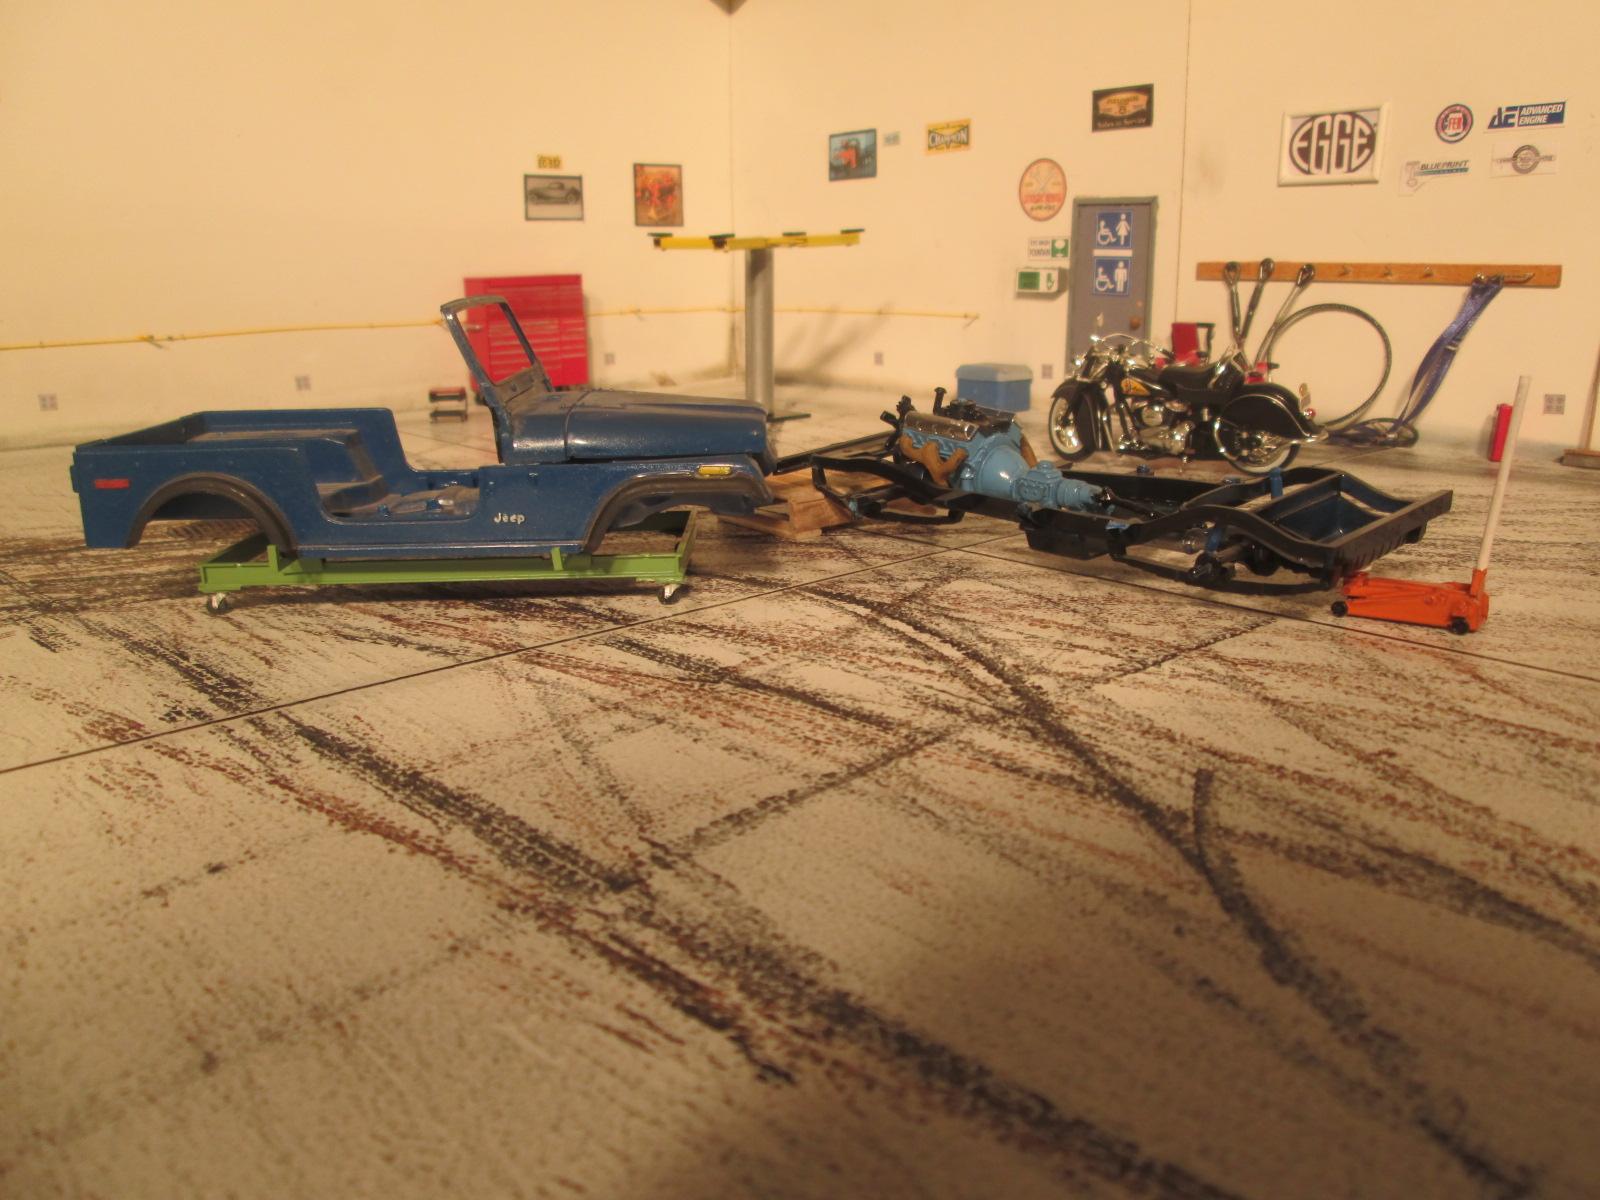
 Actually, the tire marks DO overwhelm the rest. I wonder how I could tone them down. By rubbing with graphite like I did in the engine shop maybe.
 -
3rd Restoration - JeepCJ7
landman replied to landman's topic in WIP: Model Trucks: Pickups, Vans, SUVs, Light Commercial
Ready for the purple bath.
-
3rd Restoration - JeepCJ7
landman replied to landman's topic in WIP: Model Trucks: Pickups, Vans, SUVs, Light Commercial
Thanks Chris. -
Thanks Bill. I saw that and was wondering.
-
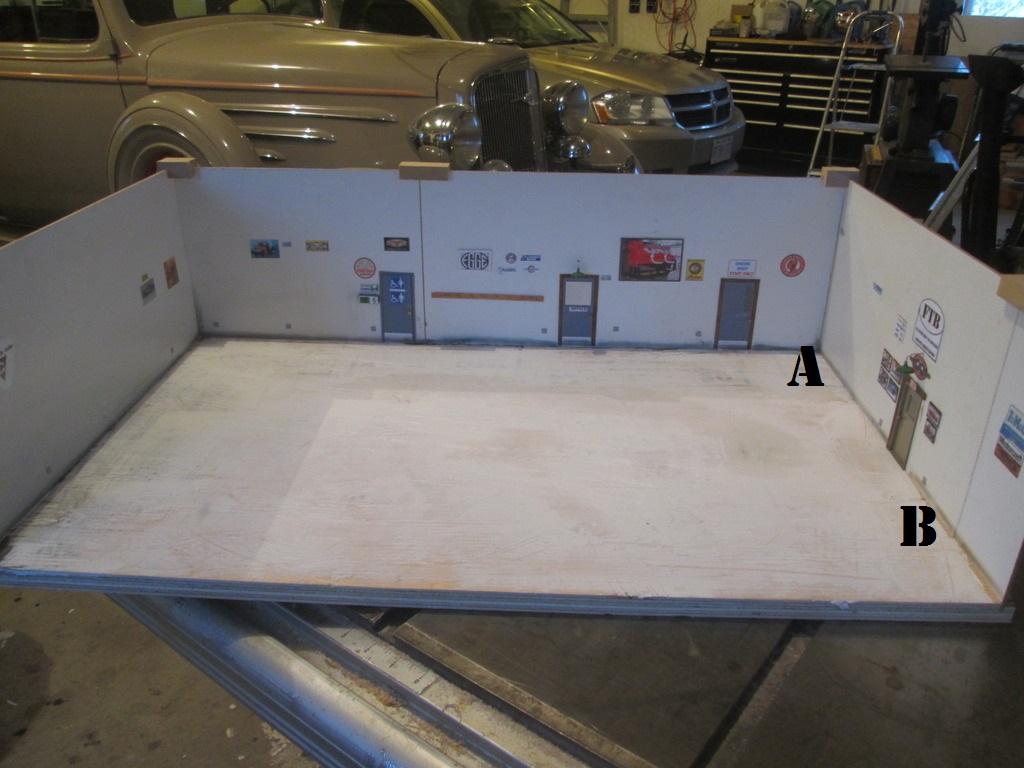
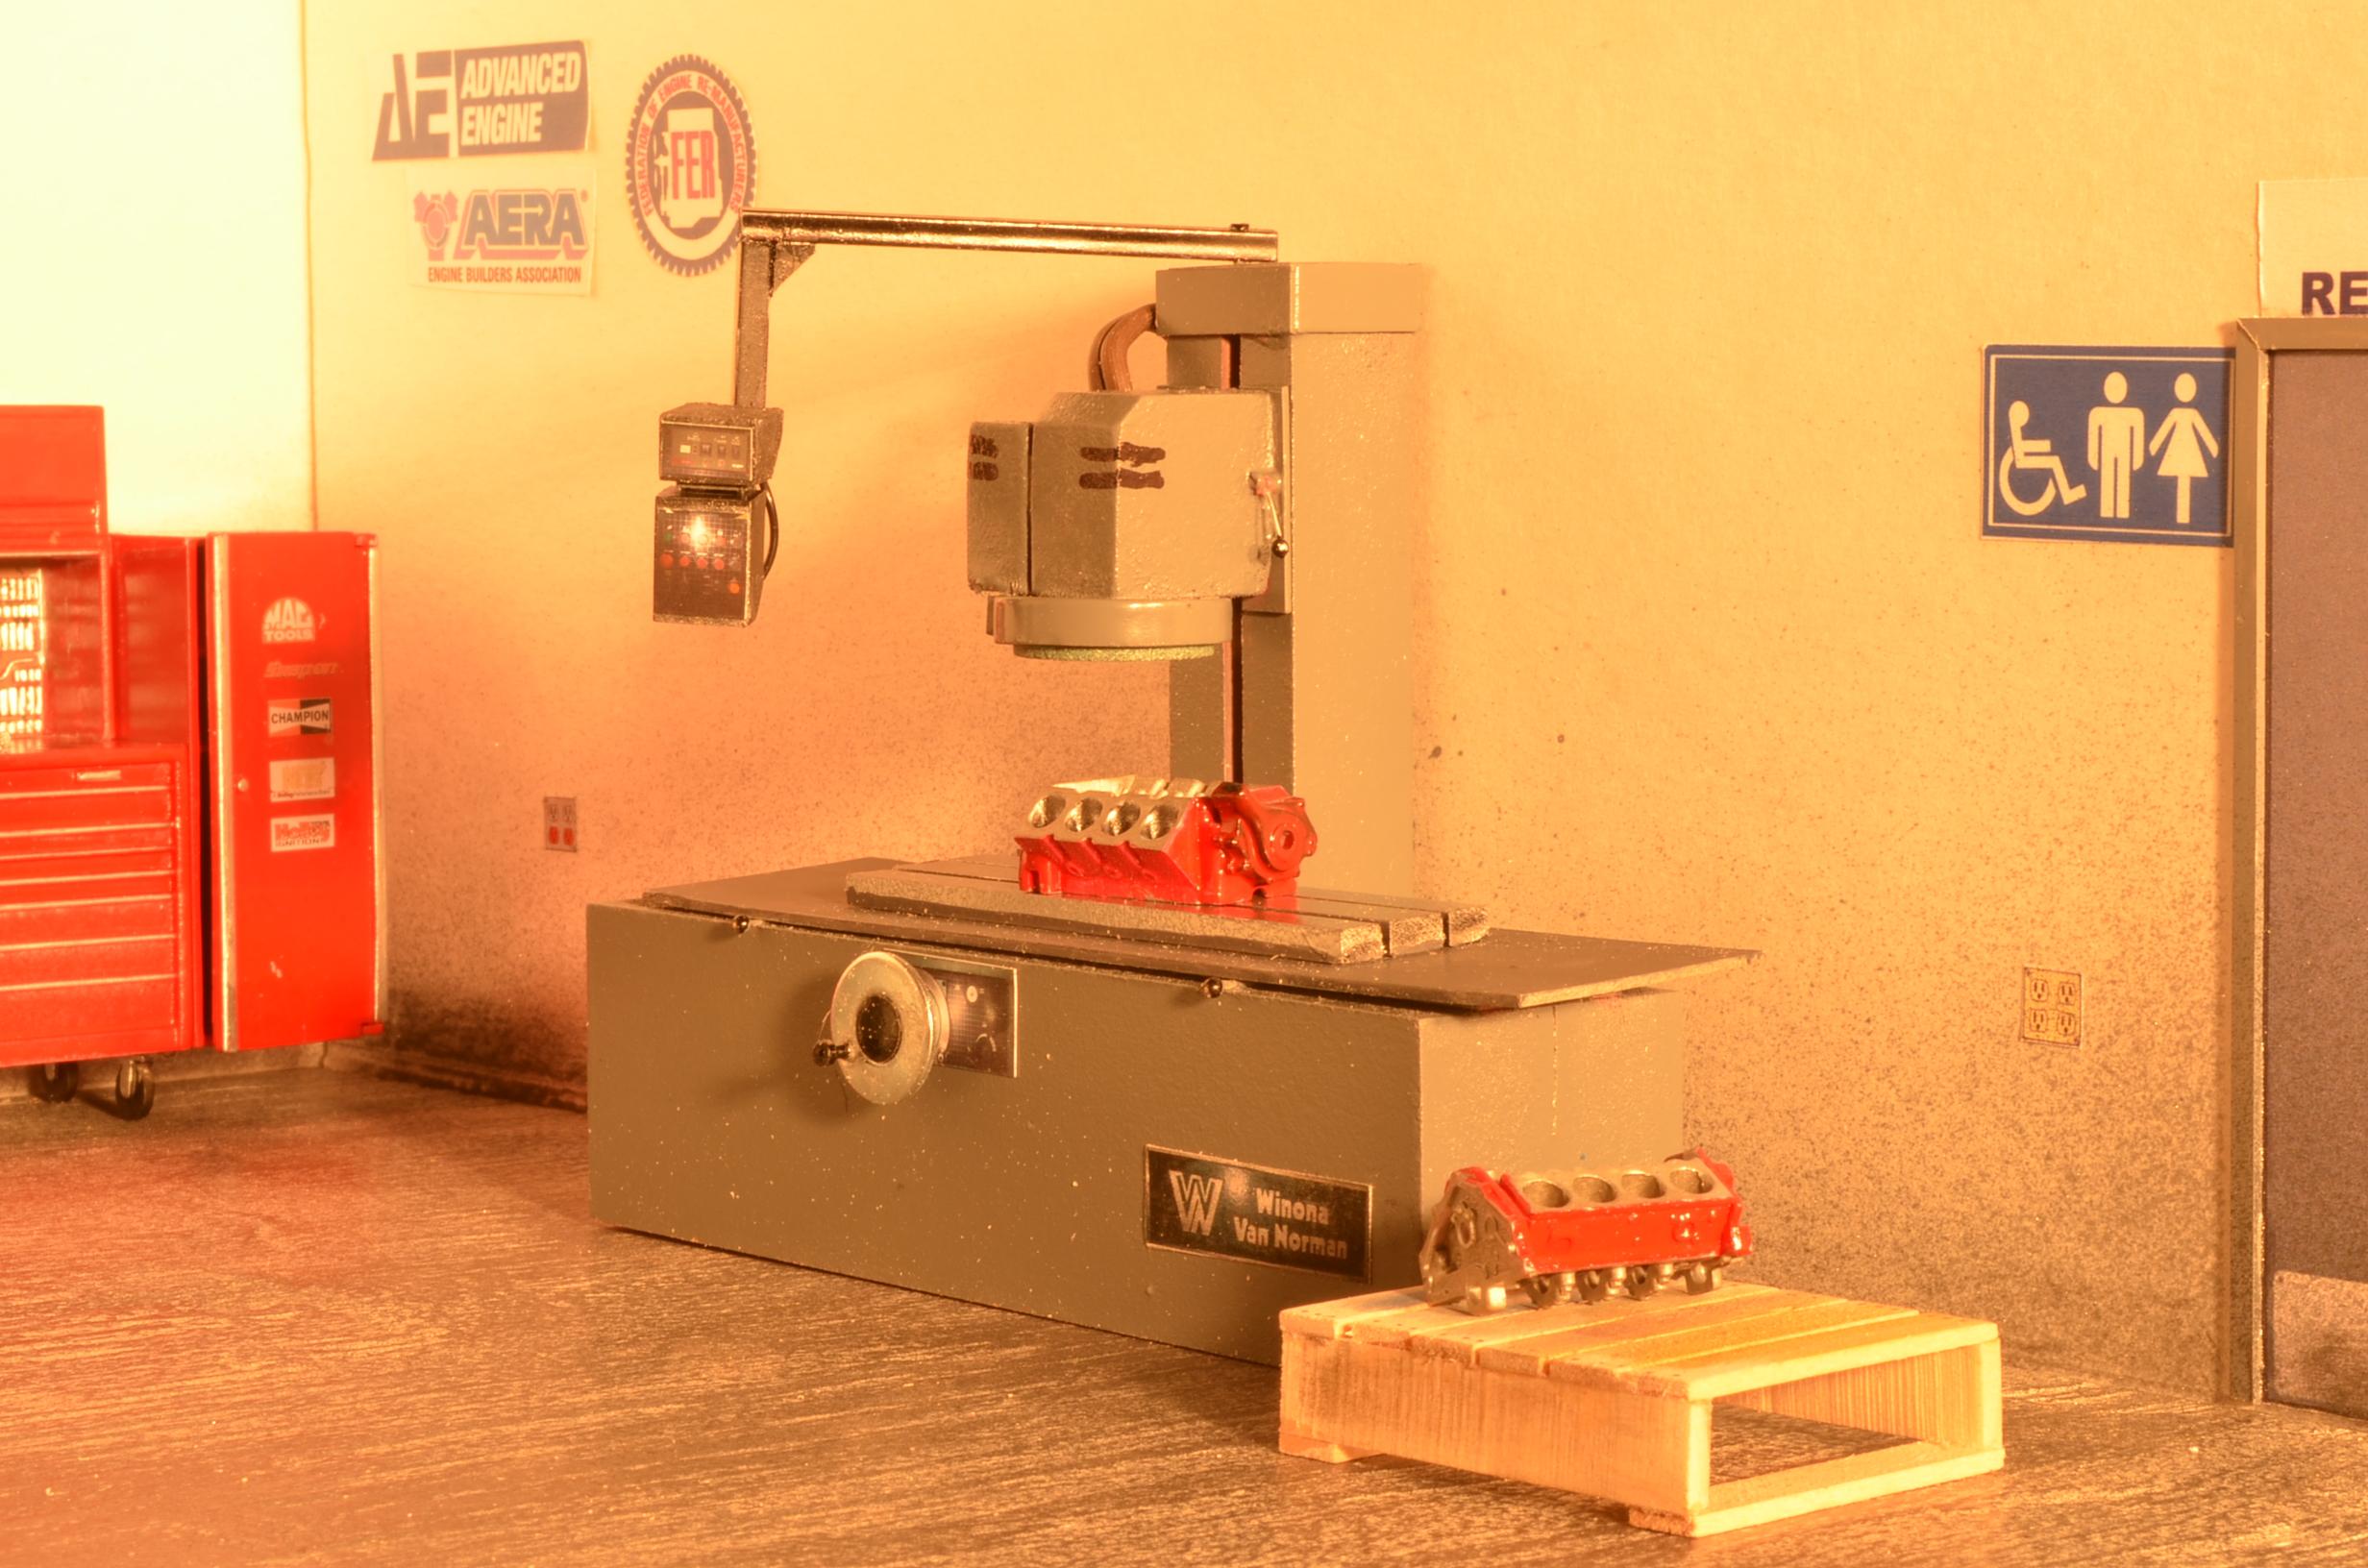
Painted and marked up the floor. Added an air line to the area ehere the work stations will be.
-
The sites tells me my messages space is 25% full. I see you can delete them all but is it possible to delete only selected messages>?
-
Here is the new, larger room (double the size of the original) which will become the restoration shop. I will continue using it as back drop. The left wall will be where most of the benches and tools will be. The back wall is the original back wall with a bathroom door in the new section. The right wall is the original right wall with a little section added.
-
DM 600 Container roll-off completed
landman replied to Tesla's topic in Model Trucks: Big Rigs and Heavy Equipment
Fantastic job! -
Thanks Bruce. I think next is the line-boring machine. As well, I have almost doubled the area of the "storage room" that I was using as backdrop and I'll turn it into a restoration shop.
-
Whats your work area like?
landman replied to Dann Tier's topic in General Automotive Talk (Trucks and Cars)
Mine looks like this. A small room I share with the freezer, some camping stuff and a couple of storage chests. Some of the stash is in the furnace room and some is on and on top of the bookcases. -
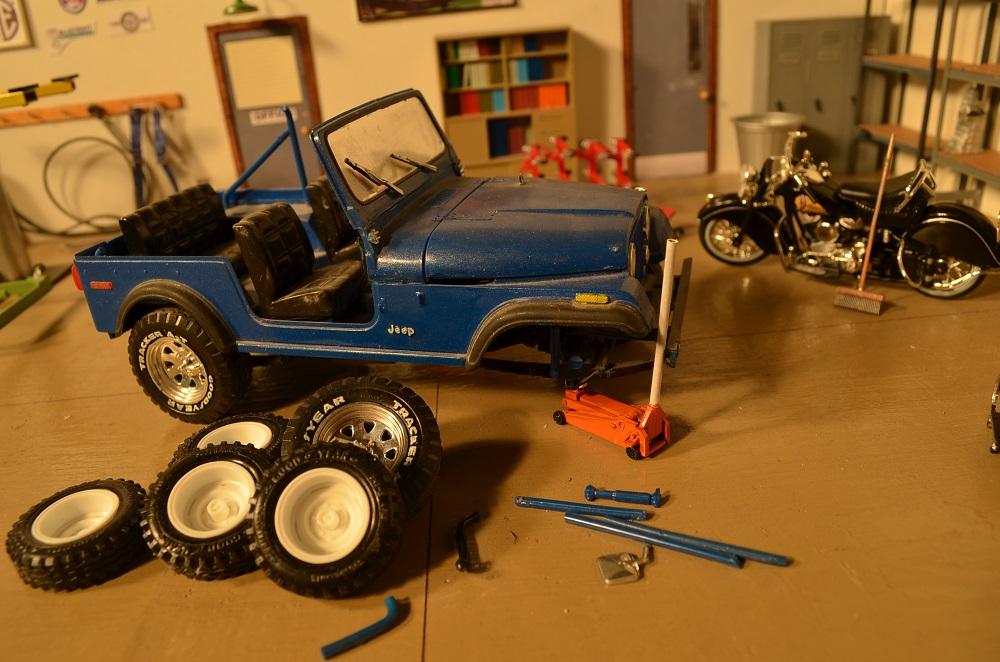
Back in the day I owned a 1976 example with steel wheels, 4 speed, no back seat, a 8000 lb. Warn winch and the 258 6 cylinder engine . Much later, I had built this model of it. The model has spoked wheels with Tracker AT tires and the 304 V8, a back seat and no winch. I found some steel wheels. Does the AMC 6 cyl. exist anywhere? I think I could scratch up a winch in a pinch. I also found a blue which is closer to the original.
-
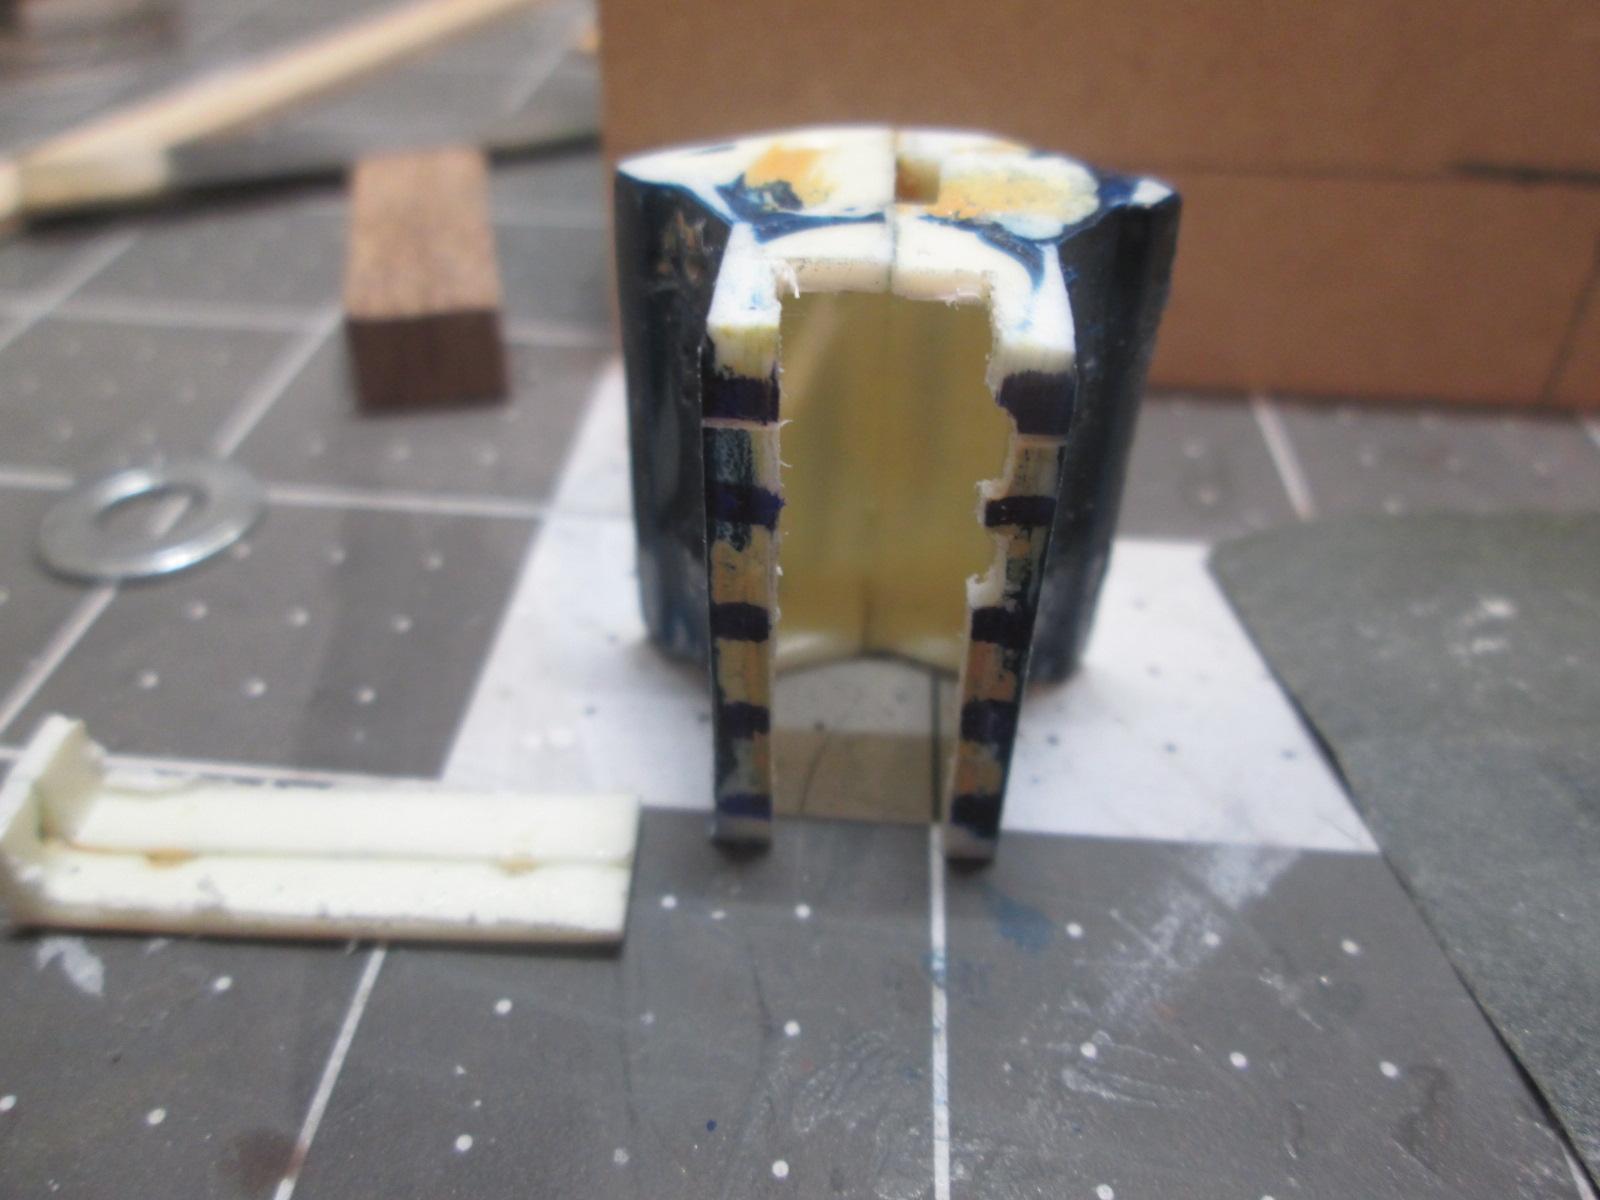
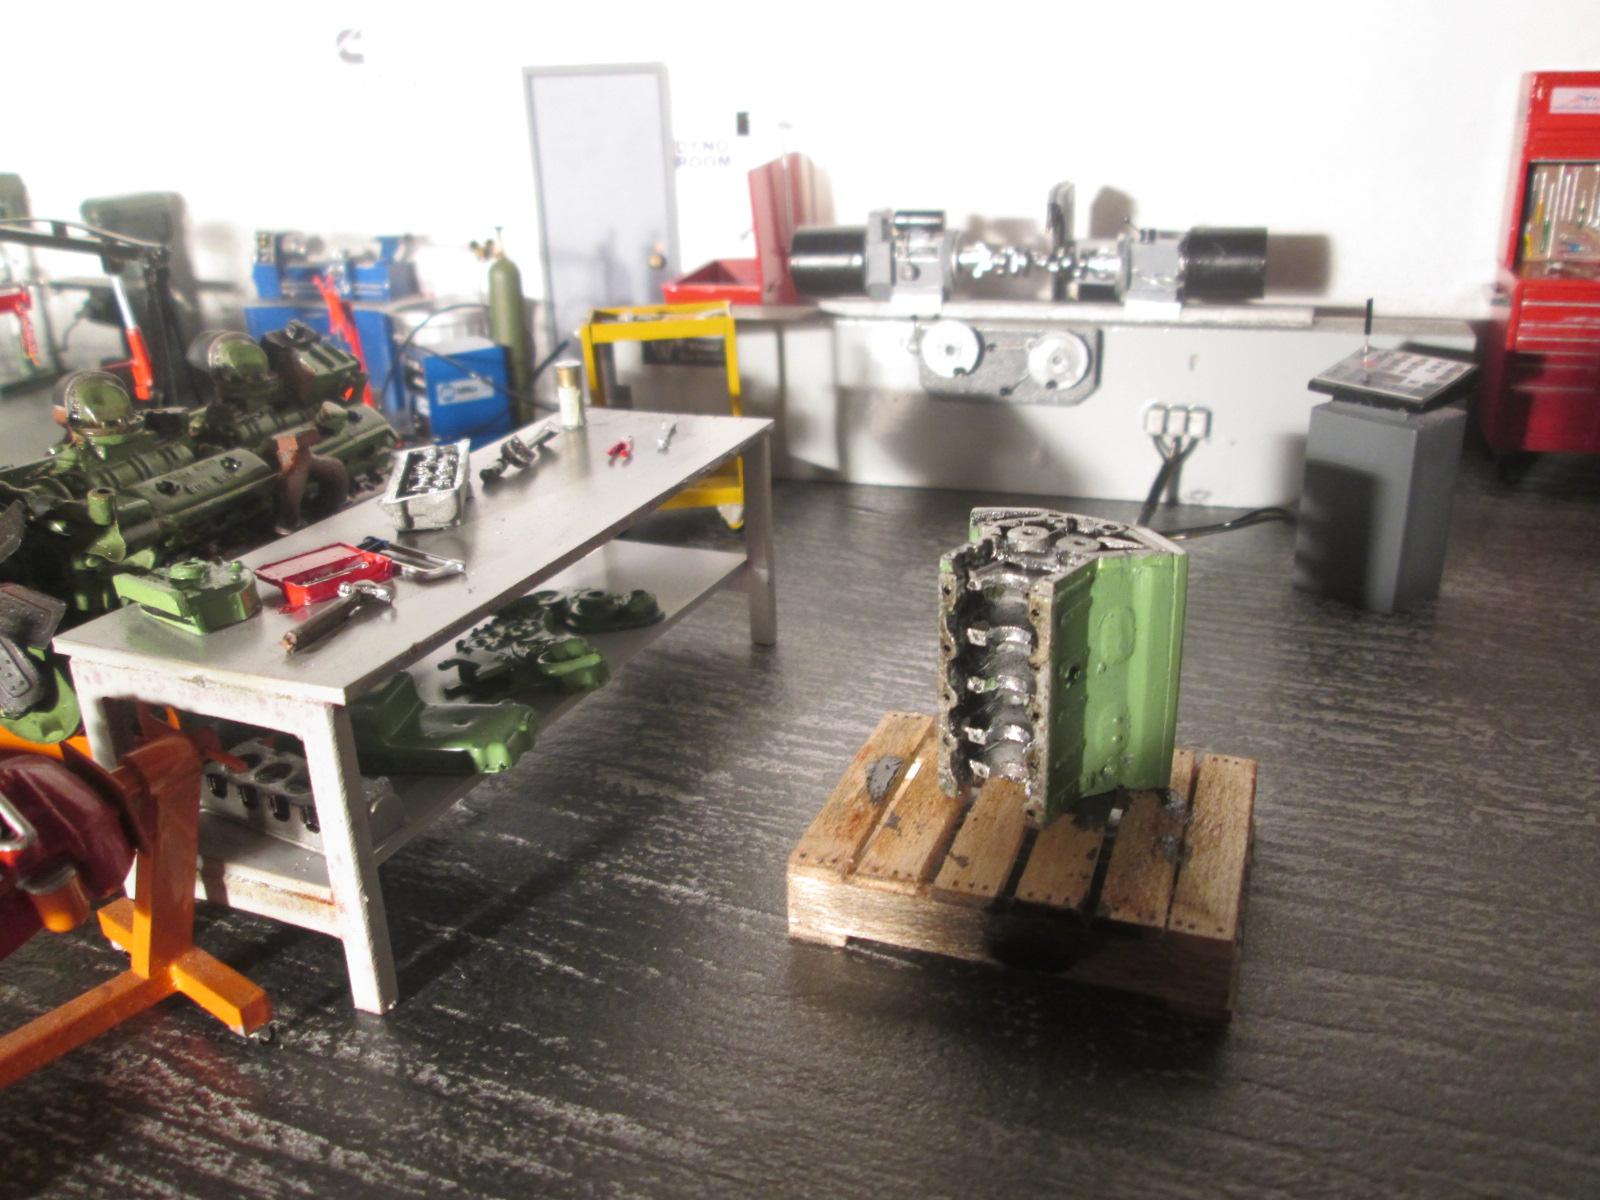
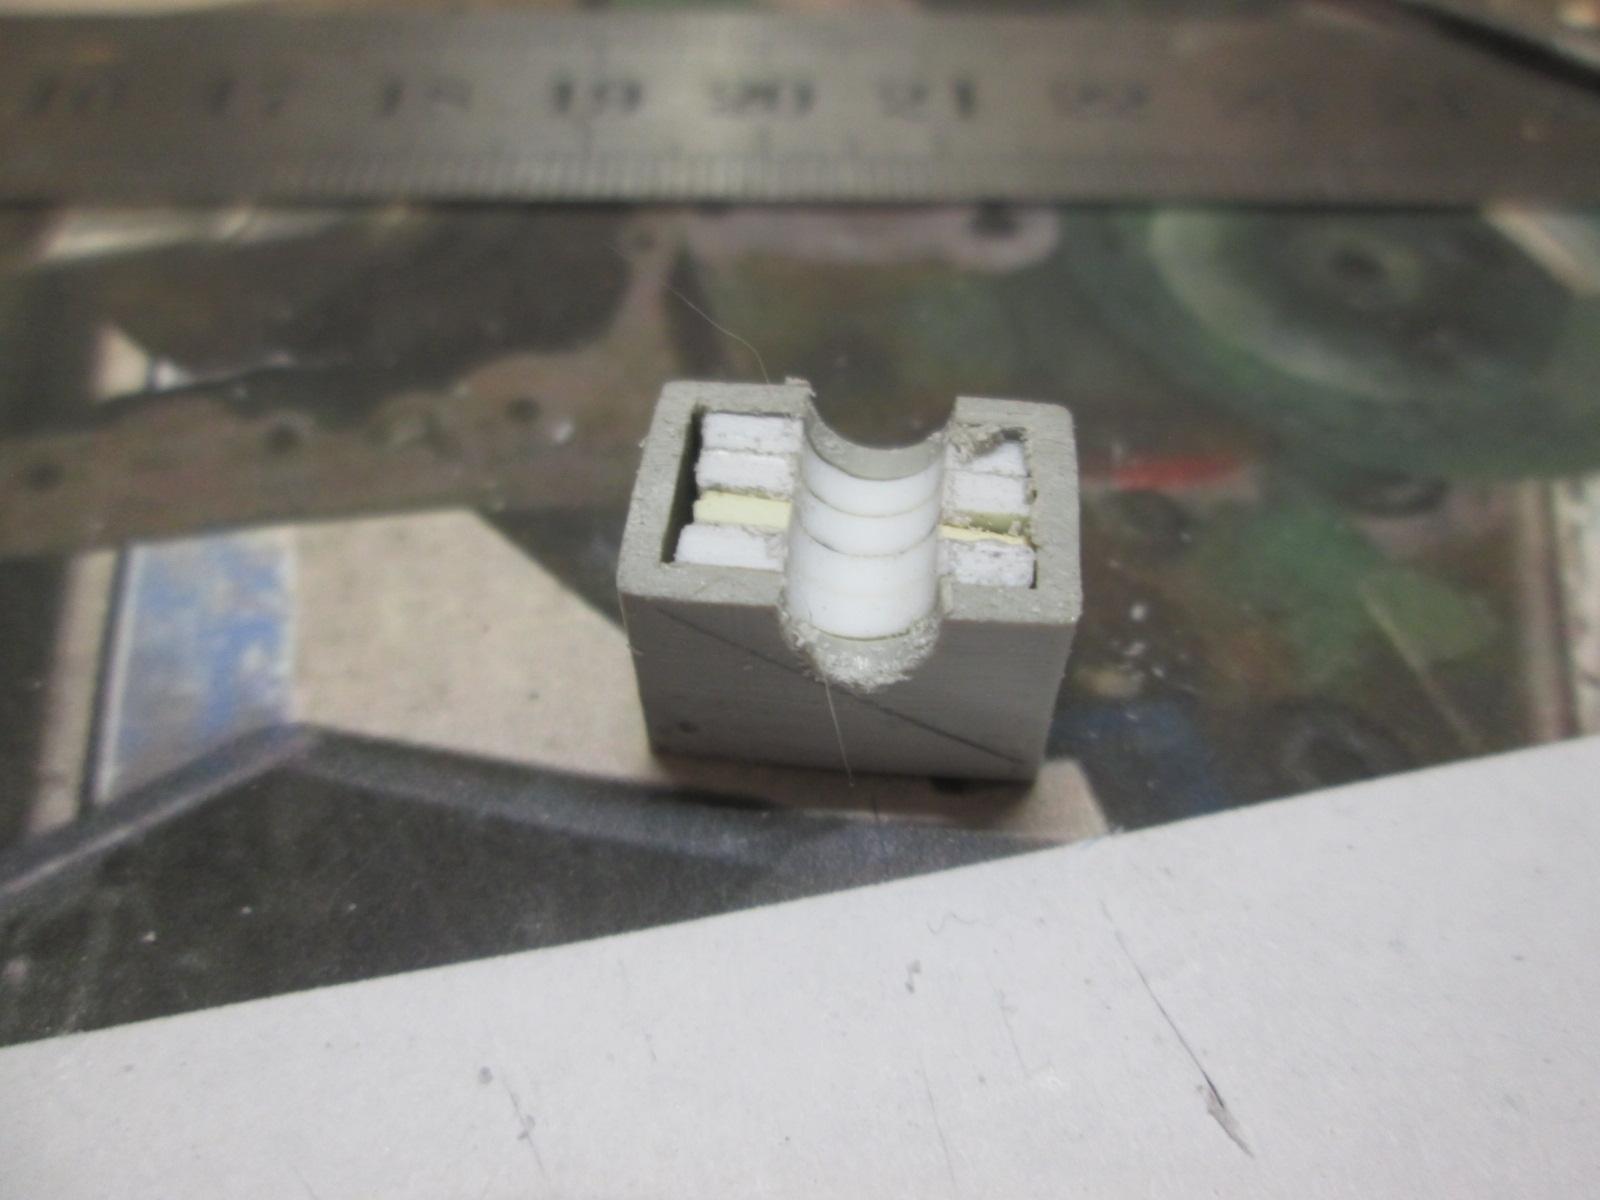
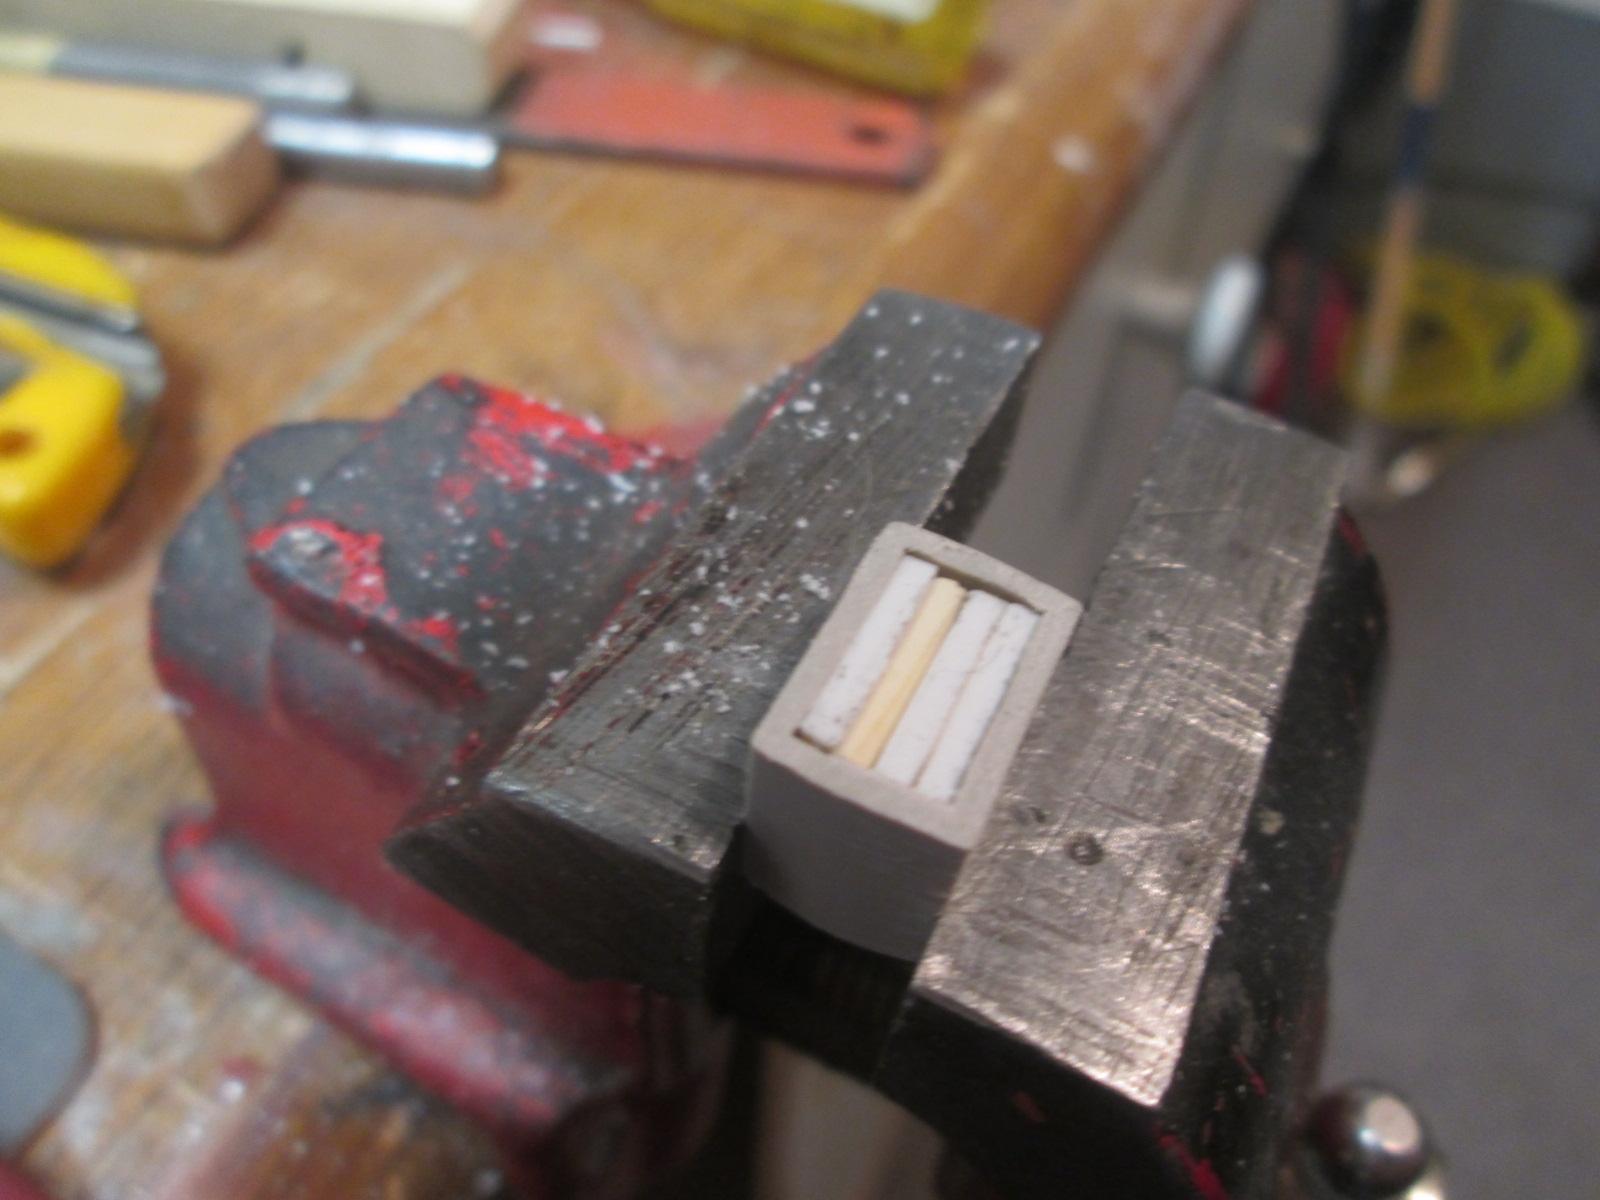
Made a jig to mount the block to the machine's ways.
-
Thanks Domink and Wayne. I kind of like the result myself.
-
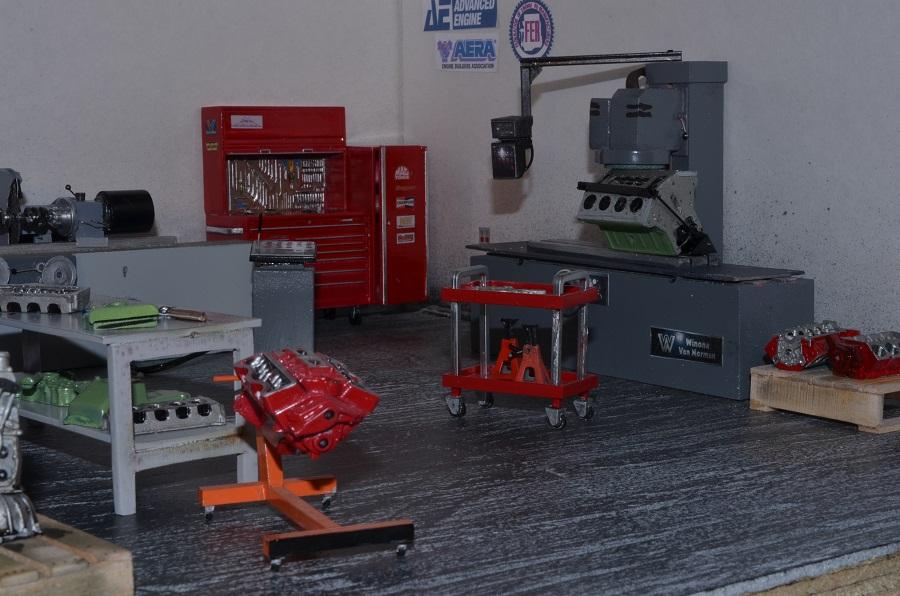
The 8V71 block has arrived at the shop for some work and is being prepped to load on to the deck grinder.. I almost had as much fun taking these pictures as the actual build.
-
Ready for paint.
-
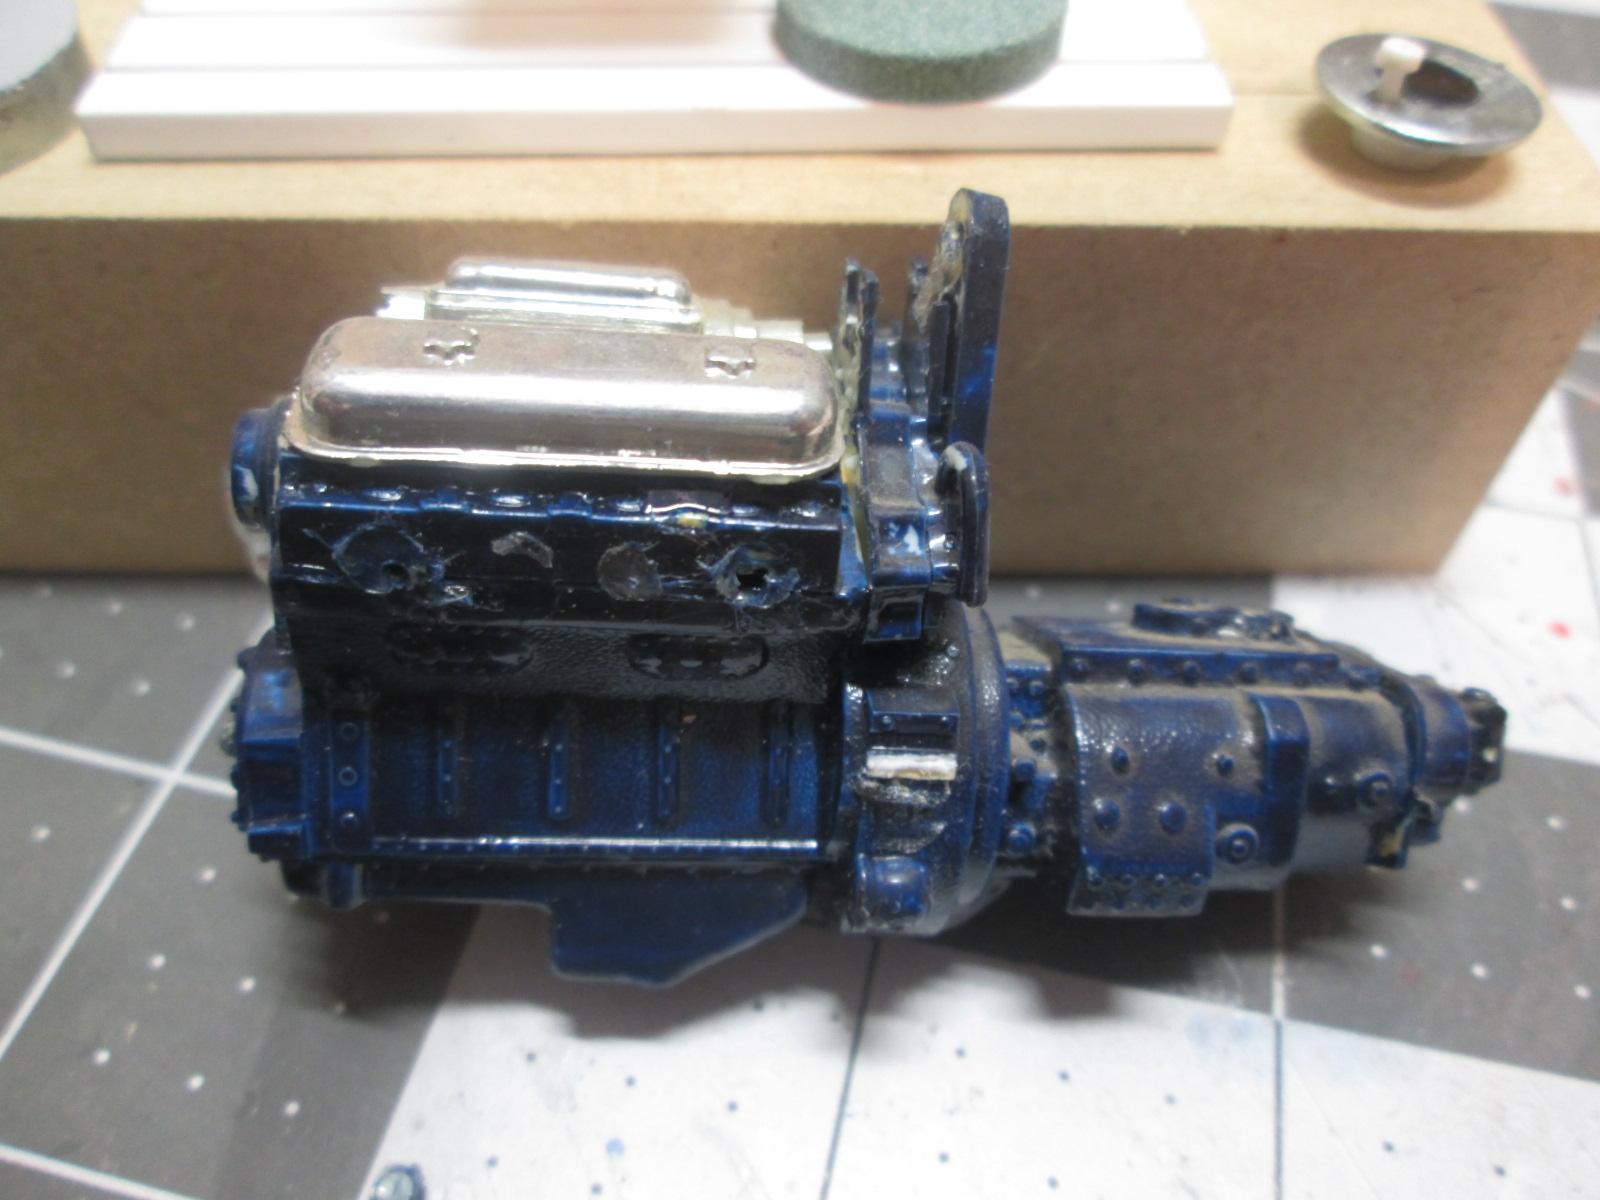
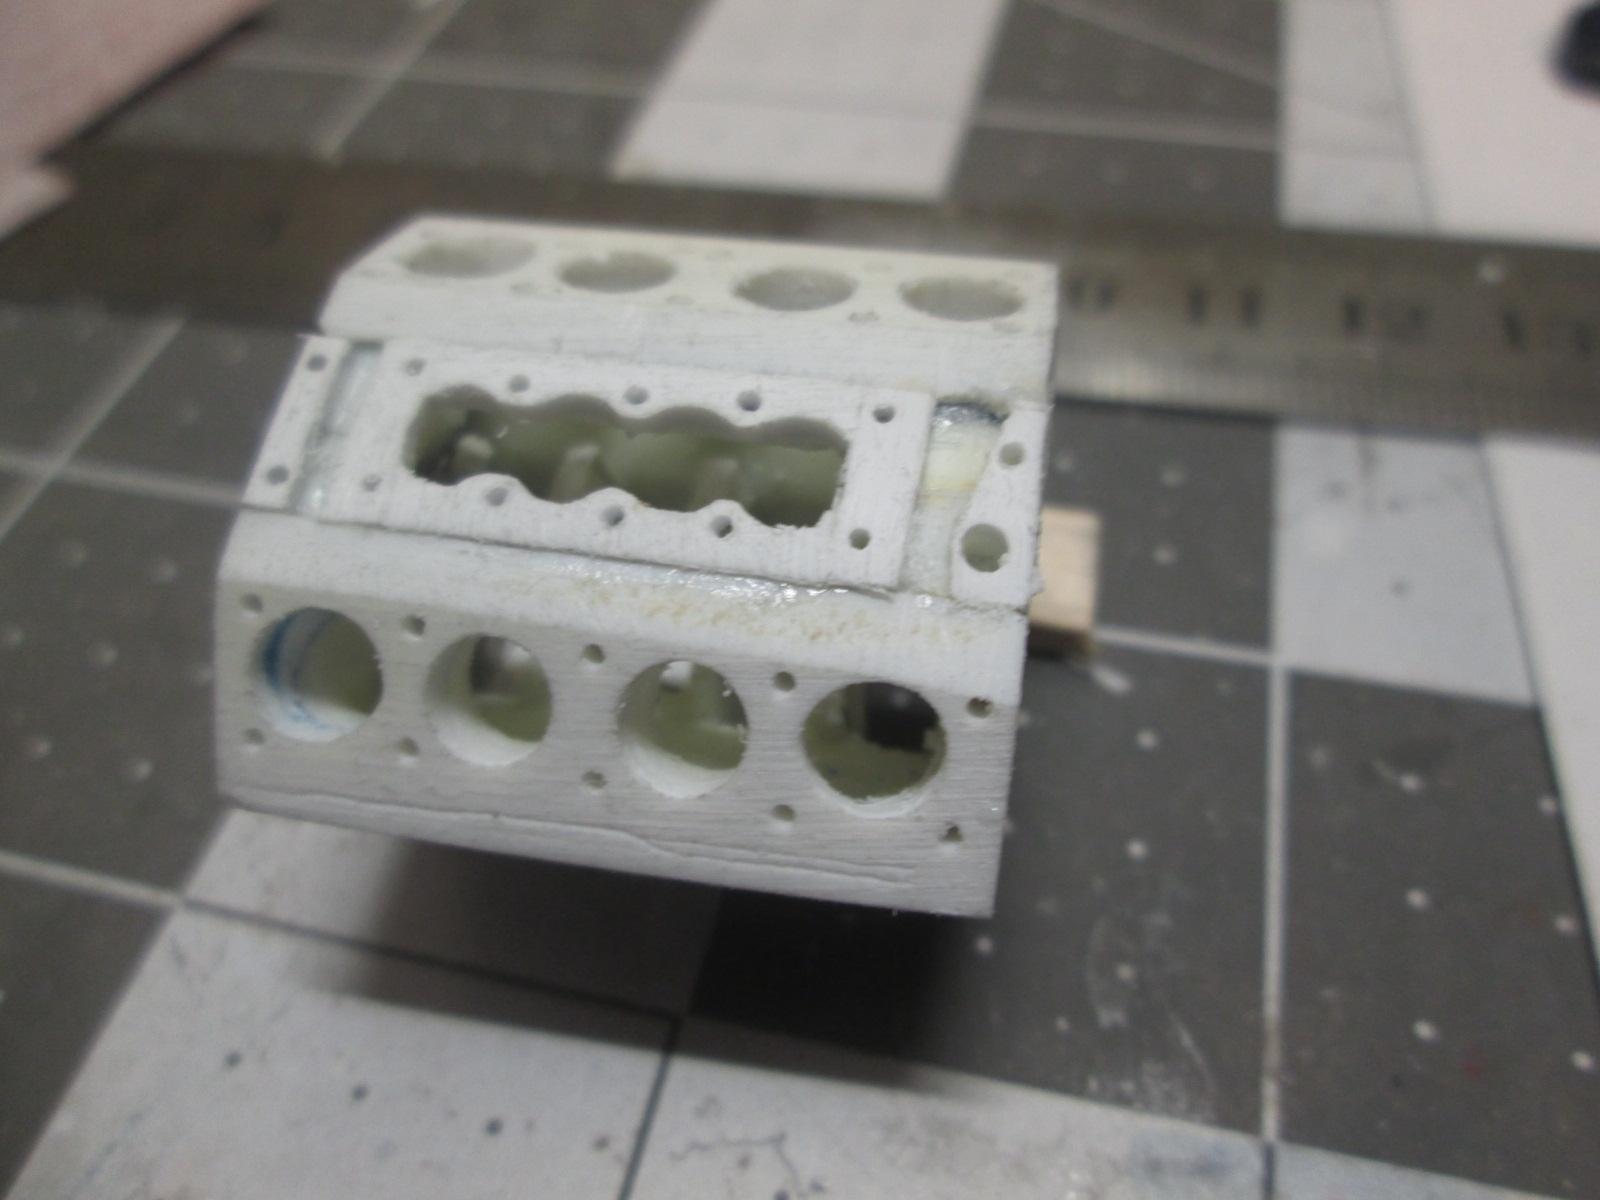
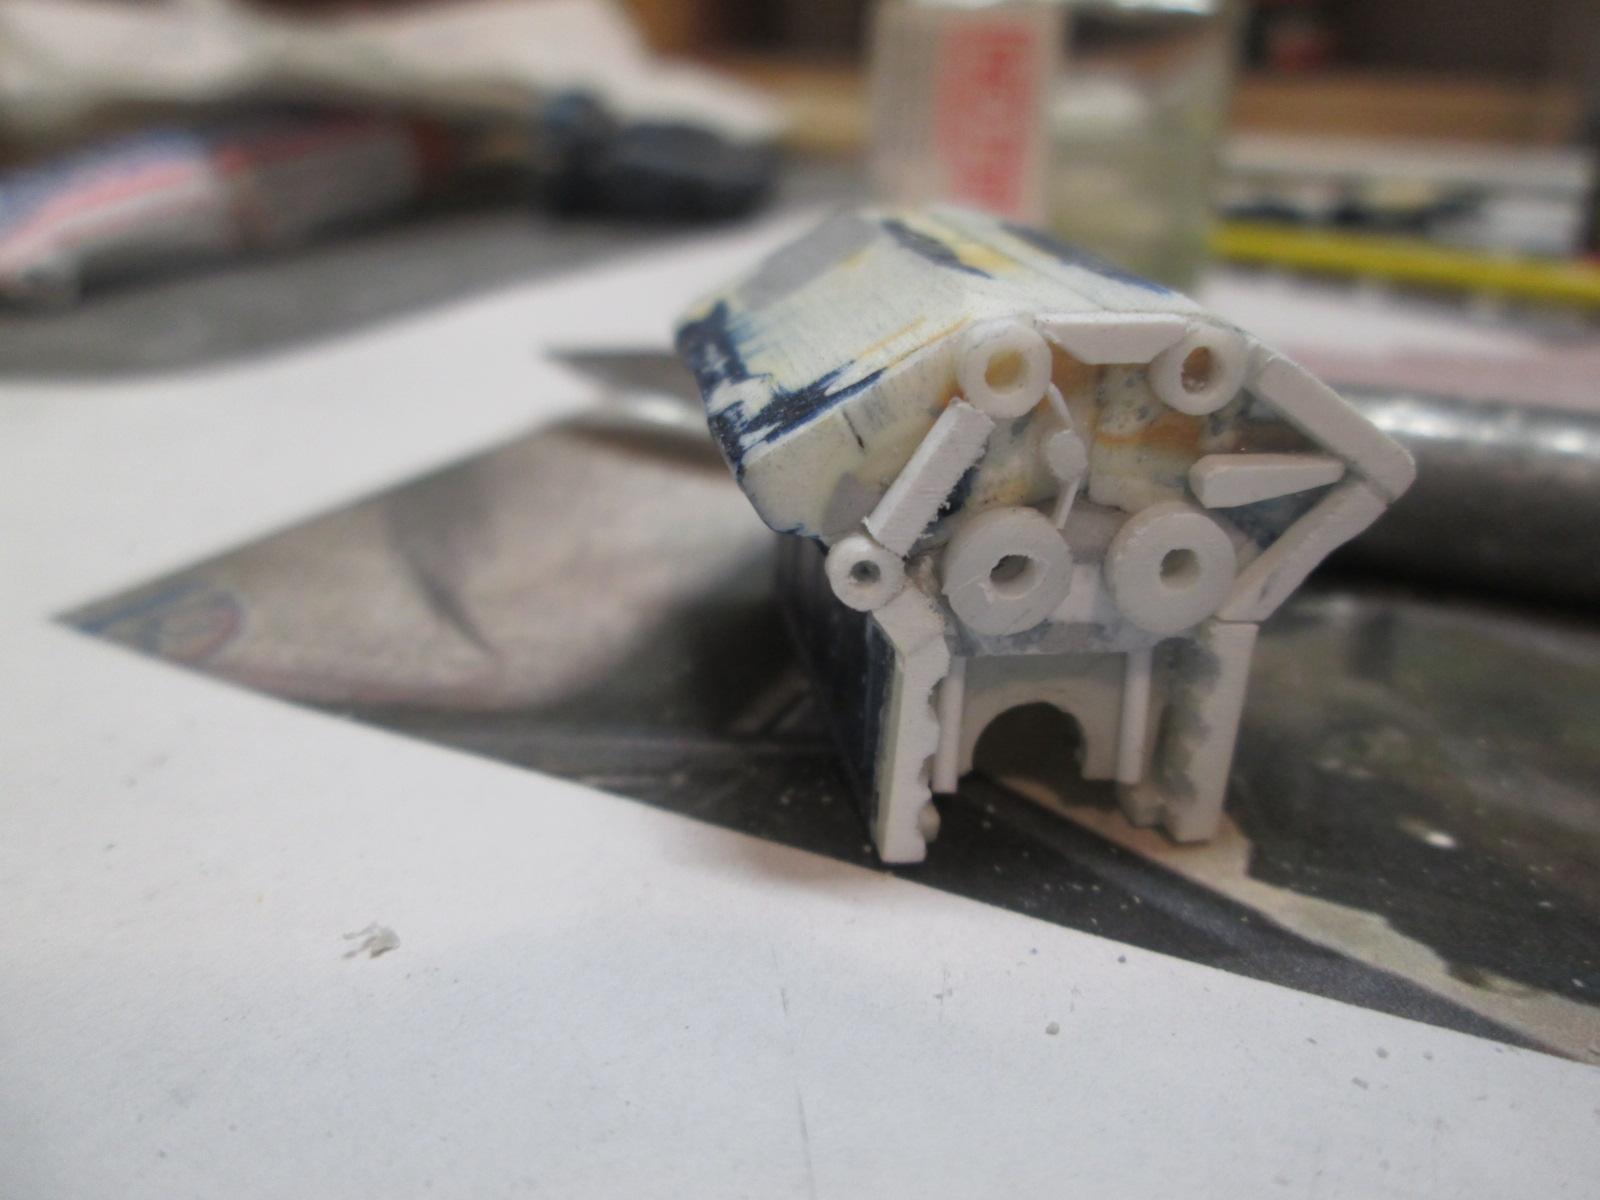
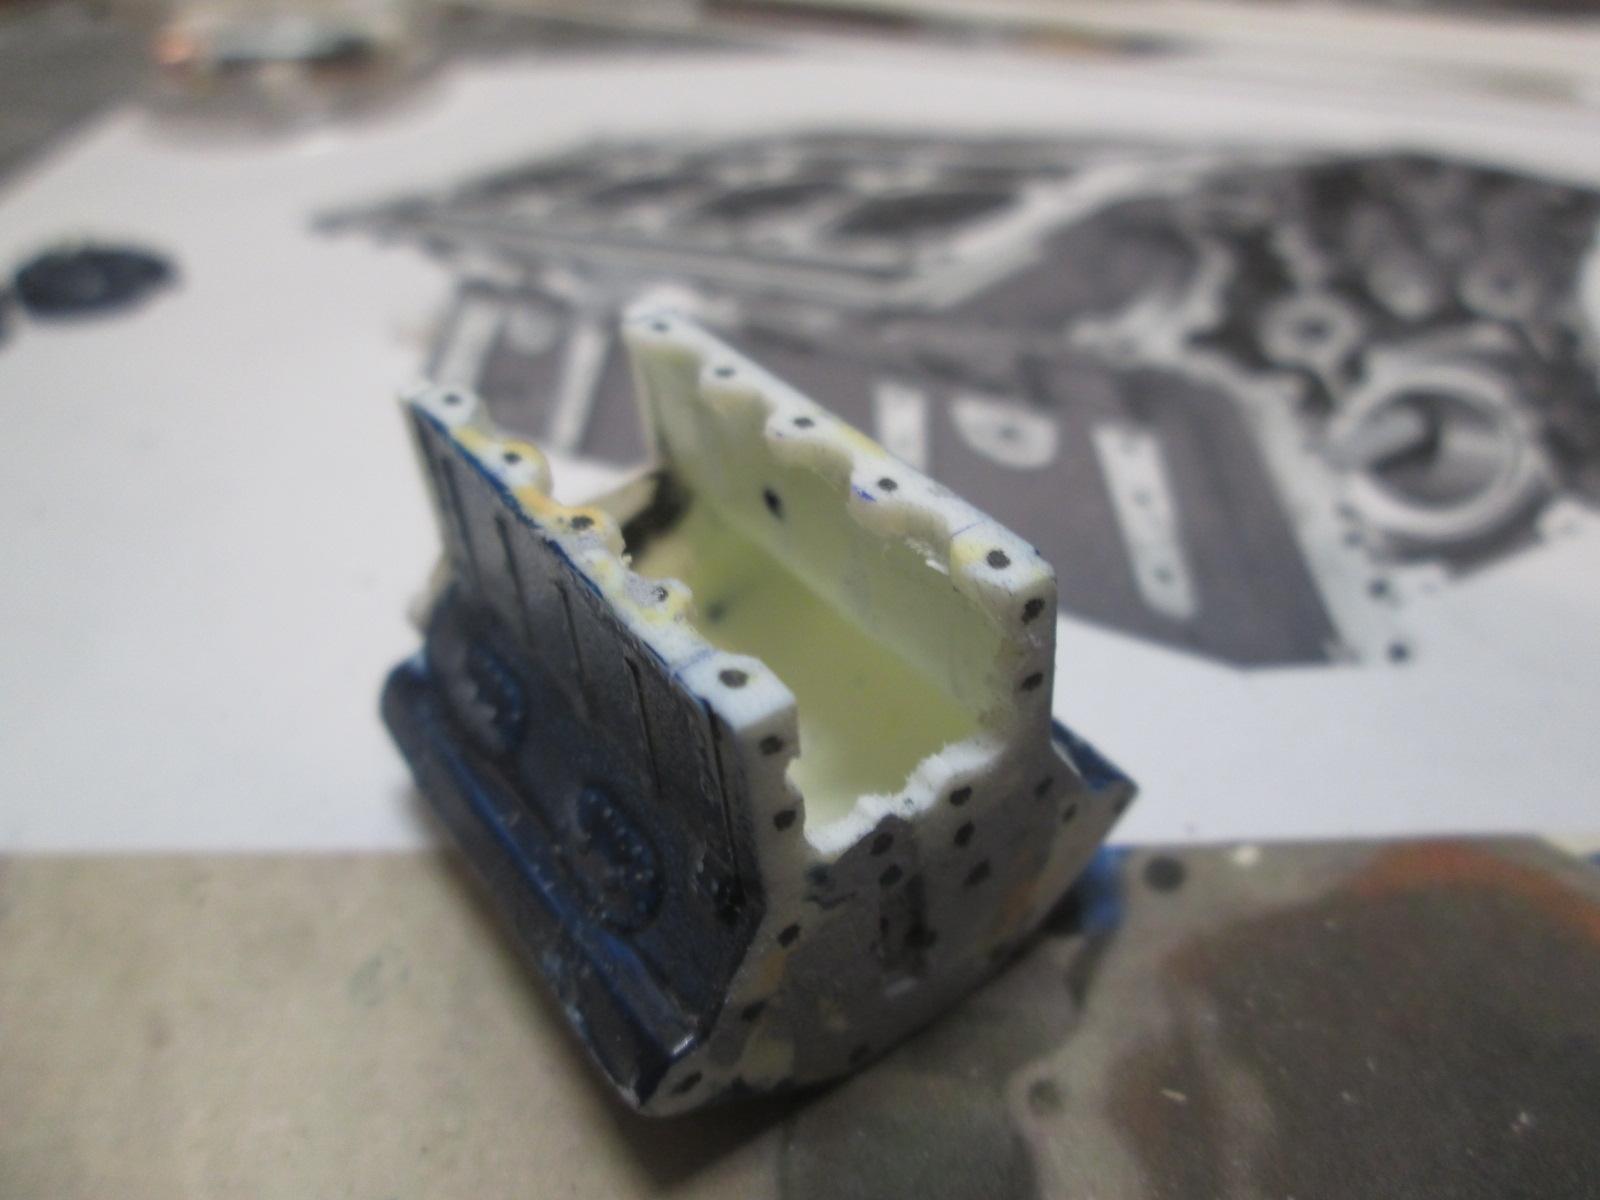
Continued to work on the block. Added material to give it visual interest. Filed the bottom of the block's skirts to make it look like bolt bosses. Cut & filed small styrene squares to make crankcase webs. Drilled out all the dots. Made a bore pattern and proceeded to drill perfectly uneven holes. The drill kept walking. Finally redecked it and went to where I should have gone in the first place: the drill press. Feeling good again, I drilled some head bolt holes.
-
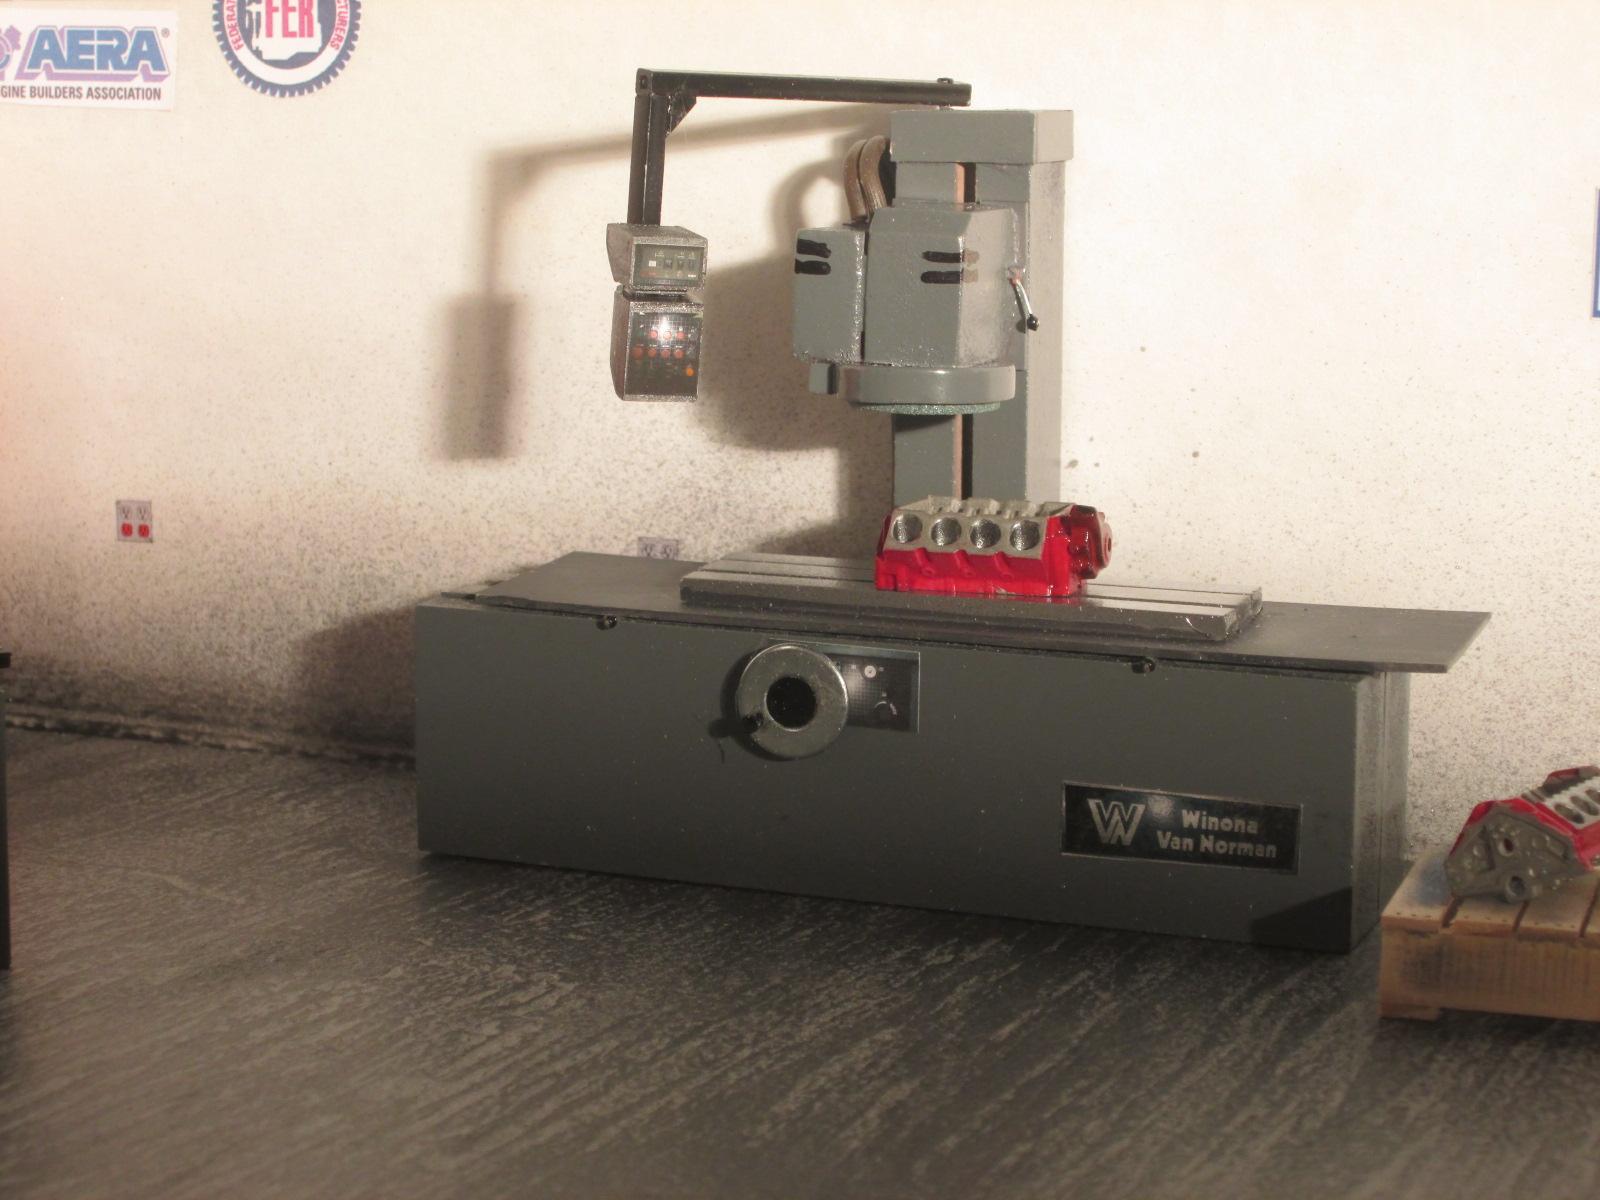
Deck surfacer is done.
-
Beautiful workmanship. Nice finishing. Love it.
-
I think you are right. I cropped it and blew it up.
-
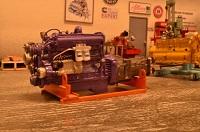
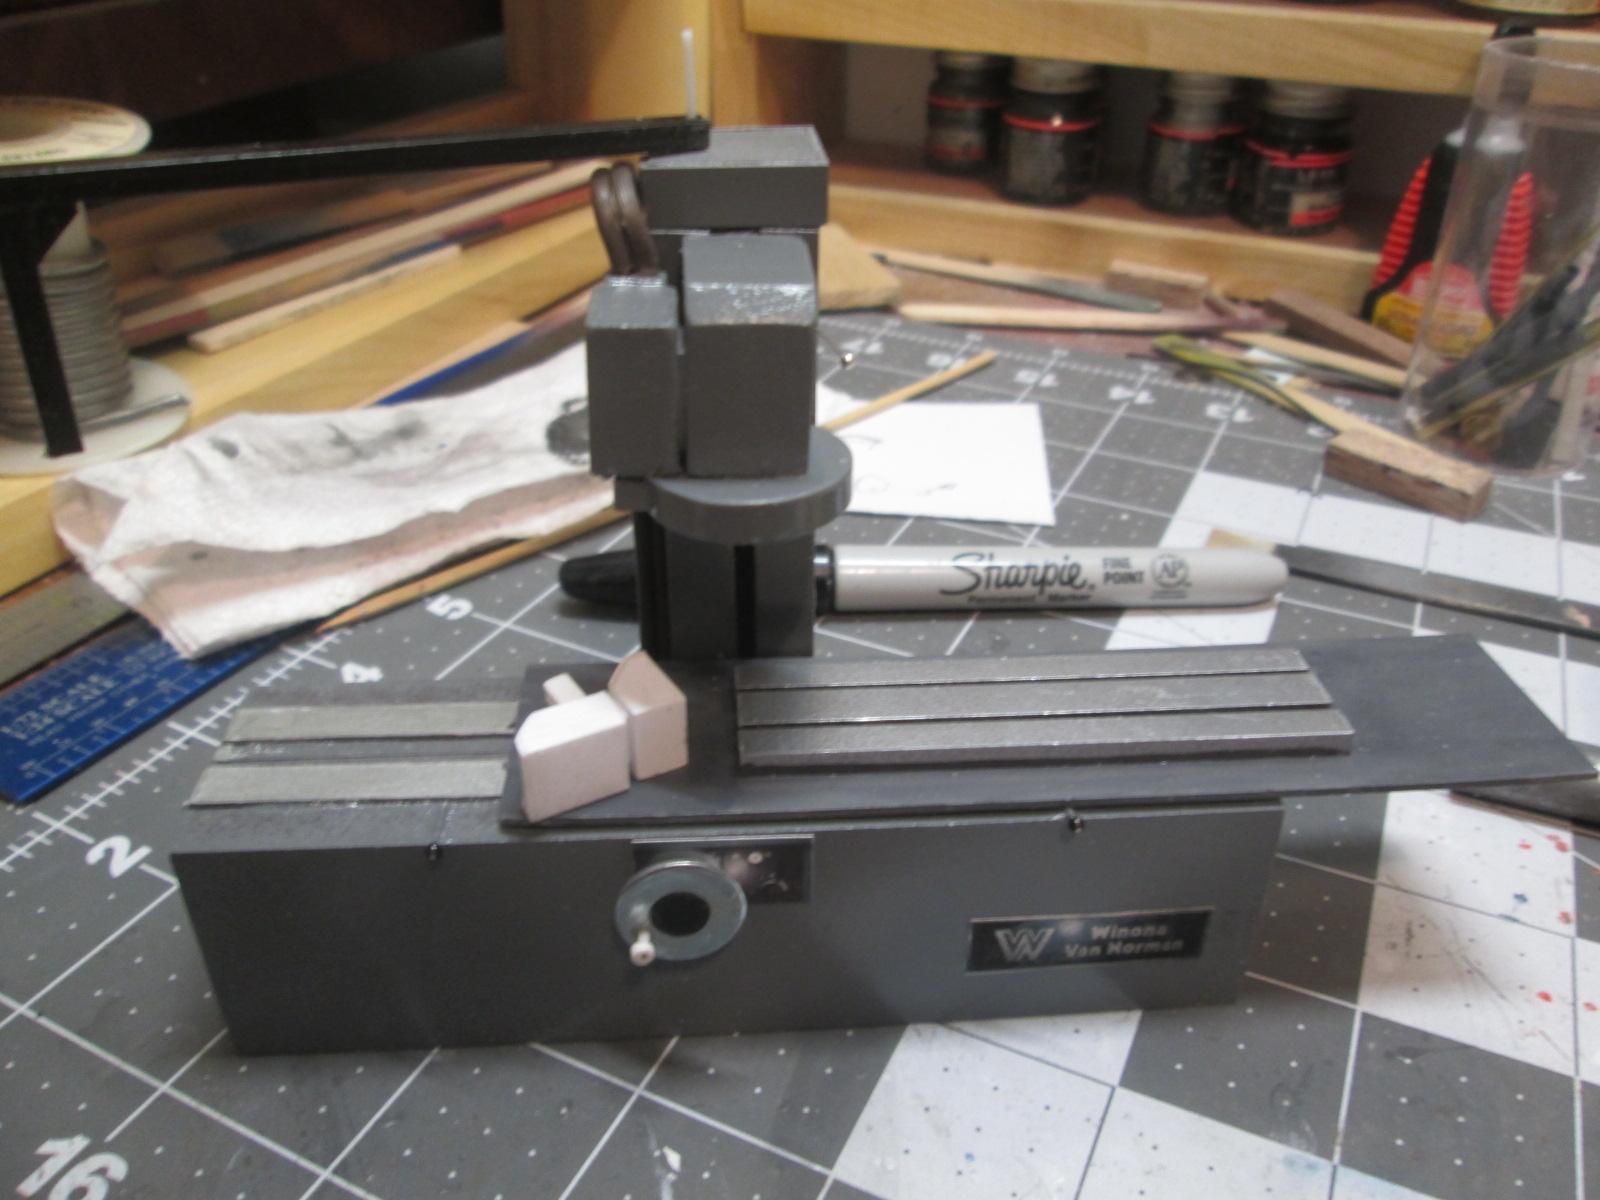
Coming along. Working on the controls module.
-
Not exactly lately, but the other day in 1981. I found this while looking through some old albums. I remember driving on the road in the foreground and thinking I was seeing things. It was coming down the adjacent service road and was wider than the entire road. I think it was hung up on a pile on the shoulder.What is the tractor?
-
GMC '77 and a small dumper
landman replied to maxres's topic in WIP: Model Trucks: Pickups, Vans, SUVs, Light Commercial
I've been thinking of a tracked vehicle for years. Maybe the time has come. very neat work. -
Not on the road but on the web.
-
Started work on the surface grinder. I got this 8V71 engine in a trade. Its block will wind up in the dio. Starteddoctoring it to add detail.
-
I had an unfortunate experience on eBay today. There is one seller whose stuff I like very much and have been following for a while. However the shipping prices in his listings are exorbitant compared to others for similar items. So I had a few item in the cart and was attempting to discuss some form of combined shipping with him. we were getting somewhere but Ebay wouldn't let me send the message "request a total".It thought I was trying to work my way around them. It ended up blocking his stuff off and then it blocked me too. I don't know if it was him blocking me or eBay. Anyway, if you are on here, whatever happened wasn't intentional and I am very sorry.

.JPG.0330d908f365cf0ad18d9db73f8fb269.JPG)


.JPG.9609737a0e7a5d5bfcb084876c57130a.JPG)
.JPG.9f9257993b3df3adeec41c9c97ef43b3.JPG)
.JPG.2734fd6419b8c048455021a00c96c6ff.JPG)