talon63
-
Posts
269 -
Joined
-
Last visited
Content Type
Profiles
Forums
Events
Gallery
Everything posted by talon63
-
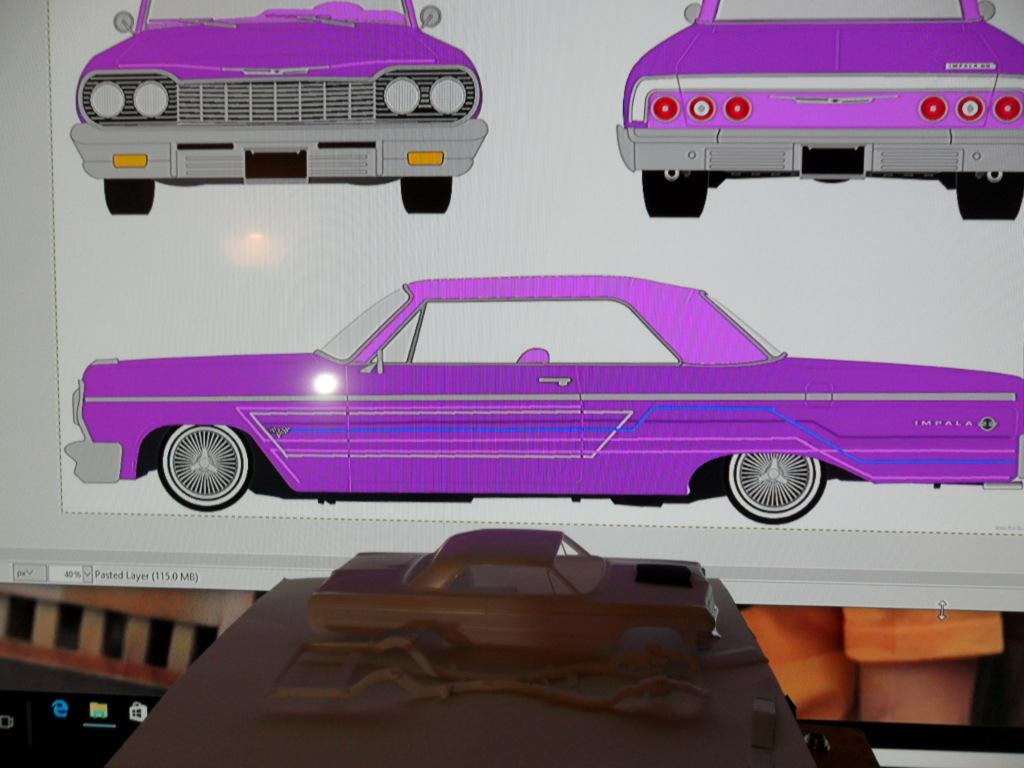
My next project is a `64 Chevy Impala. Don't know if I'm going to stick with tiny tires and rims, but this one will give me a chance to improve my paint technique with the striping pattern. I'm also thinking of hiding the headlights with a full grill. And so, the next adventure begins....

-
What are your pre-build planning methods?
talon63 replied to Jeremy Jon's topic in General Automotive Talk (Trucks and Cars)
I usually keep a dozen or kits on-hand, and when I can find them on clearance, I'll sometimes buy two or three of the same thing. Then's off to do the research. Lots of photo searching, then line art searching (I can draw, but I'm much faster with a computer). I can use the line art as a base for trying paint schemes, body mods, pinstriping, etc. Here are the mockup and bench images of a 58 T-bird that's still finishing off. I also pull the instruction sheet from the kit and go through each bit, annotating where changes should be, parts that aren't accurate, parts that were left out of the detail of the kit, like parking brake pedals and release levers, floor mount high-beam switches, etc. Next is collection and fabricating of parts. I tend to make a lot of different things from a few items I keep on-hand. heat-shrink tubing is remarkably versatile for creating hoses, breather tubes, spark plug boots, weatherstripping and seals, even the odd wiper blade. Then it's time to start laying everything out. I keep my reference photos up on a 50" monitor, lots of screen real estate to keep several large pics open at once, and keep everything large enough to see detail. The rest is just time. Some days I may only do some research, other days become a flurry of activity, where it just seems like the kit is just coming together without my interference. Building reminds me a lot of when I painted. that newly opened box is like a blank white canvas. Sometimes the canvas knows what it wants to show you, other times times you have to coax it out. And what you get you get when you finish is, sometimes, nothing like what you thought you were going to do. Like the `49 Merc in satin black I did. That had nothing in common with my vision when I first opened the box.
-
Fitting and shaping top.
-
Coming into the home stretch with this one. A few bits of chrome left, along with the rag top. Some clean up, and maybe a good polish before she goes under glass.
-
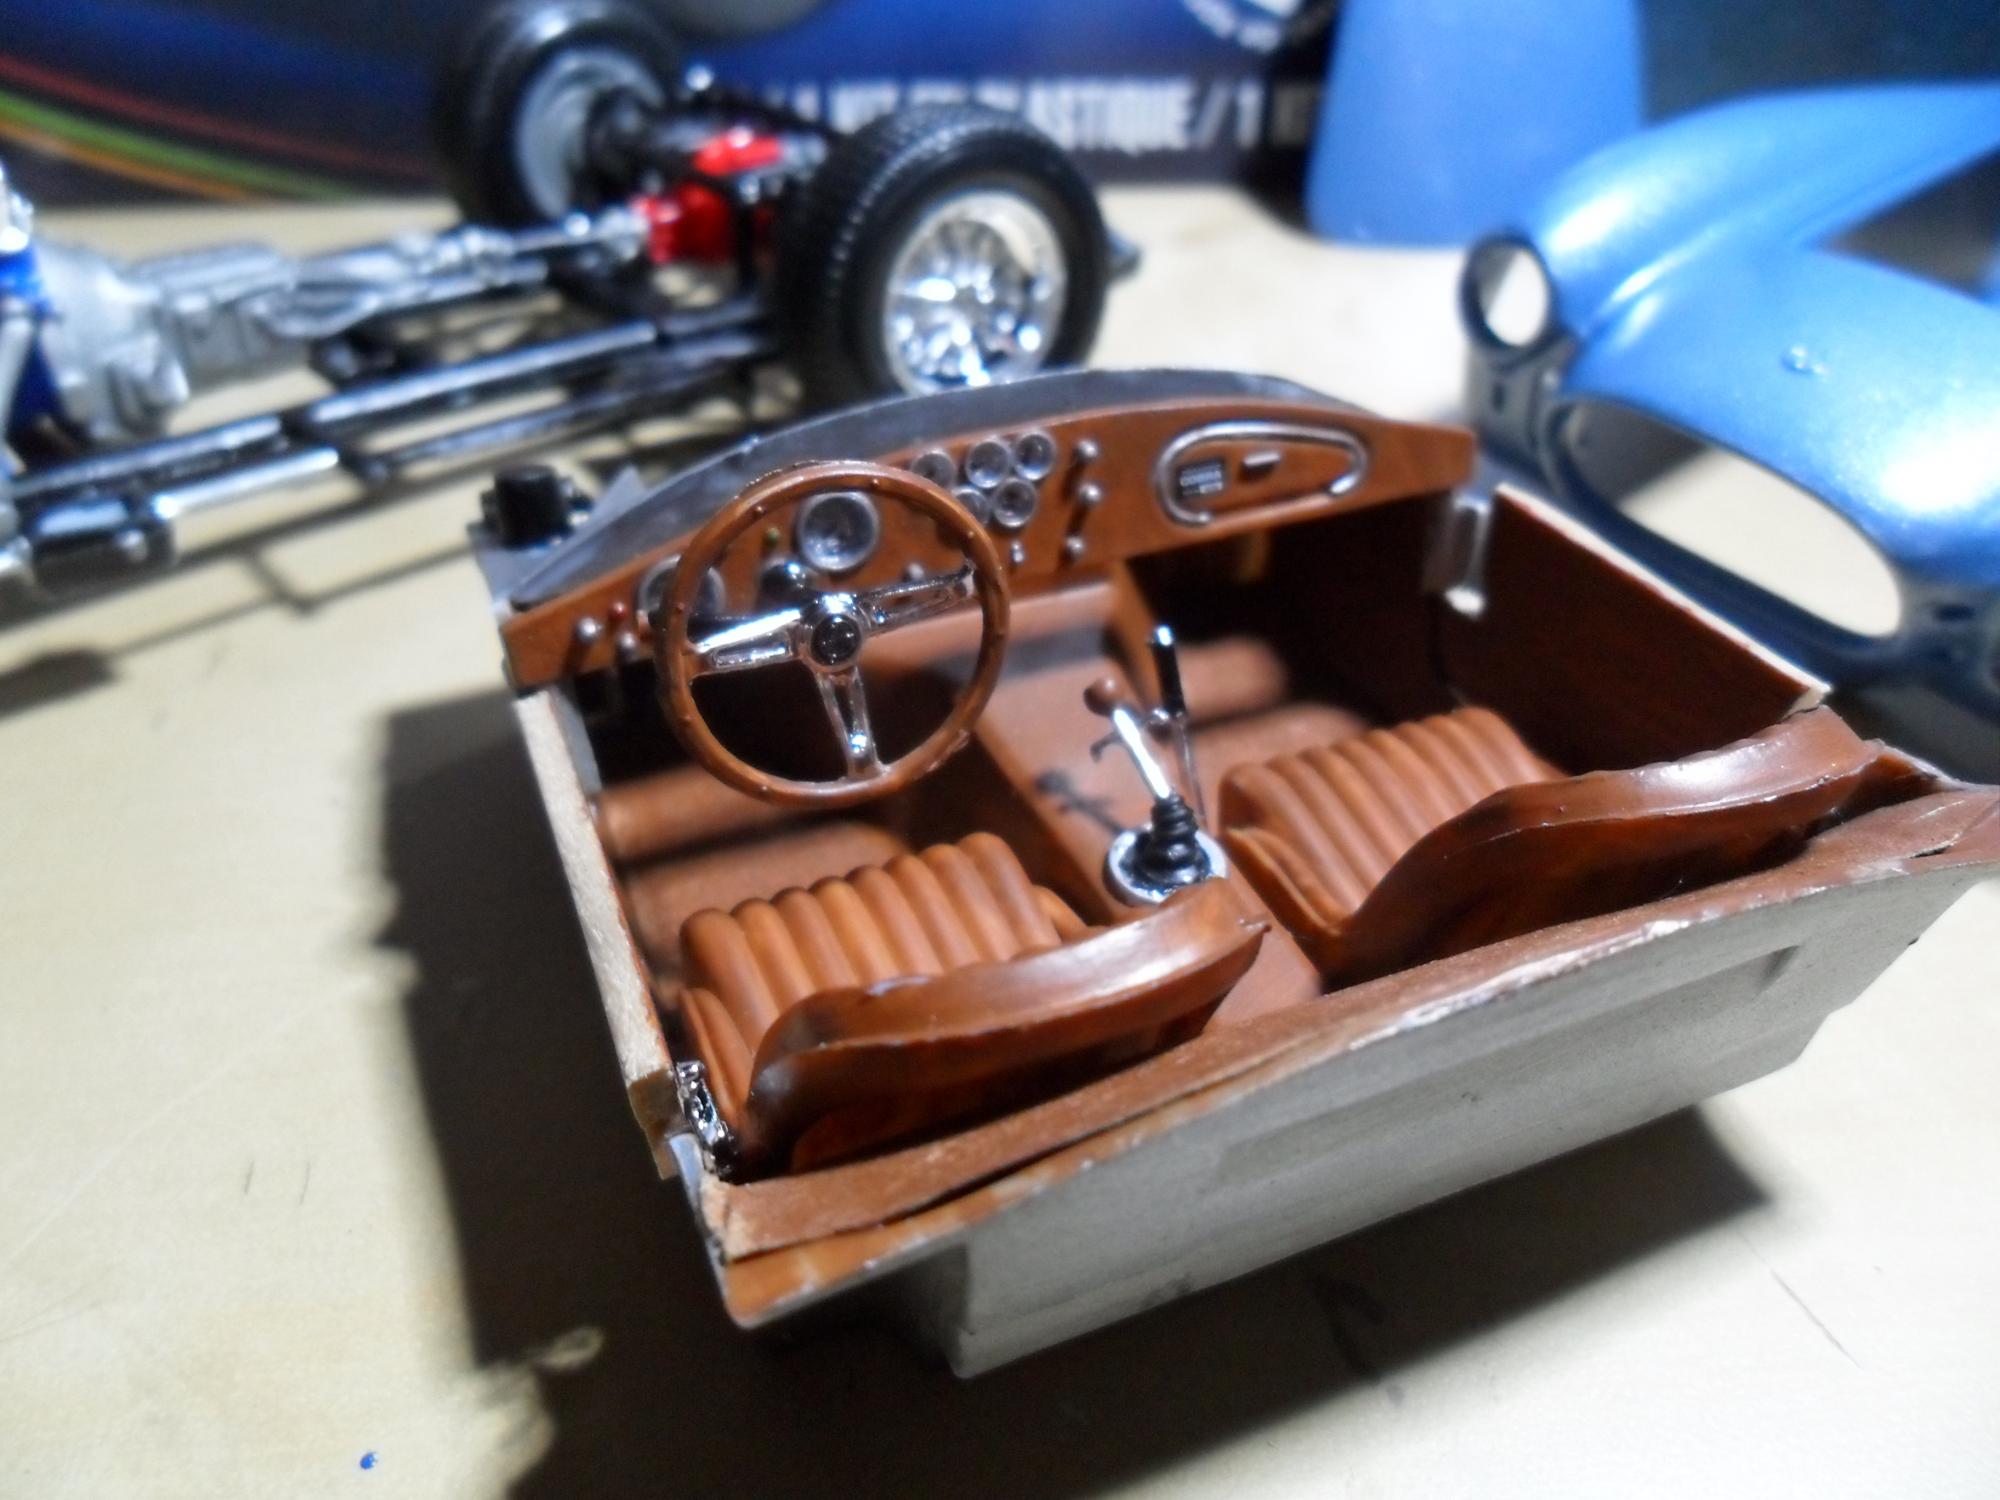
It's a Testors' water-based brown, applied in several layers as a wash, so final finished appearance is slightly mottled, hopefully looking like leather. Here you can also see the turn signal lever, made from a repurposed micro-paintbrush end. Once the brush is useless I cut it off, and then cut back a bit to make the lever. The door panel inserts are painted balsa, and the carpets/mats and the piece behind the seats are from the same paper I made the ragtop from, painted with the same paint used elsewhere for the intterior. Still need to complete the steering column to continue through the firewall.
-
The Stallone car was a `50 Merc Monterey, if you are referring to the movie "Cobra". I've got another `49 kit in a box, and with some minor mods, could probably replicate the movie car.
-
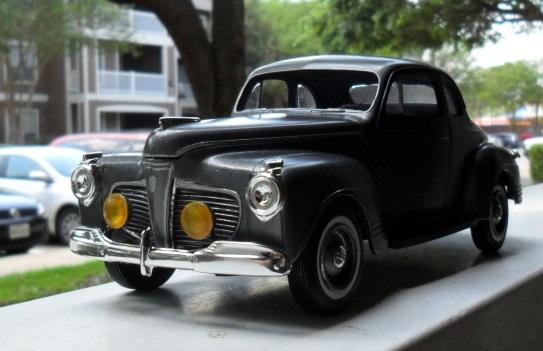
That was, to quote Bob Ross, "A Happy Accident". I grabbed a cheap can of Basic Black spray paint in a hardware store, I think the brand name was NOW. That was the finish as applied, no additional sanding, no clear coats. Once it was on and dried I liked it enough to keep it that way.
-
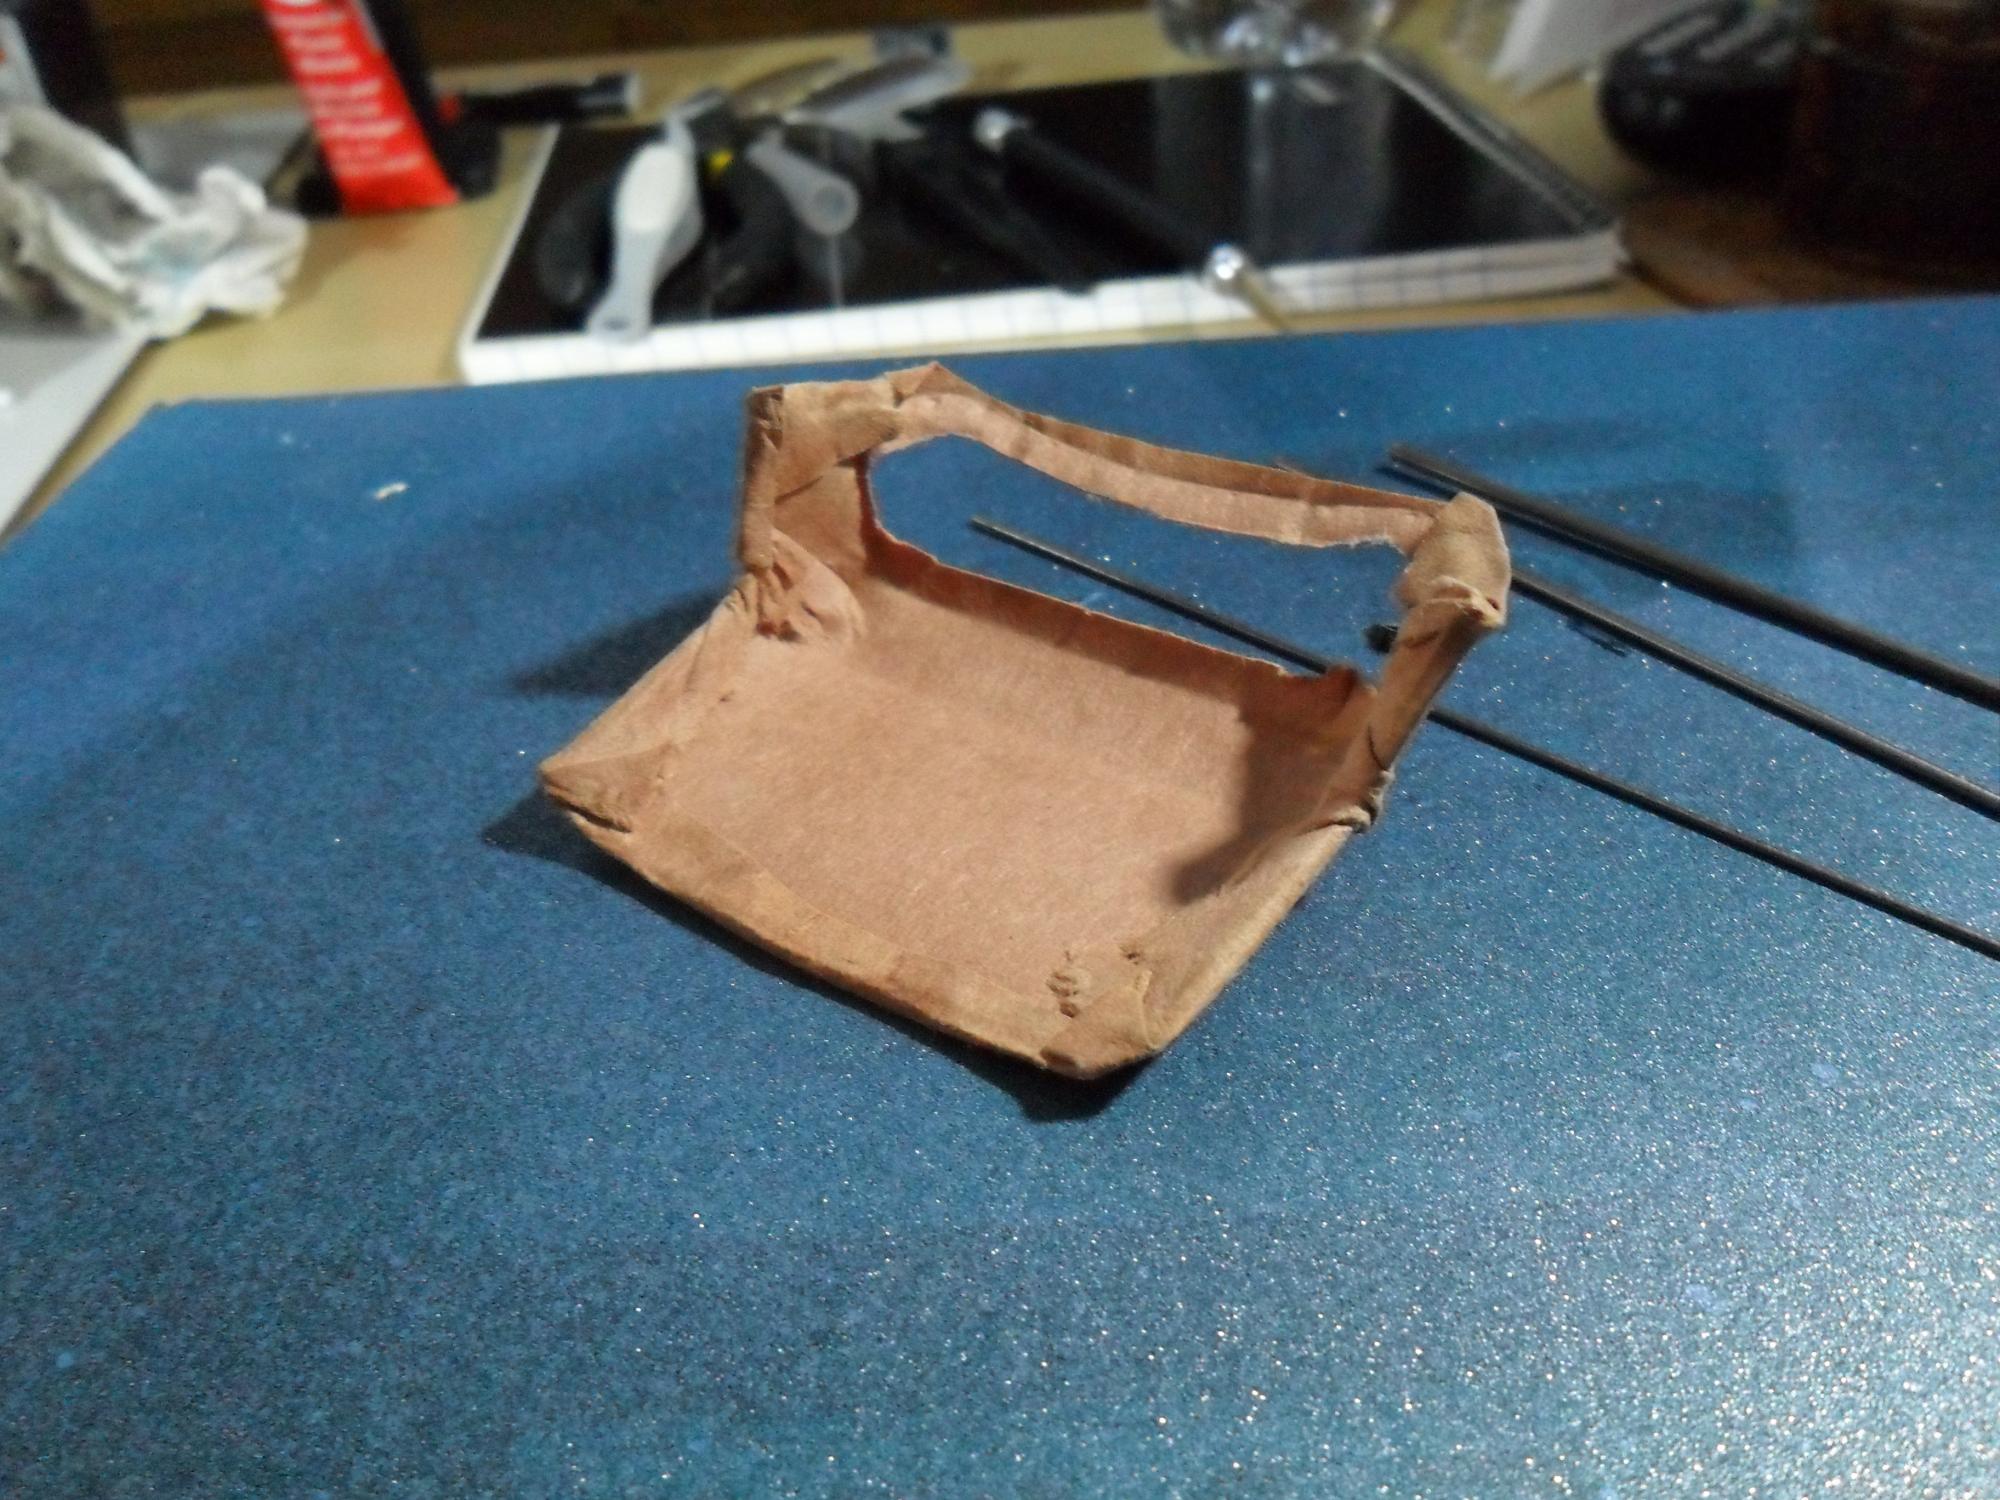
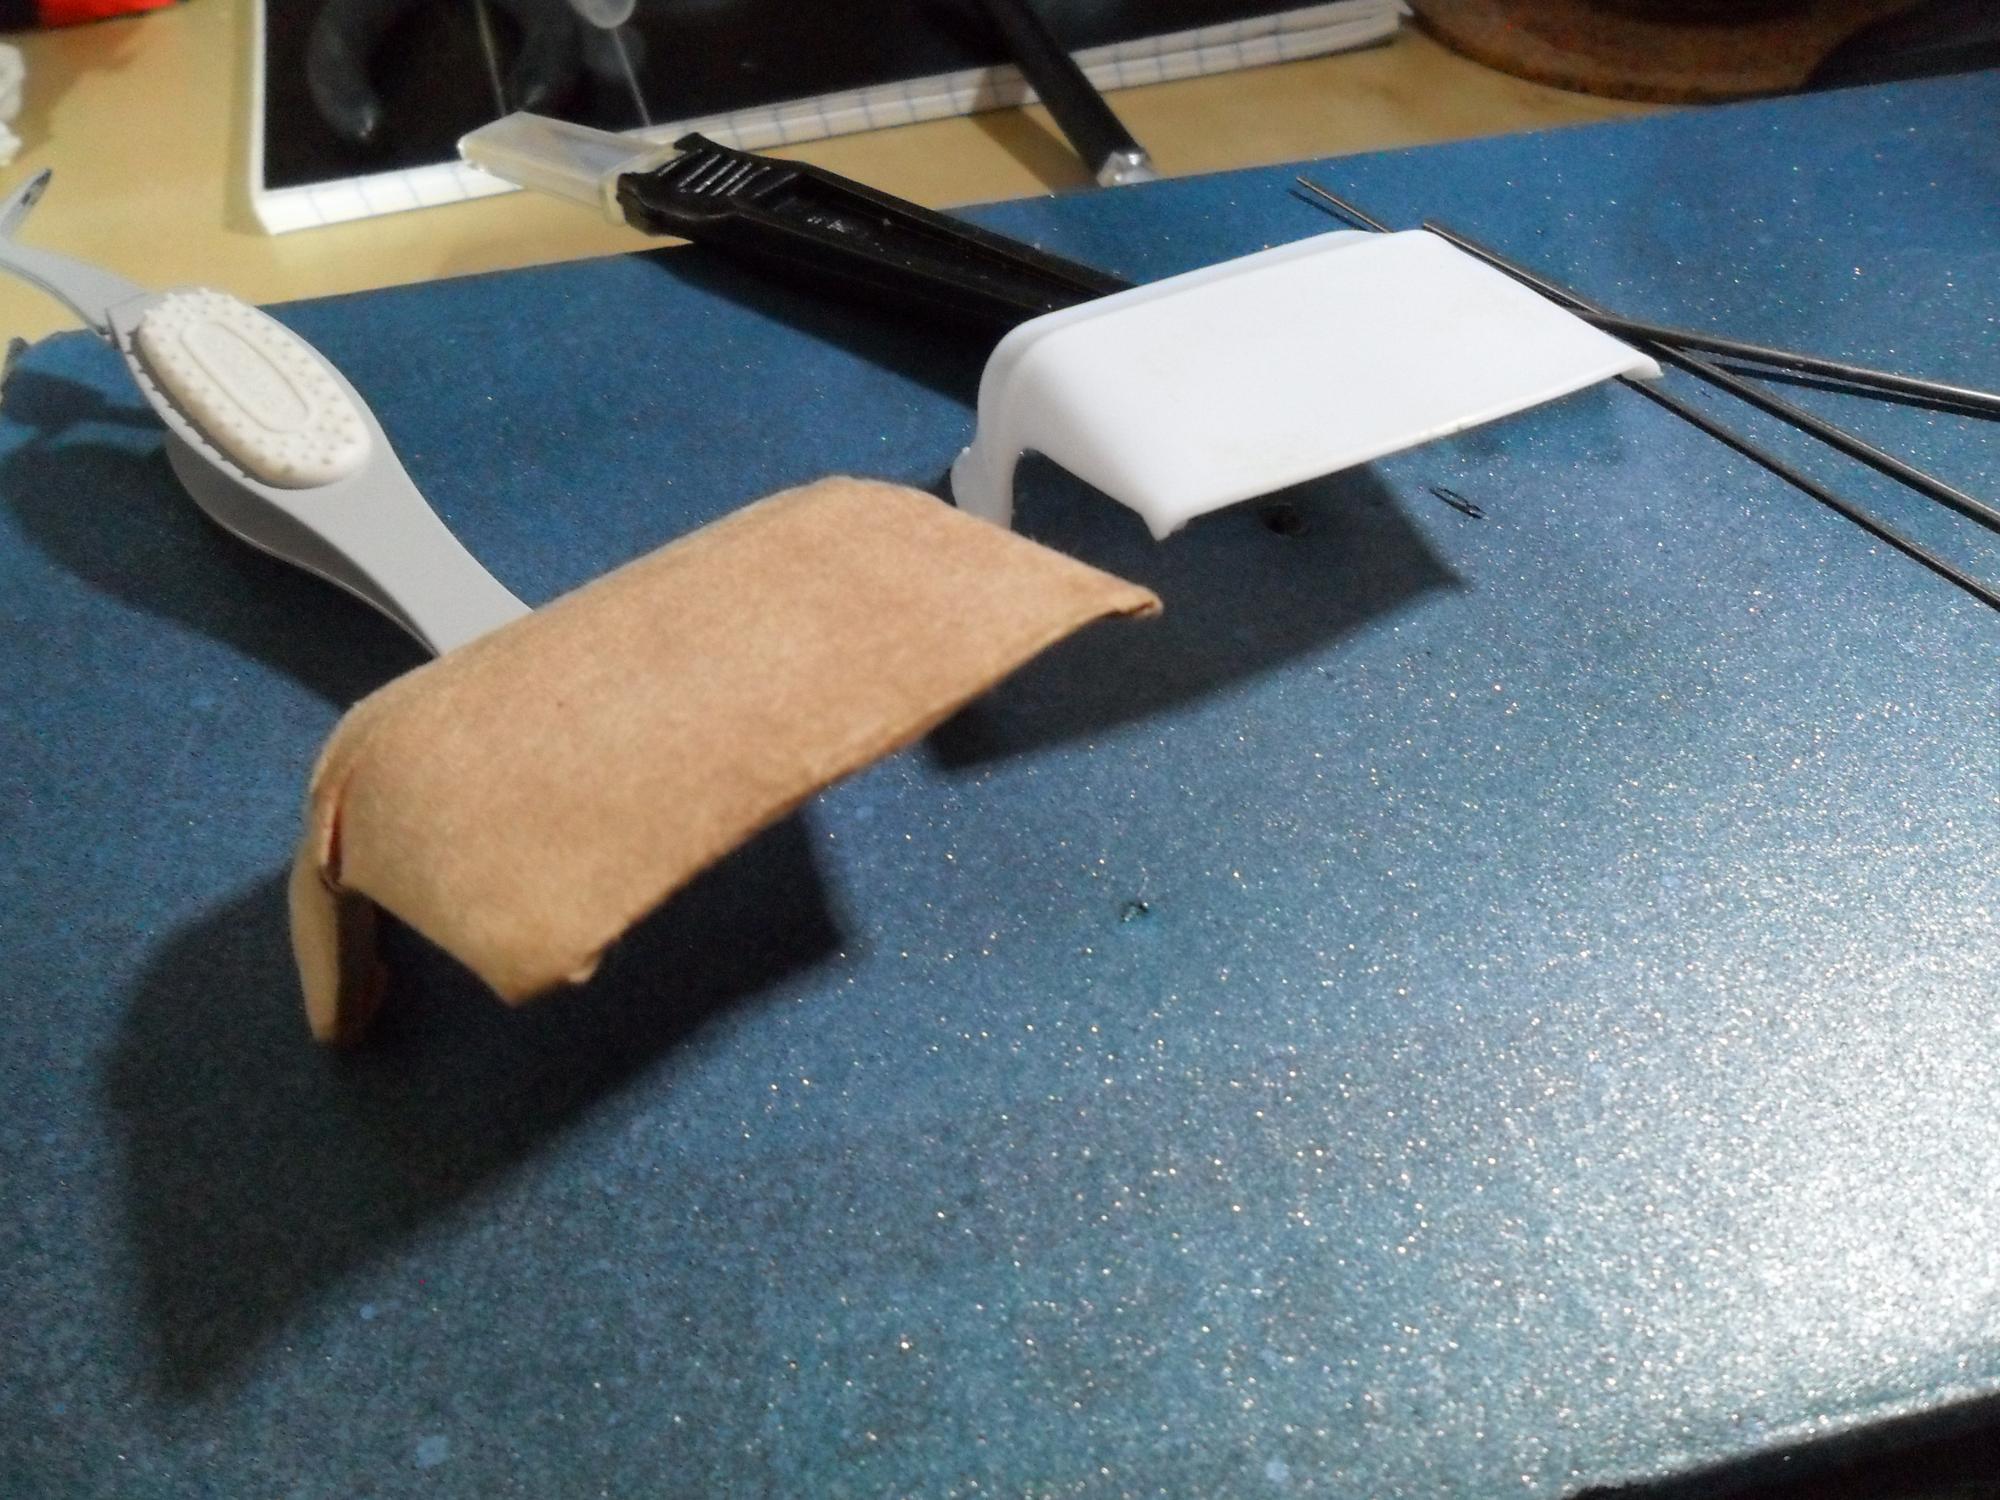
I used the kit top as a mold. The acrylic floor wax brushed on during the drying process allows it to maintain it's shape and resist future moisture exposure. Here is the paper top along-side the original molded plastic. I do wrap the edges, as seen in the next pic, and those metal rods on the right will be used to fashion the top frame as soon as I track down a good image of a real one. Here is the underside of the top, requiring some cleanup, and the creation of the frame and front header bar, and the rear glass. I haven't decided if I'm going to use the kit window for a glass effect, or make it more like a cheap rag-top with thin clear plastic.
-
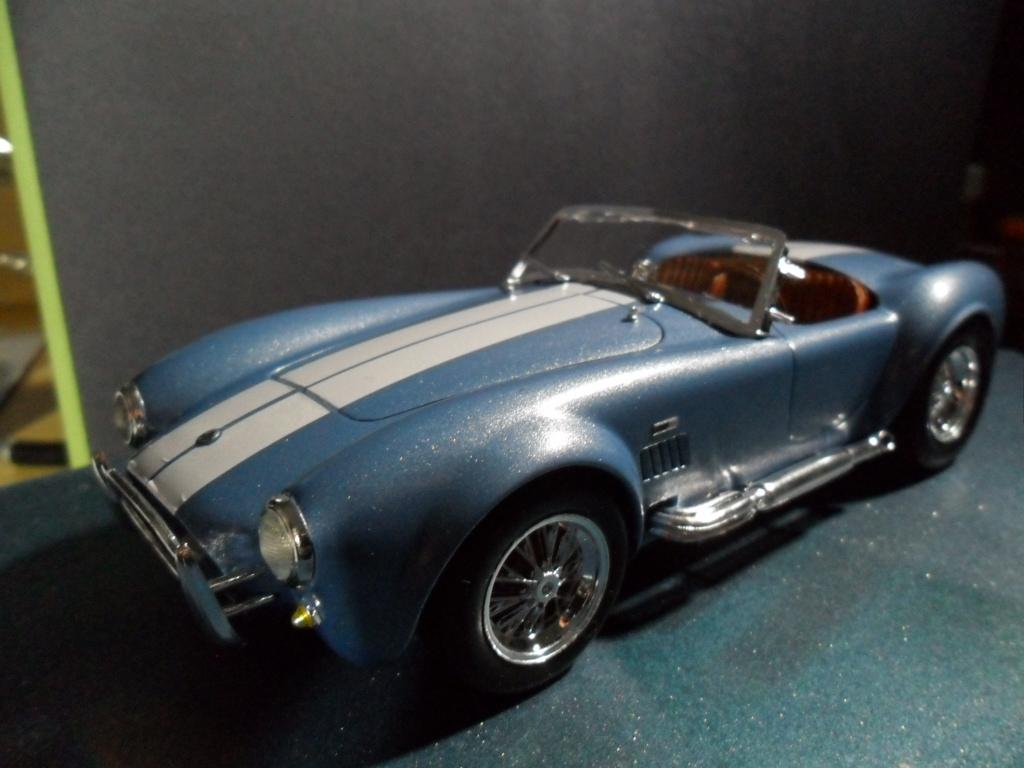
Thanks for the comments. That blue is an automotive finish from the parts store in a rattle-can.
-
Currently on the bench is this 1:24 Shelby Cobra in the foreground is the ragtop I formed using dampened construction paper pressed down over the kit plastic top. The finish is achieved by brushing on Pledge Floor Care (Future) acrylic floor wax during the drying process. Here you will see the almost complete chassis in the back, with the mostly complete engine. In the foreground is the interior build out. Tried to get a leather look on the seats, and have them show slight wear, as well as adding carpet, door panels, and a turn signal lever. There is even a panel created behind the seats to hide the battery, and will eventually have a speaker grill between the seats. Feedback is always appreciated.
-
Thanks for kind words! Washer fluid reservoir was achieved with a Blue Sharpie, in this case a Bic Mark-it permanent marker, applied to the inside and outside of the reservoir. I could have used flat white and a tint to make it look more like the original, but I like how this one turned out. The permanent markers are fairly translucent, so they are useful in creating some nice effects. I've used a red on chrome parts with Elmer's Clear Glue over it to create tail light lenses when I don't like the ones that come with a kit. I'm kind of a scrounge builder, re-purposing odd bits of stuff to fashion parts I need. Like the white plastic pull tabs from milk and juice cartons, they can be turned into air cleaner covers or interesting hubcaps with very little effort.
-
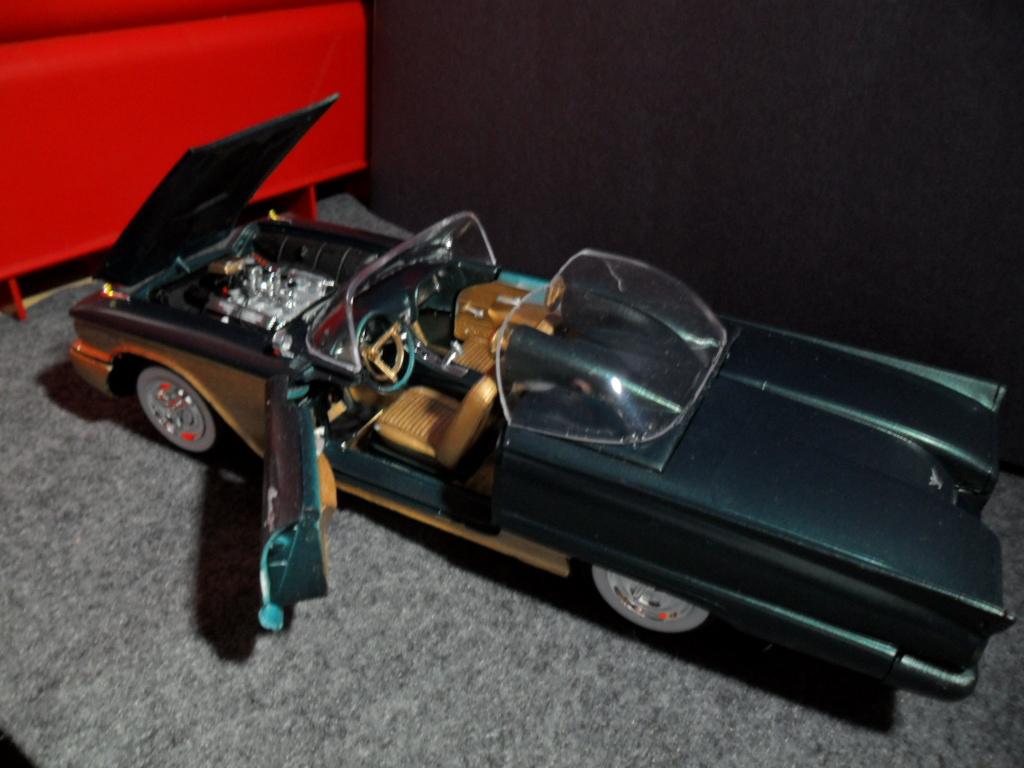
49 Merc, with a parts box flathead. The Interior is a grey/orange combo. Feedback appreciated.
-
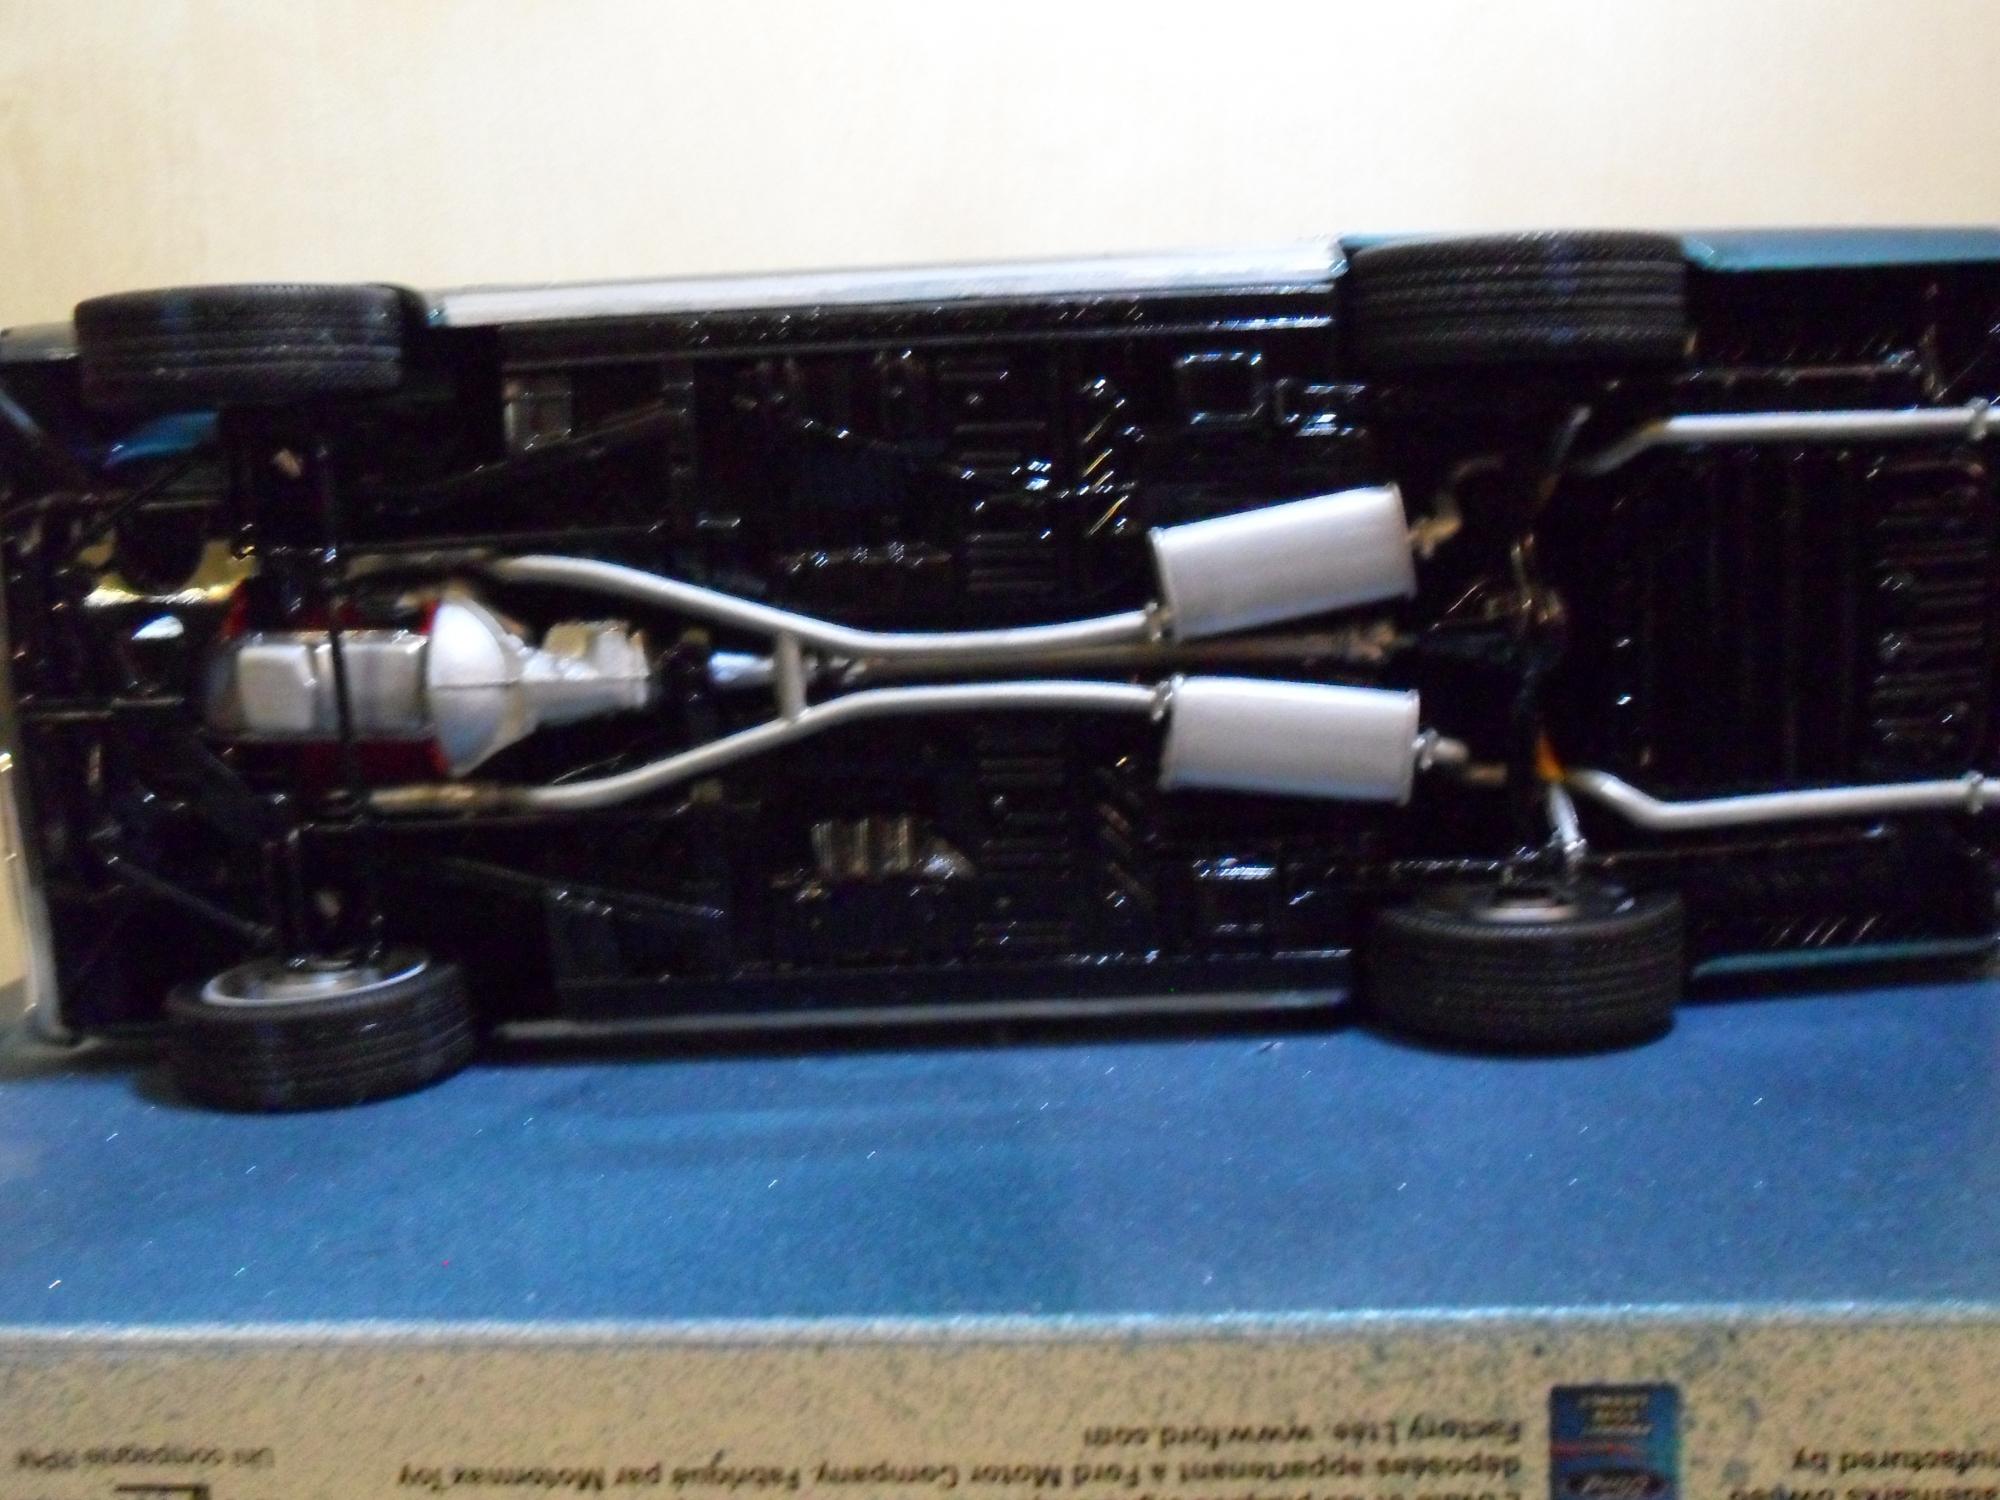
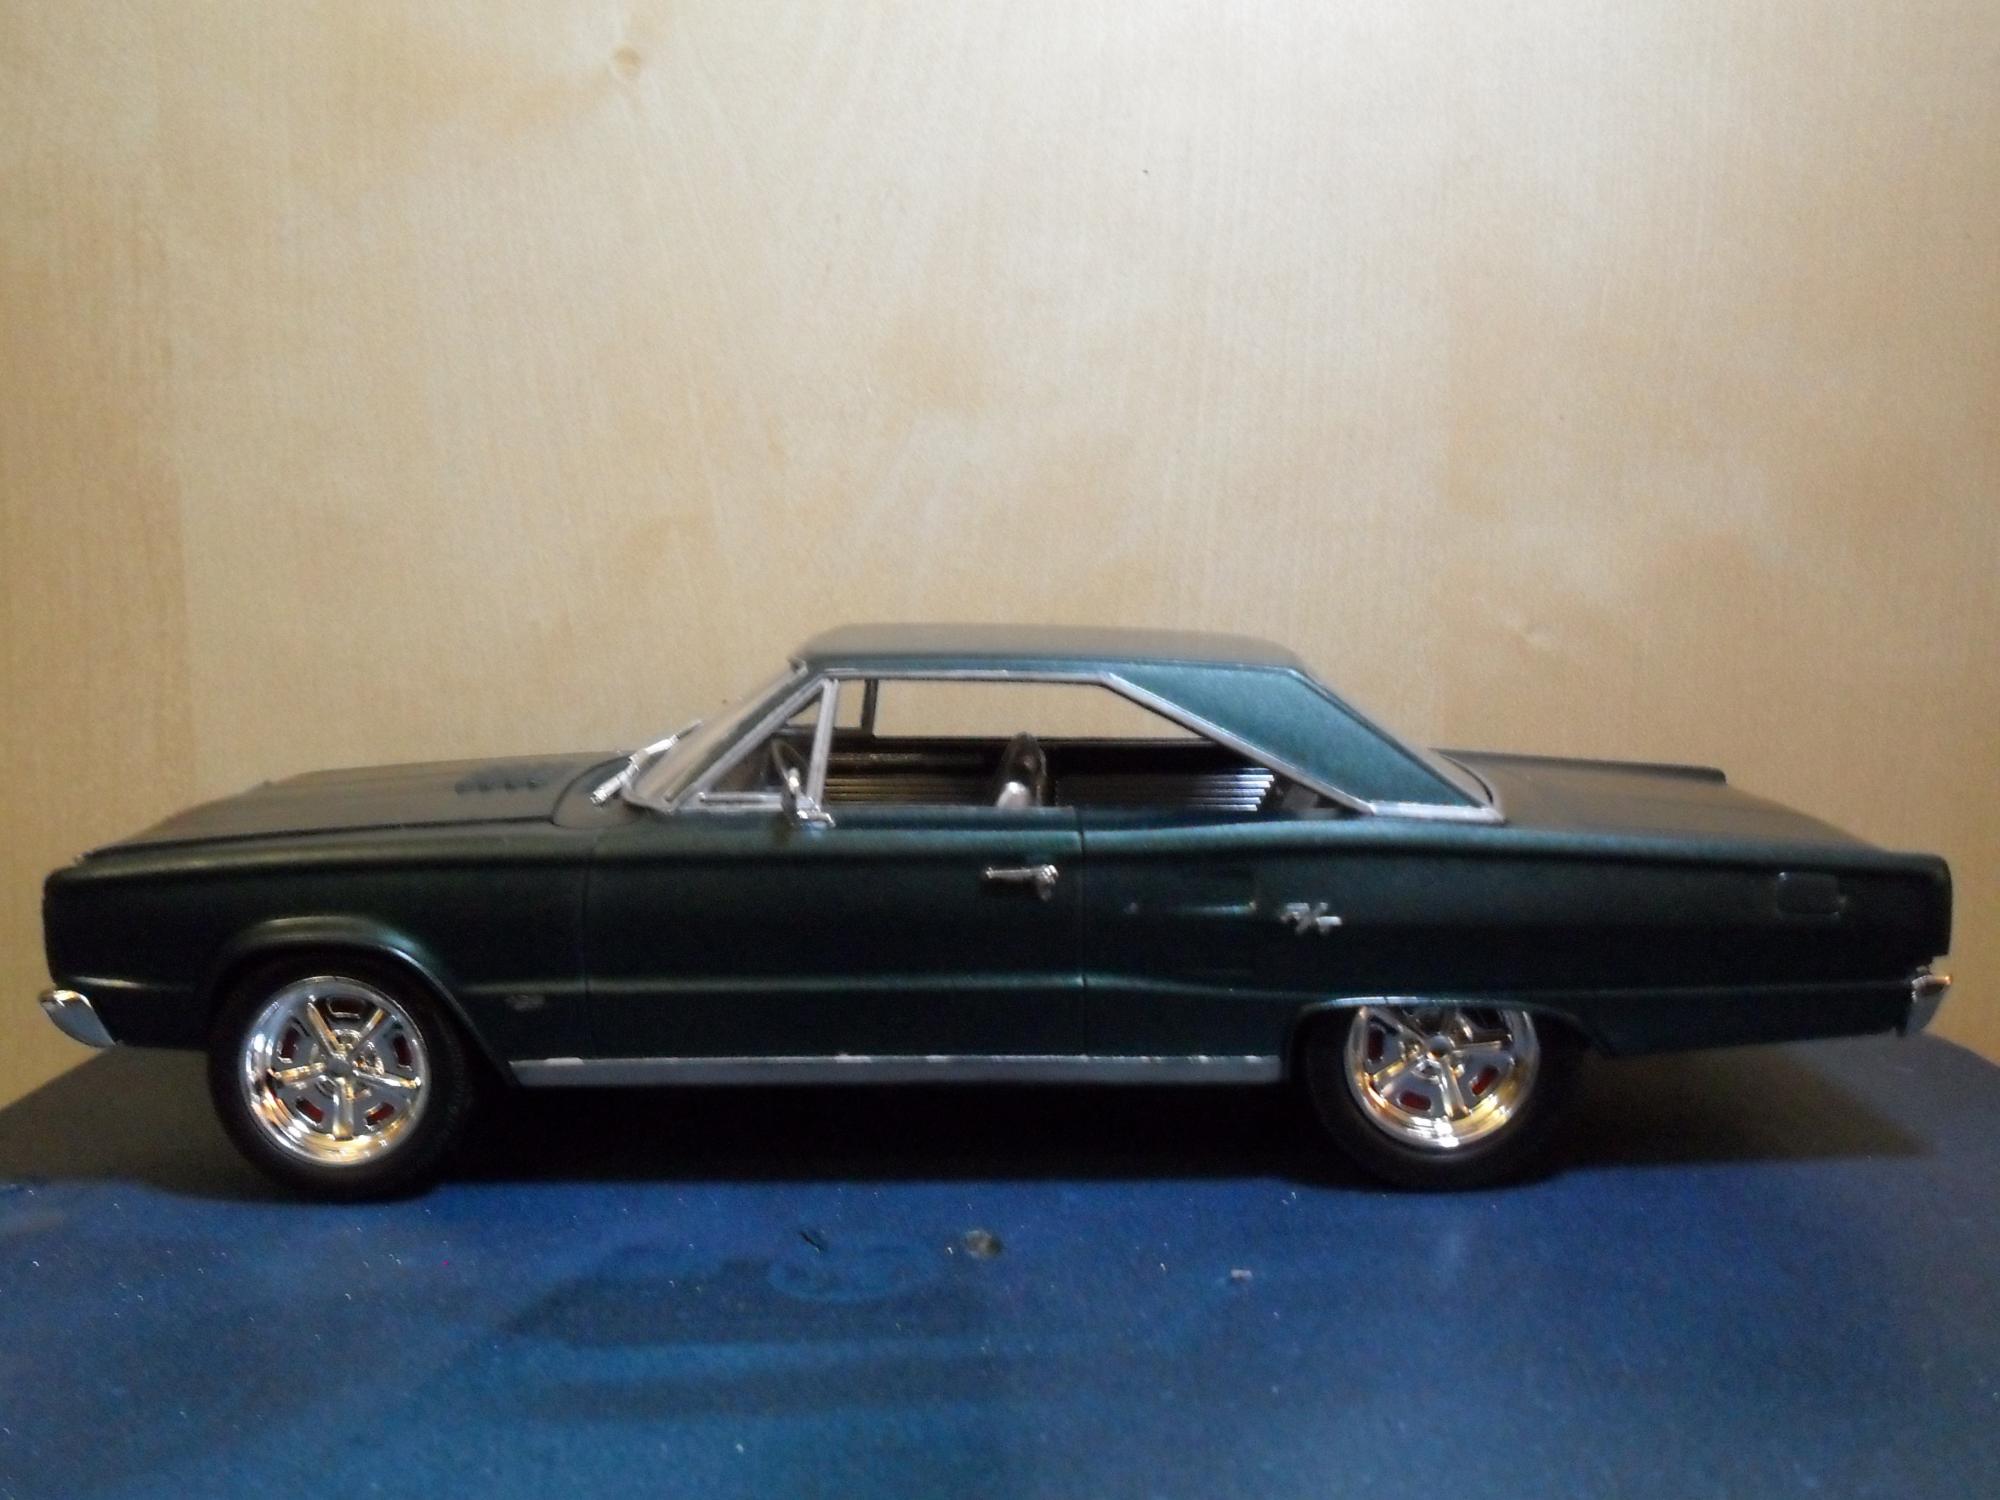
My take on the 67 Dodge Coronet. Again, mostly right out of the box, with a few flourishes. Feedback appreciated.
-
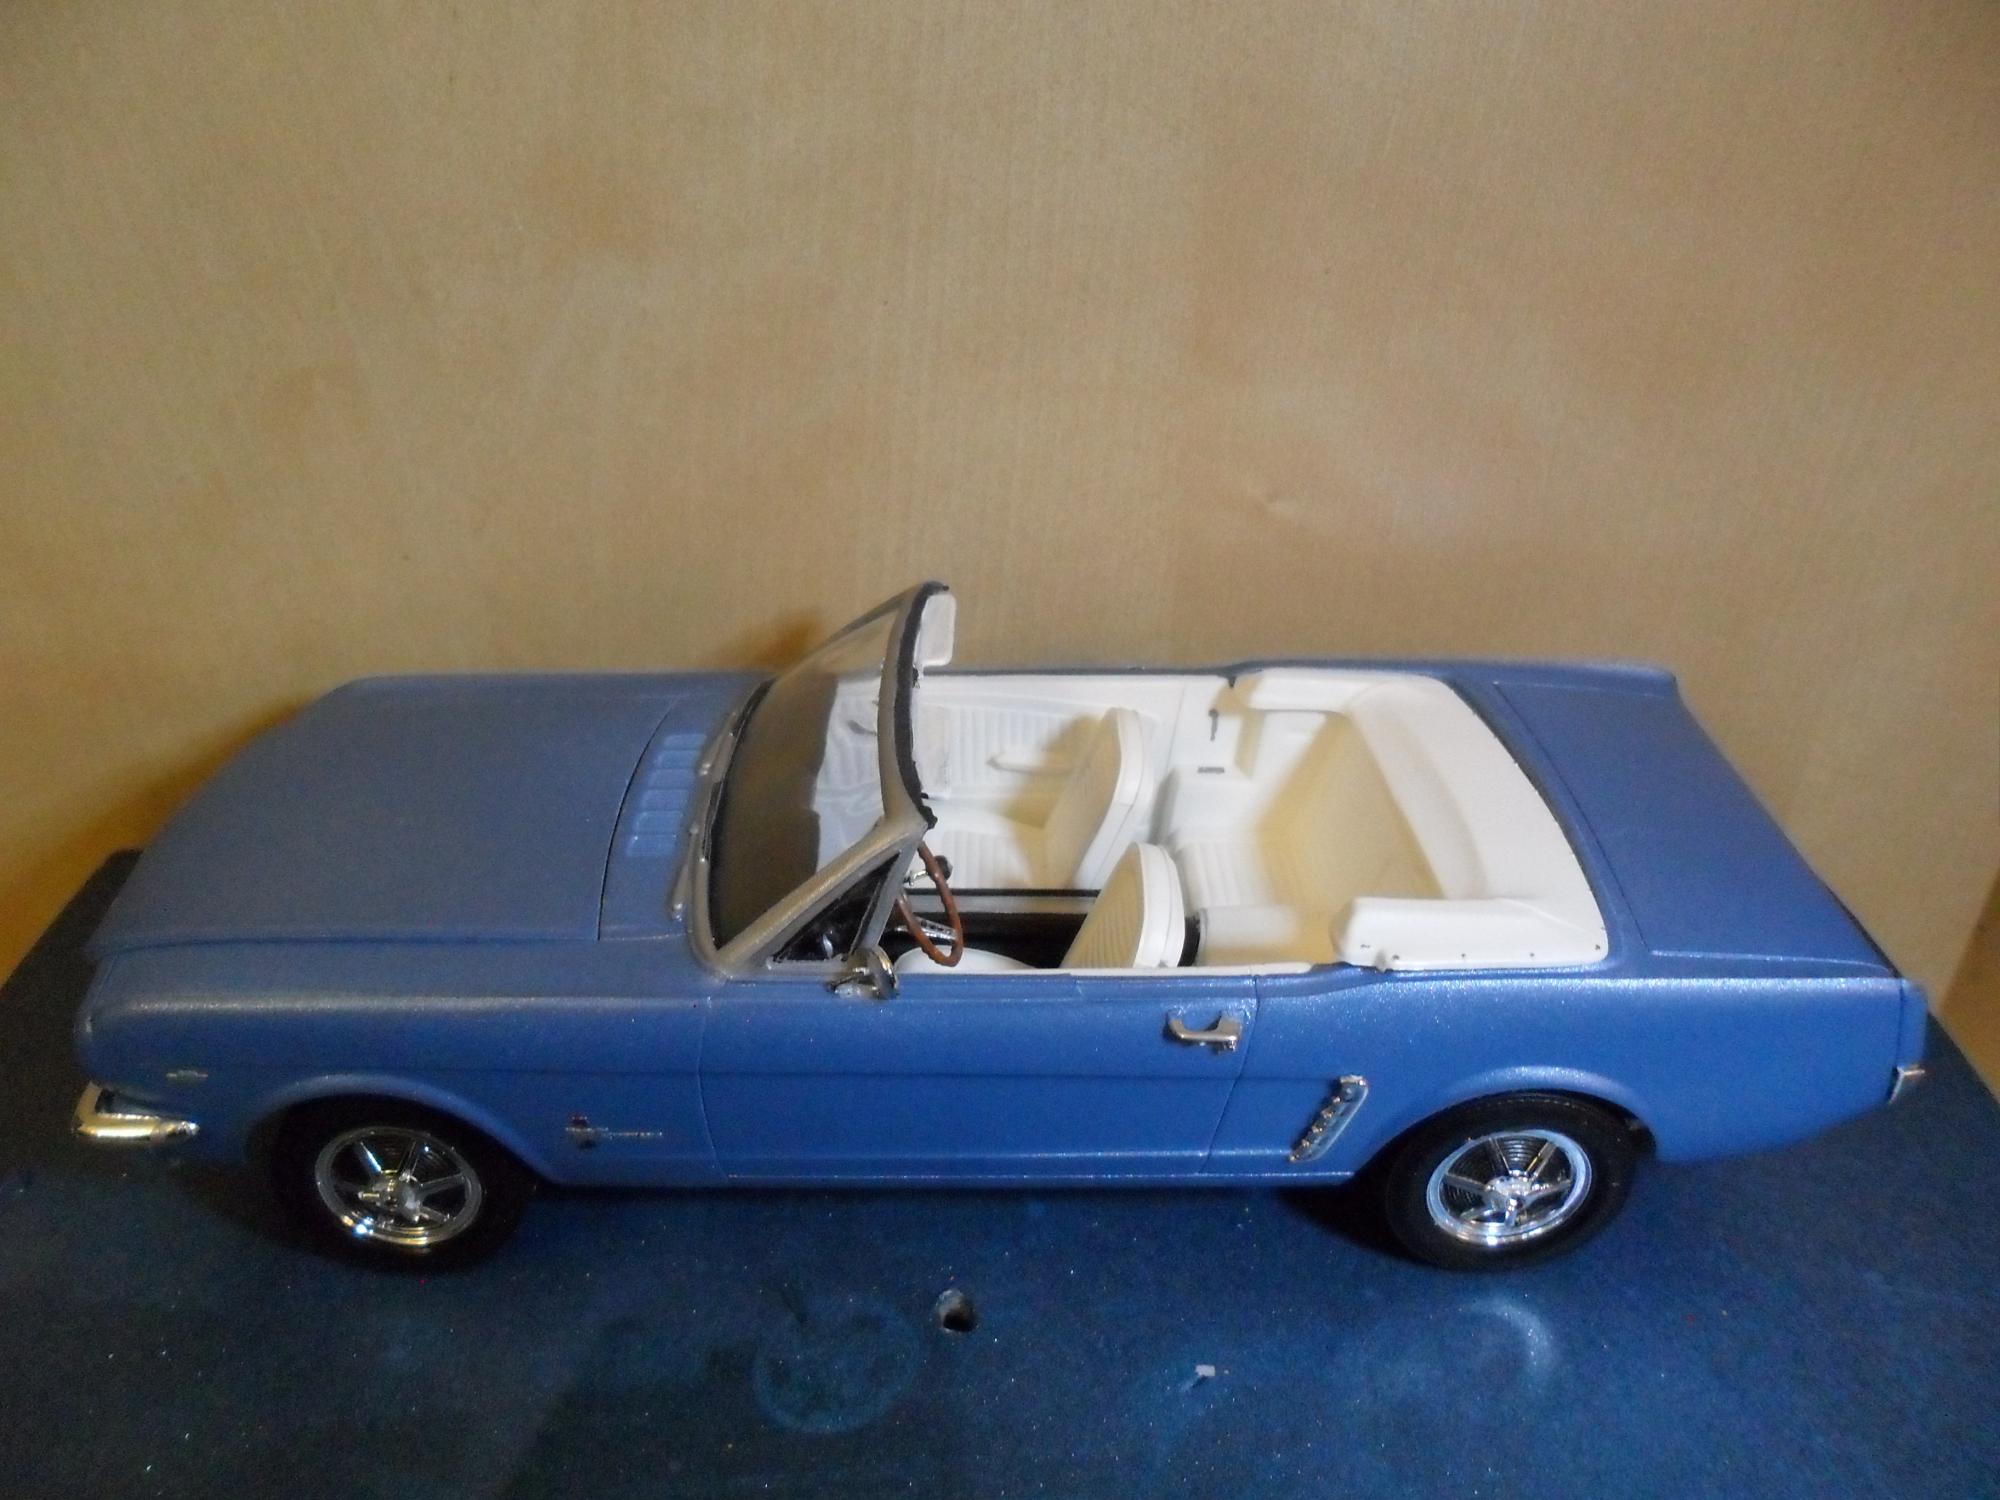
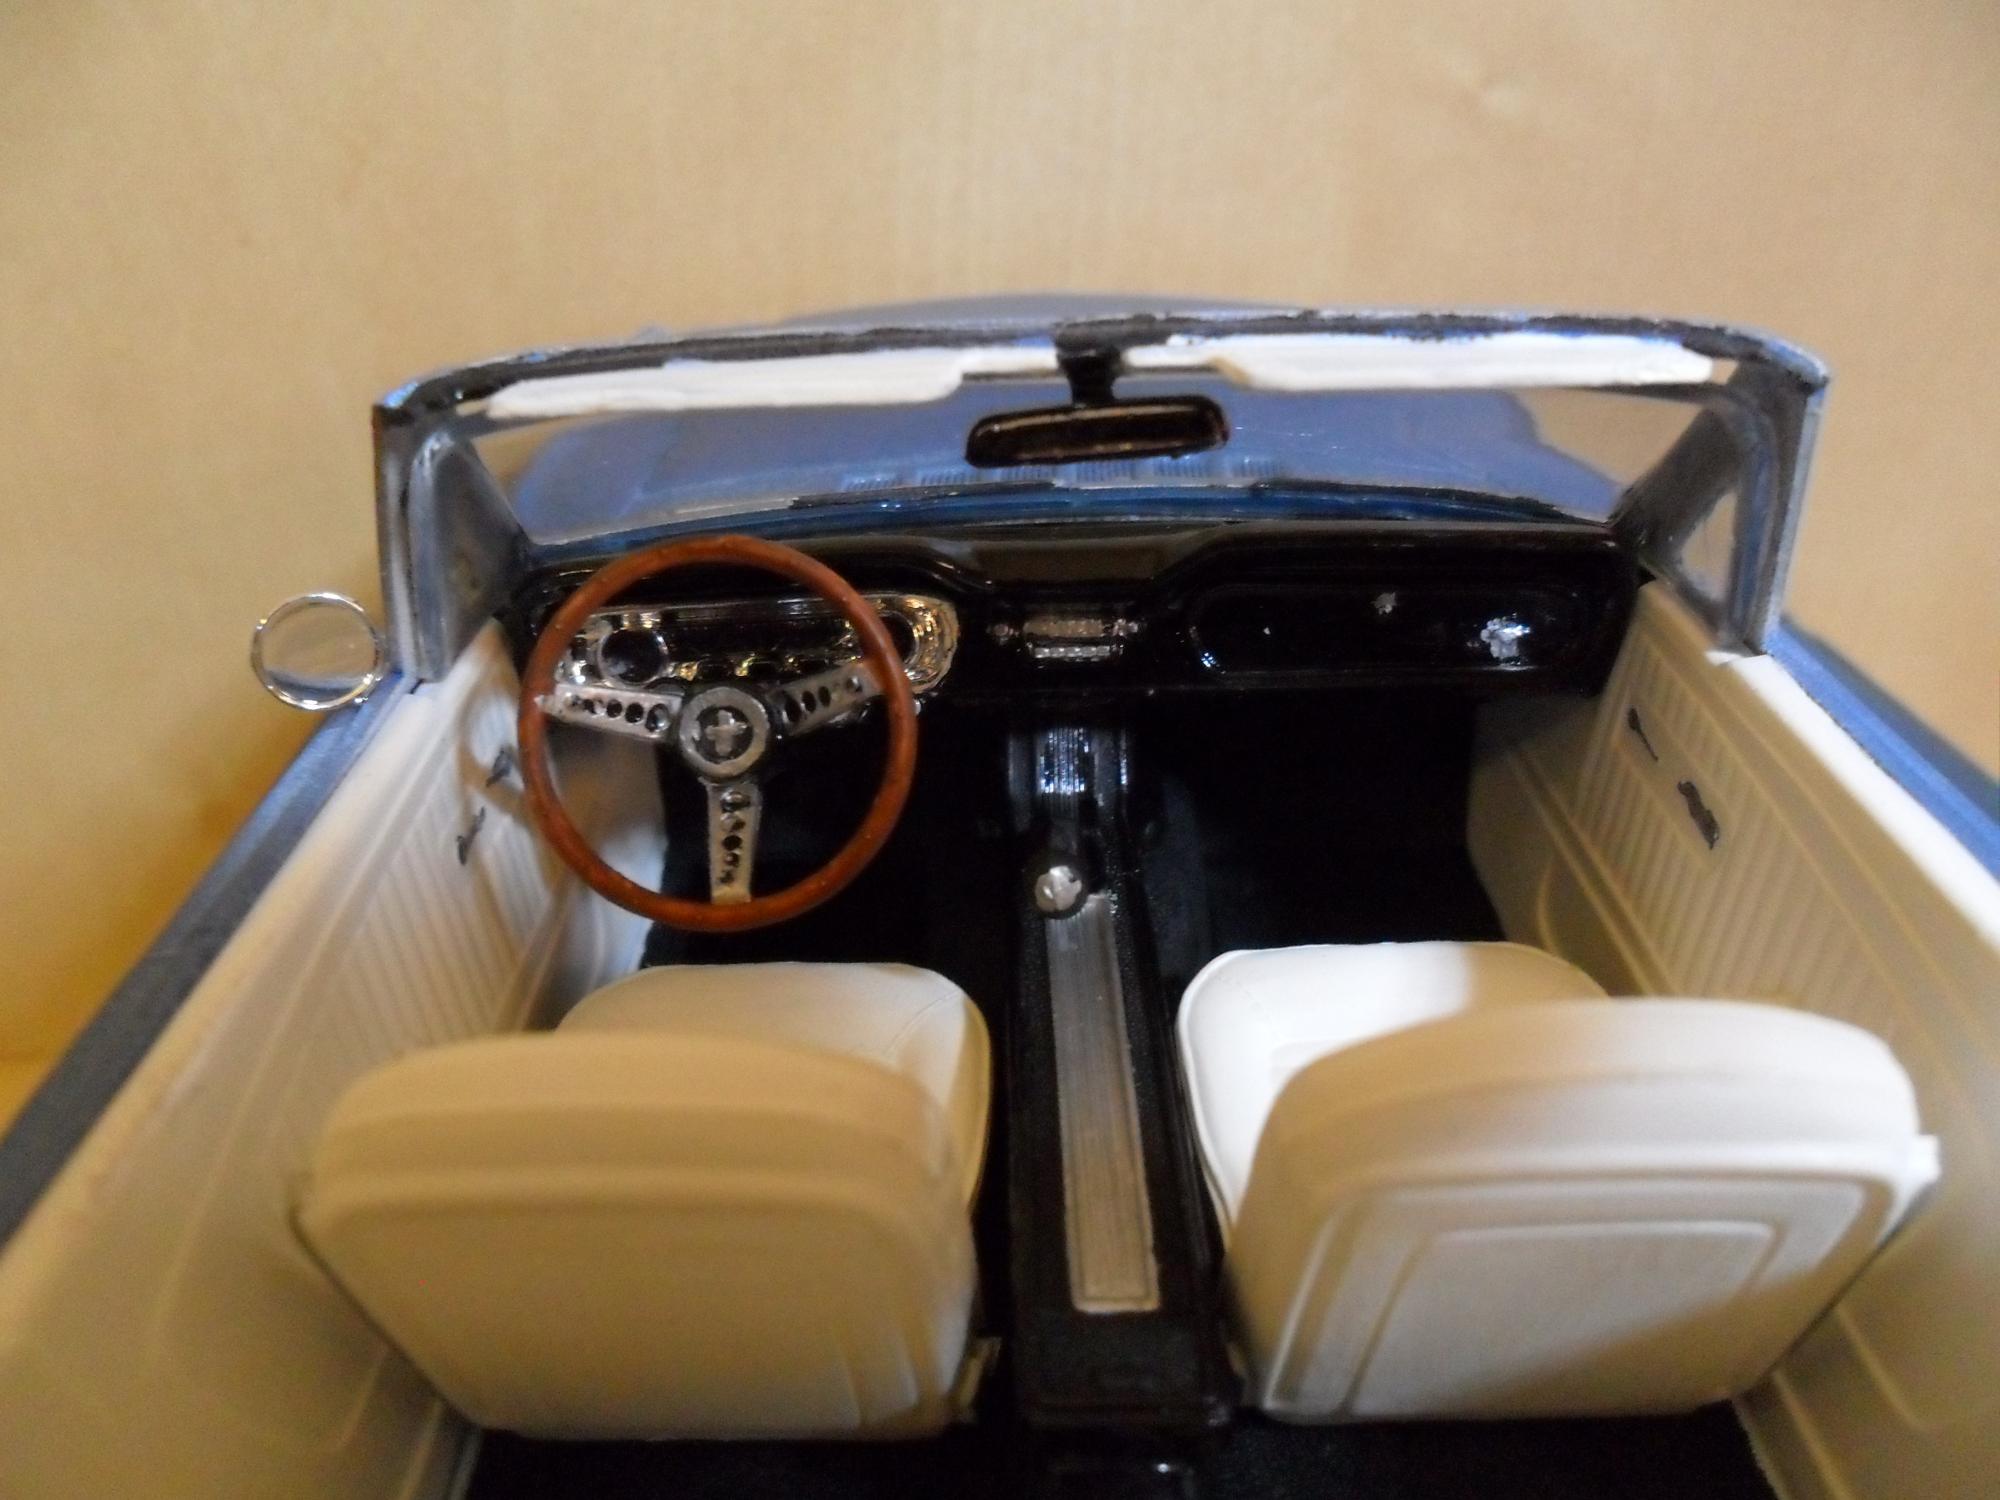
After a 40 year break in building, decided to take a shot at it again. Mostly out-of-the-box build, with a few custom flourishes for detail accuracy. This was the first of several I've done in the last few weeks, and I will be adding others from the small, but growing, collection. Feedback appreciated.