talon63
-
Posts
269 -
Joined
-
Last visited
Content Type
Profiles
Forums
Events
Gallery
Everything posted by talon63
-
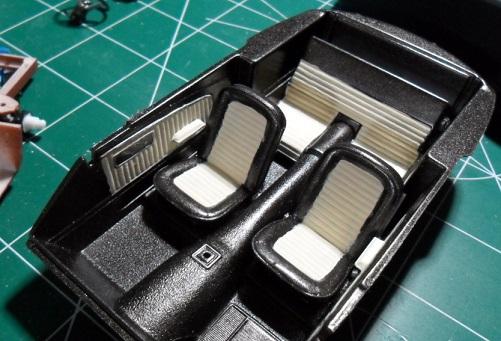
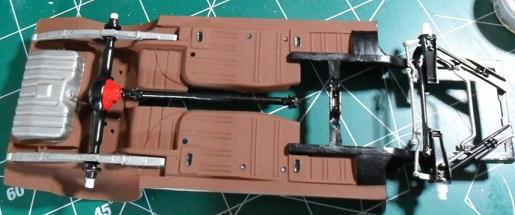
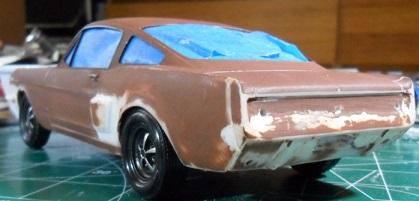
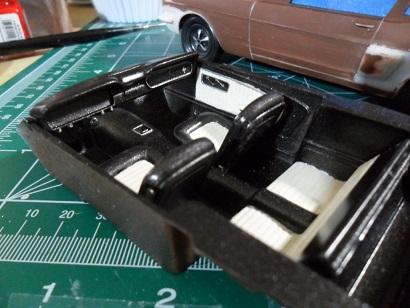
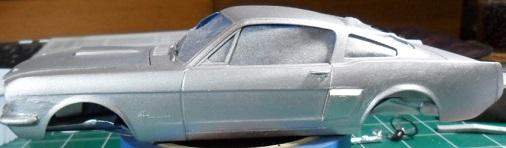
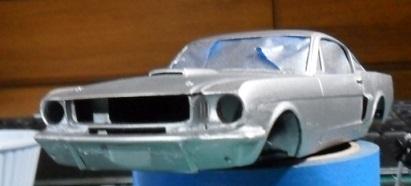
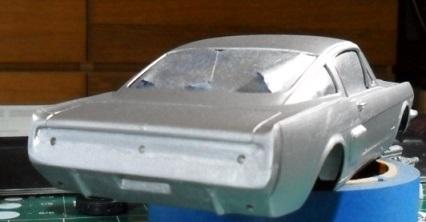
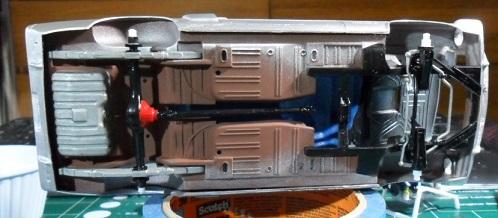
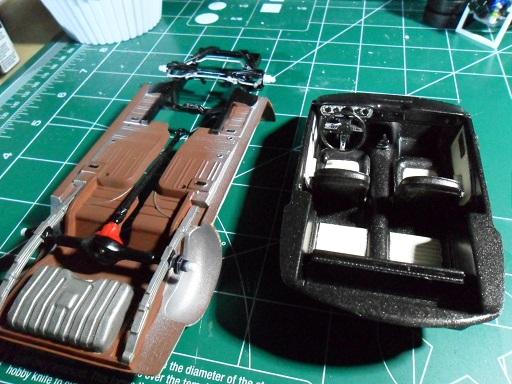
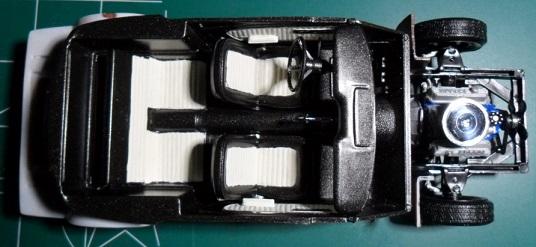
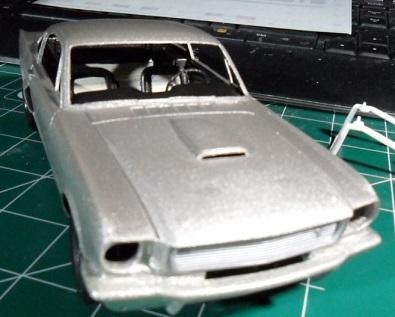
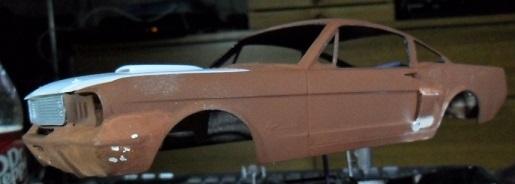
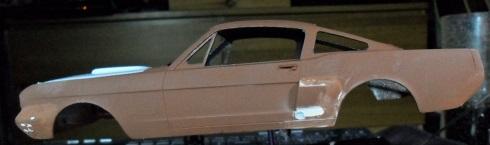
First pass at the interior using the Bronze and Vanilla combo. Gonna keep this one fairly simple. First pass at the chassis. will be adding some detail to this as it progresses. And the body work continues... lots of sanding, shaping, rescribing of body lines, then a shot of silver basecoat... And more sanding and shaping... A little more work on the chassis and interior, and a dry fit of the components.. and the first pass of the finish coat... and miles to go before this one is complete. Happy building, everyone!

-
I like where this is heading. Looking forward to more.
-
Looking great!
-
Color combo, inside and out, is stunning. Looking forward to more.
-
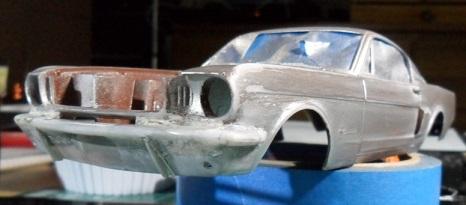
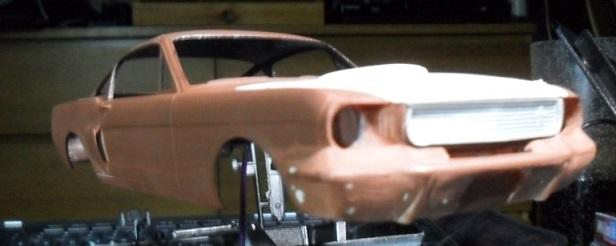
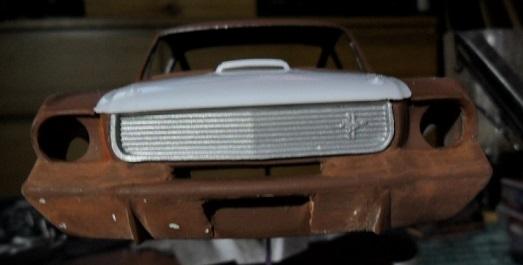
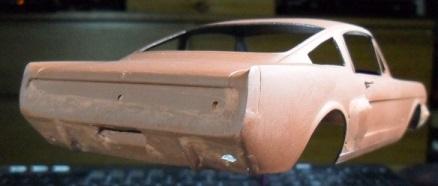
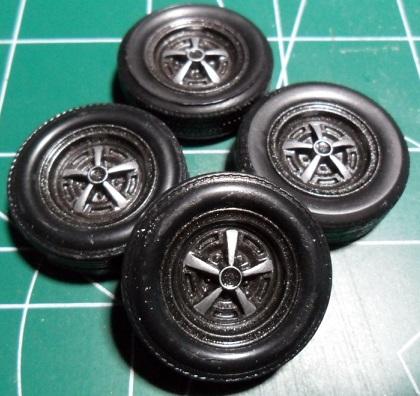
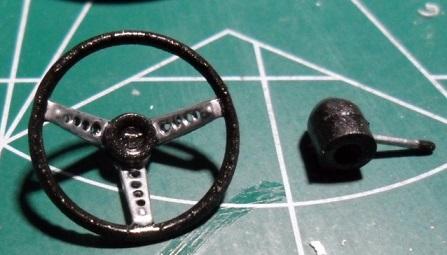
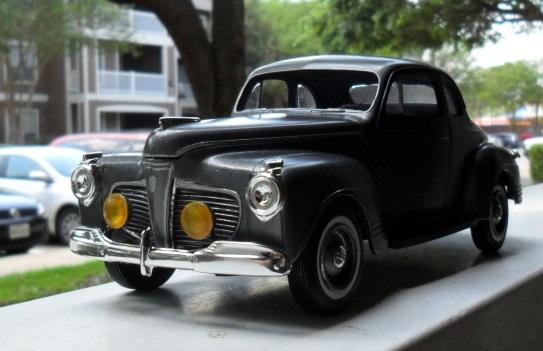
Since I liked the Satin Nickel and Oil Rubbed Bronze color scheme I'm using on the 31 Ford build, I thought I'd keep the same palette for this build as well. The body will be finished in the Nickel, and the wheels and interior will use the bronze. Exterior chrome will all be finished in black on this one, as opposed to the brass on the 31. Grabbed the dechromed wheel bits, and hit them with a coat of Rust-oleum Oil Rubbed Bronze. I like the slight flake in the finish. a little Silver on the spokes and bring out the center ring. Working on an emblem for the center cap. The front tyres will be Michelin TRX's and the backs are are an unlabeled, but slightly wider tyre from the parts bin. And the body work begins... Added the dechromed bumpers and side vents and built up filler to blend these pieces into the body. still a lot of shaping and sanding to go. I just popped the hood and matte aluminum grill in for the pics.I also drilled out the headlamps so I can bucket and BMF them. A quick stance check and back to the body work. A lot of the bulk in the front bumper area will be reduced to make it look less weighty. Drilled out the steering wheel and got the bronze sprayed for the interior. The next update will include some of the interior shots with the Bronze and Vanilla accents on the seats and door panels. As always, comments are welcome, and you guys have a great 2016 build year!
-
flat rubber weatherstrip, door sweeps. Ease it out of the aluminum strip and cut to width?
-
My great uncle bought a 66 new. Drove it for 20 years, daily driver many cross country trips when he worked for Disney. In 1986 he gave it to my mom, who had always loved the car. She kept it until it became too hard to find certain parts for, but I understand it's still on the road in my hometown. This kit is my list to build a replica of the one she had. Look forward to following your build.
-
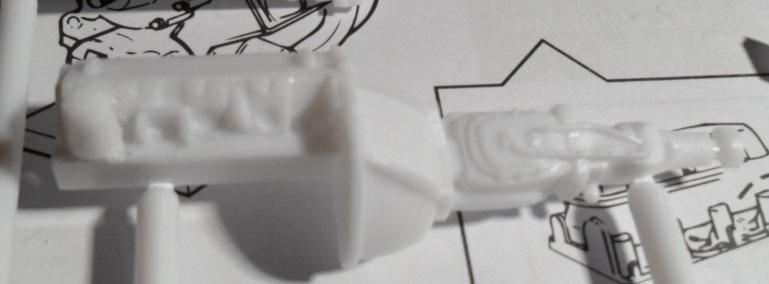
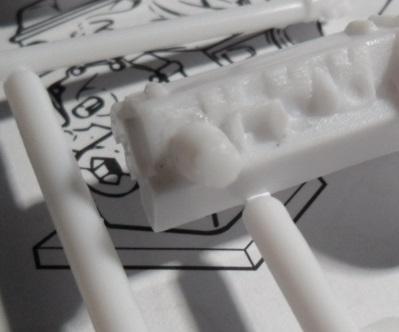
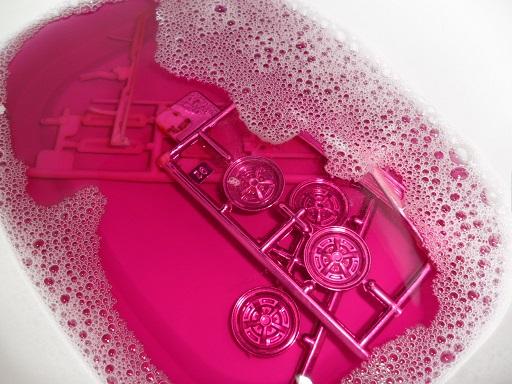
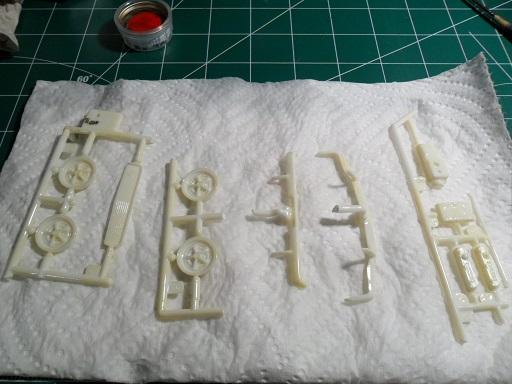
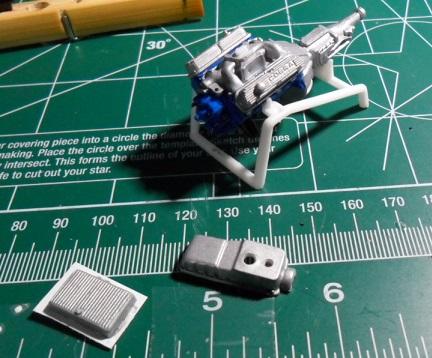
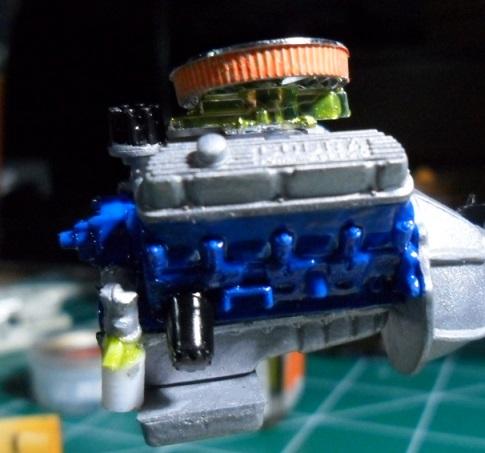
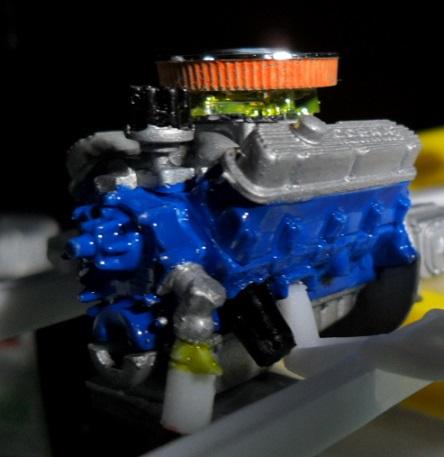
While still working out details on the Steam Punk 31 Ford, and looking at the stack of kits, the 66 Stang struck me as something to help me reset my focus. Not a bad kit, but I had a few ideas I wanted to throw at it. Although, the oil filter was the first thing I didn't like. So, off it came. Rotated 180 degrees and... now looks more like it should. Next, some of the chrome went into the Purple bath for a quick soak. and now ready for their new looks. Most of it will end up matte aluminum. Also started on the engine assembly. Added a layer of flat stock to the oil pan to eliminate the hollow look of the original piece. Still need to rechrome the oil filler cap. Also combined a small piece of flat stock and three chopped pieces of sprue to create the fuel pump and filter combo. Will add the fuel line connector back up to the carb, and to the cars fuel line when I start the plumbing and wiring phase. This is just a test fit to make sure the additions aren't getting the way of anything else. A little clean up and touch is needed as well. As always, feedback is welcome.
-
Looks to be gone, not moved.
-
Depending on how much you need to lower it, one technique I've seen is to remove the front pins from the disc back, add and shape a layer of styrene to make up for the kerf, and reposition the pin higher on the disc.
-
What kits did you get for Christmas?
talon63 replied to 95neon's topic in General Automotive Talk (Trucks and Cars)
Got a few gift cards for Amazon, and... Should keep me occupied for a bit.
-
Google Chrome browser translates it well enough. At least enough to fill out the Contact form
-
I was trying to come up with a witty name and ran across this about how the Camaro got it's name, now the possibilities for names seem endless.
-
US$ 85 point taken.
-
I see the beginnings of a Disney-esque build, a la Cars, without trying to correct the flawed body.
-
You mean like this? Seems like it may not be that hard to replicate in styrene.
-
Collecting the parts to replicate the Ranchero Scrambler including the minibikes Also the 62/63 Ford T-Bird Italien
-
Excellent work. I'm following this build closely, as the techniques demonstrated may apply to my next project.
-
Thanks for the compliment on the boiler. Fortunately, I had a good resource to consult. Steam Punk was a re-envisioning of the Victorian Era Industrial Revolution technologies, taking the approach that steam power continued to evolve into modern or even future timelines. It may even be combined with digital technology, and in that way may be different from the Retrofuturistic genre. While a `31 Ford may be not as stylistically or aesthetically pleasing as a more Art Deco-type vehicle, I think it still fits within the scope of the genre.
-
Working on adding something along those lines. Took some fiddling, but I've got the front steering functional, and working on the drag link and Pitman arm hook up for the cab. And fitting up the plumbing for install once the chassis is complete.
-
1906-1909 Coffin nosed Stanley 606? That's a beaut! I hope mine comes out a tenth that good.
-
Painting clear taillights
talon63 replied to Jon Cole's topic in Model Building Questions and Answers
I've had some great results using a red Sharpie, then backing that with silver or foil, depending on the surface it's being attached to. If it's a chrome piece, and the recess is deep enough that lens doesn't bottom out in it, I just use the sharpie by itself. Most of the permanent markers are translucent enough, and tips are wide enough to cover the lens in one swipe. -
A couple of people on here use them, I recently picked up a Silhouette Curio, but I didn't purchase the embosser yet. So far it's been great for creating mock-ups using card stock, and for cutting parts out of flat sheets of styrene. http://www.amazon.com/s/ref=nb_sb_noss?url=search-alias%3Daps&field-keywords=die+cutter+silhouette&rh=i%3Aaps%2Ck%3Adie+cutter+silhouette
-
First, nice build, Kudos to you both. In regards to the tools used, I did the same thing at his age, growing up in a family of shade tree mechanics, I applied what was going on in the 1:1 world to what I had on the bench. Secondly, in regards to the quote, I use those promo credit cards as blanks to make guitar pics, and only recently had it dawn on me that they are suitable for use when building.
-
Killer start! Looking forward to the progress.