AJM
-
Posts
201 -
Joined
-
Last visited
Content Type
Profiles
Forums
Events
Gallery
Everything posted by AJM
-
Looks great, really like the interior and color combination!
-
I attached the hood front grill air vents --this was also painted AT Carbon Flash. The body has it's final coat of primer and is ready to be painted; this is the part I'm most anxious about, but can't wait to have this done. Fingers crossed!!

-
Made some progress on the C7GS, finally got some Arctic White(Automotive Touchup) AB'd onto the hood and the spoiler. The Stripes on the hood and the spoiler were measured and laid out -- then painted with AT Carbon Flash; these were then cleared with AT single stage Clear --this was then rubbed out and polished. I then test fitted the hood and the spoiler/Gurney flaps to the body. The spot you see in the Carbon flash stripe is a reflection in the Clearcoat --my photography skills are not that great. Let me know what you think....
-
MCM Relaunch Update 08/2020
AJM replied to larrygre's topic in Model Cars Magazine News and Discussions
Larry - -Thx, I'll be on the look out! -
Looks really good , keep it going!
-
MCM Relaunch Update 08/2020
AJM replied to larrygre's topic in Model Cars Magazine News and Discussions
When and how can we sign up for a subscription -- I've been a subscriber to SAE, since the first issue -- so glad well have another magazine for our hobby -- I need my monthly or bi-monthly fix! thanx, Al -
Atin -- thank you for the compliments -- learned a lot from all of you here on the forum. I'll post some more progress when I get the color coat on it.
-
Ismael -- thx for the kind words -- I have a few small tweaks to the body, final primer and then off to the Arctic White basecoat and clearcoat. I'm still undecided on either painting the front fender GS stripes or using decals -- the color of the stripes are a dark grey --which is very hard to replicate with a decal. I'm going to paint the 'center stripe' 'Carbon Flash' --since the decals that I have are just all black. Hopefully this won't be much longer! Thx Al
-
Simon -- Thx for the compliment on the 1:1 car! Yes, this was one of the most challenging projects that I have endeavored and getting the 'ride' height and stance correct was difficult -- especially getting tires that had the proper Michelin profile and still fit the Plazmos wheels. The height from the top of the rear tire to the bottom of the rear fender measures about 70mm on the 1:1 --so for the model the distance is about 2.8mm. I did the same measurements on the front -- the front will have an added complication for the 'stone' guard that wraps about 3/4 of the way around the front wheel arch, so again there needs to be space between the tire and the fender. Hopefully this will all come together, Thx again, Al
-
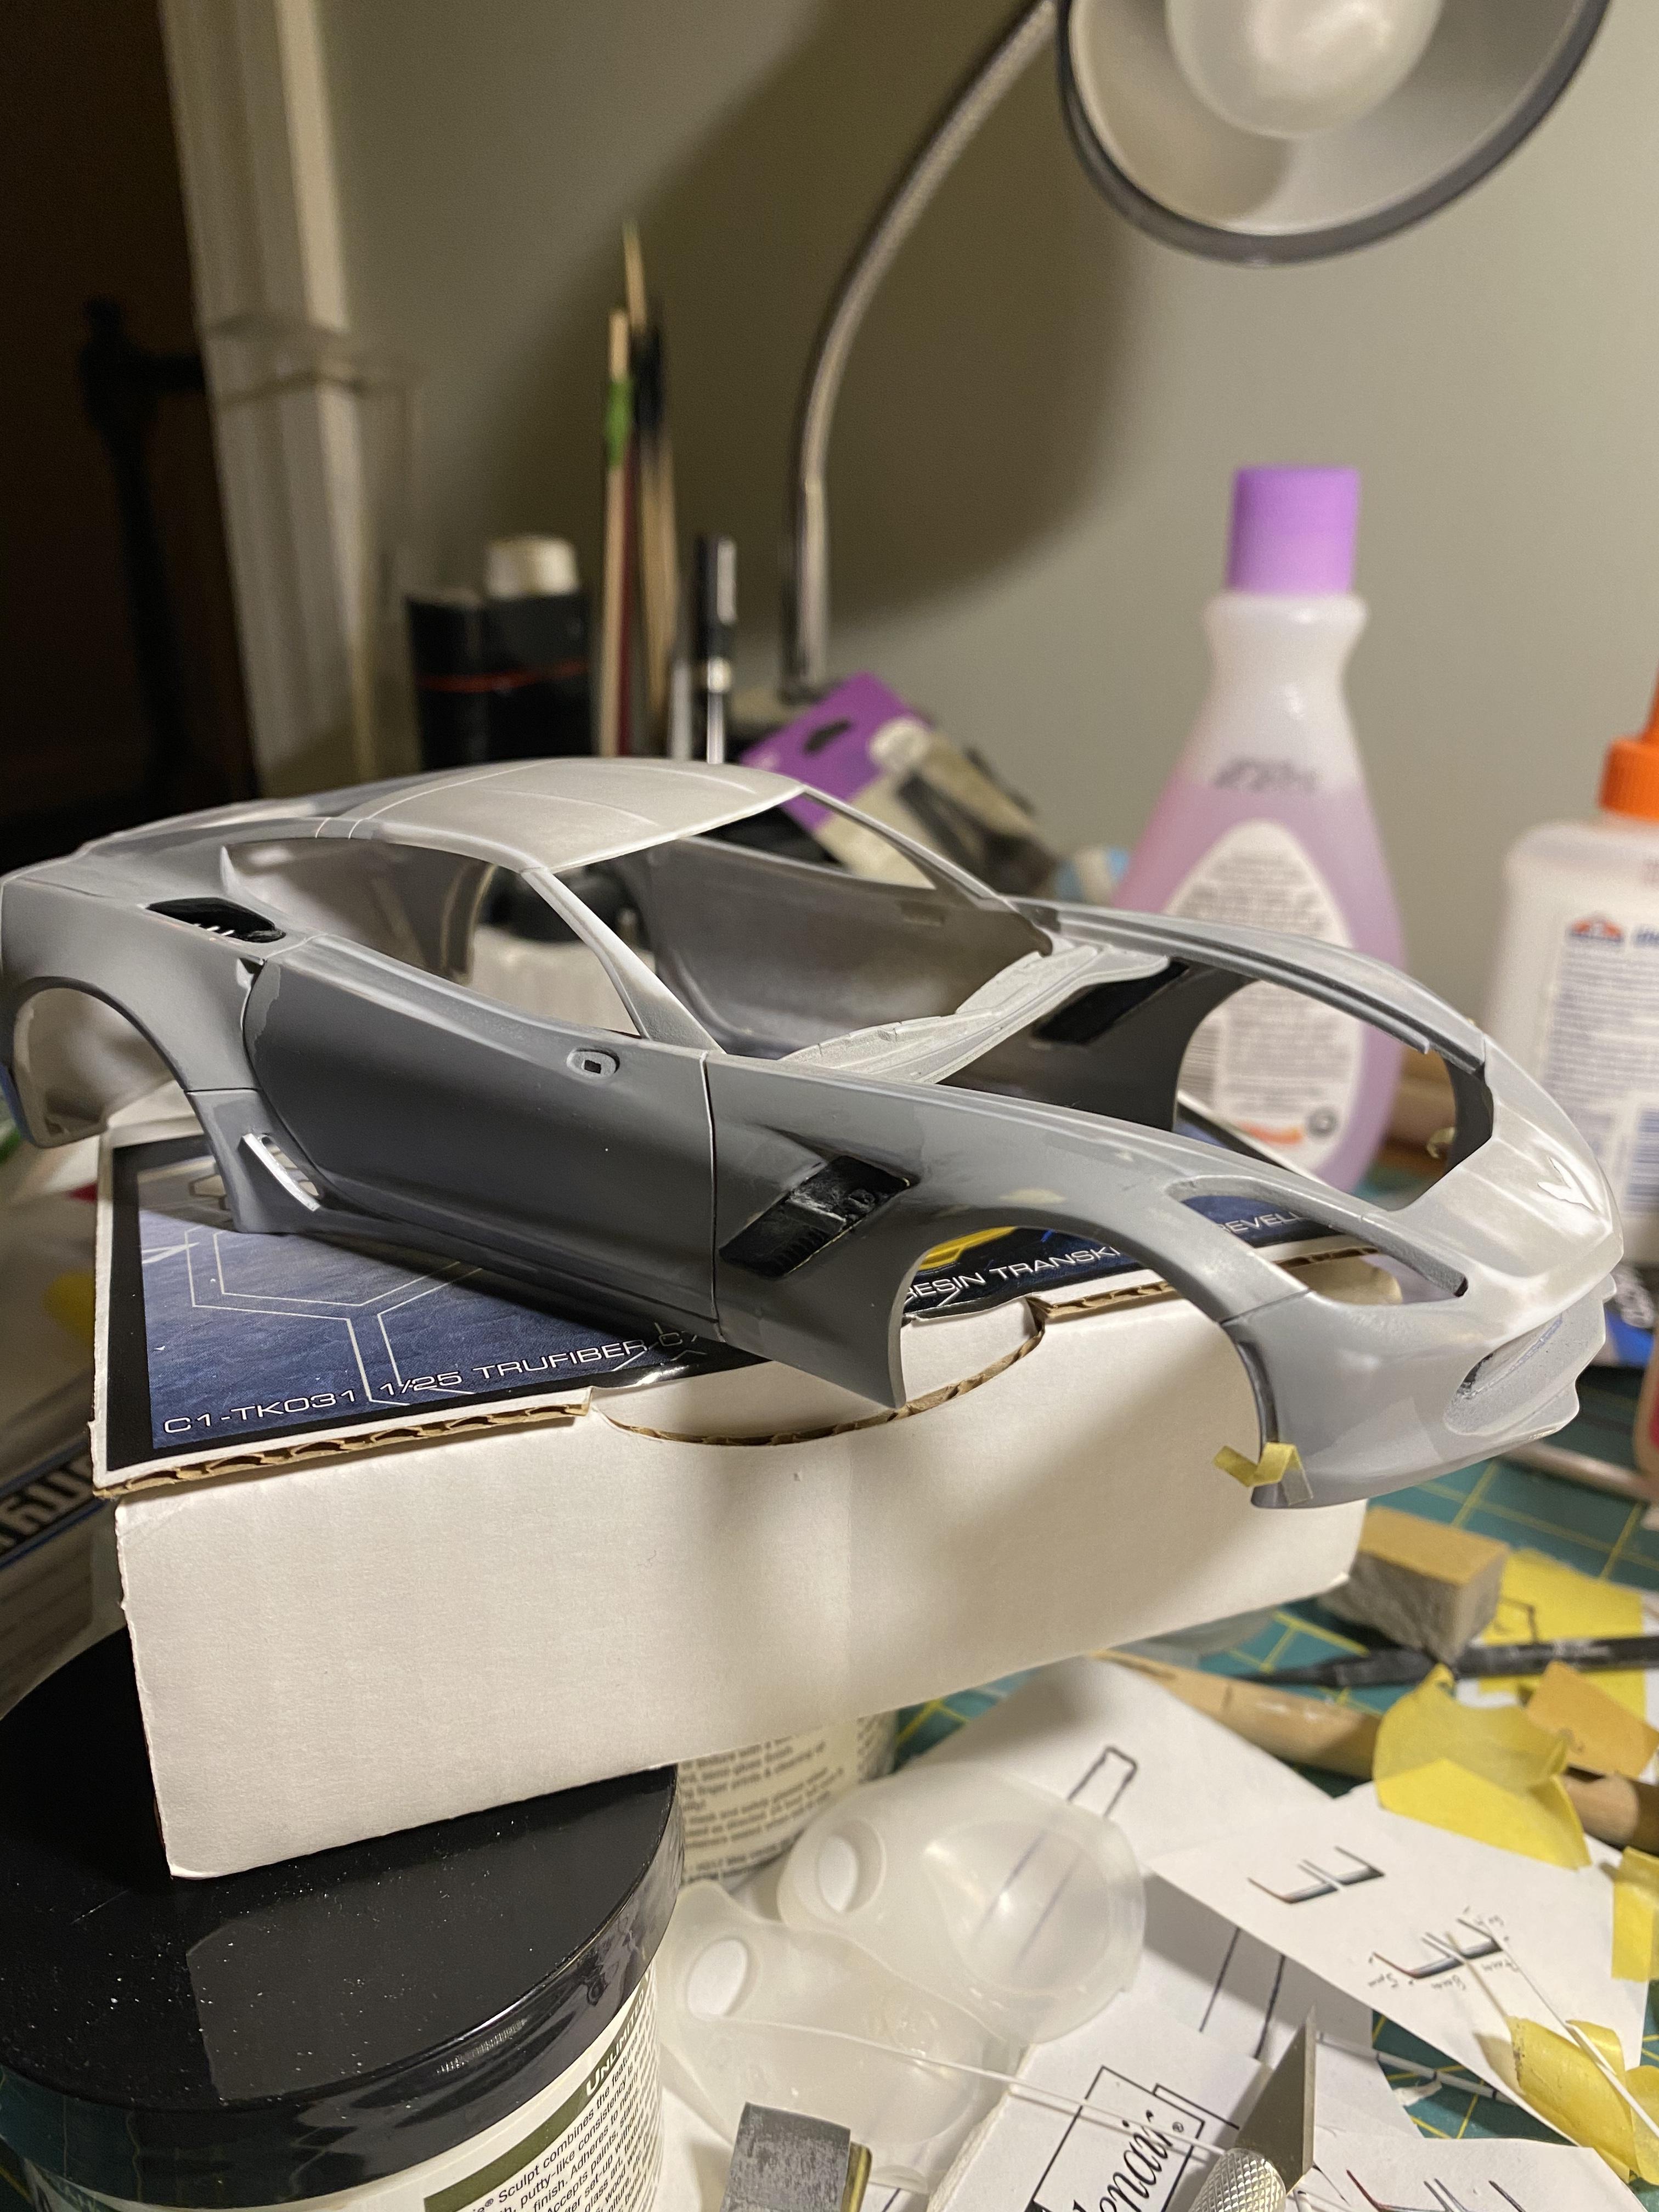
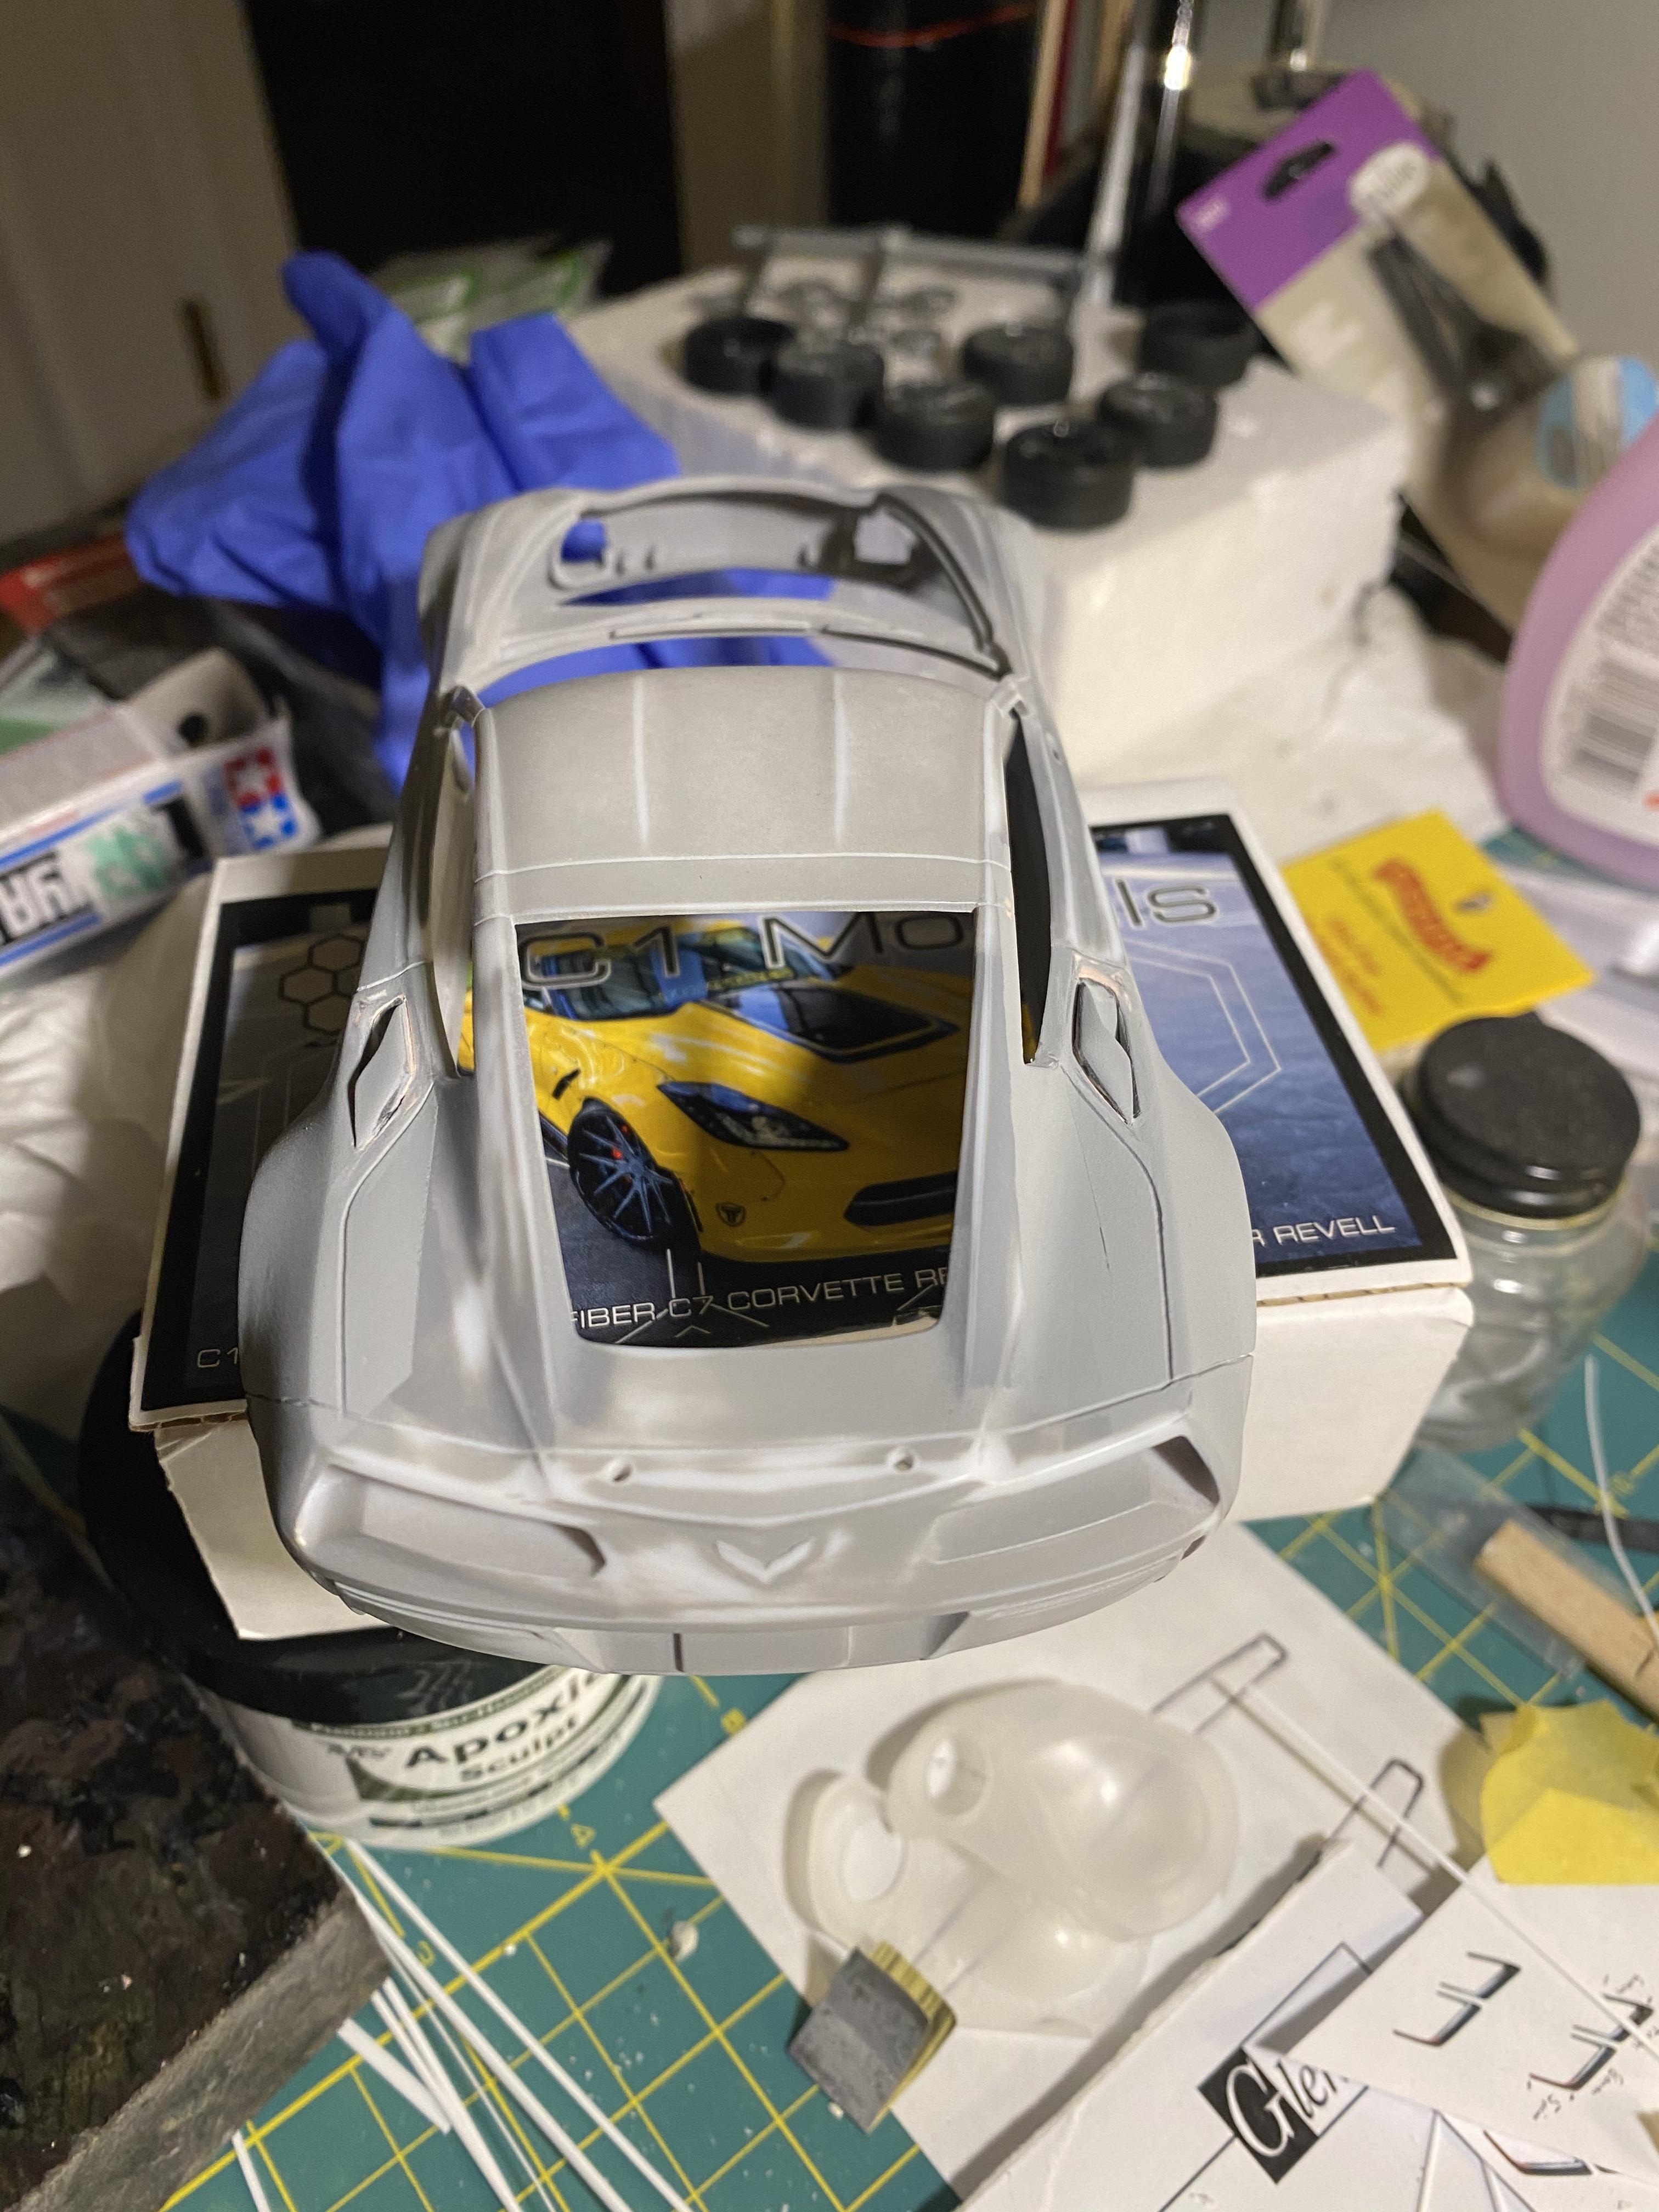
Well the chassis/engine/ interior and wheels are completed. The next things left to do are to fill a couple of spots on the body, a final round of primer and wet sanding. Then onto color coat/ clear decals etc -- this is the part that I'm most anxious about not screwing up -- I'll update a s best I can, Thank you for watching, and let me know if you have any comments or suggestions/questions. i've learned a lot from this build , but much was stimulated by the excellent craftsman that I see on this forum --thx to all!
-
Couldn't resist test fitting a few of the carbon flash parts and also to check the stance/look of the body/proportions --i think it's getting close --here's a few other views ---
-
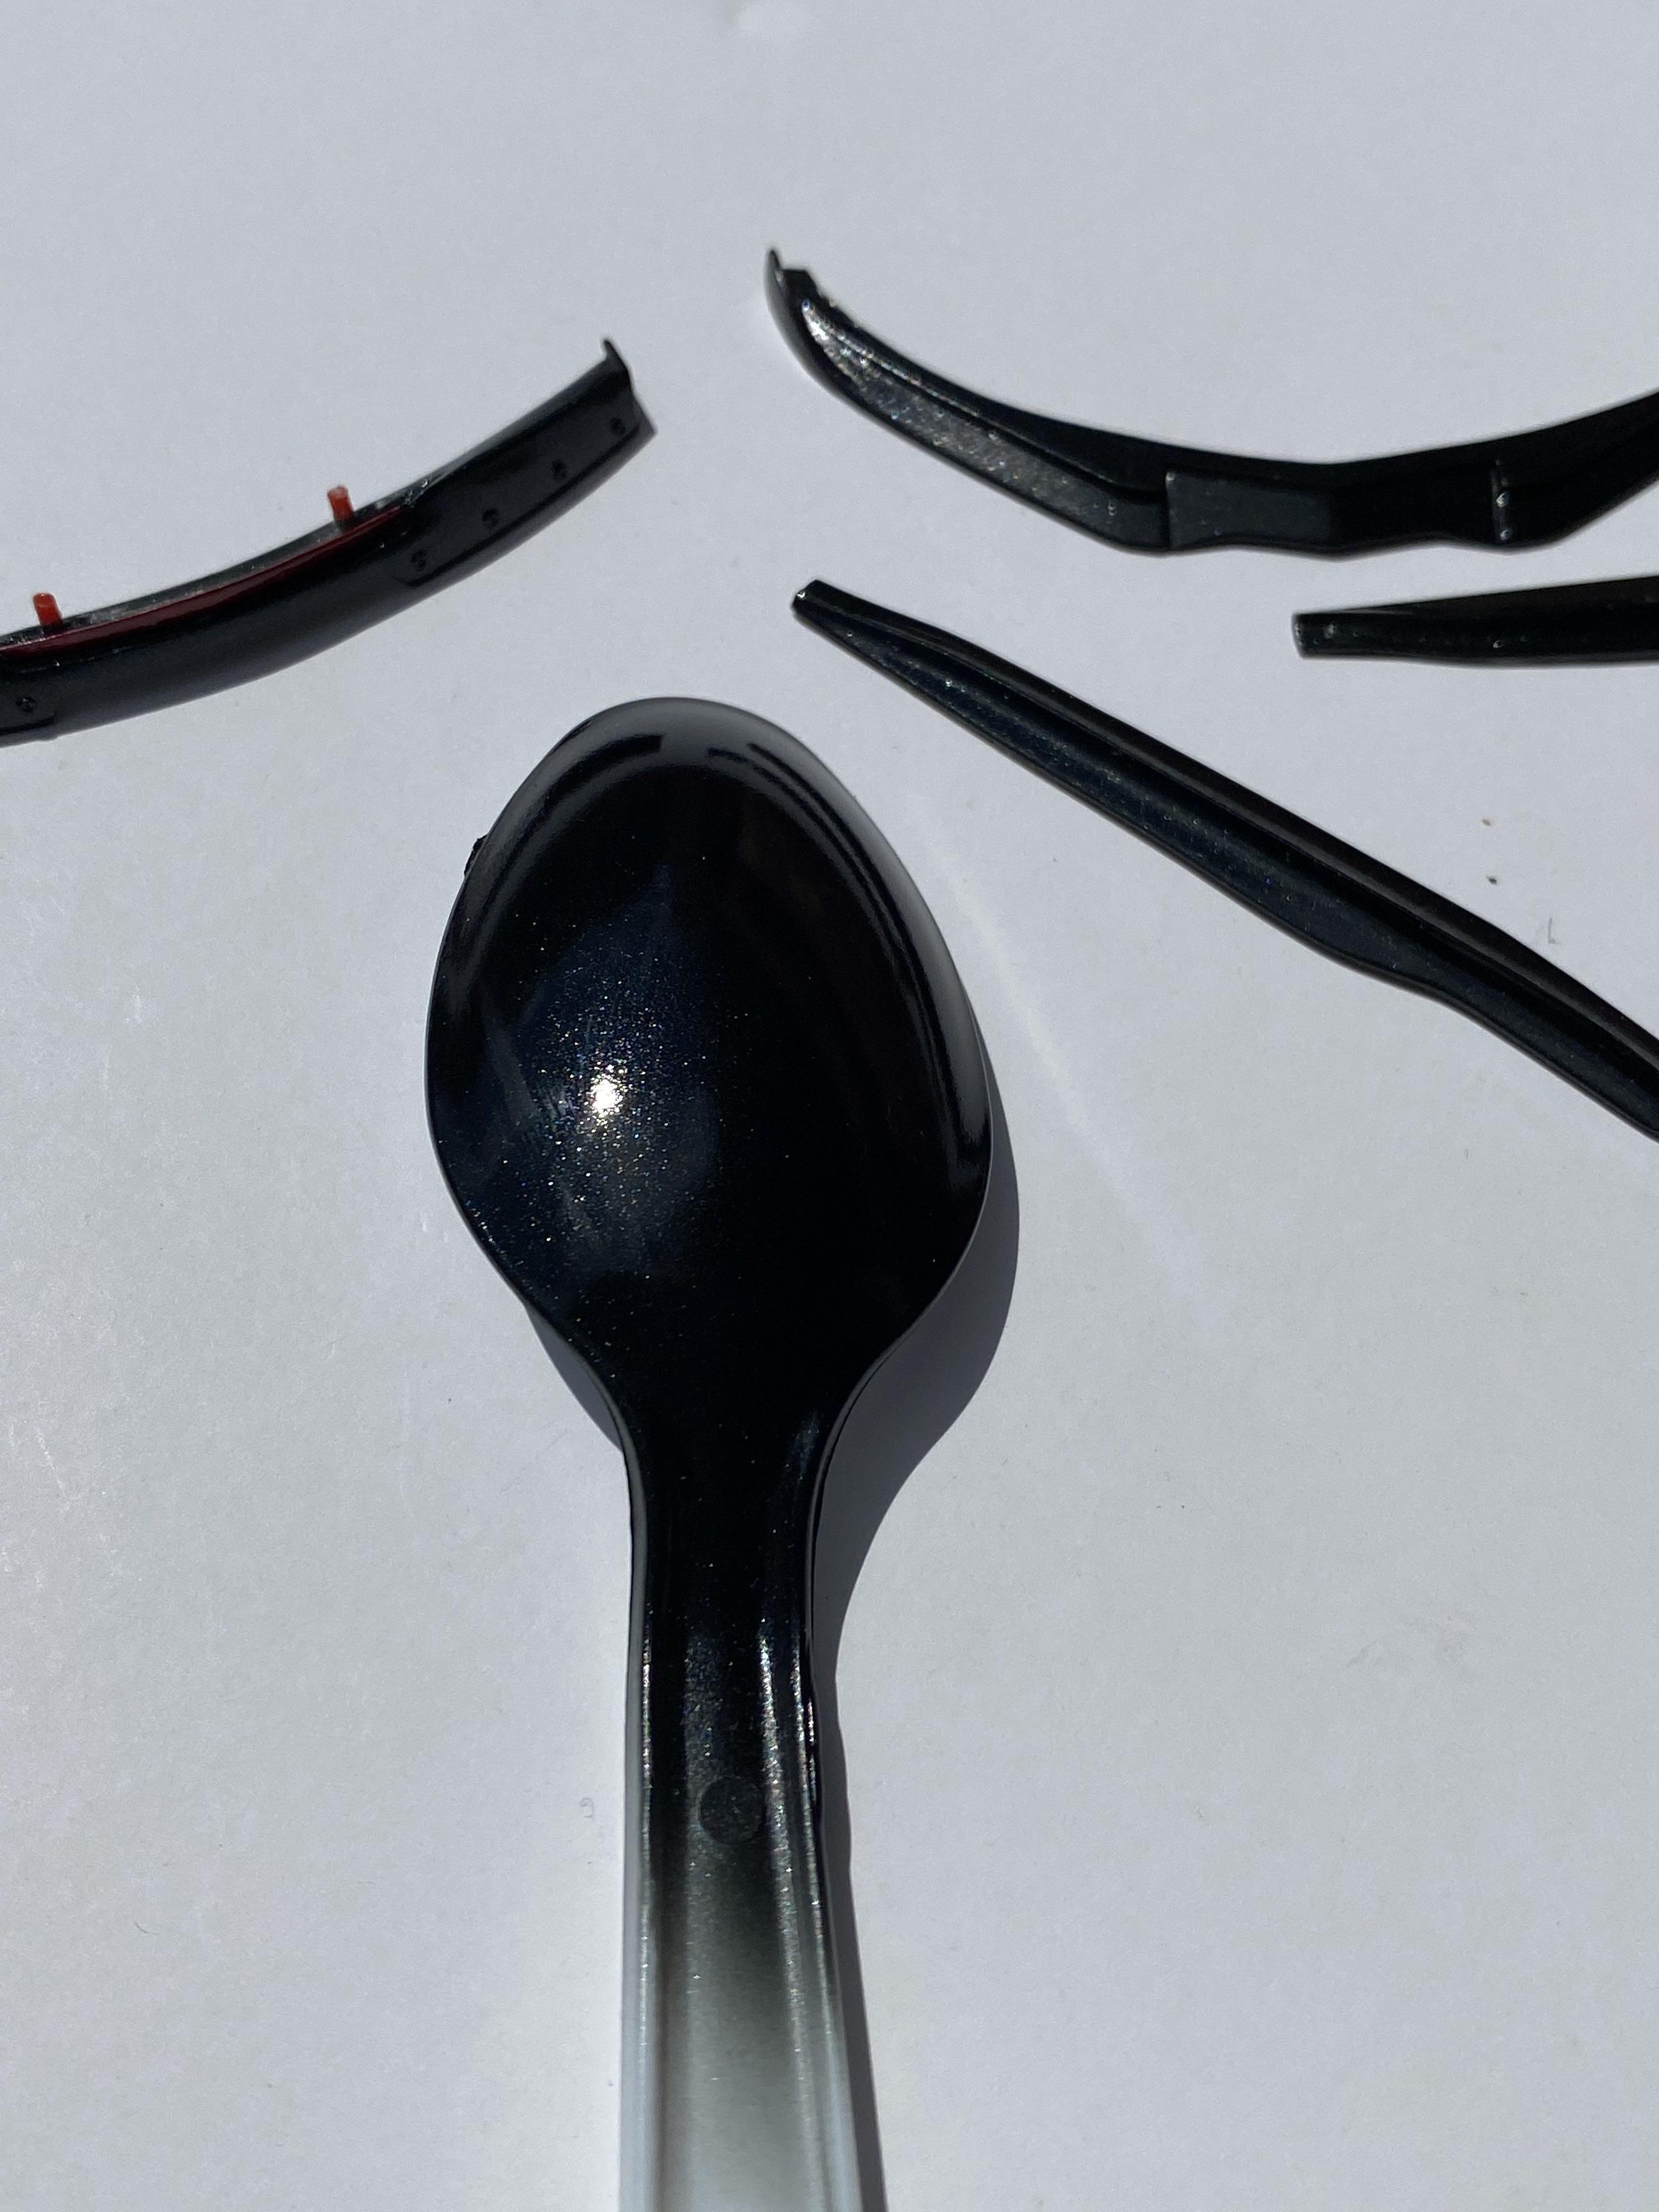
Used a suggestion from Bob Downie from the excellent article that he recently wrote in SAE, about using Automotive Touchup line of automotive paints -- they have an excellent web site, you can look up a vehicle by year and order the specific paint codes for the car. They have touchup paint in bottles or spray can and they have have a clear coat for the basecoats. As suggested by Bob I mixed the bottle paint 1:1 with Mr. Color leveling thinner and AB onto a spoon for a test. the carbon flash was cleared with Mr. Color Super Clear and the I then painted the Gurney flap spoiler, rocker skirts, mirrors and front splitter. You can see some of these parts below -- I put the spoon in for reference --you can see the metal flakes in the carbon flash --which does not look out of scale.
-
Larry -- thank you for the compliment -- I'm trying my best to replicate it. Stay tuned!
-
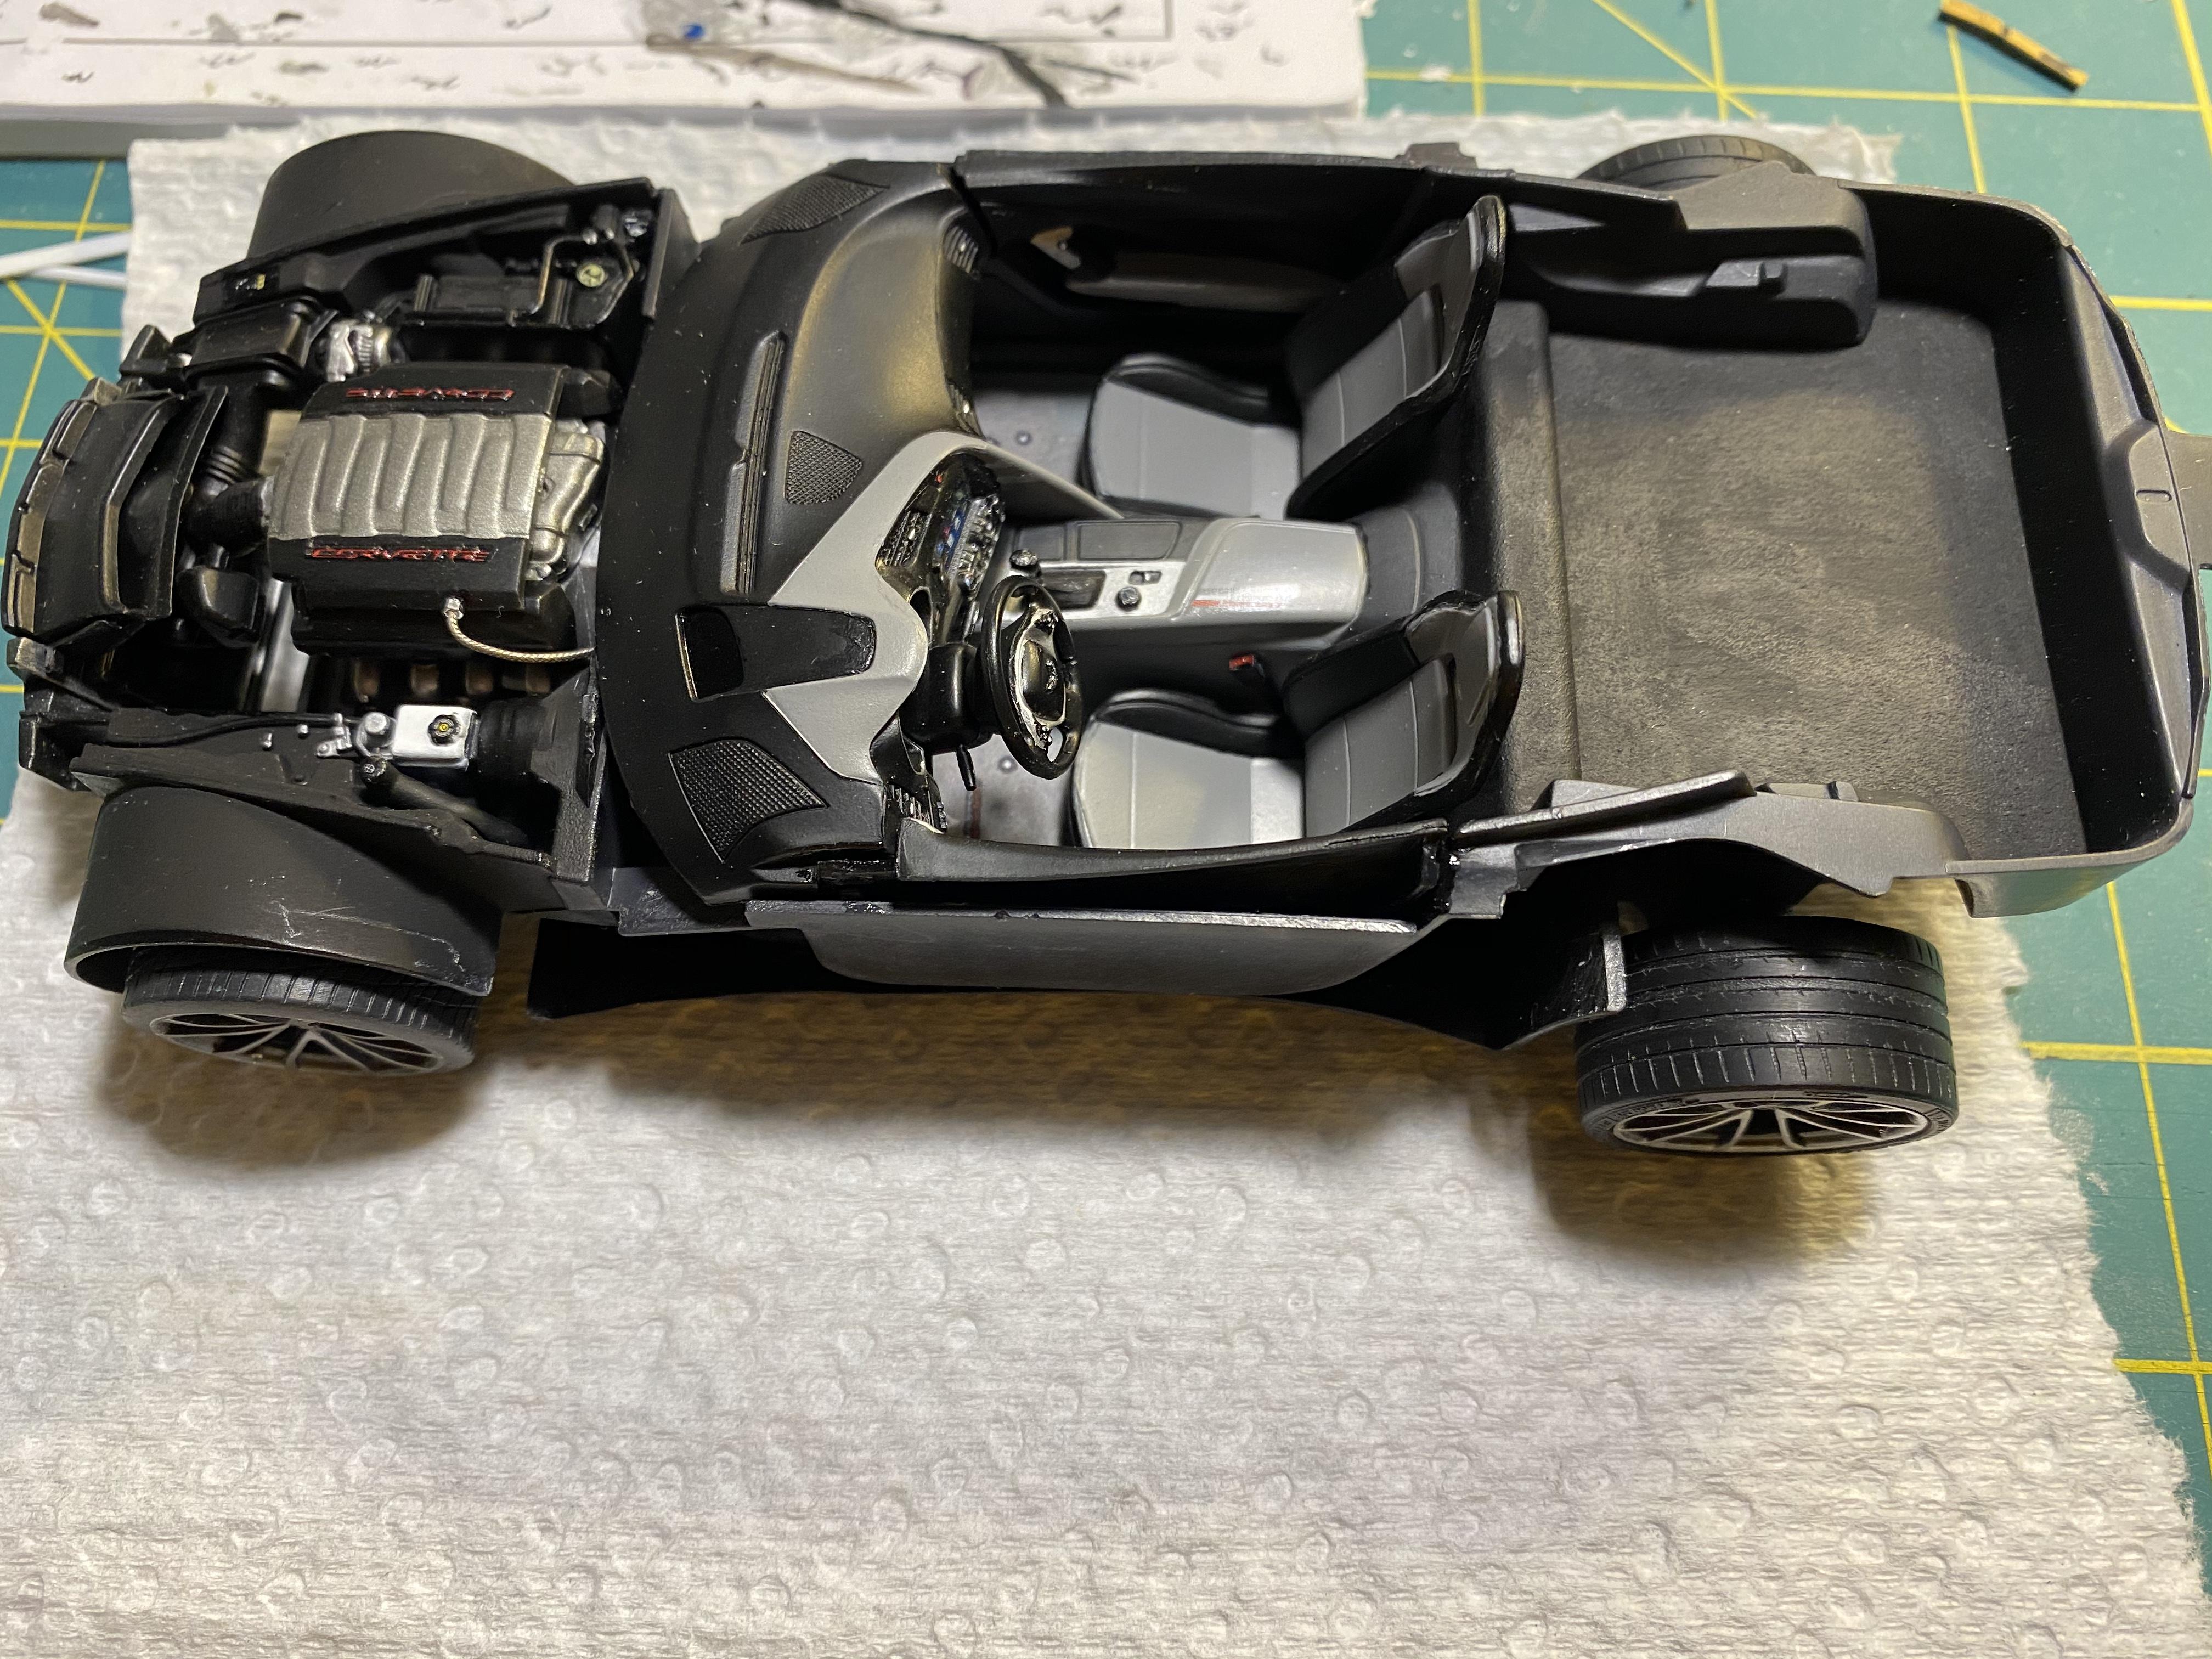
Bottom view of the chassis and engine, a lot of detail painting makes this come alive, even though the suspension is simplified. I wanted to be sure that I had the correct 'stance' and track width of the wheels on the car, especialy with the wider rear fenders, and therefore needed to mate the chassis/interior assembly up to the body to see what modifications were needed. I cut slots into the locating points on the rear wheel hubs and also added spacers to the disk brake hubs to get the correct track of the wheels and also to get the correct centering of the wheels within the wheel wells. I used 5 min two-par epoxy to give me time to ensure that the wheels were correct --did this process for both the front and rear wheels. Looks a little messy with the extended hubs, but these will not be seen with the big Michelins mounted.
-
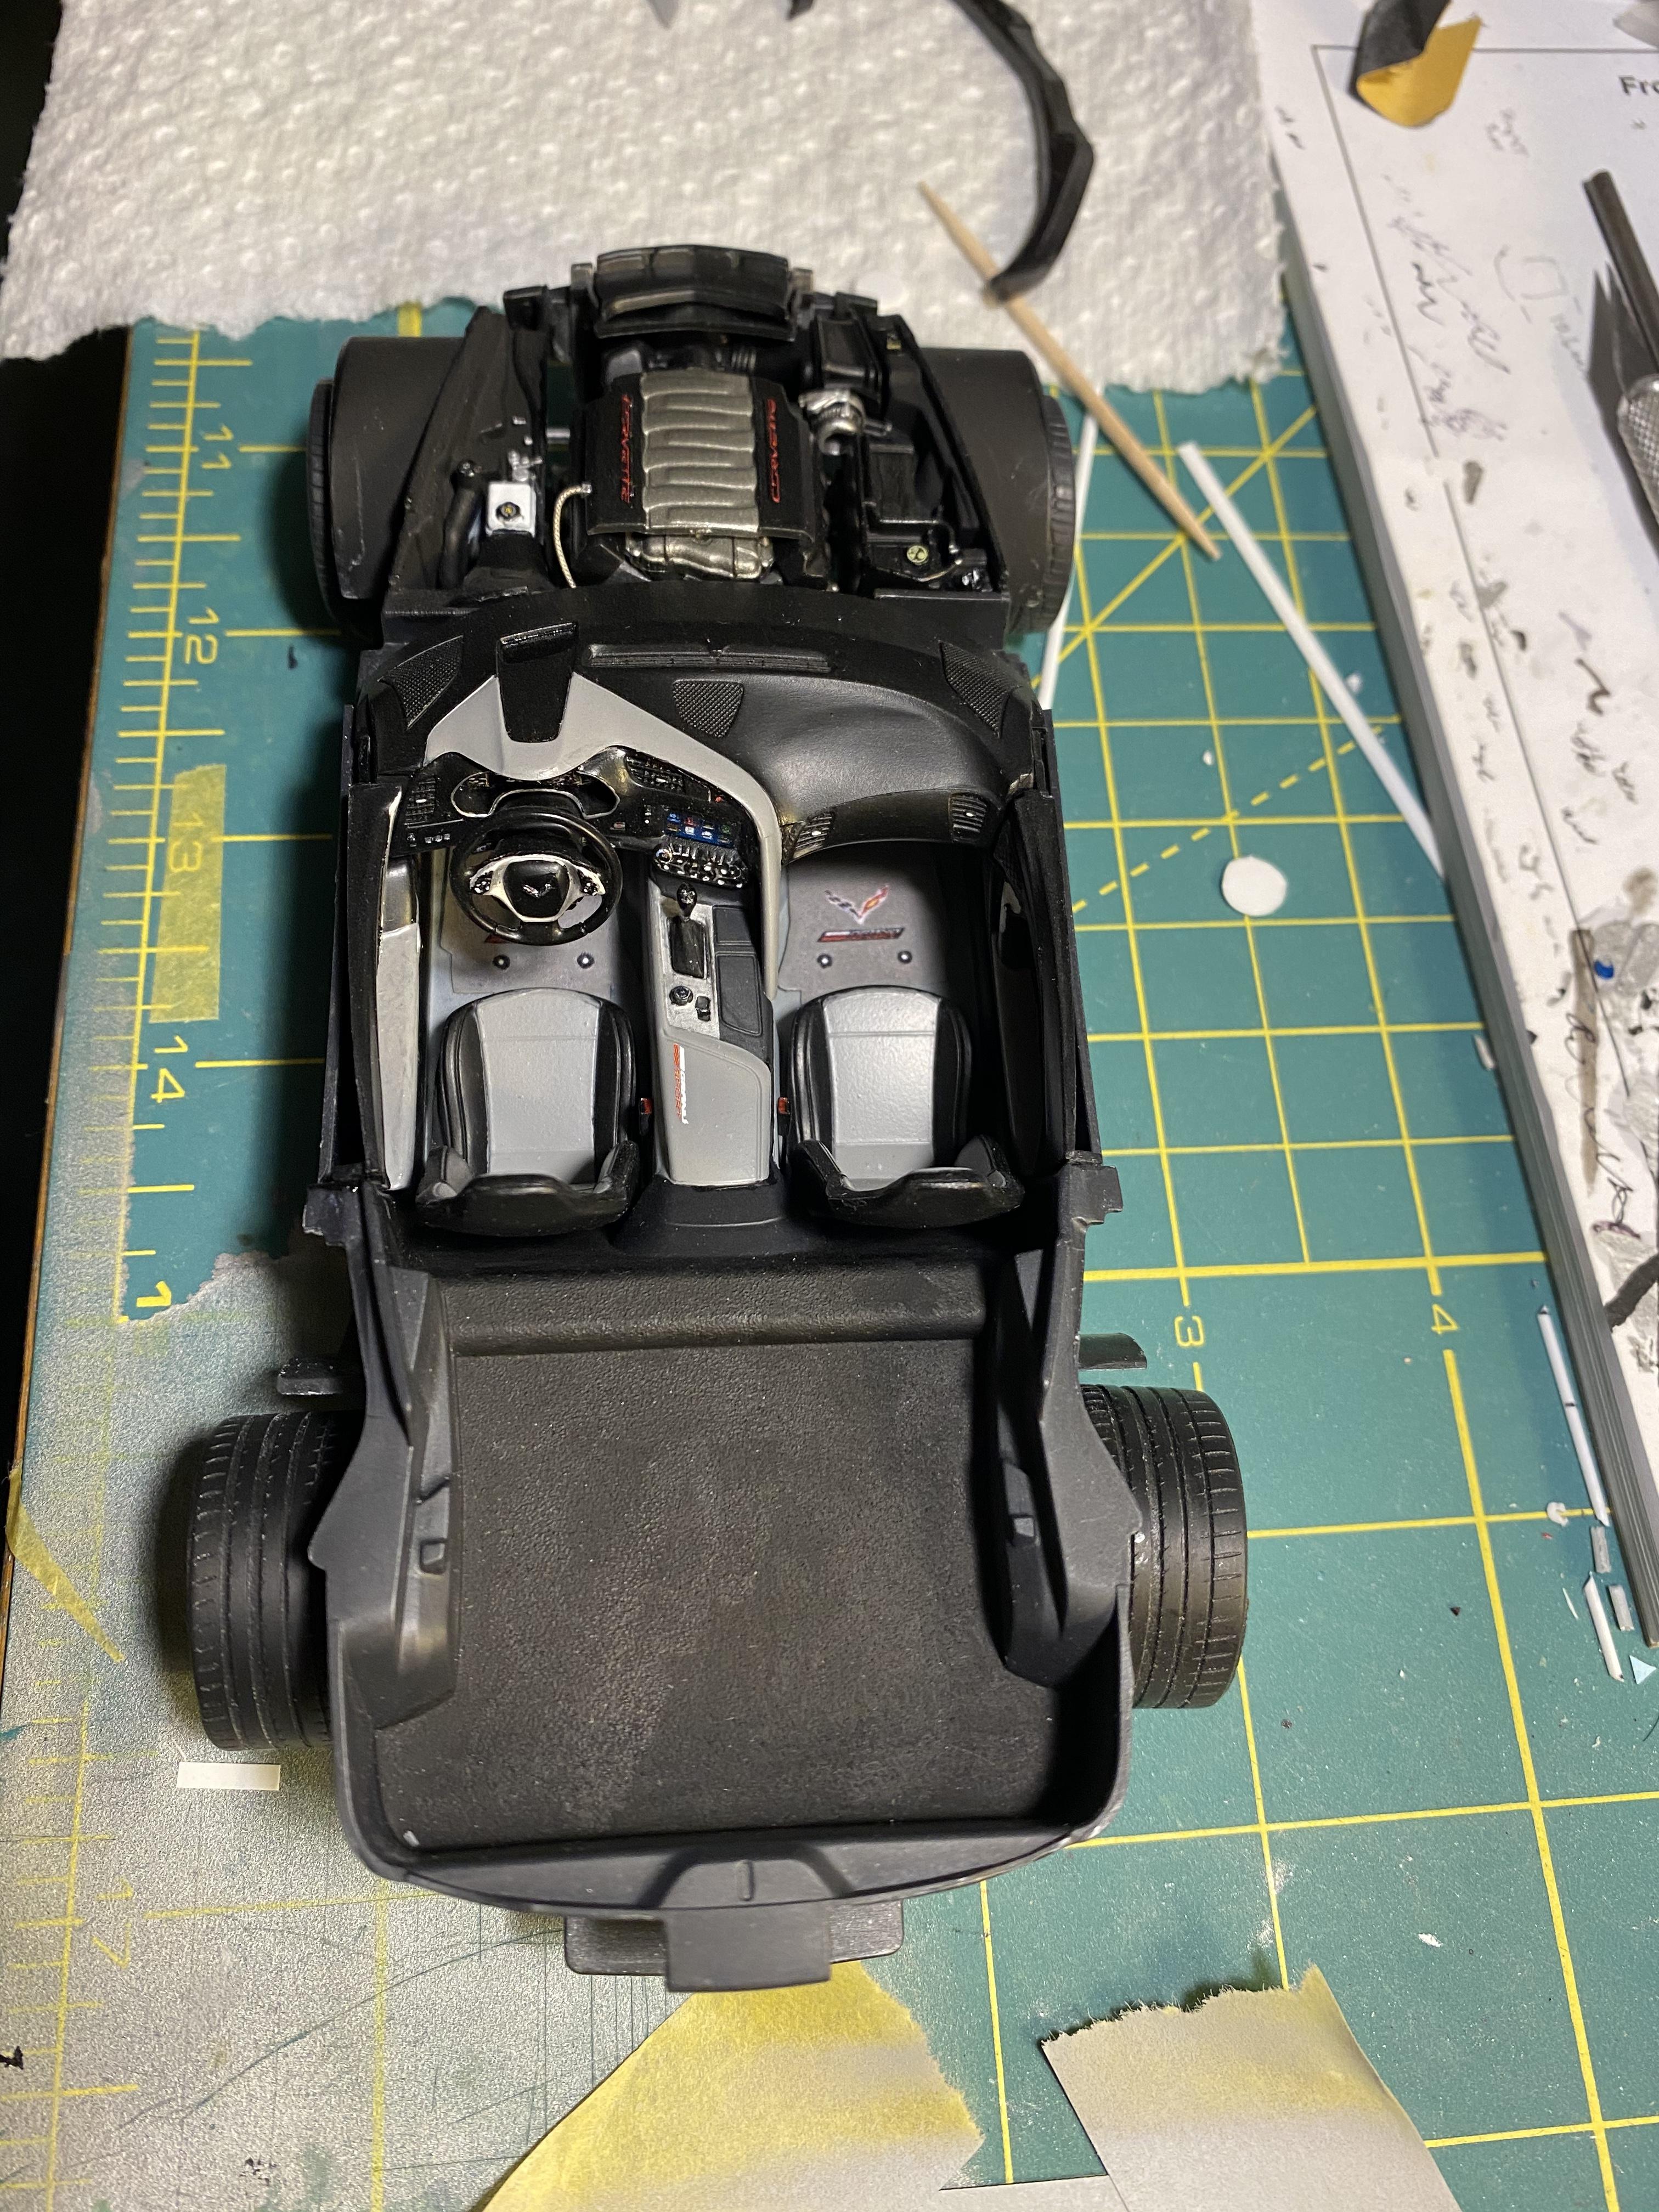
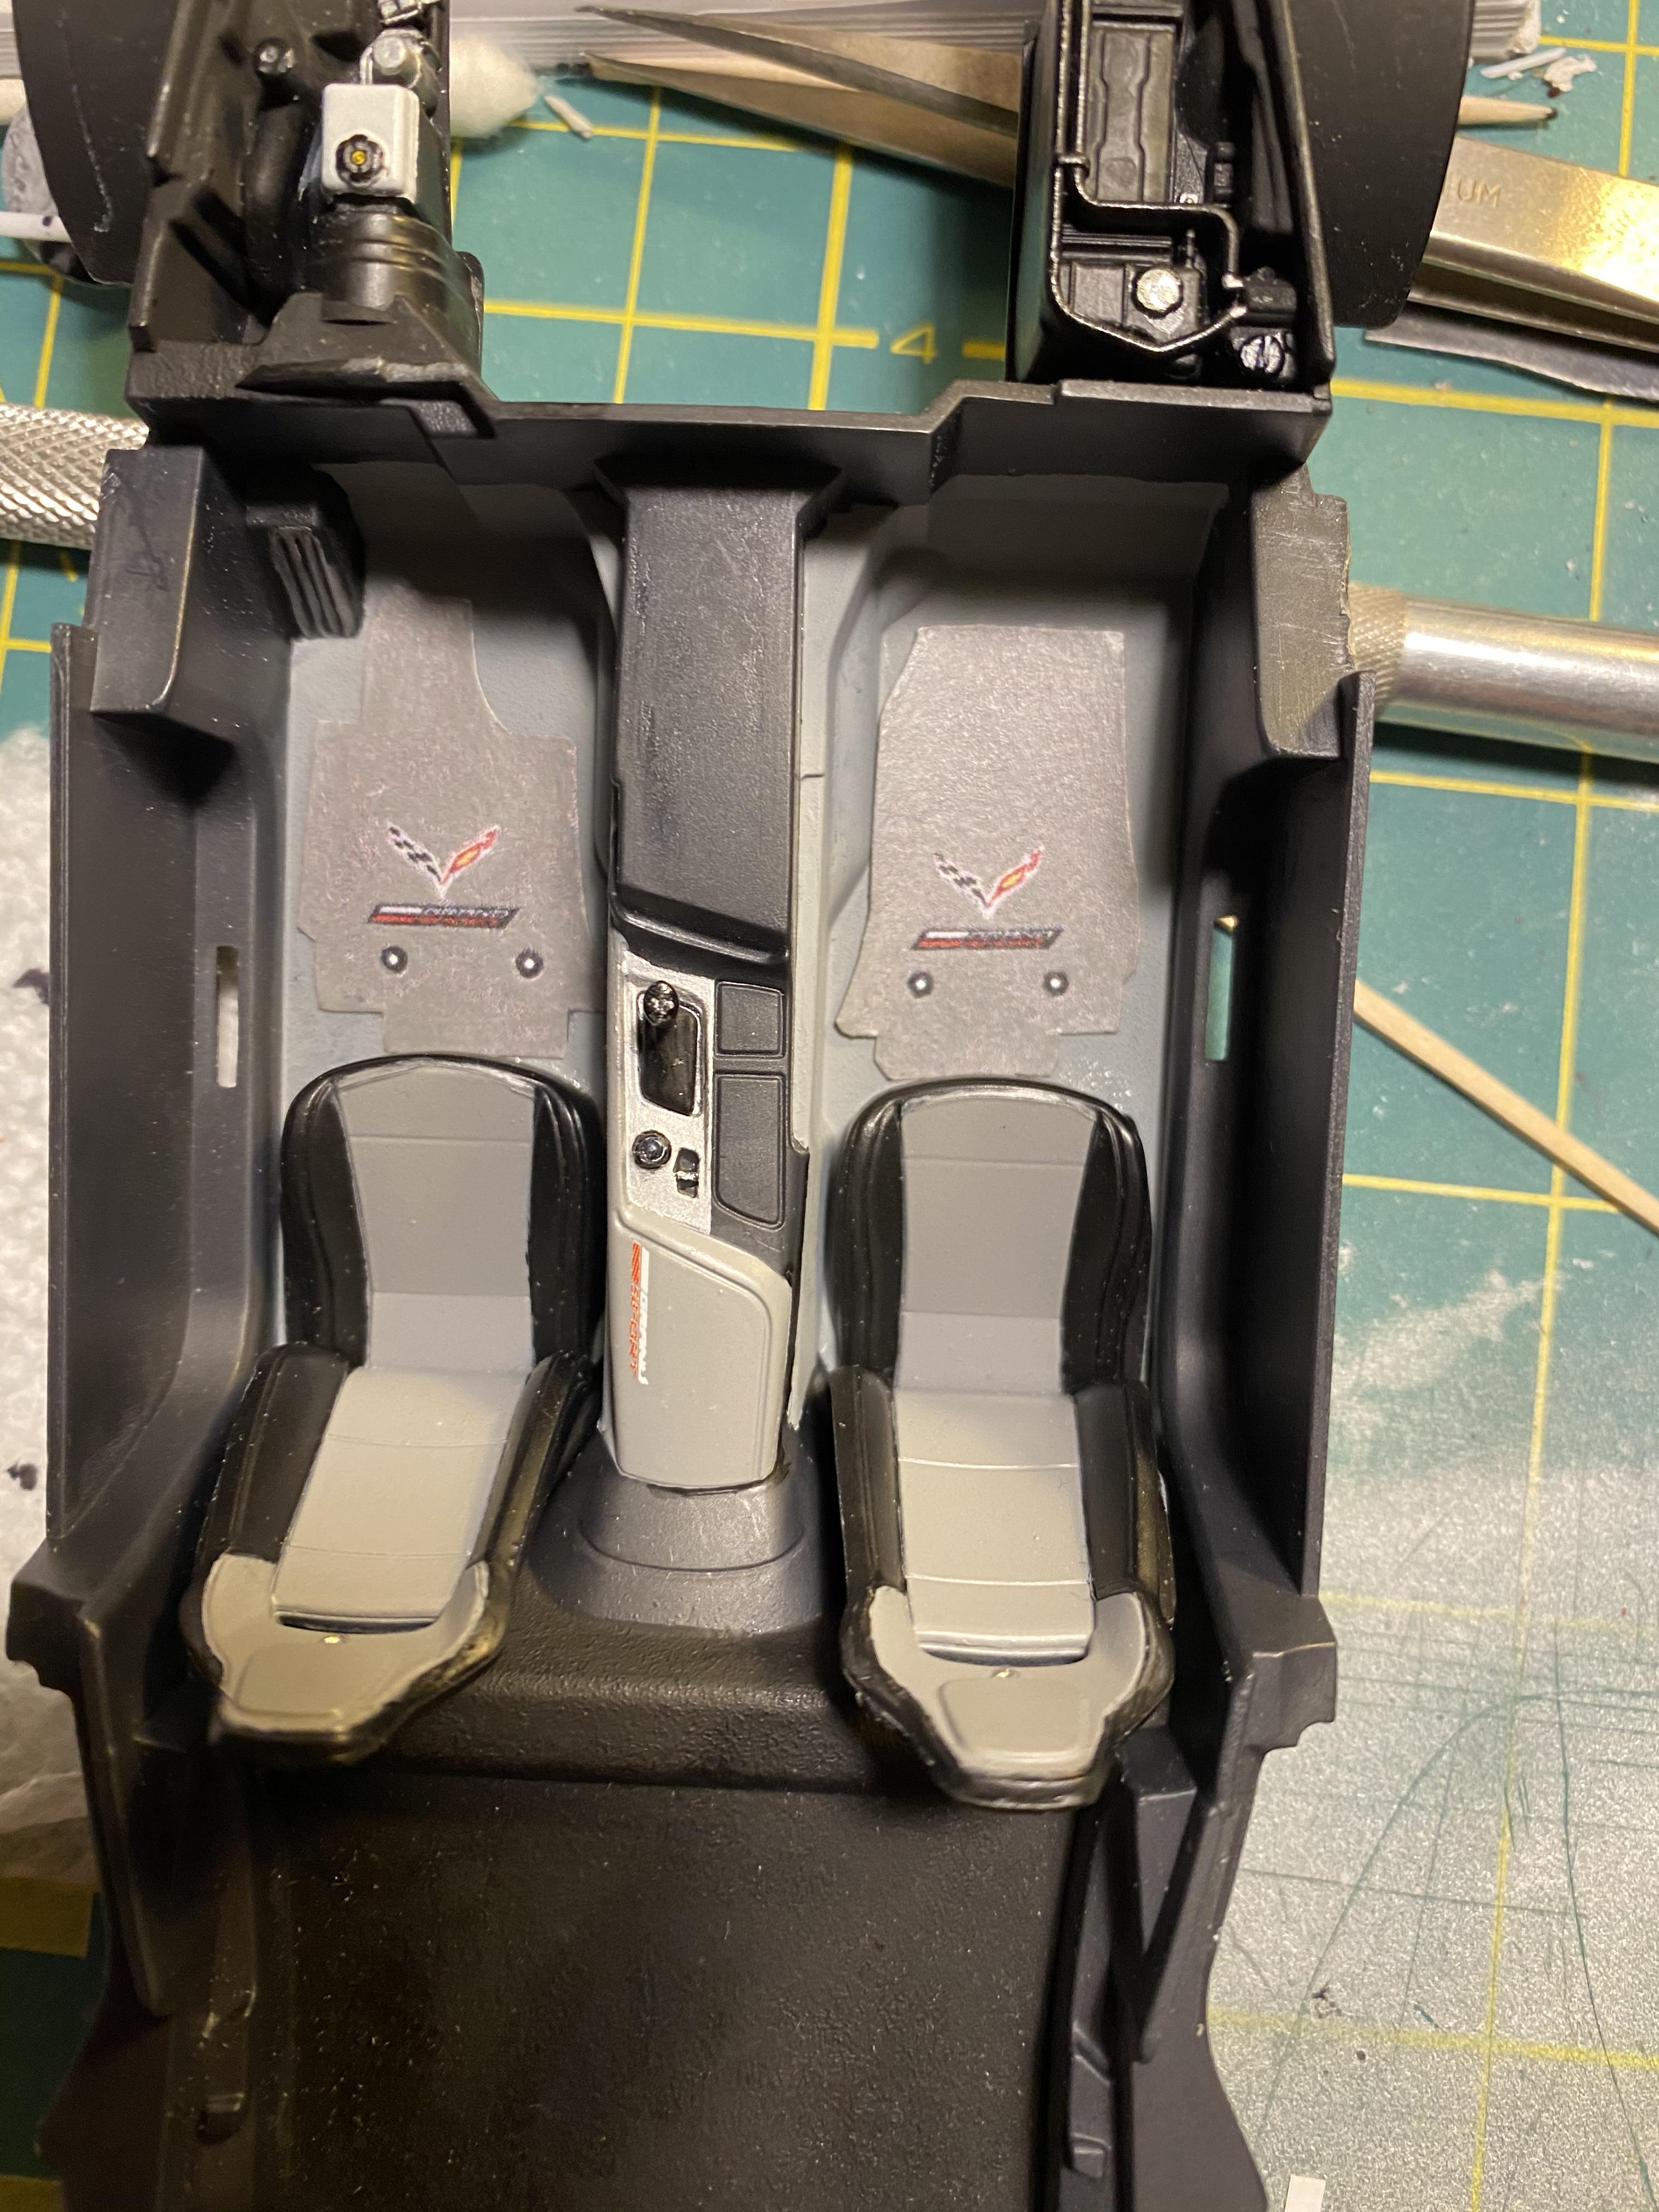
Brought the interior and engine/chassis assembly together and added the engine beauty cover 'Corvette' decals and otter under hood decals . You can also see the seat belt retainers in the shot below. Below is a top view of the assembly.
-
Great job, looks fantastic !
-
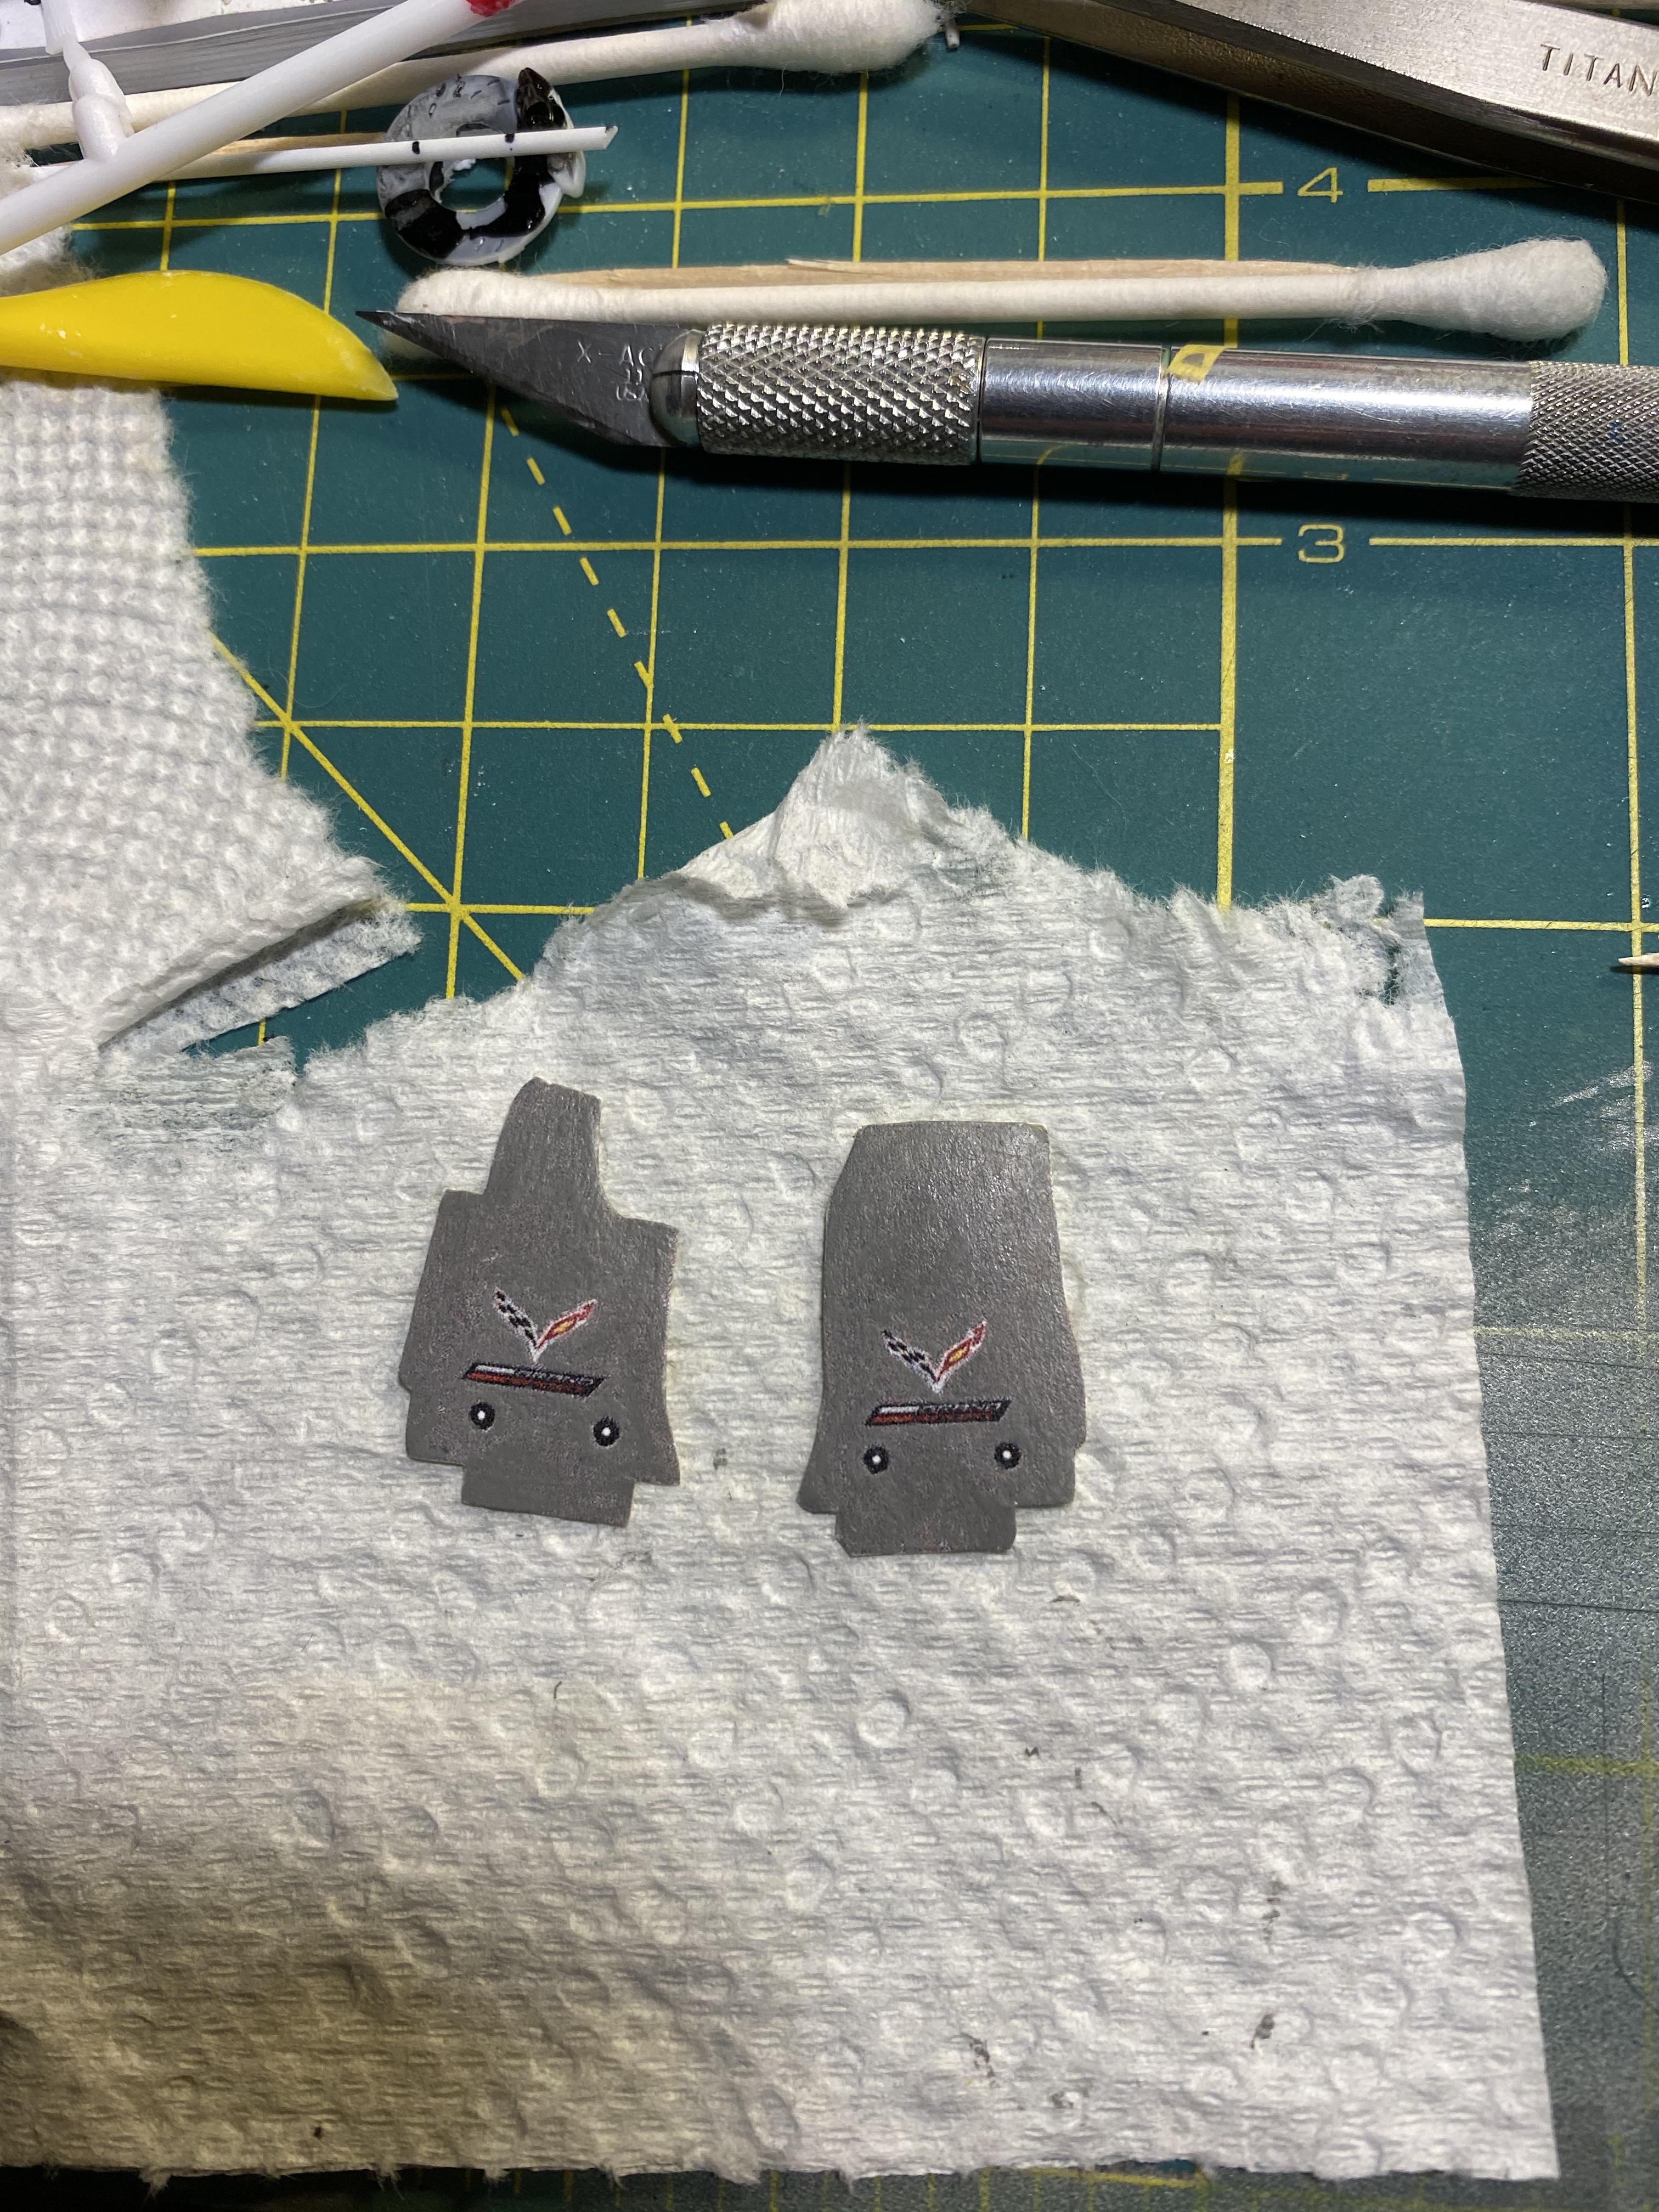
The interior build went pretty smoothly a lot of detail painting and AB work/masking and many small decals, but it looked impressive when completed. I also made up a set of floor mats with the GS logo, from a photo reduced picture that was then put onto masking tape and the gray was touched up with Vallejo Gray-Z. The interior I'm replicating is called the 2LT and this one has a two-tone interior --Gray/Black and the there are Aluminum 'Hash' marks on the side of the dash. the console cover has an optional GS logo, which Thomas at Speedway decals replicated. the top dash, seat inserts, and arm rests are Vallejo 'Gray-Z' and the carpet floor are forward of the seats is Testors flat Neutral Gray. the rear carpet area is Tamiya flat black and the door inserts are Vallejo 'Pure Black'
-
Yes it sure does -- there is also a lot of info on-line with regard to pictures and dimensions
-
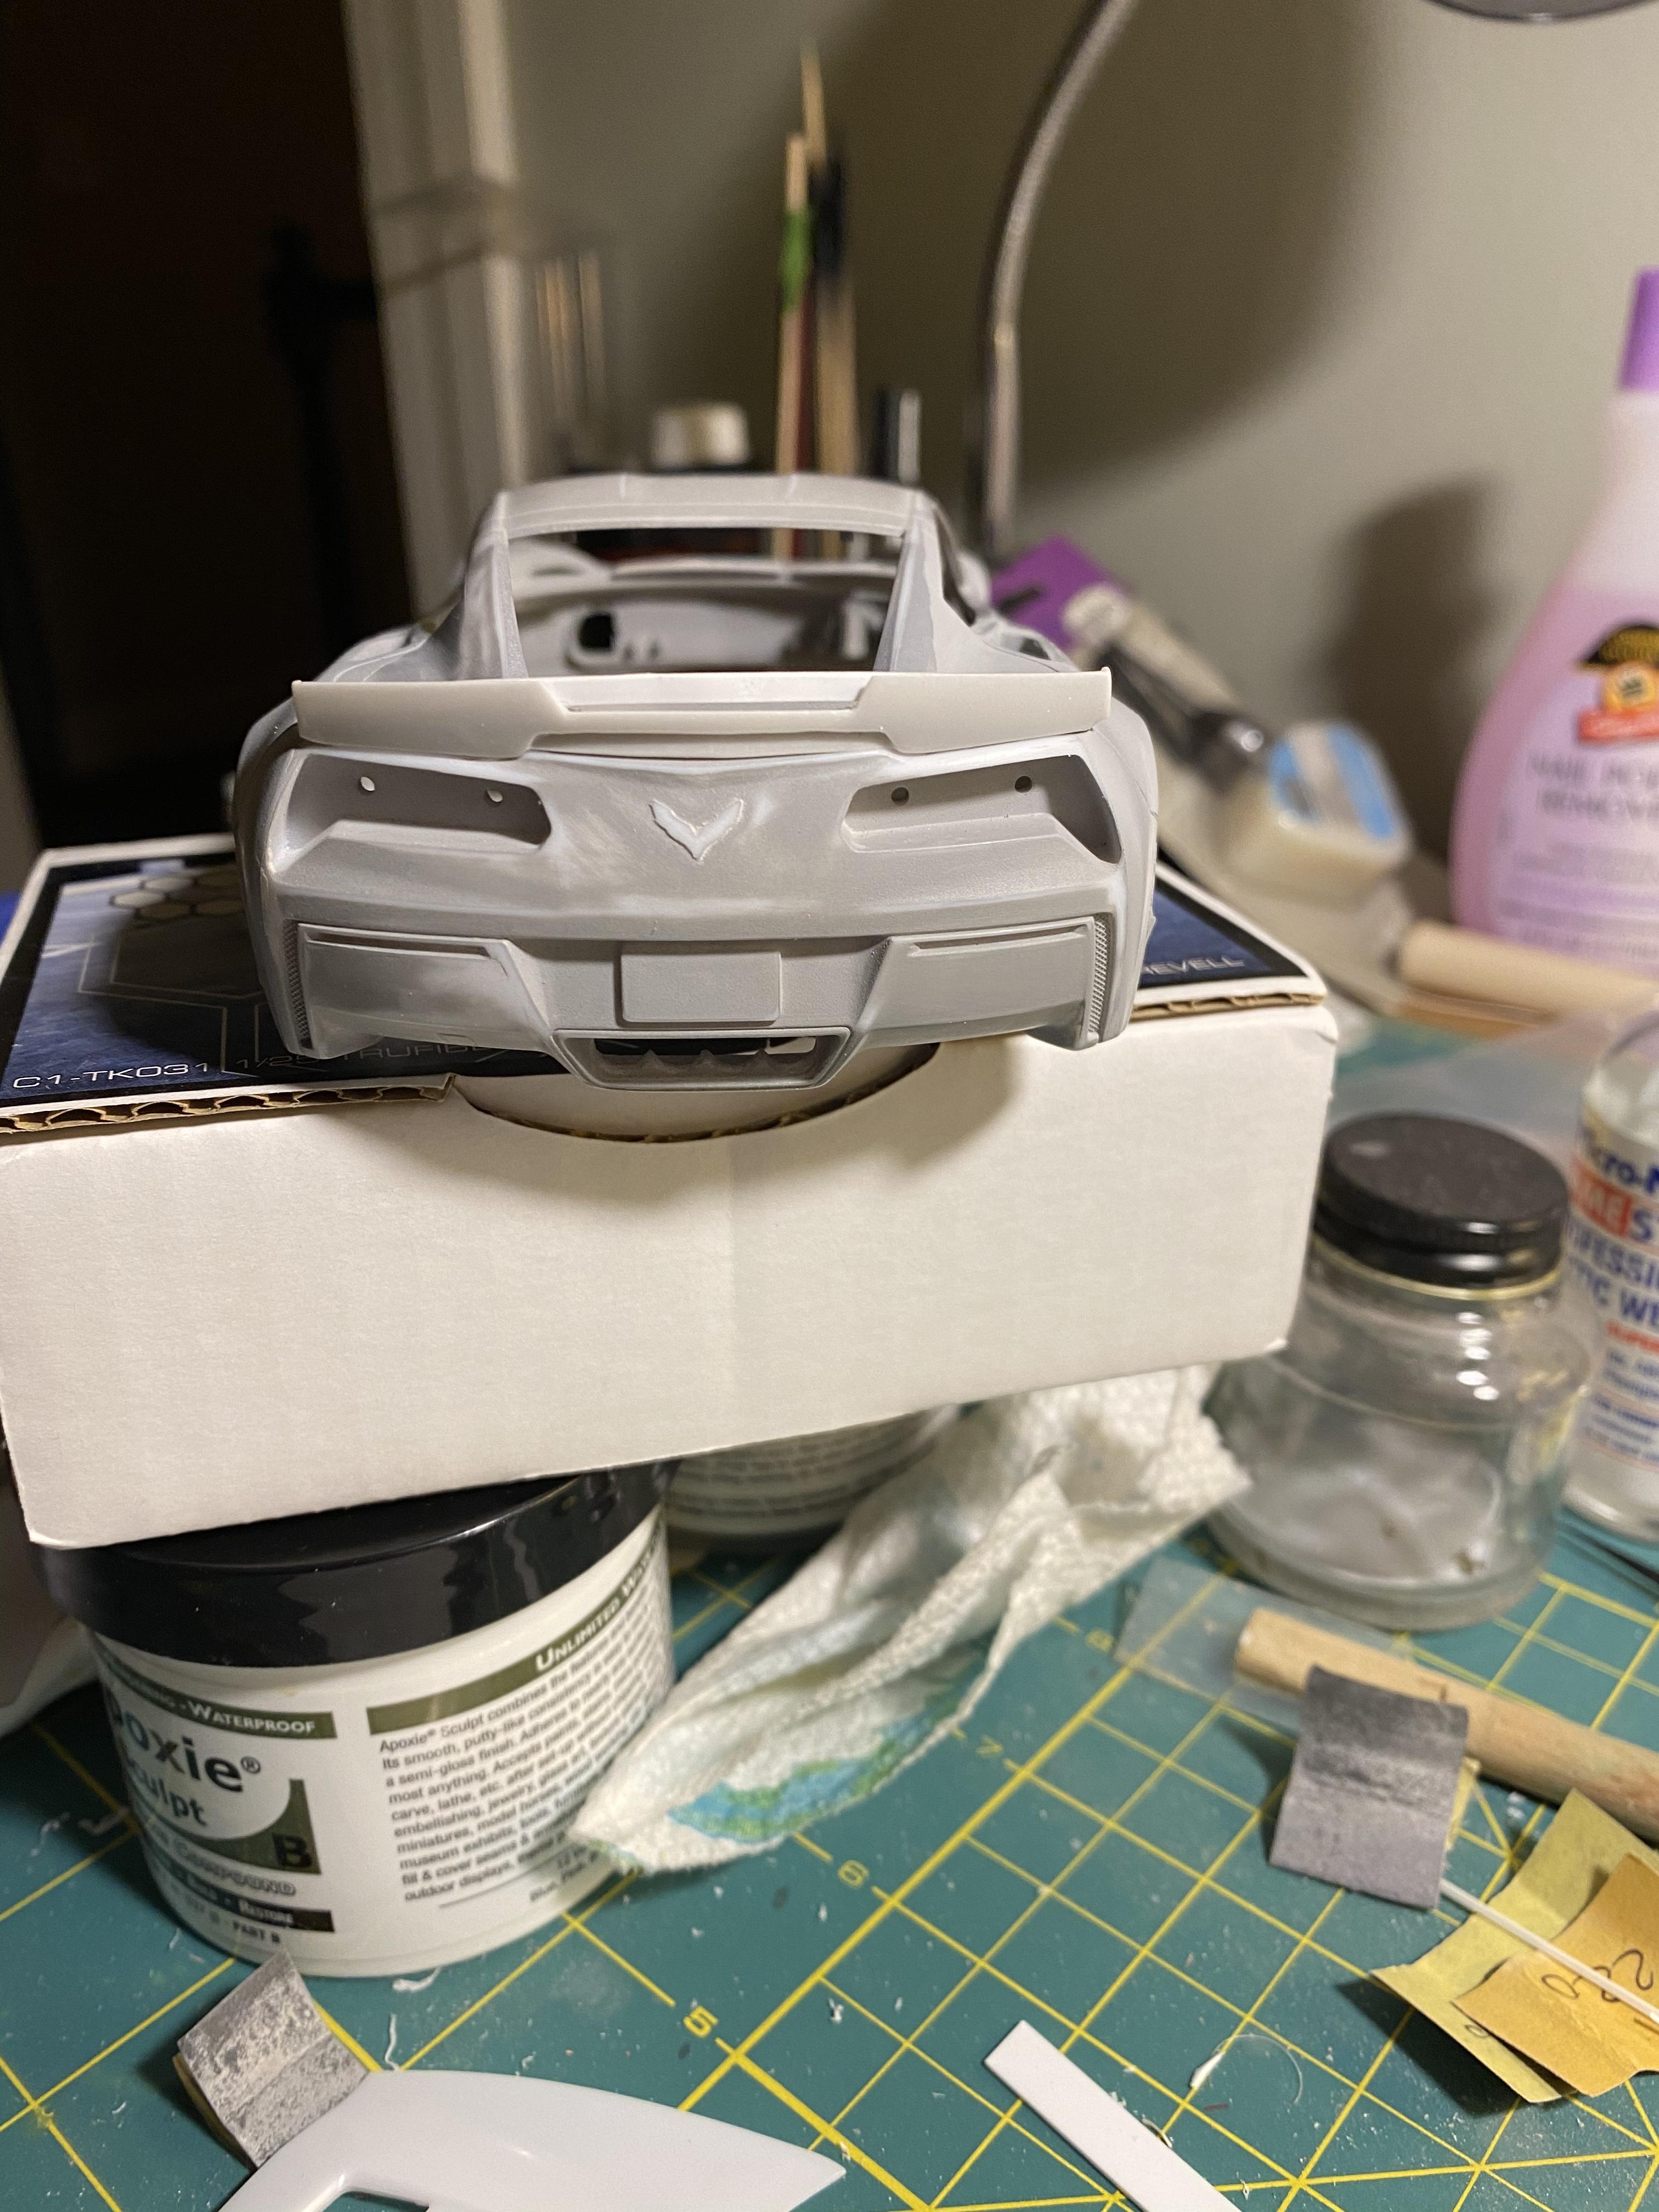
Fitted the Maisto cooling vents on the top of the rear fenders and blended them in, these will be painted in the Arctic white body color. Also decided to open up the lower air intakes in the front of the rear fender and added some styrene strip for the trim --this will be painted 'Carbon Flash'.
-
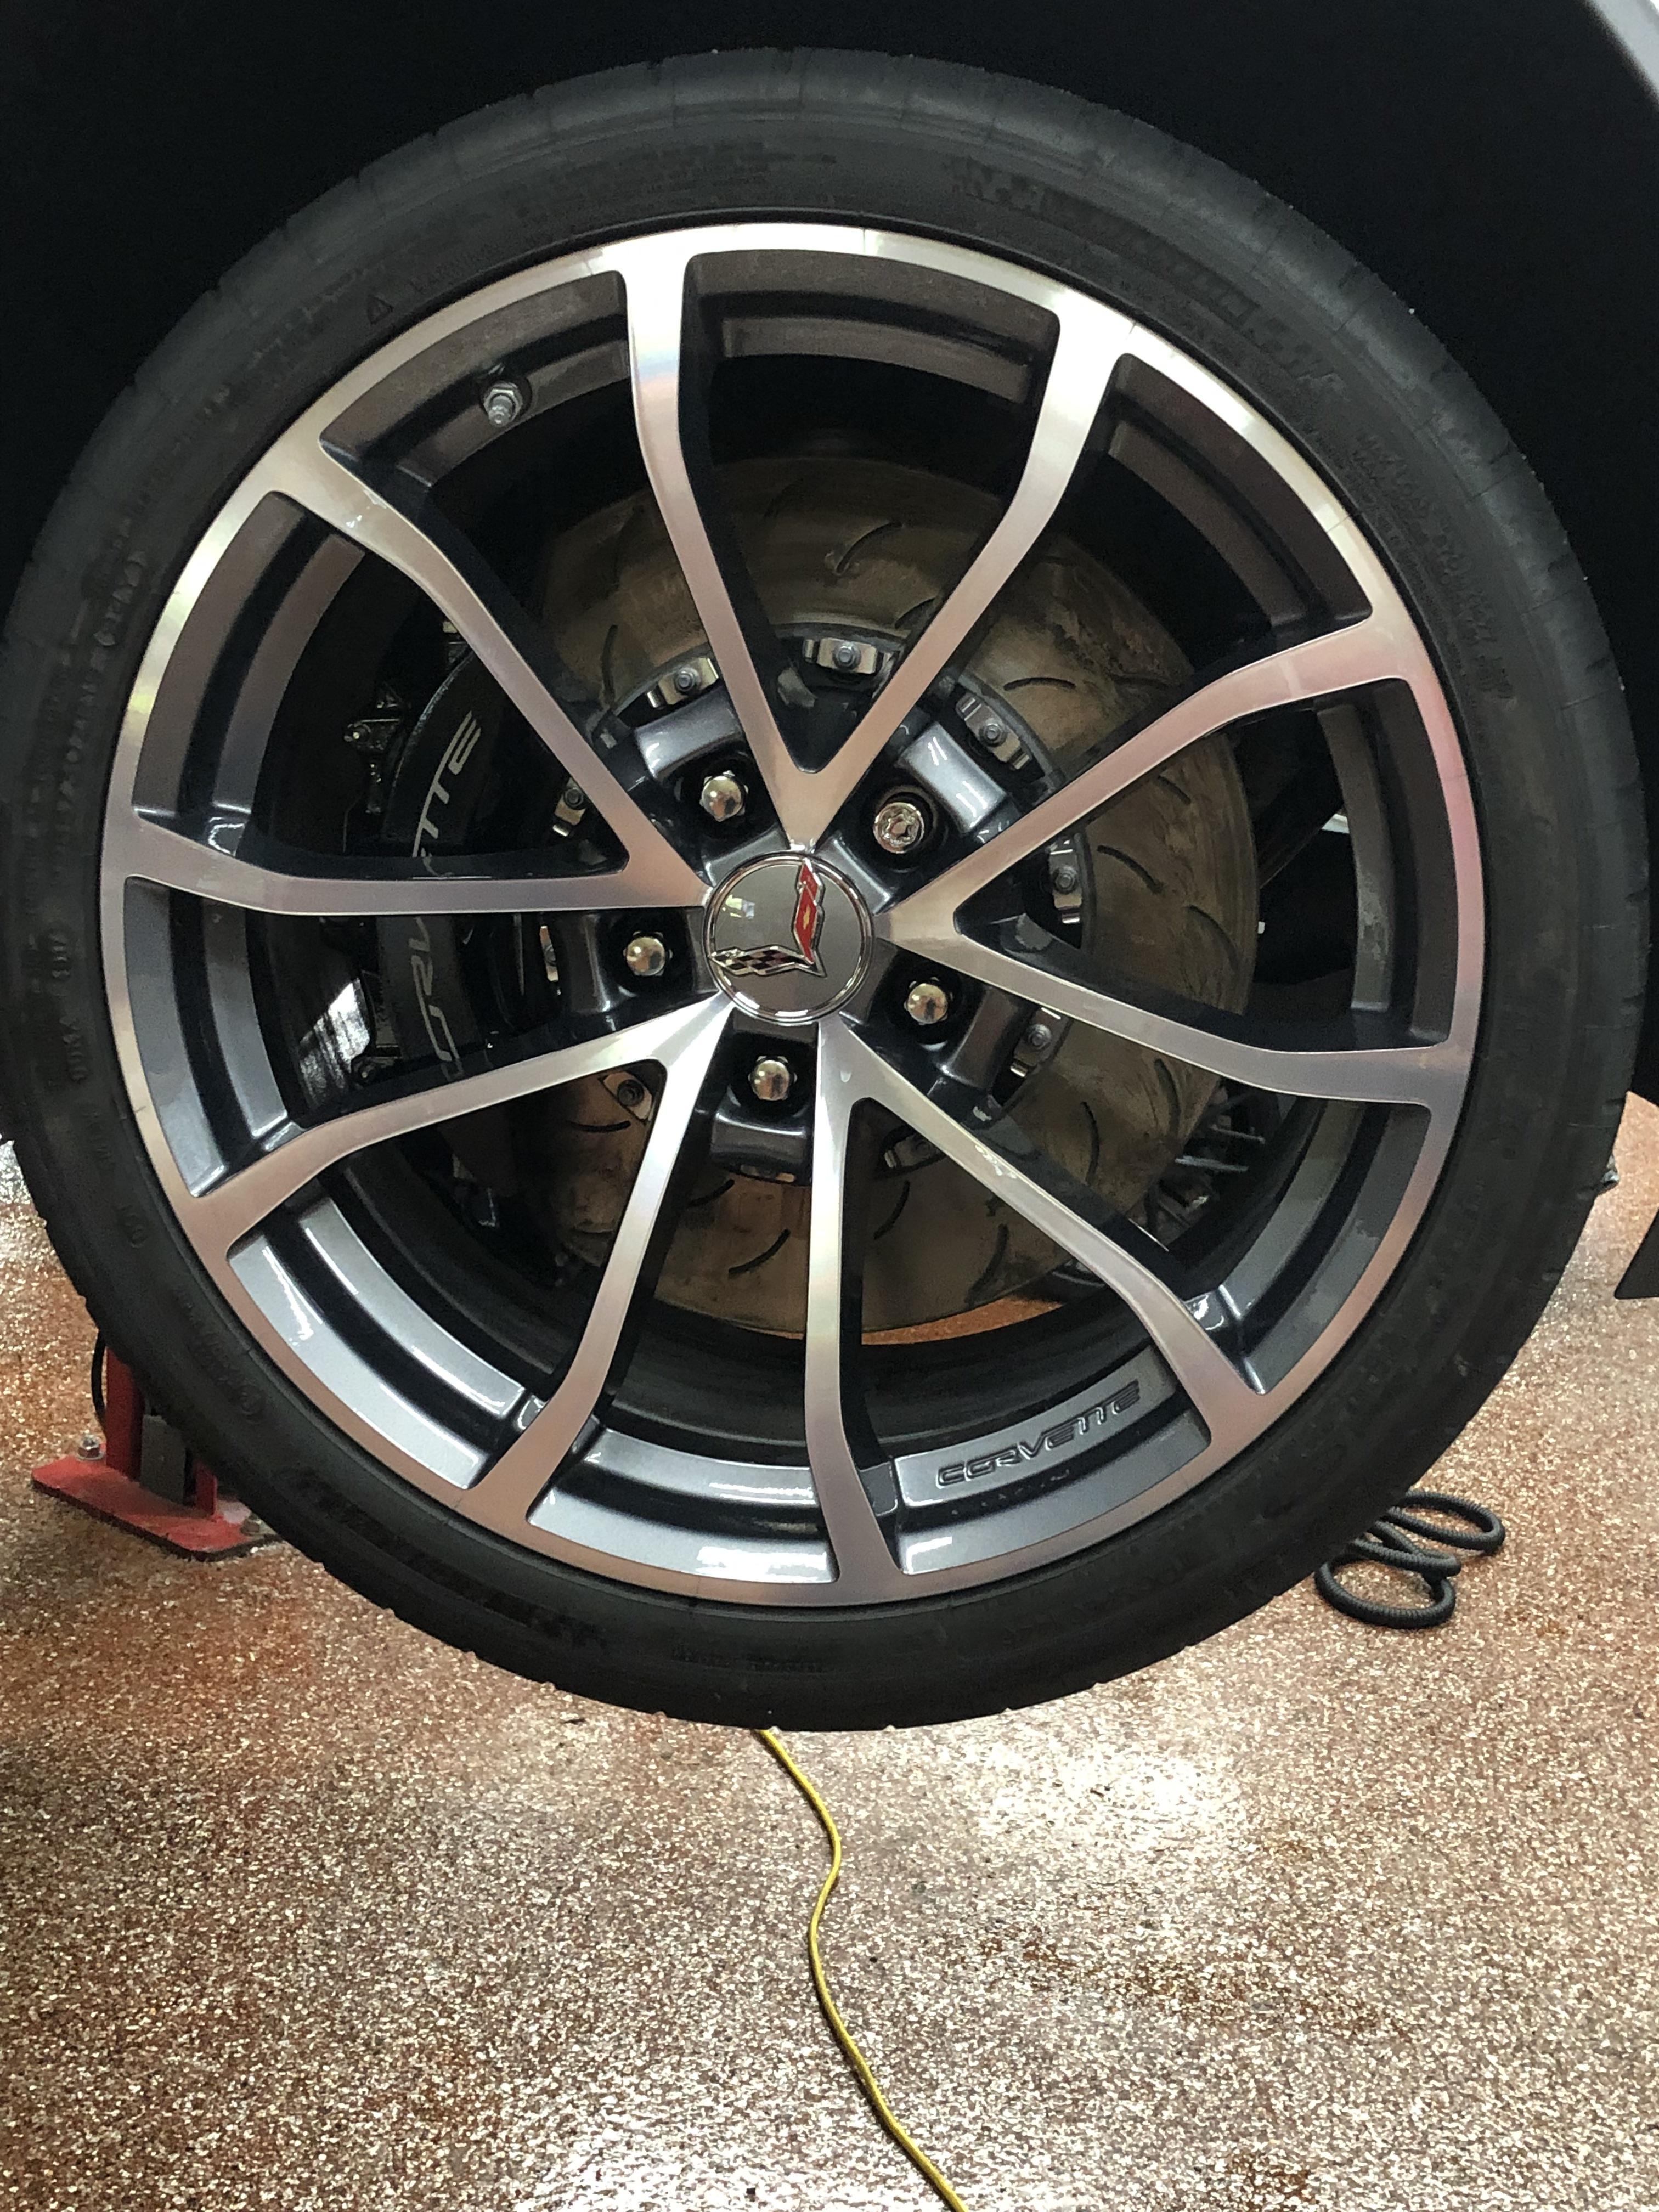
Next up the Wheels/Tires -- Used the Plazmos C6 -Cup Wheels, which I think were originally debuted on the 20113 60th Anniversary Vette --the ones I'm replicating are called the 'machined faced aluminum'(see pic below) . So after the wheels were cleaned up and primed, small hole was drilled for the valve stems(Detail master) and then the wheels were AB with Model Master's Metallizer Polished Aluminum and after they dried, AB with Vallejo Gunmetal -- the spokes and rim circumference were then wiped with Acrylic thinner to remove the Gunmetal in those areas. Speedway decal did some very small 'corvette' decals that were placed on the rims, to replicater the cast 'corveet' writing in the aluminum wheel -- although this was very difficult to see and to put down. Also had decals made for the 'Argent' center caps Finding the proper tires was difficult -- the rear are Michelin Pilot Sport (20") and the front are 19" -- I wound using rears from Ukrainian Scale Auto and the front will be from Pegas --but still searching for a better fit, but more on this when the car body and chassis come together . i f anyone has suggestions on 19" Michelin's for the front please let me know. Also shown in the picture with the 4 wheels is a set of 19" Michelins, but the side wall looks to tall. Plazmos was supposed to do a set of Michelins, for the Cup wheels, but that never happened.
-
Gary -- thx for the kind words, I'll try to keep it going, Al
-
Len -- what a beauty , that is my other favorite color , love the black cup wheels. I'm going to use the rocker skirts from C1 and modify to look like what's on your car -- I'm using Automotive Touchup paint's 'Carbon Flash' -- it looks great, metal flake does not look out of scale. You'll see these later as I continue the build! Best of luck w ur Vette!
-
Really nice looking C7, great job!
-
Looks really good - -has that aggressive stance!! Keep it going
-
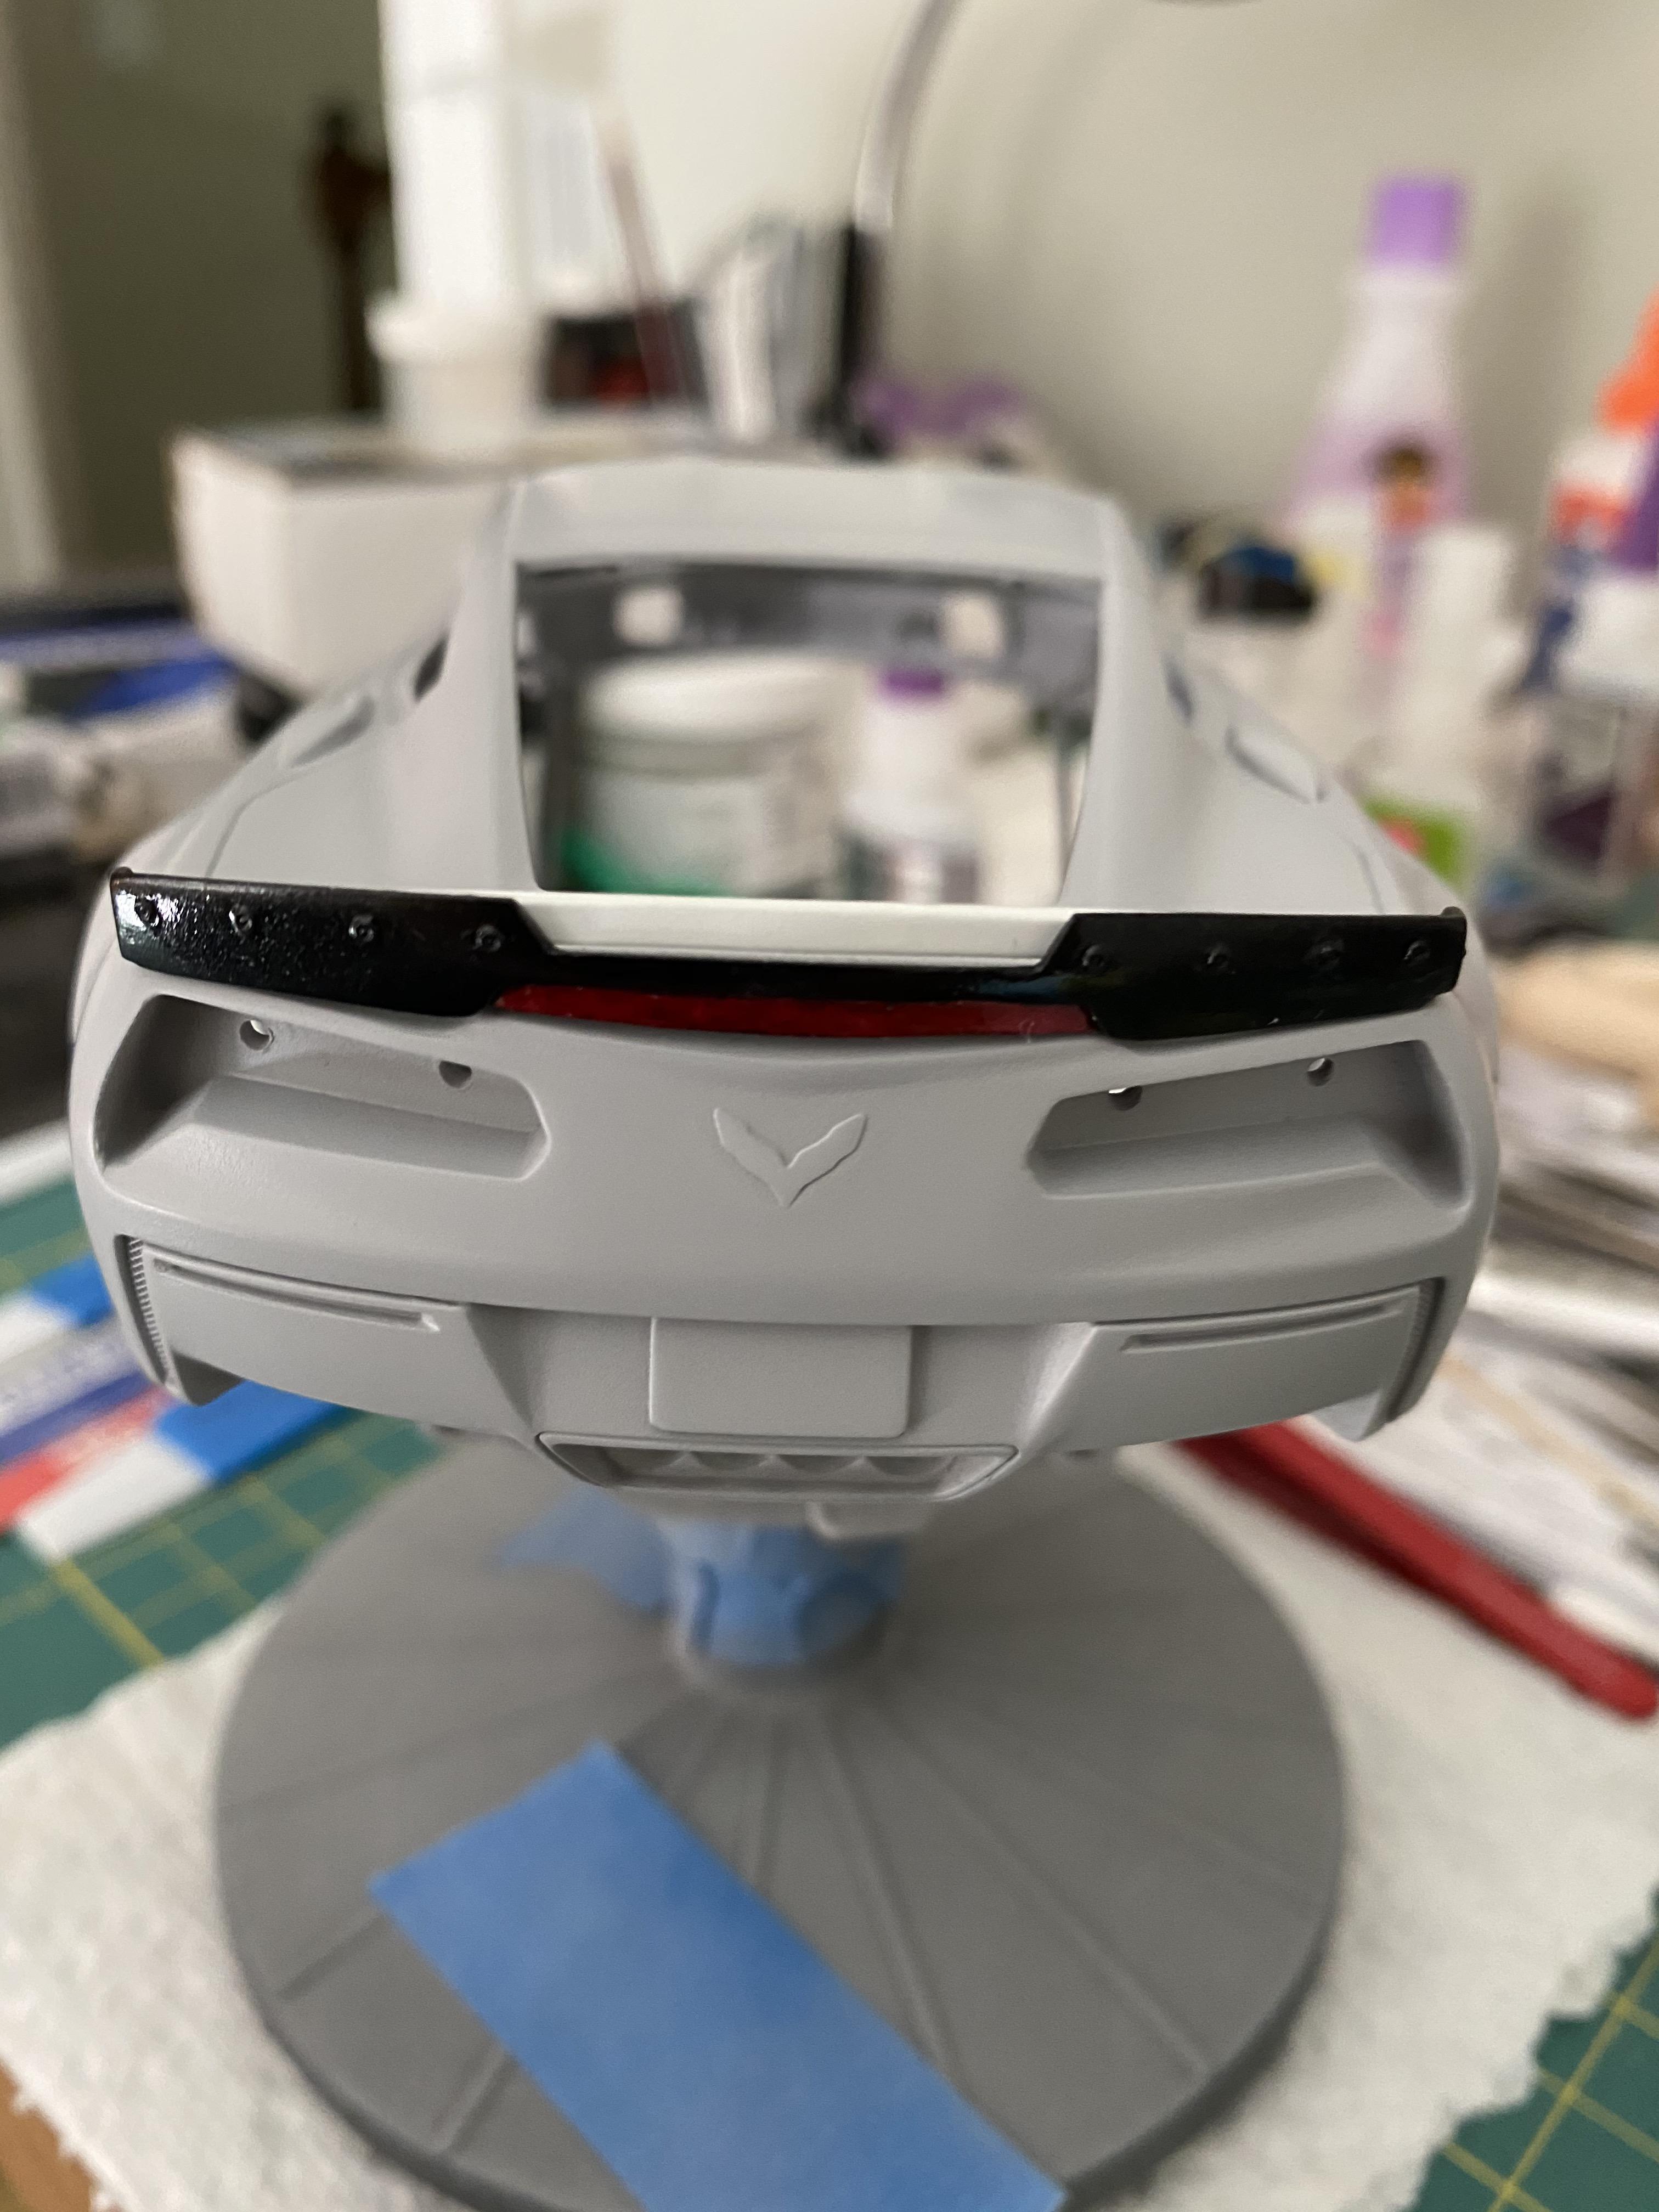
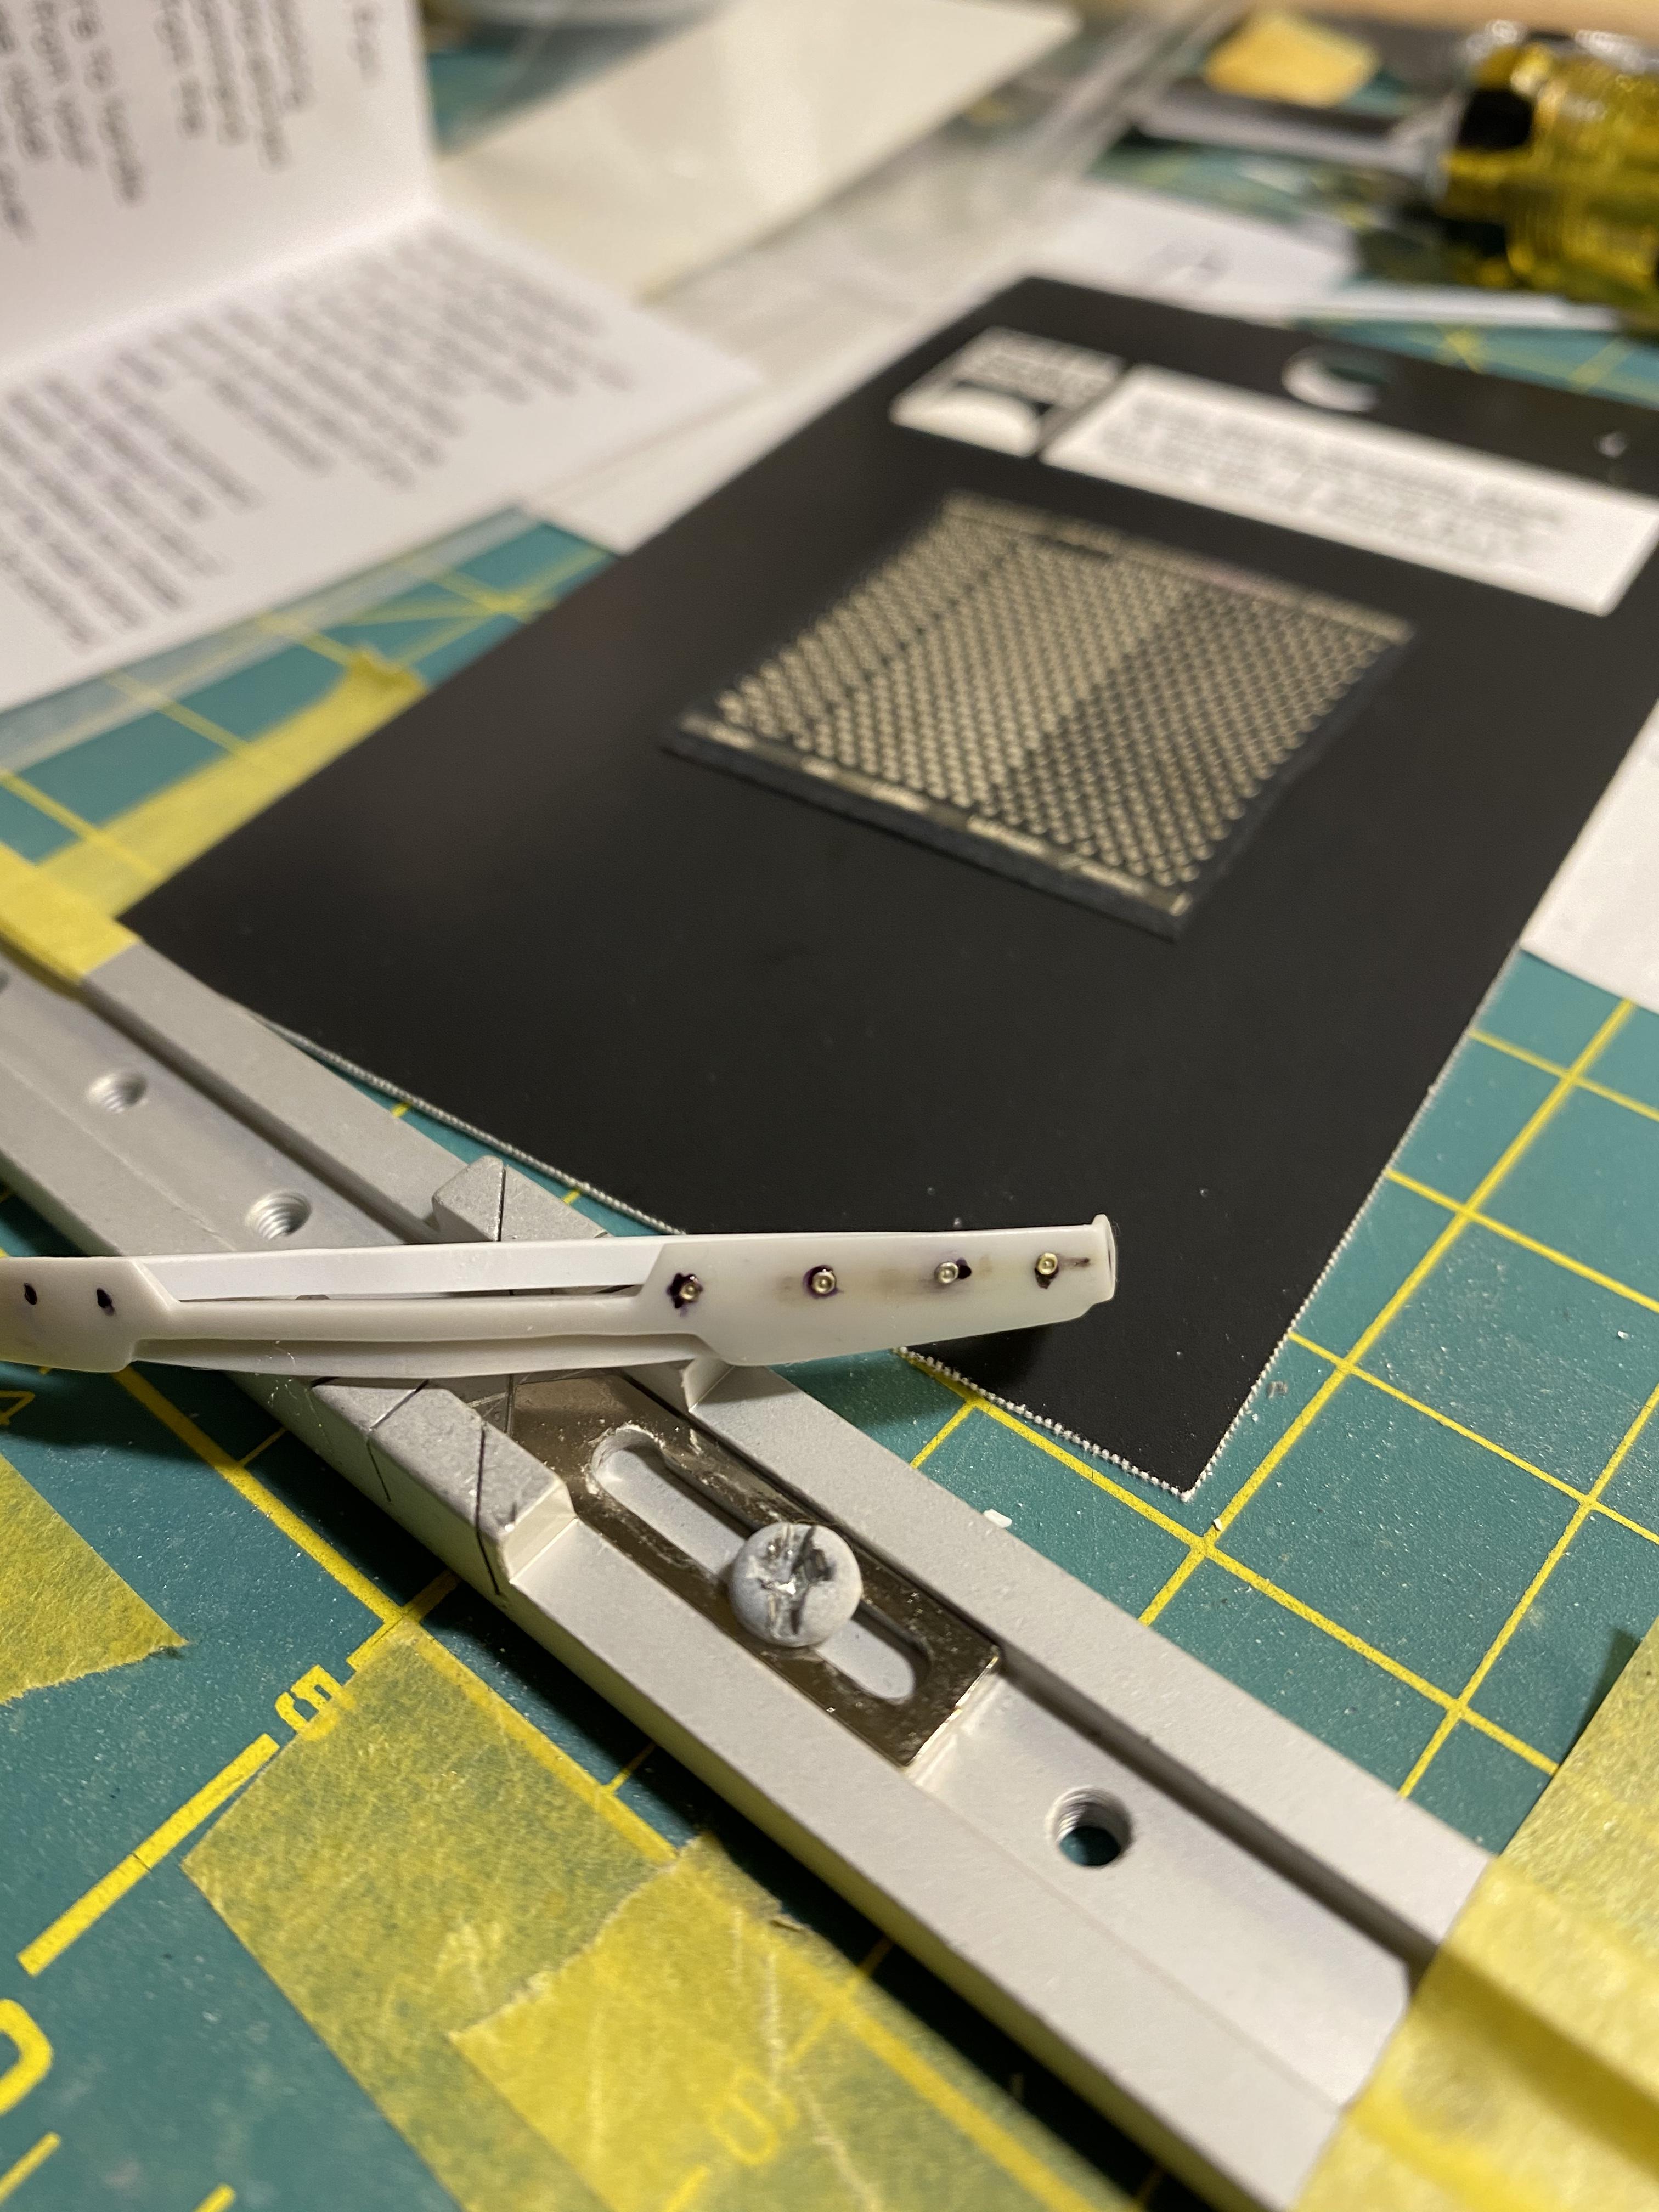
Next up was trying to replicate the 'Stage1 Spoiler' -- This spoiler has a body colored section nestled into the 'Gurney flaps', how far this section is placed beneath the flaps determine the down force that the car can achieve or something like that! This is where I used a combination of the C1 Tru-fiber 'gurney flap' and the C7 kits' spoiler. To finish this off, I used photoetched bolt heads from Scale Motorsports, spaced at intervals measured from the 1:1.