Steve Osbourne
-
Posts
145 -
Joined
-
Last visited
Content Type
Profiles
Forums
Events
Gallery
Everything posted by Steve Osbourne
-
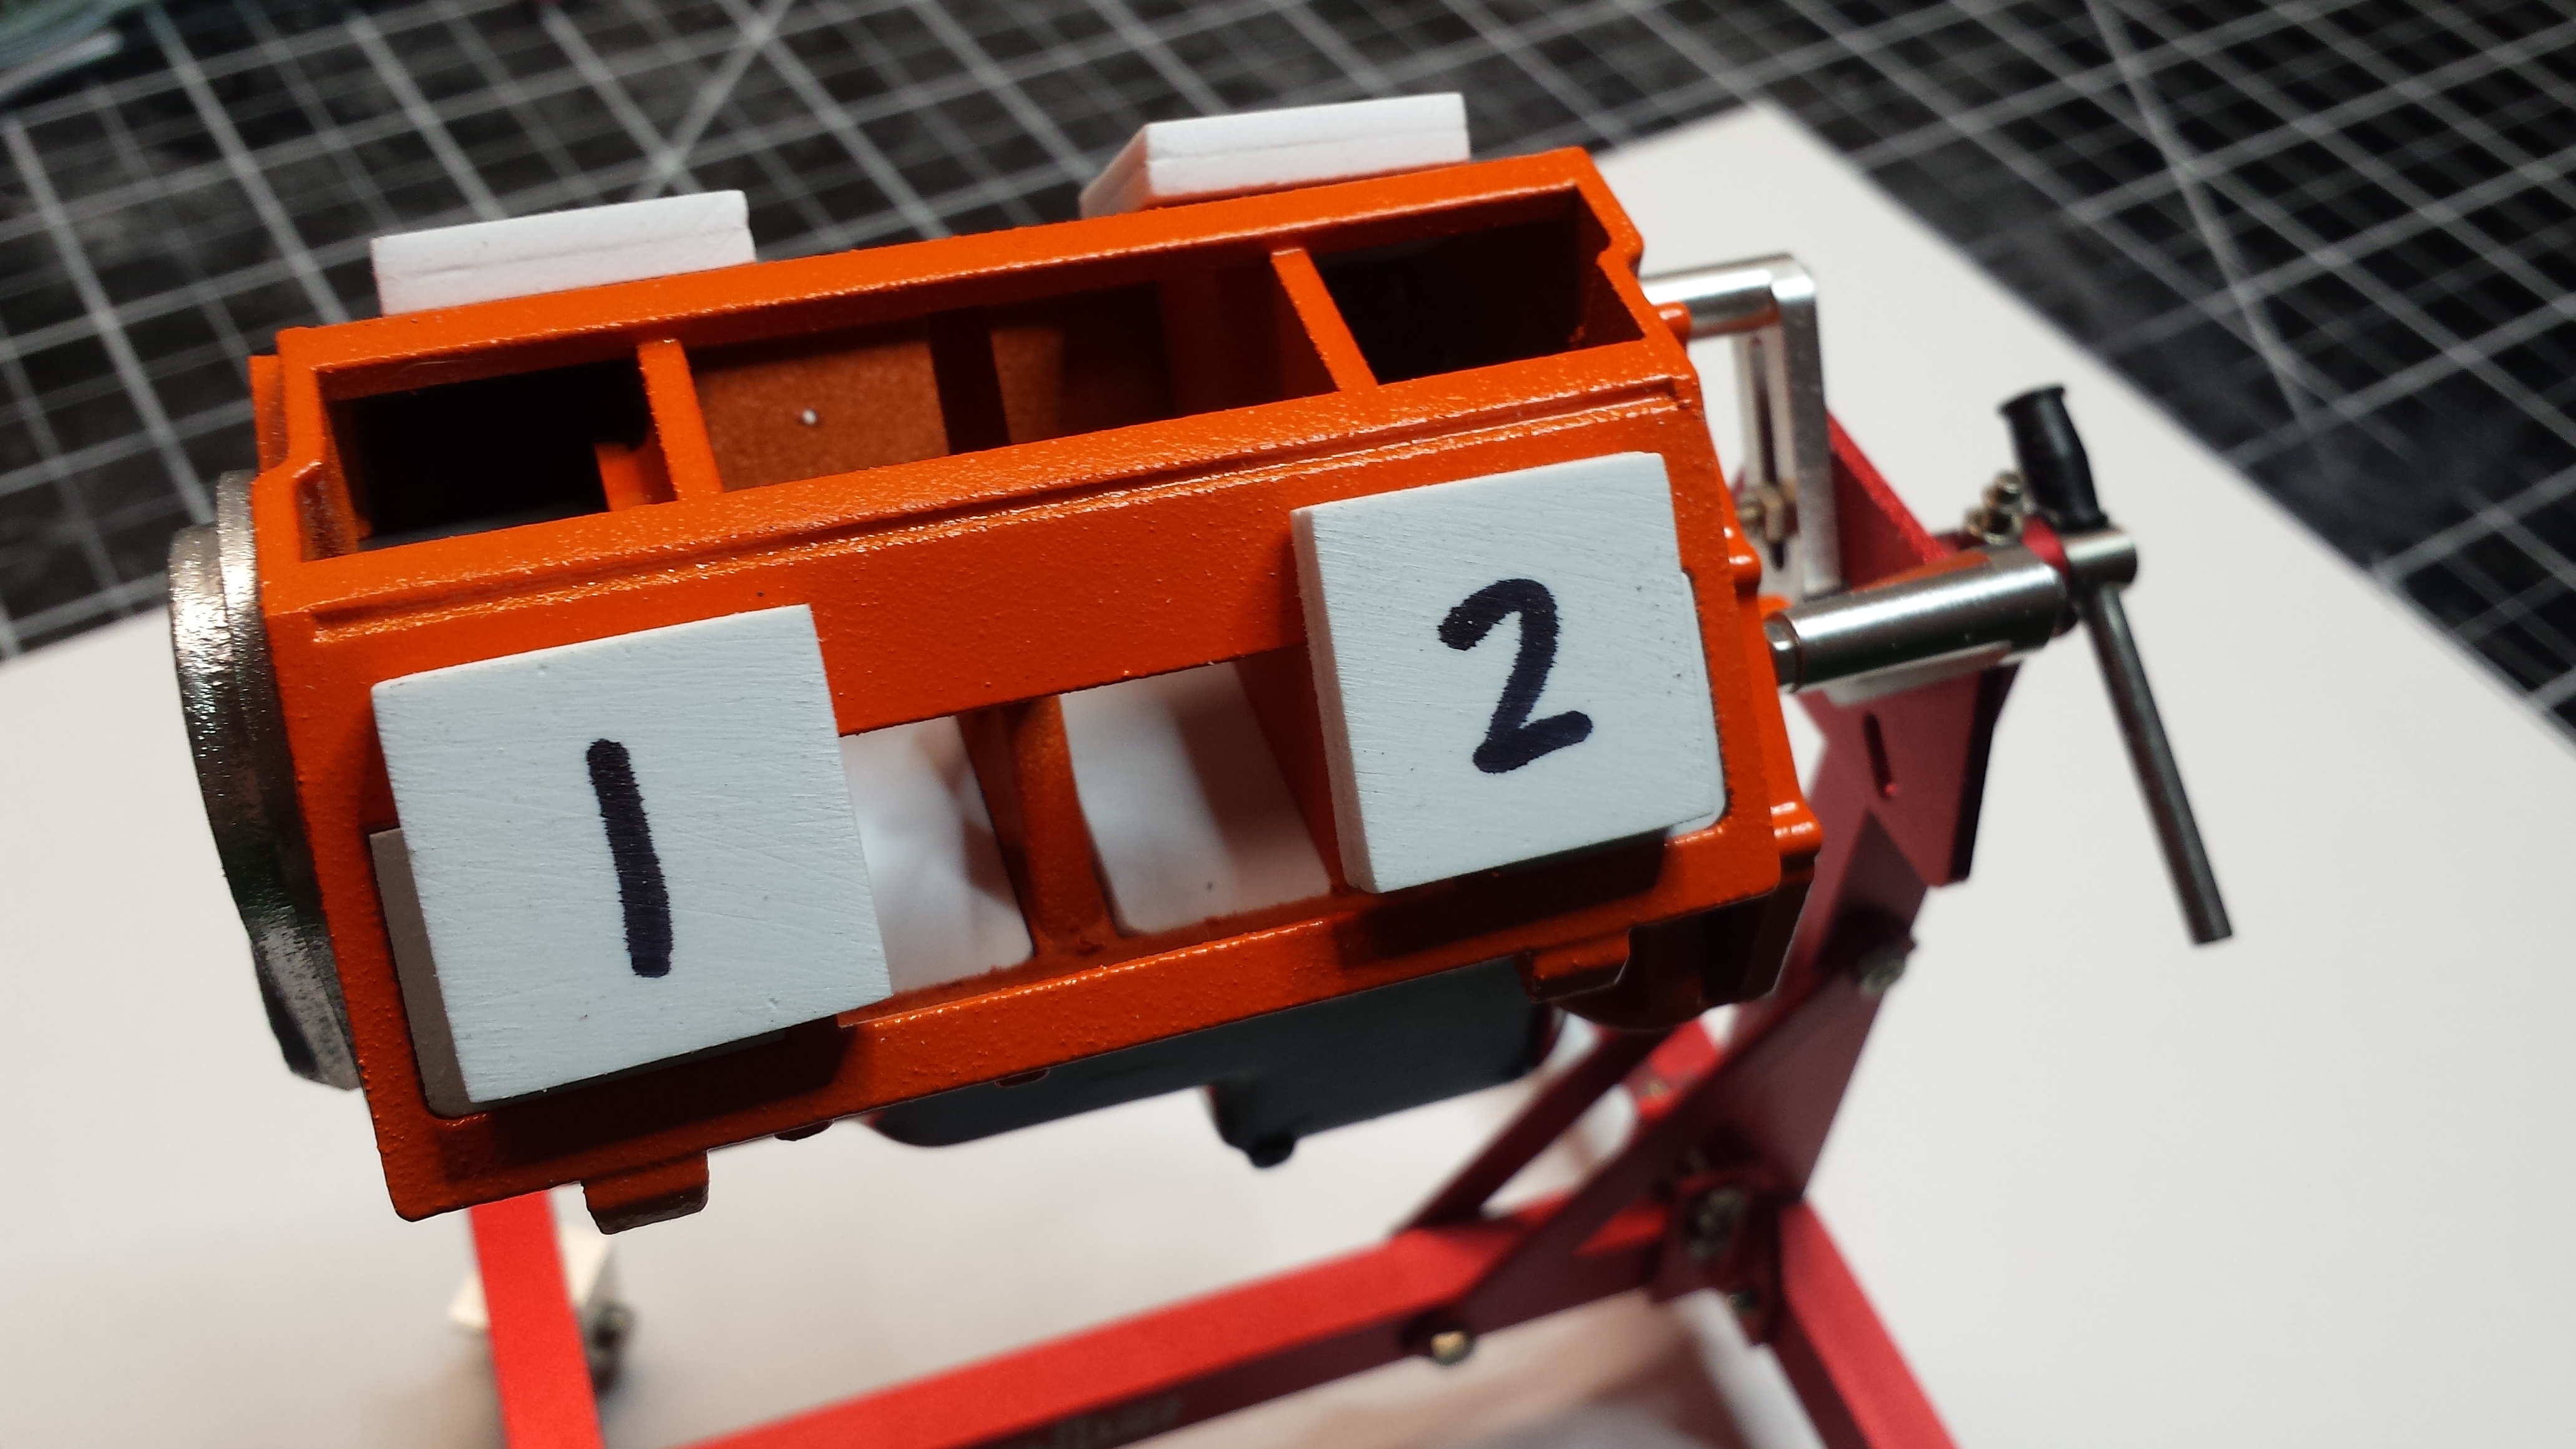
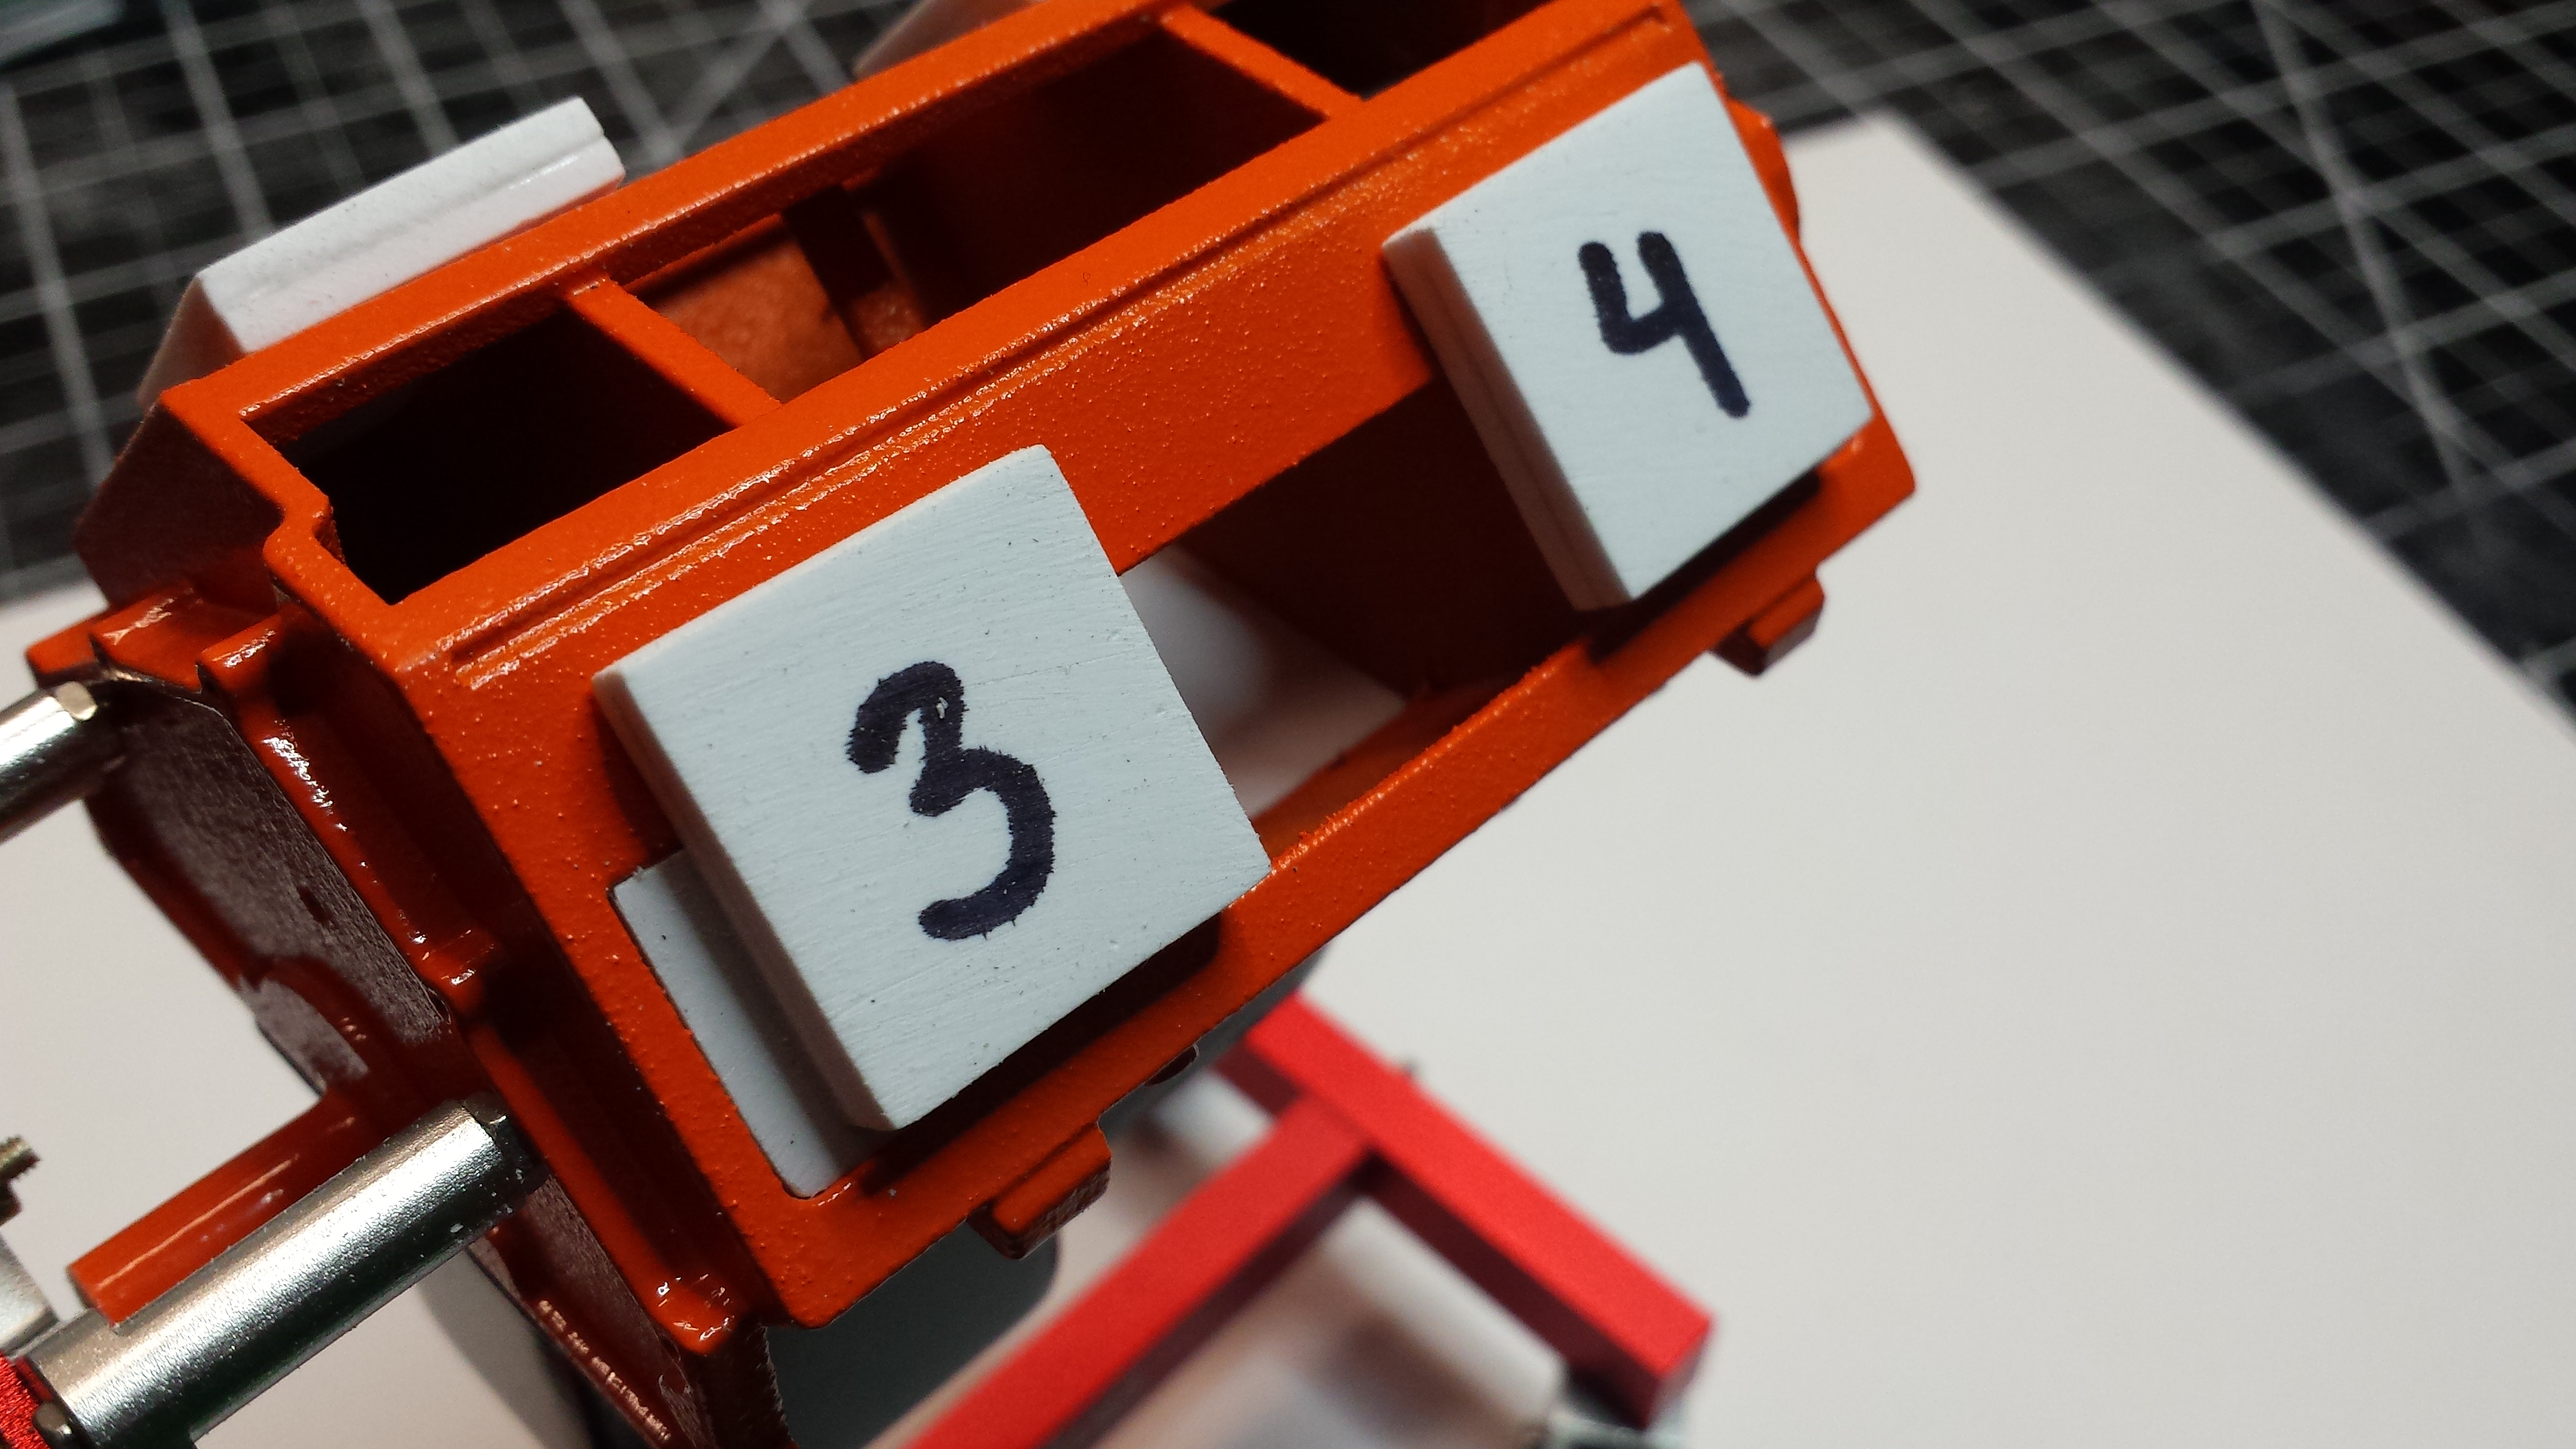
 You need to elevate each item you decopauge so I made this little jig. Try and make sure everything stays as level as possible when positioning everything.
-
Here are the pieces cut out, trimmed, stained and holes located. Ready for decopauge...
-
I used Old English furniture polish to stain.
-
A little clean up around the edges and then use a pointed tool to locate each of the gauge holes you will be drilling later. Use a 1/16" bit to then drill out each hold location prior to decopauge. Check the masking tape on the backs and fix if needed.
-
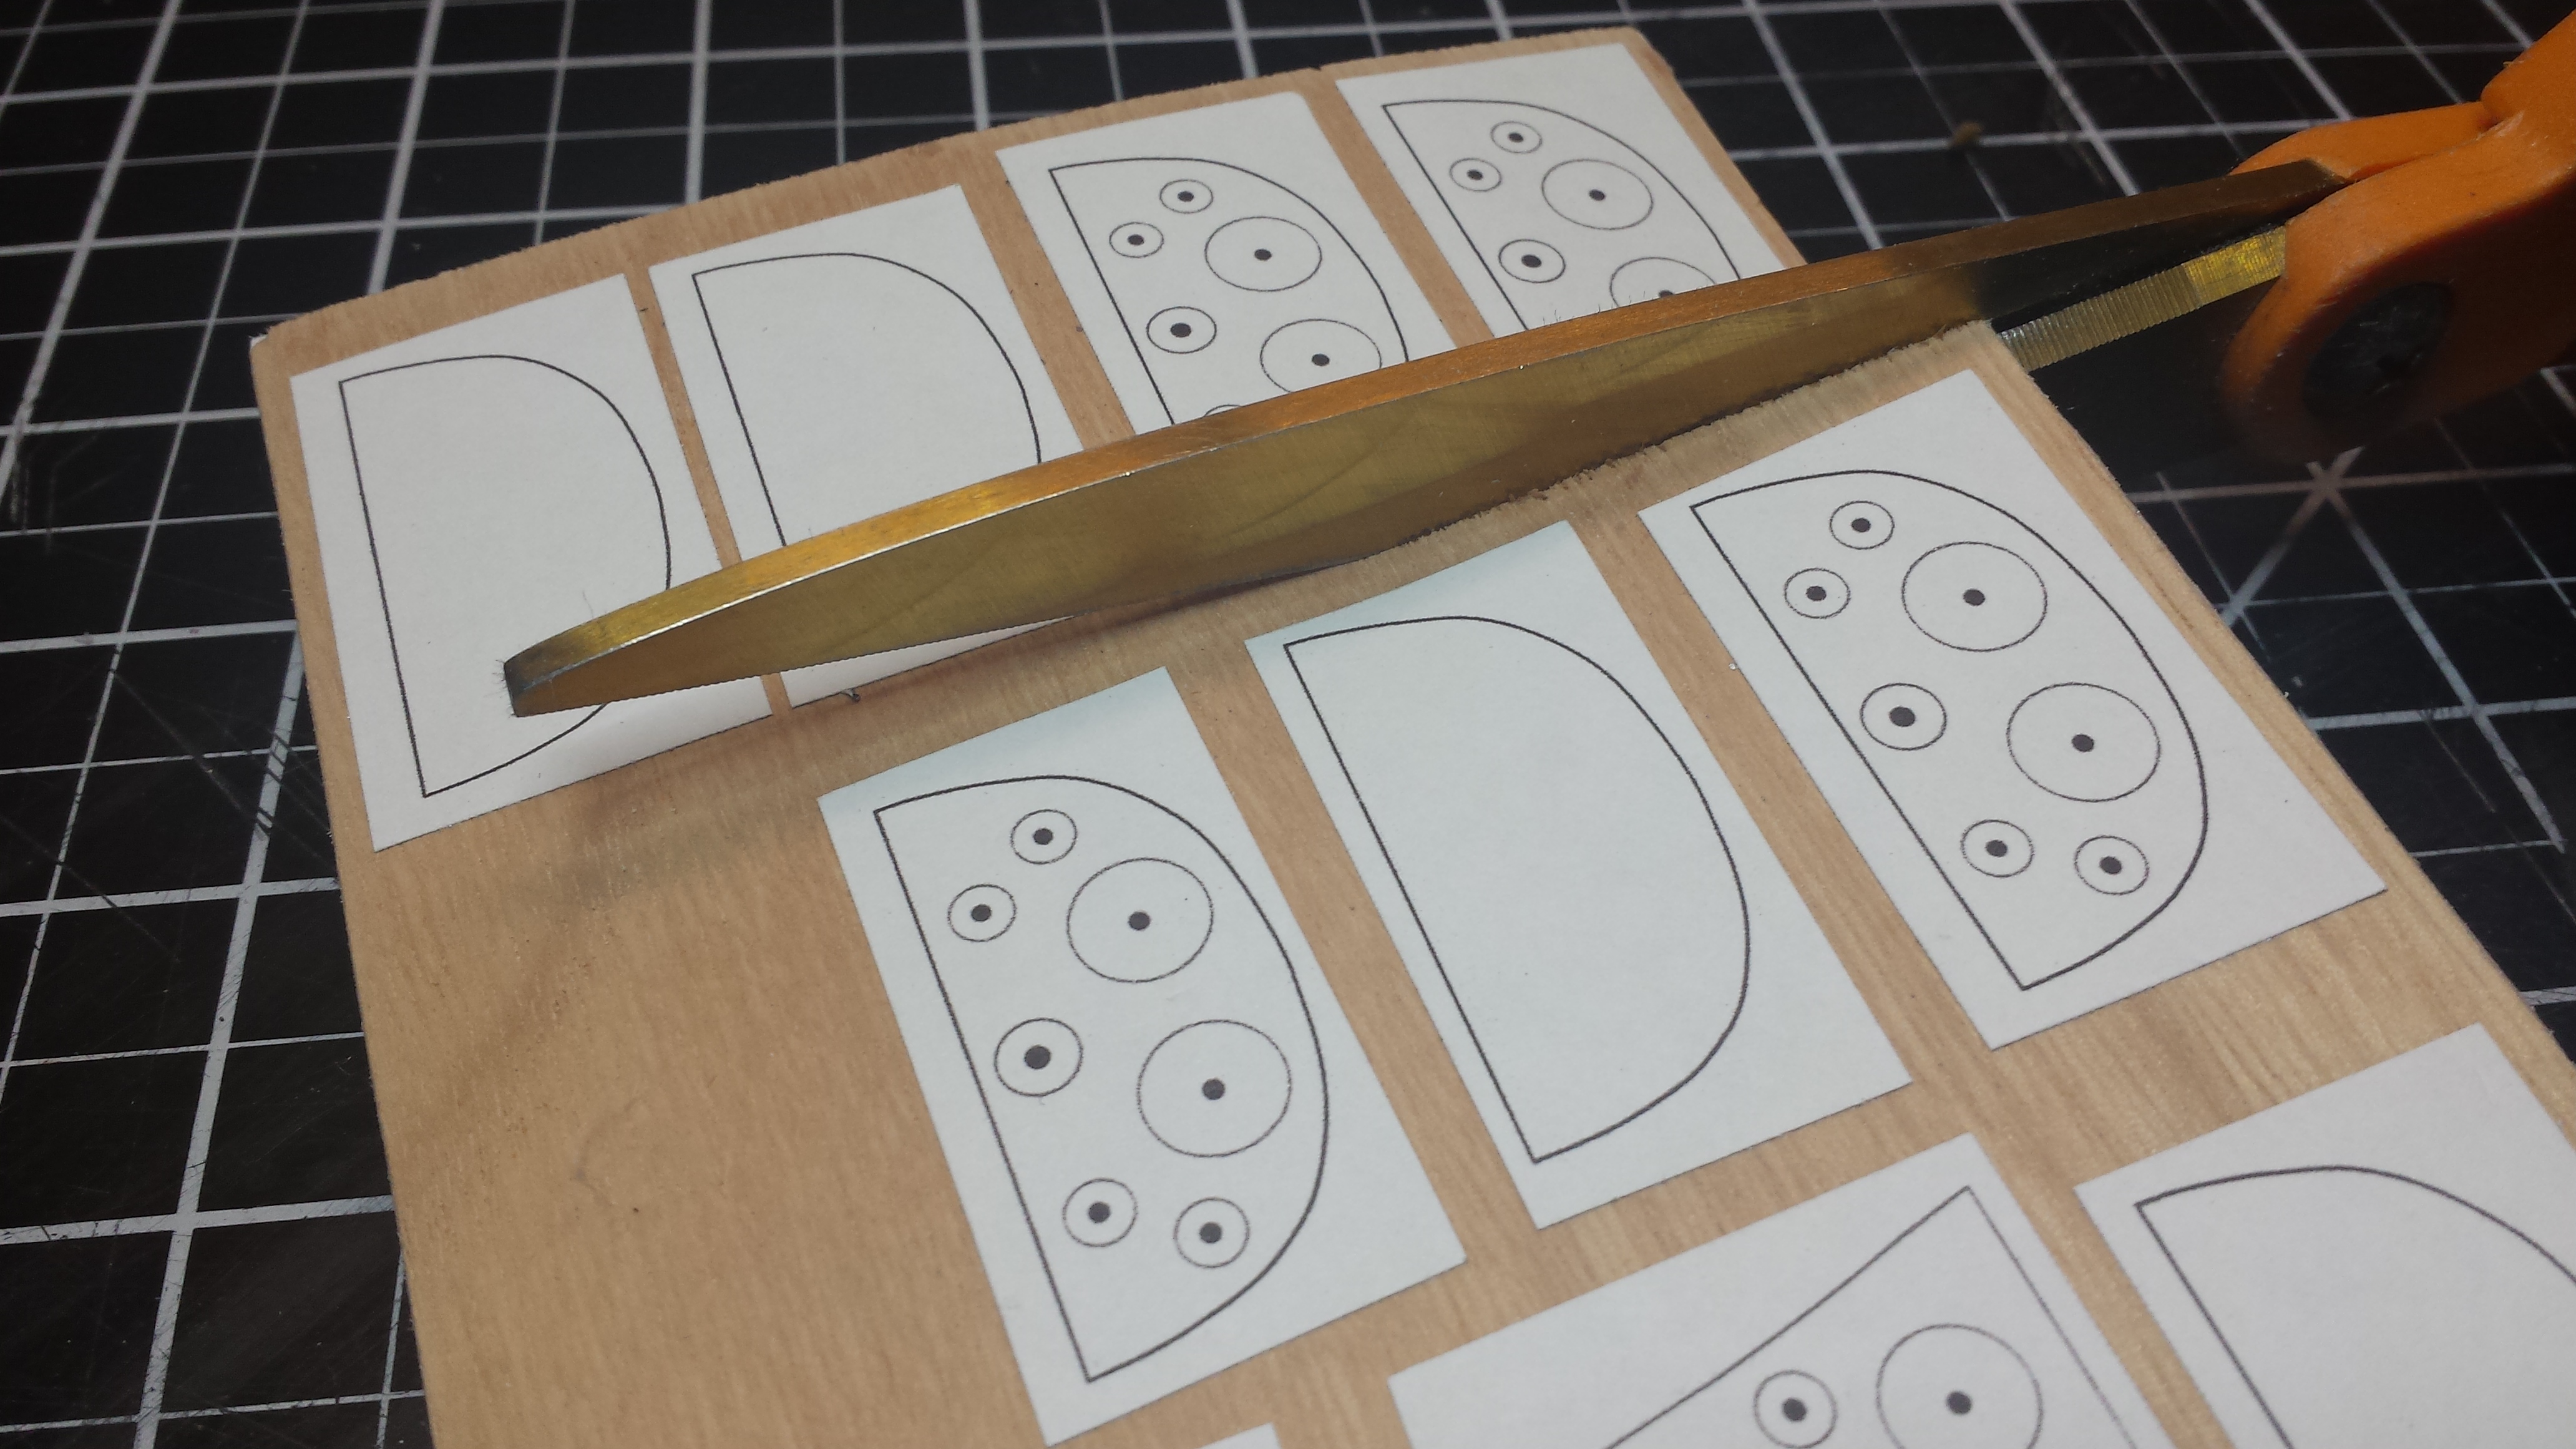
I highly recommend using a nibbler tool as pictured to trim the pieces to size. If you attempt to cut them out any other way you risk splitting the wood. The nibbler tool makes a perfect downward slice. Hobbylinc sells them I think.
-
This is the template I made showing the layout of the gauges. It is printed on adhesive backed label paper. I cut out enough to do 4 sets and stuck them to the wood and then cut out the individual pieces.
-
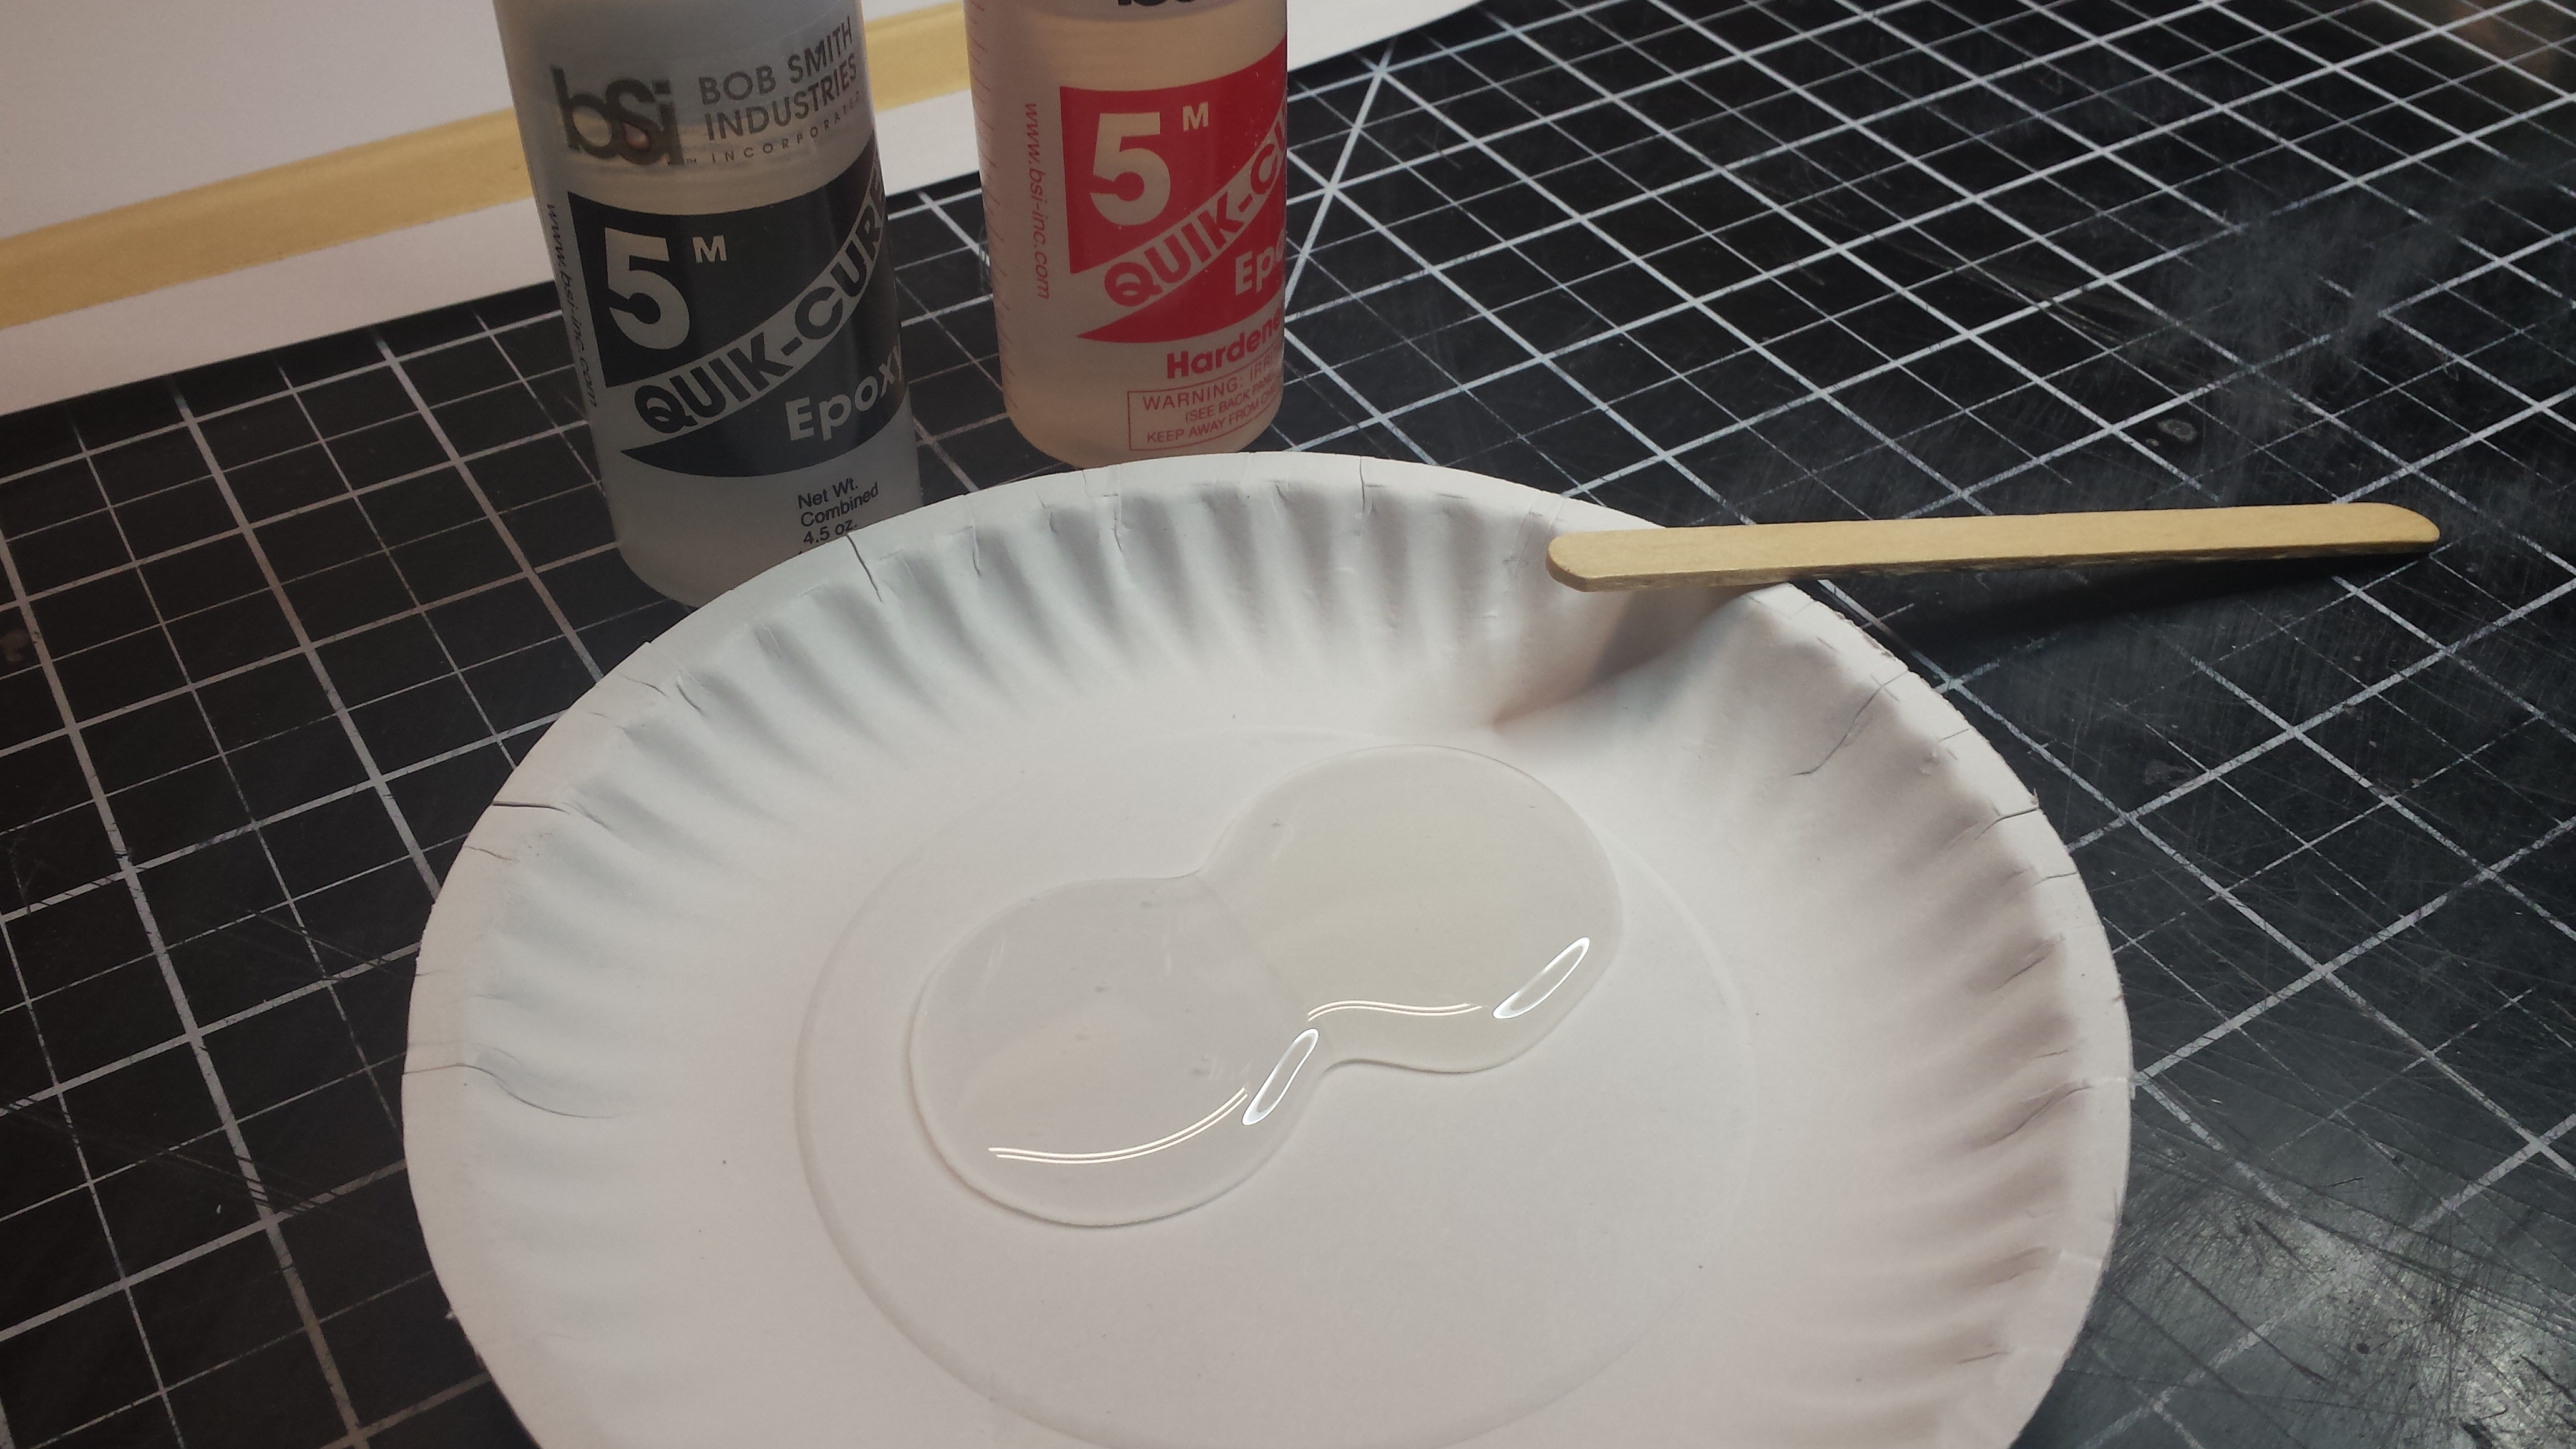
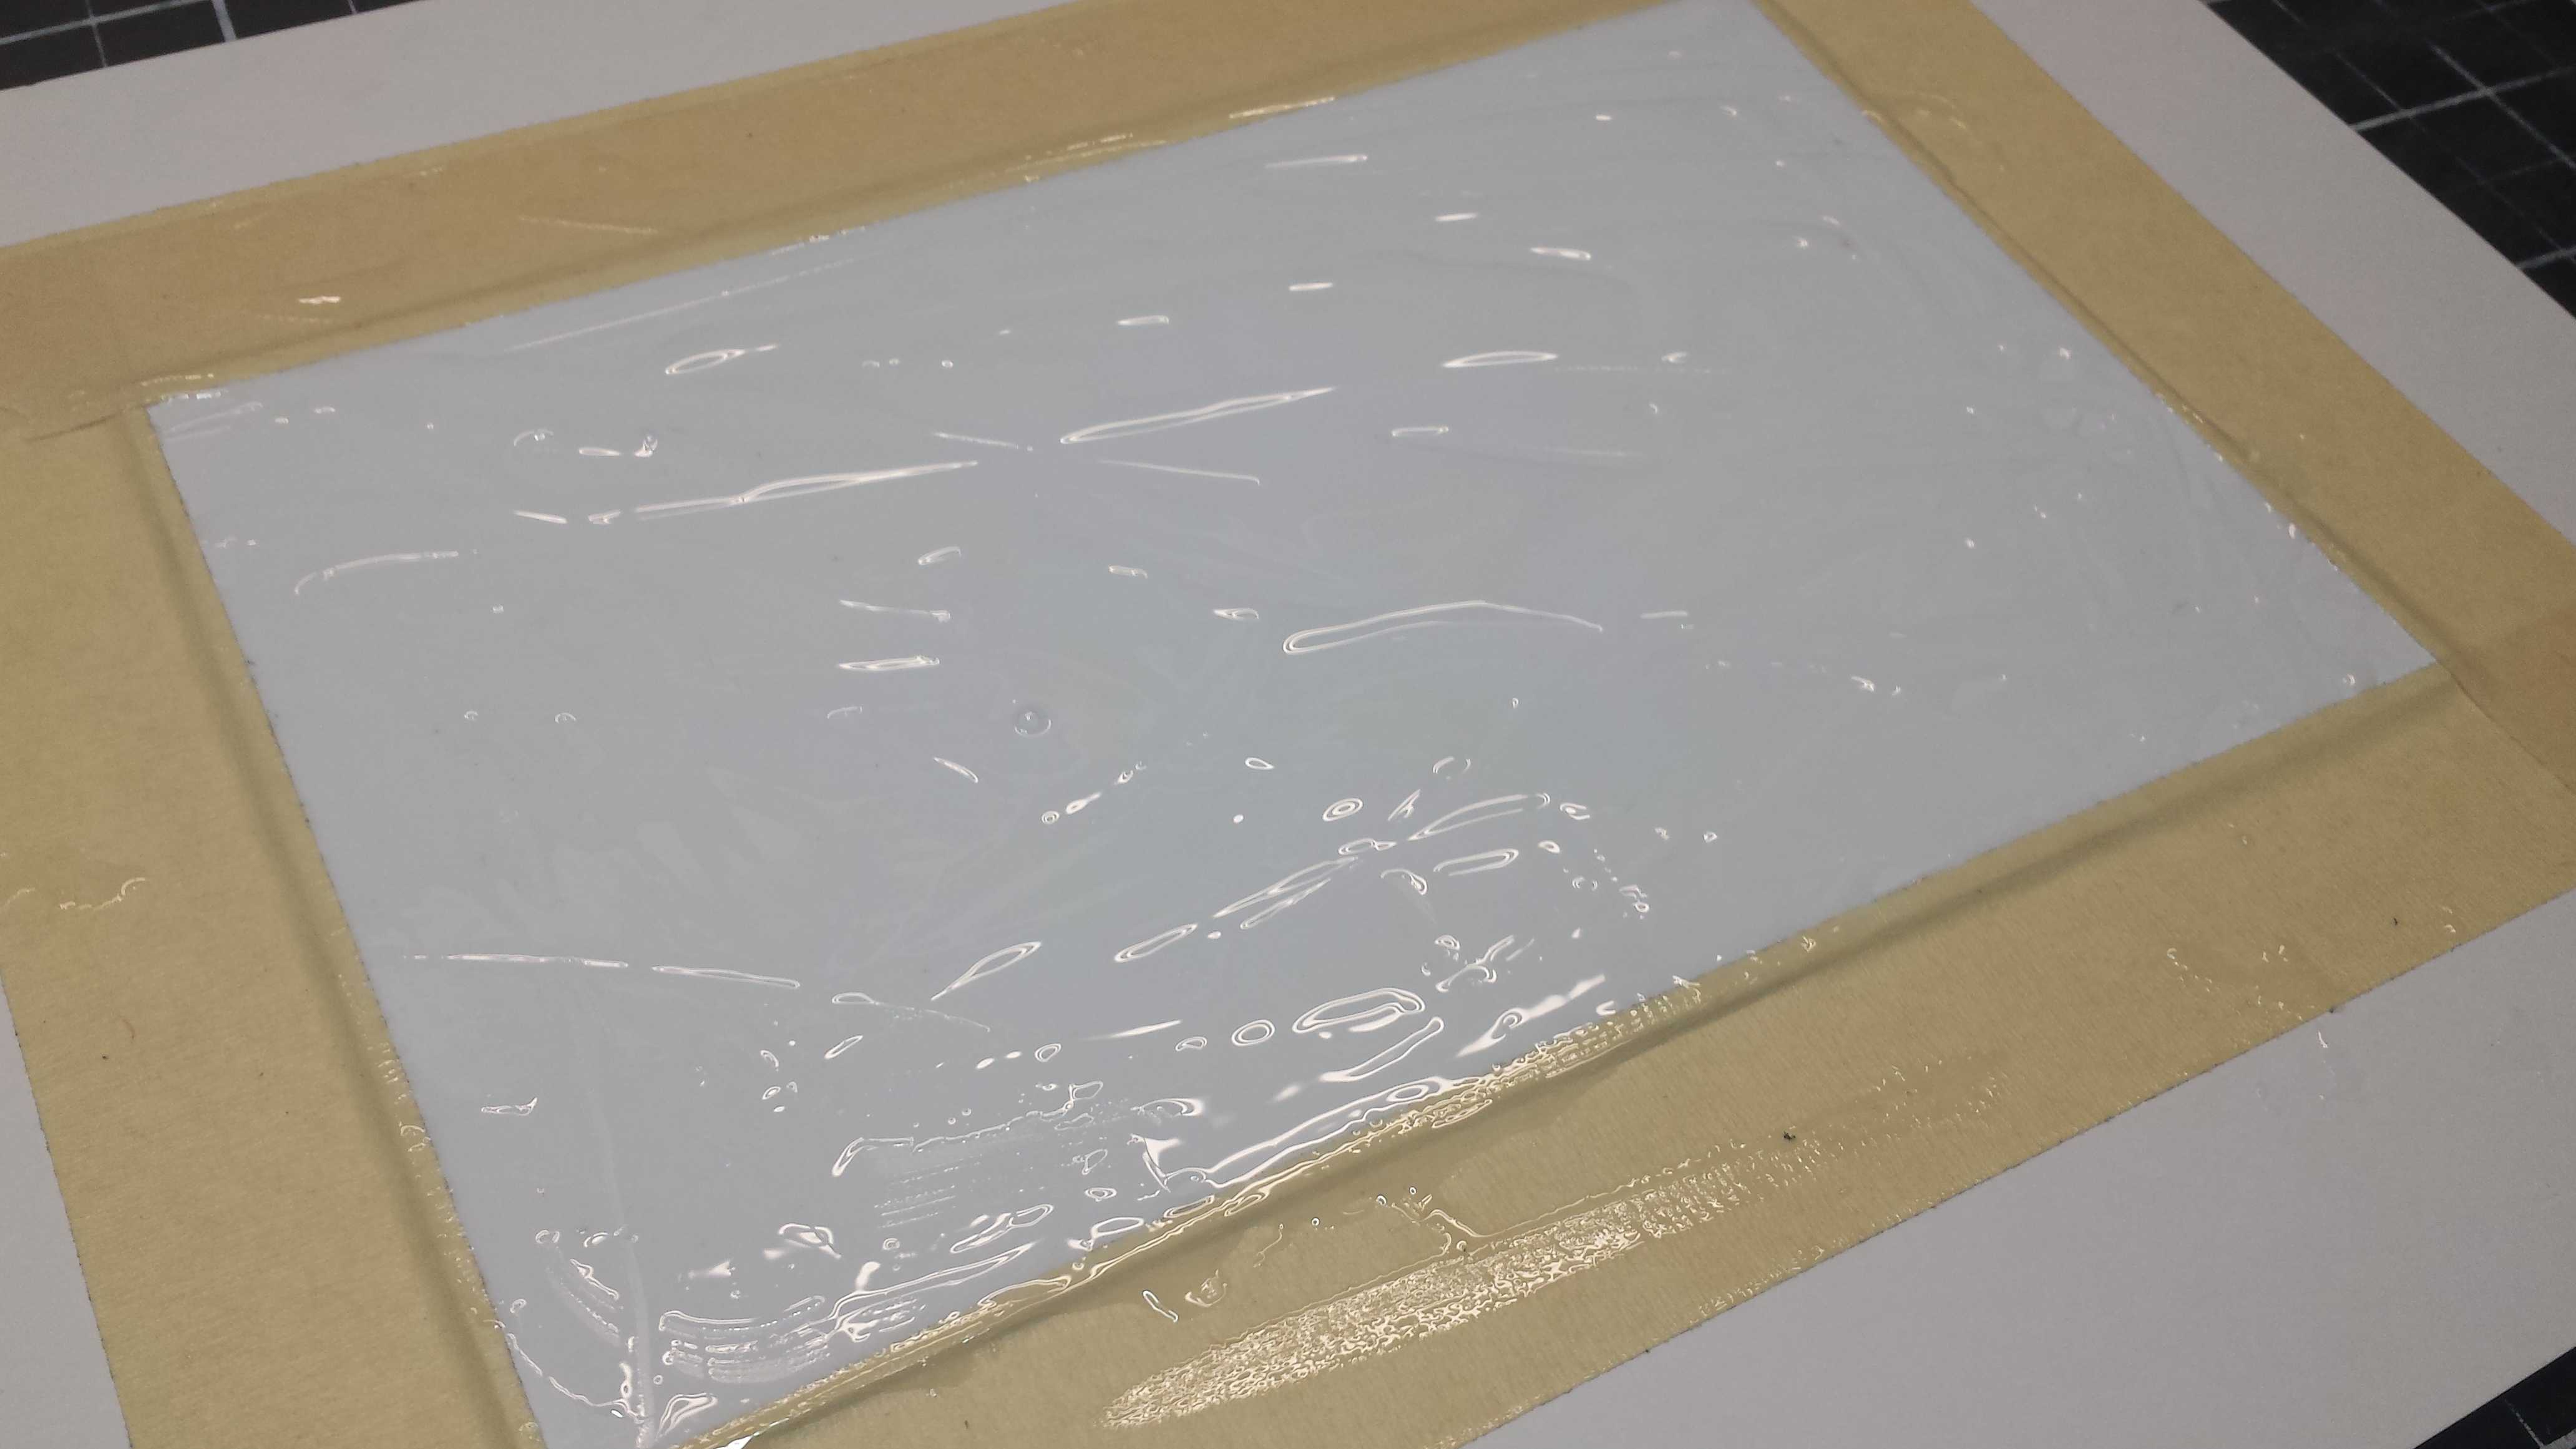
Cover the back of the plastic with masking tape. This will prevent the decopauge from sticking to the plastic. Turn the plastic over and tape it as close to the edges to a piece of cardboard or card stock. Mix 2-part epoxy and spread evenly over the plastic and then lay the wood down. I then cover everything with another piece of card stock and use a veneer roller to smooth things out and get a good bond. You can just use a rolled up rag.
-
Here is how I do my custom wood dashes in large scale. I won't do a wood dash unless I use actual wood. I also cover the wood with EnviroTex (decopauge) as I feel it closely replicates an "automotive finish" as opposed to varnish. I'll explain things and answer any questions as I proceed. I started with a piece of .030 Evergree sheet cut slightly larger than the cigar box wood (about 5 x 6" here).
-
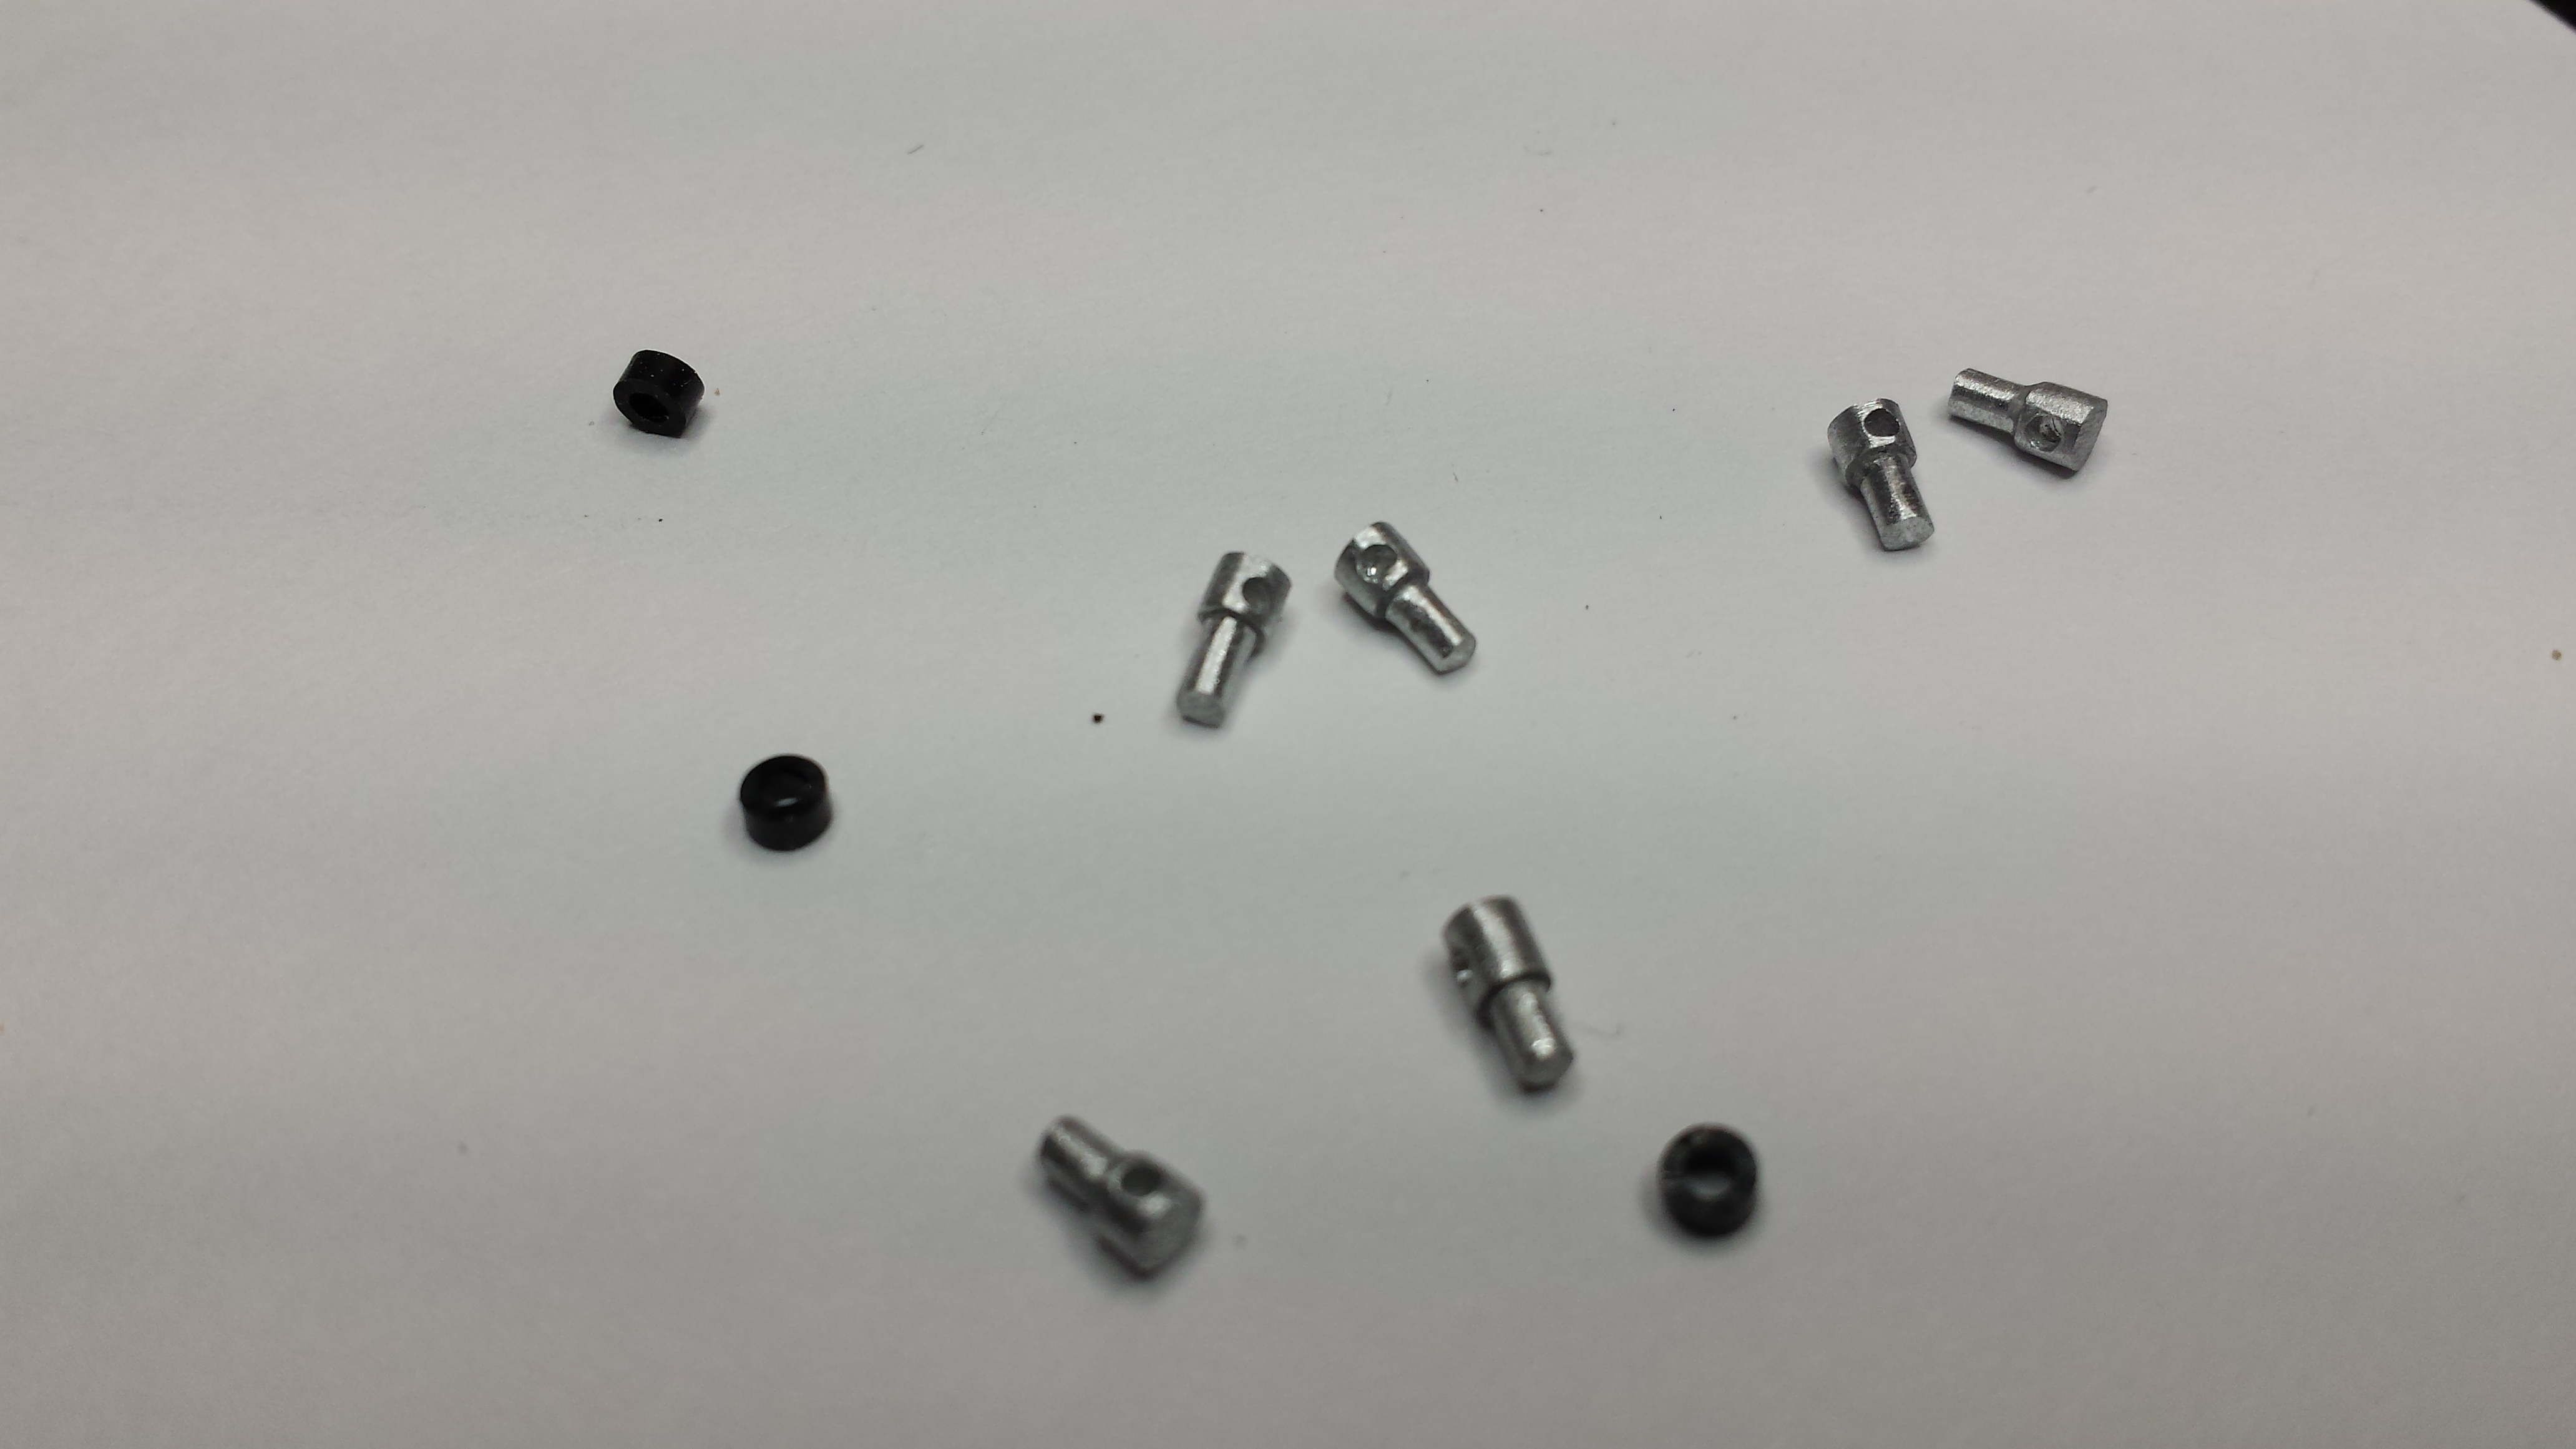
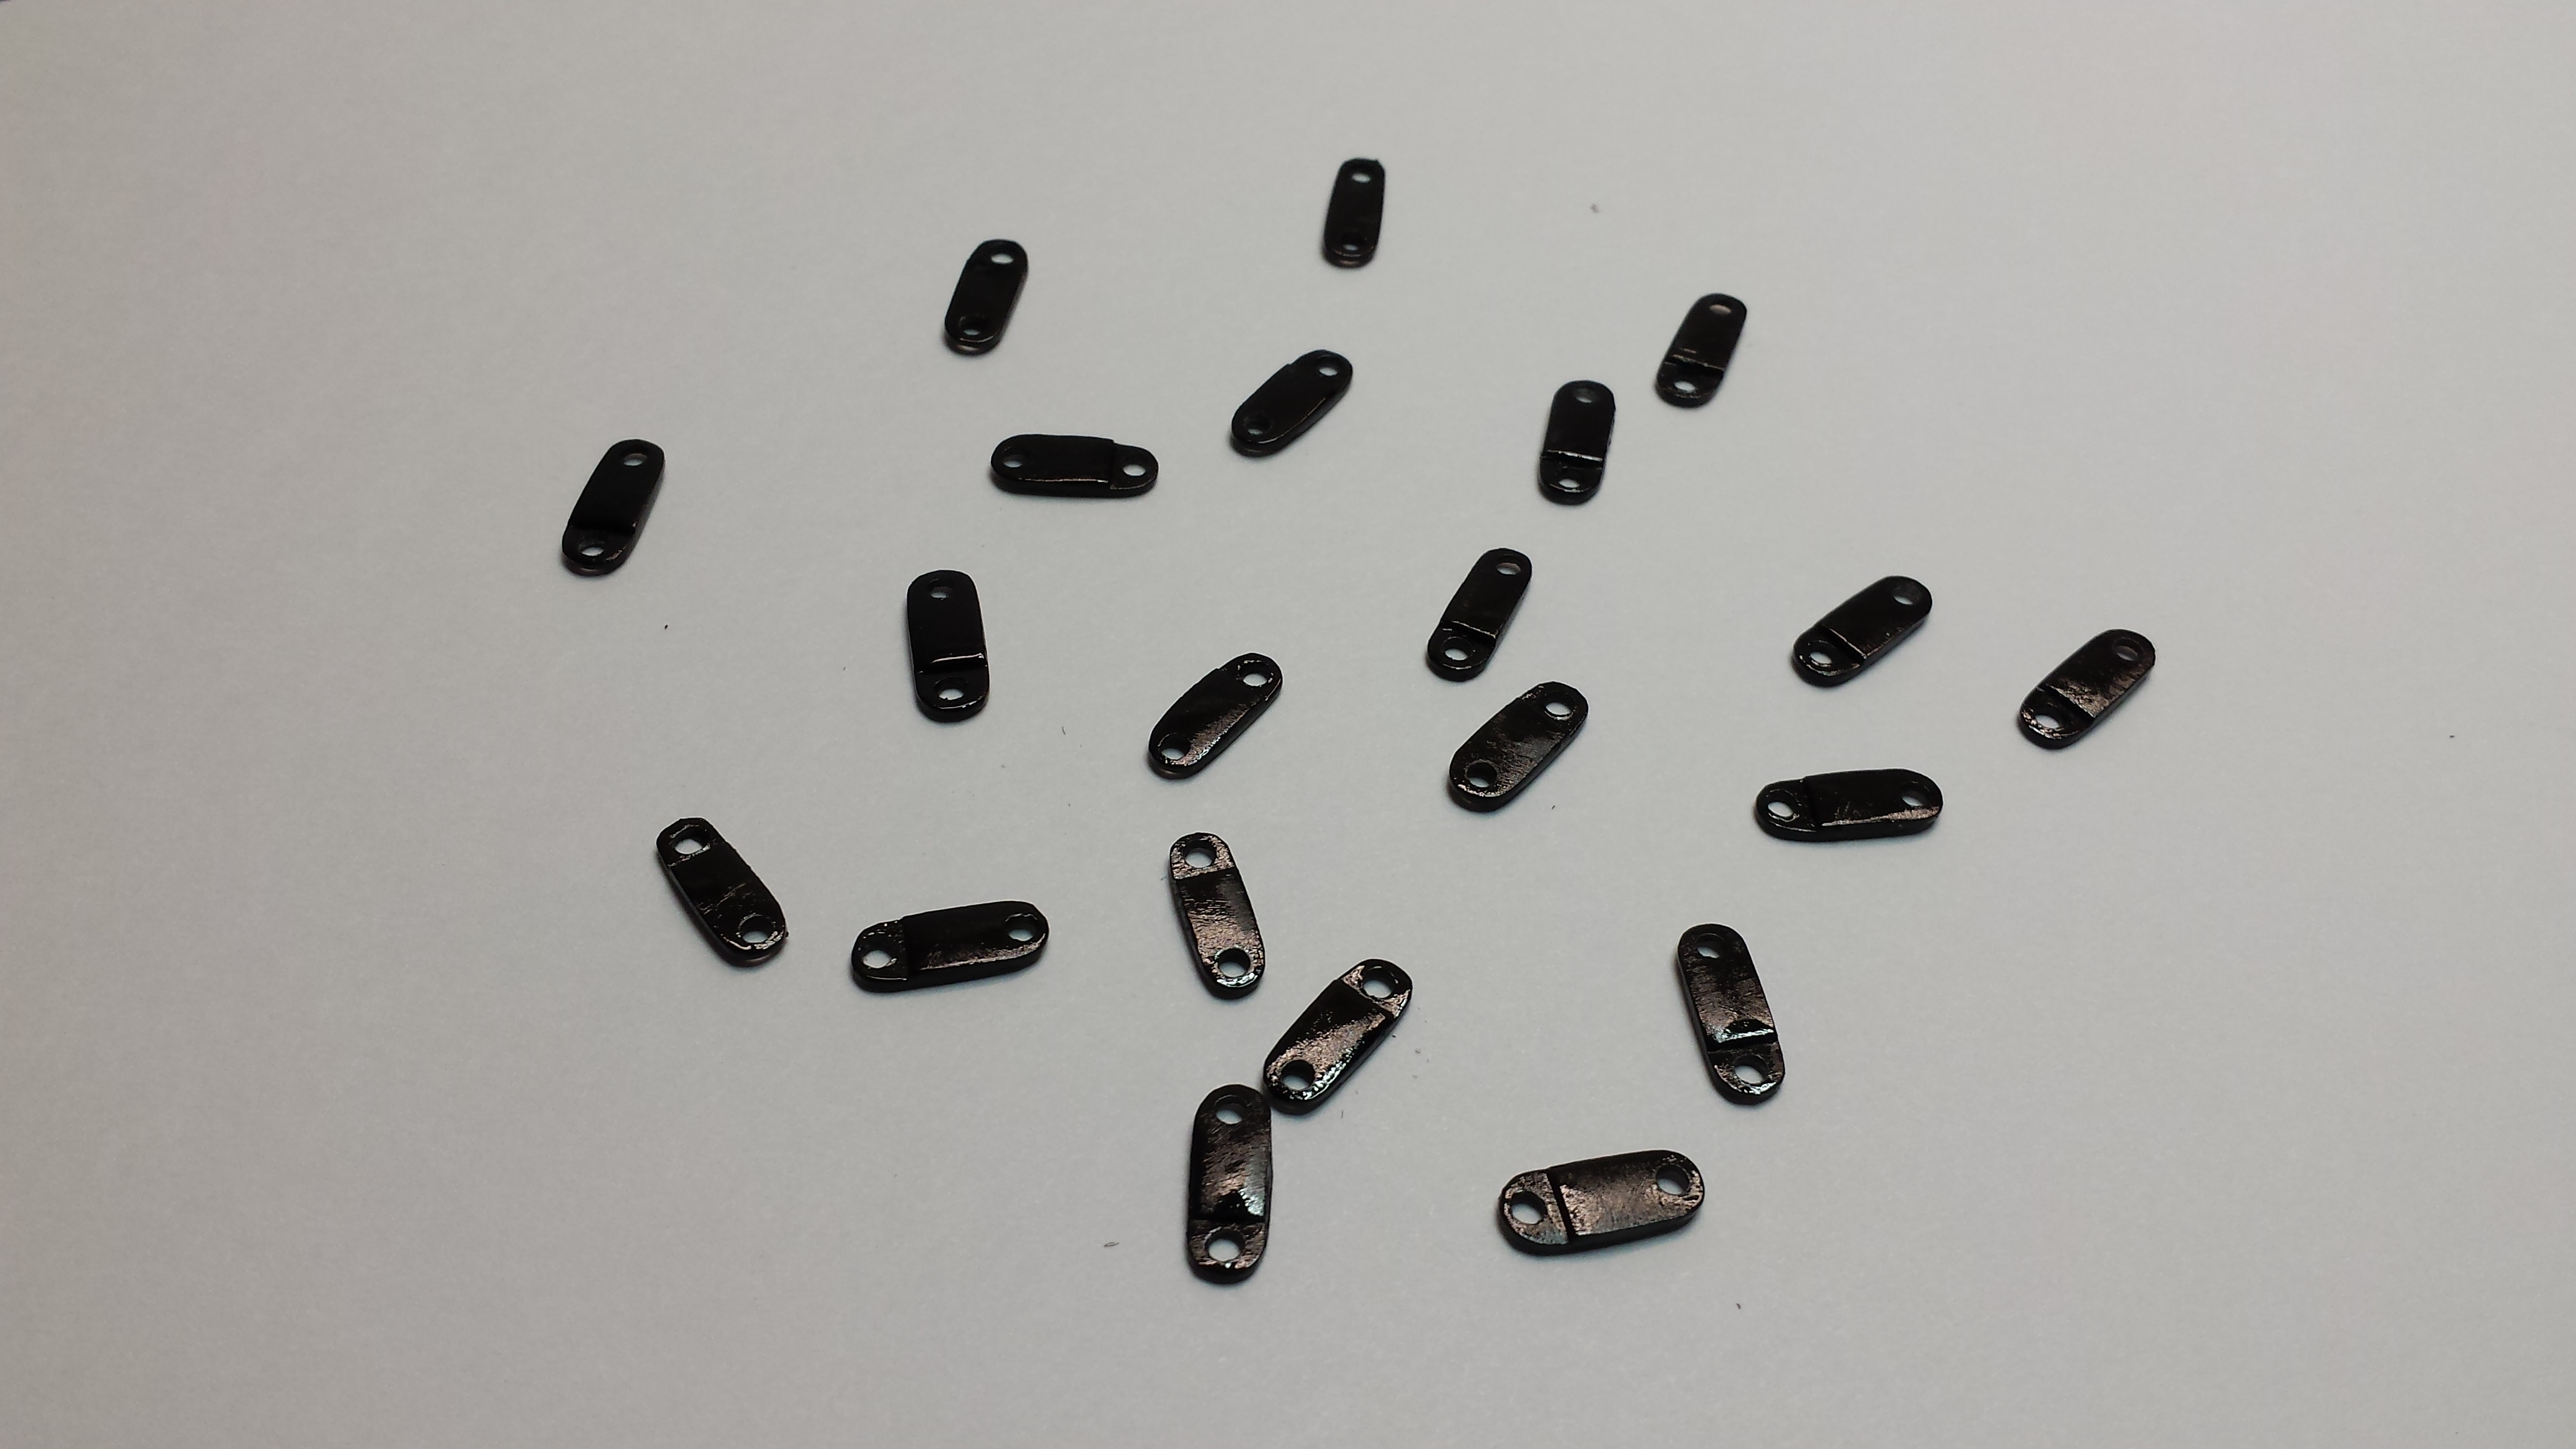
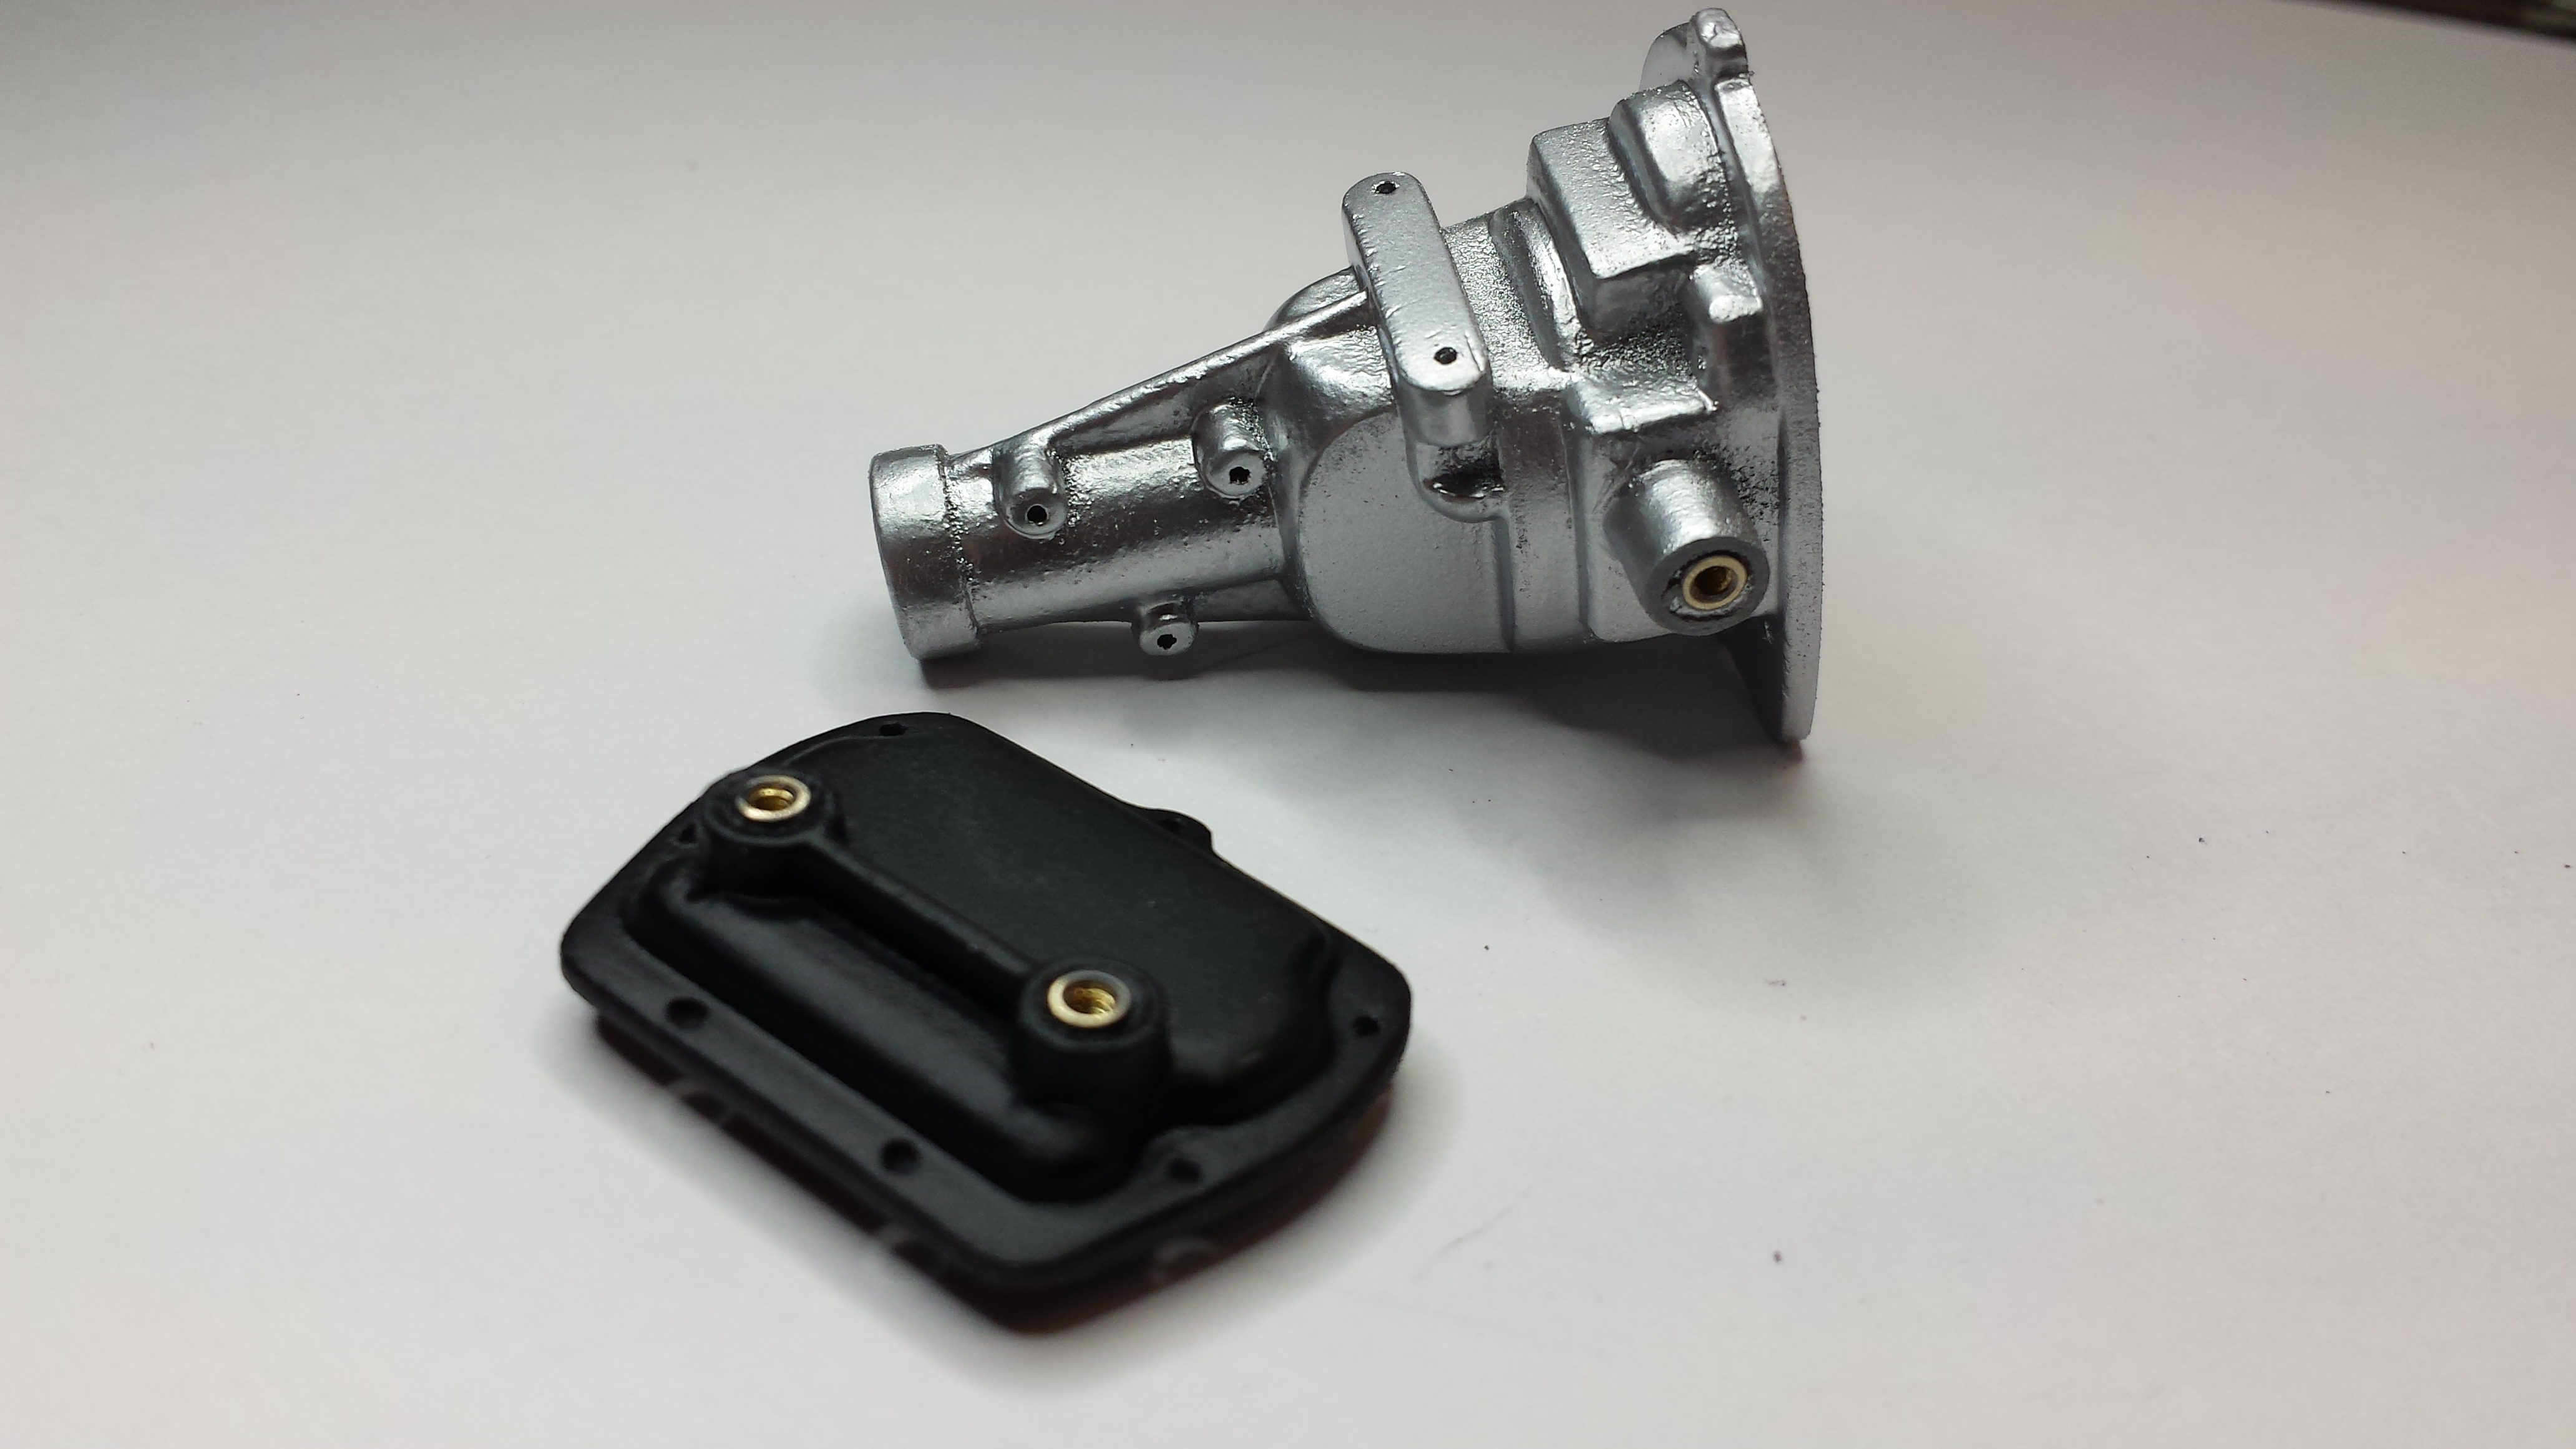
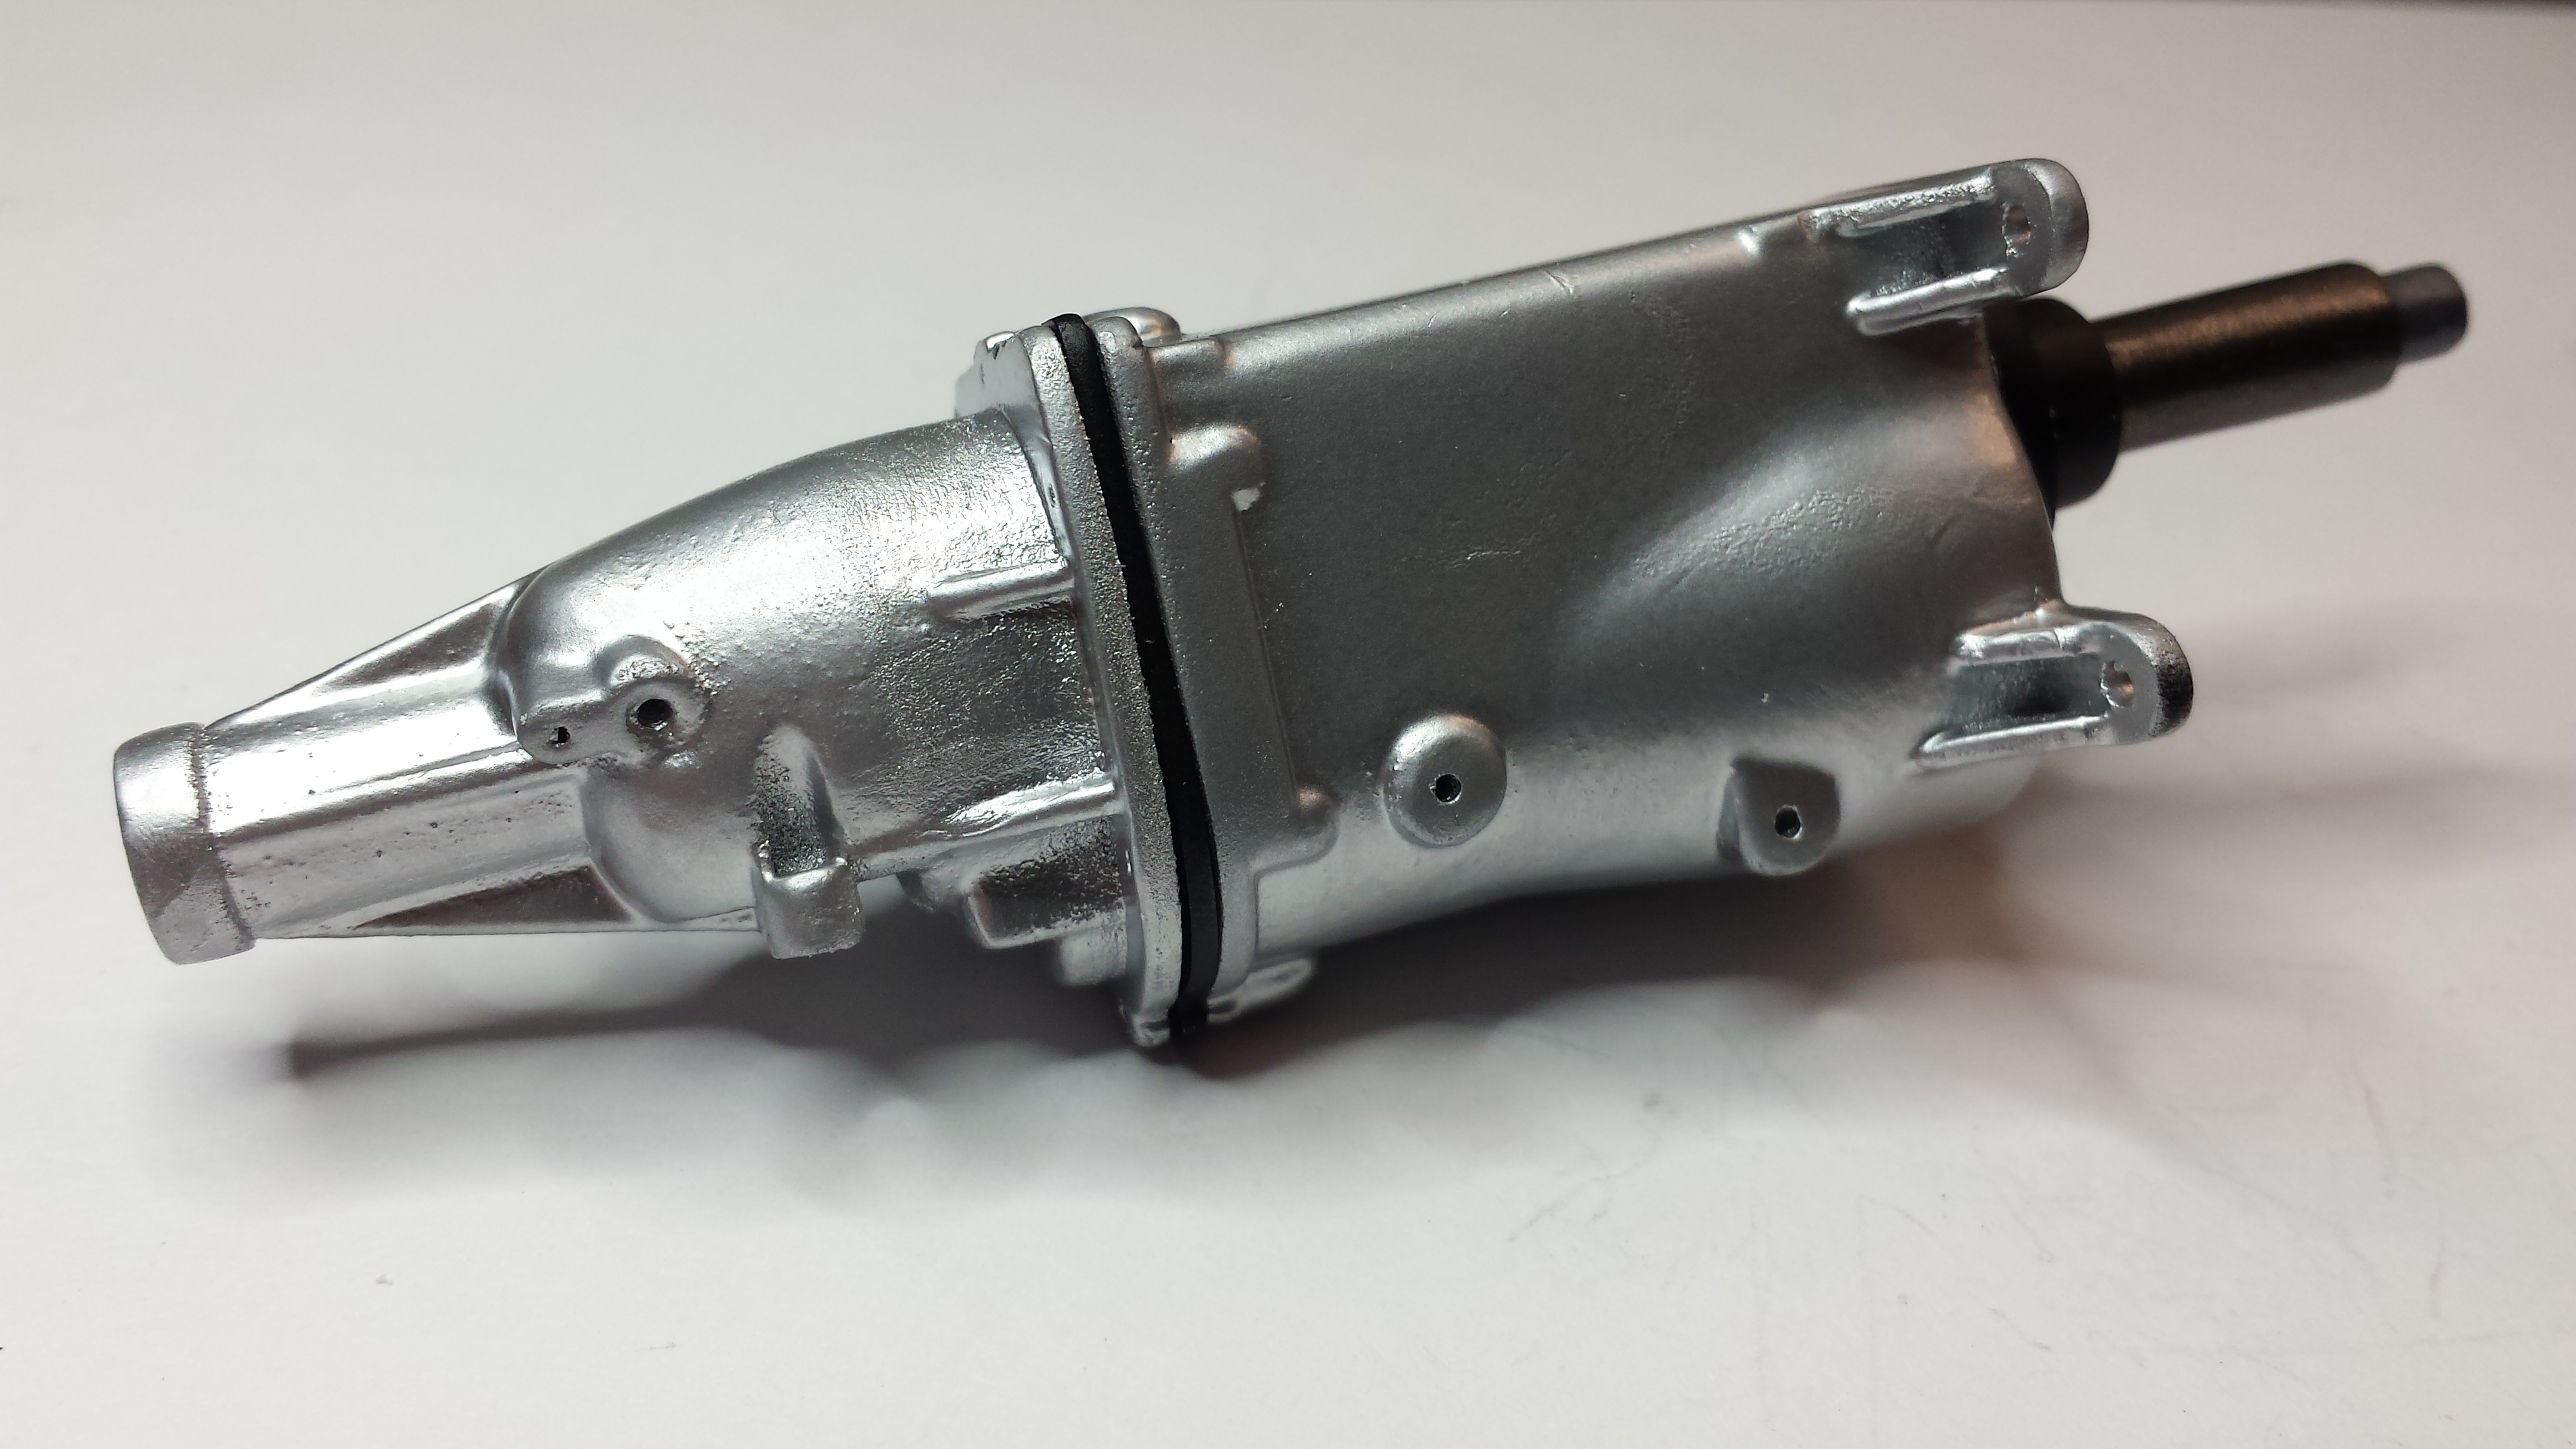
I spent some time working on the TDR Muncie 4-speed transmission with Hurst shifter. I made the rod adjusting buttons from 3/32" dia. aluminum tube with a slightly longer piece of 1/16" aluminum rod inserted. I then drilled out both pieces together to accept the rods. The pivot arms are made from 2 levels of .030 Evergreen sheet with quarter-round strip added to both sides where the 2 pieces transition. I made extras. I'm using 0-80 hardware for the pivot bolts. They will attach to the side cover and extension using 0-80 threaded inserts. The fake mainshaft is an assembly aid only. It will attach to a corresponding tube I'll build into the engine block.
-
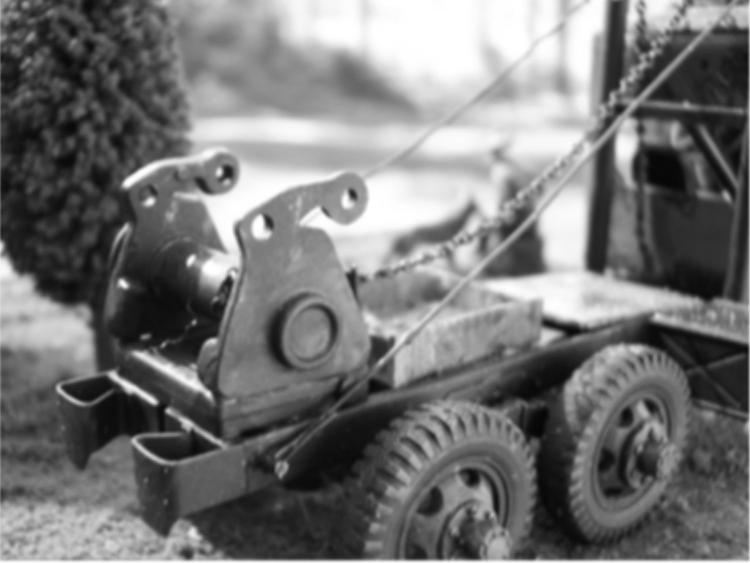
I built this about 10 years ago as a tribute. I measured and photographed the original and then tried to replicate it. I used several military models. The frame on the original was bowed in the middle from 30 years of logging. I heated mine over a candle to get my bend. Very enjoyable build.
-
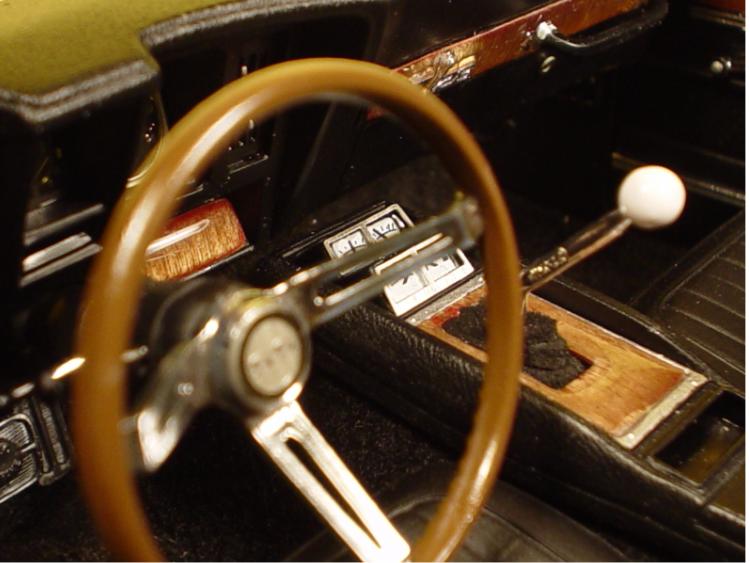
I forgot to point out one small detail on this photo. Note the air vent on the dashboard has been opened up and the radio speakers are gone. I was going to try and replace the speakers with metal mesh or similar but made a mess of it so now we'll just call it radio delete.
-
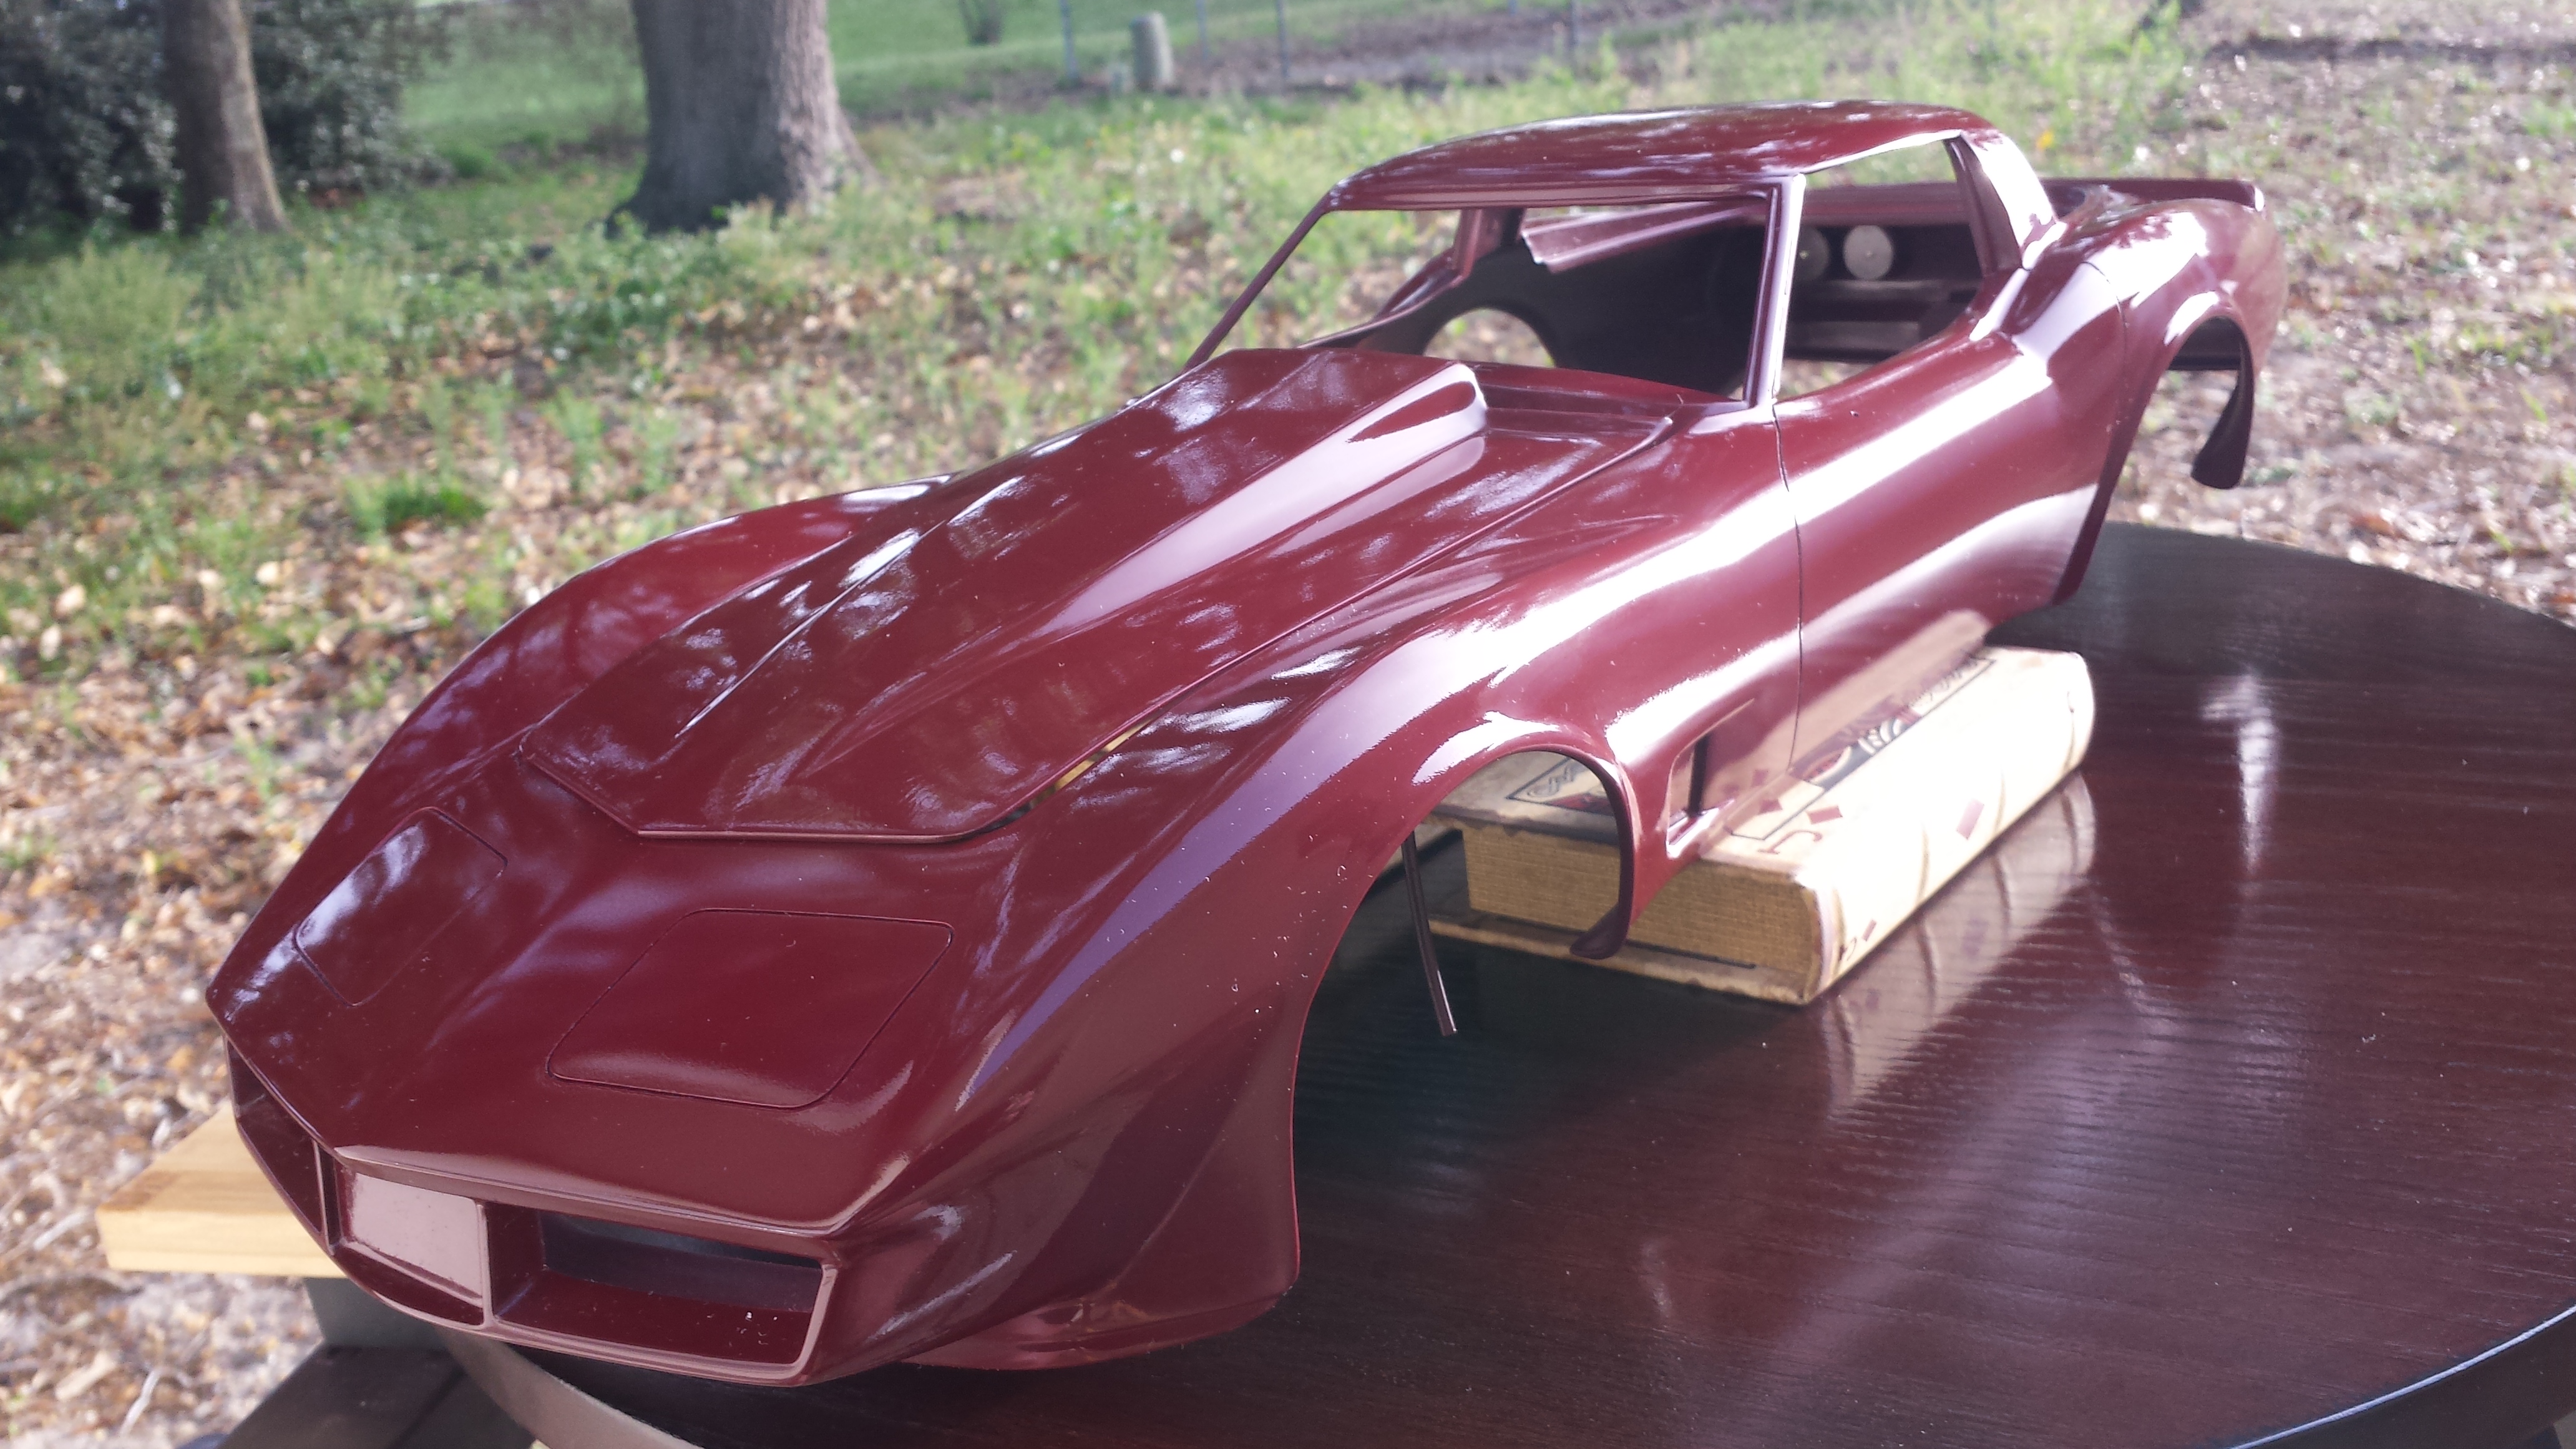
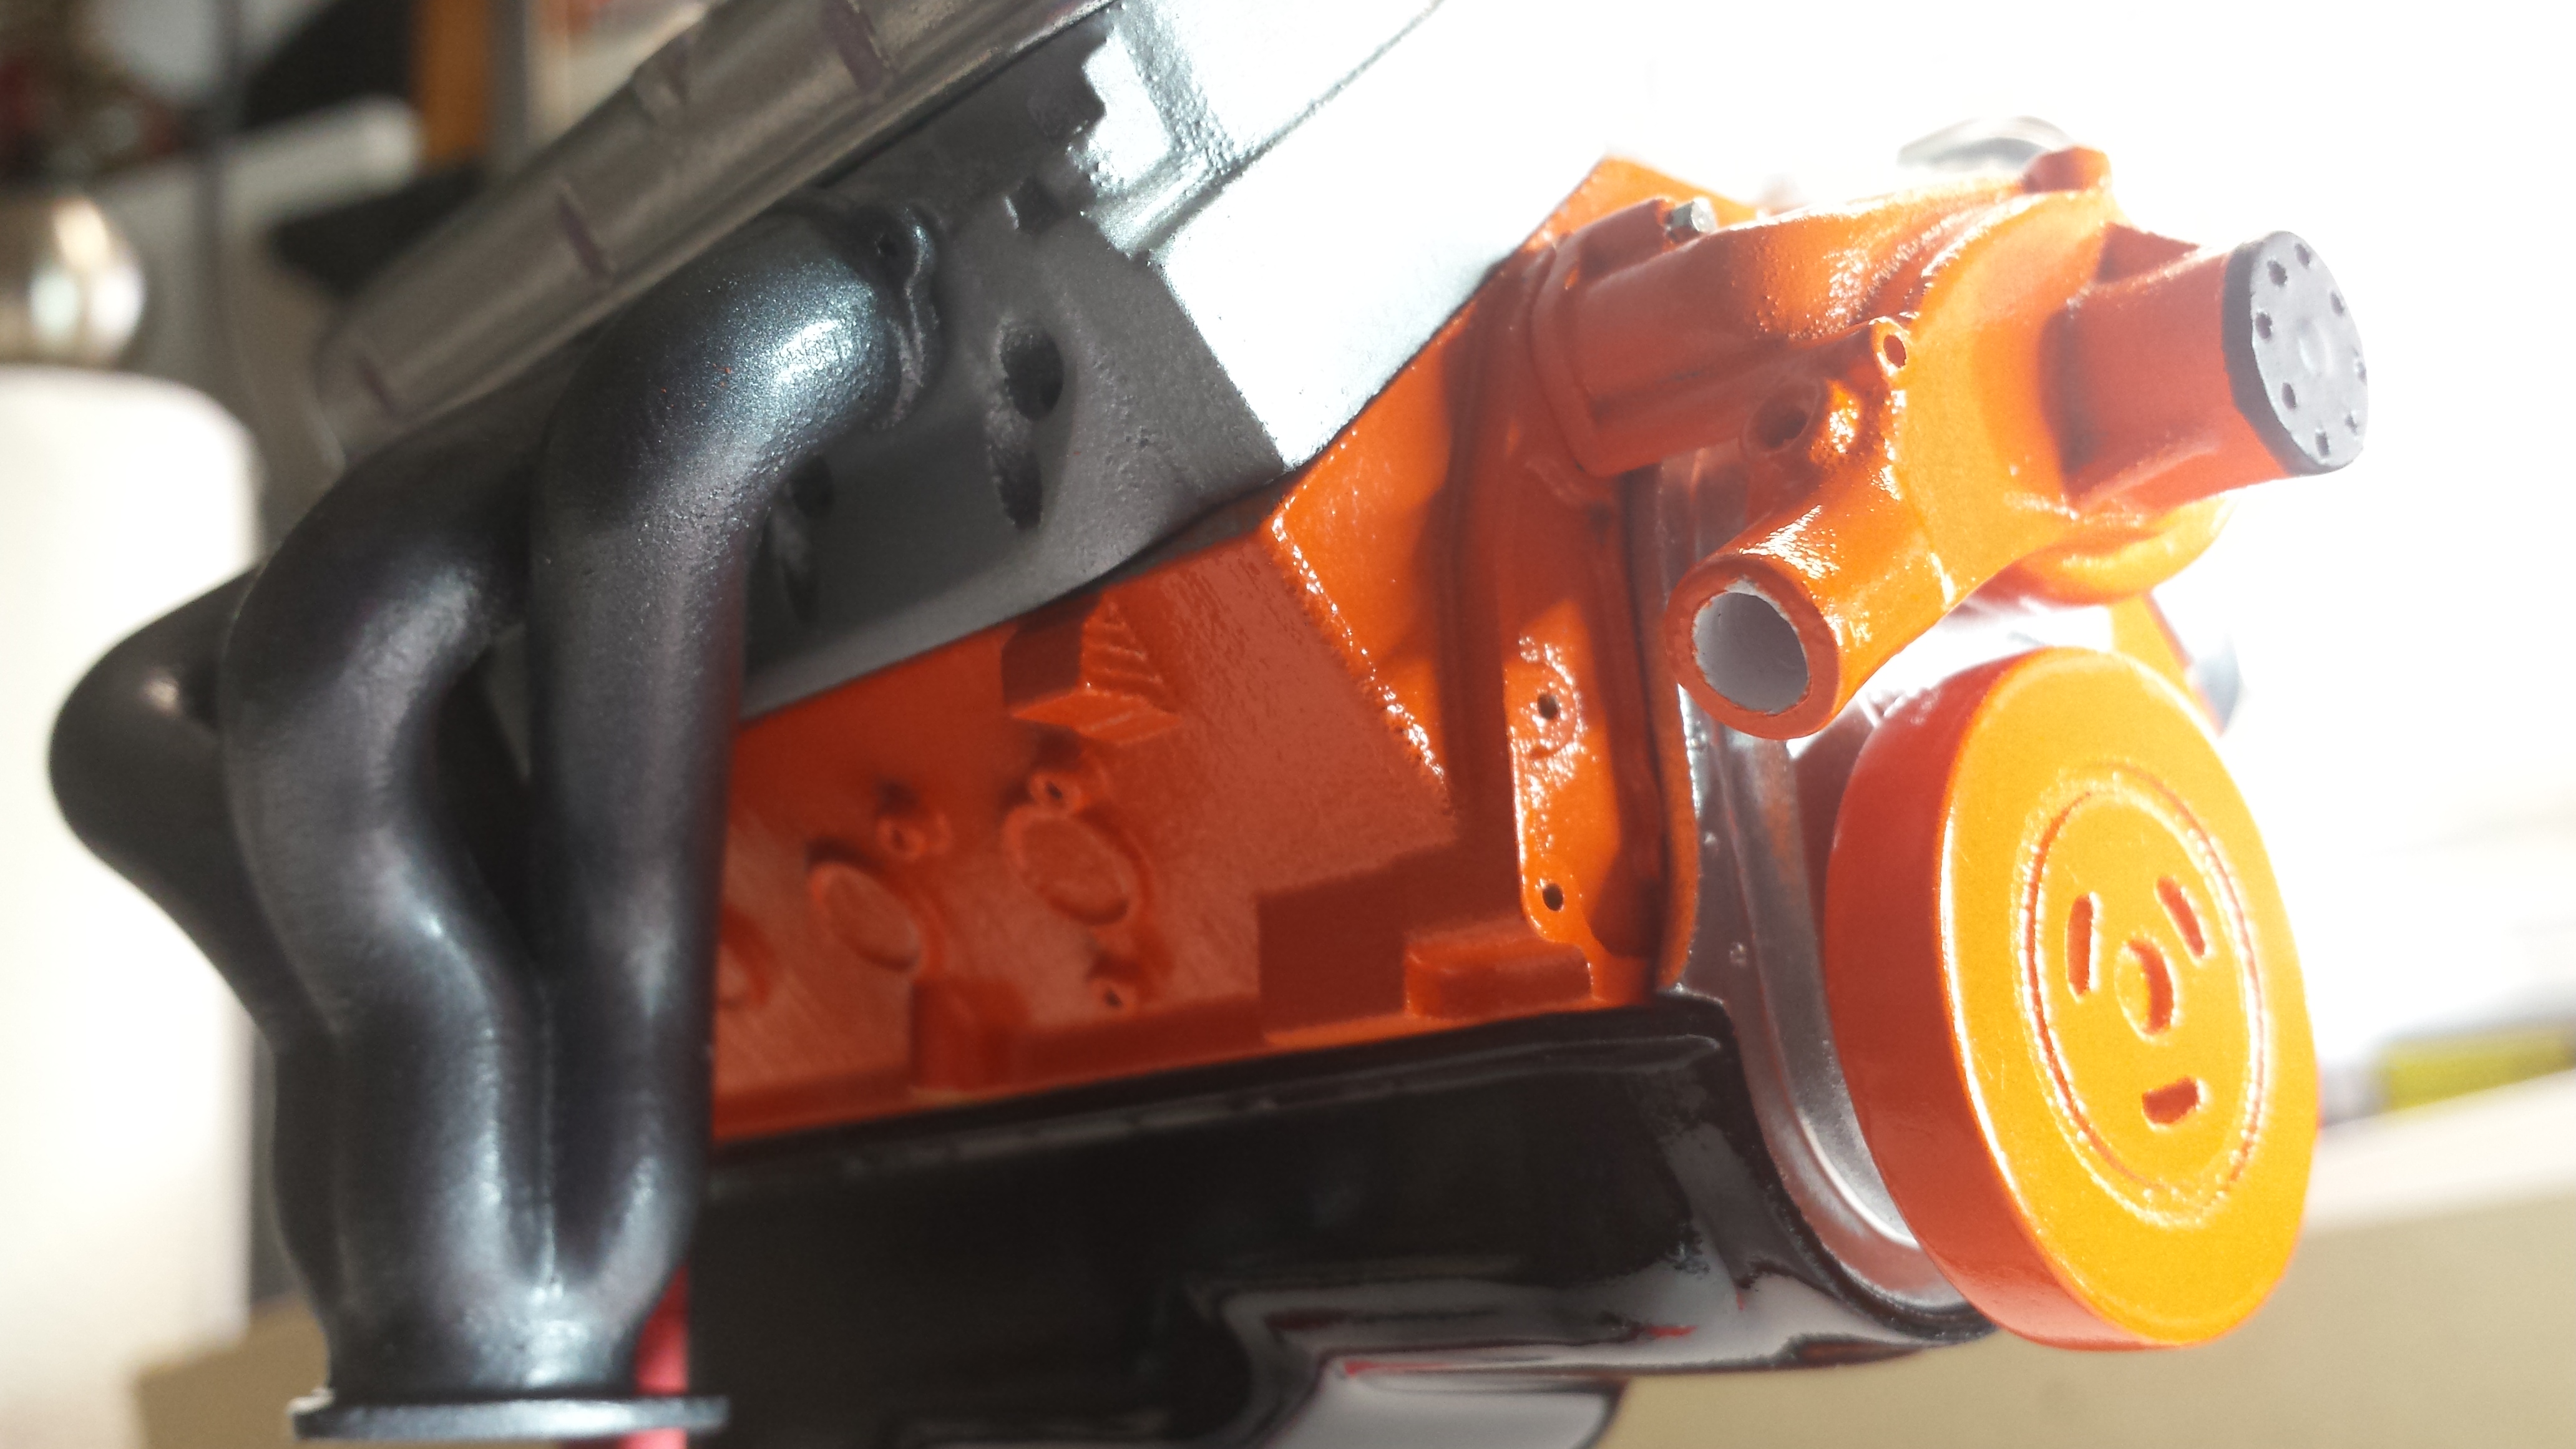
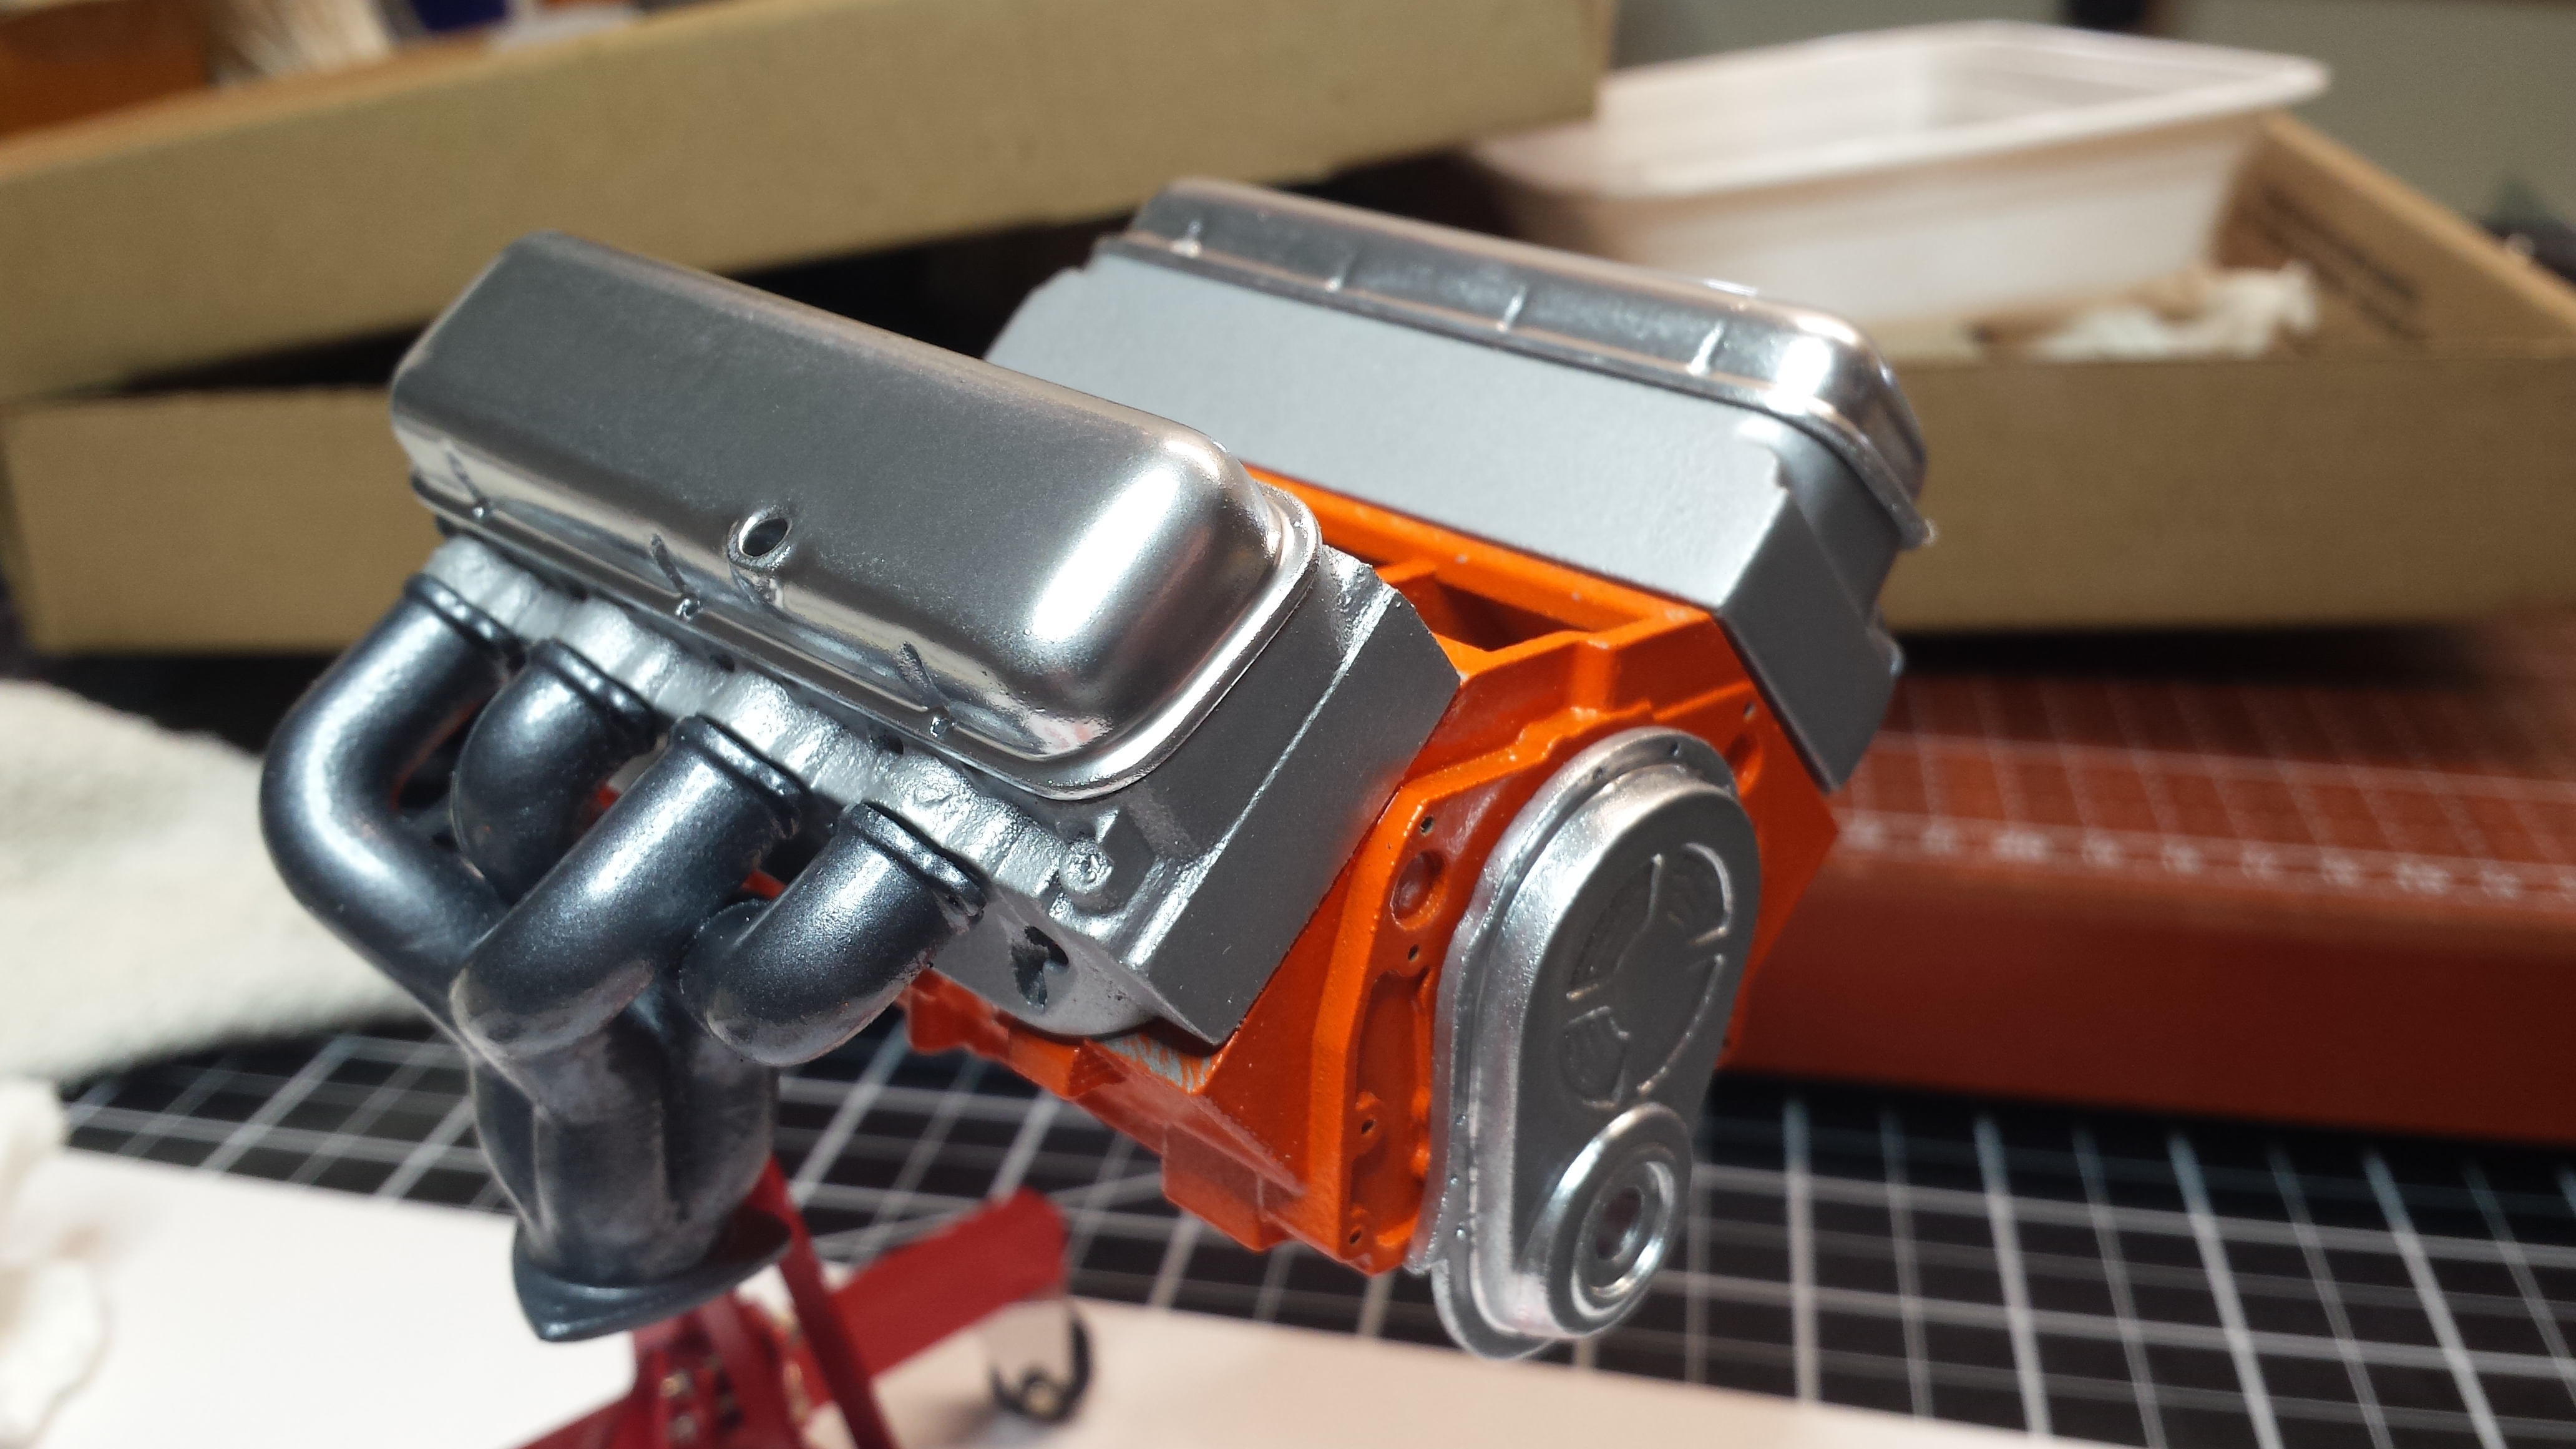
And here is the result. I'm now going to let it sit for a week or so and then go back and mask off the areas that will get painted matt black. After all that is done I'll go back and wax the entire body with Meguiars Show Car Wax #7. I'm not sure if I mentioned earlier but the big block is going in the next Corvette (78, also C3). This one will still get the original kit small block 350 with upgrades to headers, Holley carb, manifold and air cleaner.
-
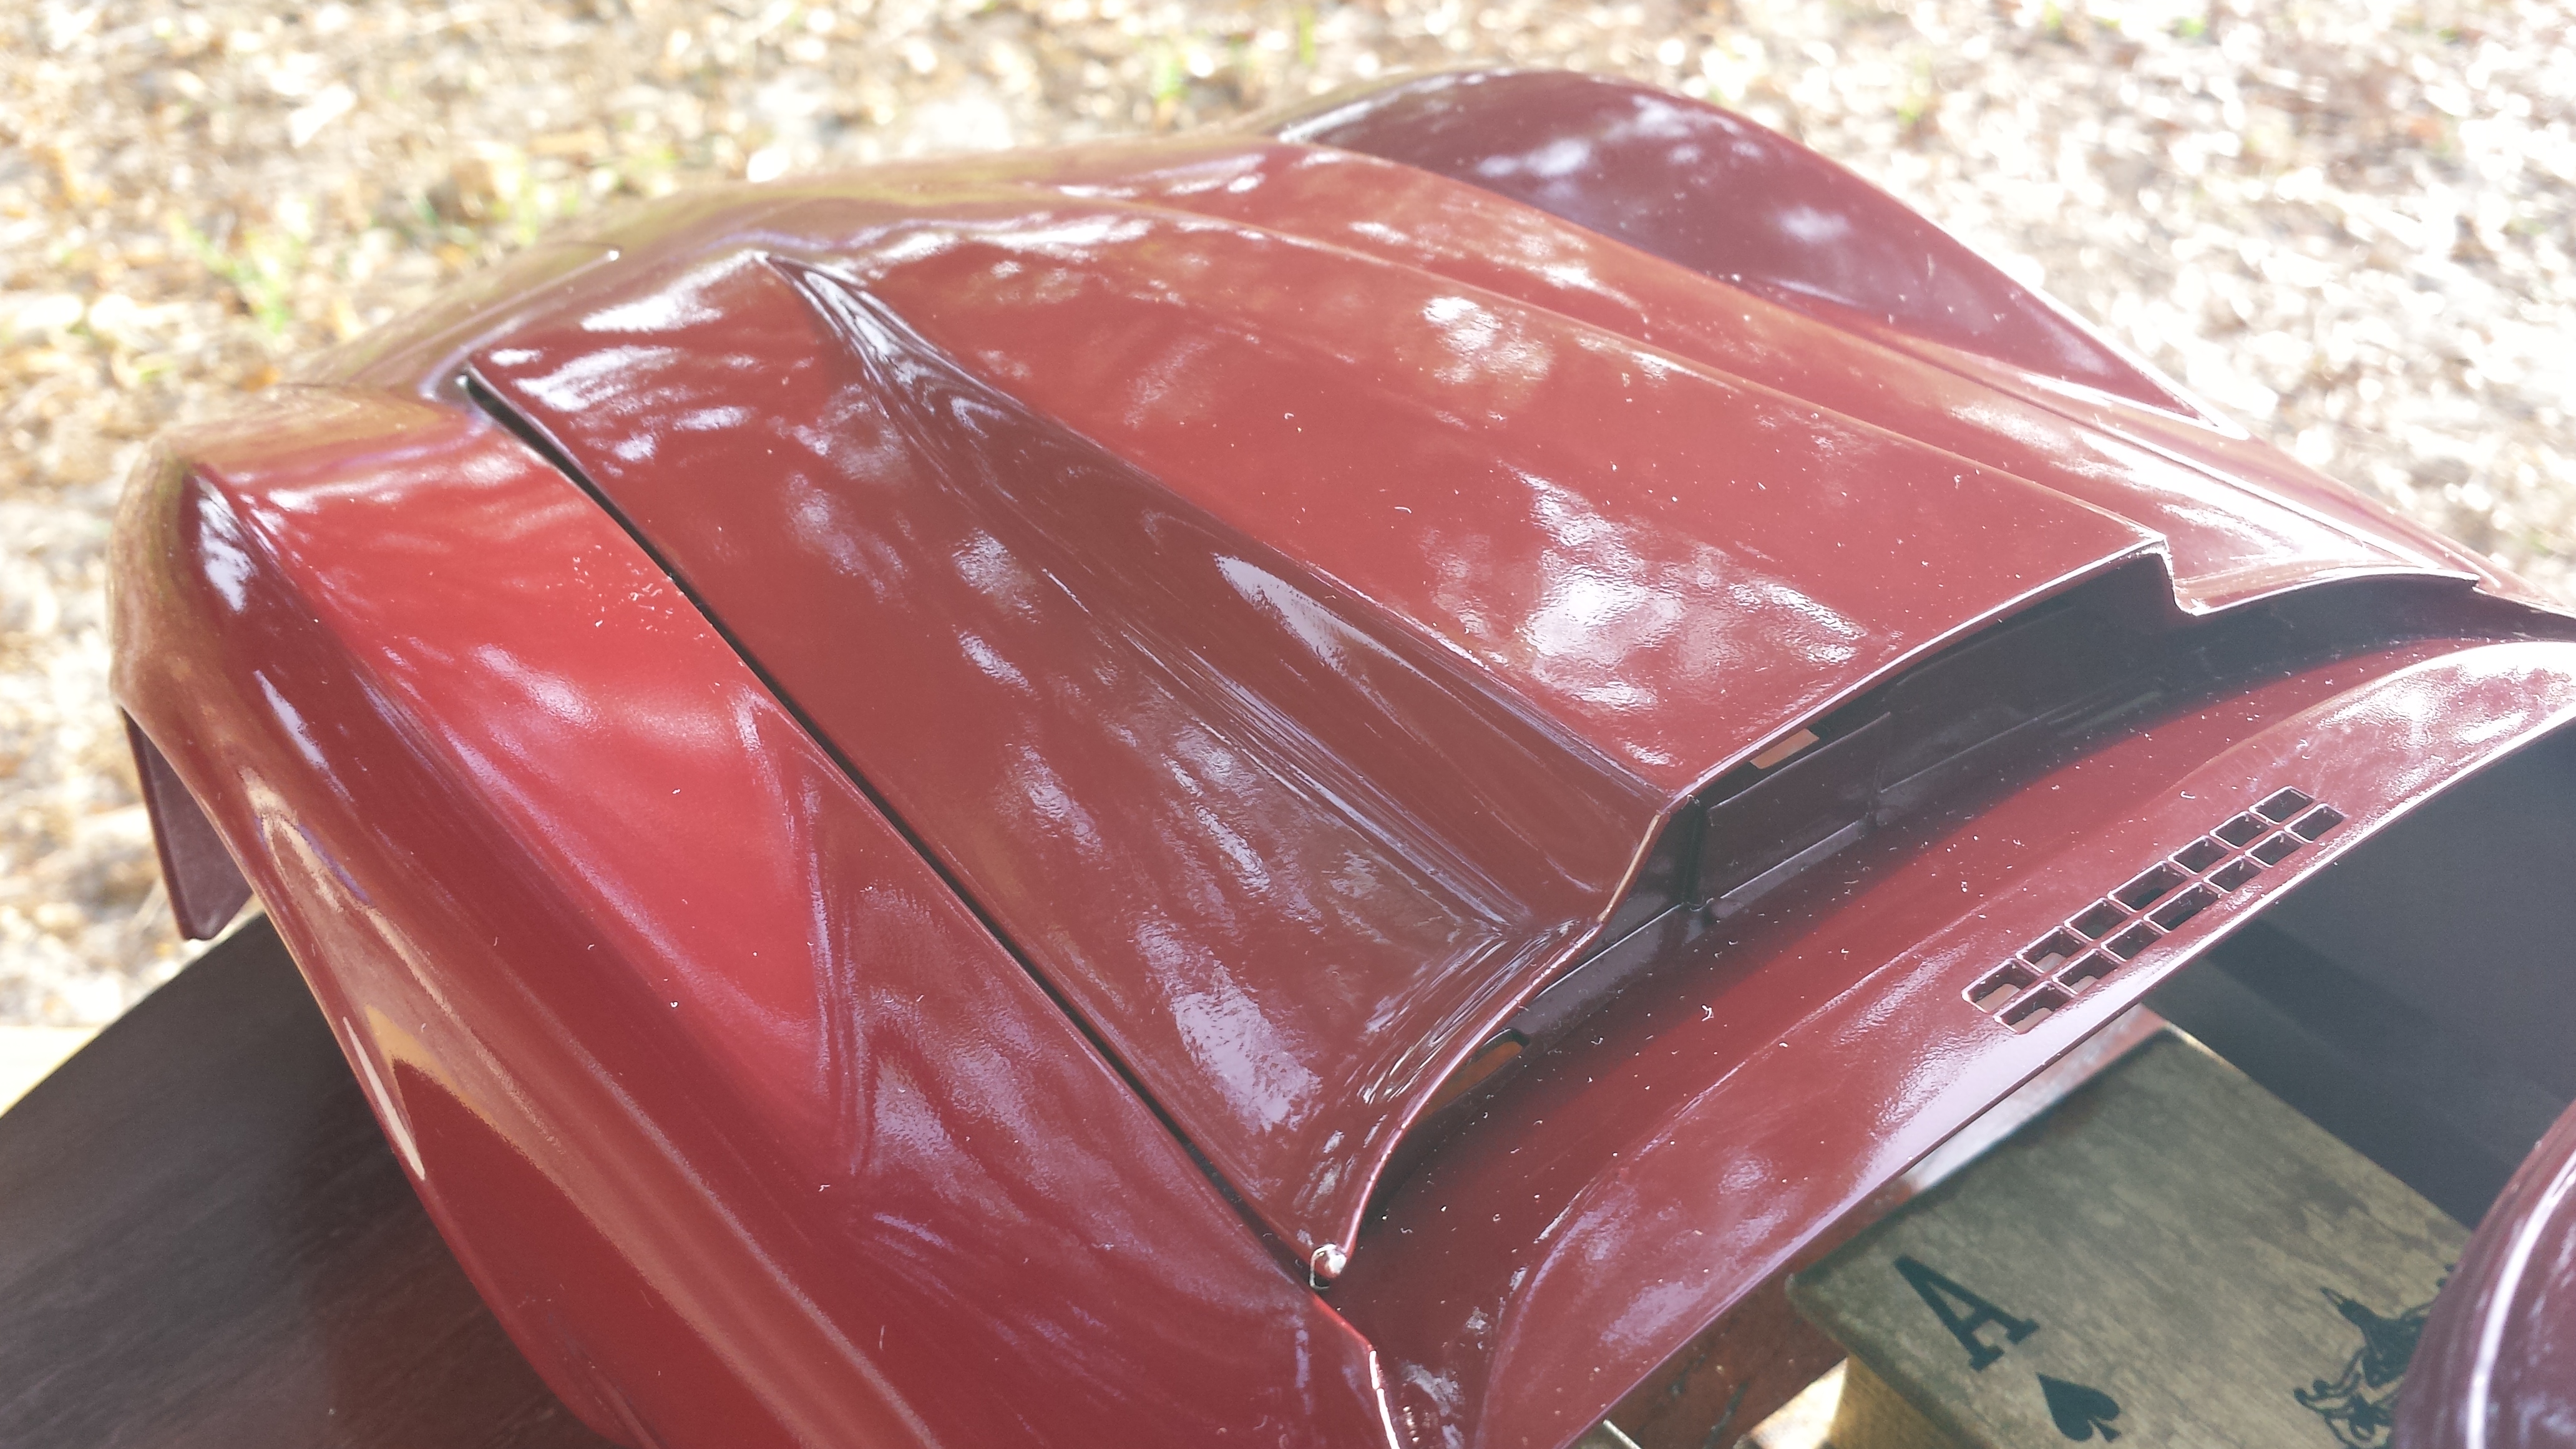
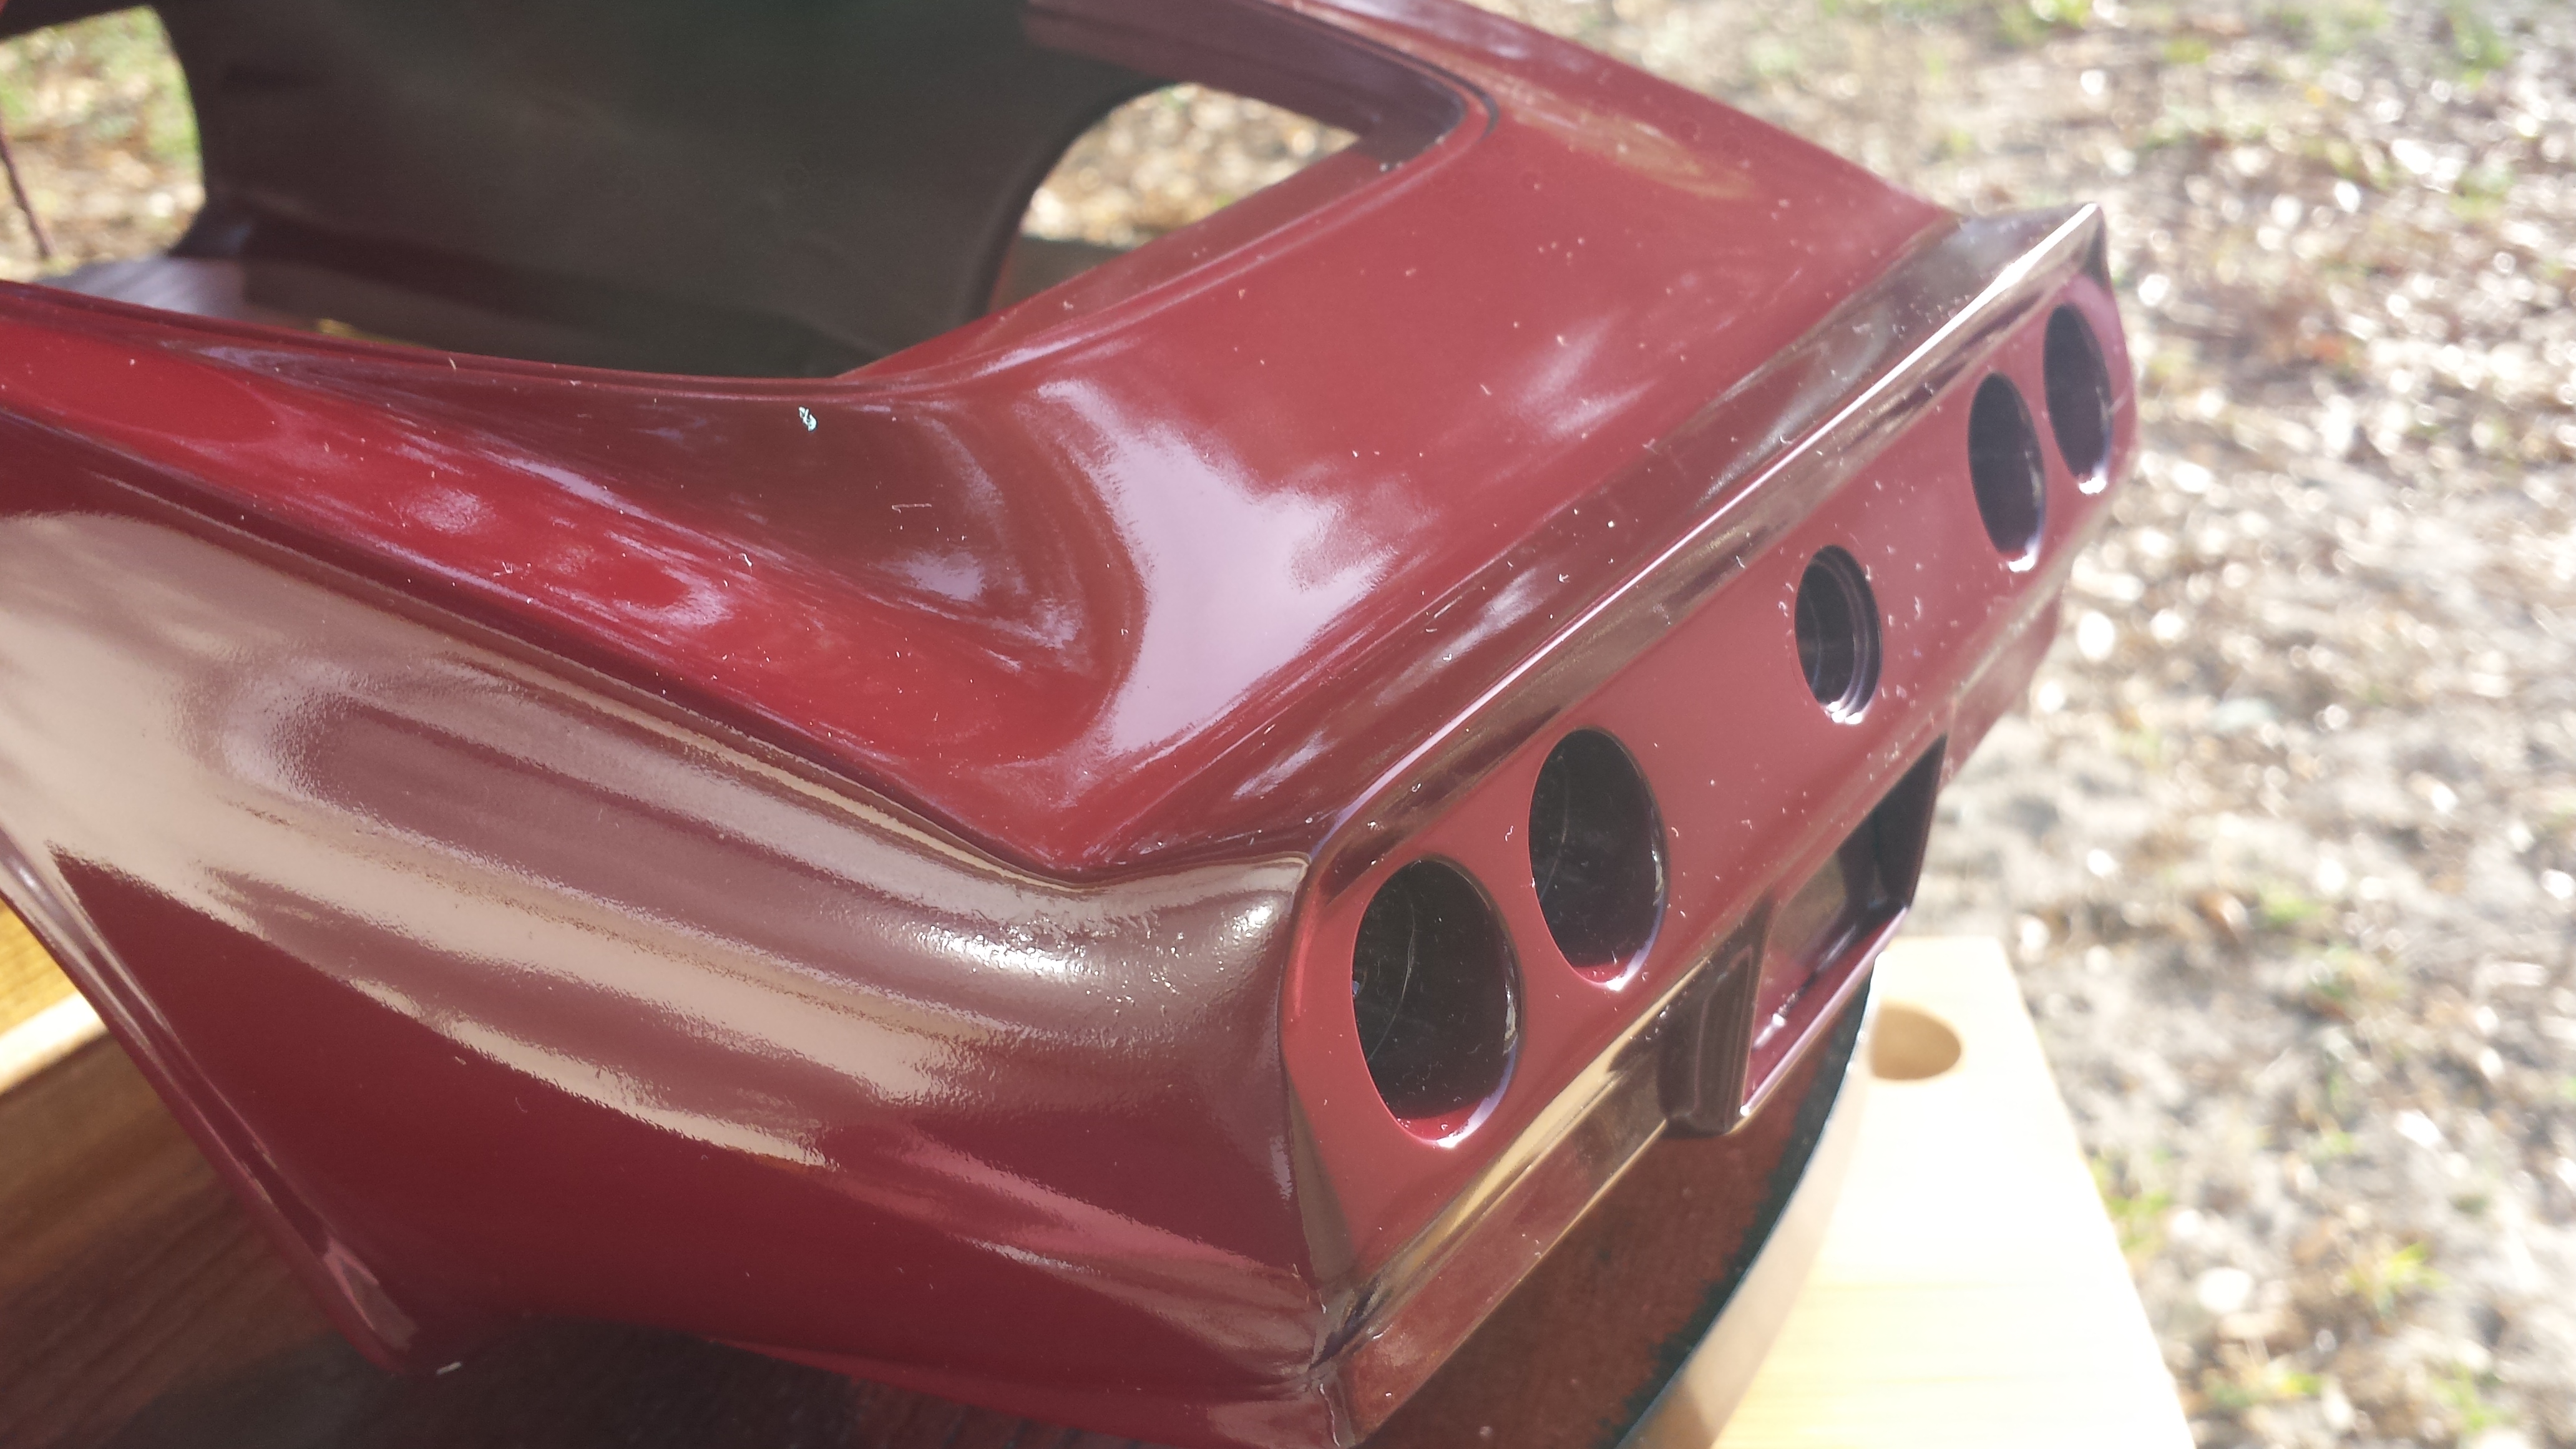
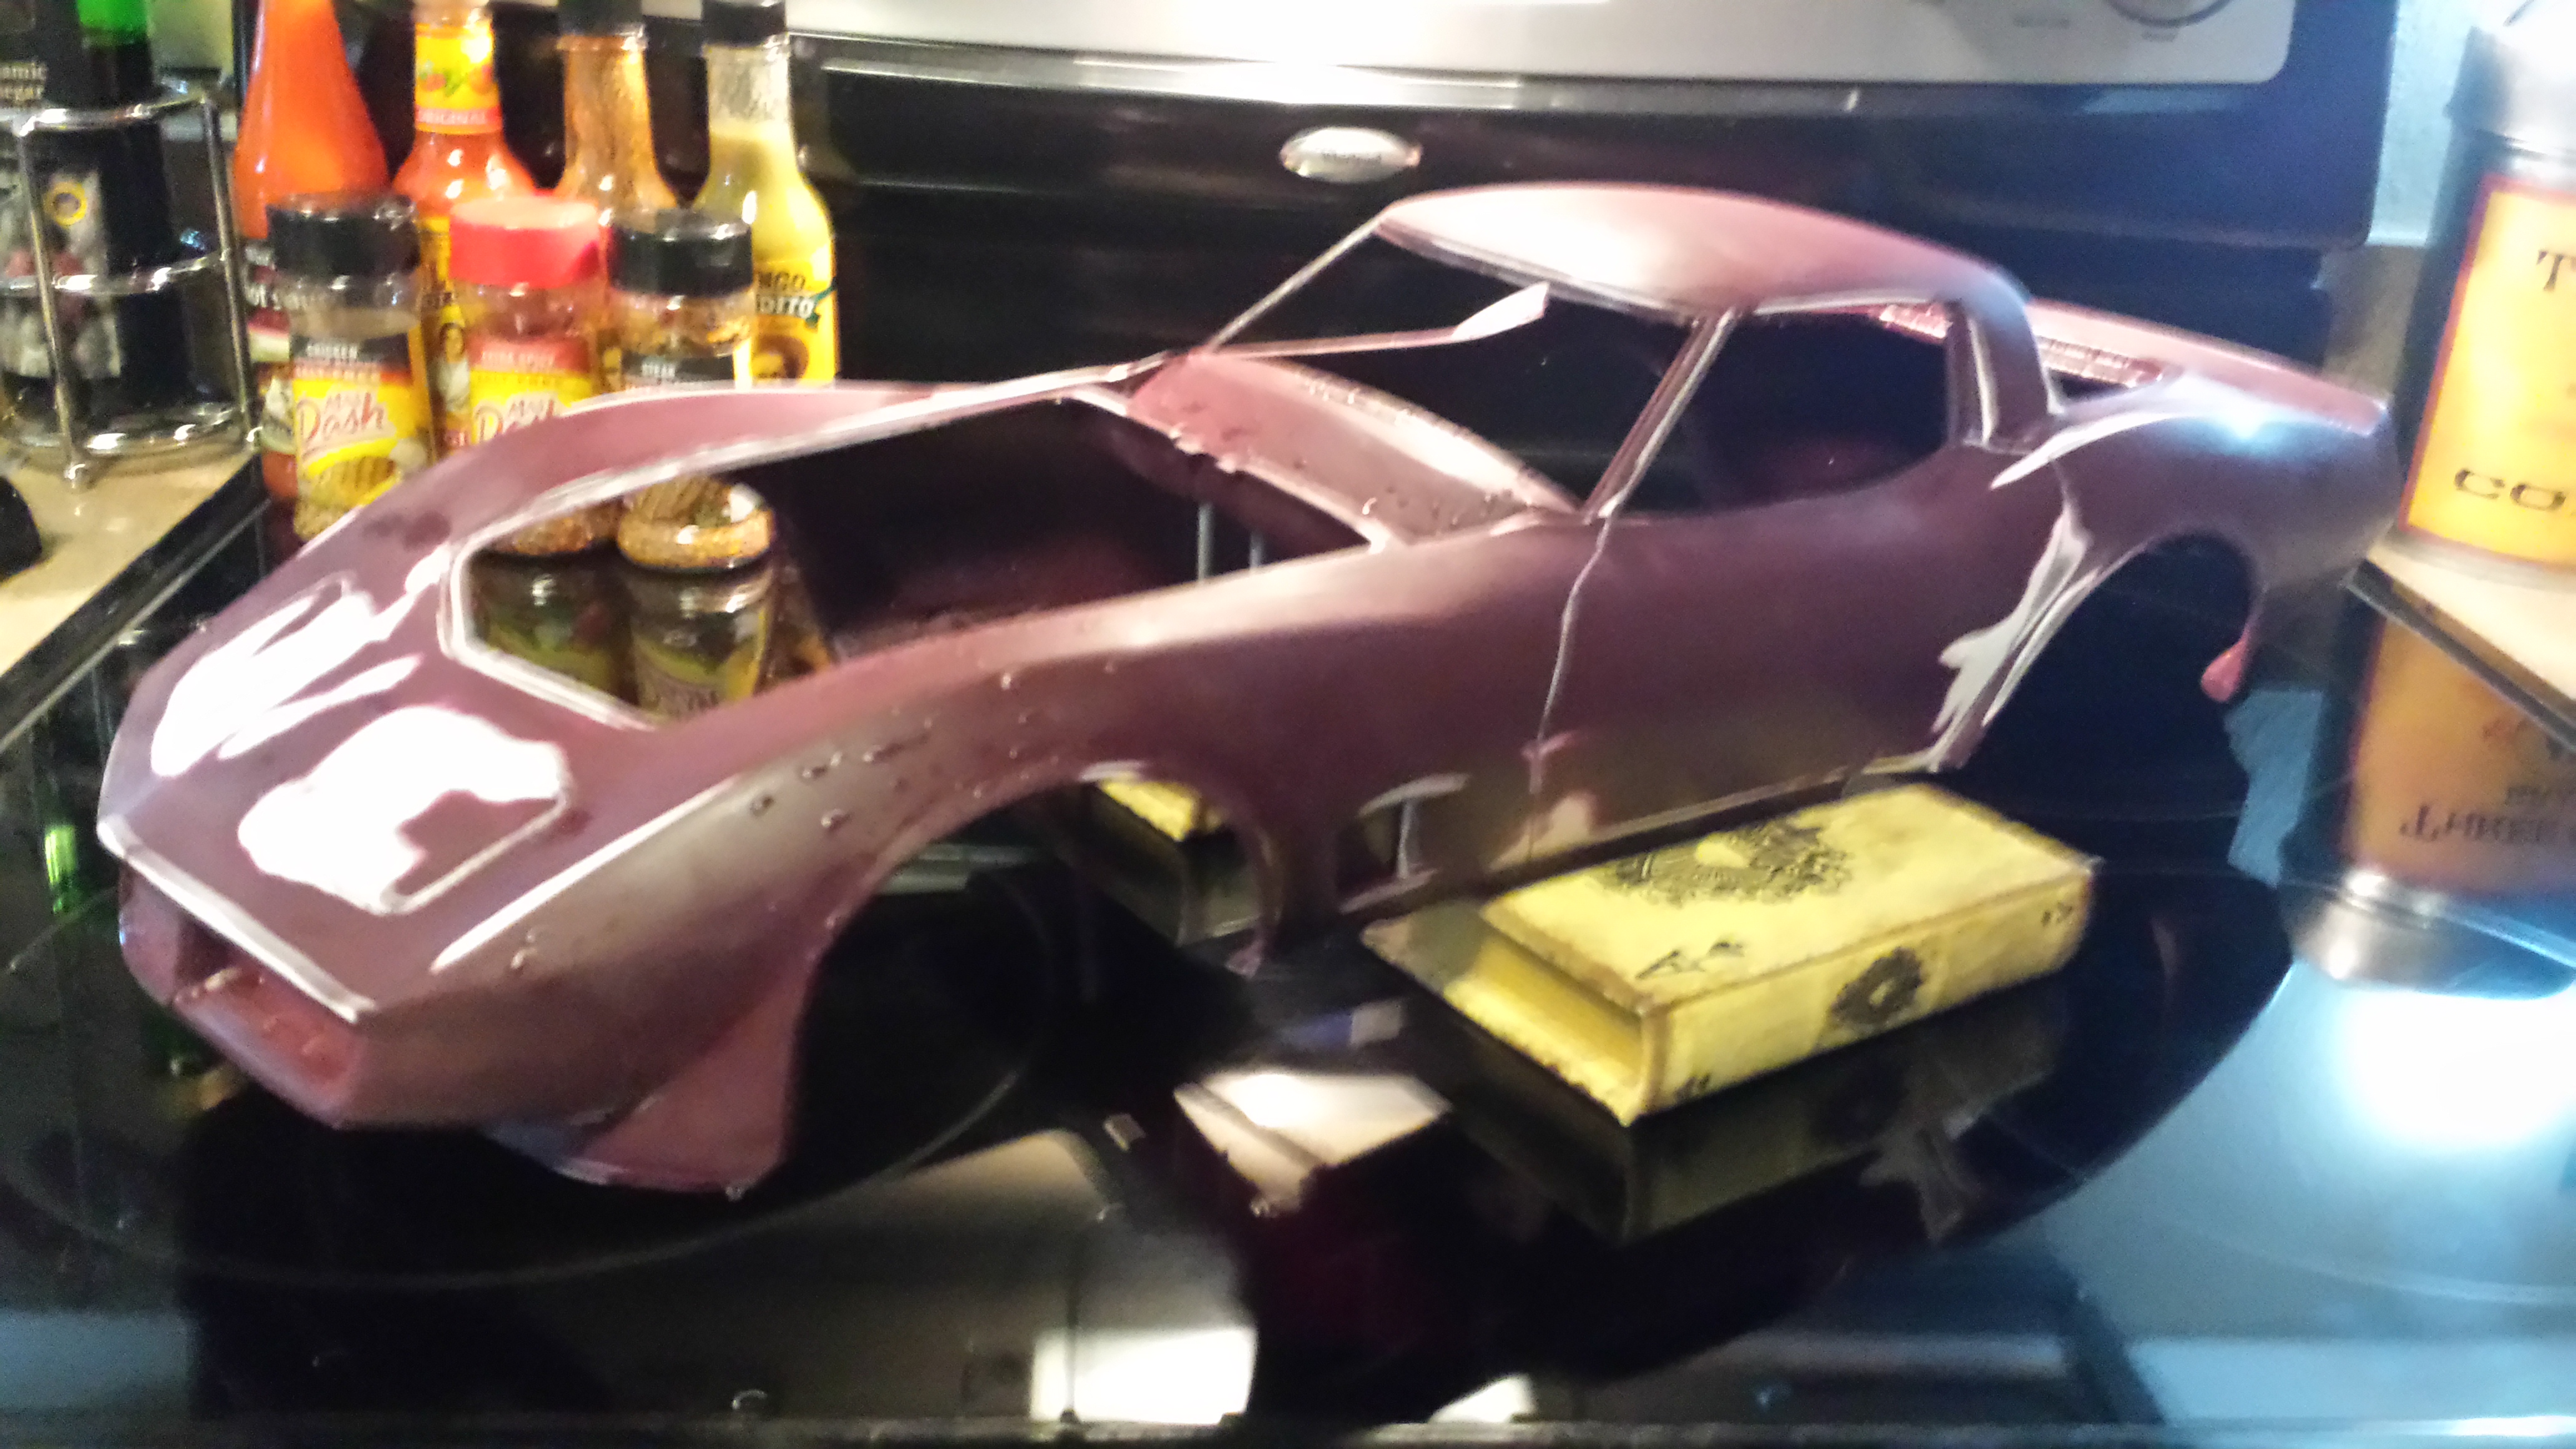
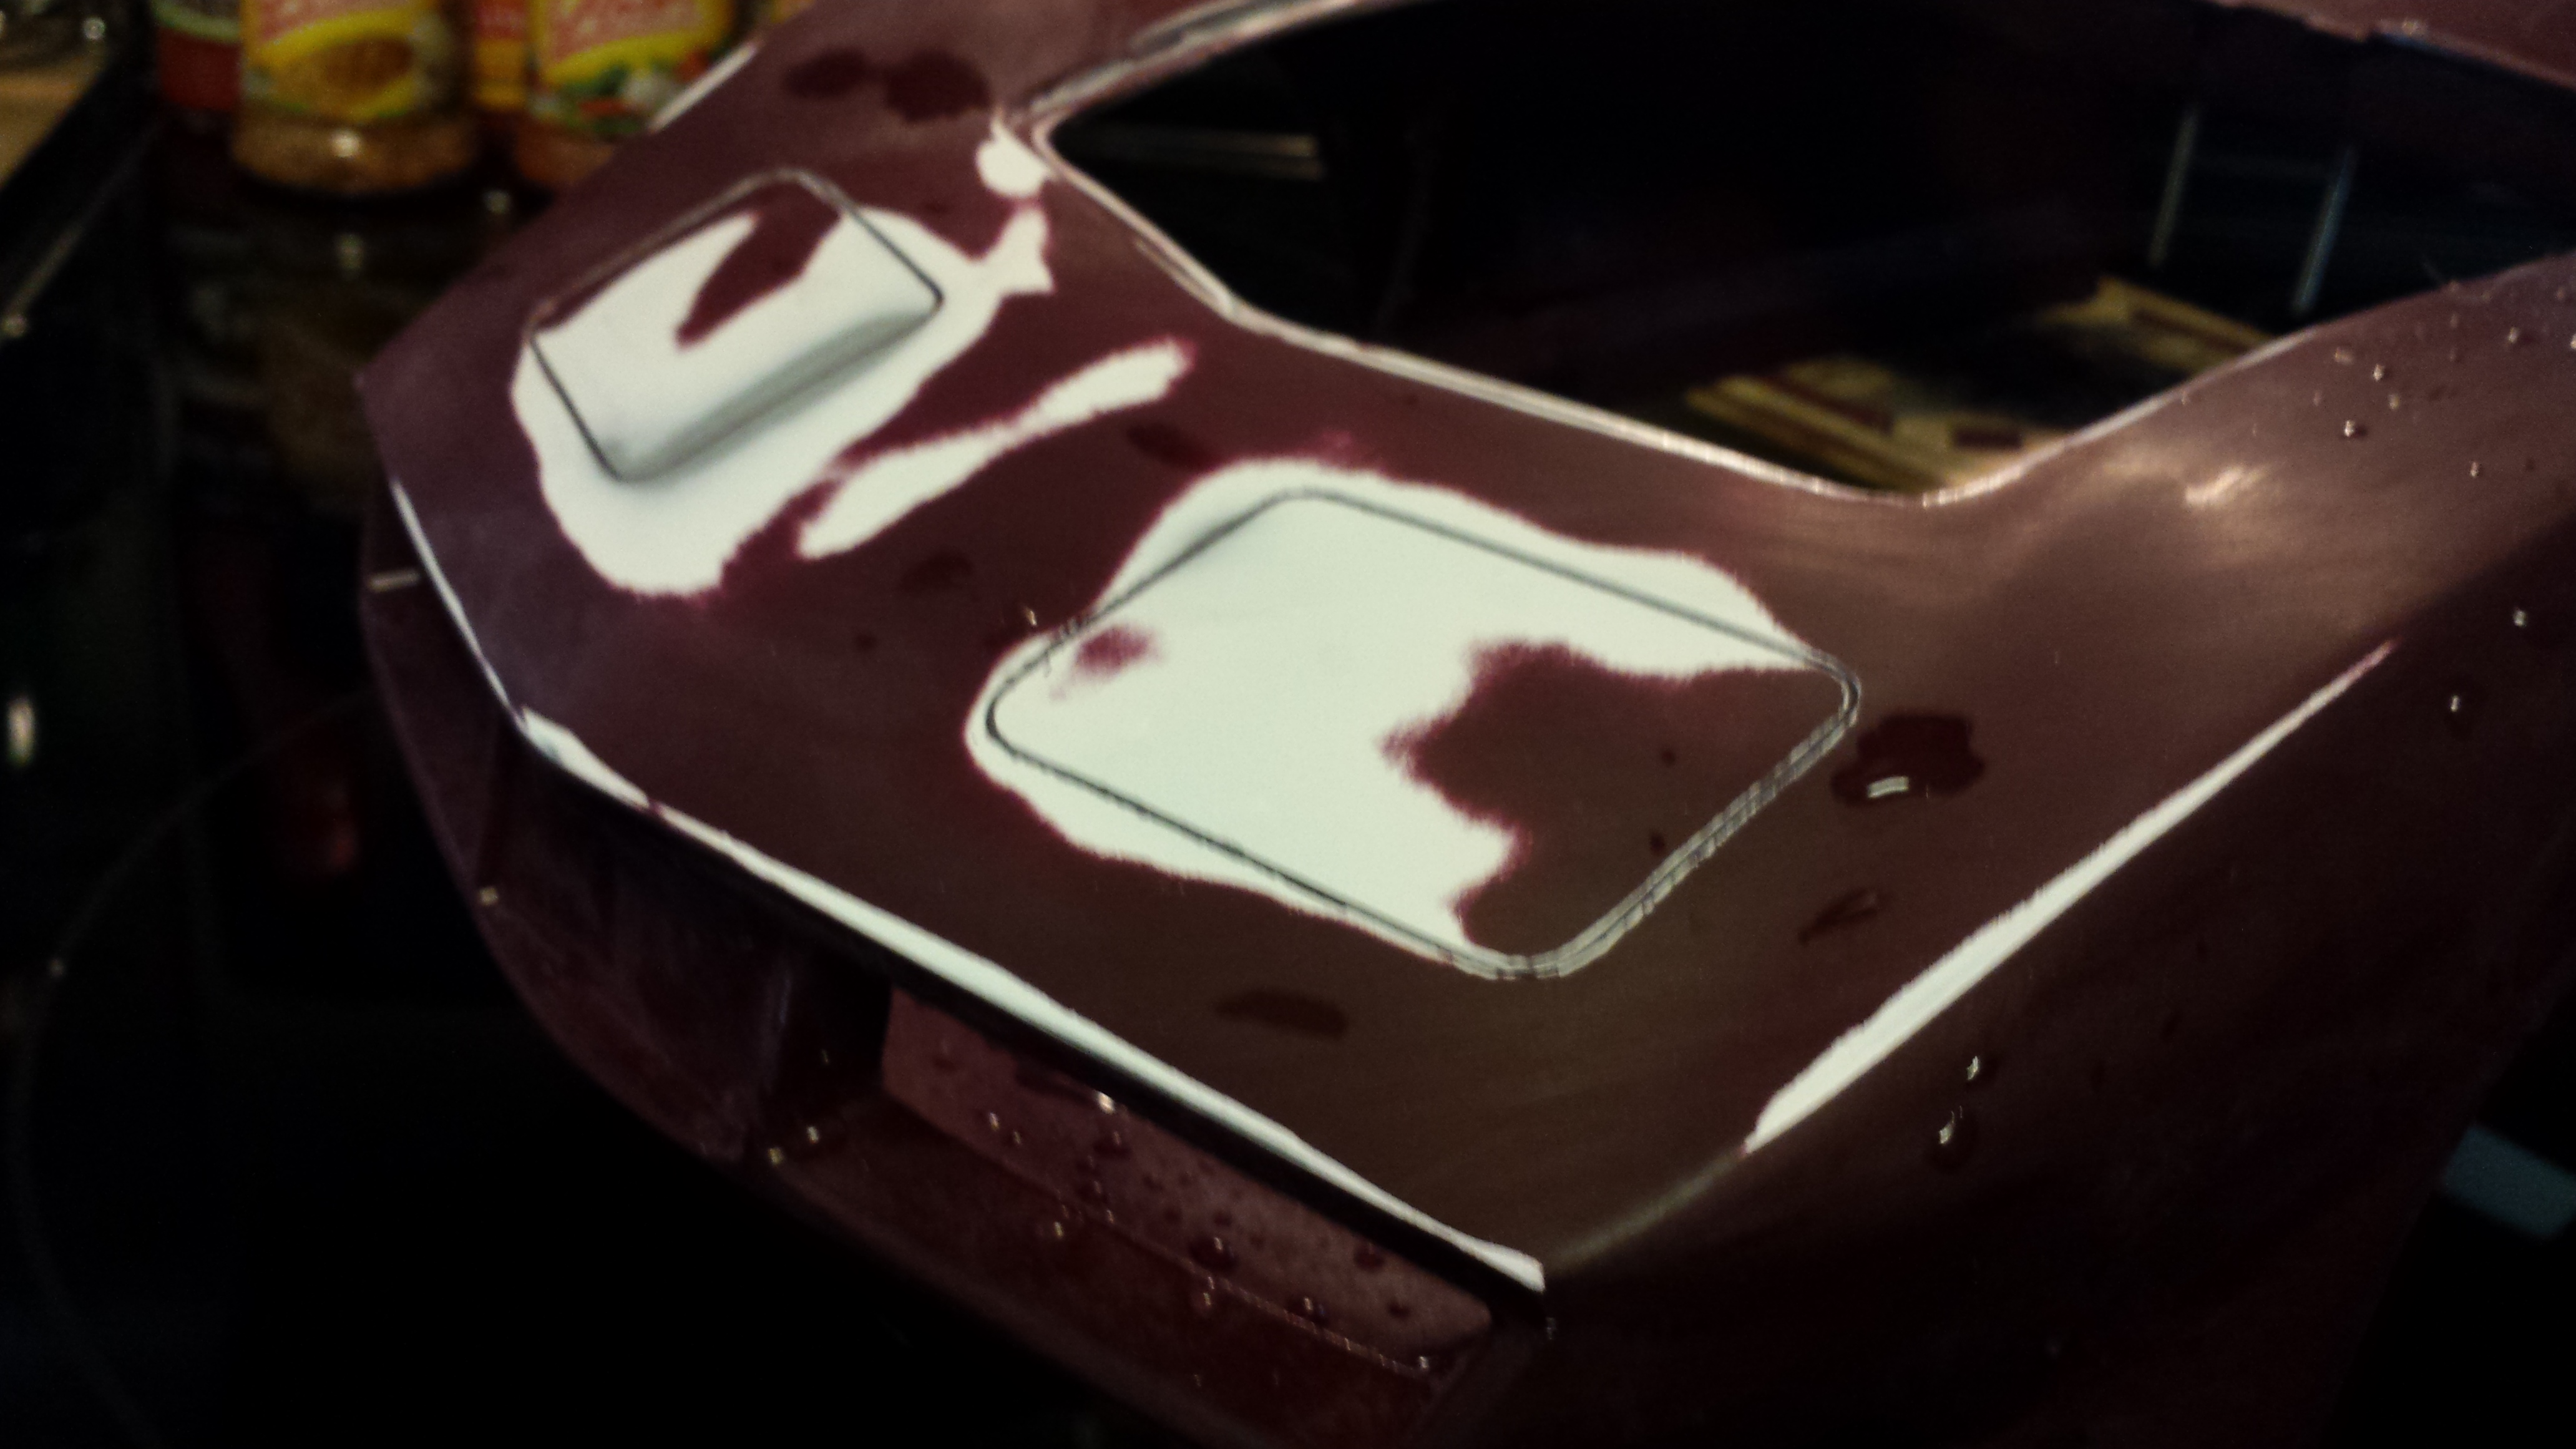
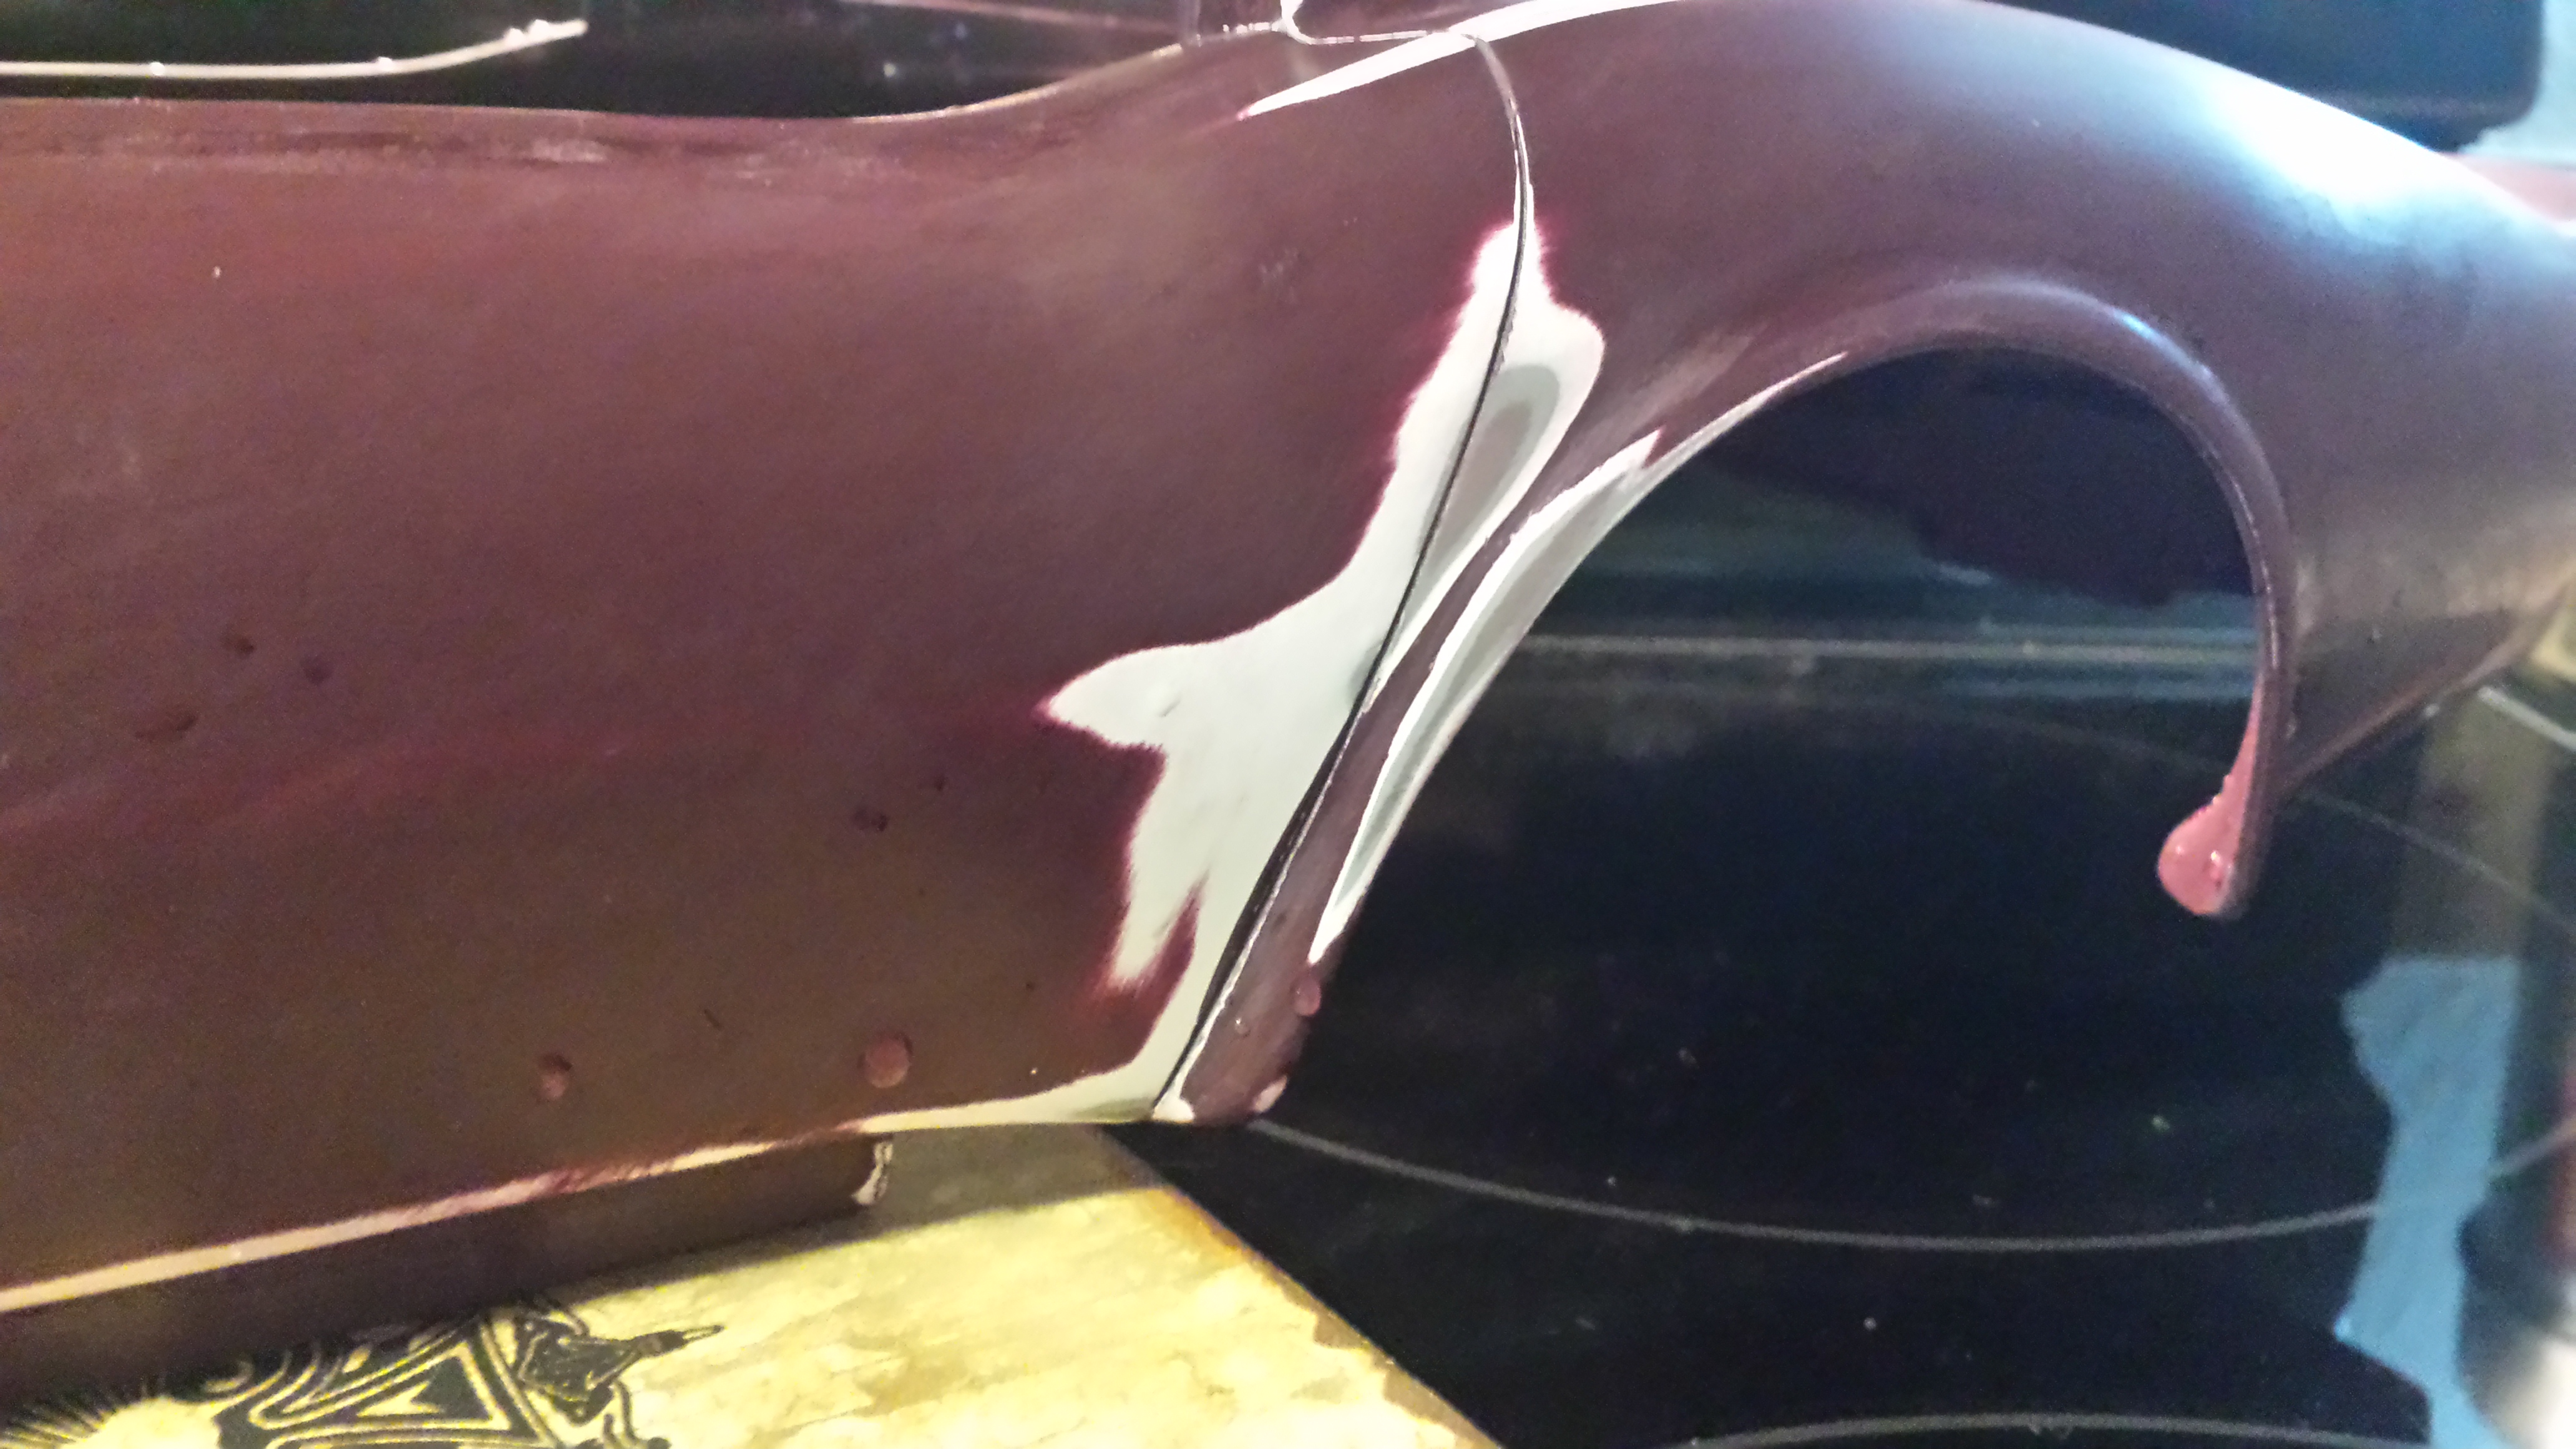
Paint update...I shouldn't have rushed things and done a better job wet sanding last time as there were numerous trouble spots that had to be addressed. On a model this large, imperfections in the paint become increasingly more apparent. I've tried to take this project a step further by removing all the body chrome so I could focus on highlighting the smooth and flowing lines of the C3 Corvette. Noticeable flaws would be bad. But the next paint session went real good as the weather was very good for painting able to lay down multiple light coats followed by several heavier wet coats. I'll post a couple of outdoor shots in my next post.
-
-
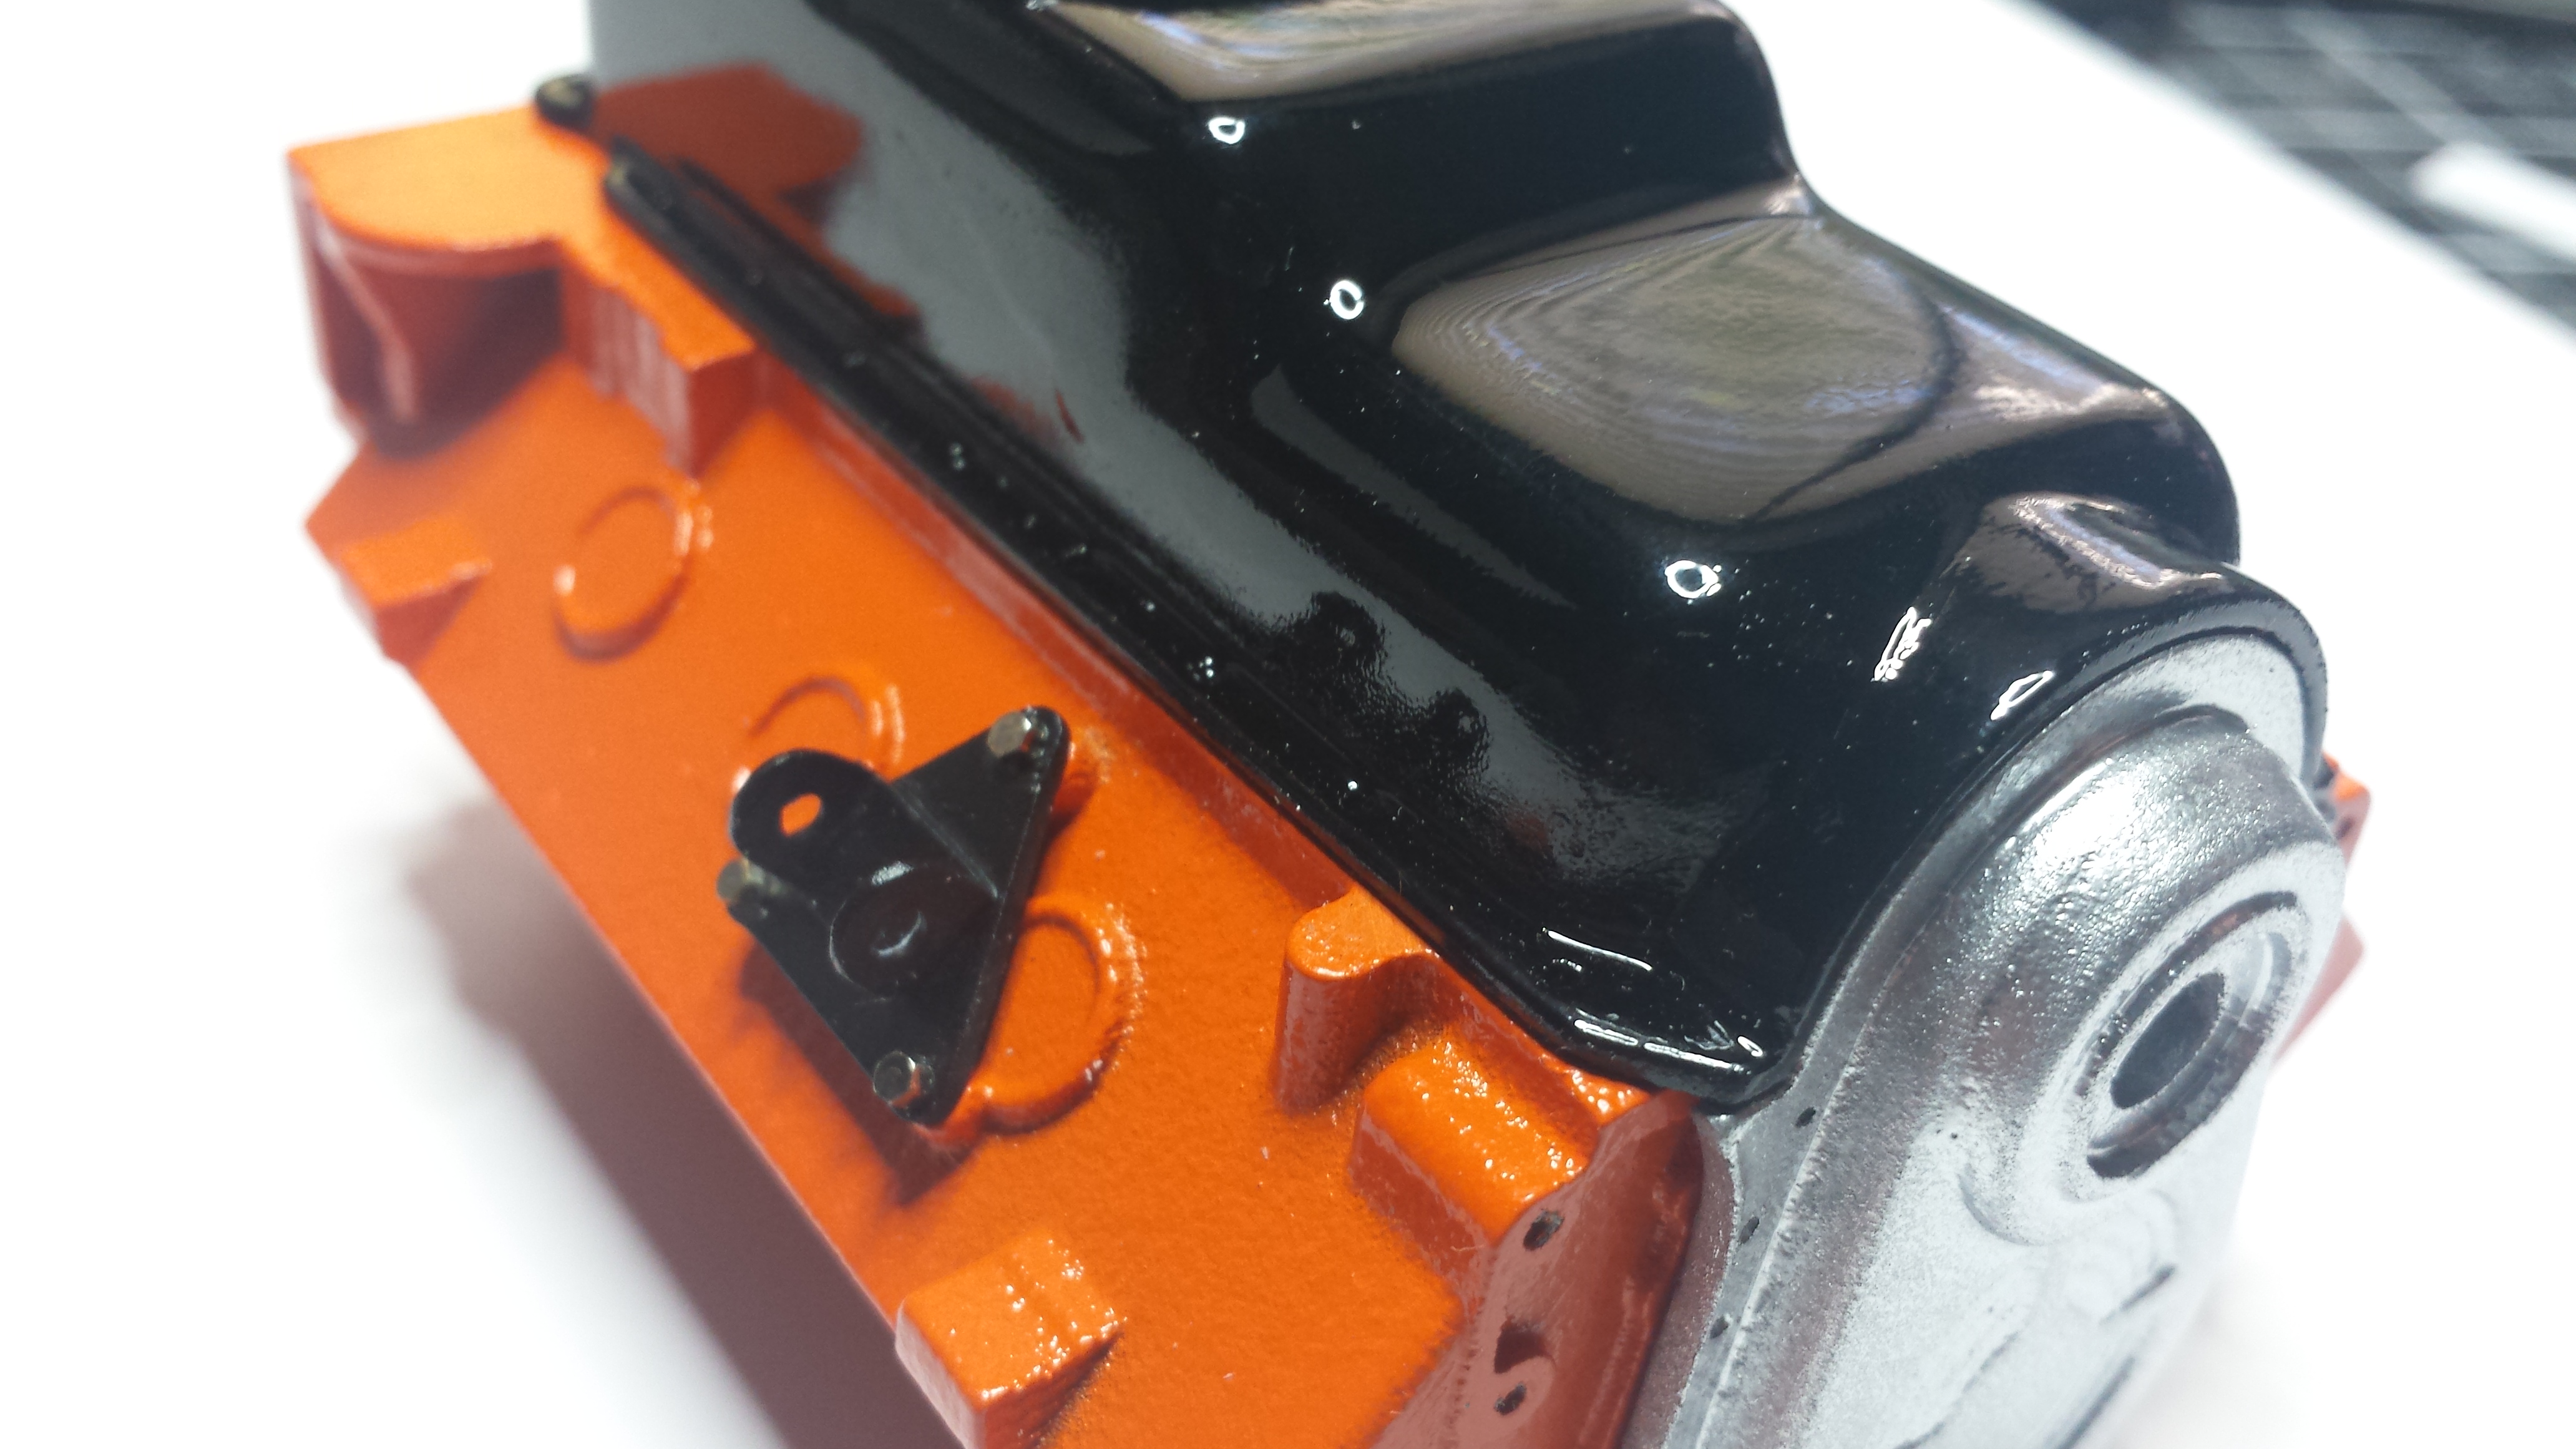
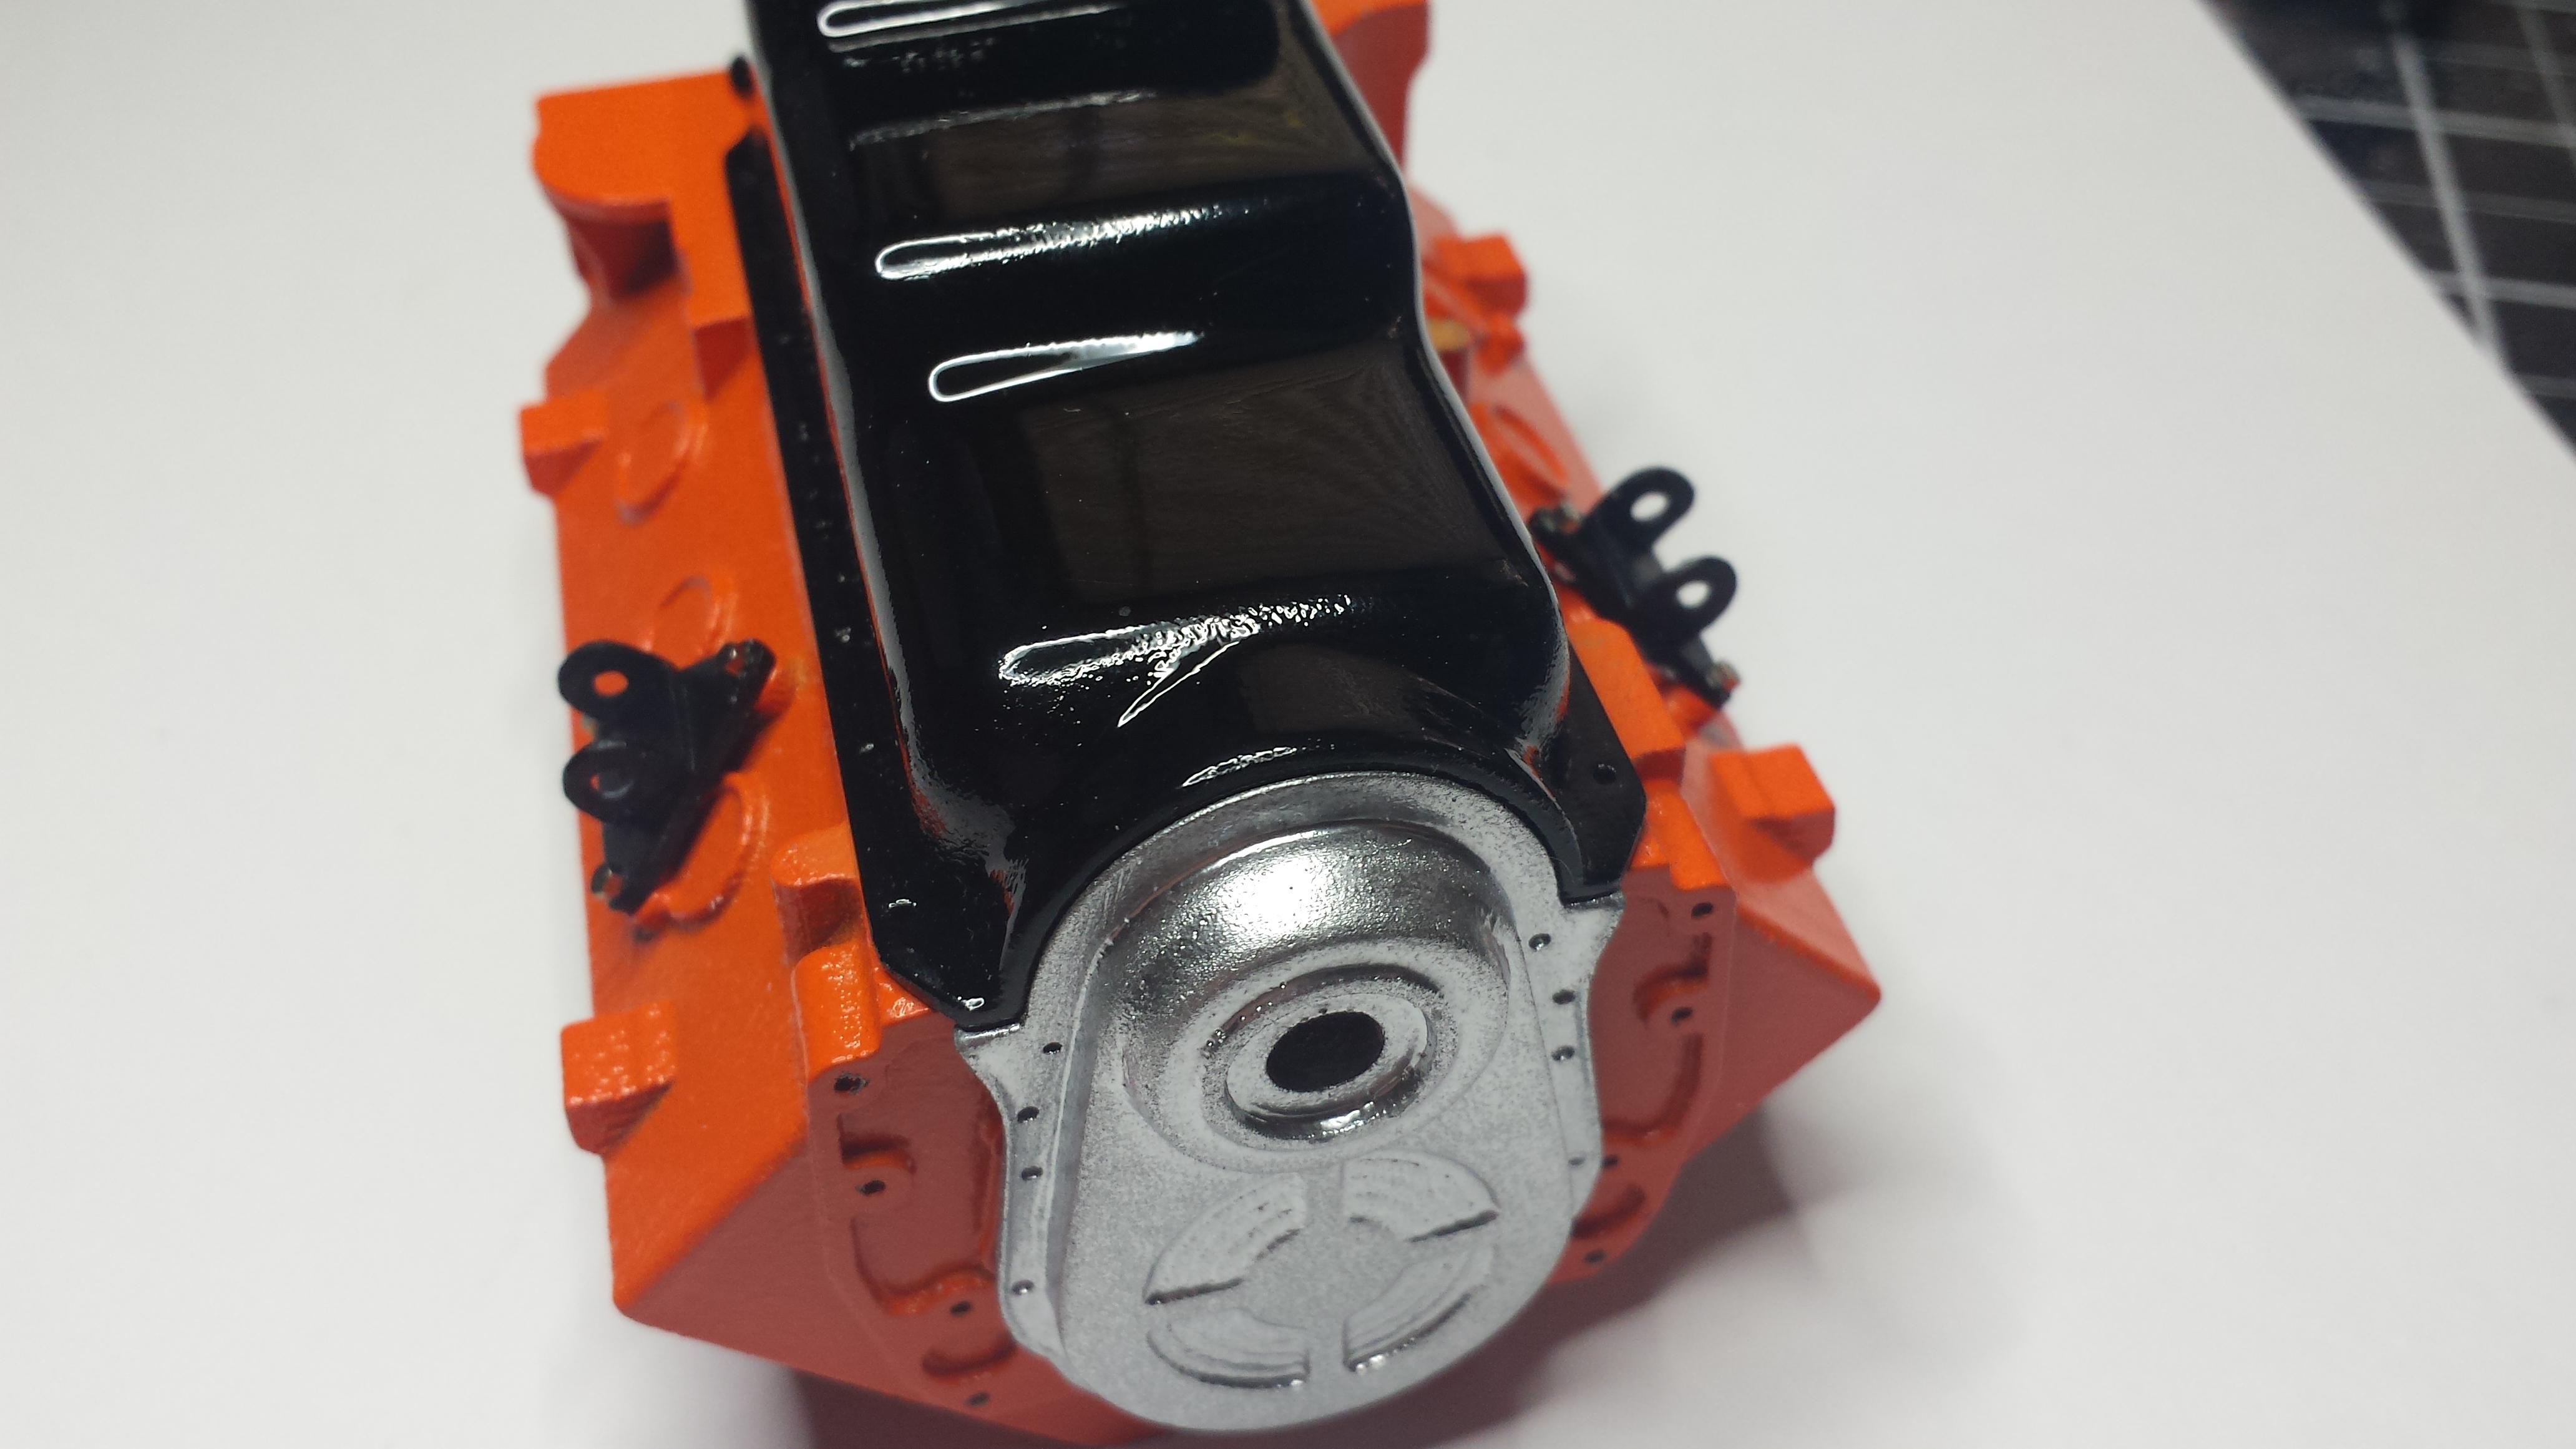
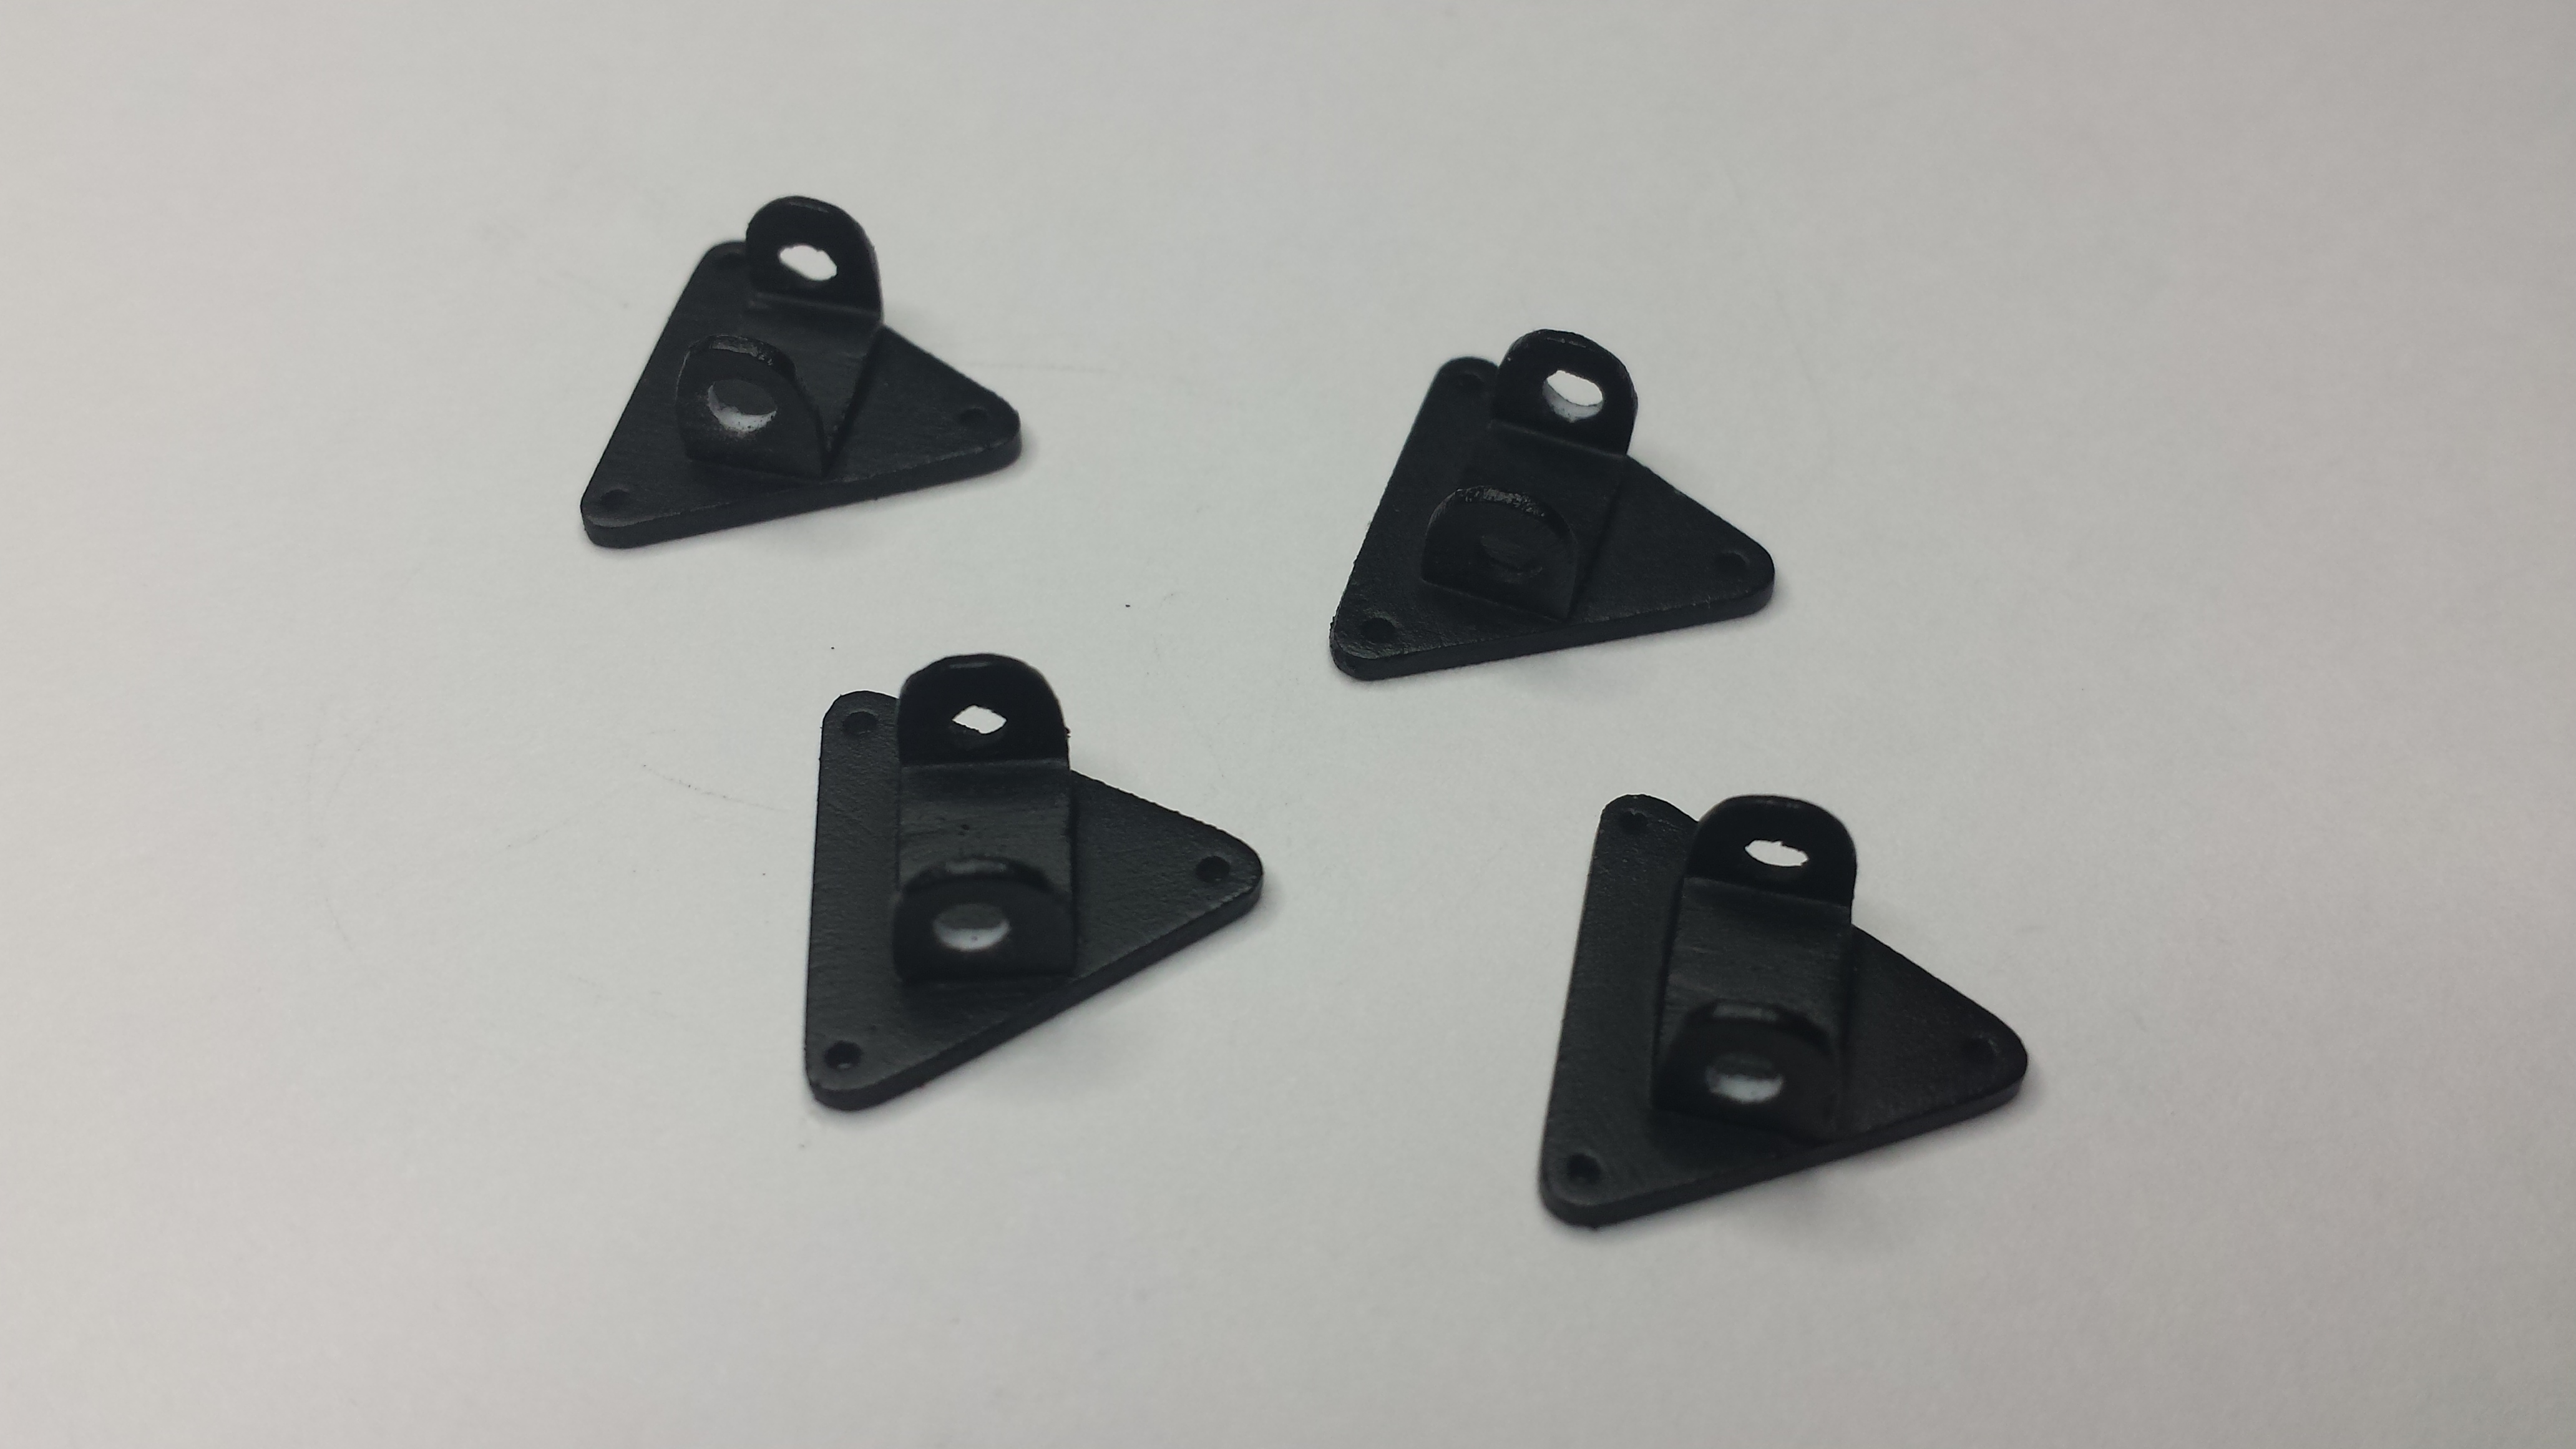
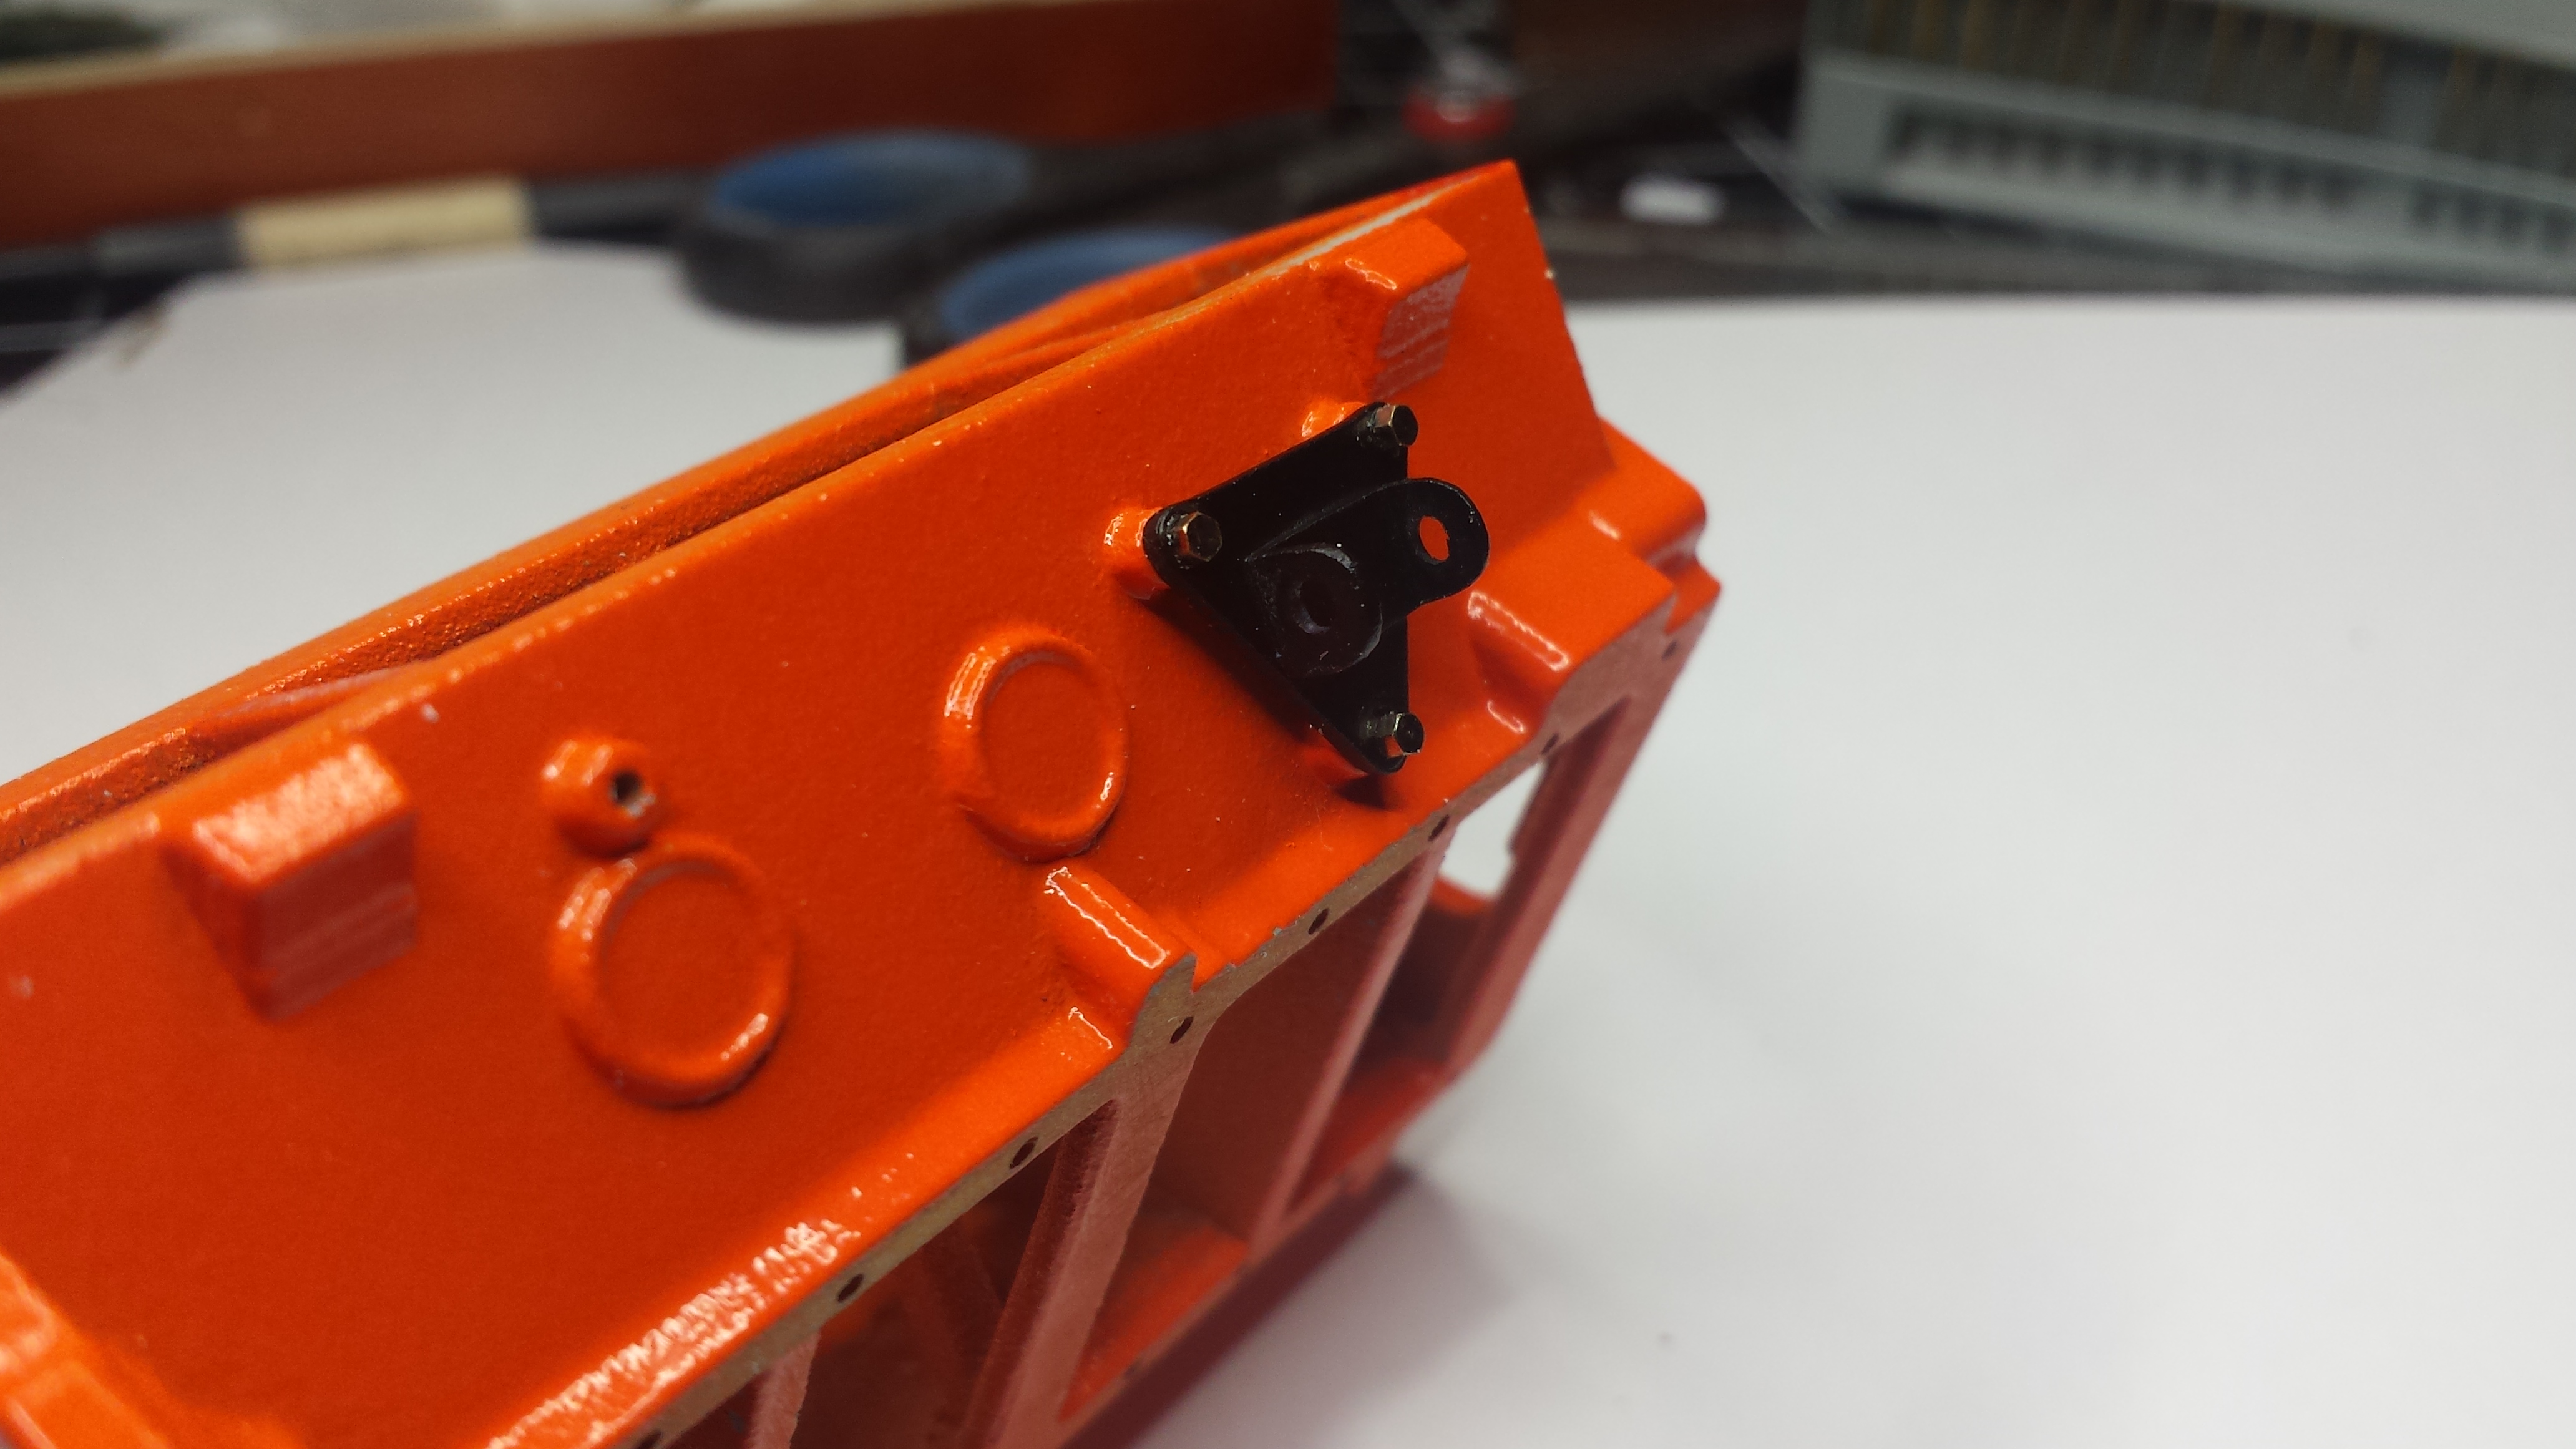
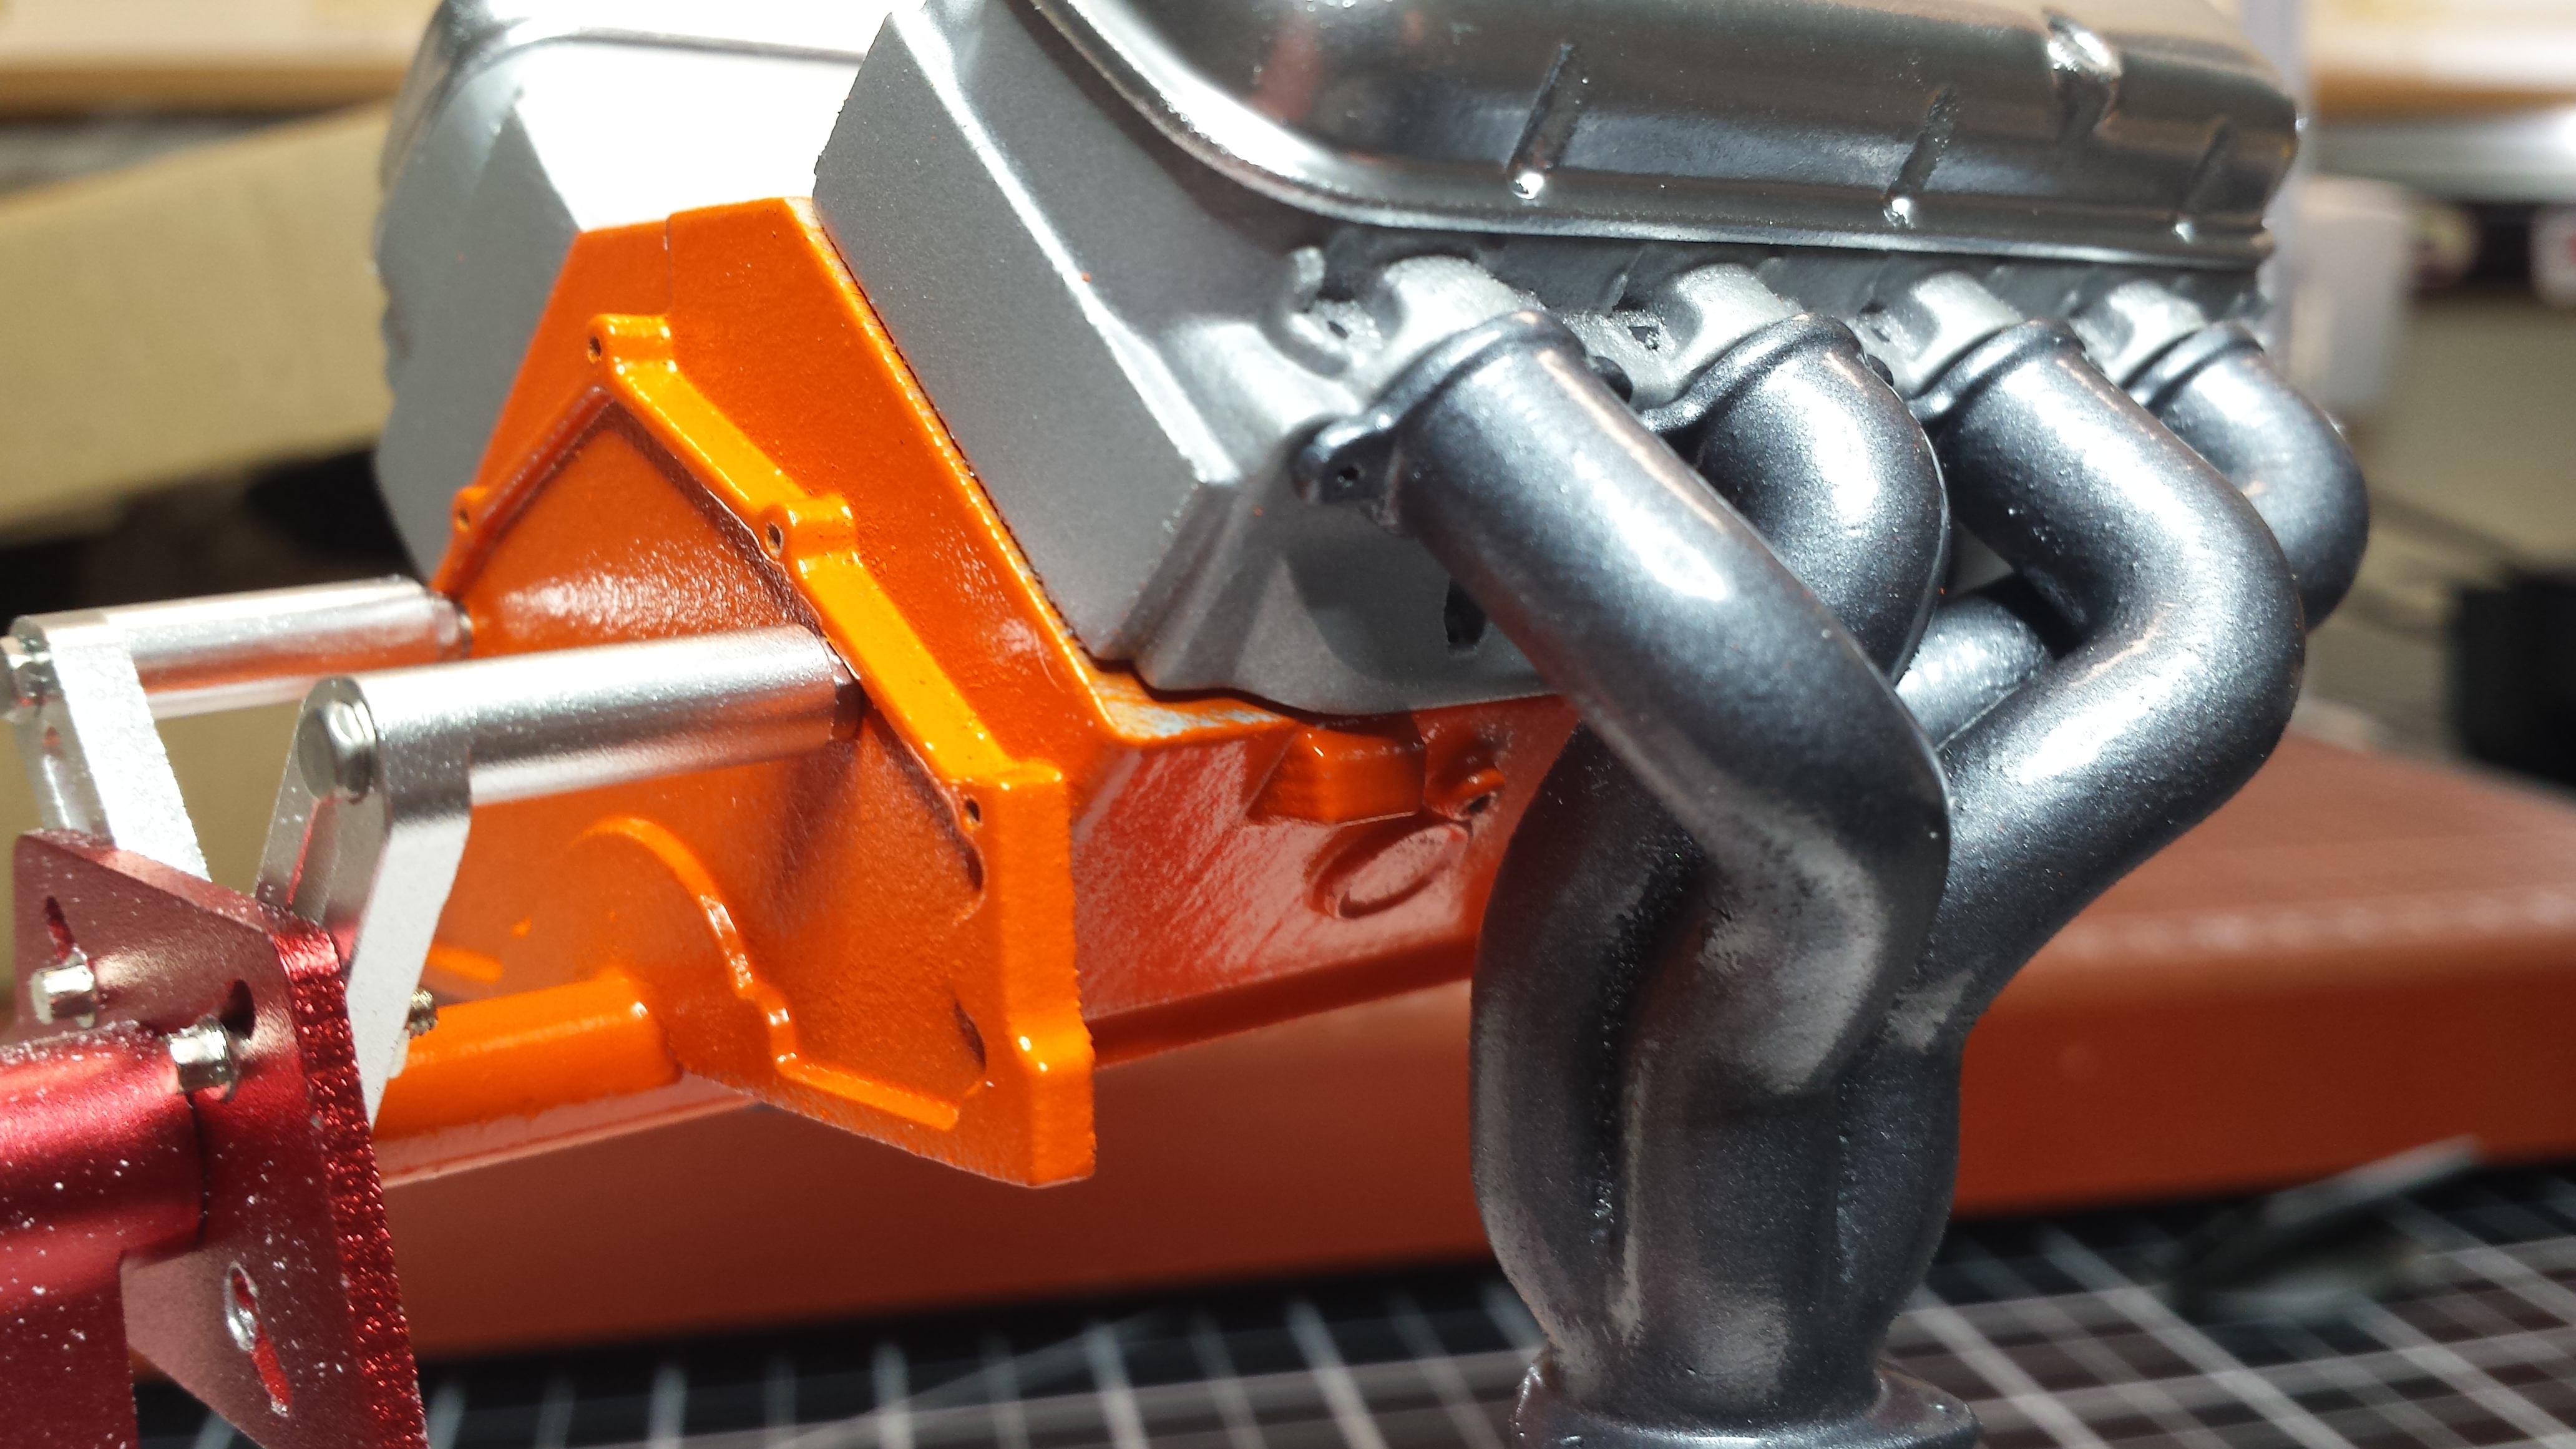
Thanks Todd. I made these motor mounts from Evergreen sheet and rectangular tube. They mount to the block with 1mm screws.
-
1/12 Super Street '69 Camaro
Steve Osbourne replied to camarobuilder's topic in WIP: Drag Racing Models
Hey Frank...I am so looking forward to your build. I've built this kit once before - basically stock and pre-3D printing & pre-Foose and am a big fan of 3D Model Specialties and TDR Innovations as far as they are offering to the big scale modelling community.
-
-
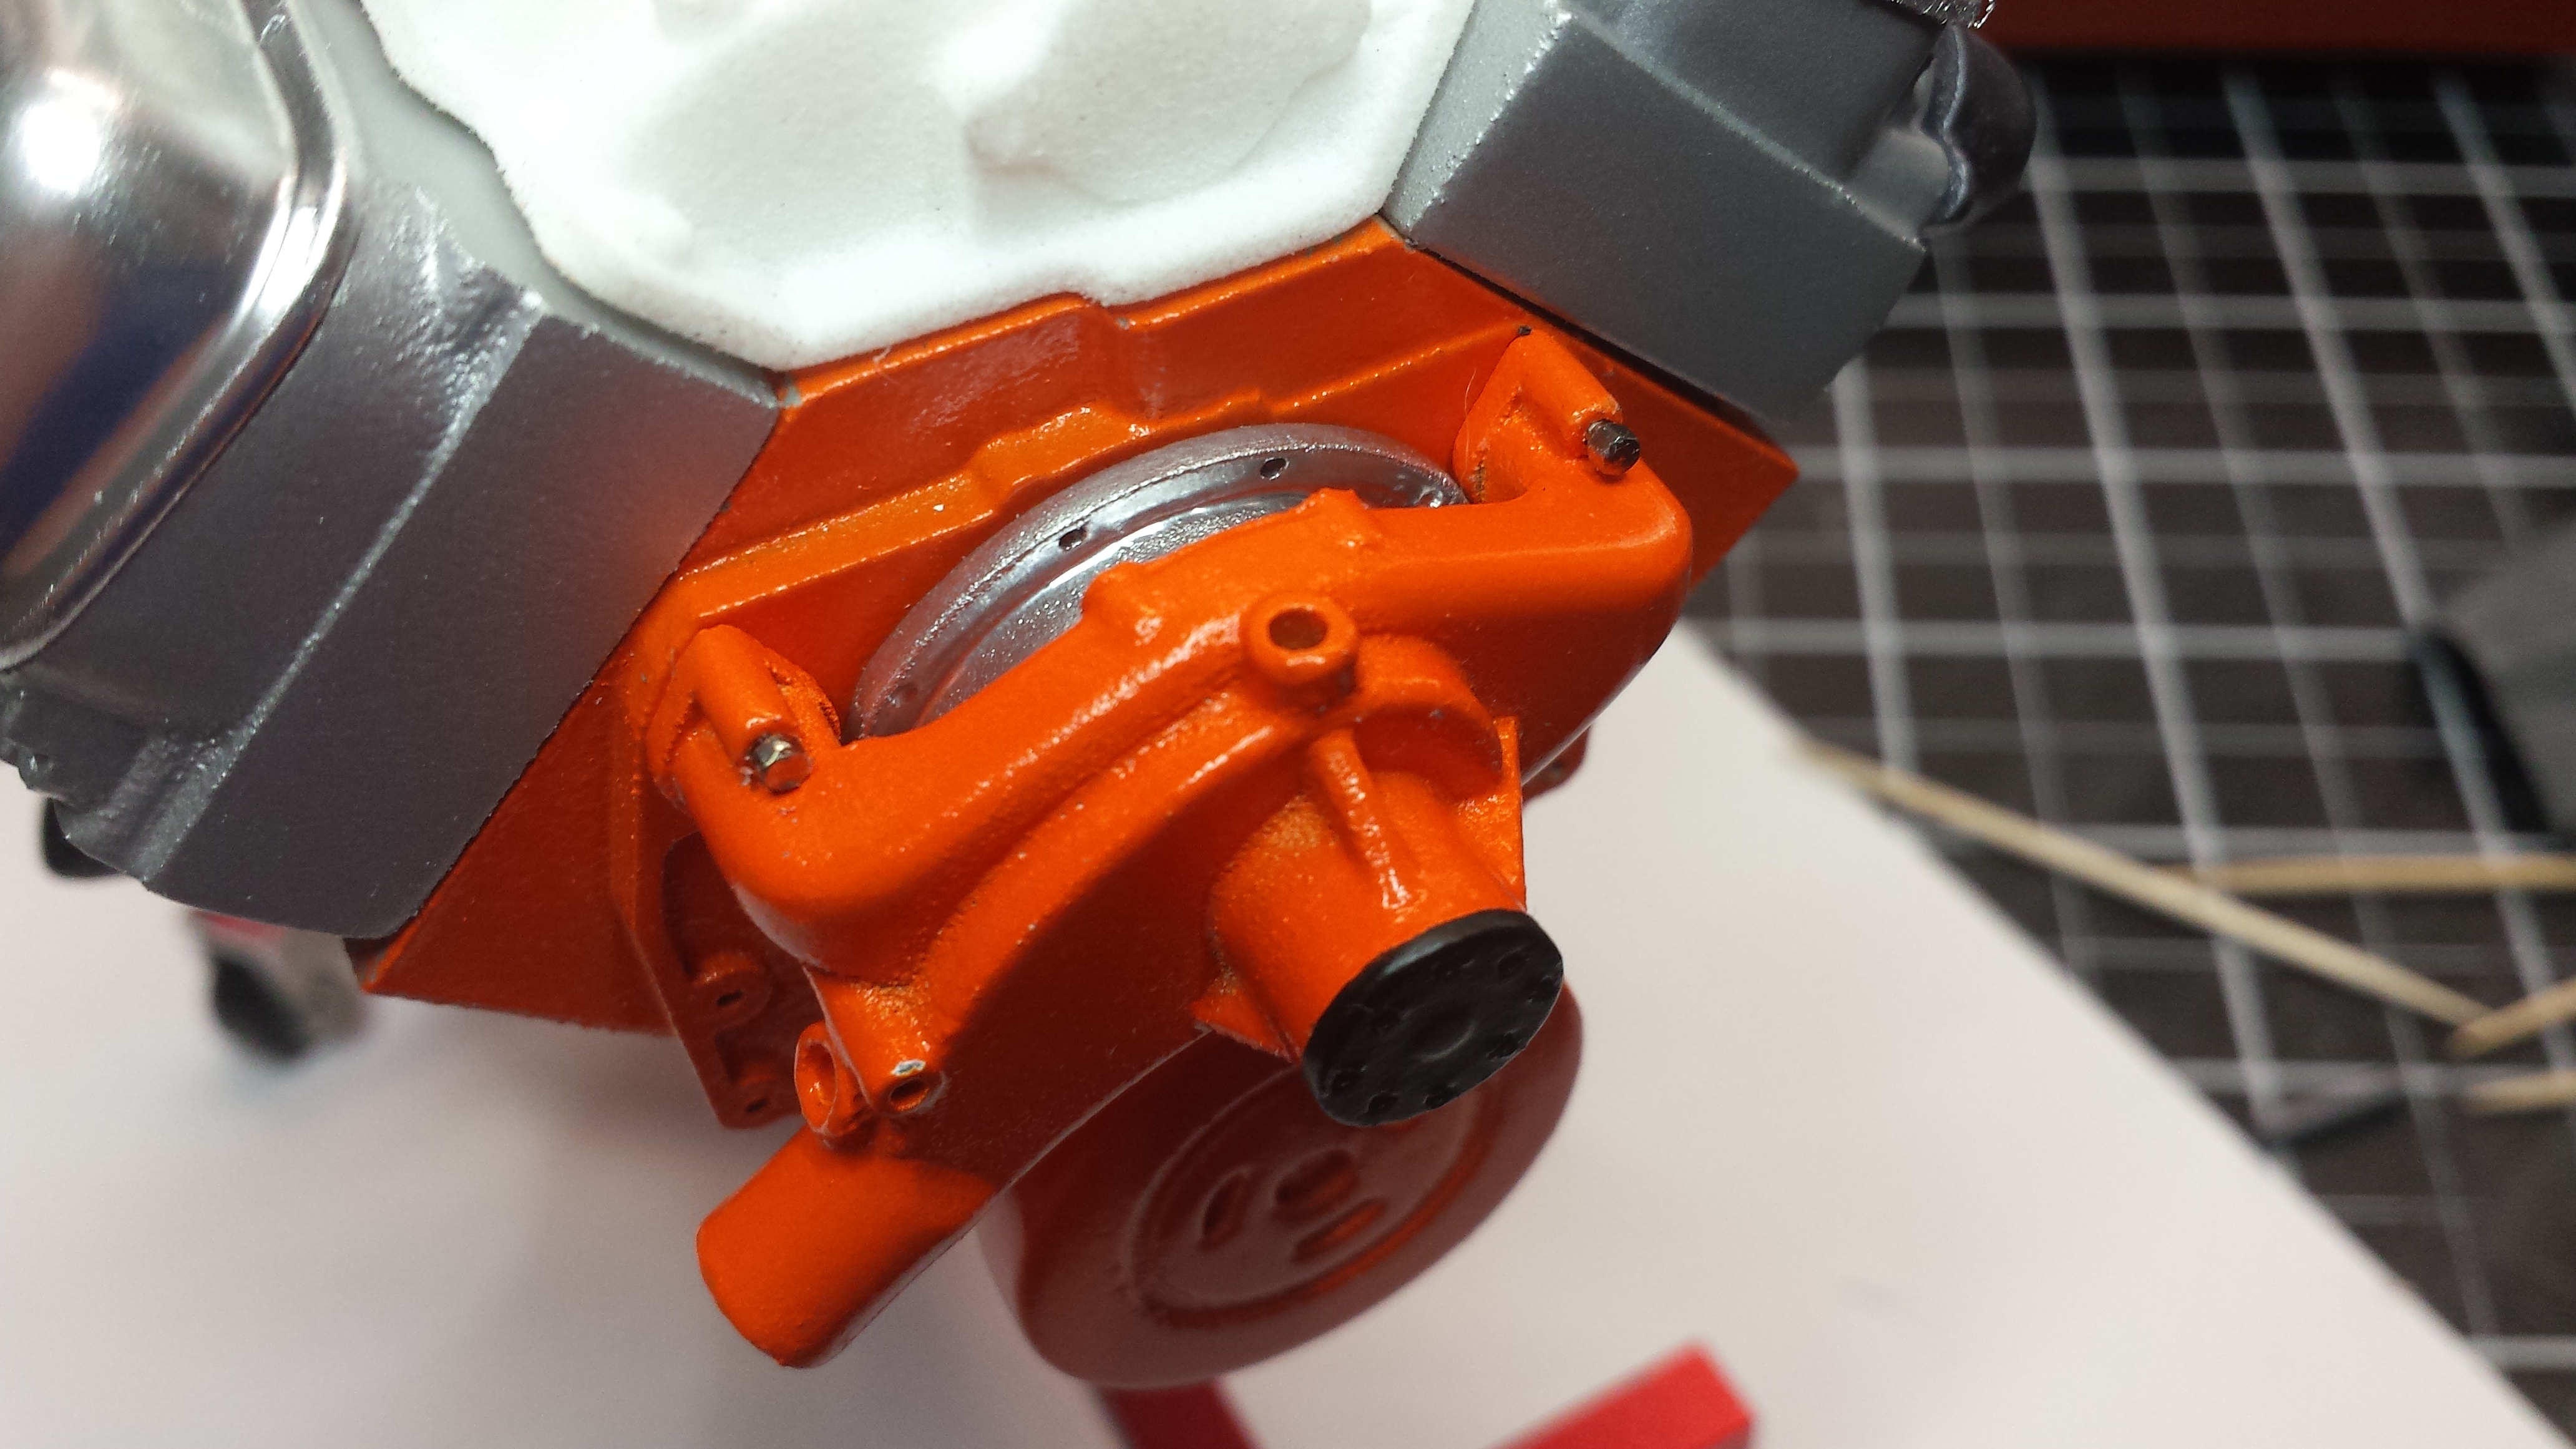
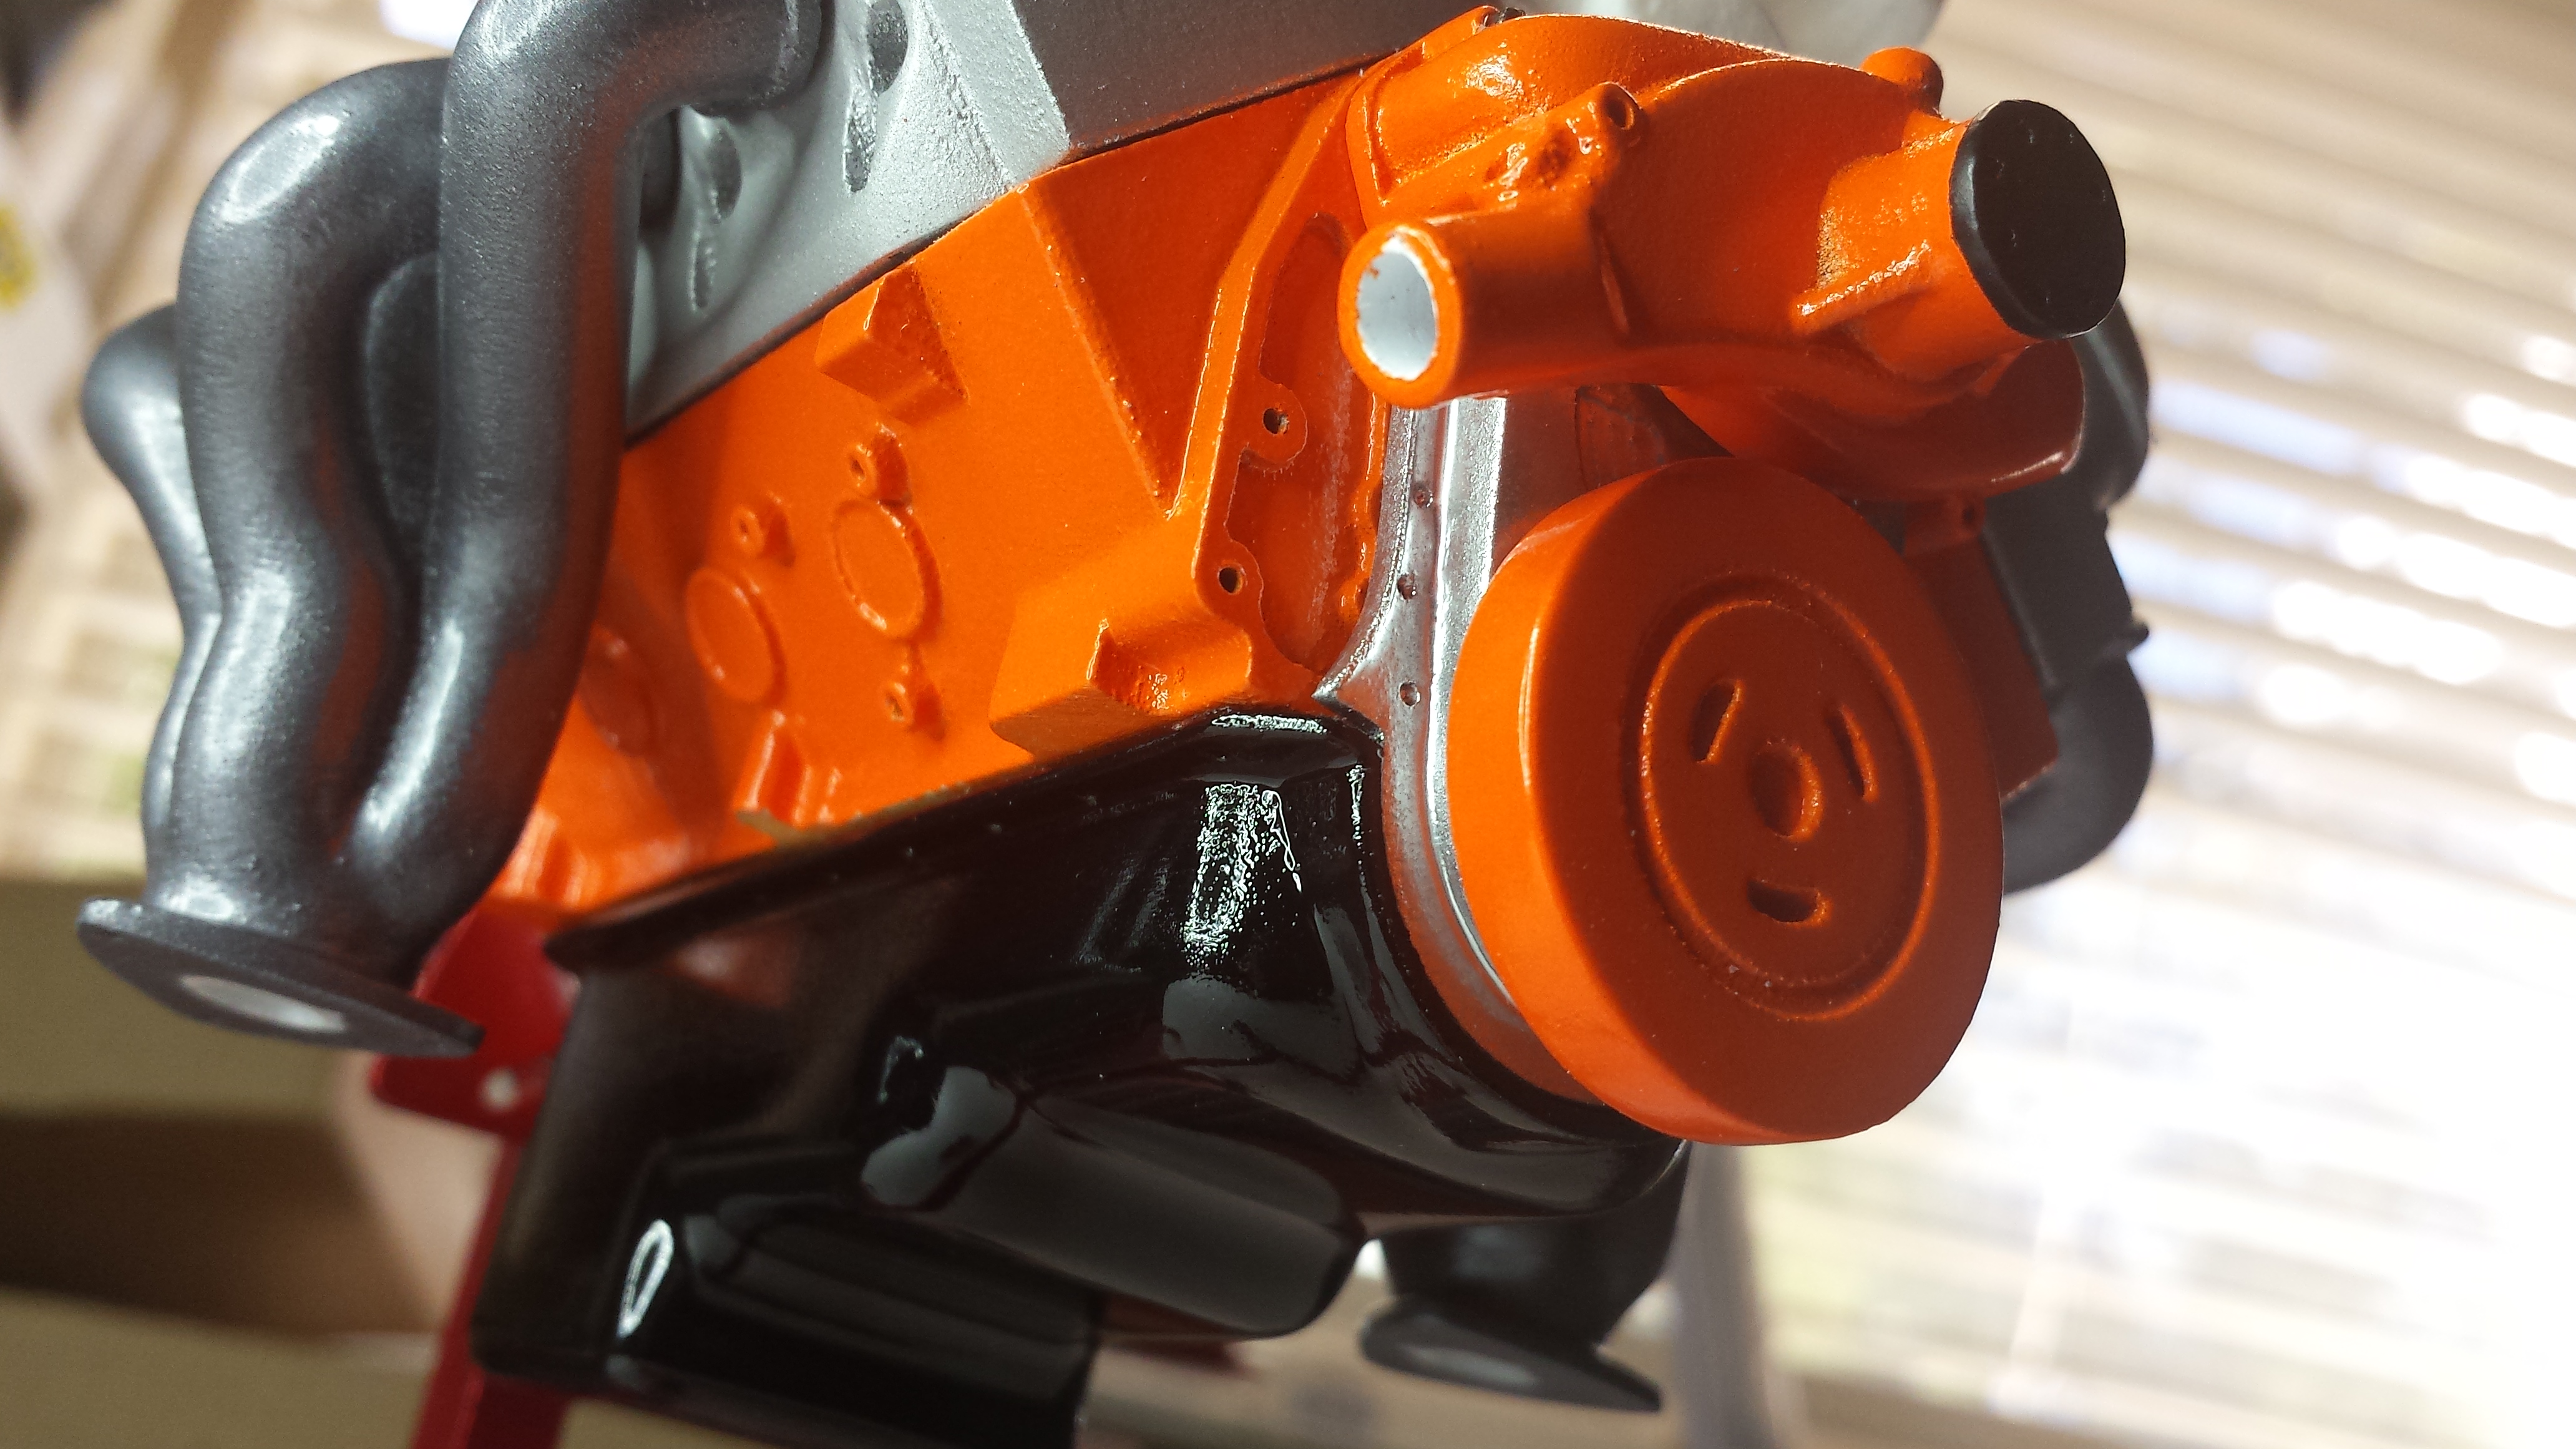
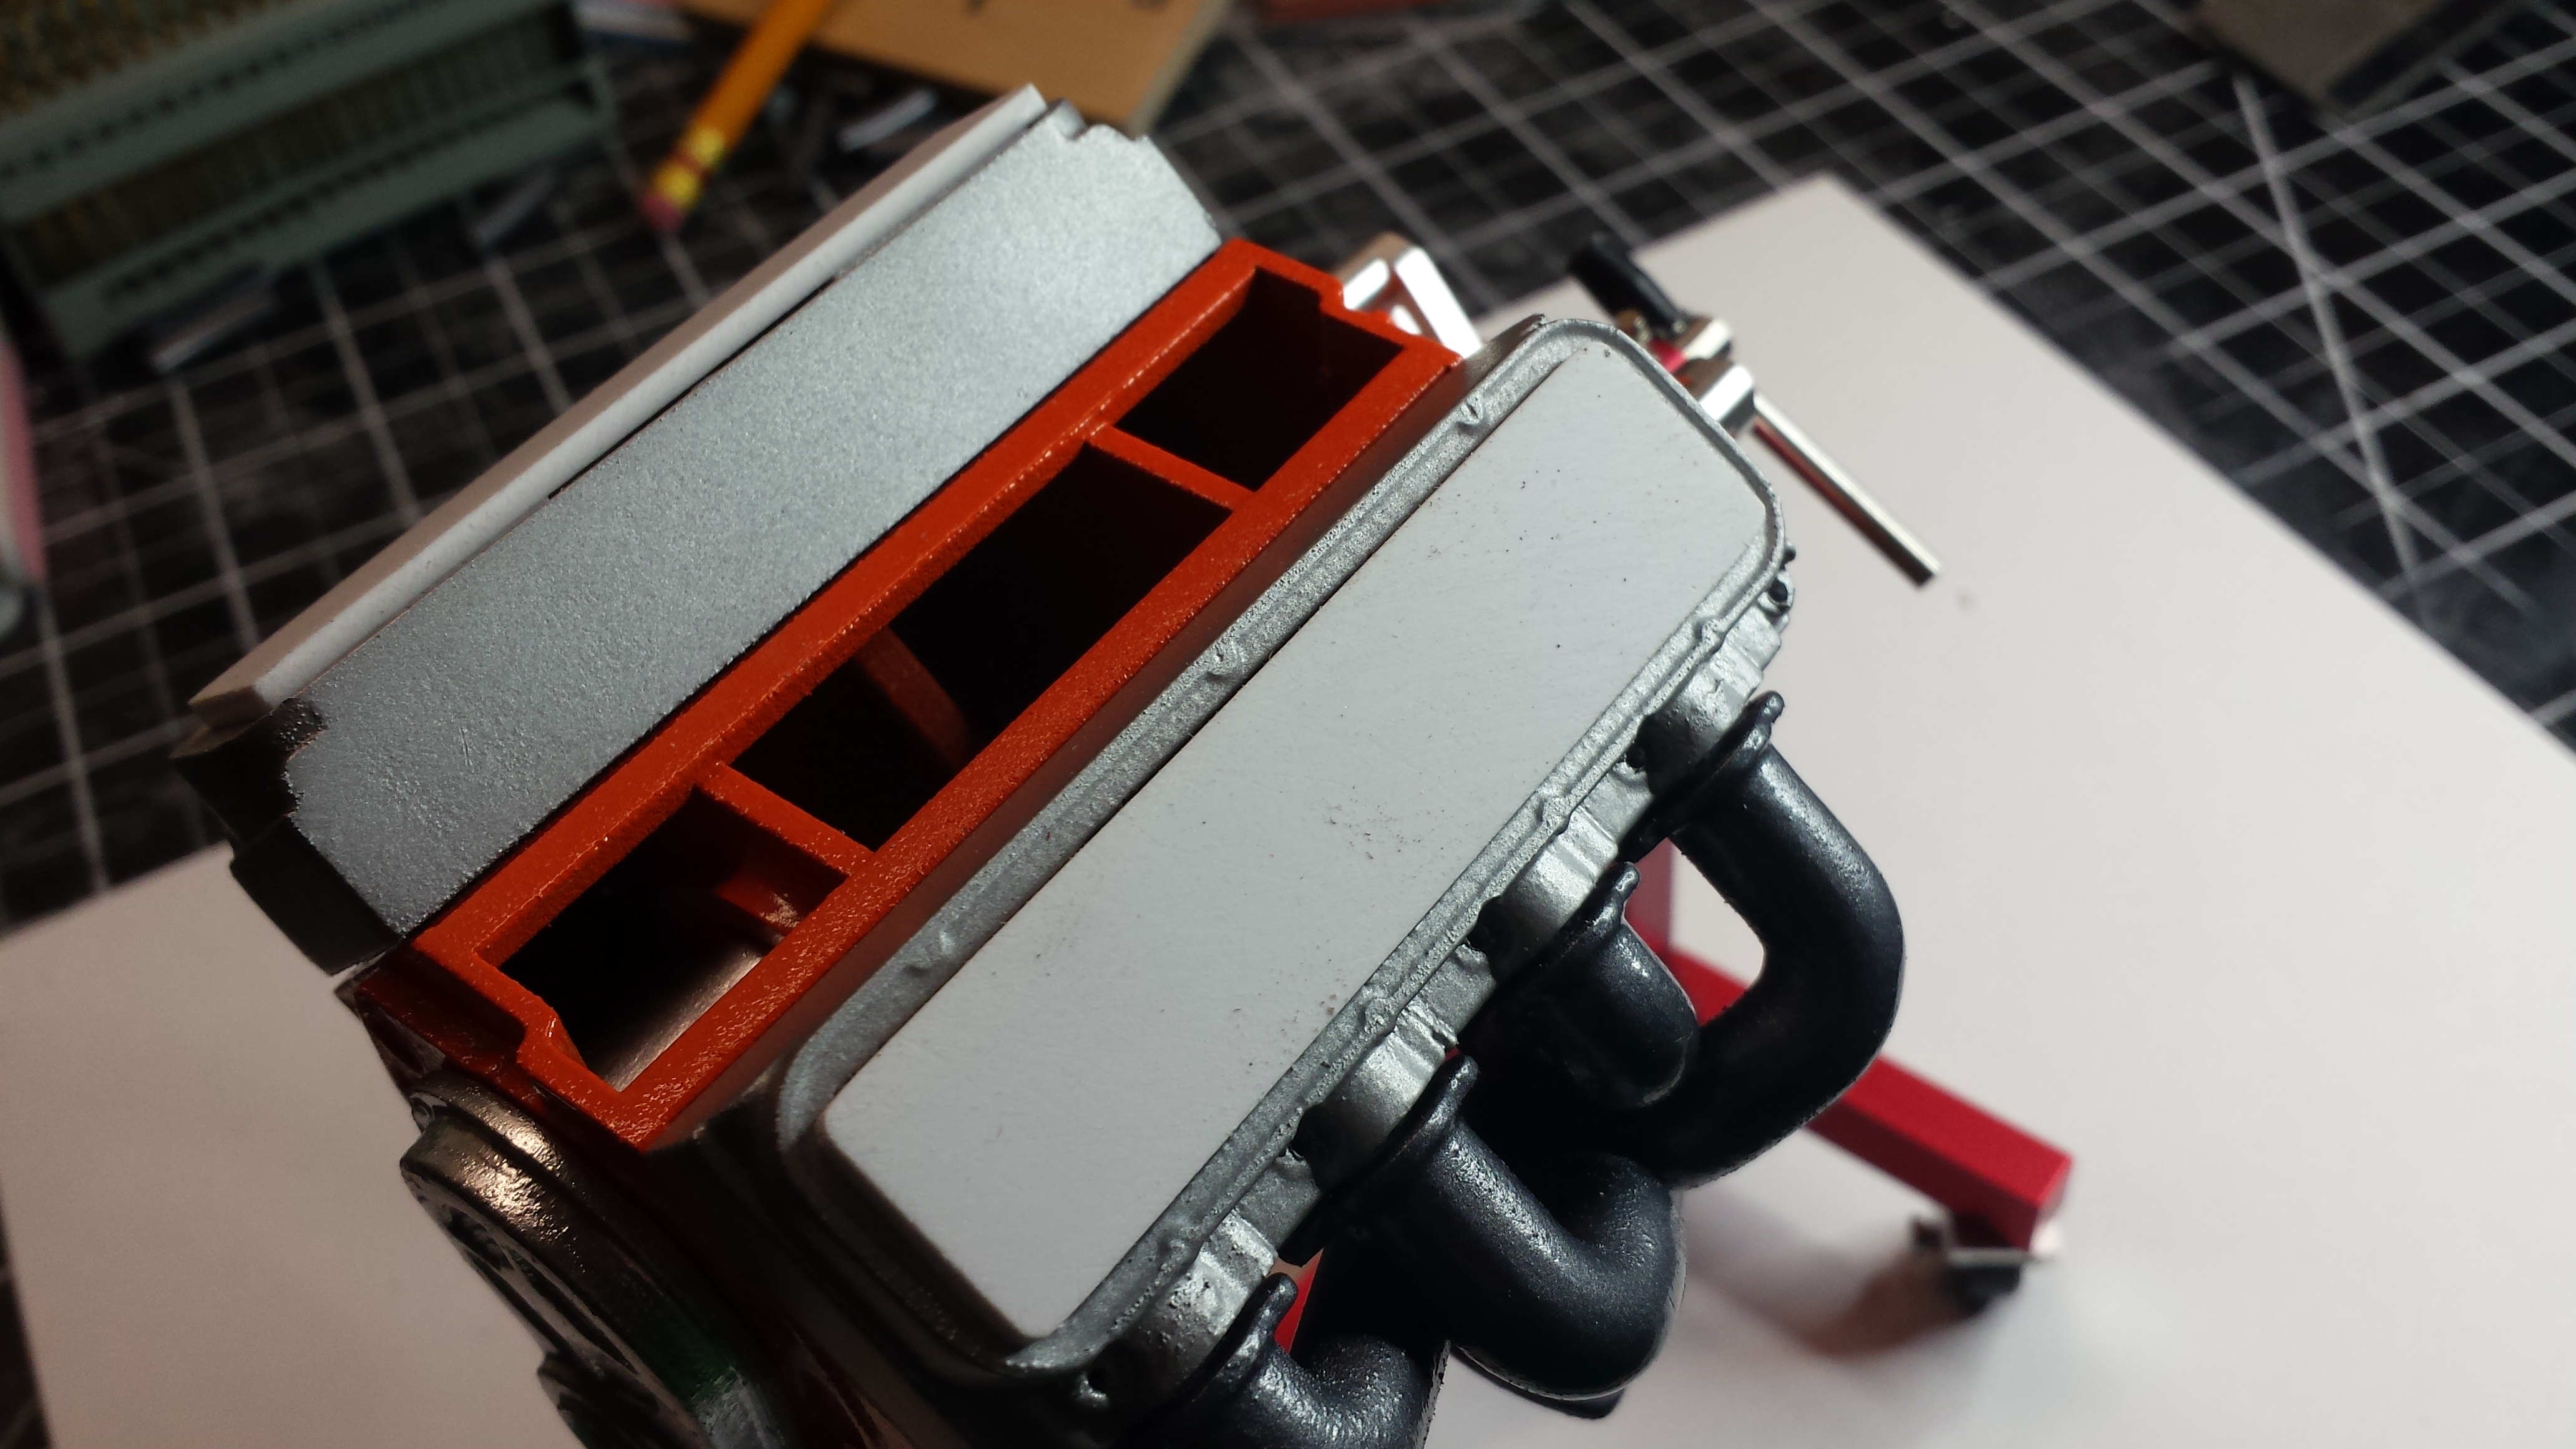
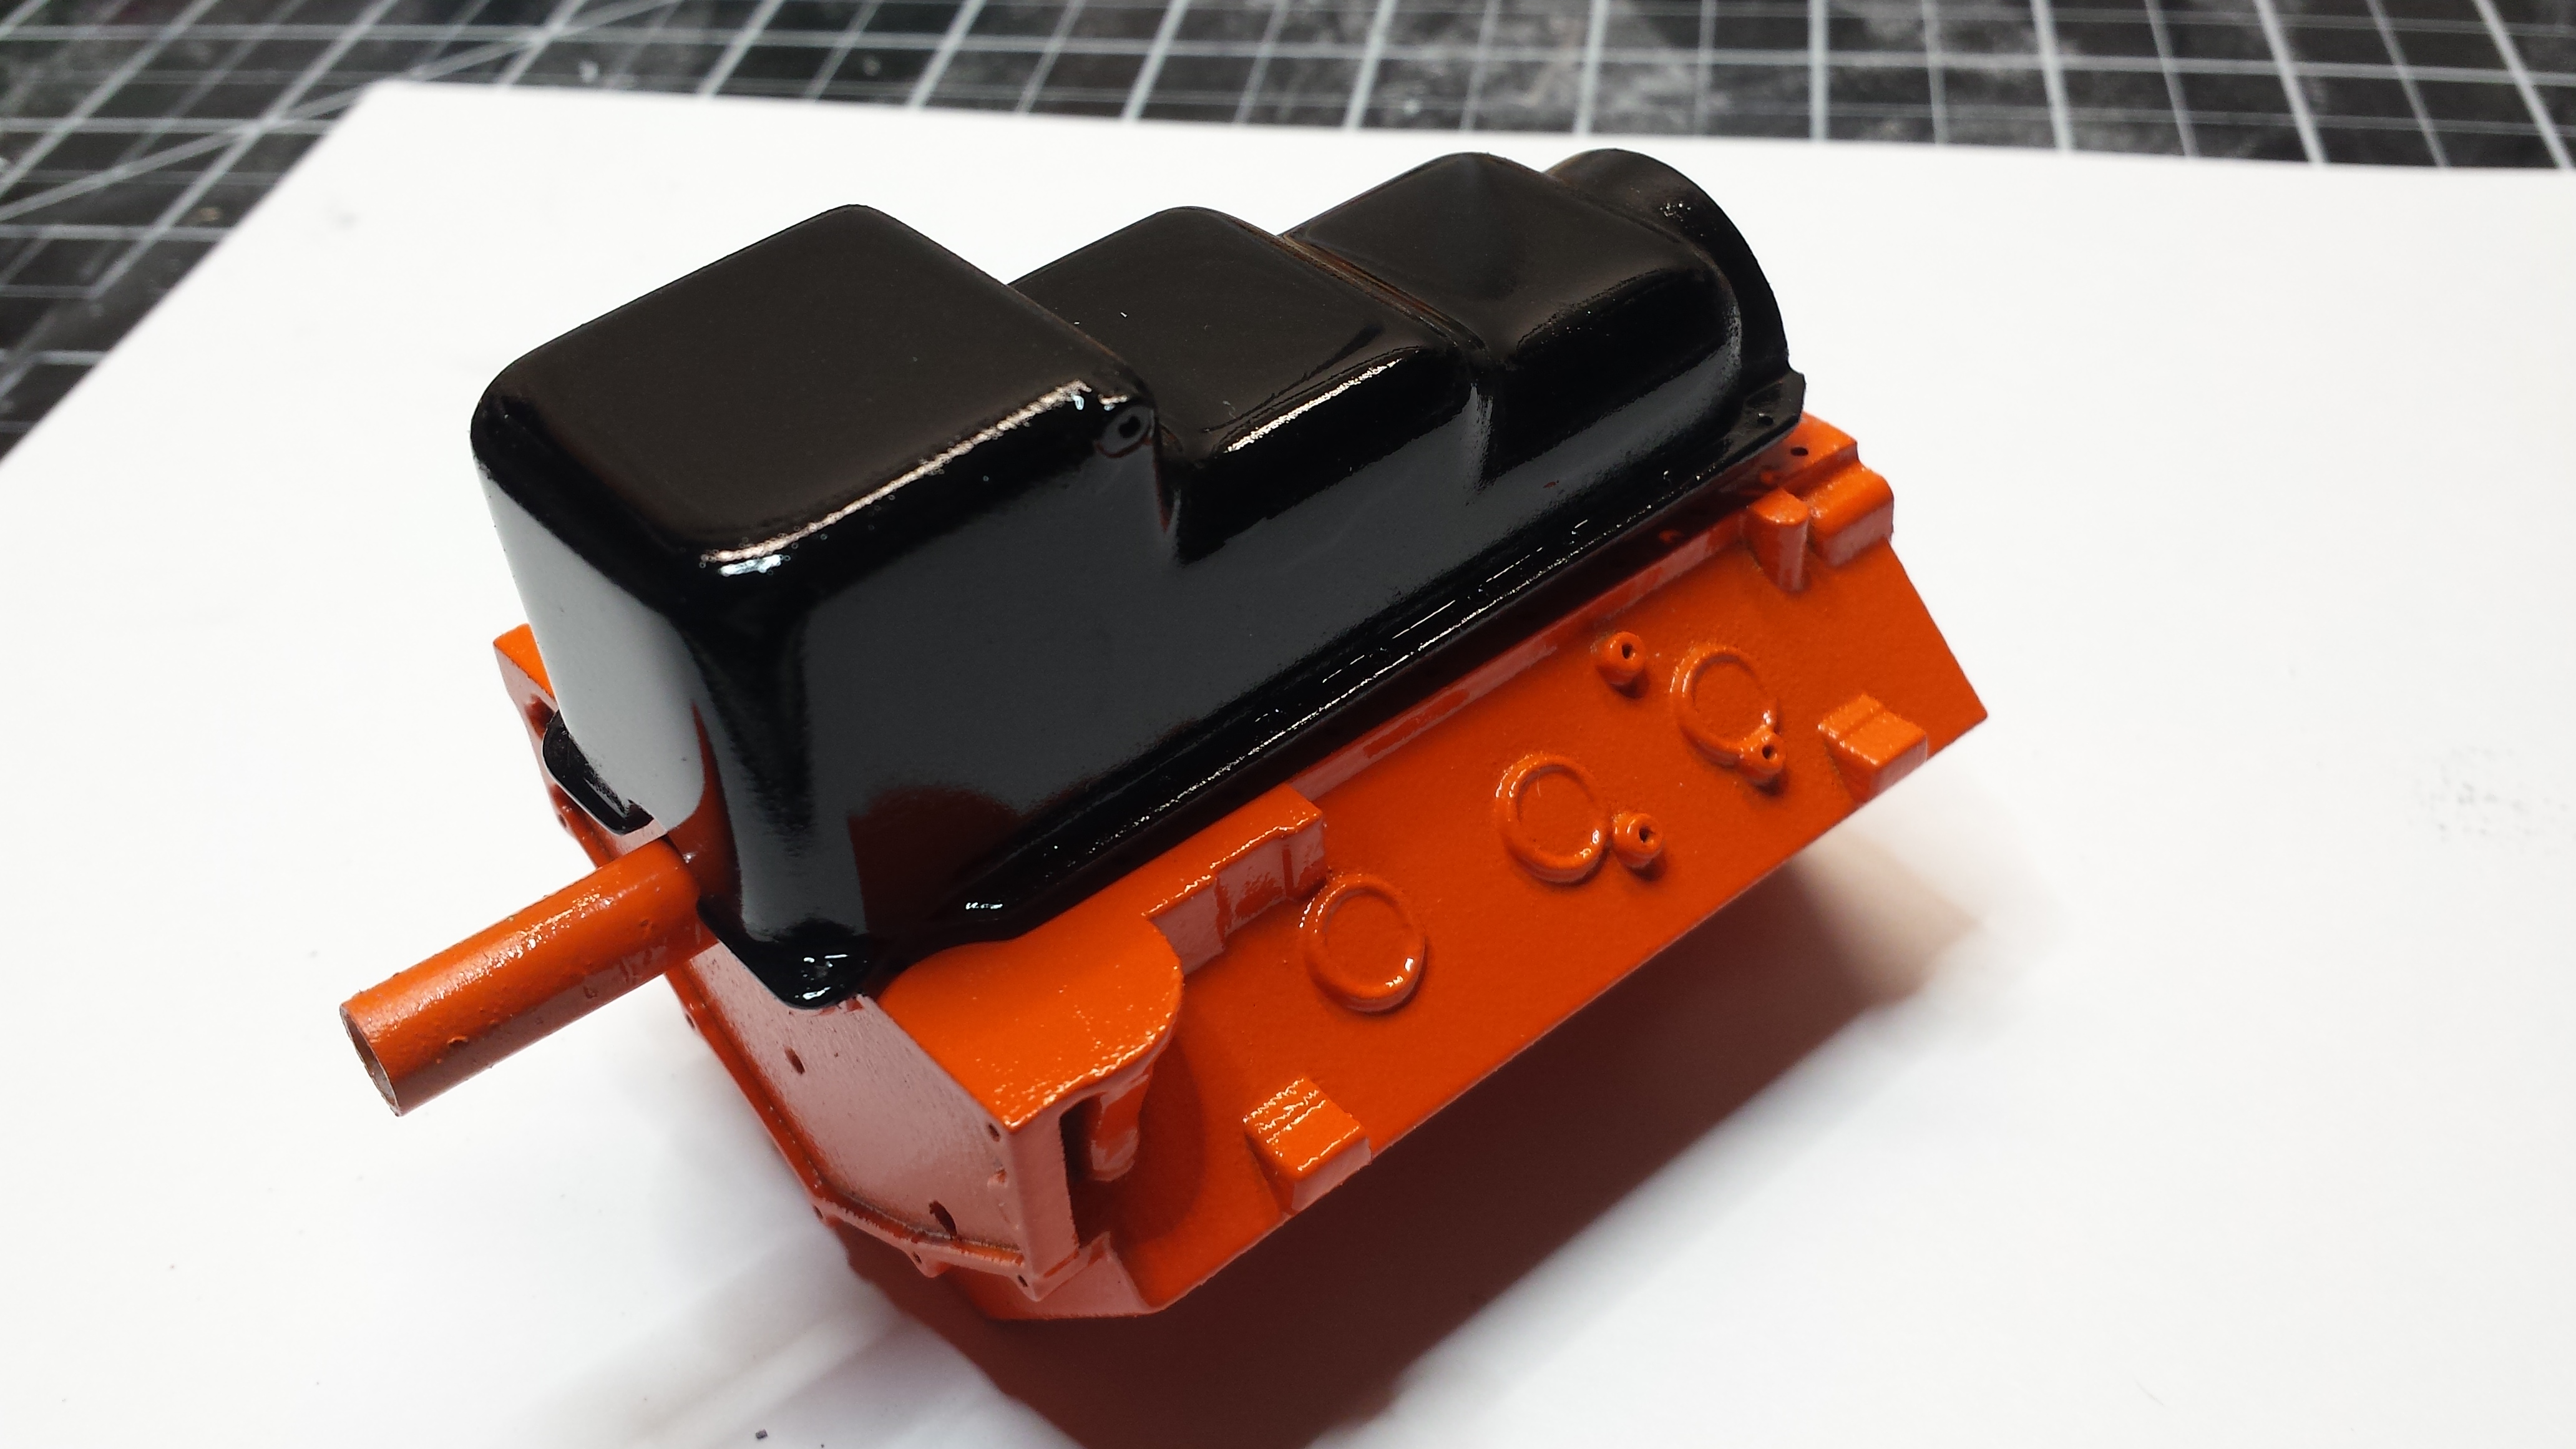
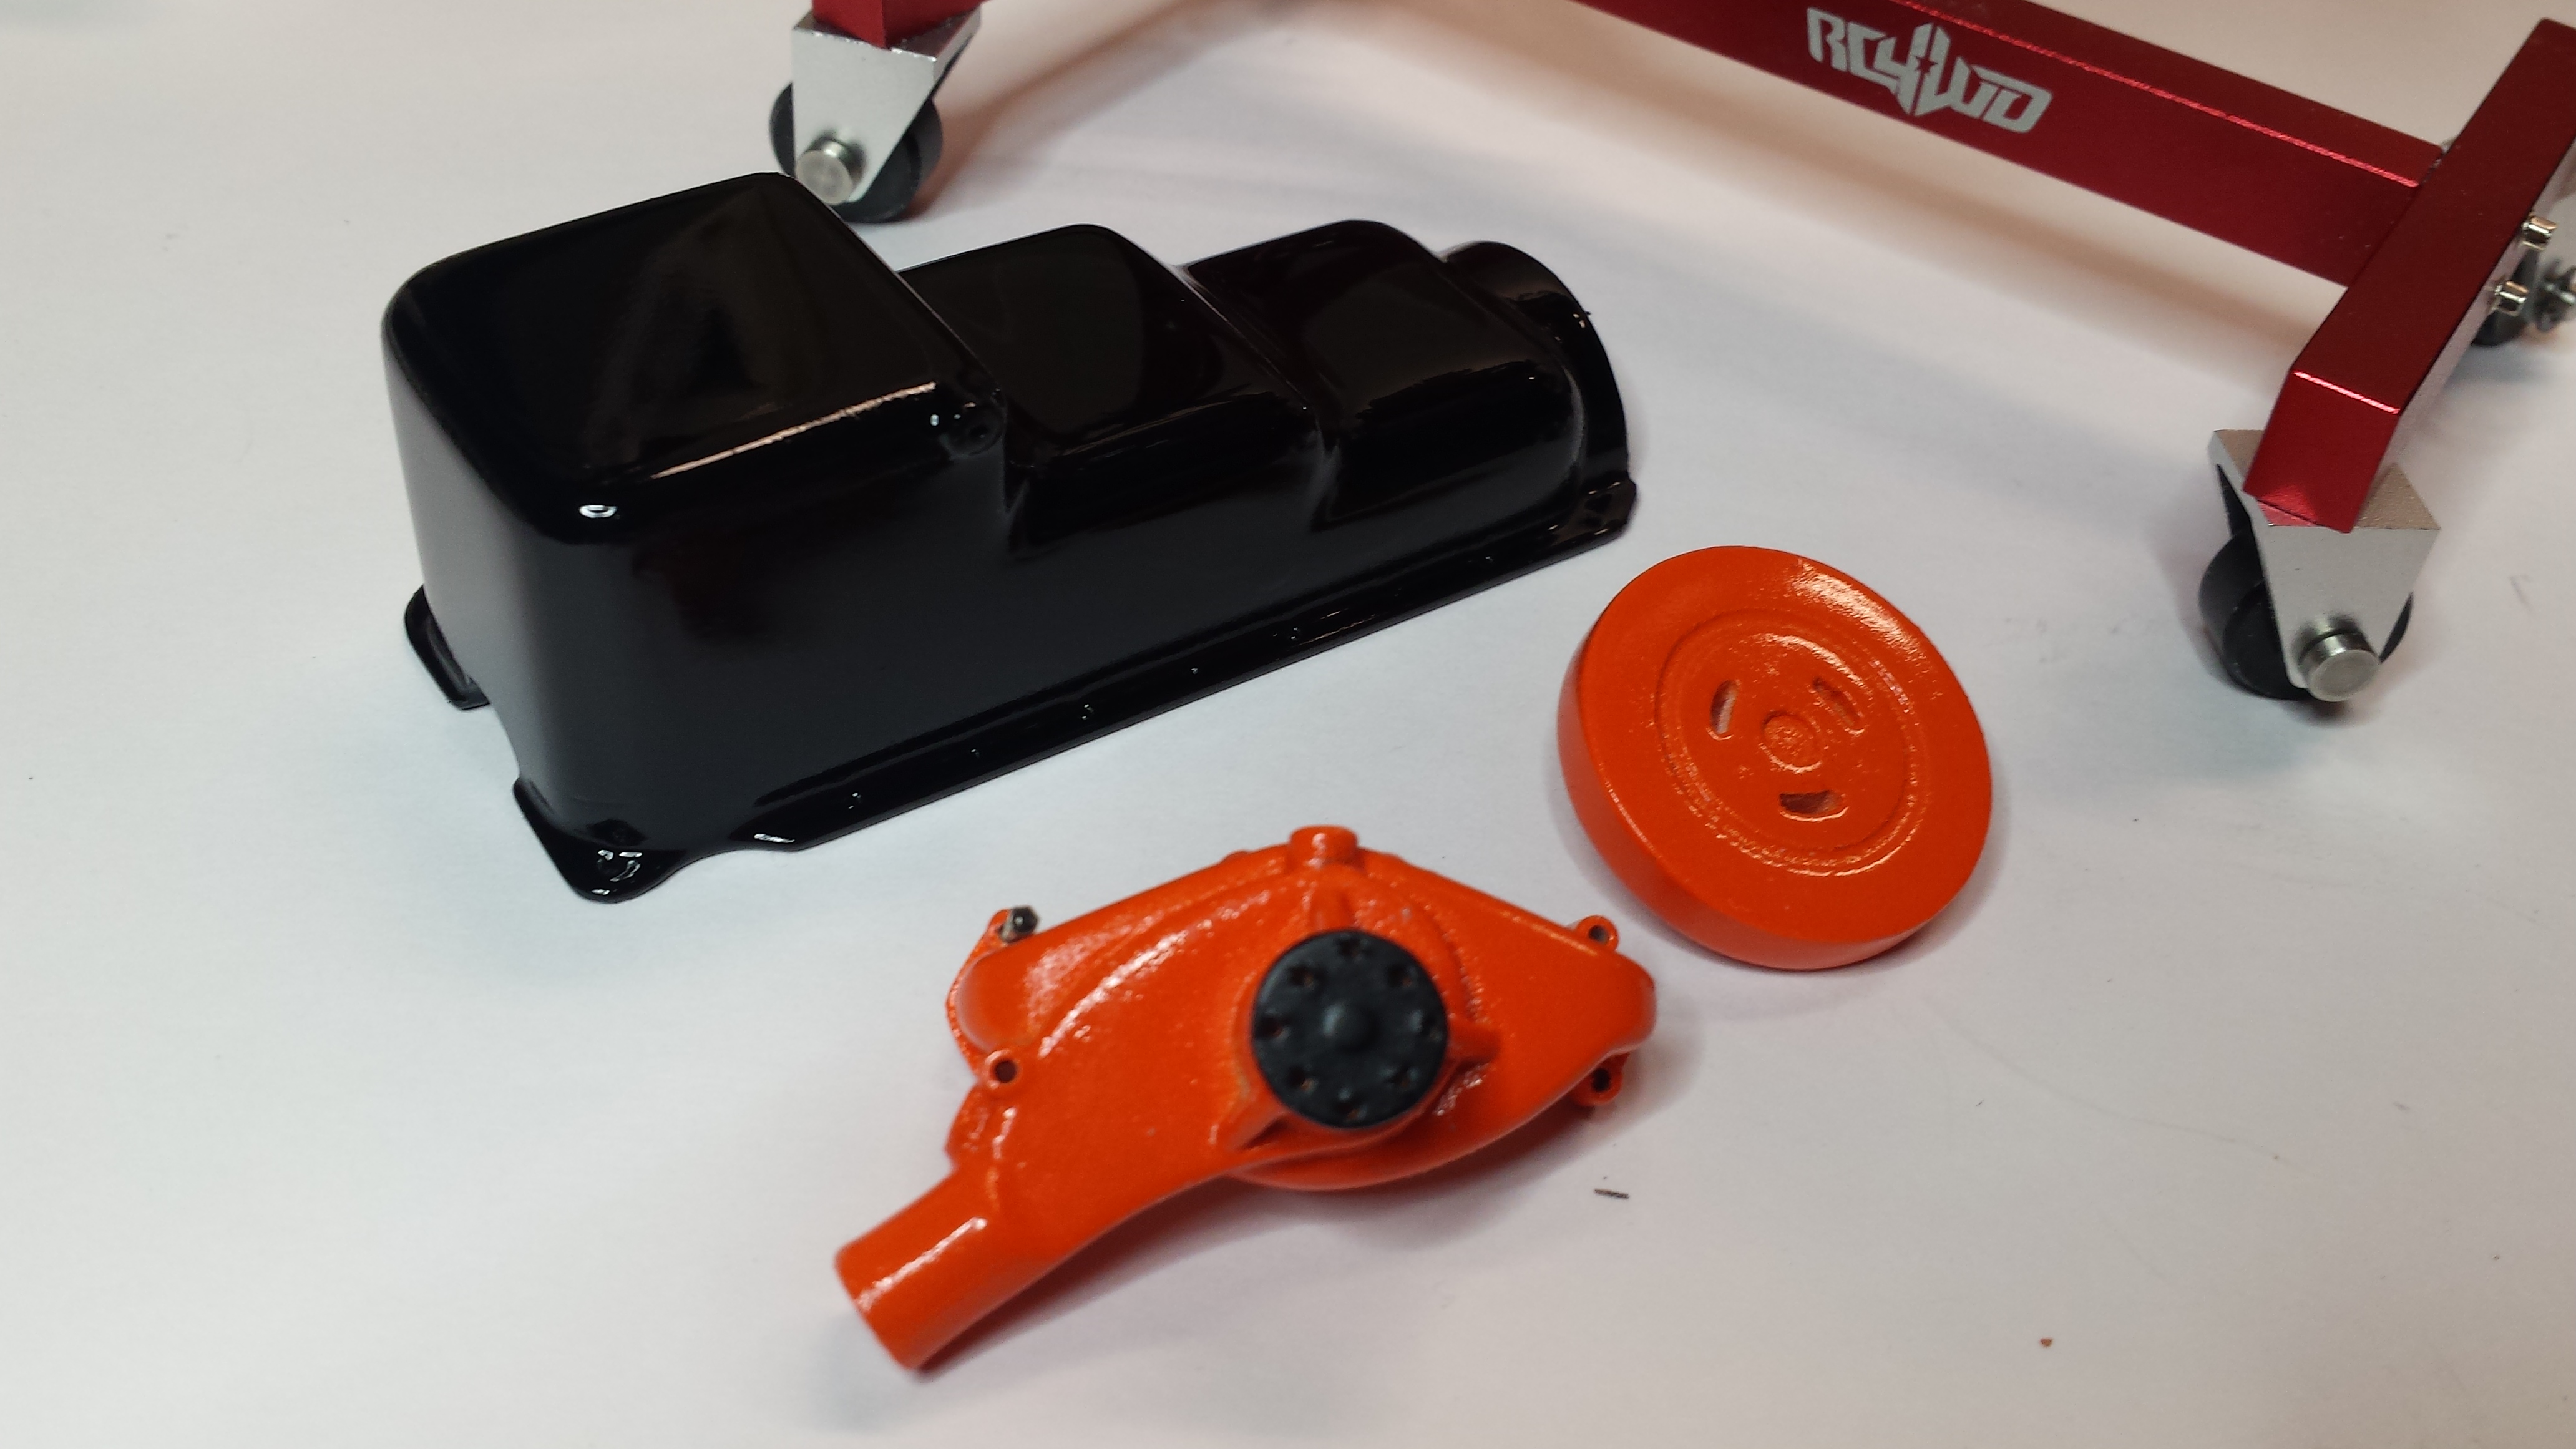
And here I've got the oil pan & water pump test fit as well as the cross ram fuel injection which has a piece of plastic glued to the bottom that fits into the opening on top of the block.
-
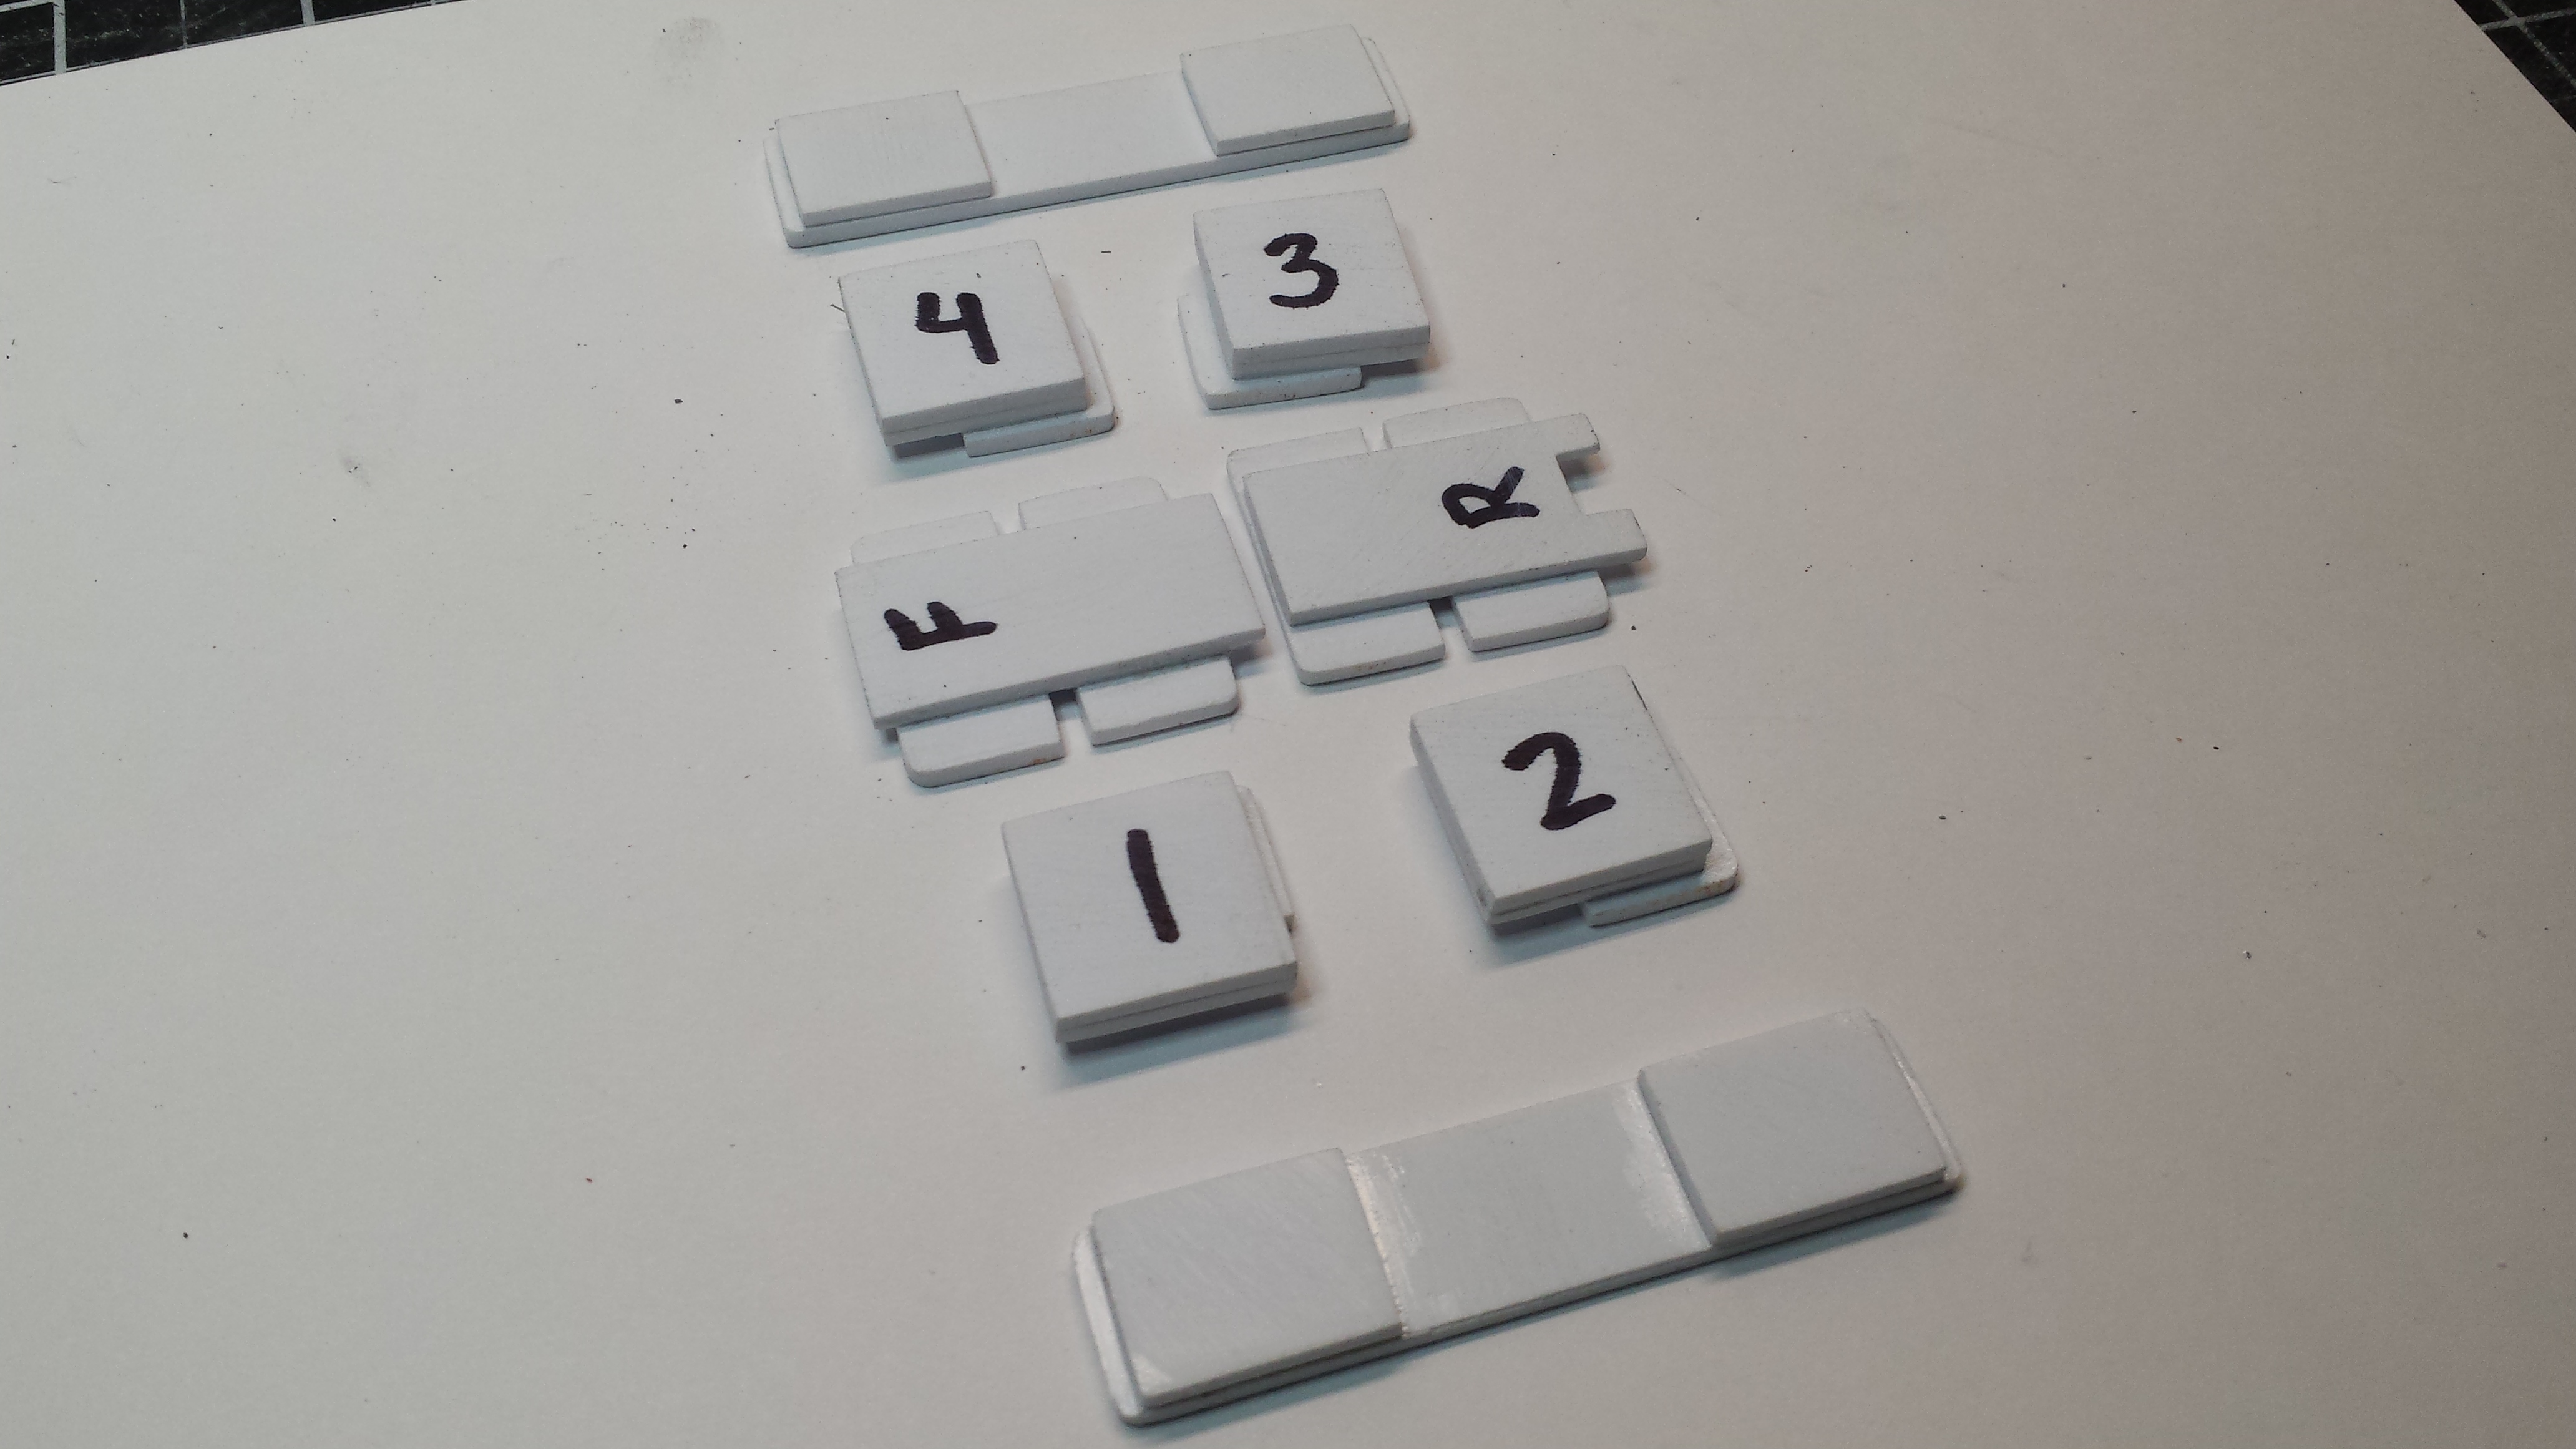
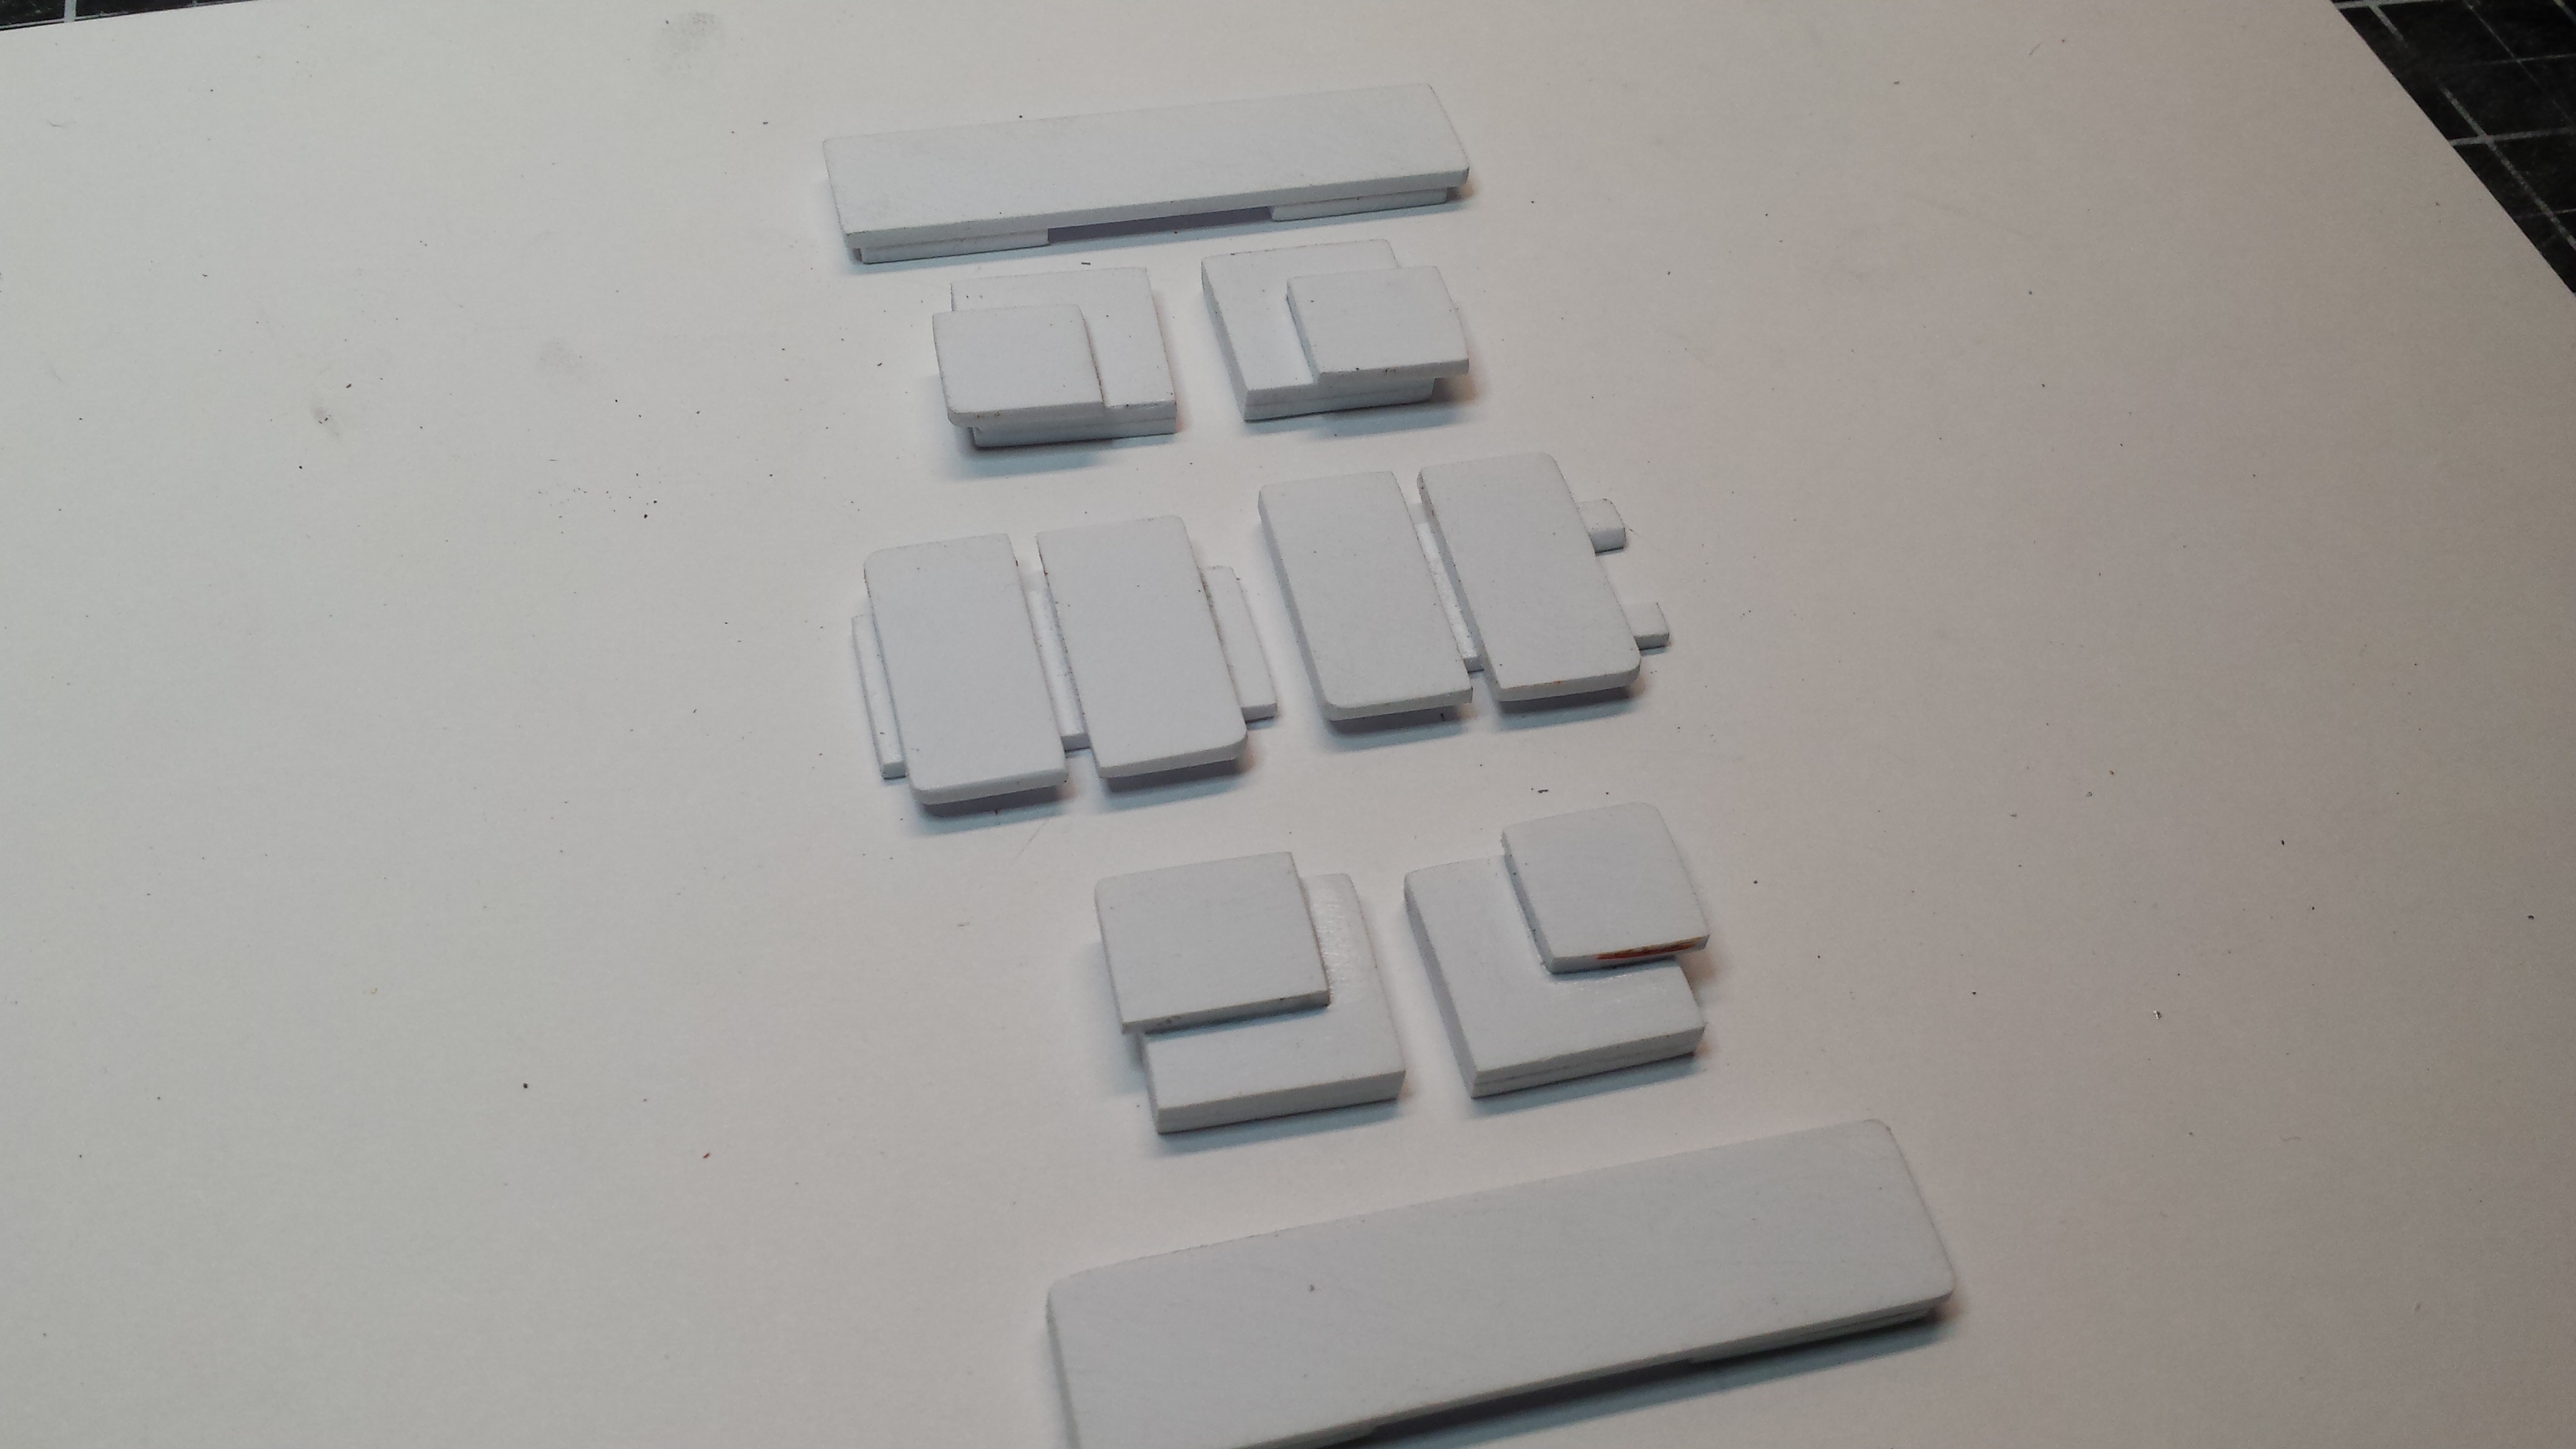
here are all the pieces...
-
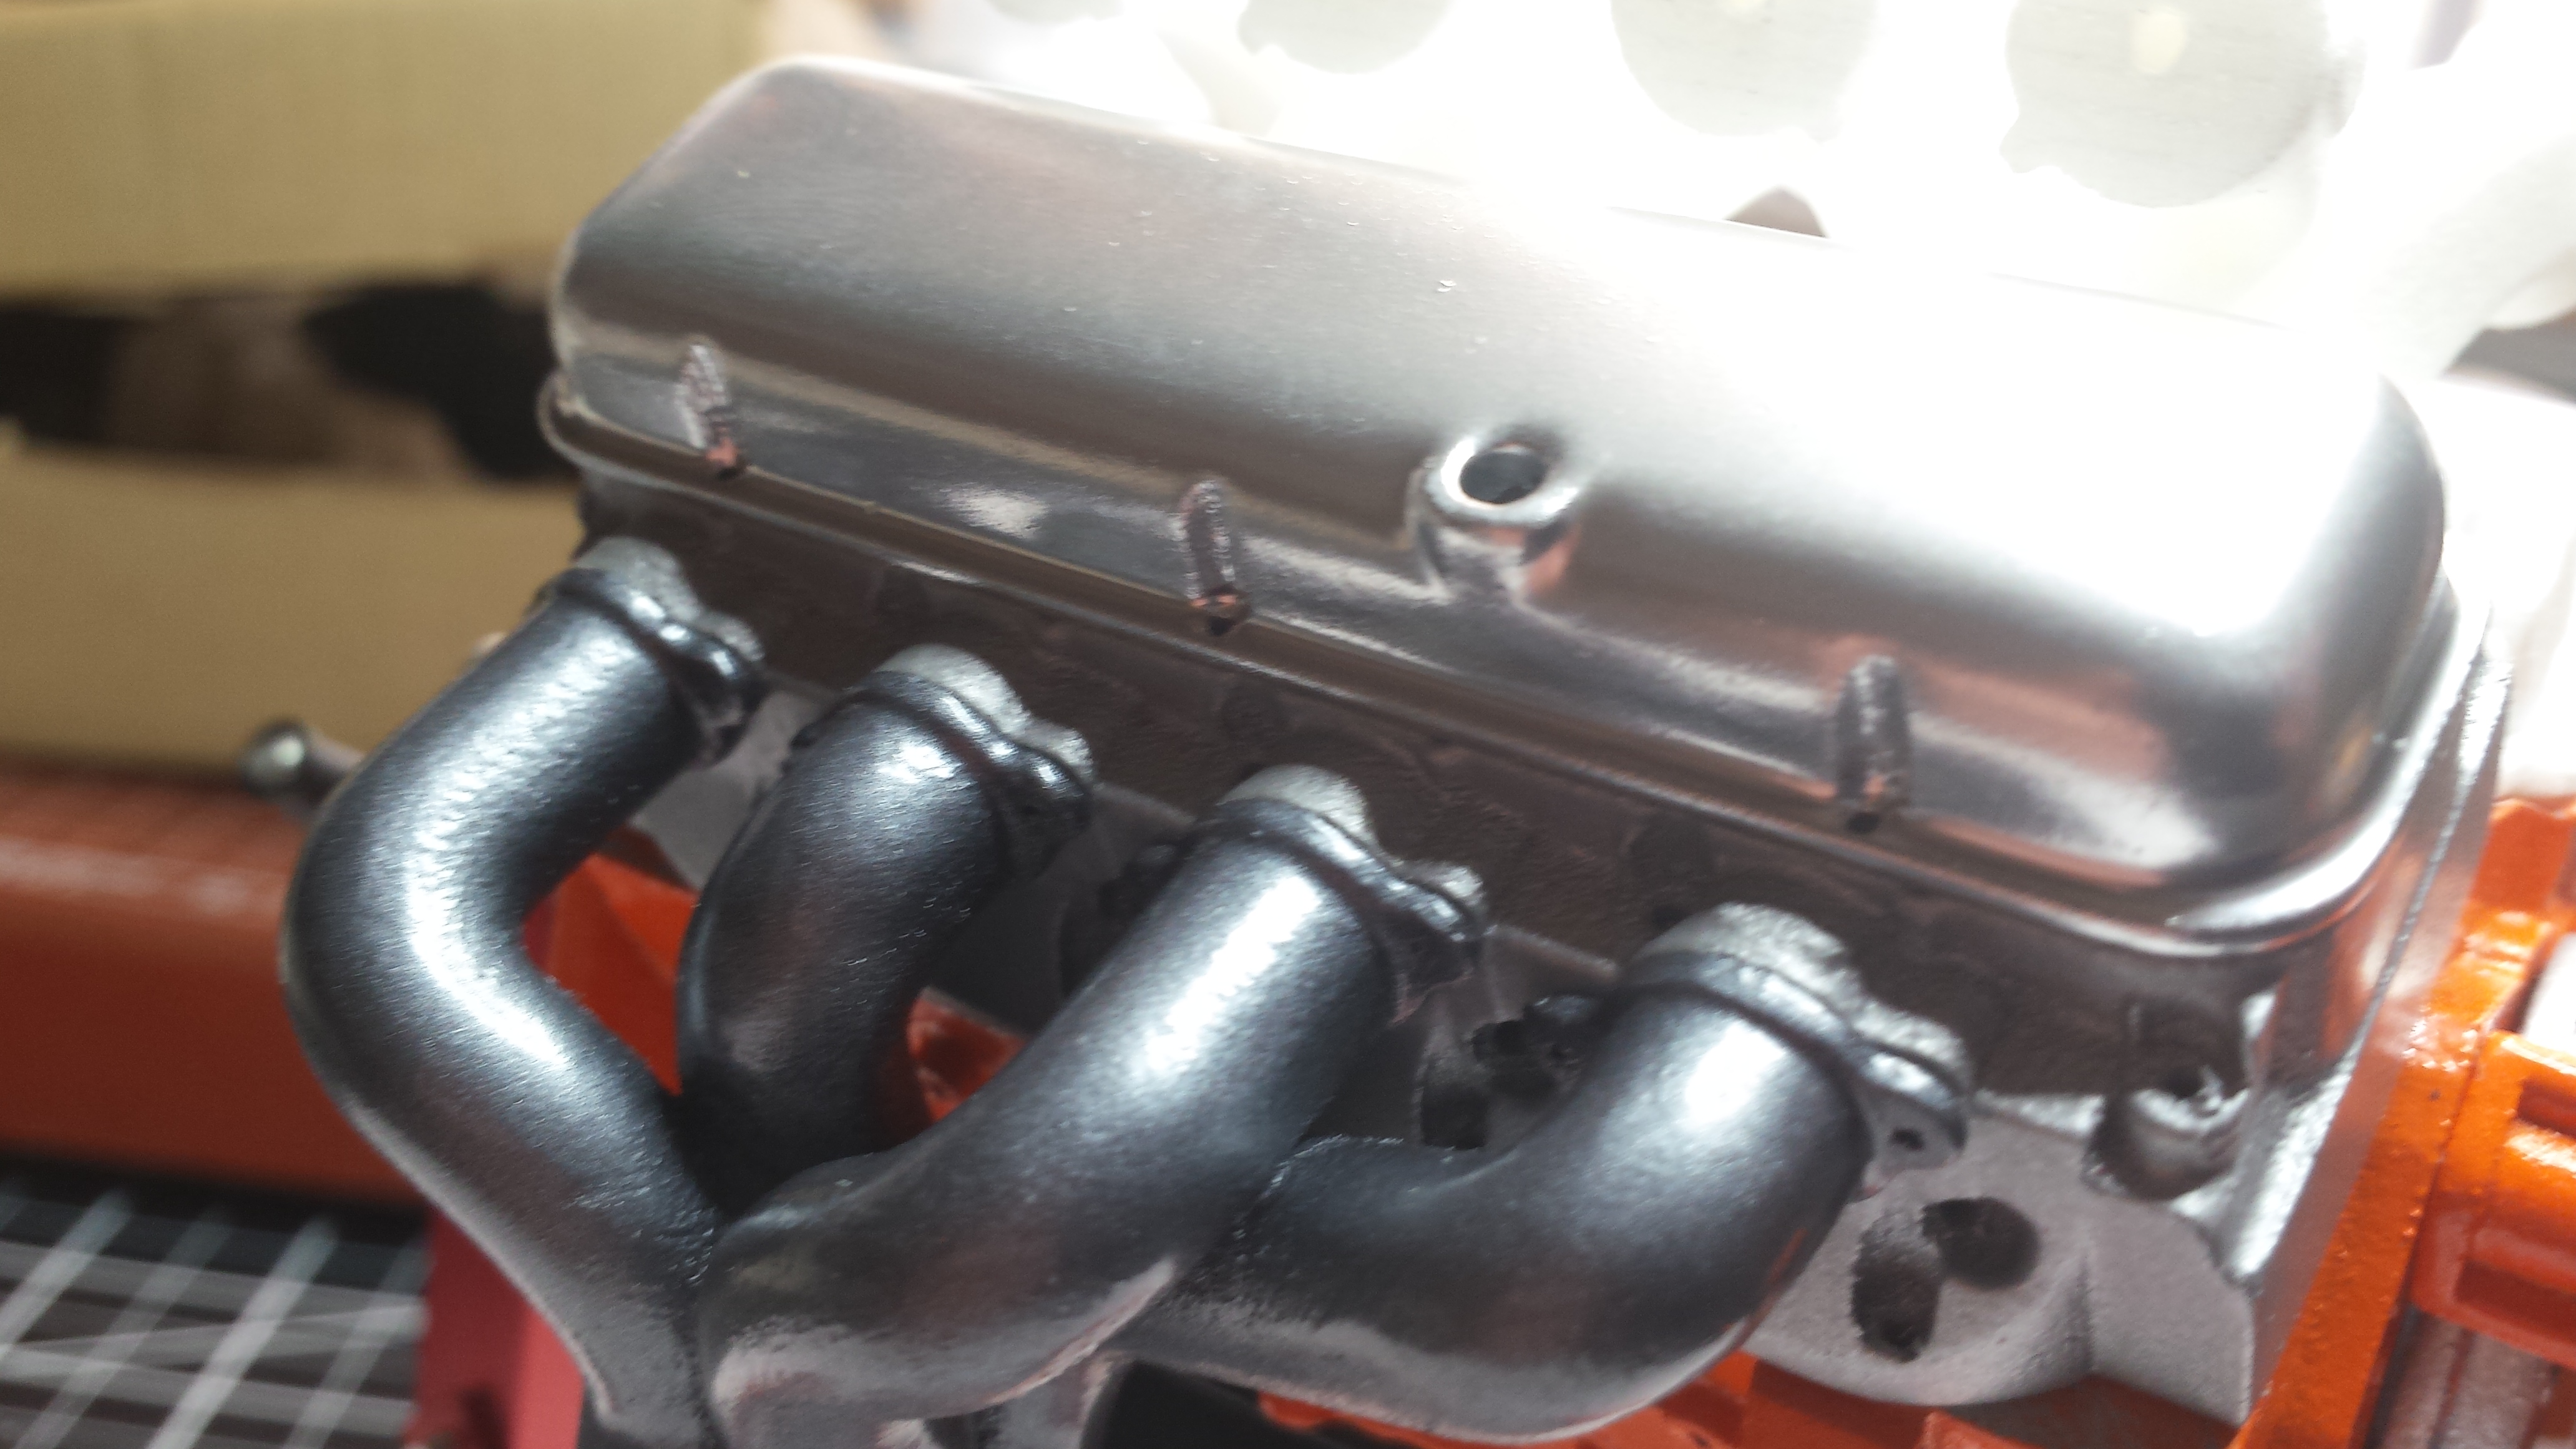
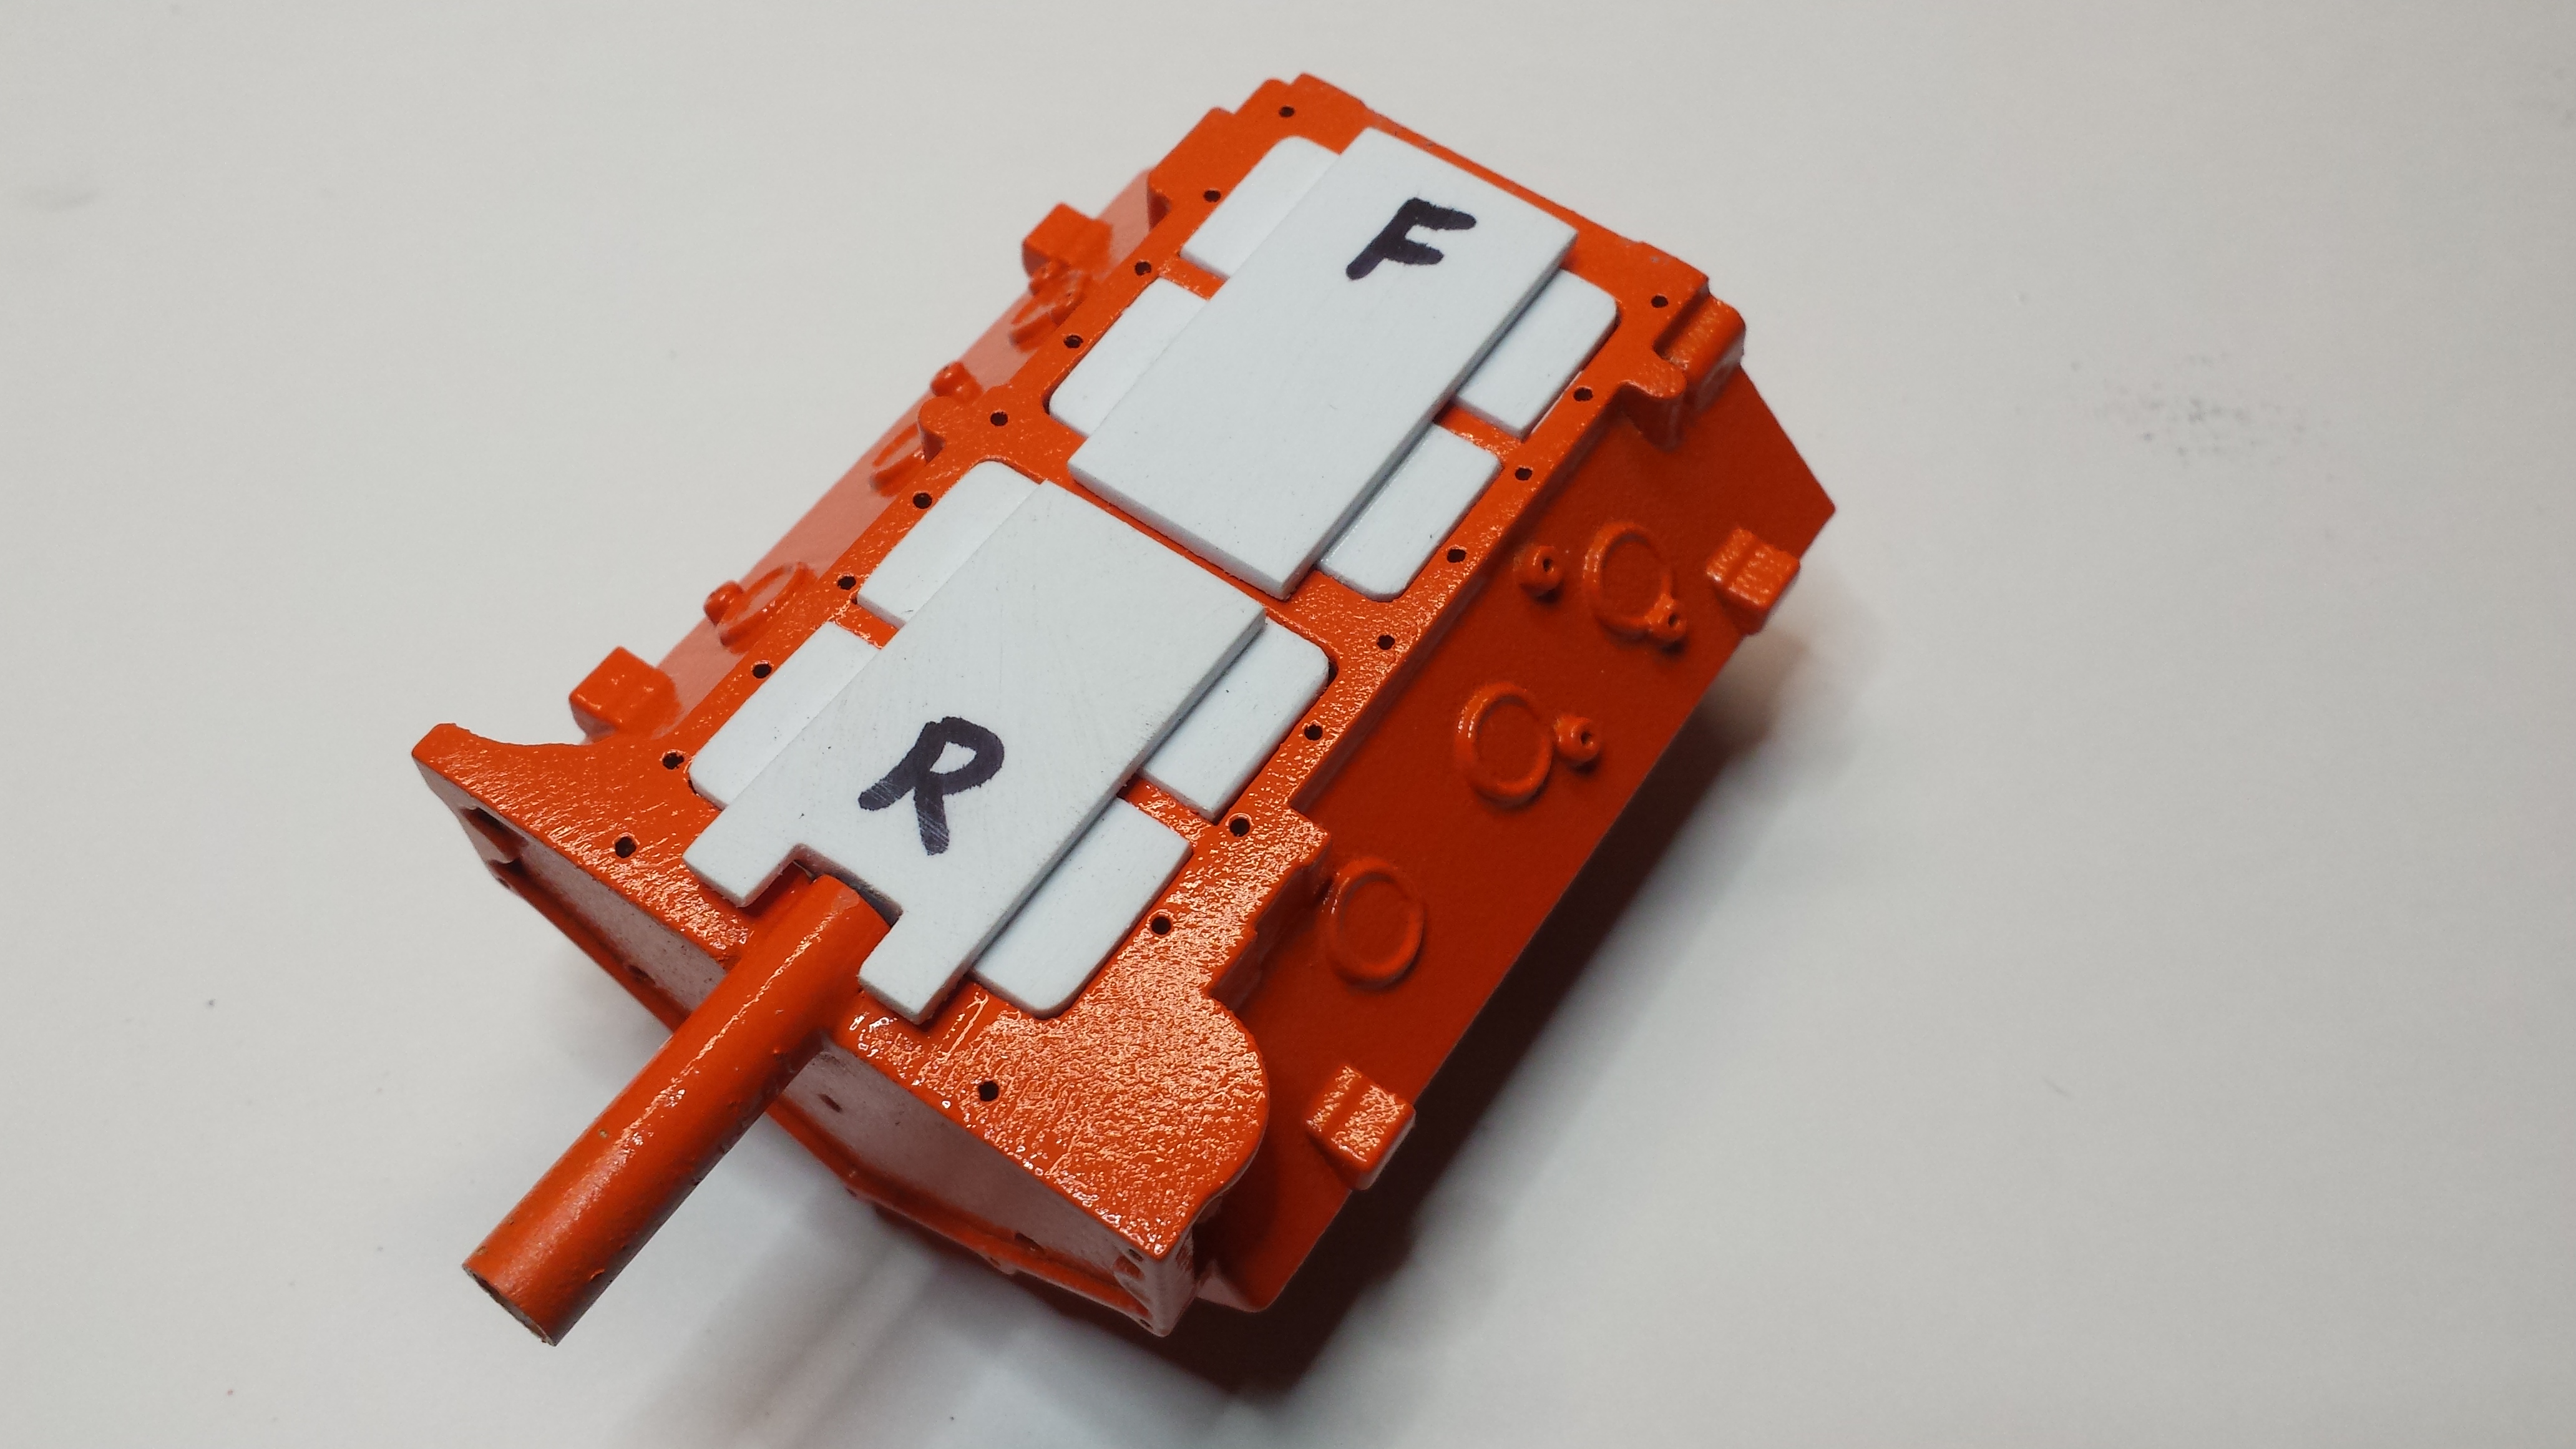
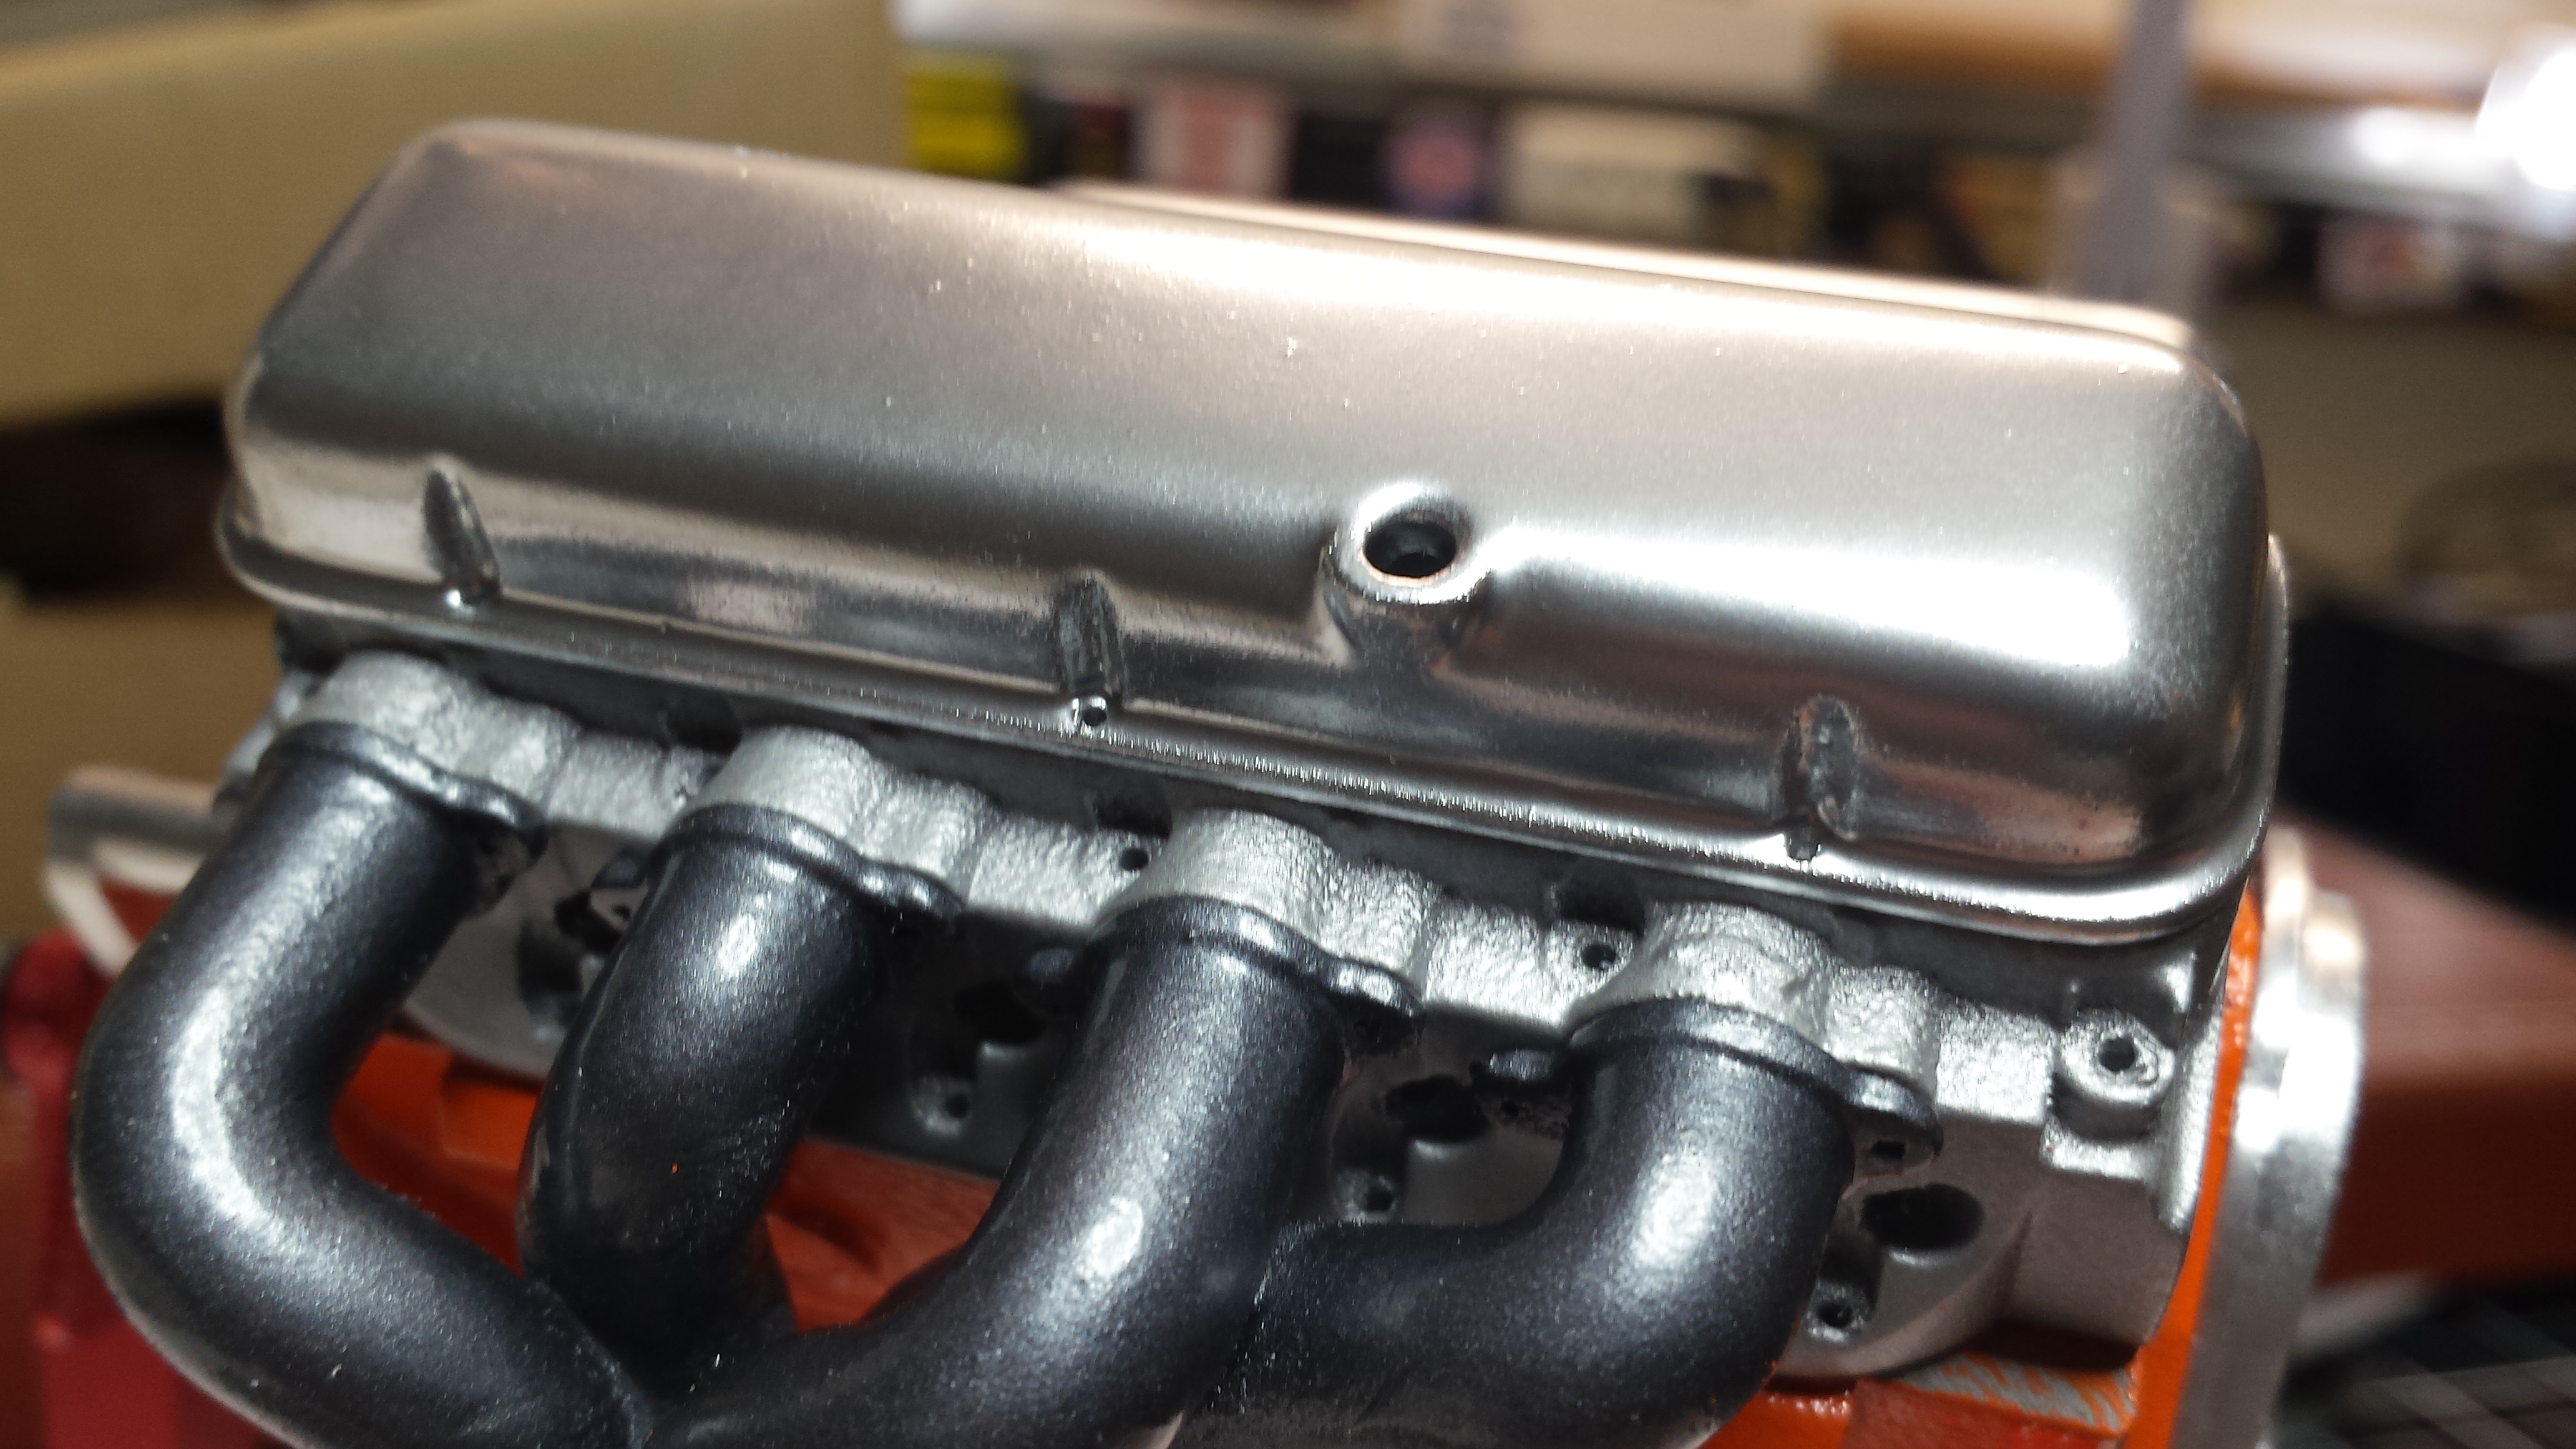
Valve covers attach to these pieces that fit onto the heads...
-
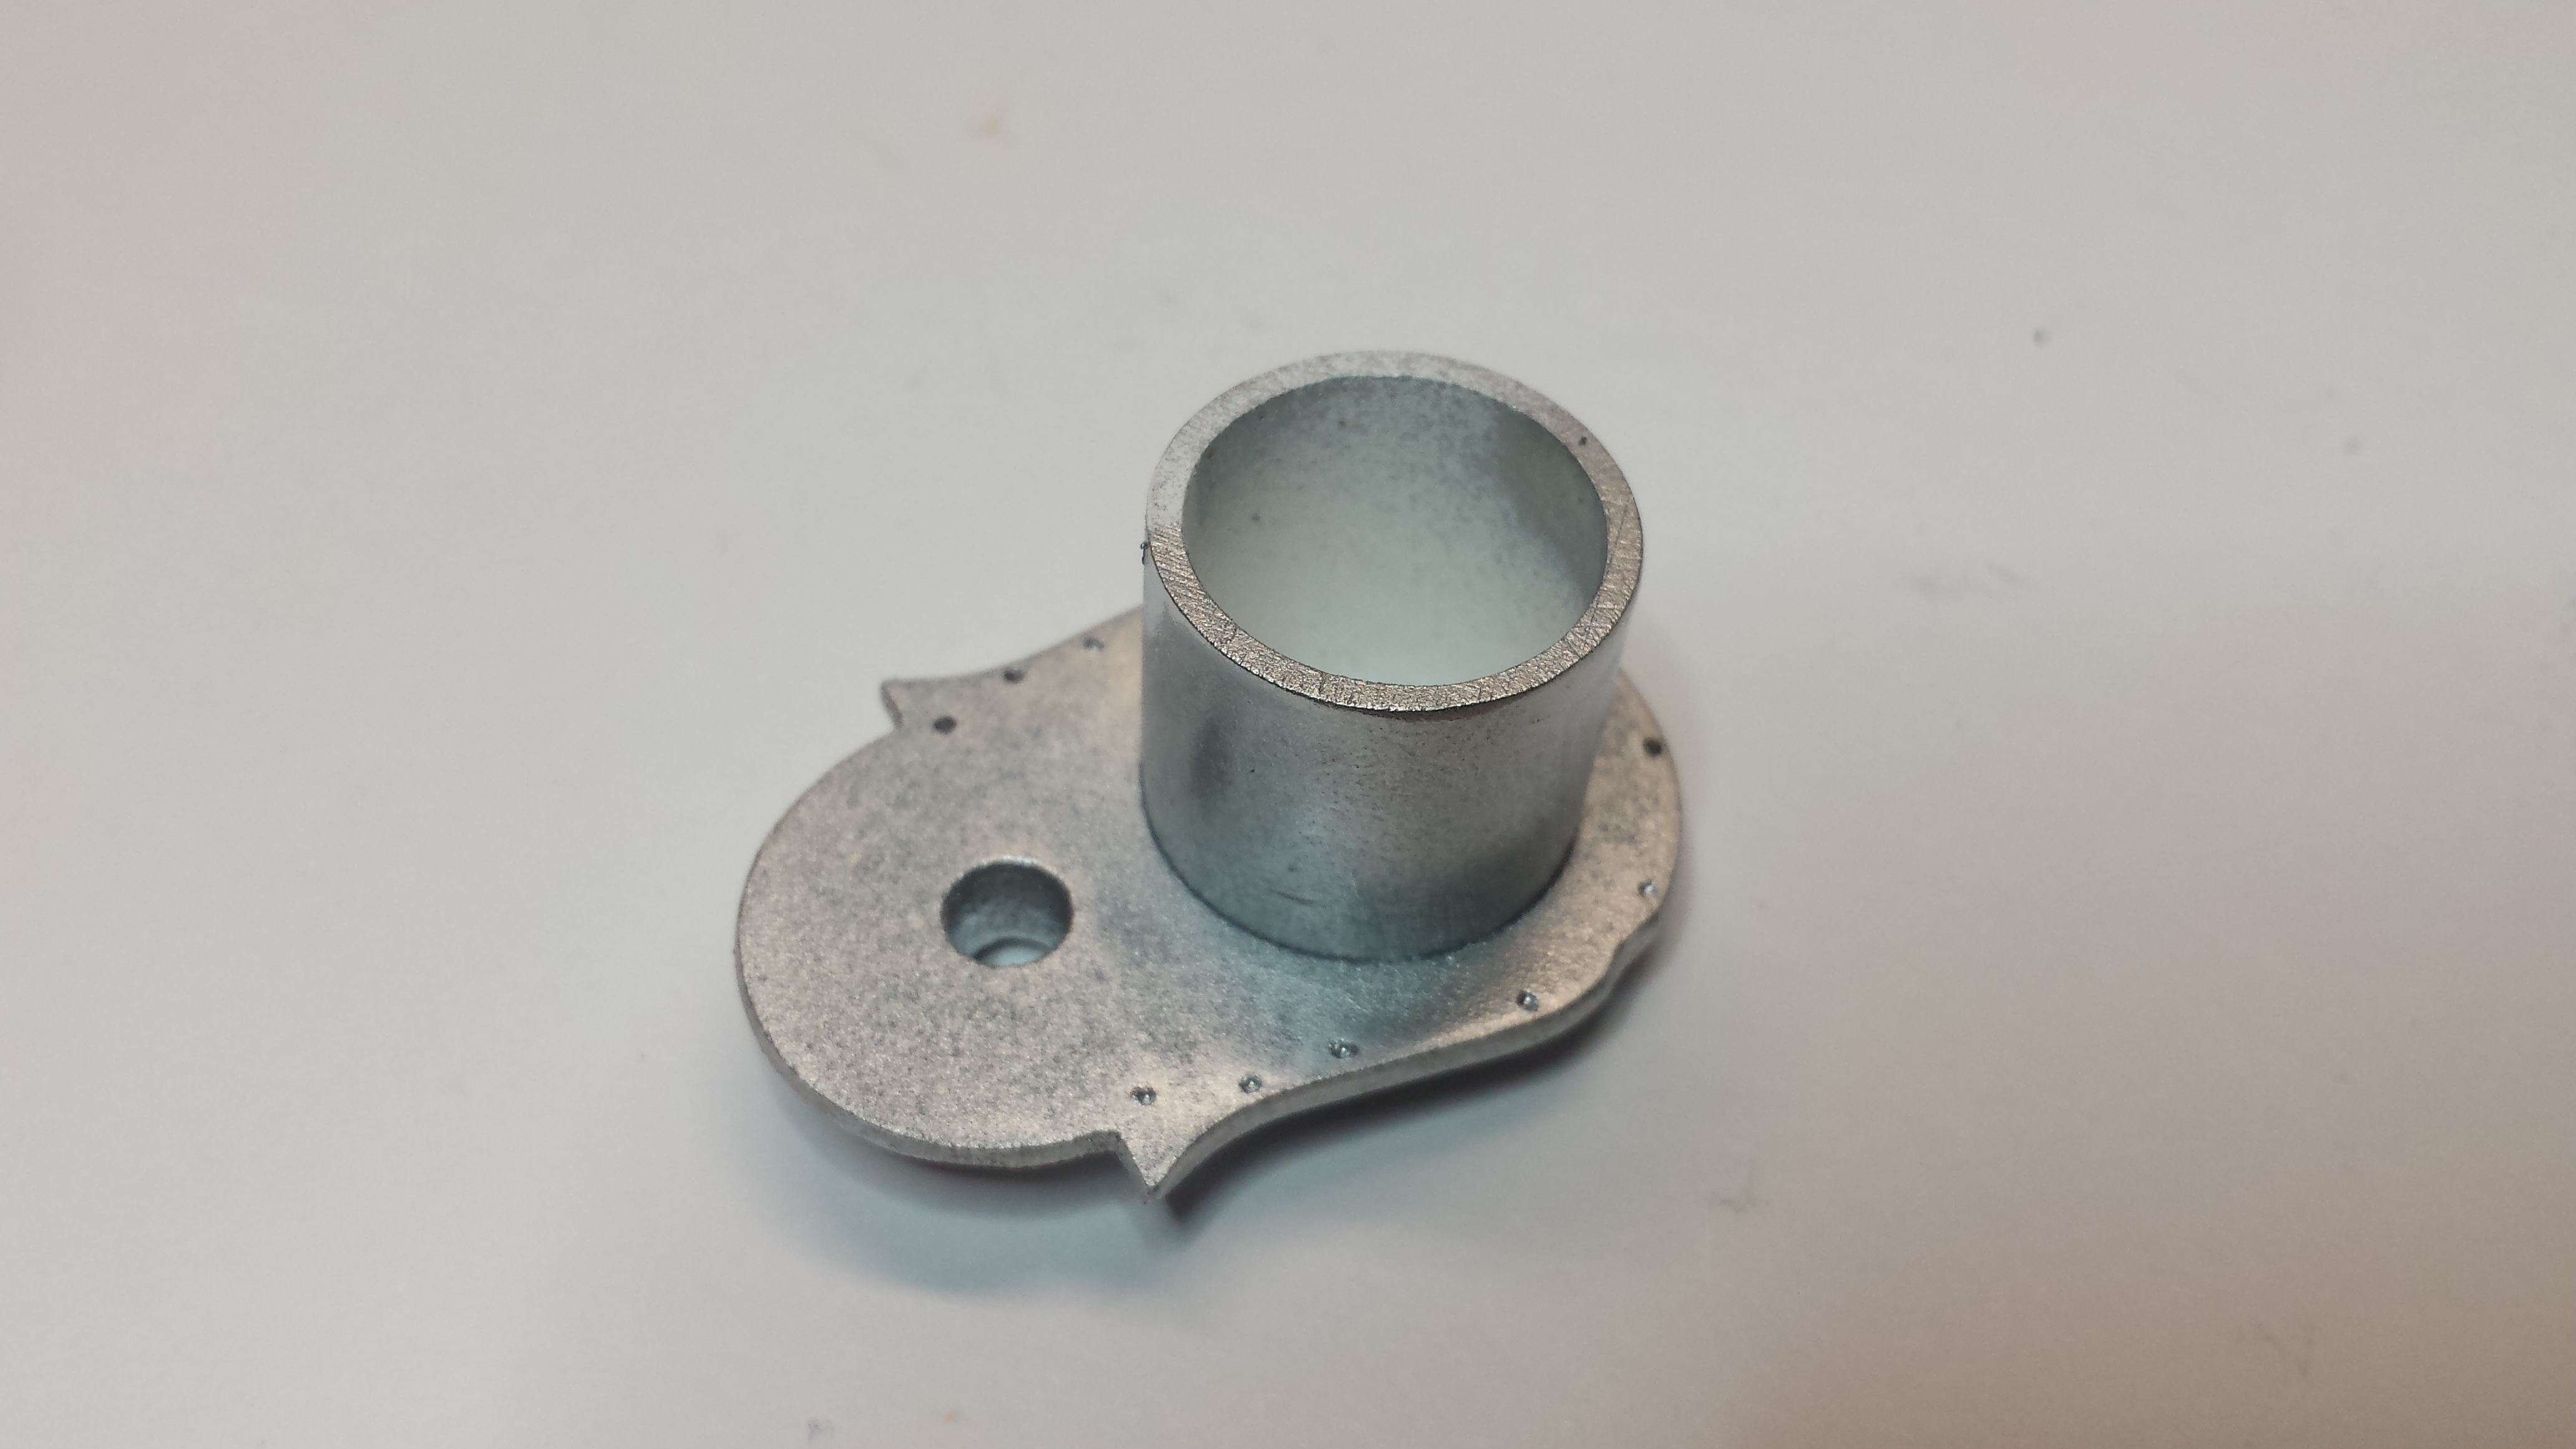
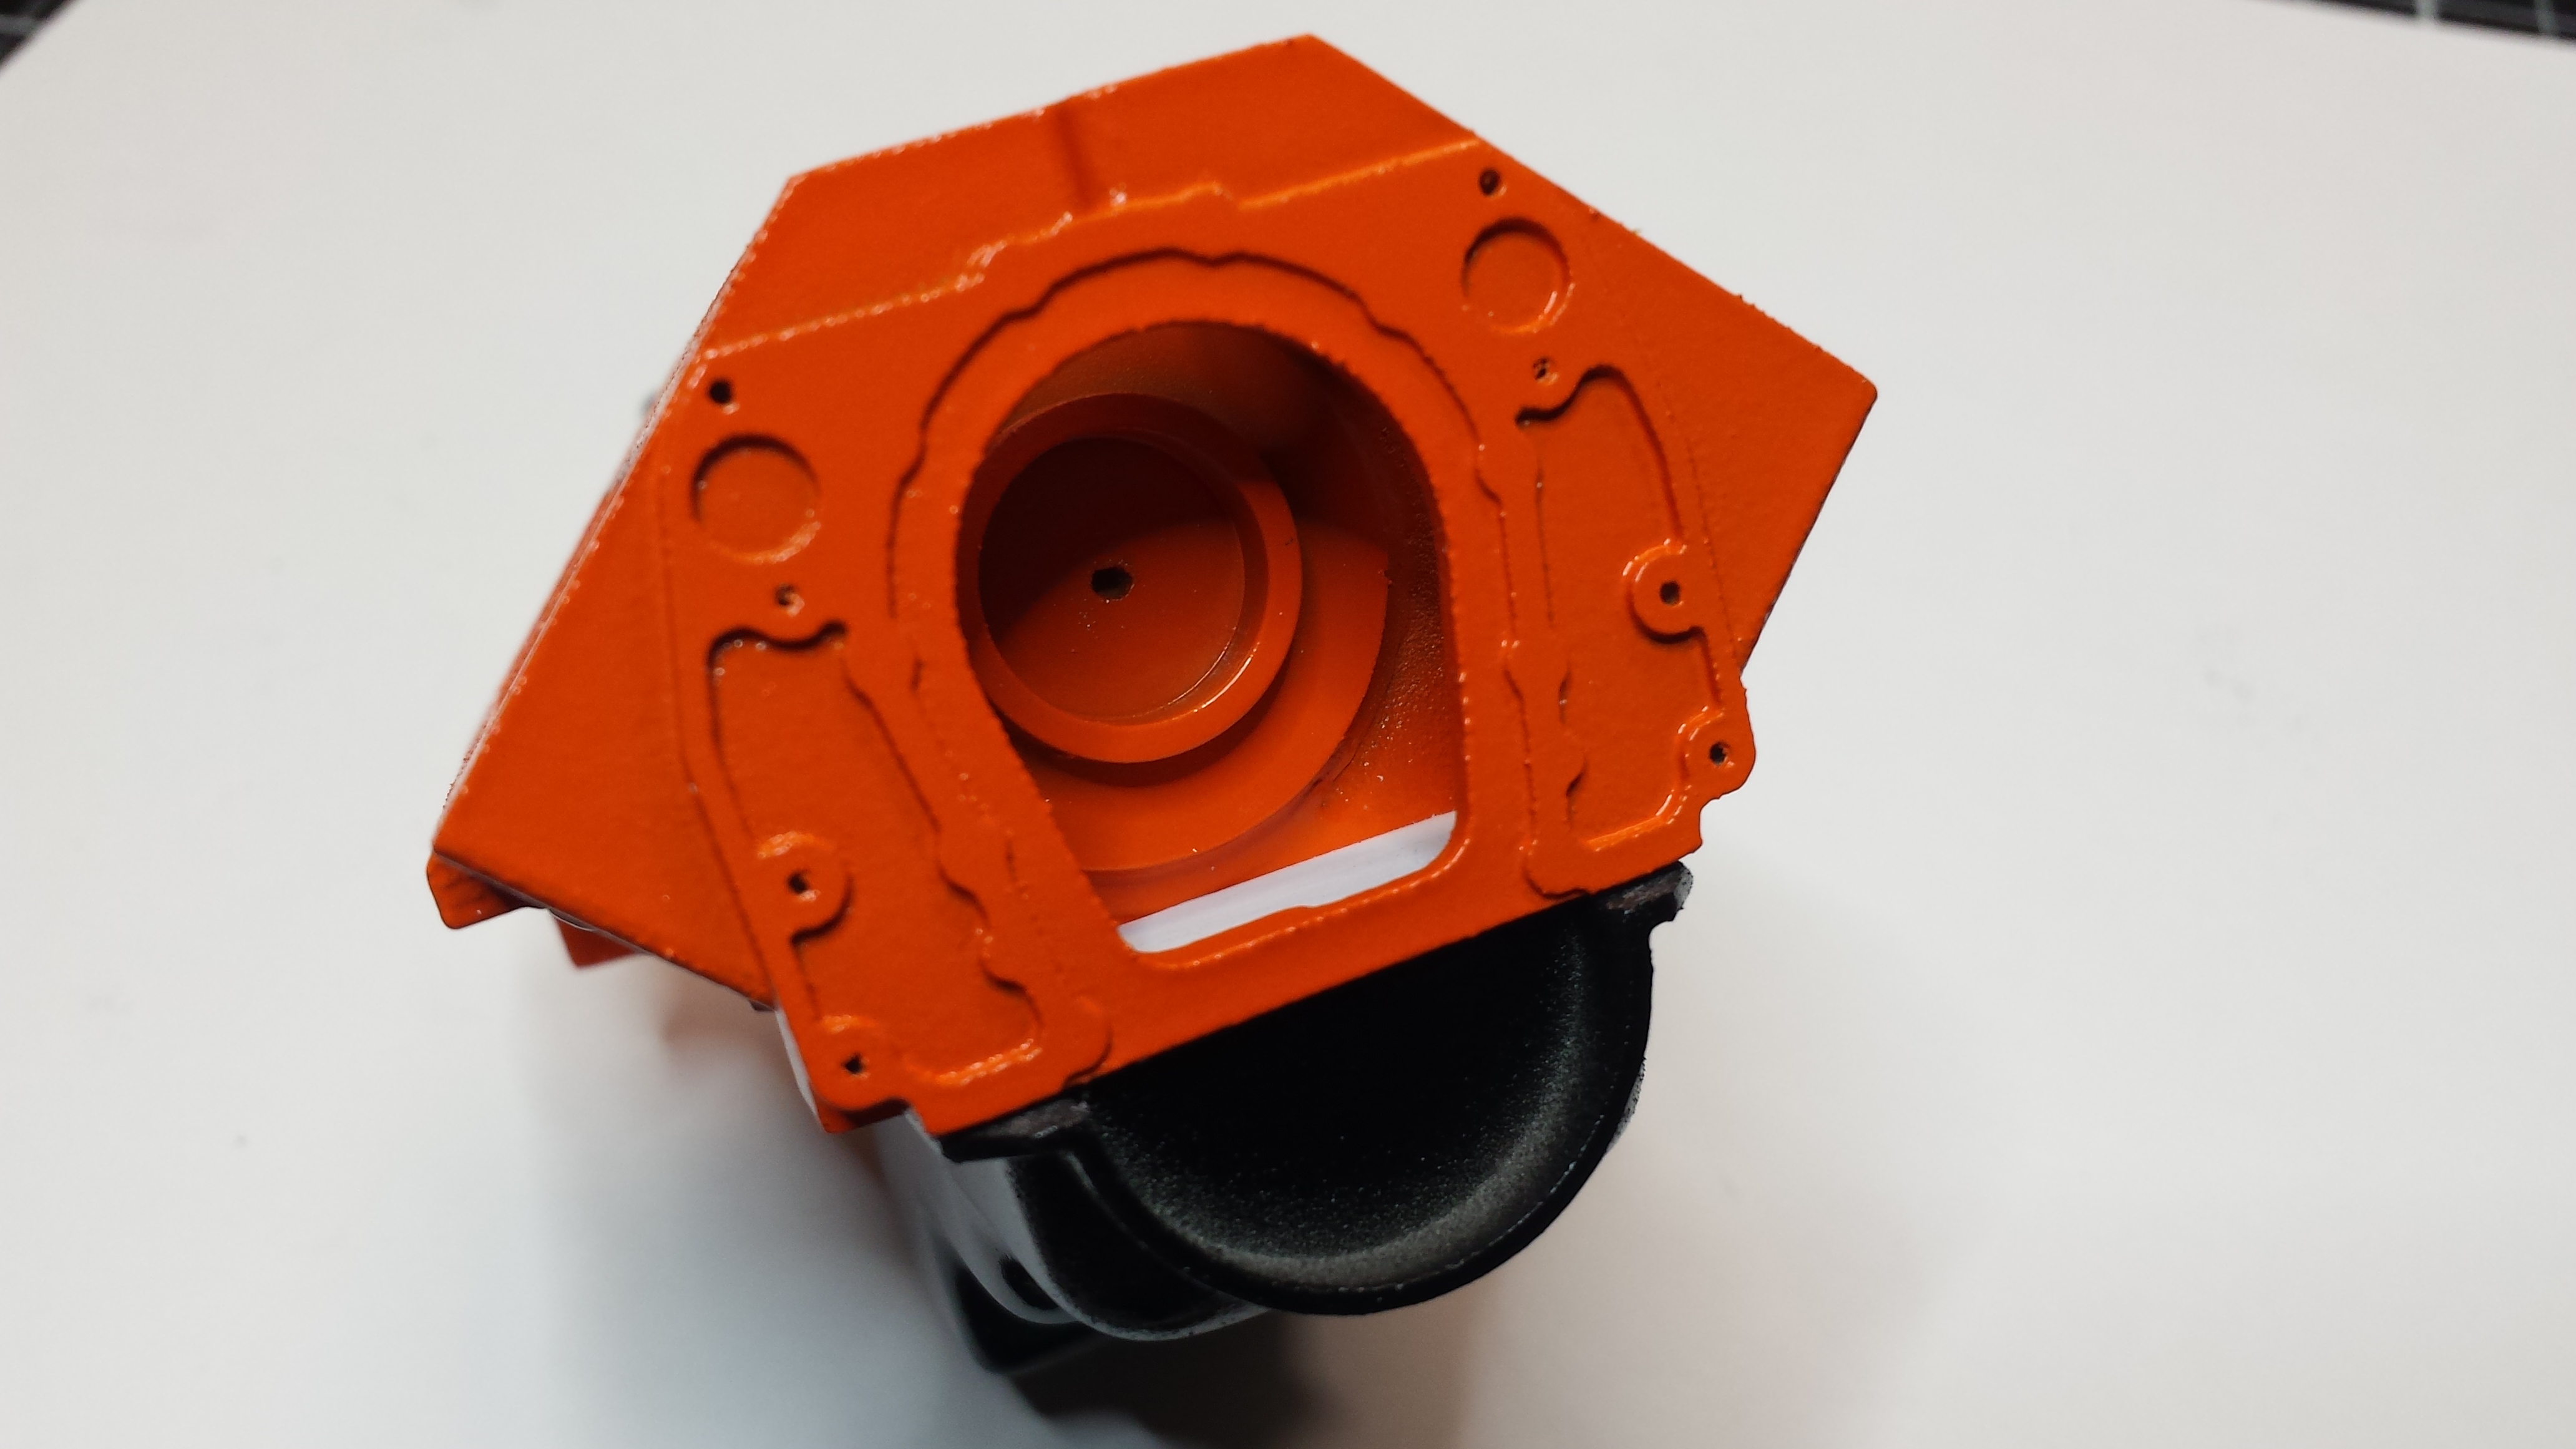
Timing cover, I attached a small piece of 5/8" PVC tubing to the back which attaches to a larger (3/4" I think) piece attached to the forward internal bulkhead inside the engine block.
-
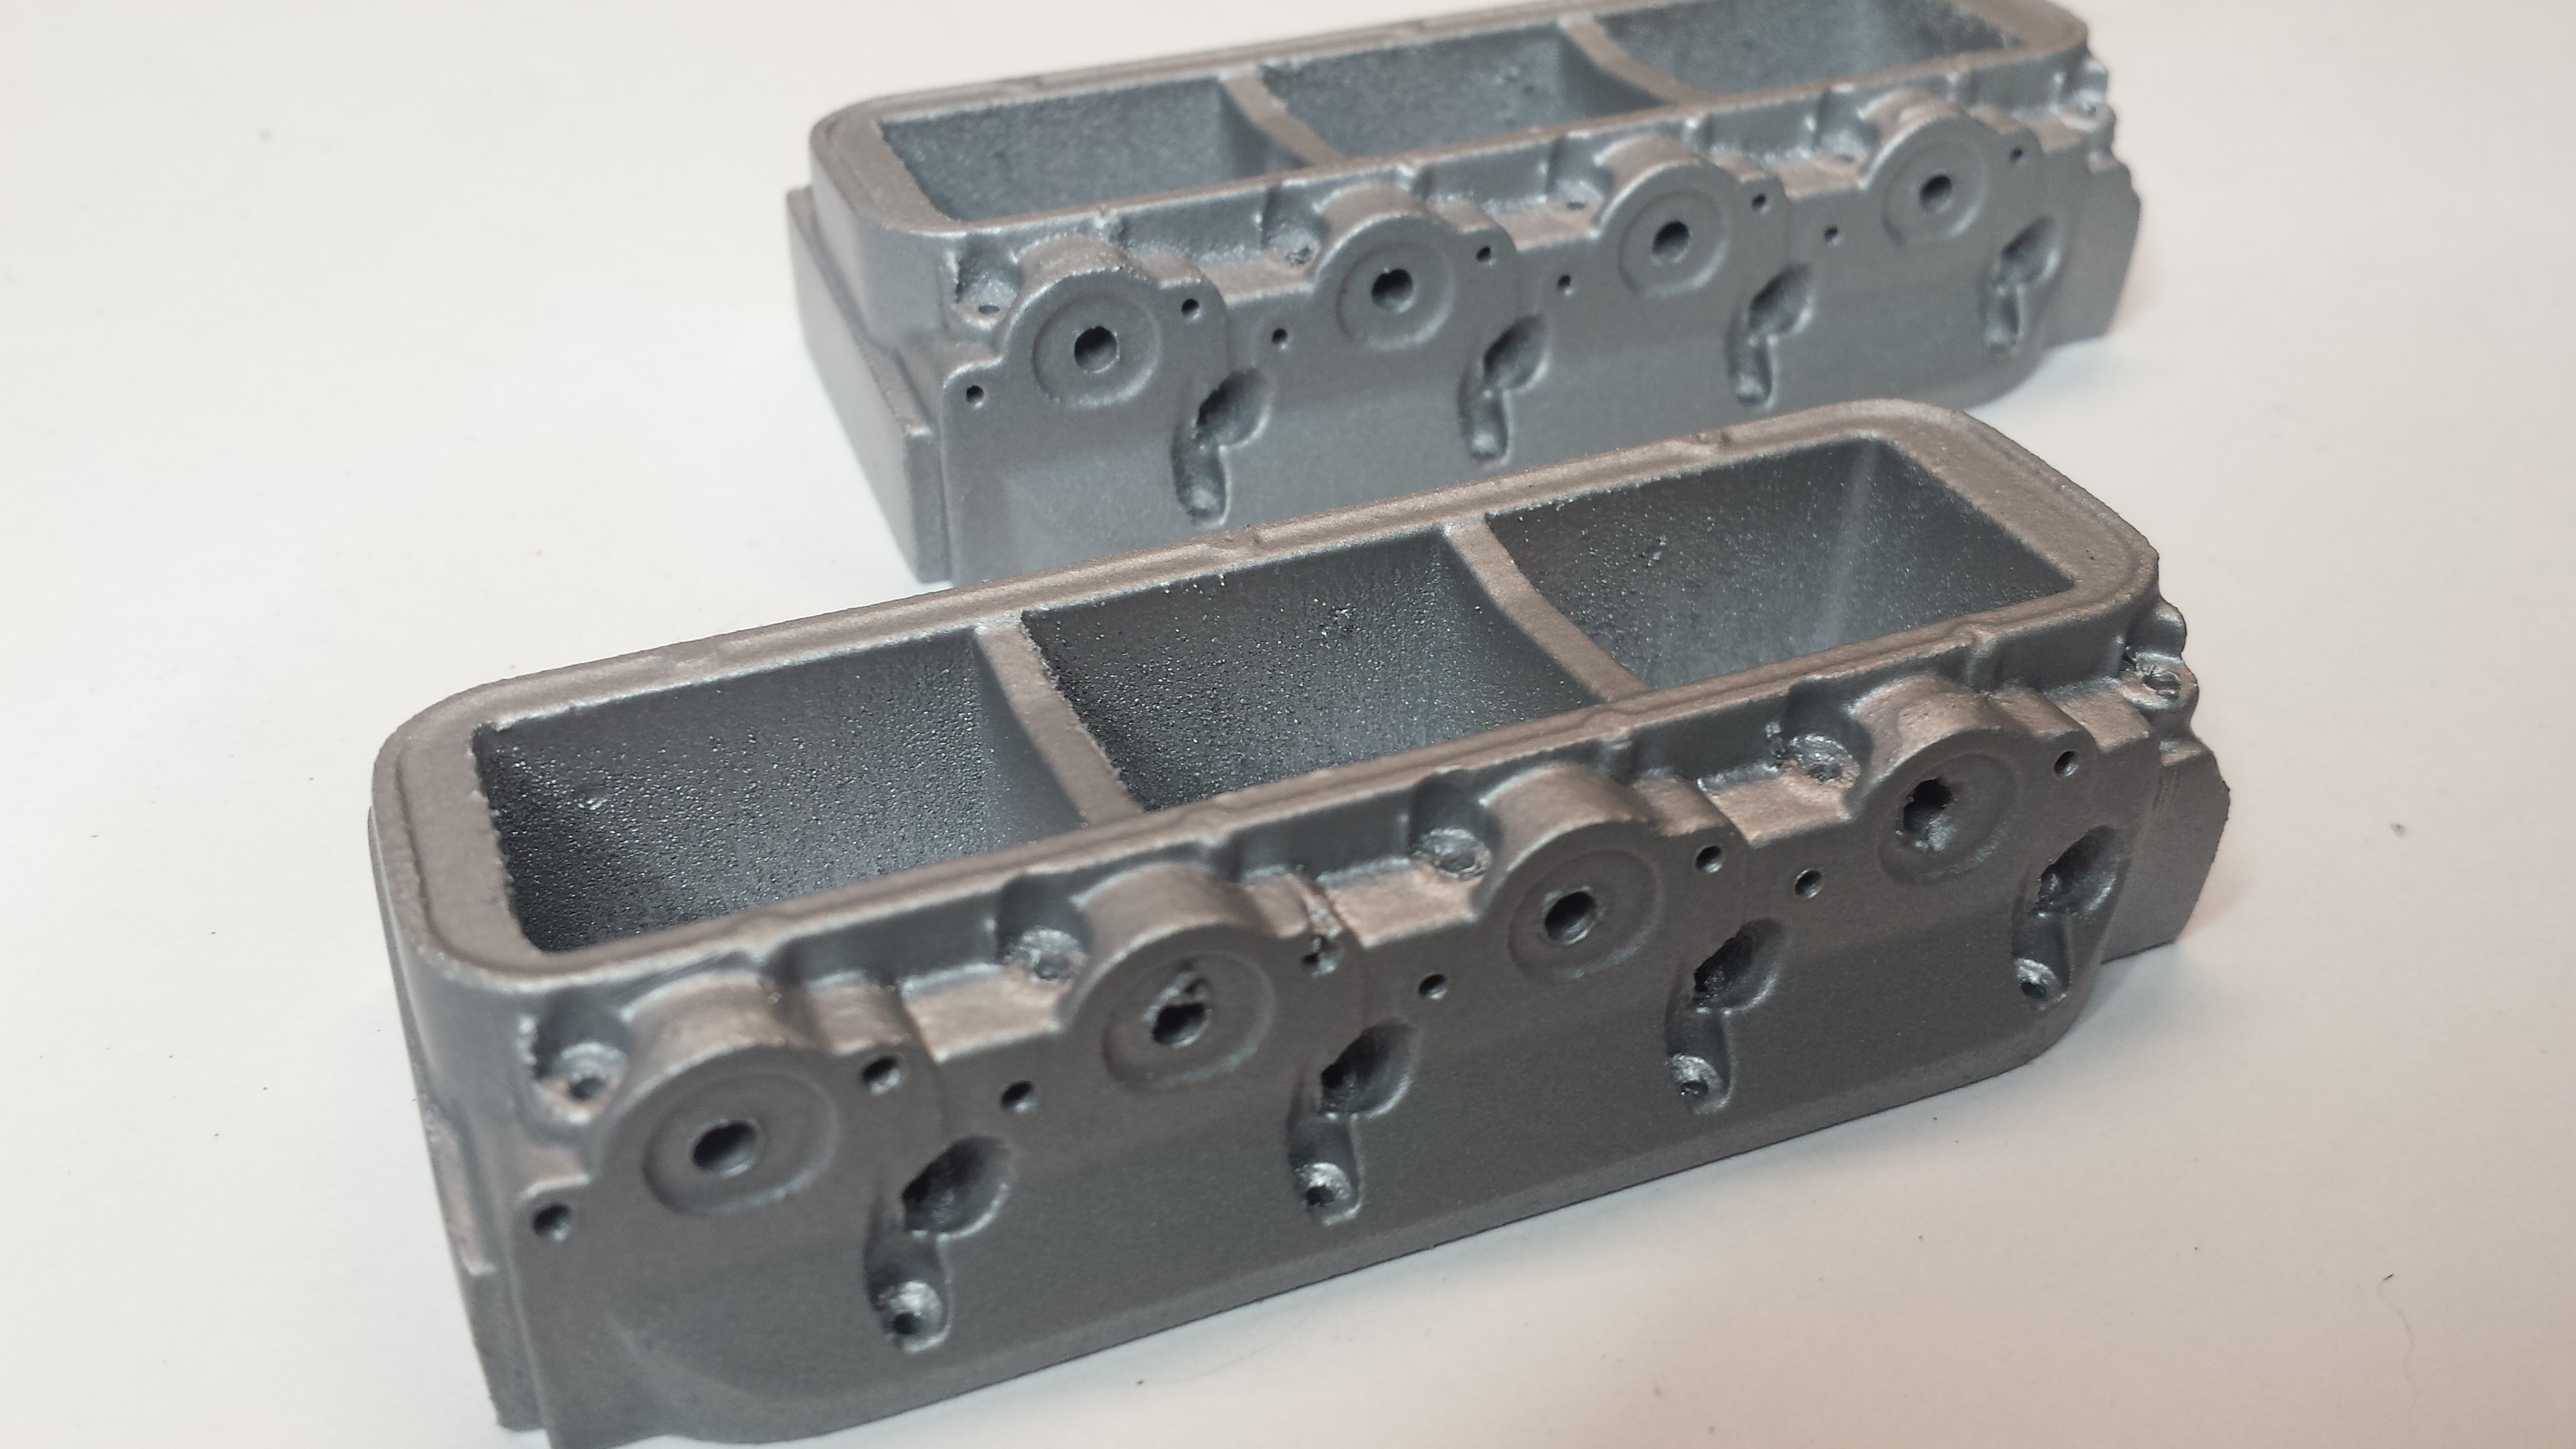
Heads...
-
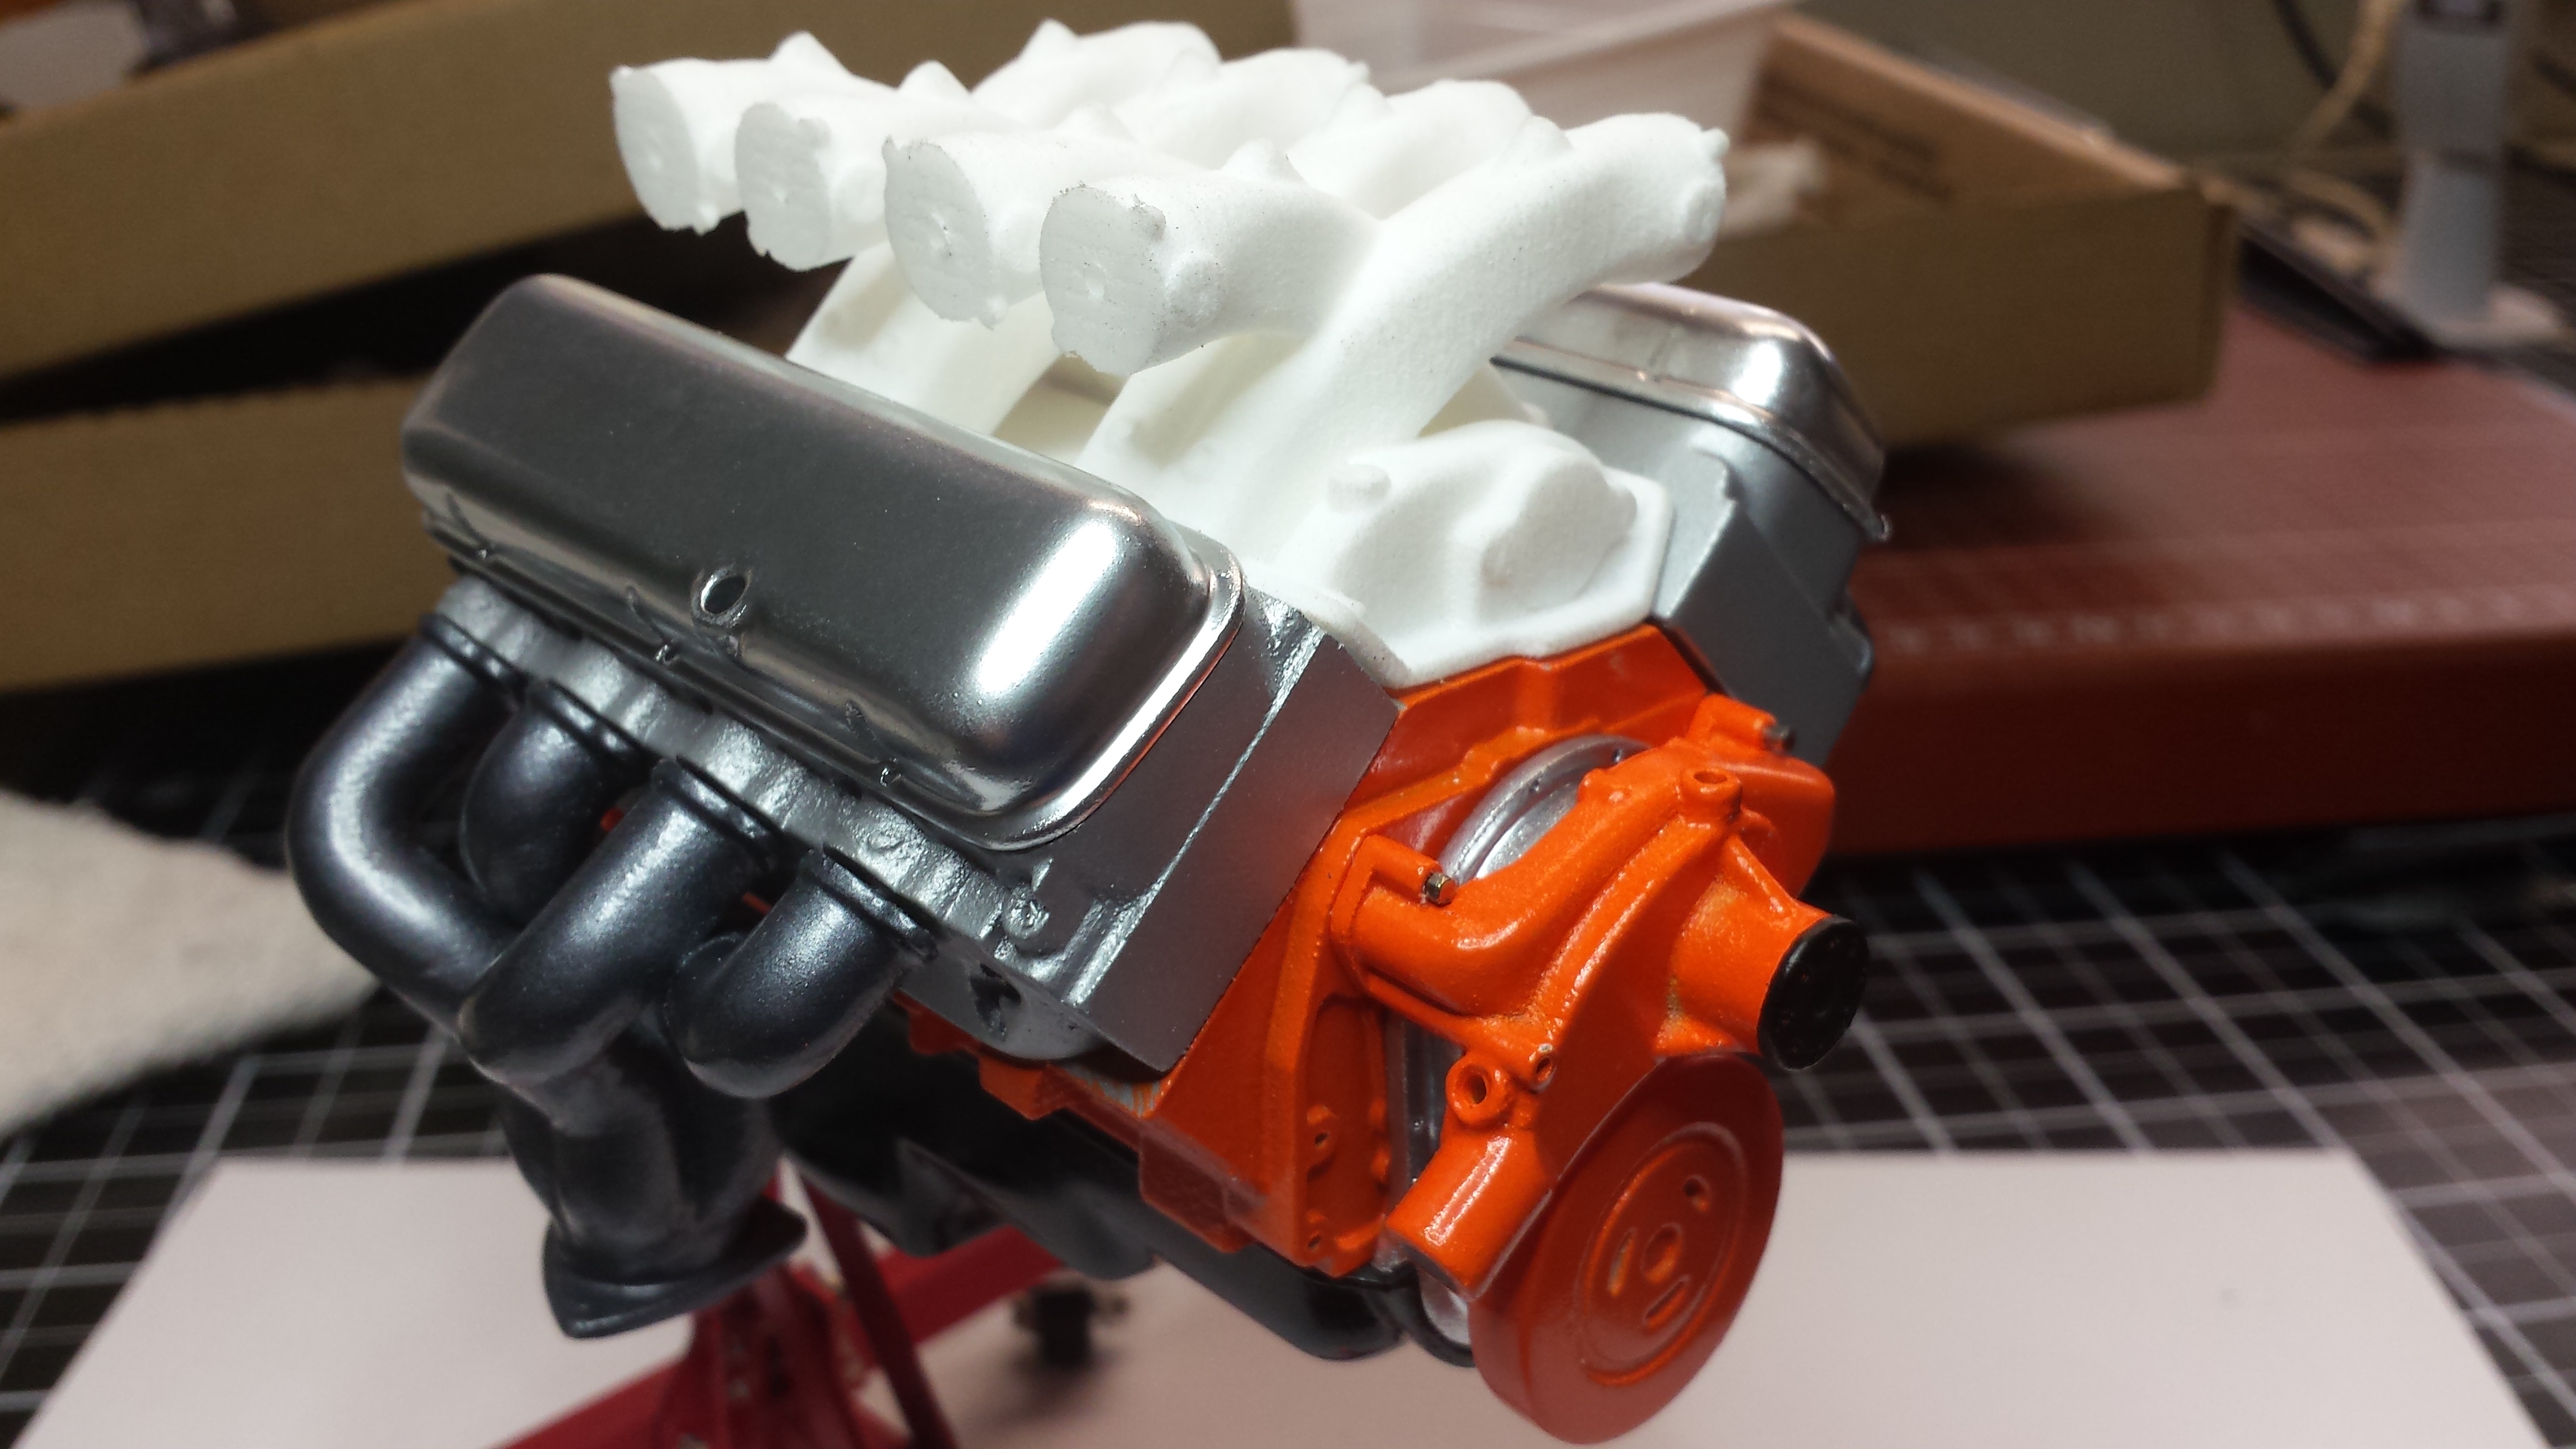
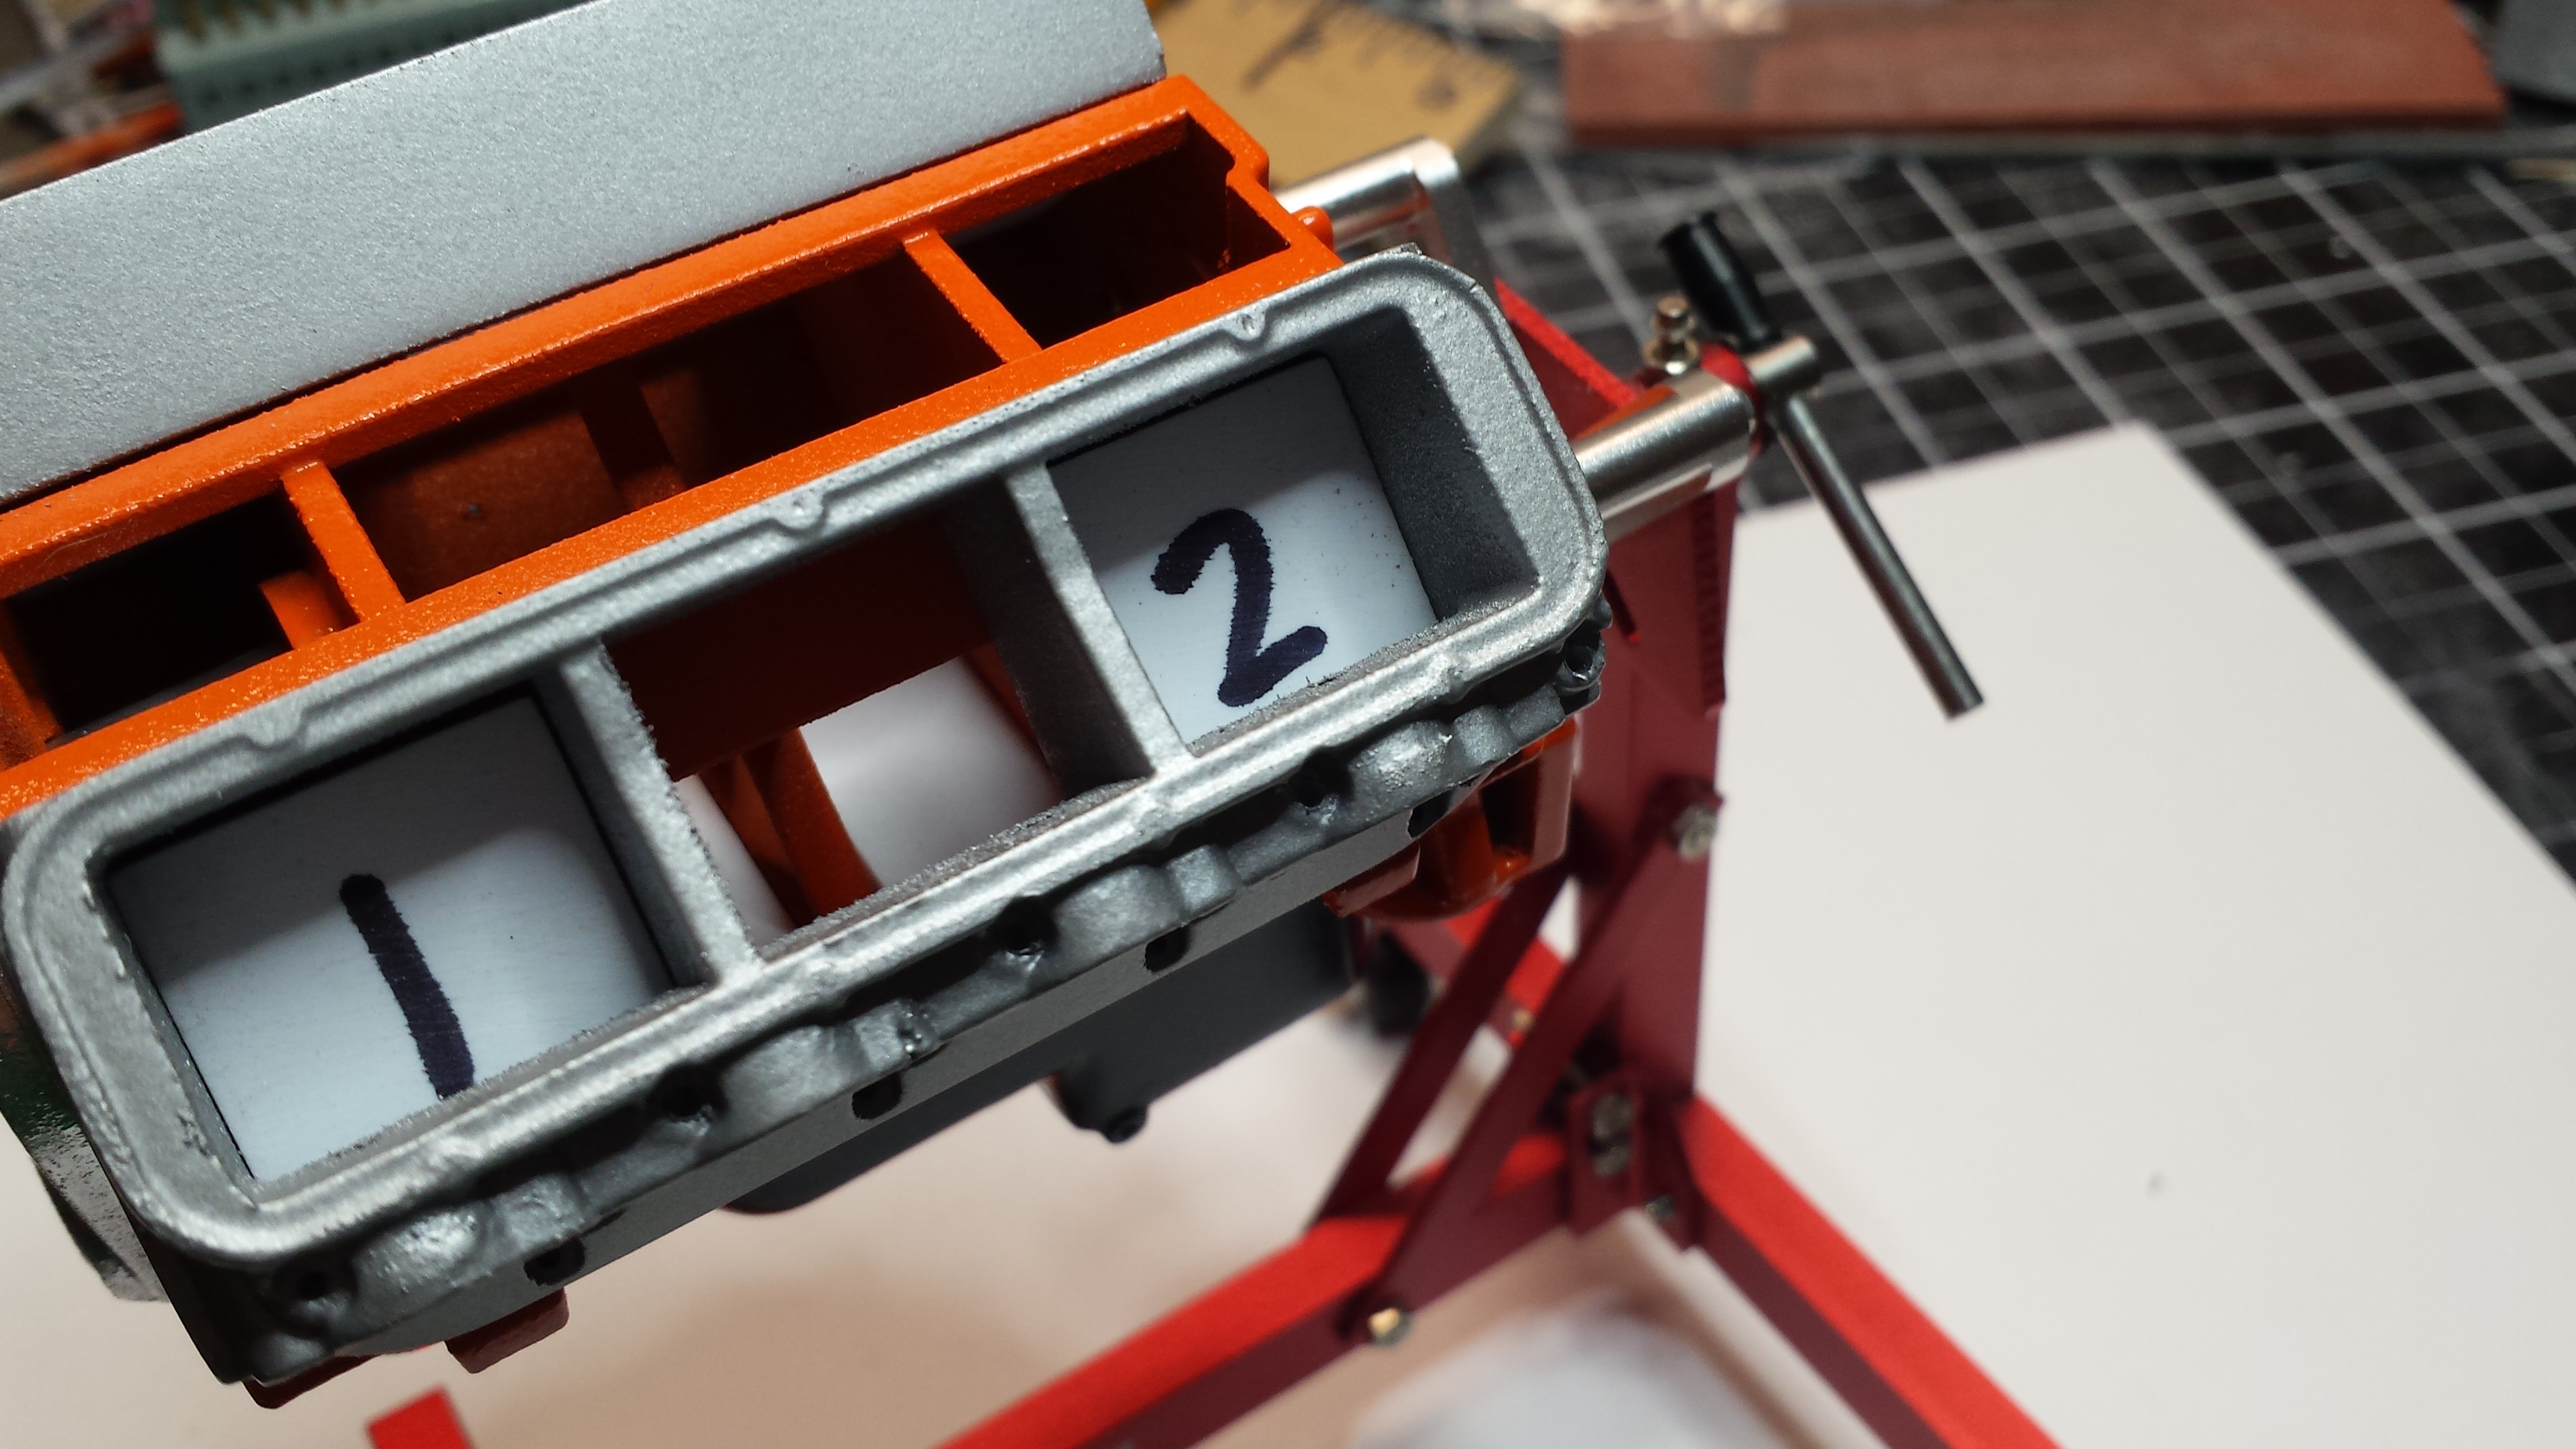
I thought I'd share my methods for assembling t he 3-D parts. I make little plastic locating pieces together - like the heads & valve covers, heads & engine block, oil pan & engine block, etc. Nothing shown here is permanently installed but rather held in by compression. First, the oil pan...
-
Having received the Chevy big block from Shapeways and after doing a few test fits I'm thinking seriously about using it here. I have both the cross ram fuel injection and the single quad Holley for induction choices. Both appear to fit under the modified hood. The TDR stuff is first quality all the way.
-
Model Motorcars took over Scale Hardware. Here is their site: https://model-motorcars.myshopify.com They have threaded and simulated hardware in sizes from .5mm - 2.5mm in lengths up to 12mm in brass, stainless steel and nickel plated brass.. They feature hex, domed, slot and allen head and also have rivets, carriage bolts, wing nuts, acorn nuts (7 sizes) and cool little threaded clevis' . Many other items. They also have threaded rod.