Steve Osbourne
-
Posts
145 -
Joined
-
Last visited
Content Type
Profiles
Forums
Events
Gallery
Everything posted by Steve Osbourne
-
I forgot to mention the spark plug wire separators made from .040 sheet.

-
-
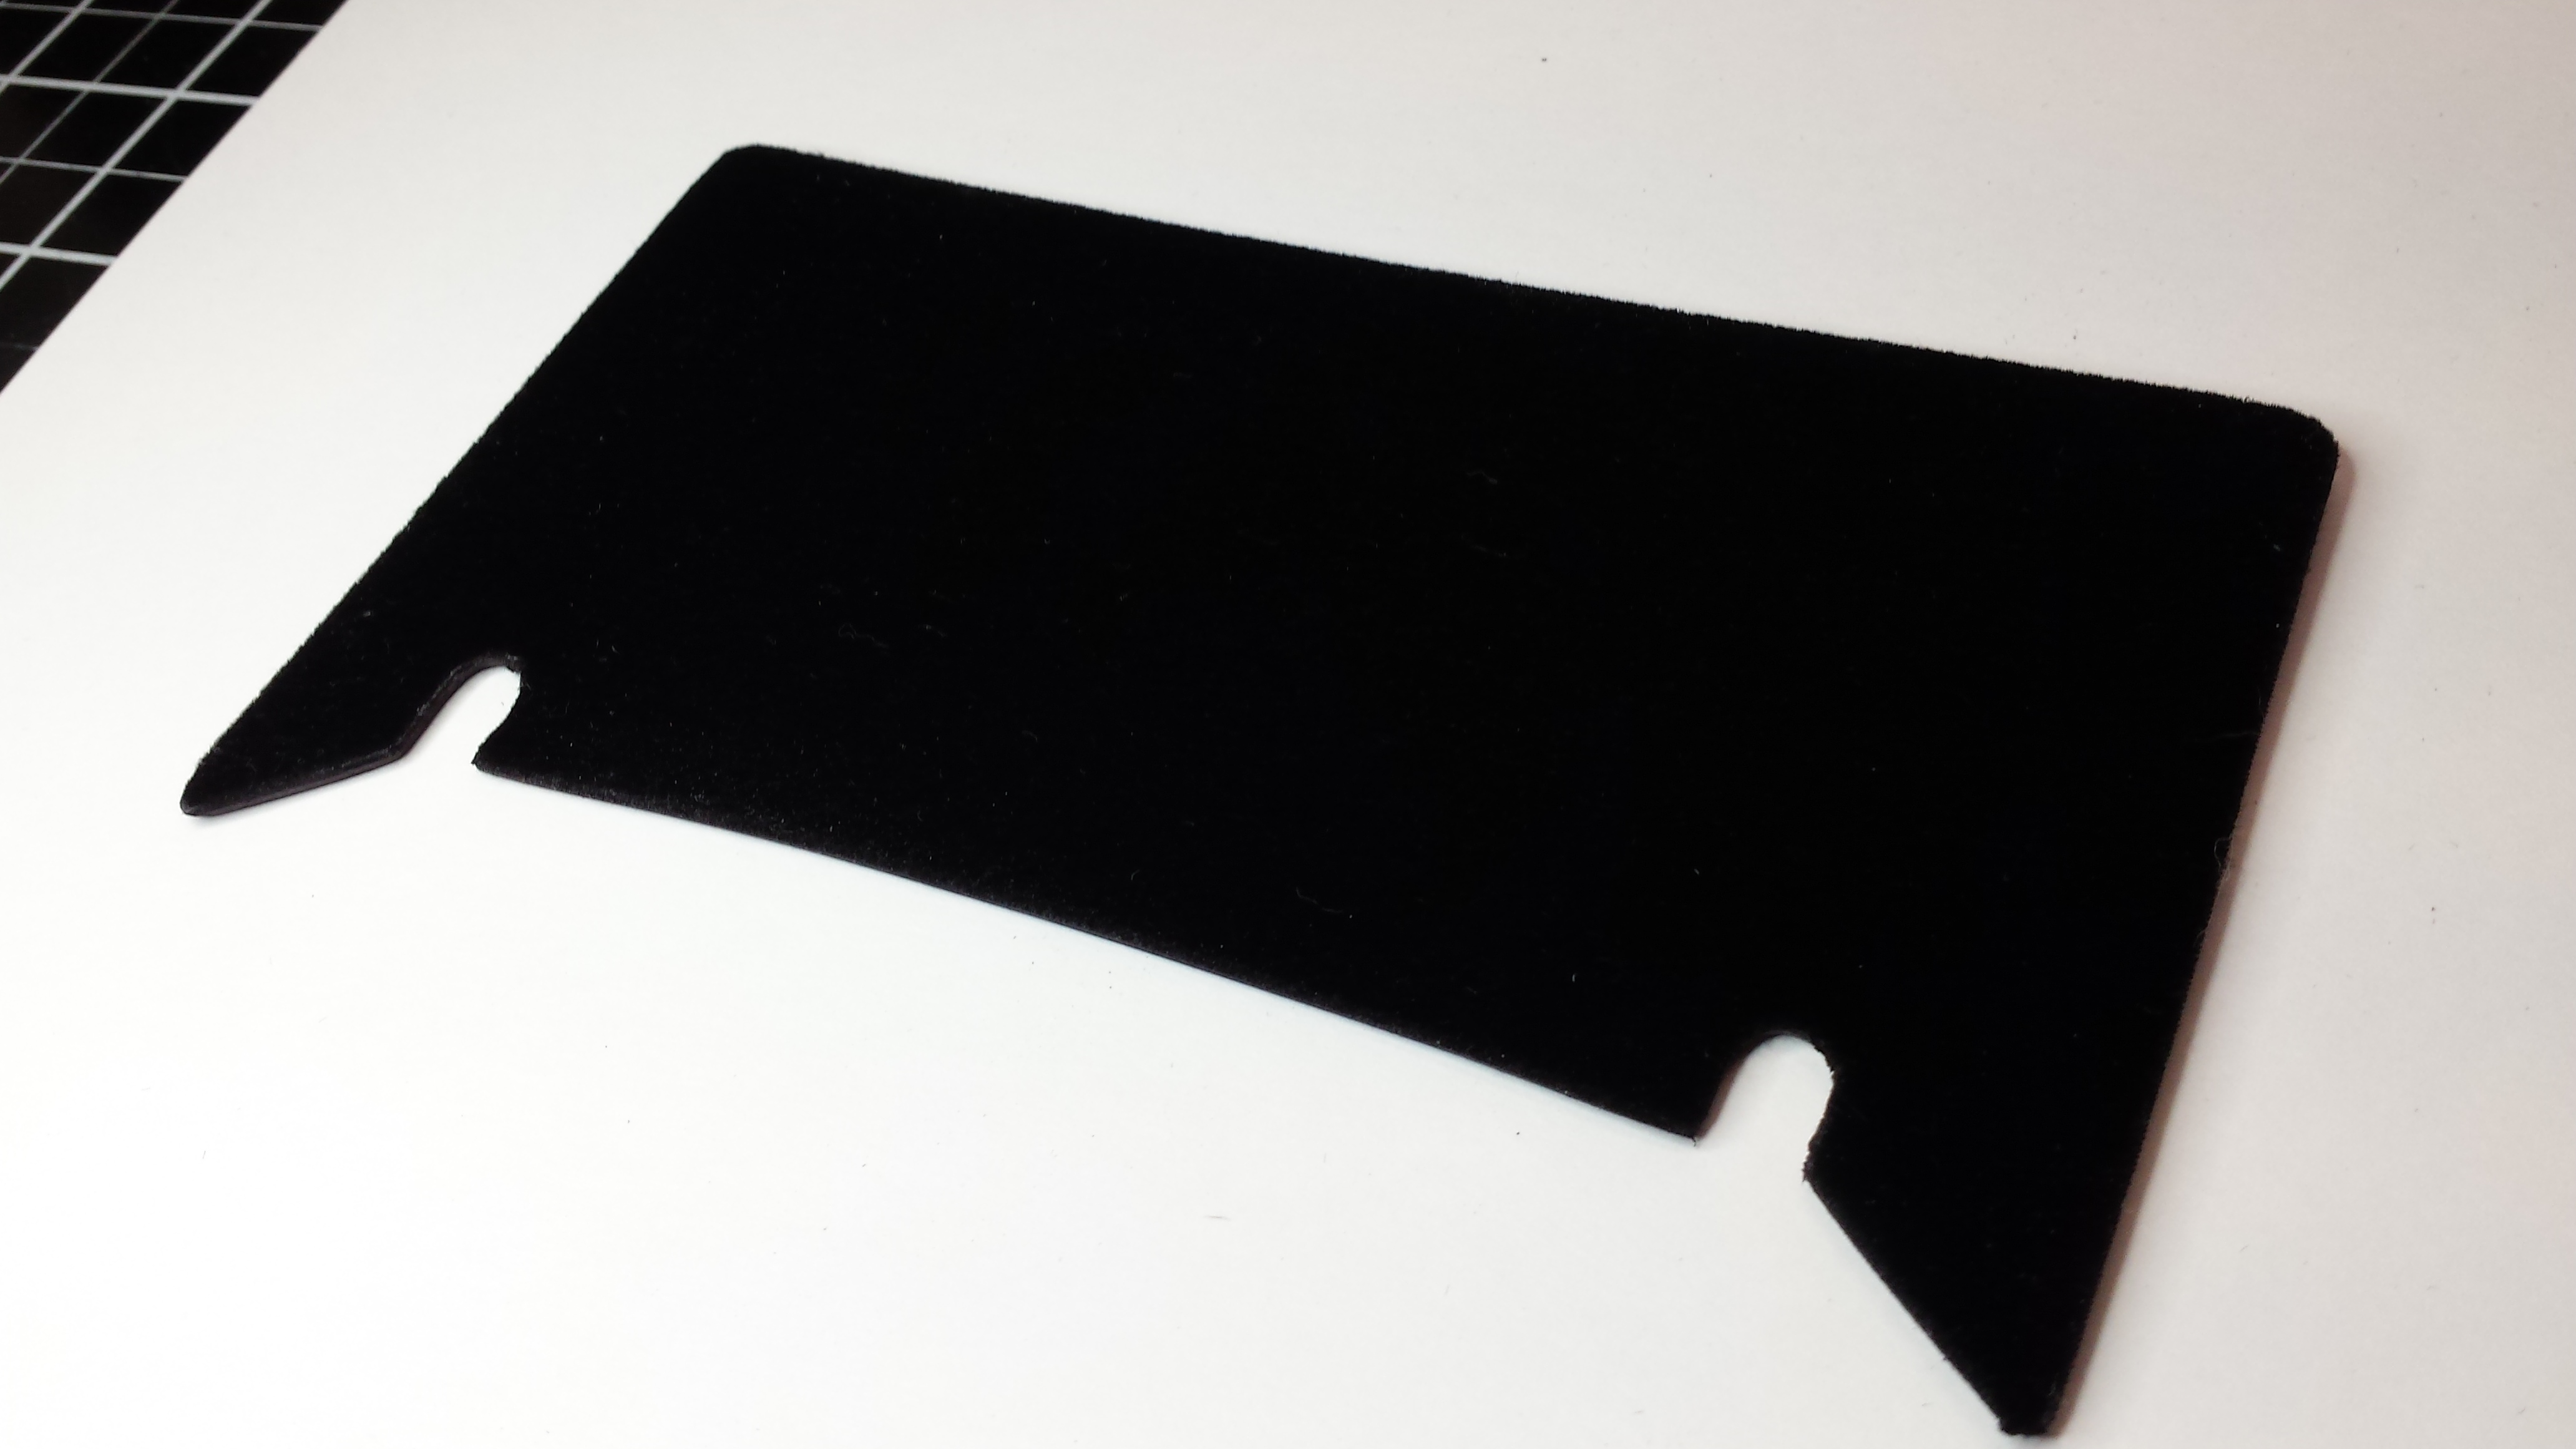
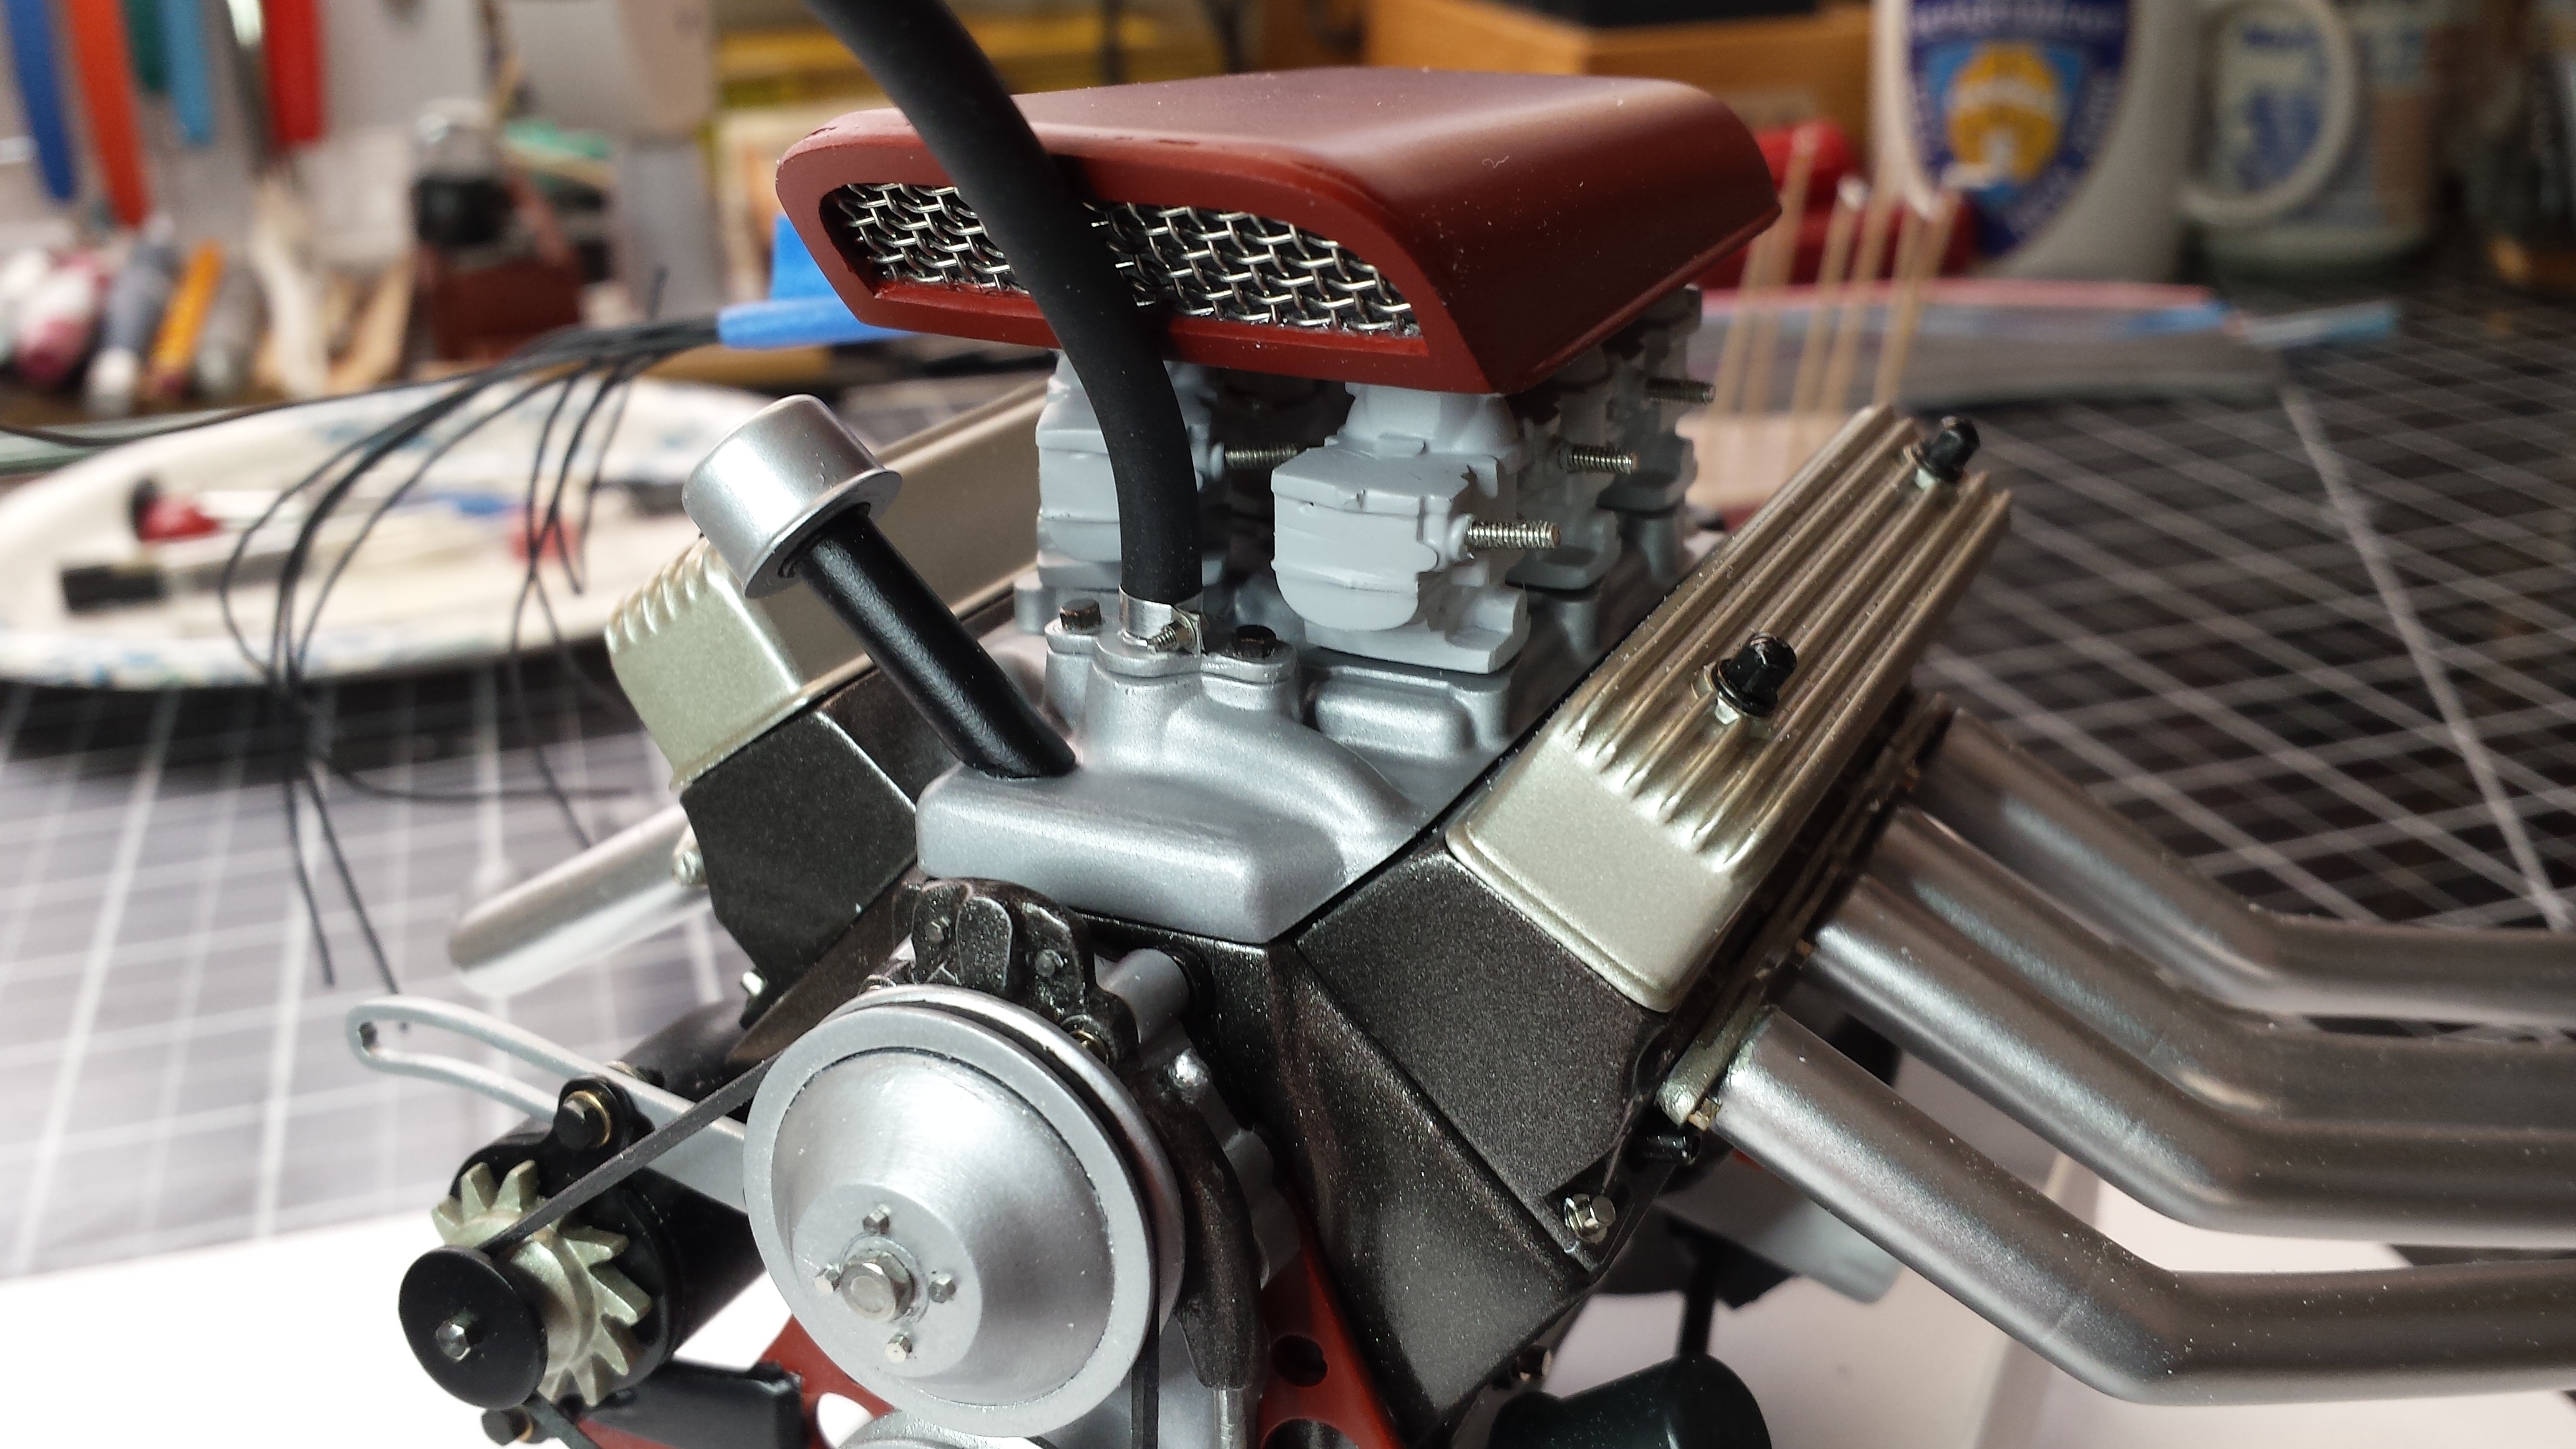
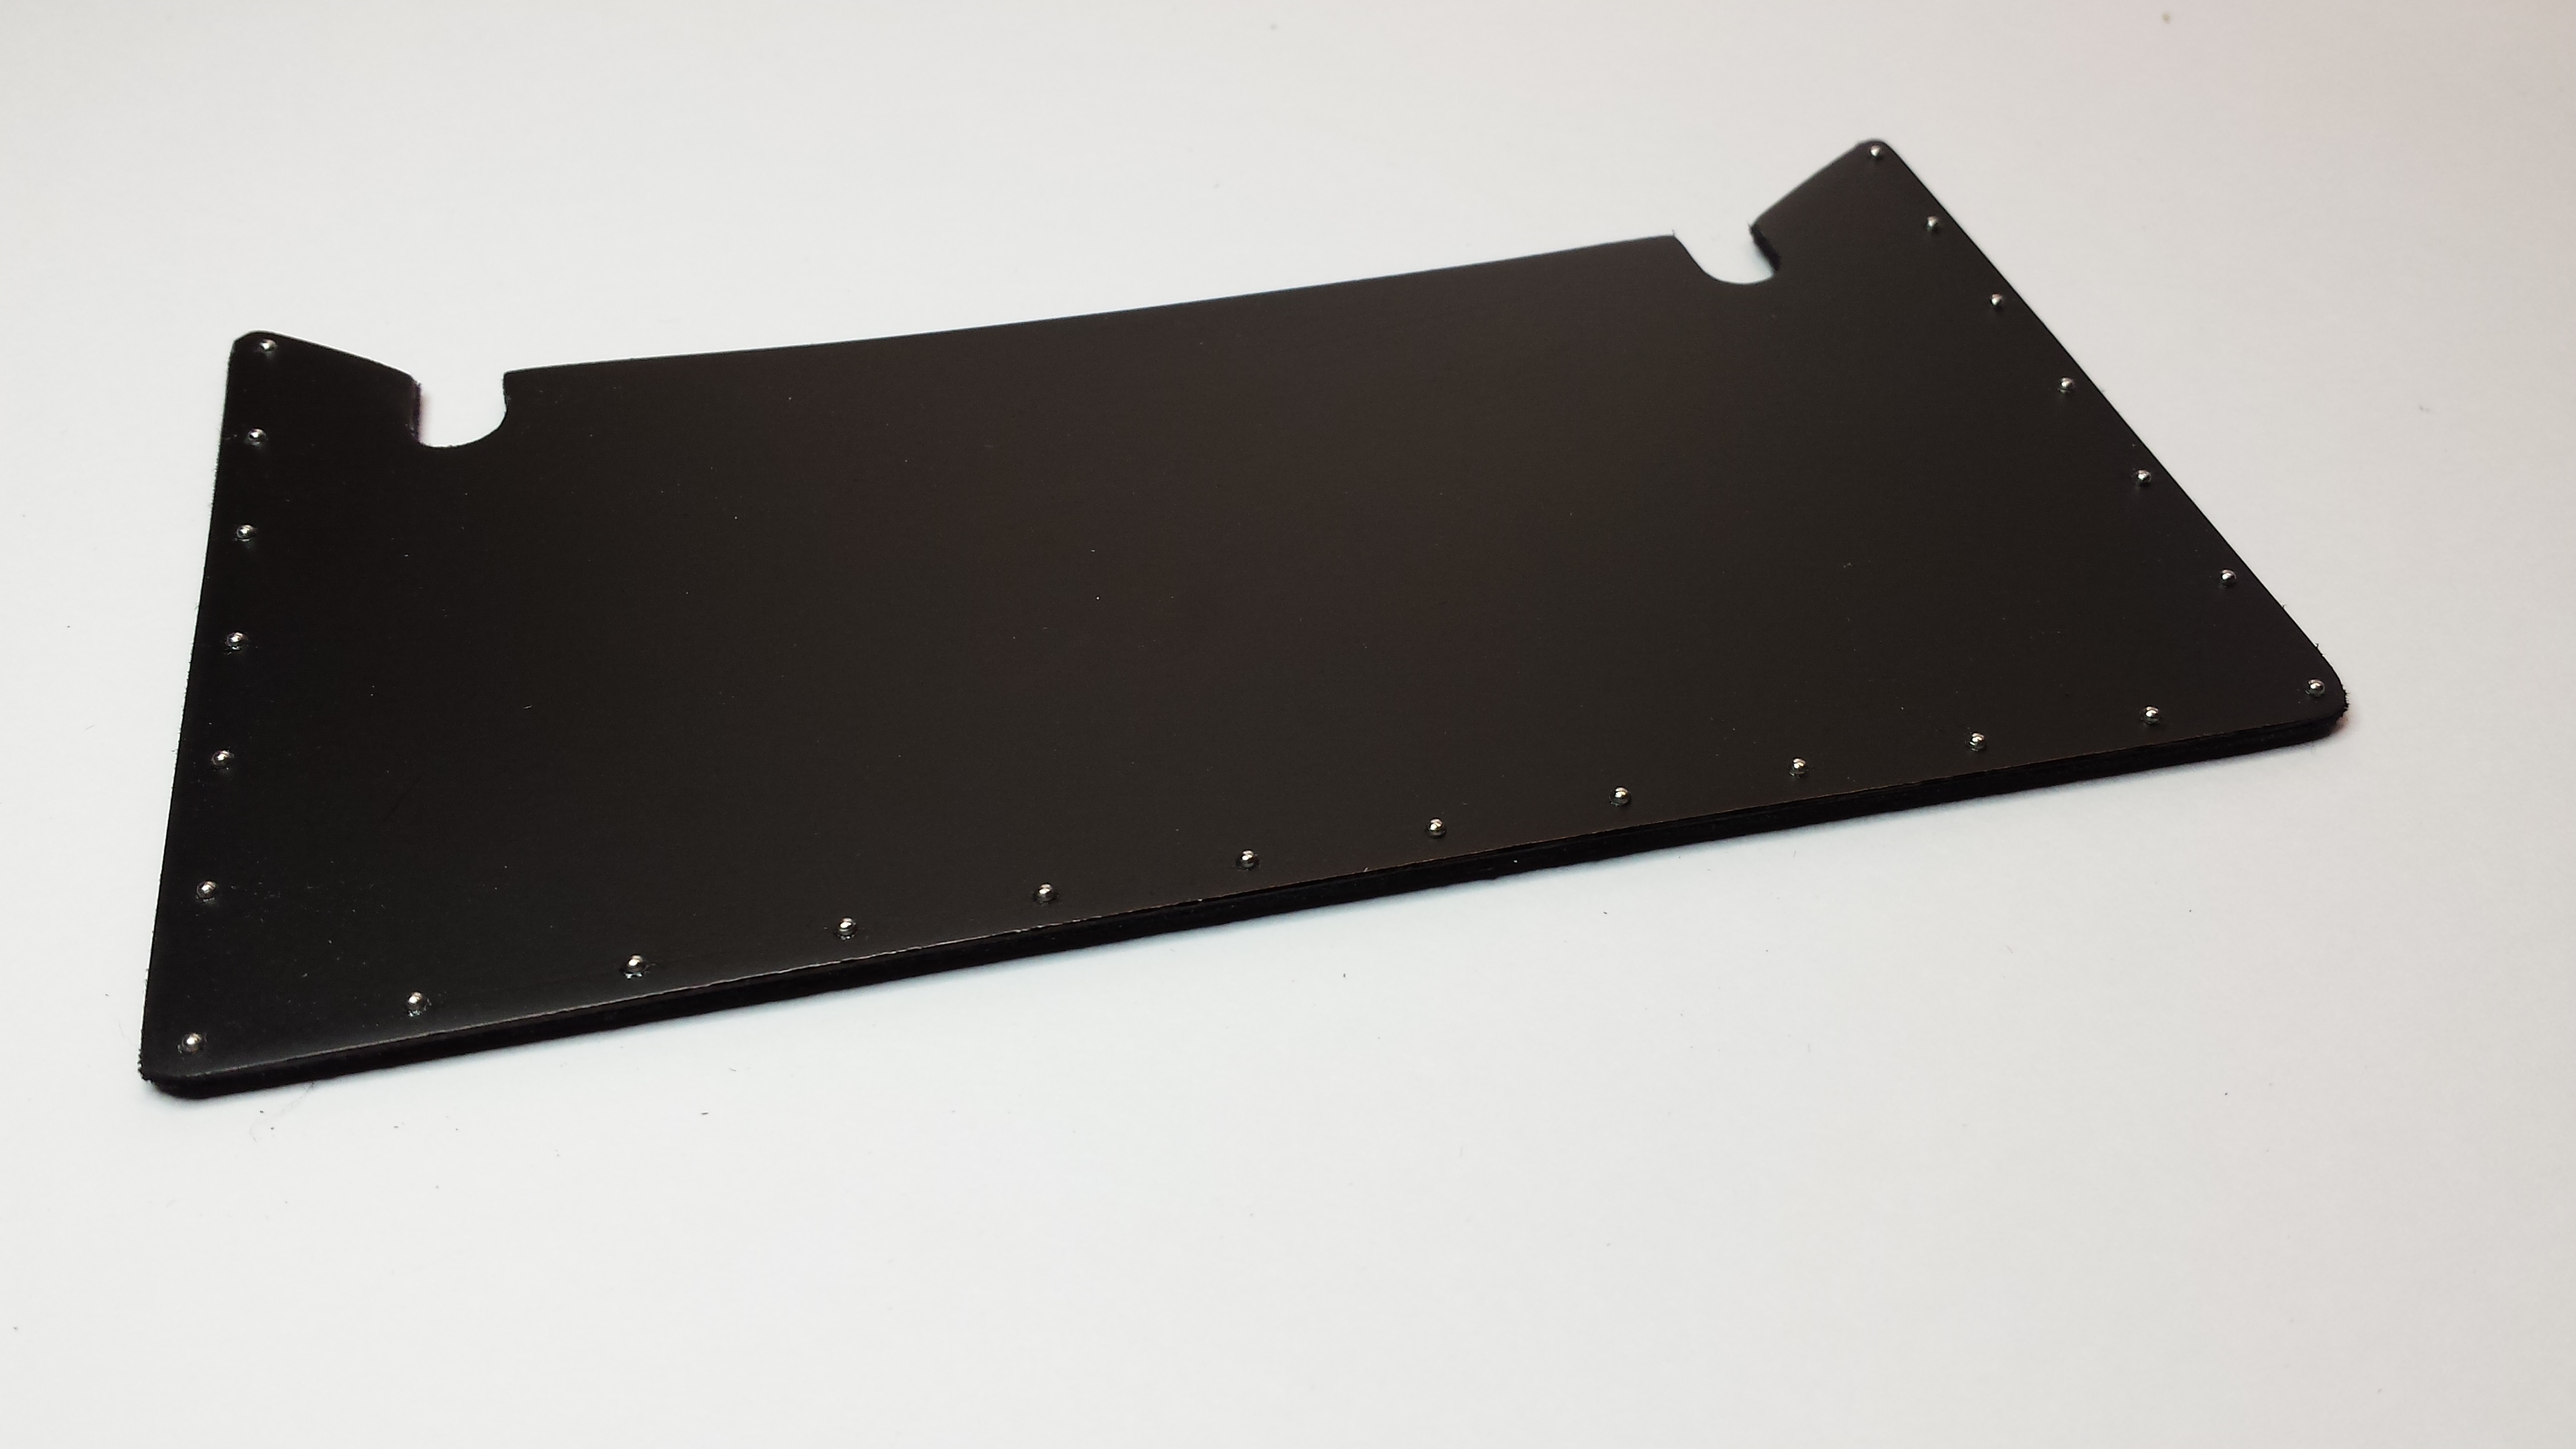
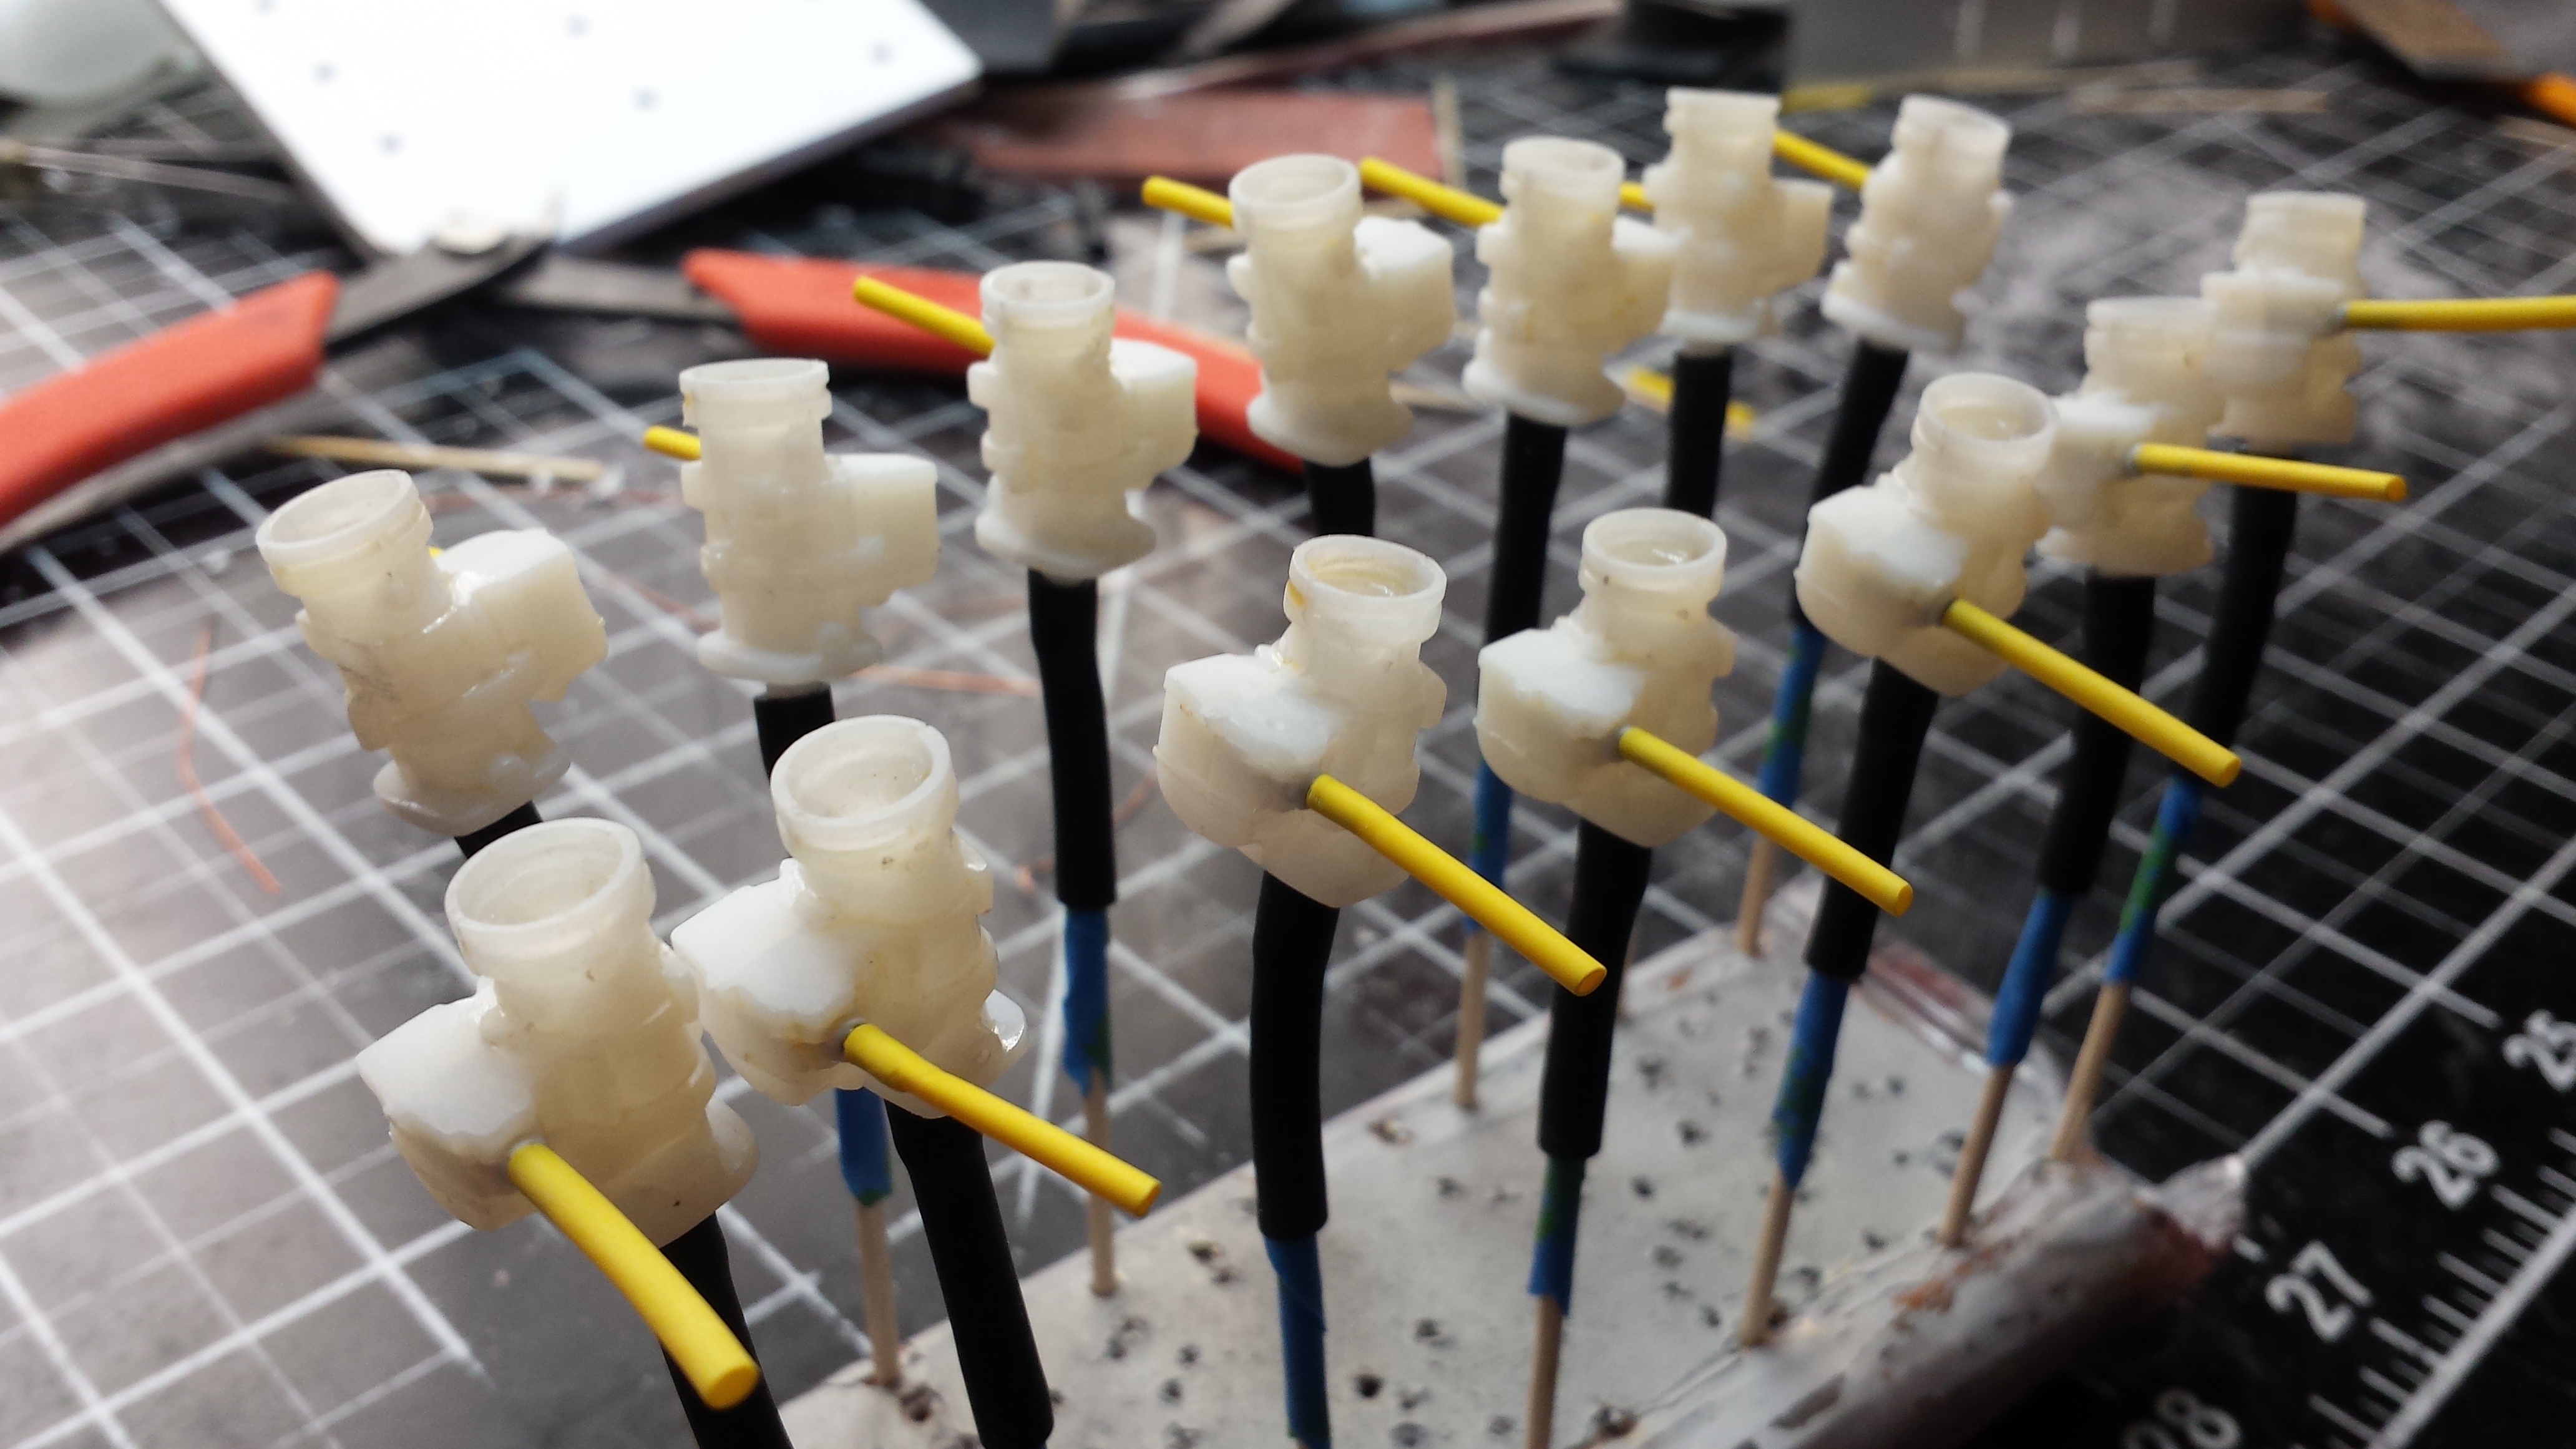
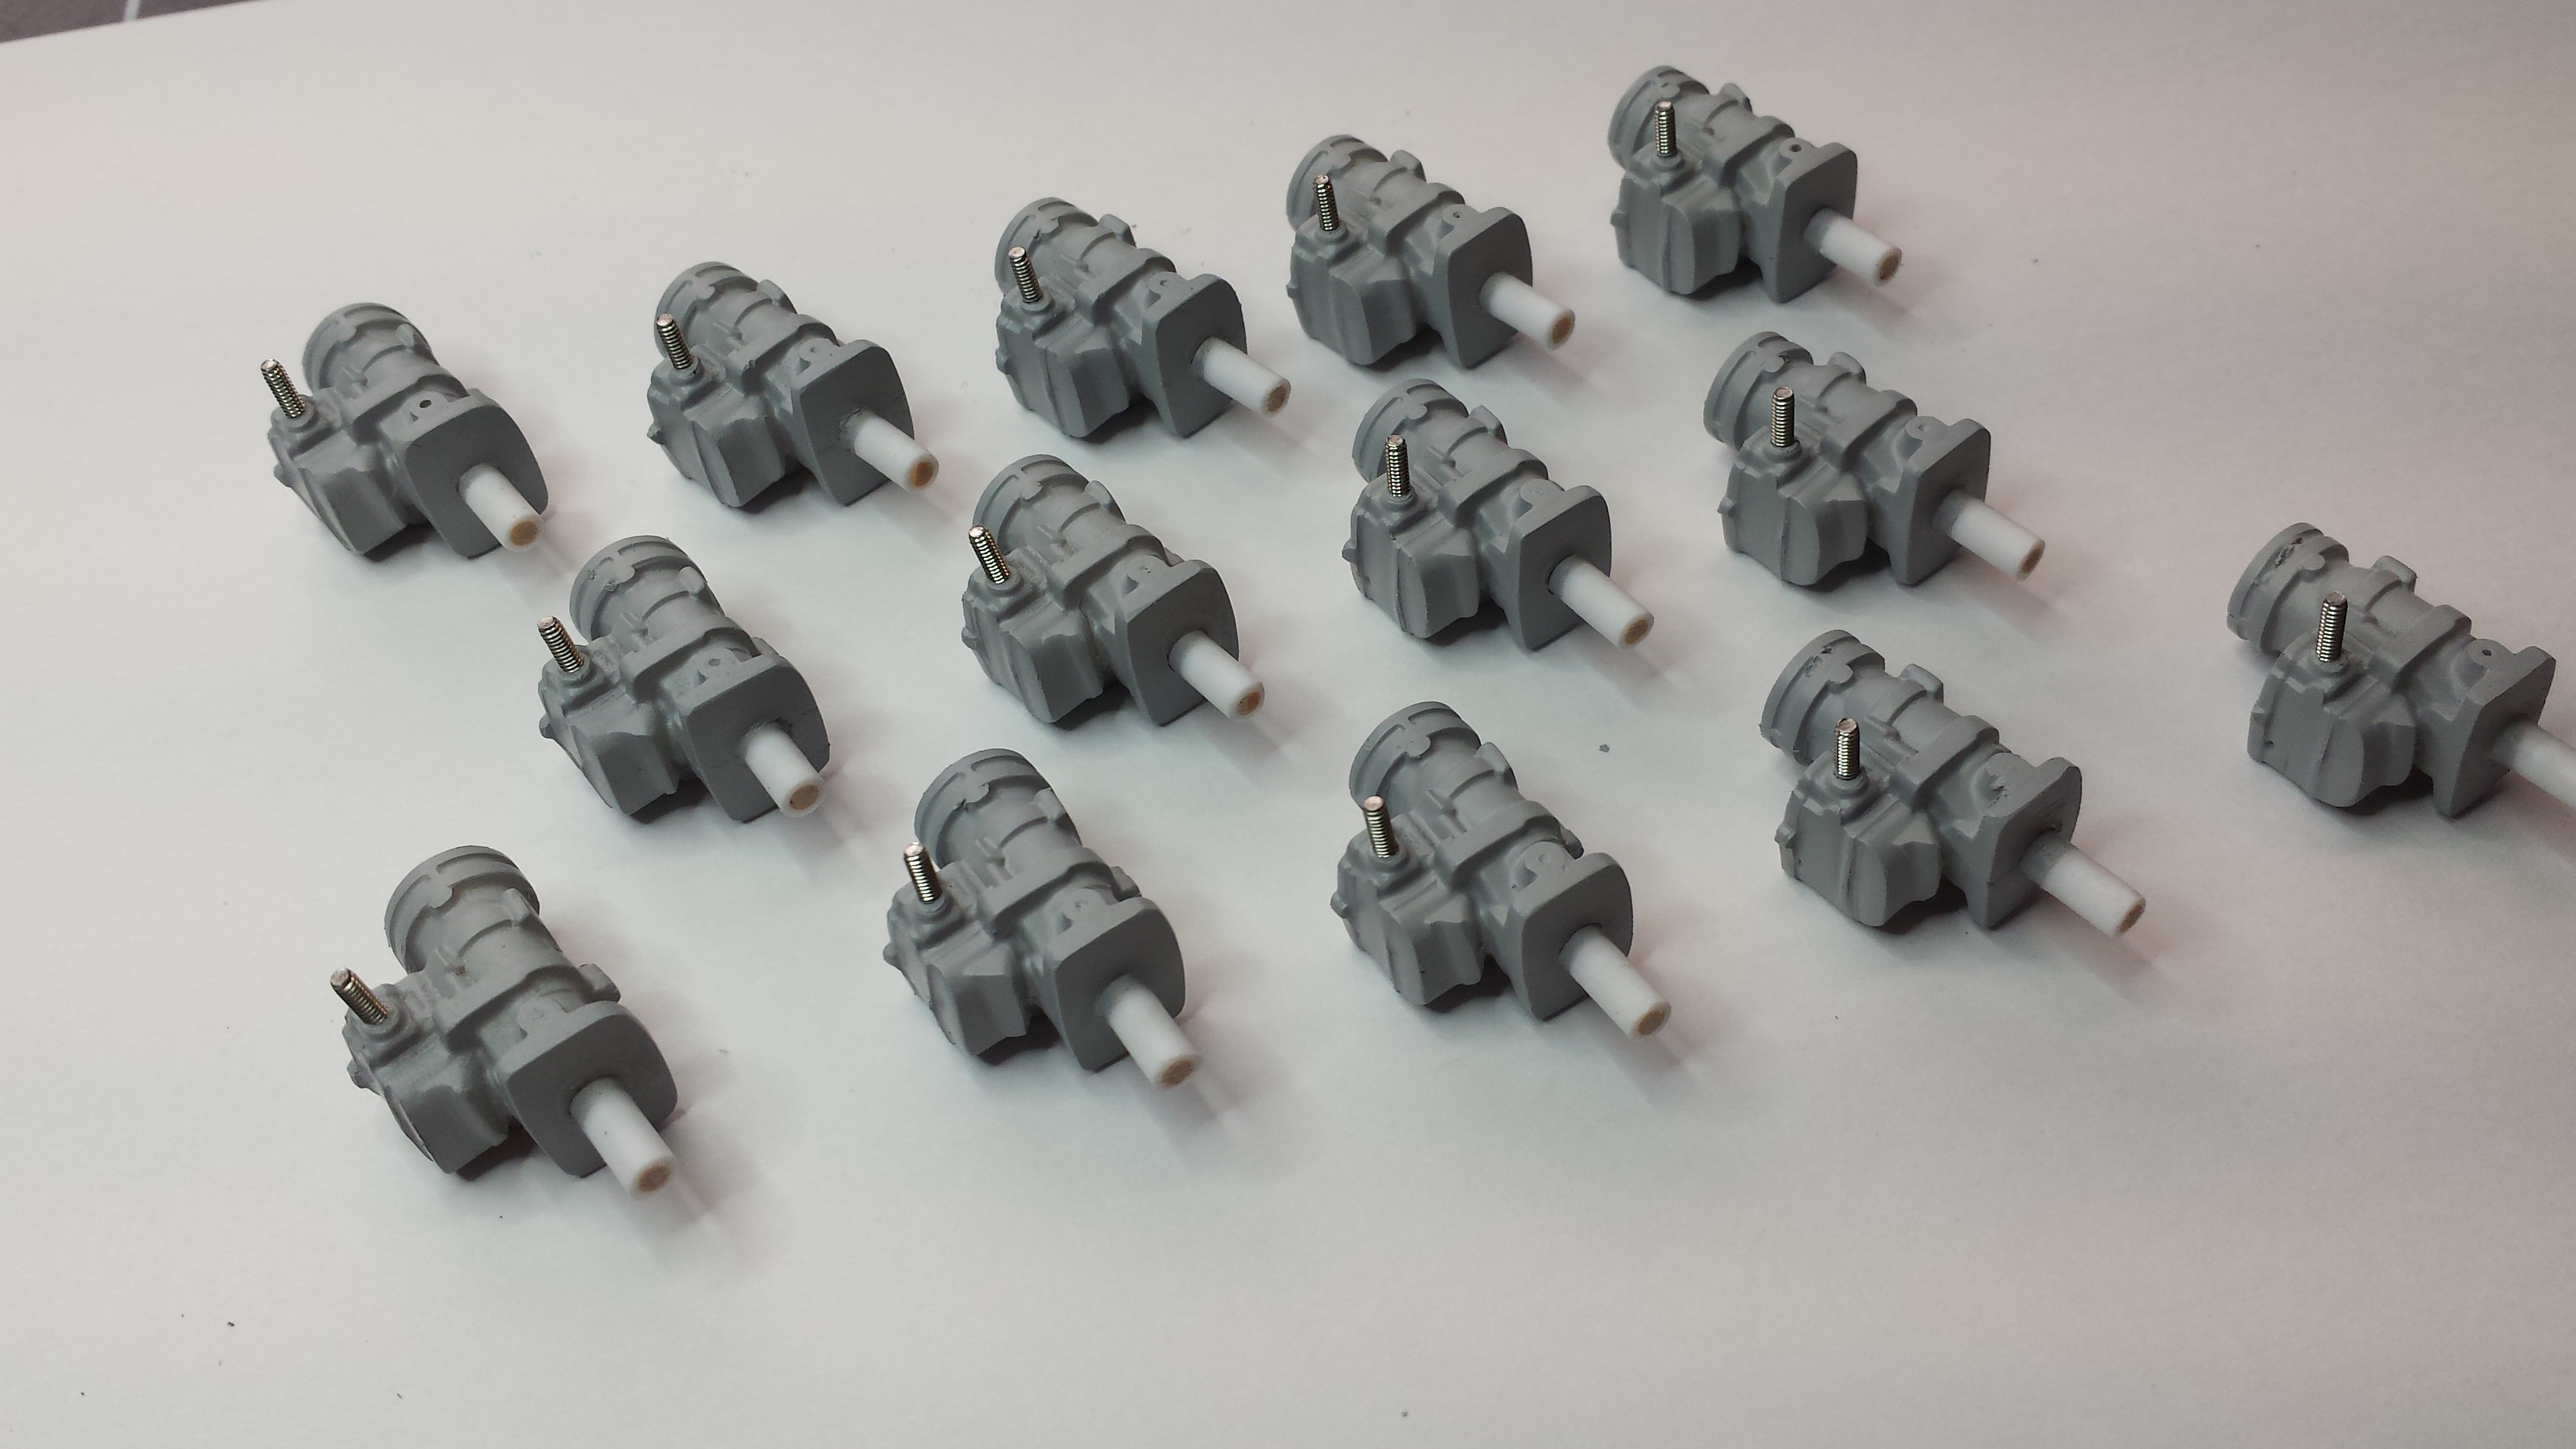
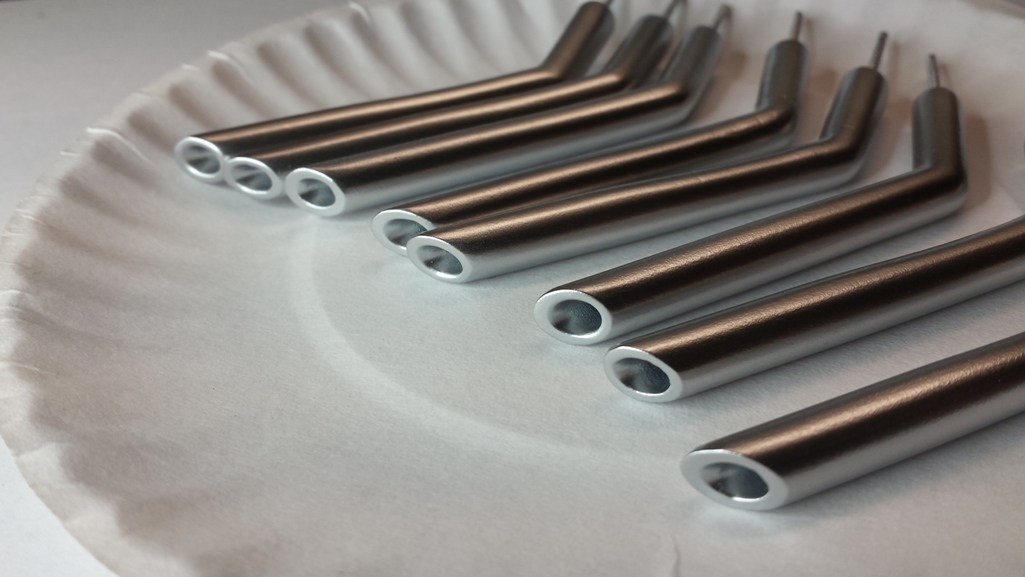
I finally started on the carbs. I cleaned out the spare parts box and found enough to make 14 carbs. I wanted to make extra in case I damaged one or more while drilling them out. In this case I will have some for a future build. I posed 6 of the Strombergs with the scoop. Lastly, I finished the toneau cover which is just a sheet of .040 styrene. Today I added the sewing pin "snaps" and then "lined" the cover with black velour Con-tac paper. Next up is to finish the carbs.
-
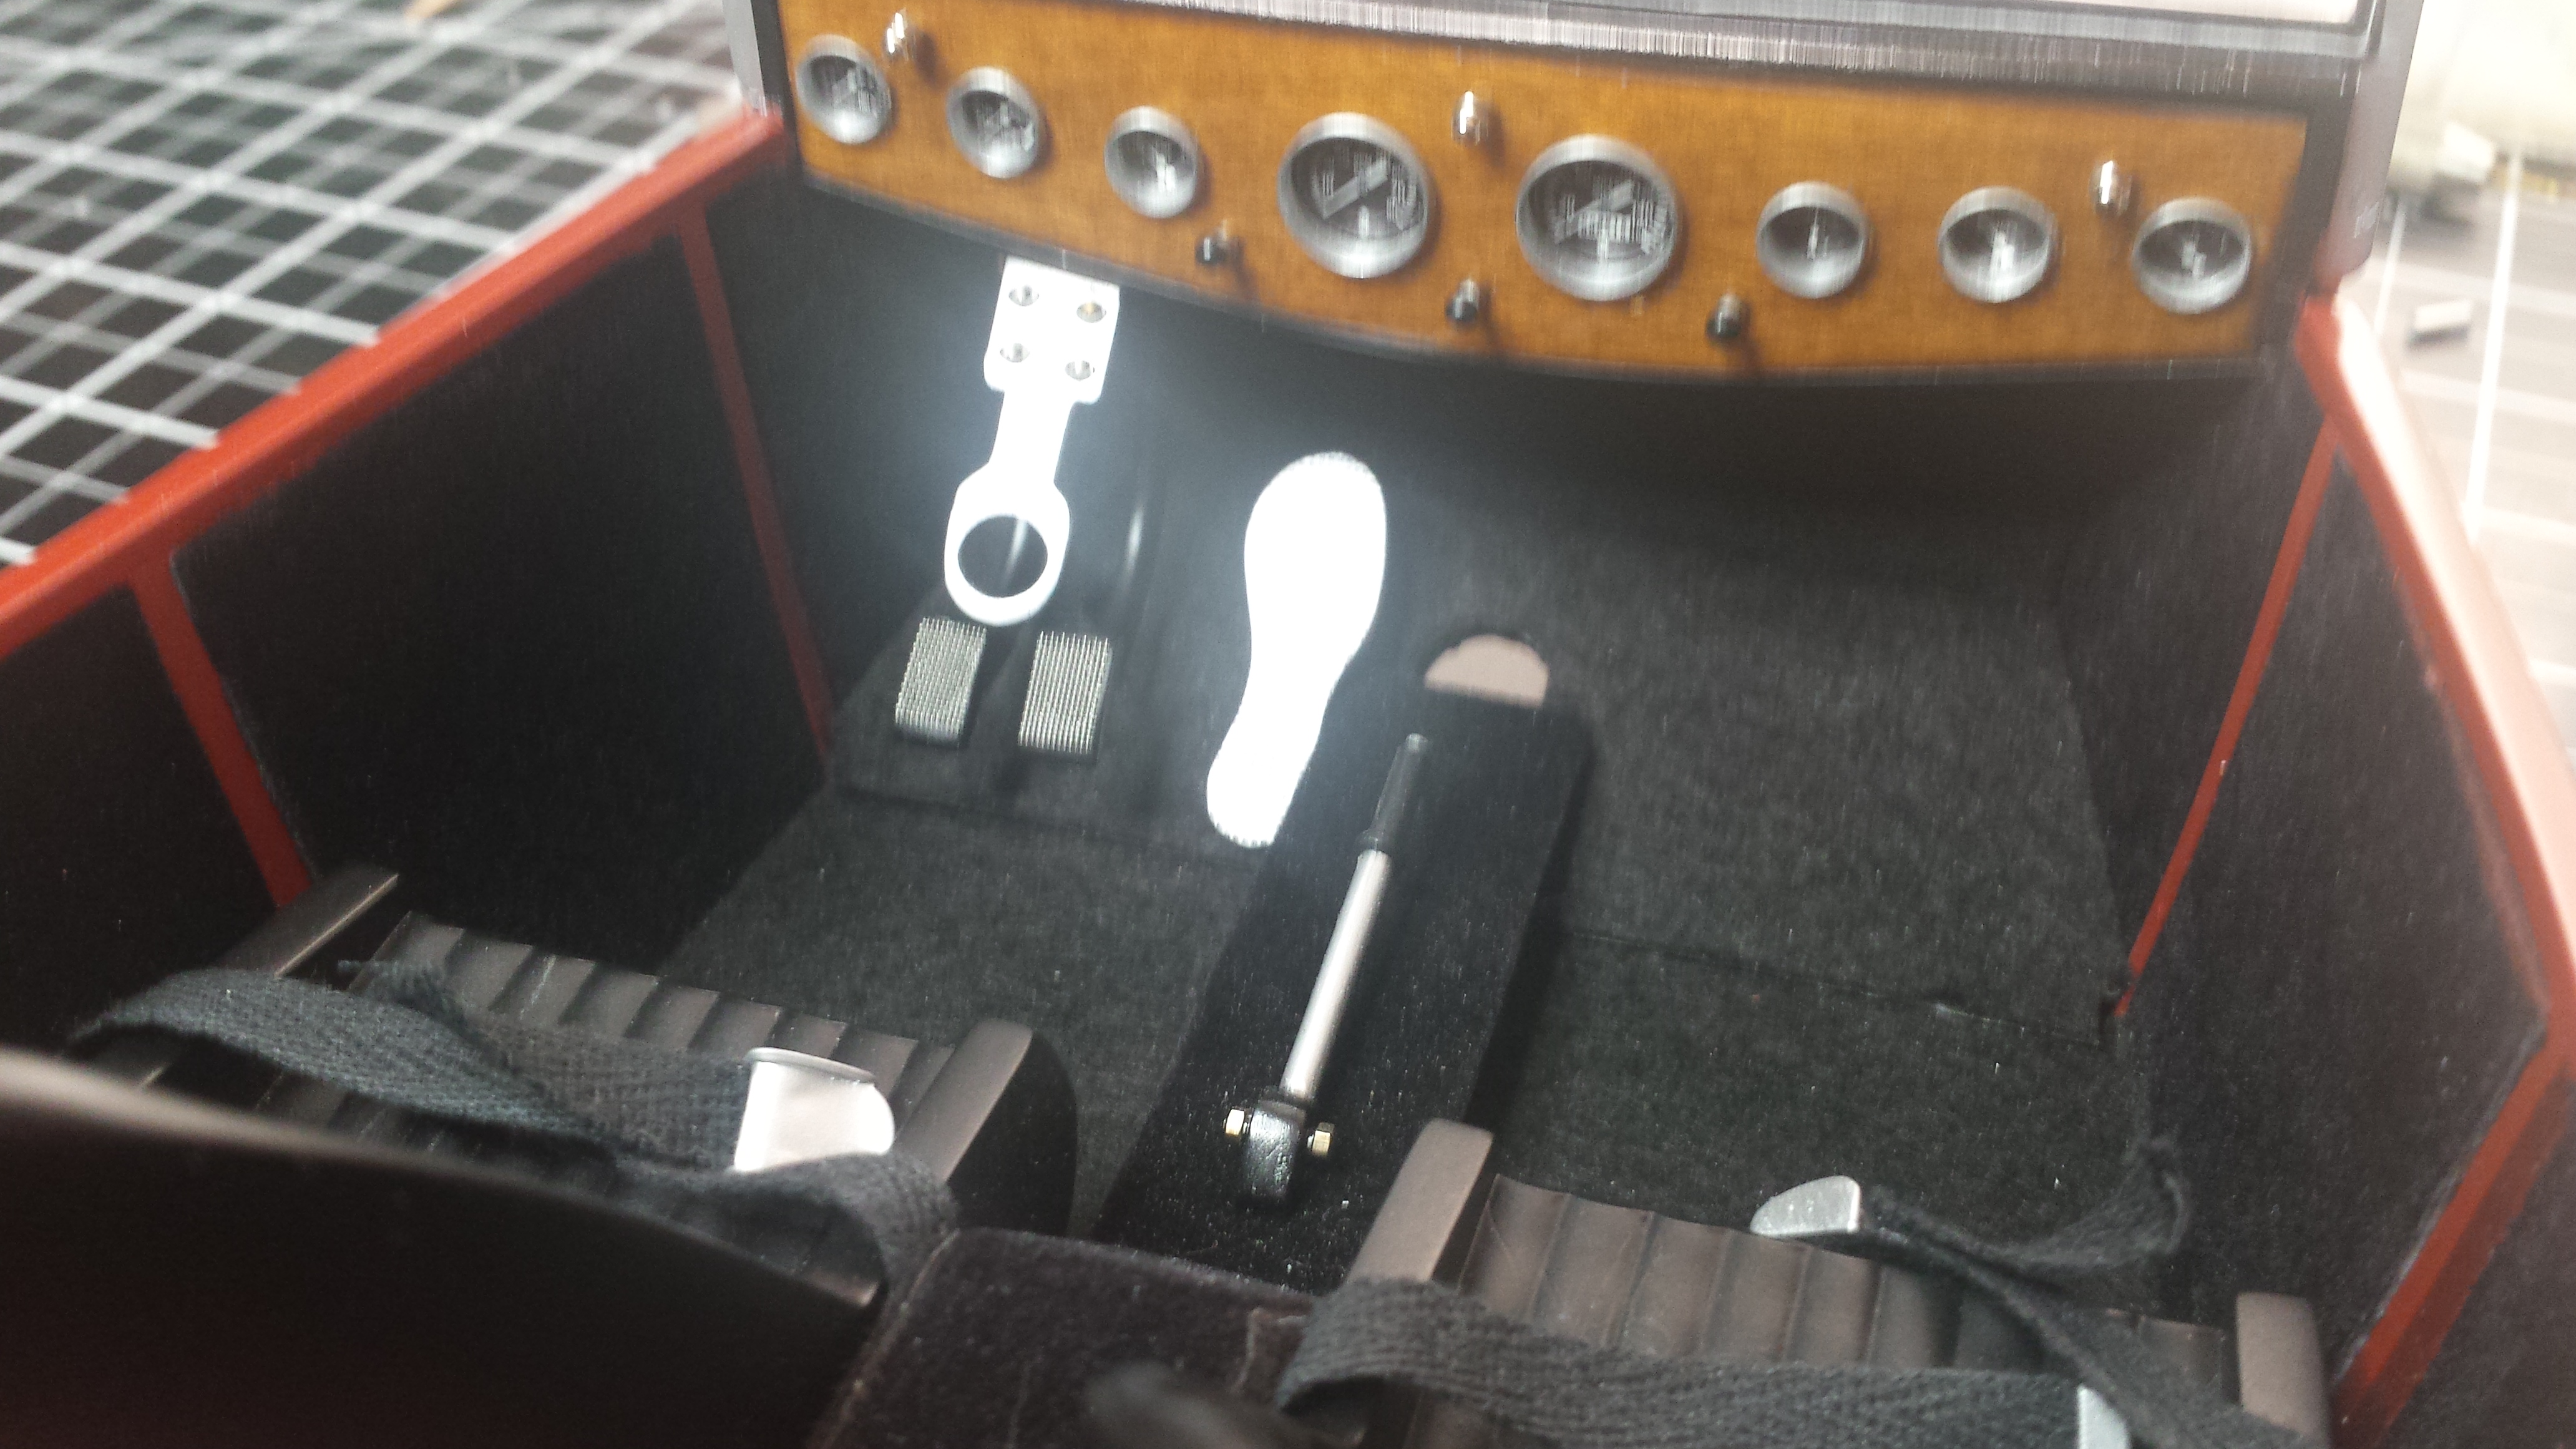
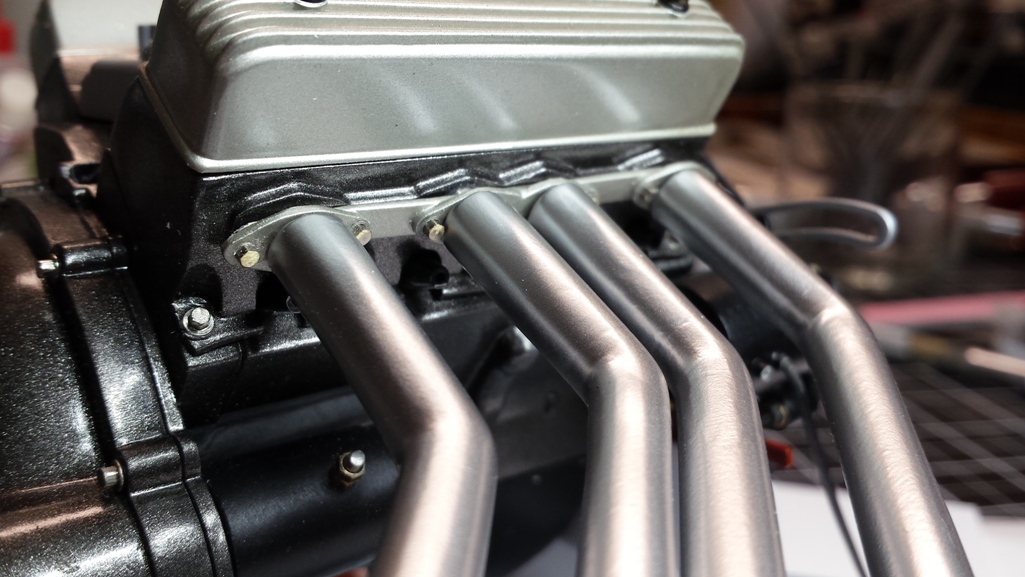
Headers are now permanently attached. I also installed the firewall and pedal assemblies. I moved the clutch pedal slightly to the left as previously mentioned. Sorry for the poor quality pictures.
-
Test fitting headers for fit and angle and also driveshaft for length. Looks good.
-
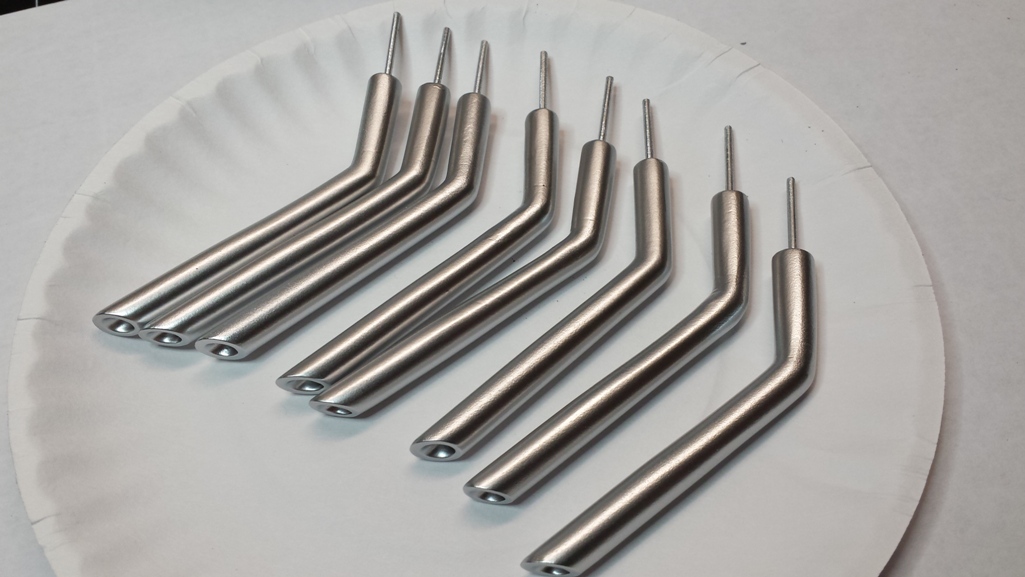
I made some new slightly larger headers and flanges from plastic tube. Hose clamps are made from beer can aluminum. I added a screen to the inside of the hood scoop that will rest on top of the 6 Stromberg 97's.
-
-
-
-
-
-
Hi Sam. I keep a variety of hook-up wire in 22-24-26-28-30 gauge for most wiring . Amazon sells a little box of each gauge each with 5 or 6 colors and it comes in a handy dispensing box. About $12. But I'm always looking for usable wire. Old USB cables are a good source for very thin flexible stranded wire in various colors. I hope you post pictures and progress of your build. I mentioned in a earlier post that you might want to consider boxing the frame rails and maybe reinforce the cross-members on this model. Thanks. Steve
-
Thanks guys. Here's a shot of my rolling photo studio. A Black & Decker Workmate, a stool and a price of poster board. Taken on an overcast Sunday morning before the mall opened.
-
New 3d Printed 32 Deuce Top
Steve Osbourne replied to mnagatani's topic in Car Aftermarket / Resin / 3D Printed
Very nice work on the roof Mike. If your're using a chopped '32 windshield like (I think) your source photo shows then the kit posts should work. I modified these posts to fit my chopped windshield. This was the kit roof, smoothed out and chopped. I filled the rear window slot and added my own oval version.
-
Hi Mark, try the Lindberg Exterminator dragster. Same engine block so parts are interchangeable.
-
Hey, thanks guys for the comments. The jack & engine stands are from RC4WD. Check out their Ultimate Mini Scale Shocks.
-
Very nice work Tony.
-
small zip-lock bags, ~3-4"
Steve Osbourne replied to fiatboy's topic in Model Building Questions and Answers
Try Amazon Beadaholique Resealable Zipper Poly Bags -
I also test fit the engine just to ease my mind that it still fits.
-
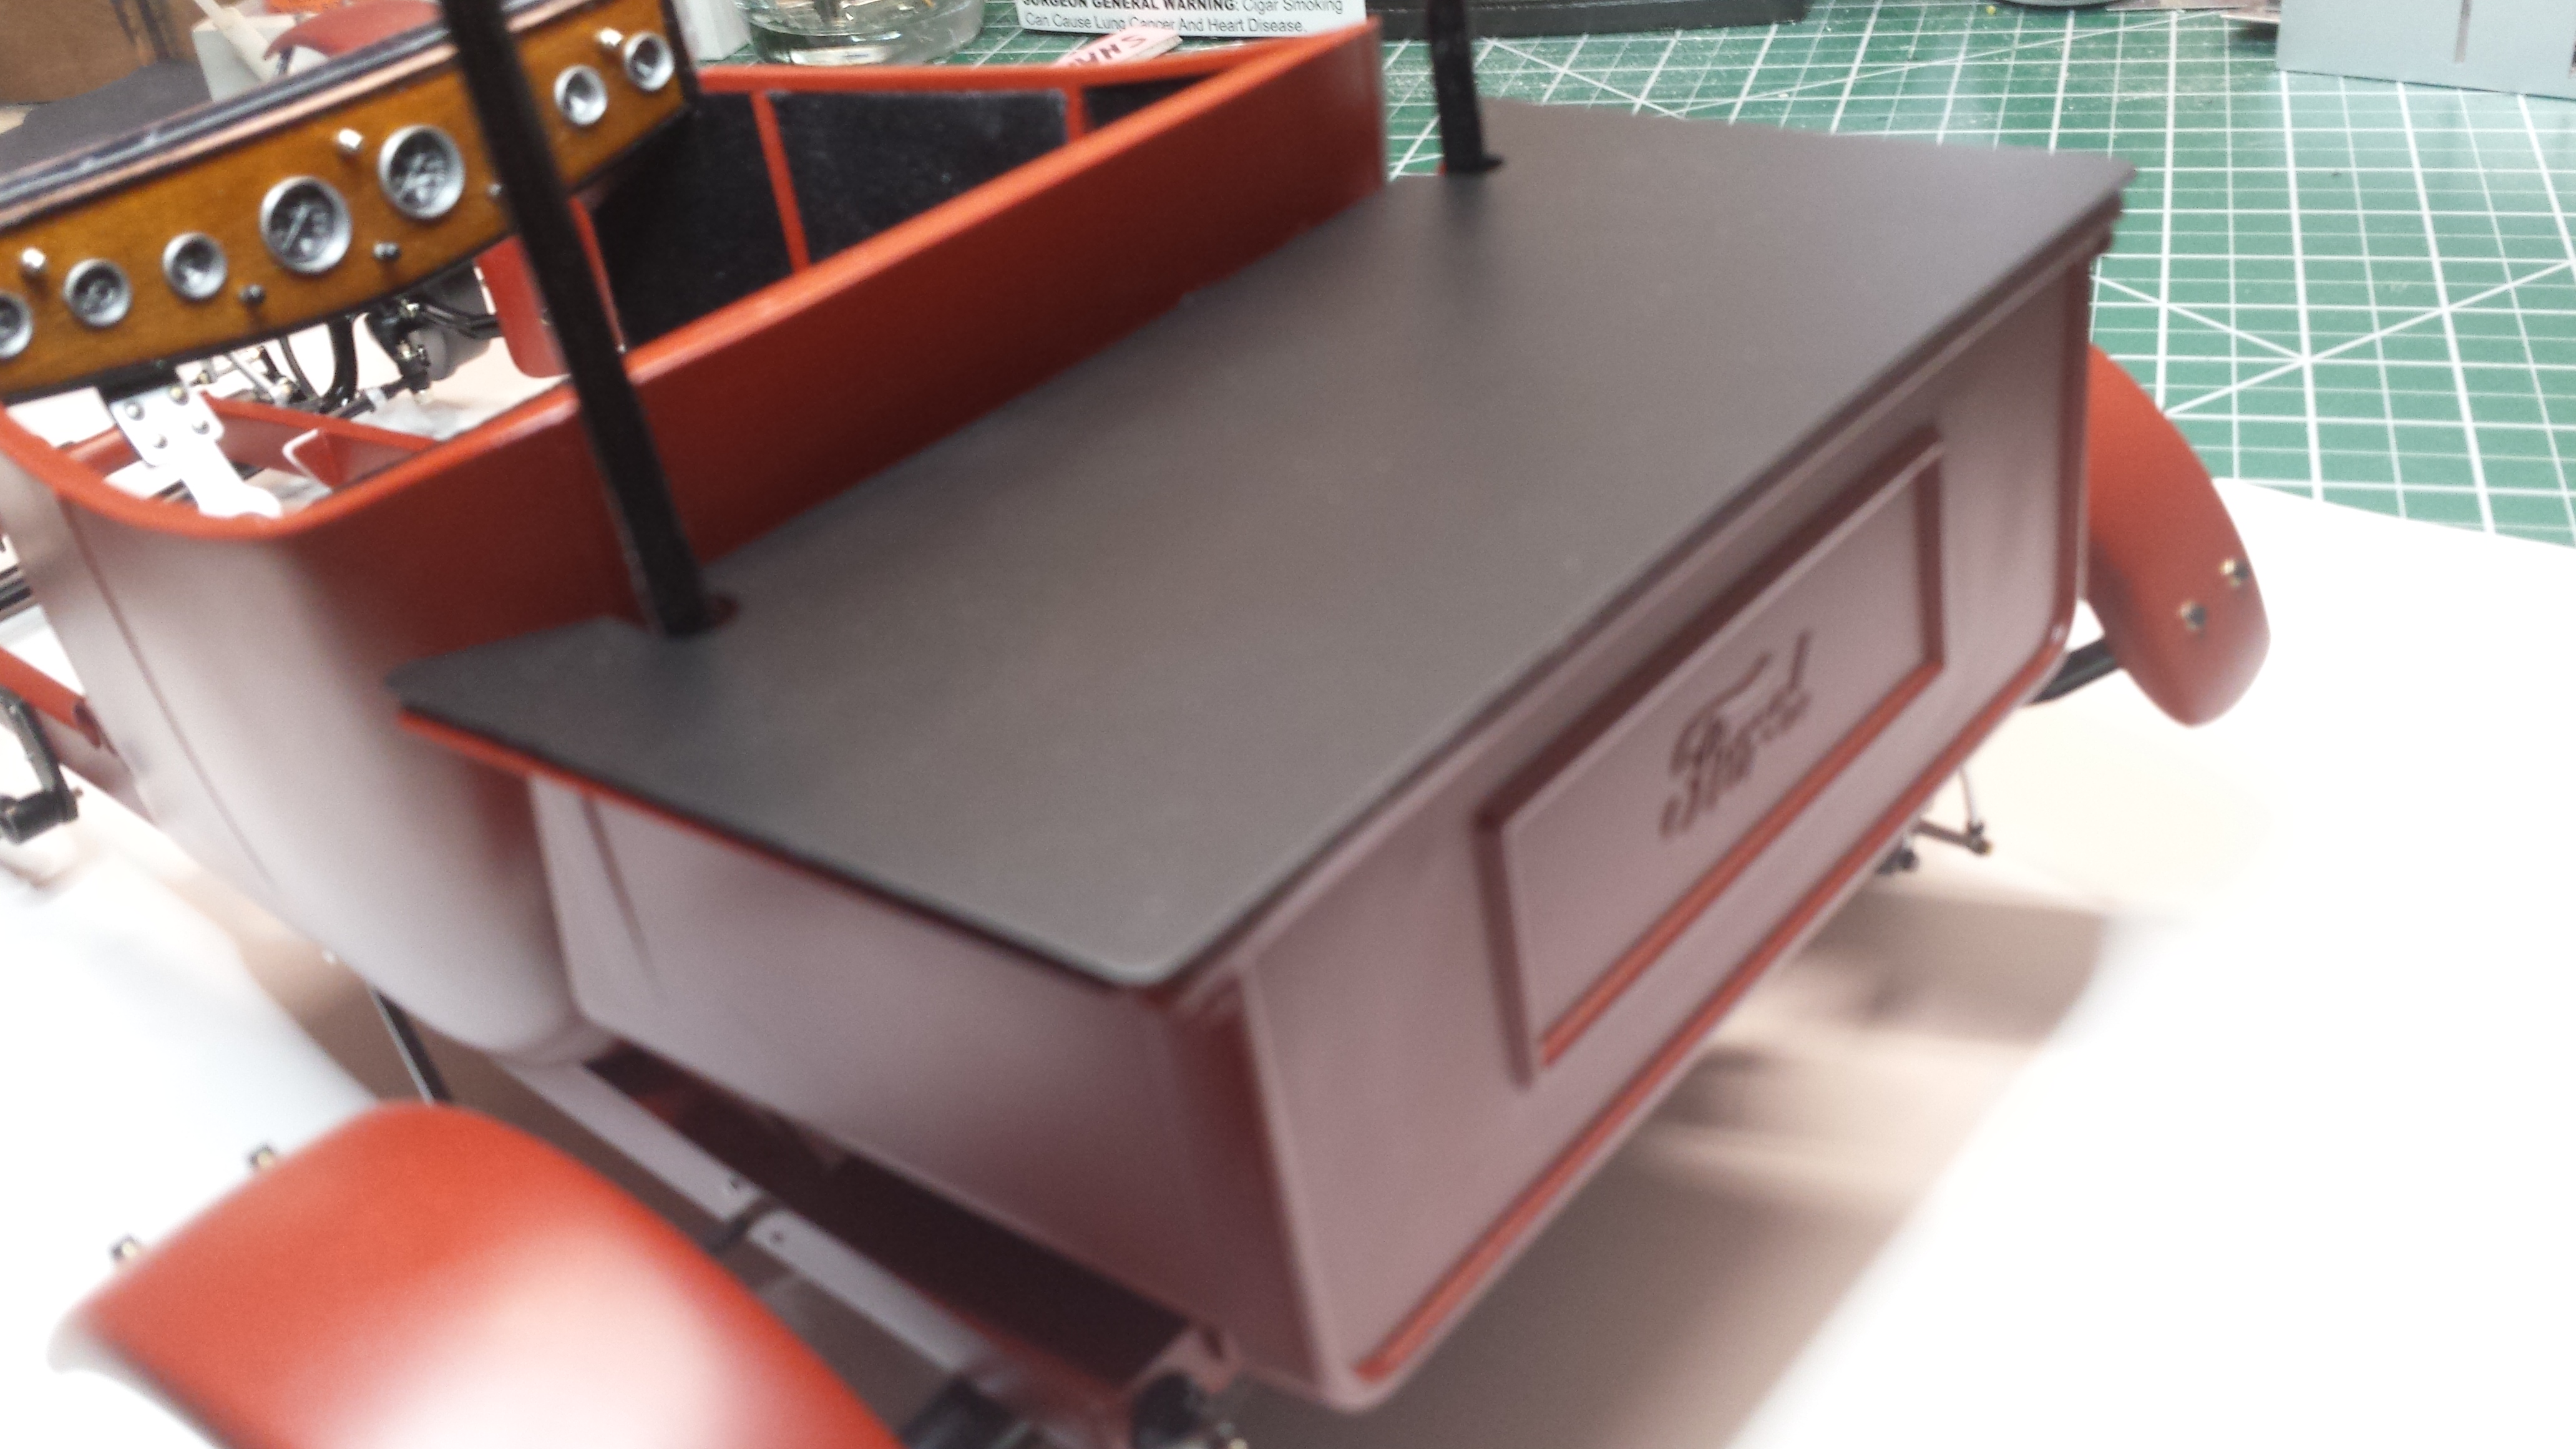
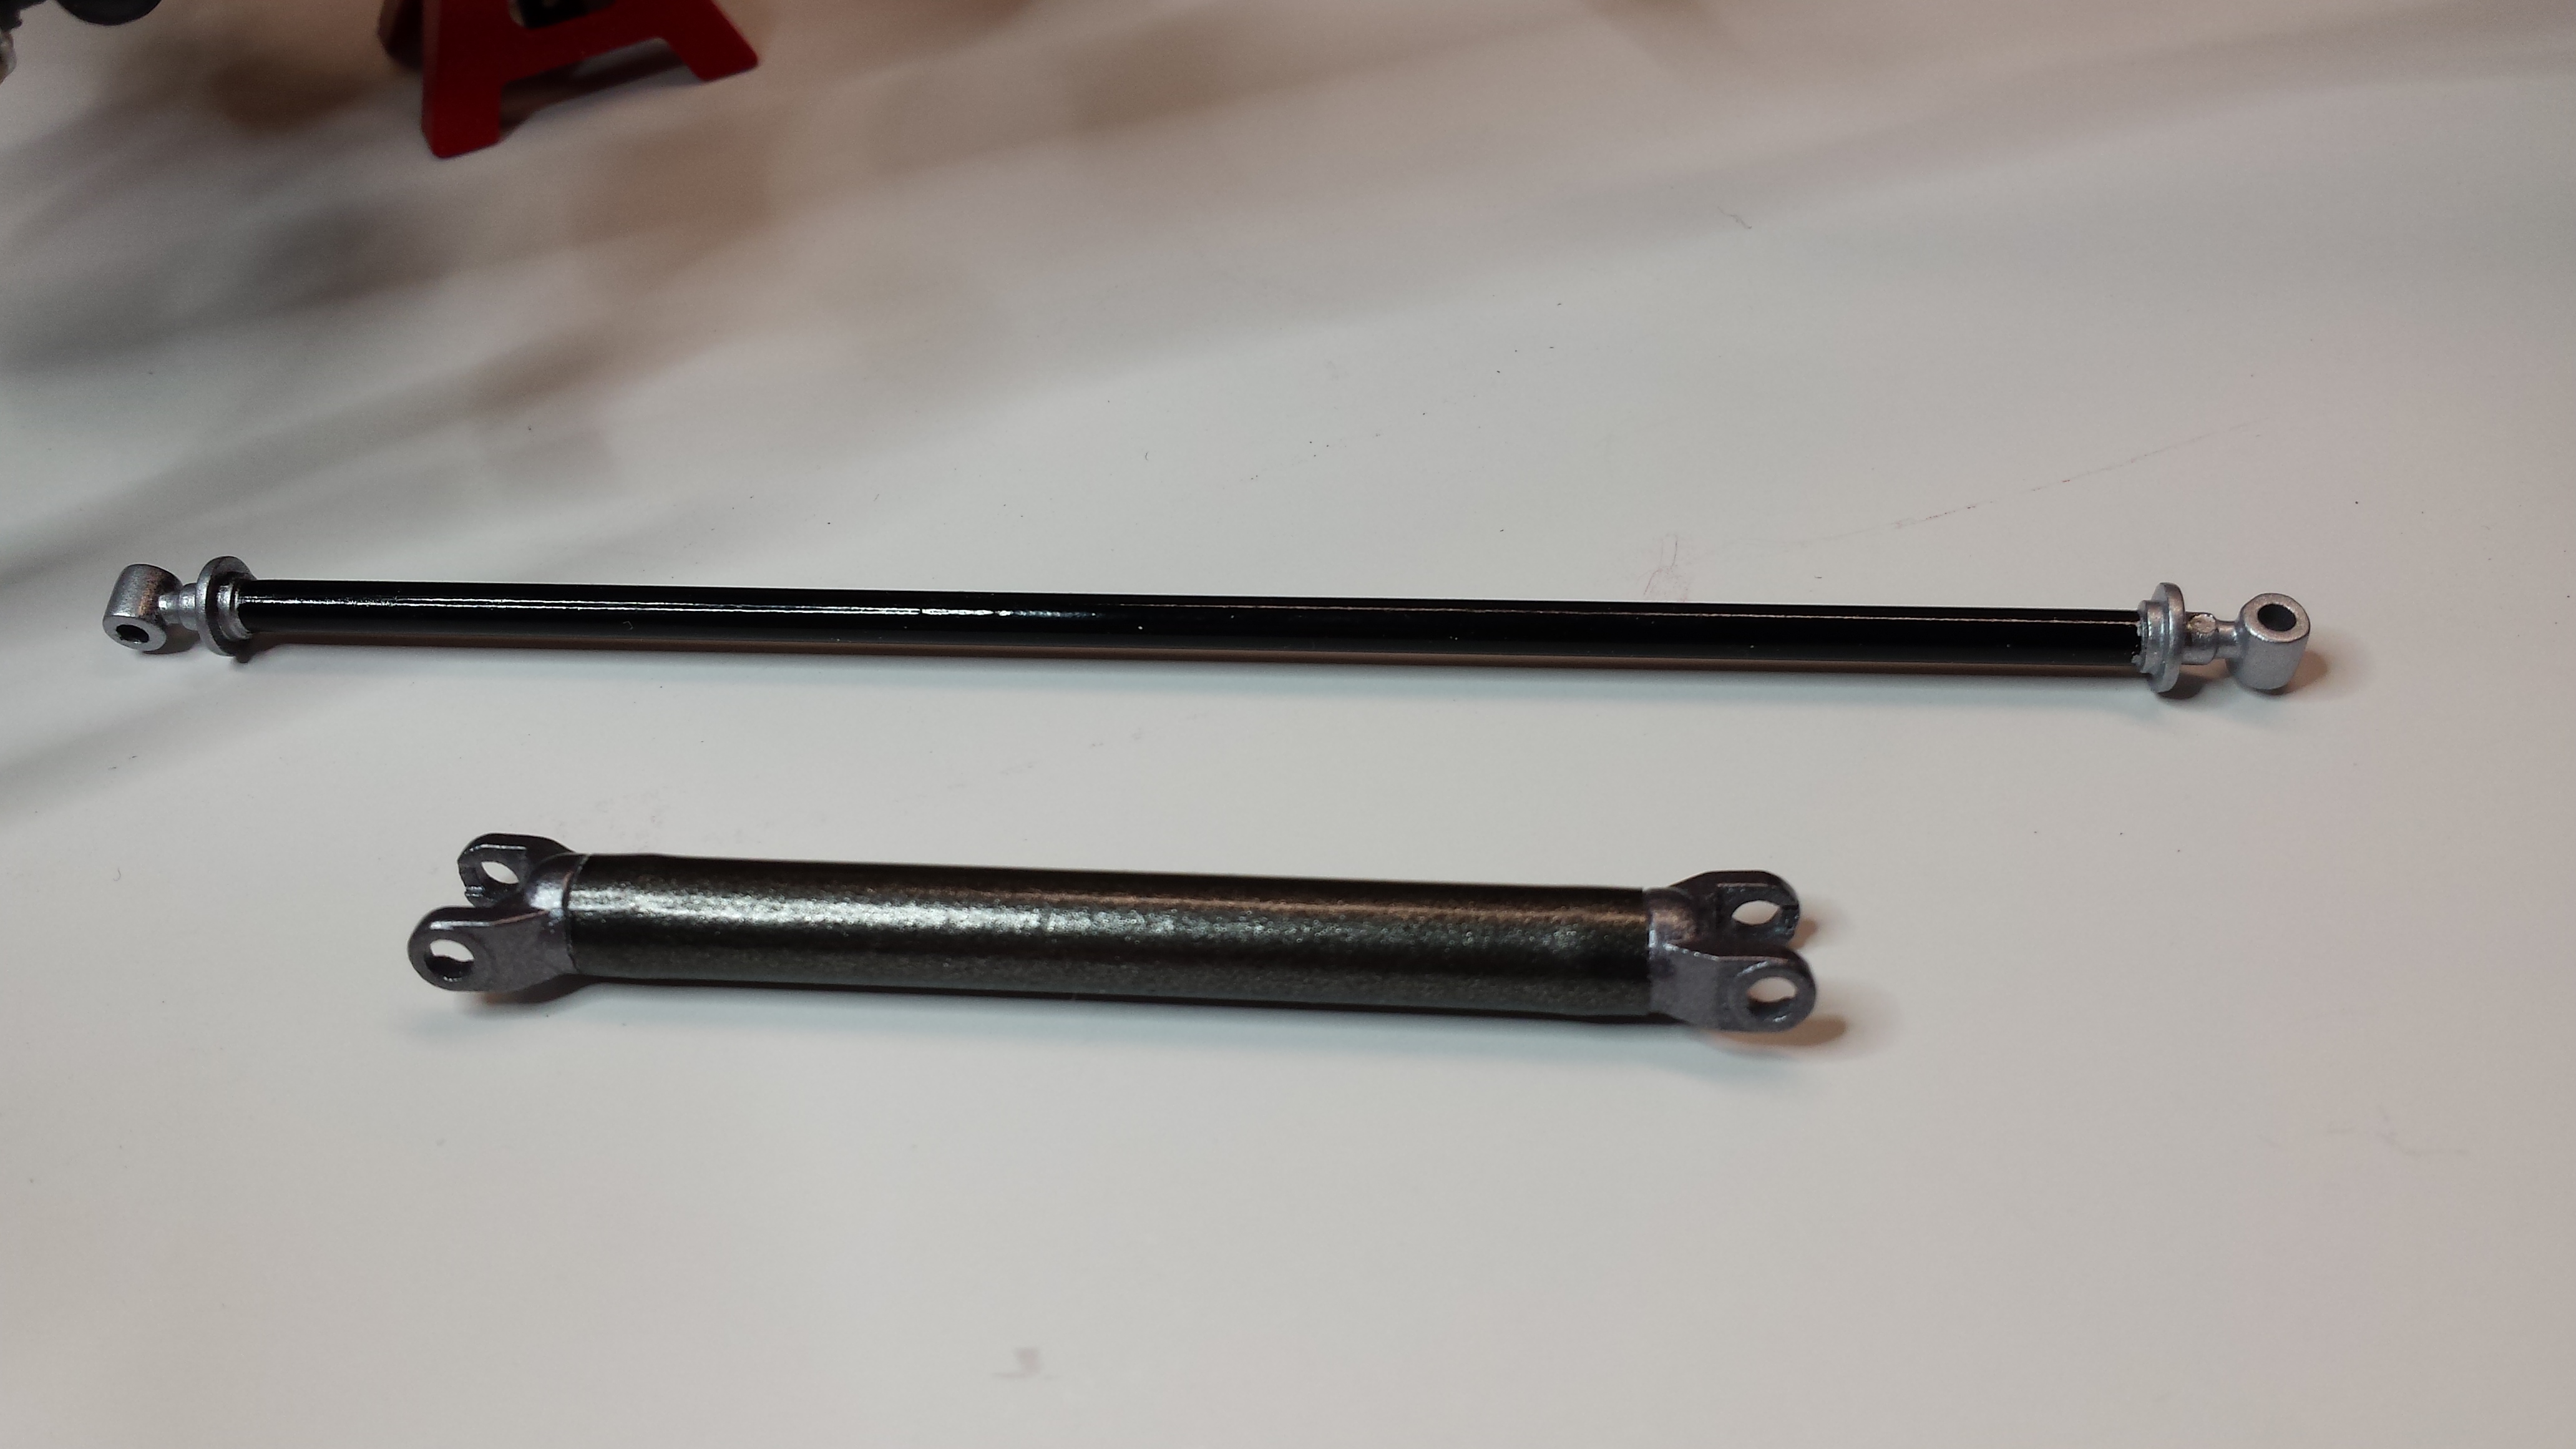
The silver rim on the radiator was cut from a piece of Evergreen sheet after tracing the around the opening. It didn't look right without it. I also made a removable toneau cover made from plastic sheet. Also shown here is the drag link and drive shaft.
-
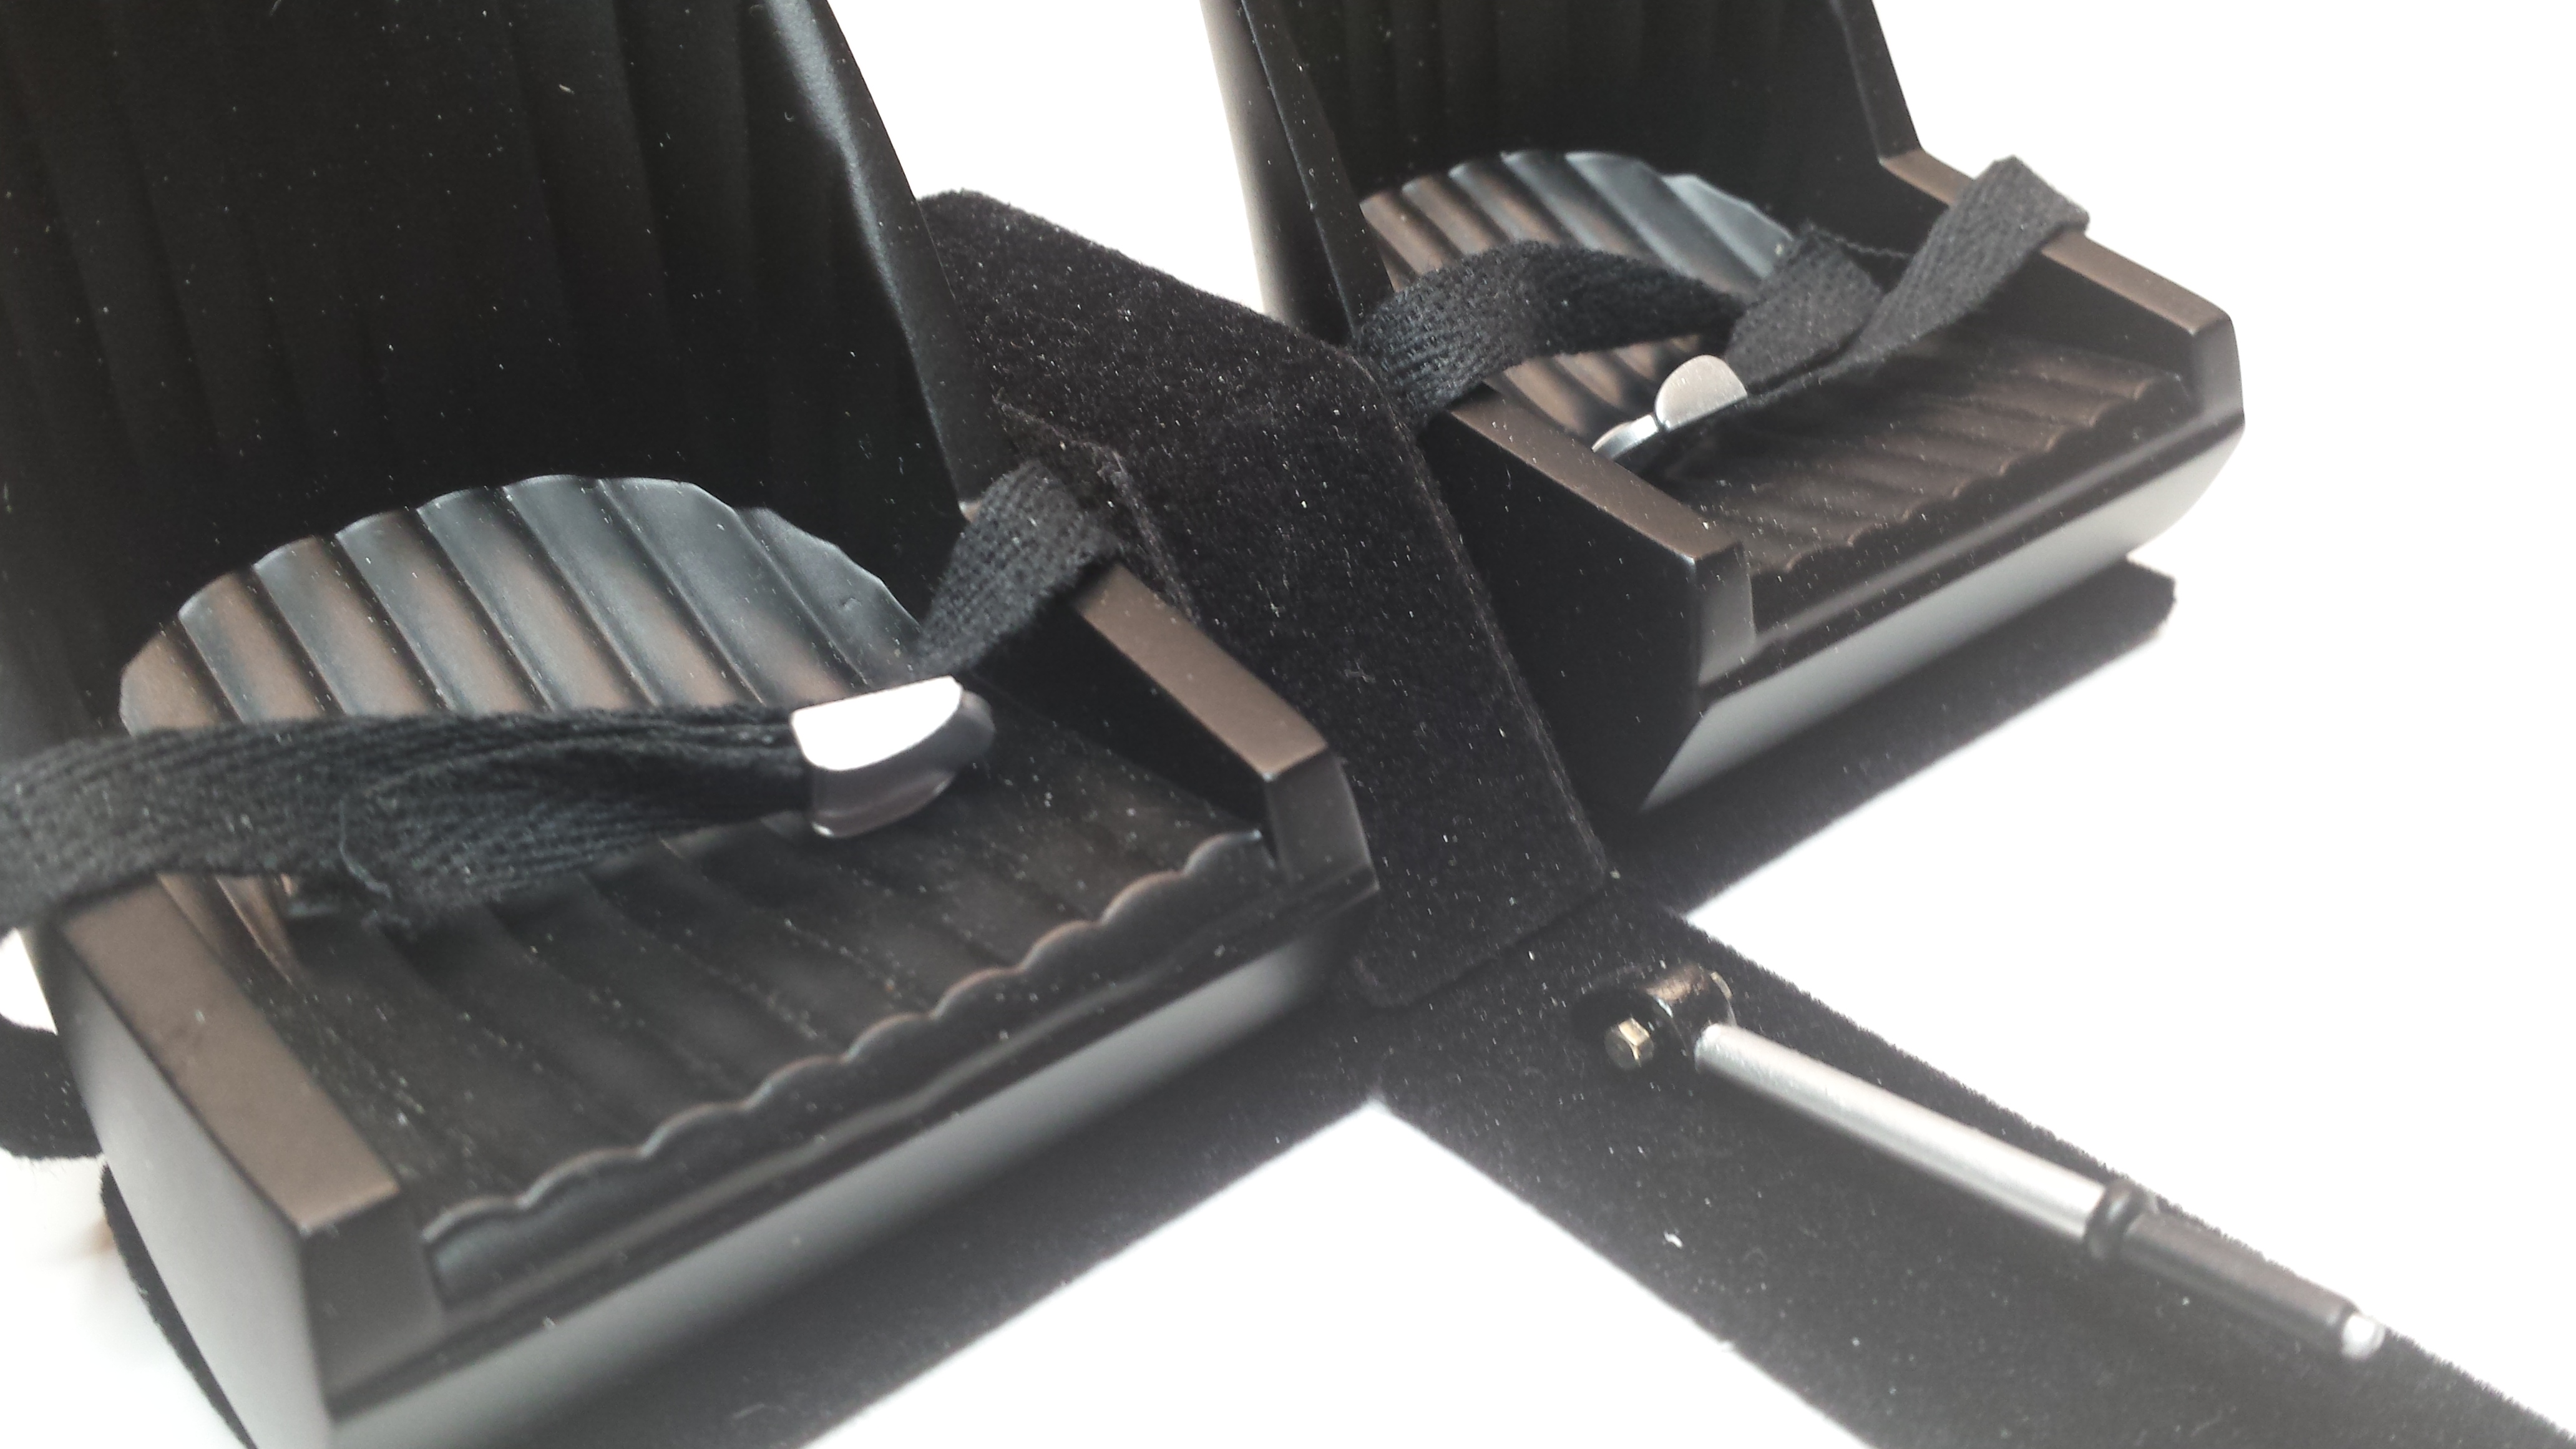
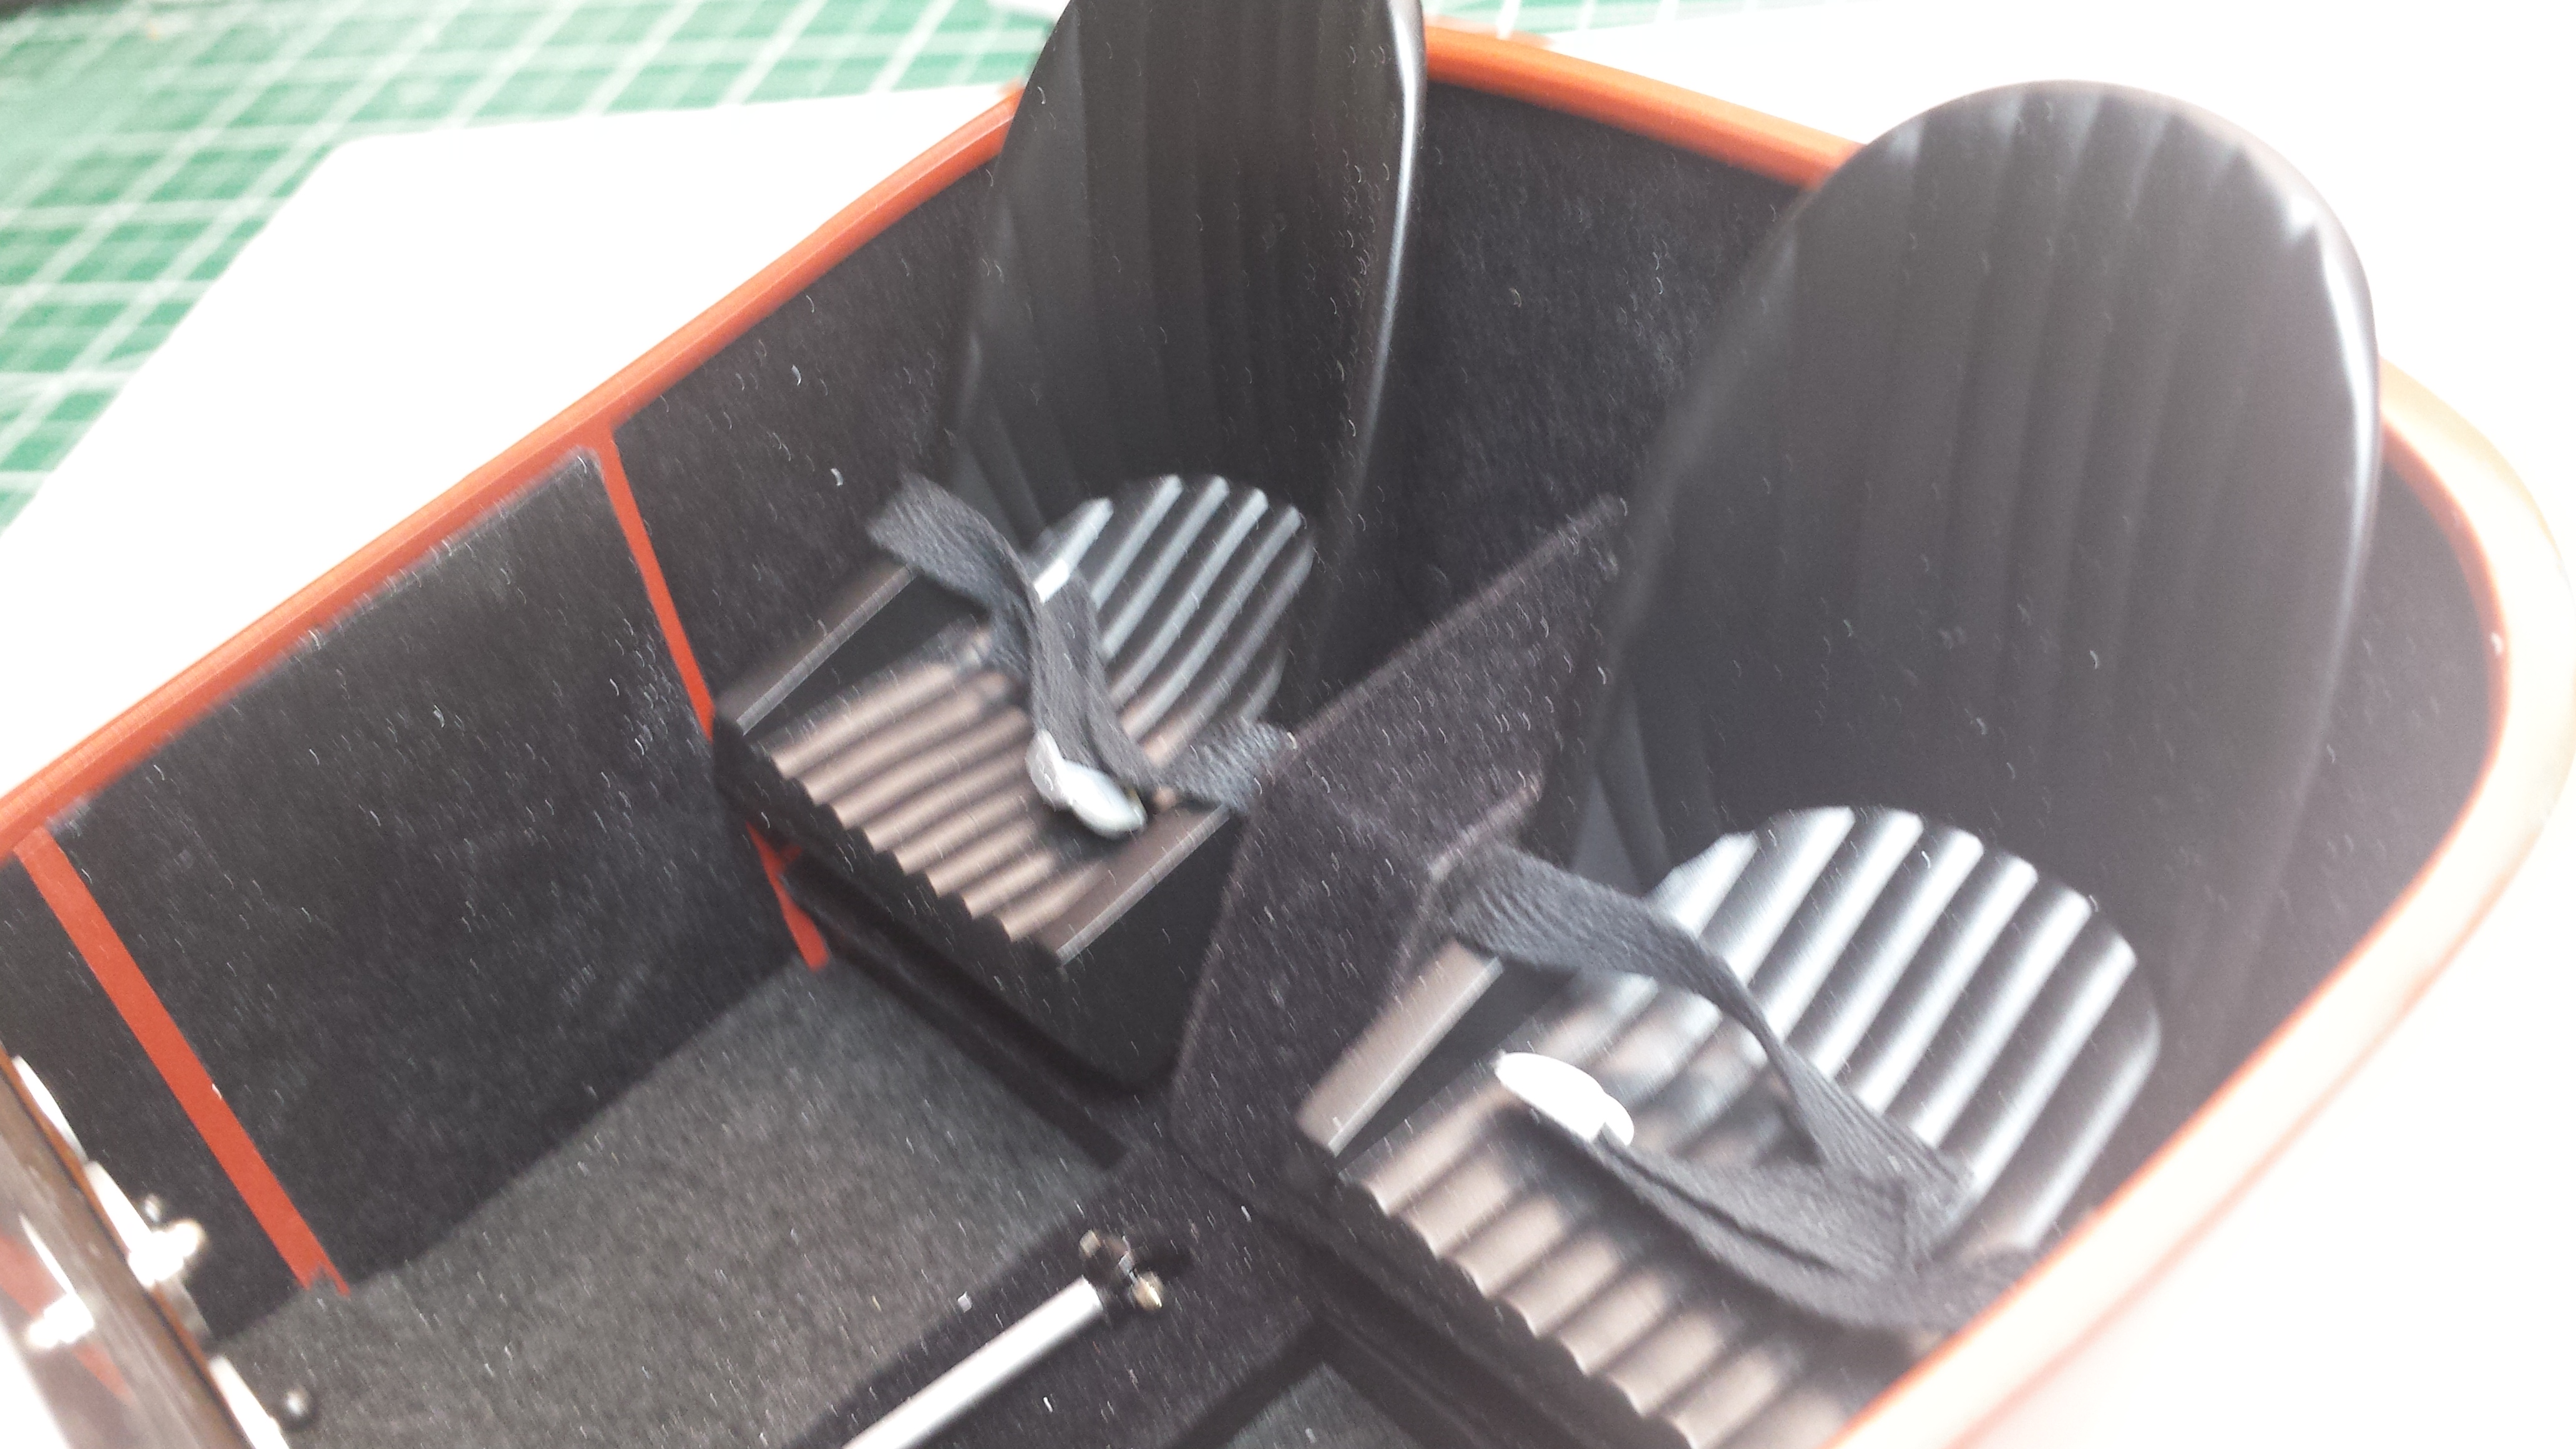
I treated the seats and center console cover as a separate assembly. That made the addition of other details much easier and the entire assembly just pops in.
-
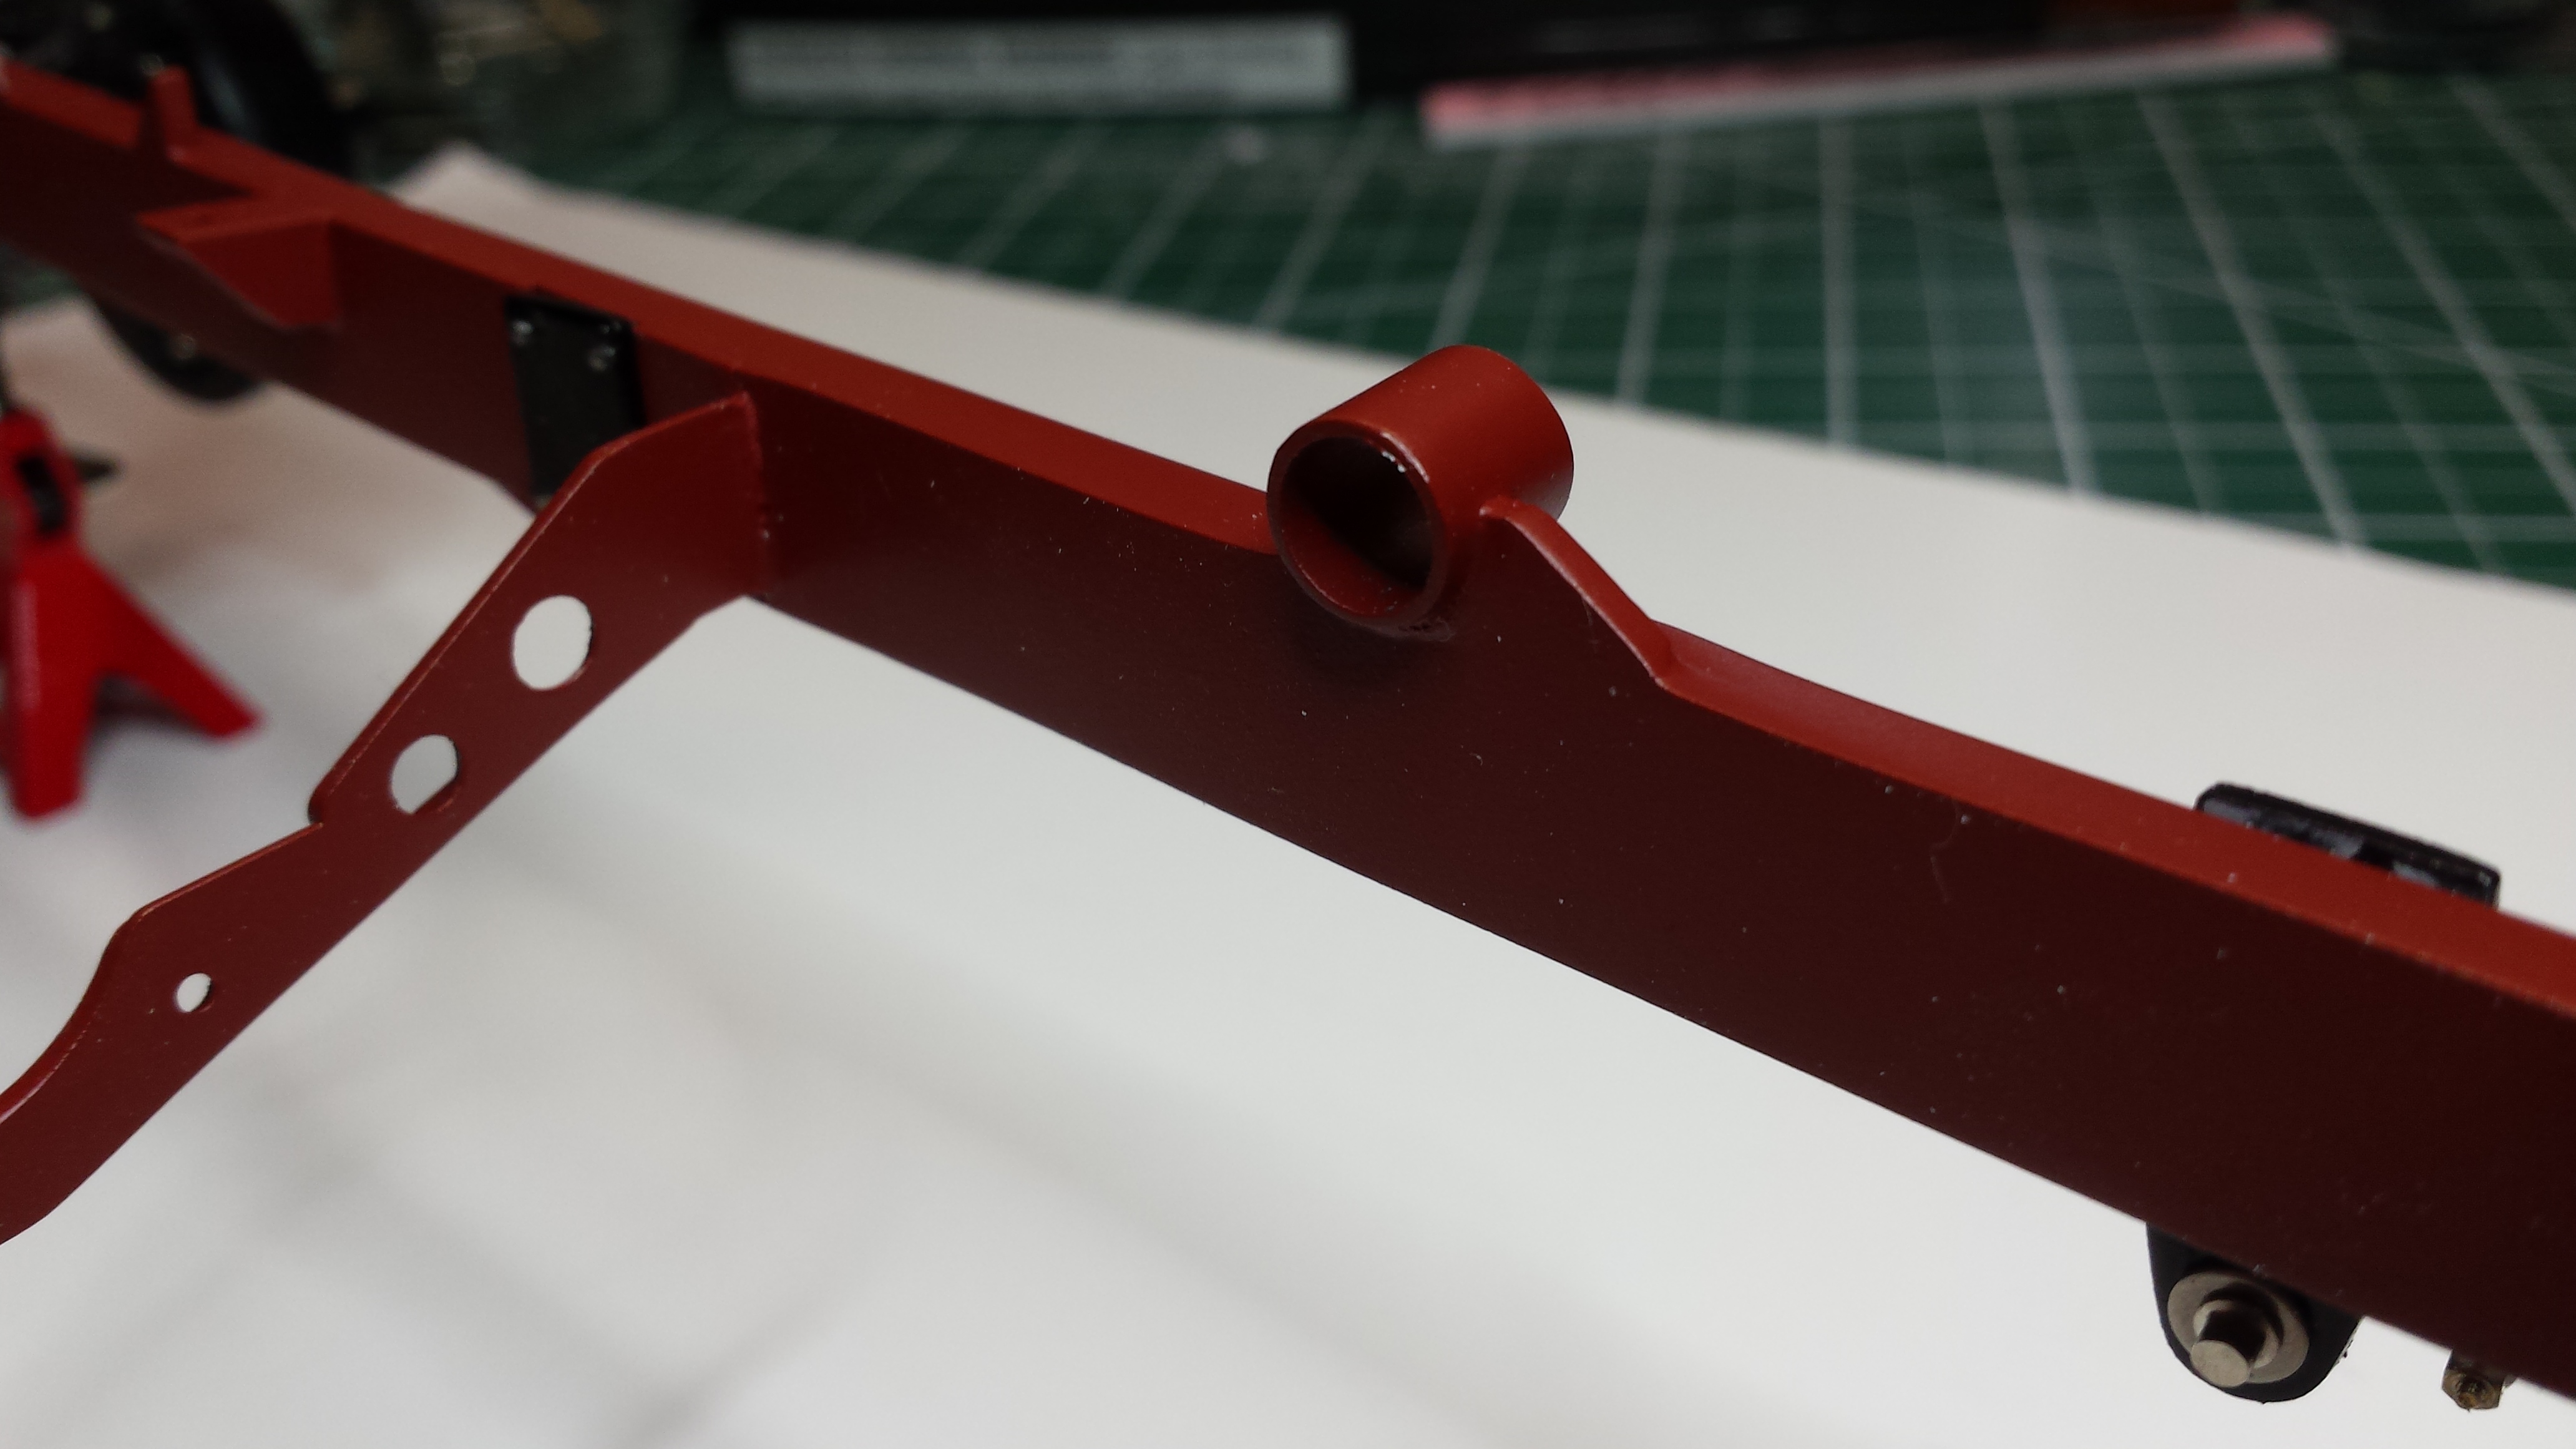
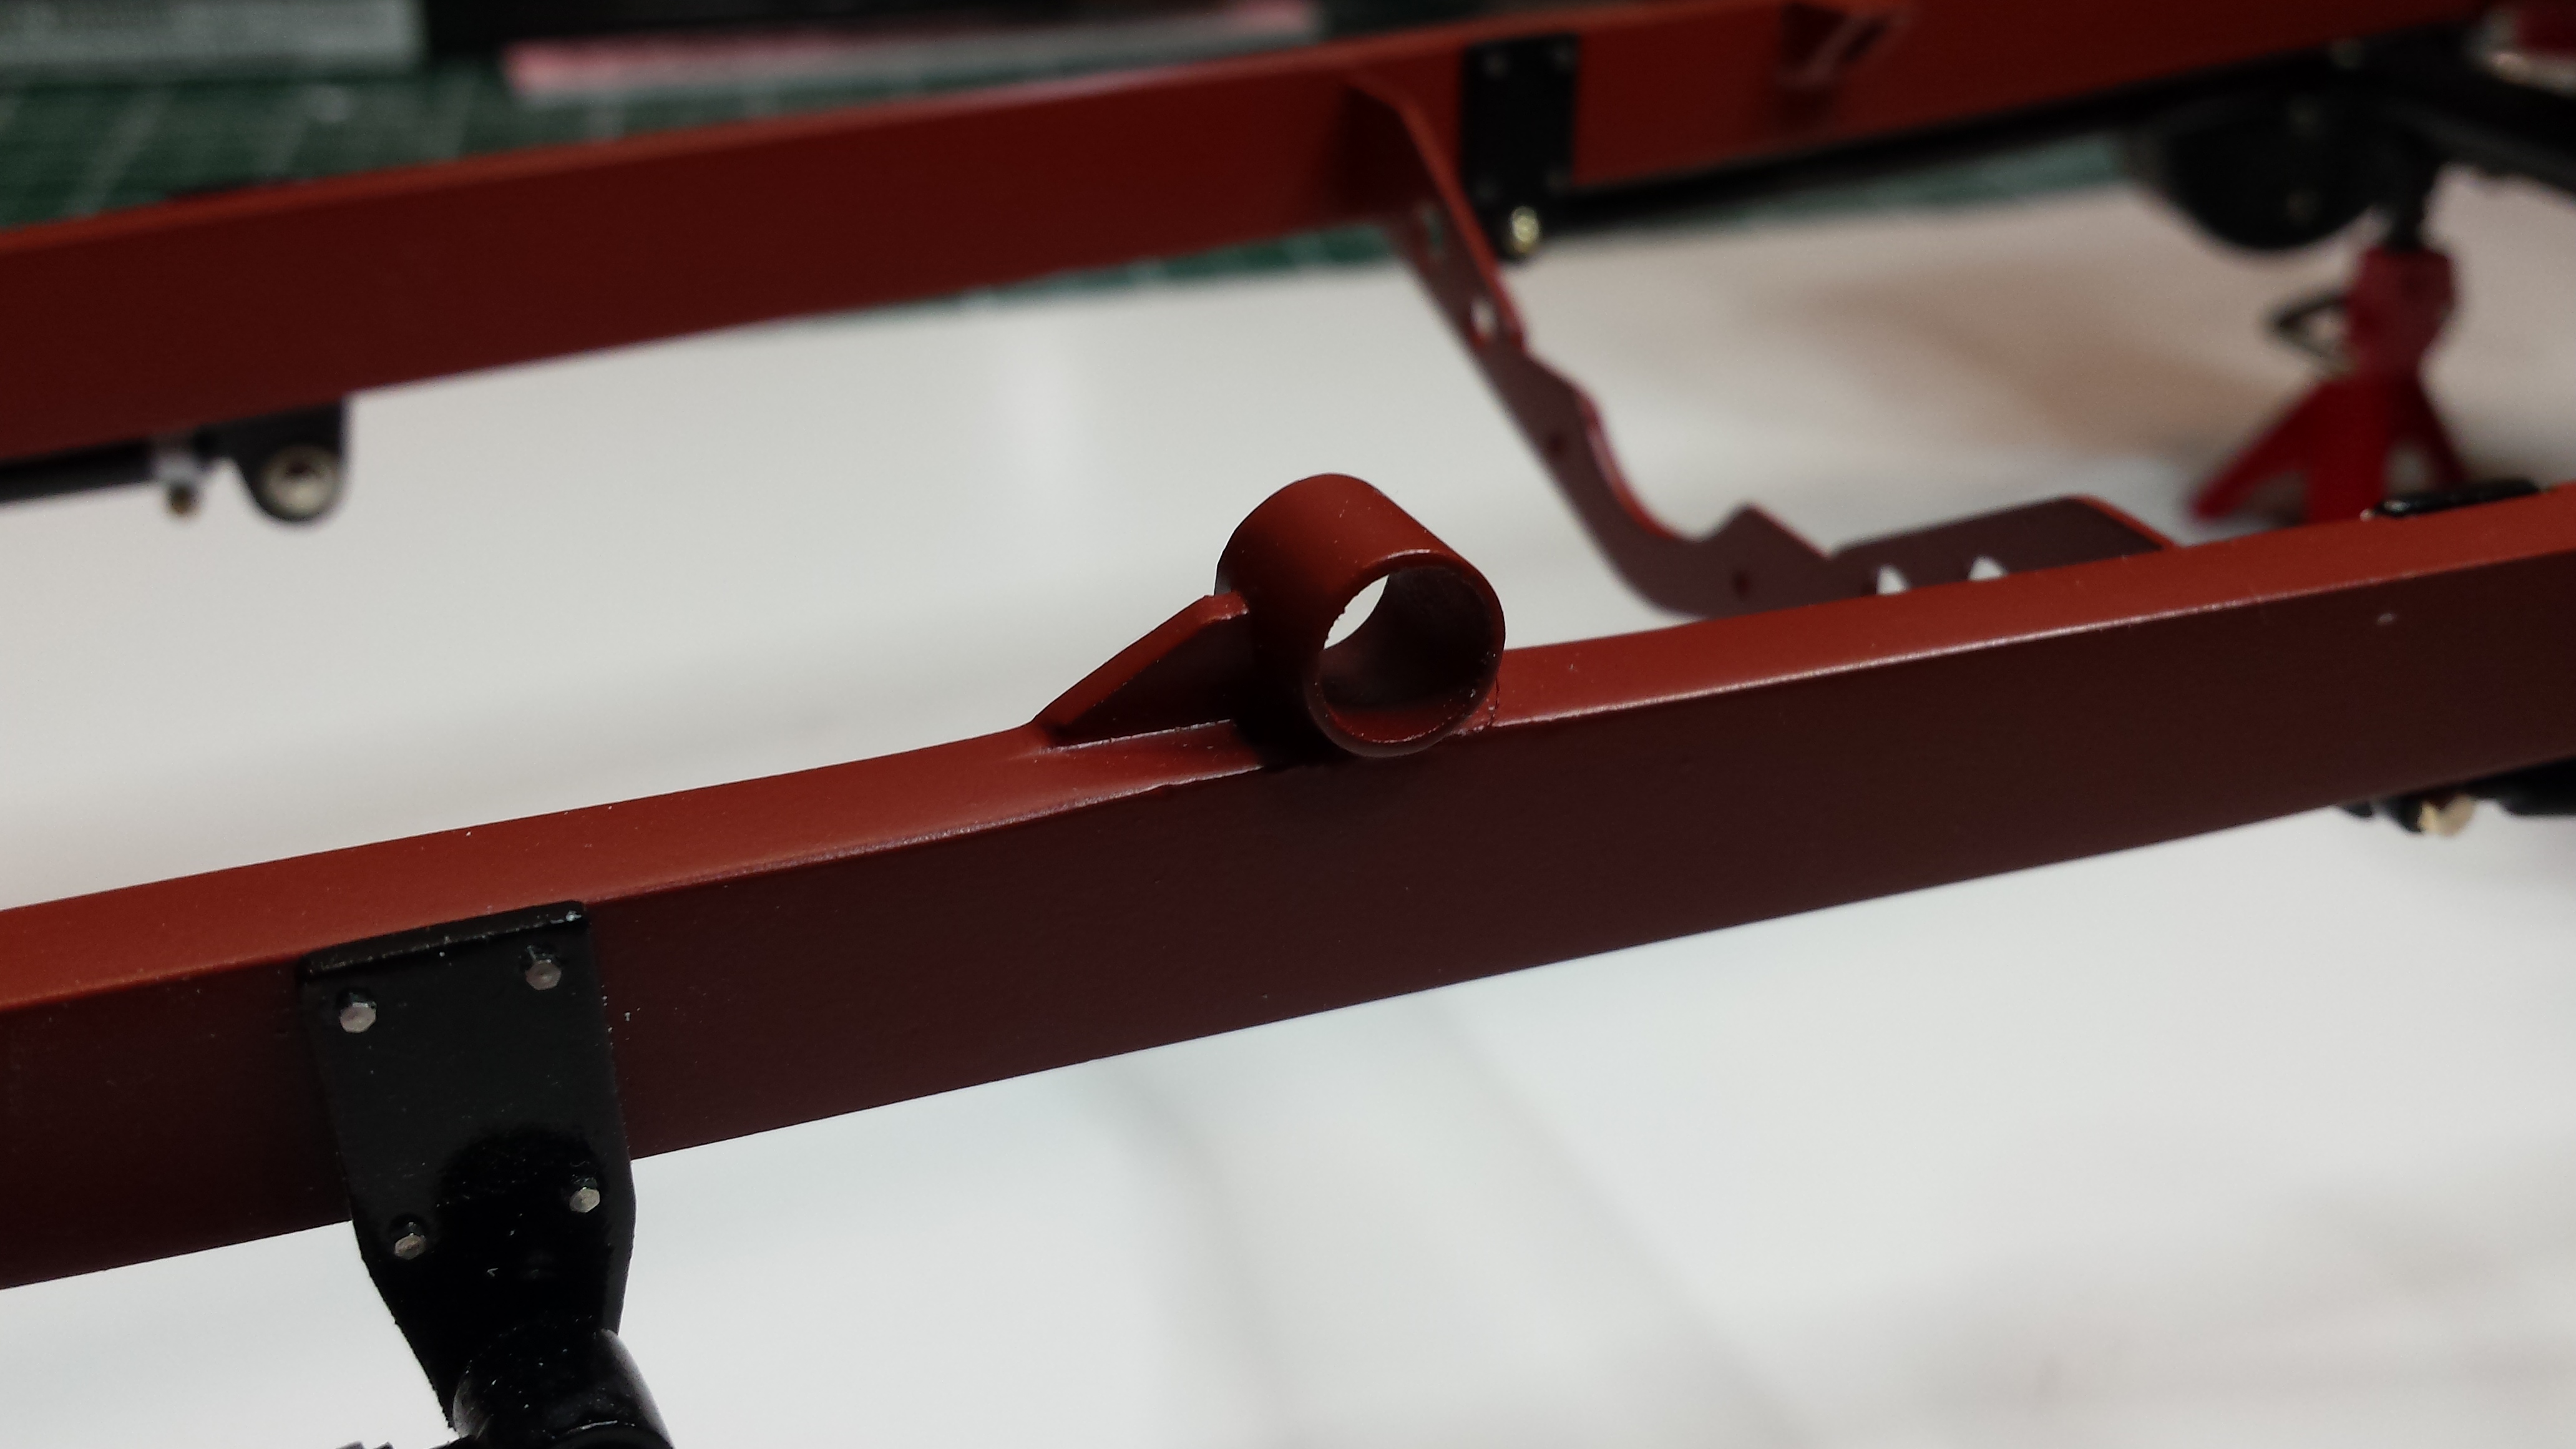
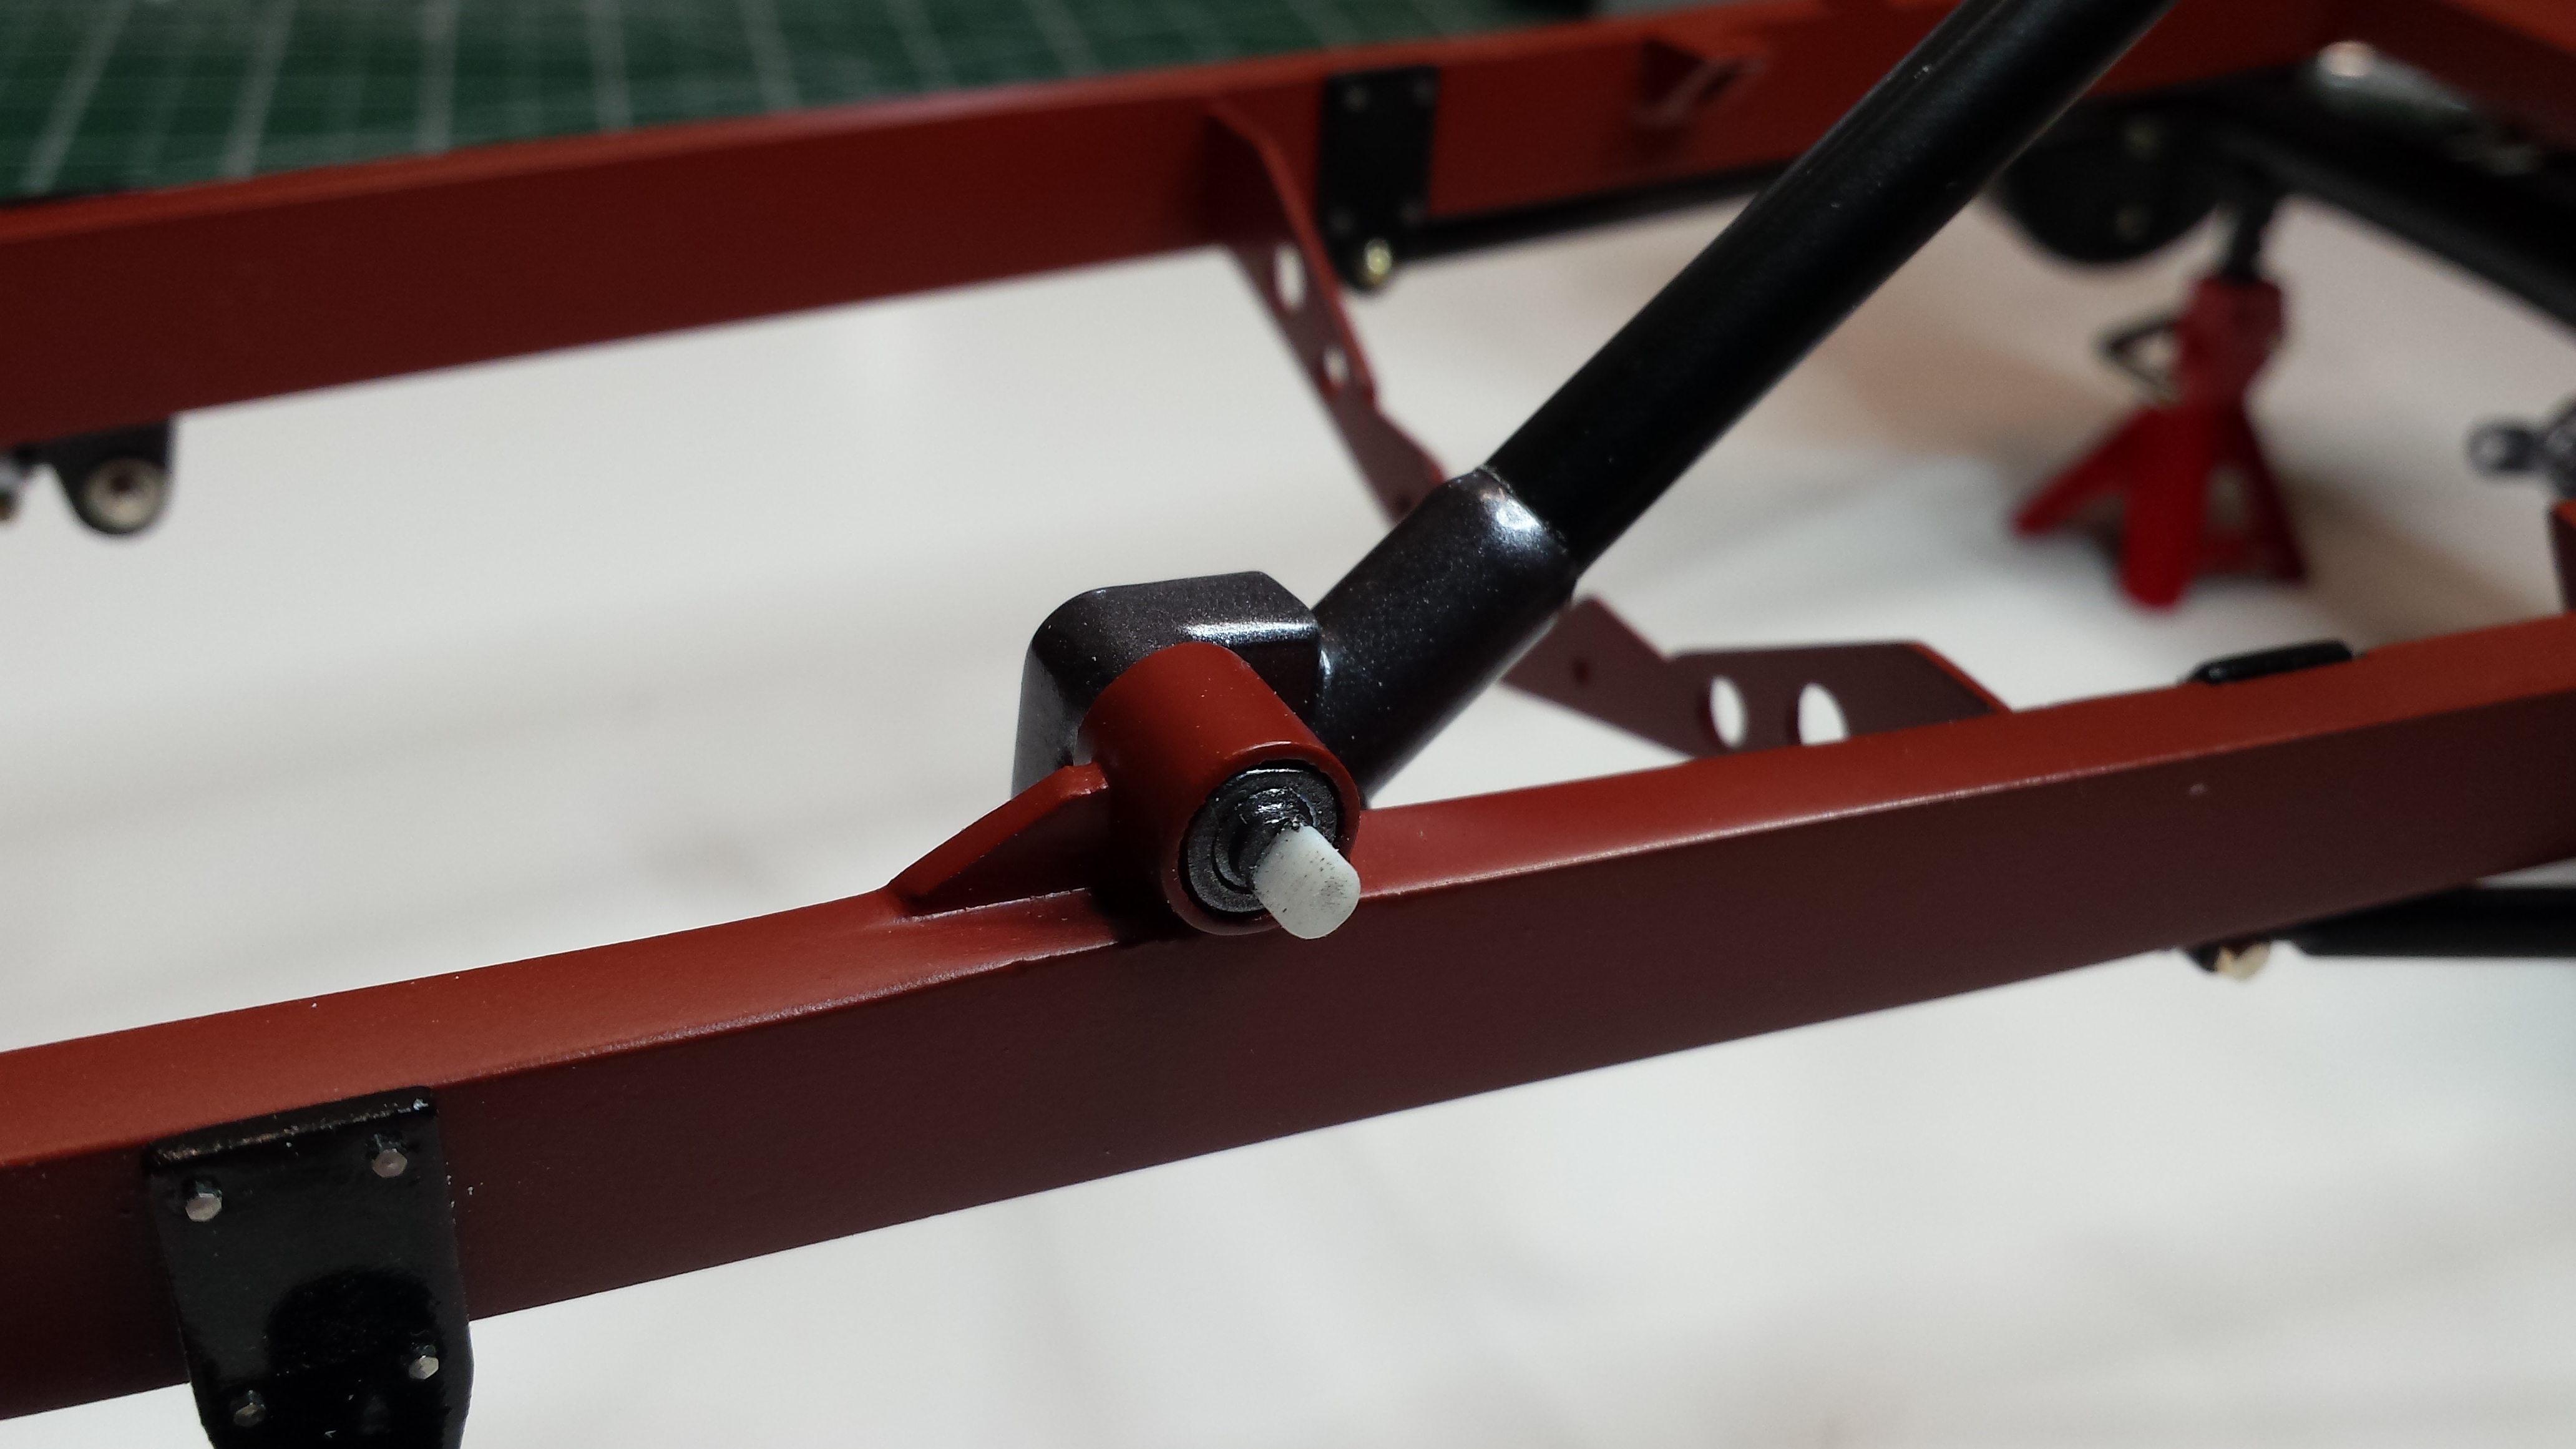
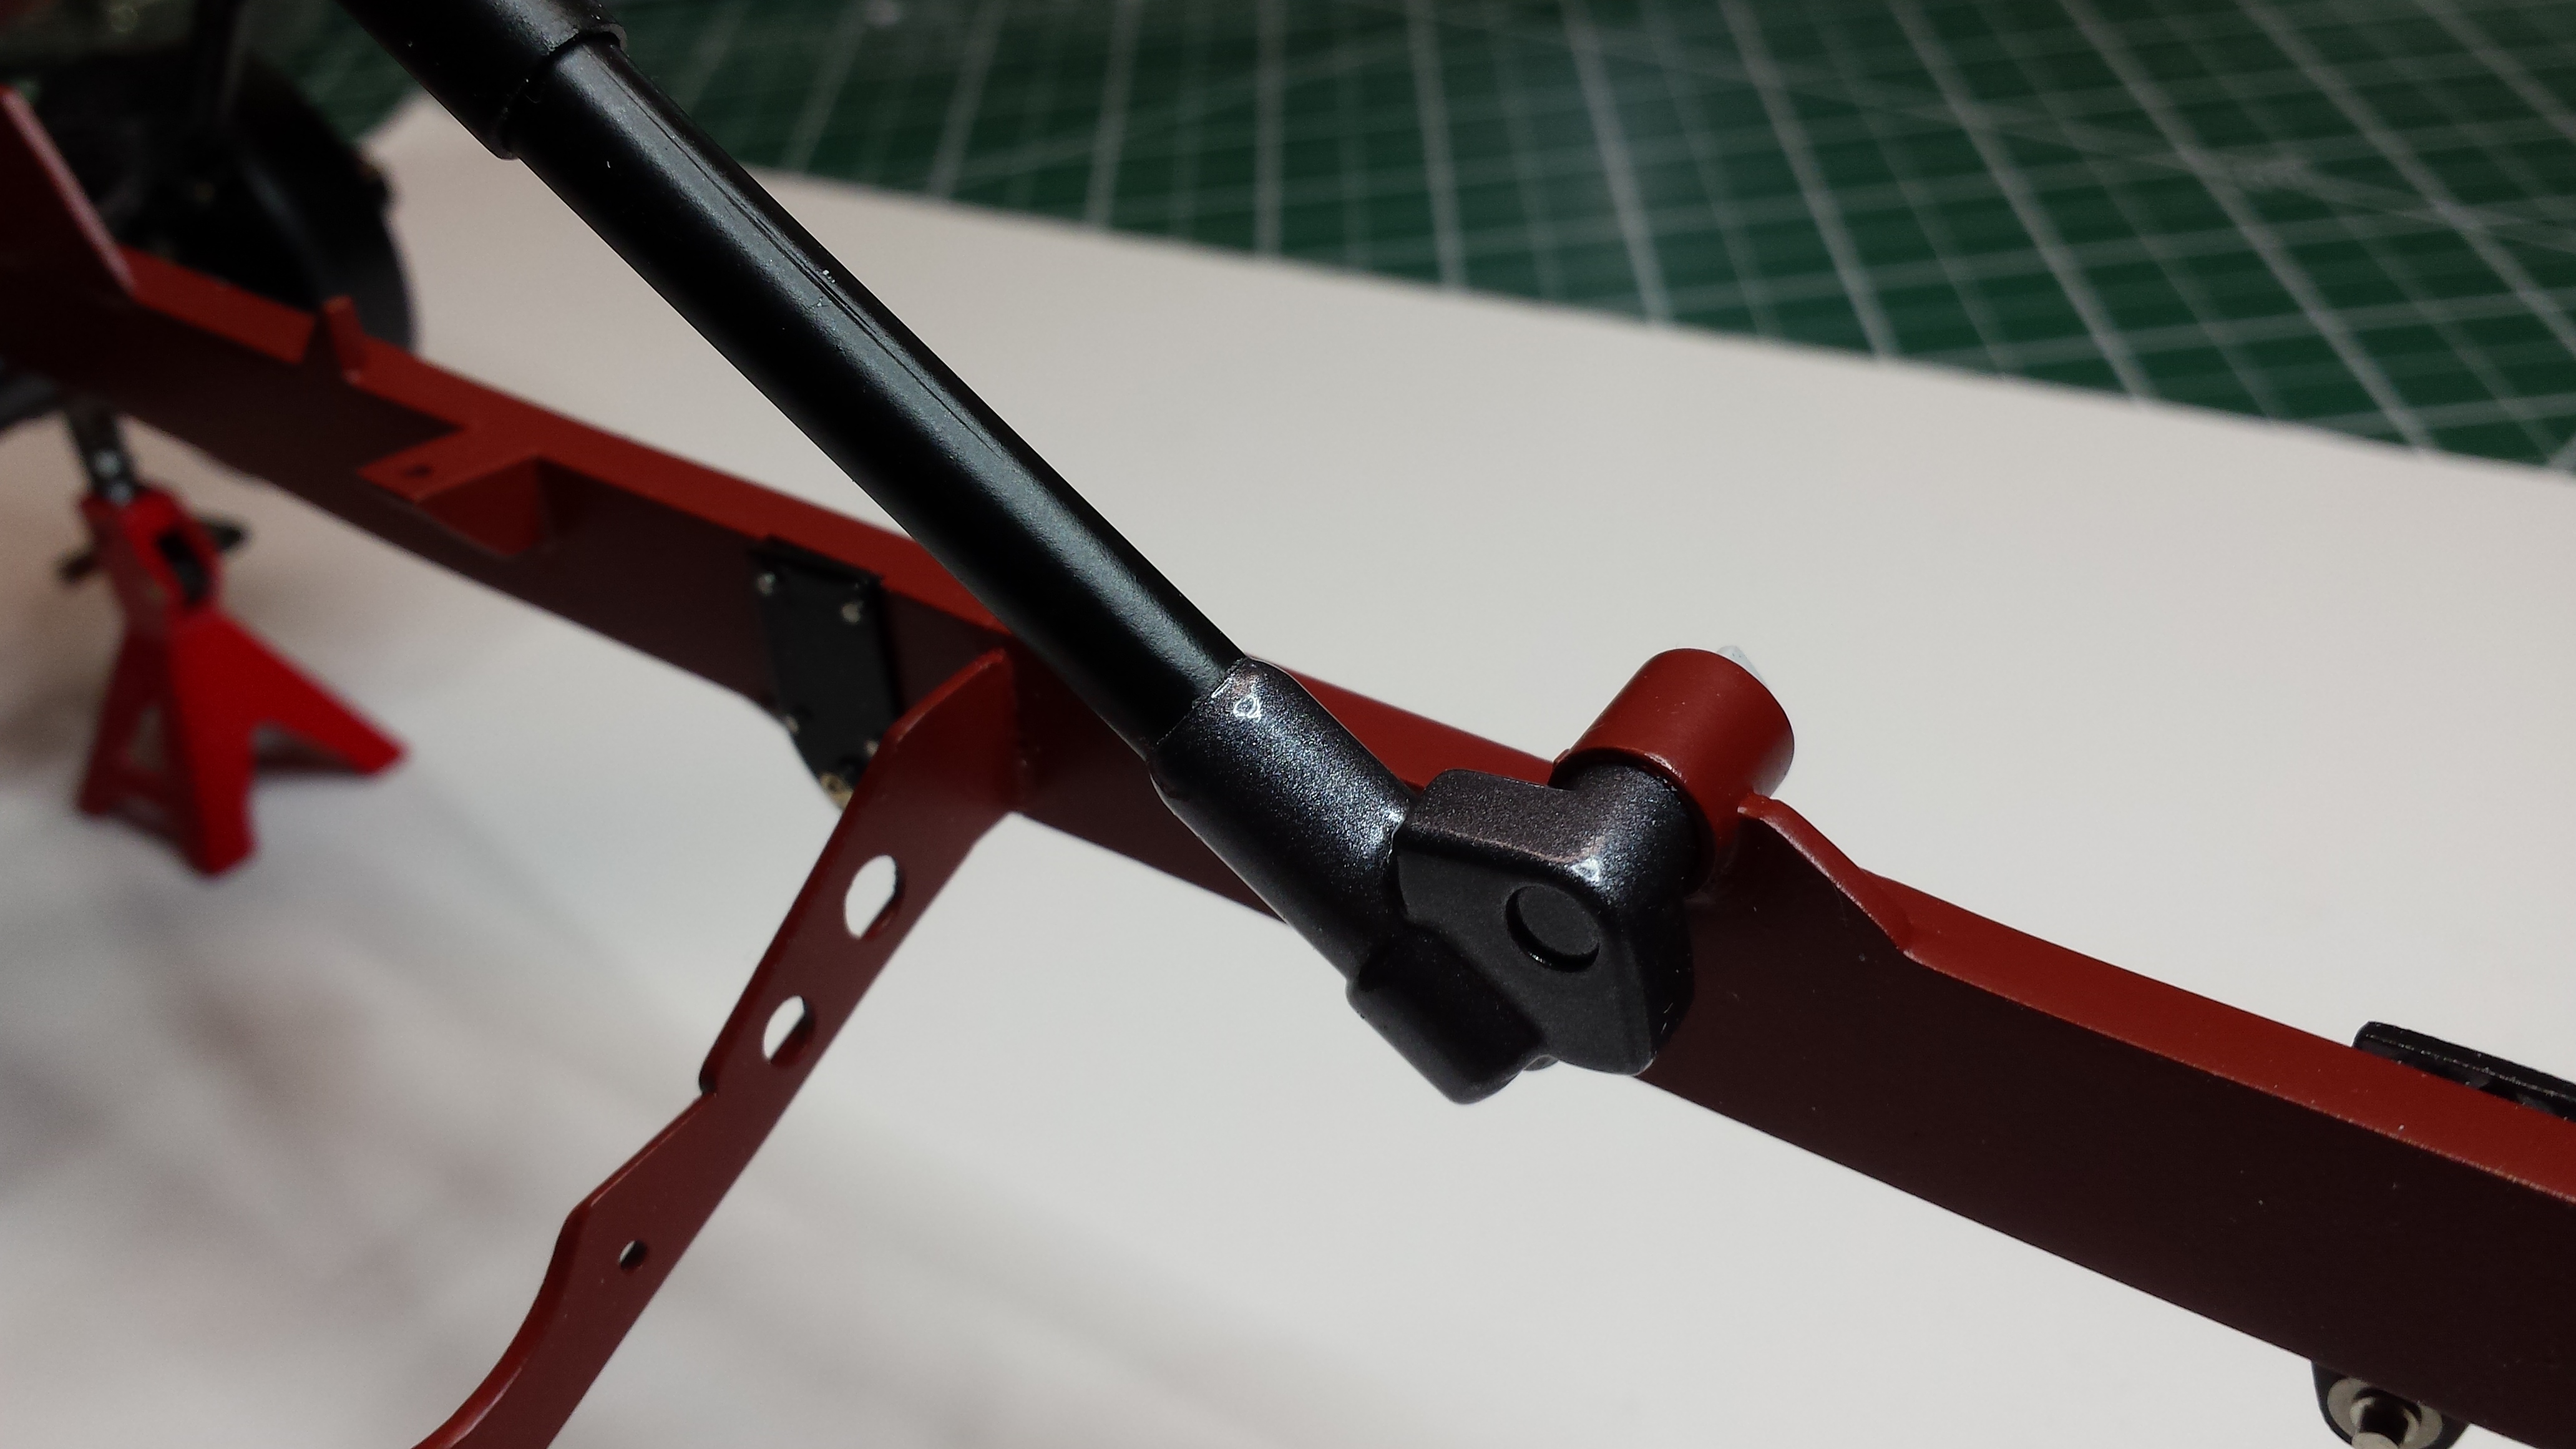
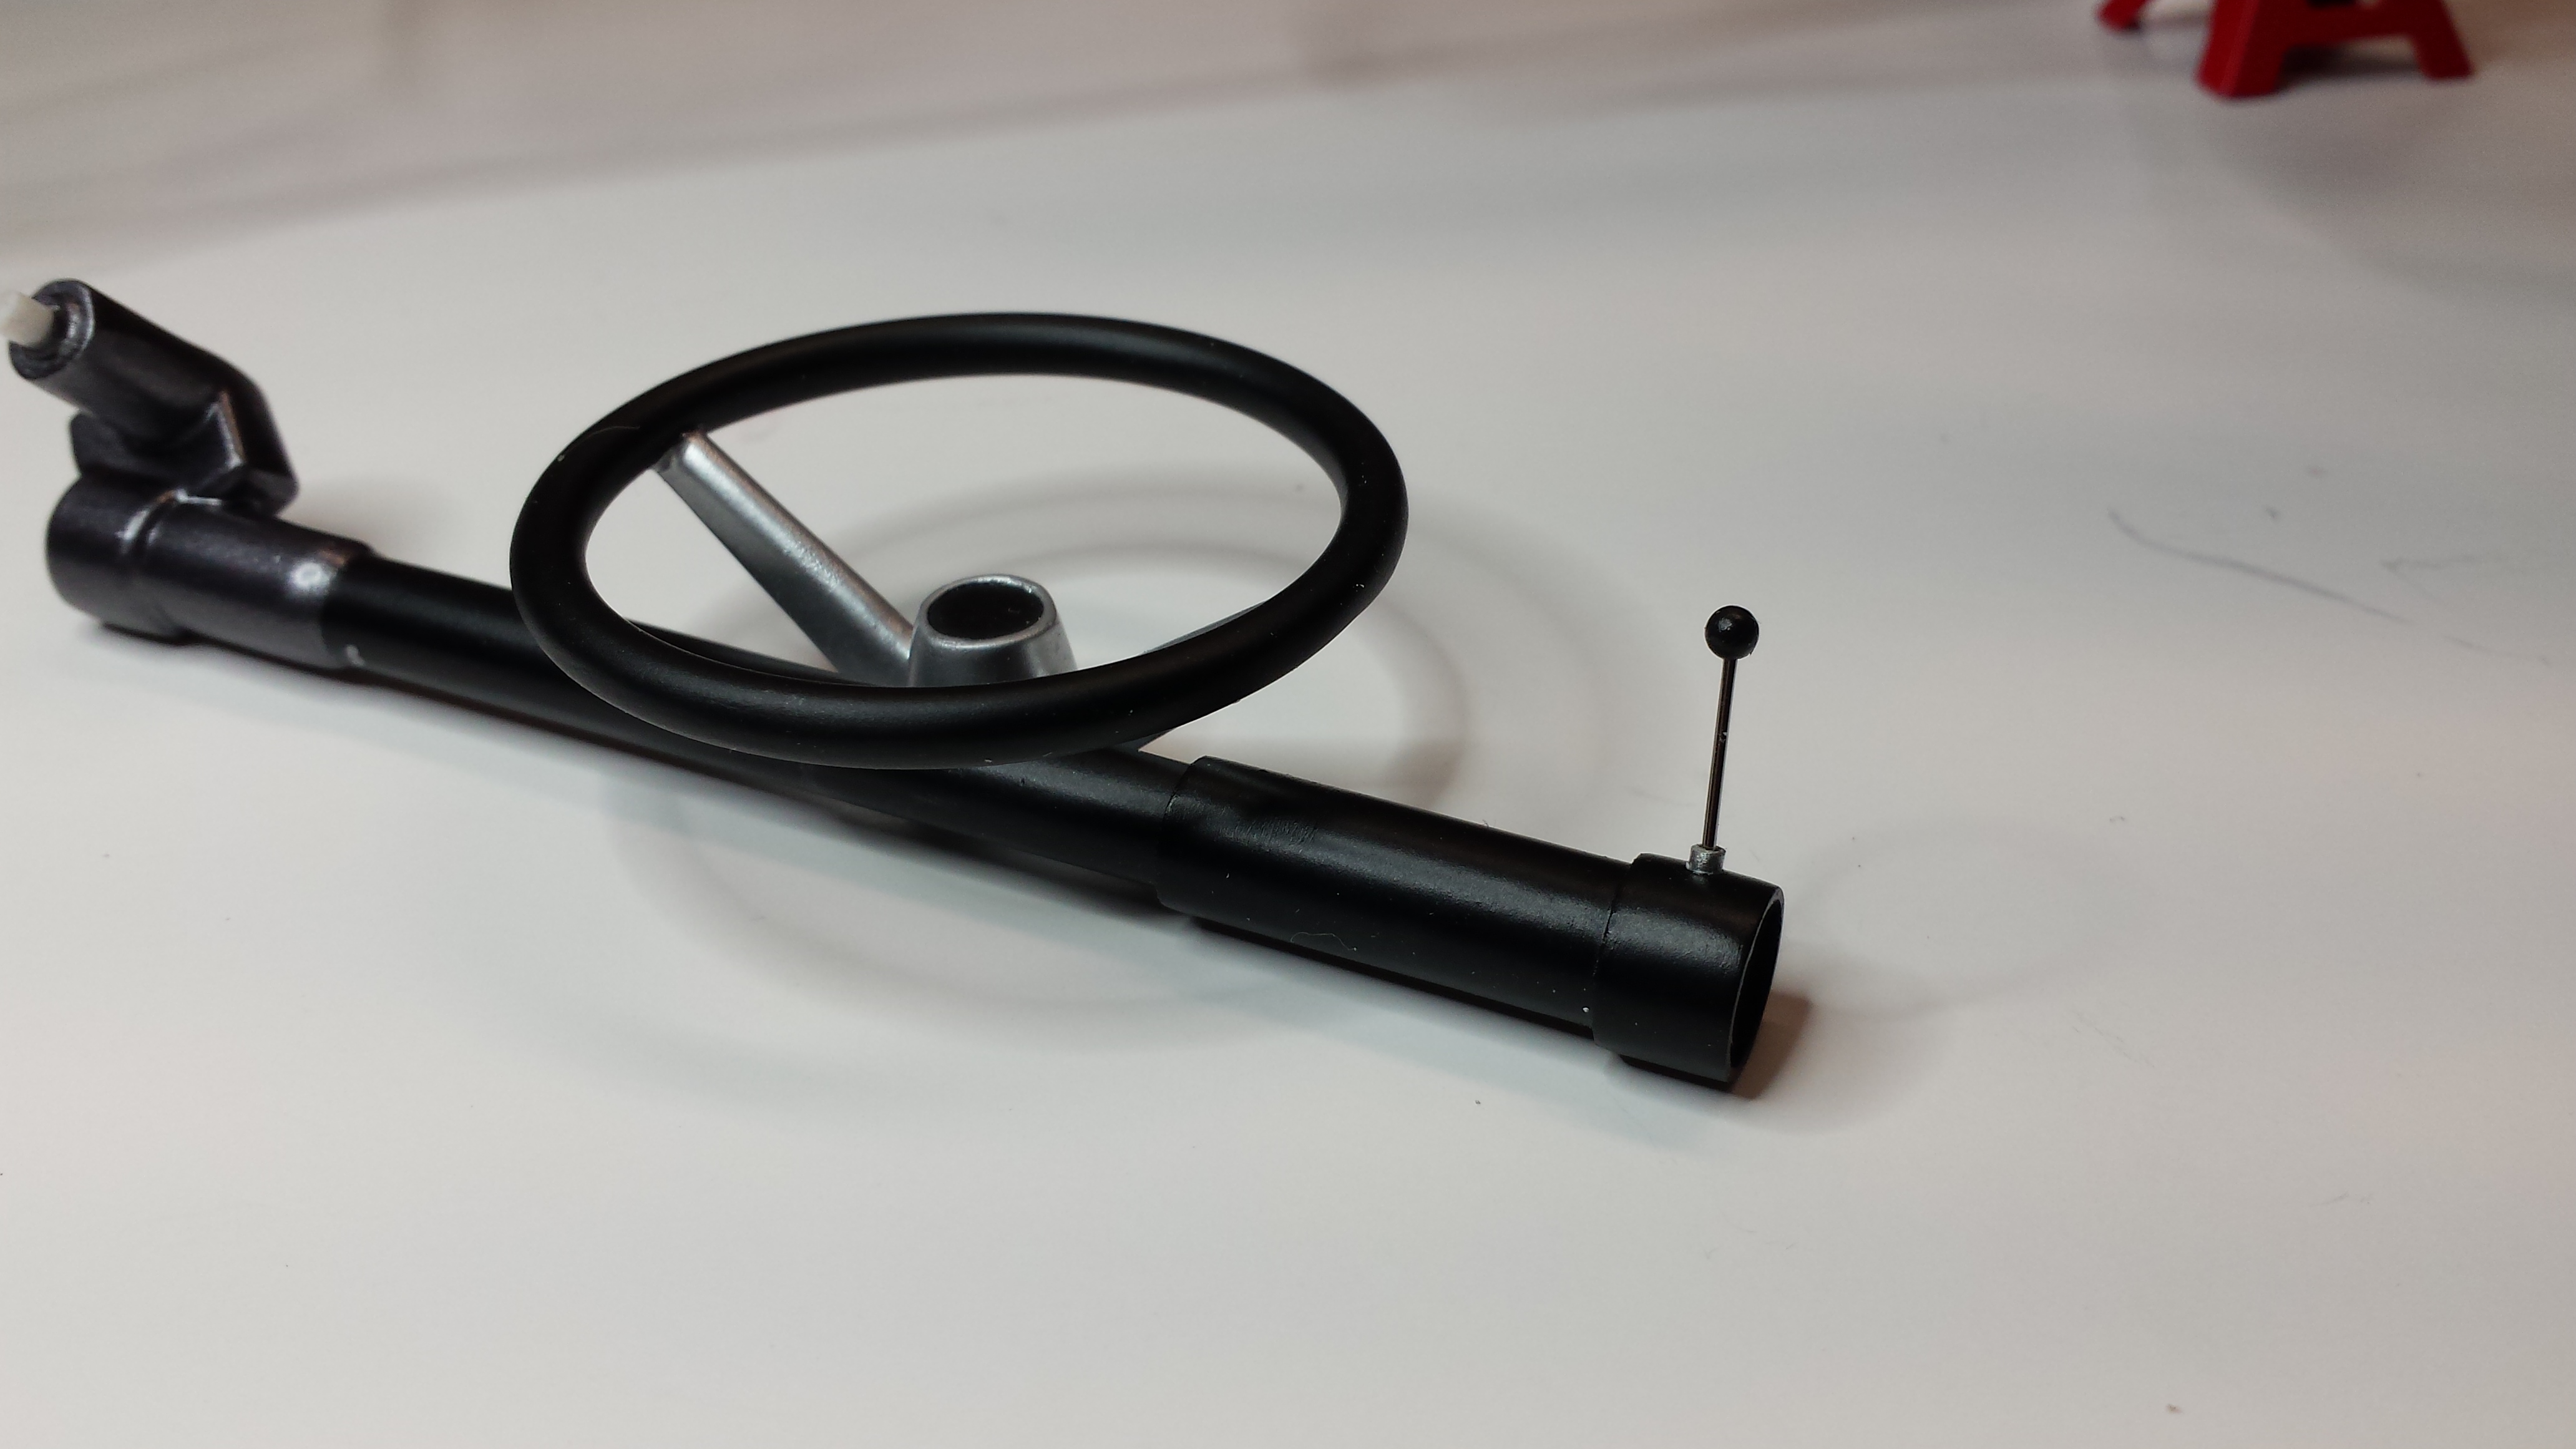
I wanted to mention a few modifications I made to aid assembly. The kit design expects you to glue the steering box to a semi-circle flange on the frame rail. That didn't make sense to me but also since my steering modifications would require me to cut a new hole in the floorboard kick panel and I wanted to be able to make minor adjustments during final assembly - if required. I ended up adding a small piece of Evergreen tube to the frame mount. The photos should explain it better. I just had to fill the original hole. I used two more pieces of telescoping tube for the upper part of the steering column. One piece which slides on above the steering wheel drop and another smaller piece that matches the diameter of the steering wheel hub. I also added a turn signal lever made from a ball-head pin. I know that's weird since purposely omitted other items like mirrors, windshield wipers, etc.
-
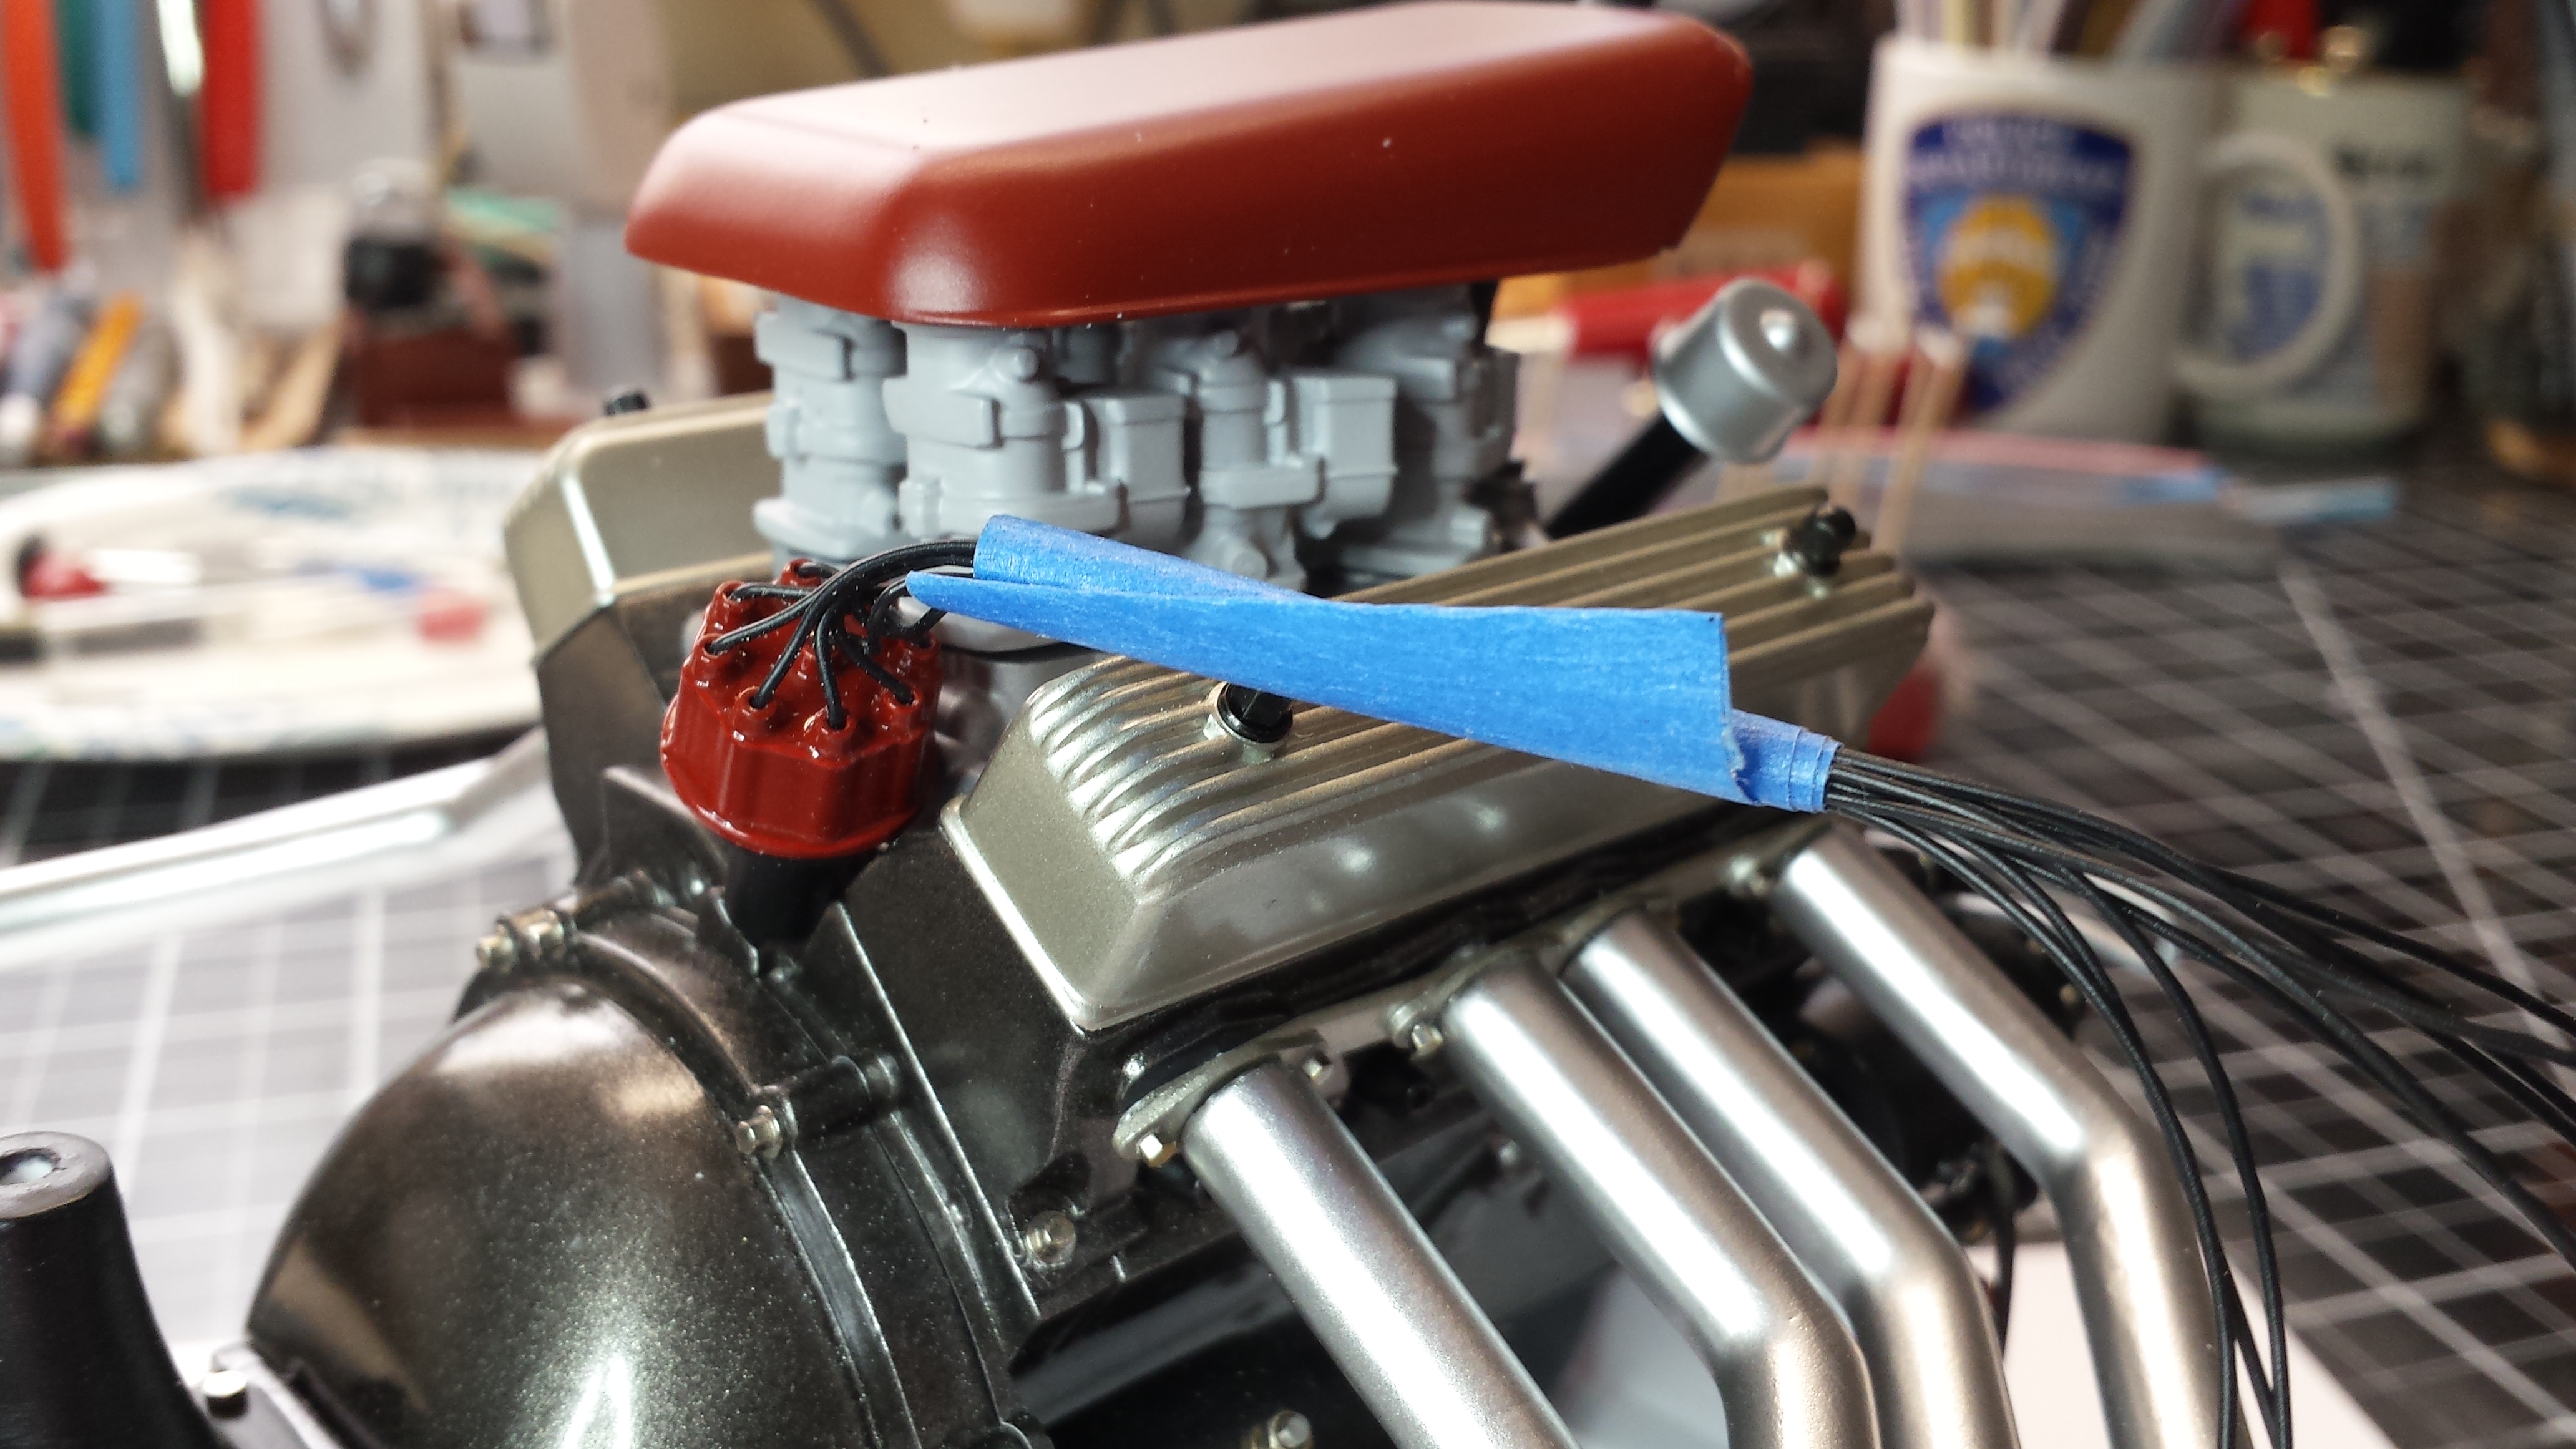
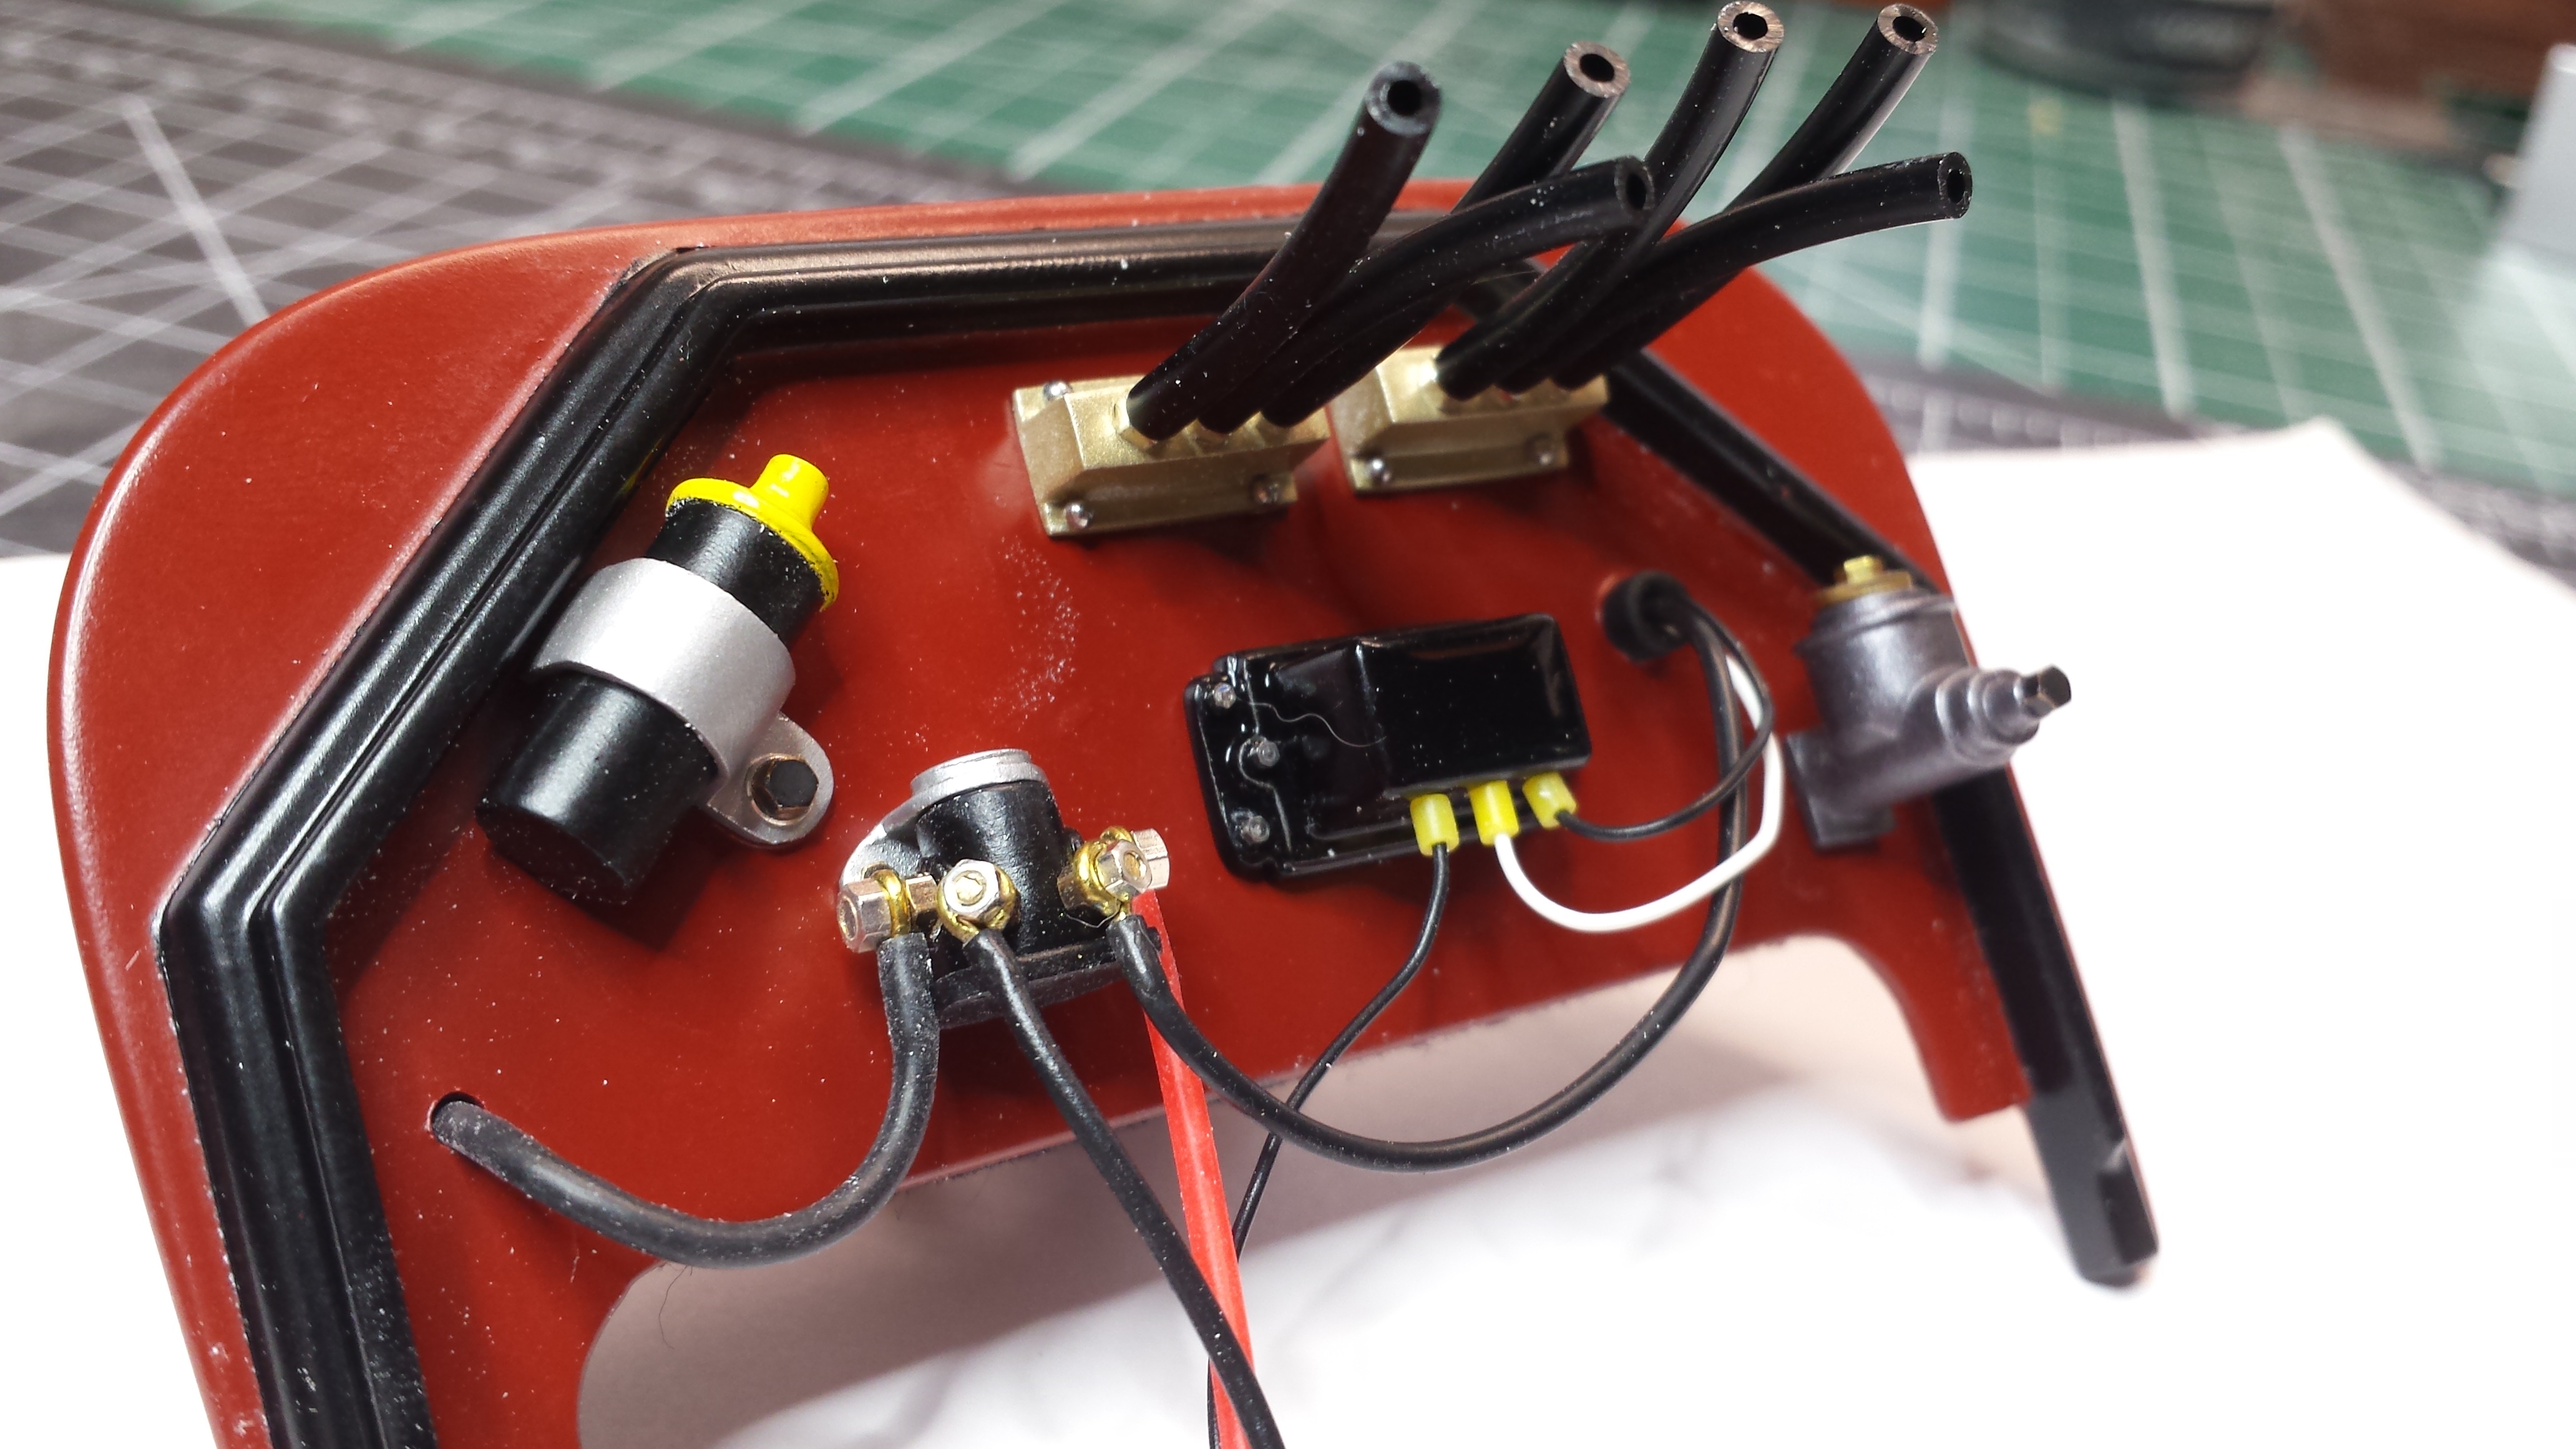
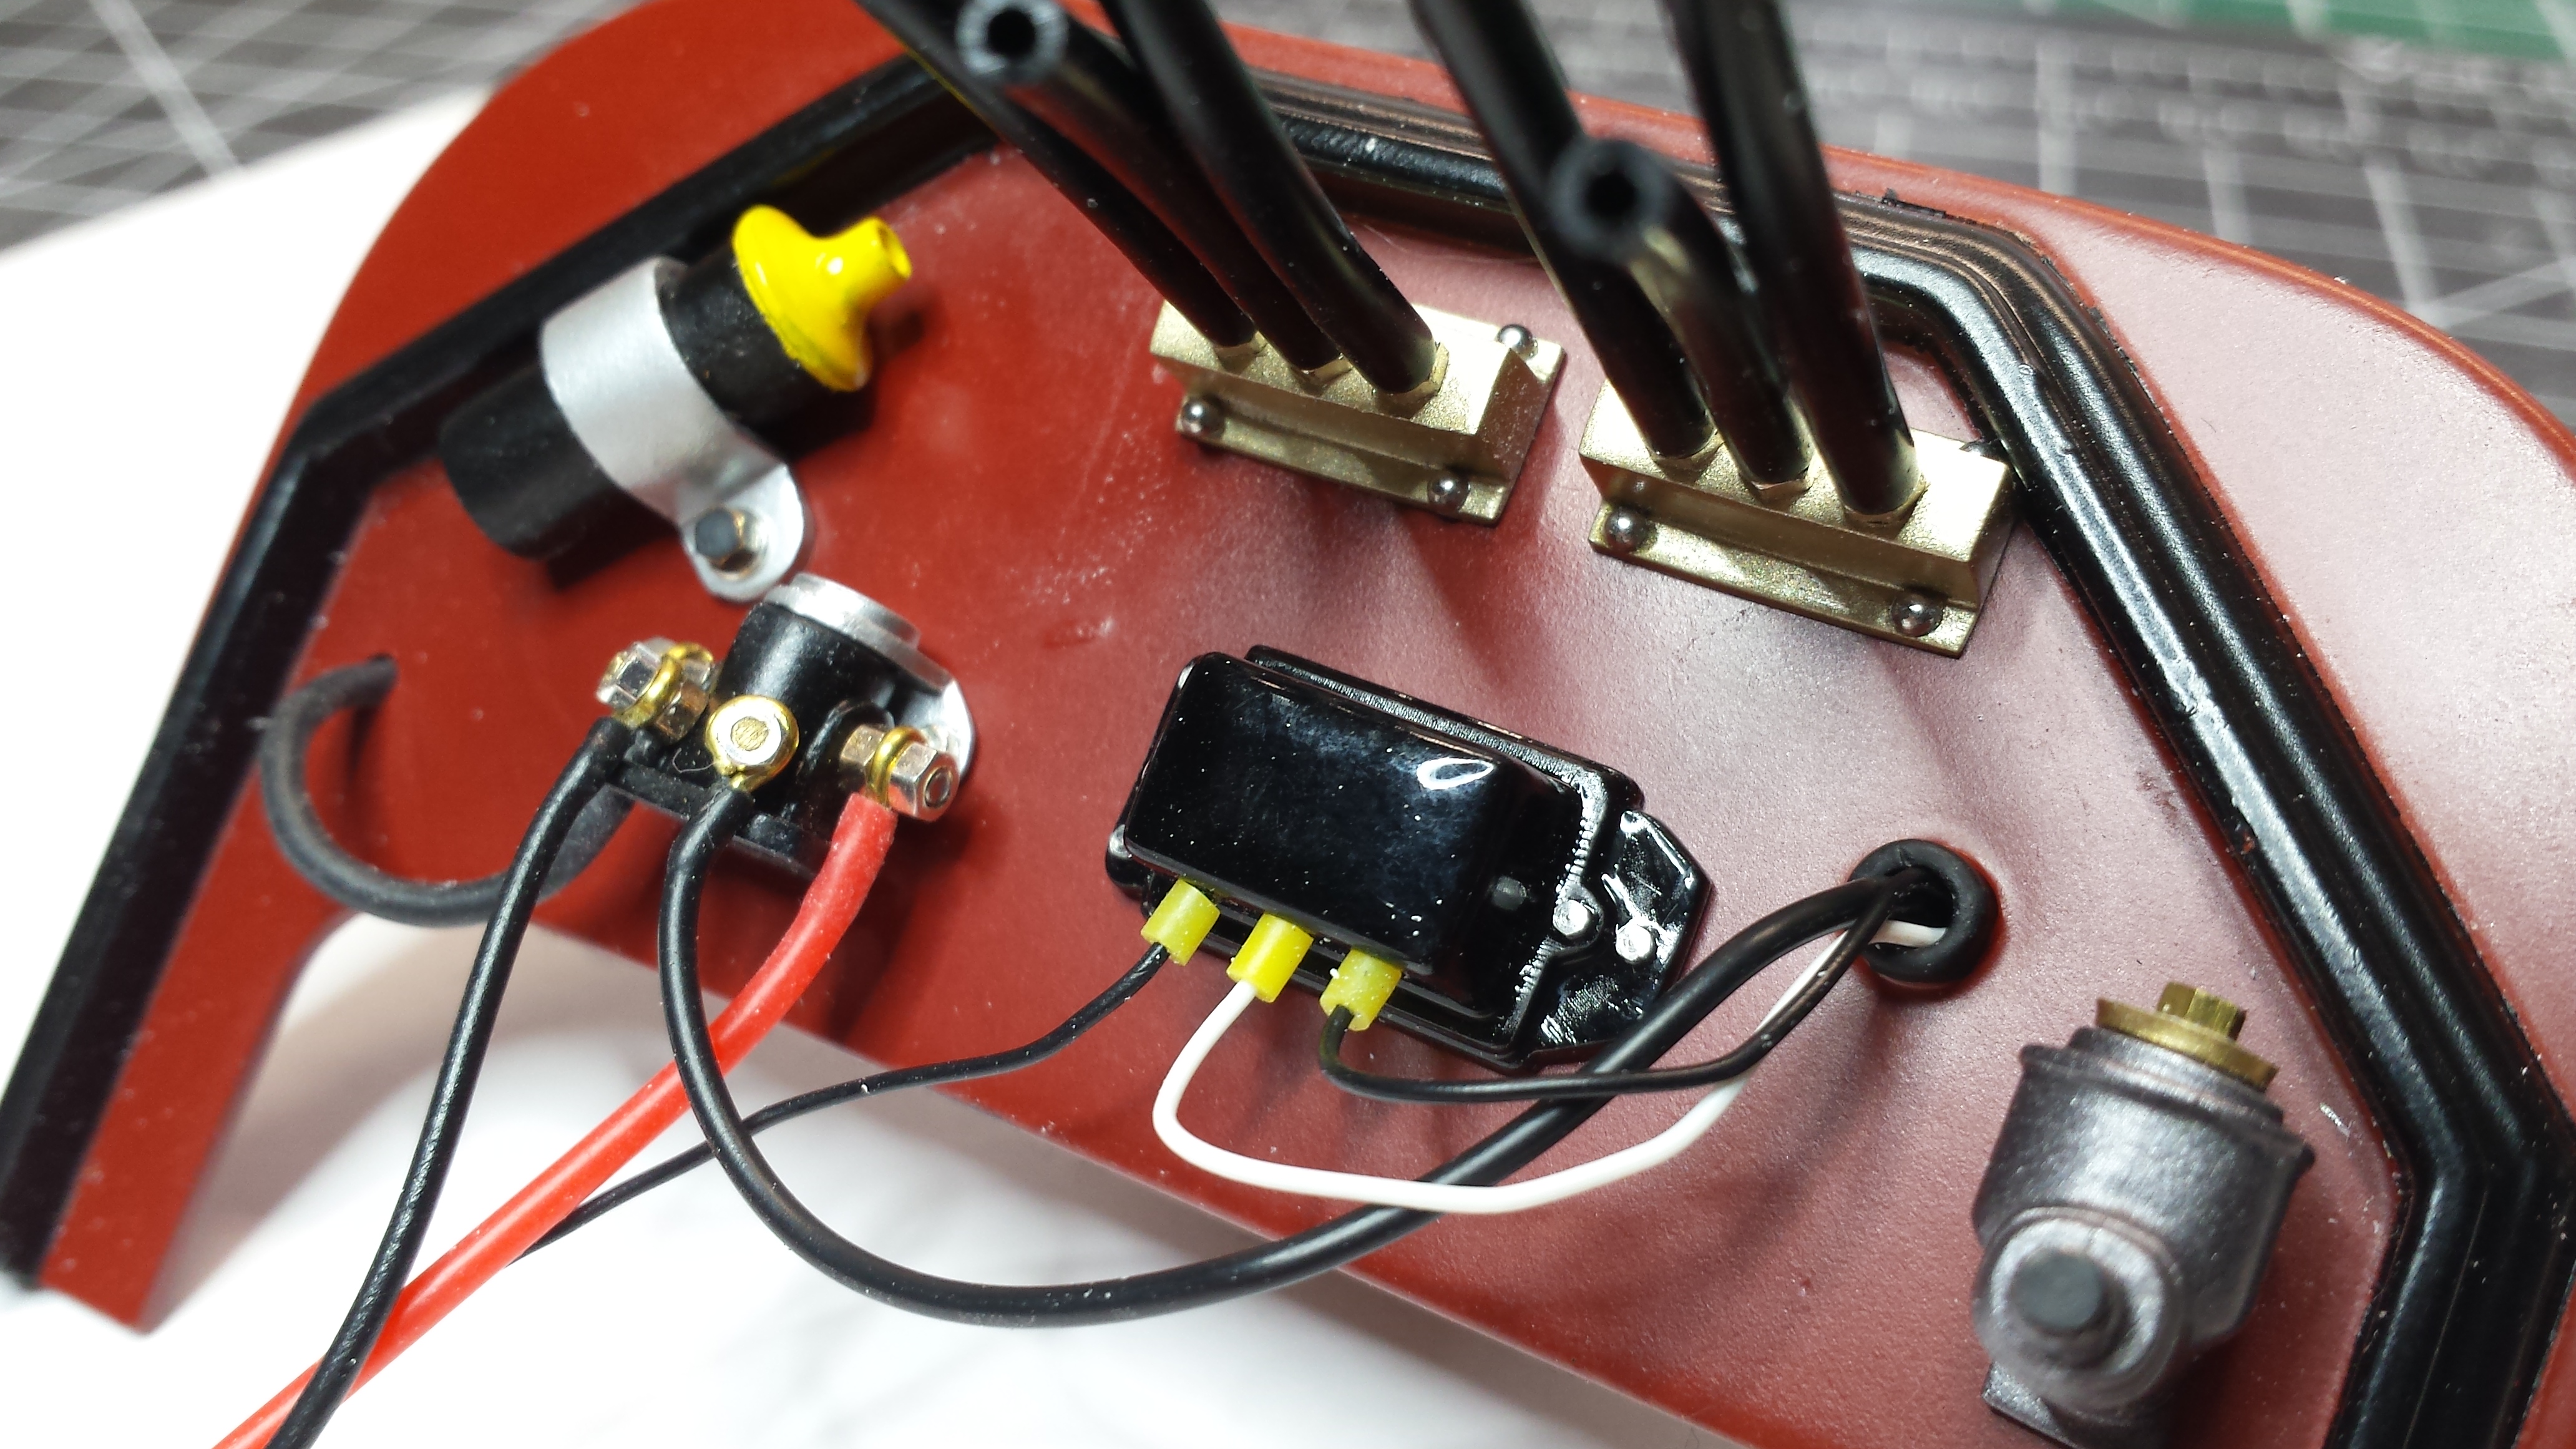
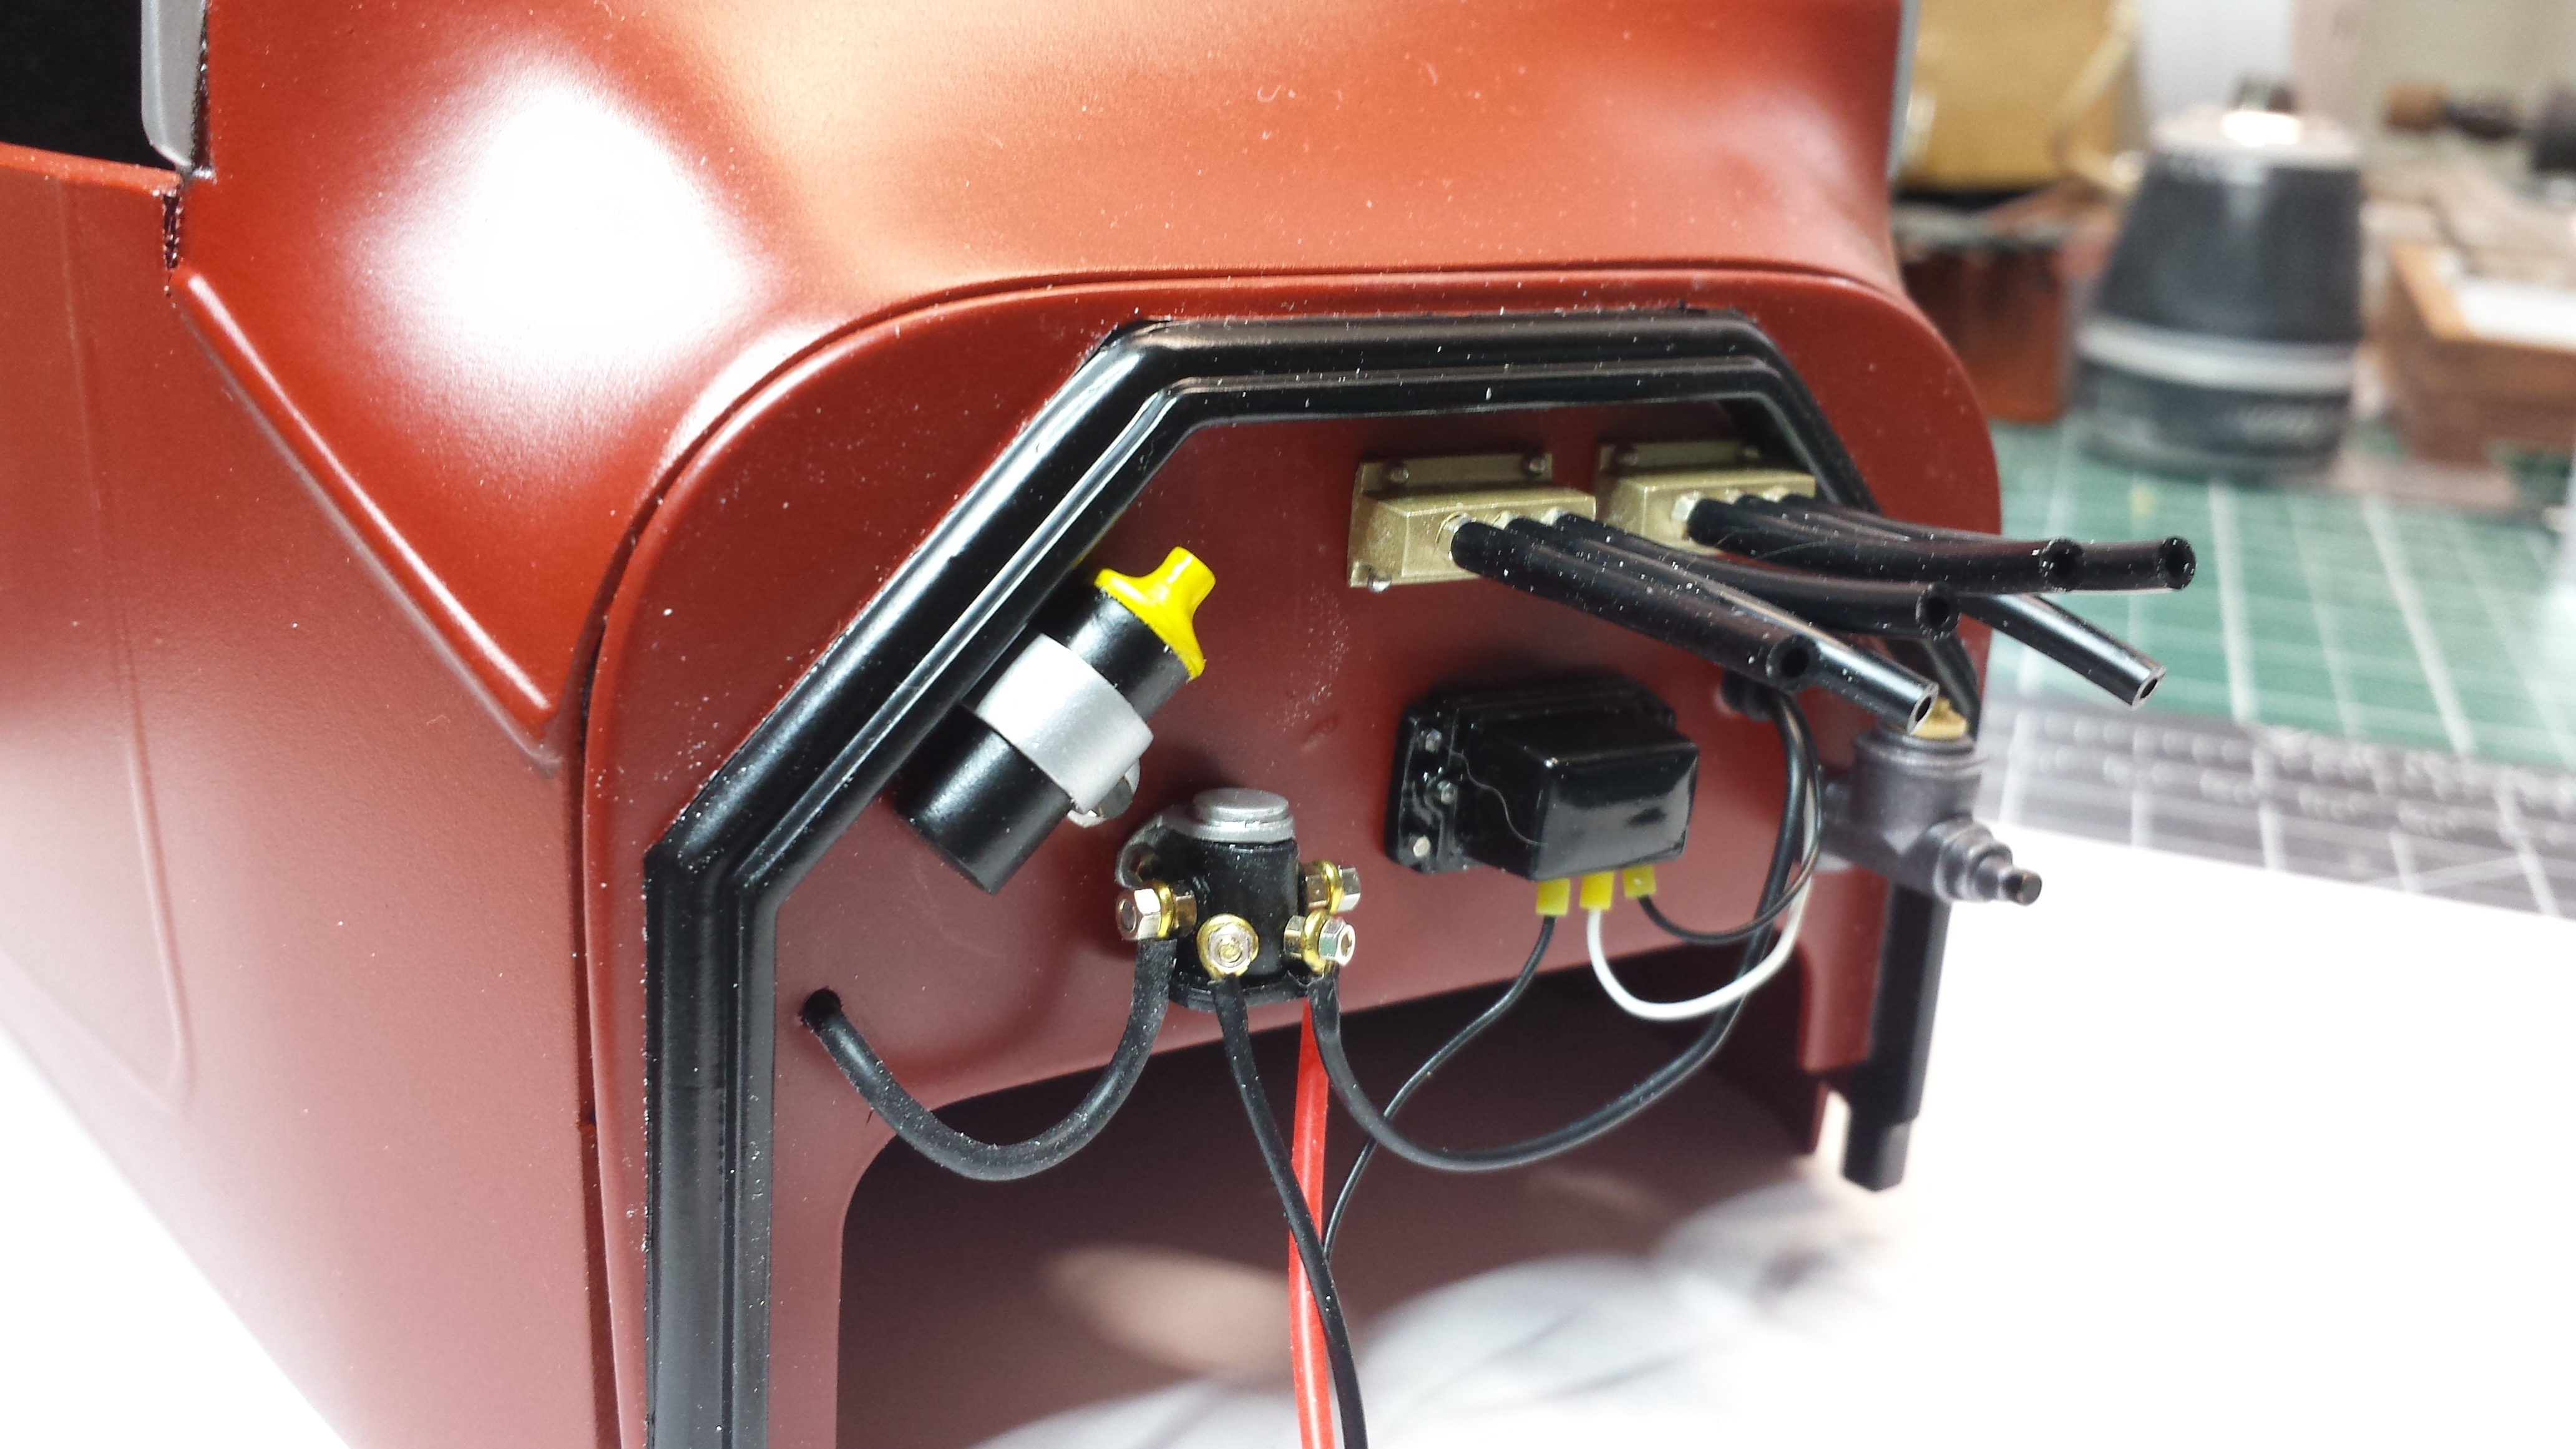
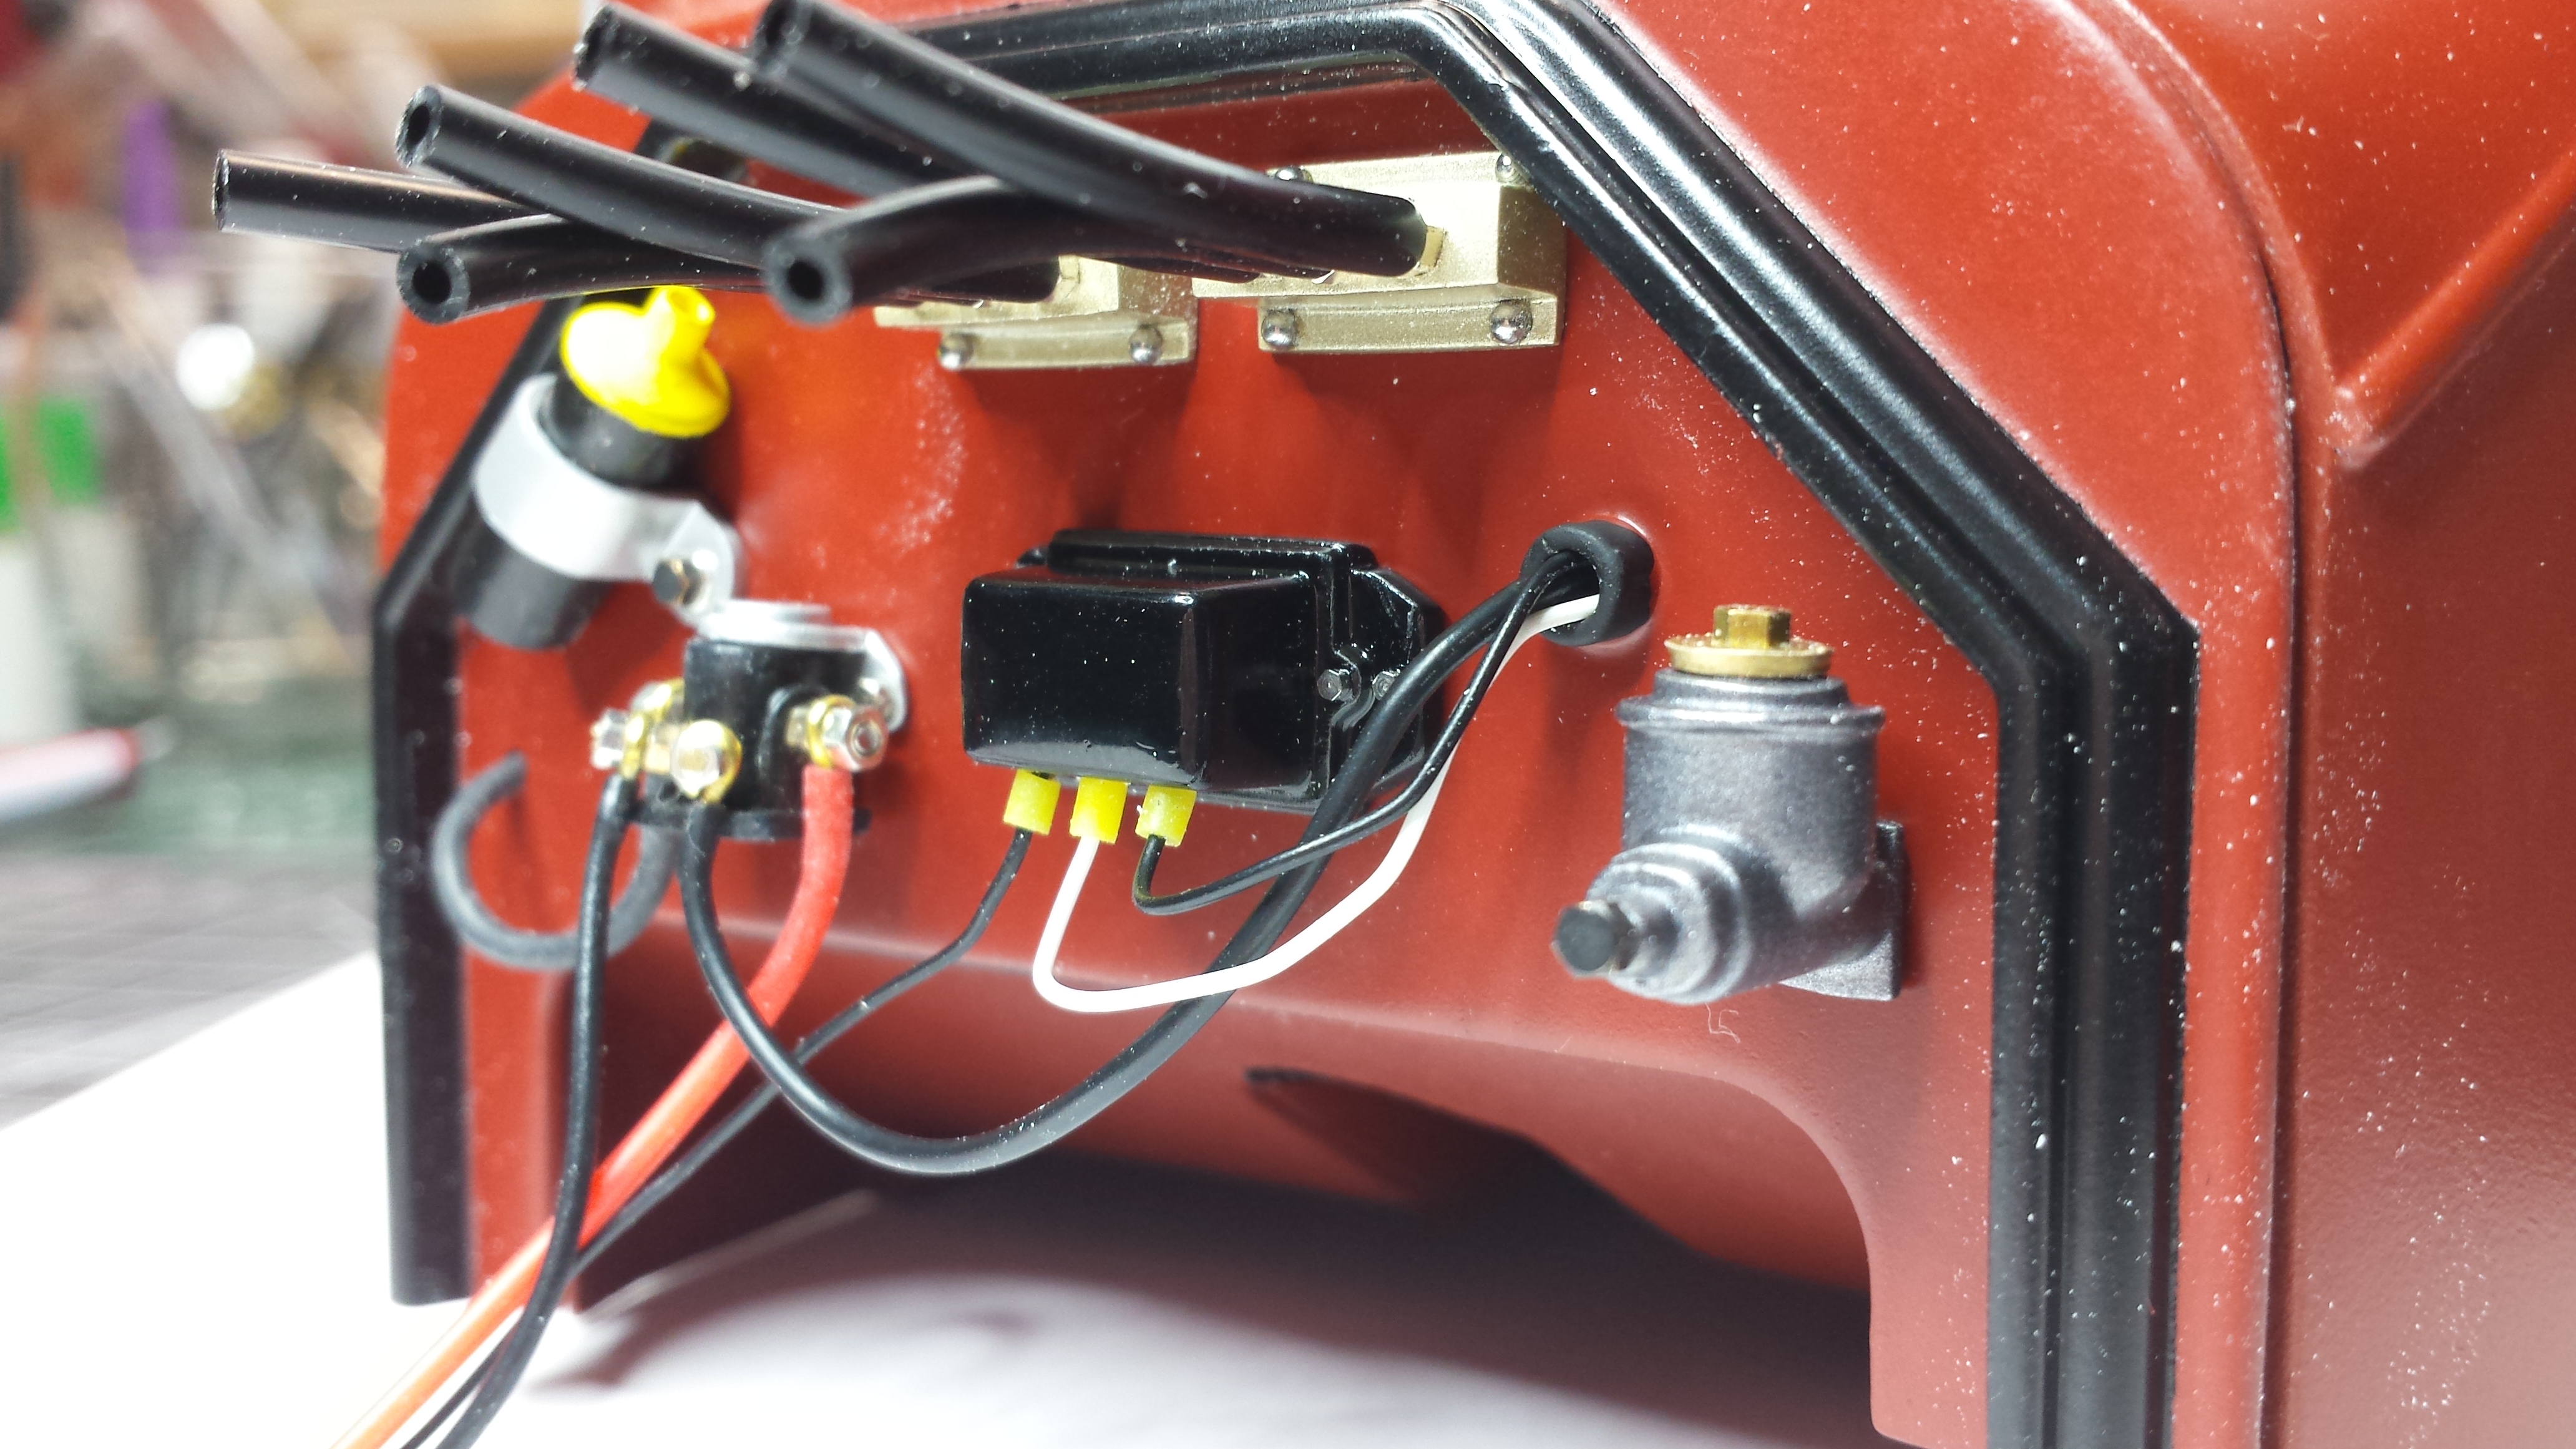
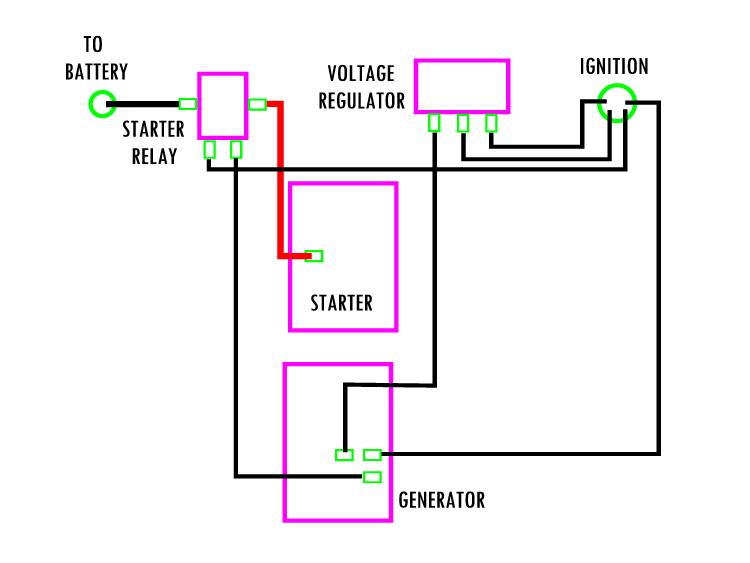
Thanks for the comments guys. I really appreciate it. I finished wiring the firewall today. Please note that my wiring is basic and representative at best and not meant to exactly replicate a particular car. I've included close-up photos of the starter and generator to show where the wires from the firewall will be inserted during final assembly. I used a small brass "eye pin" to attach the starter wire. The one wire already on the generator will be inserted into the "ignition" hole on the firewall. The fuel lines shown are place holders for now. The actual fuel lines will commence at the carbs and be cut to length. Coil wire from distributor will also just be inserted during final assembly. I've also included my wiring diagram.
-
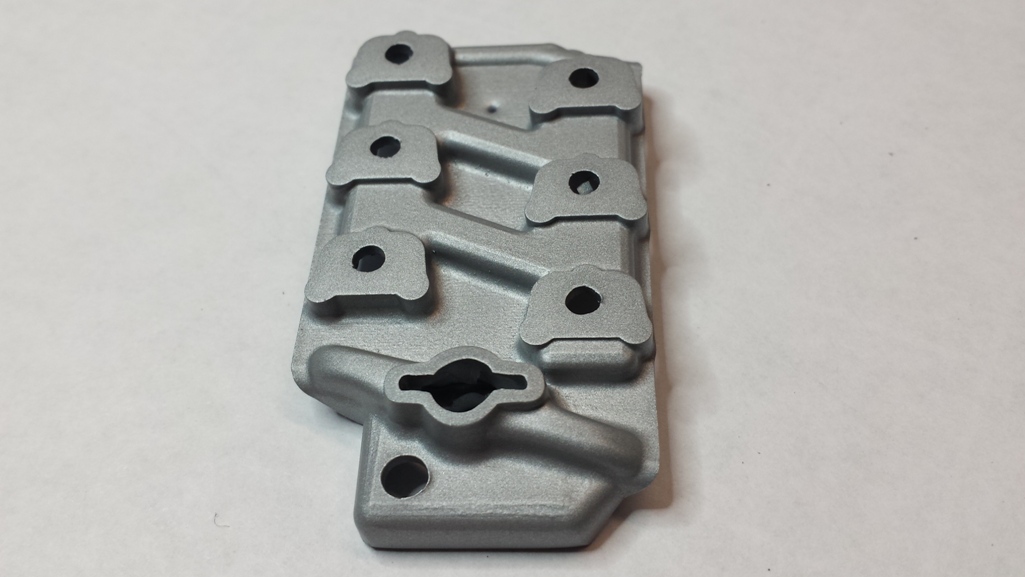
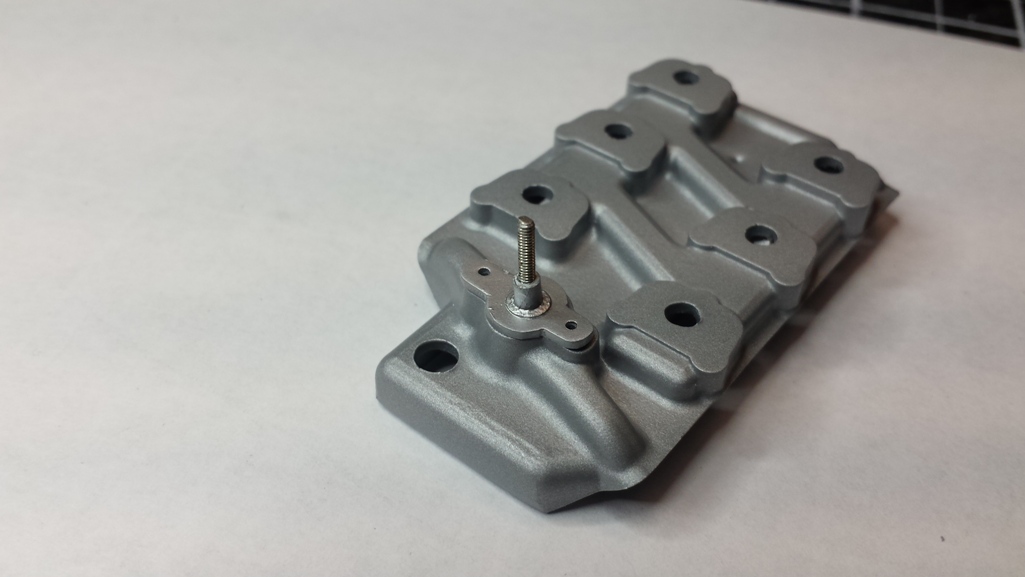
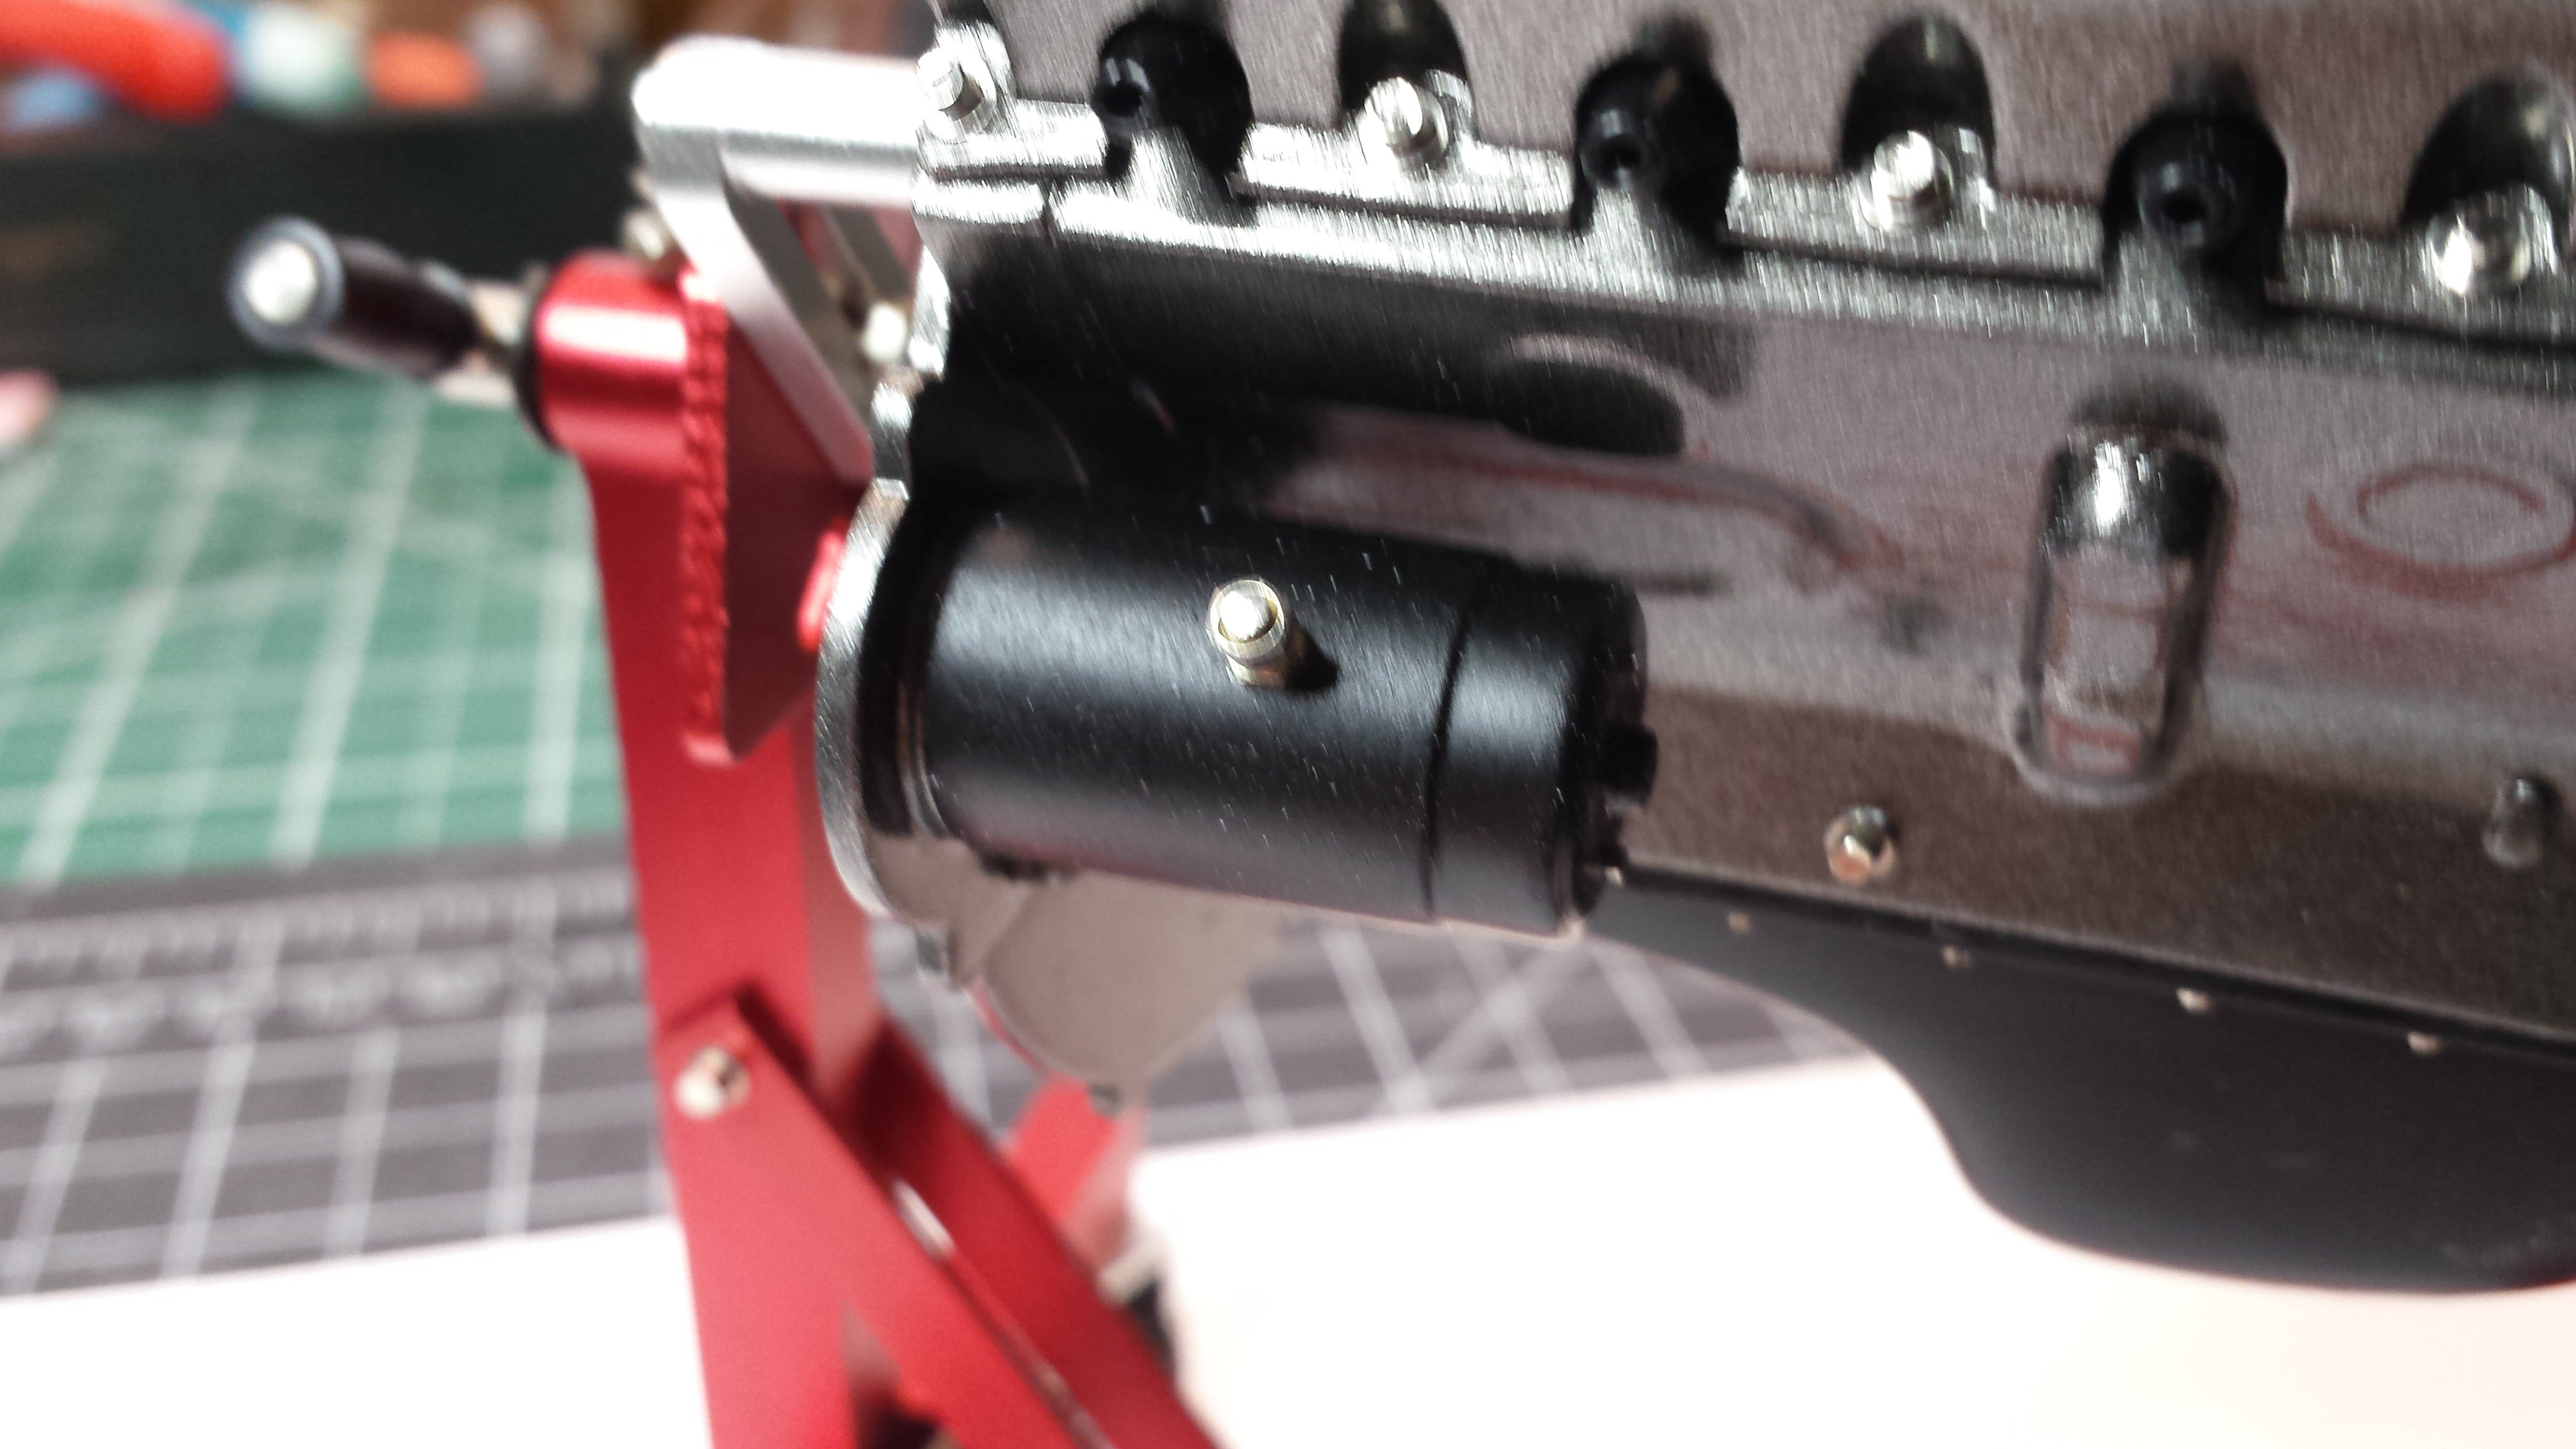
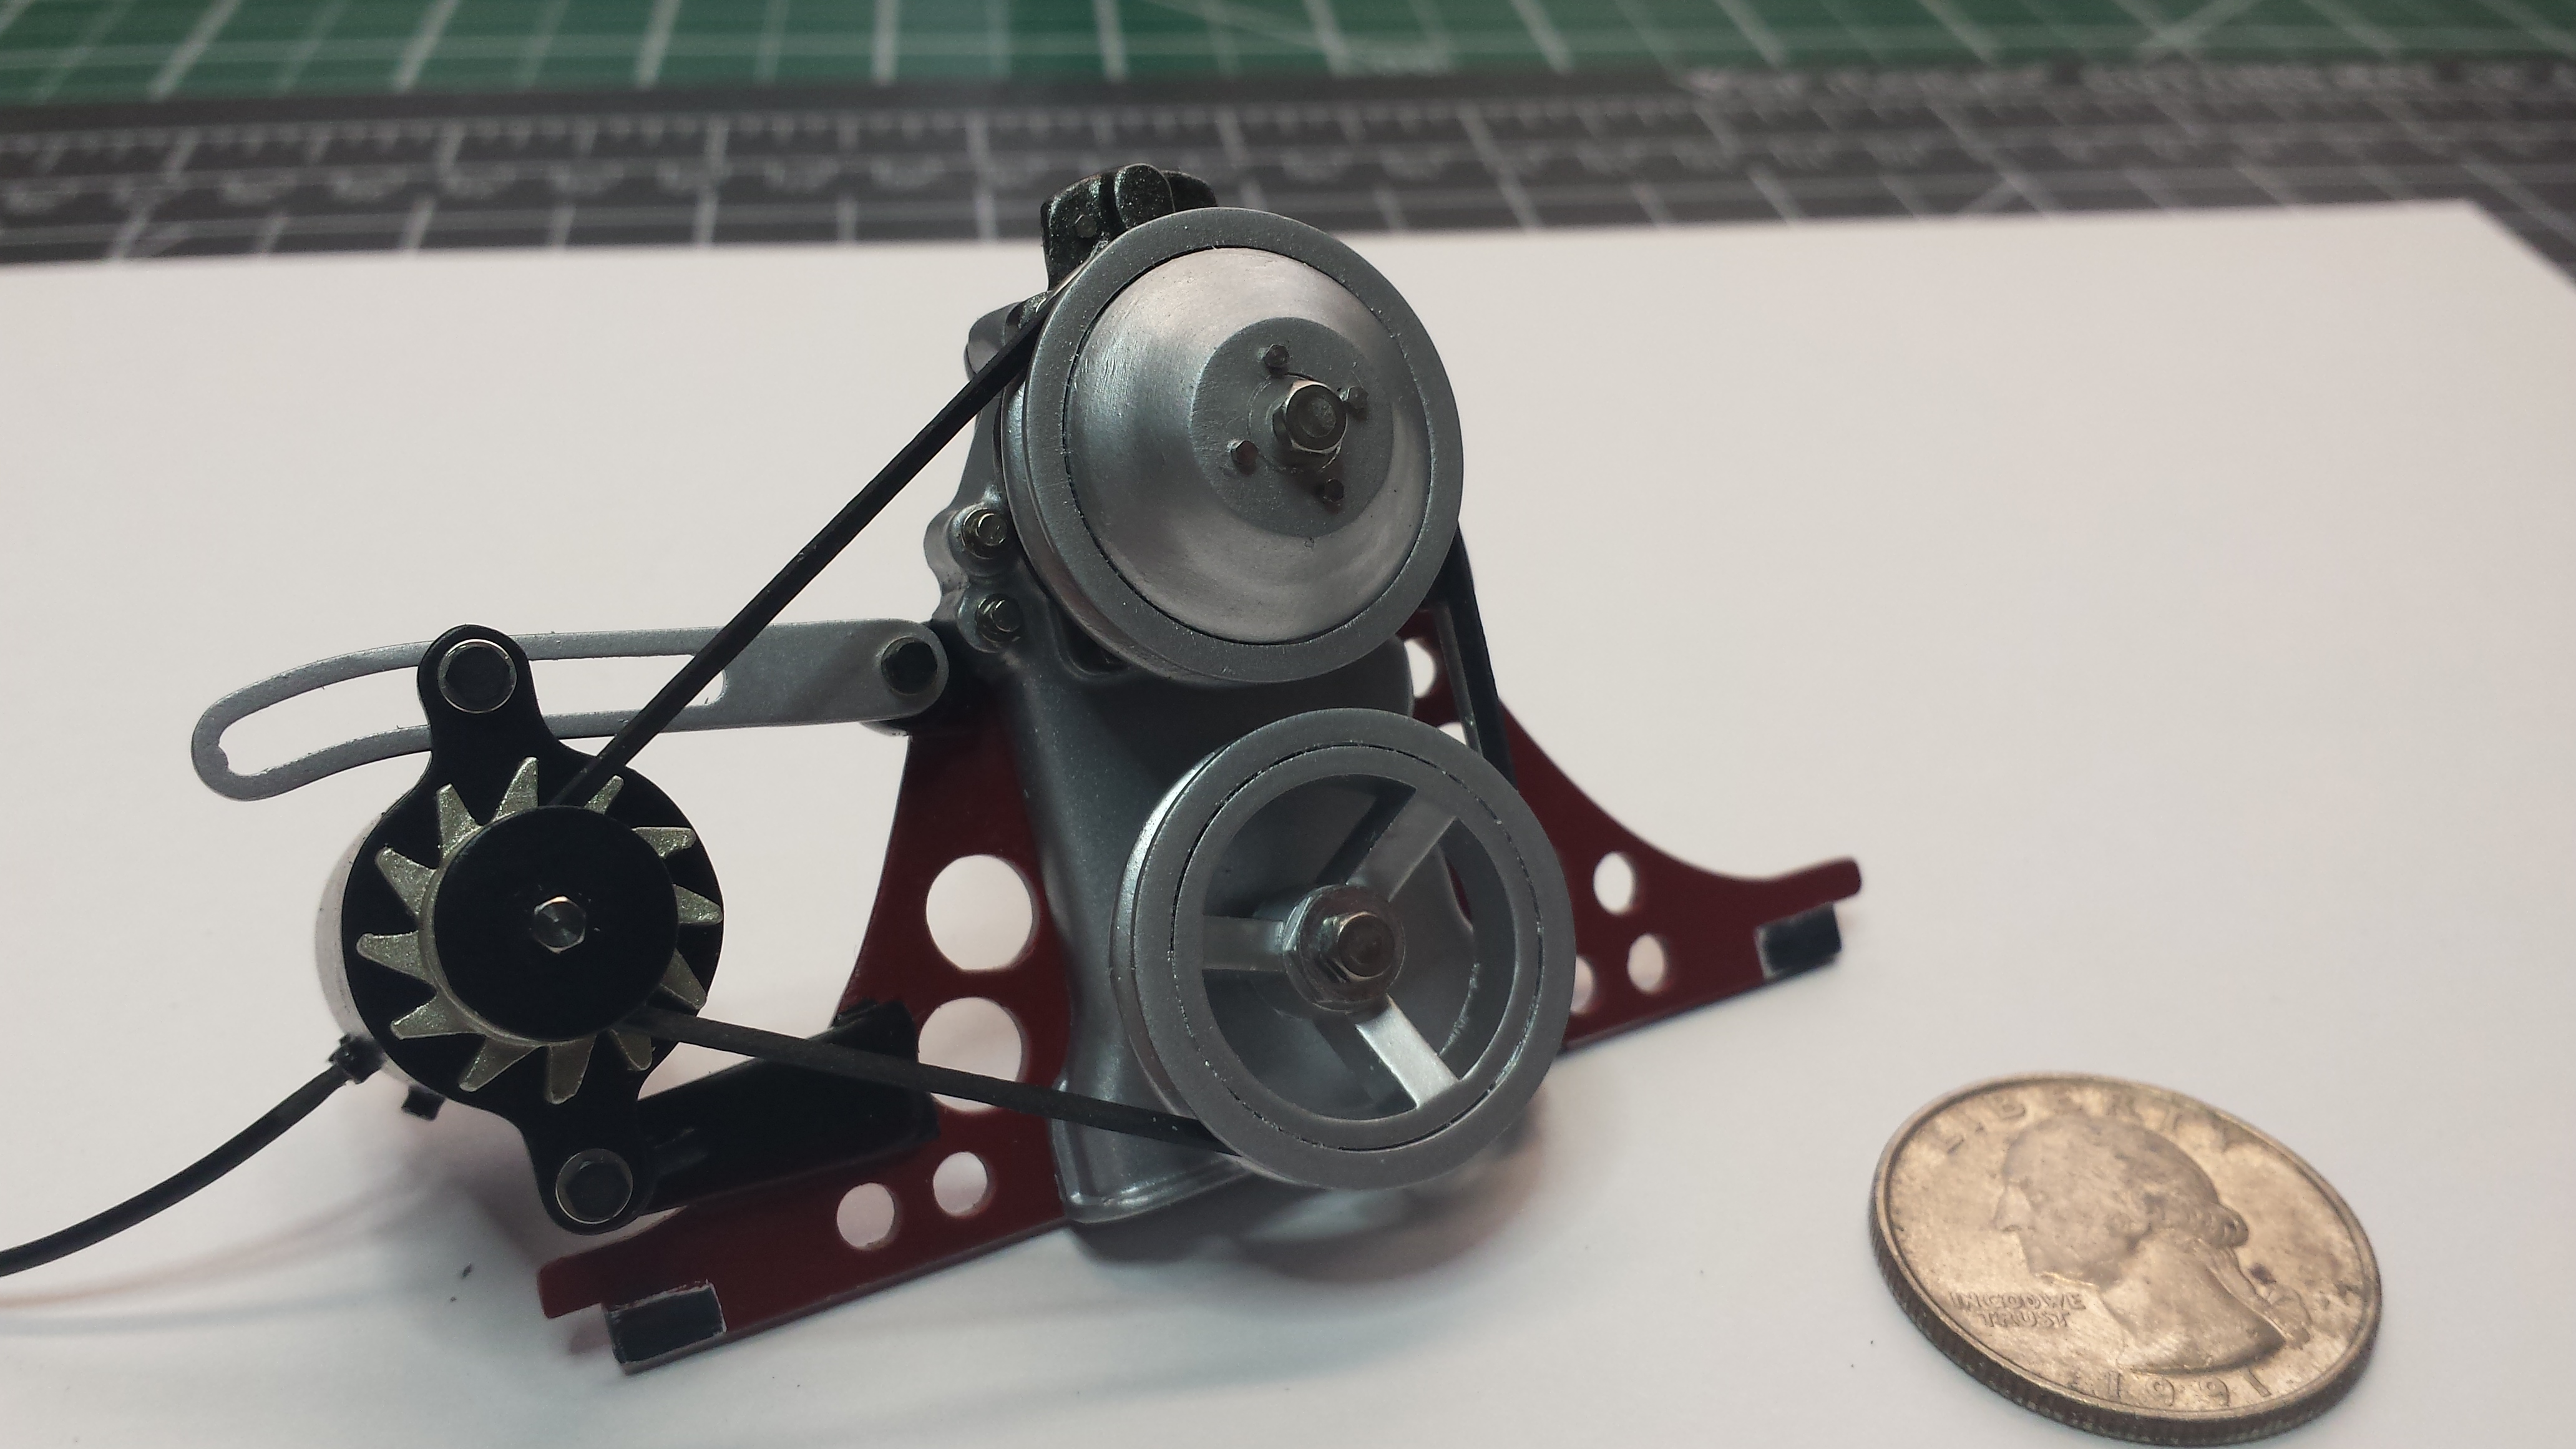
Yes. It's the kit engine. One small drawback which was easily overcome is that the engine was designed to add a small electric motor which when not used requires the builder to add internal bracing to aid the assembly since the electric motor mounts are not used and would normally provide that bracing. Note that I treated the engine-to-frame mount piece as more of a cross-member and painted it the same color as the frame, bucket, truck bed, etc. Here is a picture of the engine front sub-assembly. Using the sub-assembly approach allowed for test-fitting the engine mounts to the frame before final assembly. You can see in the photo where I have scraped off the paint until I got a nice fit.