.jpg.35153e8fc429f51f70e6945dcbab72bd.jpg)
rastta
-
Posts
200 -
Joined
-
Last visited
Content Type
Profiles
Forums
Events
Gallery
Everything posted by rastta
-
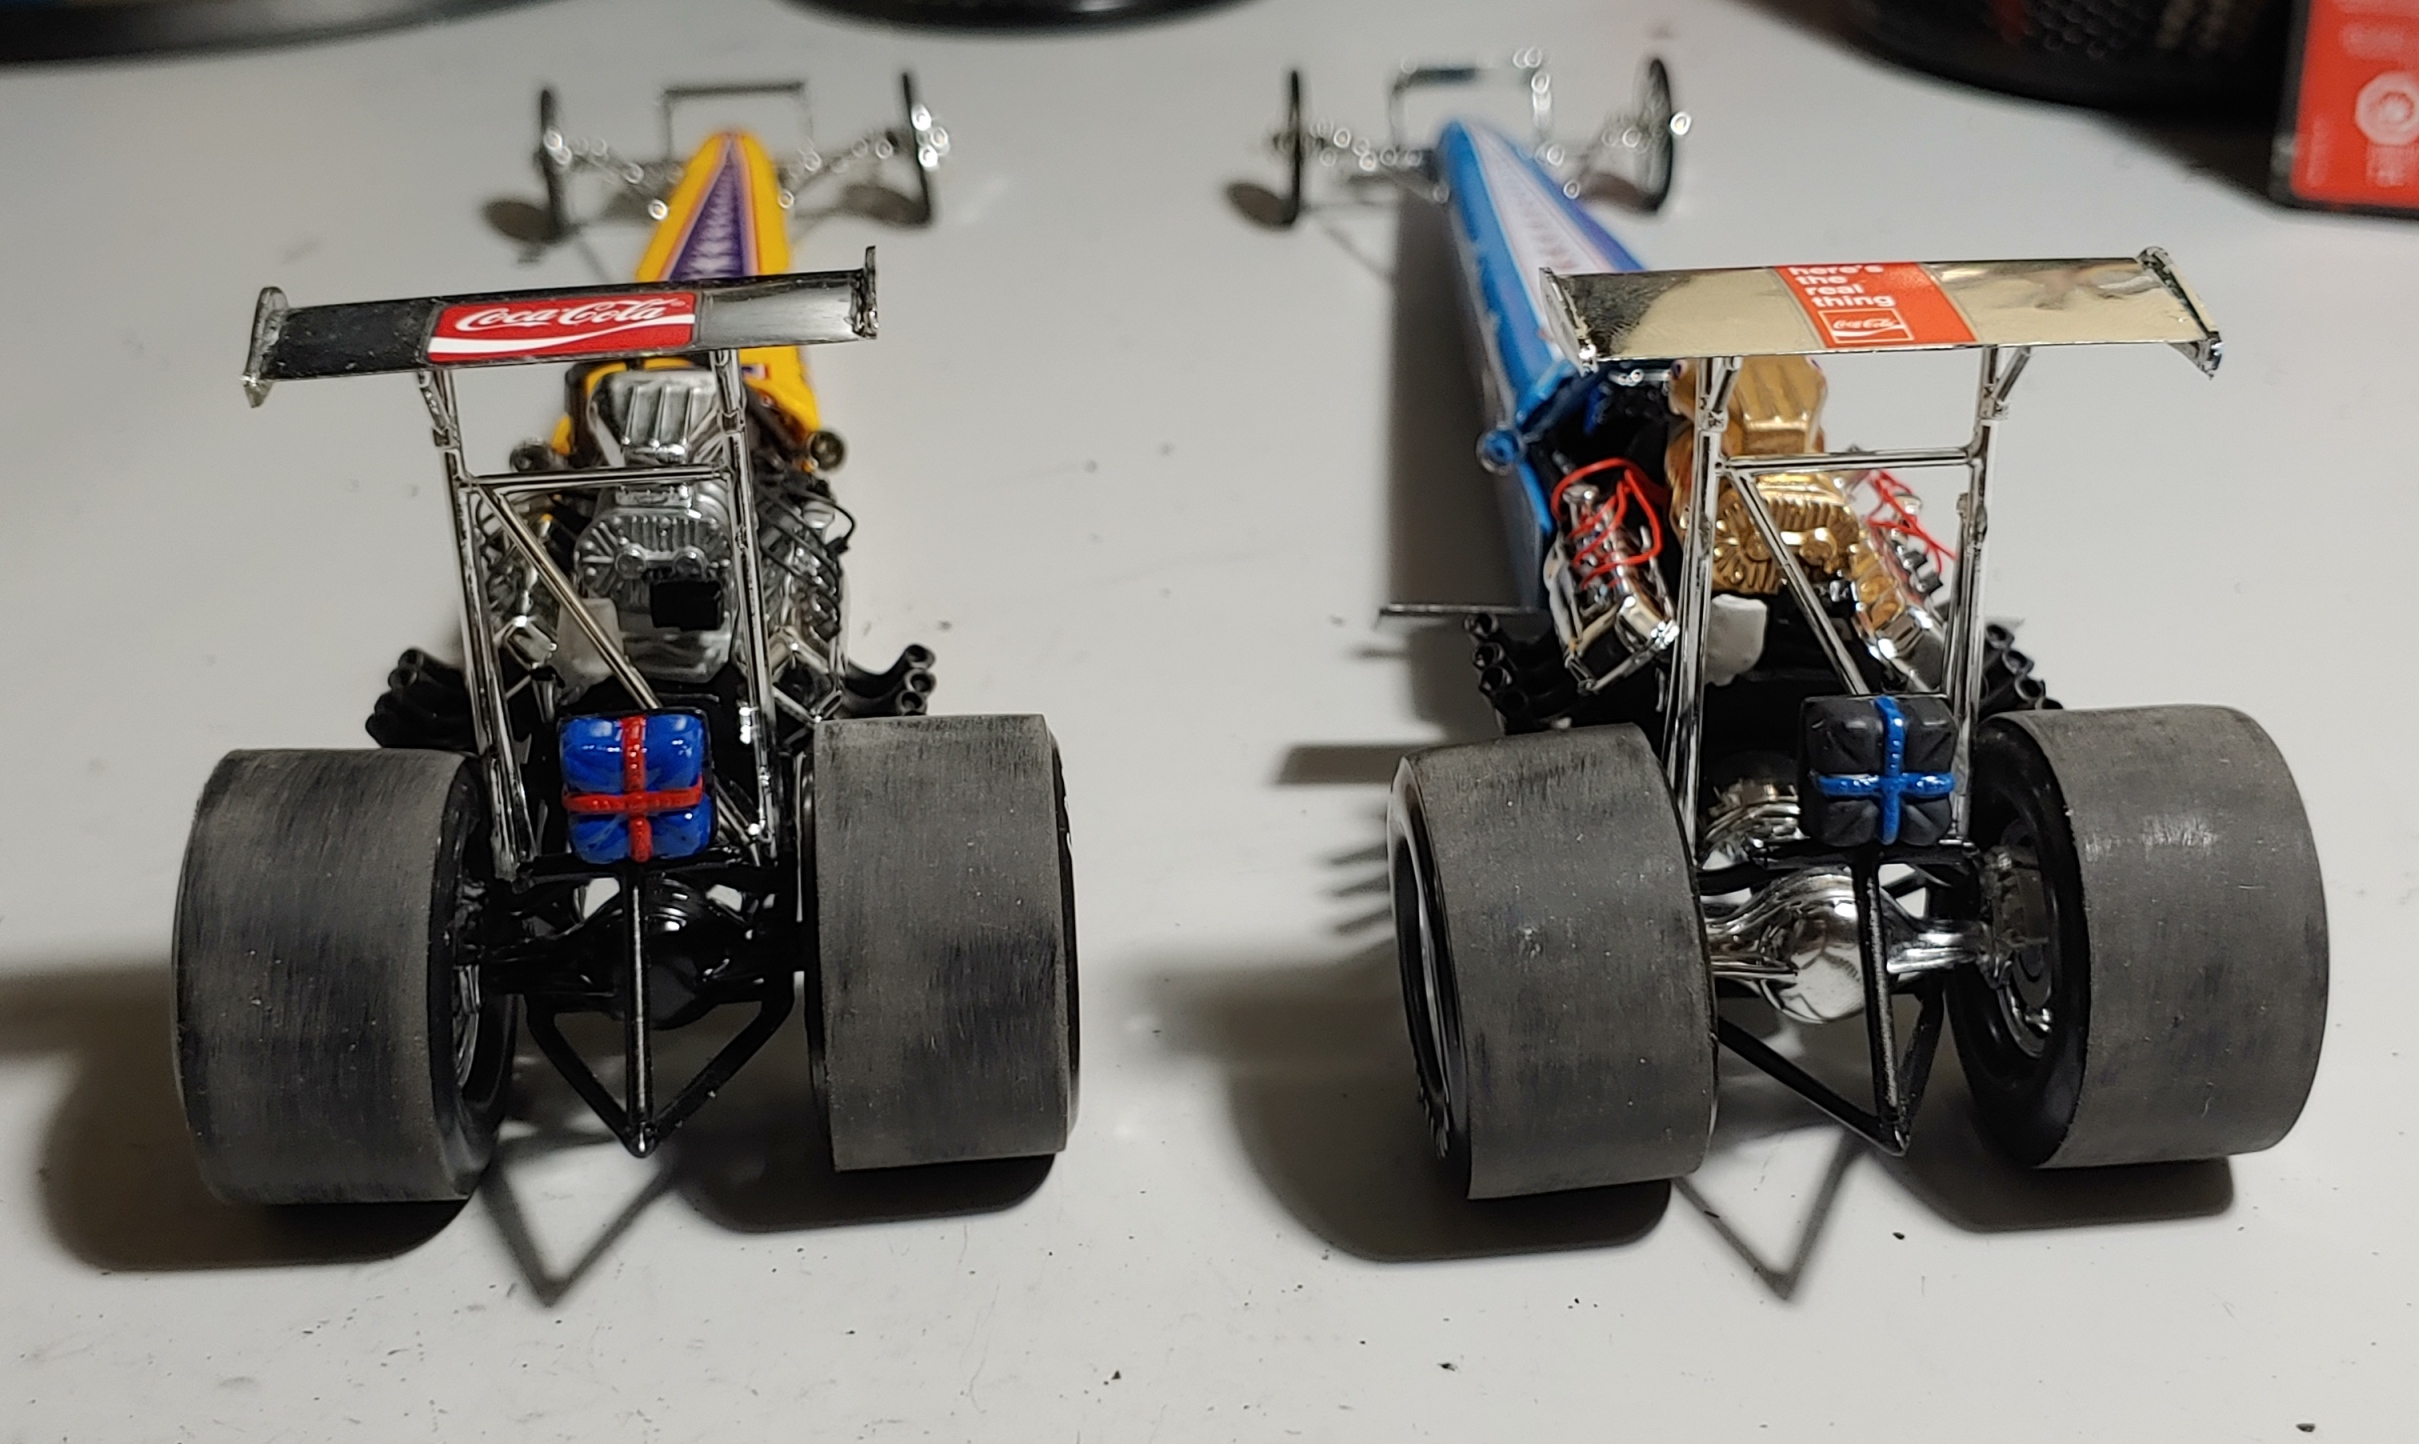
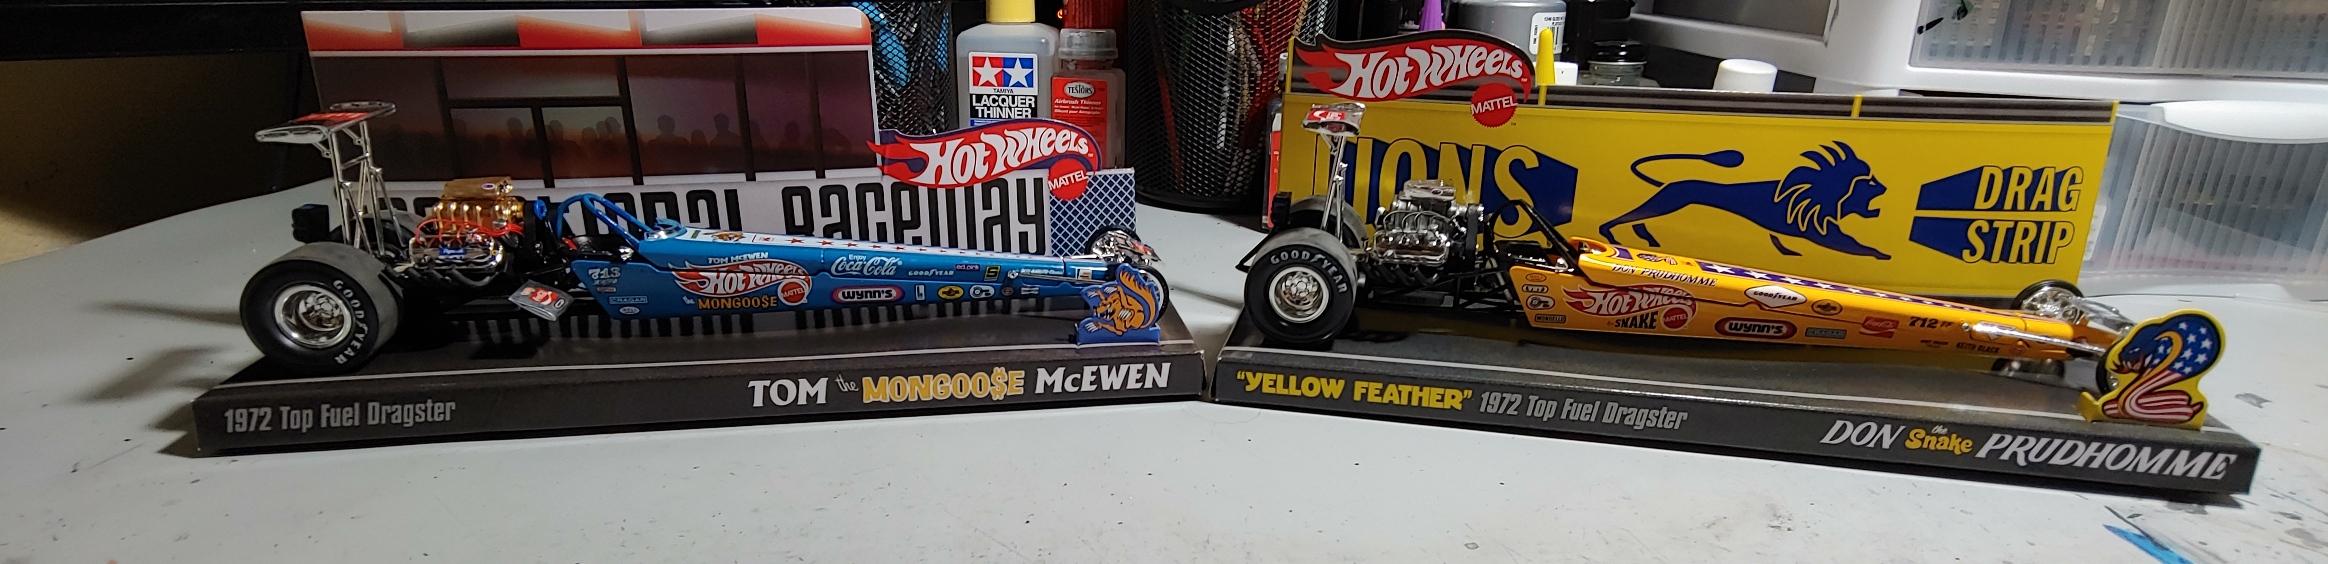
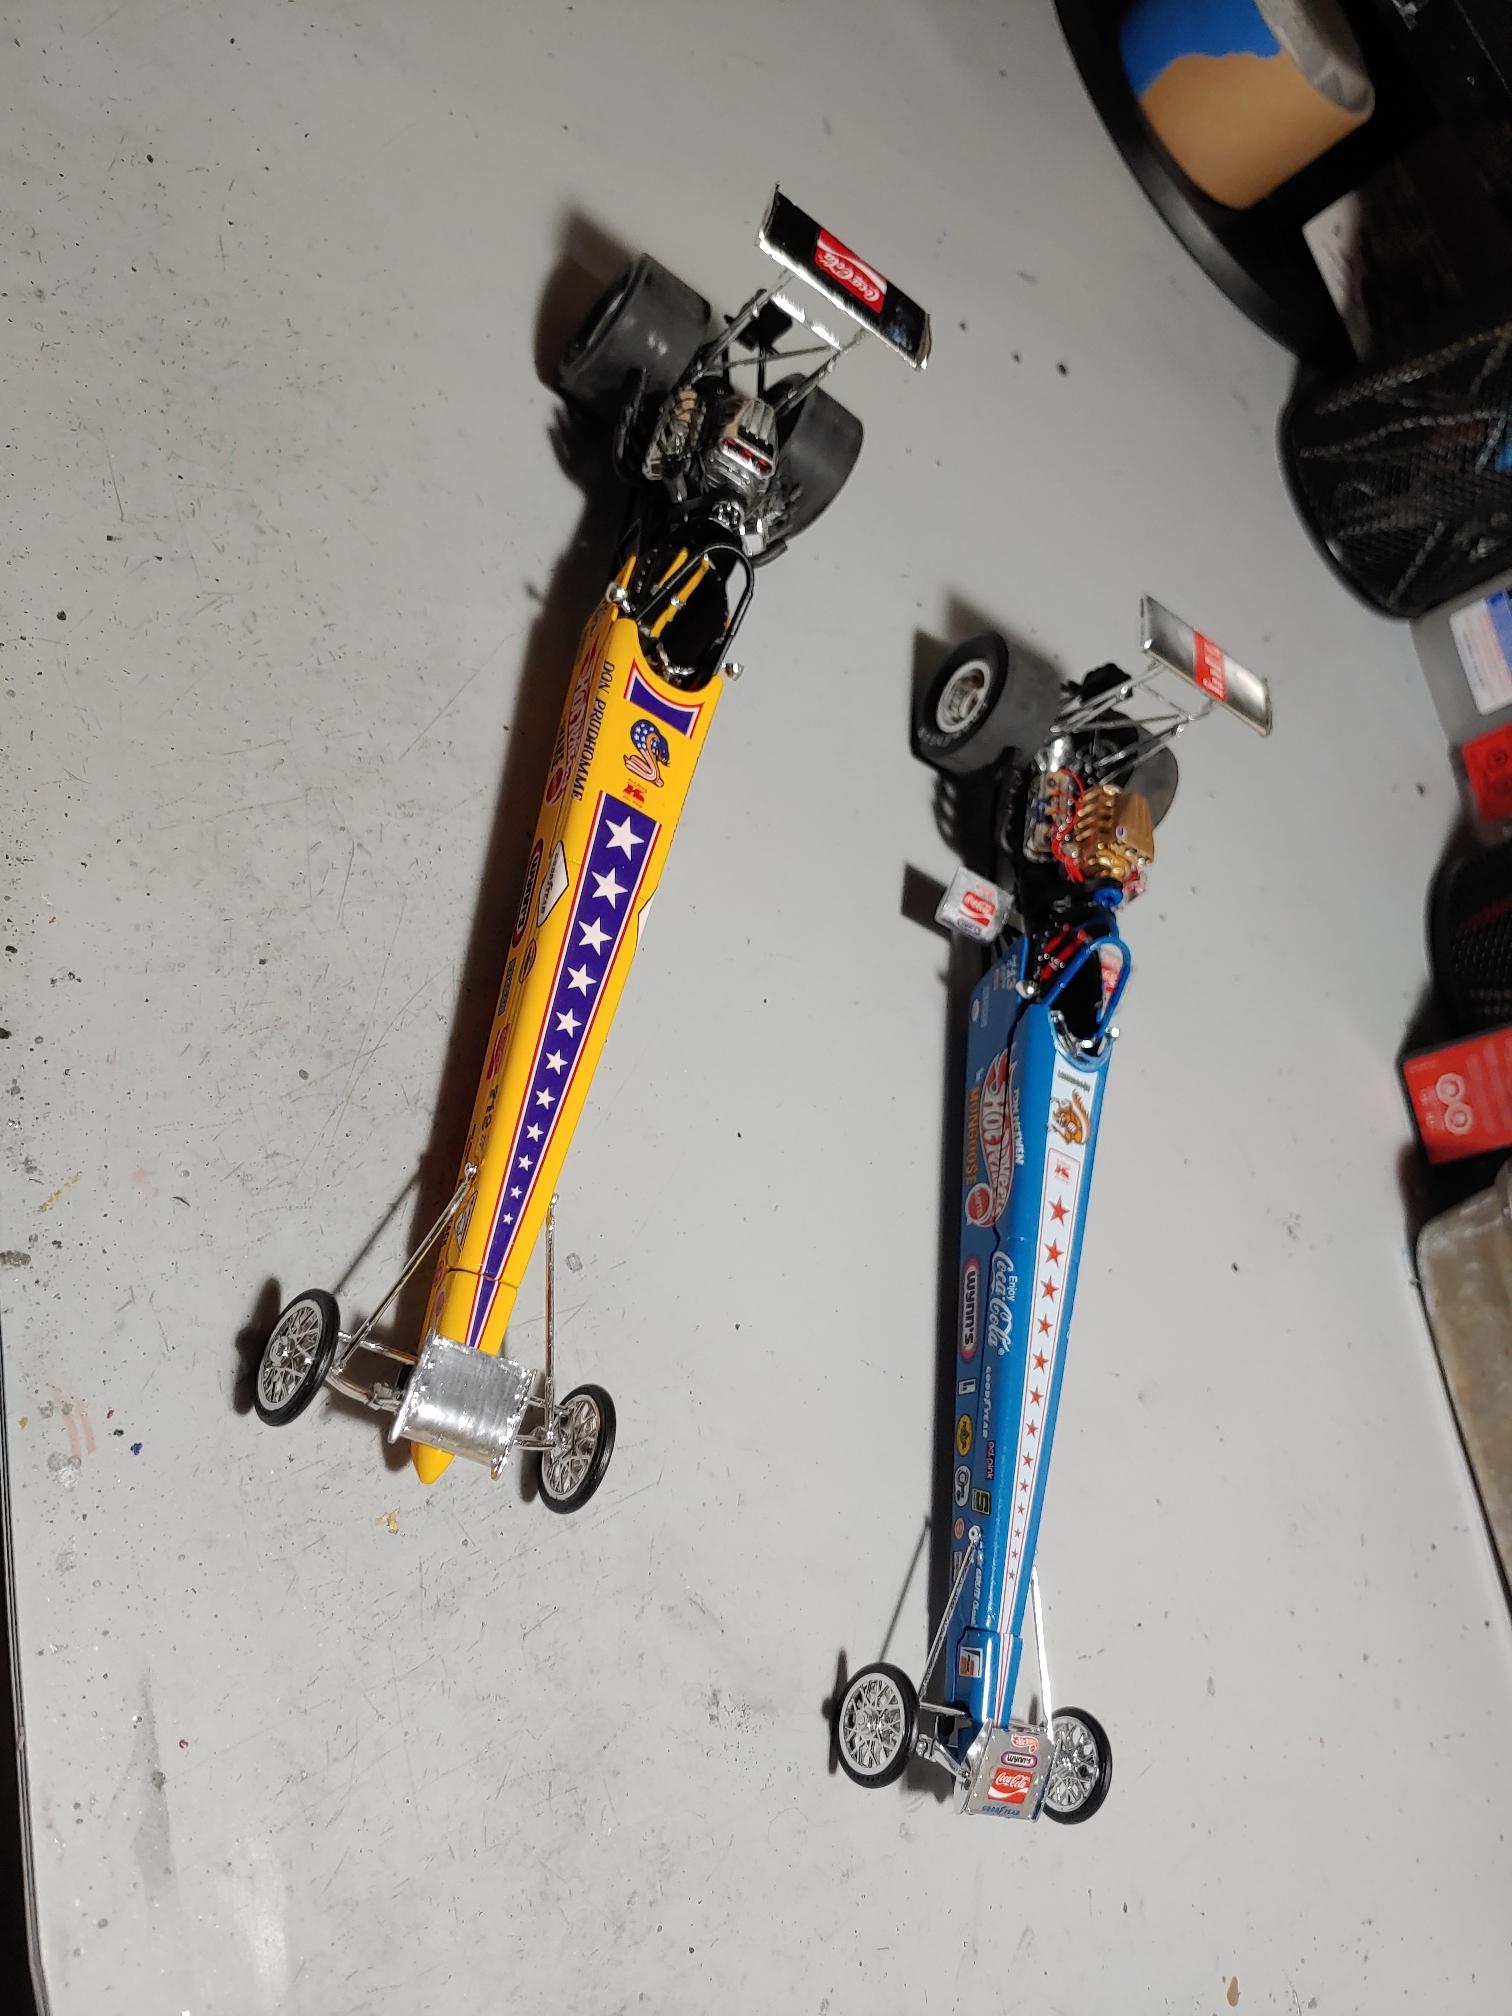
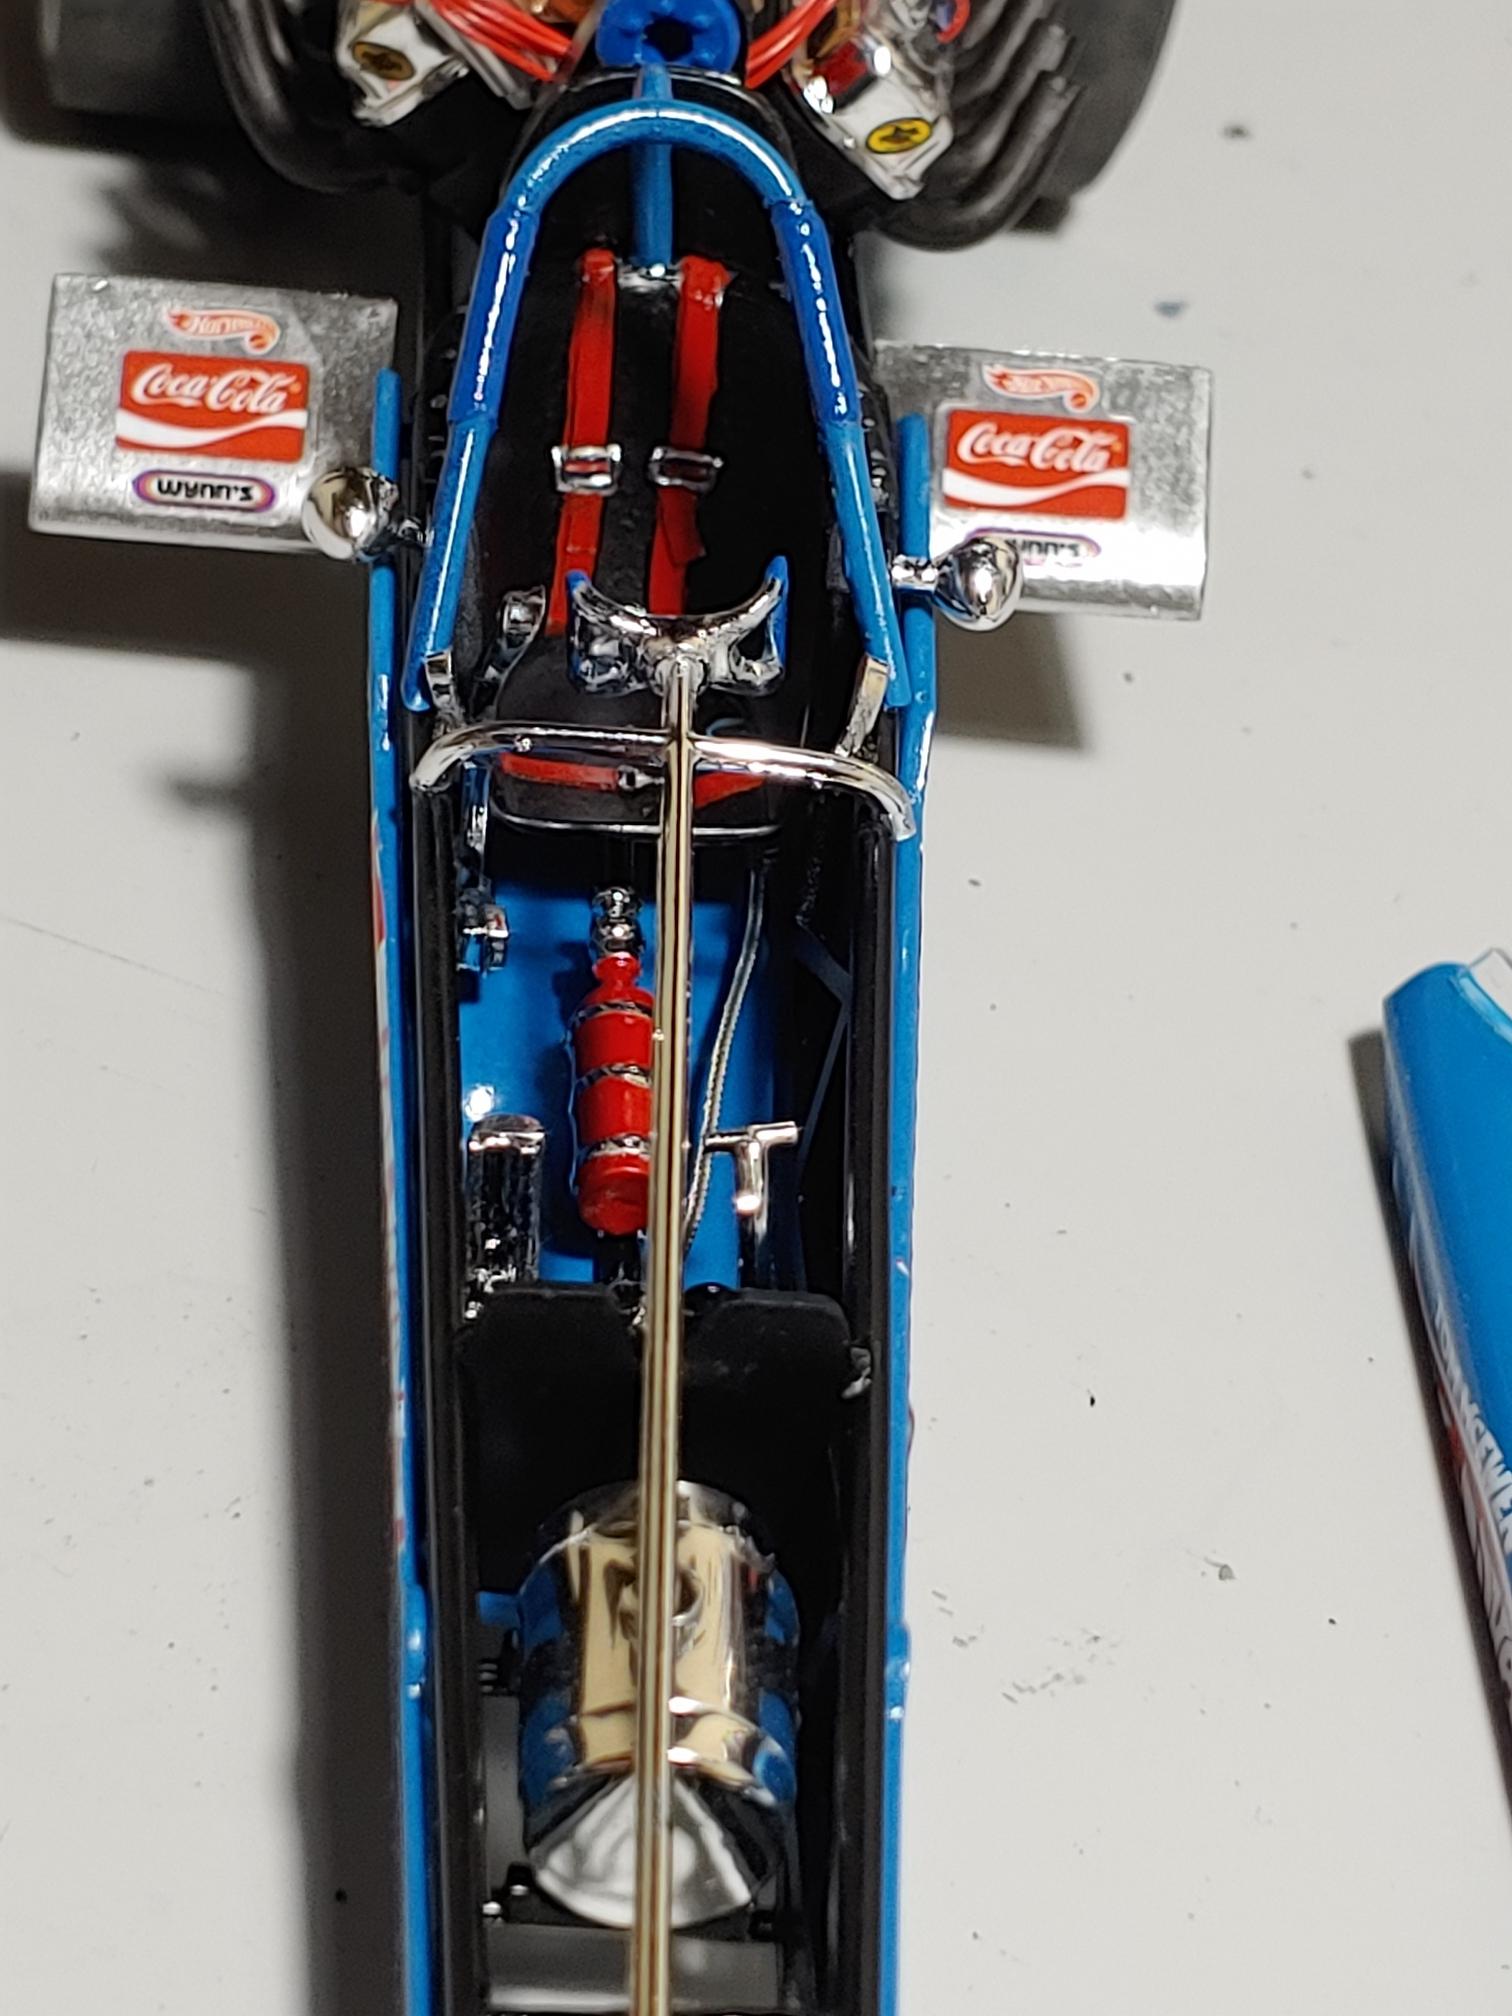
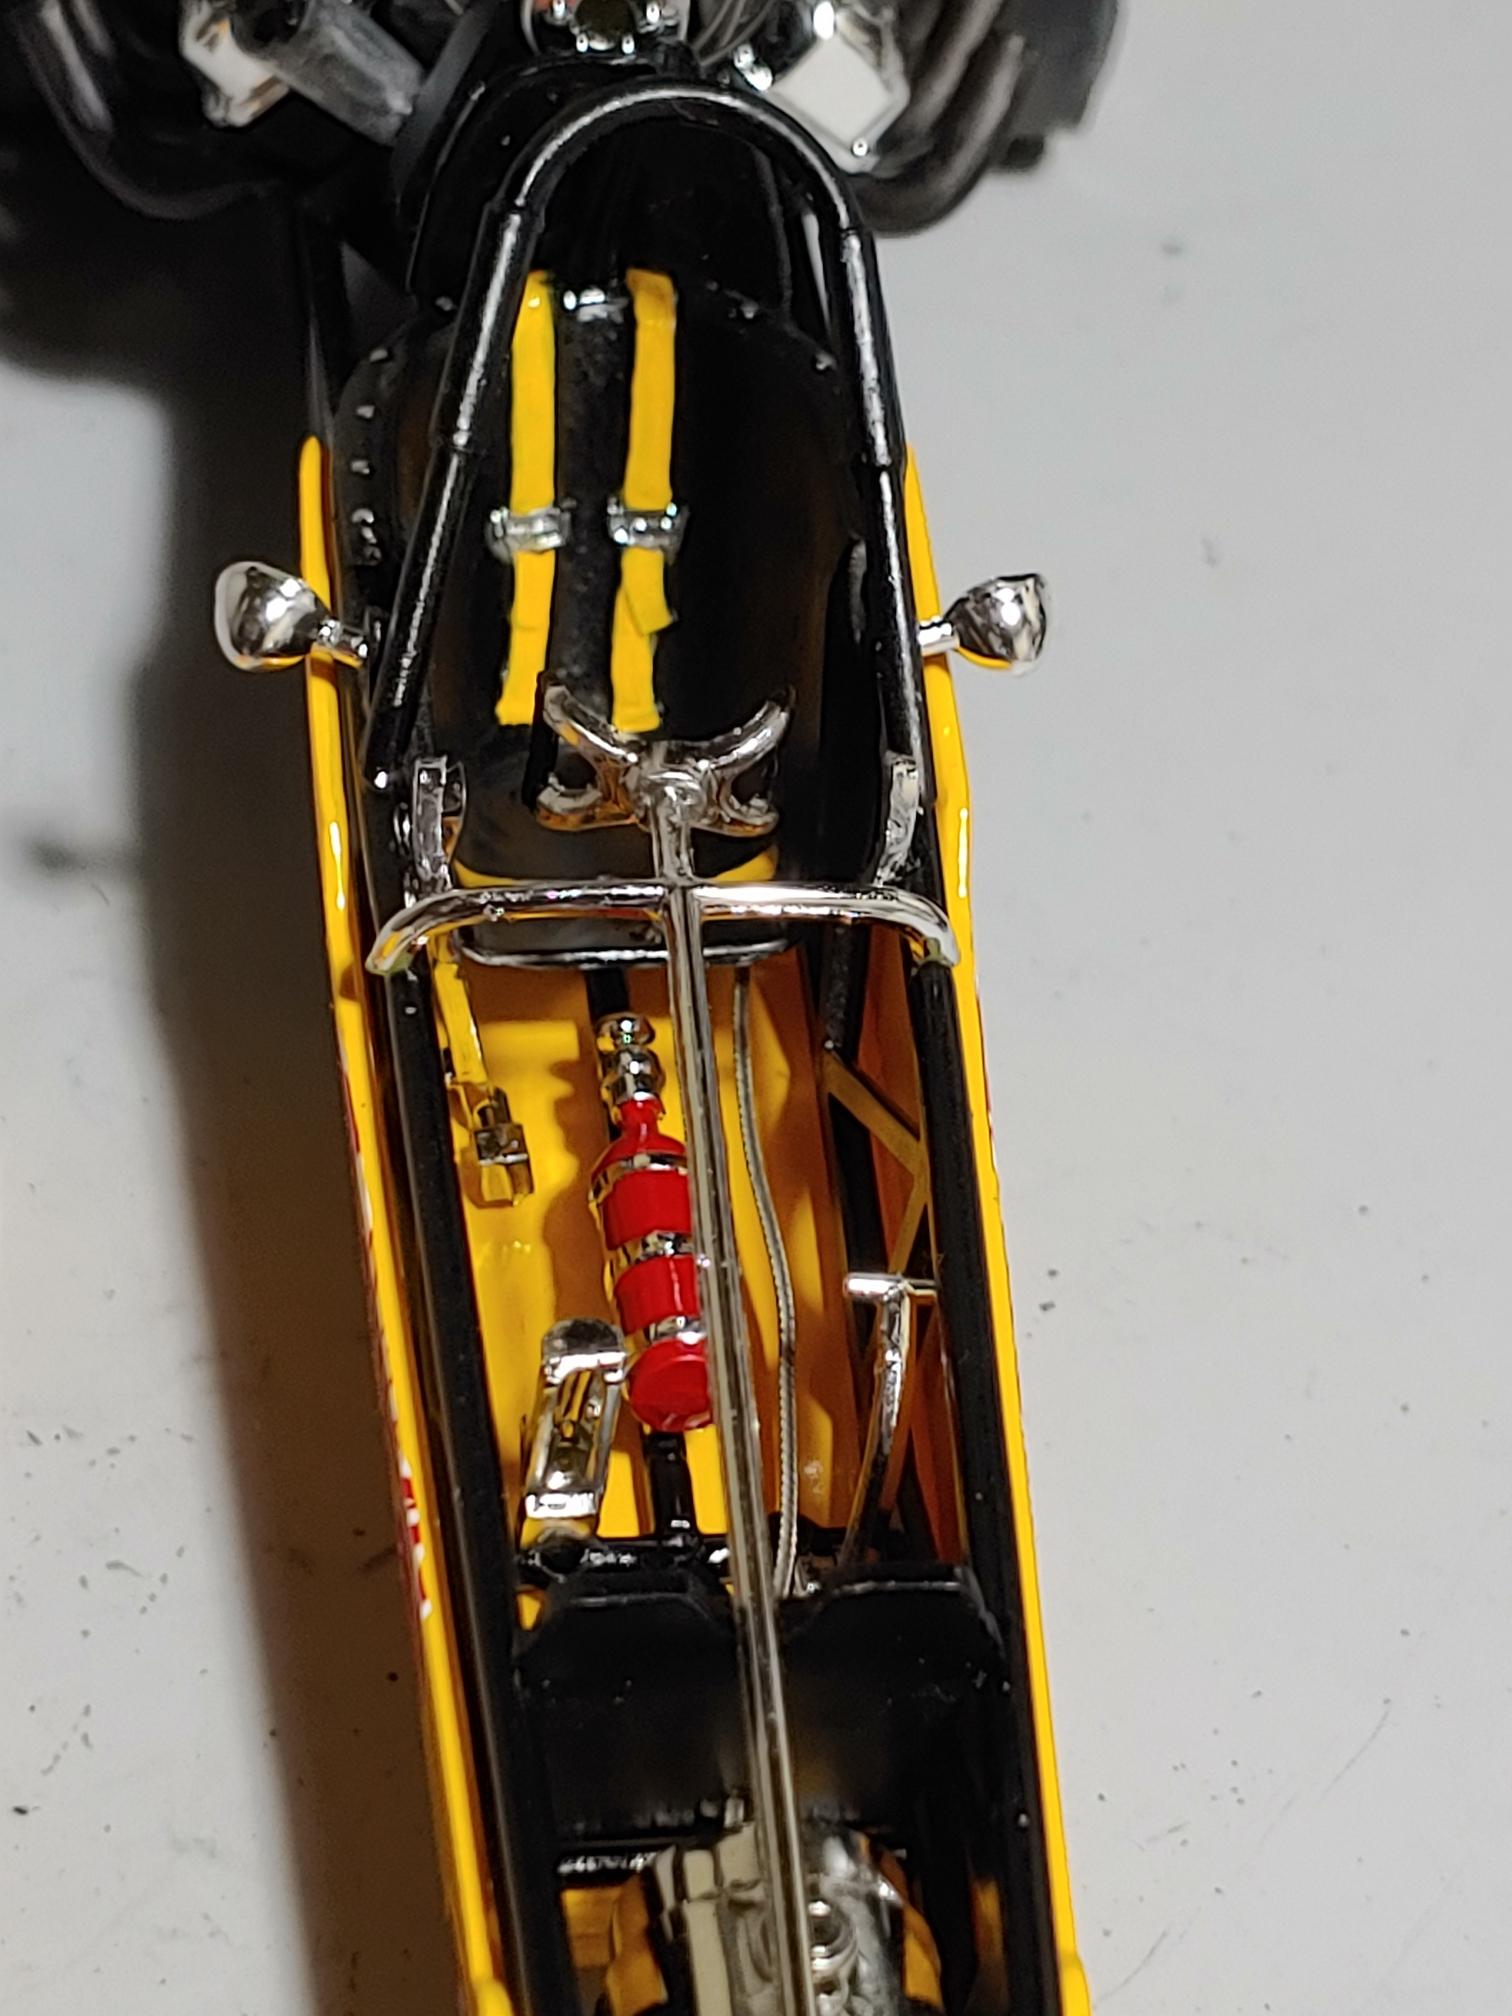
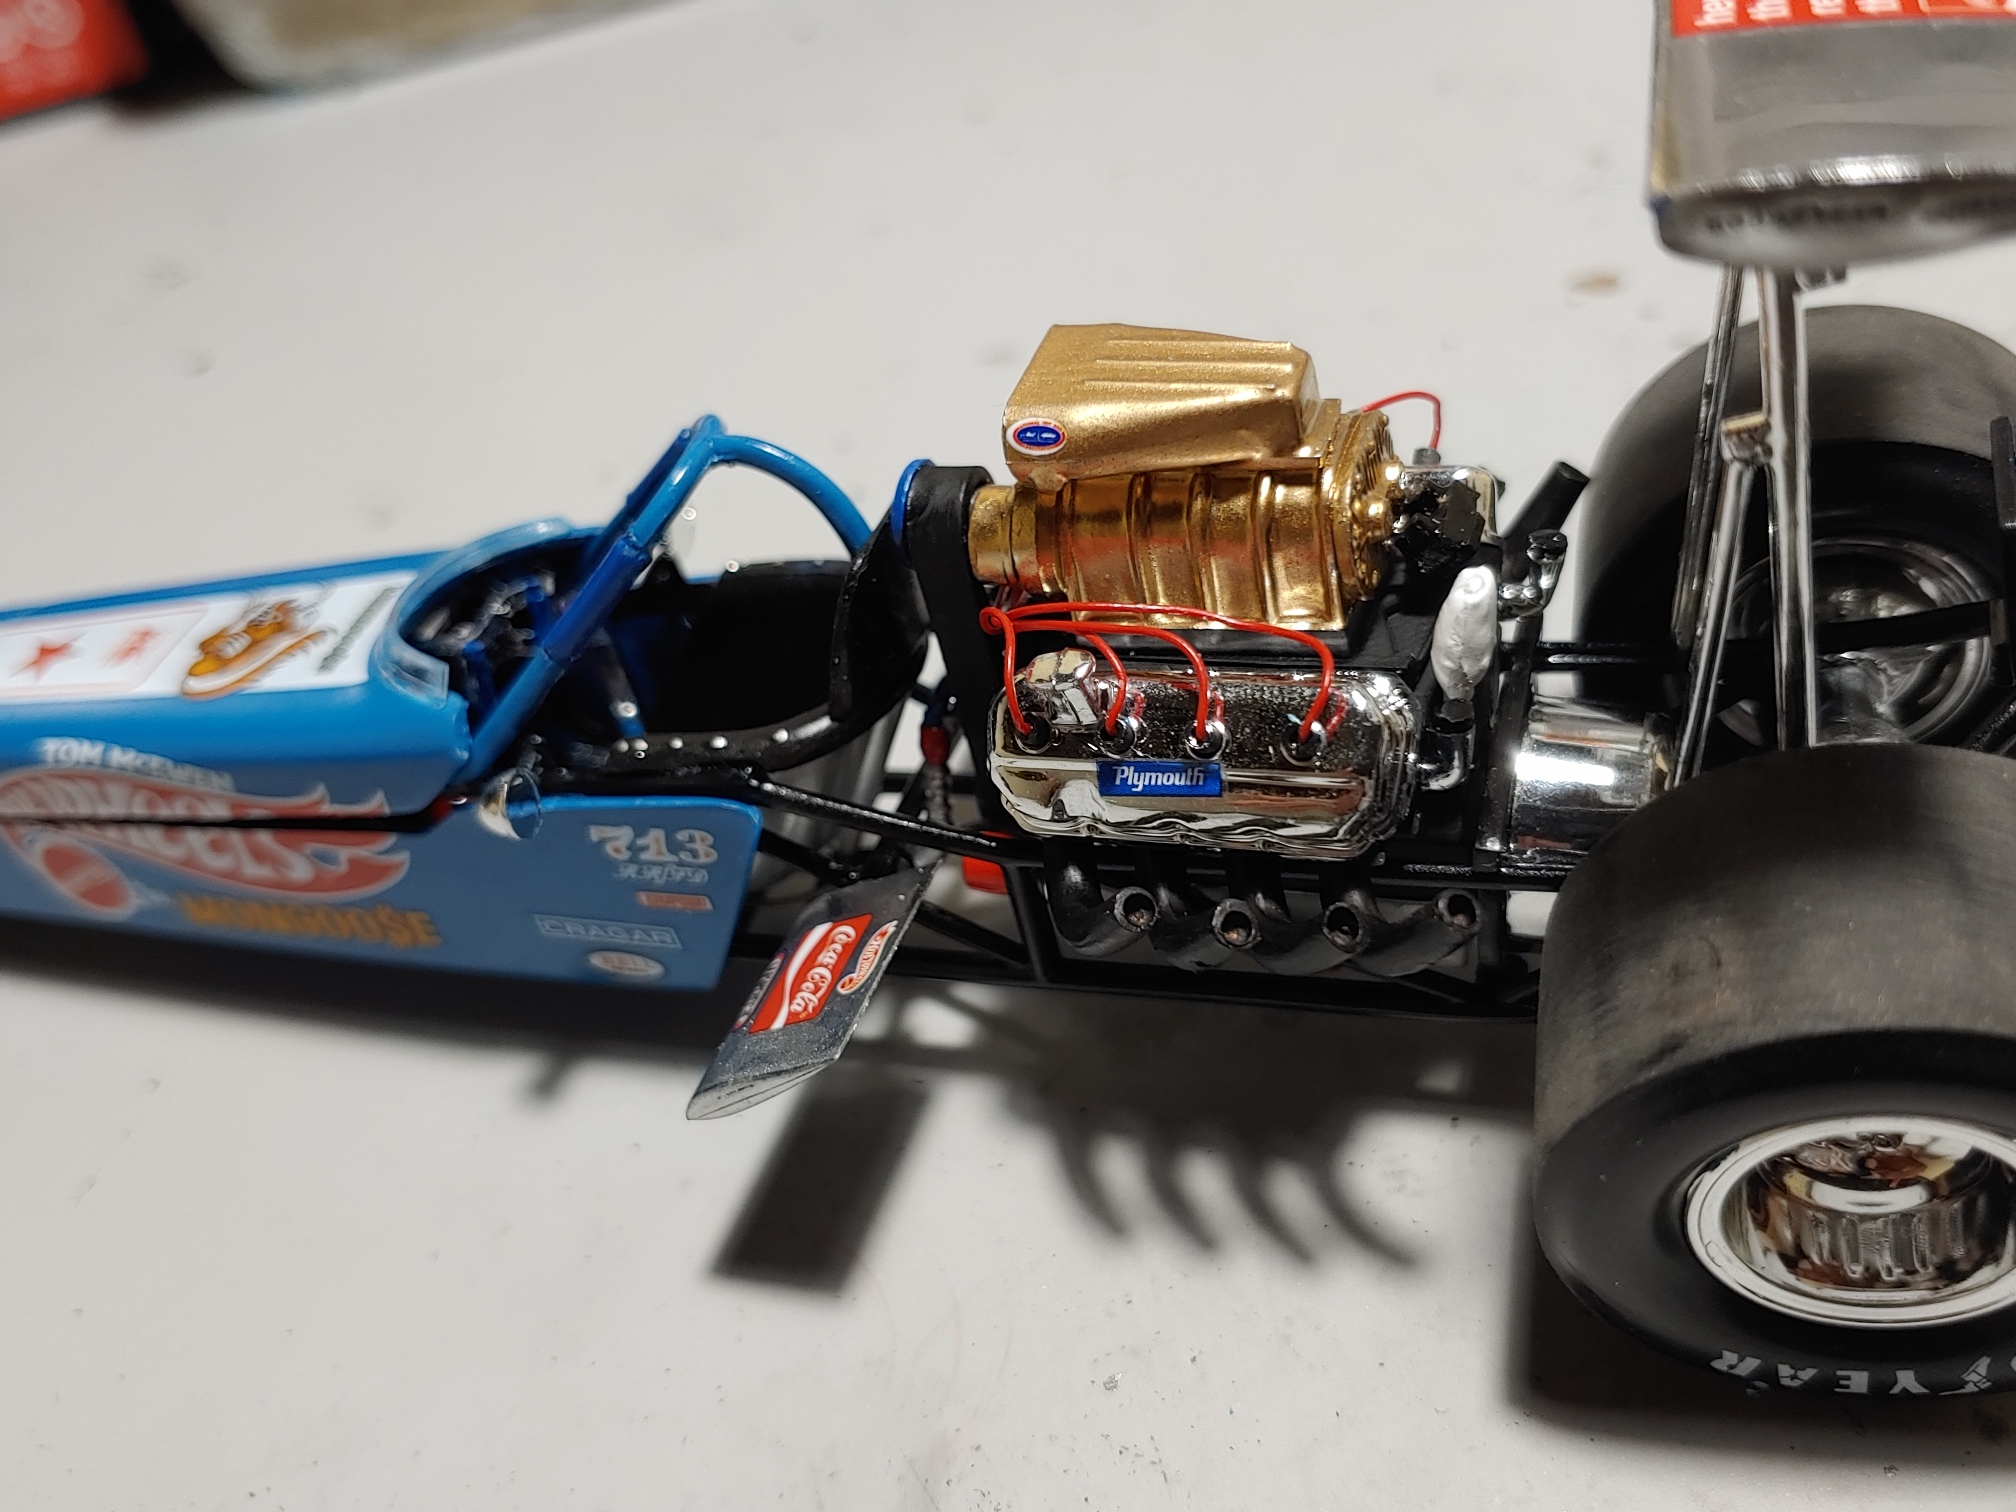
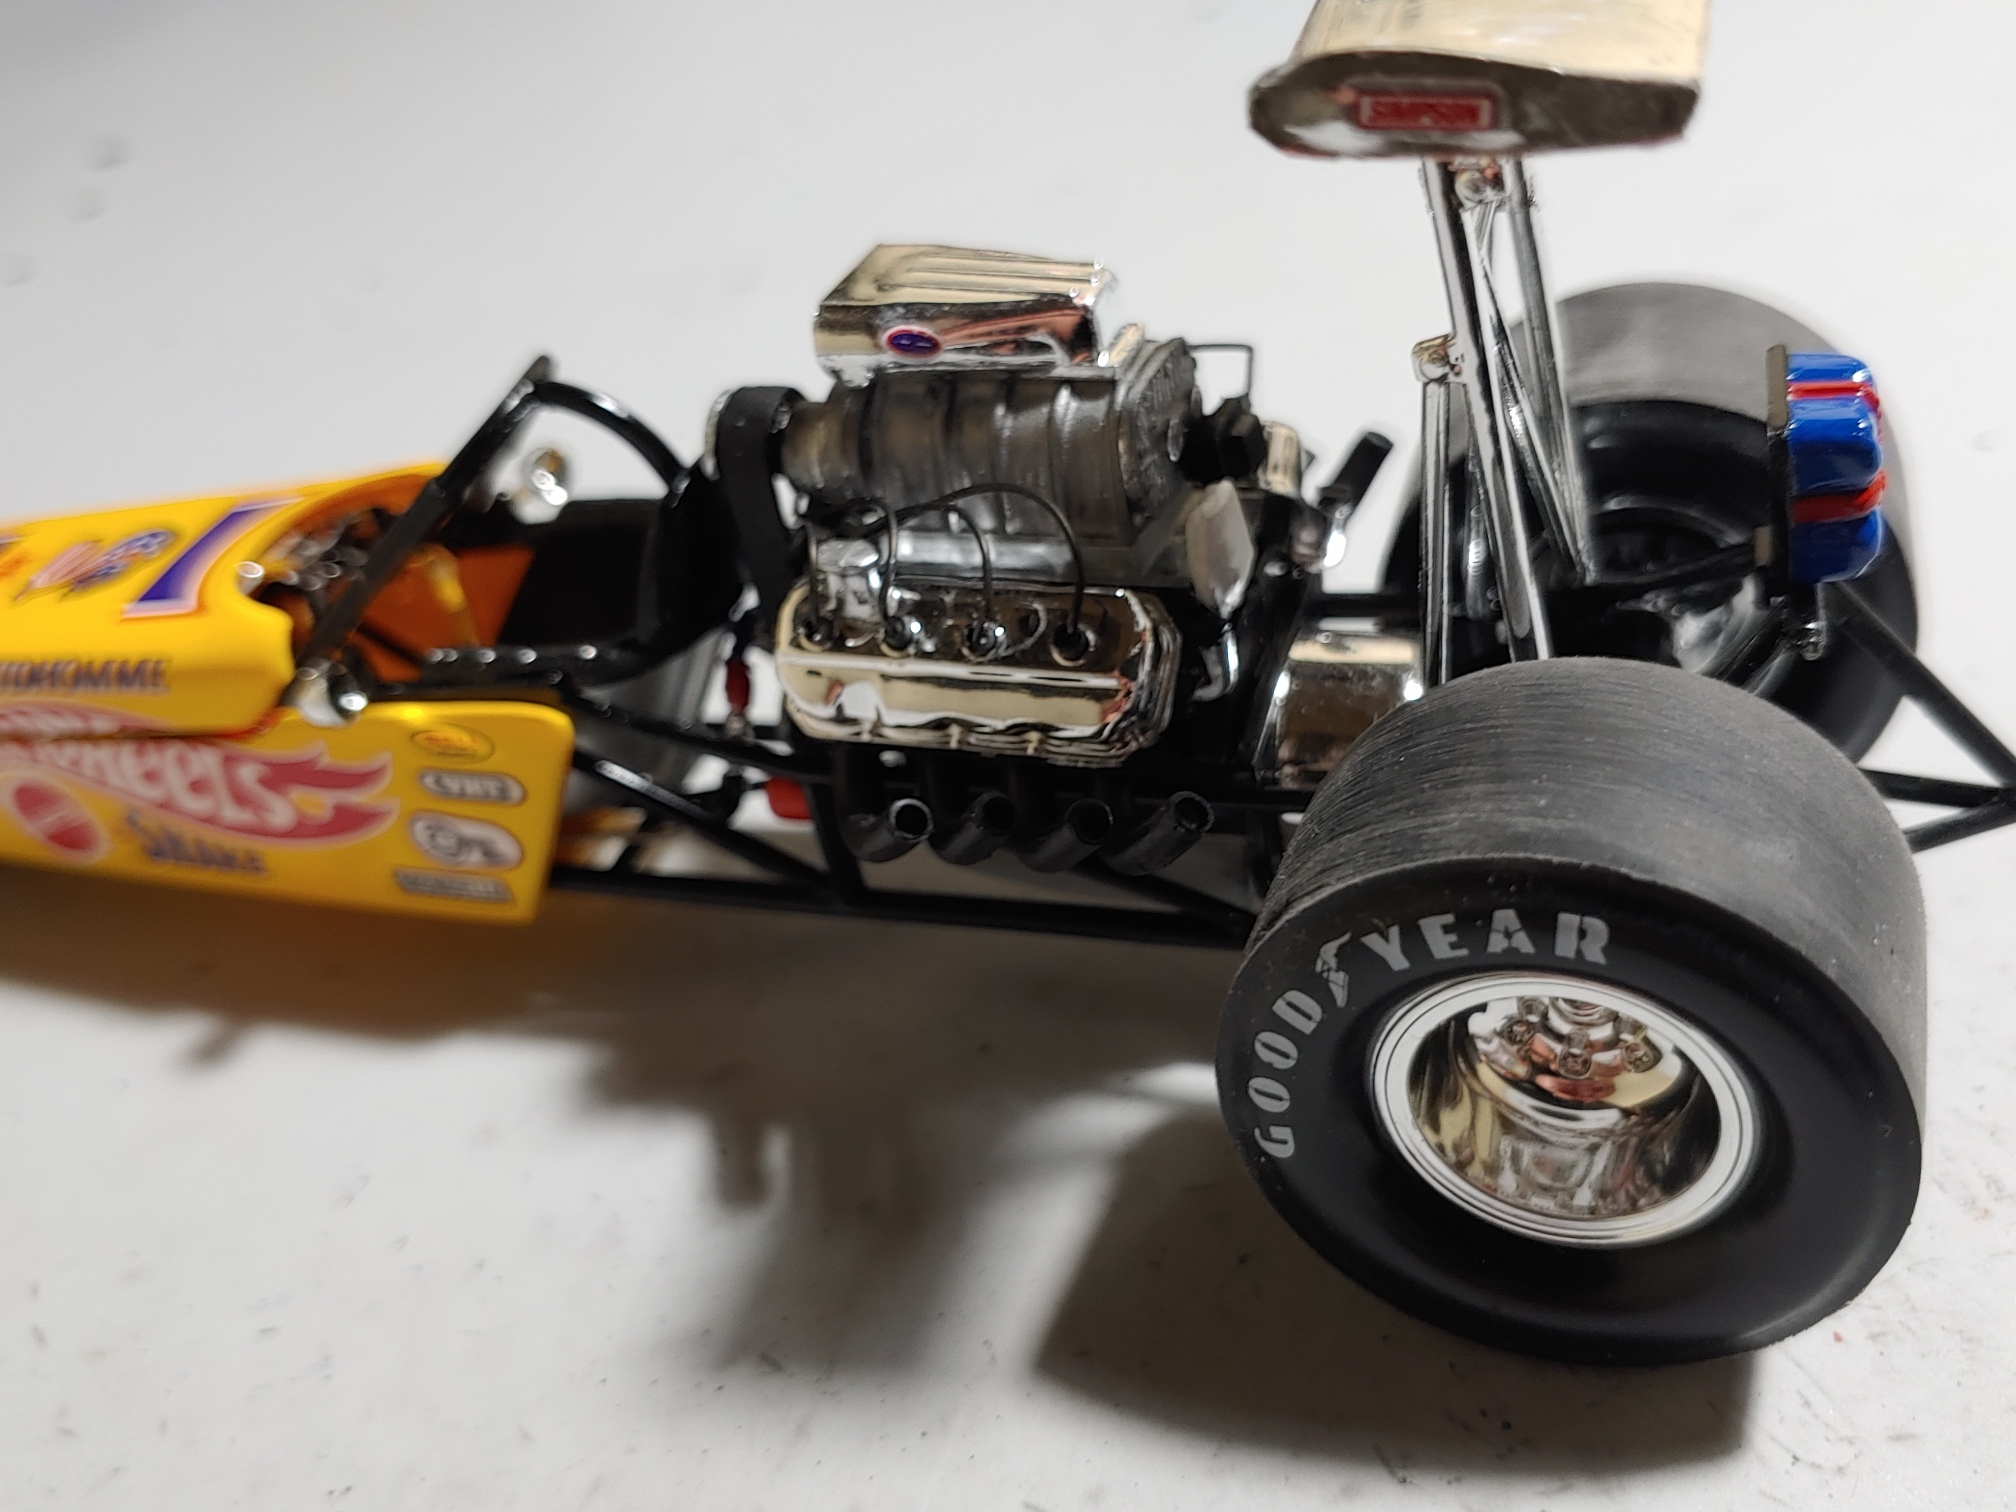
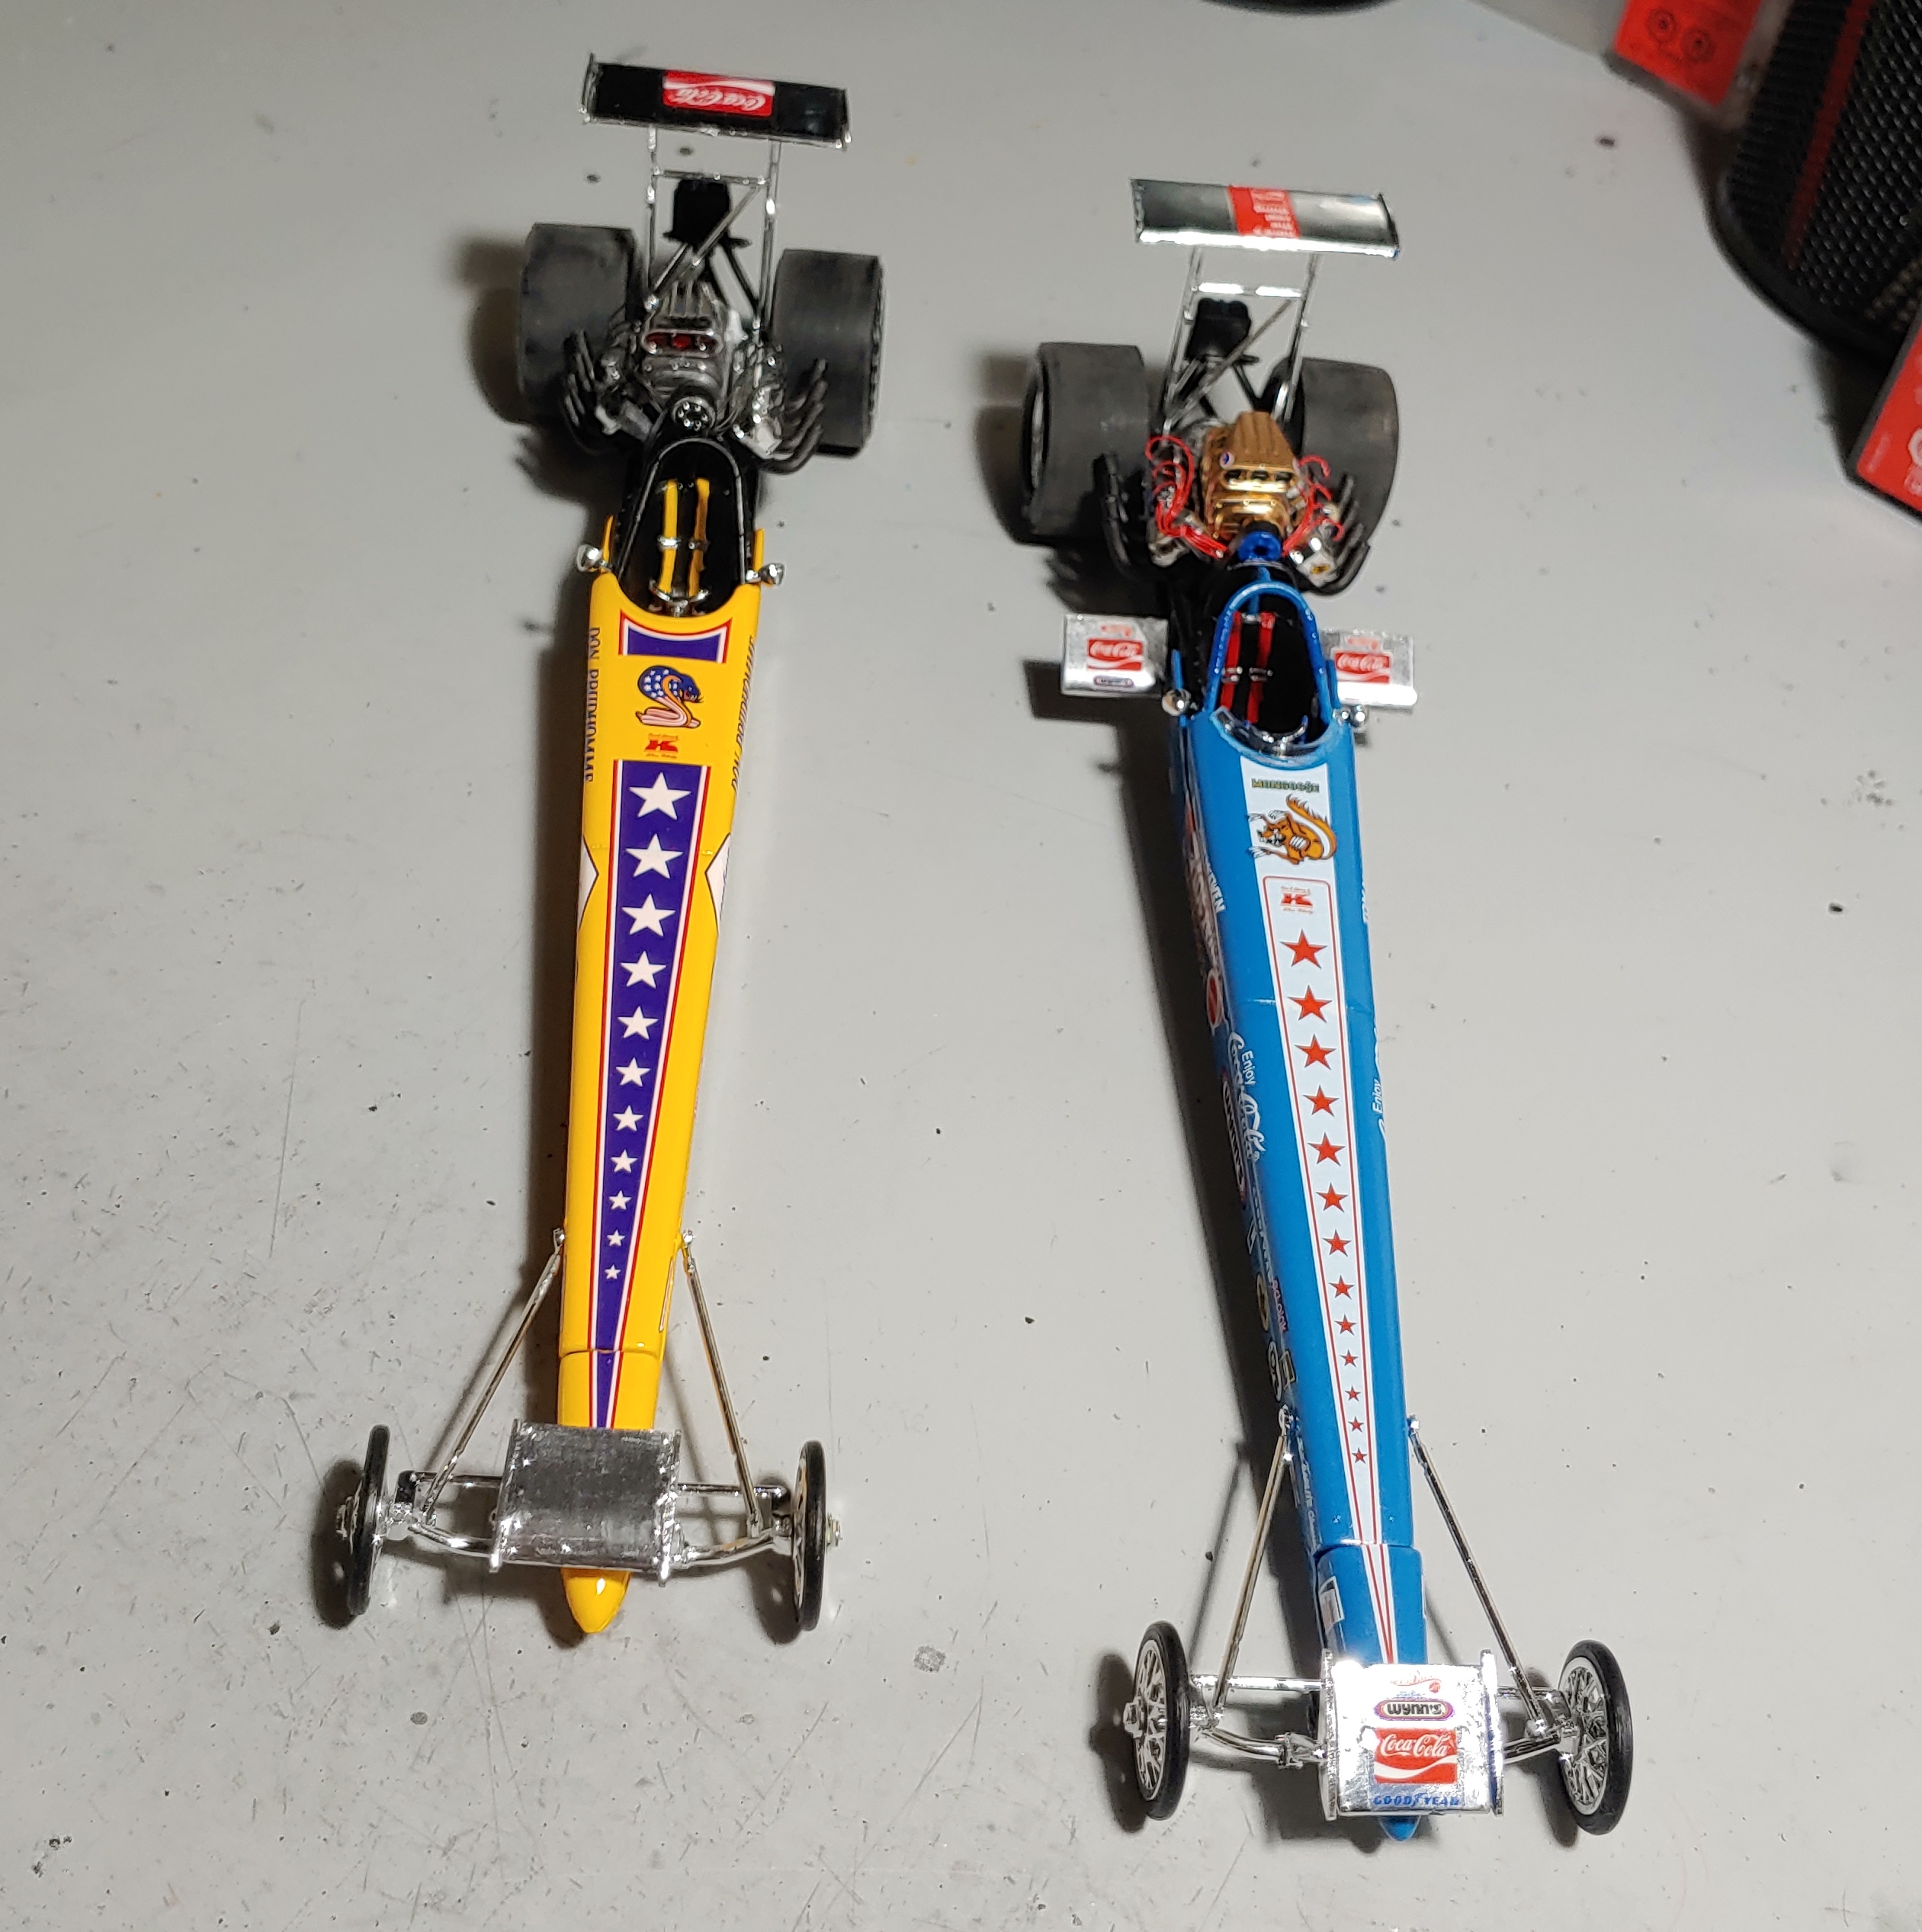
What kid growing up in the 60's didn't like drag racing - well I'm sure there are some out there but I definitely wasn't one of them. I also loved rivalries. So hen I saw that they were producing the Snake and Mongoose models, I knew I had to build em. I was "Snake" fan. I tried to make them as realistic as possible - but added some touches to try and make them as different as possible, as well, since I couldn't find a whole lot of detailed pics. So here is my first contribution to the drag racing forum. Waiting for a replacement windshield for the Snake as it was missing from the box. After taking the pics I noticed a couple of areas that I need to touch up on the chrome.

-
Thanks for the kind words yet again.
-
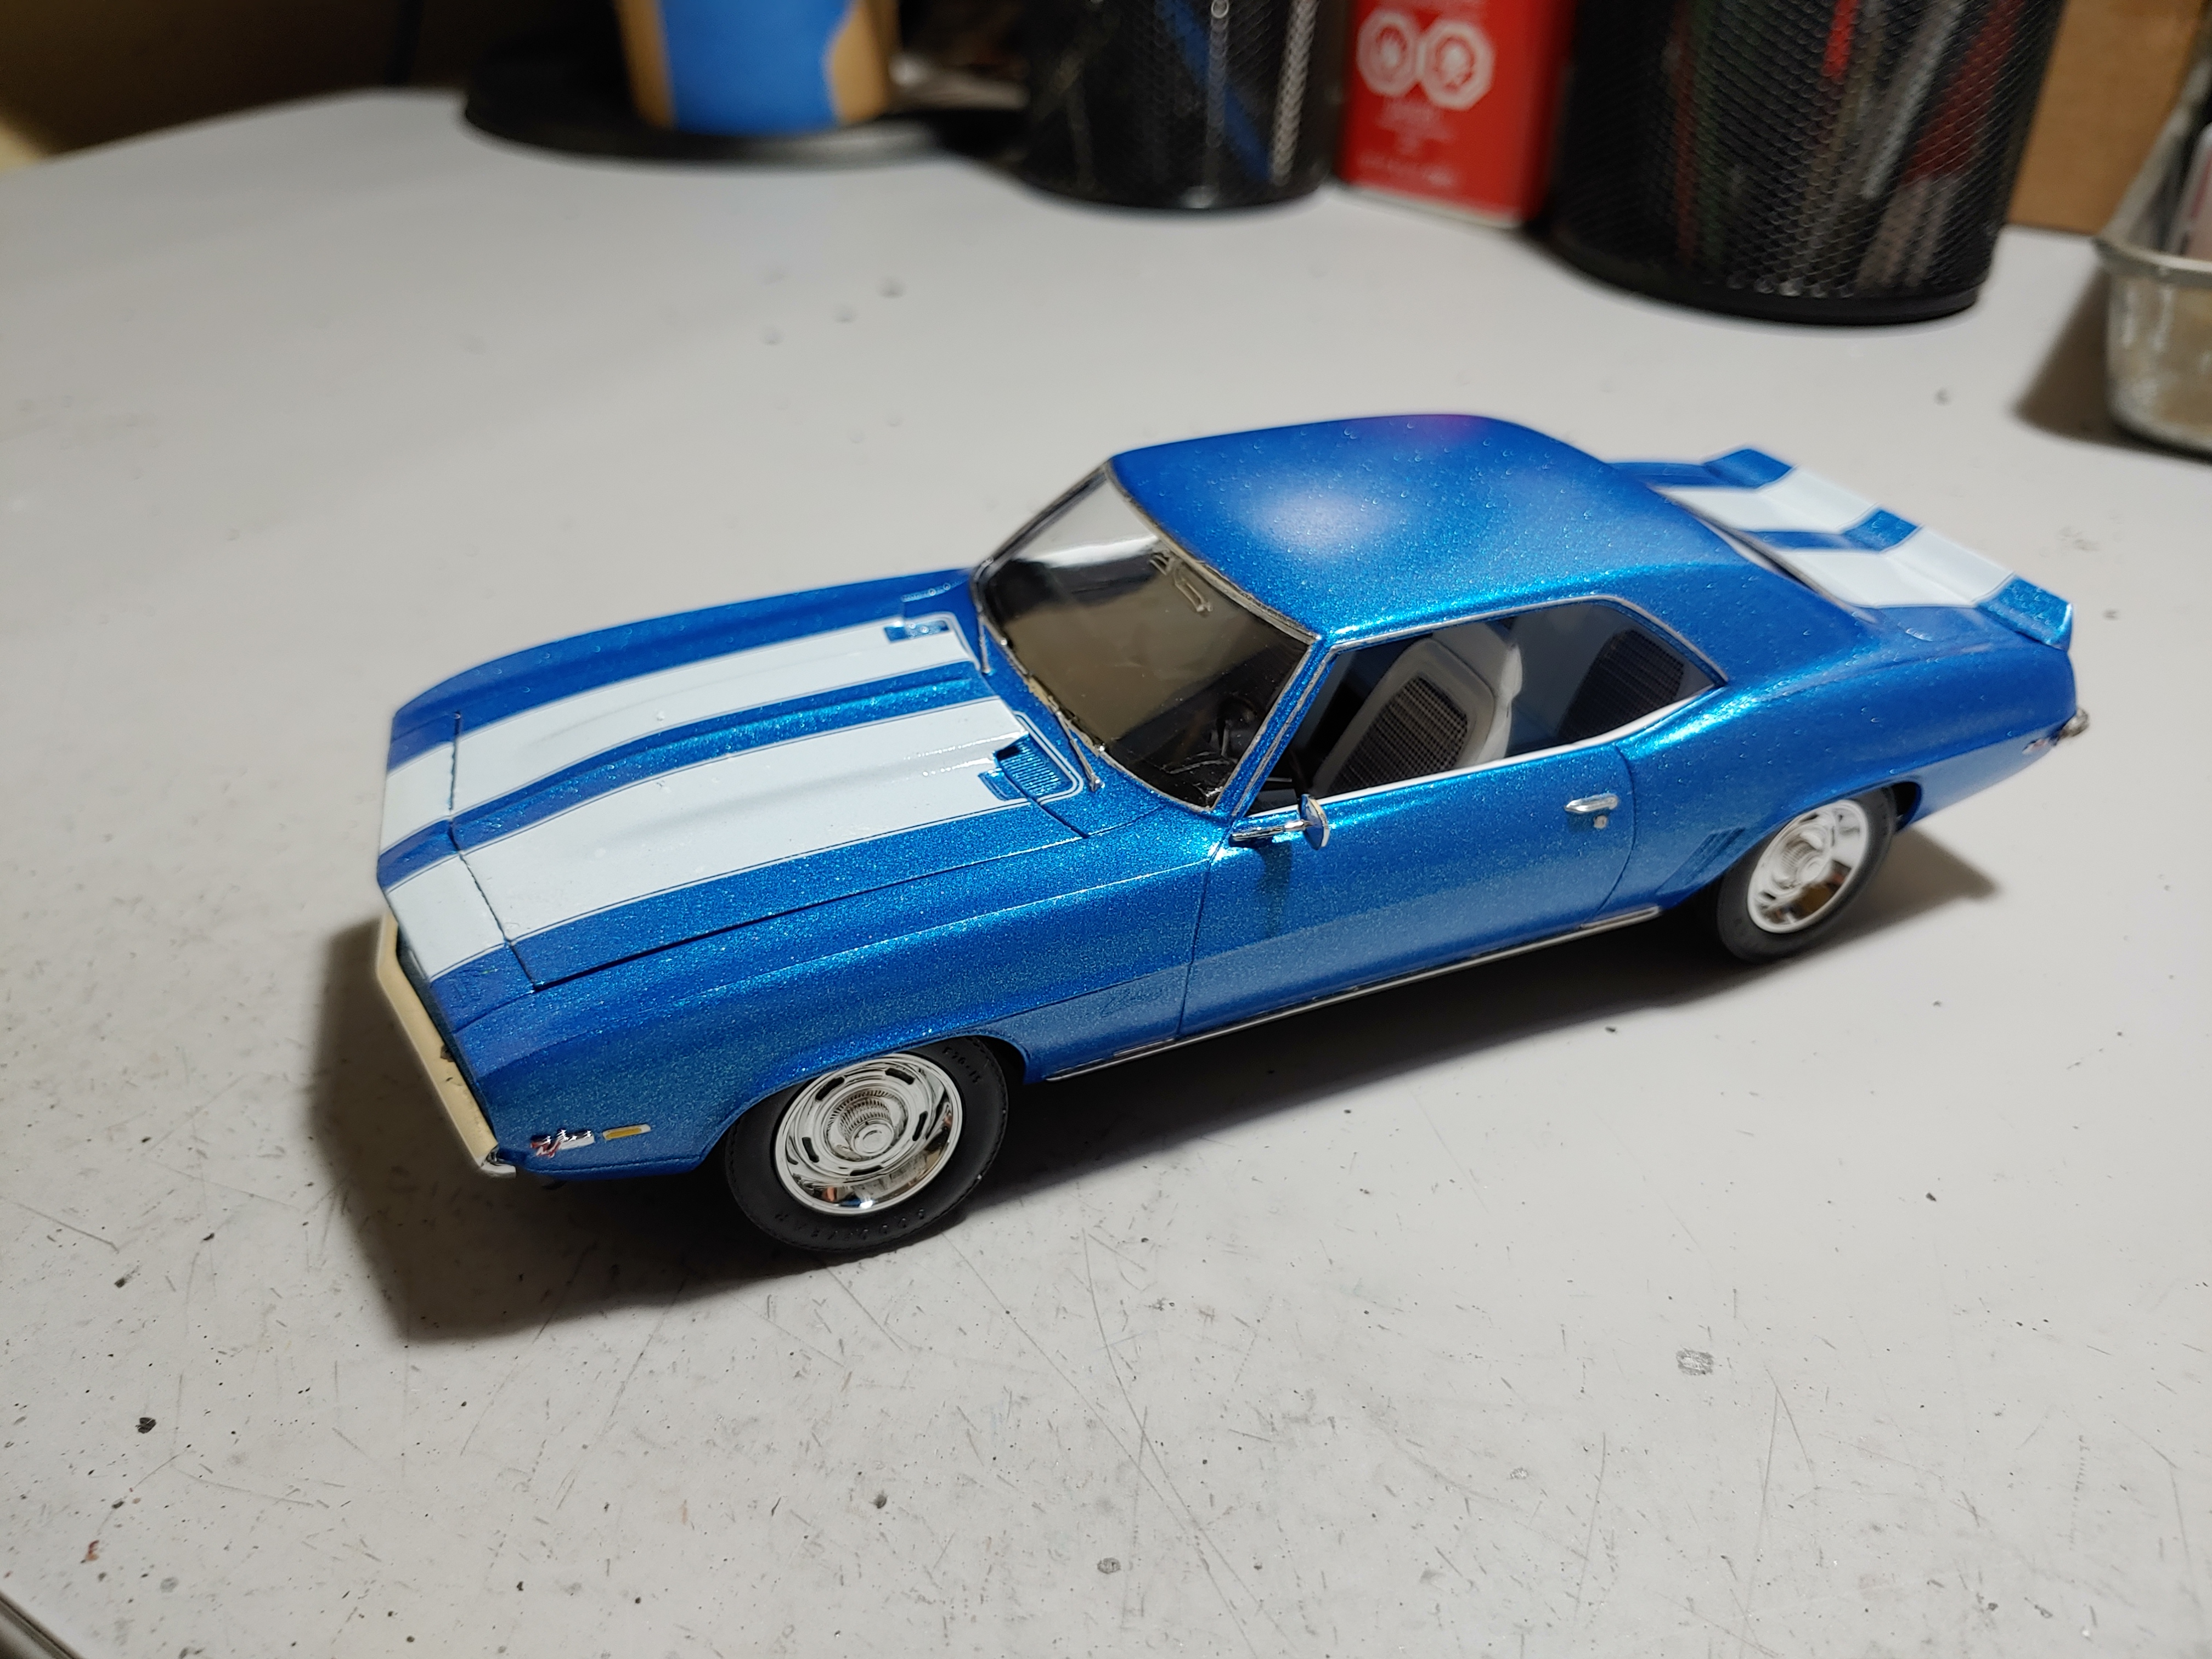
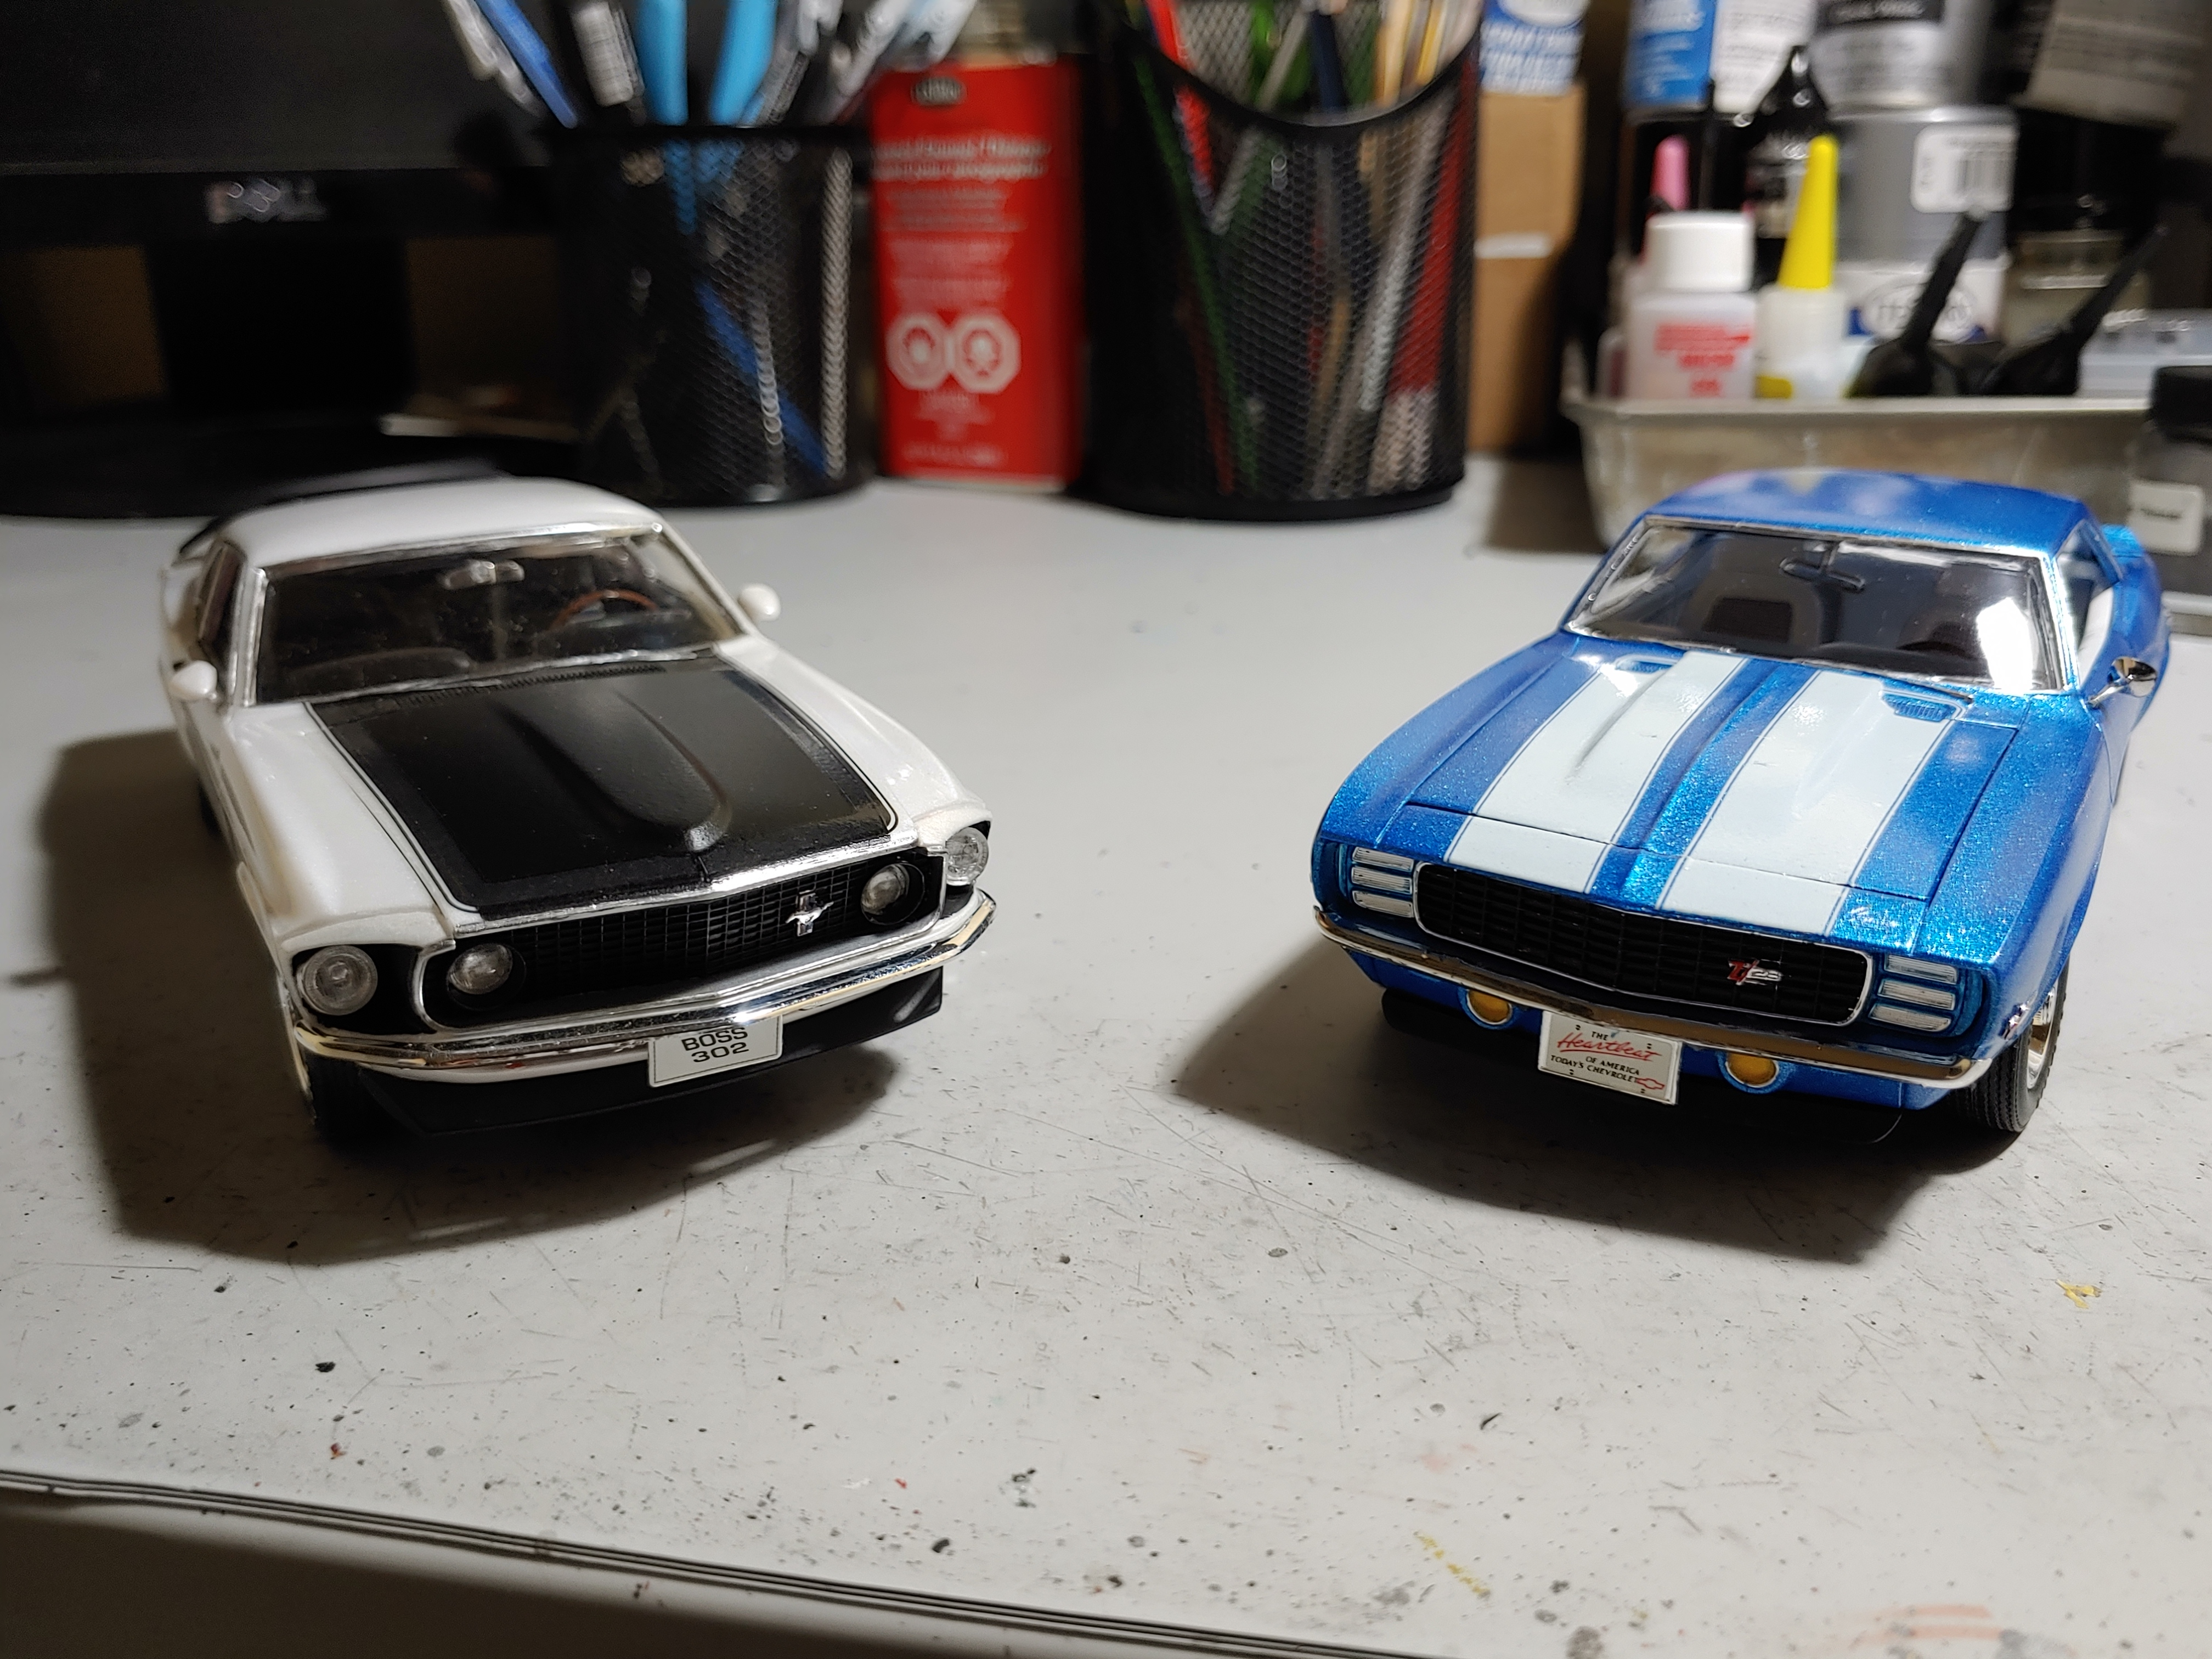
This is the Revell kit. Since I recently did the 1969 Boss 302, I wanted to do it's natural companion the 1969 Z28. Really liked this kit - nice amount of detail and minimal flash. Decided to do the white houndstooth interior, so I made some houndstooth decals using a pattern, photoshop and decal paper. Happy with the results. Went with Testors one coat lacquer again since I just really like how it lays down and dries quickly. The color is Blue Ice. Stripe decals were a bit of a PITA and despite my best efforts, still had a couple small bubbles in them.
-
Super clean build. Love the engine bay.
-
Very nice!
-
Thanks for all the kind words everyone. I think the biggest dilemma I always face is - how exact do I try and replicate the factory colors etc. Most of the time I wind up somewhere in the middle - often going with a non factory color for the body and trying to replicate the detailing the best extent I can. Needless to say - it's always an adventure and learning experience.
-
Ya know - after I was done it didn't look right to me but the illustration on the box makes it look like it should go the way I did it. Funny thing is now that you showed the instructions - I realized at that point I hadn't even looked at that illustration...
-
Stunning!
-
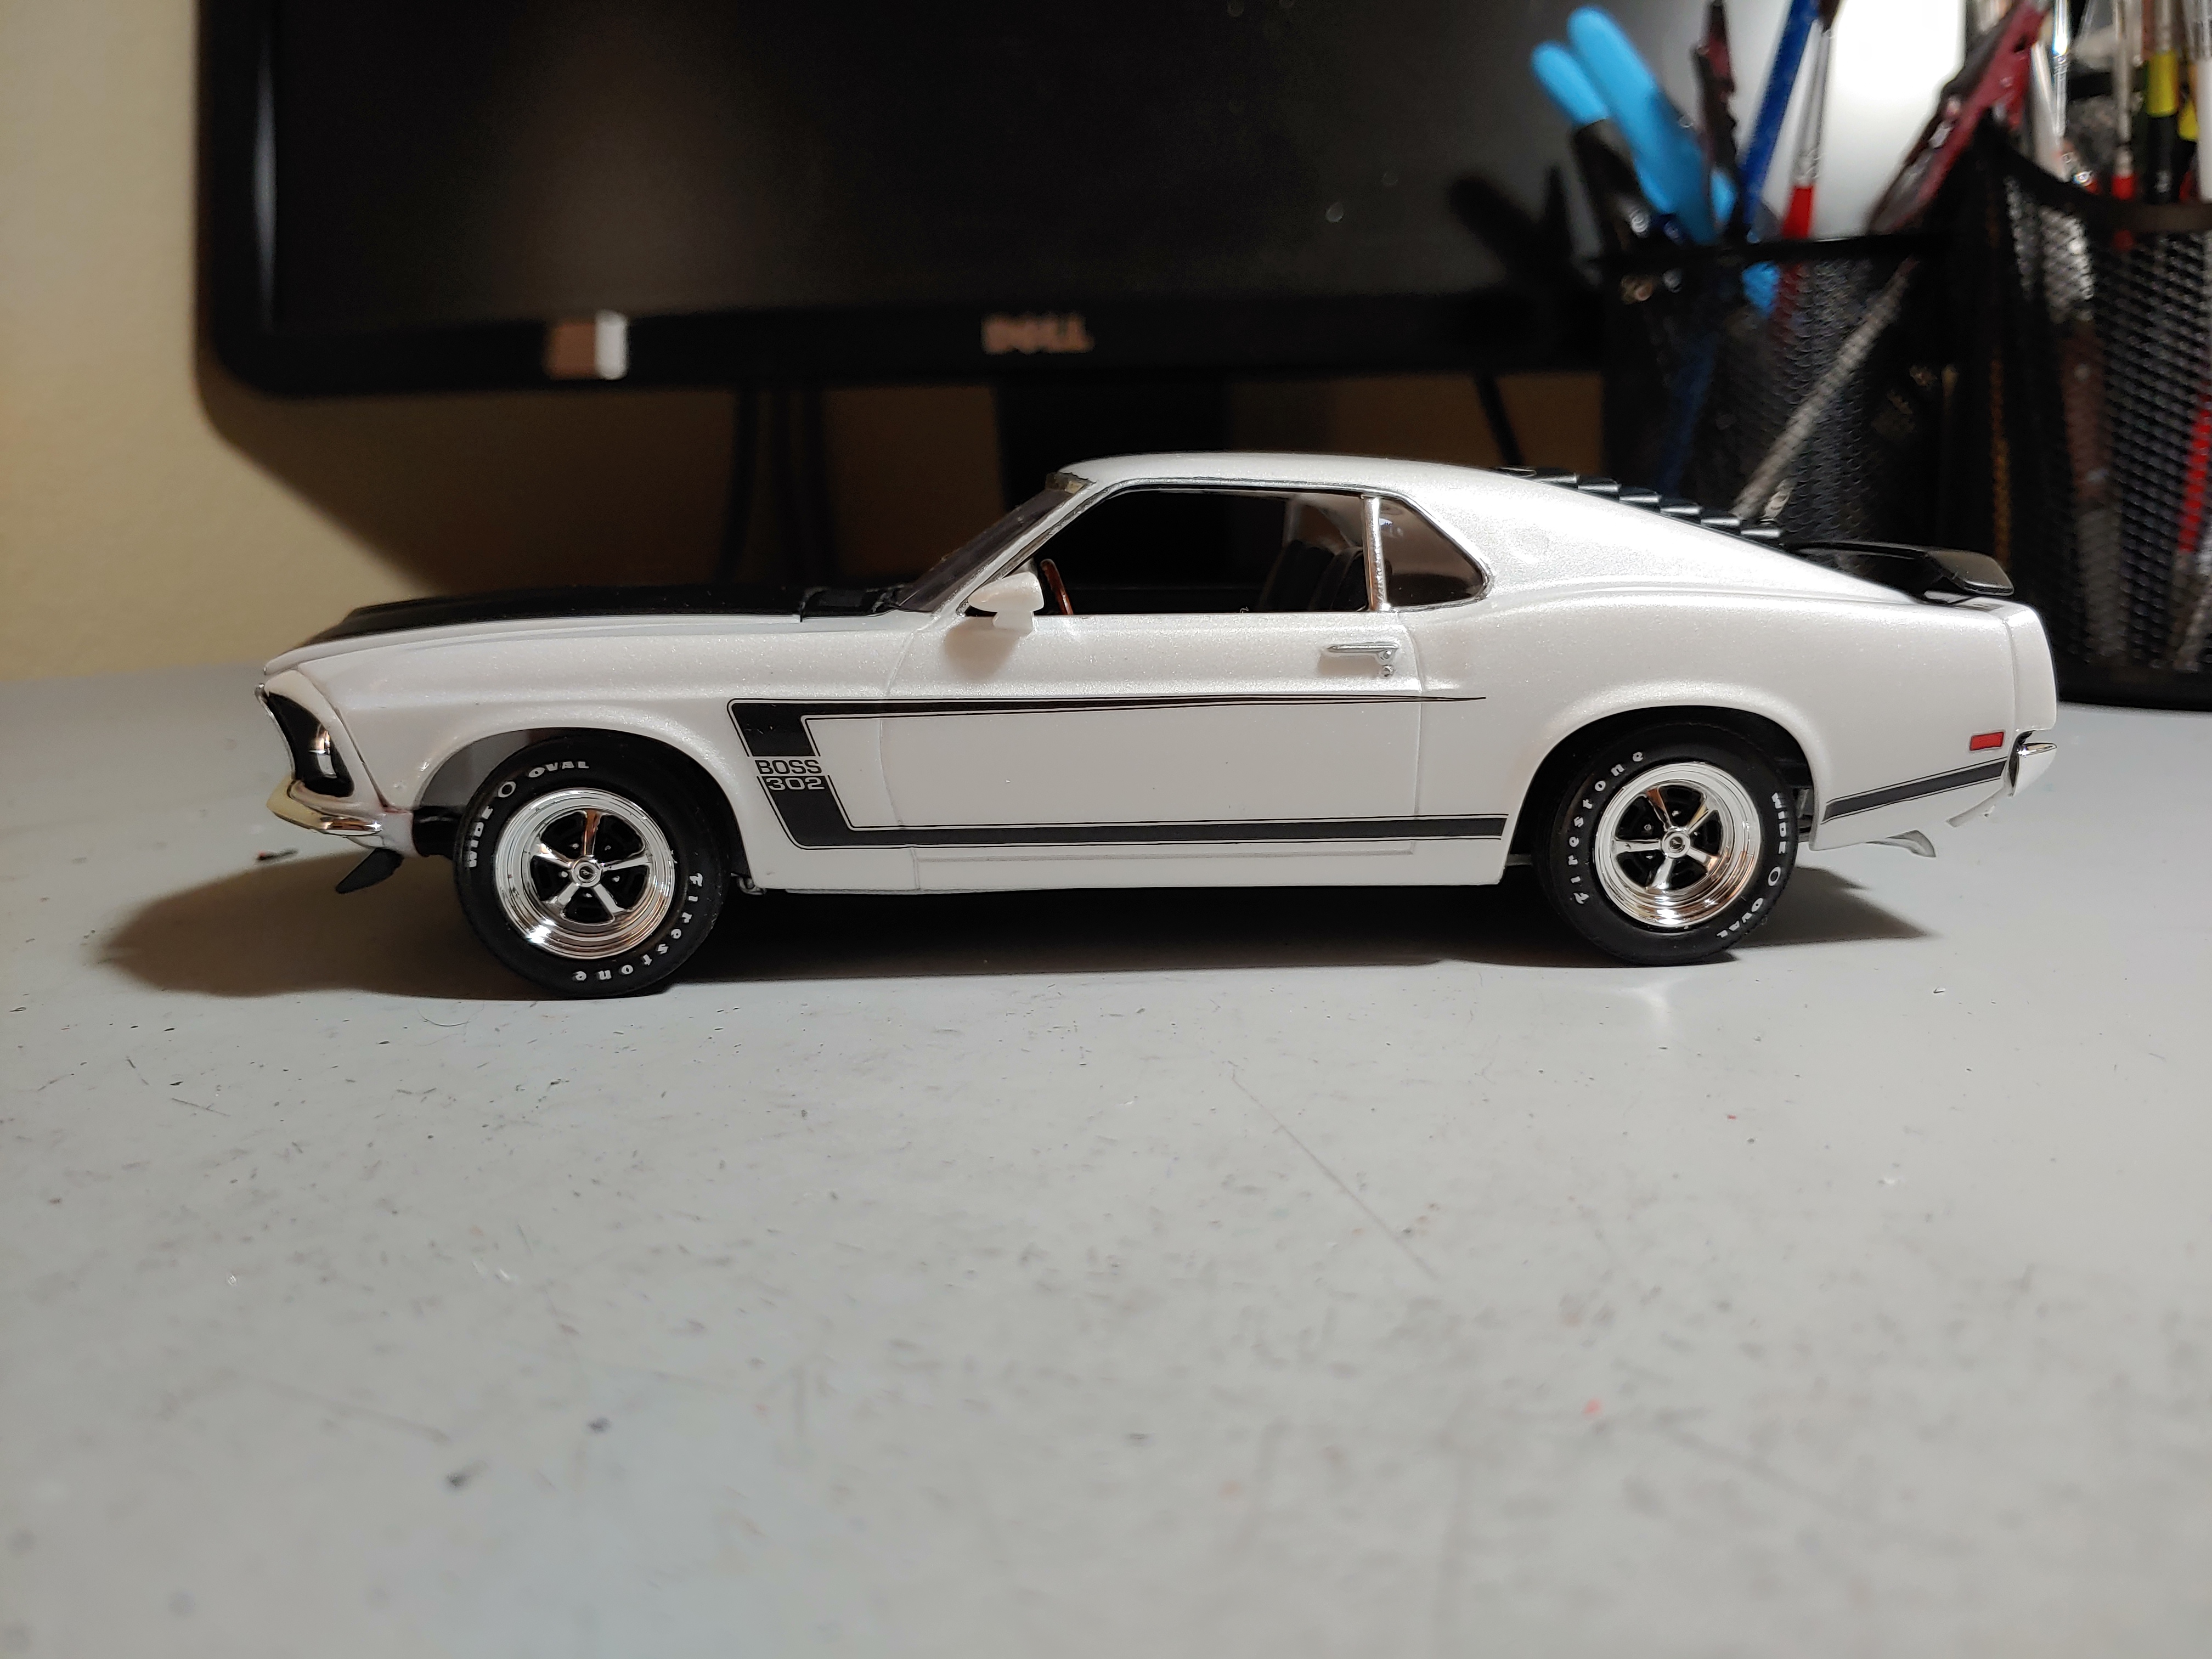
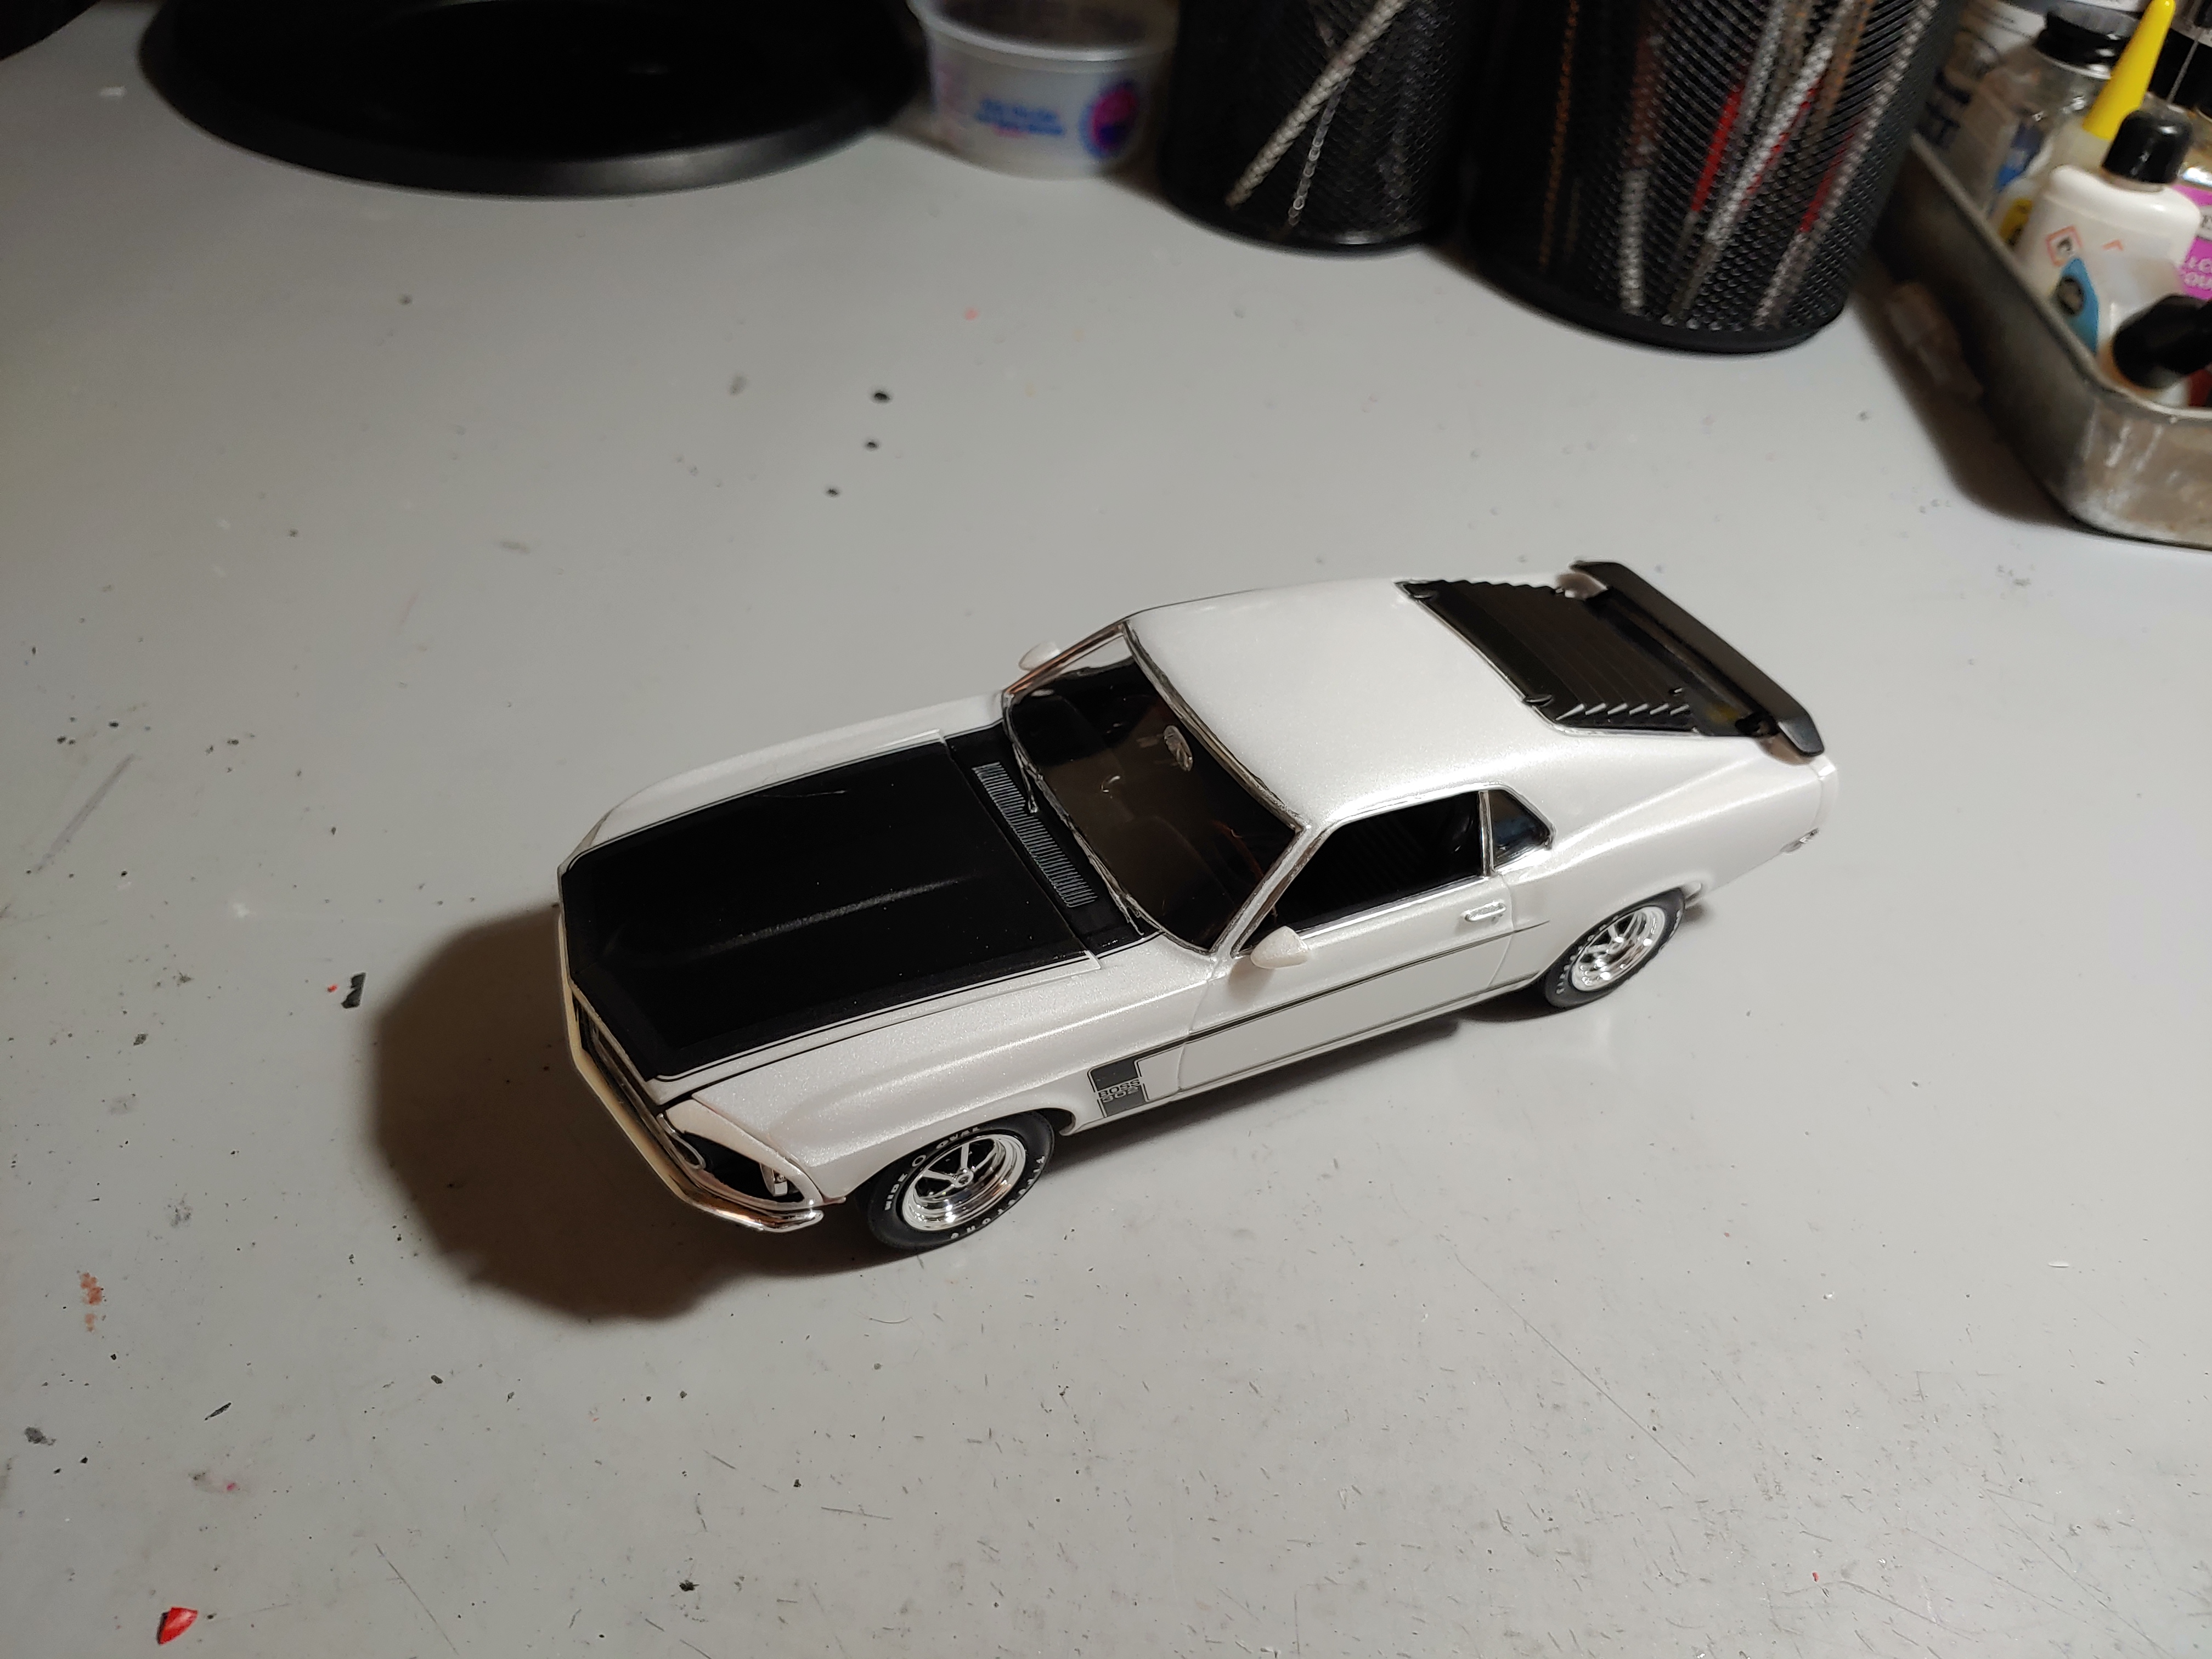
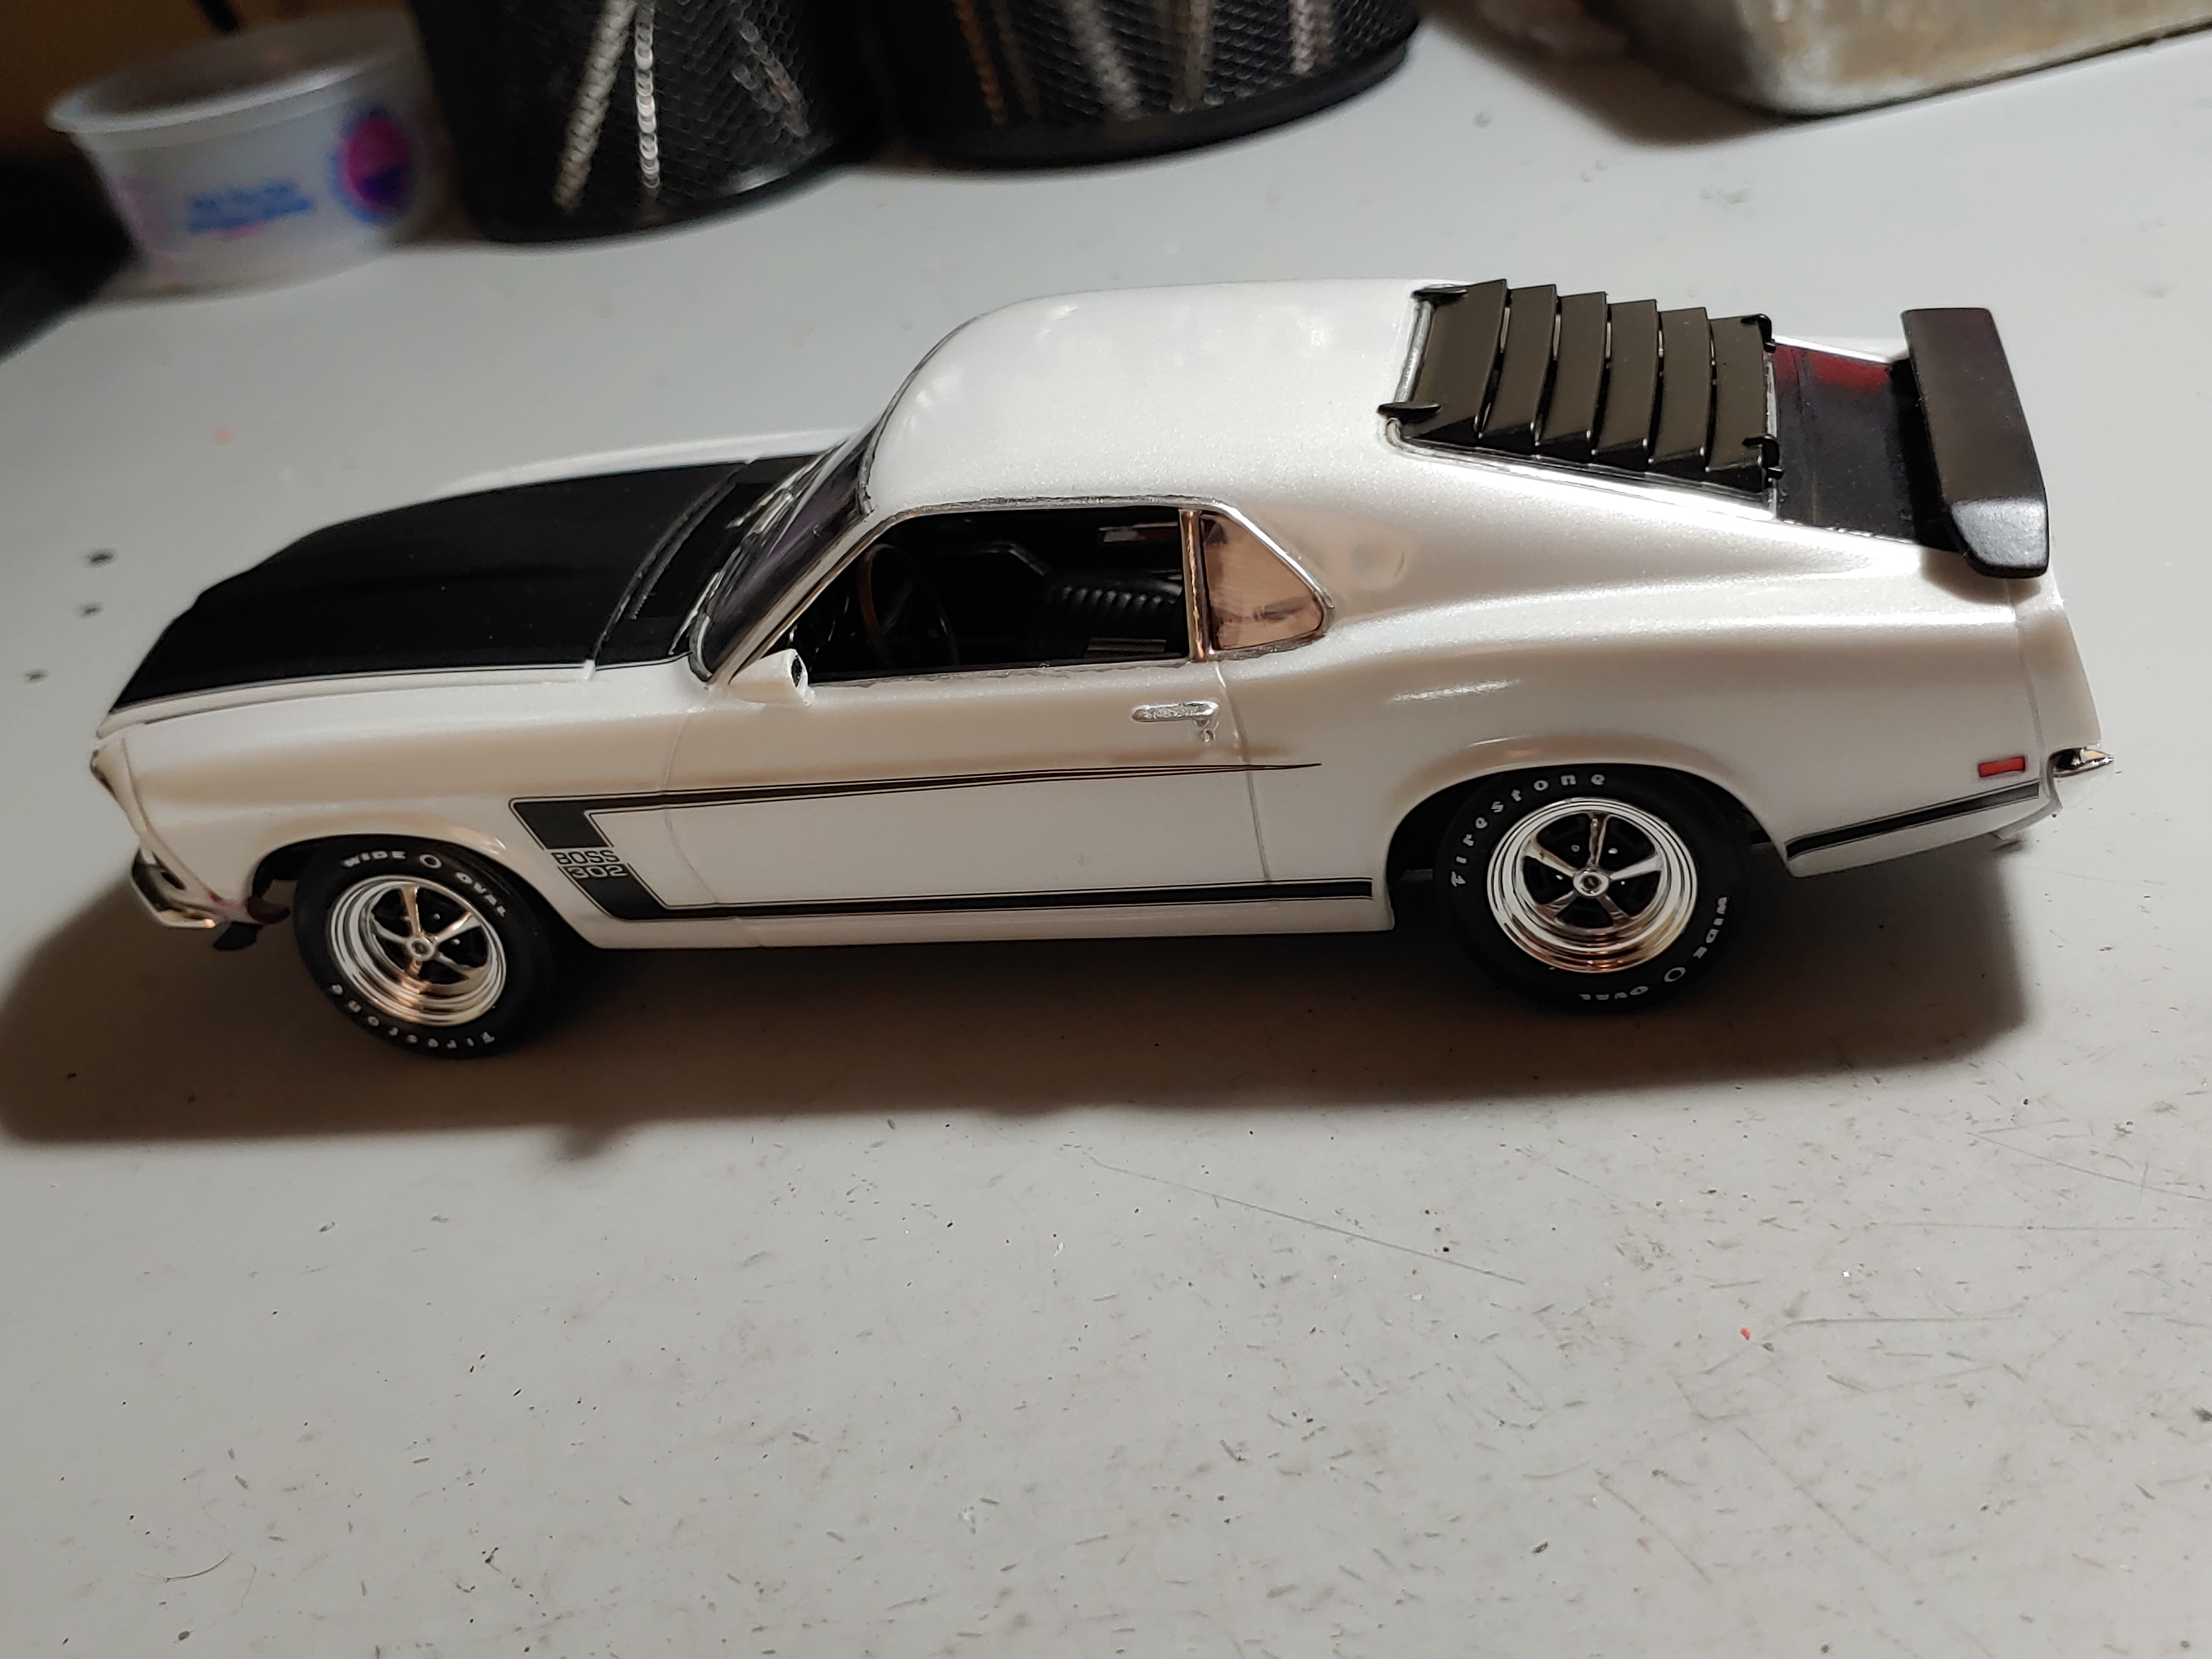
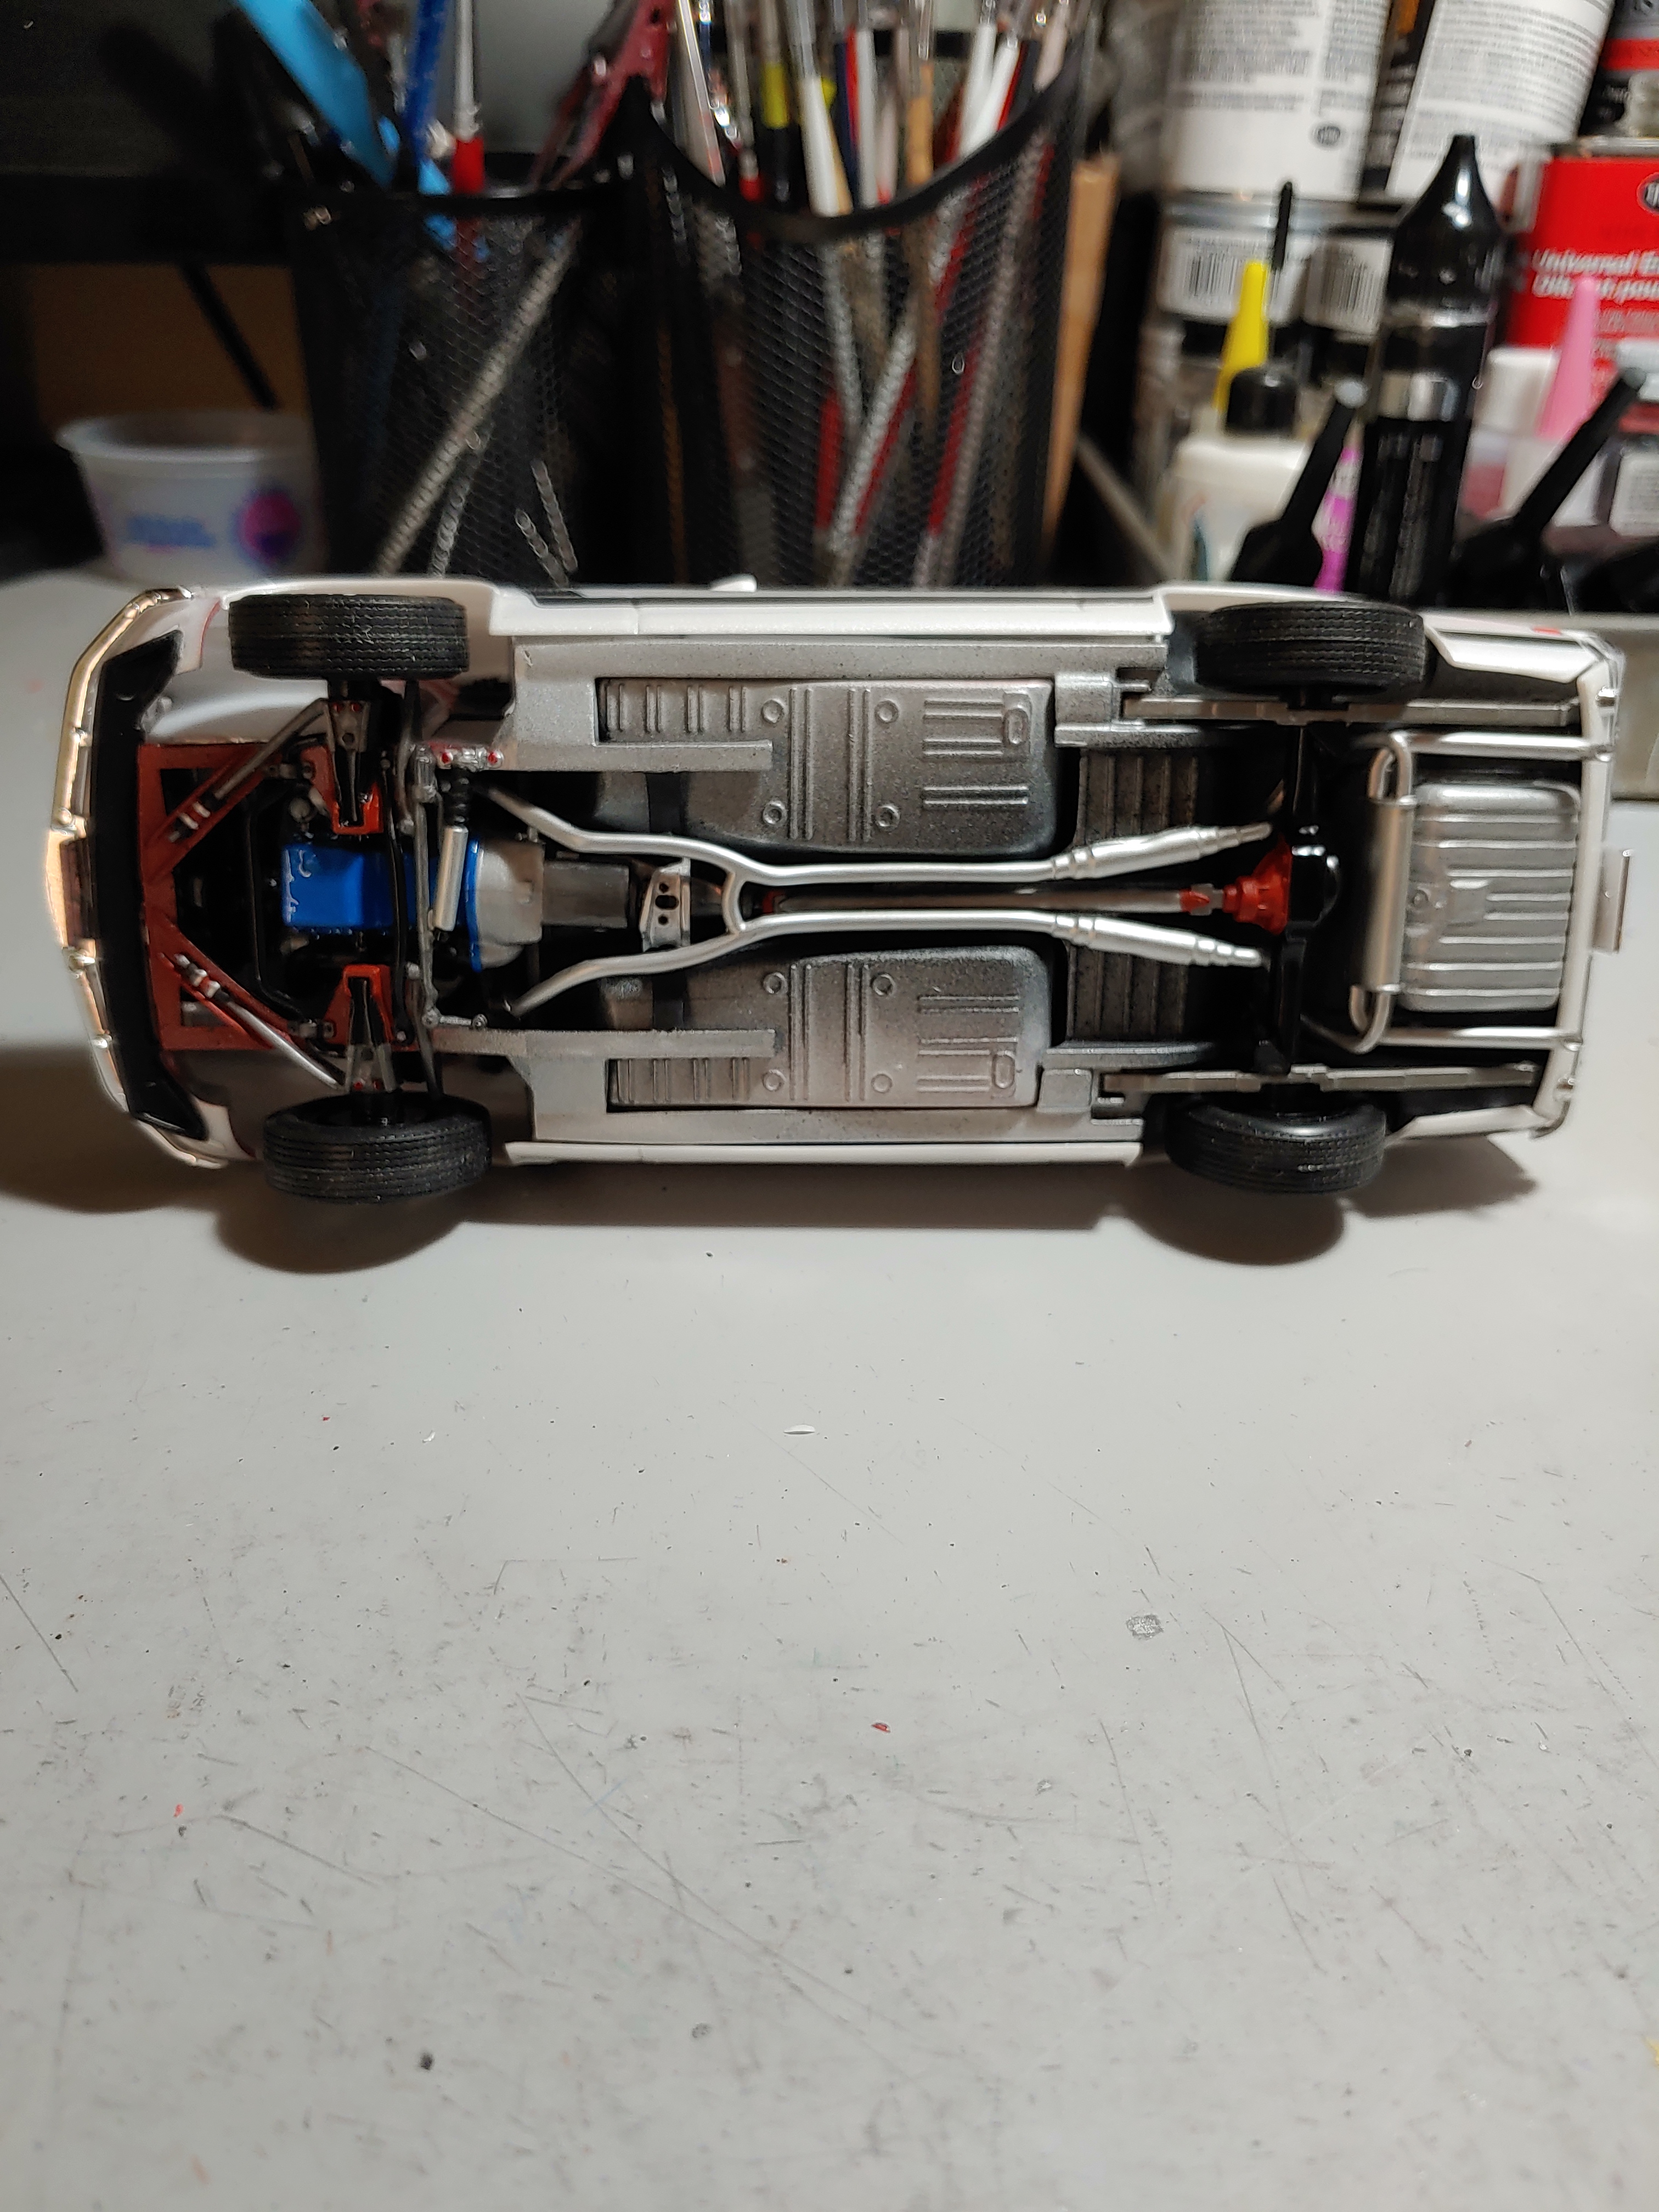
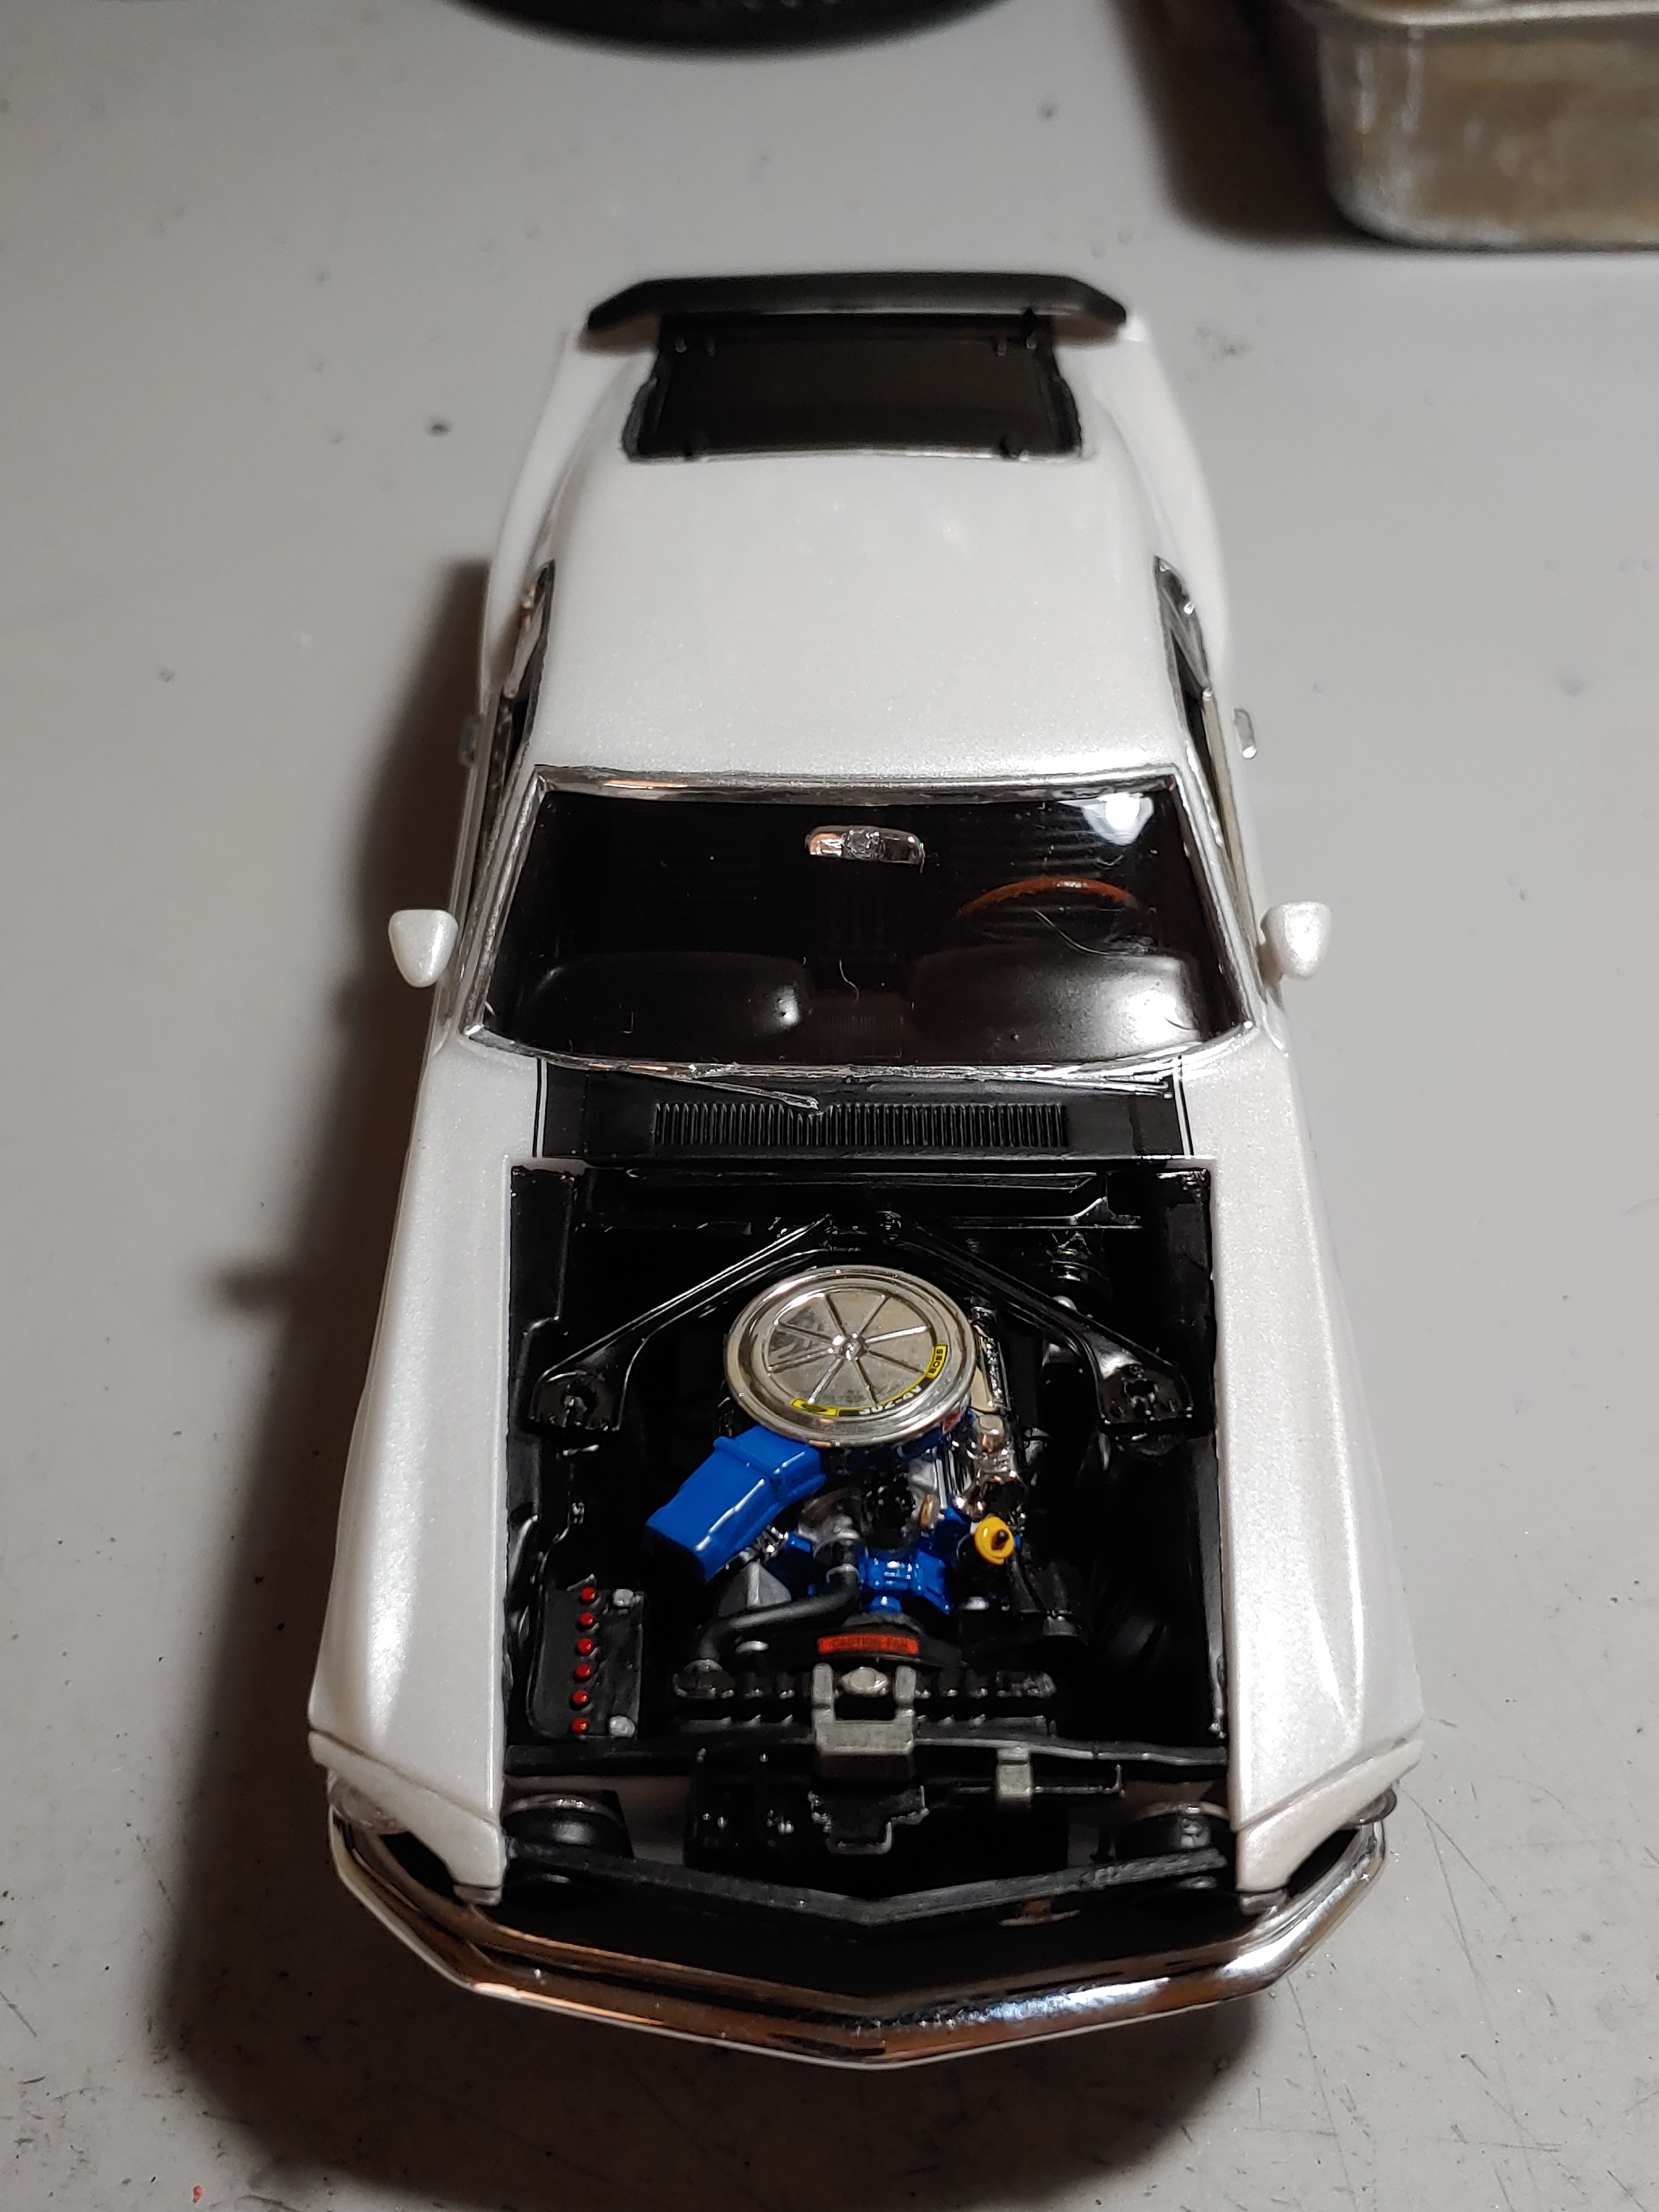
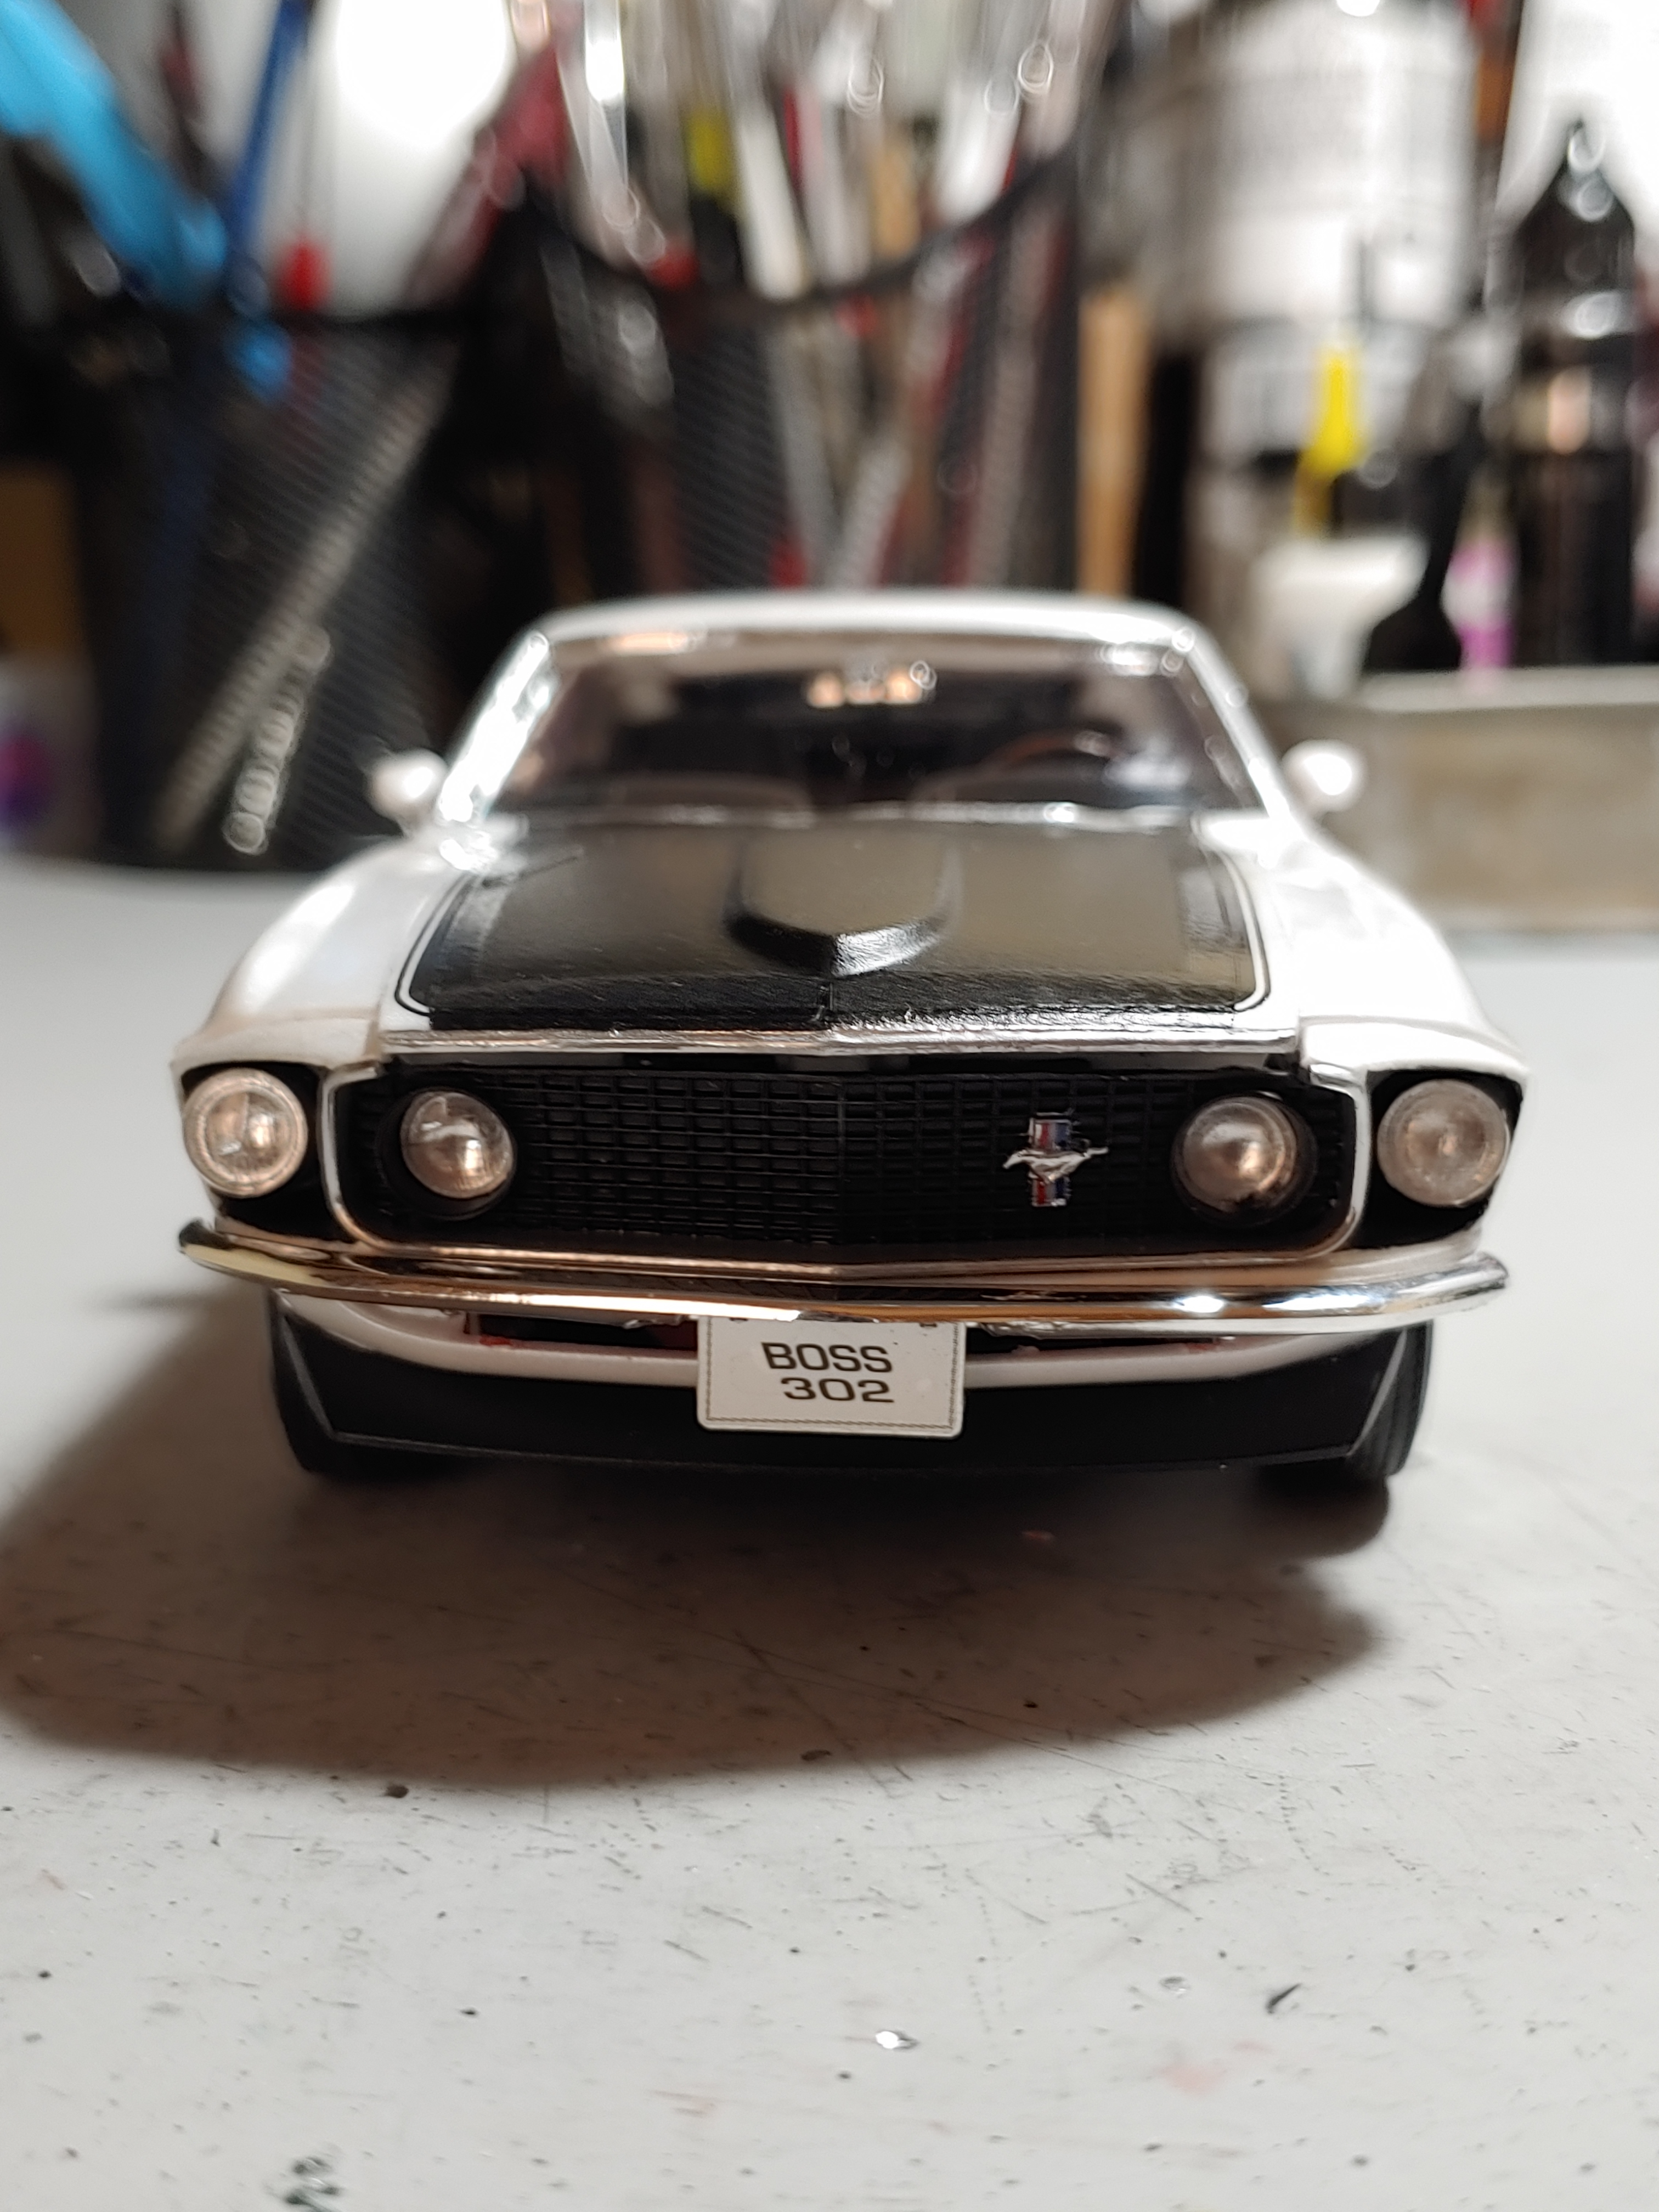
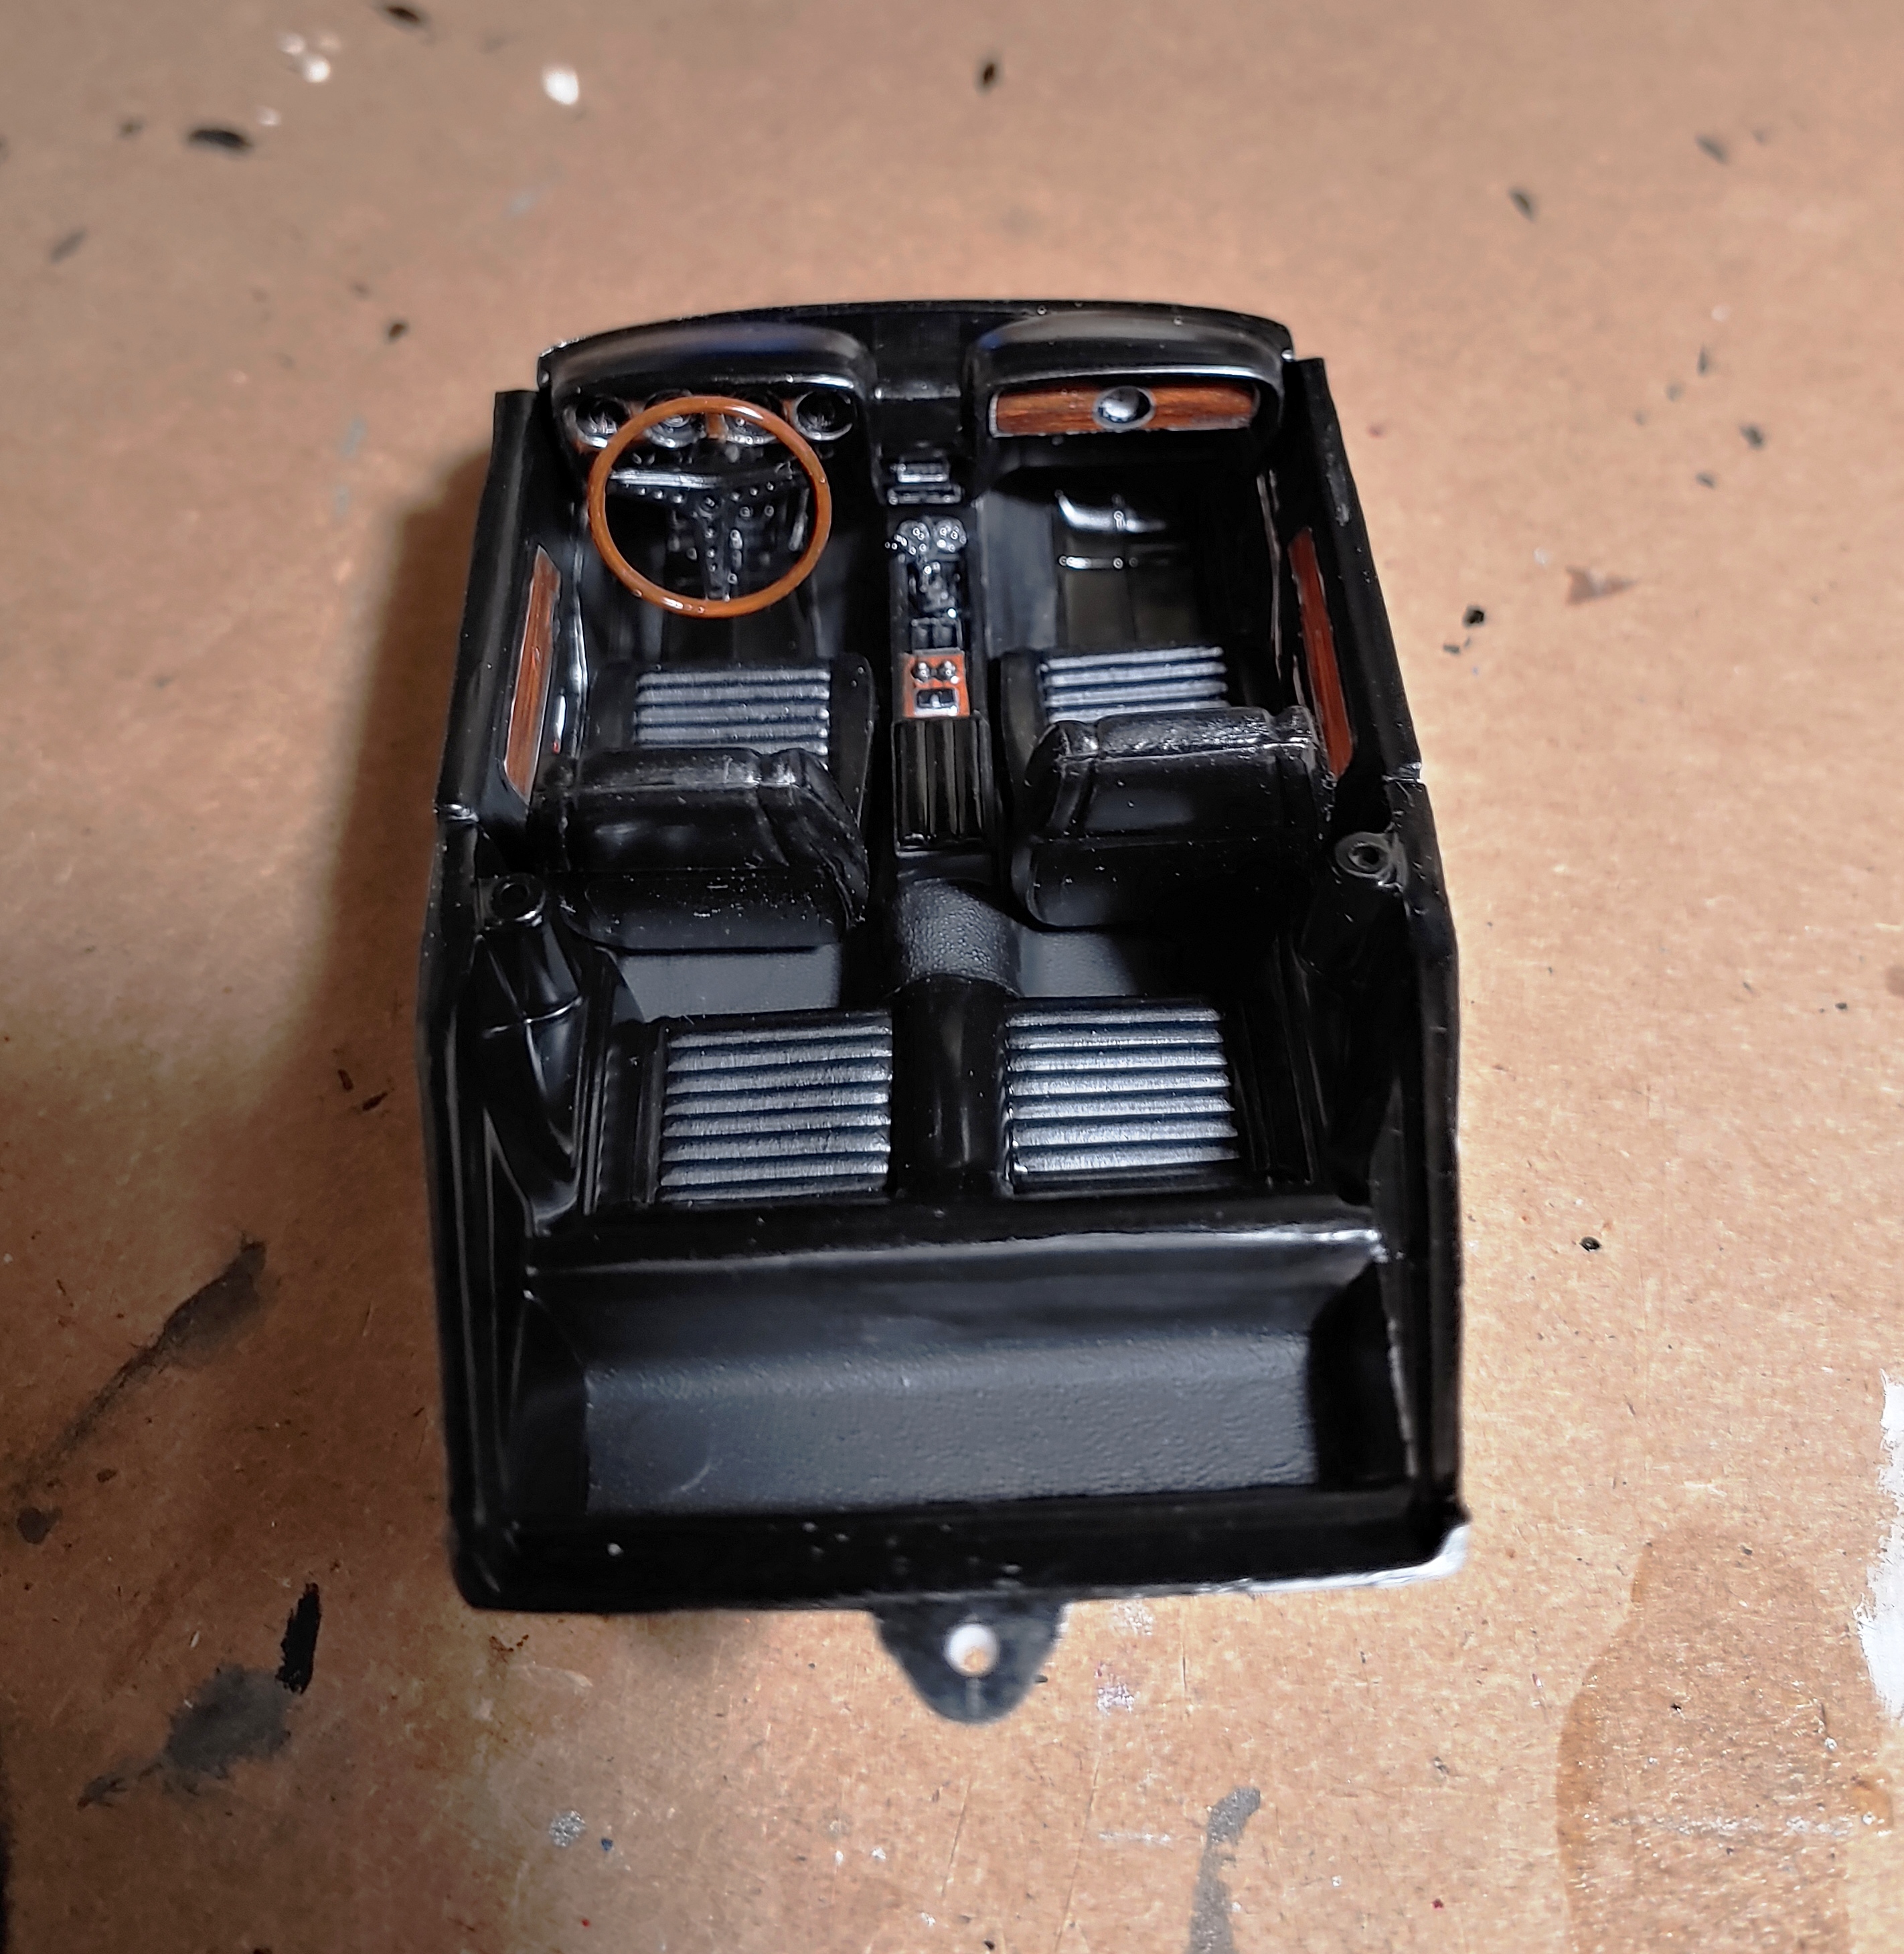
Finished up the Revell 1969 Boss 302. My first car was a 1969 Mach 1 but I always wanted a Boss. It was a decent kit - but the interior isn't correct for a 1969 Boss and appears to be the interior from their Shelby model. In researching how to paint the car, I found that Ford didn't do anything consistent with the painting of the underbody. In looking at a number of photos - I decided to try and replicate how they did the paint. It came out ok - but trying to do it with a rattle can was well, challenging. I decided to paint it Pearl White - using Testors White Lightening Lacquer because I really like how this paint lays down and dries so quickly. Since I took these photos I've fixed the front bumper and the rear panel and got them to seat better. I did make one fatal error in painting the hood. Didn't mask the front correctly when painting the black. I didn't realize it until I was putting on the final decals. Not sure why they have a decal for the black on the trunk and not the whole hood. I also messed up the woodgrain decal on the dash - so I painted that instead. Overall I'm happy with the build but the hood just bugs me...
-
Yup - saw that when I was looking into building this kit. There were so many variations of the car. It's hard to not to do one variation or another and have it still look good.
-
Thanks for the compliments folks. It was frustrating but in the end pretty rewarding. On to finish the 69 Boss kit you can see peaking out in one of the pics.
-
Loved to watch this thing in action back in the day. Saw the model online and picked it up. However, pretty disappointed with the kit overall as most of it was pretty ill fitting with warped doors etc. Did my best to replicate the original - although there was many different versions of the car. So I did sort of a compilation of the version I liked best given the parts I had. Painted in Testors Candy Red over Silver Metallic. Probably not the best model to do in candy - but I was pretty happy with the results. Chromed all the chassis pieces.
-
Beautiful job.
-
Thanks for all the kind words everyone. Yes - the interior is probably my favorite part of the build - and the engine compartment second.
-
Thanks! Nice build in the Roadster. The Tamiya kits are always a nice build.
-
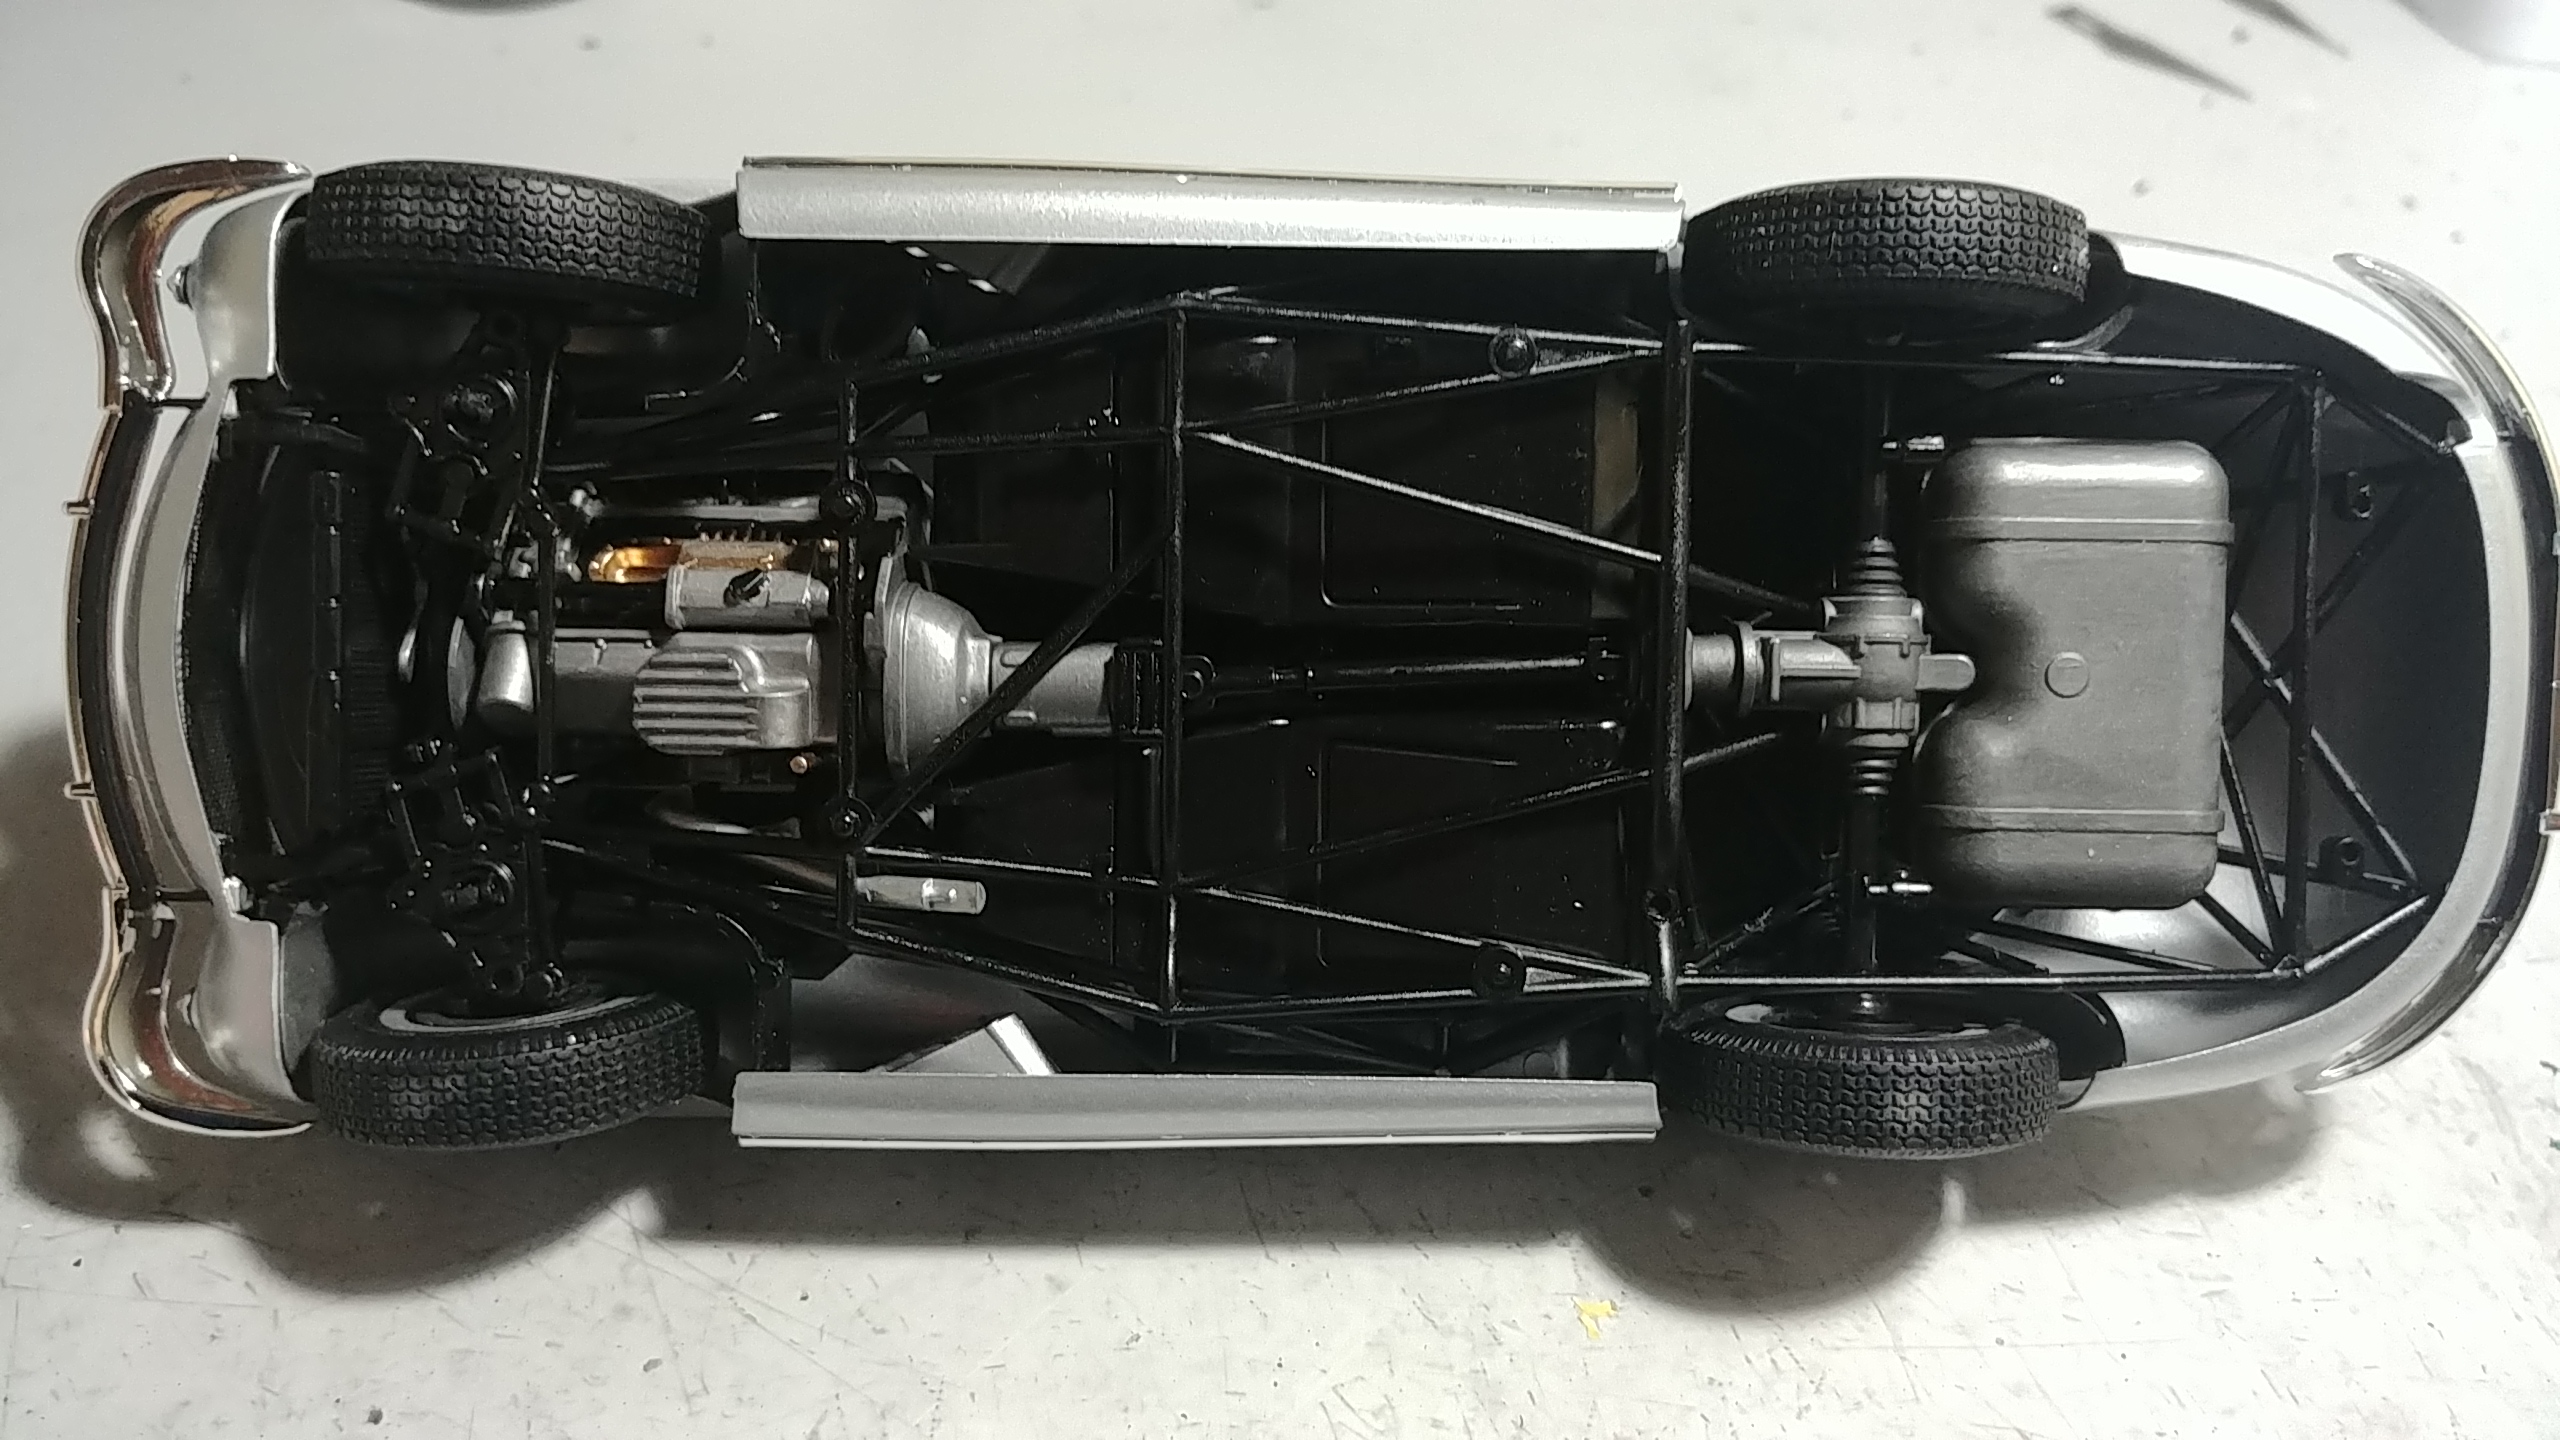
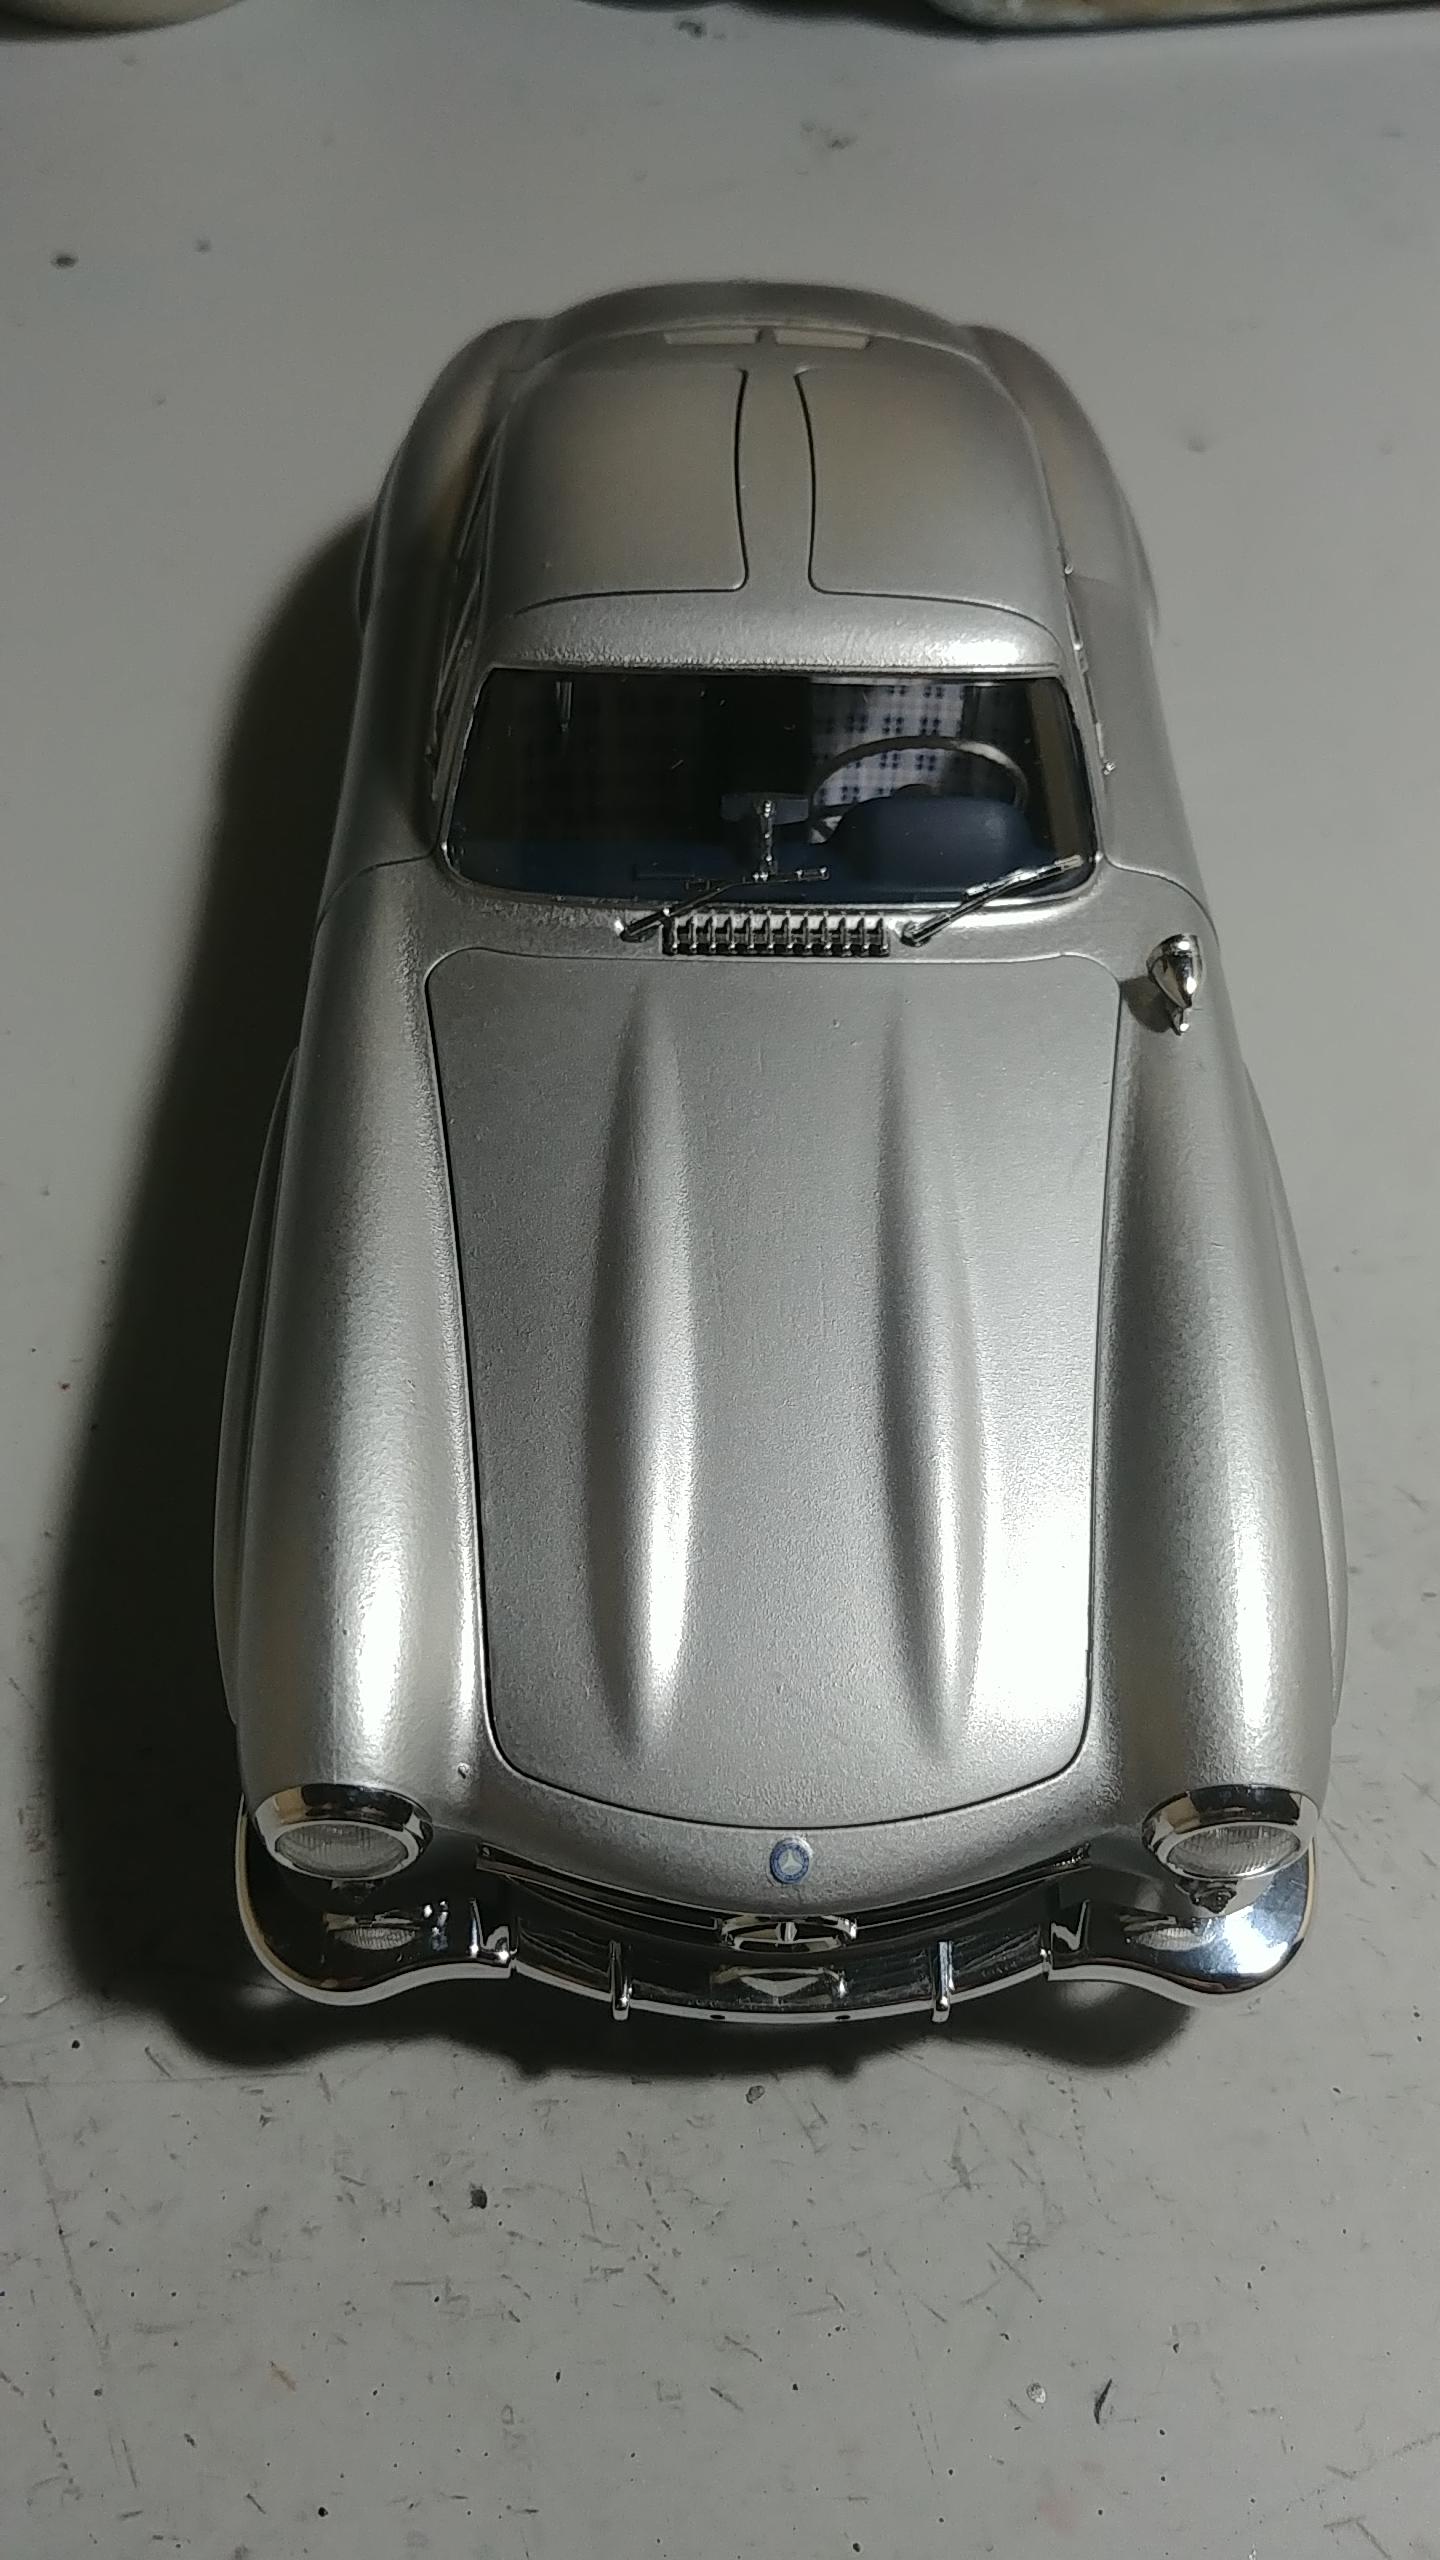
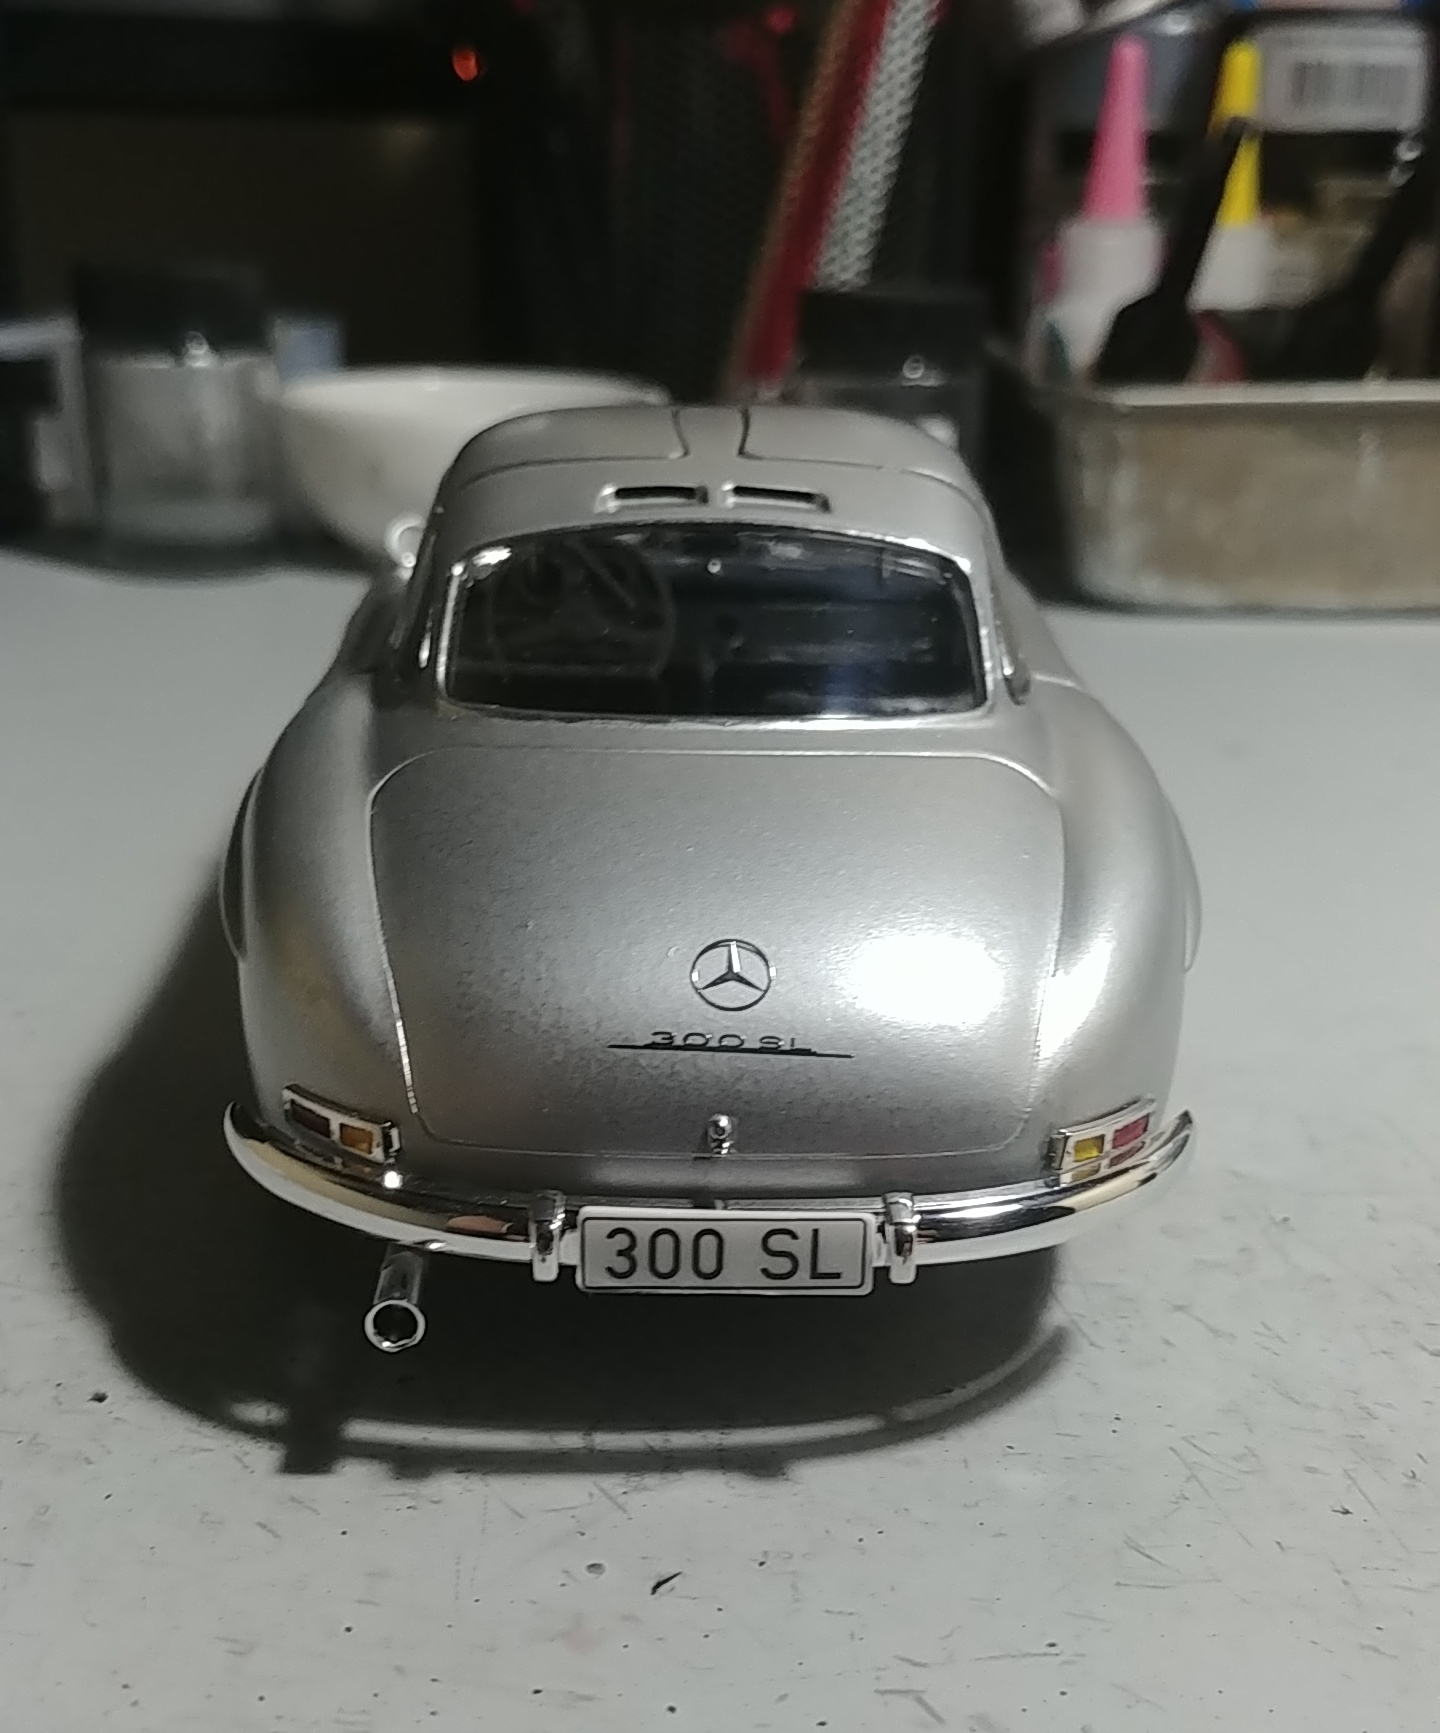
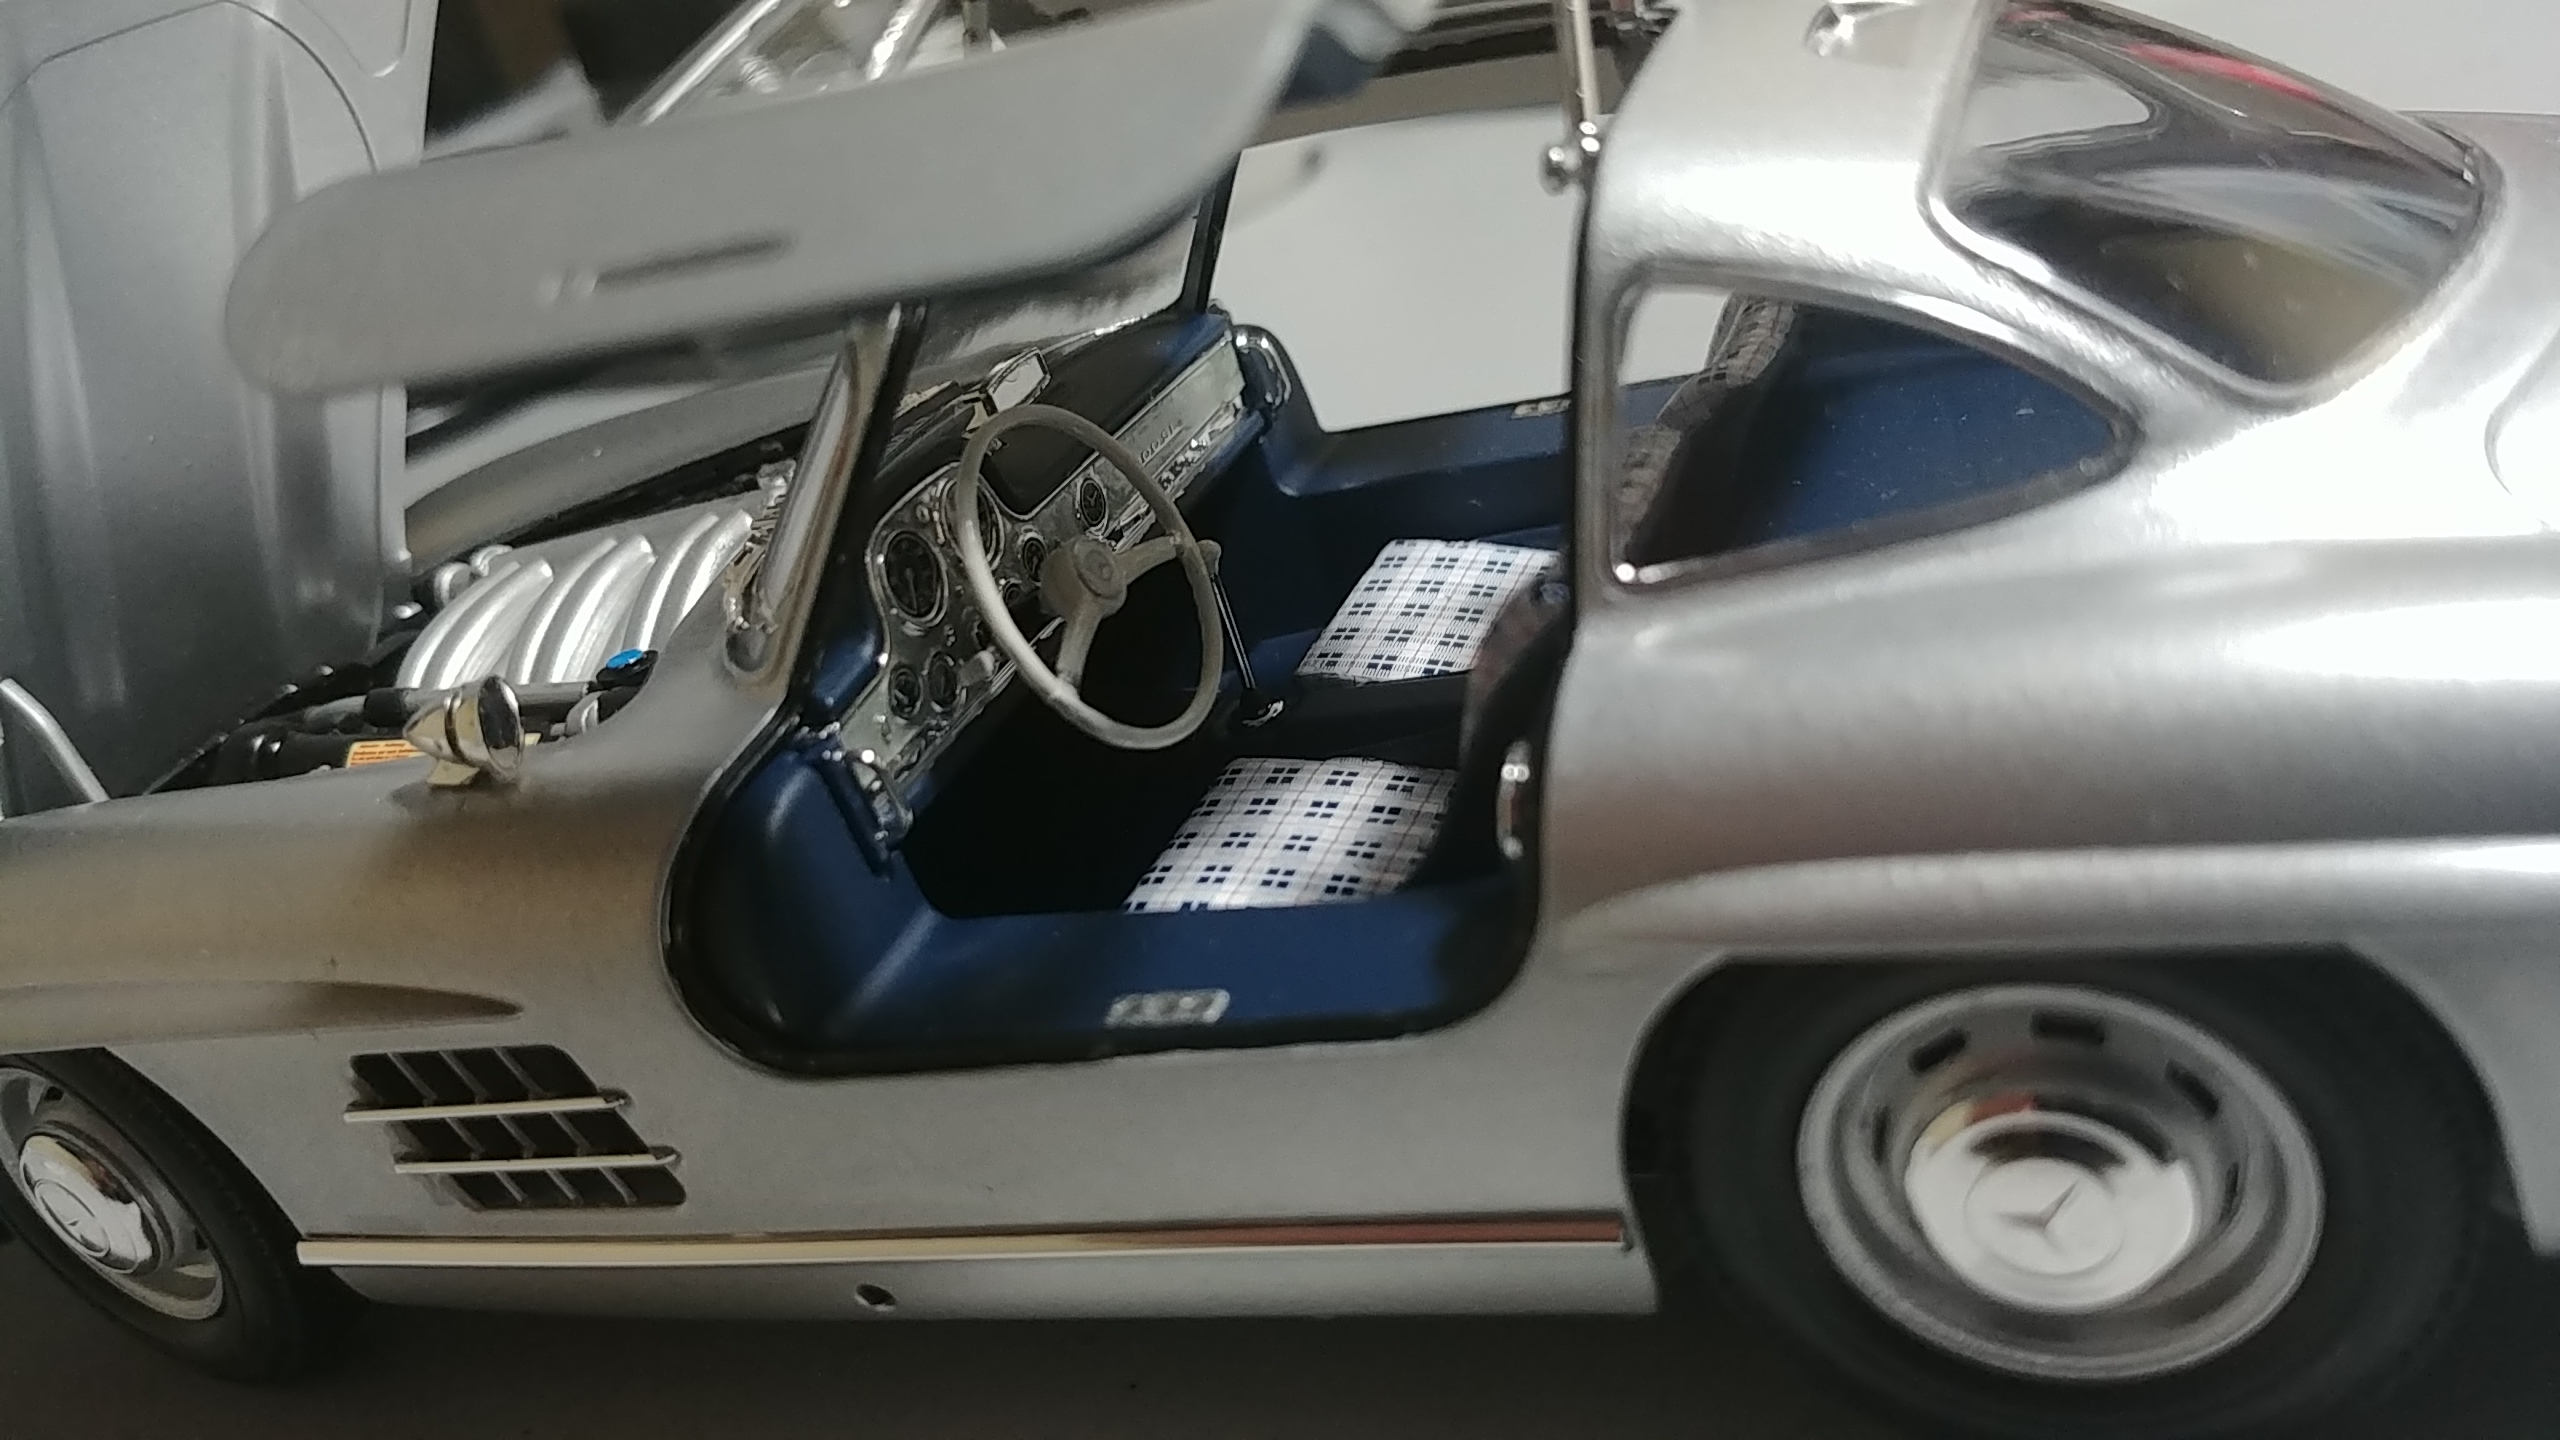
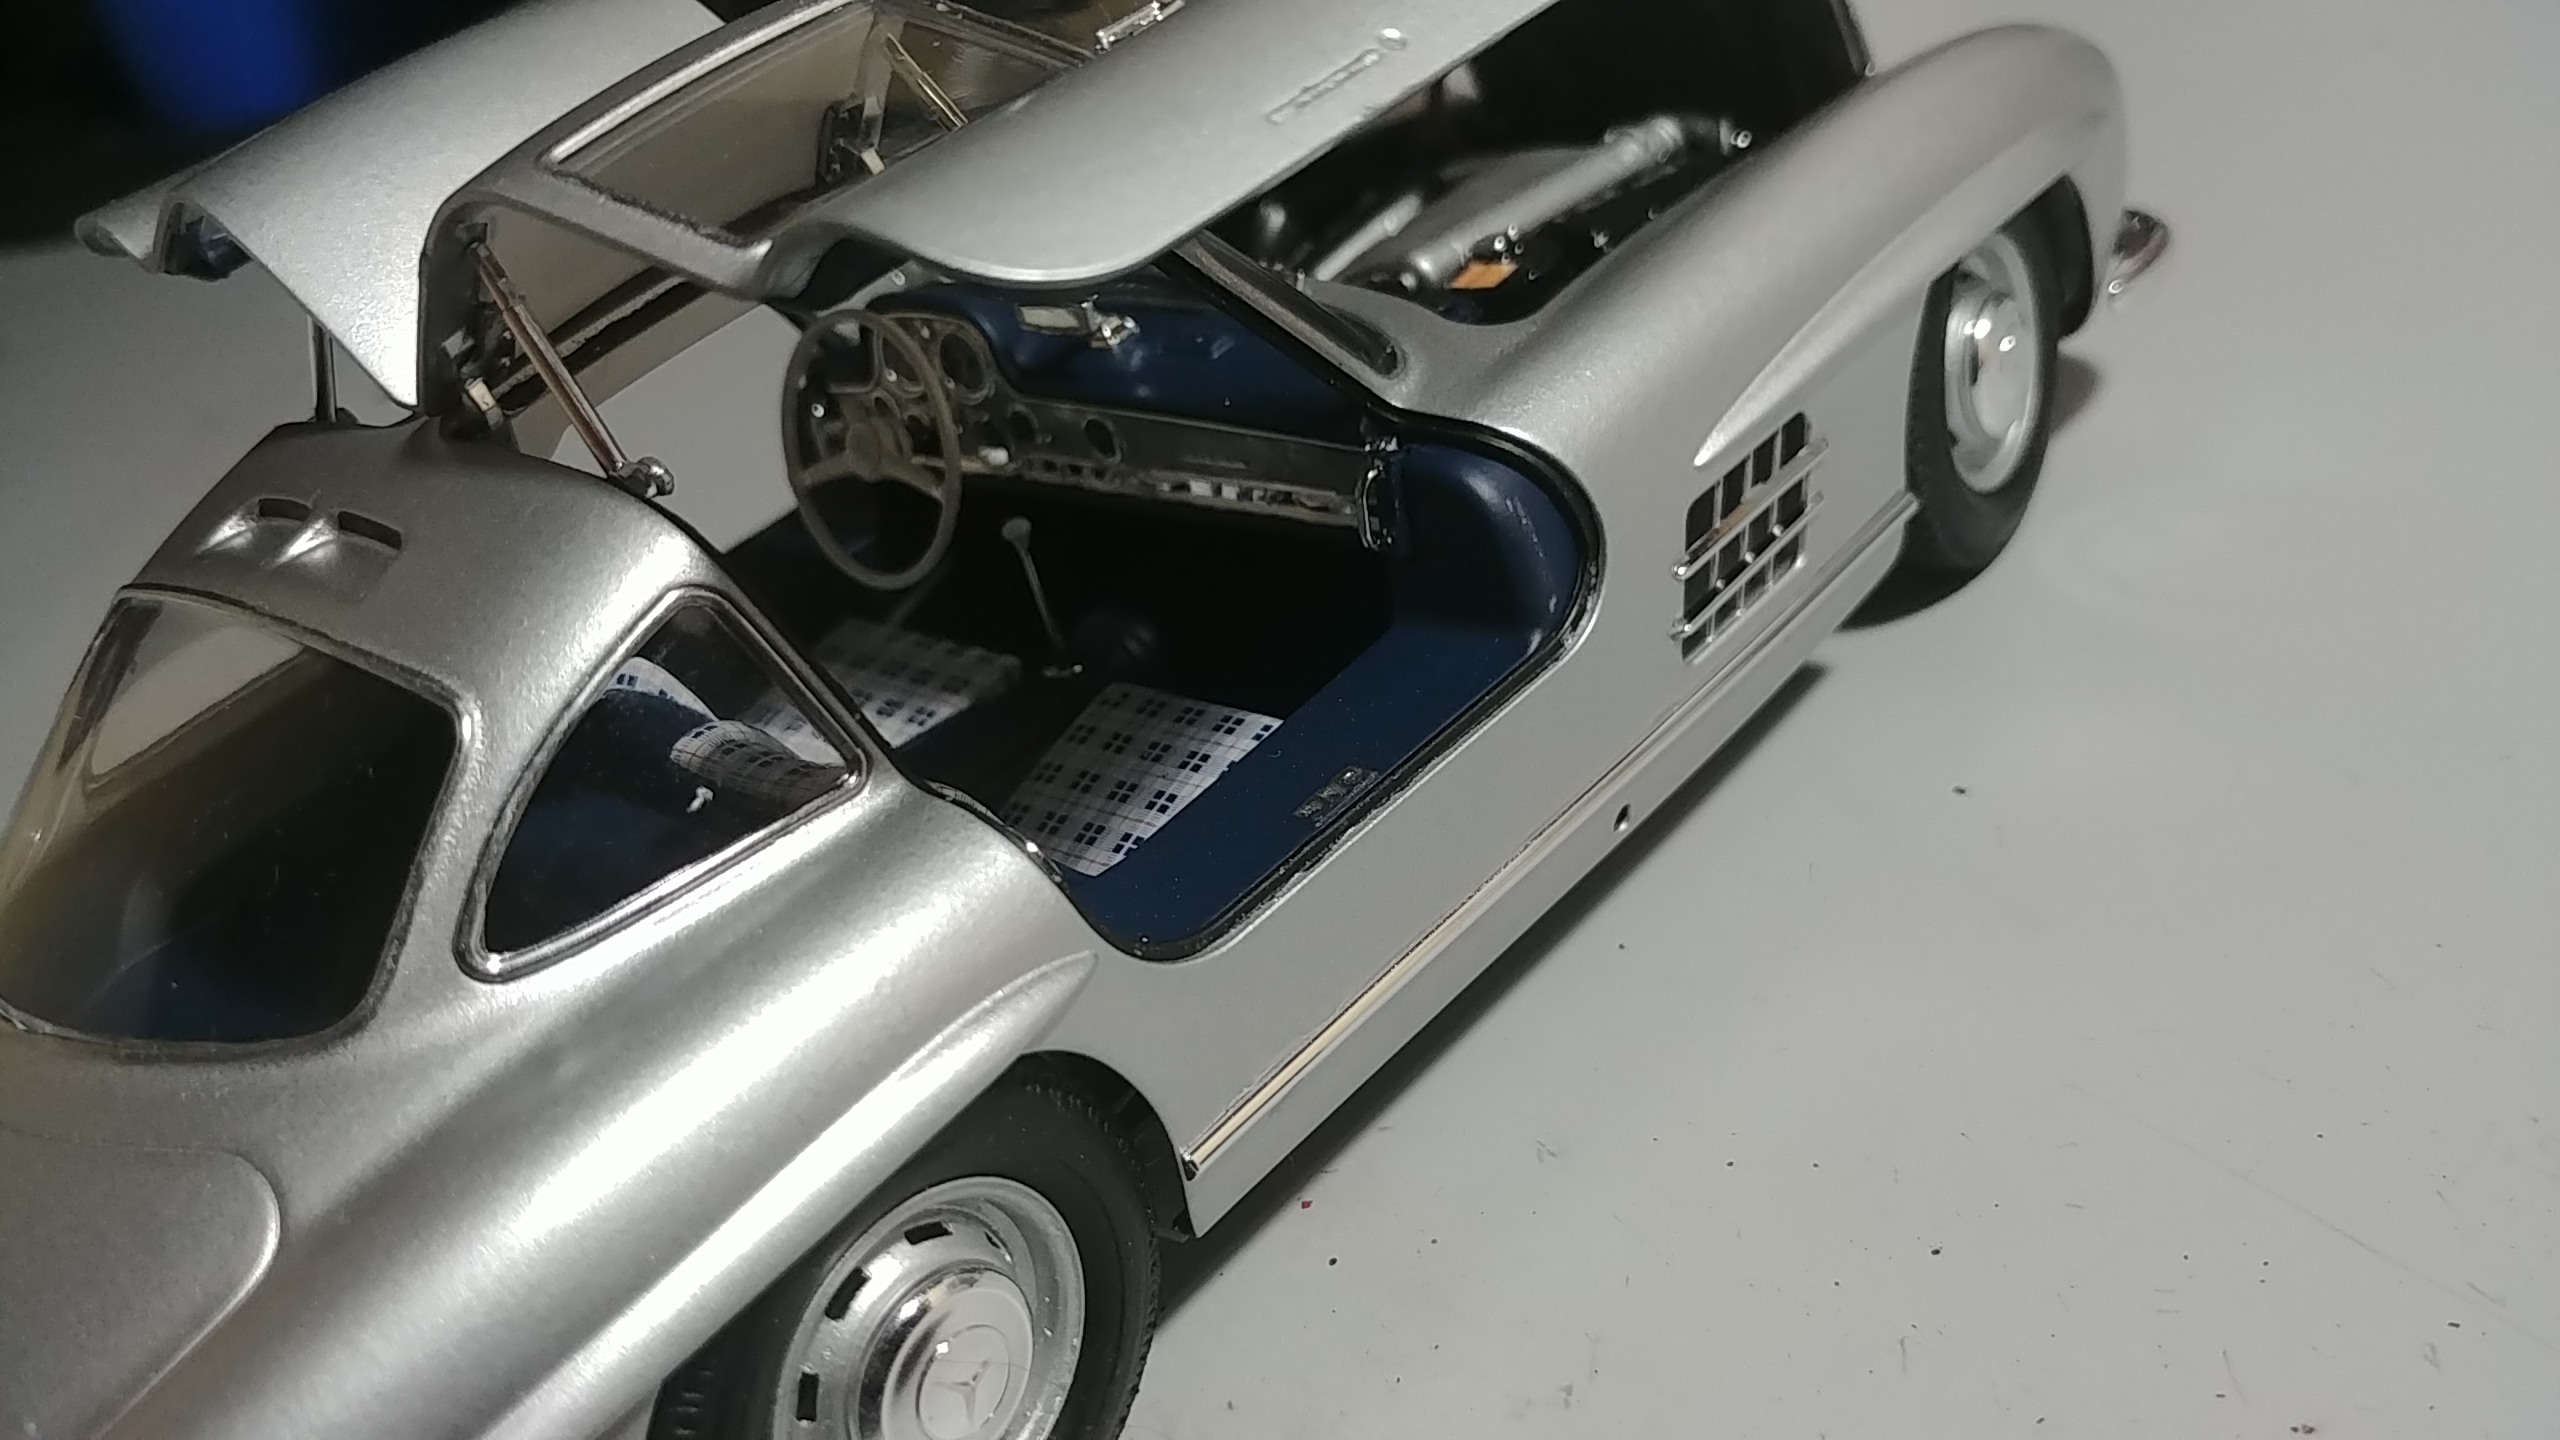
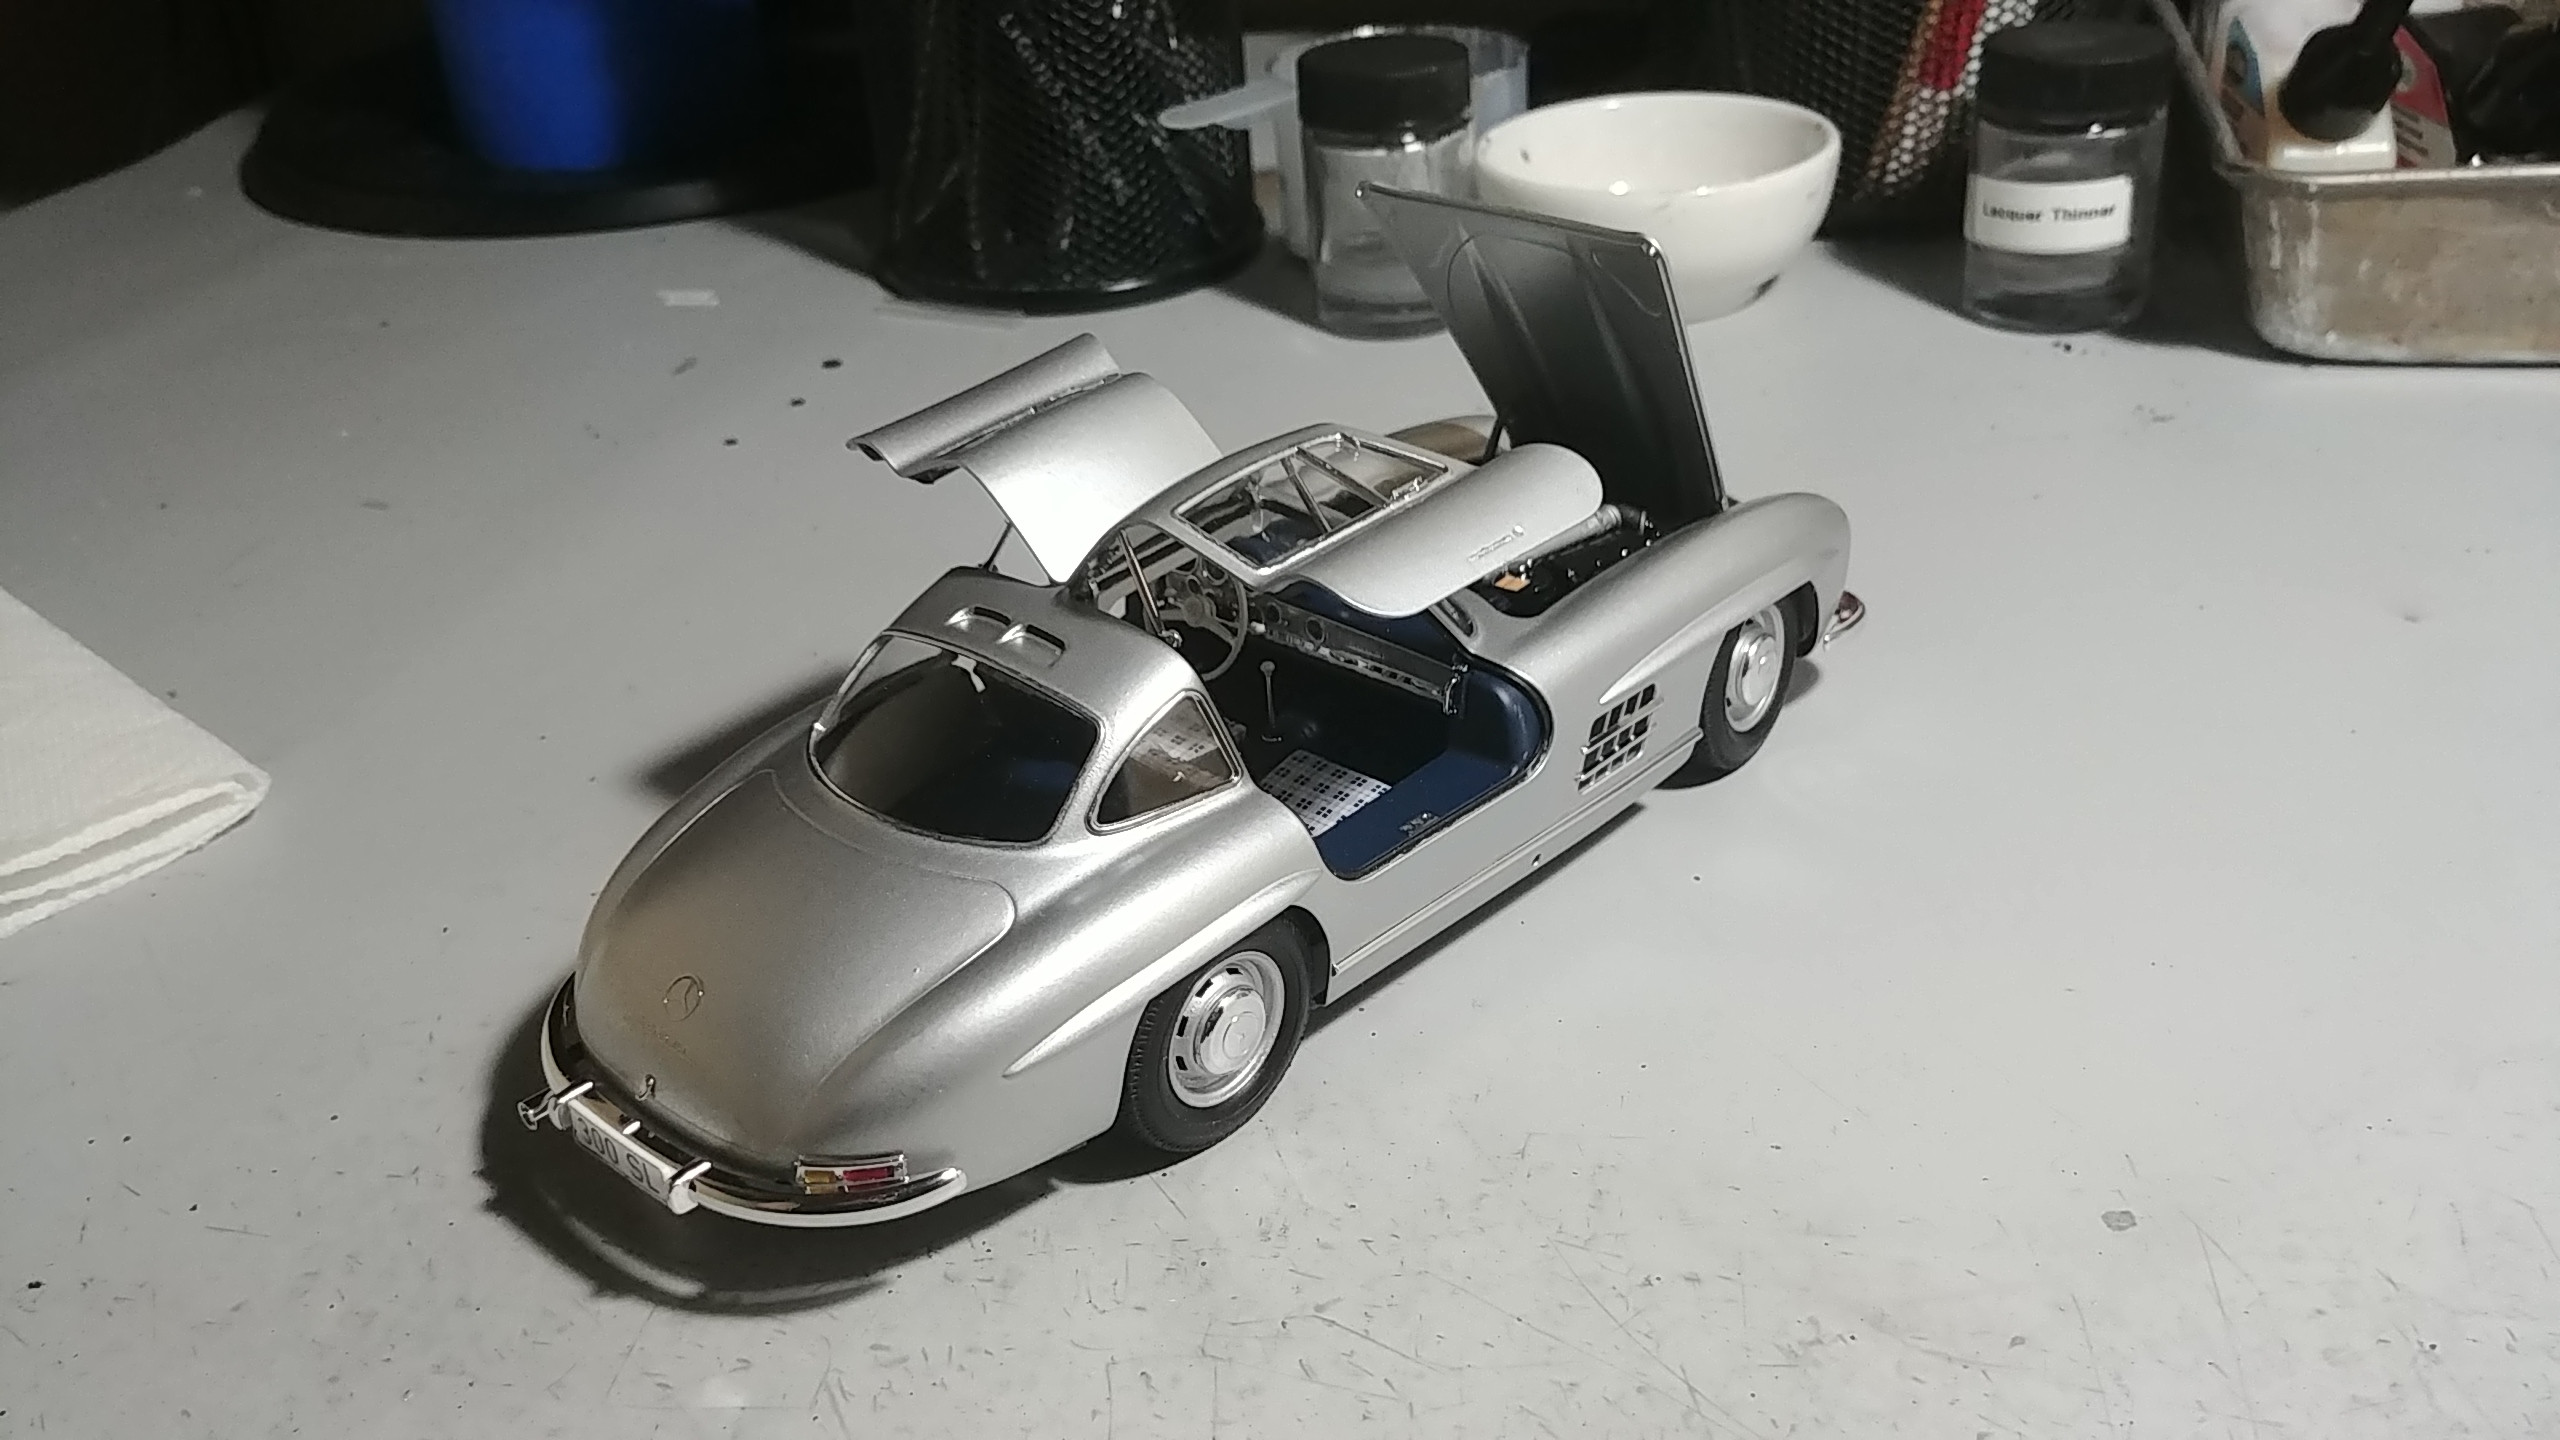
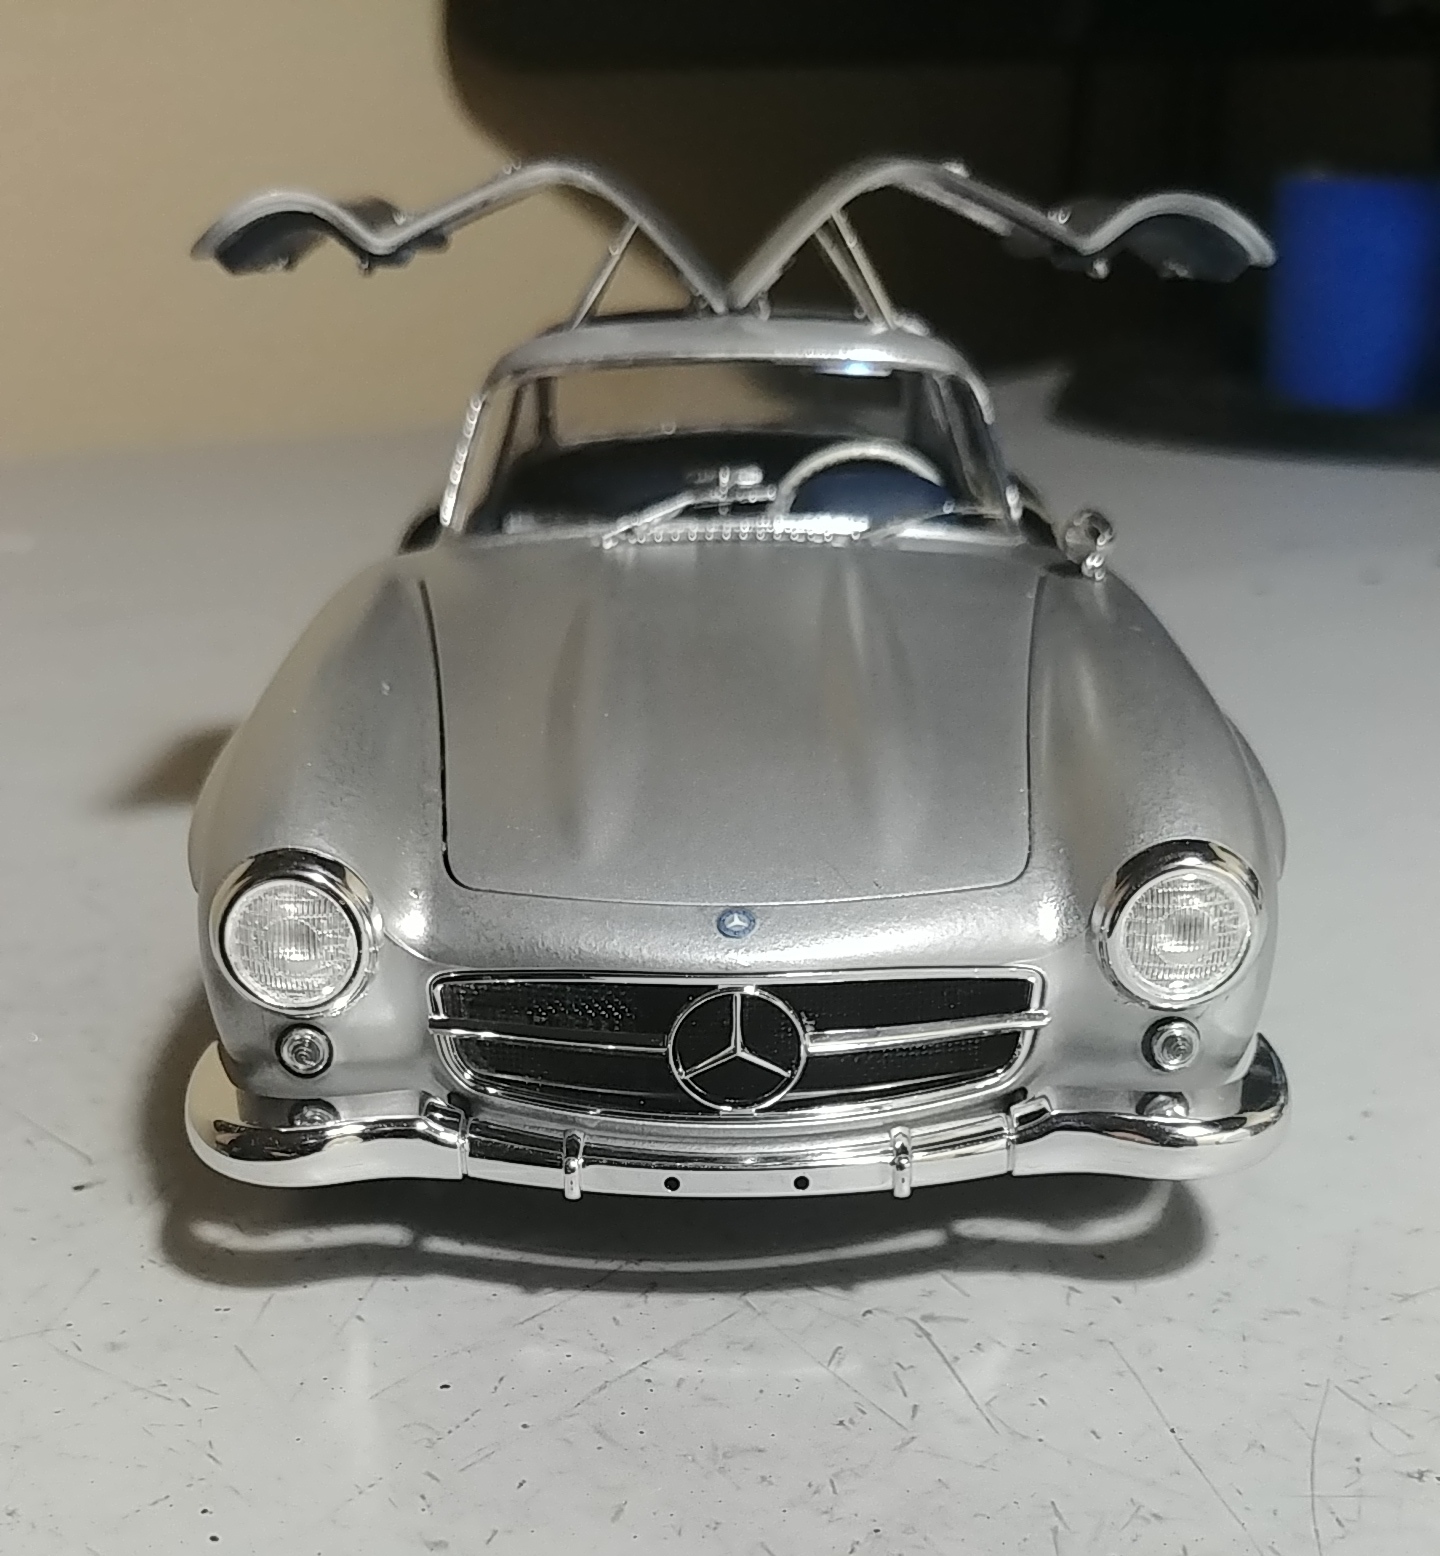
Originally I used Testors Model Master - German Silver Metallic out of my airbrush. Not sure if it was the paint or just me but the color had a very odd greenish hue to it that didn't go well with the blue interior. I only did one coat. I had some minor runs and cleaned it up. At this point, with the enamel base, I looked for other enamels and made the poor decision to go with Testors Silver metallic in a can. I needed it for a base for another model I'm doing Candy Apple Red, so I figured I'd give it a shot. I liked the dullness of the finish and color overall, but it kept settling and pooling no matter how hard I tried to lay down smooth coats. After cleaning it up a couple times, I shot one final coat. You can see some bubbling in some of the crevices etc. I finally said enough is enough.
-
Thanks for all the compliments. While I keep improving on every build I still have a long way to go.
-
My wife bought this for me for Christmas and I've had a fair amount done for a while, but messed up the paint on the shell. Therefore, the resulting silver didn't turn out so well. My own fault though - and after three tries I simply settled for the final product. However, I'm very happy with the rest of the model.
-
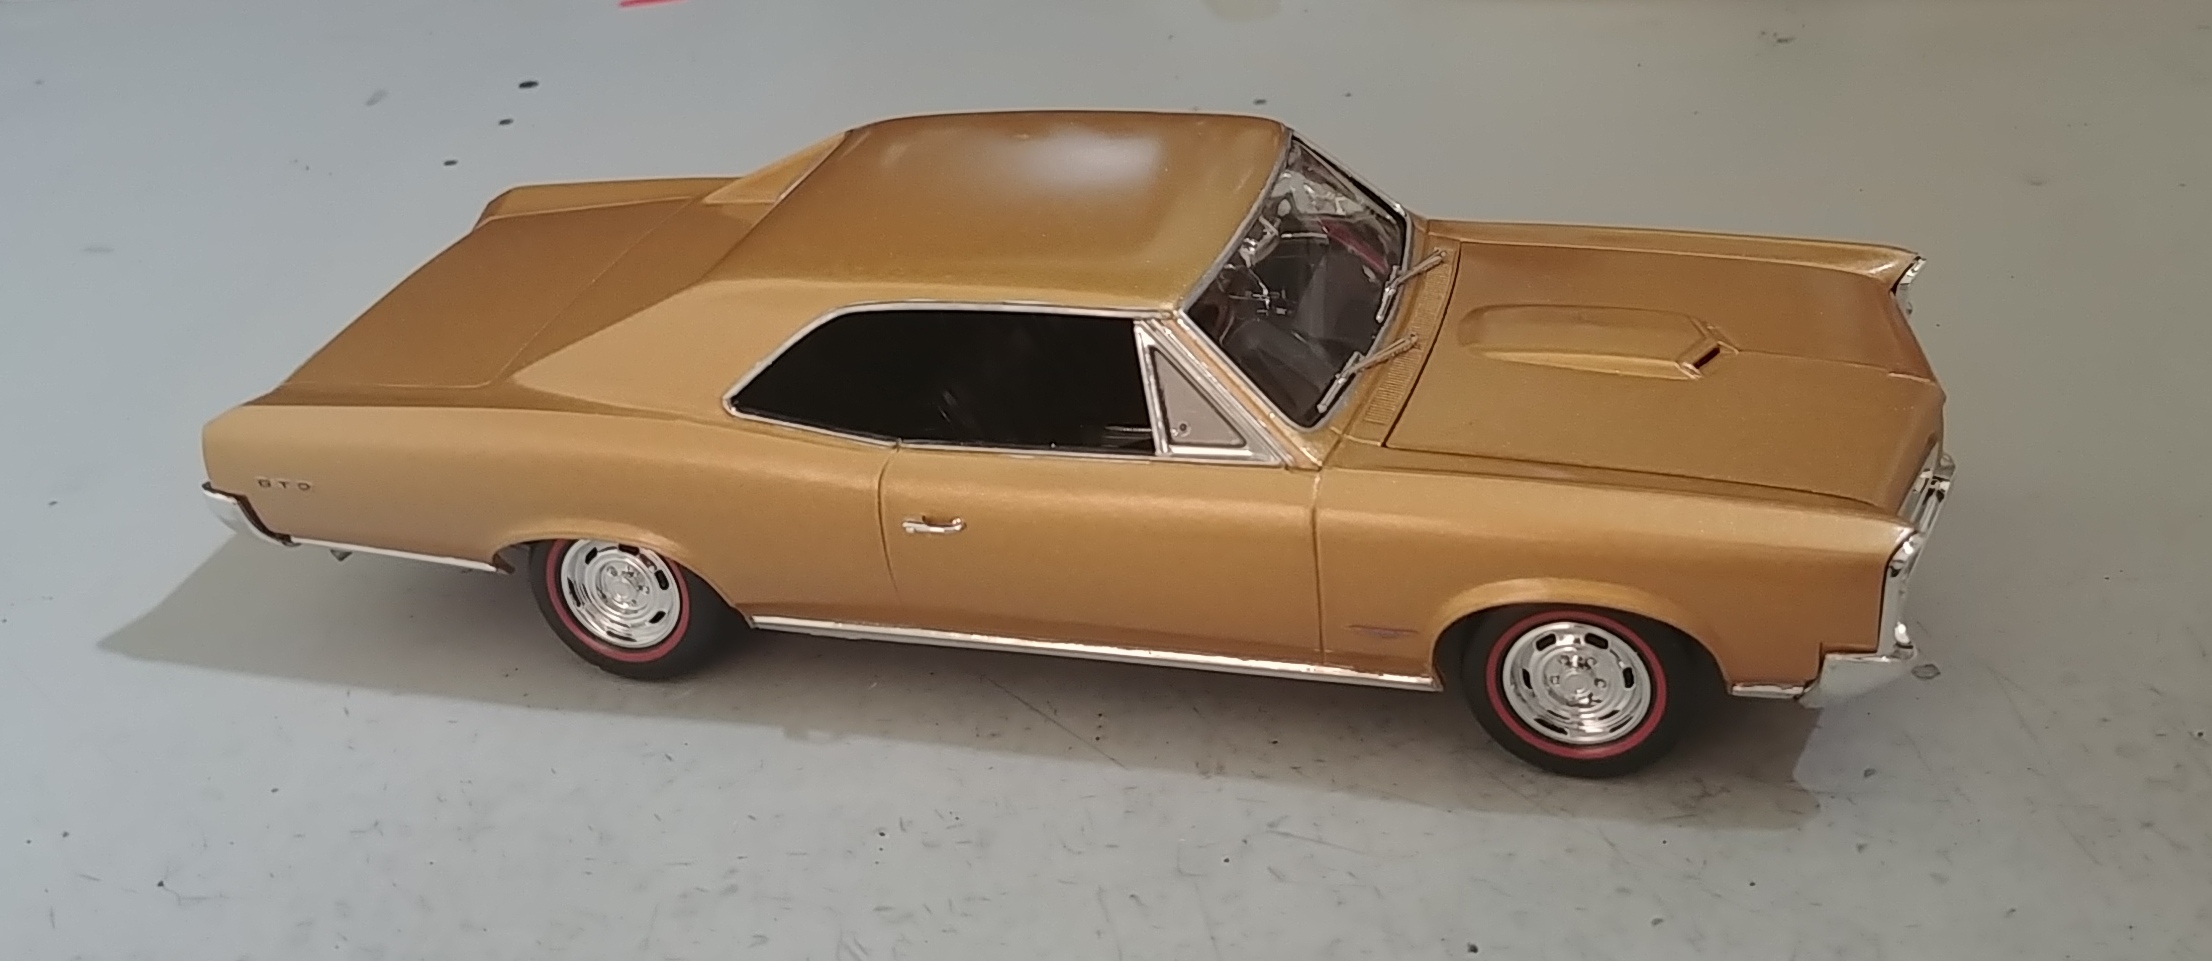
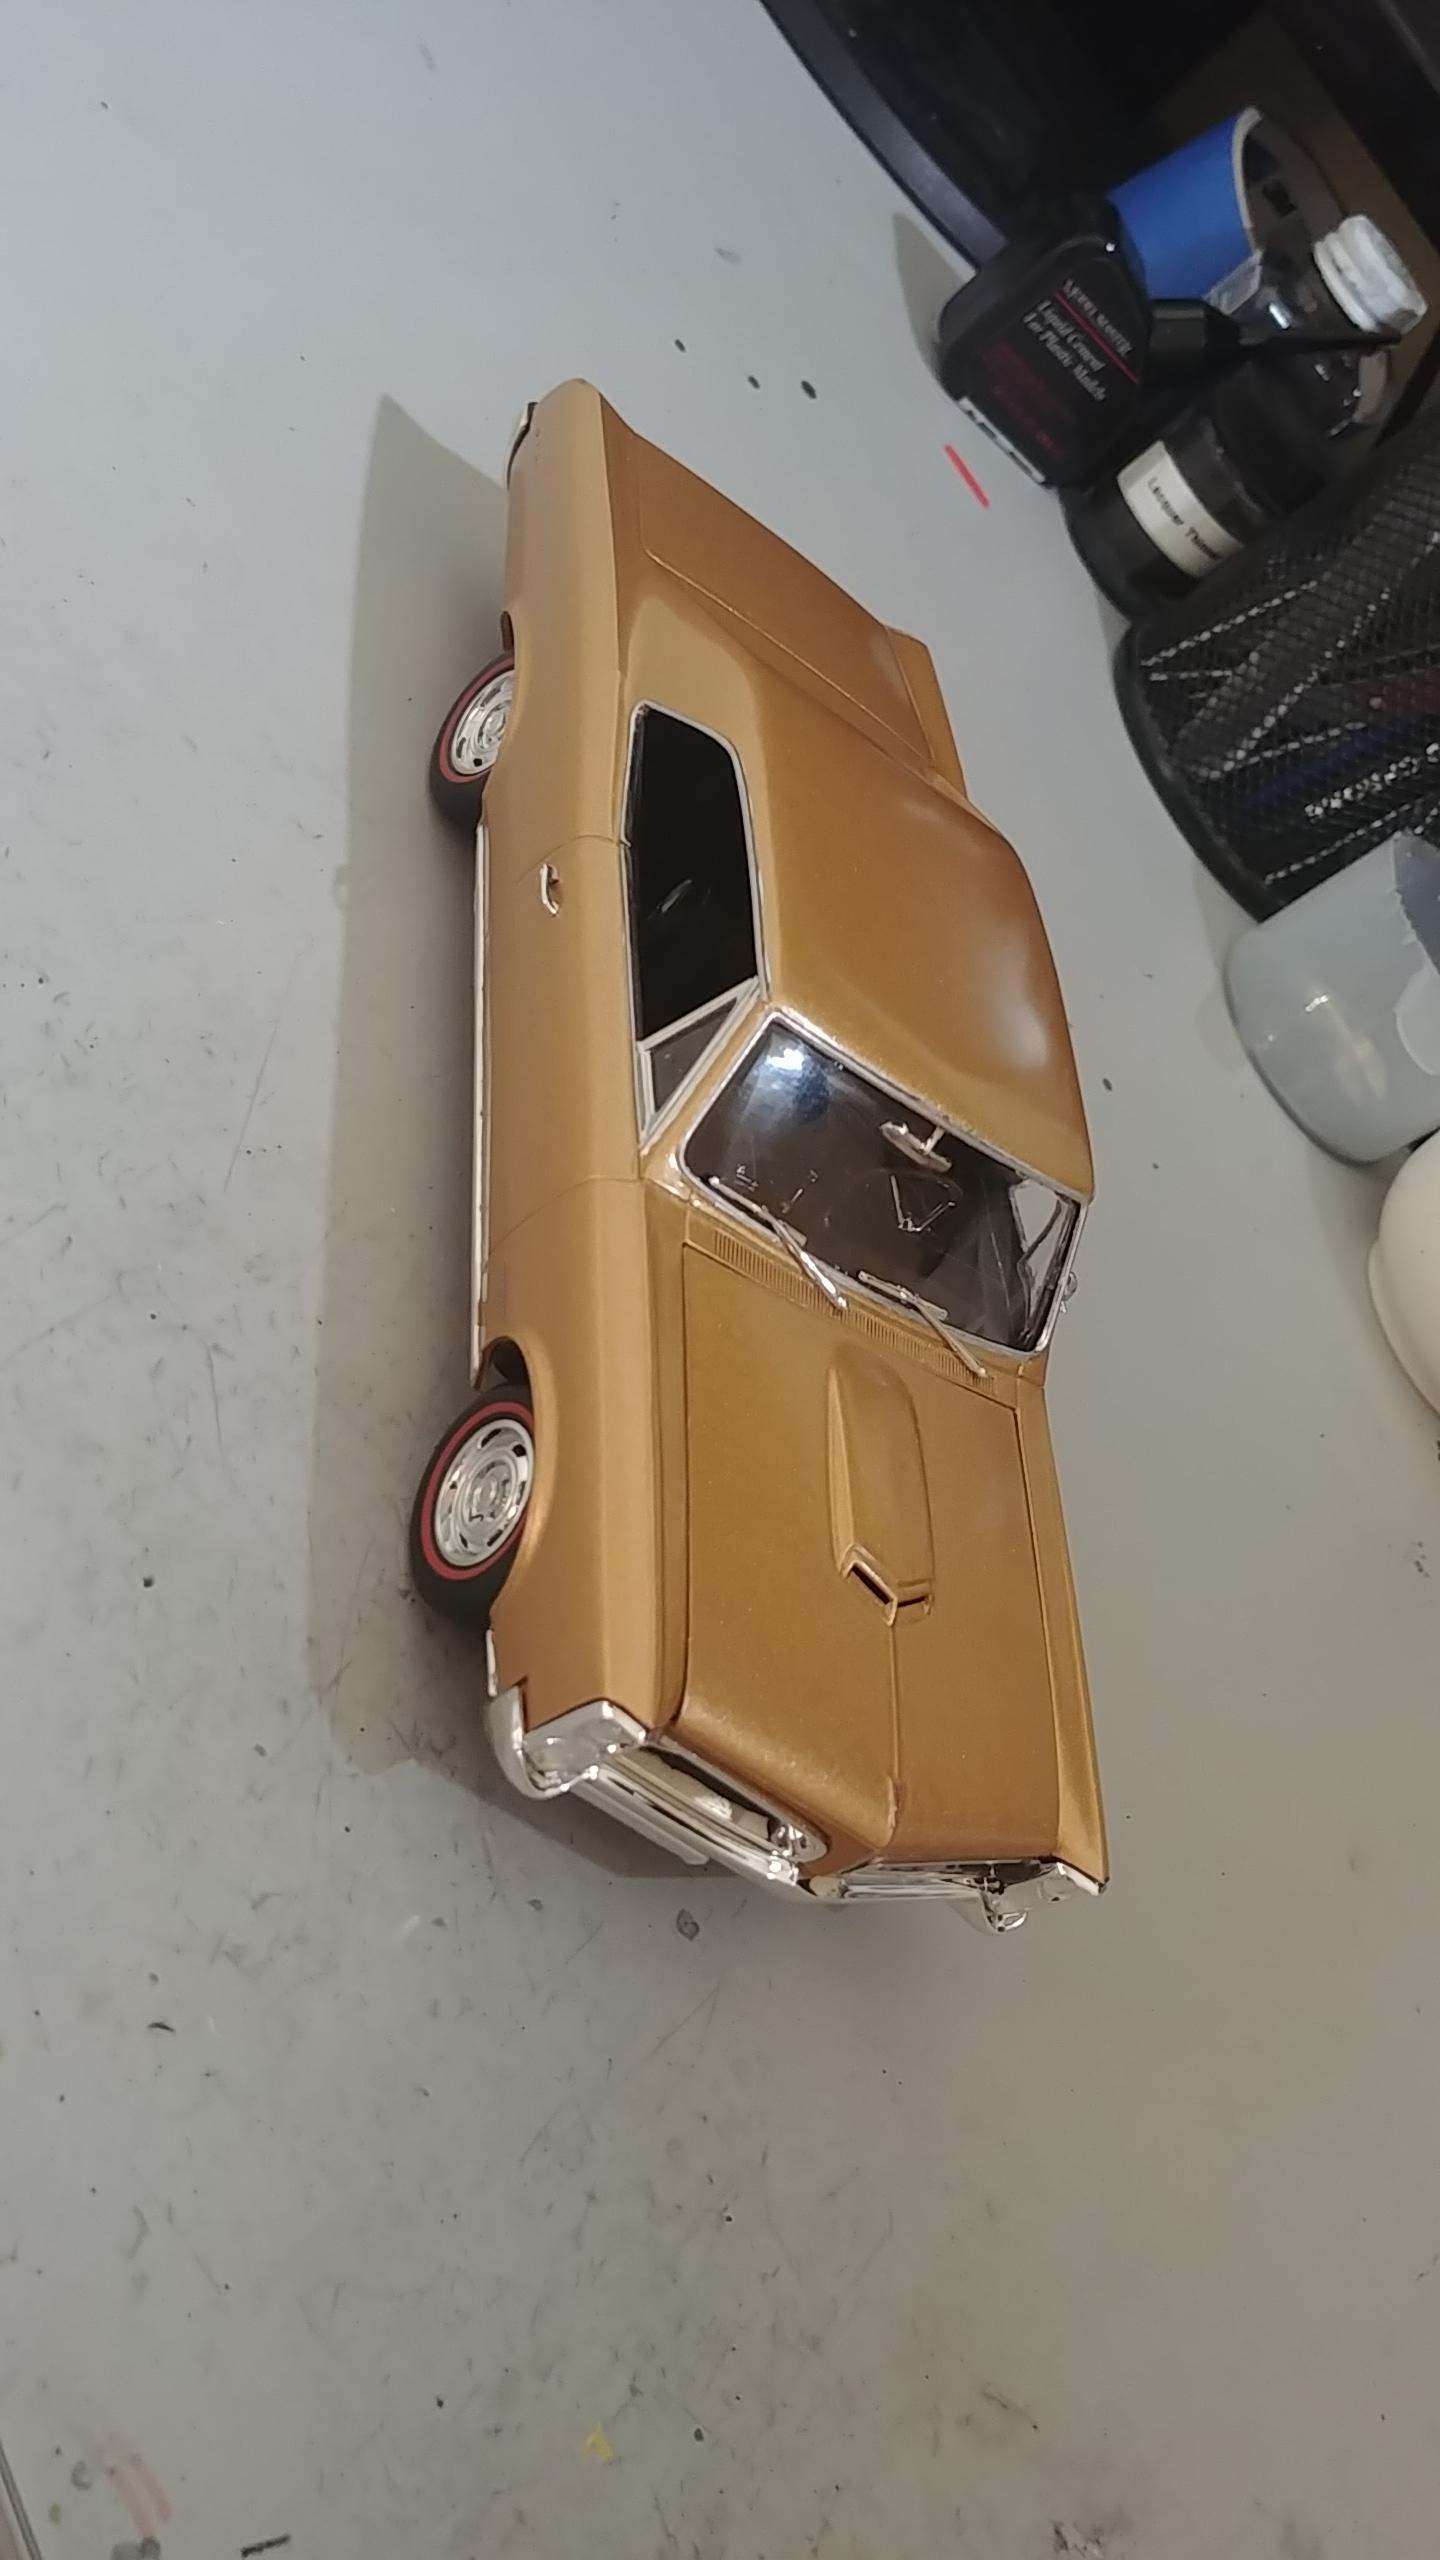
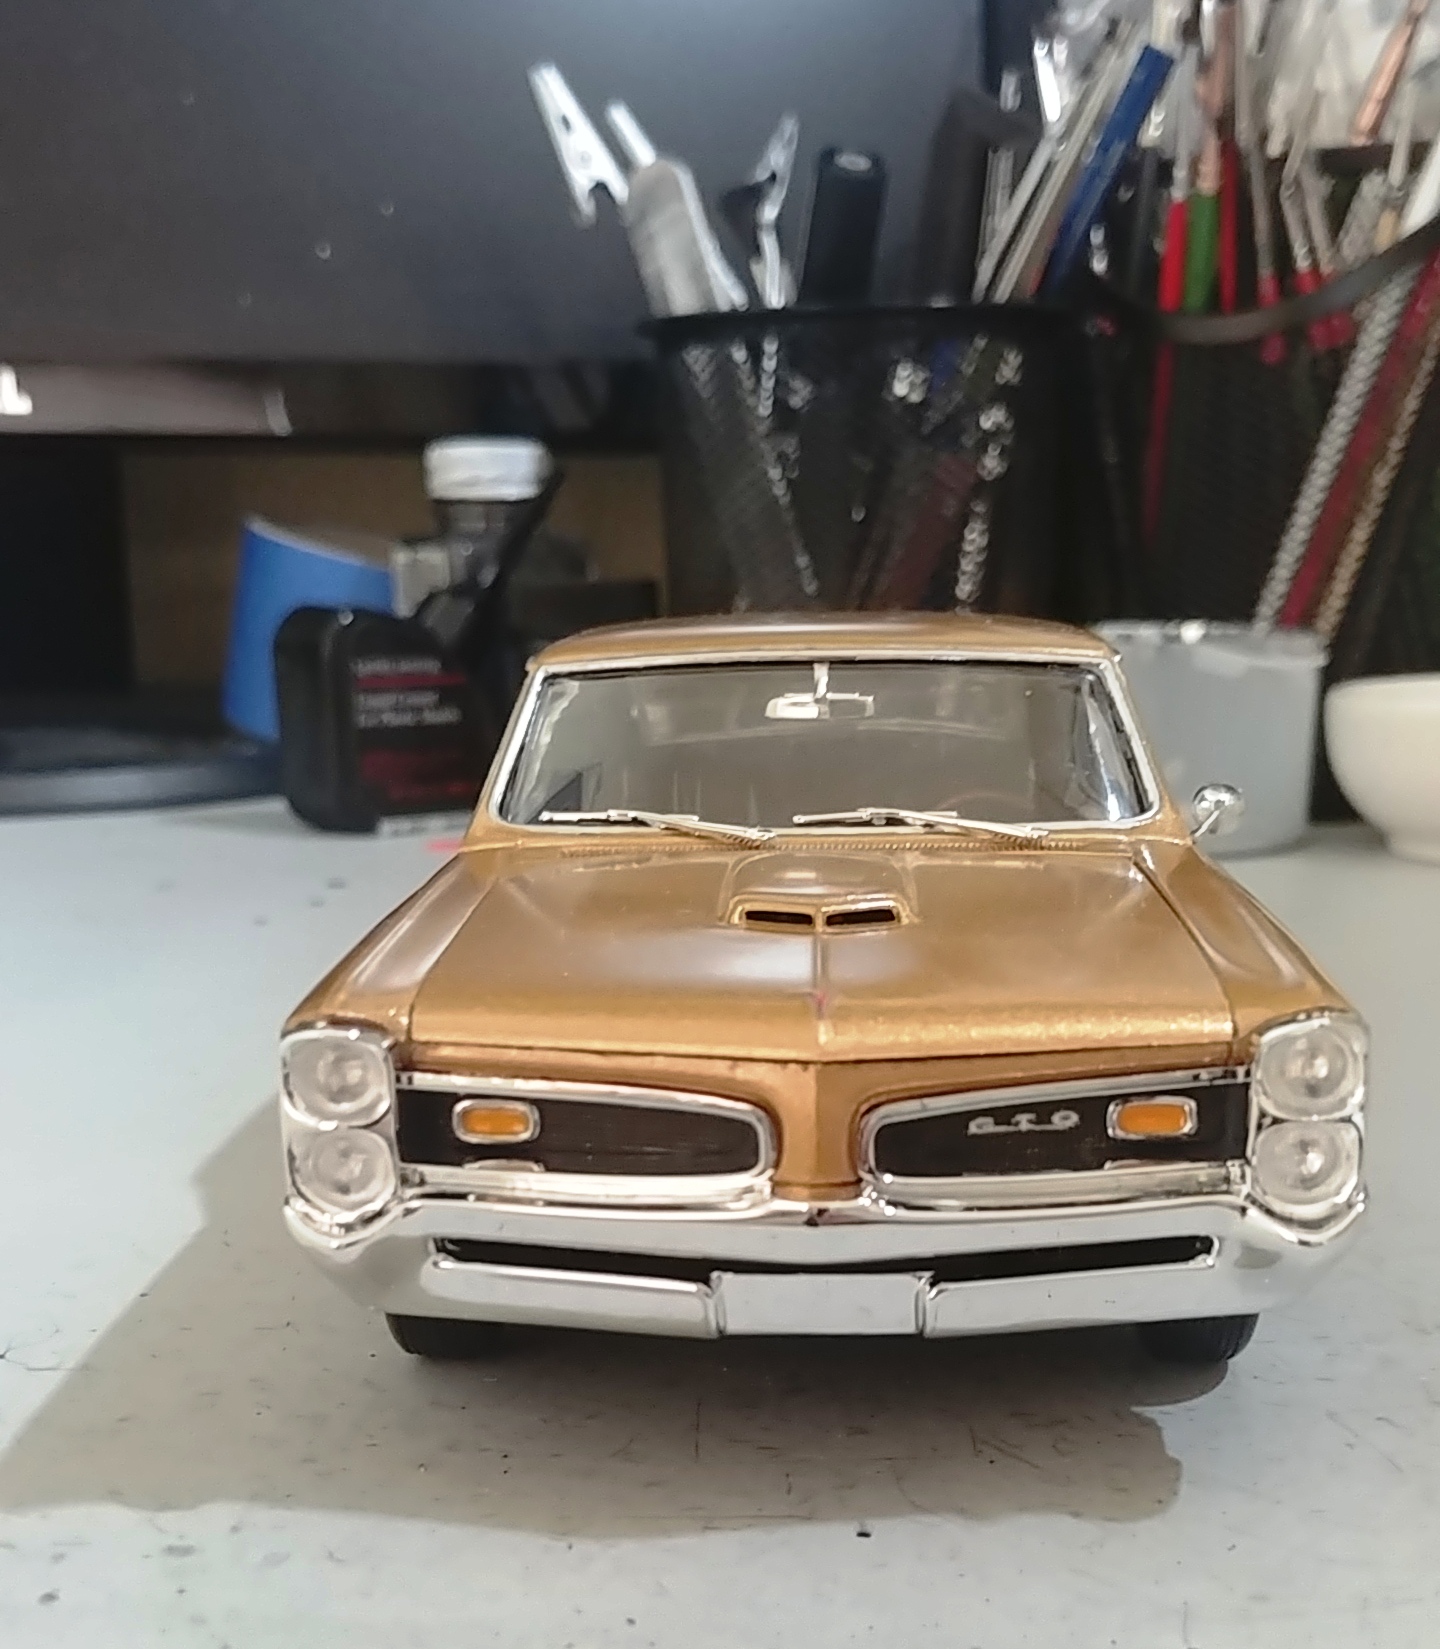
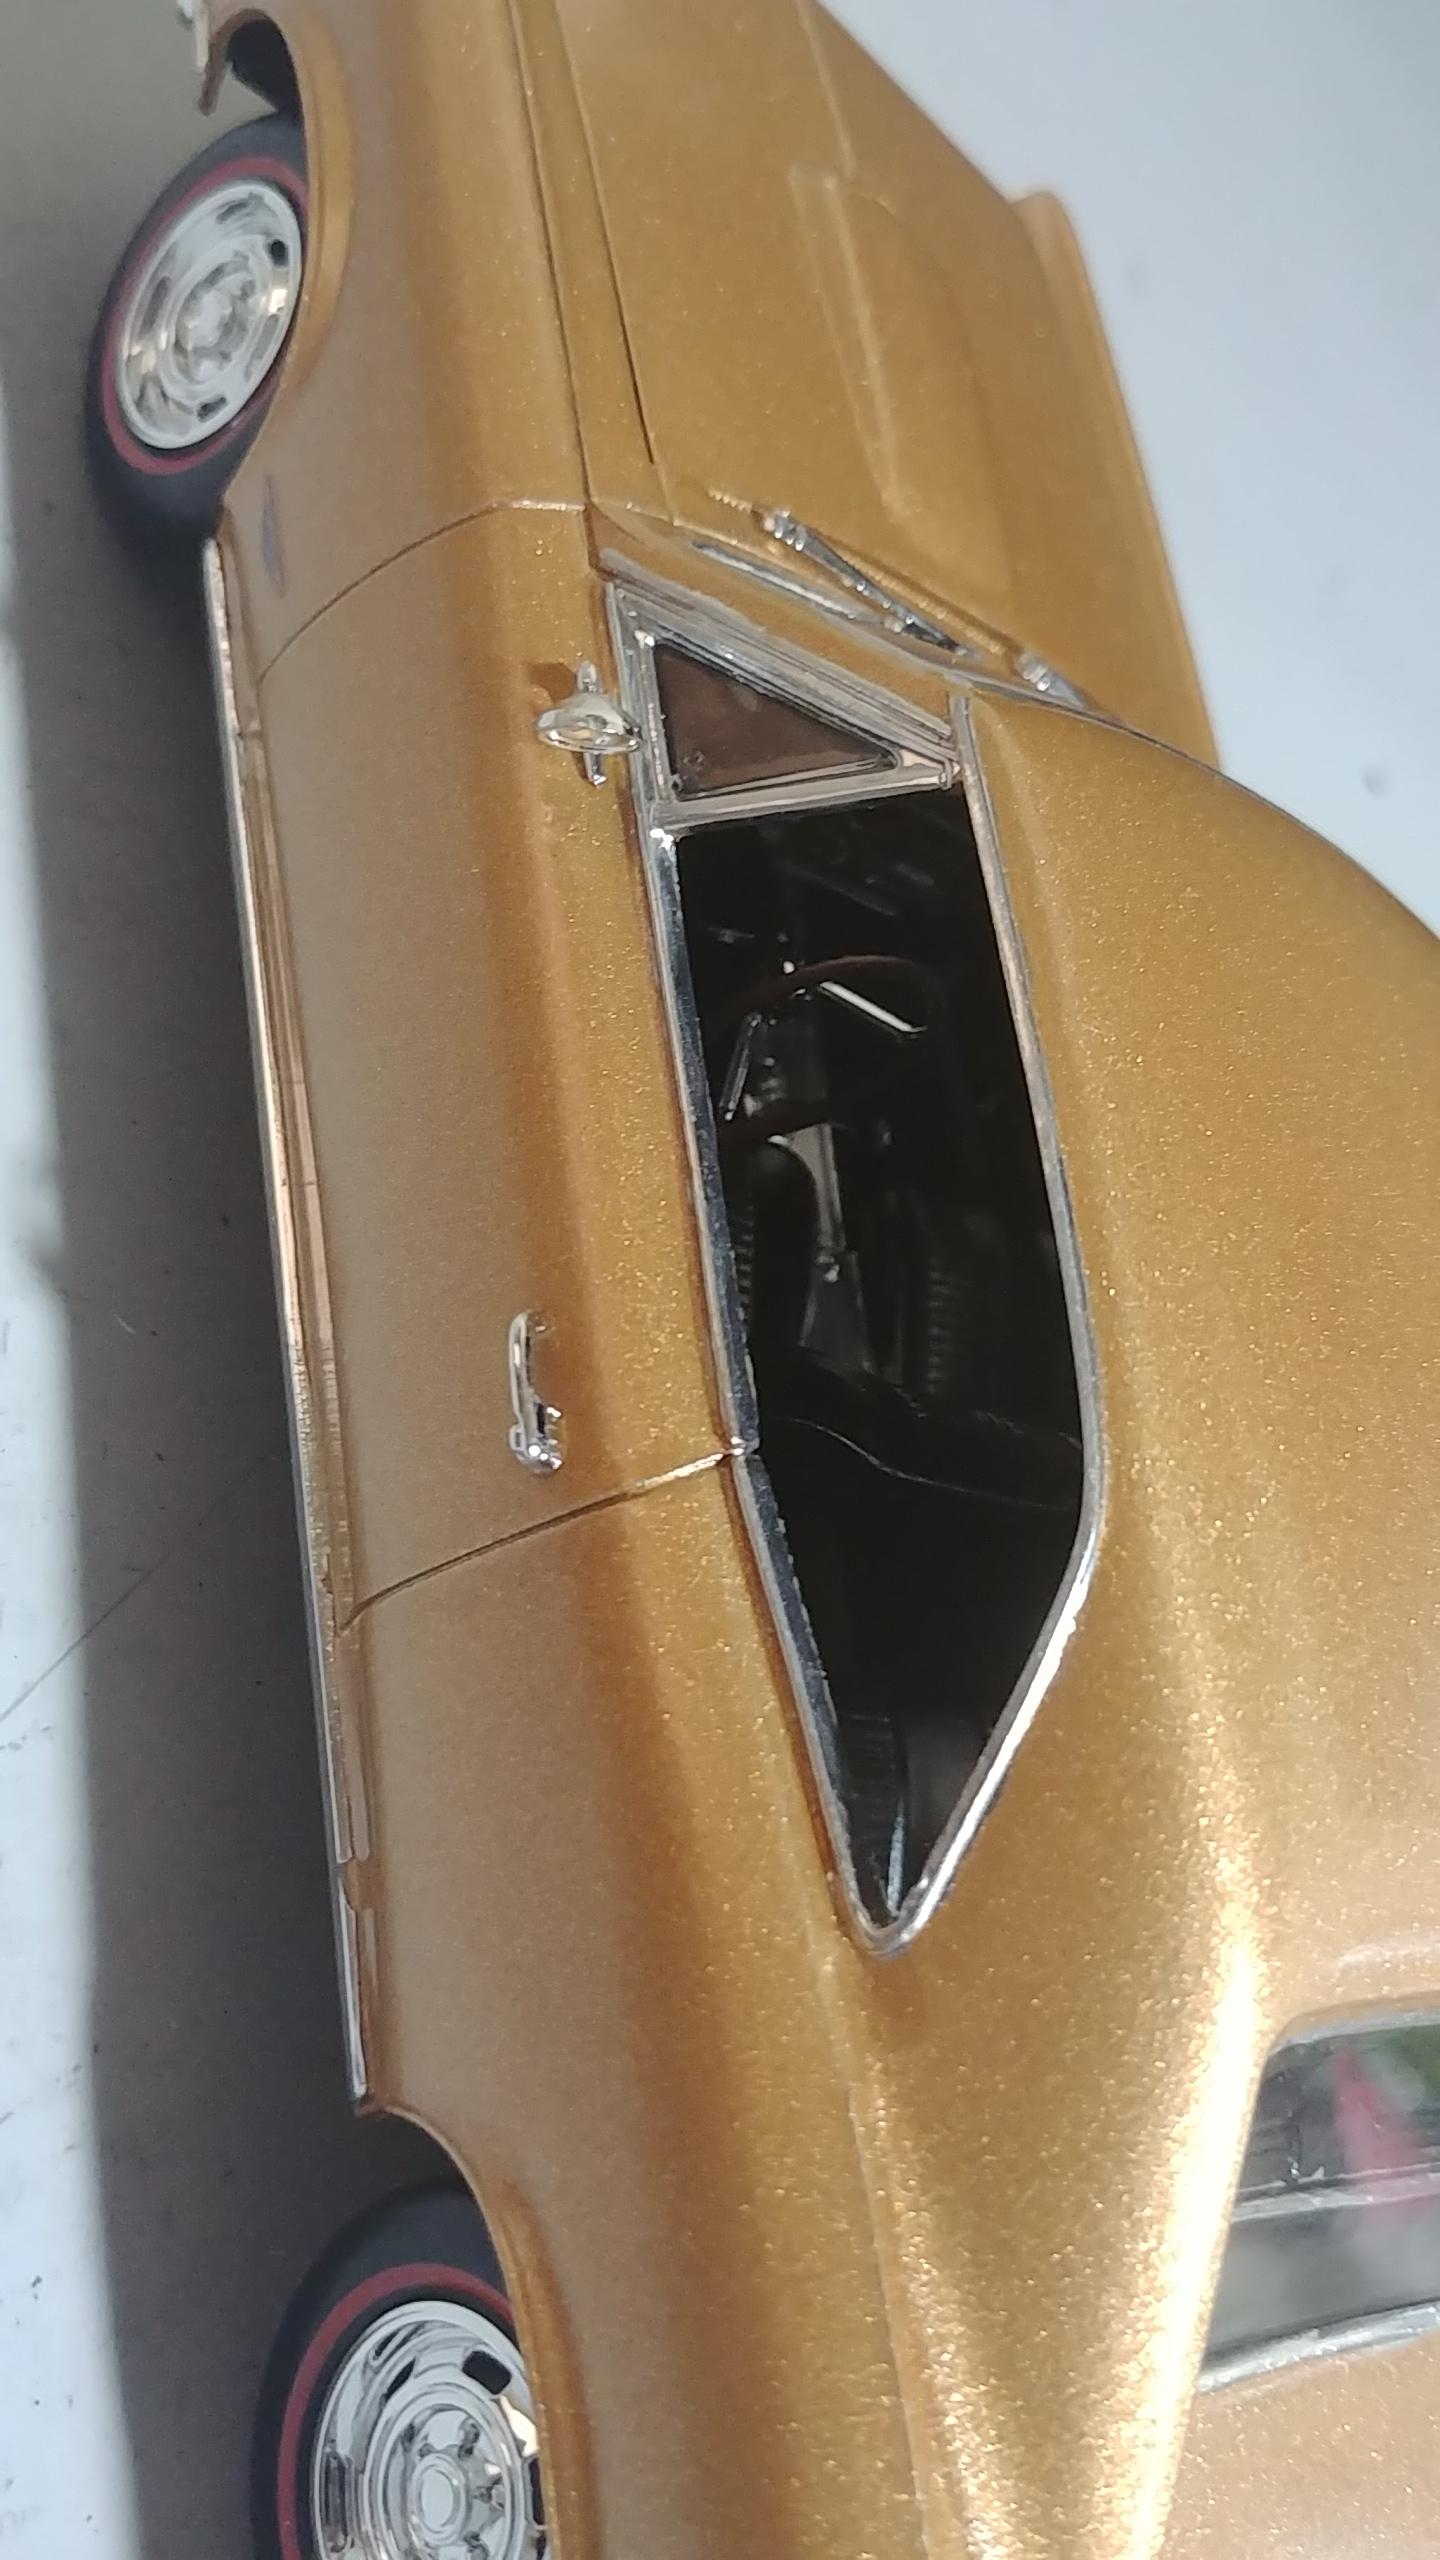
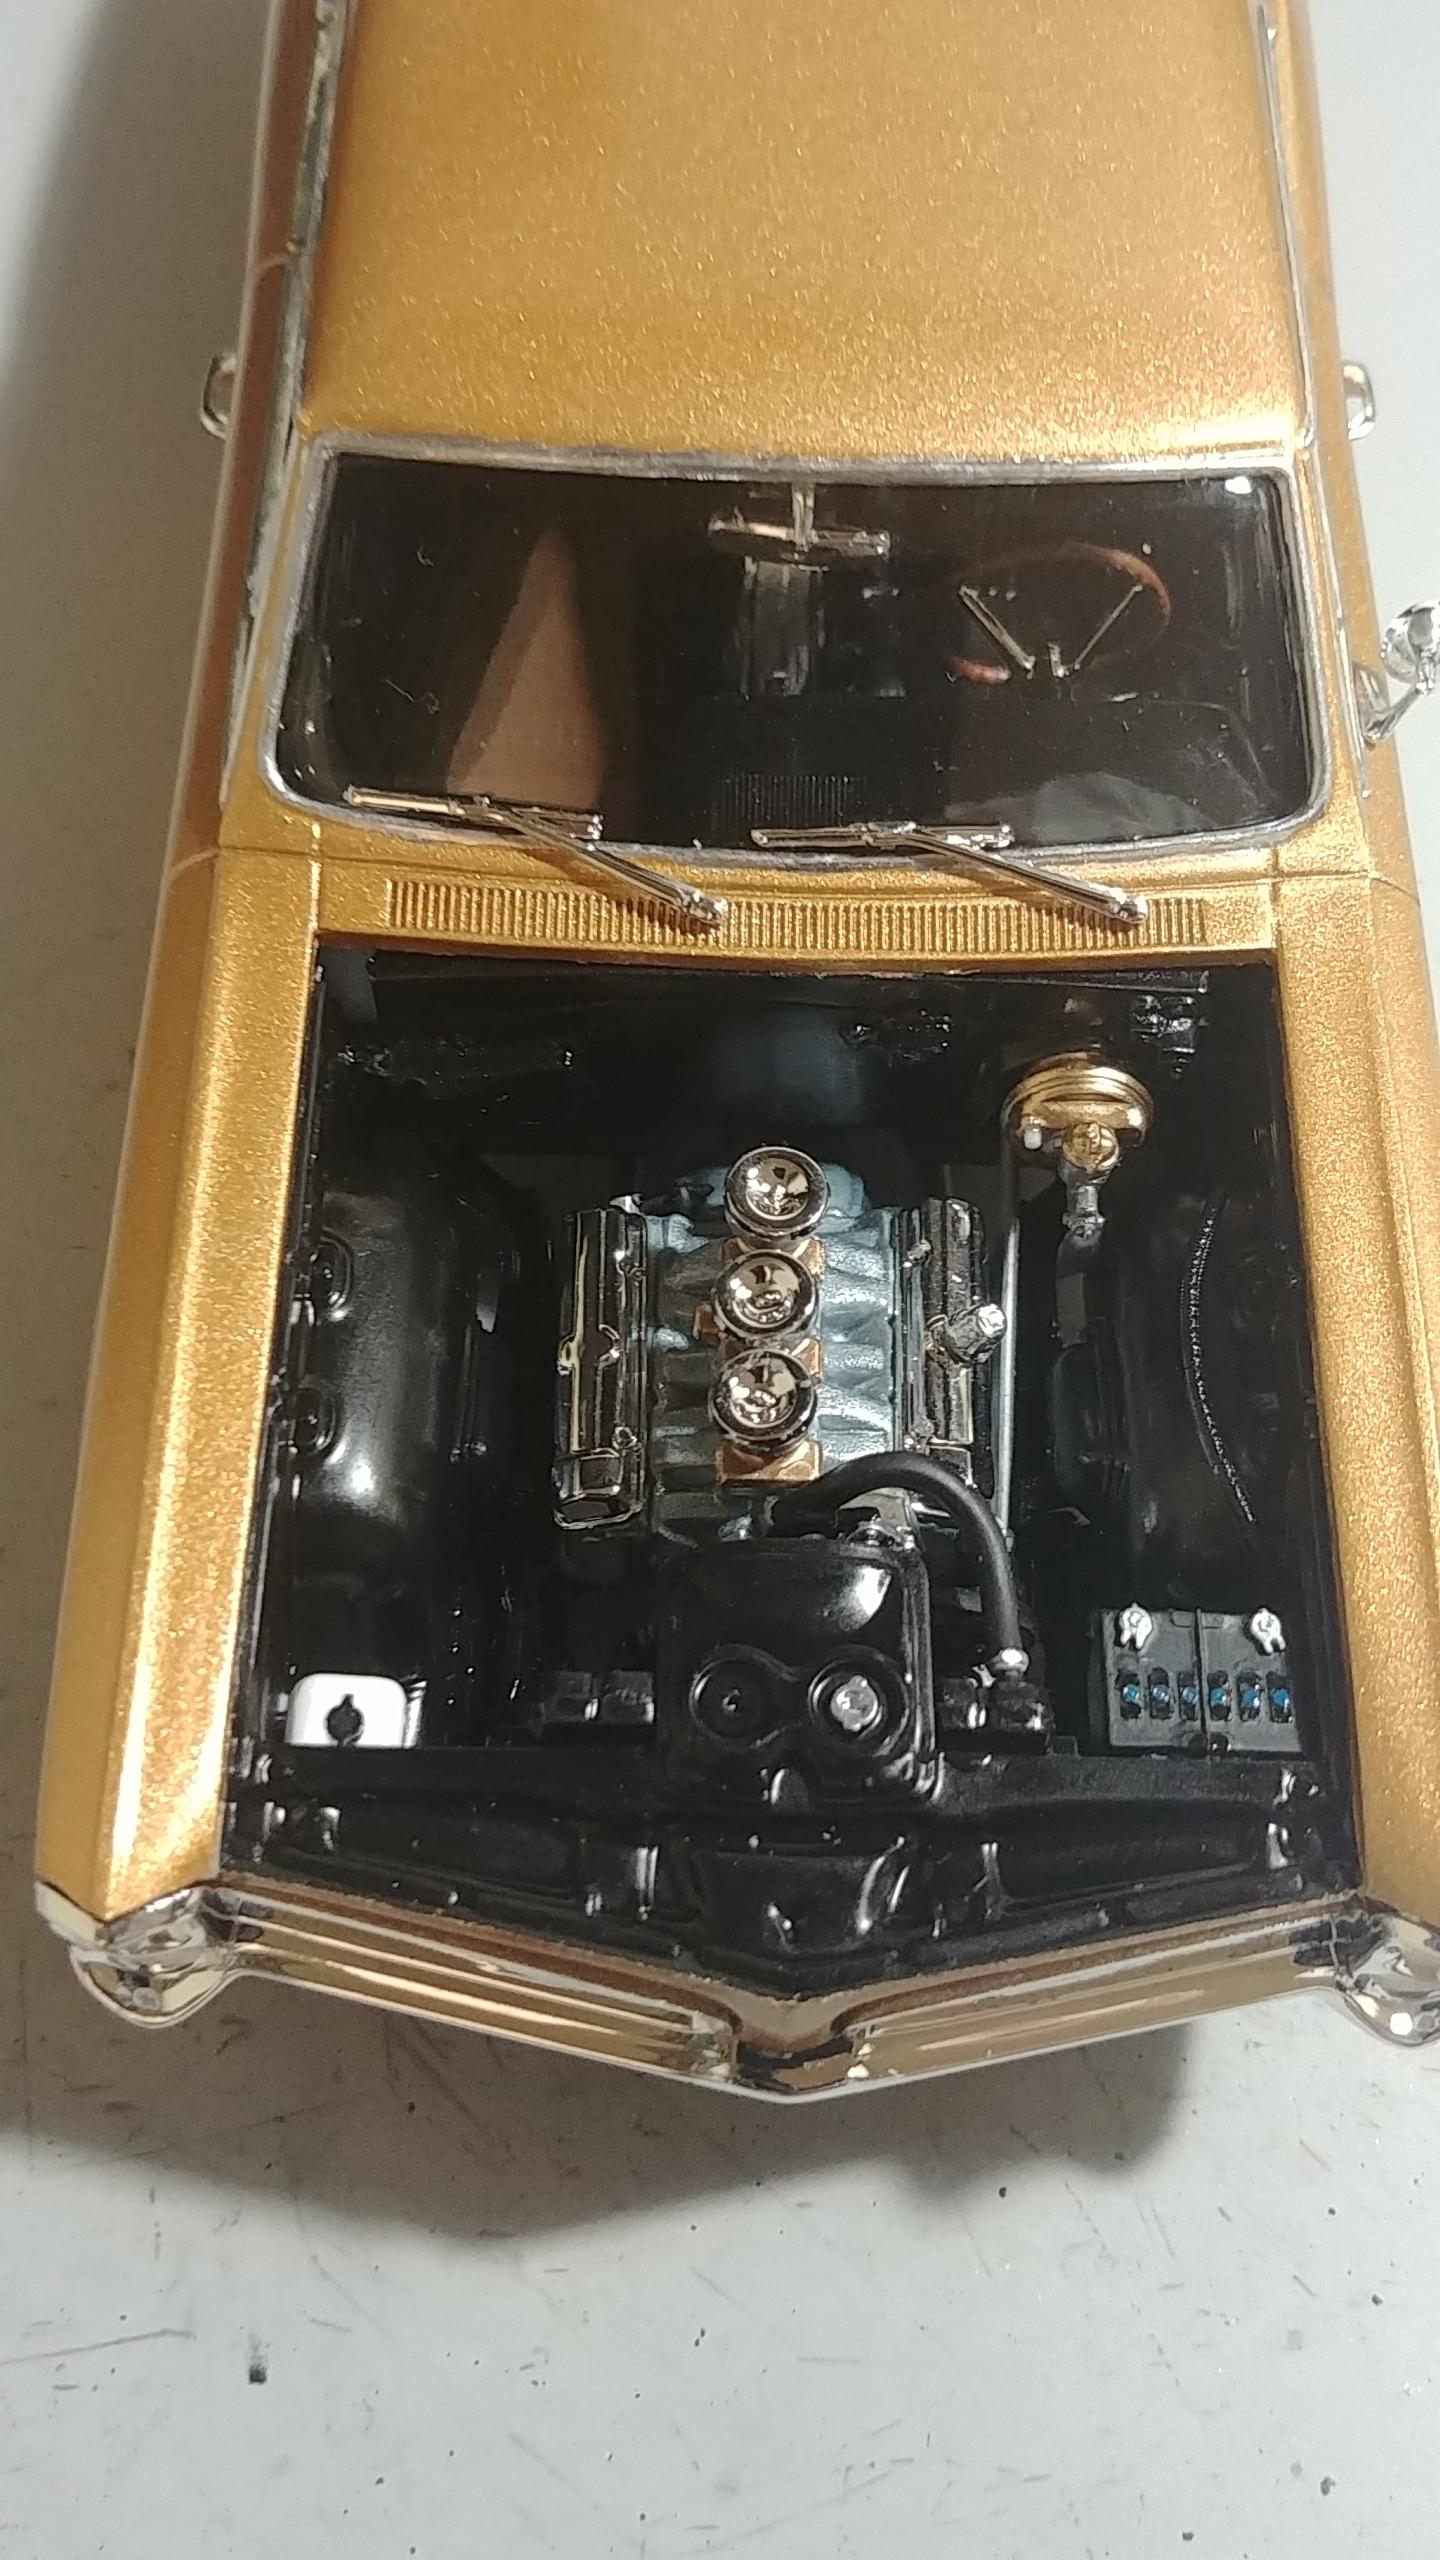
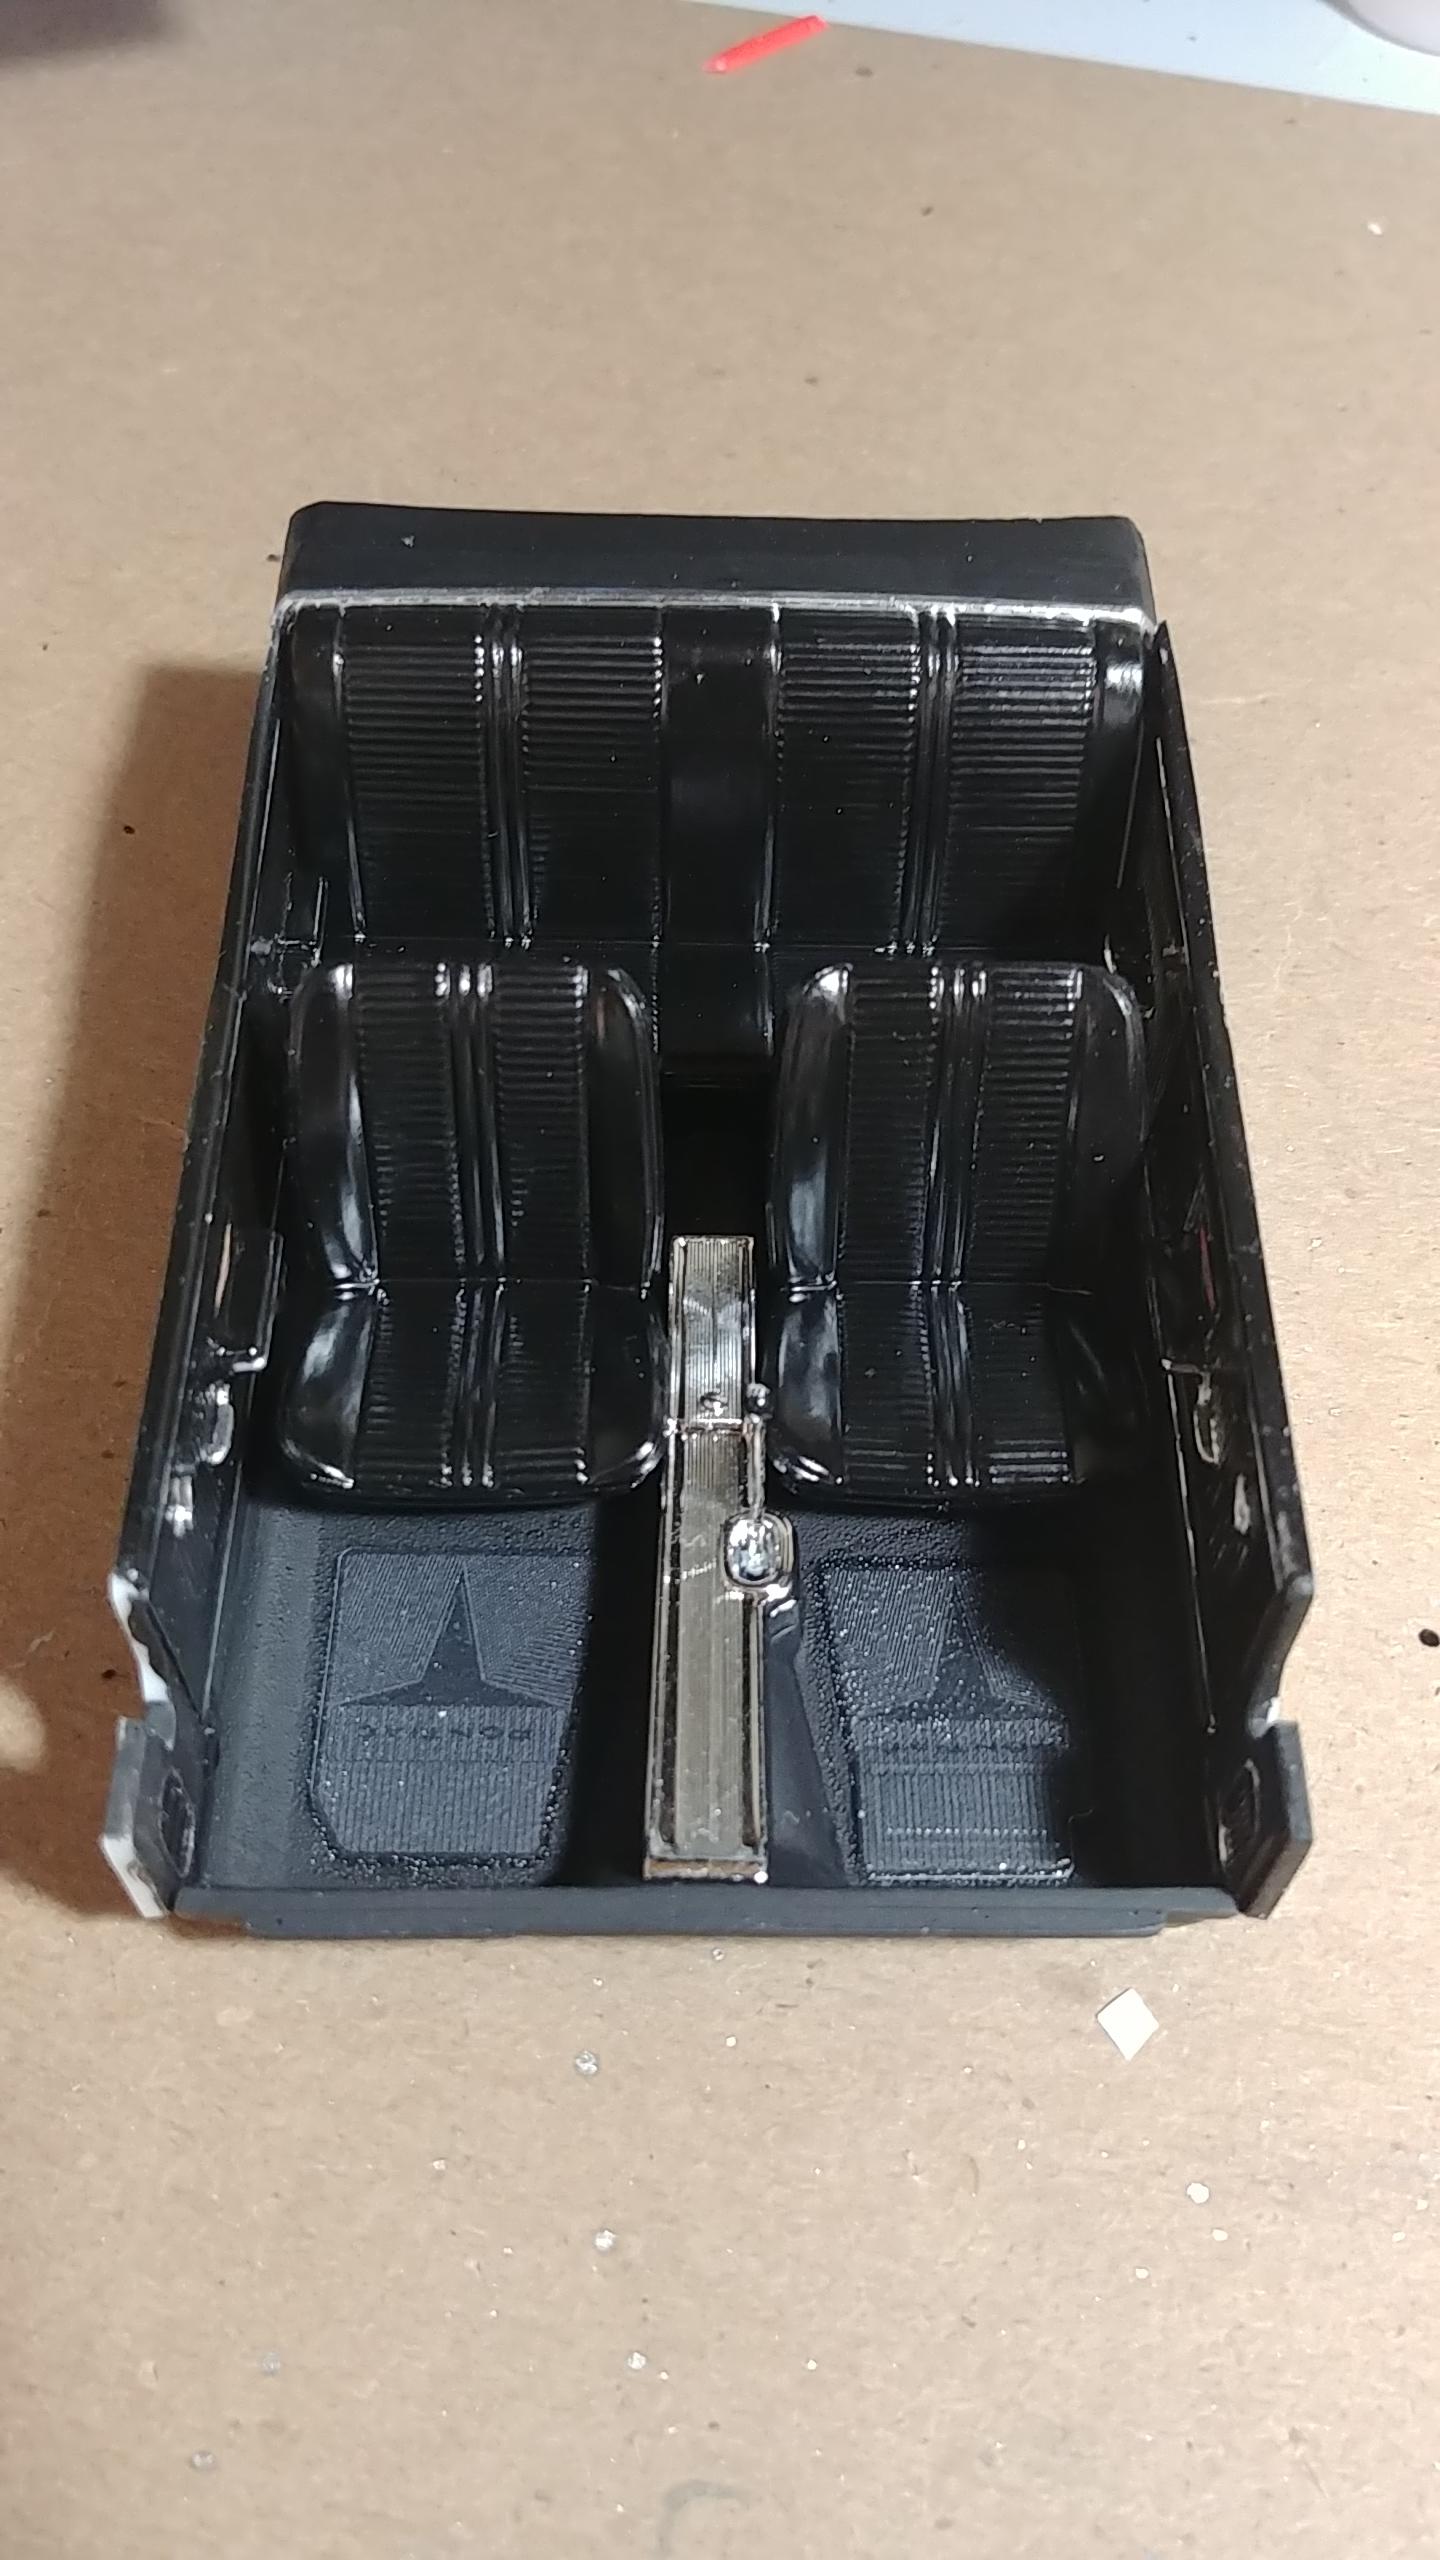
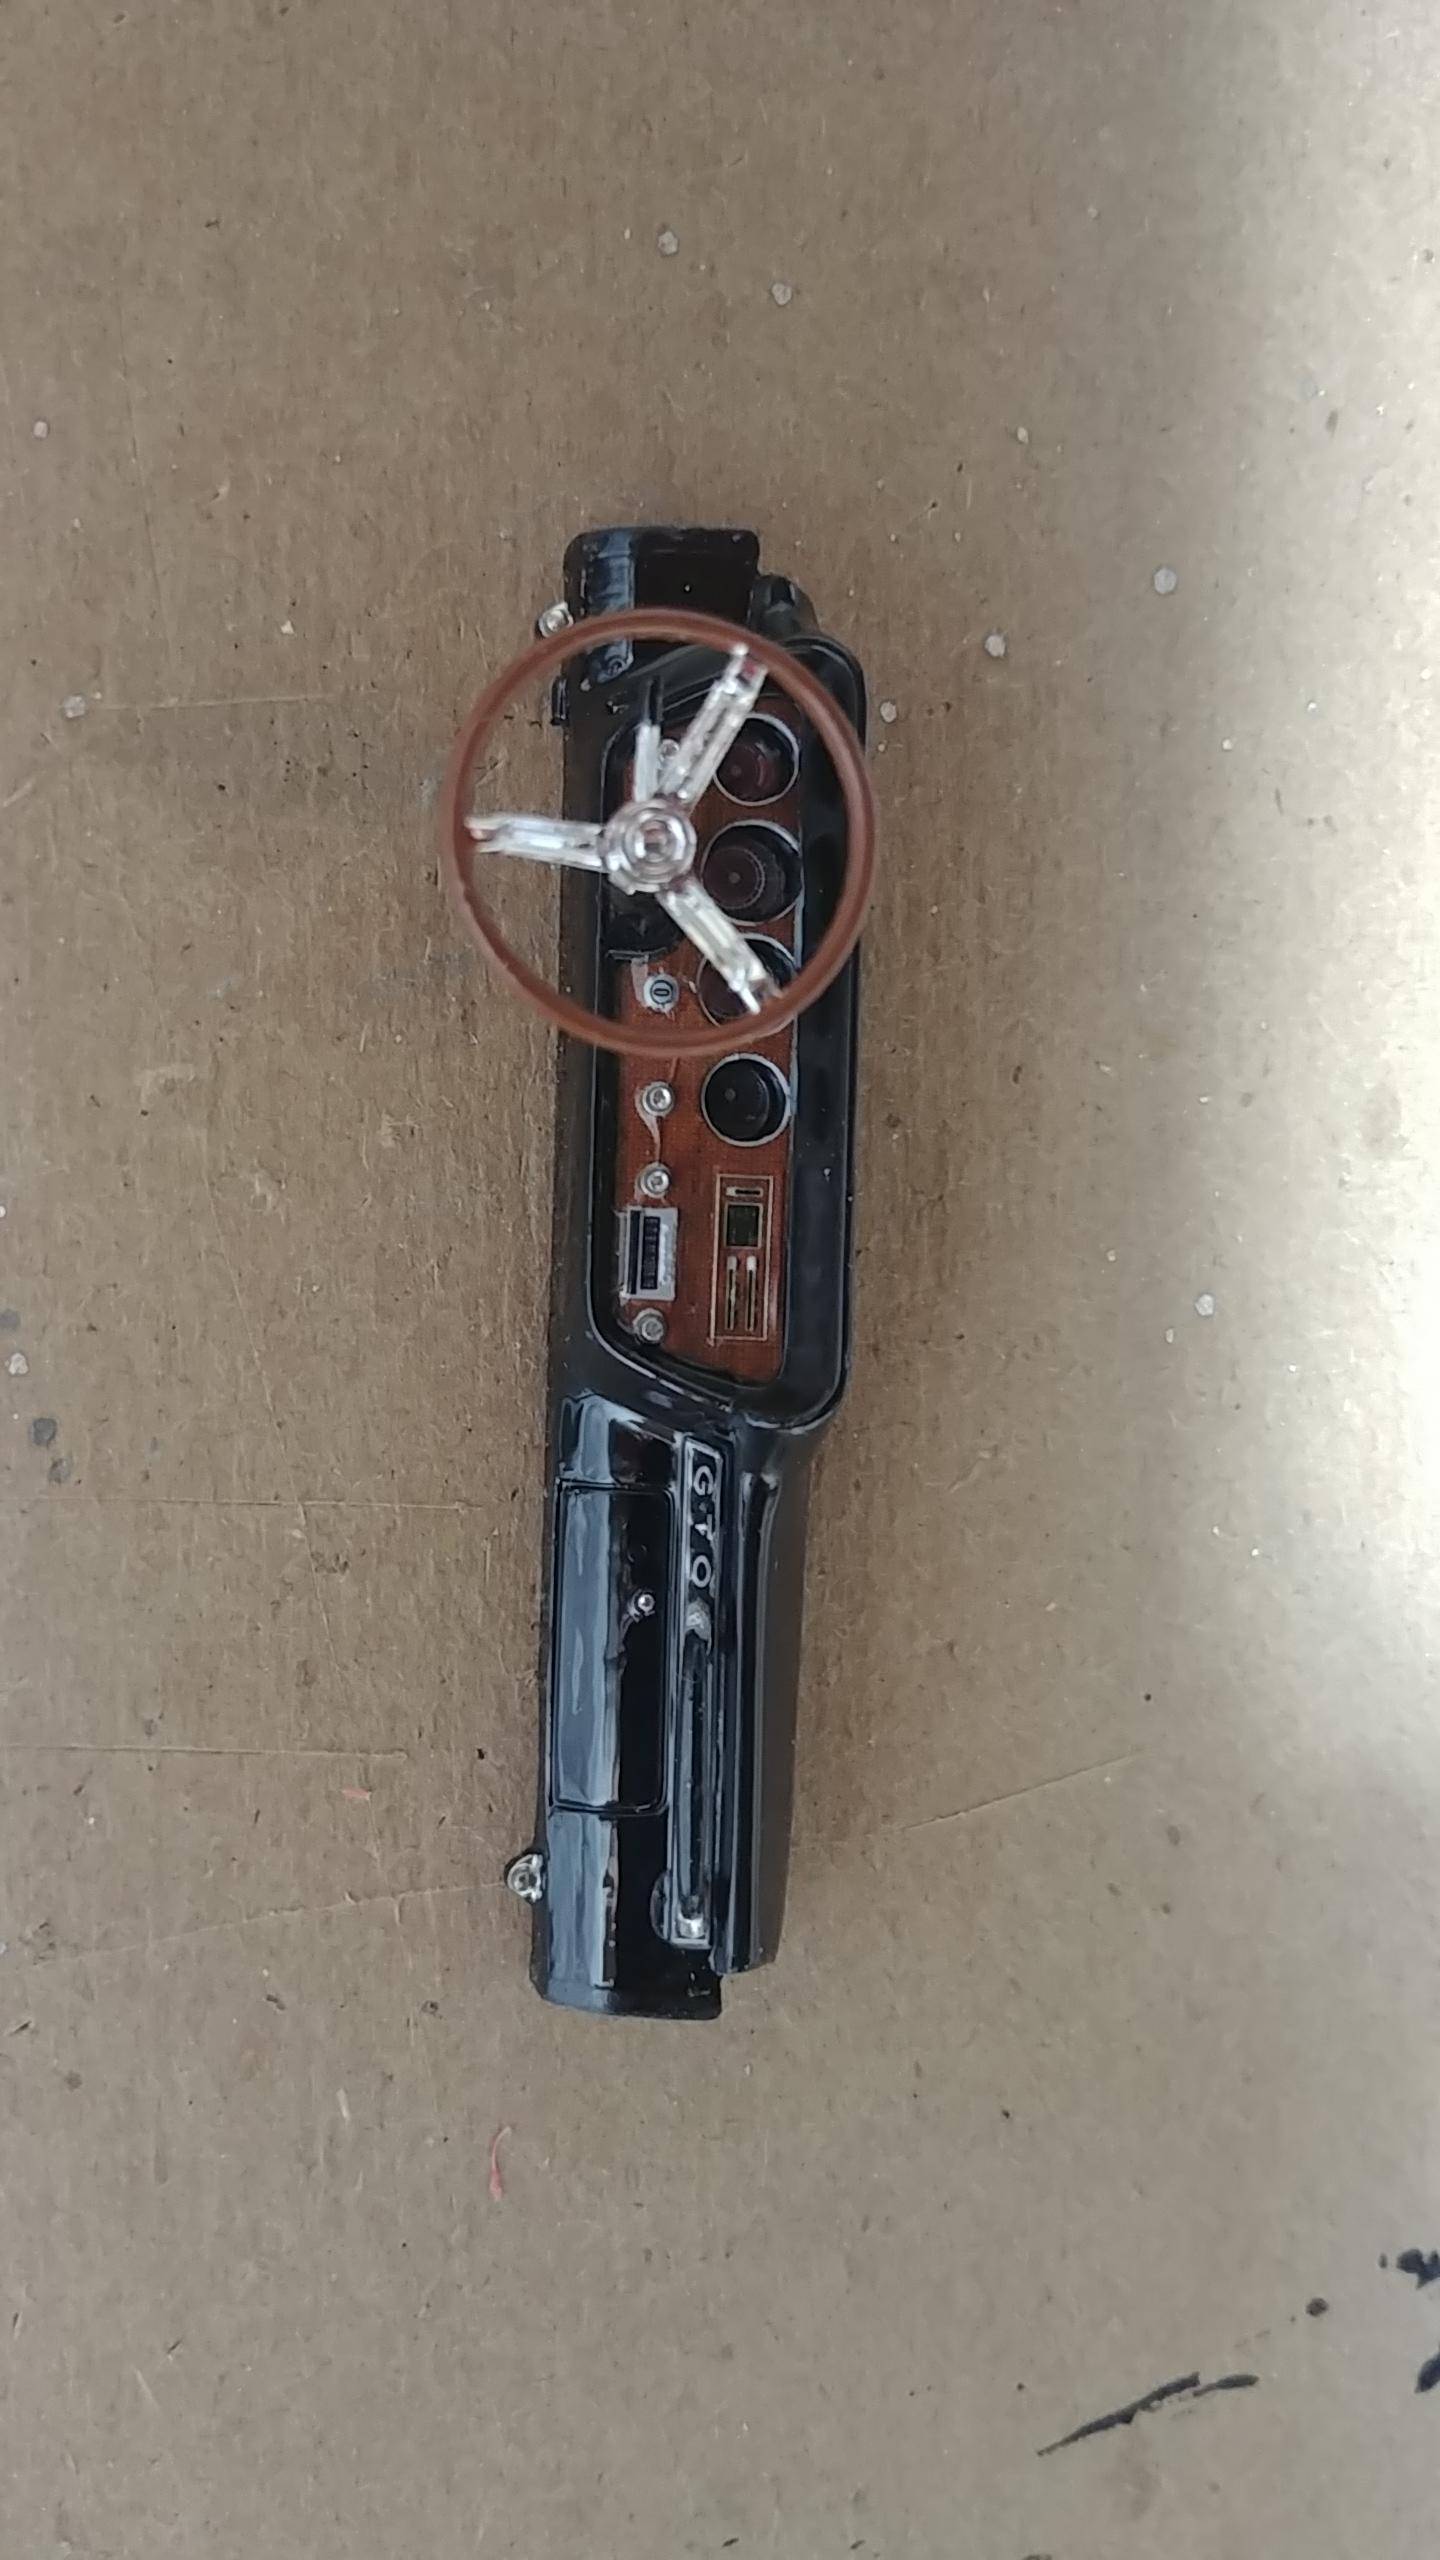
I've always had a soft spot for GTO's. The detail of Revell's kit was excellent and made for a nice build. Once again I rattle canned it with Testors Extreme Lacquer Pure Gold. This paint lays down so nice and easy. Basically I built it pretty much stock. First time for doing all the chrome on the window trim etc. I also knicked a bit of the foil on the bottom that I'll have to replace. Came out better than I hoped. Wish I had taken better pics of the interior though.
-
Simply. Amazing. Work.
-
NIce job! Just ordered this model - can't wait to build it.
-
Thanks for all the kind words!
-
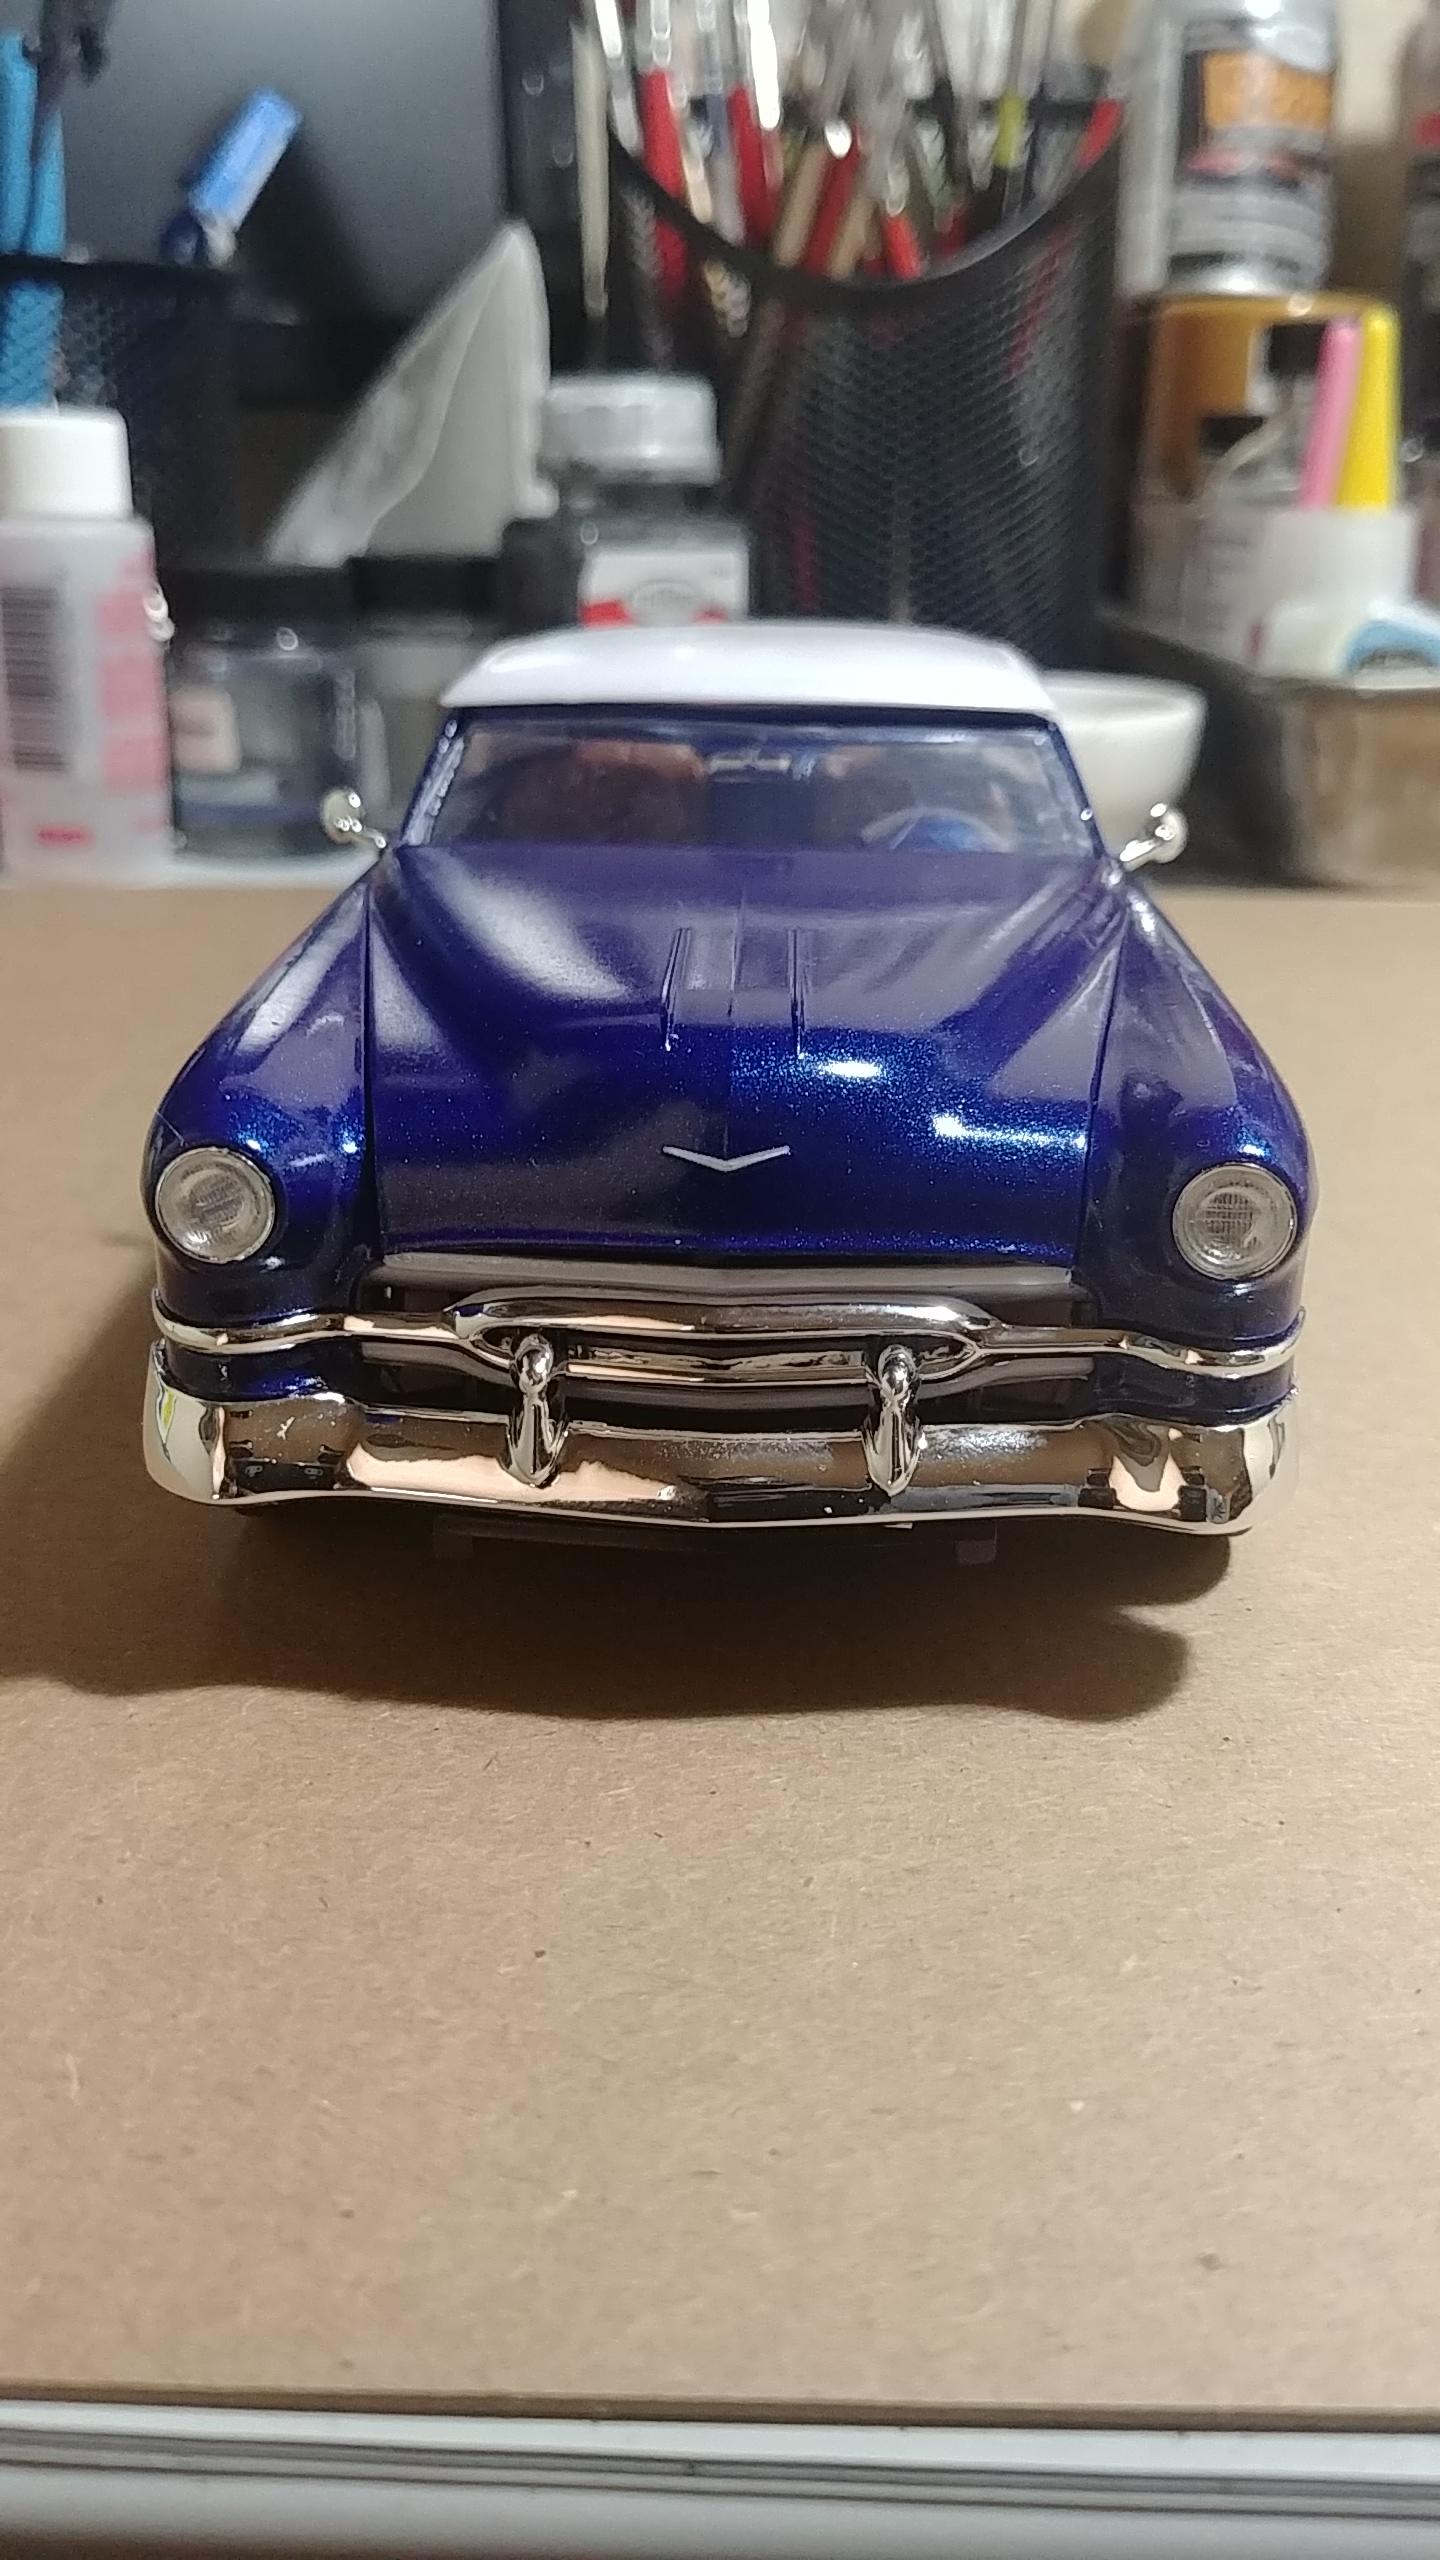
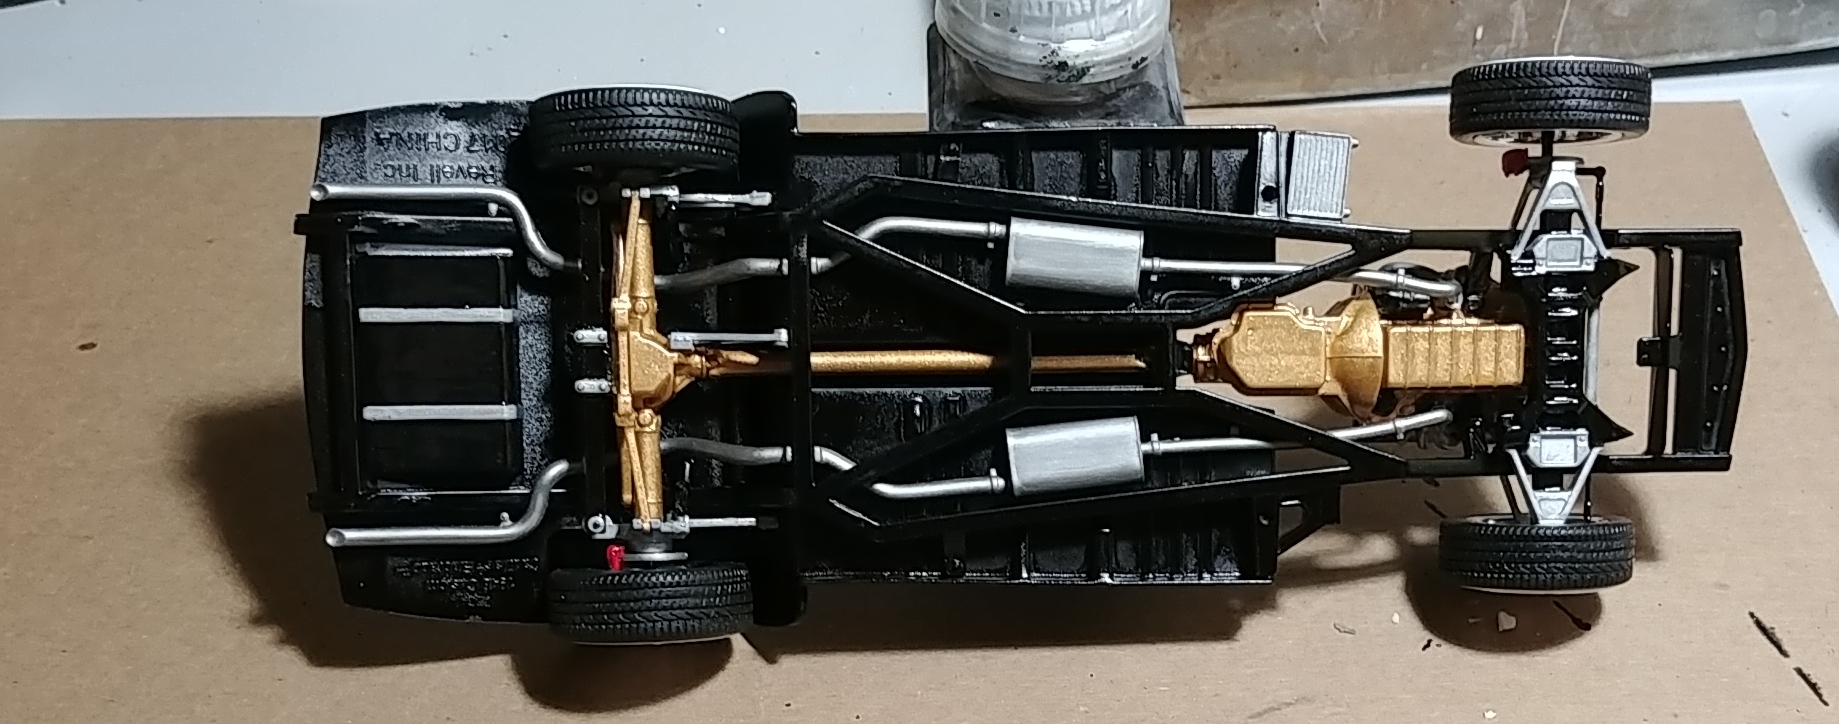
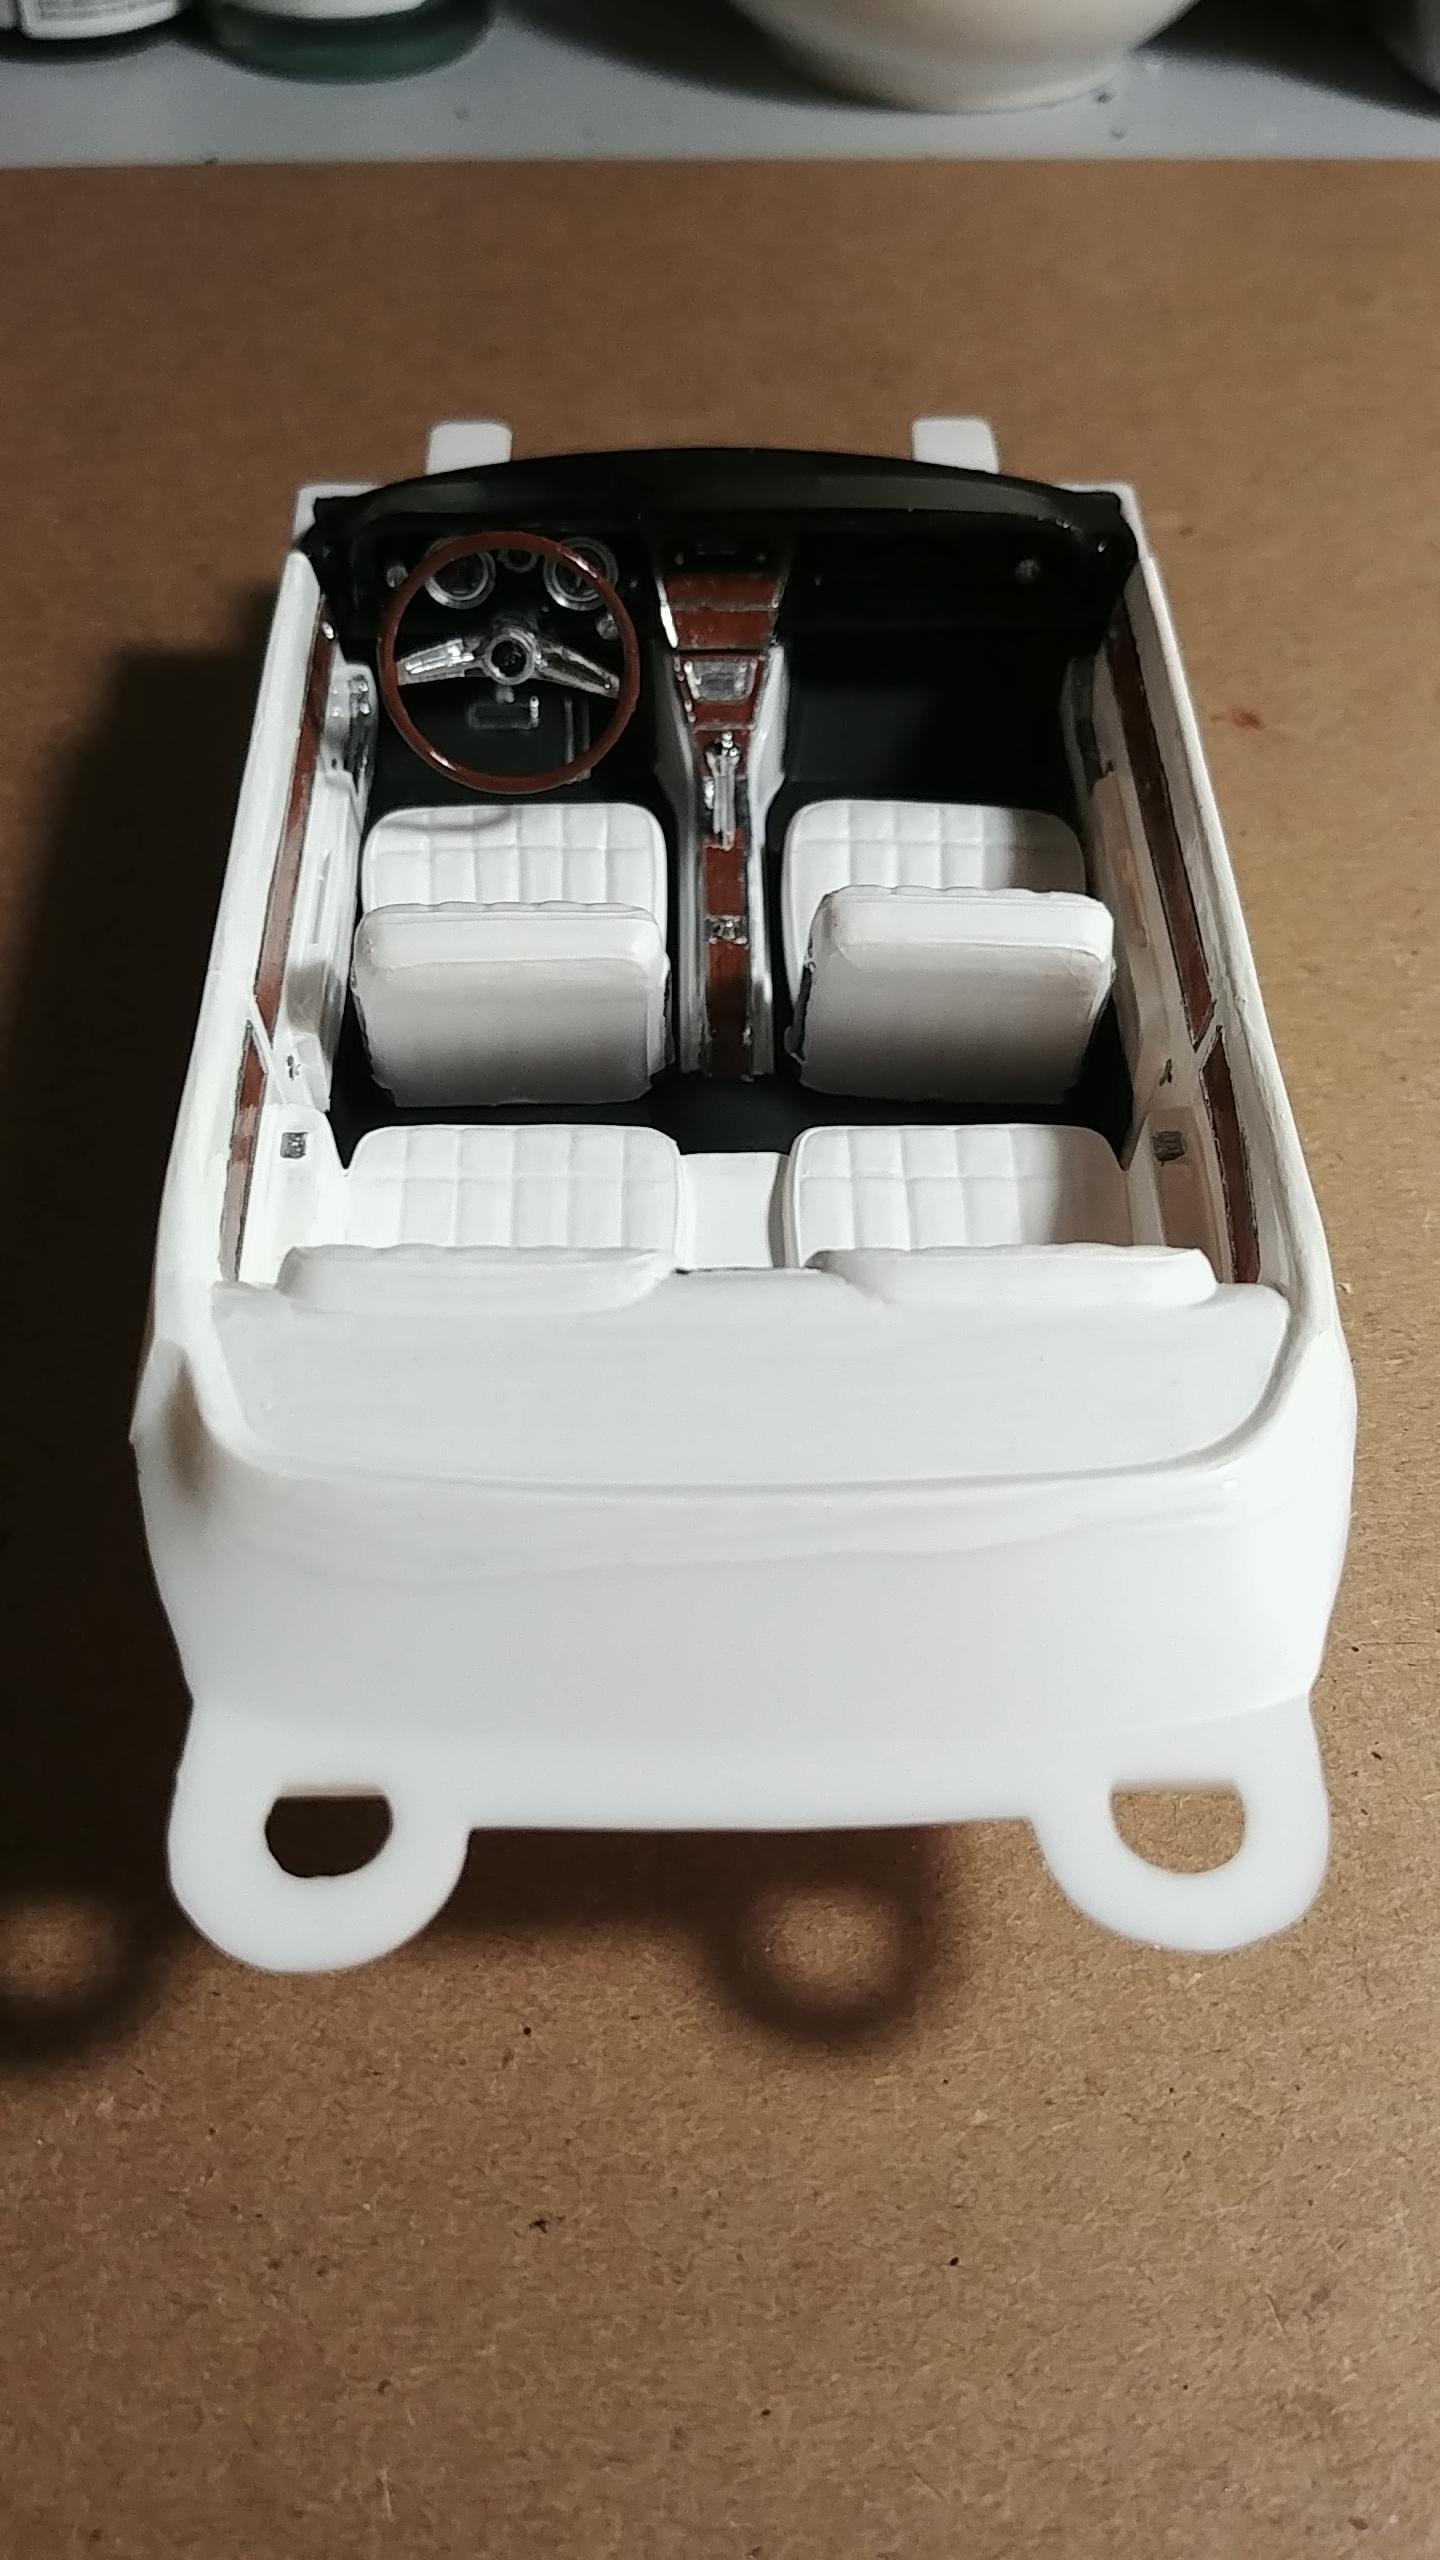
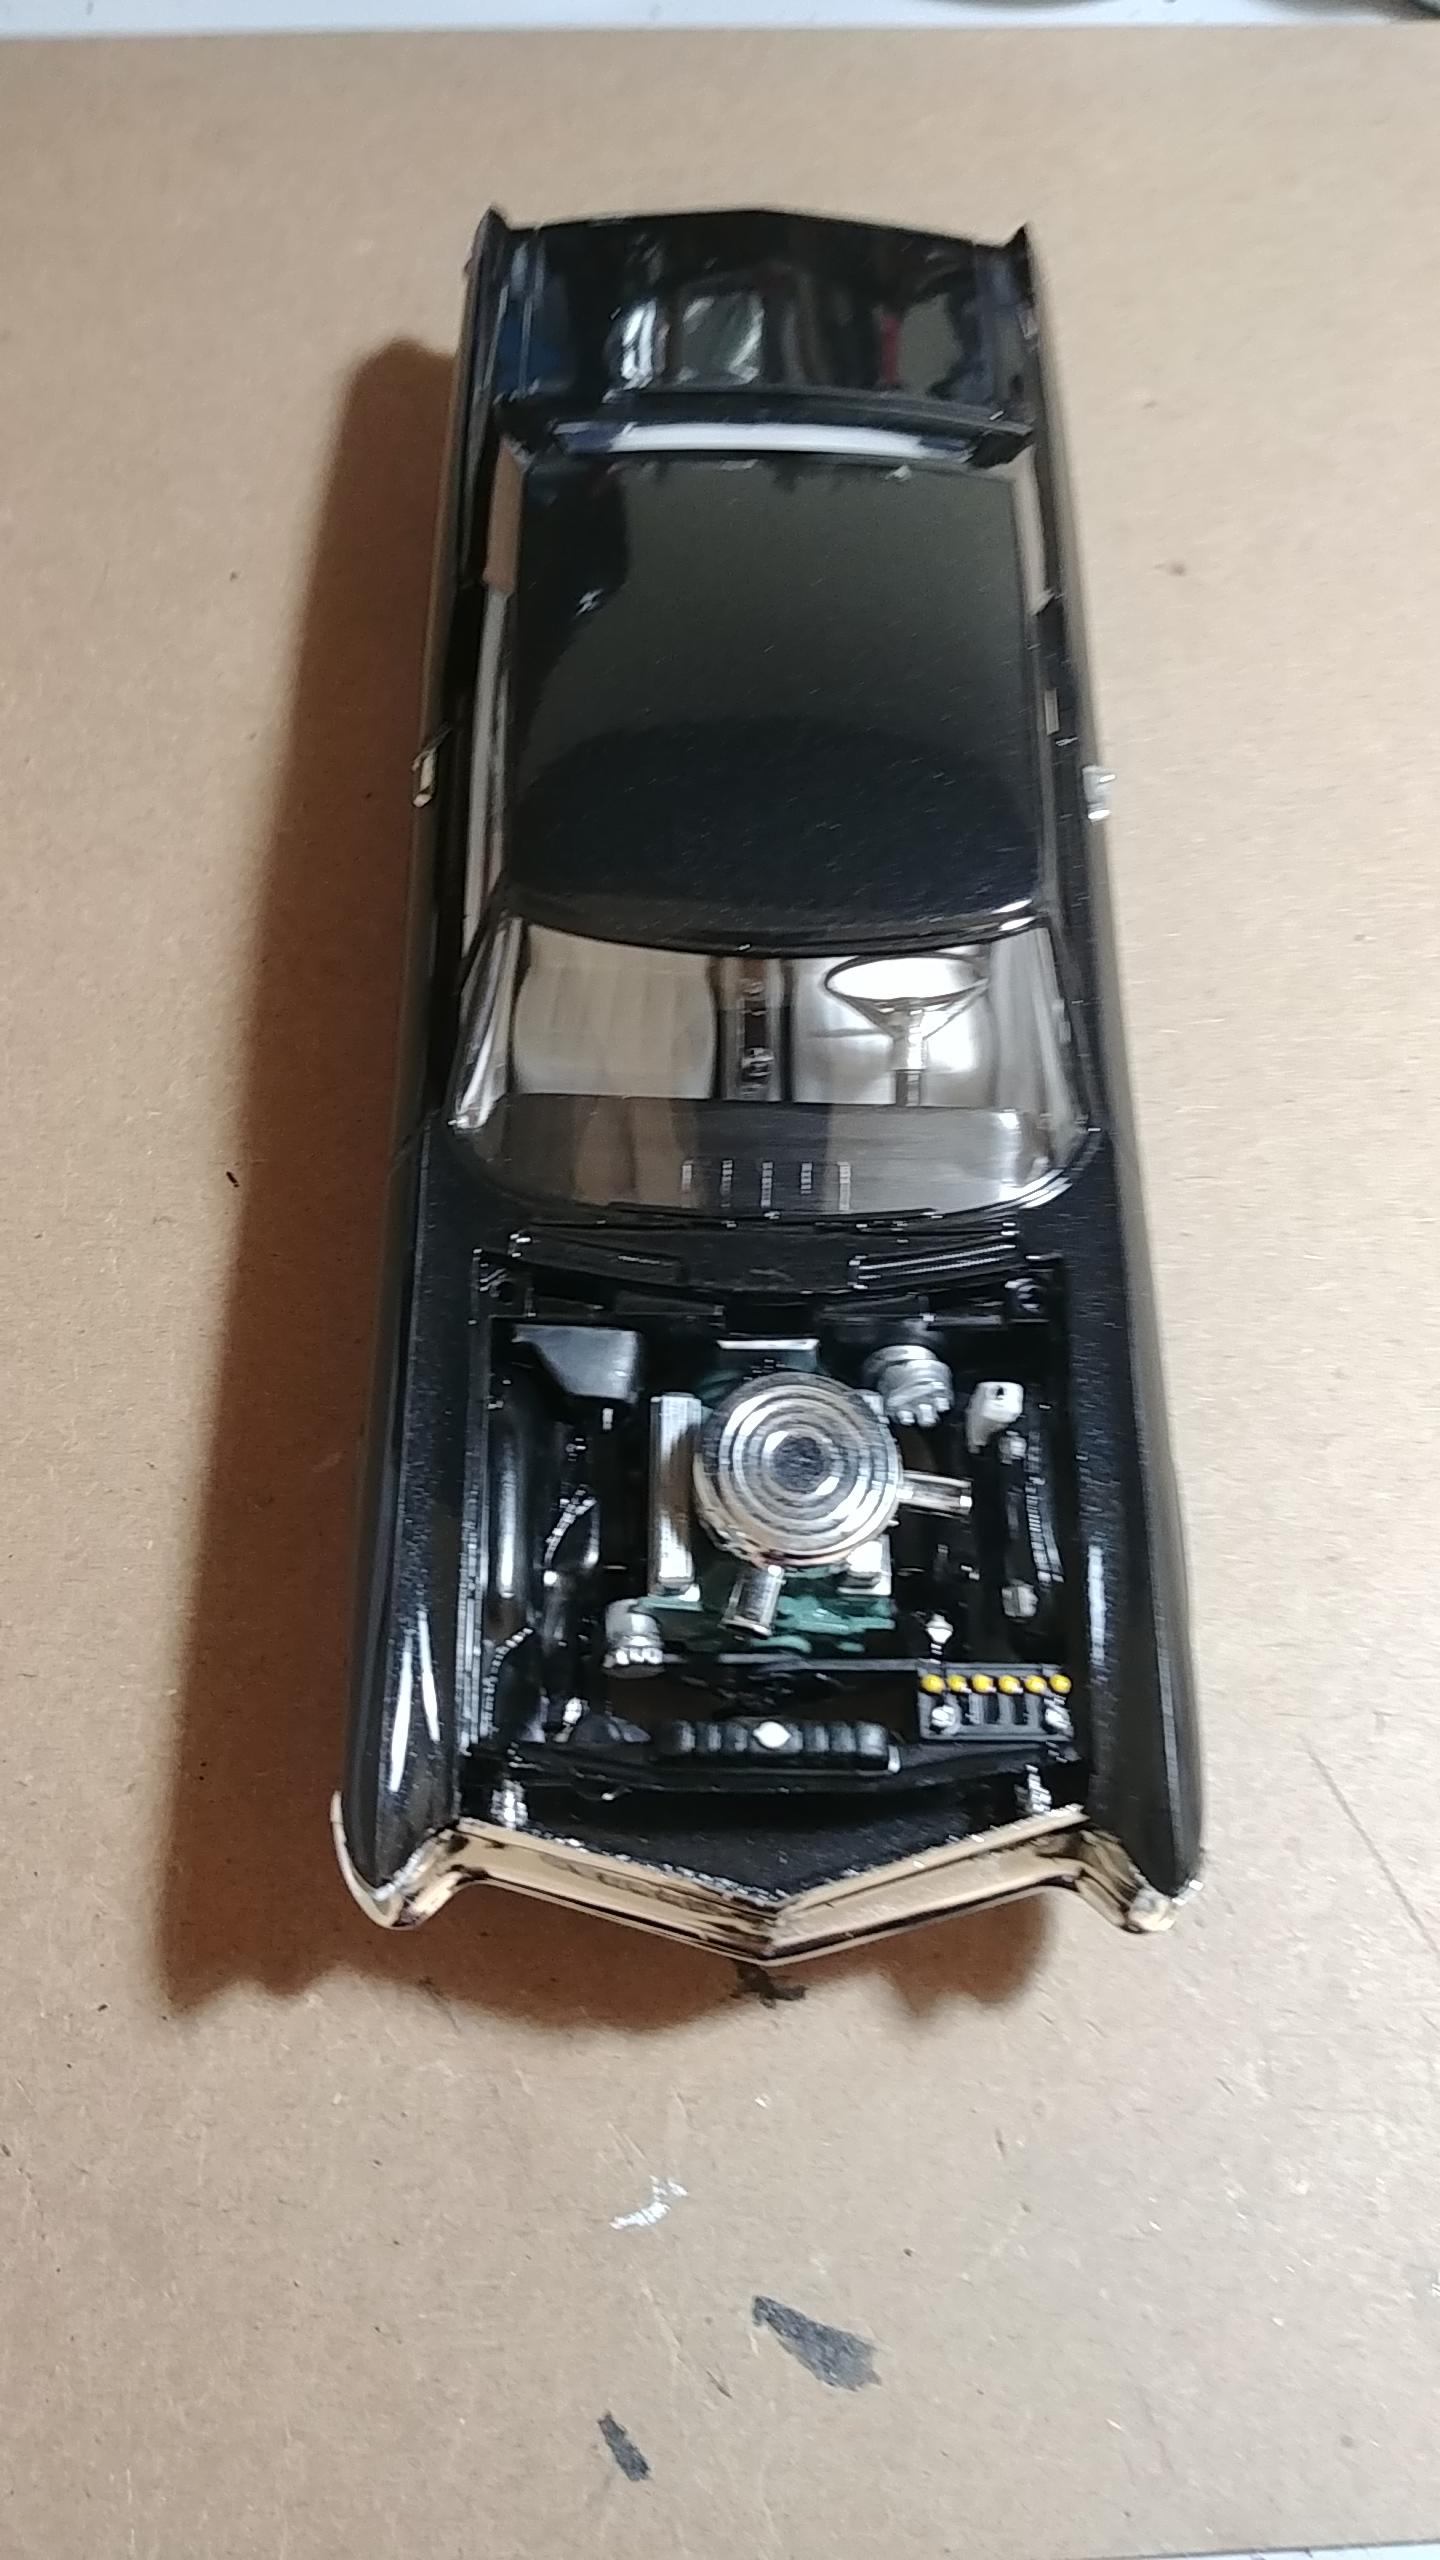
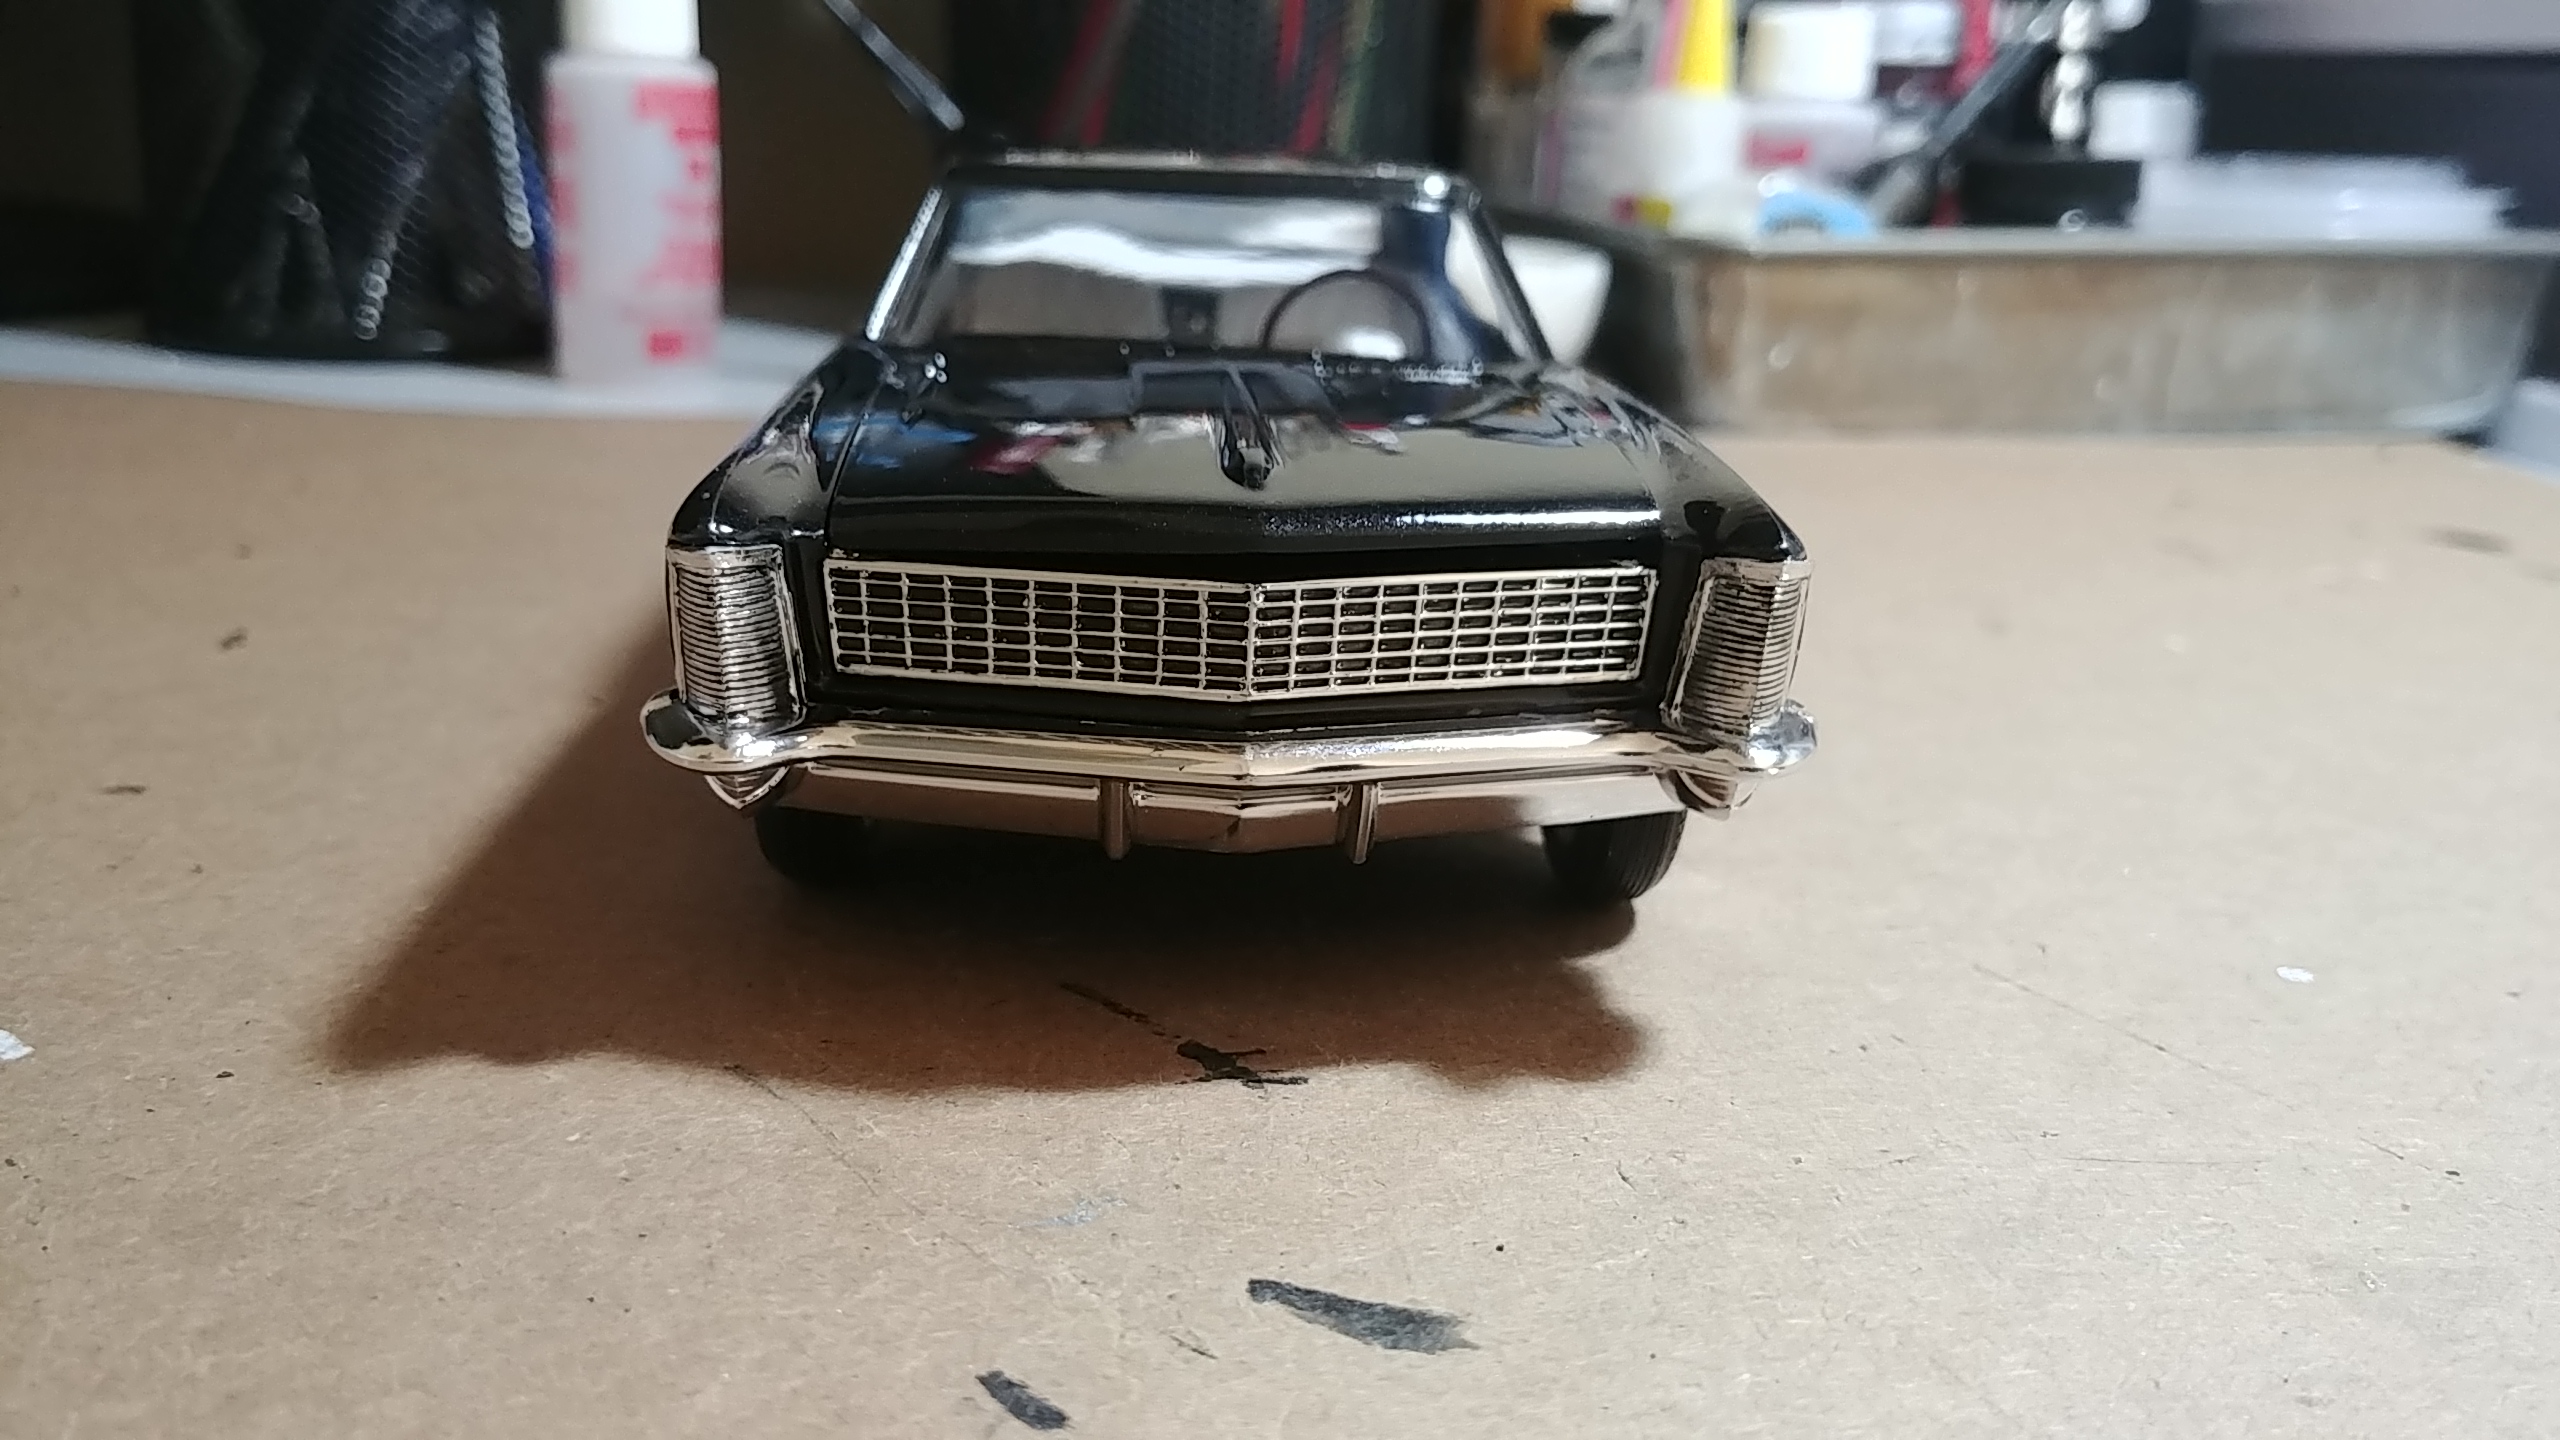
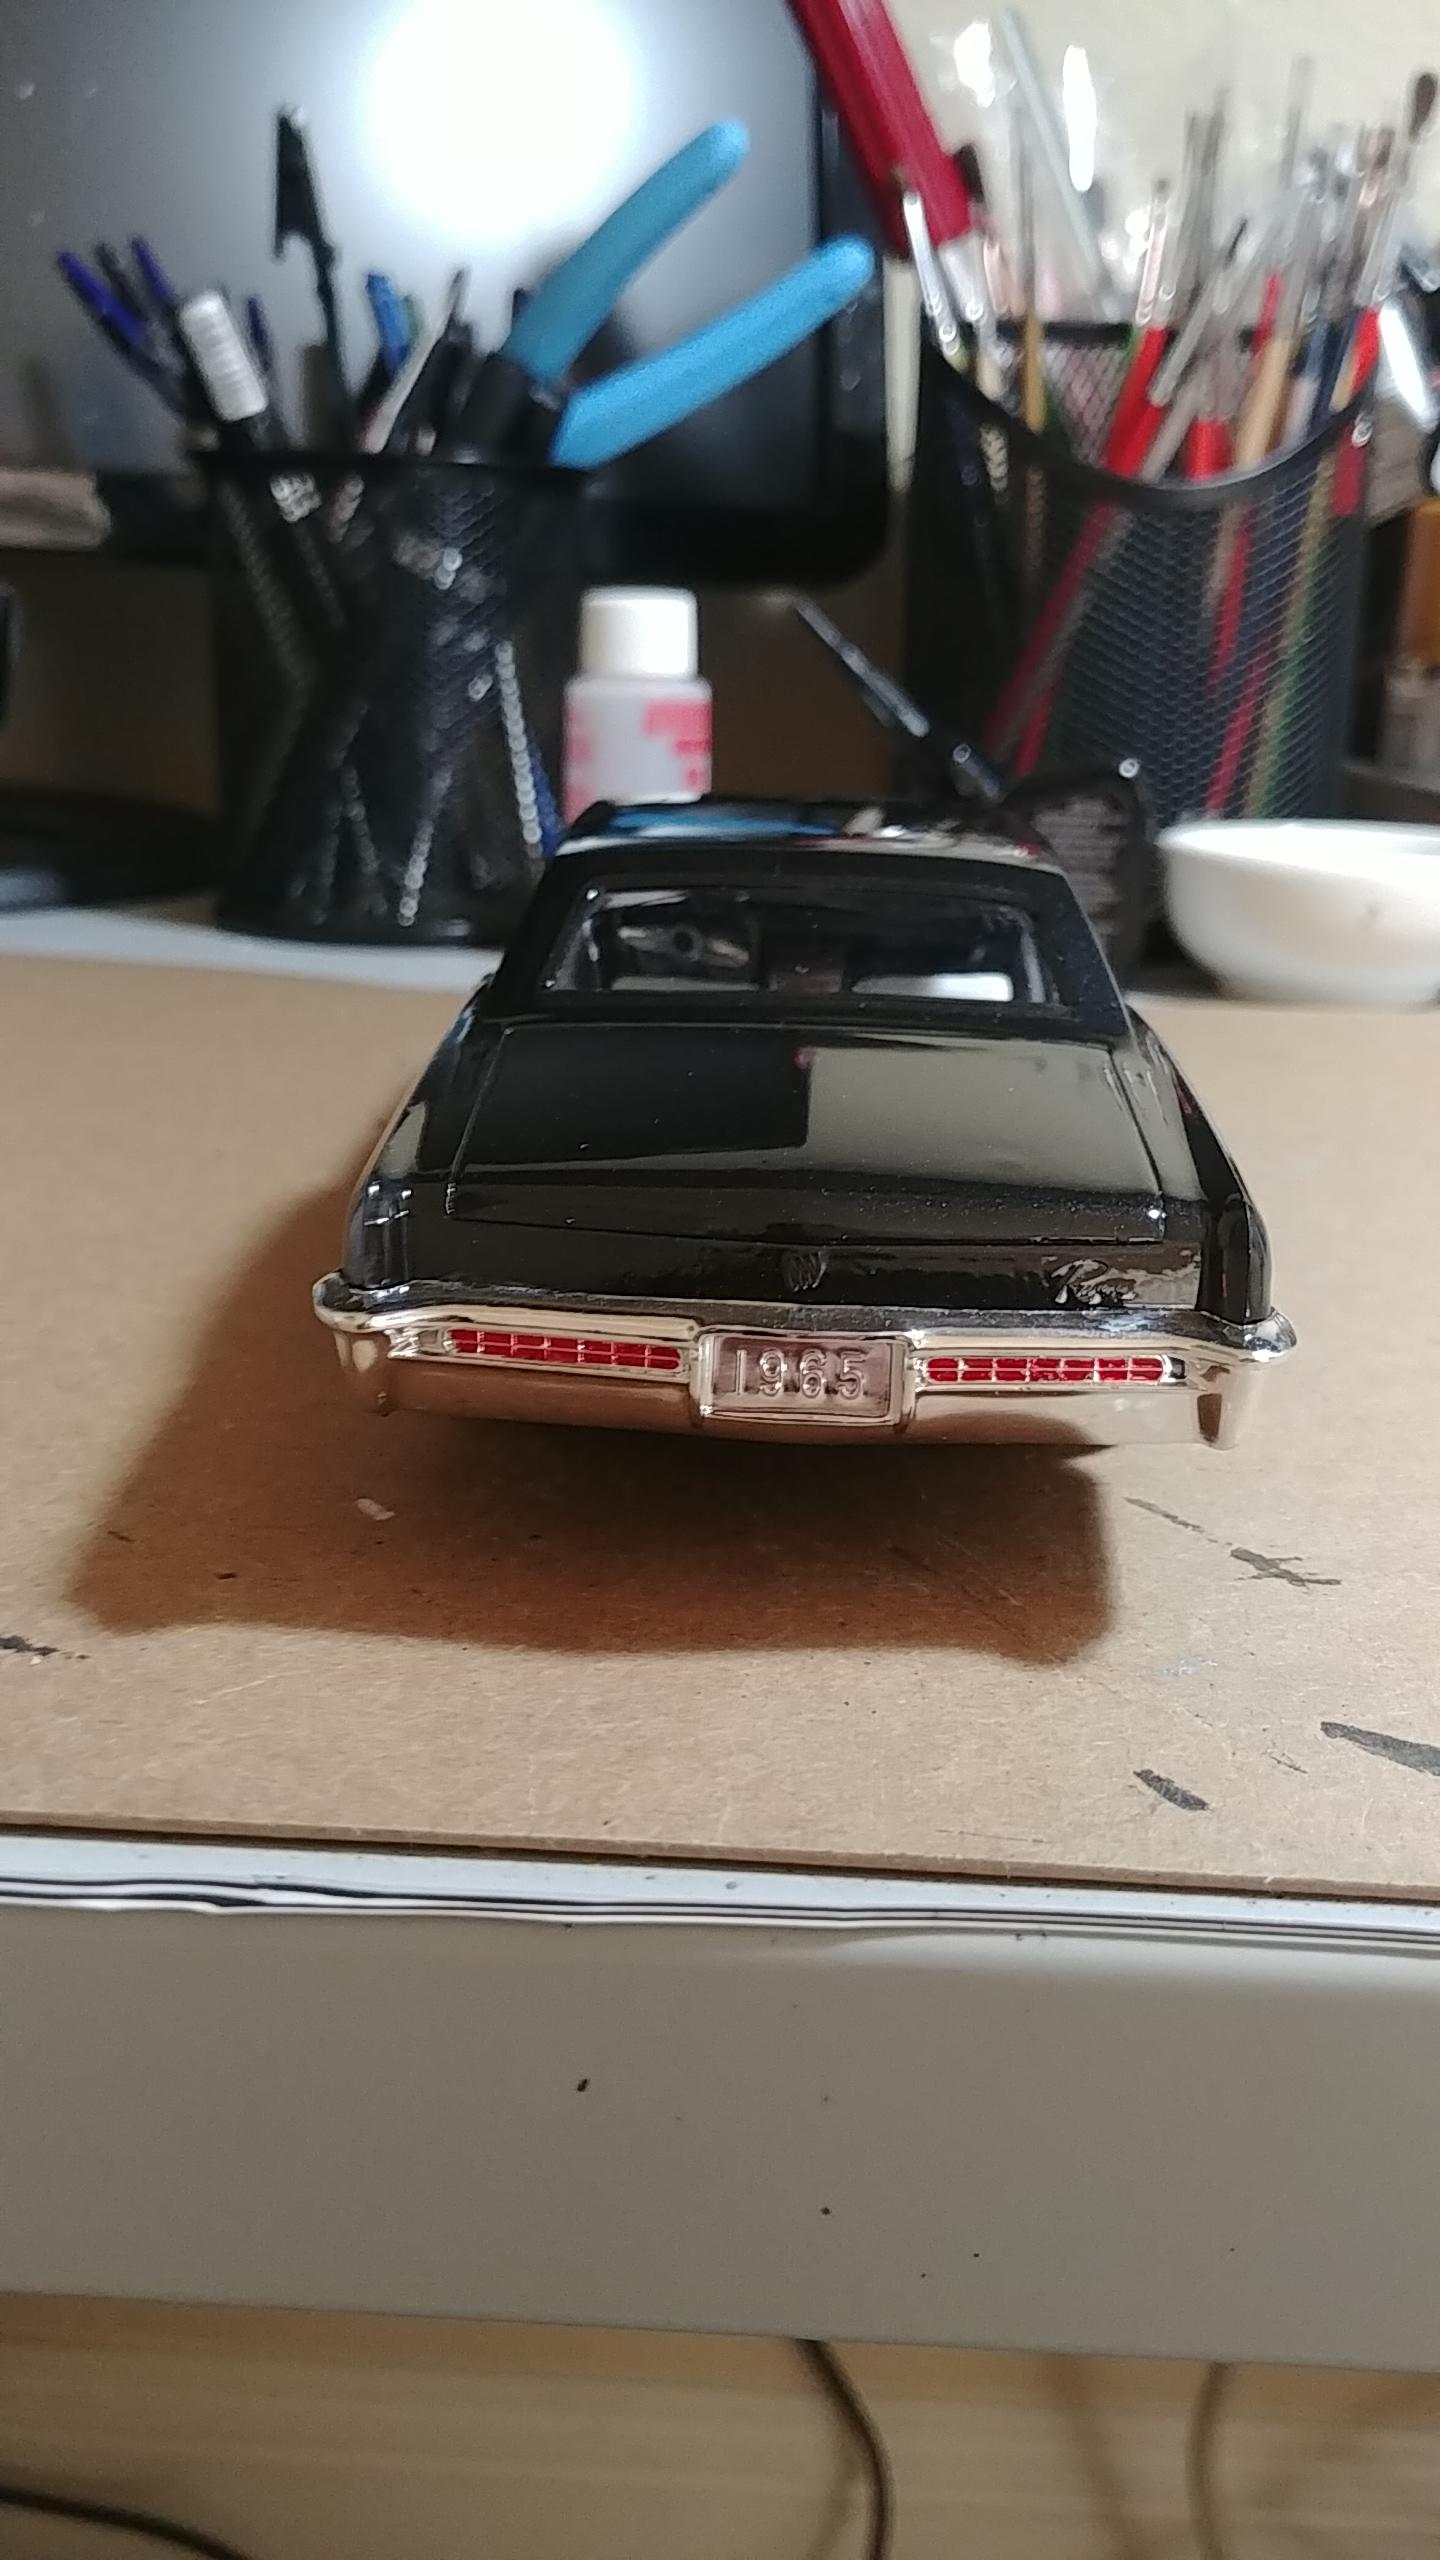
My wife got me this kit for Christmas. Was a nice kit, minimal flash and good detailing. Fit wasn't bad either. I tried to replicate the original to the best of my ability - but I can't guarantee that it's accurate. For the body - I used Testors Extreme Lacquer De Ja Blue for the body and interior, Pure Gold for the engine and axle and White Lightning for the roof. Pretty happy with the results for a rattle can, but I should have done an extra clear over the body. The 65 Riviera was a mixed bag as far as the kit went, it was the AMT kit. The odd thing was that the instructions didn't use the part numbers to assist with the build but rather numbered what pieces should go on in what order. Never seen that before. Considering it could be built one of three ways, it made it difficult to find some of the parts. I went for a stock build. Engine painted Duplicolor Alpine Green - which is a close match for the factory color. I painted the interior a two tone, white and black which I copied from a photo I found online. Body is Testors Black Metallic. The lack of detail on the underside made painting a challenge, but I'm pretty happy with the results. I decided not to chrome the trim on the body as I liked the solid one color.
-
Airbrushed Testors Model Master Turquoise.
-
Thanks for all the kind words!
.thumb.jpg.f6247e8c05423eb52966ca1019847e11.jpg)


.jpg.d639bd9f29173171e67797d2b58738a1.jpg)