nickfzr61
-
Posts
311 -
Joined
-
Last visited
1 Follower
Recent Profile Visitors
5,333 profile views


nickfzr61's Achievements
MCM Avid Poster (5/6)
-
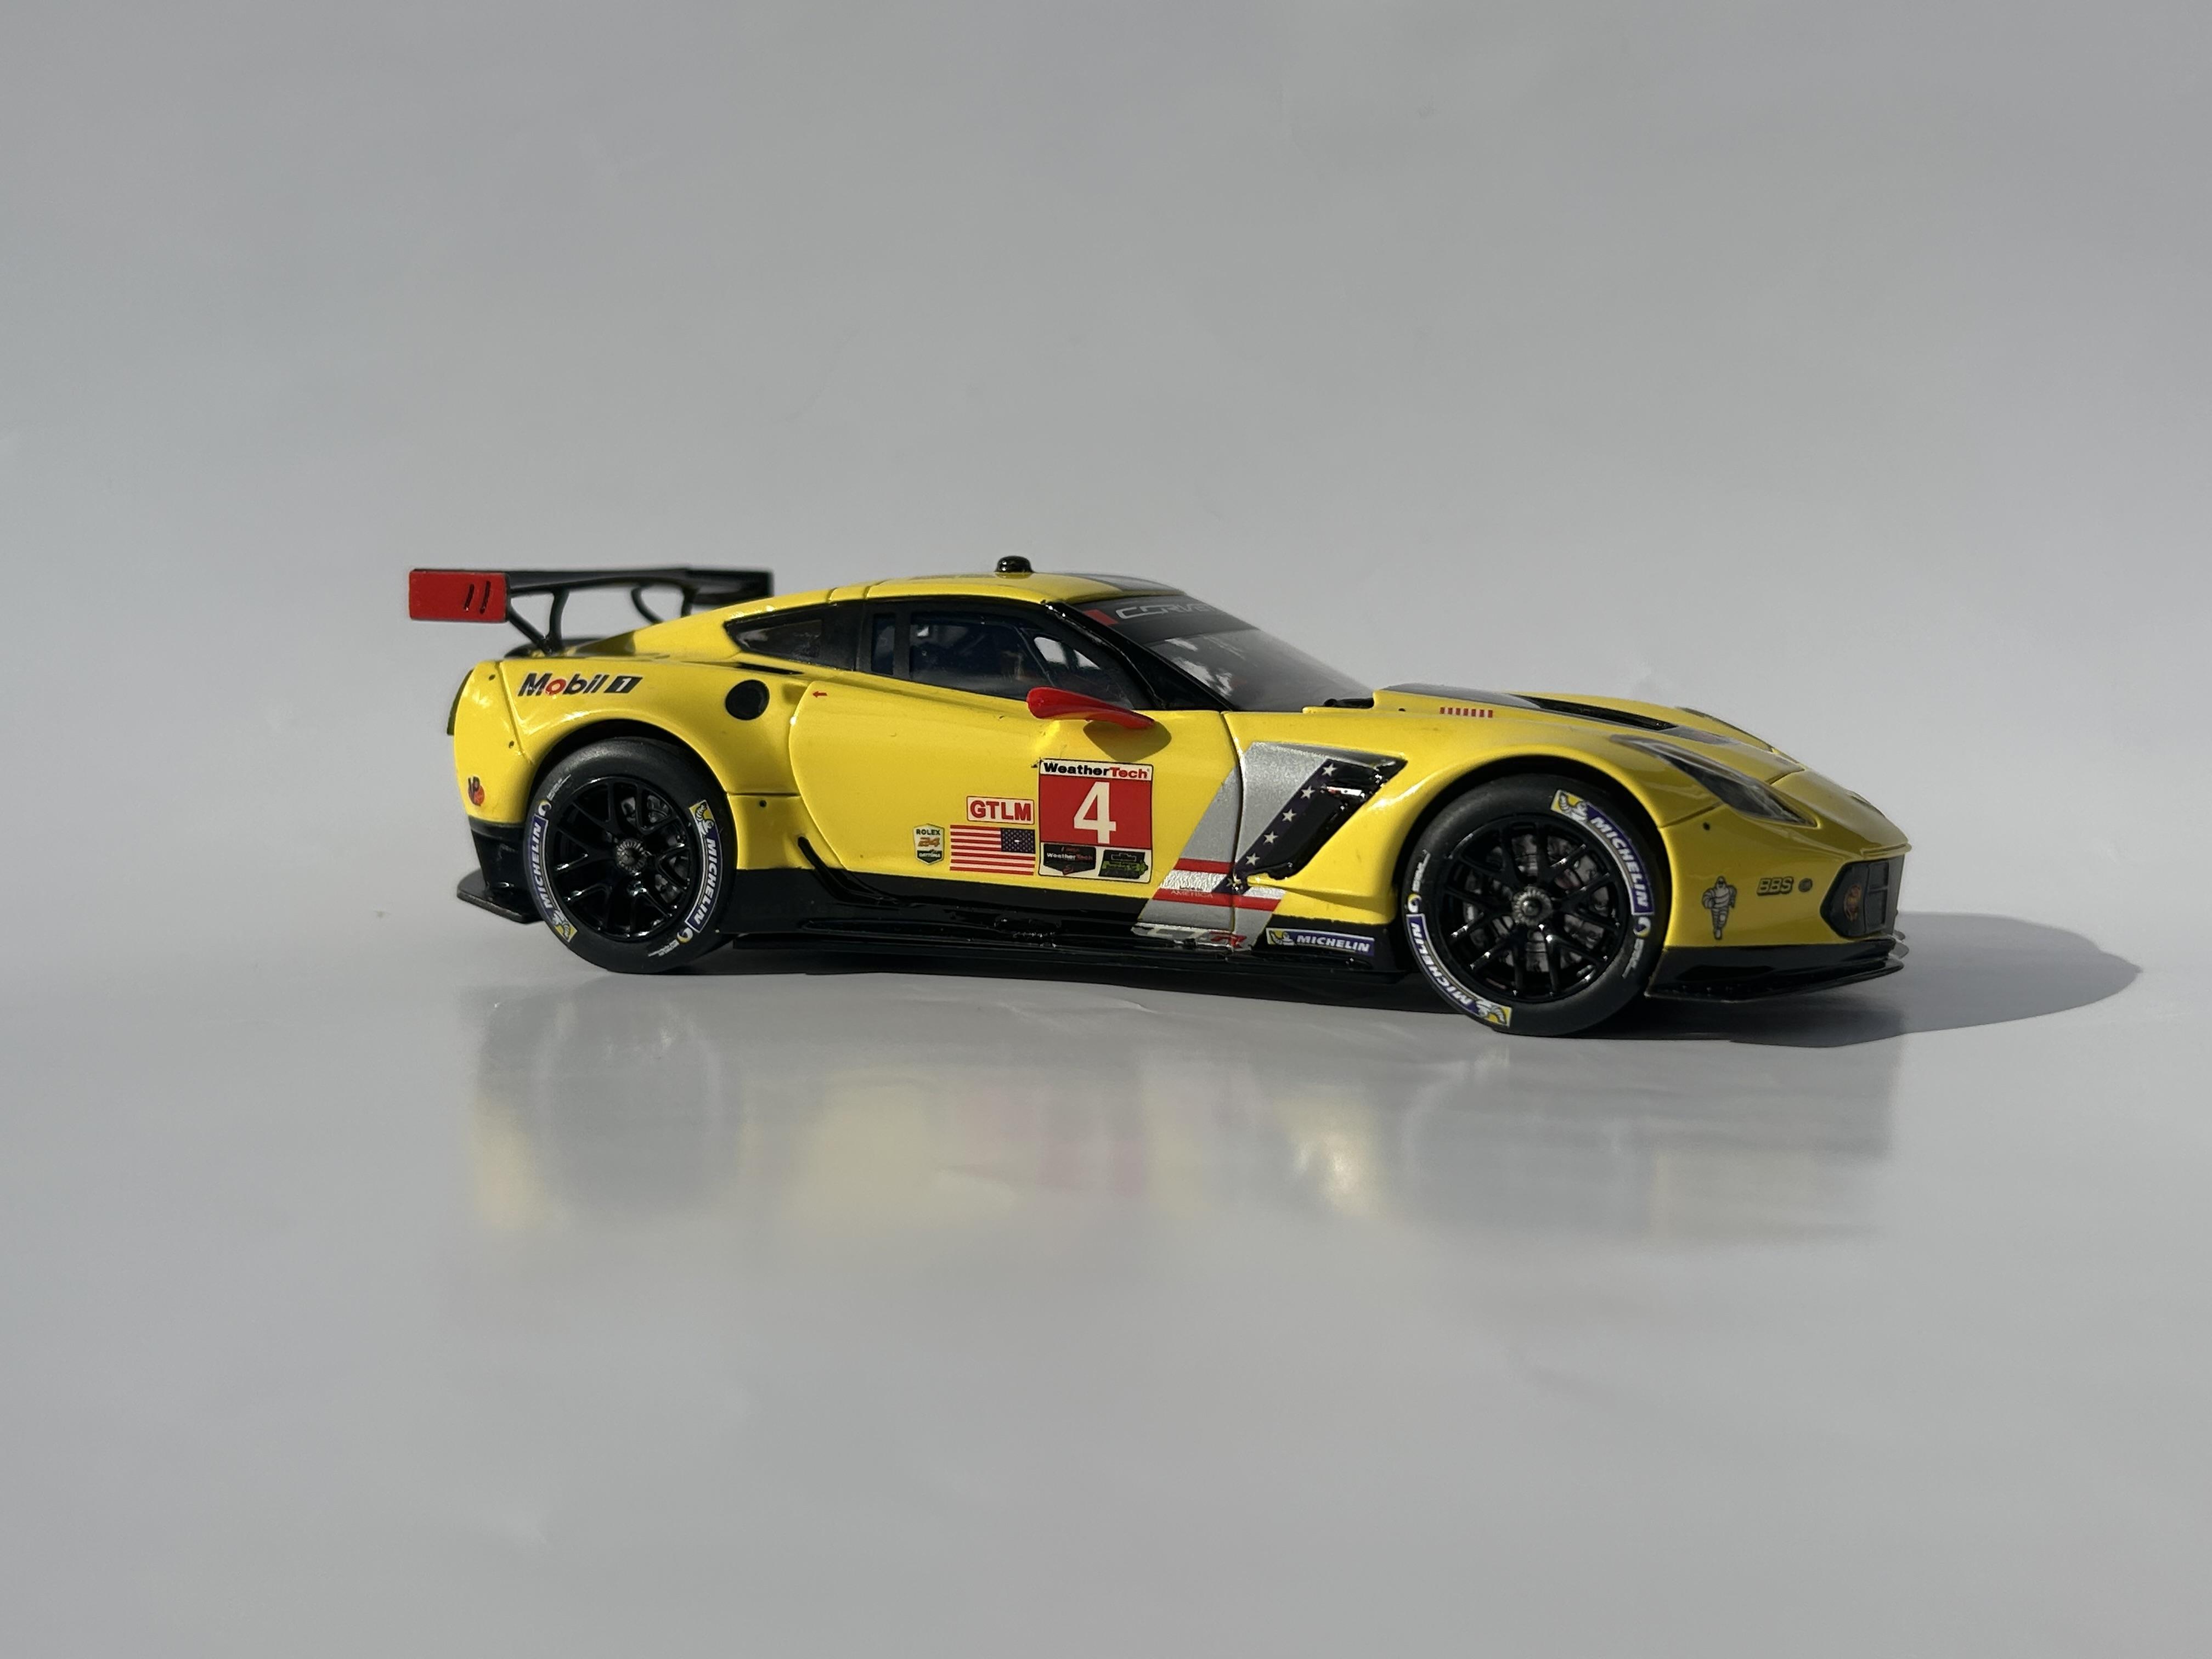
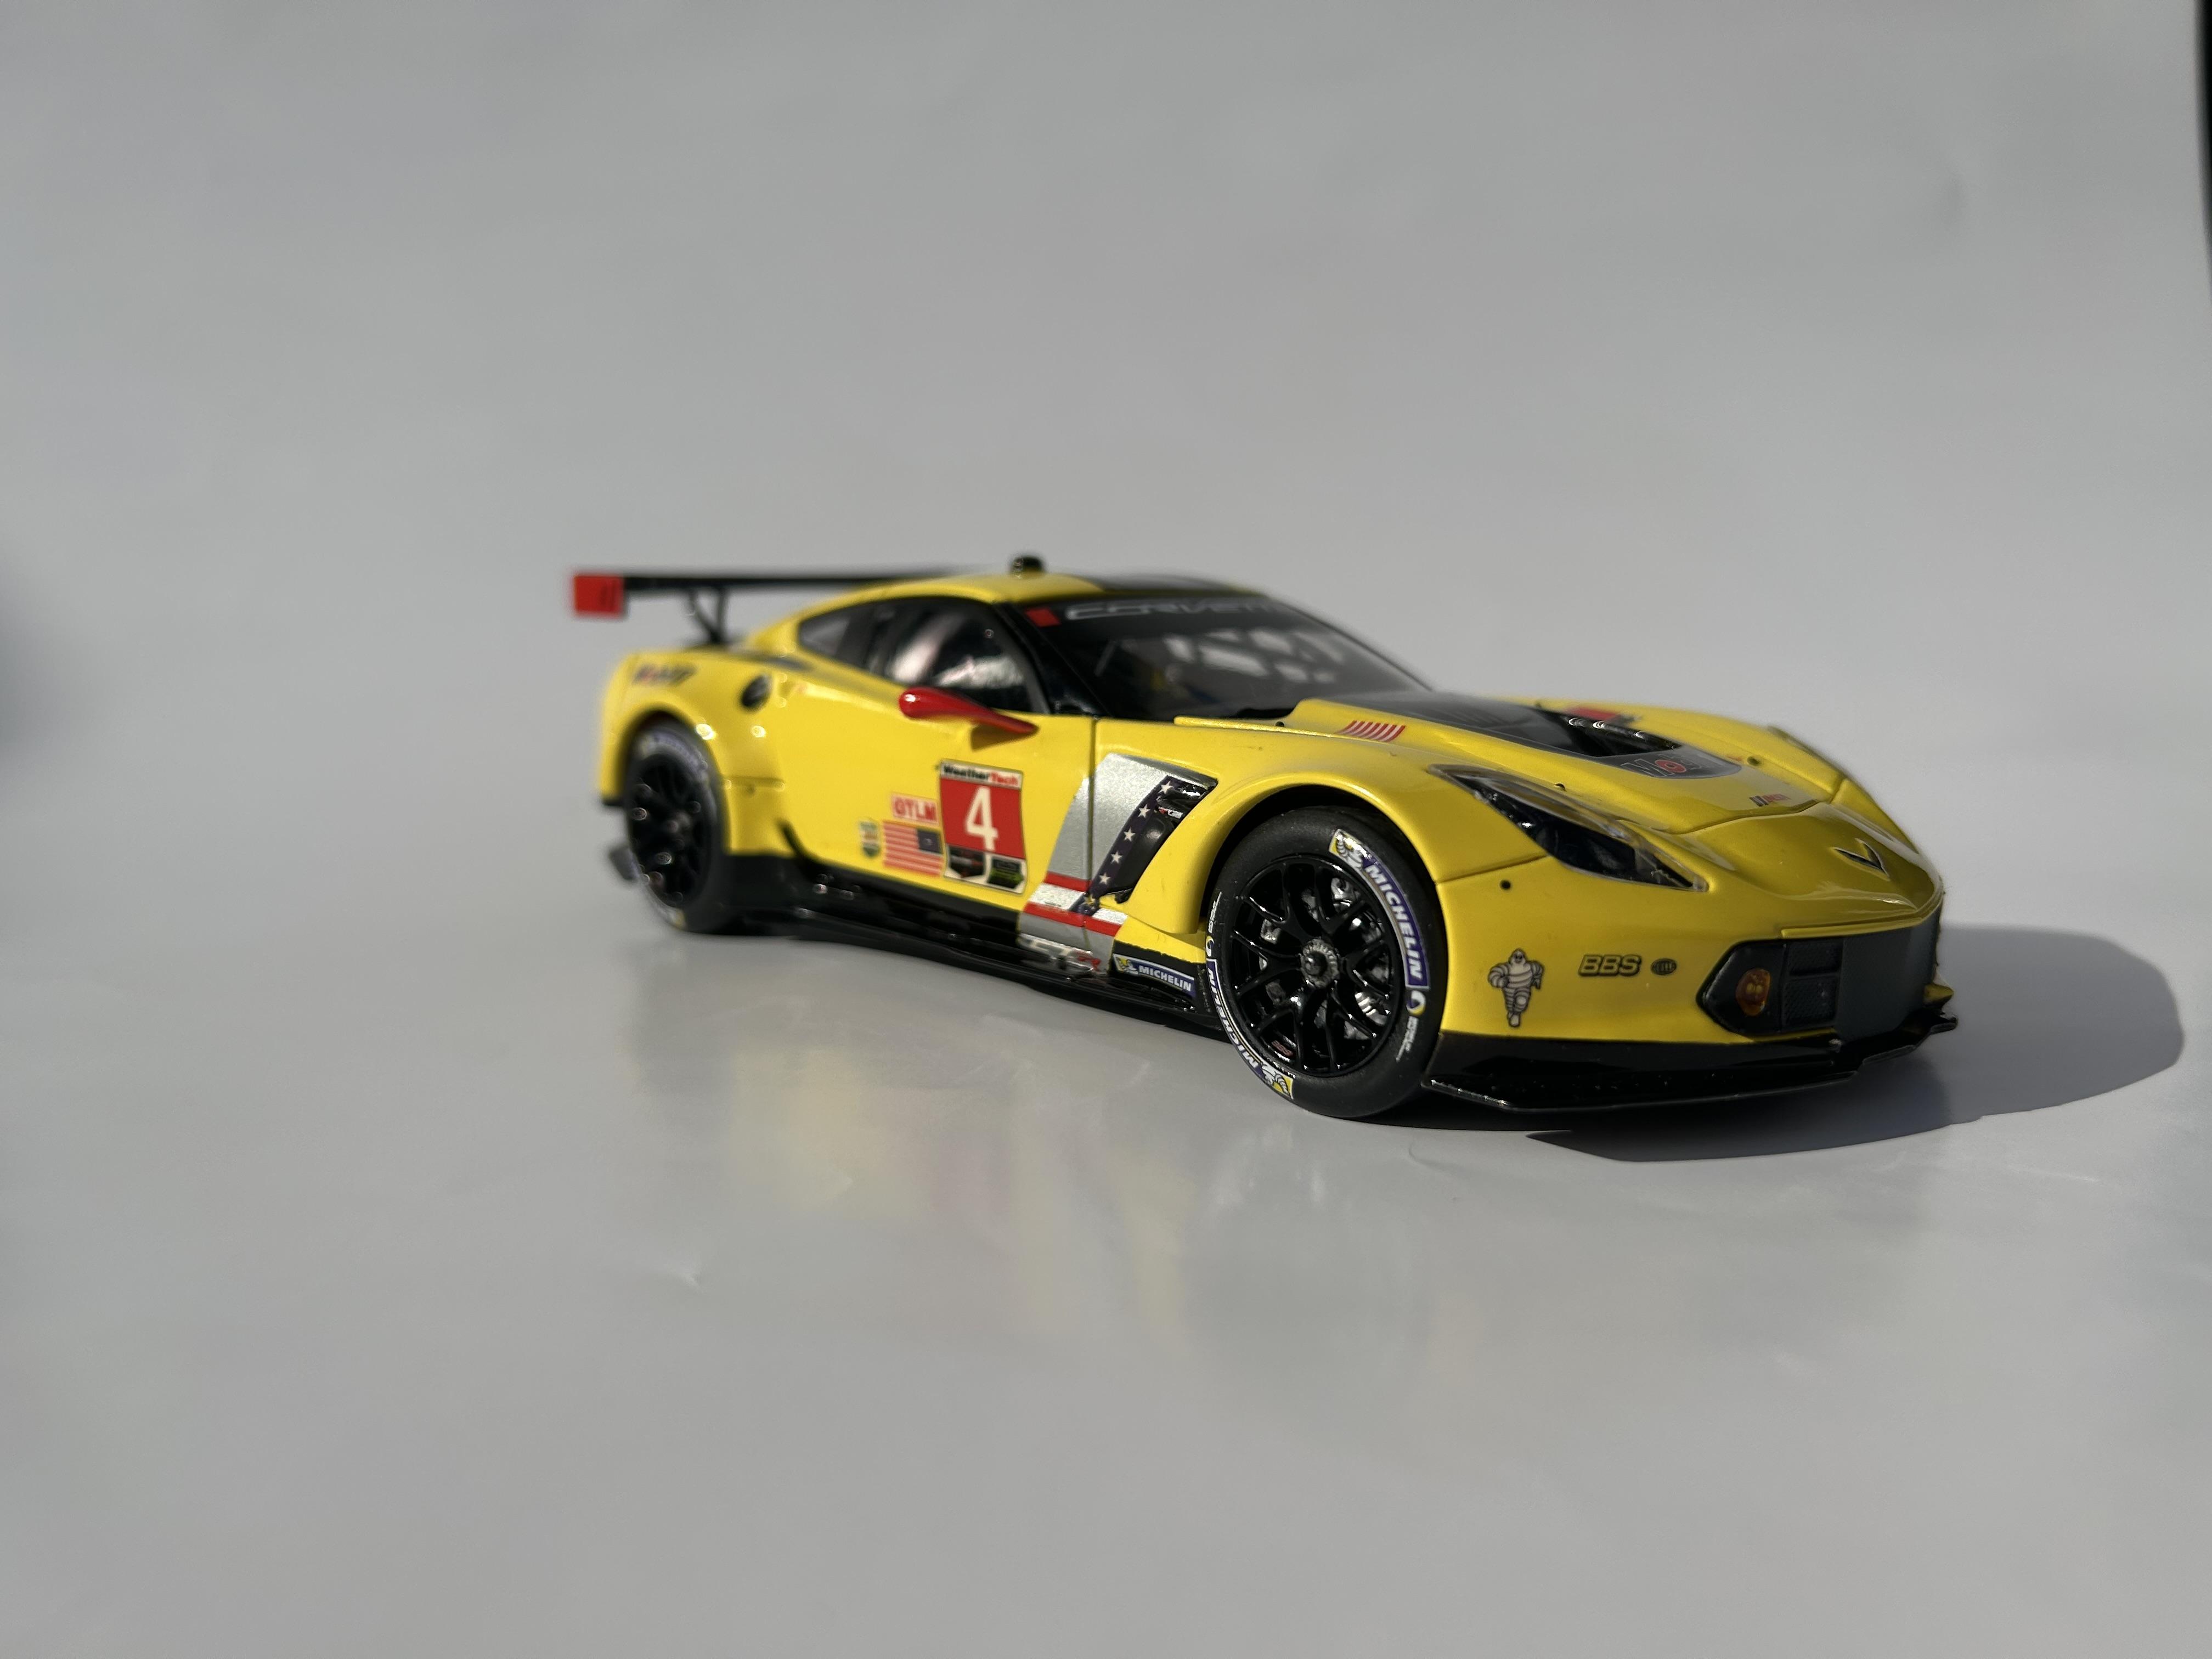
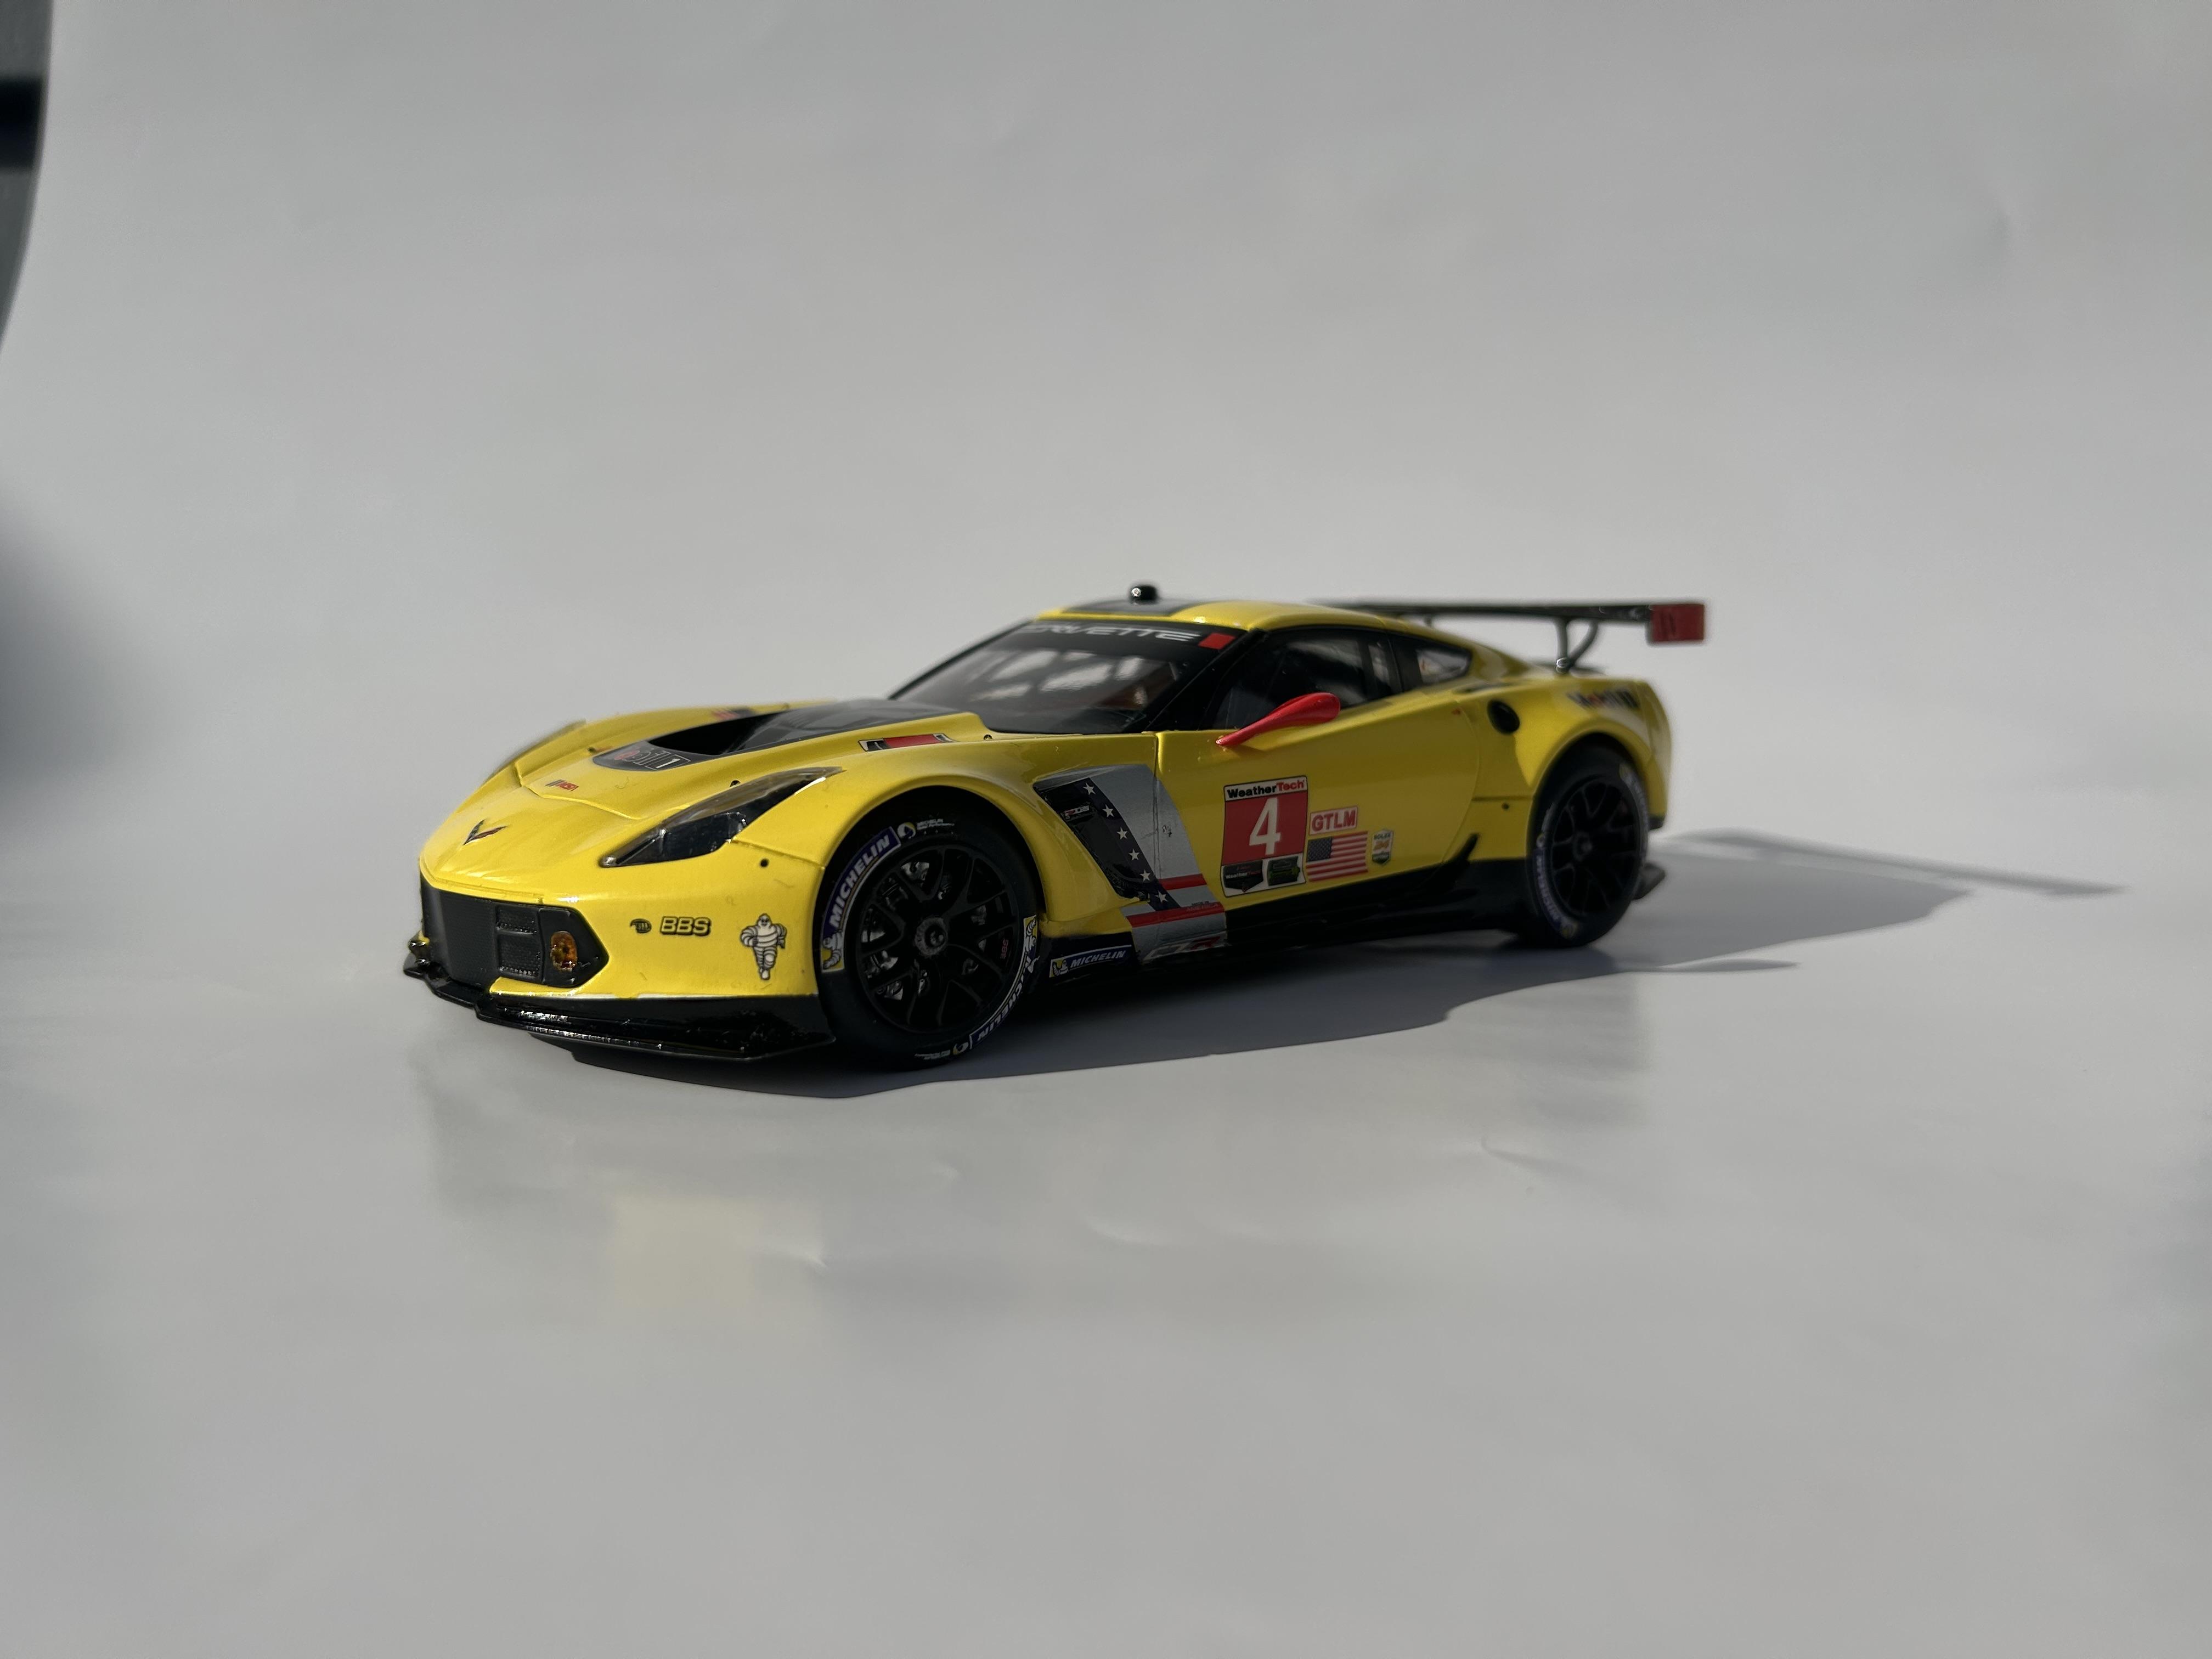
Revell 1/25 Corvette C7.R
nickfzr61 replied to nickfzr61's topic in Other Racing: Road Racing, Salt Flat Racers
Thanks all. Much appreciated. -
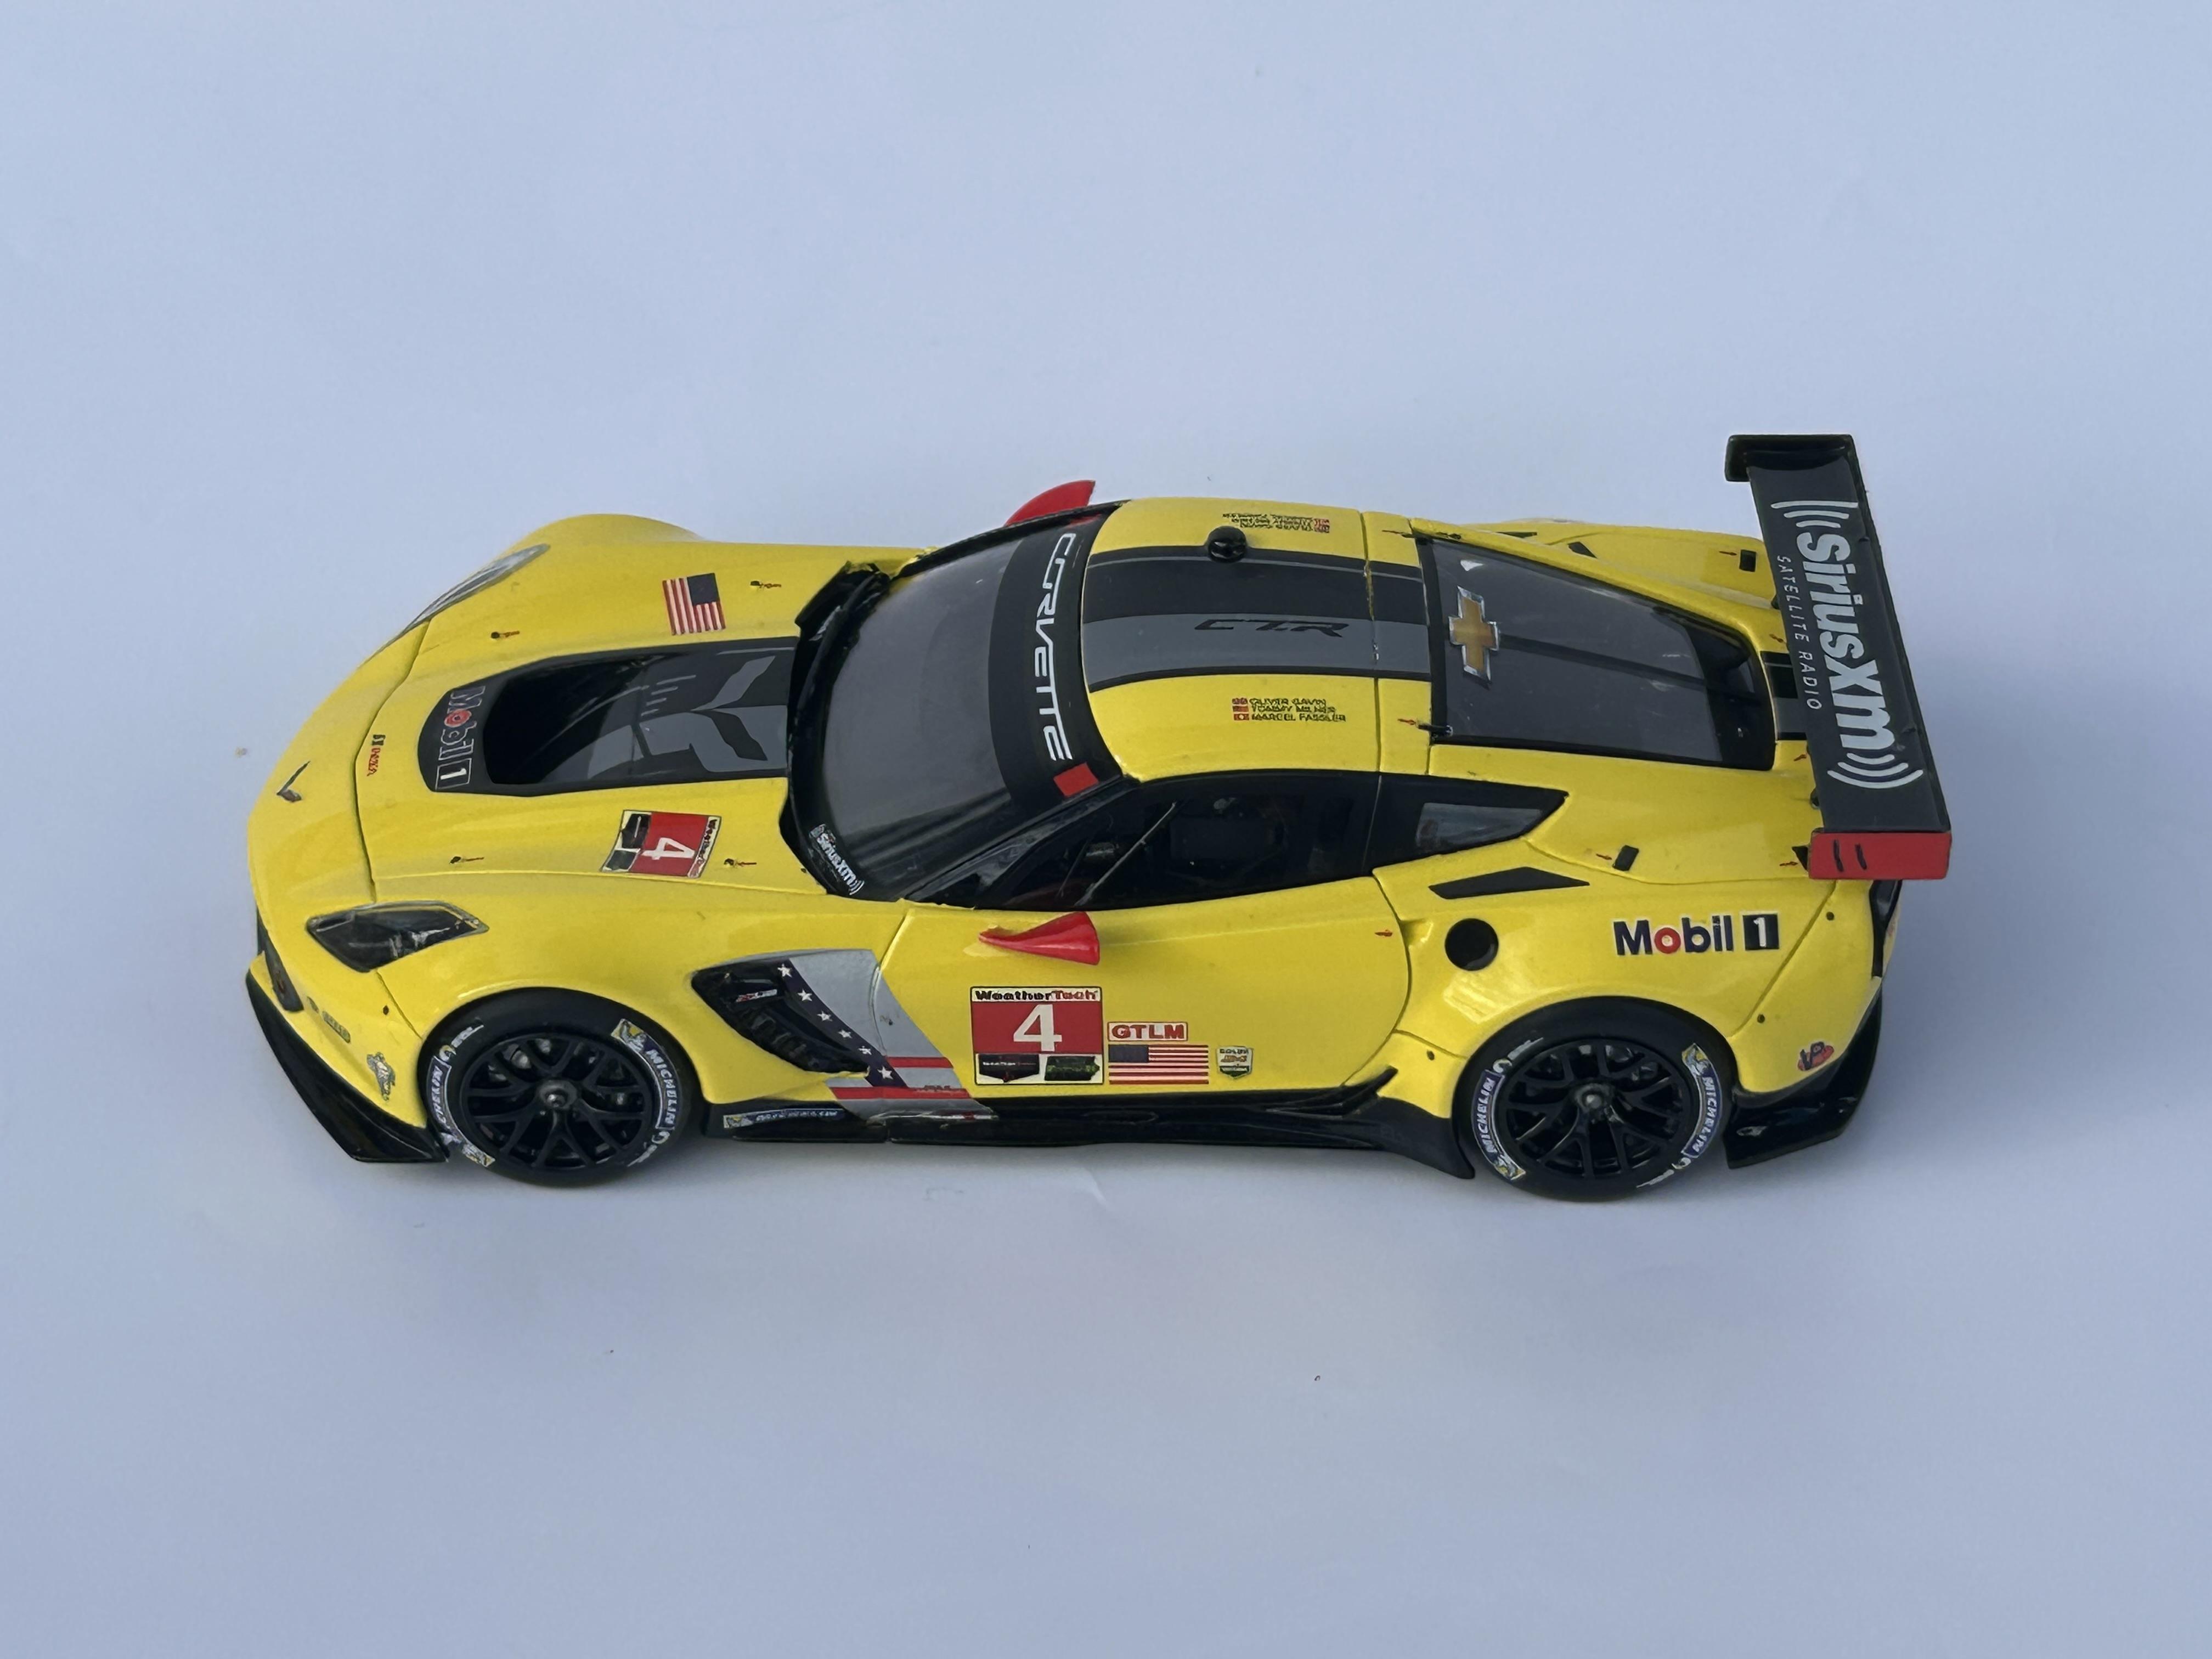
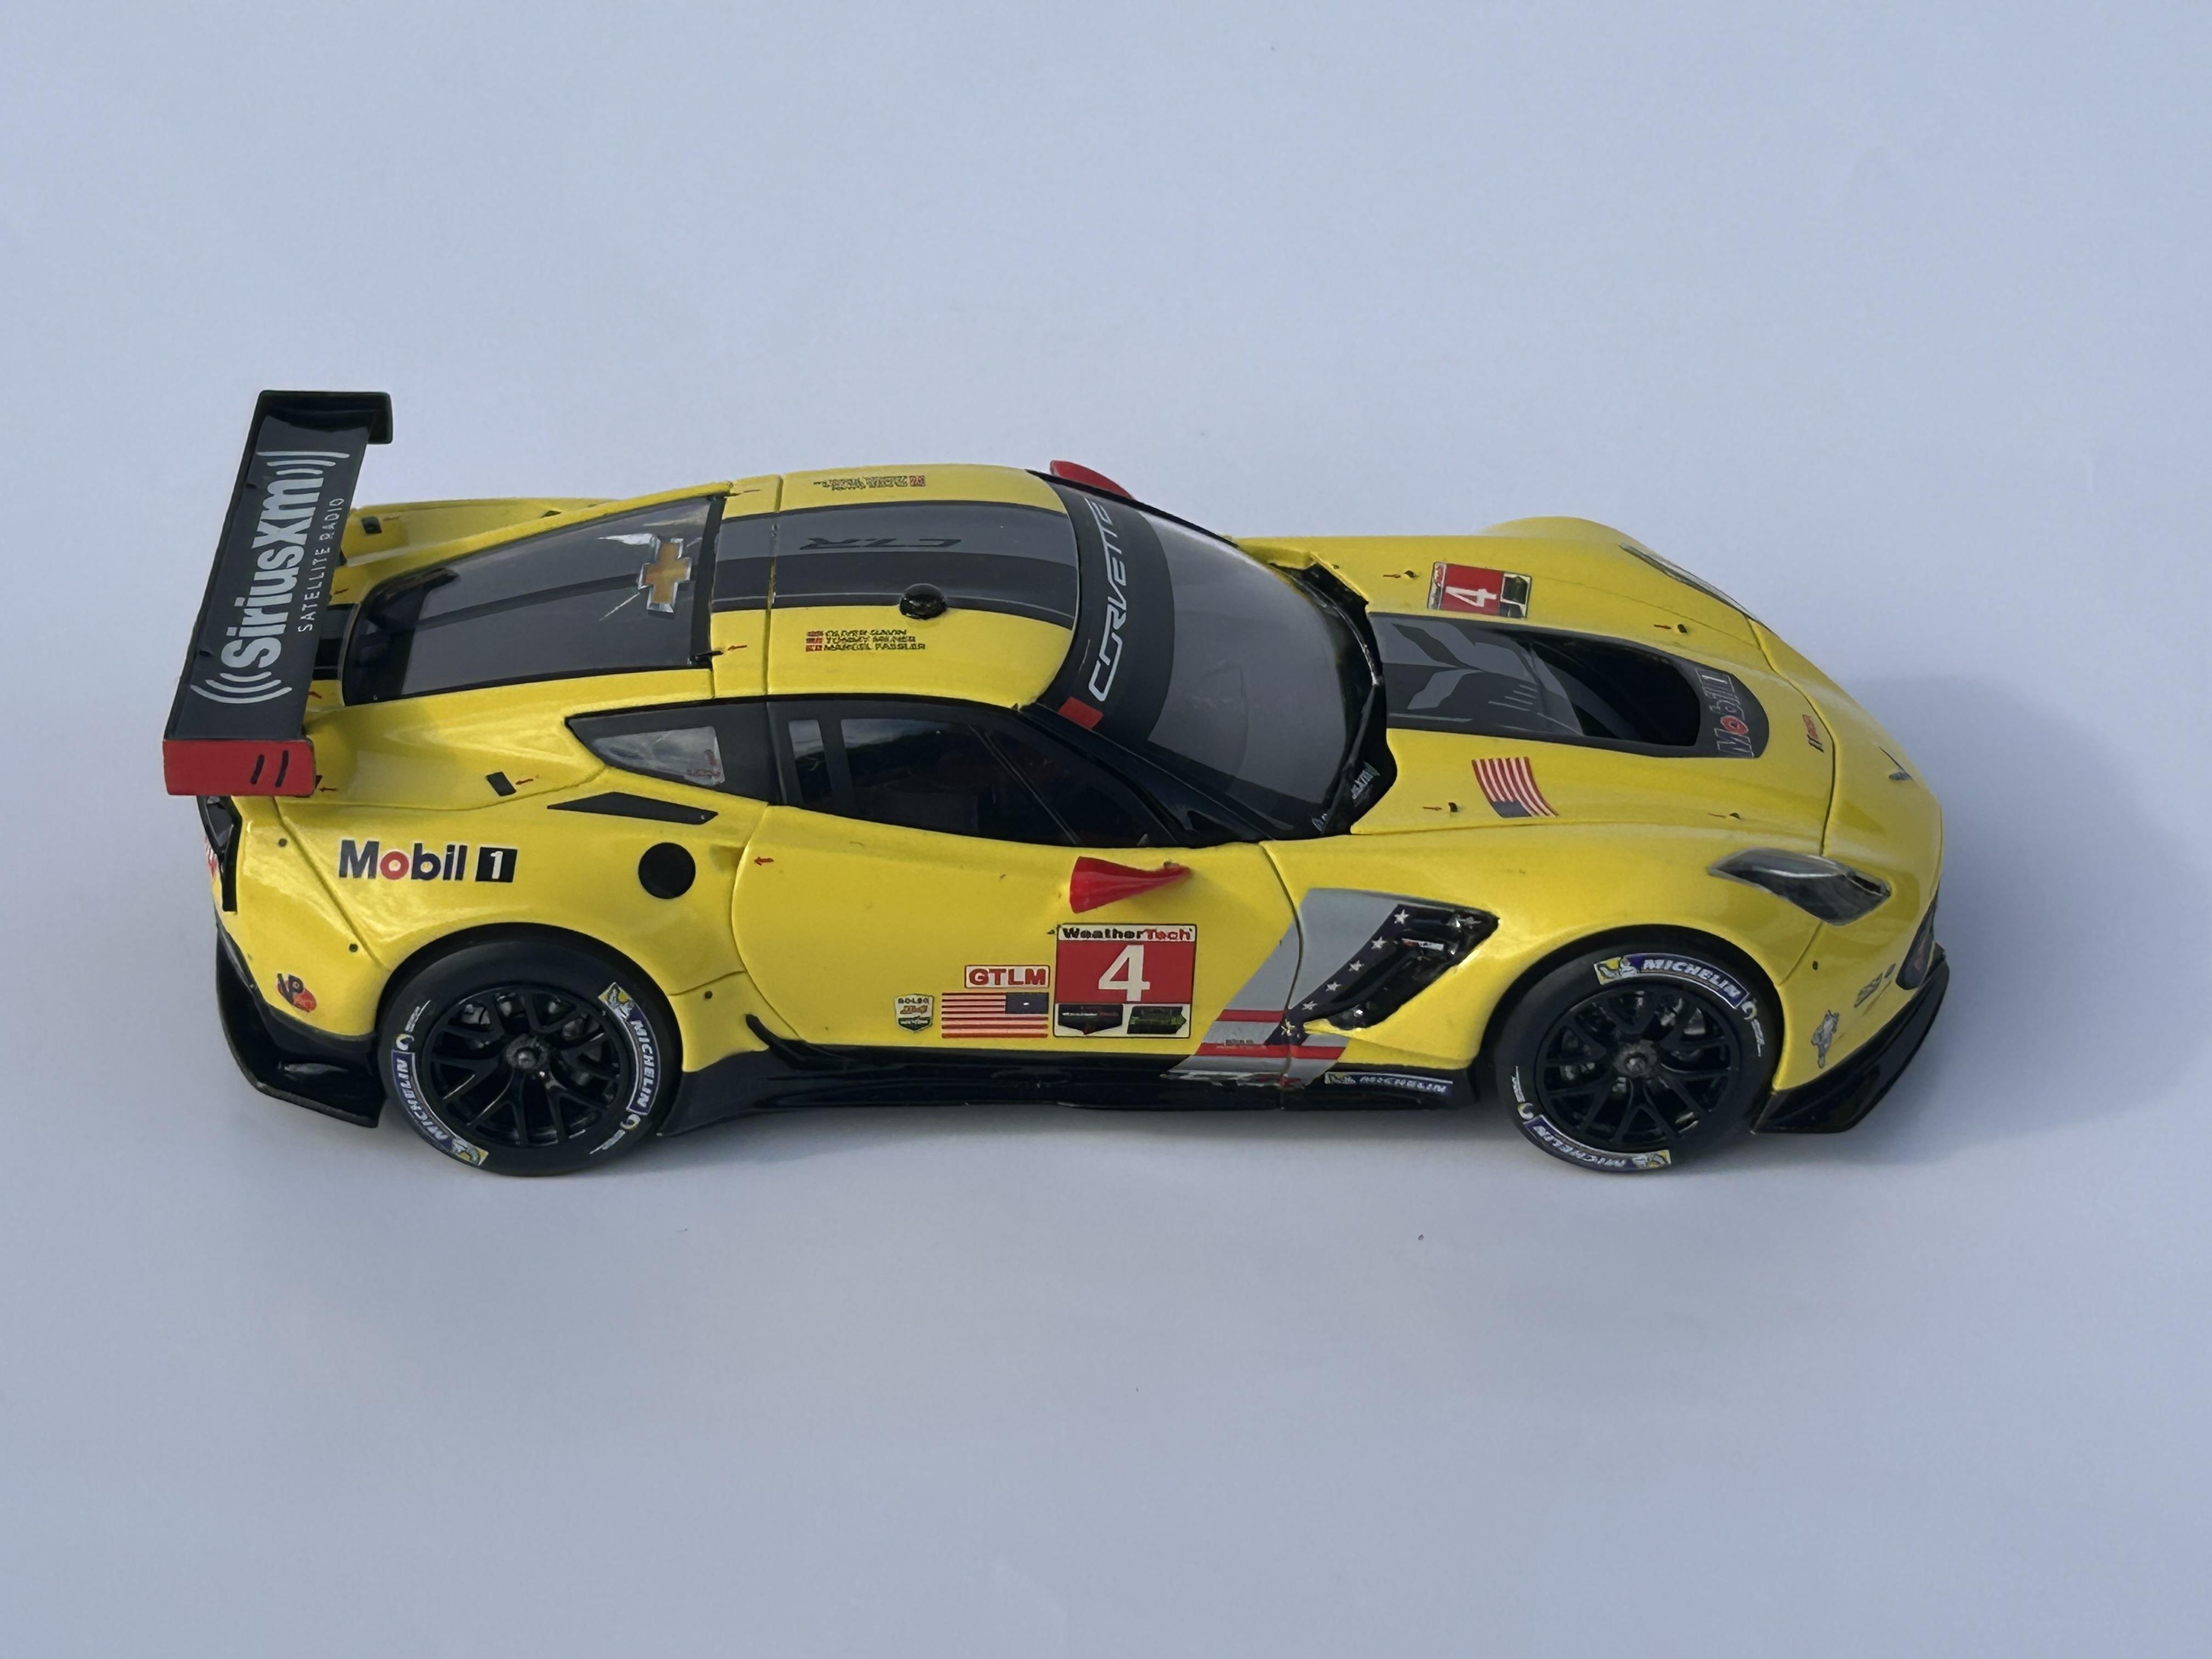
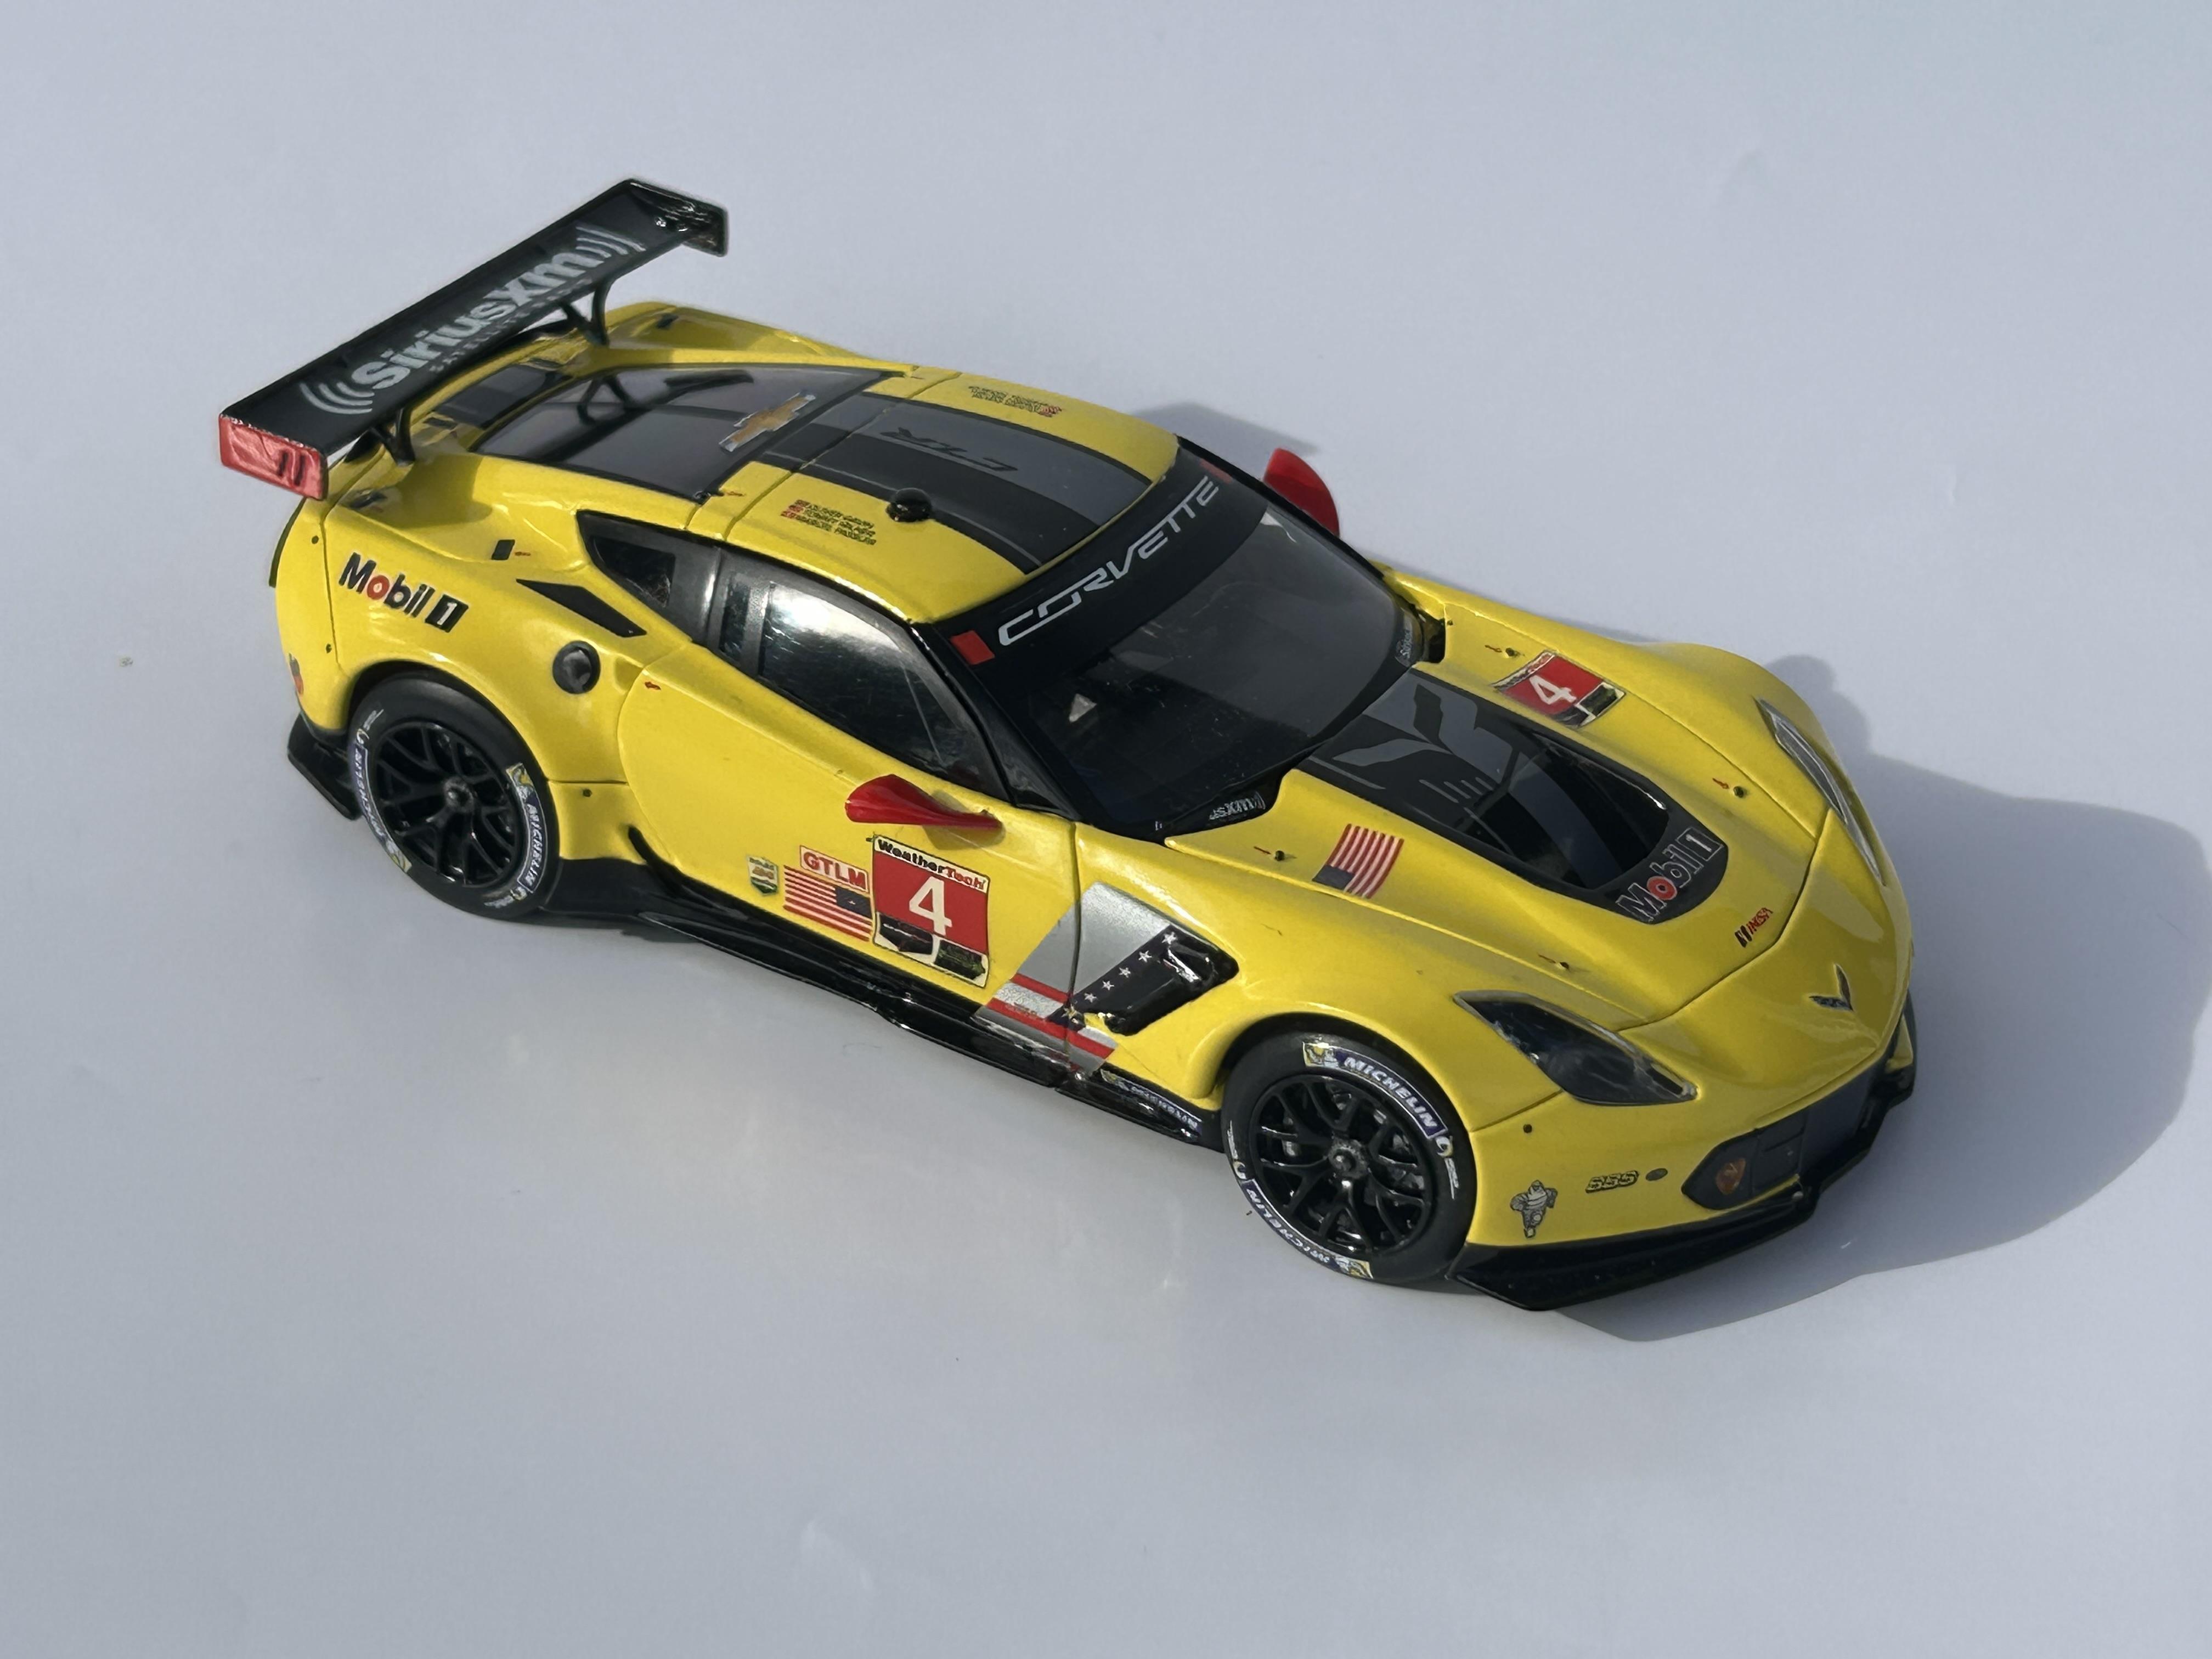
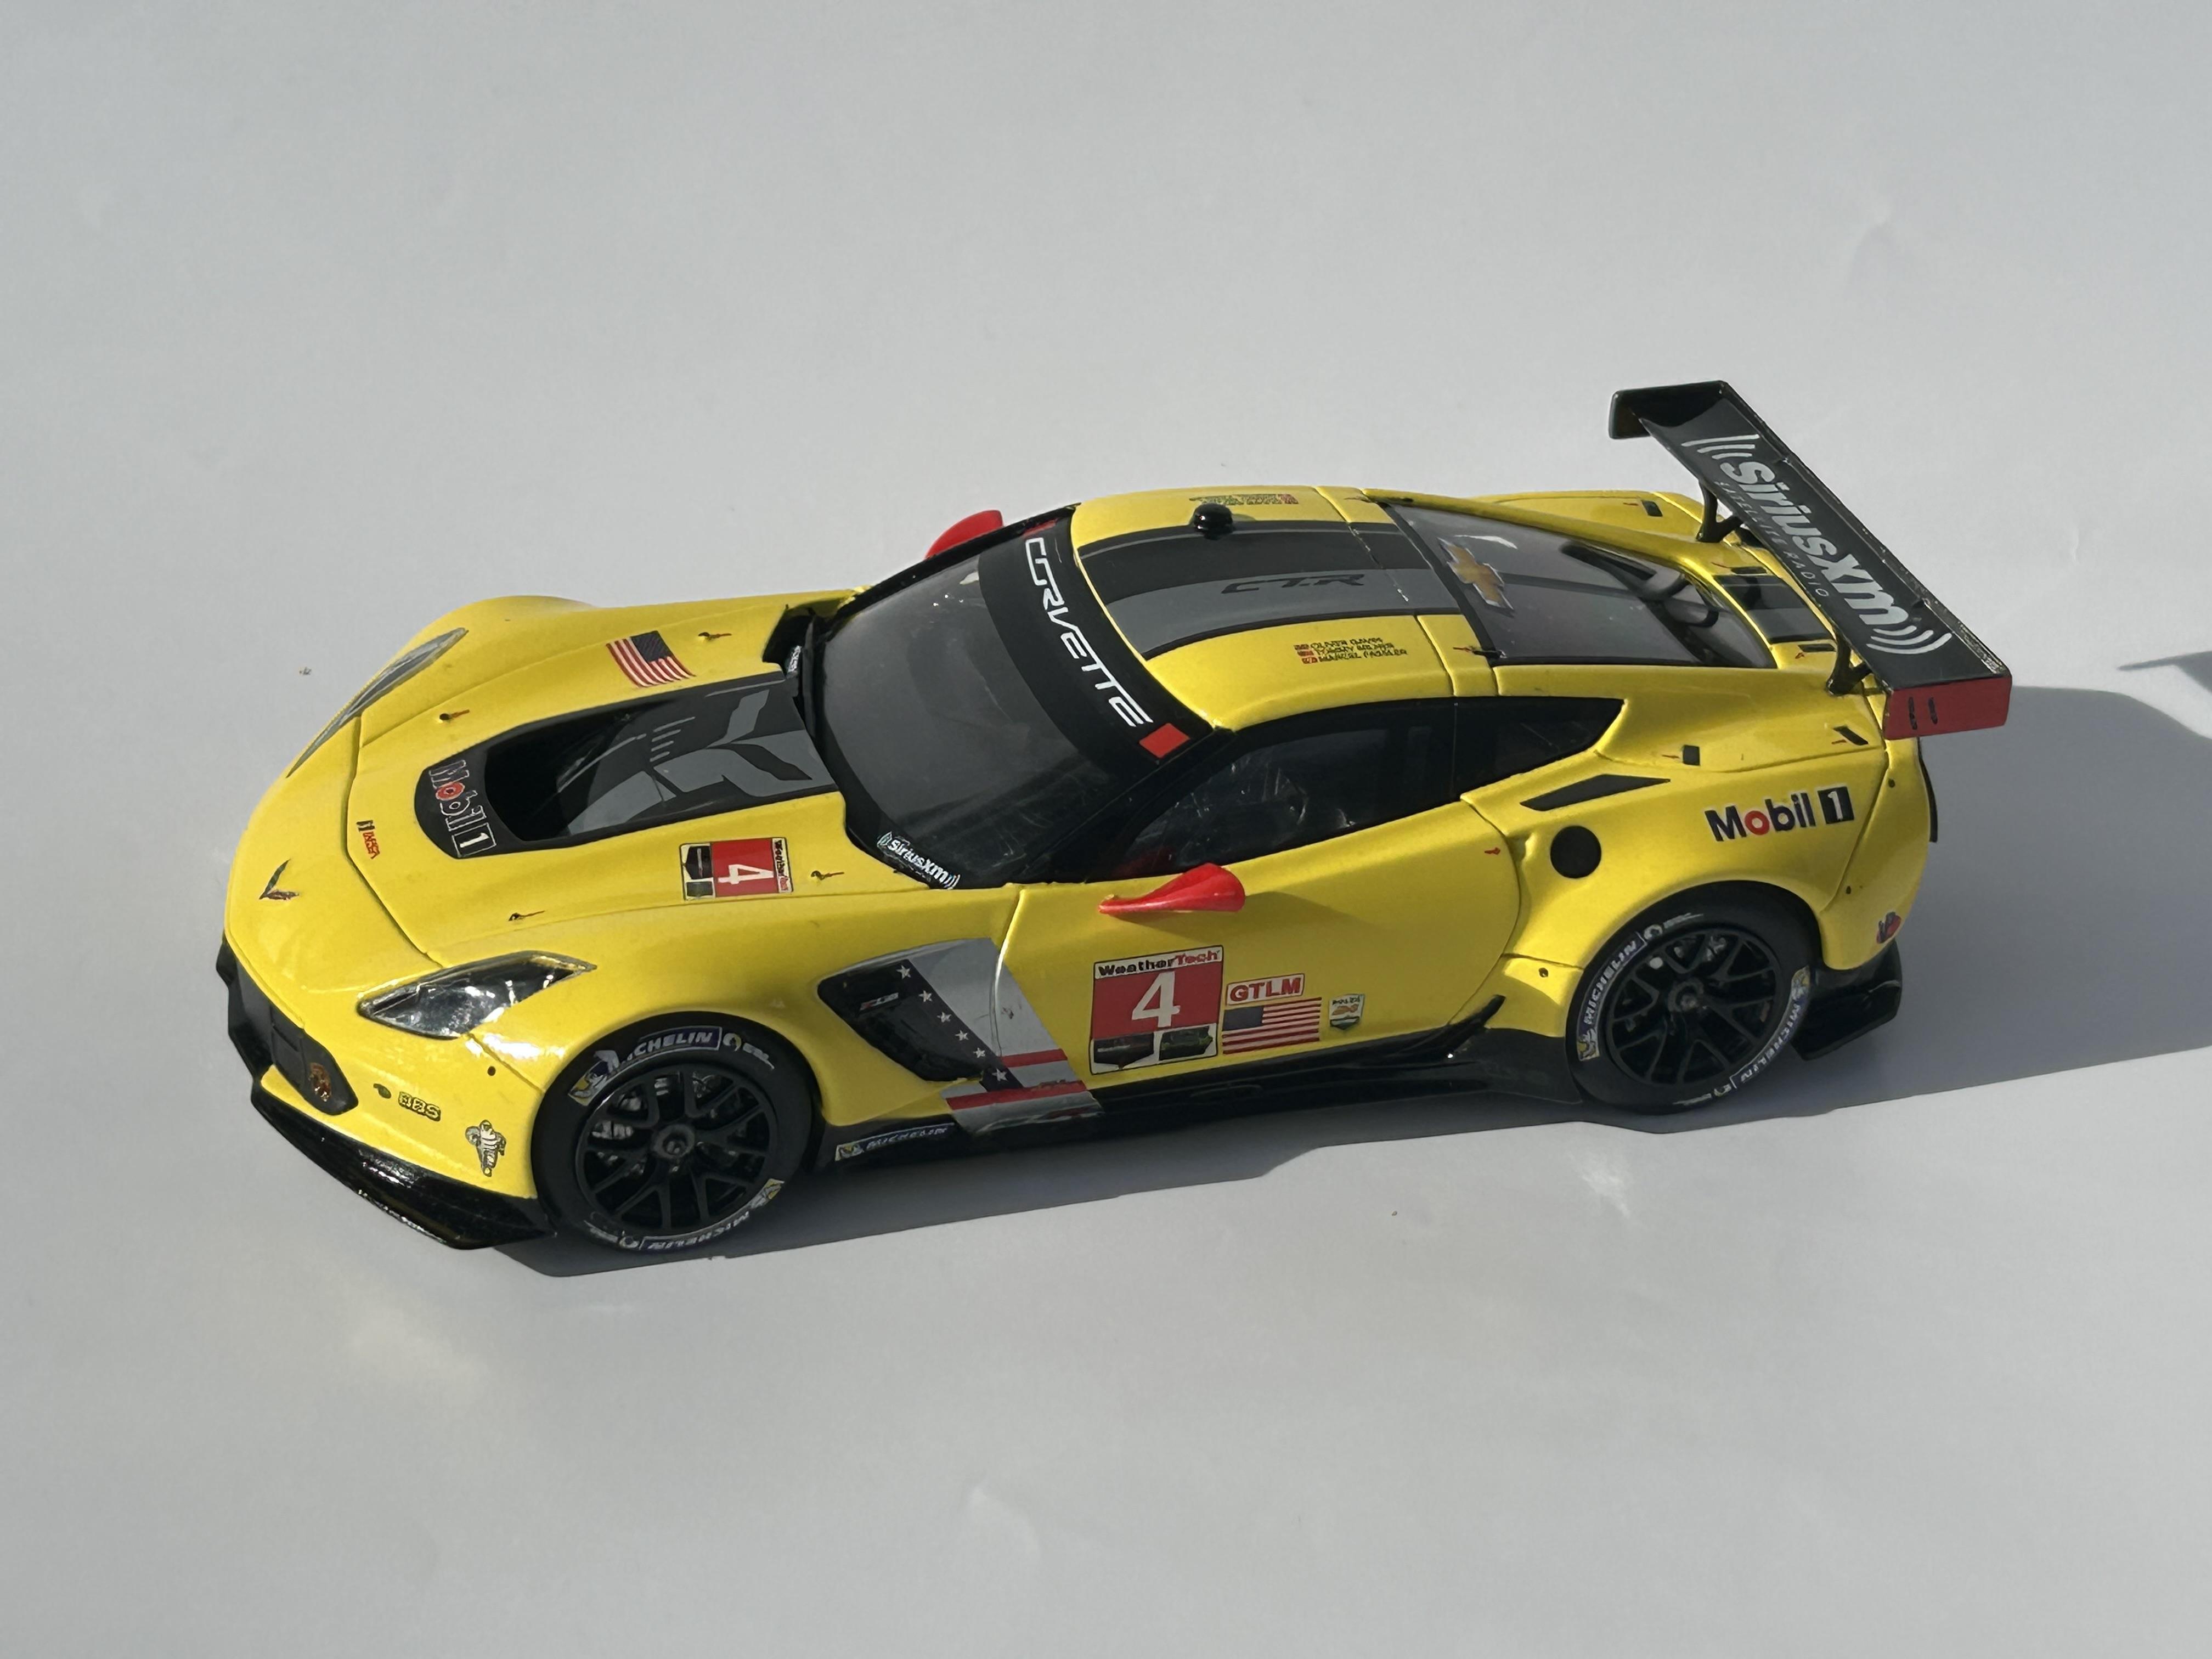
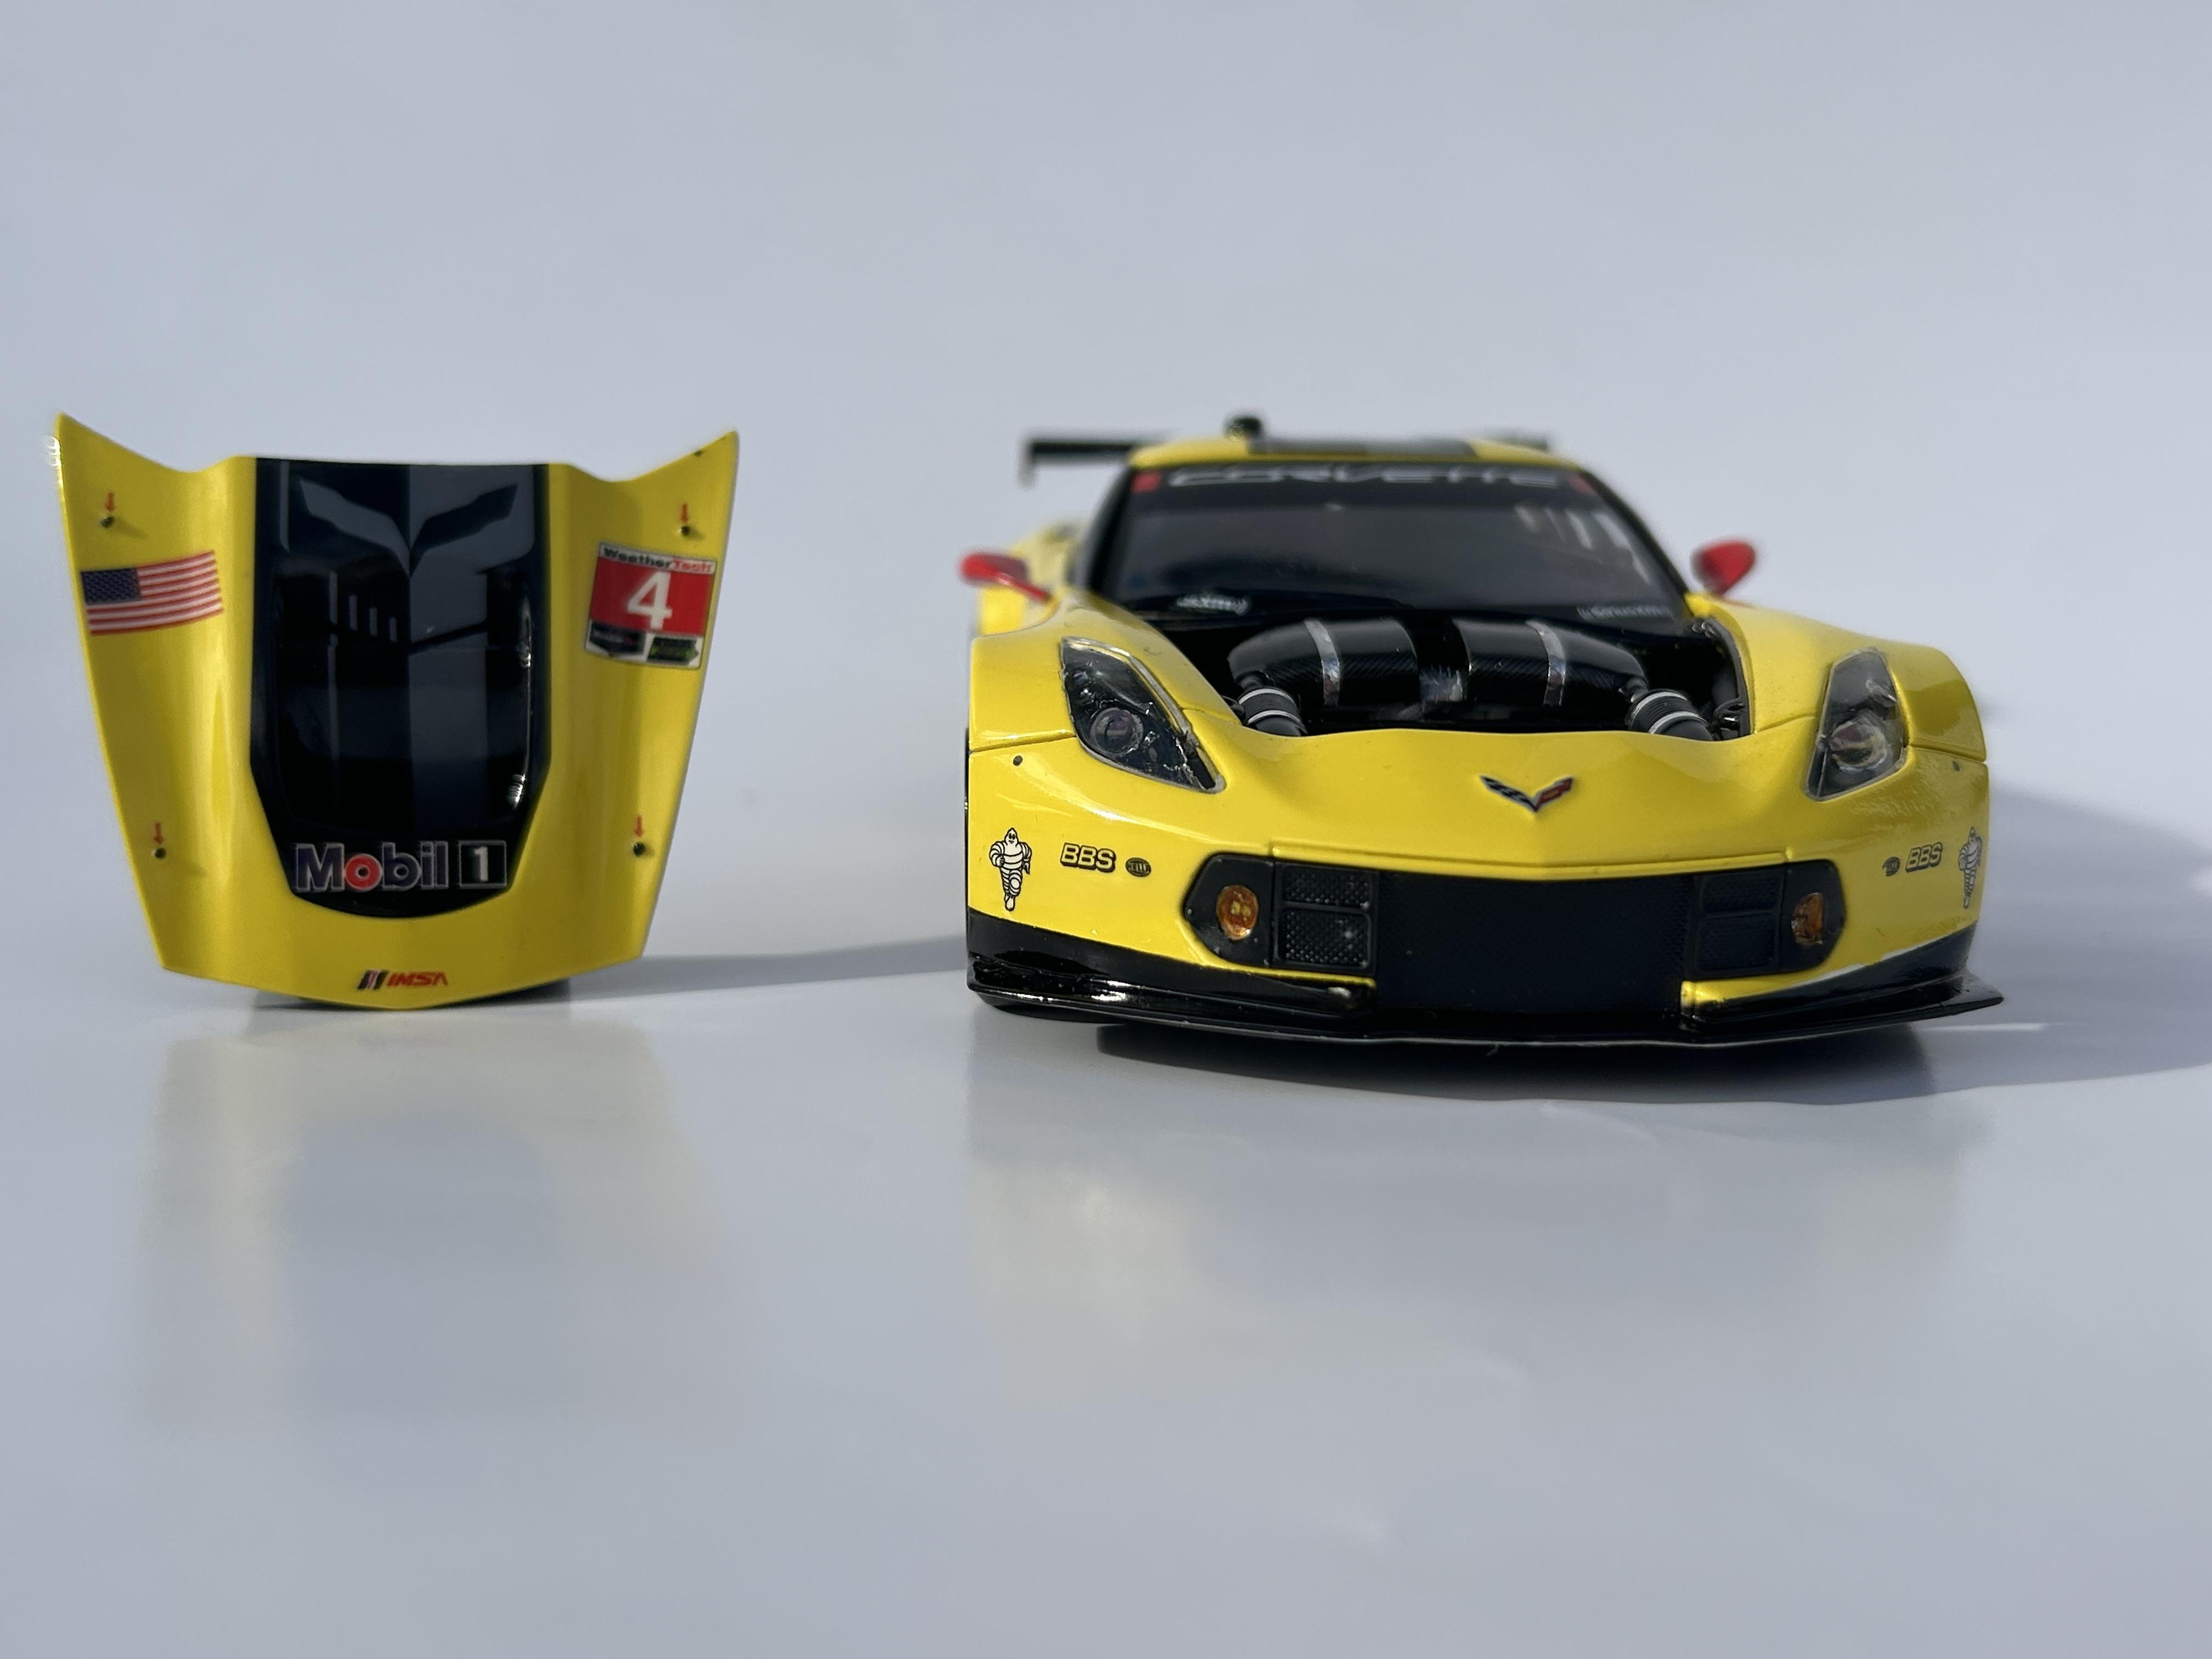
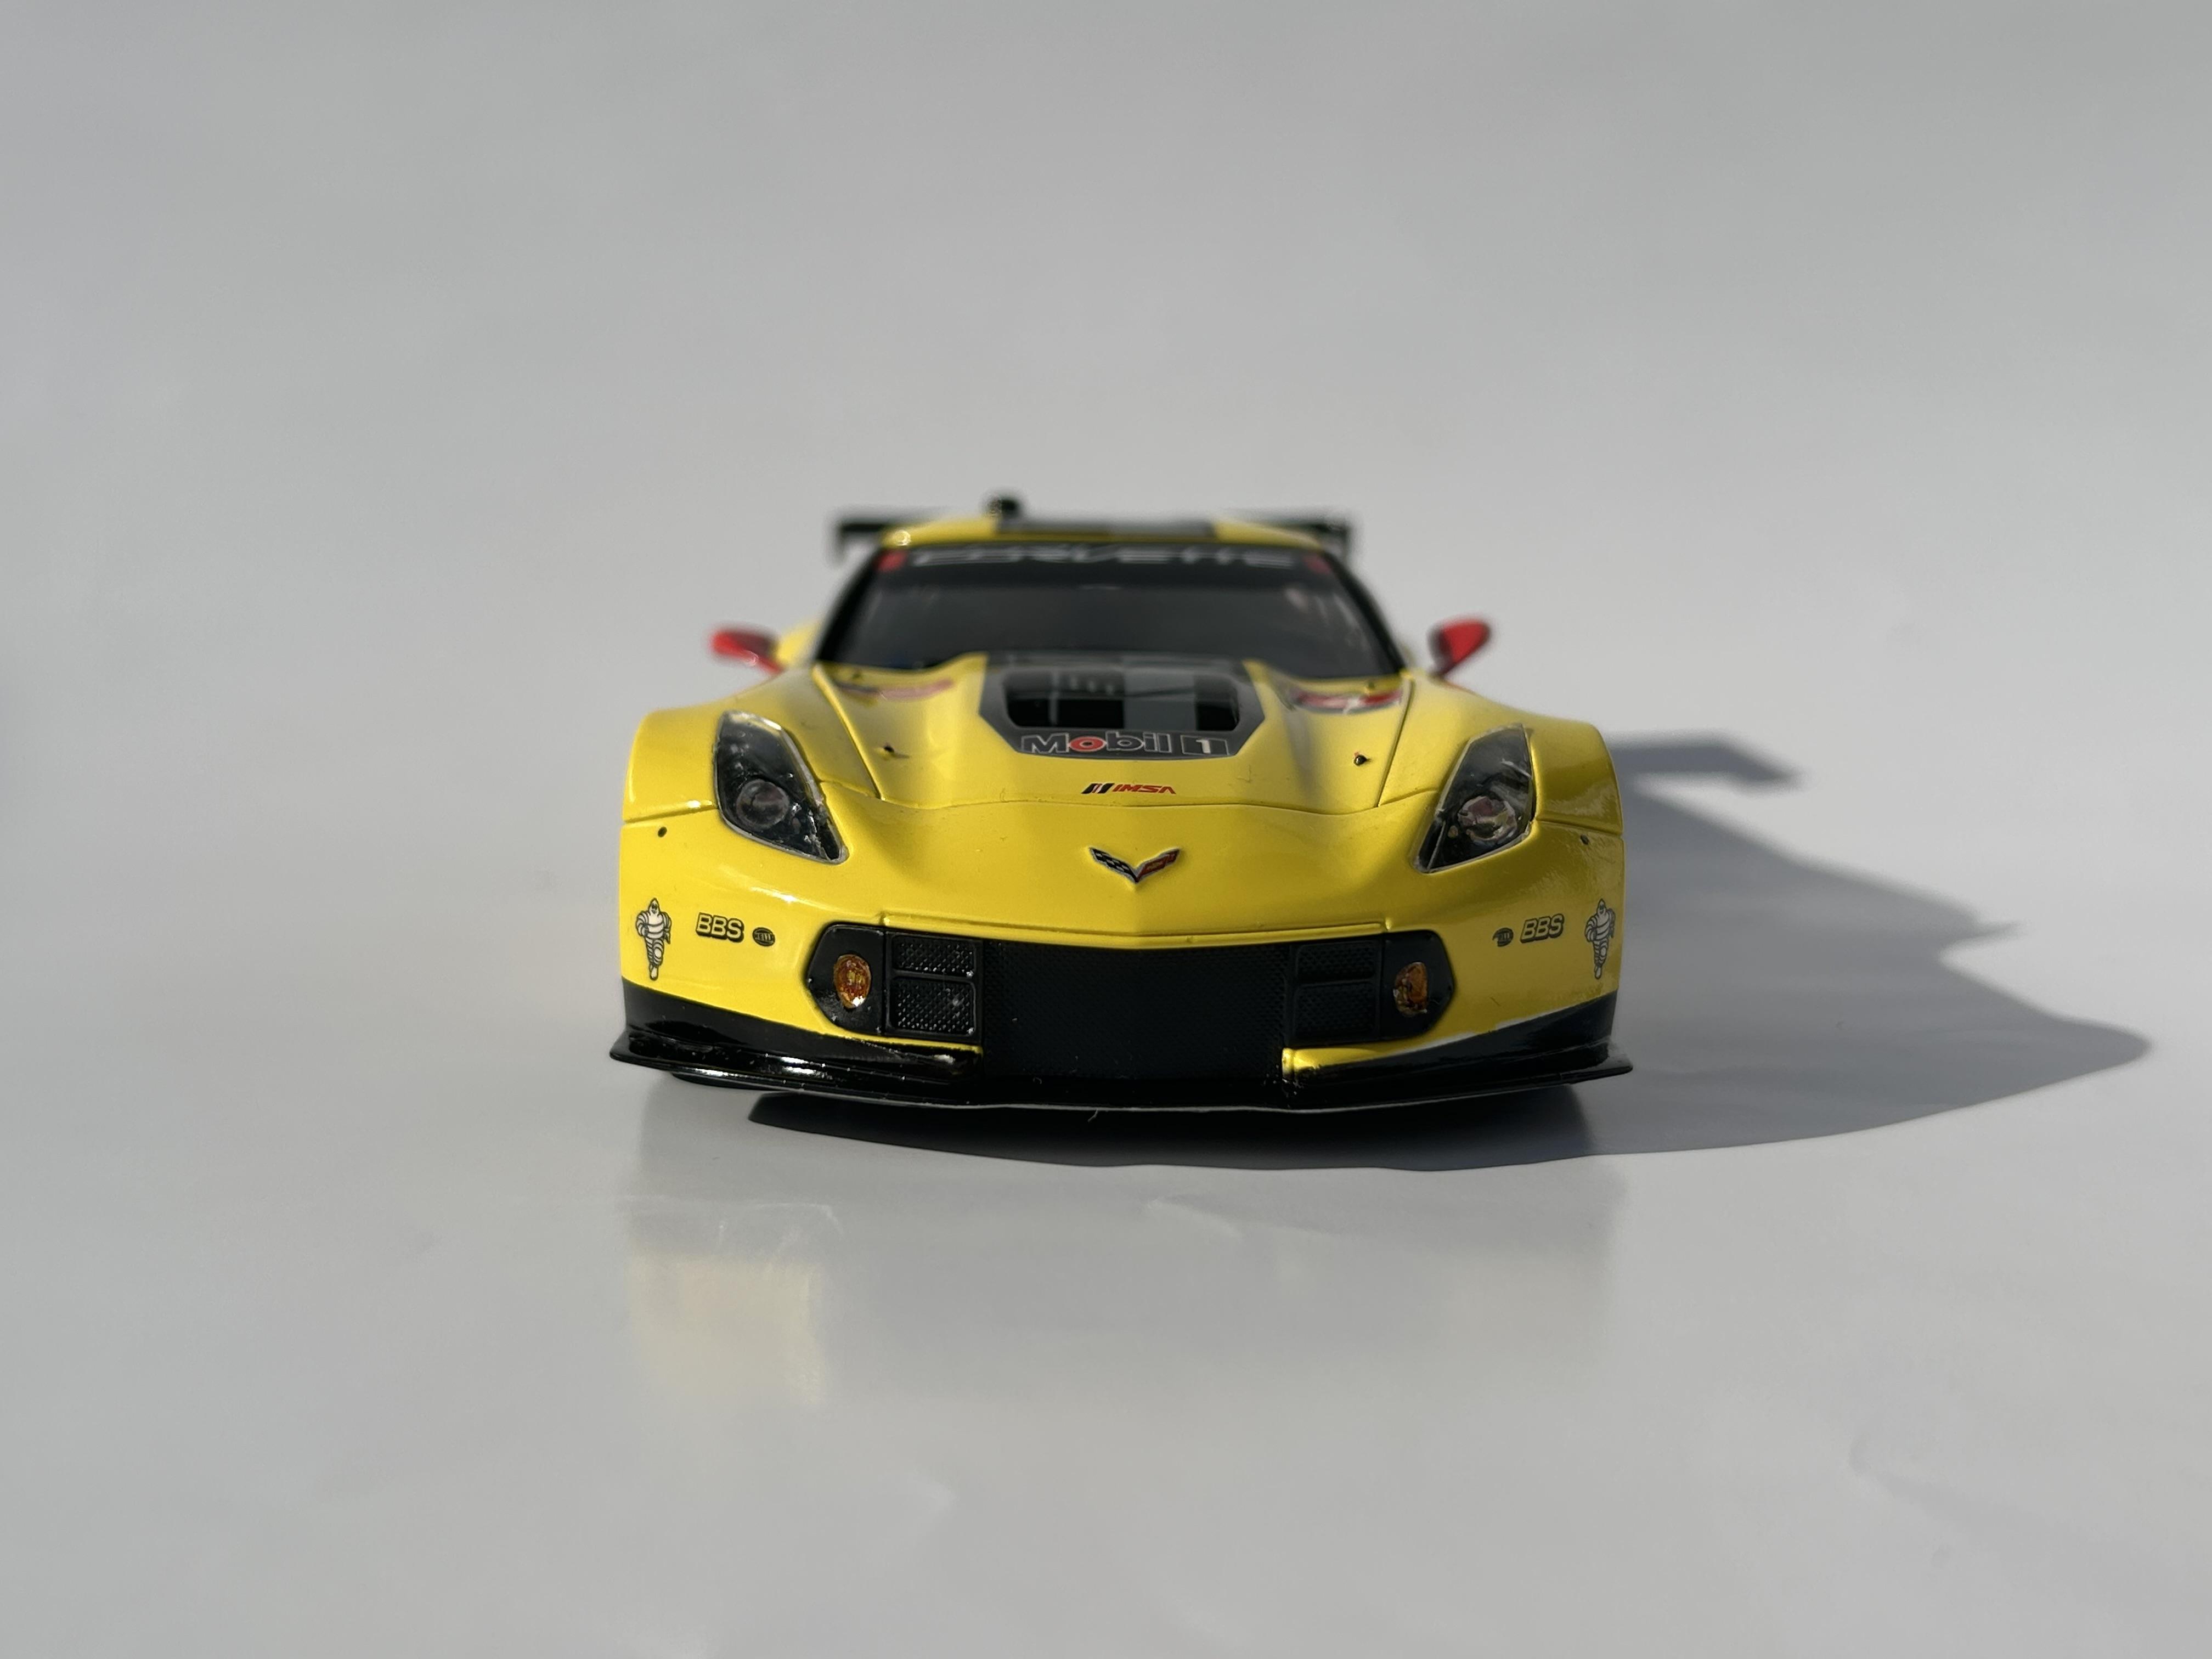
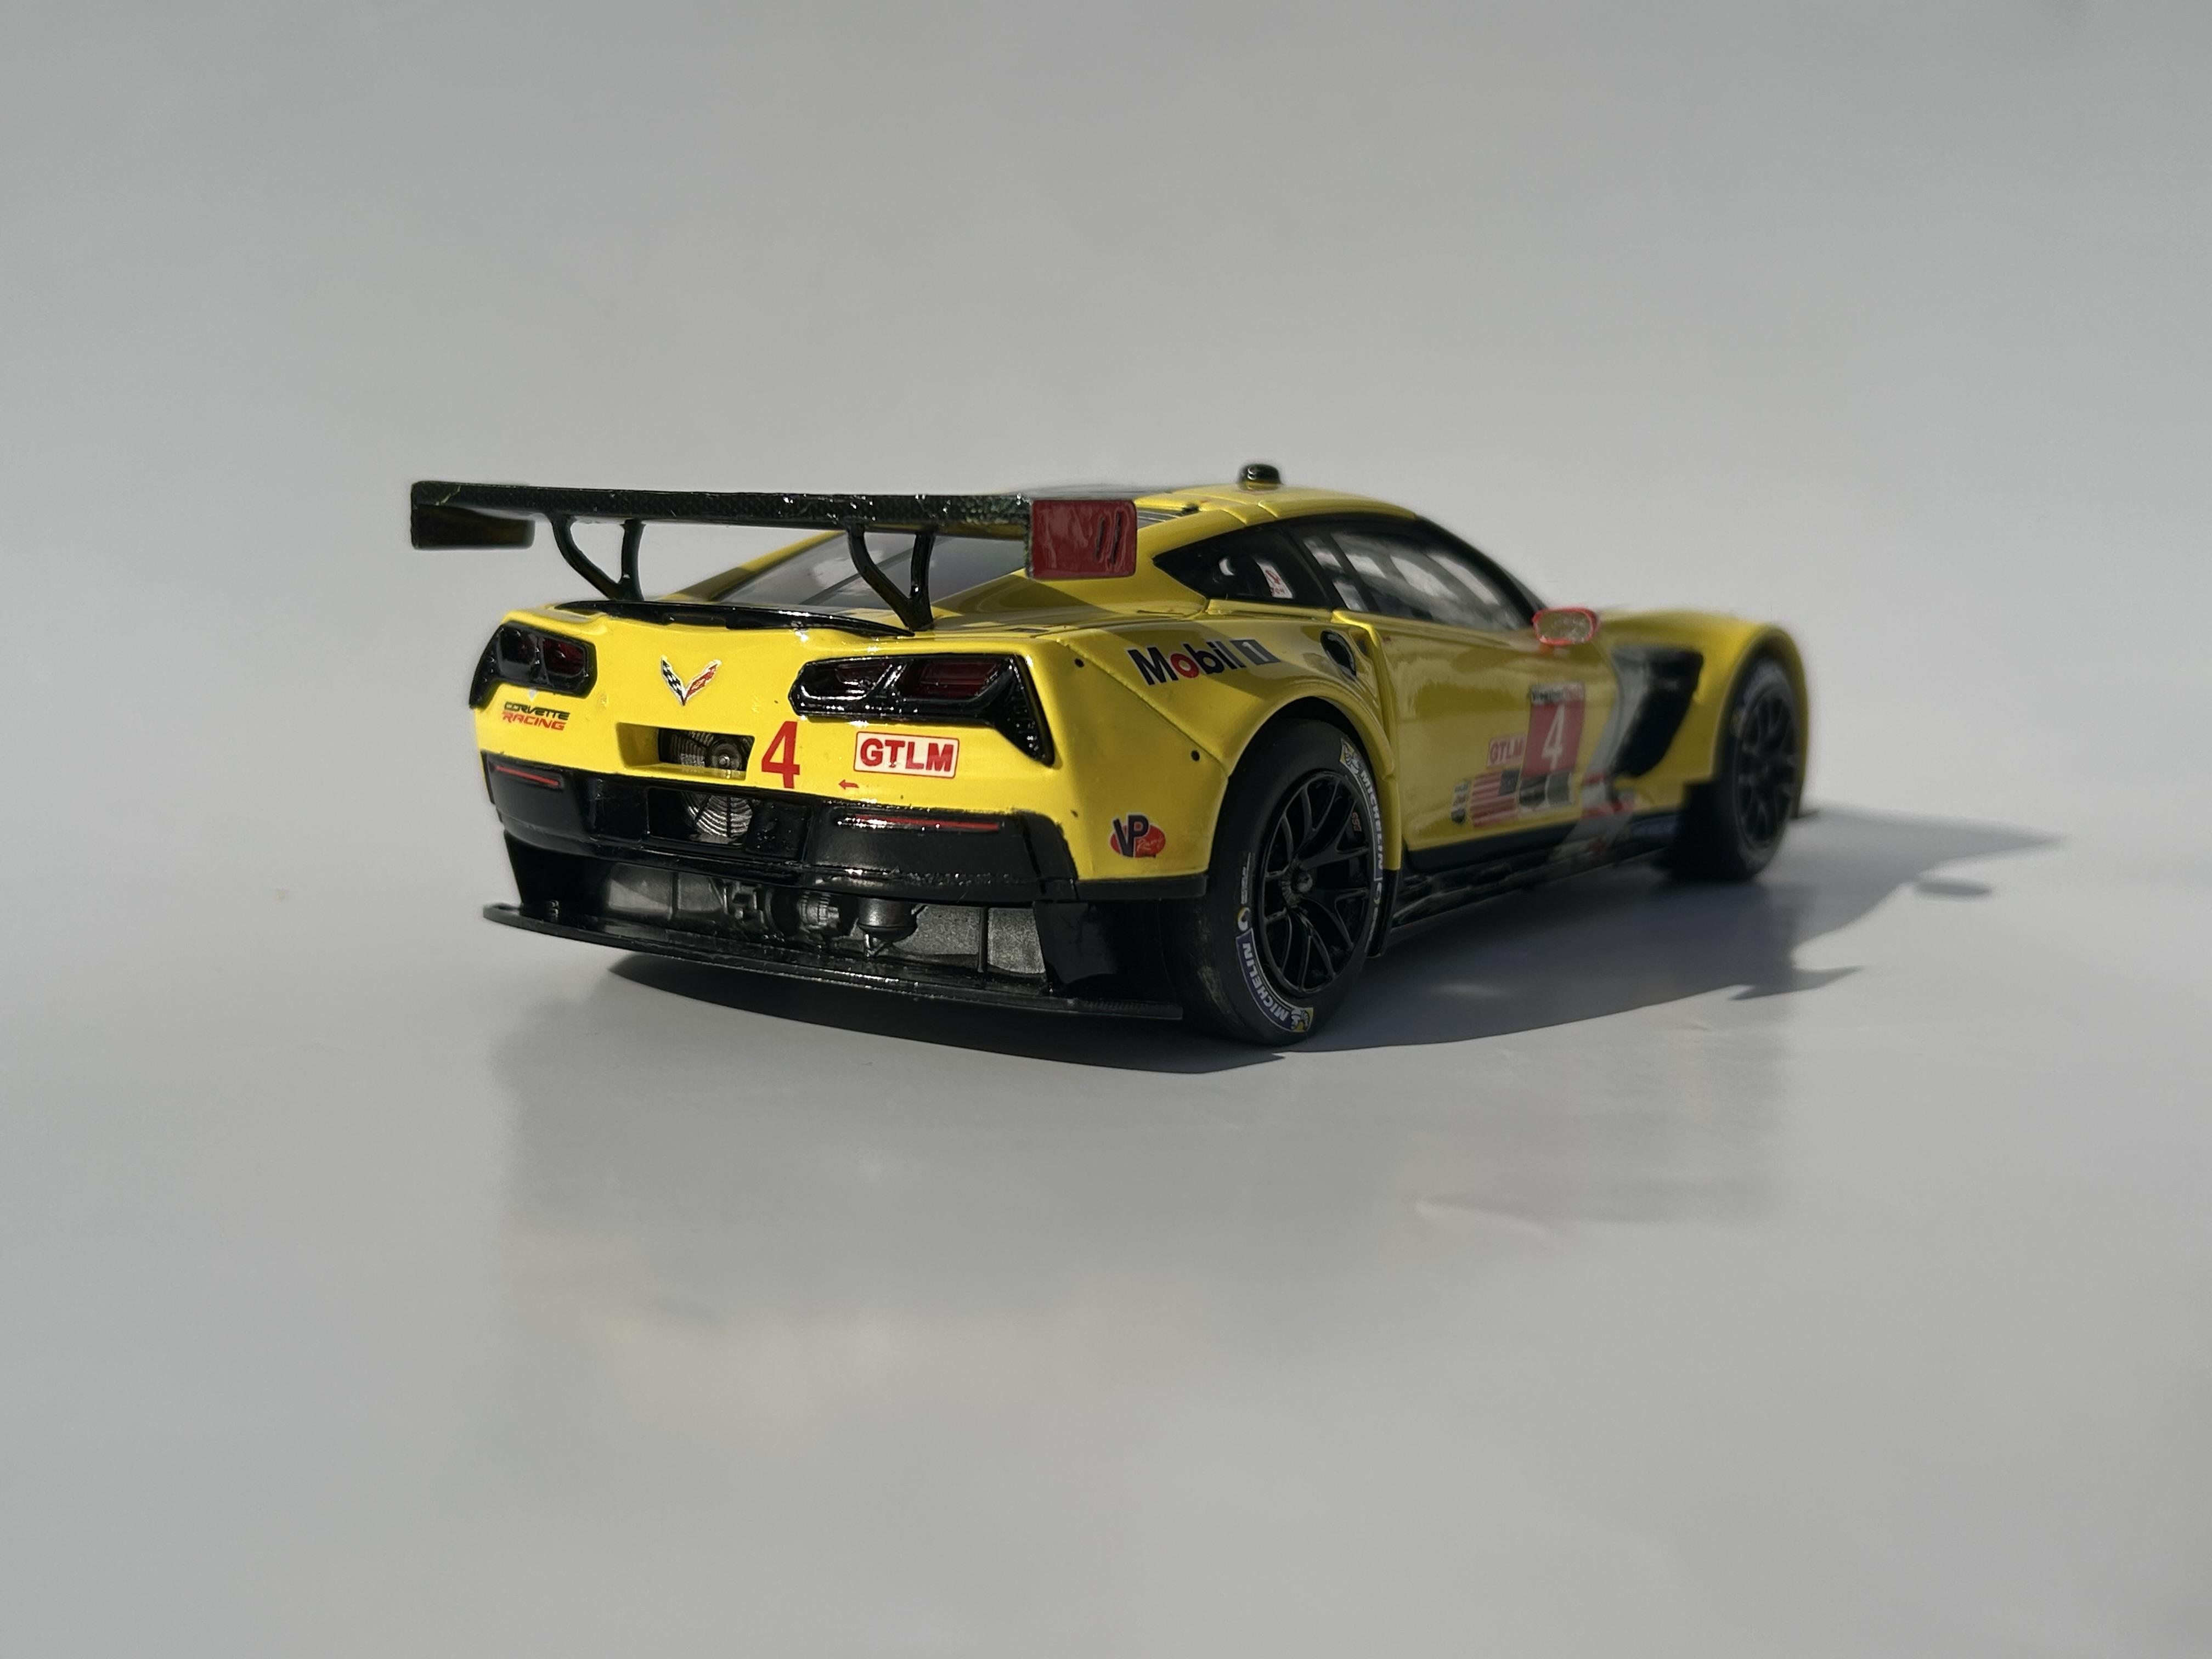
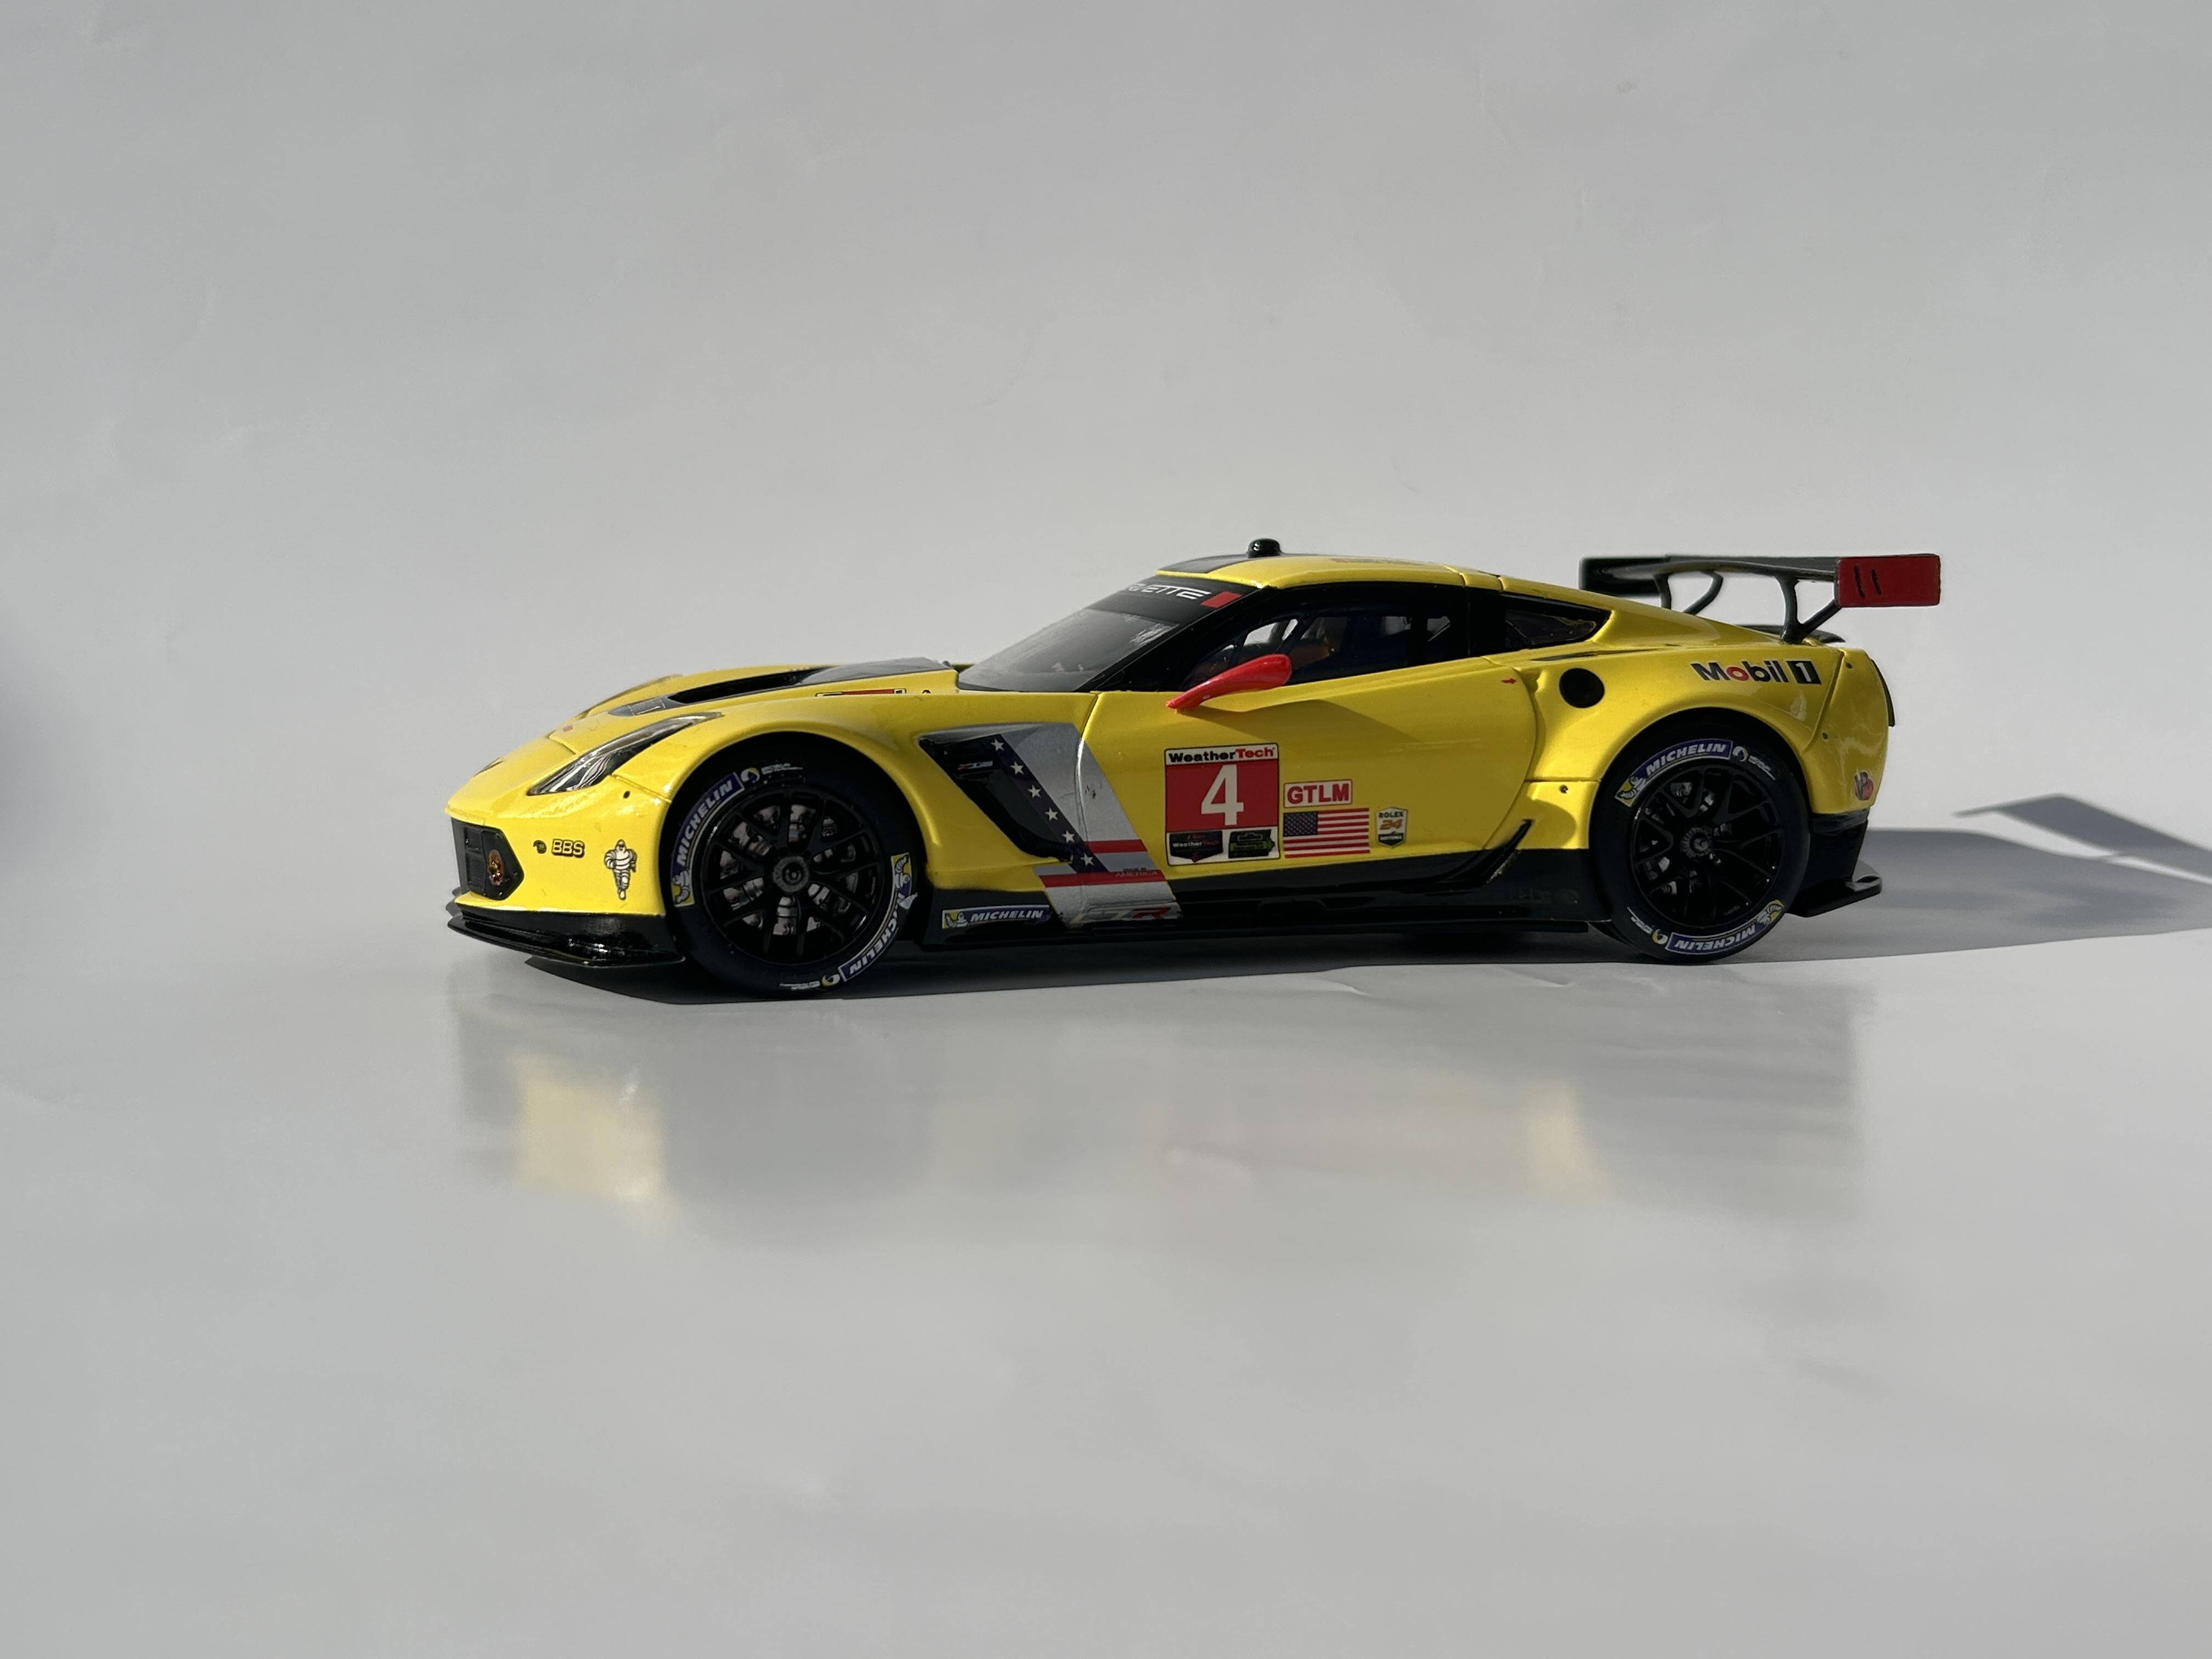
Hi All Built this one out of box. Good kit. Didn’t really have any real issues. The chassis could have fit better to the body but all in all wasn’t that bad. Was expecting alot worse based on others that have built it. Rust-oleum Gloss Safety Yellow with Dupli-Color 1K clear.

-
Show us your Engines - Post Dedicated to the Engine
nickfzr61 replied to TheCat's topic in Model Cars
Those are some tasty prints Anton. -
Show us your Engines - Post Dedicated to the Engine
nickfzr61 replied to TheCat's topic in Model Cars
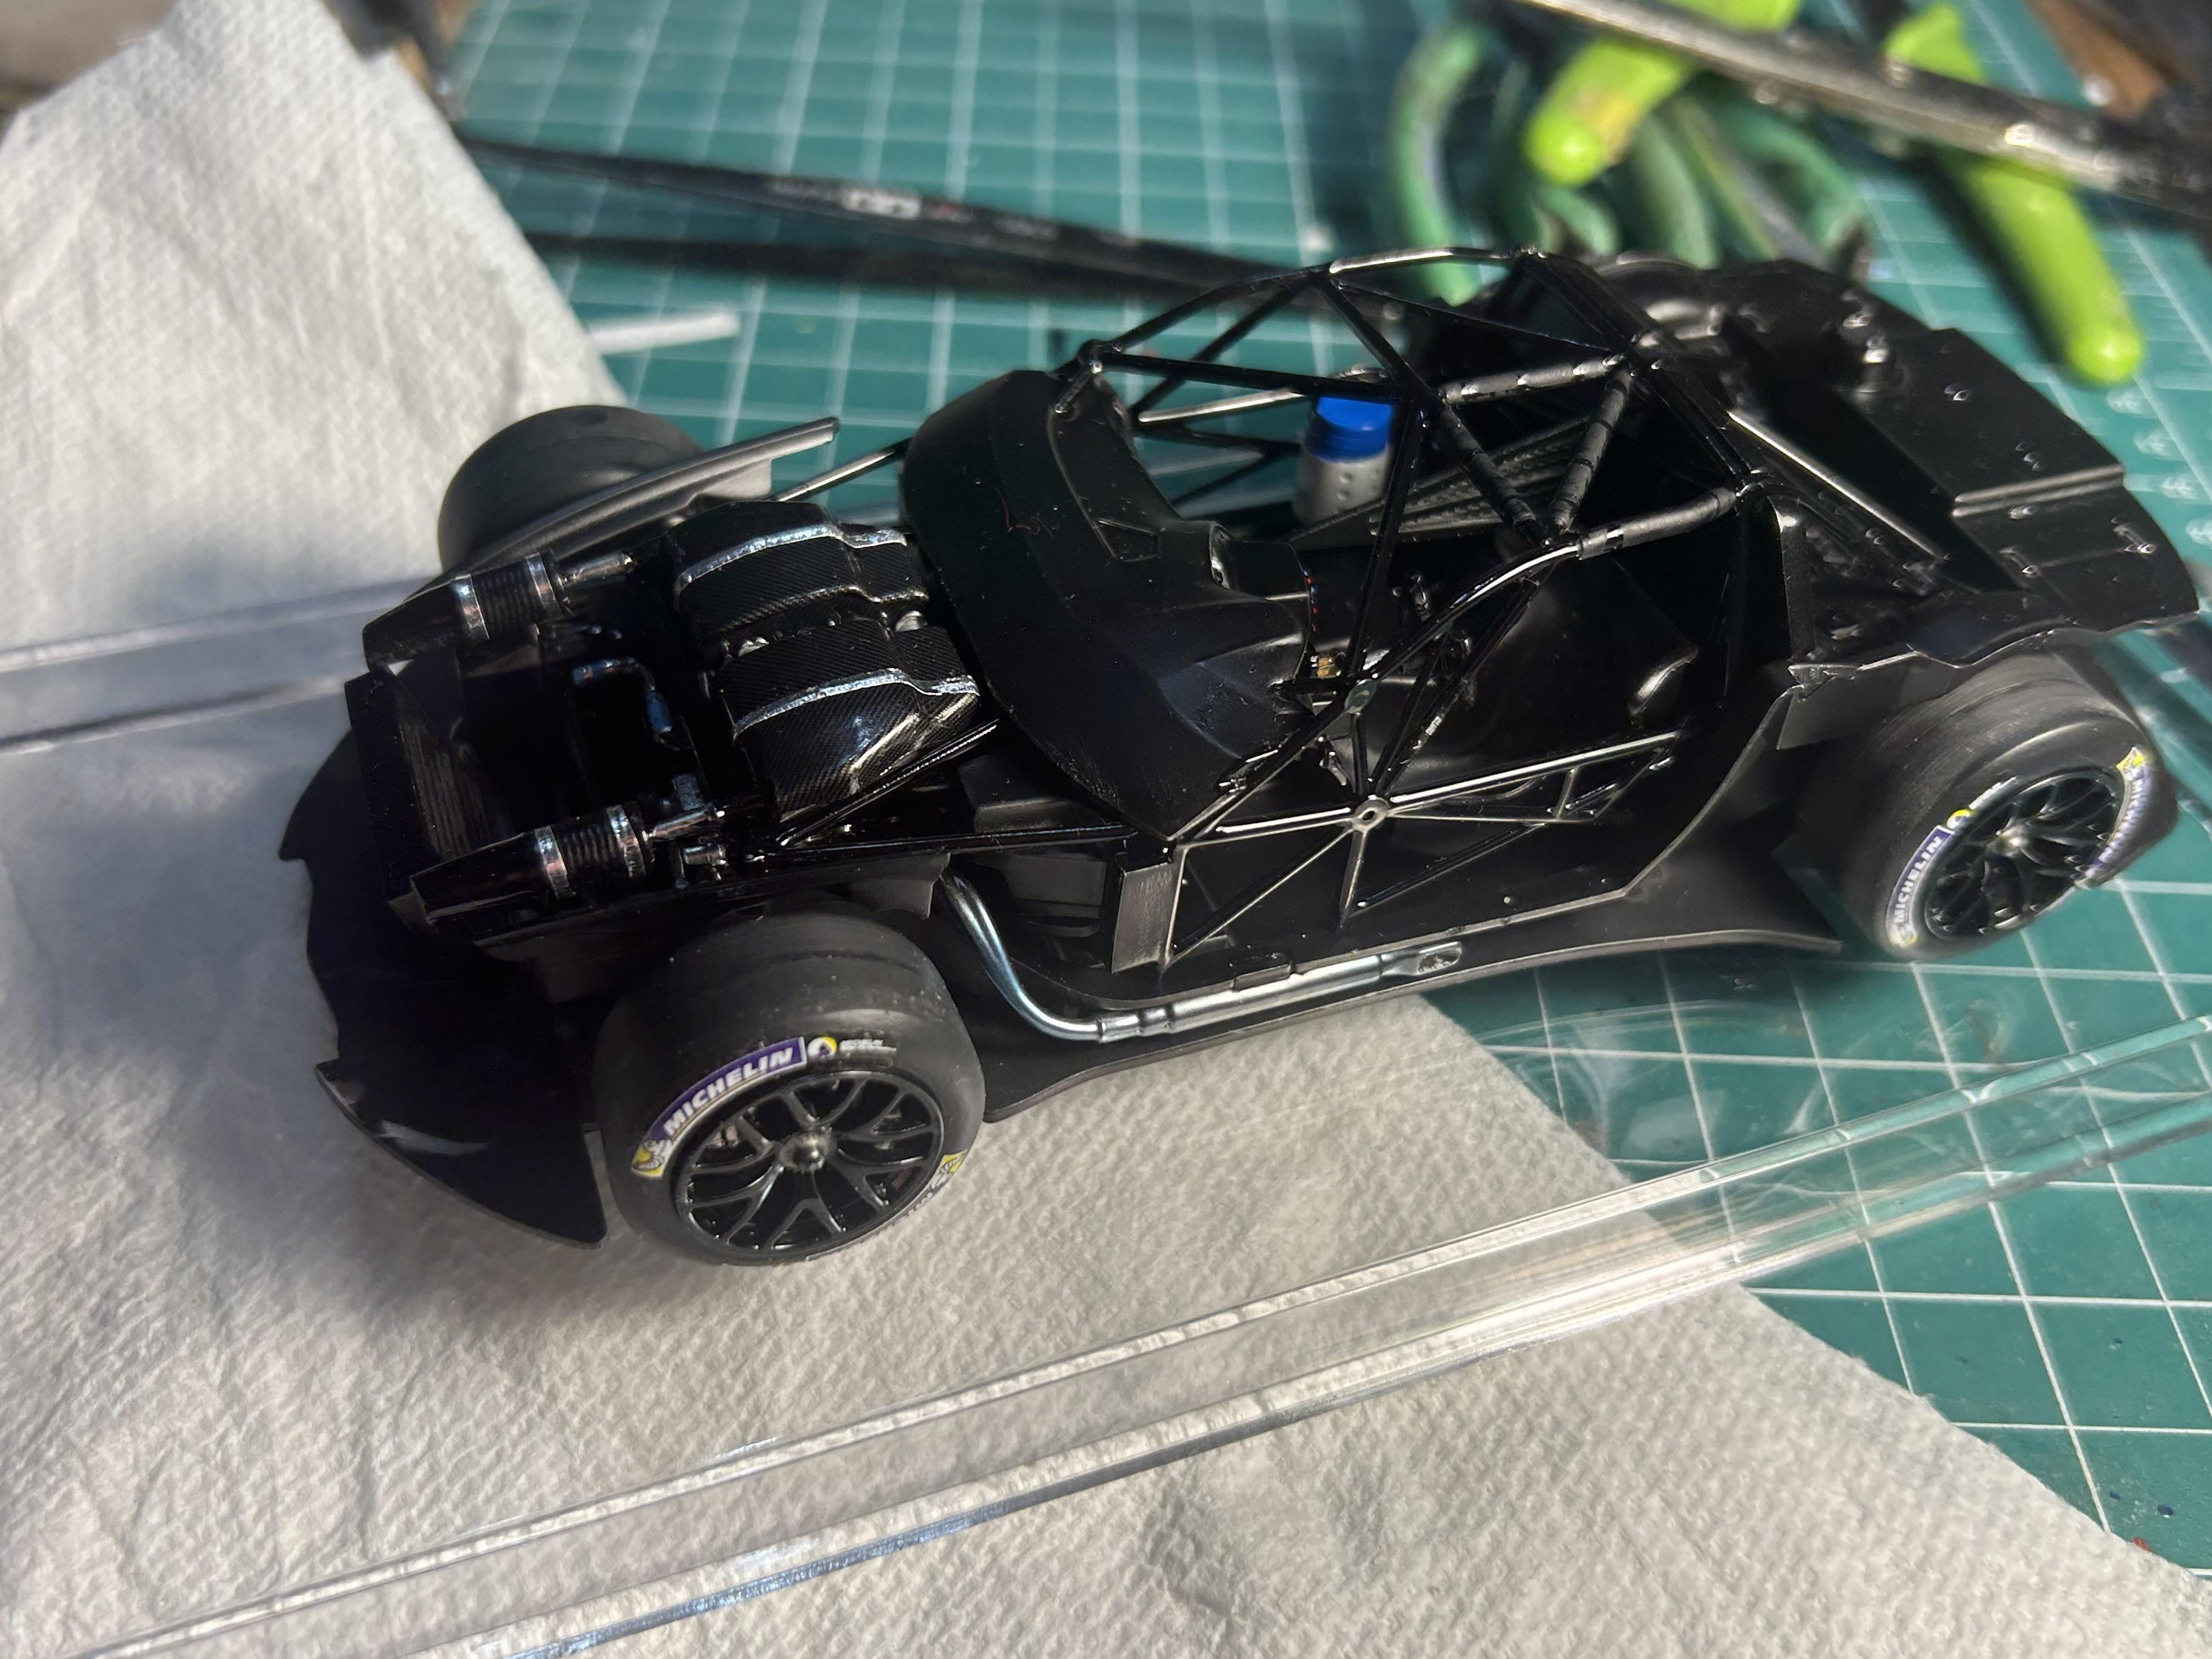
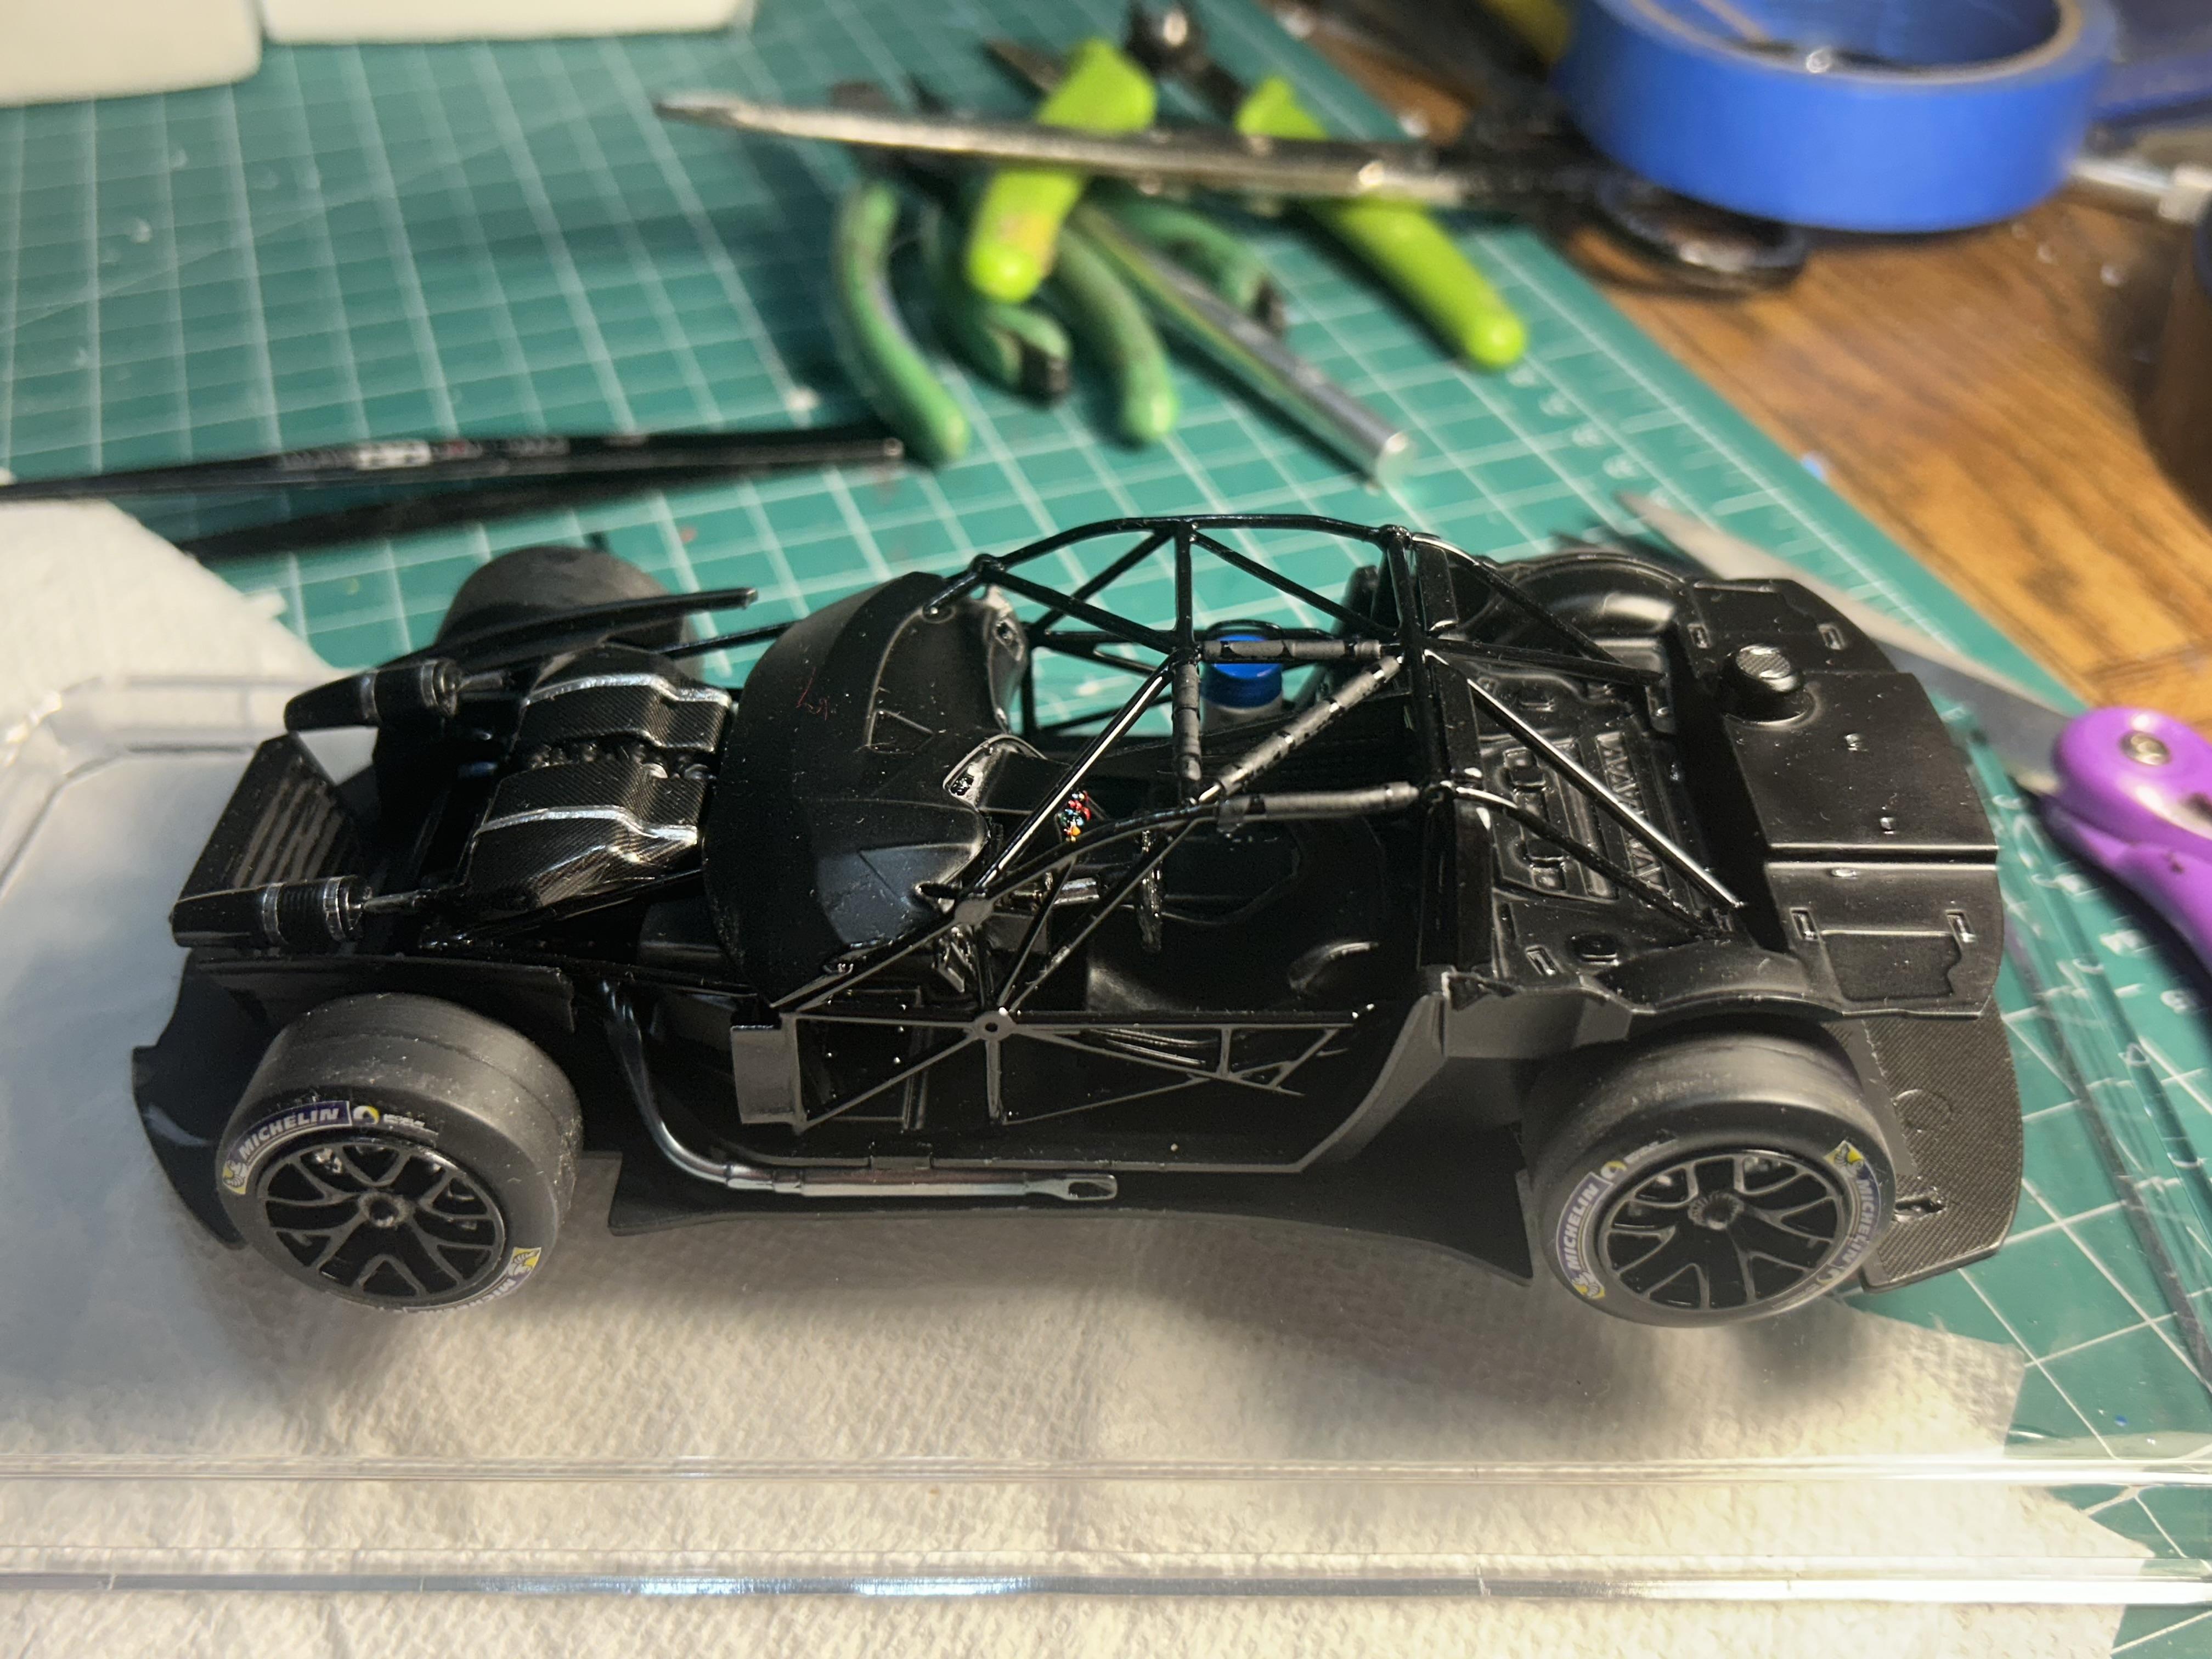
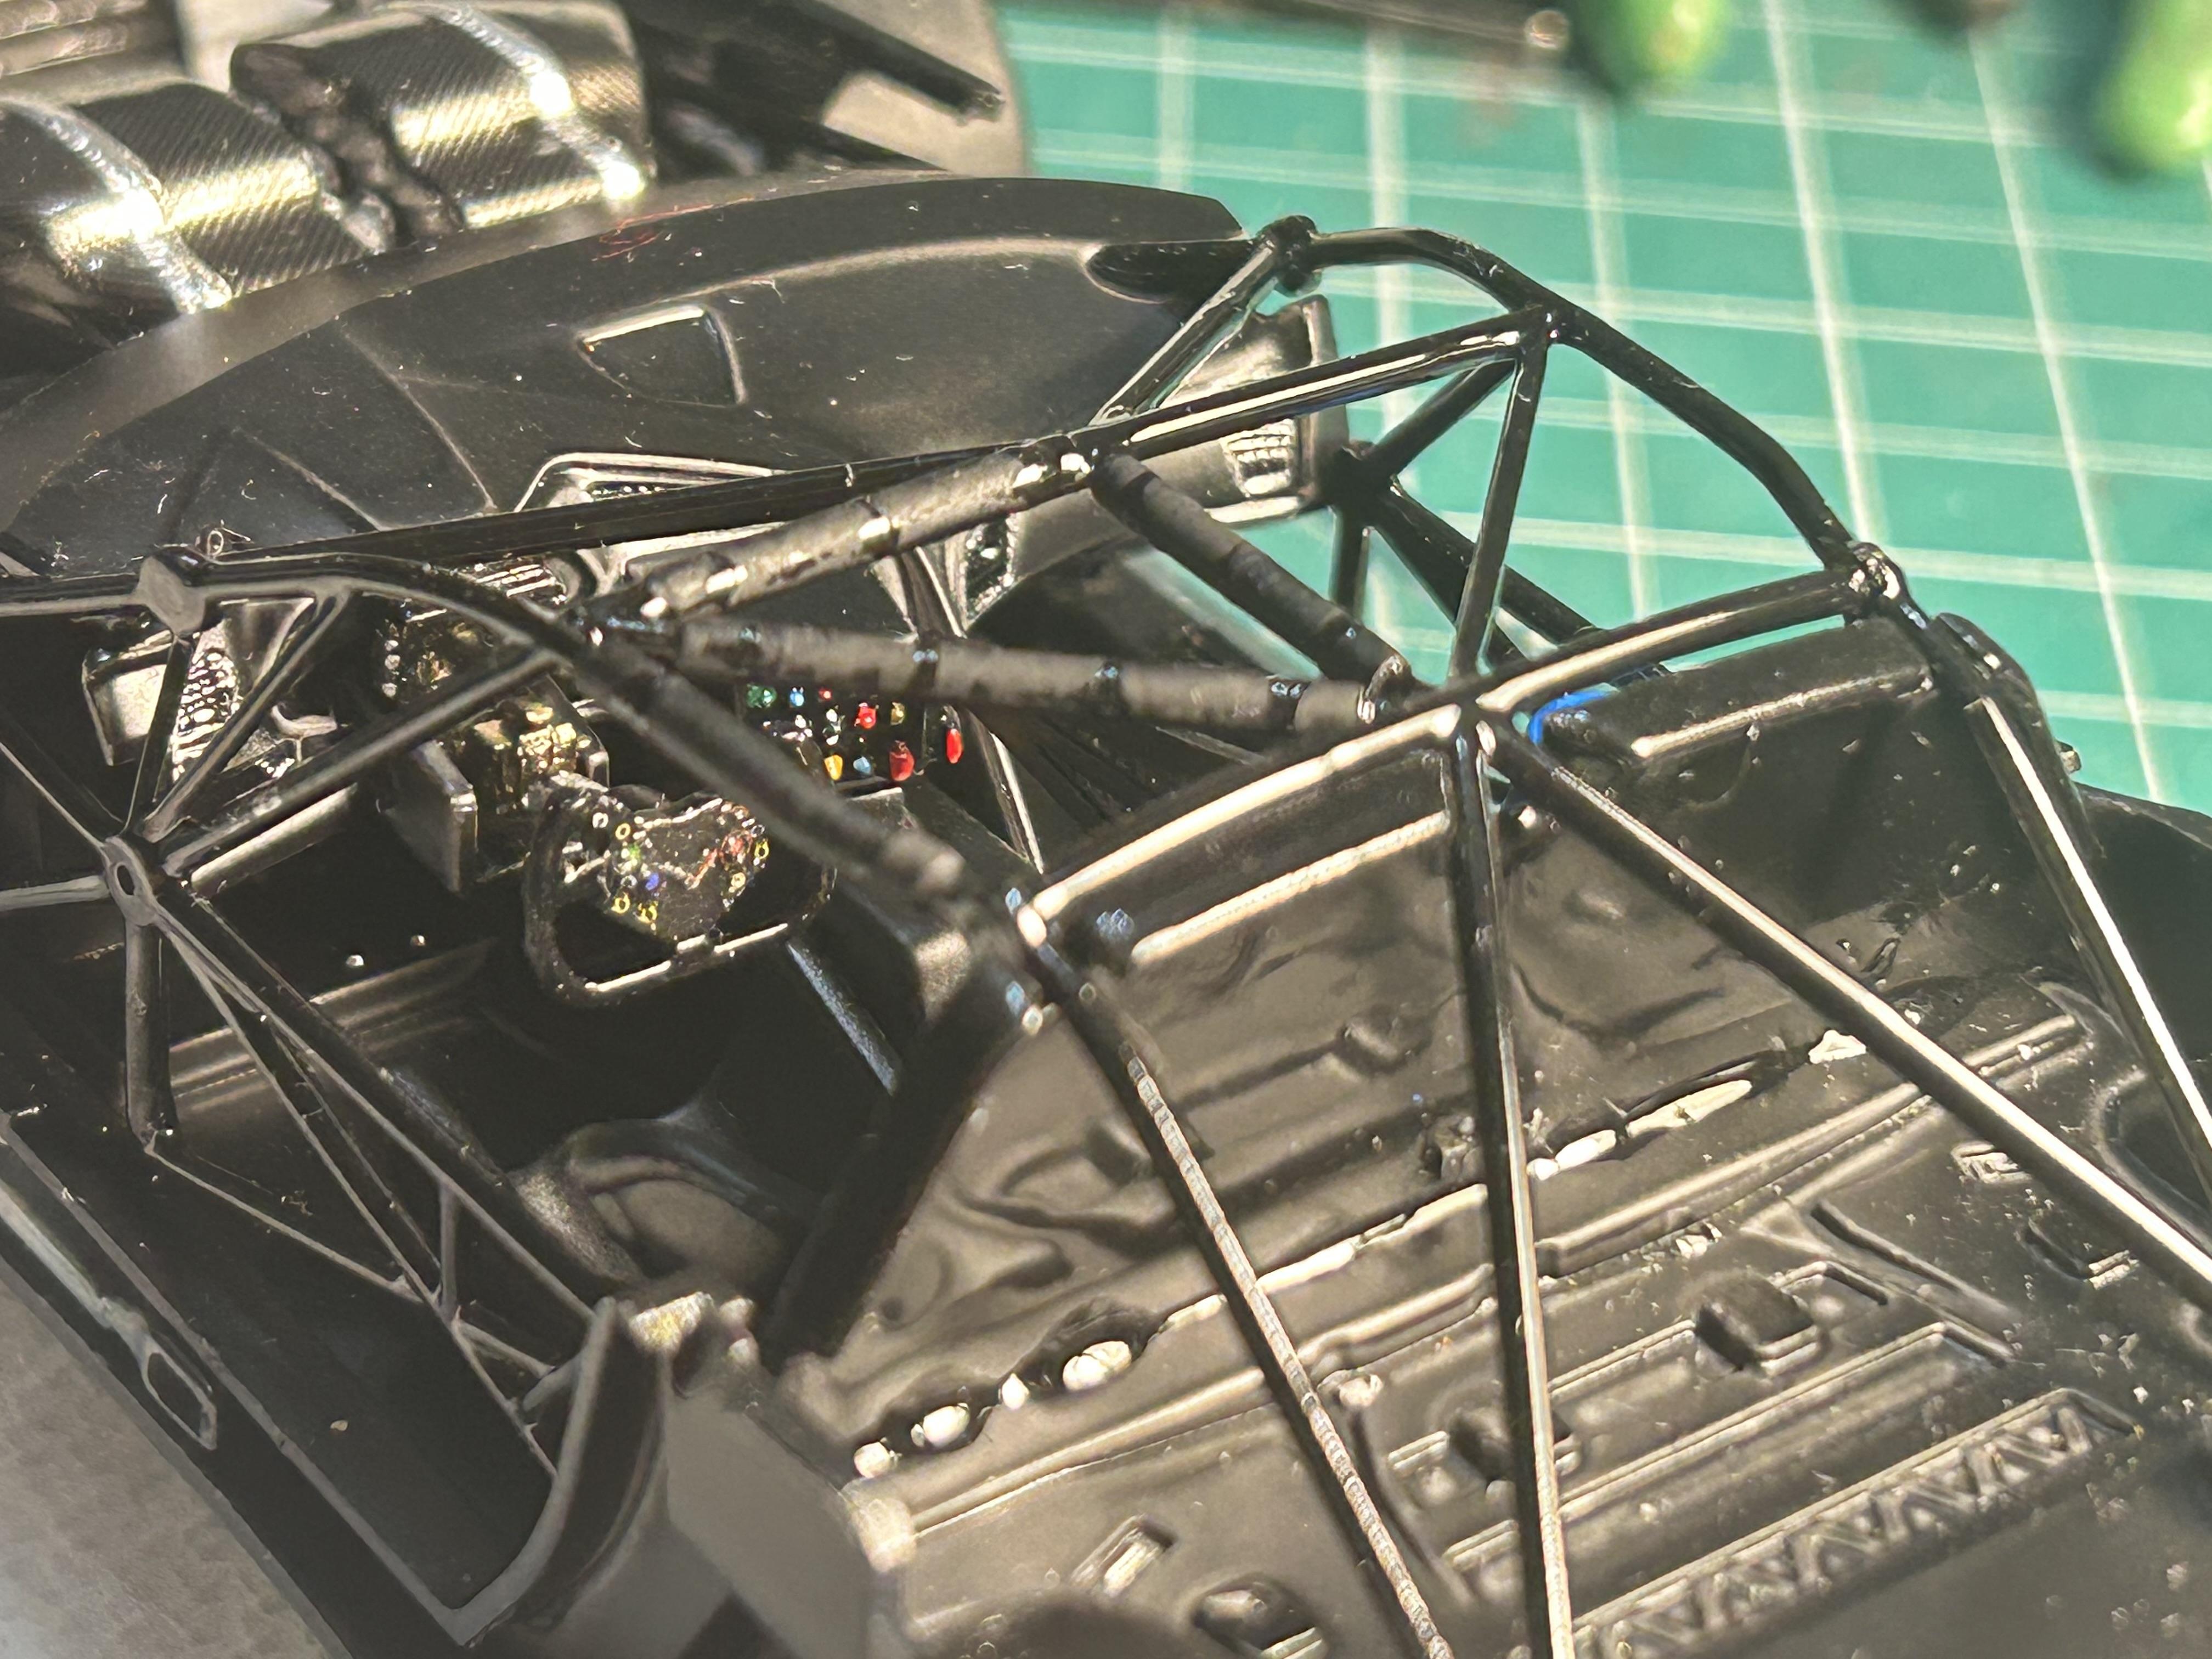
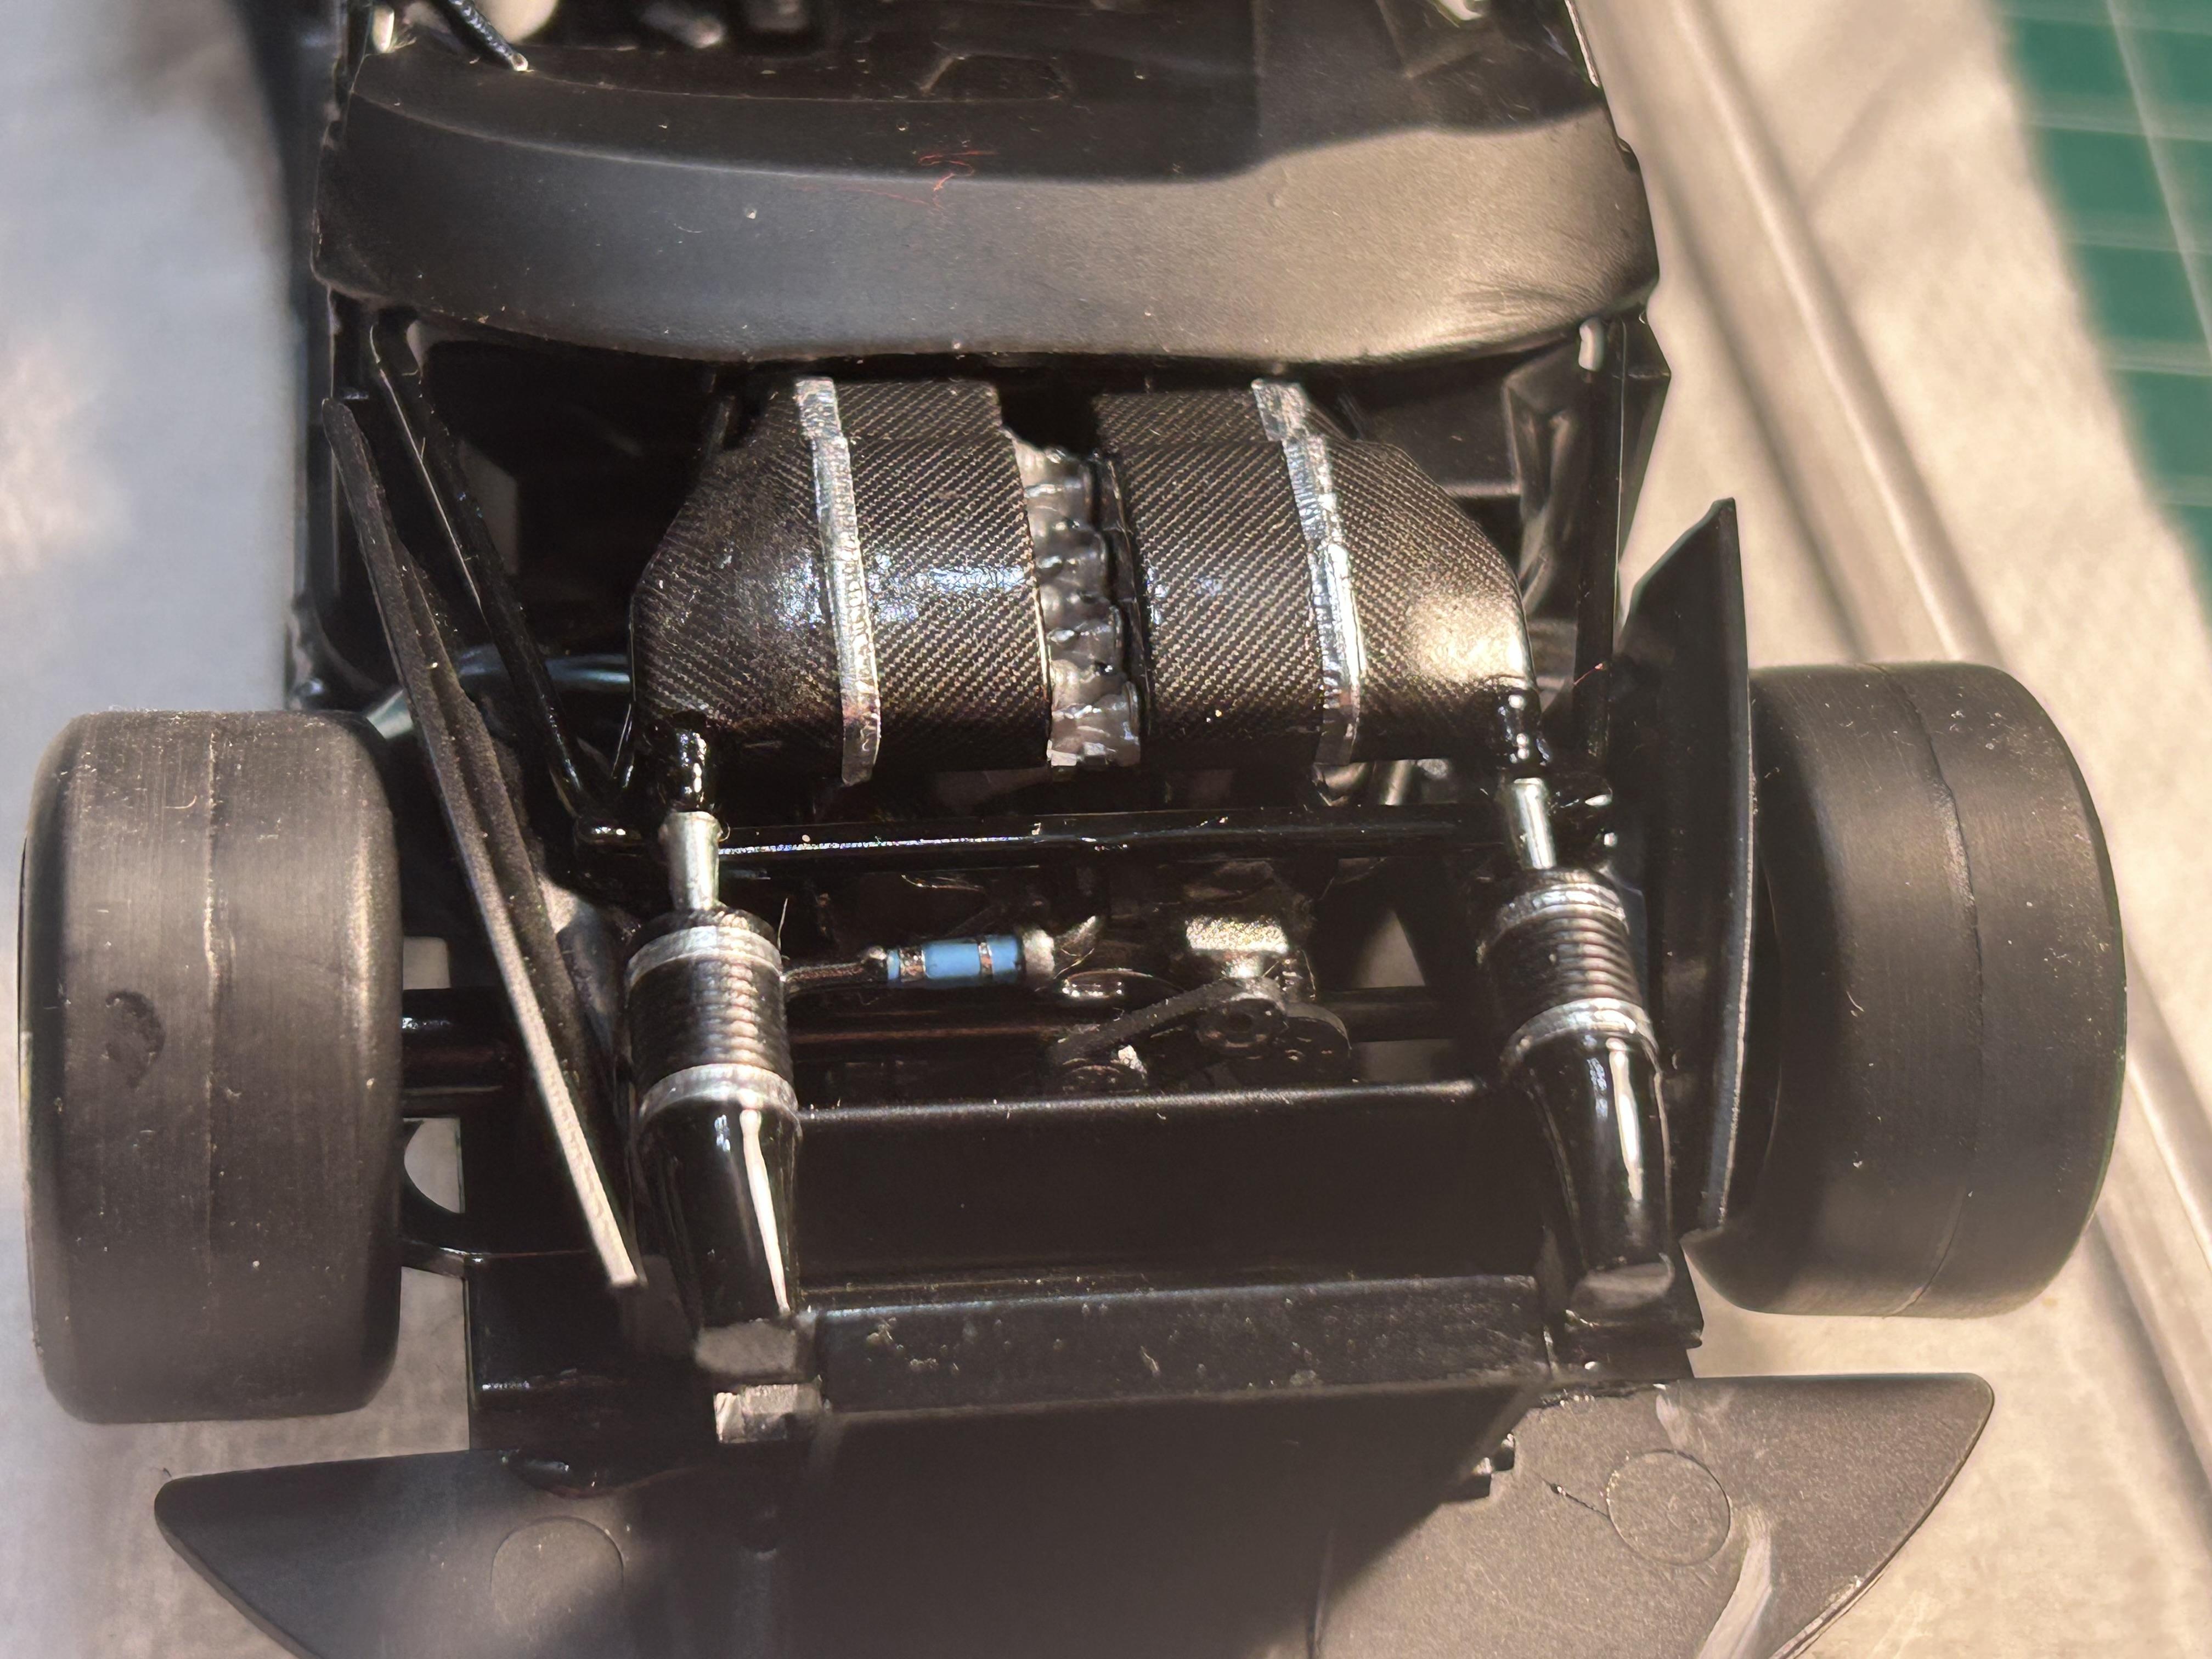
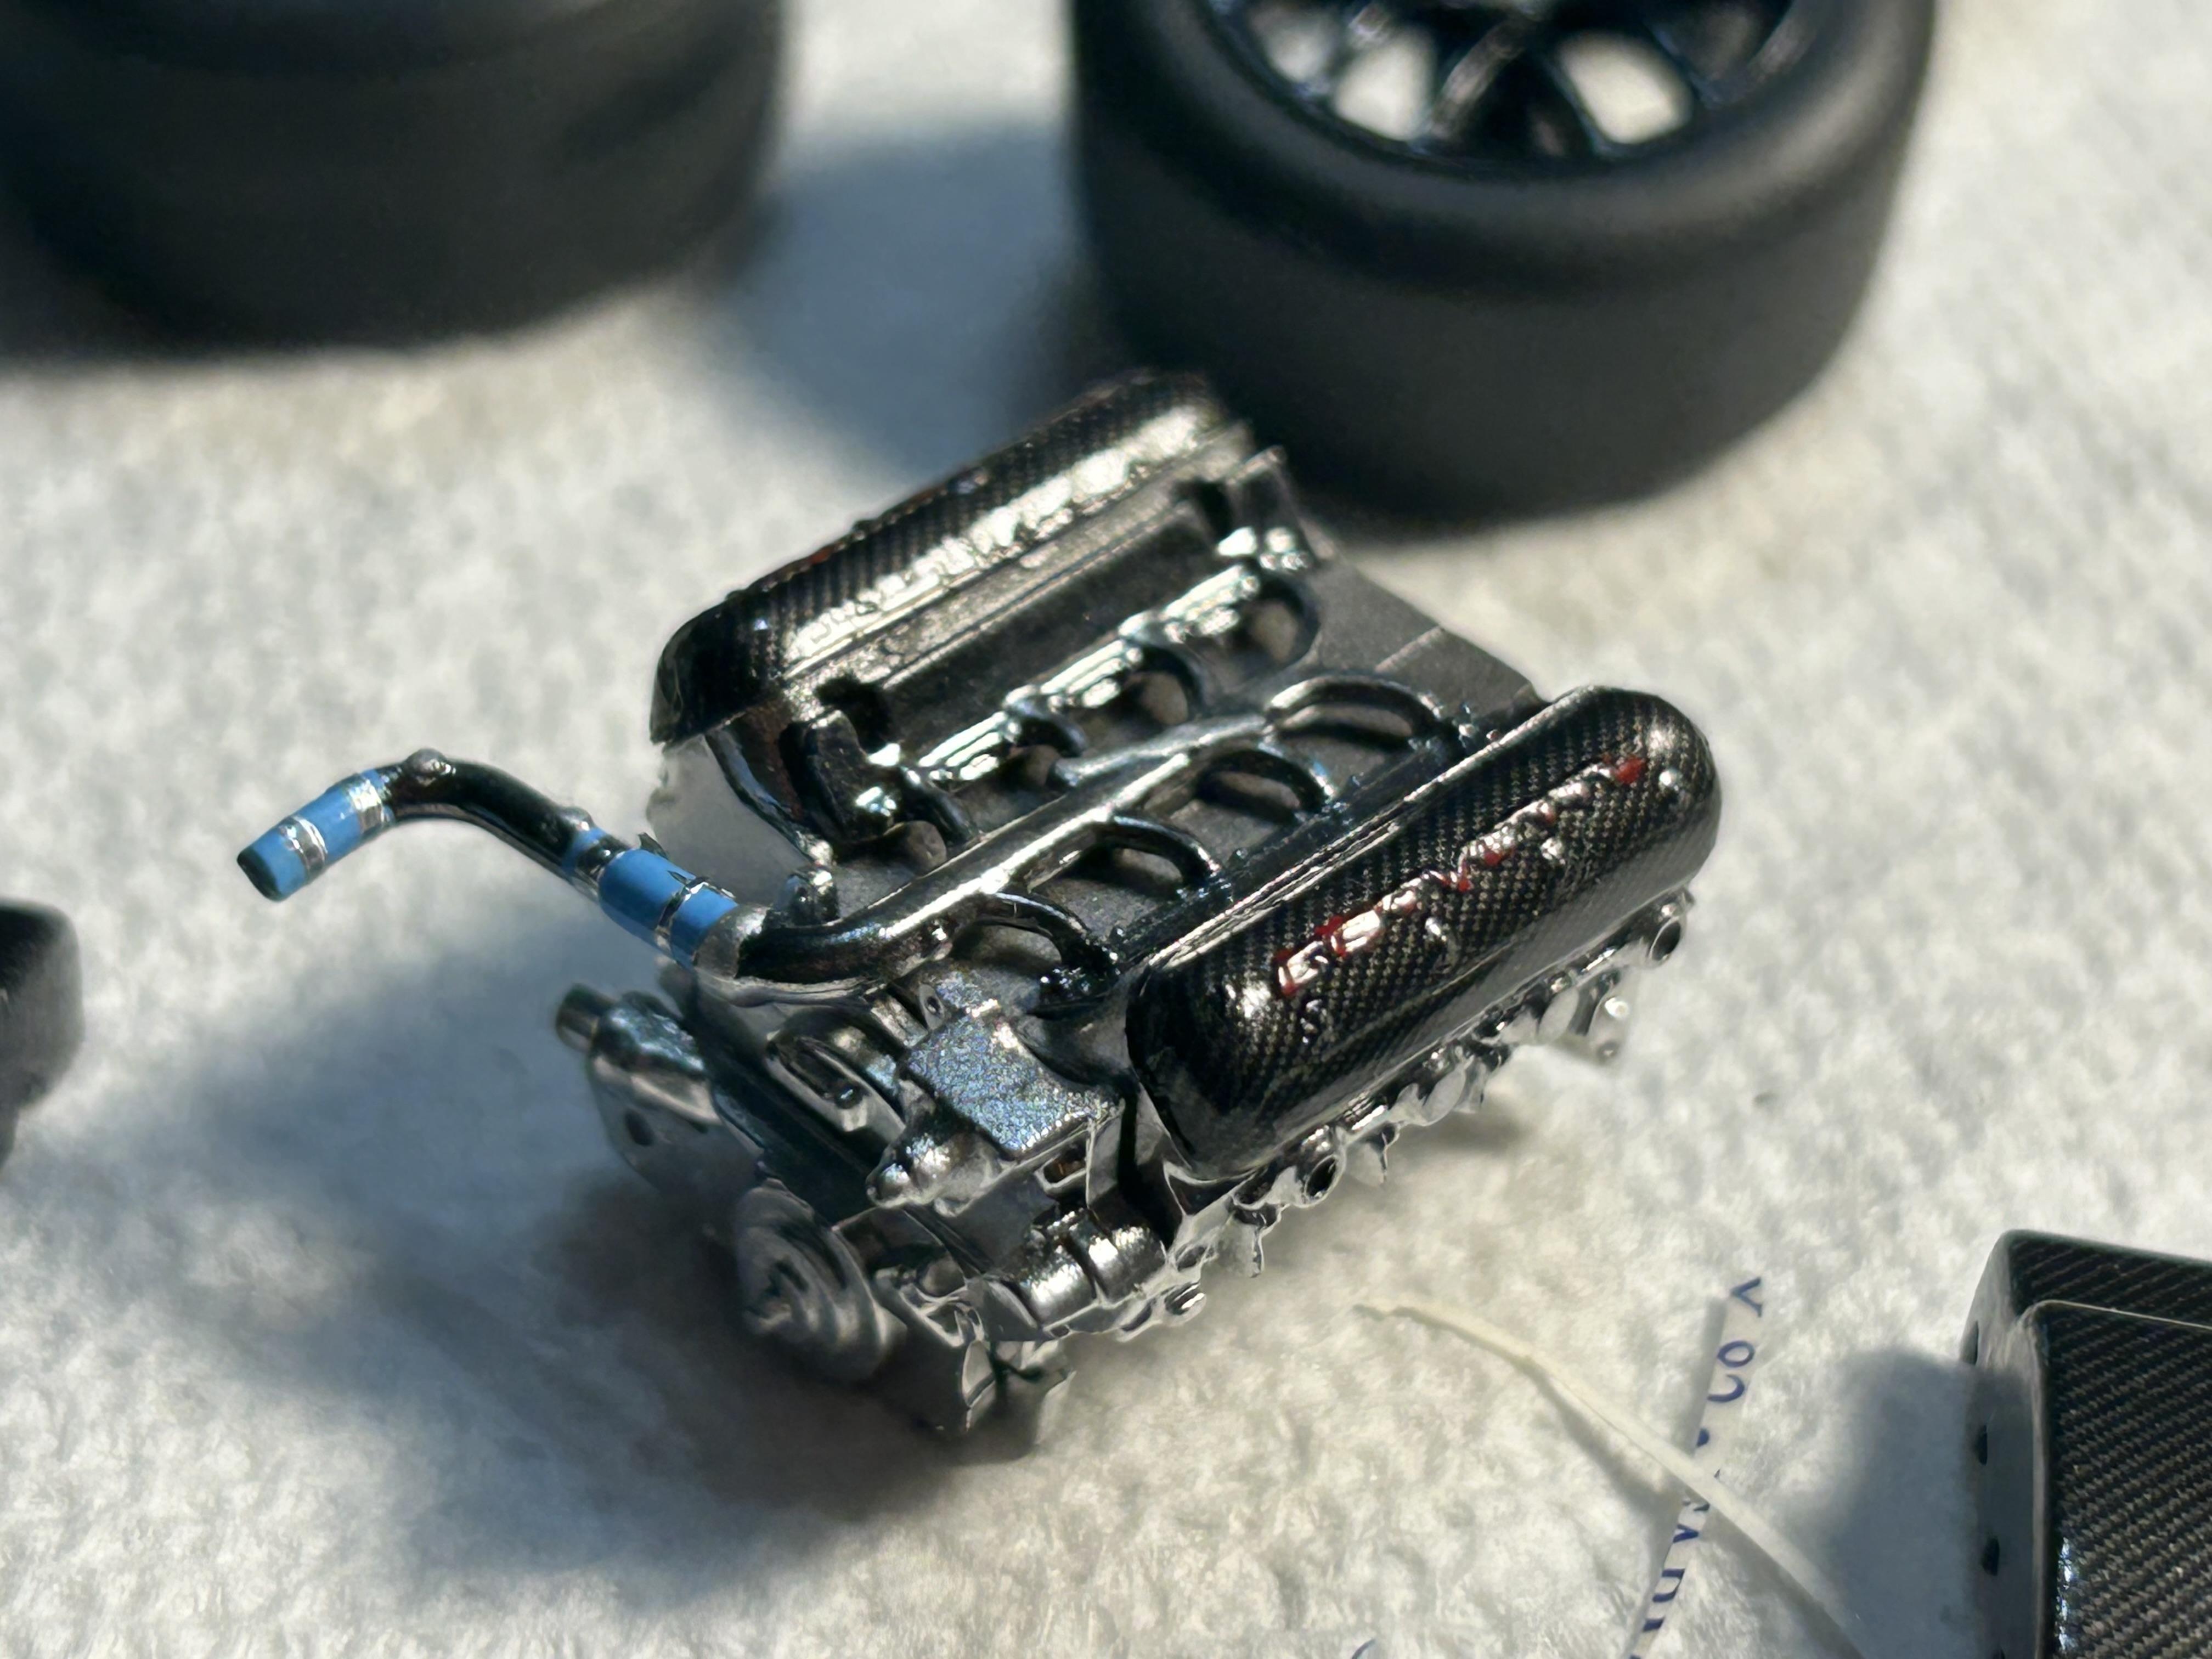
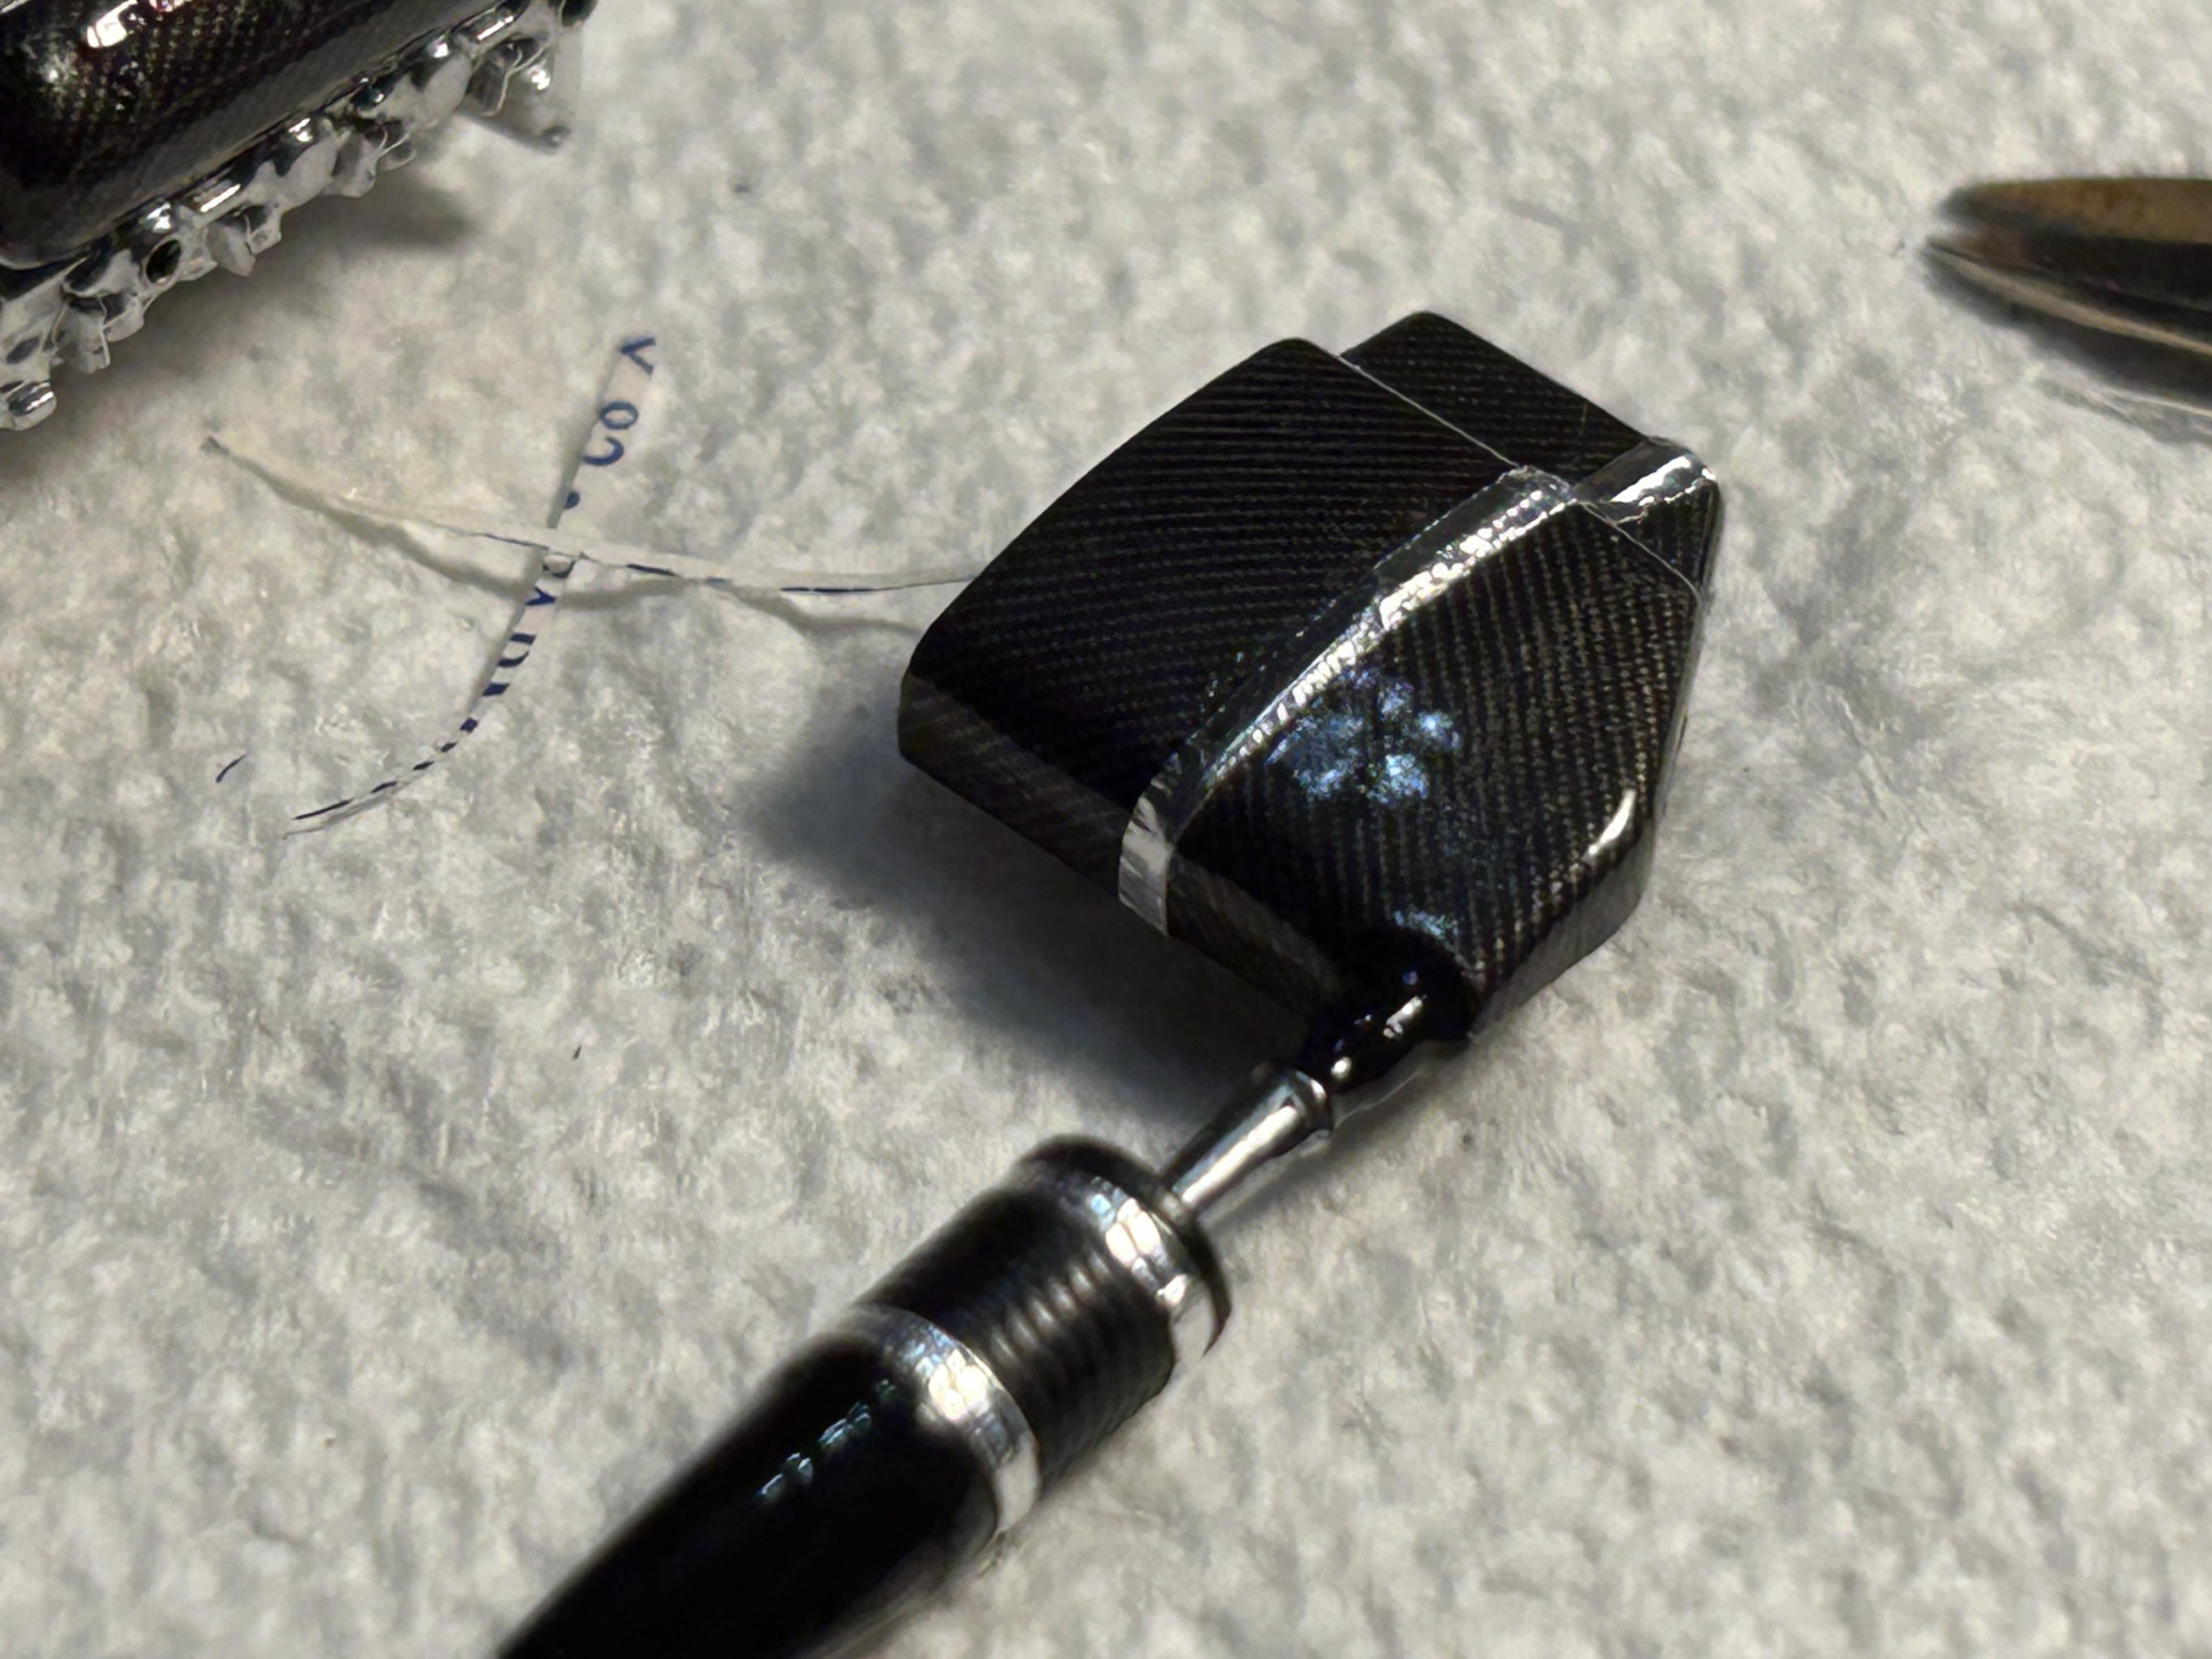
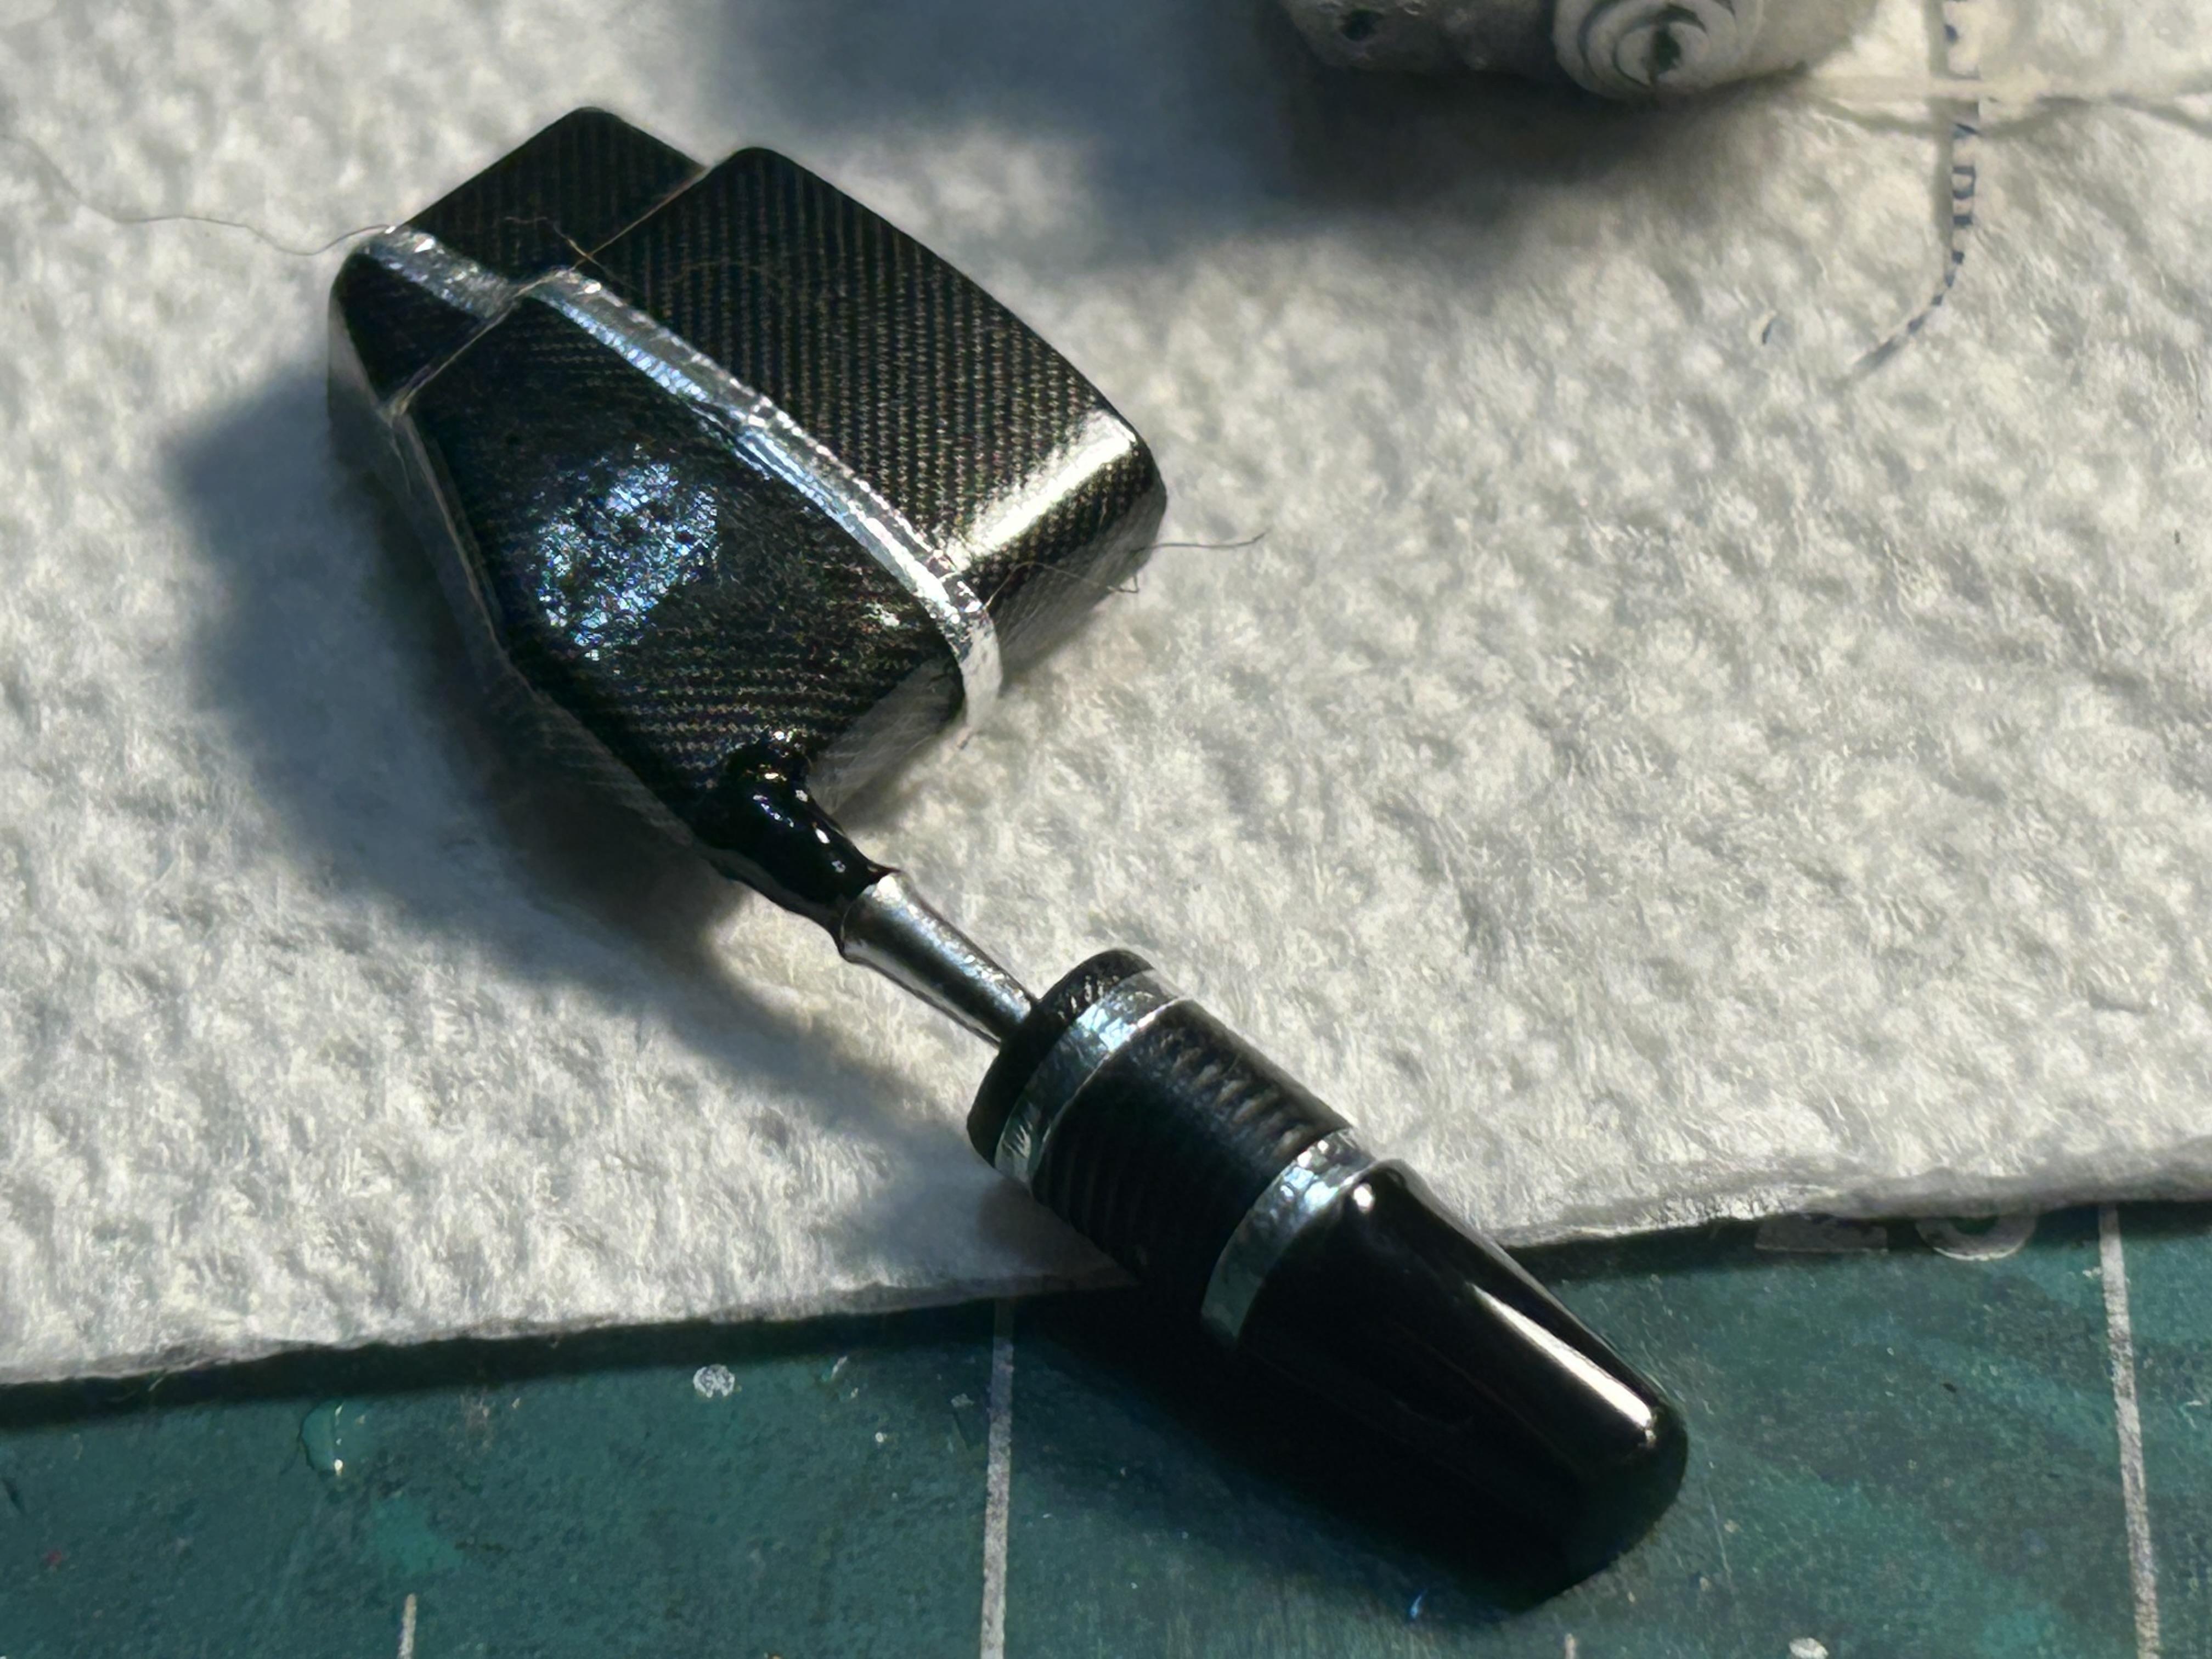
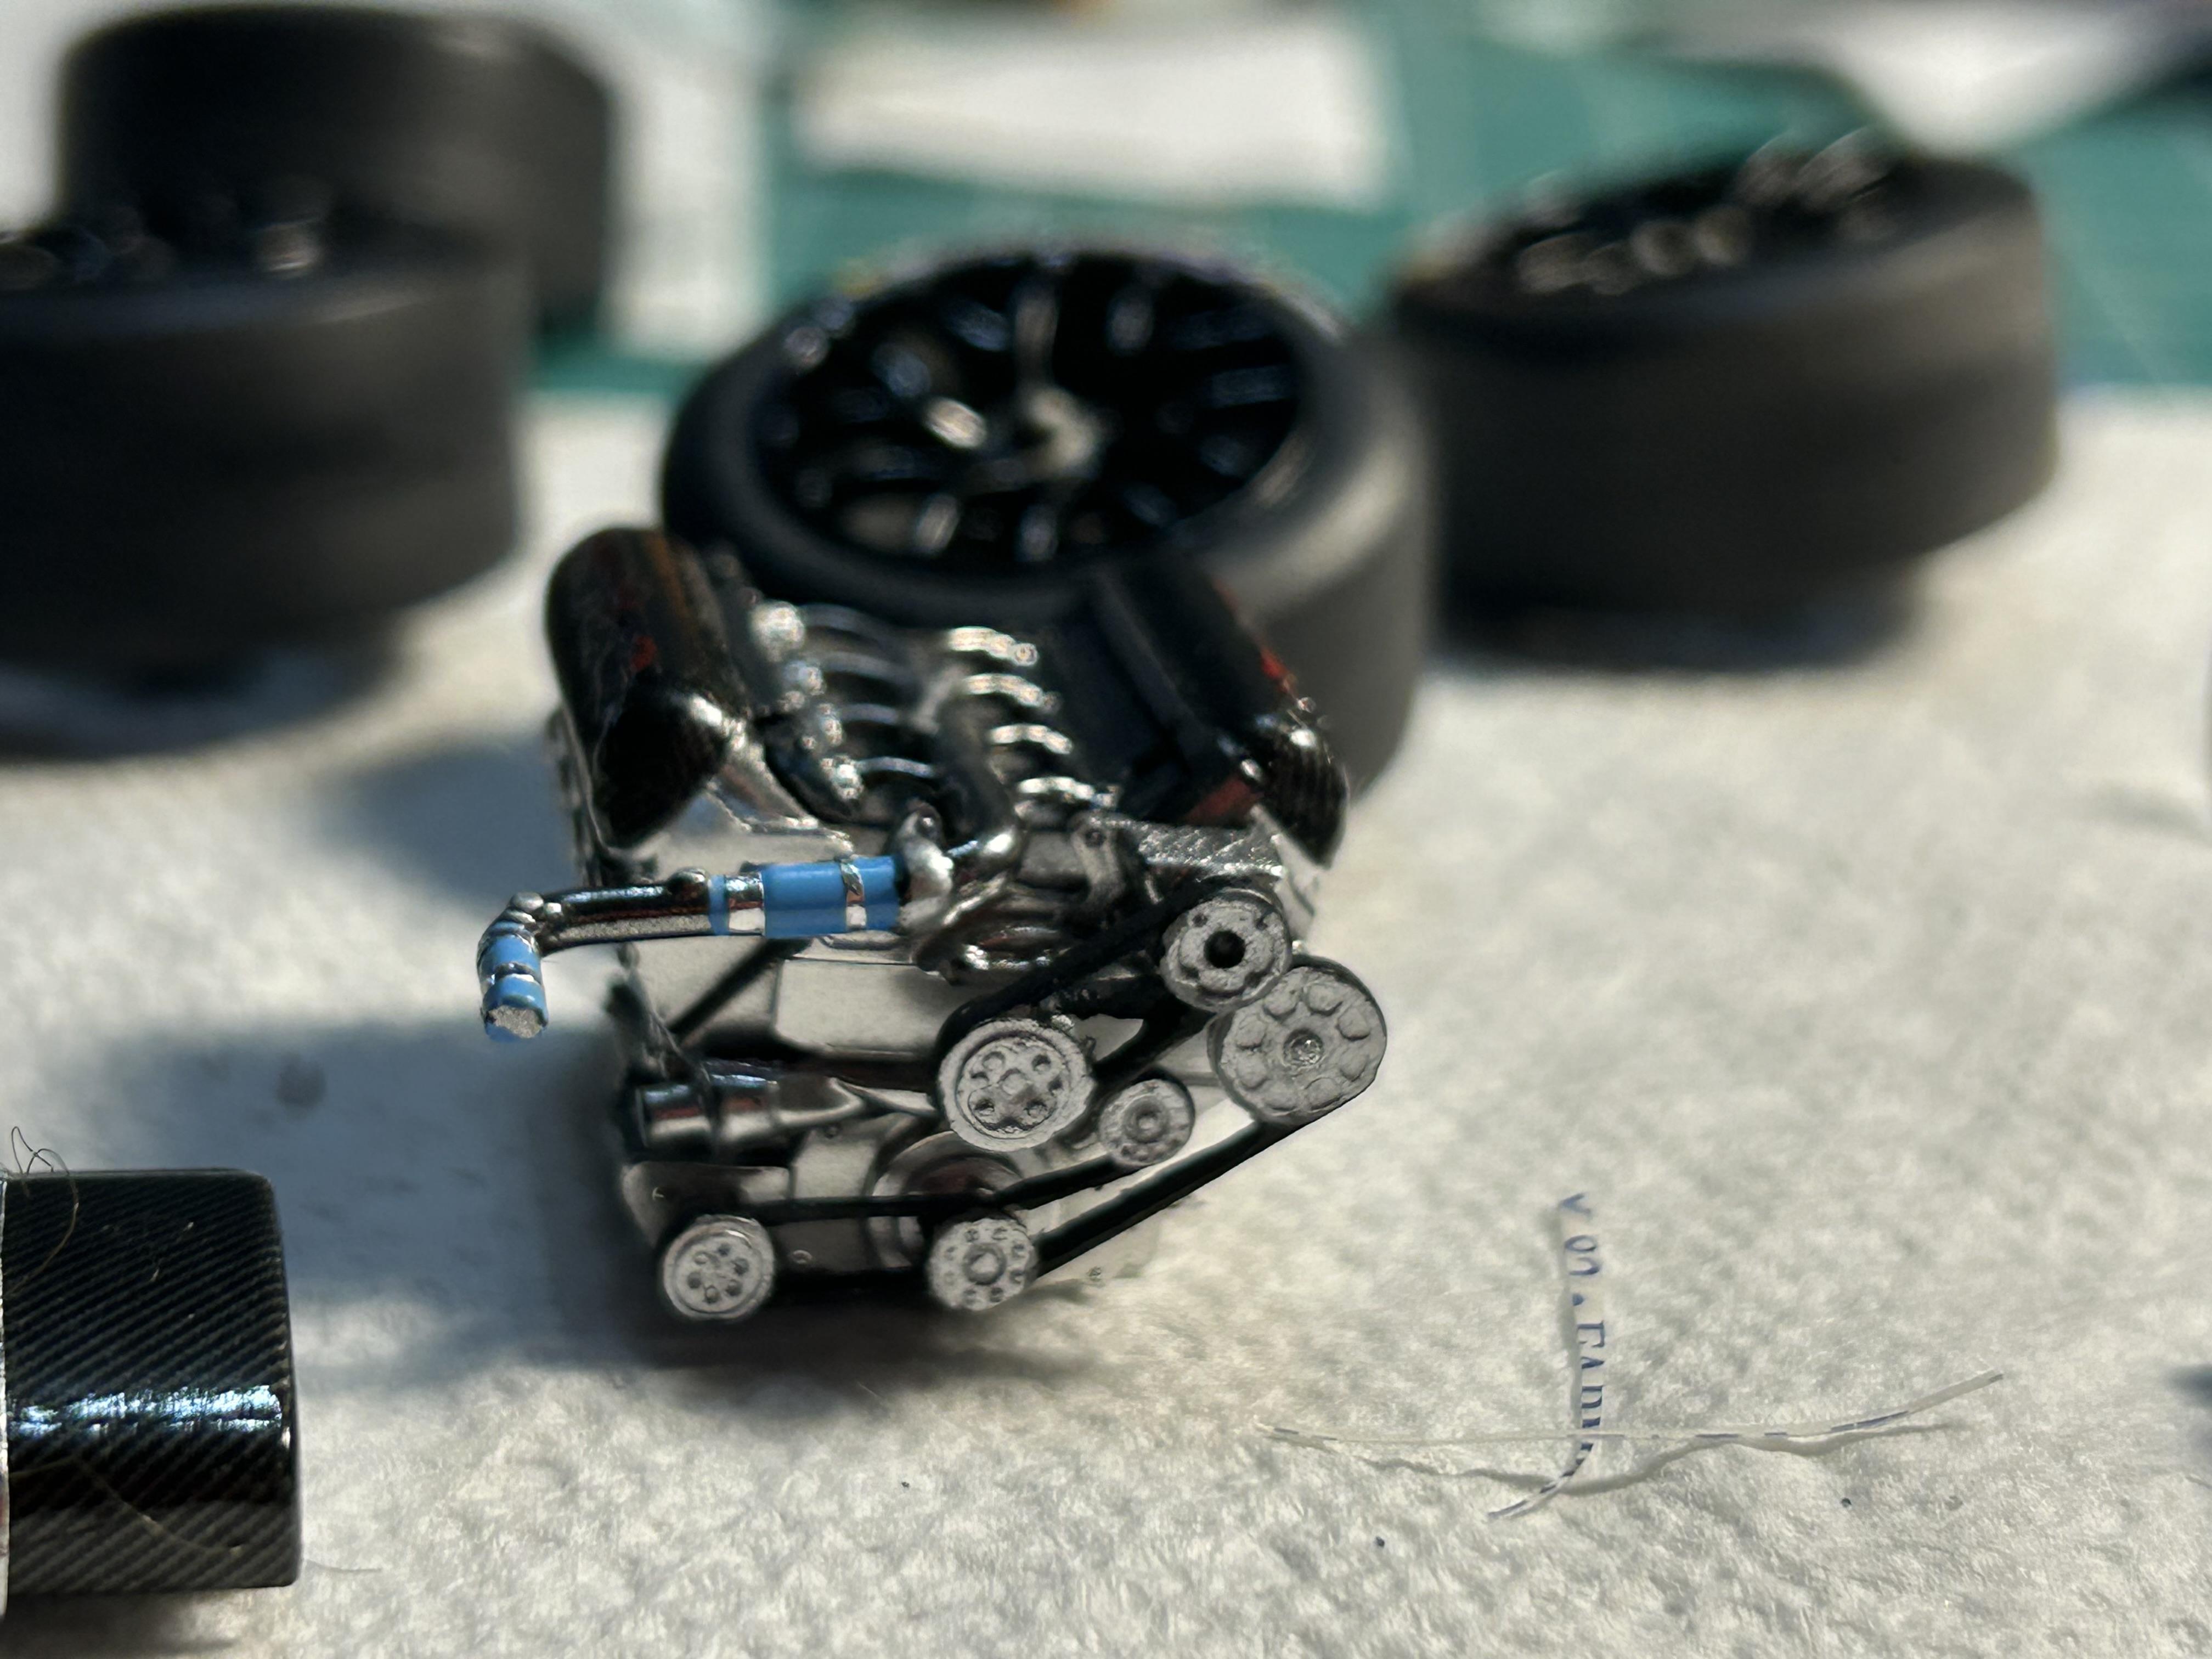
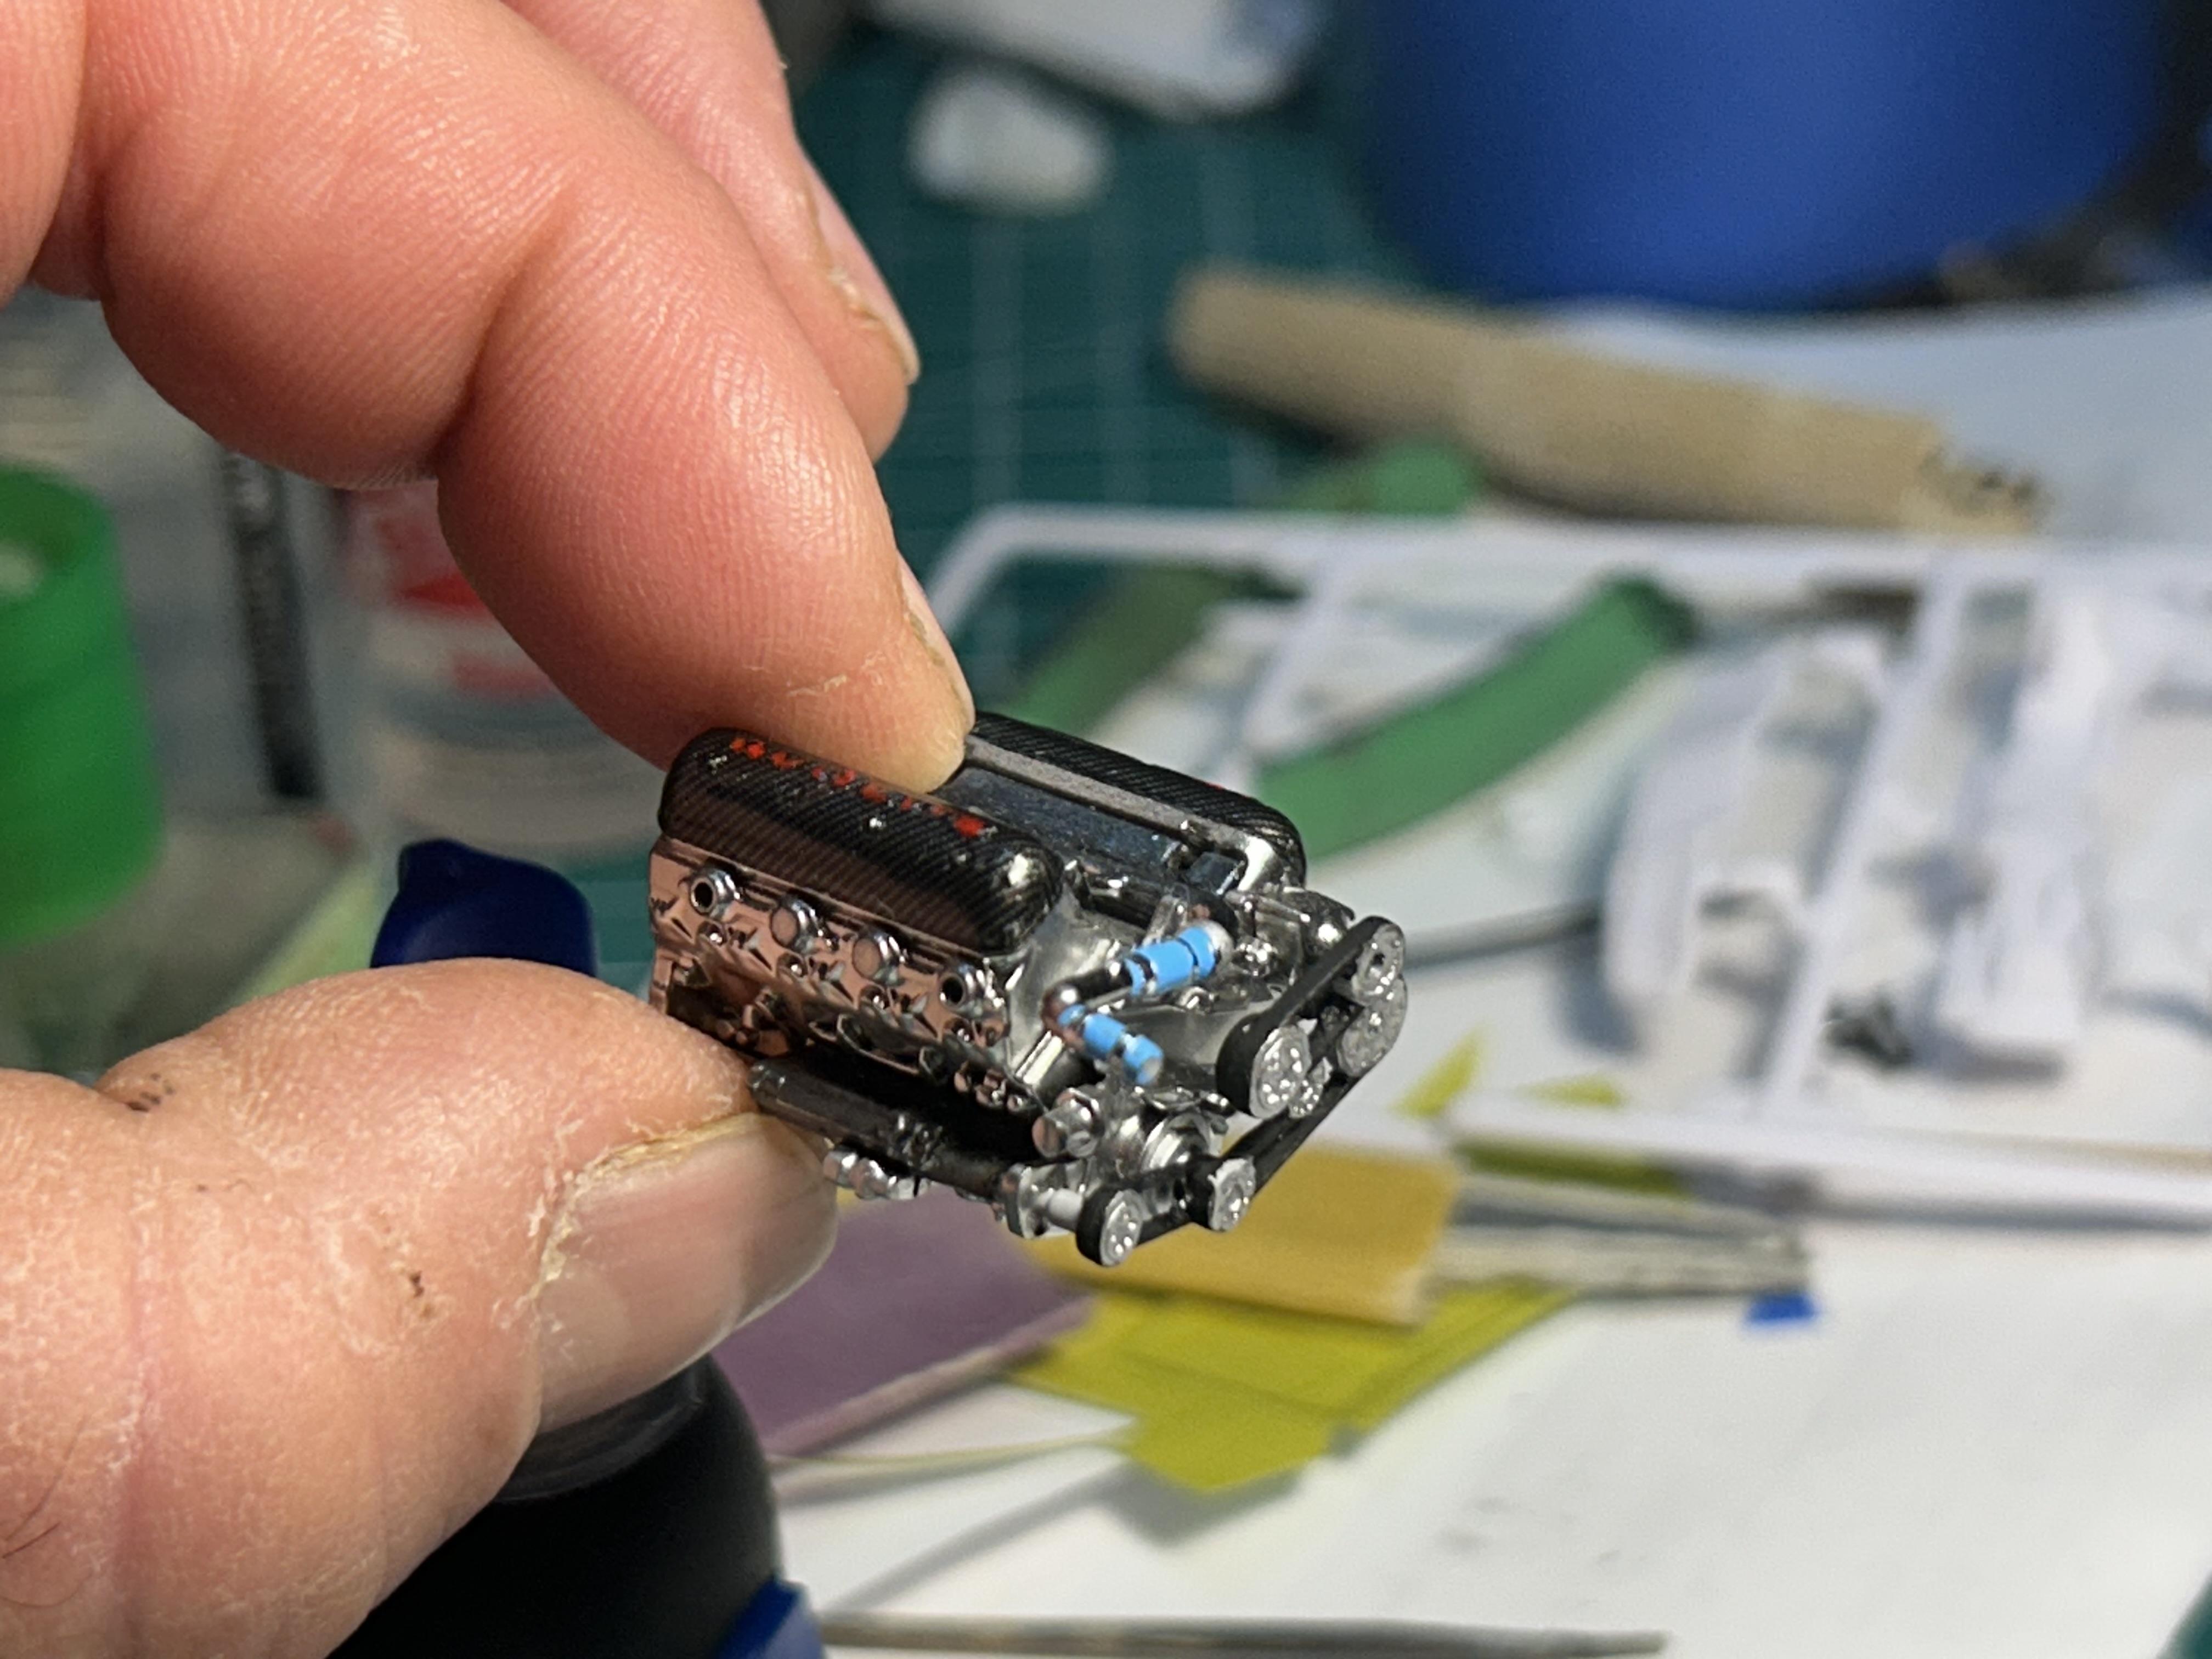
From my C7R WIP.
-
Very nice Anton! The shot of the three of them lined up looks super realistic. 👍🏻
-
Thank you Edgar. Thanks Larry. Thanks Bill. Decals were ok. Very thin and a few split but I was able to get them together. The first one I put down was on the front hood. I used too much Micro Sol and it wrinkled bad. I use it much more sparingly on the rest of the decals and they laid down much better.
-
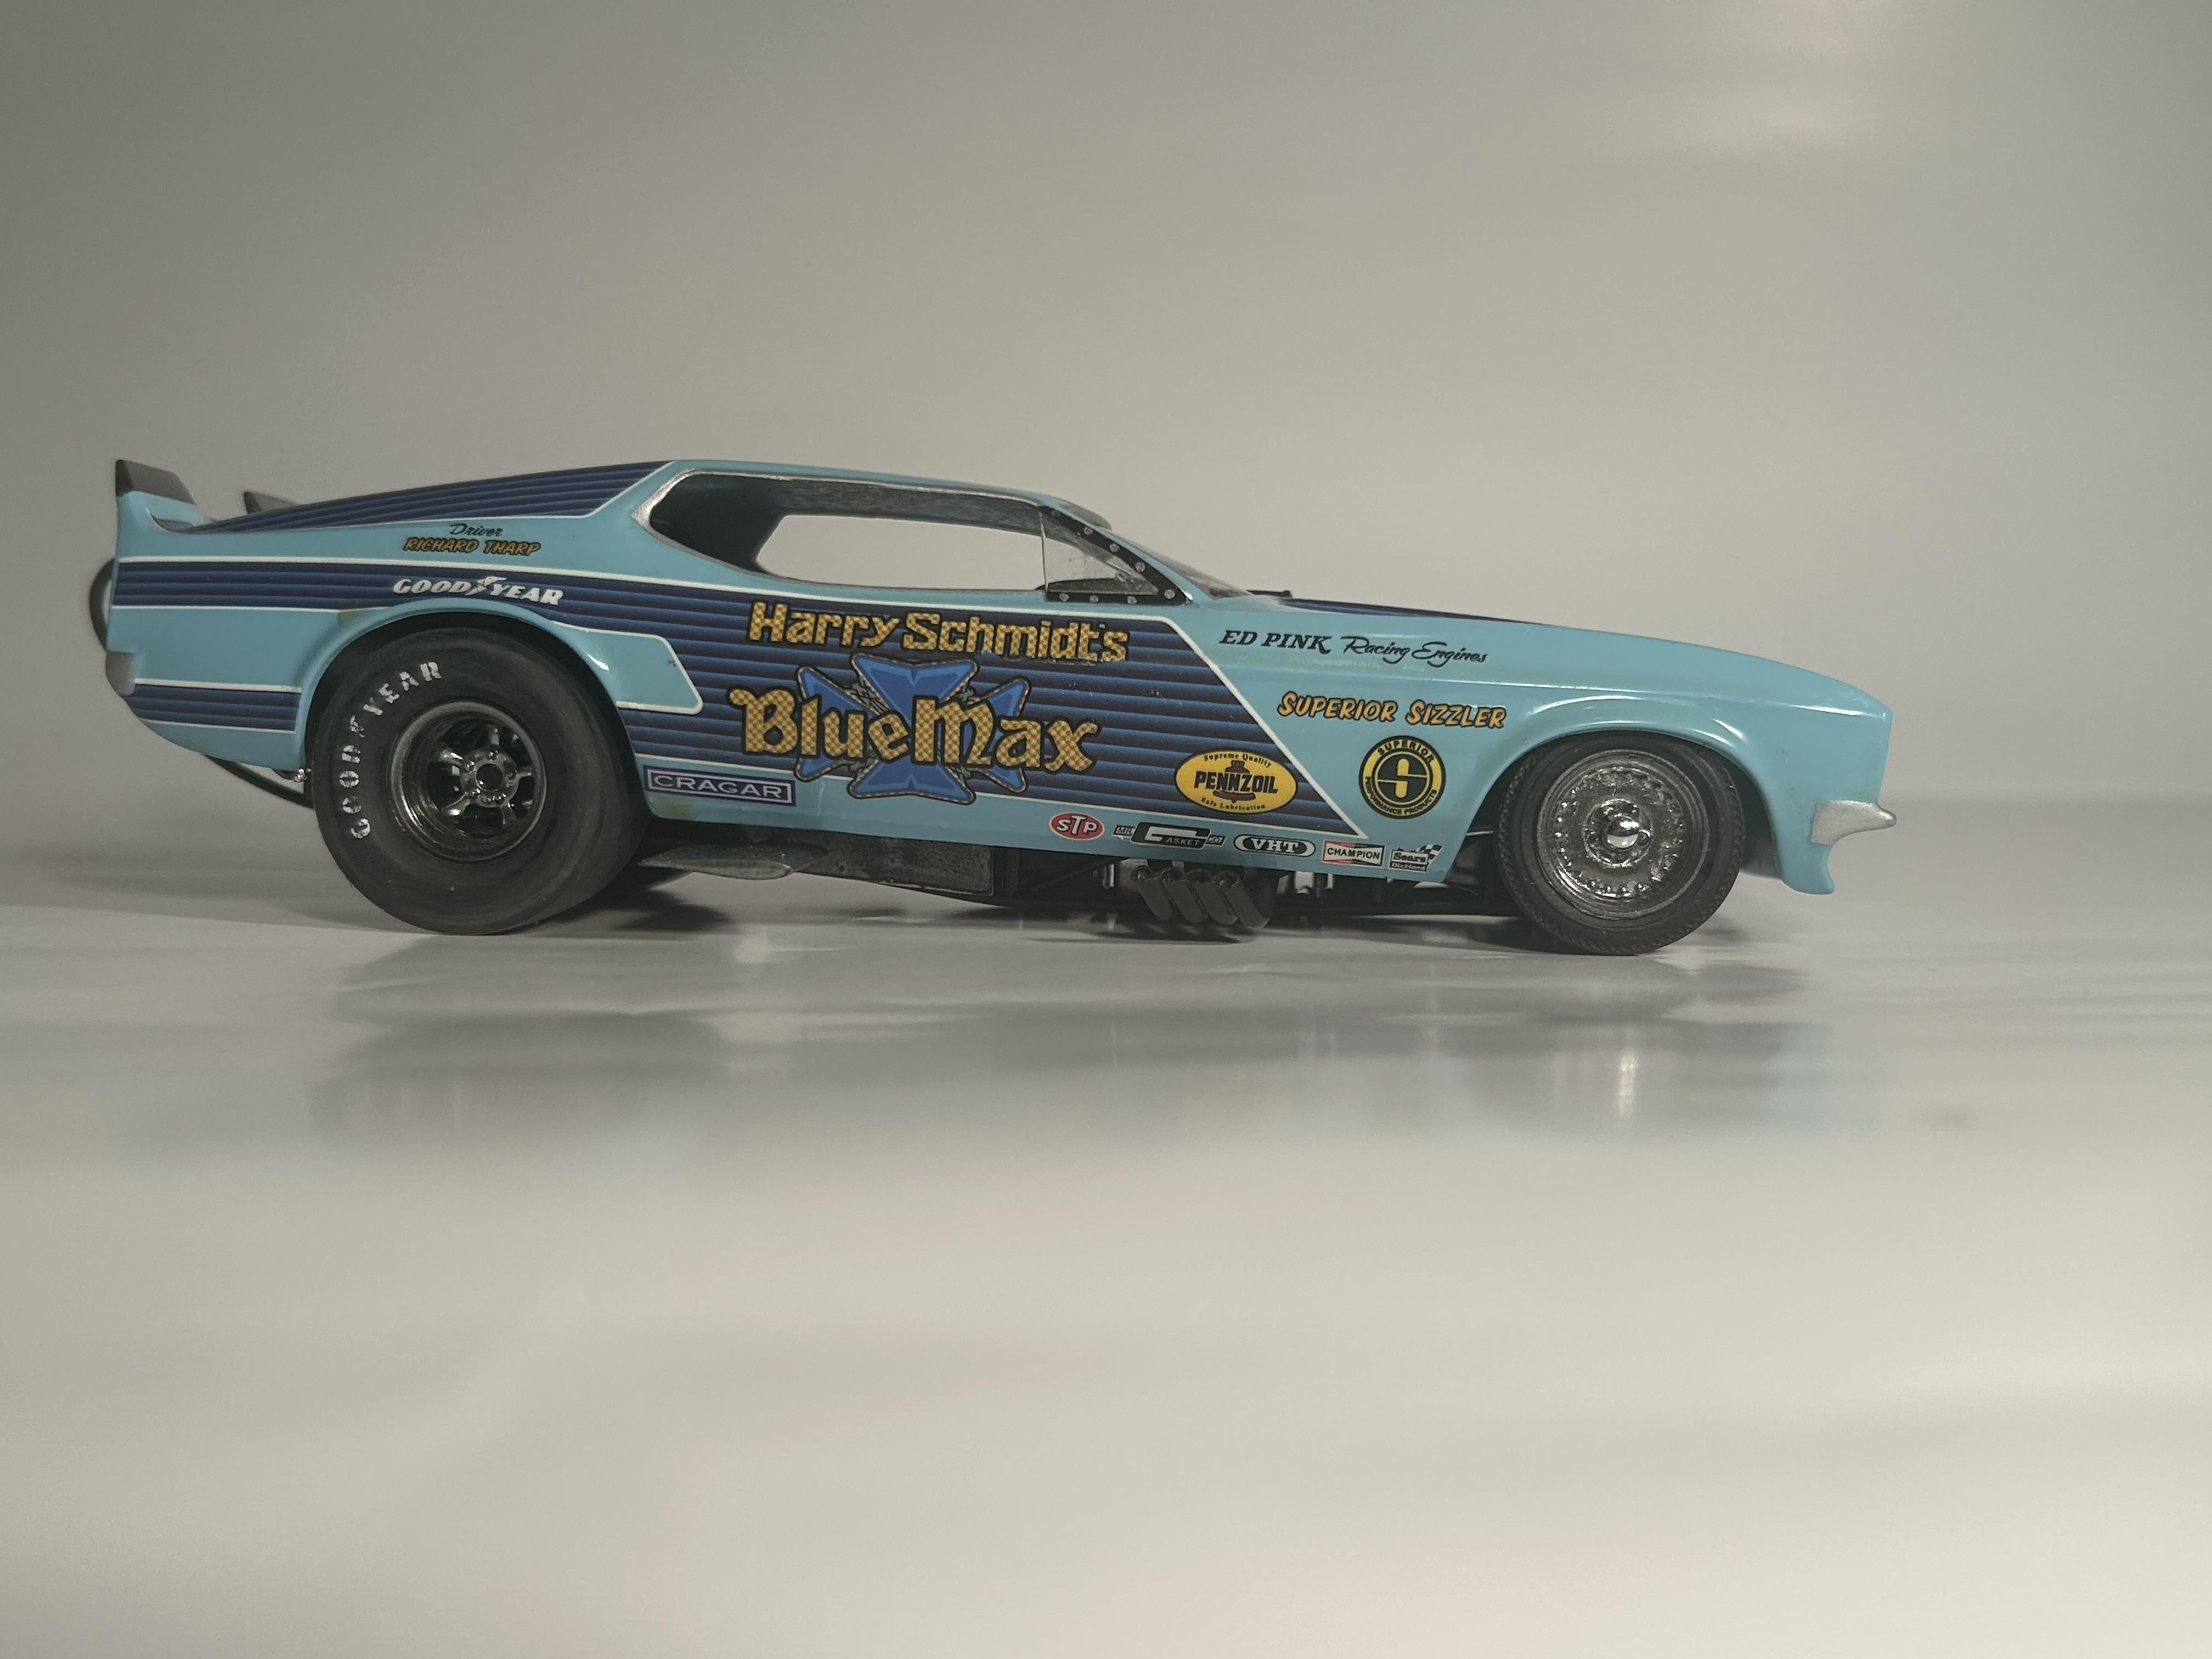
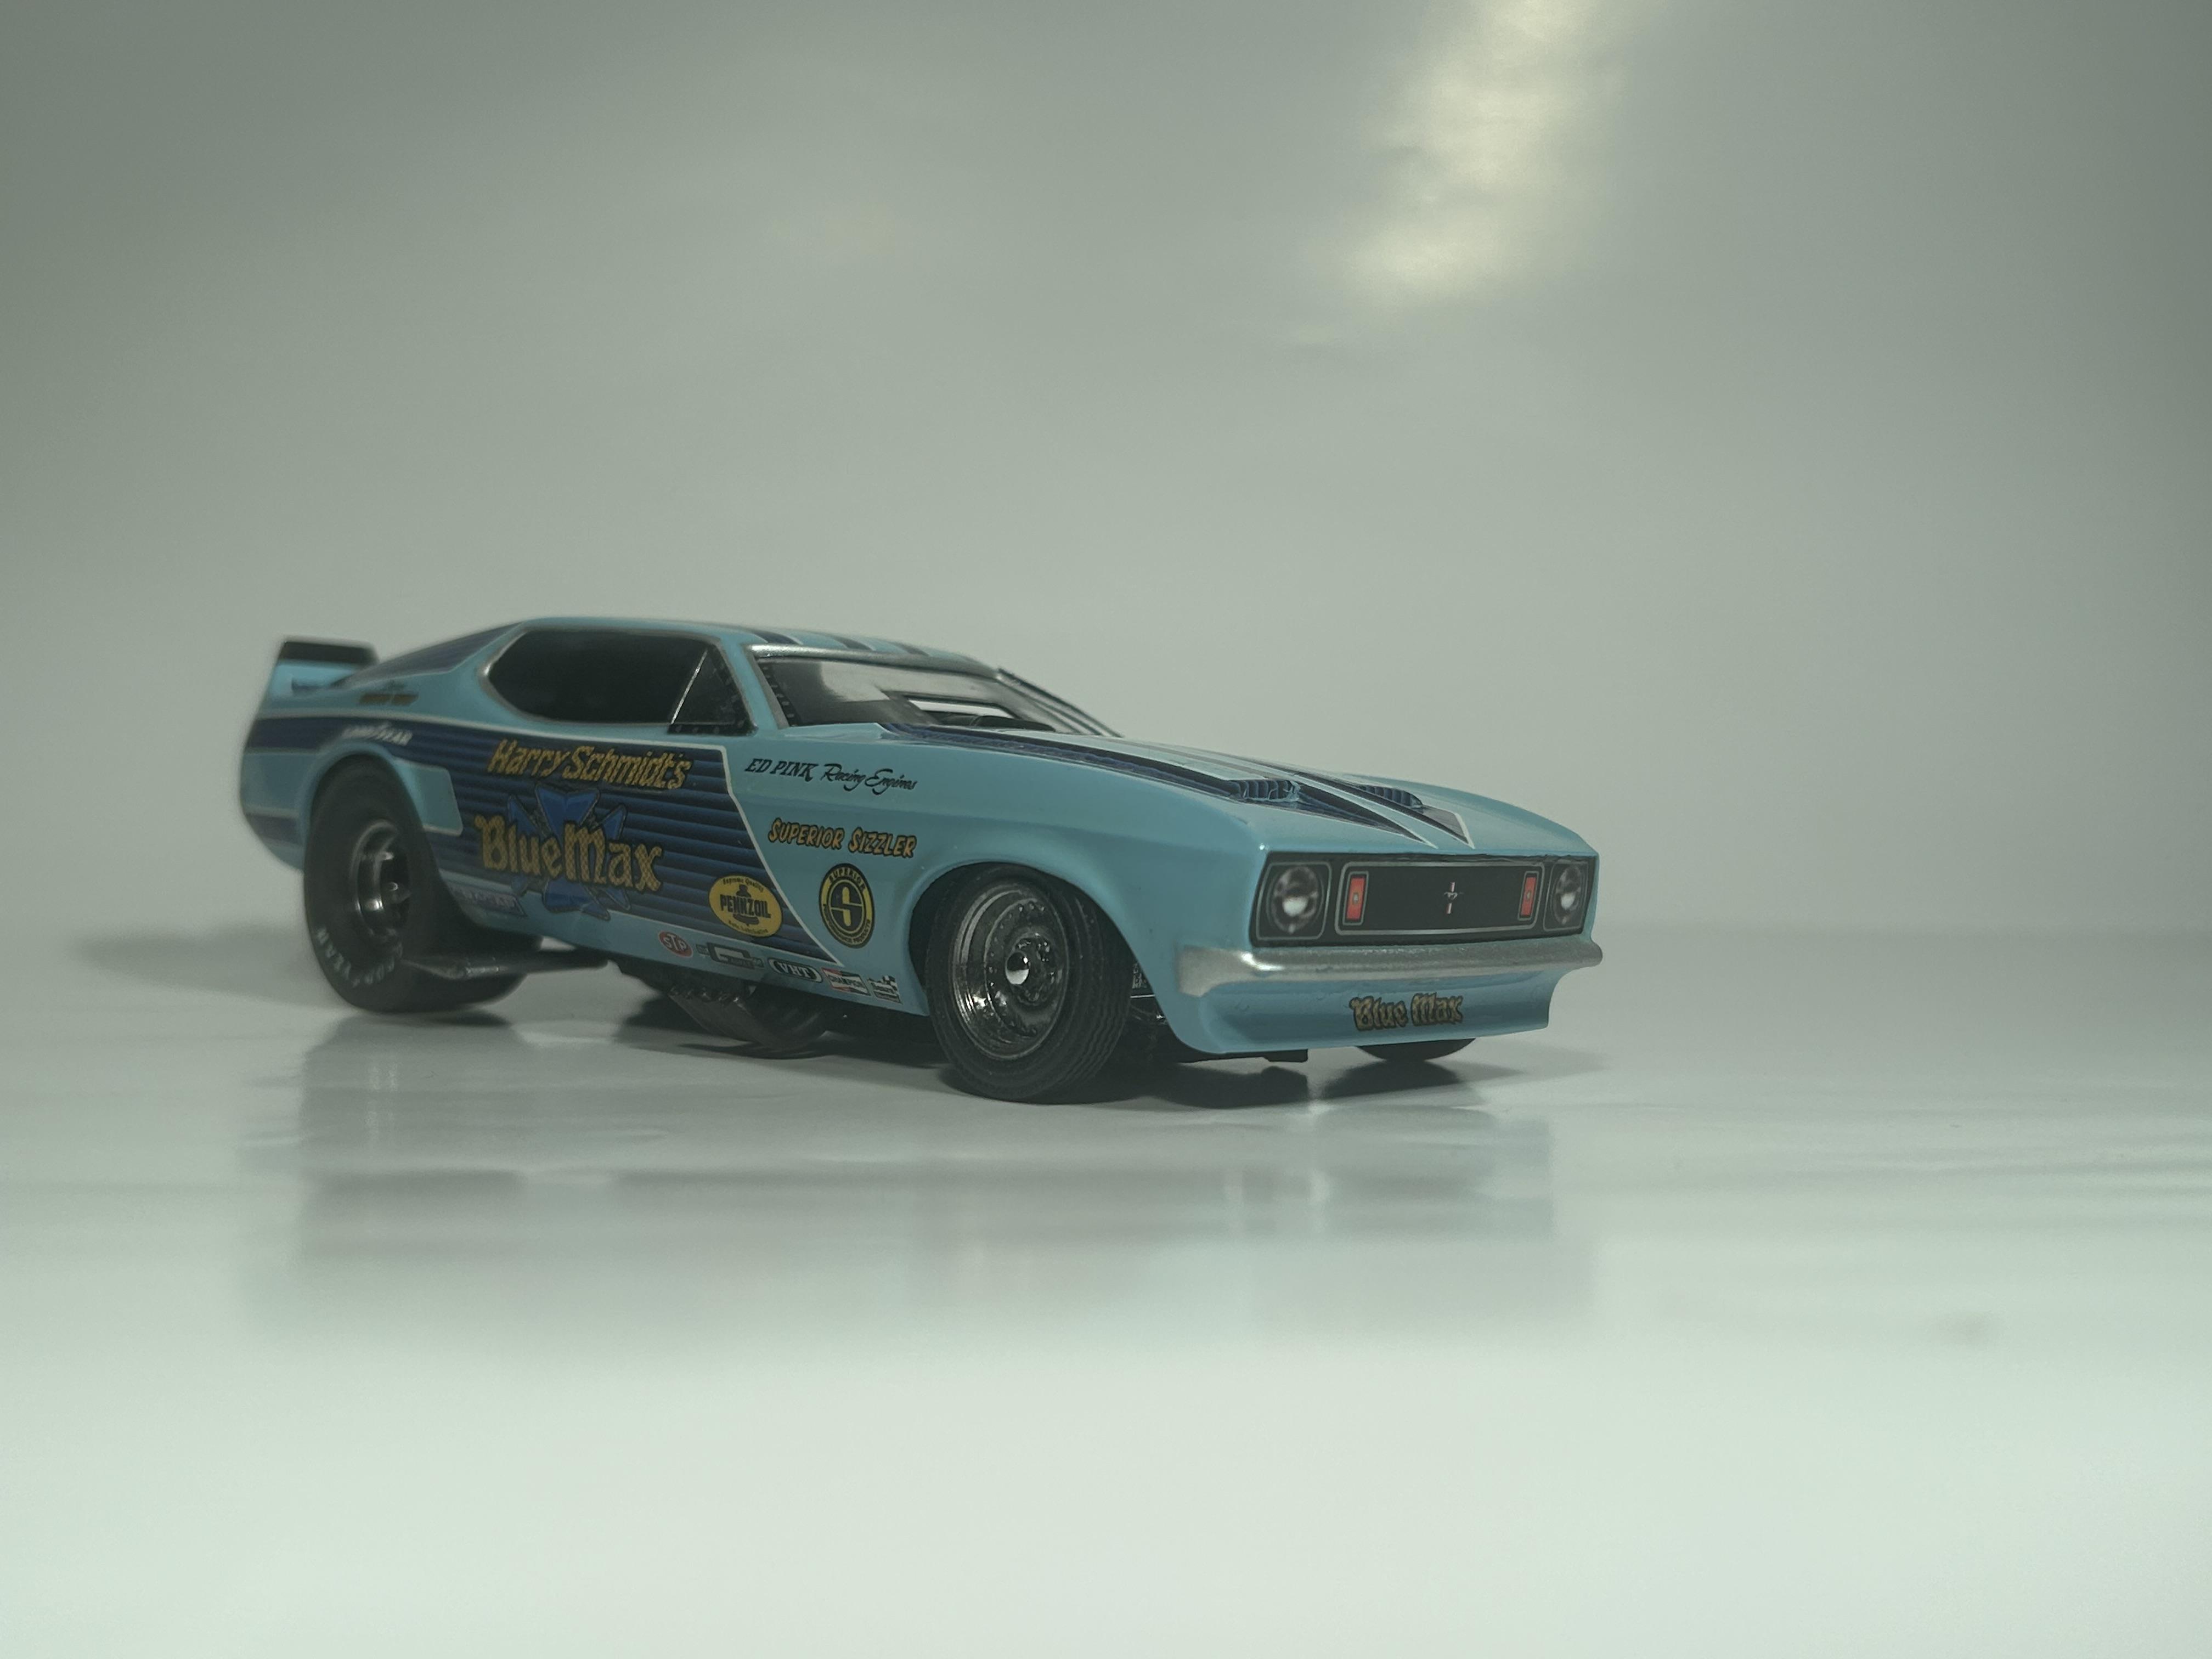
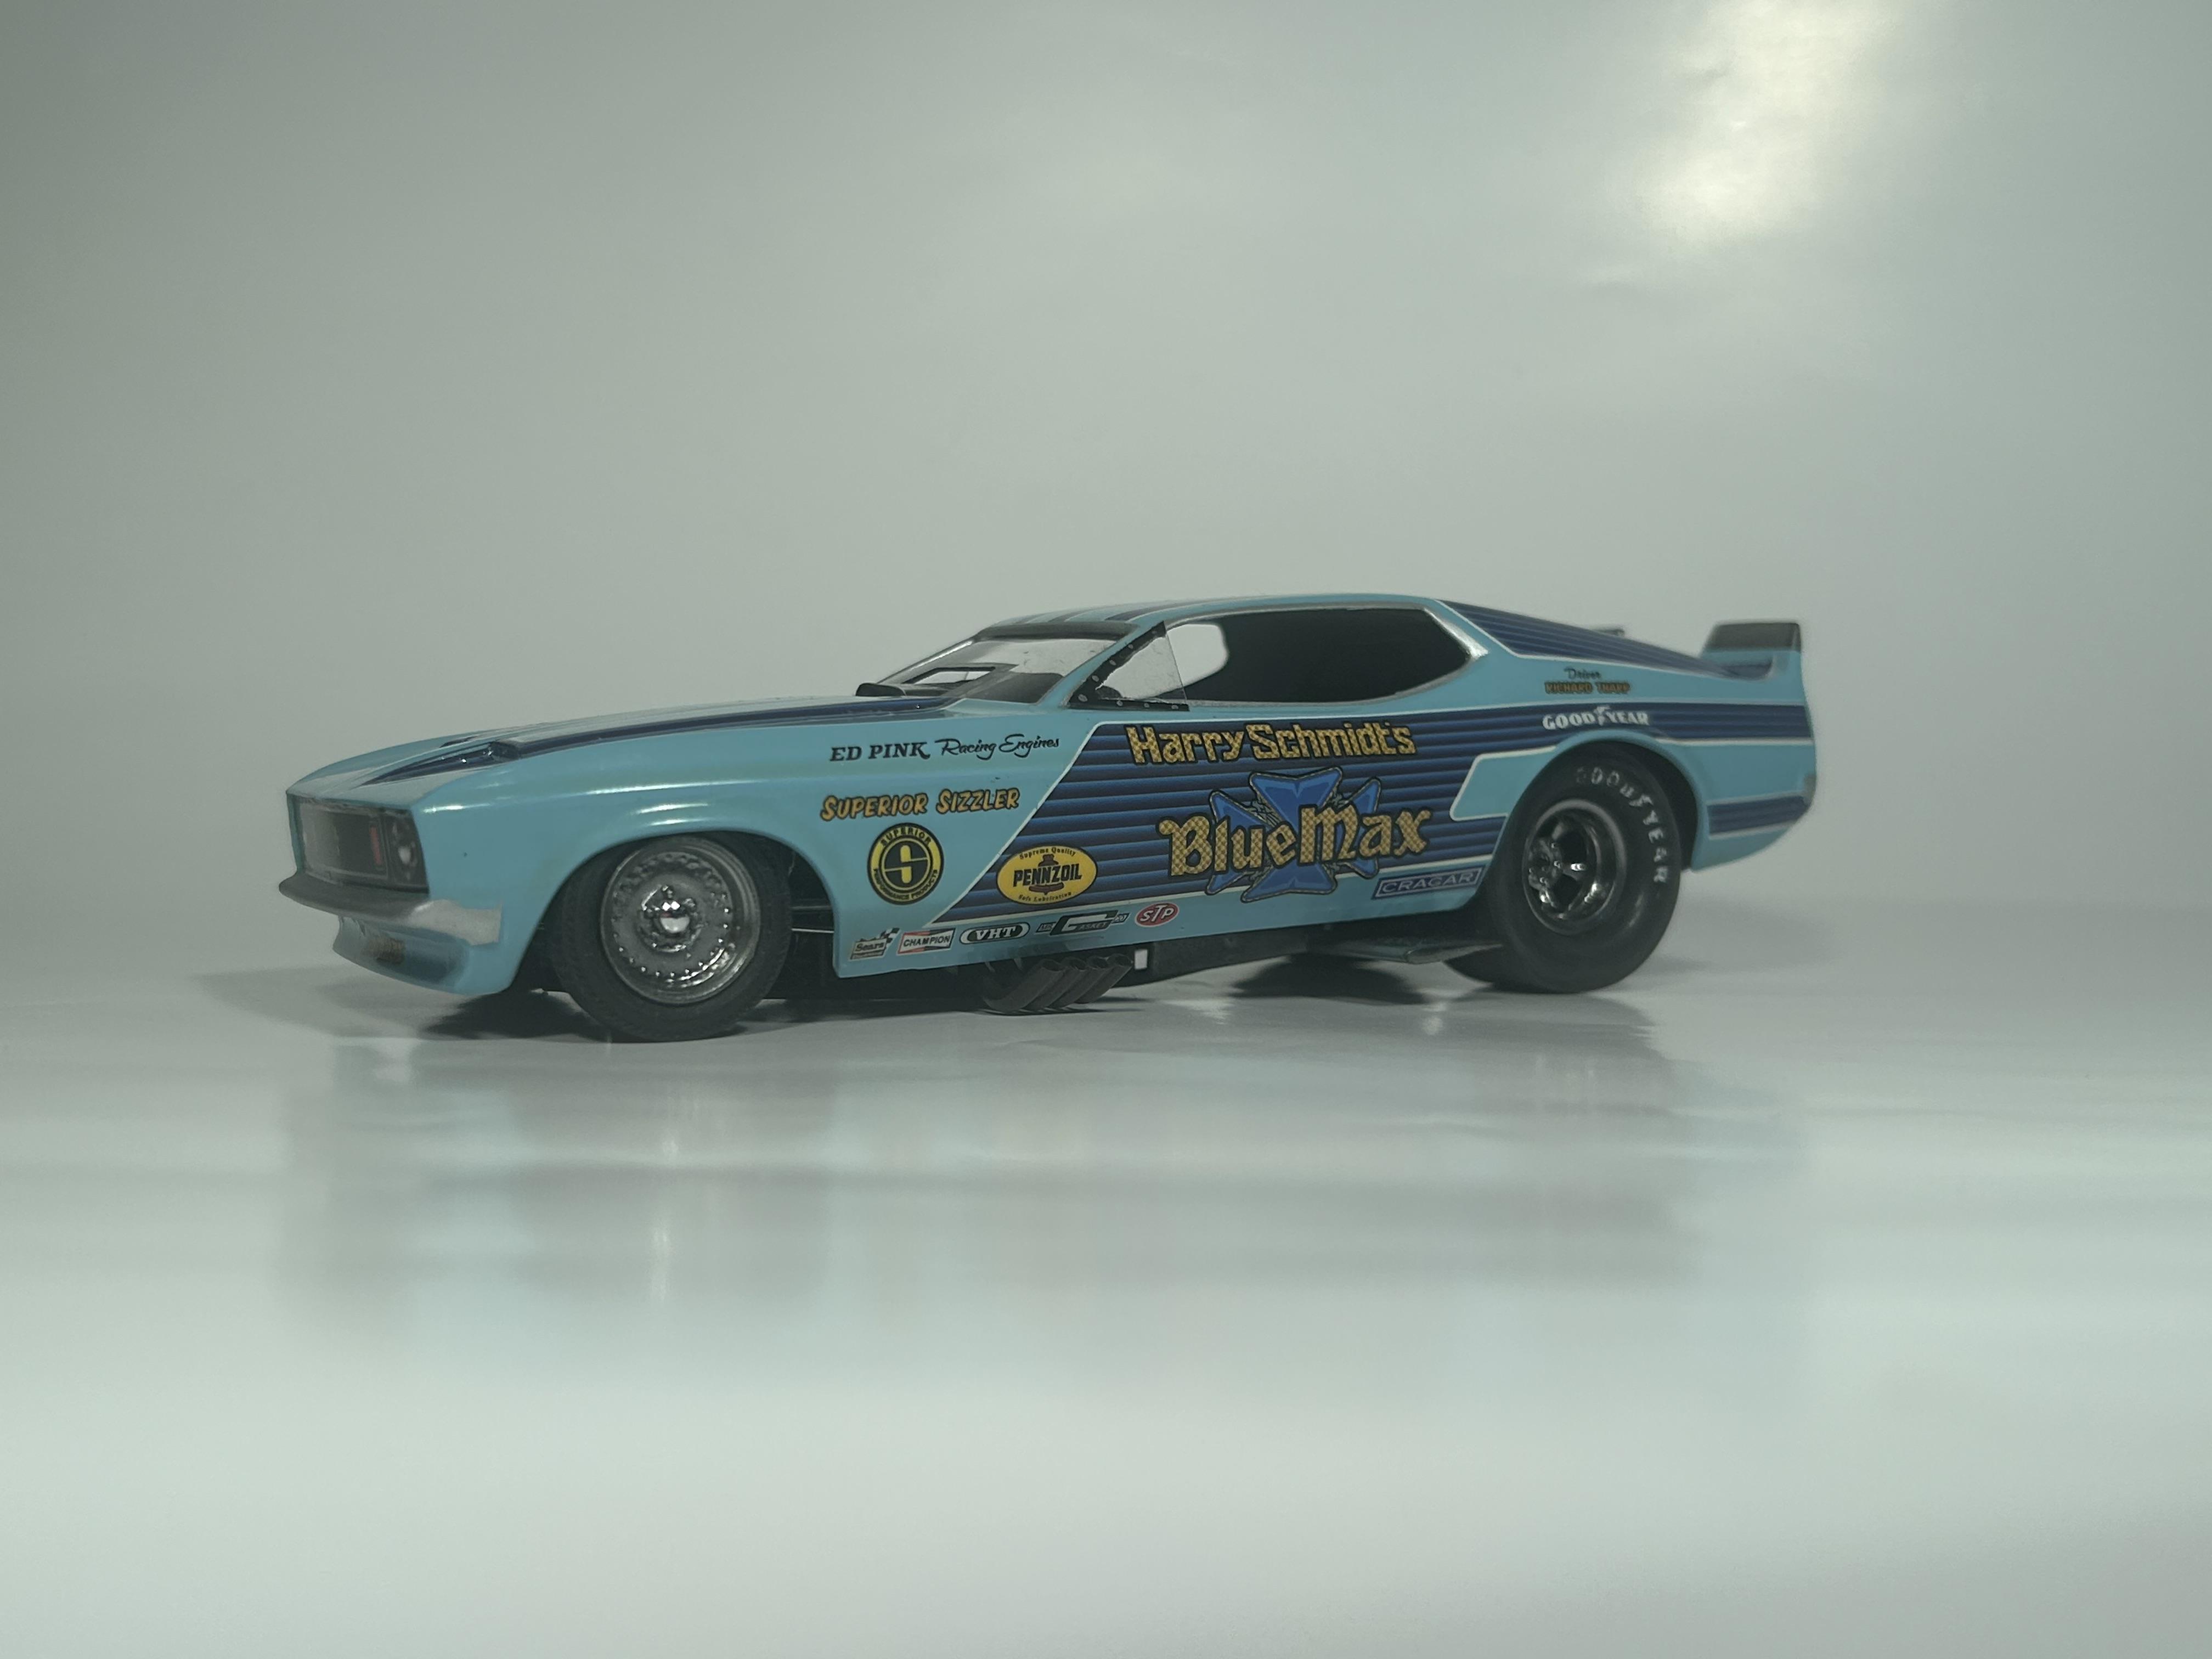
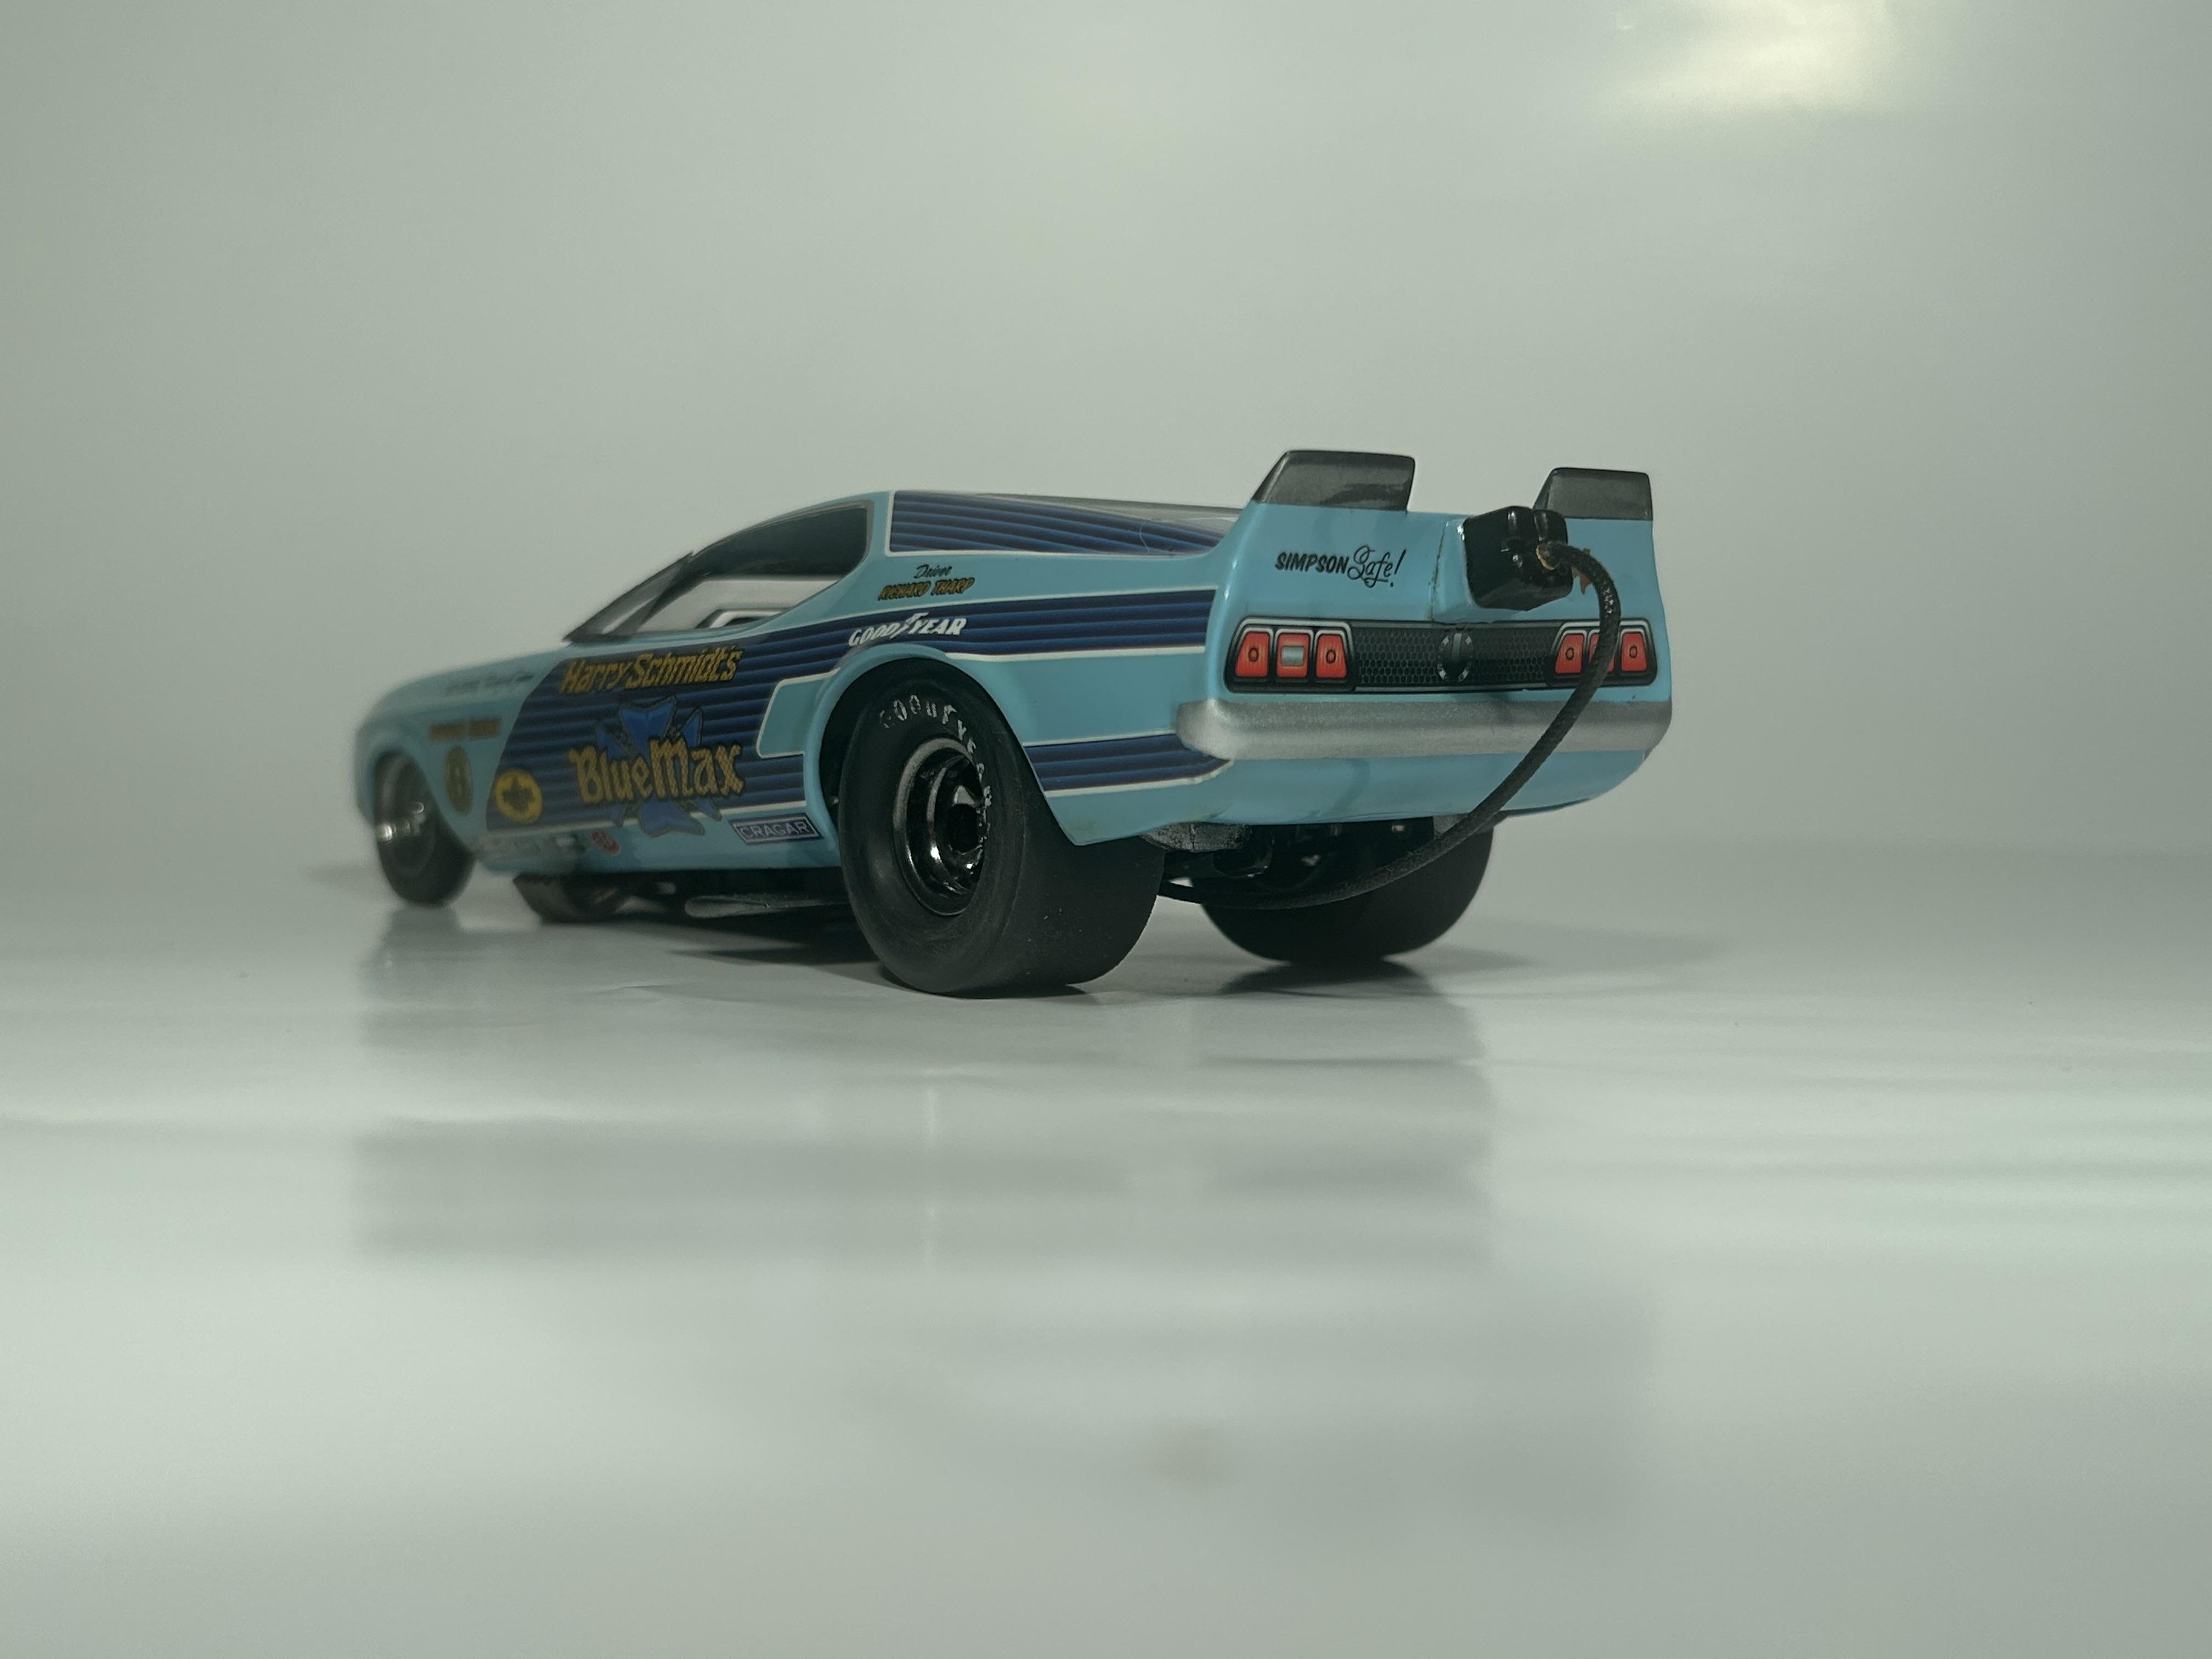
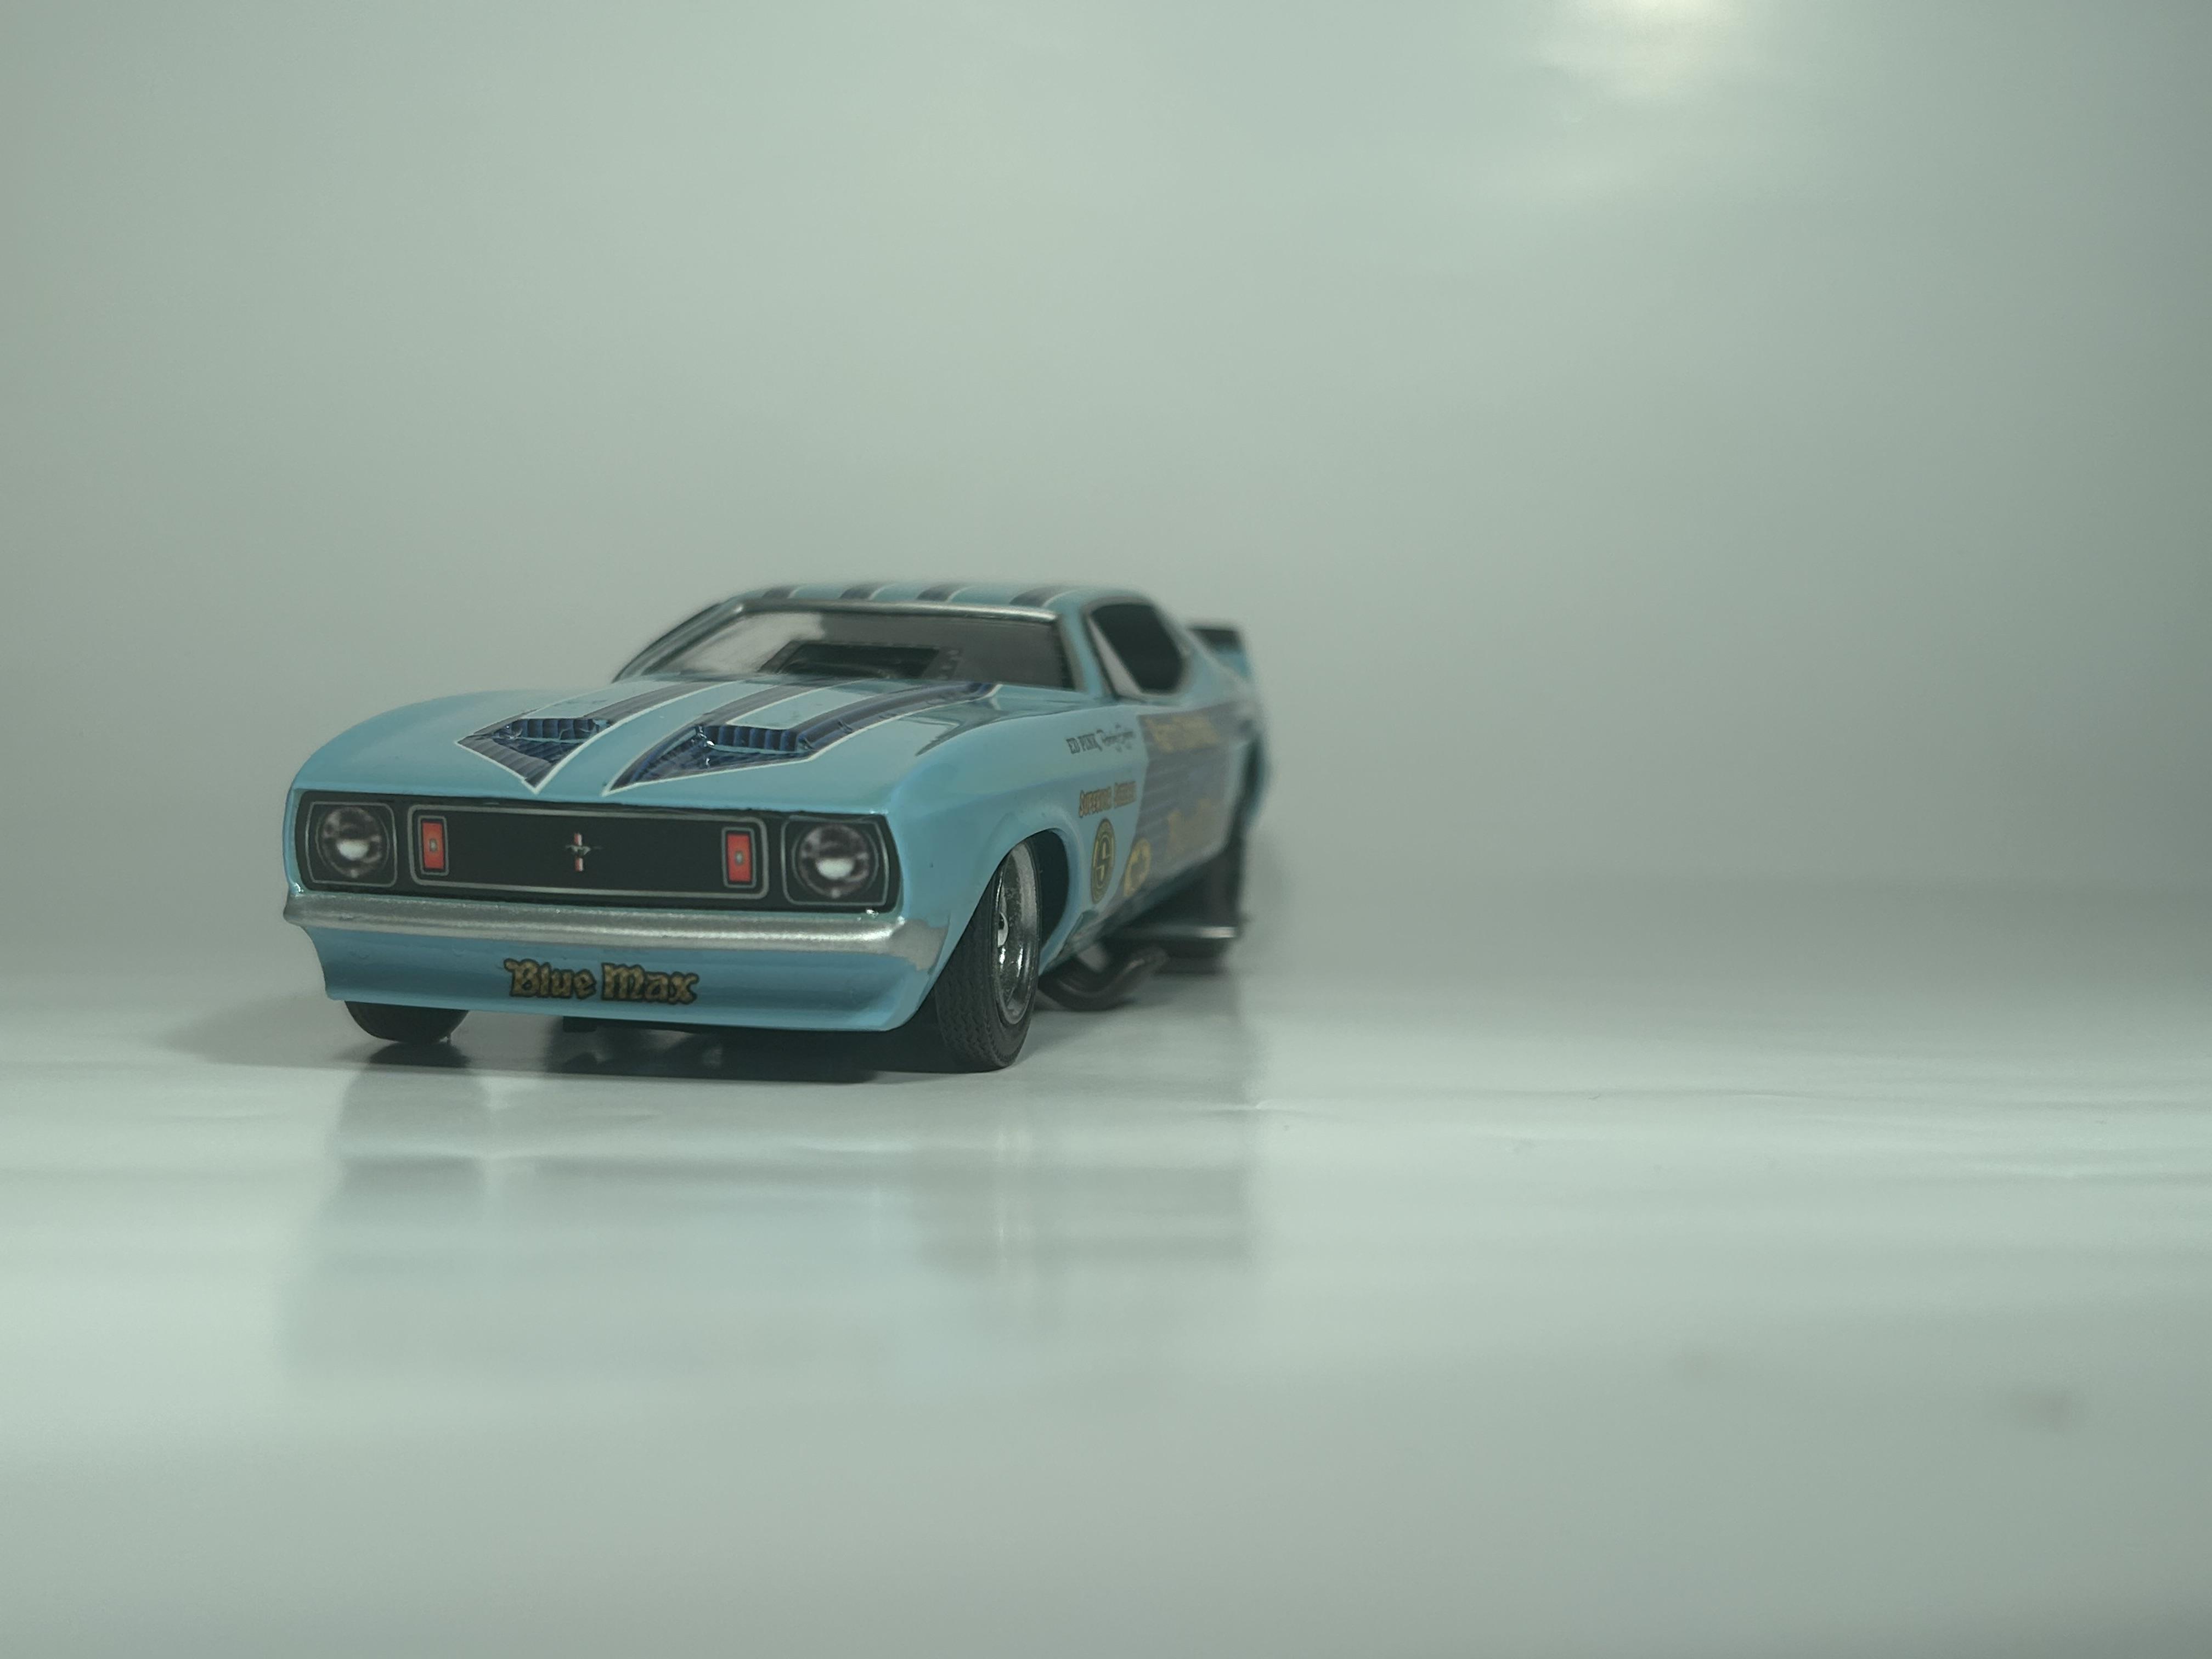
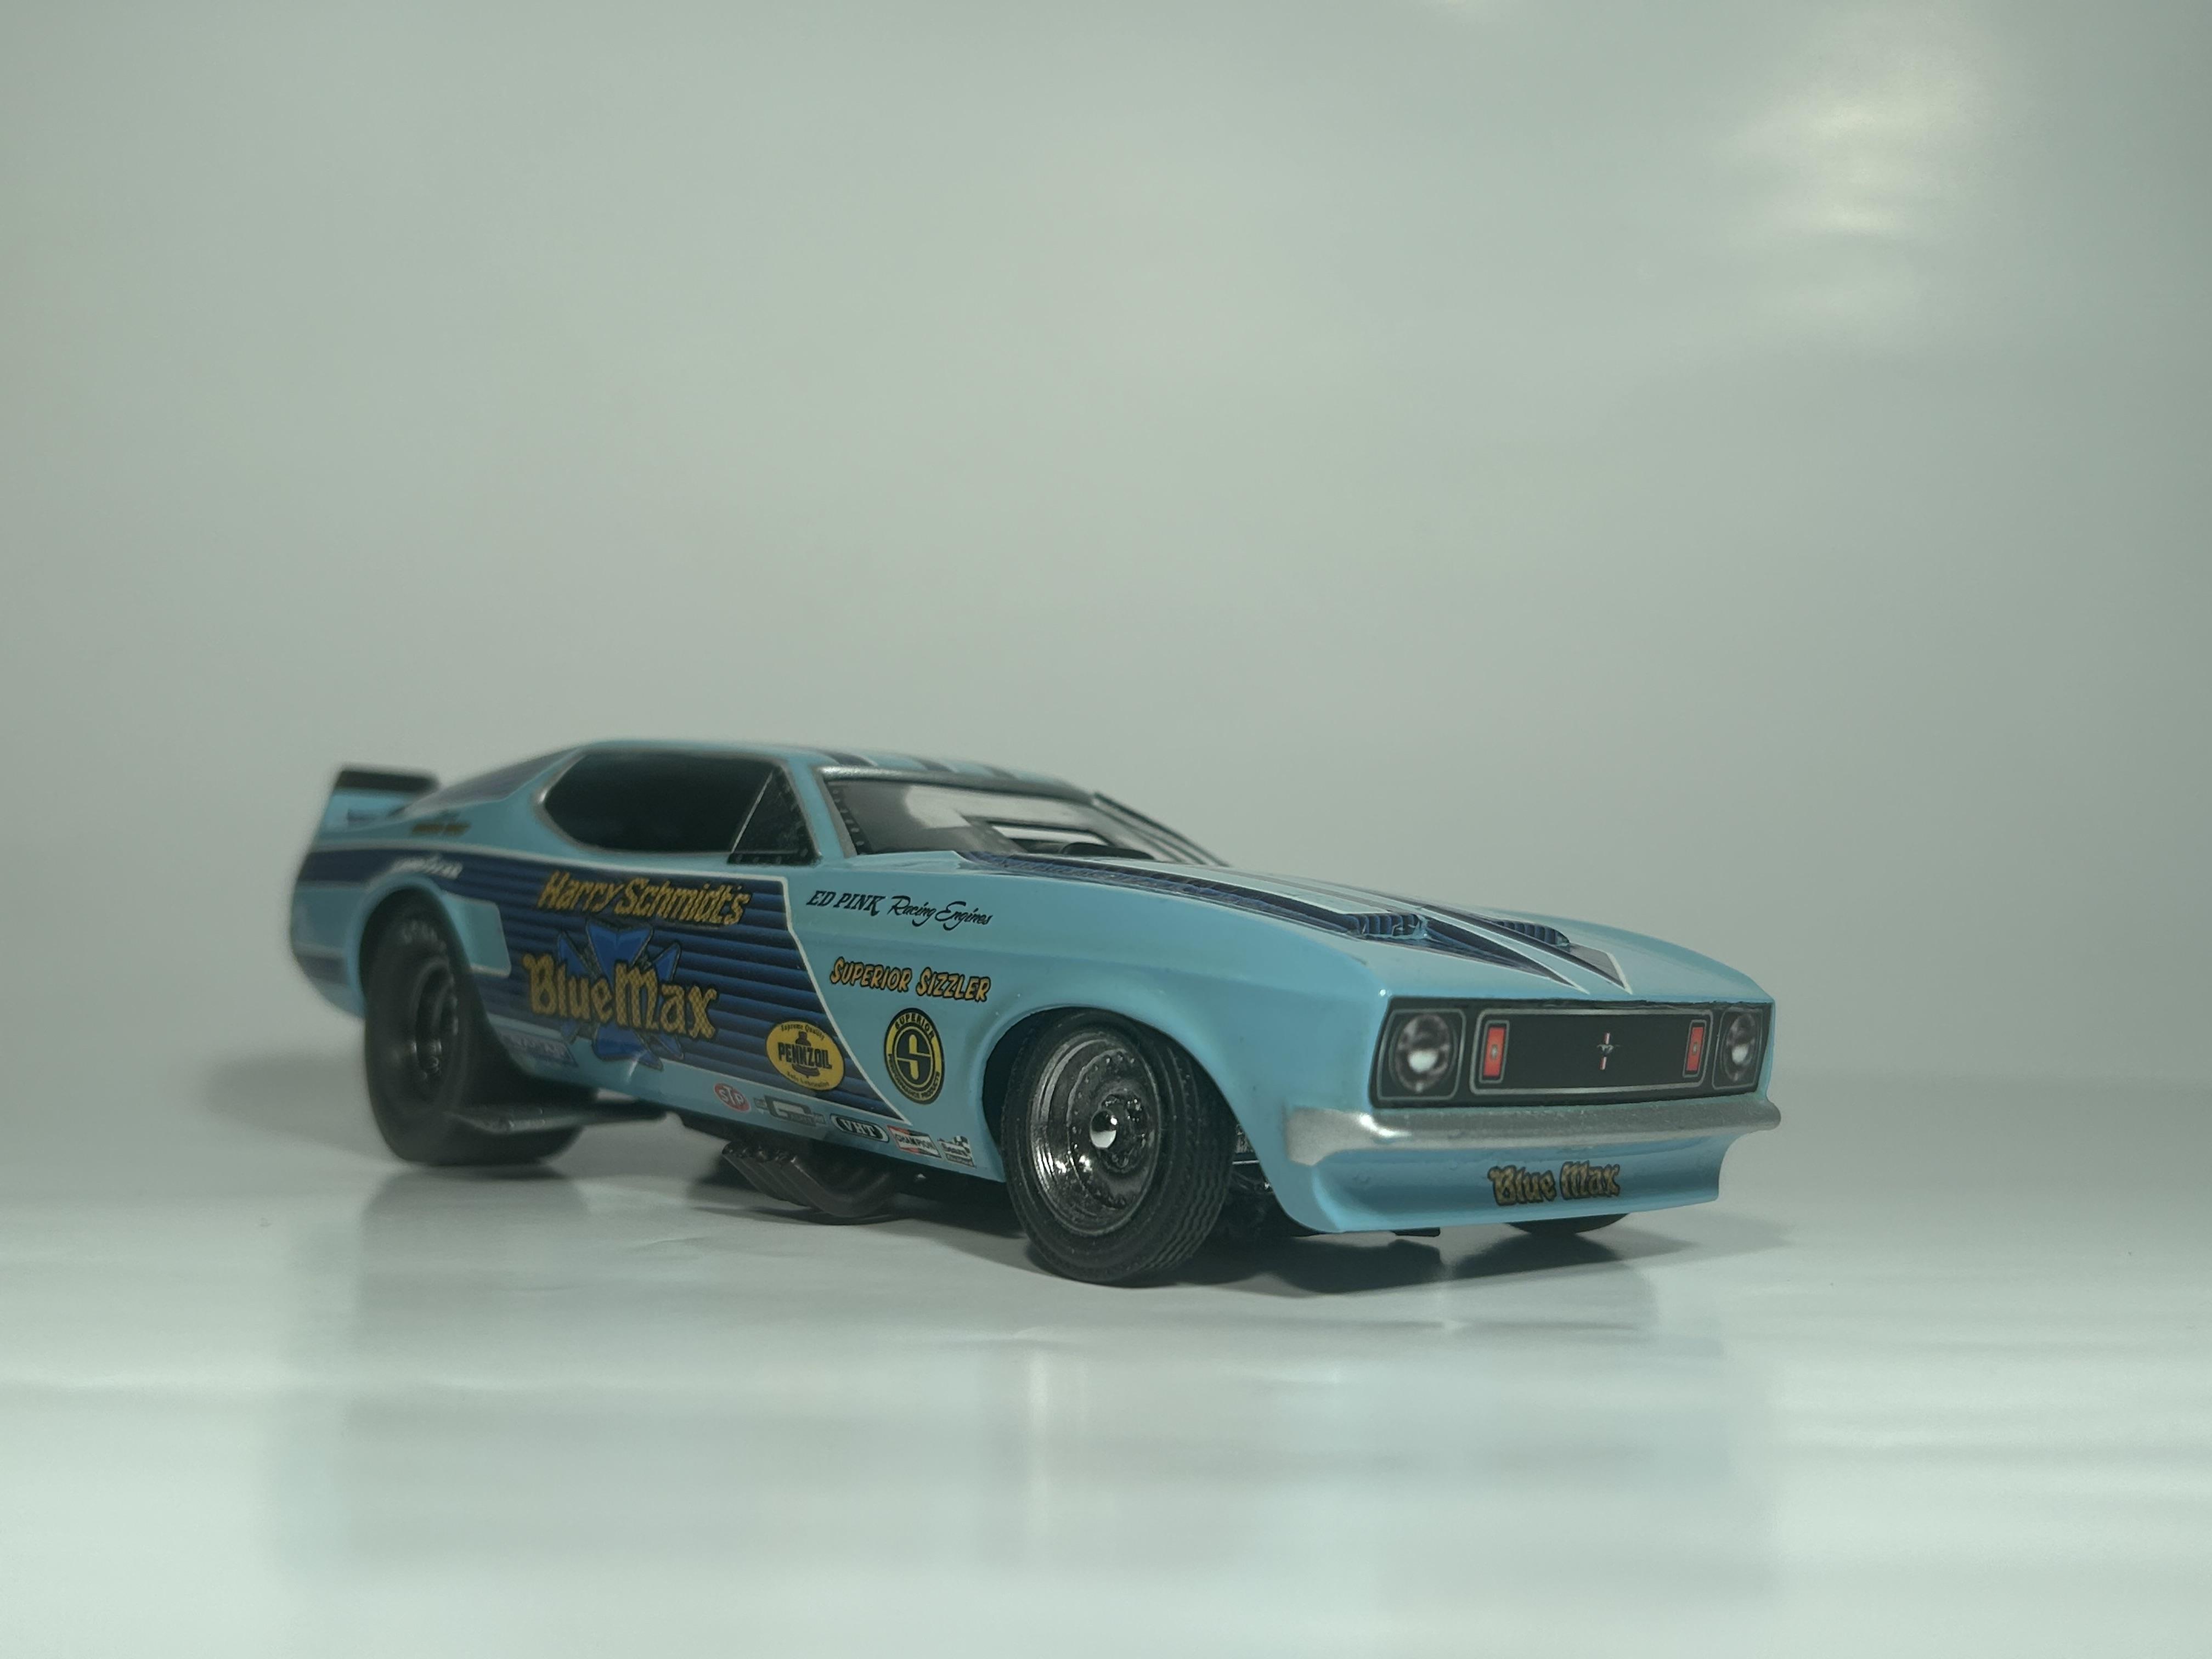
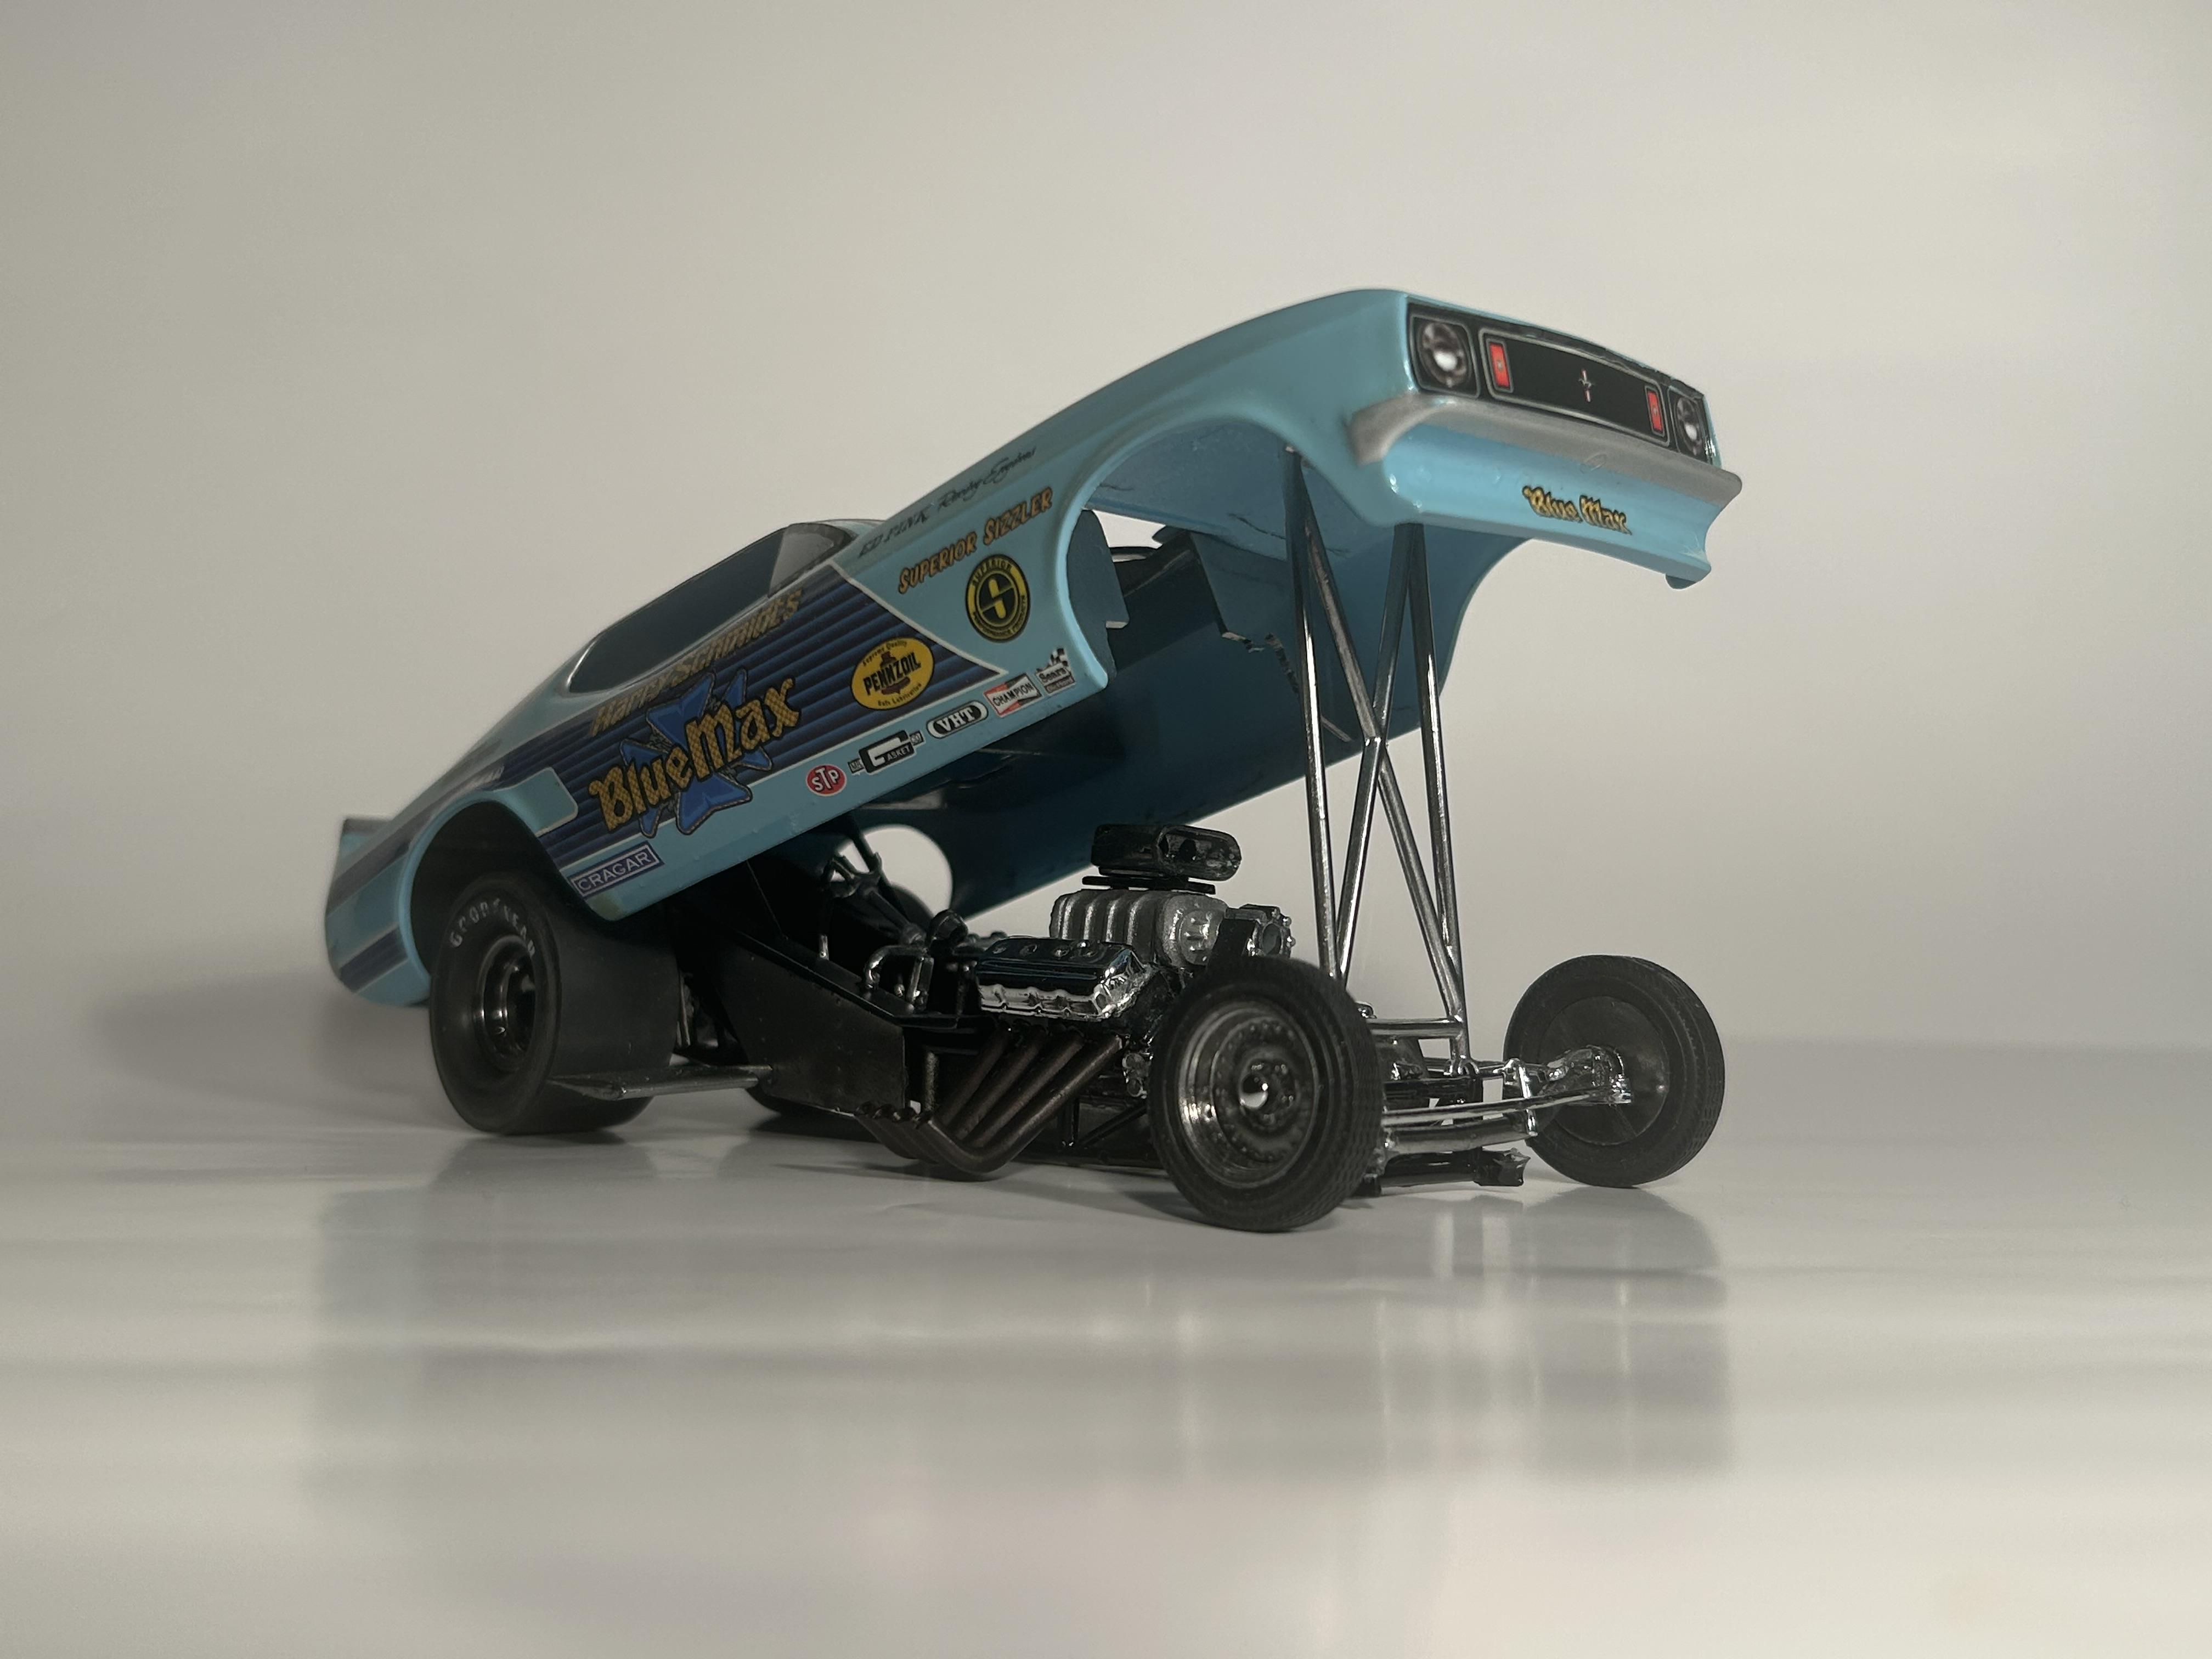
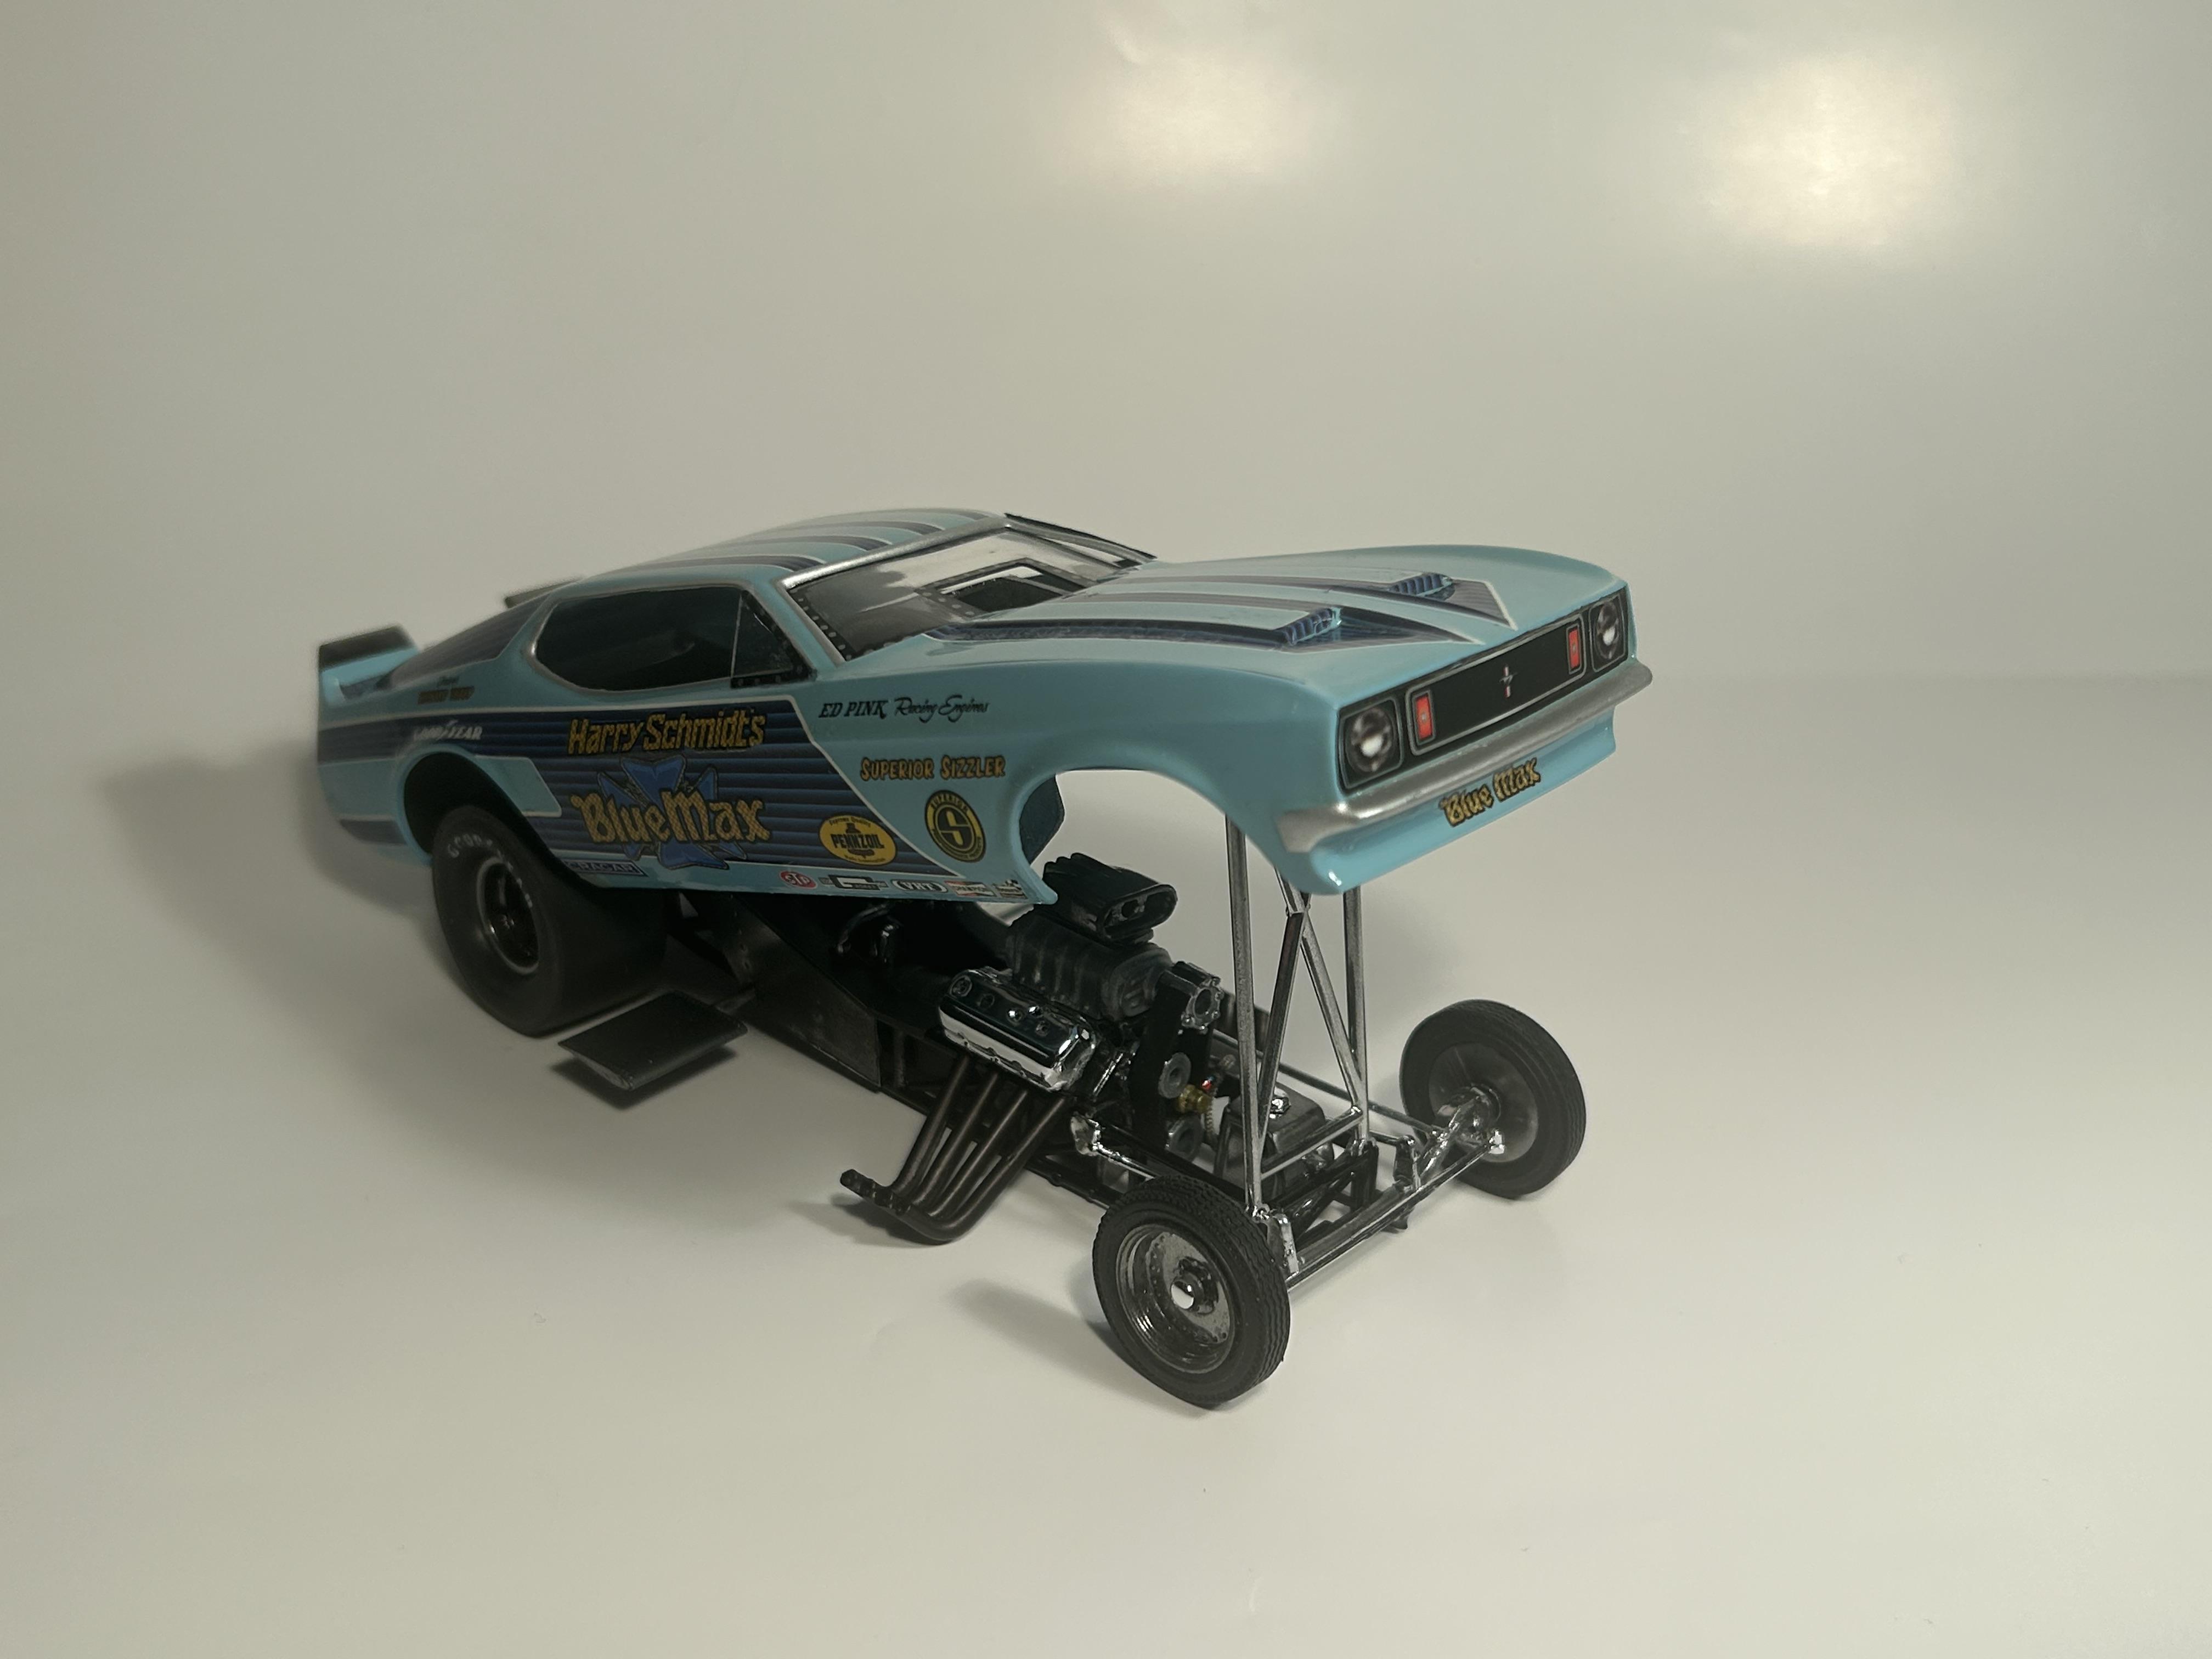
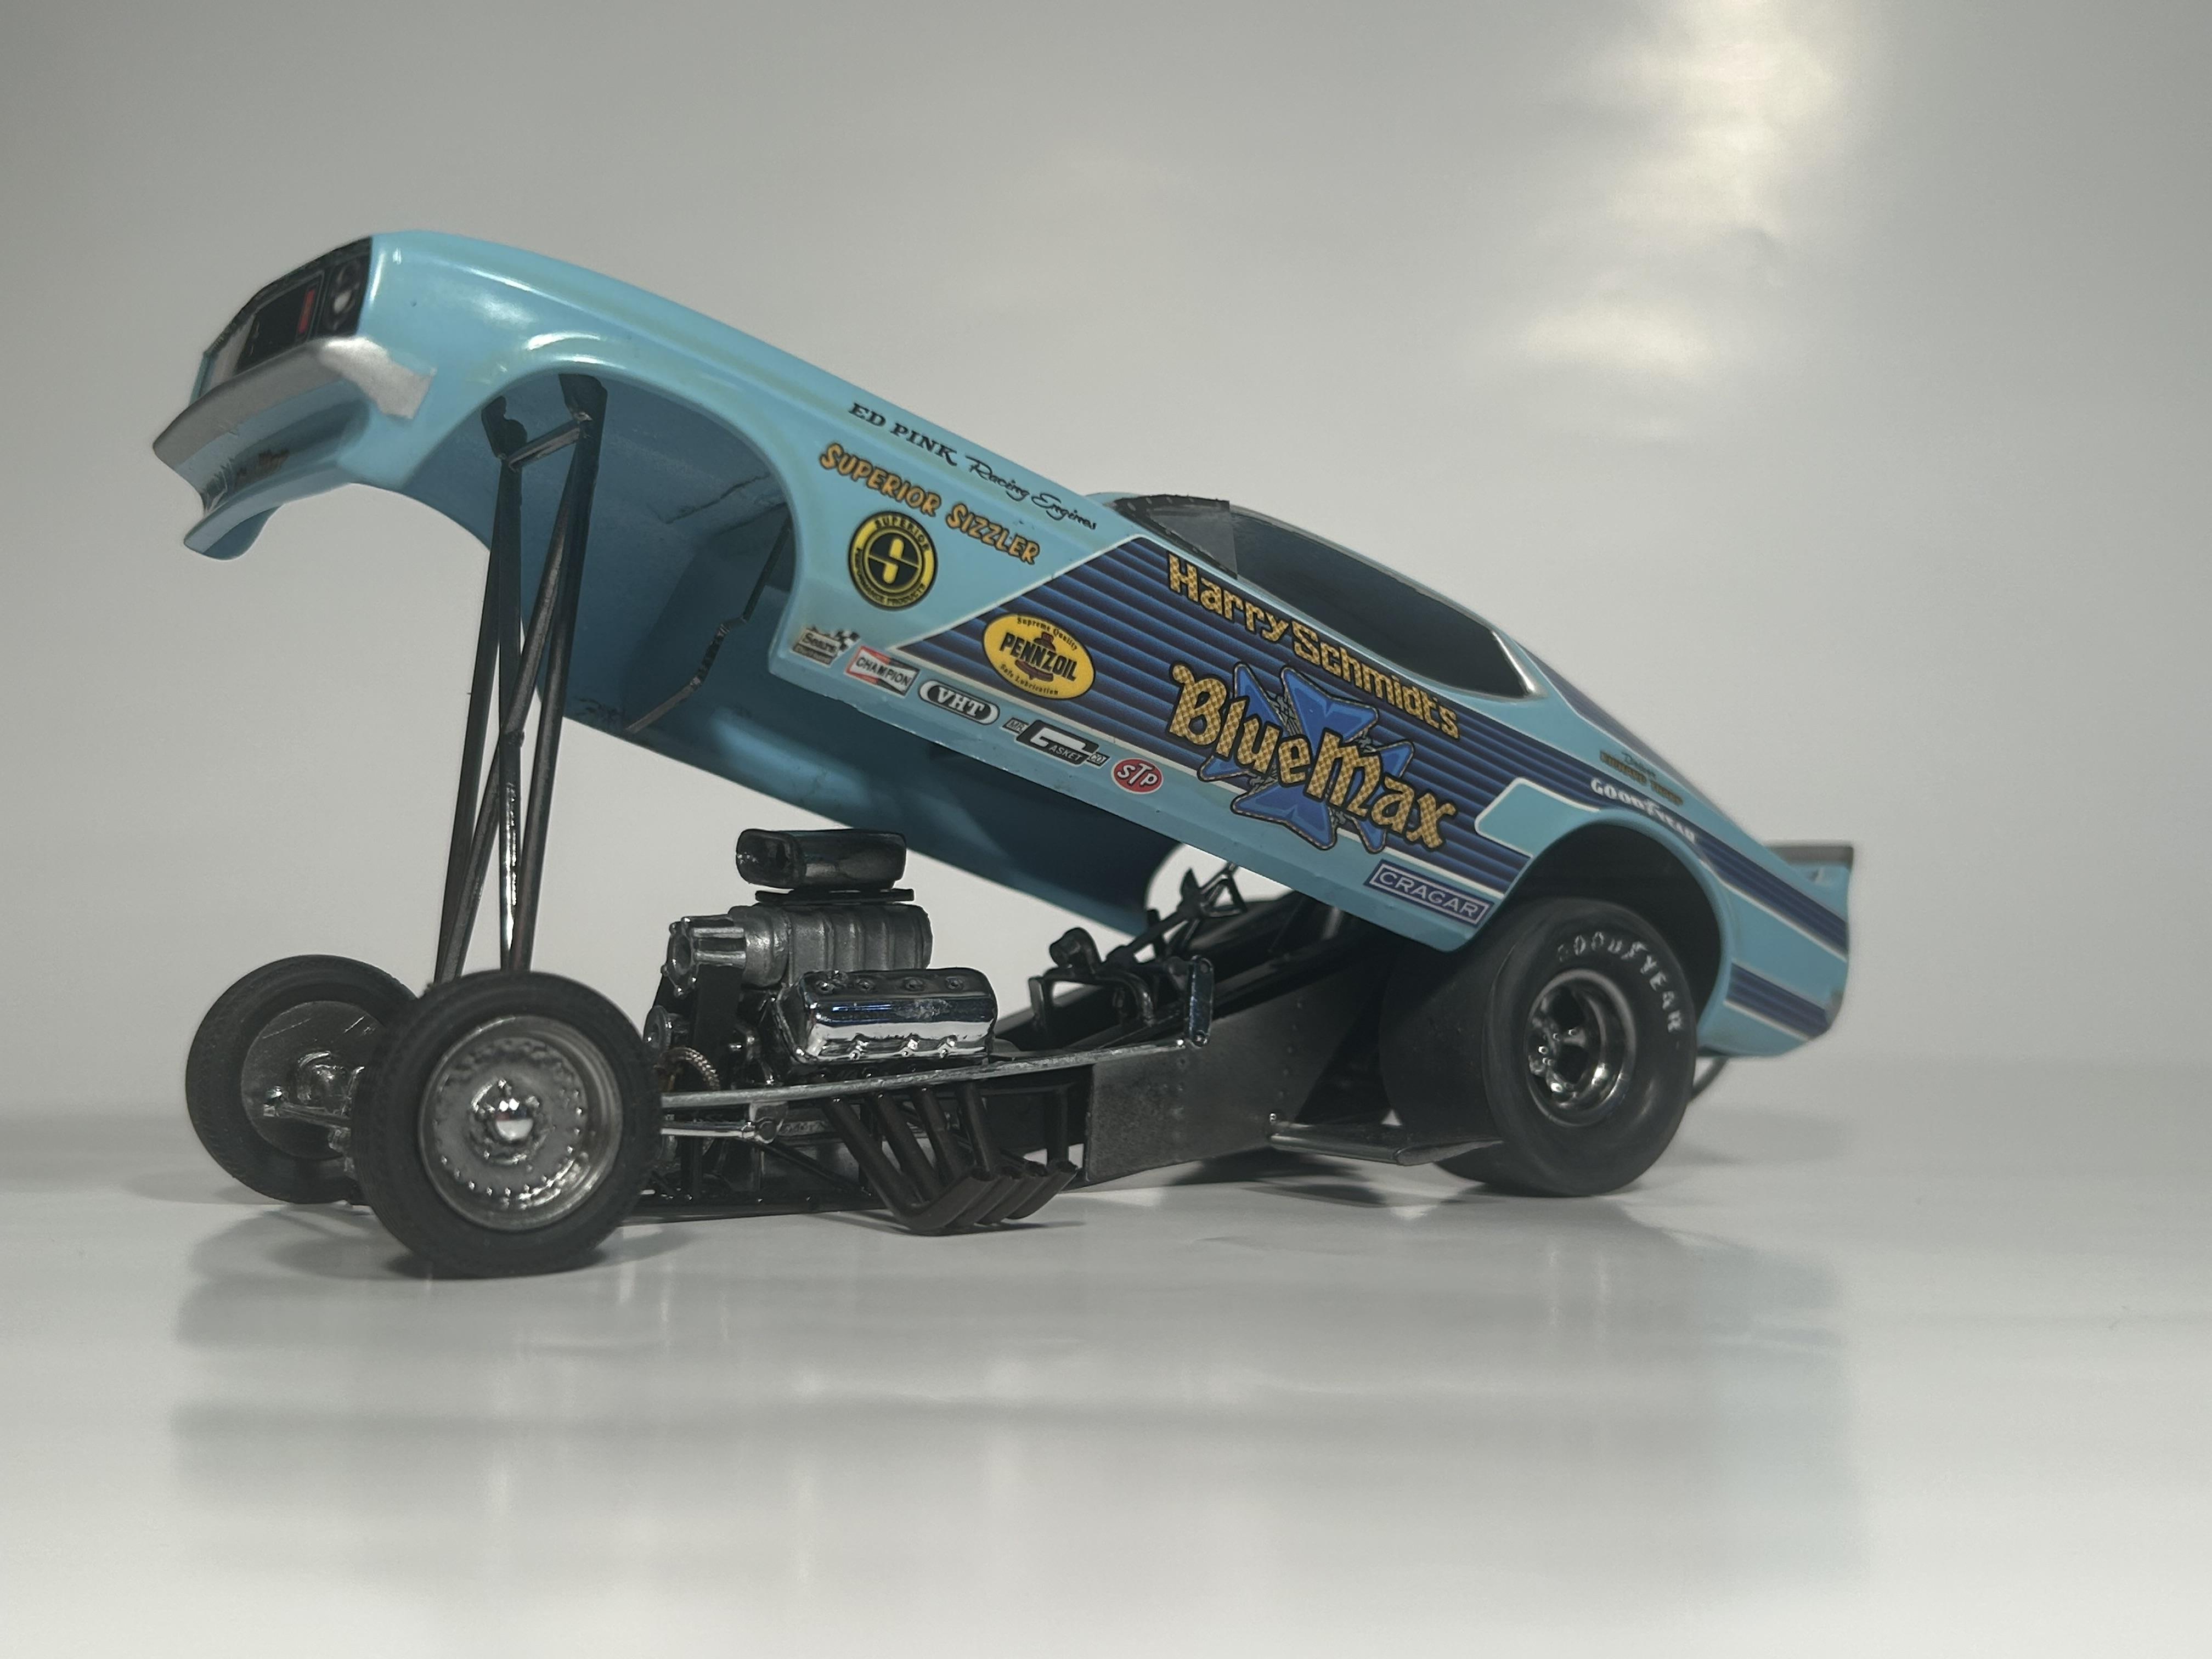
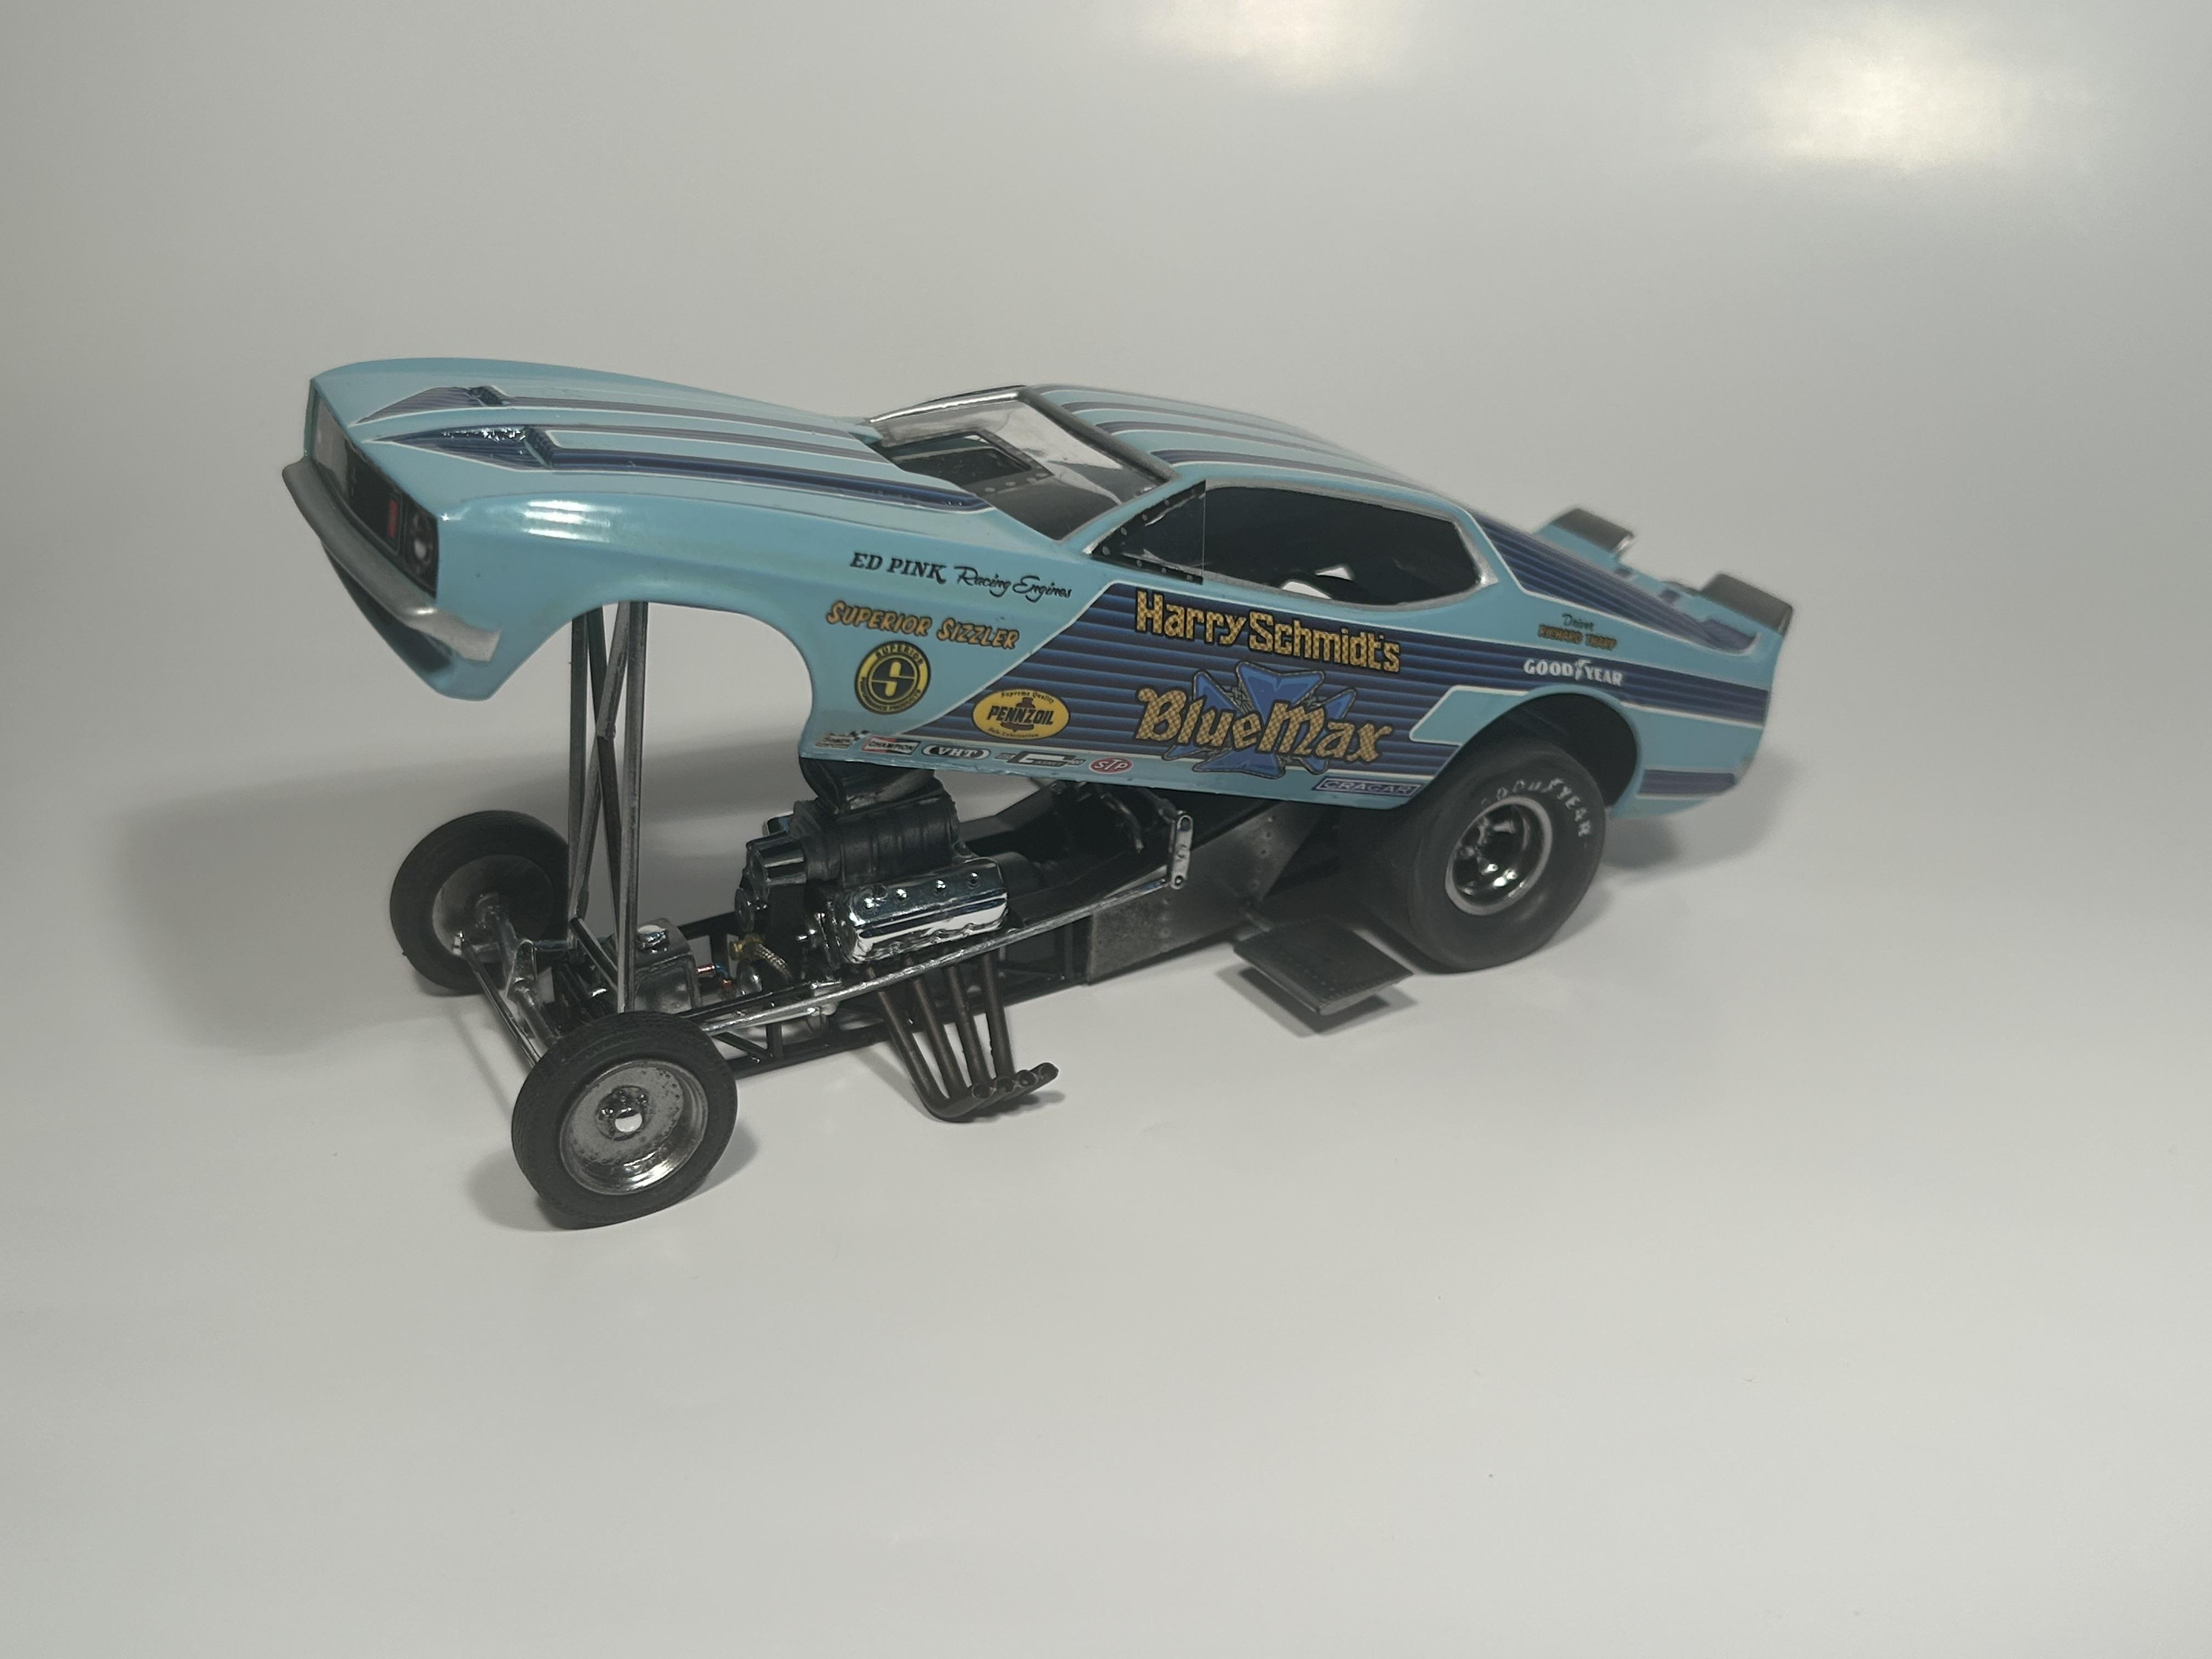
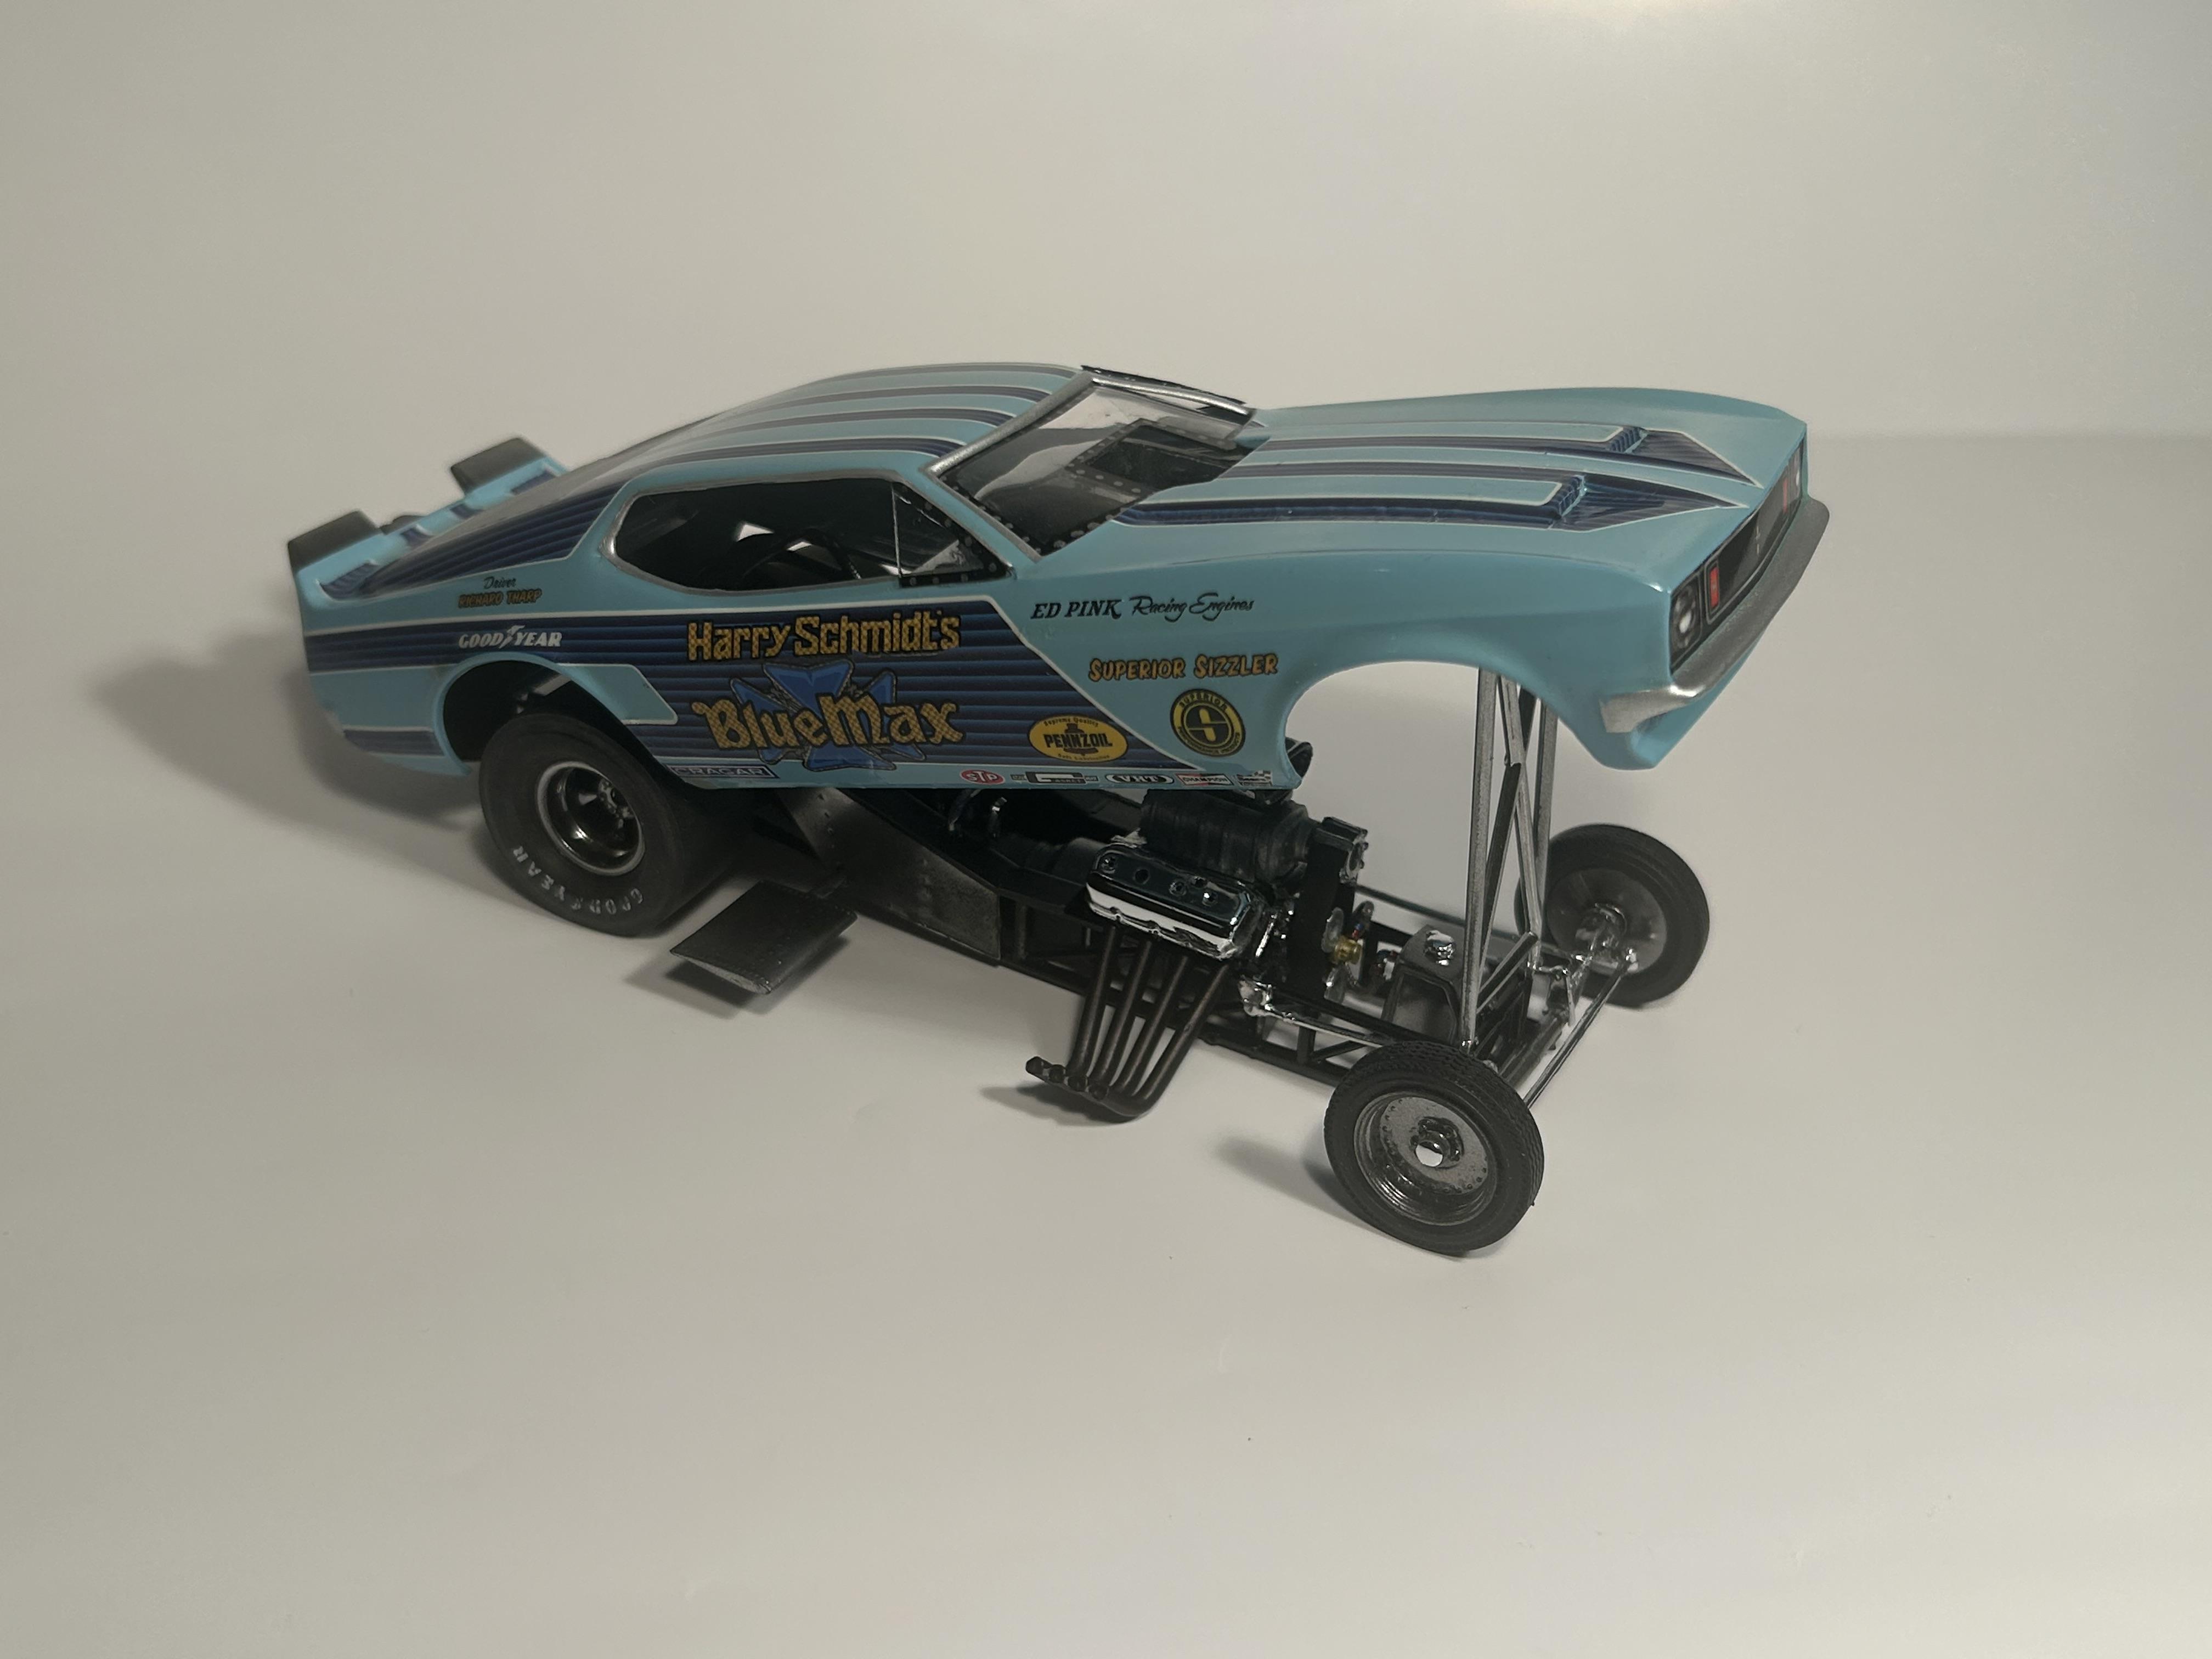
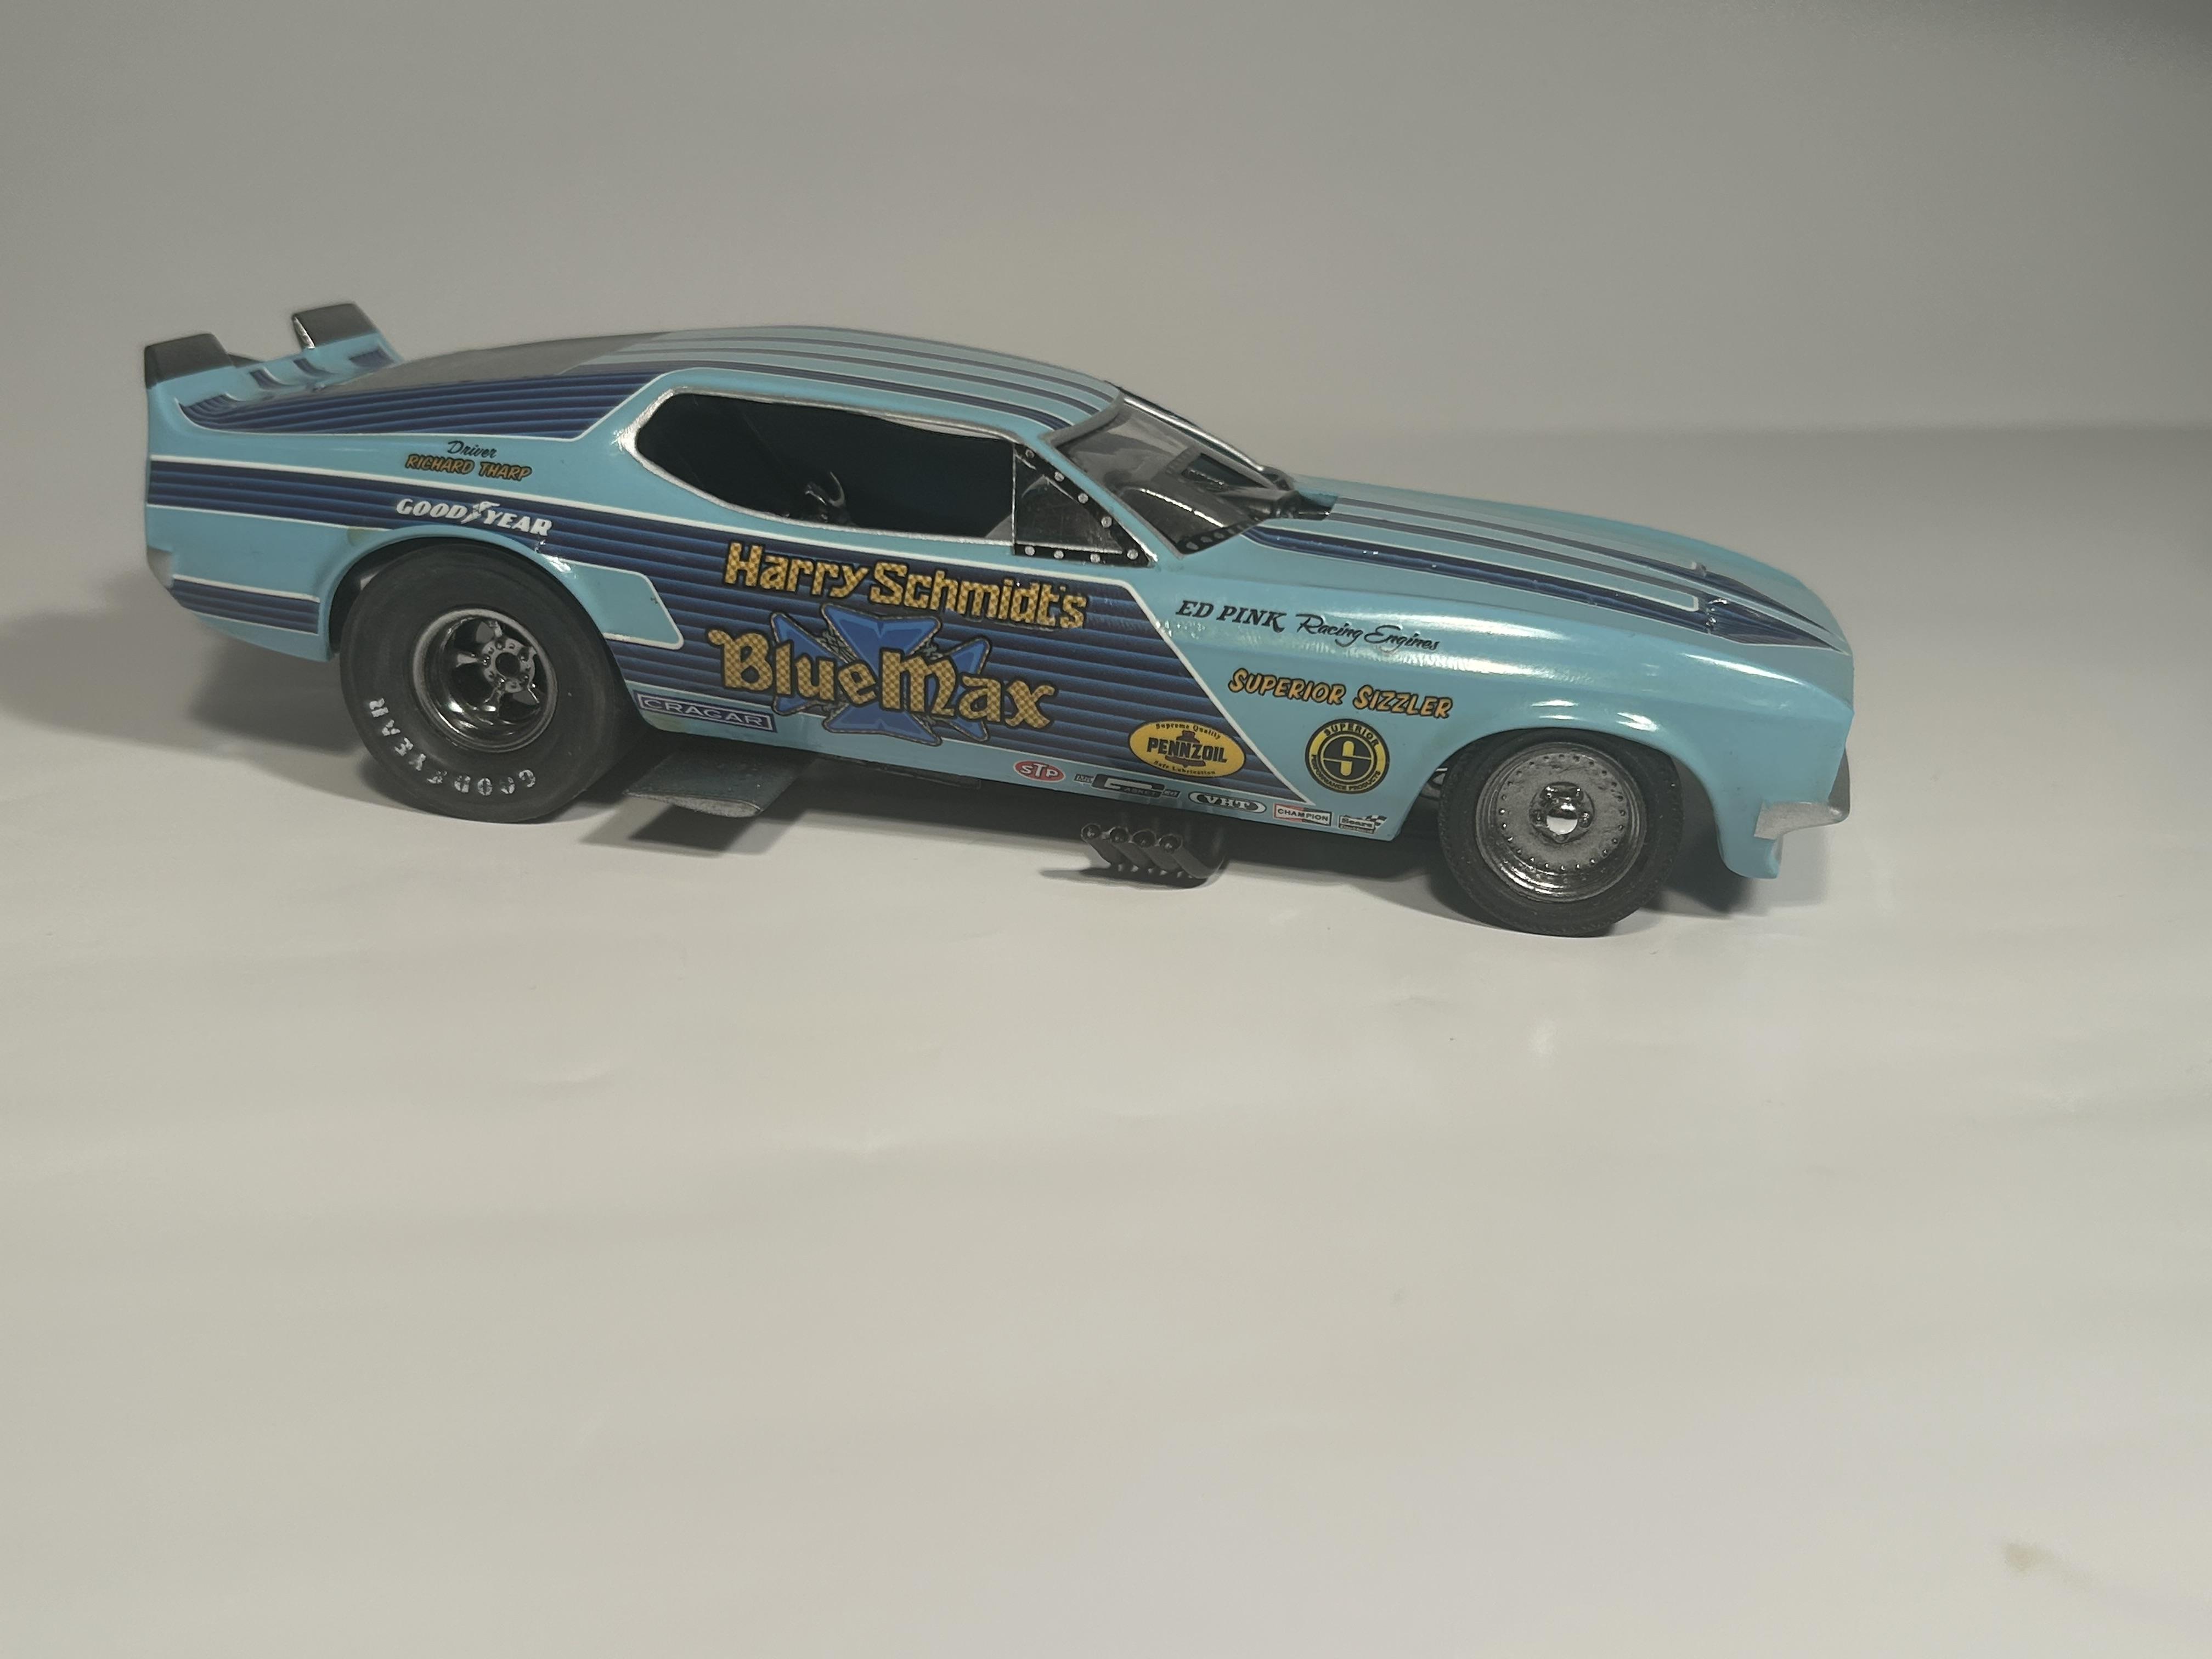
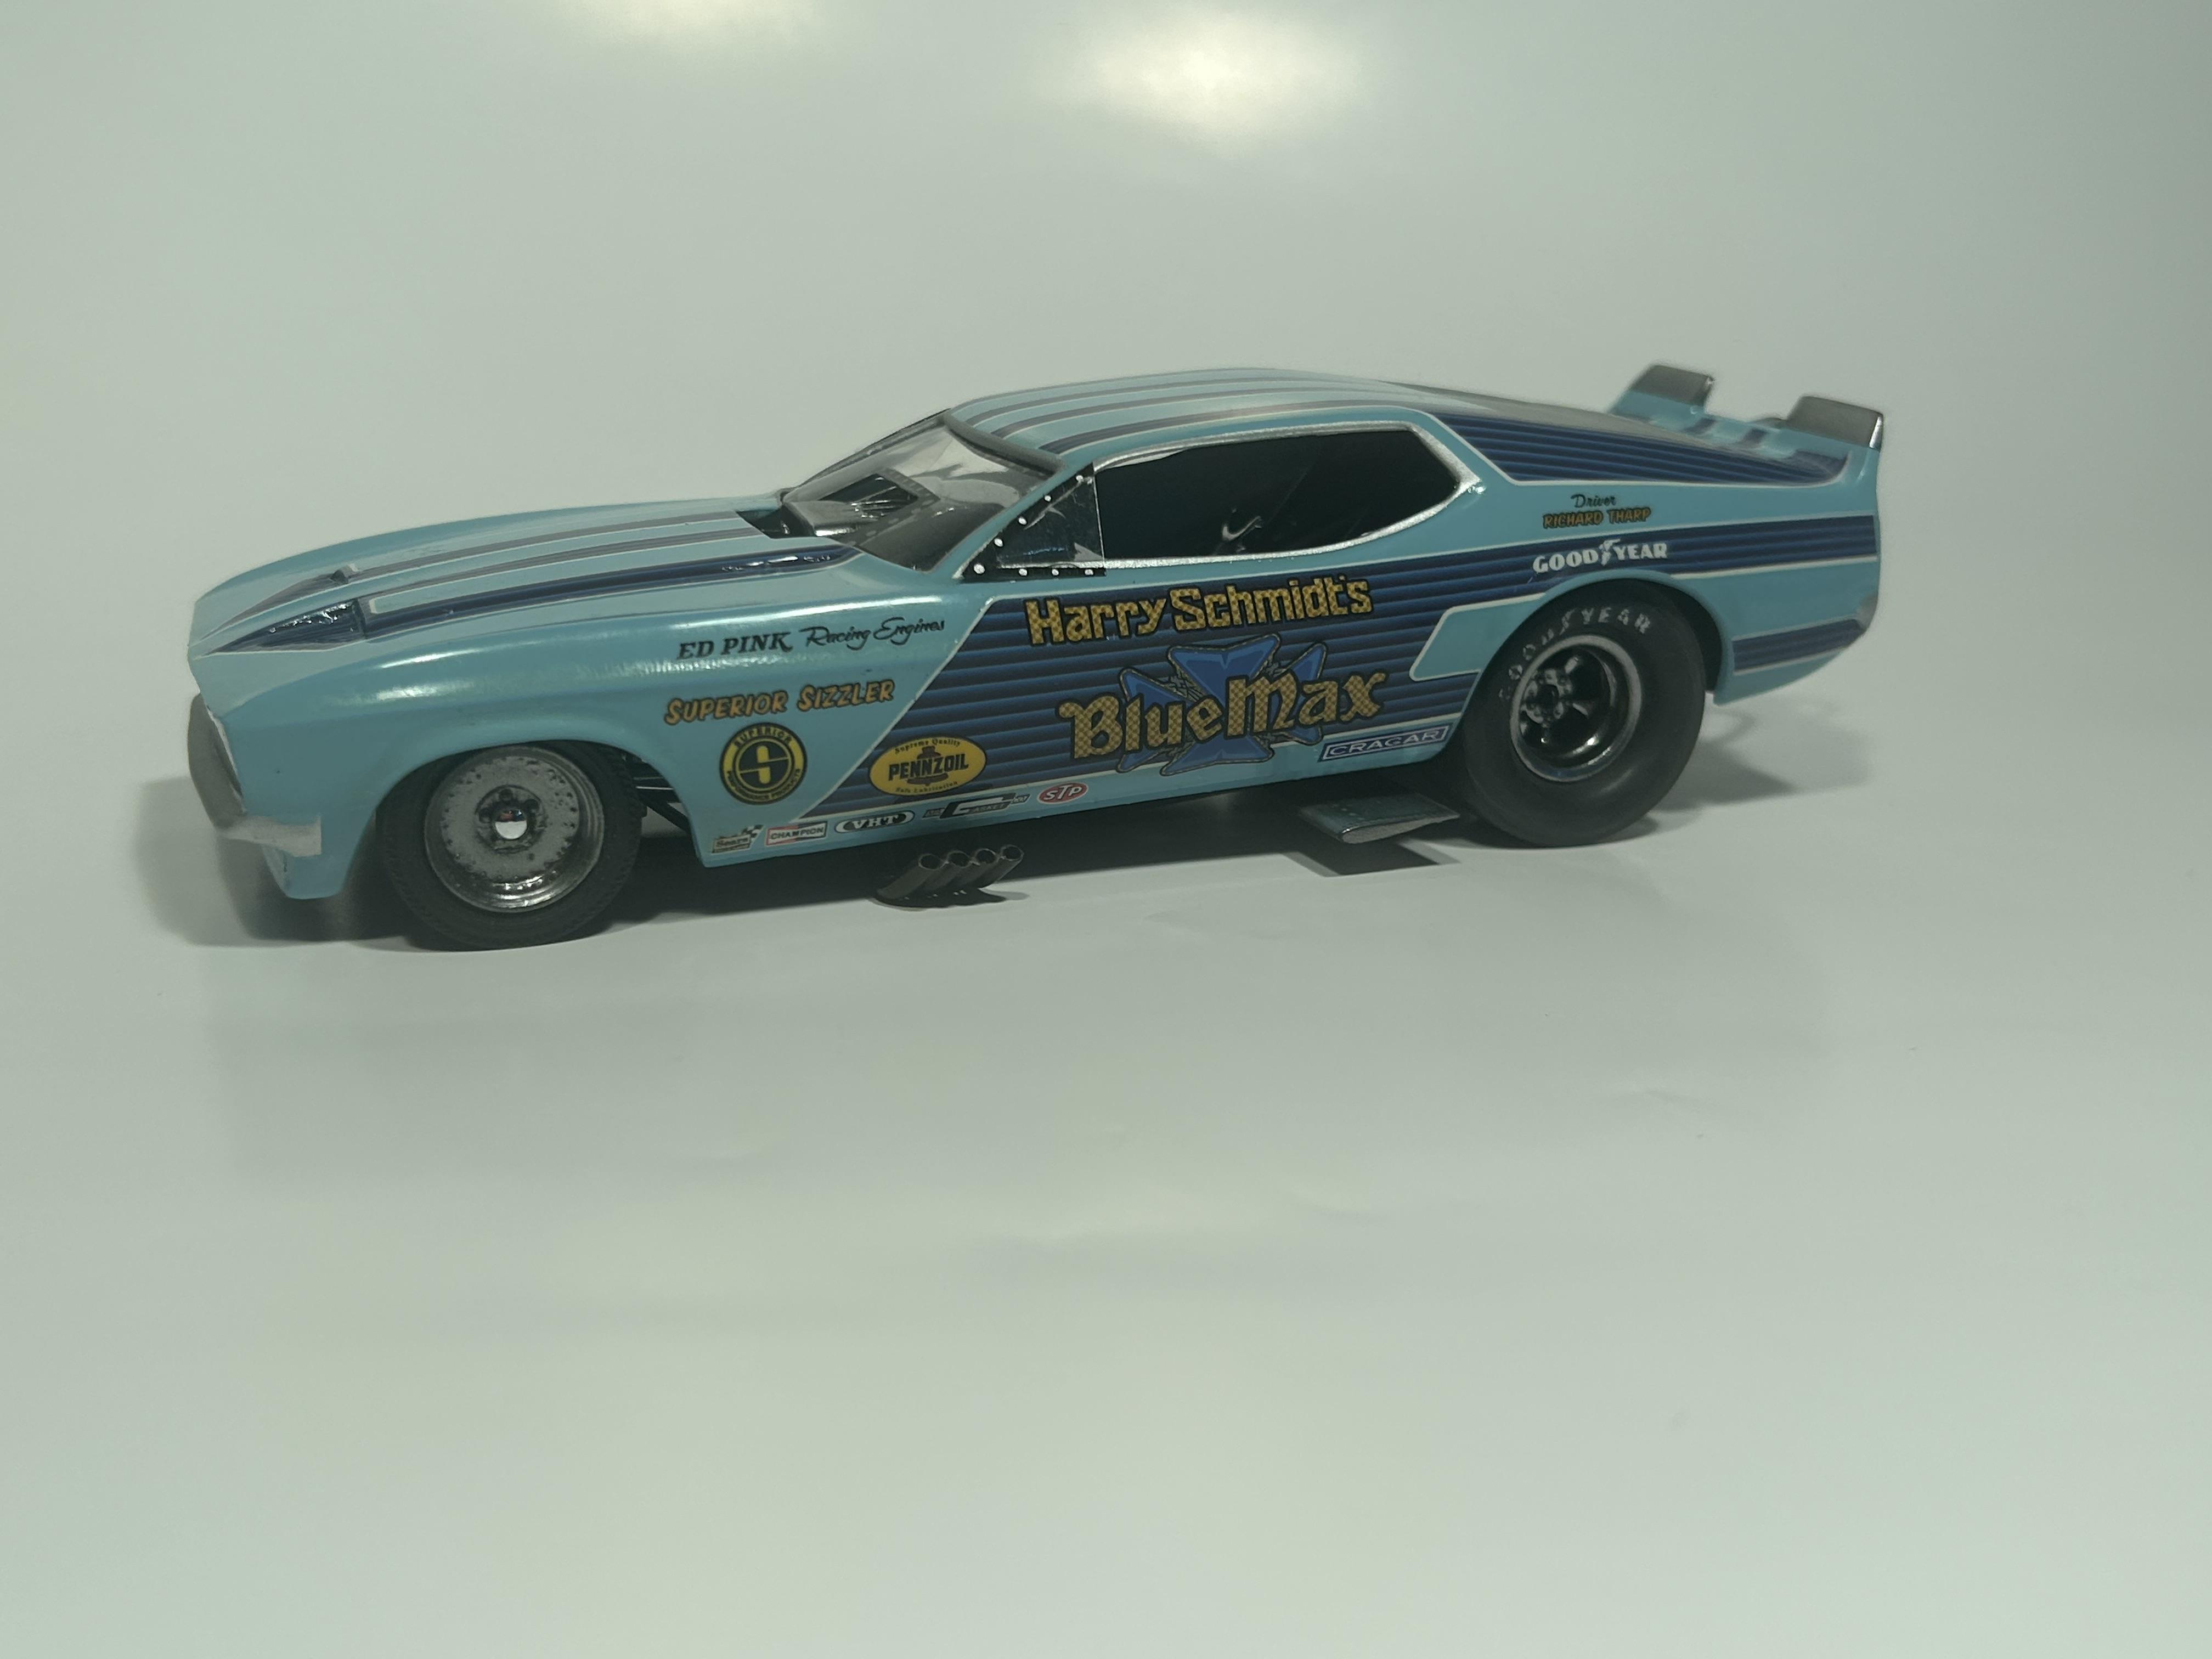
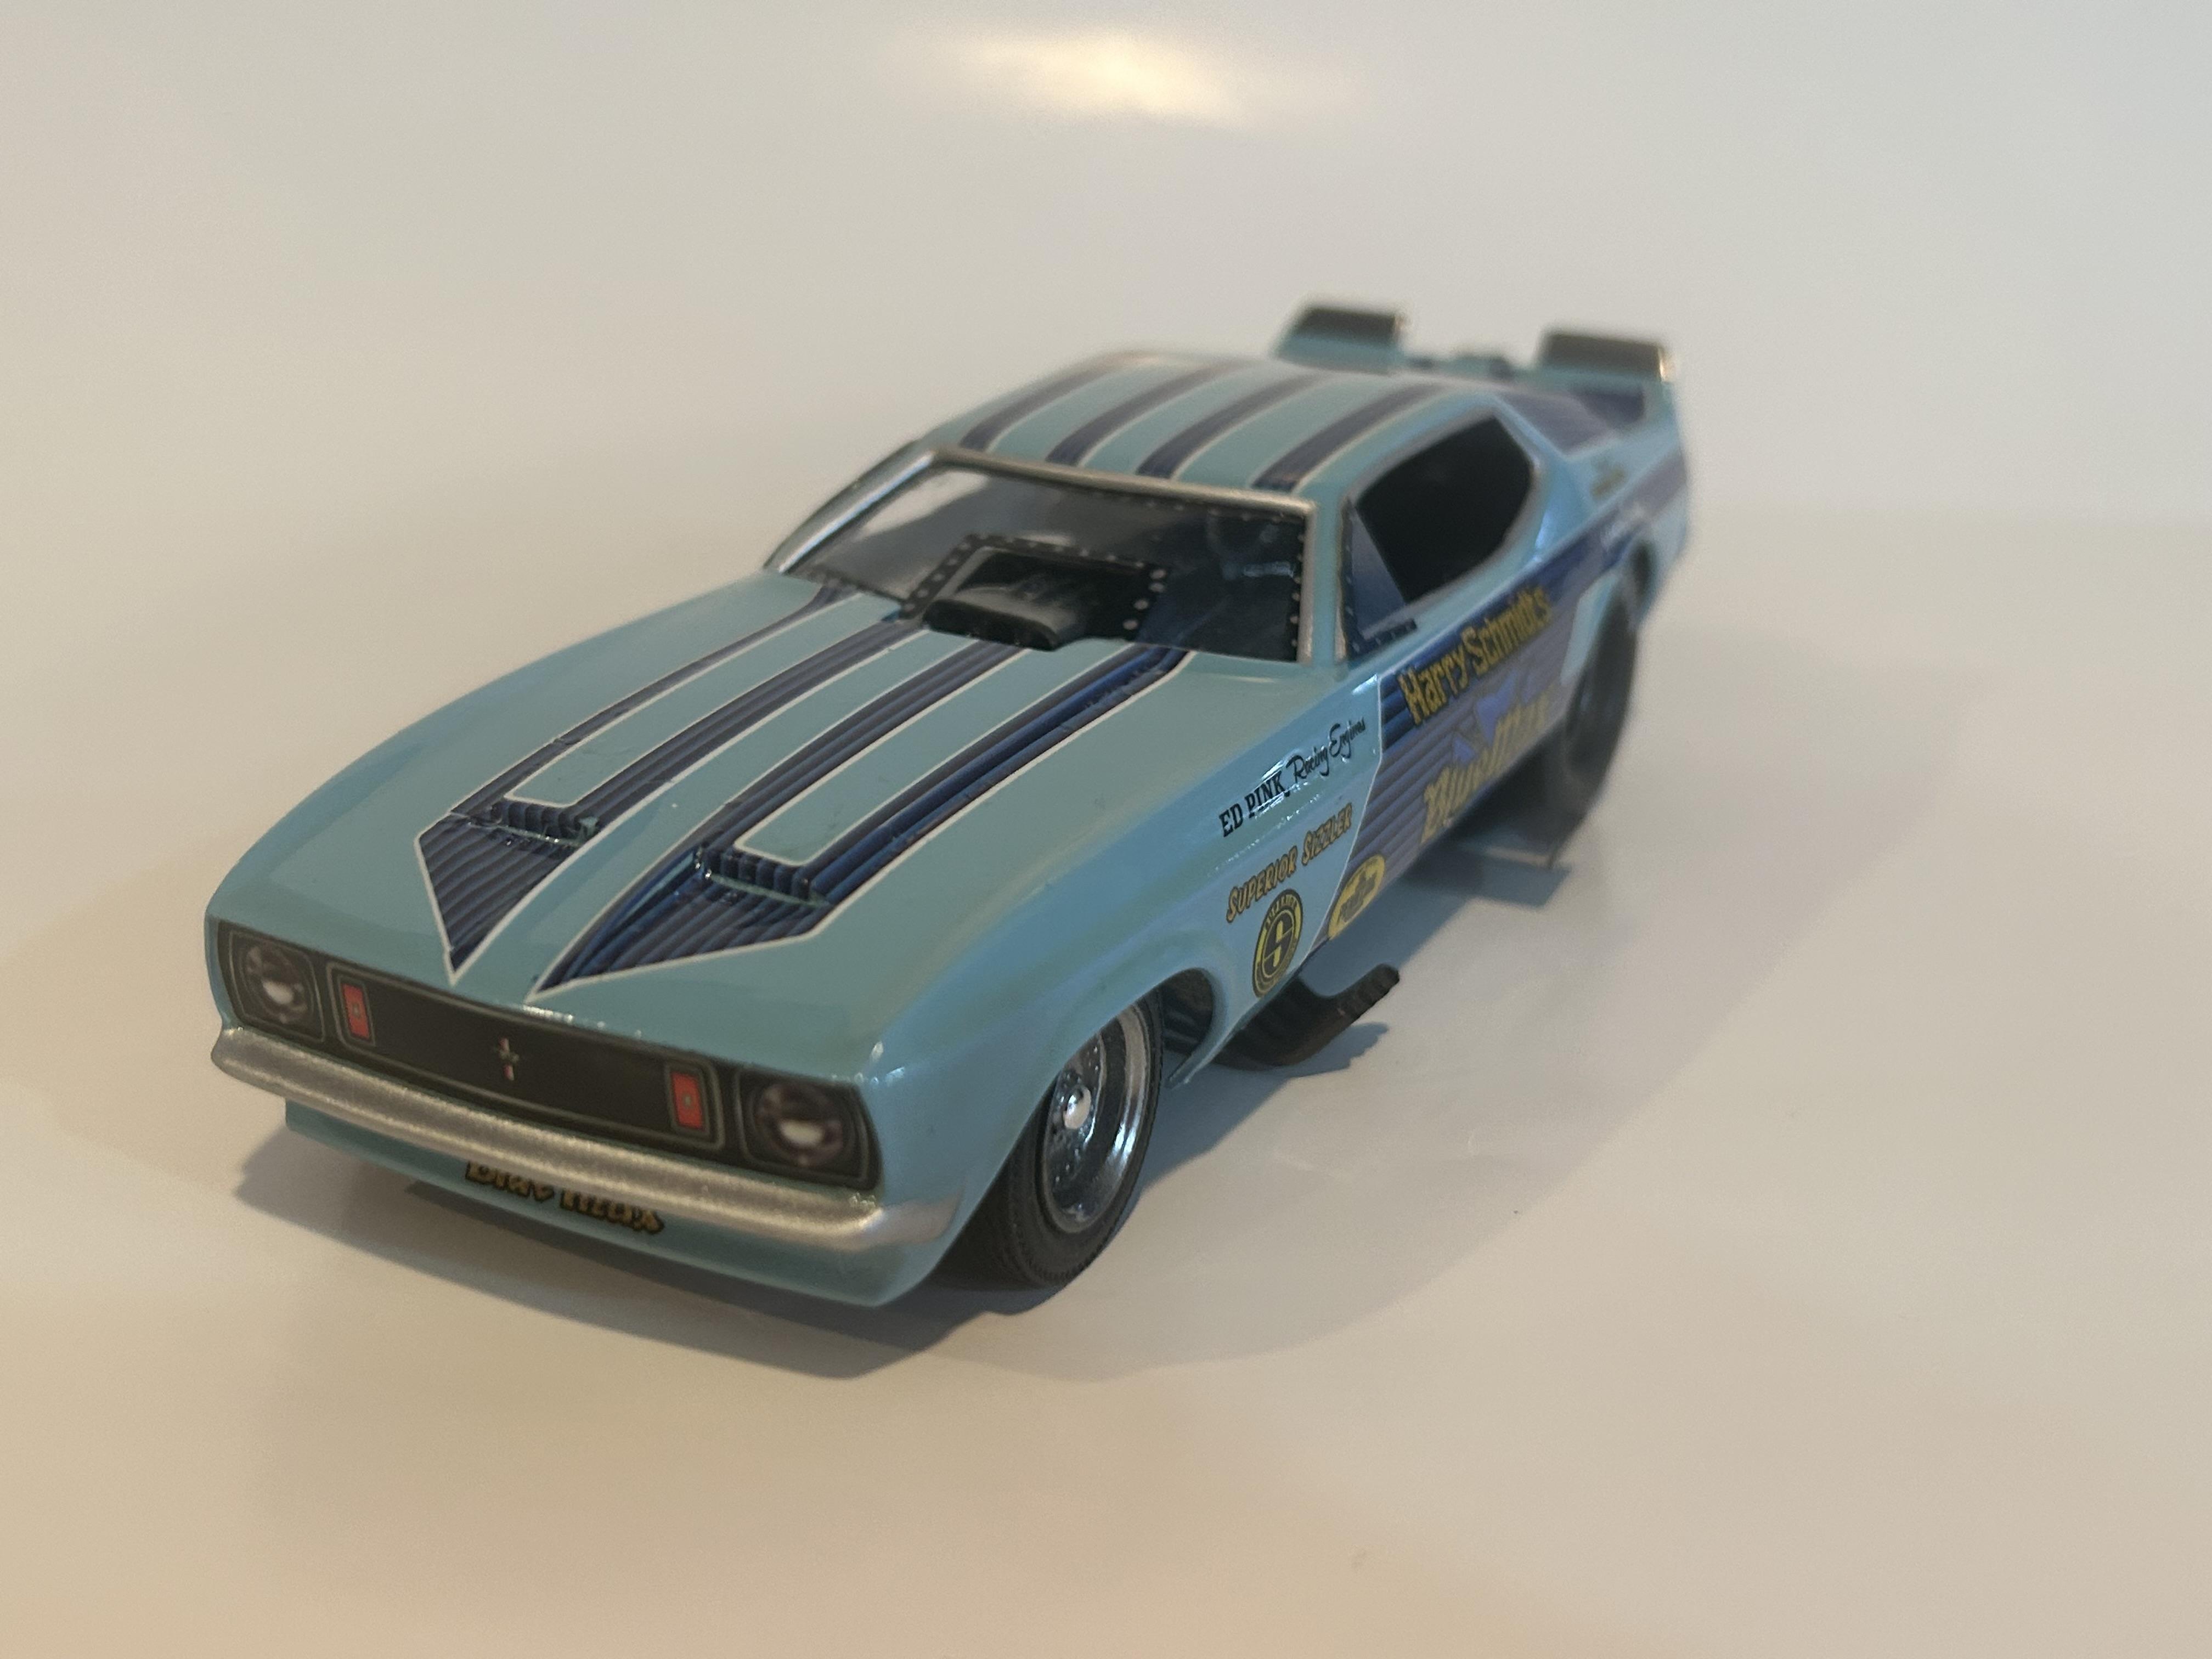
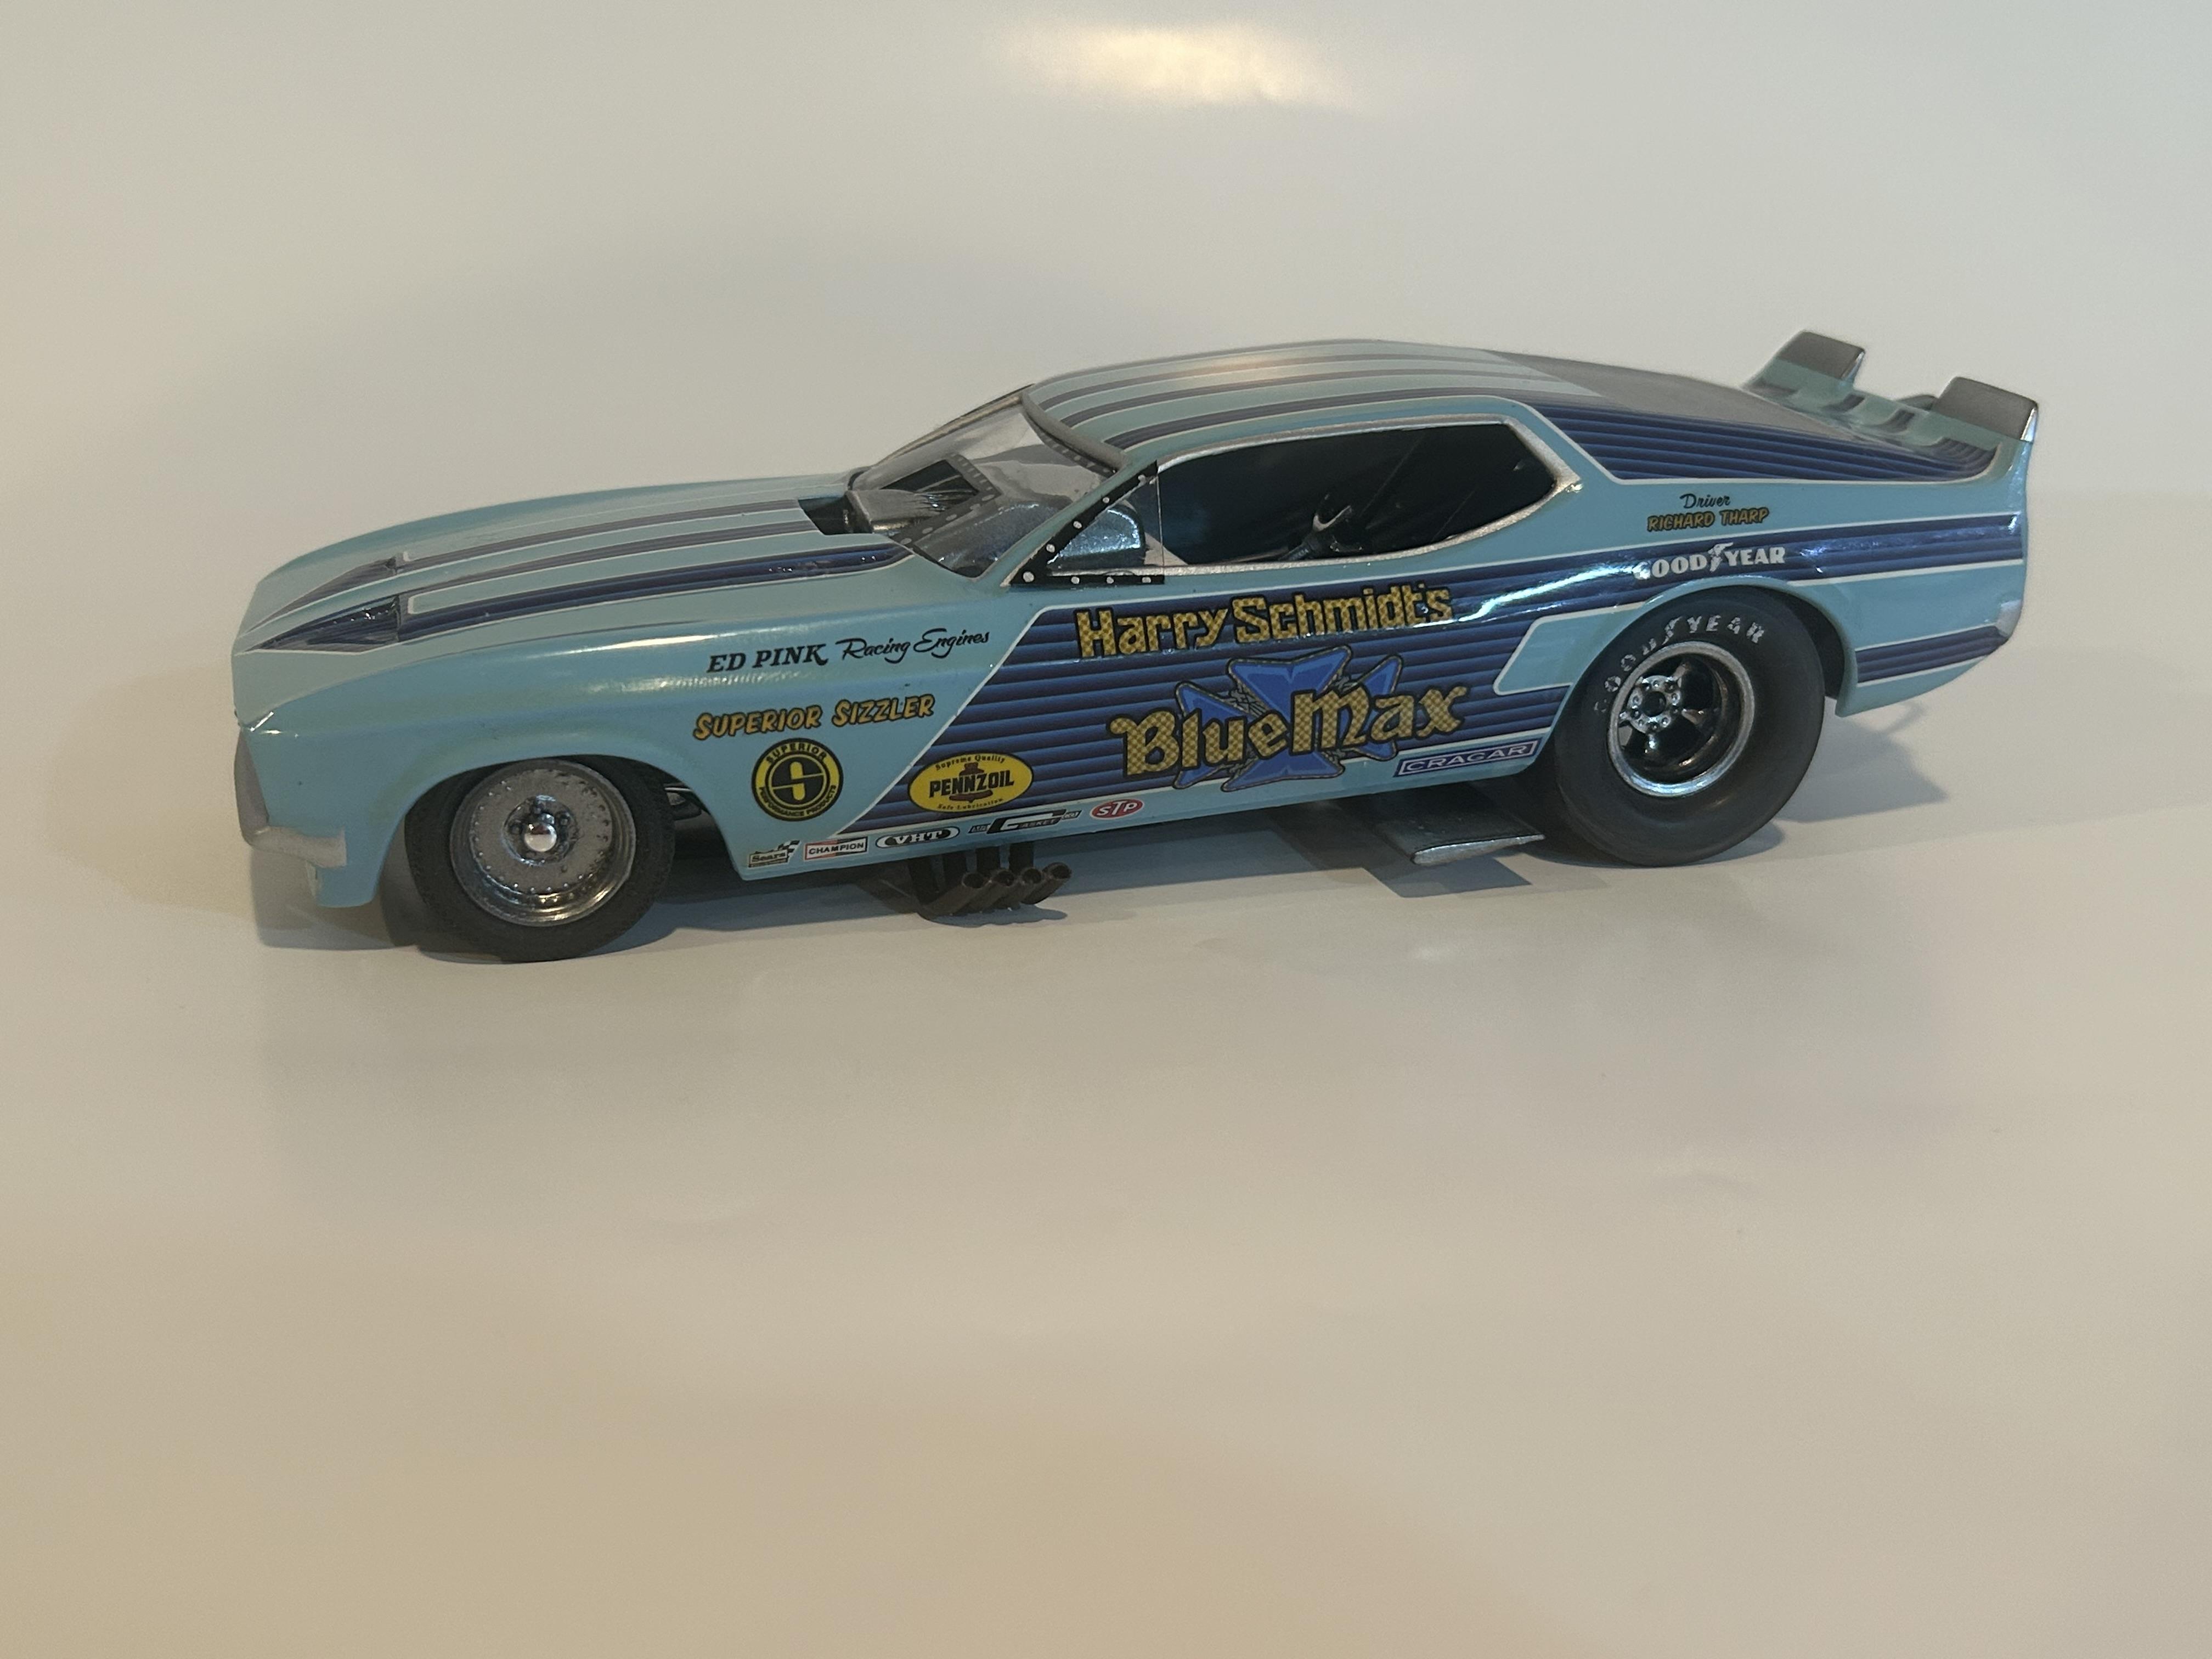
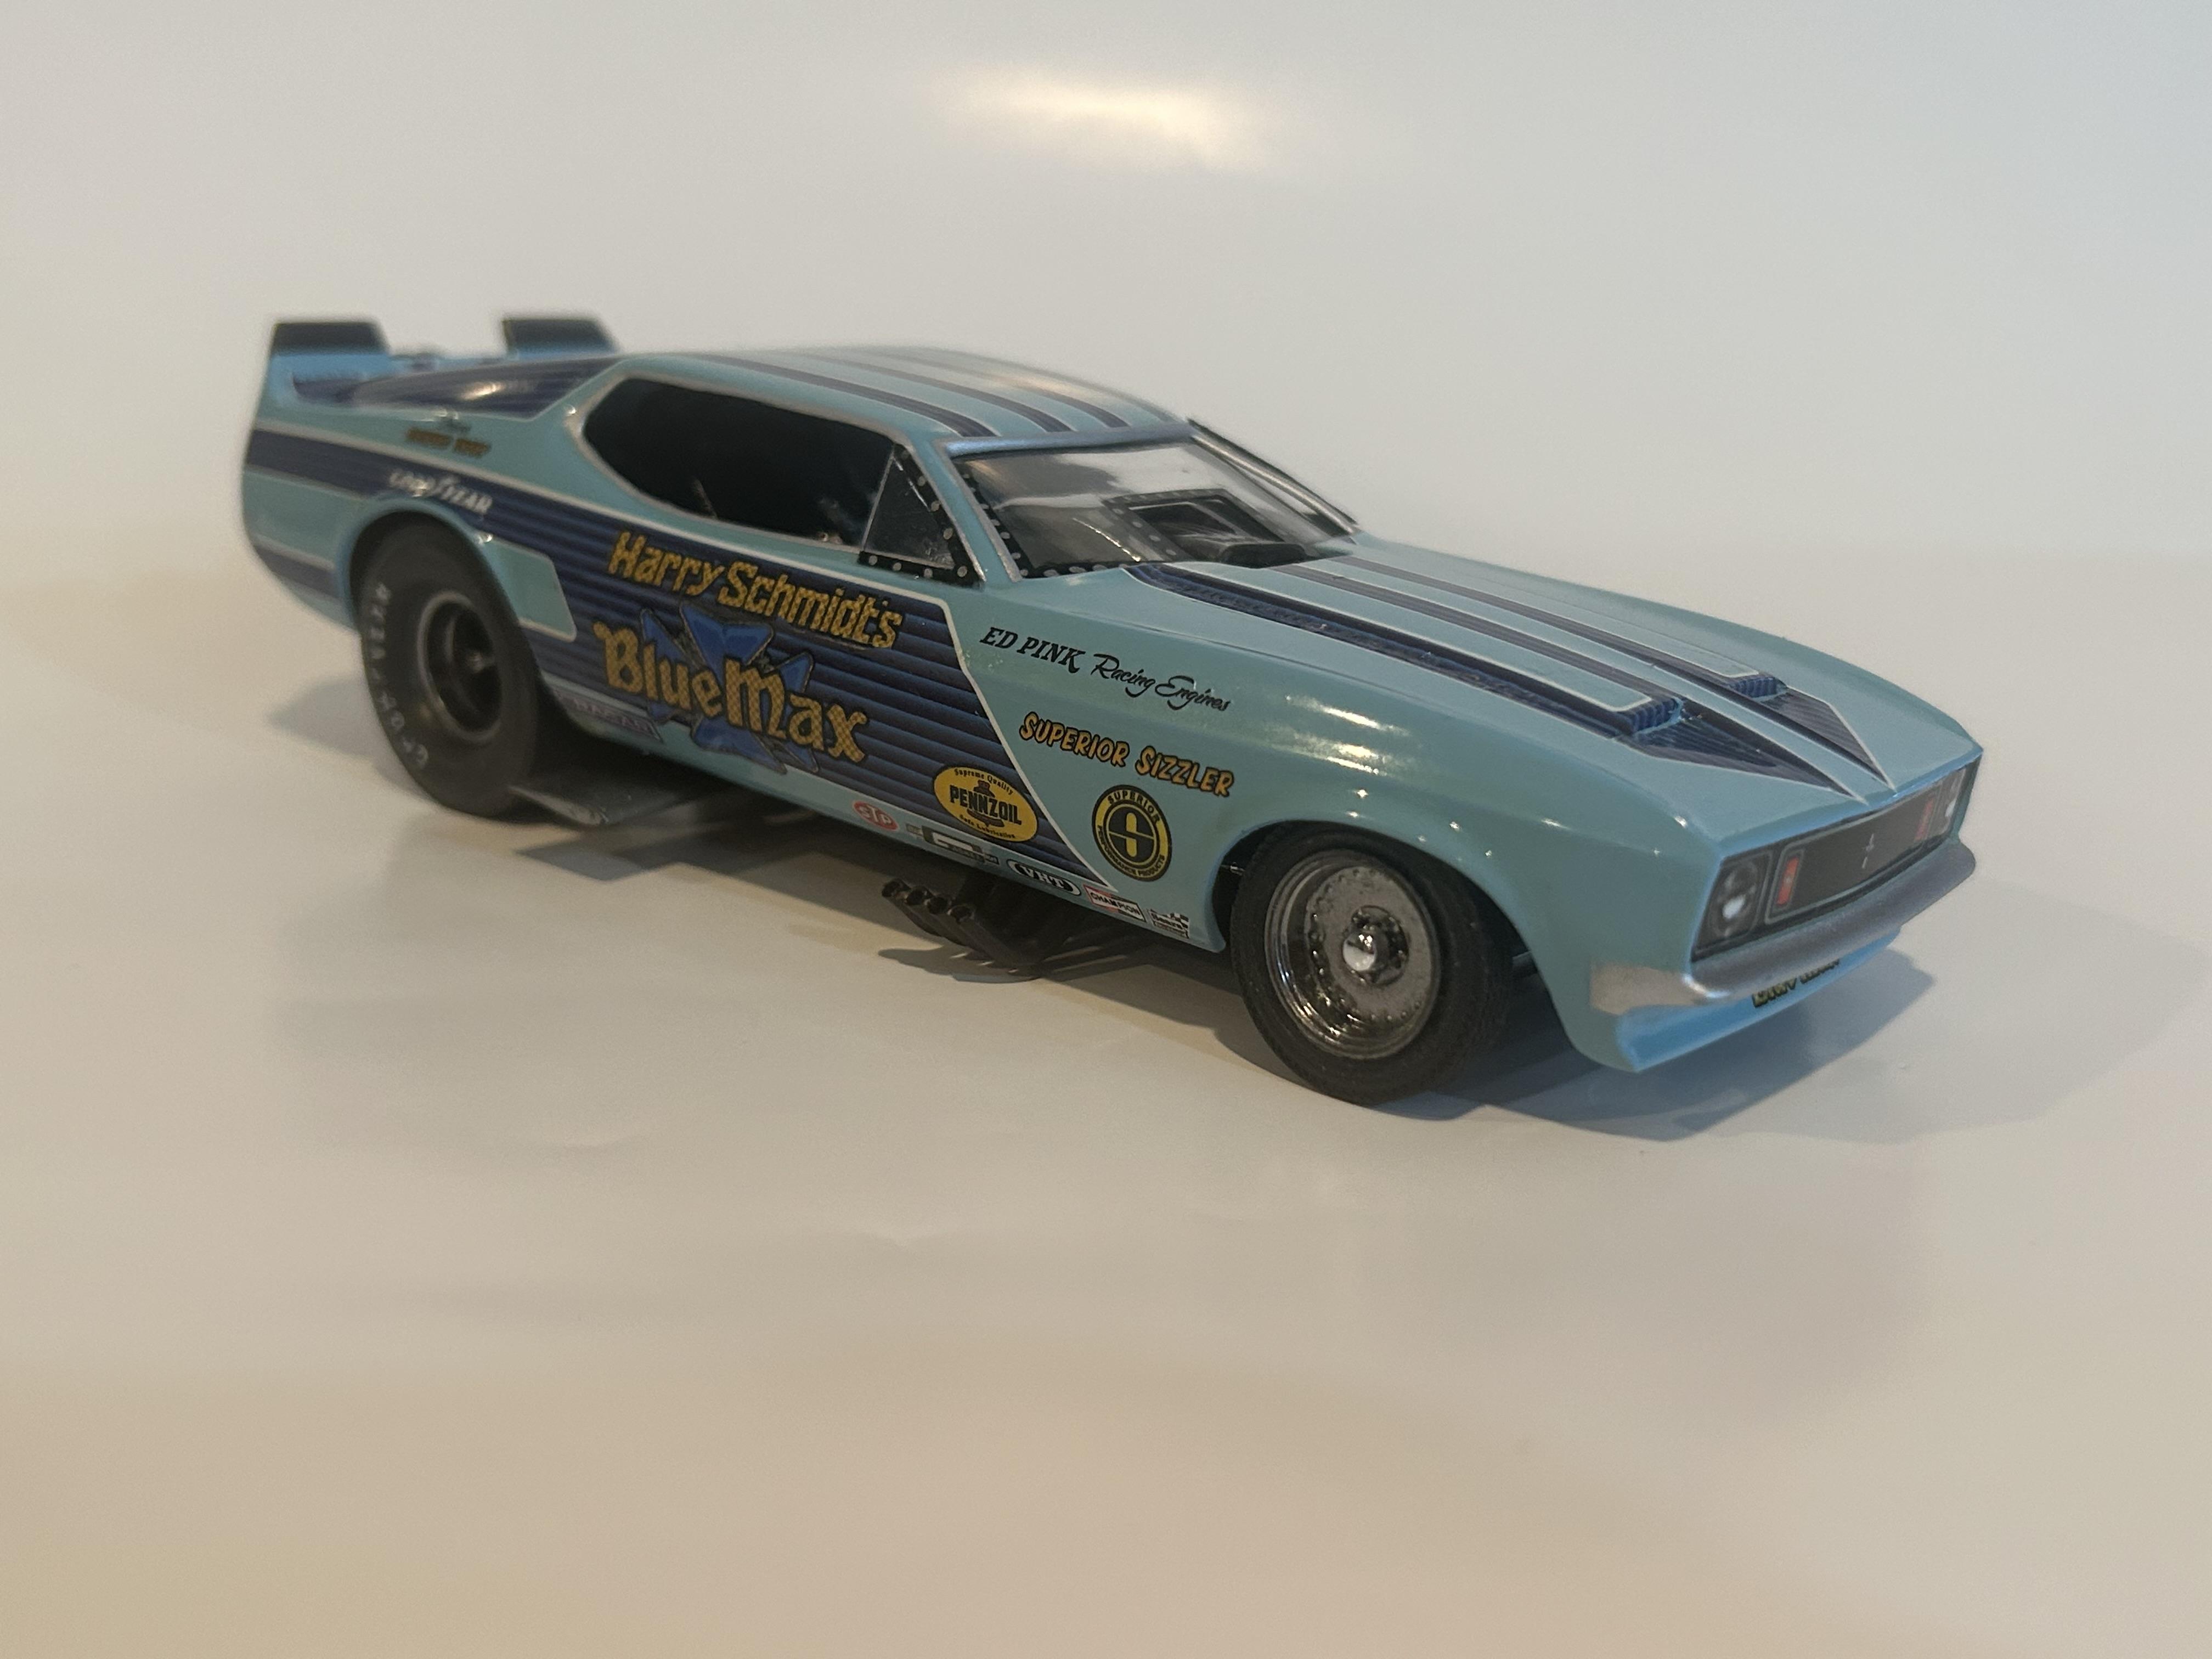
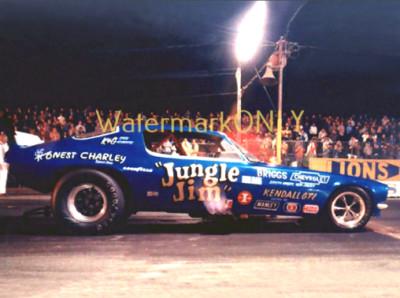
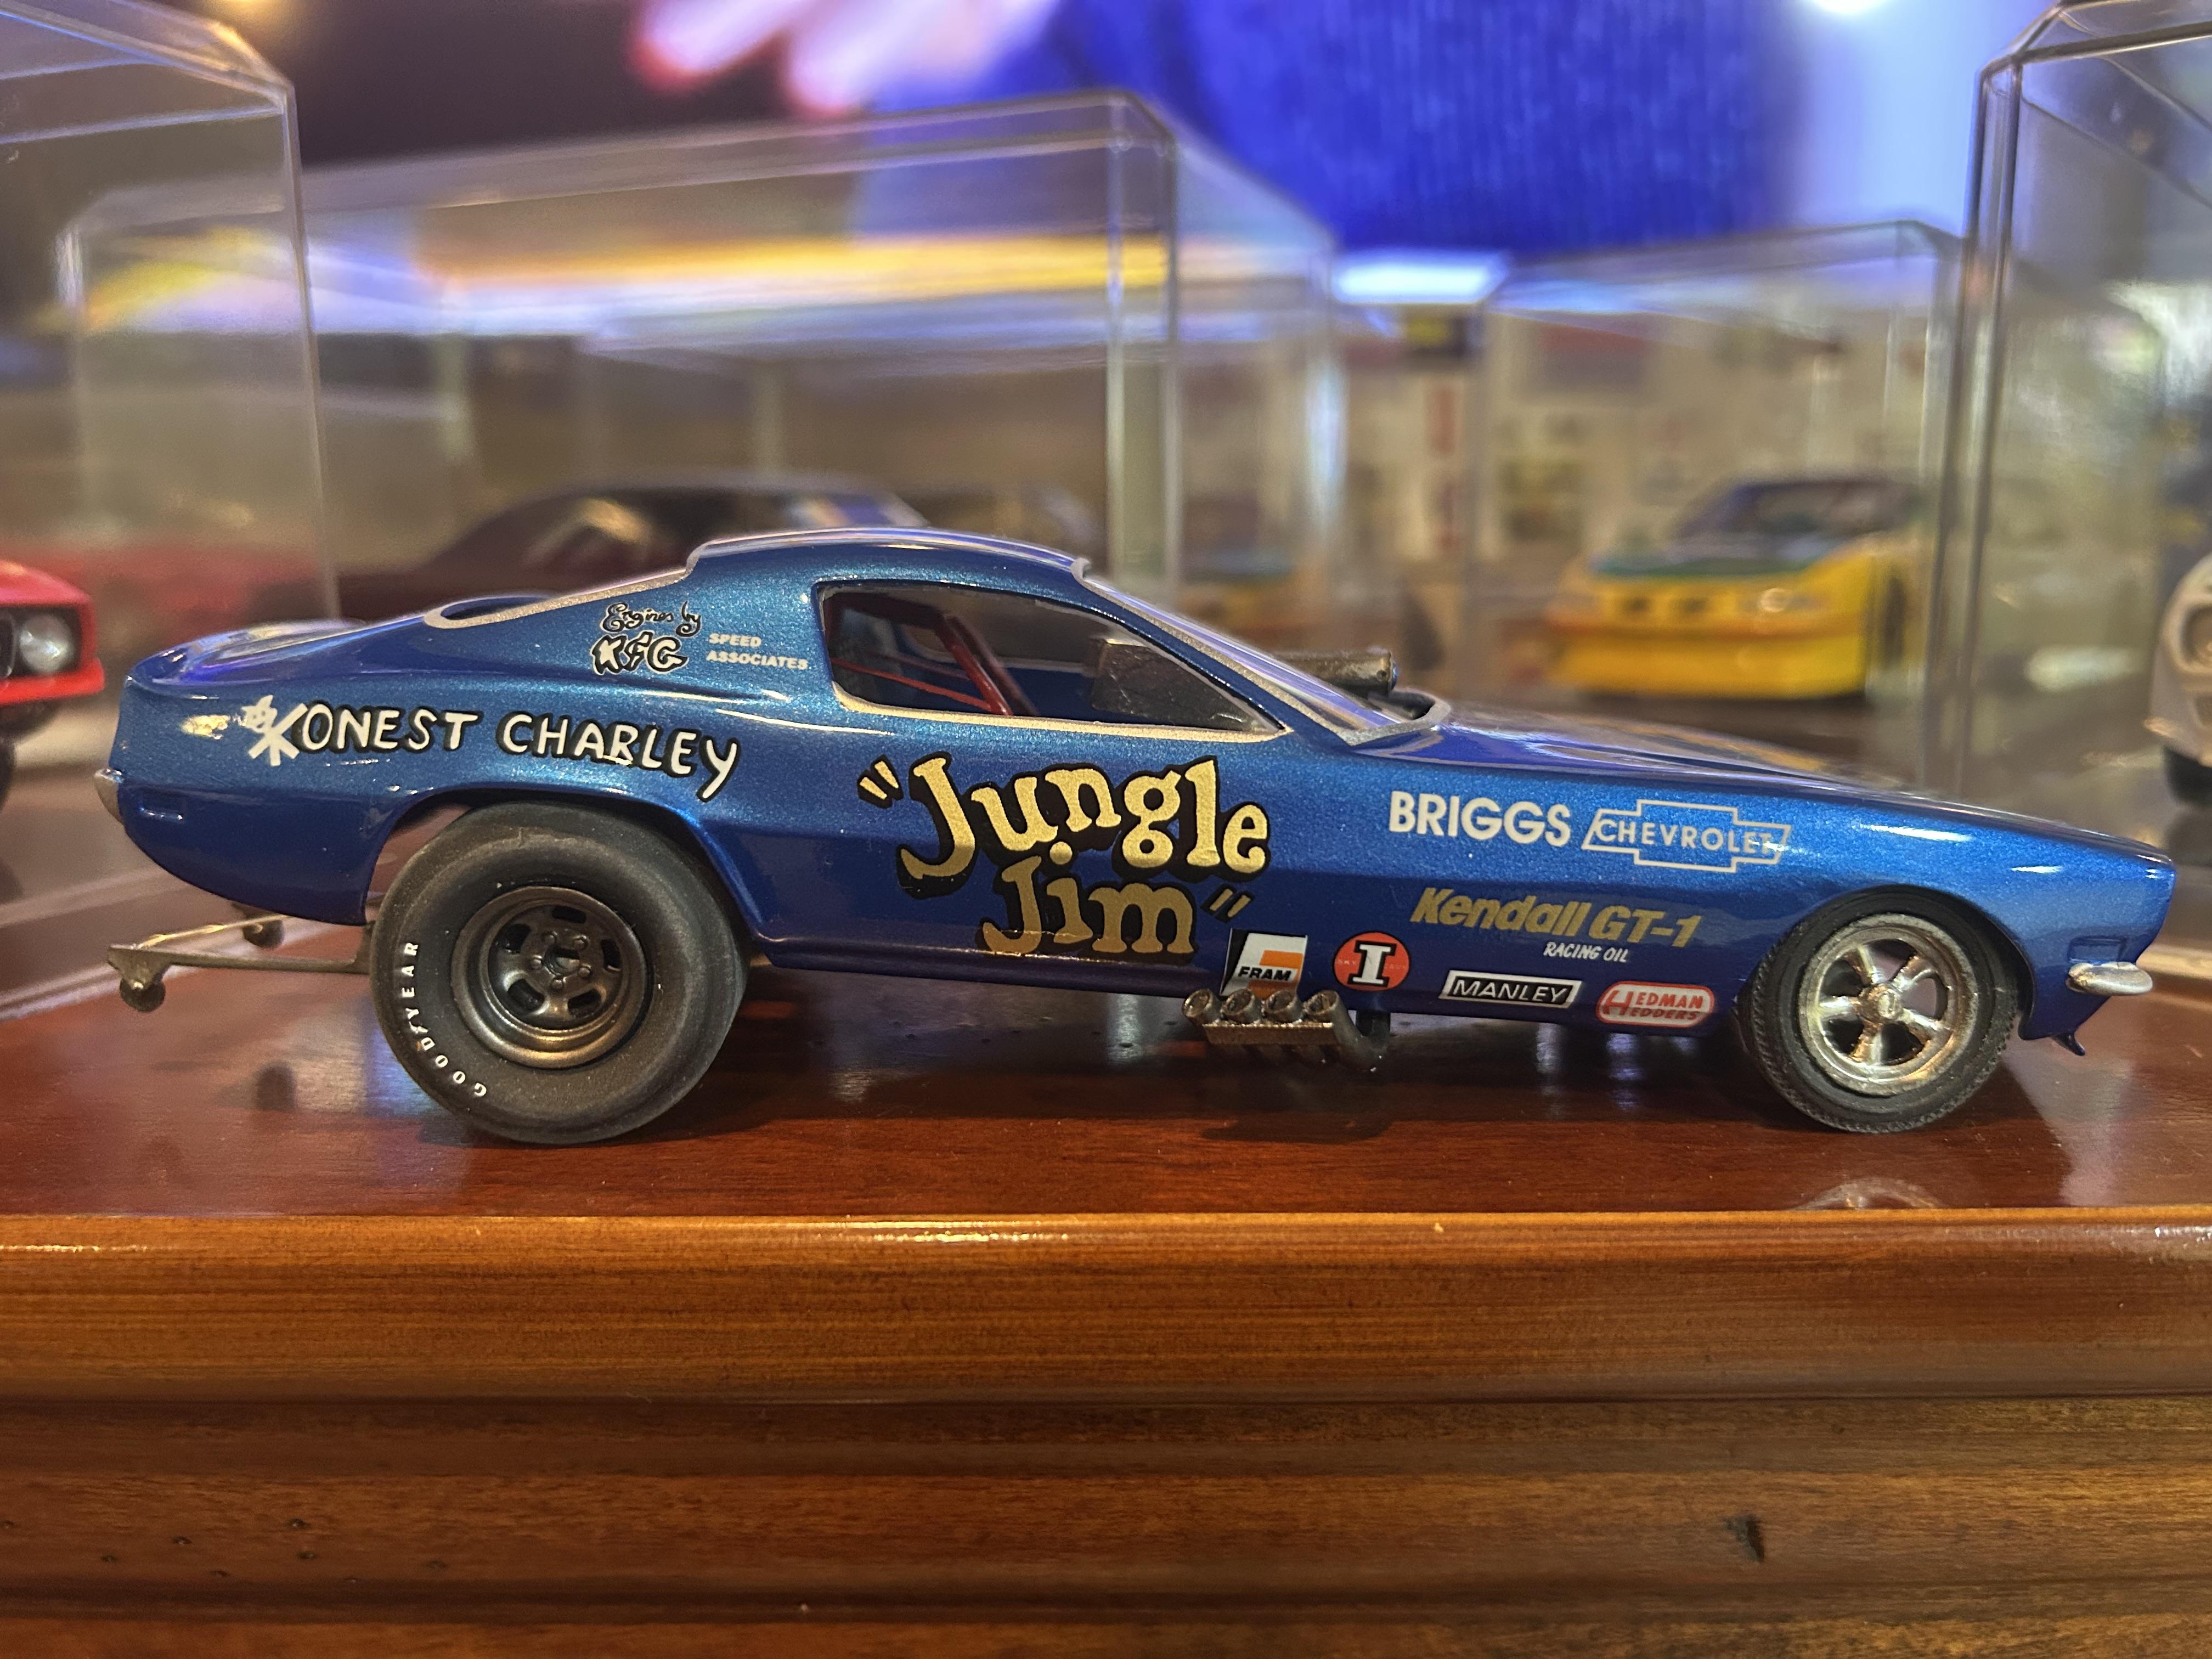
My 1/25 scale MPC Blue Max funny car. Built OOB with the kit decals. I was going to add ignition wires and fuel lines but there wasn’t enough clearance to close the body. I had to remove the valve cover breathers to get the clam shell to close. Instructions were vague and took some trial and error. Also cut off the hinge for the body and moved it forward. I narrowed the front axle and the front wheels are from my parts box. The wing style spoiler was too low when mounted to the bottom of the chassis as the directions showed it so I cut it in half and drilled holes on each side of the driver’s compartment and glued it in on each side. Also added side glass.
-
Came out real nice Scott. I agree it’s one of the best I’ve seen.
-
Nice build. Great job with the hood hinges and decals. Looks very convincing. Do the buckets swivel?😁 What did you use for the glass?
-
'63 FORD GALAXIE LIGHTWEIGHT...
nickfzr61 replied to Mothersworry's topic in WIP: Drag Racing Models
Try mcwfinishes.com -
Thank you. Yes the A pillar is just another aspect of this kit that’s off. I think the real car is closer to a stock Camaro A pillar. I was thinking about correcting that but I figured no one would notice. So much for that. 🤣
-
Thank you. Not at all surprised by the comments about this kit. I get they can’t make exact models of the actual cars but come on. At least try and come close. I guess I’d go bankrupt if I ran a model car company. Either that or I’d be rich. Lol.
-
1/16th 55 Thunderbird BB/FC Funnycar "GIRL TROUBLE"
nickfzr61 replied to Ian McLaren's topic in WIP: Drag Racing Models
Beautiful work. Very realistic detailing. -
Thanks guys. I’m very happy with the way it came out.
-
Thank you.