.jpg.b9265433dc8c3b550370b1d0e4e4d2fc.jpg)
MarkJ
-
Posts
4,747 -
Joined
-
Last visited
2 Followers

Recent Profile Visitors
21,261 profile views

(1).thumb.jpg.e371d4579f83ee021ff22f9ad4b79bbc.jpg)


MarkJ's Achievements
MCM Ohana (6/6)
-
.jpg.b9265433dc8c3b550370b1d0e4e4d2fc.thumb.jpg.915f5b46e3c9402eeaa6972073121c87.jpg)
Guess what it is.
MarkJ replied to MarkJ's topic in WIP: Other Racing: Road Racing, Land Speed Racers
Close but no cigar, Les and Sid I haven't got a clue what you are talking about. The model I'm trying to make I've only seen as a partial build diecast that you have to finish yourself but its thousands of dollars to purchase one so not going down that path. I probably just gave it away with that comment. Oh well back to work. -
Thanks, David. She is done and sitting with the others comfortably on the shelf with the middle eye level spot until the next build is done. I just started the next one so that will be a long time from now. Finished photos are in the nascar under glass section. The decals were not that old but homemade which makes them a bear to get lined up just right. thanks again for your comments about the build.
-
Man am I ever late to the party. So glad to see that your back in the saddle, Pierre and you're working your usual magic again. Can't wait for the next update,
-
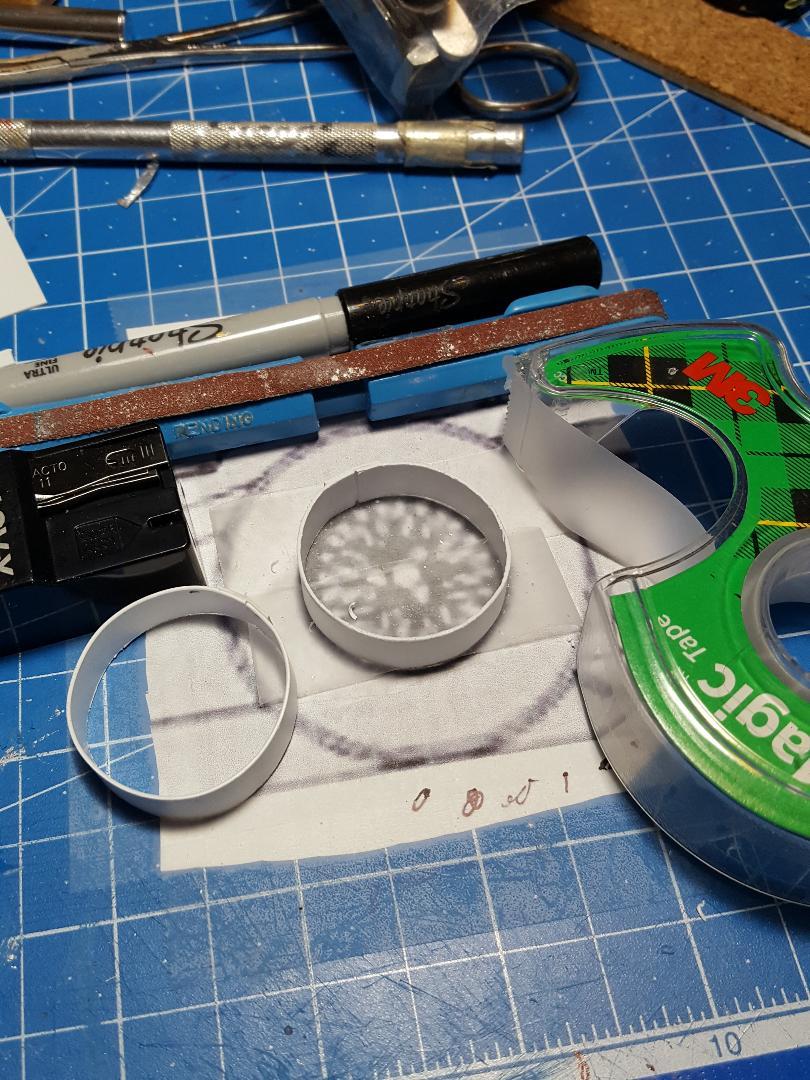
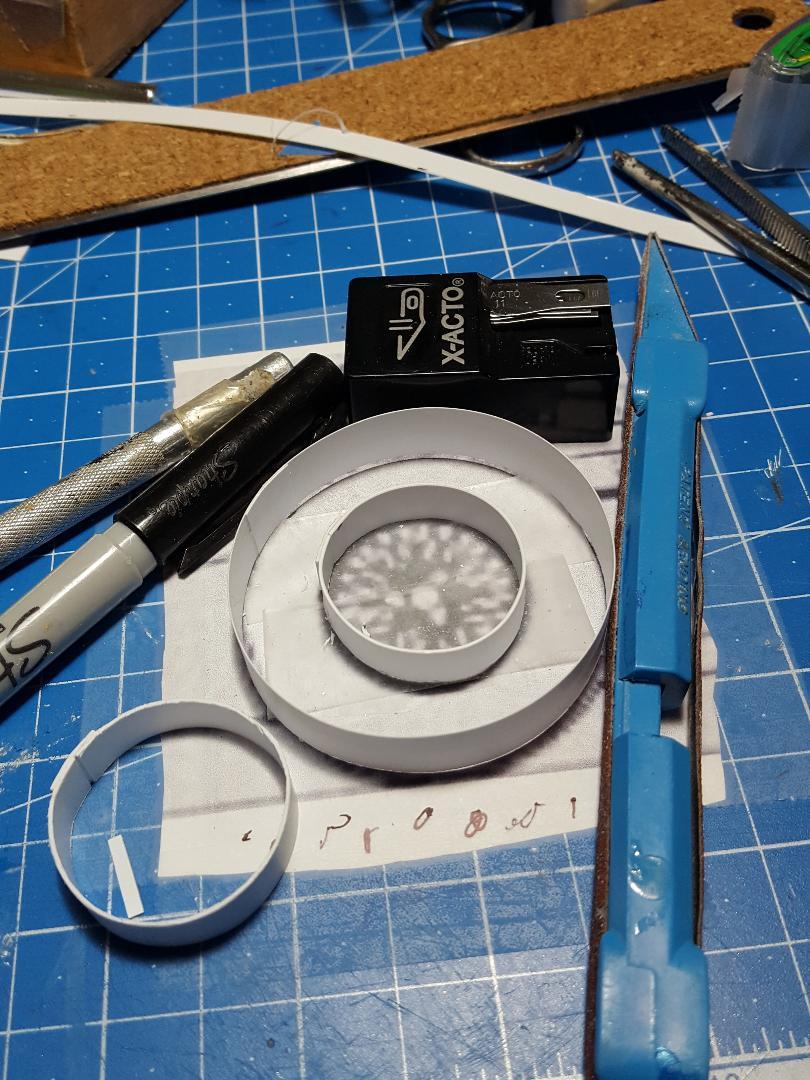
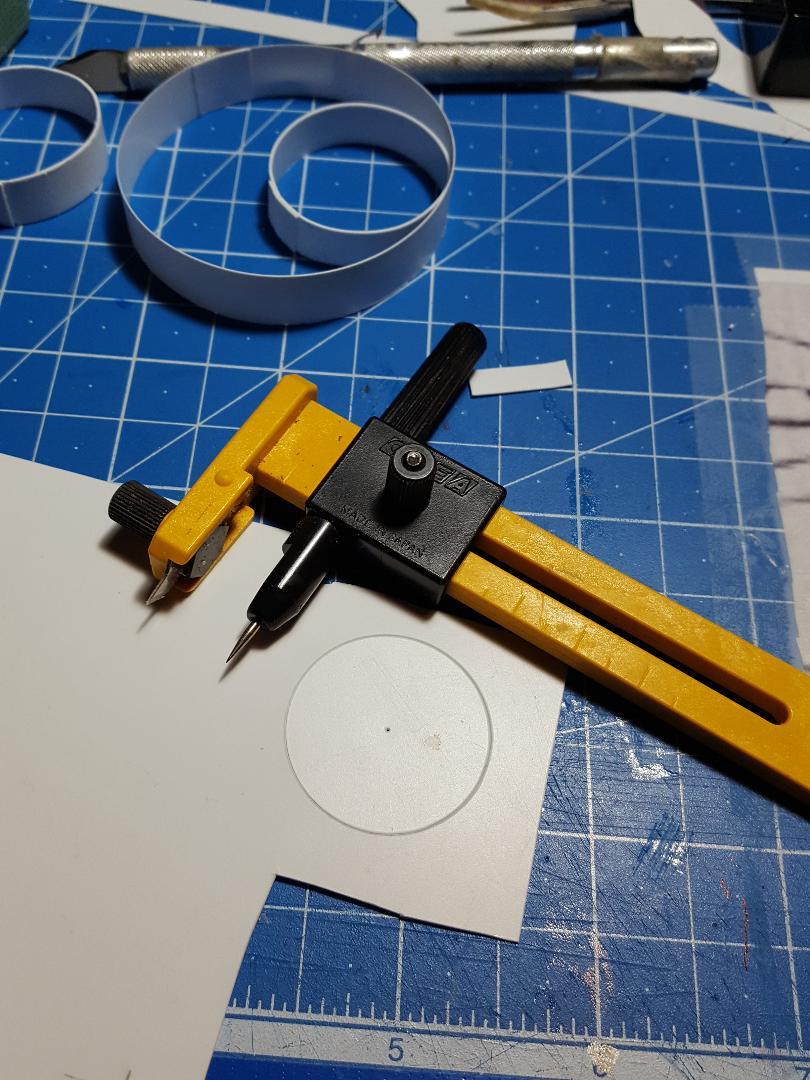
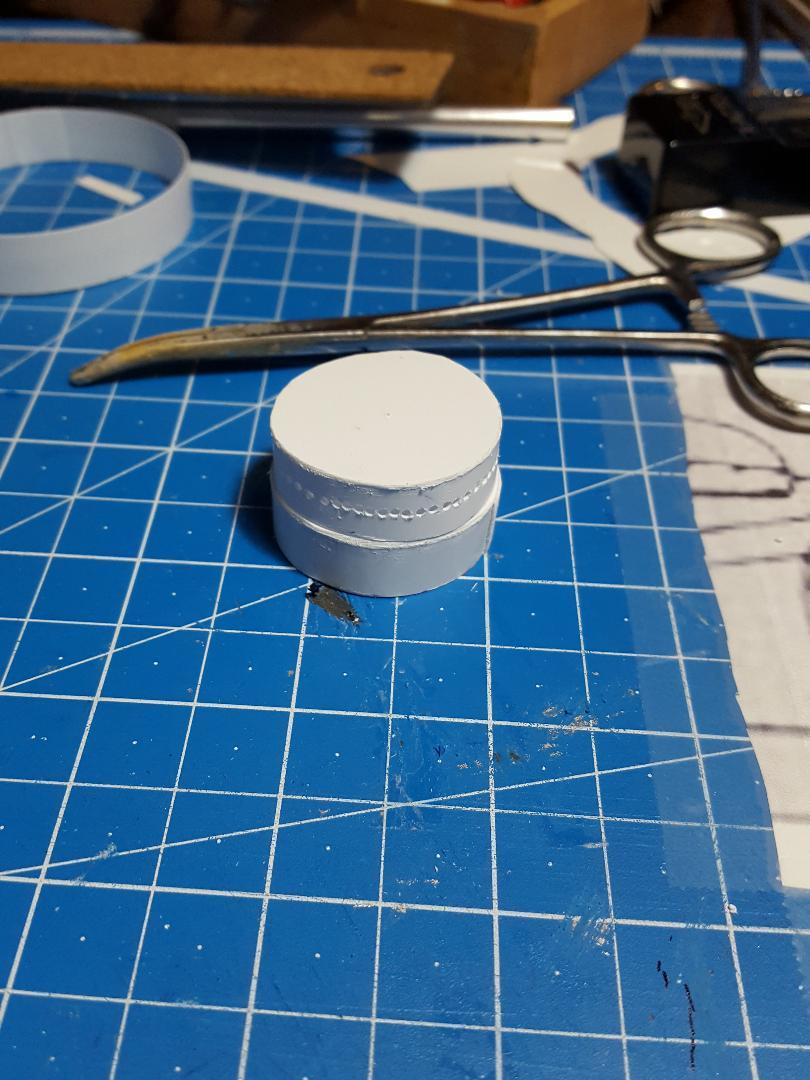
I decided to try to build a model with no kit and only using styrene and household products. First one to guess what it is gets nothing but the satisfaction of figuring it out first. I first searched for a kit and could find nothing, and I don't want to purchase a 3d printer or even learn how to use it. I will use 2d schematics and hope that they are correct and ref photos. I will make it 1/12 scale or very close to it, but it doesn't really matter. I chose this scale because making stuff is always easier if its bigger and the finished model should be about 13.5 inches long so it will fit in a 15-inch-long clear plastic display case. I will try to build the tires and wheels first and if I cannot for some reason I will give up on this idea and go to my stash and pick out a kit to build. Without the tires and wheels the body, engine, and other things won't be necessary. Wip pictures will be your clues to what it is and no "well I think it might be this type of car". The guesses have to include year model and full name of the vehicle. Now that you have got off the floor scoffing at my idea check out the first clues below.

-
Thank you, Ken. I appreciate the kind words about the build. Your flawless work is very inspiring and enjoyable to view.
-
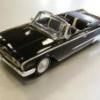
Absolutely right, Bruce. There's really not that much going on under the hood on these vintage cars. But to get the correct look it takes a lot of time and effort. It's really all about the paint and decals on these babies. Thanks for visiting the wip and making the supportive comments you do about the builds.
-
Thank you, Jim. I appreciate your kind words about the build.
-
Rolls-Royce No Chemicals, No Paint, No Harmful Glues
MarkJ replied to Anglia105E's topic in WIP: Model Cars
So true. I could not agree with you more. Mark J -
Rolls-Royce No Chemicals, No Paint, No Harmful Glues
MarkJ replied to Anglia105E's topic in WIP: Model Cars
David, I believe you have figured this out very well and like you said just a tiny bit of touch up is all that remains to be done on the wheels. Mark J -
Thanks, Yoshimi. I am a big fan of your work and use your wips as well for reference material. Your recent number 21 Fairlane was very helpful in doing this build. Thanks for your kind words about the build.
-
Thanks, Larry. I appreciate your reply.
-
I totally agree with you Edgar. That is one heck of a resume for sure. Thanks for dropping by and sharing that with us.
-
You picked a great one in Mario. I'd say he's top 5 on the all-time driver list. Thanks for stopping by, Steve.
-
Thank you Michael. I really appreciate you weighing in on the build. That's the best part of modeling. The feeling of community it gives all of us.
-
Thanks, Donato. another one of my wip group who always had a way of keeping my interest in the build going. I really appreciate it sir.