gjorenby
-
Posts
123 -
Joined
-
Last visited
Content Type
Profiles
Forums
Events
Gallery
Everything posted by gjorenby
-

Airbrushing future -- buffing out errors?
gjorenby replied to gjorenby's topic in Model Building Questions and Answers
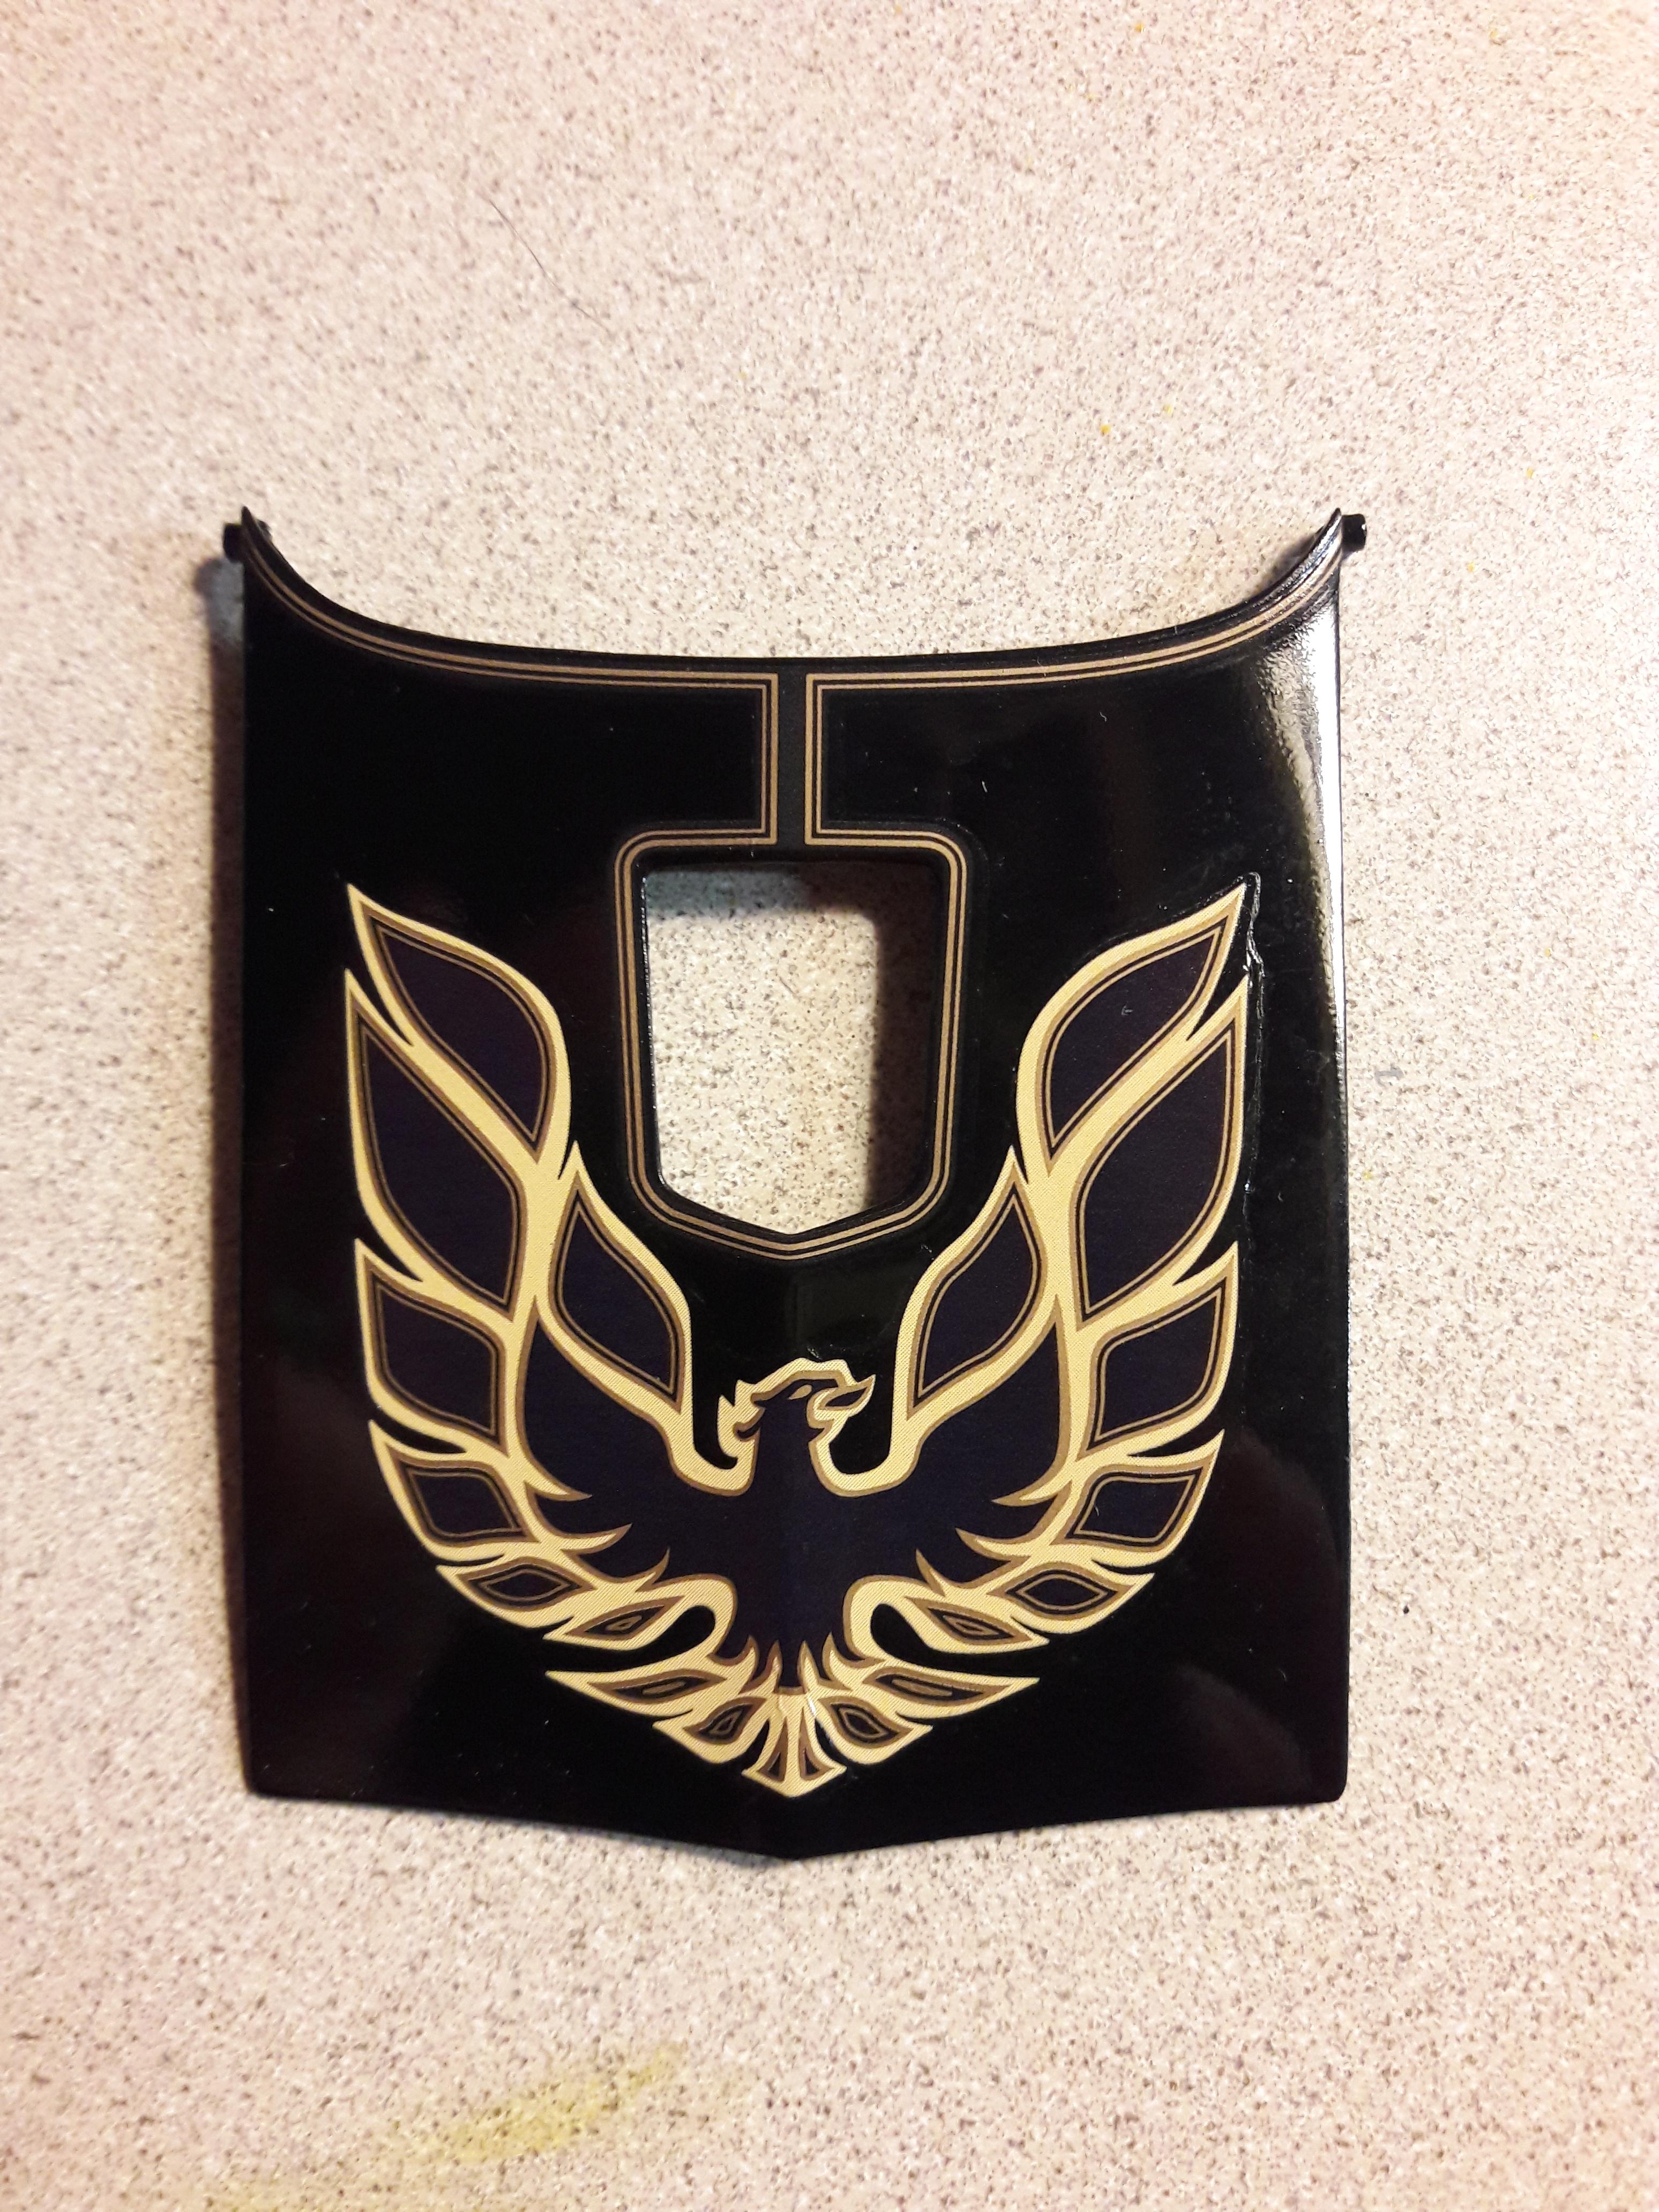
My challenge is its on a Trans Am hood with the flaming chicken decal already applied so I'm not sure I want to strip it completely. -
I am airbrushing Future for the first time. Results are decent but got some debris in the finish. Recommendations on how best to buff it out? Thanks!
-
Seen a lot about using Future via airbrush, but not on how to clean the airbrush after? A couple of notes on using Windex? I've used Future for dipping for a while, but not airbrushed. Can anyone confirm how best to clean out the brush afterwords? Thanks! Glenn
-
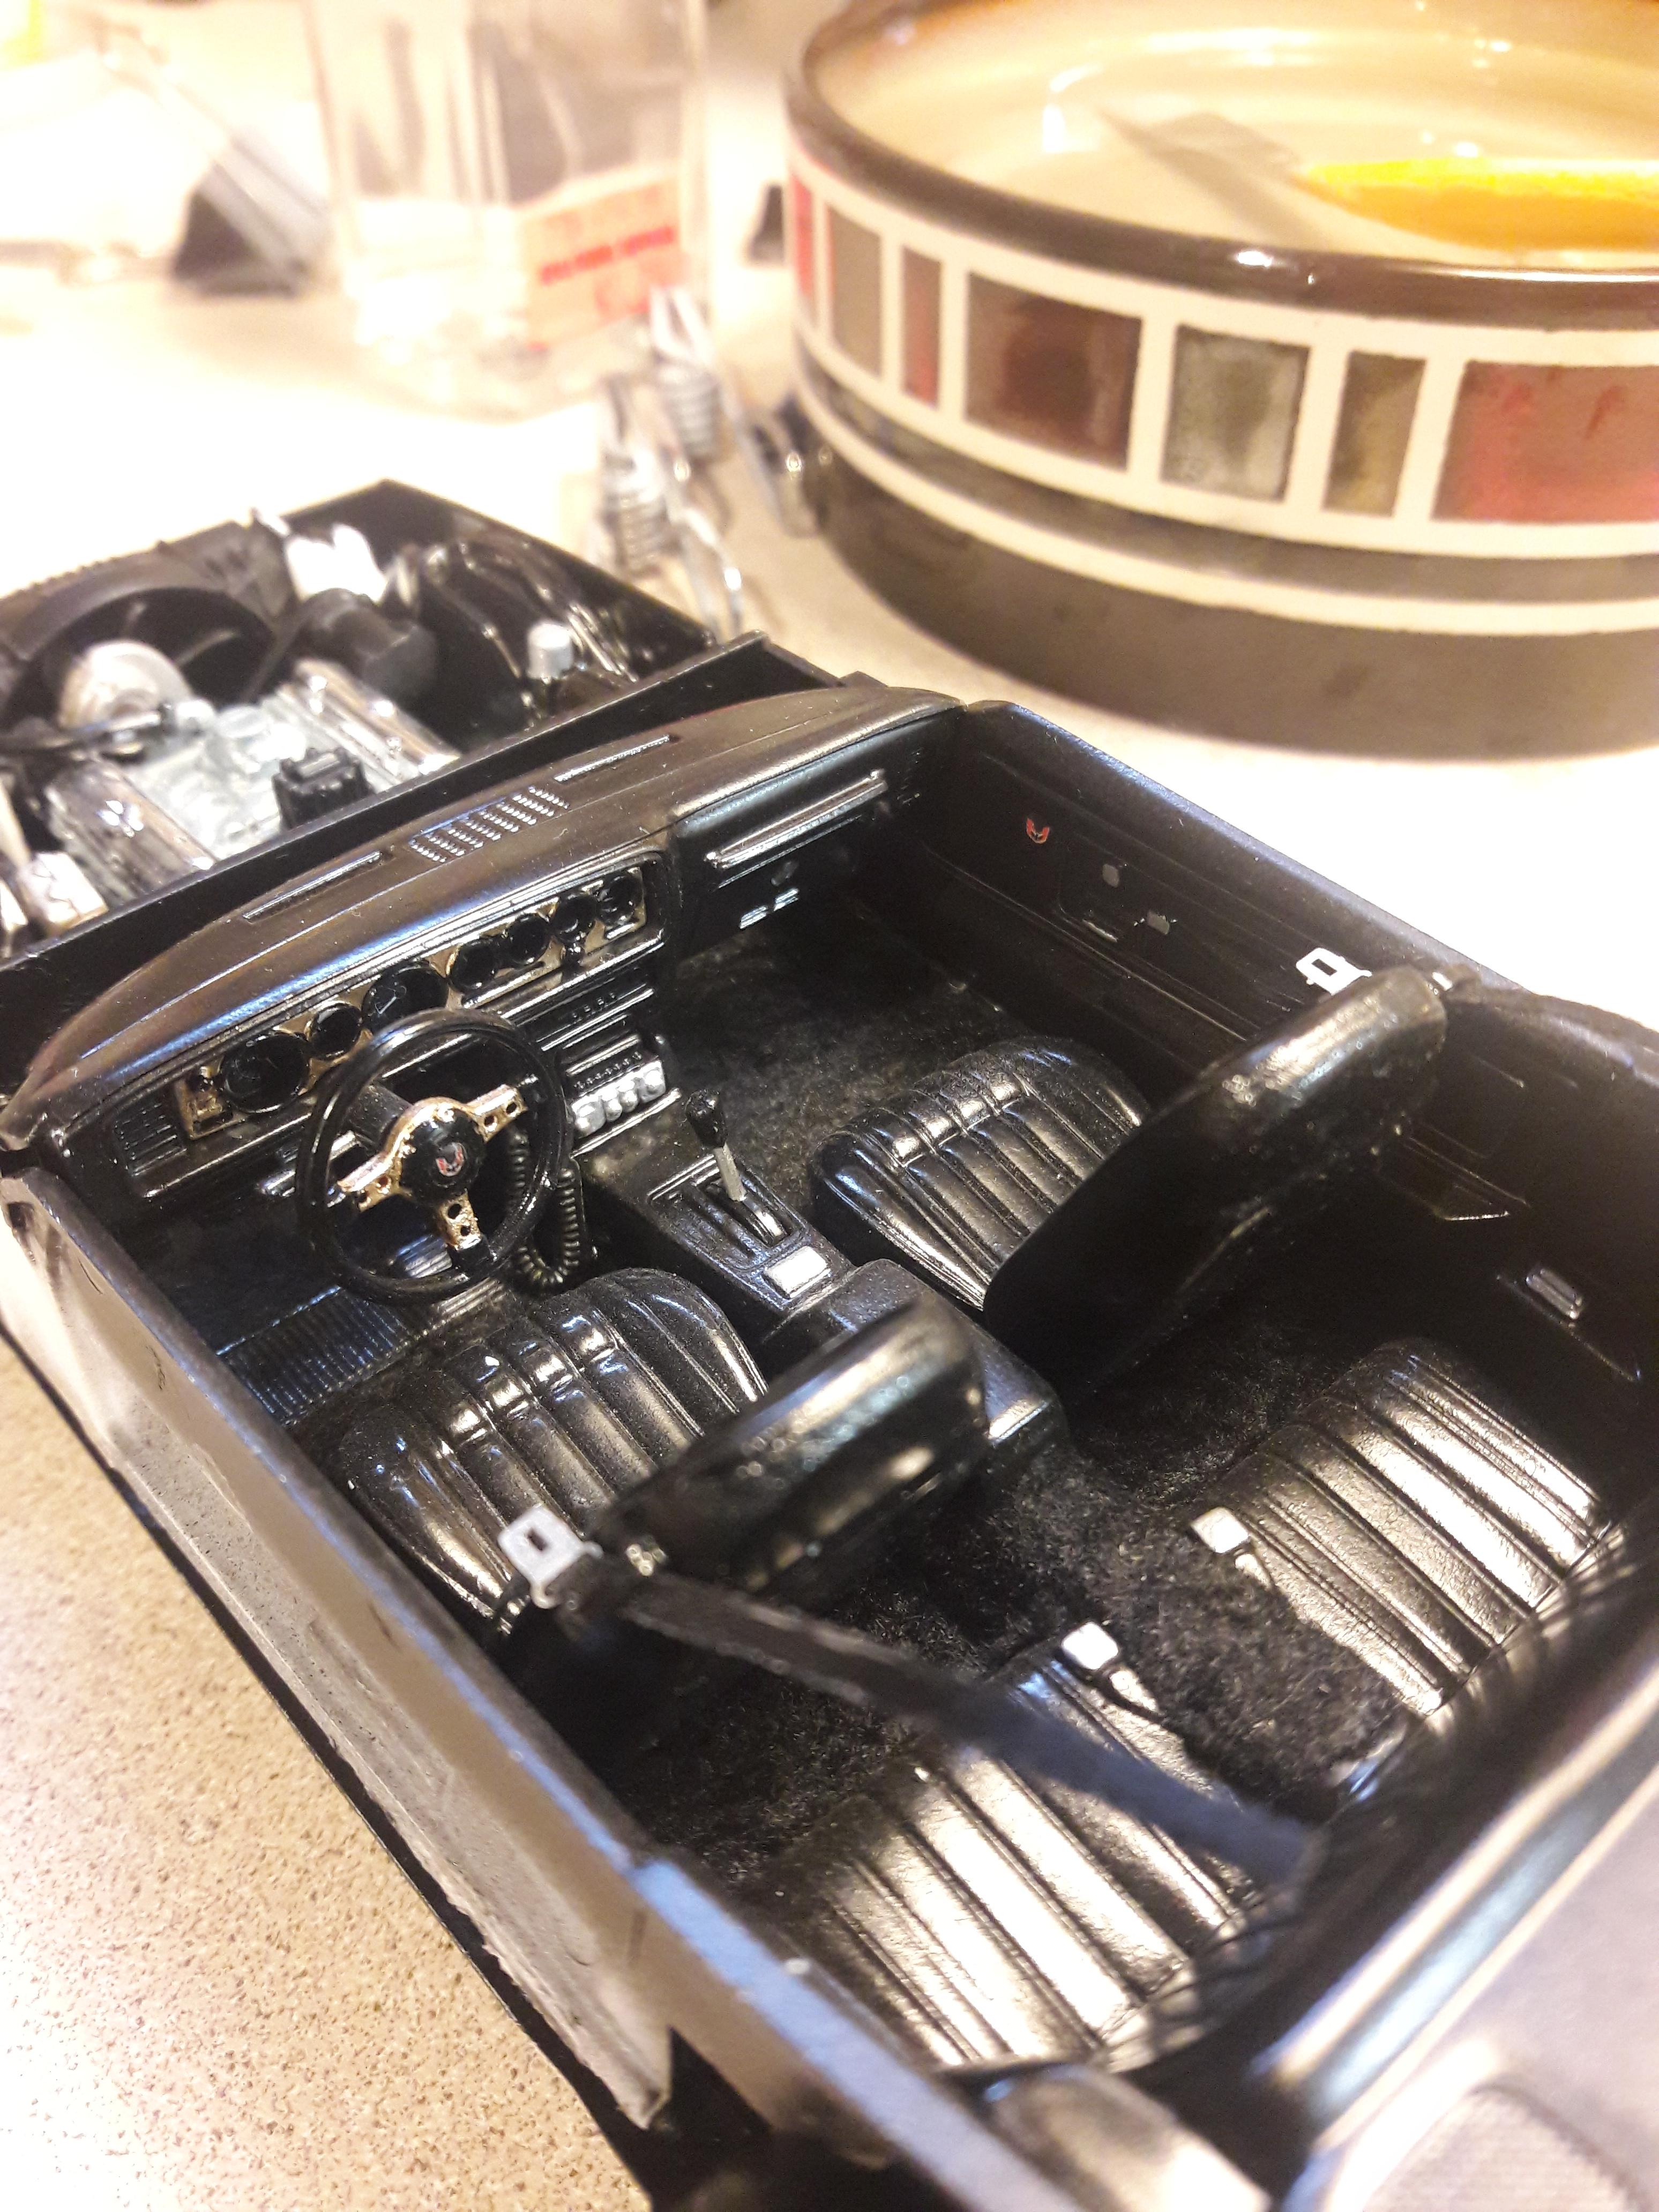
Interior shot. Needs a little dusting before final button up with the body. Some additions that were not part of the kit include the Firebird emblems on the door panels, carpeting, front seat belts (not that they were used in the movie), and the microphone/cord for the CB (which is a peculiar item not to have in the kit given its omnipresence in the movie, plus the fact they did include the CB itself). Final detailing on the body is happening now, then a good clear coating.

-
Arrrggg....body is going into the tank of green dip to be stripped....if it could go wrong with paint and detailing...it did....this one will be delayed for a while....
-
What do you recommend for a high gloss clear coat over an enamel paint with numerous decals?
-
Revell's 1977 Smokey and the Bandit Trans Am, with a couple of extras to make it really screen accurate...
-
We've got a heartbeat! Engine and transmission are in. This was a resin 5.0L from B&L Resin. Belt and accessories along with fan shroud and upper radiator hose were from an old 1990 GL I had built years ago. Add plug wires (in correct firing order), photo etch battery terminals and wires, wiper motor and master cylinder. For a major kit bash project, over all alignment of items is acceptable.
-
-
Sorry all....looks like I have some post carpet installation clean up to do after looking at the close up photos! I hate flocking...it gets everywhere! Wasn't that a line from a movie? Oh yeah, that was sand....(Star Wars reference).
-
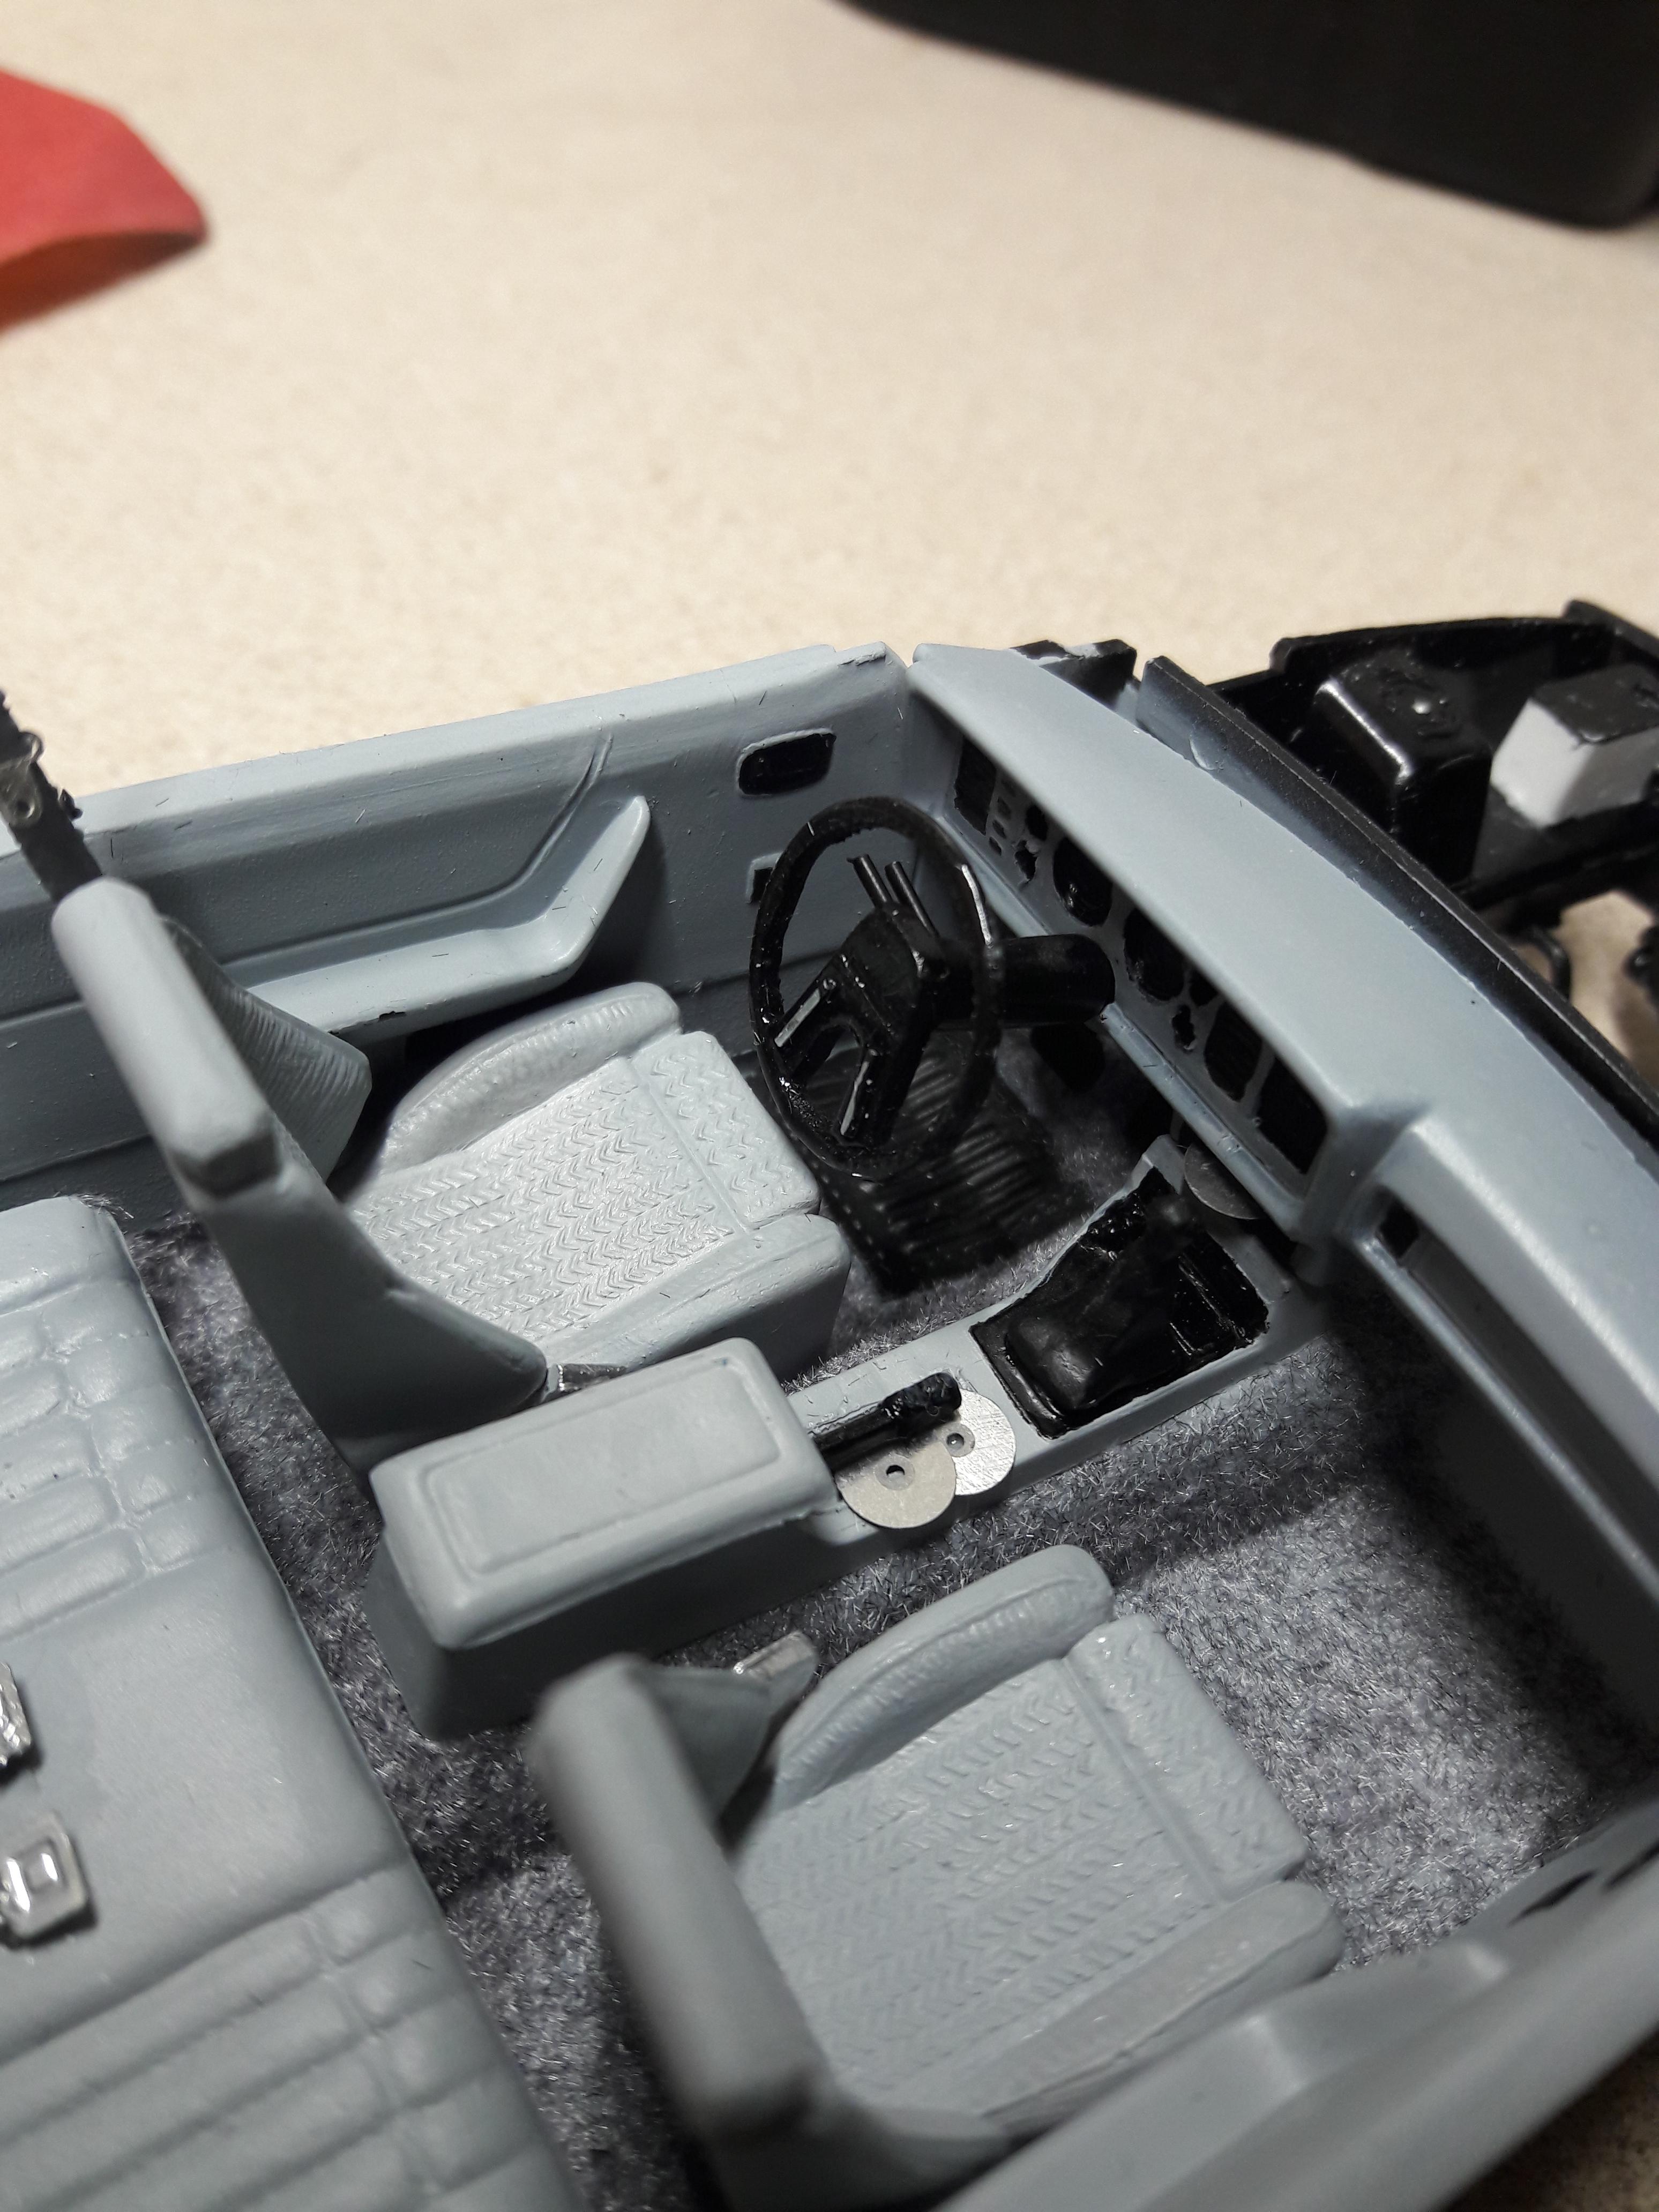
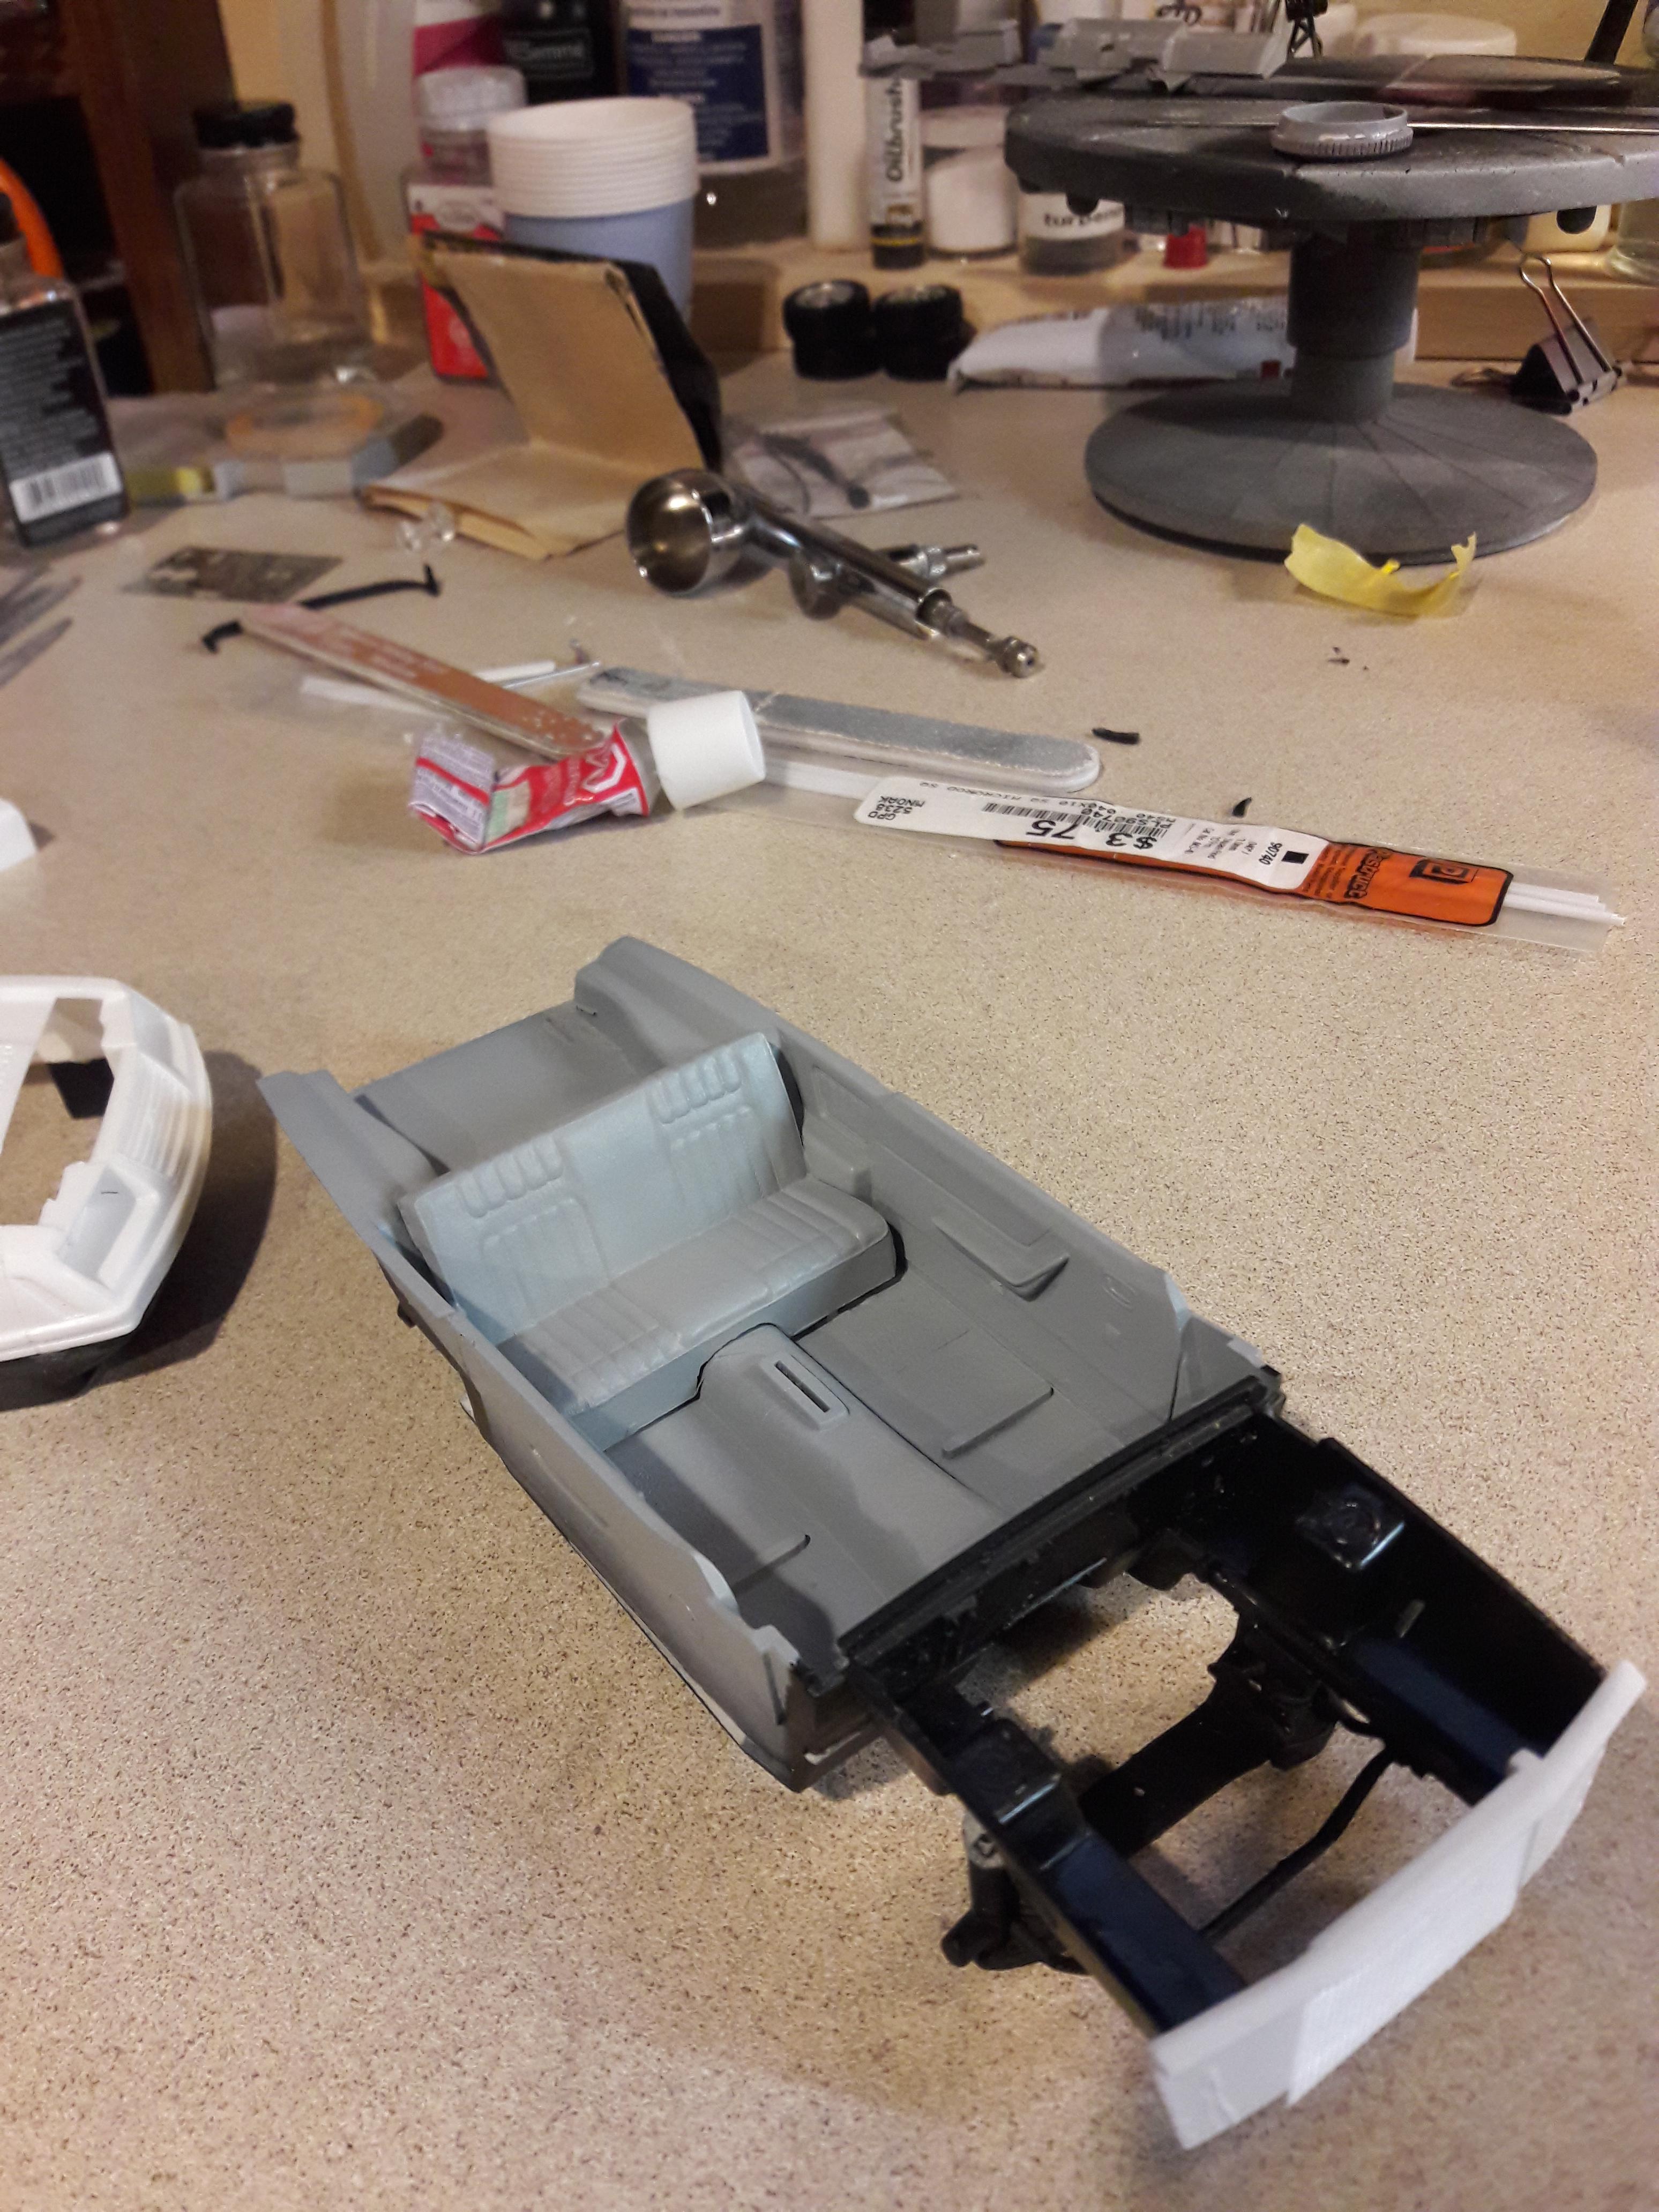
Making some progress...interior is mostly done. Additions include scratch built headrests, steering wheel, clutch and brake pedals, door lock knobs, and seat belts. I added carpeting and for fun some photo etch CDs, as that was the media format at the time I owned the car. If you look closely you will see a CD half ejected in the stereo. The kit dash panel did not have the level of detail I had hoped for but did what I could. Working on the engine now...
-
I was wondering if paint and then a layer of Krystal Klear might work? Thoughts?
-
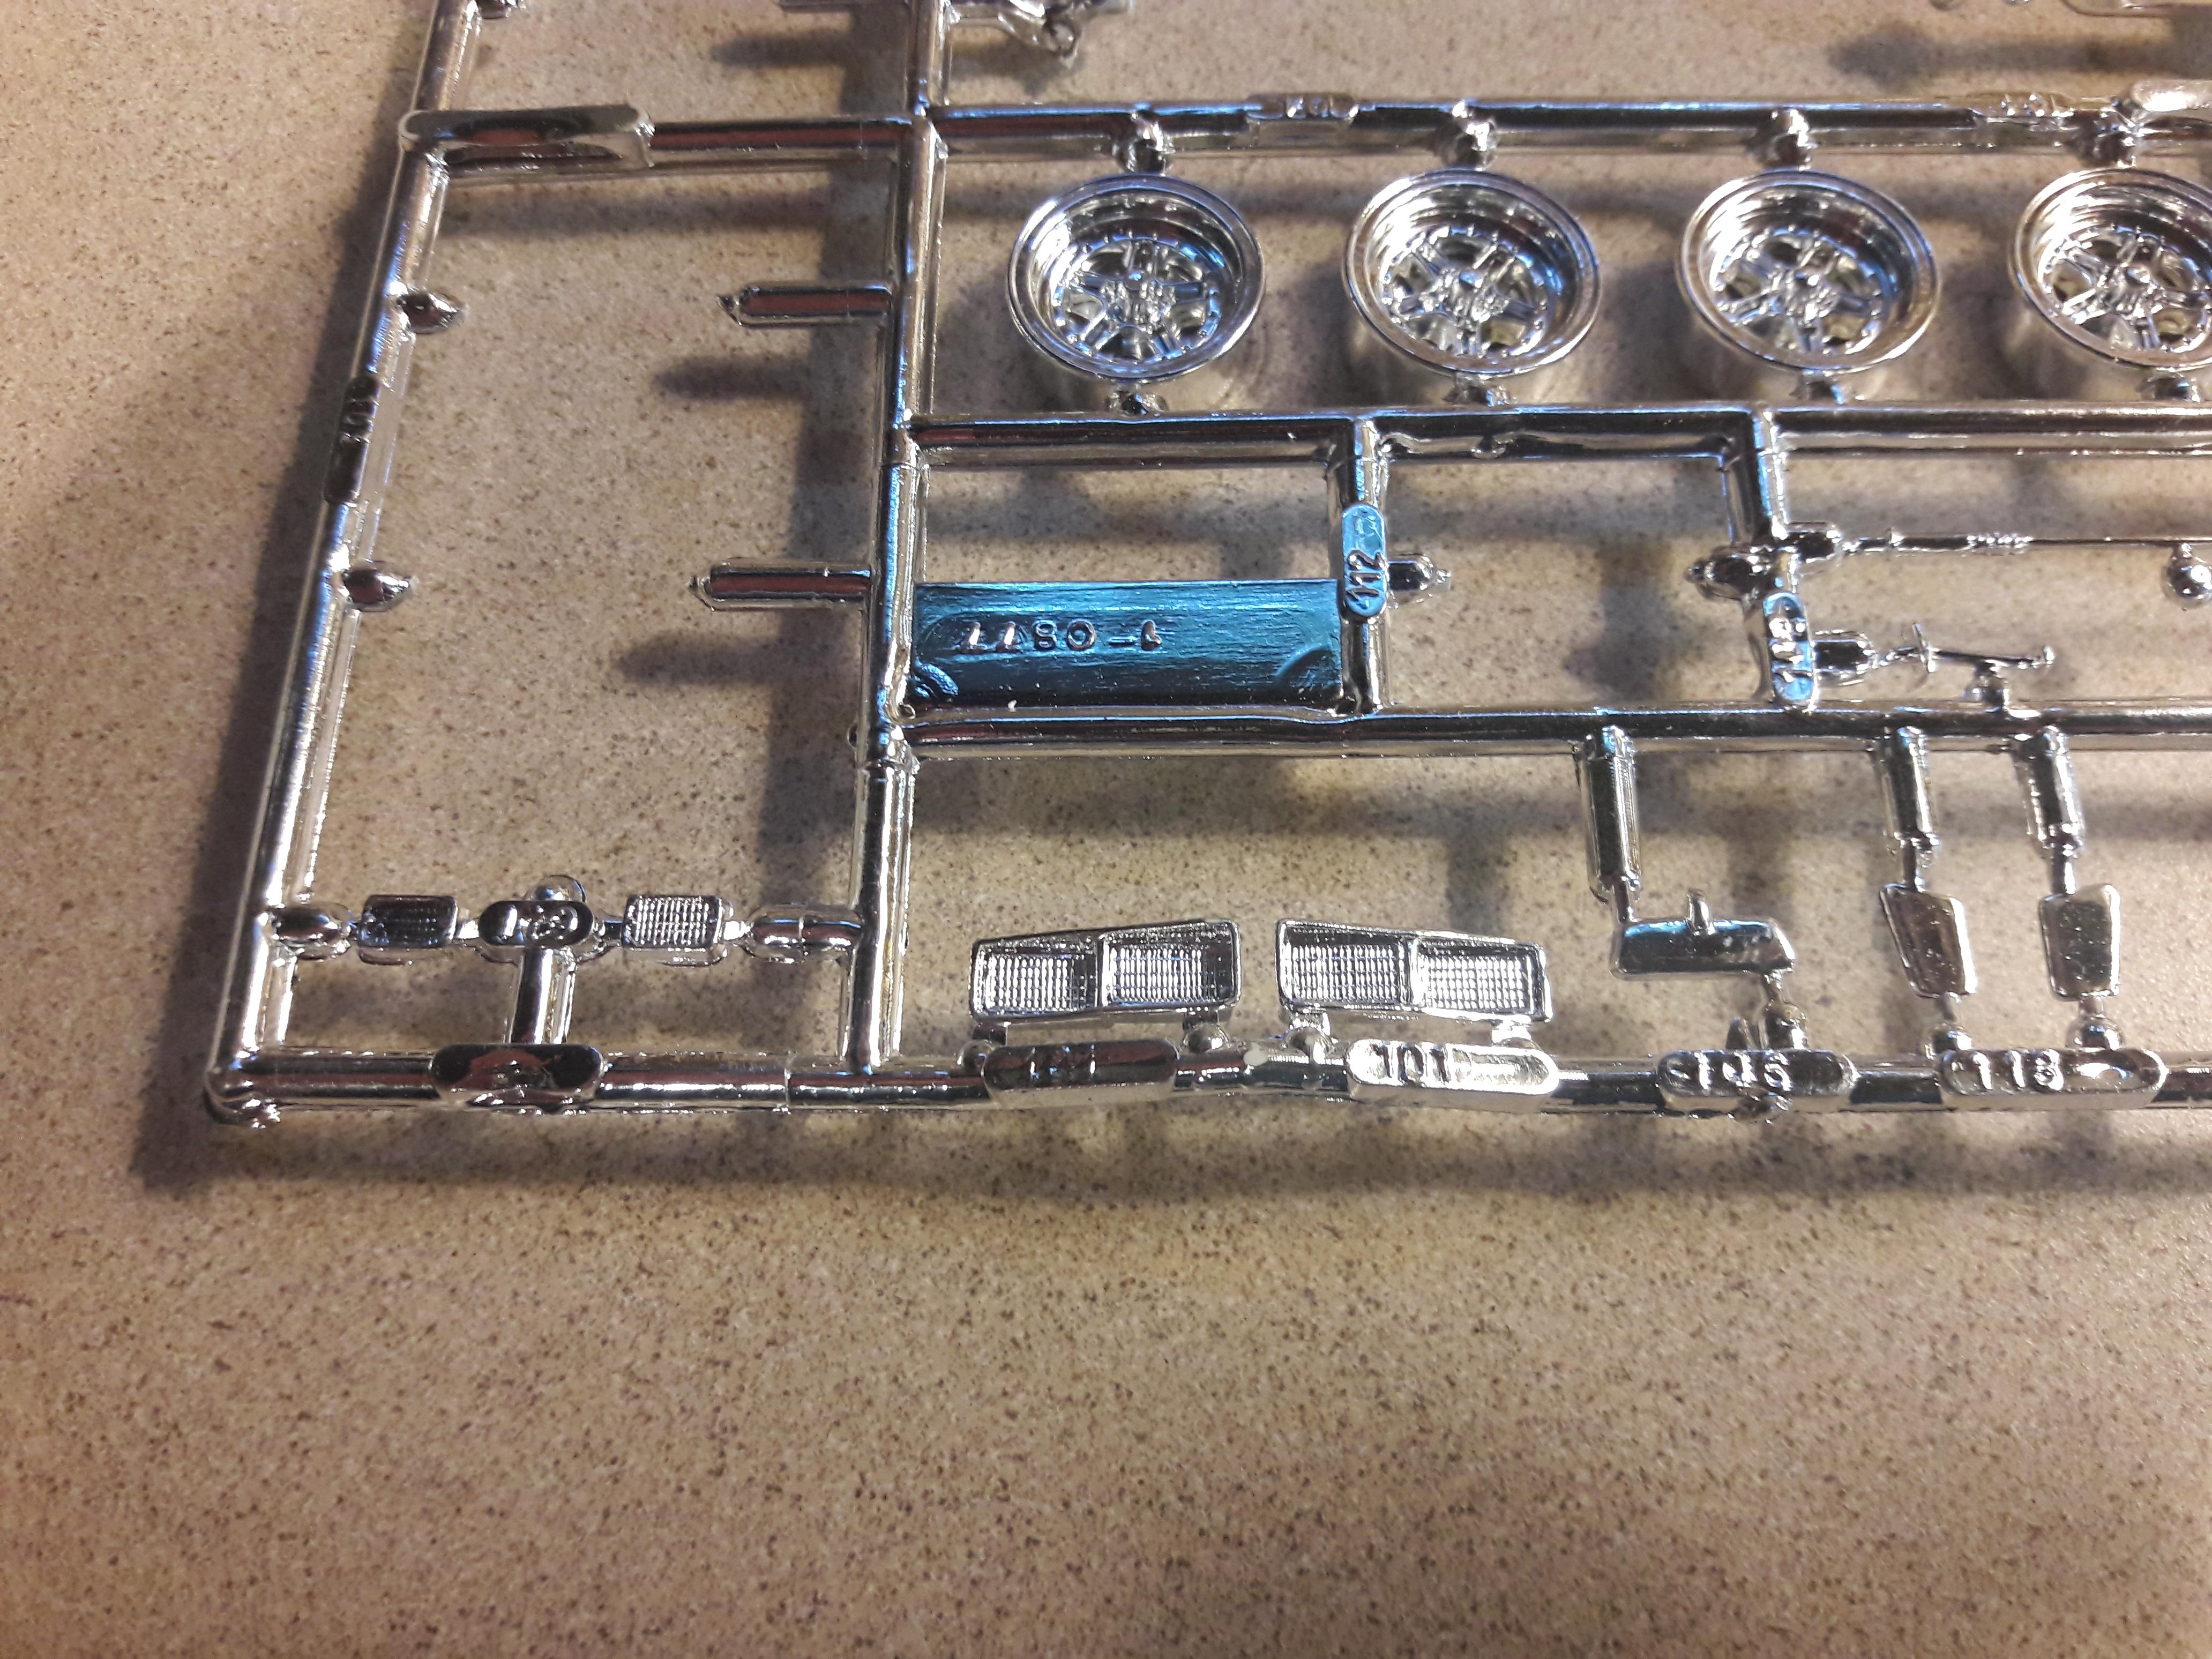
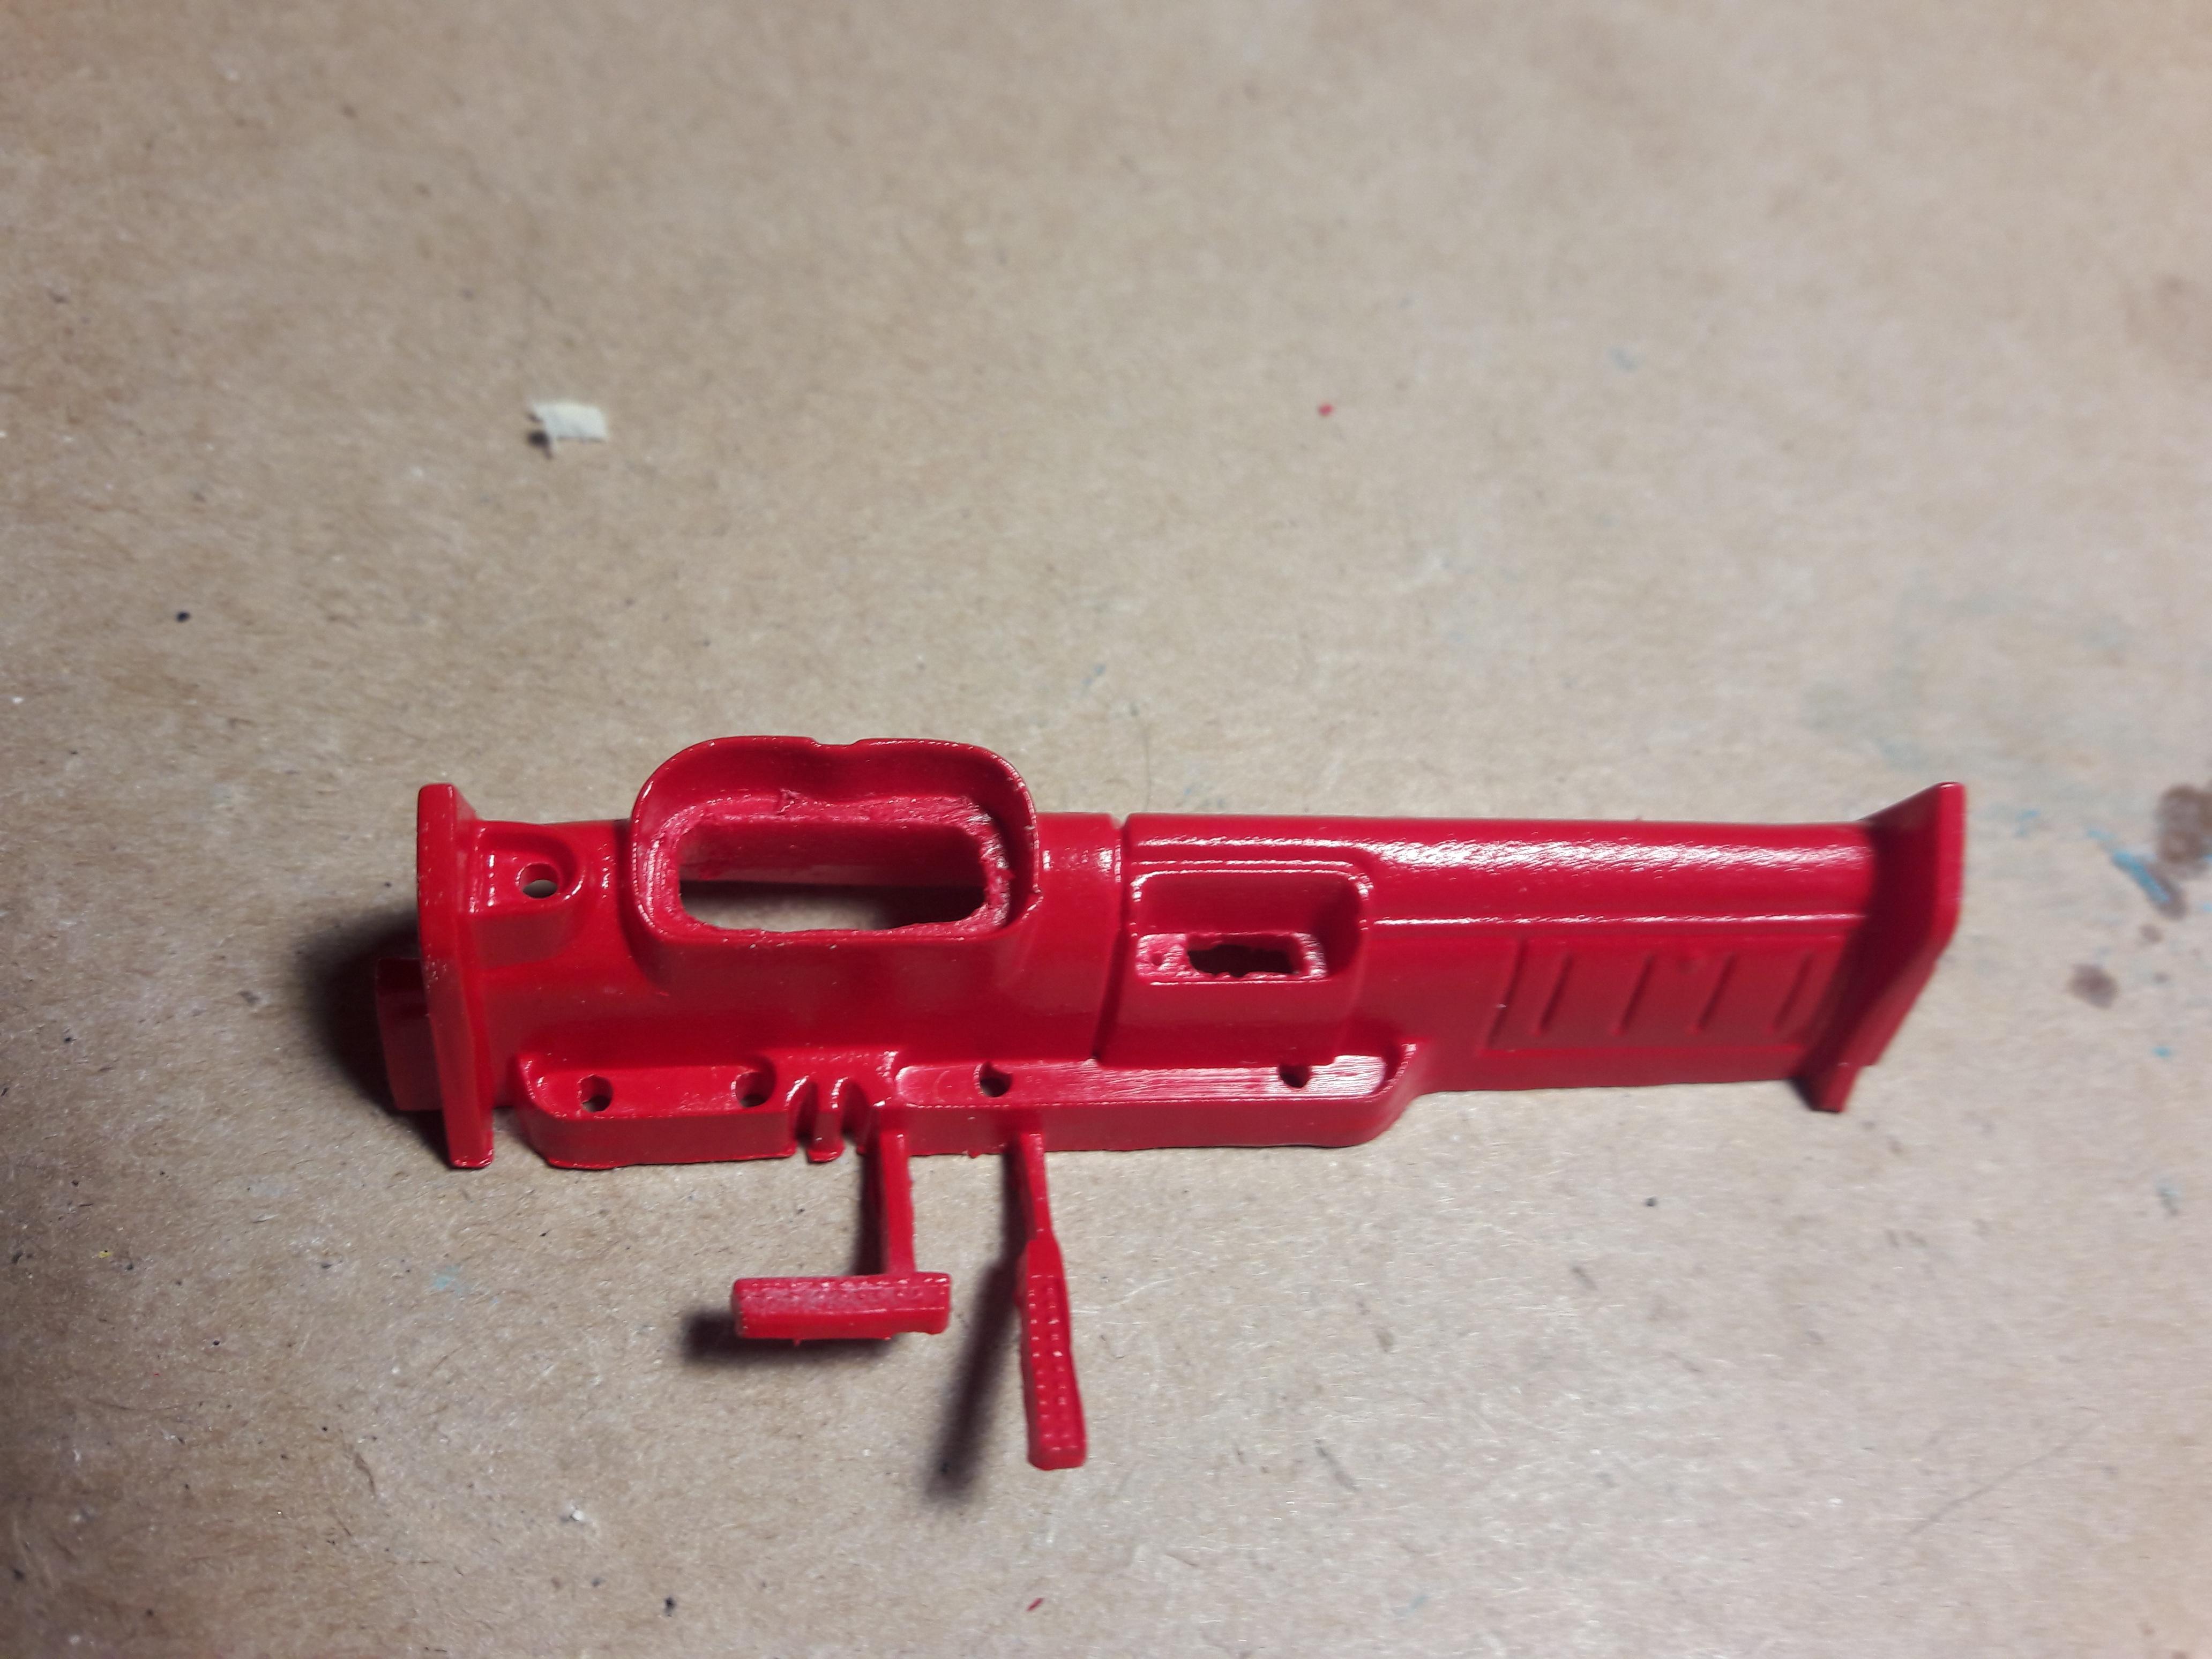
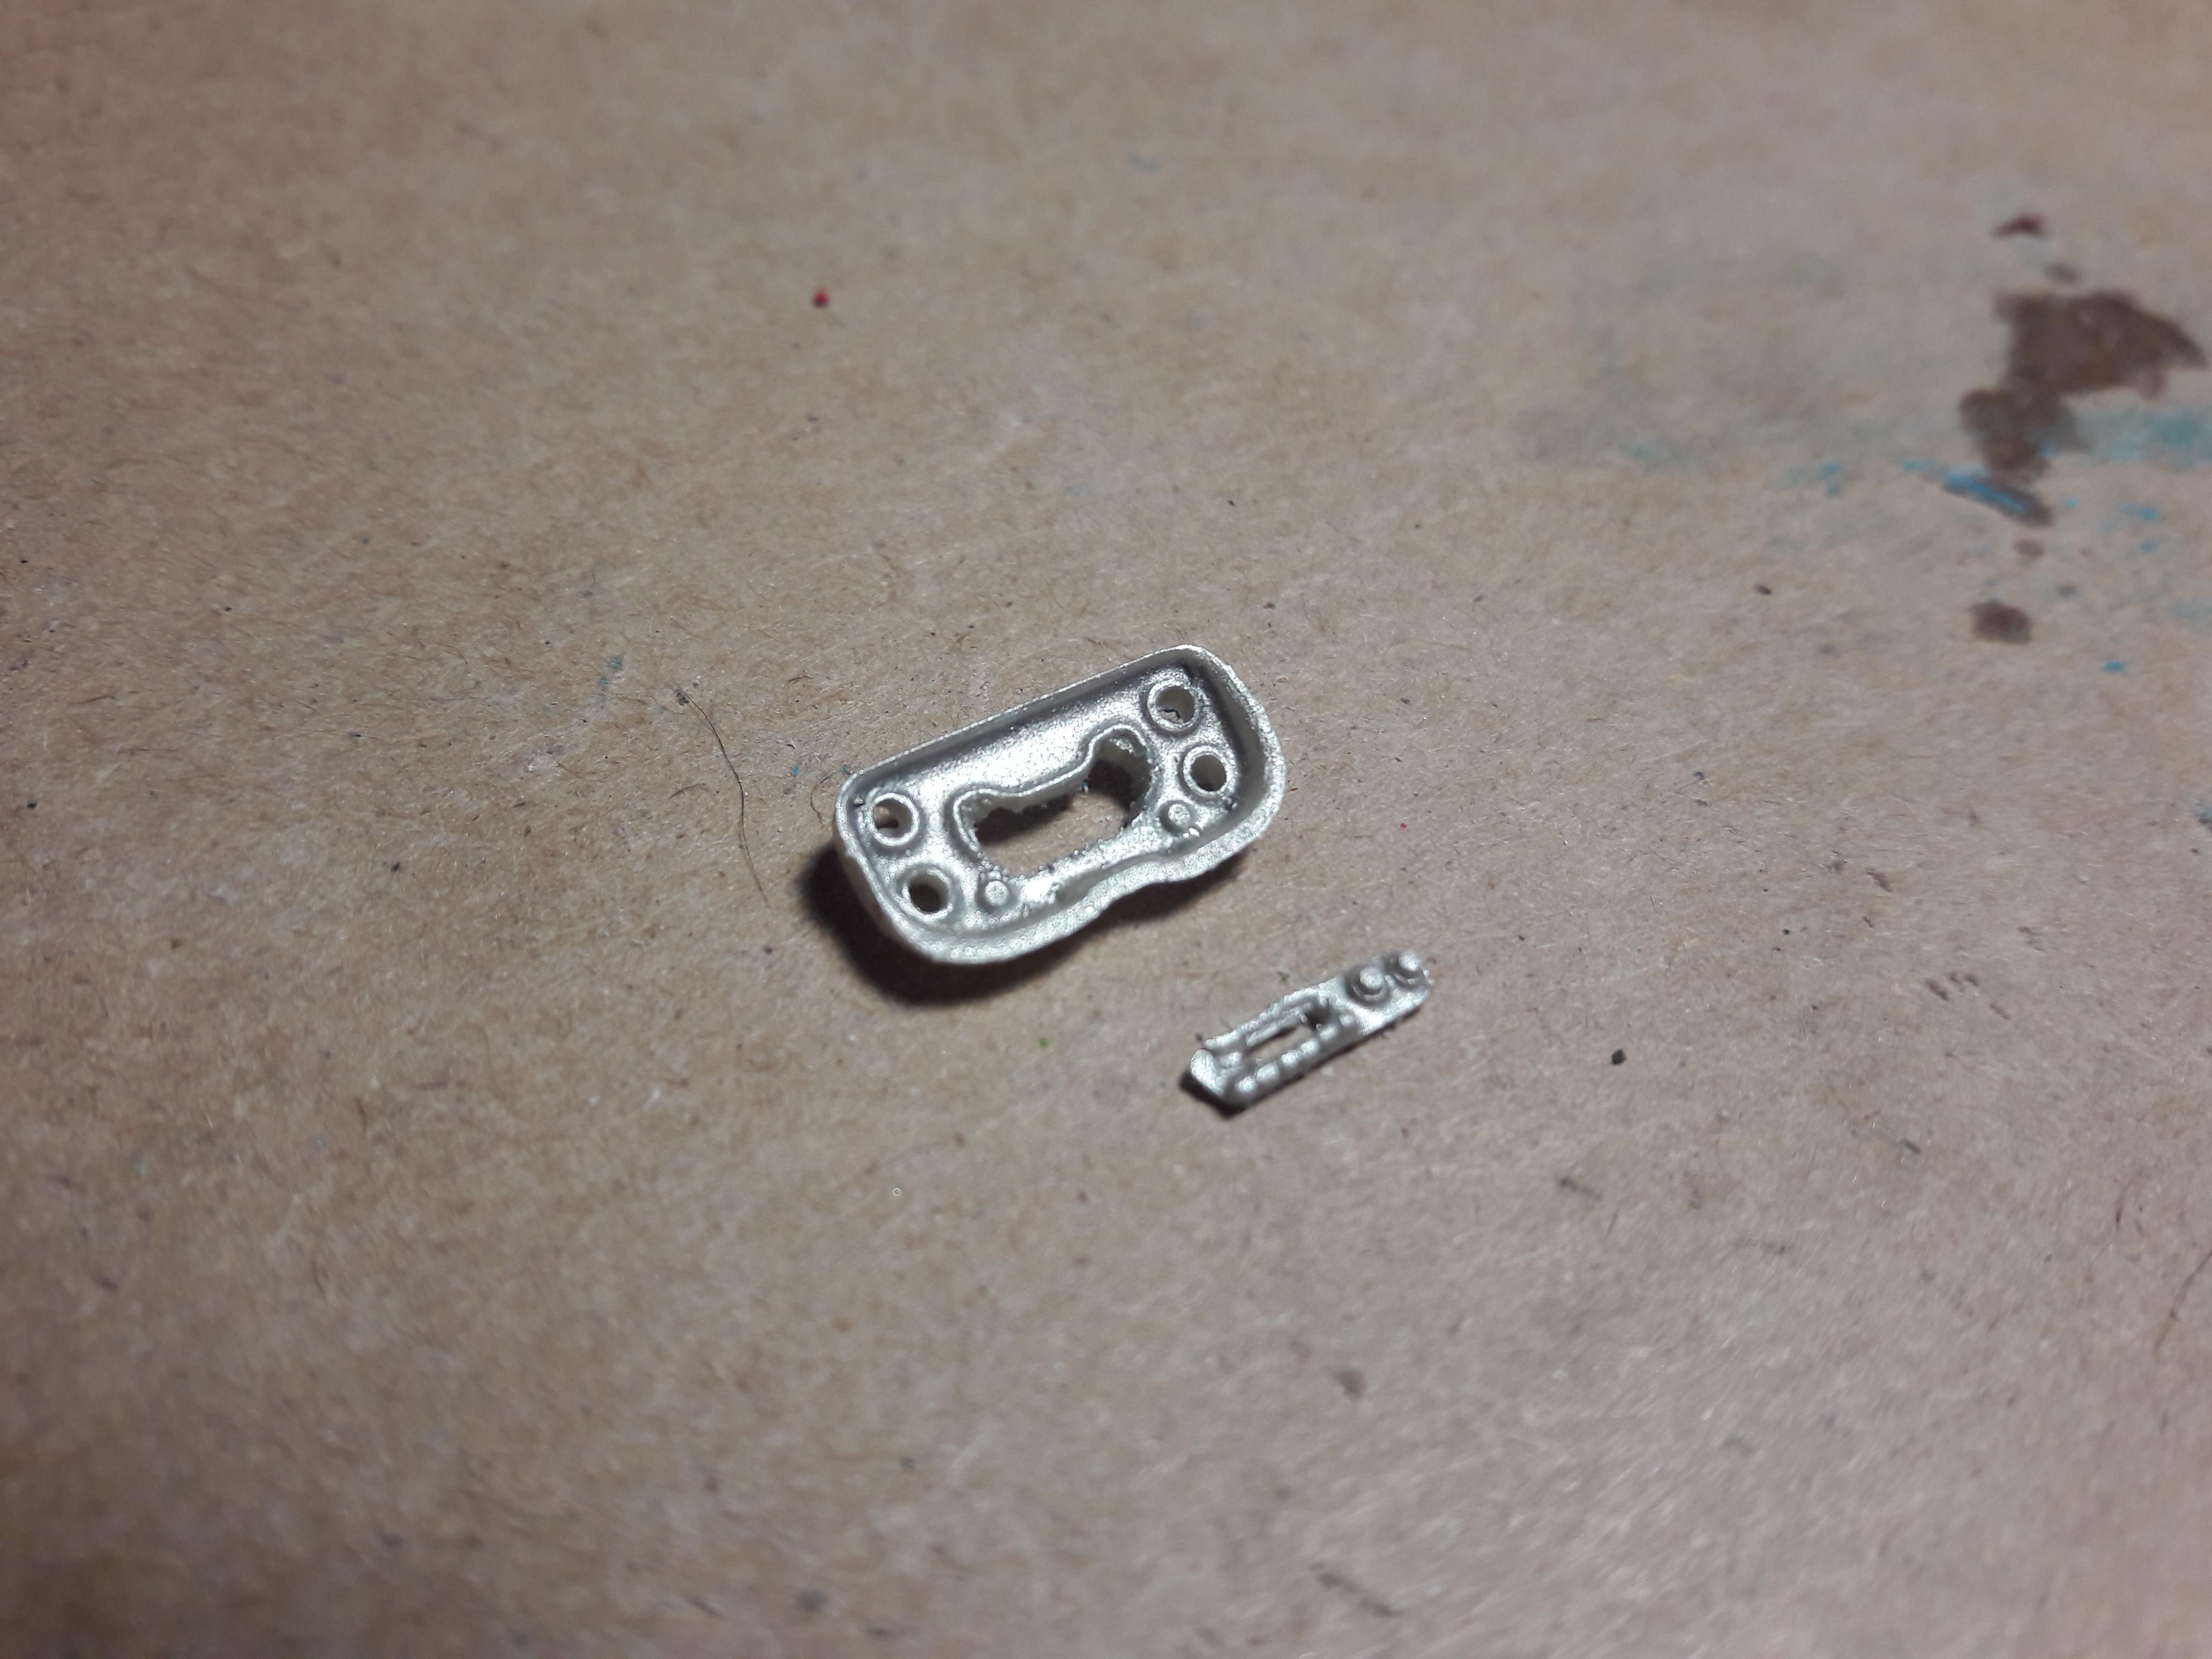
Anyone have good tips on how to make chromed headlights a little more realistic? The solid chrome just does not work for me and no clear parts were included in the kit. See part 101 in photo below for an example. Thanks!
-
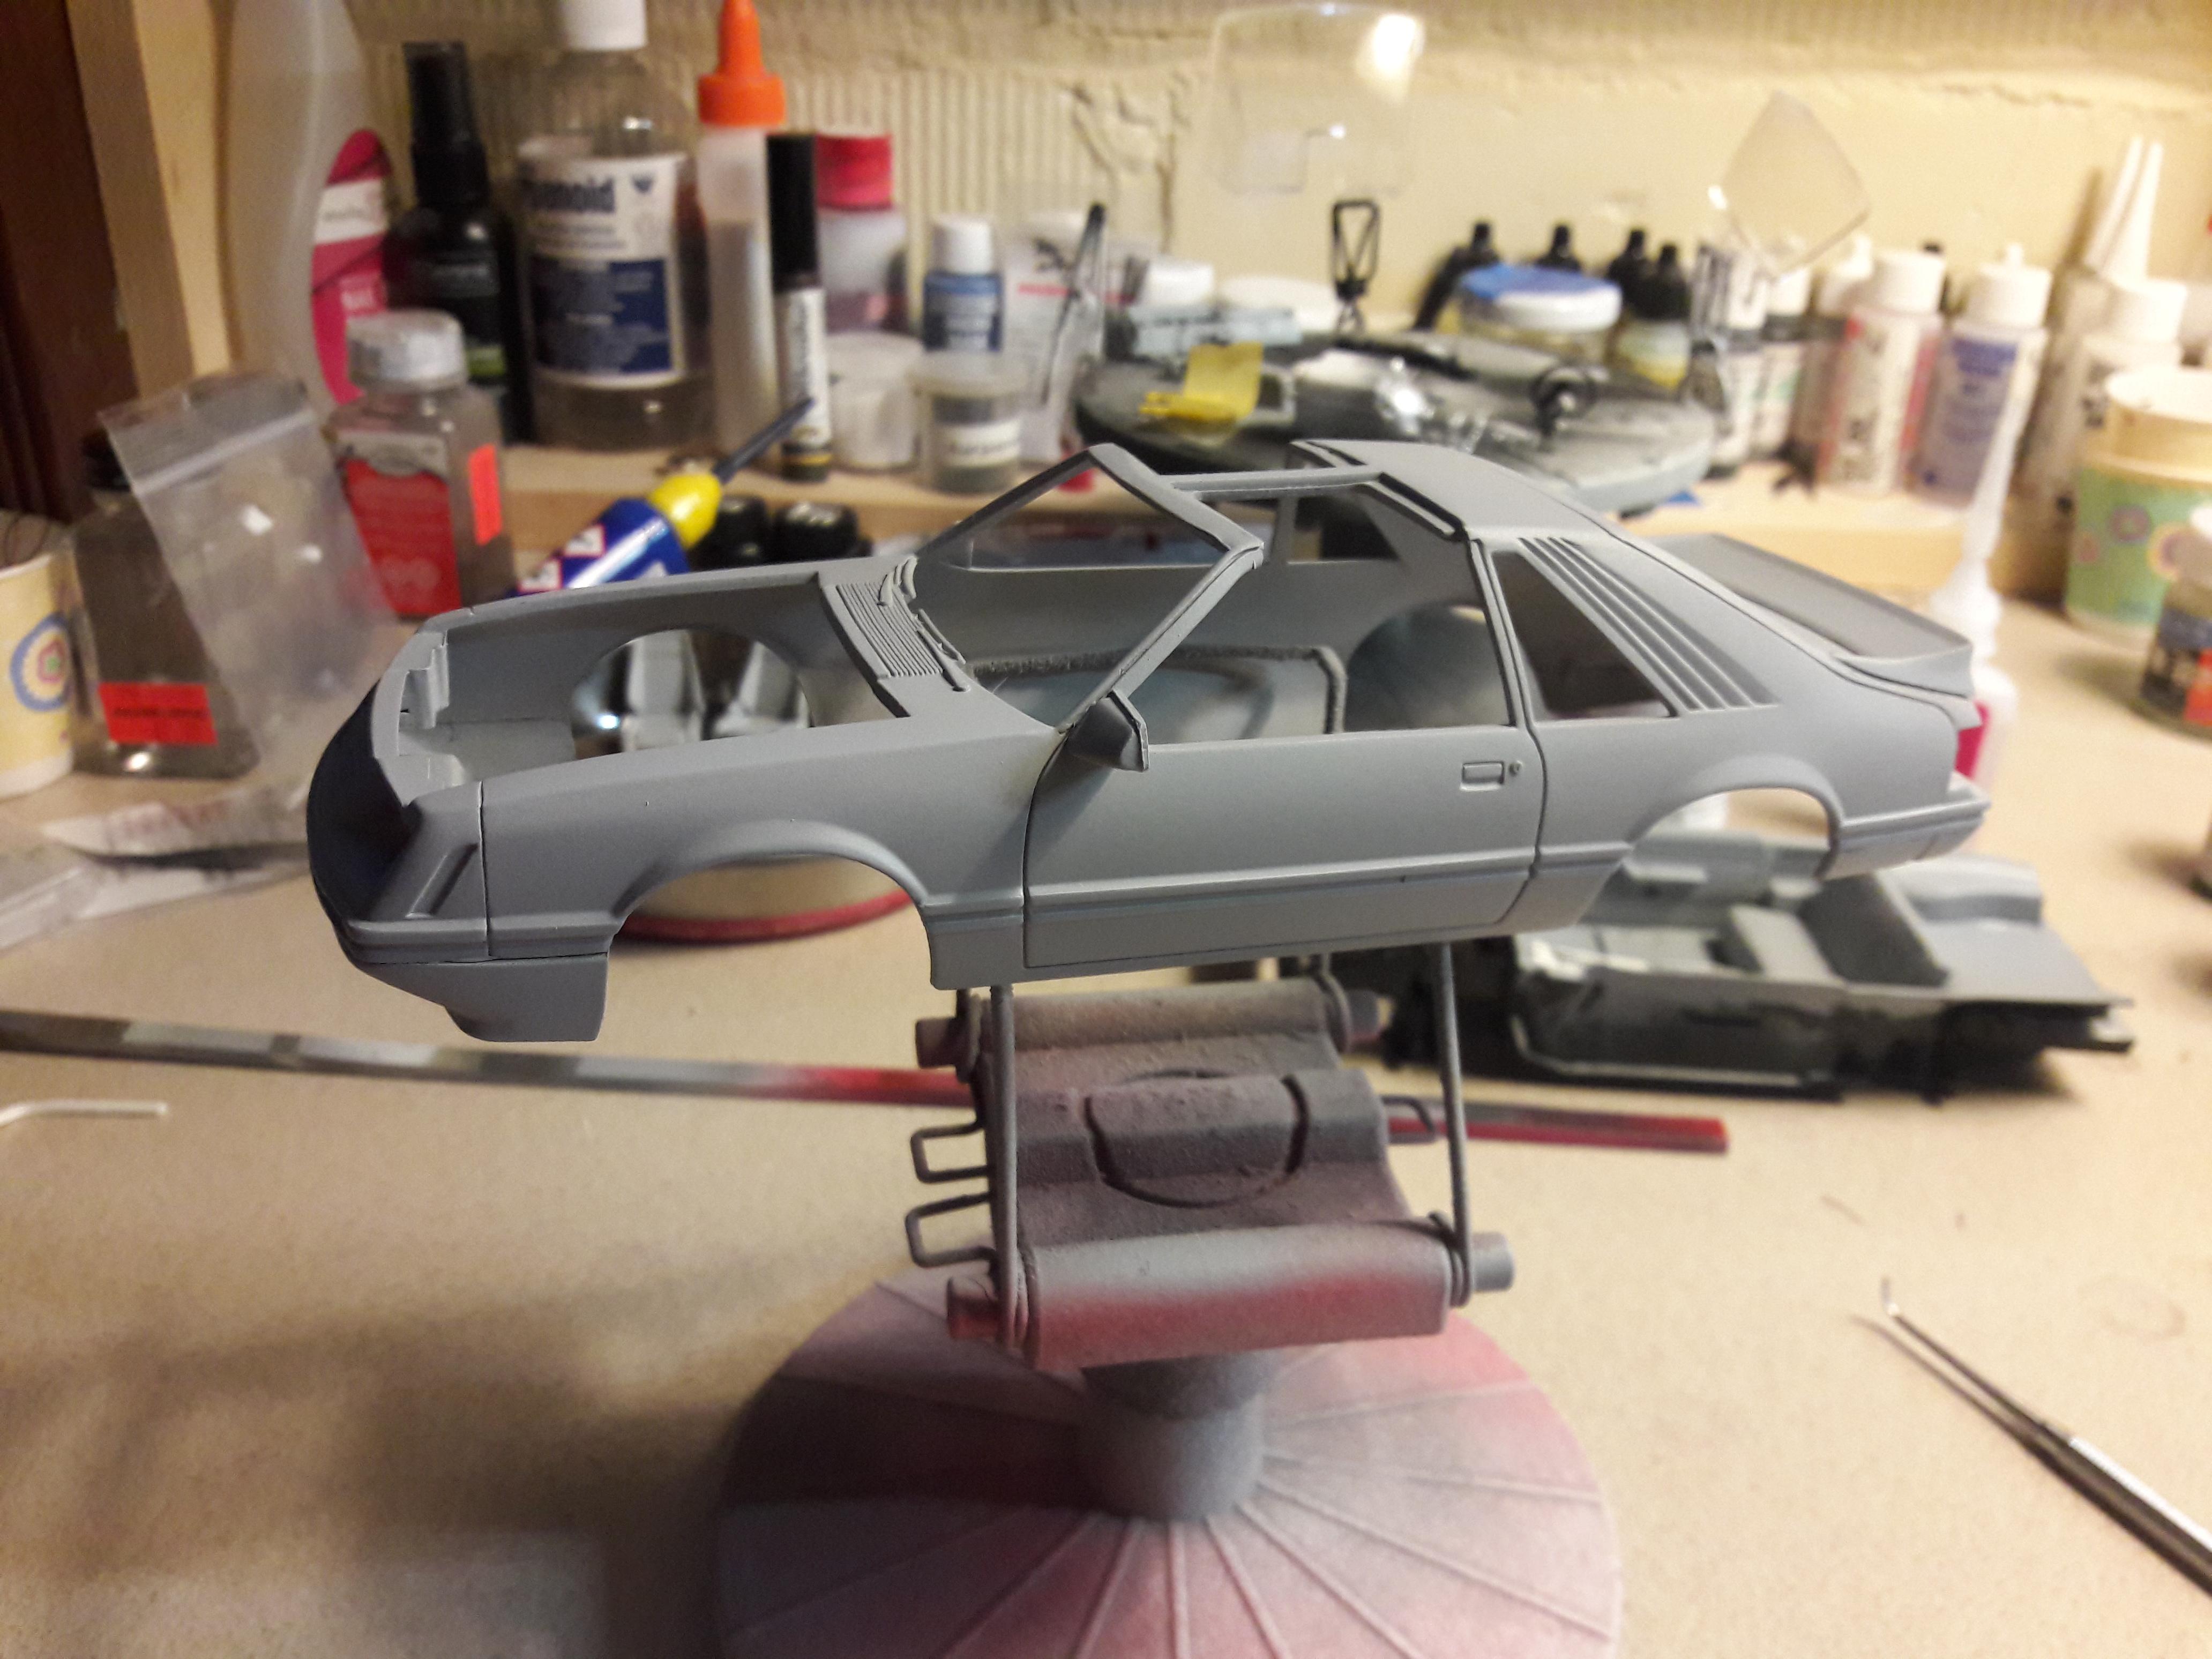
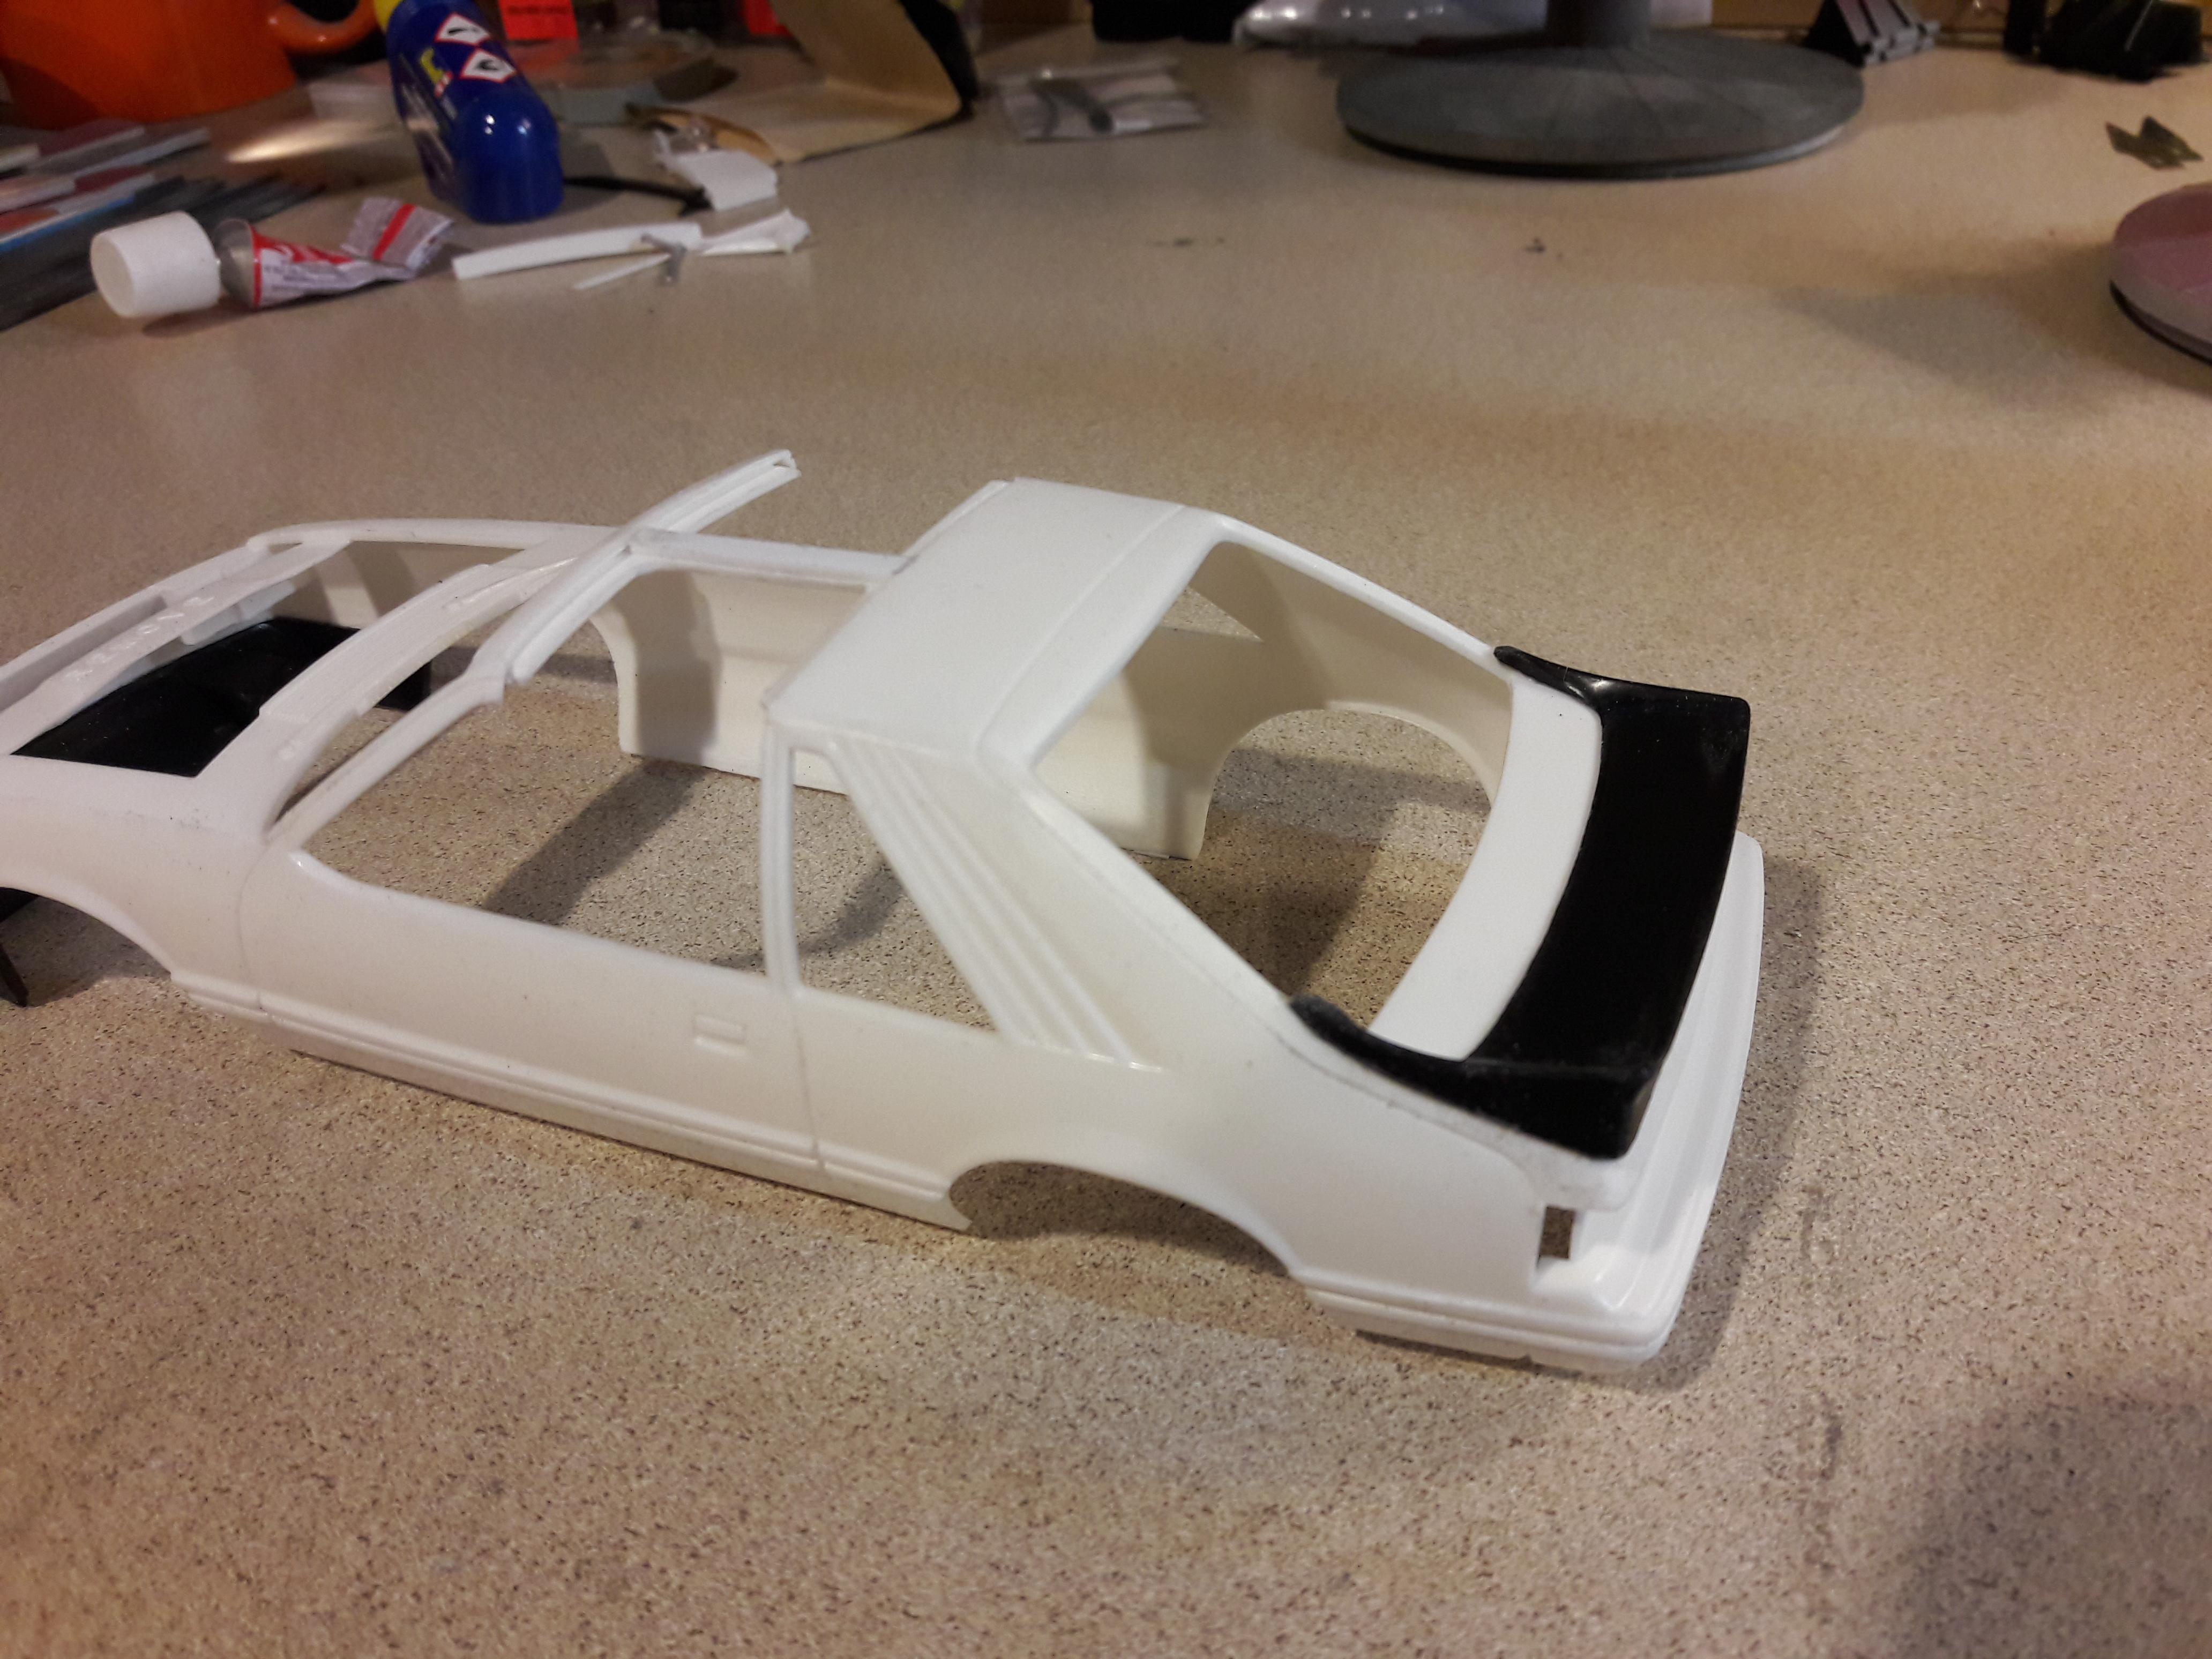
WIP -- 1st coat of primer went on today. Some clean up work to do but making progress. Mods to the body from the kit include rear spoiler, front air dam and photo etch locks.
-
My current build is a replica of a car I owned in the early 90s. A 1984 Mustang GT 5.0 with T-Tops. I am using the 1:25 MPC Ford Mustang 20th Anniversary Edition as my base kit as its a hatchback style and thanks to my new friends here, supplementing several parts from the SVO kit and the Monogram kits to get an accurate reproduction. Interior side panels, rear spoiler and front air dam from the SVO kits are already worked into the build. Other additions will include an anatomically correct 5.0L engine from B&L Resin, the dual snorkel air cleaner from the Monogram kit, correct single pipe/dual tail pipe exhaust, clear glass parts (not the tinted part from the MPC Anniversary kit), some photo etch, flocked carpet, and decals from Keith Marks. Still searching for the correct steering wheel however... Special thanks to those who have contributed parts! I am new to the forum so finding people with parts has been really a fantastic find for me. Long way to go yet...
-
Anyone have any good plans for an airbrush paint booth?
-
Mopargreg -- I believe they were 3mm LEDs, red in the tail lights. Hope you enjoy your build!
-
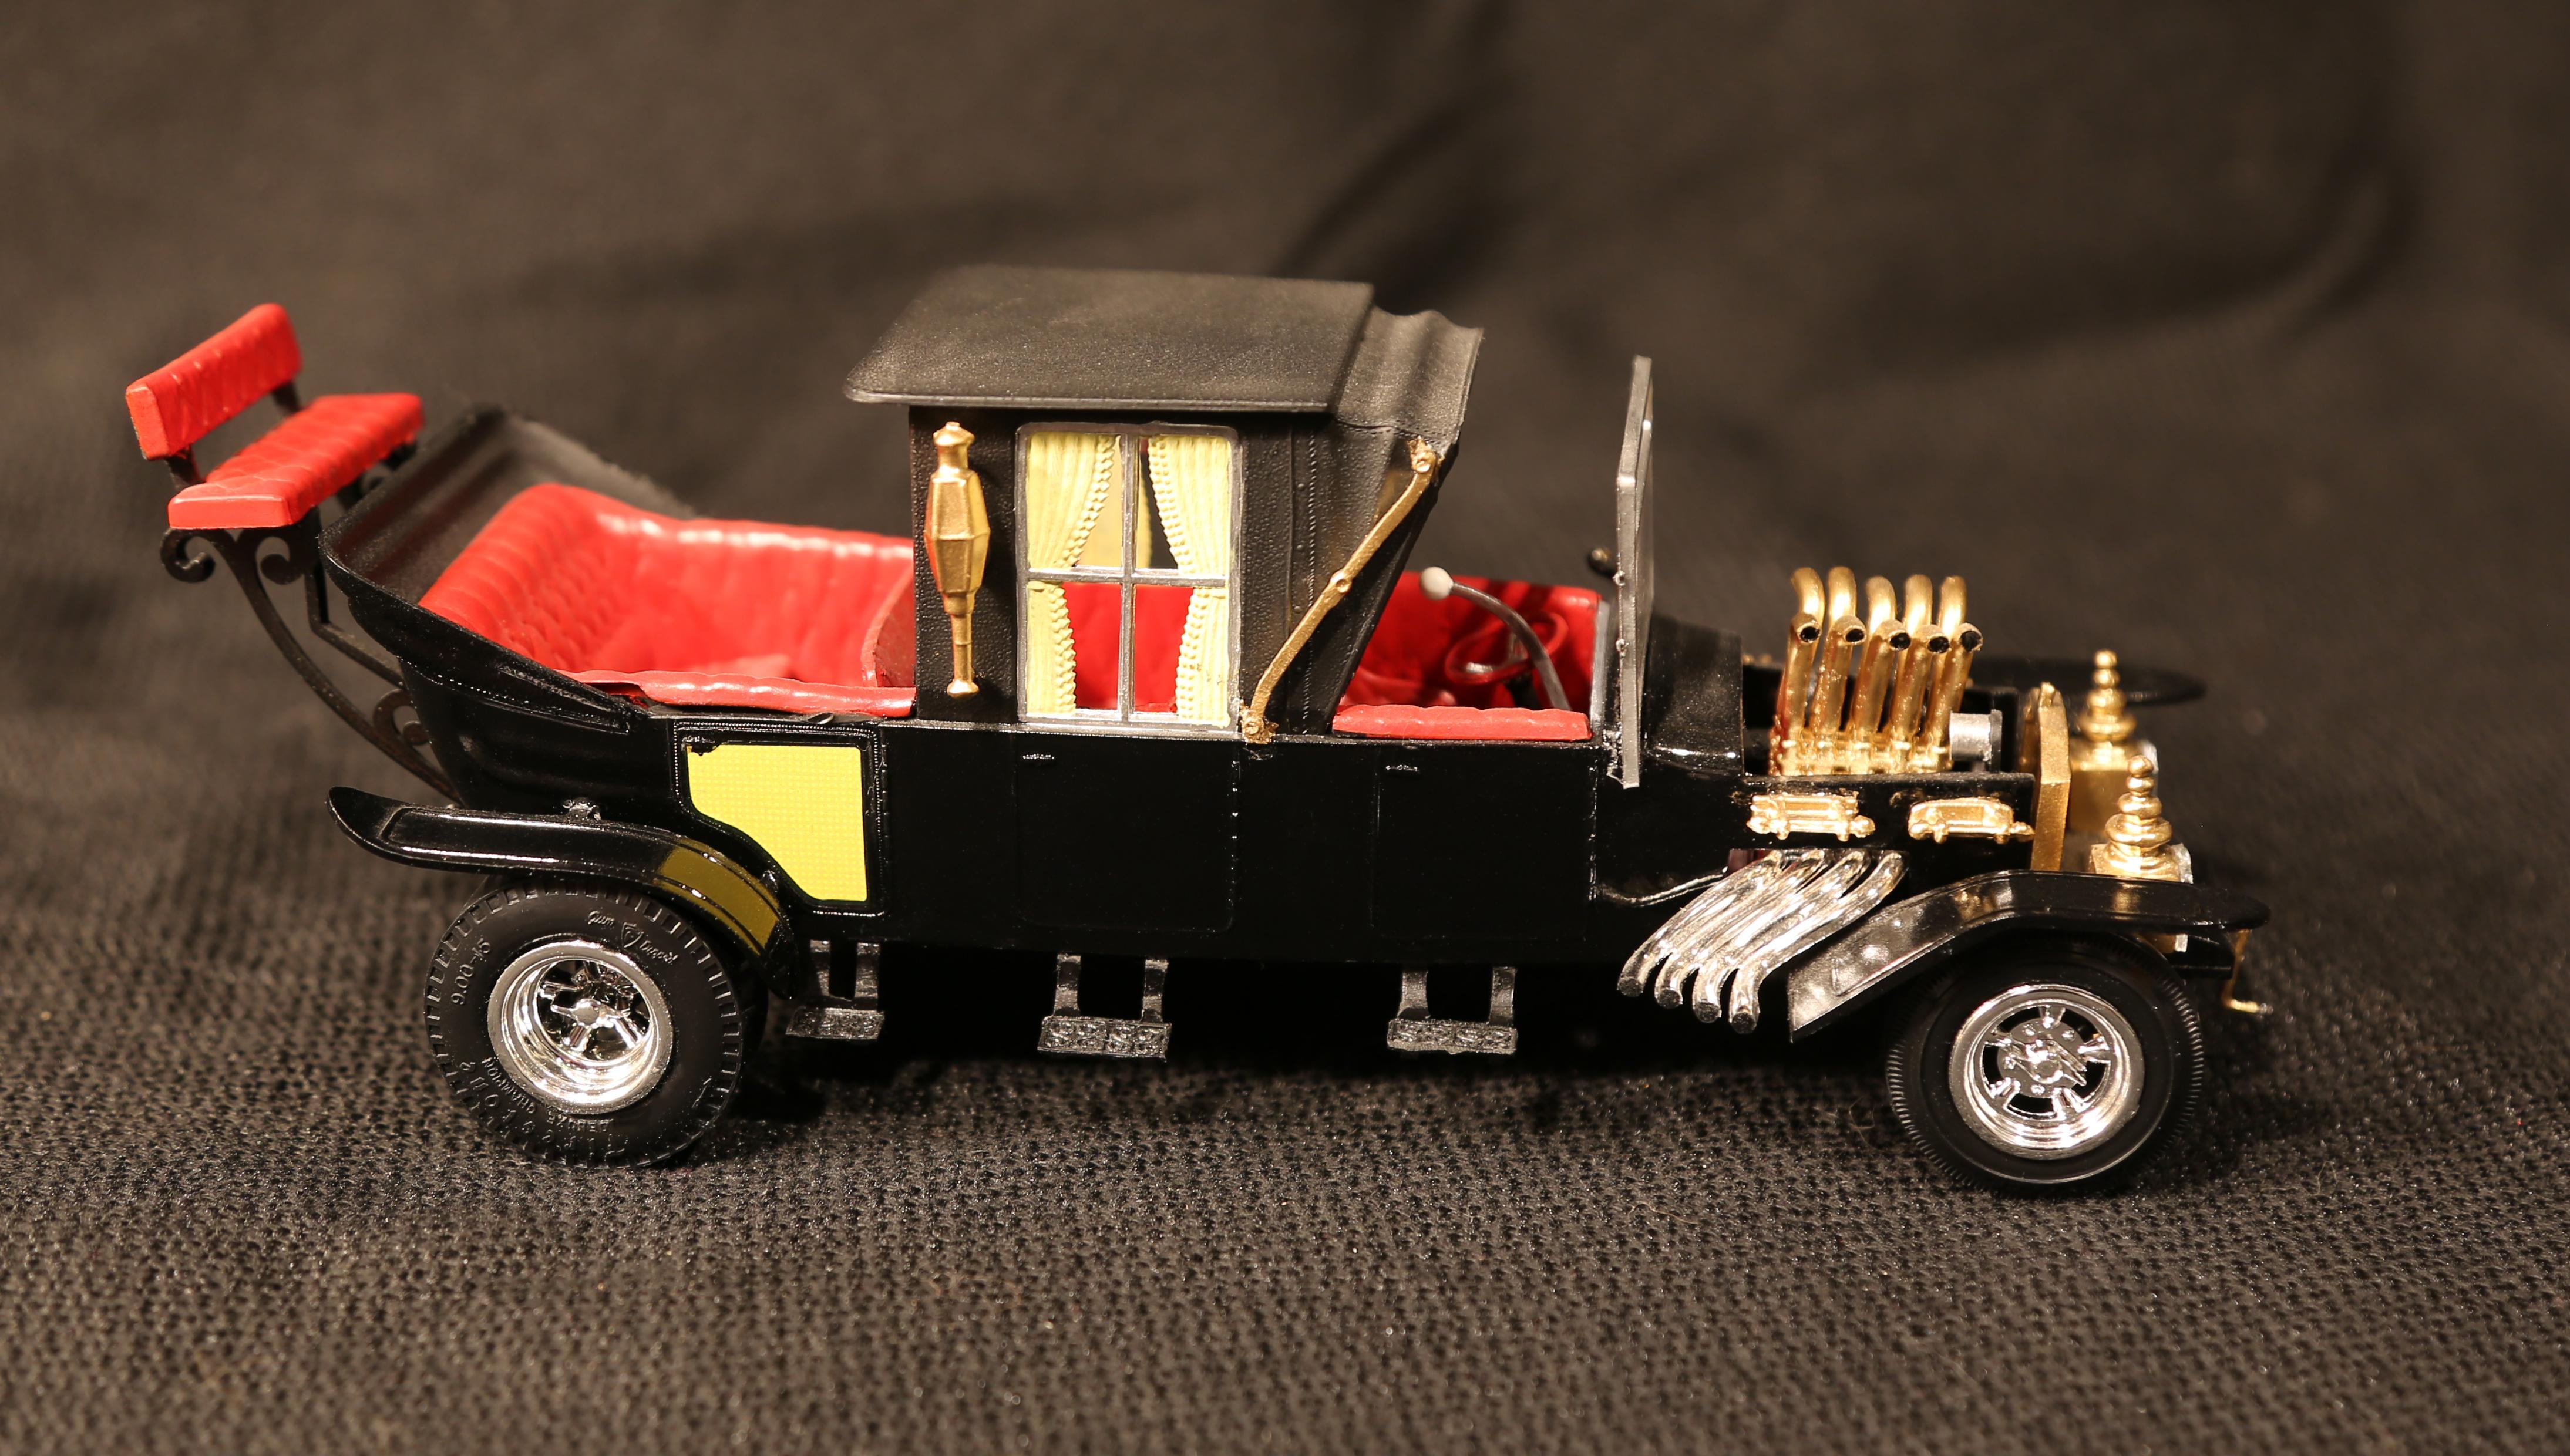
spencer1984 -- Thanks, yeah one of the wing windows didn't make it when I recently moved and needs to be replaced. But it does have a copy of Grays Sports Almanac!
-
A fun build of the Munster's car. The kit had some serious warping of the main interior tub which required some heating and straightening to even fit in the body. I de-chromed many of the chrome pieces and repainted in gold. The interior was painted Model Master Bloode Red (of course) with black carpet being added in. Enjoy!
-
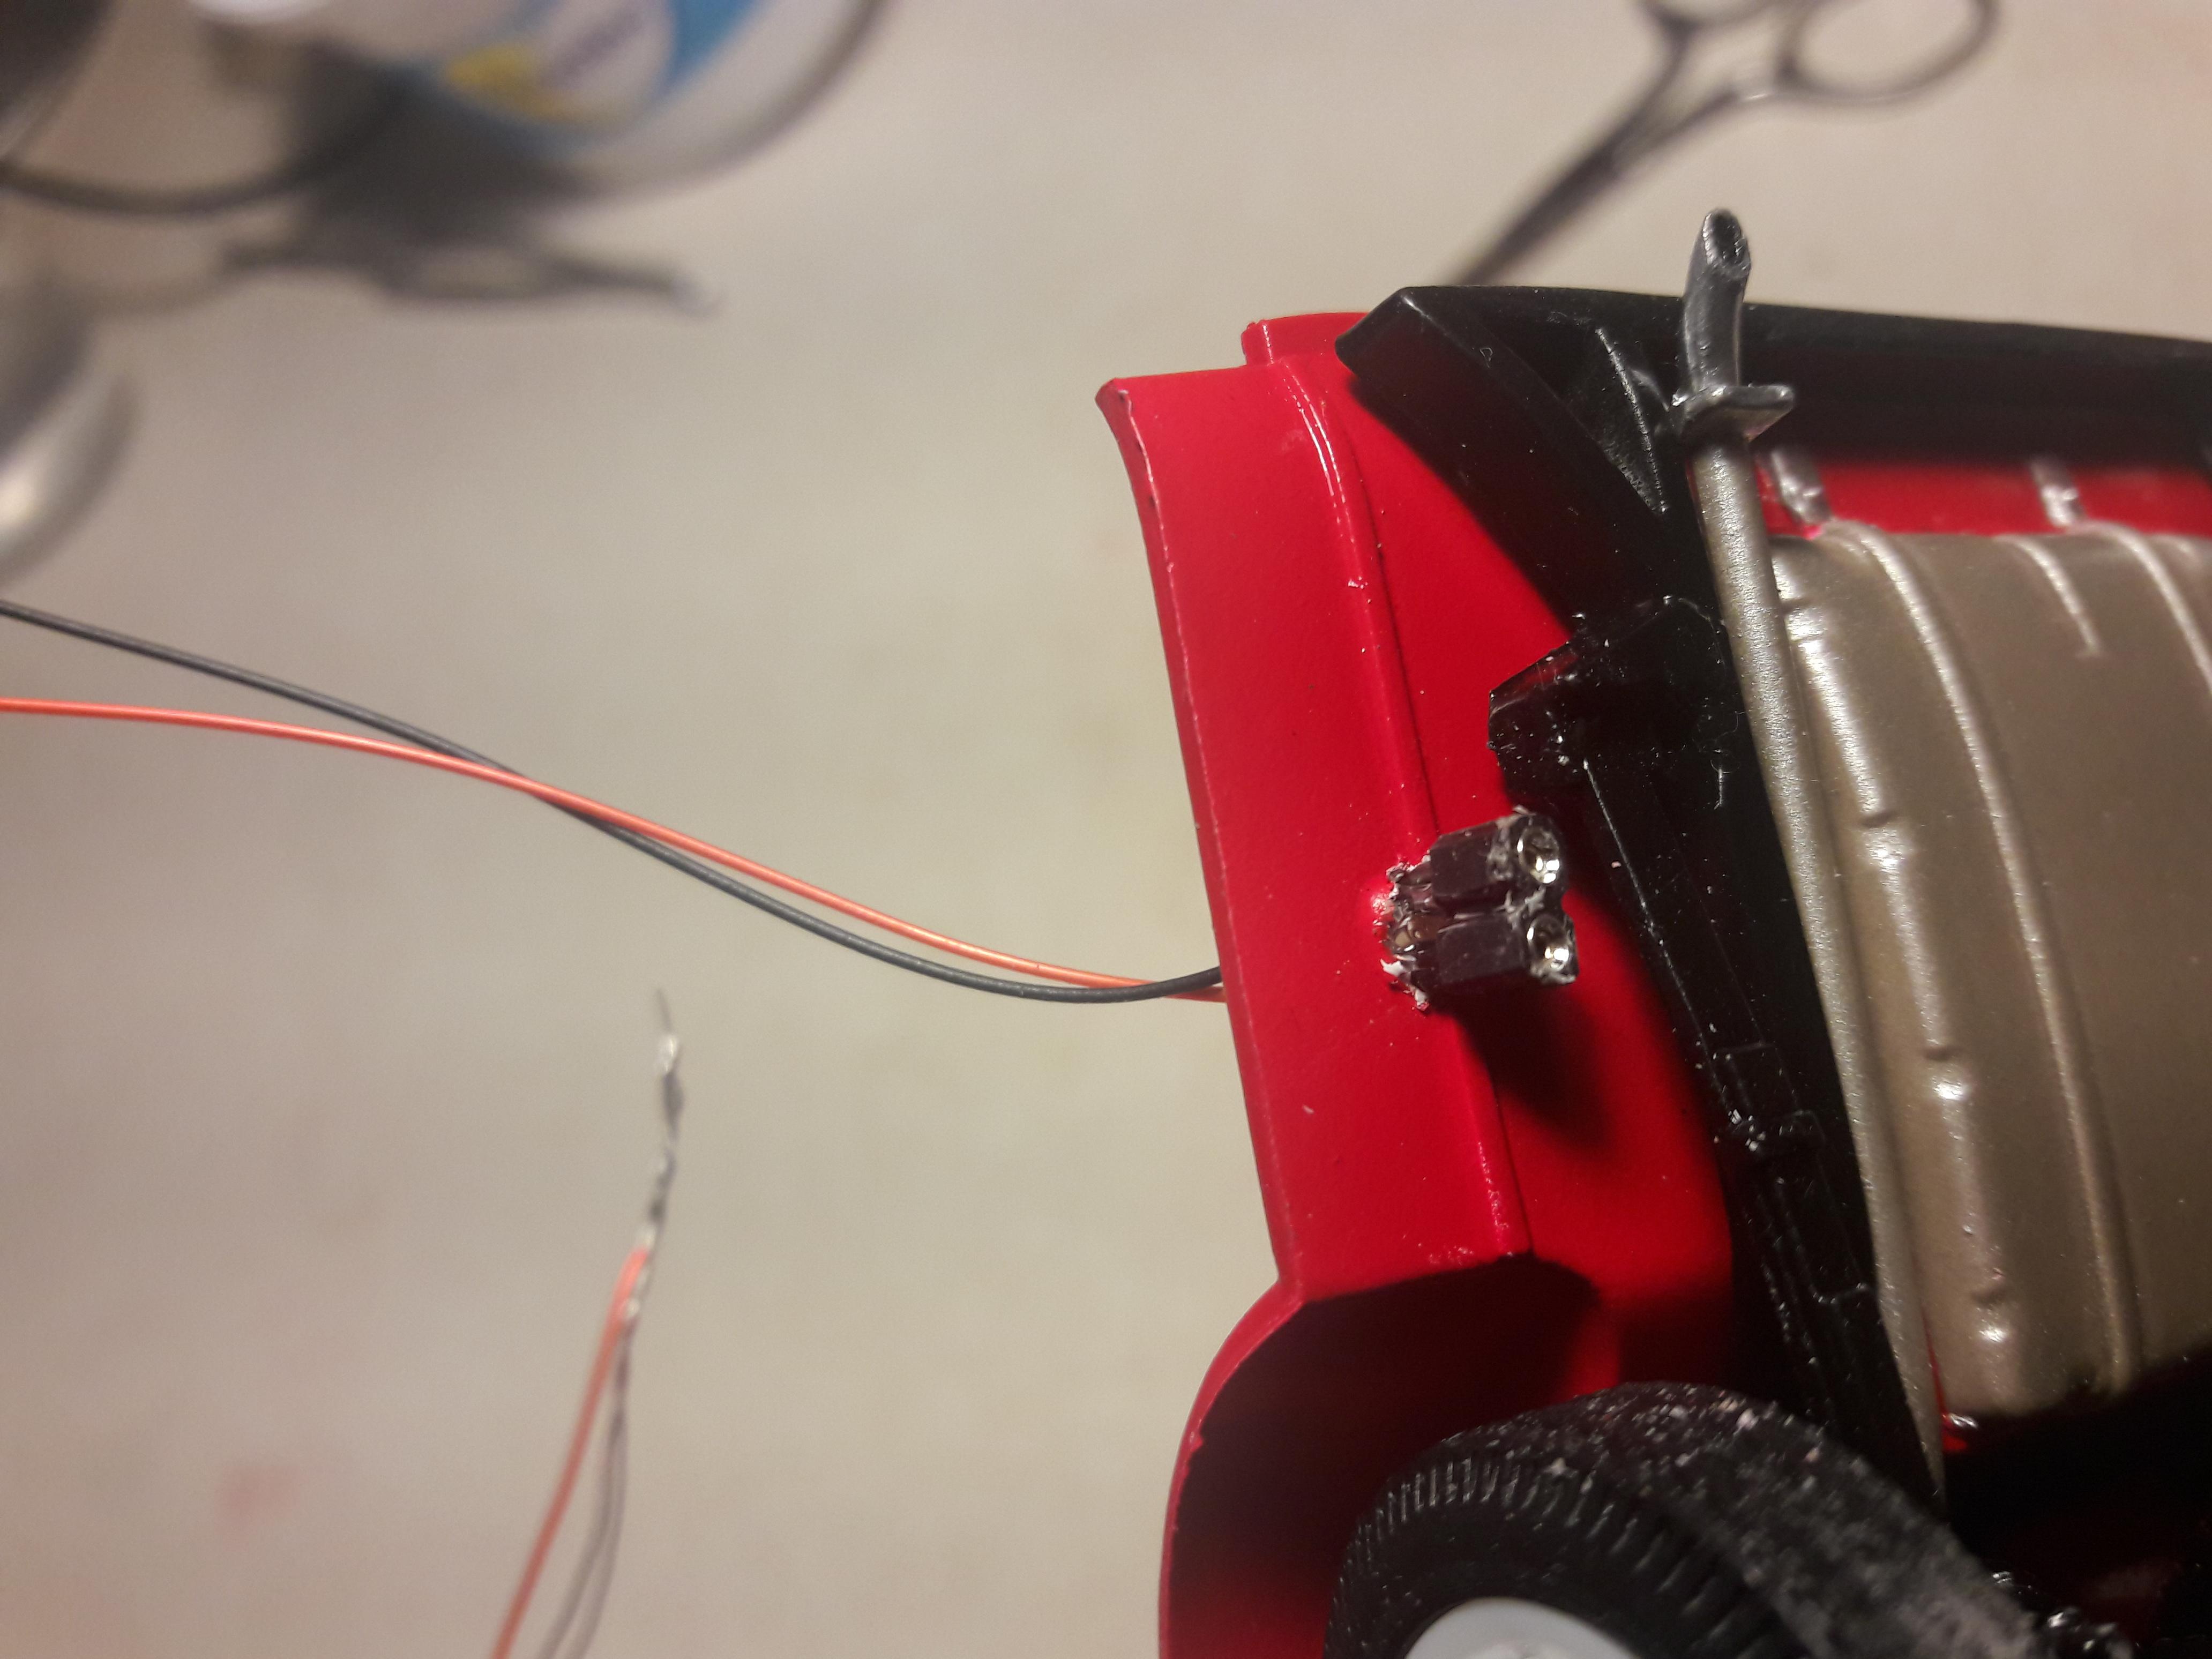
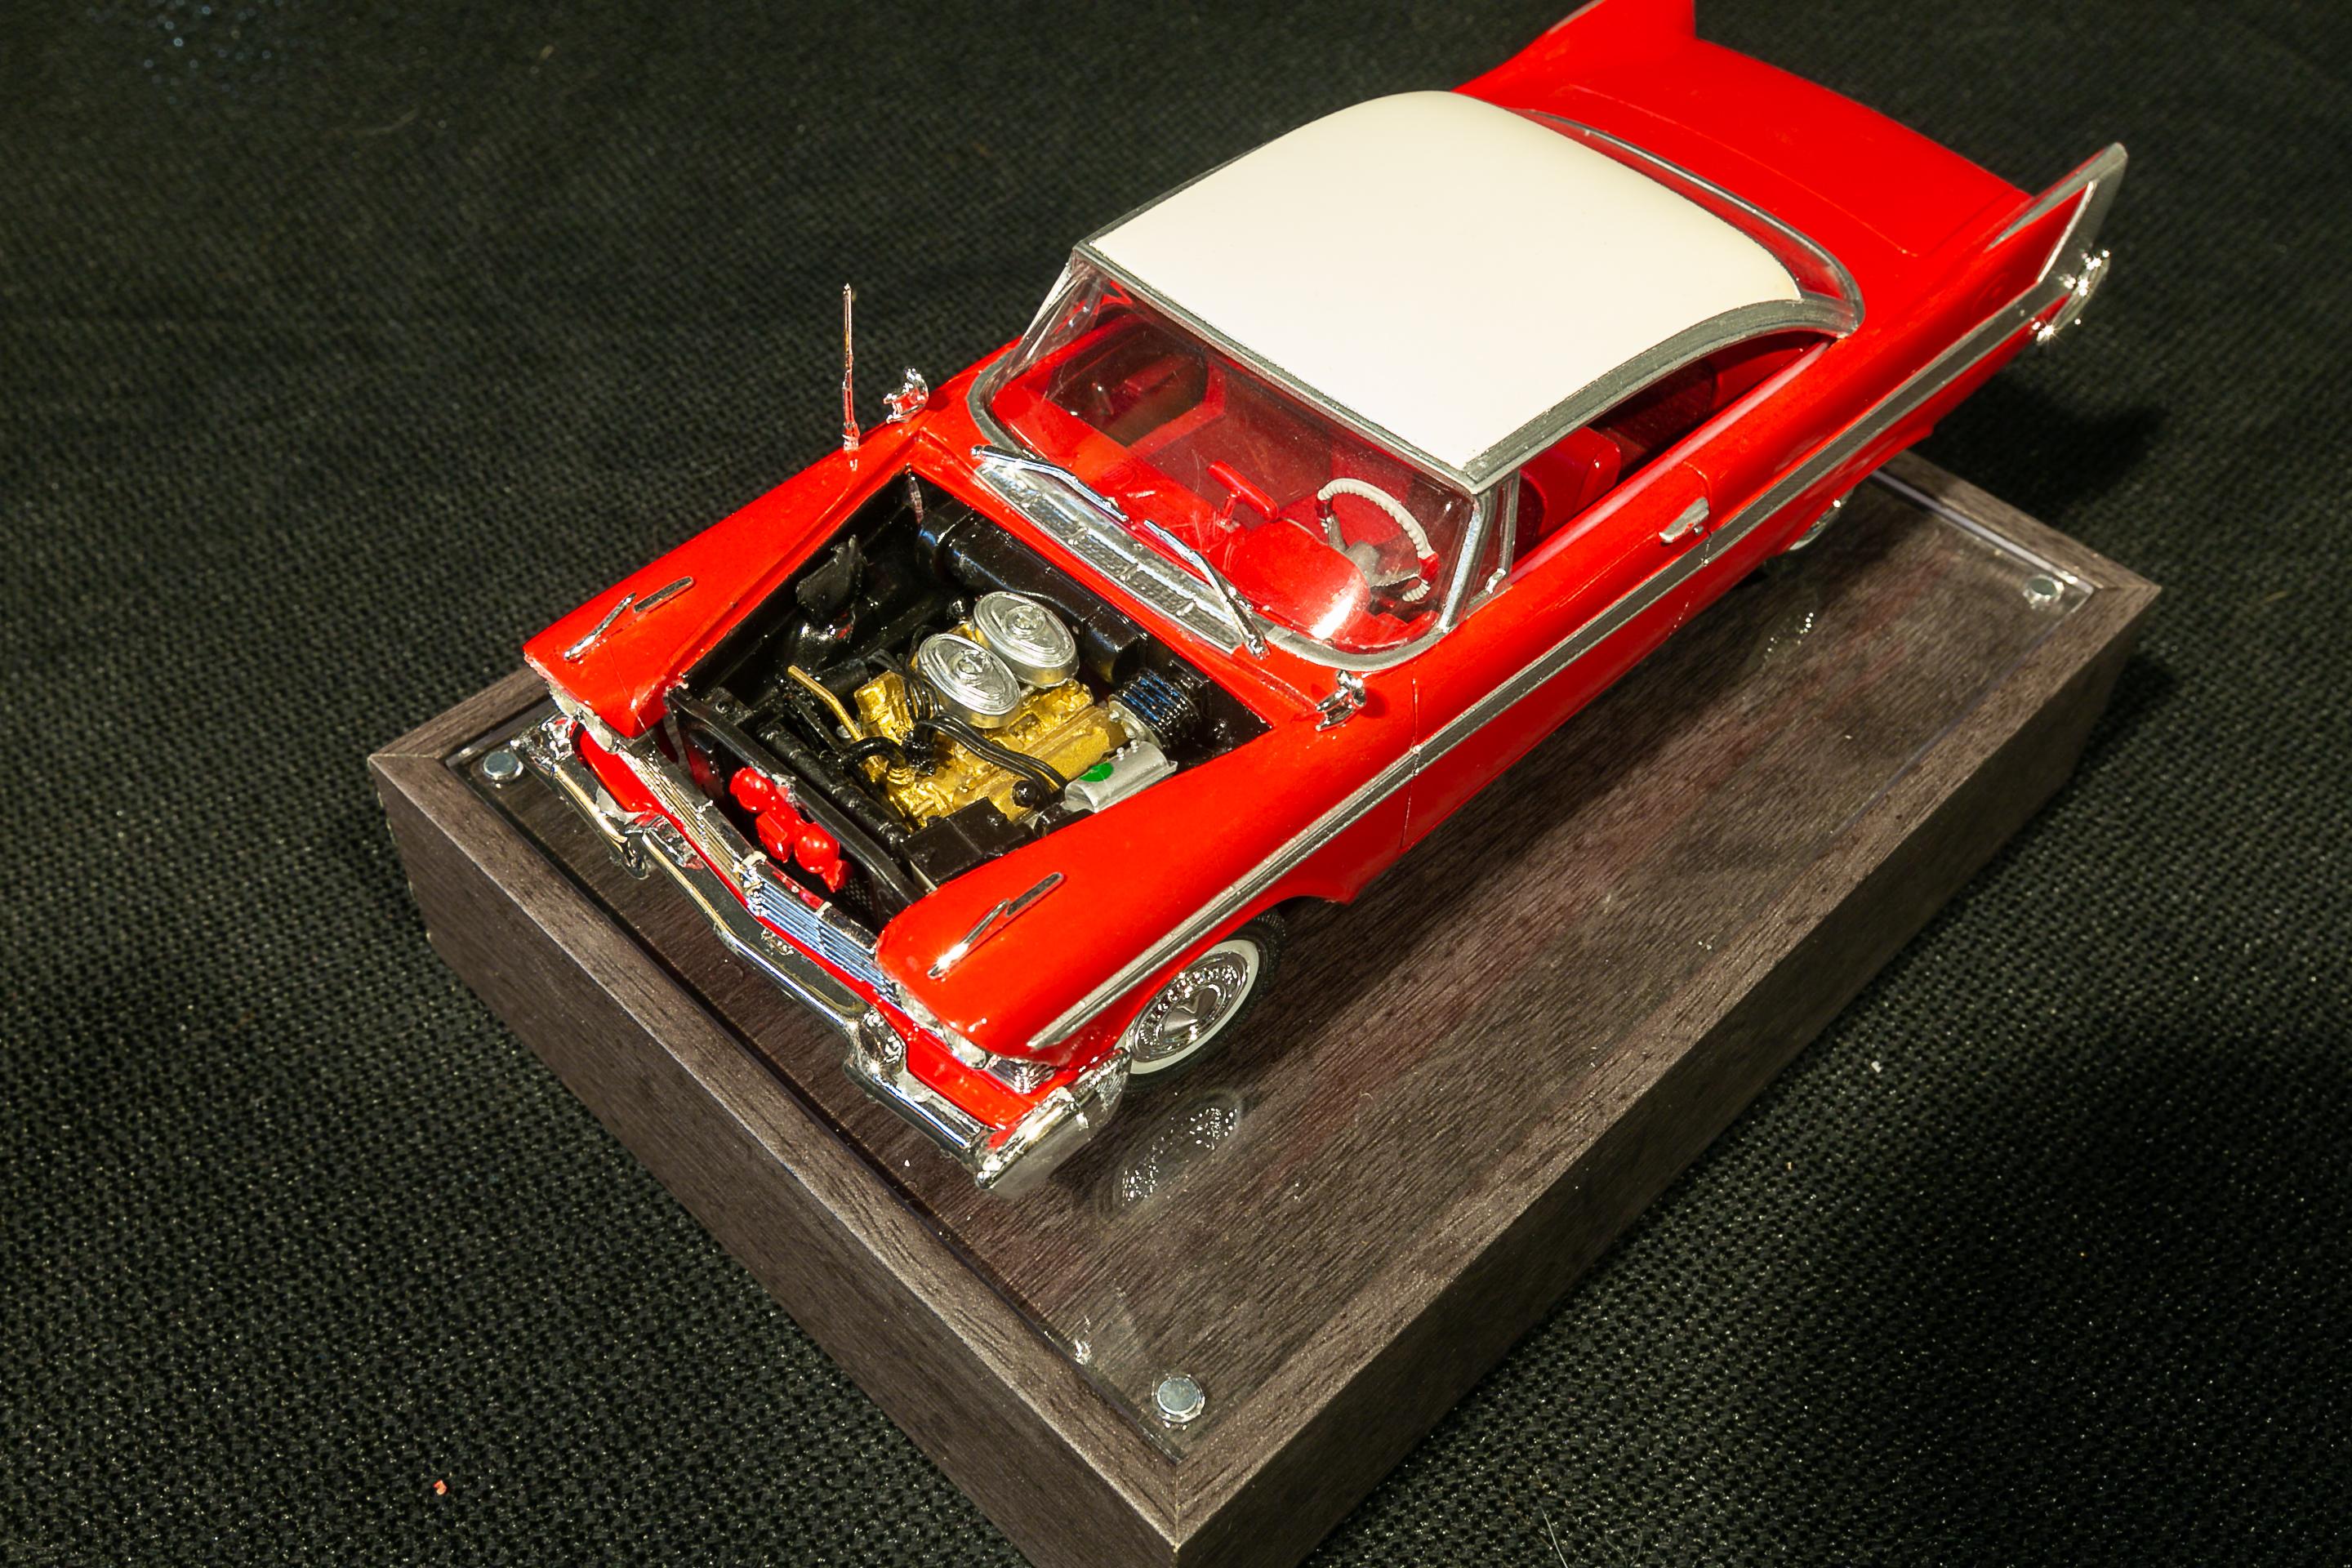
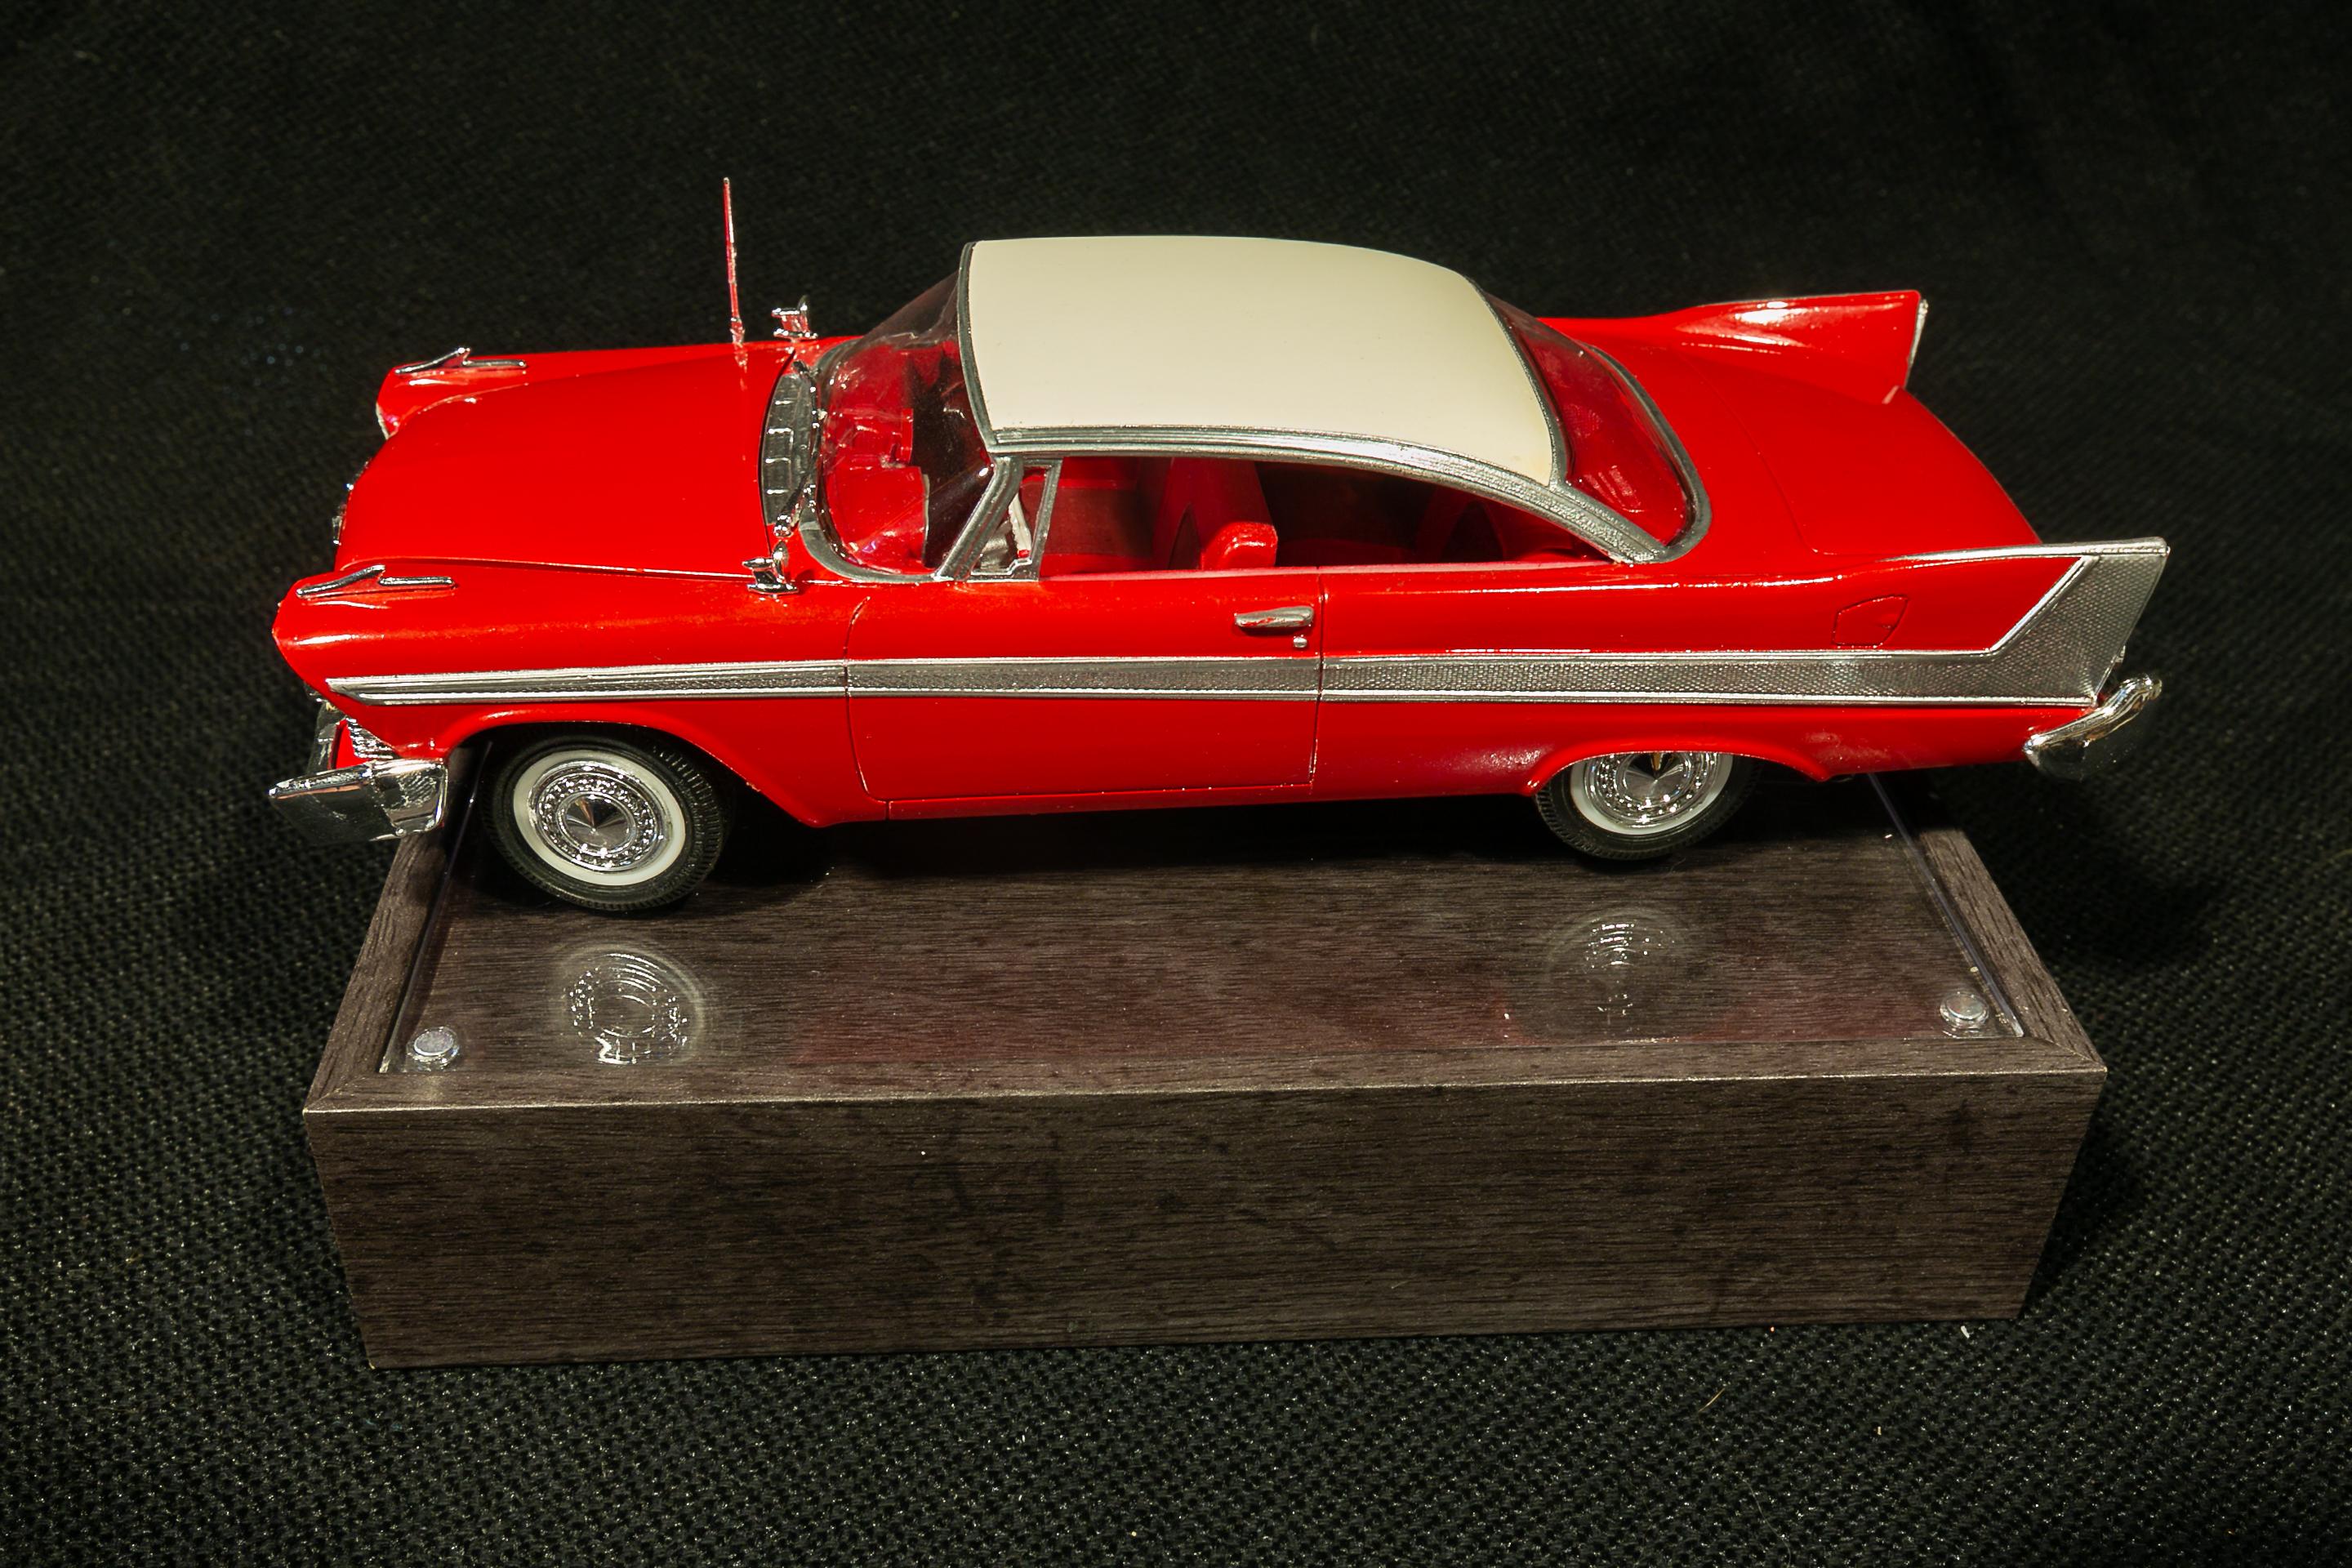
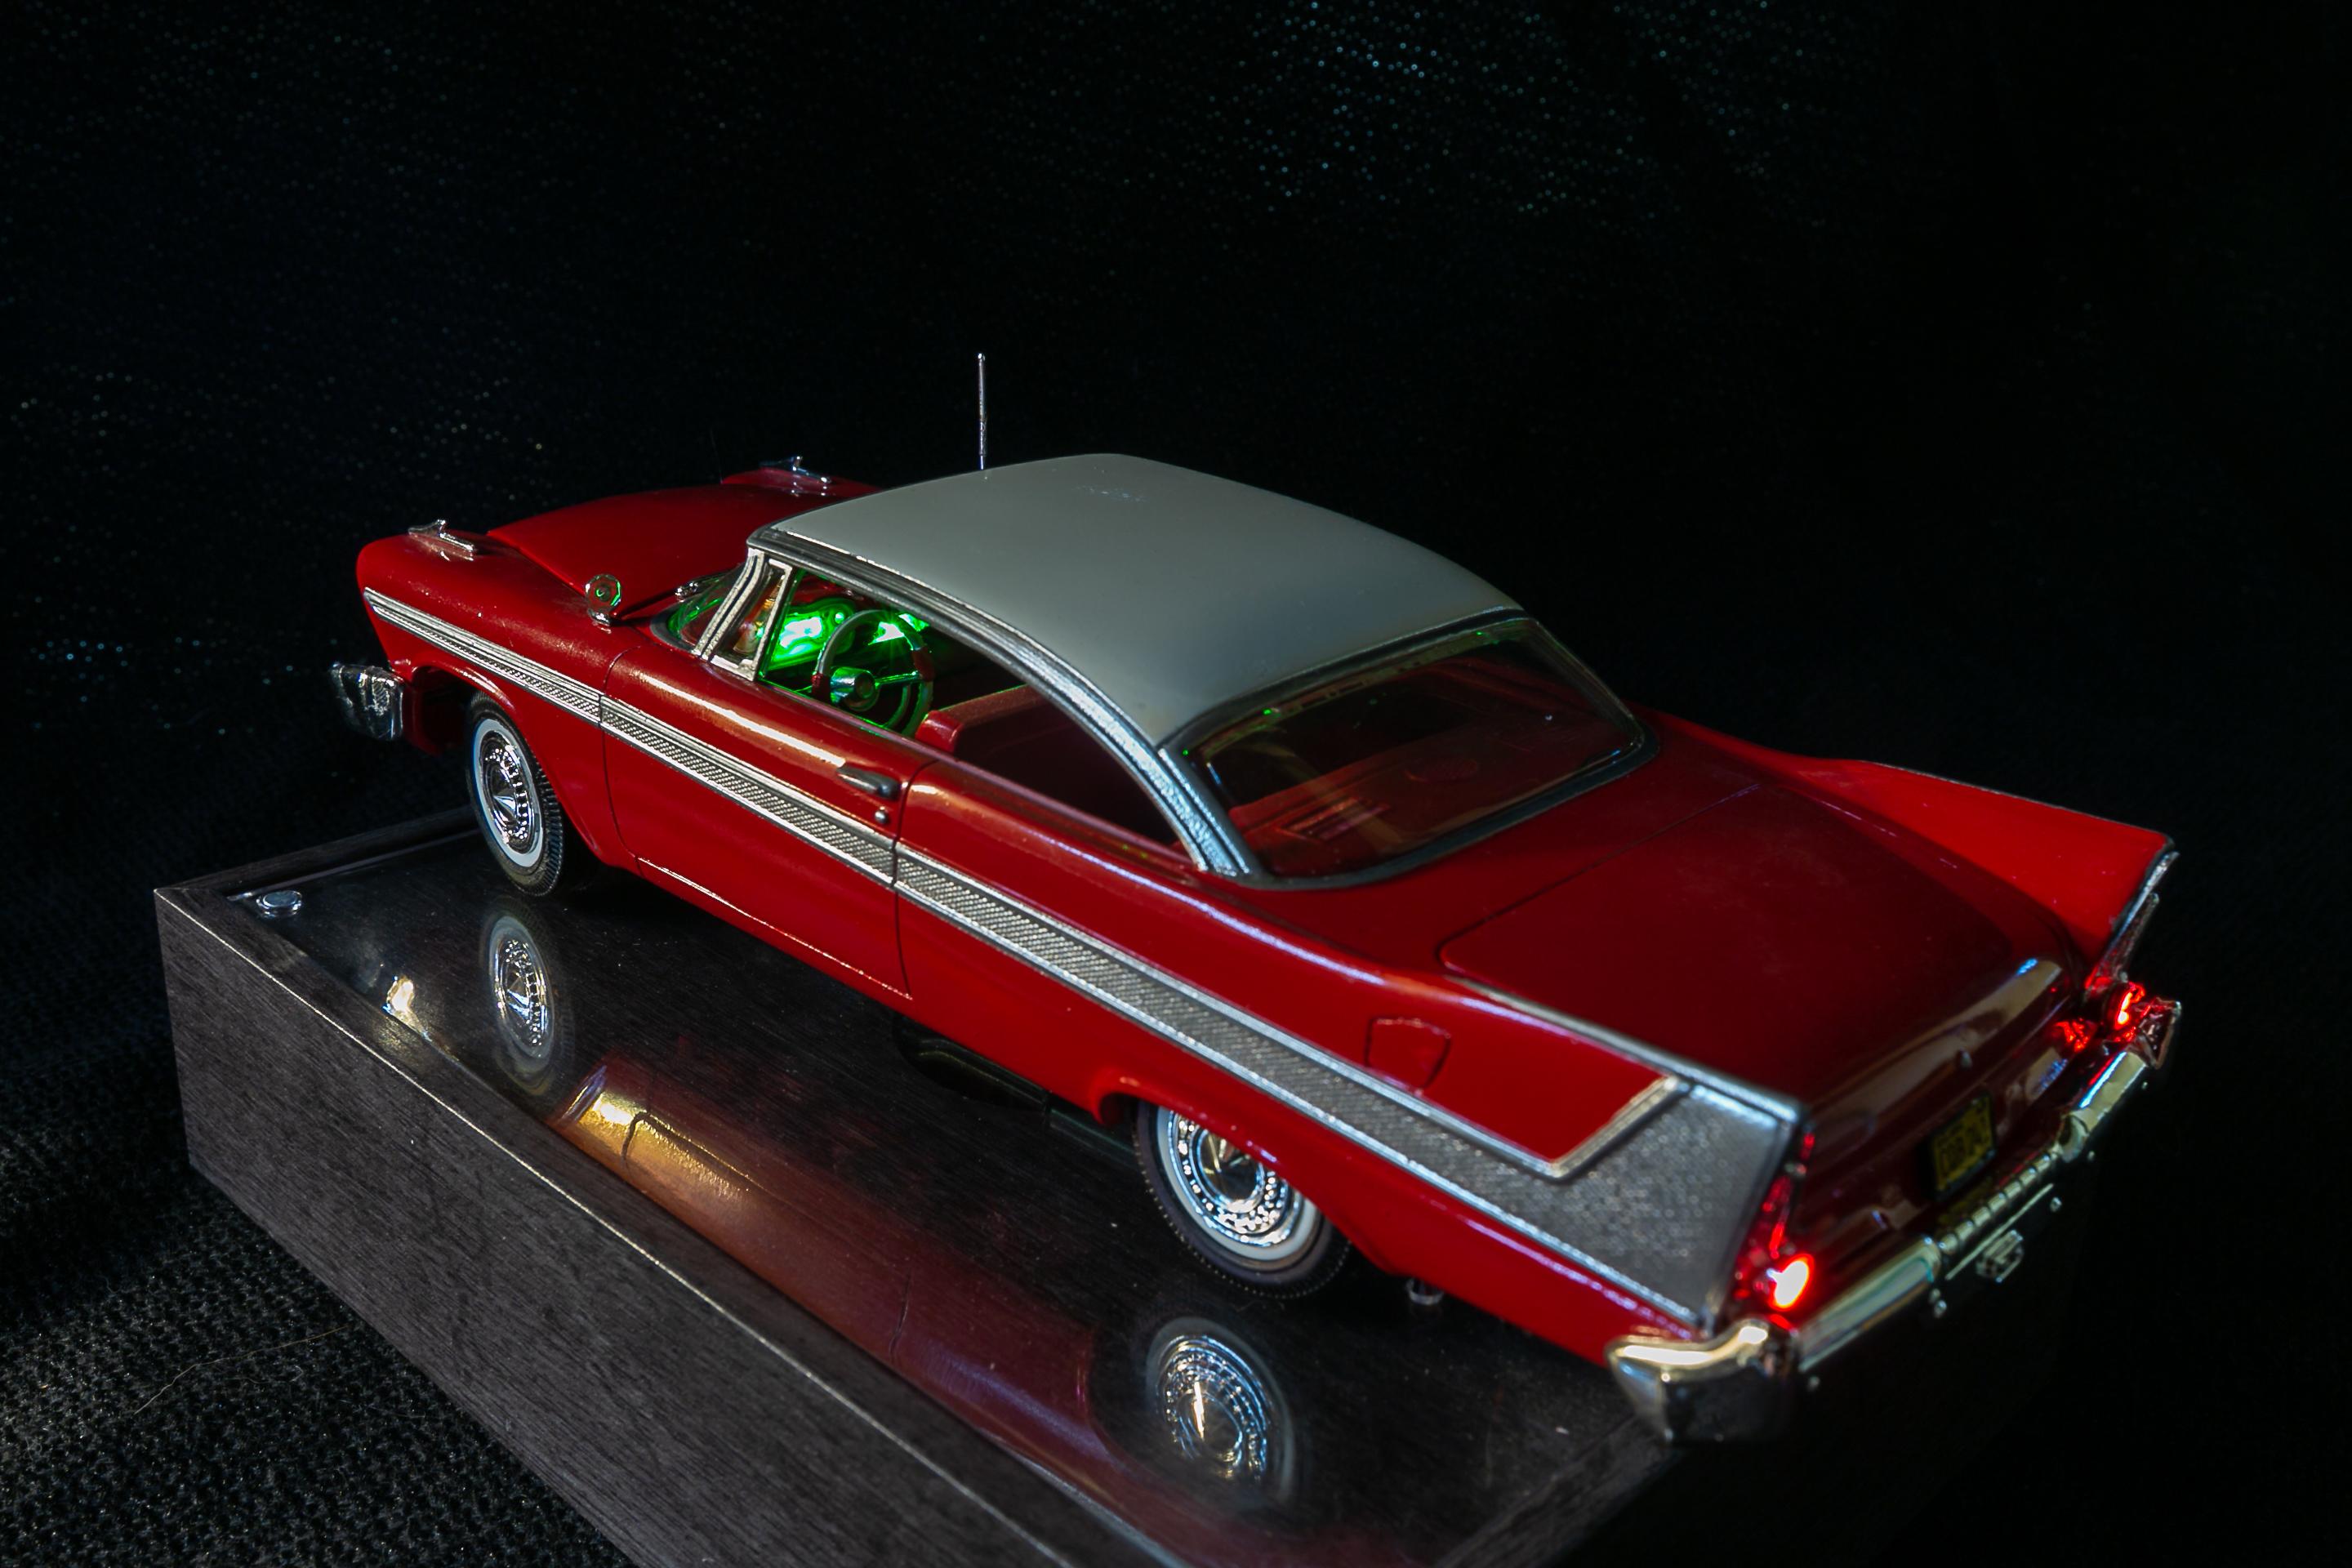
Mopargreg -- see attached photos below. I drilled out the dash and radio and mounted the green LEDs are mounted behind. I built a light box around the LEDs to keep it from leaking out elsewhere. This kit comes with clear headlight lenses so the white LEDs are mounted behind those. Just drill through the chrome bezel part and mount the tips of the lights into the bulb area. Paint colors -- nothing fancy. Tamiya white primer with Gloss White and Guards Red and a heavy coat of Future for gloss. I purposefully bought the kit molded in white (instead of red) to make the roof easier to paint a solid gloss white, instead of trying to cover a base color of red. Chrome trim was MM Silver Chrome and interior seat/door accents are Insignia Red. Technically I believe the broader side stripe should be more of an aluminum with chrome edge trim but I think this worked out ok. Engine is just basic gold. Enjoy your build!
-
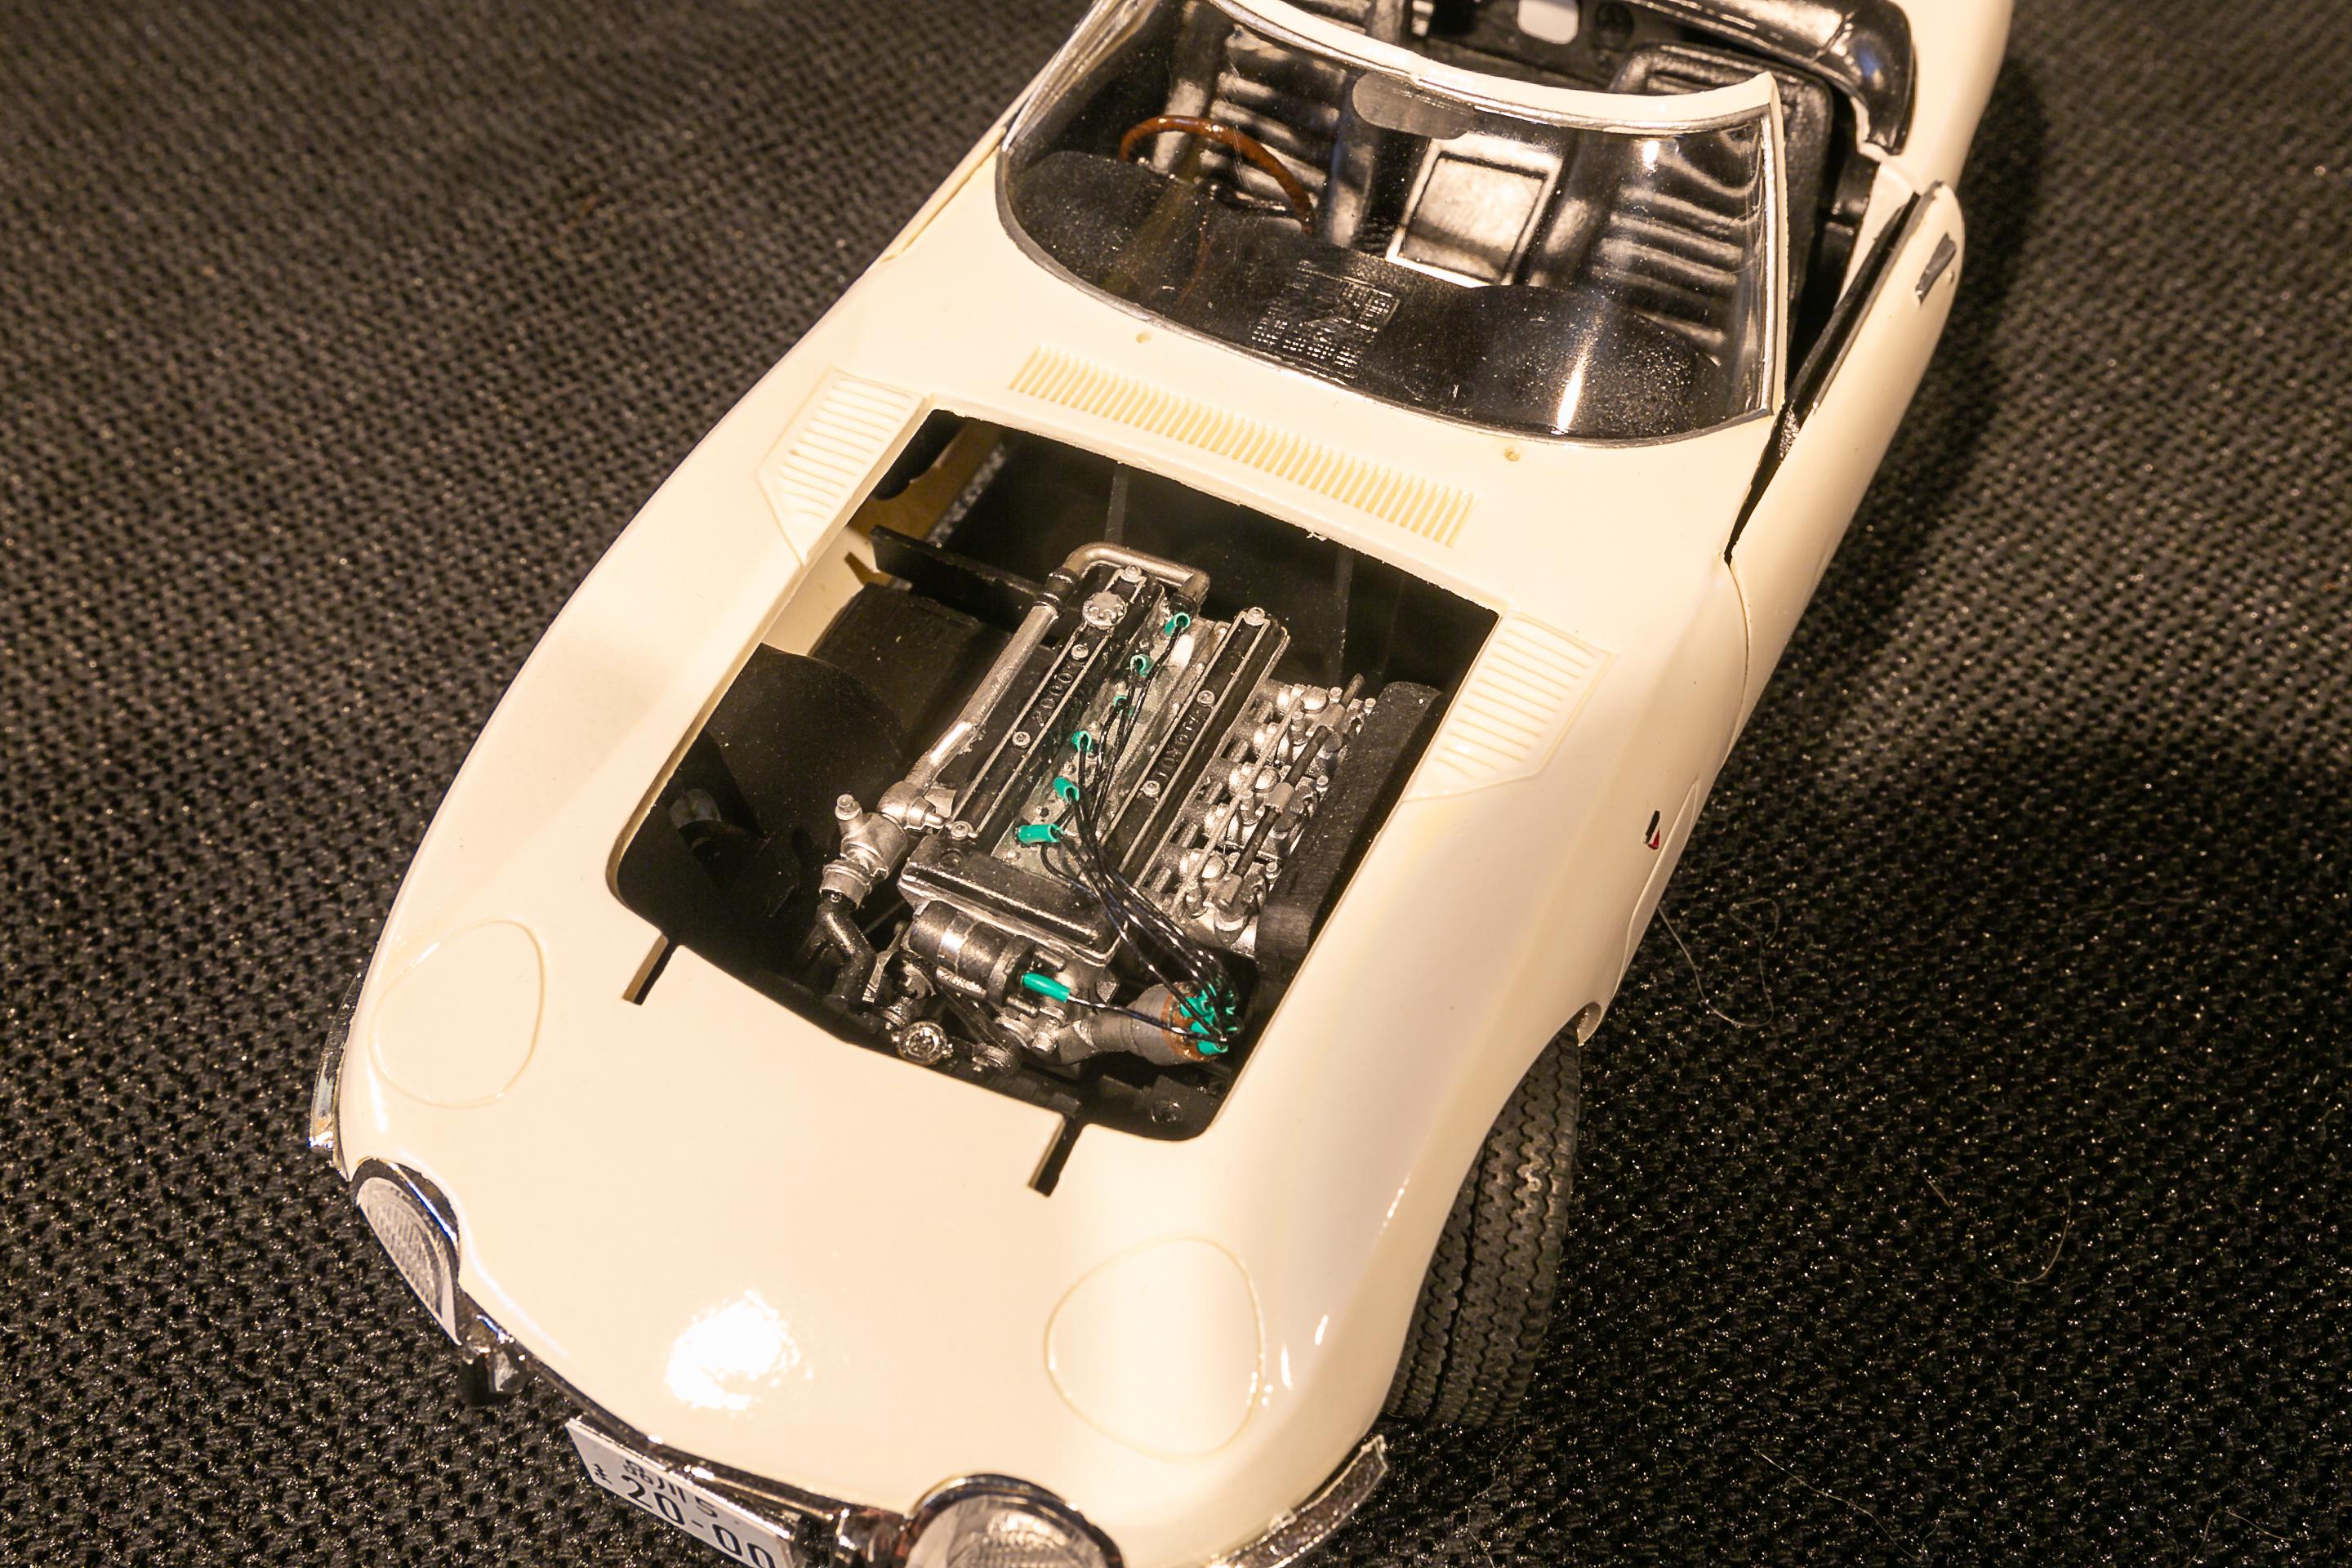
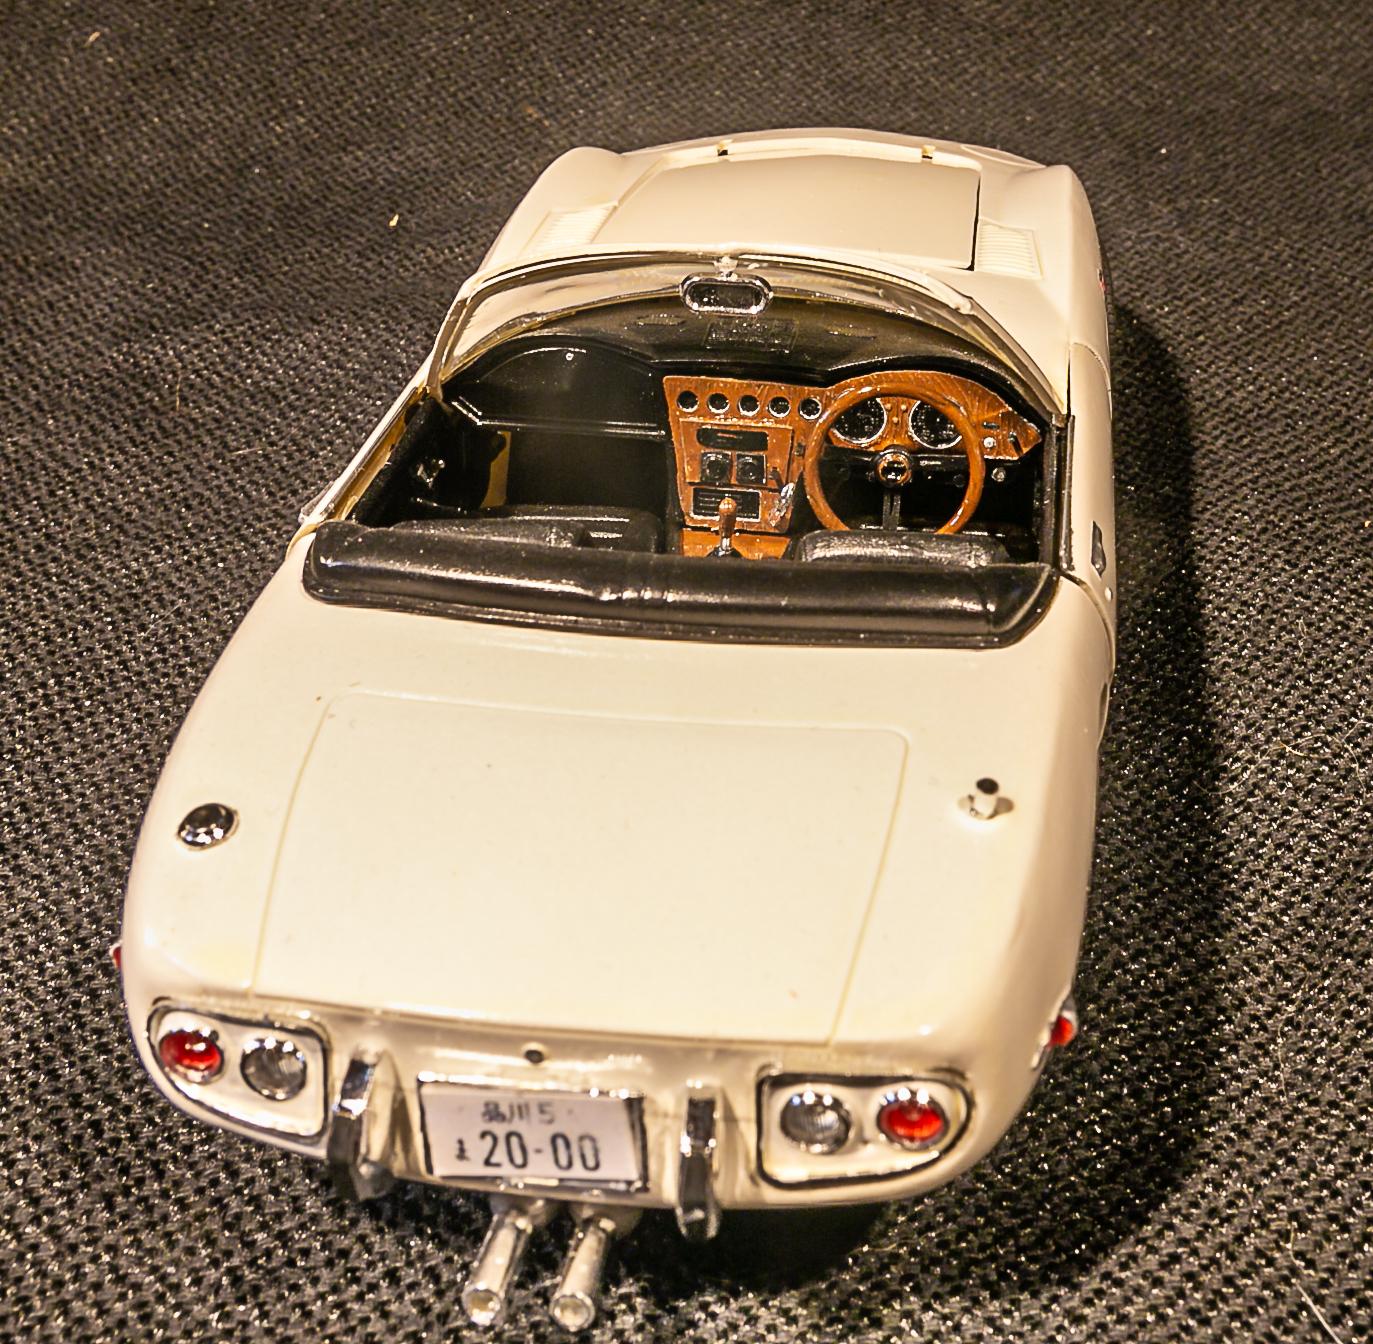
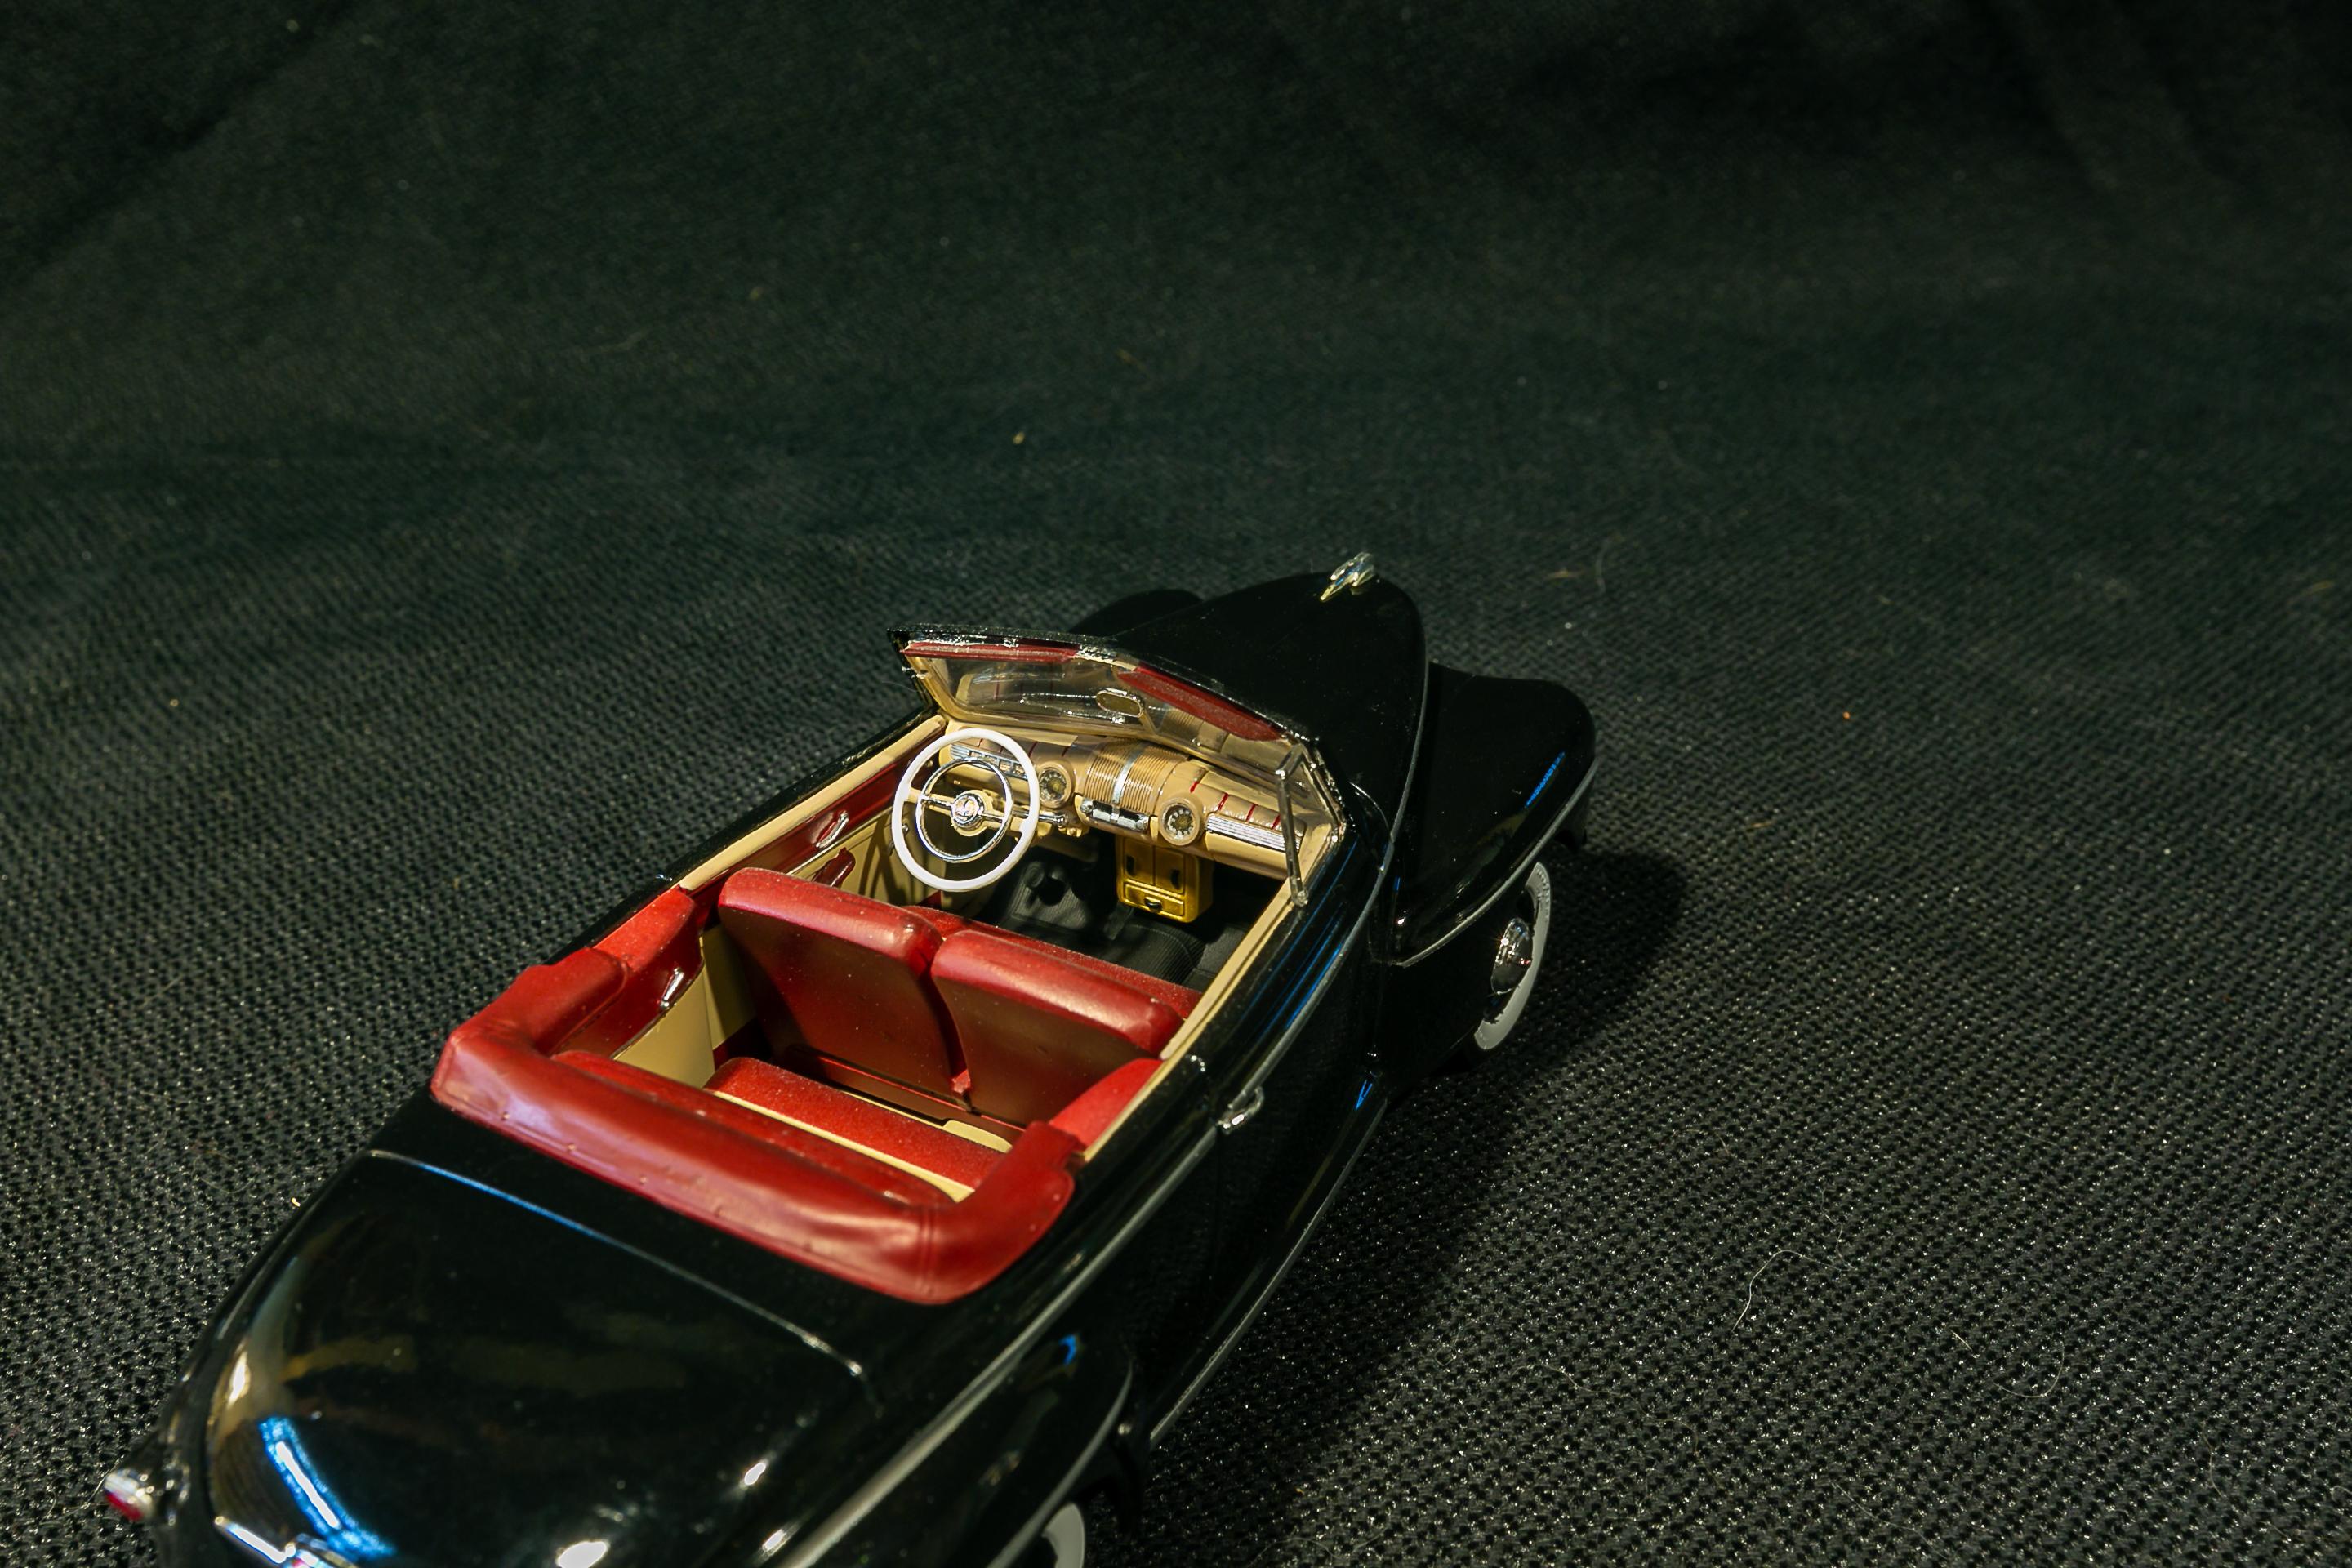
From James Bond -- You Only Live Twice. I was a disappointment with this kit from Doyusha (1:20 scale). Although the box art markets it as the car from the James Bond movie, the only thing James Bond about this kit was the fact that they added a figure of James Bond and Aki. While the kit is the correct model car to match the movie, and made into a convertible (there never were any convertibles in production but Sean Connery was too tall to fit into it and film effectively, so the chopped the top off), it had none of the Bond movie gadgets or details. So I made an attempt to customize the dash, adding it correct switches and knobs, the parking brake lever, camera lenses, etc. The console located behind the seats (which had a TV screen in the movie among other equipment) was completely missing from the kit. So I fashioned that as well. The engine was fairly detailed but I did add in plug wires and an accelerator control rod to the carburetors. The kit was also missing a movie correct license plate so made one up using Photoshop. While the doors do open, they are poorly fitting. A fun build to try and add all the details, but did not like the quality of the kit in general.
-
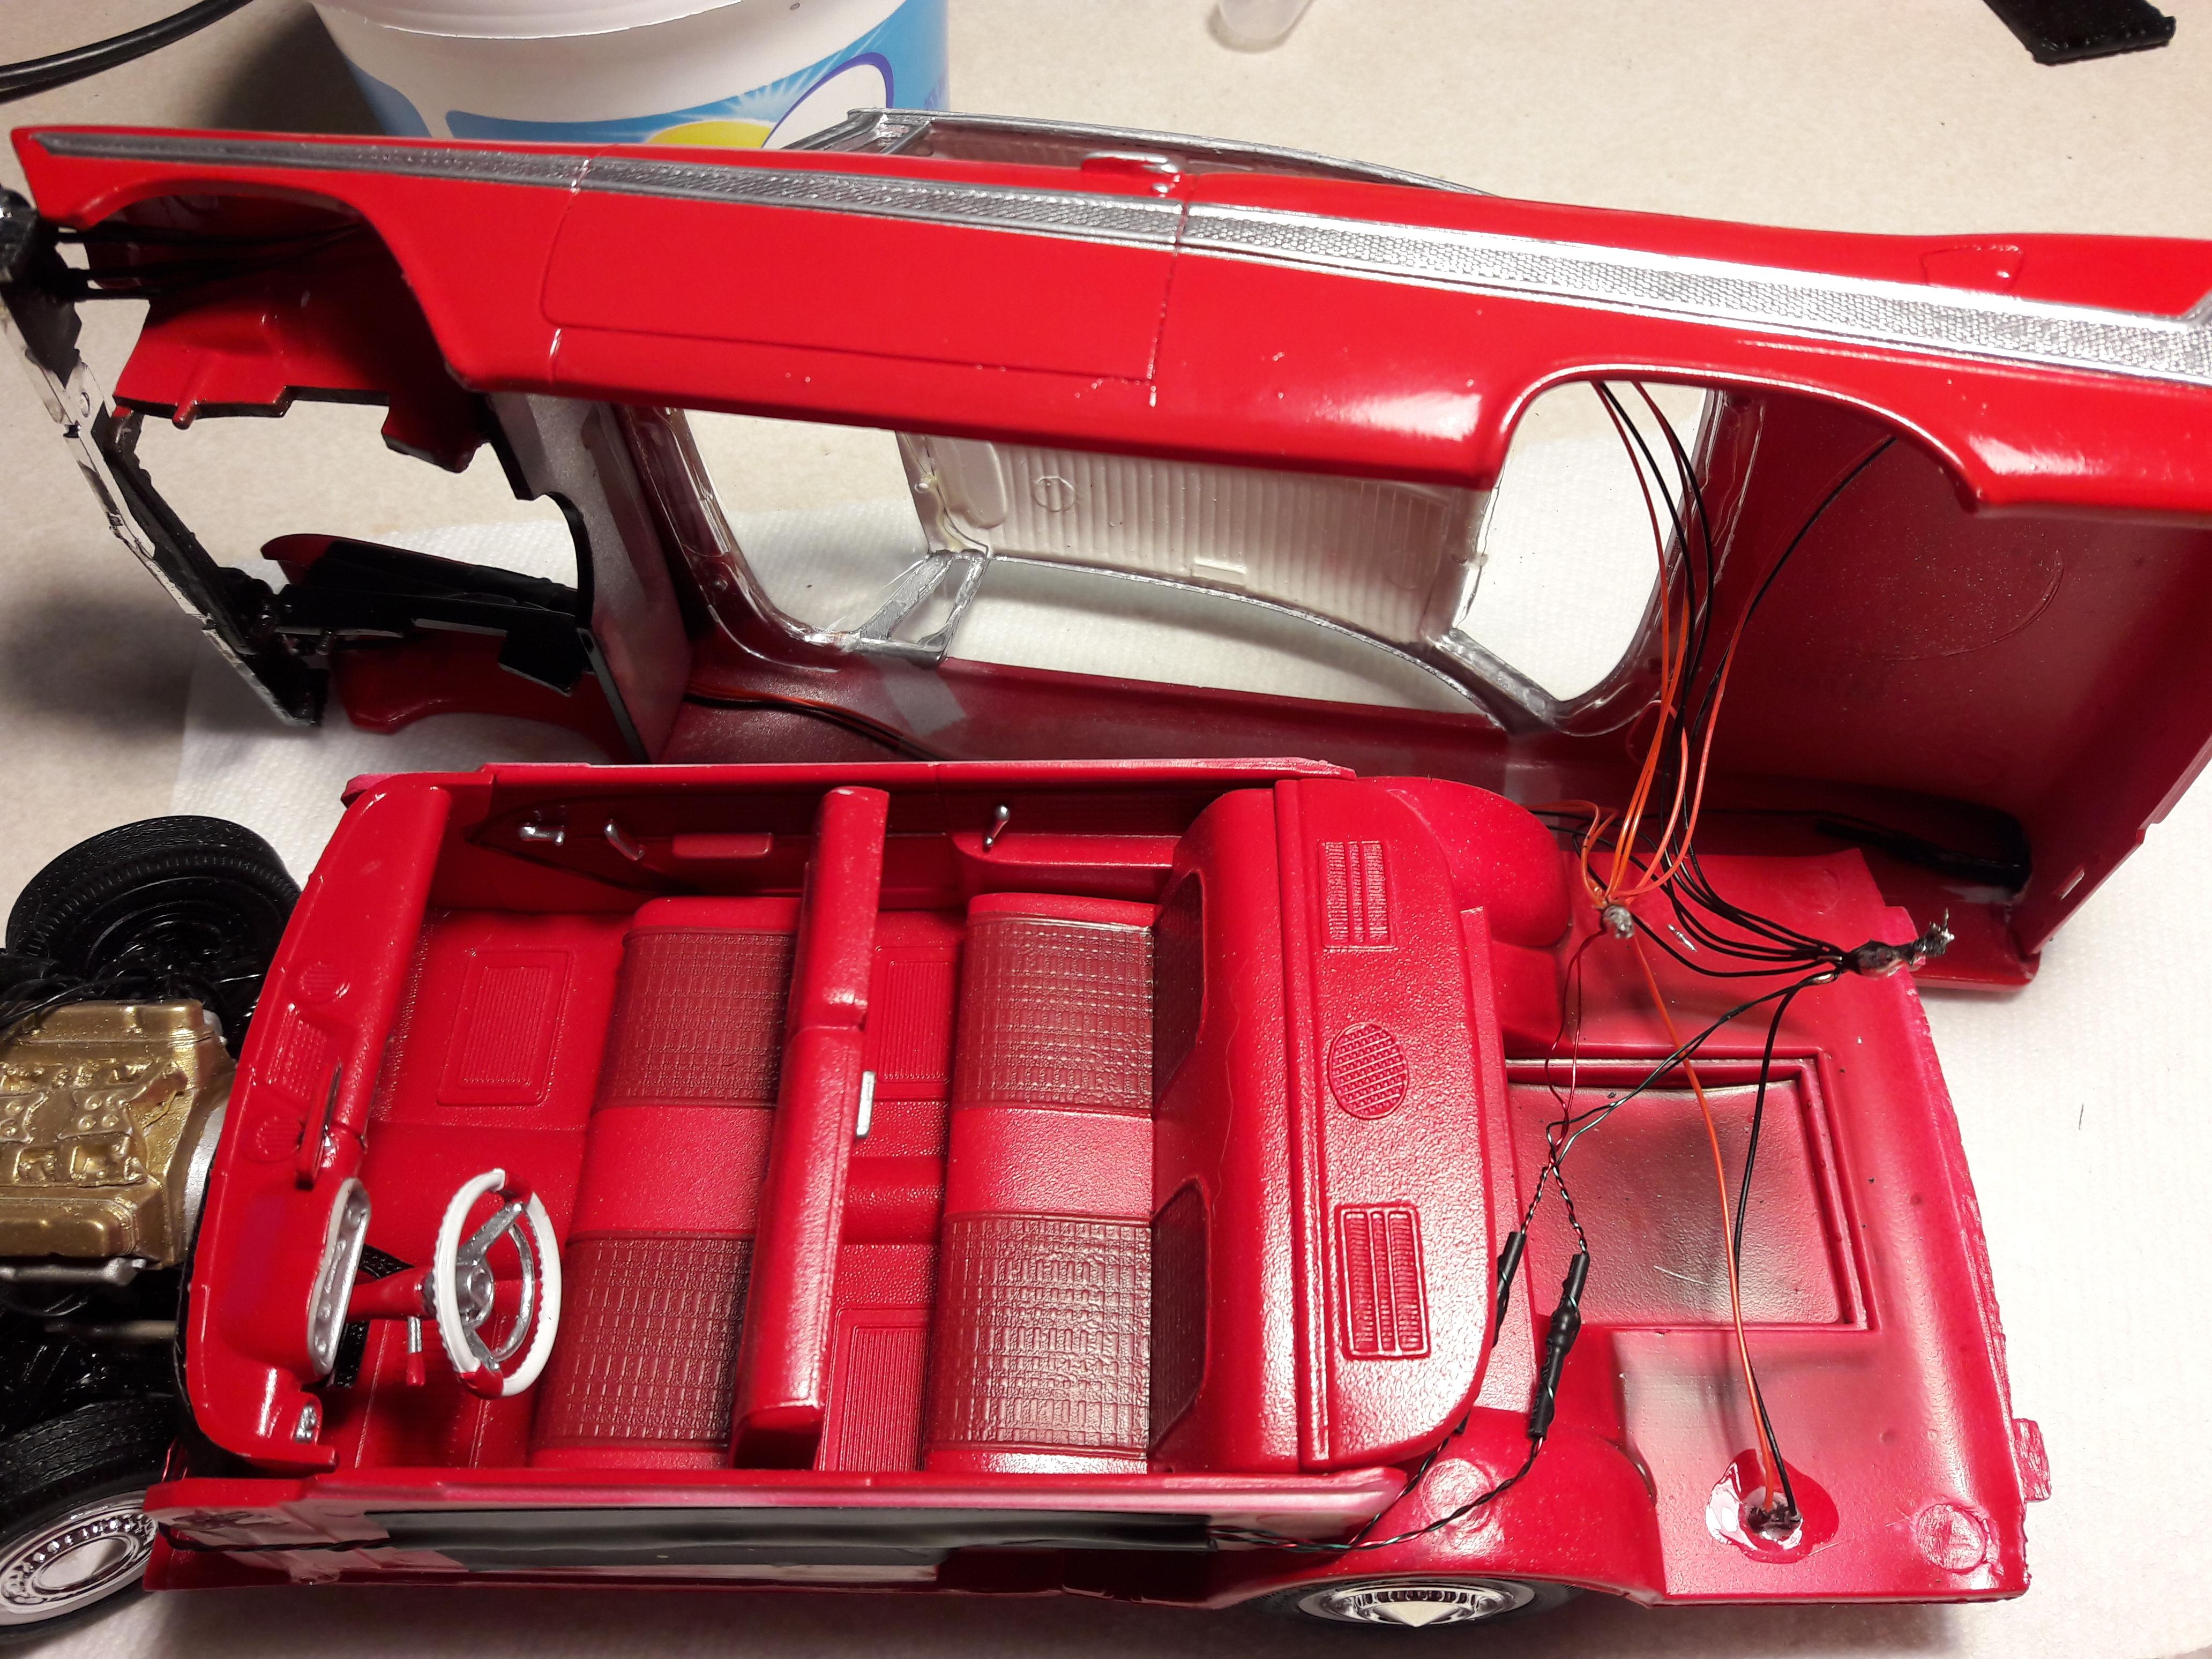
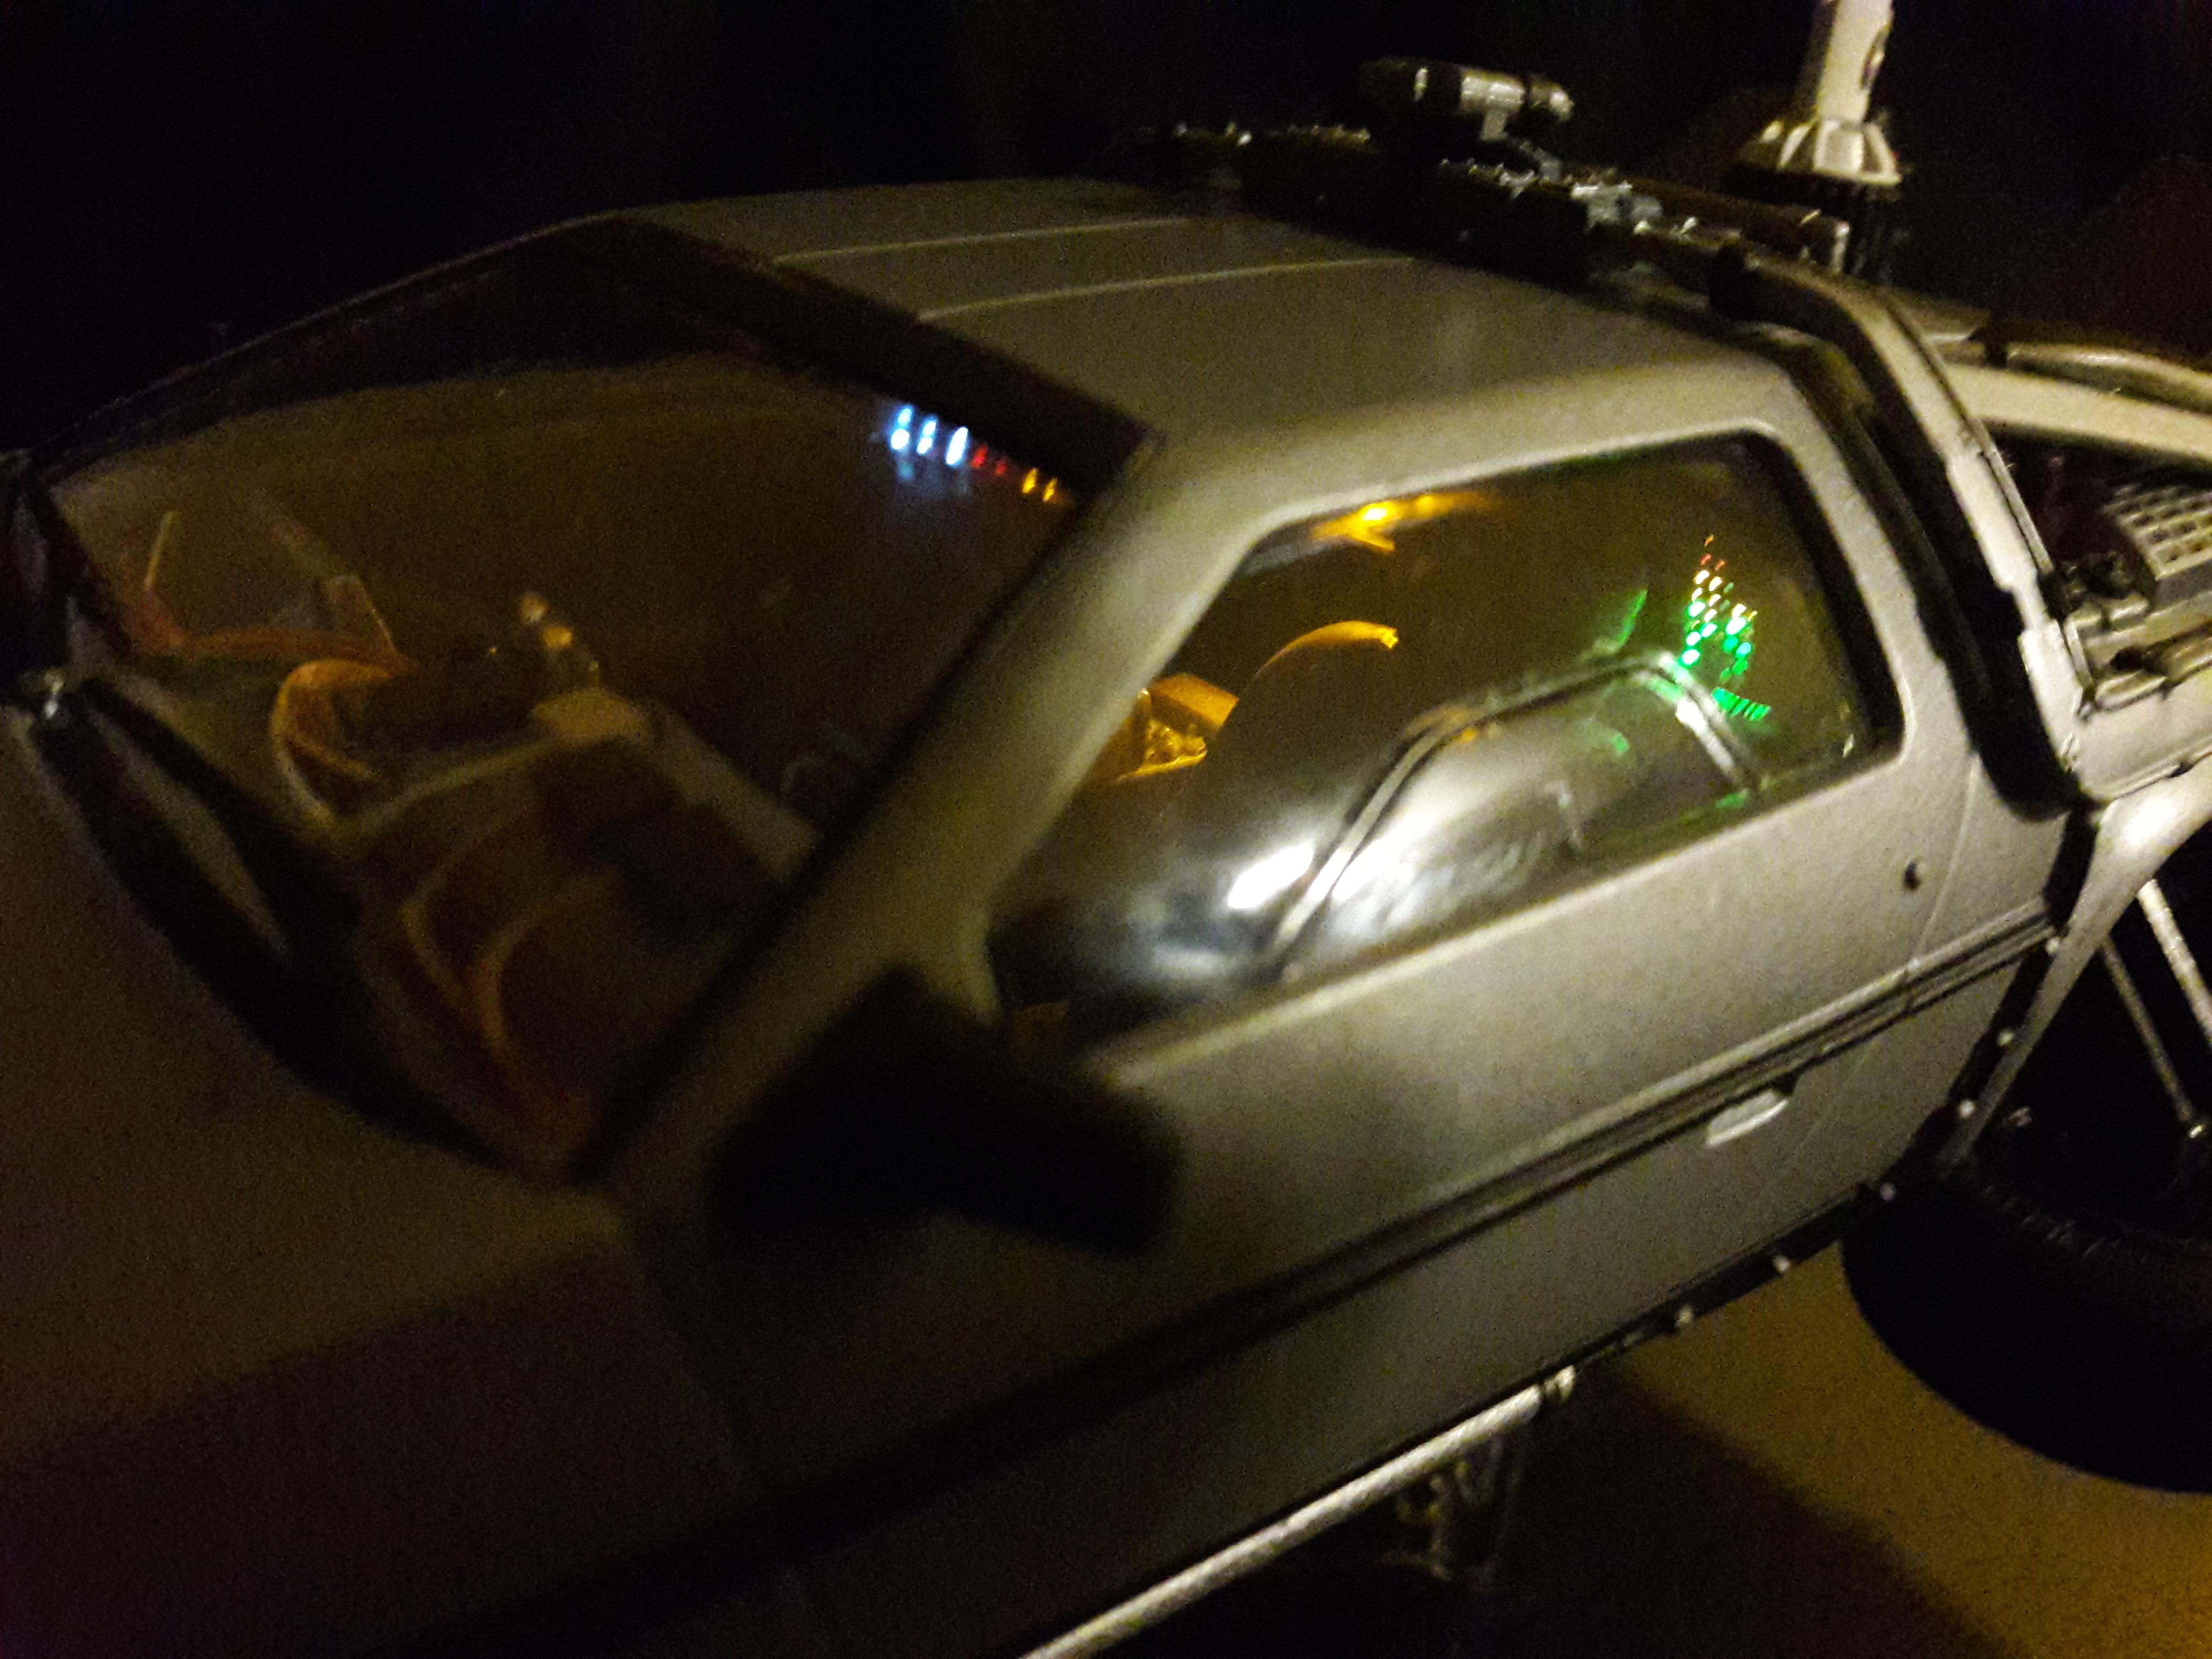
Thanks all! I have done some other LED work on the BTTF Delorean and the Millennium Falcon. Both are at my work office so I can't get them for photos due to Covid precautions, will post later. Lots of really thin FO in those. Christine is pretty straight forward with a small LED in each headlight, tail light and two in the dash. Wiring is all internal to the build so its not seen, and then exits under the car just inside the rear wheel so its barely visible. I used a connector so I can "unplug" the car if I want to display it differently. The battery and switch are under the base. I wanted to be able to replace the battery and at that scale, its hard to build it into the car.
-
The infamous 1958 Plymouth Fury known as Christine! Build using the AMT Christine kit, I upgraded to the Golden Commando engine taken out of a 1957 Chrysler 300C kit to match the movie images, correctly positioned the distributor and added the plug wires. Headlights, taillights, dash and radio are all lit by LEDs. Enjoy!
-
Remember the opening scene of Heavy Metal where the 1959 Corvette drops out of the shuttle bay while in orbit and then descends to the planet surface? Well here is my build of that car! The base kit was the AMT '59 Corvette which was not the most glamorous of kits to work with. But with a little sand paper, some photo etch, and paint, I think it turned out ok. Customization included redesigning the passenger side dash so it is open, photo etch emblems all around, interior door knobs, photo gauges, carpeting, and I had to add in correct white wall tires and hubcaps. But most importantly, I added in the ridiculously oversized parachute pull to the passenger seat area, just to make it a little more movie accurate. If you are wondering what the heck that's all about, google Heavy Metal Corvette and watch the video. Enjoy!
-
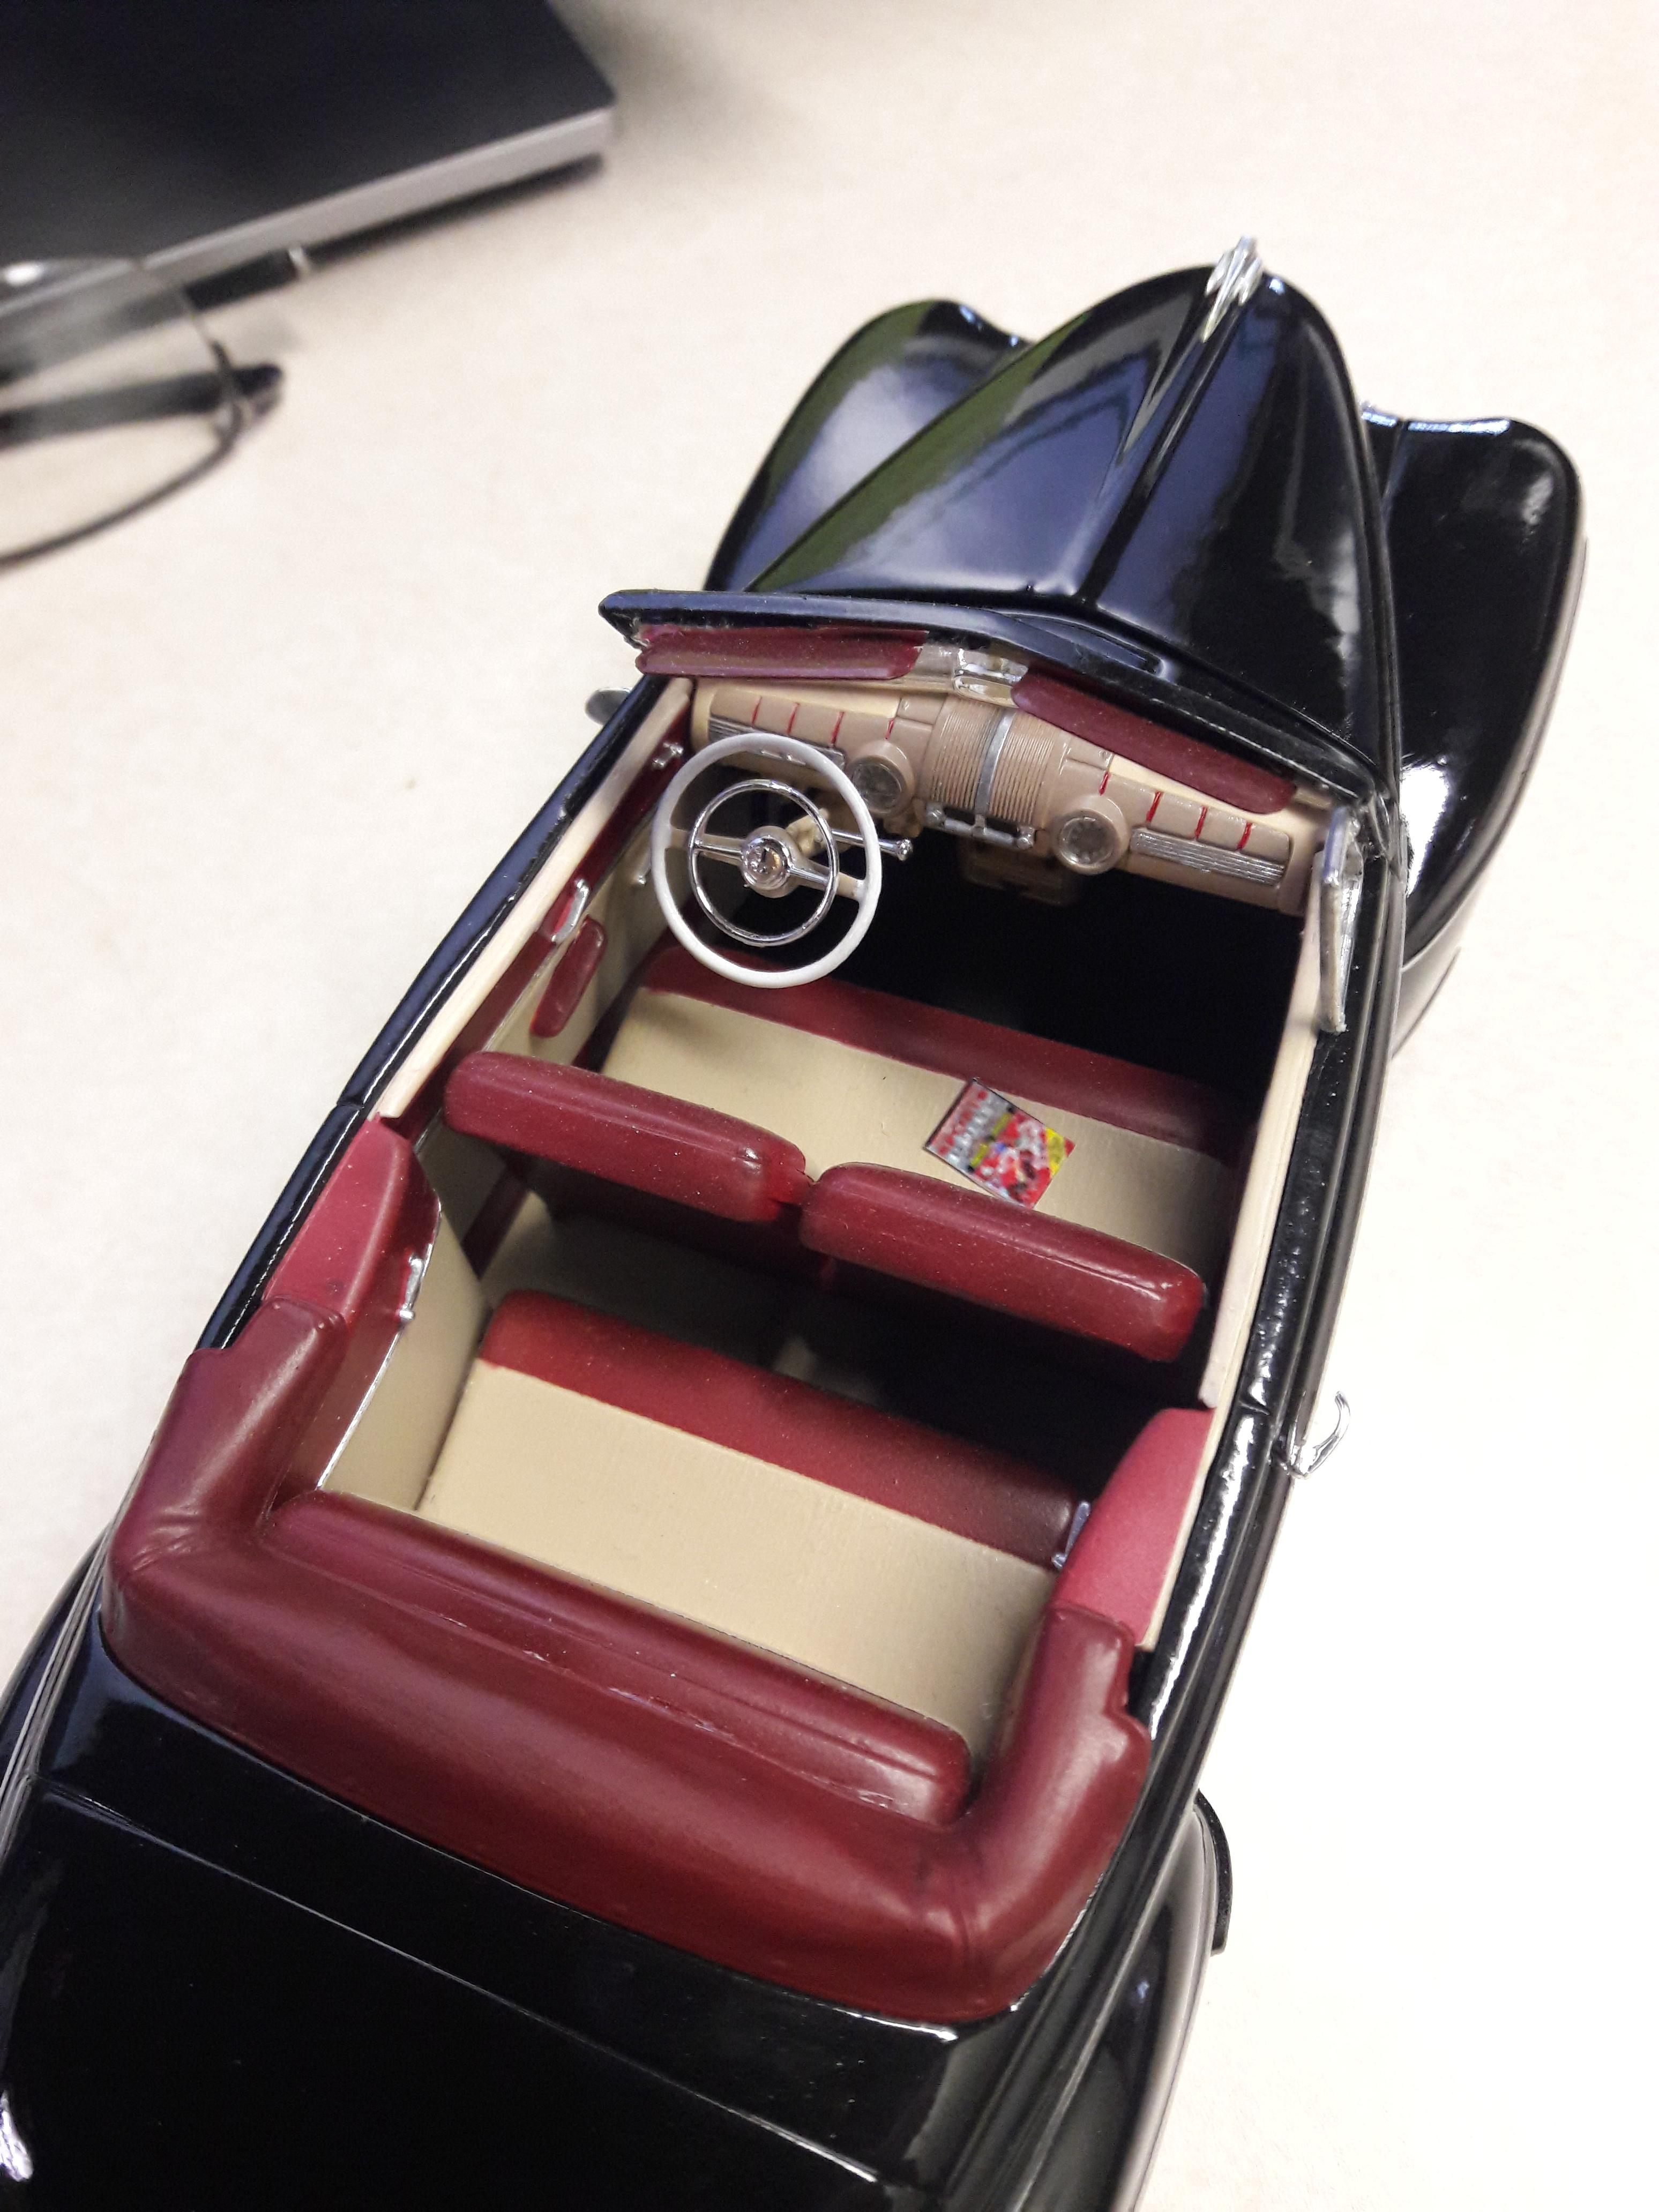
From Back to the Future II, this is a build of Biff Tannen's 1946 Ford. Although if you watch the movie closely, you will see several different cars were used ranging from 1946 to 1948, Doc Brown specifically called out Biff's car as a 1946, so that's how I built it. The build took two different kits to find the correct 1946 details, but the base kit was Revell's Pro Modeller 1948 Ford Convertible. The key 1946 details were found in the Testors kit, which allows you to build the car as a 1946, '47 or '48. Customization were minor and include a new distributor with plug wires and fuel lines. Colors patterns are screen accurate to the movie, although the burgundy seats were a custom mix I fondly called "Biff Burgundy". I don't have any good shots of my accompanying Delorean but will add some soon. I went a little crazy with the fiber optics in that build as you can see in this one shot... Enjoy!