gjorenby
-
Posts
121 -
Joined
-
Last visited
Content Type
Profiles
Forums
Events
Gallery
Everything posted by gjorenby
-
Another Camaro long shot -- looking for a 1978 - 1981 Camaro body, 1:24 or 1:25 scale. Believe it or not, not all Camaros were Z-28s, nor did they all have T-Tops, fender flares and hood scoops. Looking for a body without T-Tops, front fender flares or front fender vents. A 1:24 scale hood without a scoop would be a special bonus. Thanks again!
-
Long shot -- Searching for a rear spoiler for a 1:25 scale Camaro. Needs to be accurate, the one included in the kit I have is horribly out of proportion and incorrectly shaped (comes from the MPC Turbo Z28 Camaro kit)...Thanks!
-
Looking for a standard Chevy air cleaner from the 1980s, 1:25 scale. No snorkle or intake hose, no open tops, just a standard air cleaner from a Chevy V8. Thanks!

-
Thanks! It will be a little while until I get to this build, currenting working on a 1/350 Enterprise Refit build with all the lights and after market upgrades (massive project) but will post when I get to it eventually.
-
-
I am working on a build that requires a short strip of lighting. Ideally my though would be to use side glow fiber optic but because of the scale, I need to use .25 mm diameter. The smallest side glow I can find is .5 mm and that's too large. I was told by a fiber optic vendor to run unjacketed .25 mm fiber through some 000 steel wool and that might work, but again, because of the size, the light being emmitted is not sufficient for the effect I am looking for. Looking for suggestions...it does not have to be round, but can't be much larger that .25 mm. What I am trying to achieve is a light strip around the opening of a driver's helmet.
-
Thanks! This was the Aoshima kit. Yes, very very thin fiber on the overhead console and the console behind the drivers seat. I have a standard LED illuminating the dash gauges and 3 interdependent flickering LEDs for the Flux Capacitor. I wanted to use some florescent panel film on the exterior blue bar that runs around the car but could not get it to work. The battery and switch is in the stand so I can easily replace when needed. I did the same approach with my Christine build. Some build shots below show the lighting a little better. 20161203_204325.mp4
-
Delorean Time Machine from Back to the Future II
-
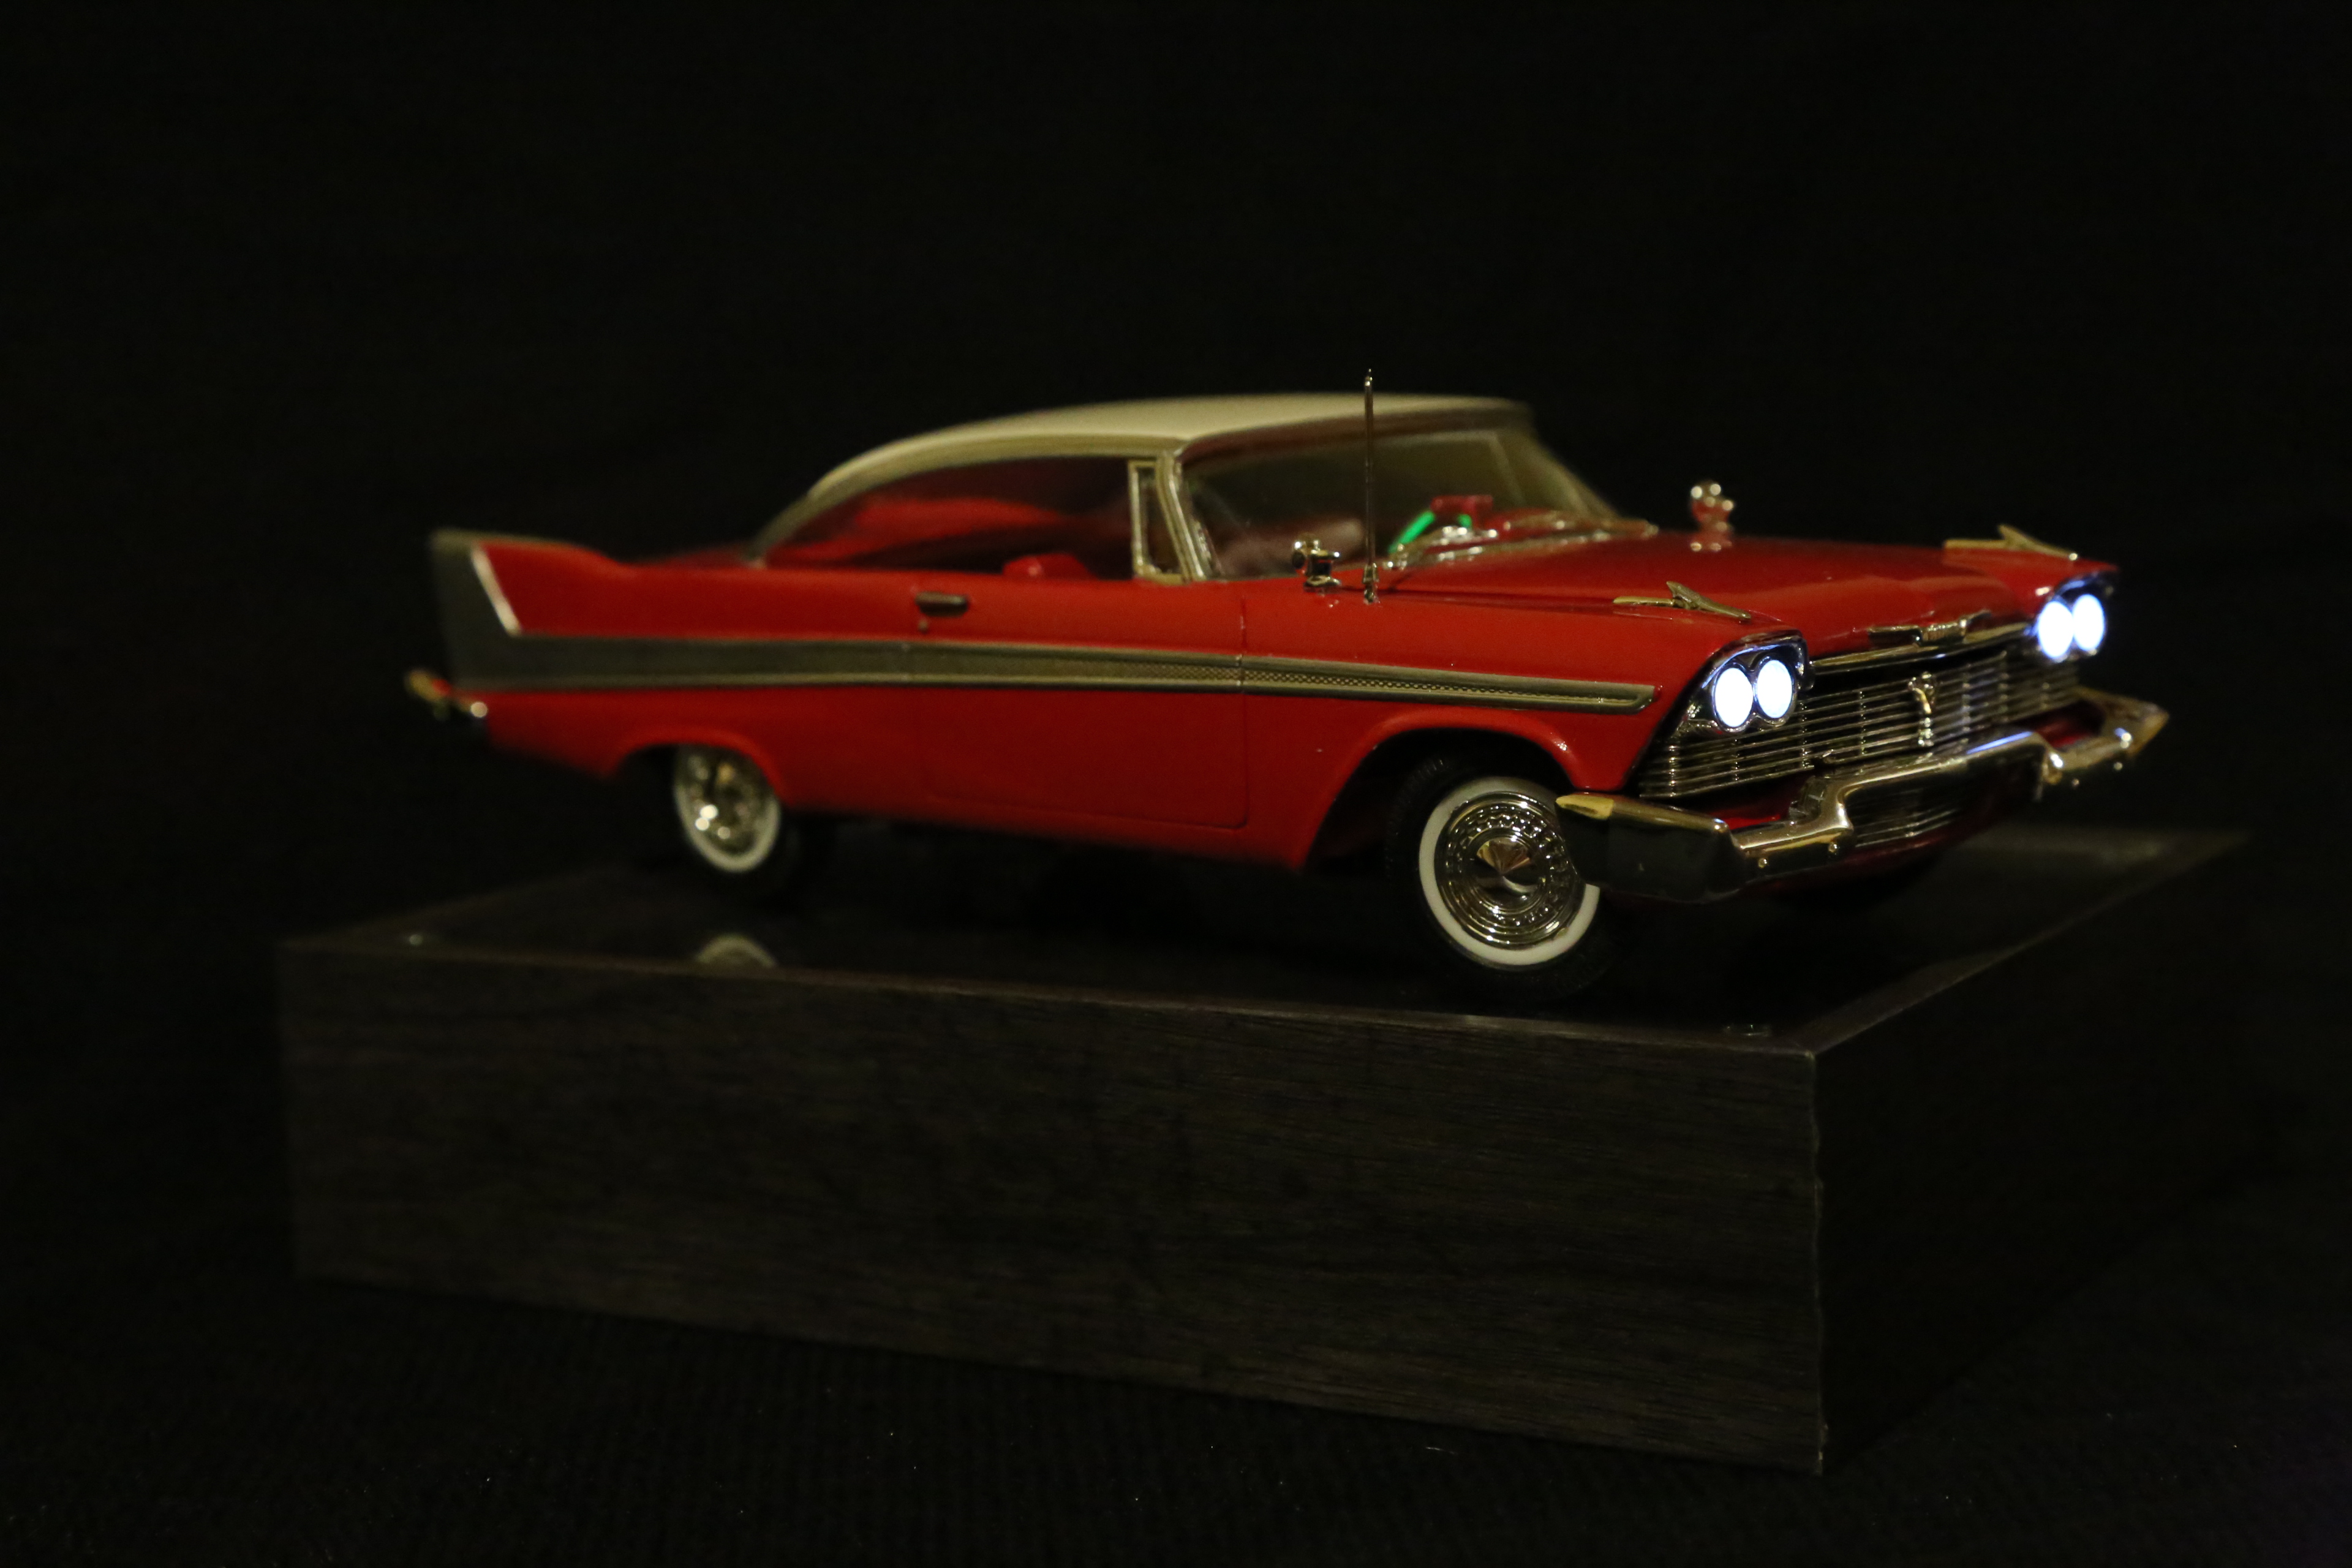
Christine -- nothing more needs to be said....
-
Buddy Repperton's 1967 Camaro from Christine
-
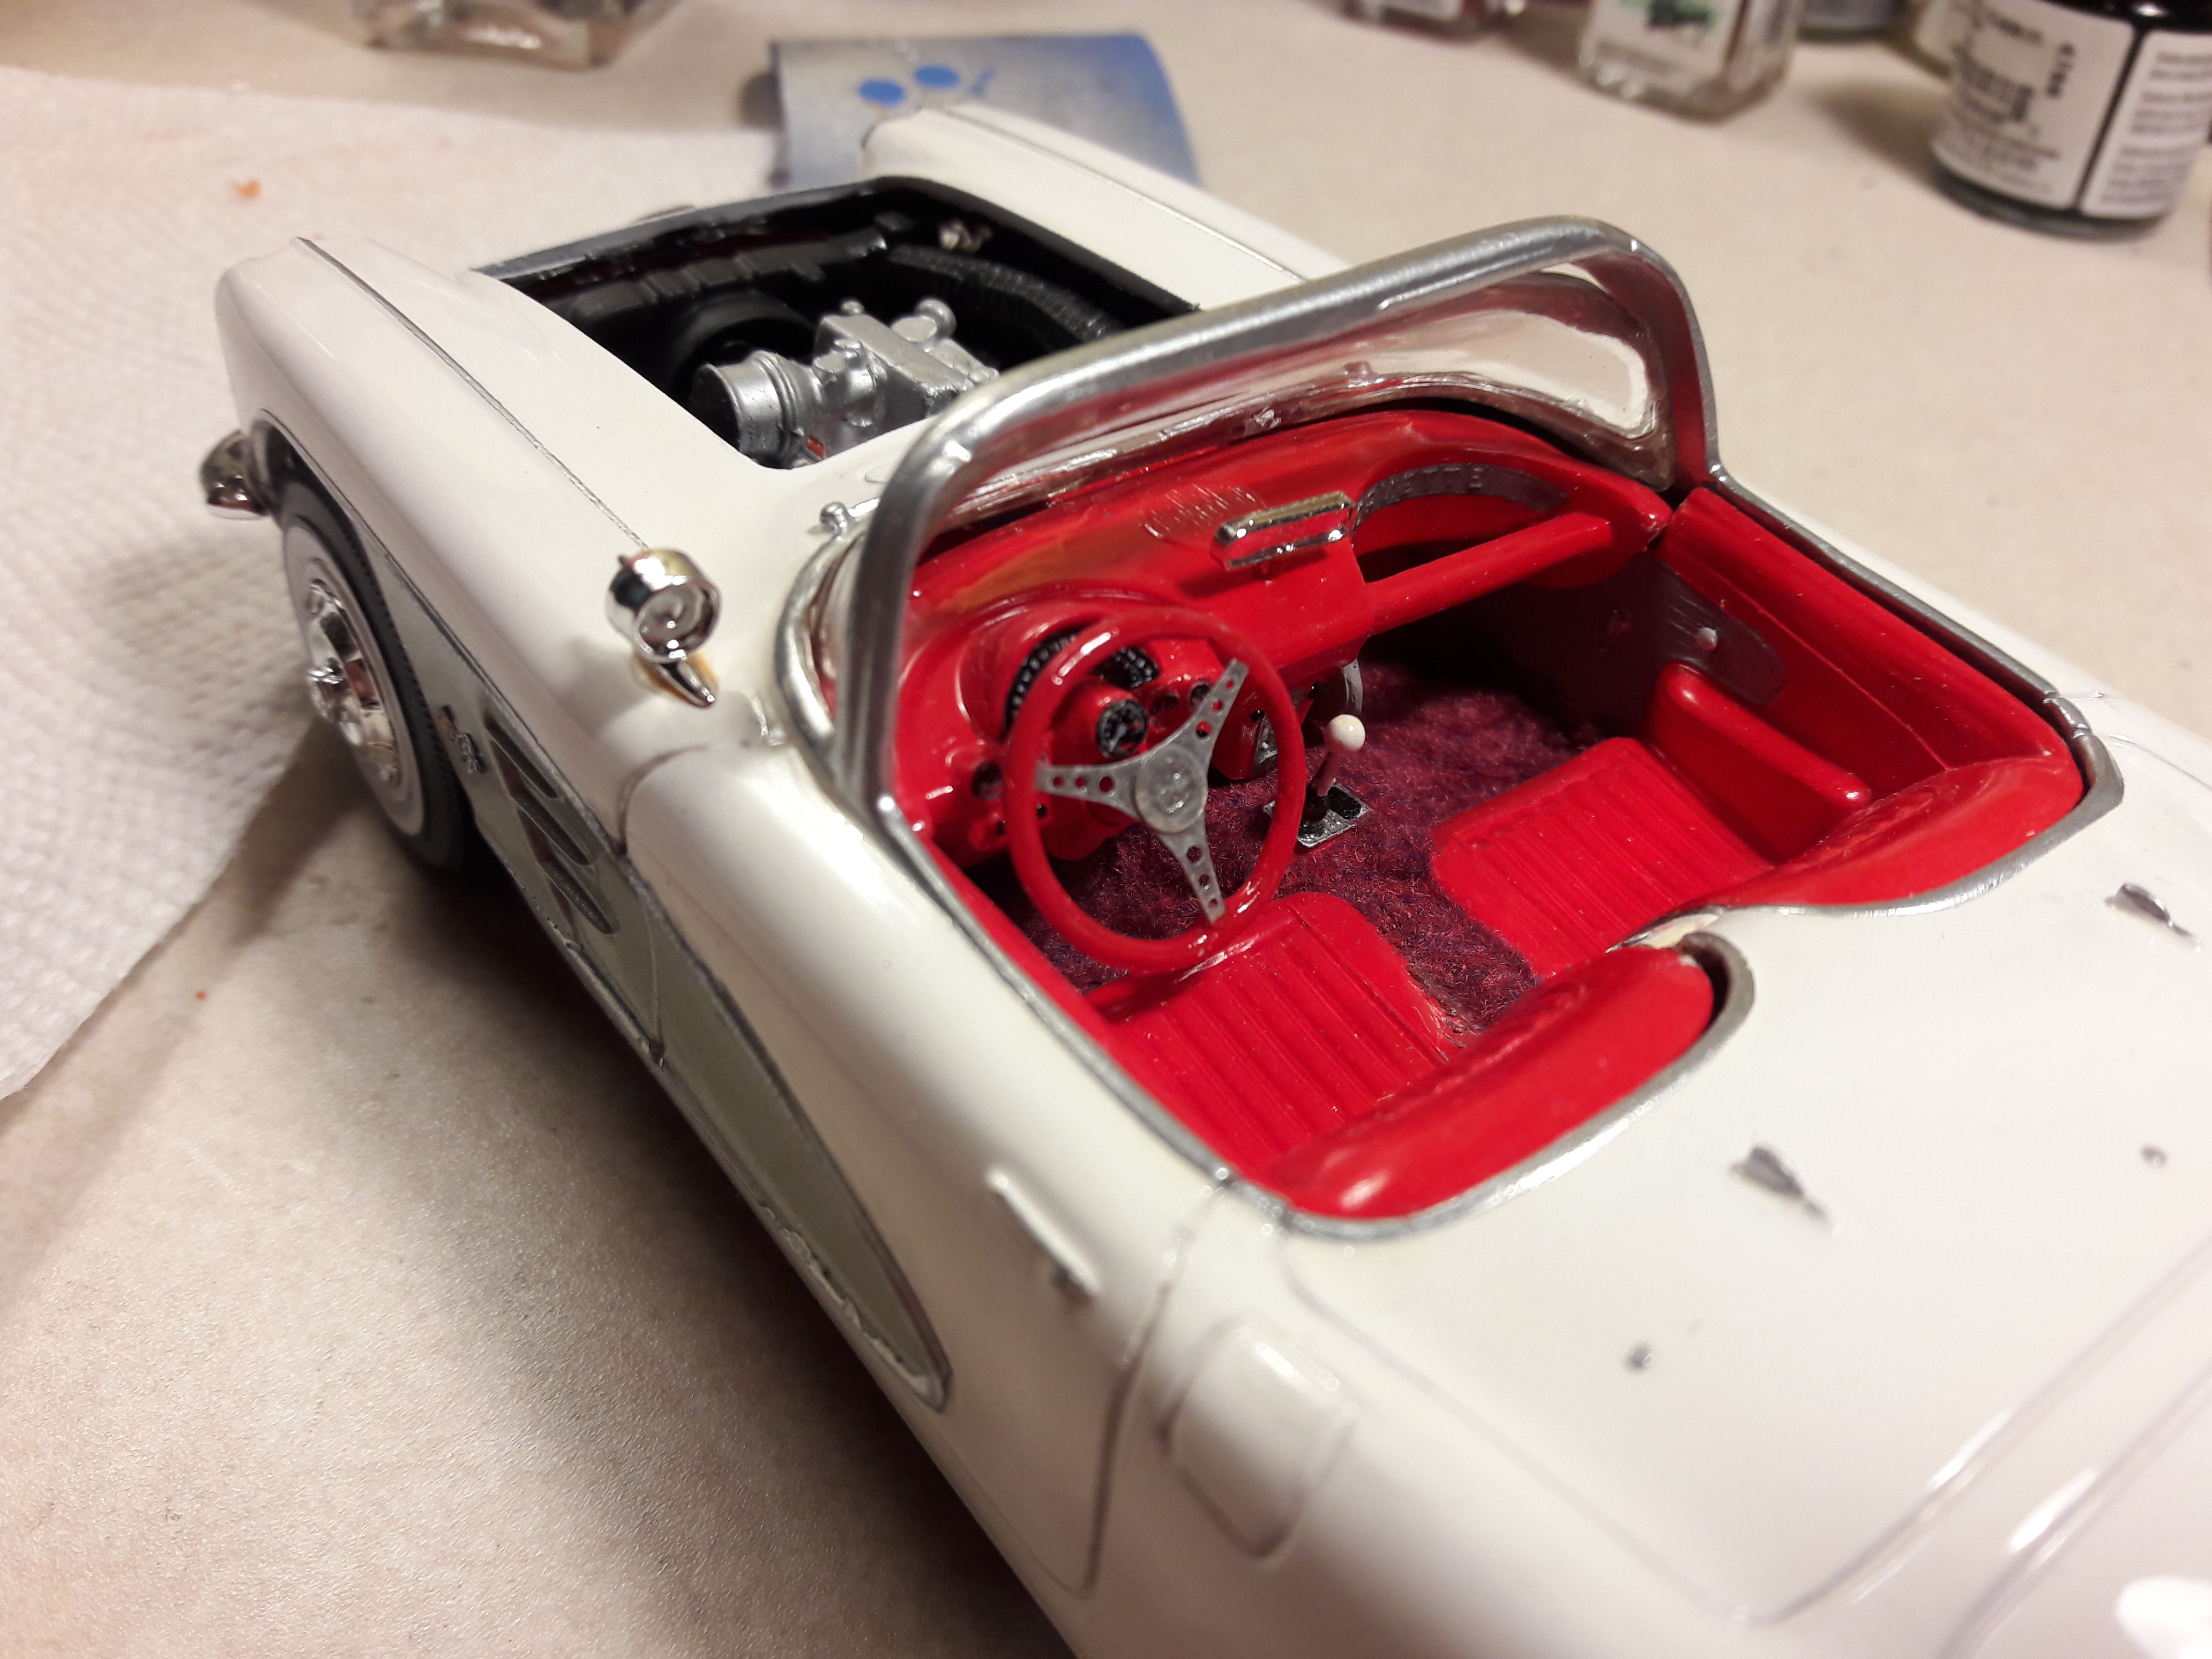
1959 Corvette from Heavy Metal
-
The Muster Coach
-
Black Lamborghini from Cannonball Run
-
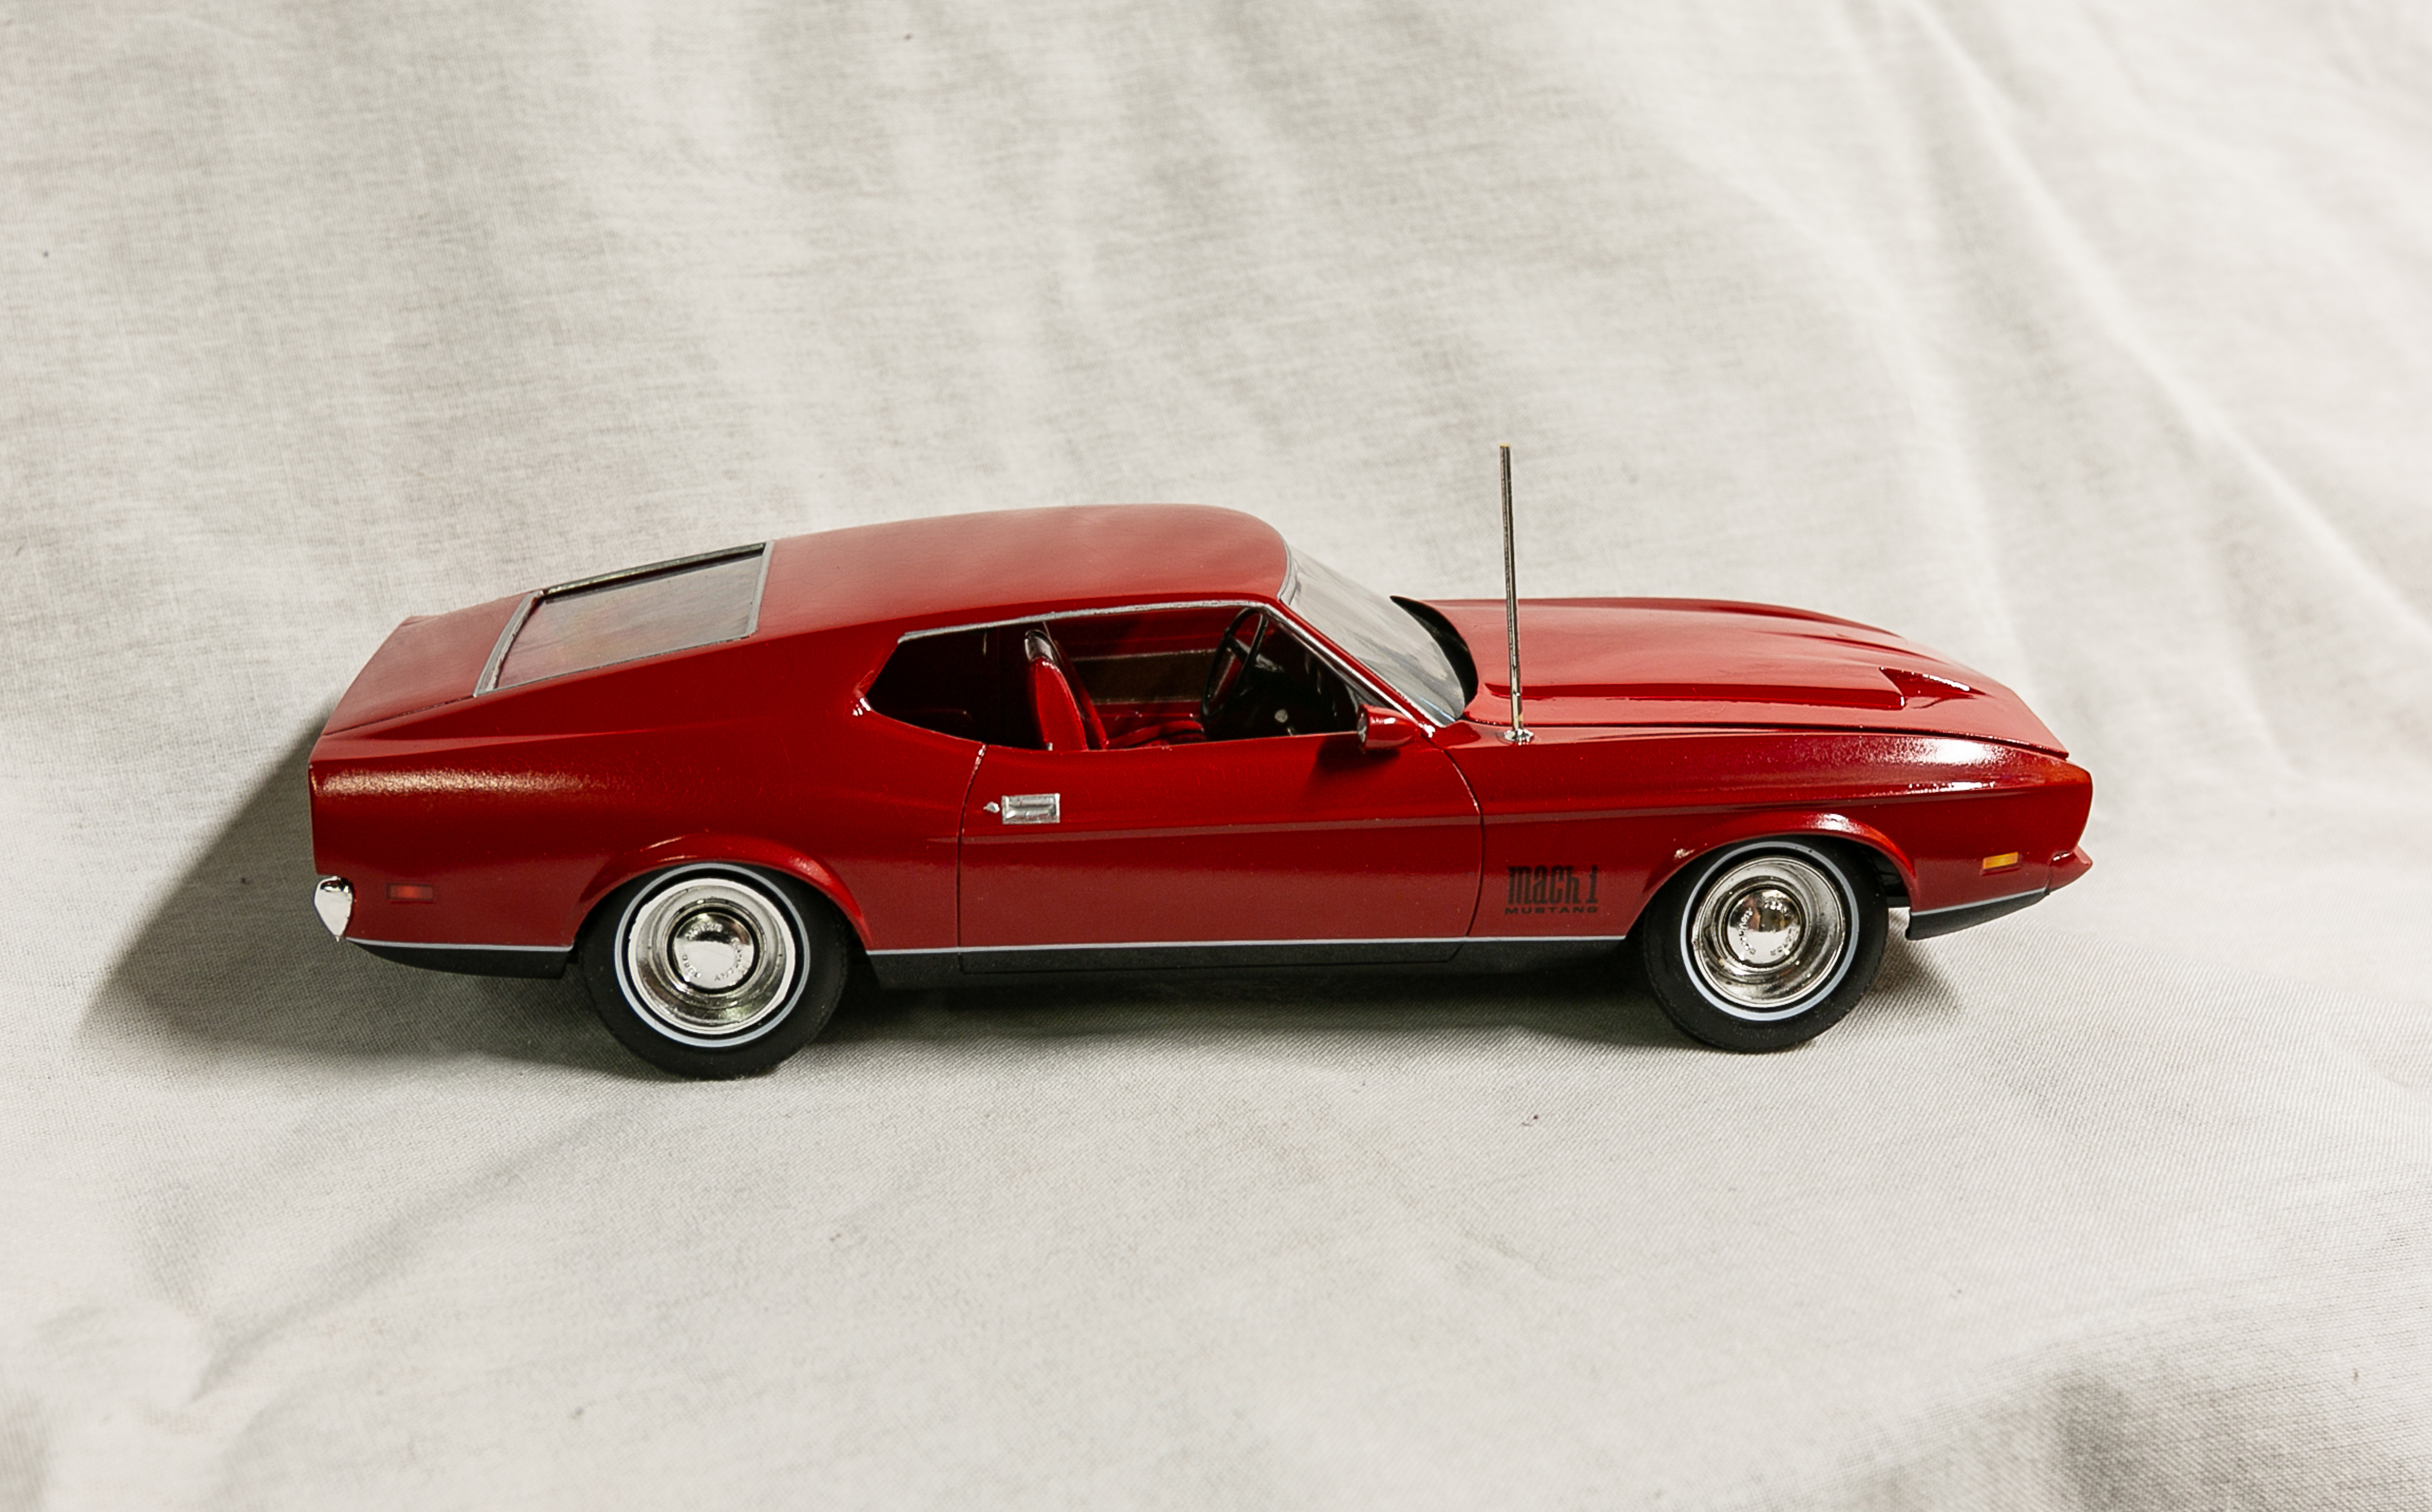
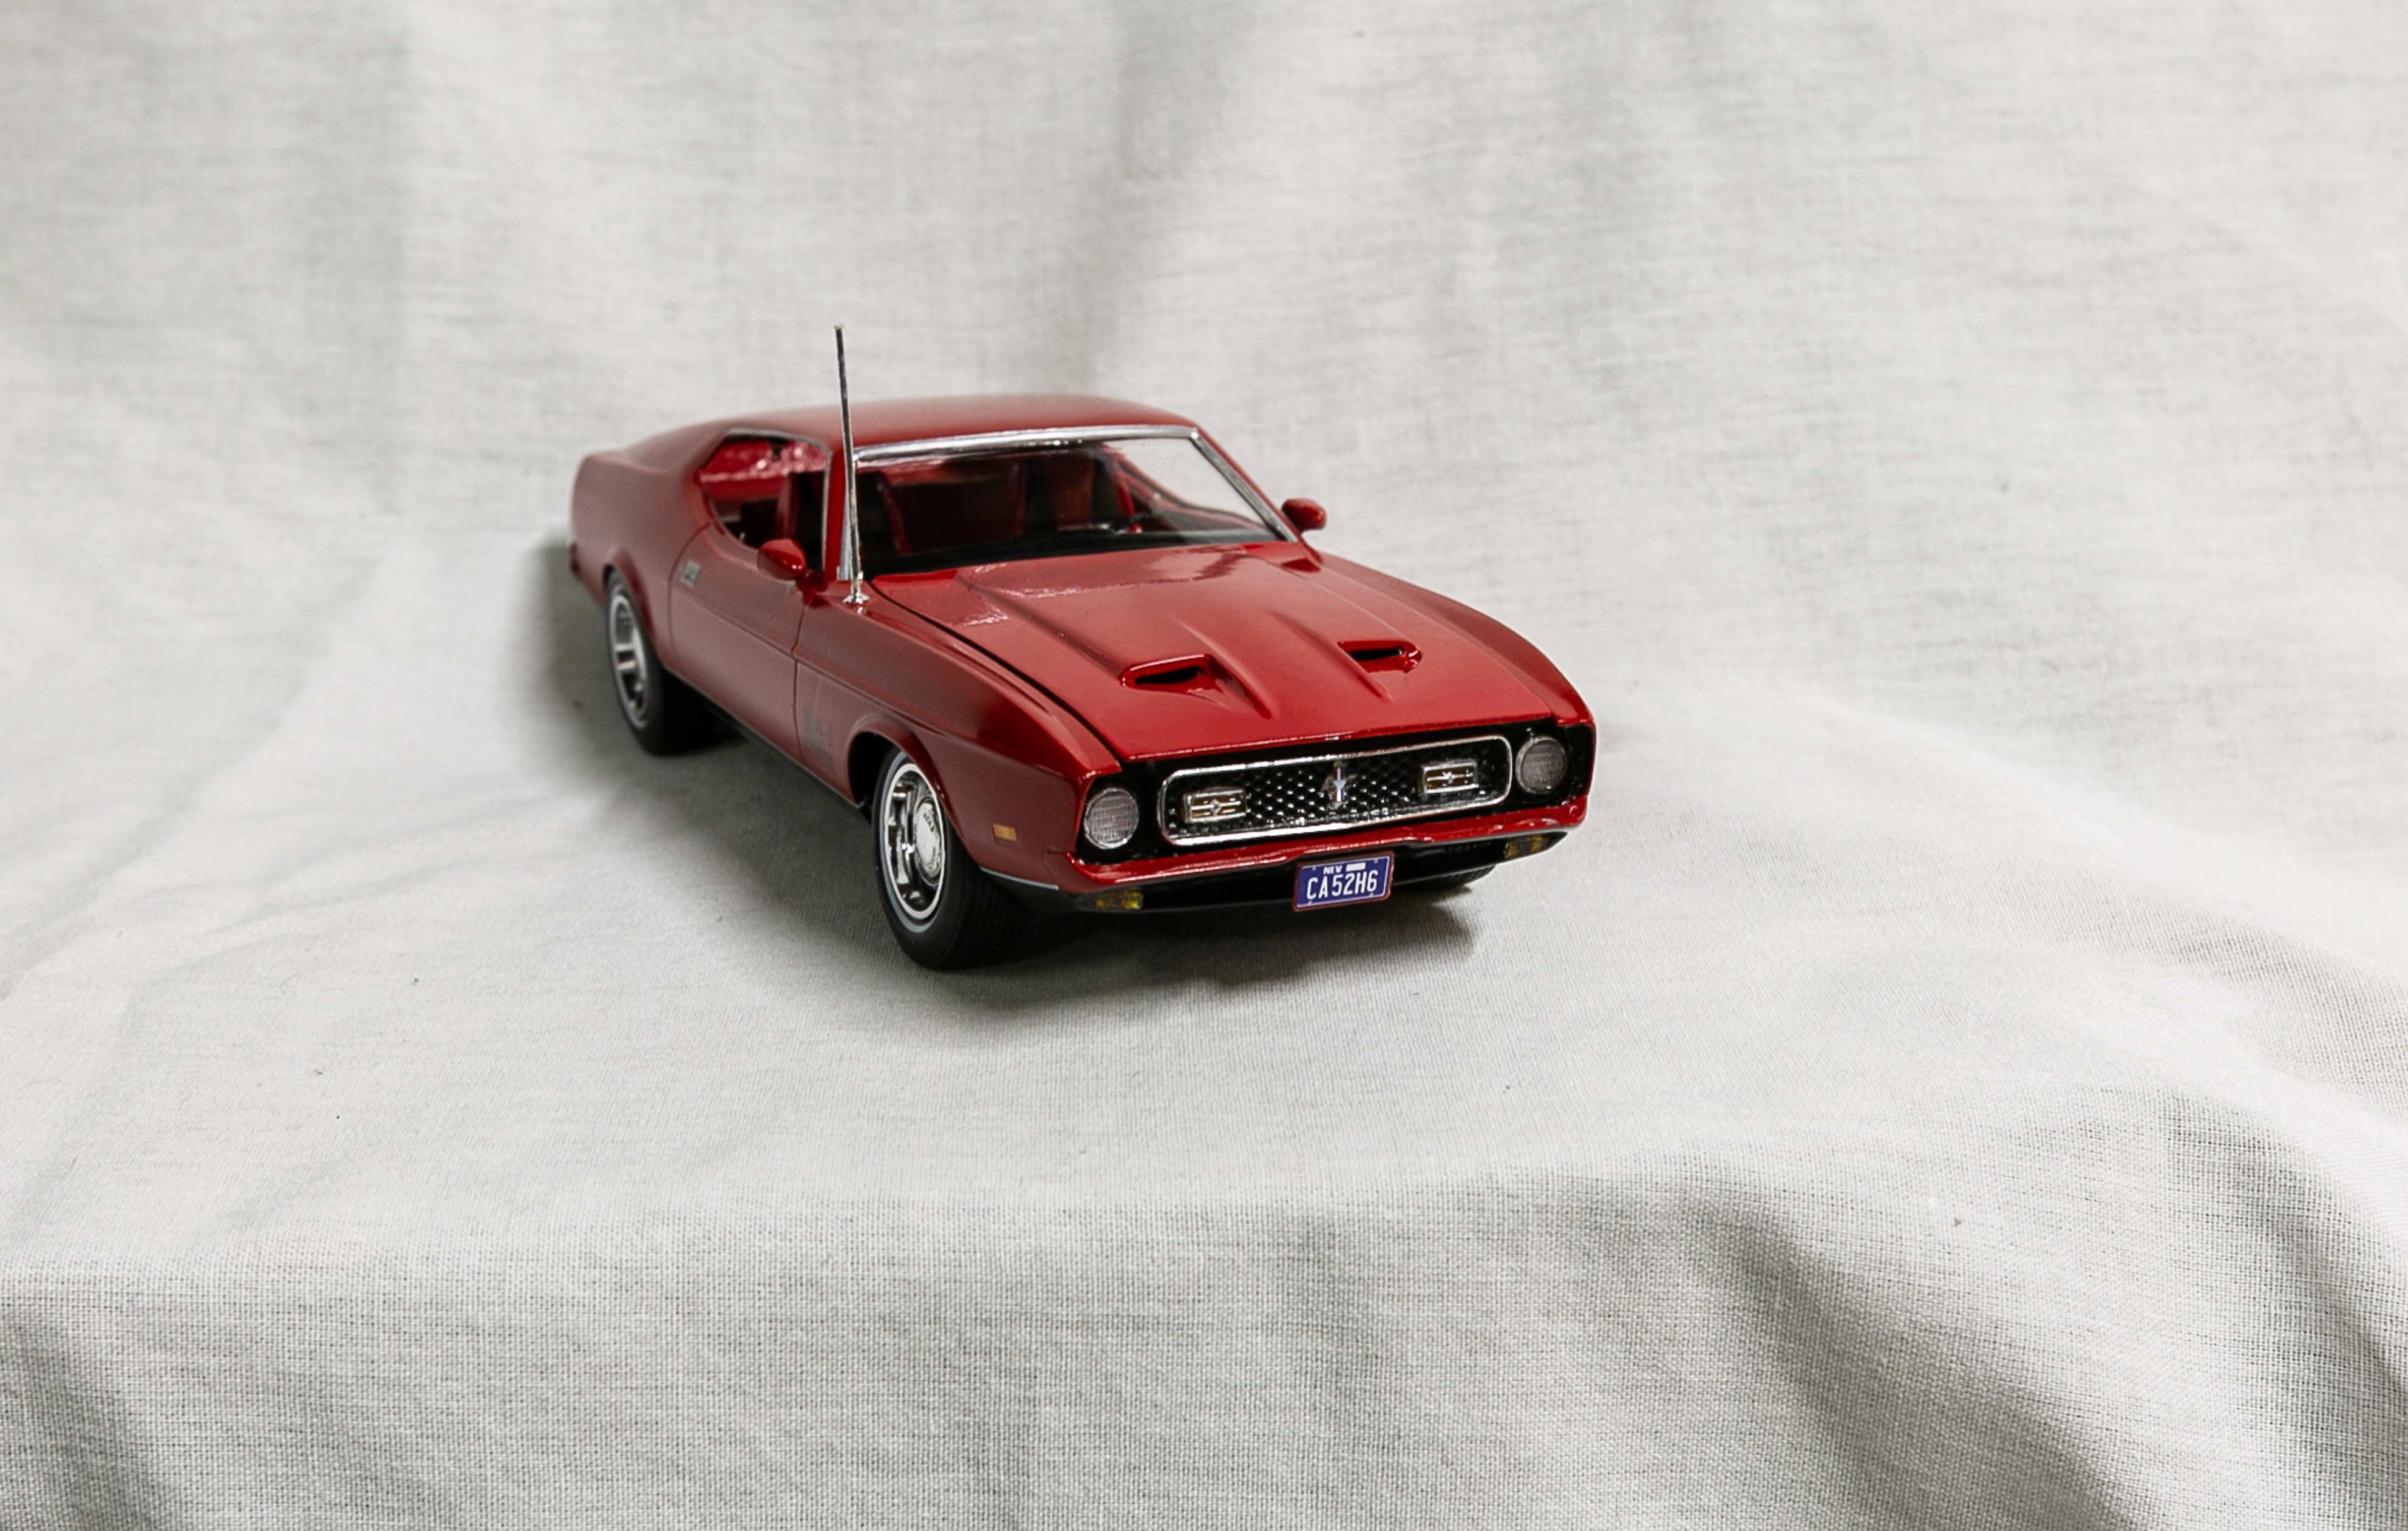
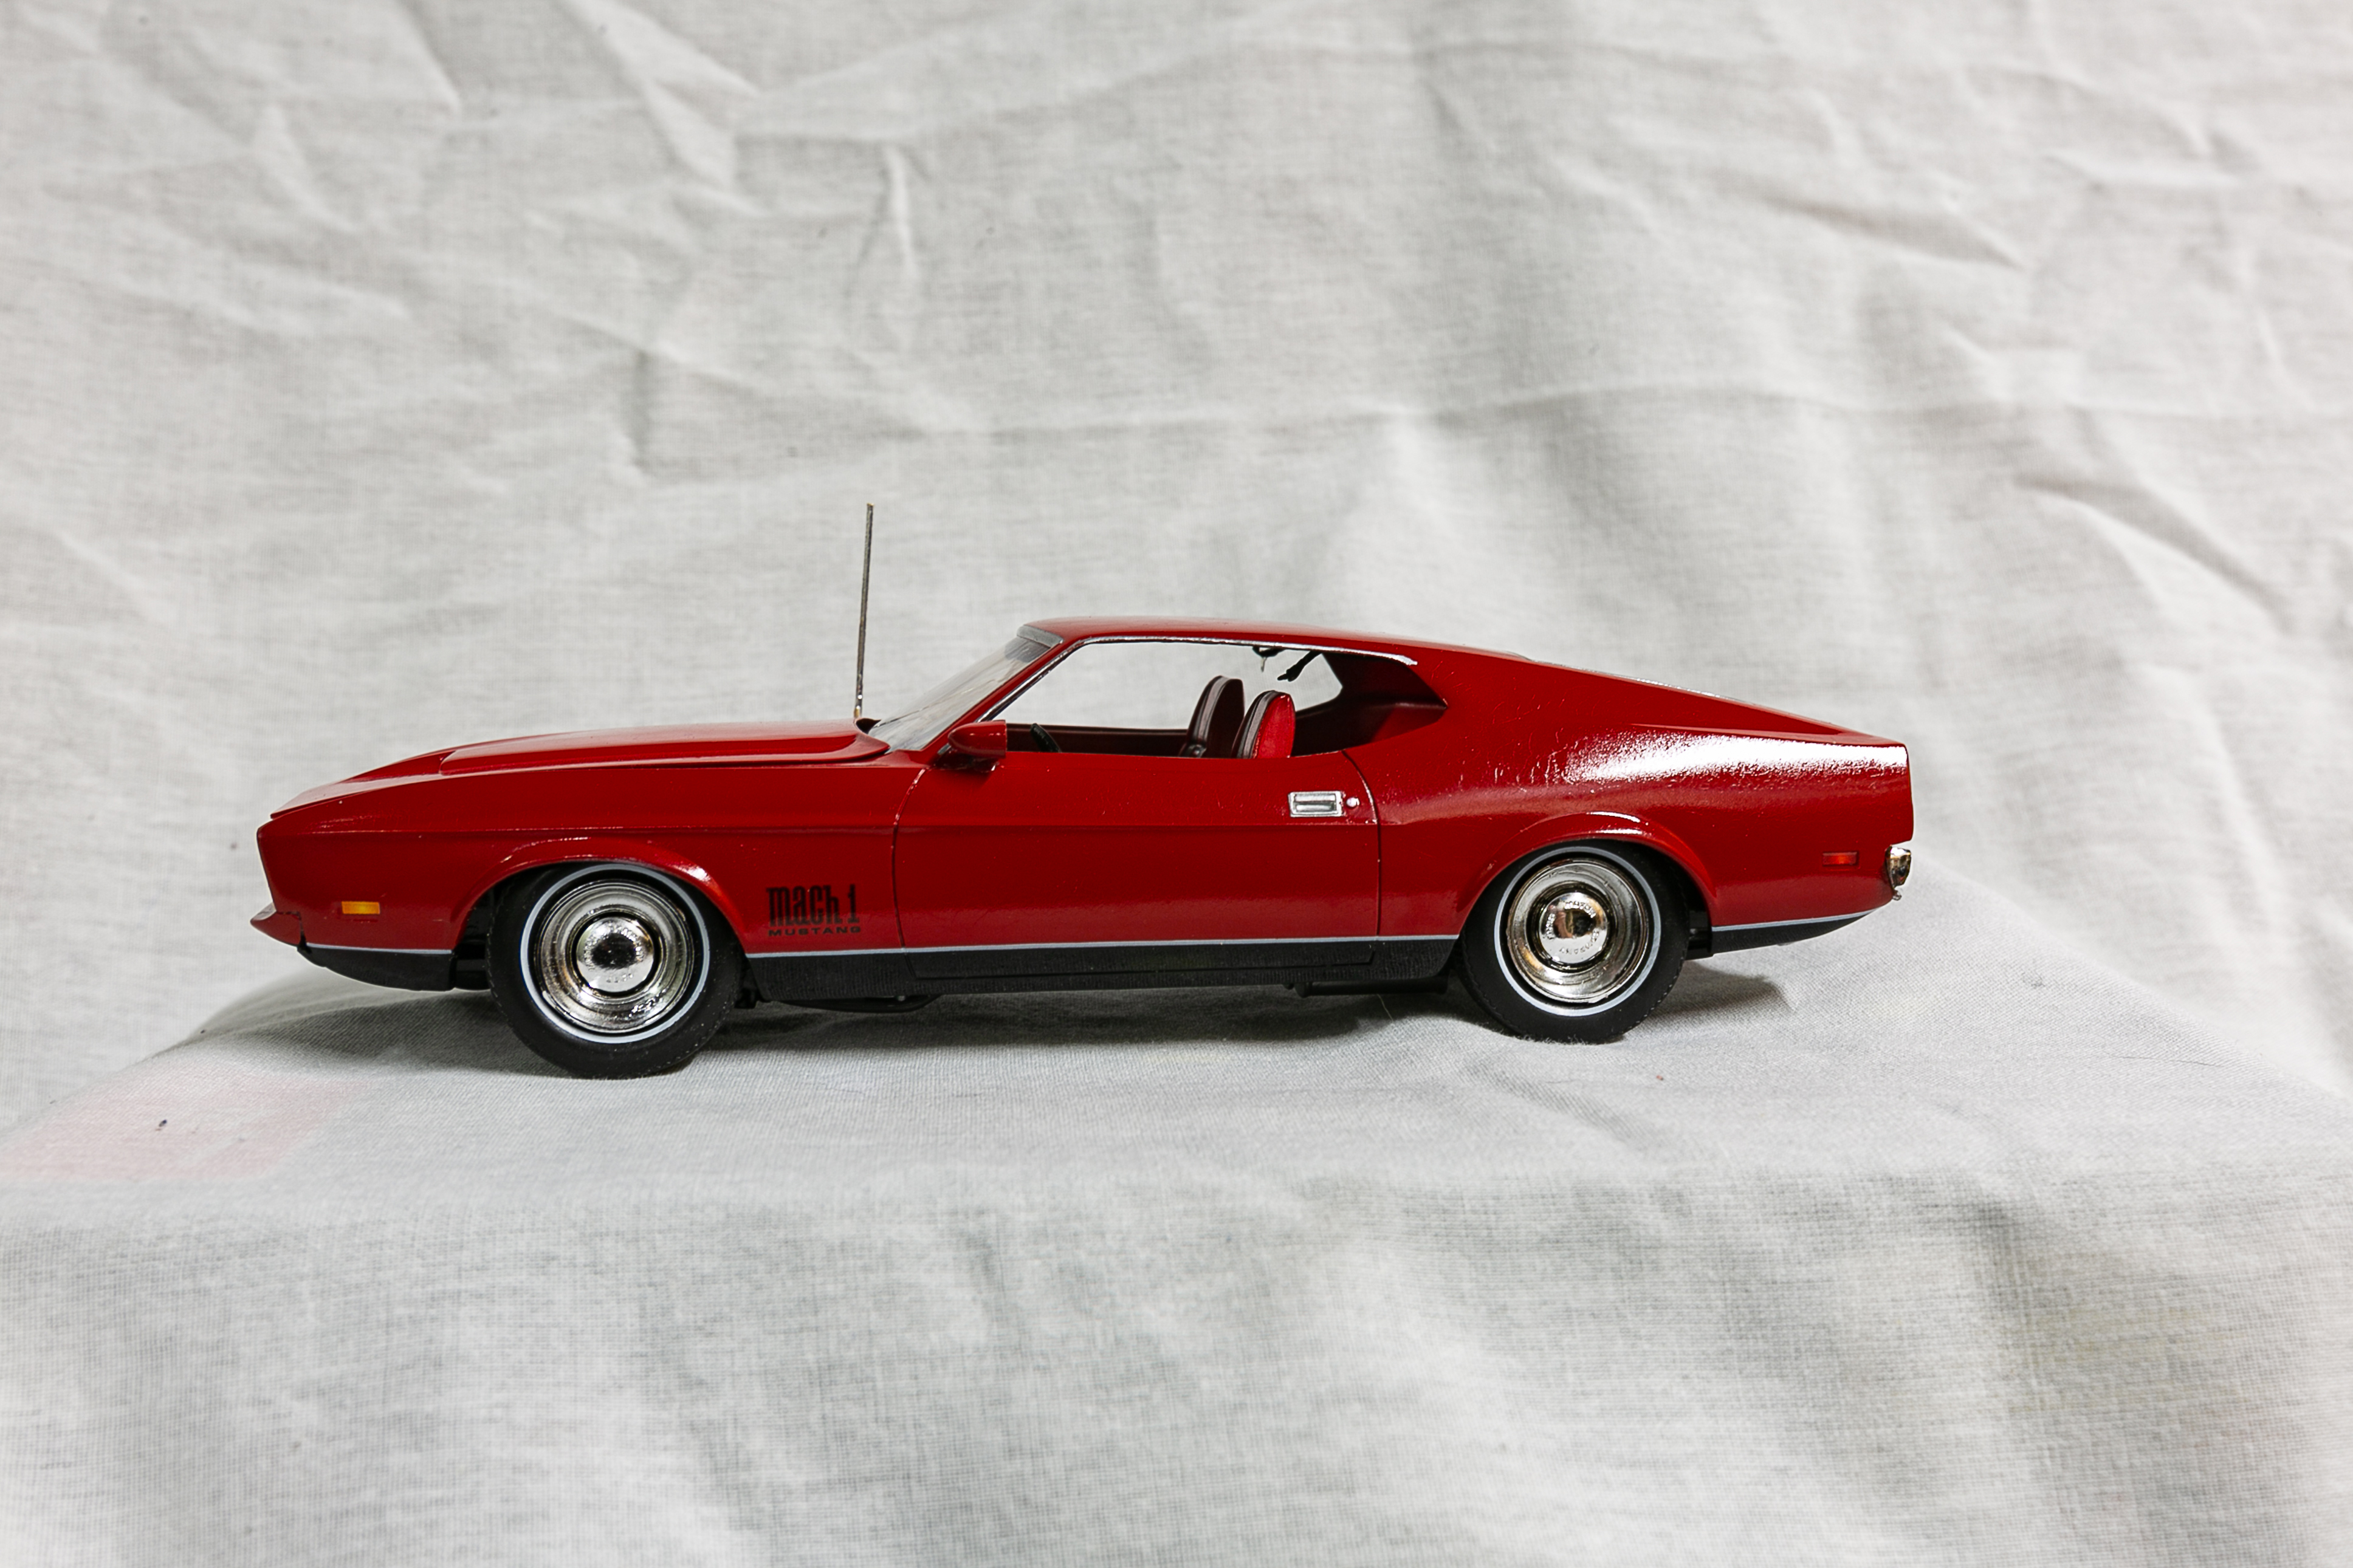
James Bond's 1971 Mustang Mach 1 with 429 CJ From Diamonds are Forever
-
Biff Tannen's 1948 Ford Super Deluxe Convertible. From Back to the Future, complete with Grey's Sports Almanac.
-
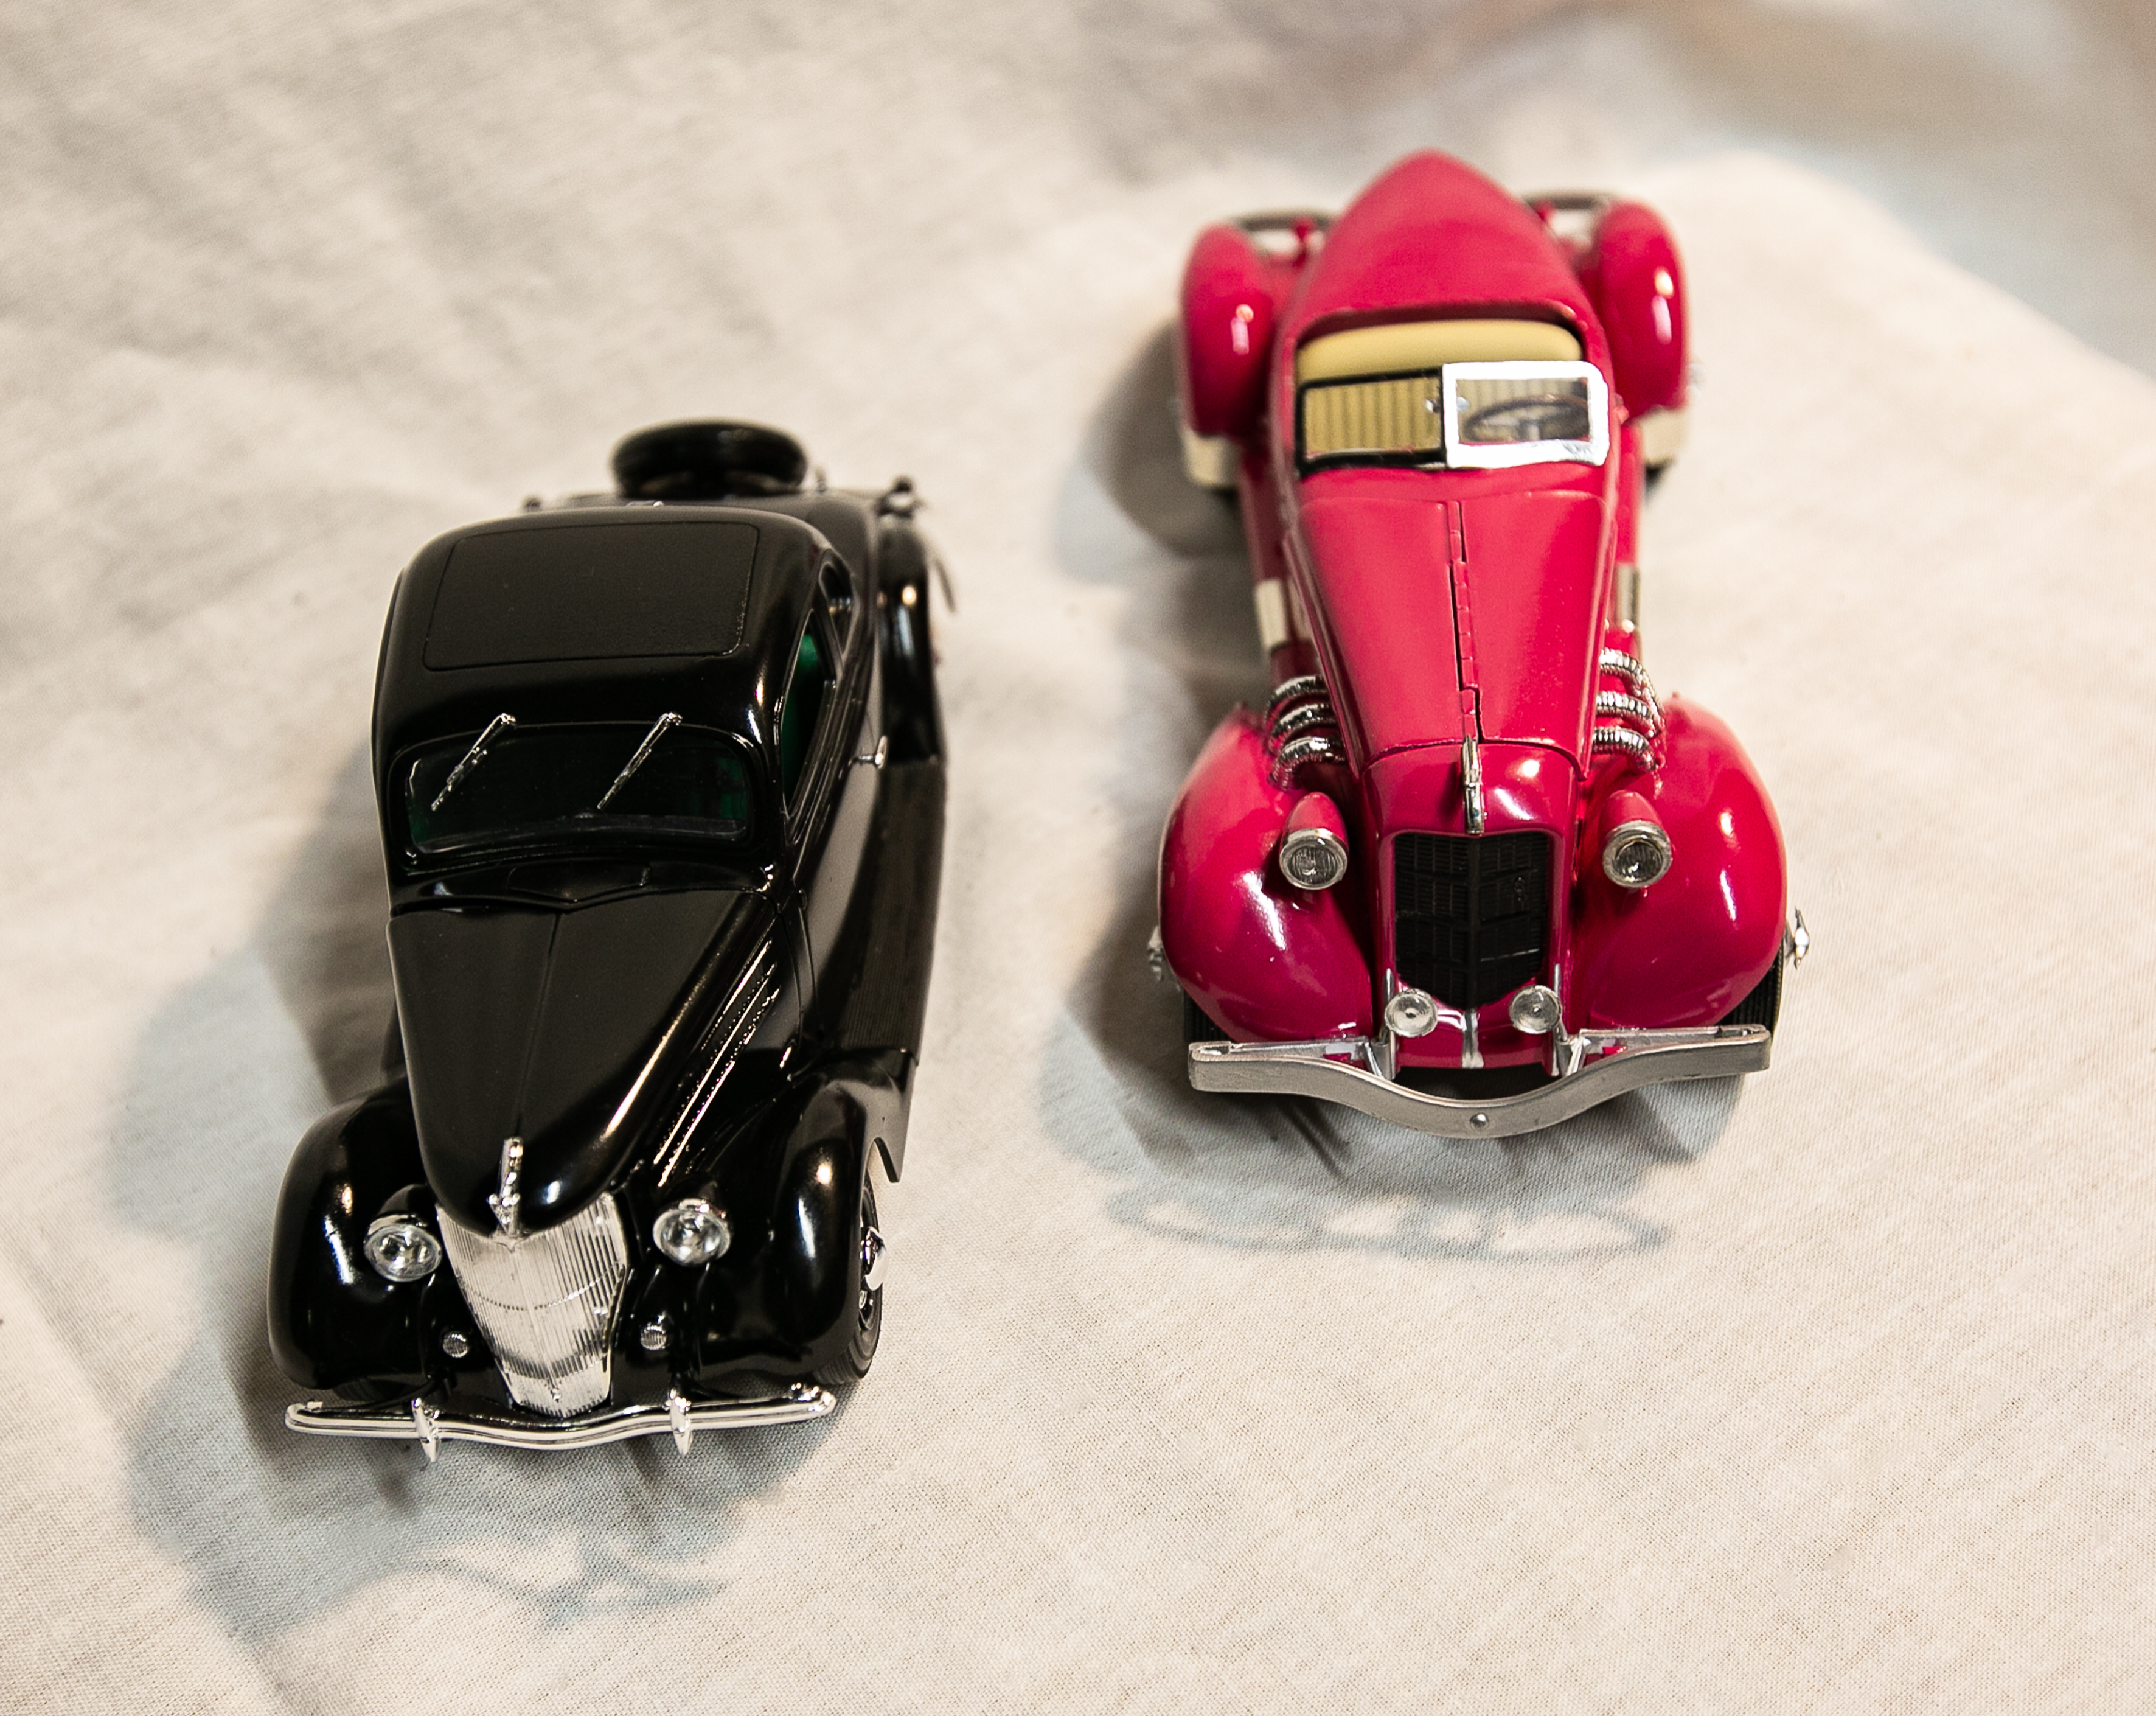
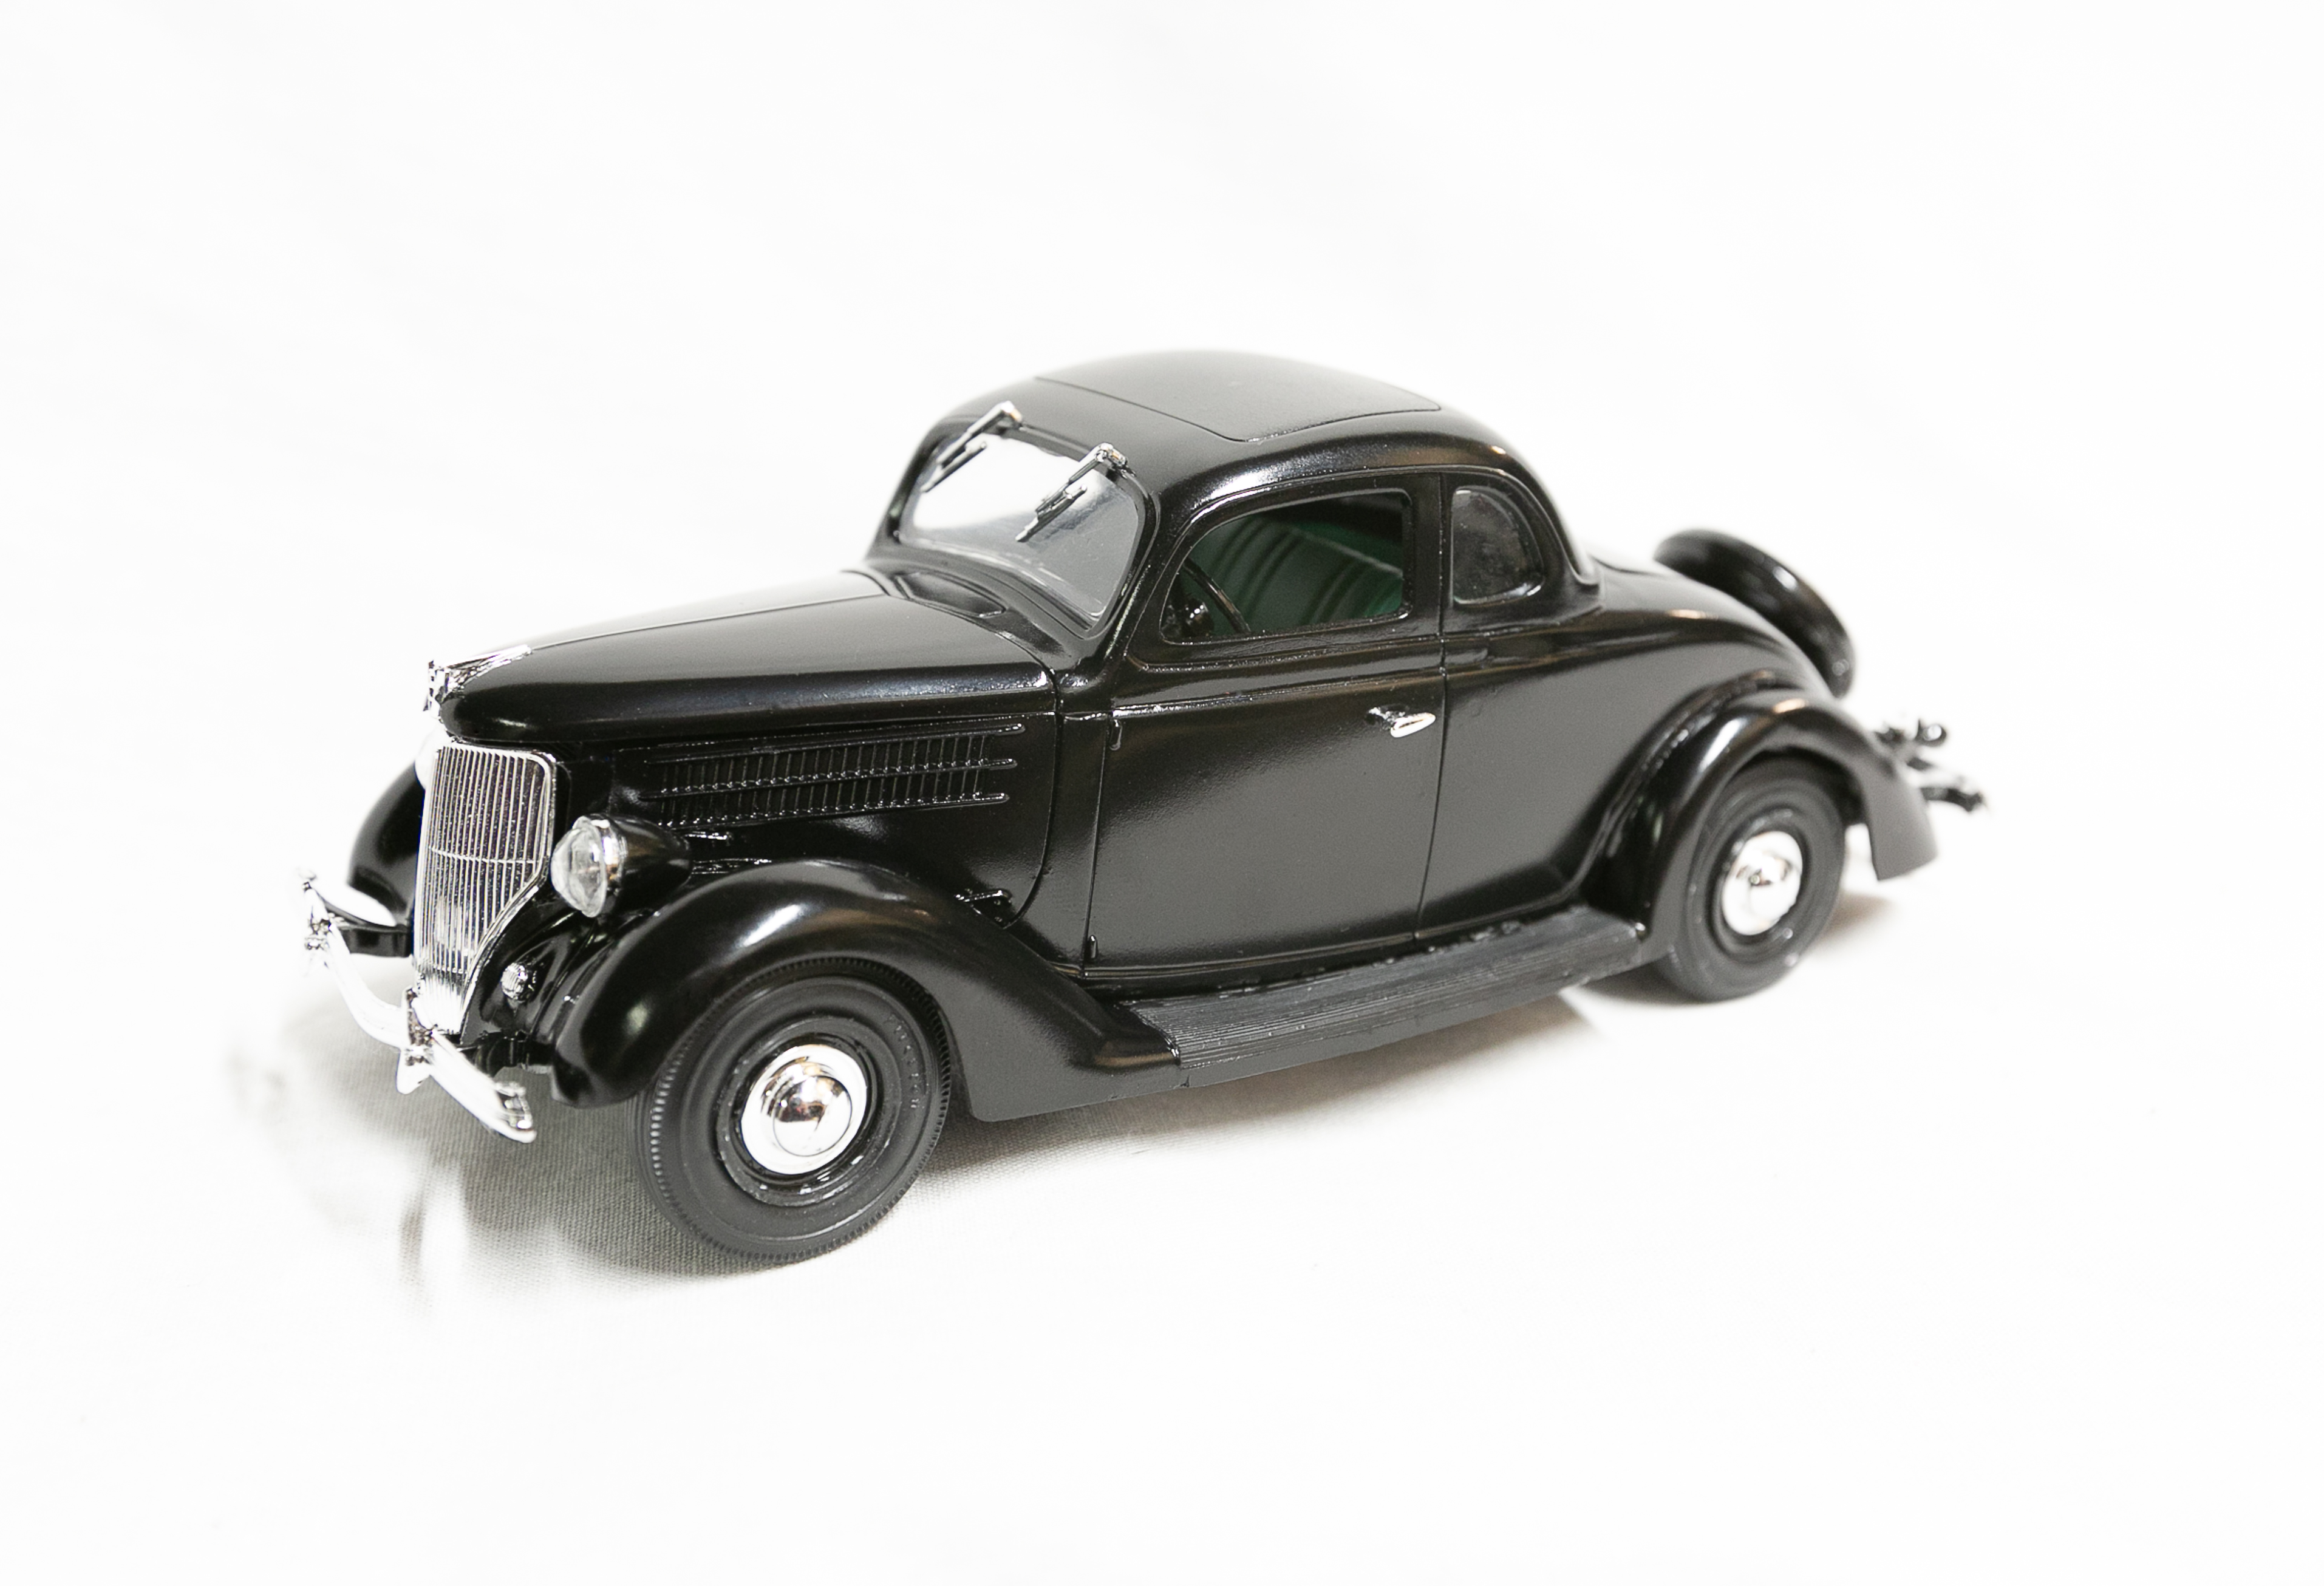
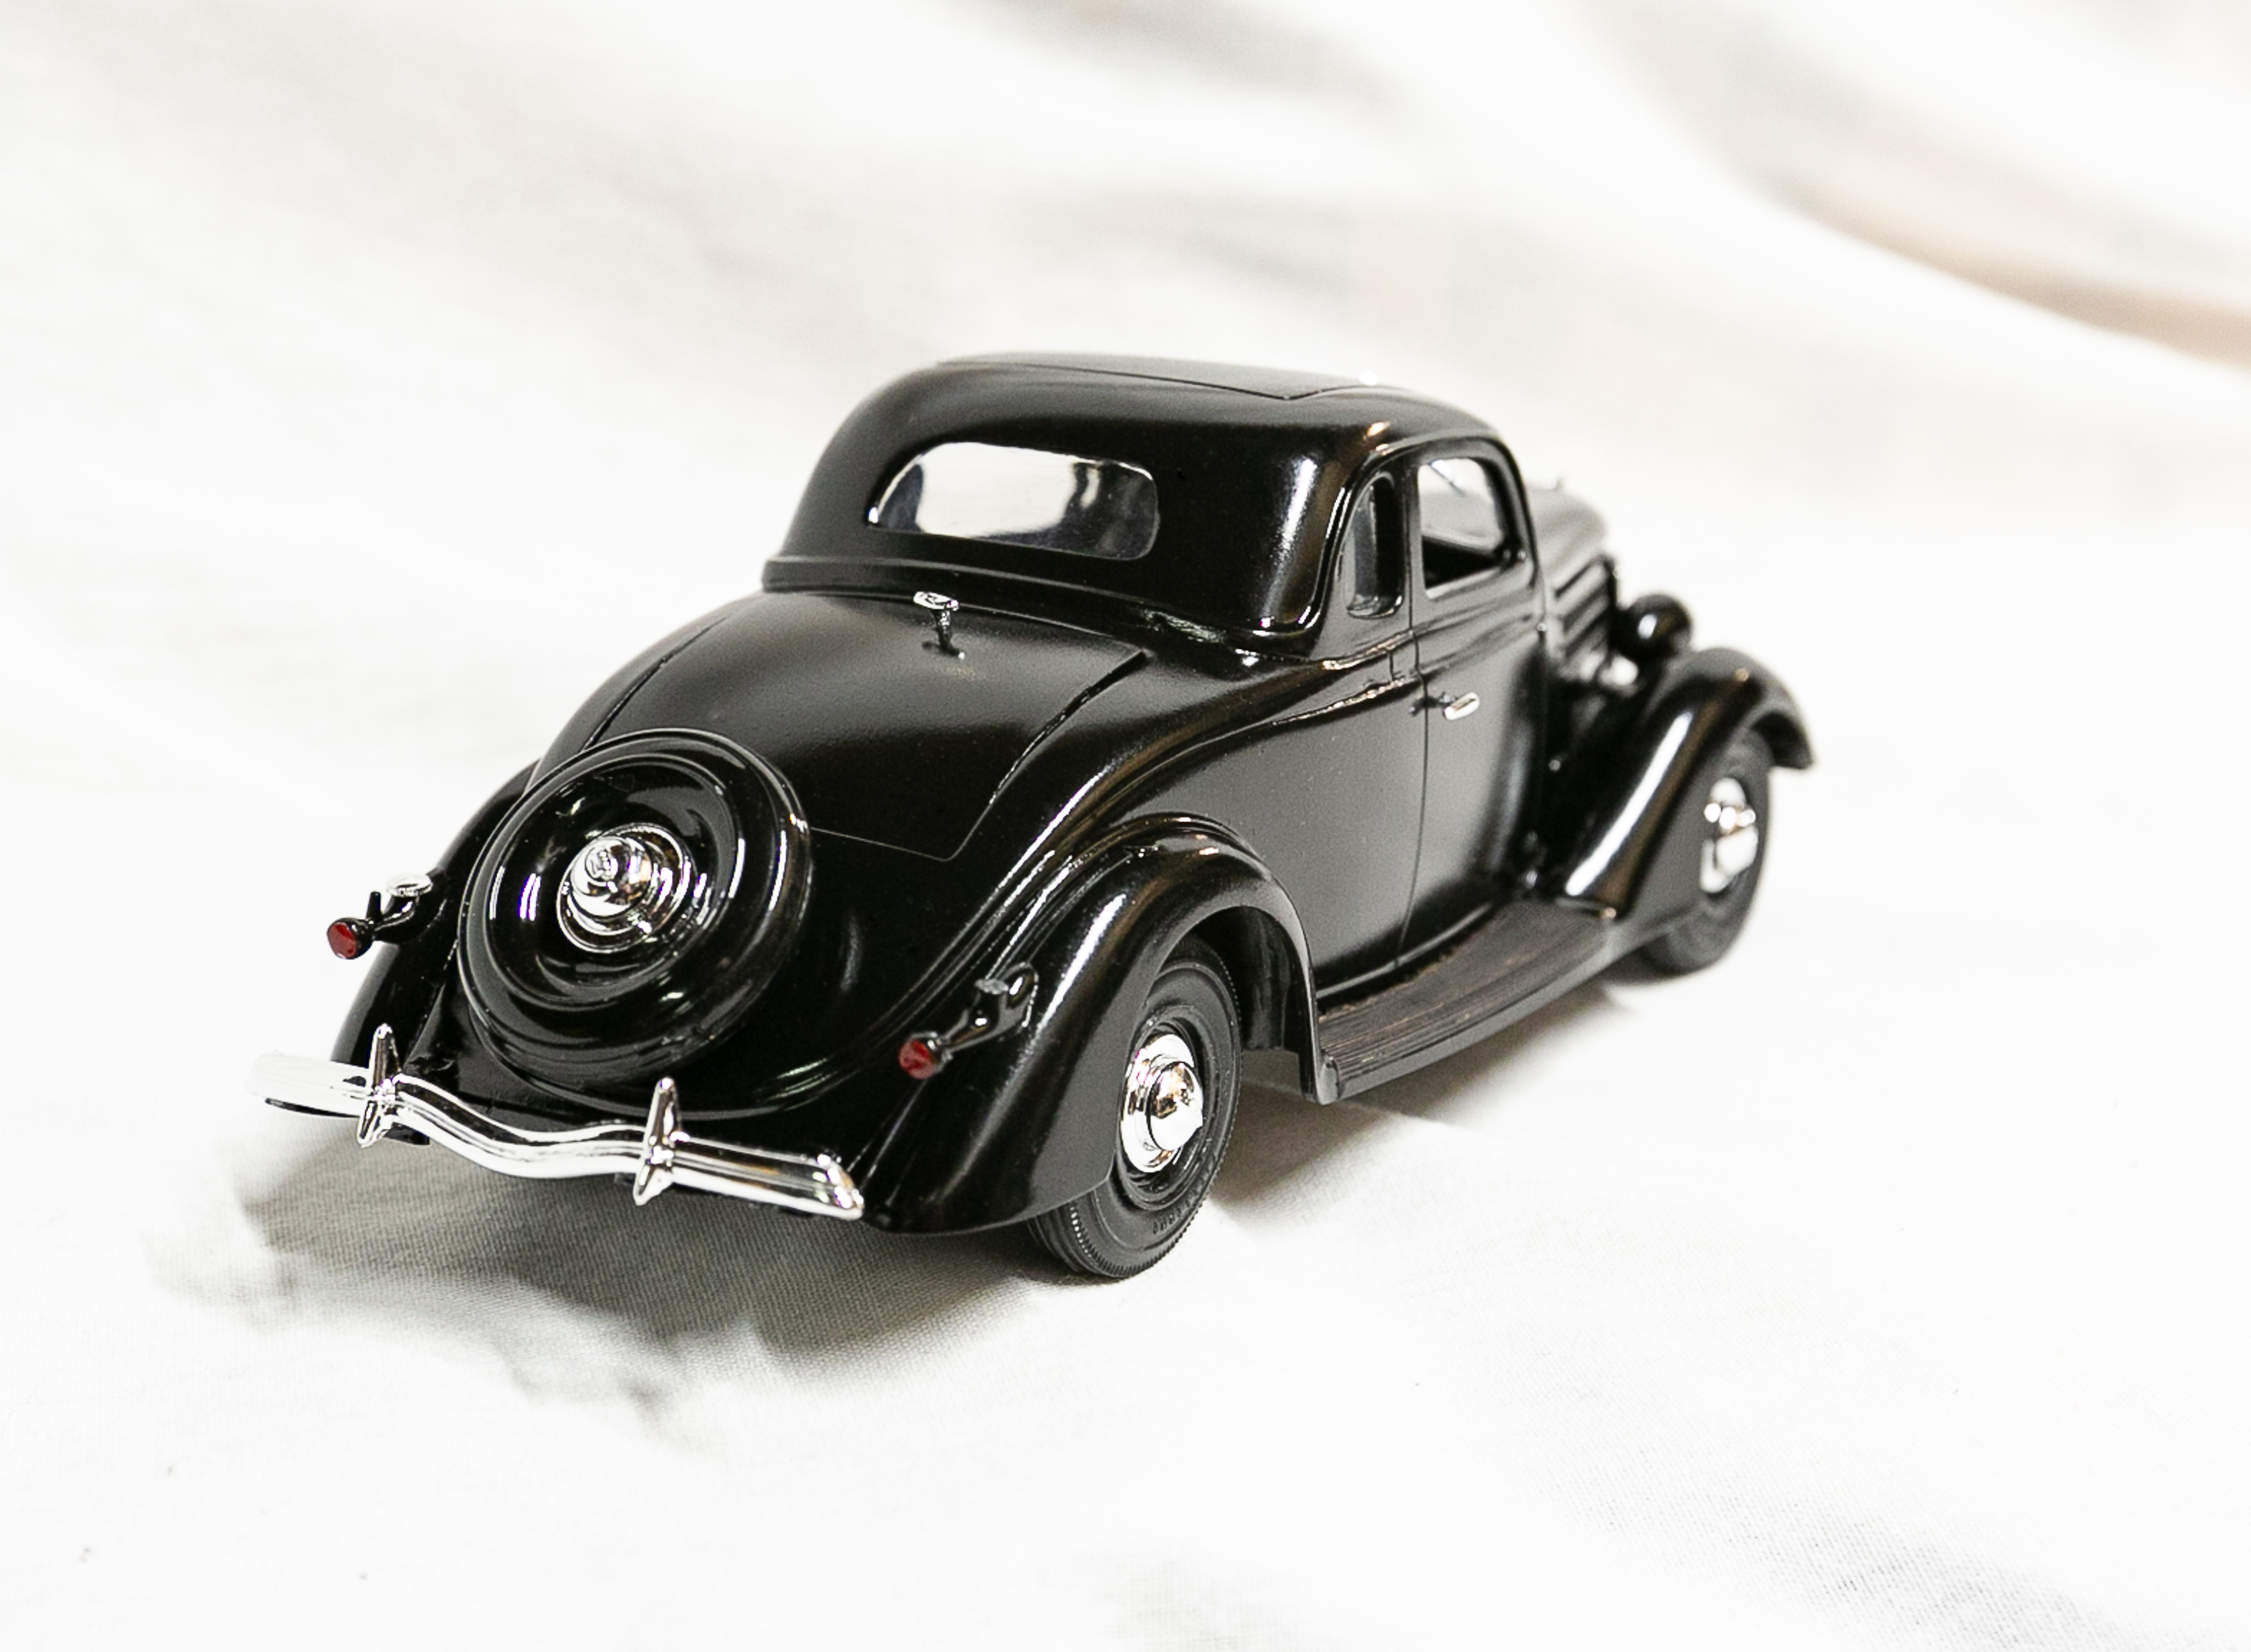
Dick Tracy's 1936 Ford V8 DeLuxe Coupe From the 1990 Dick Tracy movie.
-
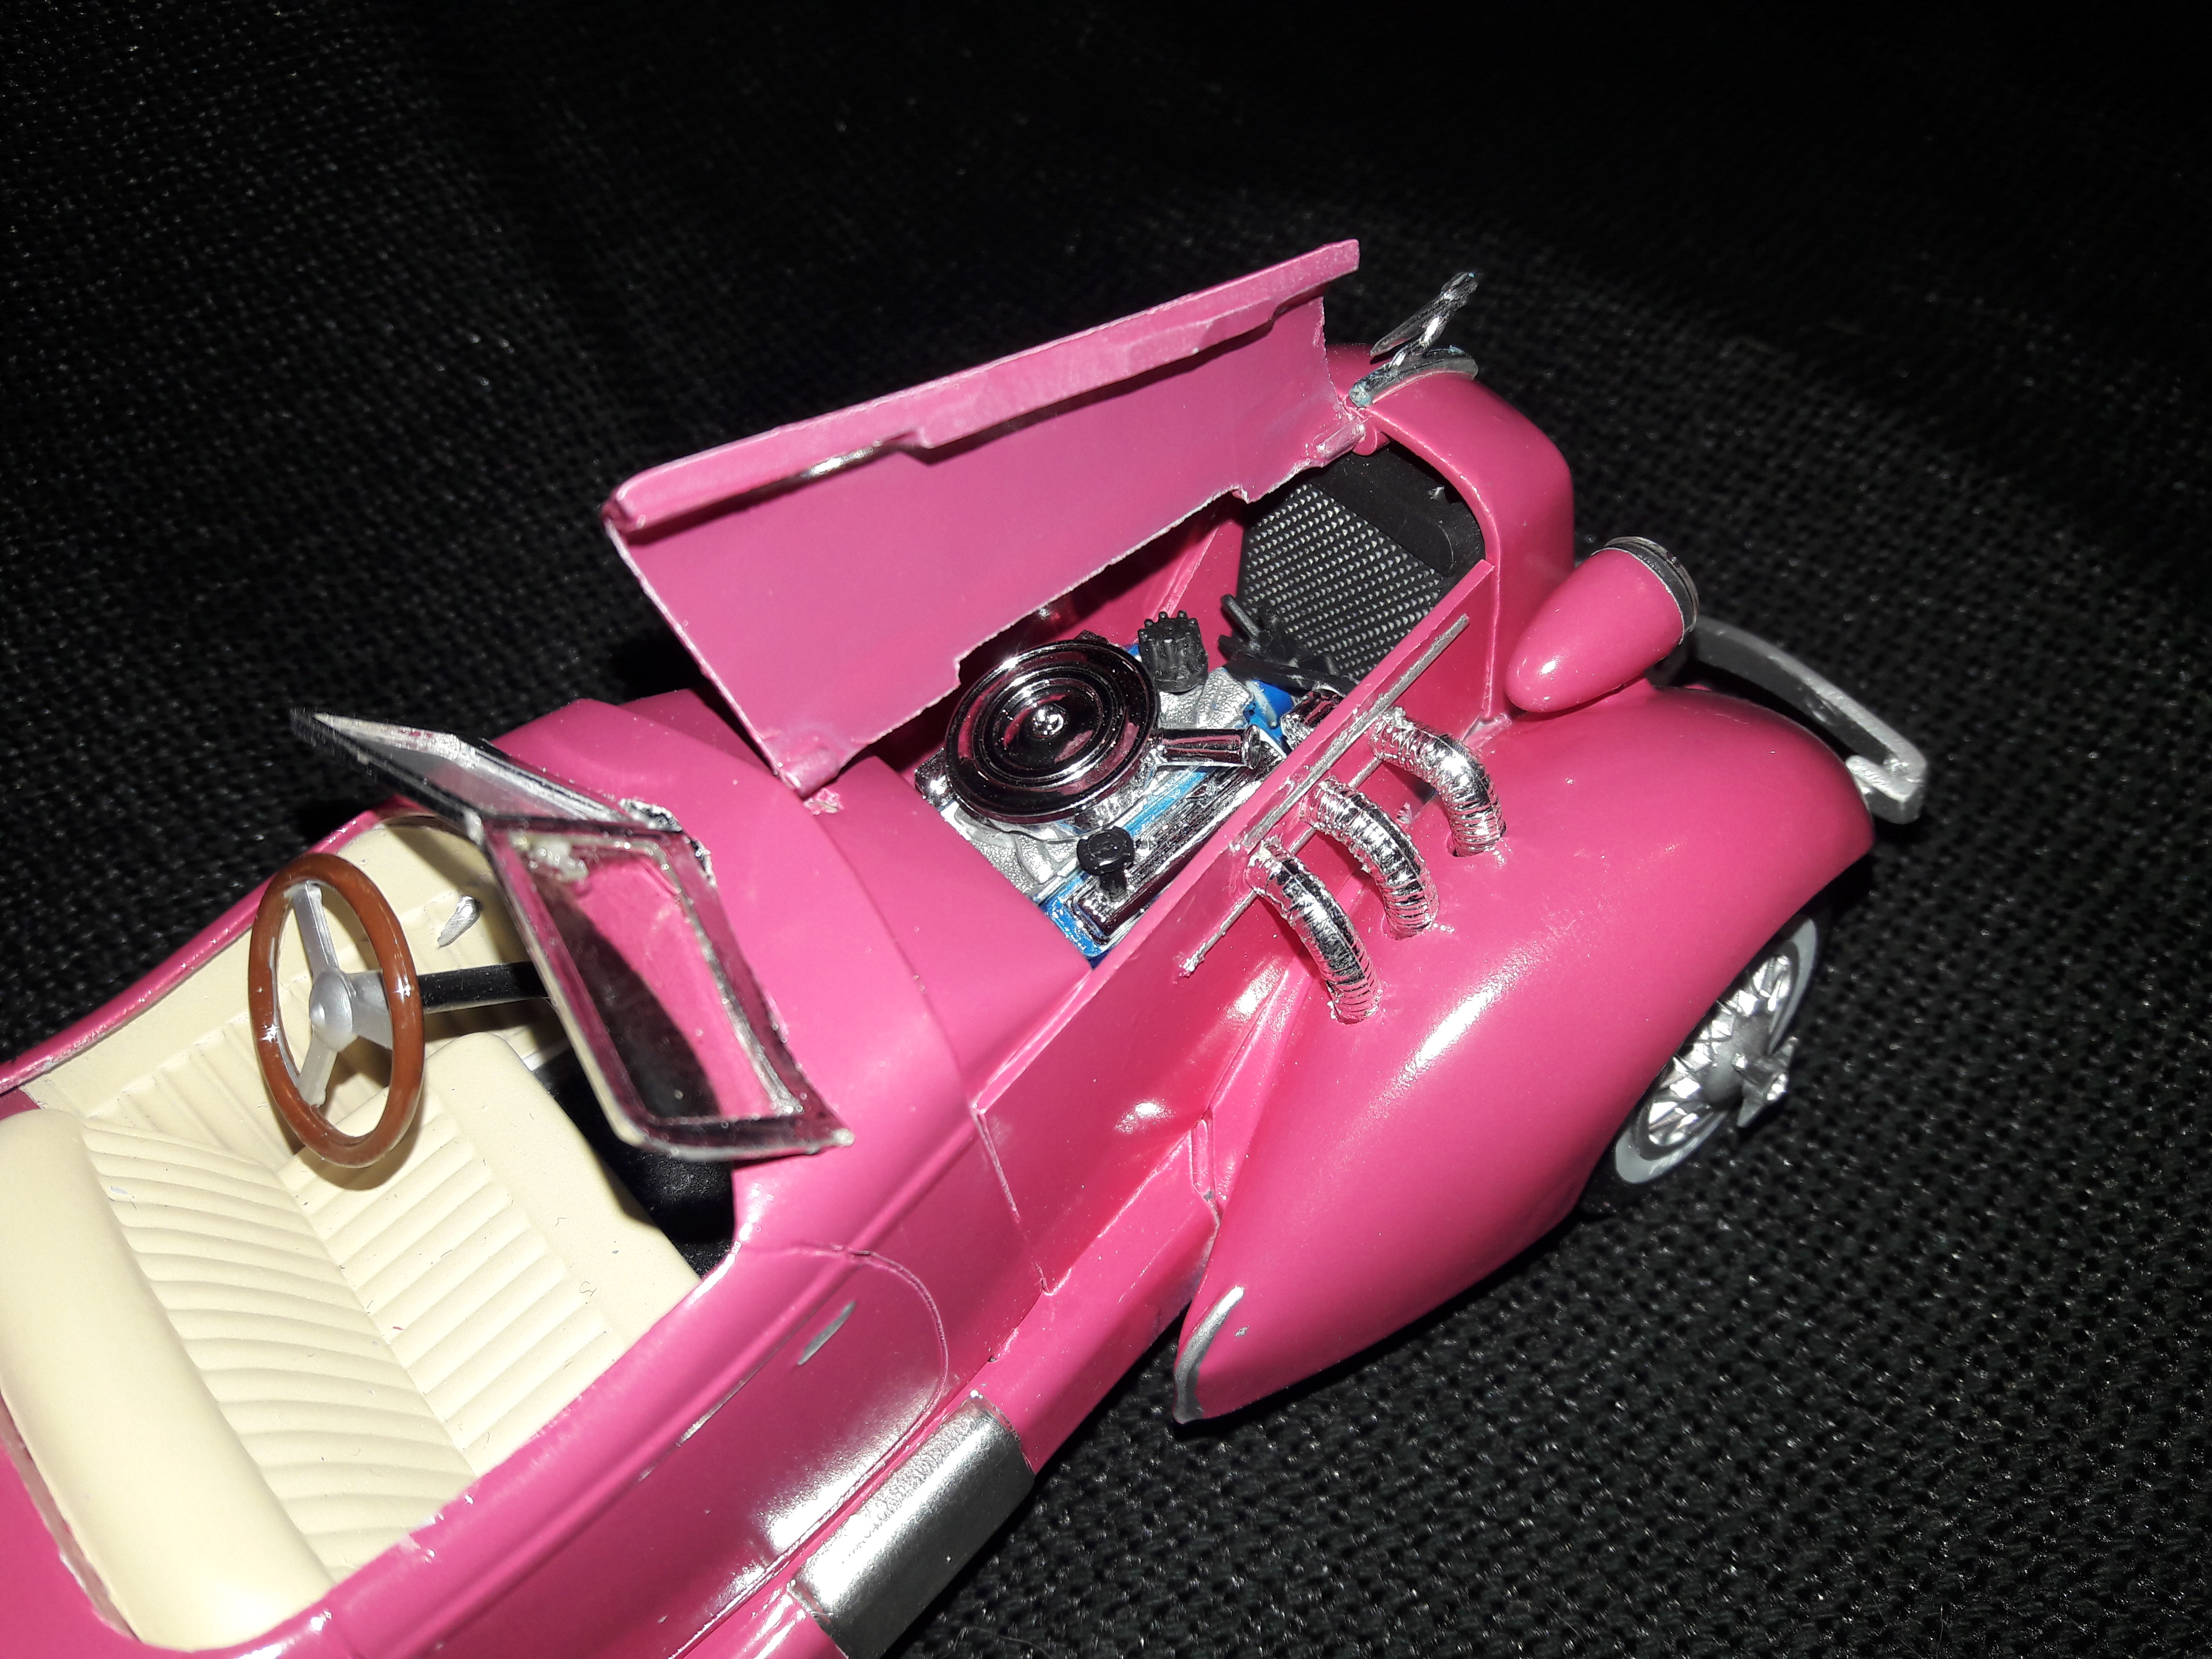
Breathless Mahoney's 1935 Auburn Speedster from the 1990 Dick Tracy movie. The movie car had a Ford 351 so that was added to replicate the actual movie car (although the engine was never shown on screen).
-
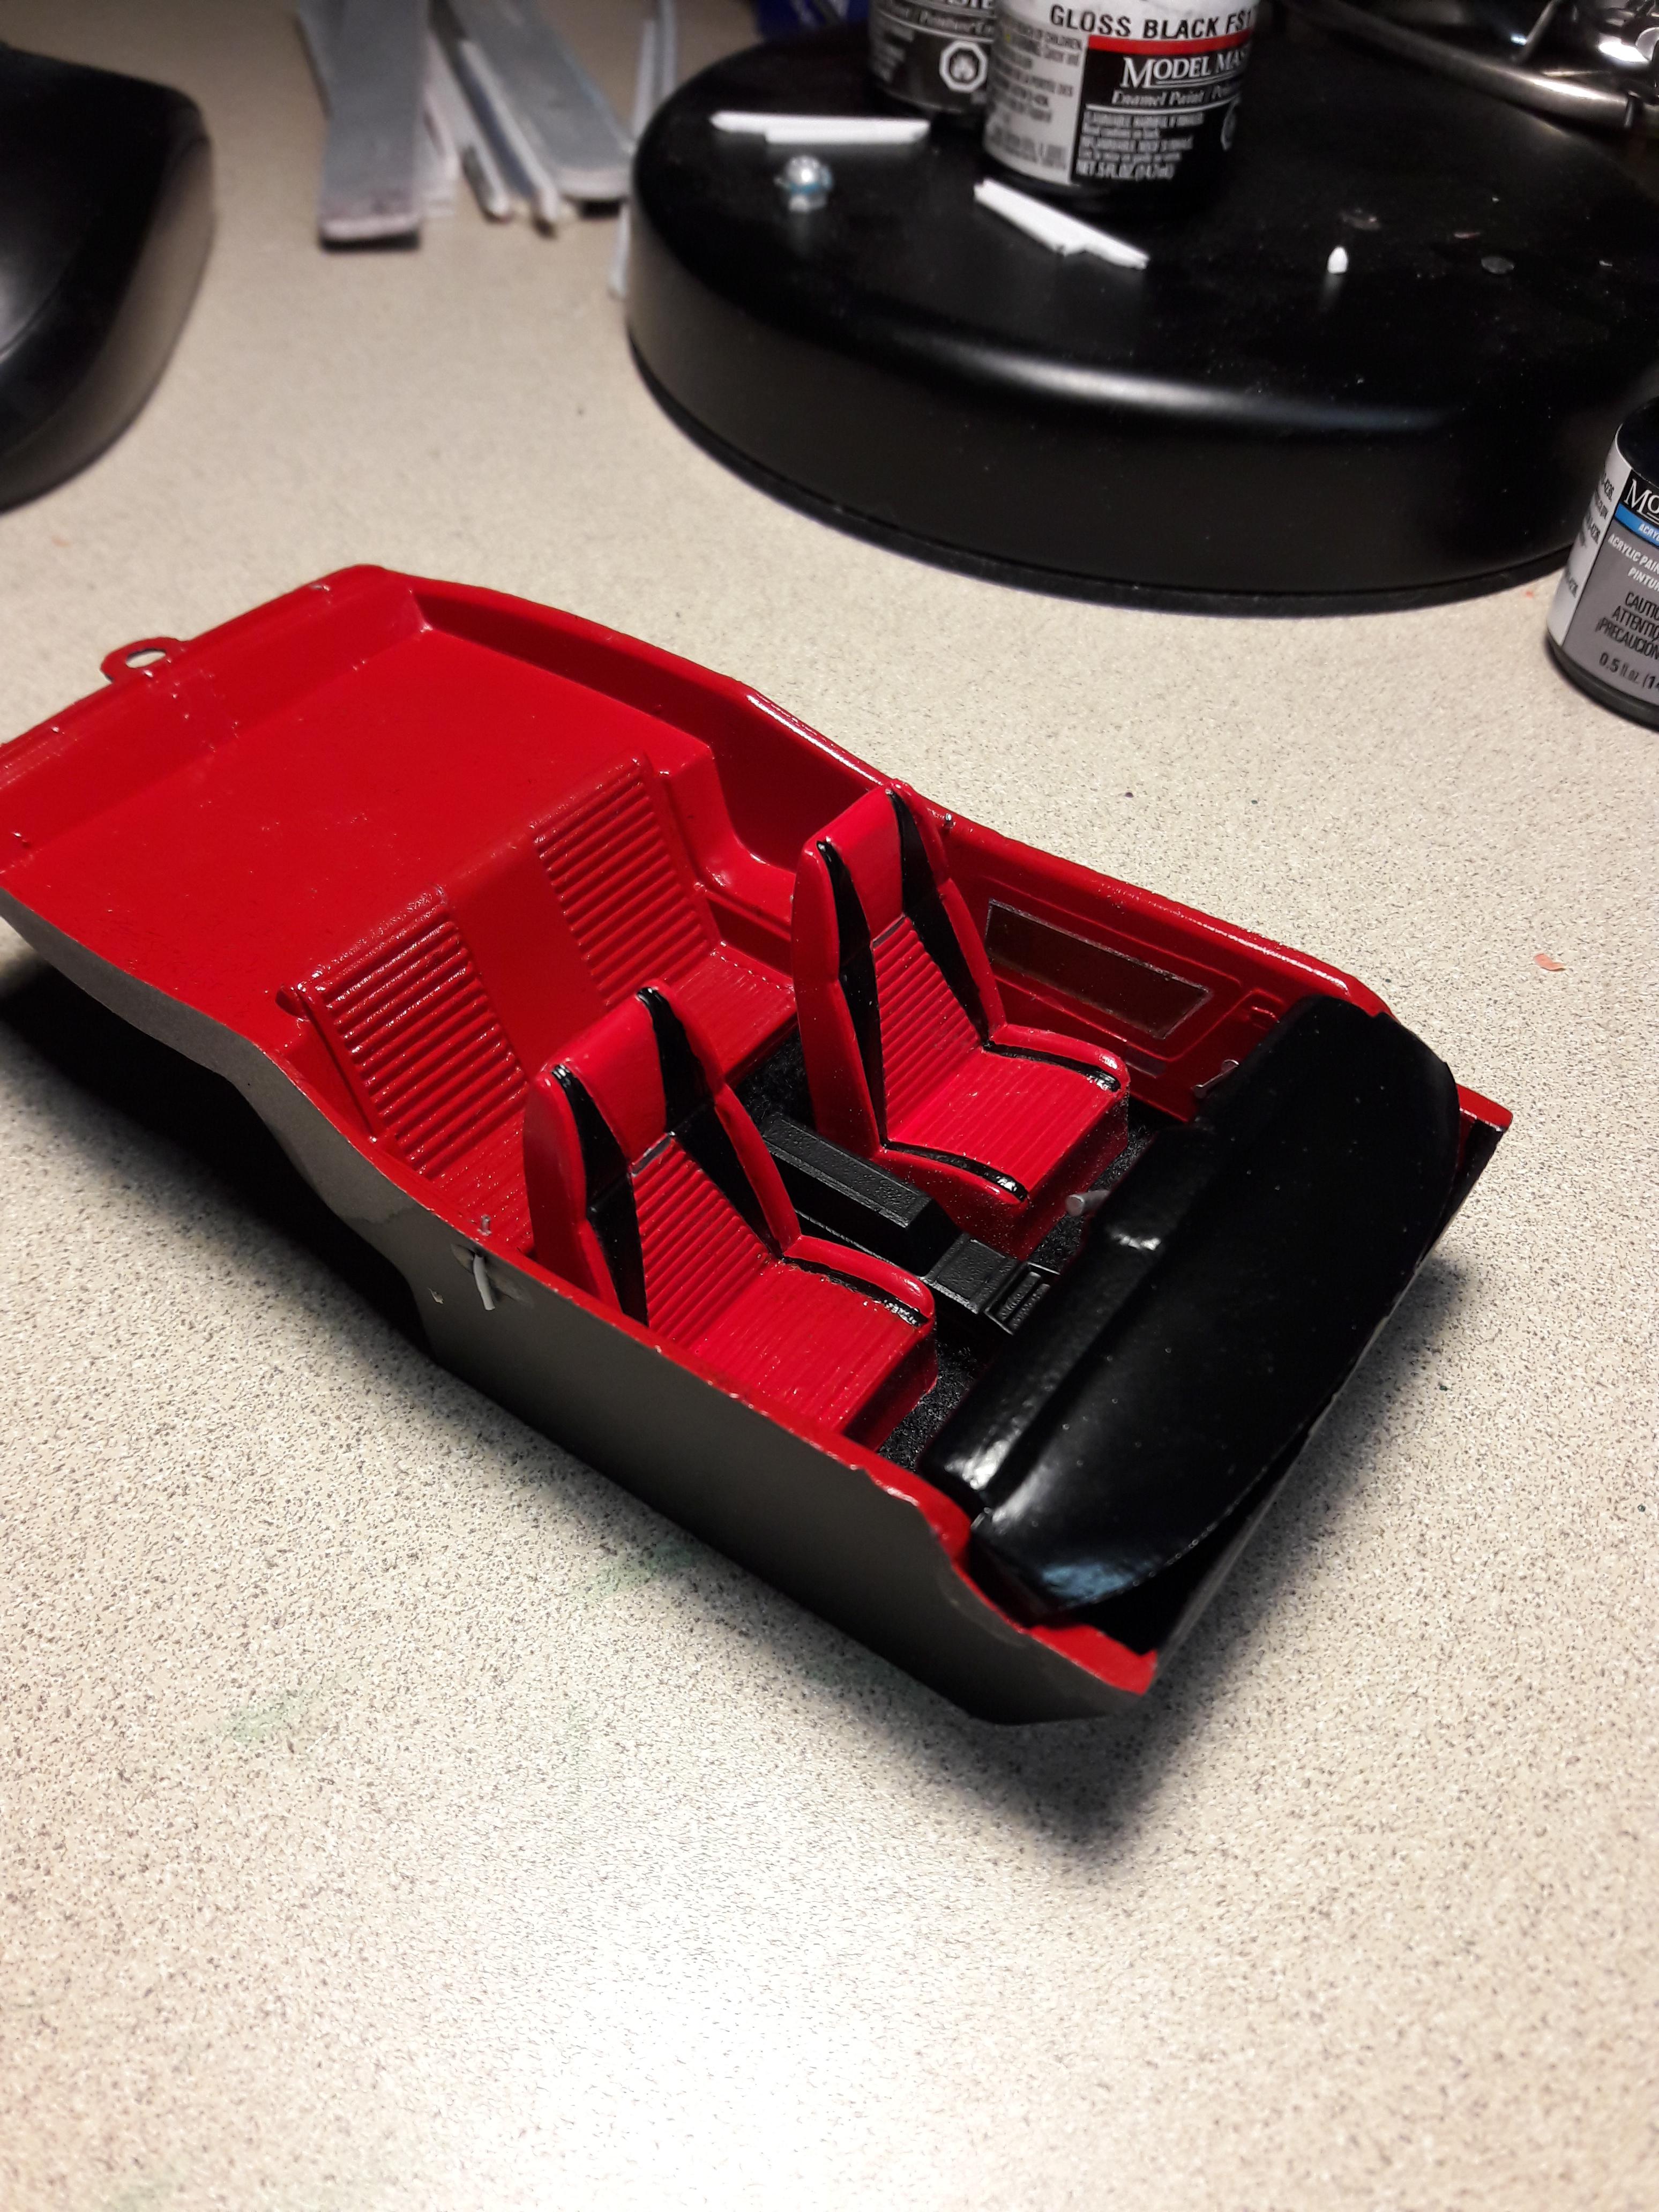
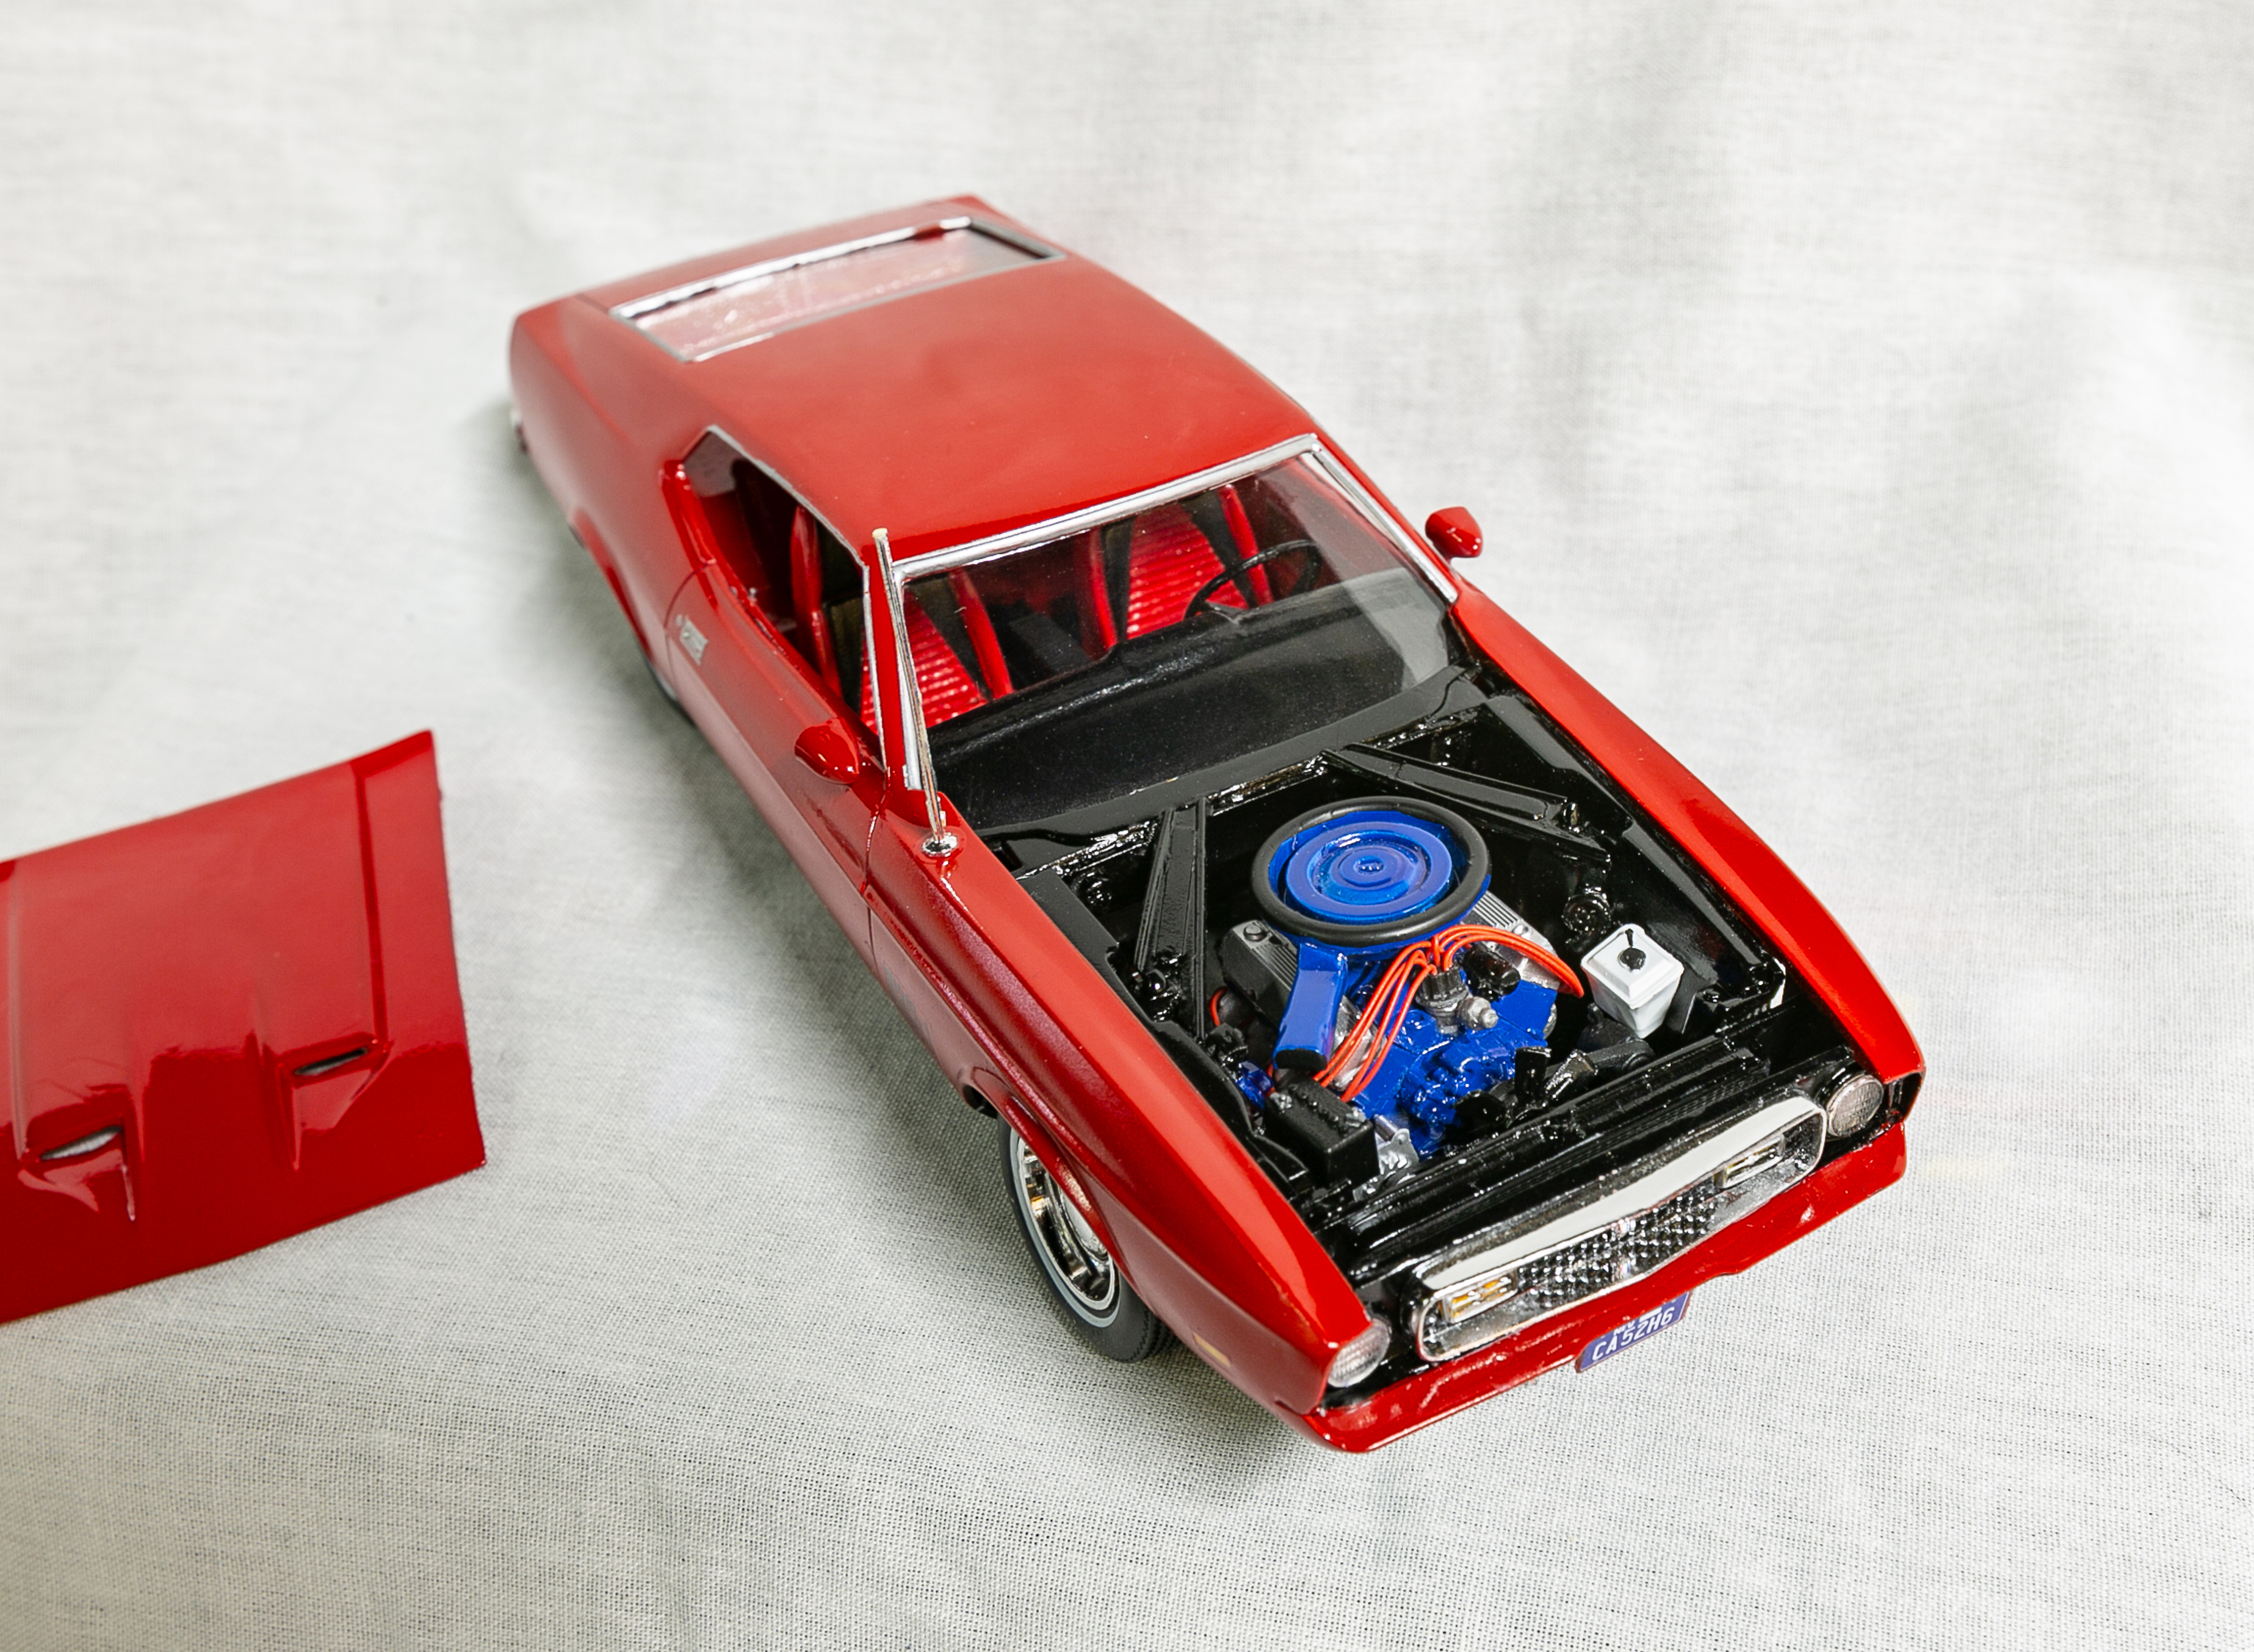
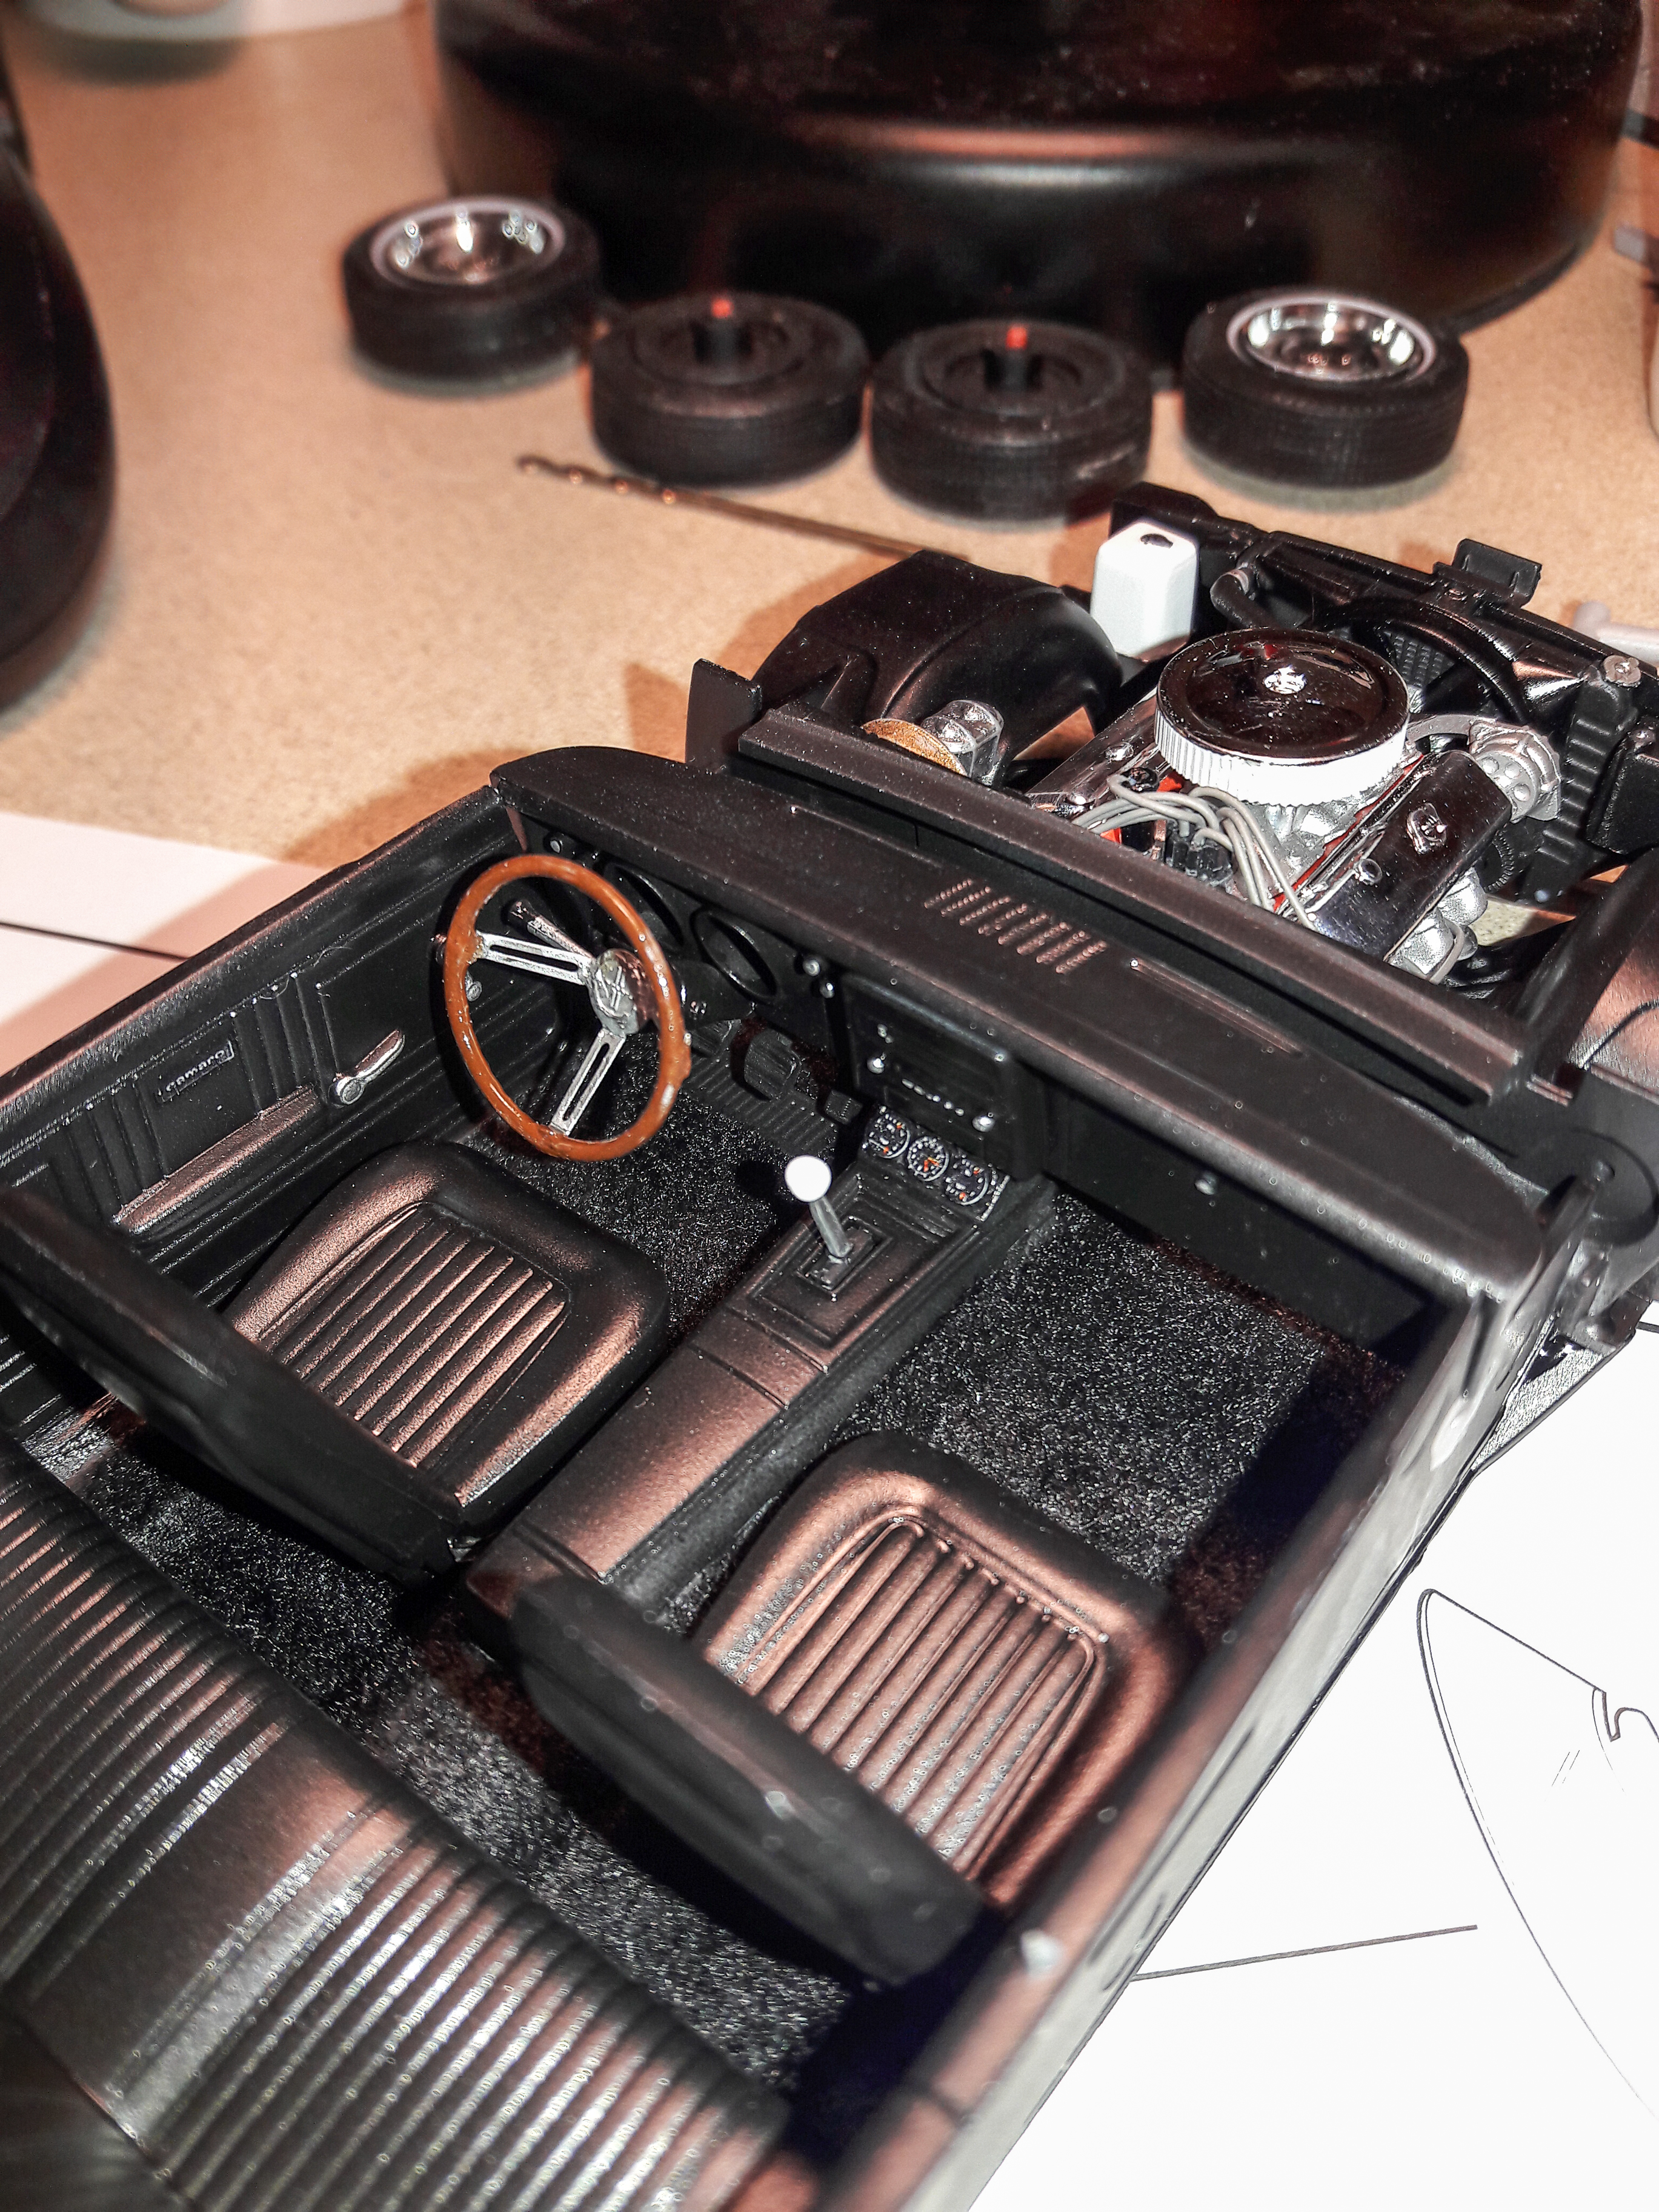
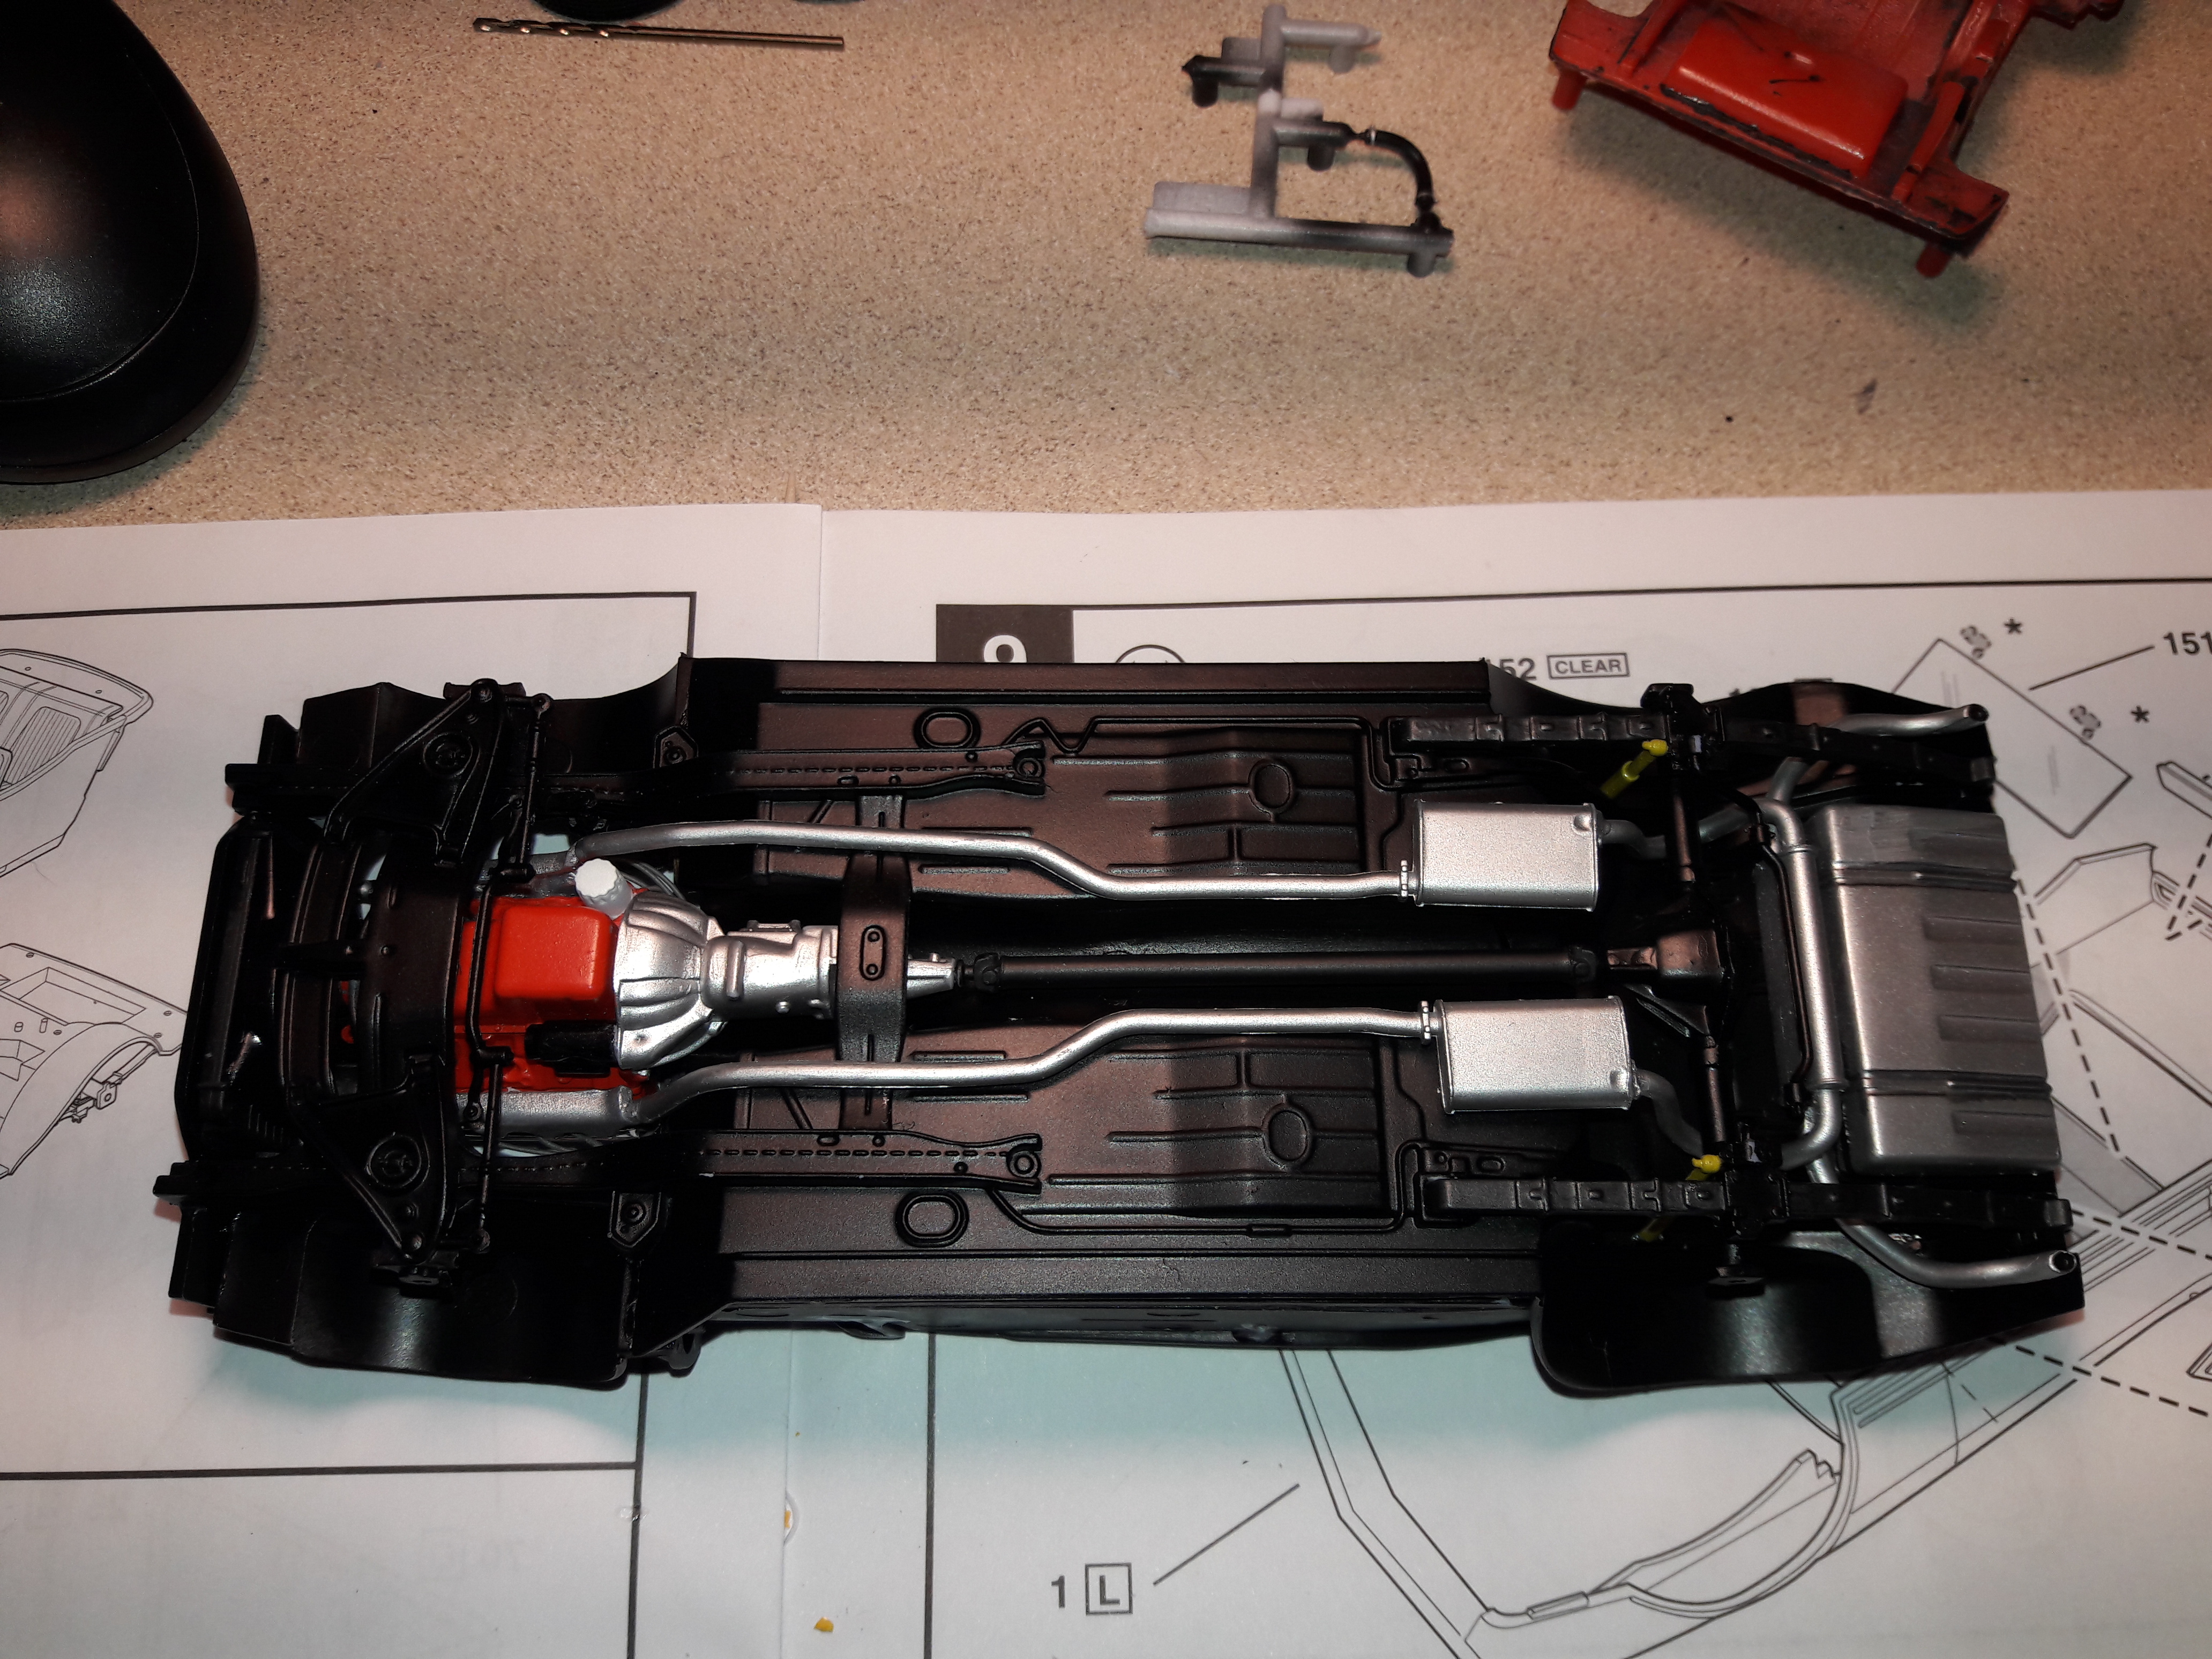
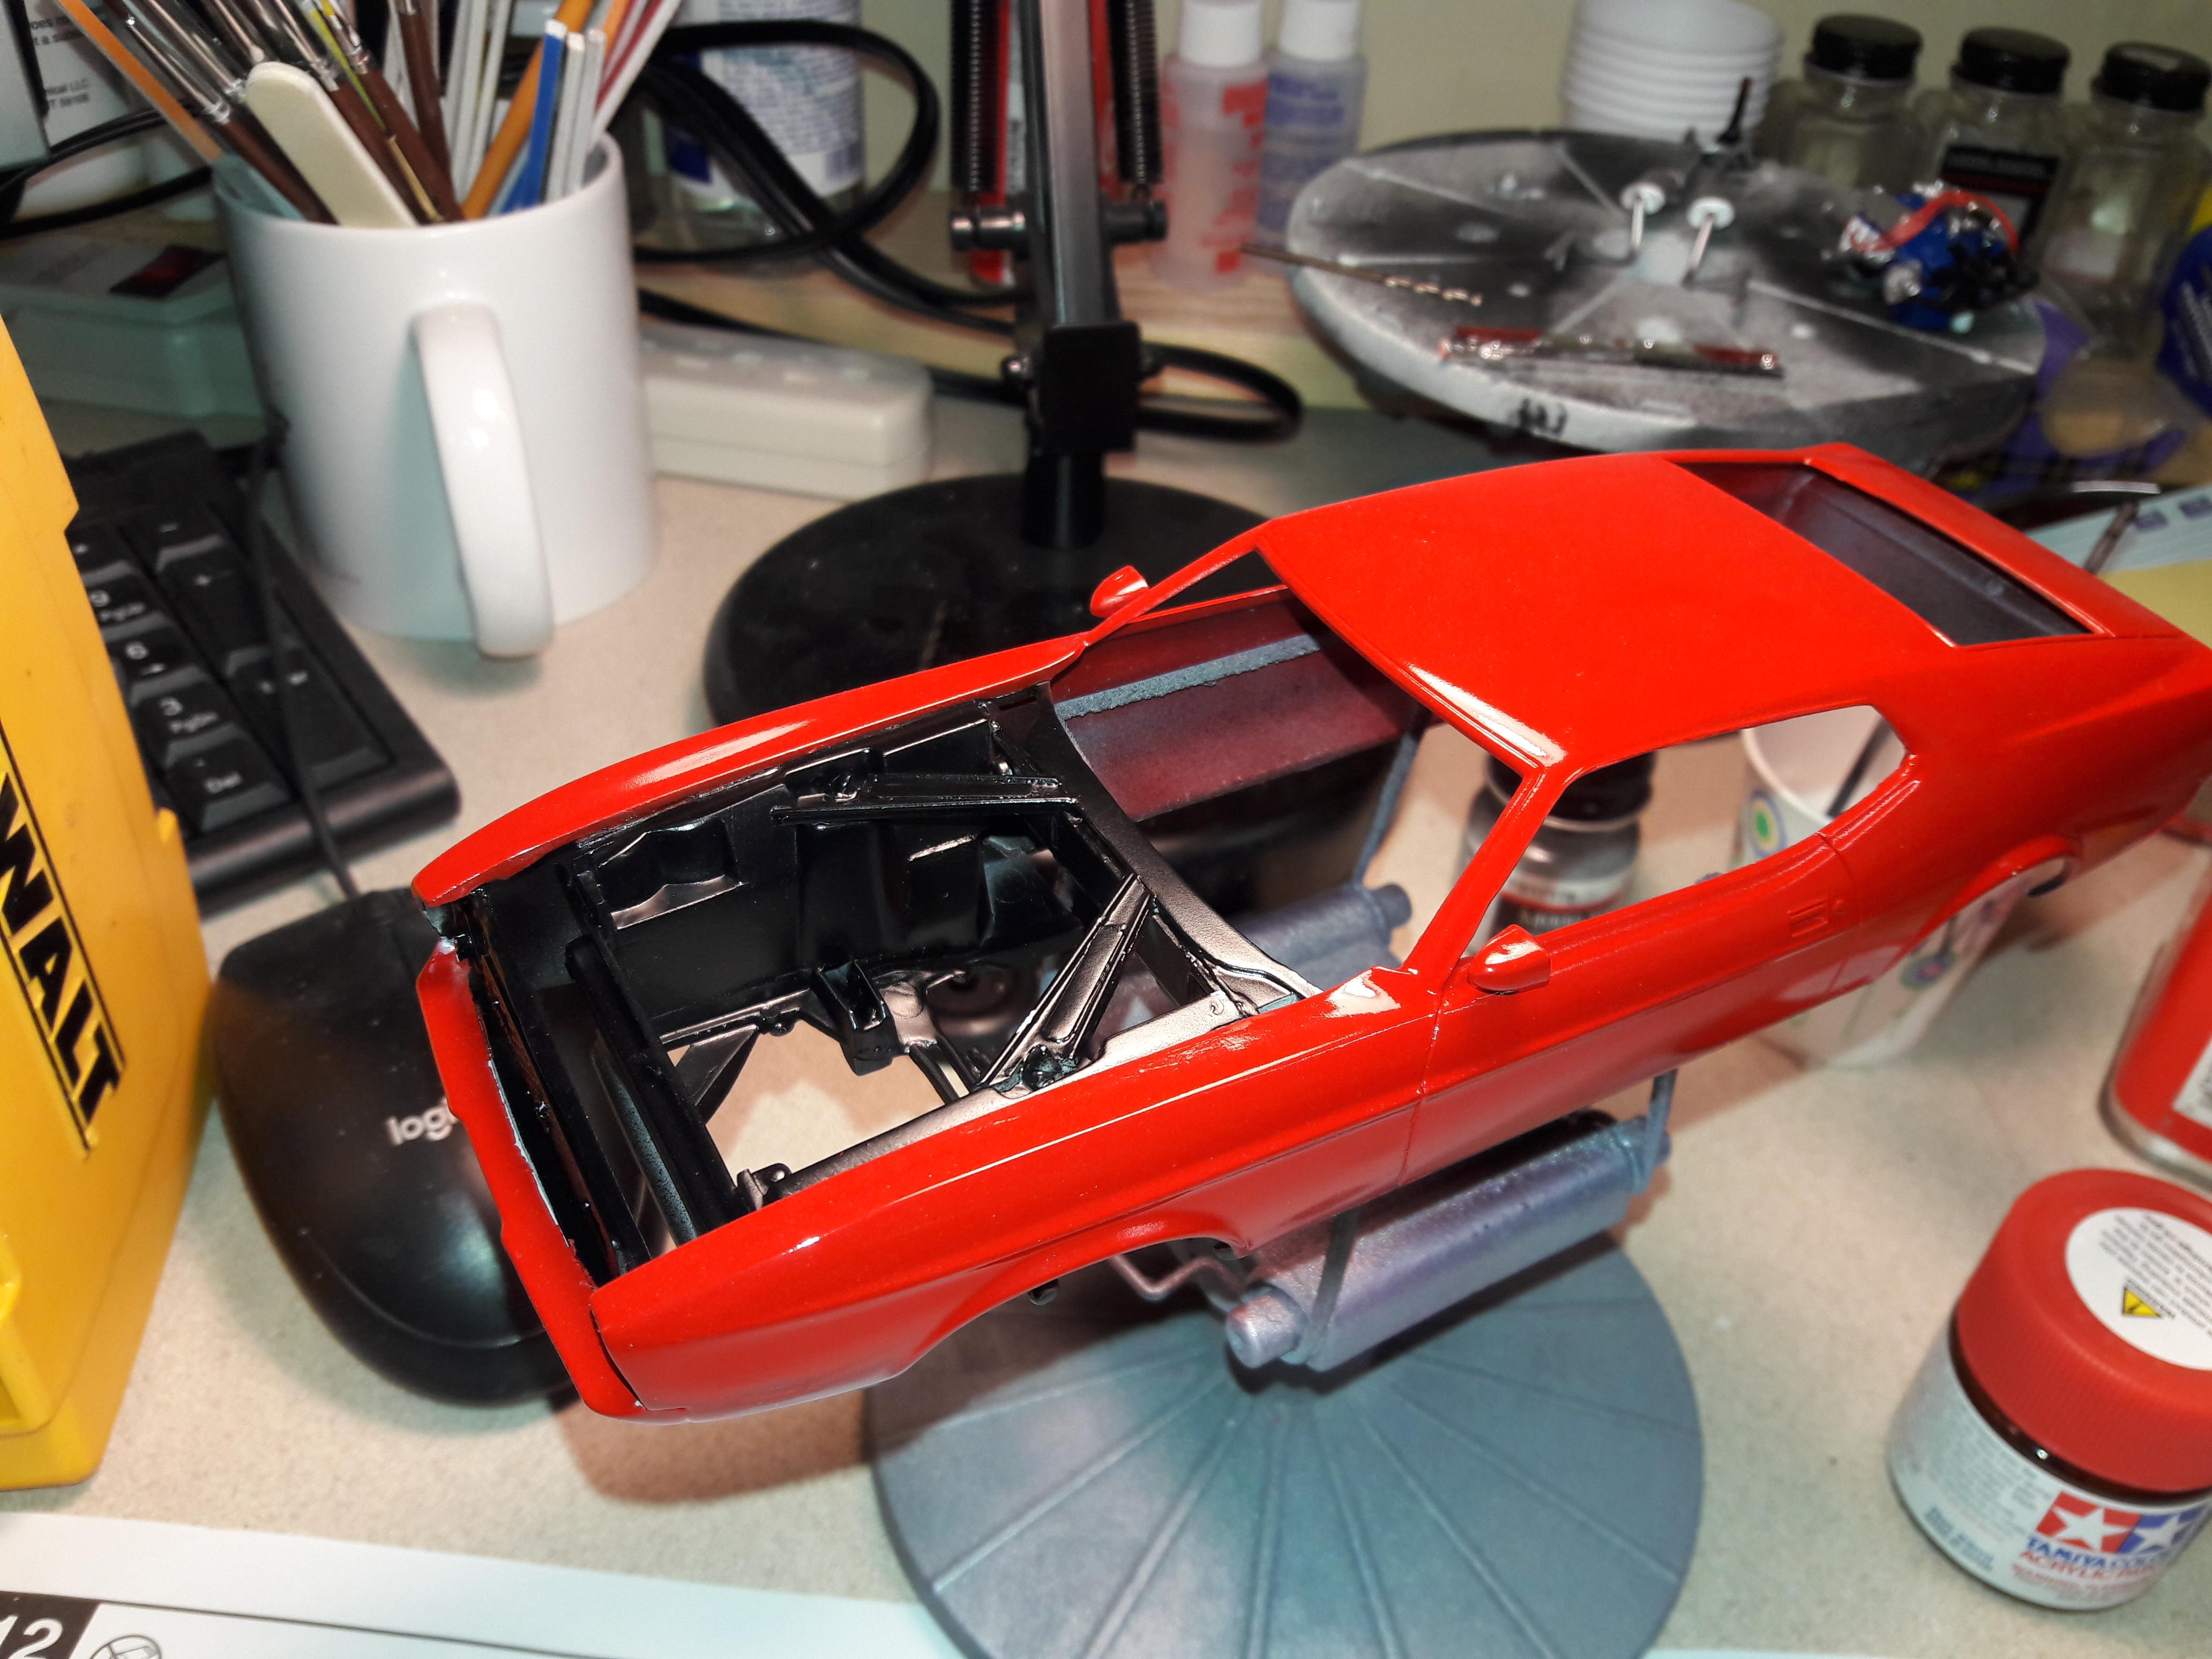
Did what I could with a very VERY disappointing kit. Lots of custom work on this build. This is AMTs "new" 007 James Bond 1971 Mustang Mach One kit. Lots of inaccuracies and issues with the kit but wont get into that here. Engine bay and front chassis/steering/suspension taken from a '70 Boss 429 kit. Rear 1/2 of chassis is from the AMT Bond Kit. Scratch built engine bay braces Correct 429 Cobra Jet engine/transmission from a Gran Torino kit Added reservoir tank, battery, plug wires, ignition relay to detail the engine bay Dual exhaust from Torino kit Added seatbelts, if you look close you can see them hanging down from the roof as they do in the movie Photo etch detail handles on interior tub and flock carpeting Opened the two hood scoops Filled in the cowl grill on the hood Lowered the rear view mirrors so more accurate Added the radio antenna License plates are movie accurate and came with the kit (one of the few good things about the kit!) My clear coating crazed a little so please pardon that And I never found the correct 1971 2-spoke steering wheel so its still the '73 three spoke style Enjoy and happy building!
-
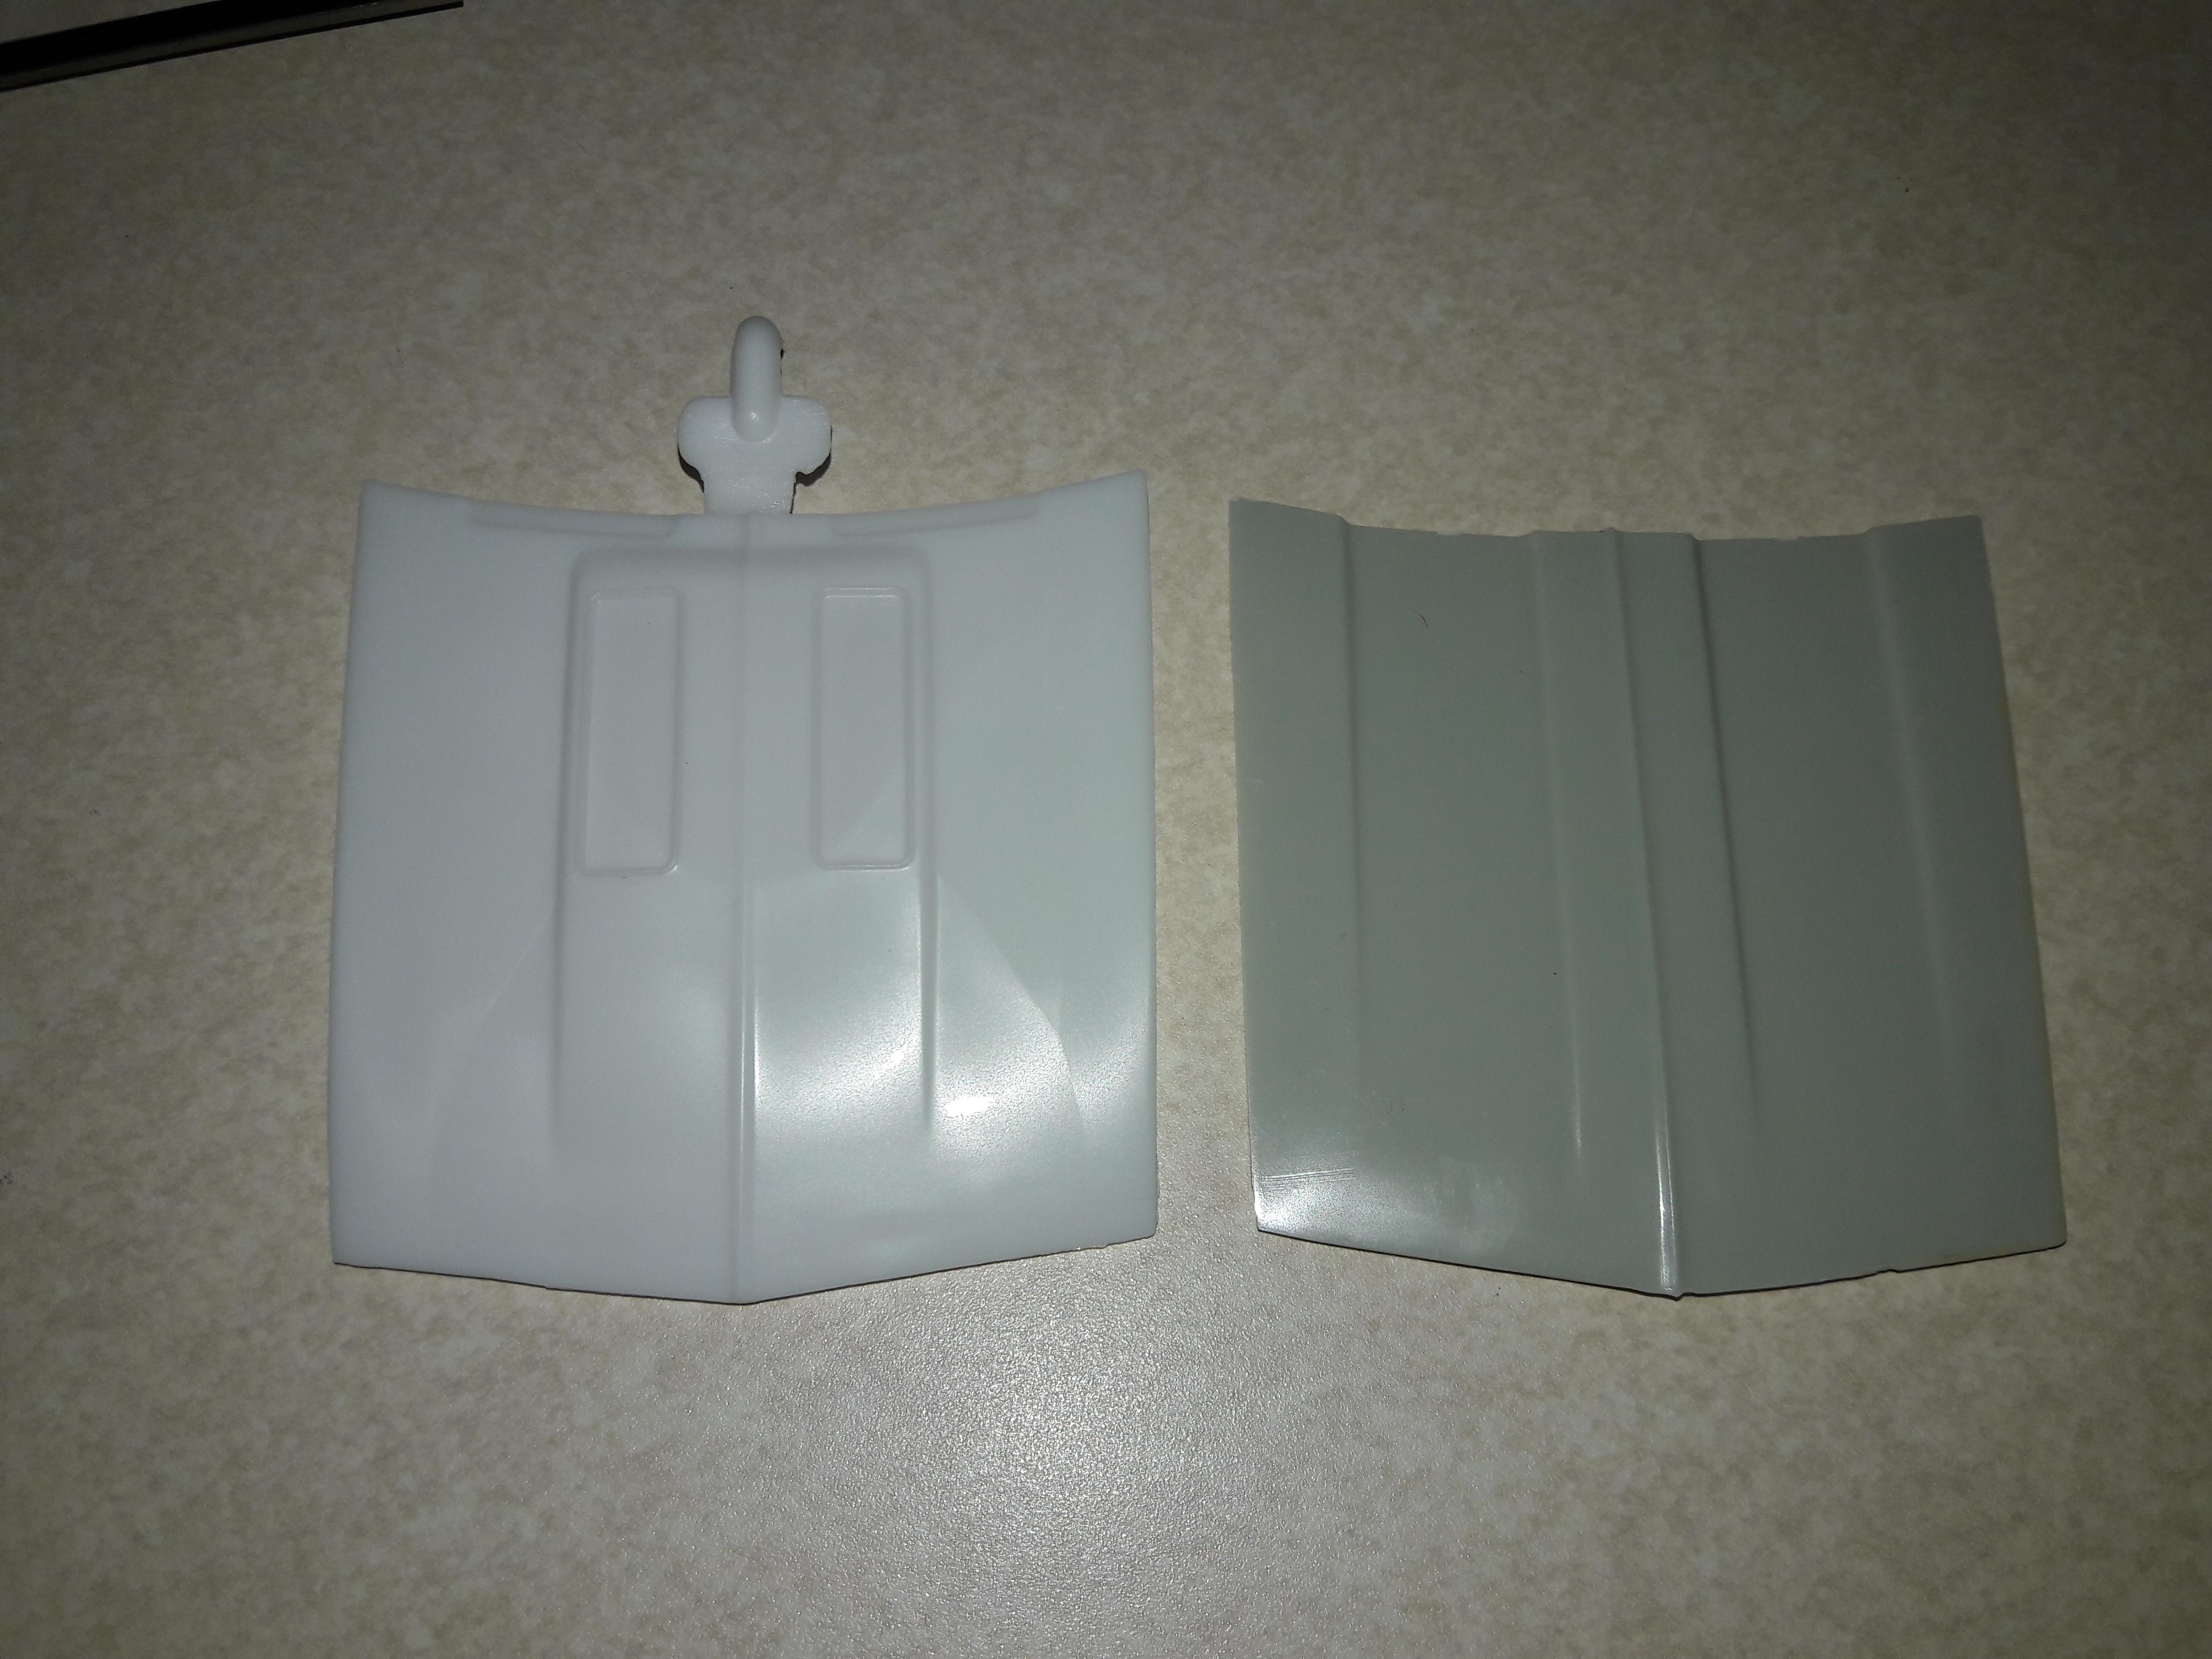
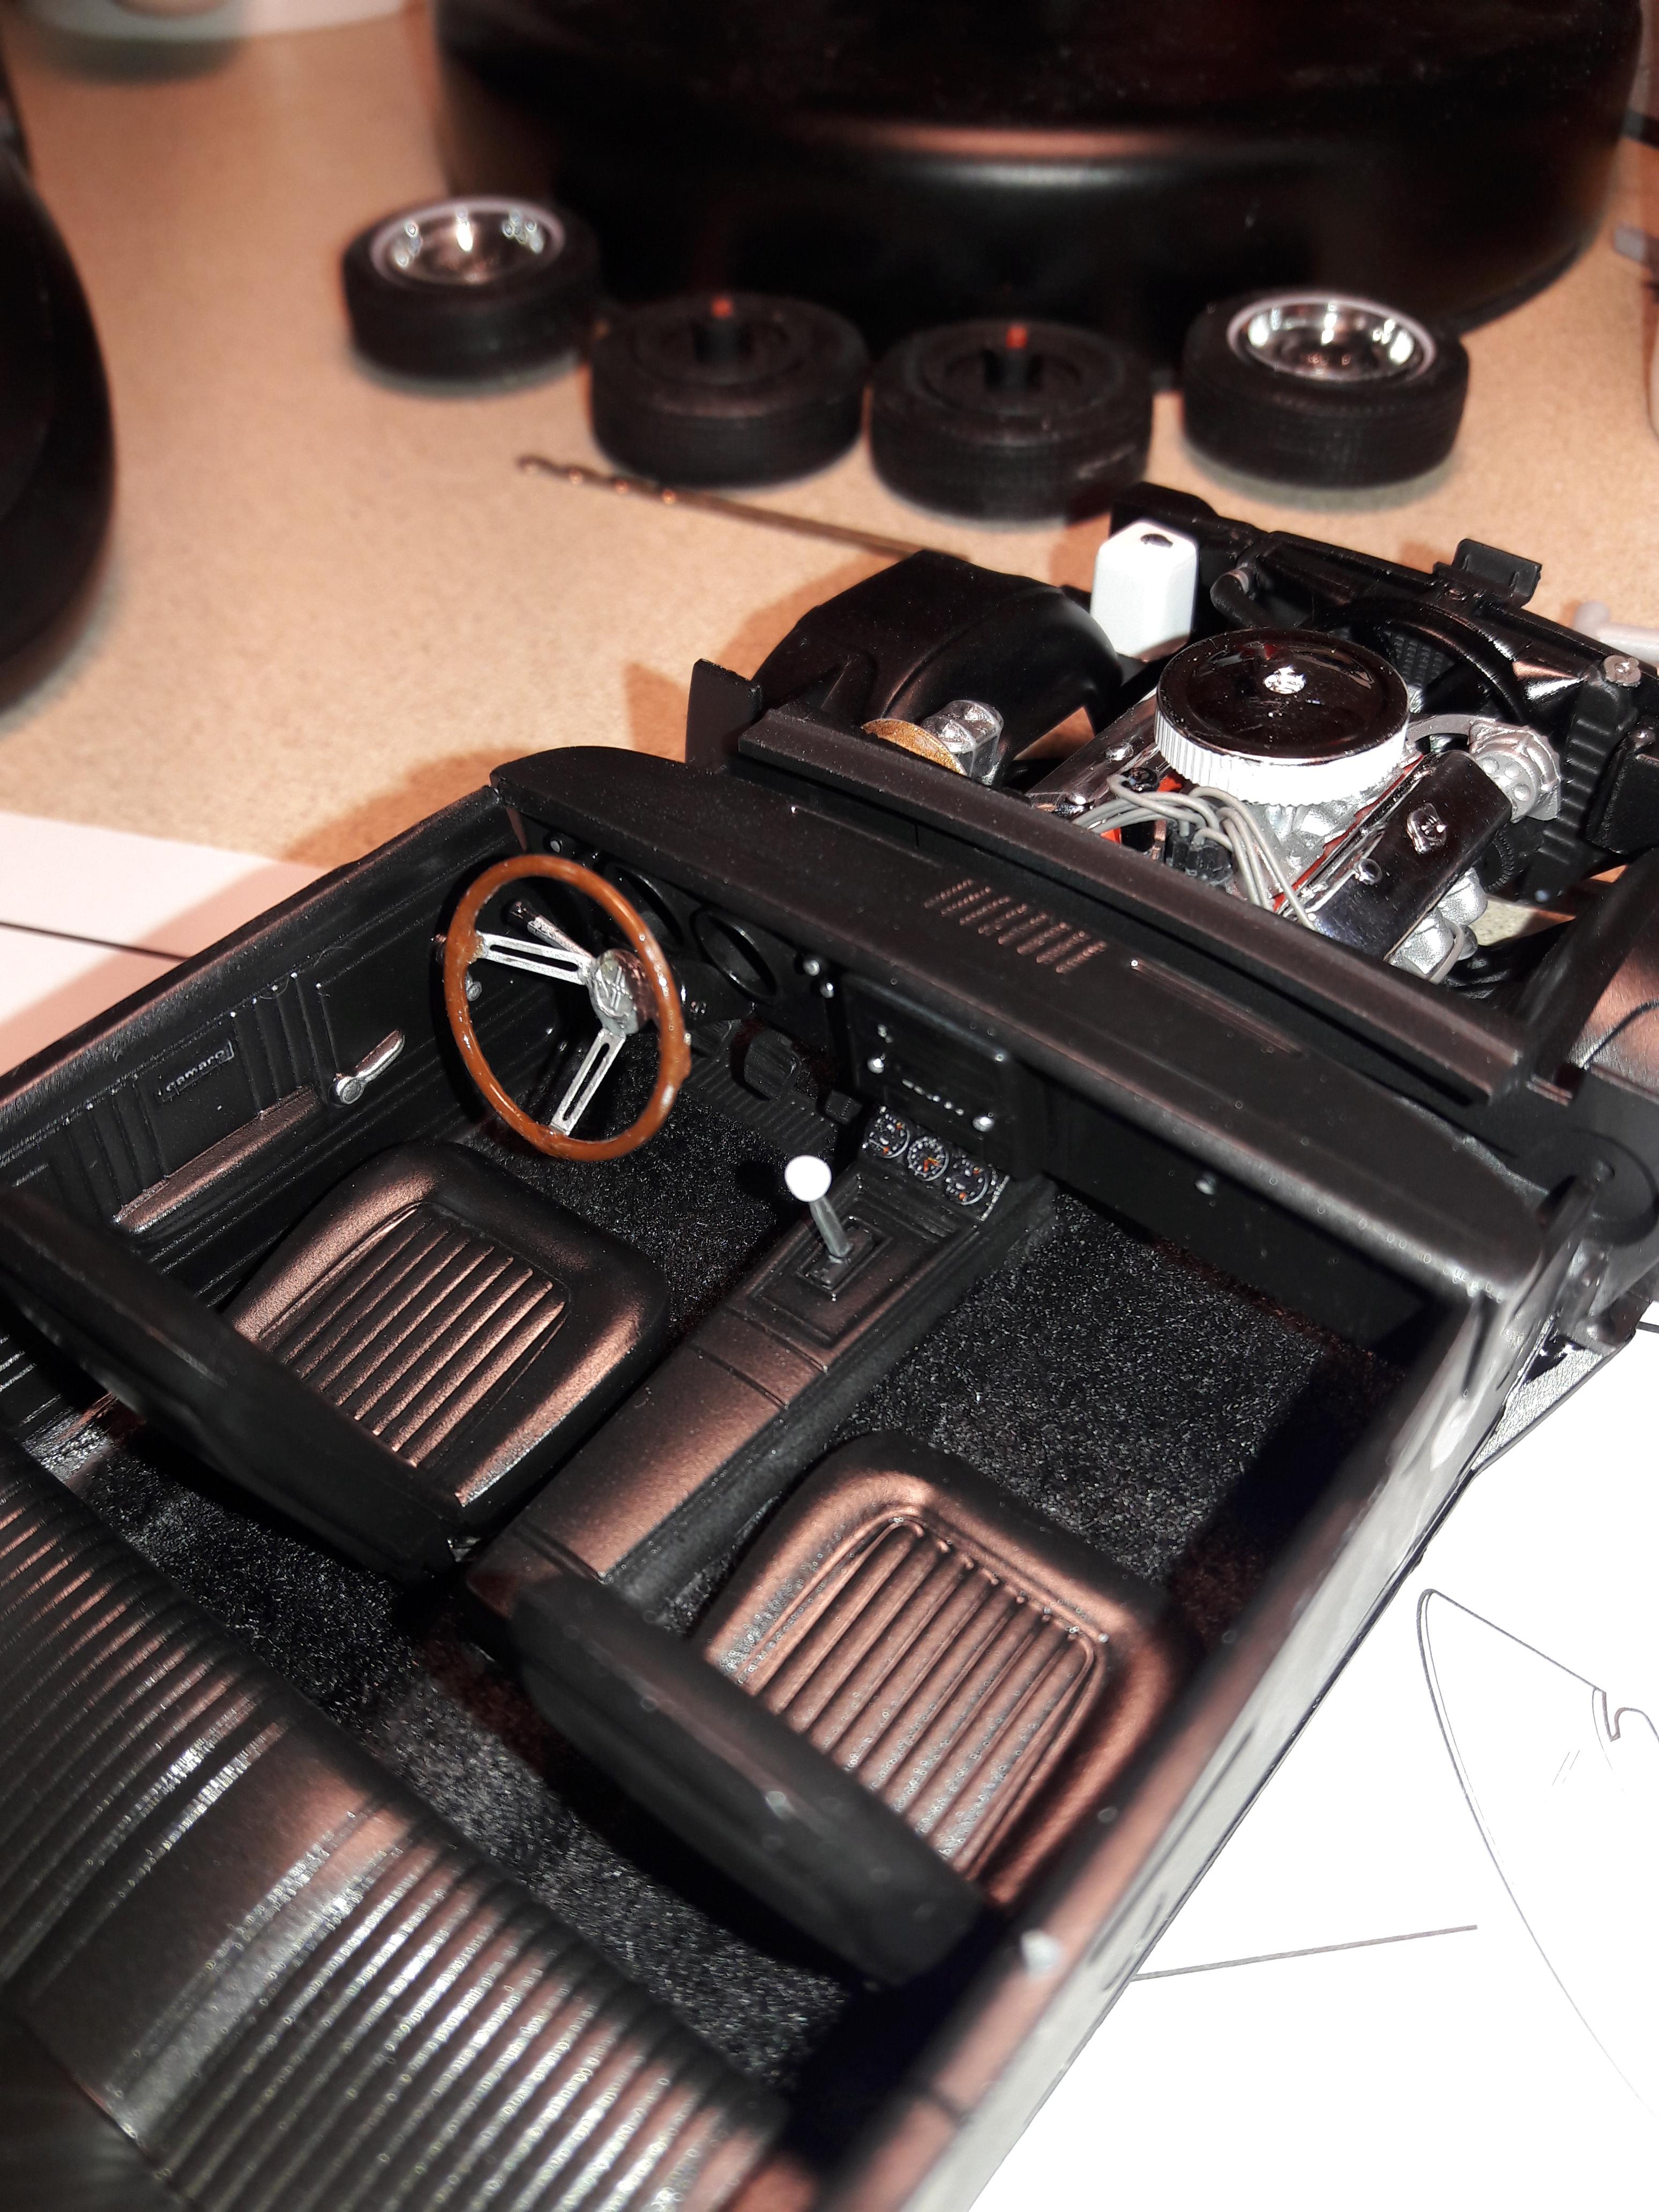
Finished with my build of Buddy Repperton's 1967 Camaro from the movie Christine. This was the Revell kit with a few modifications which include: Replaced the SS hood from the Revell kit with the standard hood from the AMT kit. Not a perfect fit but matches the hood from the movie New hood/trunk stripes from Dave Strickler. The kit emblems were printed with the hood louvers in mind and would not work on a standard hood. Replaced the grill with the molded in SS emblem with a standard grill (also from the AMT kit) and added a photo etch emblem Photo etch Camaro script emblems on hood and trunk. Photo etch flag emblems on front fenders with kit decals applied. Turbine wheels. No one seems to have the correct Remington XT-Belted tires so went with plain blackwall tires for now. Hoping to find the correct tires or decals for them in the future. Photo etch standard gas cap instead of the SS version in the kit Tamiya SkyBlue Anodized Aluminum (PS-49) over a base of Tamiya Bare Metal Silver (AS-12) with a generous layer of Tamiya Clear (TS-13). Standard interior build with added carpet and photo etch steering wheel Standard 396 engine with added plug wires, although I know the alternator is on the incorrect side for a true 1967 396. I am guessing Buddy swapped motors as some point. See my Christine build if interested.... Enjoy and Happy Building!
-
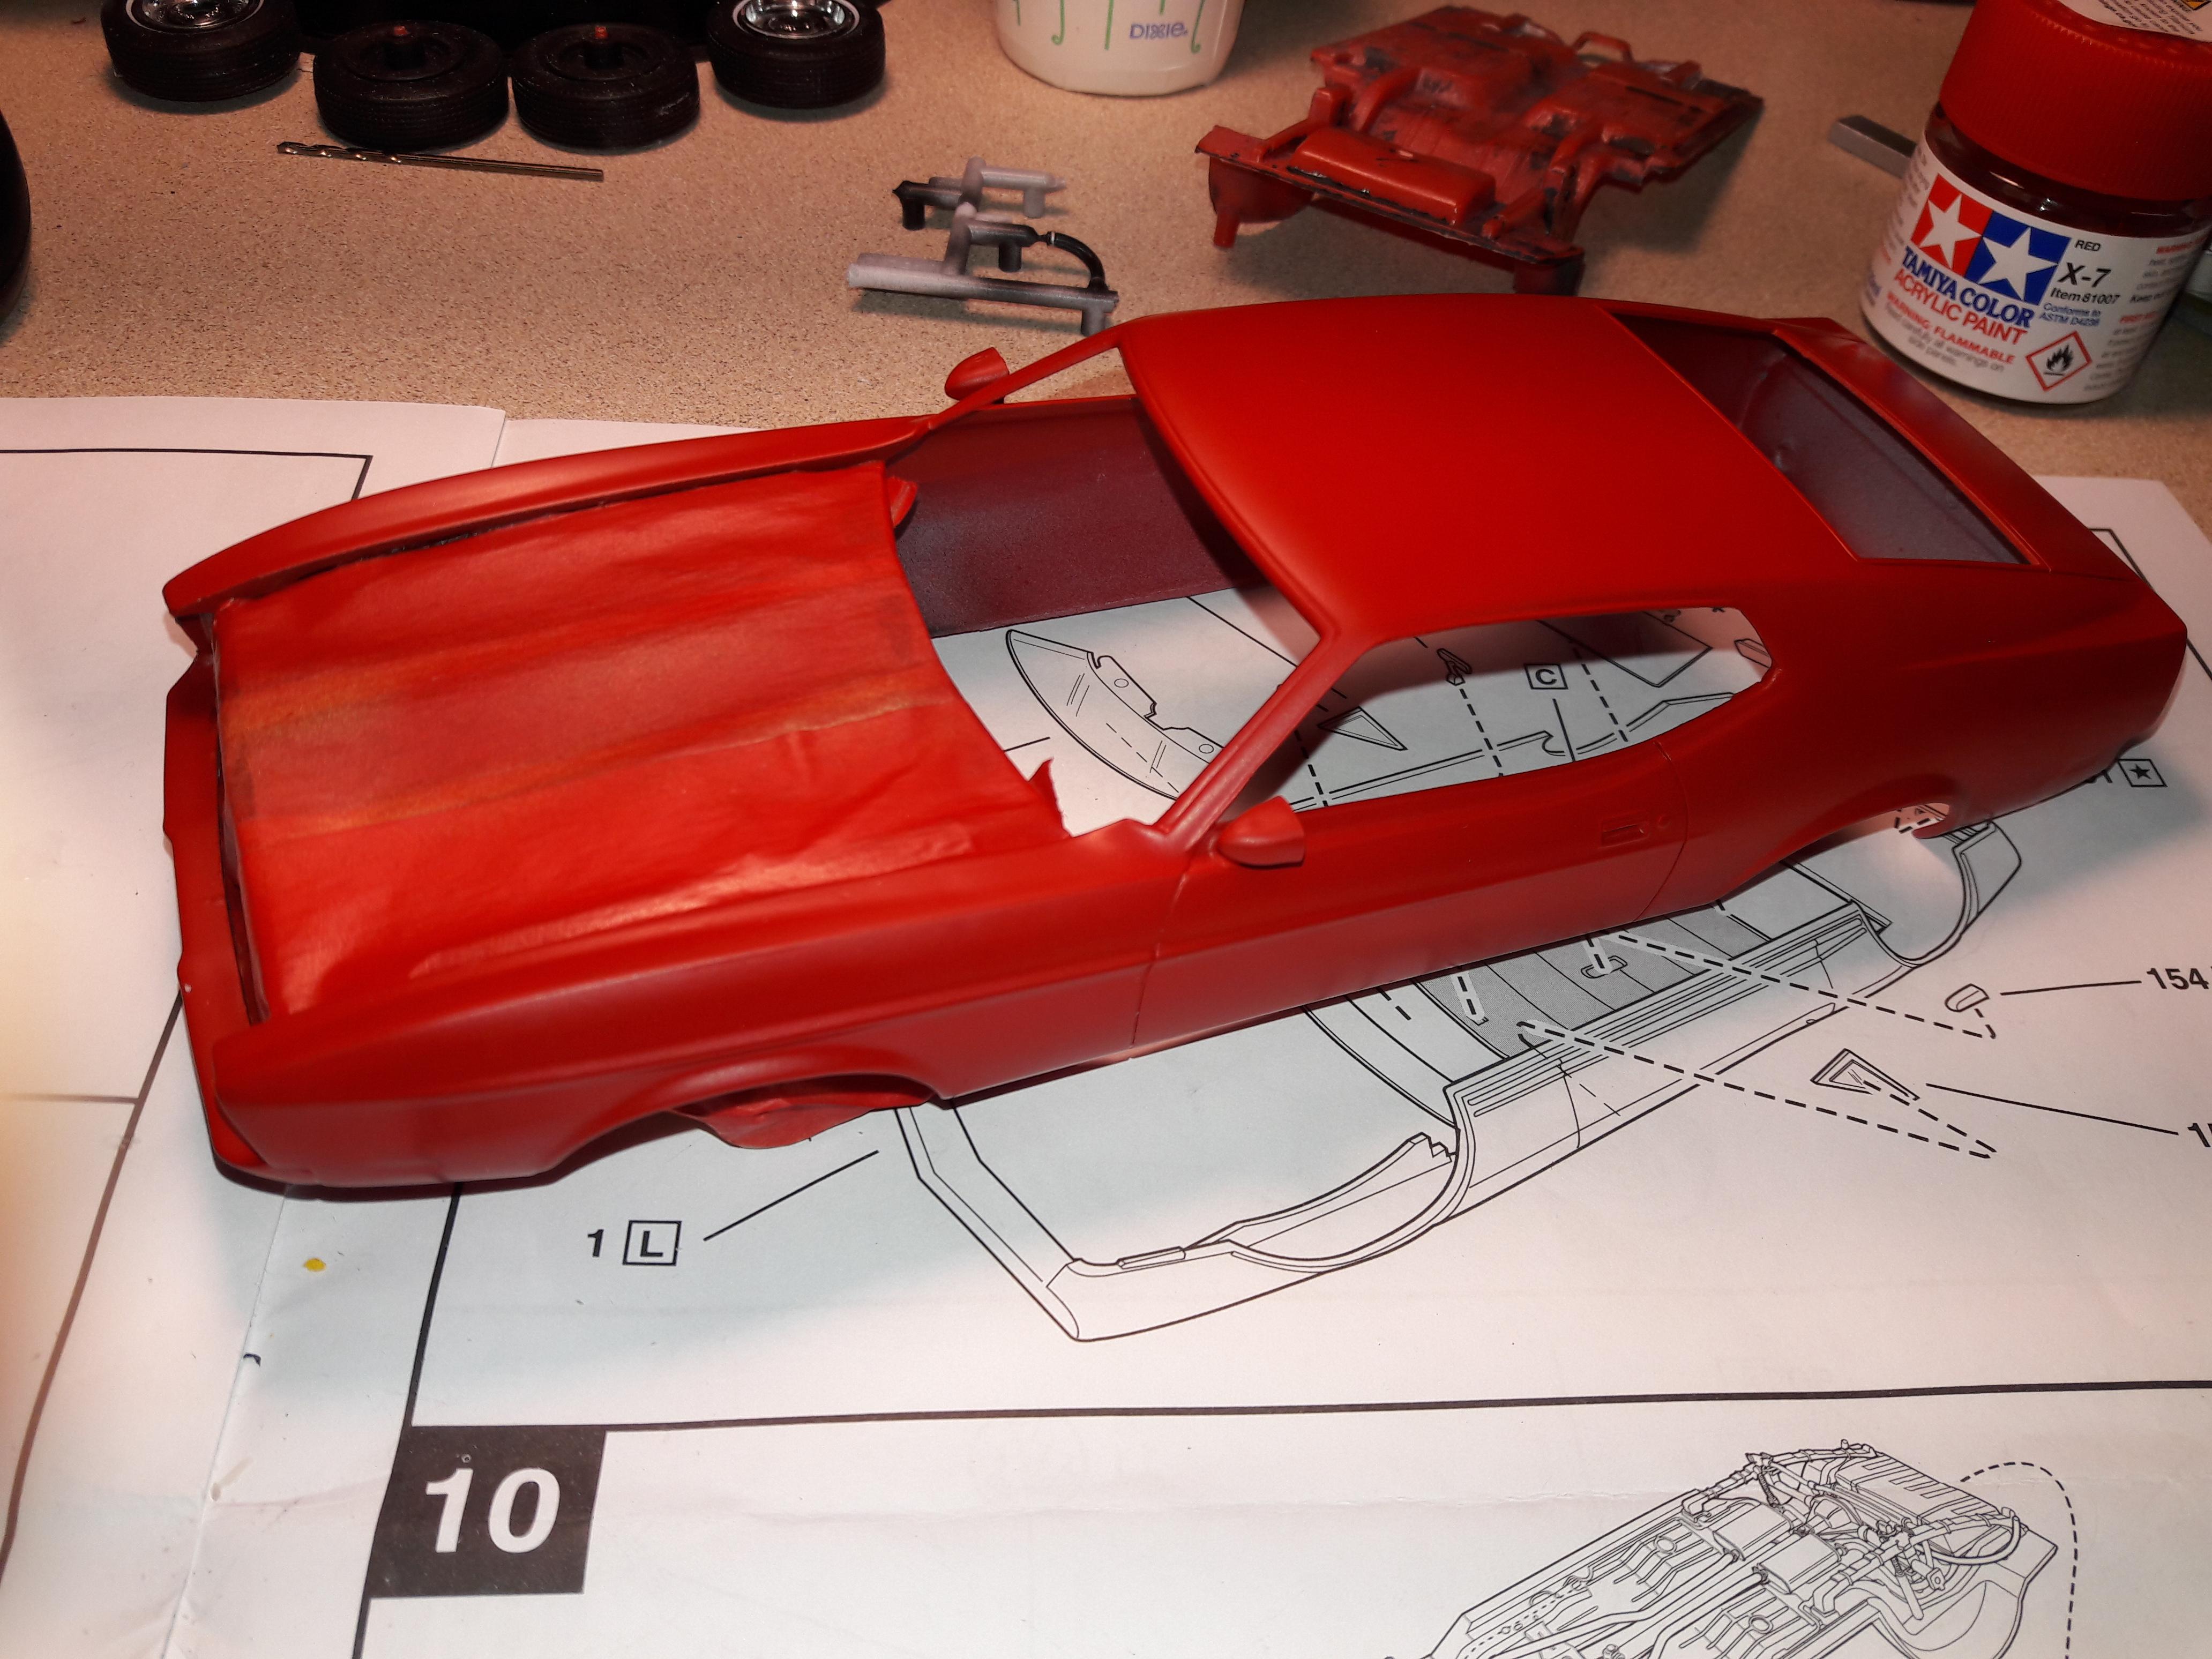
Tamiya Red (X-7) with a semigloss black for the bottom and engine bay. But then last night I mussed it up by masking the window trim off before it had fully cured....so into the magic dip it went and will be respraying in a few days. Same colors but will be more patient on cure time and then use a clear coat before applying any masking.
-
Making some progress on the body...
-
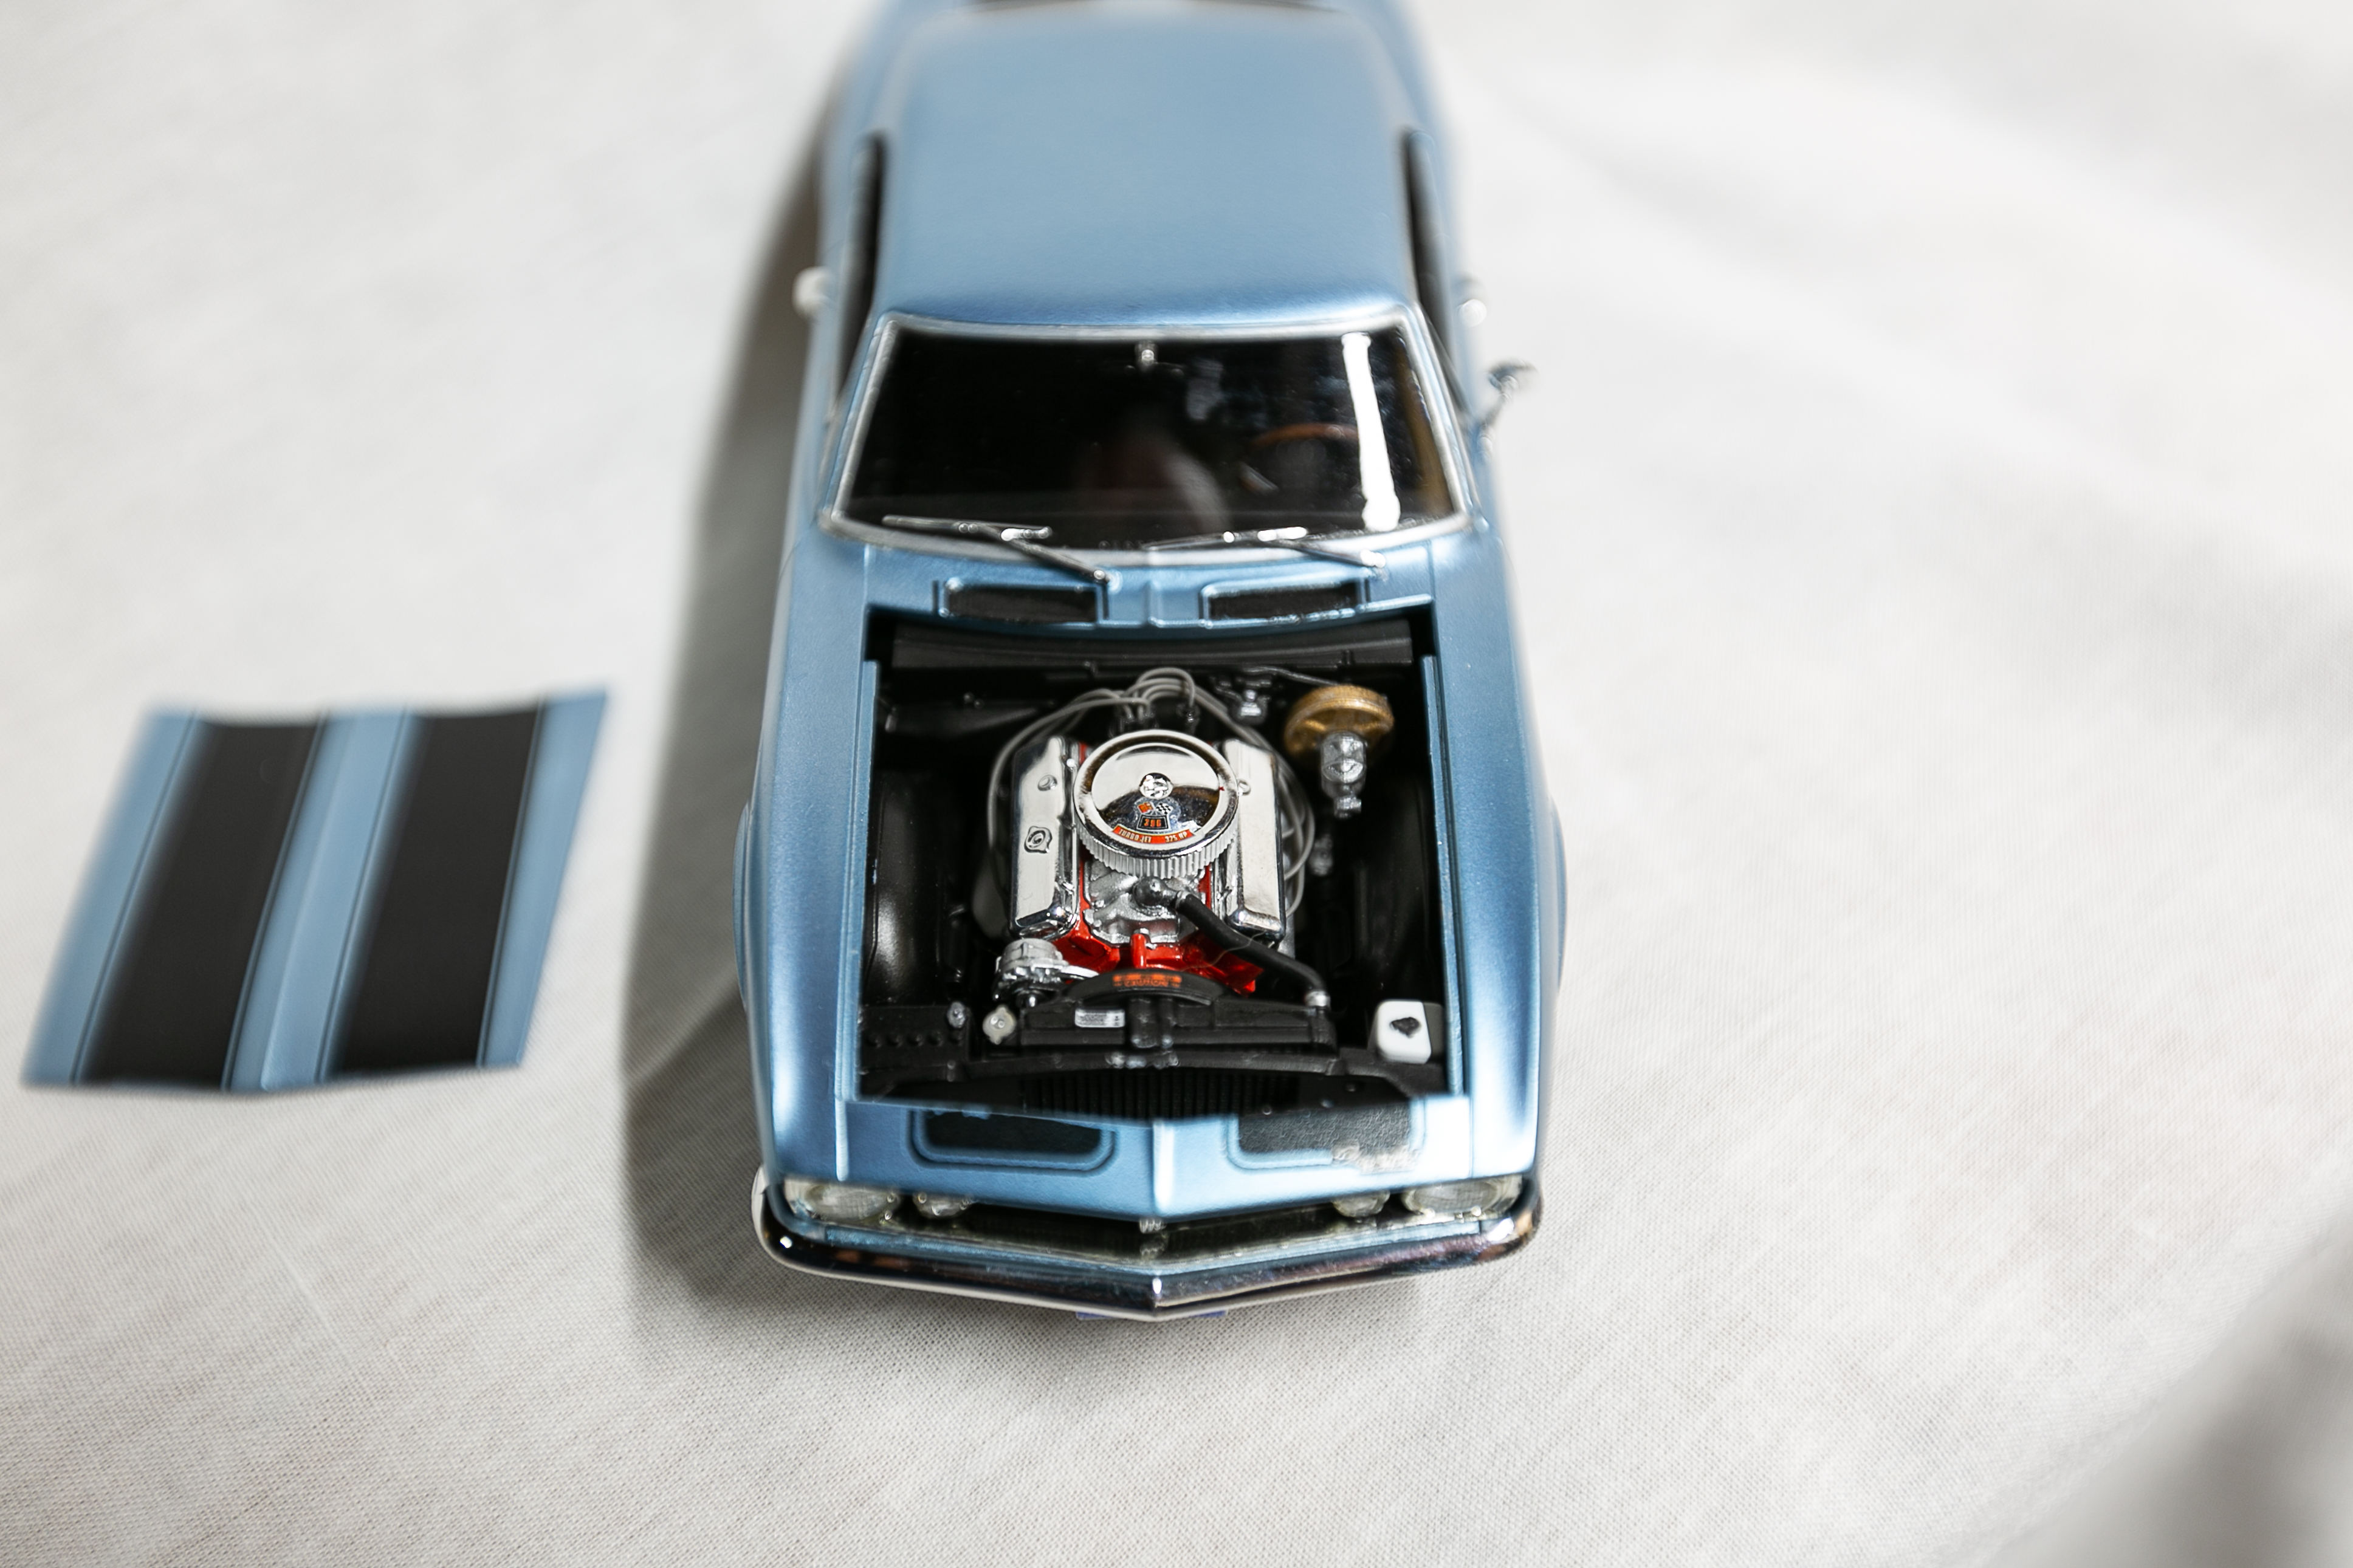
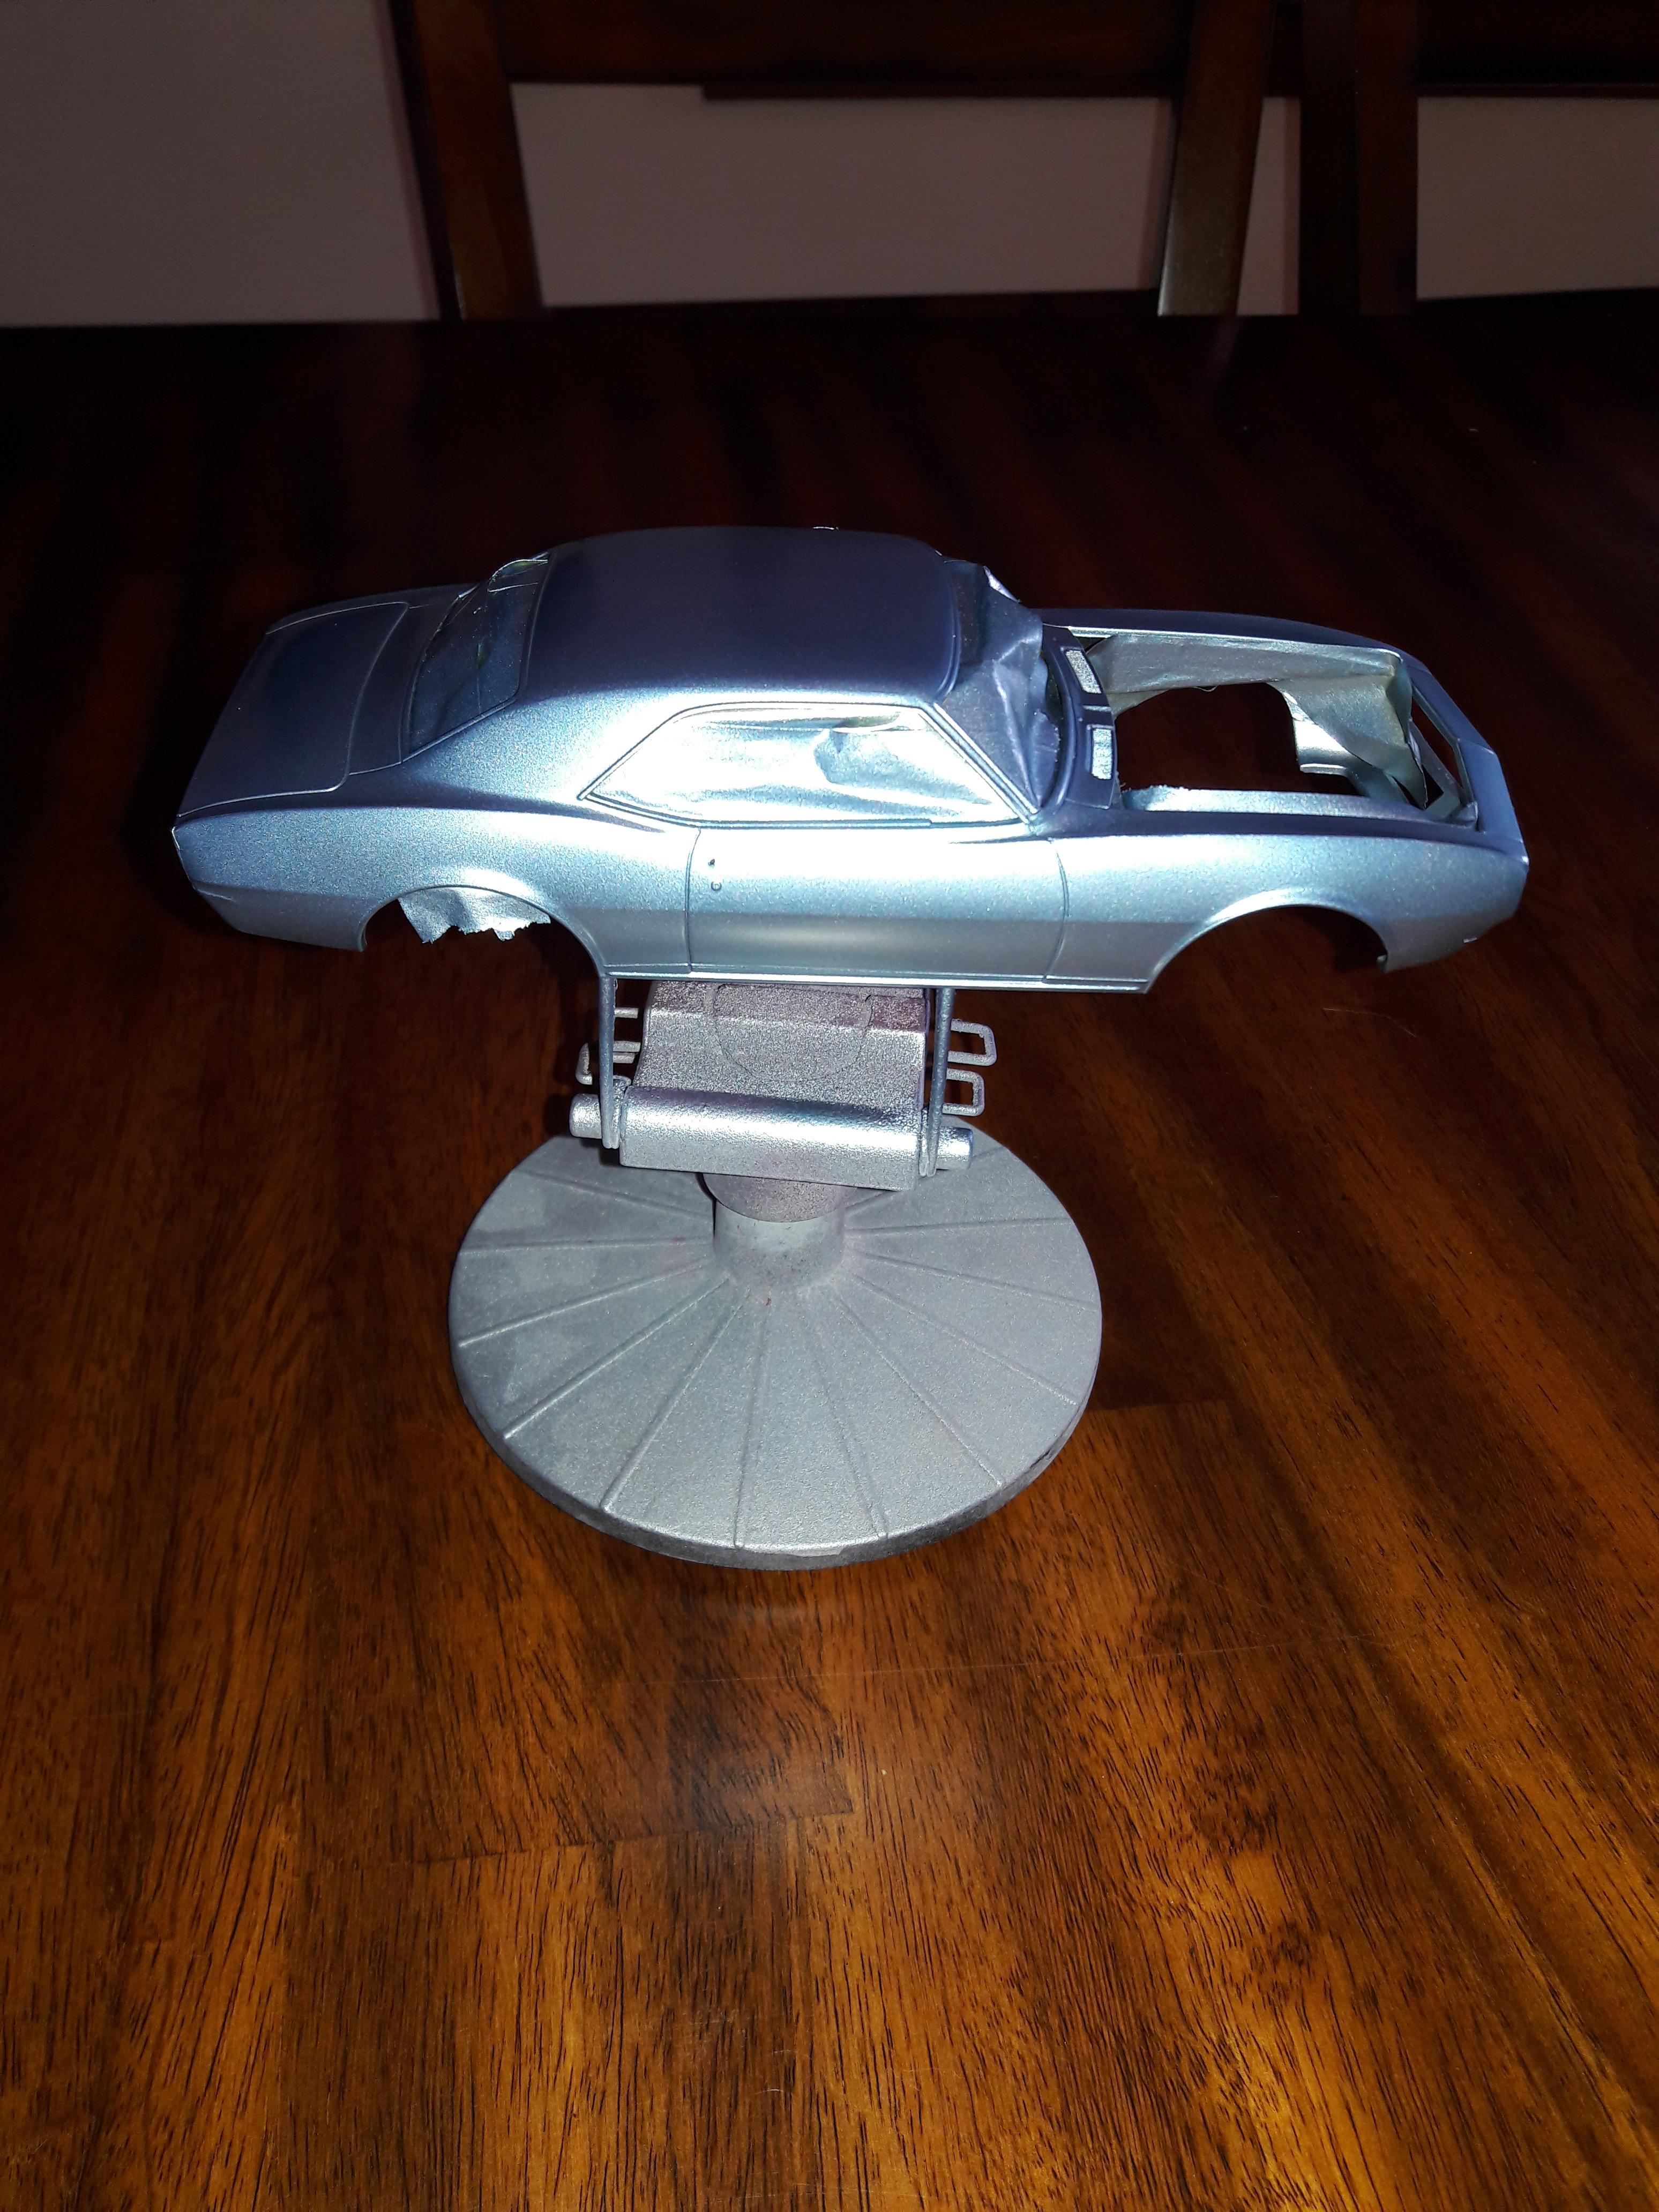
Tamiya SkyBlue Anodized Aluminum (PS-49) over a base of Tamiya Bare Metal Silver (AS-12) with a generous layer of Tamiya Clear (TS-13). Why the blue? Well Buddy Repperton was a bully and probably insecure and not very smart. Most likely he bought the base model Camaro from a little old lady who liked the blue color really cheap. Remember, this is not a Z/28, SS or RS model. And he then probably tried to compensate by putting in the 396 (hence the alternator on the wrong side for a true 1967 Camaro), turbine rims and the stripes. Easy things to do to make it look tougher/cooler that it originally was, but still not quite the real deal of a Z/28 RS/SS. Just a theory....anyway, I like the way the color turned out.
-
Building Revell's 1967 Camaro SS out as Buddy Repperton's ill-fated ride from the movie Christine. This will involving eliminating the SS related items as his car was not an SS (or a Z/28 or the RS with the hideaway headlights). To do this I found a standard hood to replace the kits hood with the vents. Also have a Z/28 grill coming to replace the kit's grill with the very prominent SS emblem. I will use photo etch to get the correct grill emblem. Interior was build stock with the addition of flocking for carpet and a photo etch steering wheel. Although Buddy's car did not have an engine size emblem, I am going with the stock 396 with the addition of plug wires. Now I know that the 67' 396 had the alternator on the driver's side. The kit has the later passenger side alternator. I didn't feel like messing with redesigning the entire belt system and besides, Buddy was a gear head, maybe he updated it? Now here's a question for you all...was his car gray, silver, or light metallic blue??? I have seen it described all three ways. On screen it appears gray or silver but it was only ever shown at night under street lighting. I'm leaning to a light metallic blue...
-
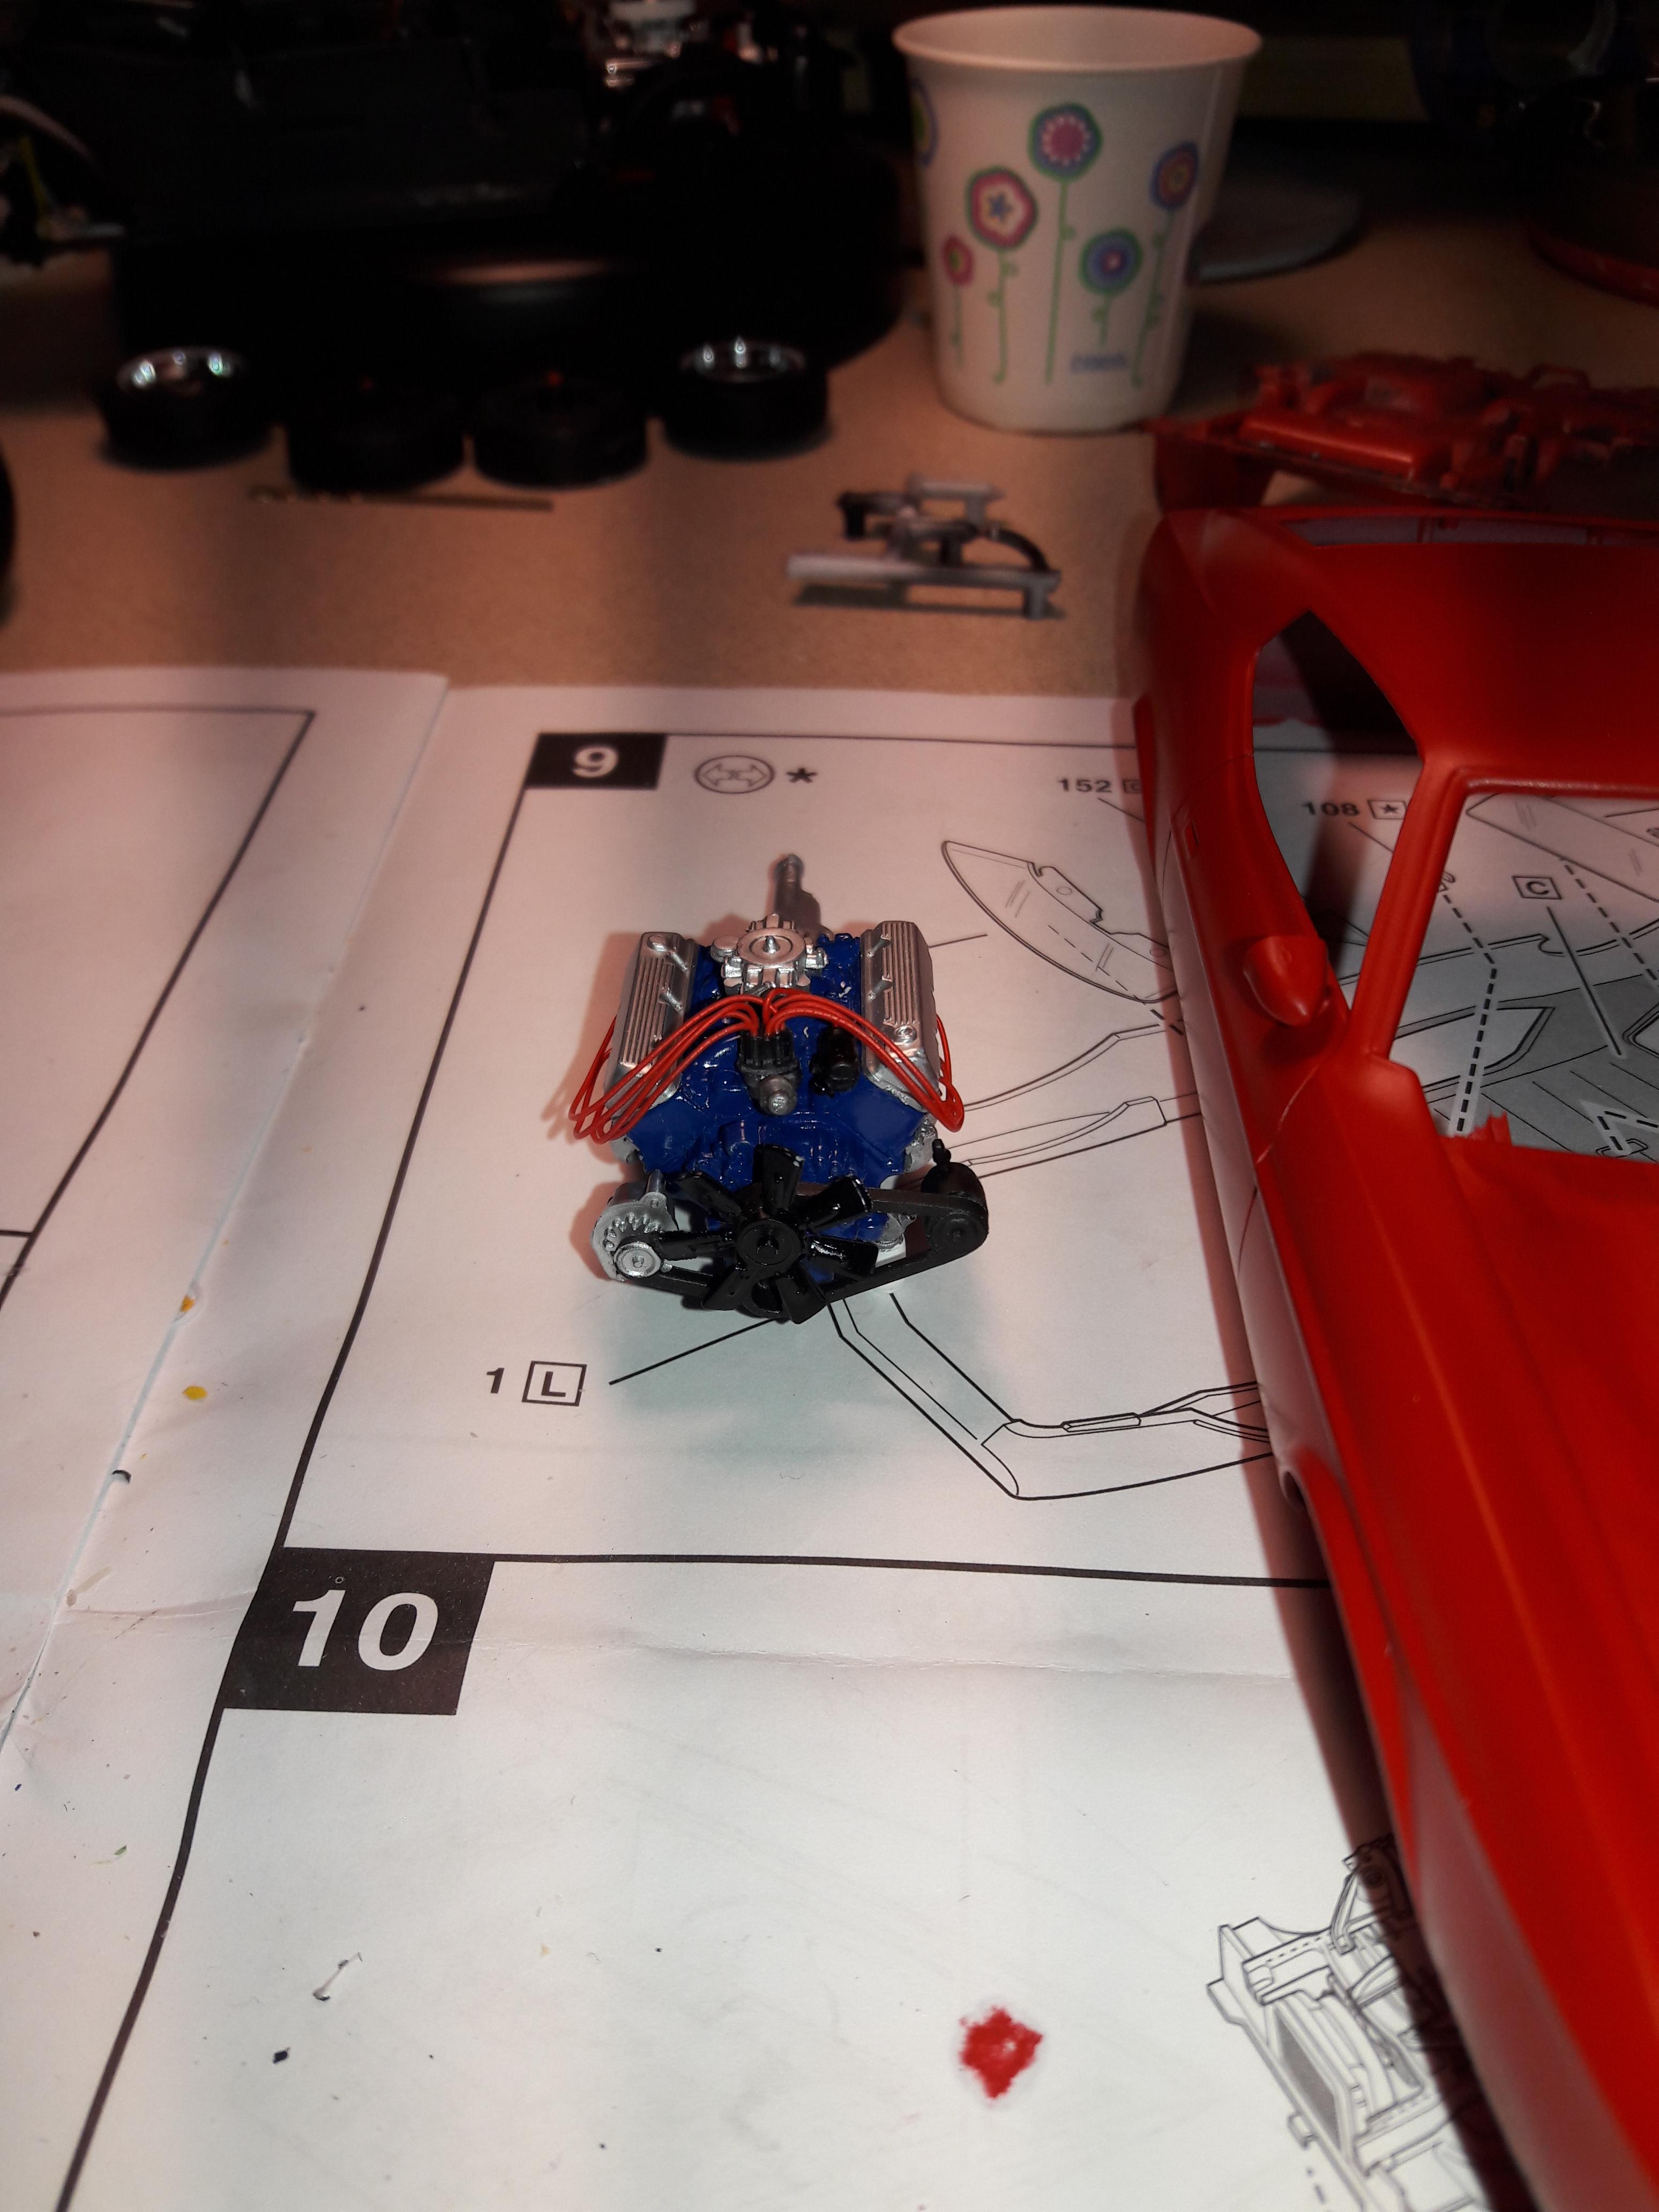
Paint job awaiting clear coat. And the 429 Cobra Jet.
-
Thanks for the responses...I have tried Tamiya Clear TS-13 in the spray can before and it ate the paint. I don't recall if it was acrylic or enamel unfortunately, but it was bad. Is that the same Tamiya Clear you are all referring to? Got some spoons drying now for some testing....