
Duddly01
-
Posts
1,048 -
Joined
-
Last visited
Content Type
Profiles
Forums
Events
Gallery
Everything posted by Duddly01
-
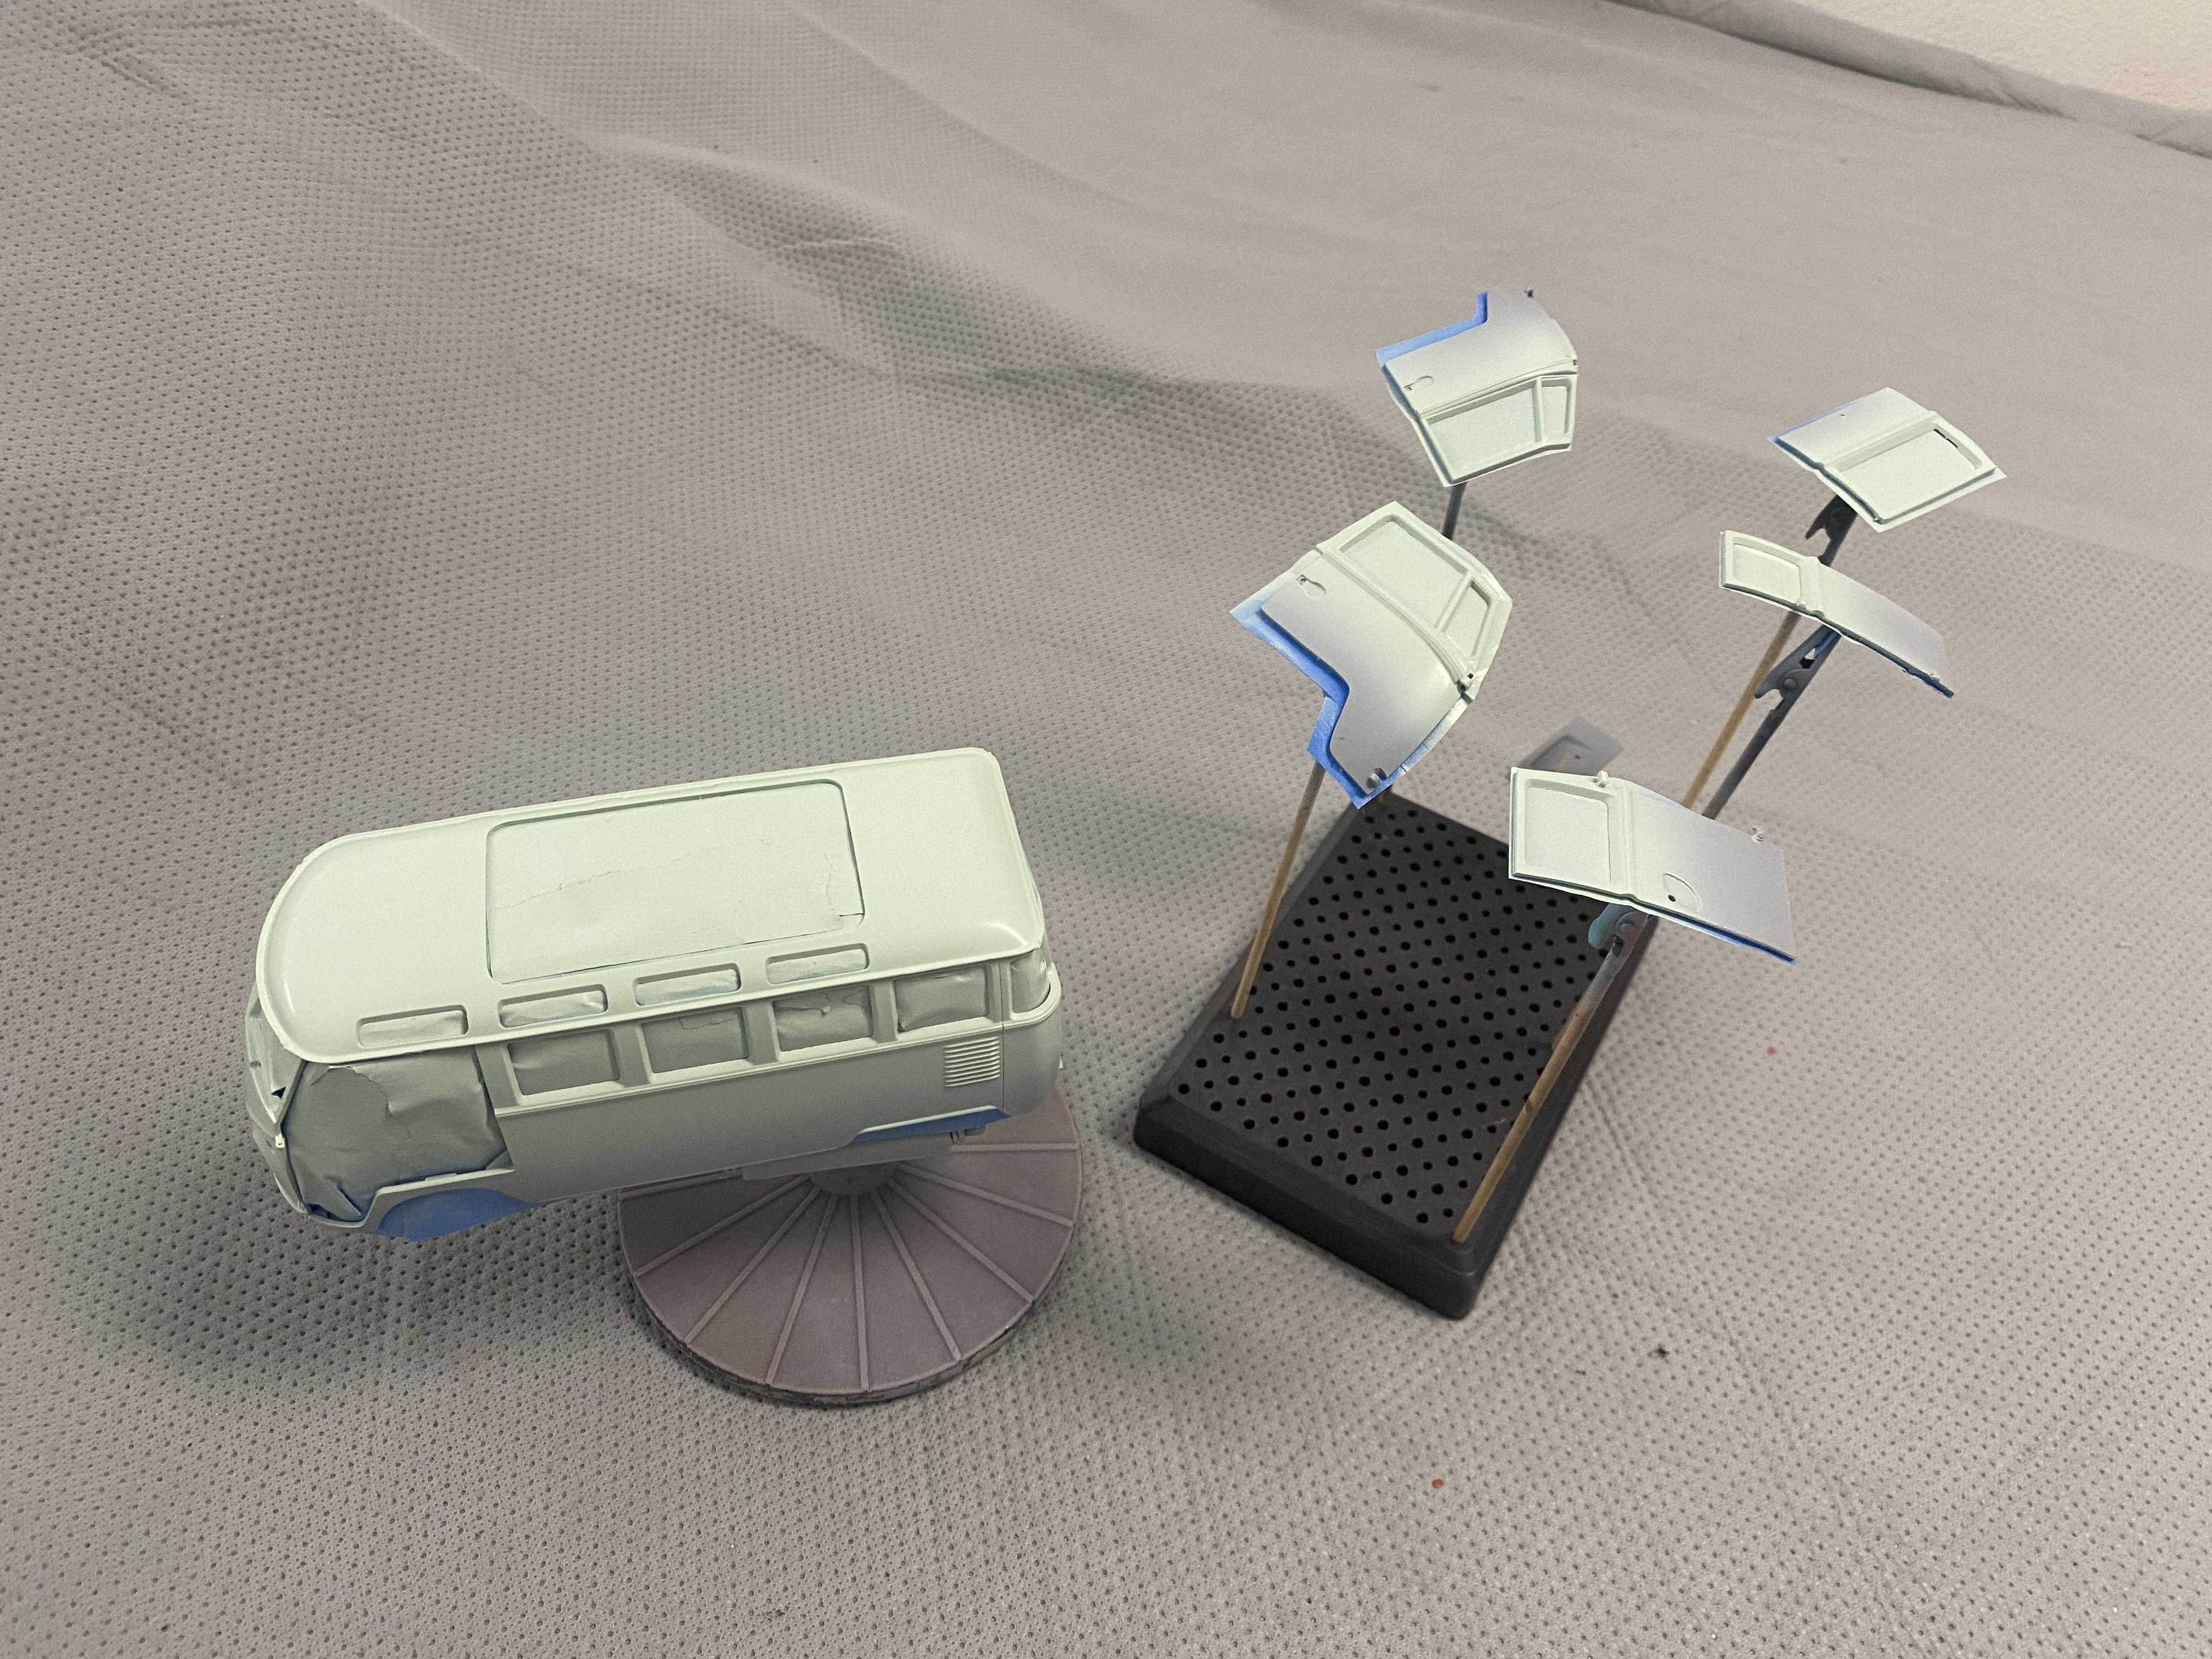
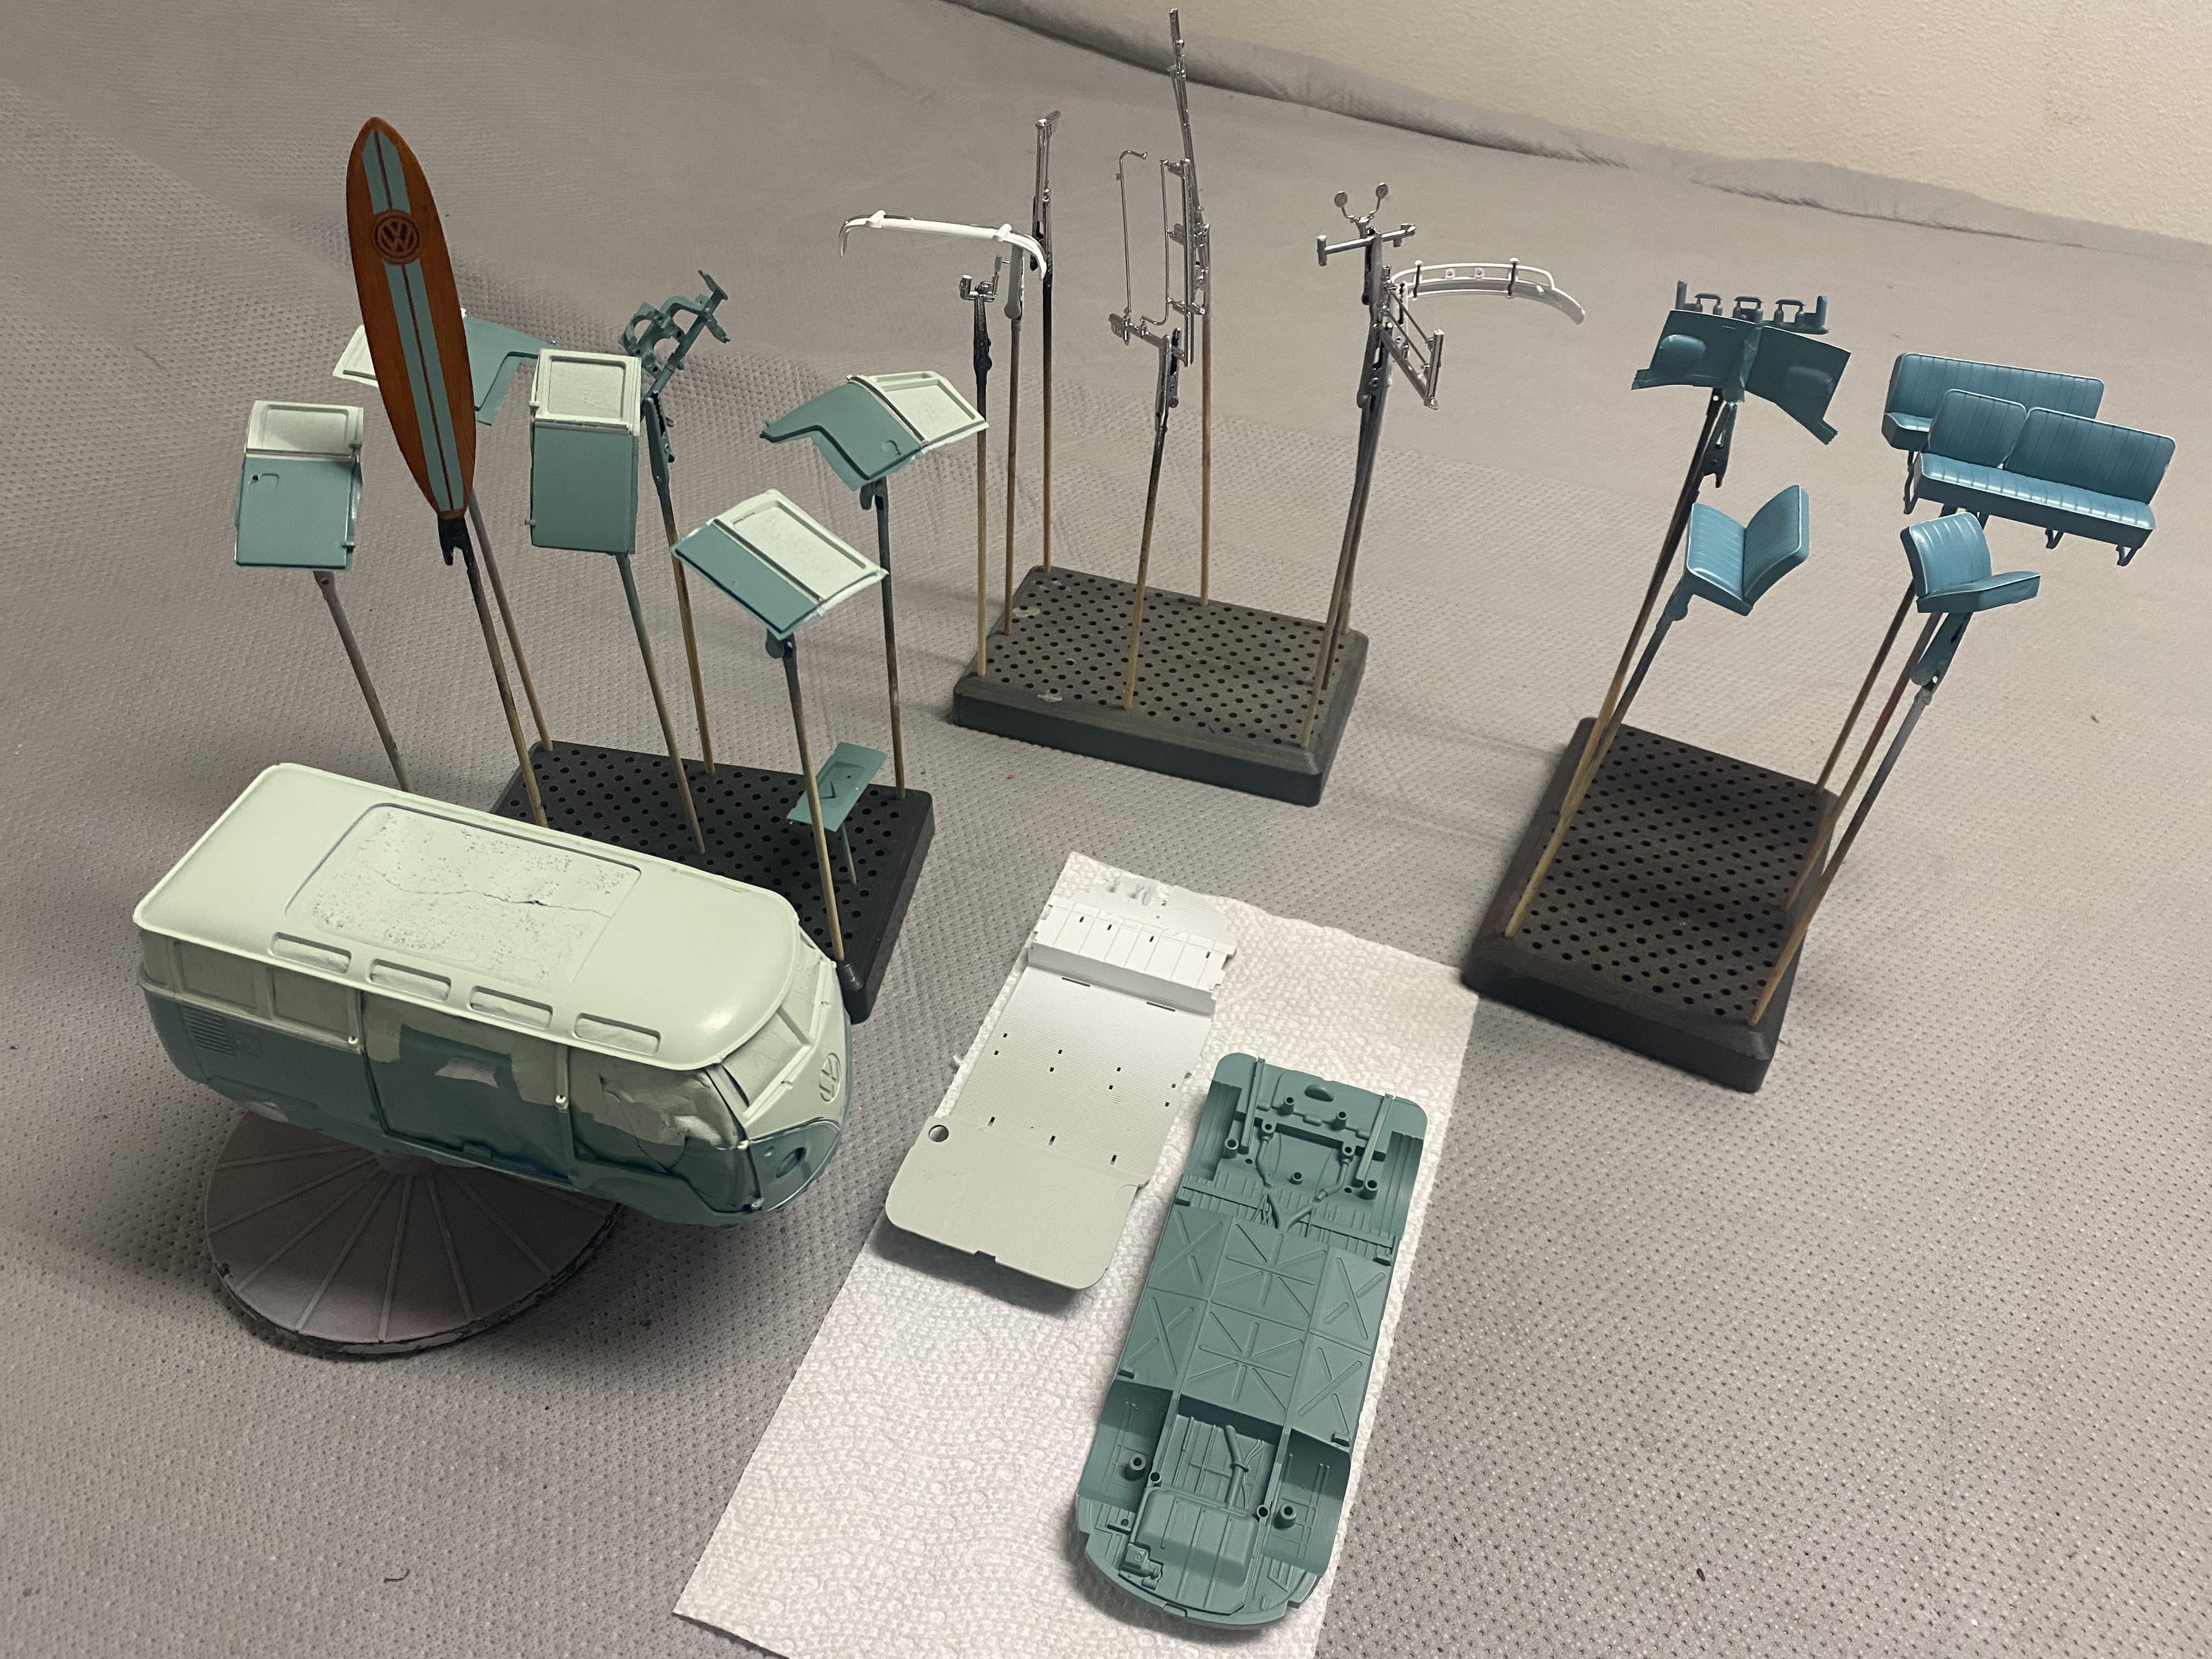
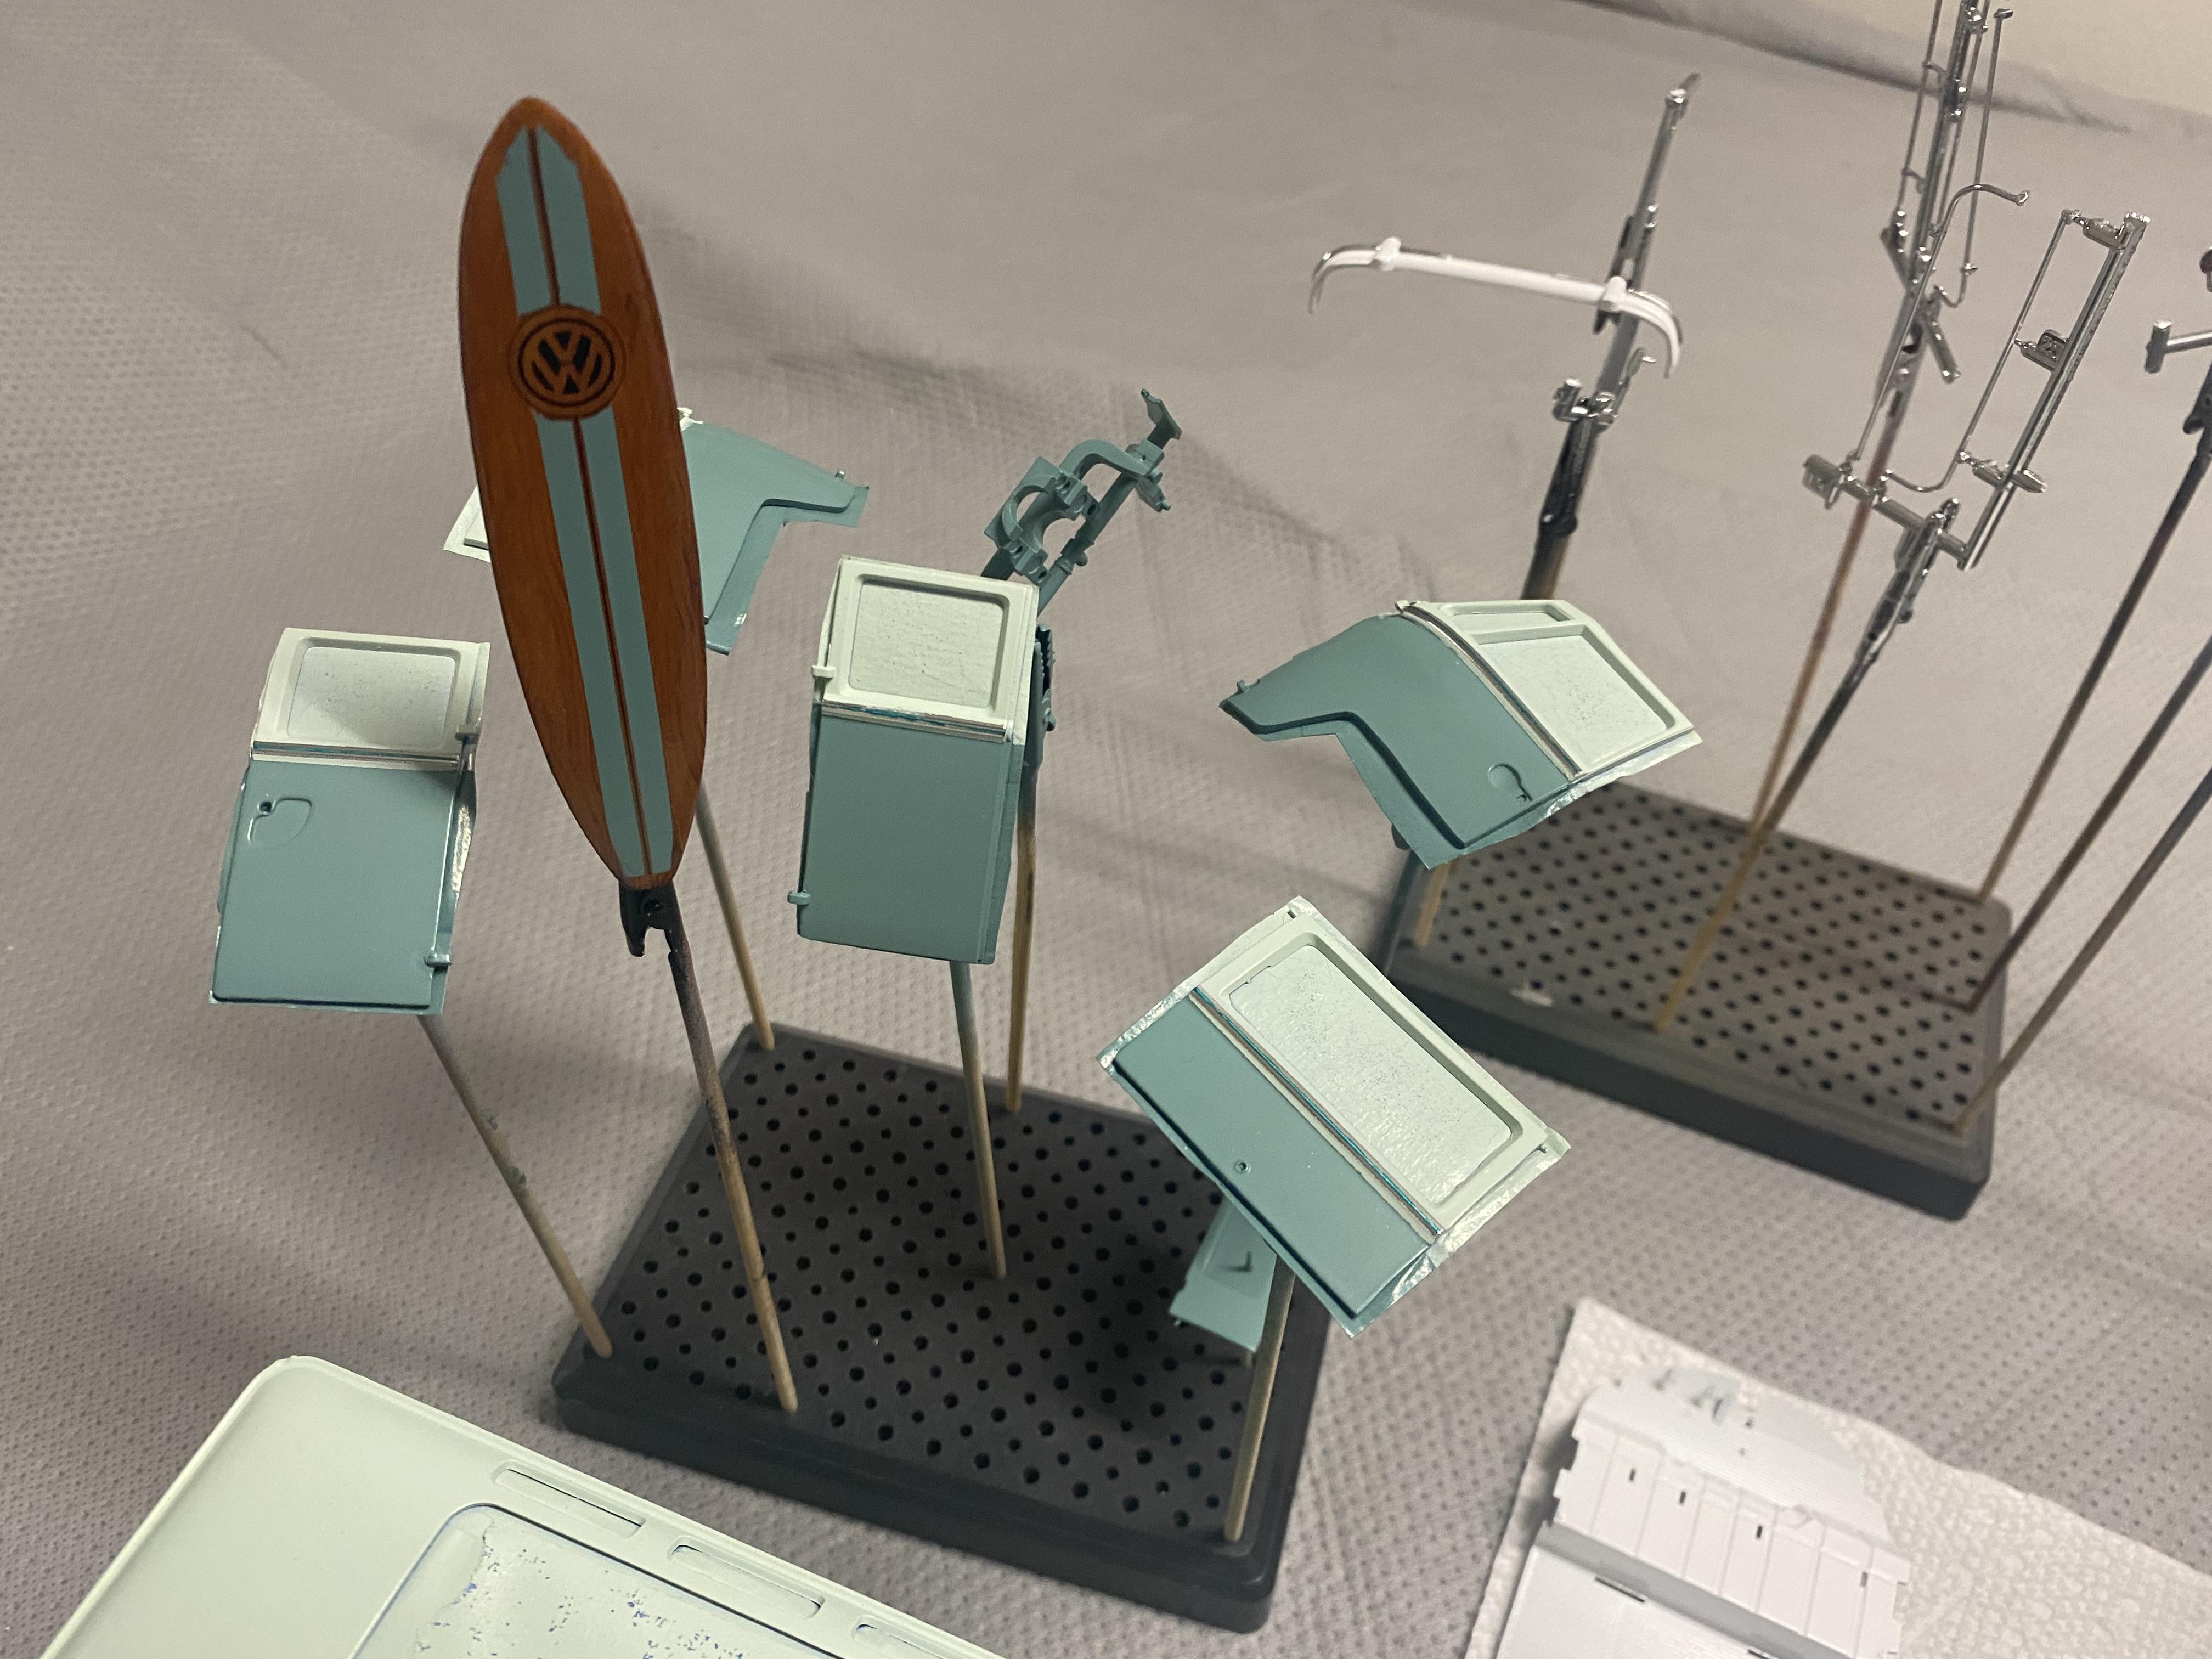
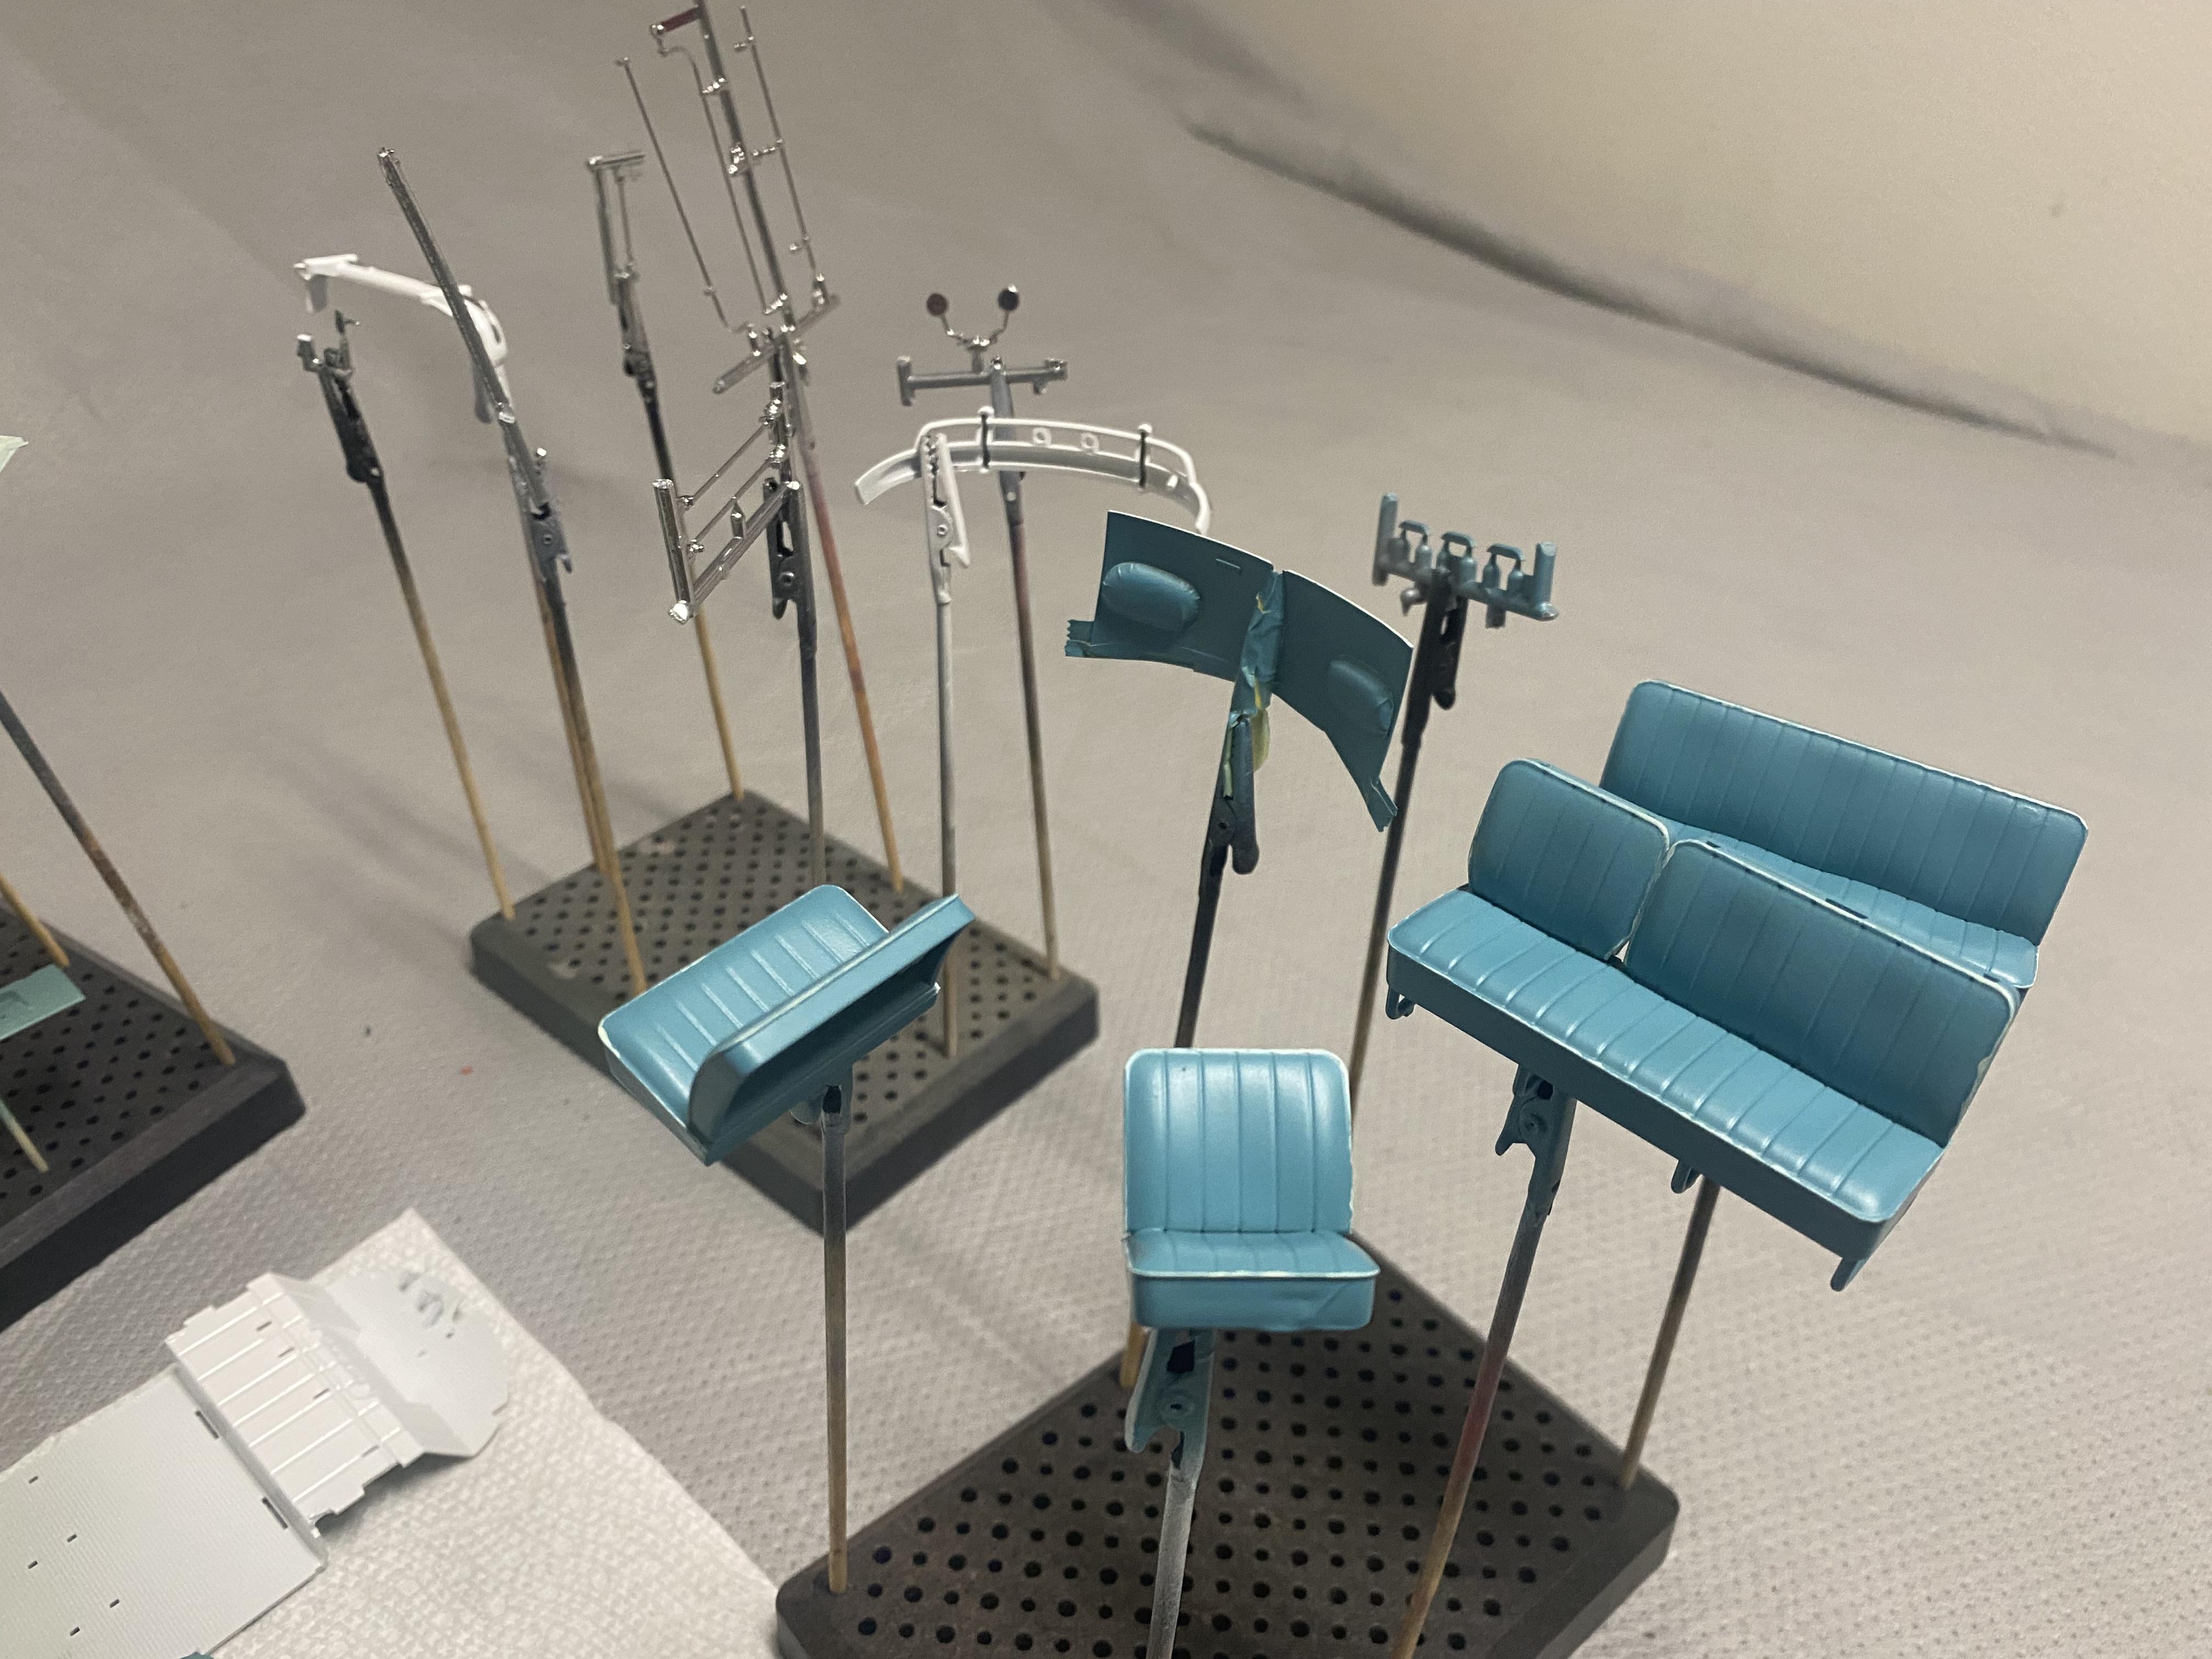
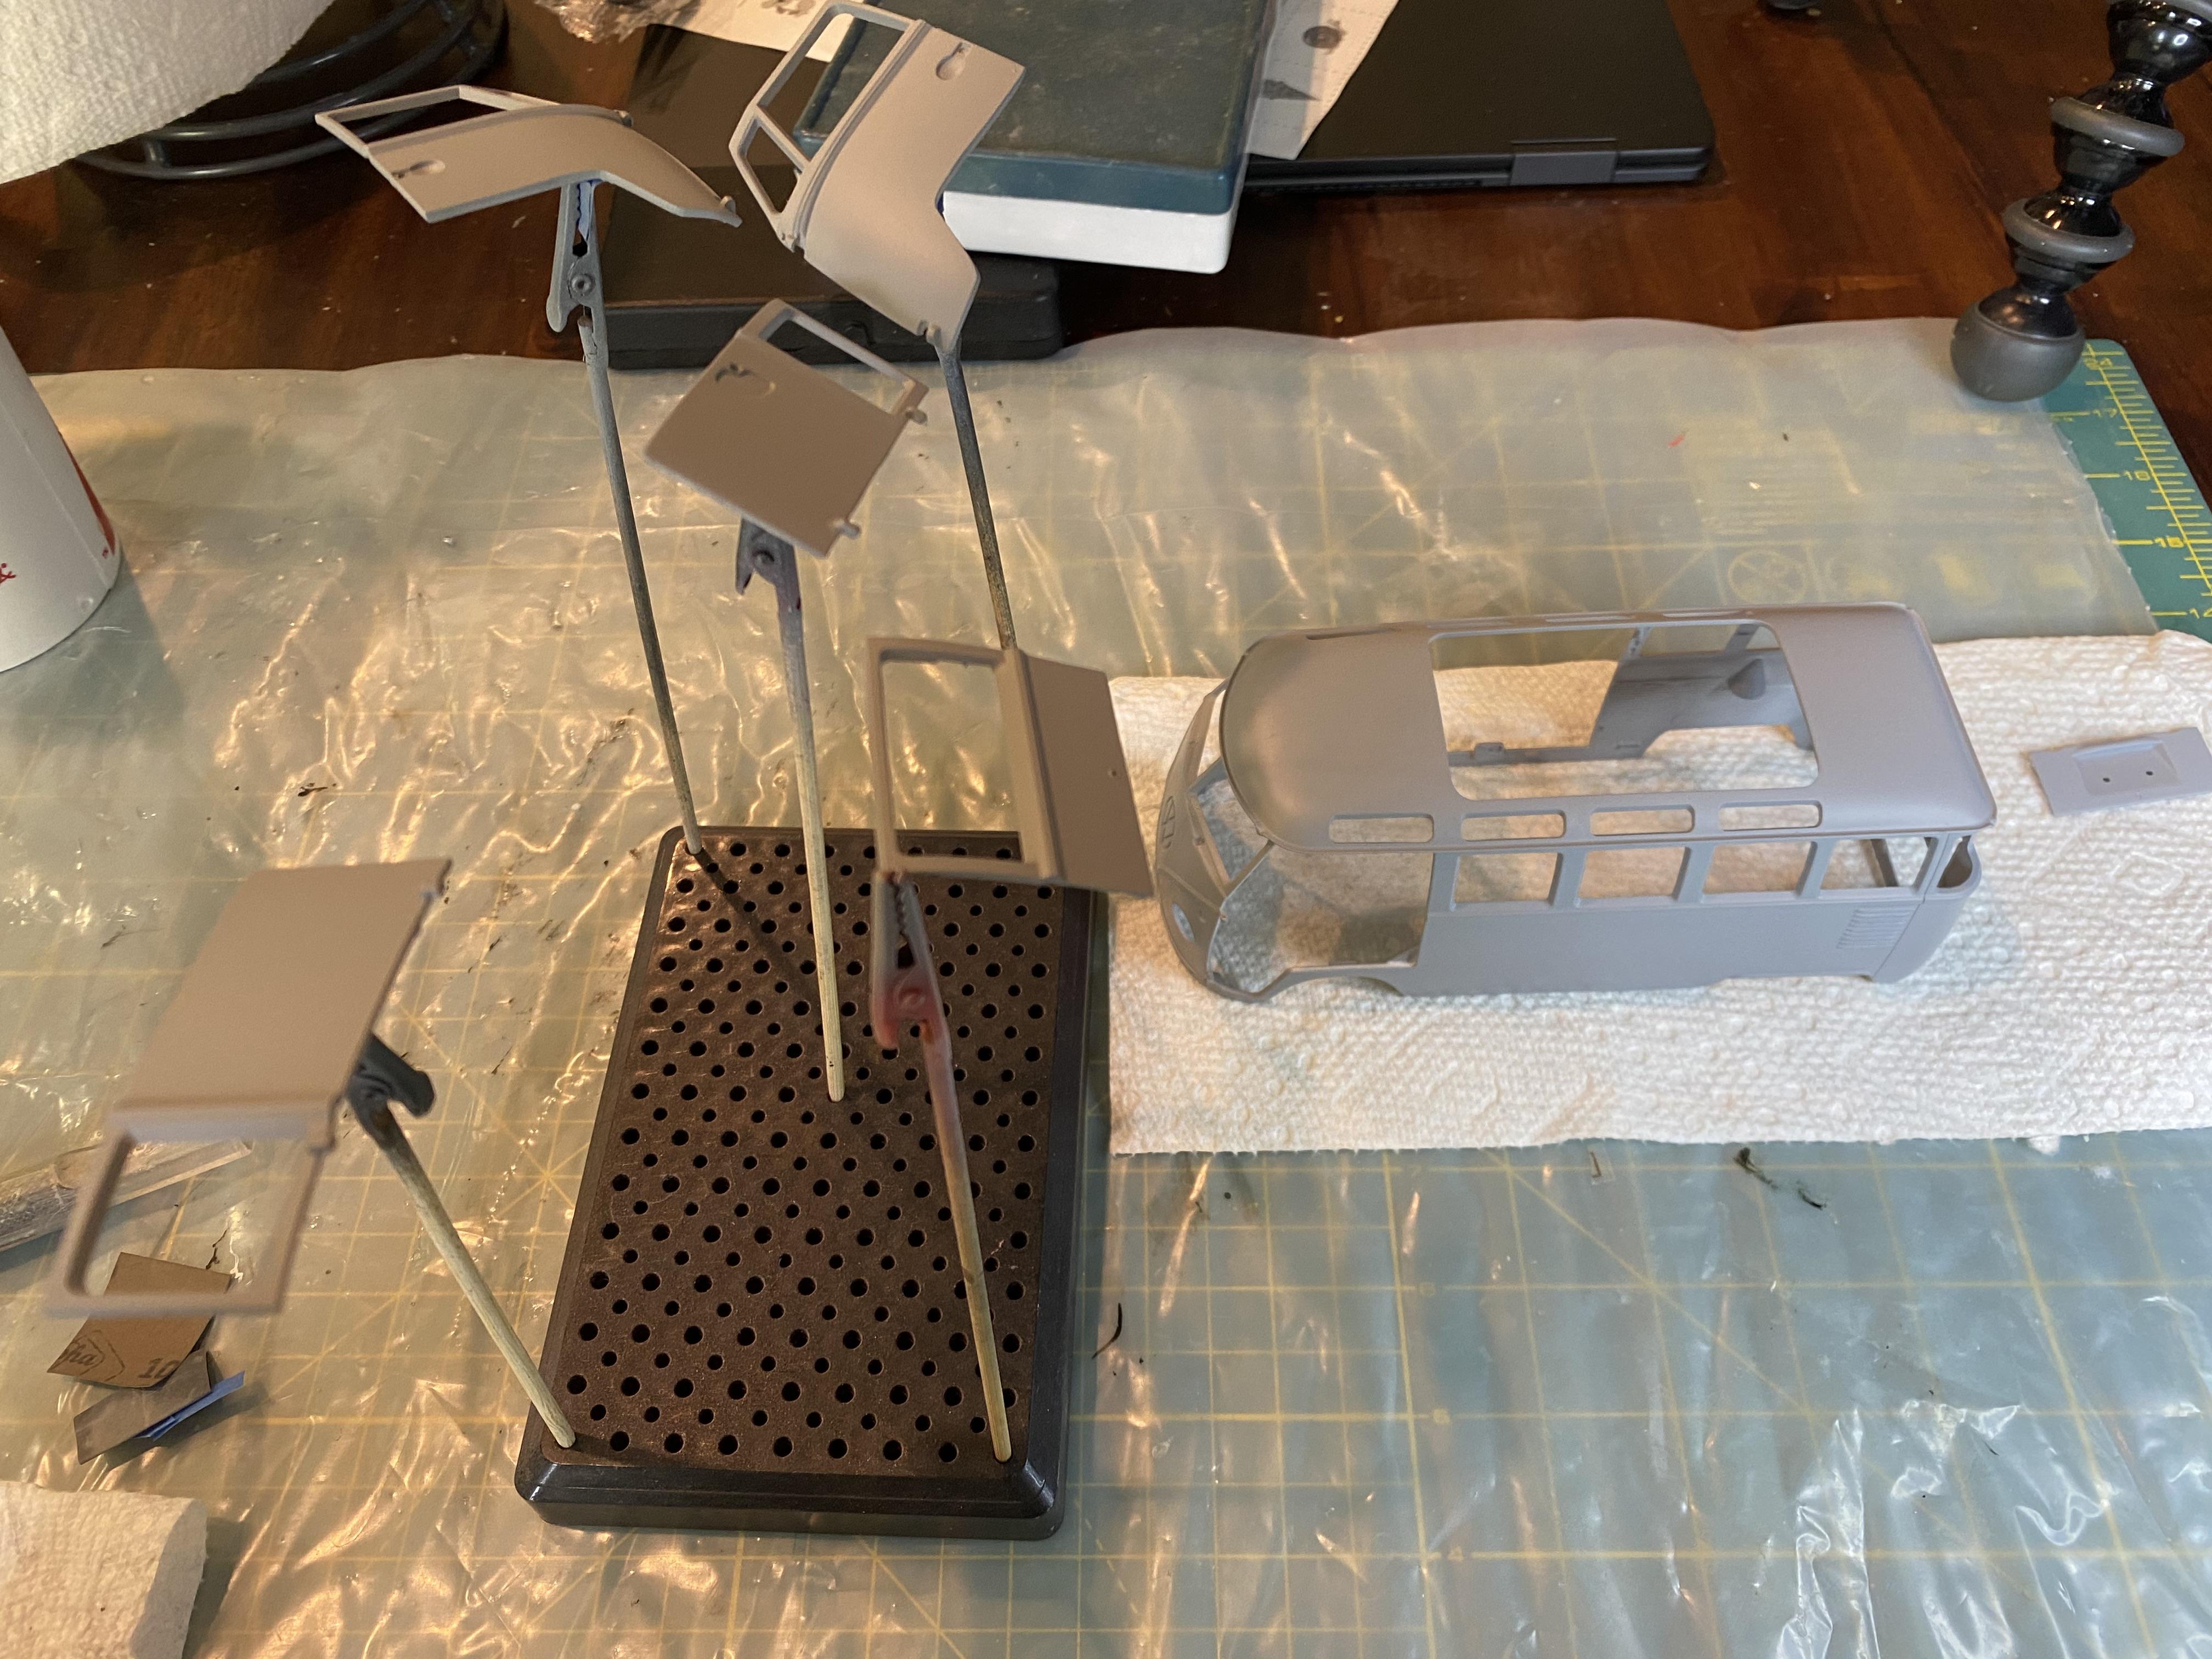
 Finally getting back to the Samba Bus. Got base coat of much of the parts painted. I still need to 2k clear the body and chassis. Probably tomorrow. I am making a matching surfboard to go with it.
-
-
Thank you! I really don’t like multi-piece bodies. Never can get them to fit together after paint. I don’t know why they would still be a thing with today’s tech. After you get past getting the body and door panels to fit together it is a nicely detailed kit. I certainly recommend using small magnets to get them to close well.
-
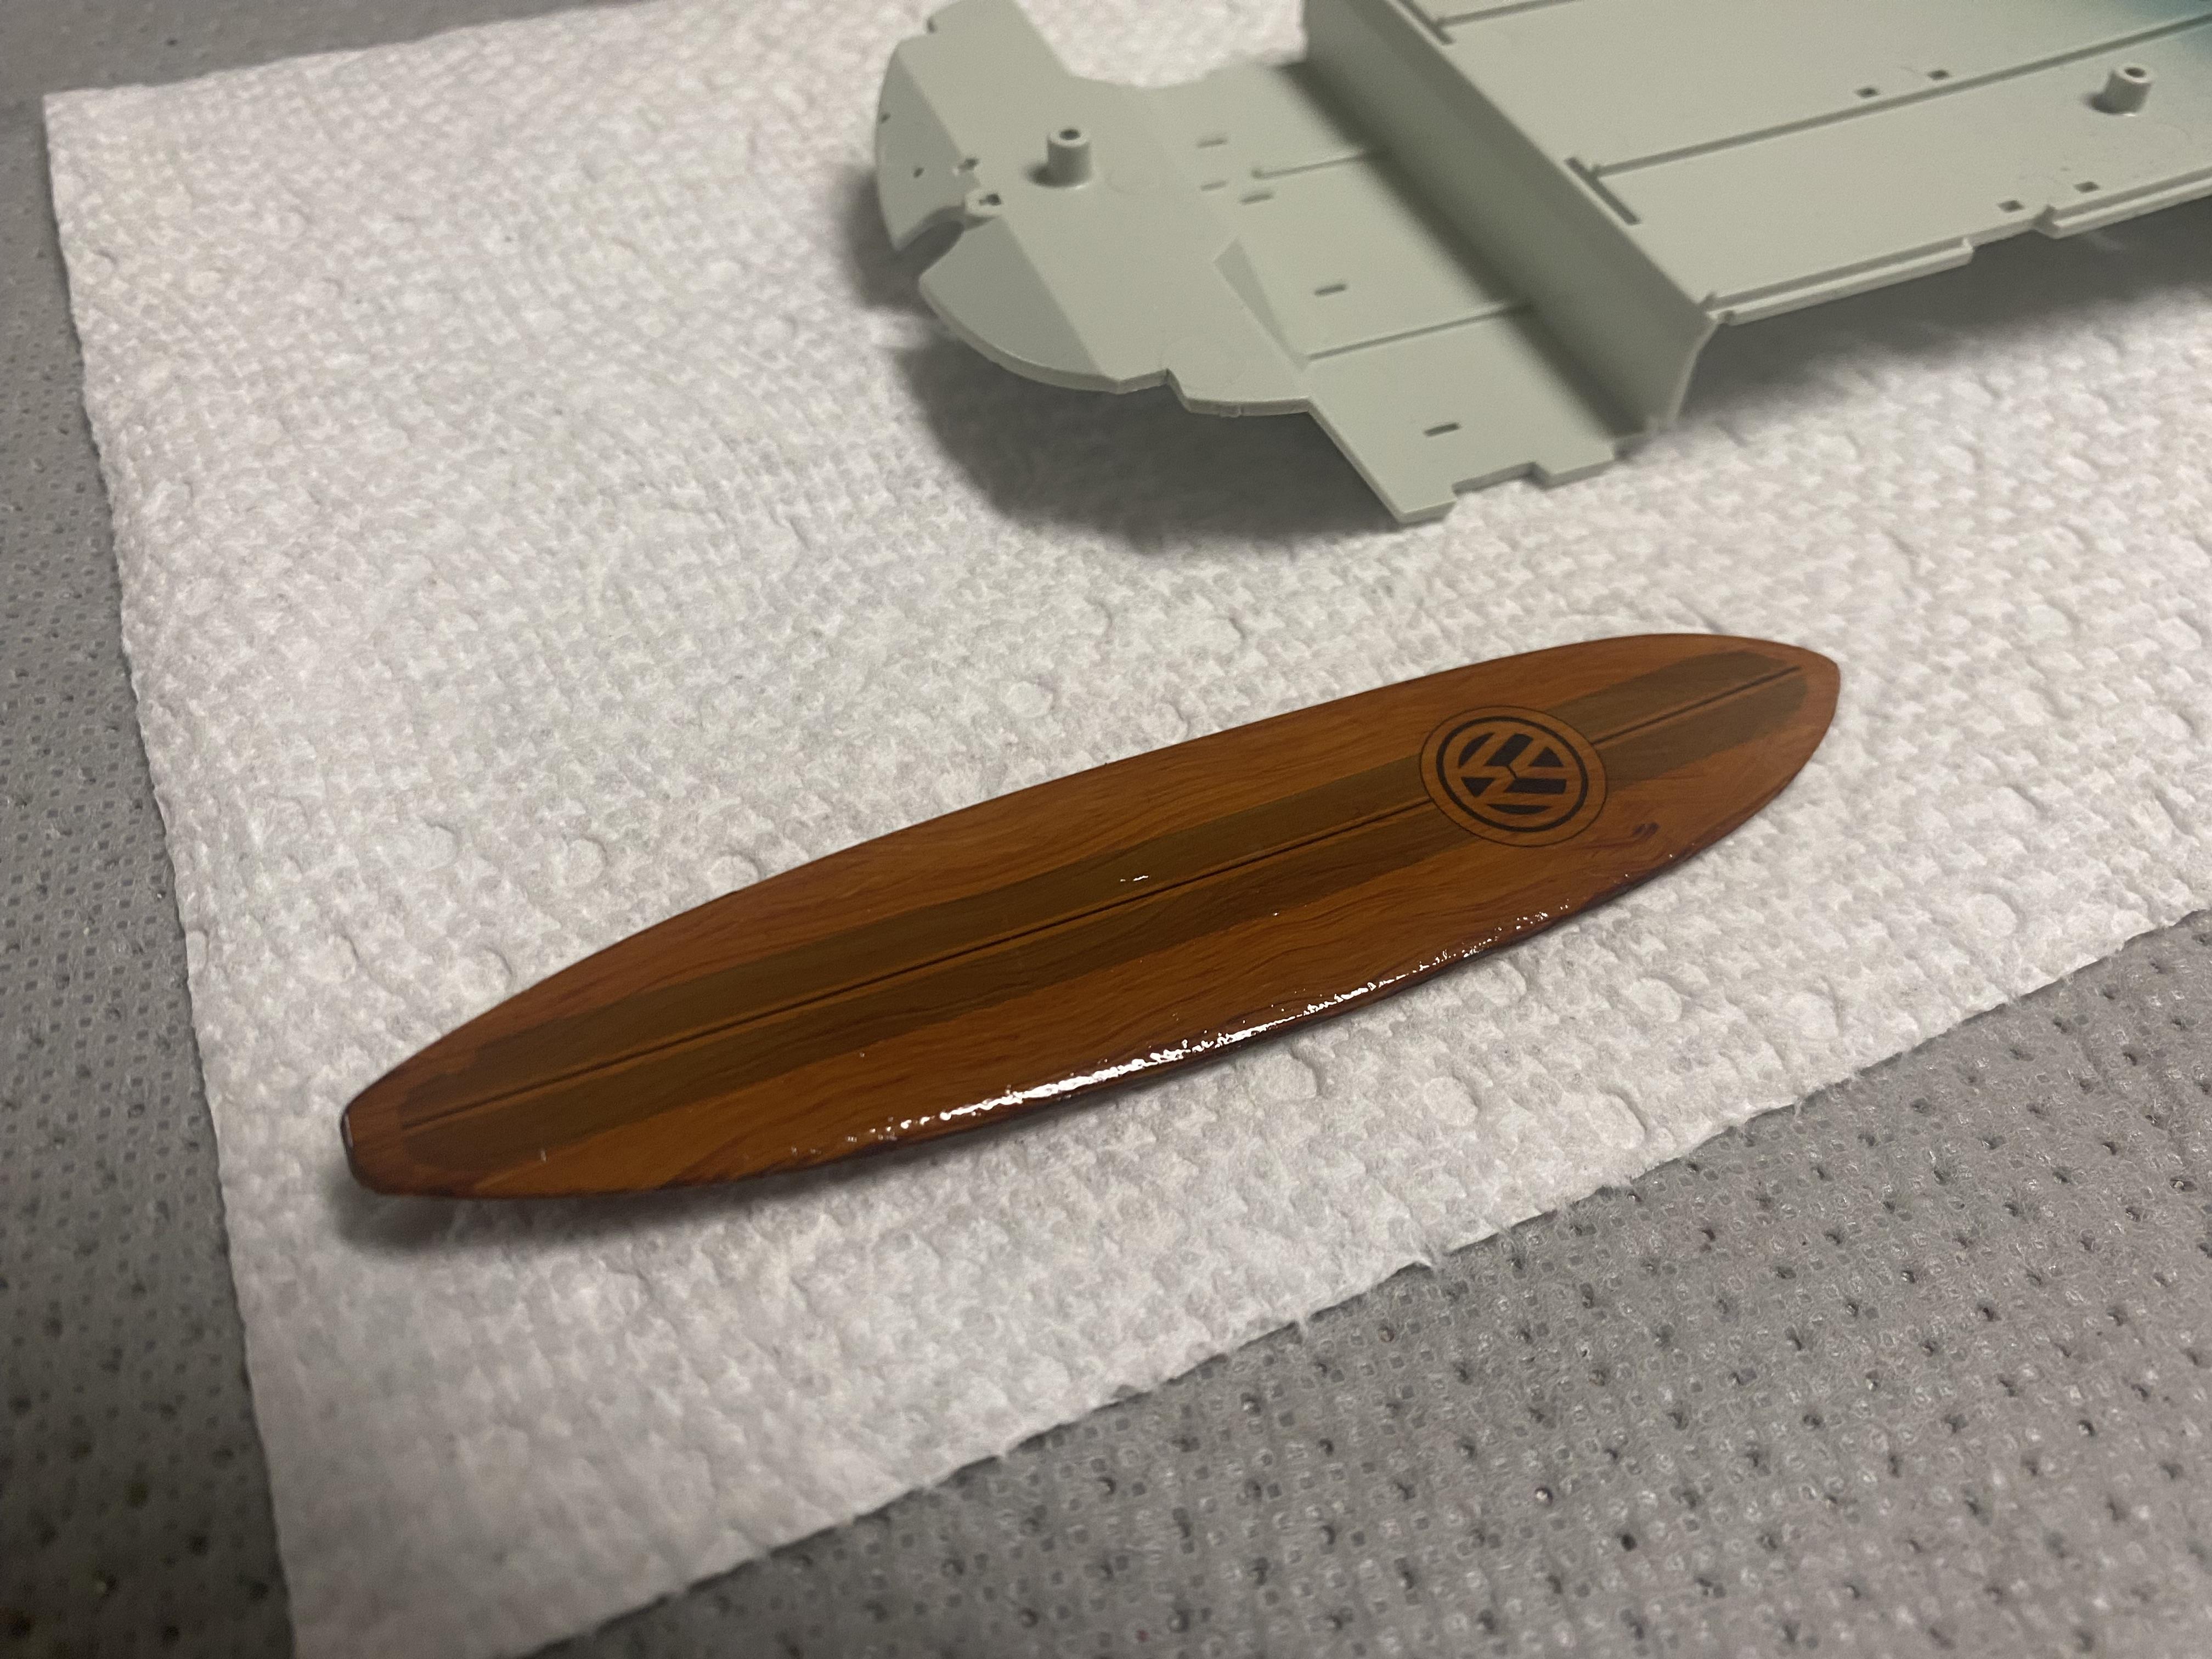
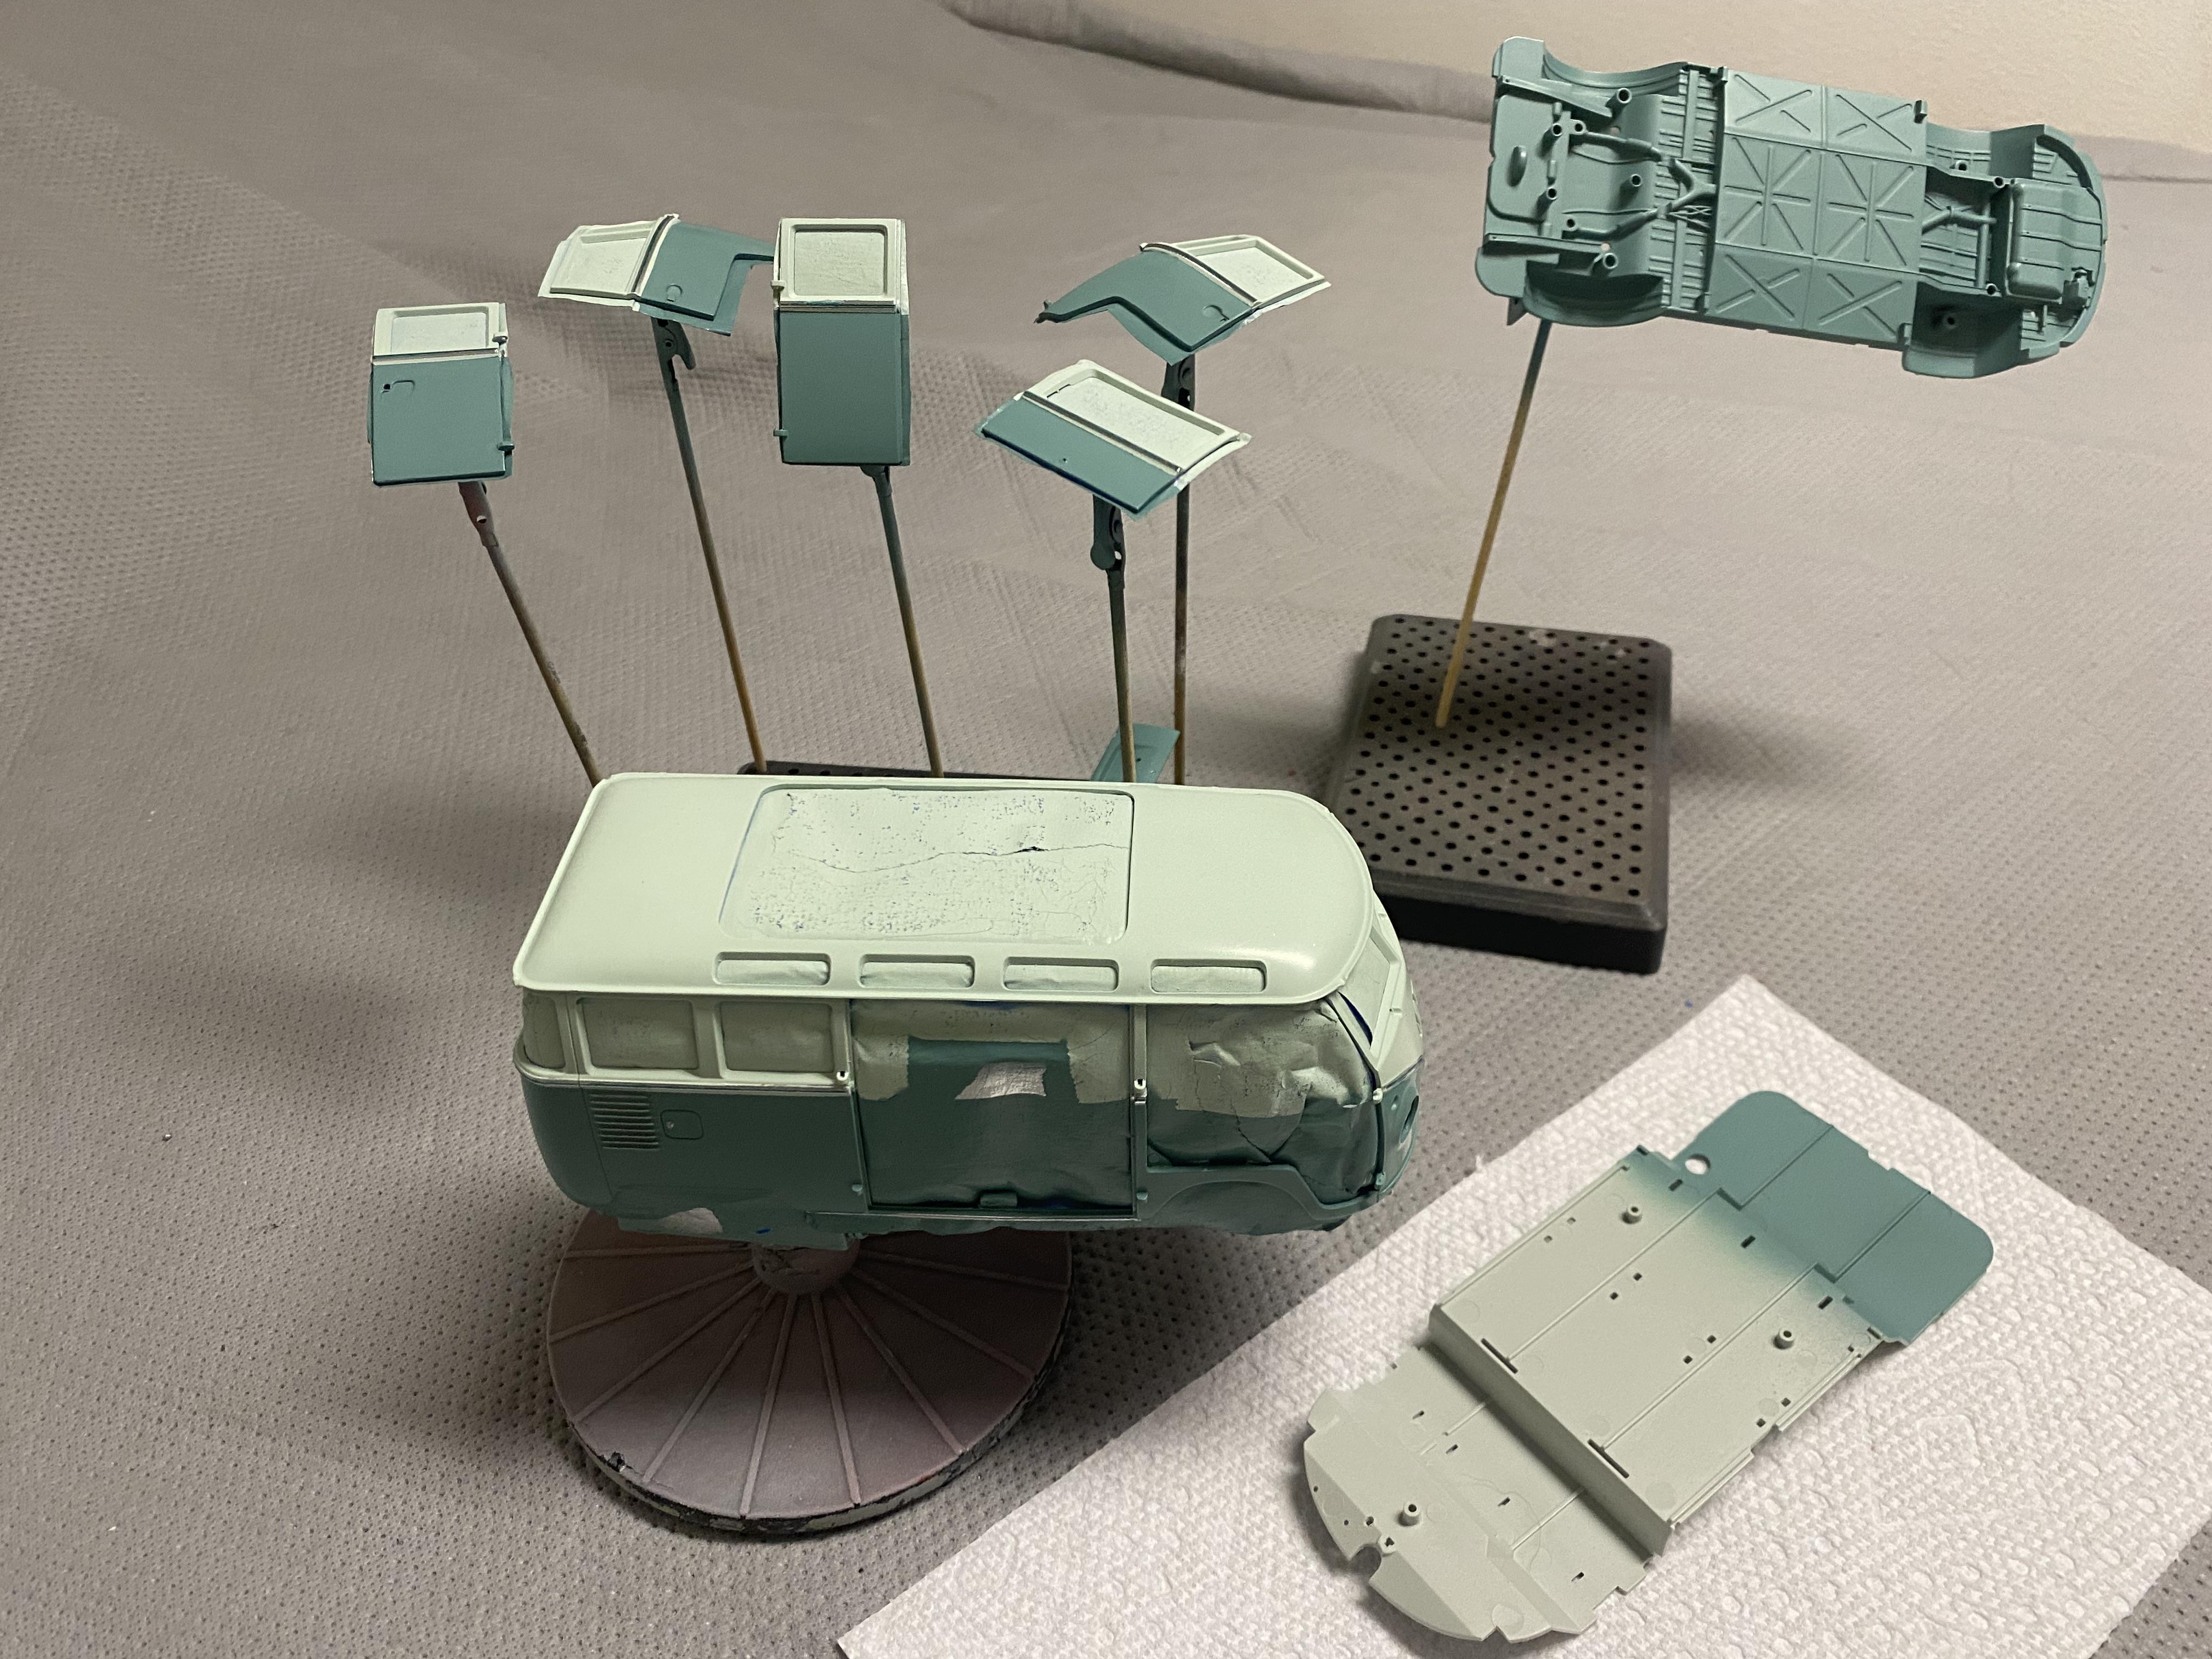
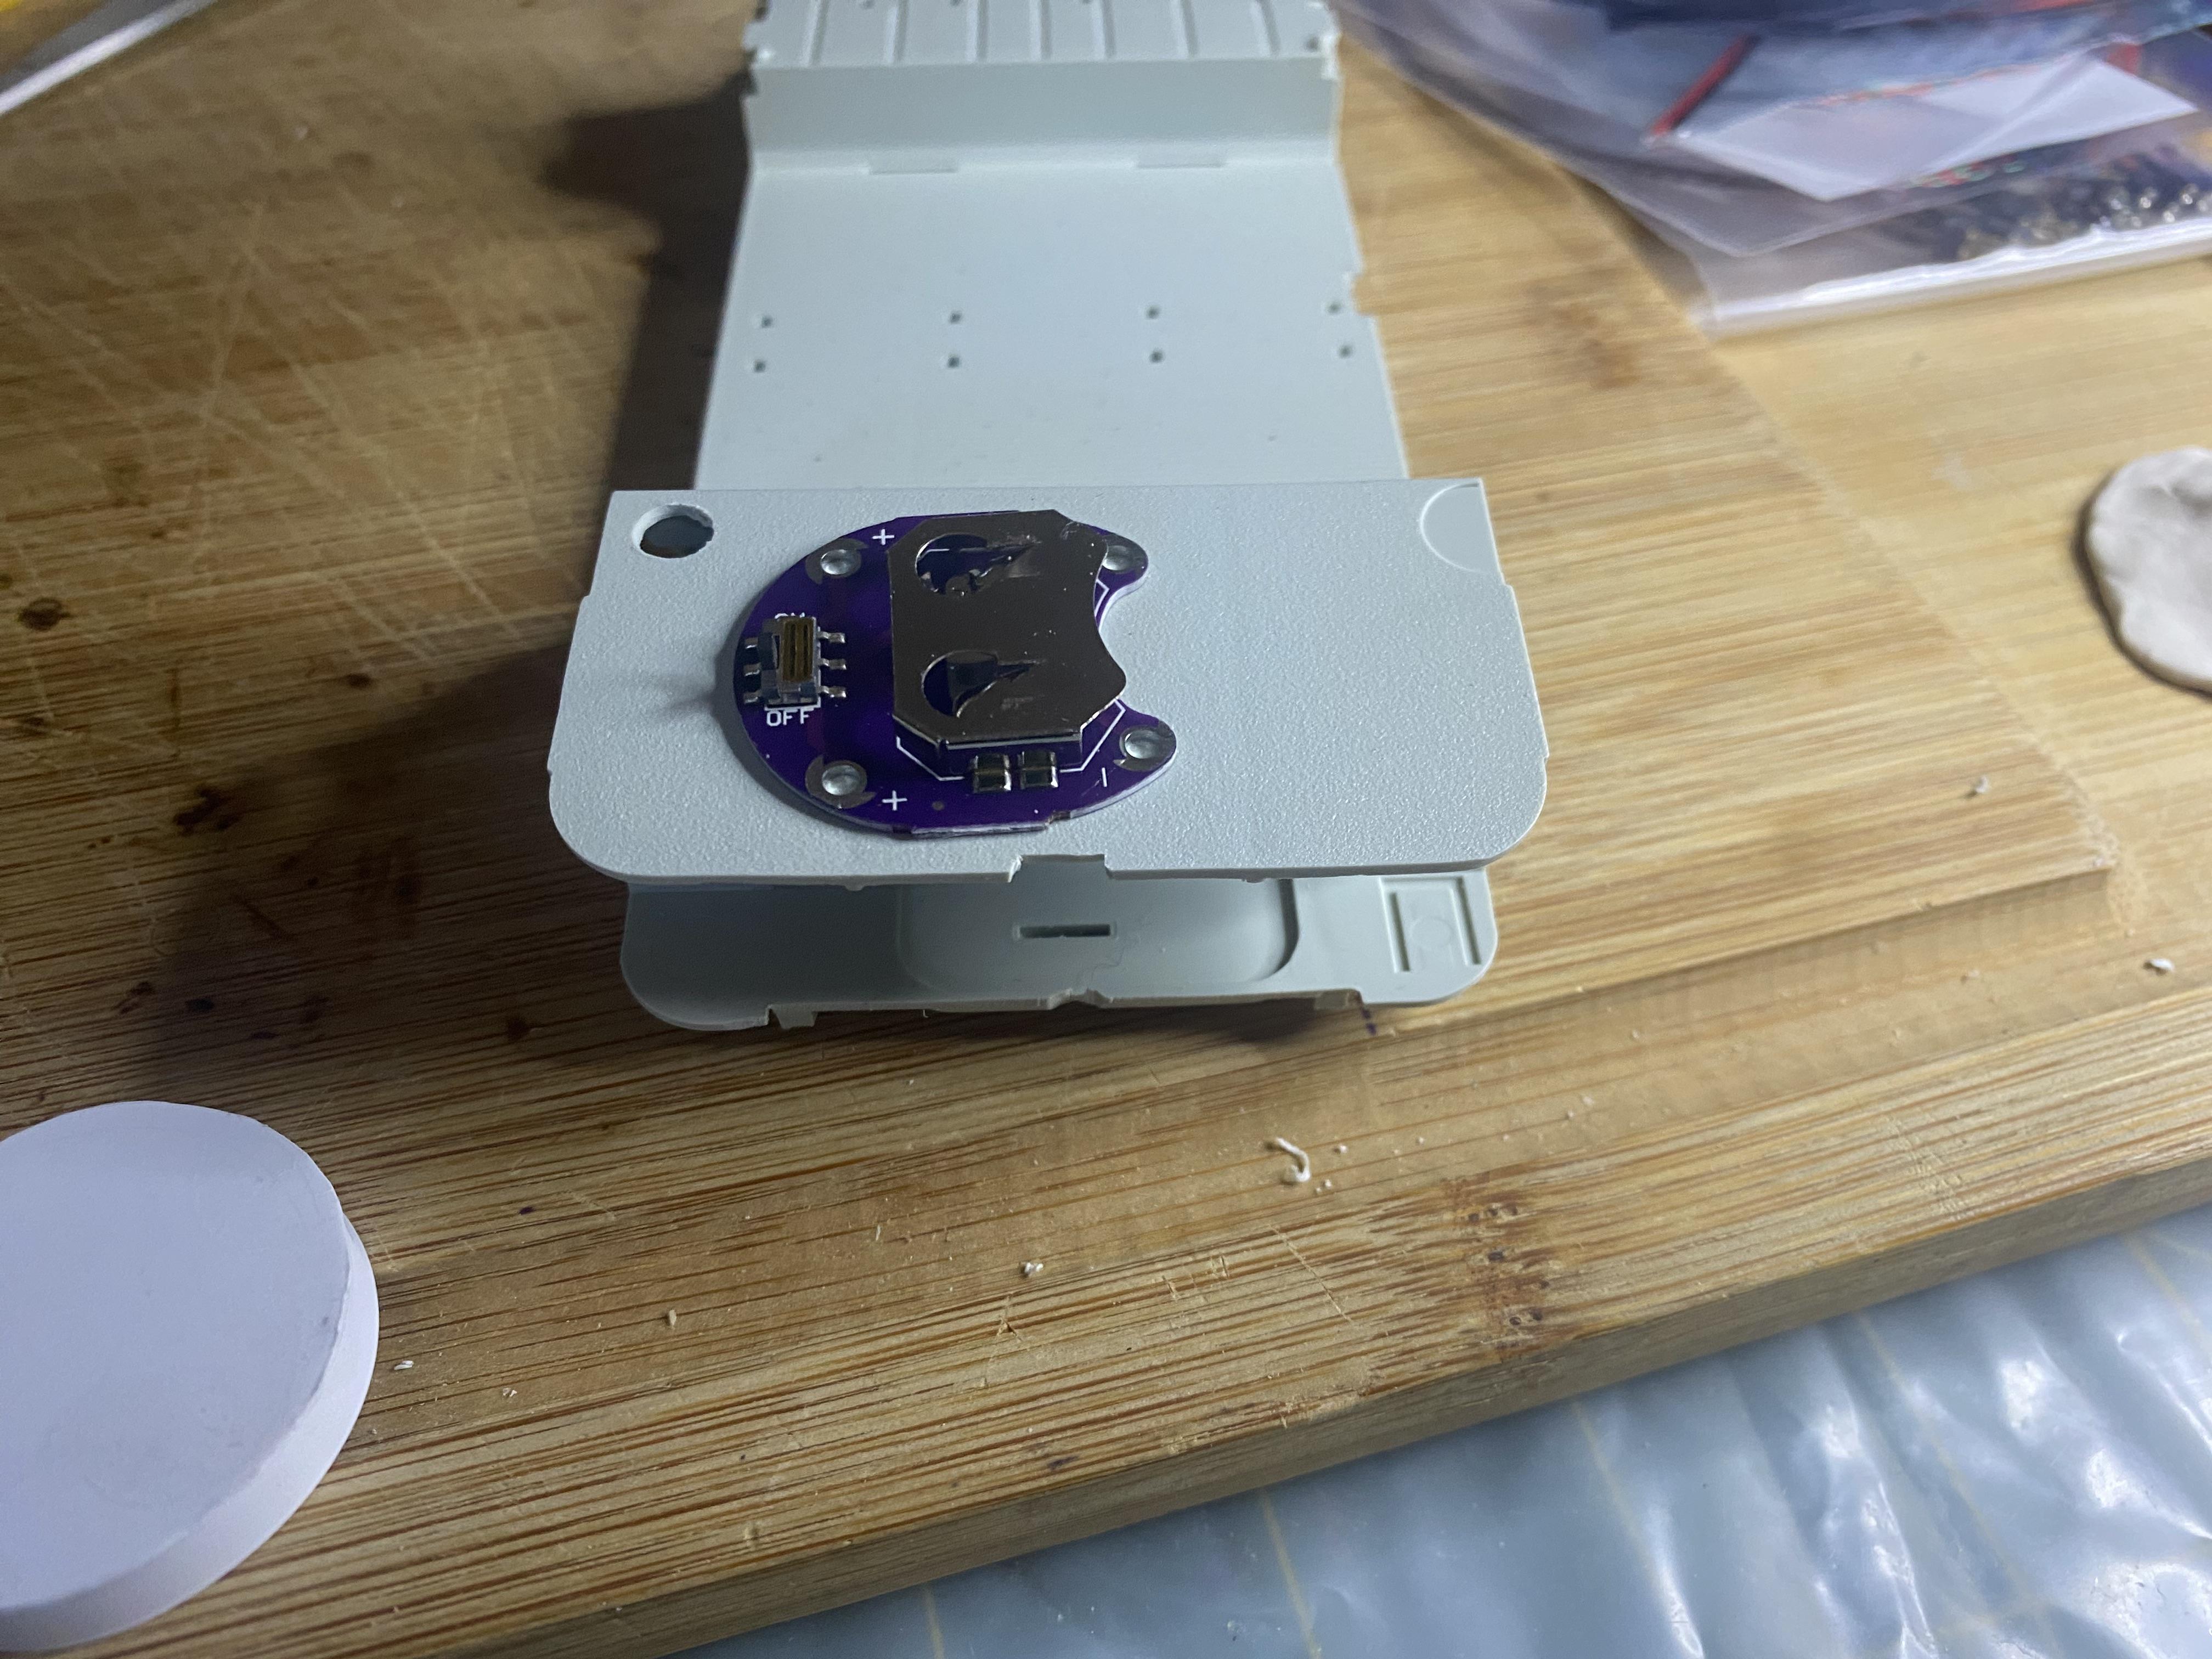
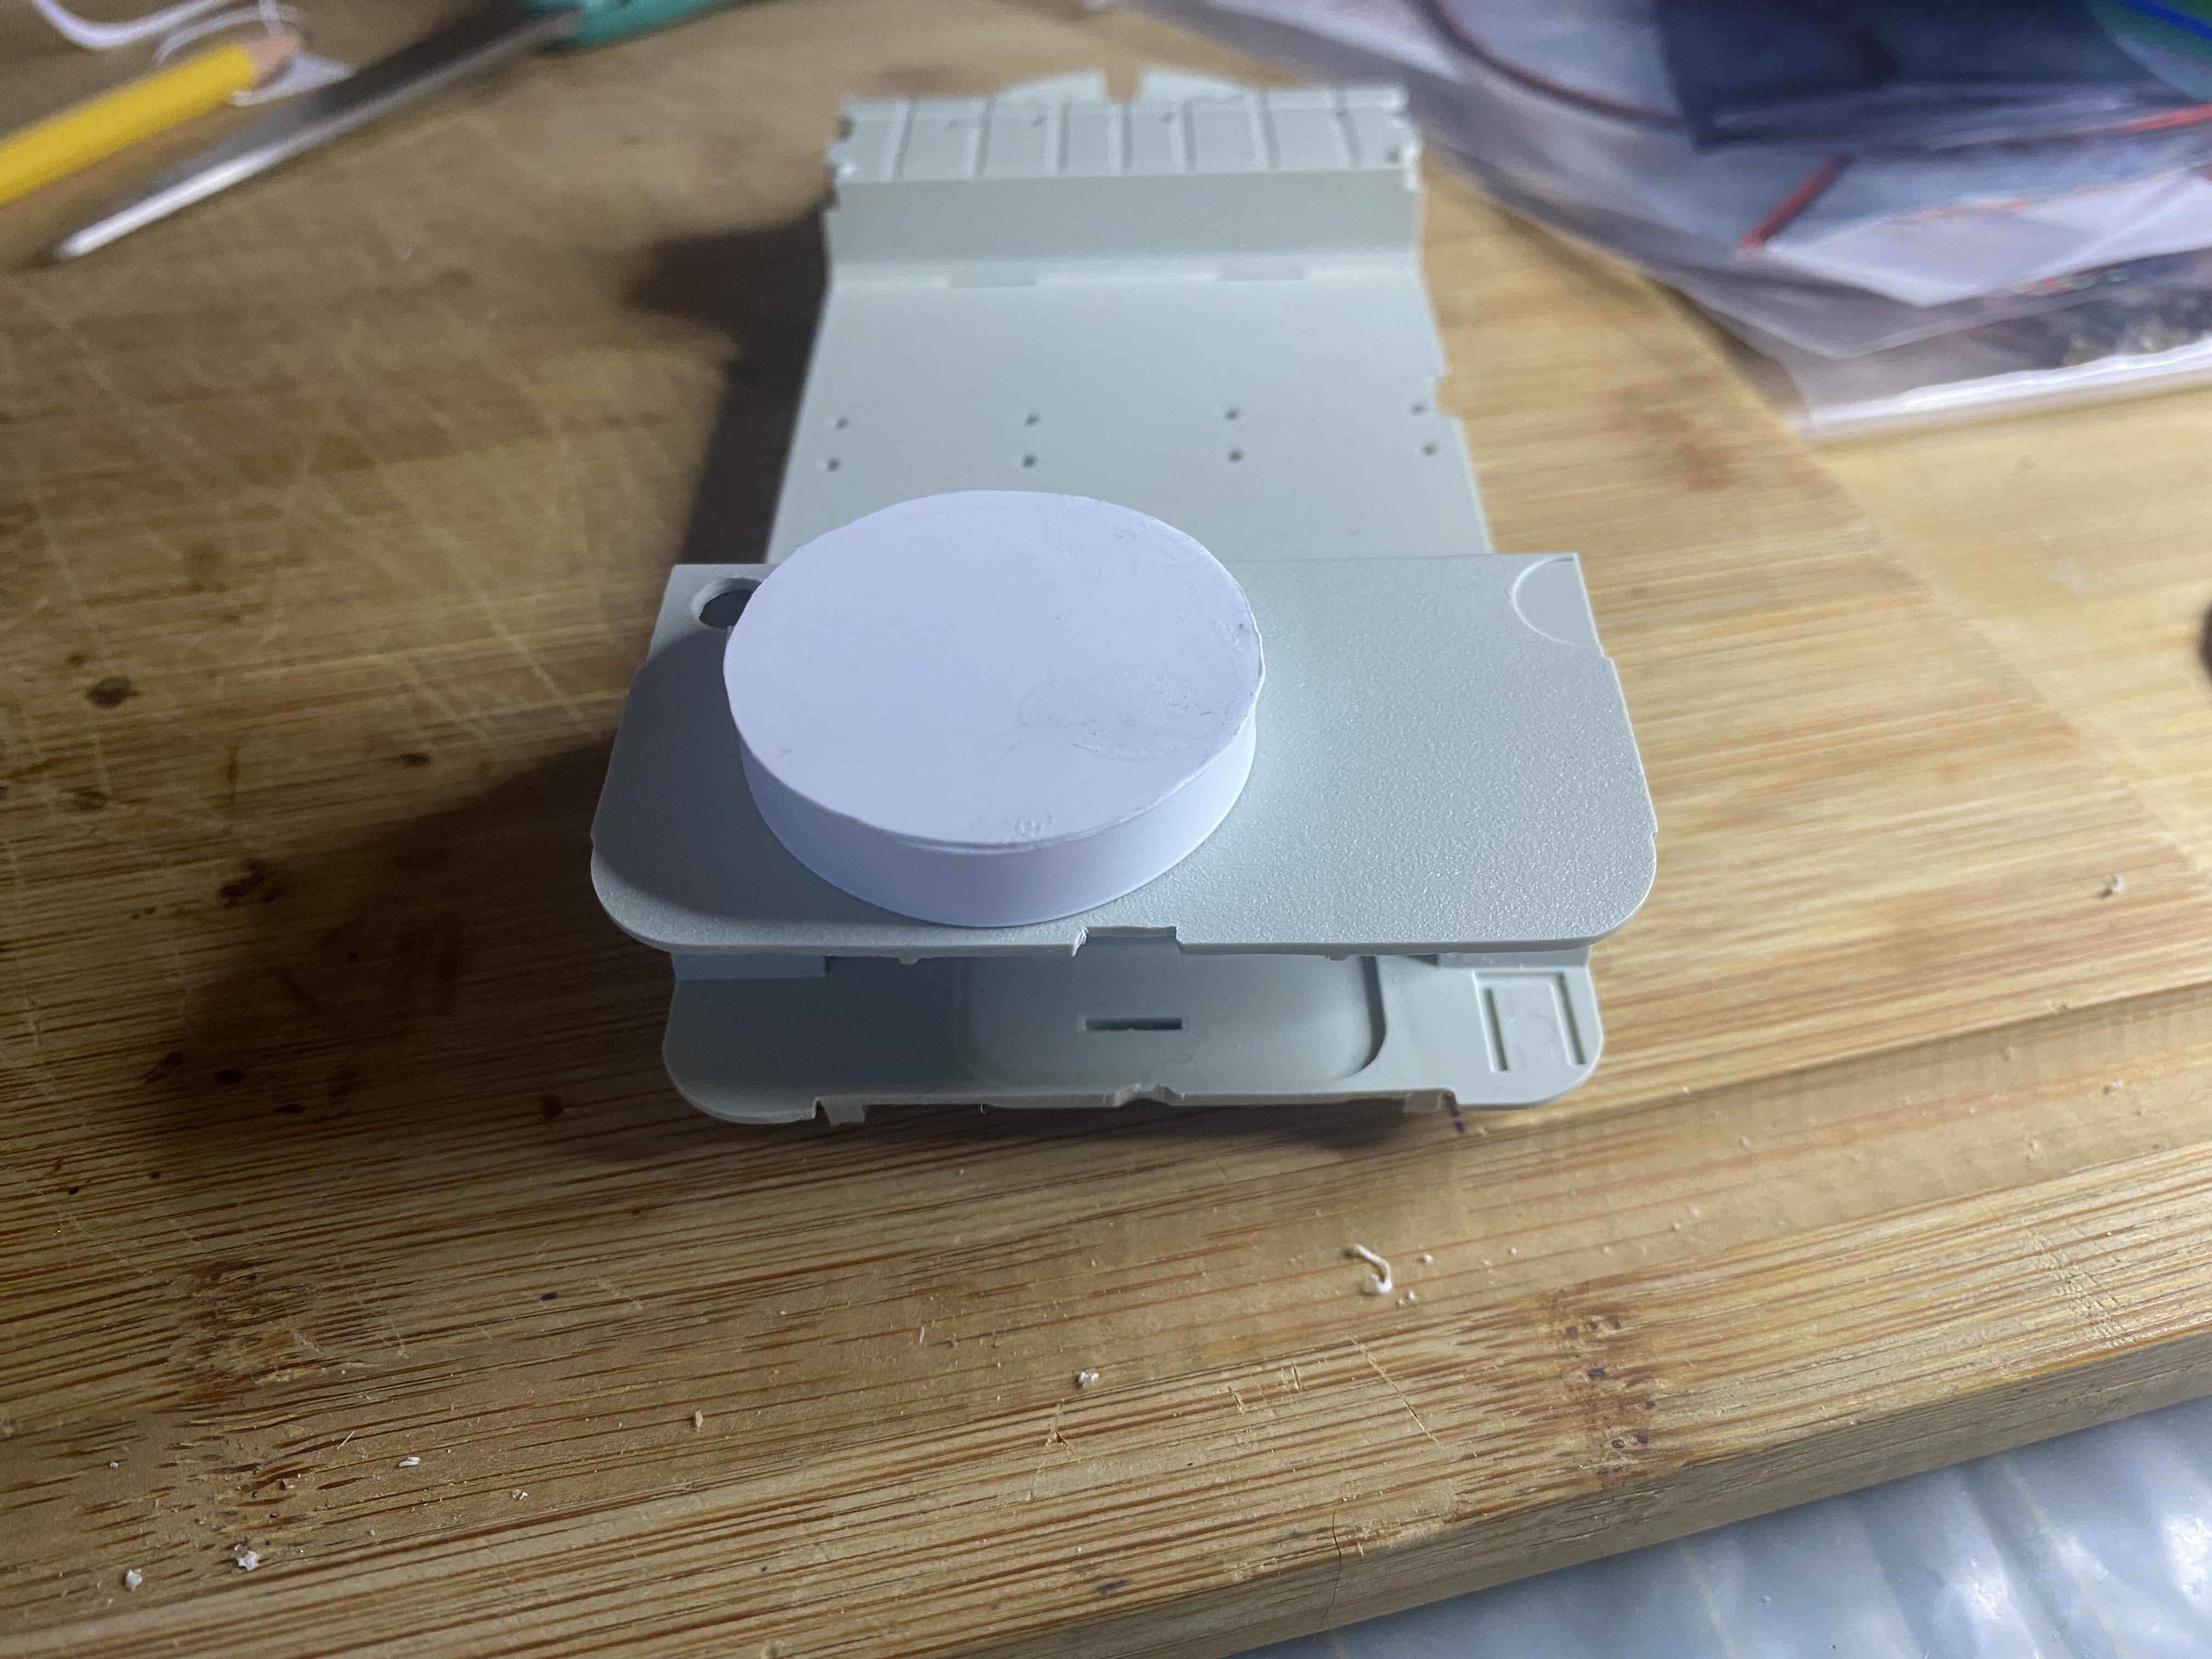
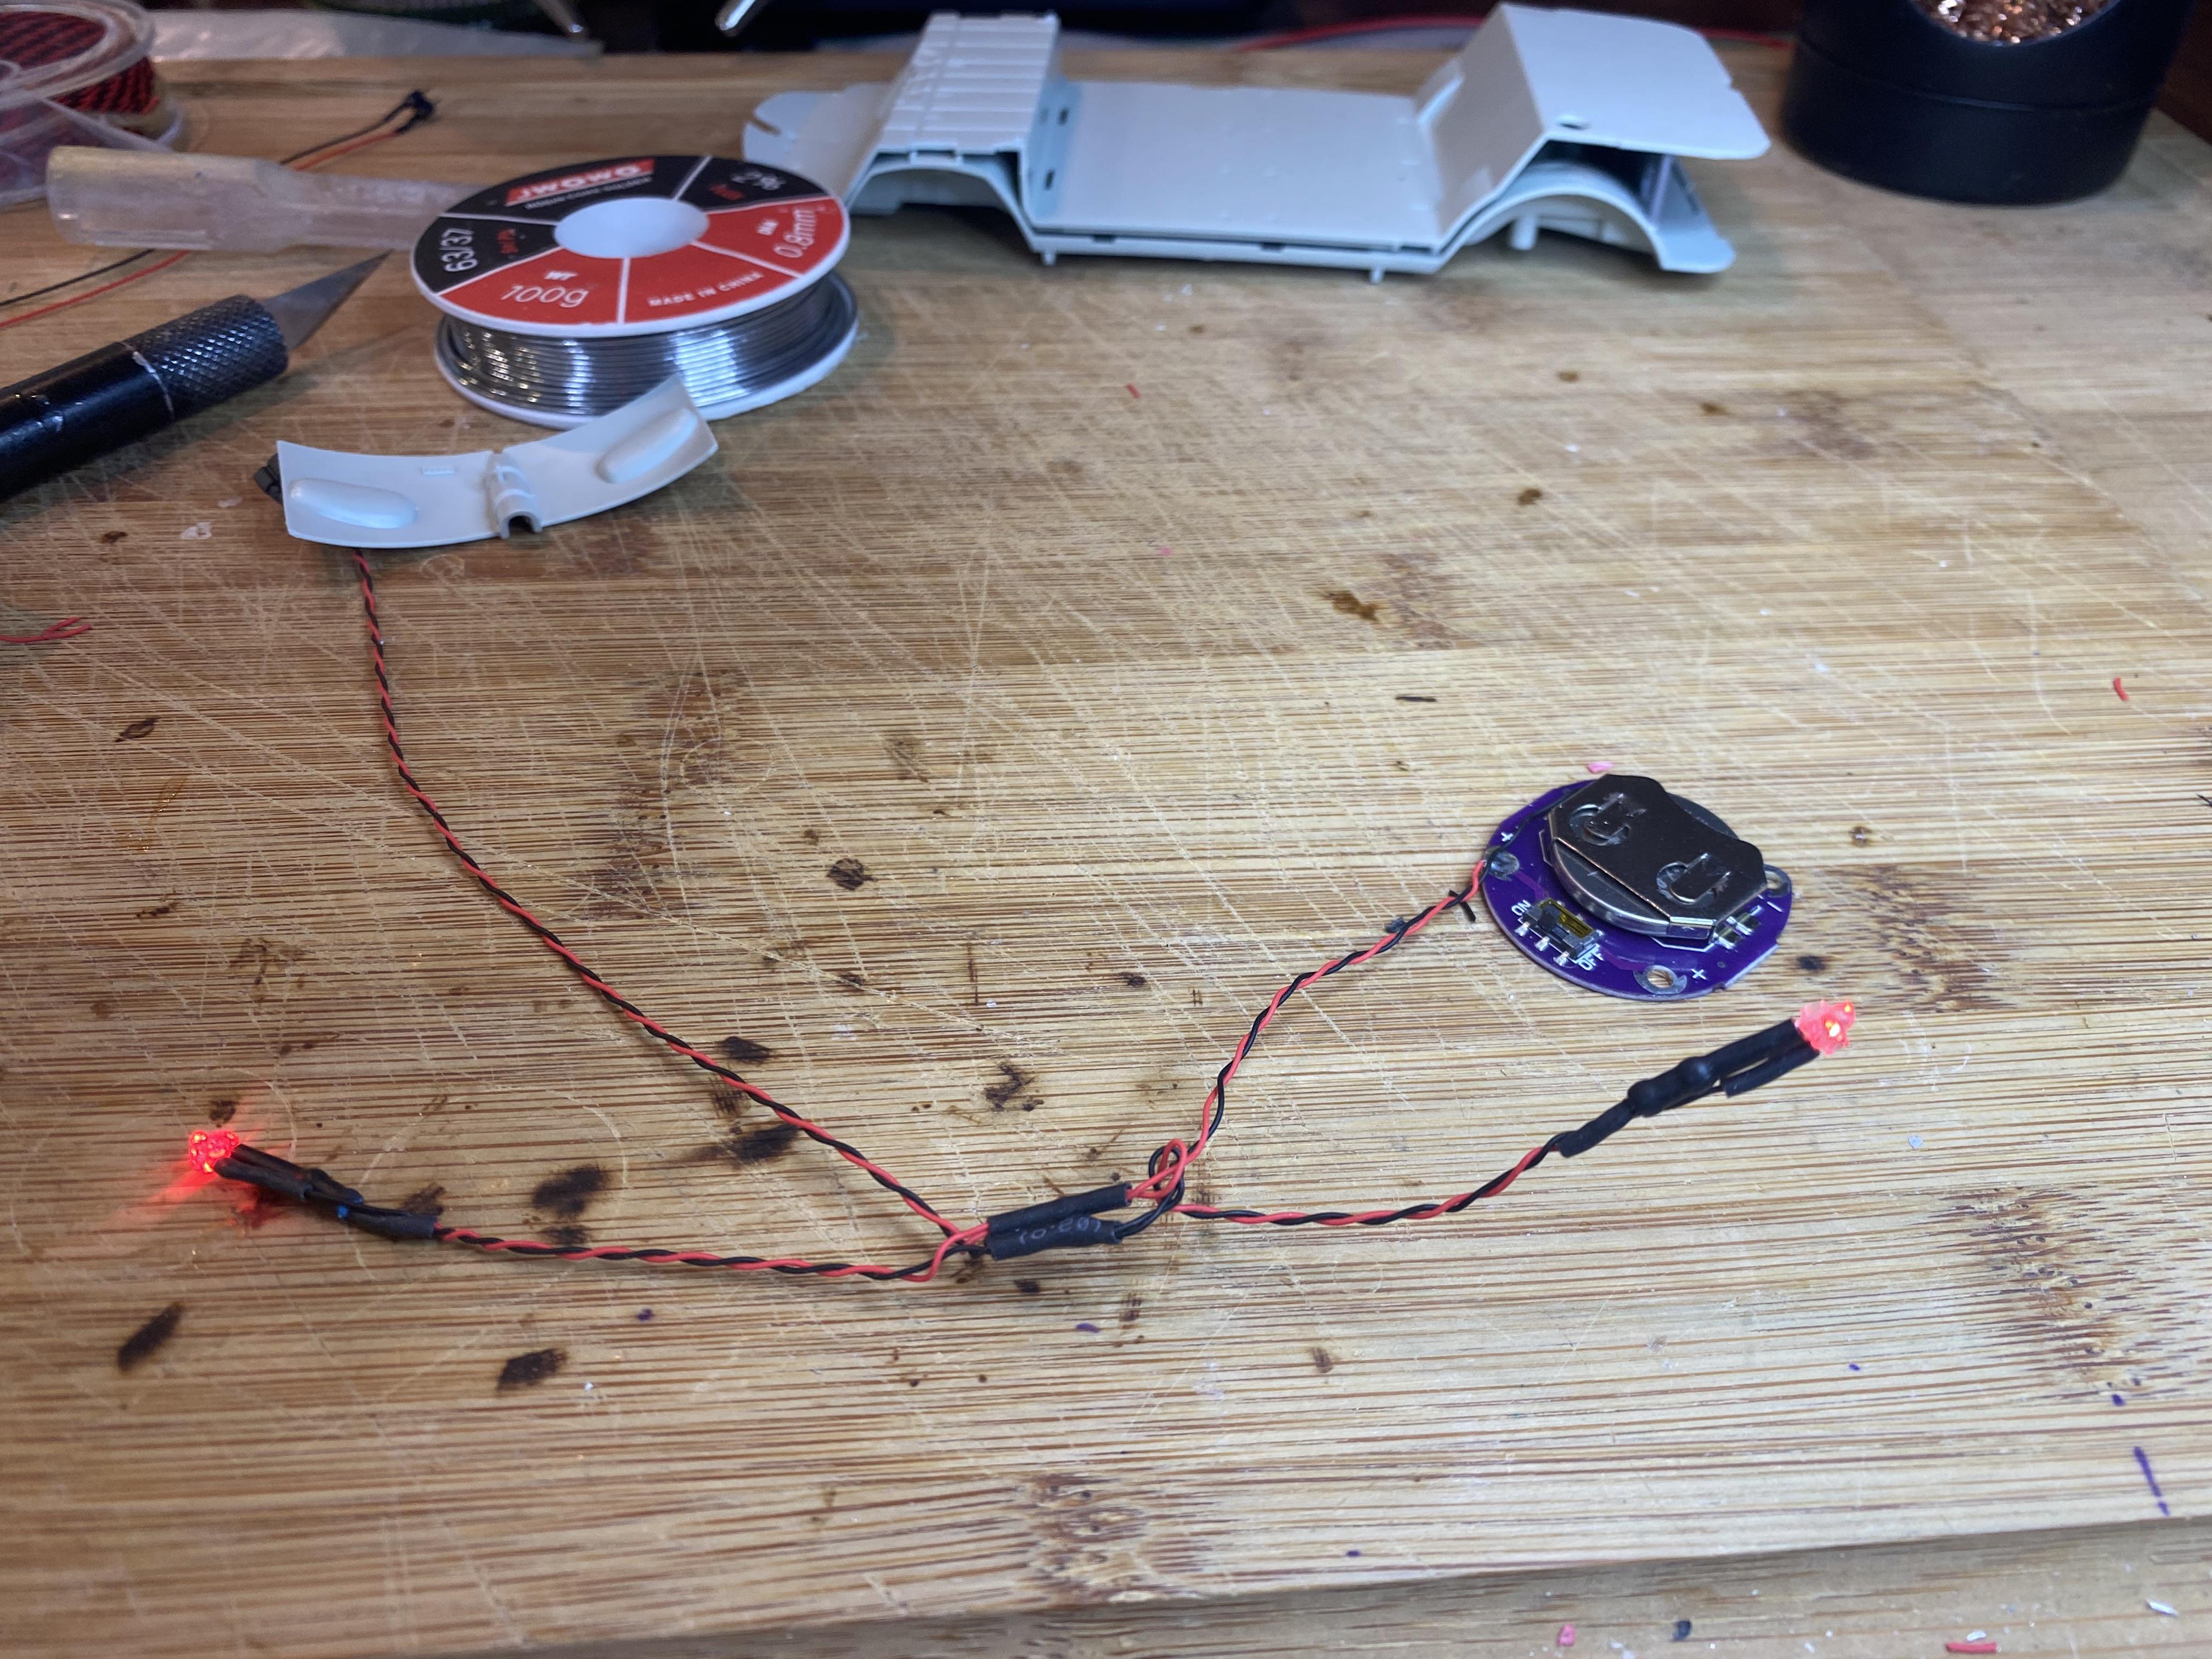
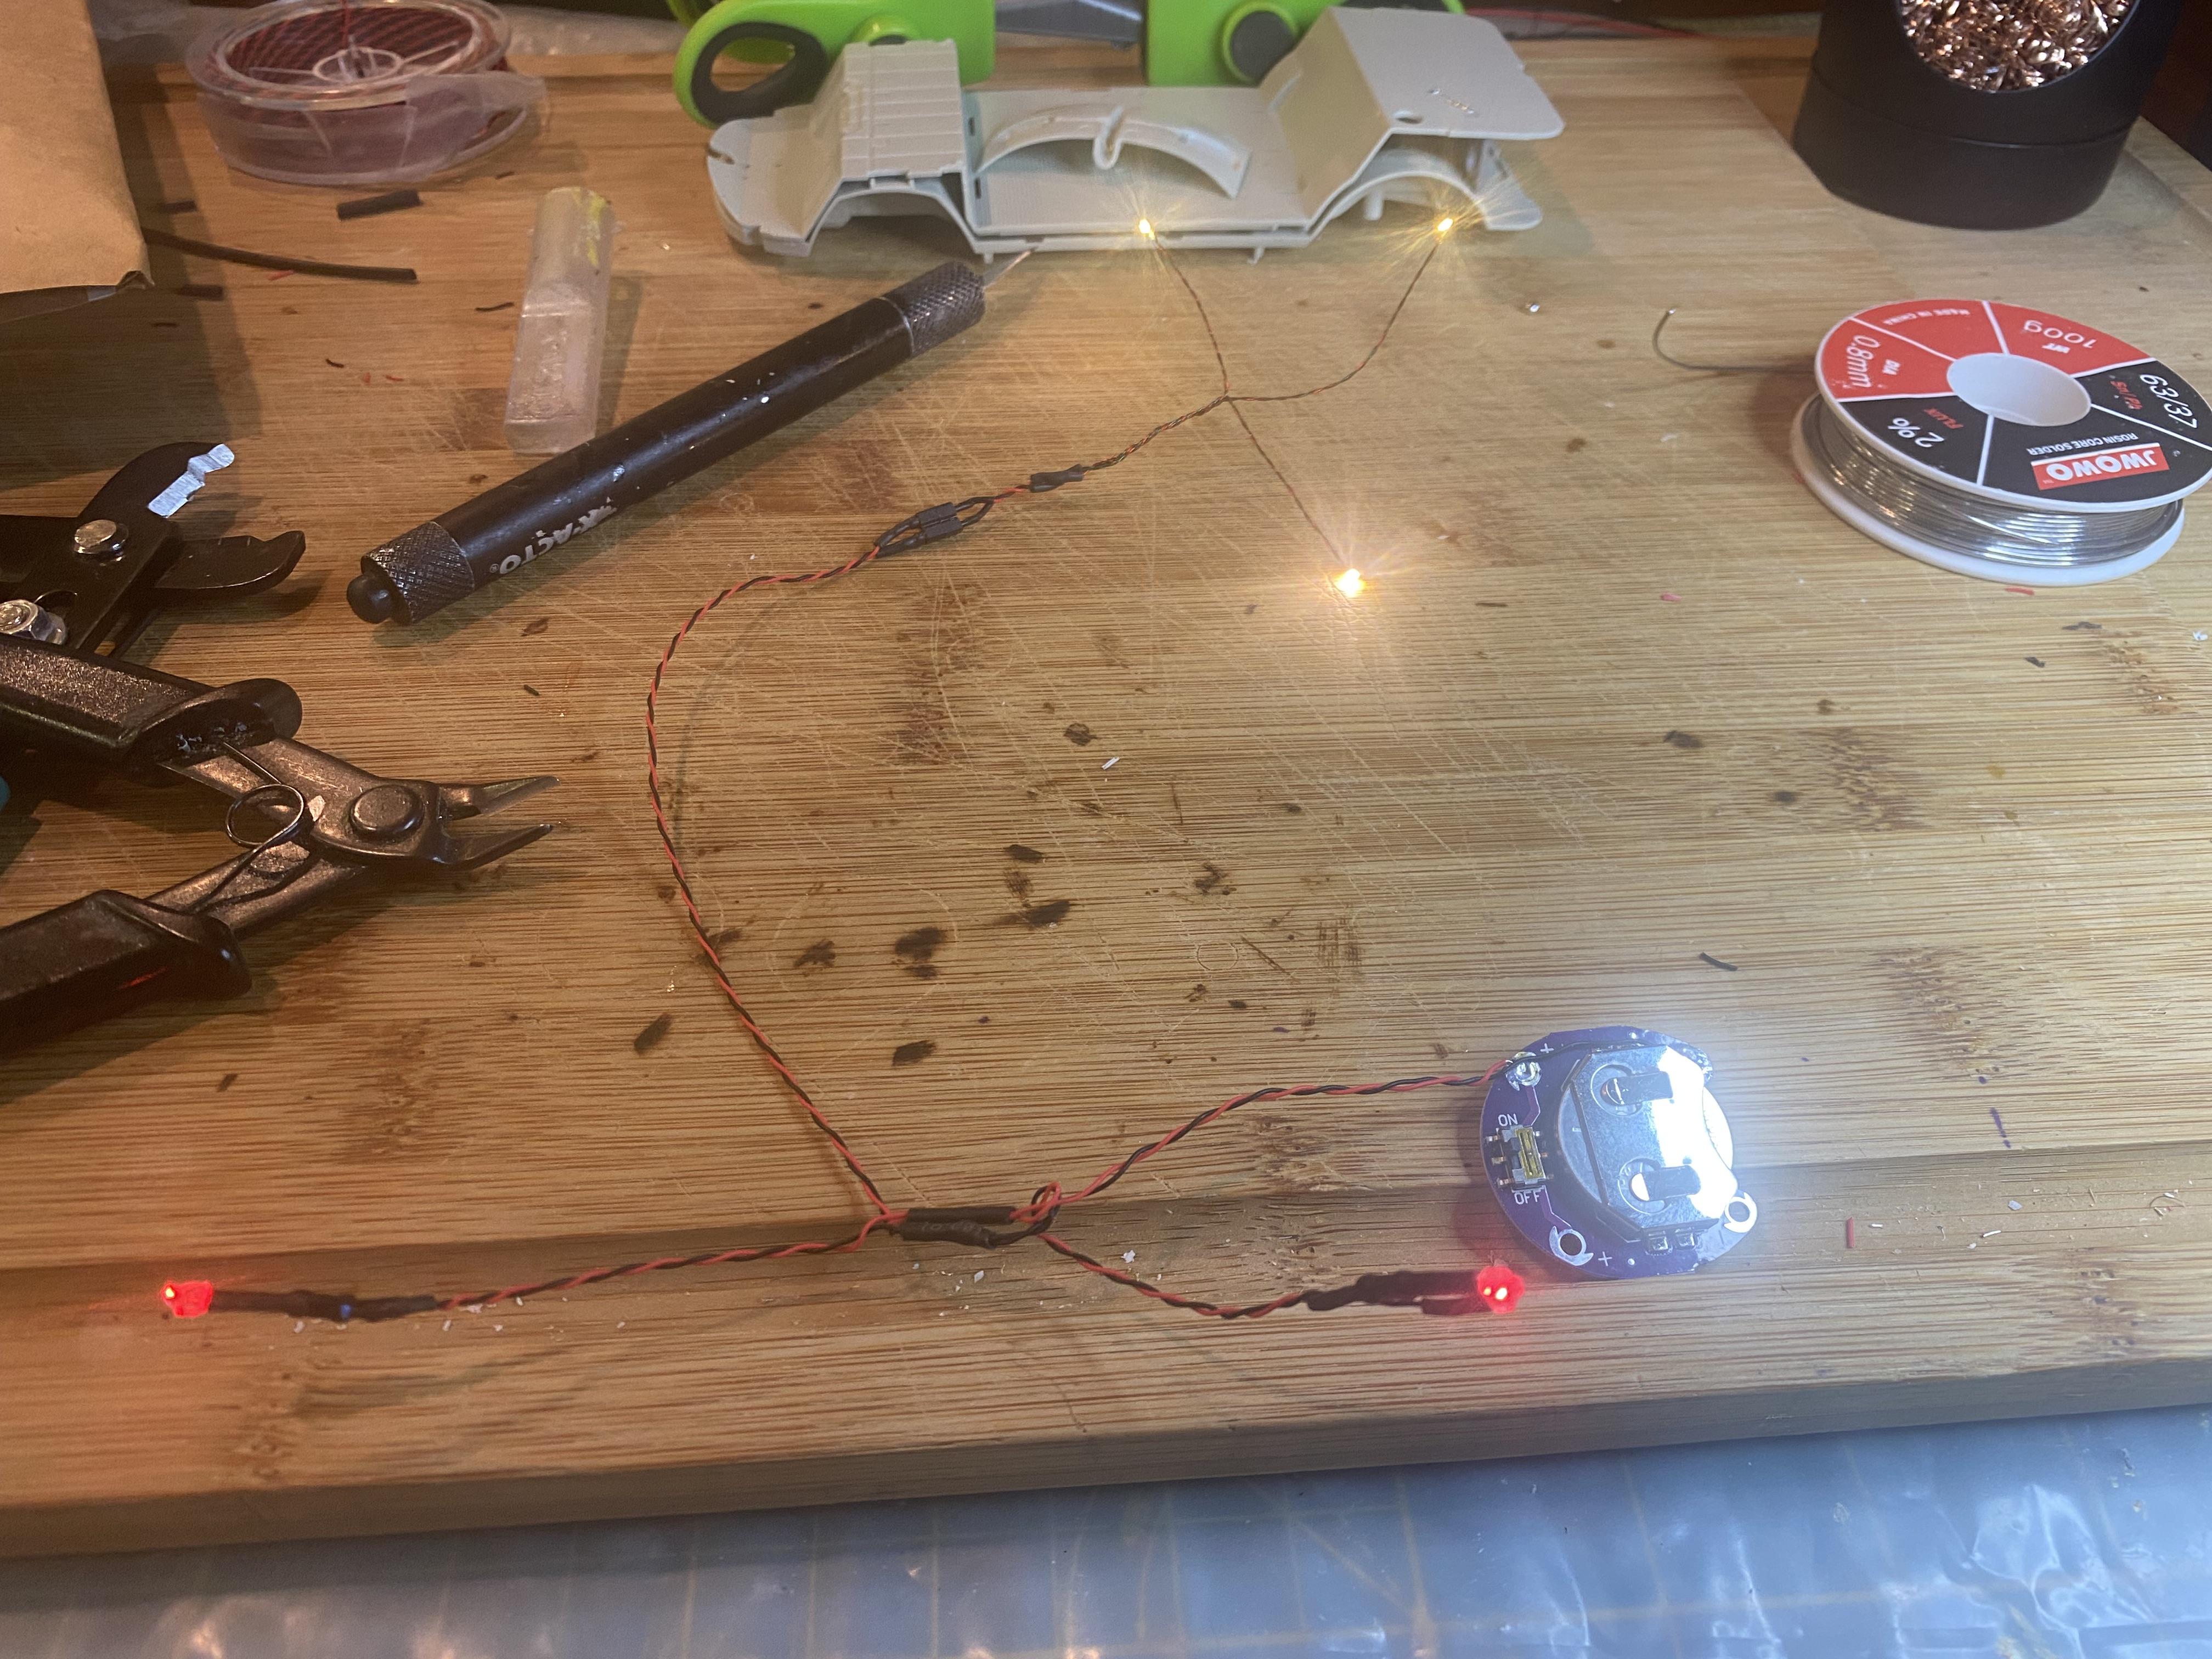
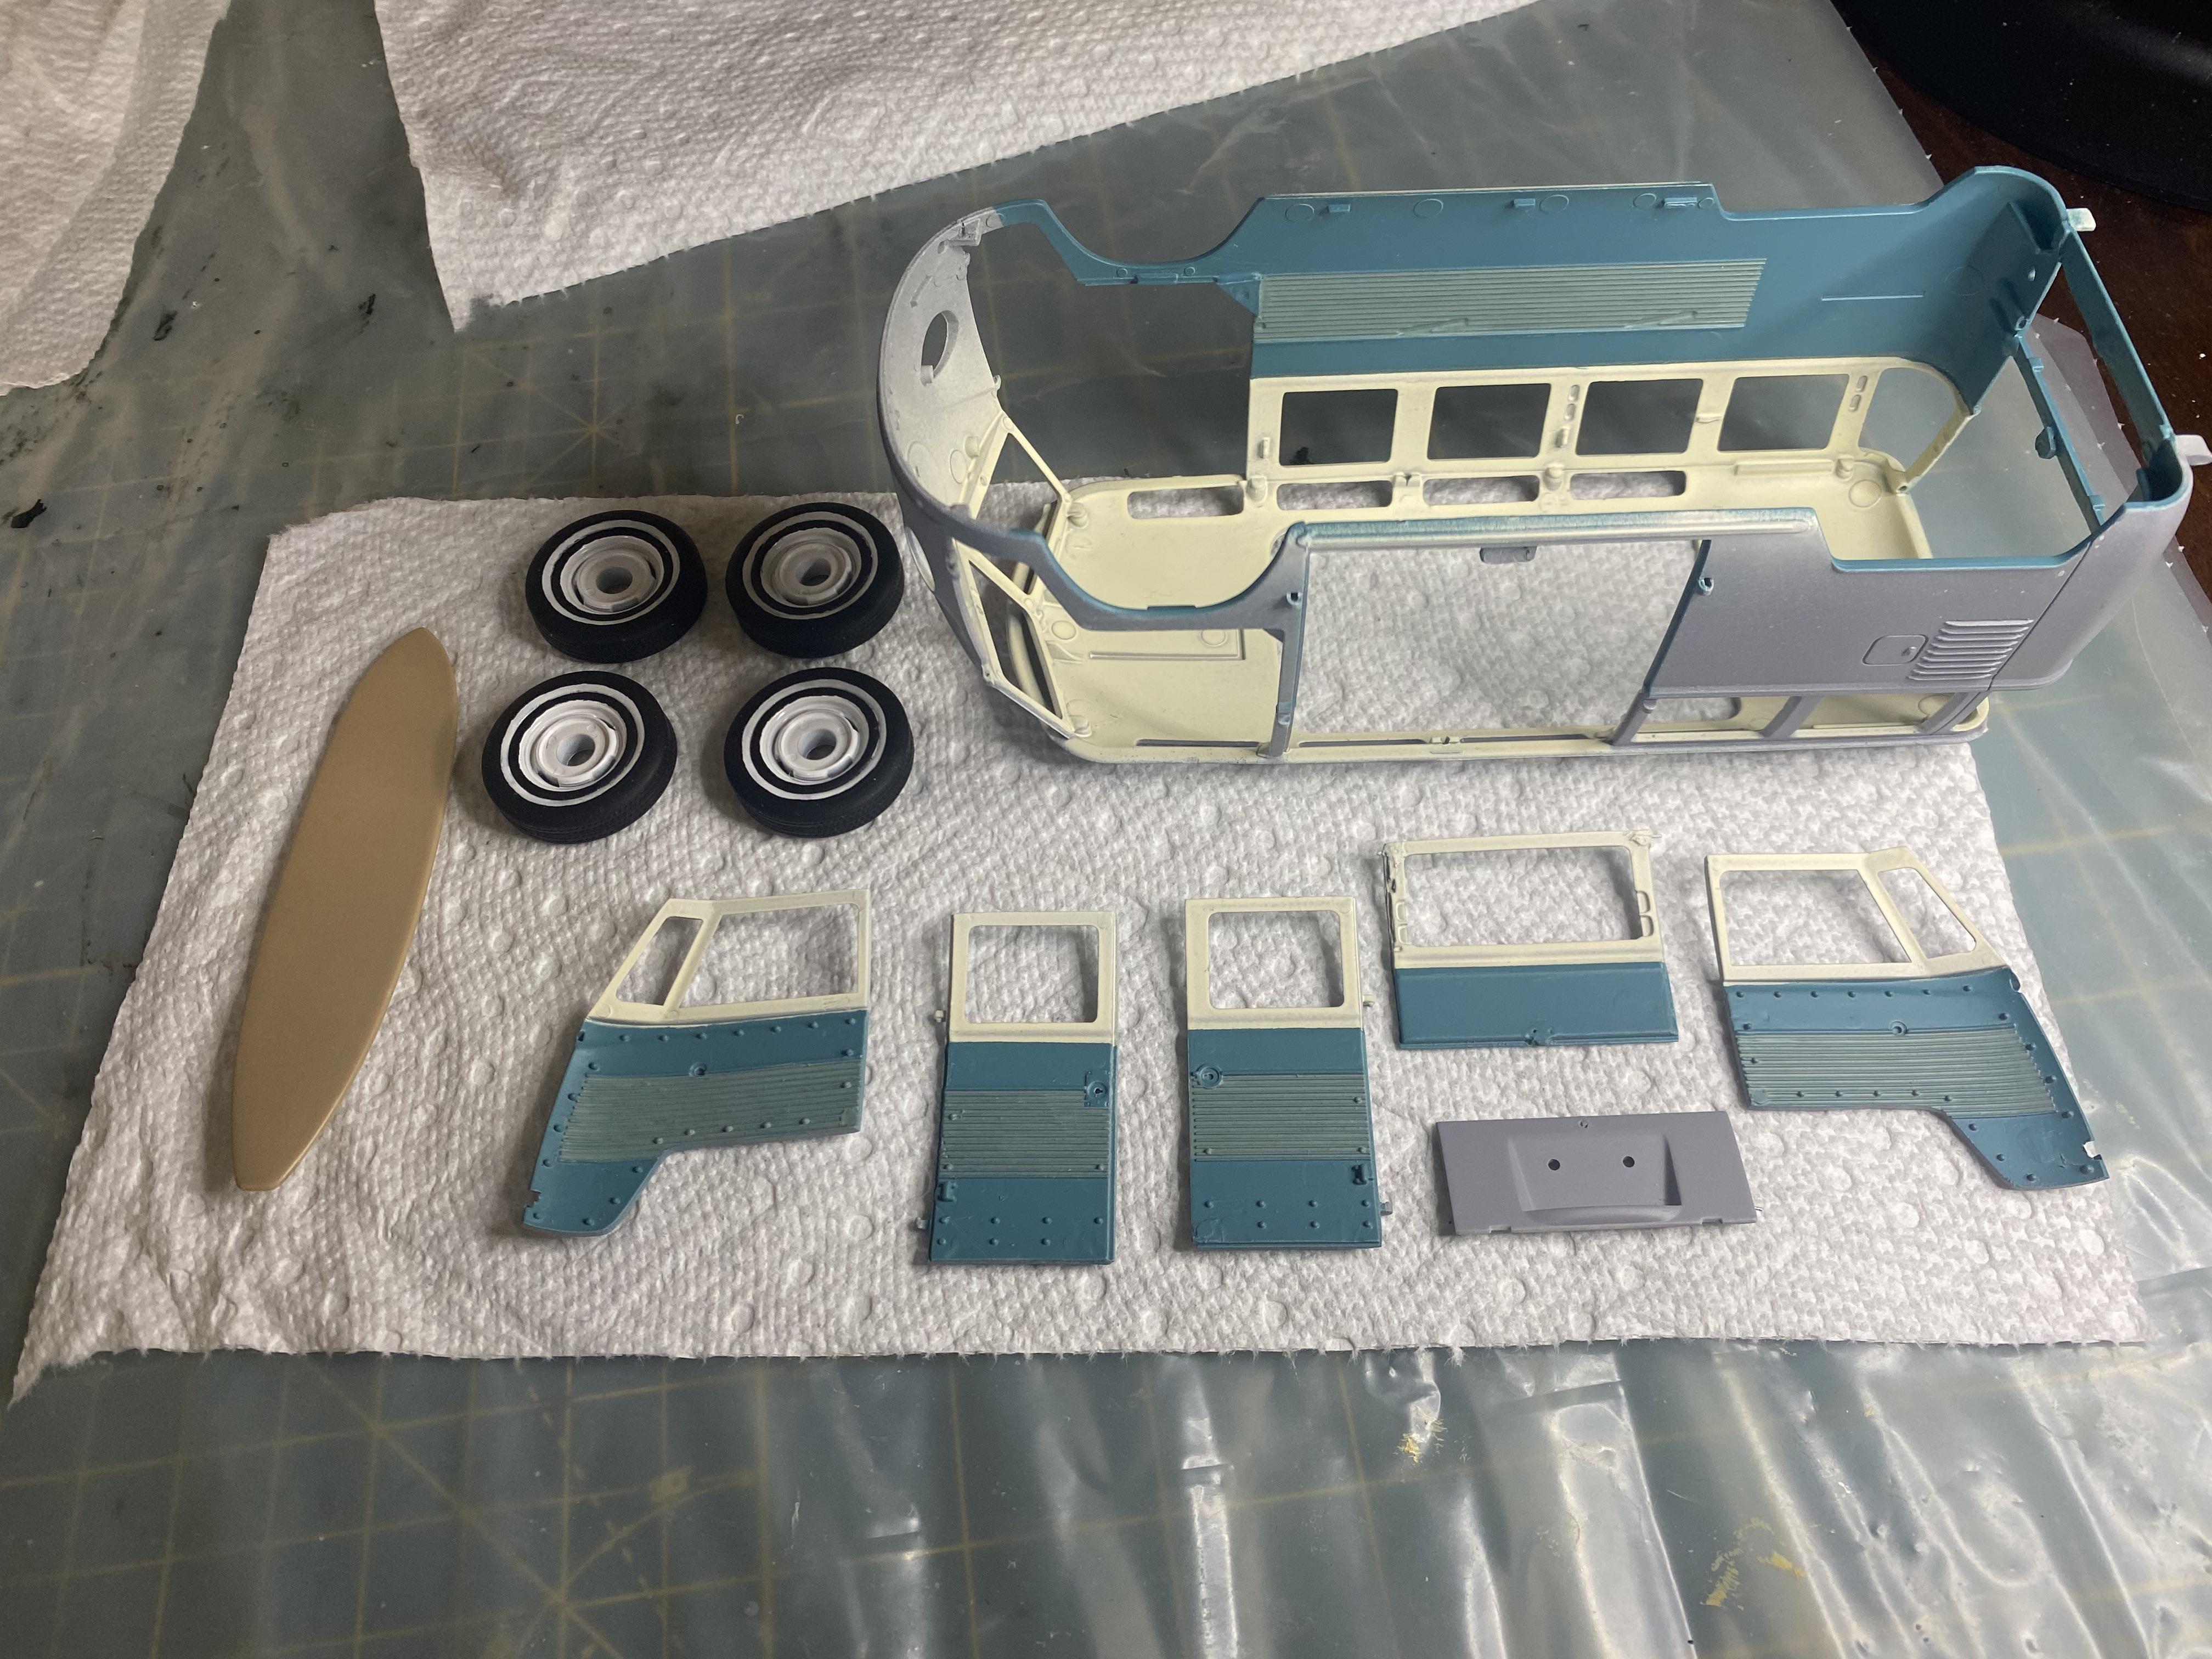
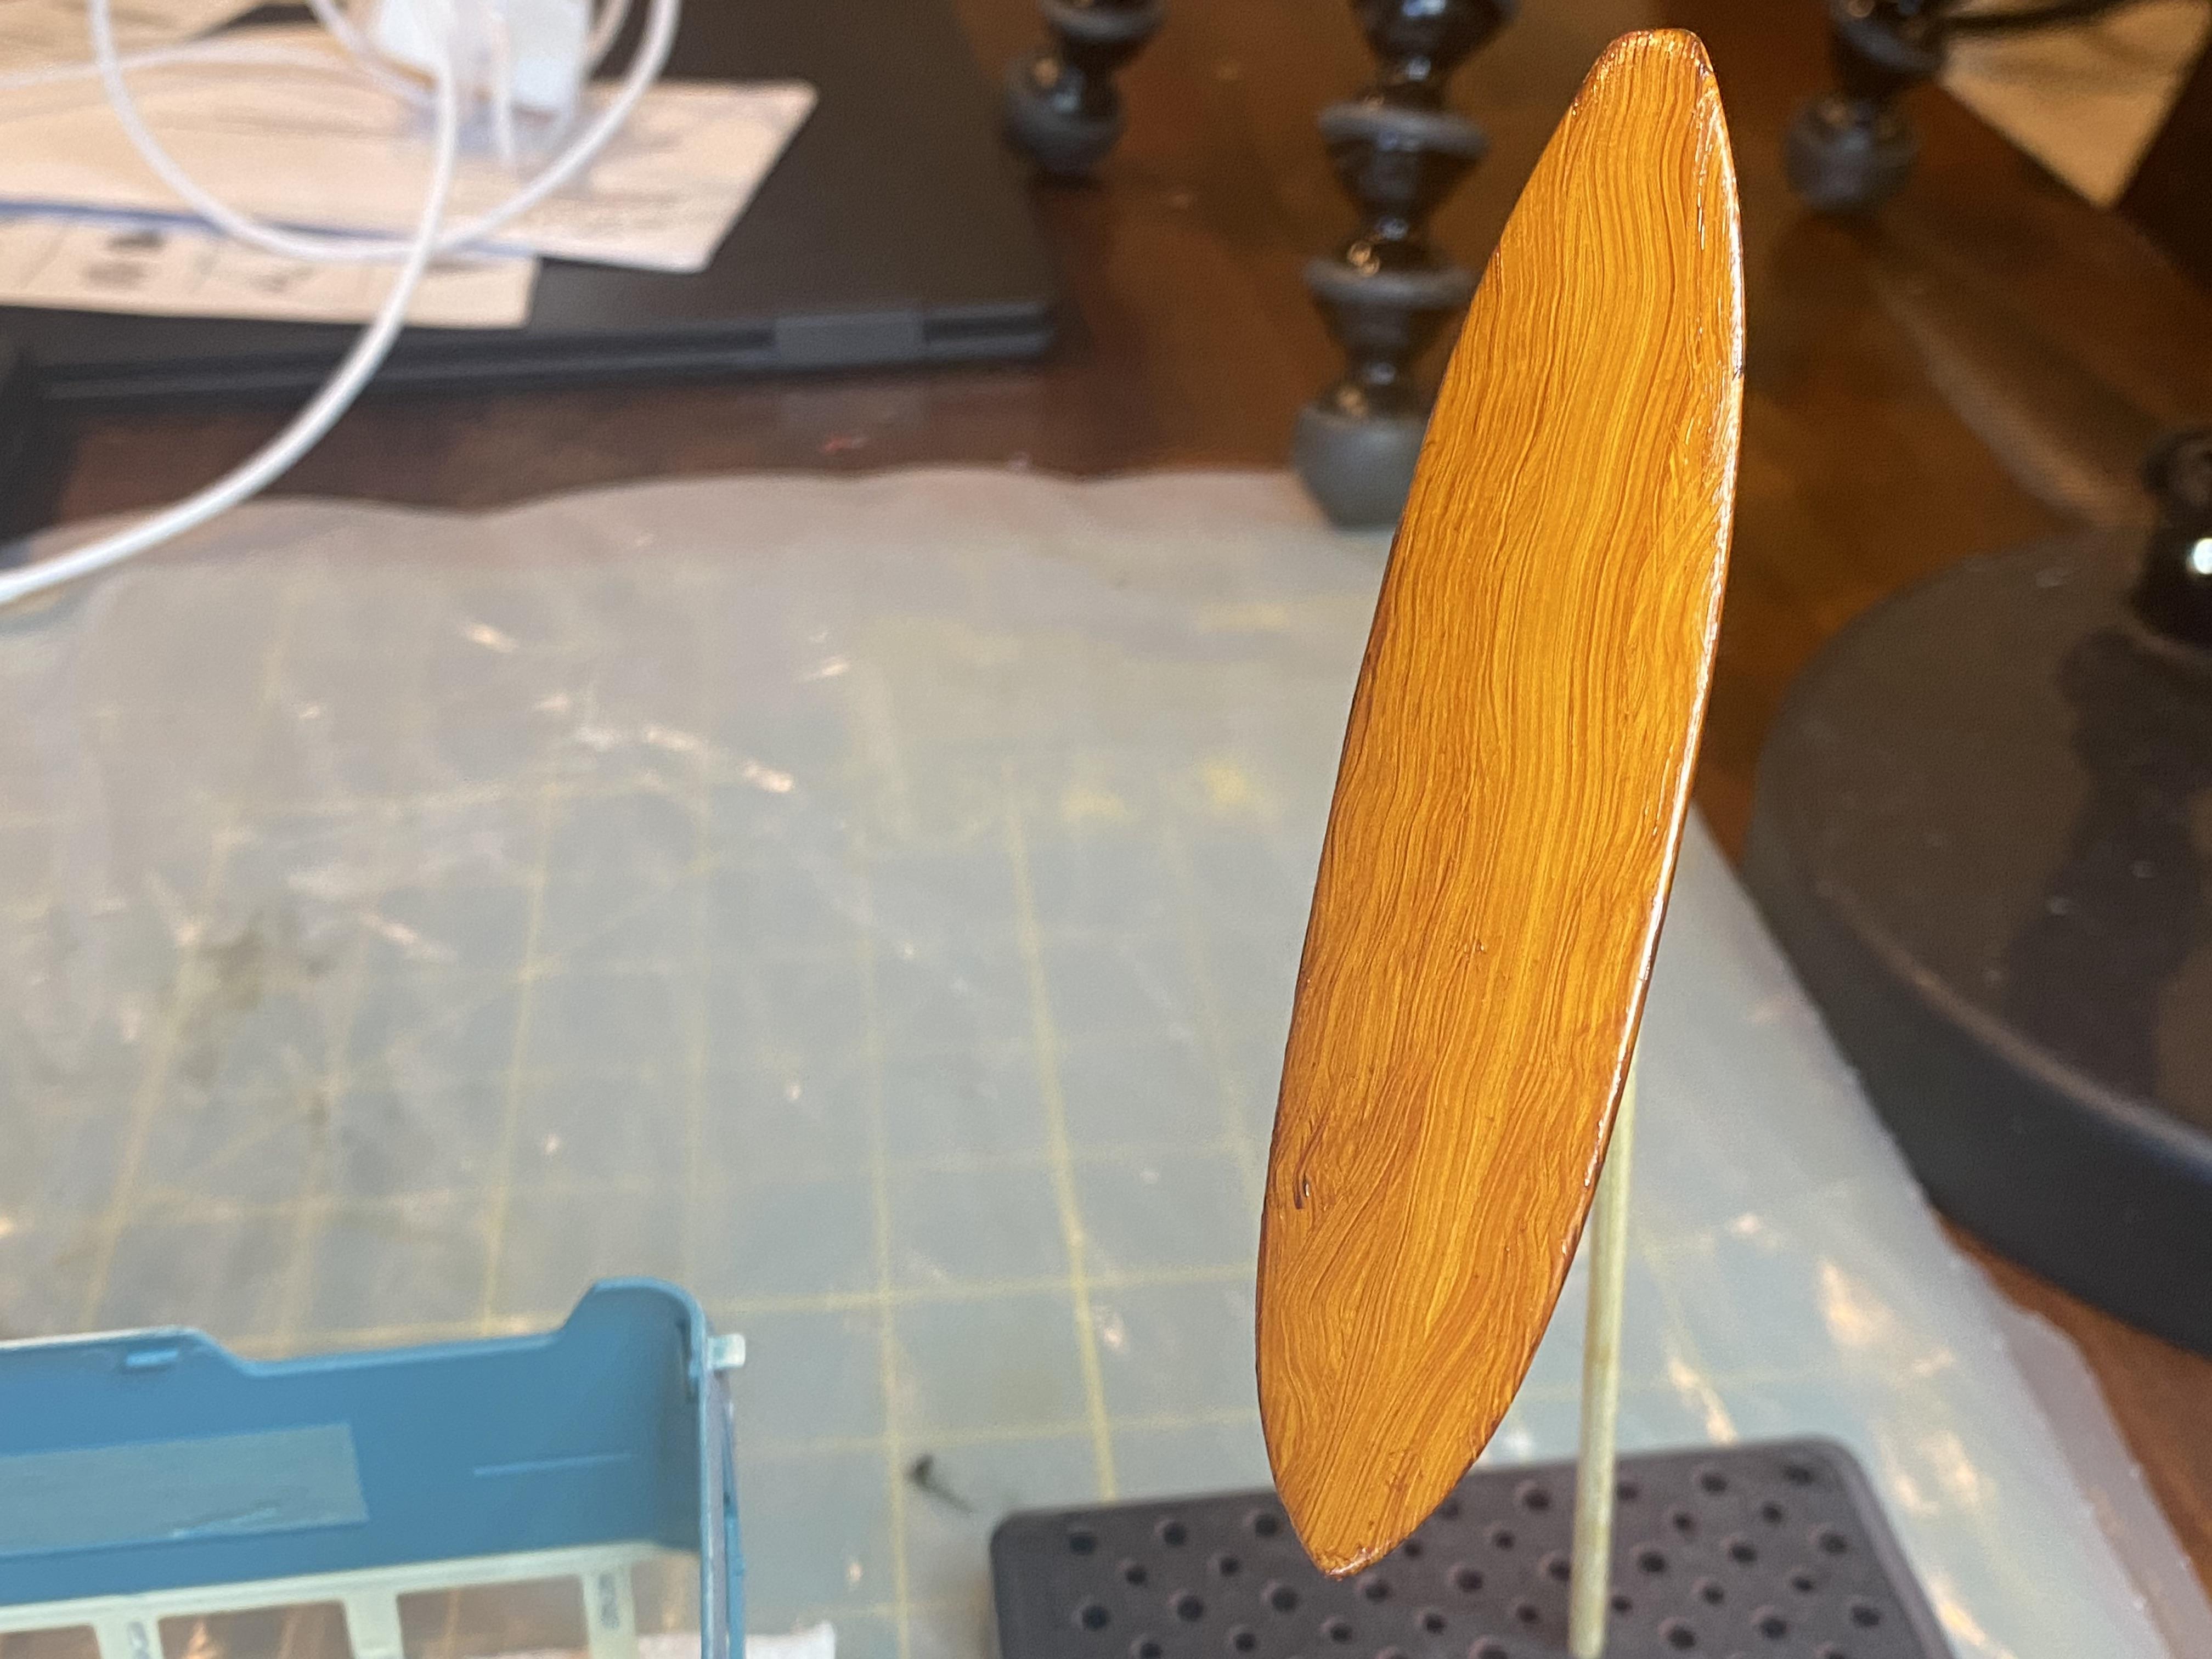
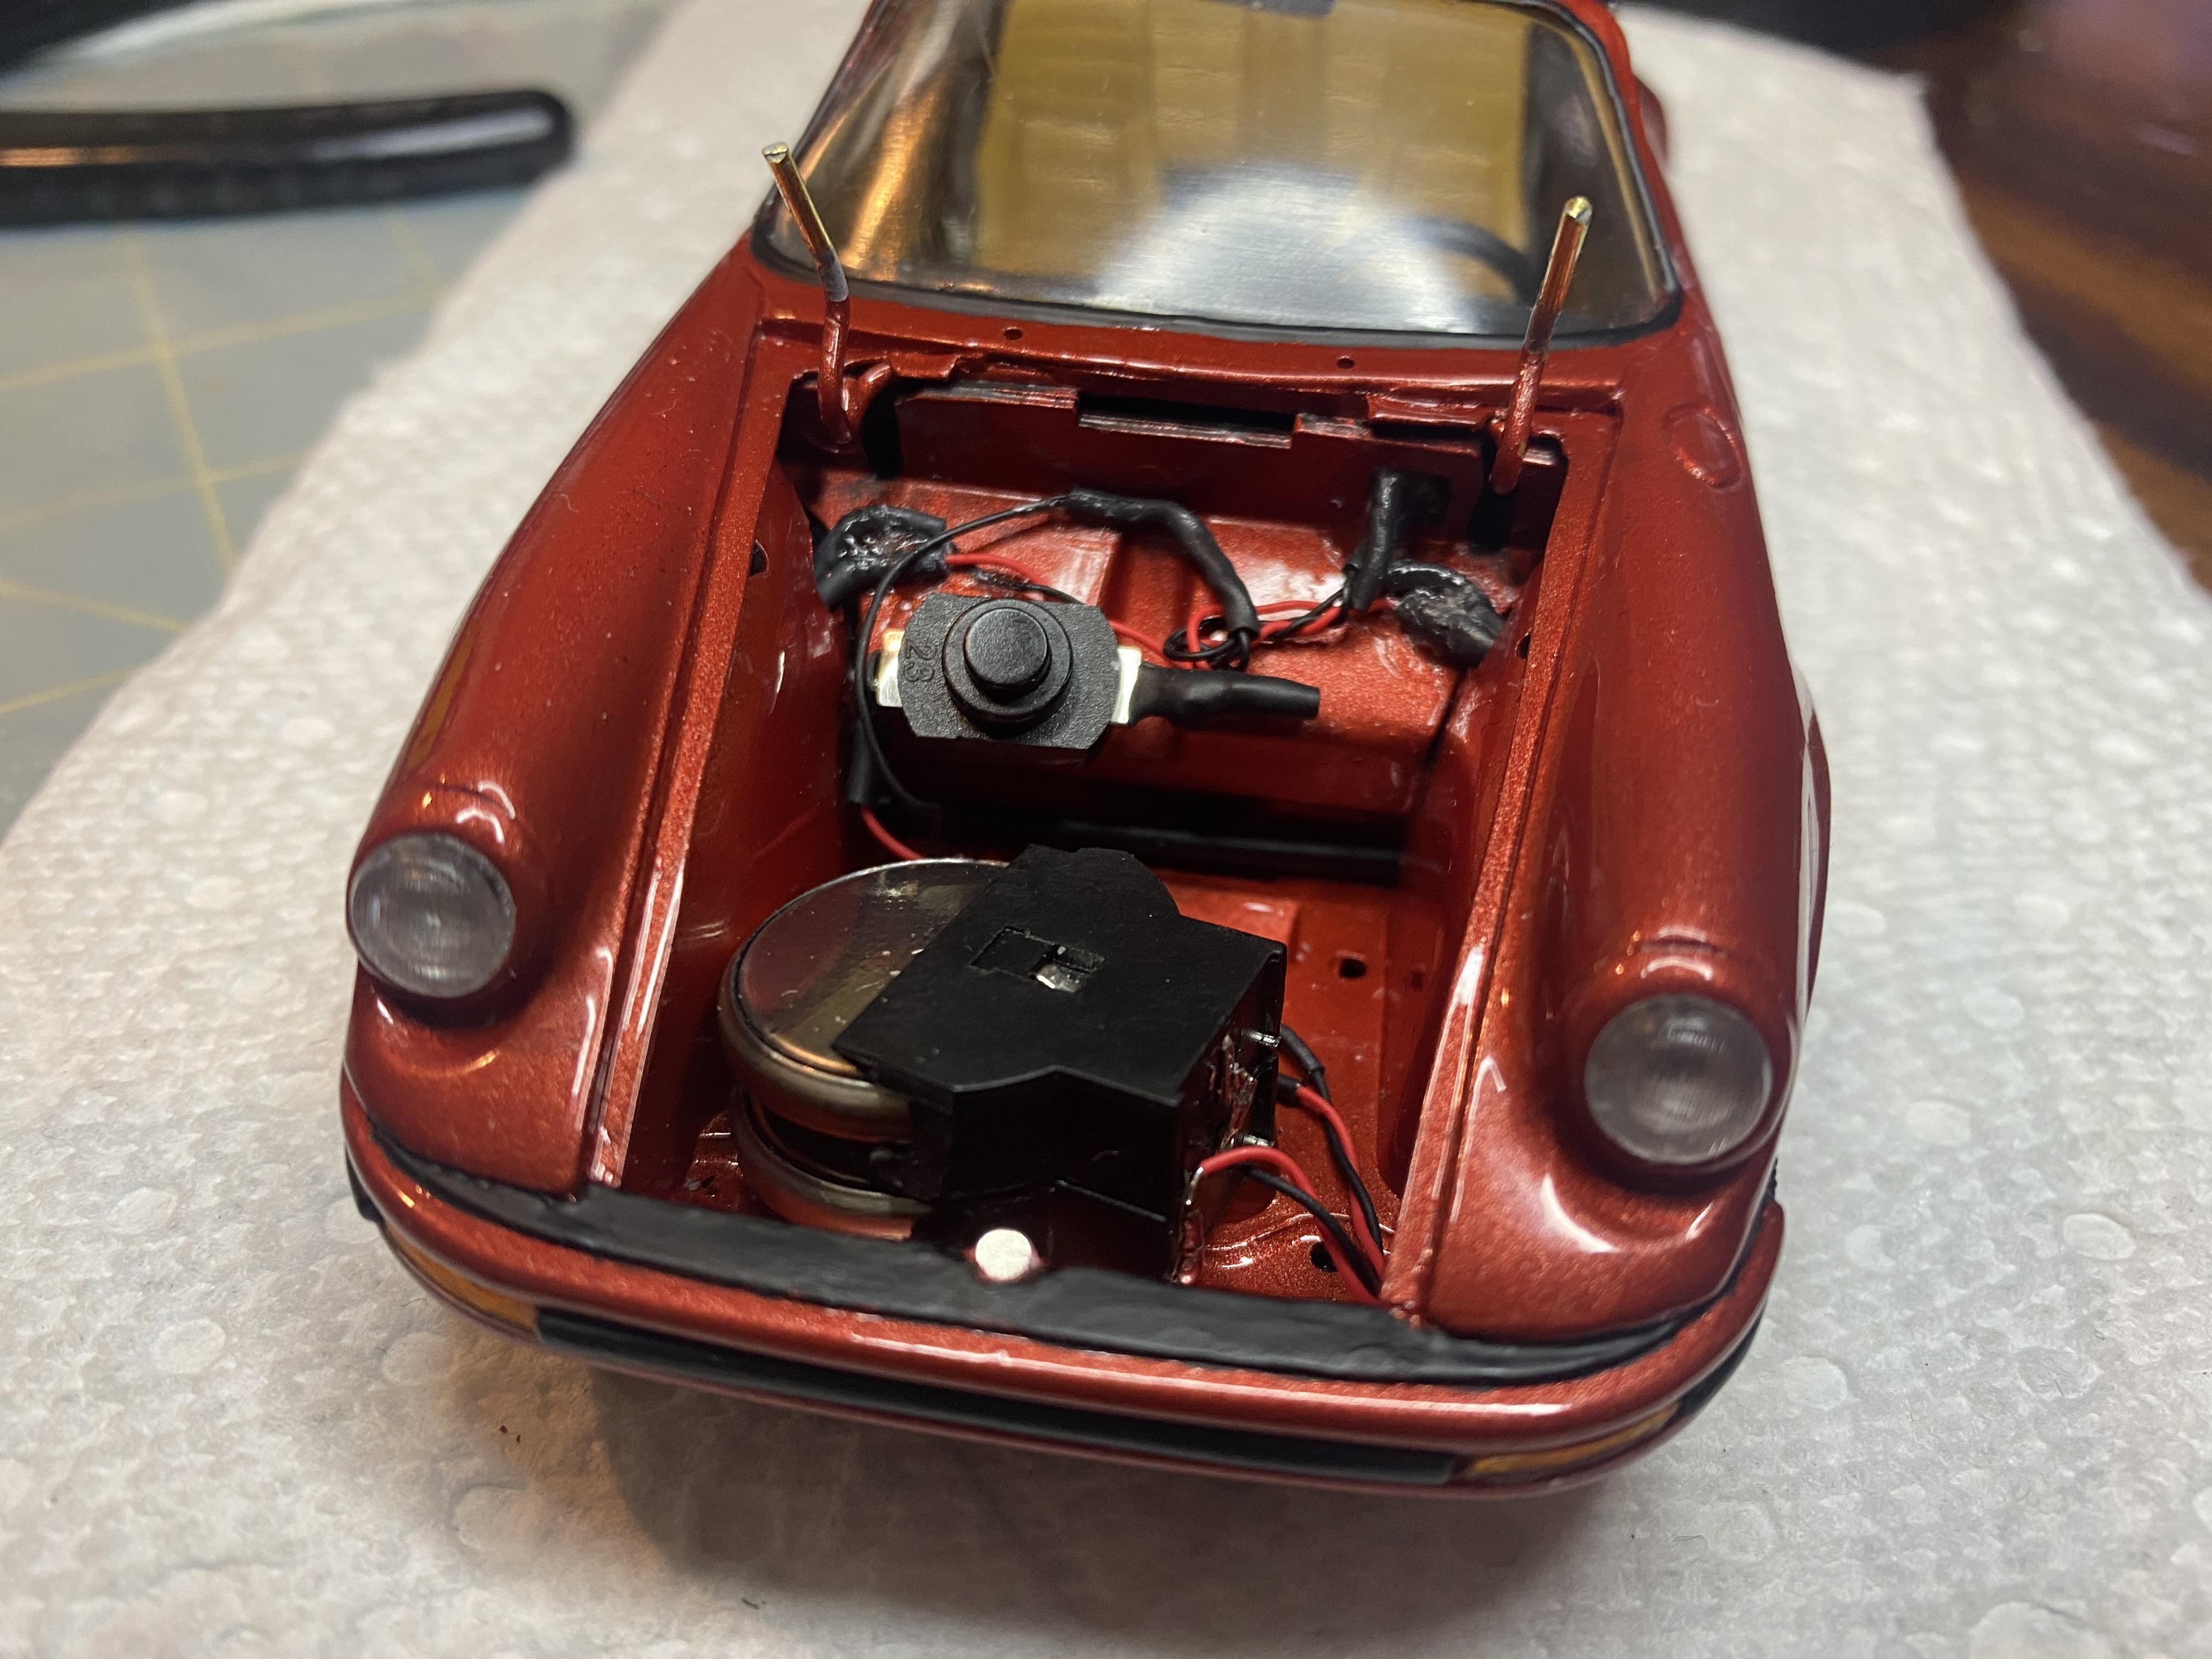
I have gotten a little bit done on the 1962 Volkswagen Samba this week. I assembled and organized the parts for paint. I created the LED wiring harness and the battery cover to look like a covered spare tire. I got the body in primer and ready for paint. I painted the base colors for the interior panels. I had made a mold of the surfboard from the 41 Woody build and I am going to include one in this build. I did the first pass of woodgraining. I will be adding details and stripes that match the VW. I will be putting a short pause on this build for a couple week for family obligations but will get back to it soon.
-
Thank You! I will be posting an update soon. I have the LED wiring harness created and body in primer. Thank You!
-
Thank you! It may sound like I was complaining, the body was a pain, but it really is a nicely detailed kit. Now that I have the body fitting together nicely it should be fairly straight forward from here.
-
Thank You. I will need to figure out how I am going to run the LED wiring next.
-
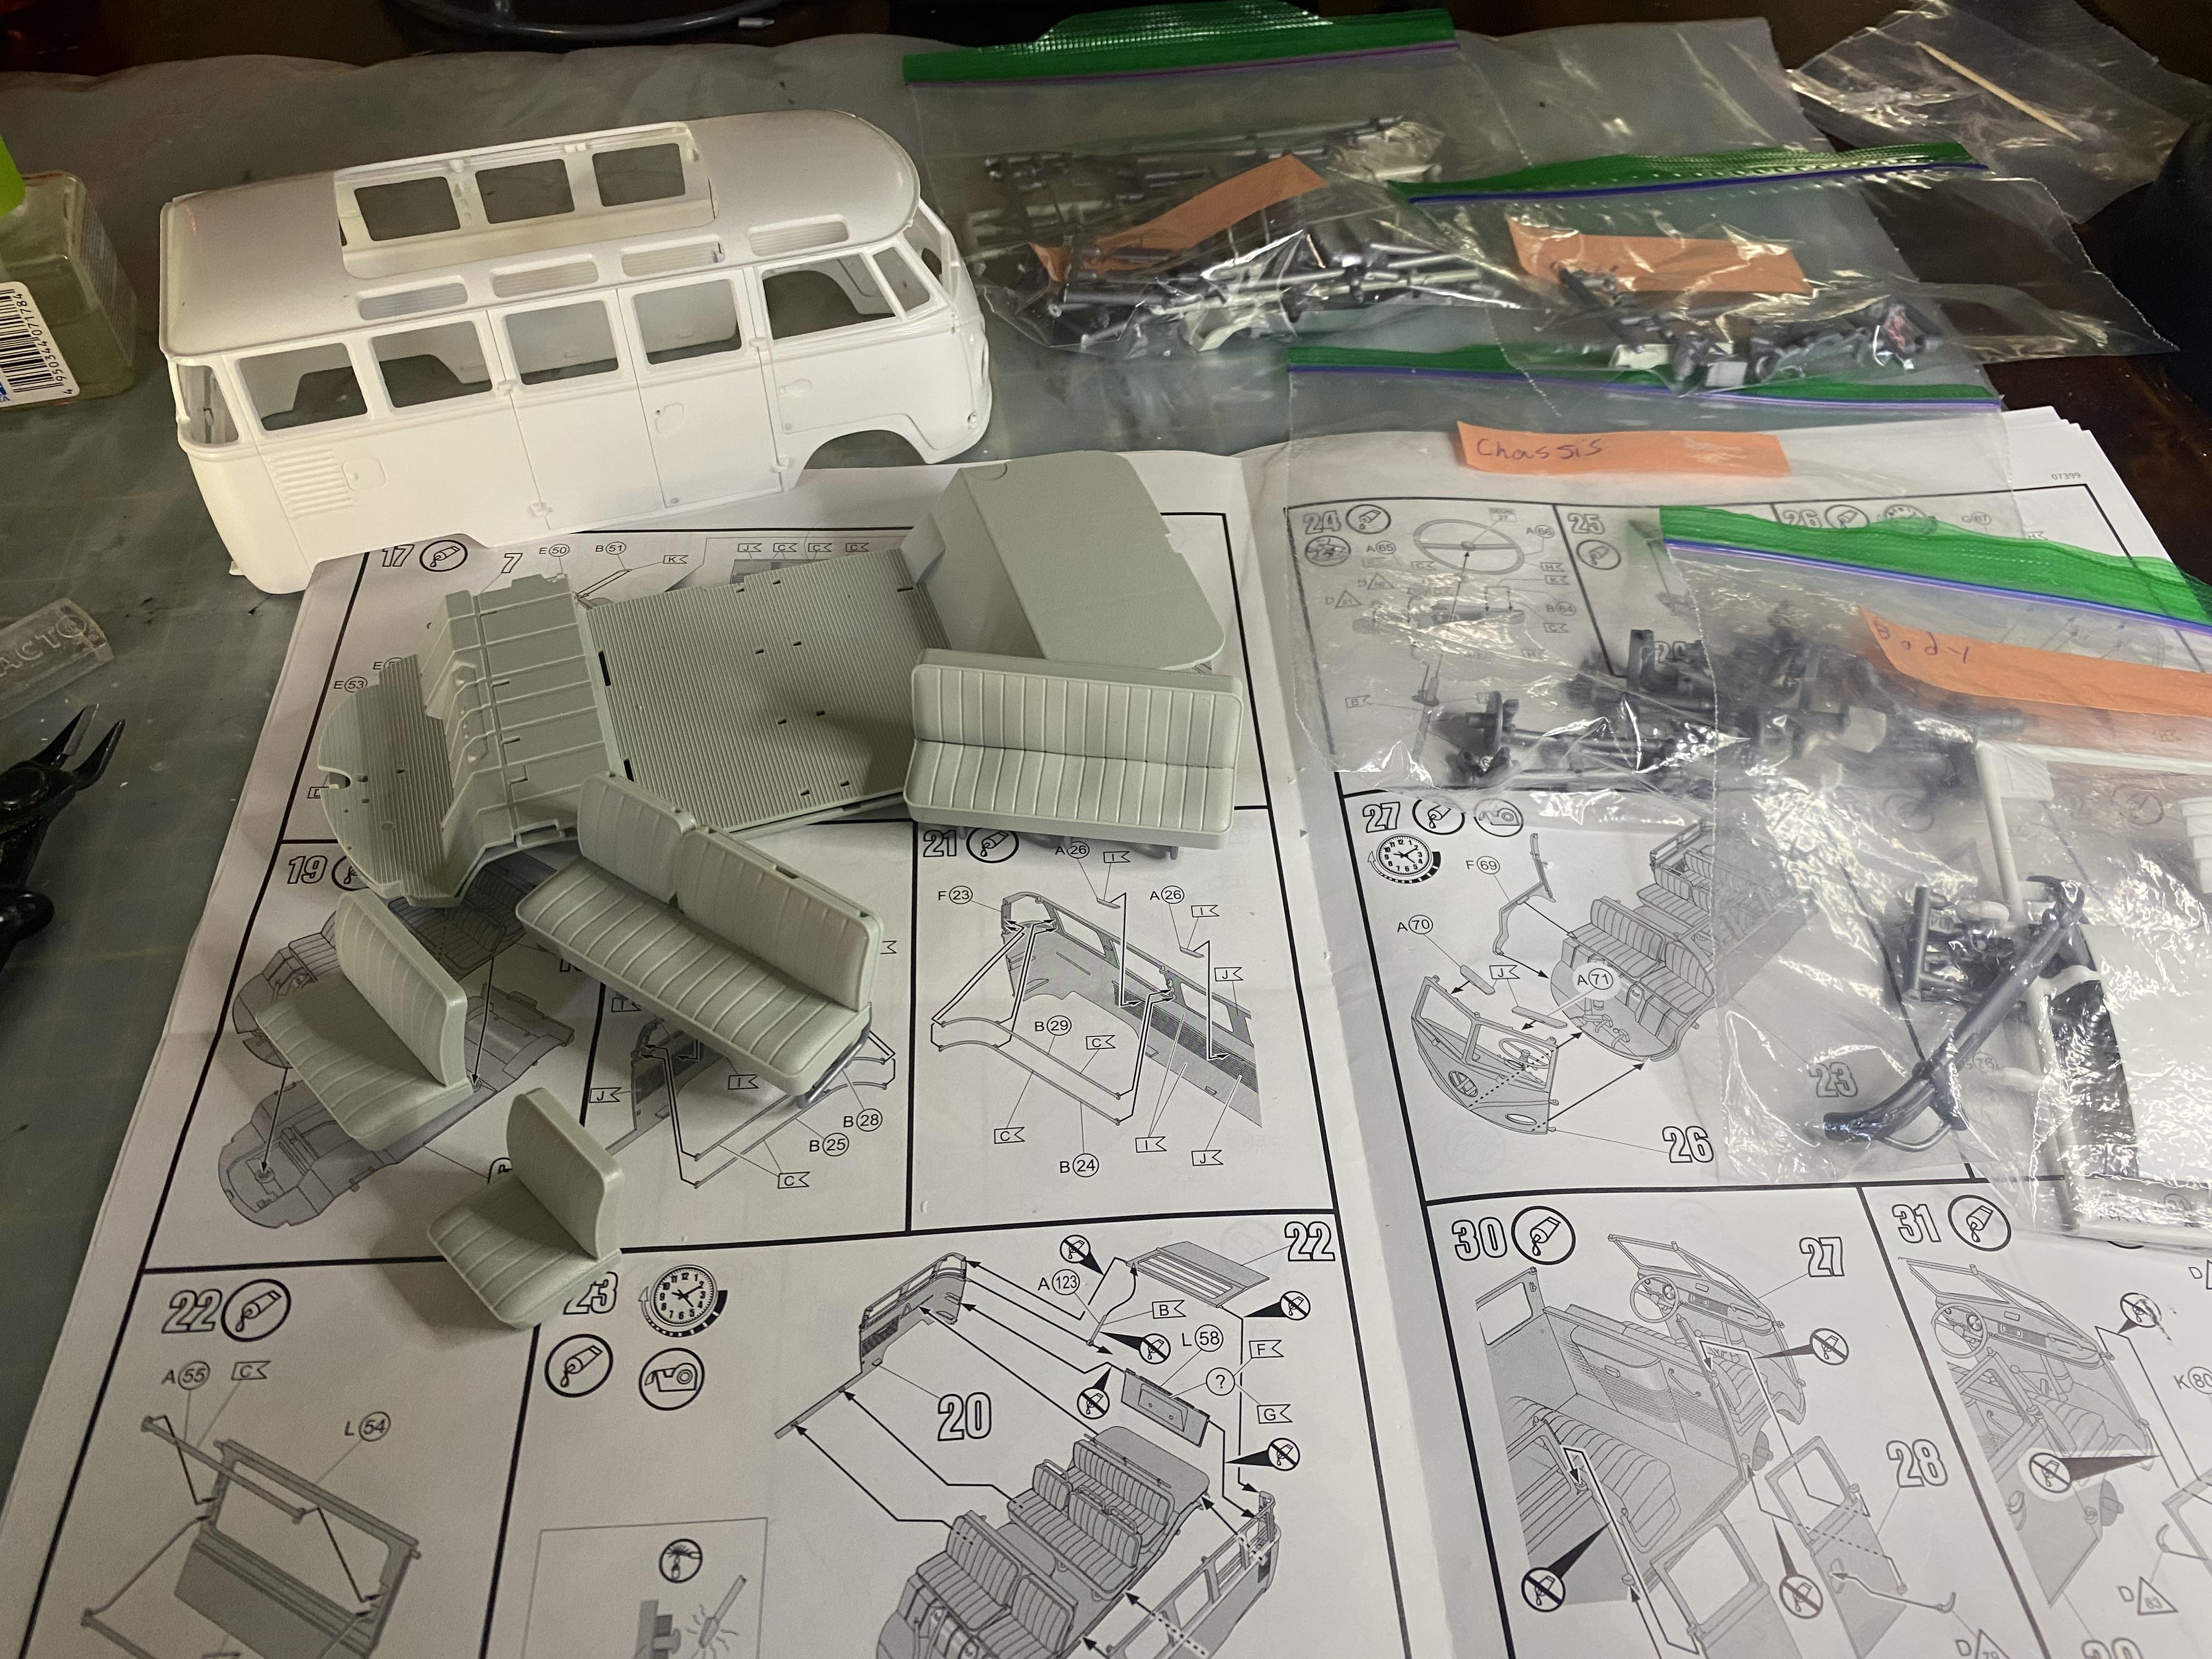
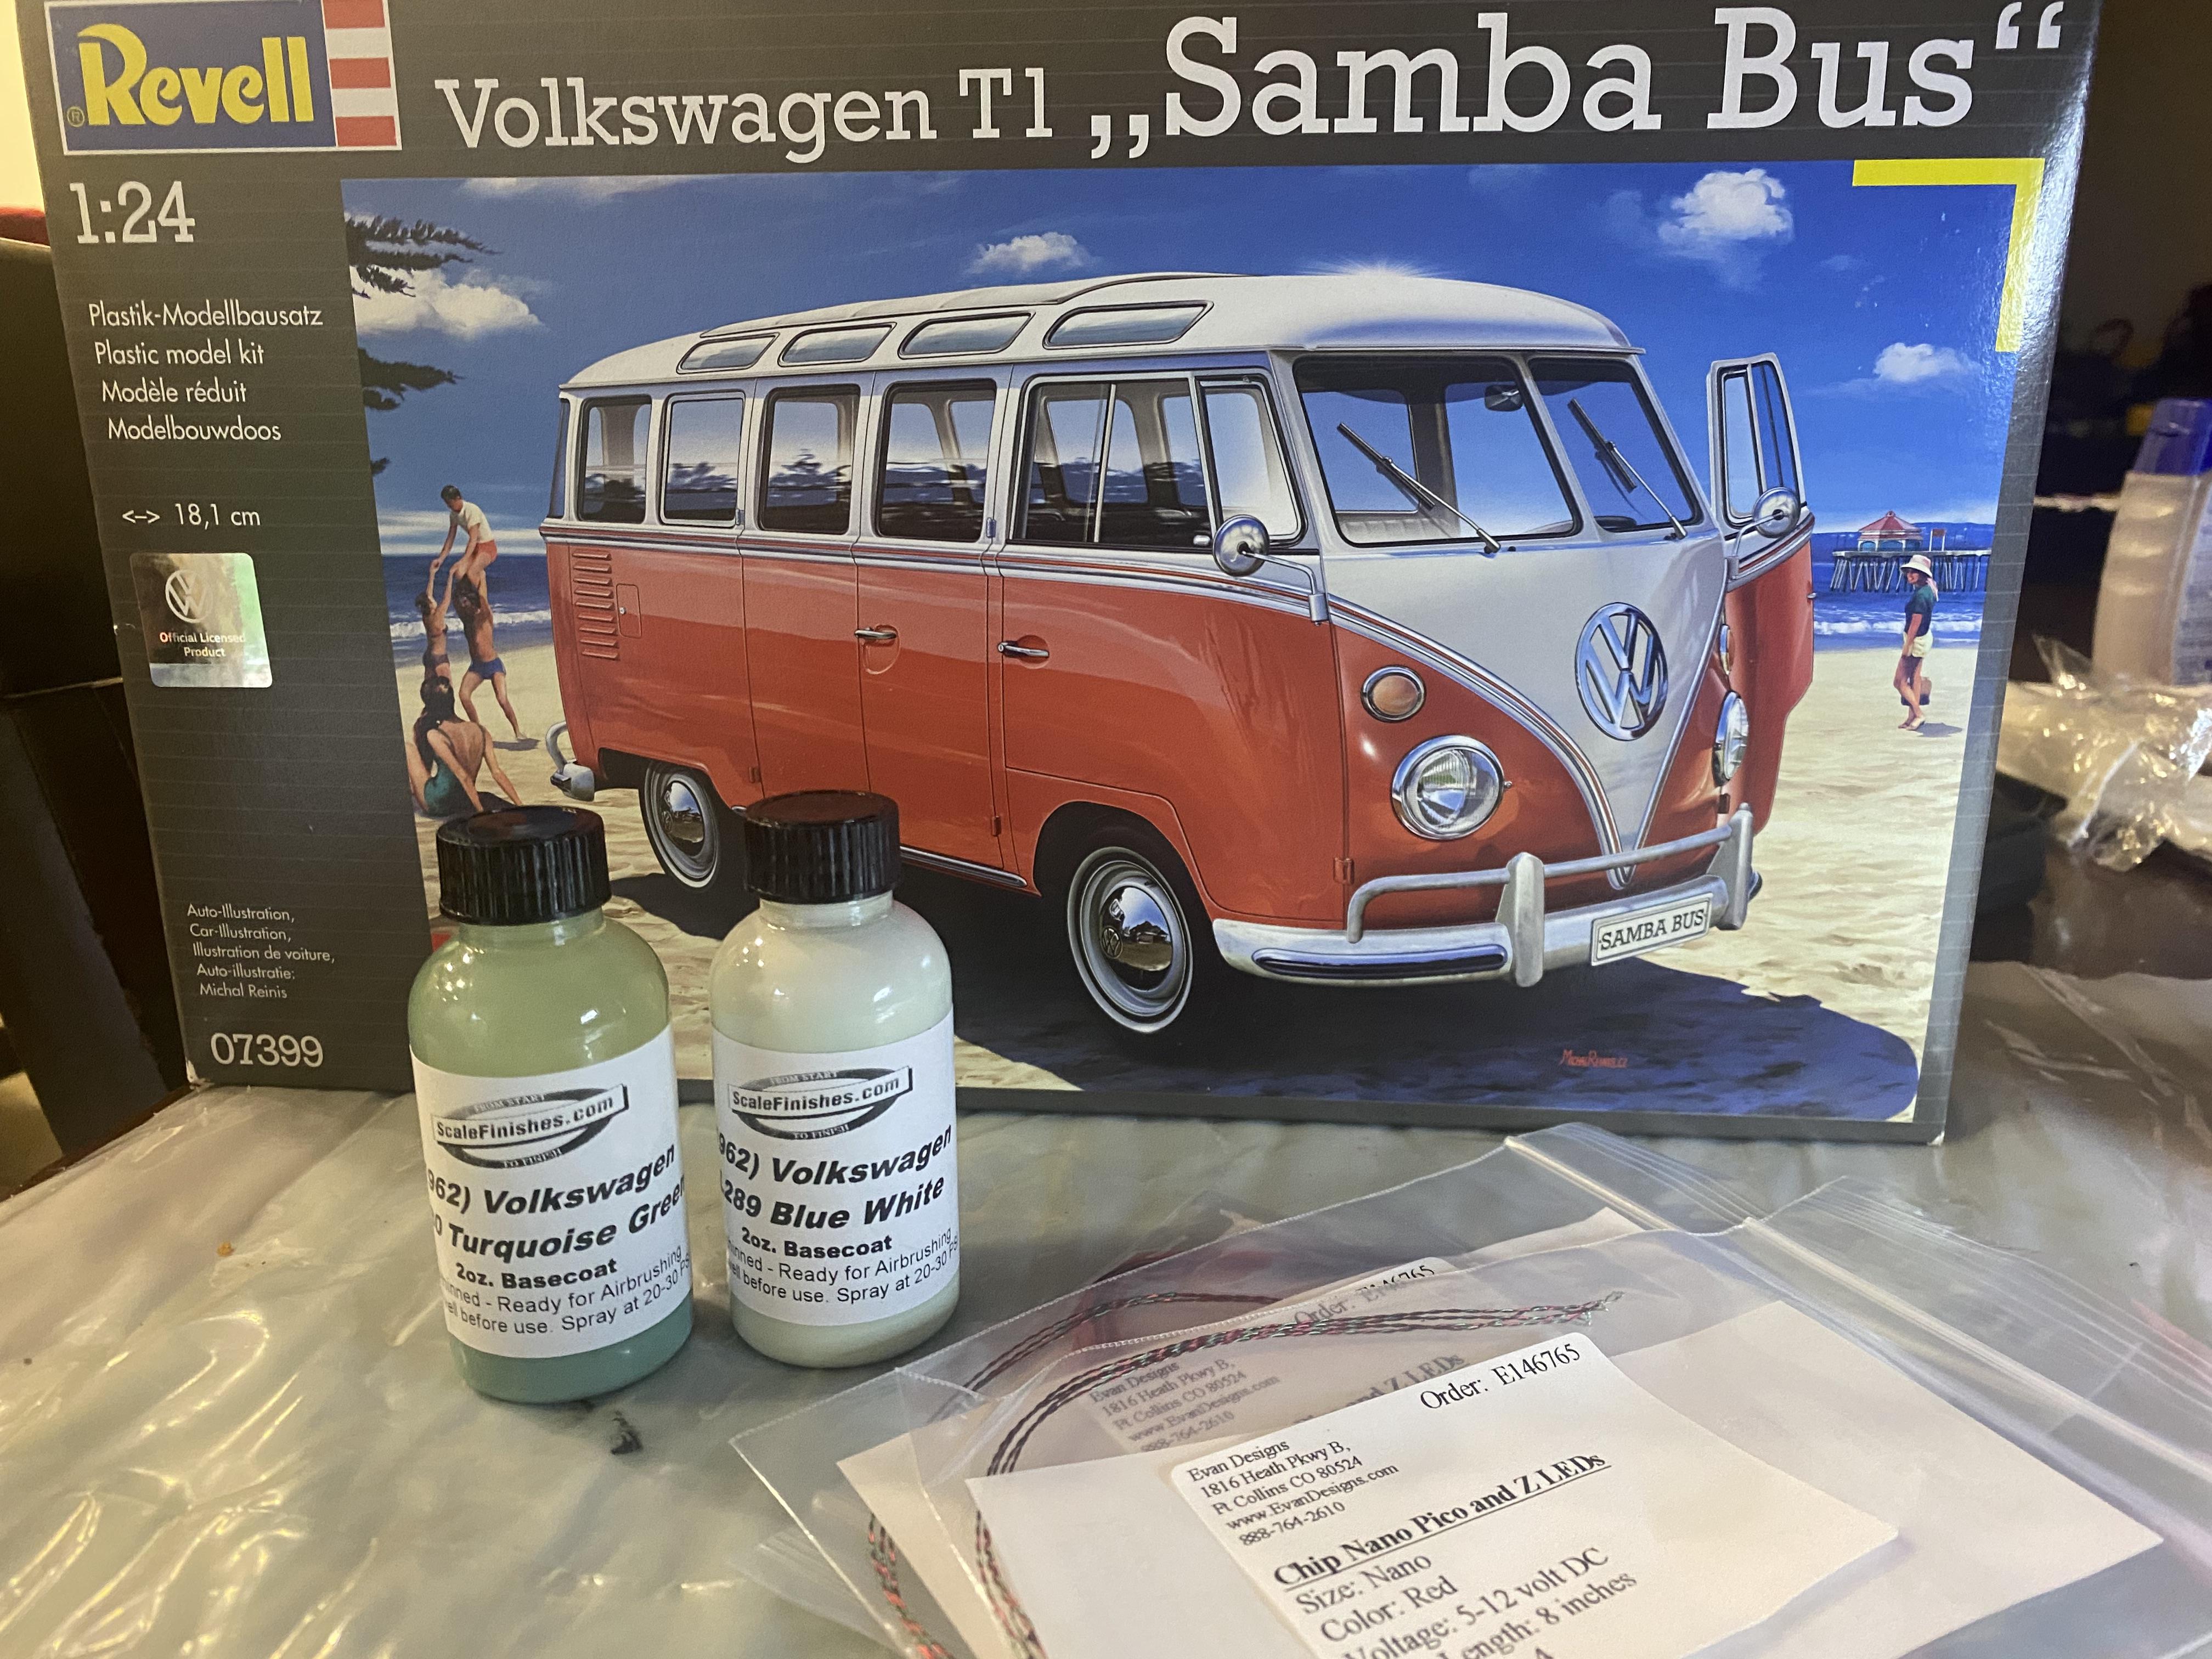
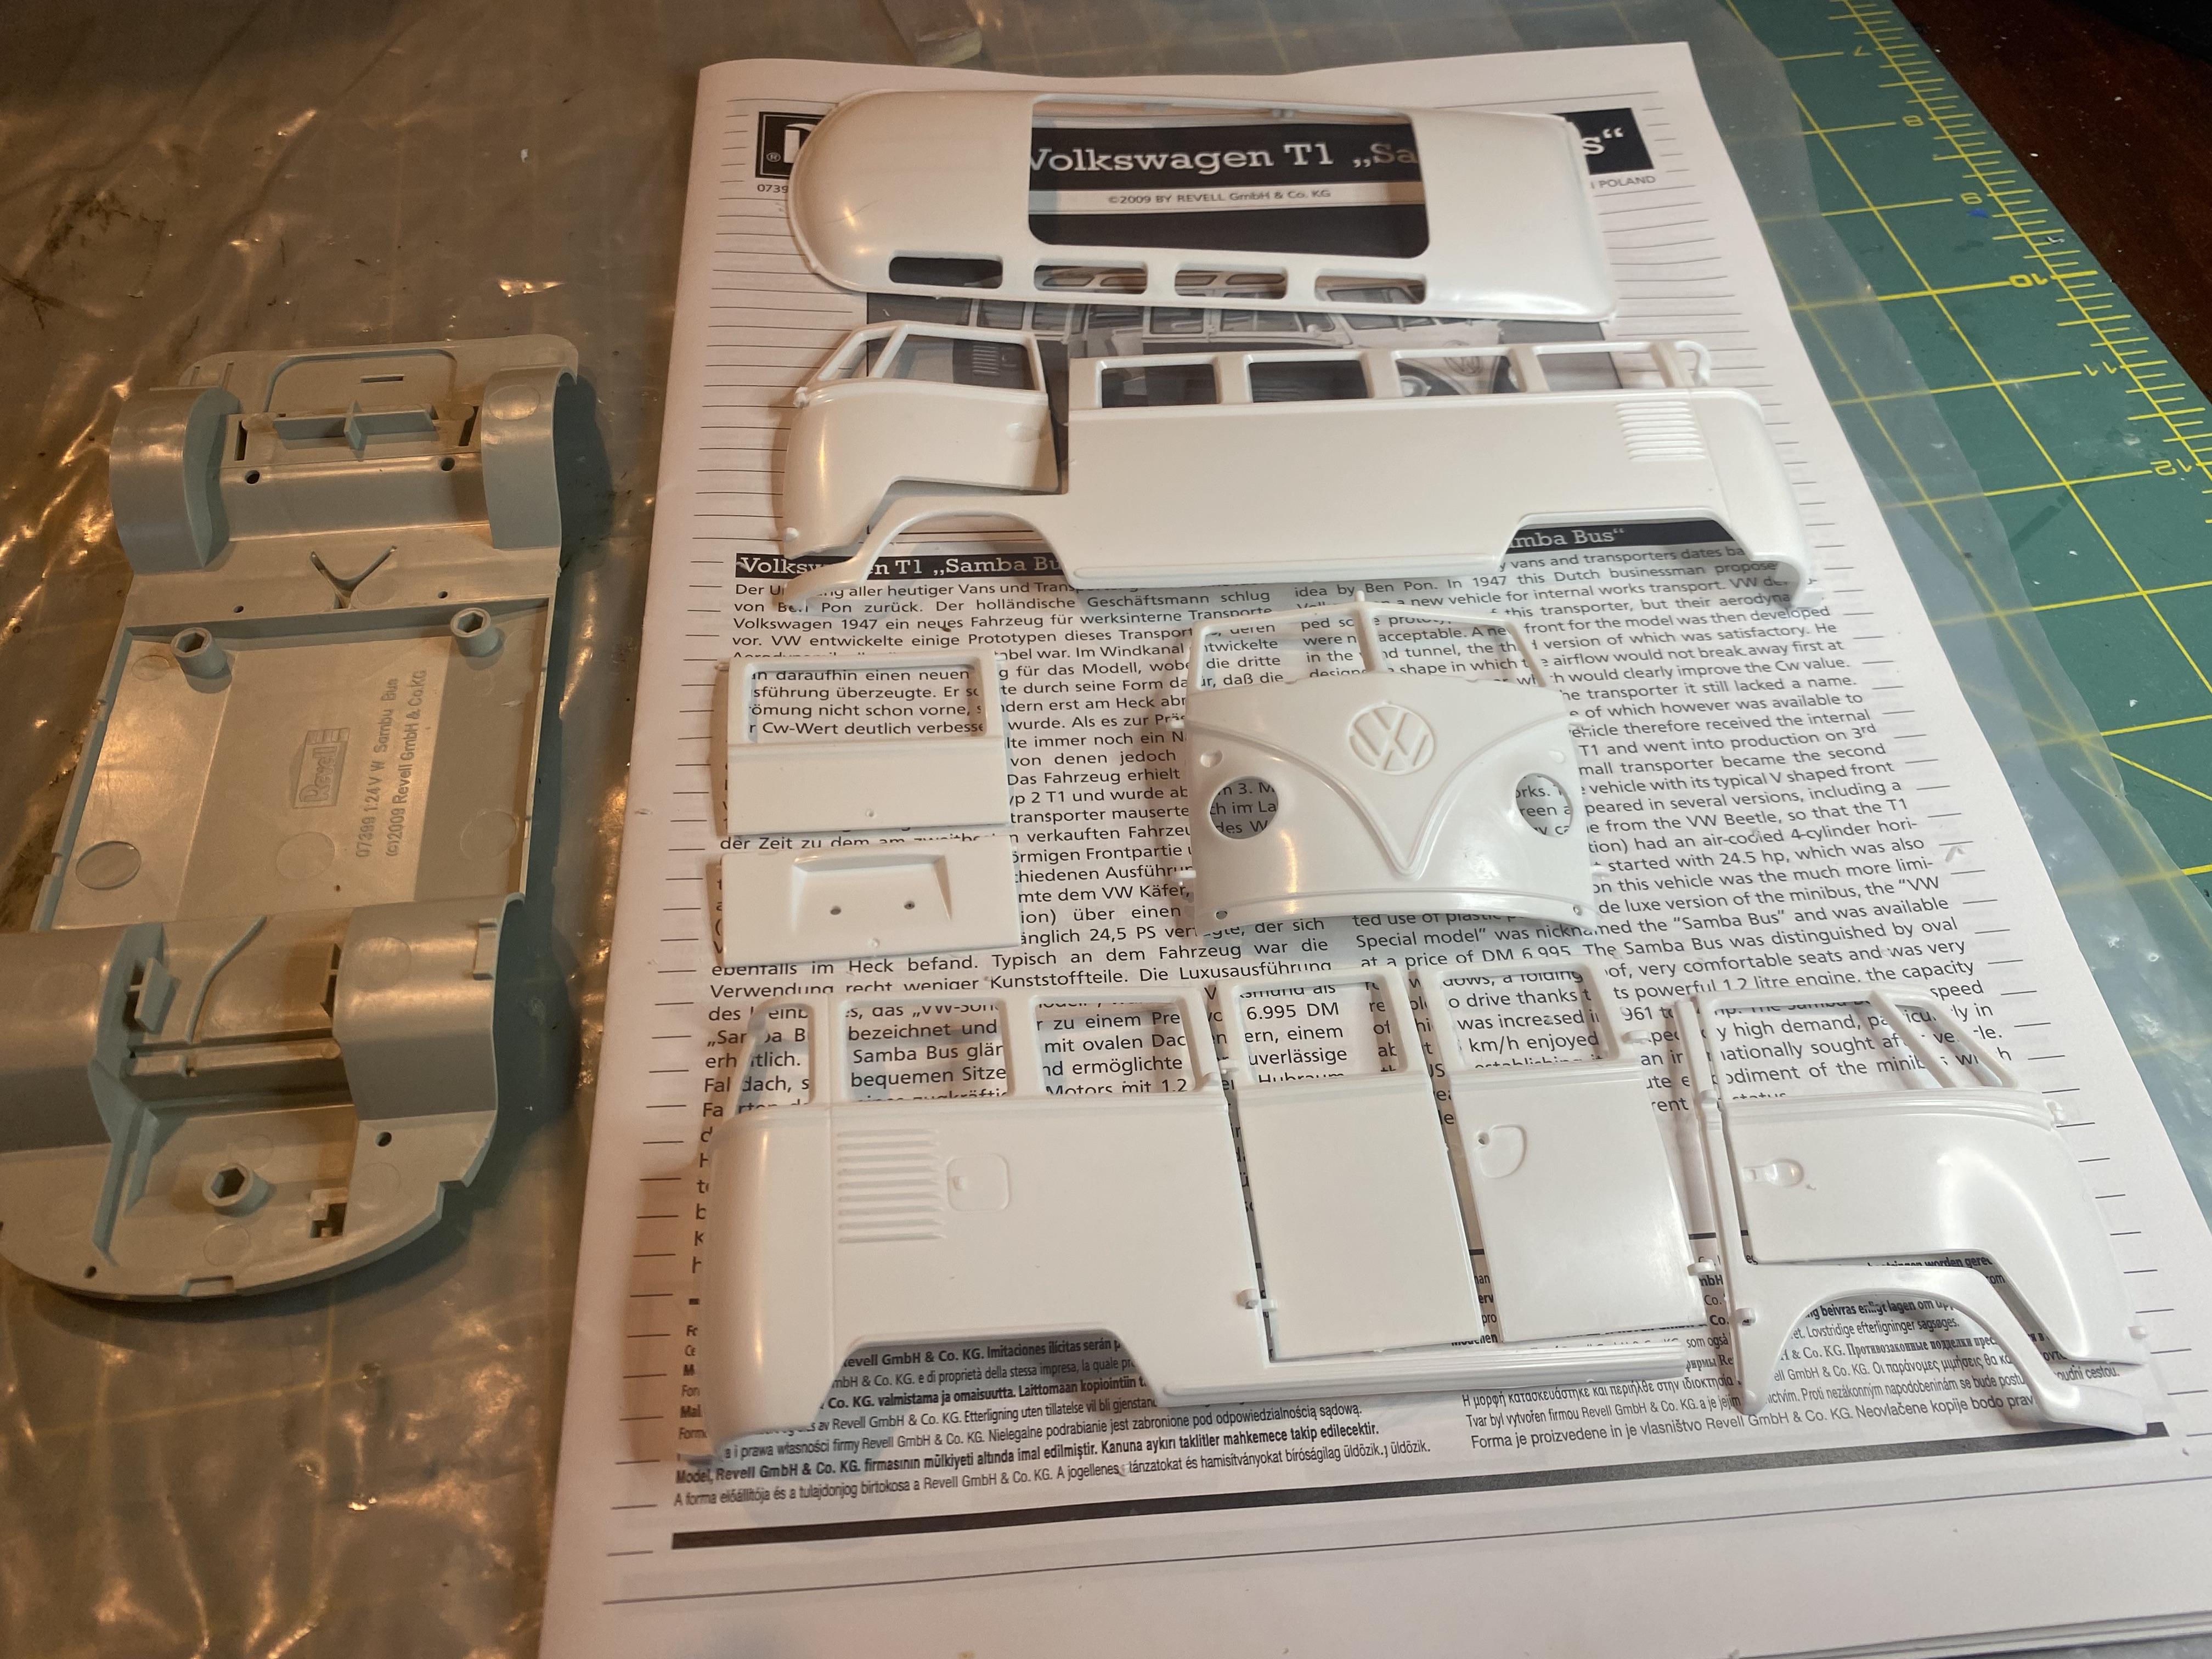
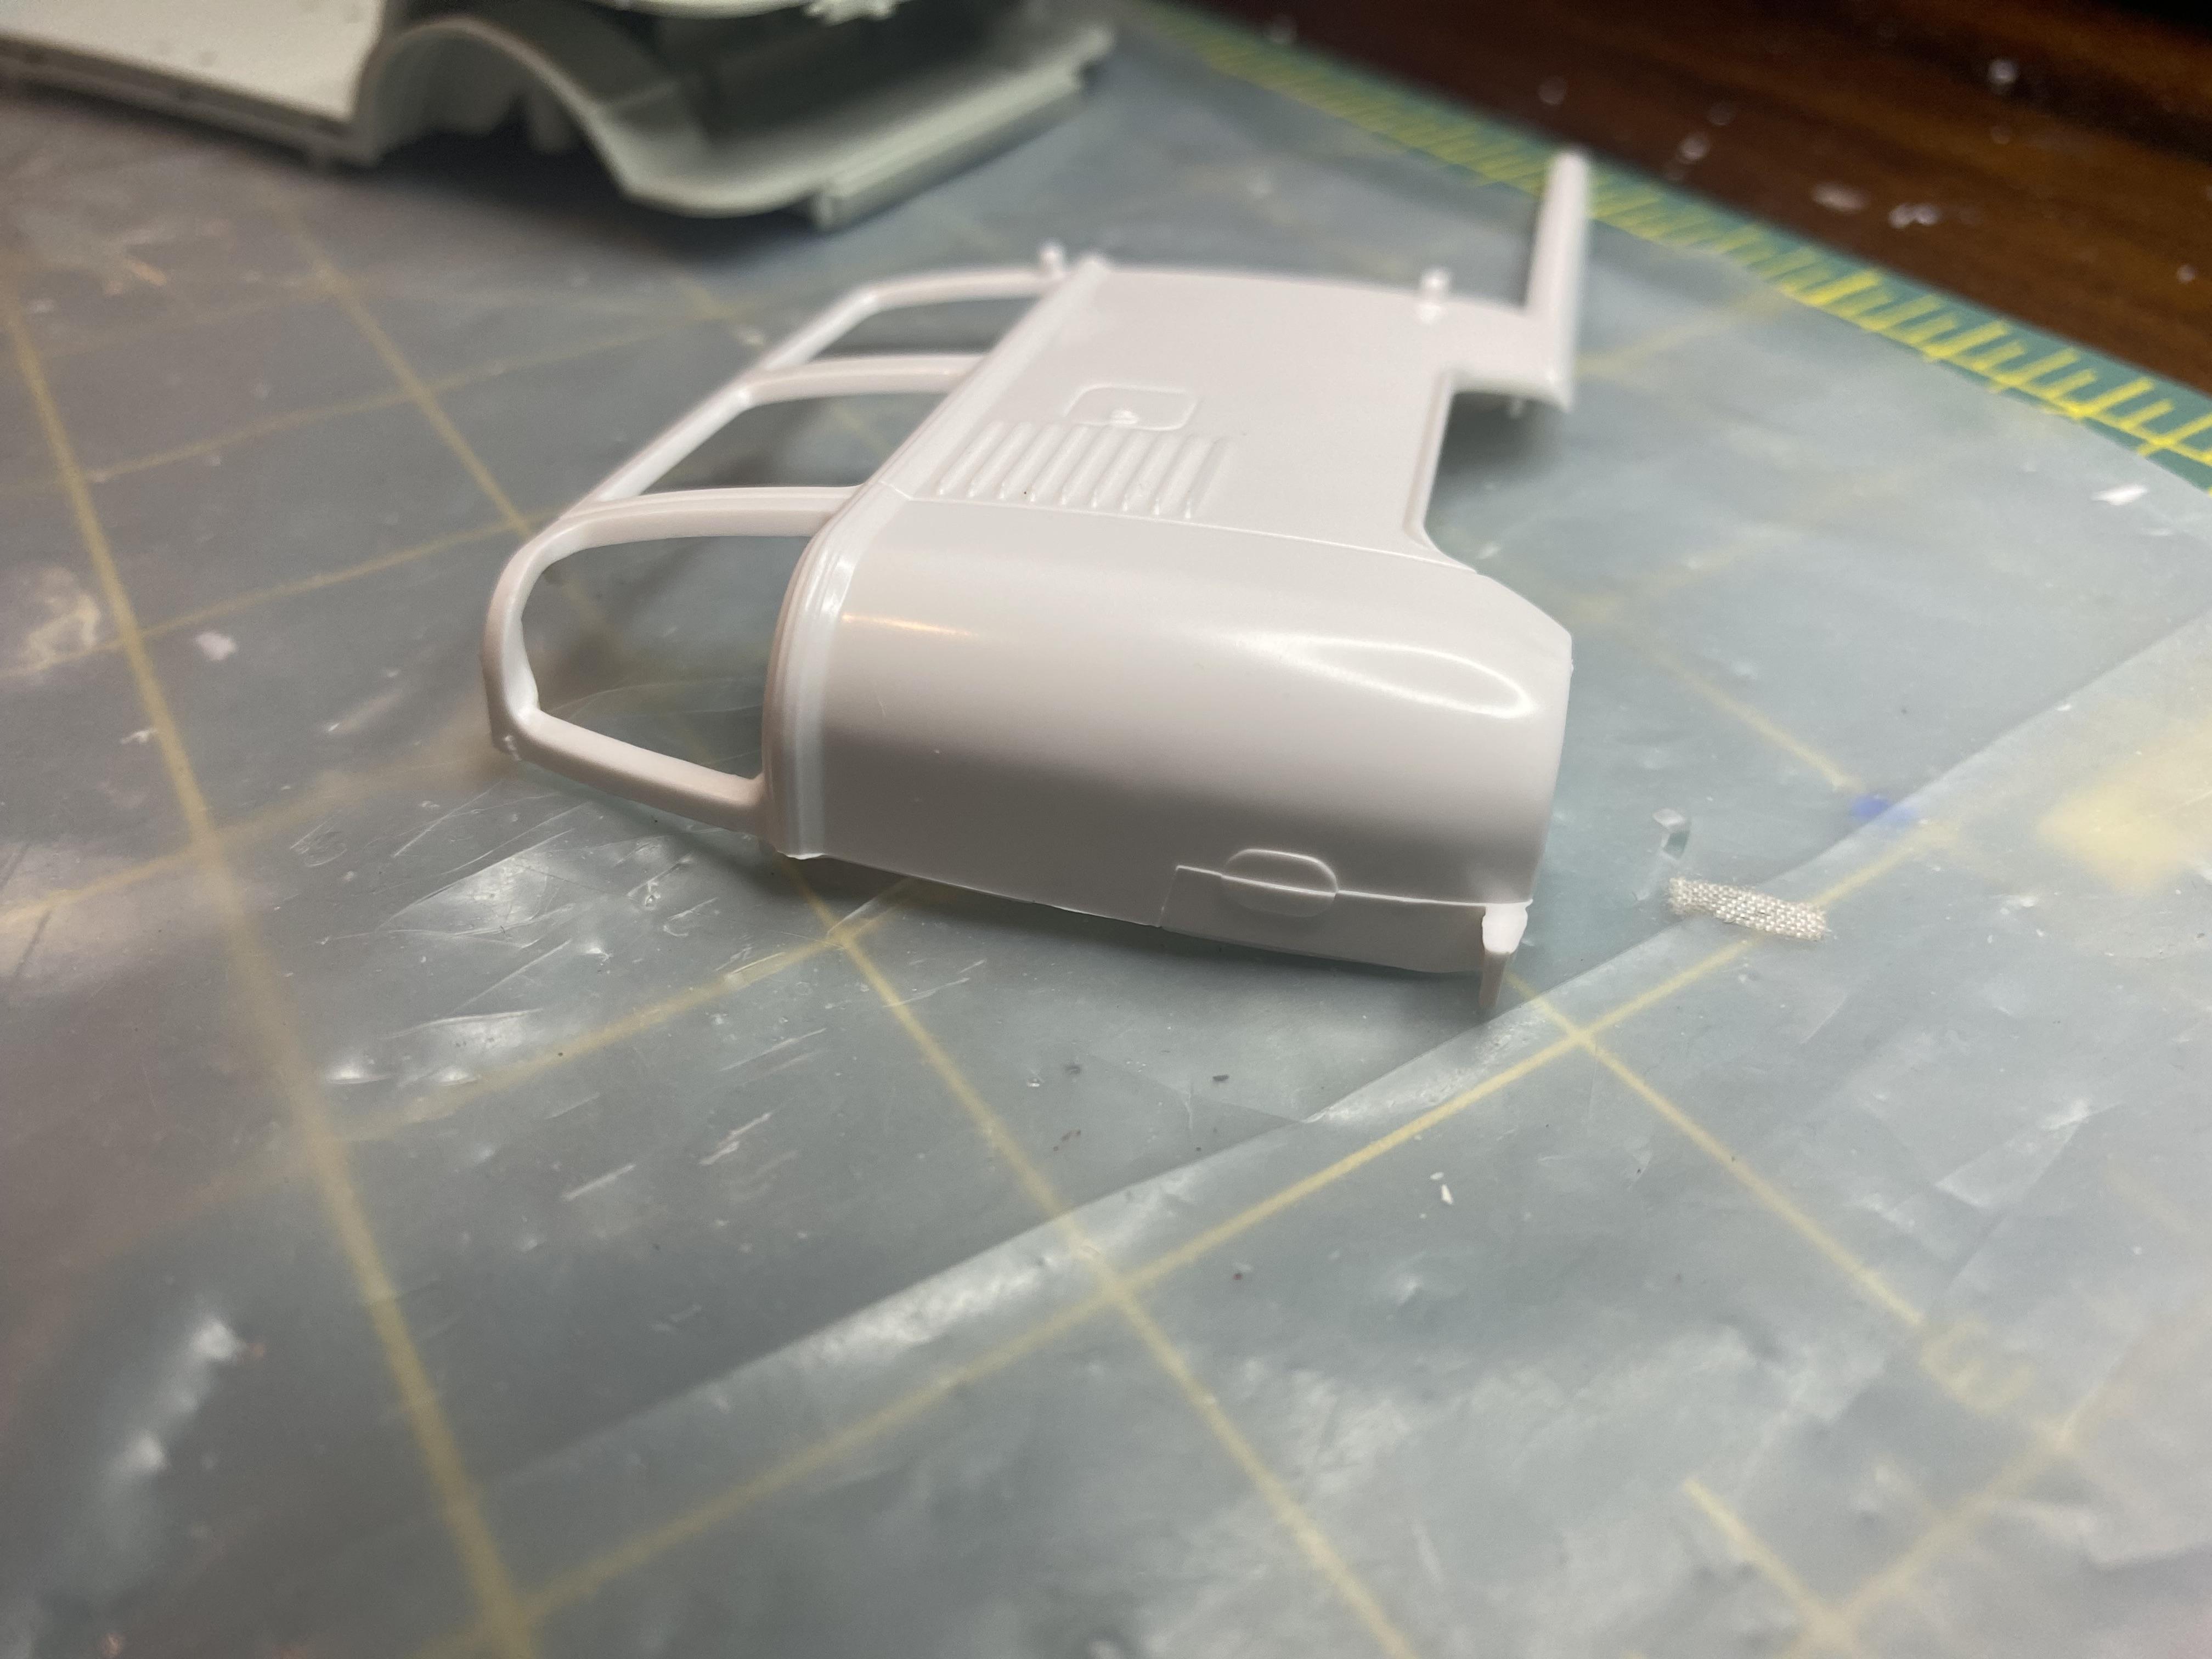
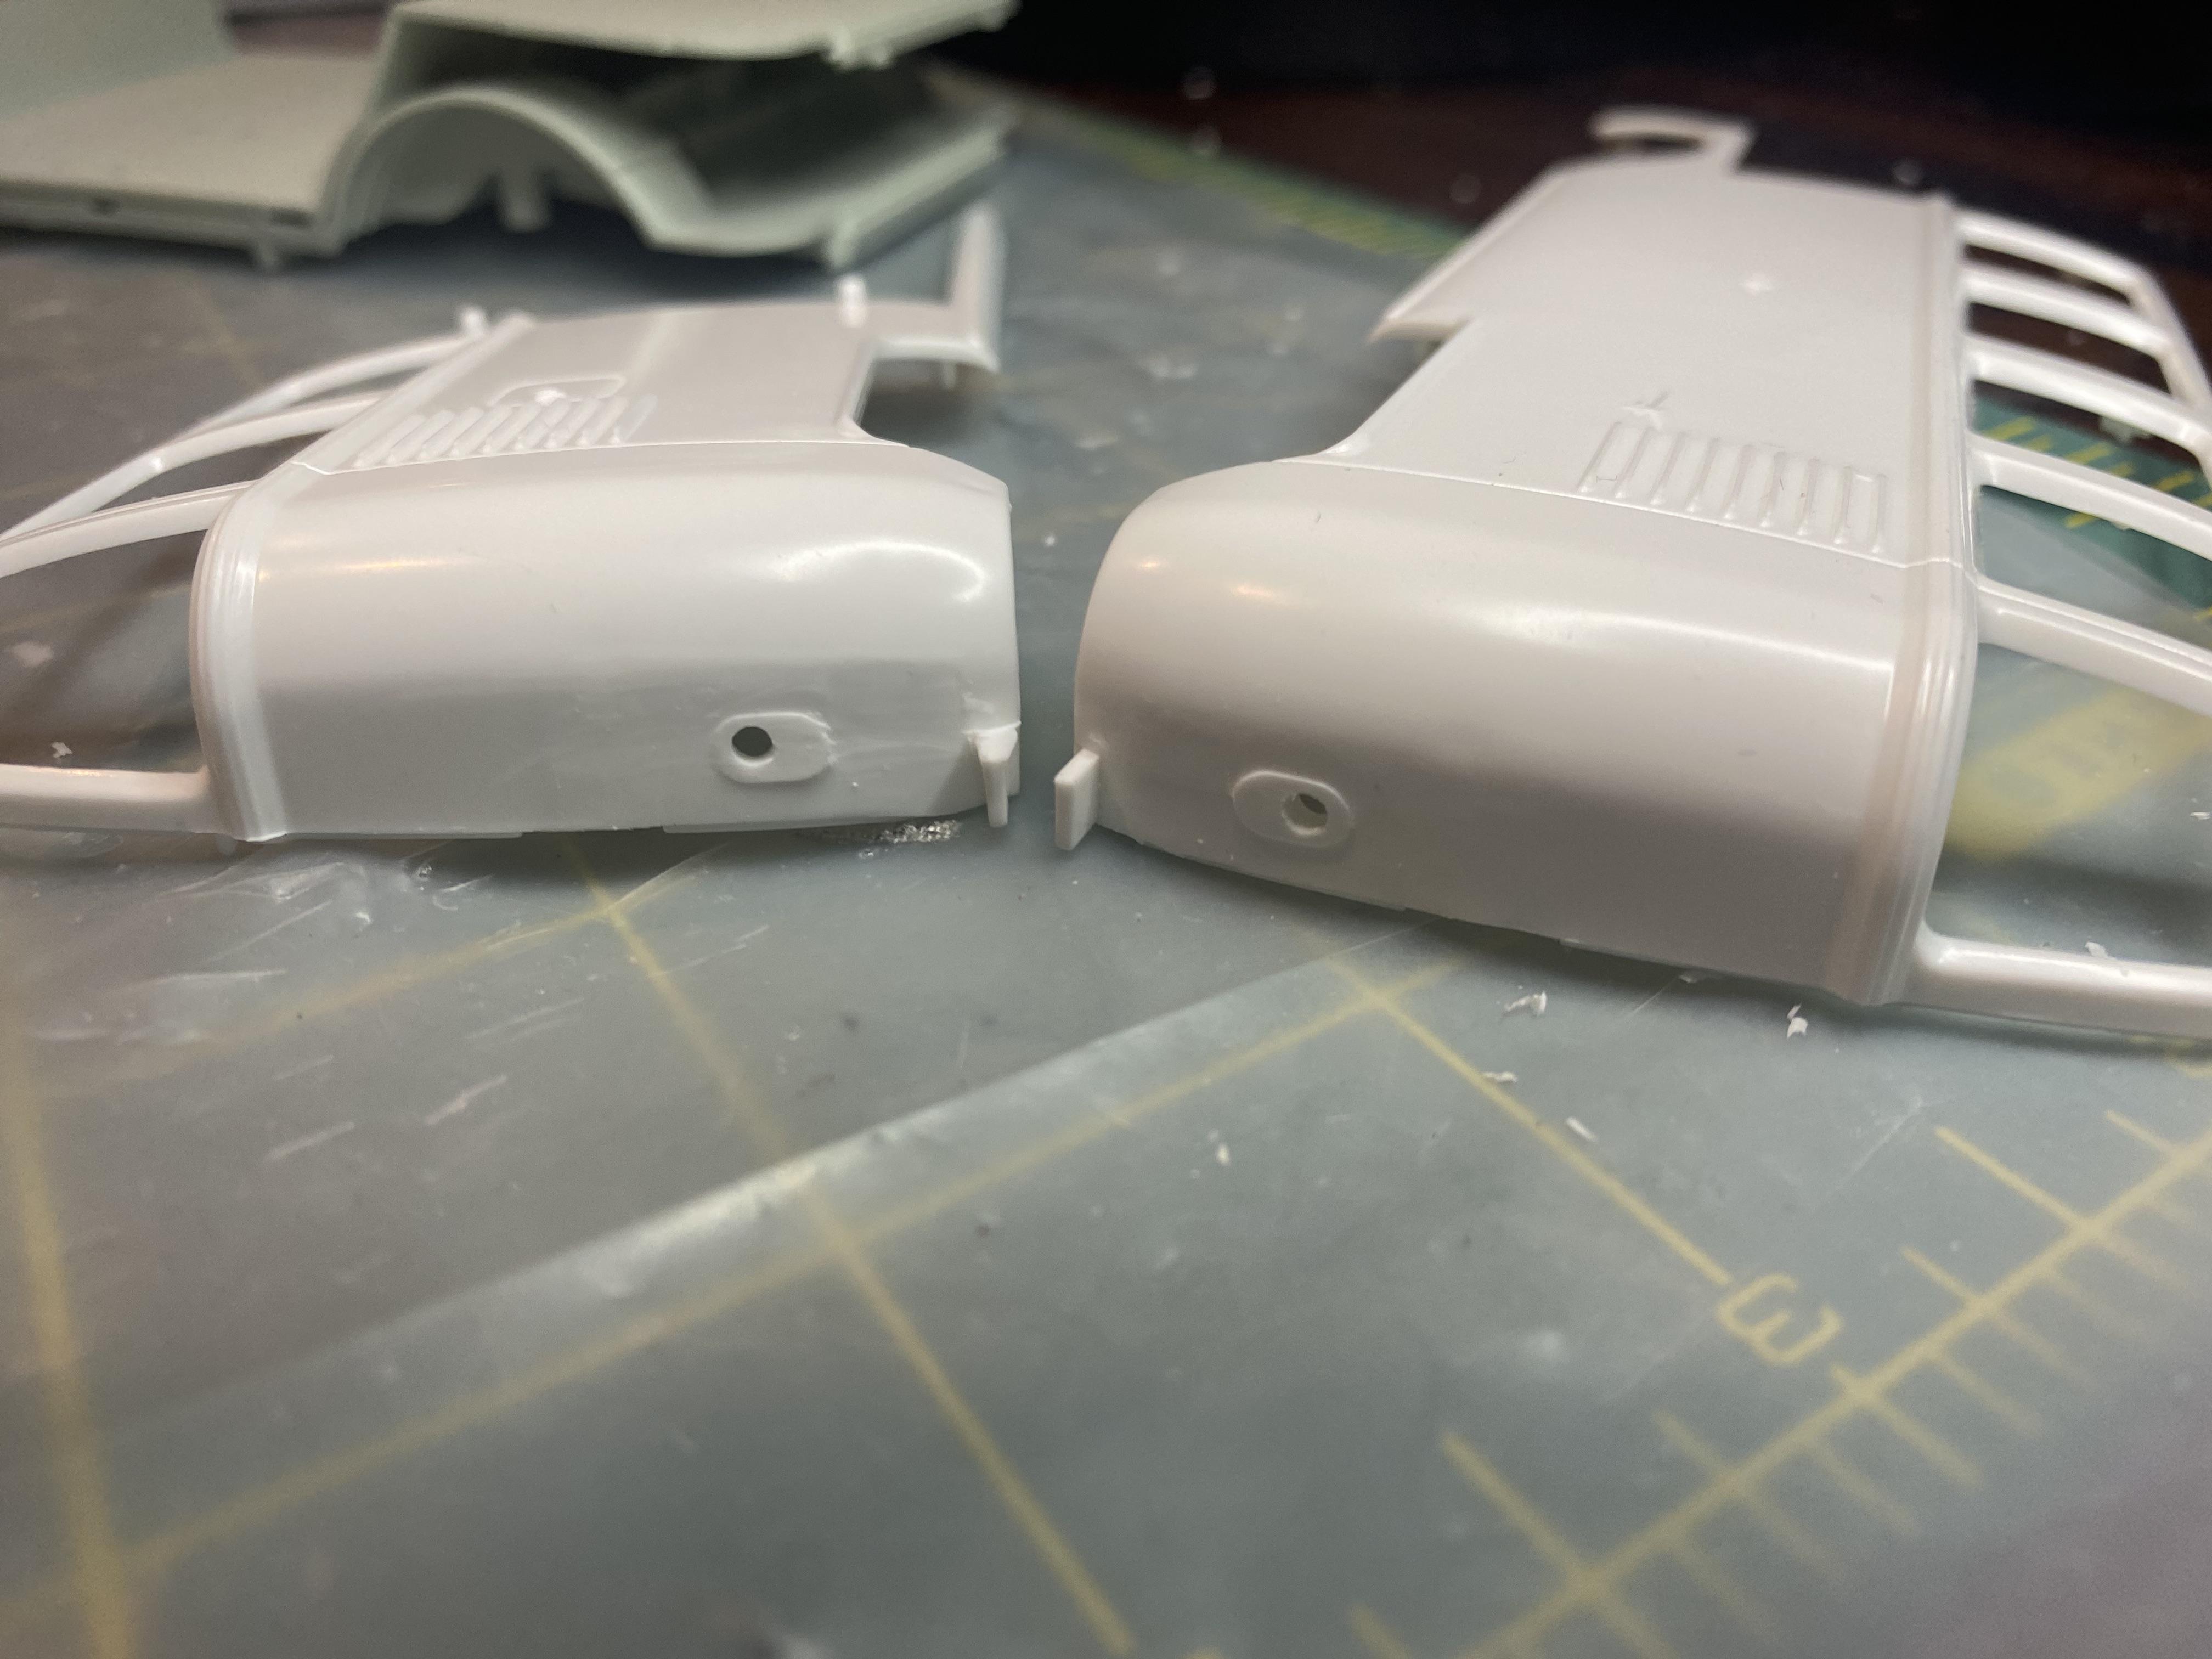
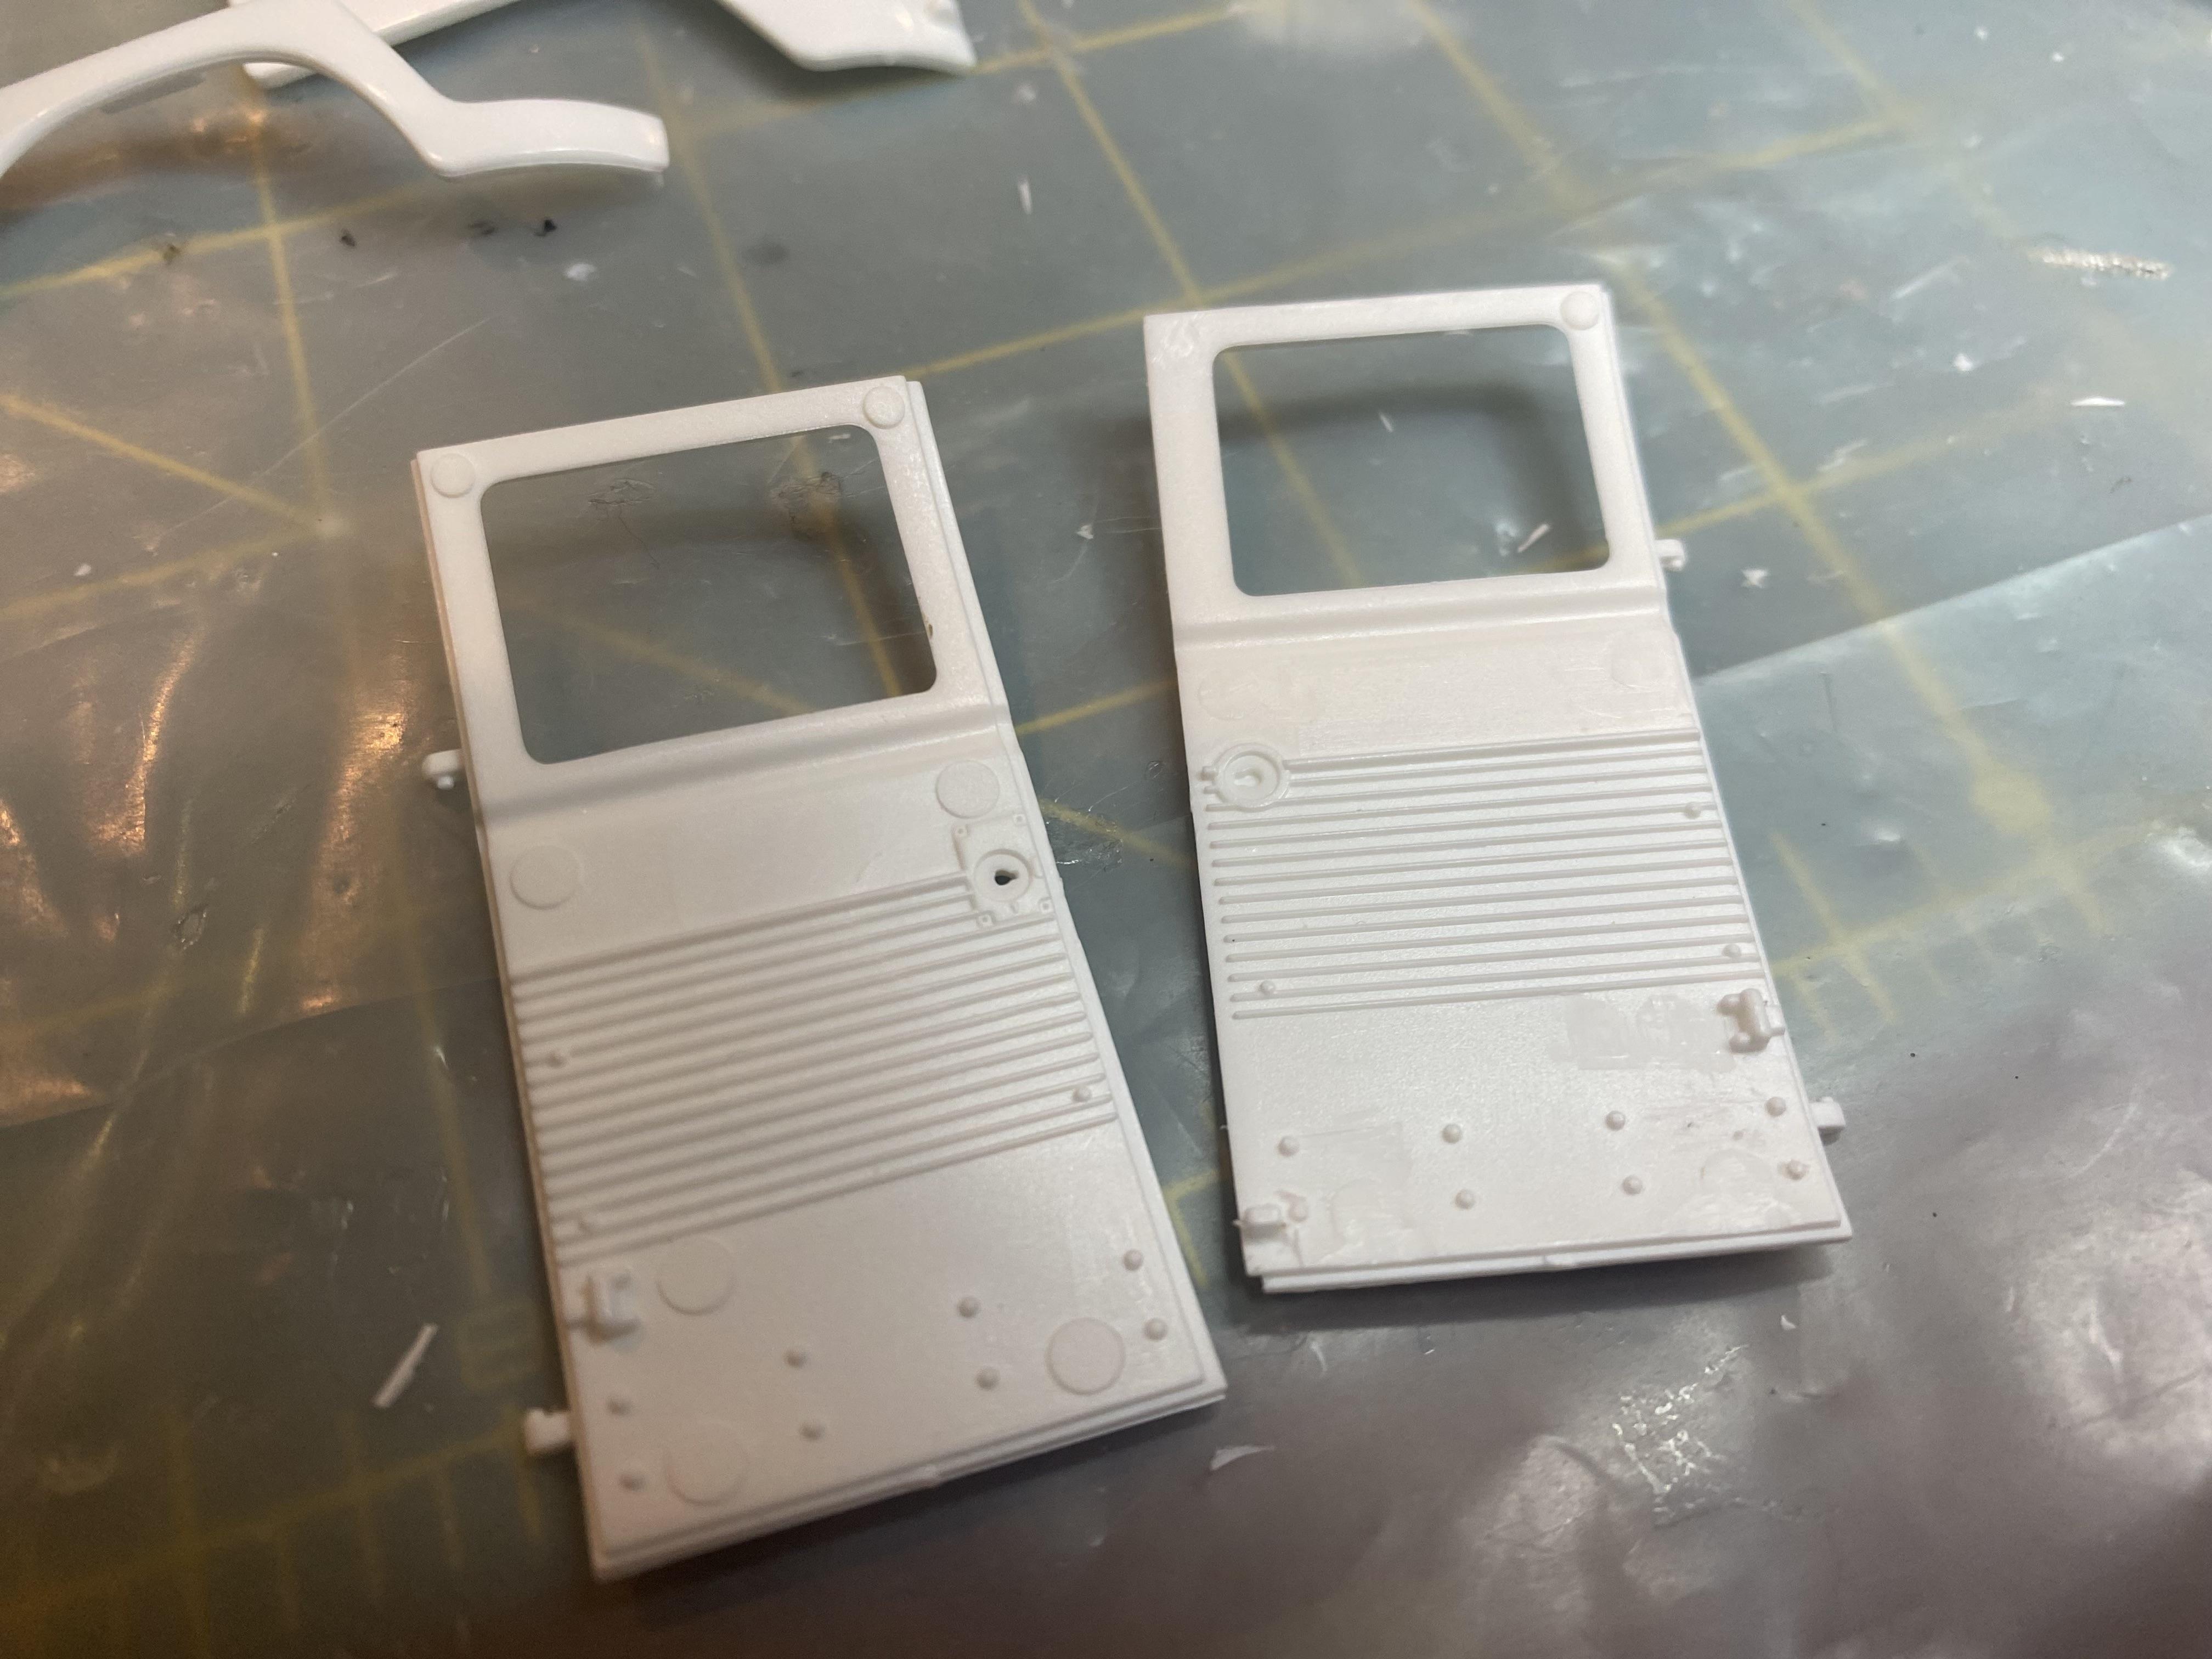
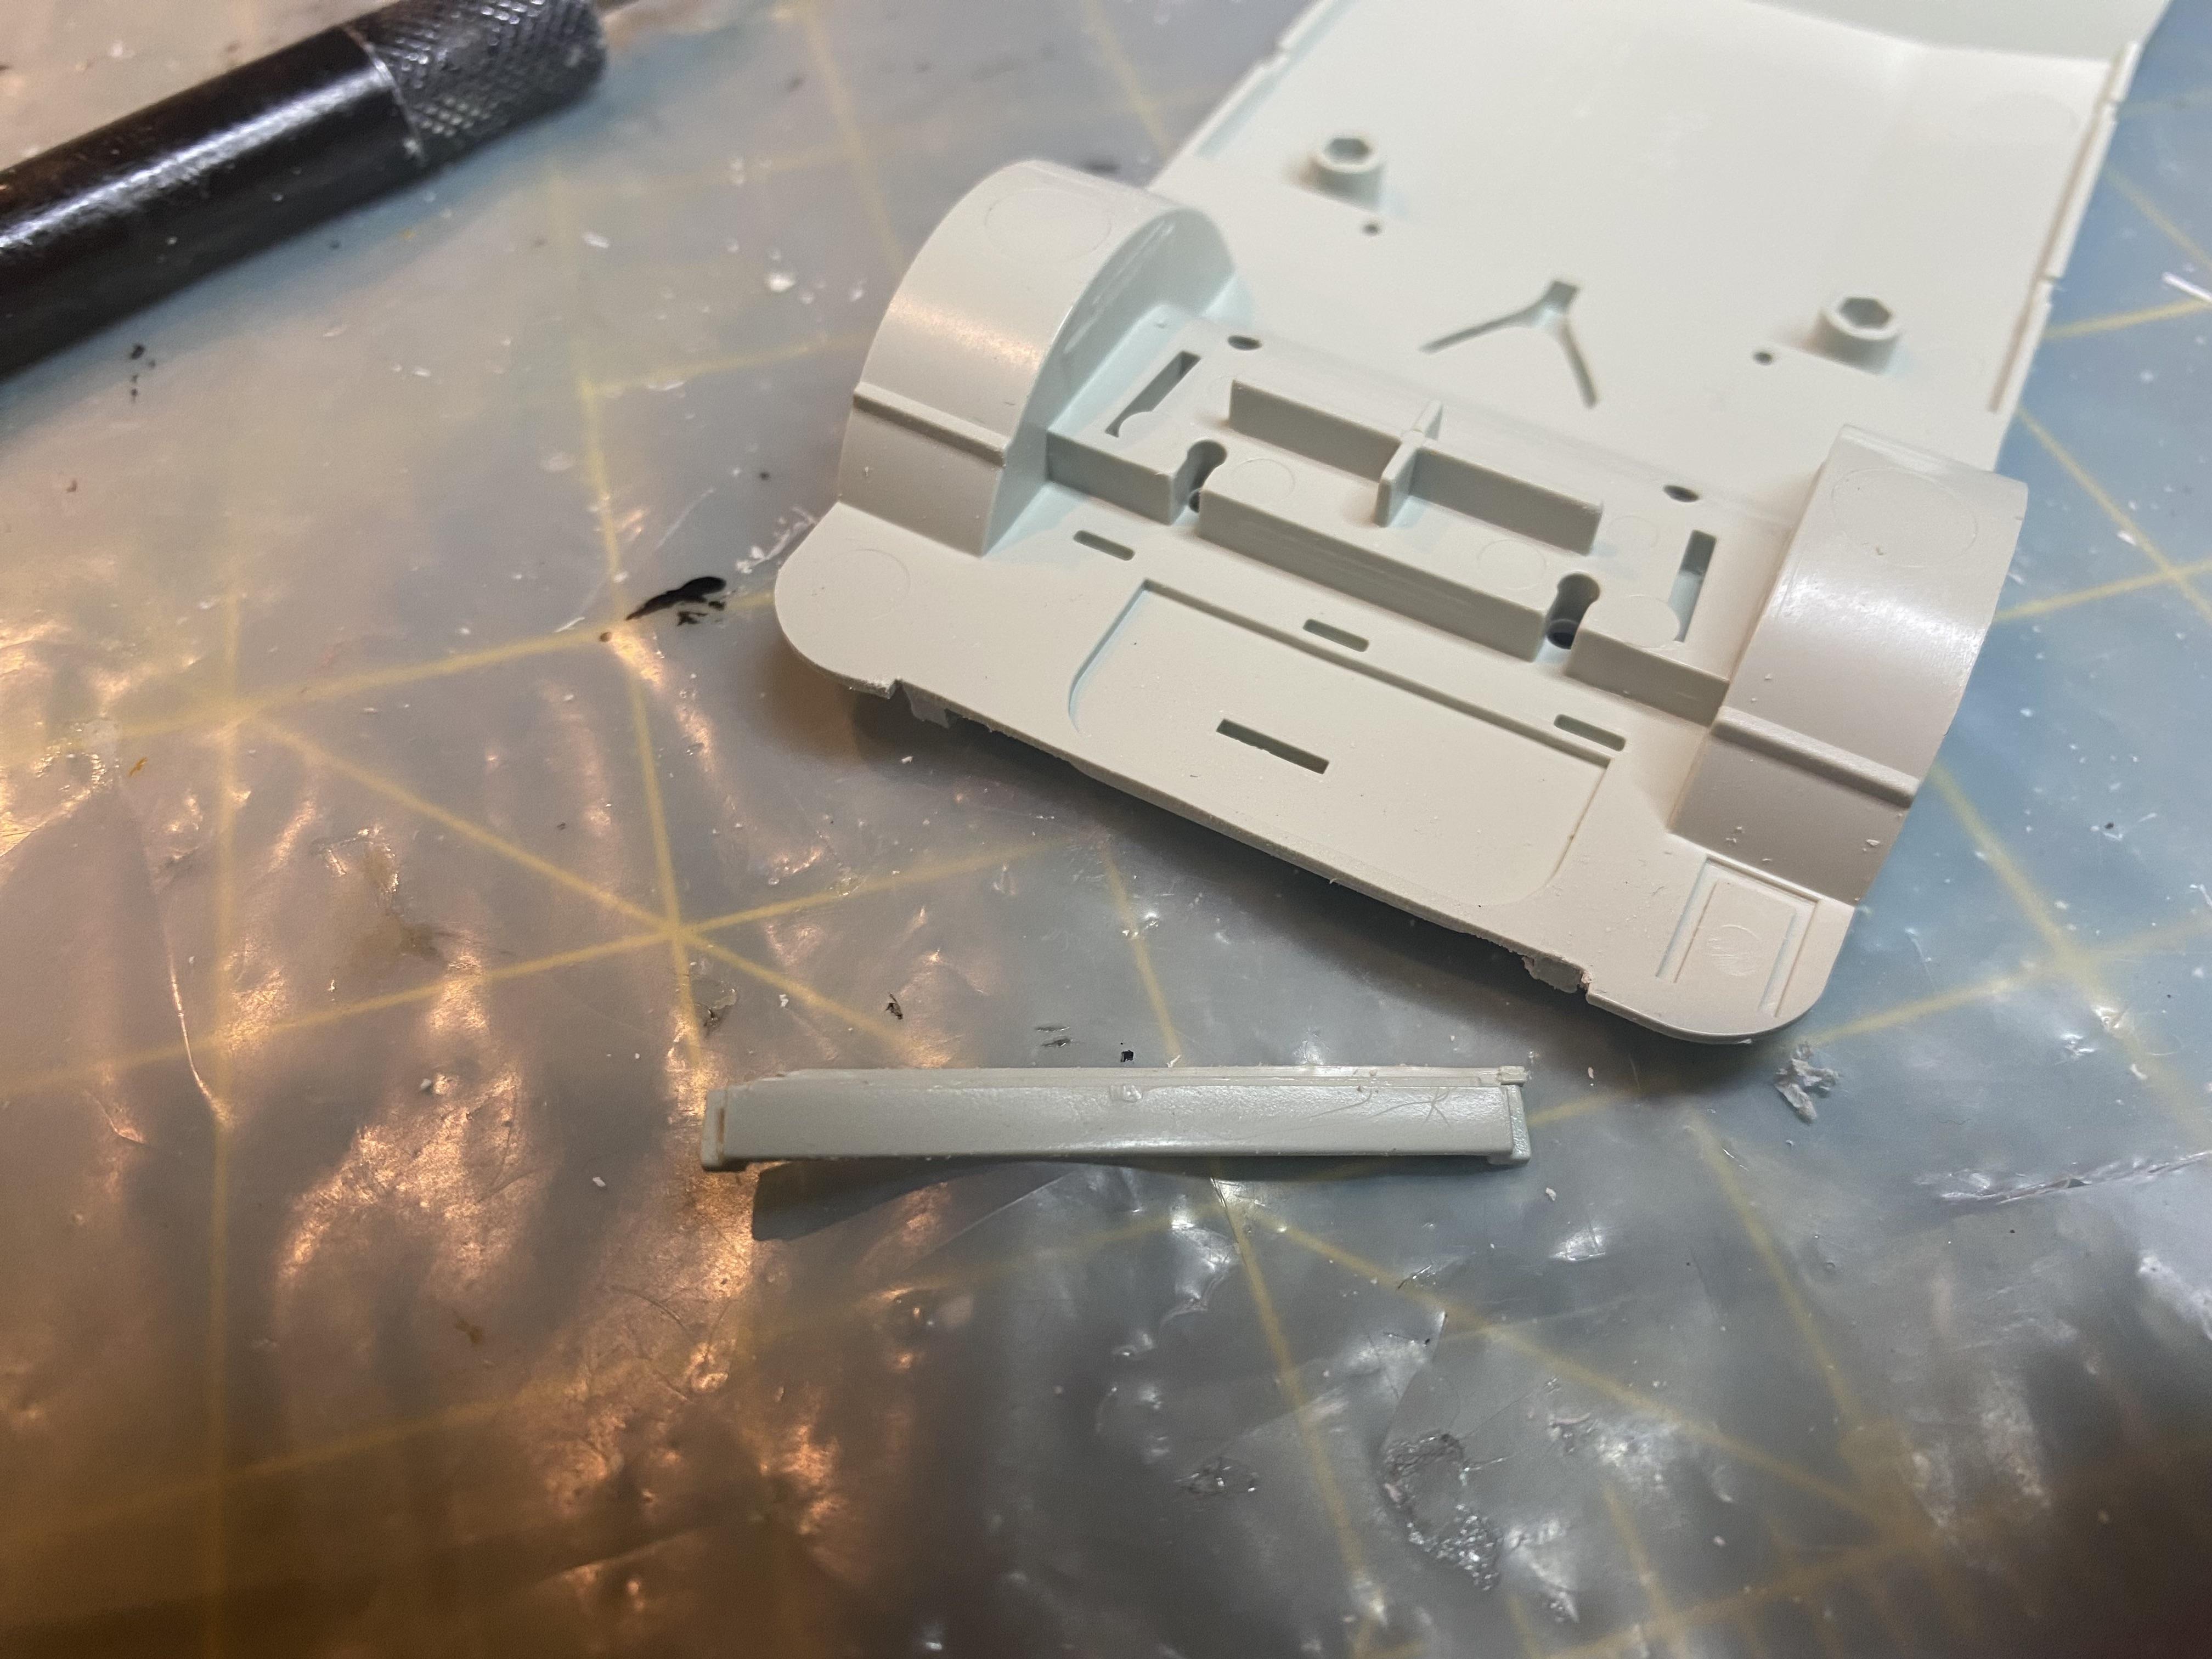
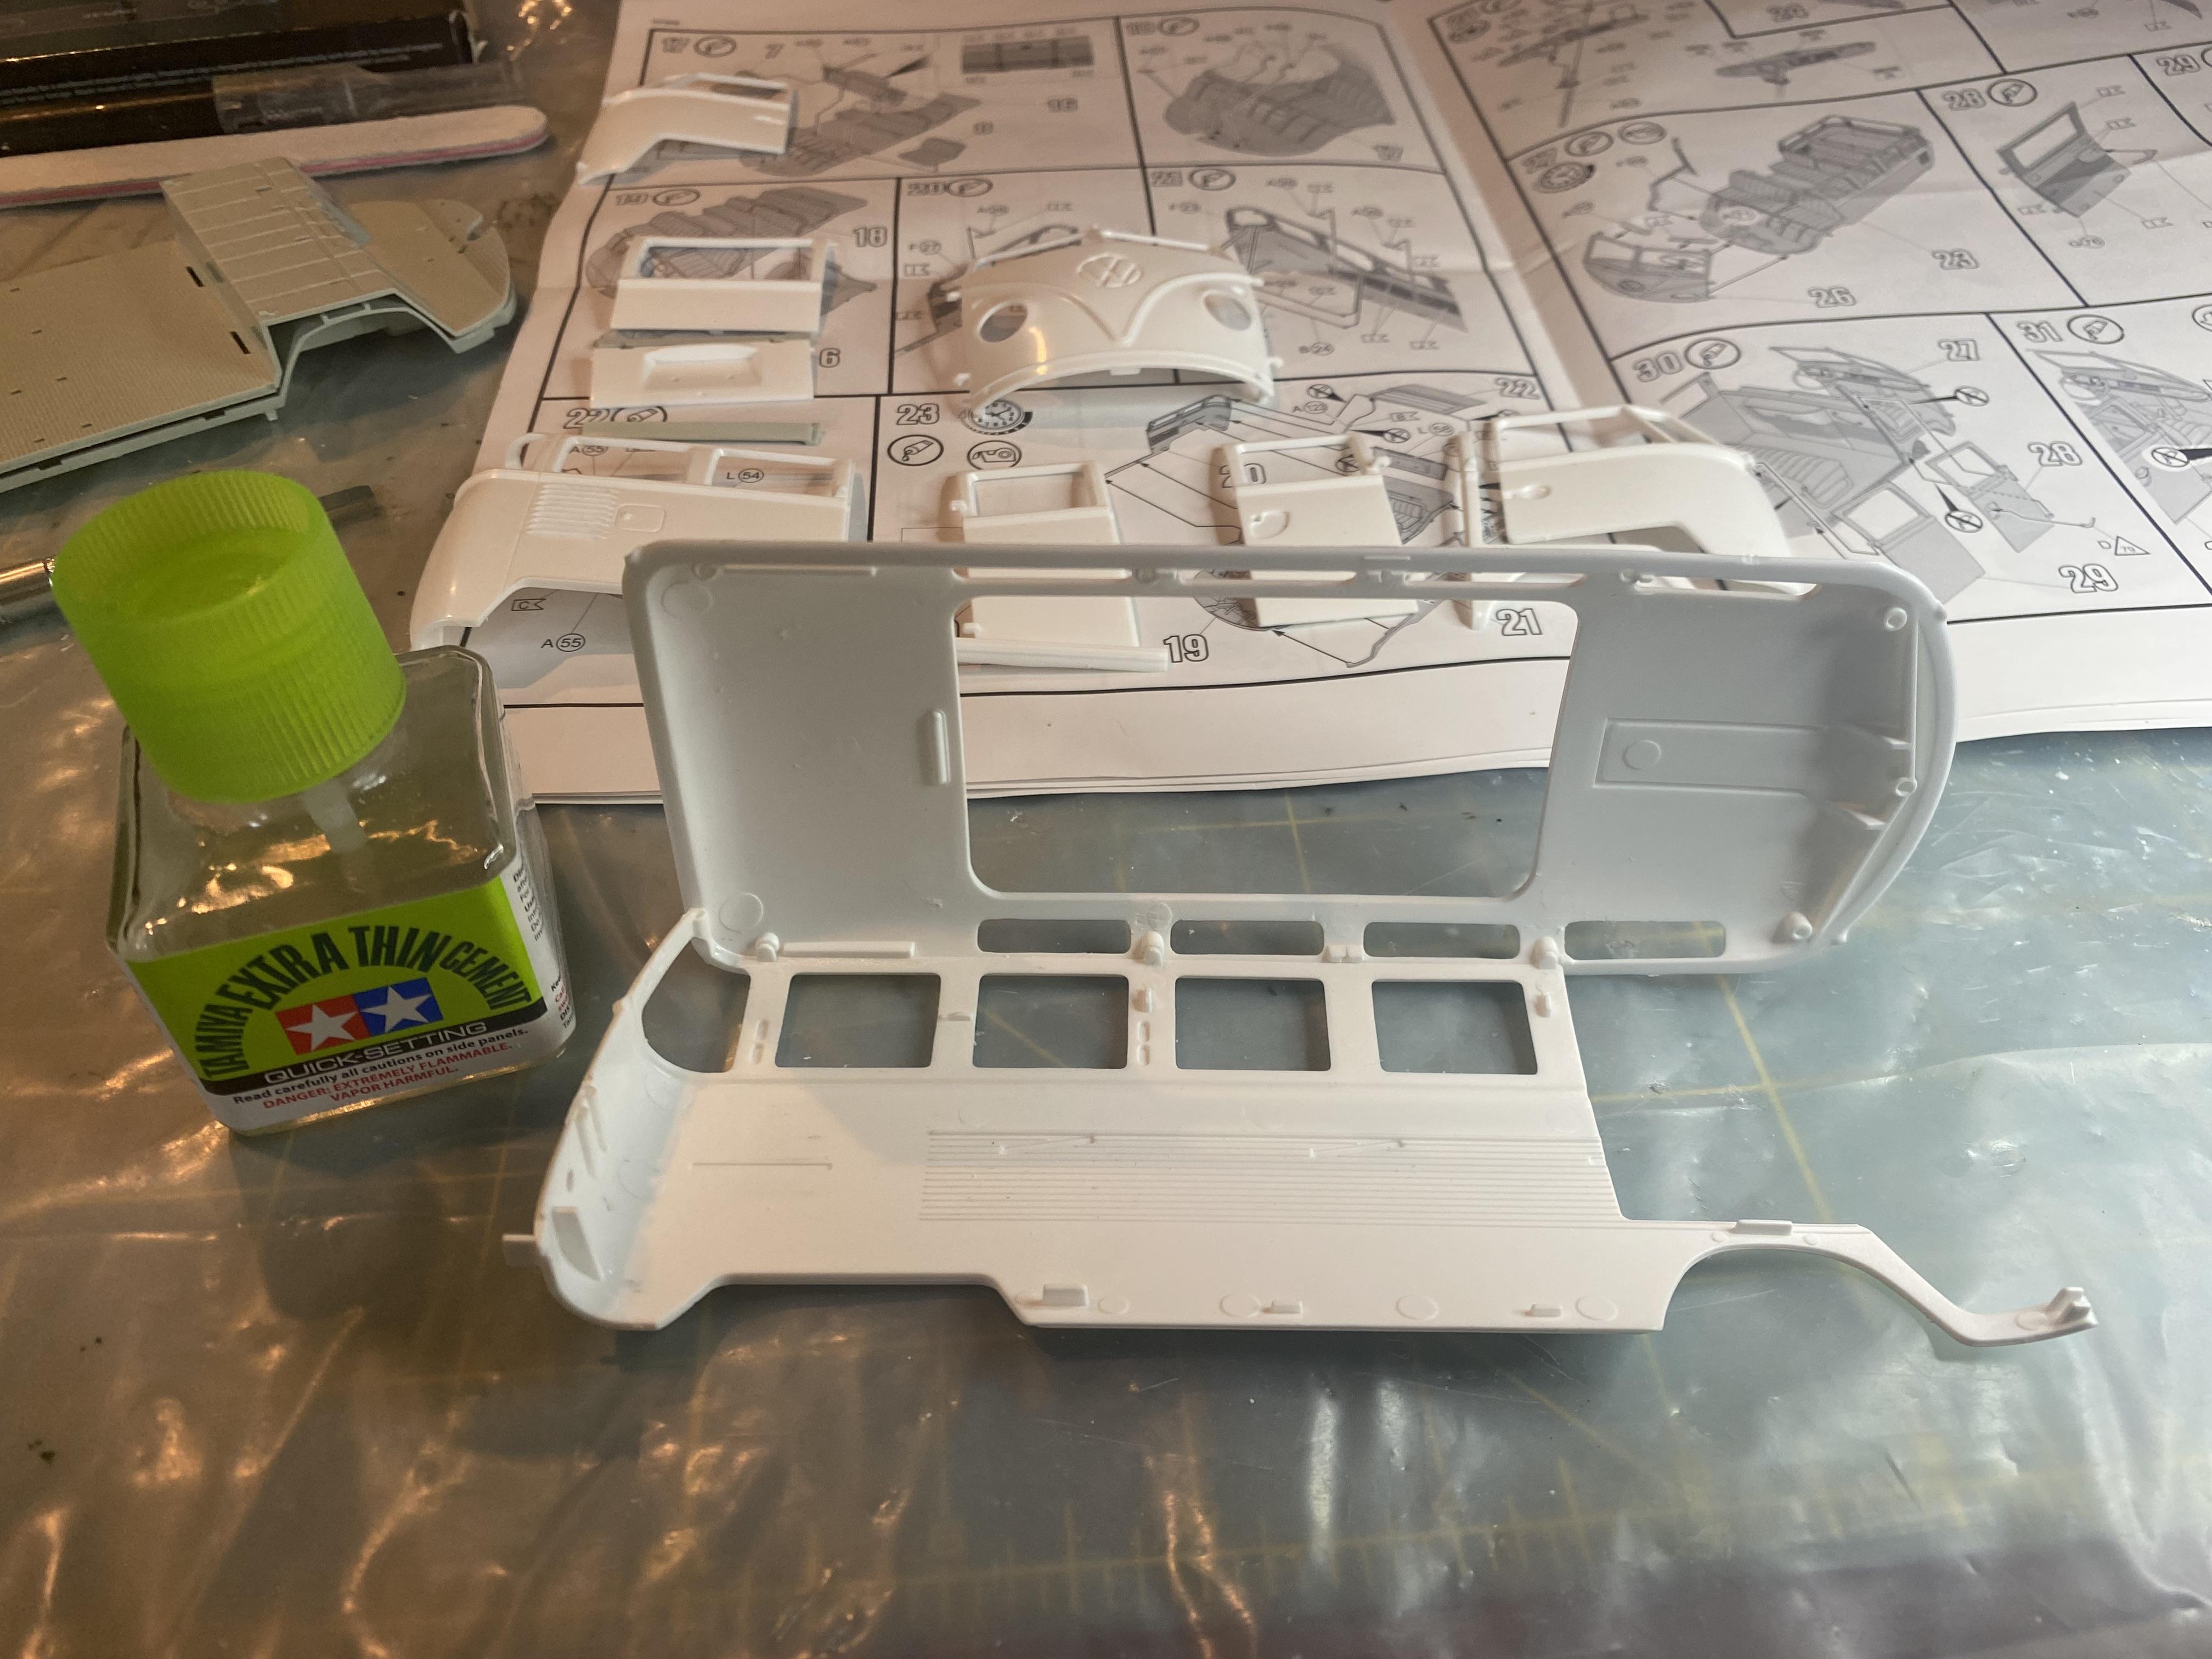
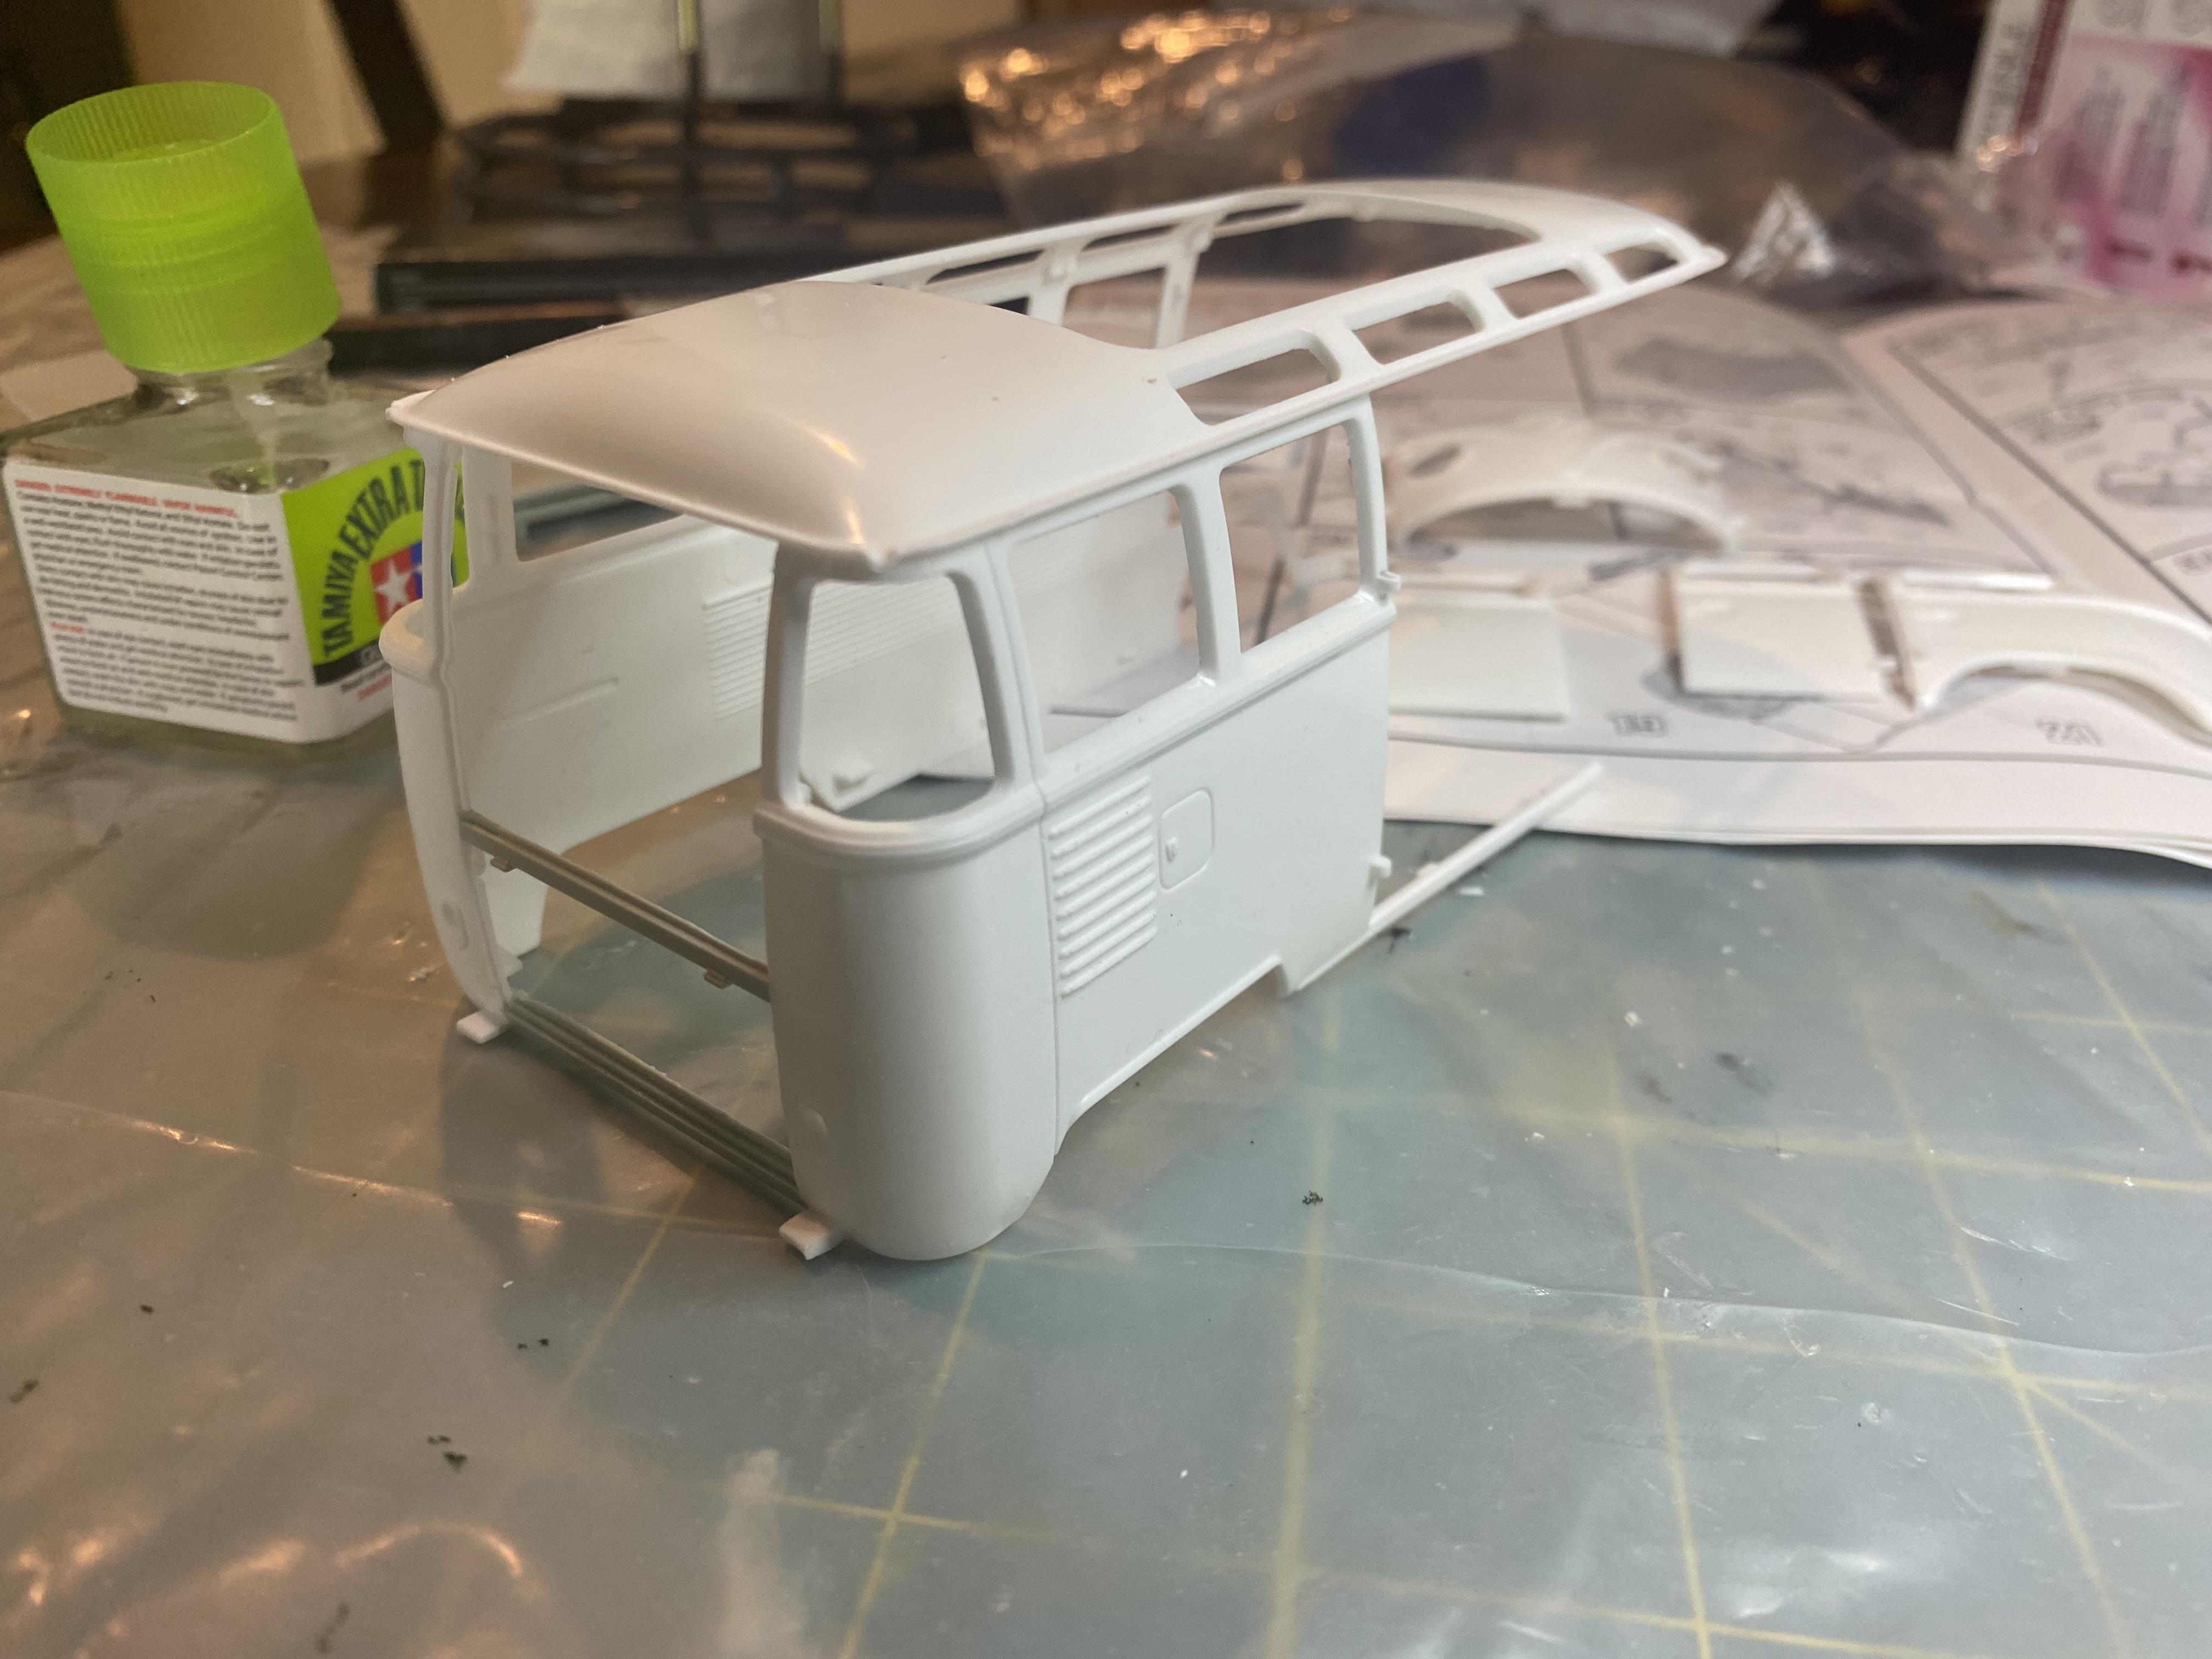
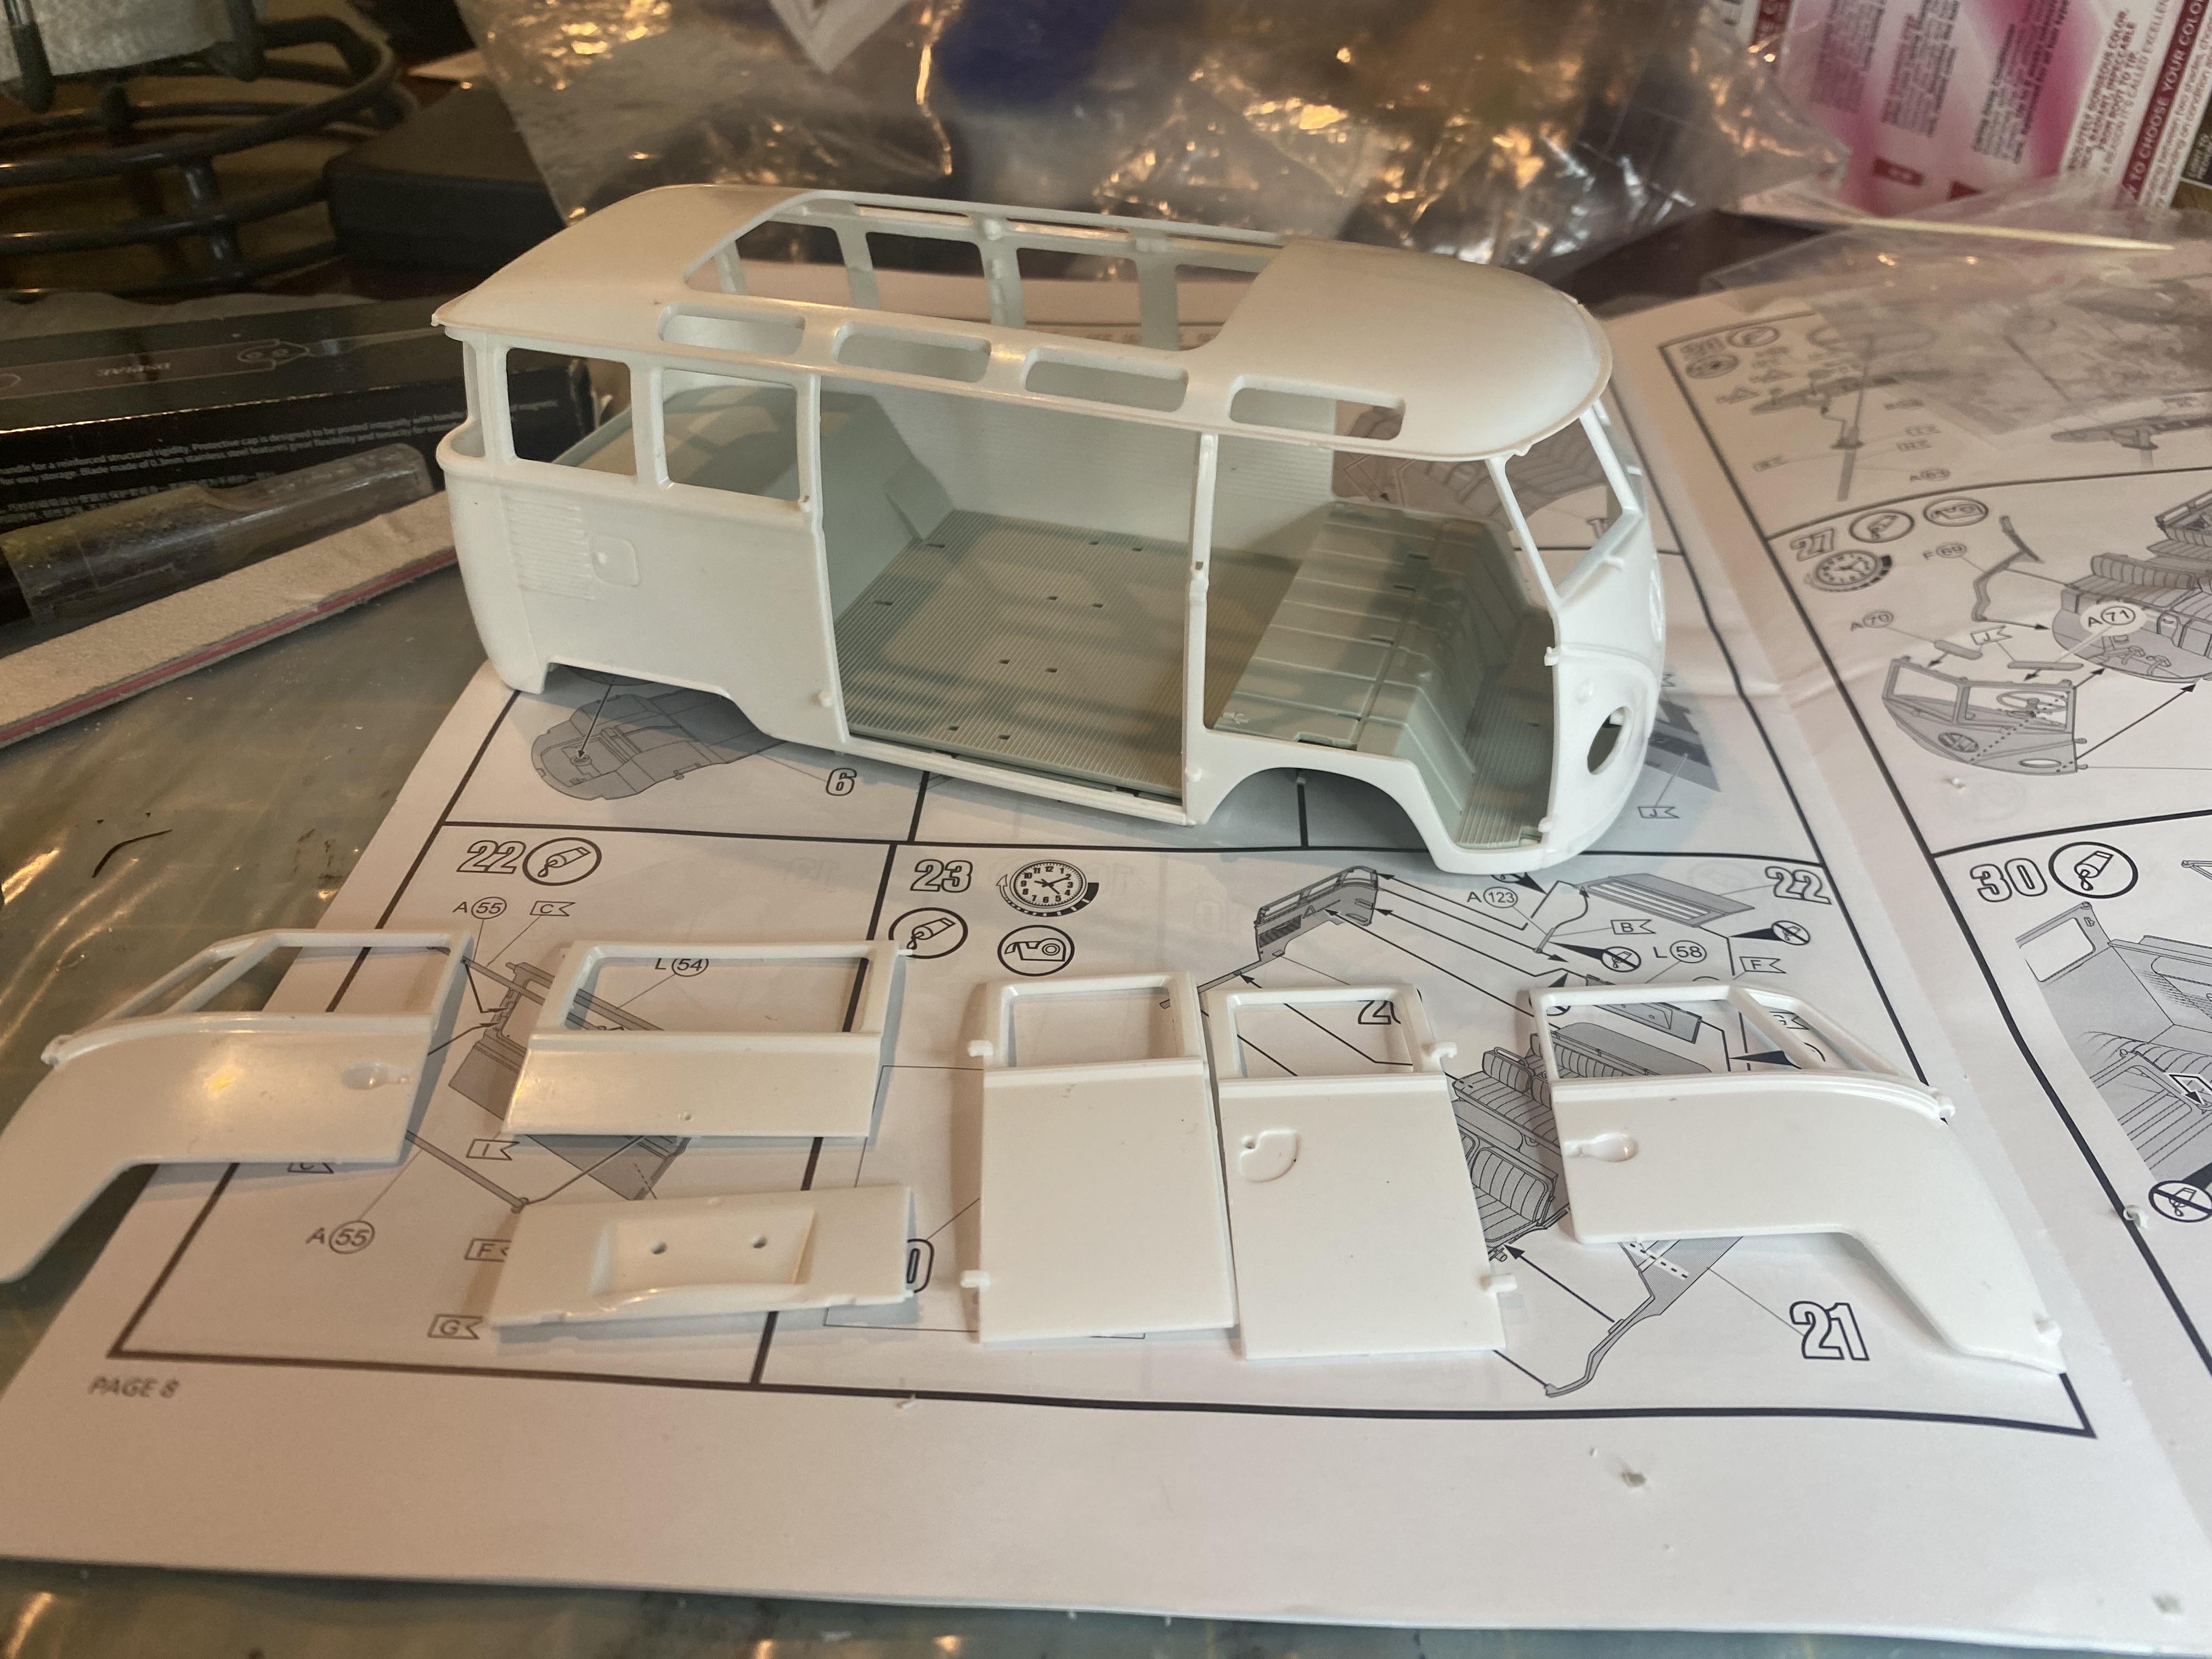
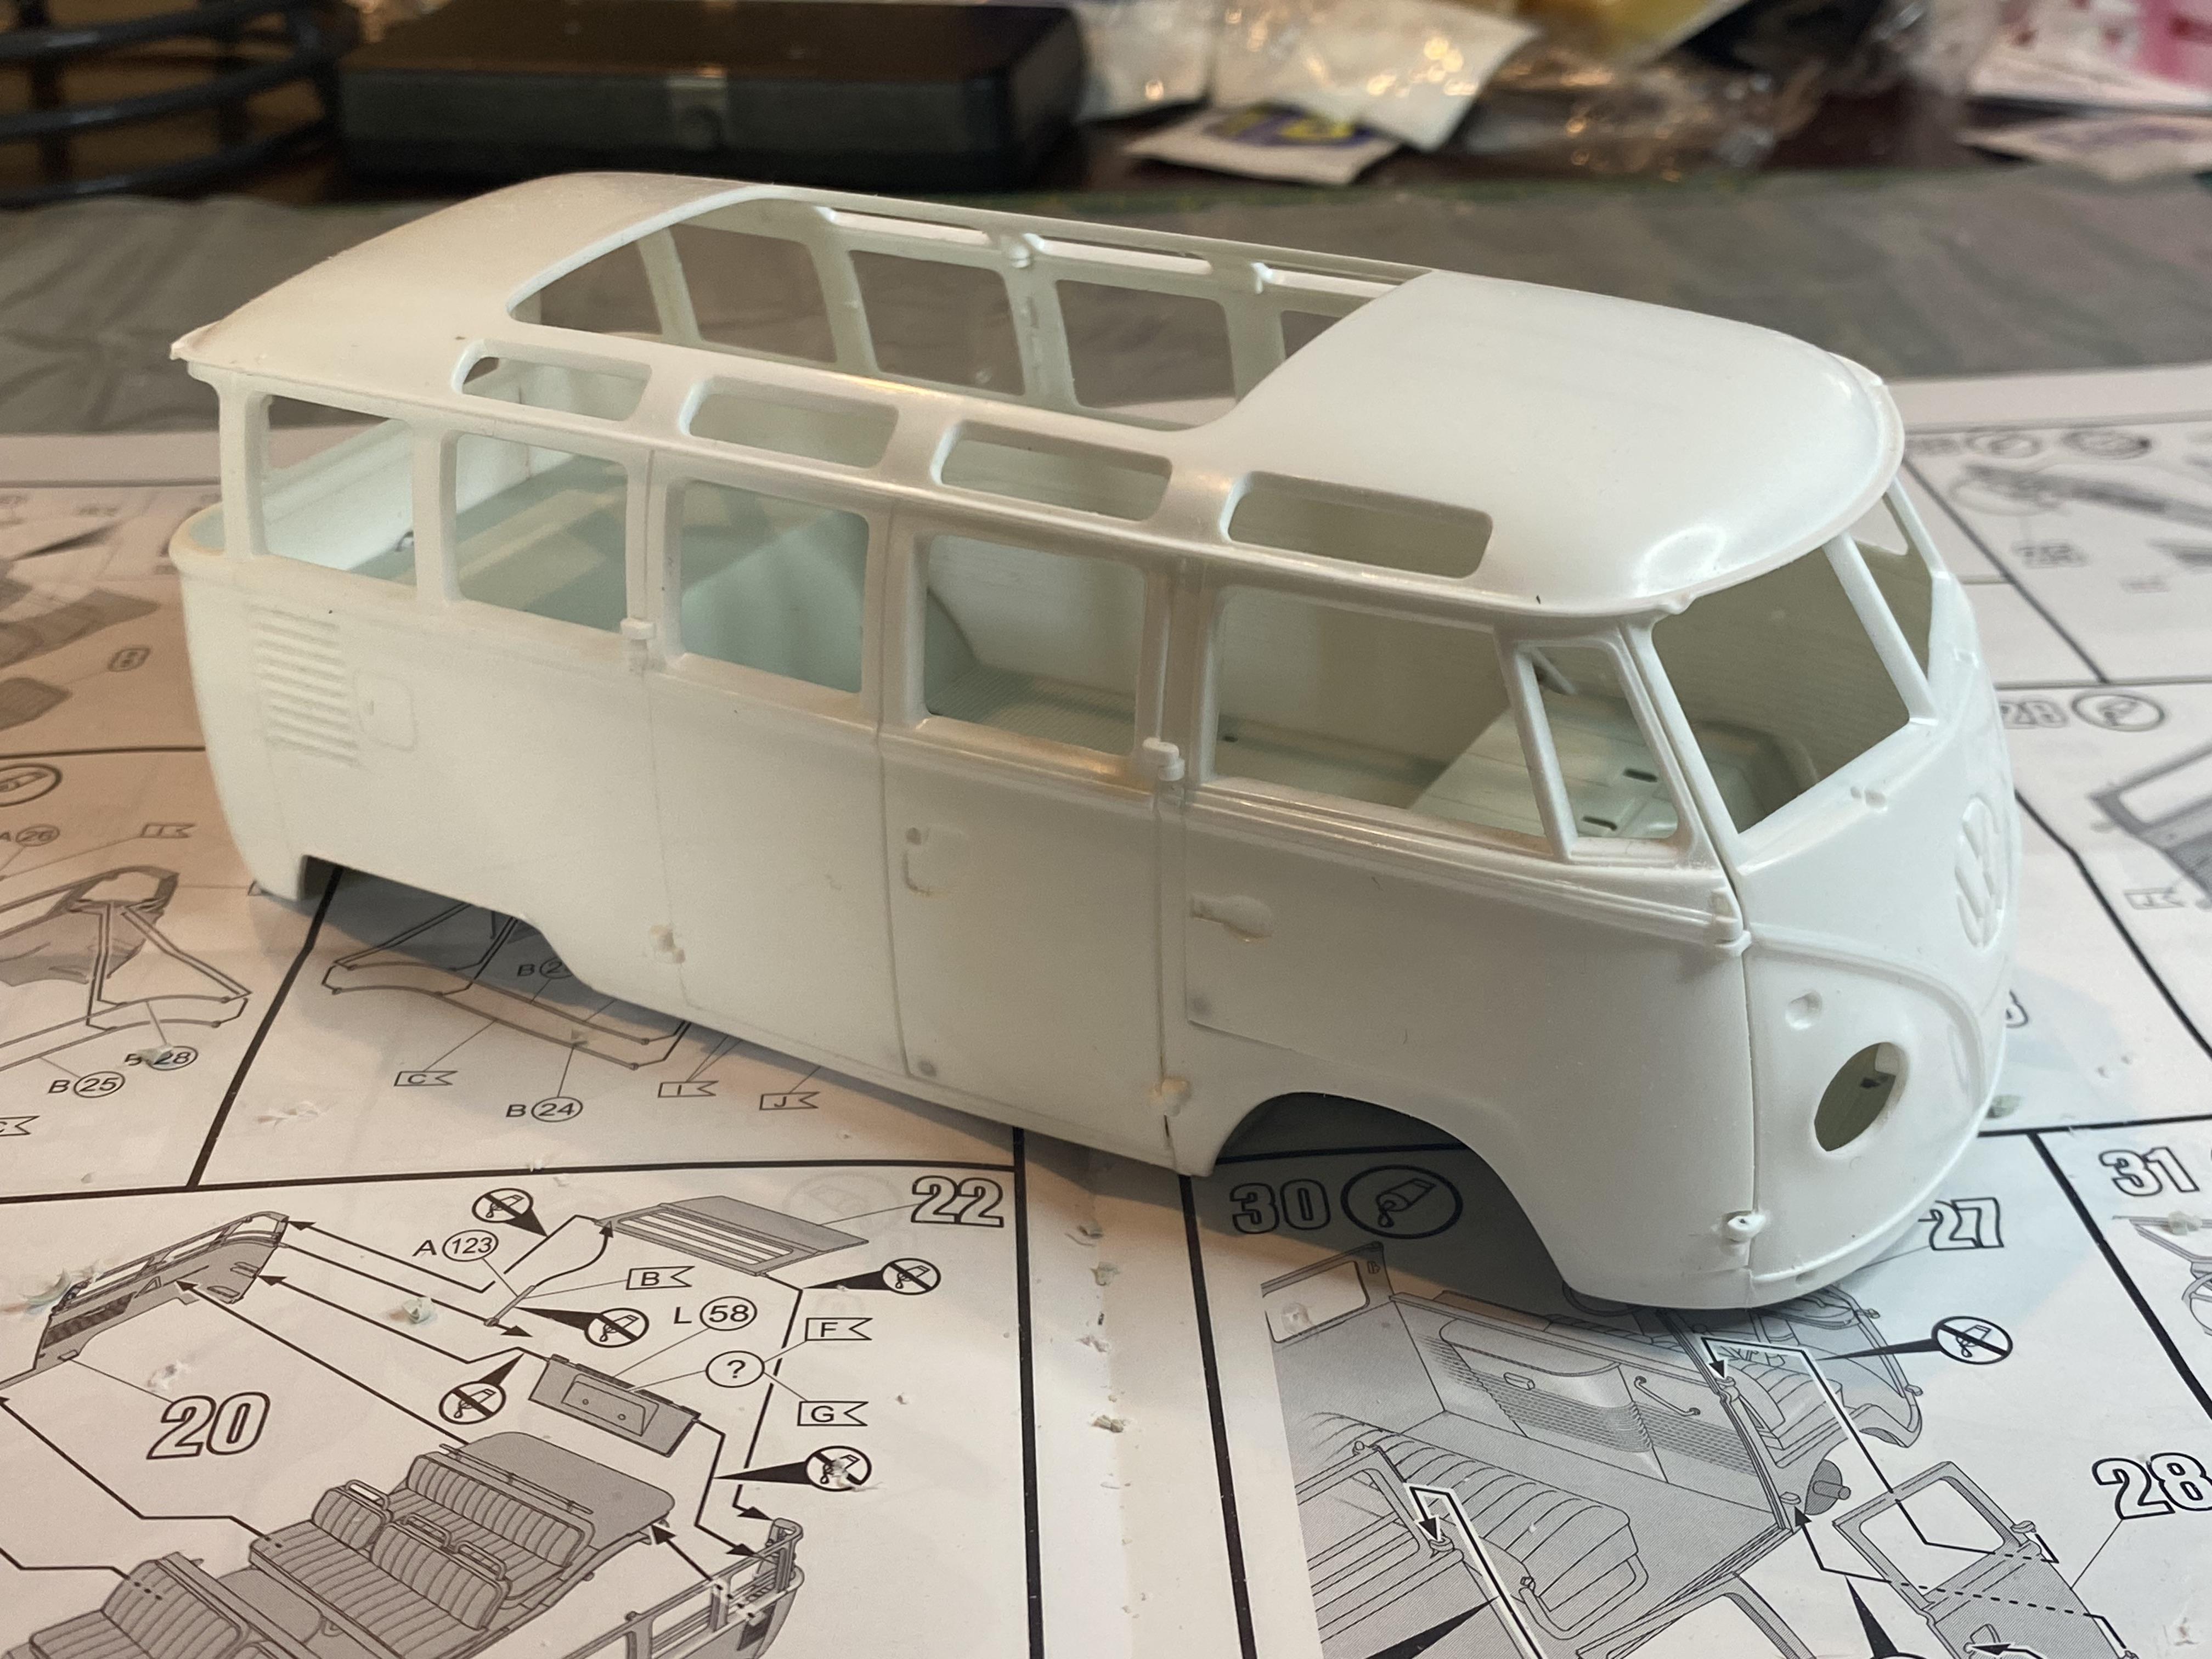
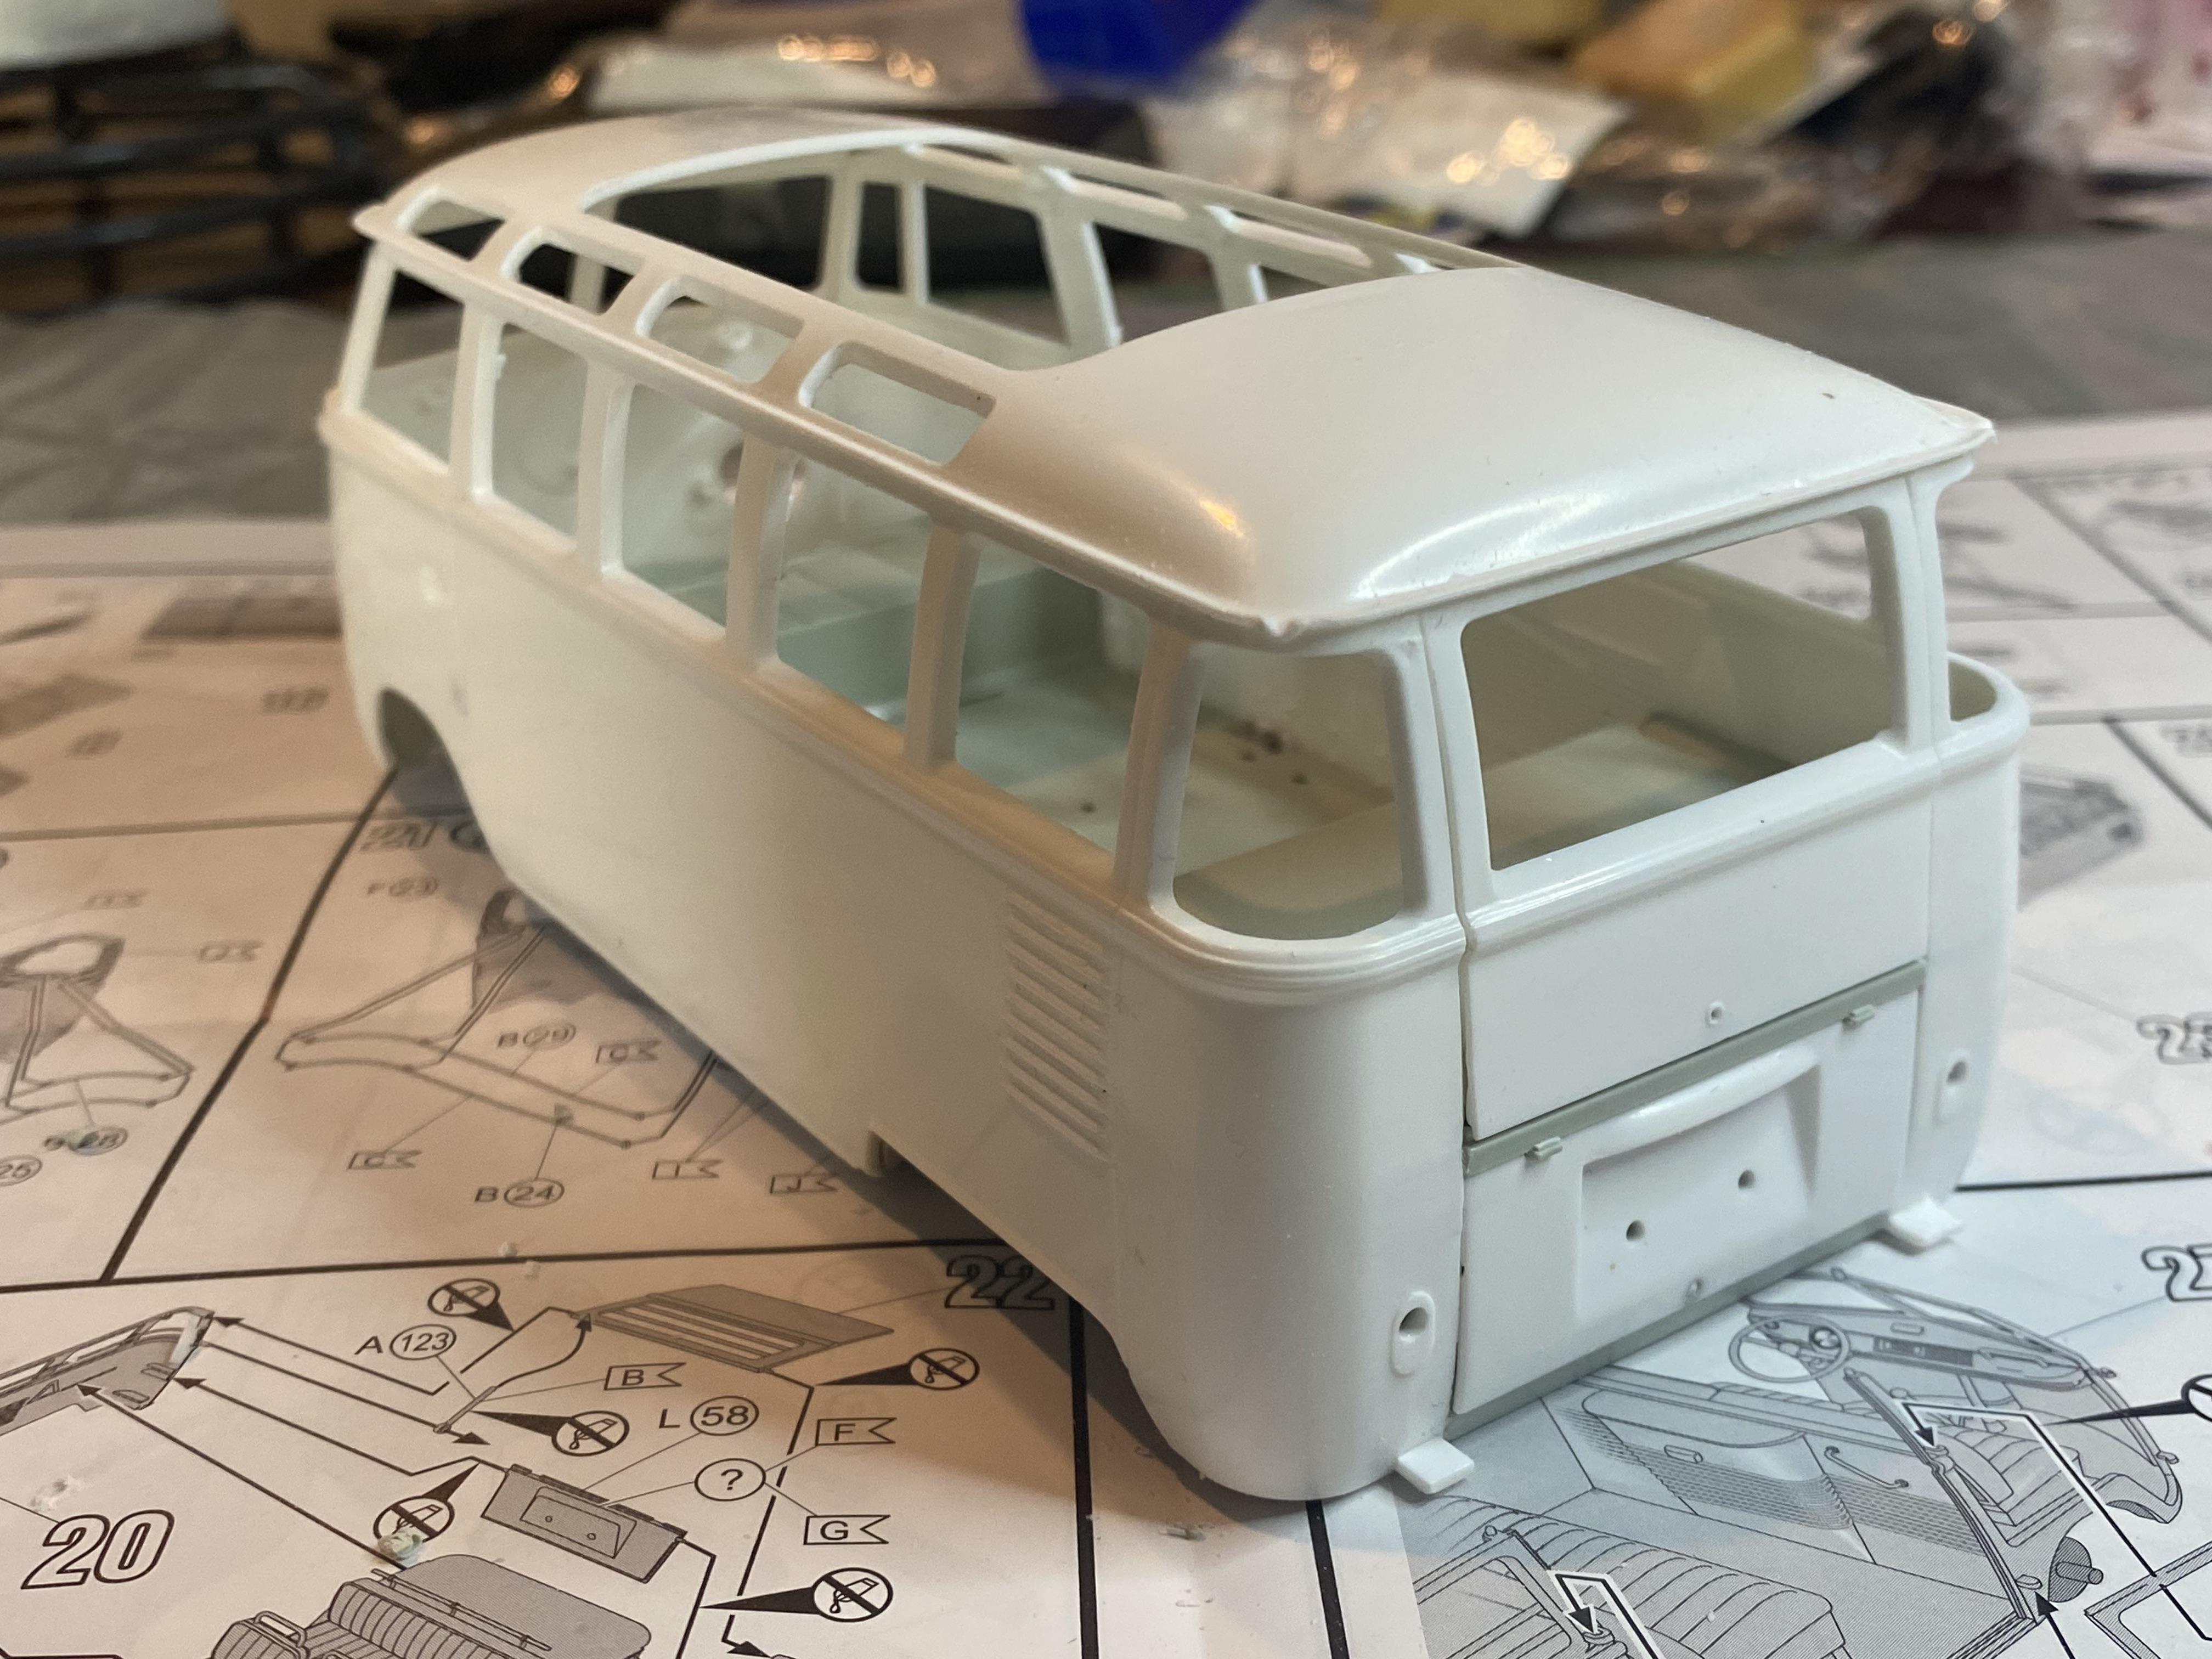
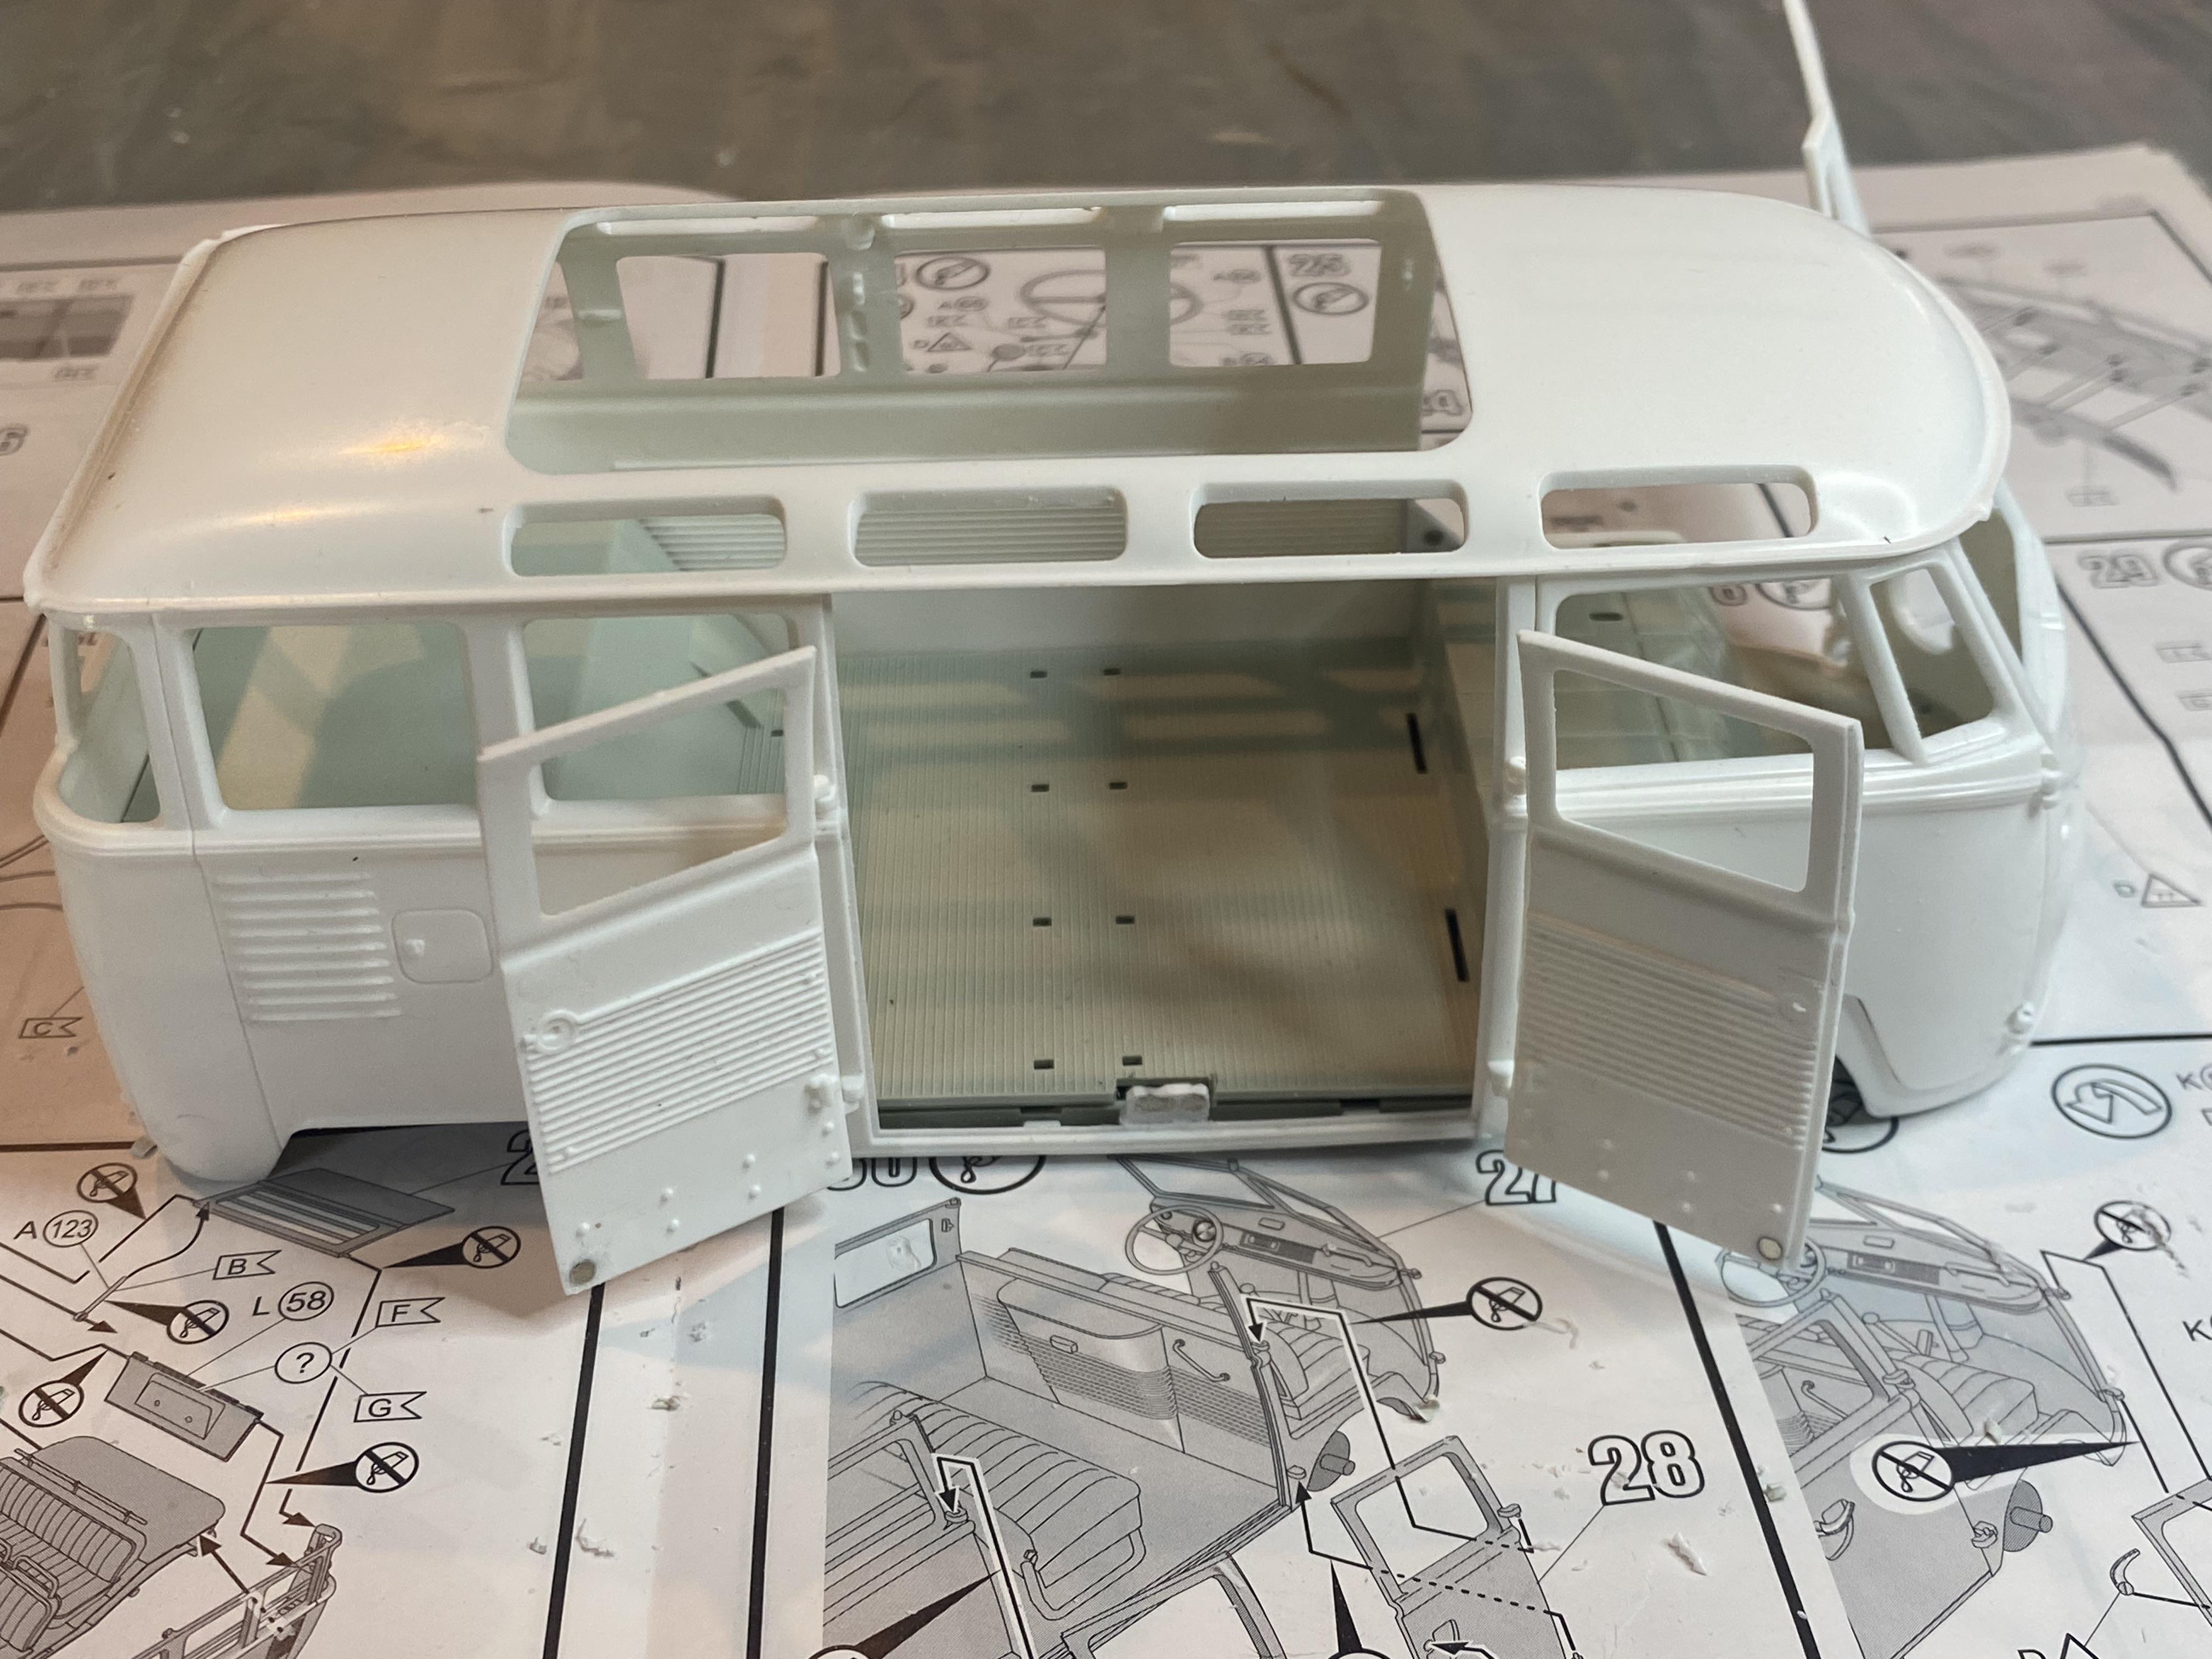
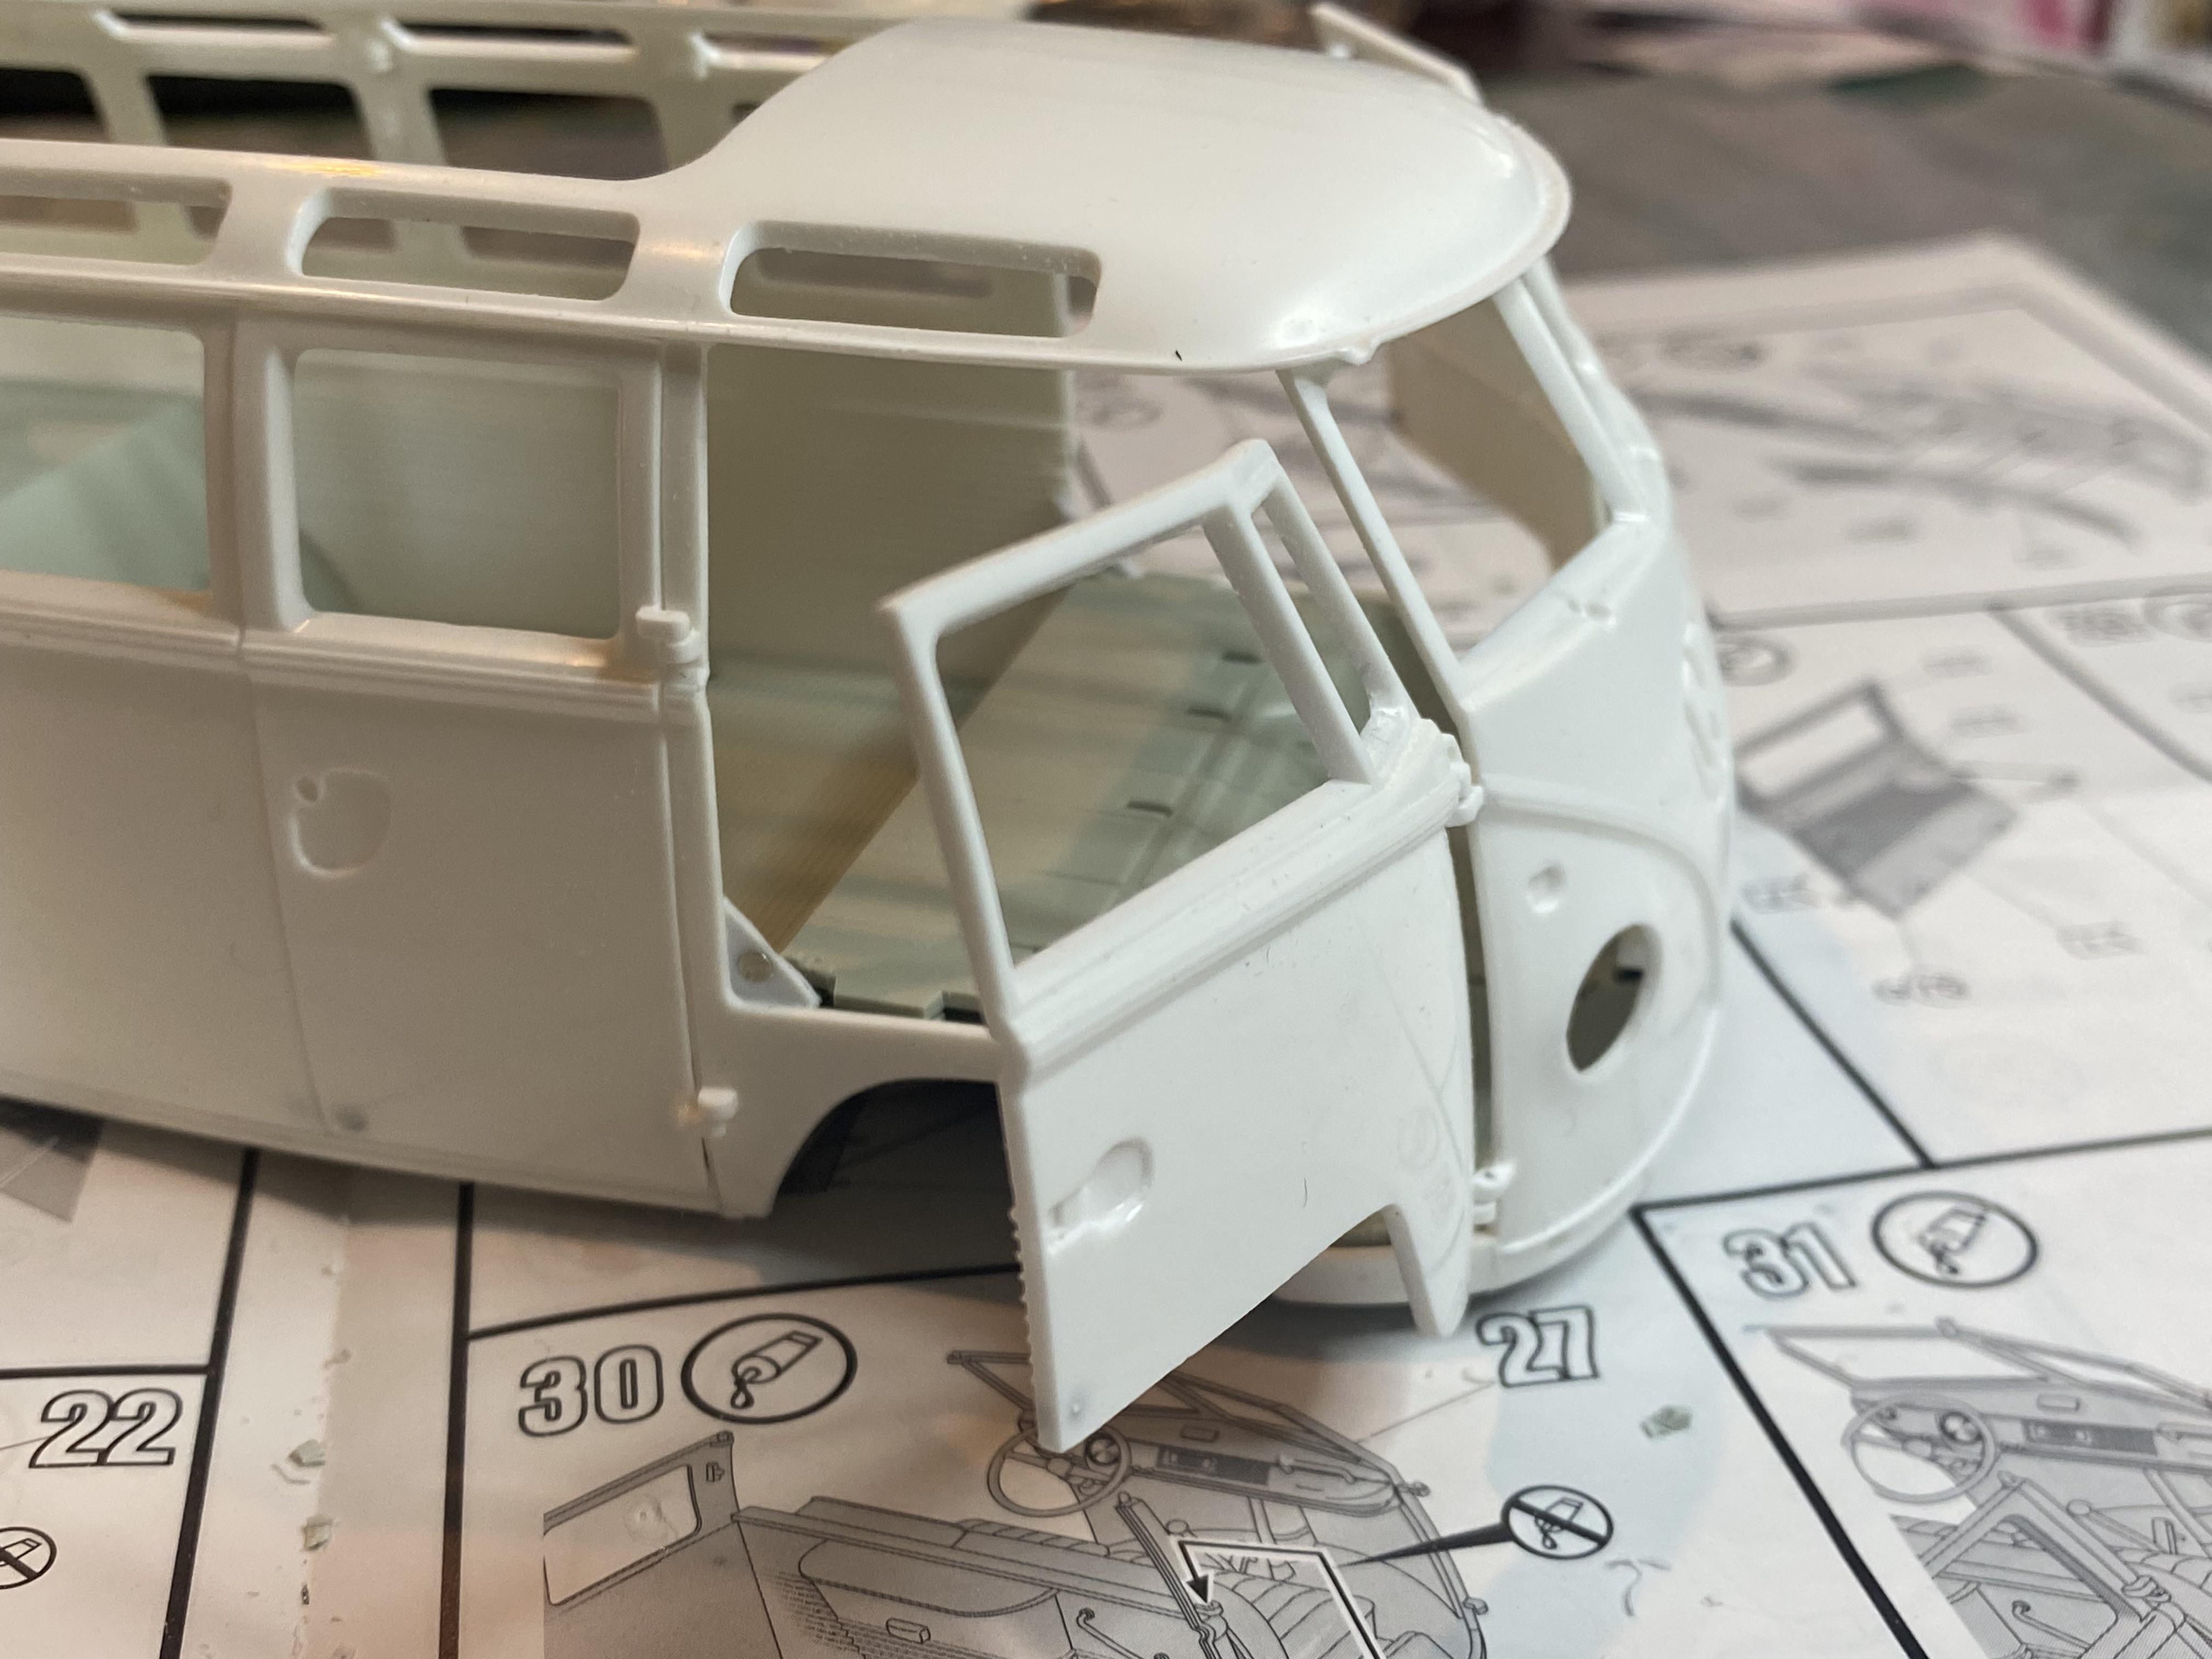
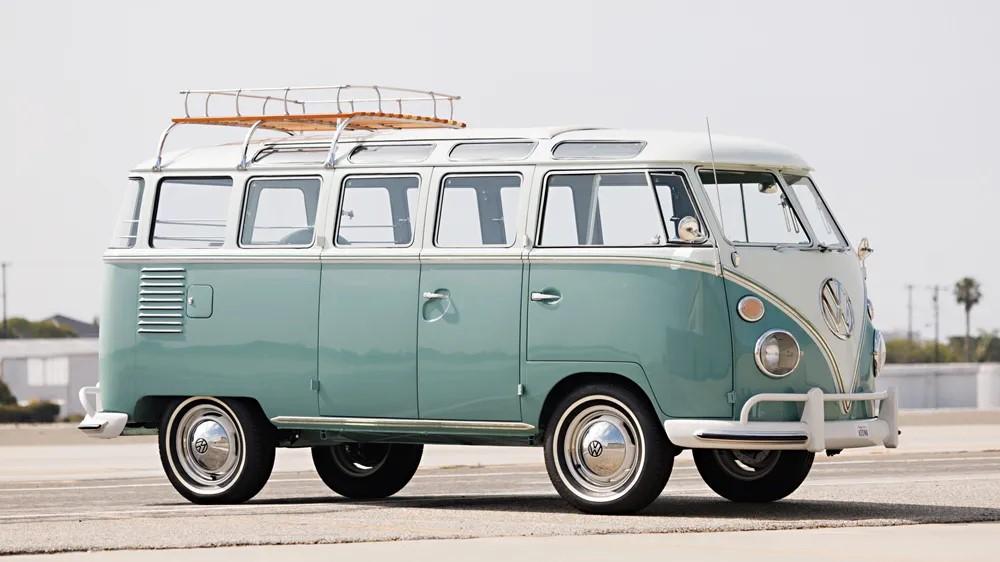
Latest build on the table is a Revell 1962 Volkswagen Samba bus in 1/24 scale. Going to be Turquoise Green over Blue White. I started a bit over a week ago but had an incident trying to remove the heavy injection mold spots and I sliced a finger open and had to pause for a bit. I did just get back to it and cleaned up to body parts. I have built some cars with multiple body parts but this is insane. The instructions expect you to paint before you assemble. There is no way I could’ve gotten the panels to fit nicely going by the directions. Also I needed to remove the plastic door hinge pins and drill them out and add wire pins. Several of the plastic ones broke off even tryin to test fit the door panels. Also added magnets for all of the opening panels to keep the aligned and closed. It didn’t take much modification to get the chassis and interior panel to fit in after the body is assembled. this is where I stopped after slicing open my finger with the injection mold marks. body assembly this is the look I am going for.
-
Thank You!
-
Thank you!
-
Thank you!
-
Thank you!
-
Thank you!
-
Thank You! Thank You! I actually like any air cooled Porsche, but my favorite is by far the Porsche 356A myself. My mother had one when I was a child and I remember it fondly is mainly why.
-
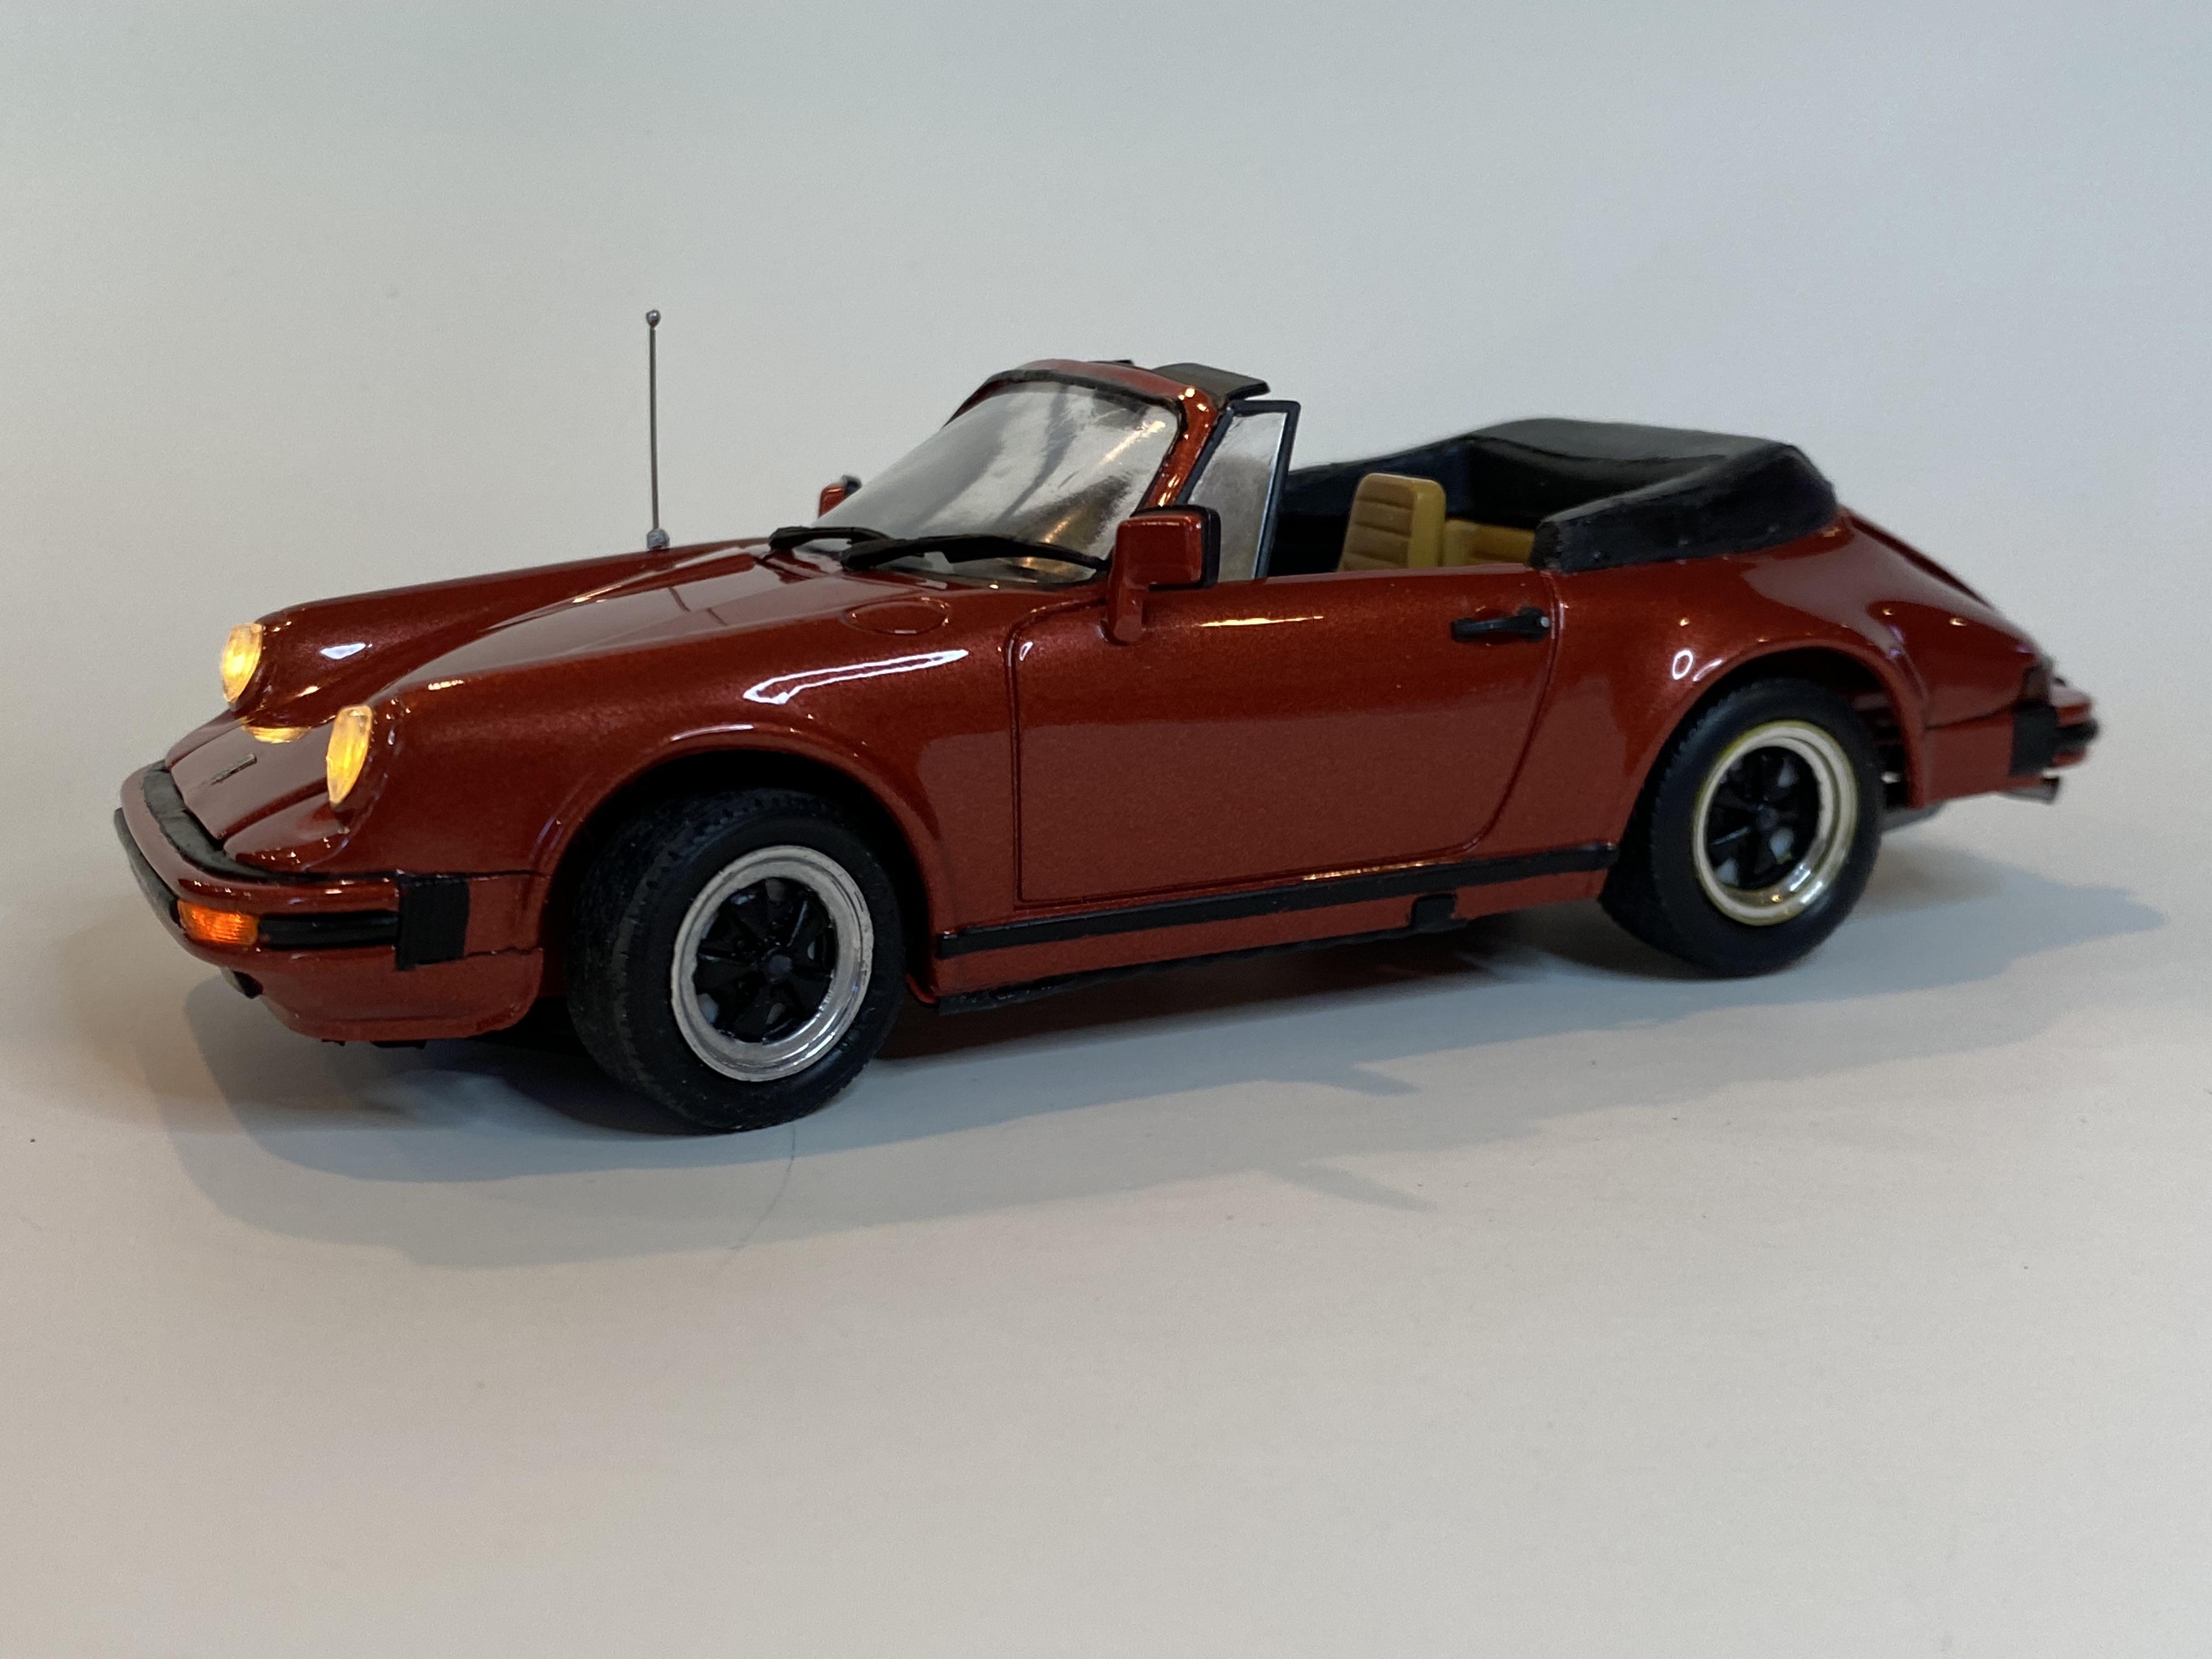
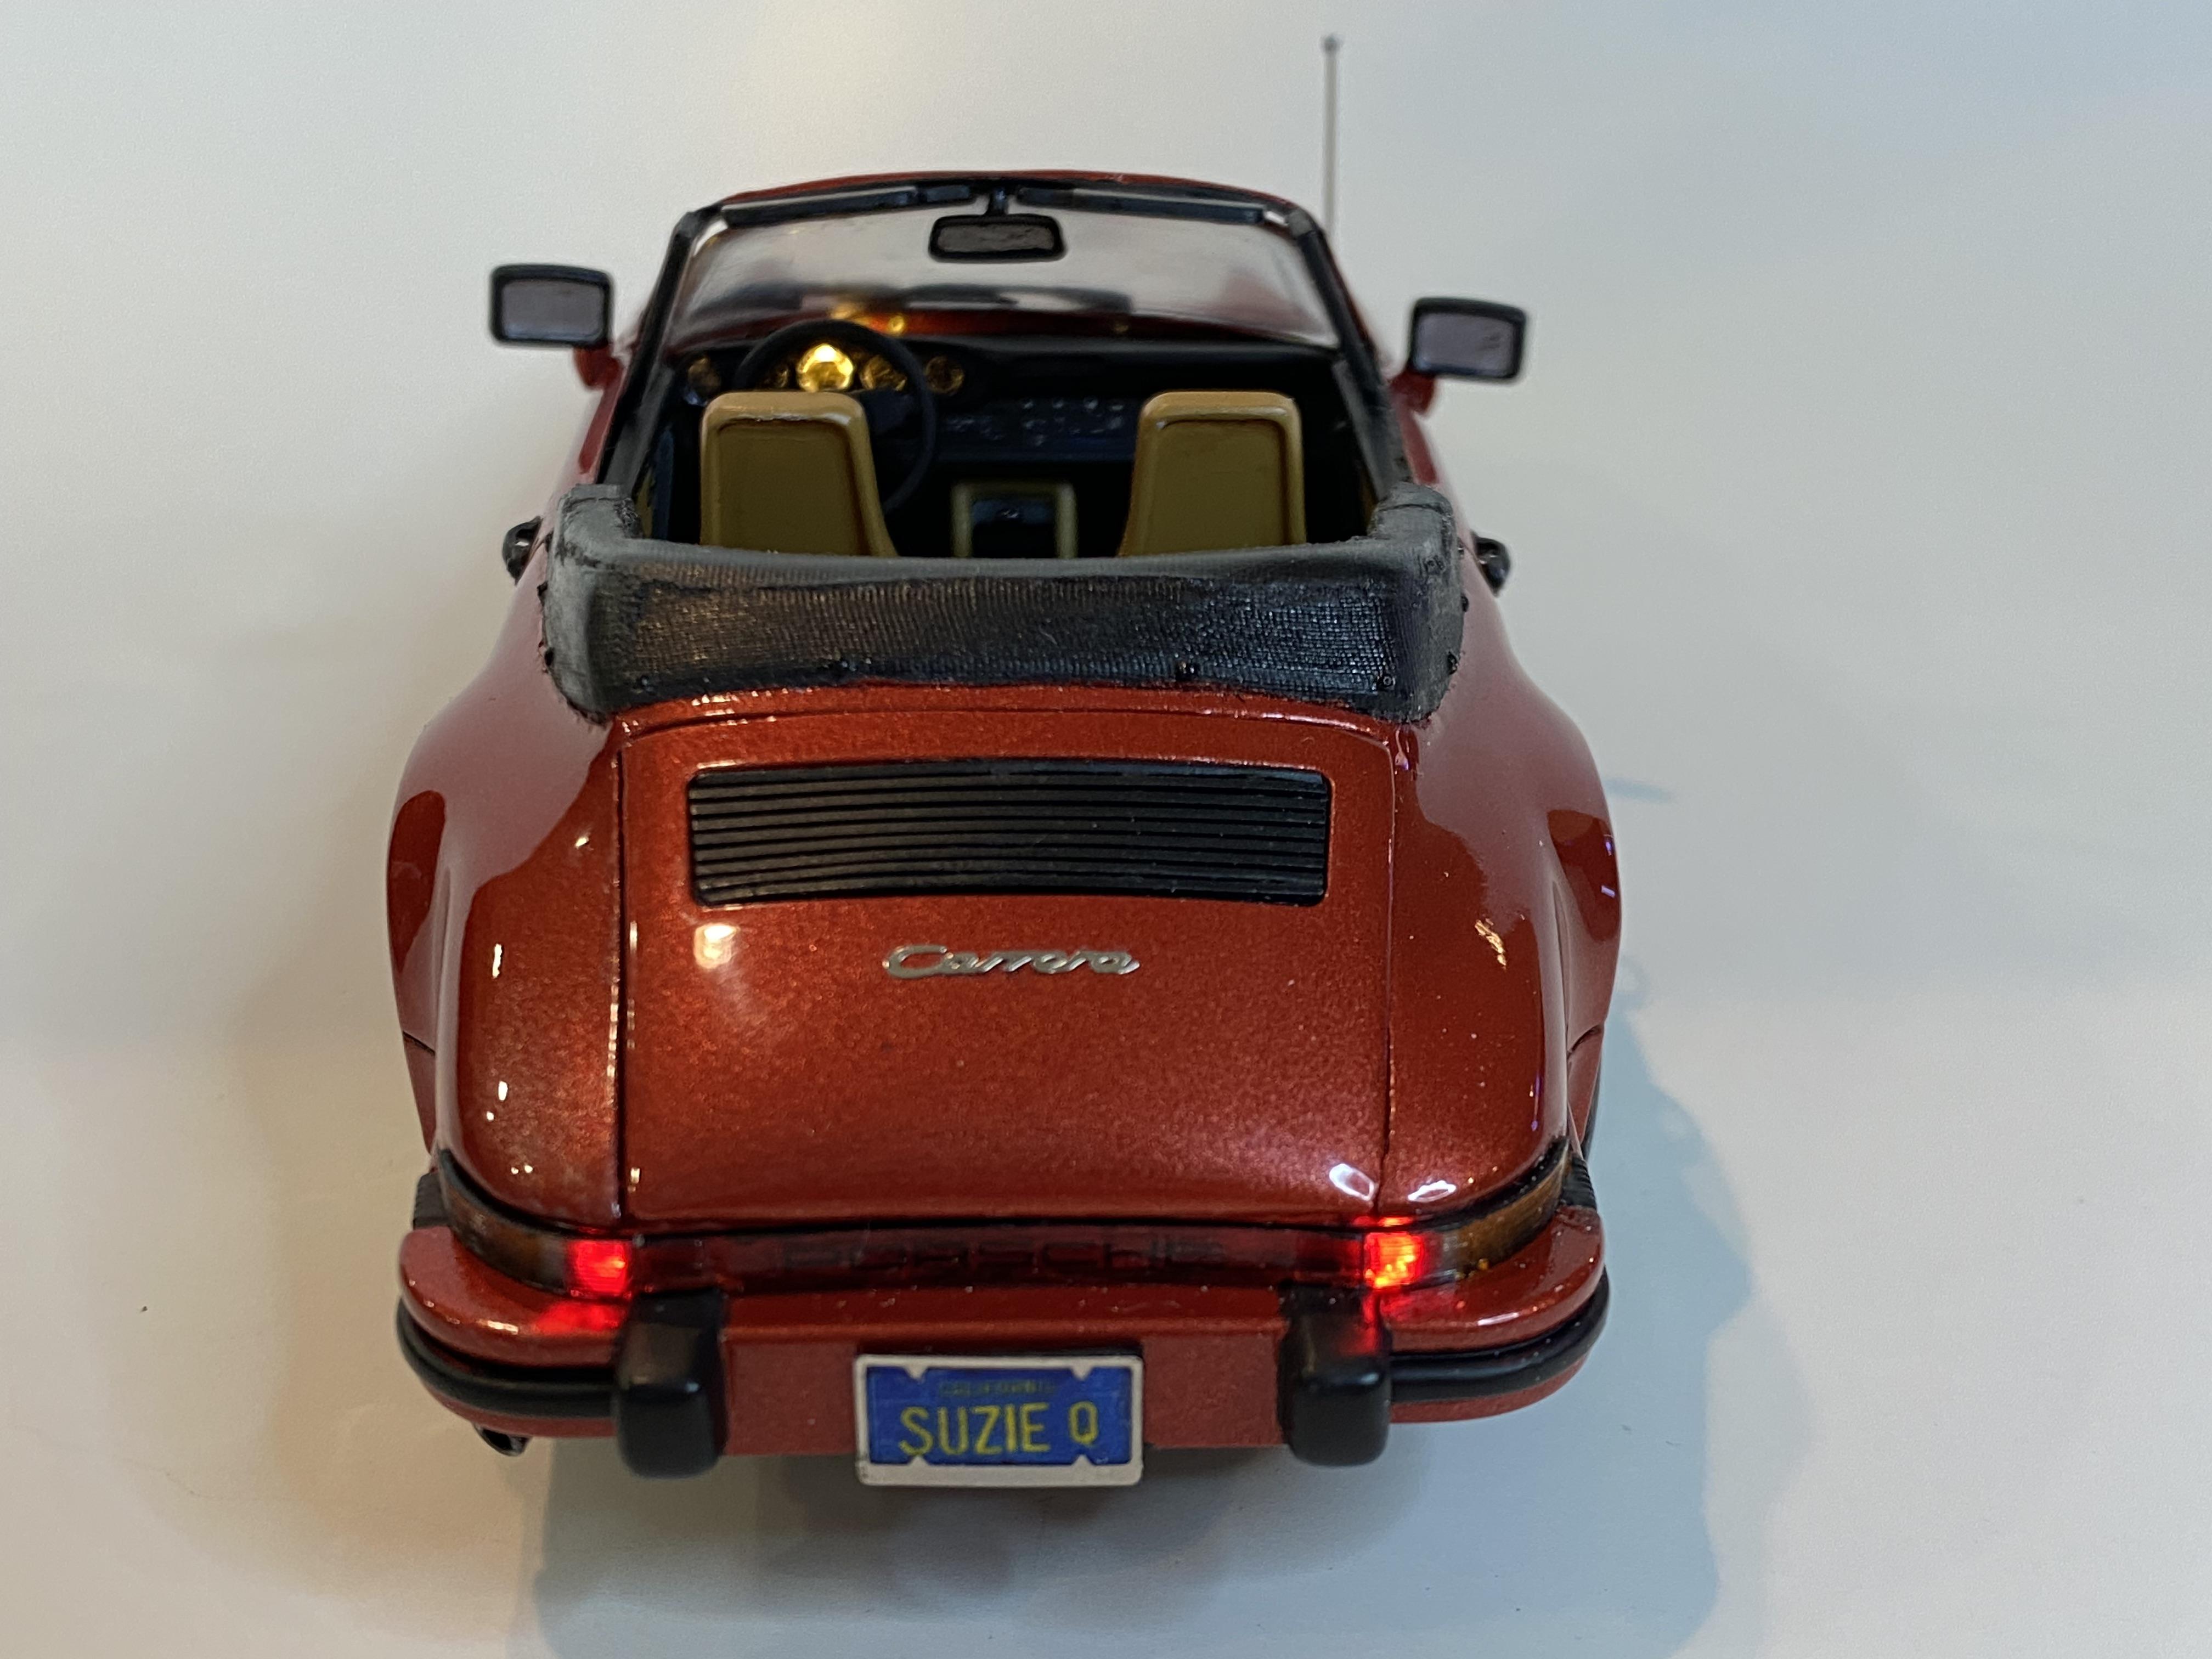
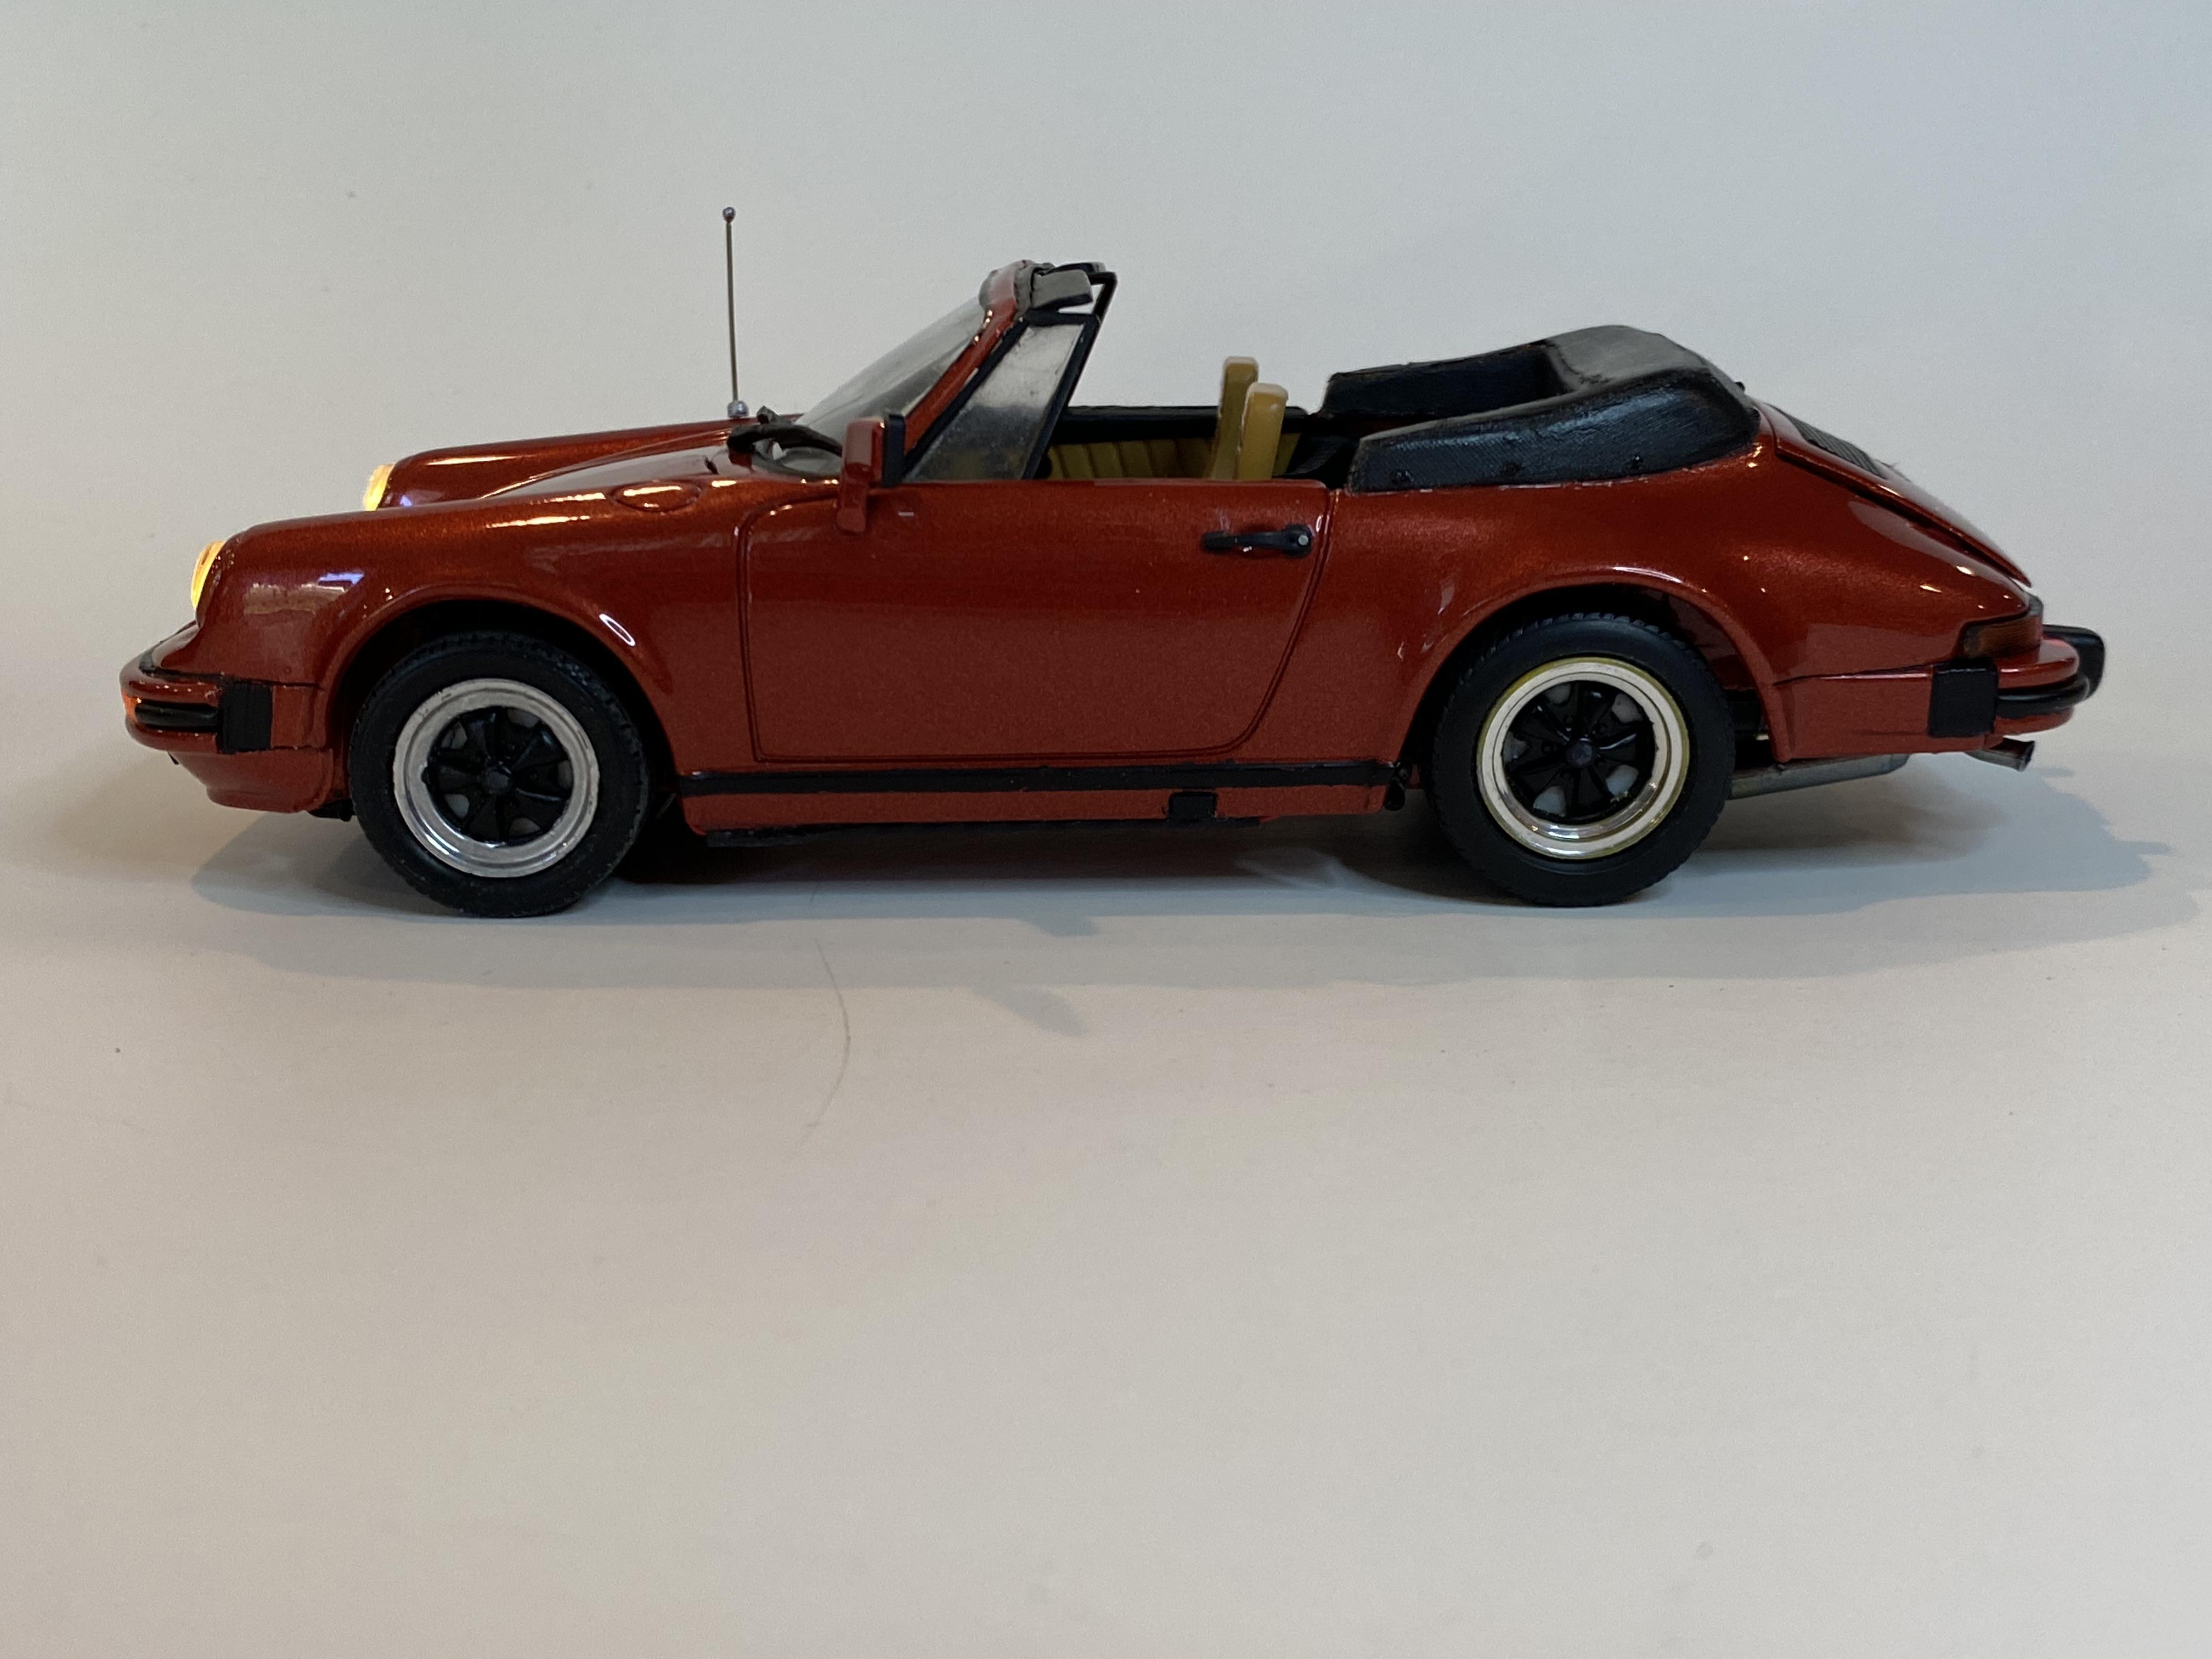
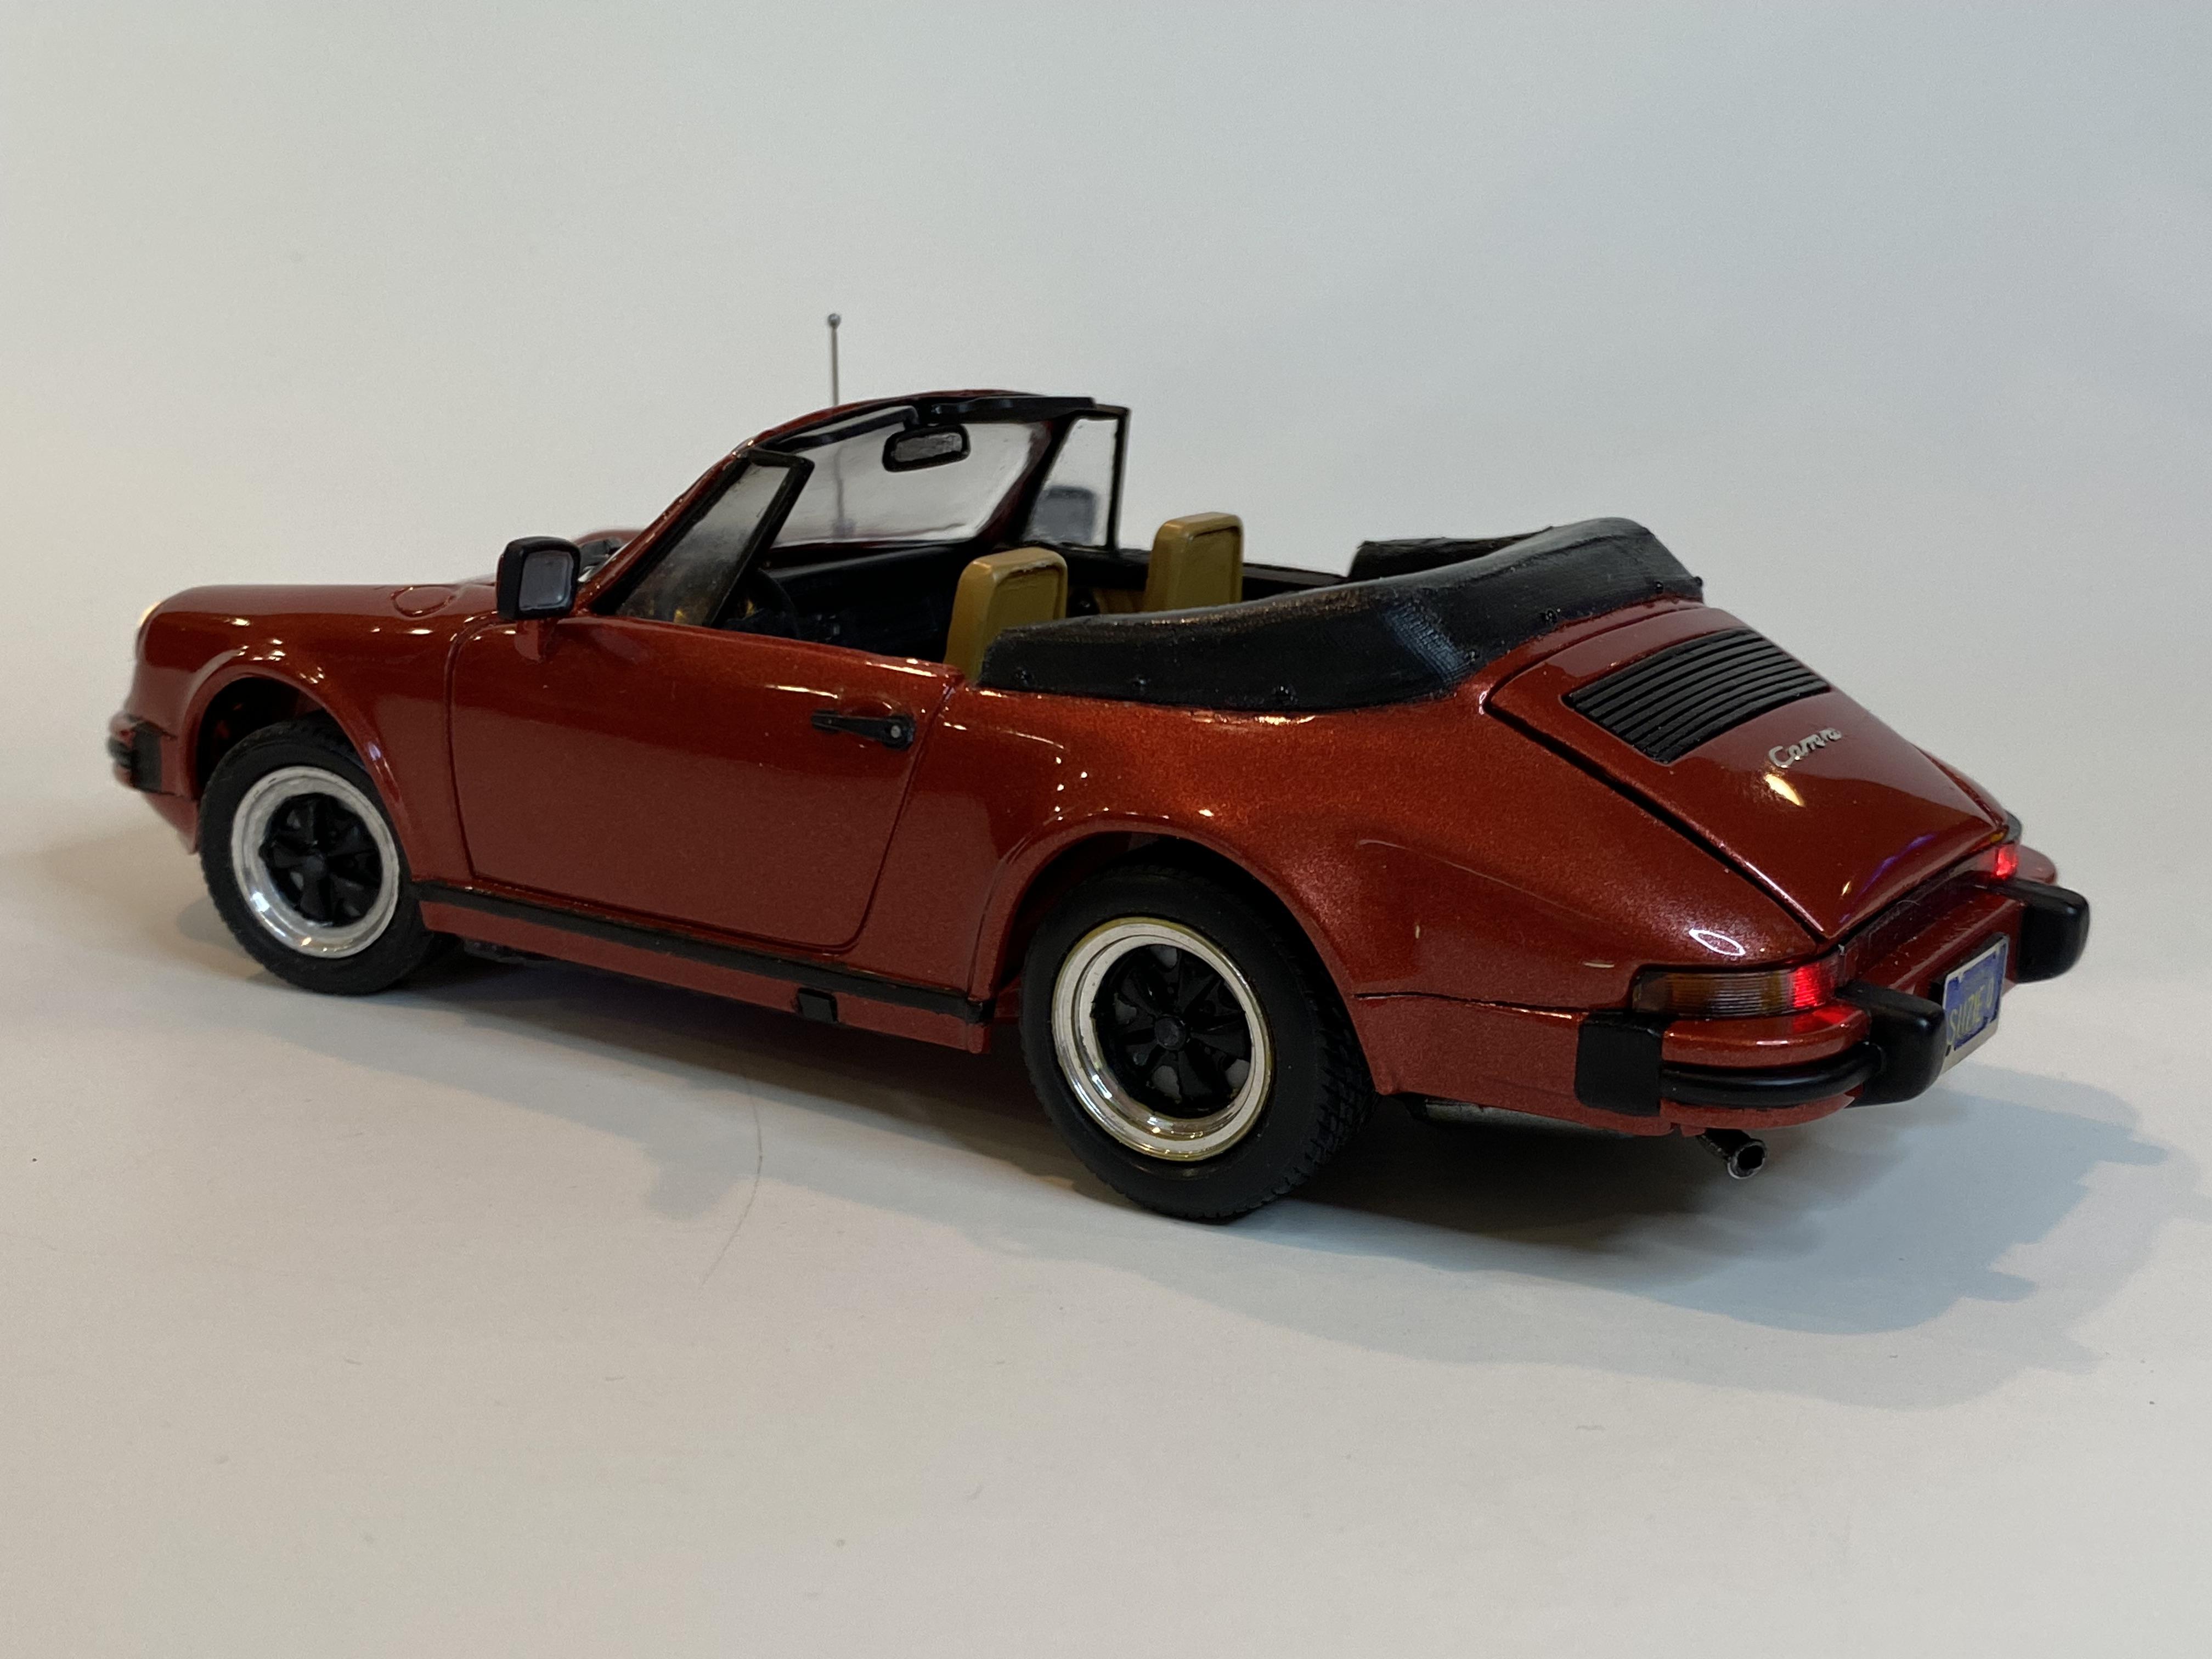
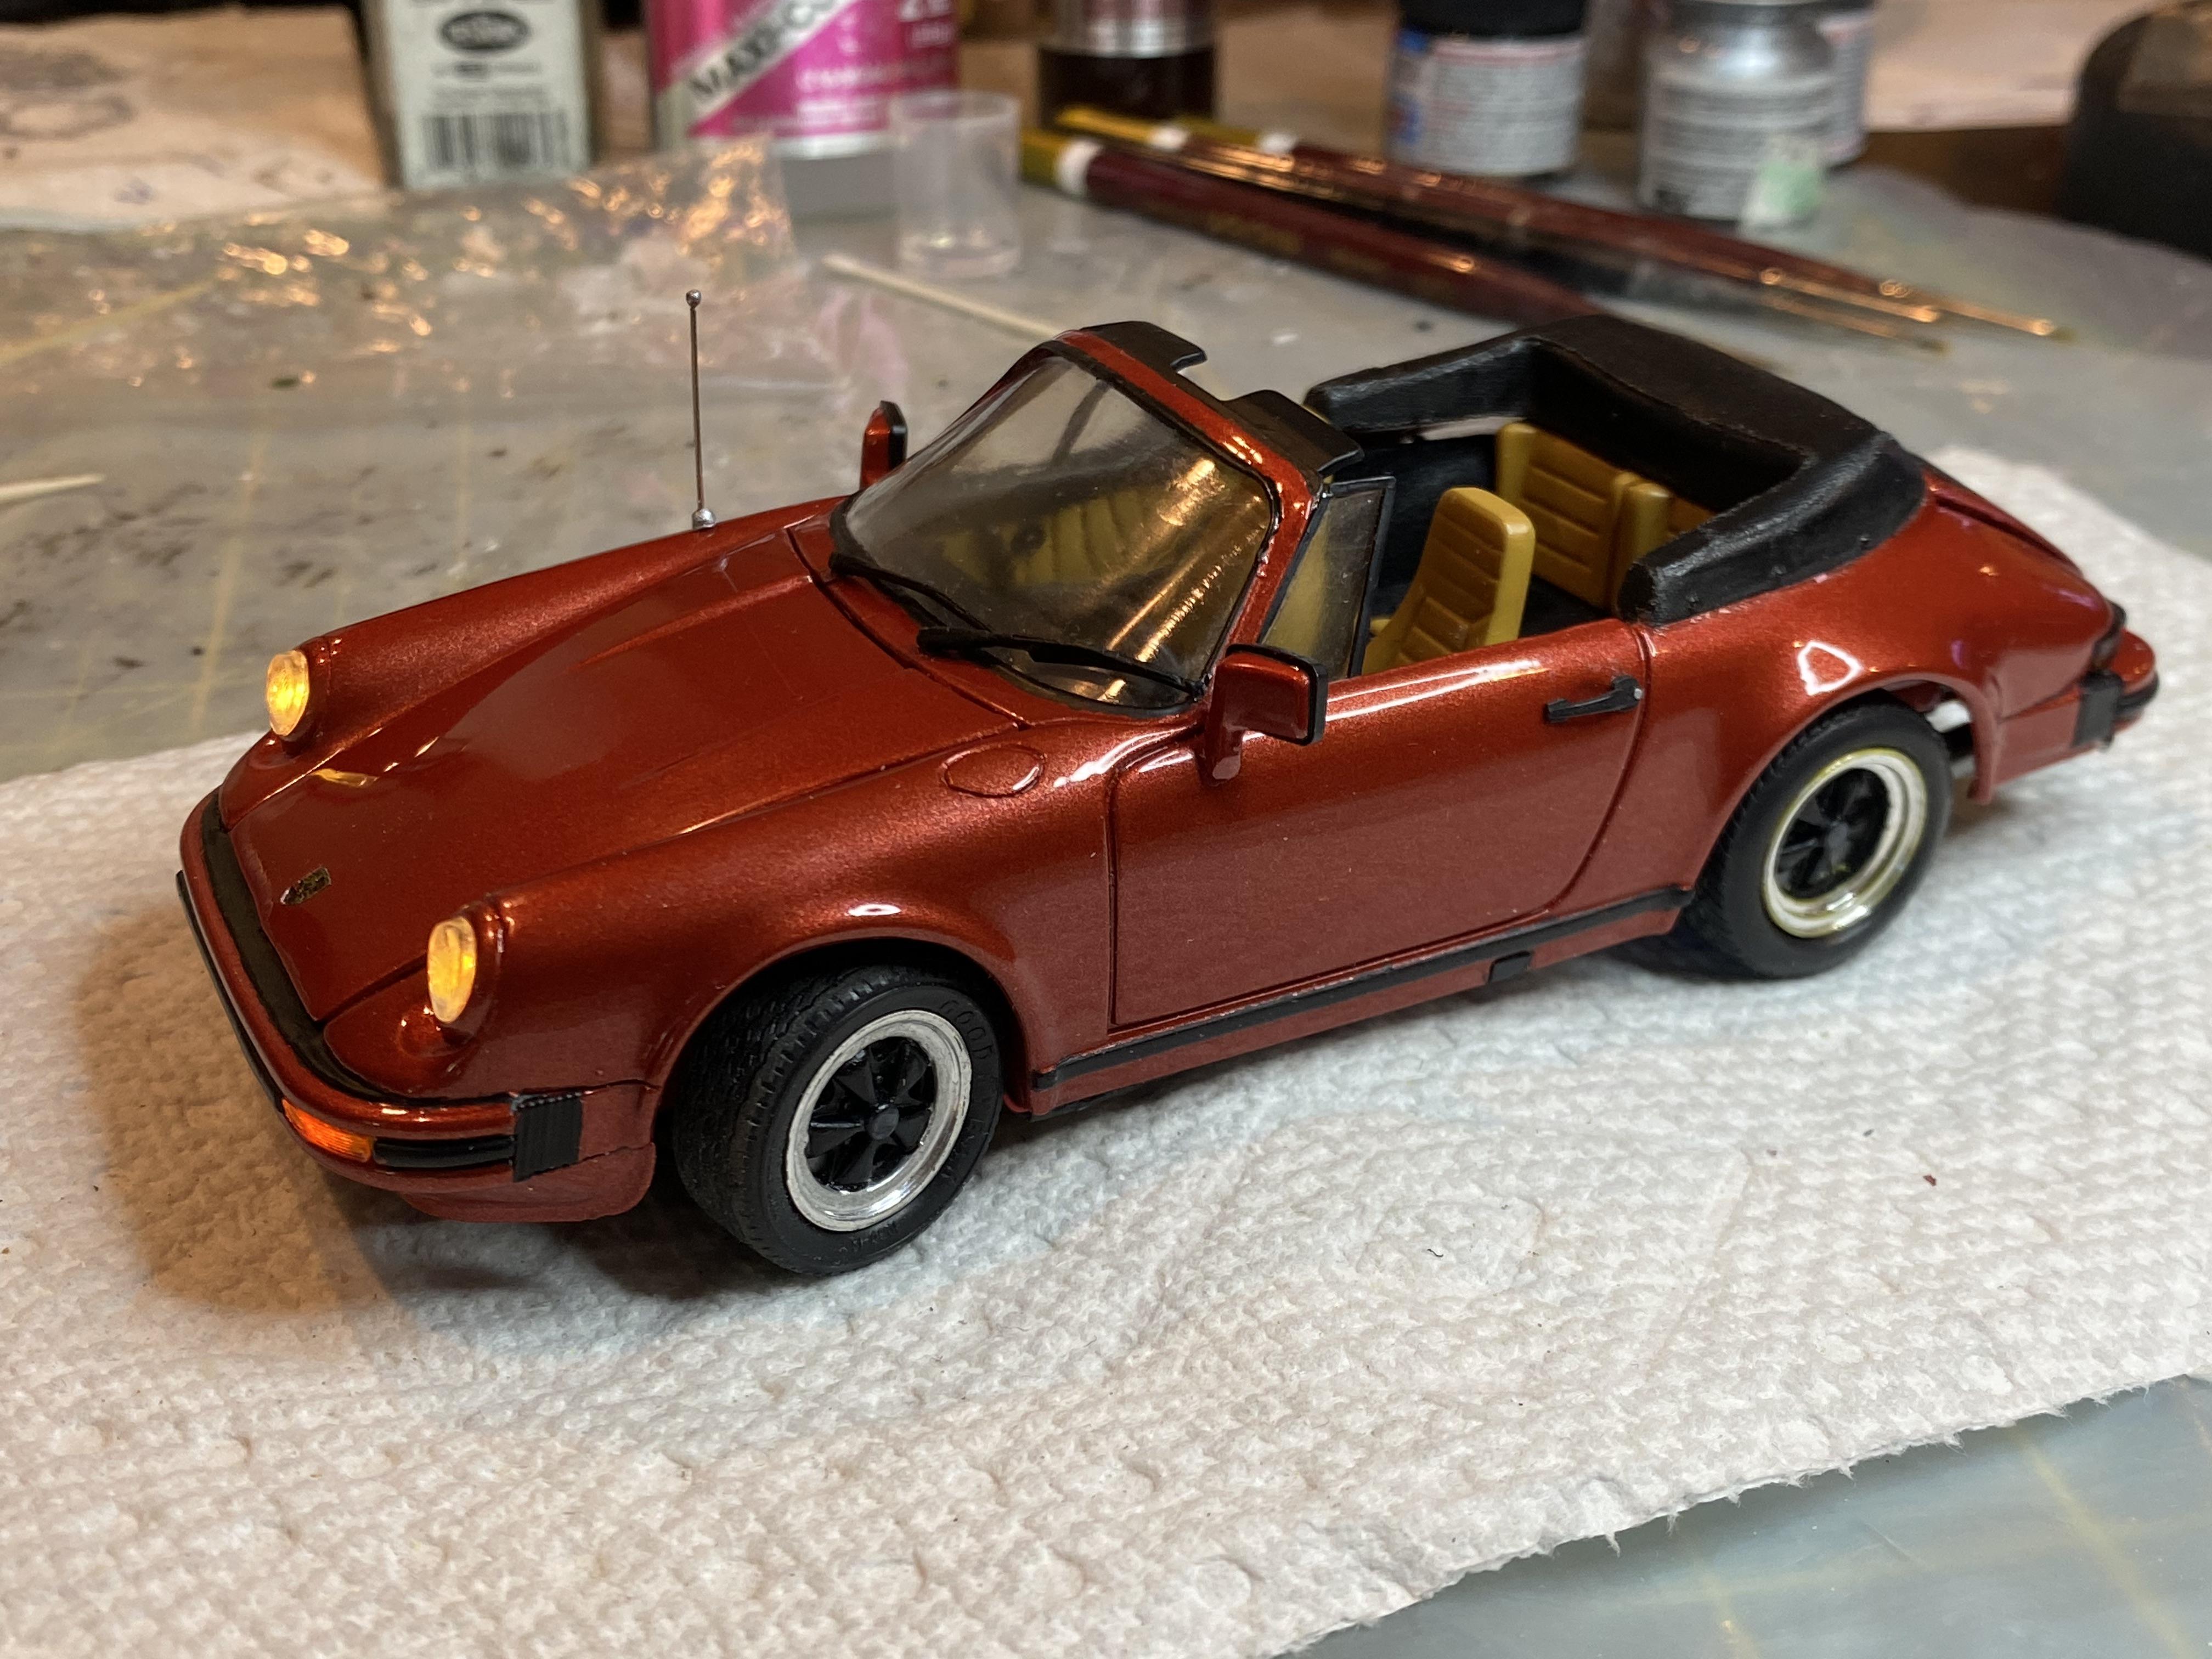
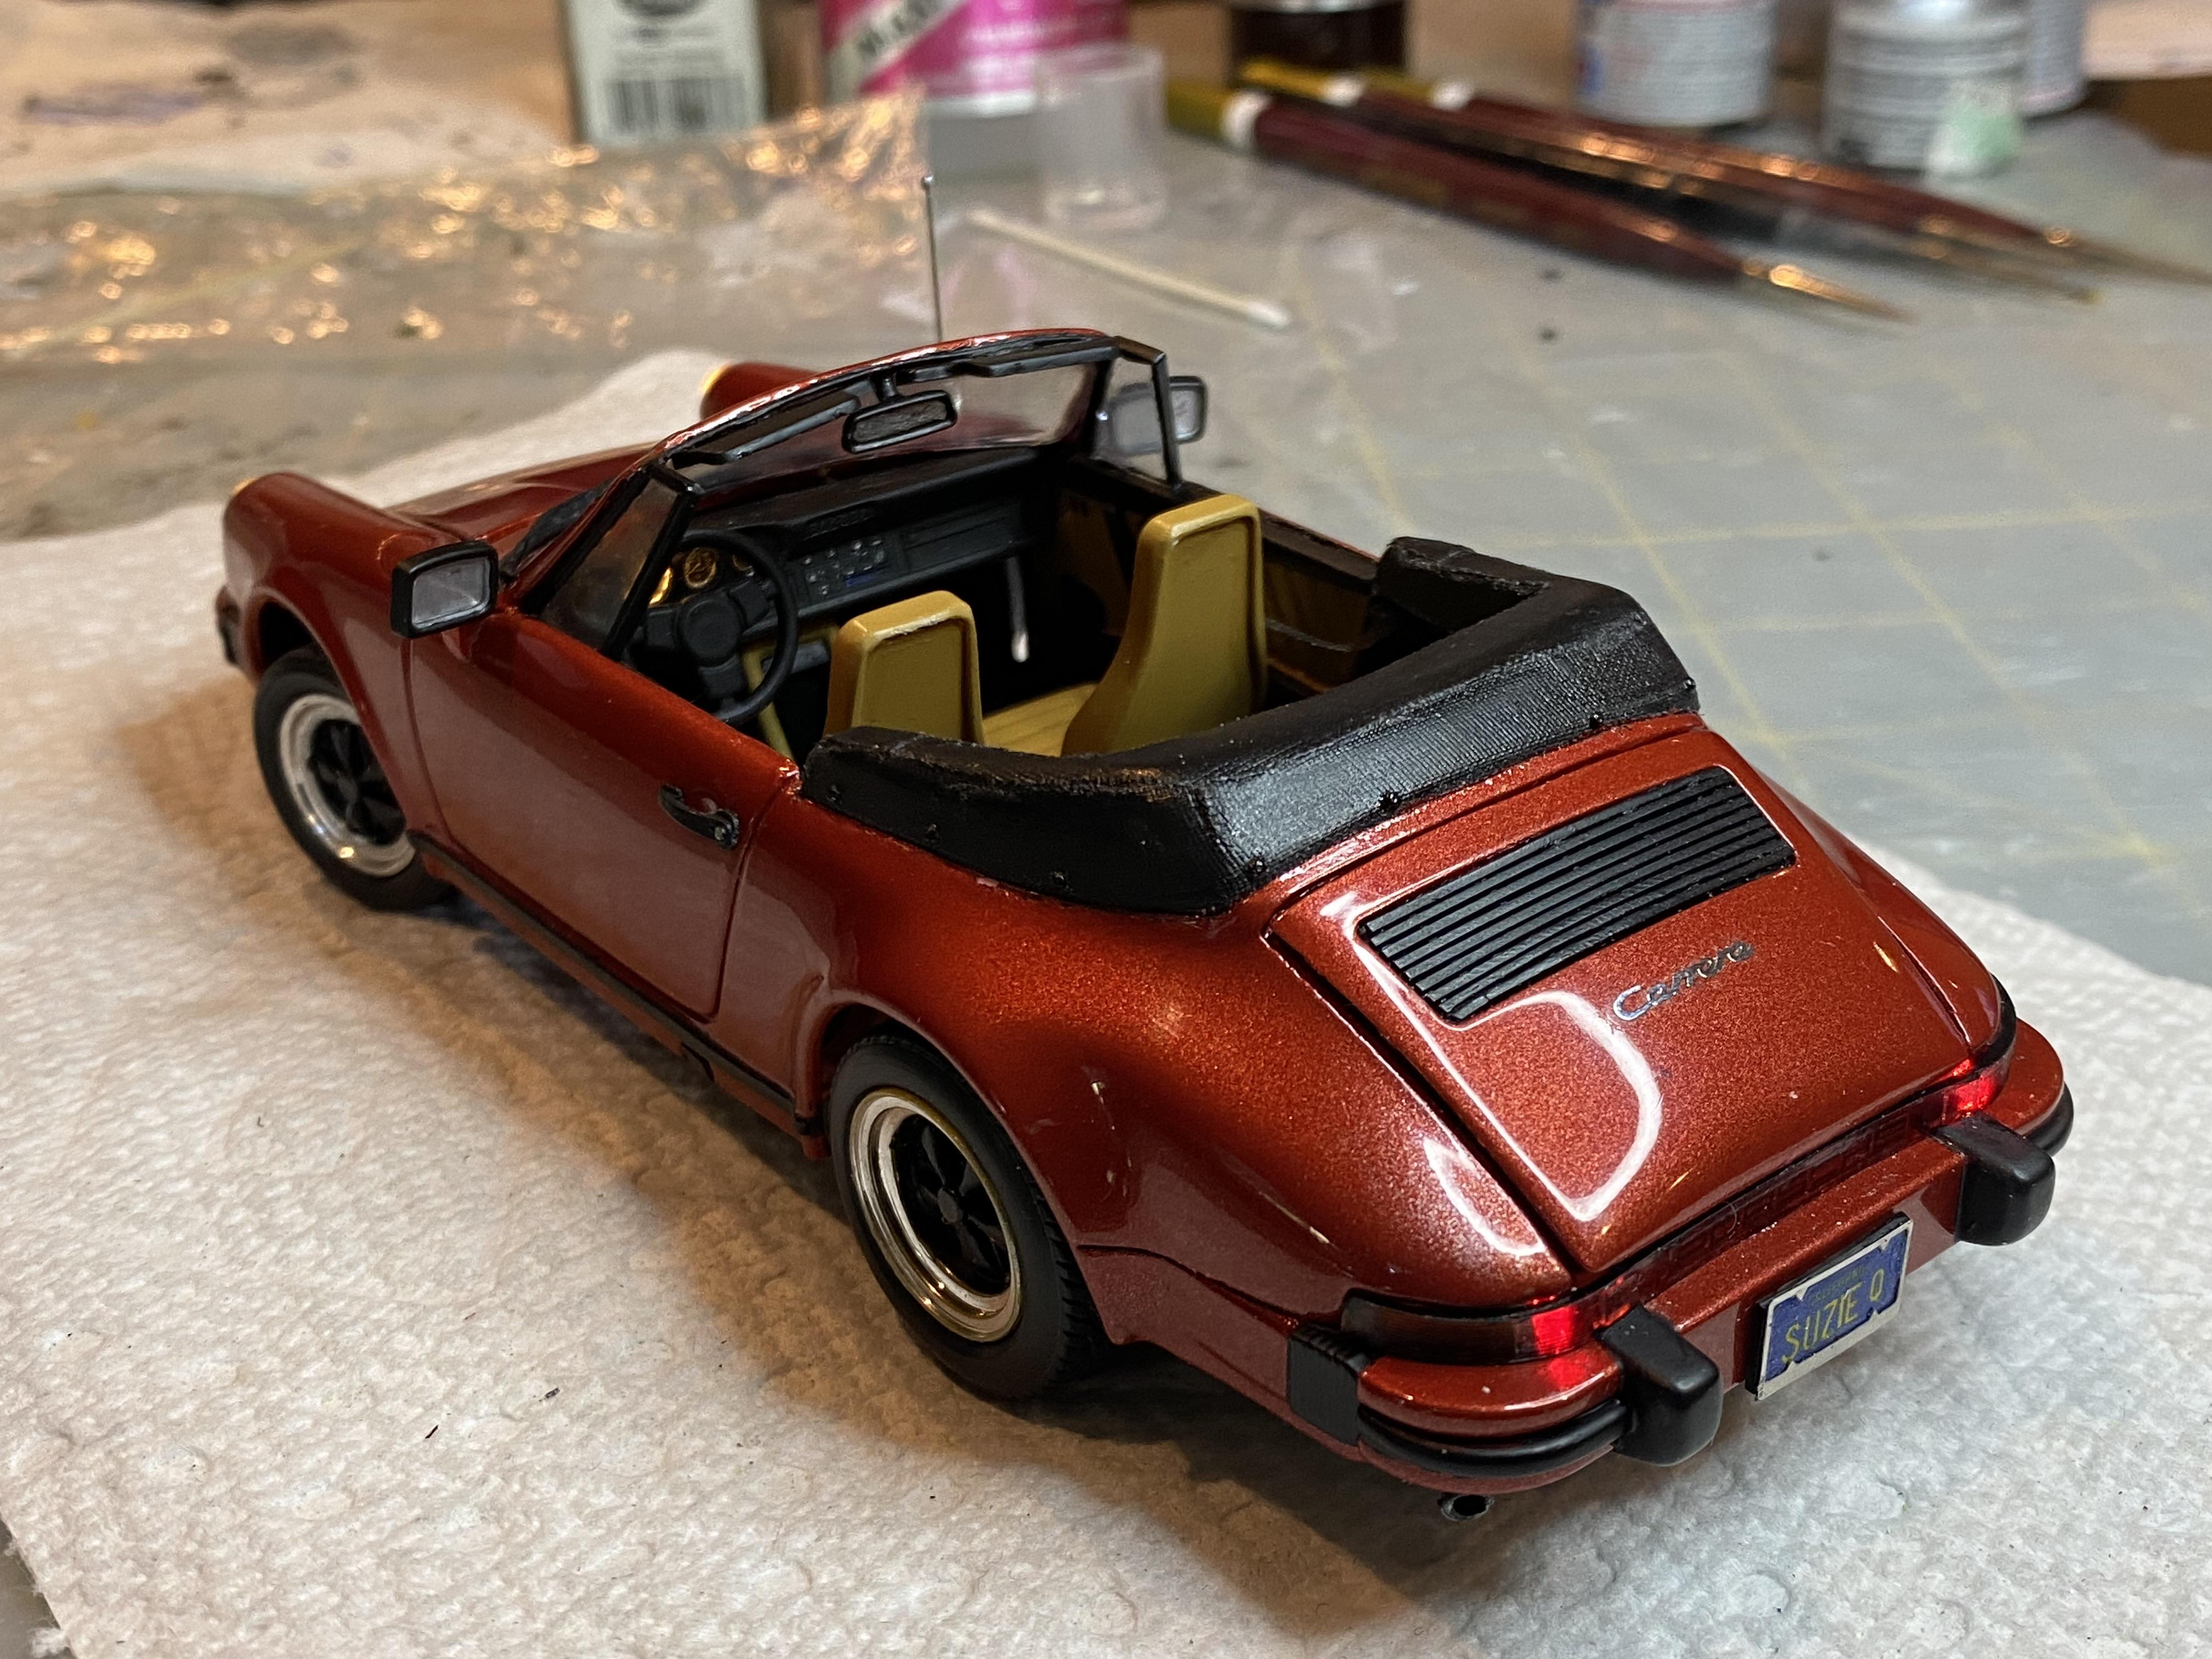
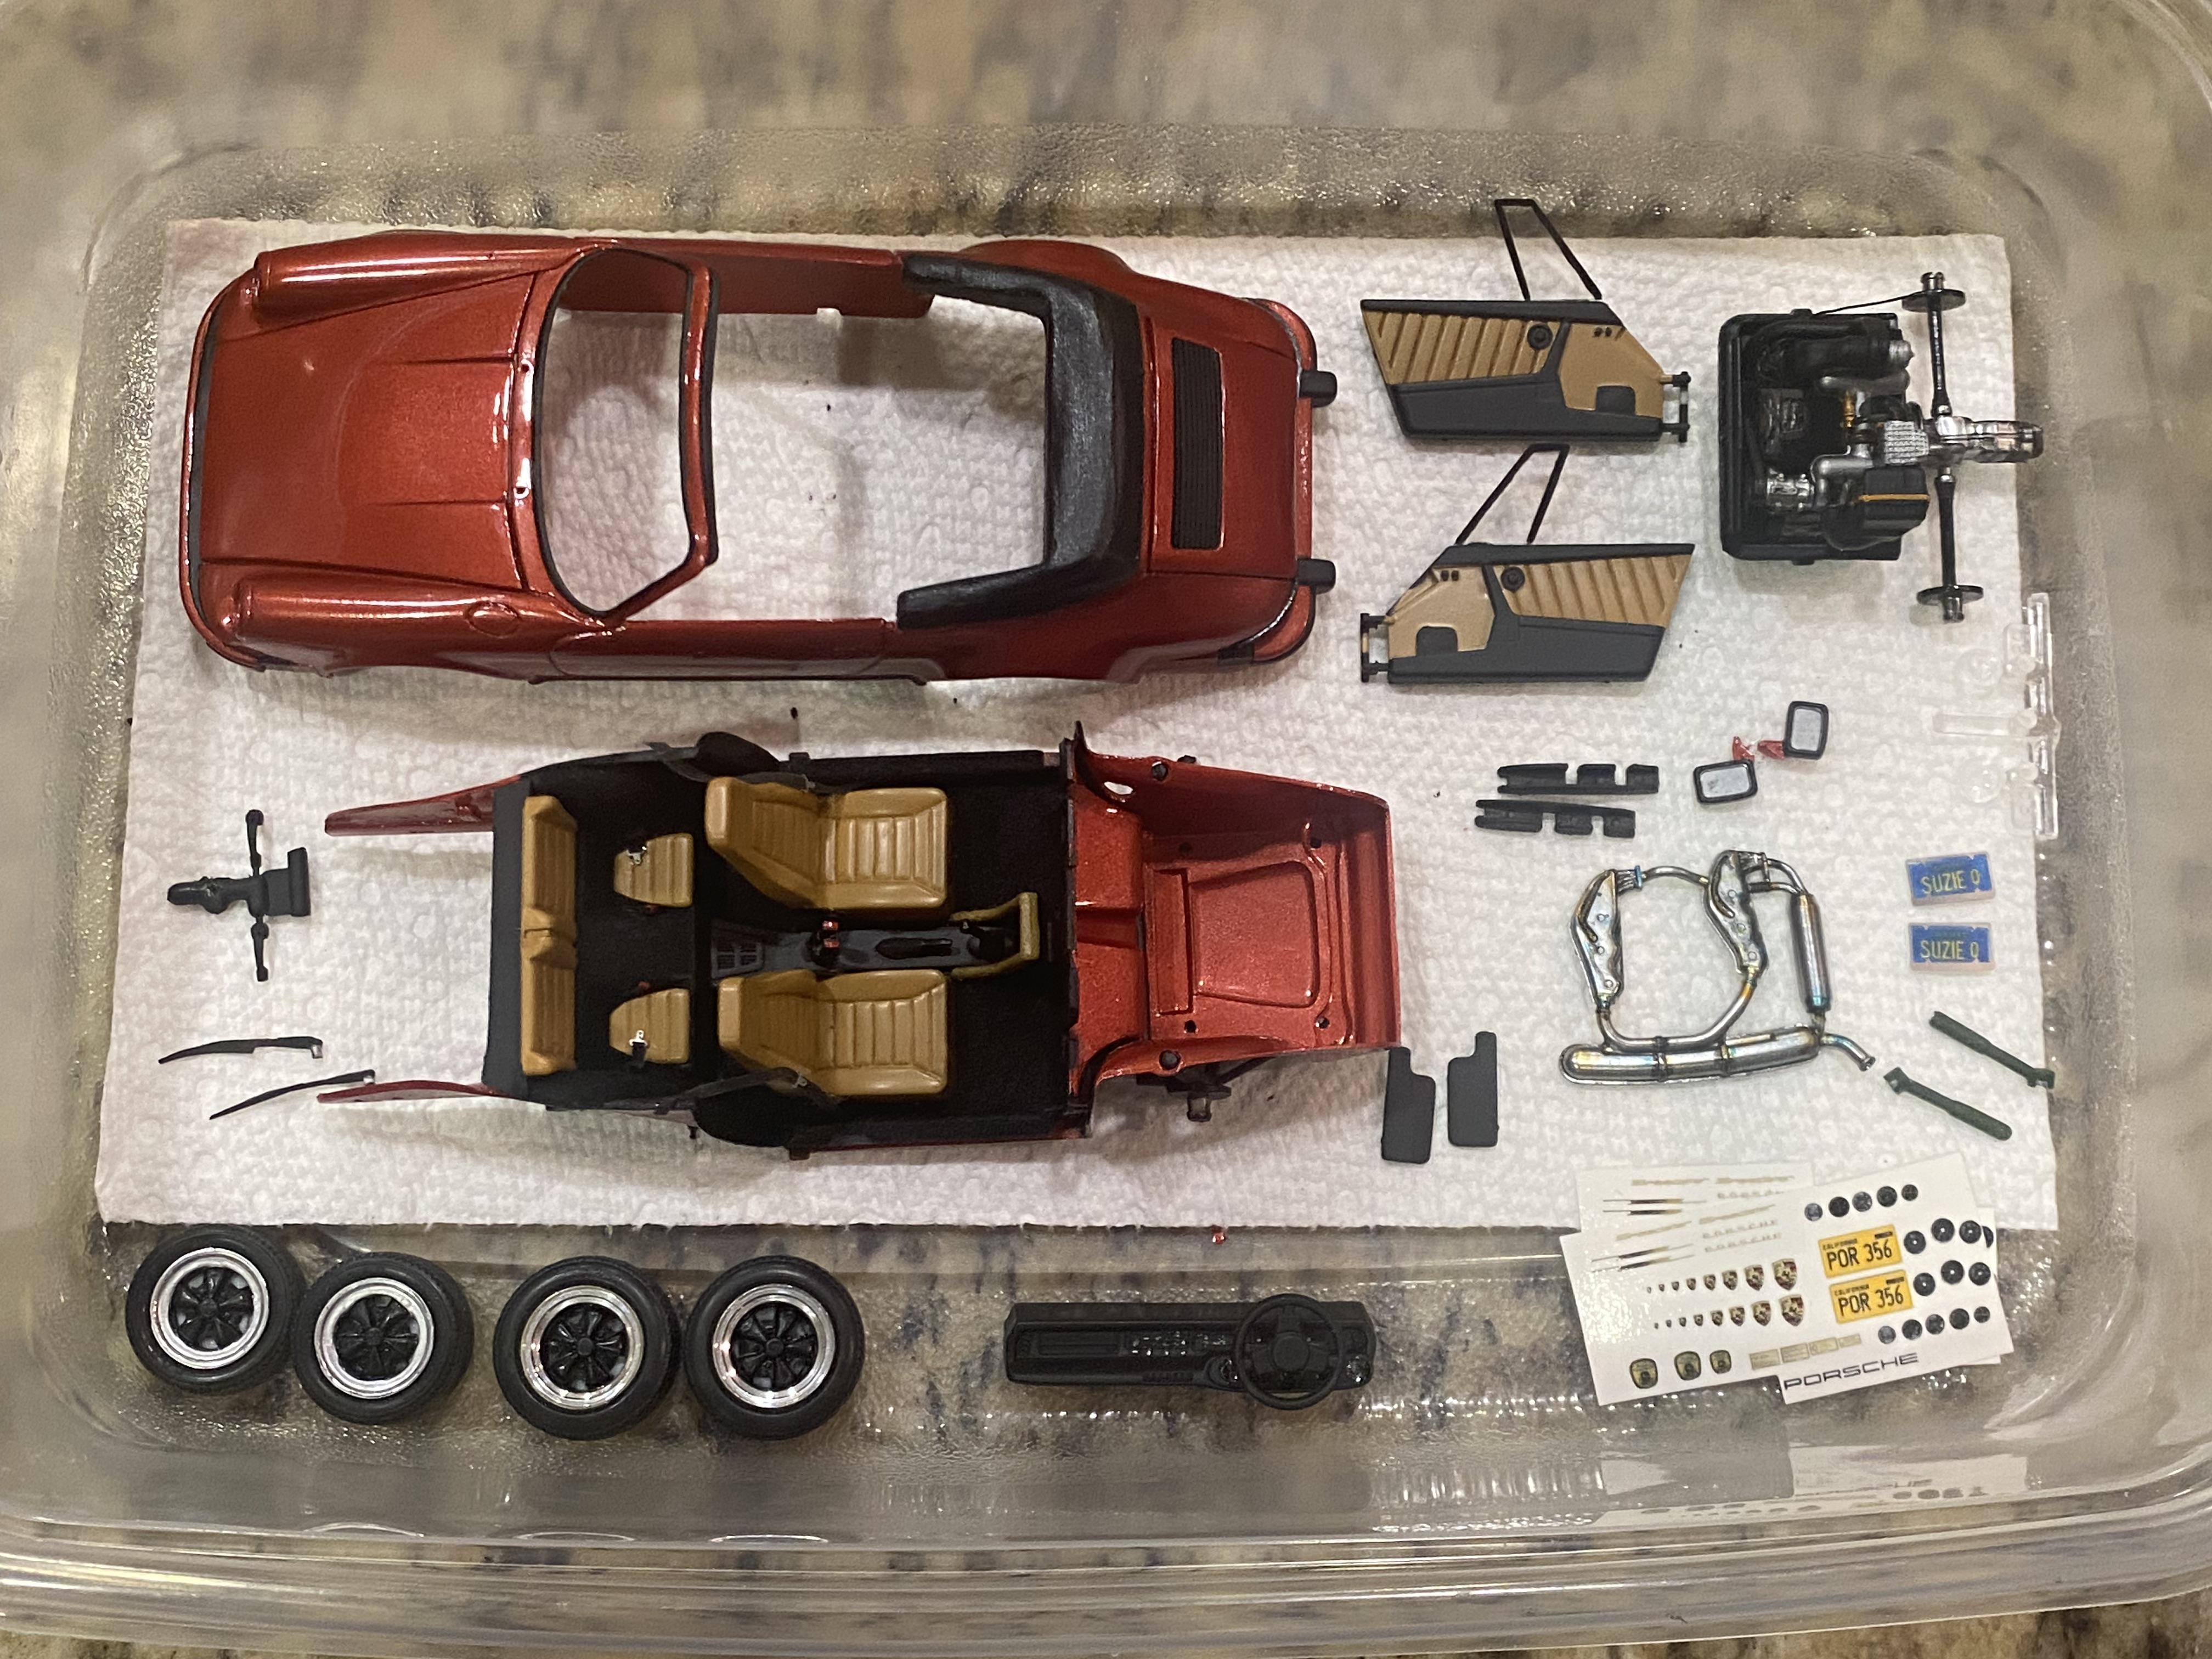
Thank you! It is a 1984 Porsche Carrera Cabriolet; my wife's name is Suzie, and we were married in 1984. I thought it made sense. Thank You!
-
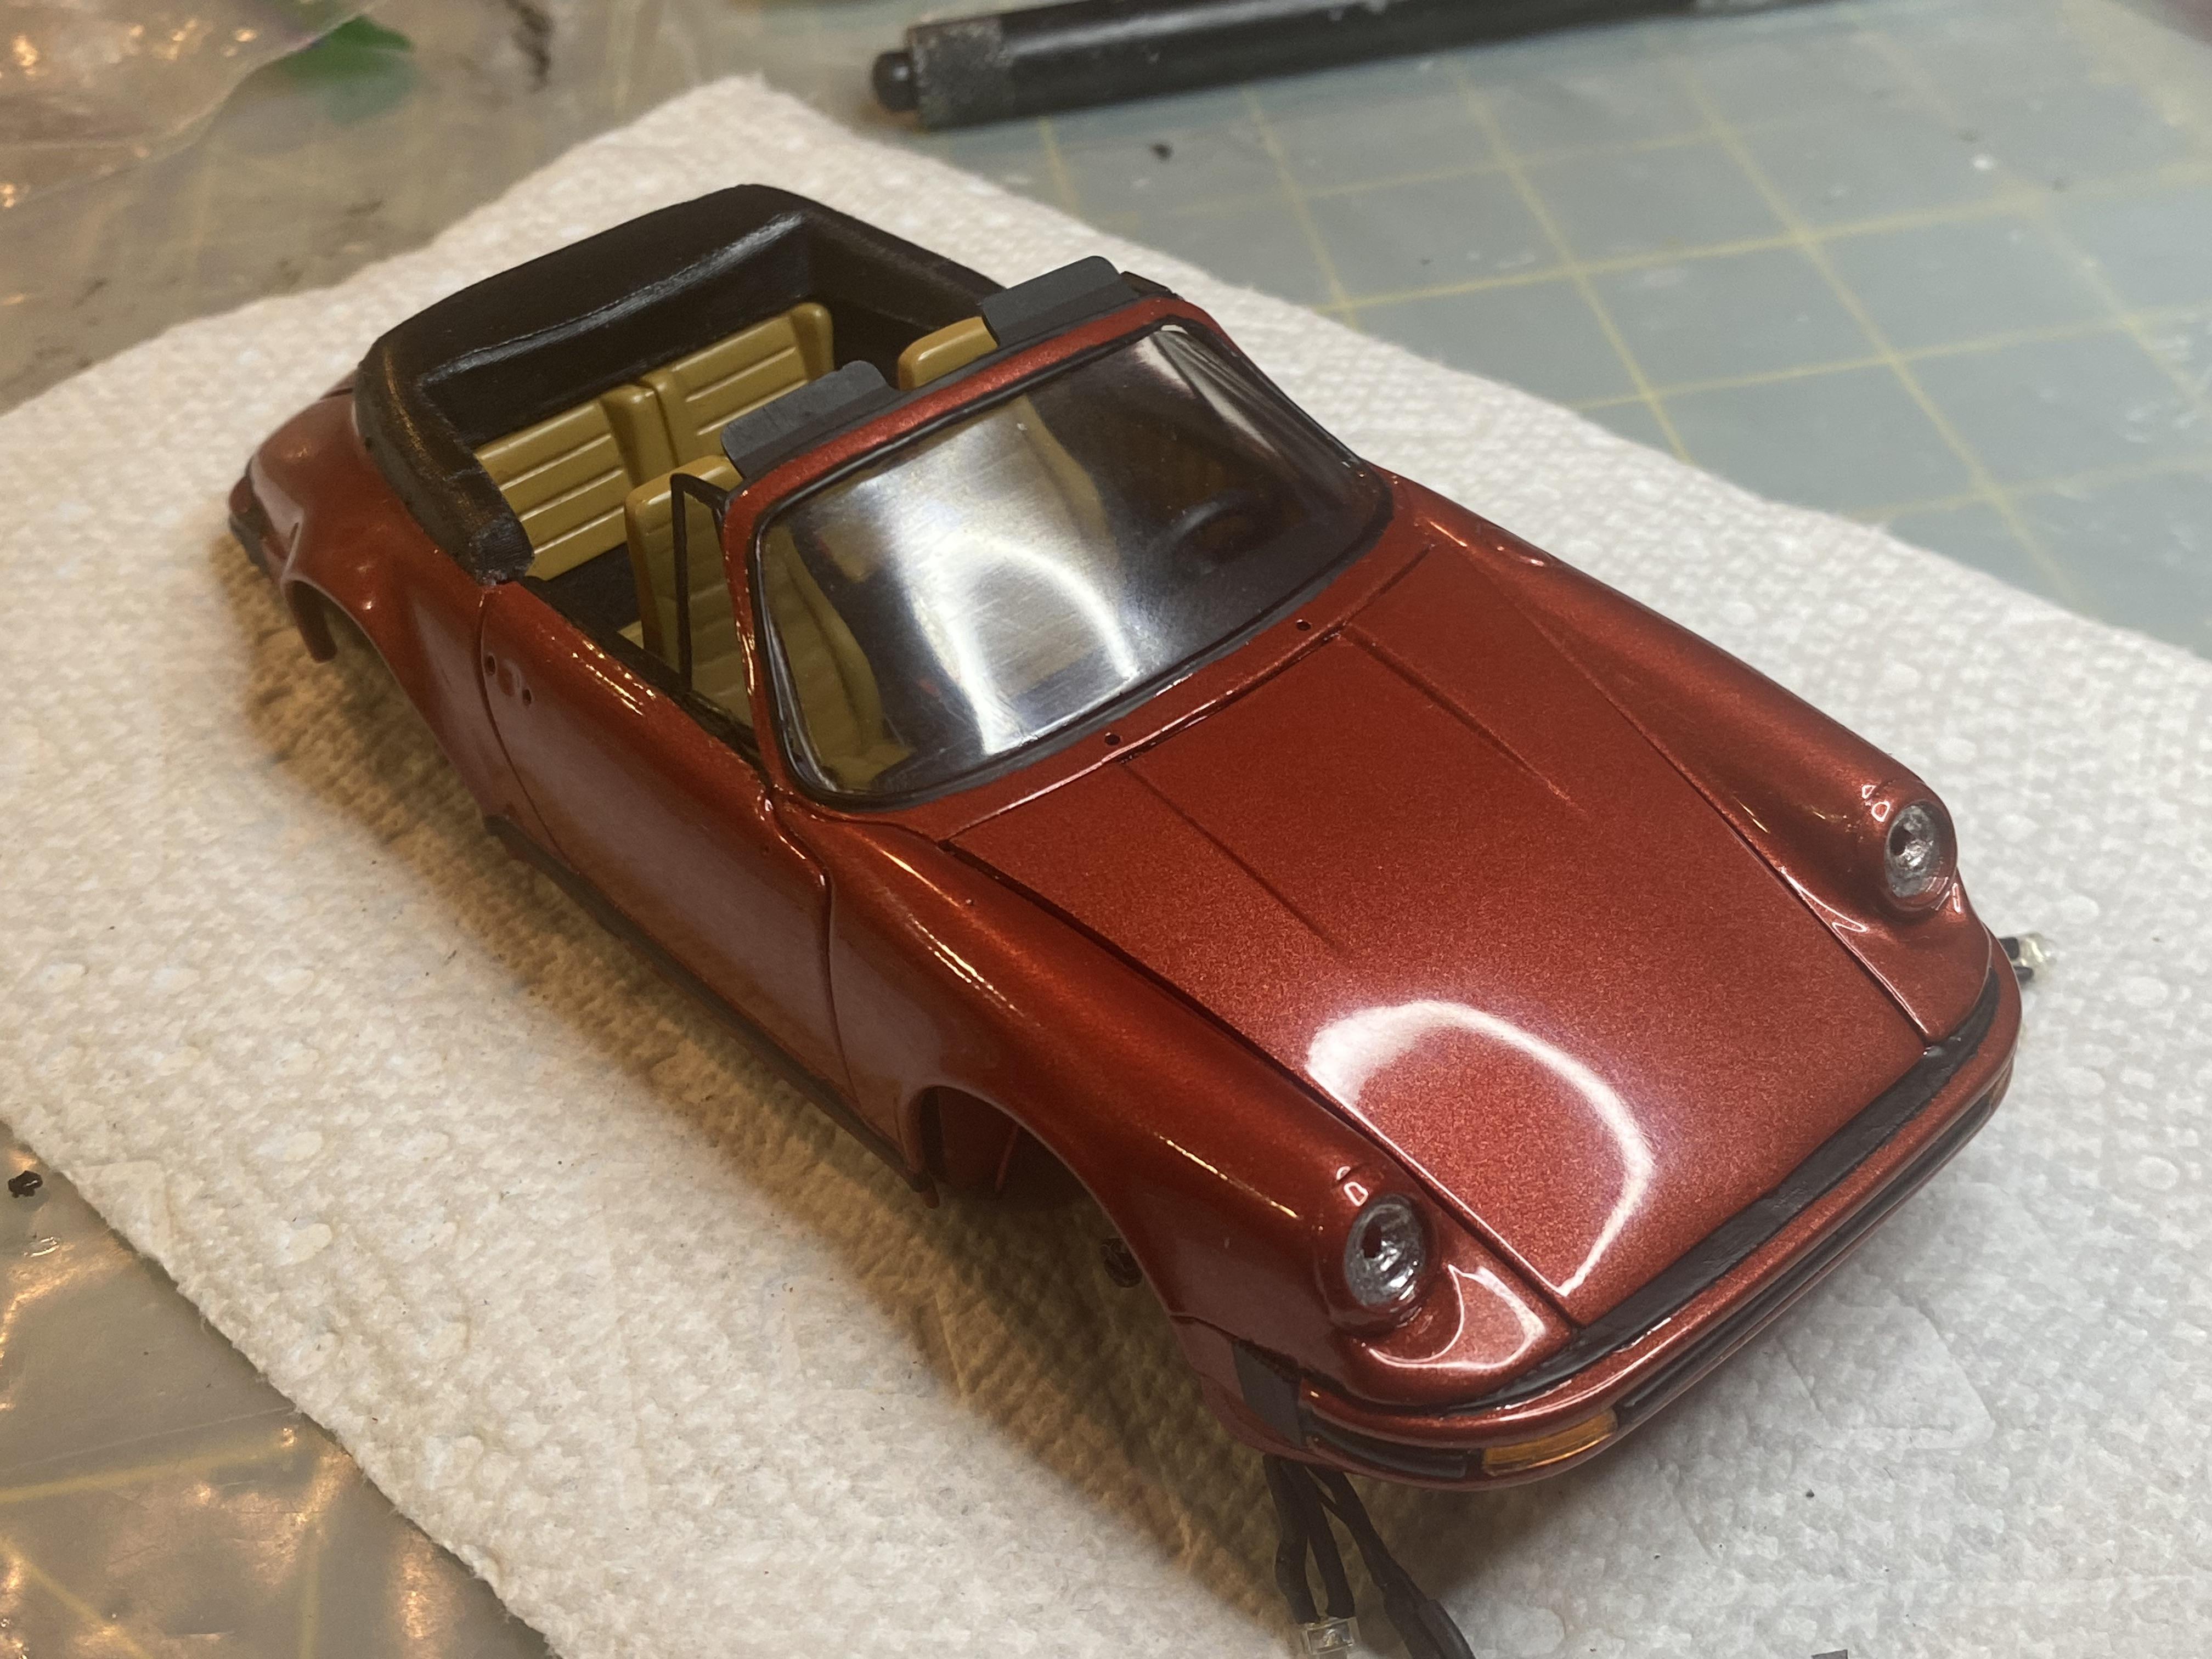
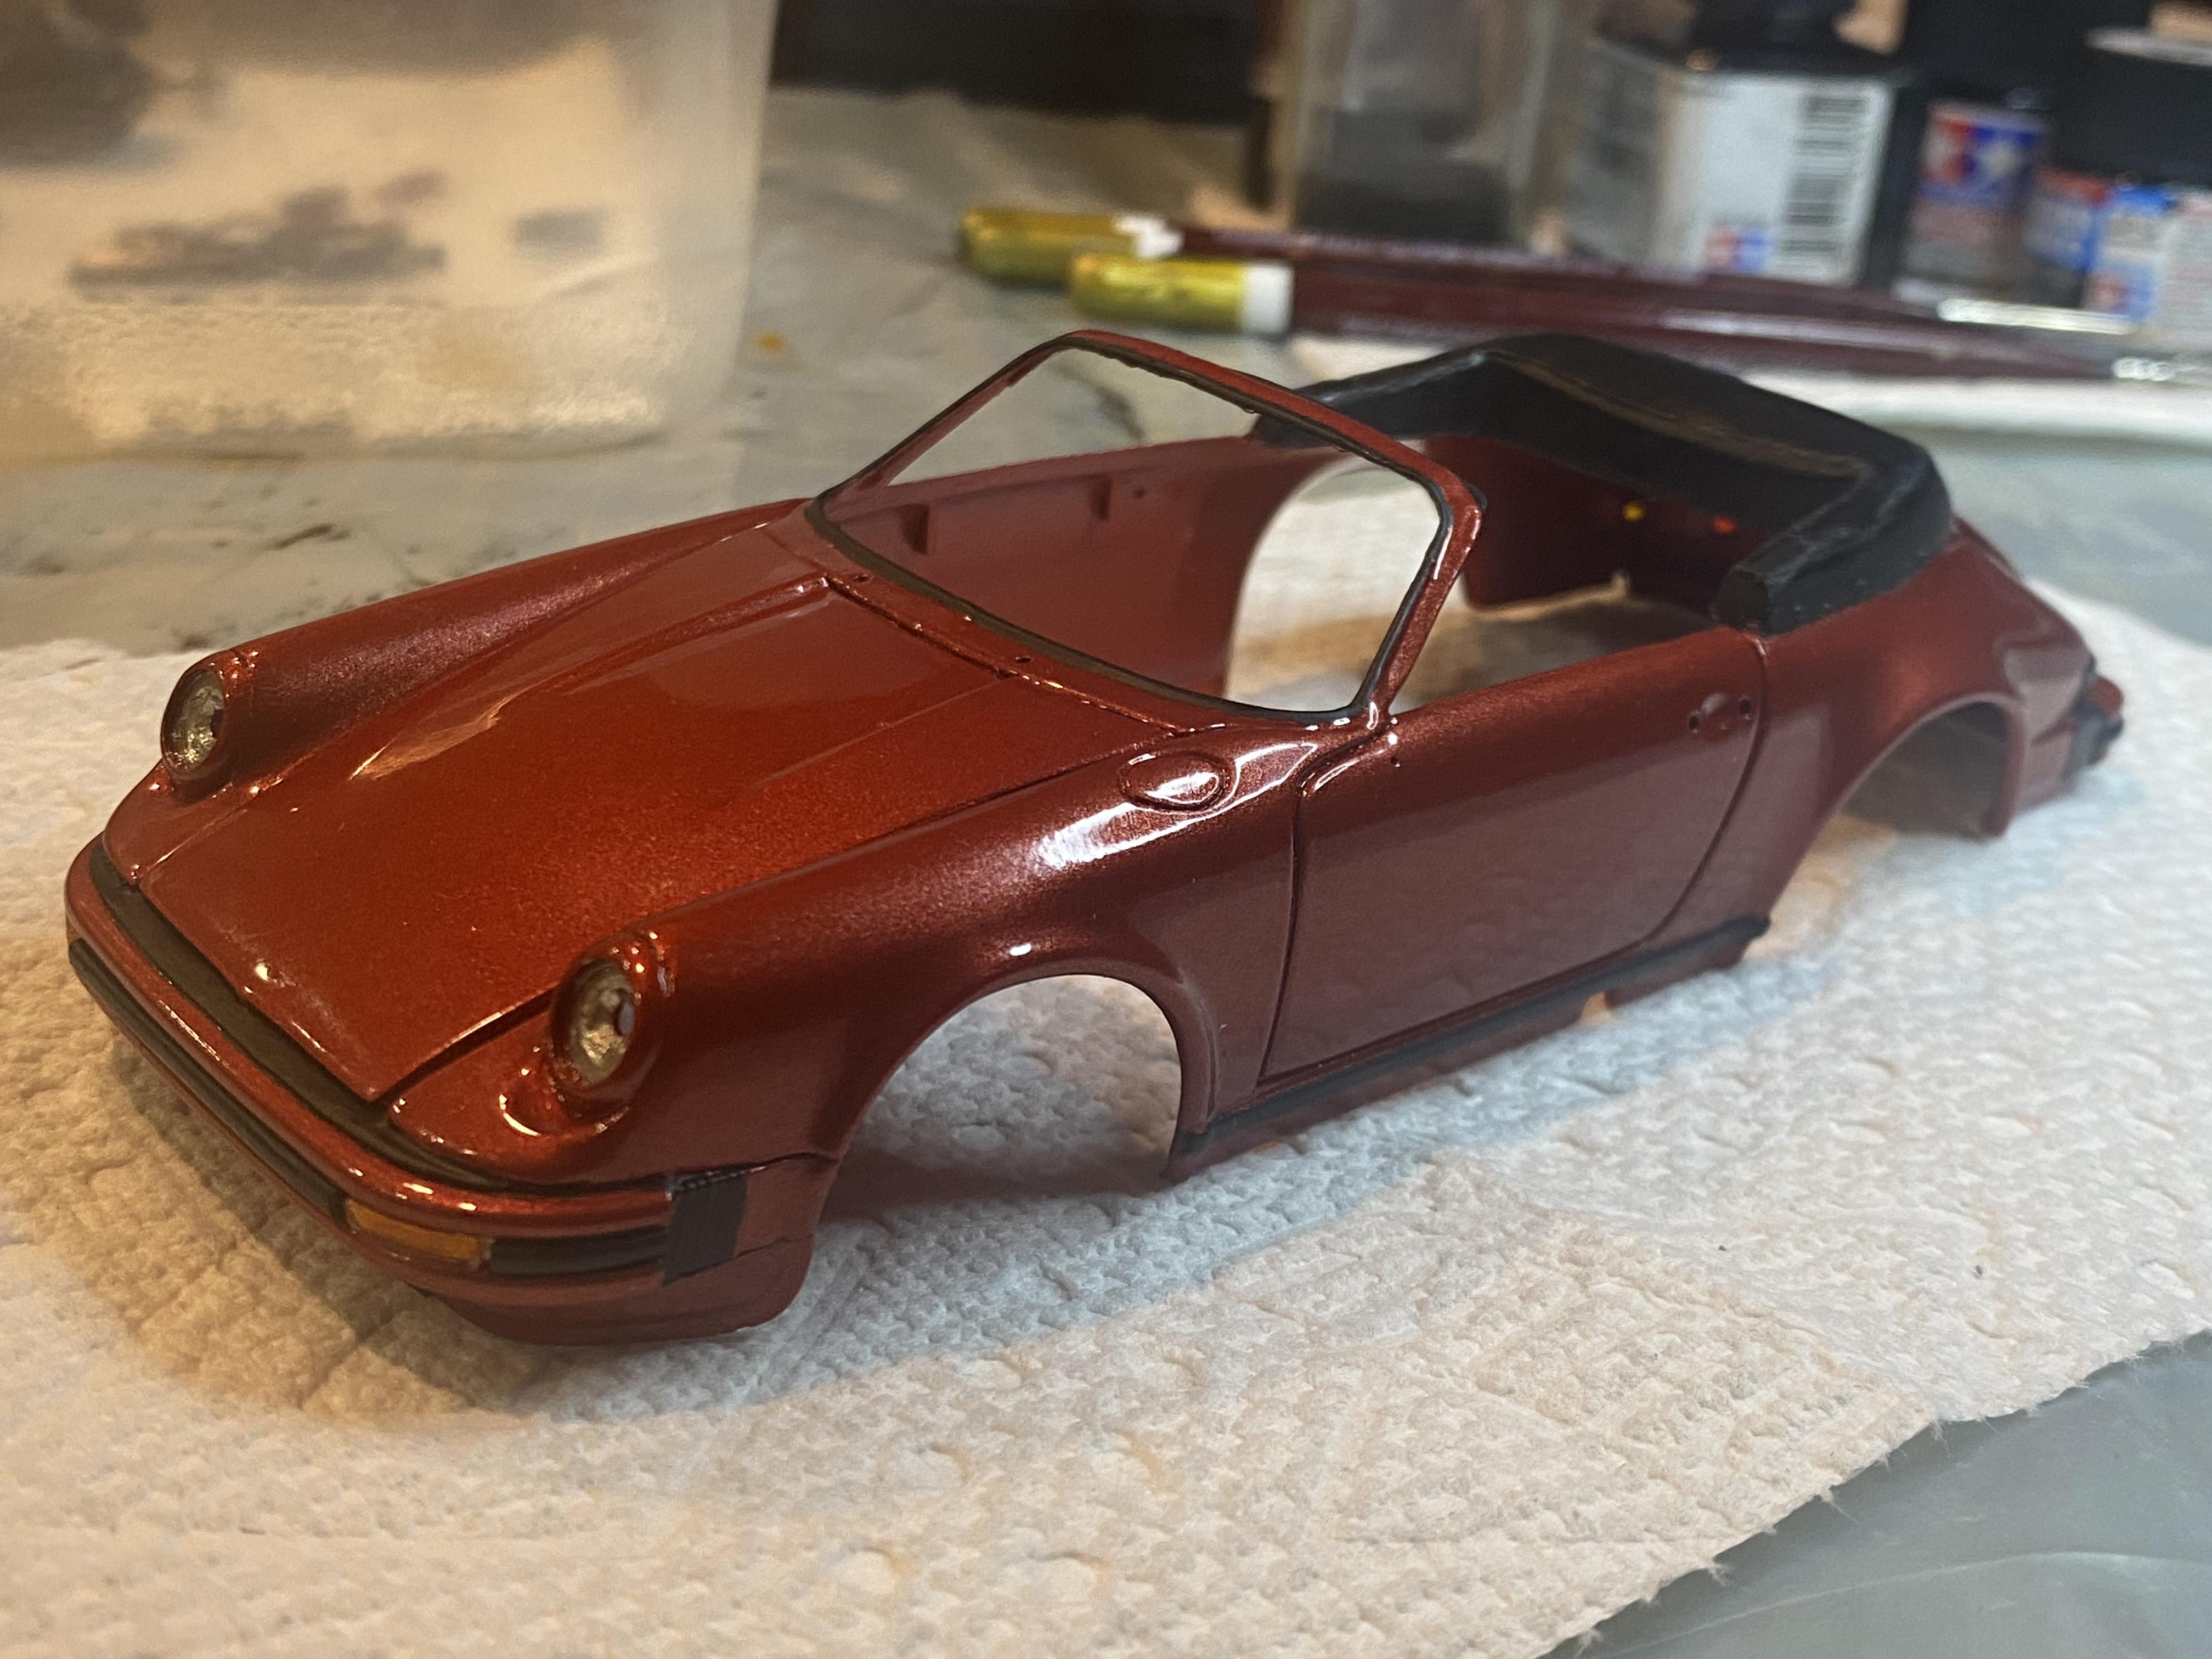
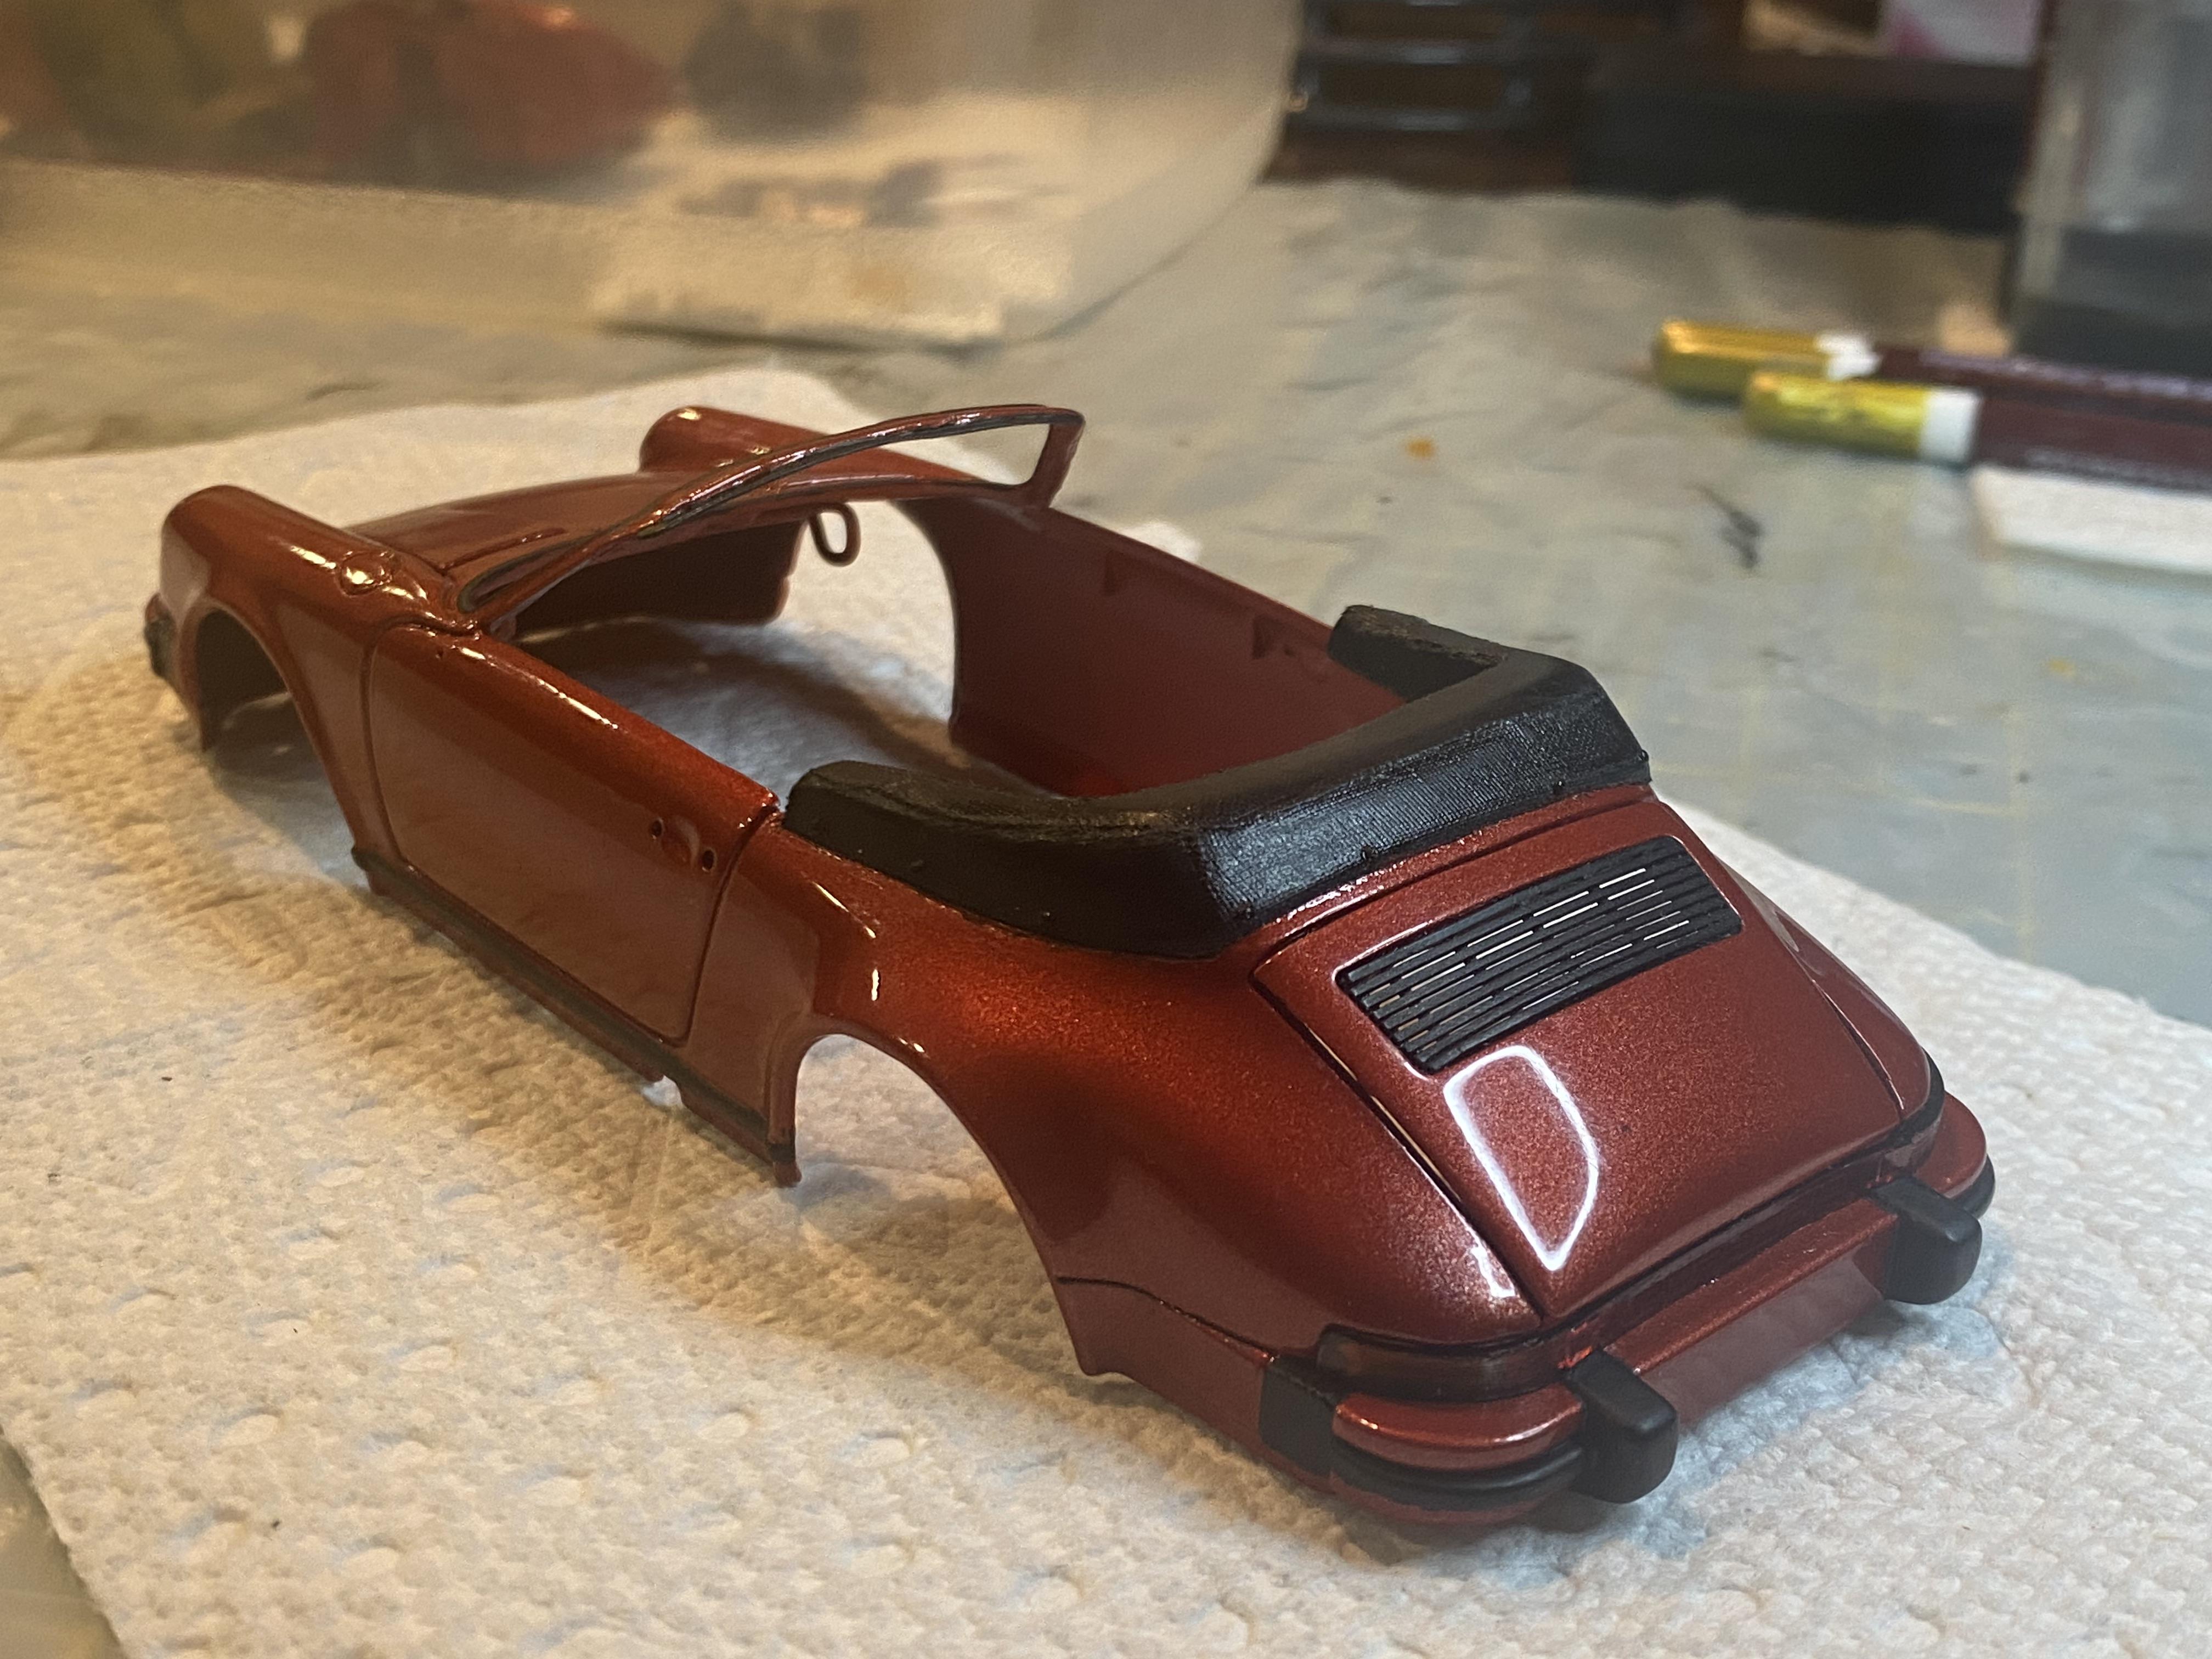
Thank you! It is a factory 1984 Porsche color called Kiln Red I picked up from Scale Finishes.
-
Thank you!
-
Thank you and your welcome.
-
Thank you!
-
Build finished and images posted to under glass
-
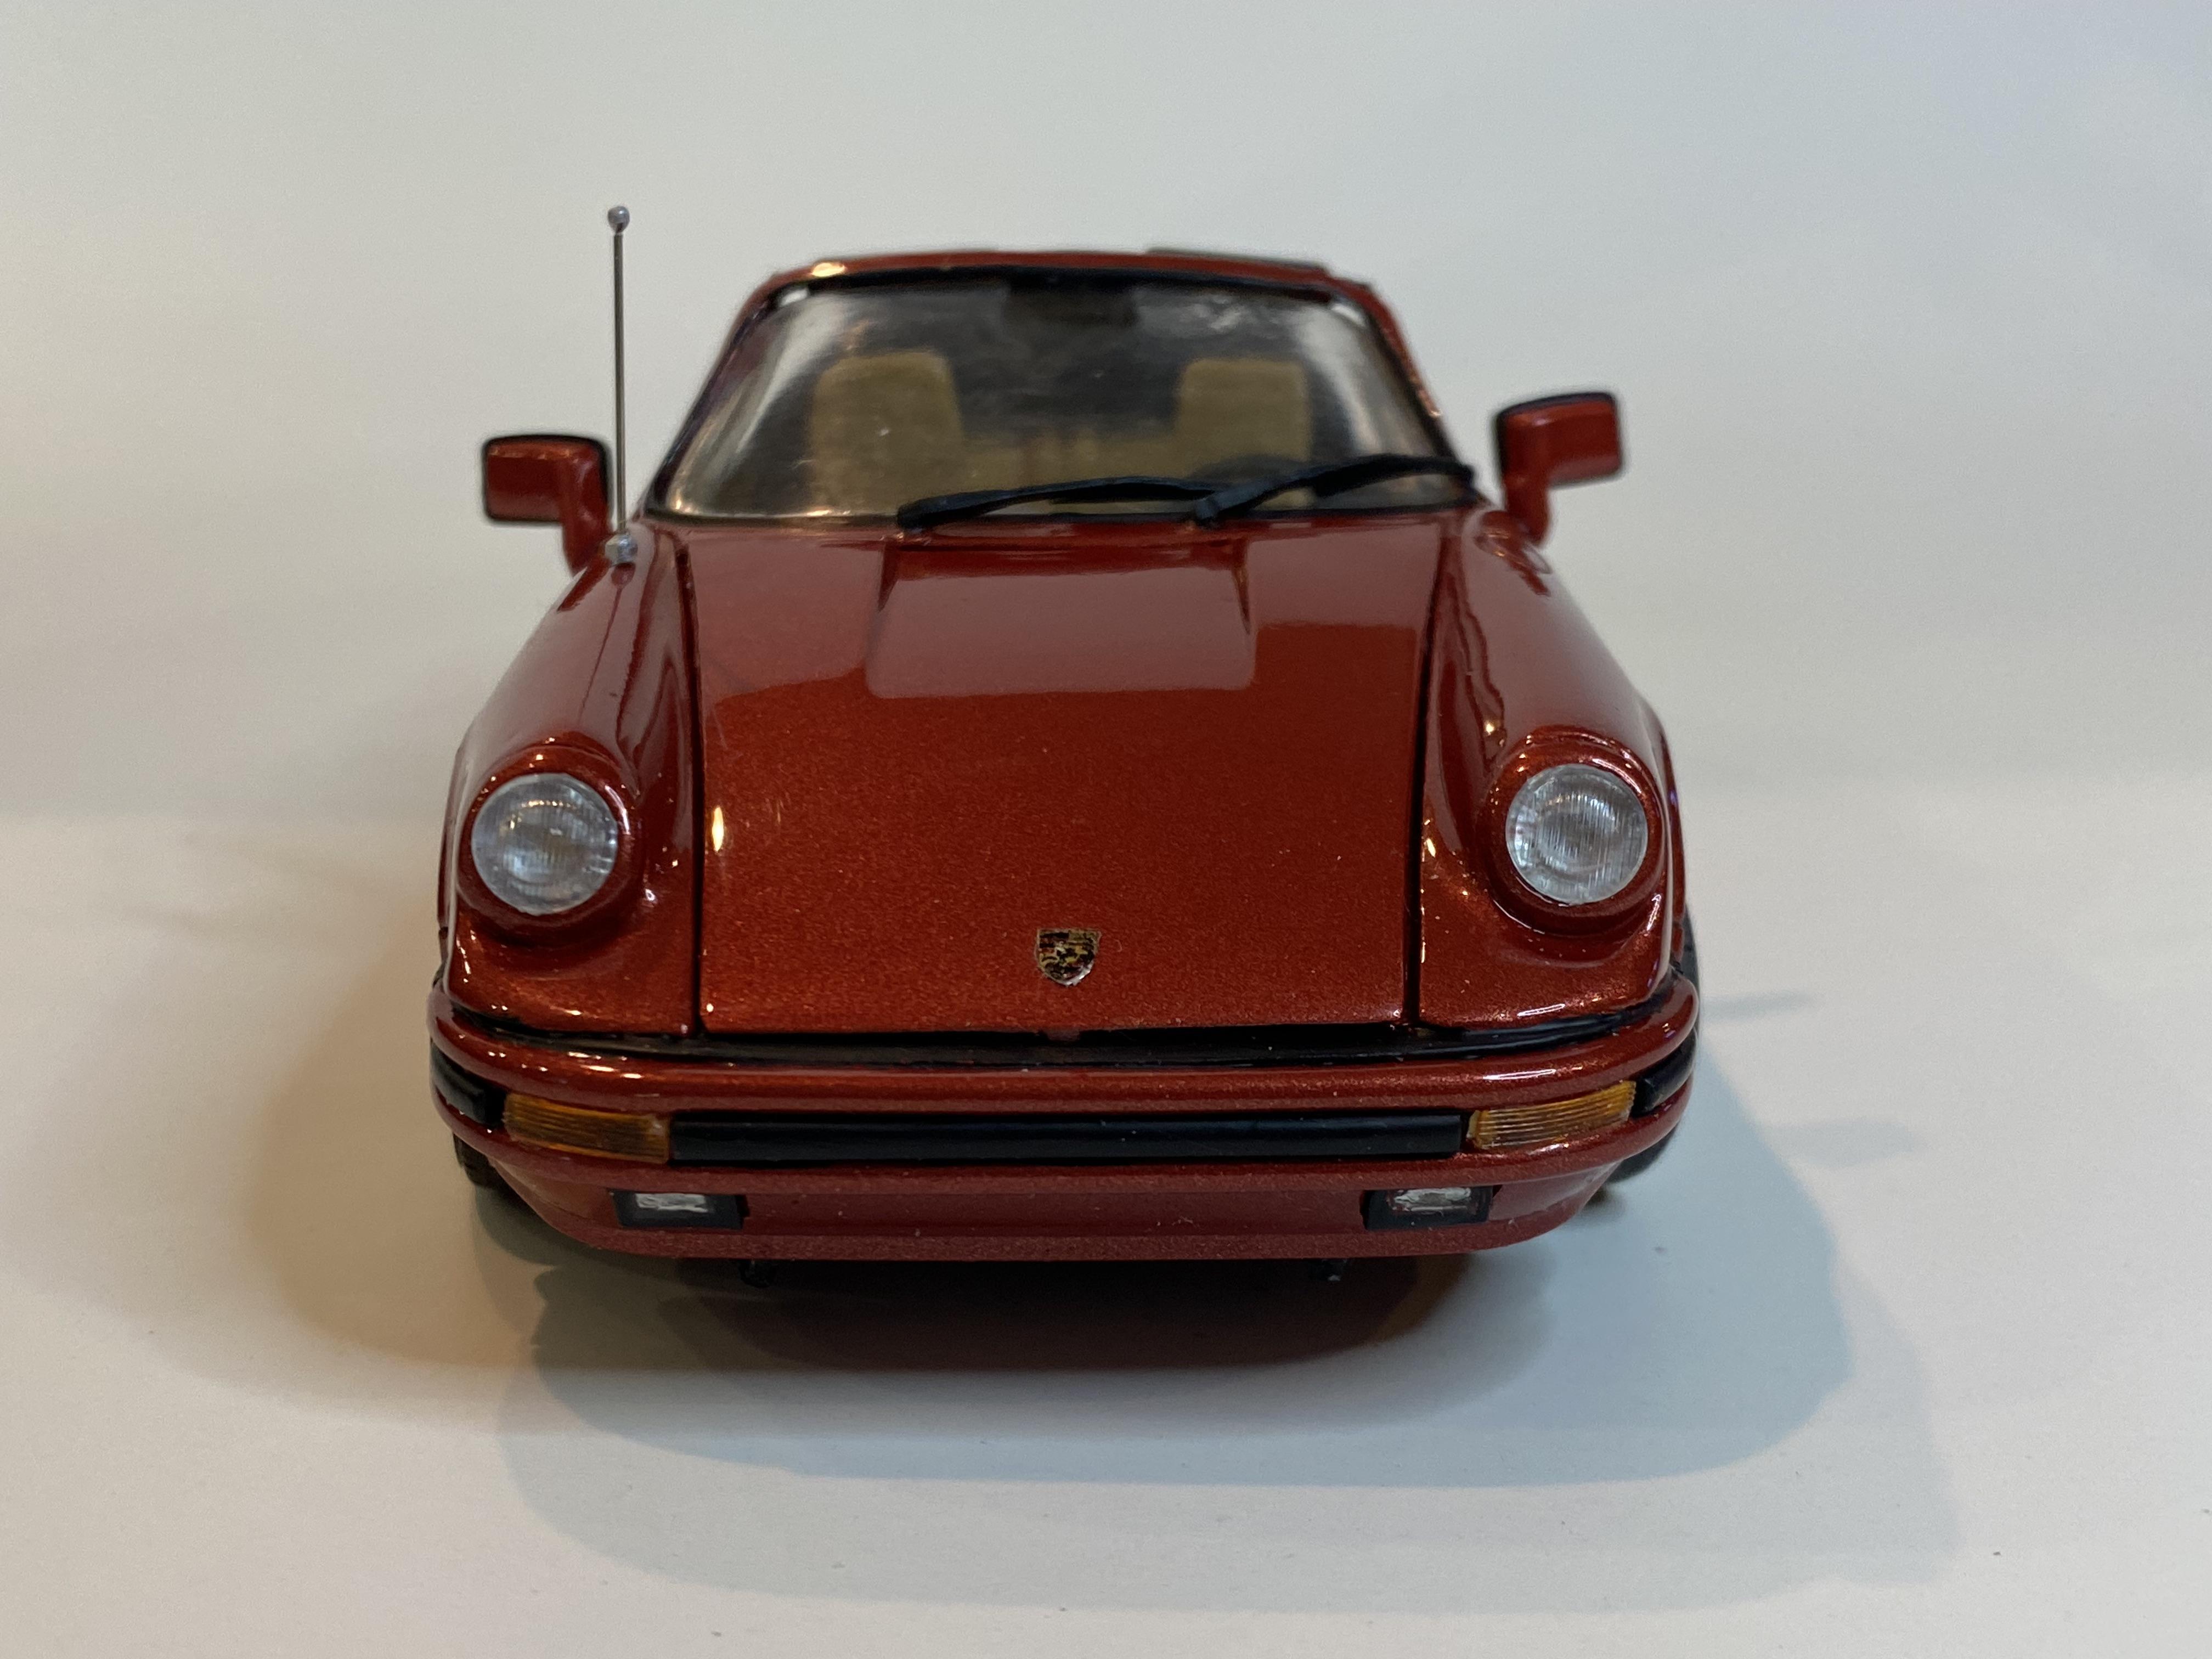
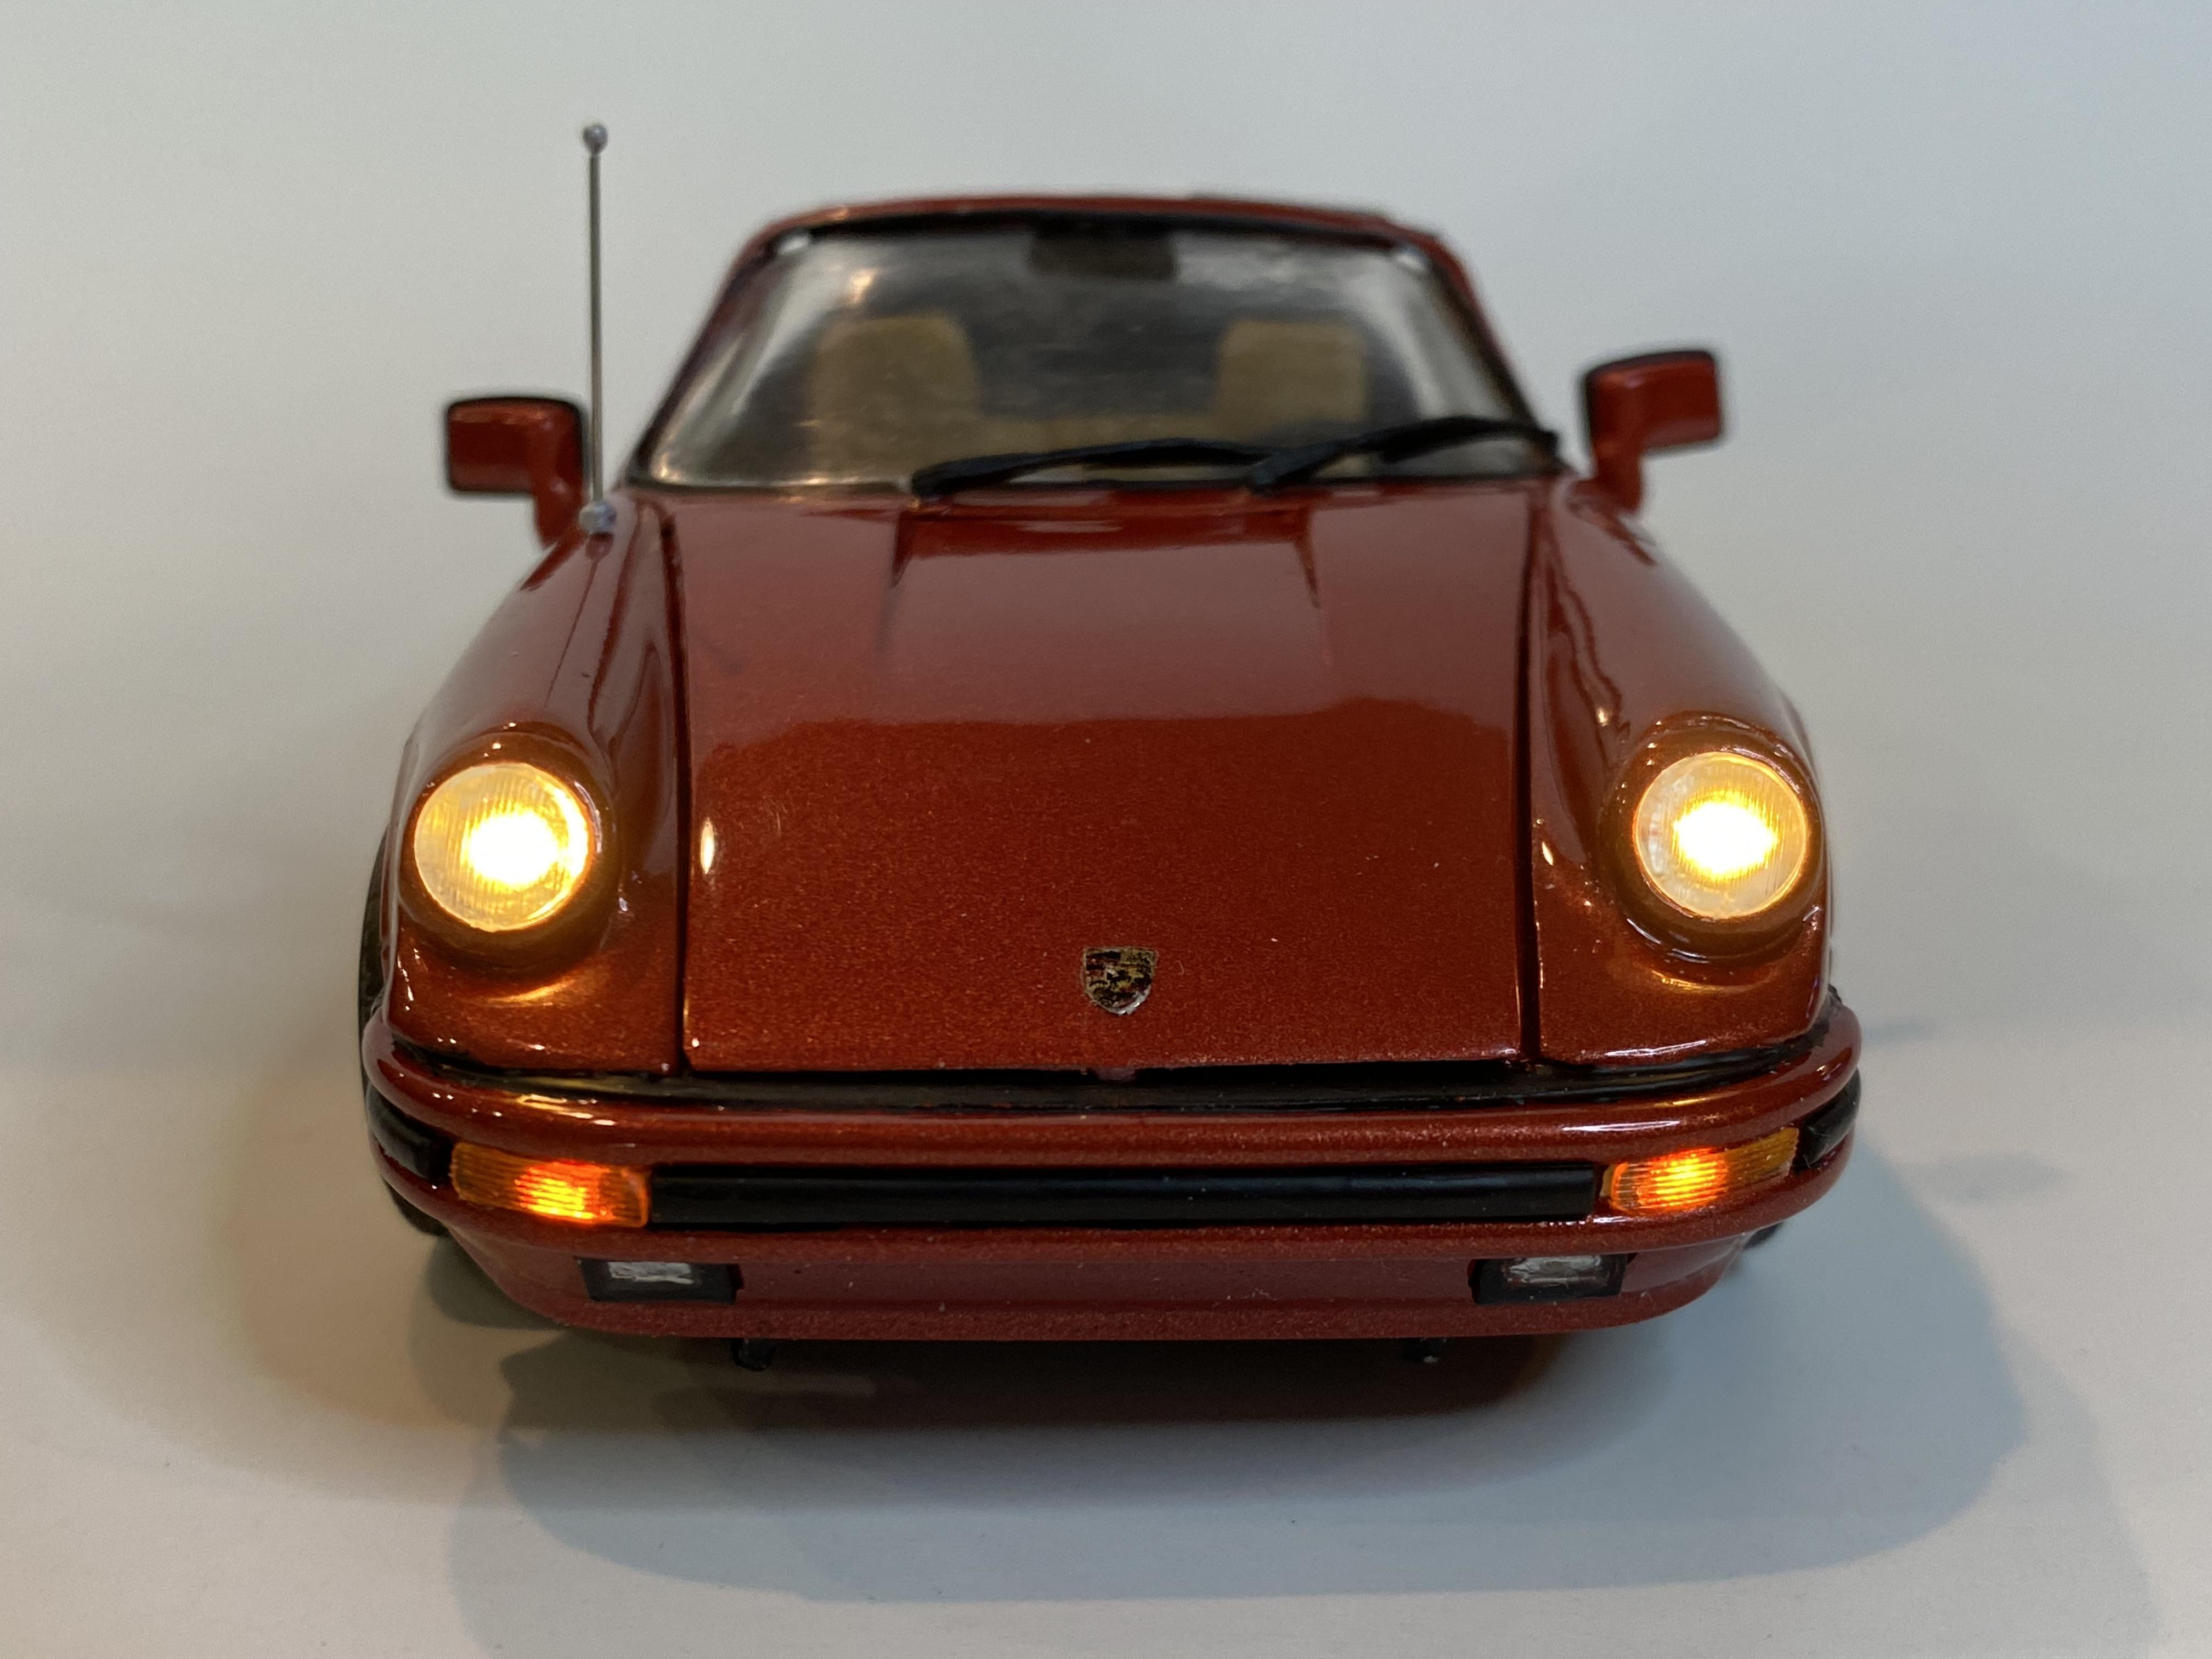
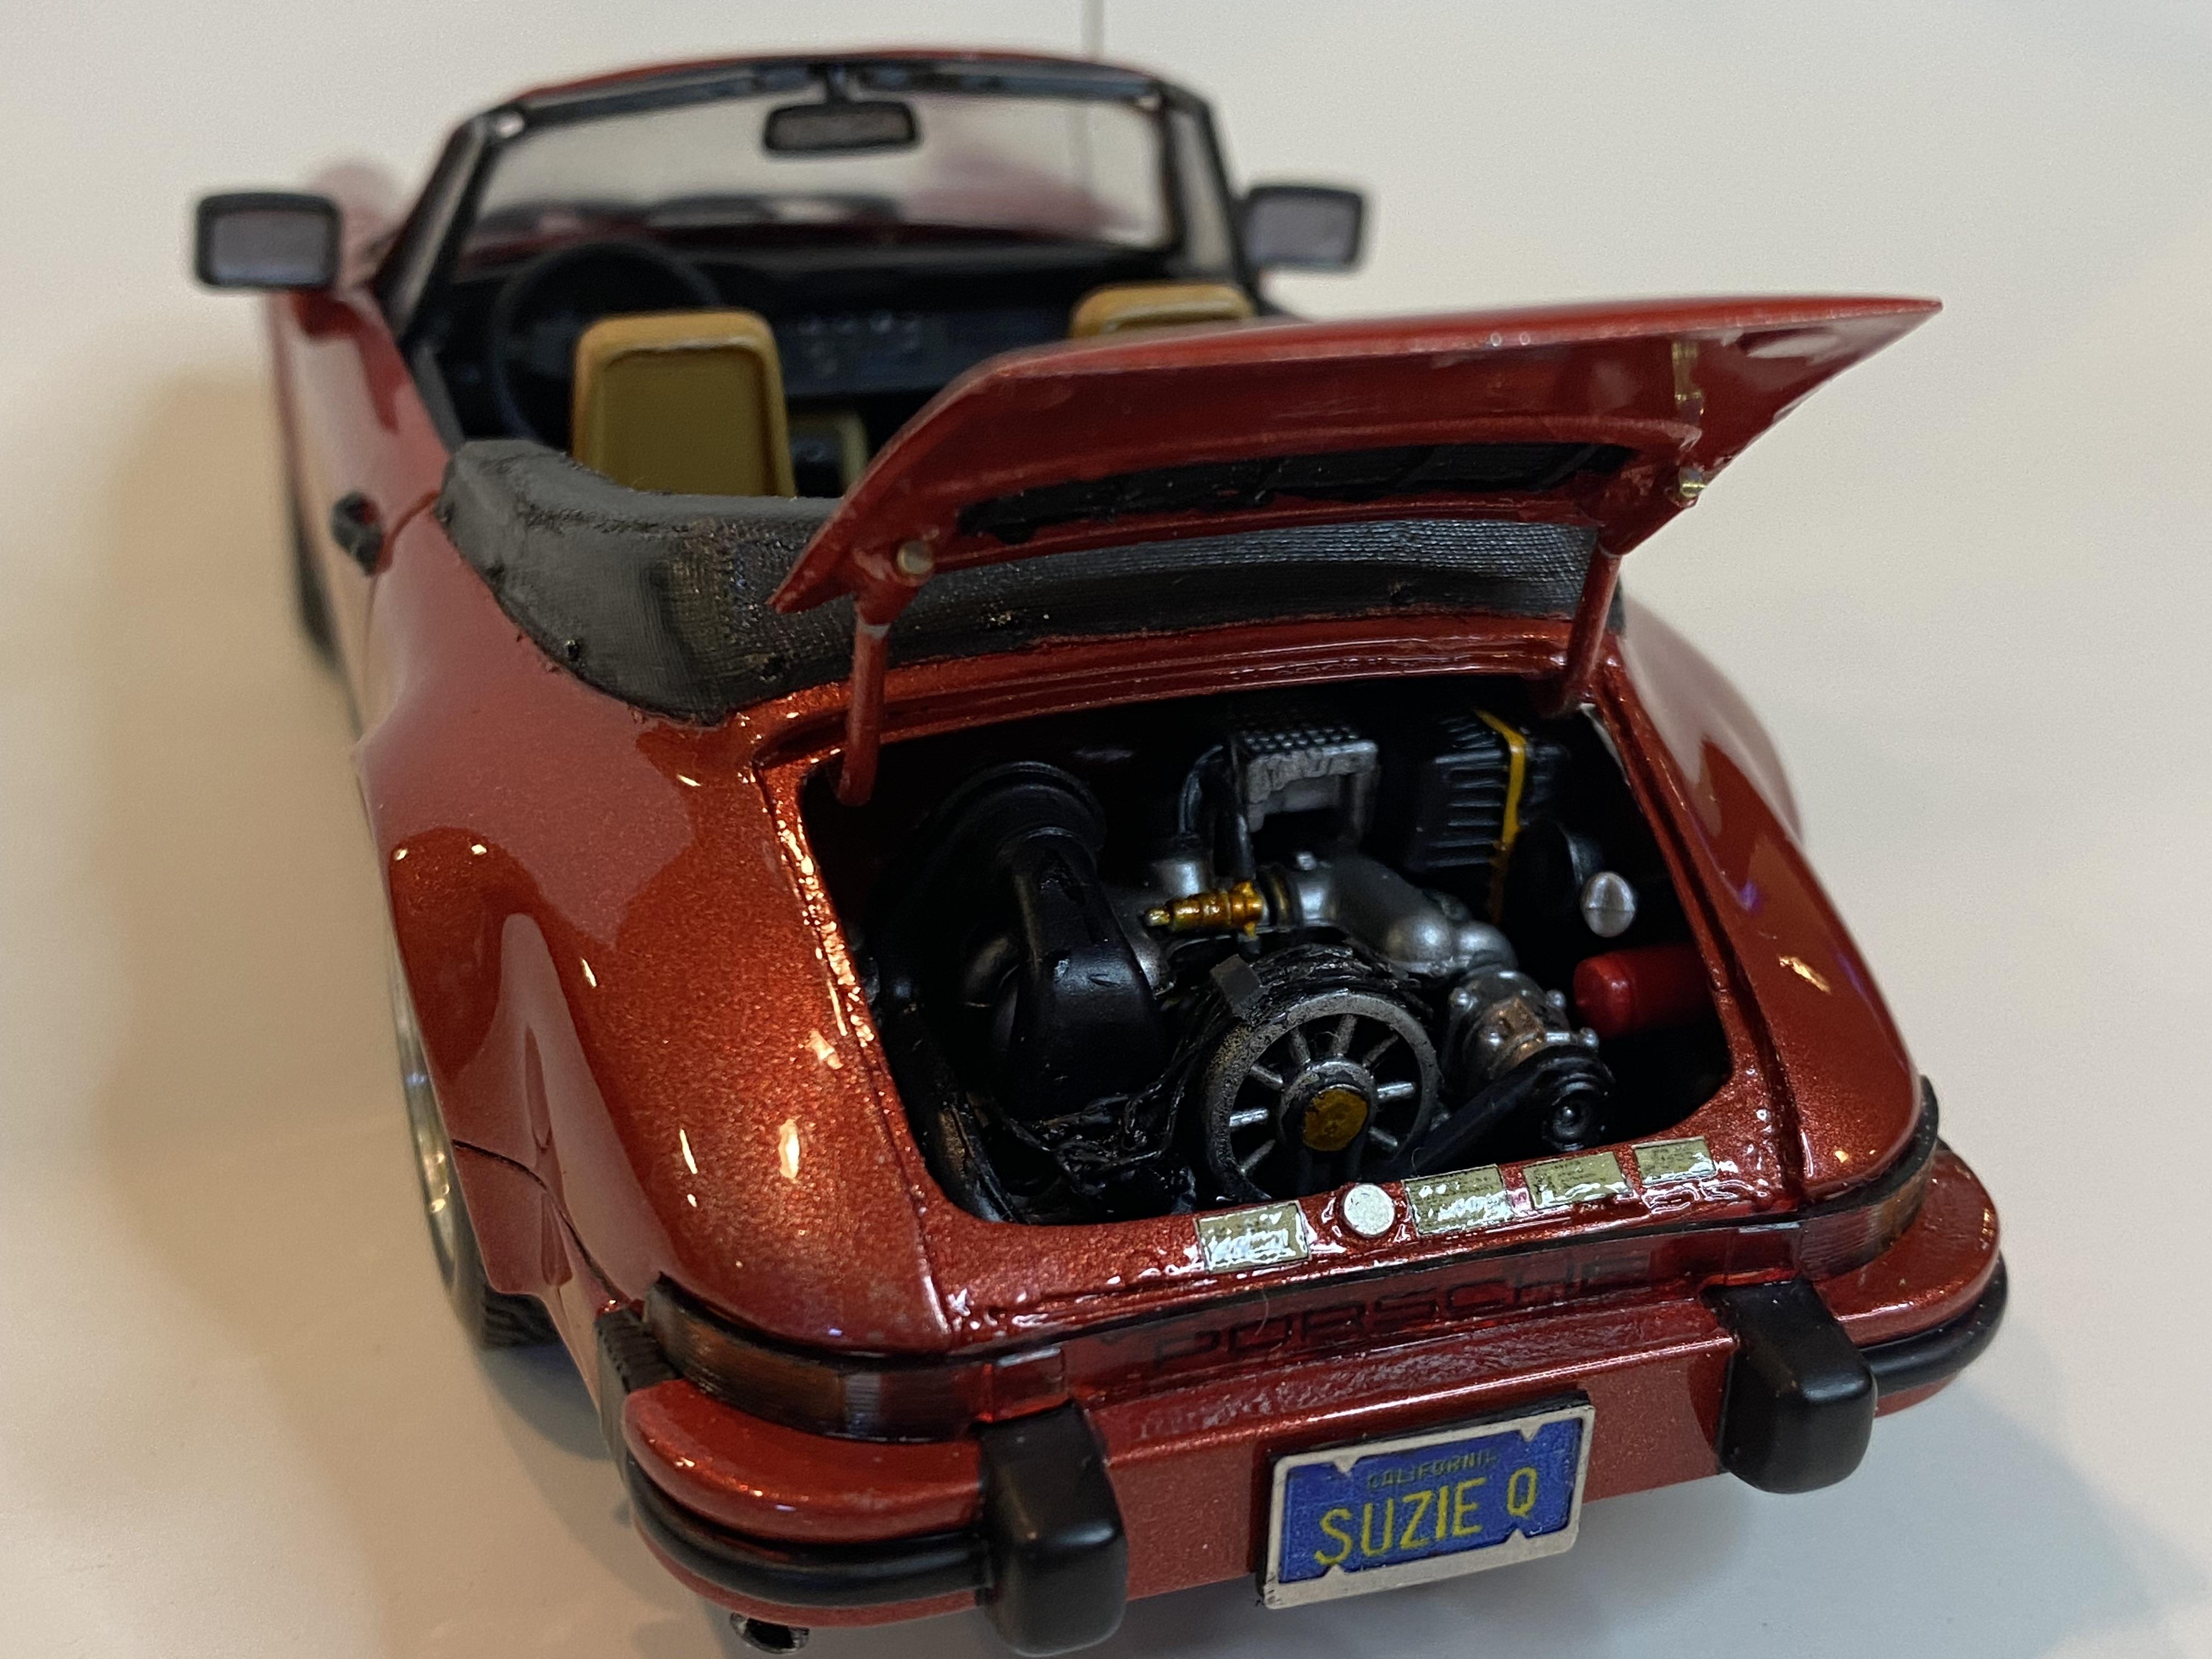
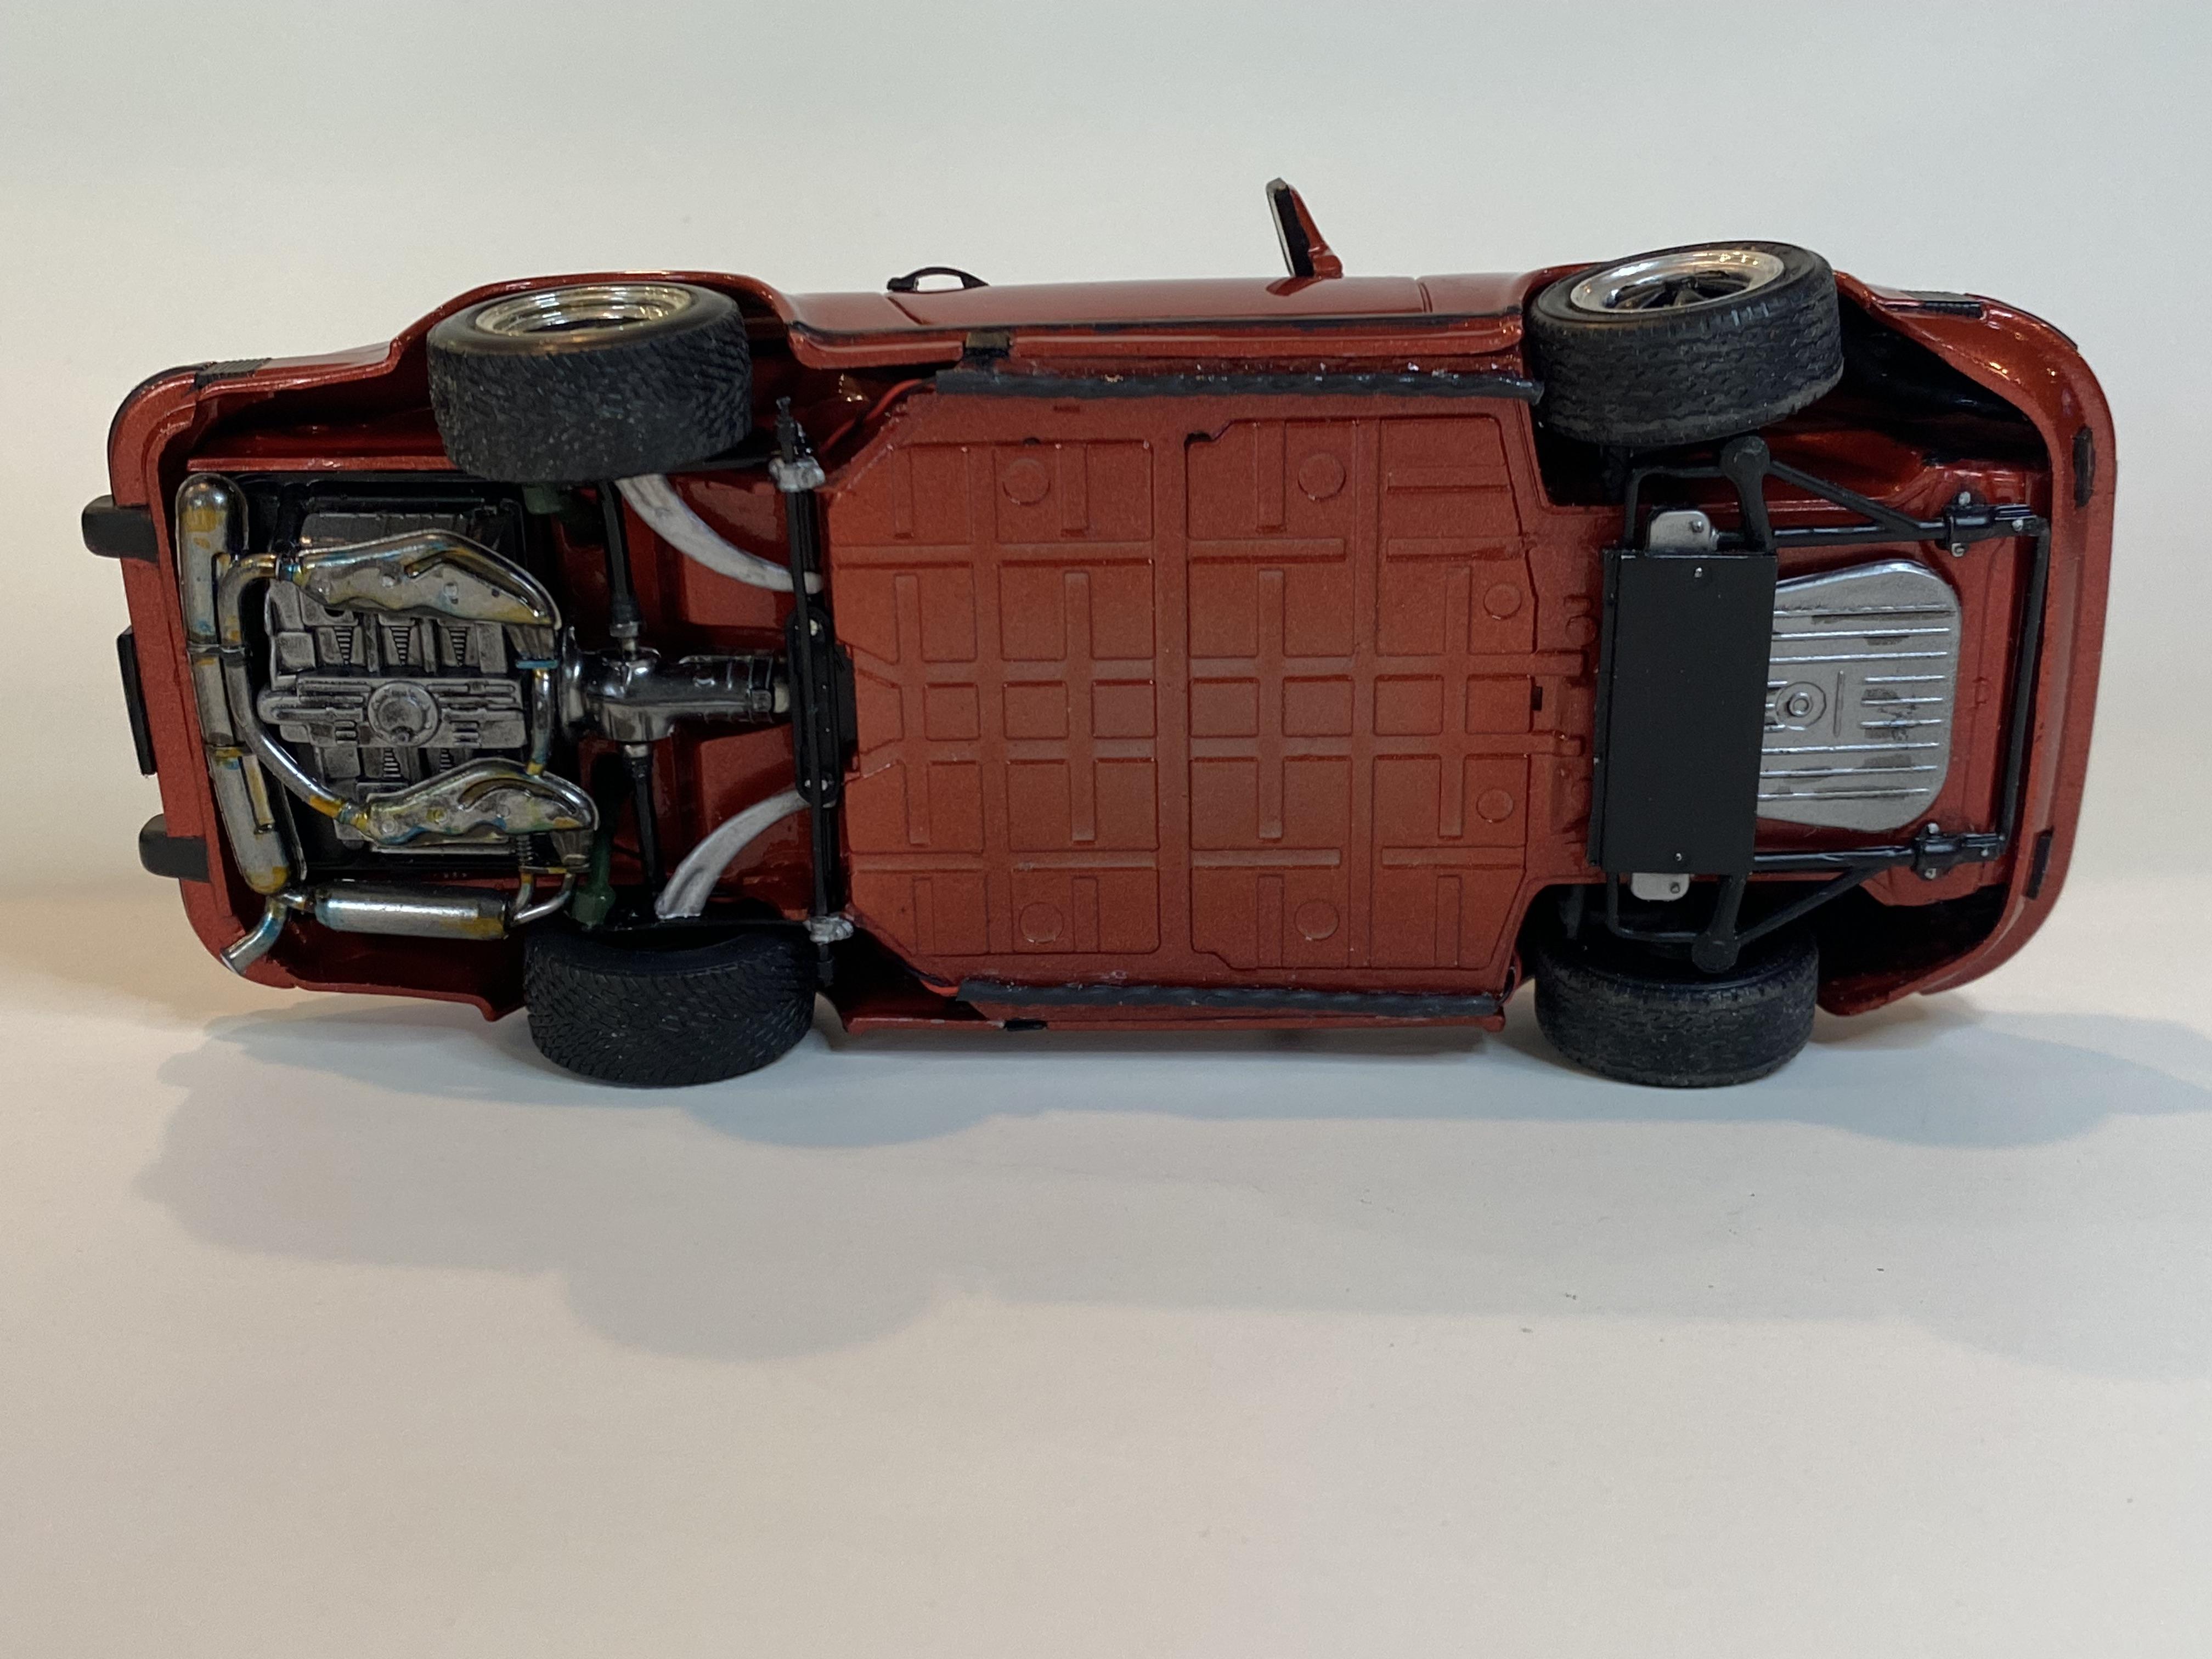
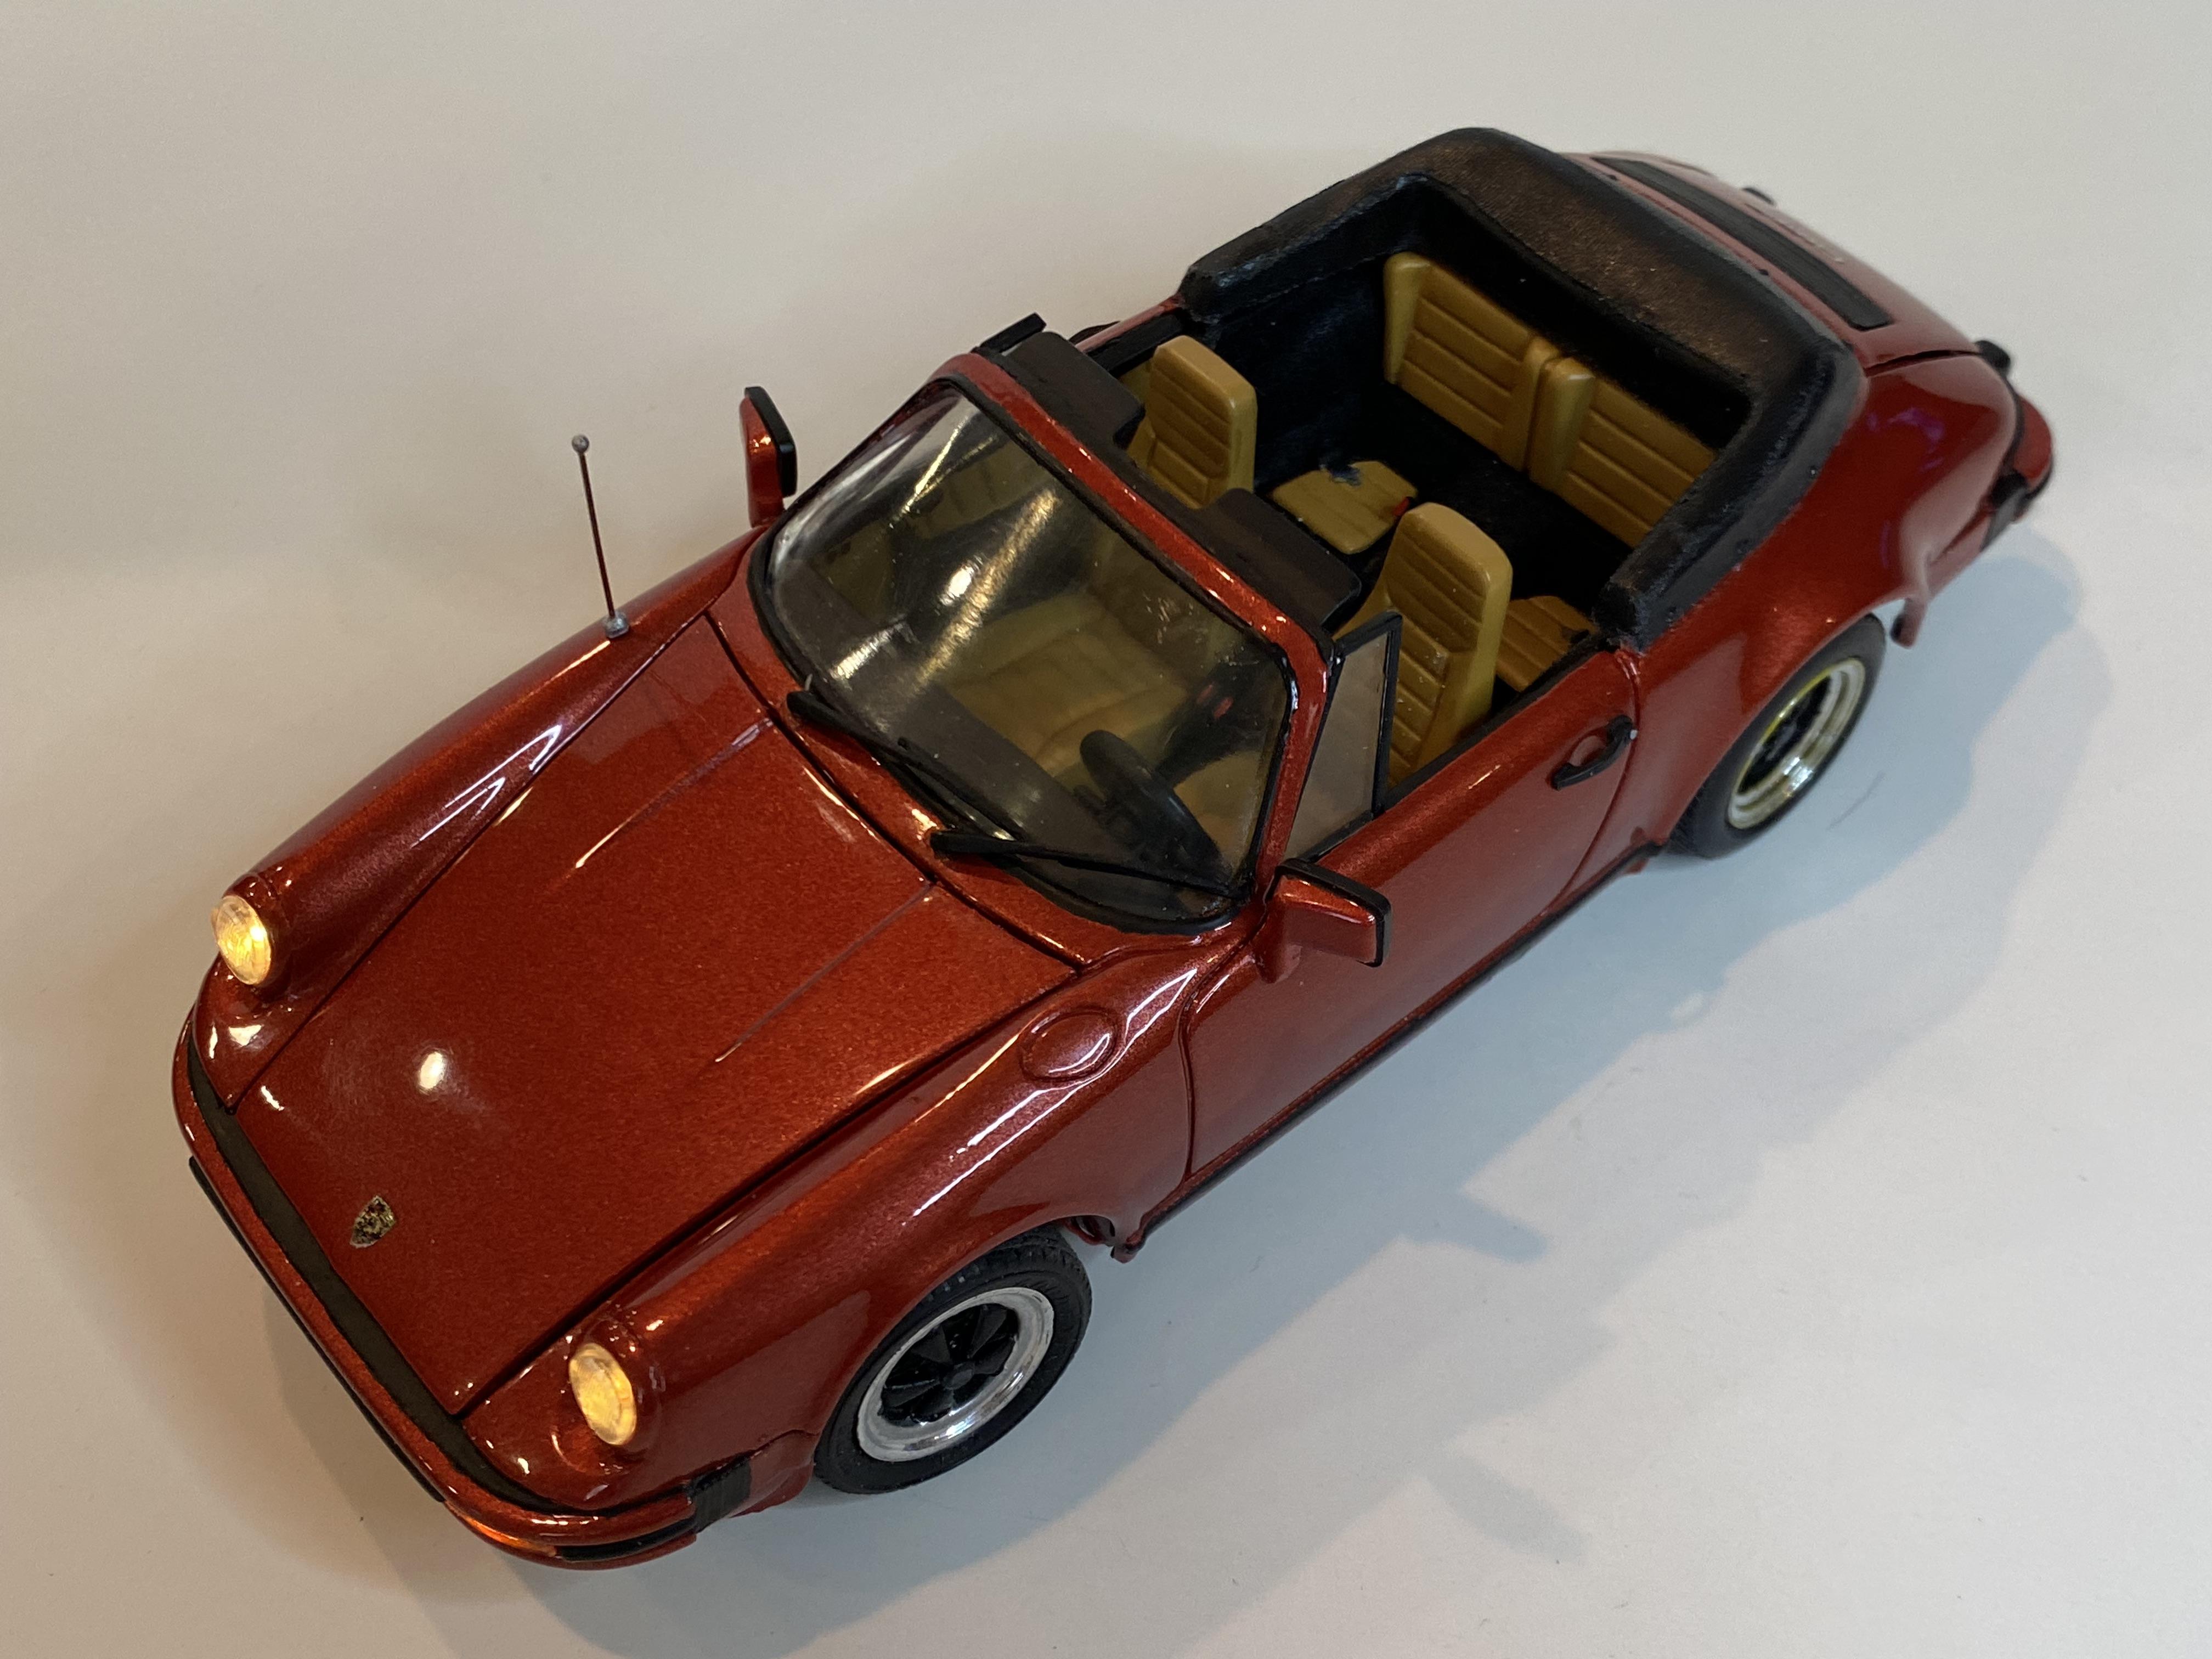
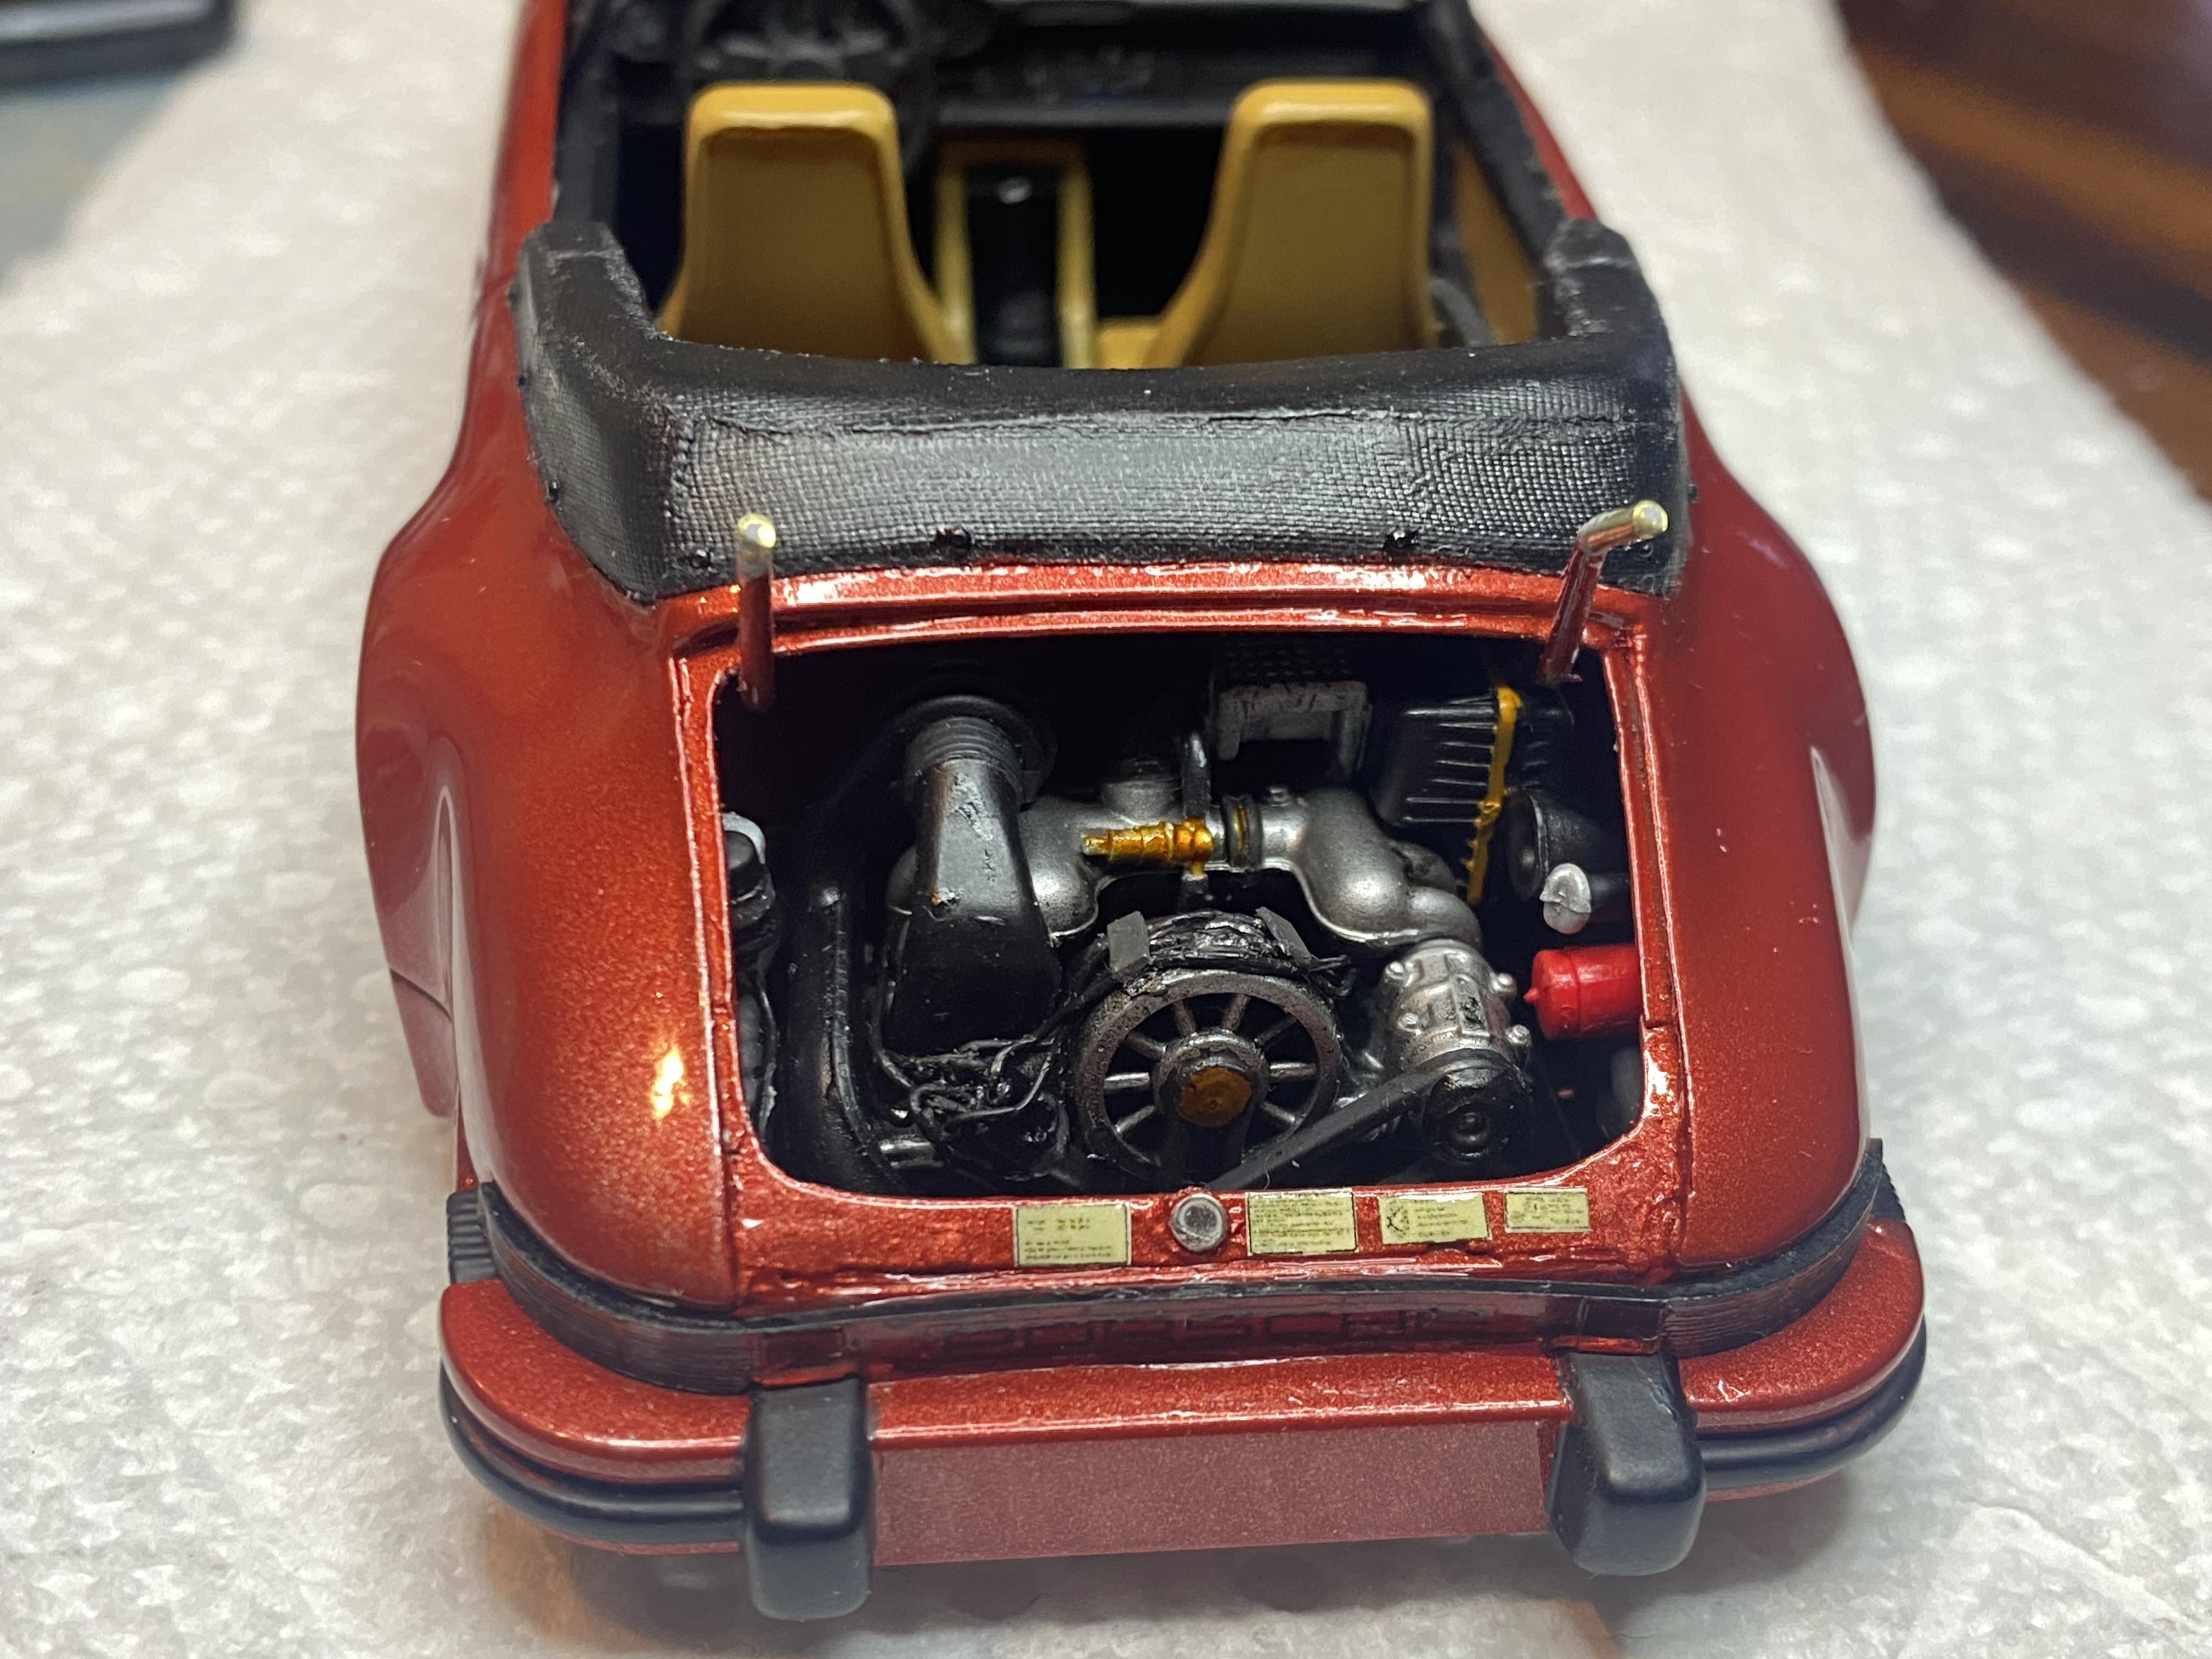
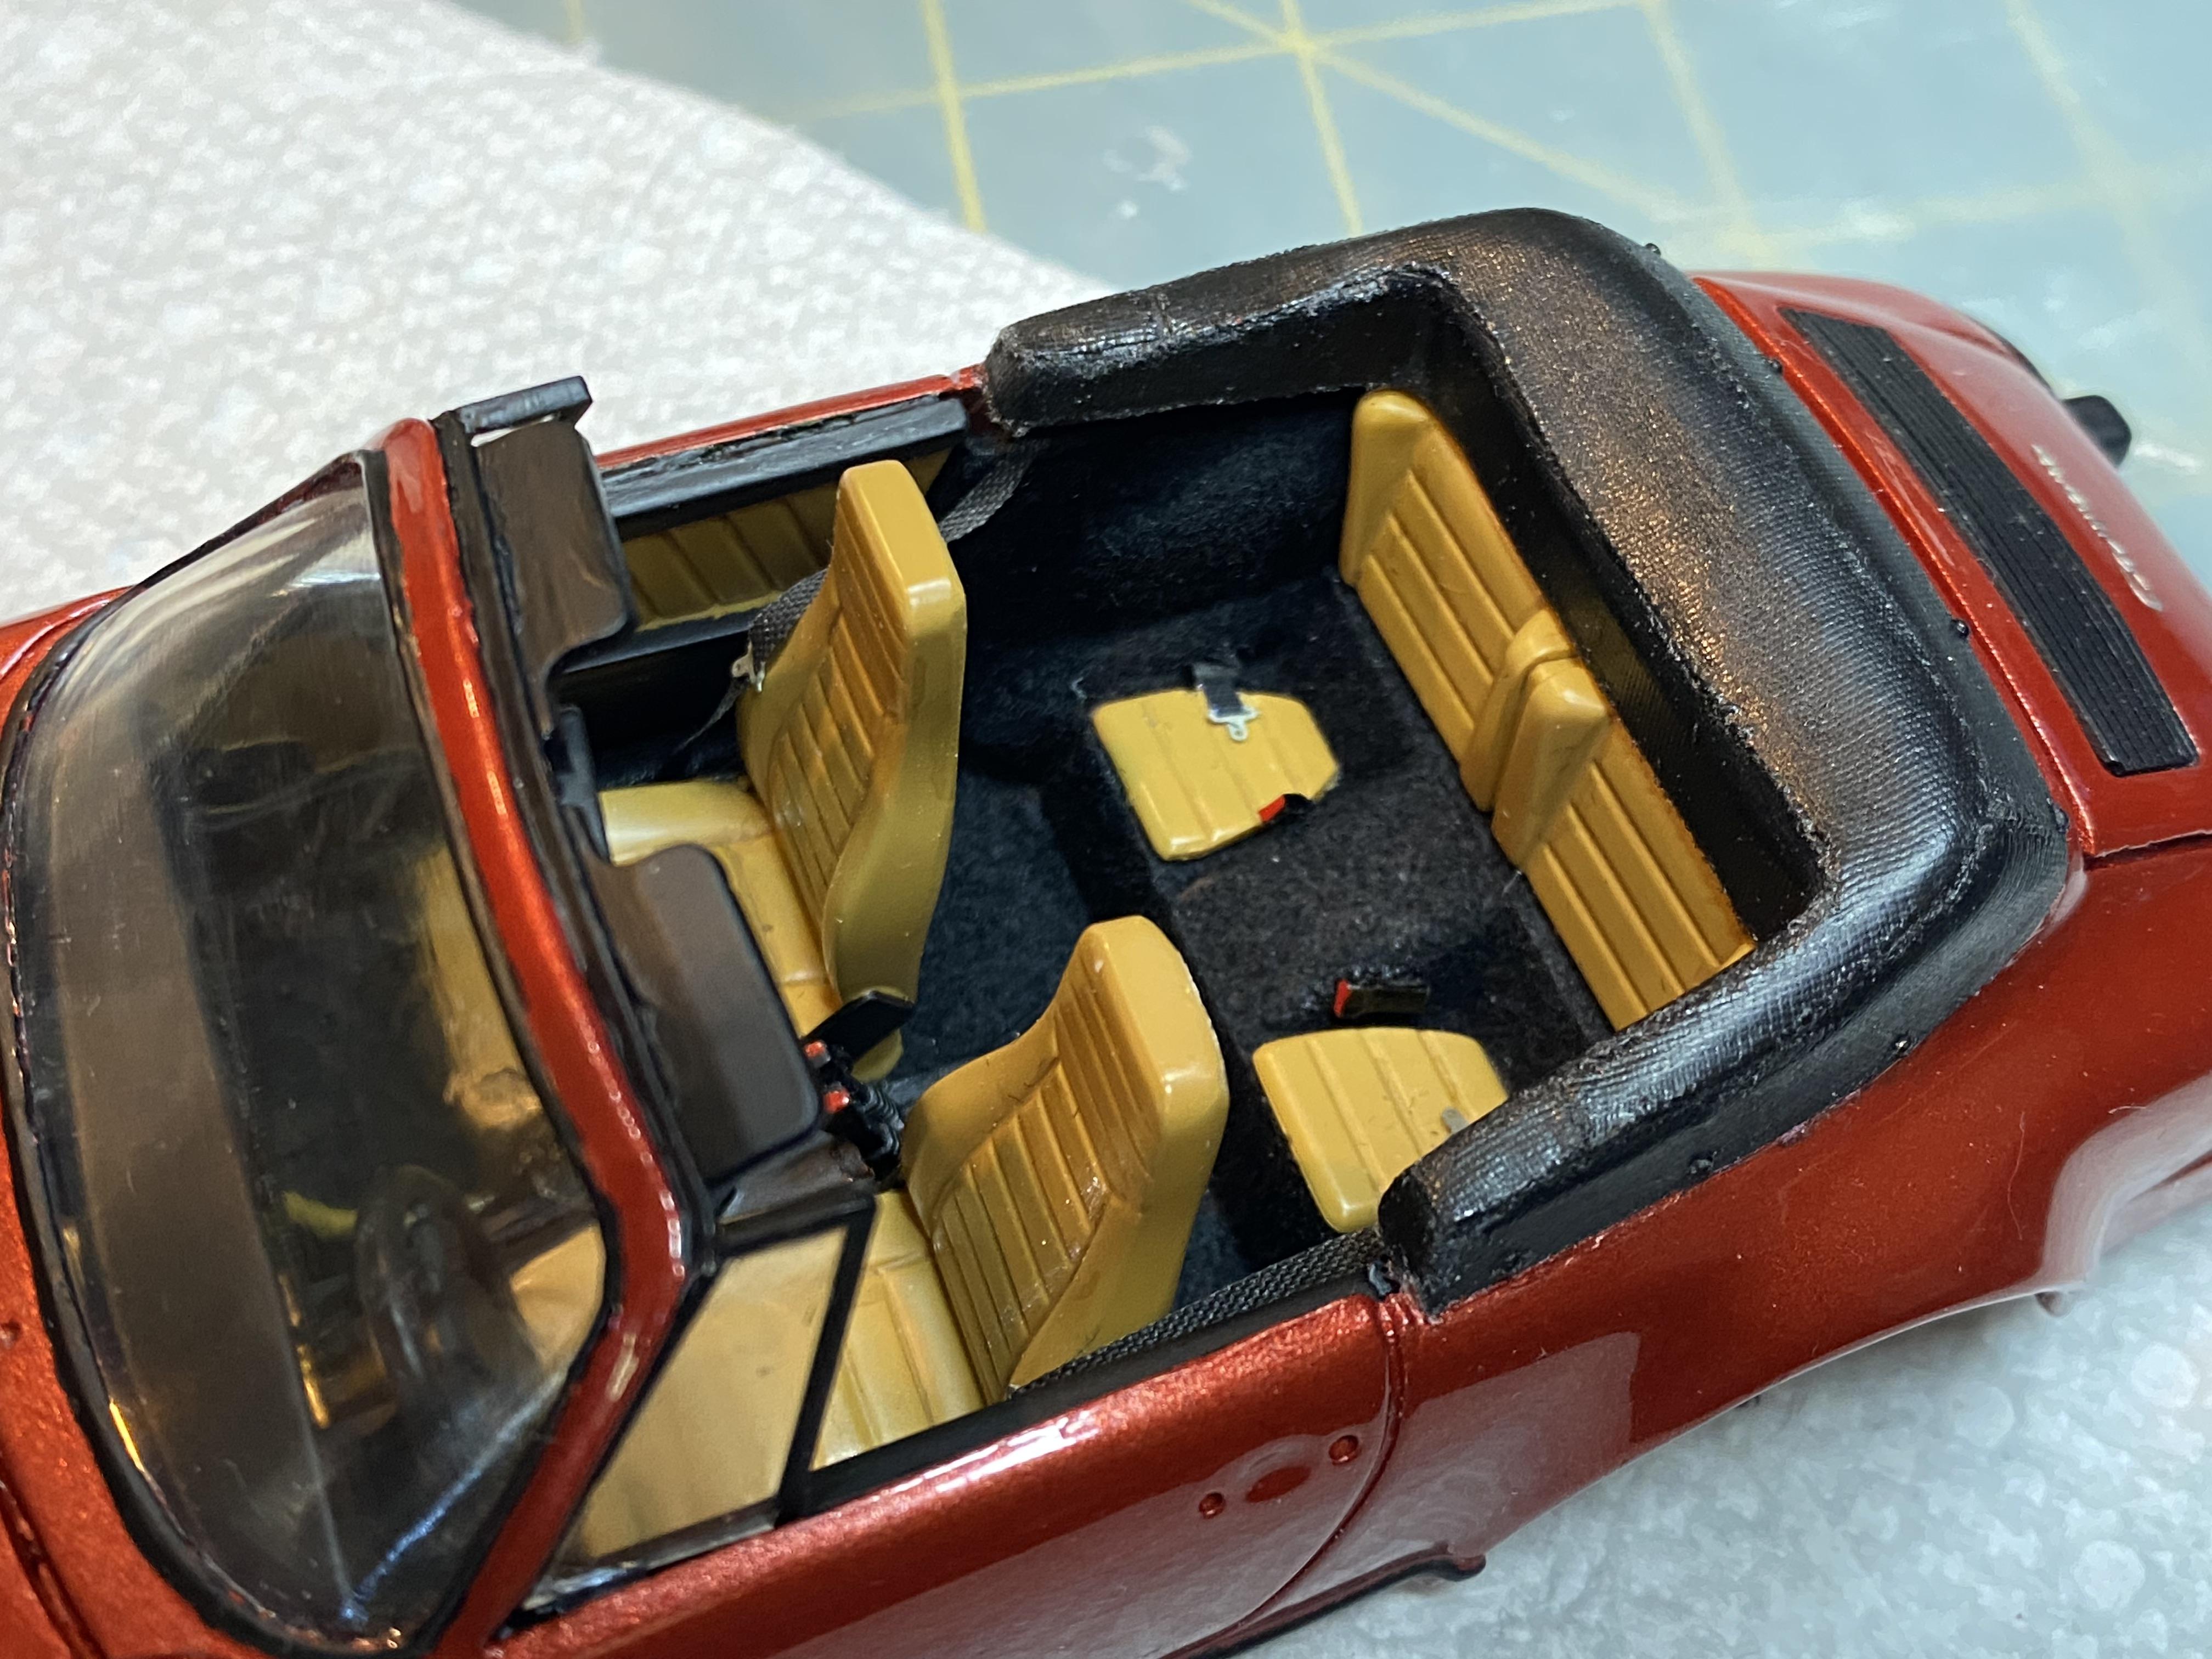
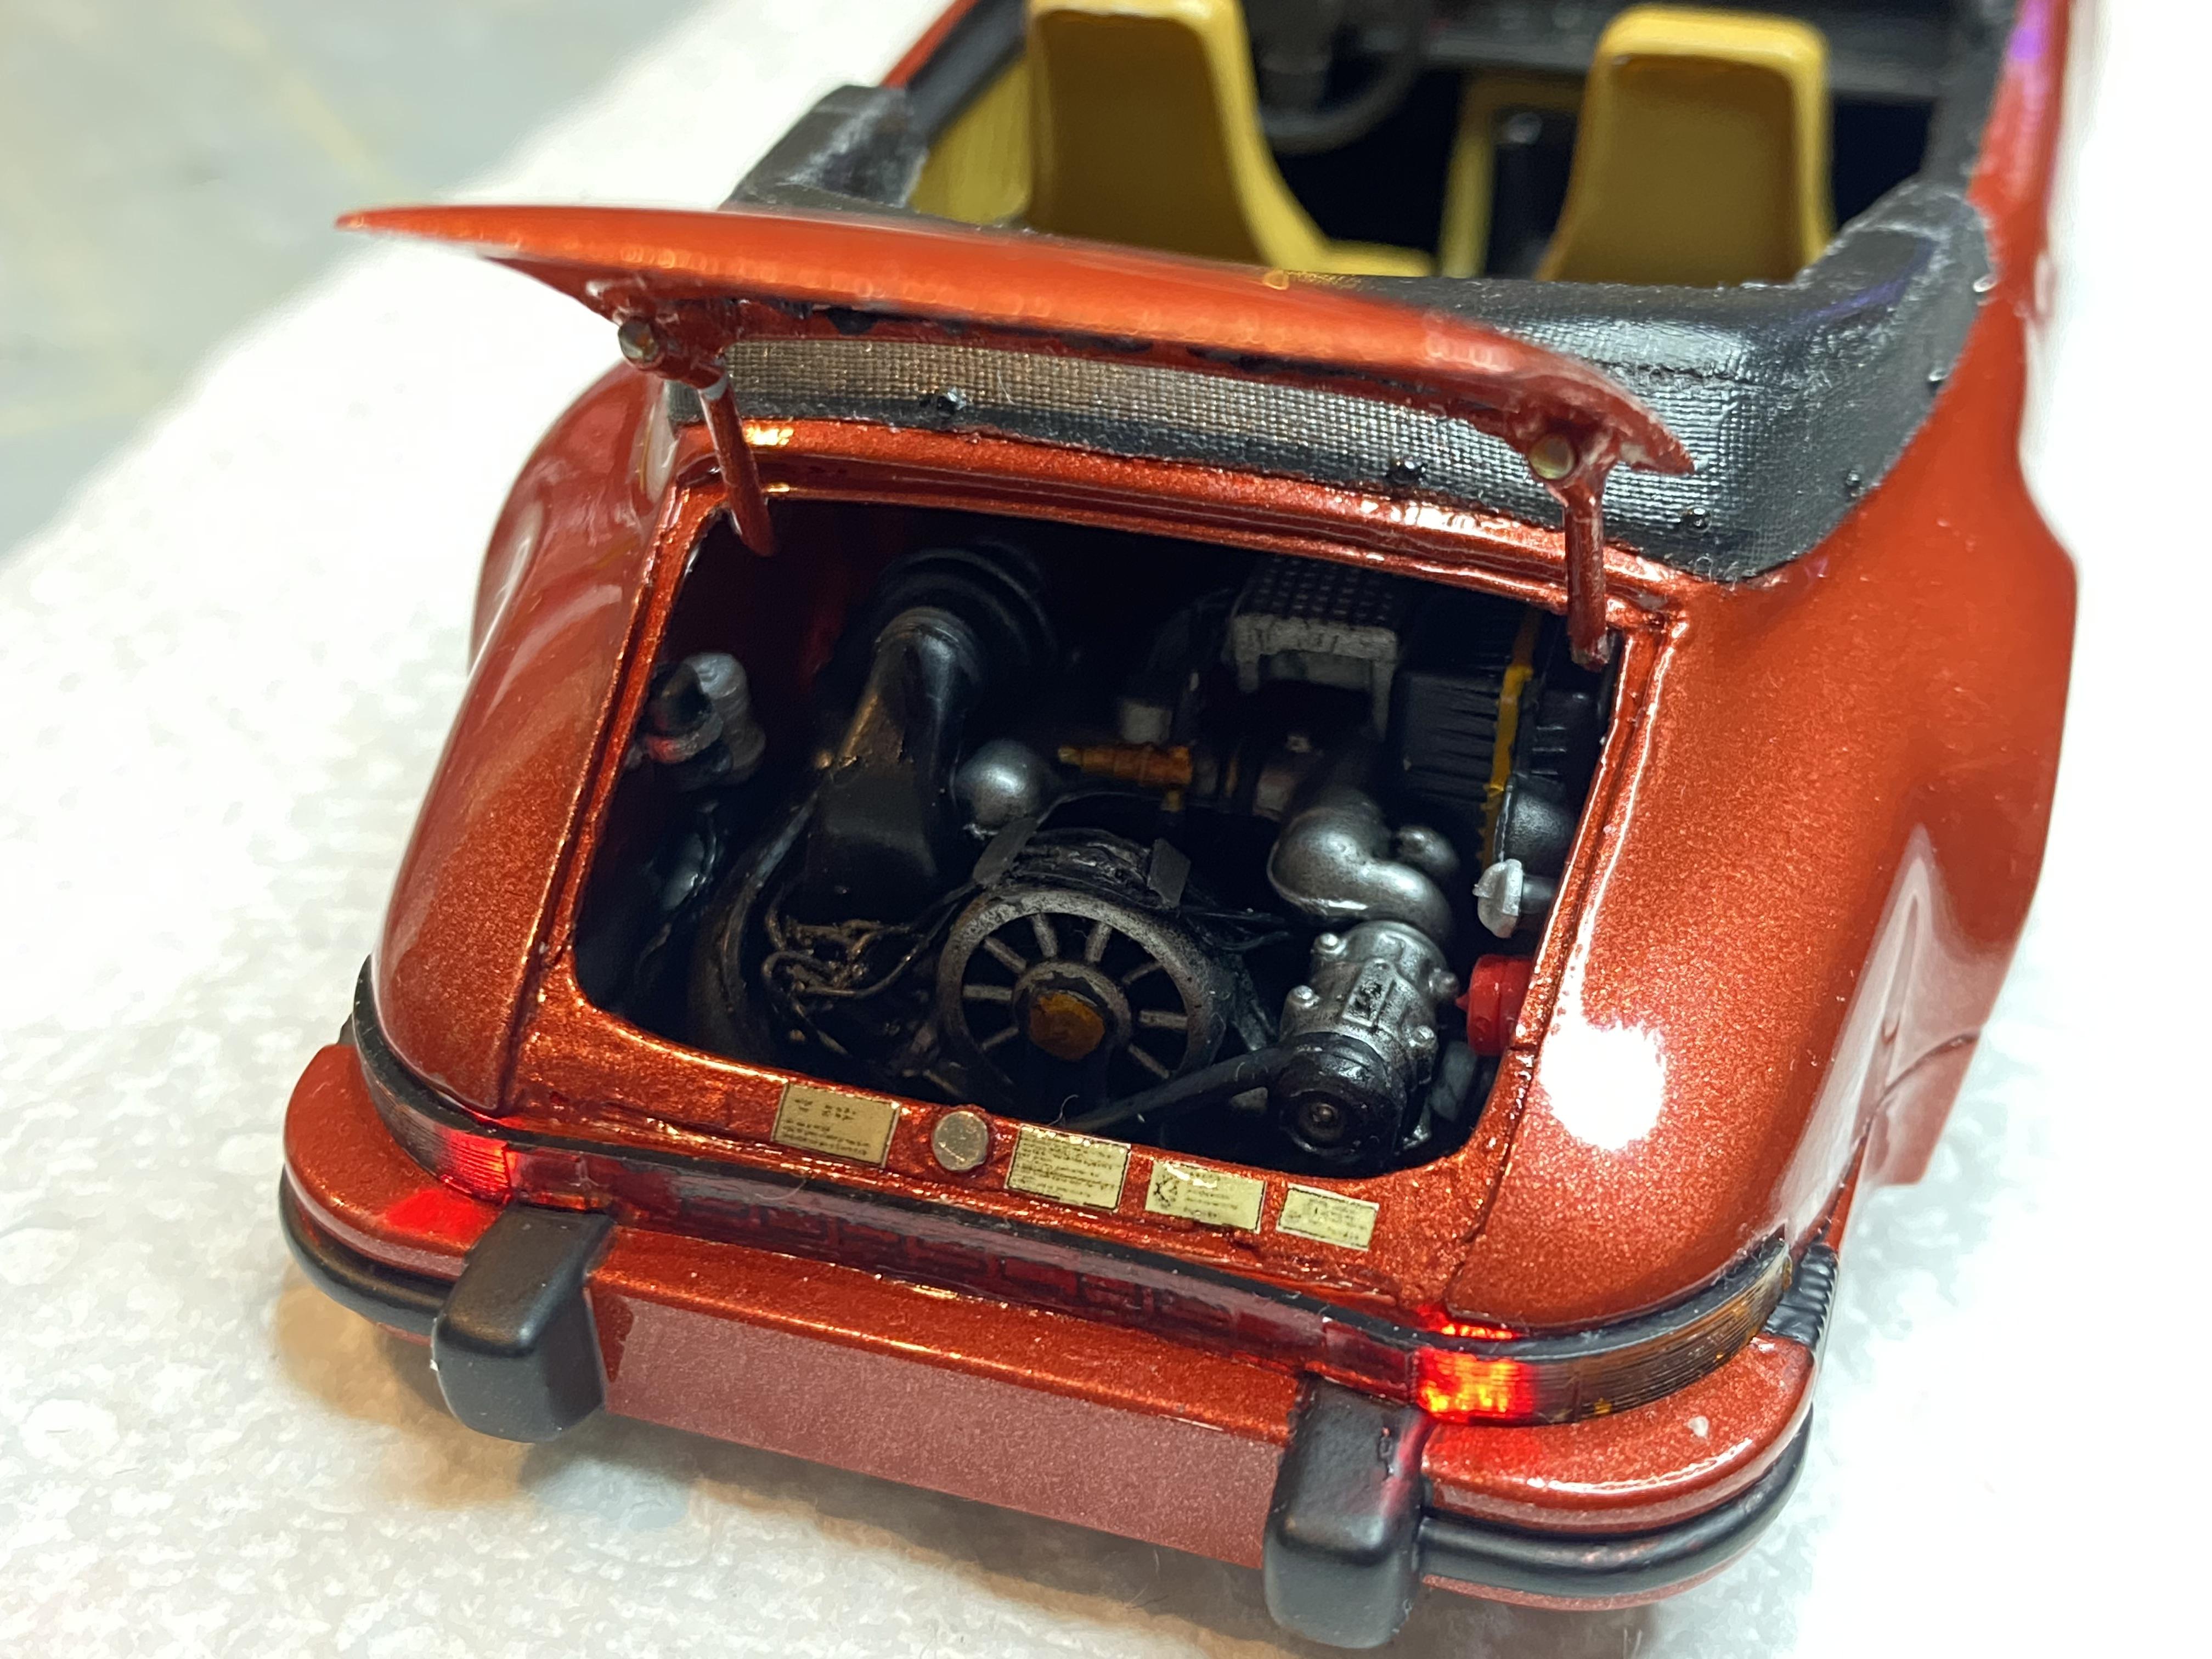
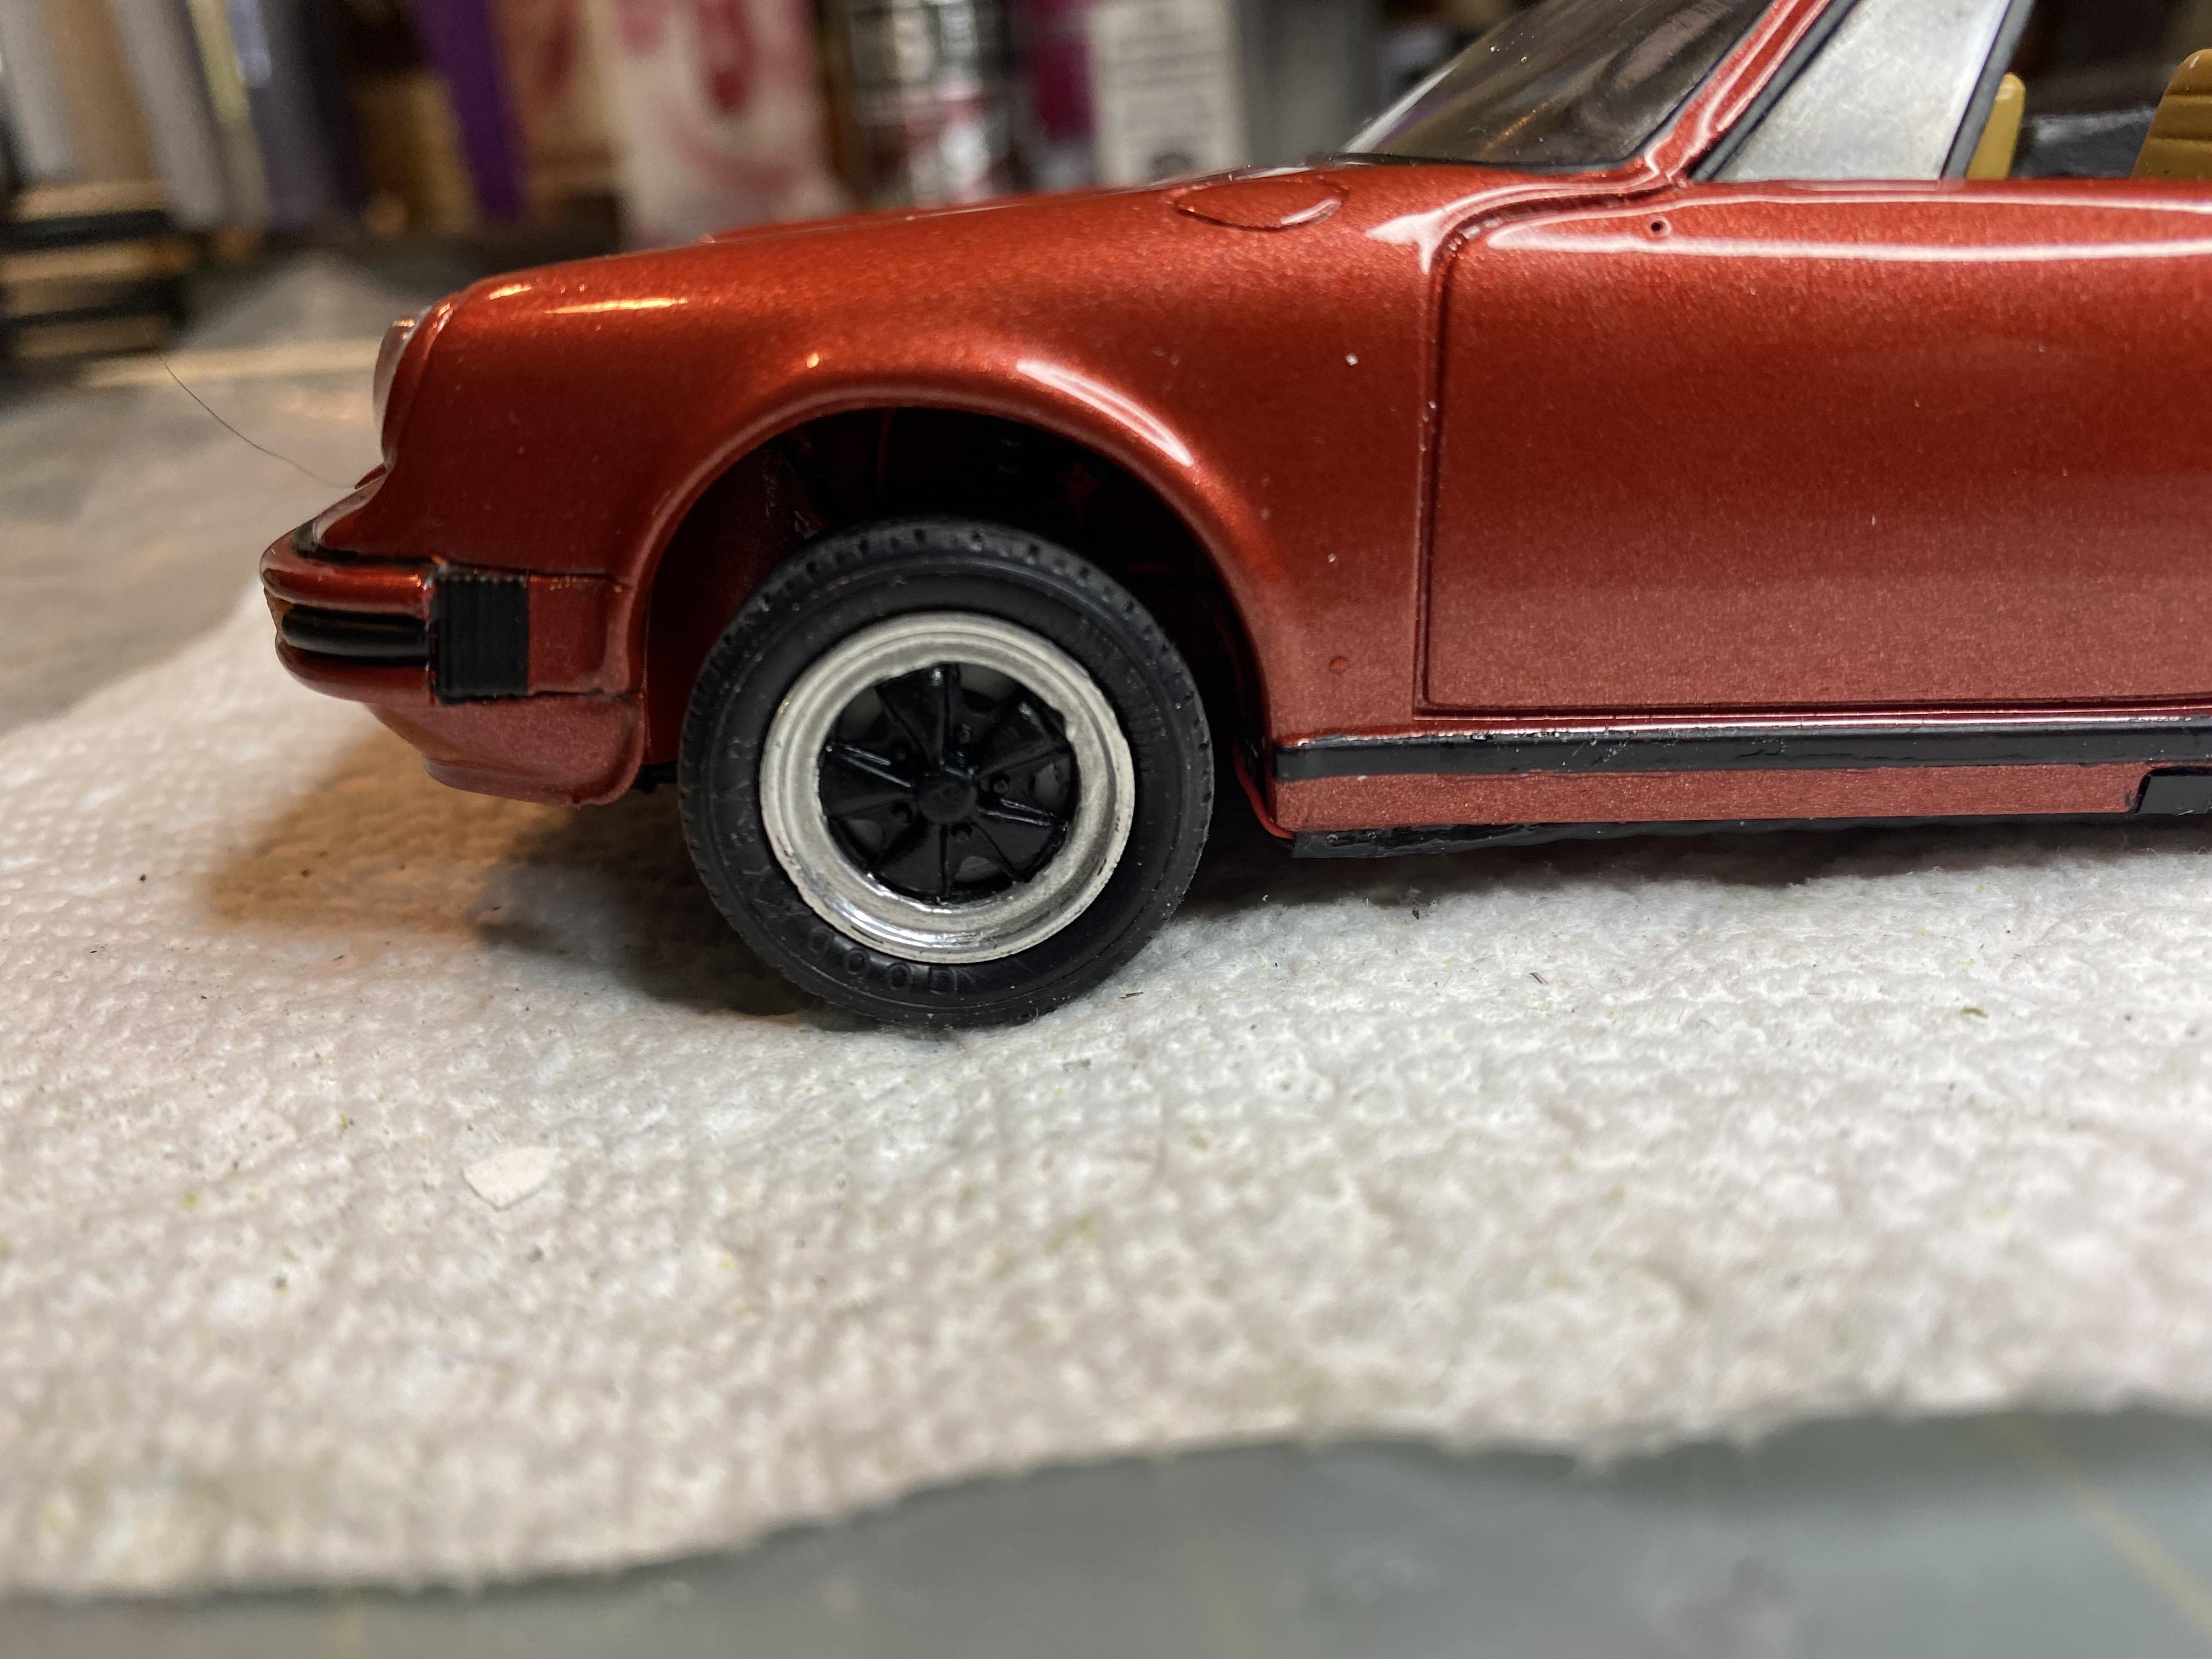
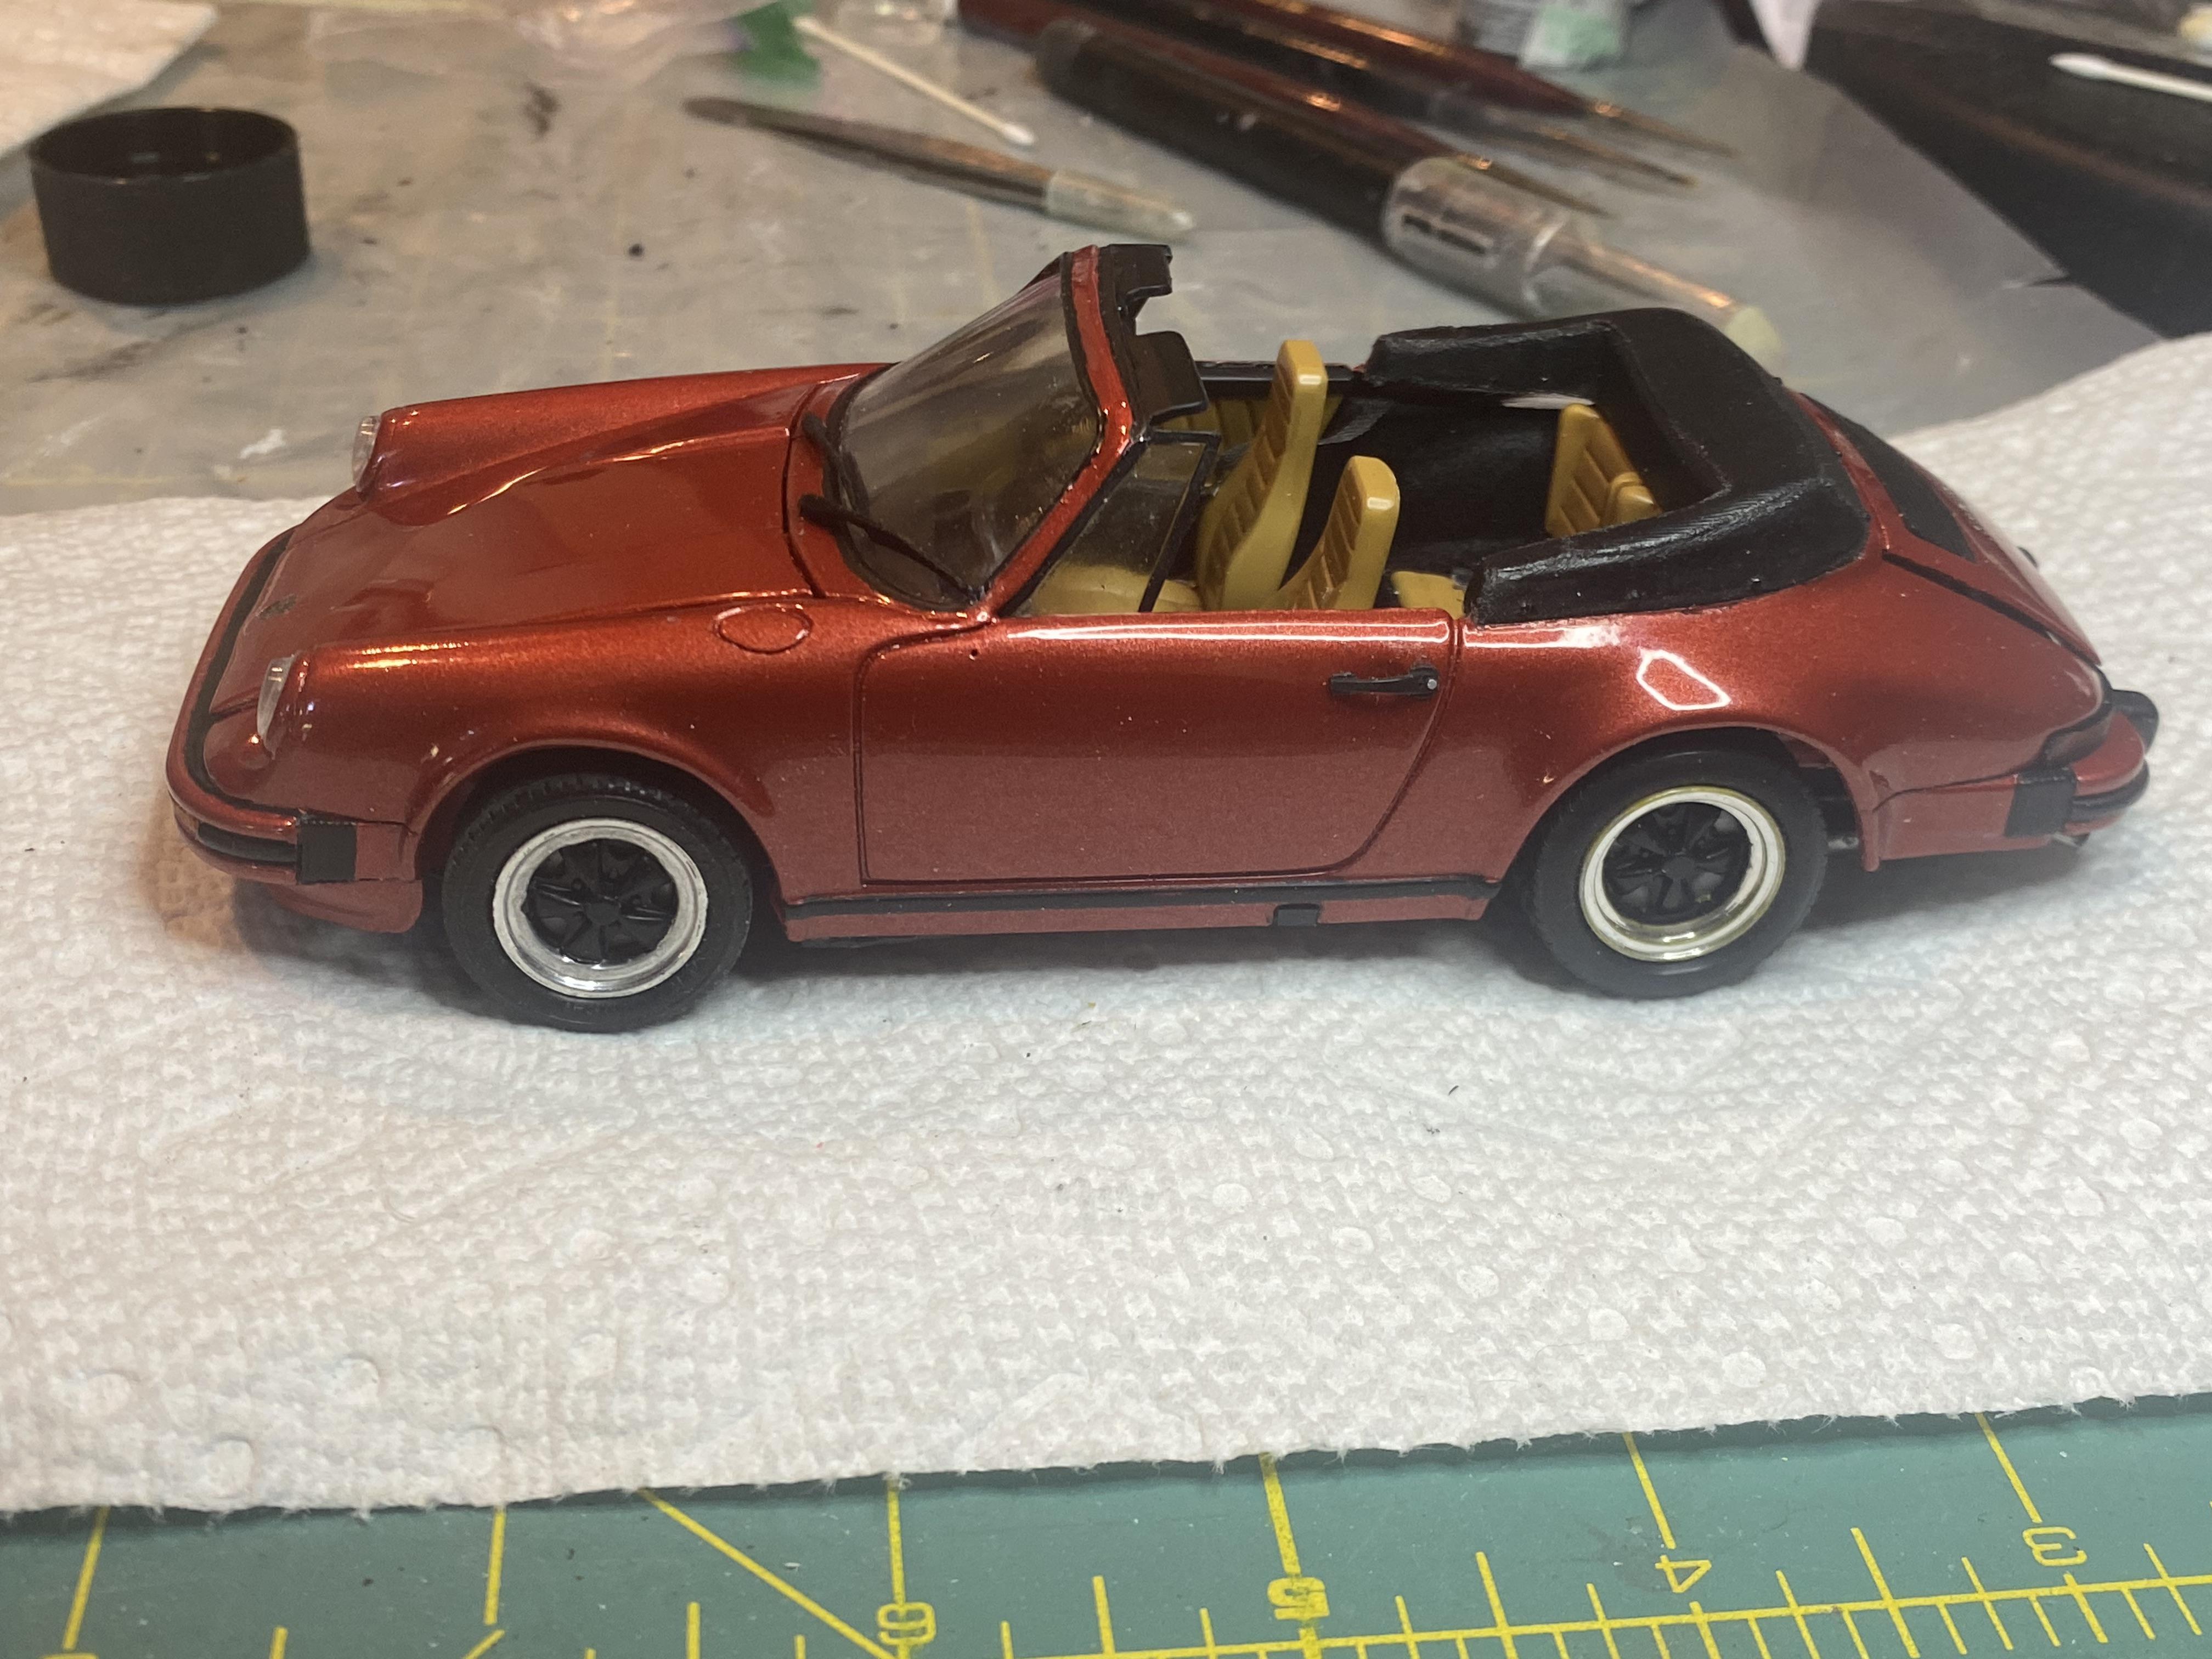
This is an older 1/25 Revell Porsche 911 Carrera Cabriolet that was an opened kit I purchased at the SoCal Open last May. Sadly the window frame was busted in two places, repaired and one spot was broken again. Painted with Scale Finishes 1984 Porsche Kiln Red with splash paints 2K clear. I created poseable steering and the usual compliment of LED lighting. I purchased some new kit parts off of eBay to make the engine correct, the kit came with a first gen. 911 engine, 1965-1971ish. This build took about a month to complete. in case you missed it her is the WIP thread.
- 26 replies
-
- 14
-

-
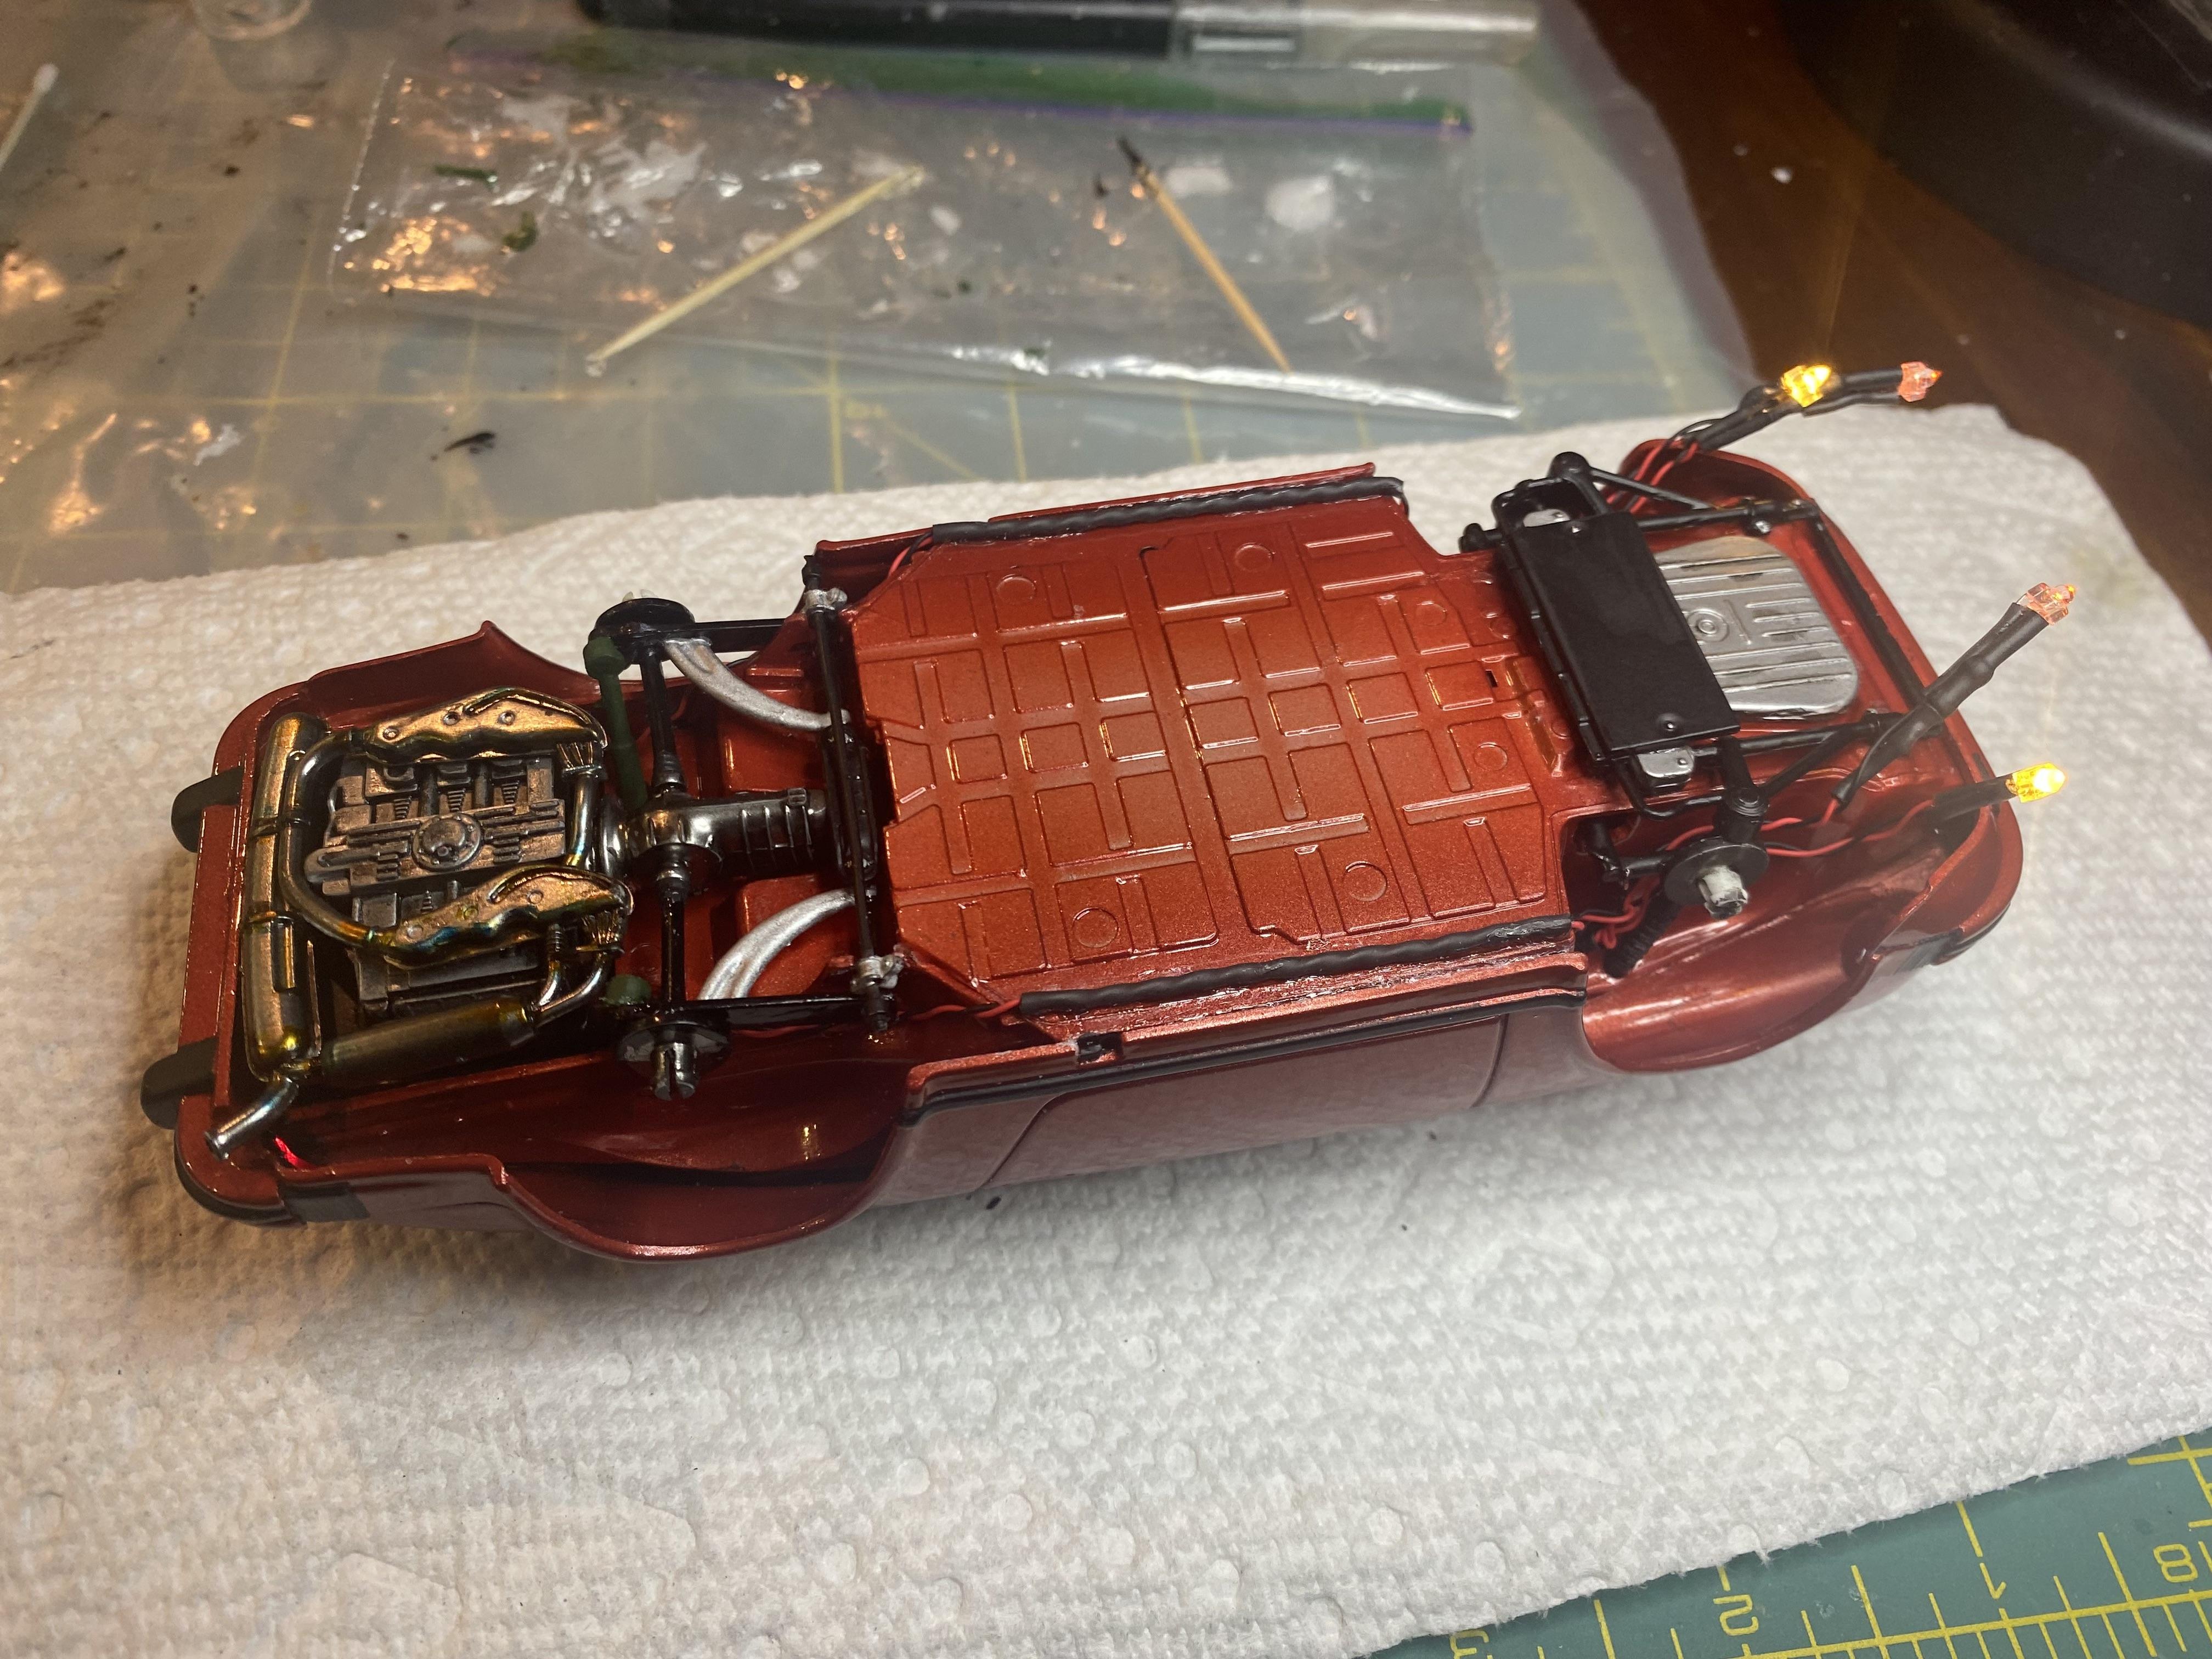
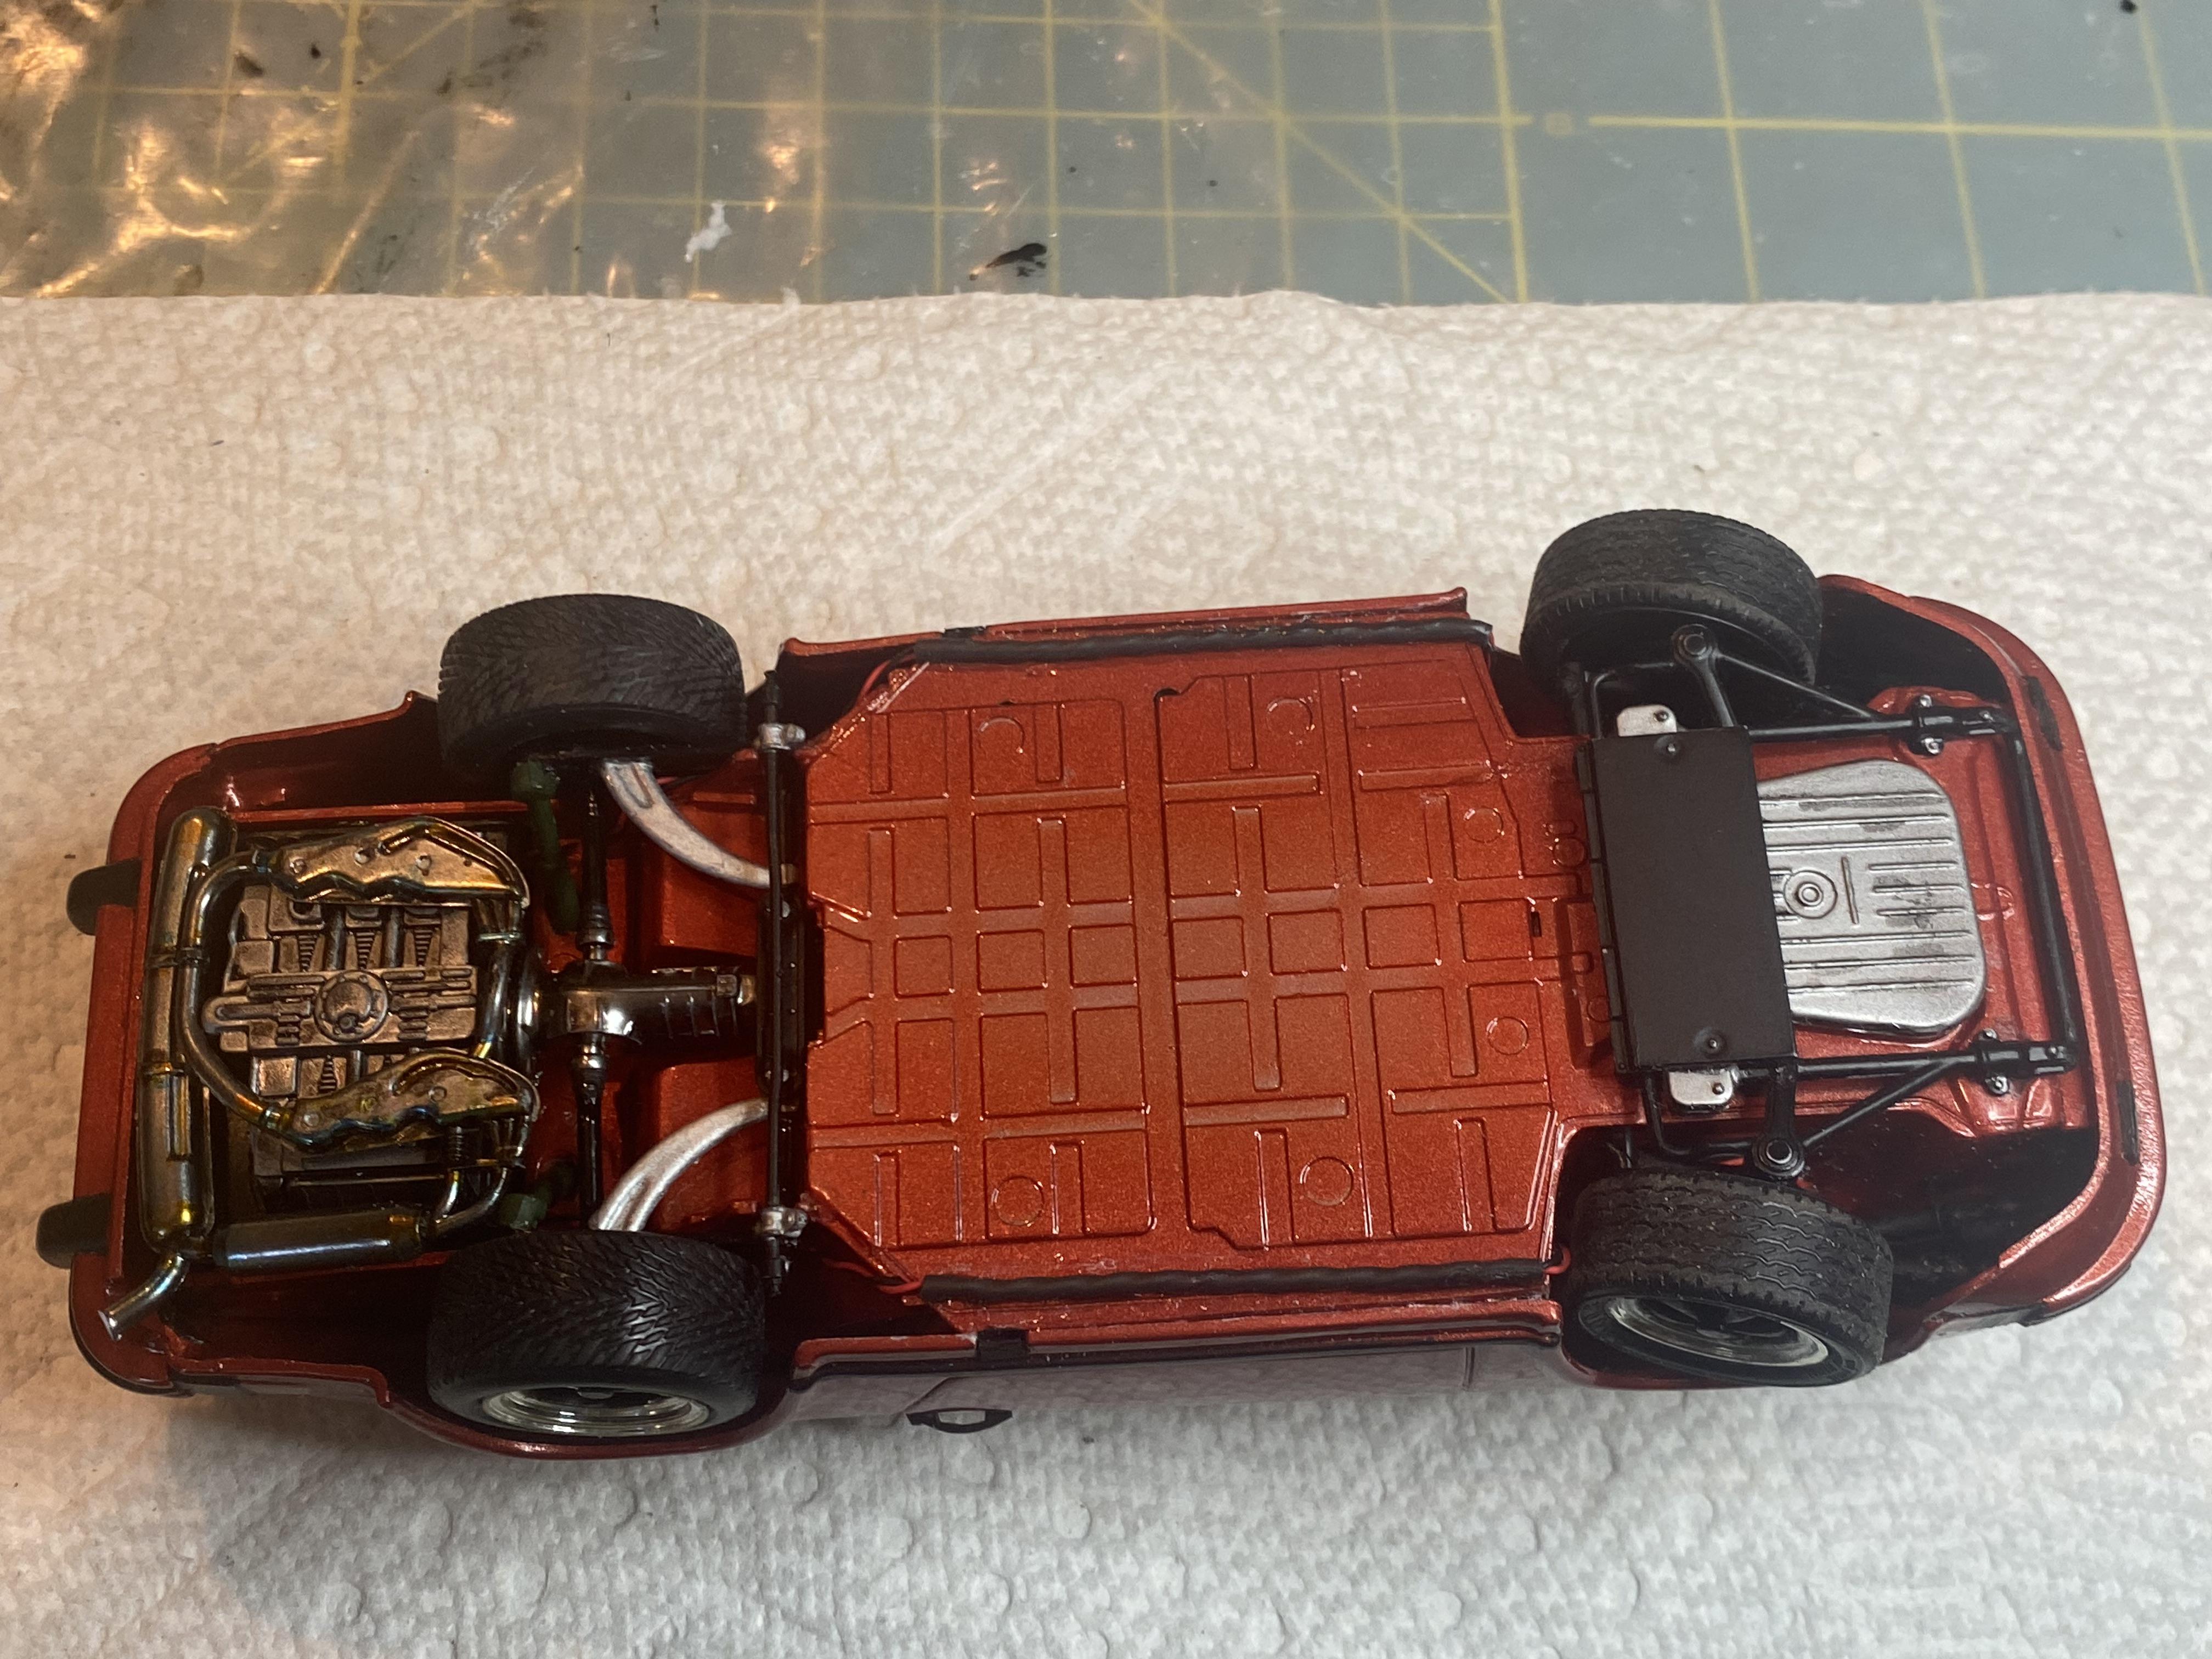
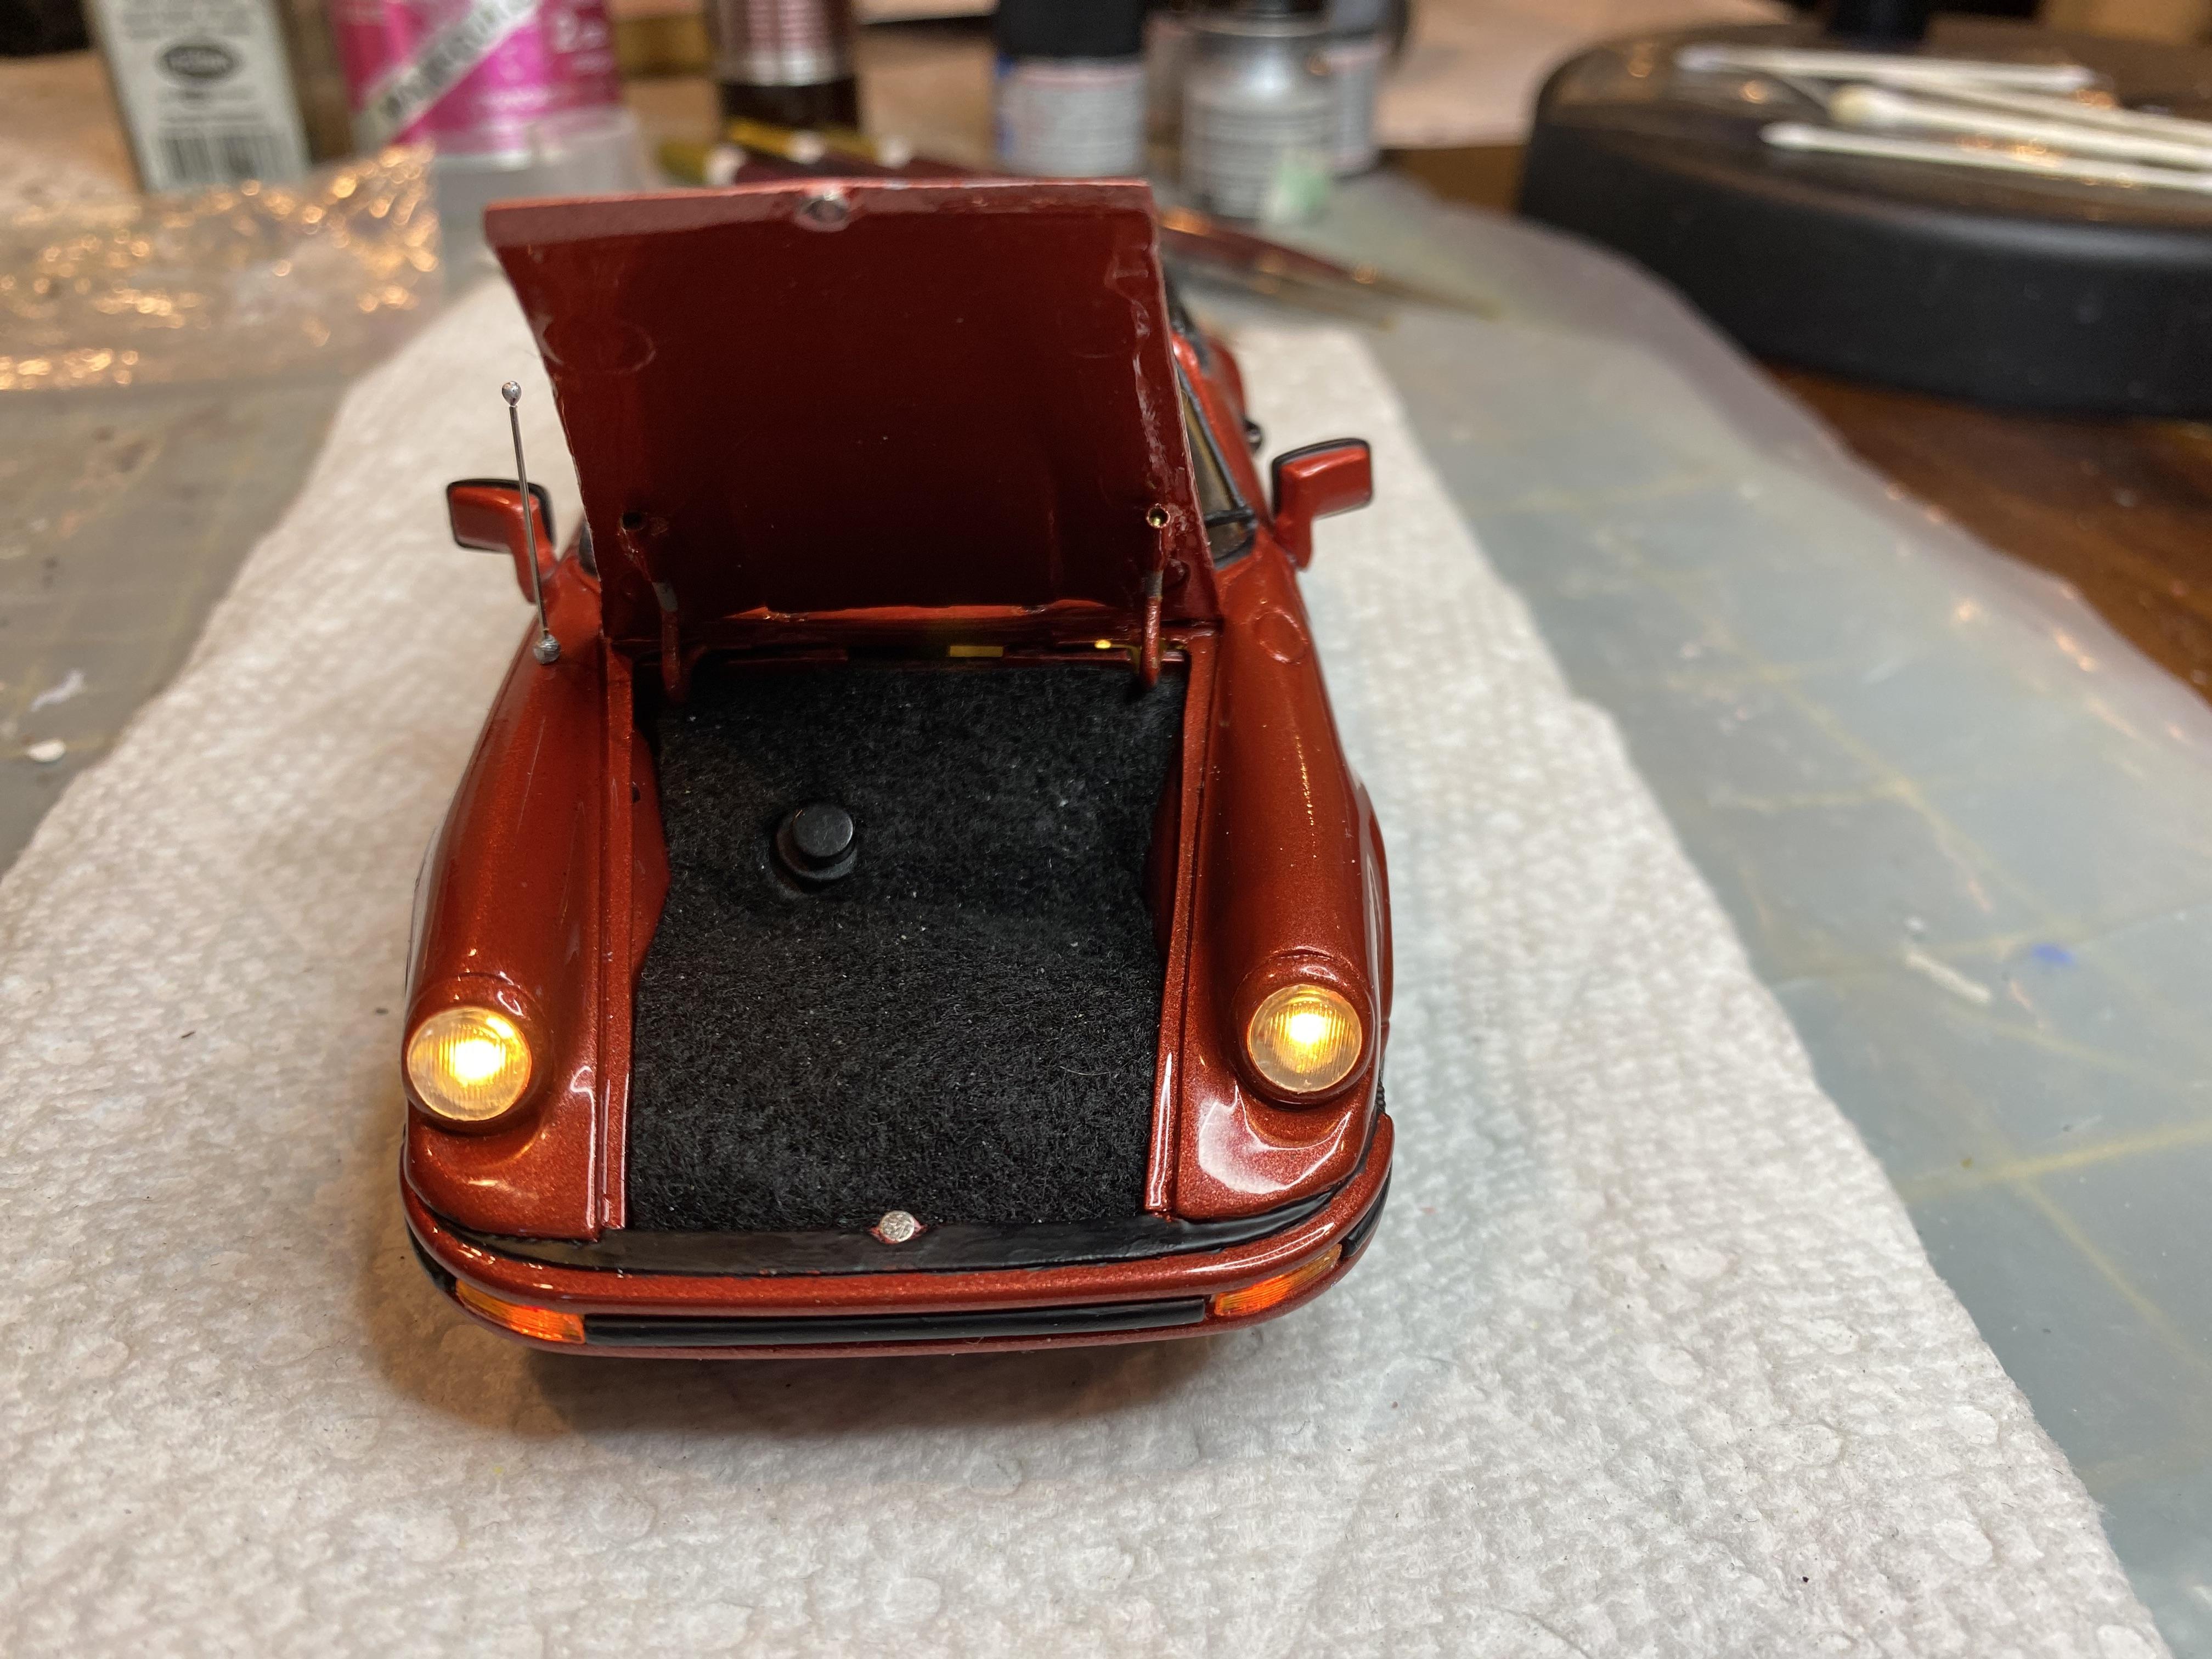
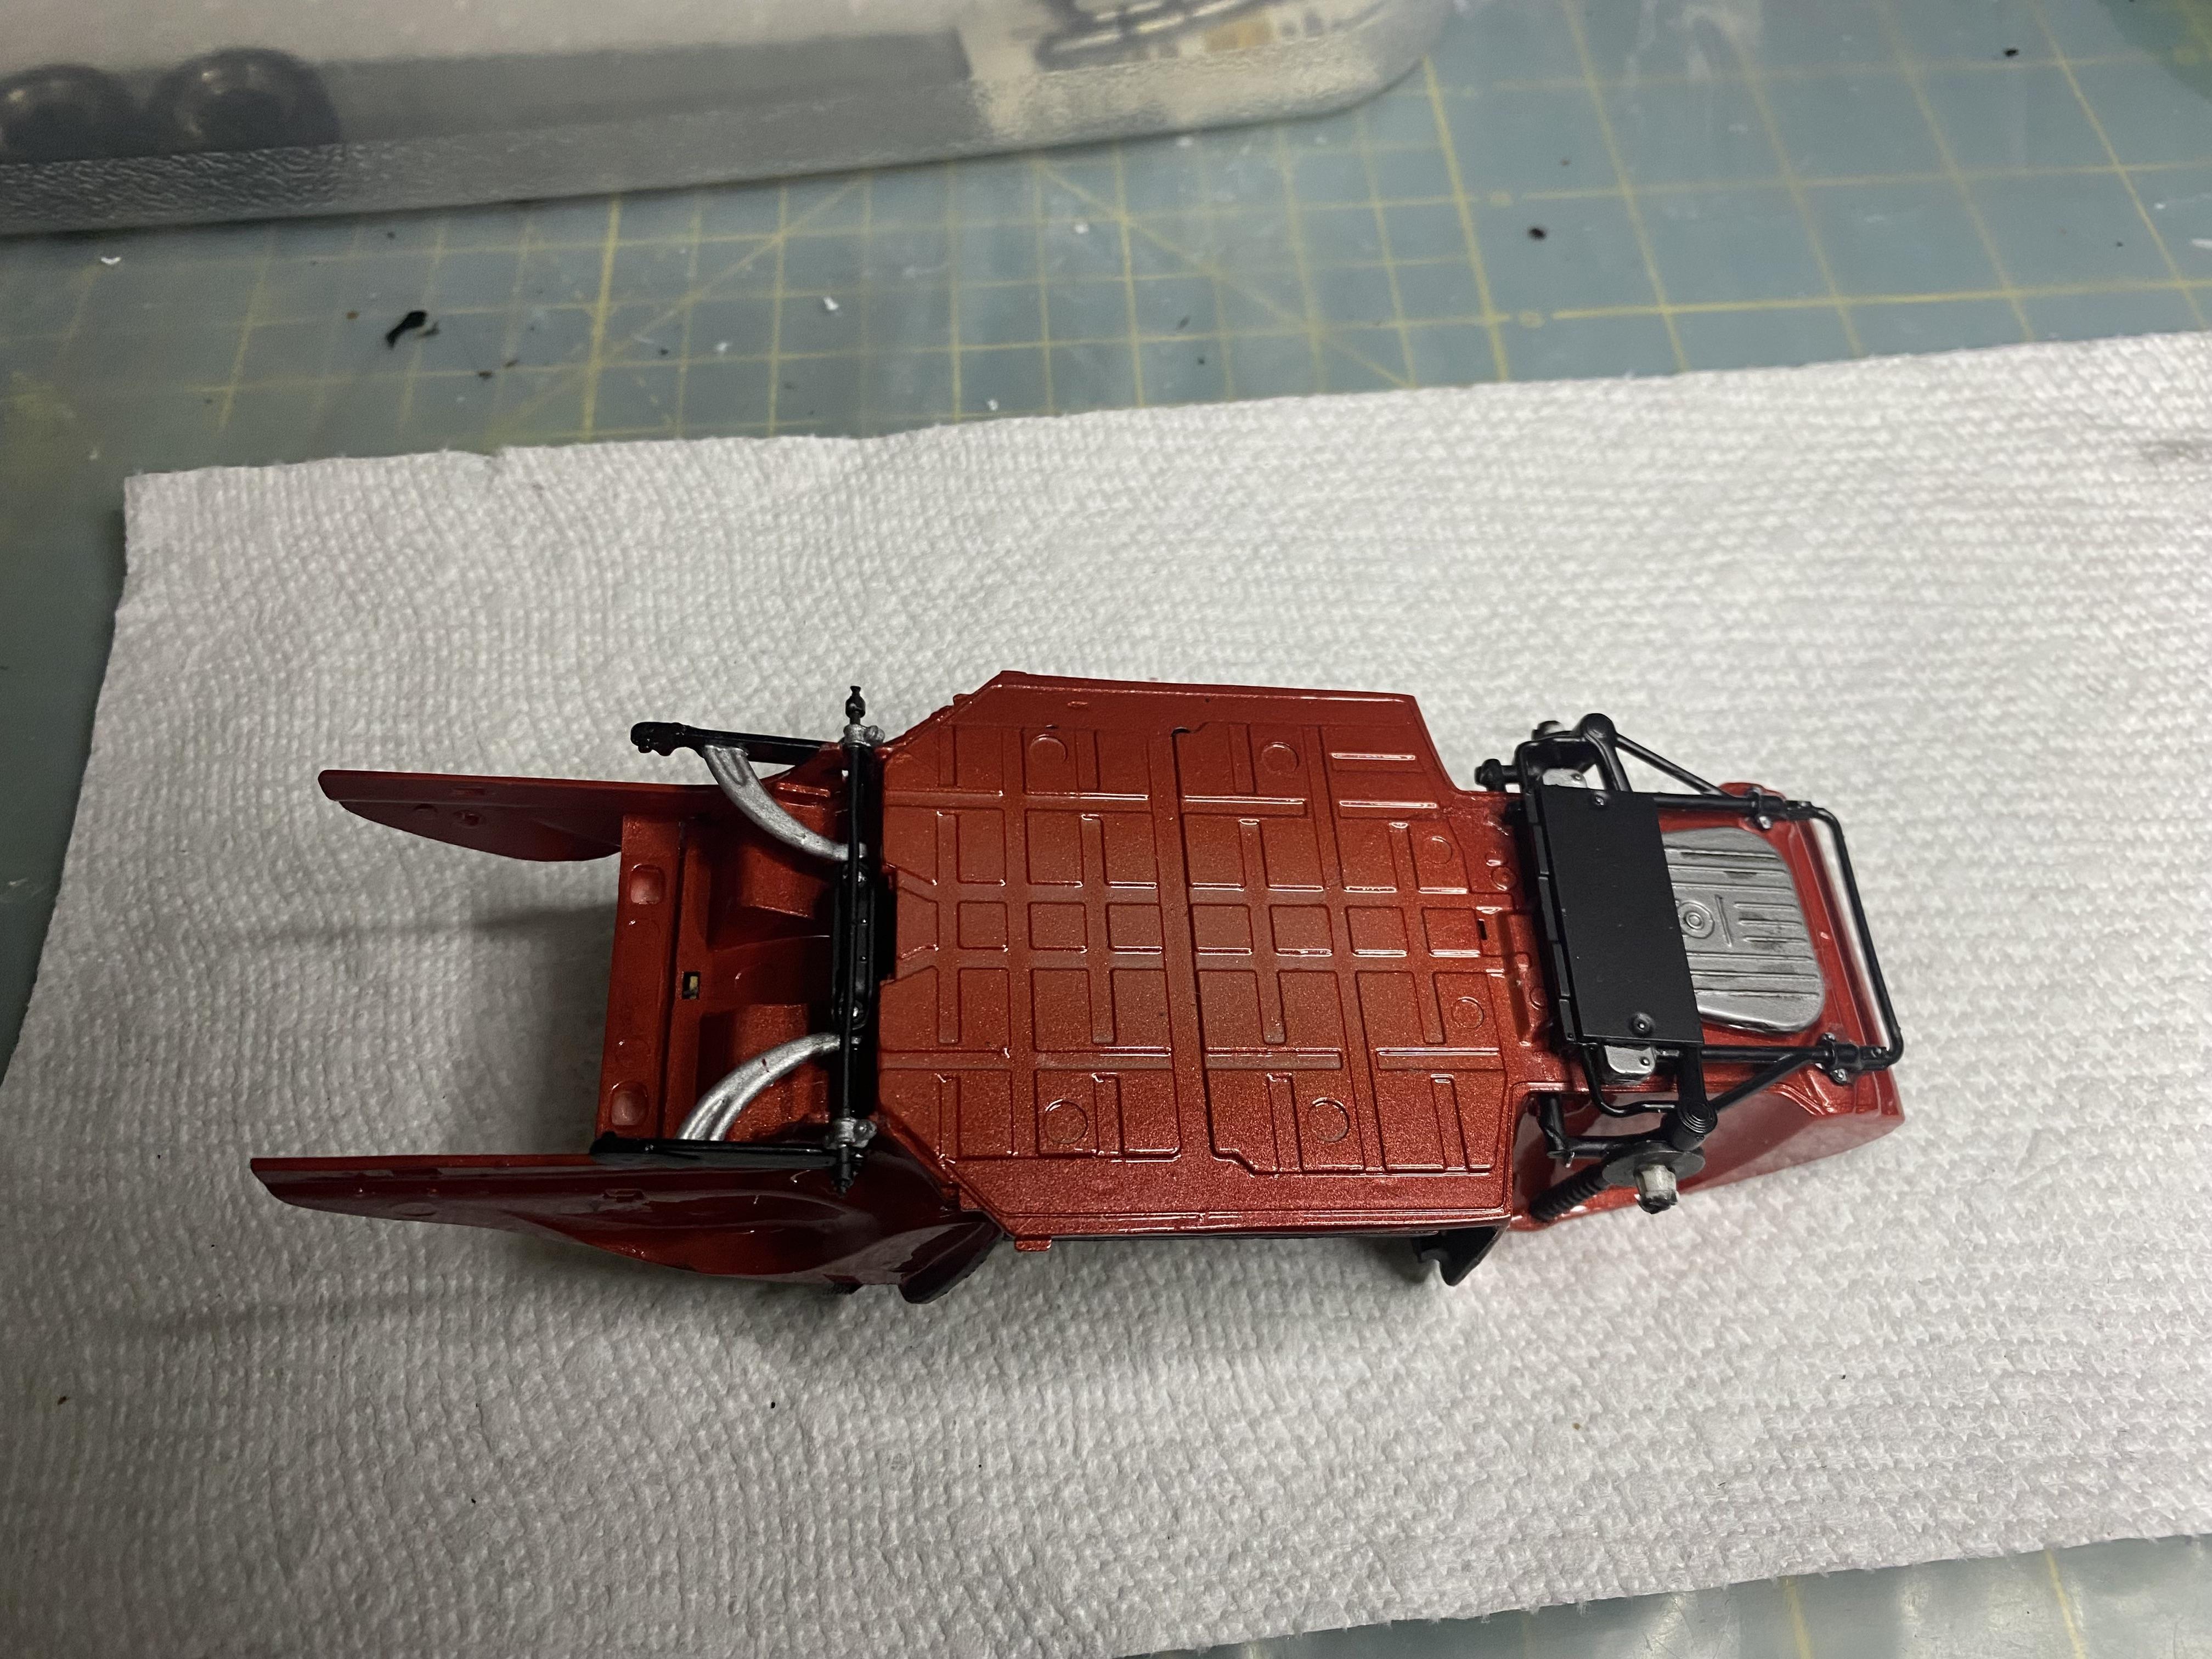
Thank you! Certainly takes a lot a mocking up. I created a set of headlight buckets resin mold then drill a 1.8mm center hole for the LED. Ends up looking like a filament in the bulb. A lot of older kits have chrome for the light I make resin mold and recreate out of UV clear resin. The hardest part is making headlight door work for cars like cougars and corvettes. This car was actually one of the more simple. Luckily the real car has tubes that run each side of the floor I could make the LED wiring emulate.
-
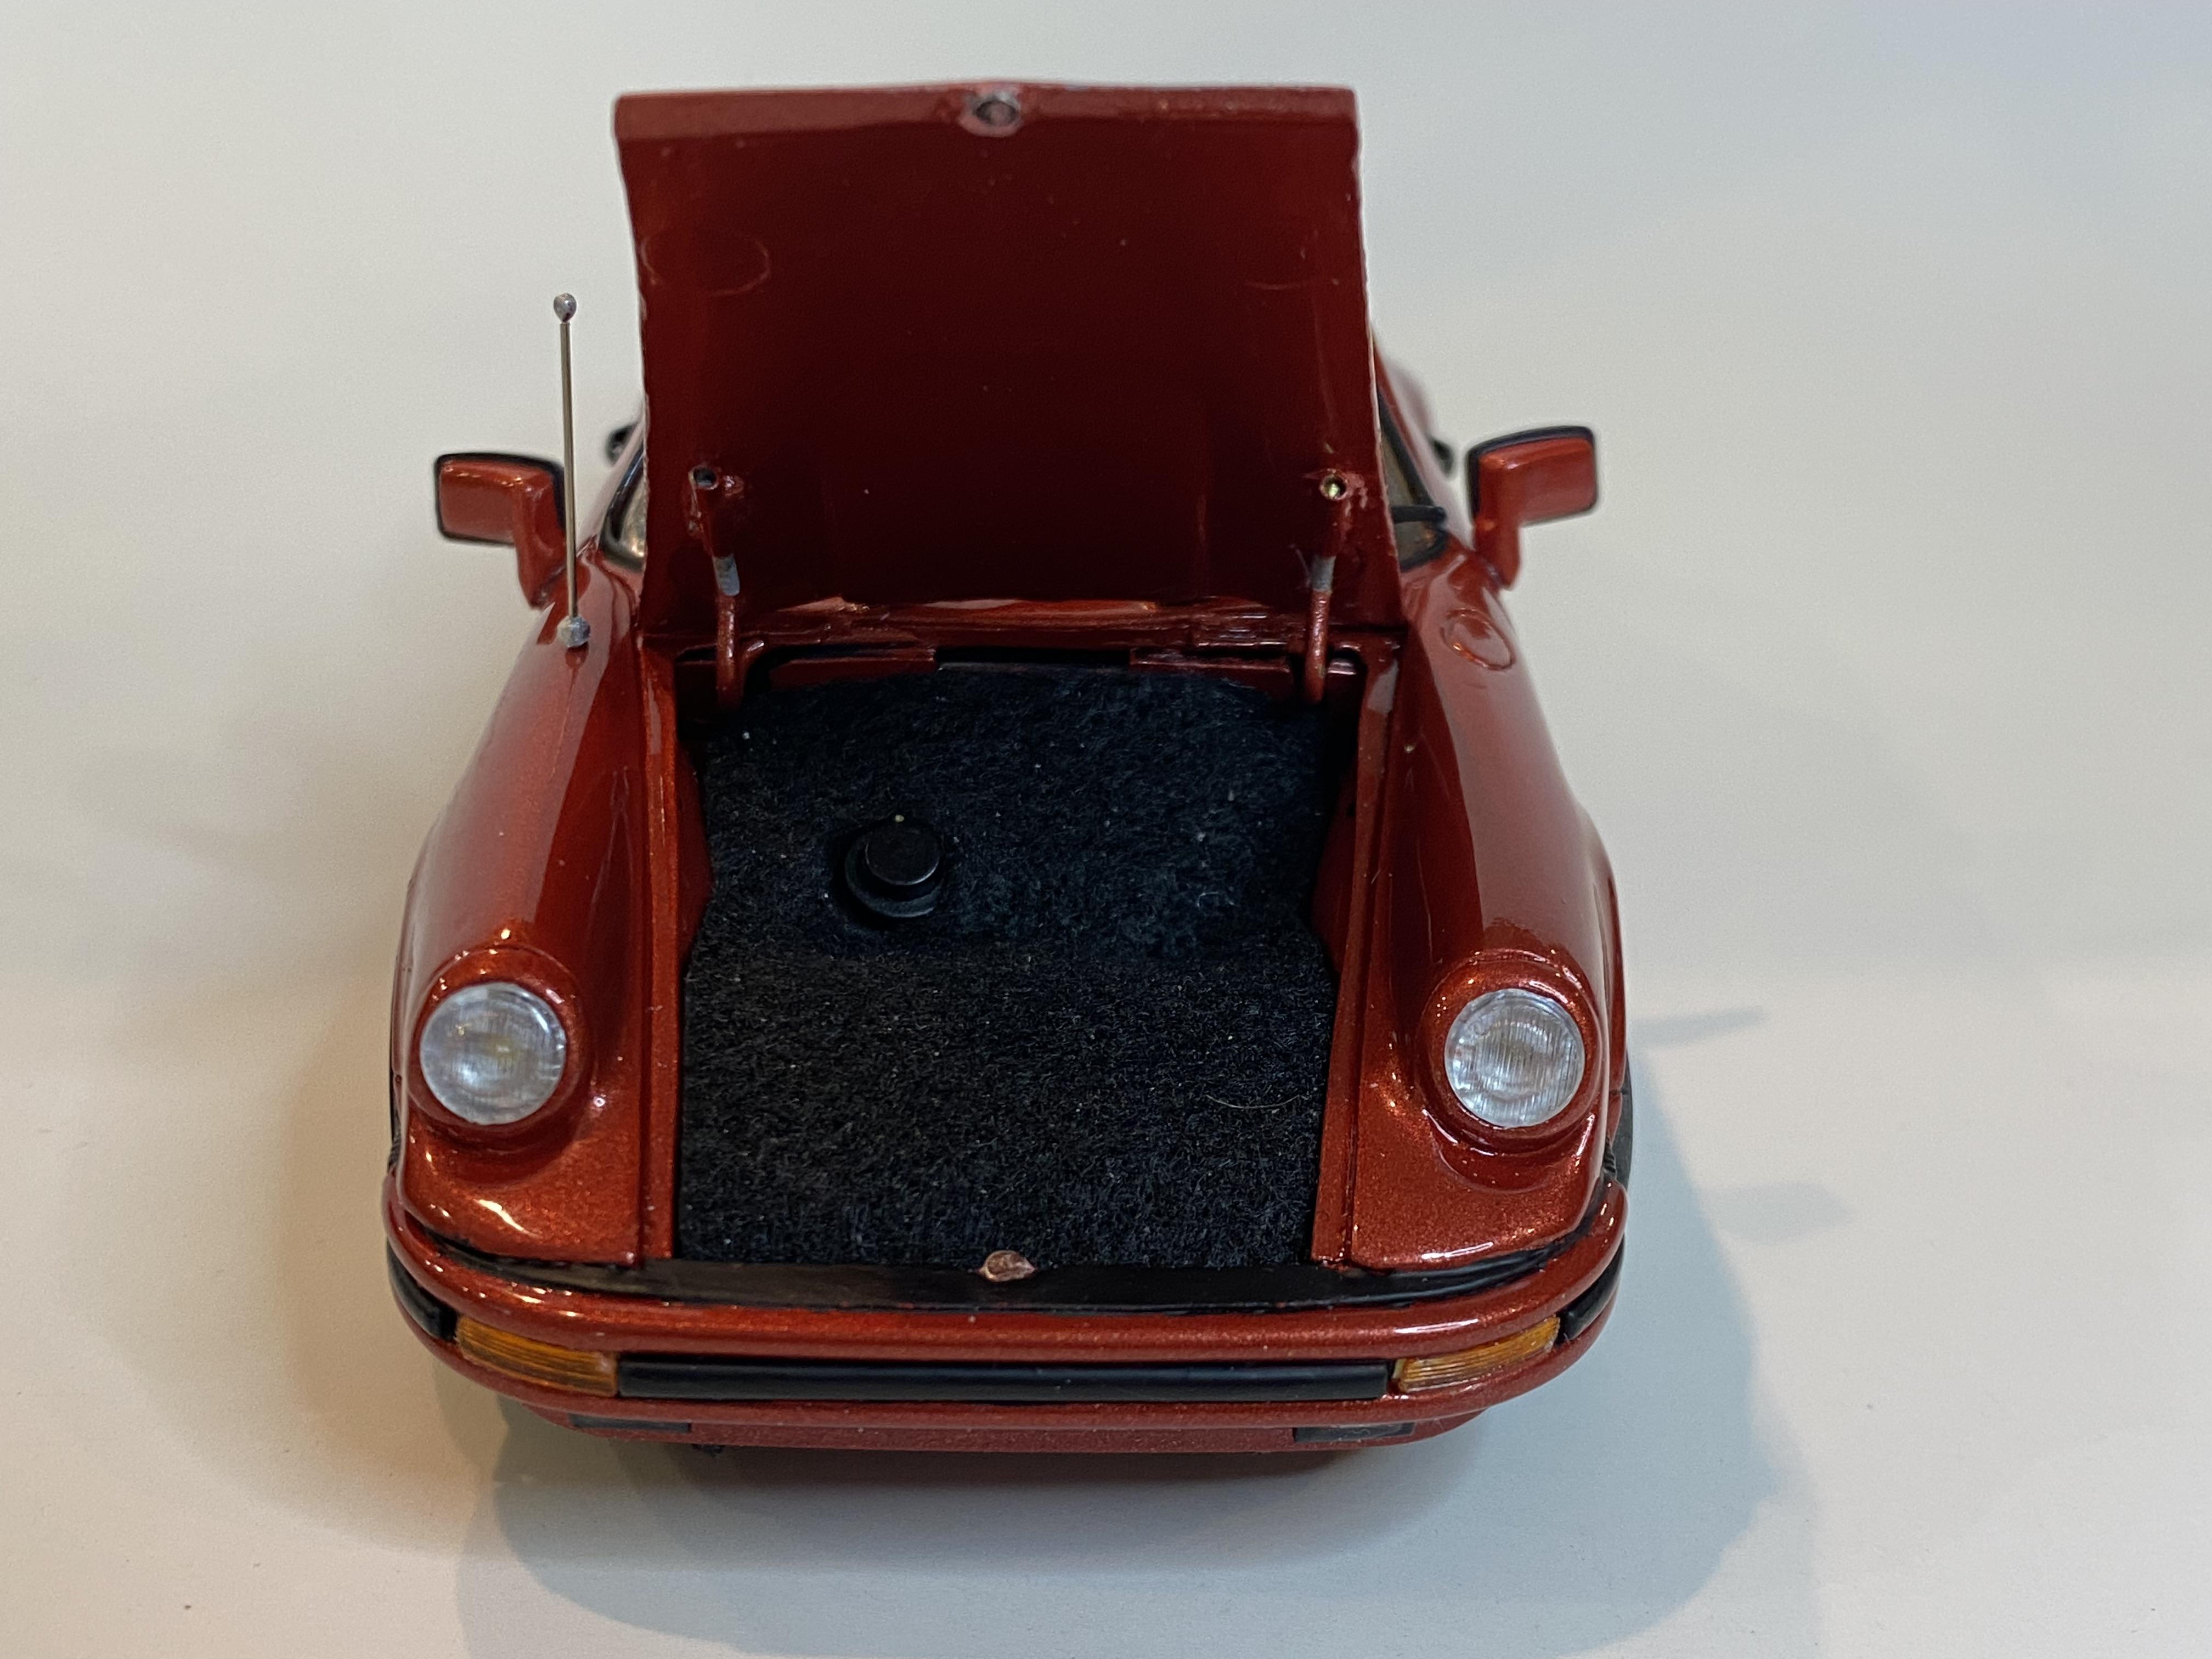
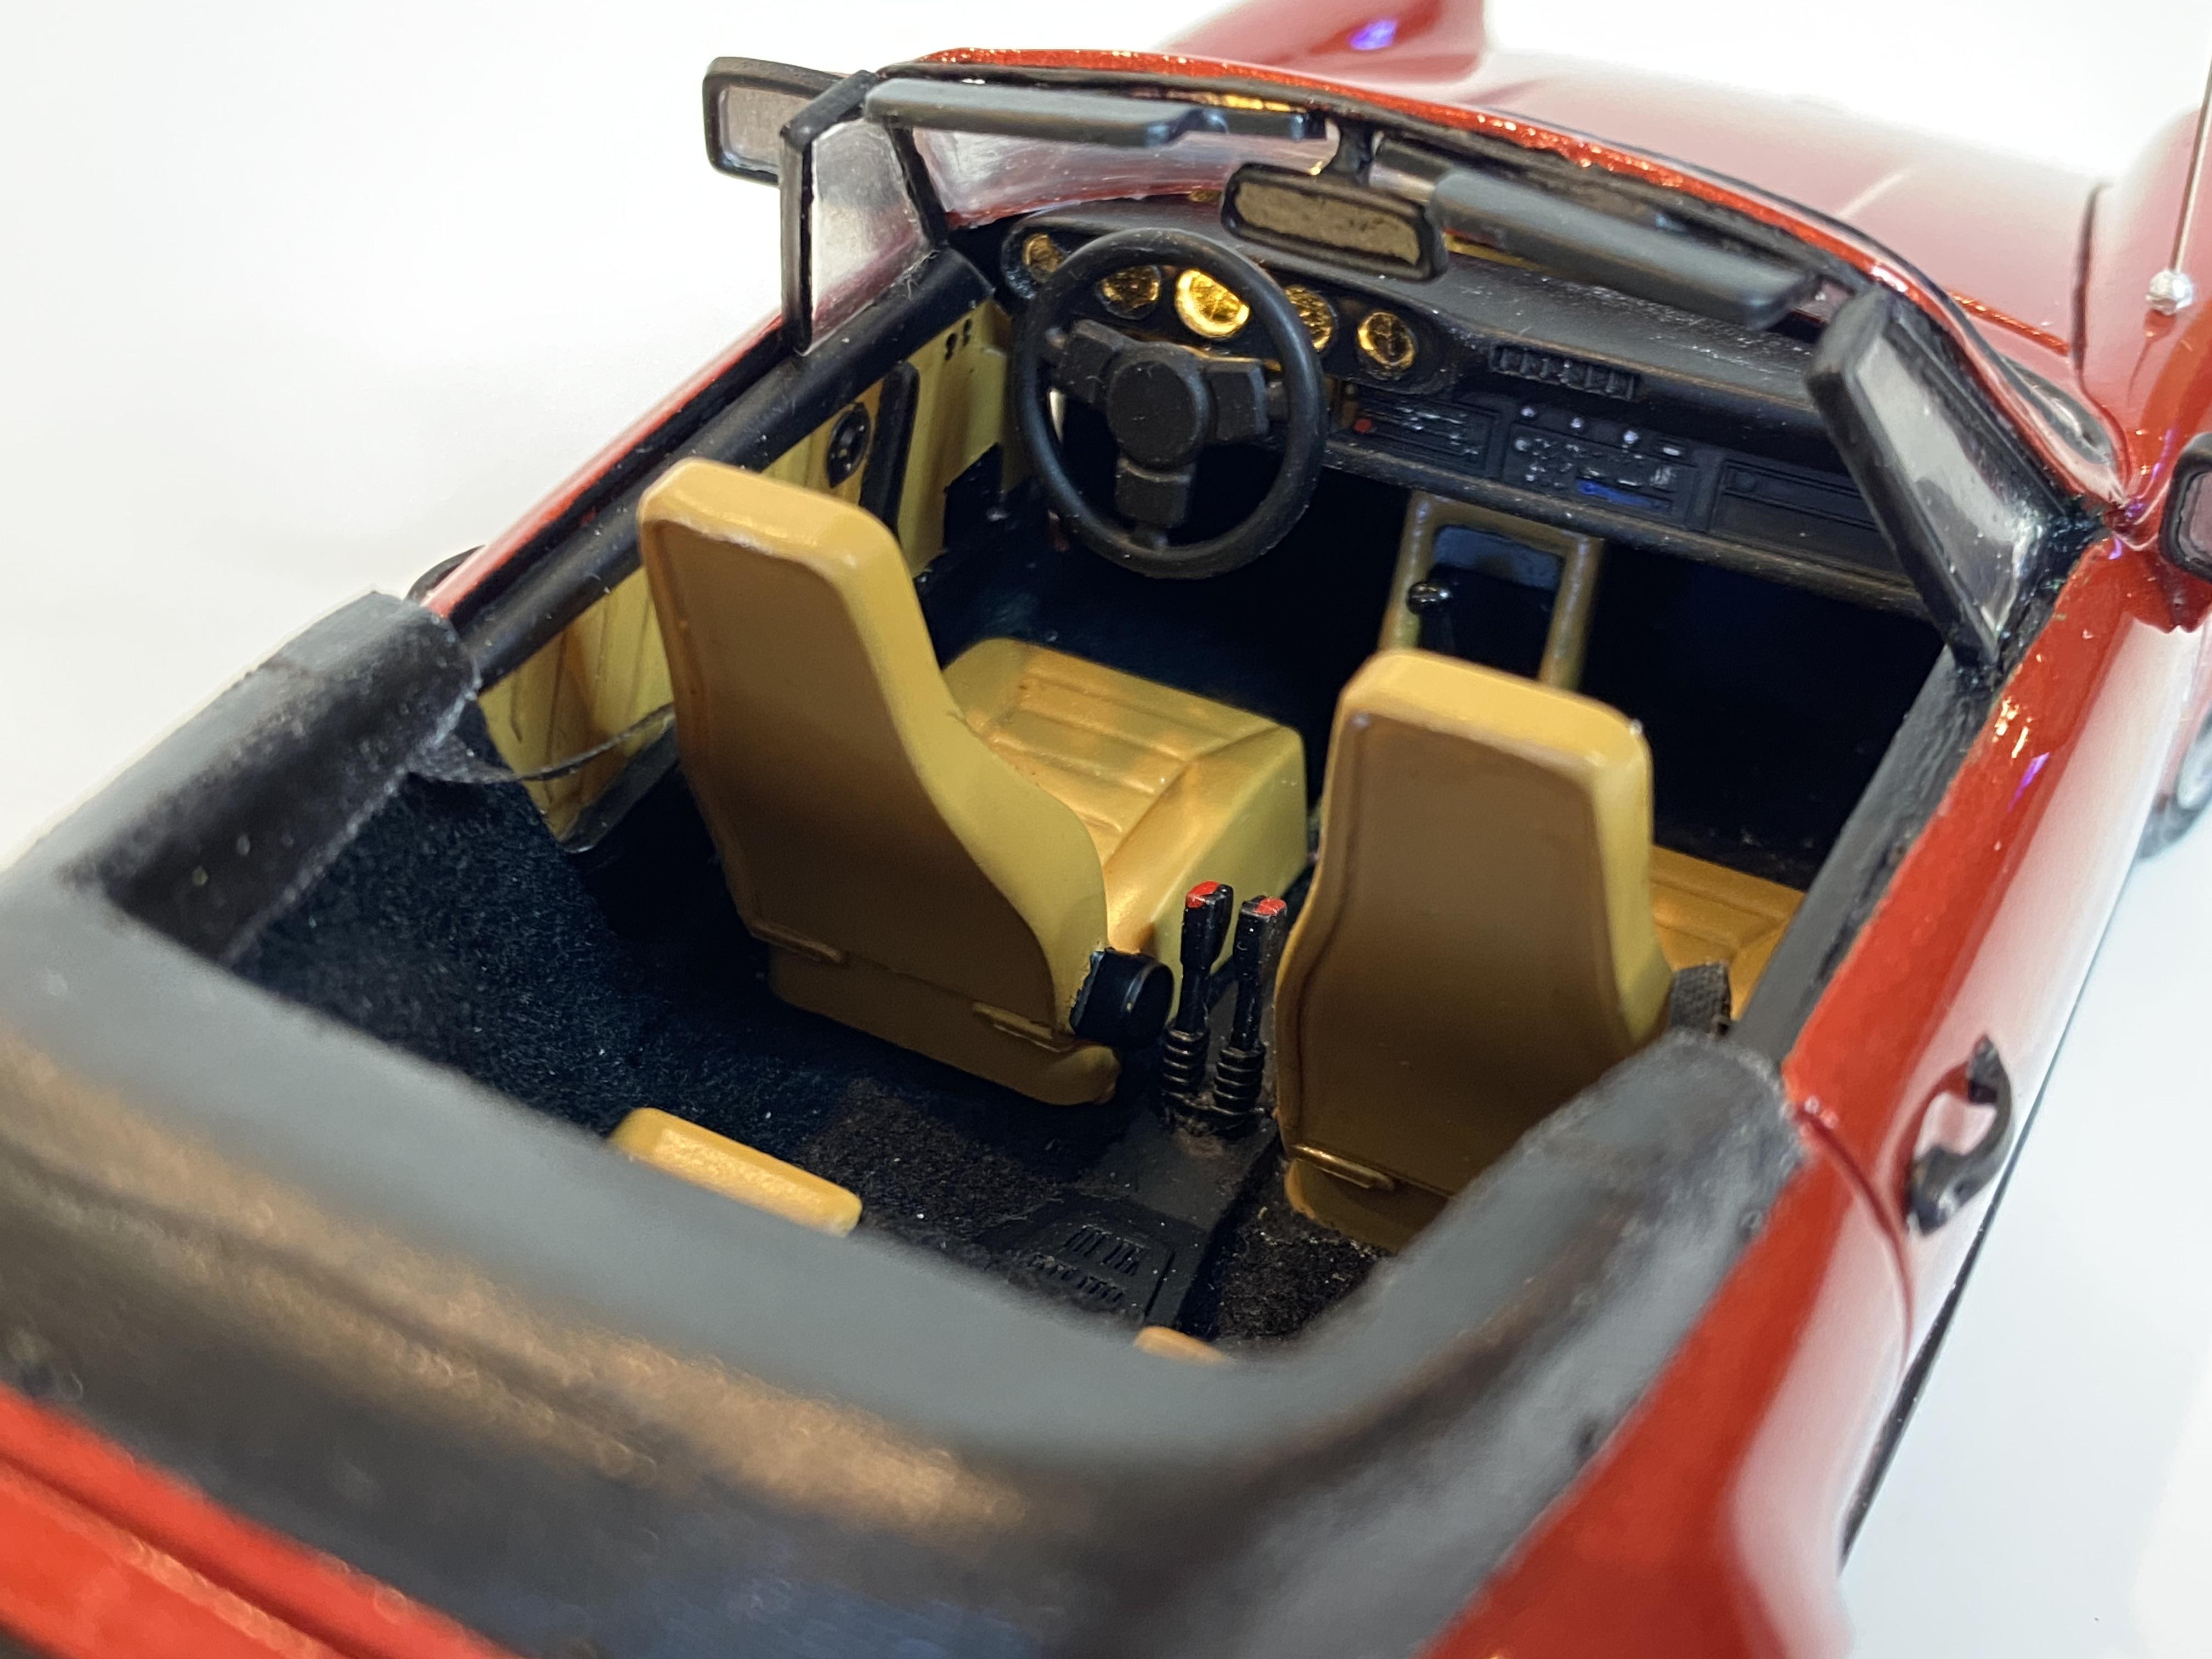
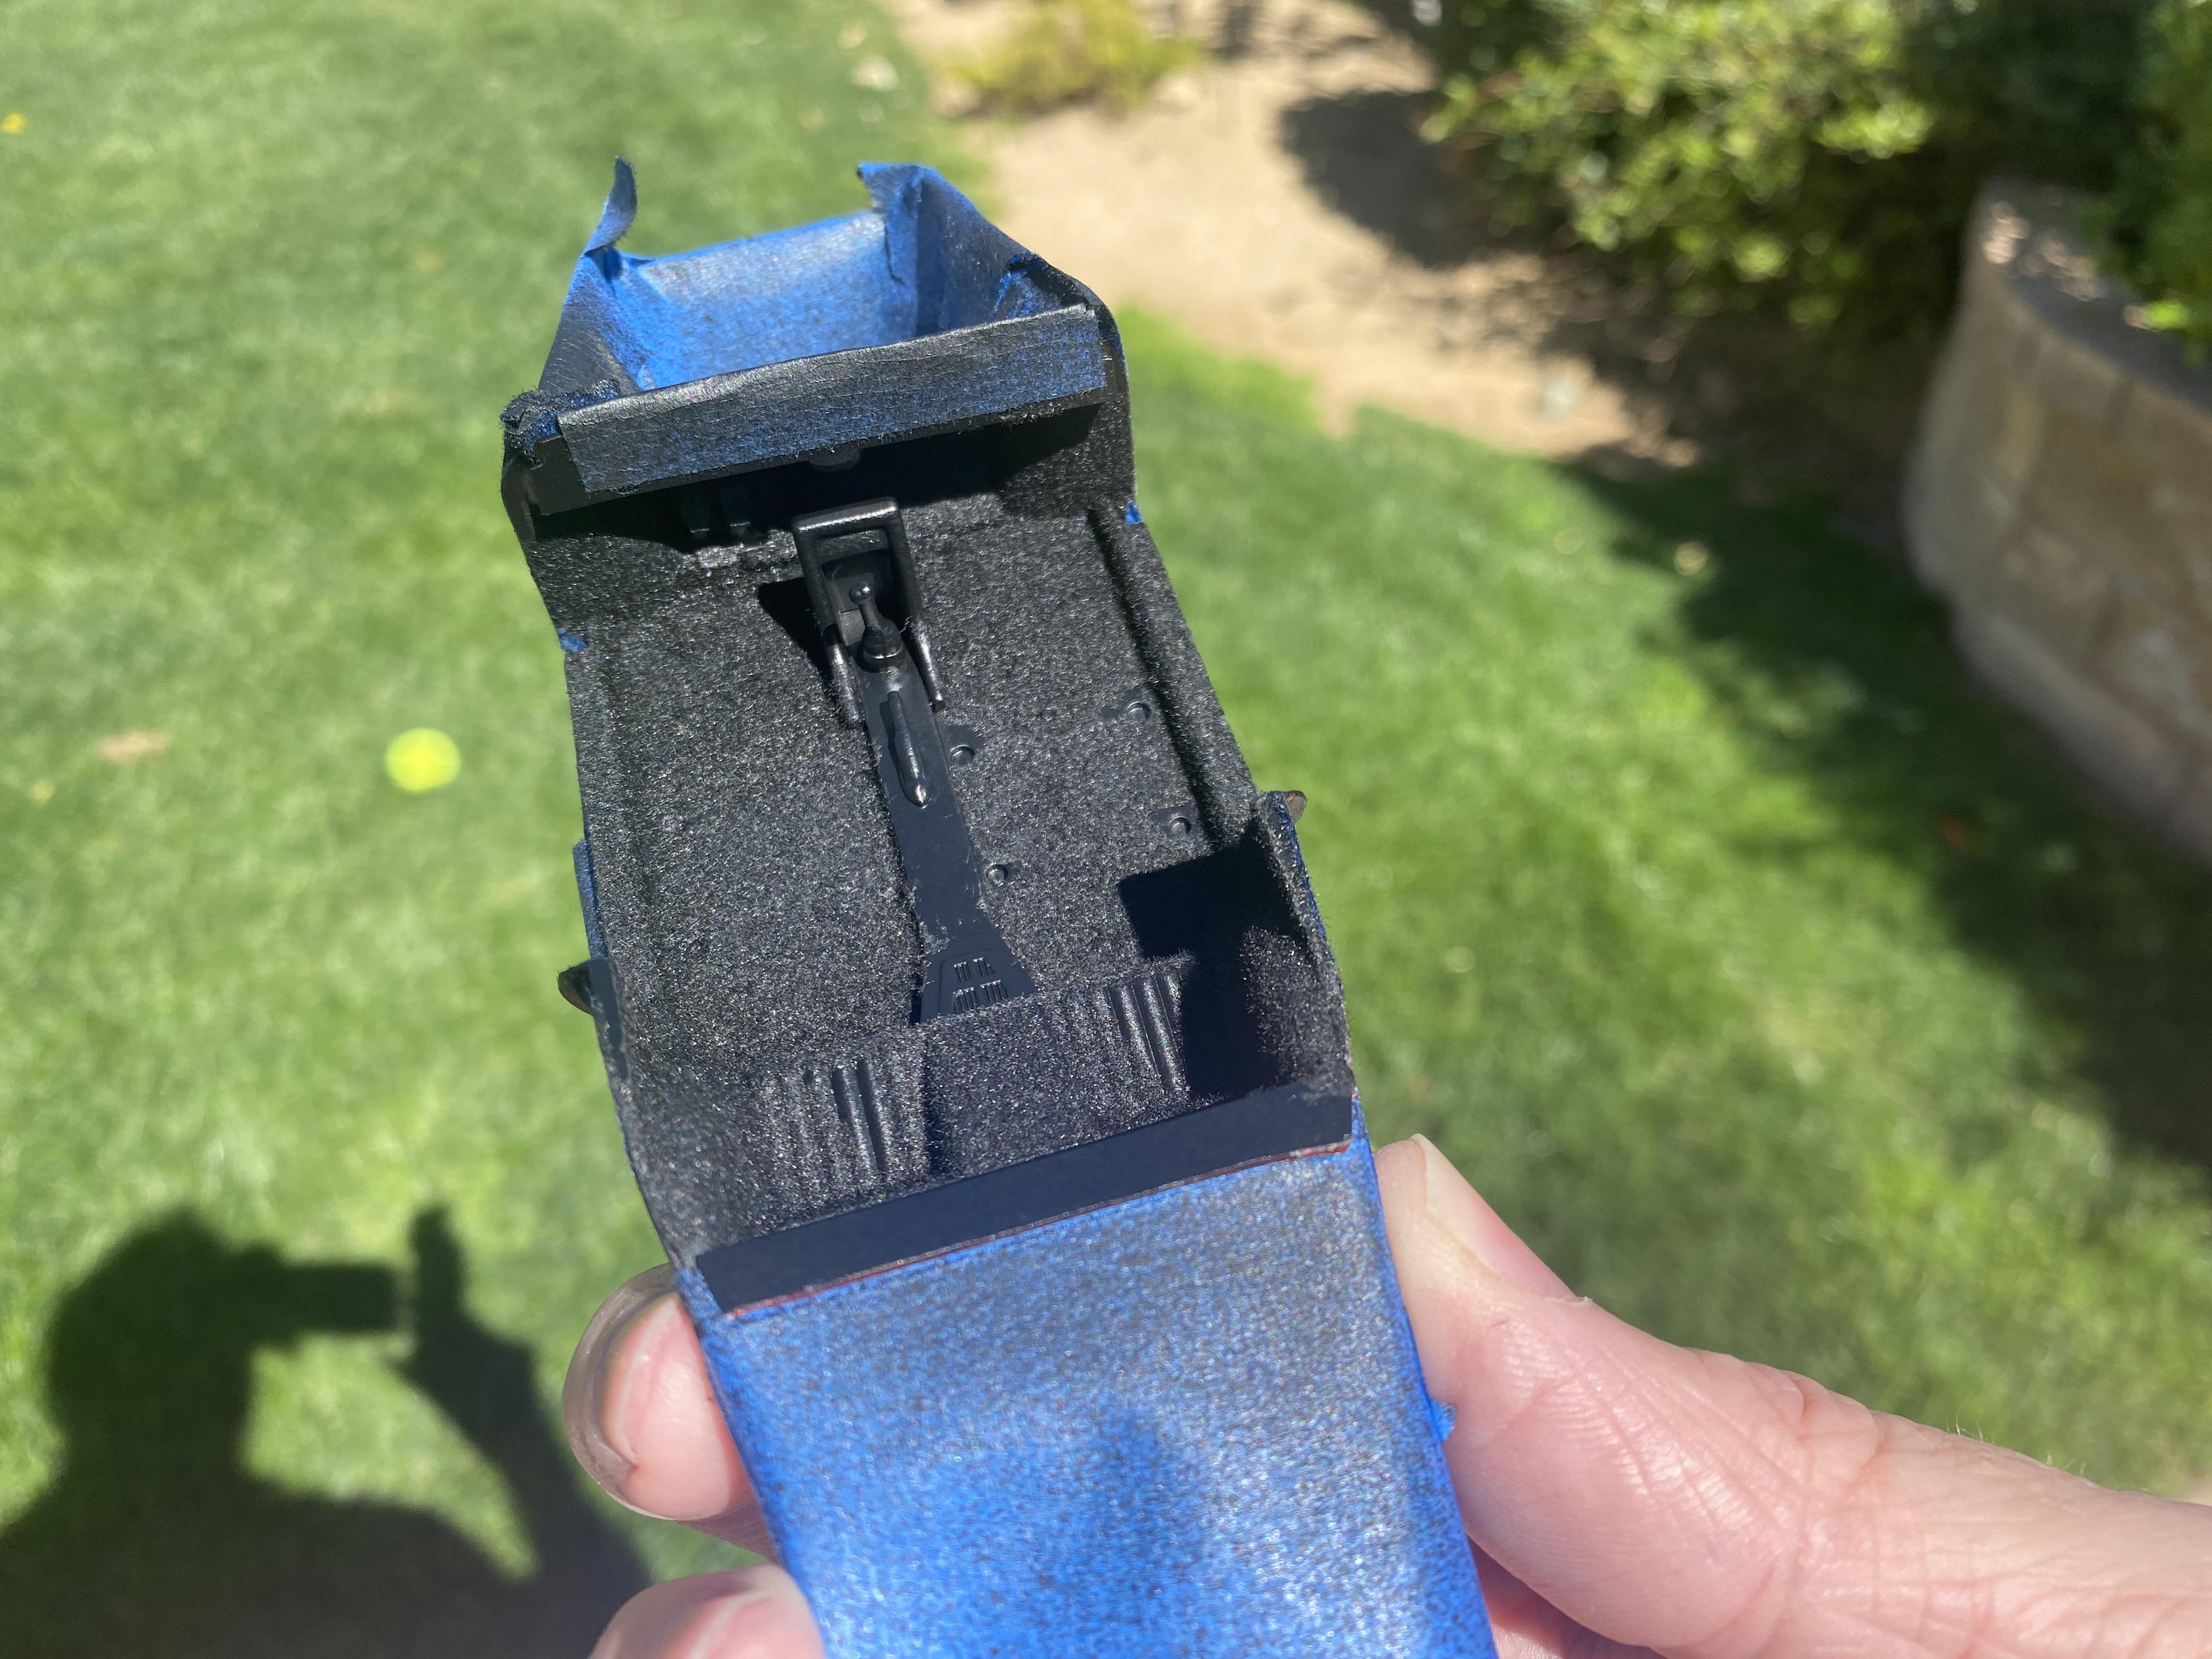
Final assembly well under way. I should be able to finish and take pictures of the build for underglass tomorrow. Body and chassis joined. This was much more of a pain then expected because of the door panels that attach into the body first. LEDs installed to chassis first too. Engine compartment detailed and wiring hooked up in the trunk. Felt trunk liner created. wheels did not fit at all, they sat too high and the rears stuck halfway out of the fenders. Took a lot of modifying to fit. Front suspension still poseable.
-
Thank you! Thank you! Shouldn’t be too long now.
-
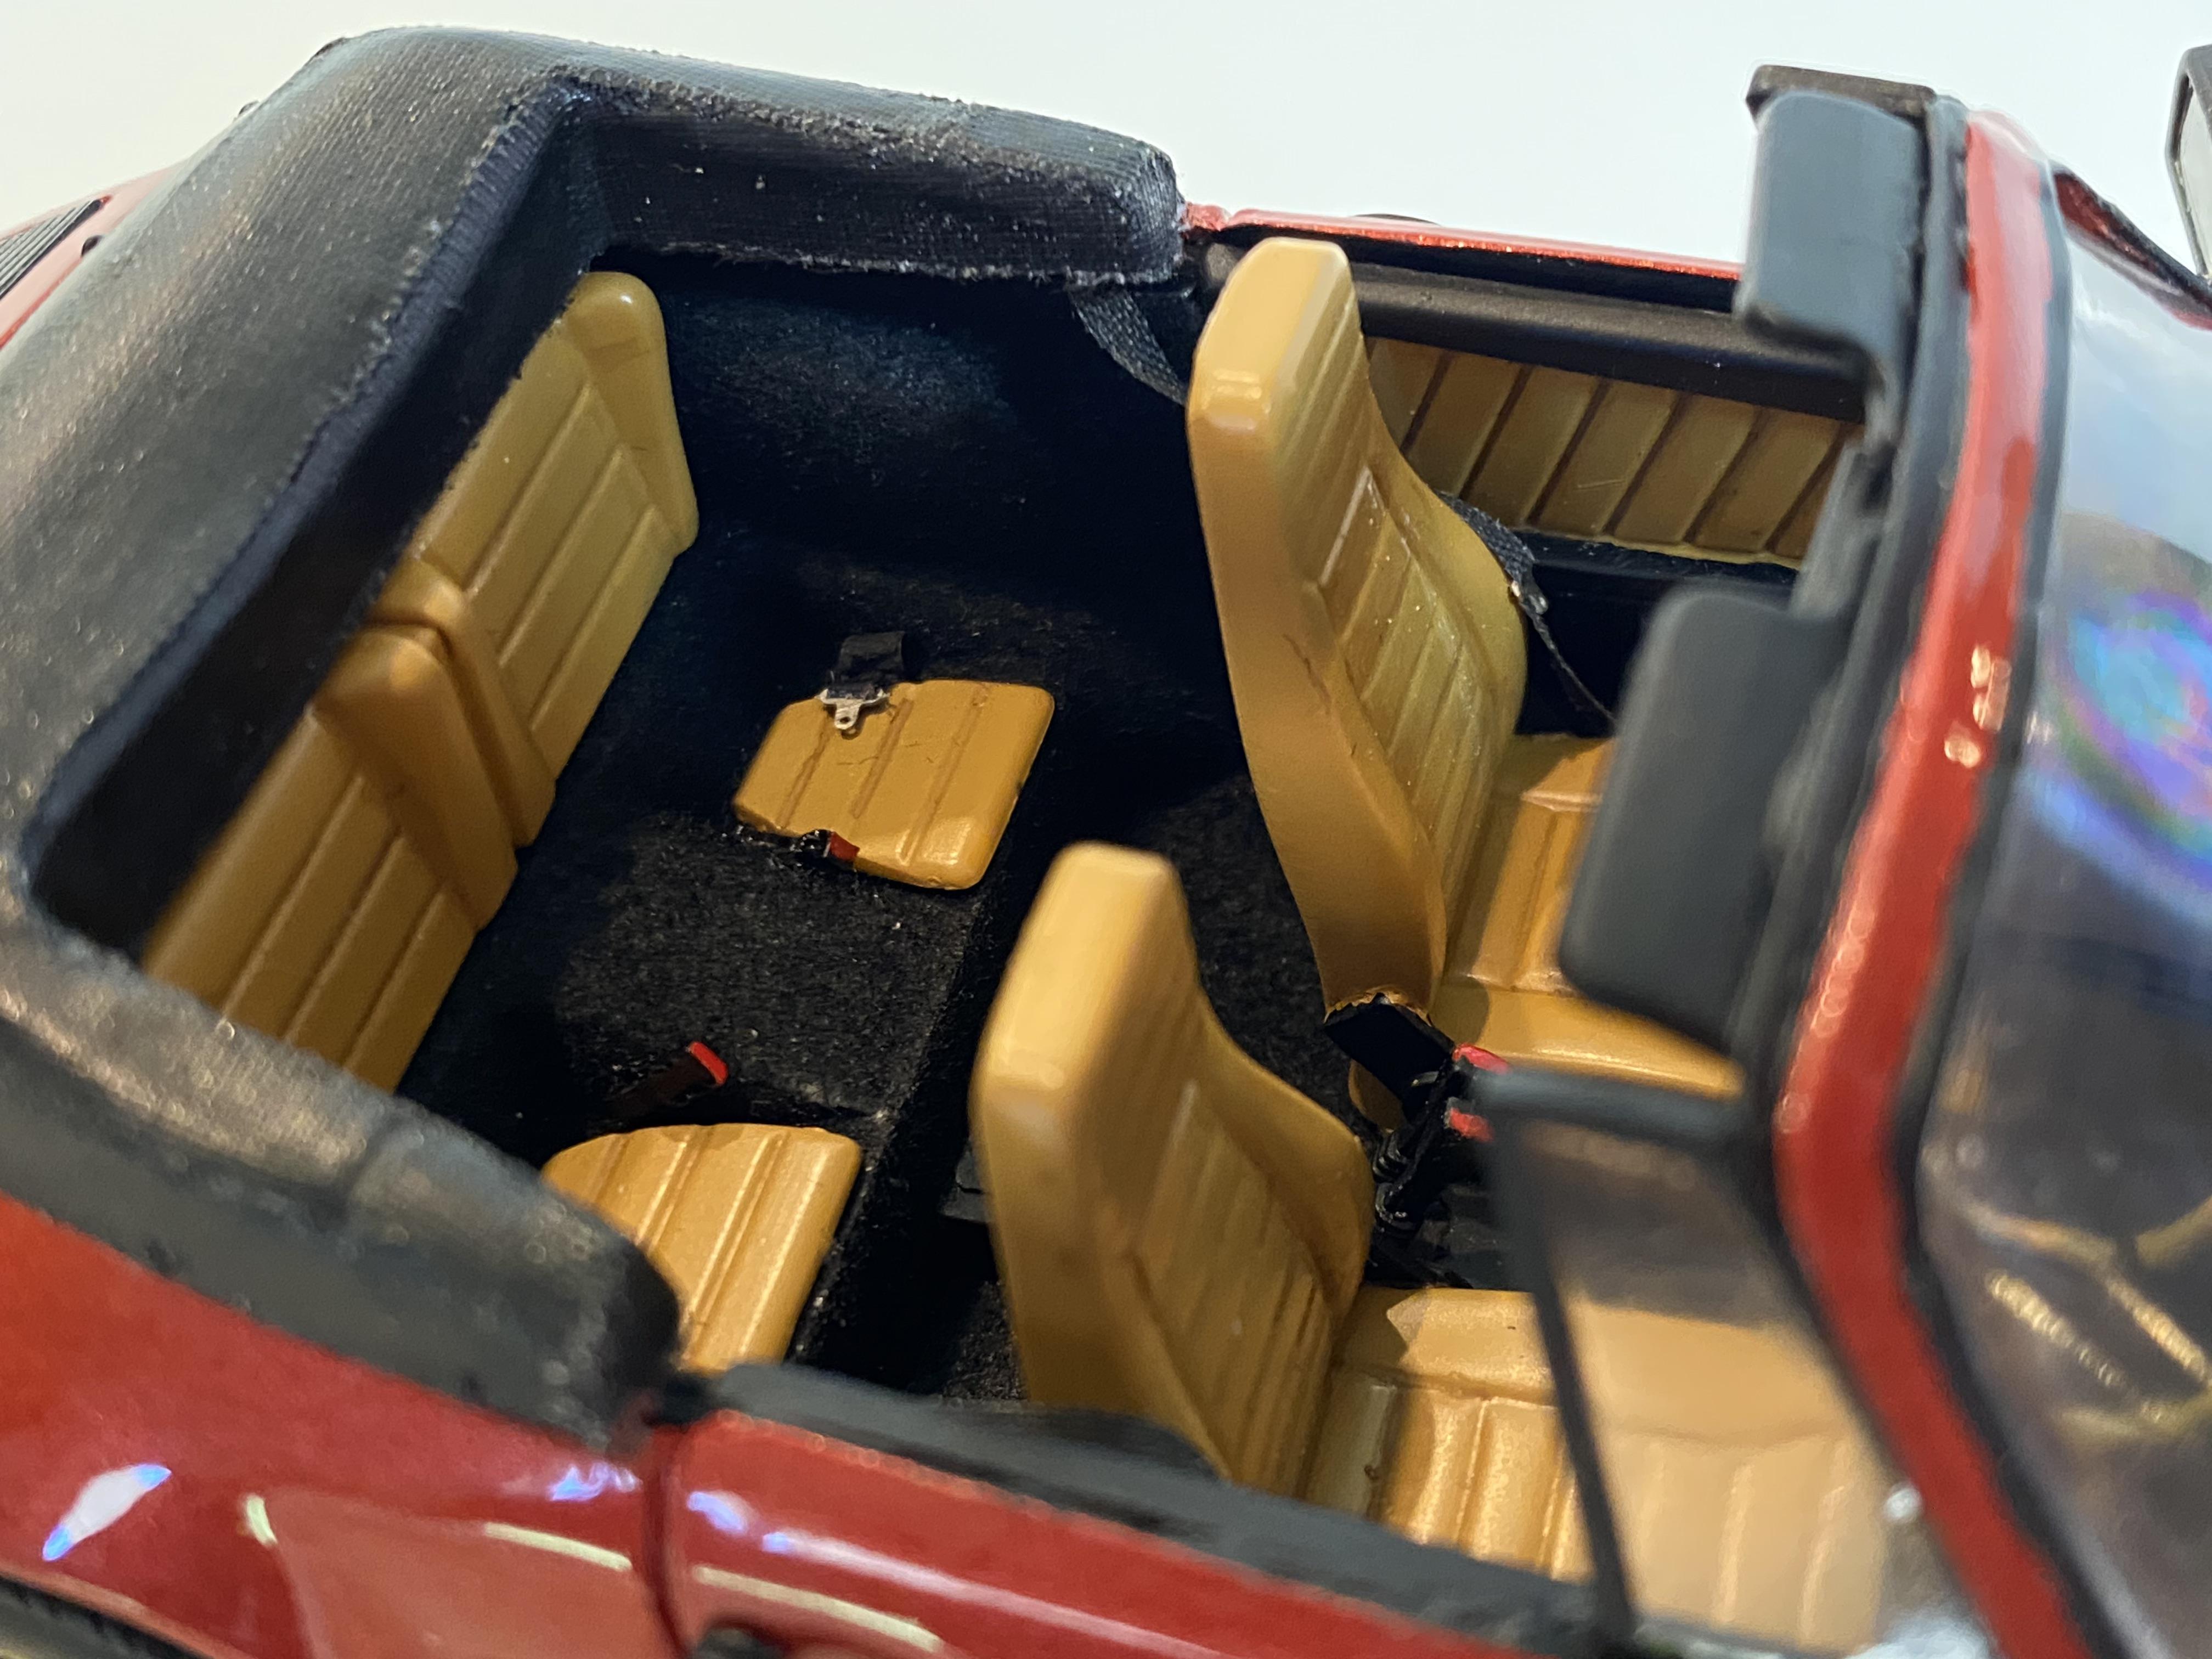
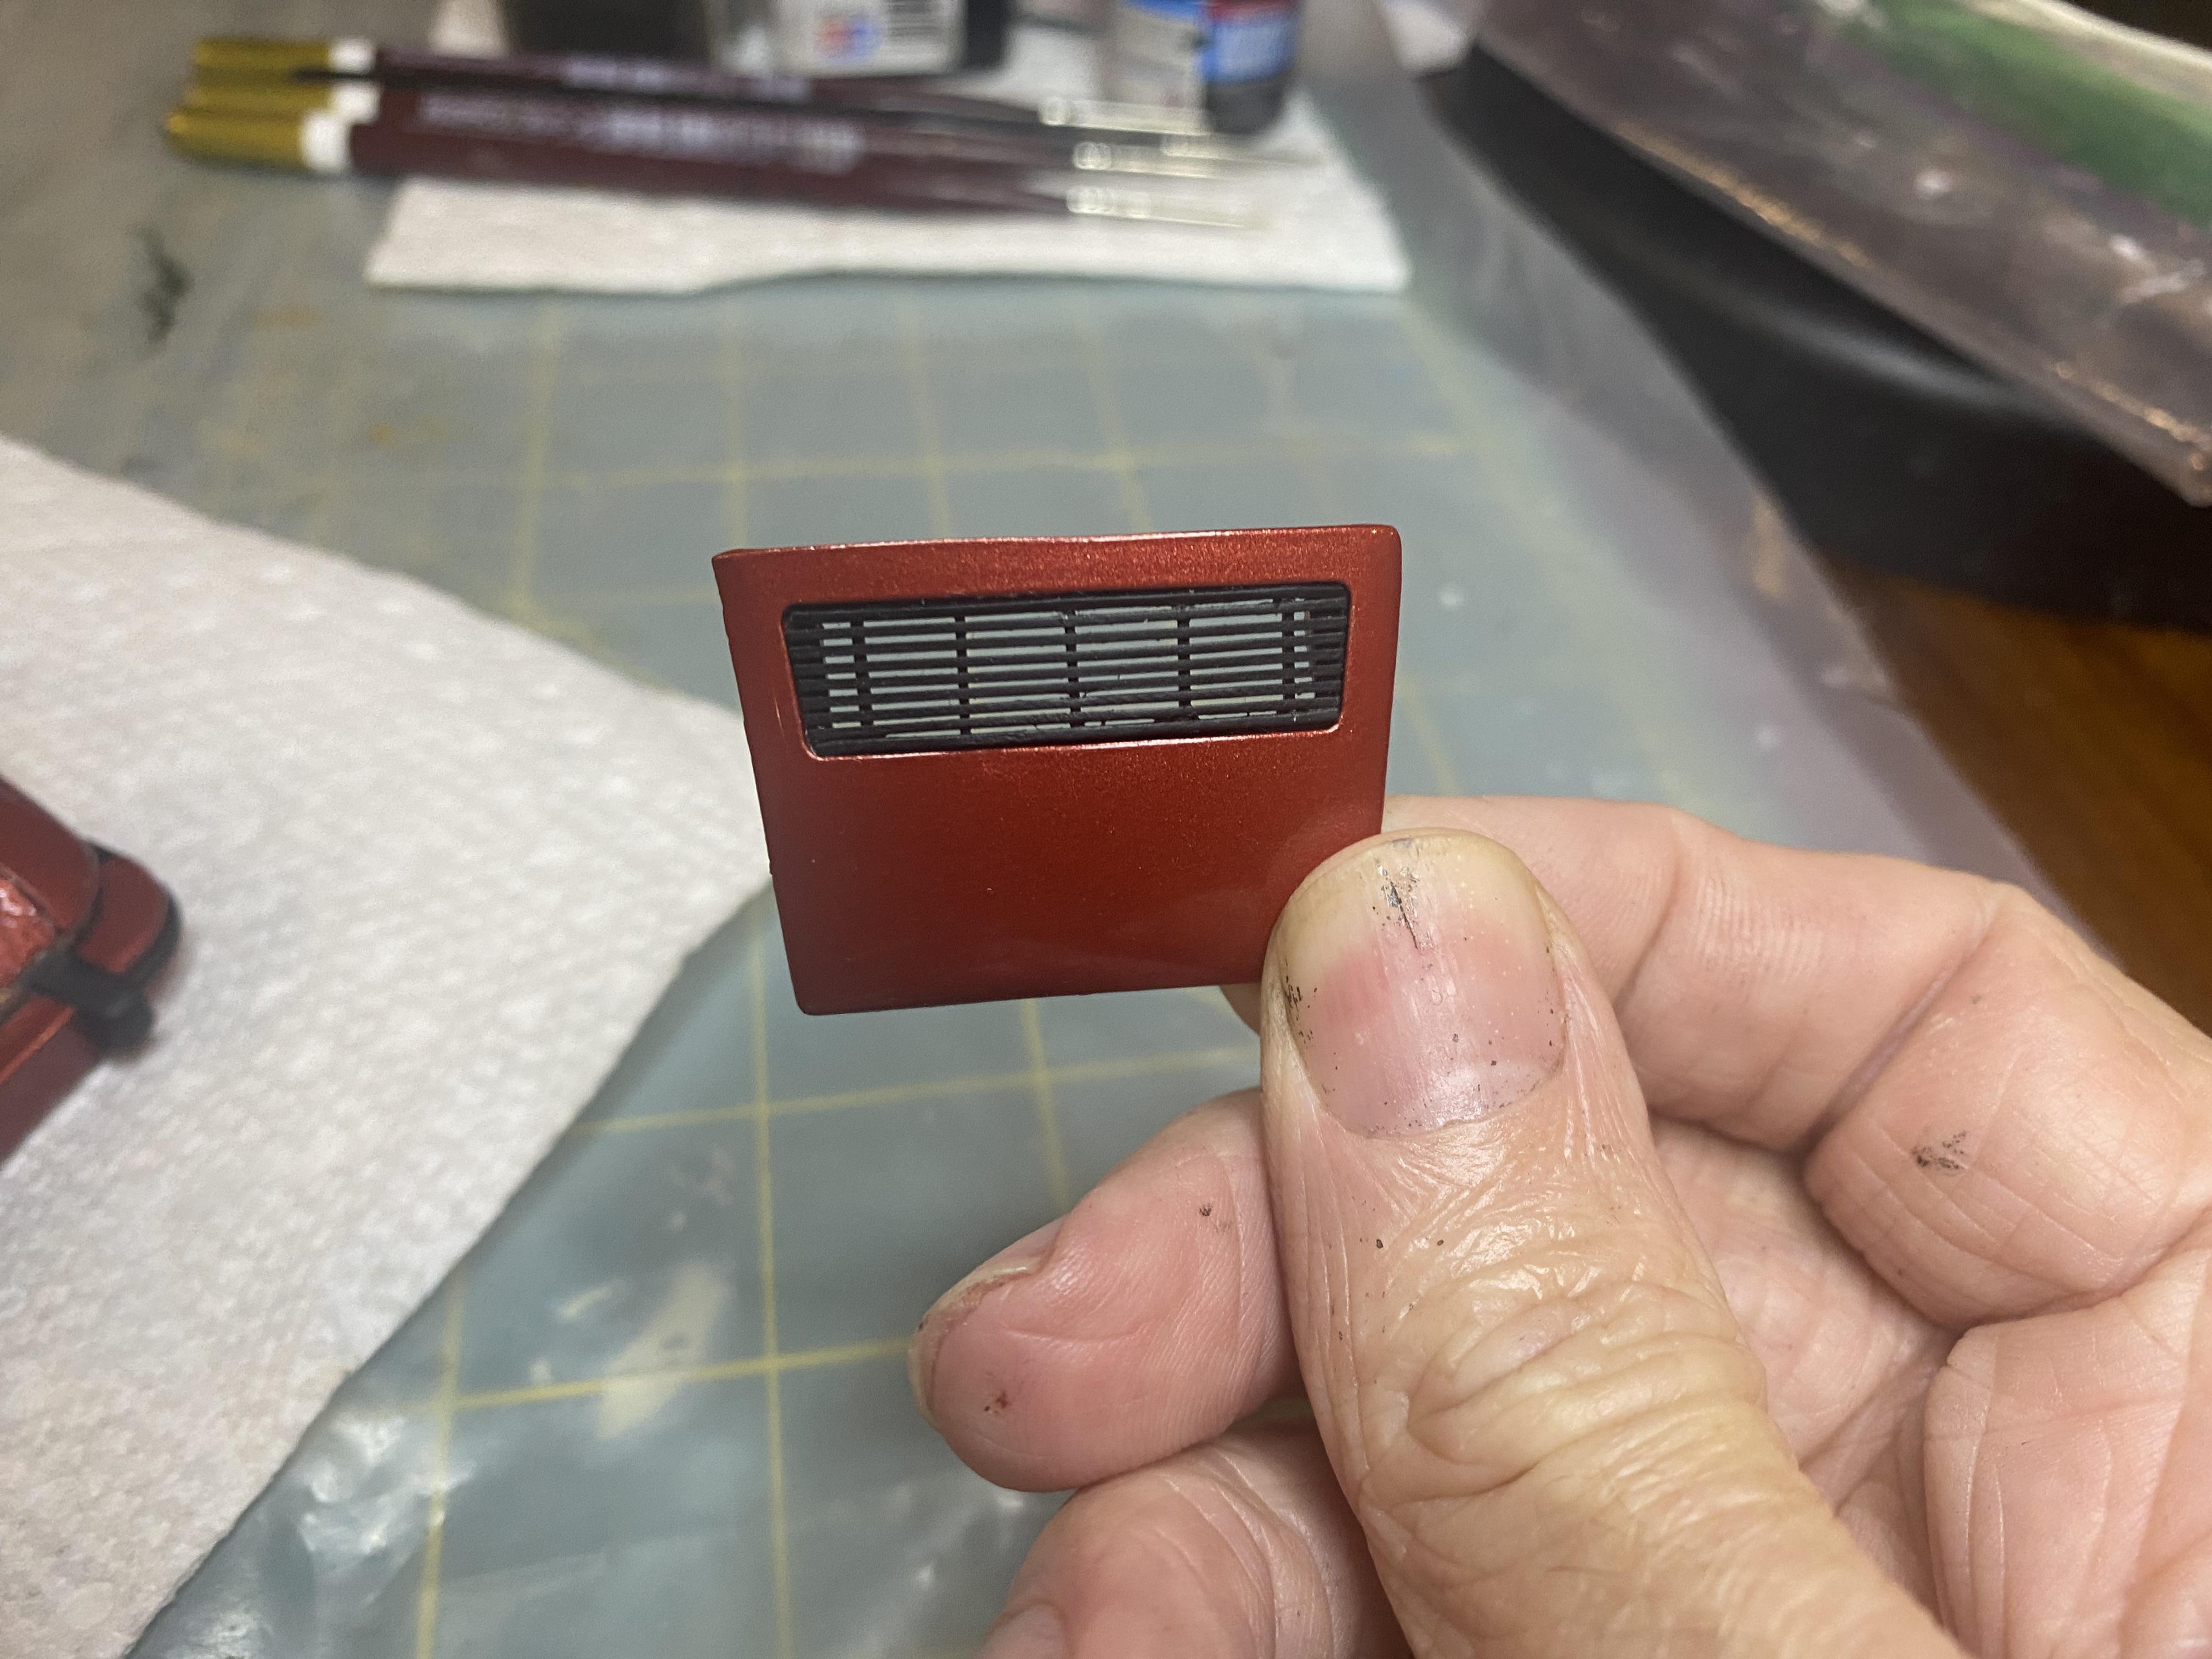
A little more work on the 1984 Porsche Cabriolet. Carpet flocking in the interior, installed much of the interior, added seatbelts. Added some chassis details from the newer kit of parts, steering was made poseable. Added the scratch built rear vent. Finished the painting and now ready to move on to final assembly.


until