Duddly01
-
Posts
1,048 -
Joined
-
Last visited
Content Type
Profiles
Forums
Events
Gallery
Everything posted by Duddly01
-
Absolutely amazing build!
-
Just checked my mail...still not here yet in SoCal.
-
That is some amazing work. I love how well the 57 Dodge printed.
-
Sorry, it really isn't worth selling. most of the work was after casting with a lot of scratch building.

-
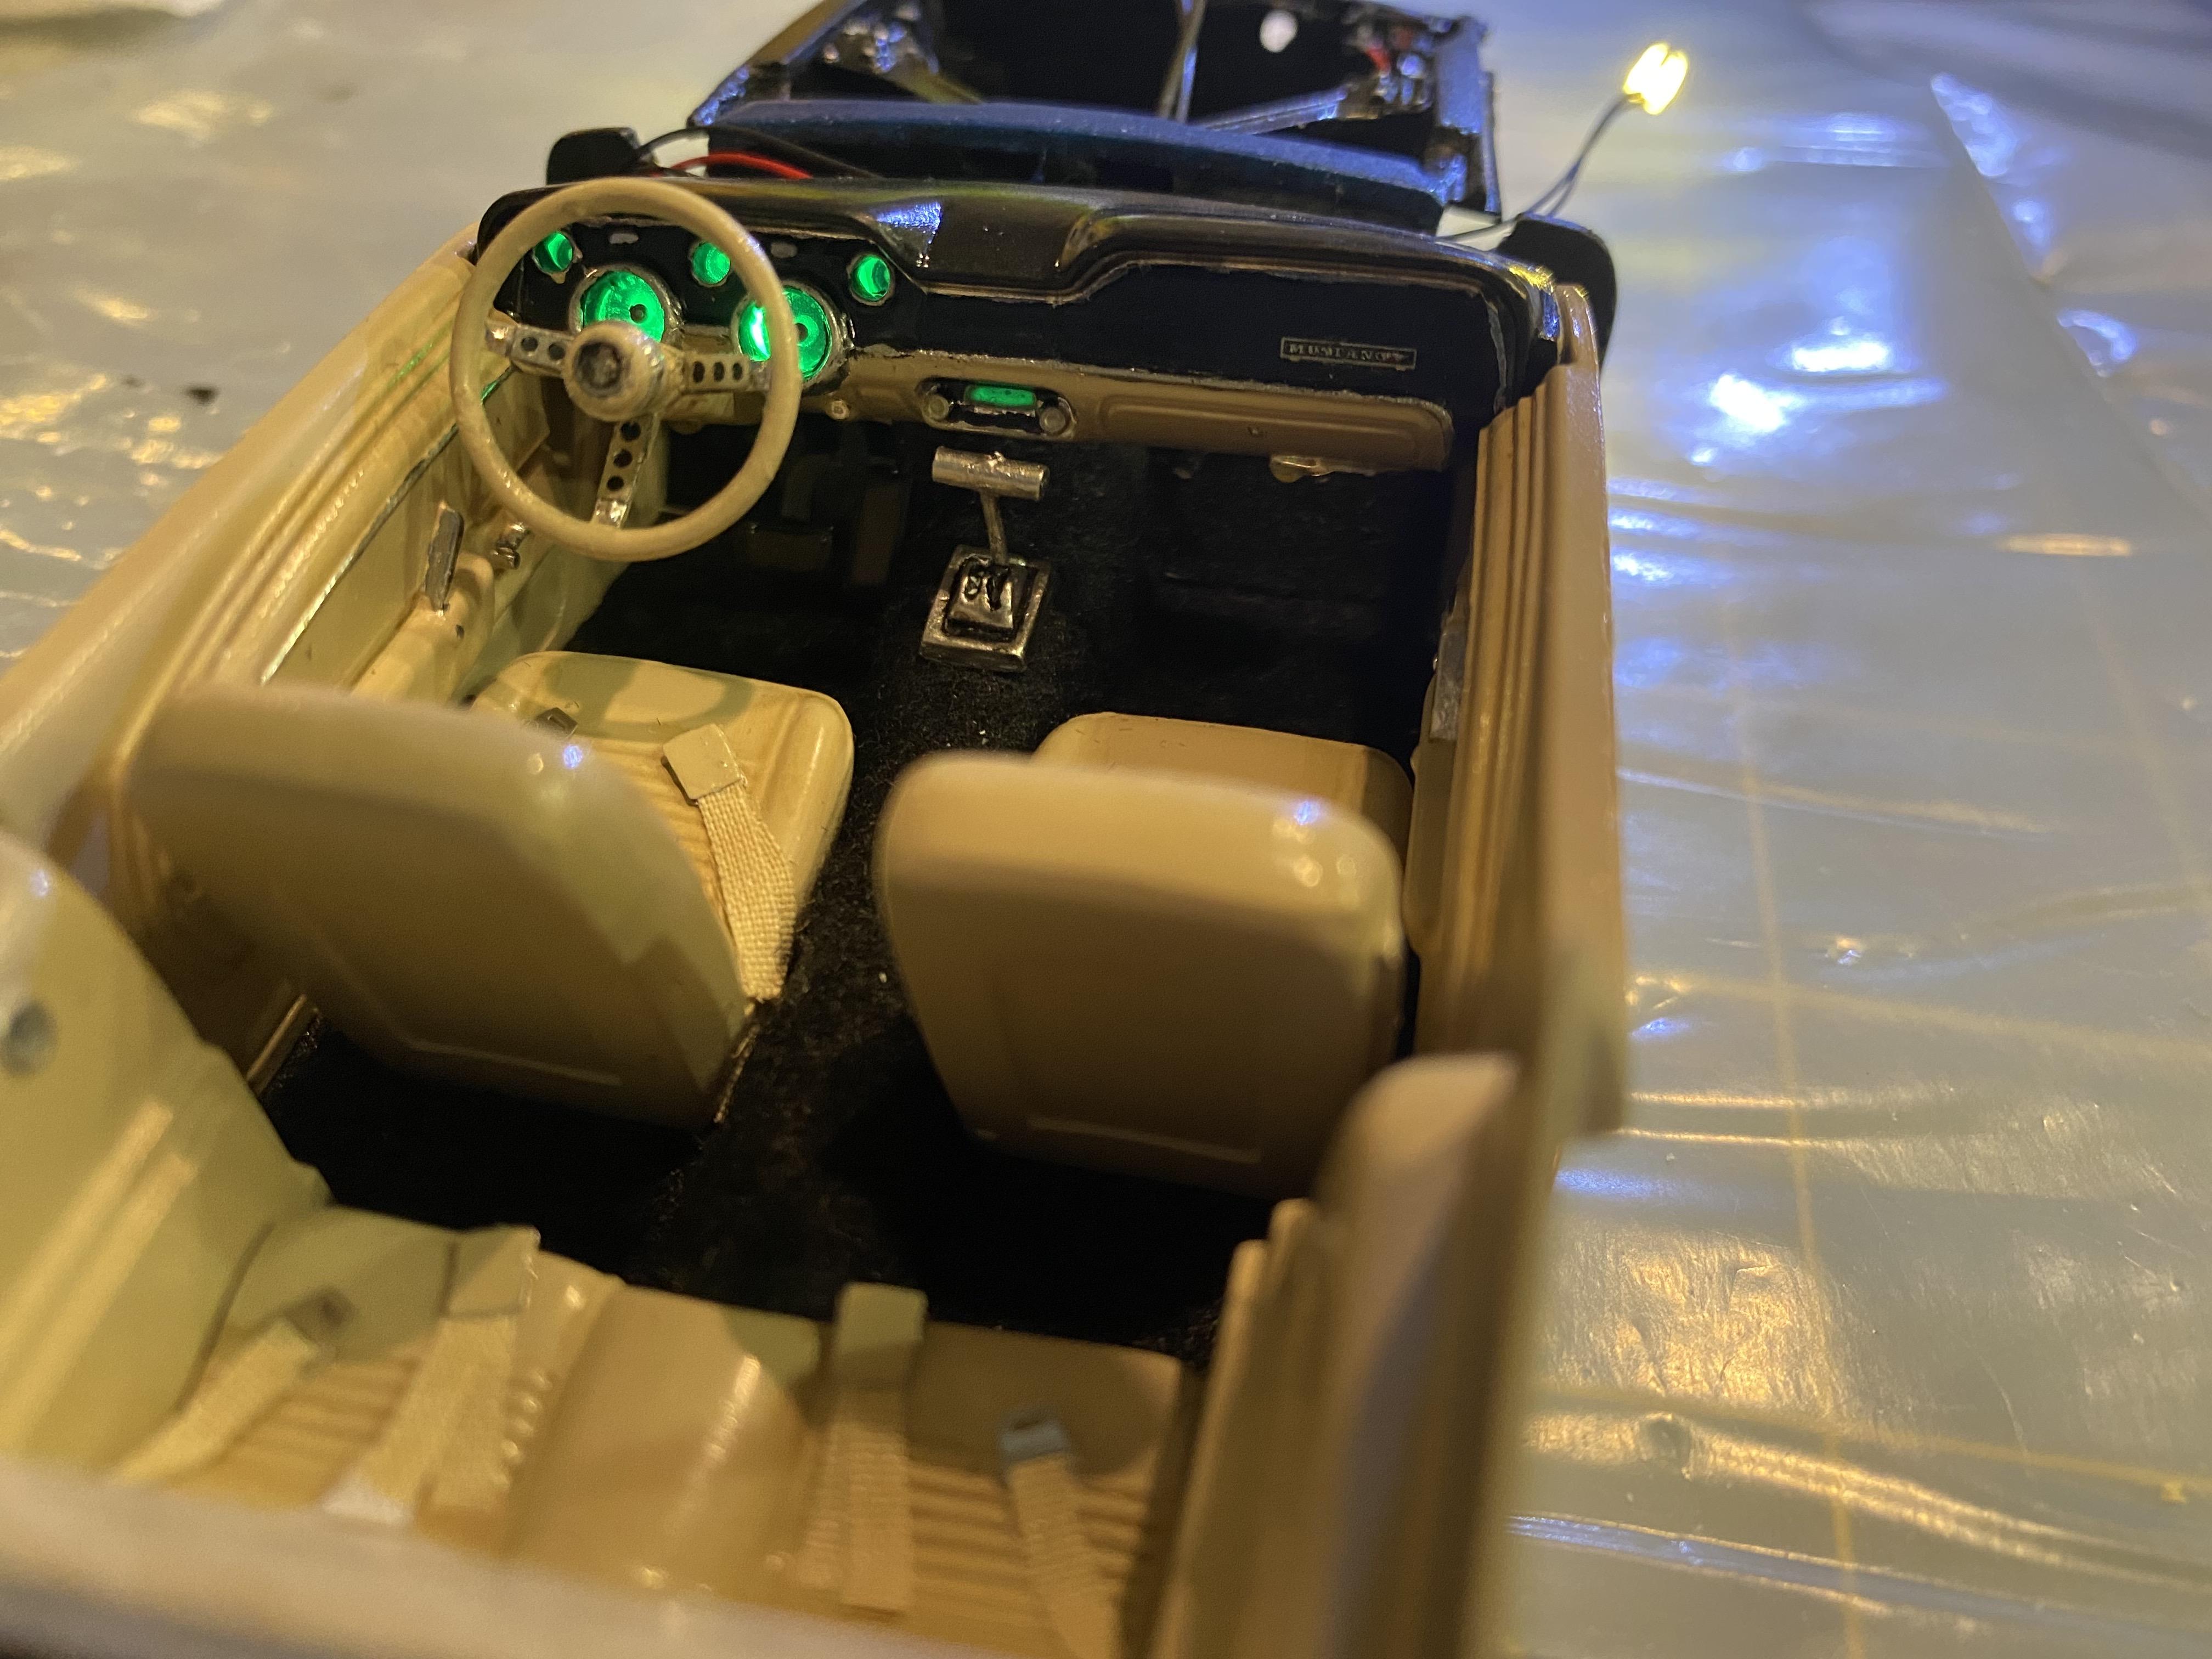
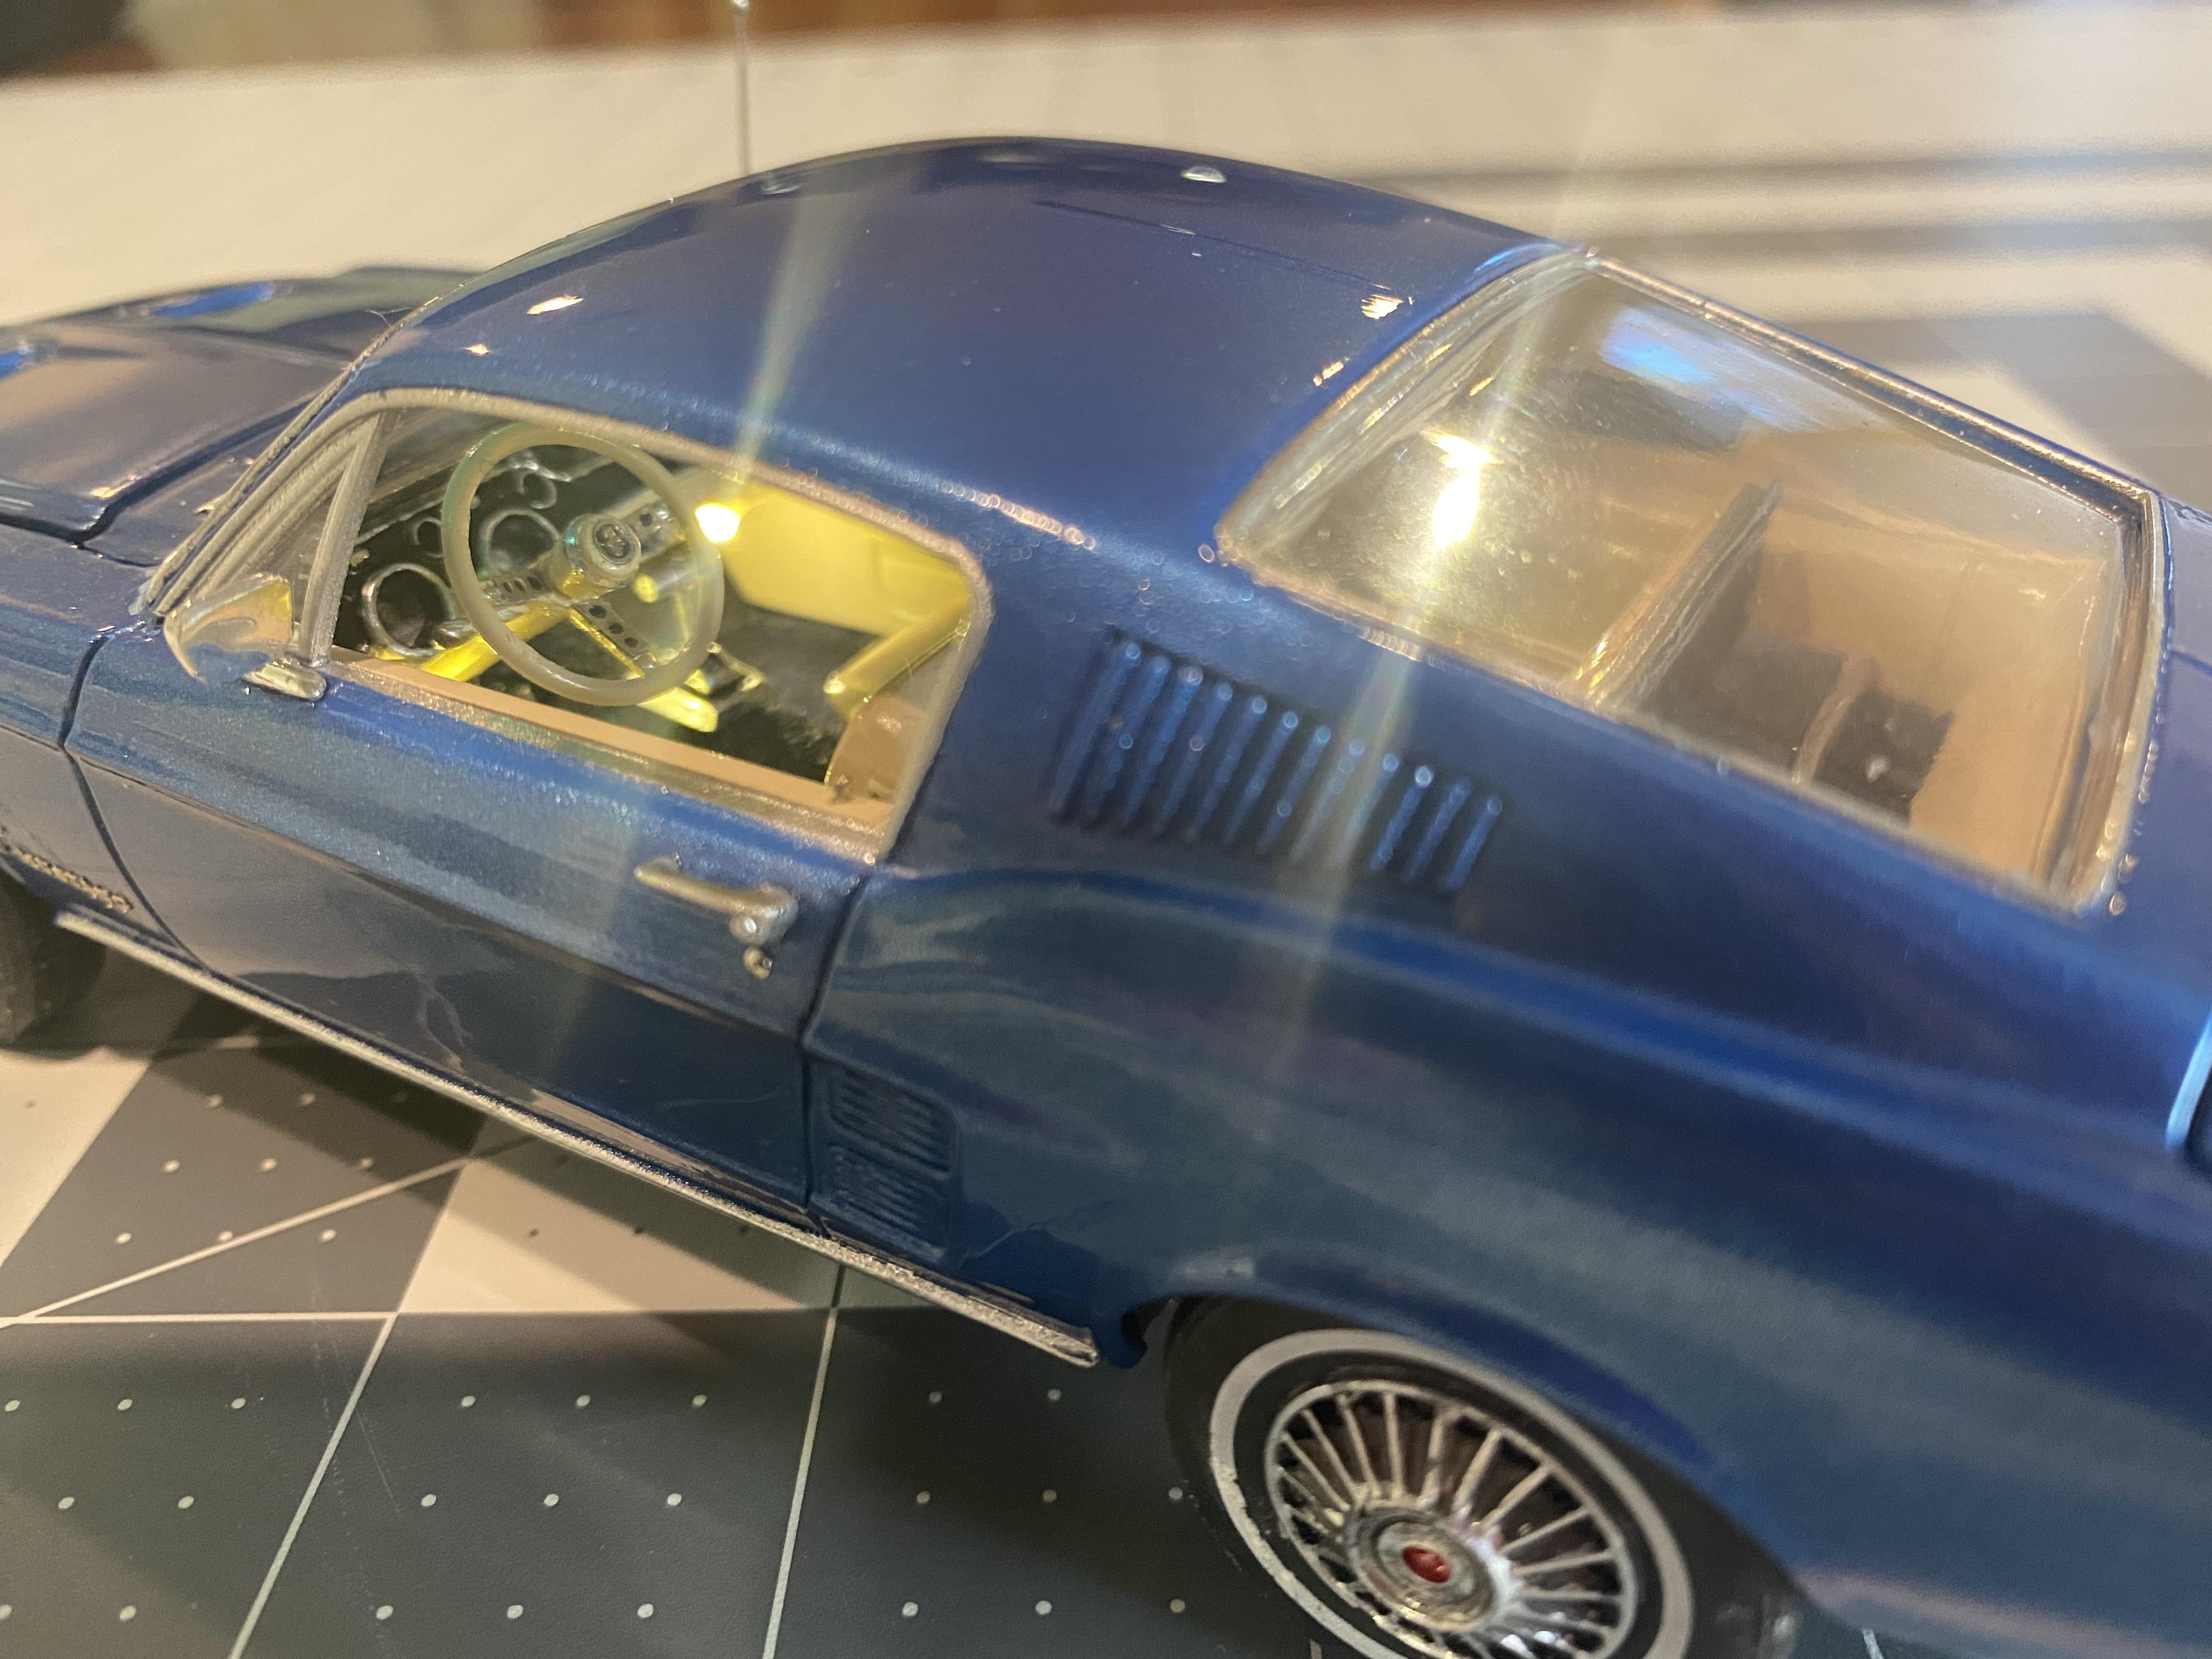
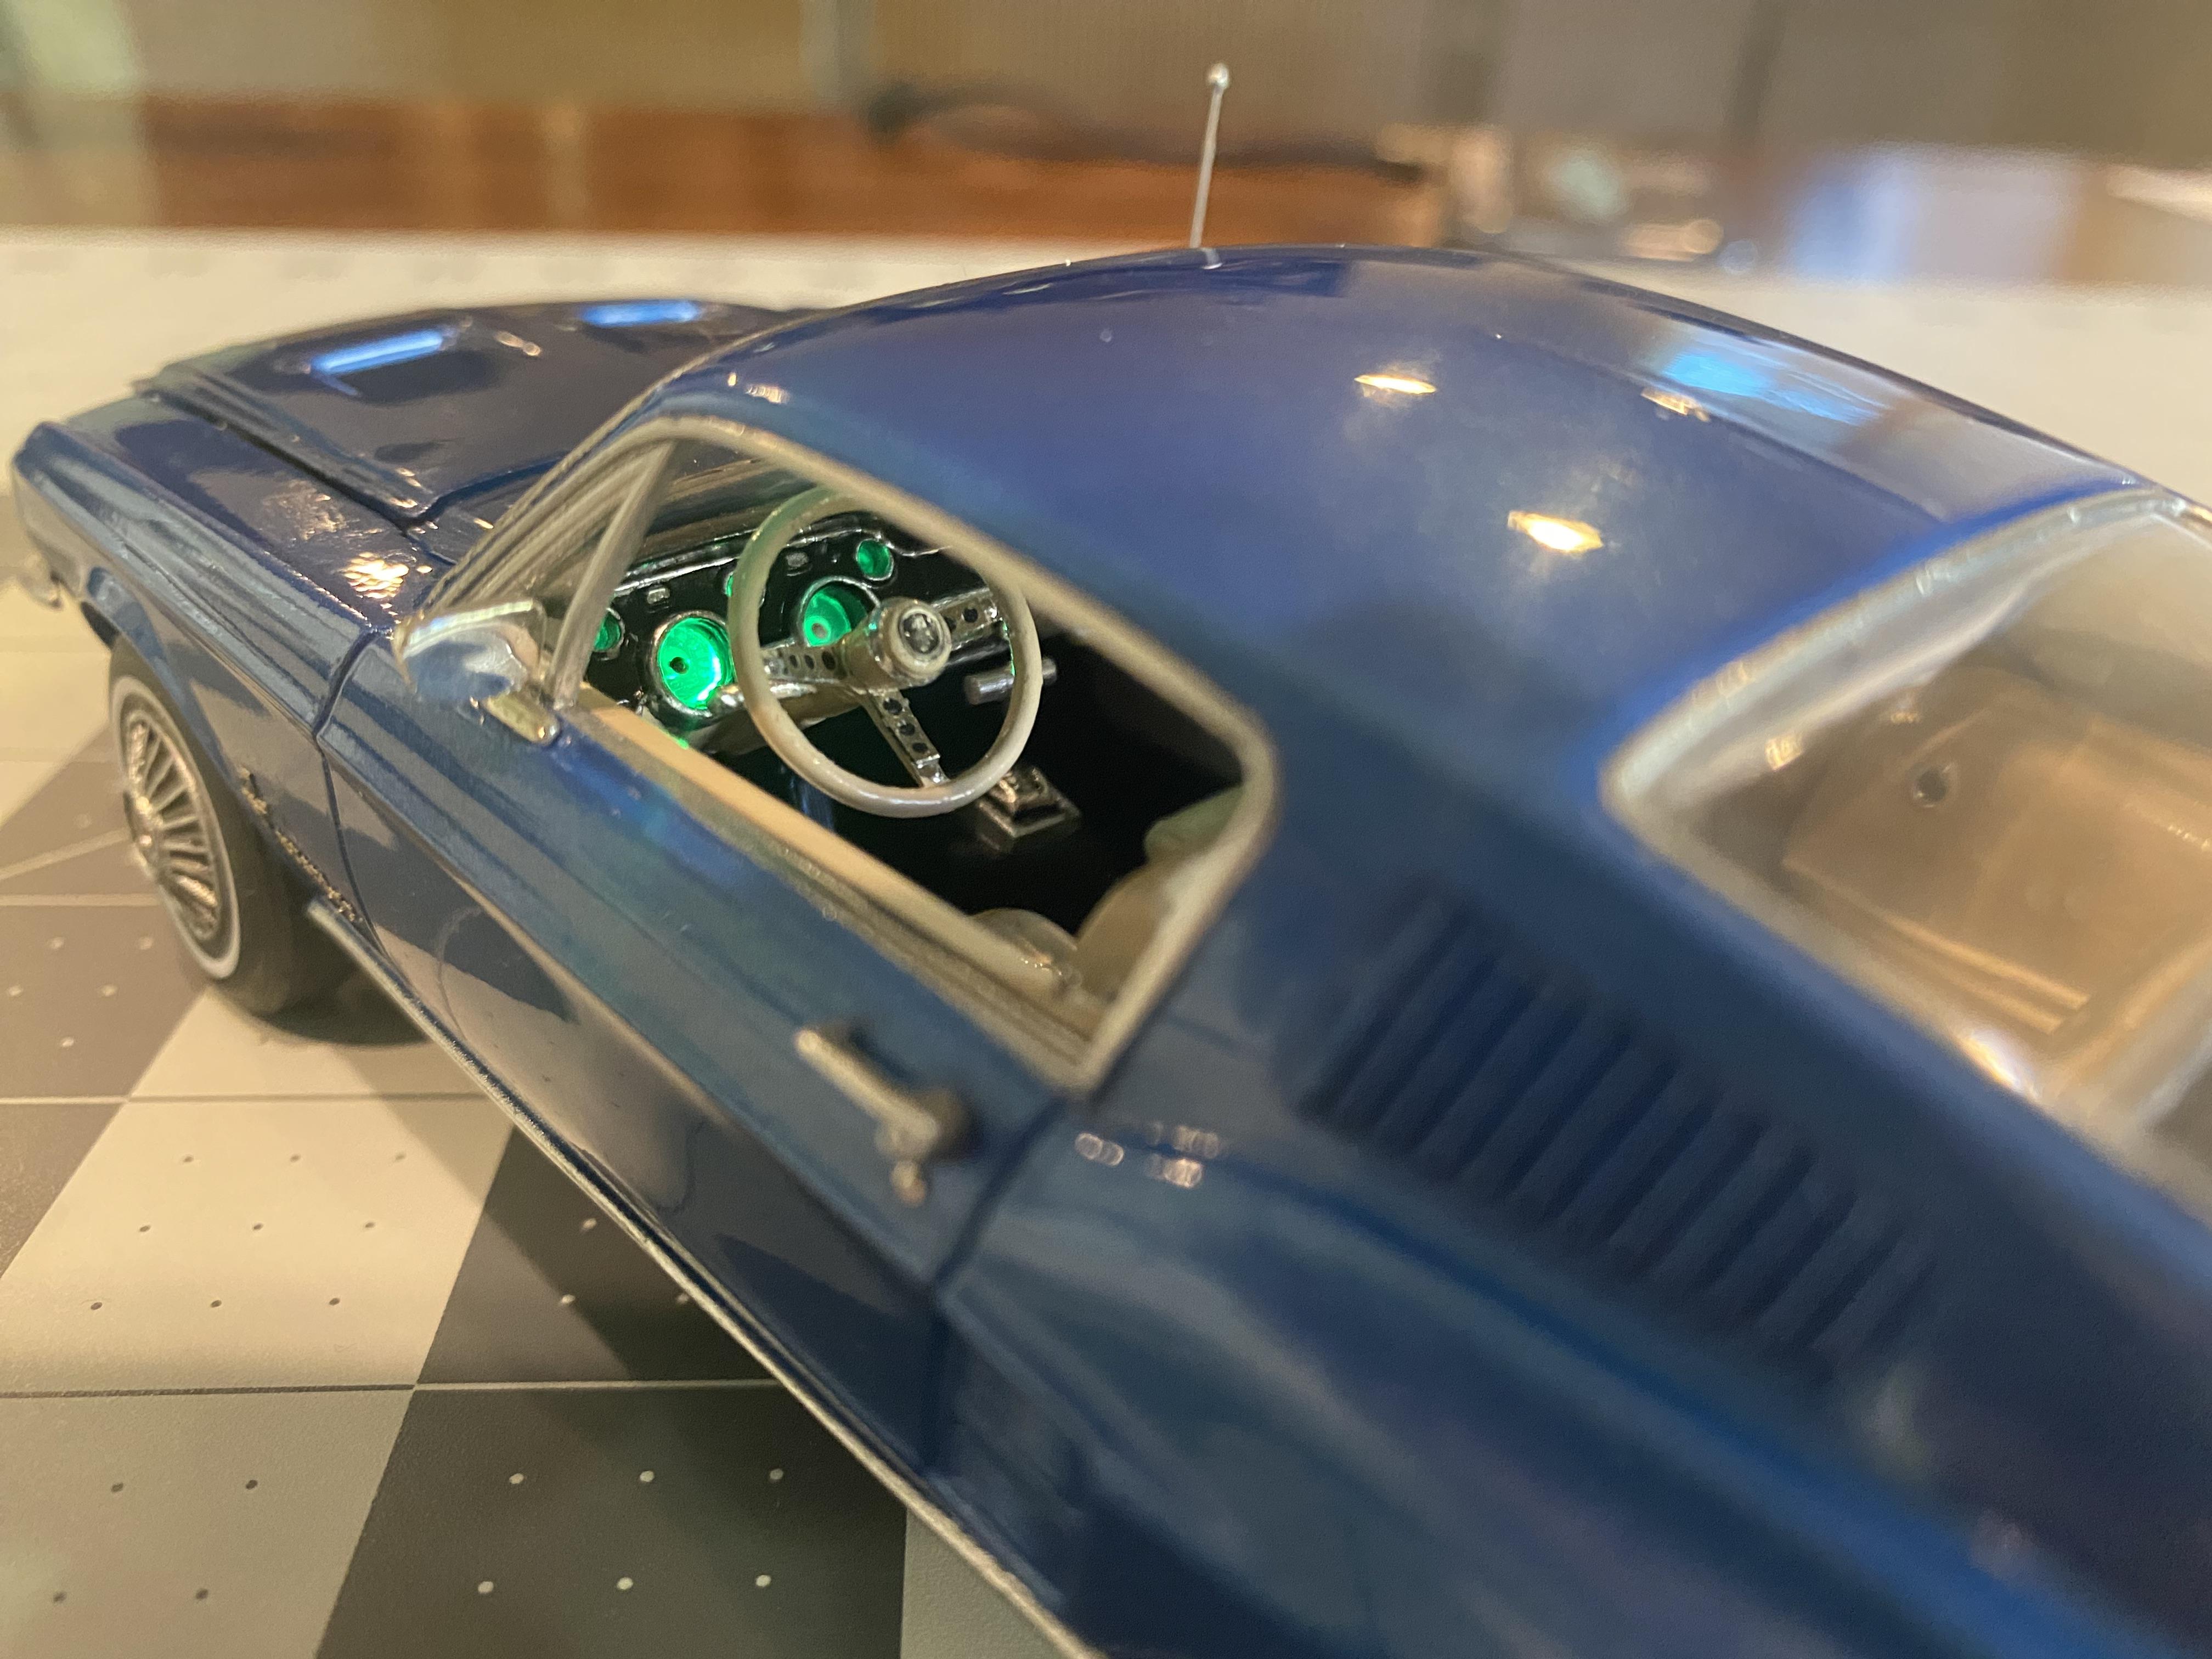
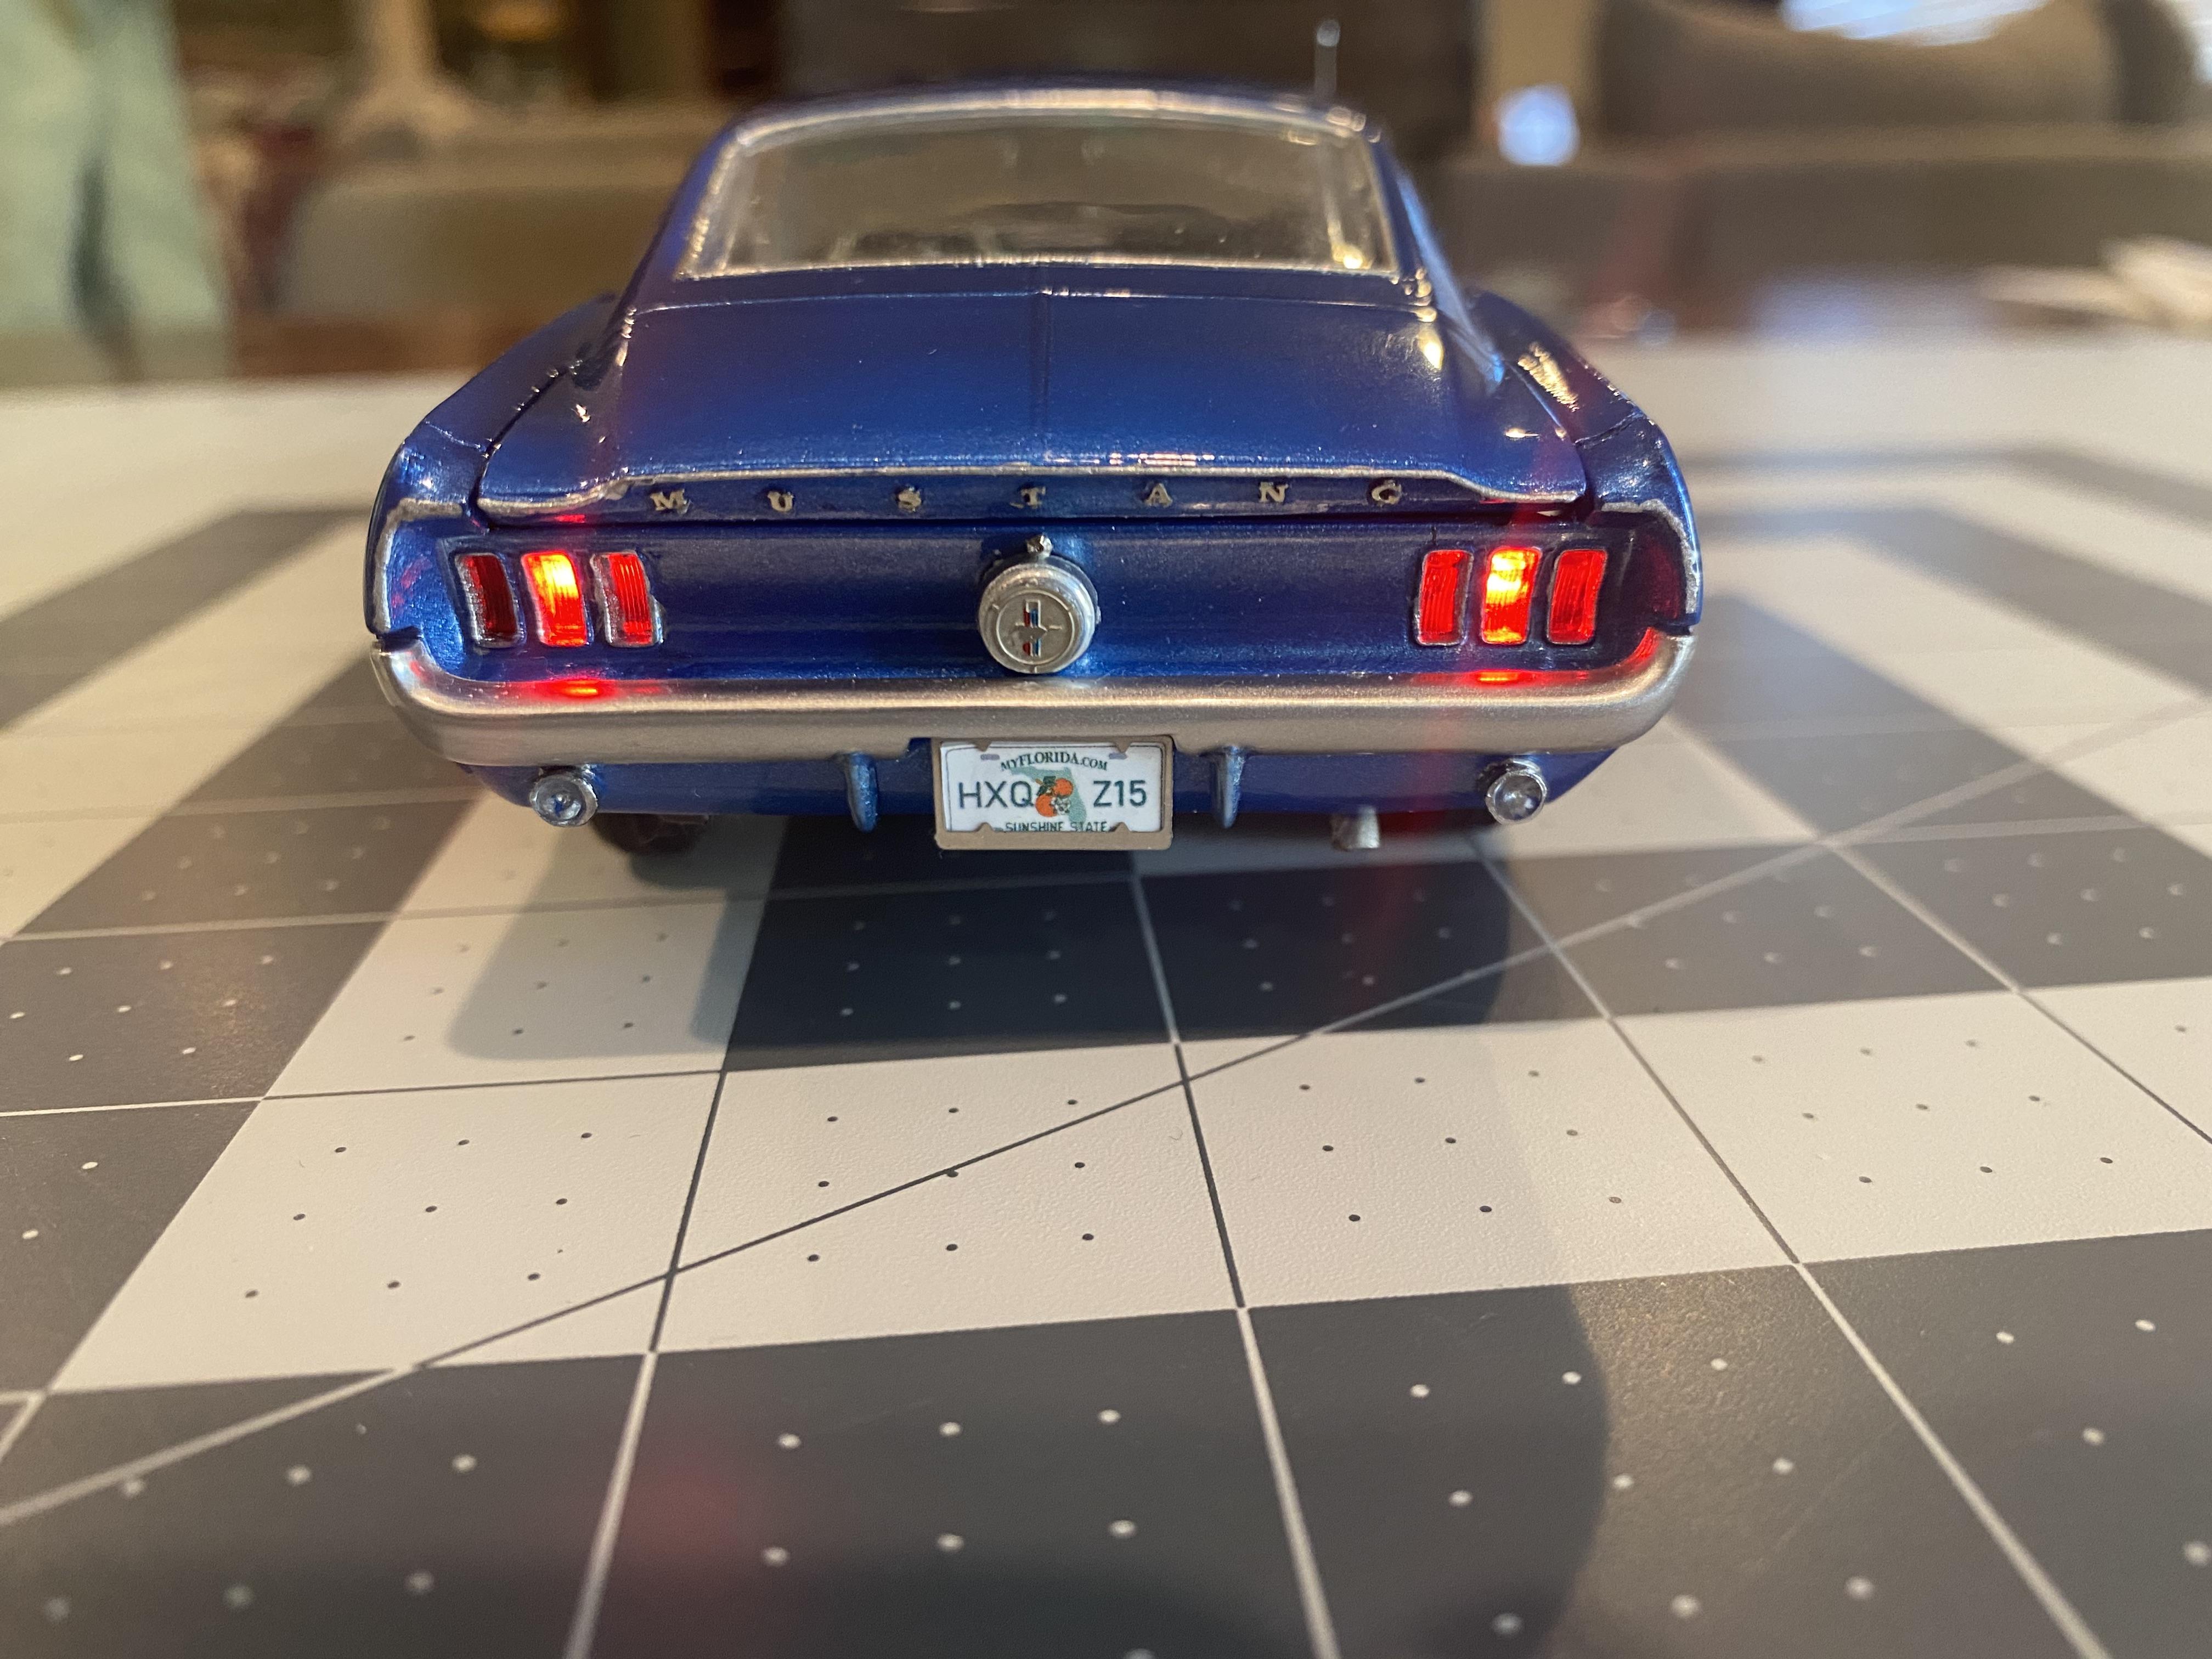
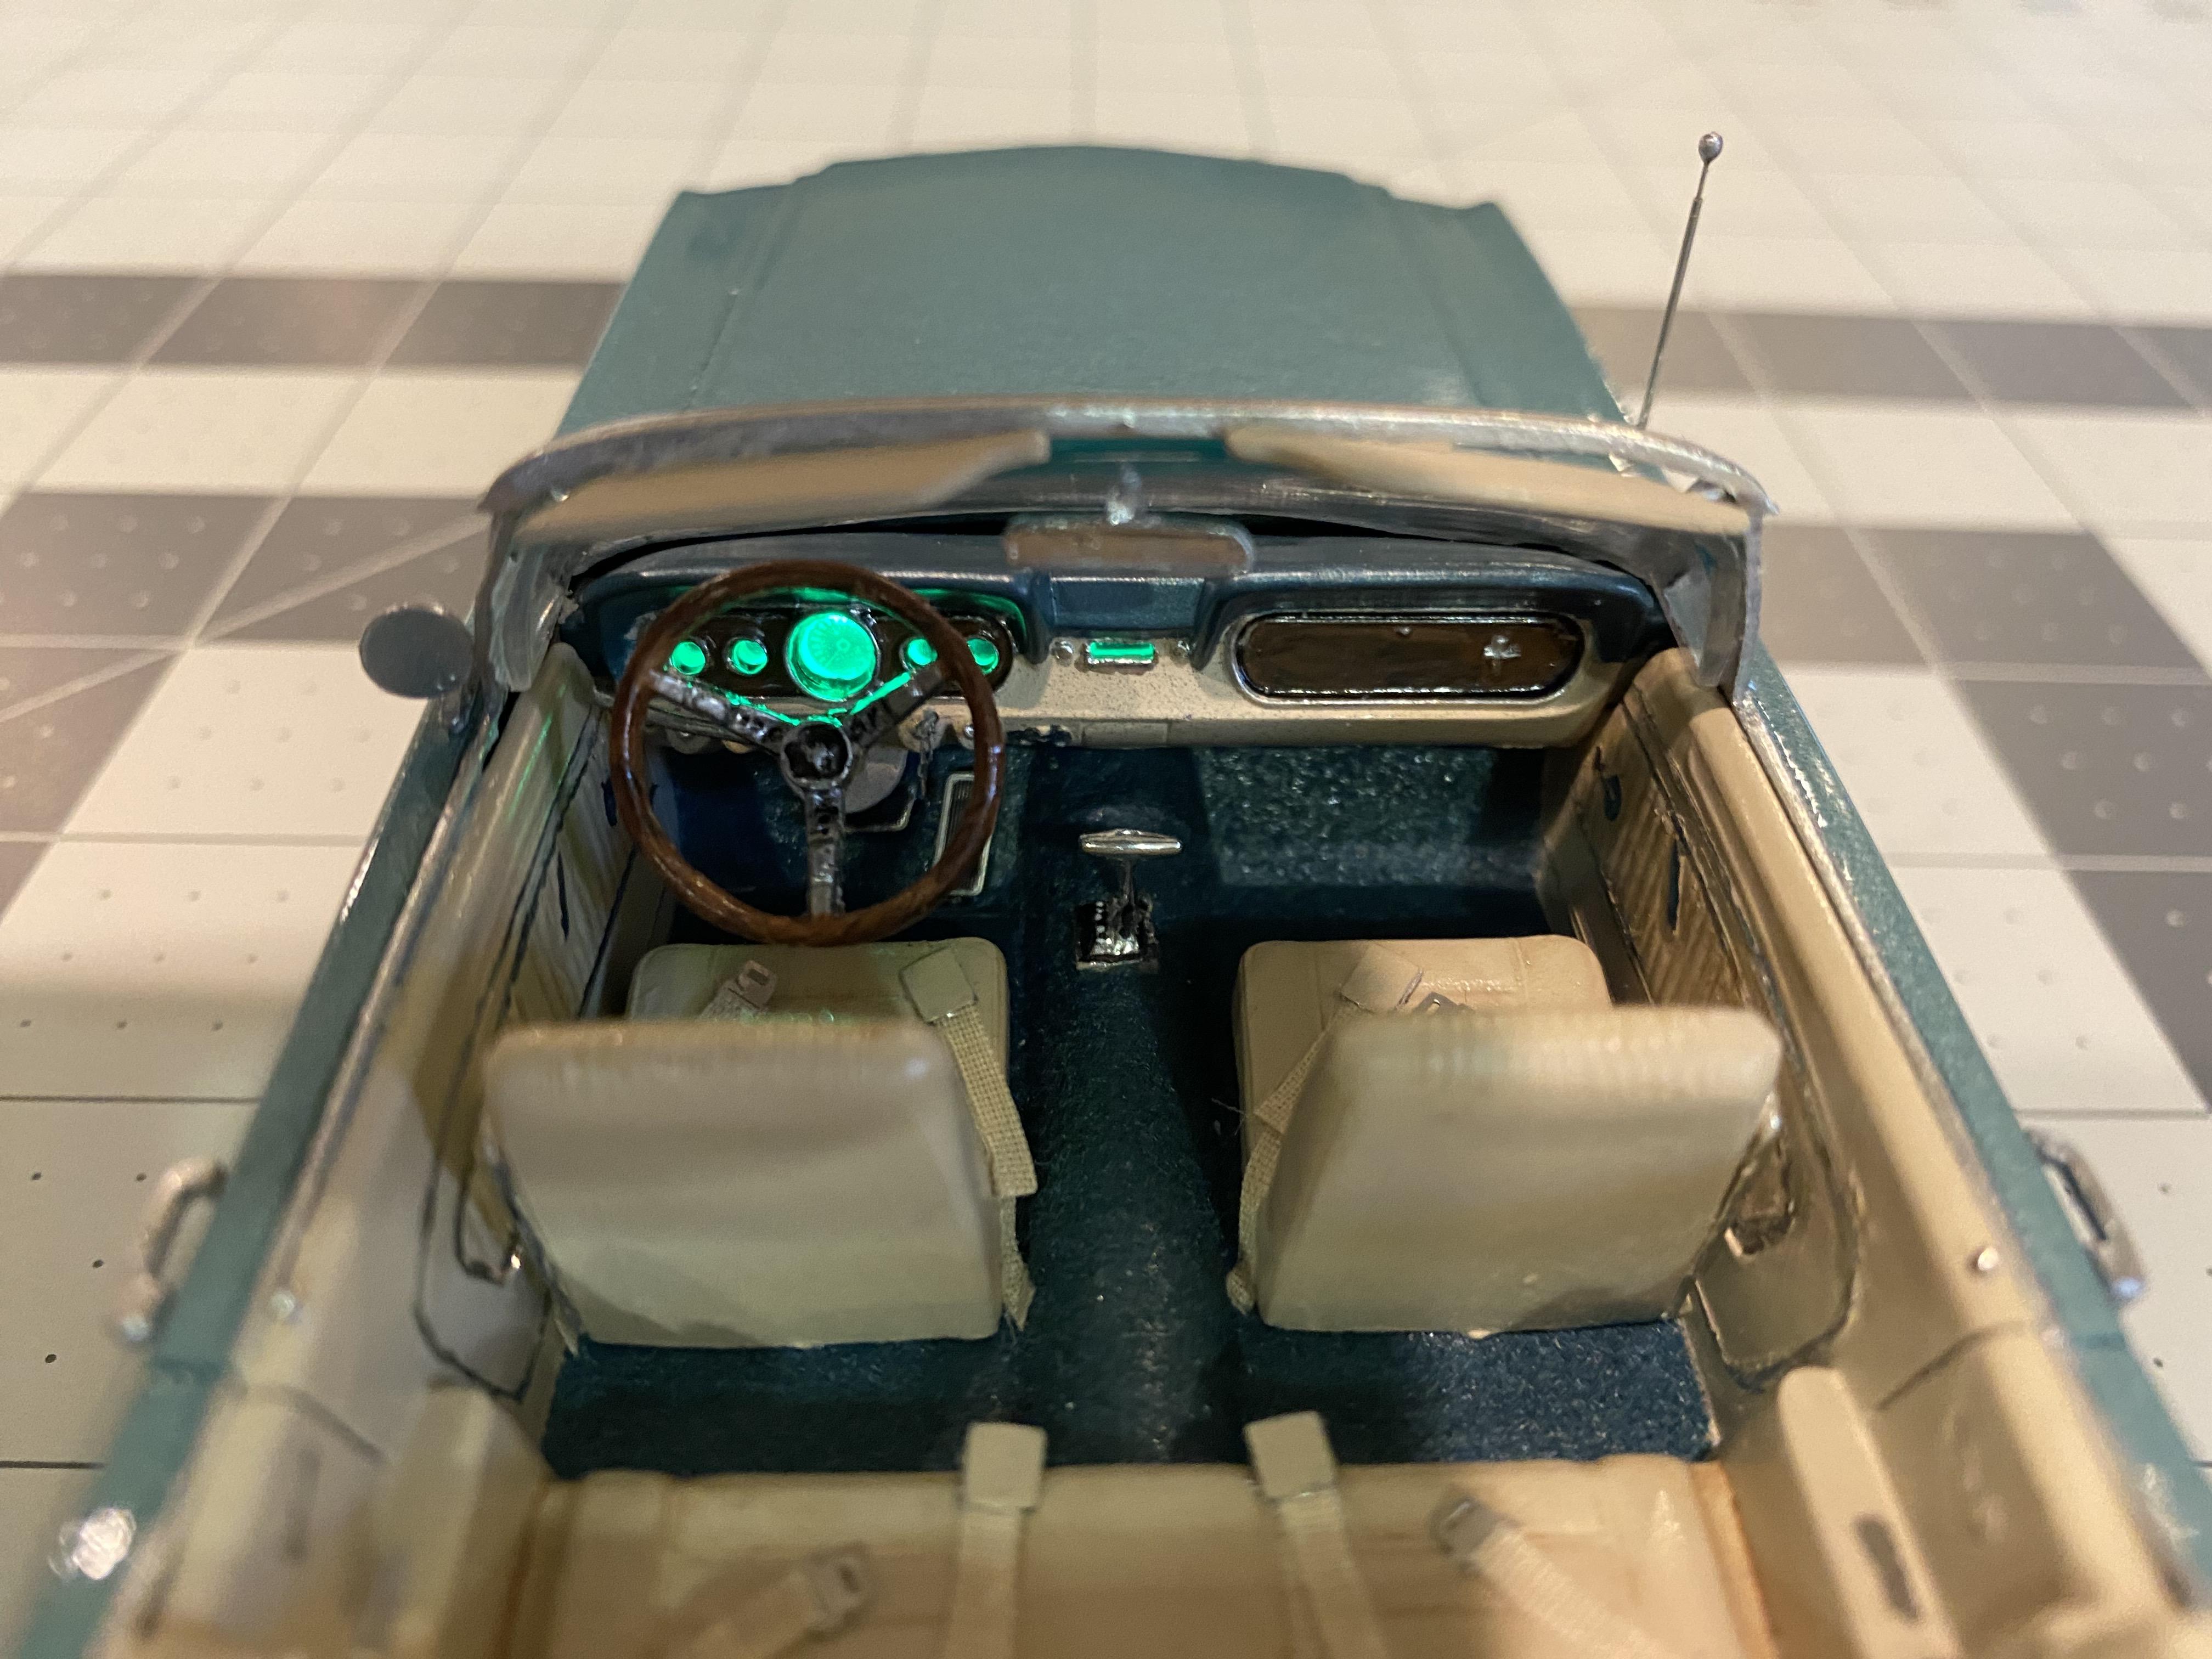
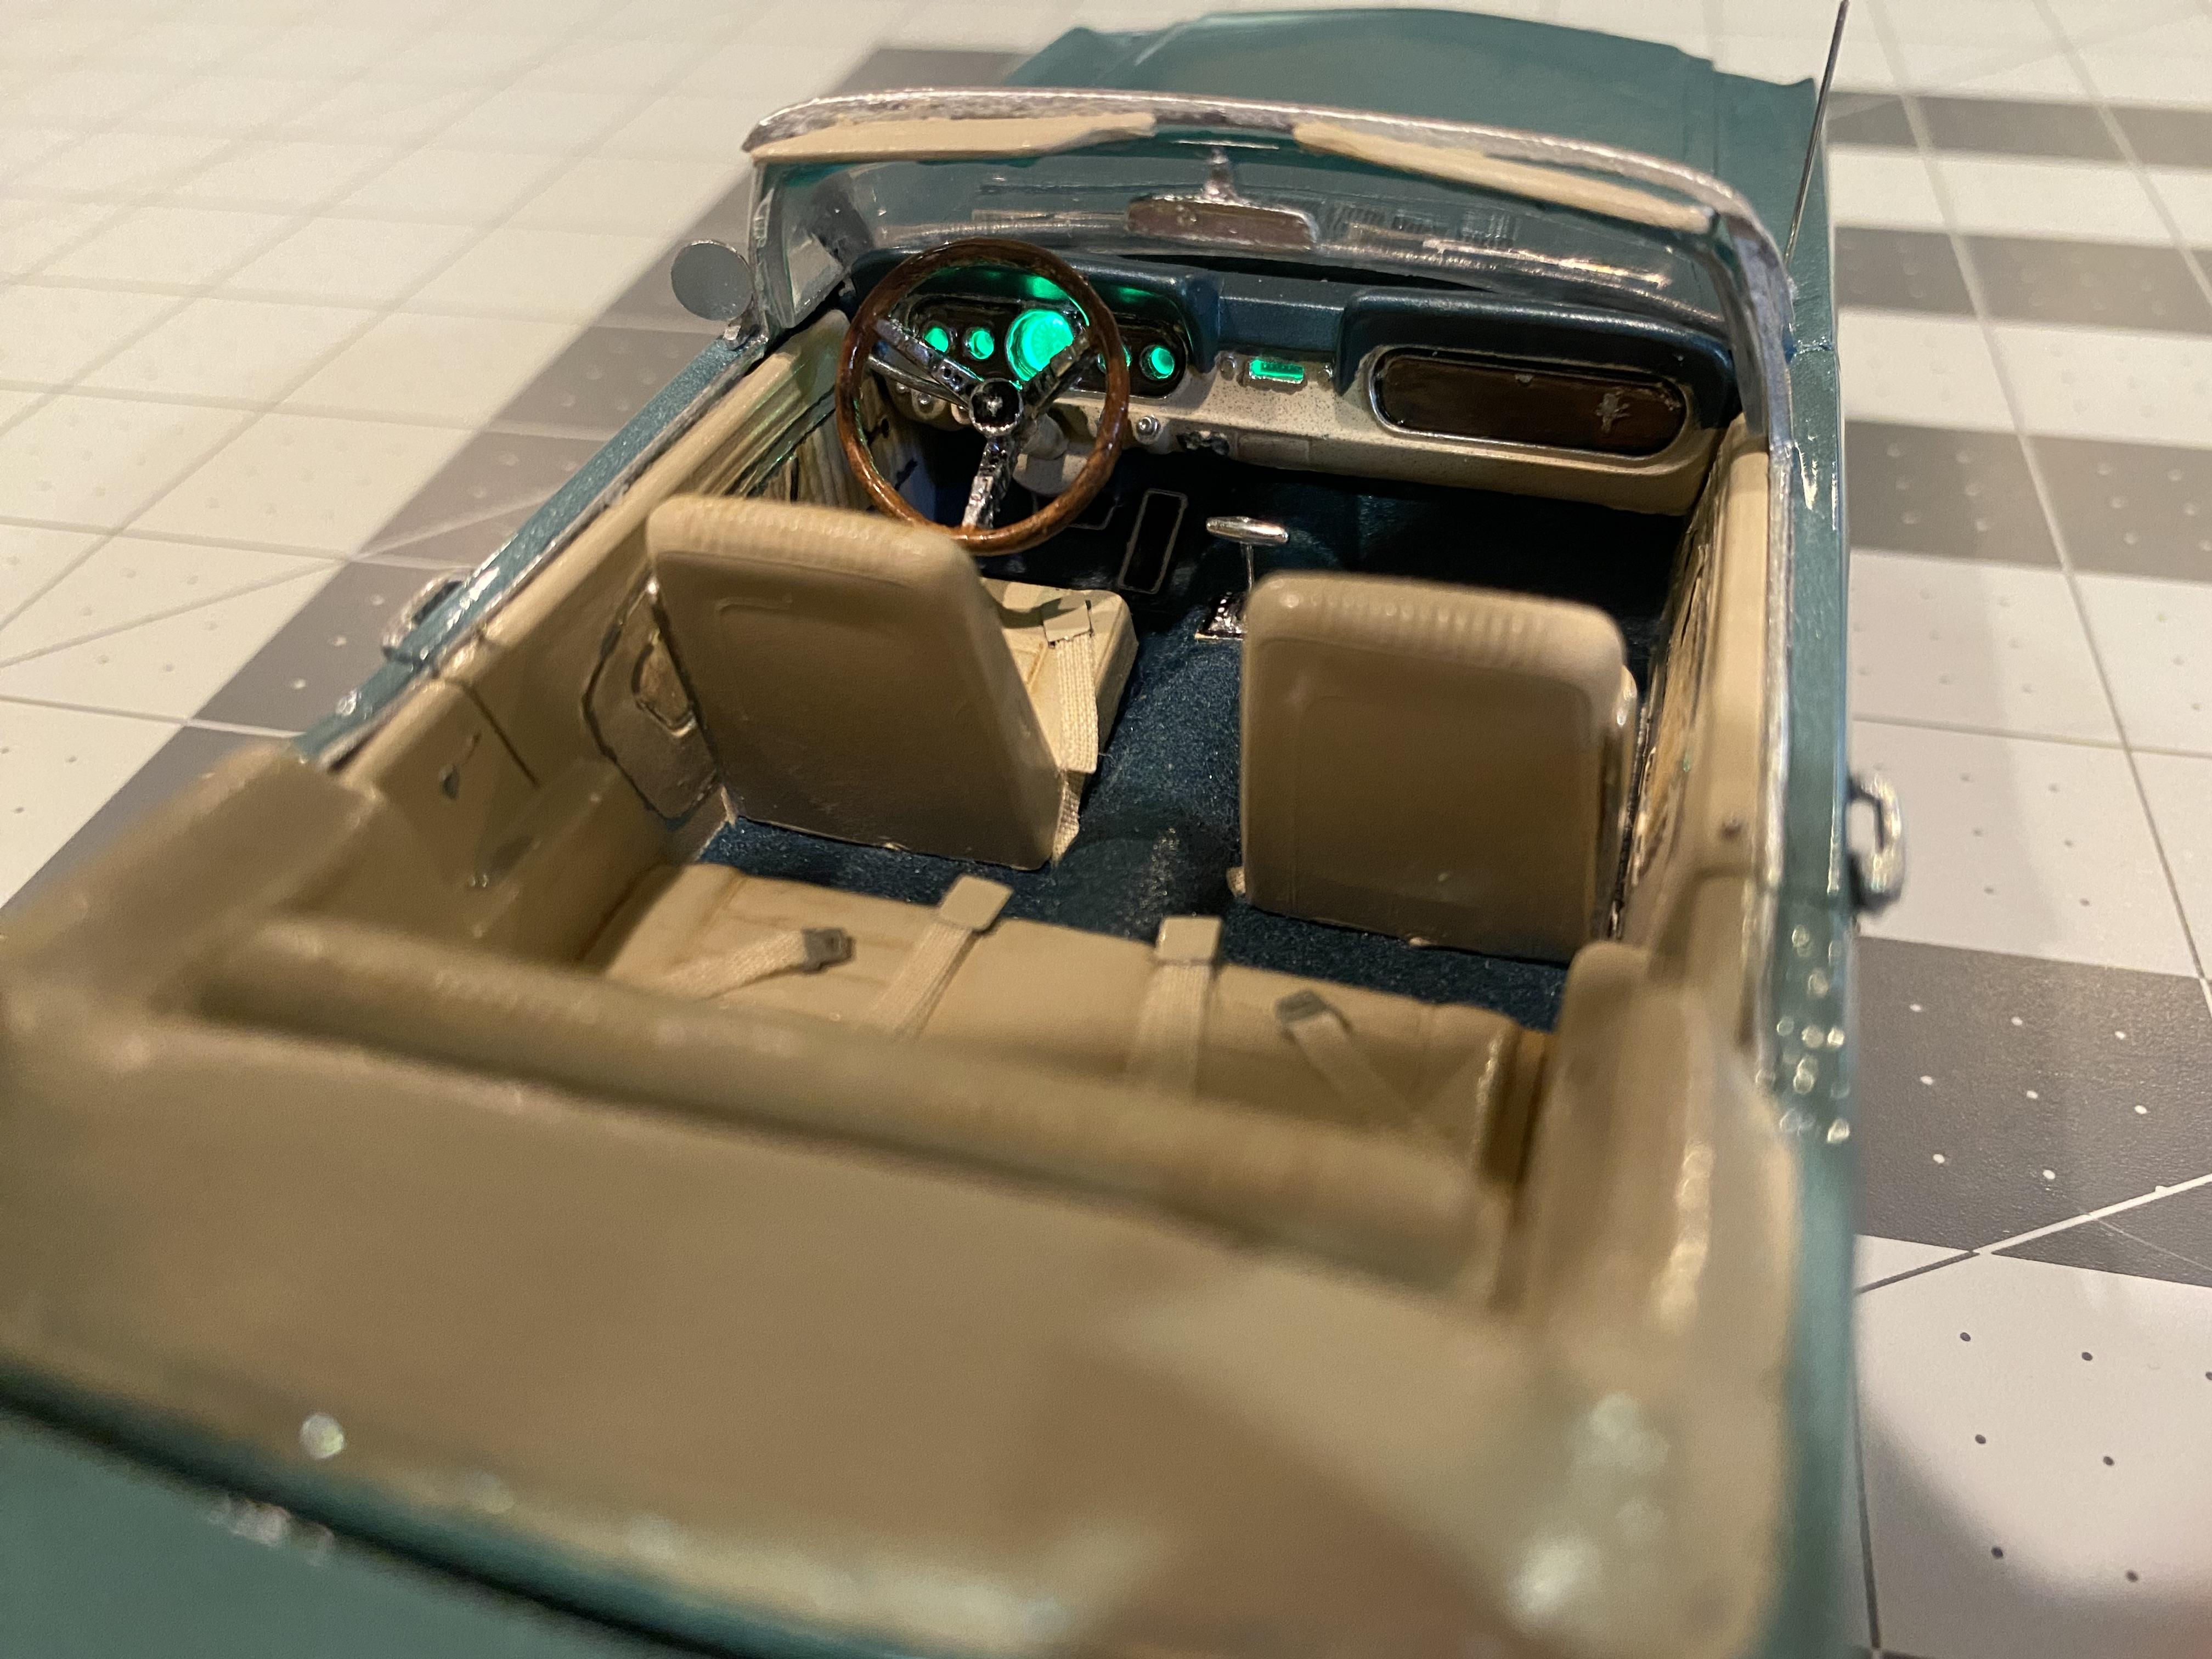
I drill out the dash gauges and radio opening and created a clear lens I install at the back. I created gauge decals on white water-slide decal paper. and put them on the backside of the clear lens facing outwards. you can see the gauges in normal color looking at them with the lights off. I then create a cover to block out the light from behind. I use 1.8mm green LED for the light with a 1.8mm hole drilled in the backing. For this car I will be using 1mm fiber optic end bright cable to go through the dash to the Rally Pac gauges. Most of my LEDs I got from Evans designs though you can get the lights from almost anywhere. To further block out unwanted light I use black electrical liquid tape at the joints.
-
Beautiful Build and great color choice!
-
This is one crazy build, I can't wait to see how it turns out!
-
This was the first version I am trying to make an improvement over. This was mostly from the box with just a few scratch built detail add-ons.
-
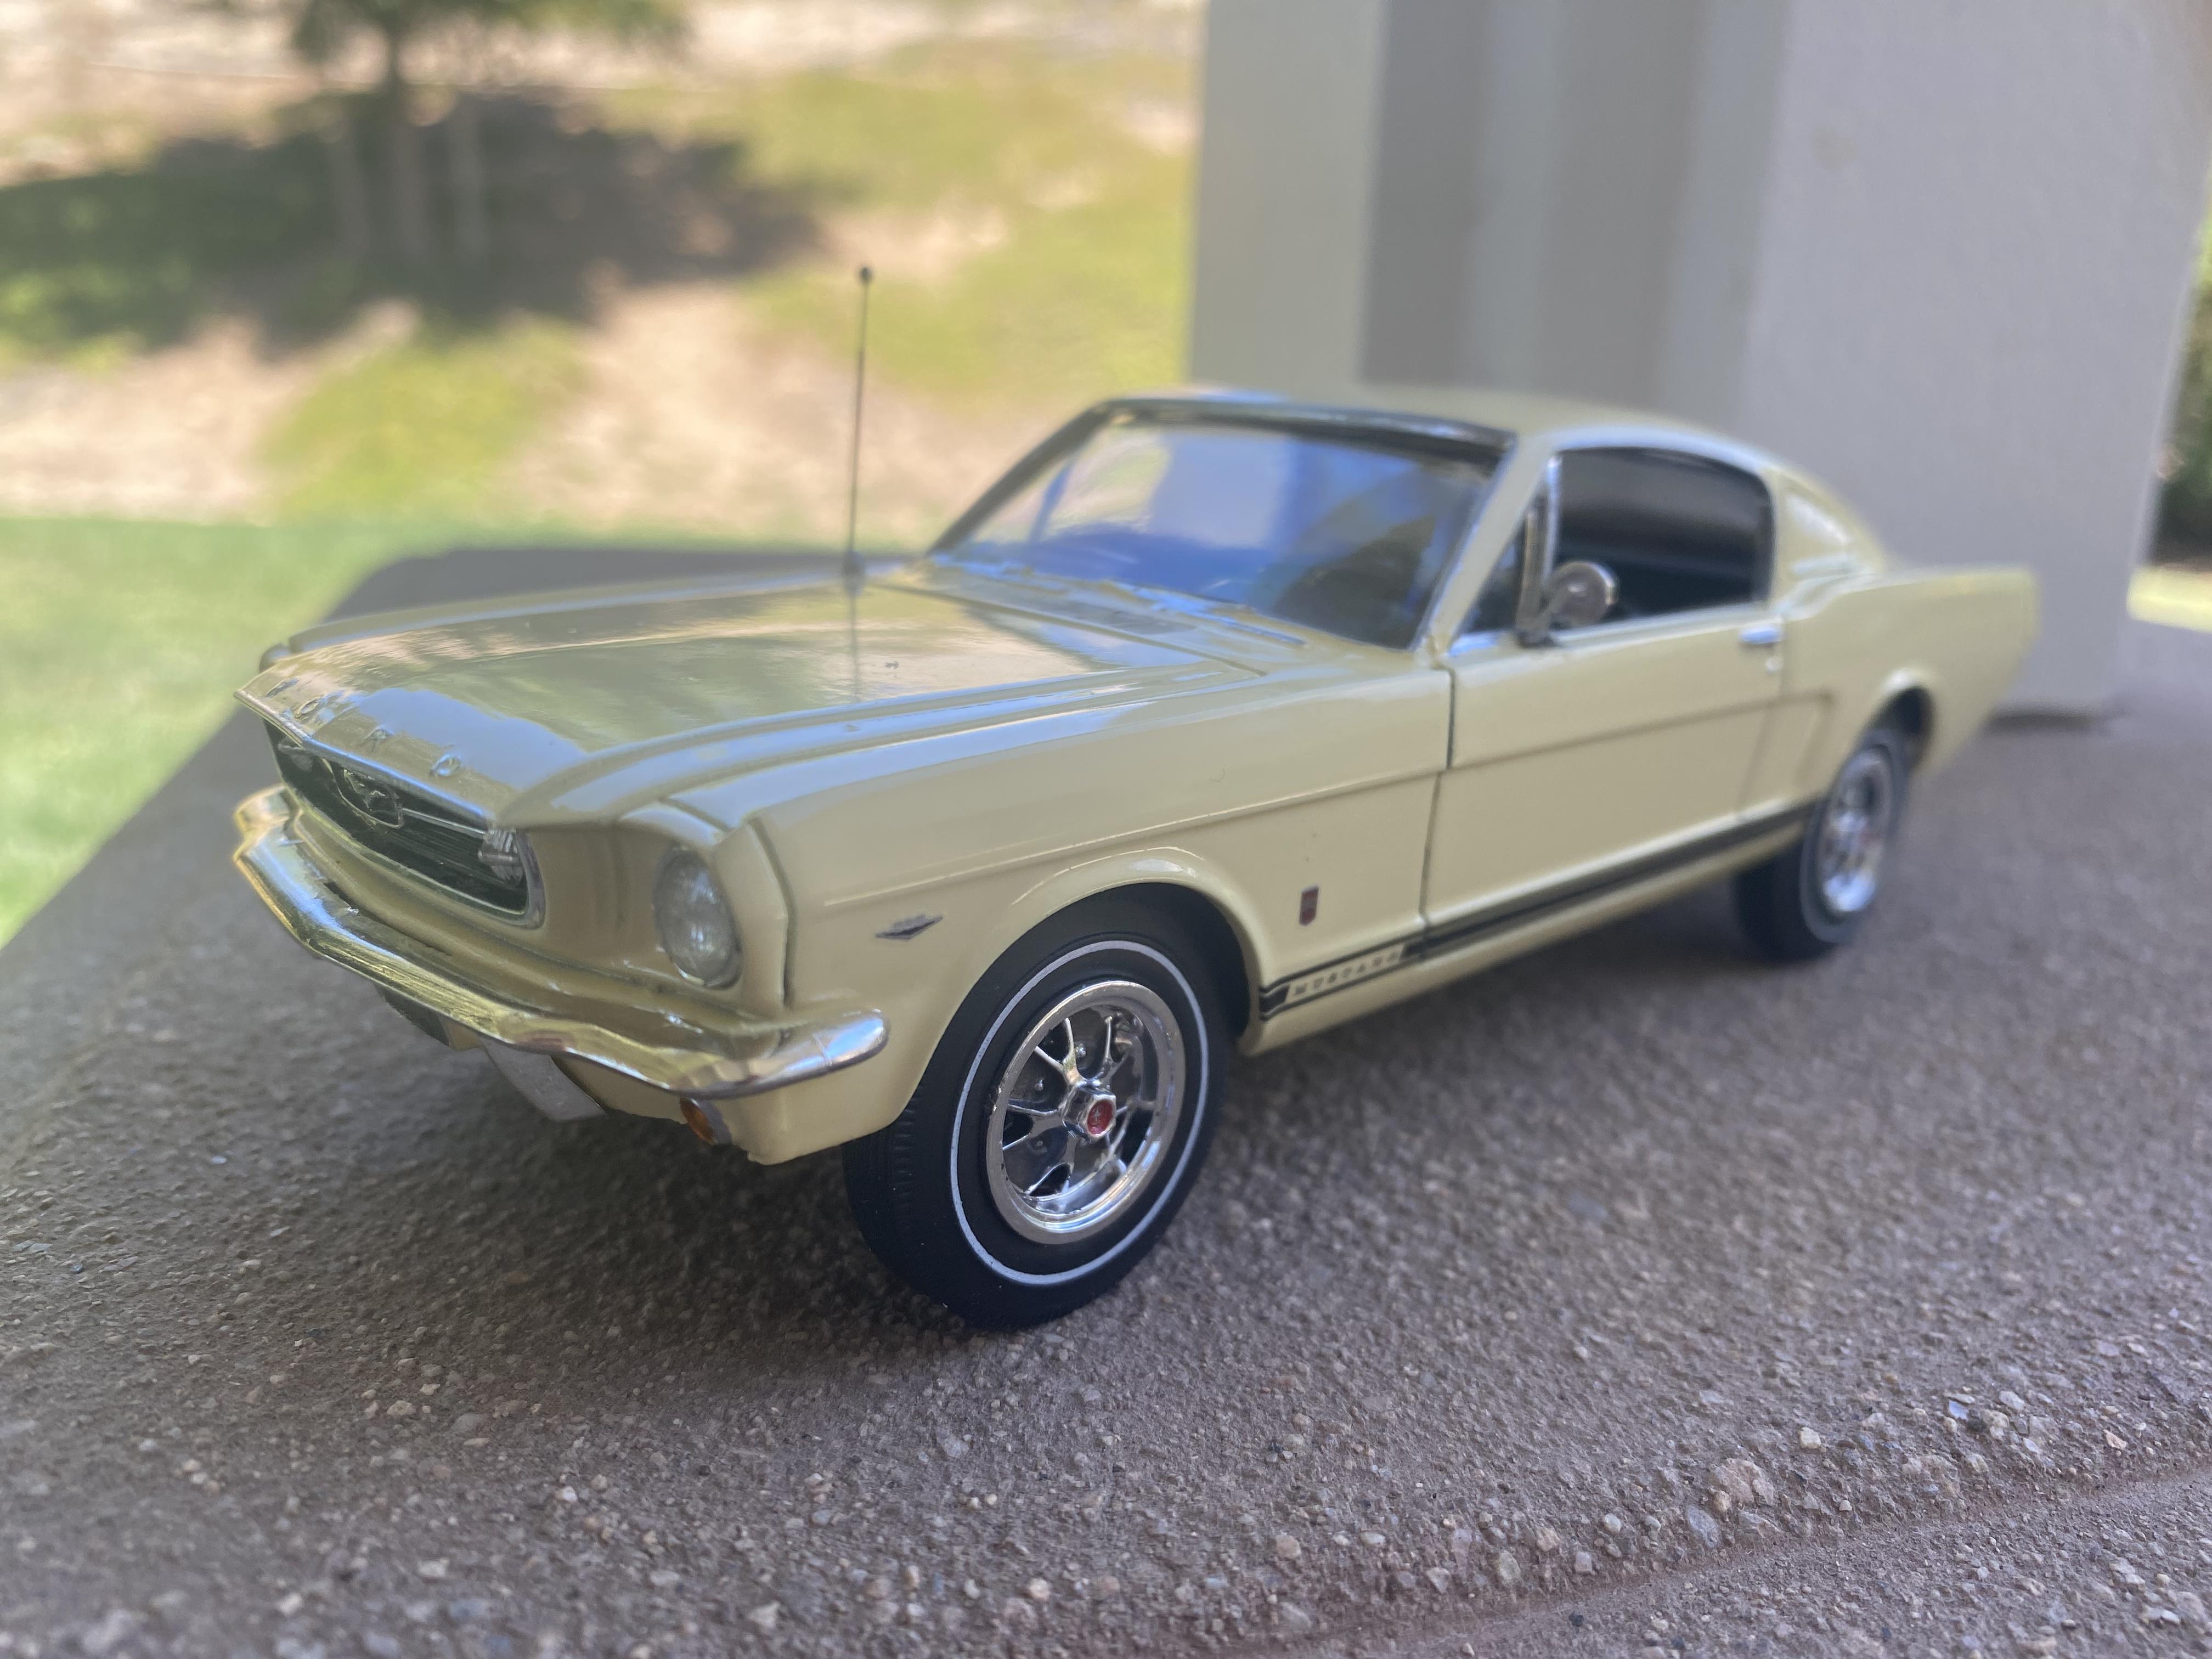
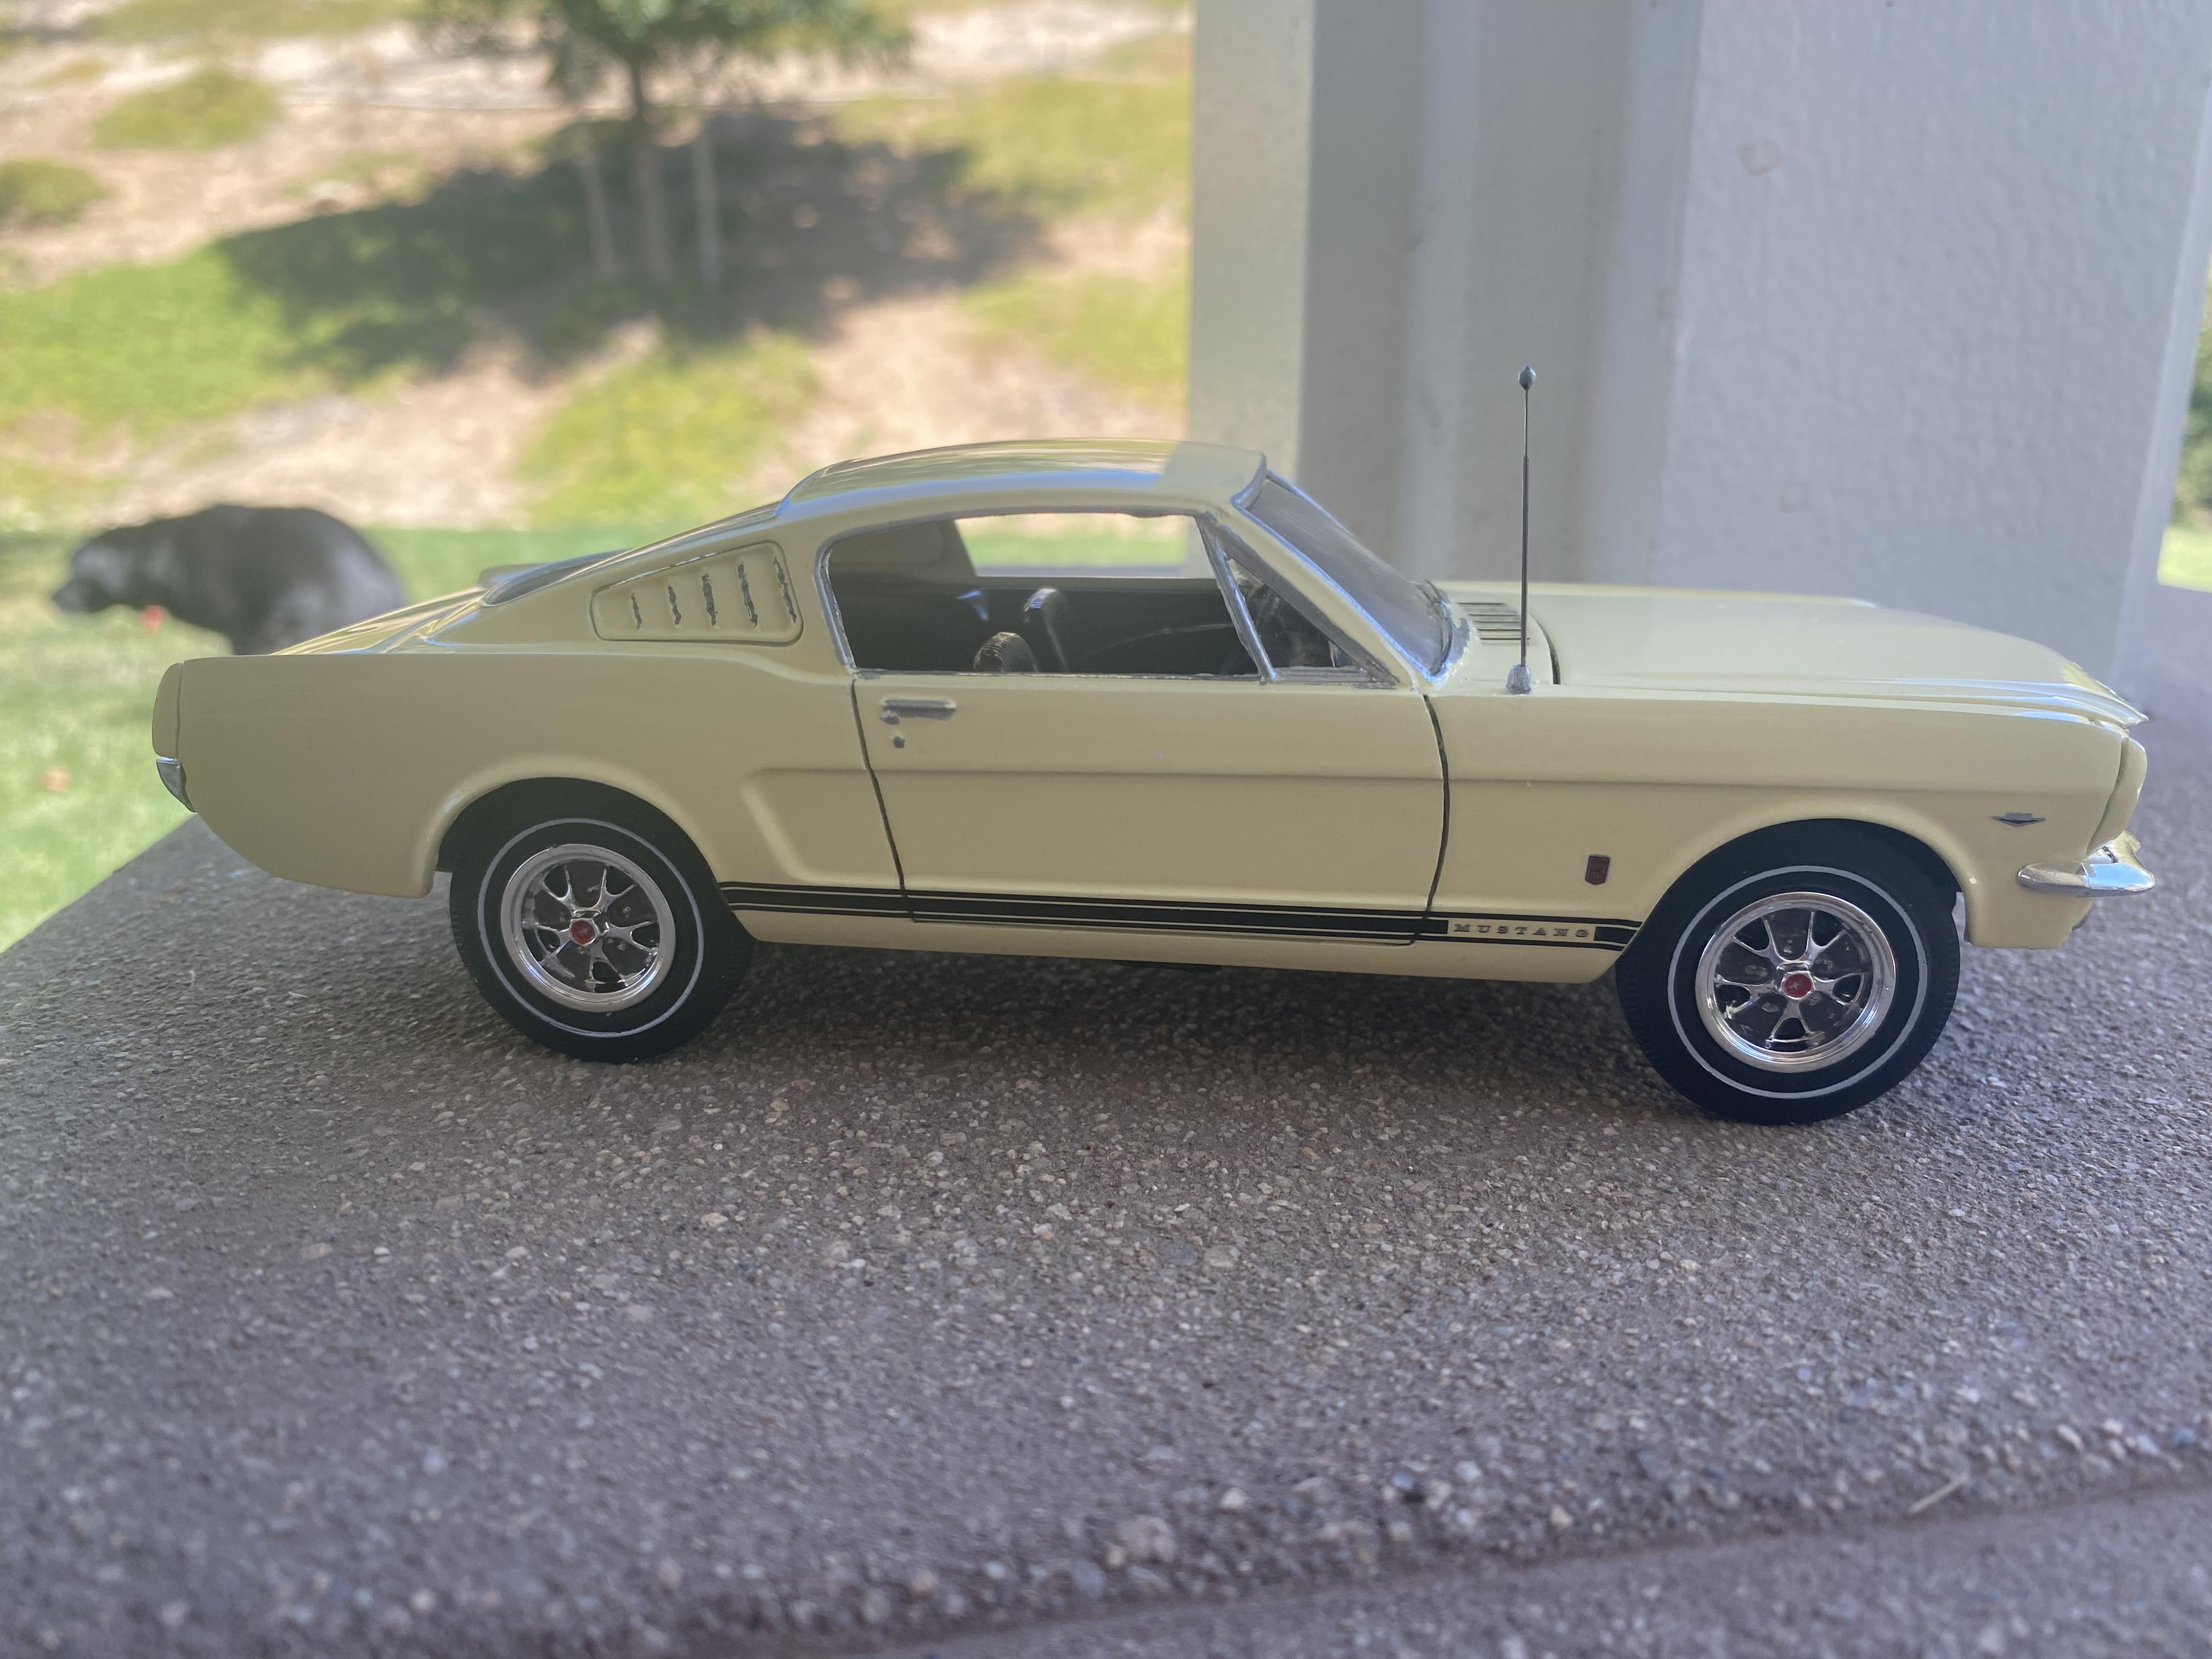
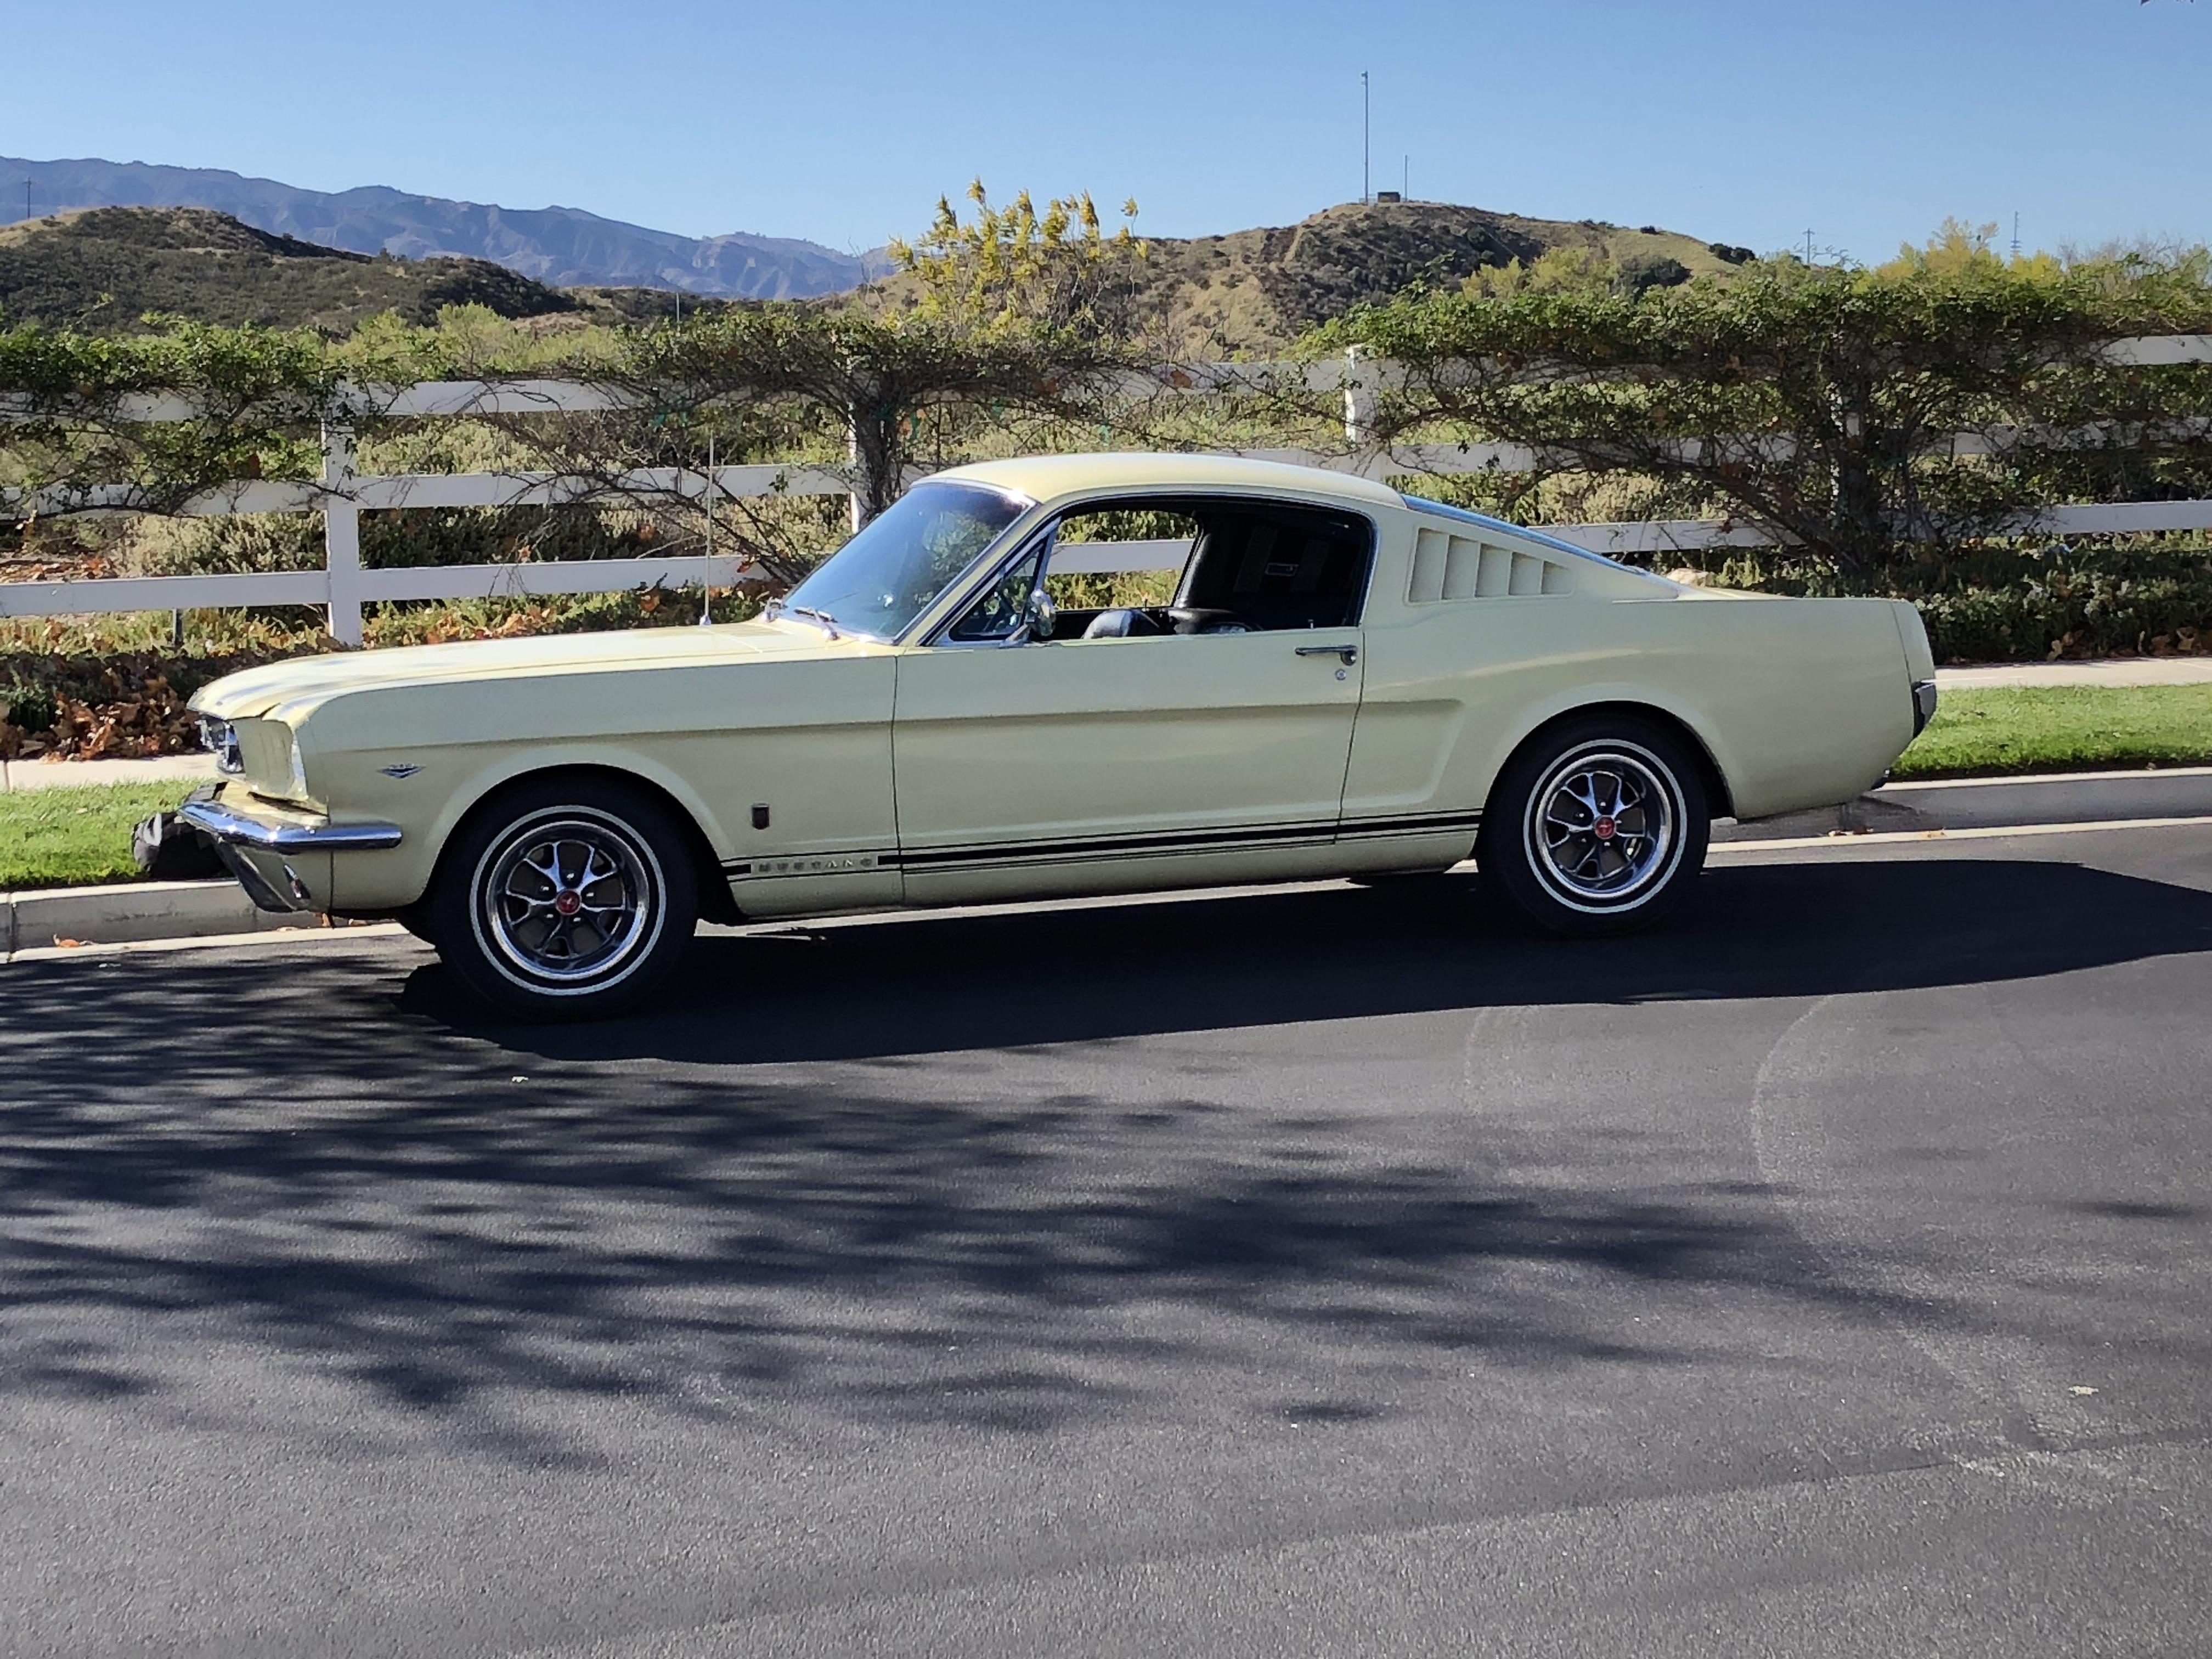
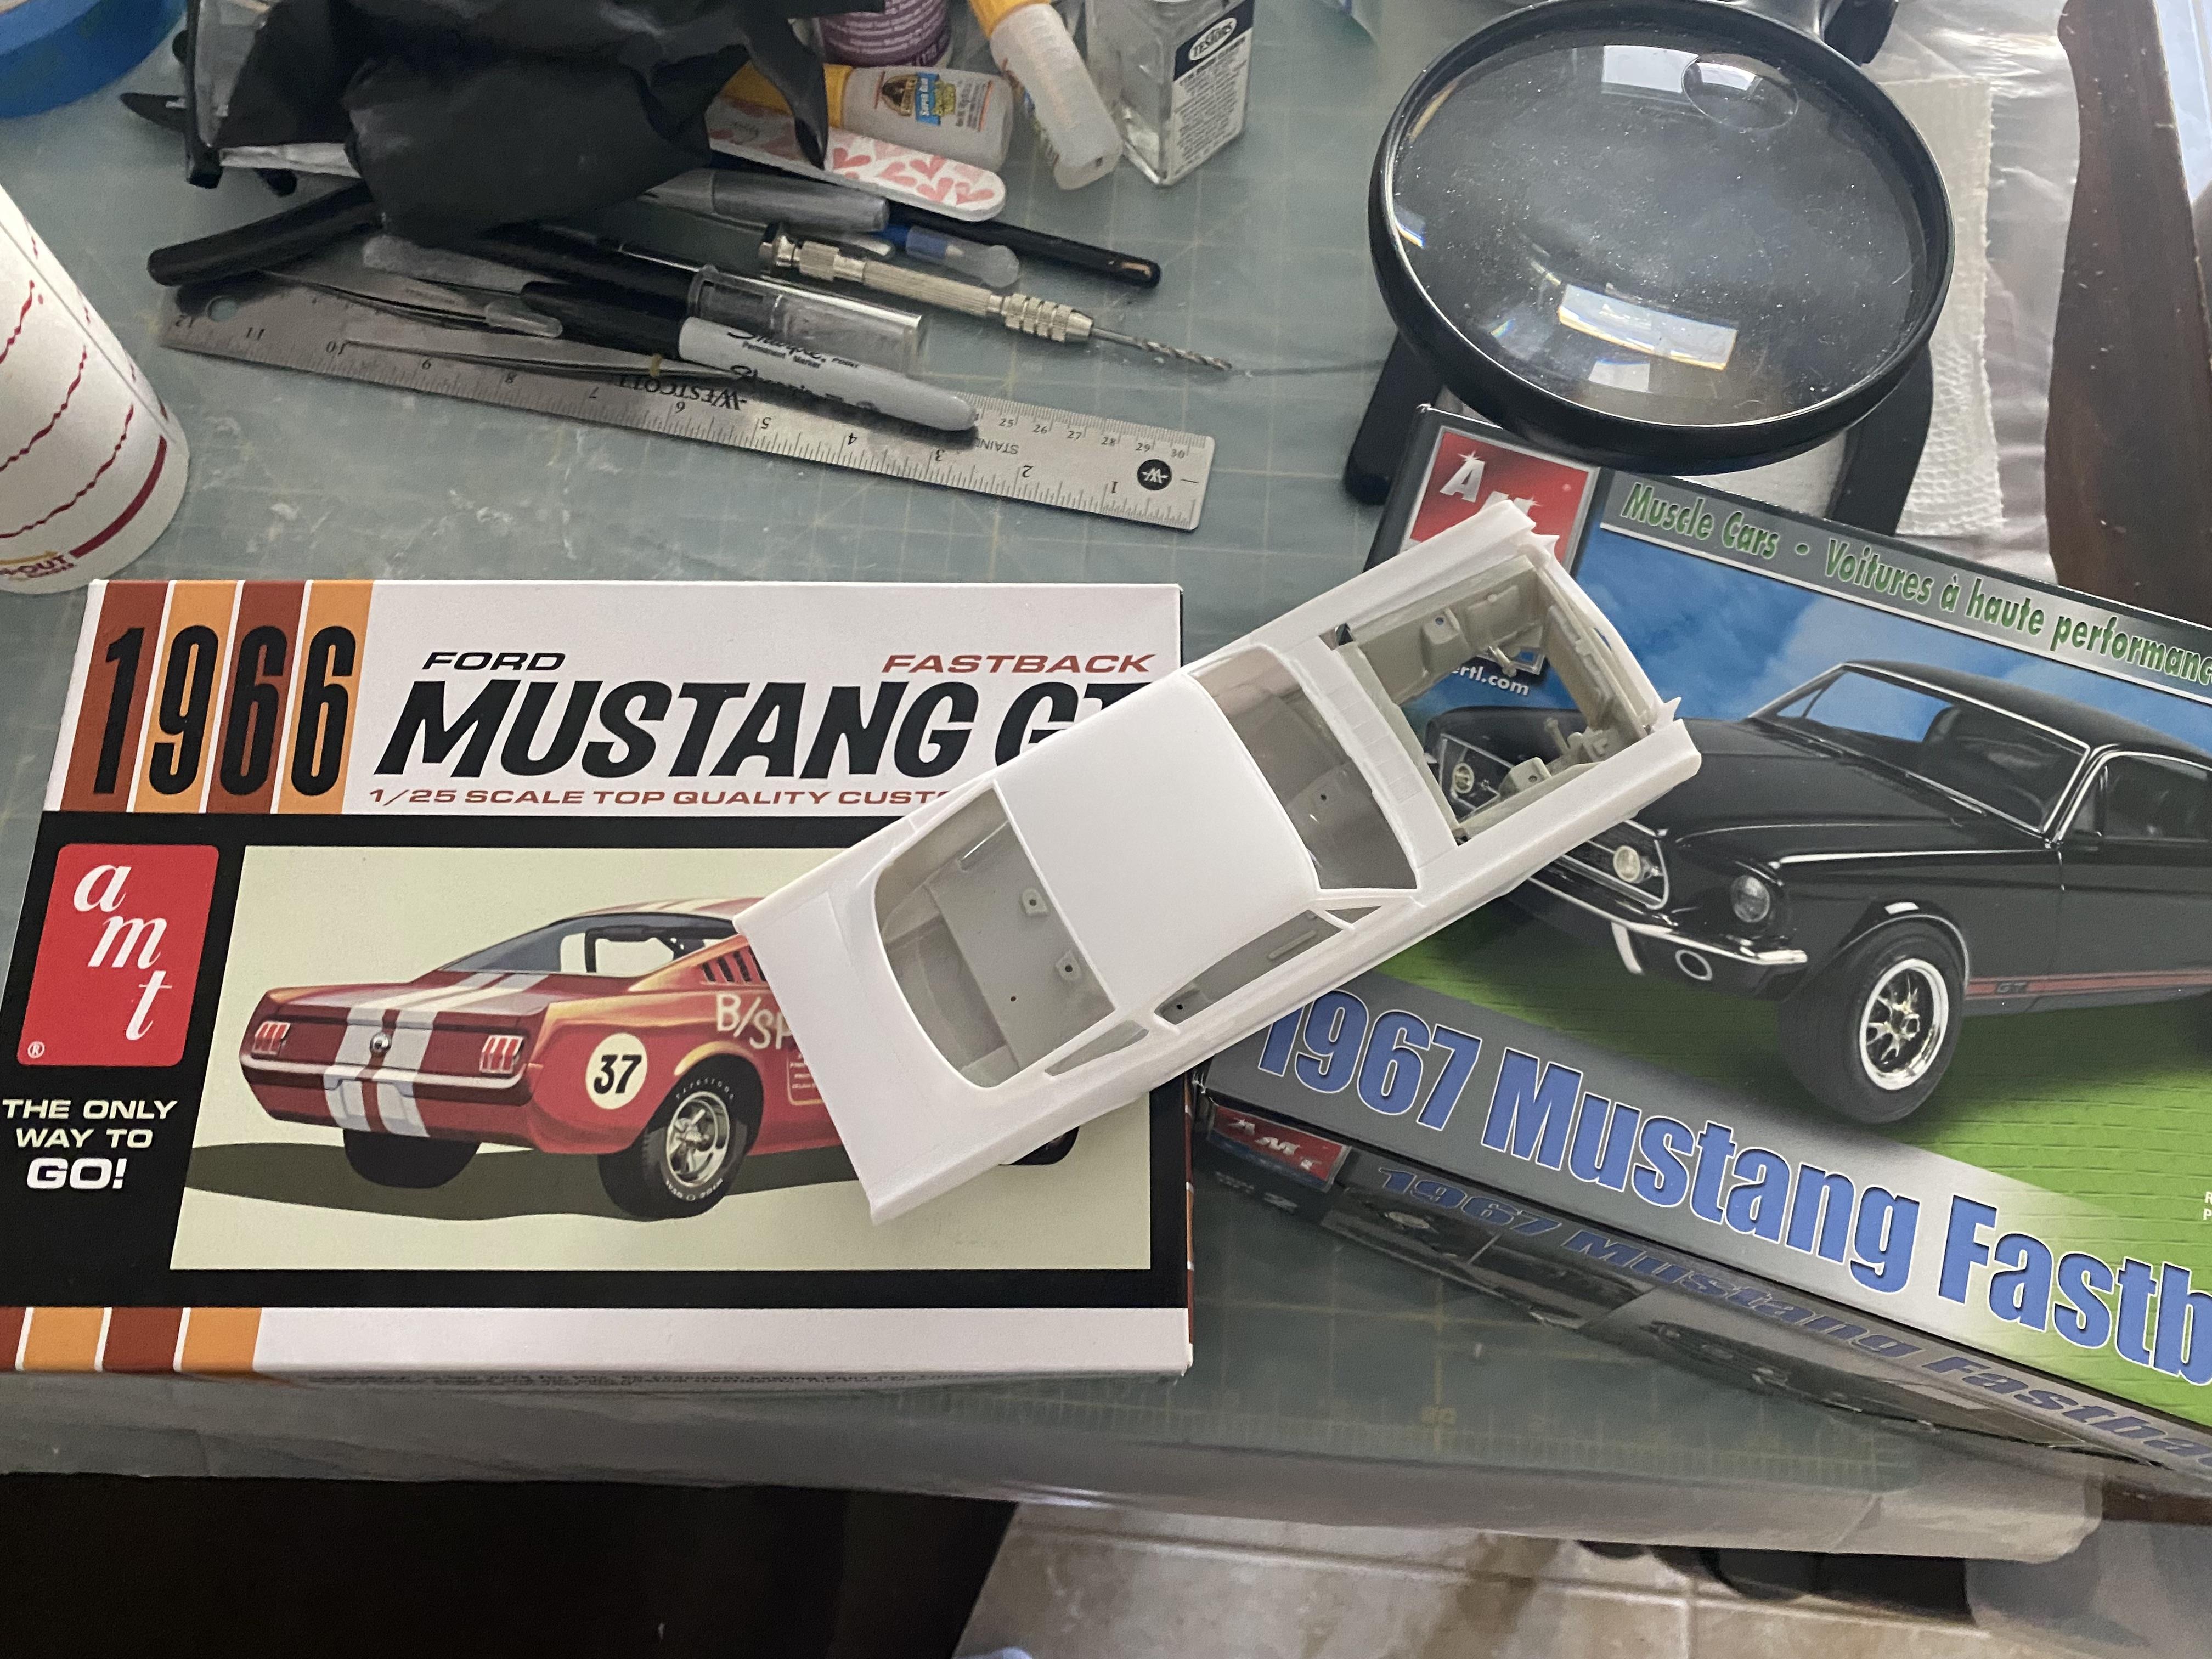
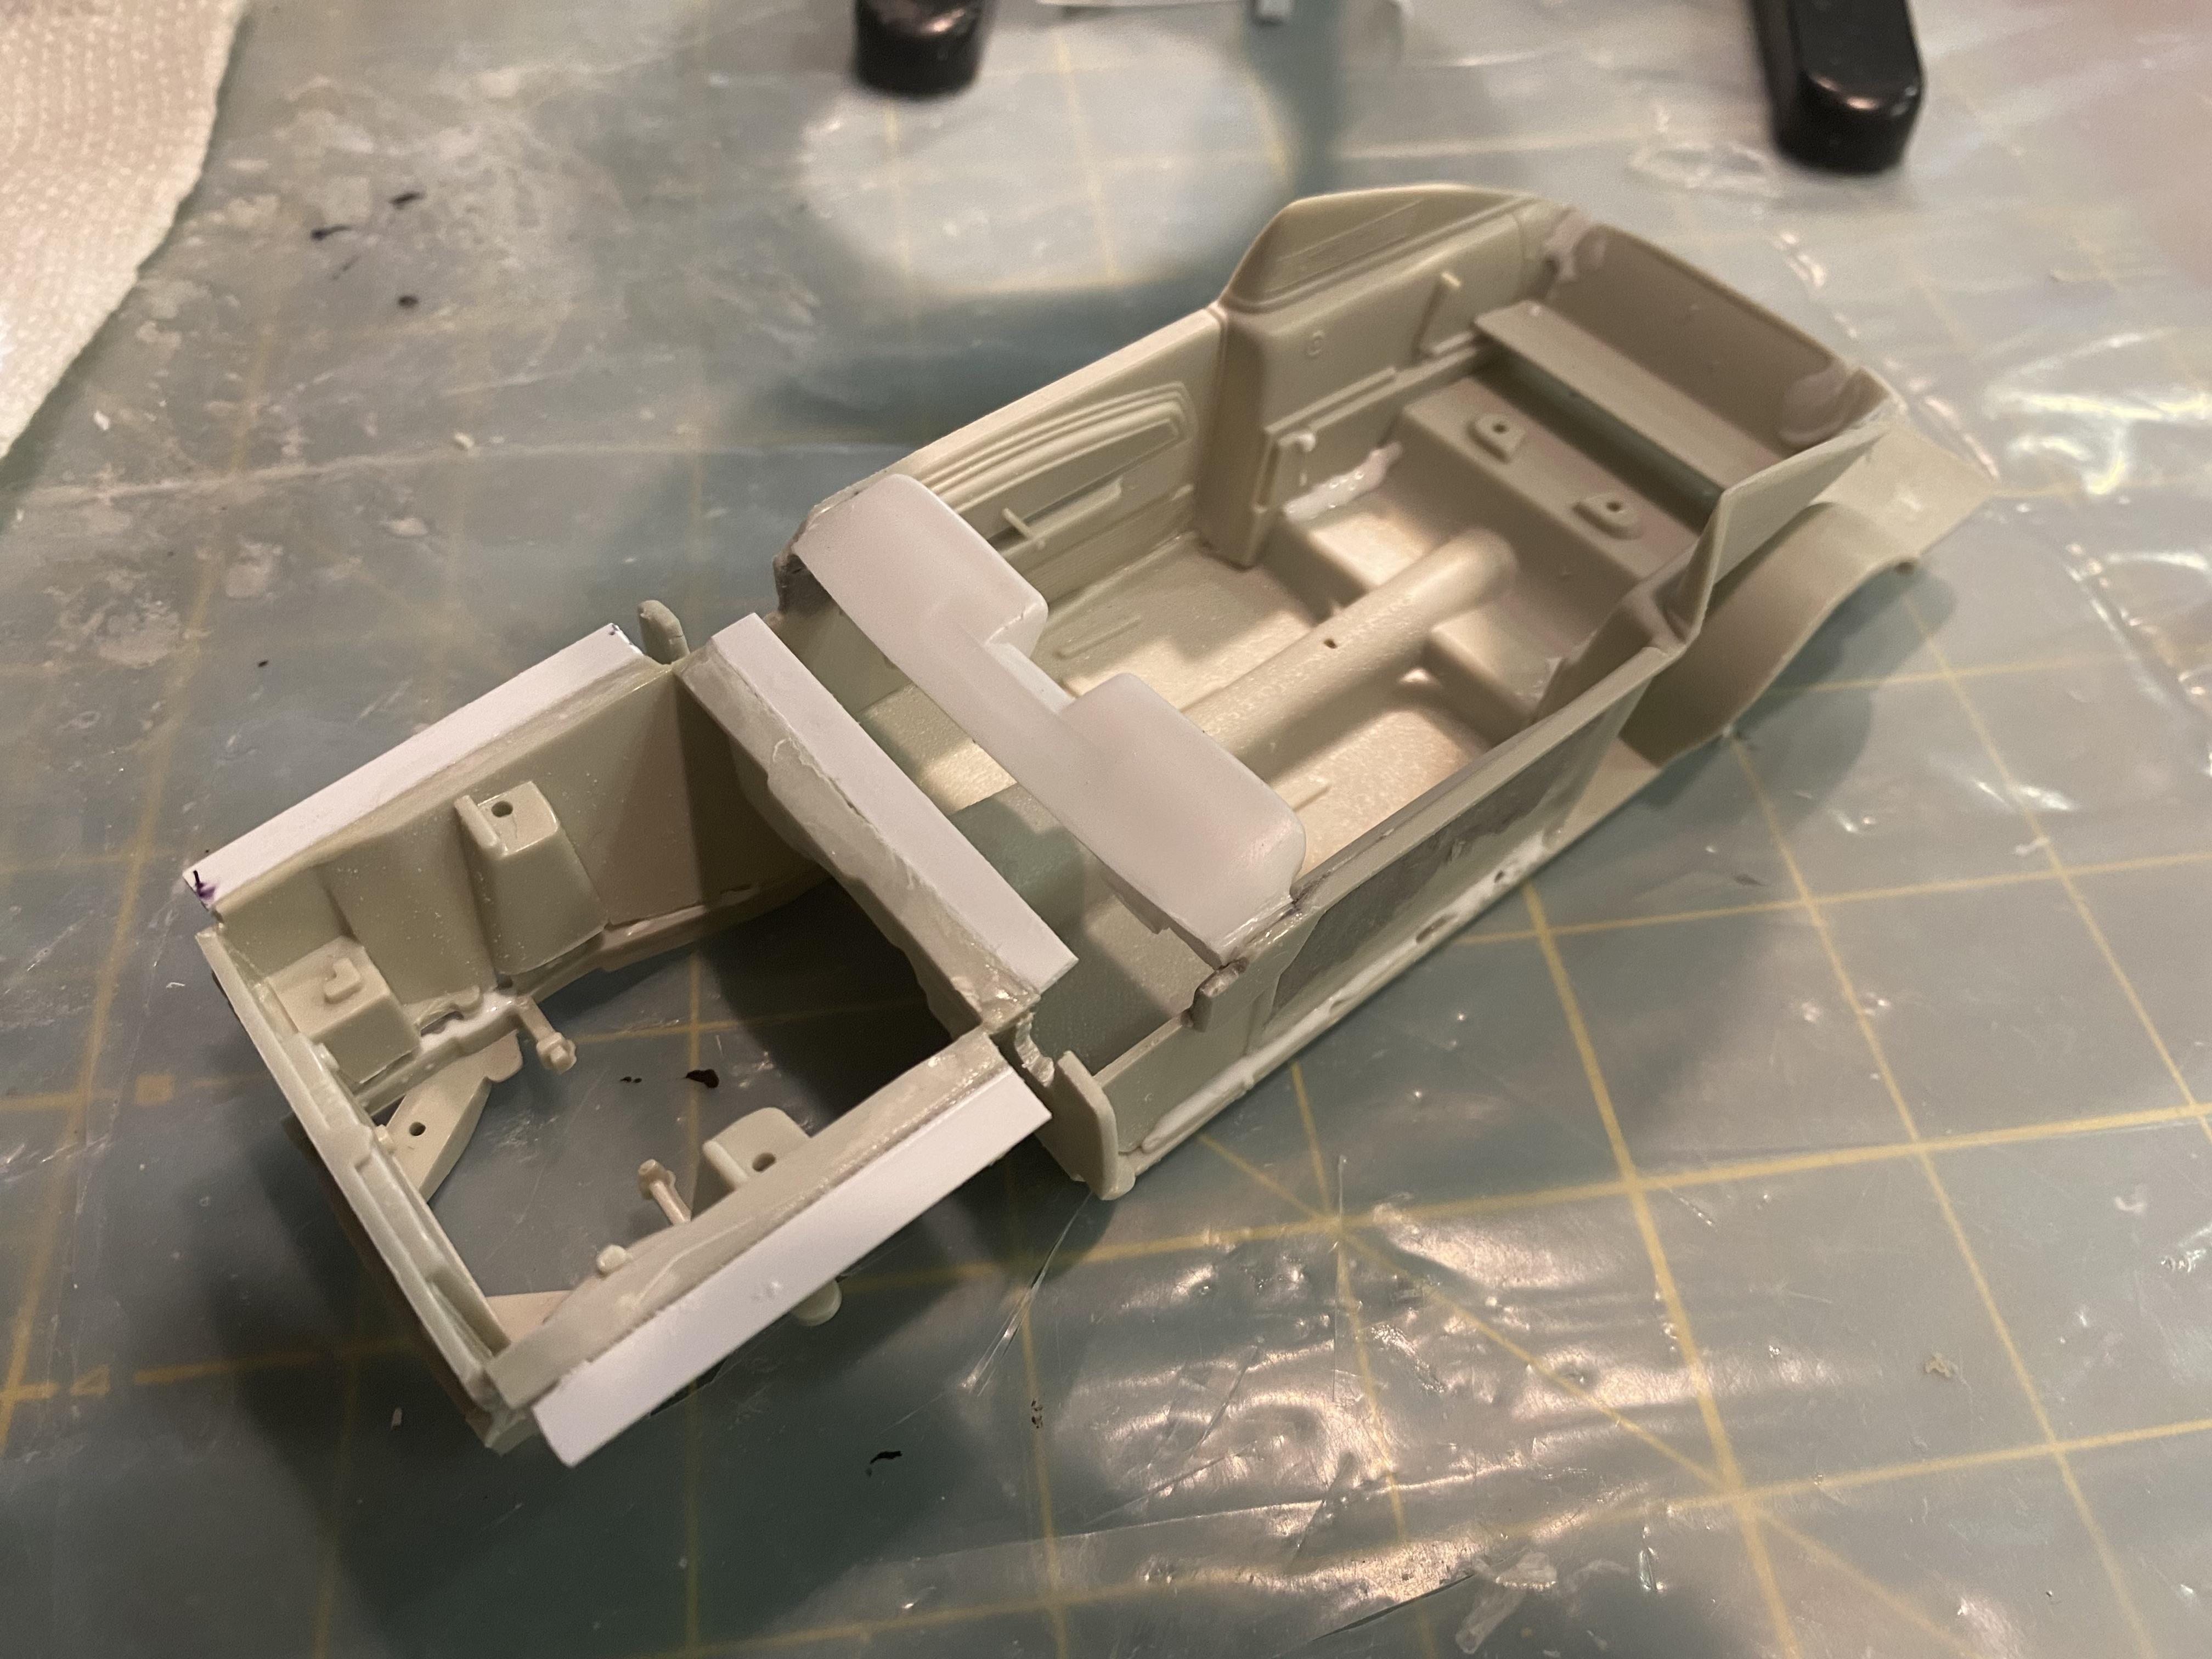
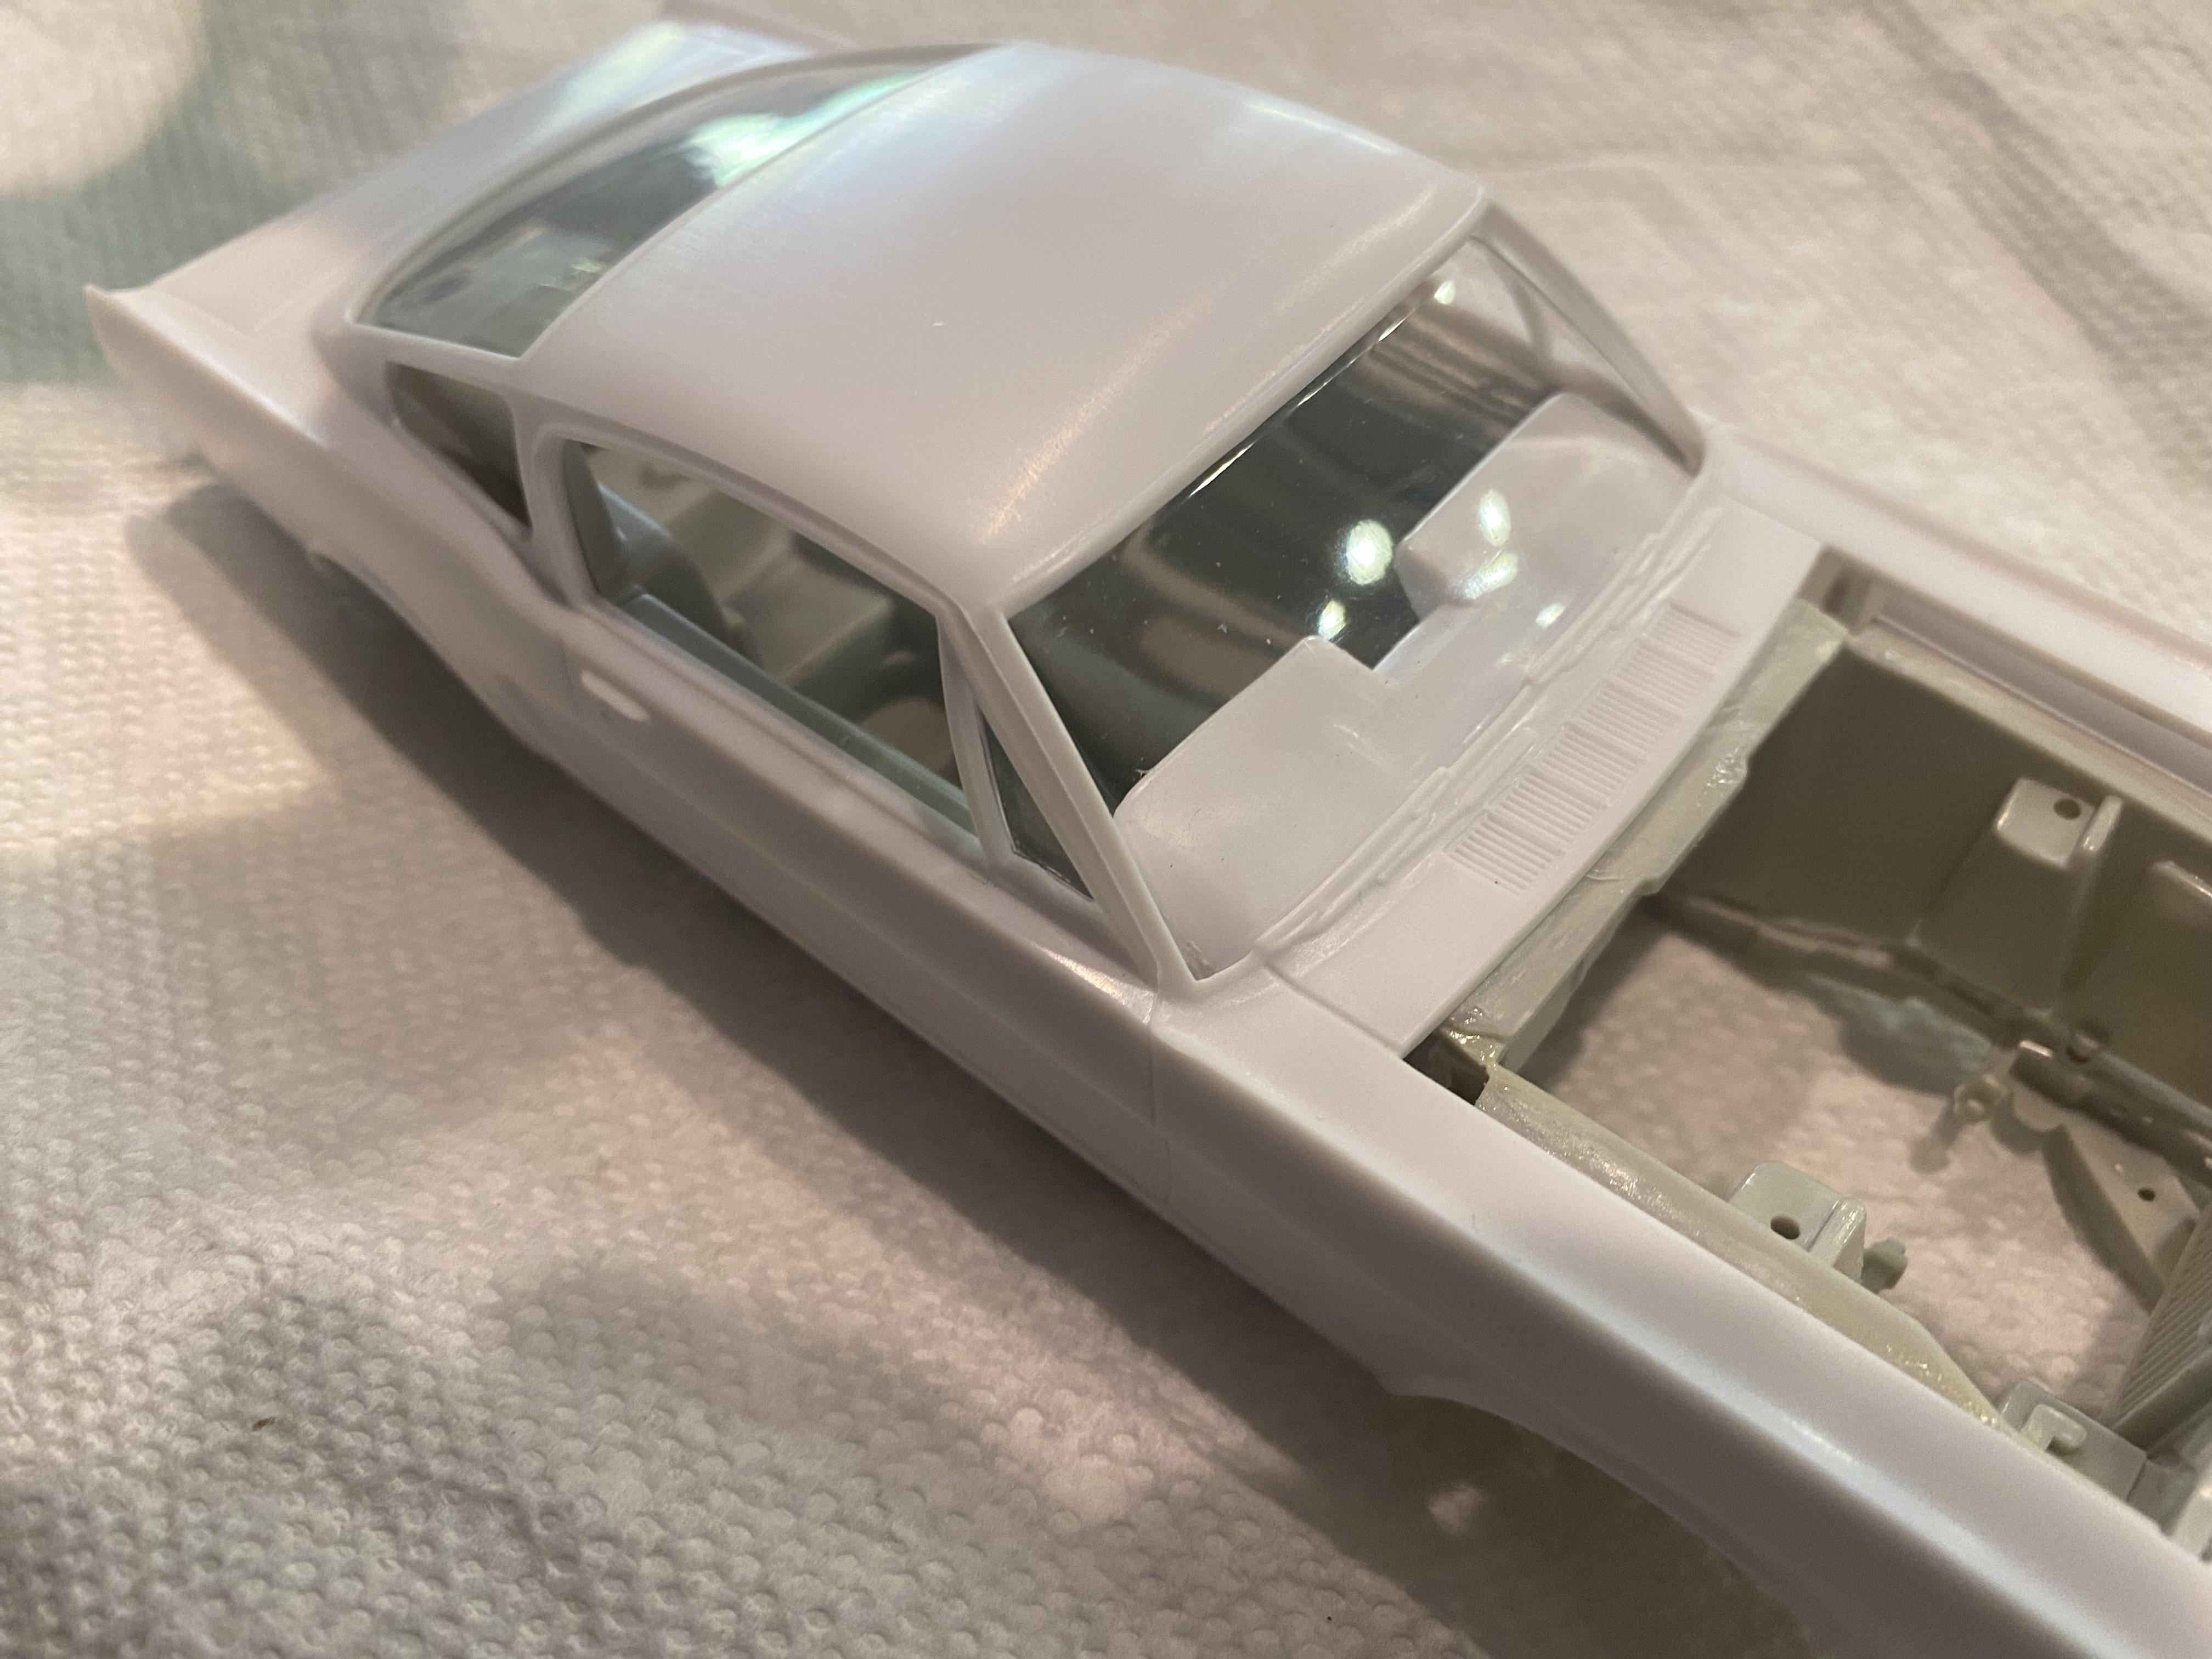
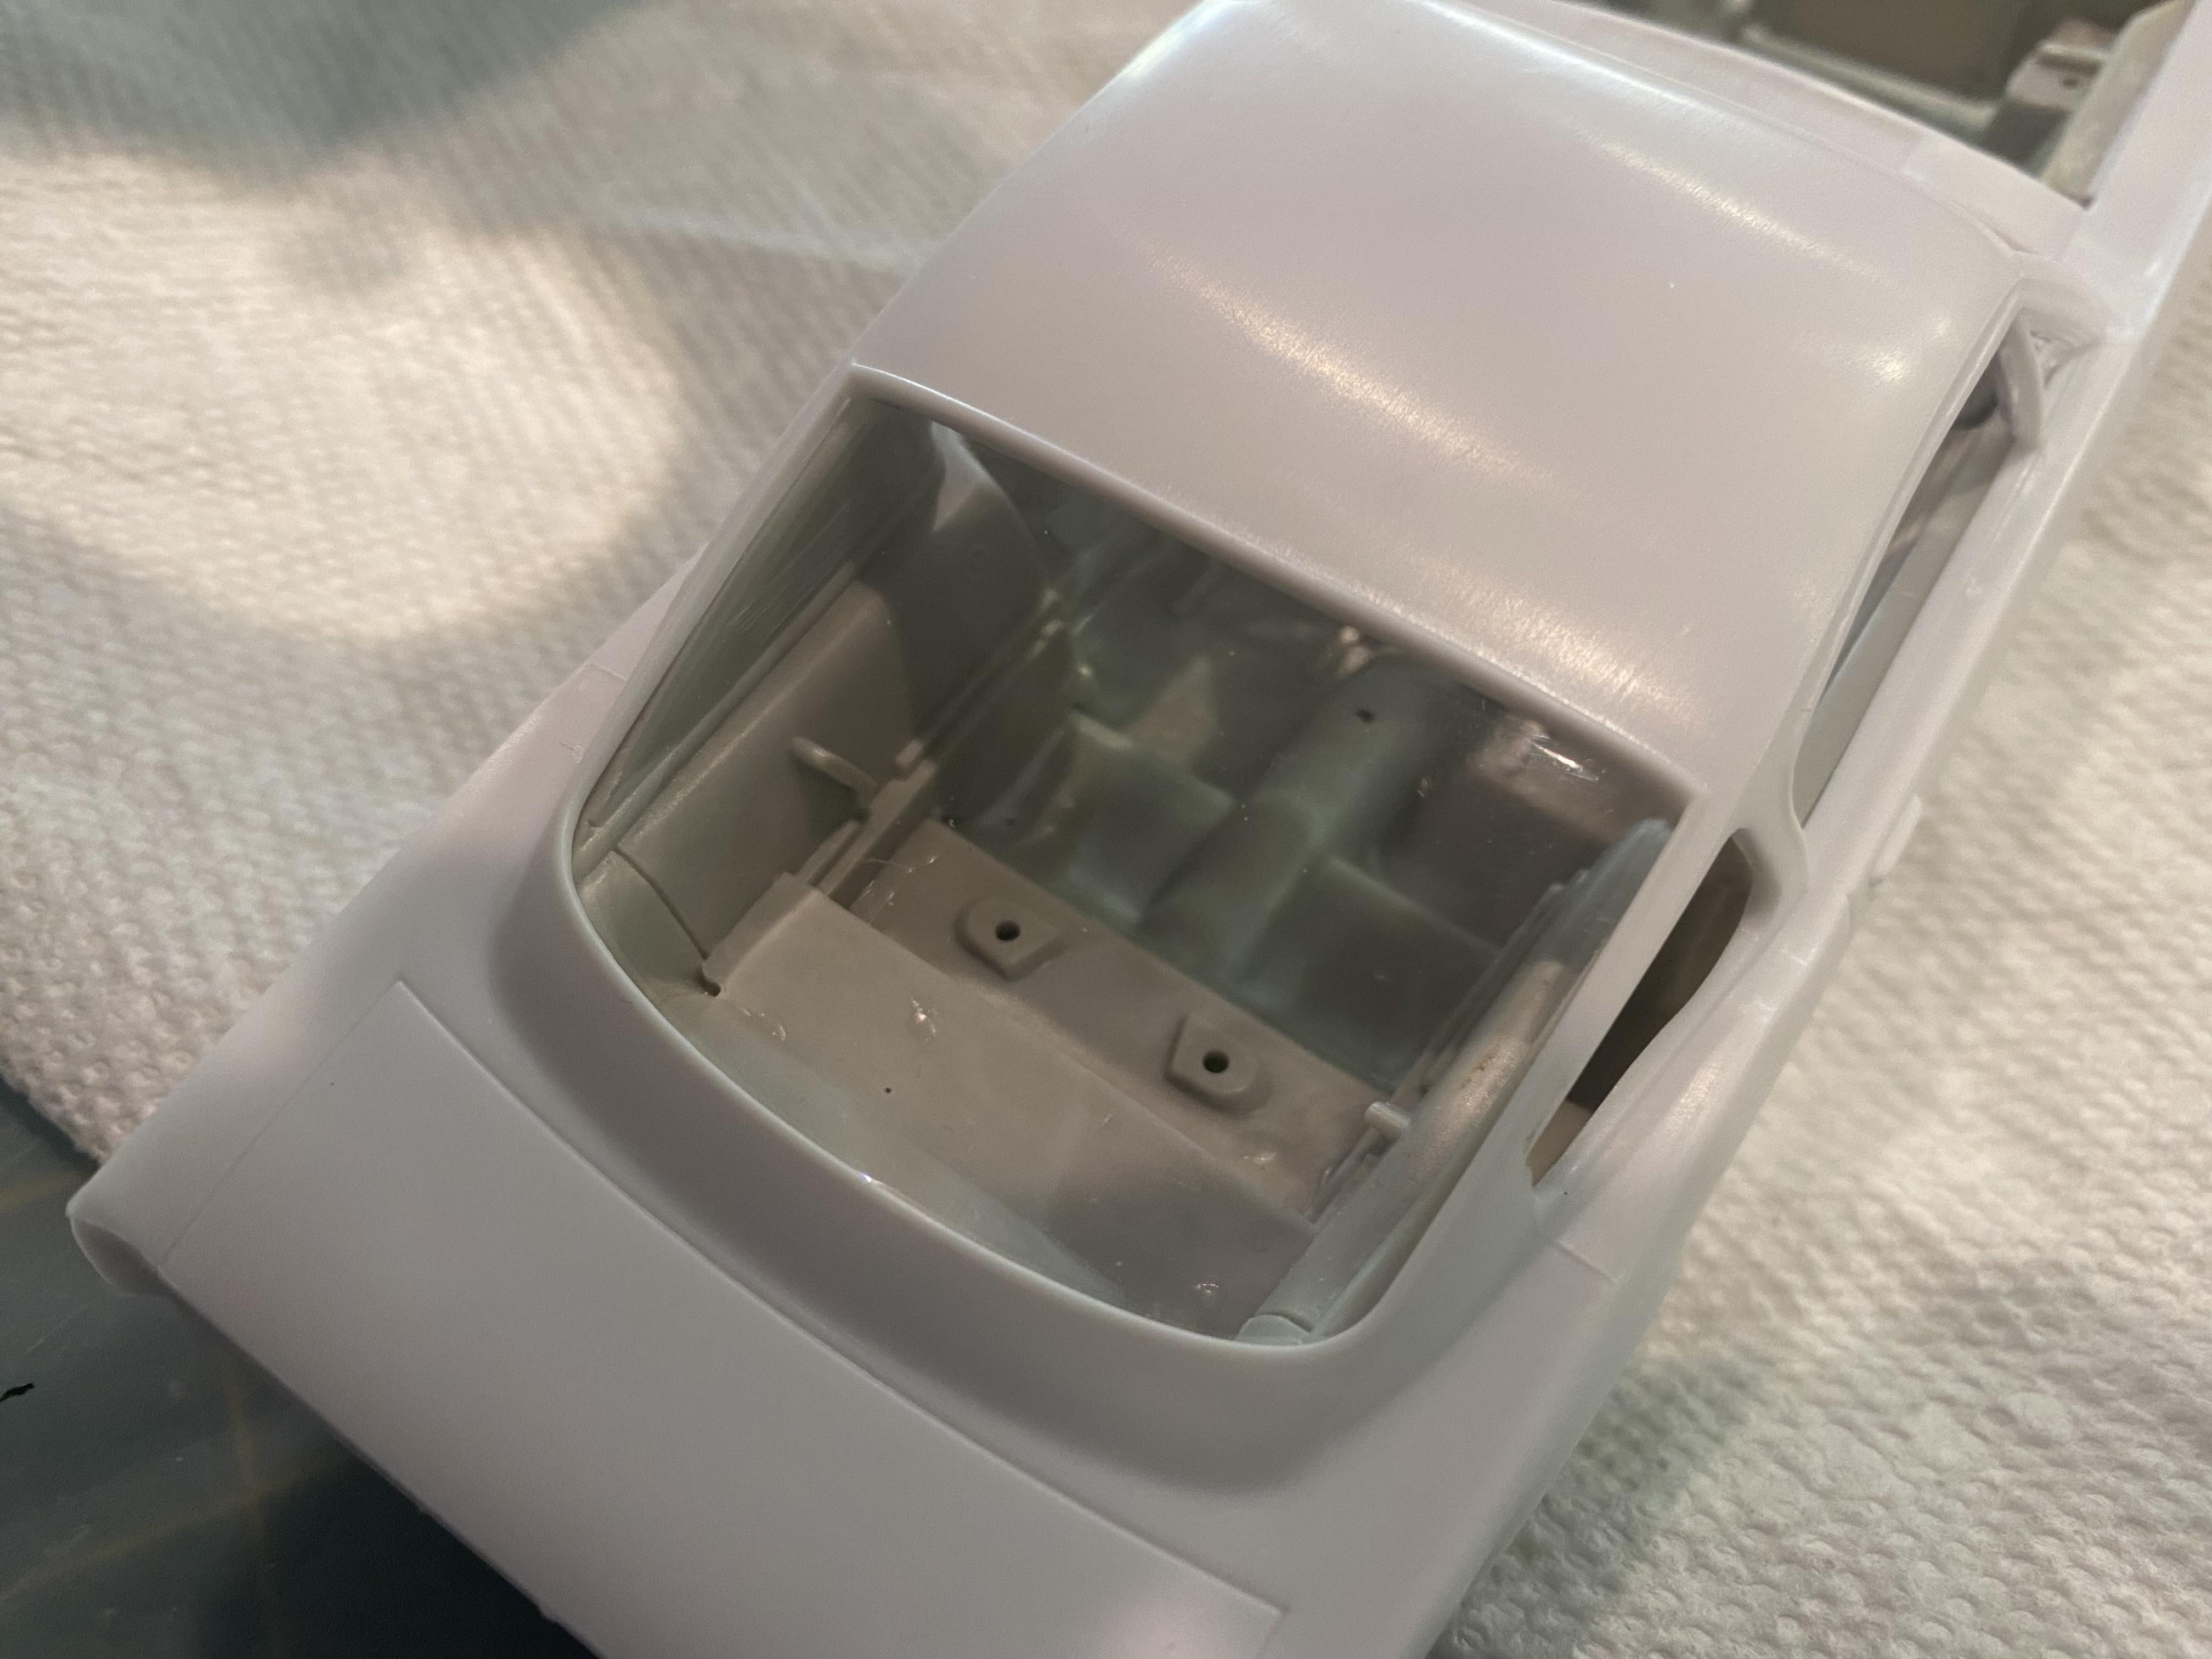
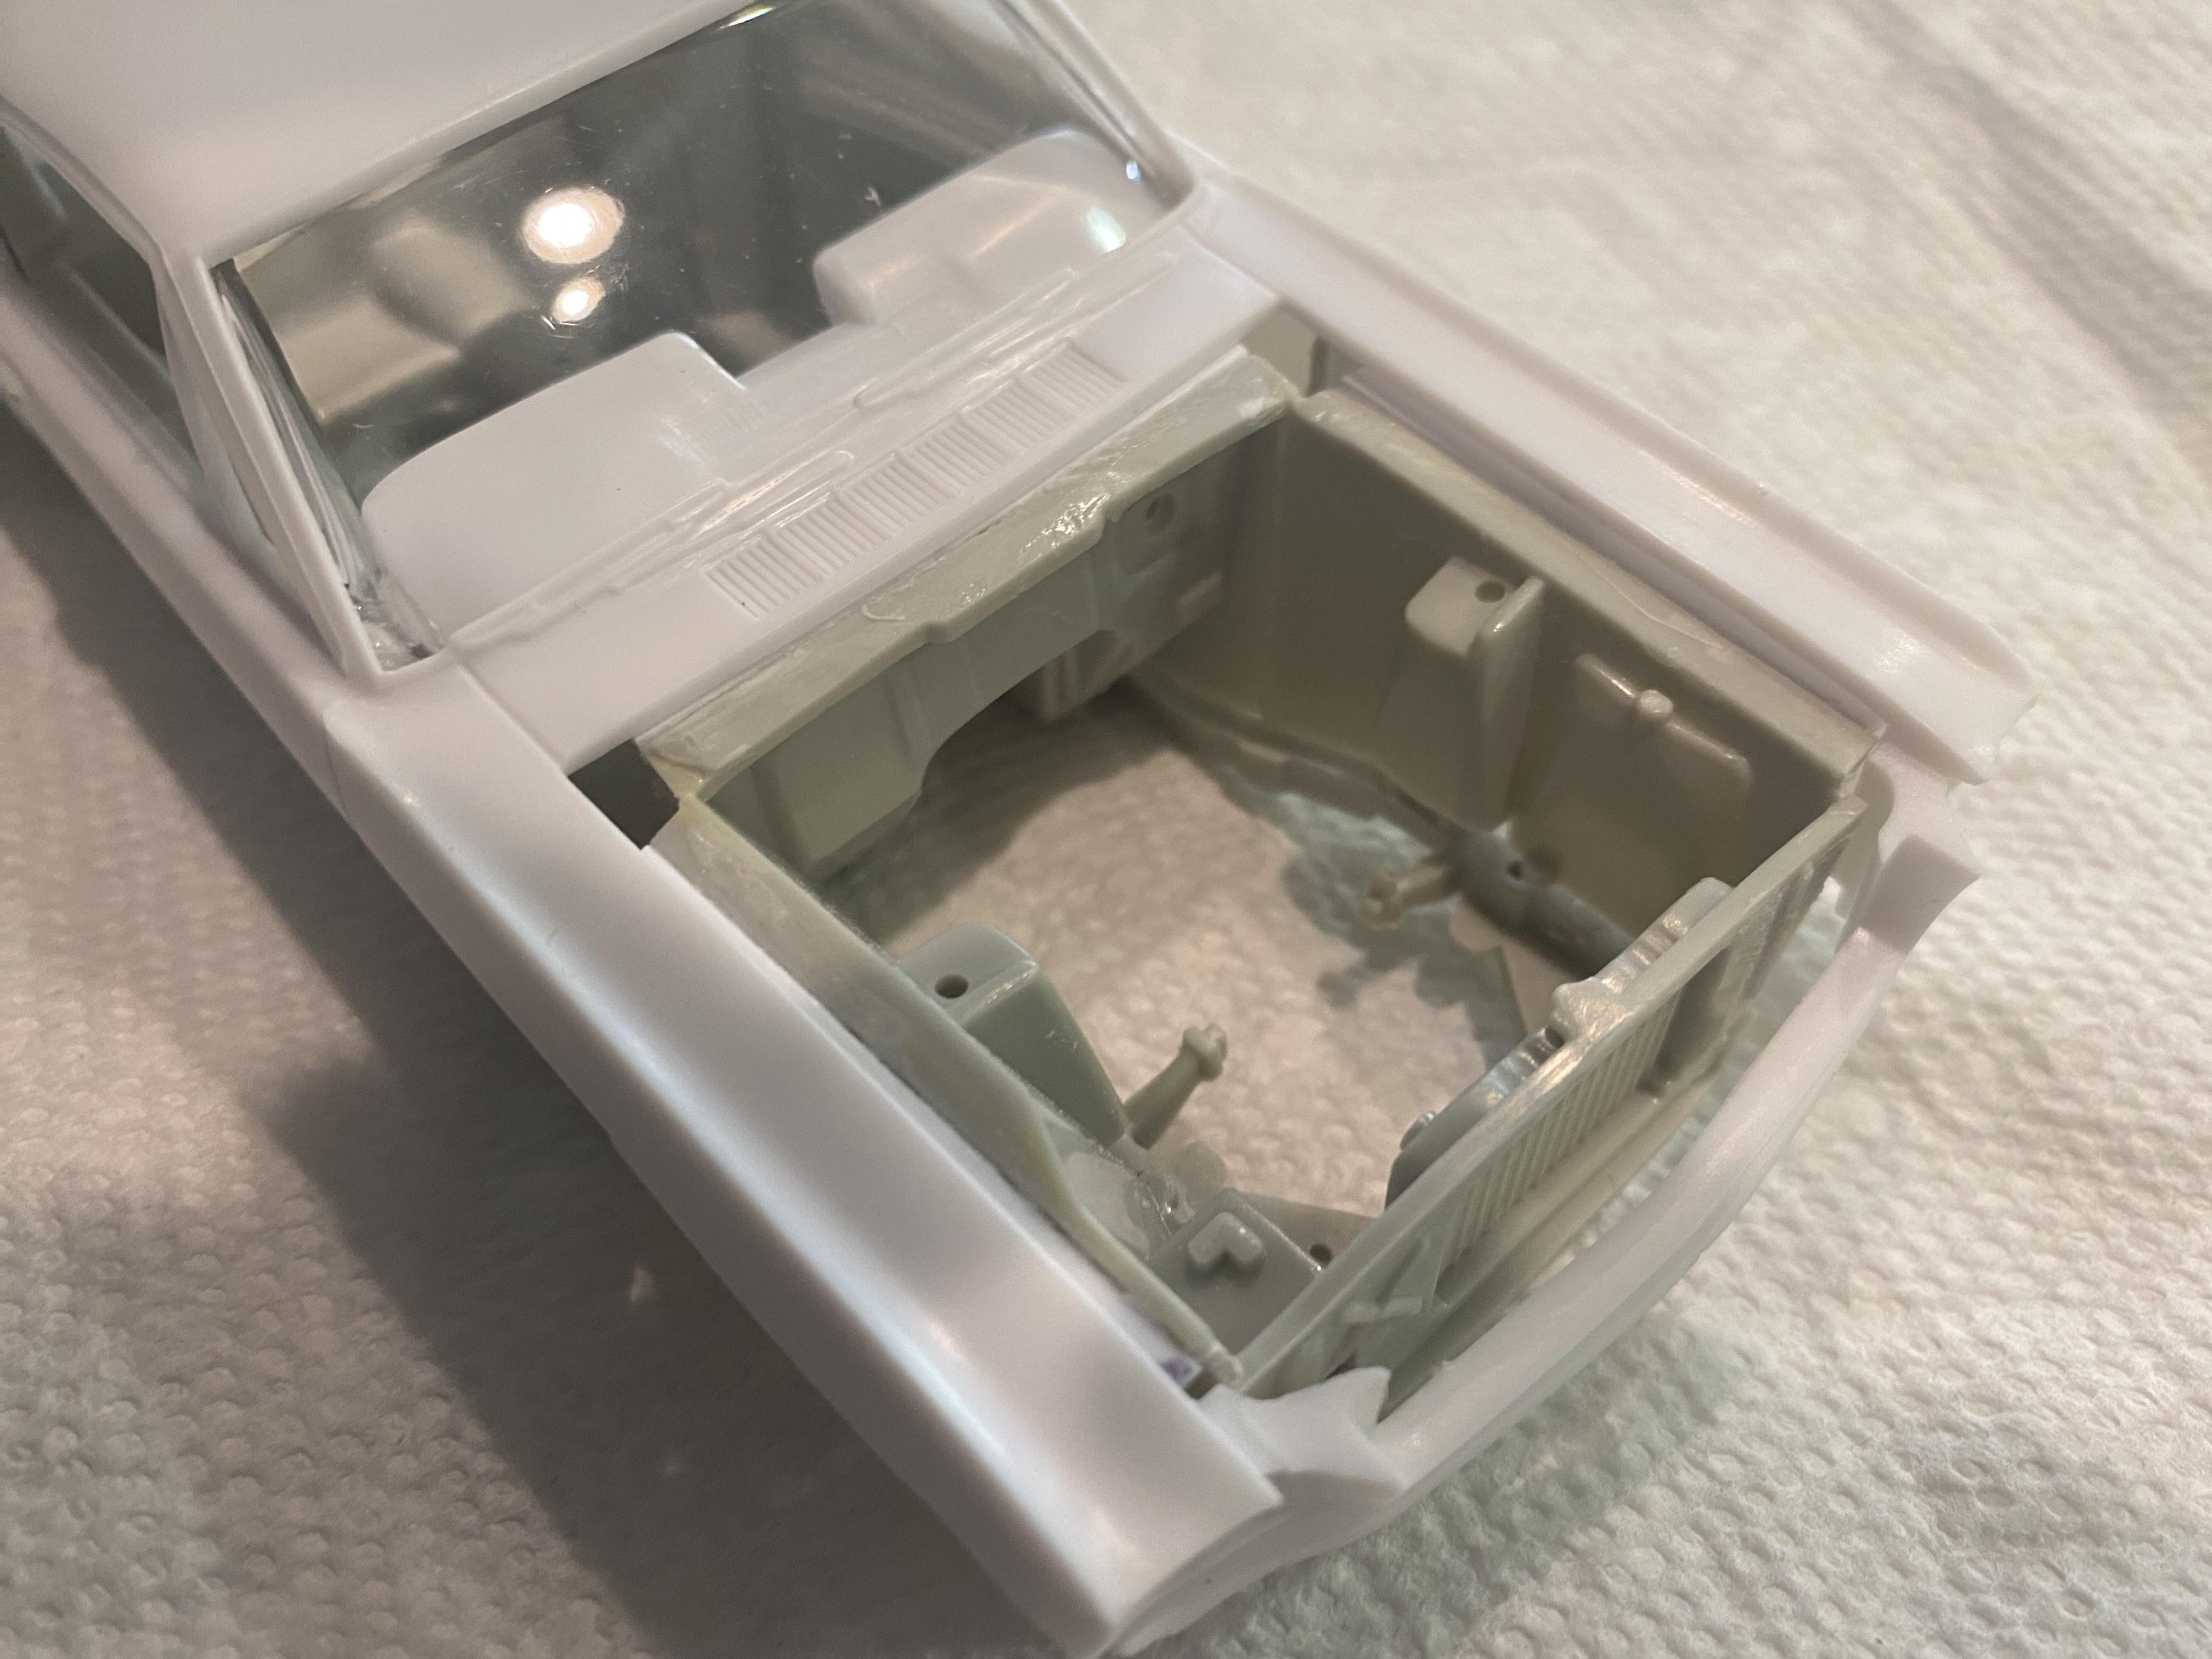
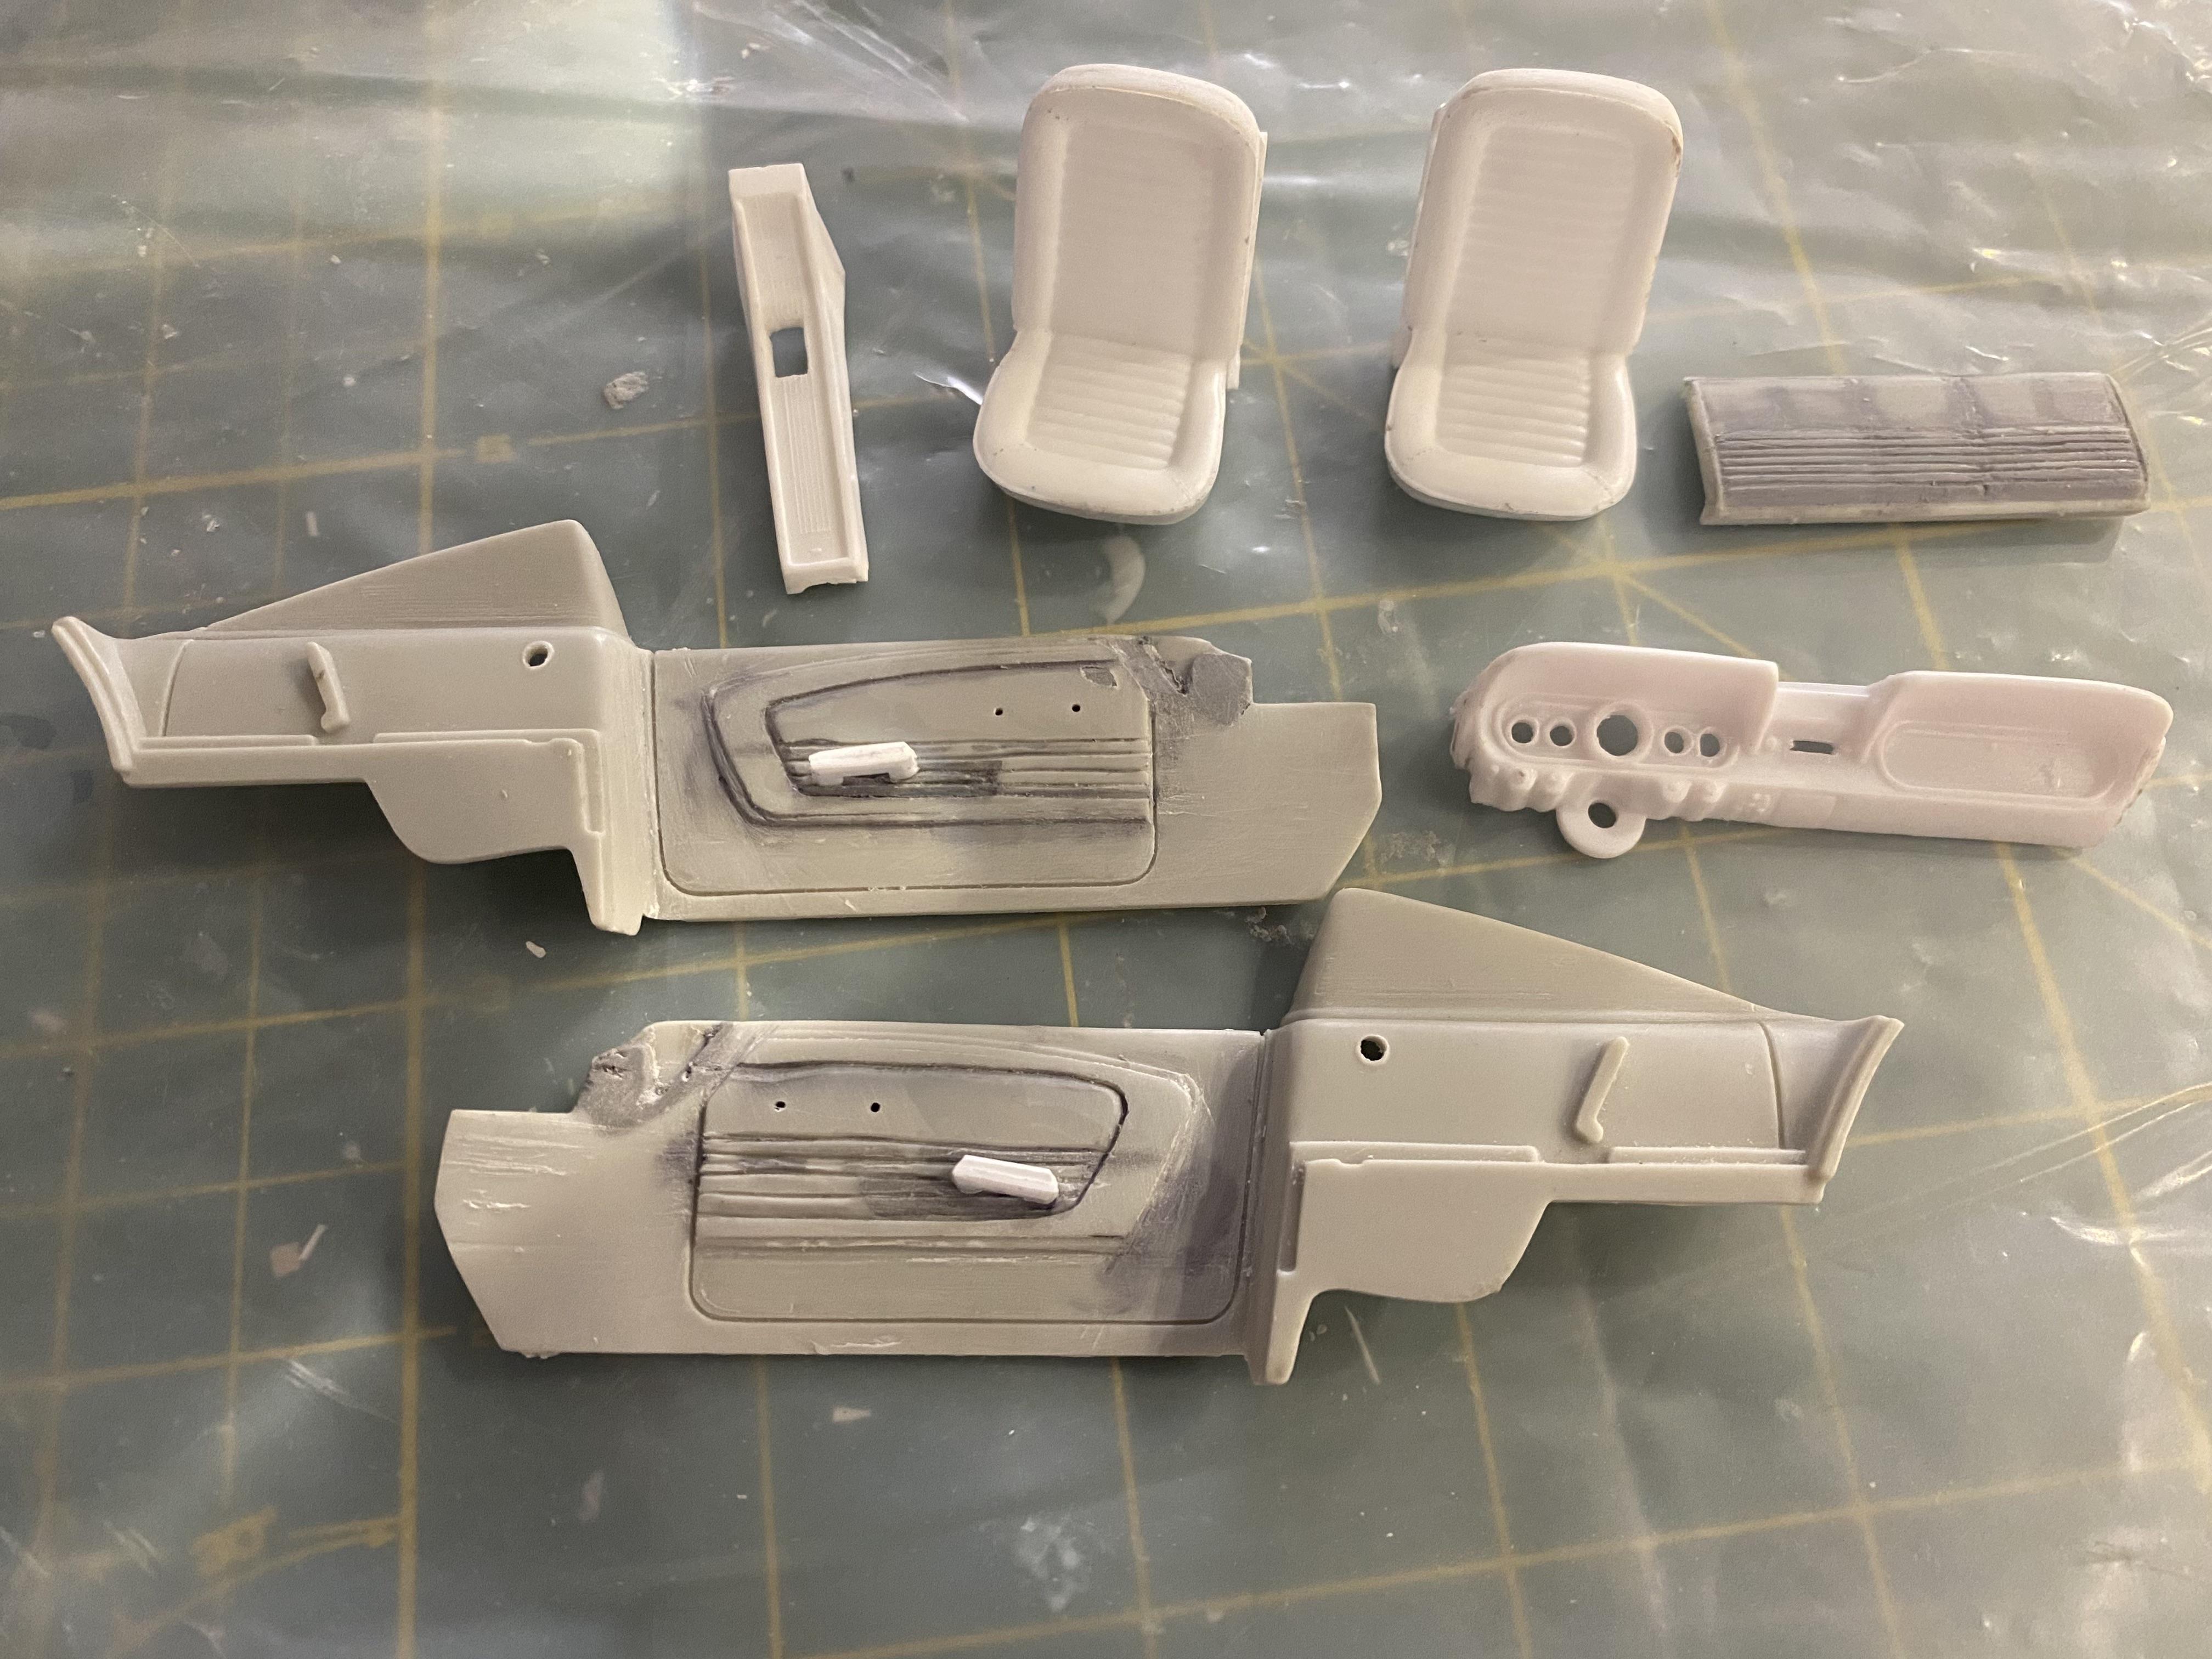
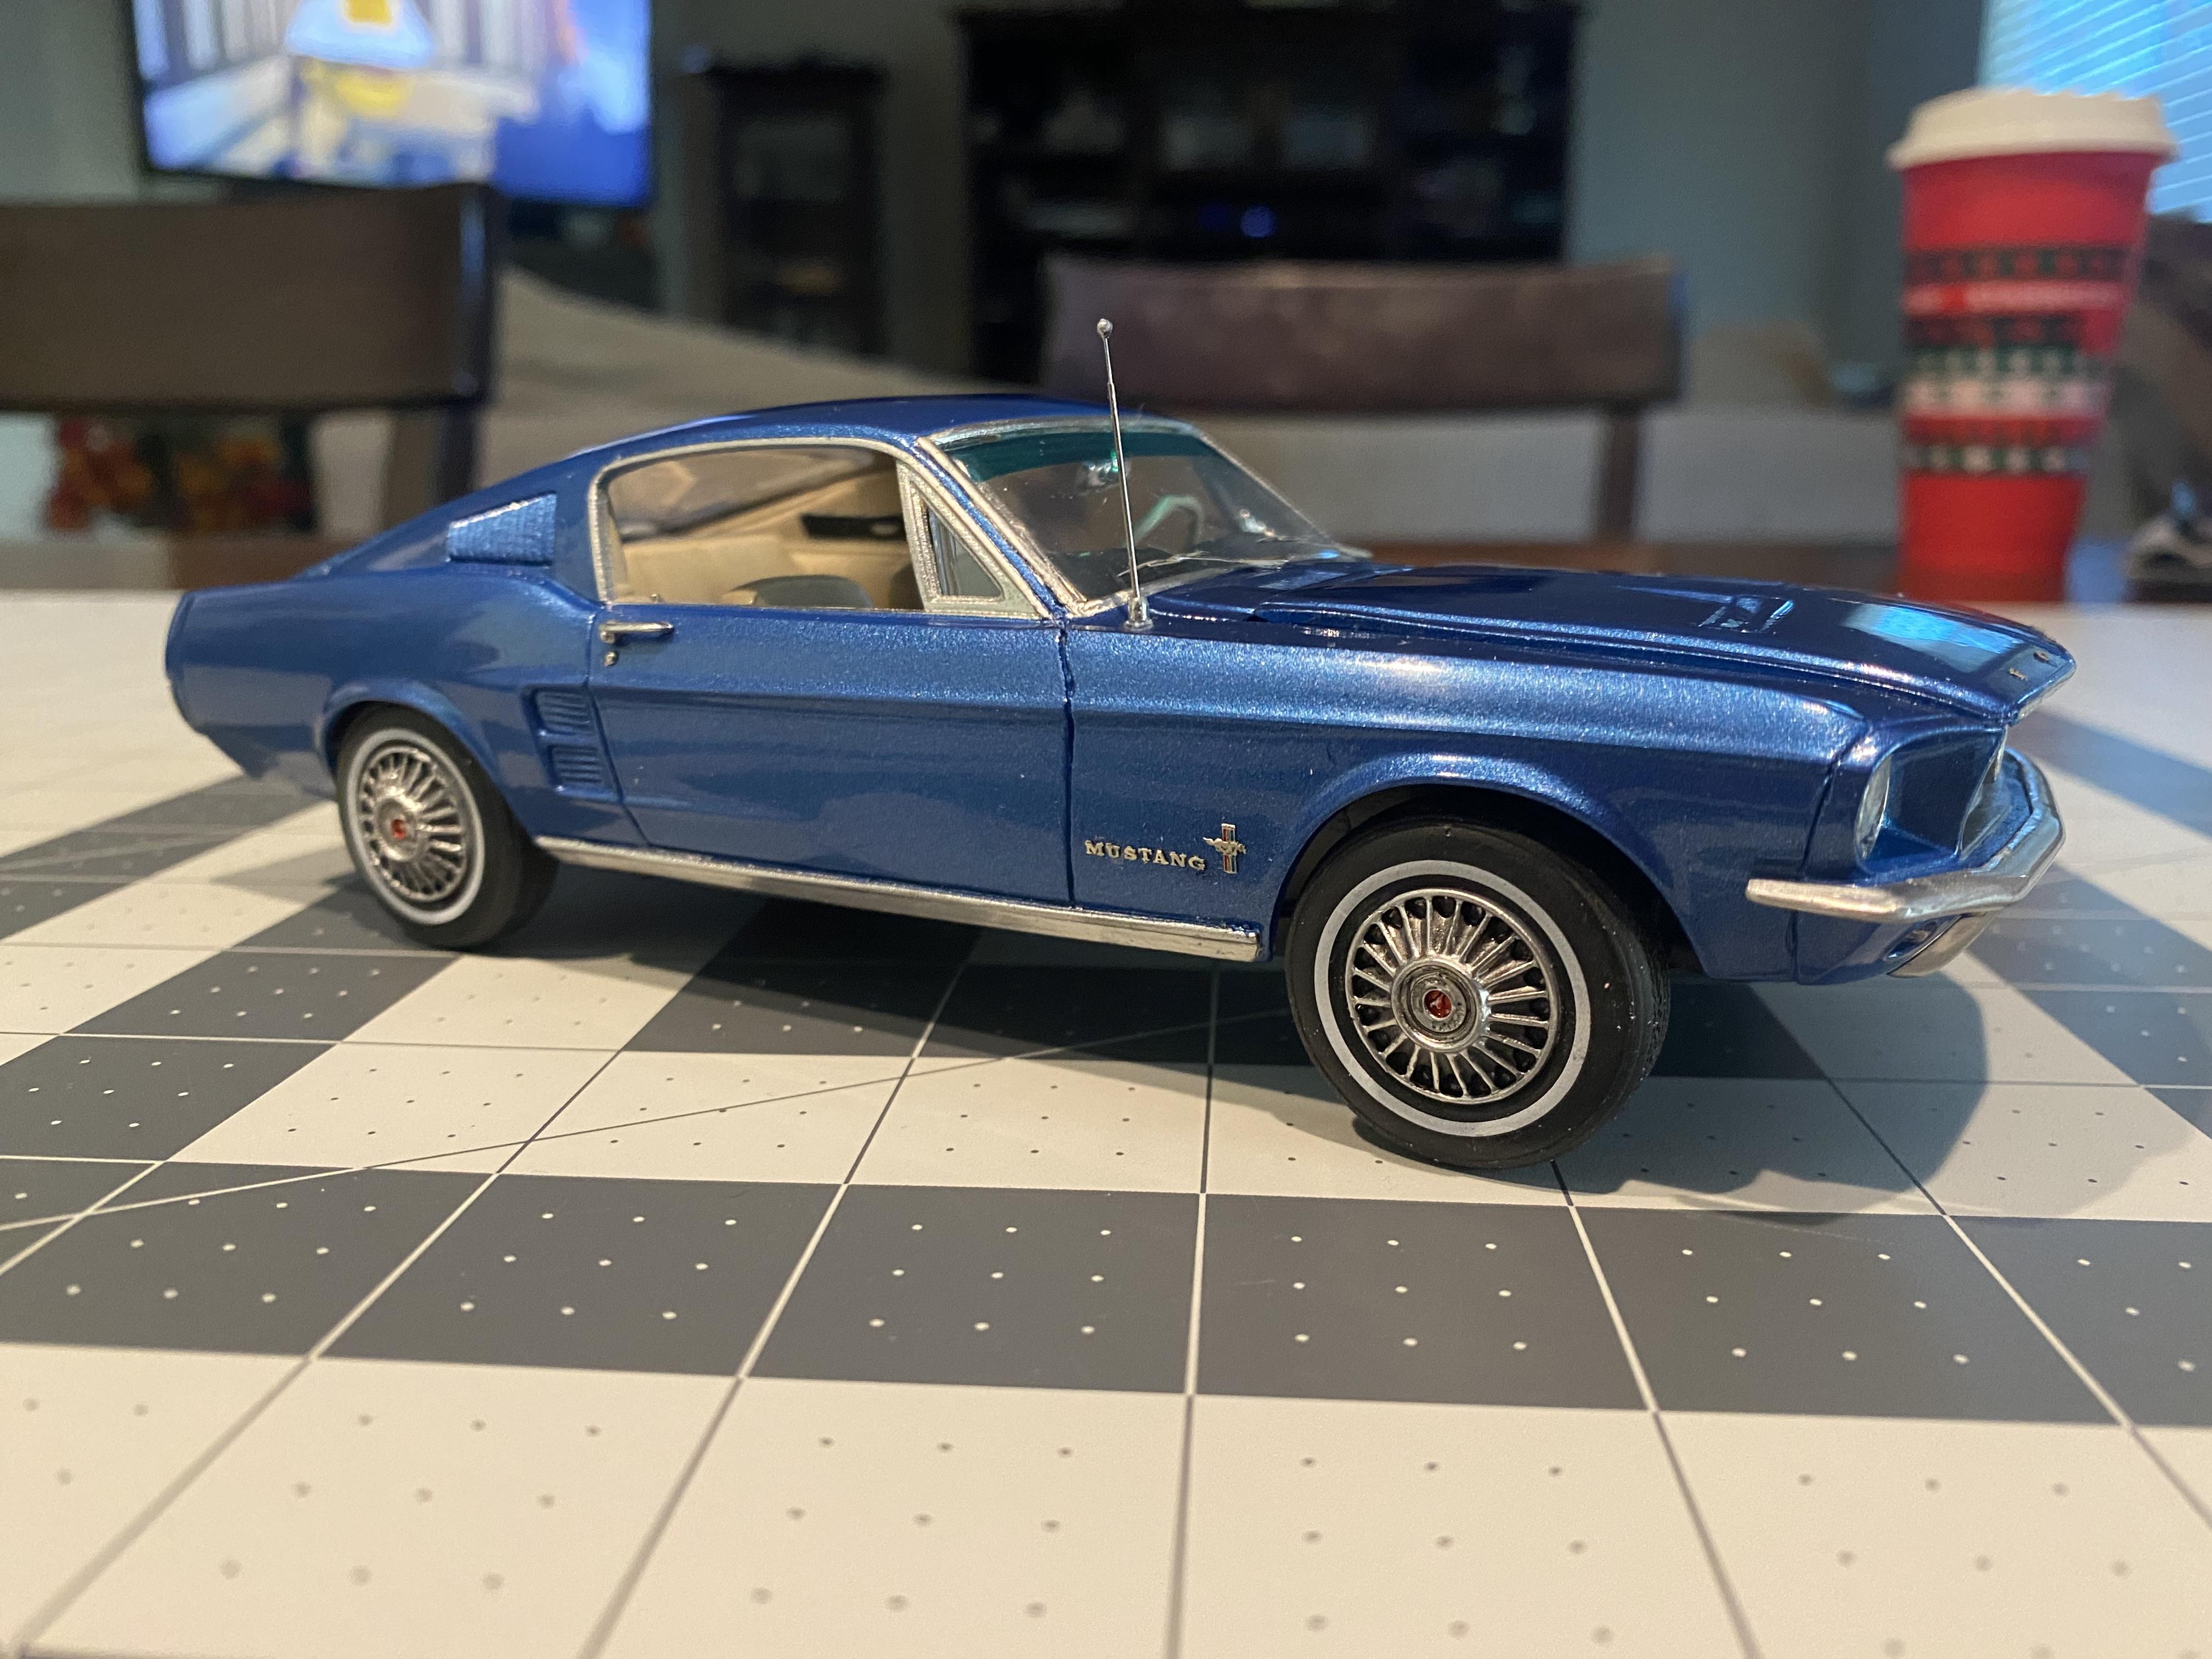
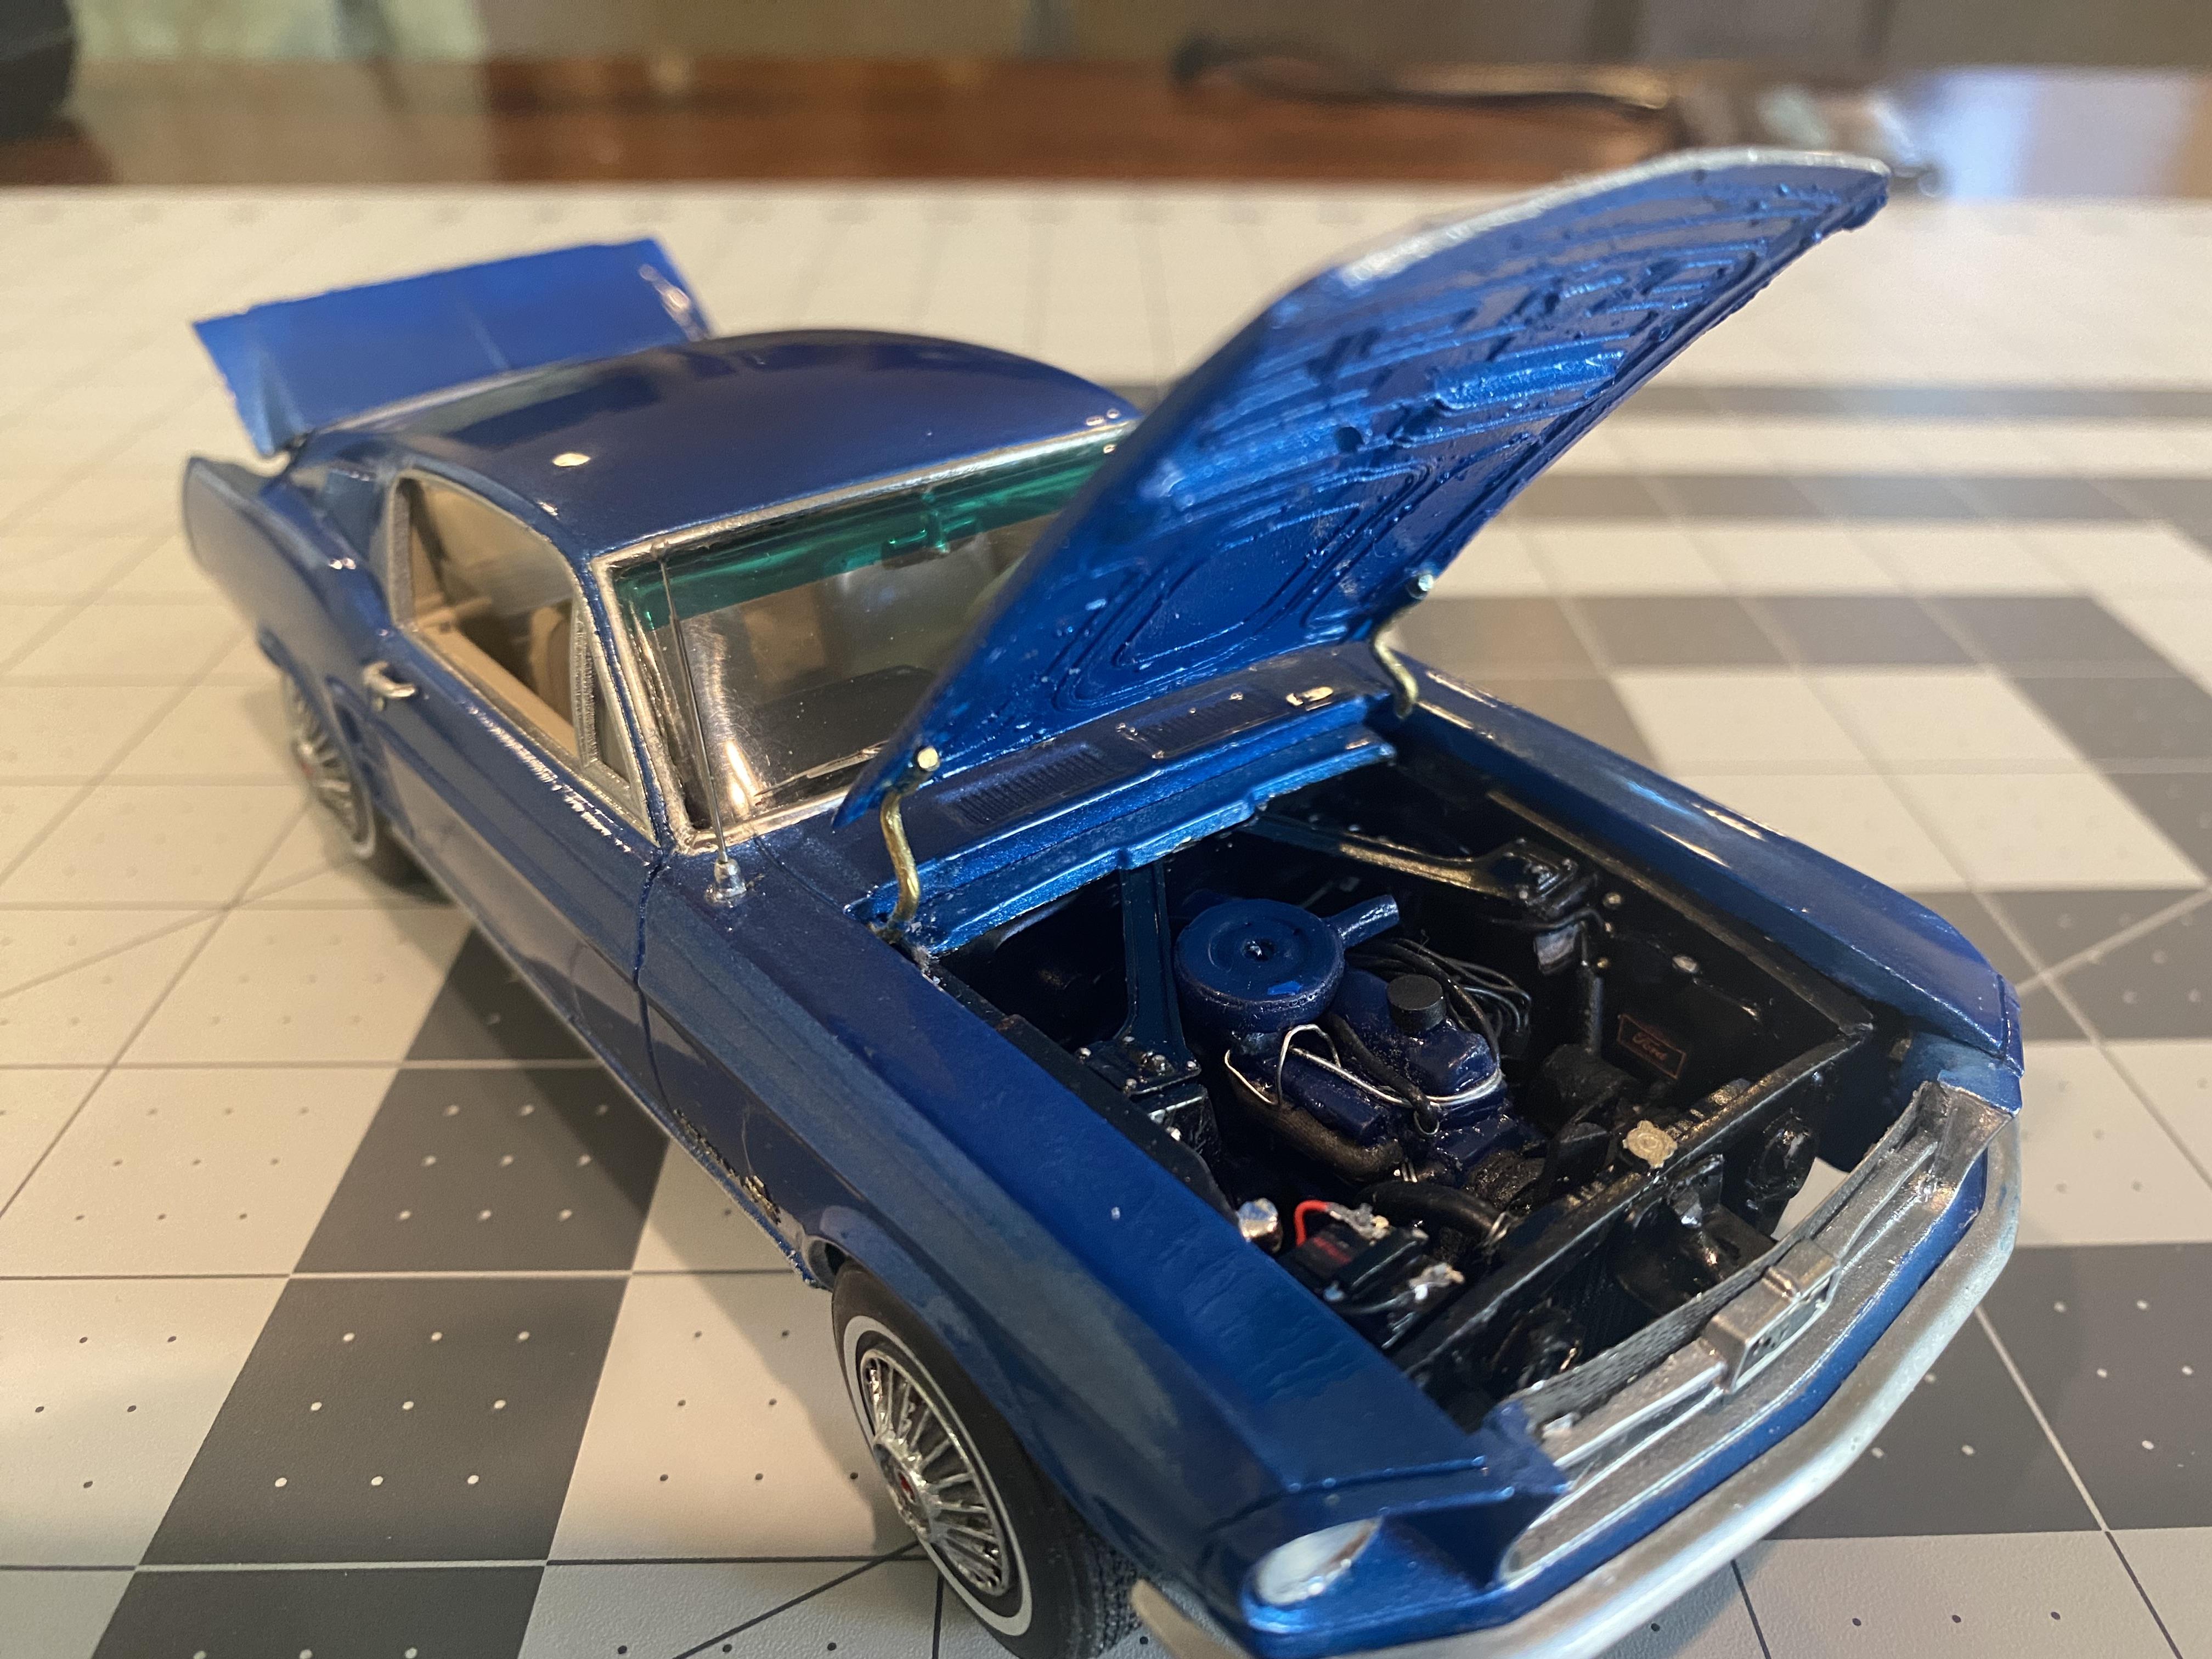
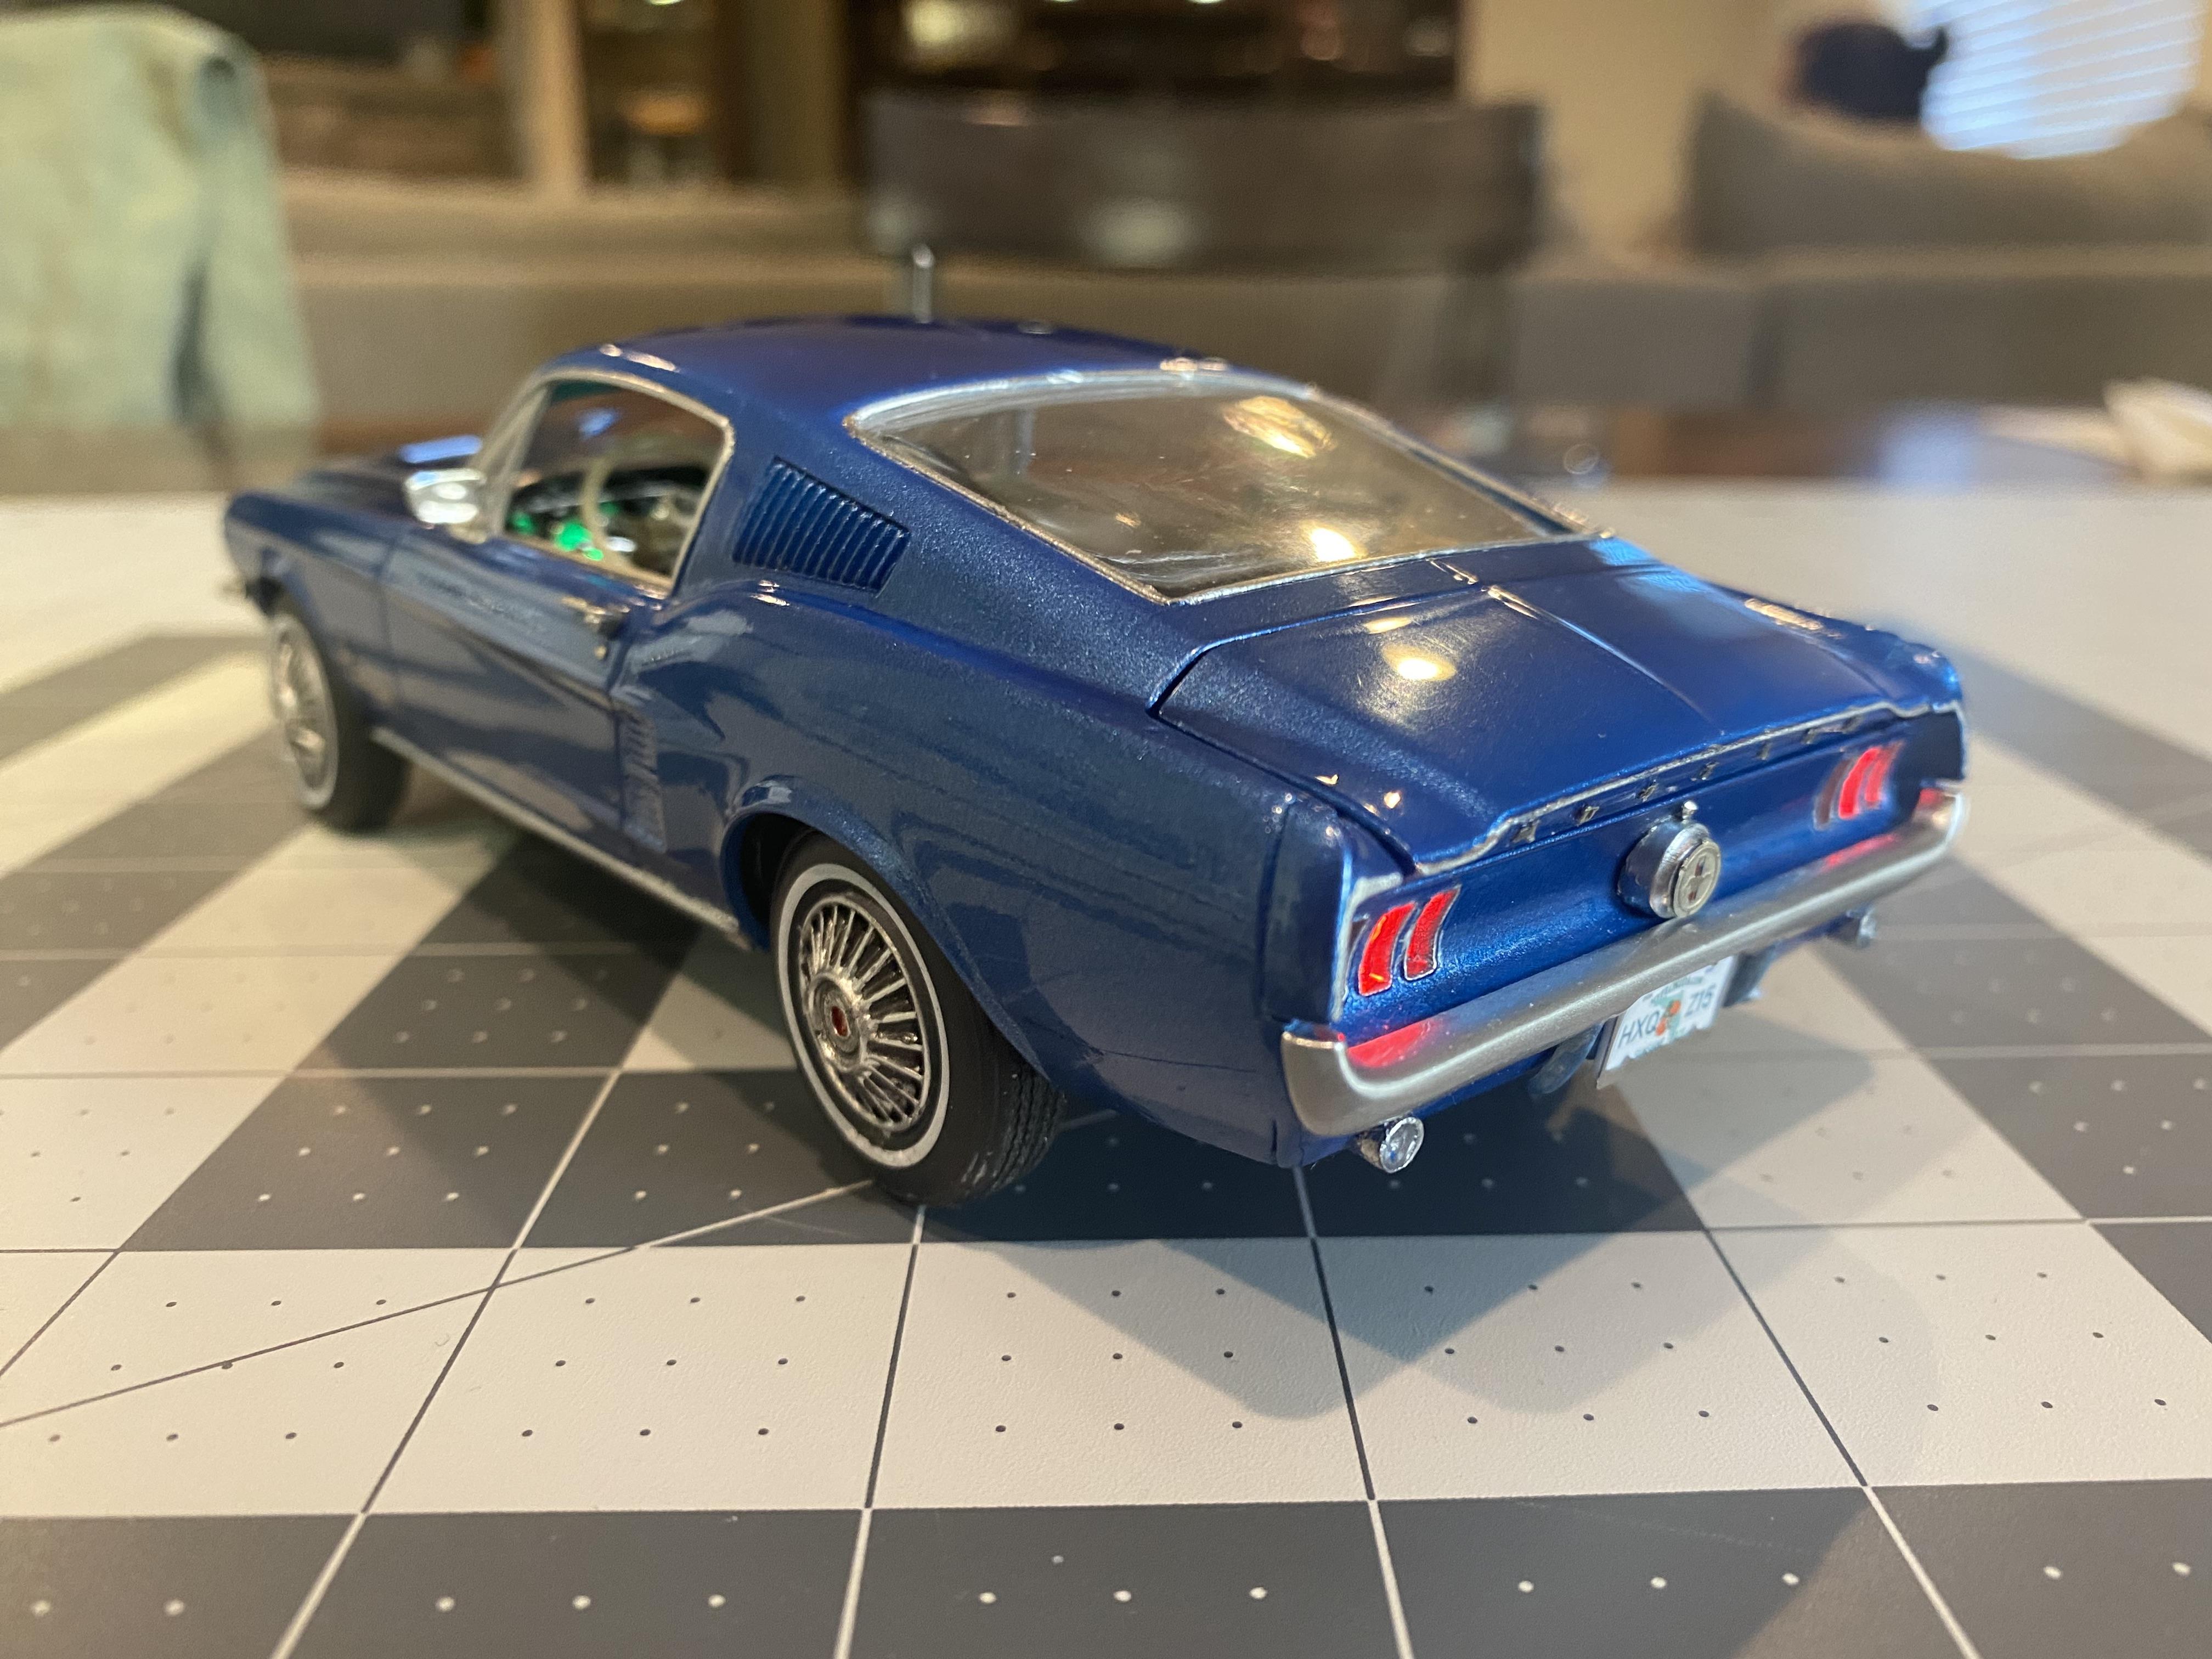
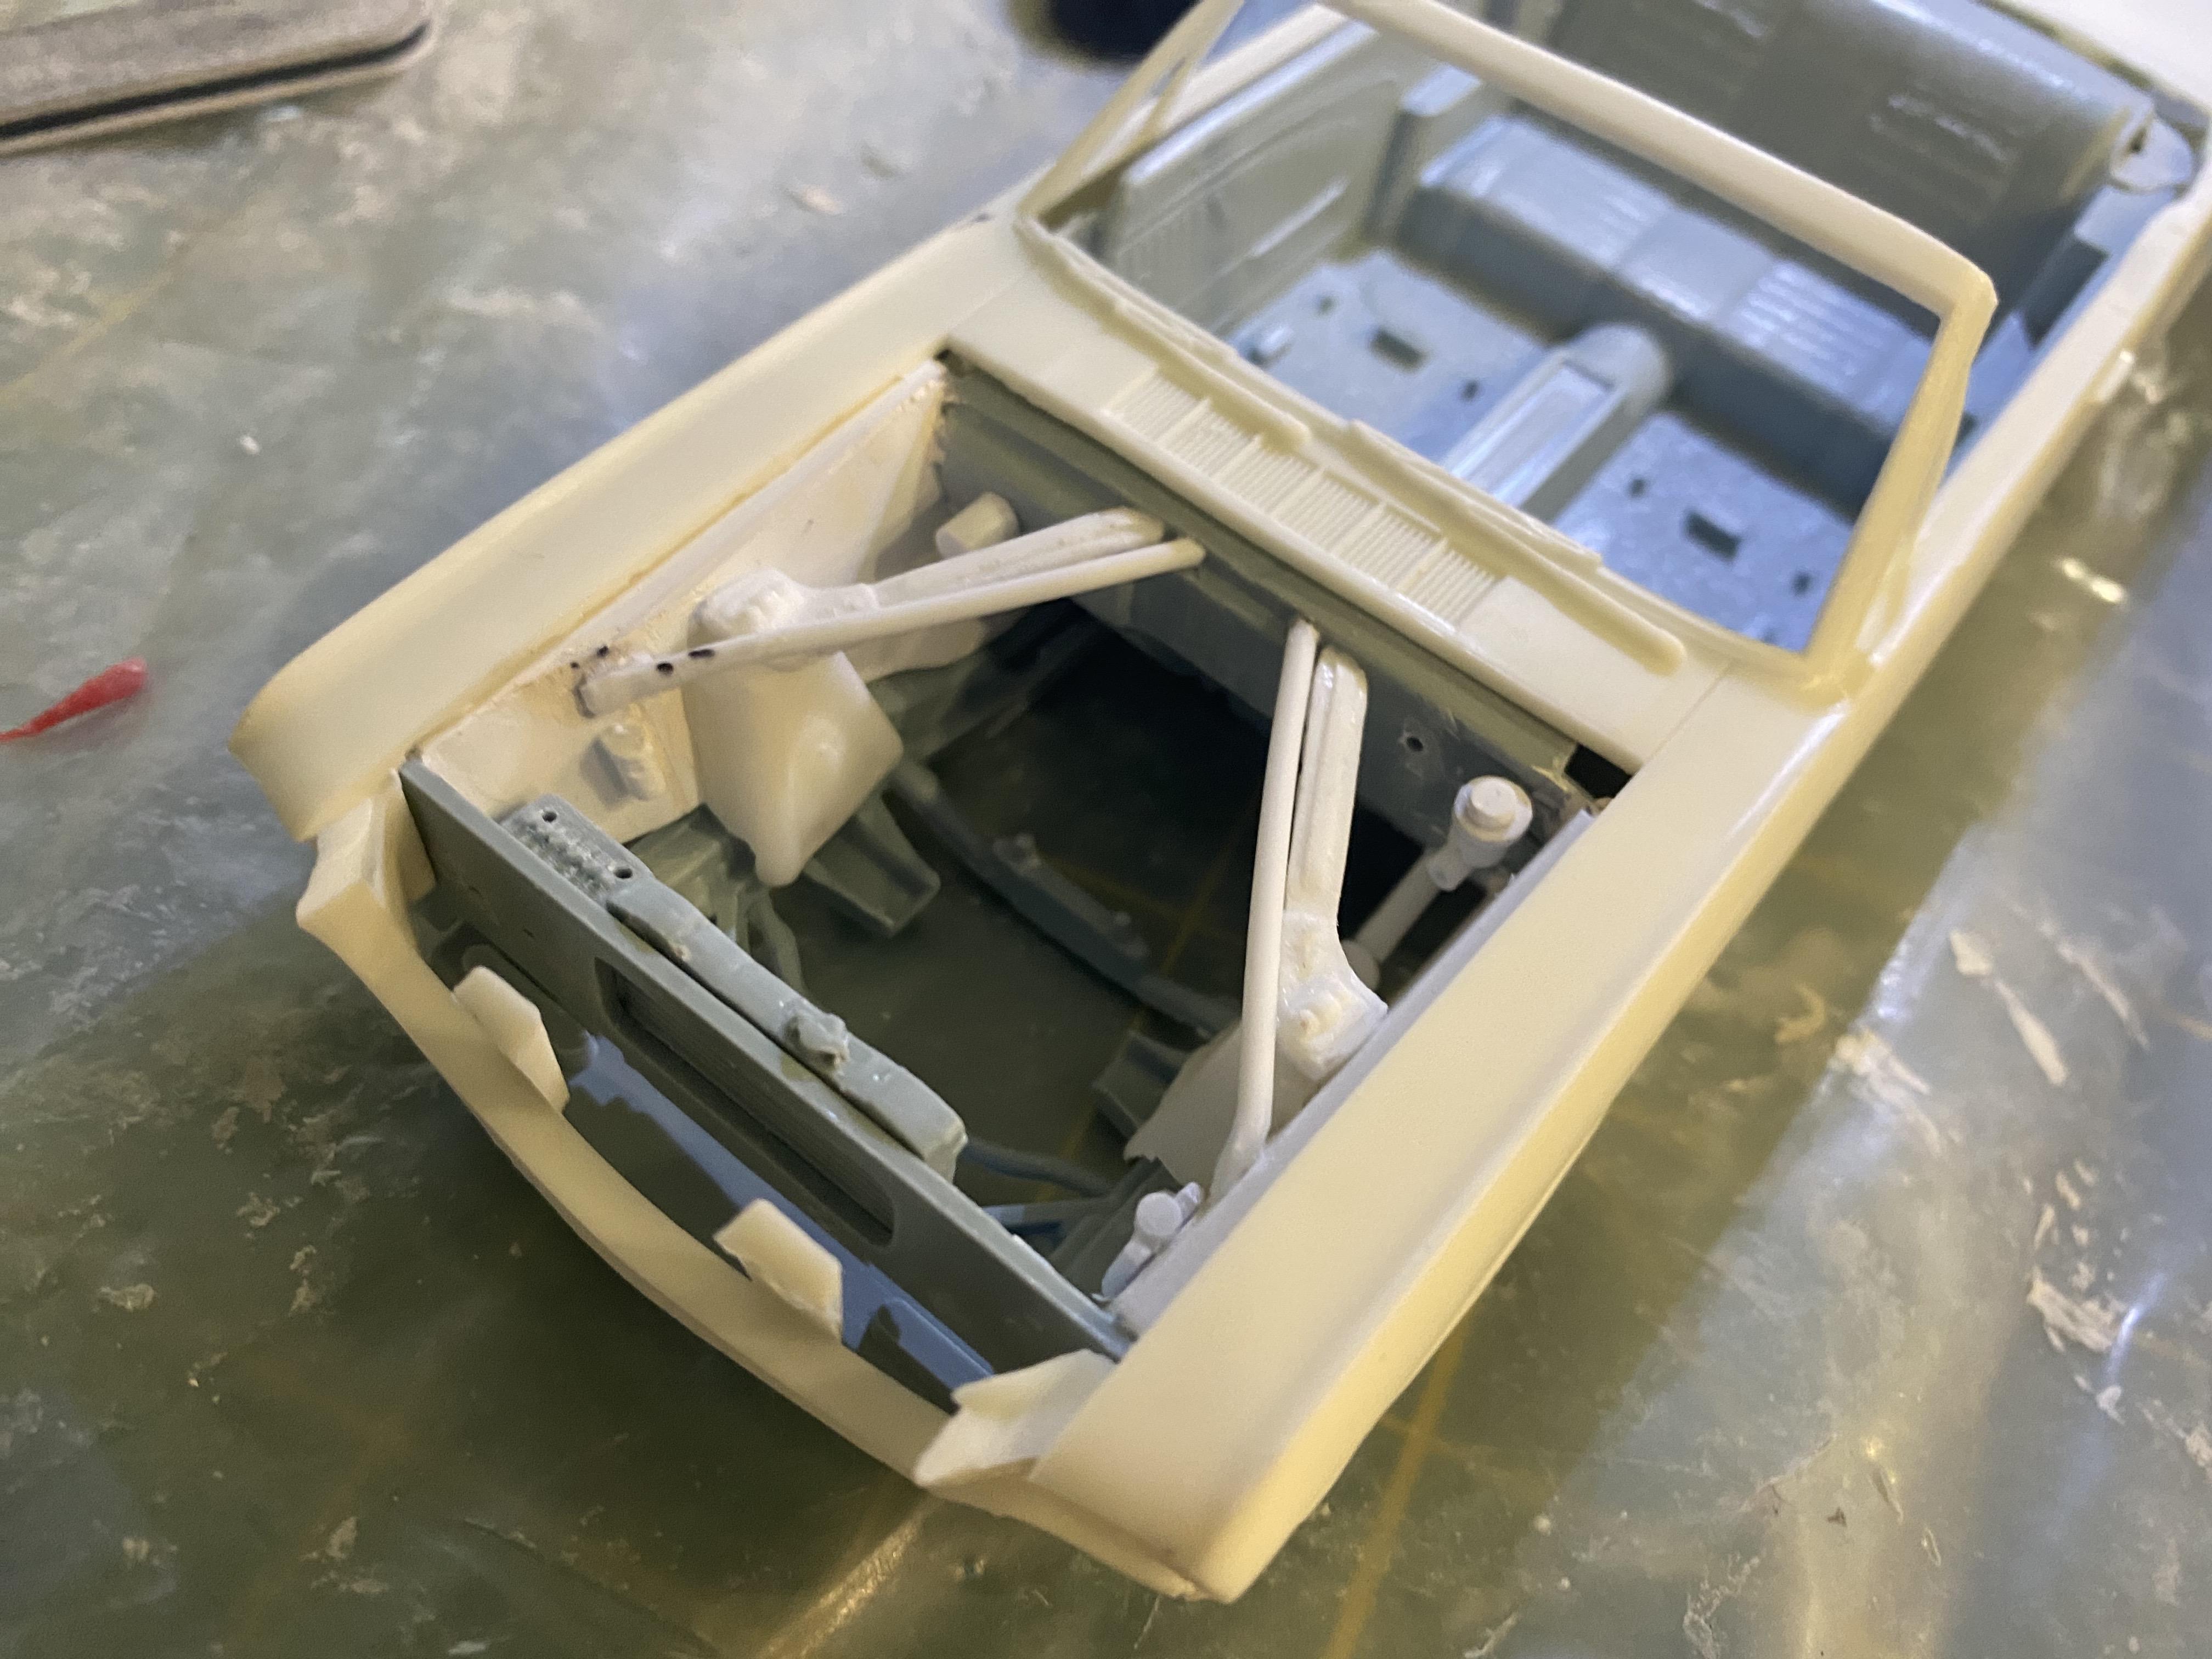
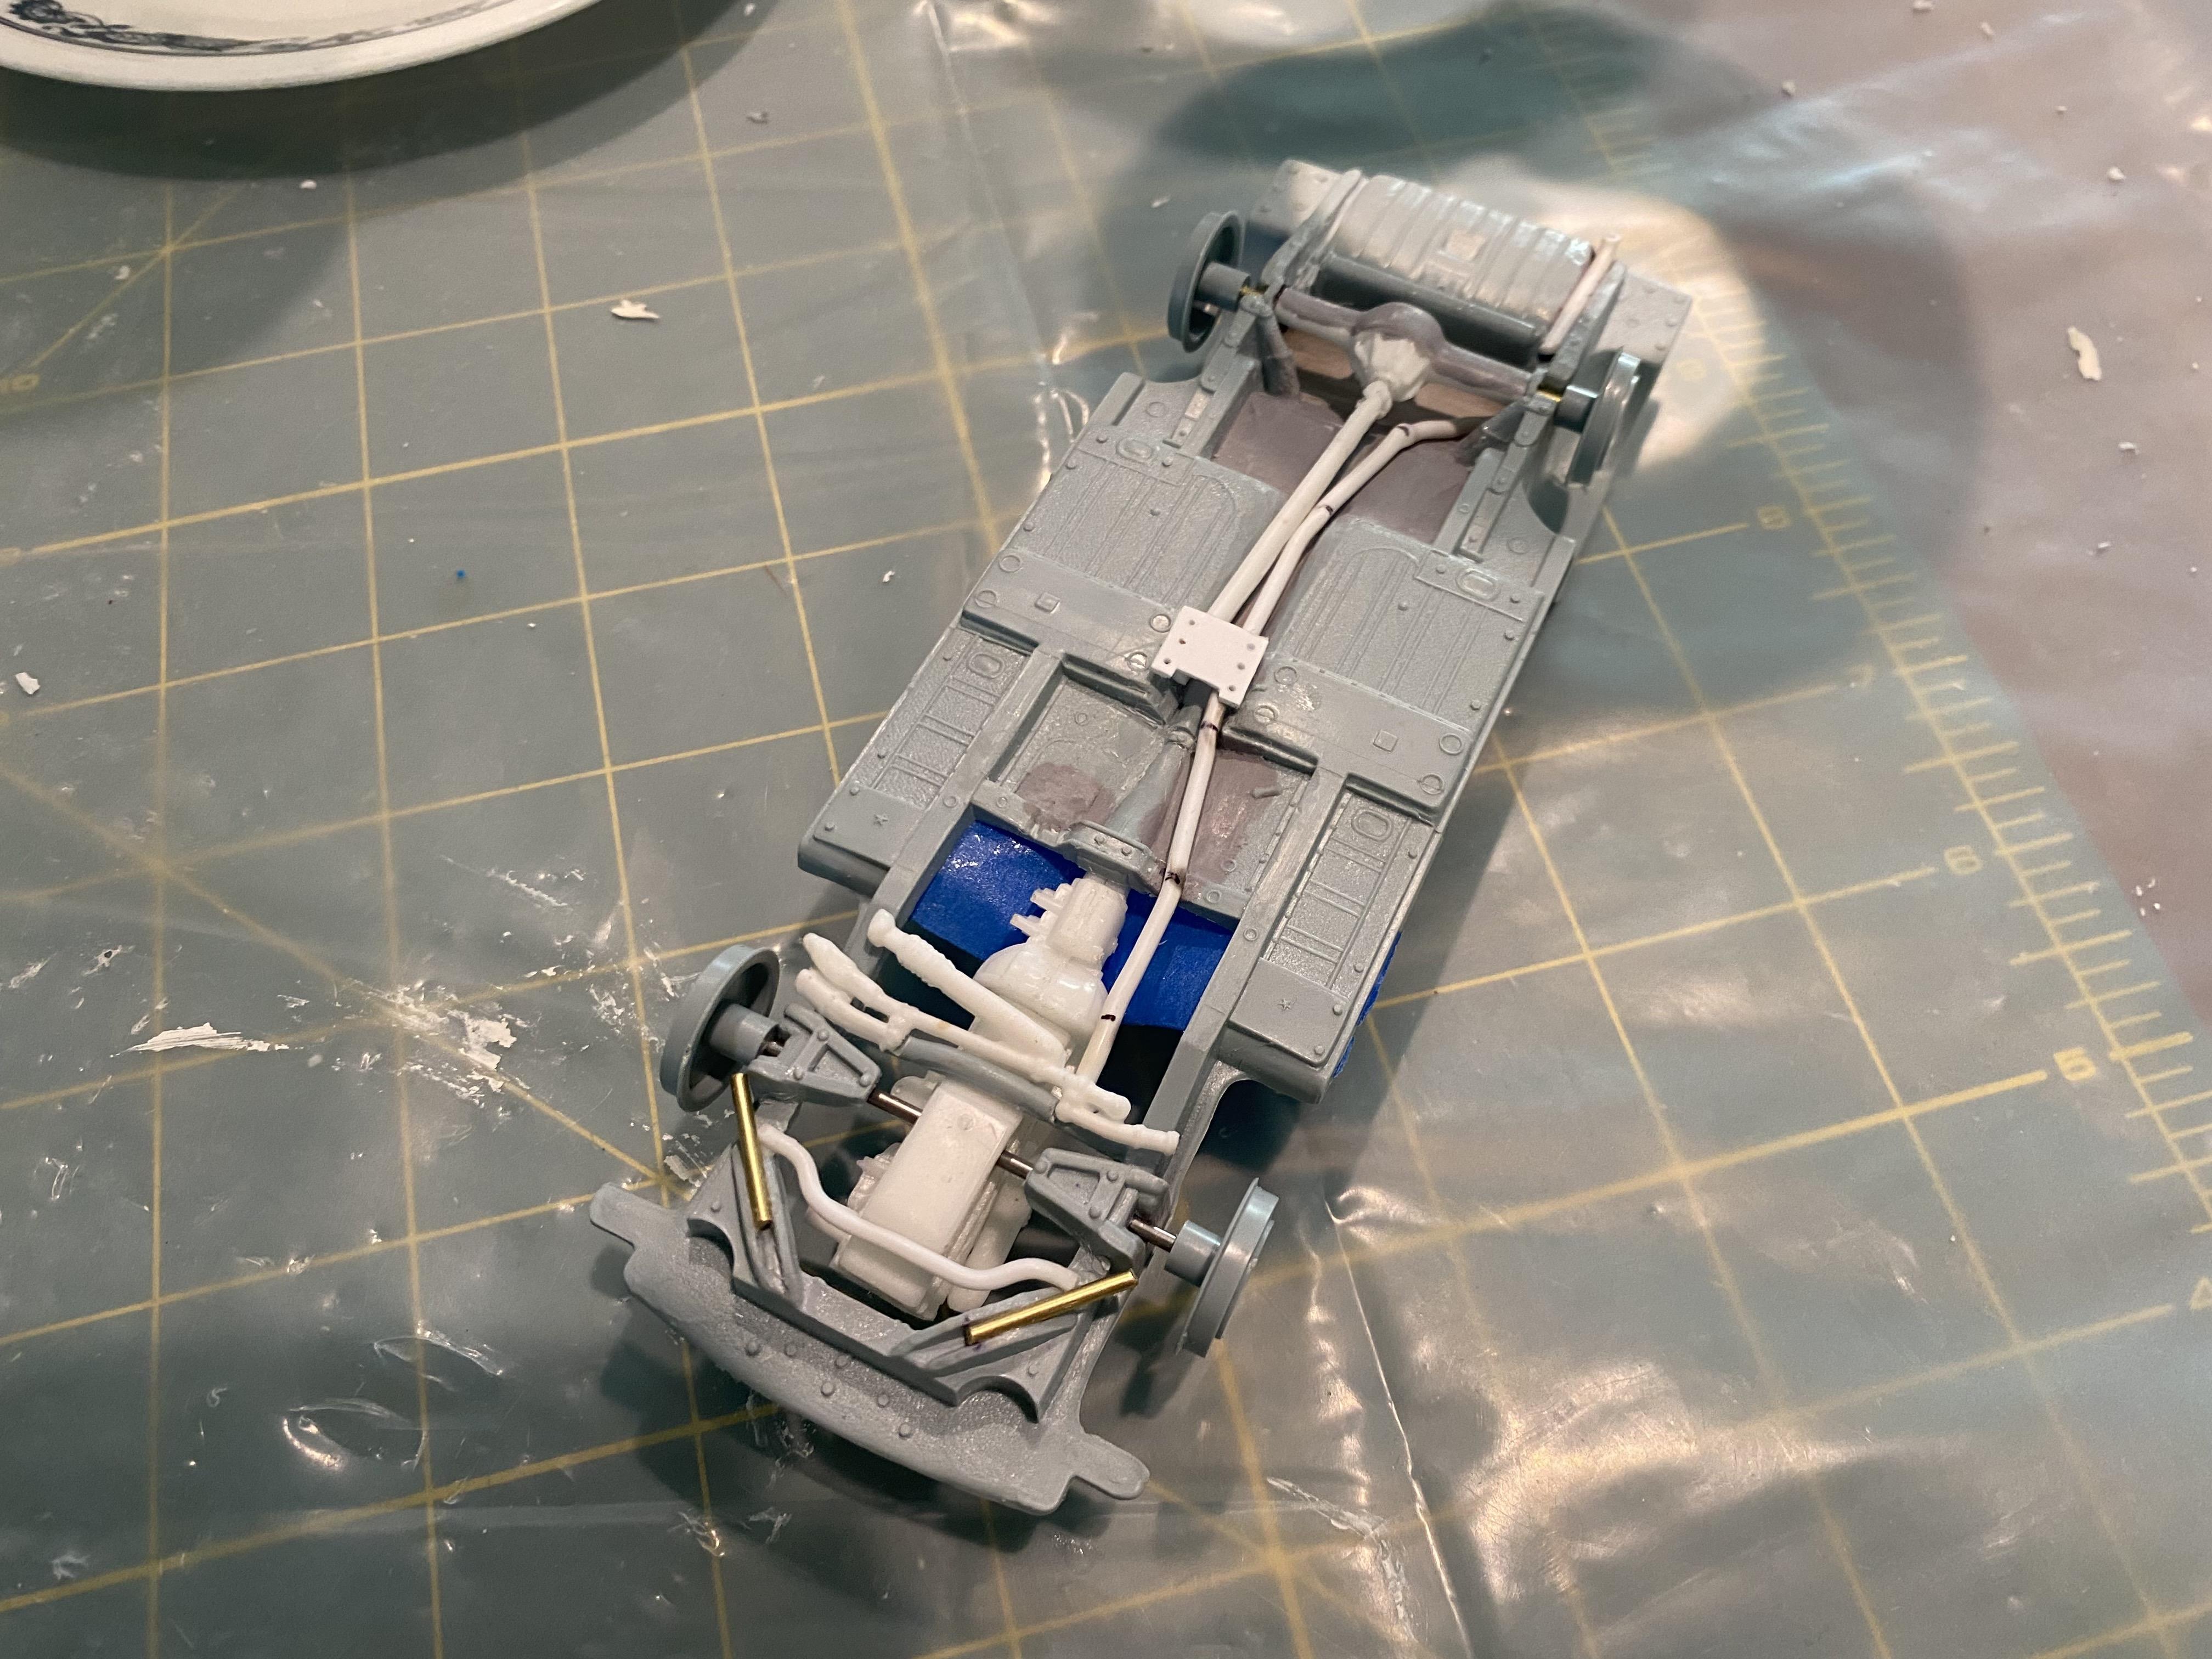
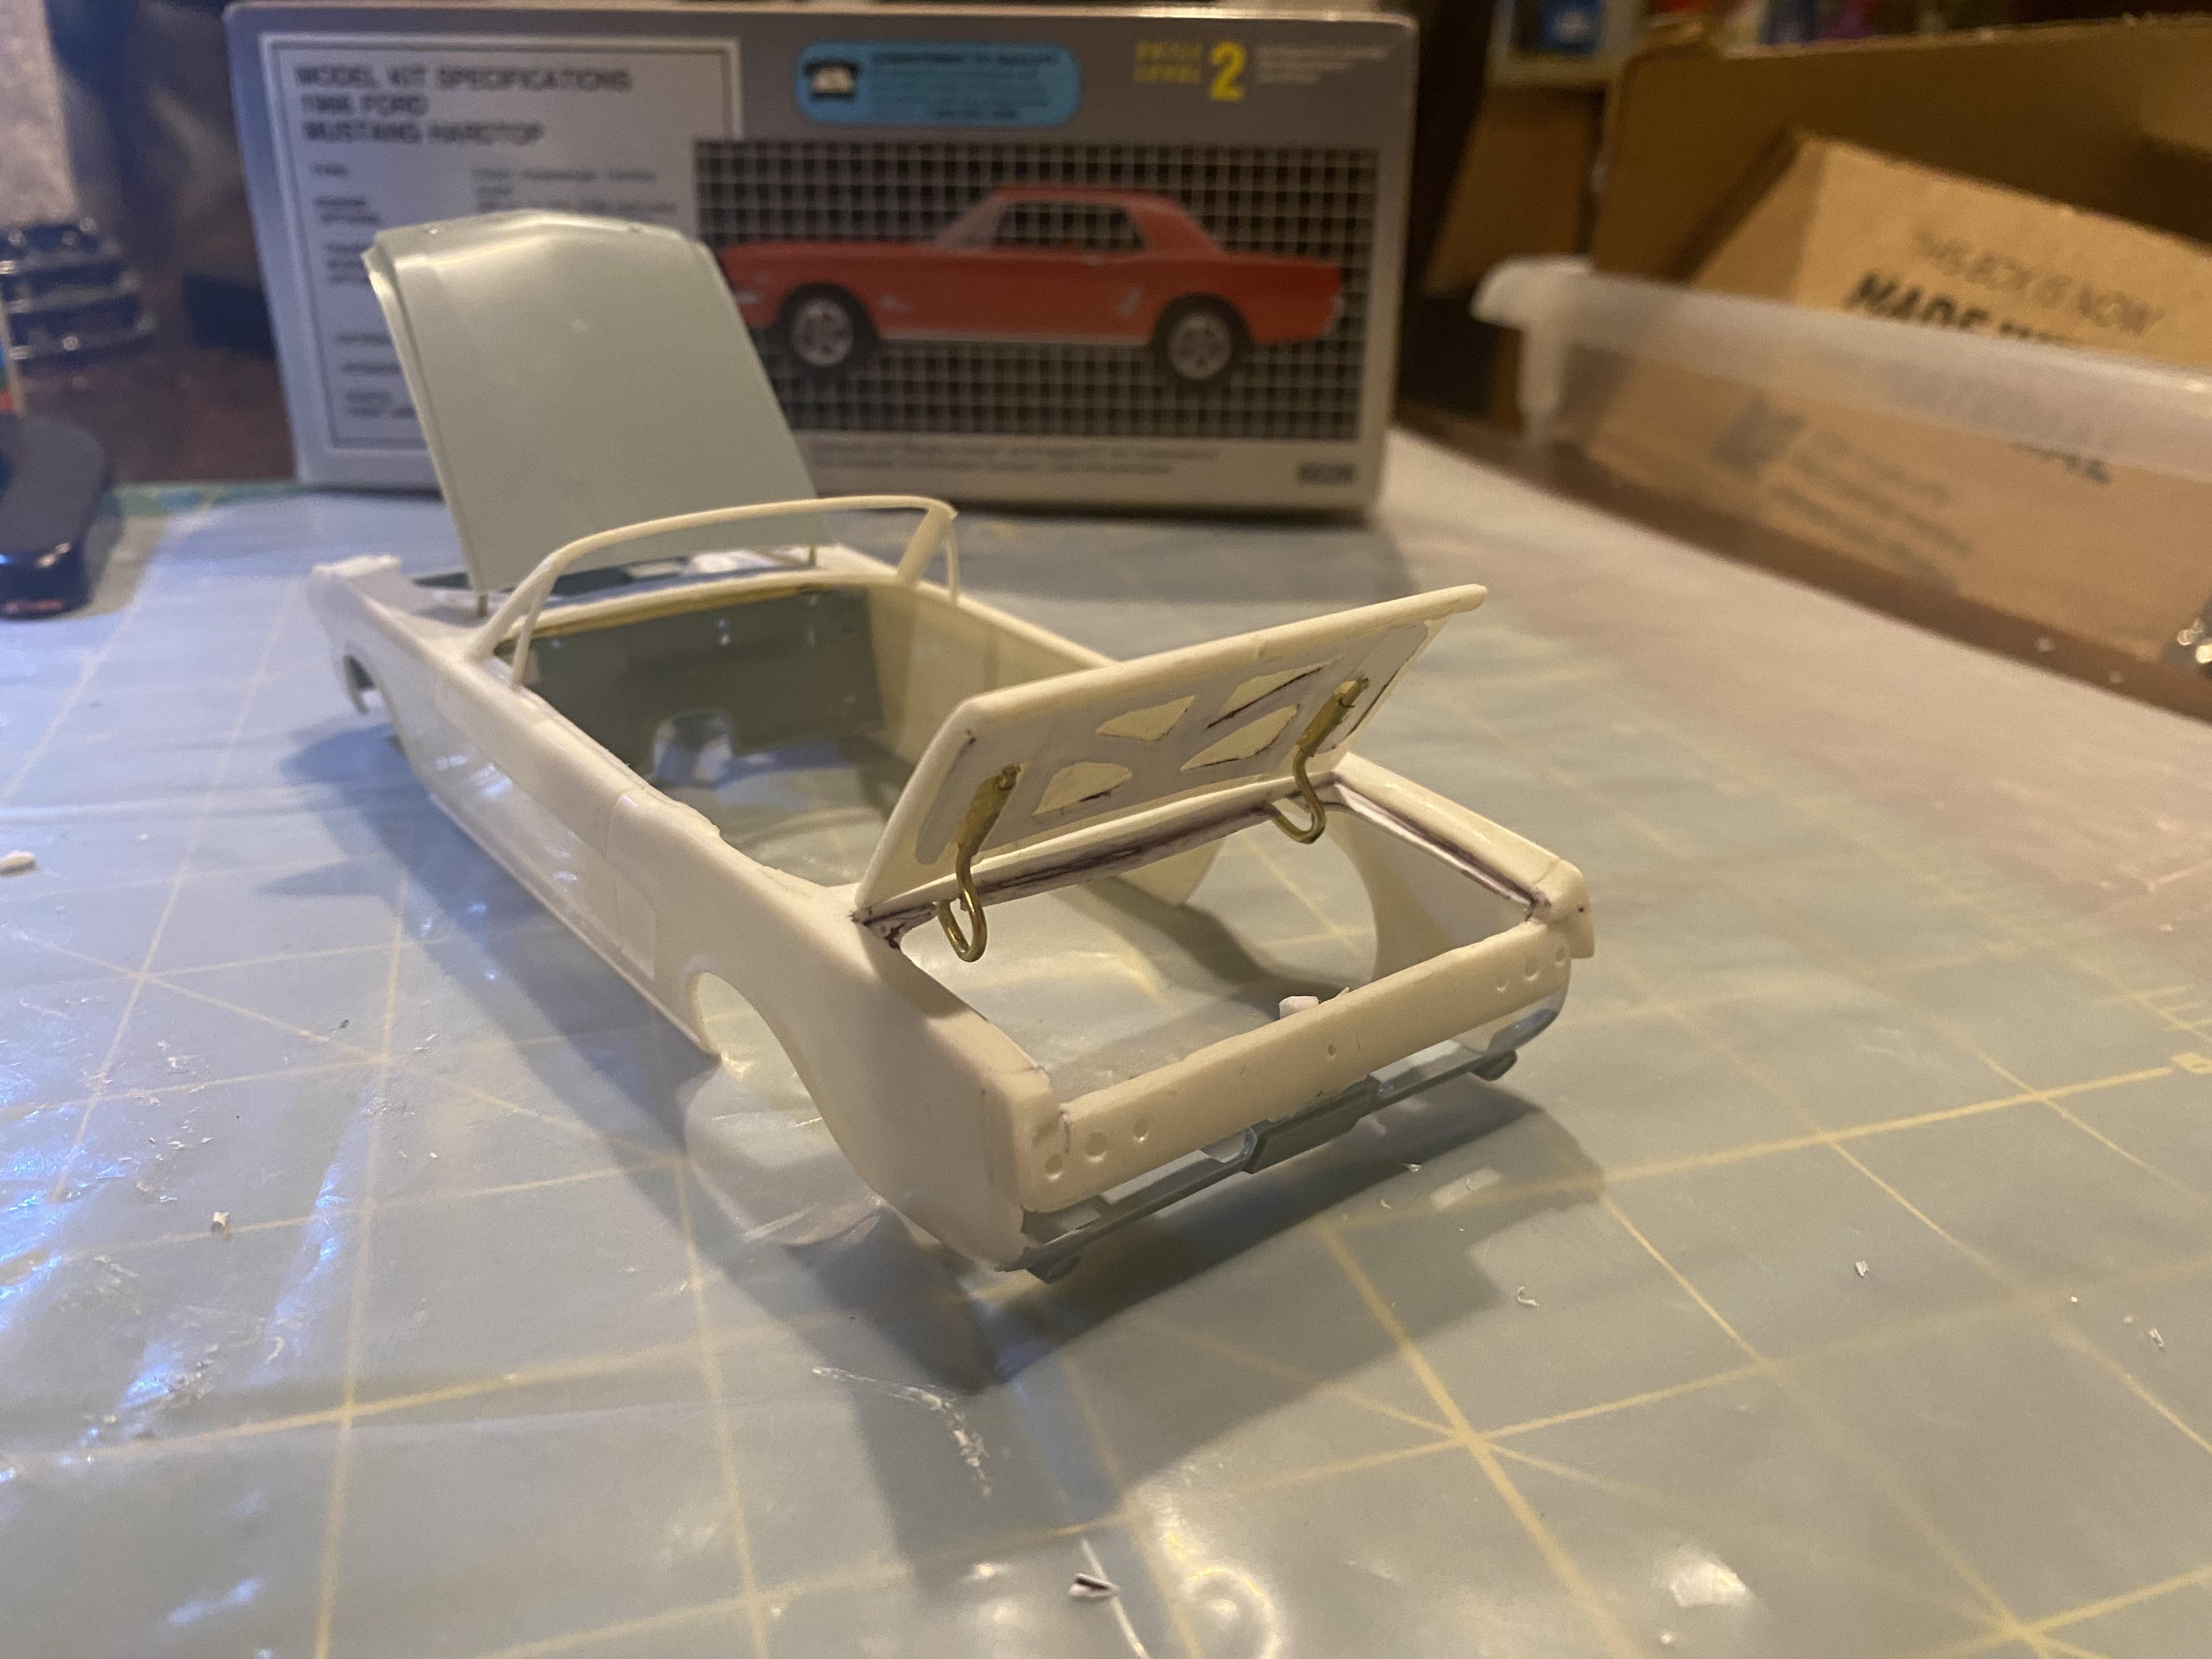
Starting my next scale model build. This will be the second build of our 1966 Mustang GT Fastback. I liked the first build well enough but I think I can make a much more accurate version, but it will require kit bashing an AMT 1967 Fastback GT kit with an AMT 1966 Fastback GT kit. It will actually be more like 80% 1967 kit using the chassis, suspension, engine and engine firewalls. Mainly just the body and body parts along with the dash panel and glass from the 66 kit. I cast the seats from a revell Mustang kit. Not worth recasting everything from either of the AMT kits, the cost of the mold and resin would be more than both kits combined. So far modified the interior panels of the 67 kit to fit the 66 body/dash and modified the door panels to look like 66 panels. Drilled out the gauges and light sockets for LEDs. Cut the engine compartment panels from the 67 body and permanently glued the firewall radiator support to them then modified to fit the 66 body. I use a “fast grab tacky glue” white glue to trial fit parts so they come apart easy without damage. Major parts are trial fitted and fit well together now.
-
I used it and even after a week touching with un-gloved fingers would mess it up and turn it to silver. I found waiting for a week and first misting with splash paints 2k clear, then a gloss coat took only a little of the brightness away and still looked like nice chrome and could be handled all I wanted.
-
If you are talking about my actual 1:1 mustang, one of my children would kill me if I sold it. The resin parts I cast for my builds I never considered selling.
-
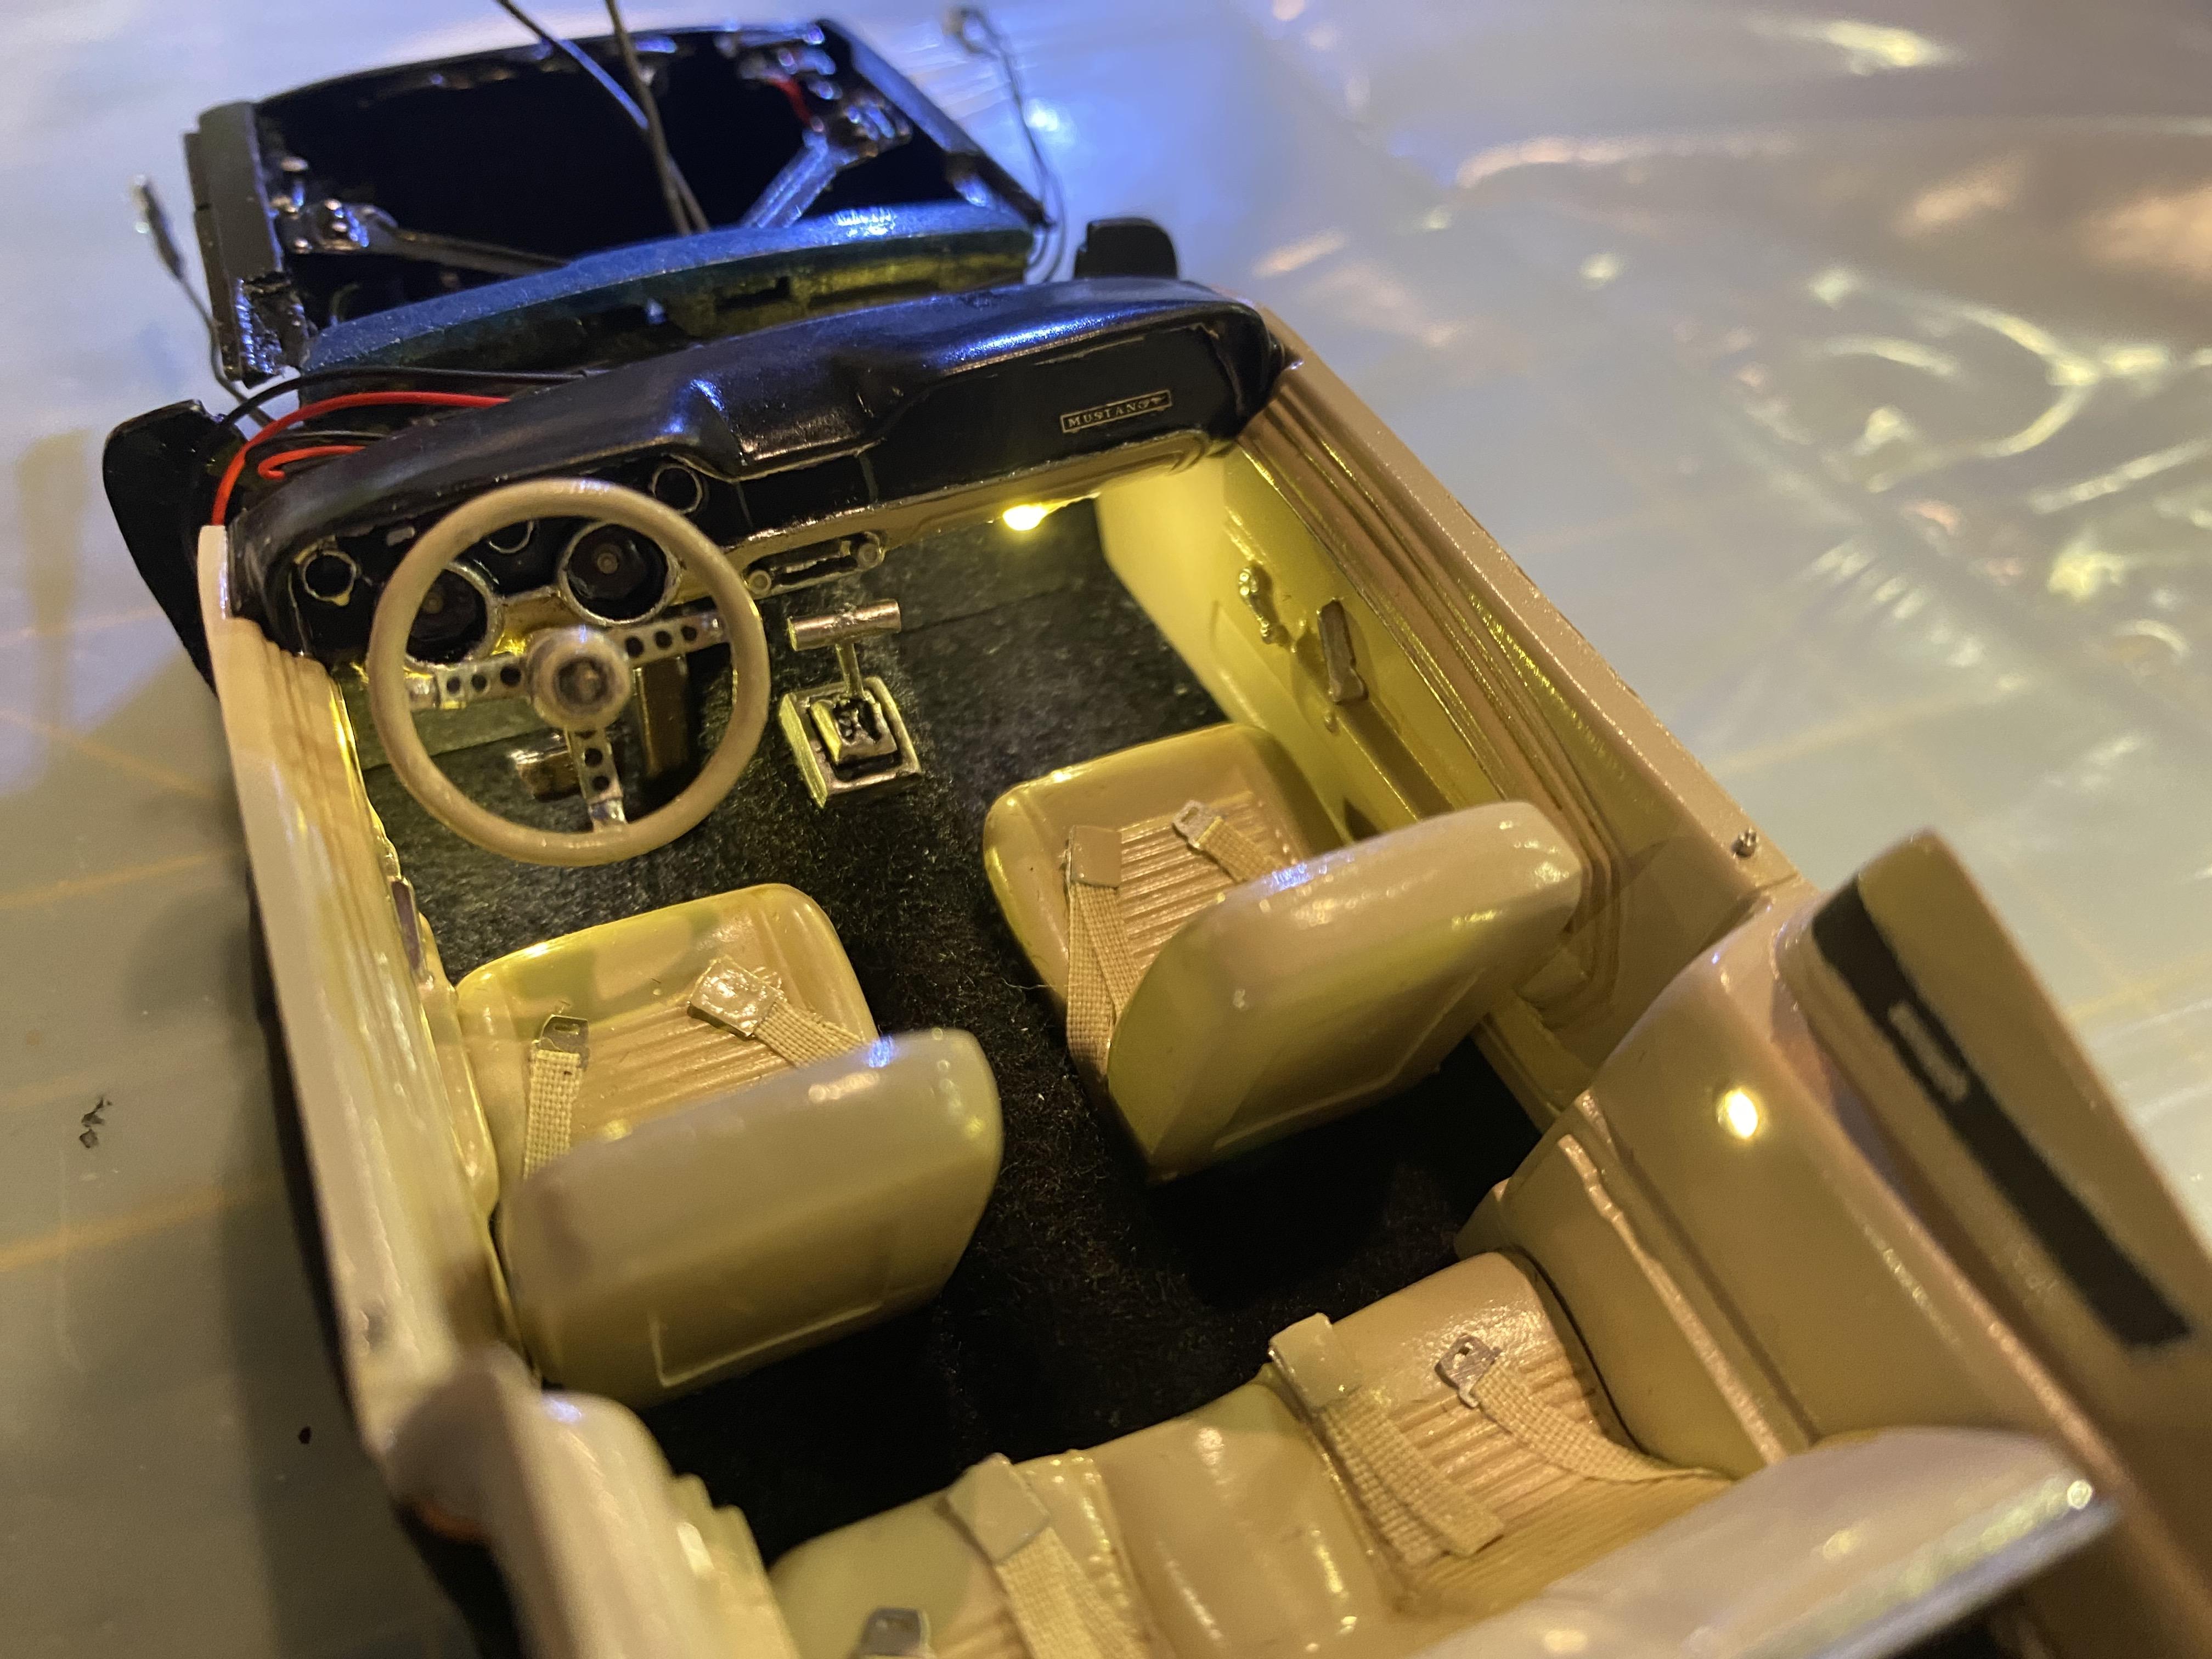
Thanks, shots of interior before final assembly. Shows carpet flocking and detailing better than trying to get a decent shot through the windows.
-
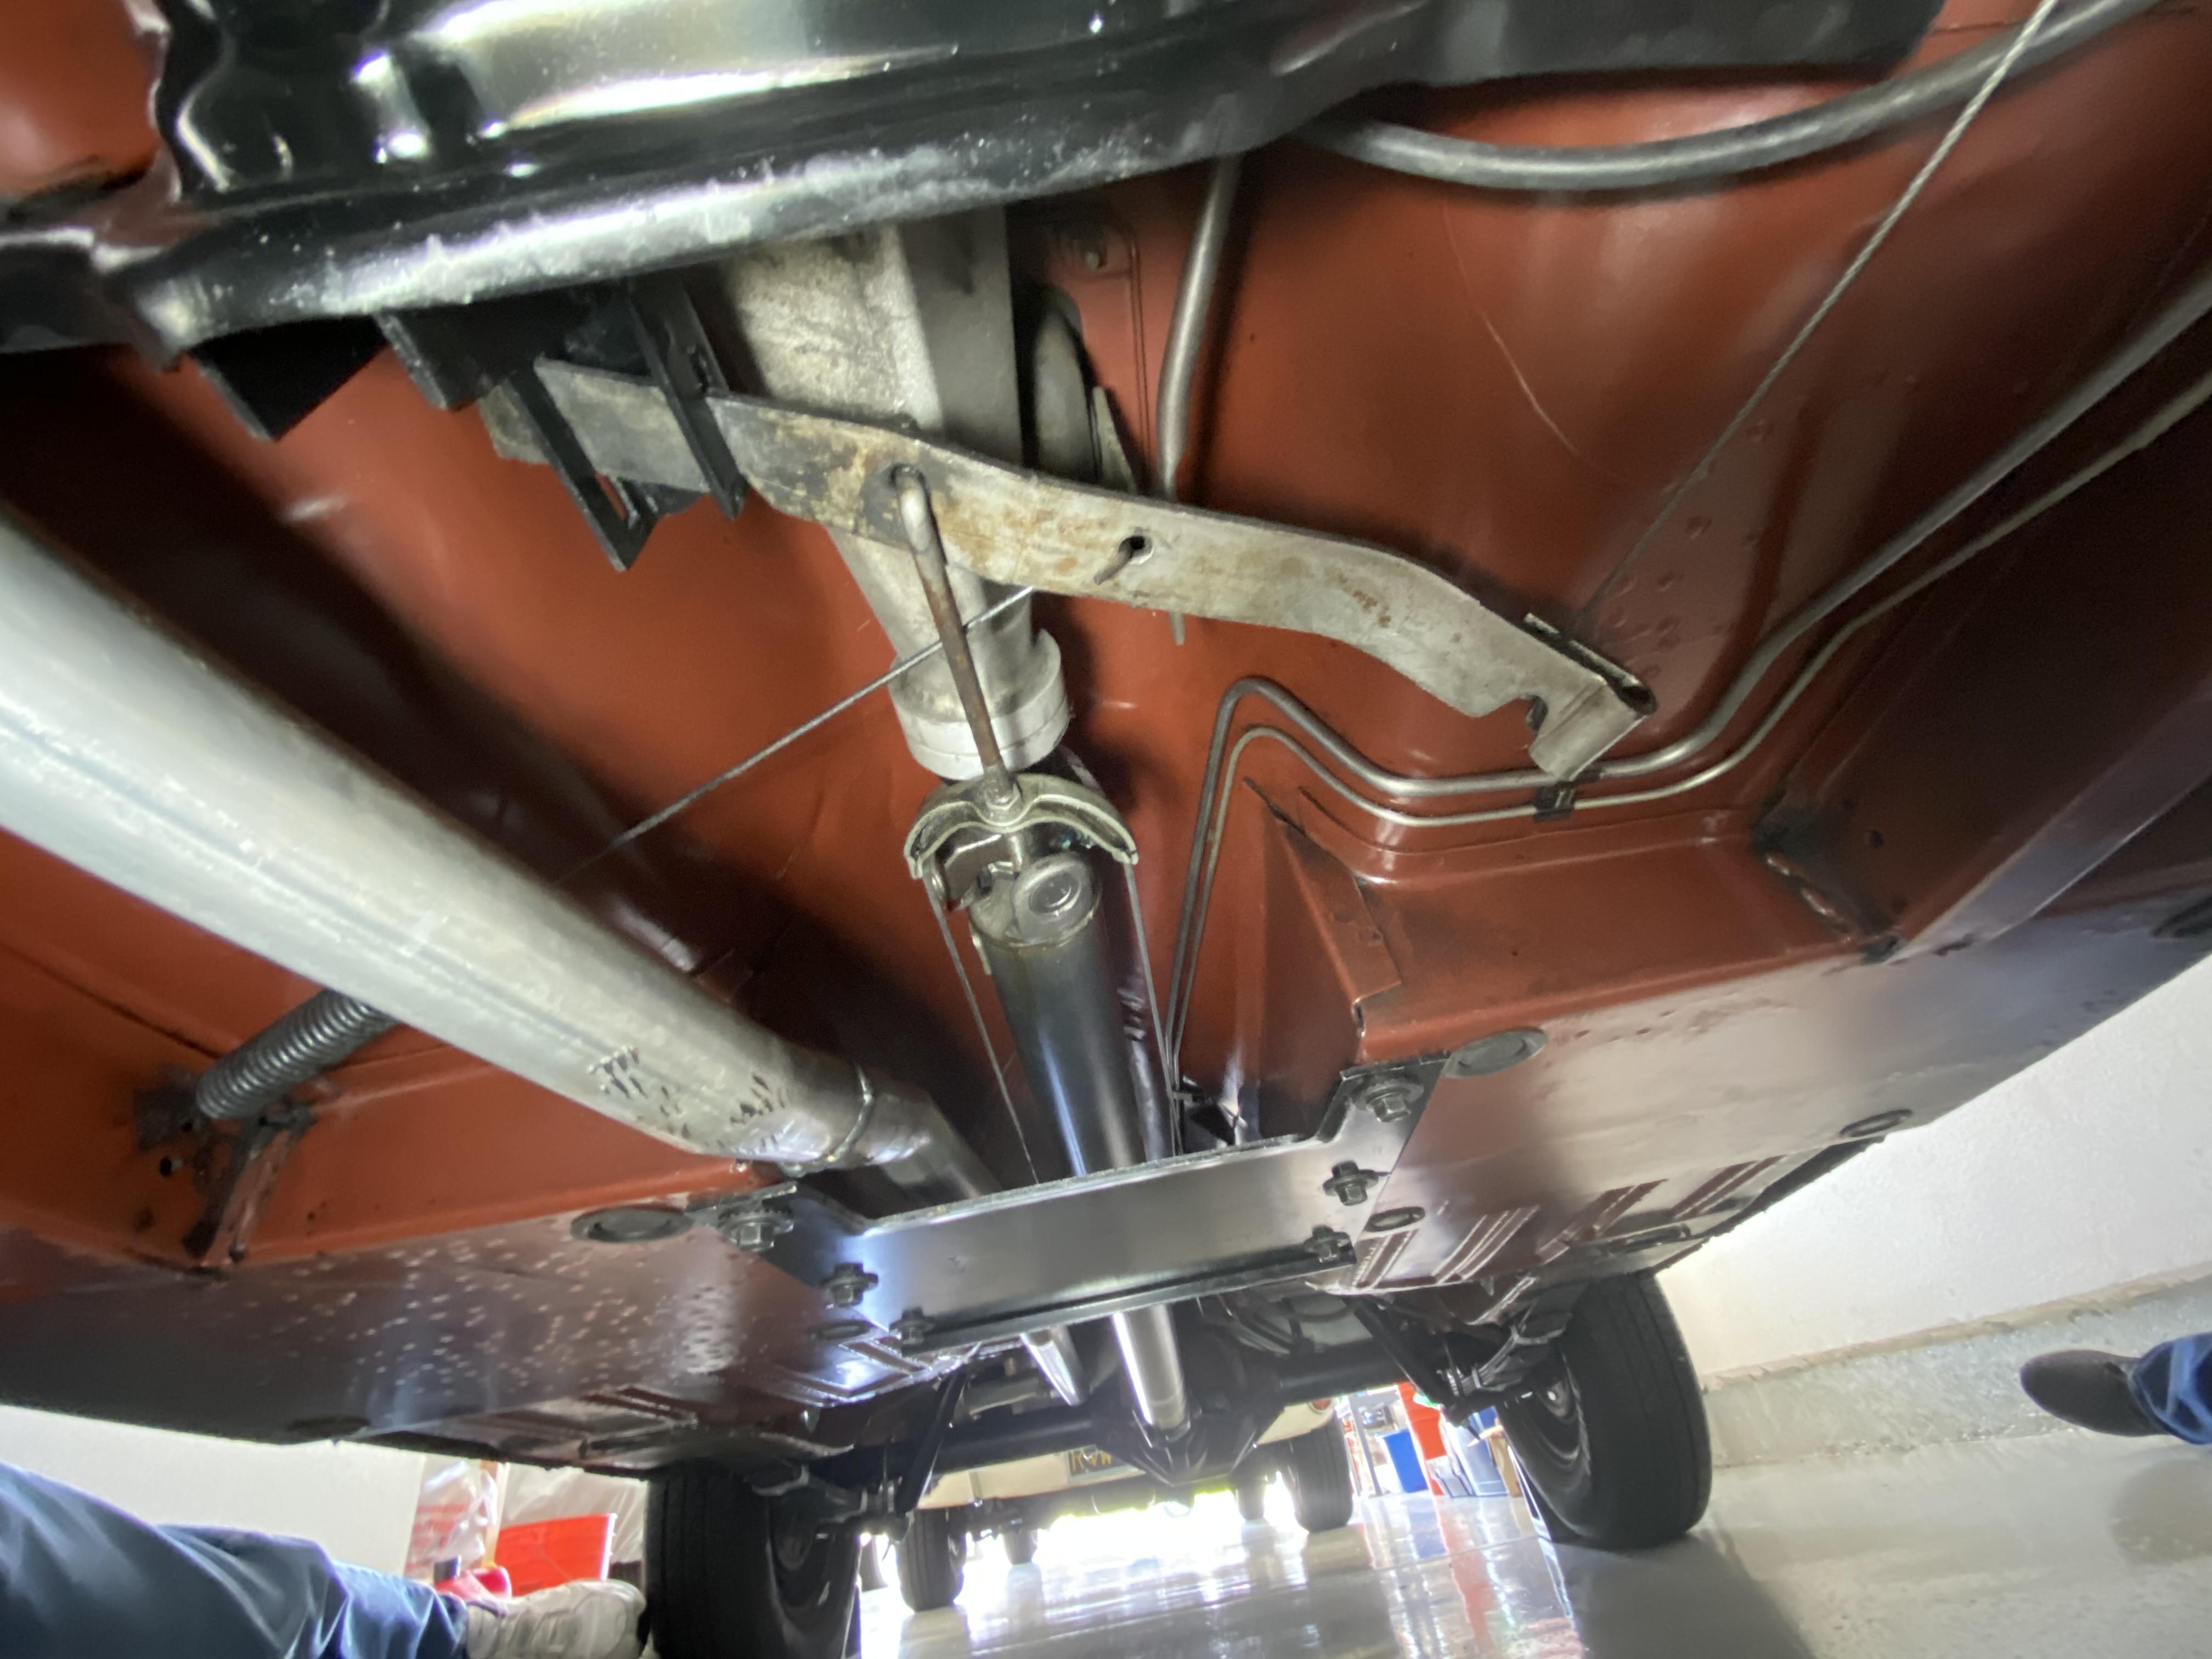
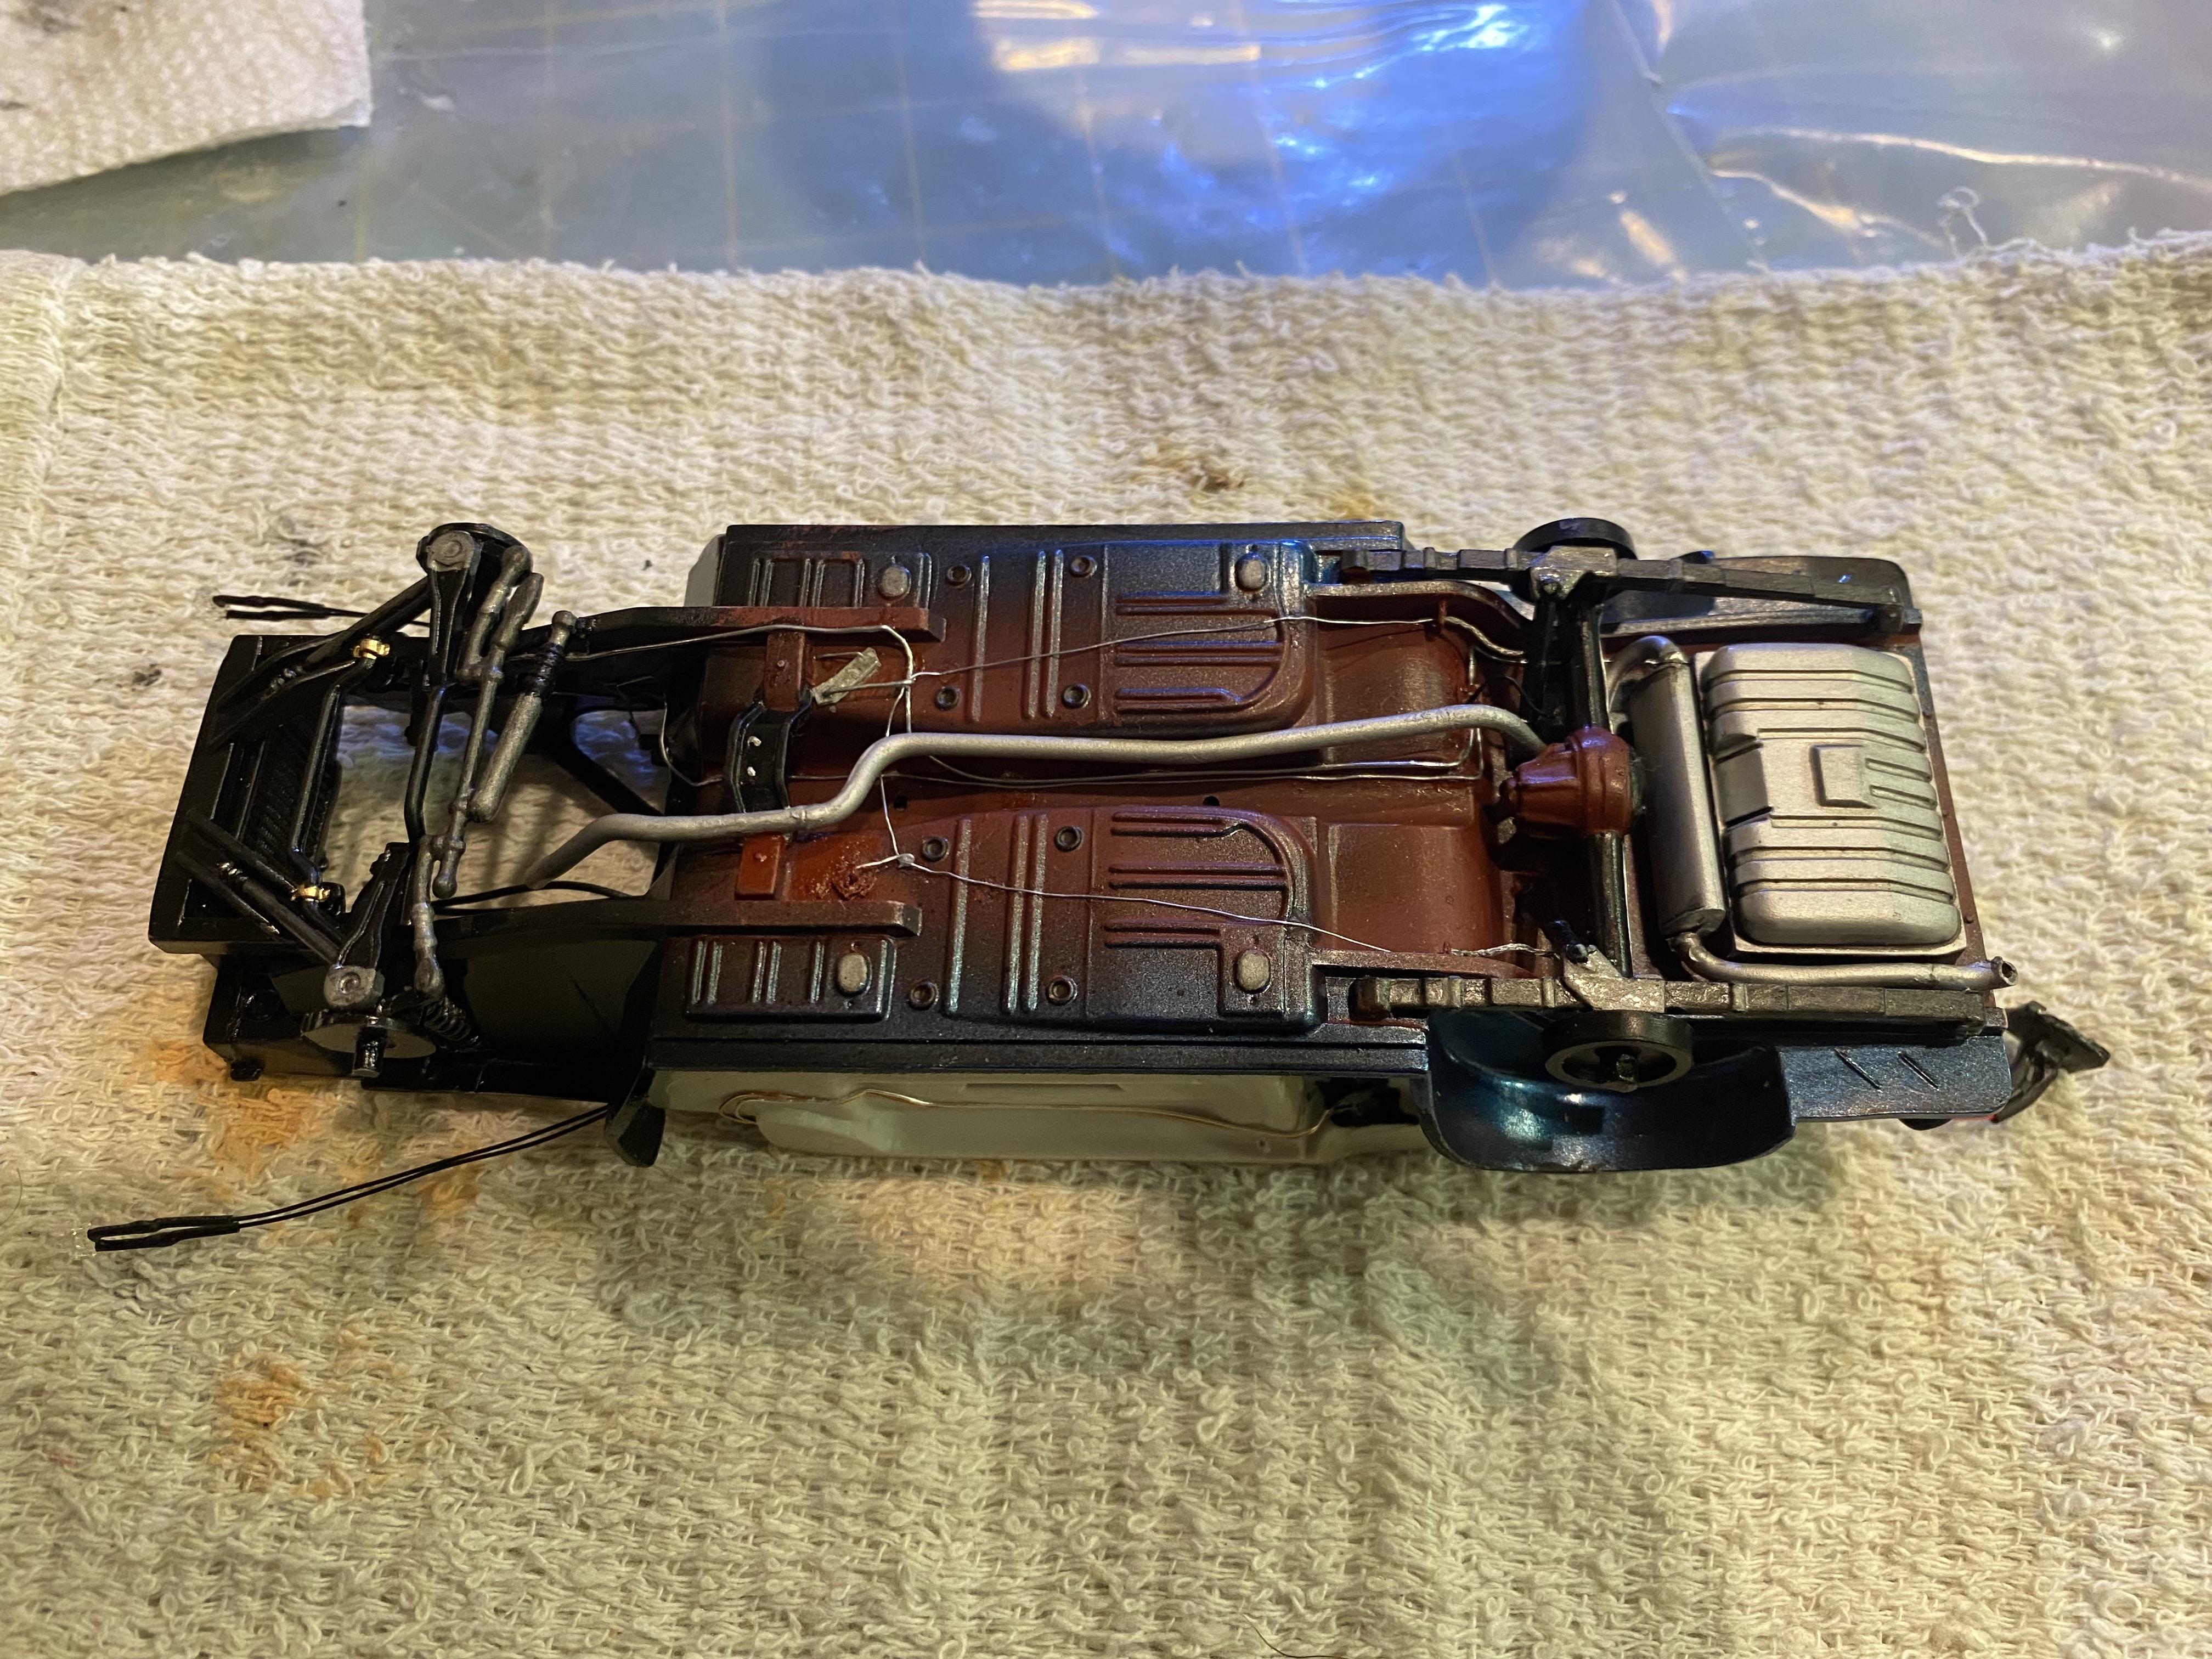
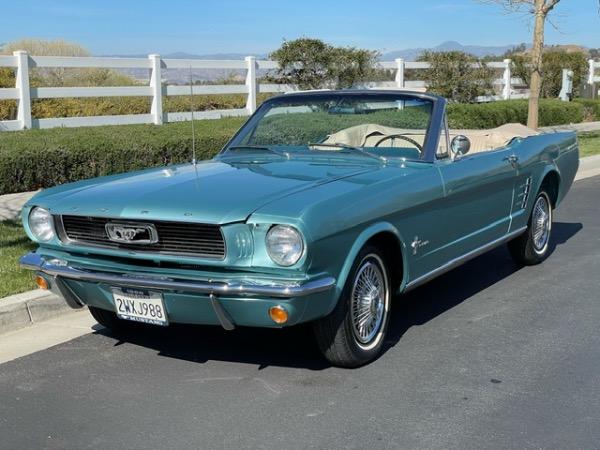
Thanks, it’s as accurate as I could make it to my real car. Original undercarriage. Lots of cleaning with mineral spirits and shop rags. Now that was a lot of work.
-
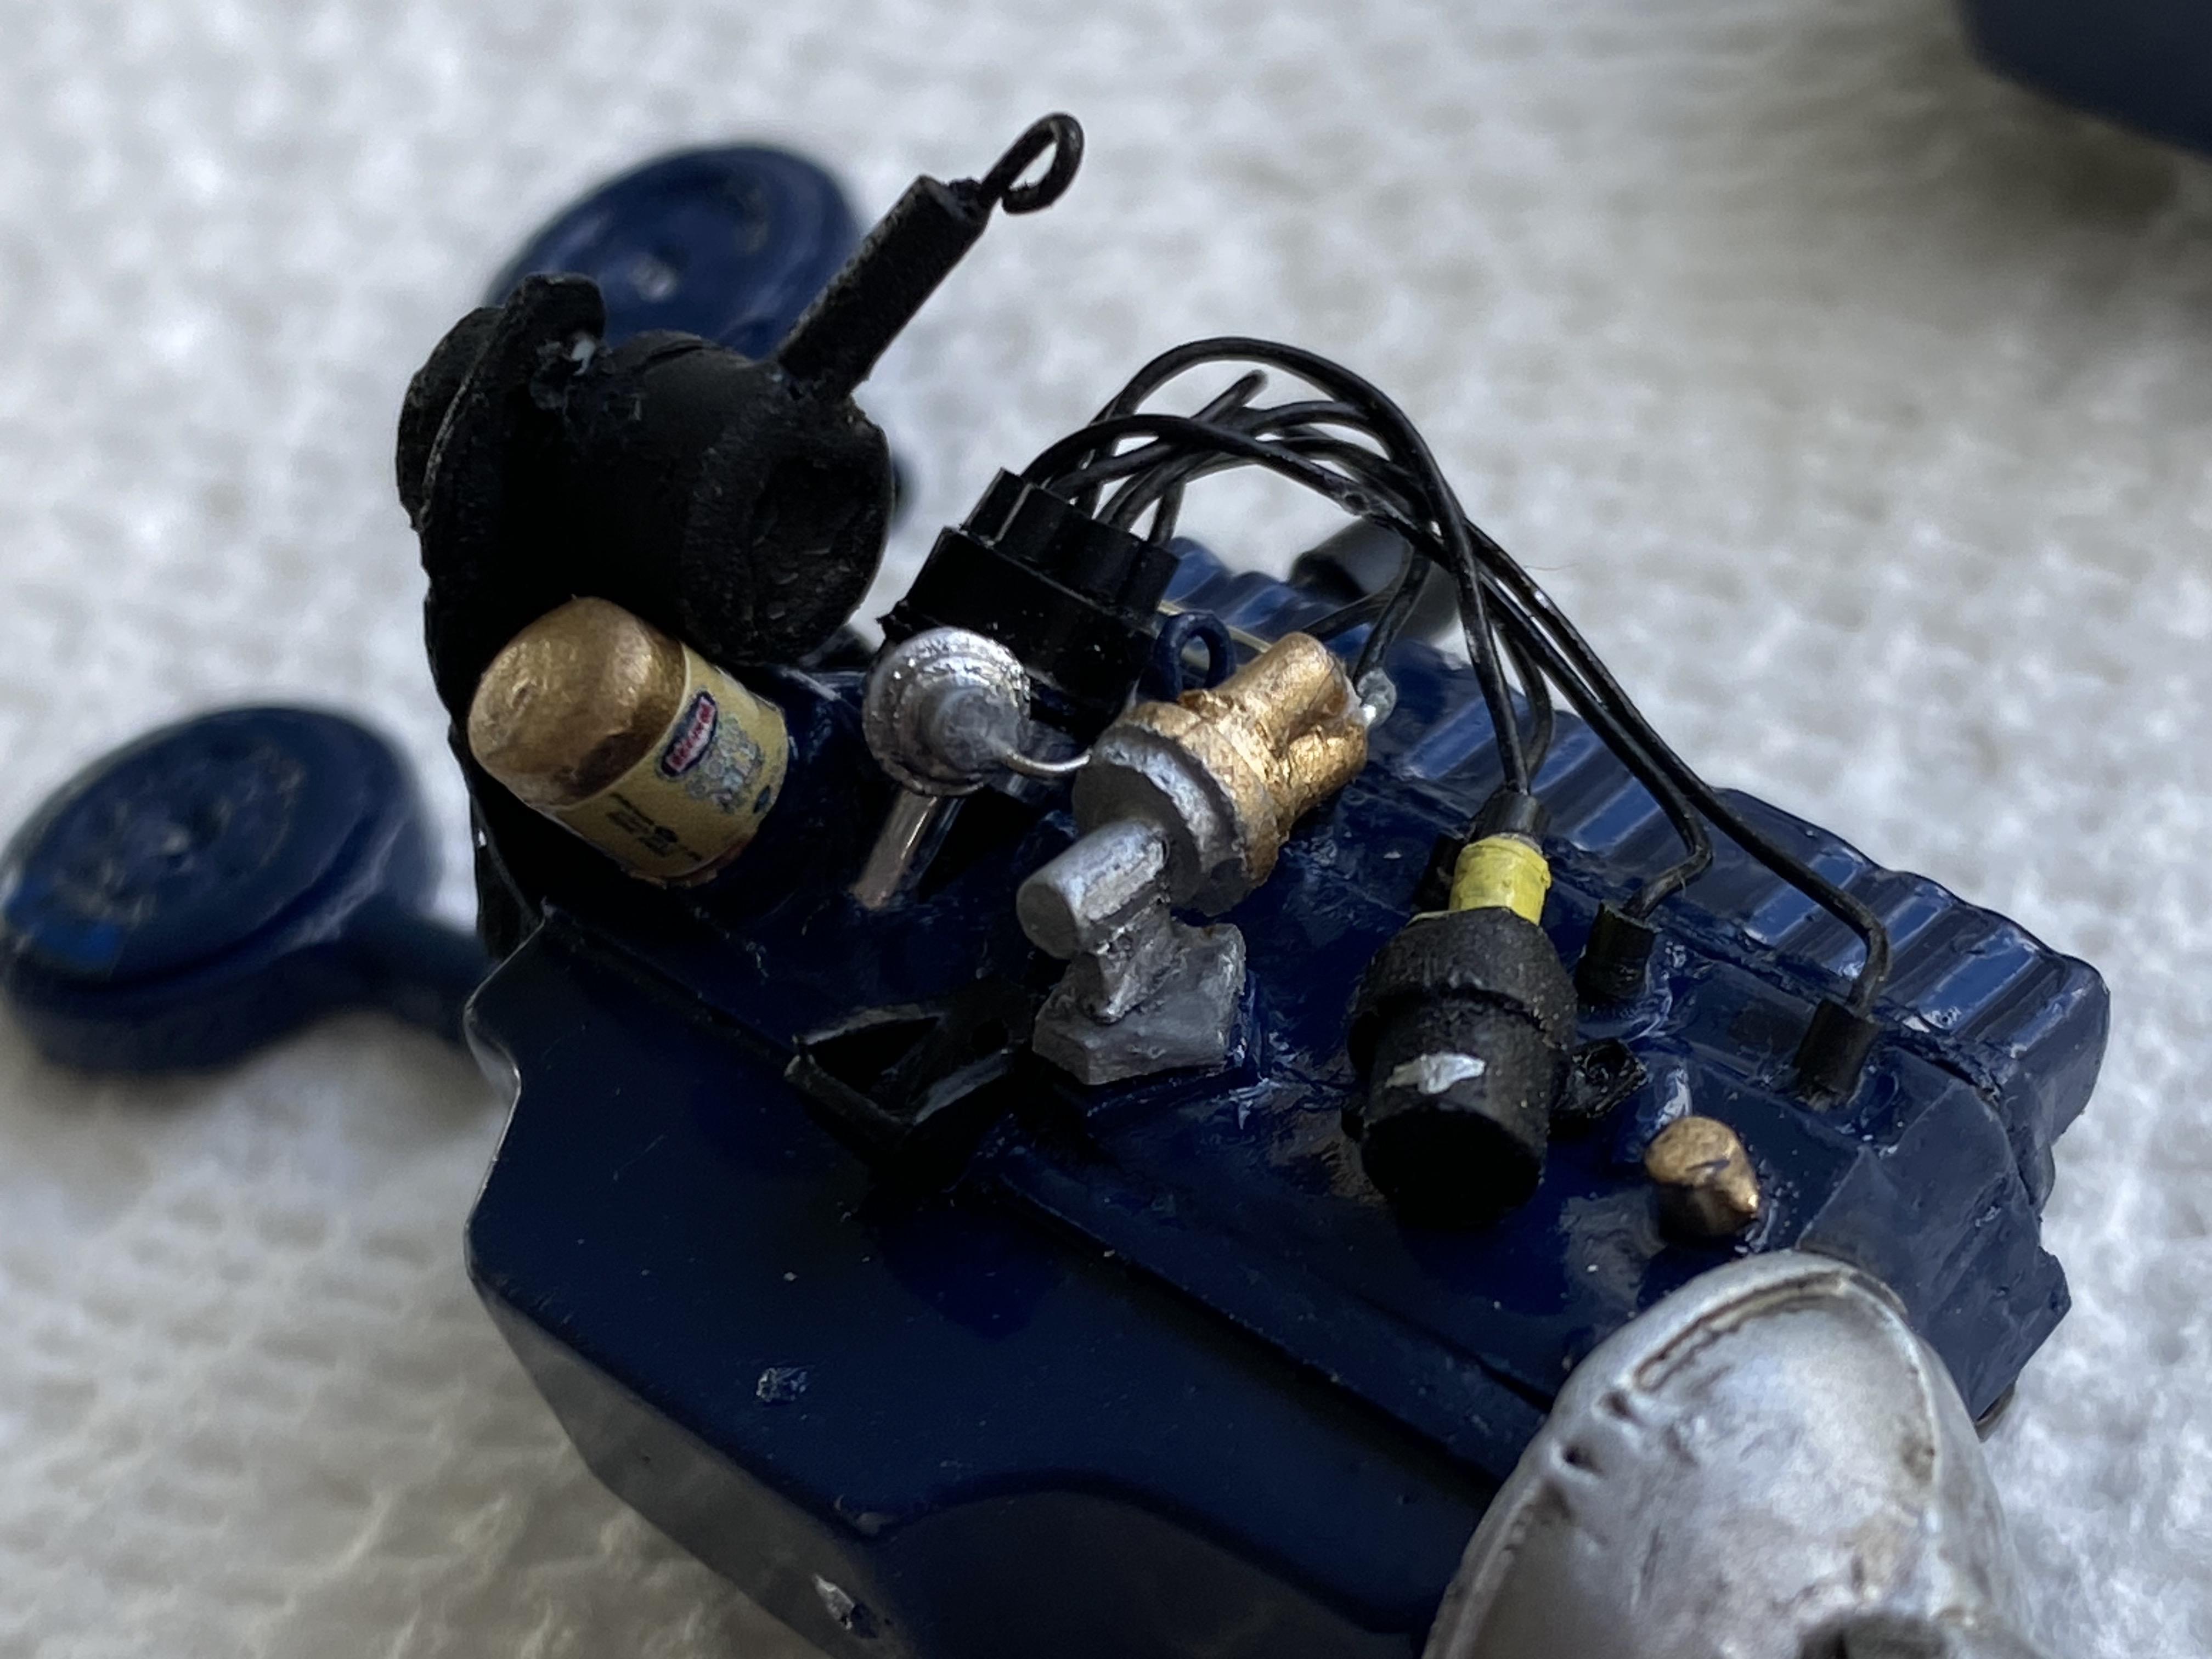
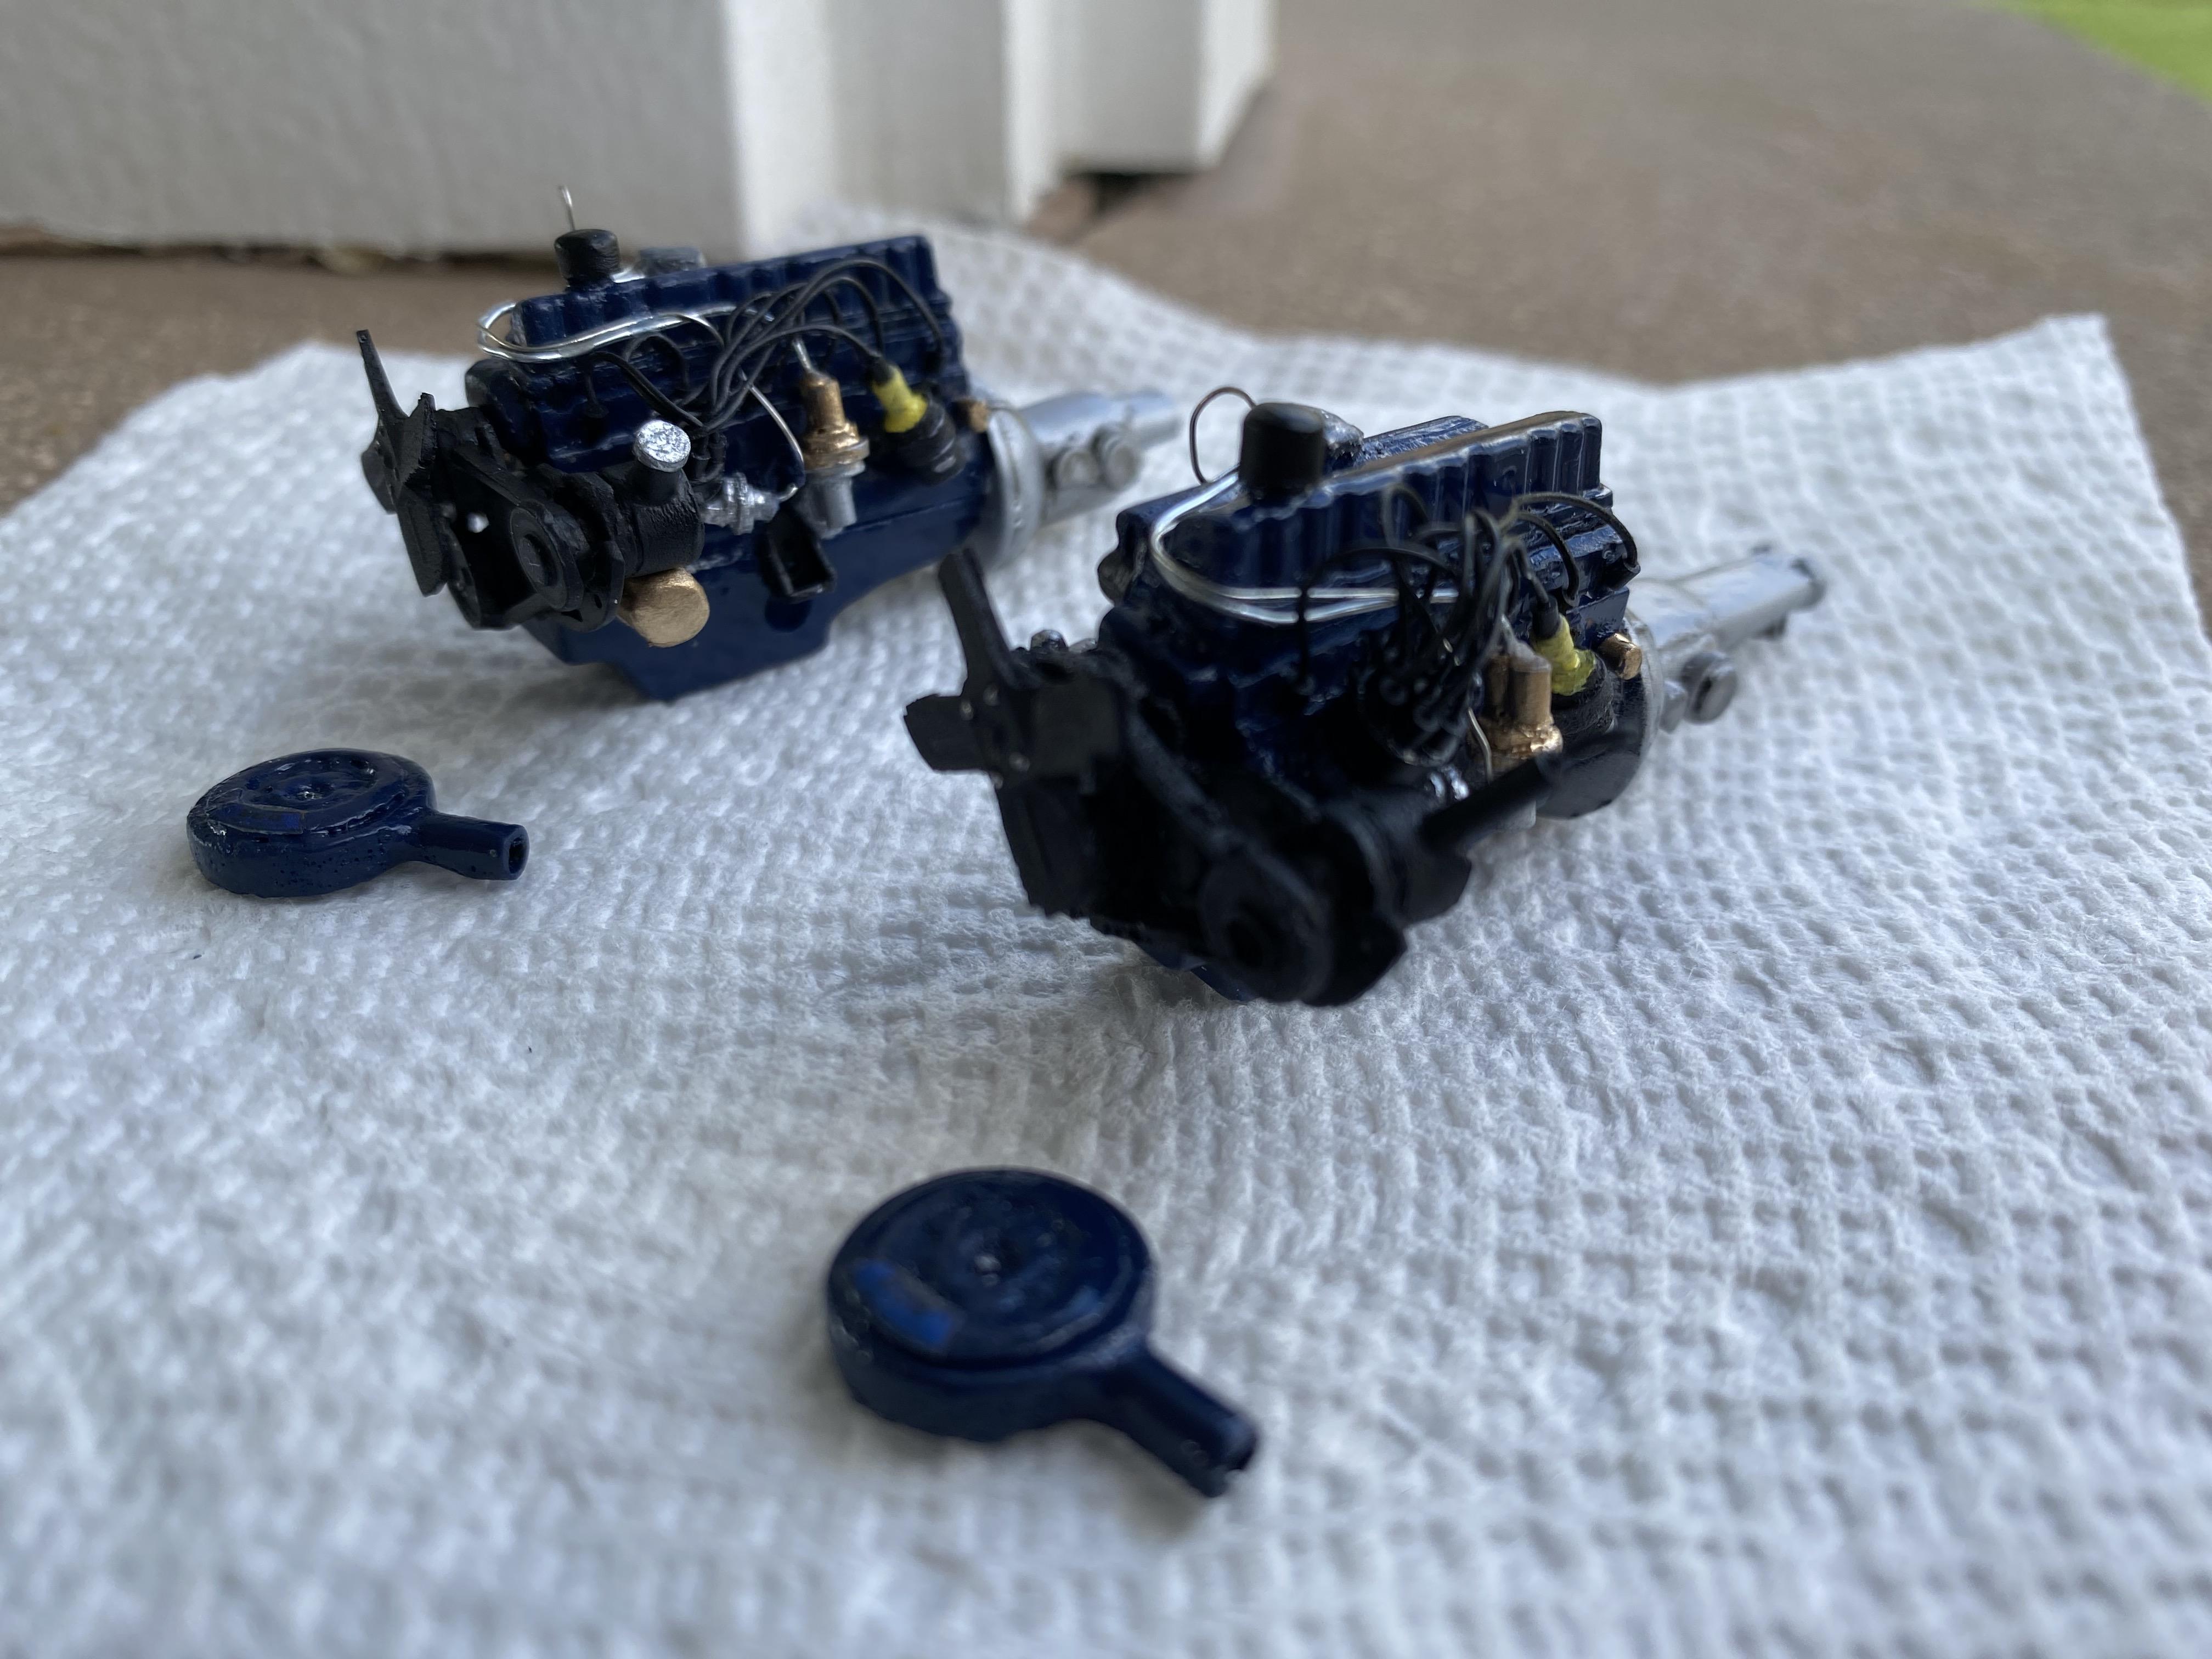
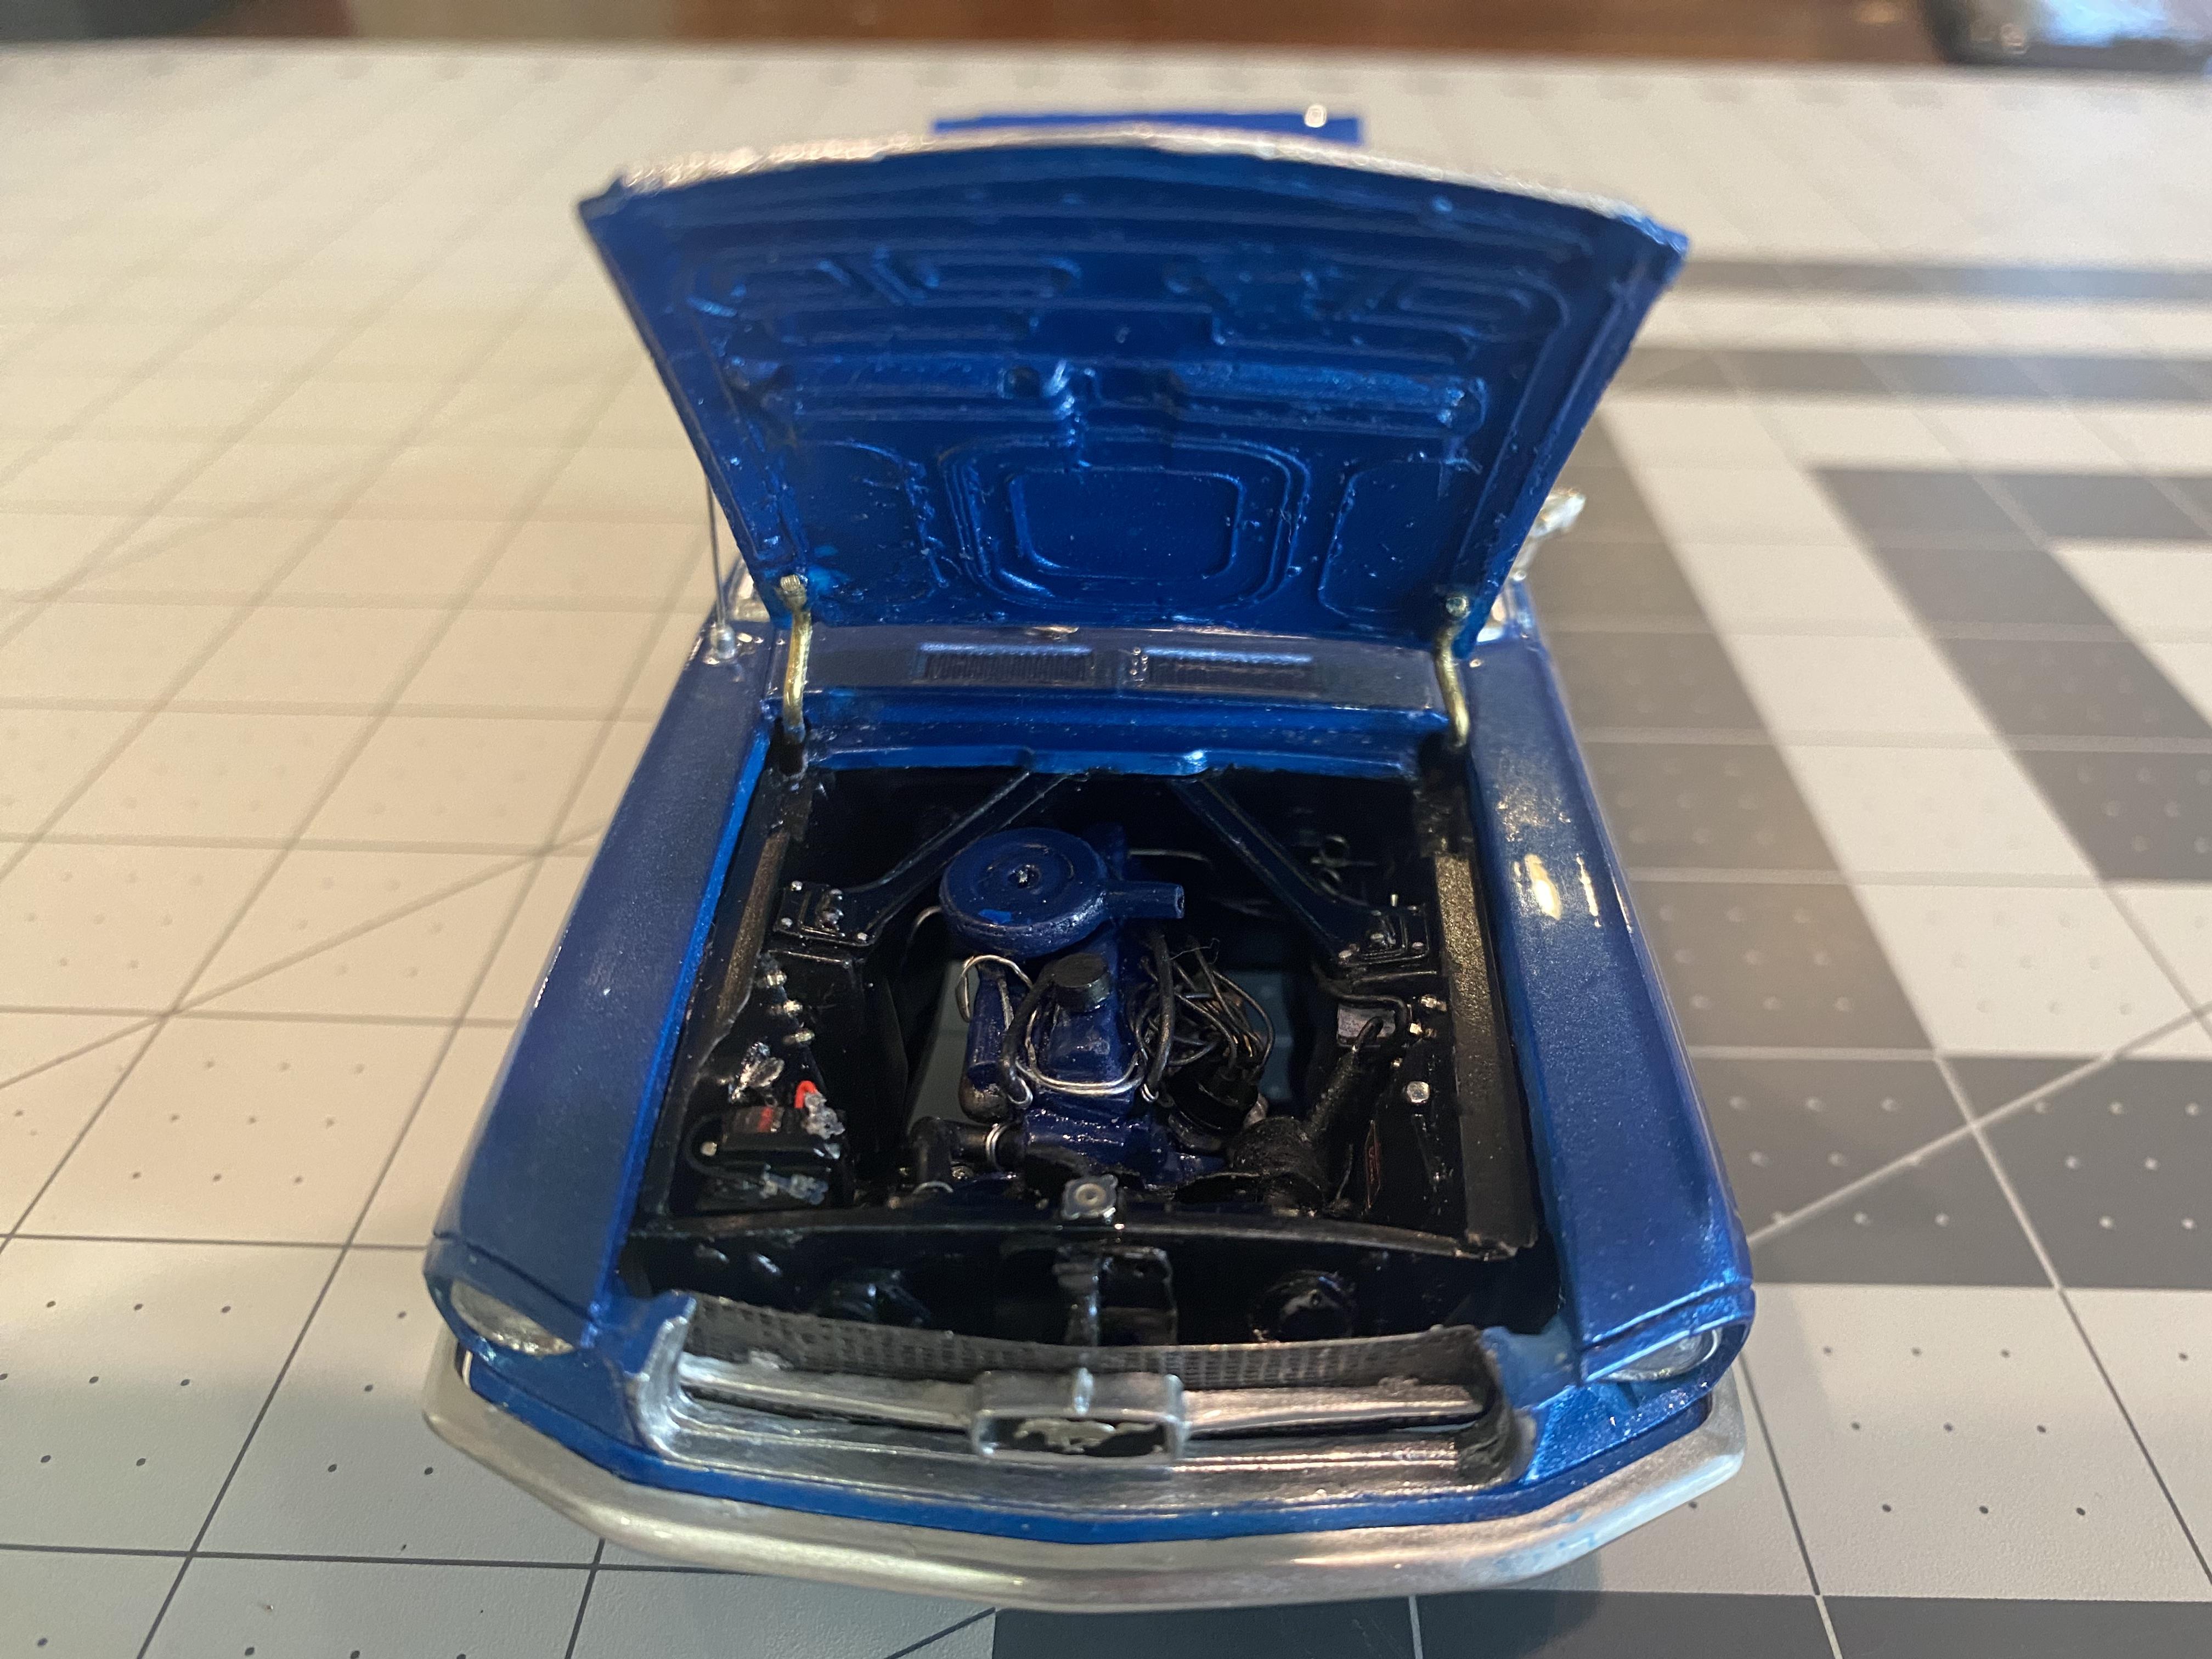
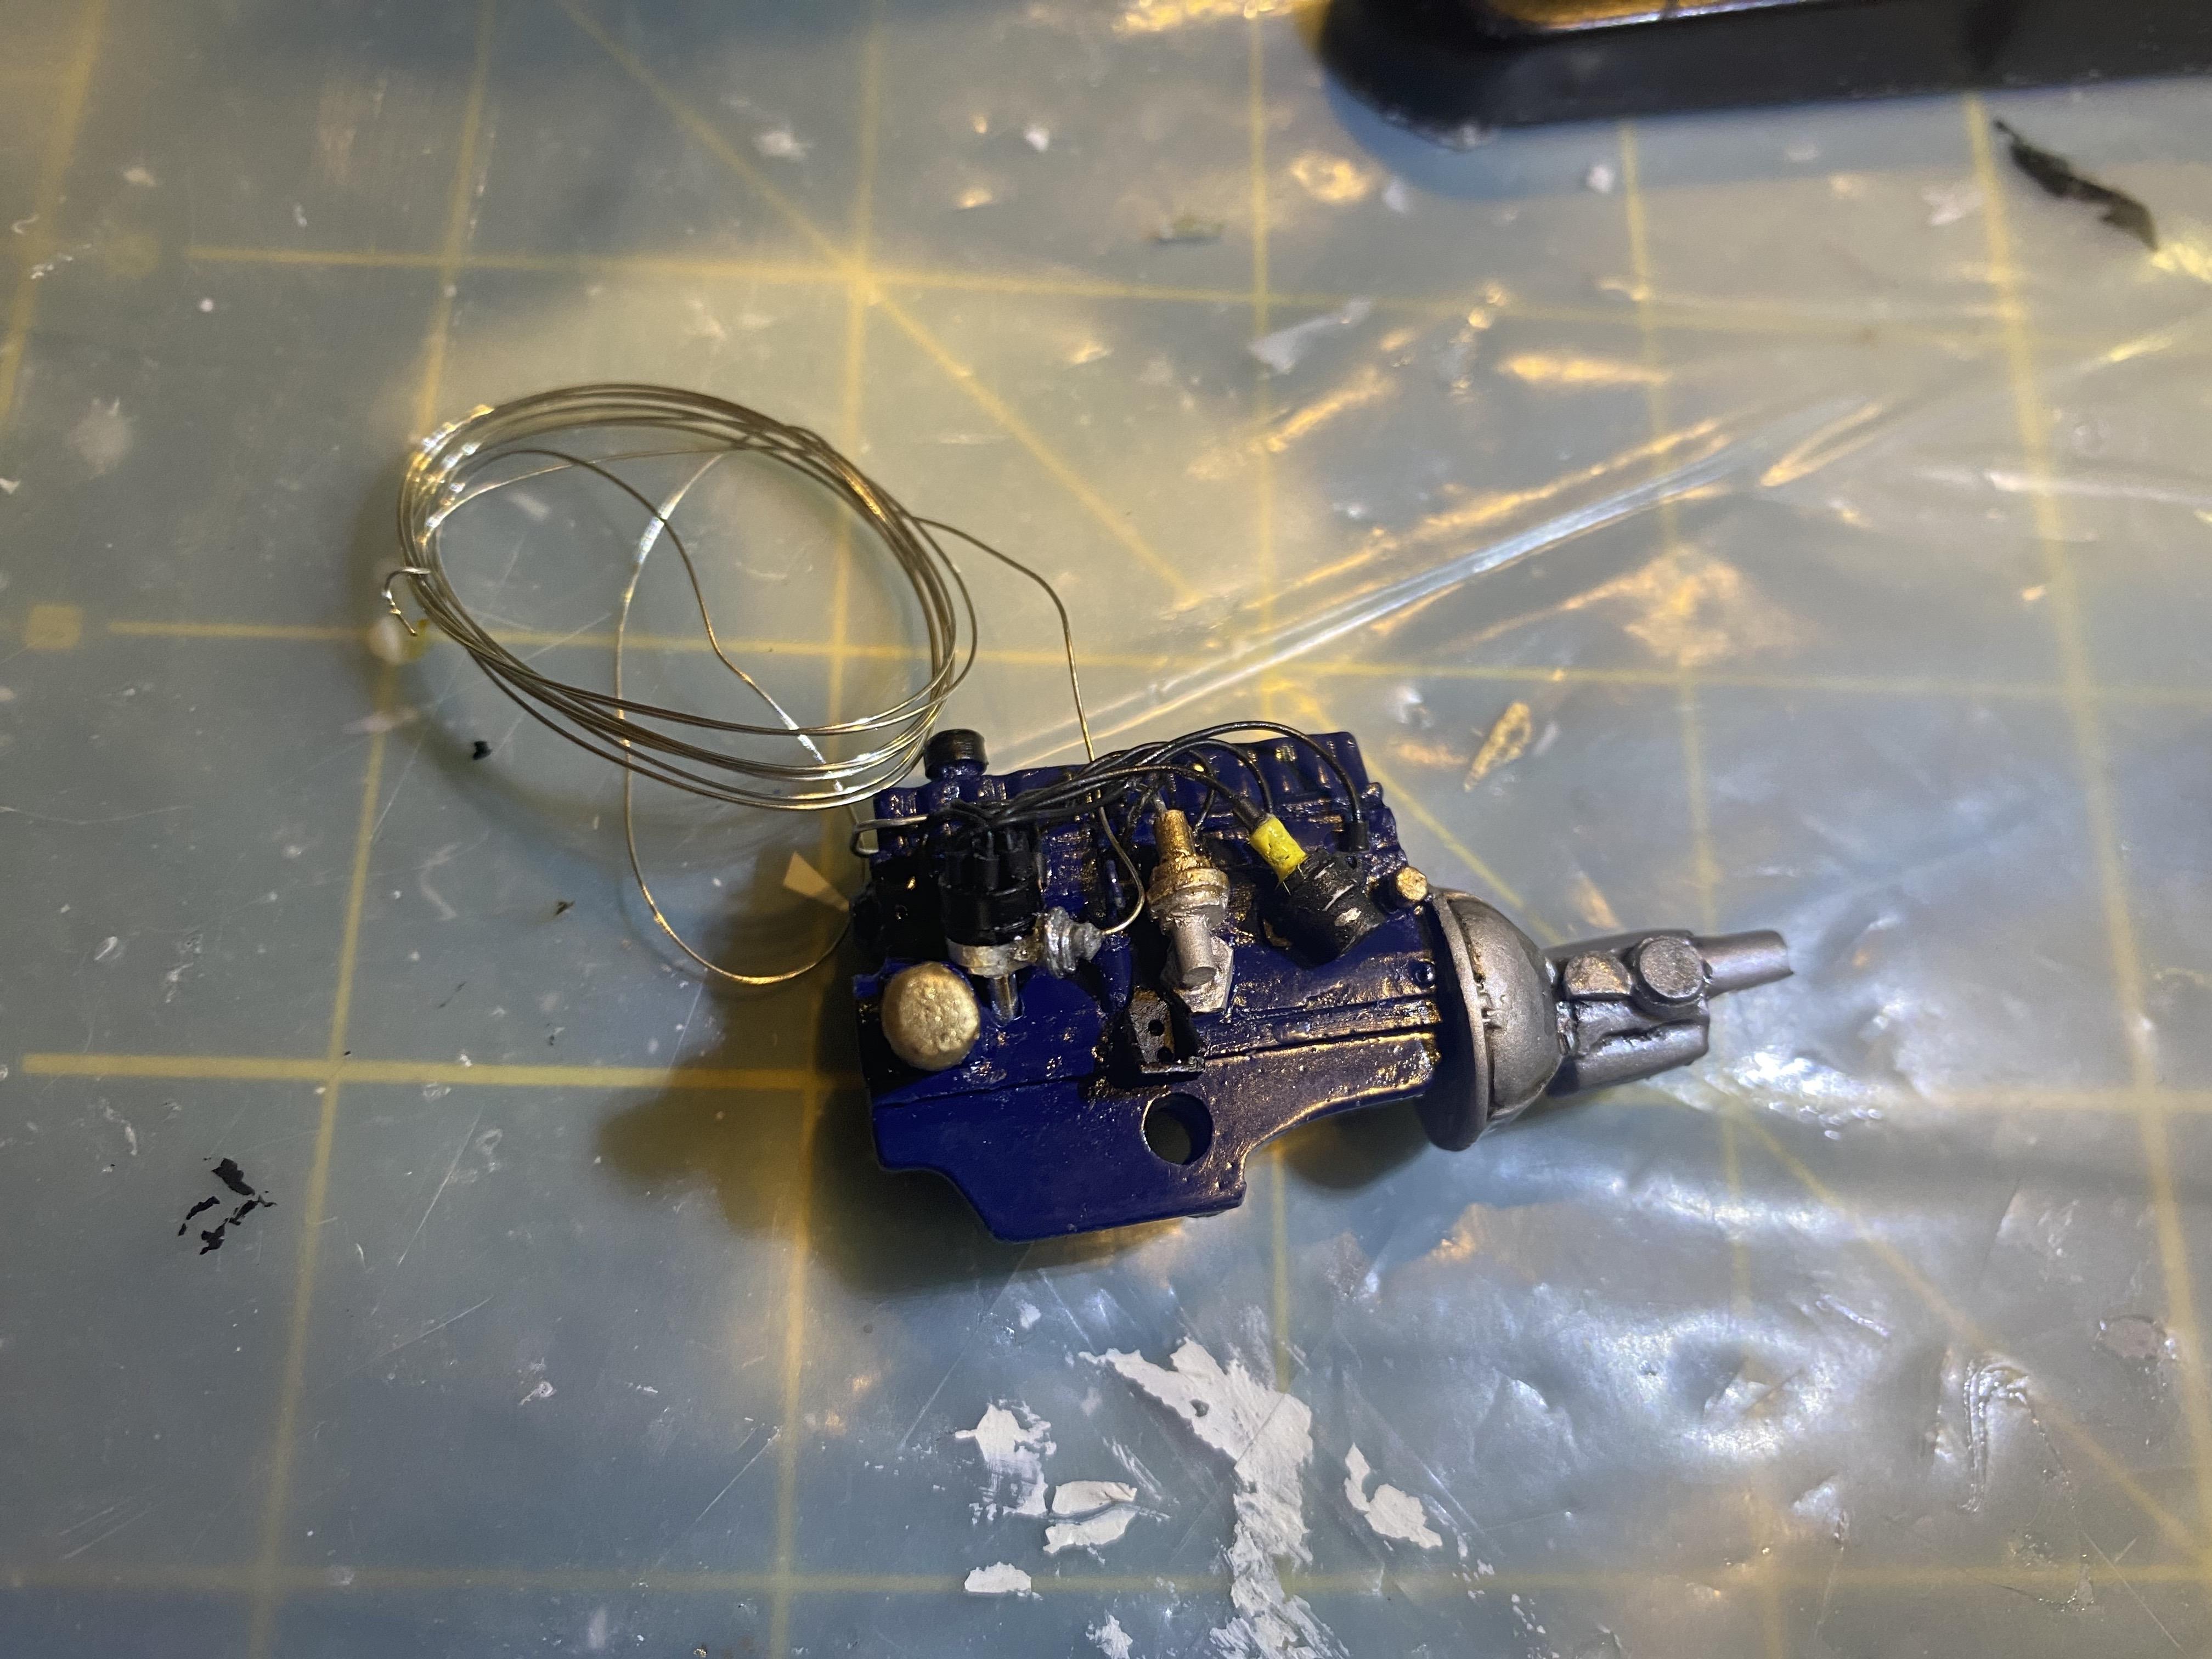
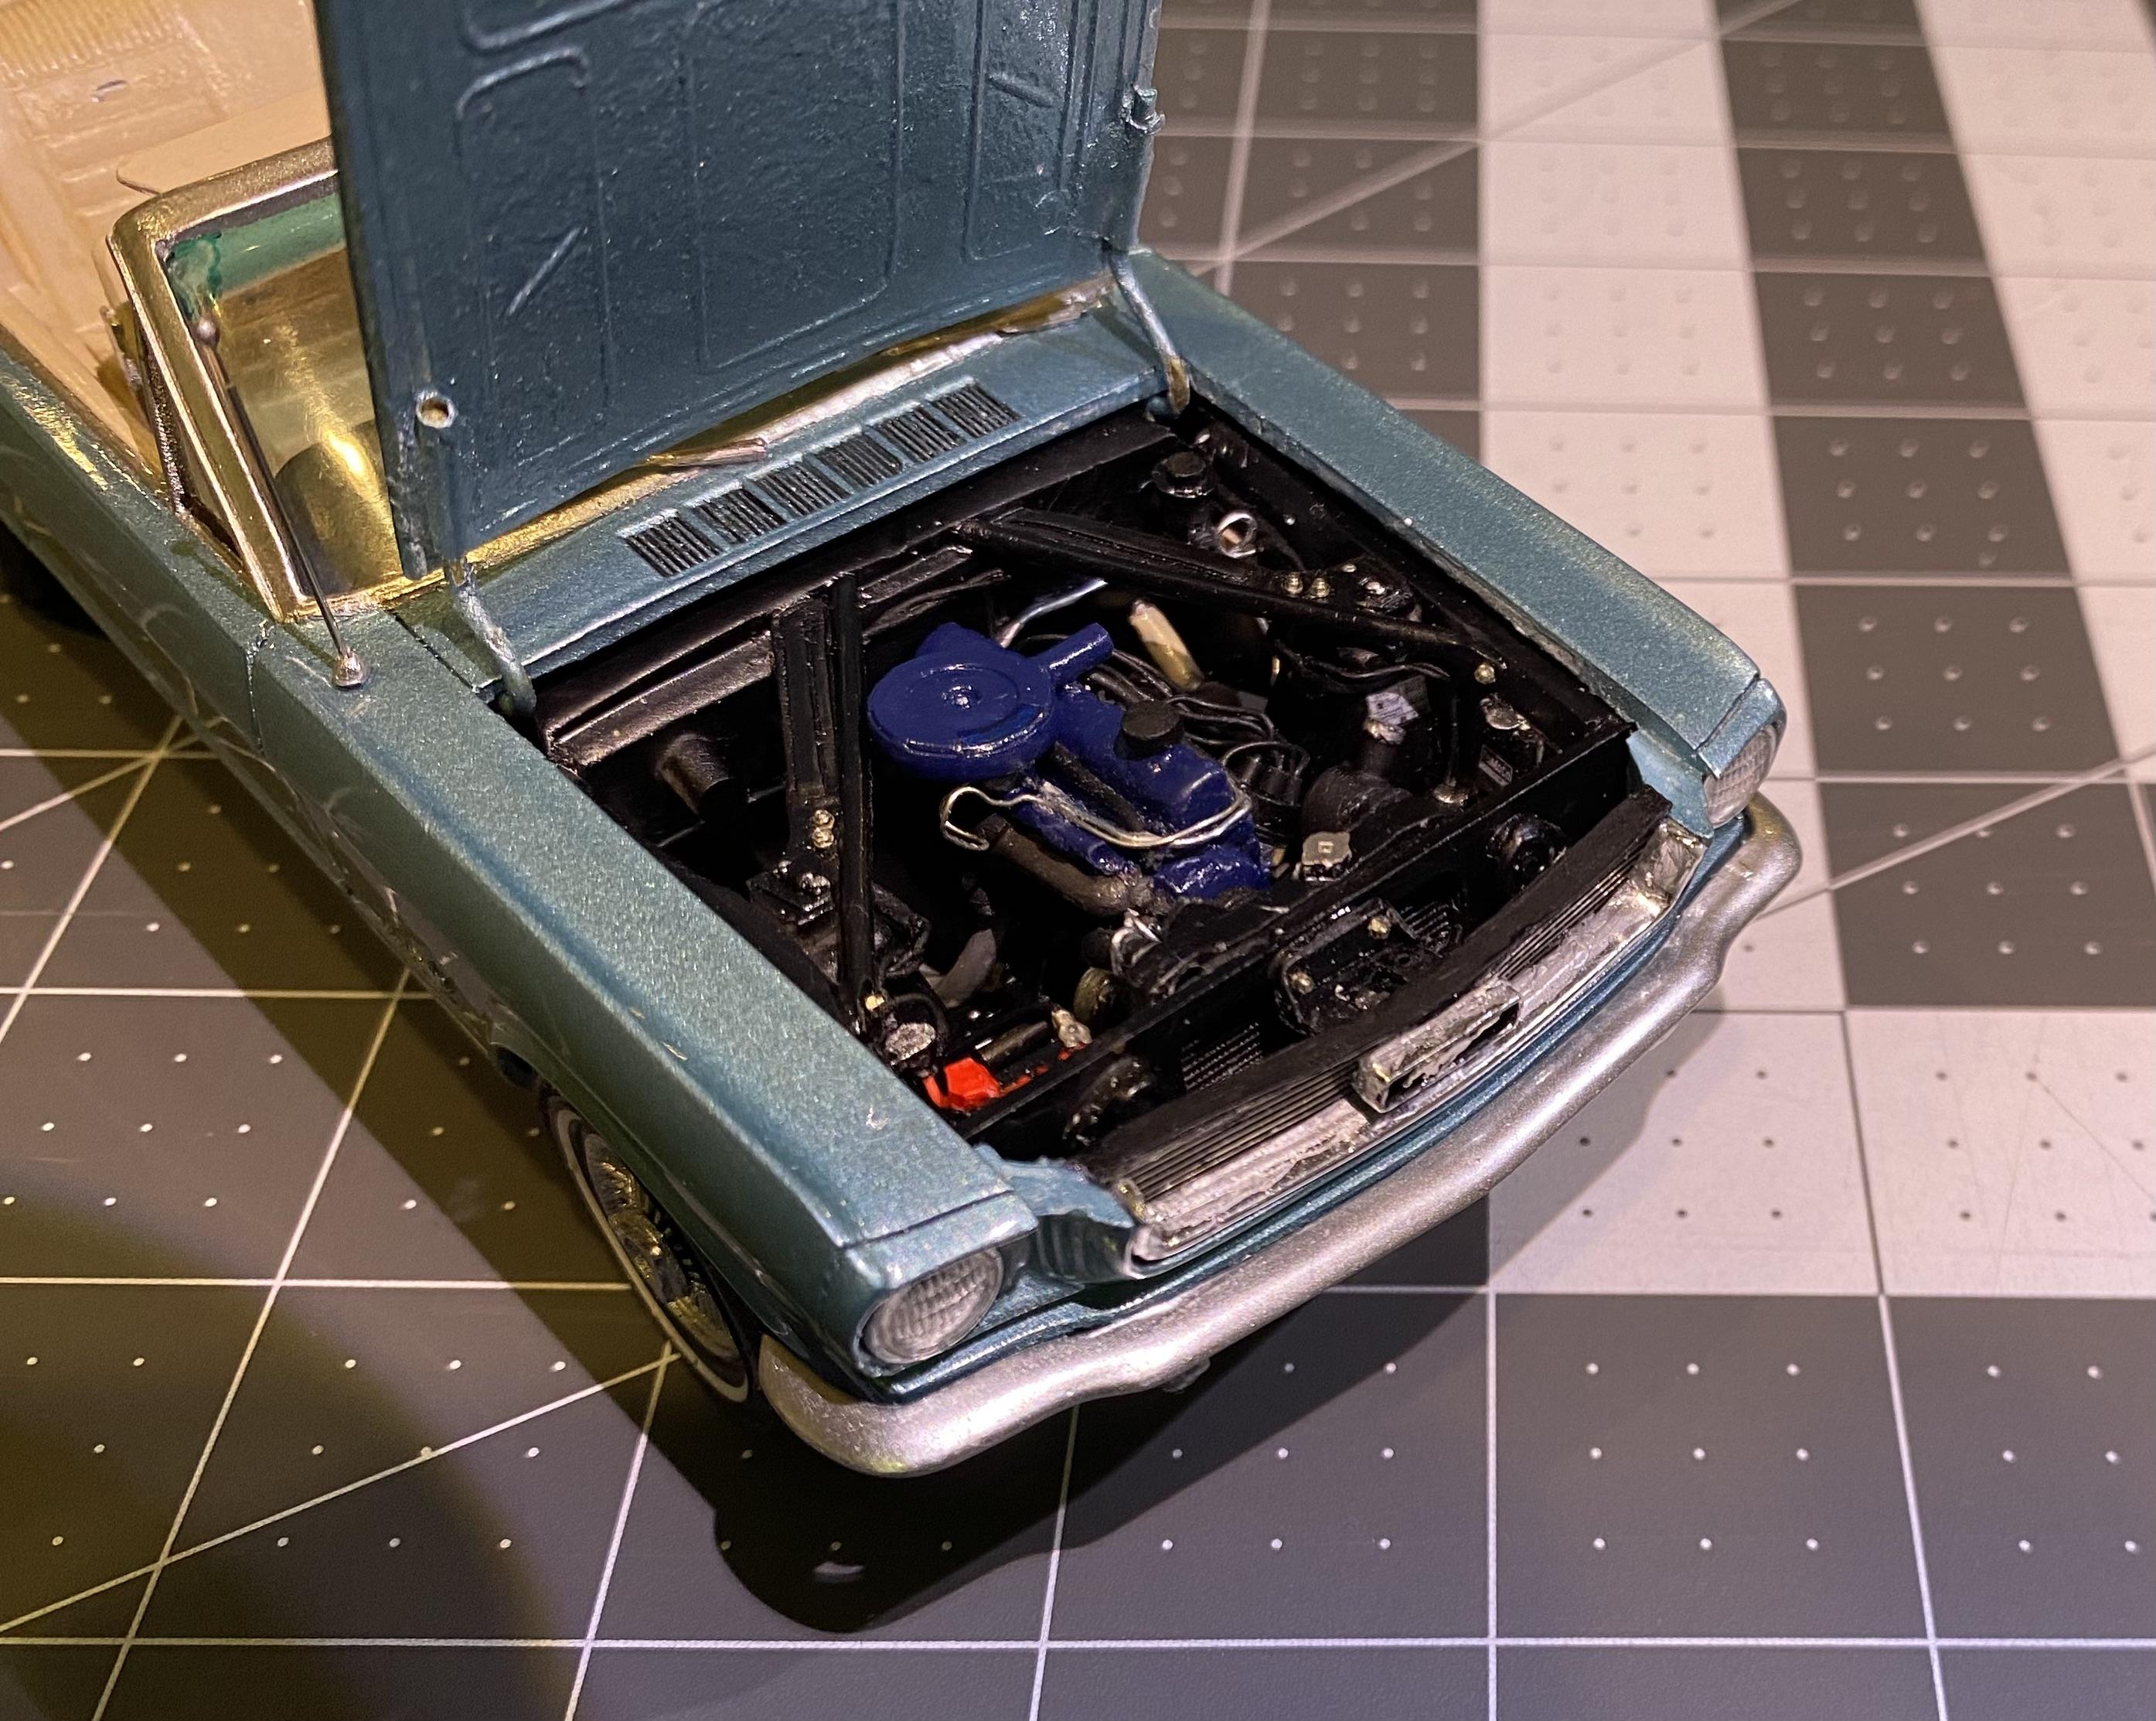
I got the original resin engine I started with from eBay some time ago, and made a new mold. I removed almost all molded in detail from it and scratch built the fuel pump, oil filter, coil, distributor, power steering bracket and pump, belts, etc. I do see Mcwfinishes.com has one but no picture of it.
-
Thanks, I actually cast and scratch built and detailed the parts for the 6 cylinder engines for both this and my 67 Fastback build at th same time.
-
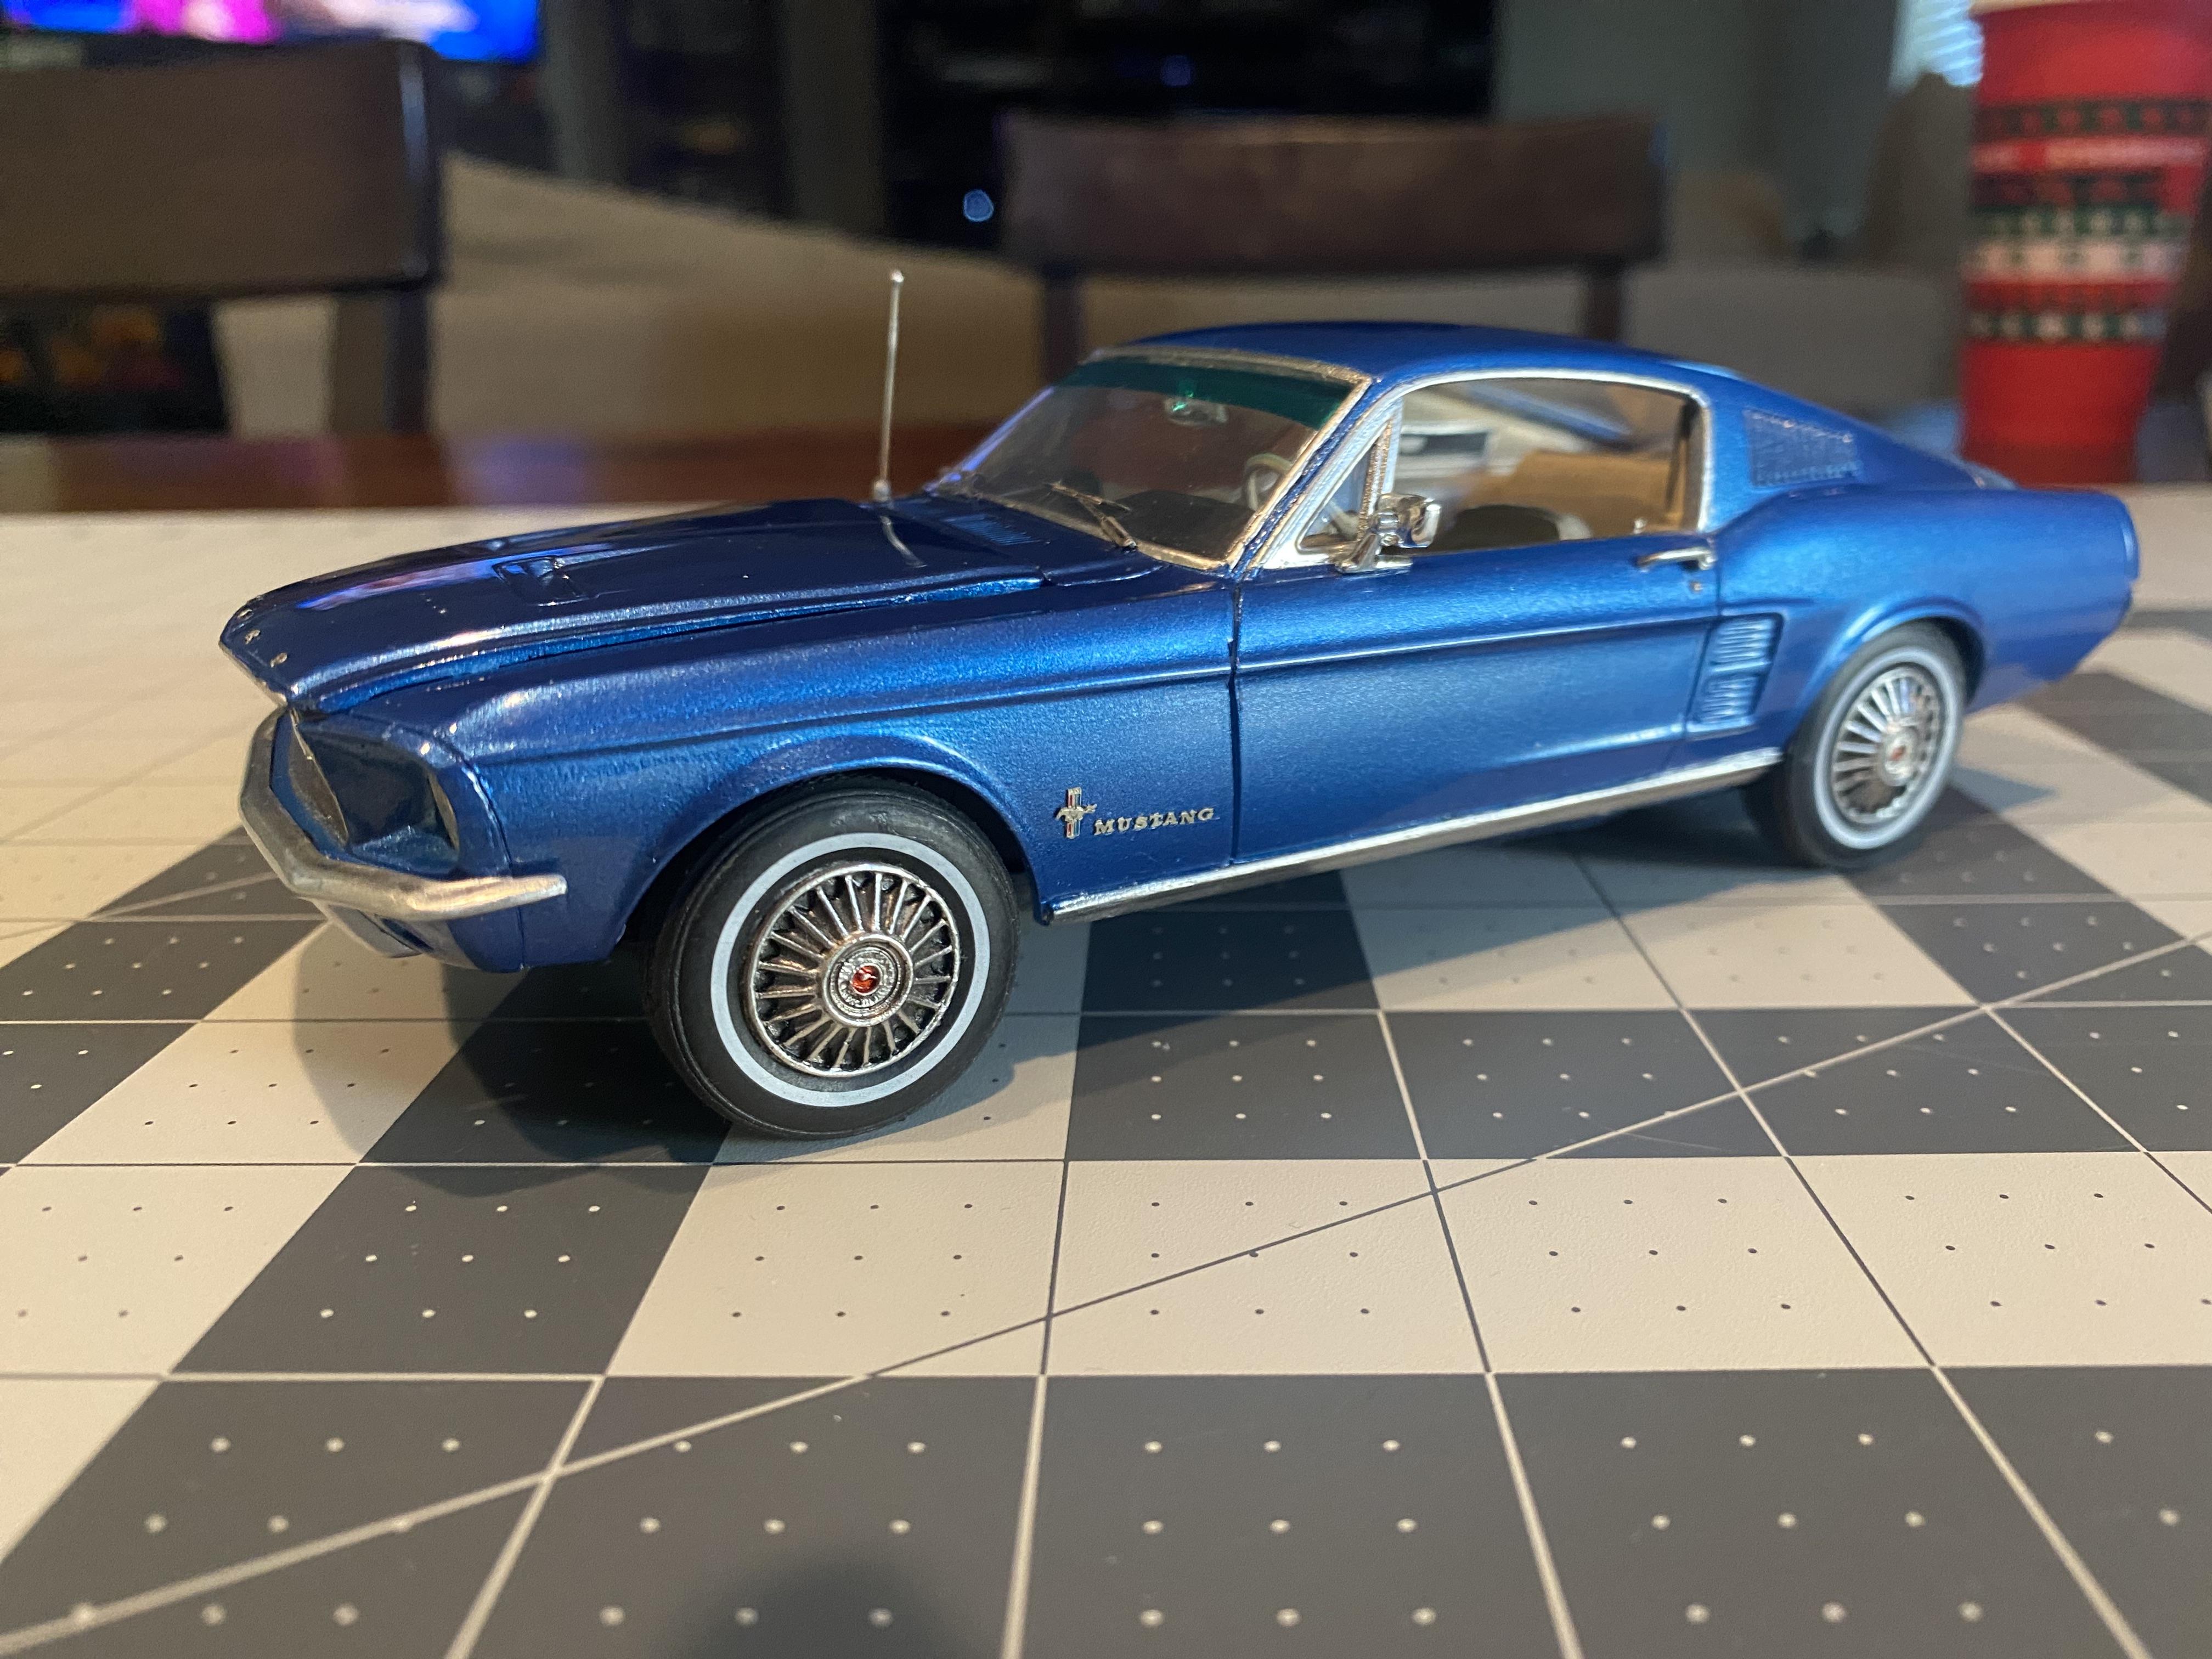
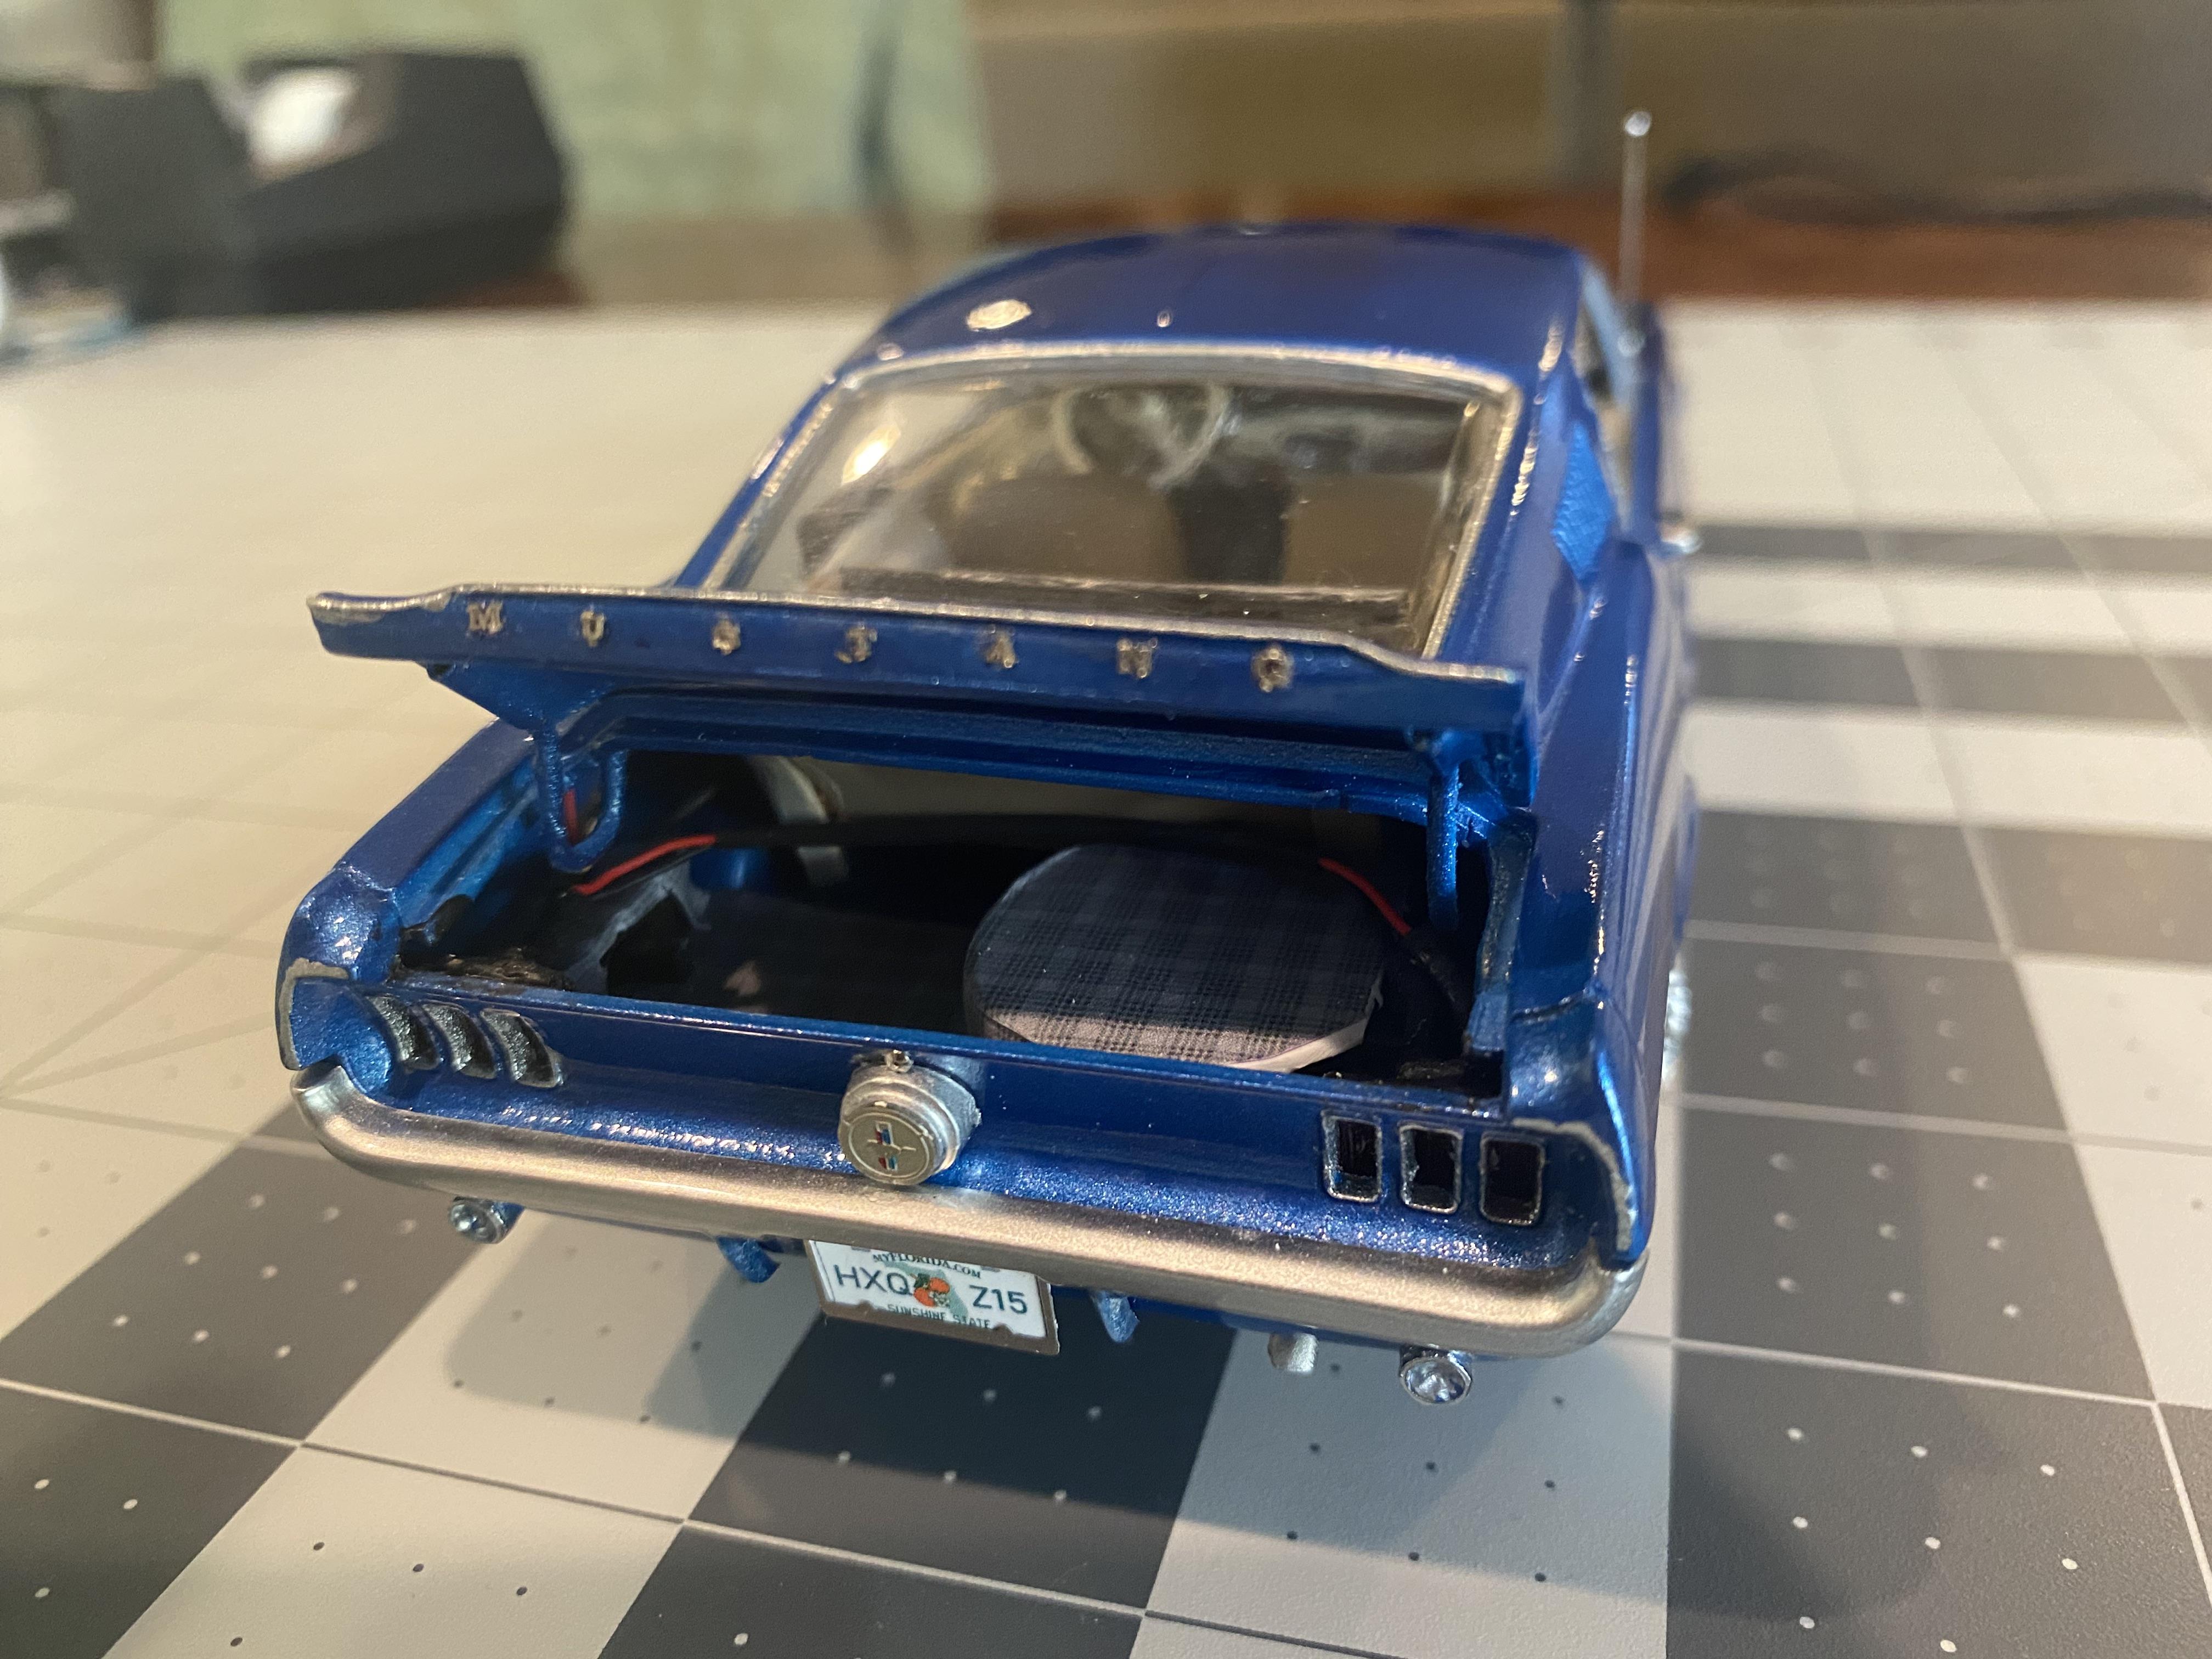
Scale model version of my Mother’s 1967 Fastback I restored for her 30+ years ago. AMT 1967 Mustang, resin cast 6 cylinder engine, resin cast wheel covers from an original promo. MCW Acapulco paint, splash paints 2k clear, wet sanded and polished. Scratch built power steering and details. Heater hoses, brake line, fuel line, parking brake cables, plug wires, etc. photo-etch mustang kit, wipers, seat belts, etc. Three position LED switch (on/off/on). One position for interior lights, other for headlights, taillights and gauge lights. Coin battery under spare tire cover.
- 32 replies
-
- 12
-

-
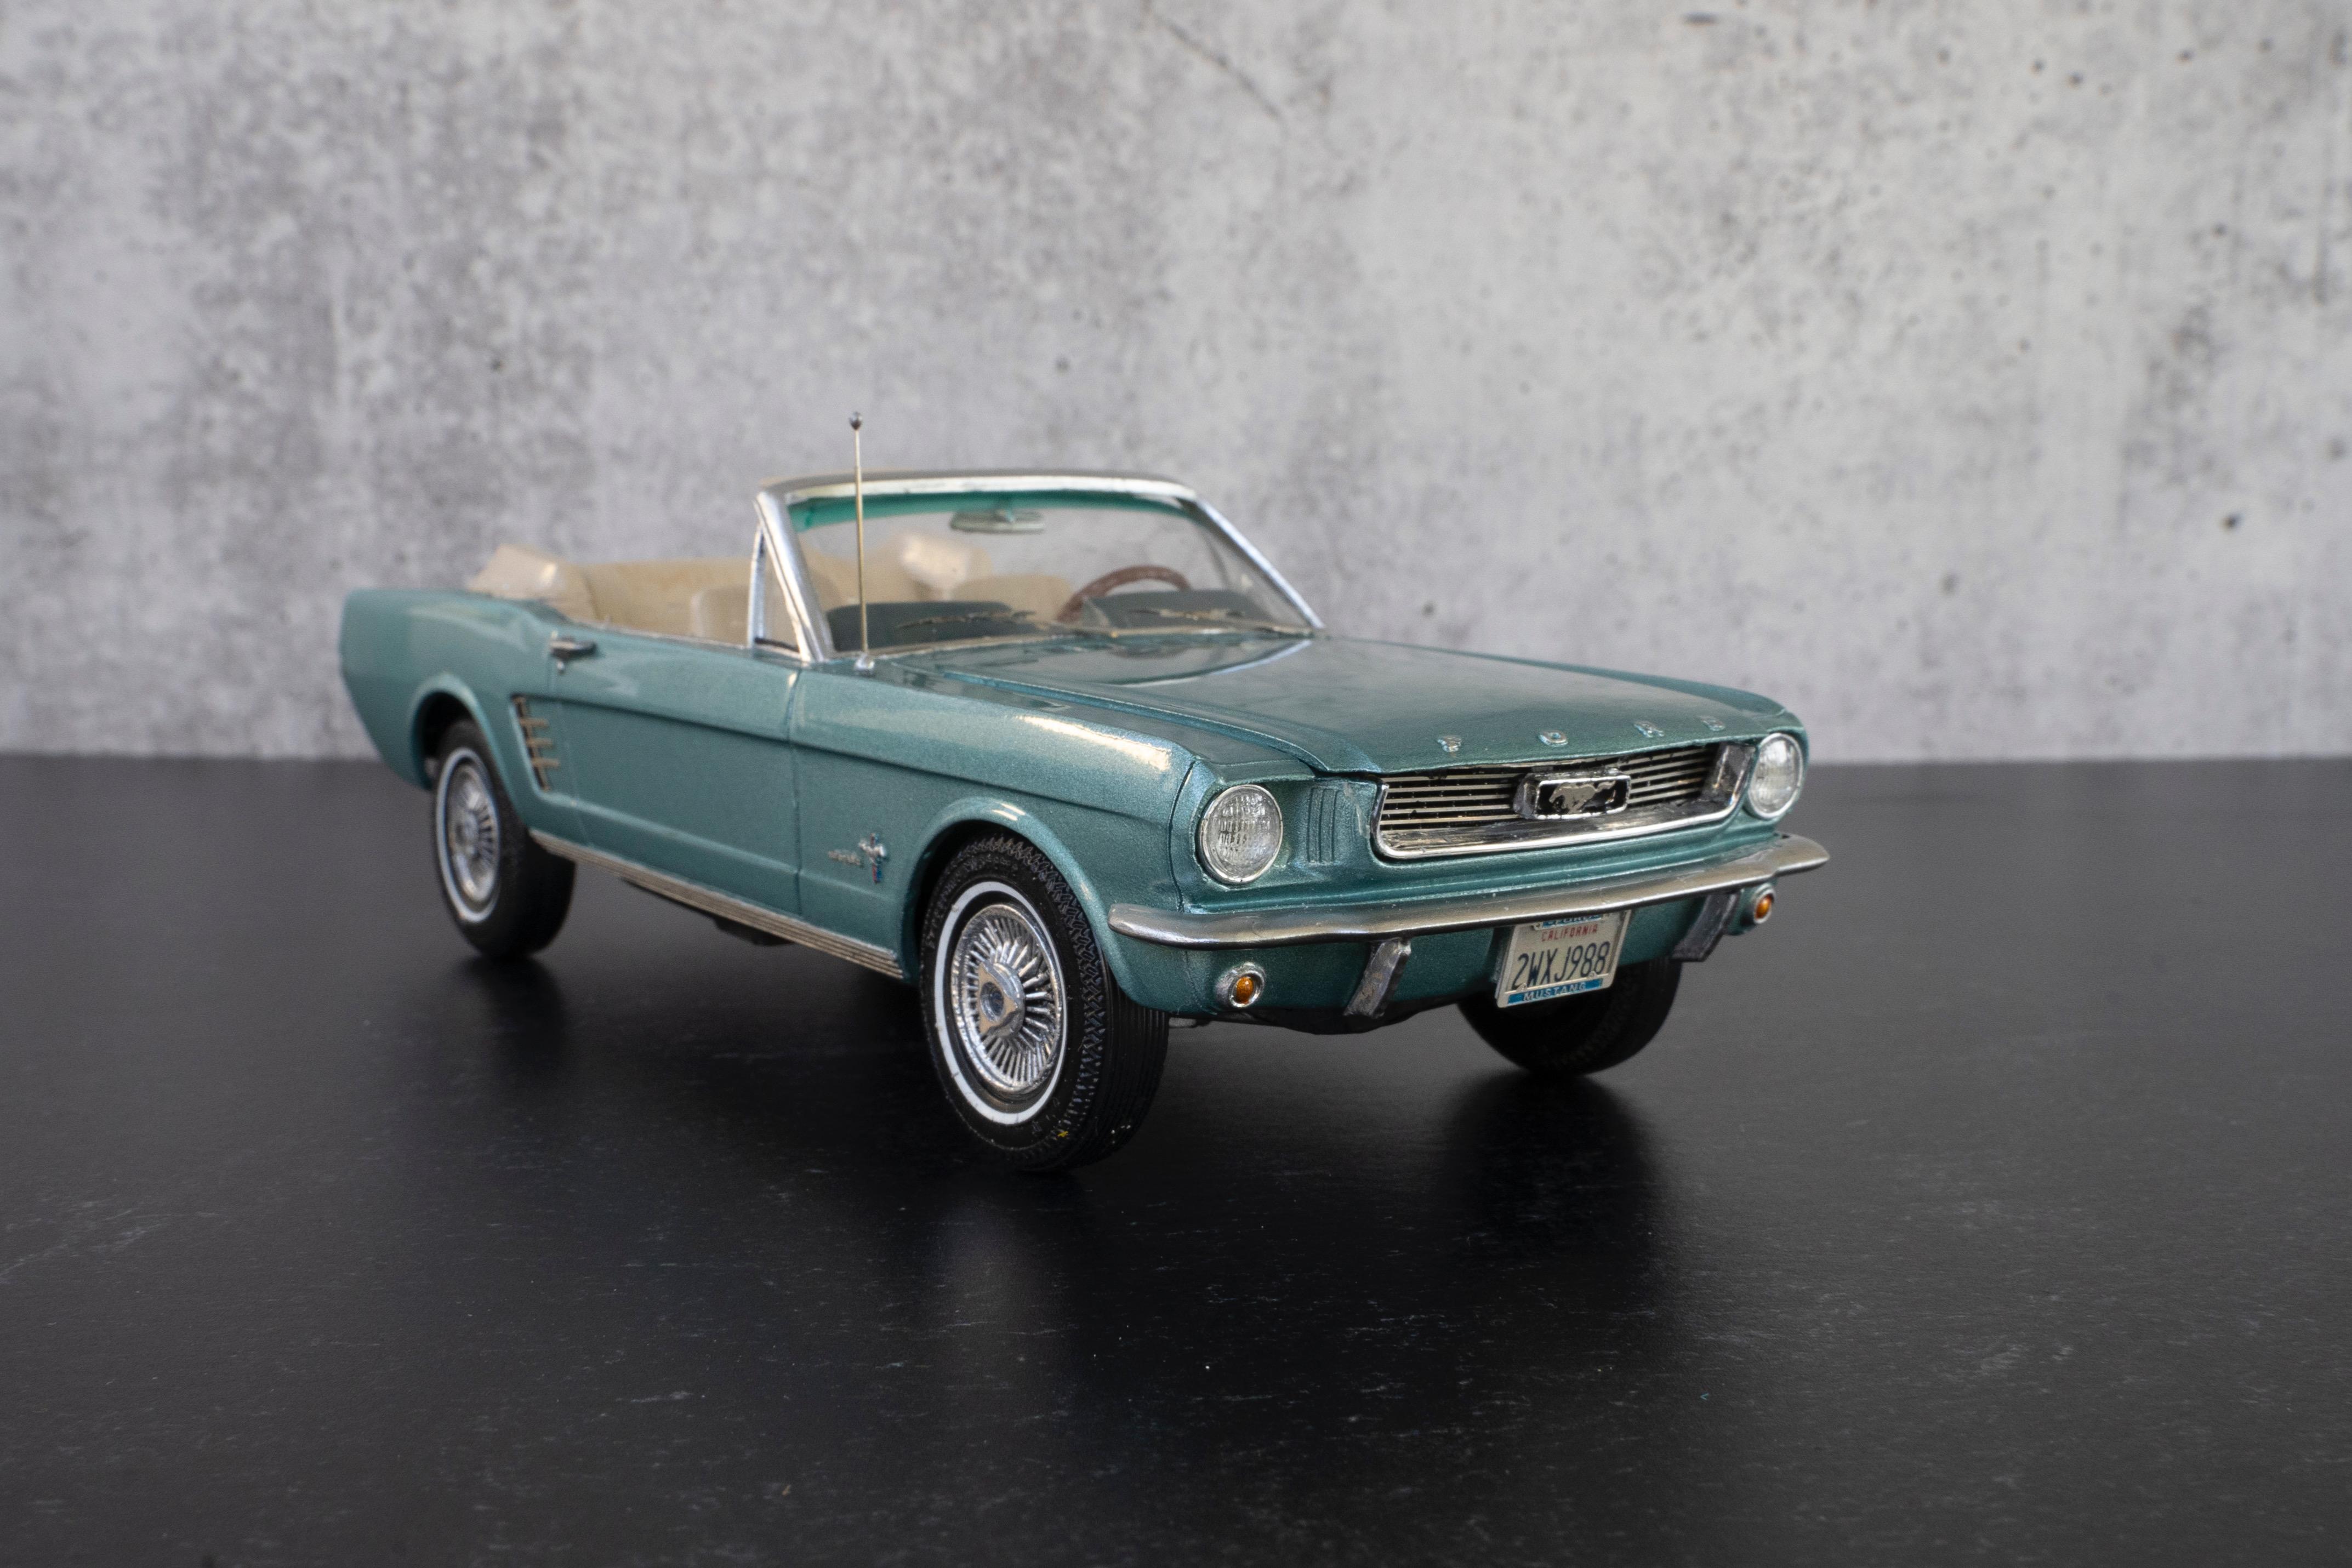
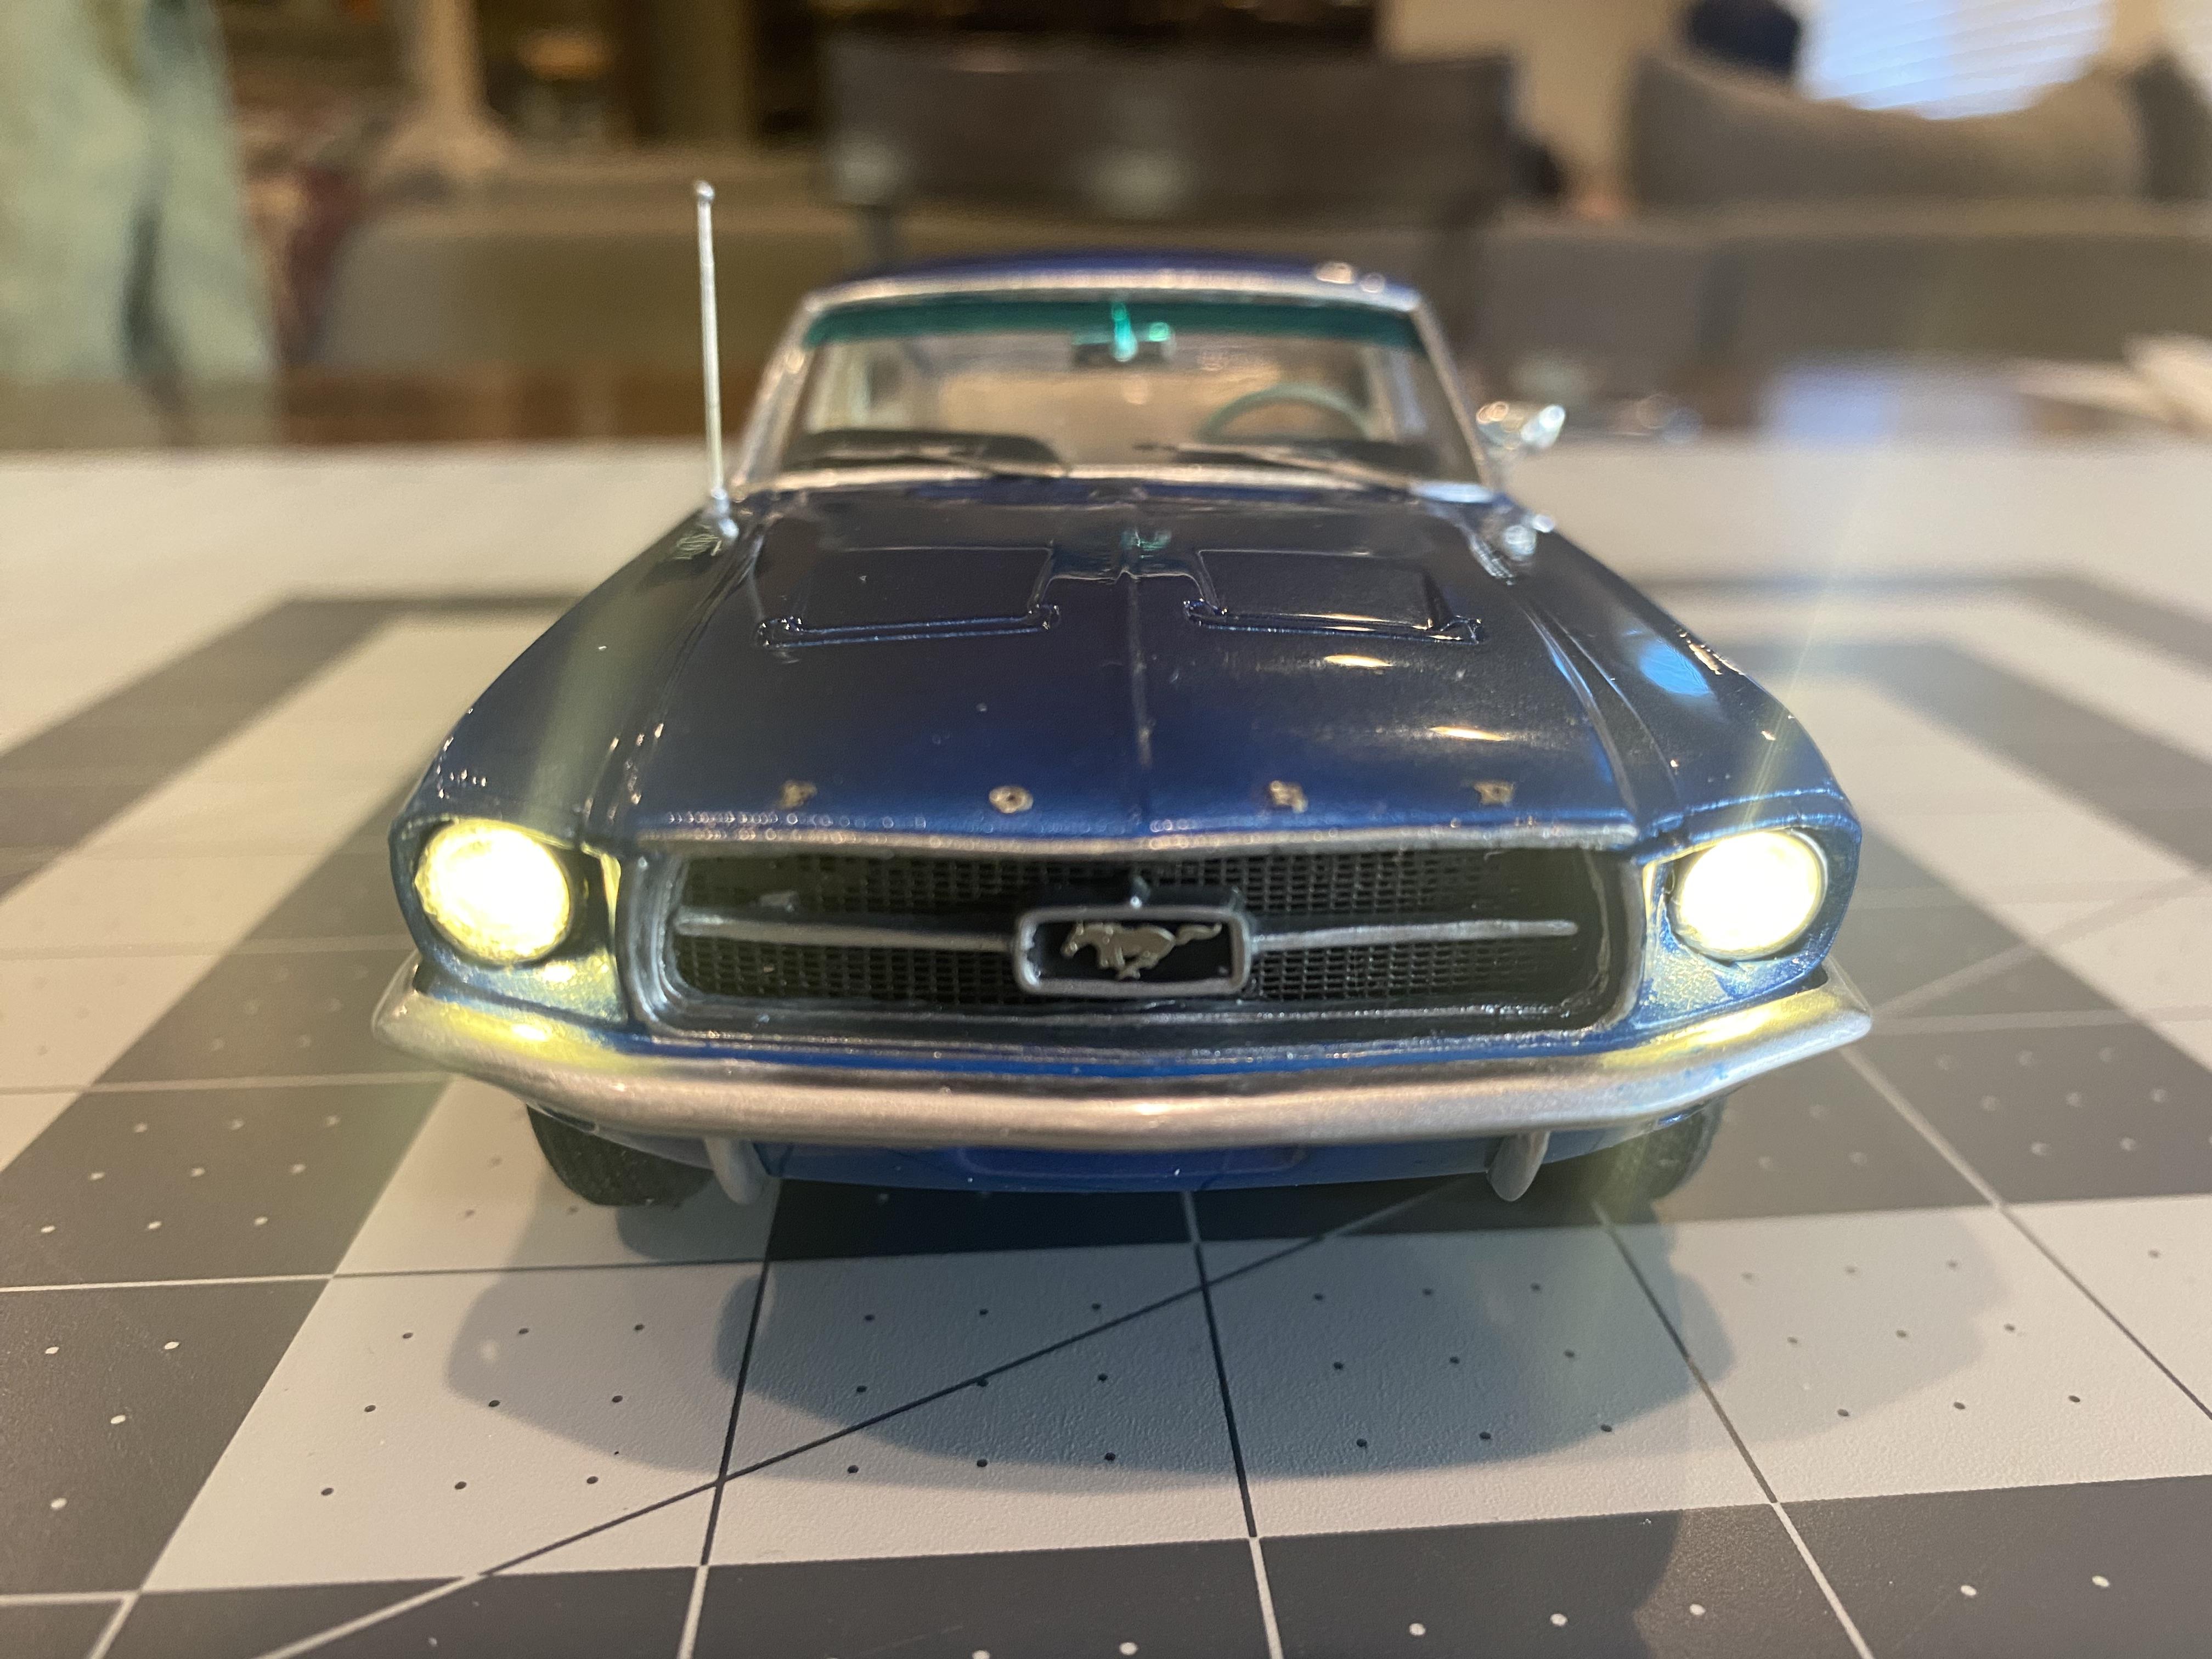
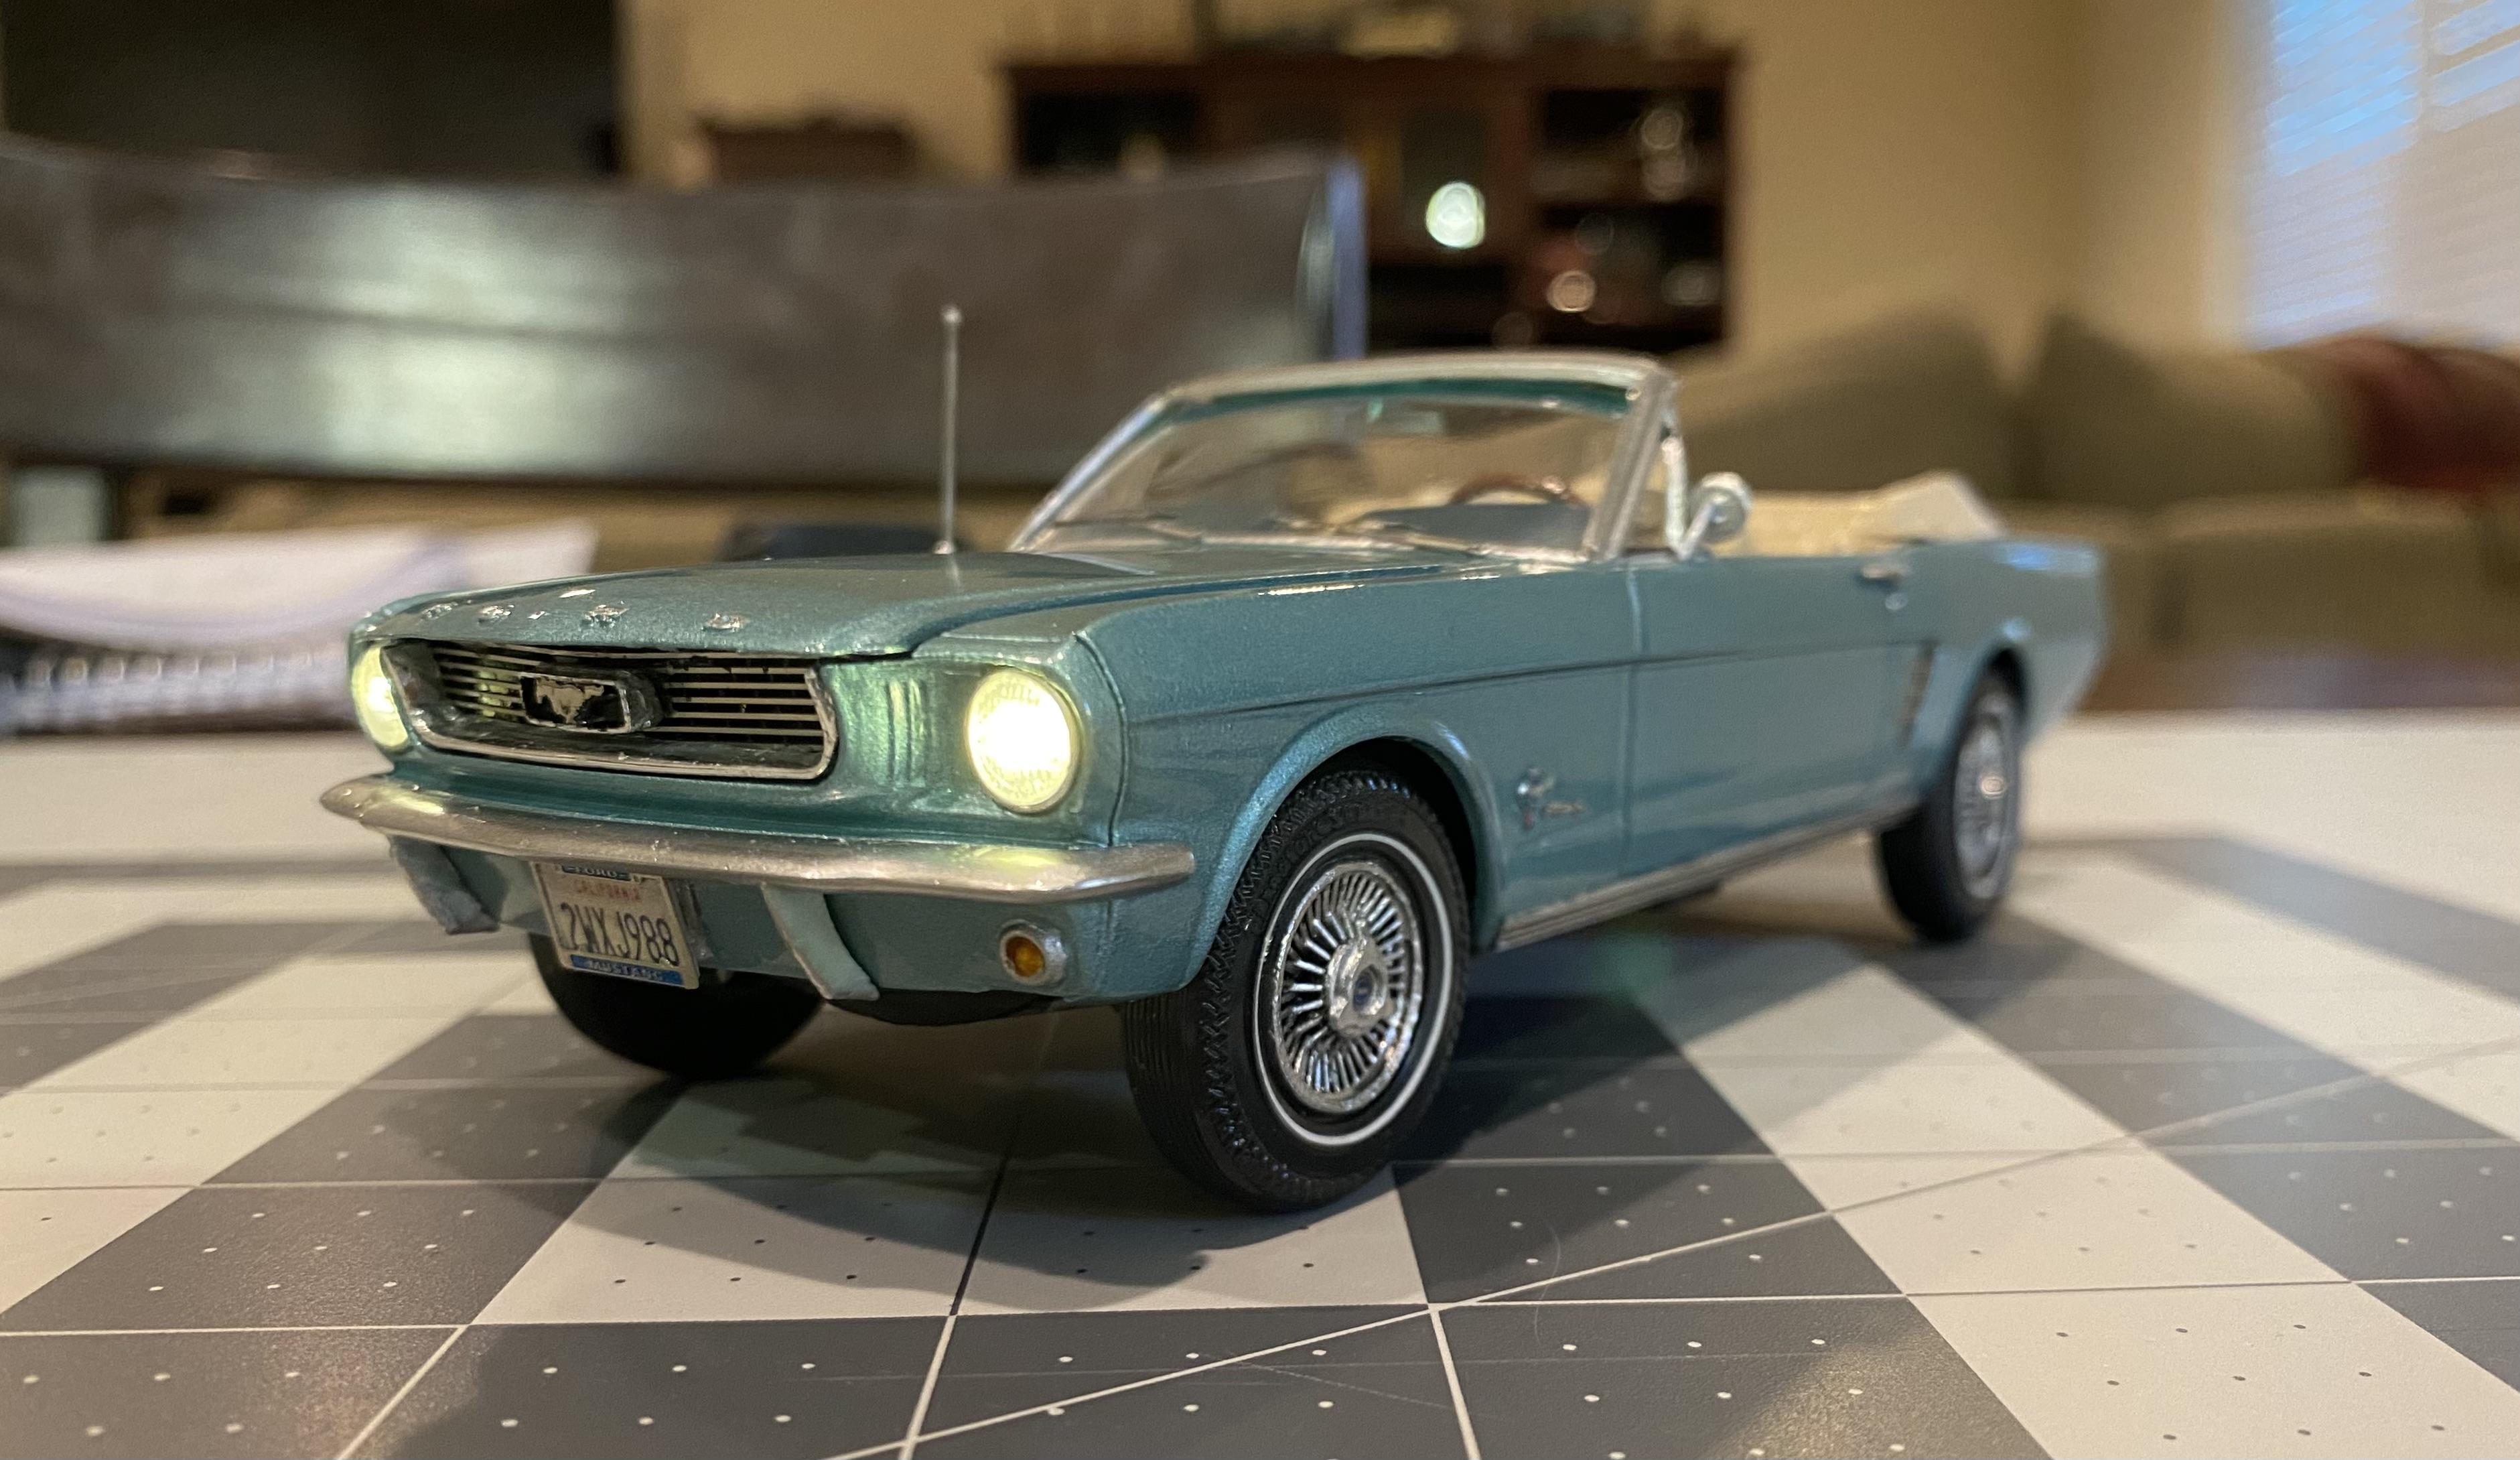
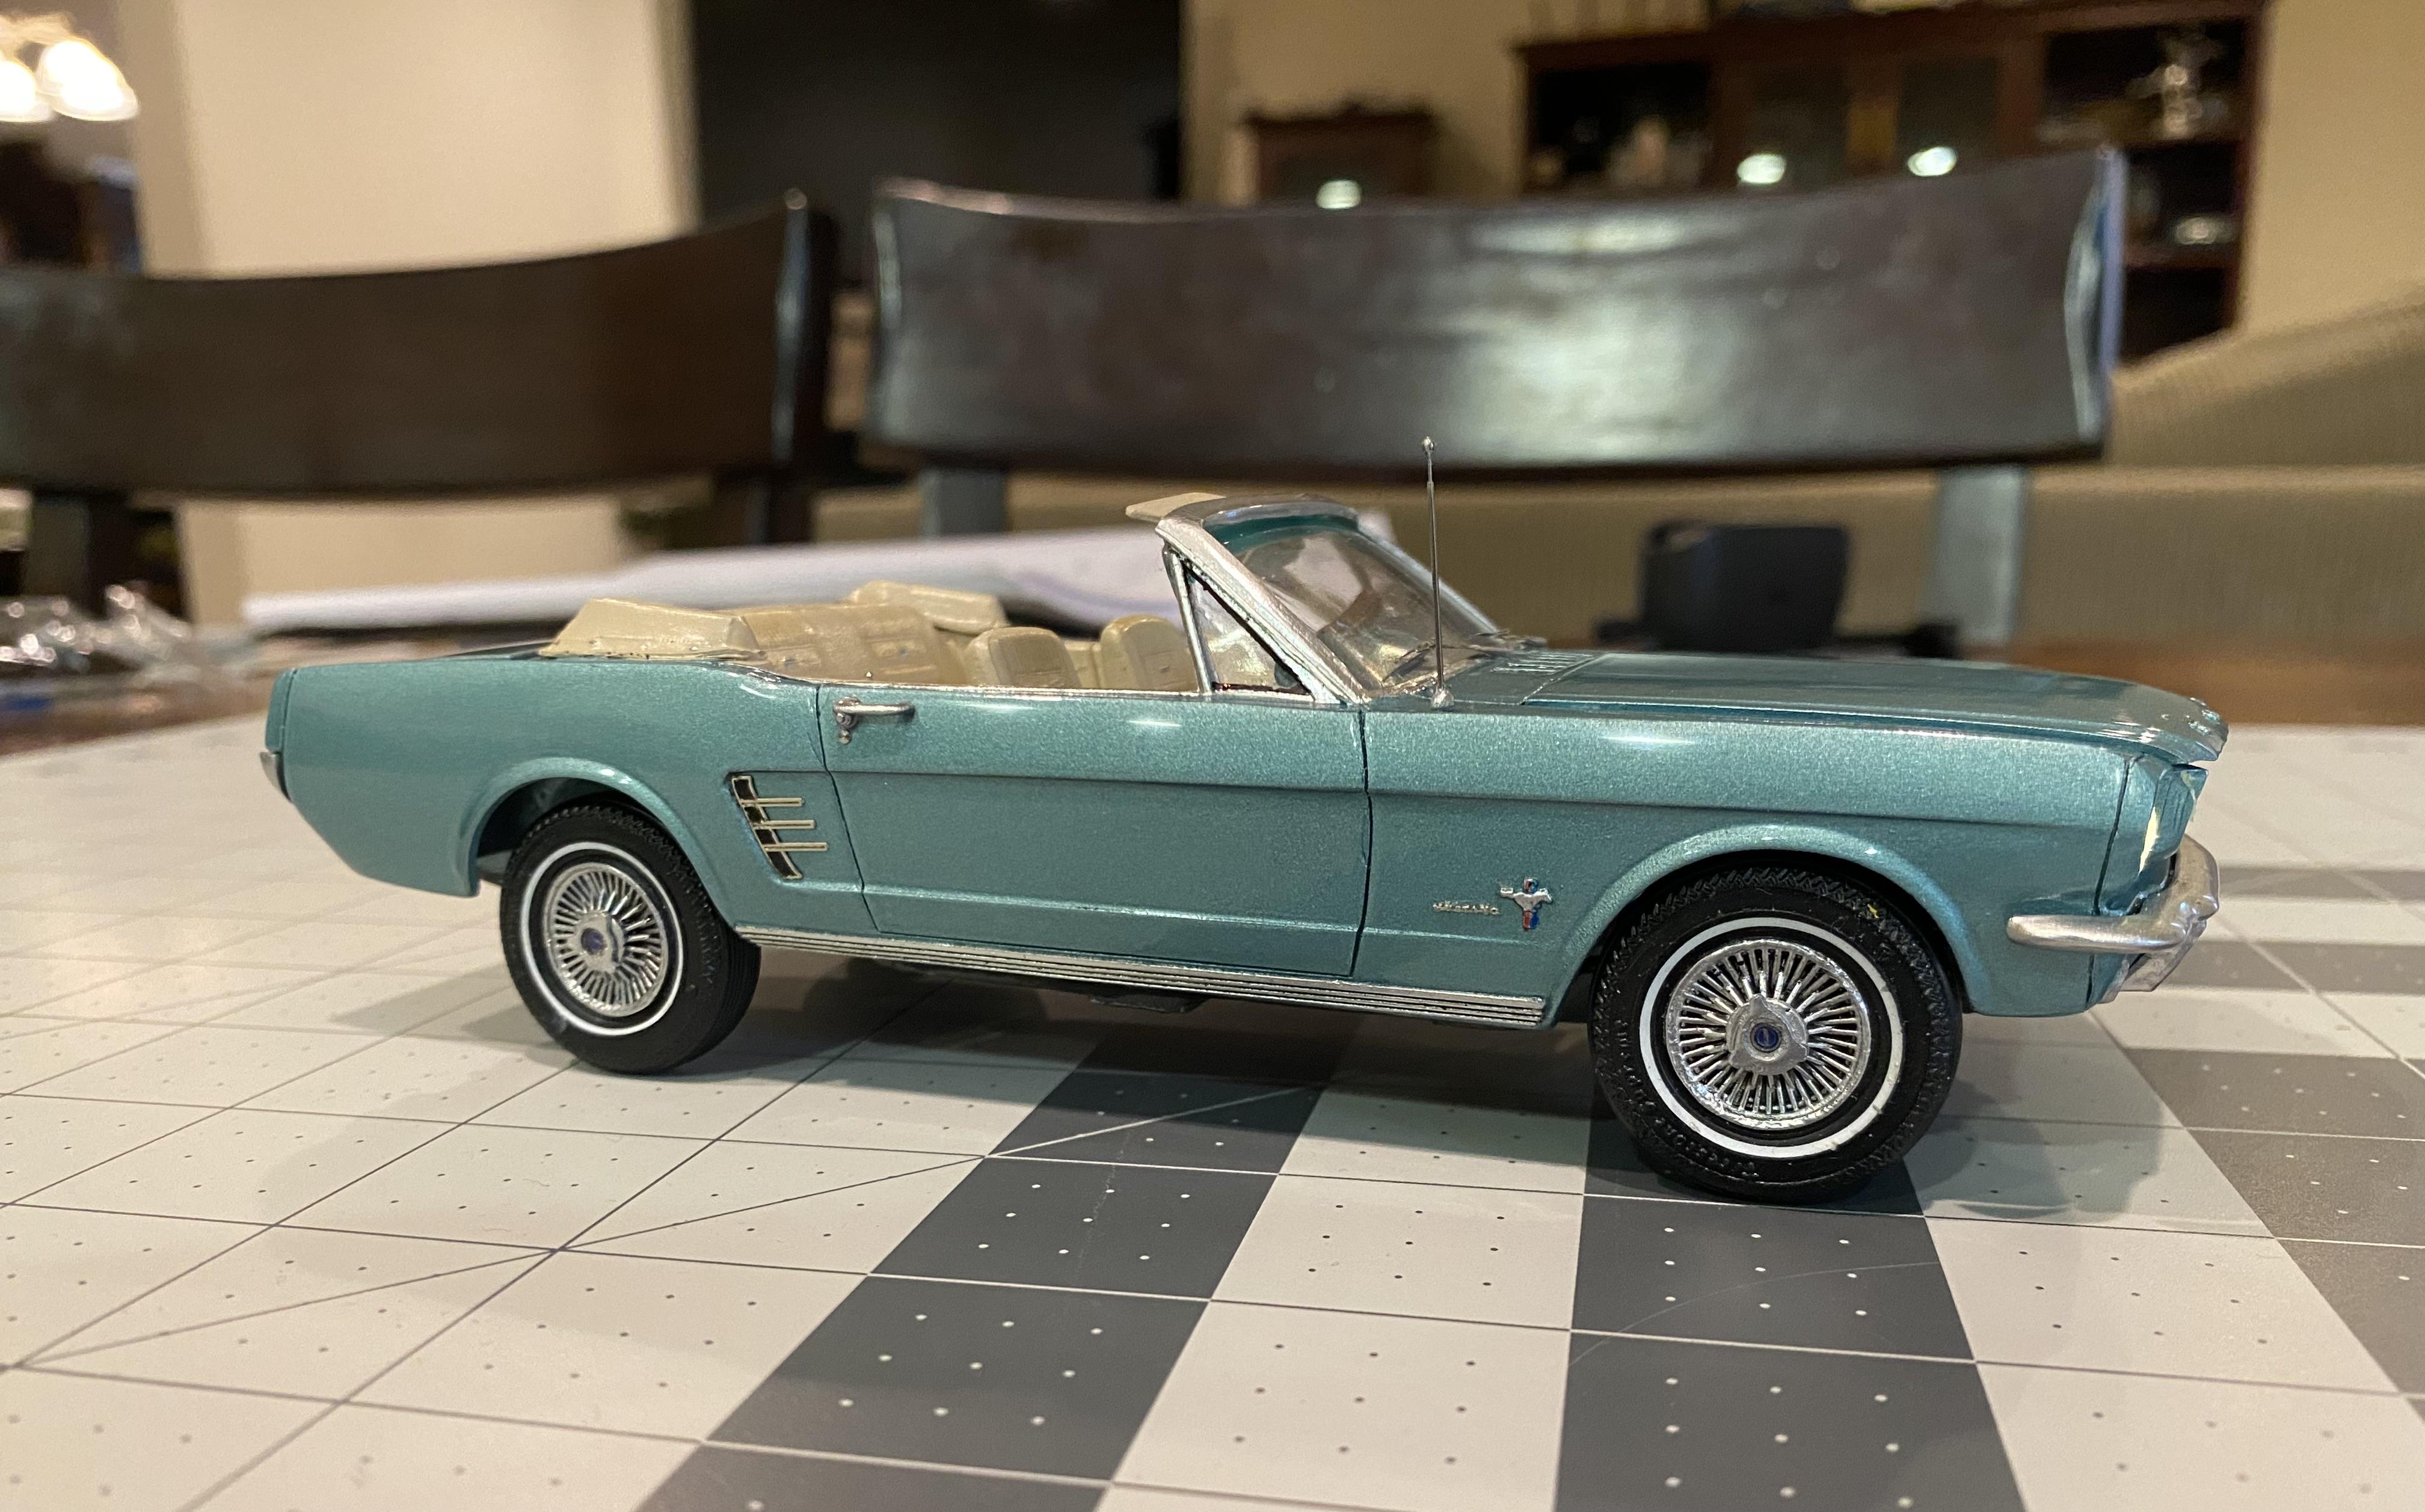
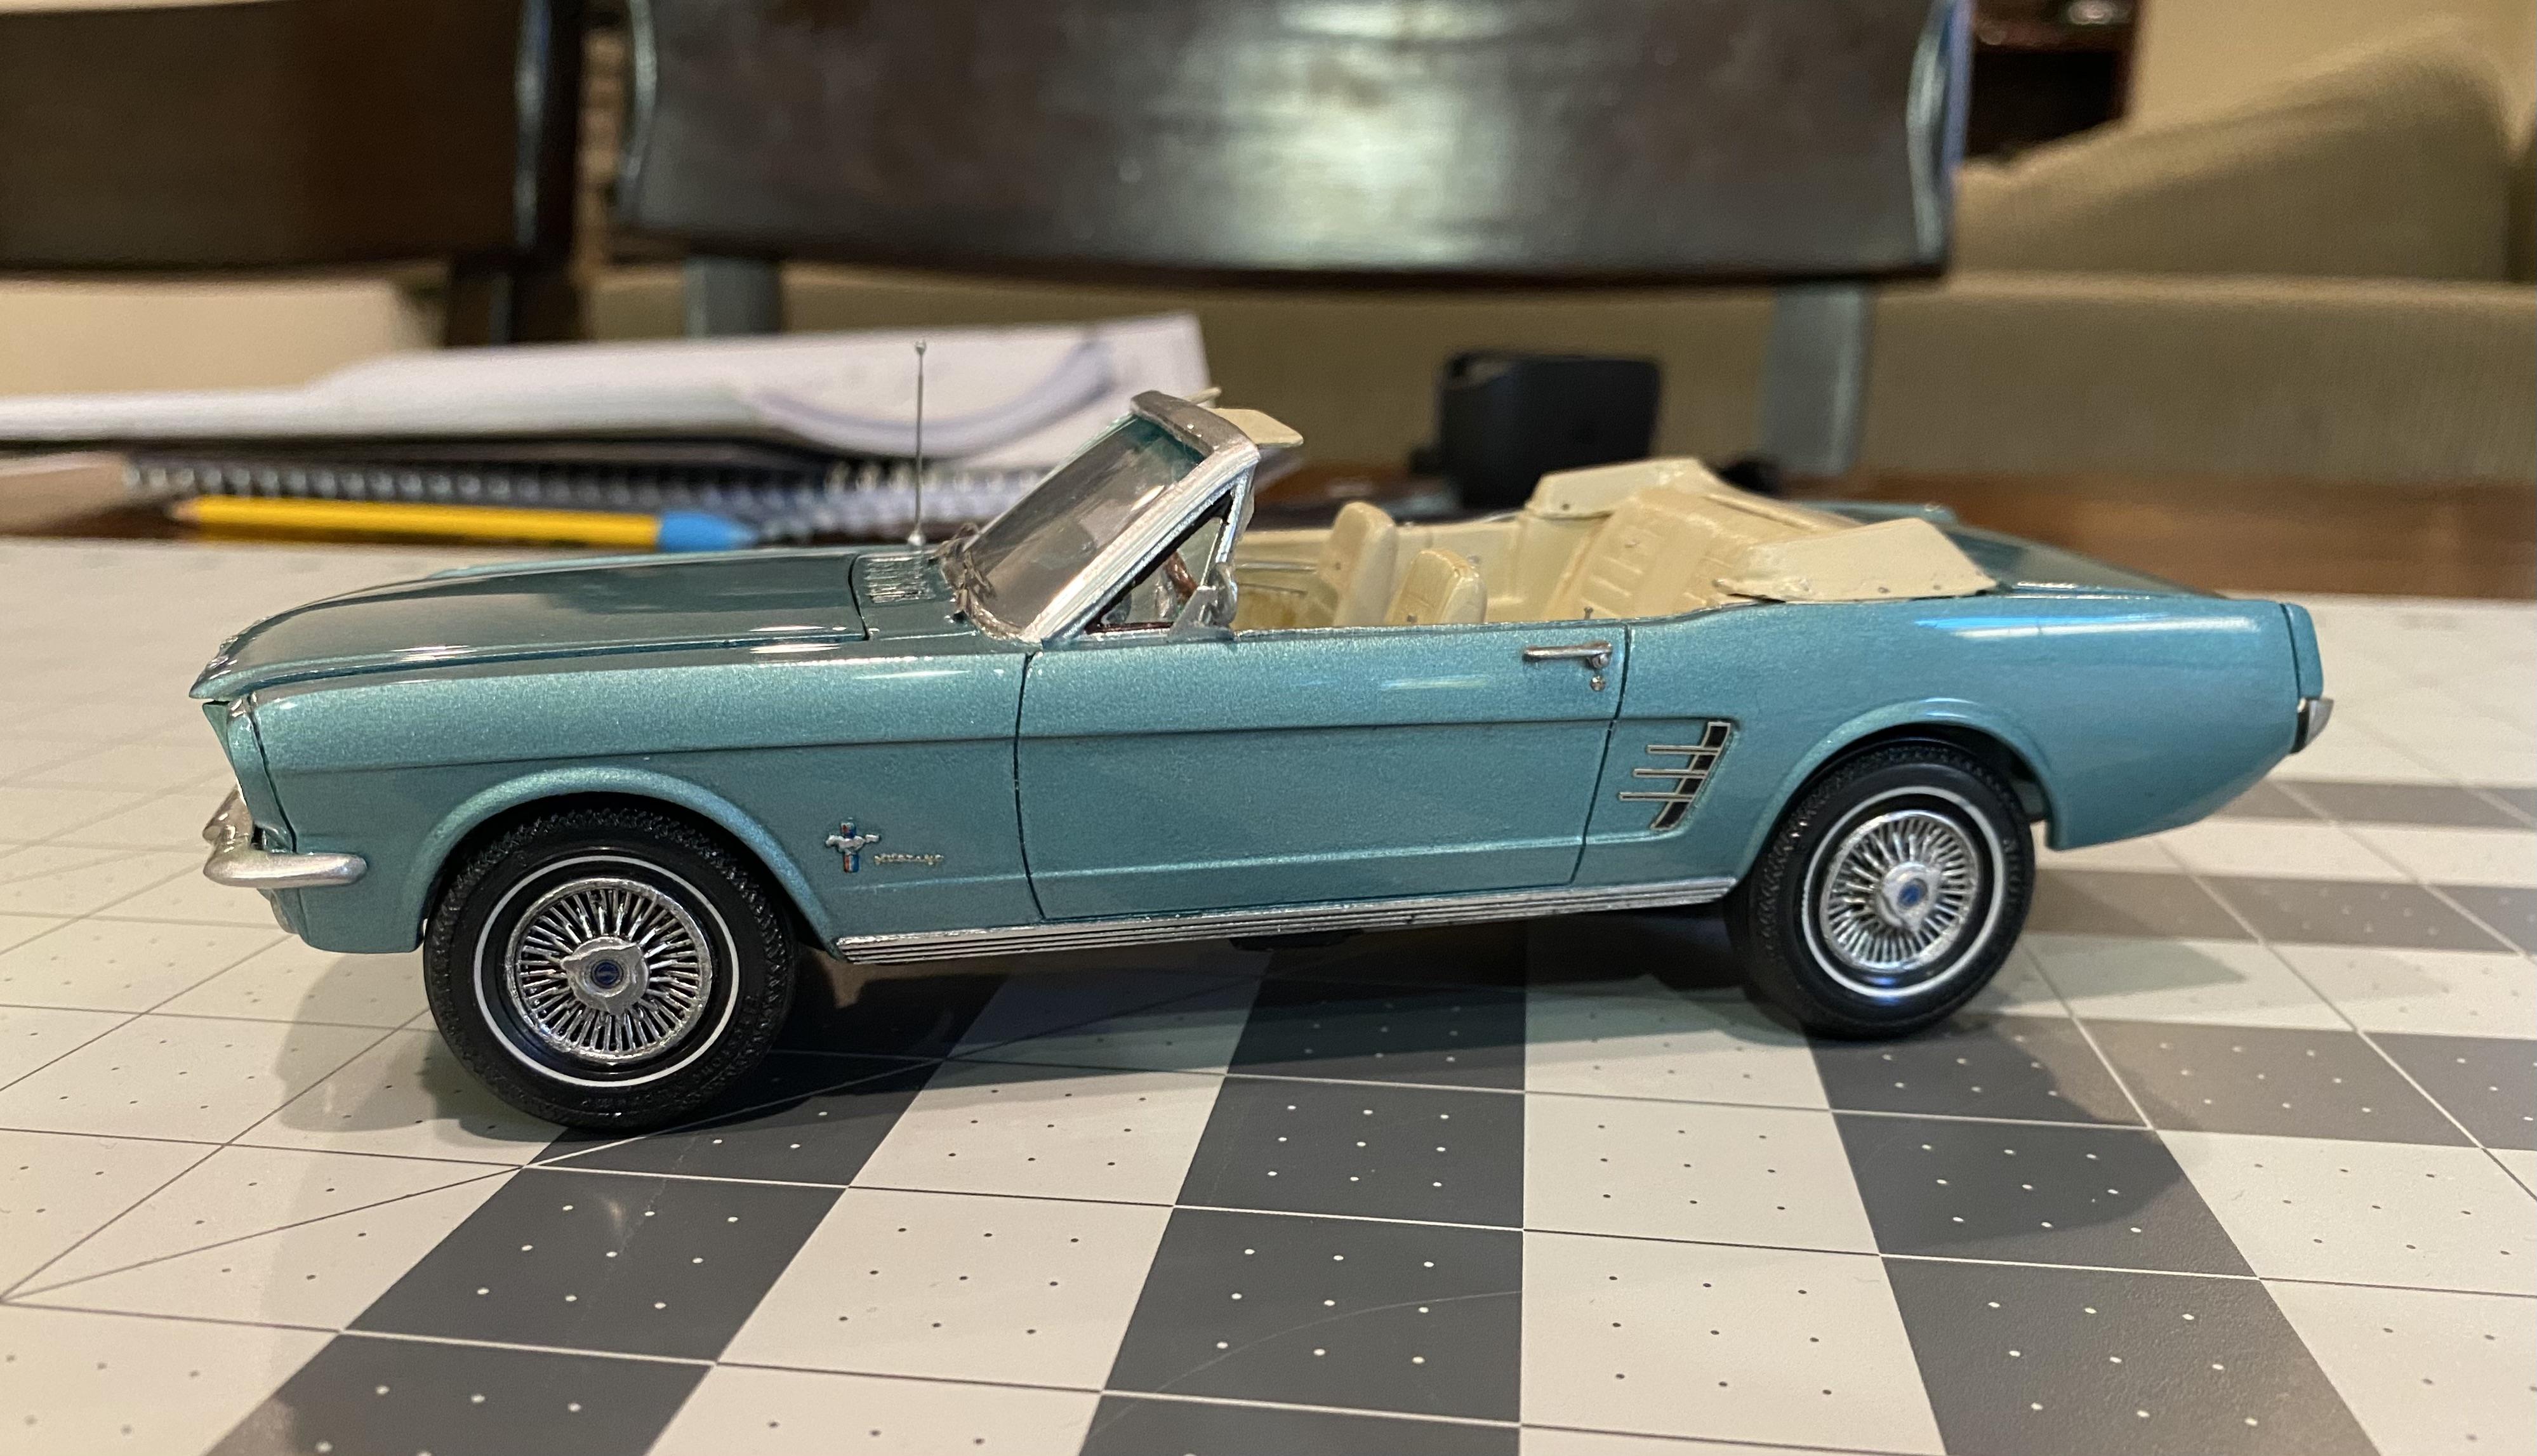
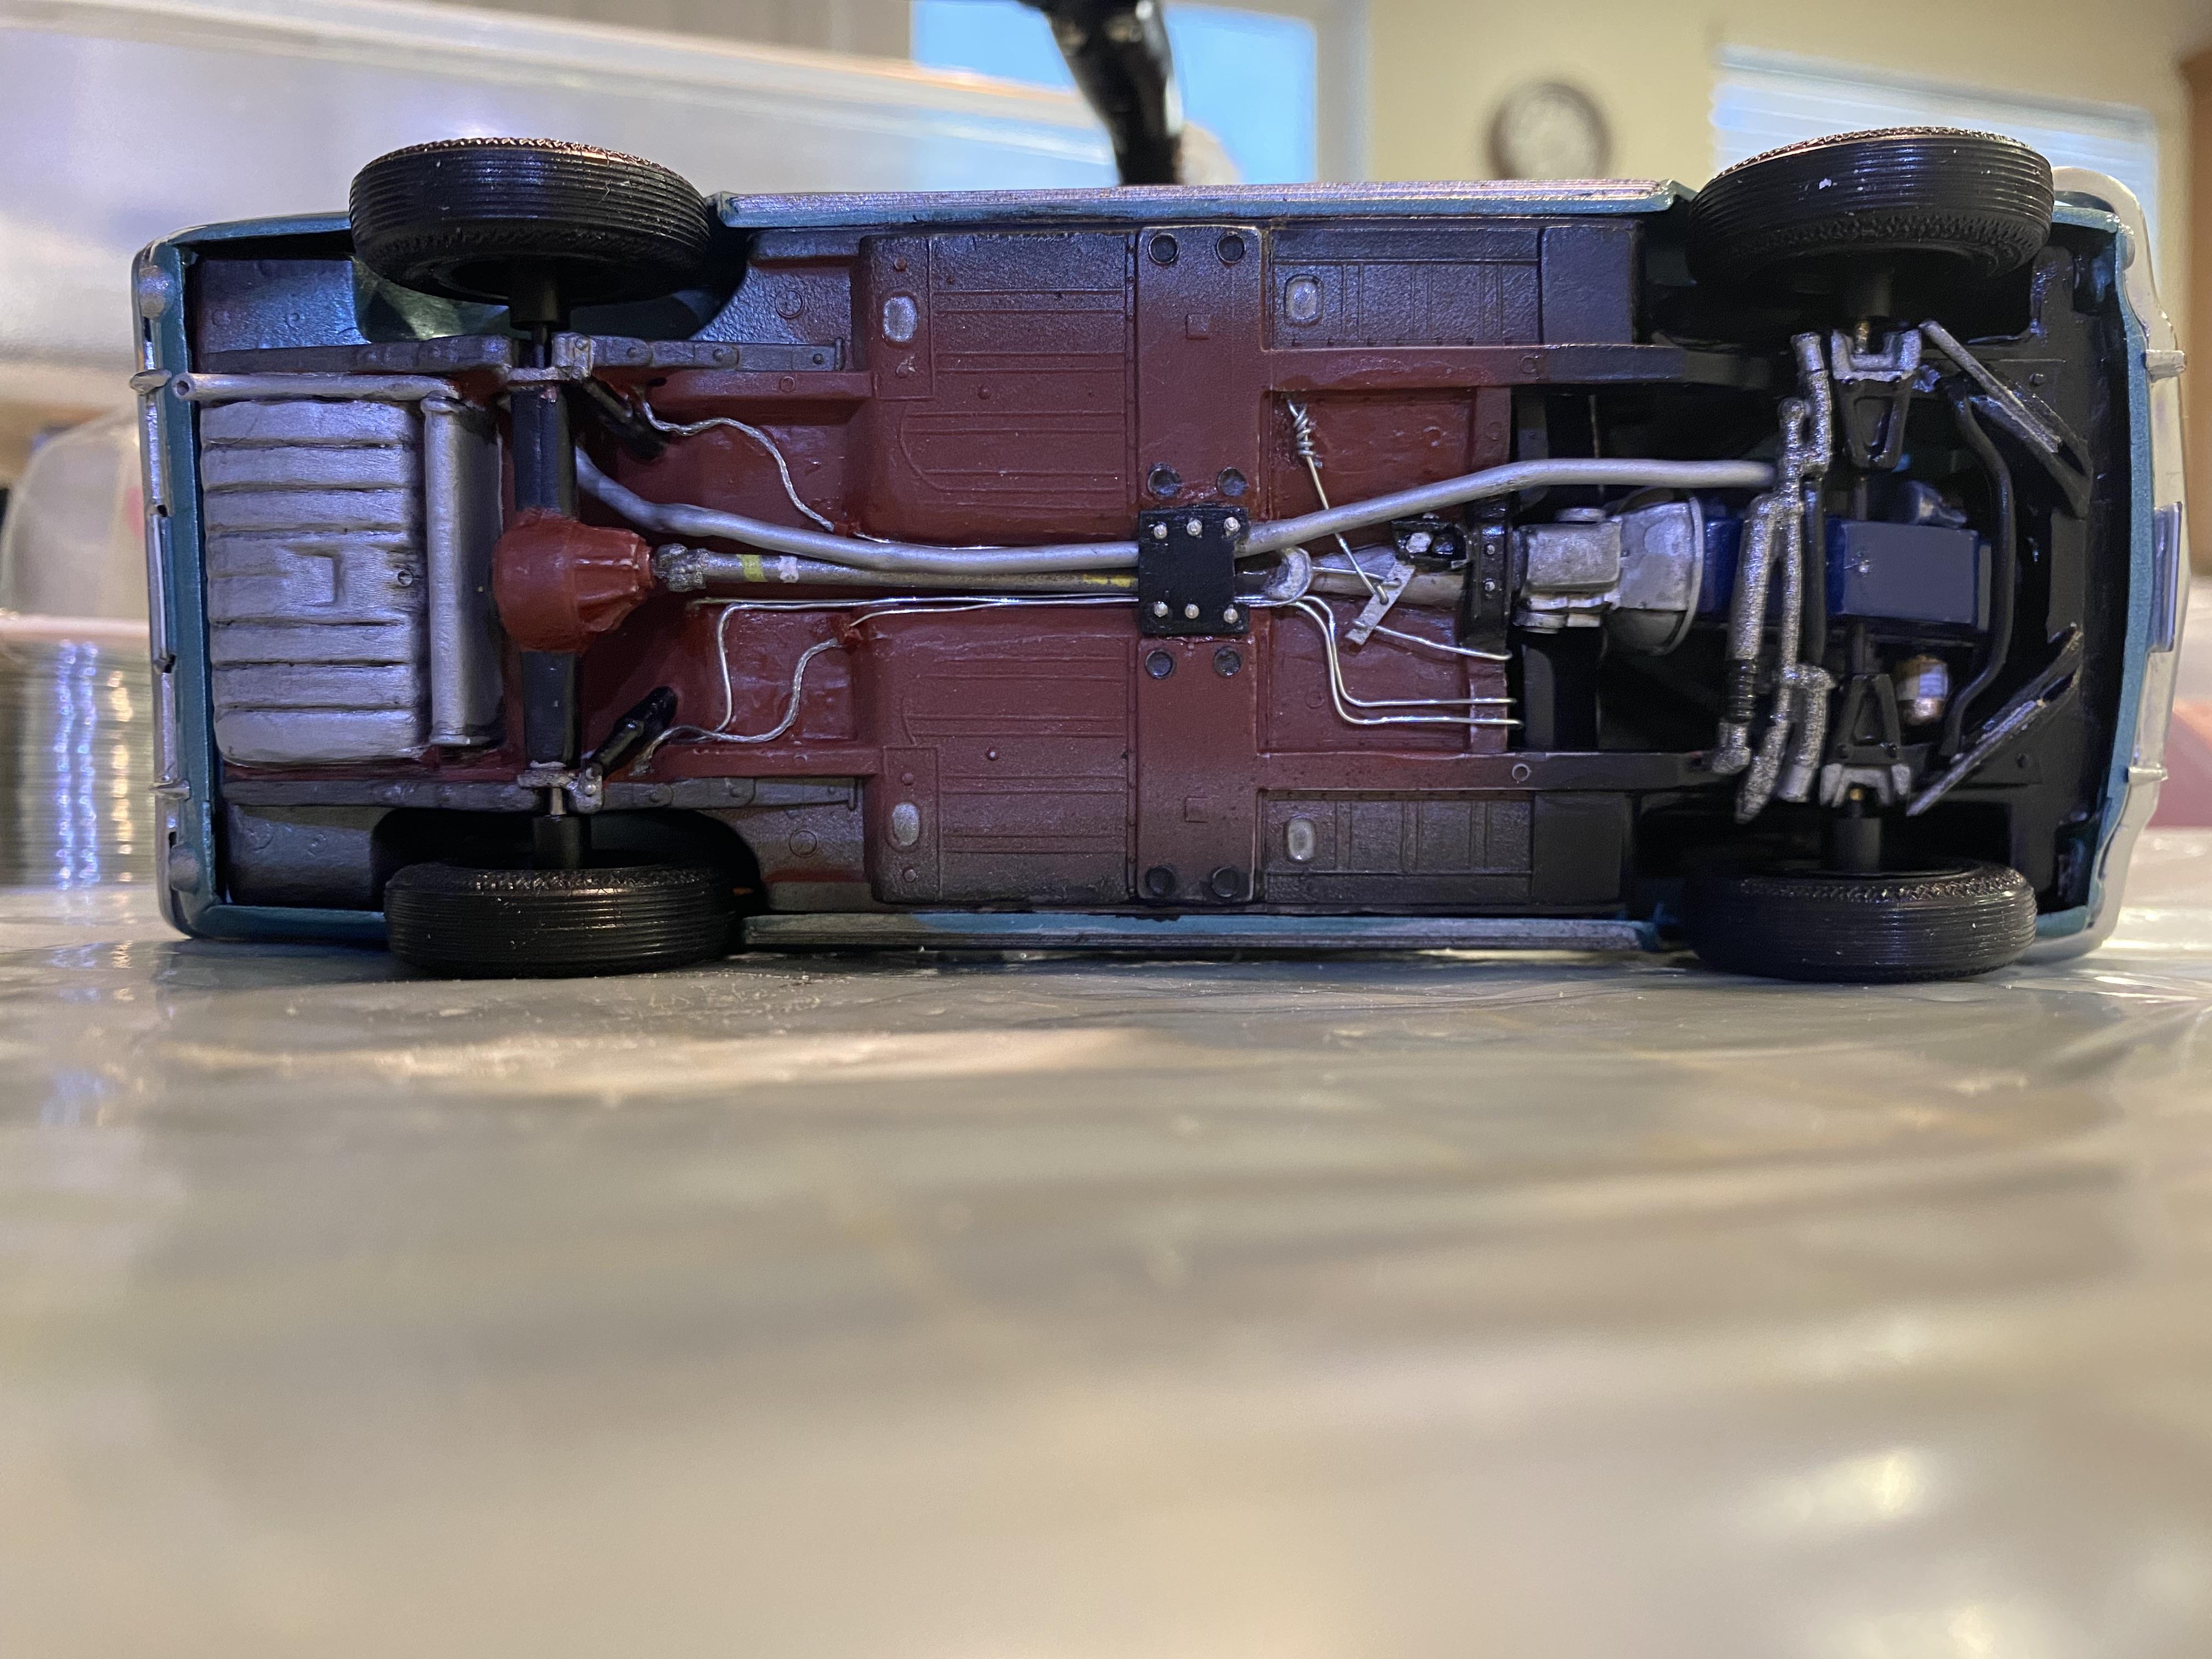
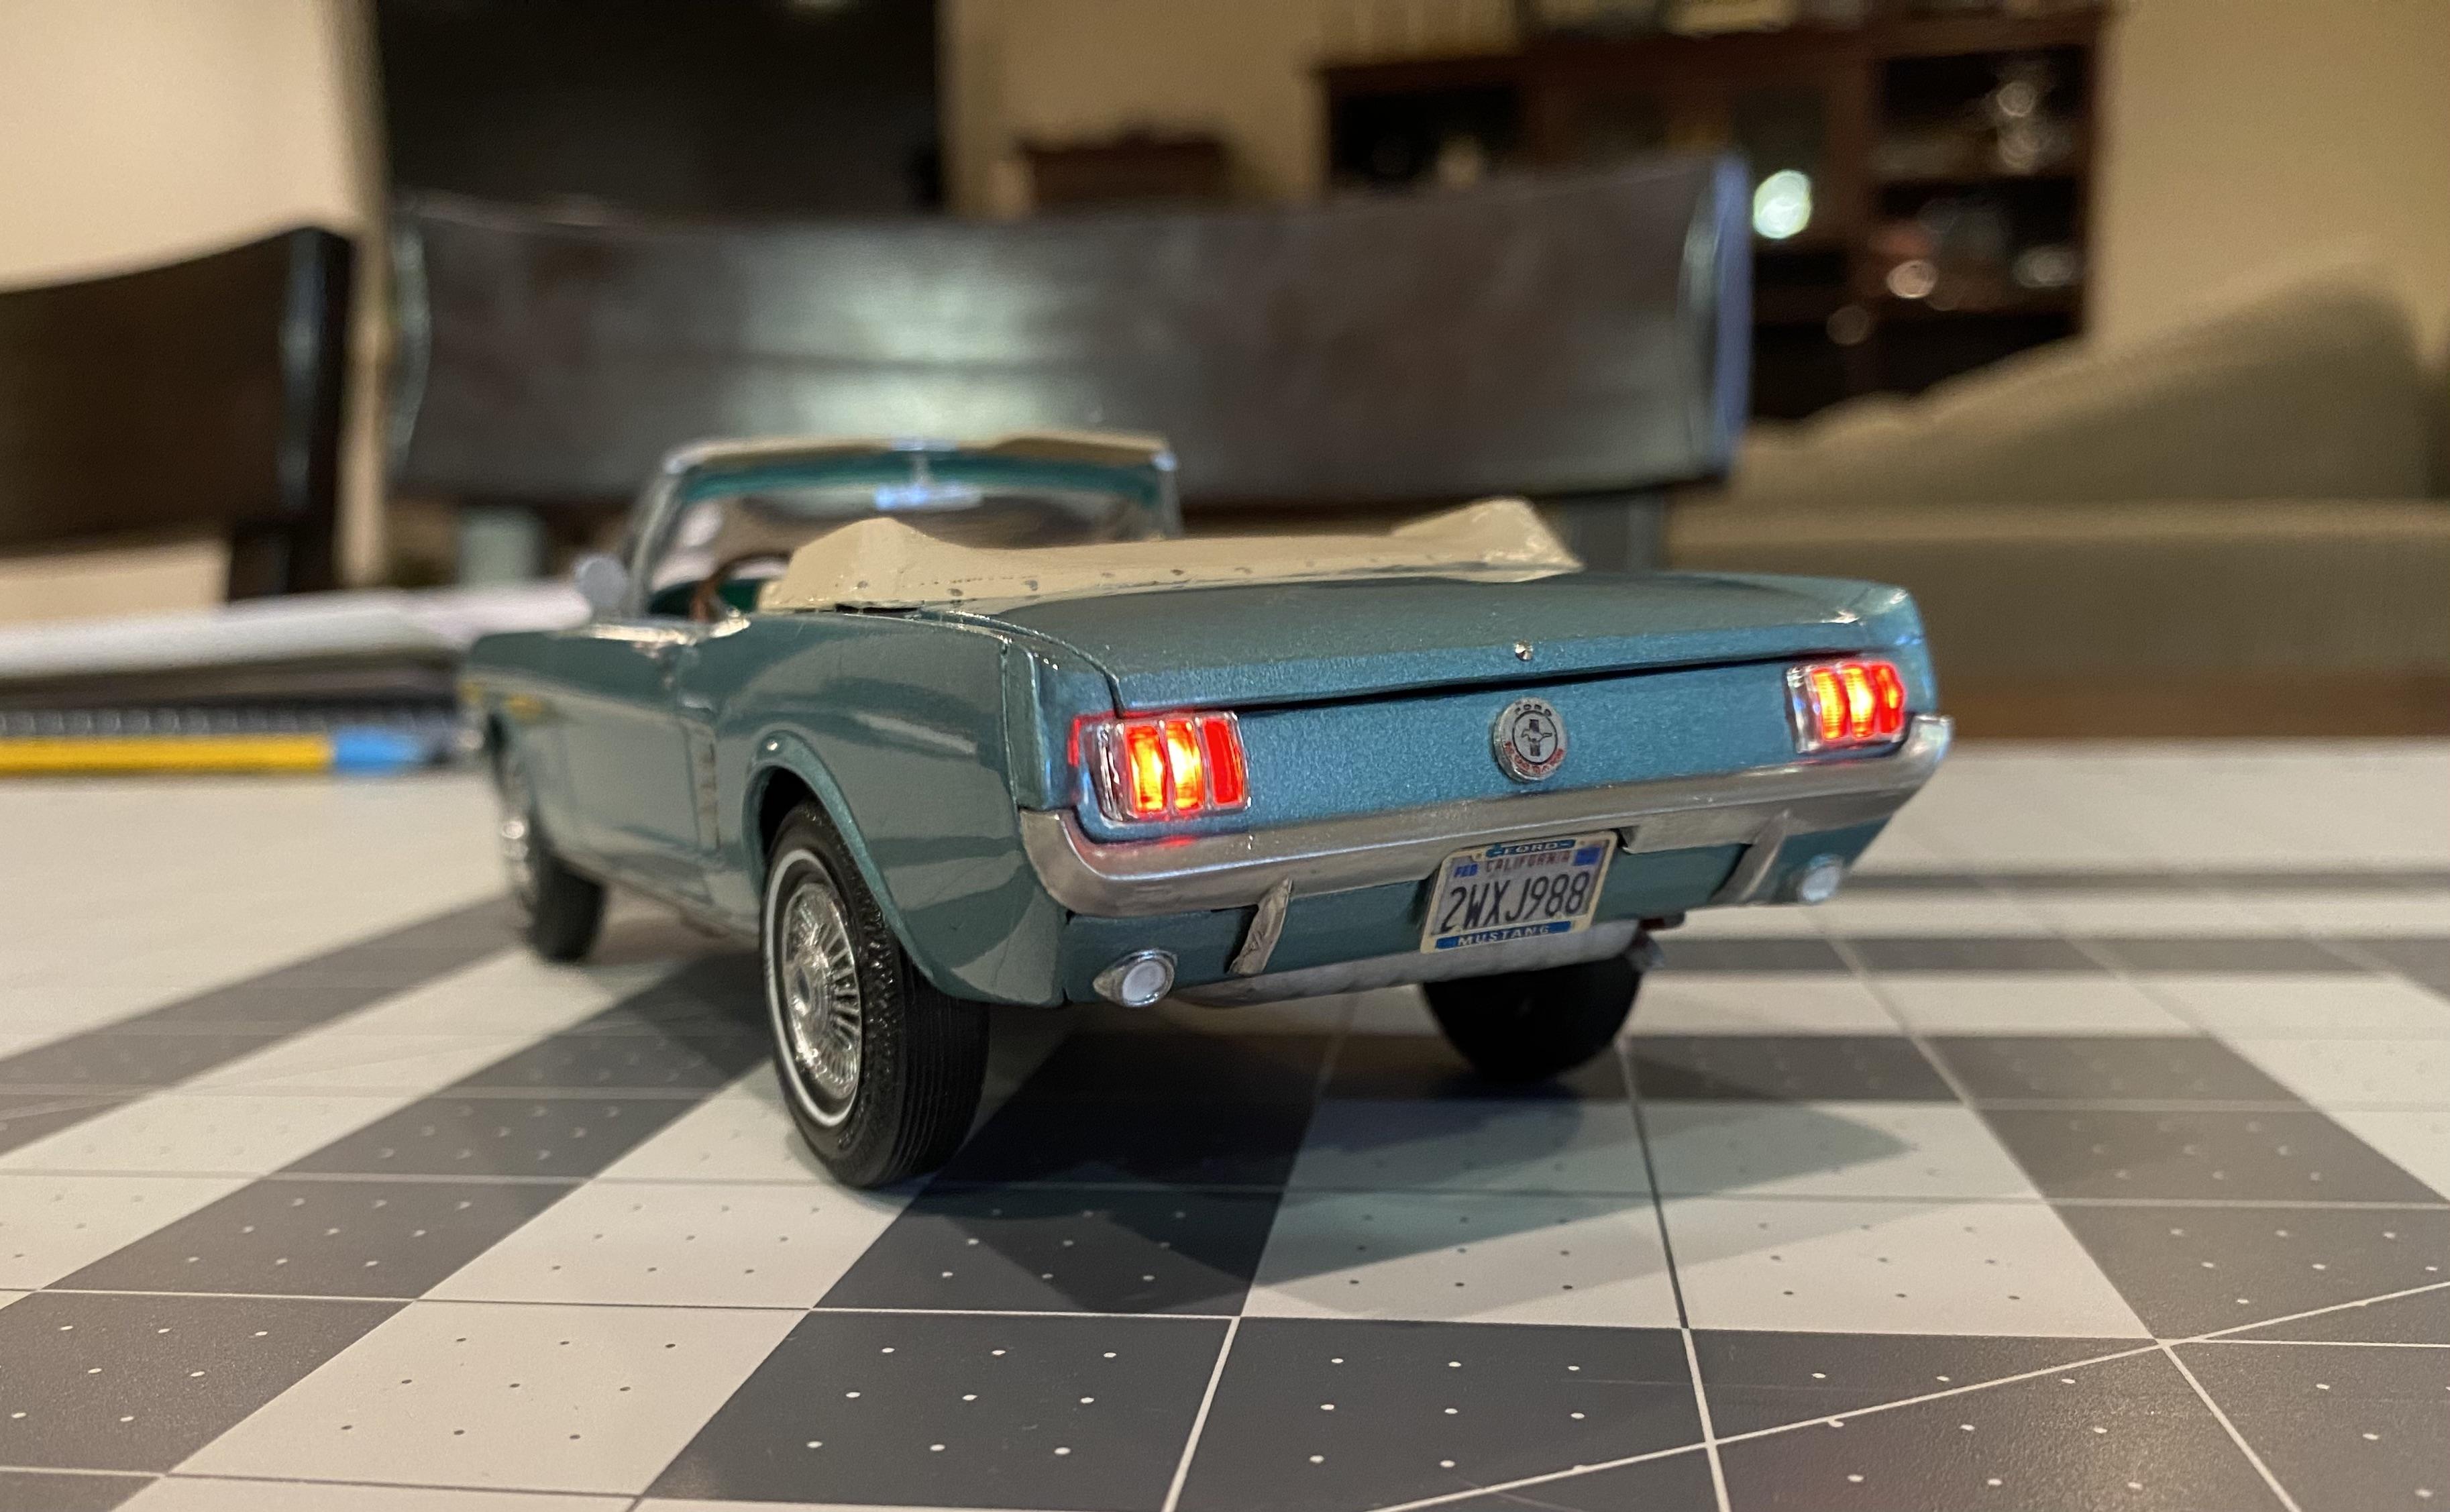
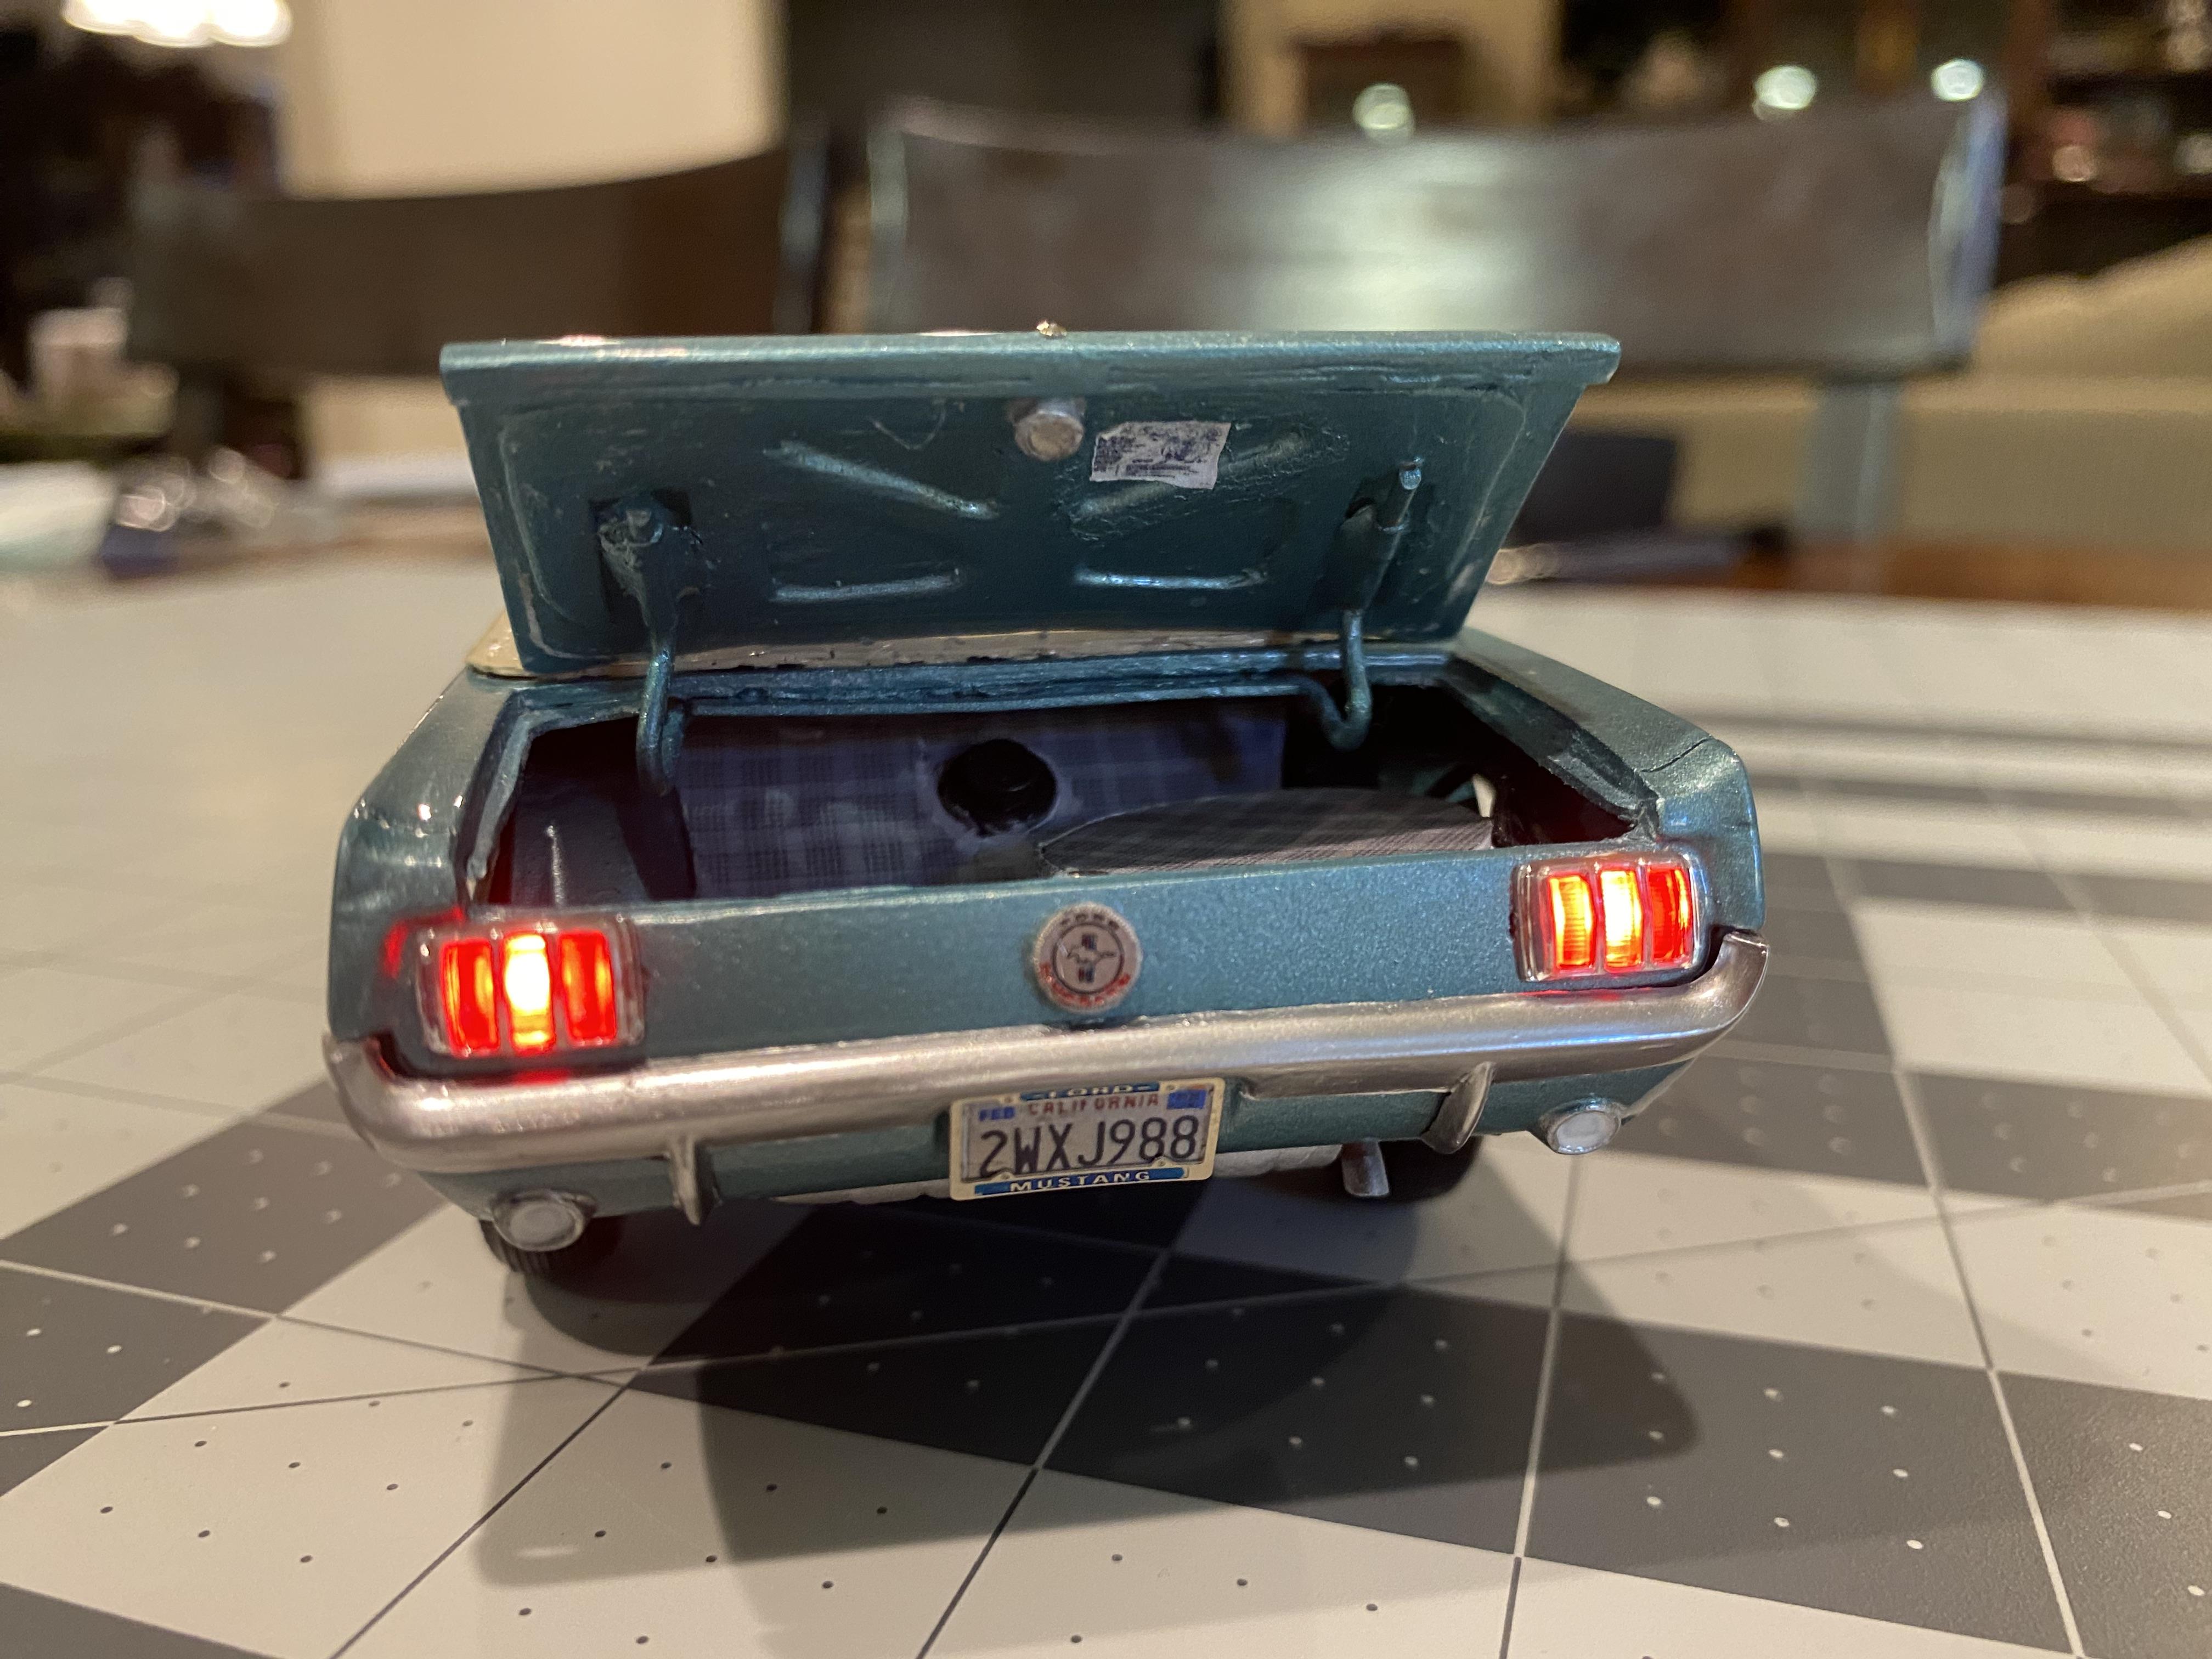
Scale model build of my 1966 Mustang Convertible. Tahoe Turquoise from MCW paints, Splash Paints 2k clear, wet sanded and polished. Airbrushed chrome using Molotow. Parchment interior with actual car interior lacquer. Resin cast wire wheels, 6 cylinder engine. Styrene rod and sheets for many parts. Heavily modified chassis and scratch built engine compartment. Coin battery for battery under spare tire cover in trunk. LEDs for headlights, taillights and gauge lights.
- 38 replies
-
- 14
-
-
I only got back into scale model cars in the last year or so and found Model Car Magazine 221 at Burbank House of Hobbies. I enjoyed the magazine so signed up for a subscription in September and I am looking forward to receiving 222. I picked up some back issue on eBay as well. I have been restoring and enjoying classic cars for decades and have restored and owned more than 40 classic Mustangs, generally between 1964 1/2 and 1968. Currently we have three 1966, one 1967 and a 2018 Mustang Convertible in the family. My first build were scale copies of three of them.
-
I just signed up for a print & digital subscription in September and I am supposed to start with issue 222. How do I get access to my digital copy? Still waiting on my print copy to arrive.
-
My subscription is starting with issue 222, I put in the subscription in September. I signed up for the Printed & Digital Subscription. When and how will I get access to the digital version? btw, I am still waiting for approval to this forum with my email address I put my subscription in with, this posting will not let me use it because it says it is in use already, but I can't use it because it says awaiting approval.