Duddly01
-
Posts
1,048 -
Joined
-
Last visited
Content Type
Profiles
Forums
Events
Gallery
Everything posted by Duddly01
-
It is the VCG resin shifter, as is the C4 automatic transmission.
-
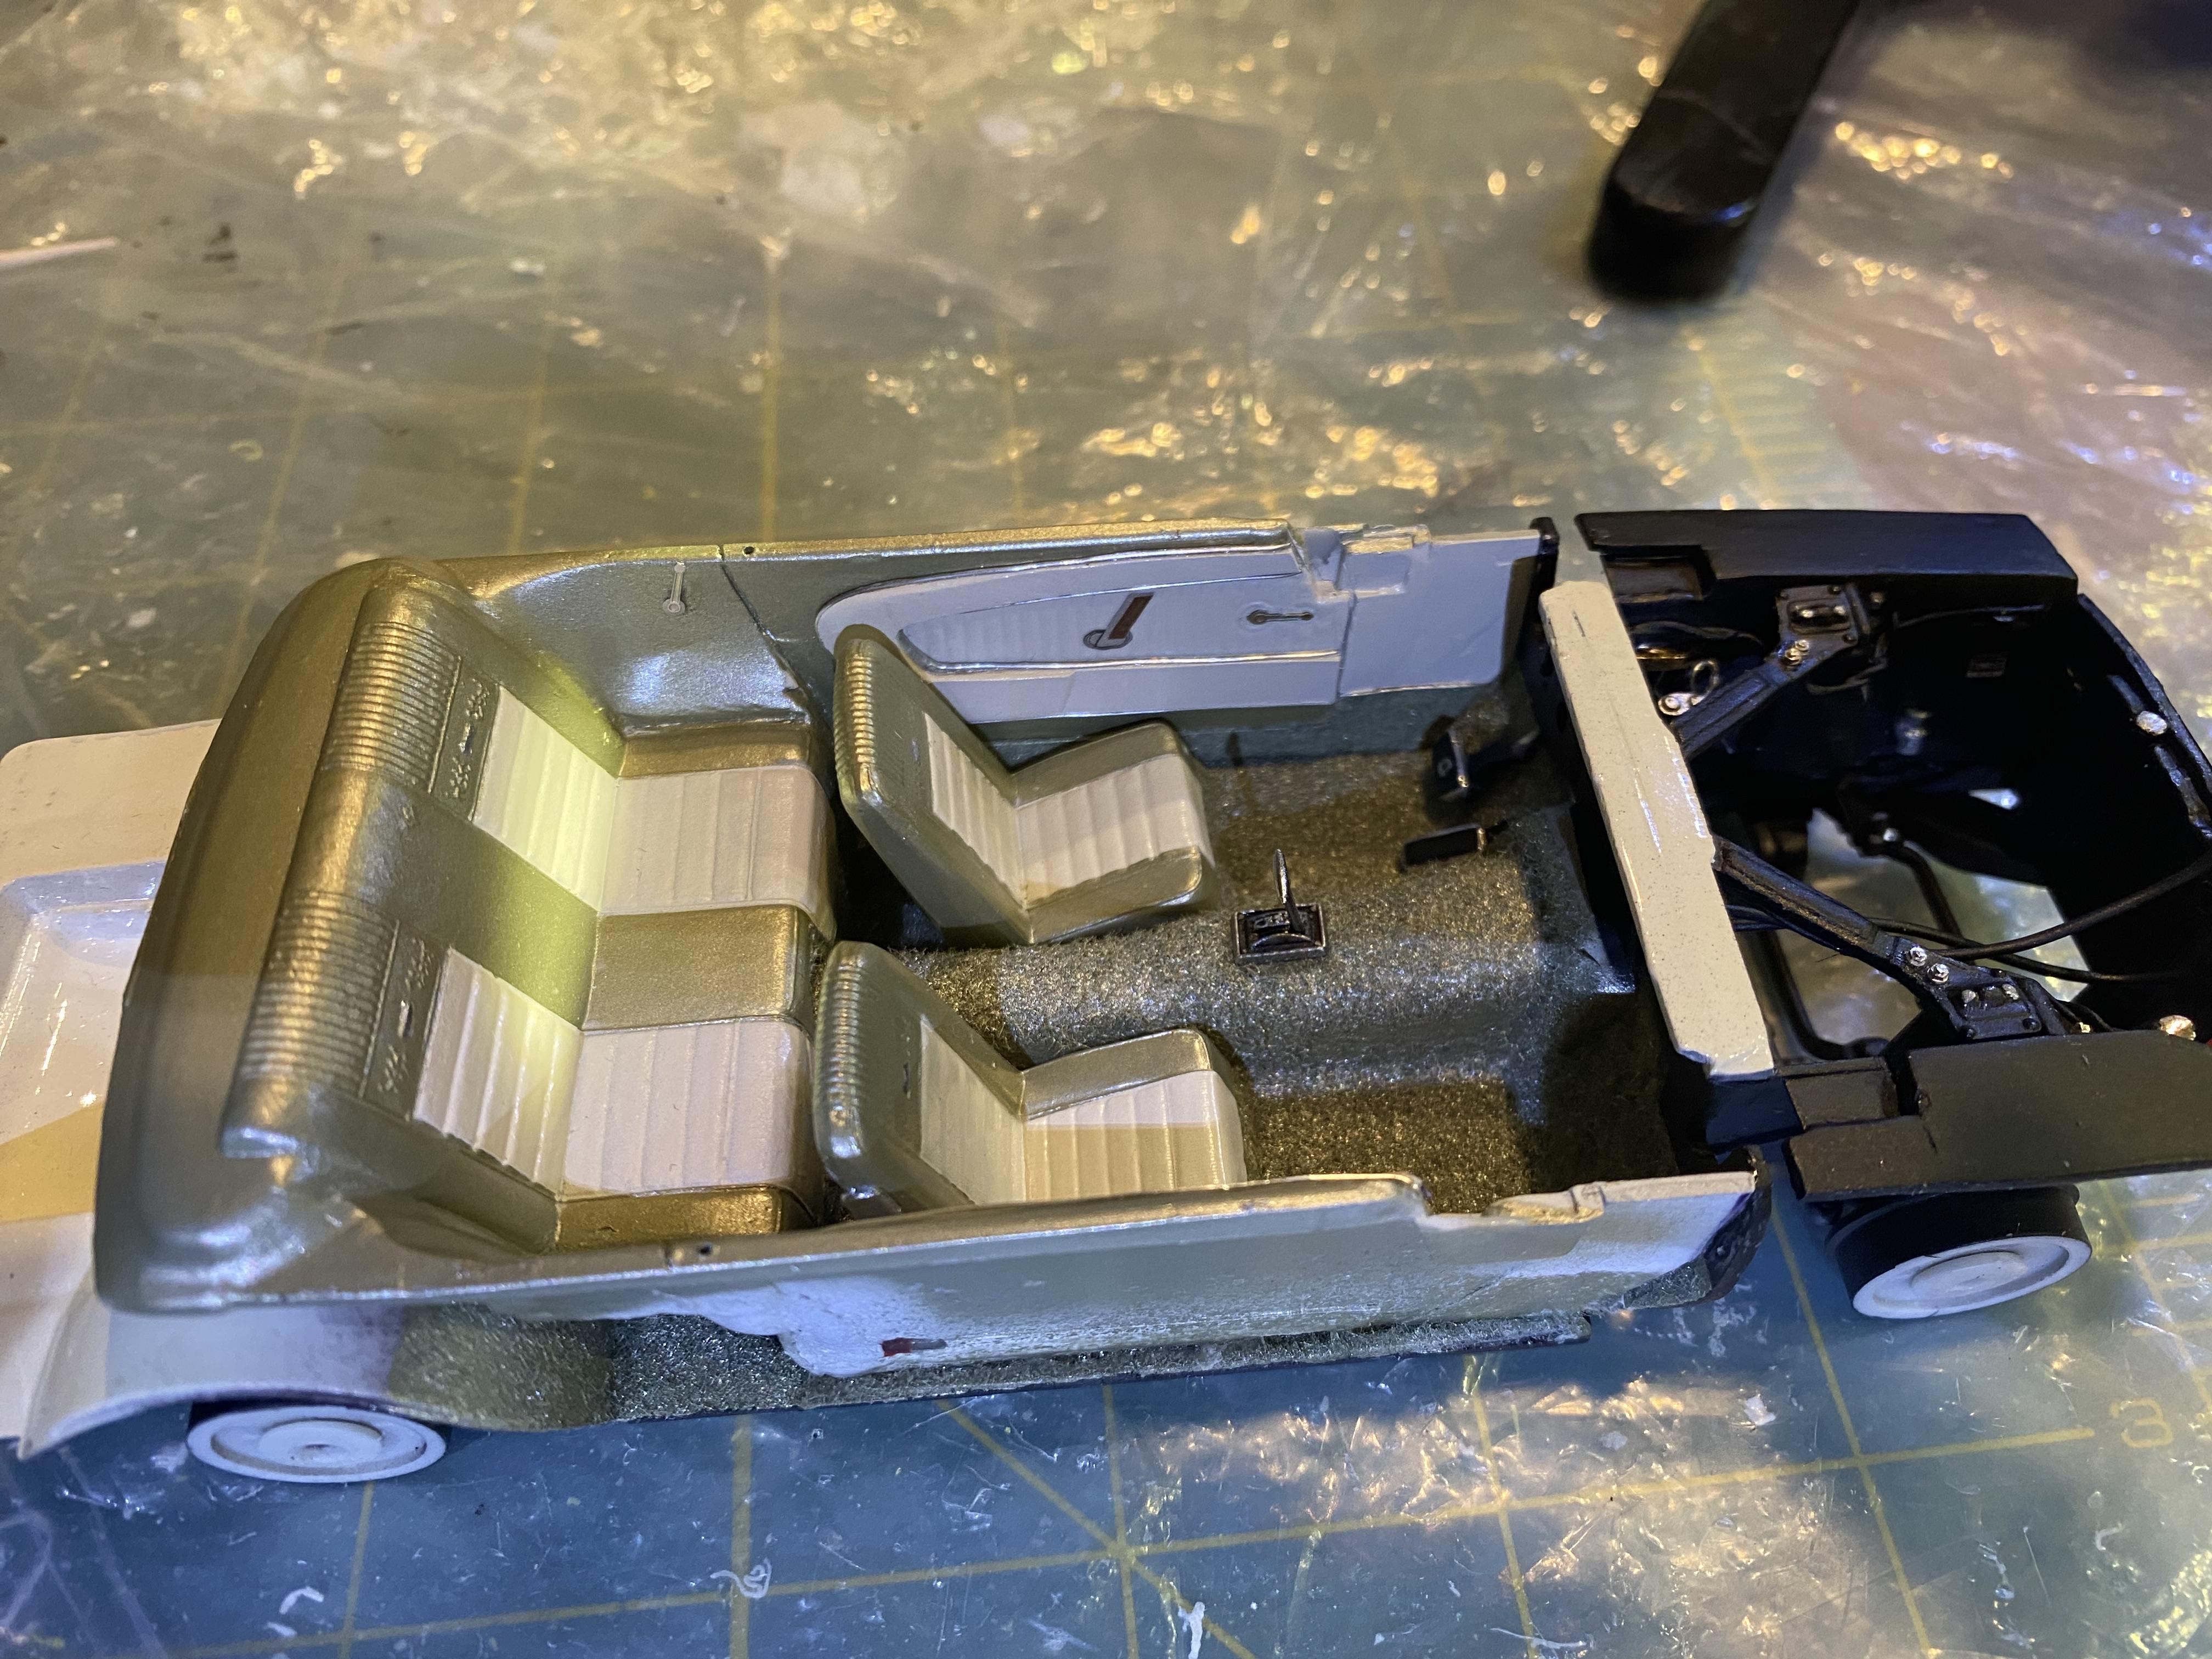
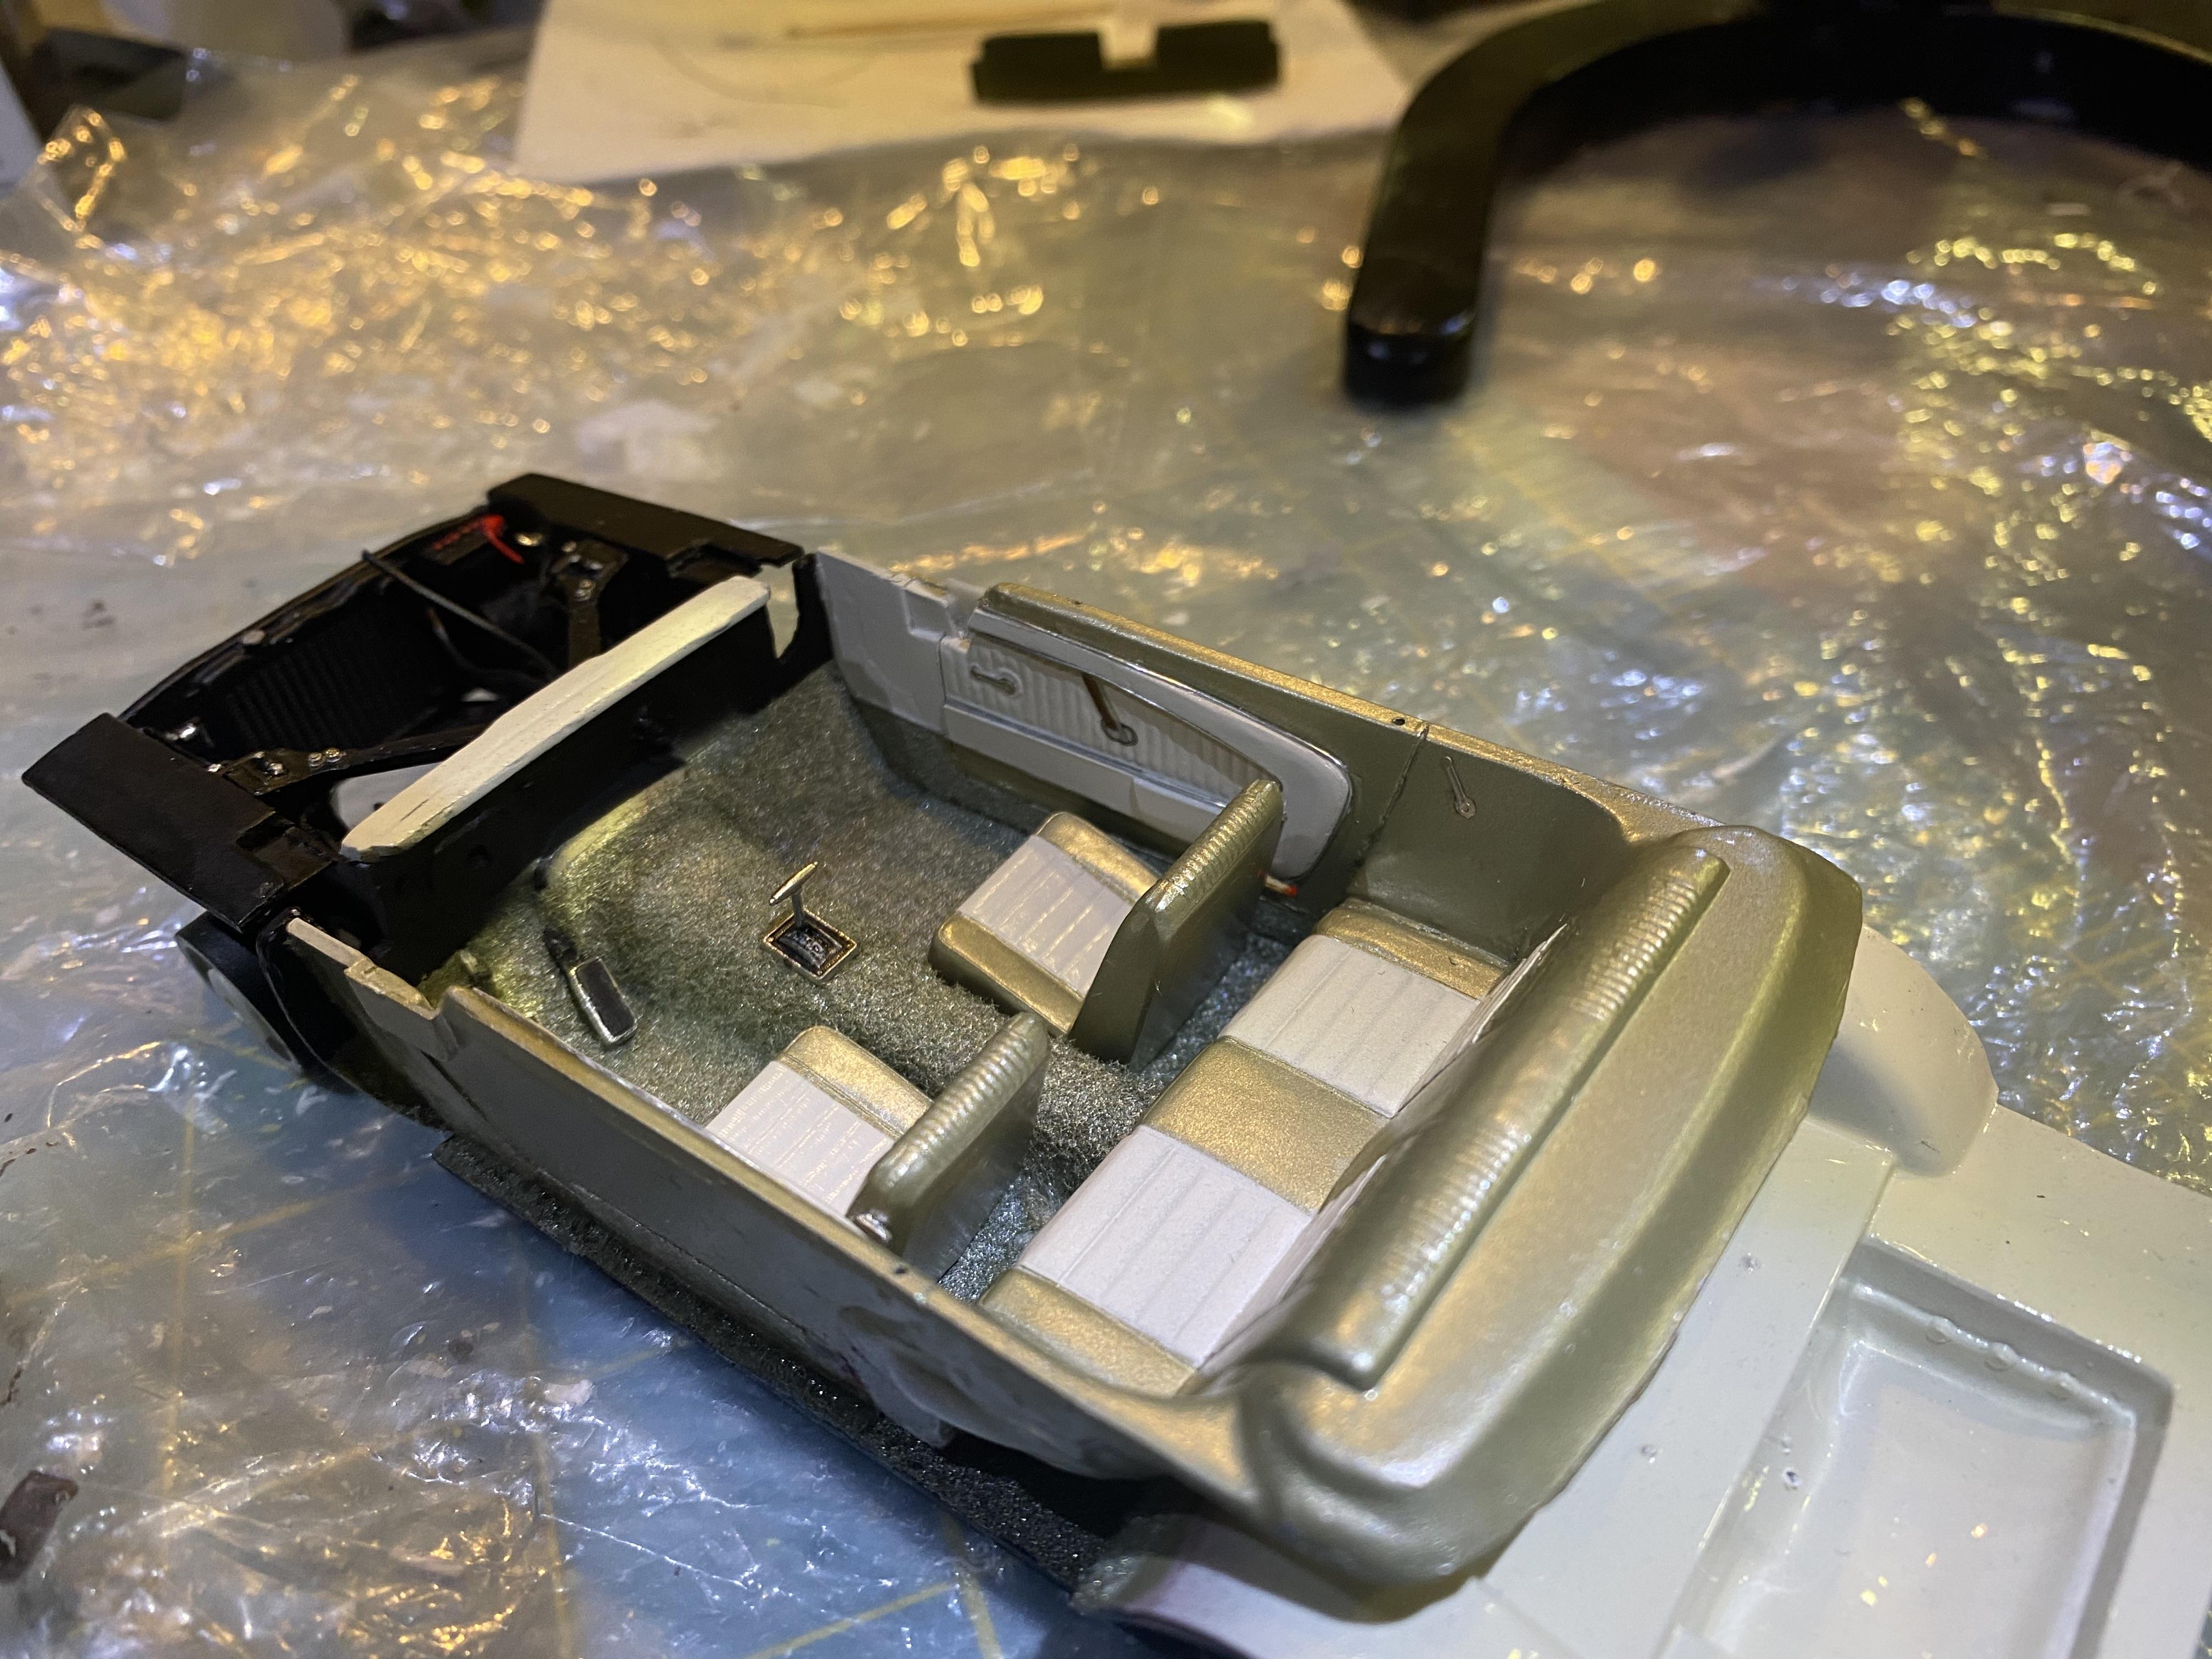
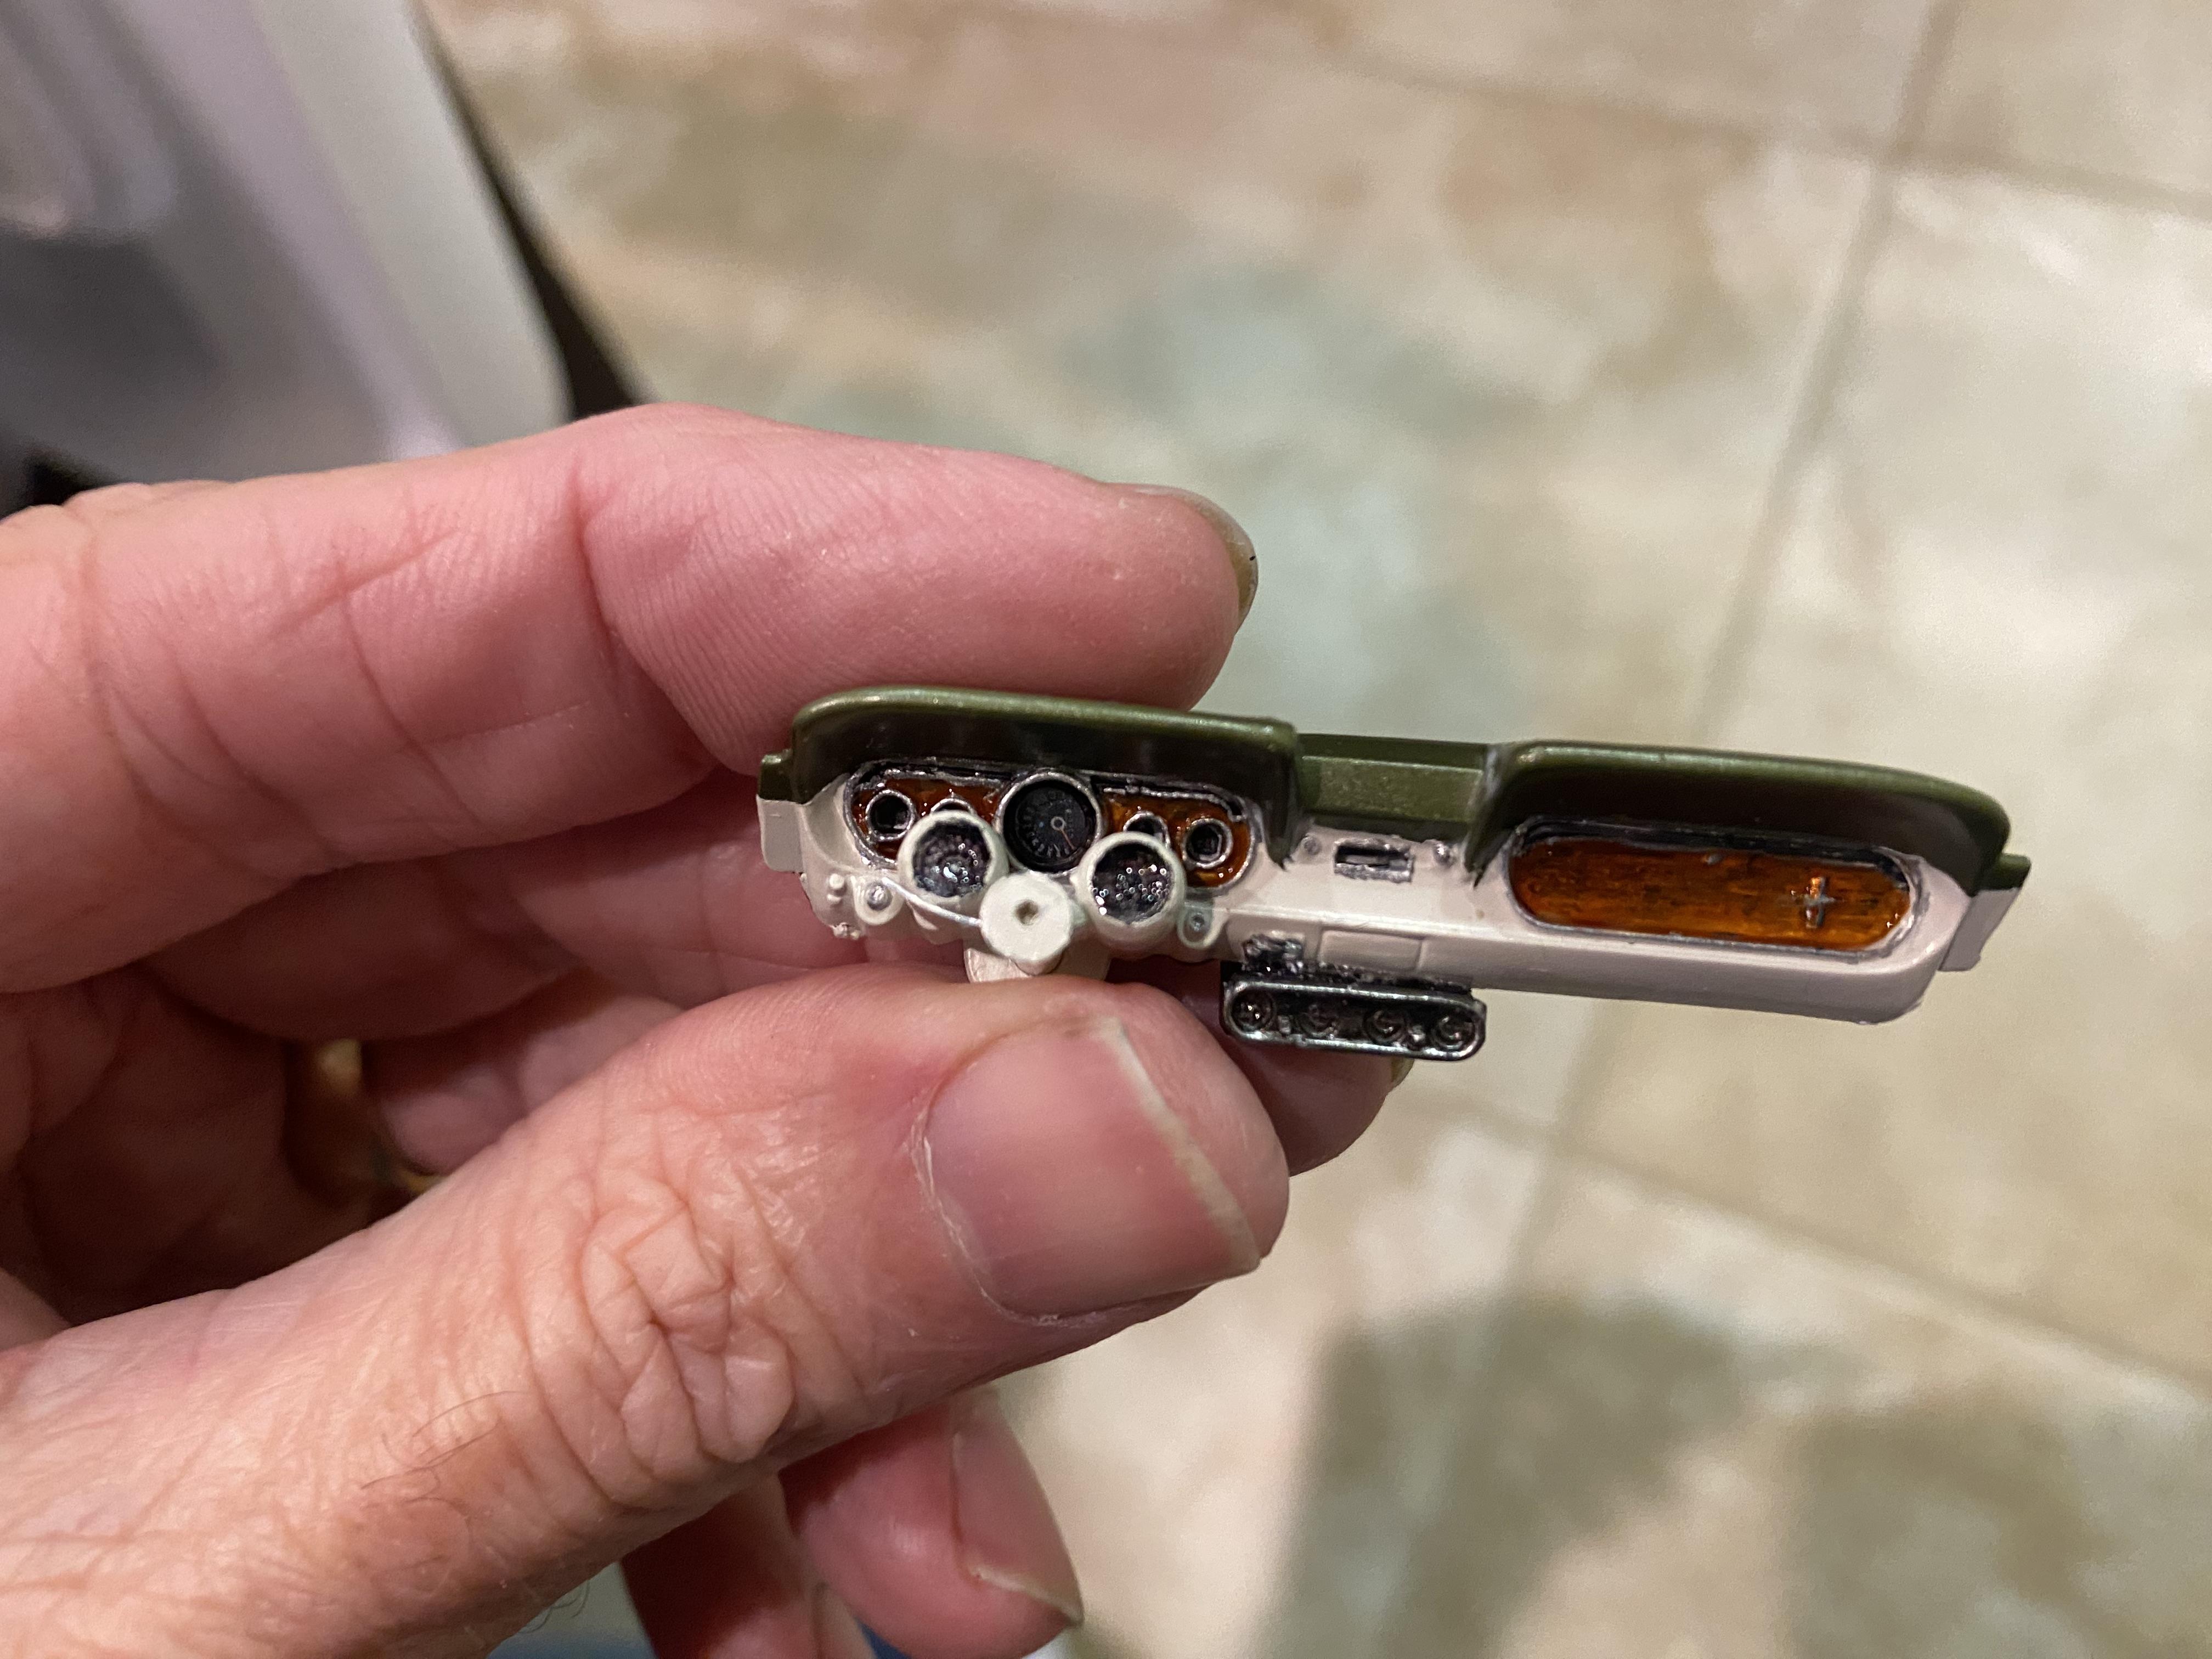
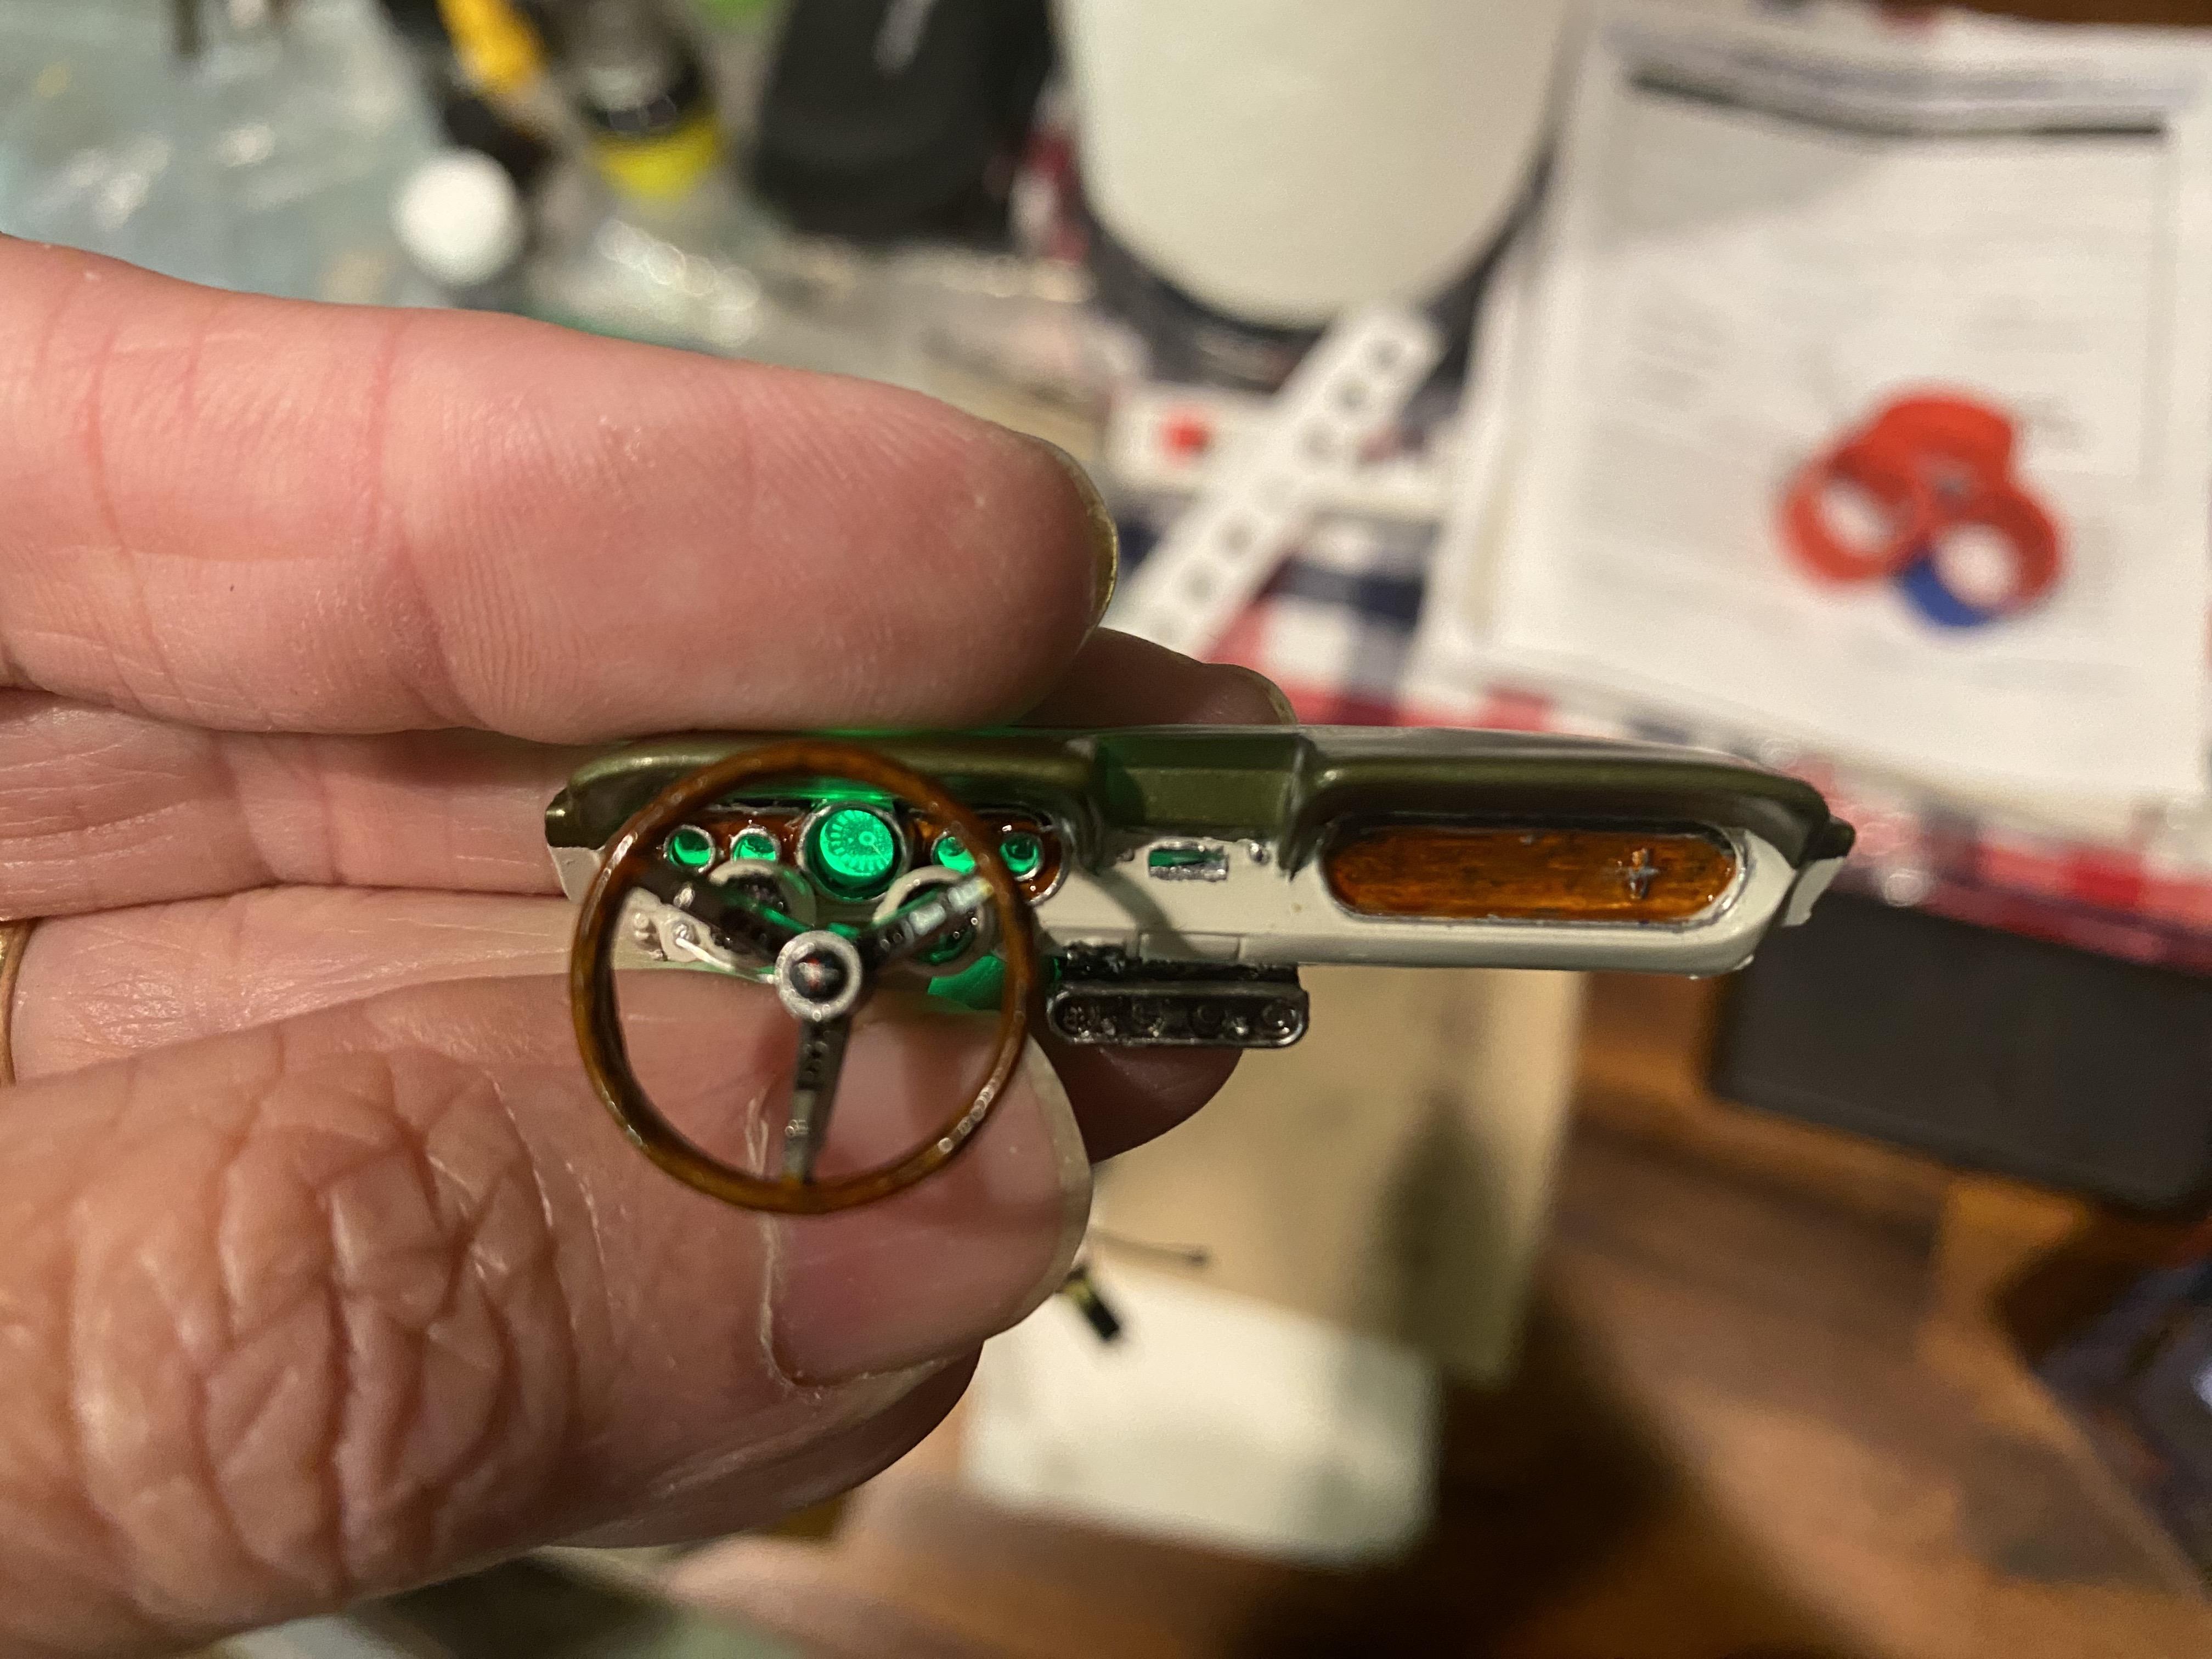
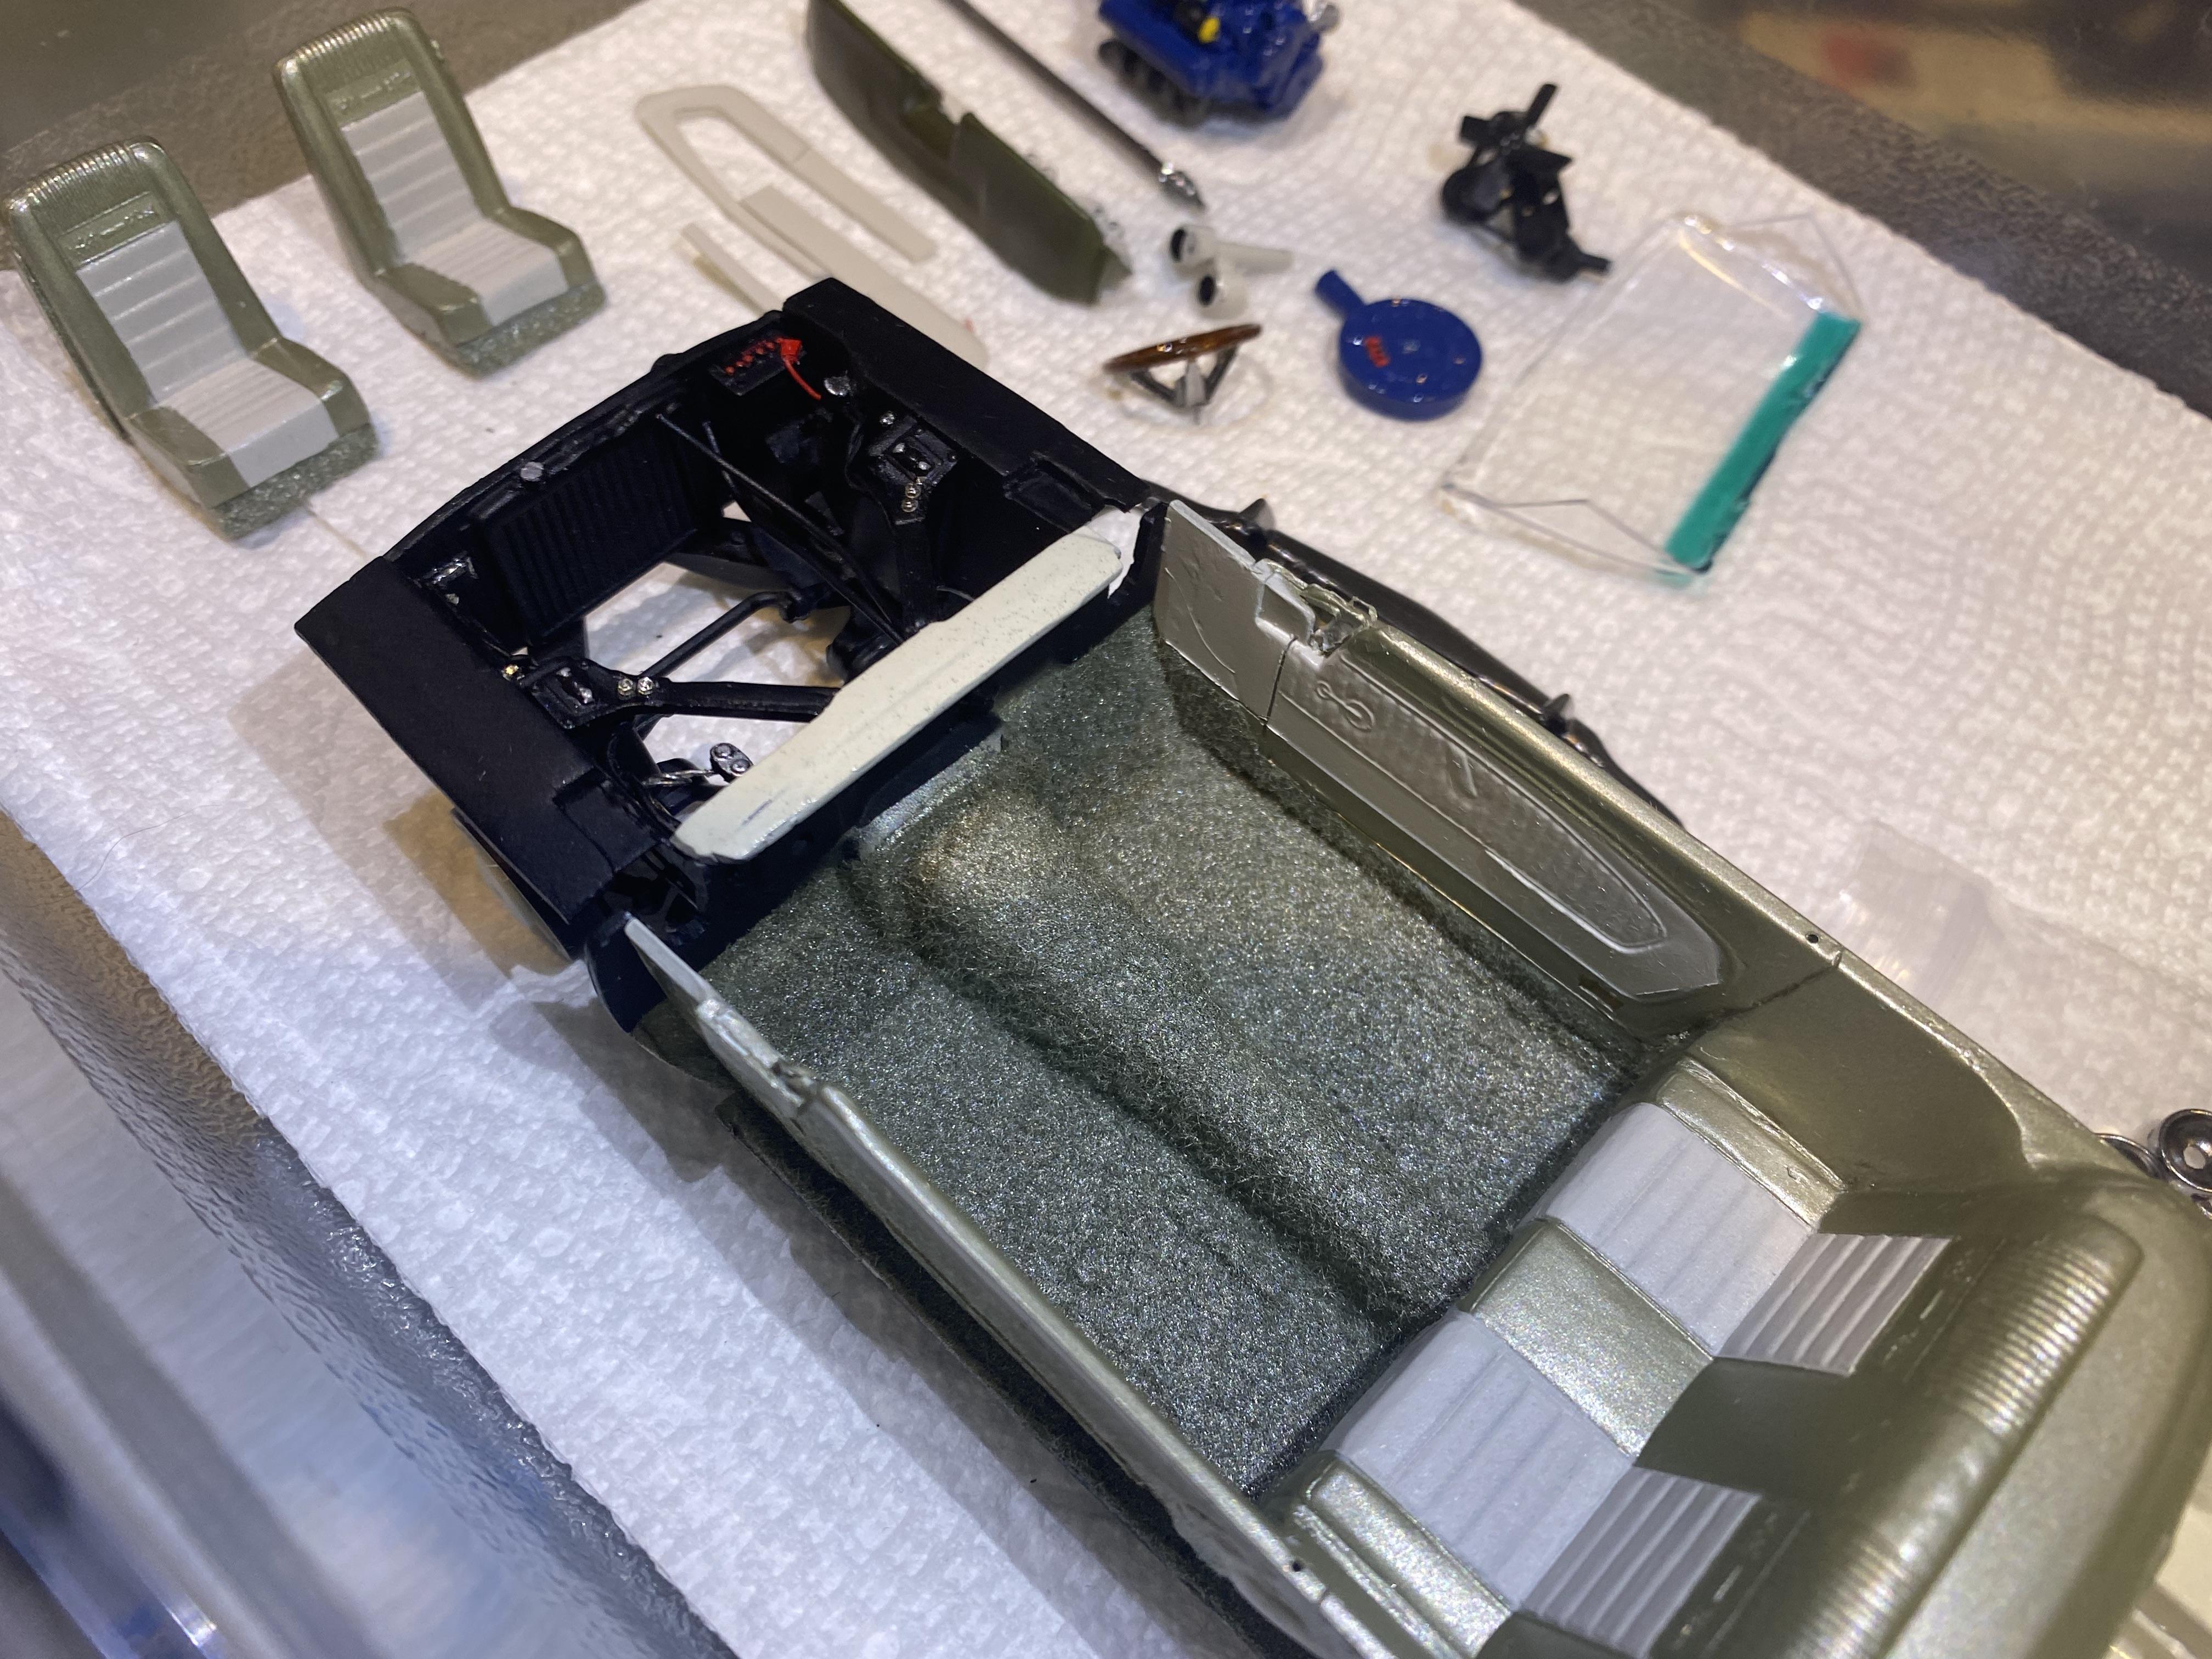
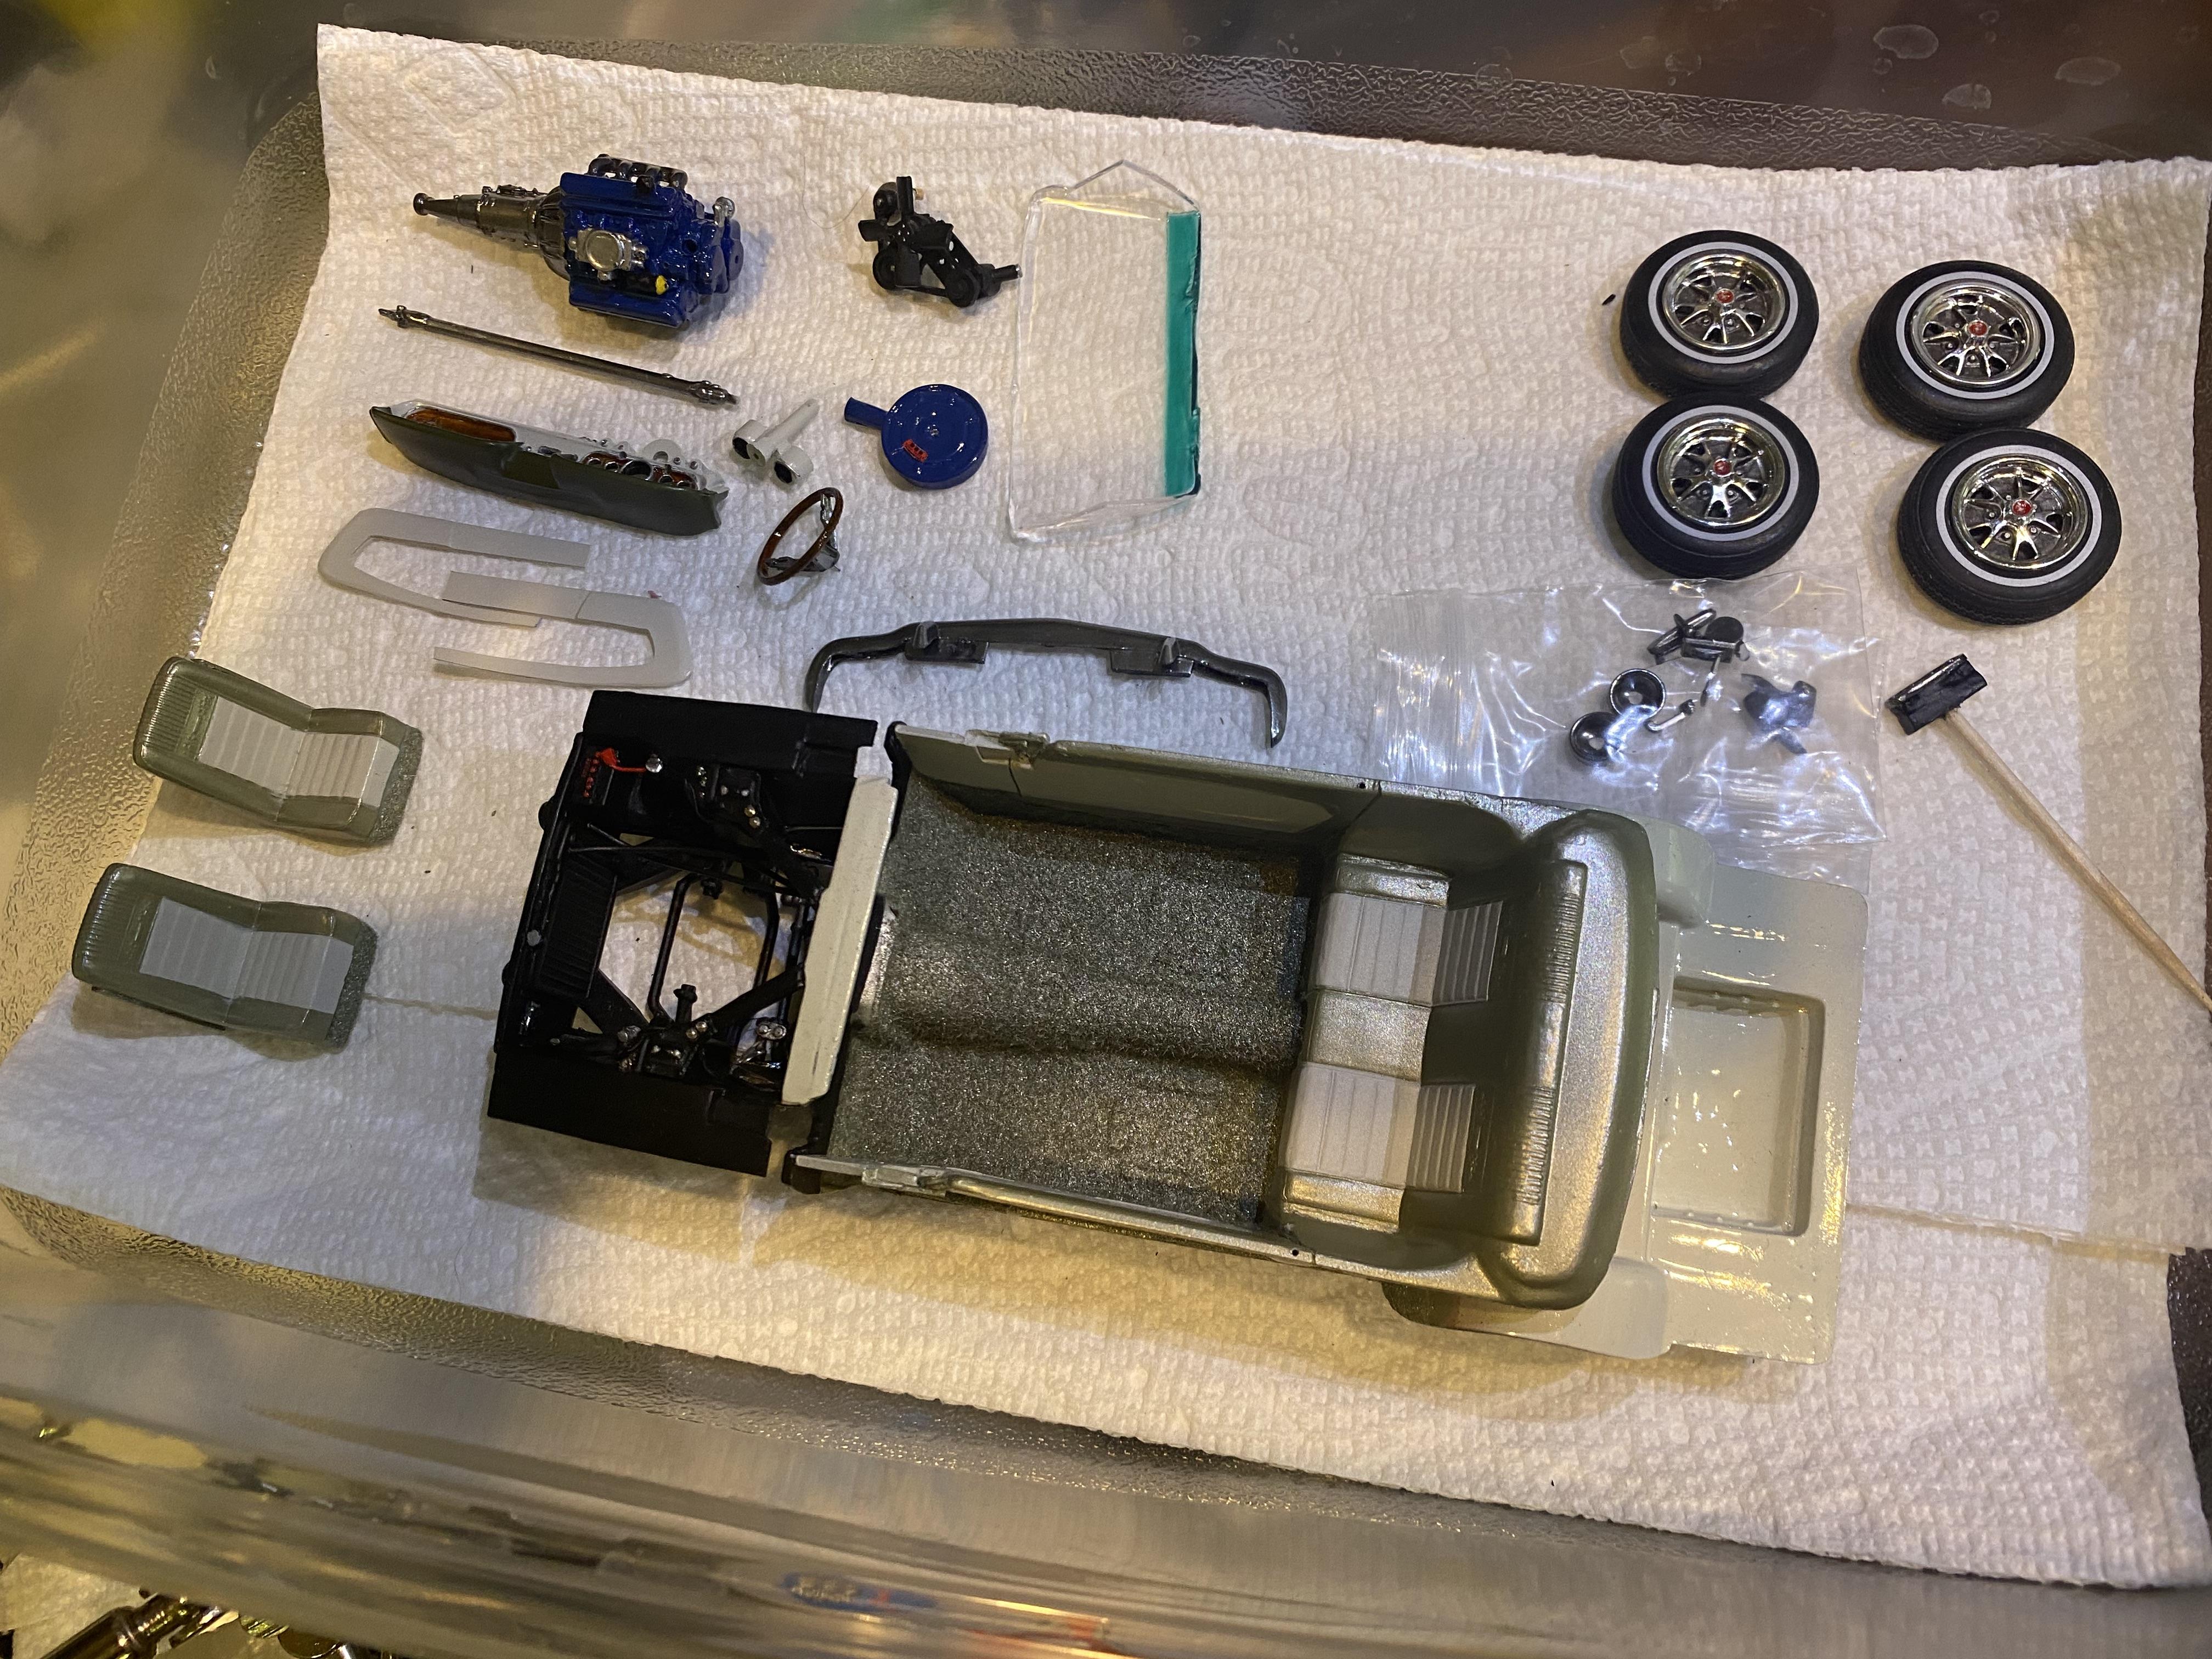
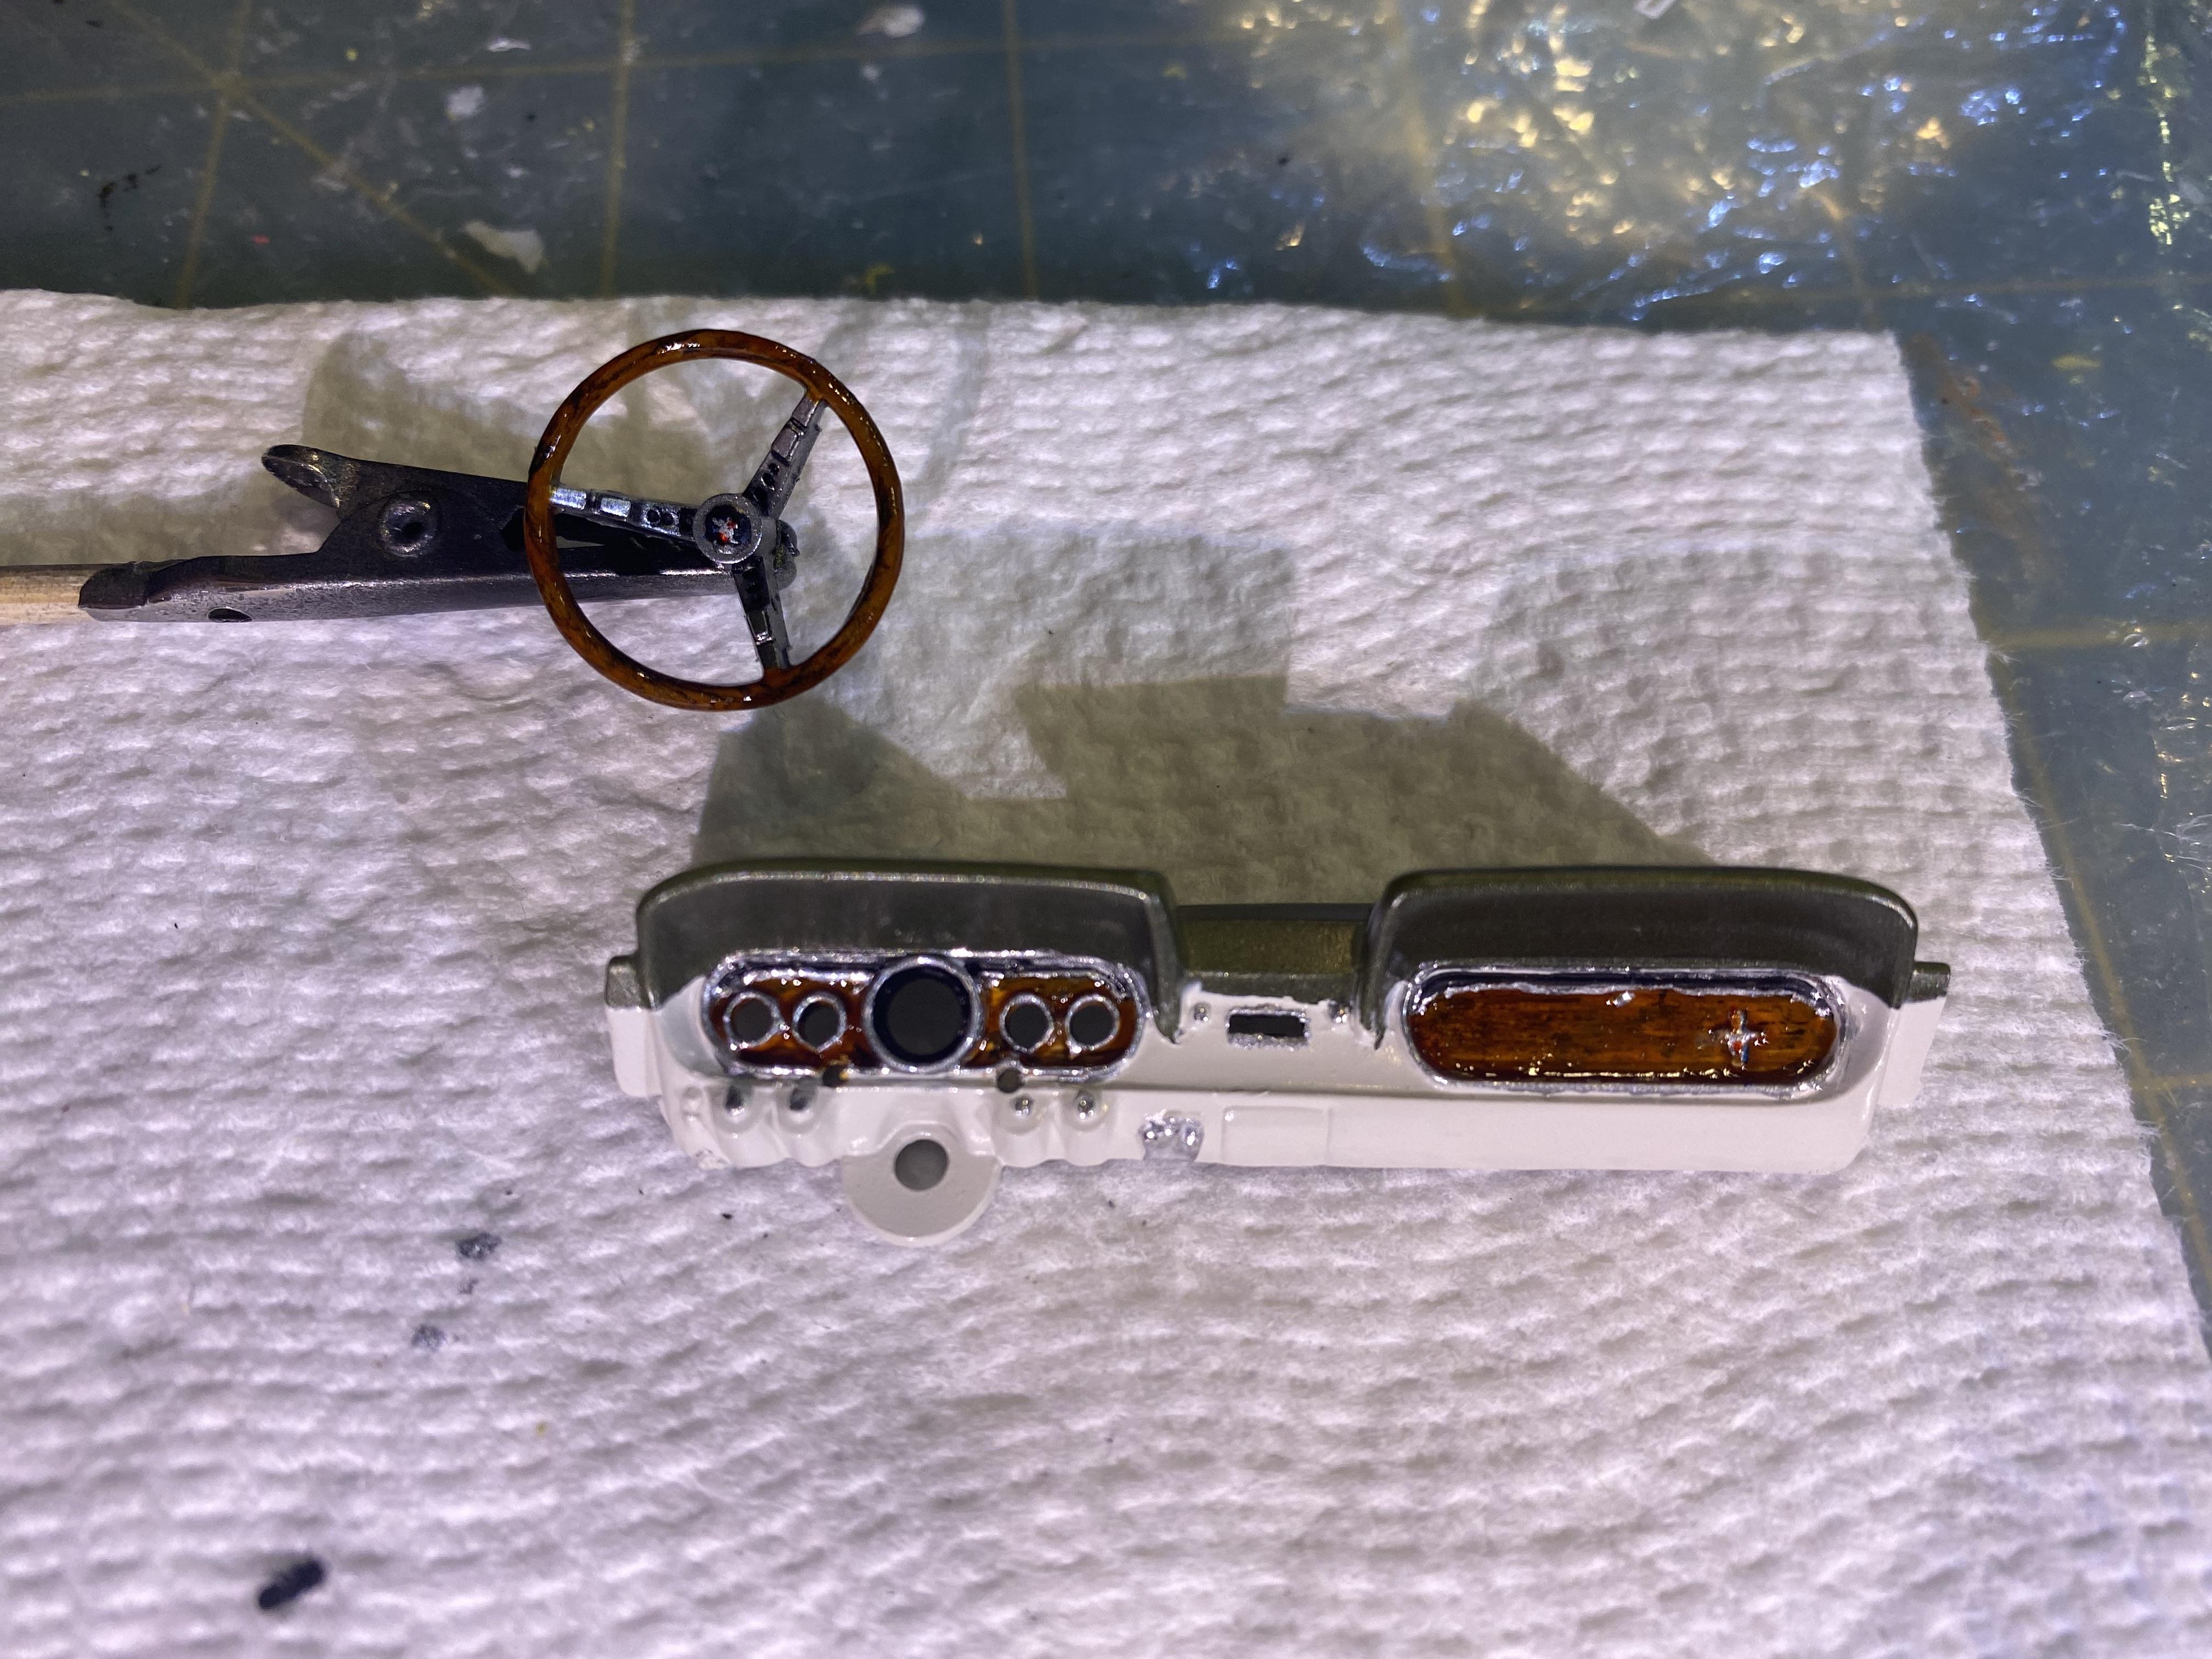
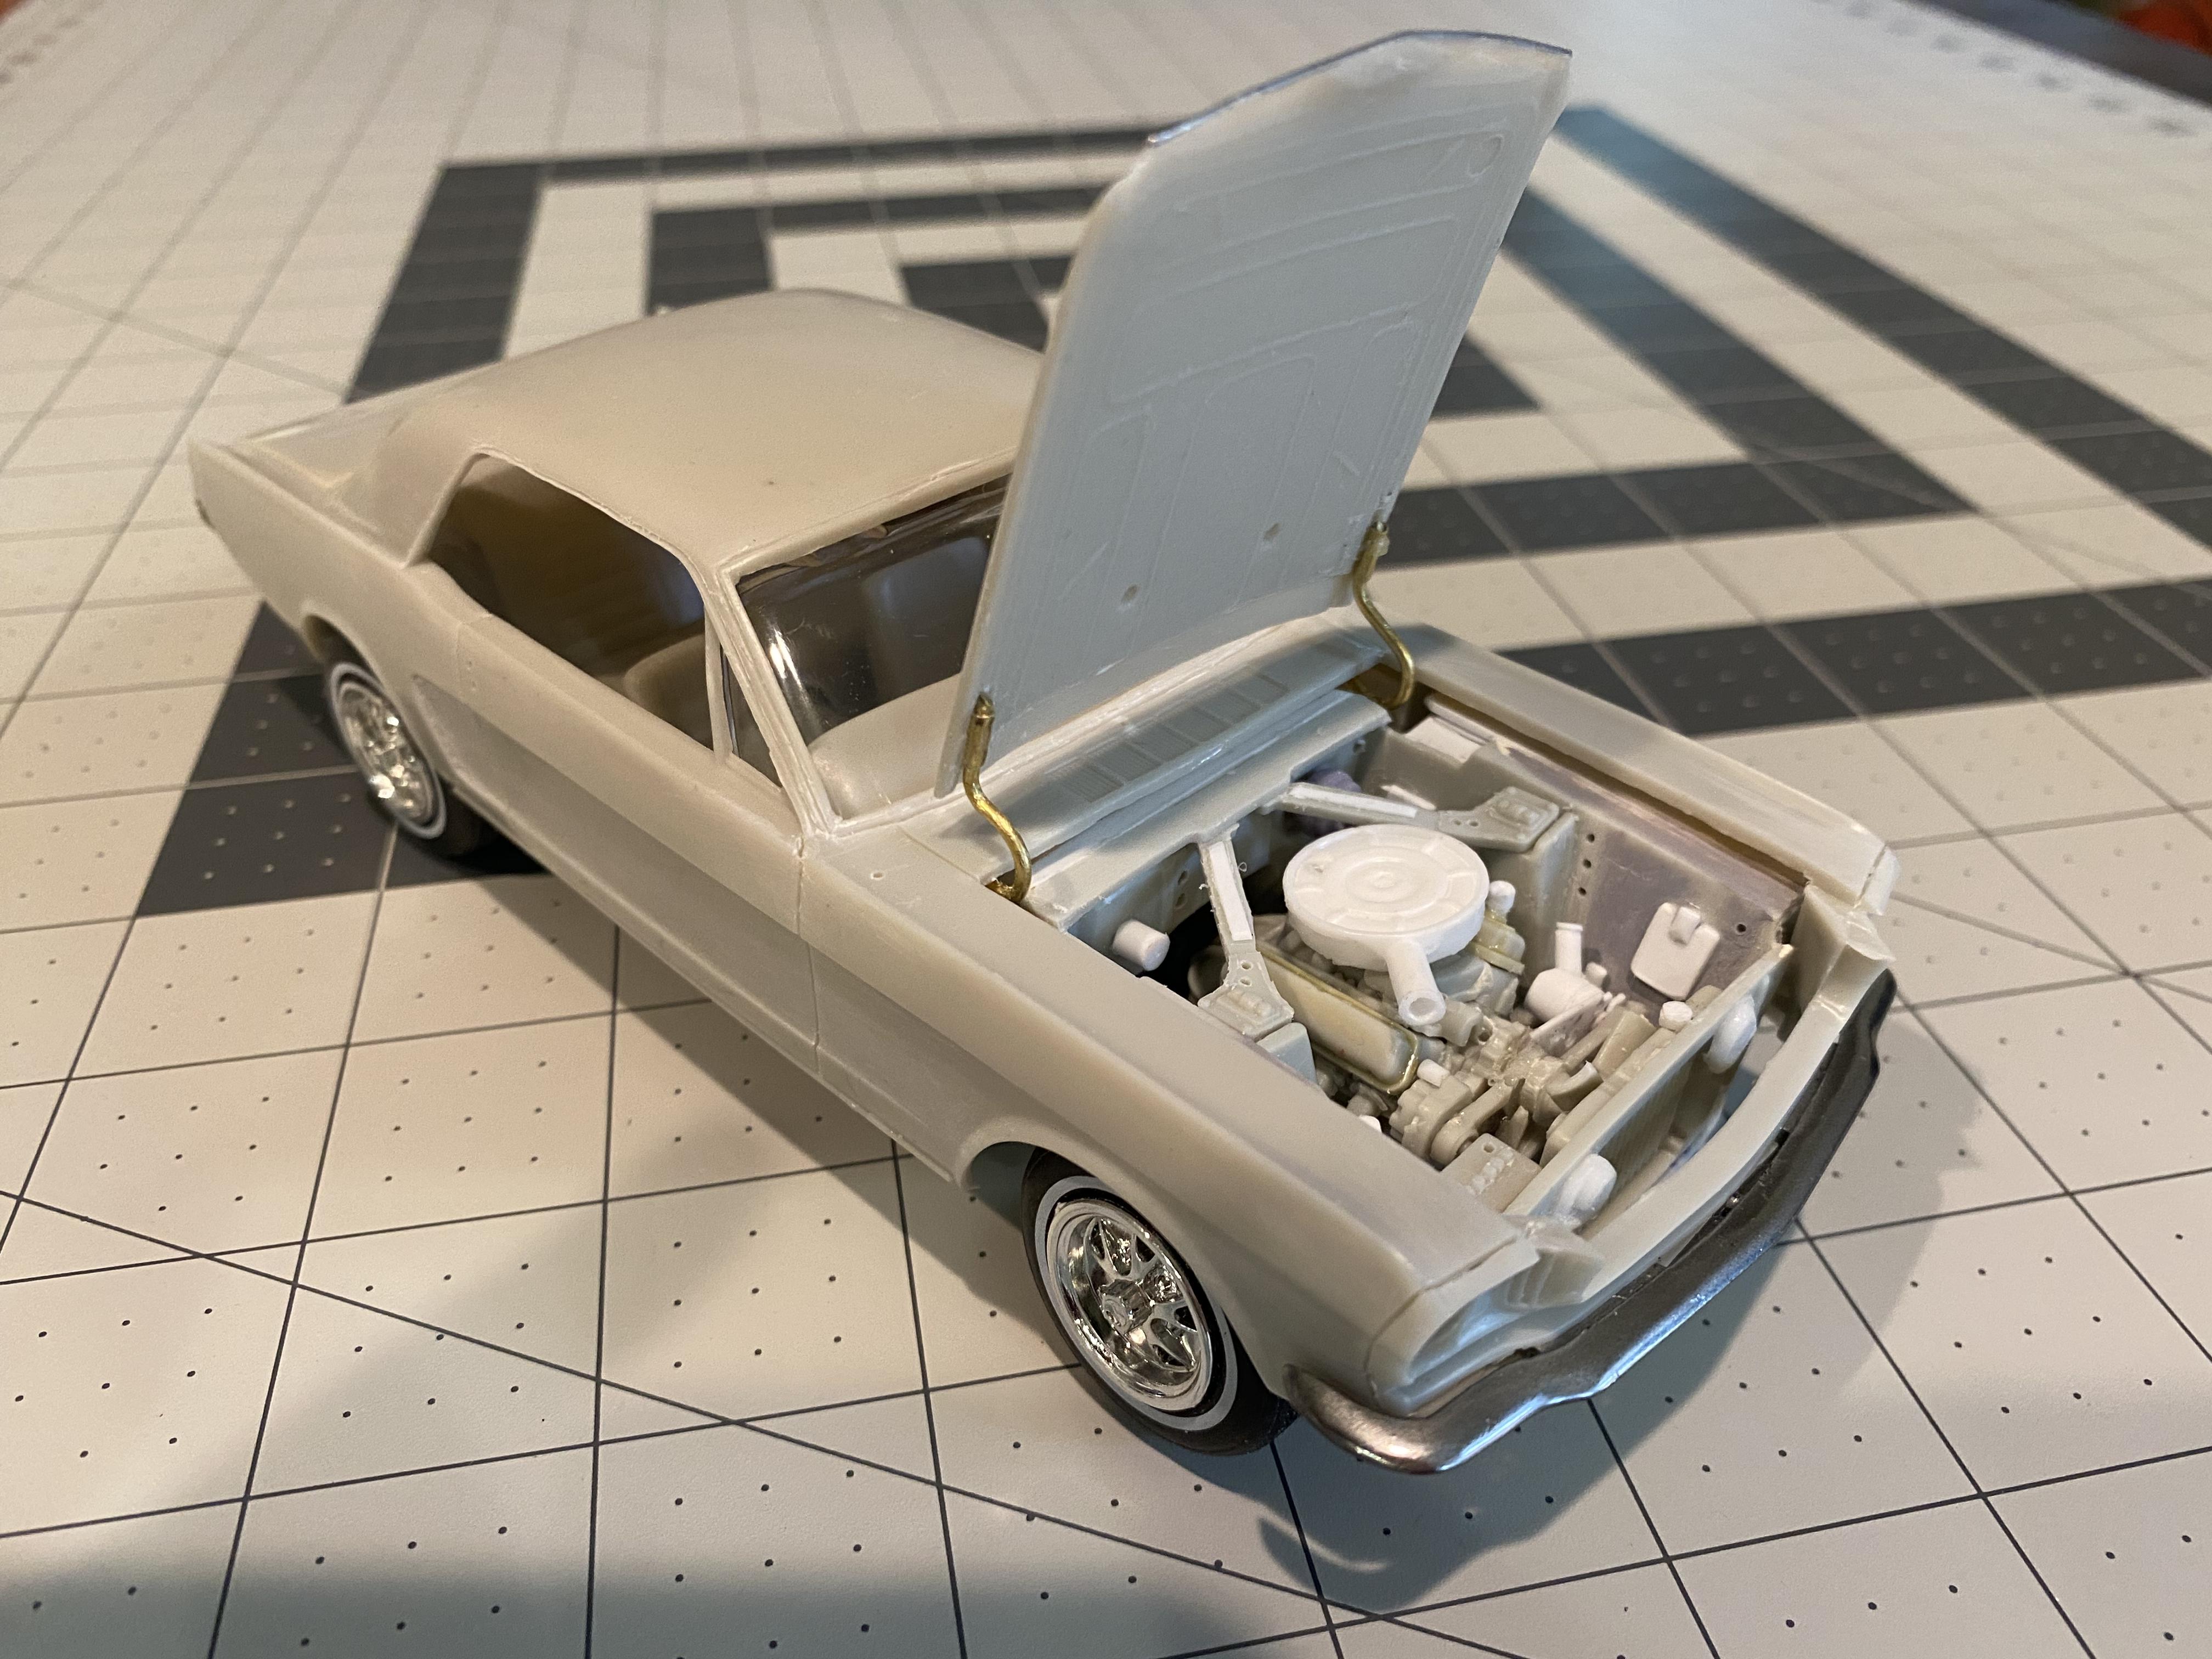
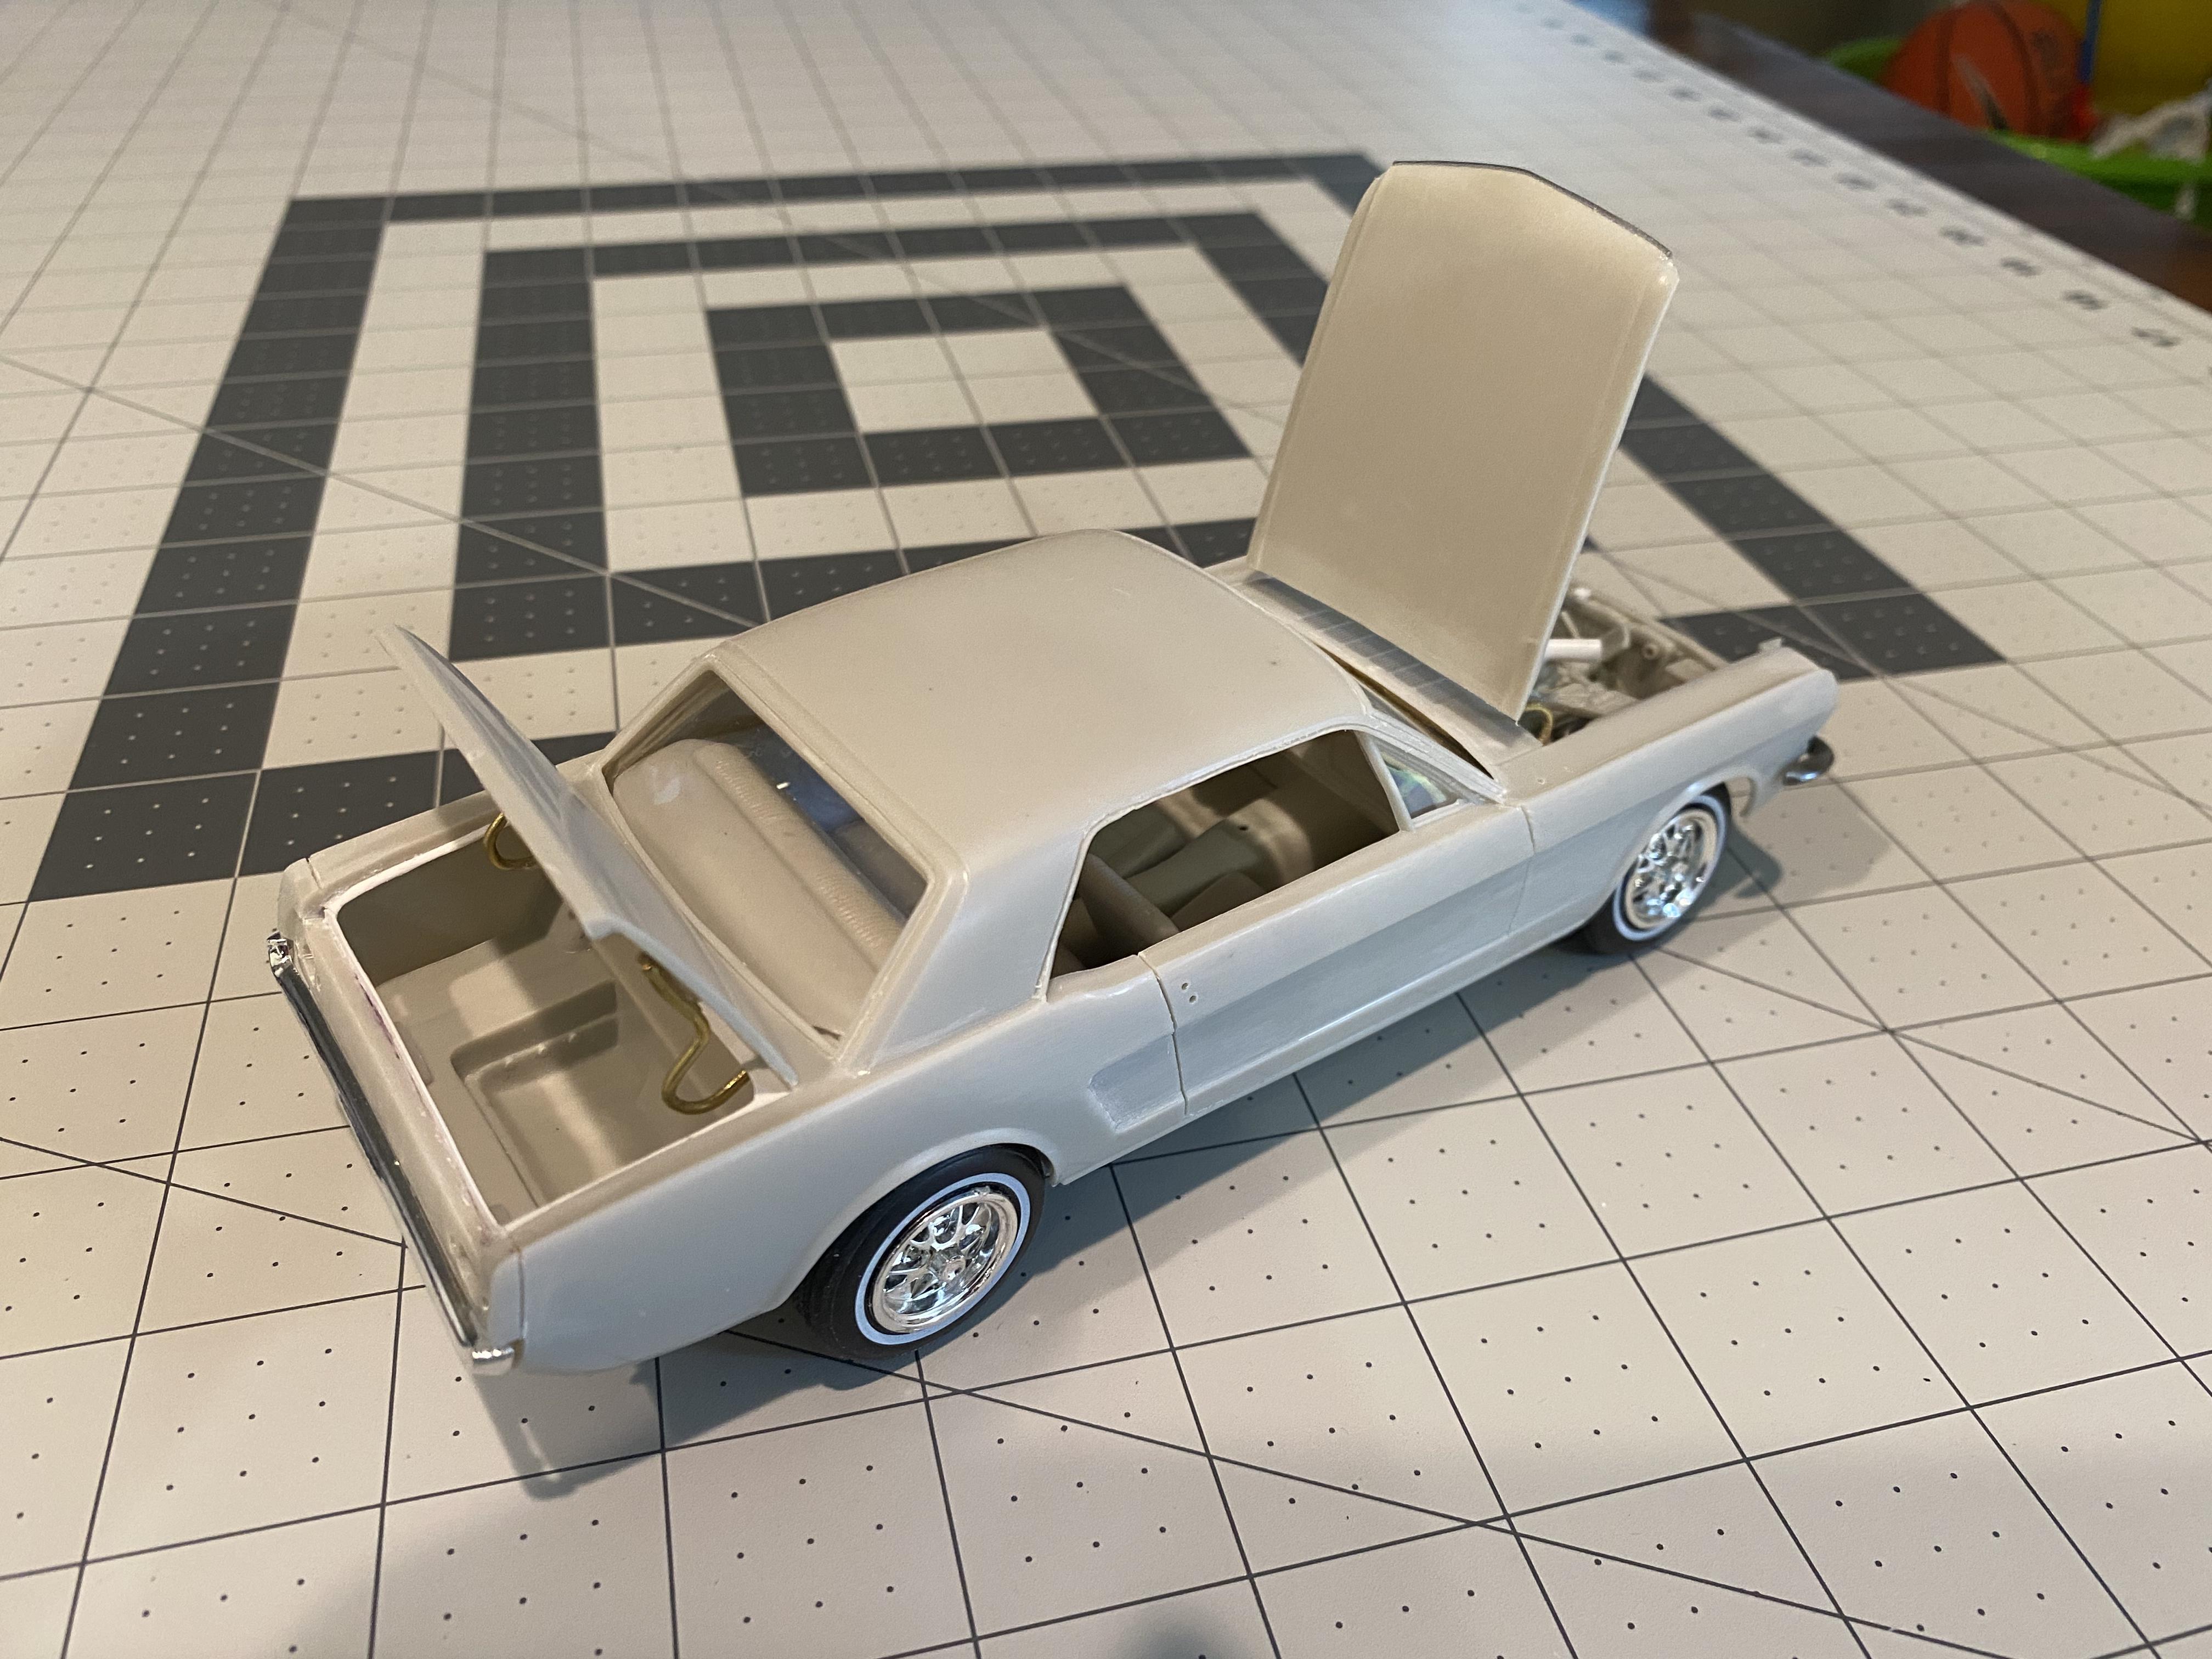
I have gotten a little bit of work on the interior. Still need to add the seatbelts and door lock knobs. I have 4-5 hours I will need to spend wet sanding and polishing the body now. The body actually came out pretty smooth and clean. I wish I could say the same for the hood and trunk lid. Got a big run in the hood and a small one with trash in the trunk lid, hoping I can wet sand it out of the 2k clear.

-
Turned out great!
-
Thank you.
-
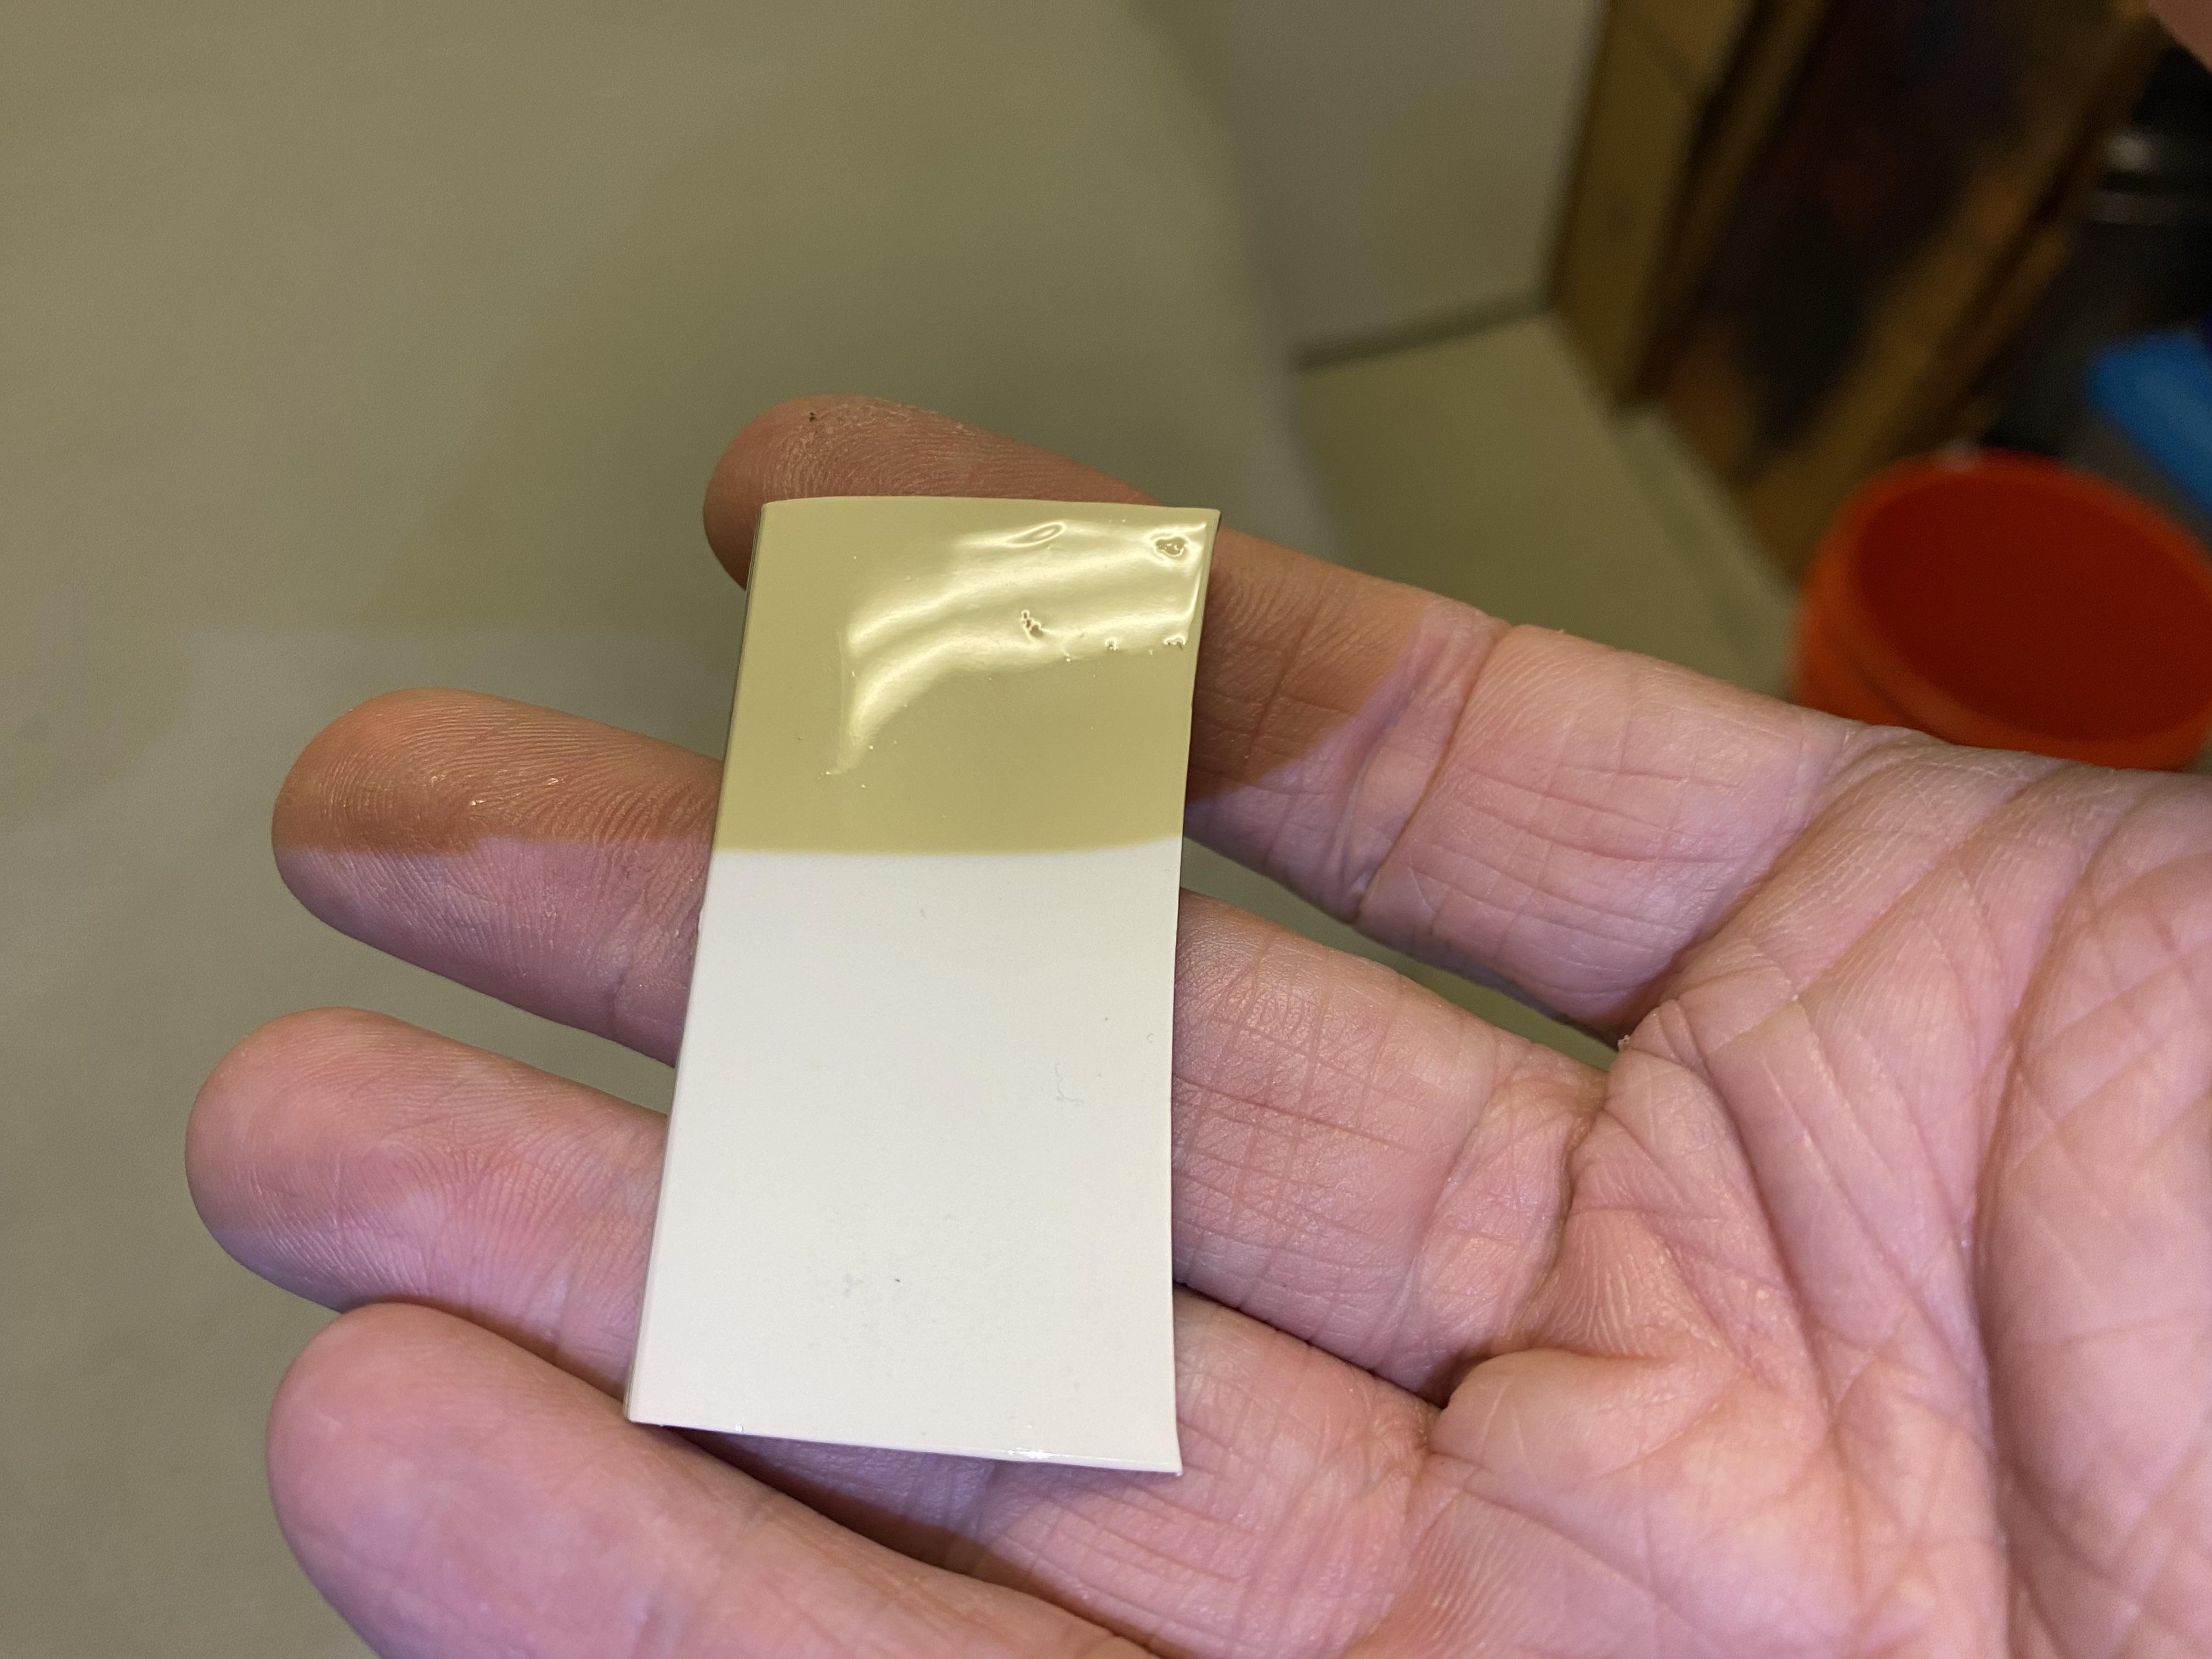
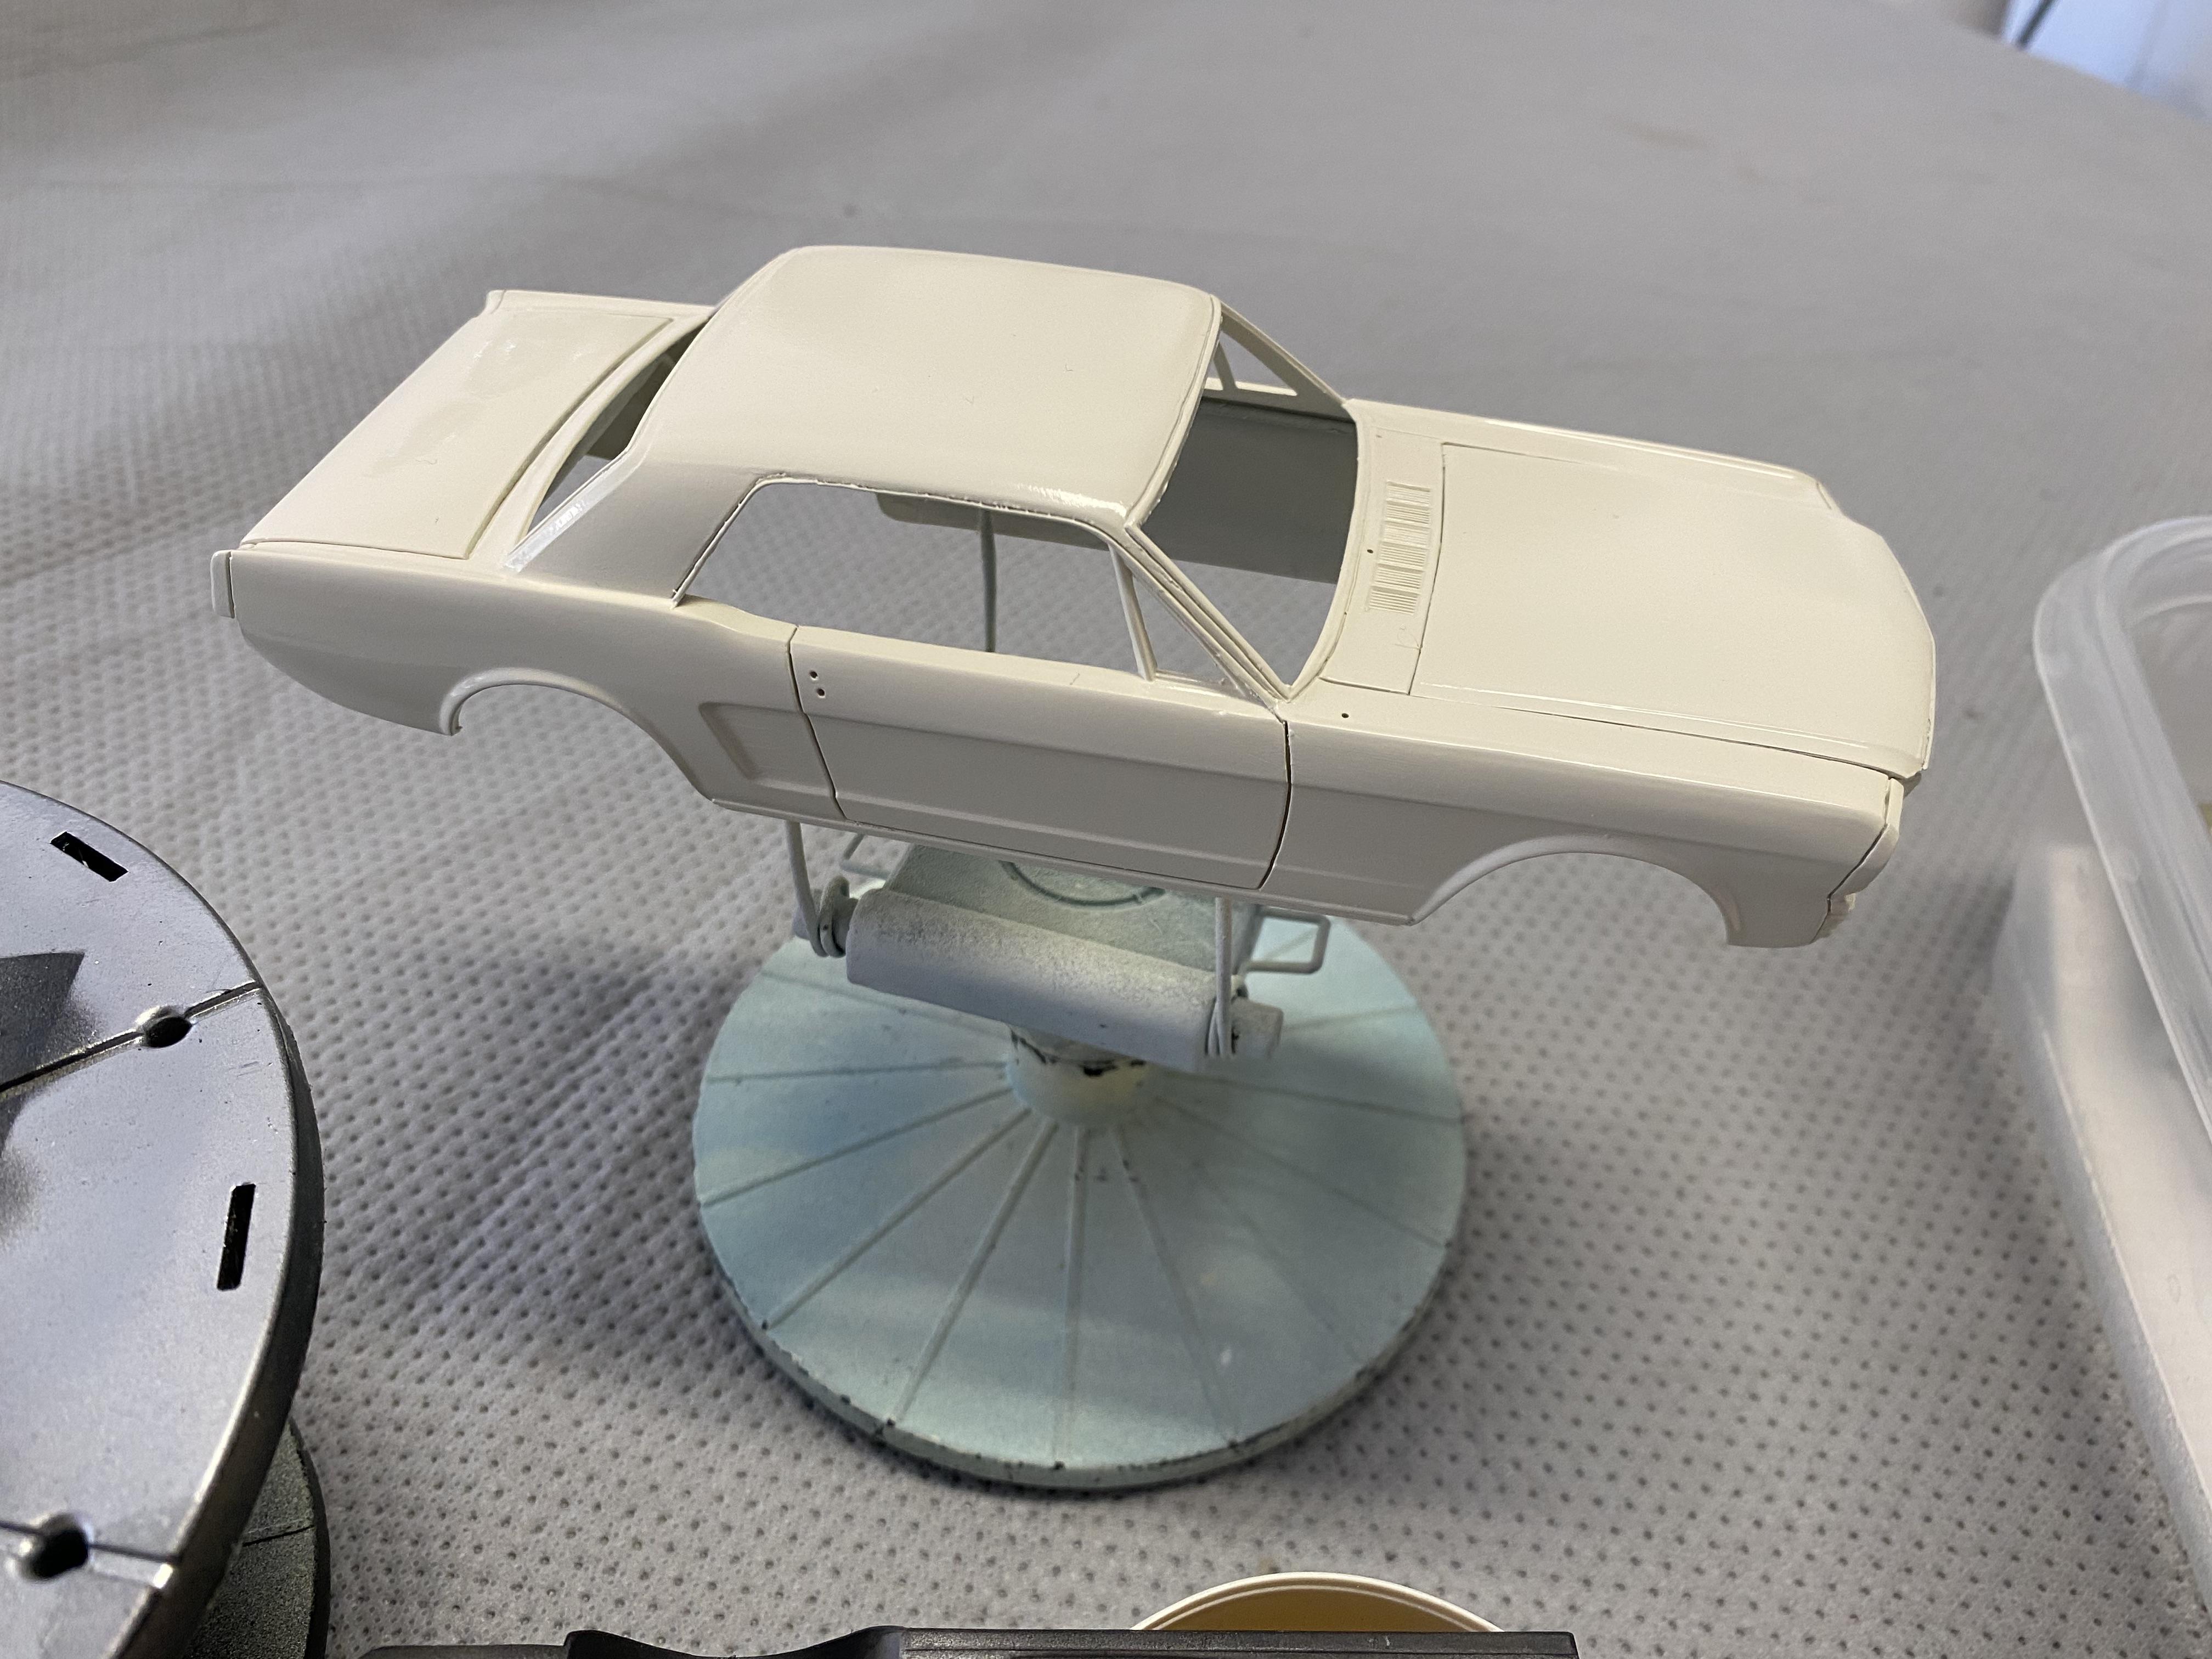
Exterior is MCW finishes Wimbledon White. The actual ford factory color. Matches the real car well. The interior is Ivy gold & white pony interior and I decanted actual correct interior paint from National Parts Depot we use on the actual car. It is lacquer for both. Base colors.
-
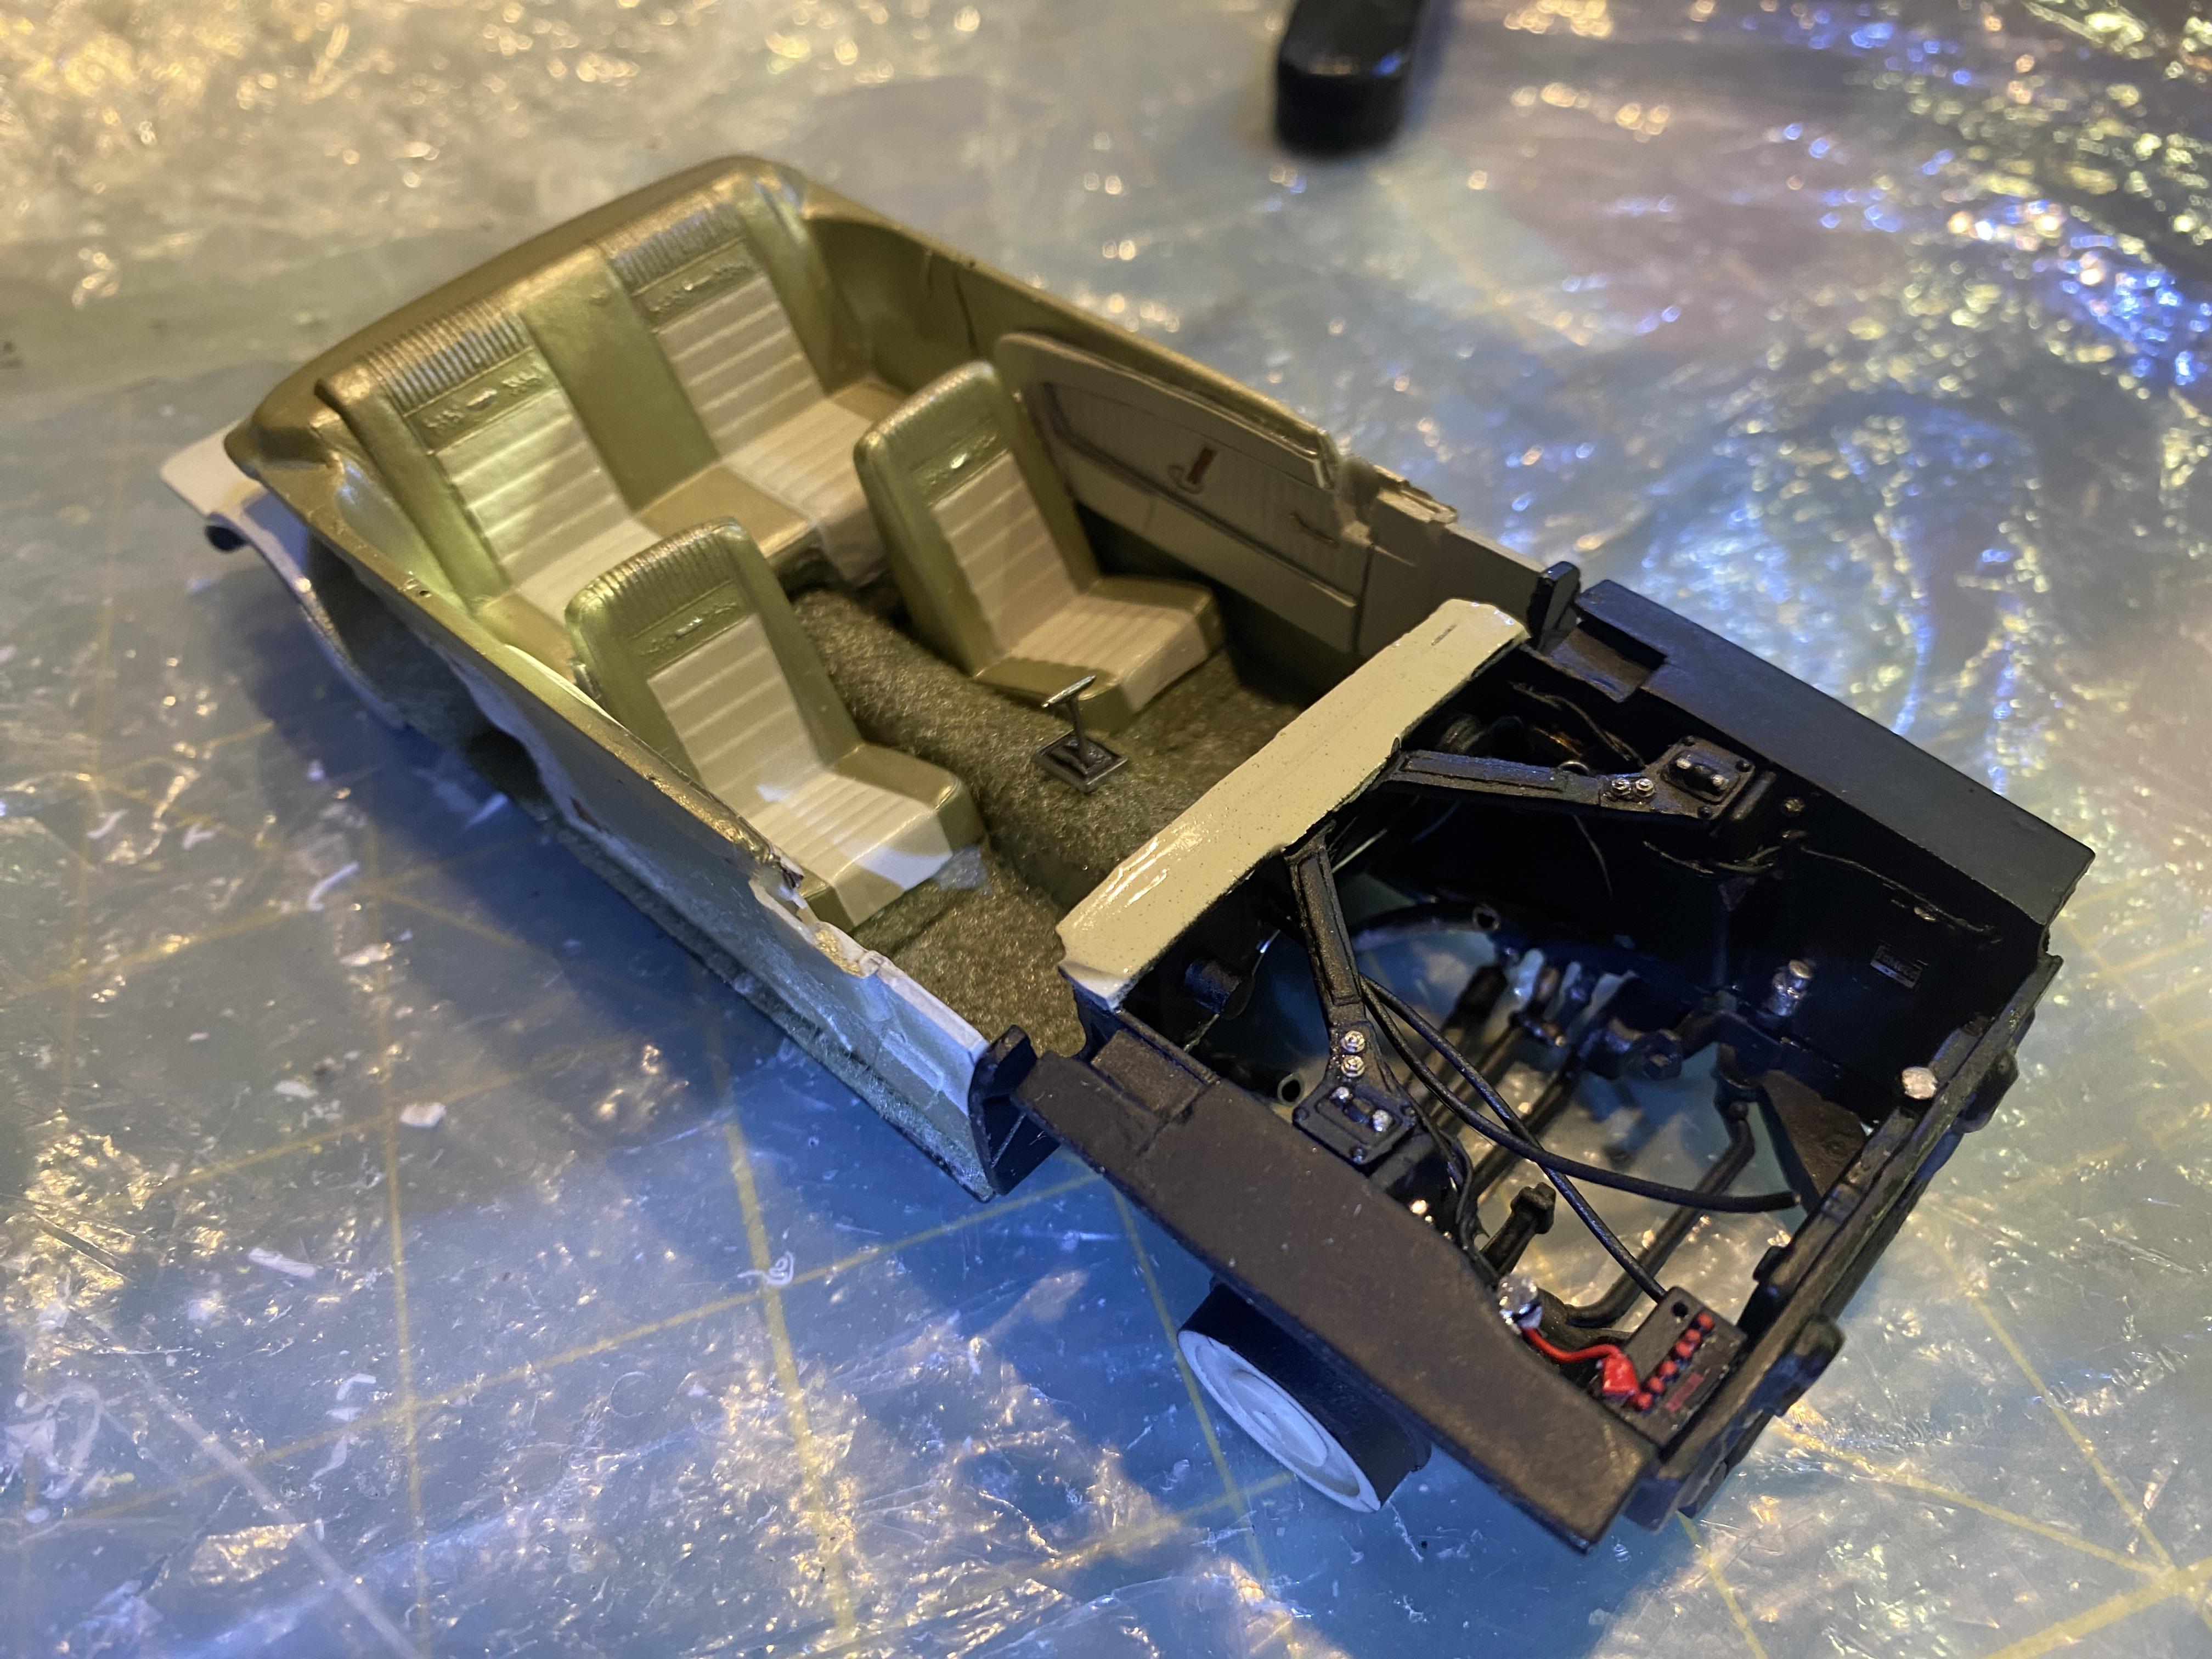
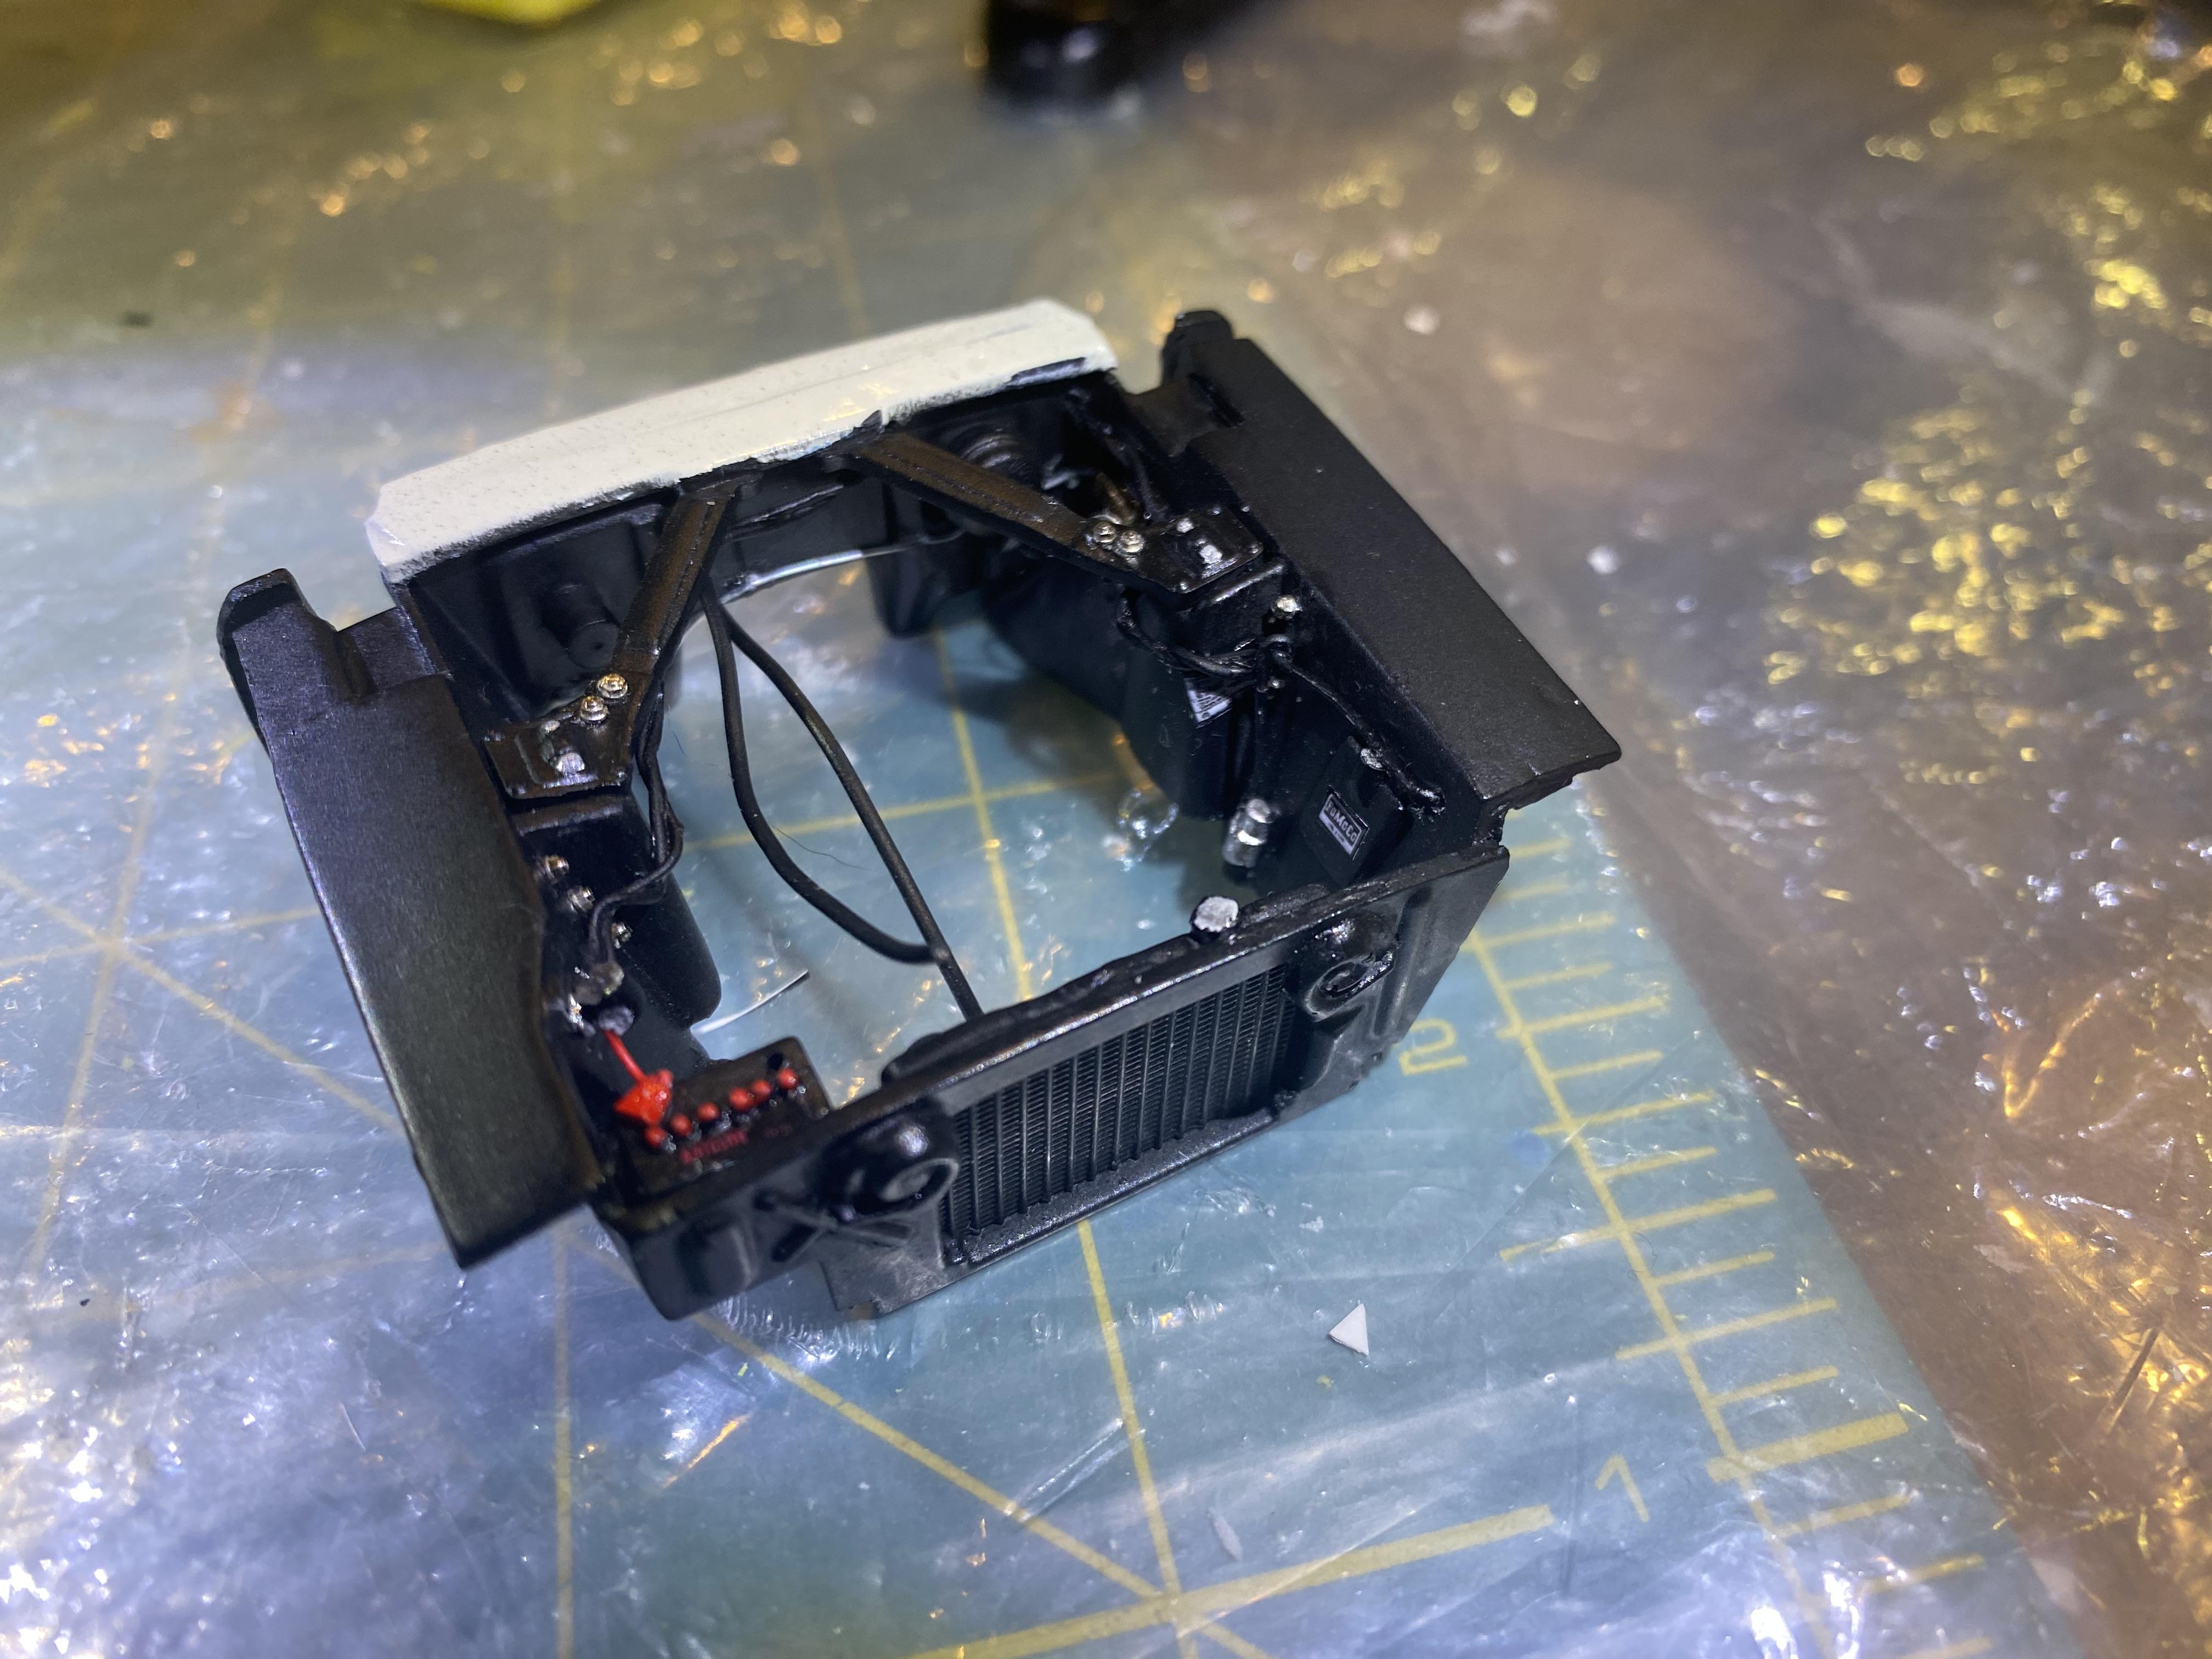
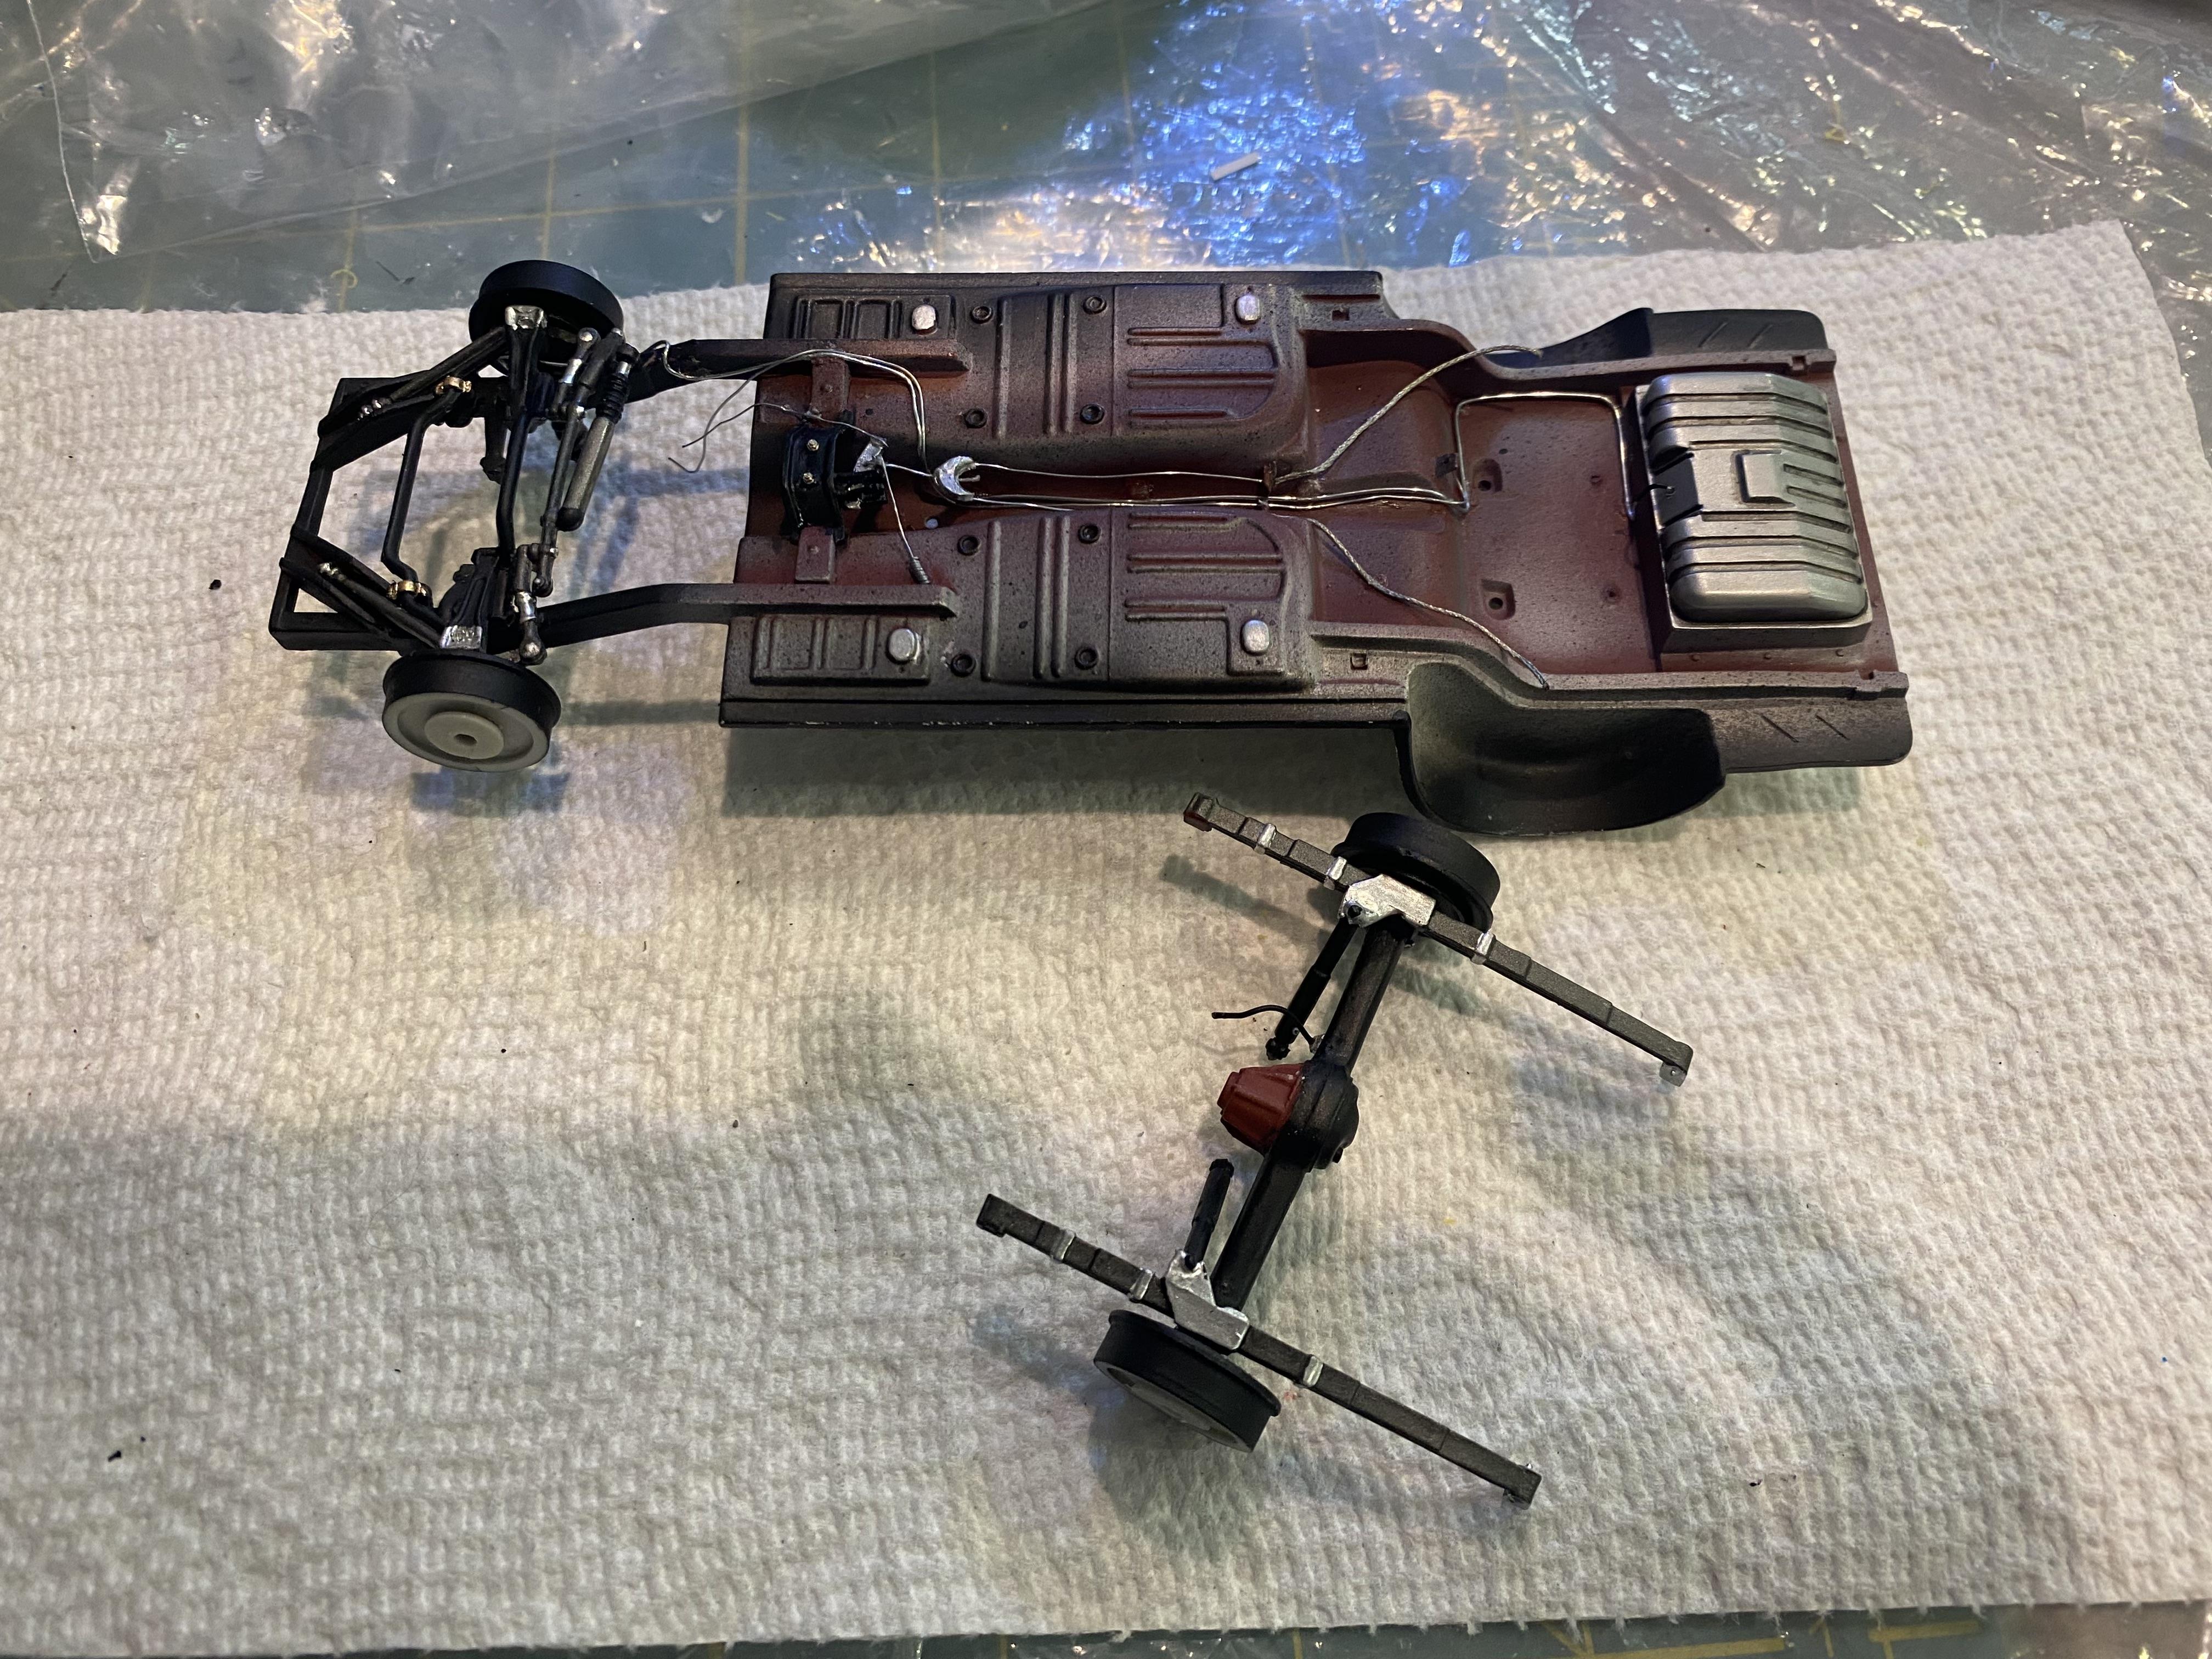
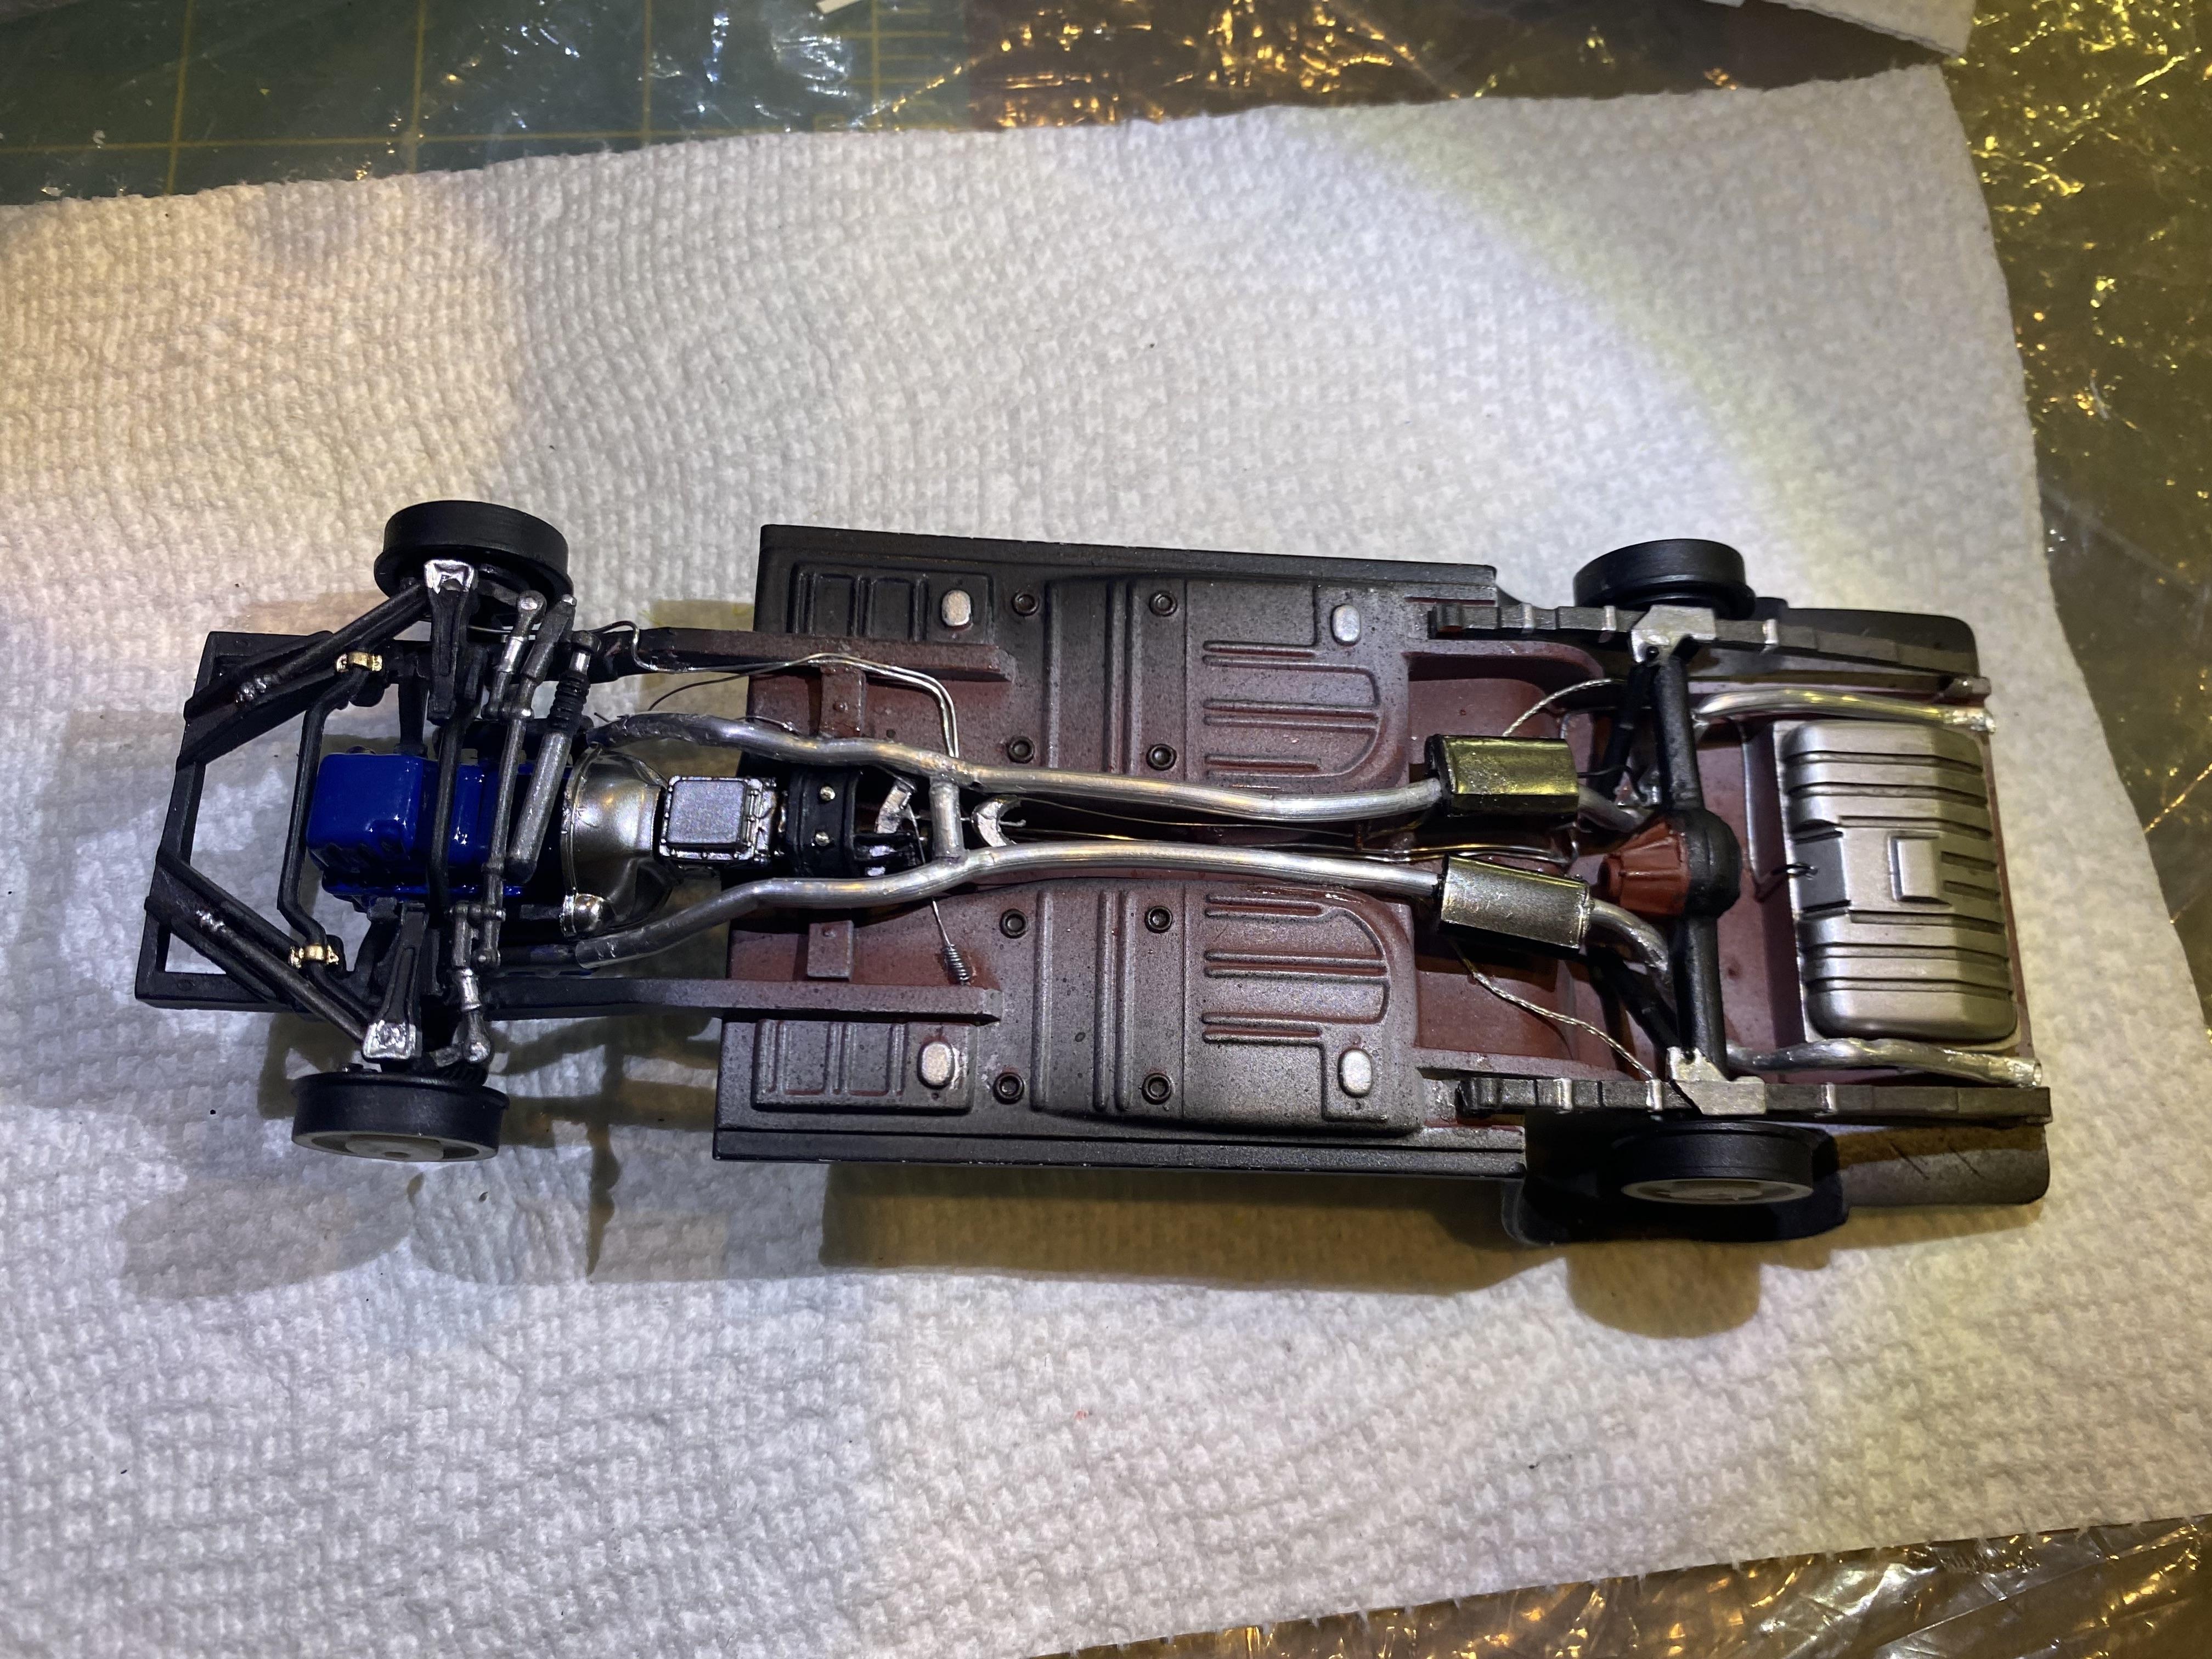
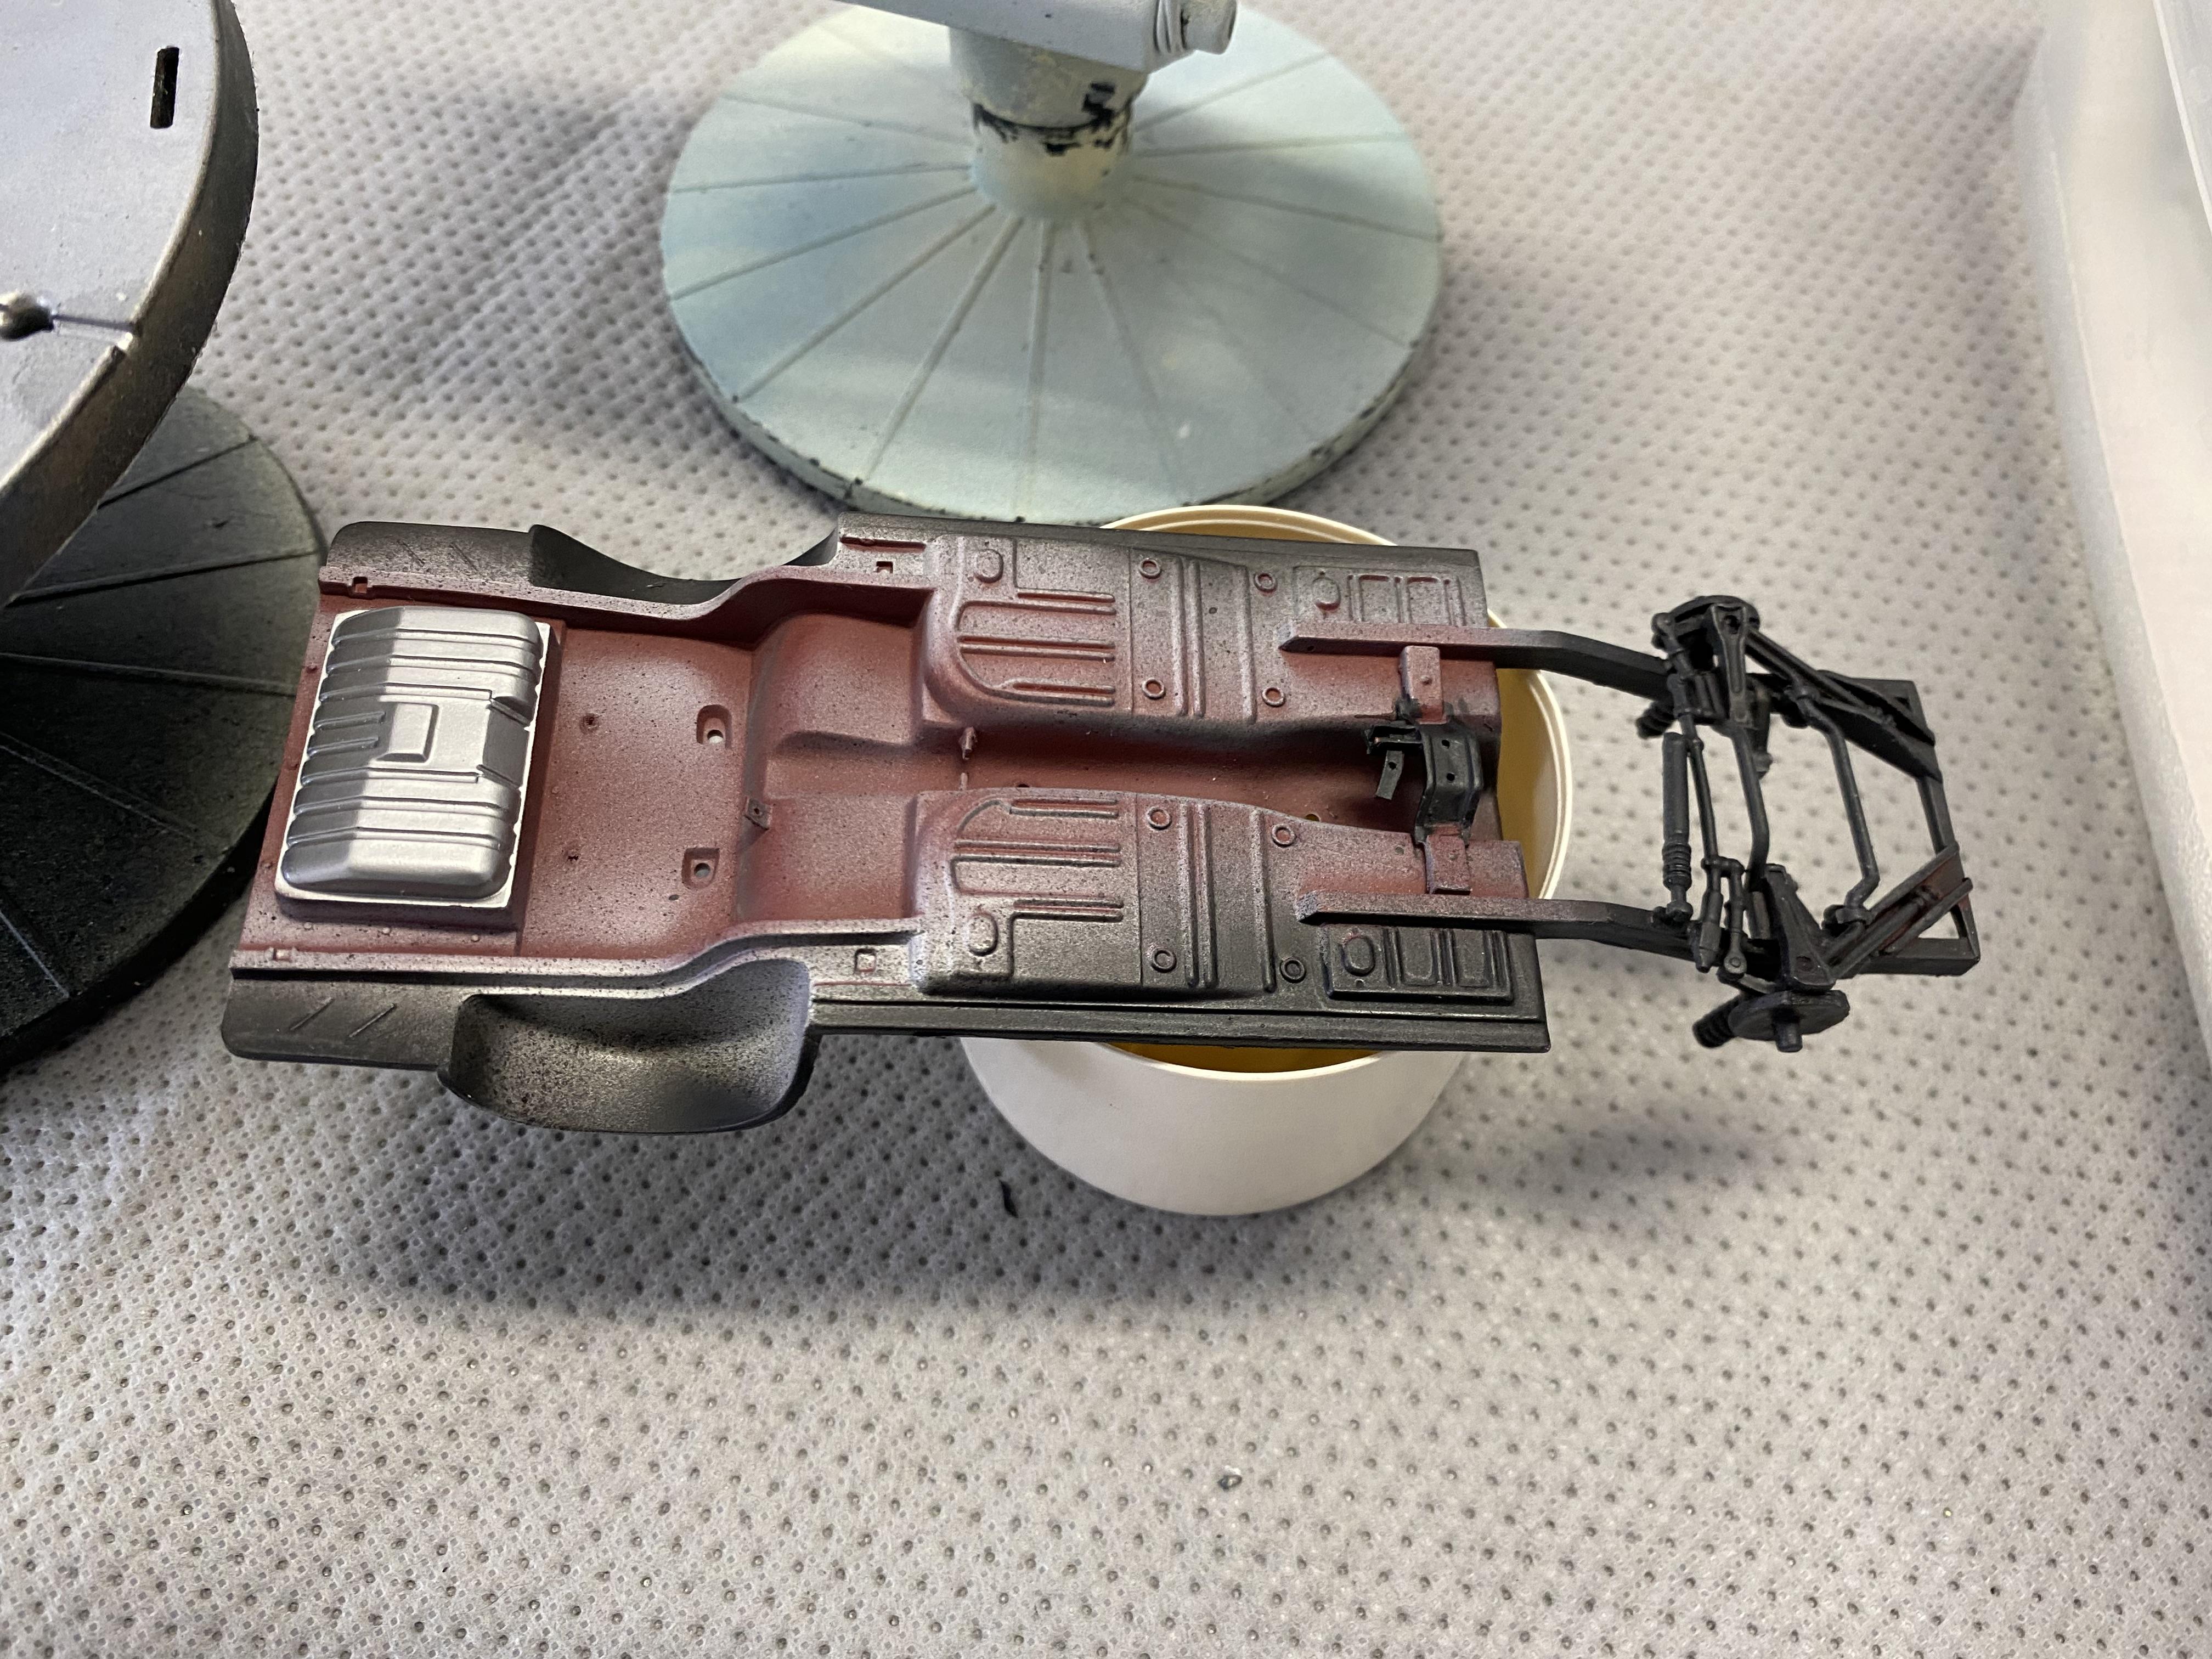
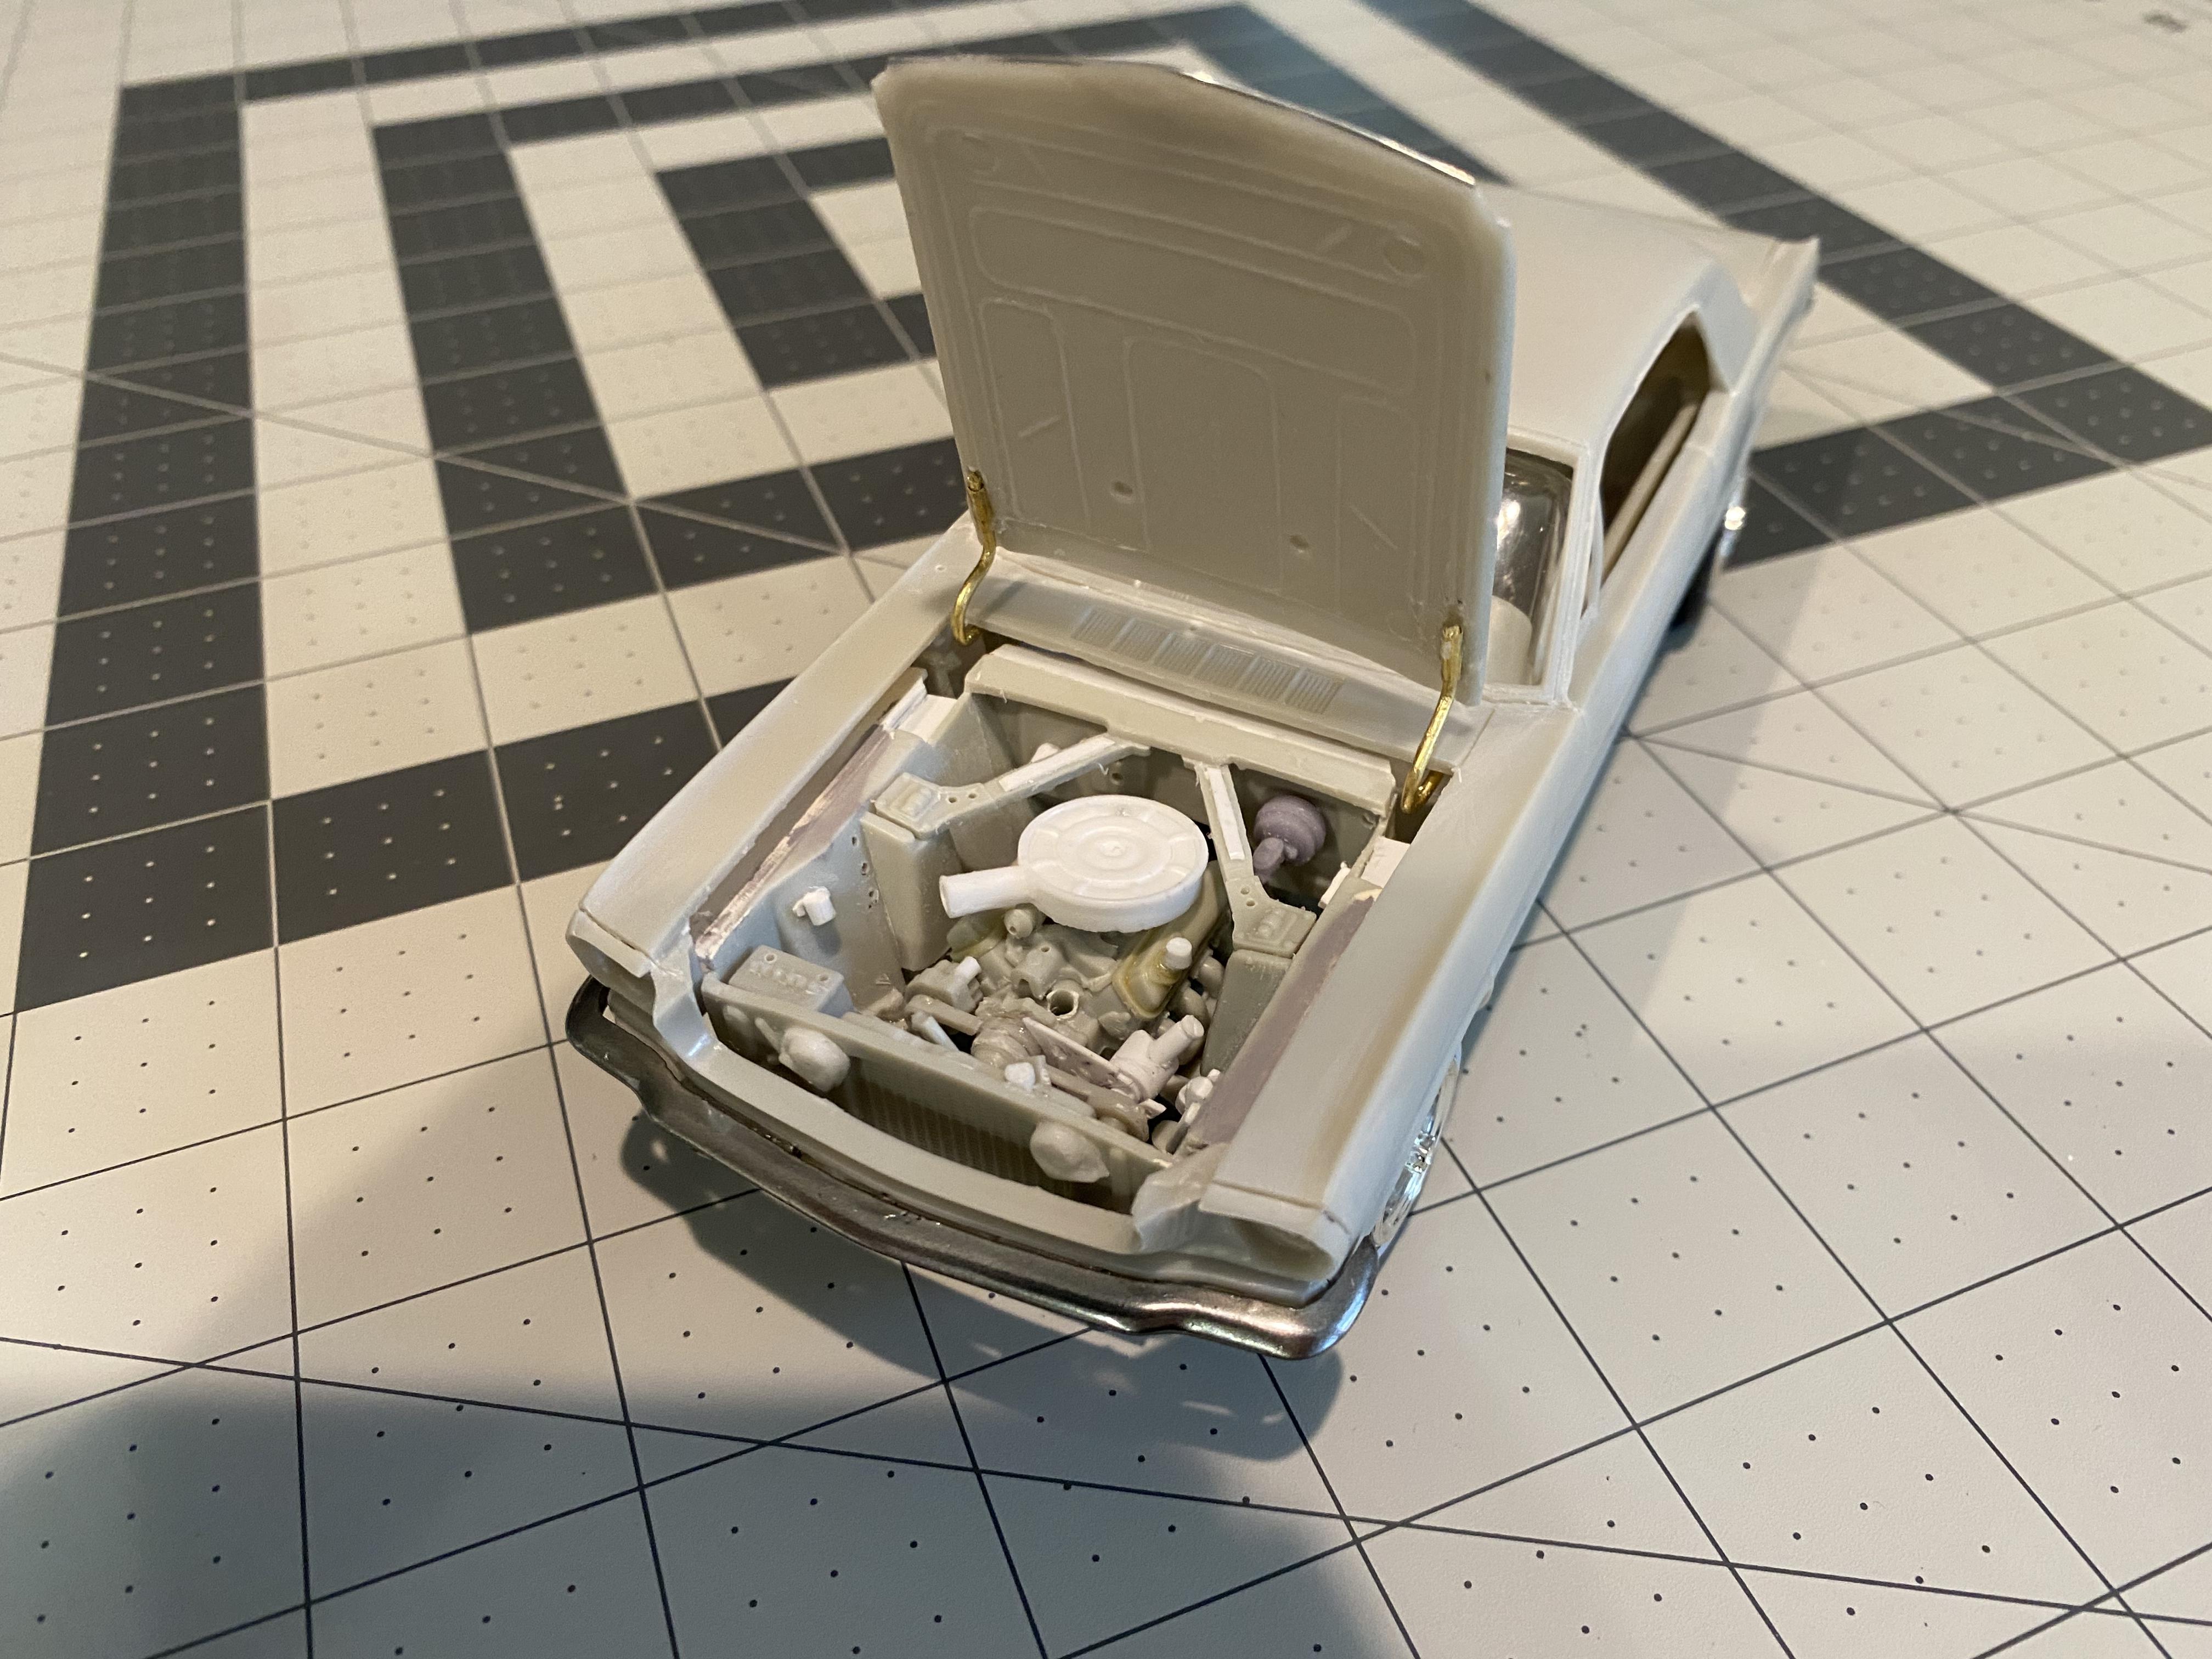
Finished detailing engine compartment details and flocked the carpet areas.
-
Wow! Great save!
-
Beautiful build! I am kind of curious now to know what you started out with.
-

71 Olds 442 W30 (replica of my brother in law’s car)
Duddly01 replied to Steve H's topic in WIP: Model Cars
Coming along very nicely! -
Great for a weekend build!
-
I use Molotow through an airbrush all the time with good results. I usually wait 48-72 hours and 2K clear. Just lightly first coat to seal and let dry a bit then wet coat. Looses very minimal shine with practice and holds up great to handling. Molotow otherwise does not like to be touched much.
-
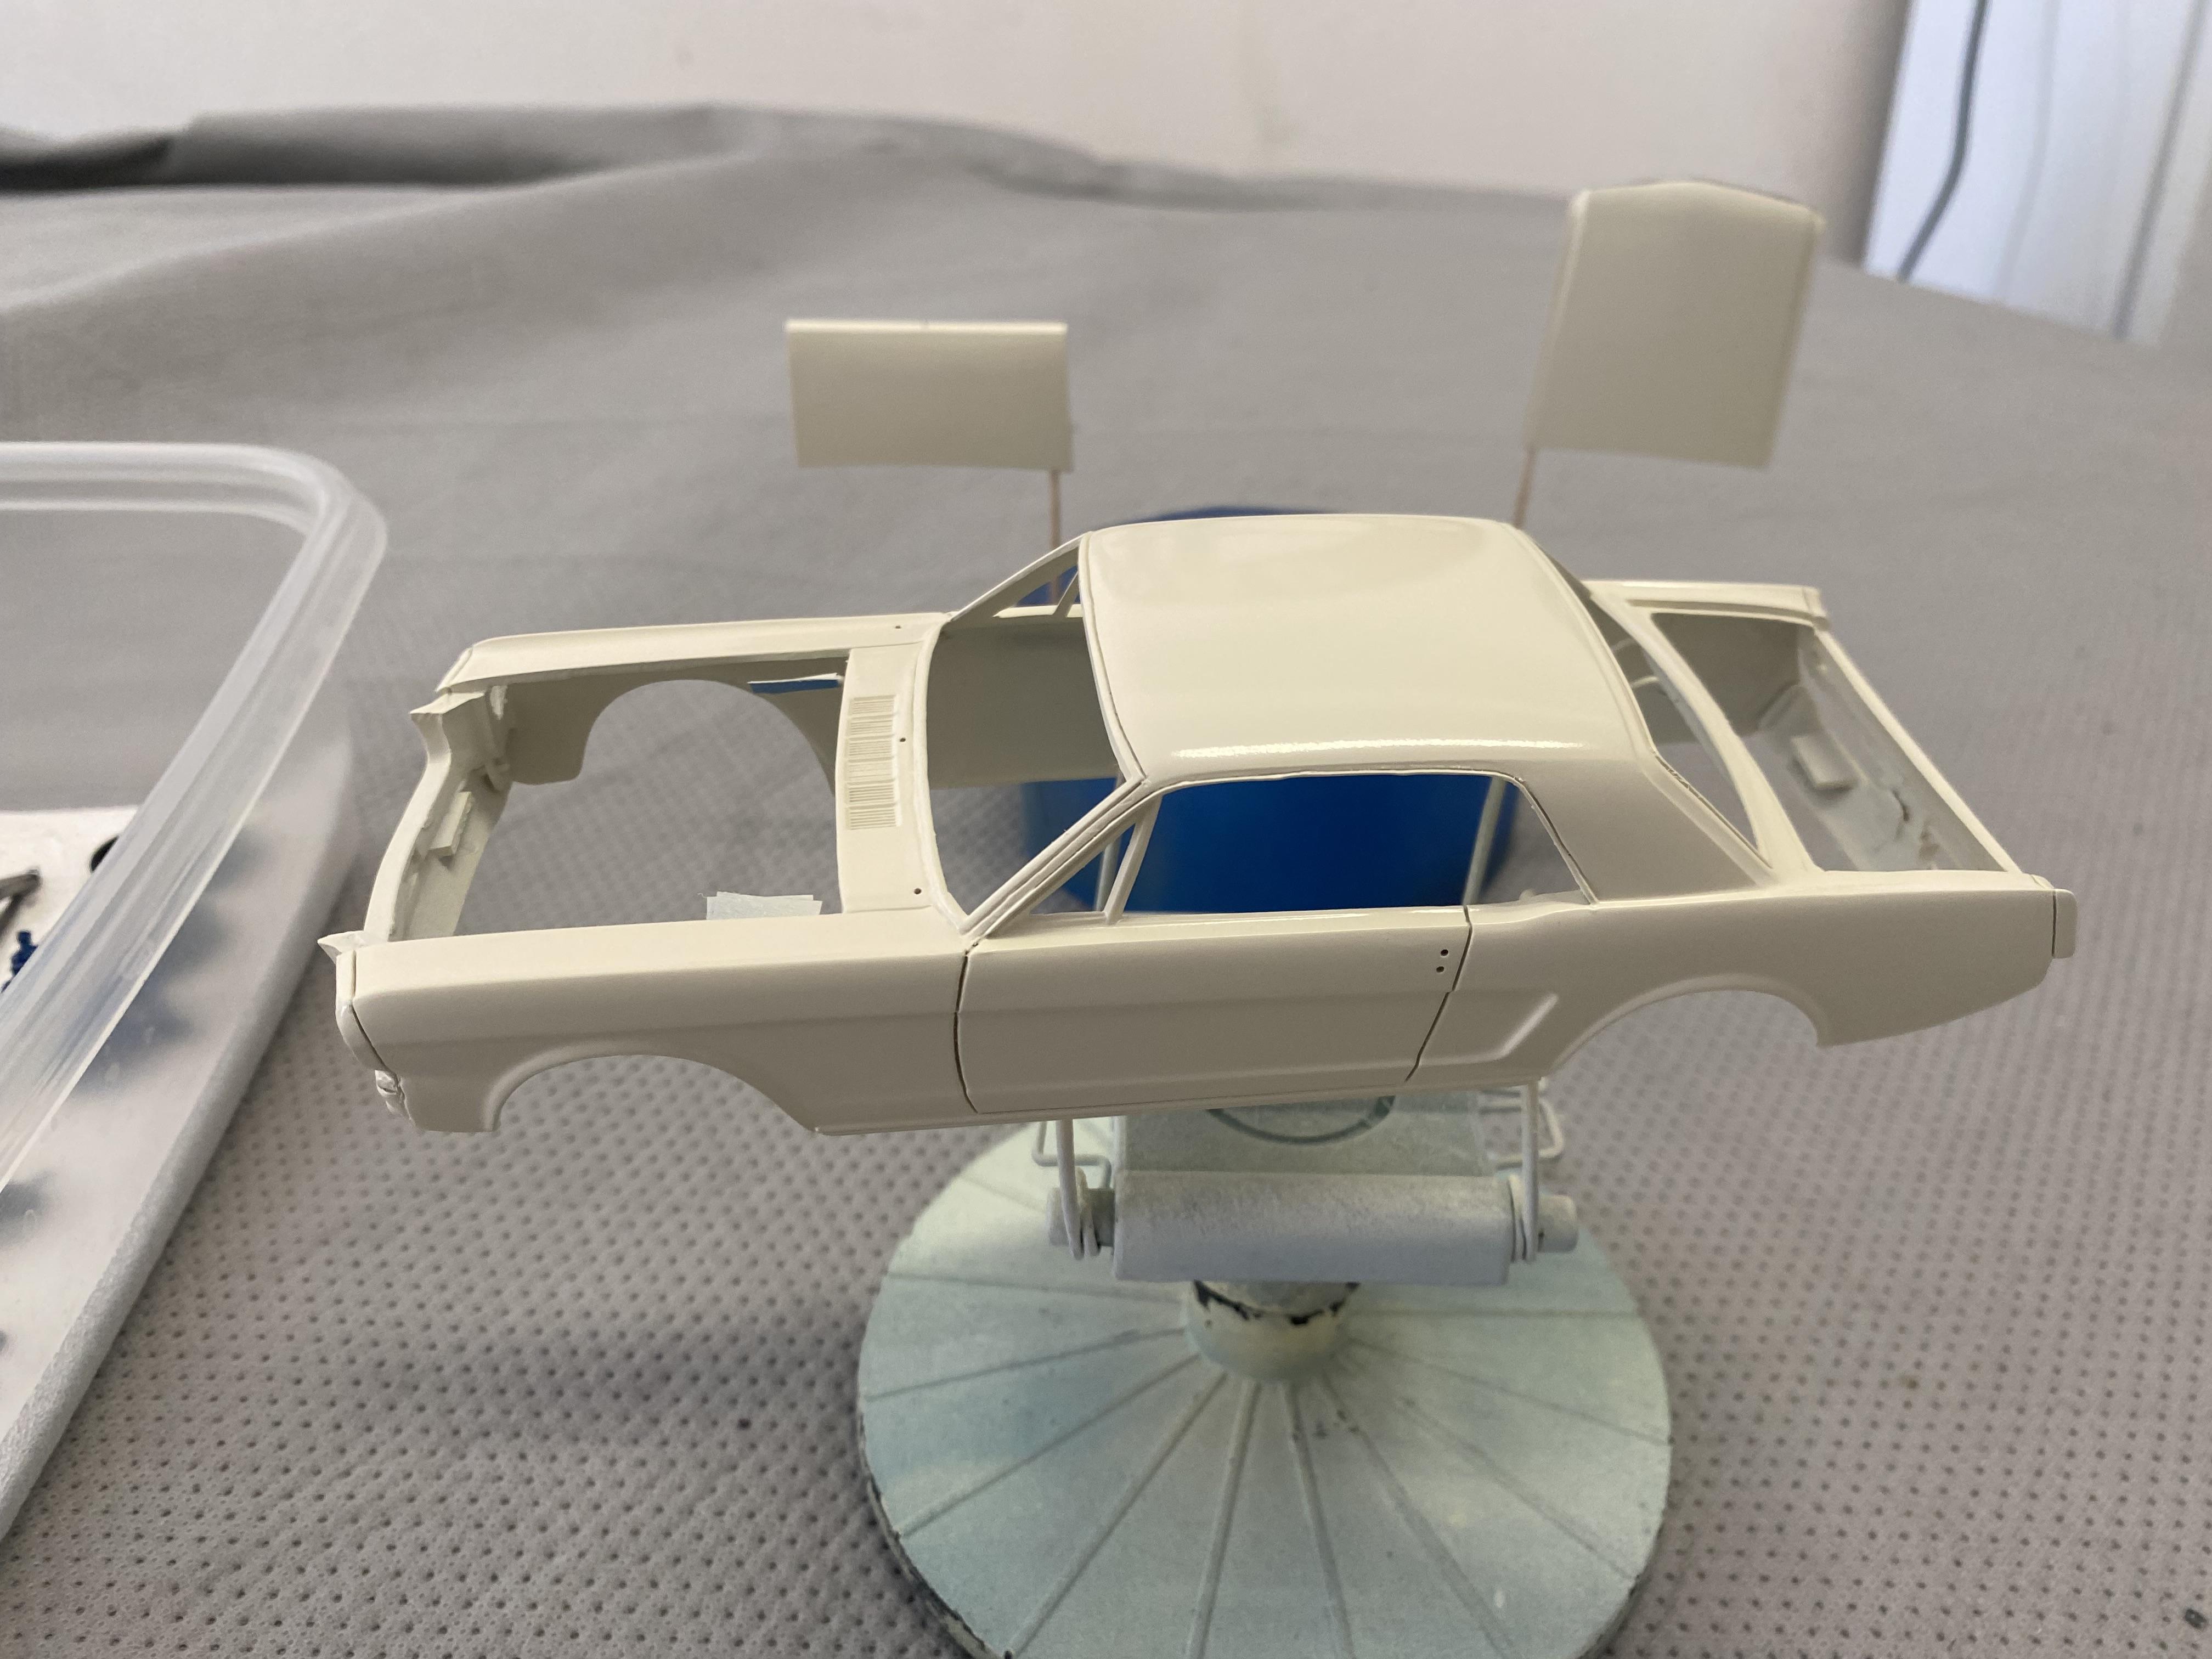
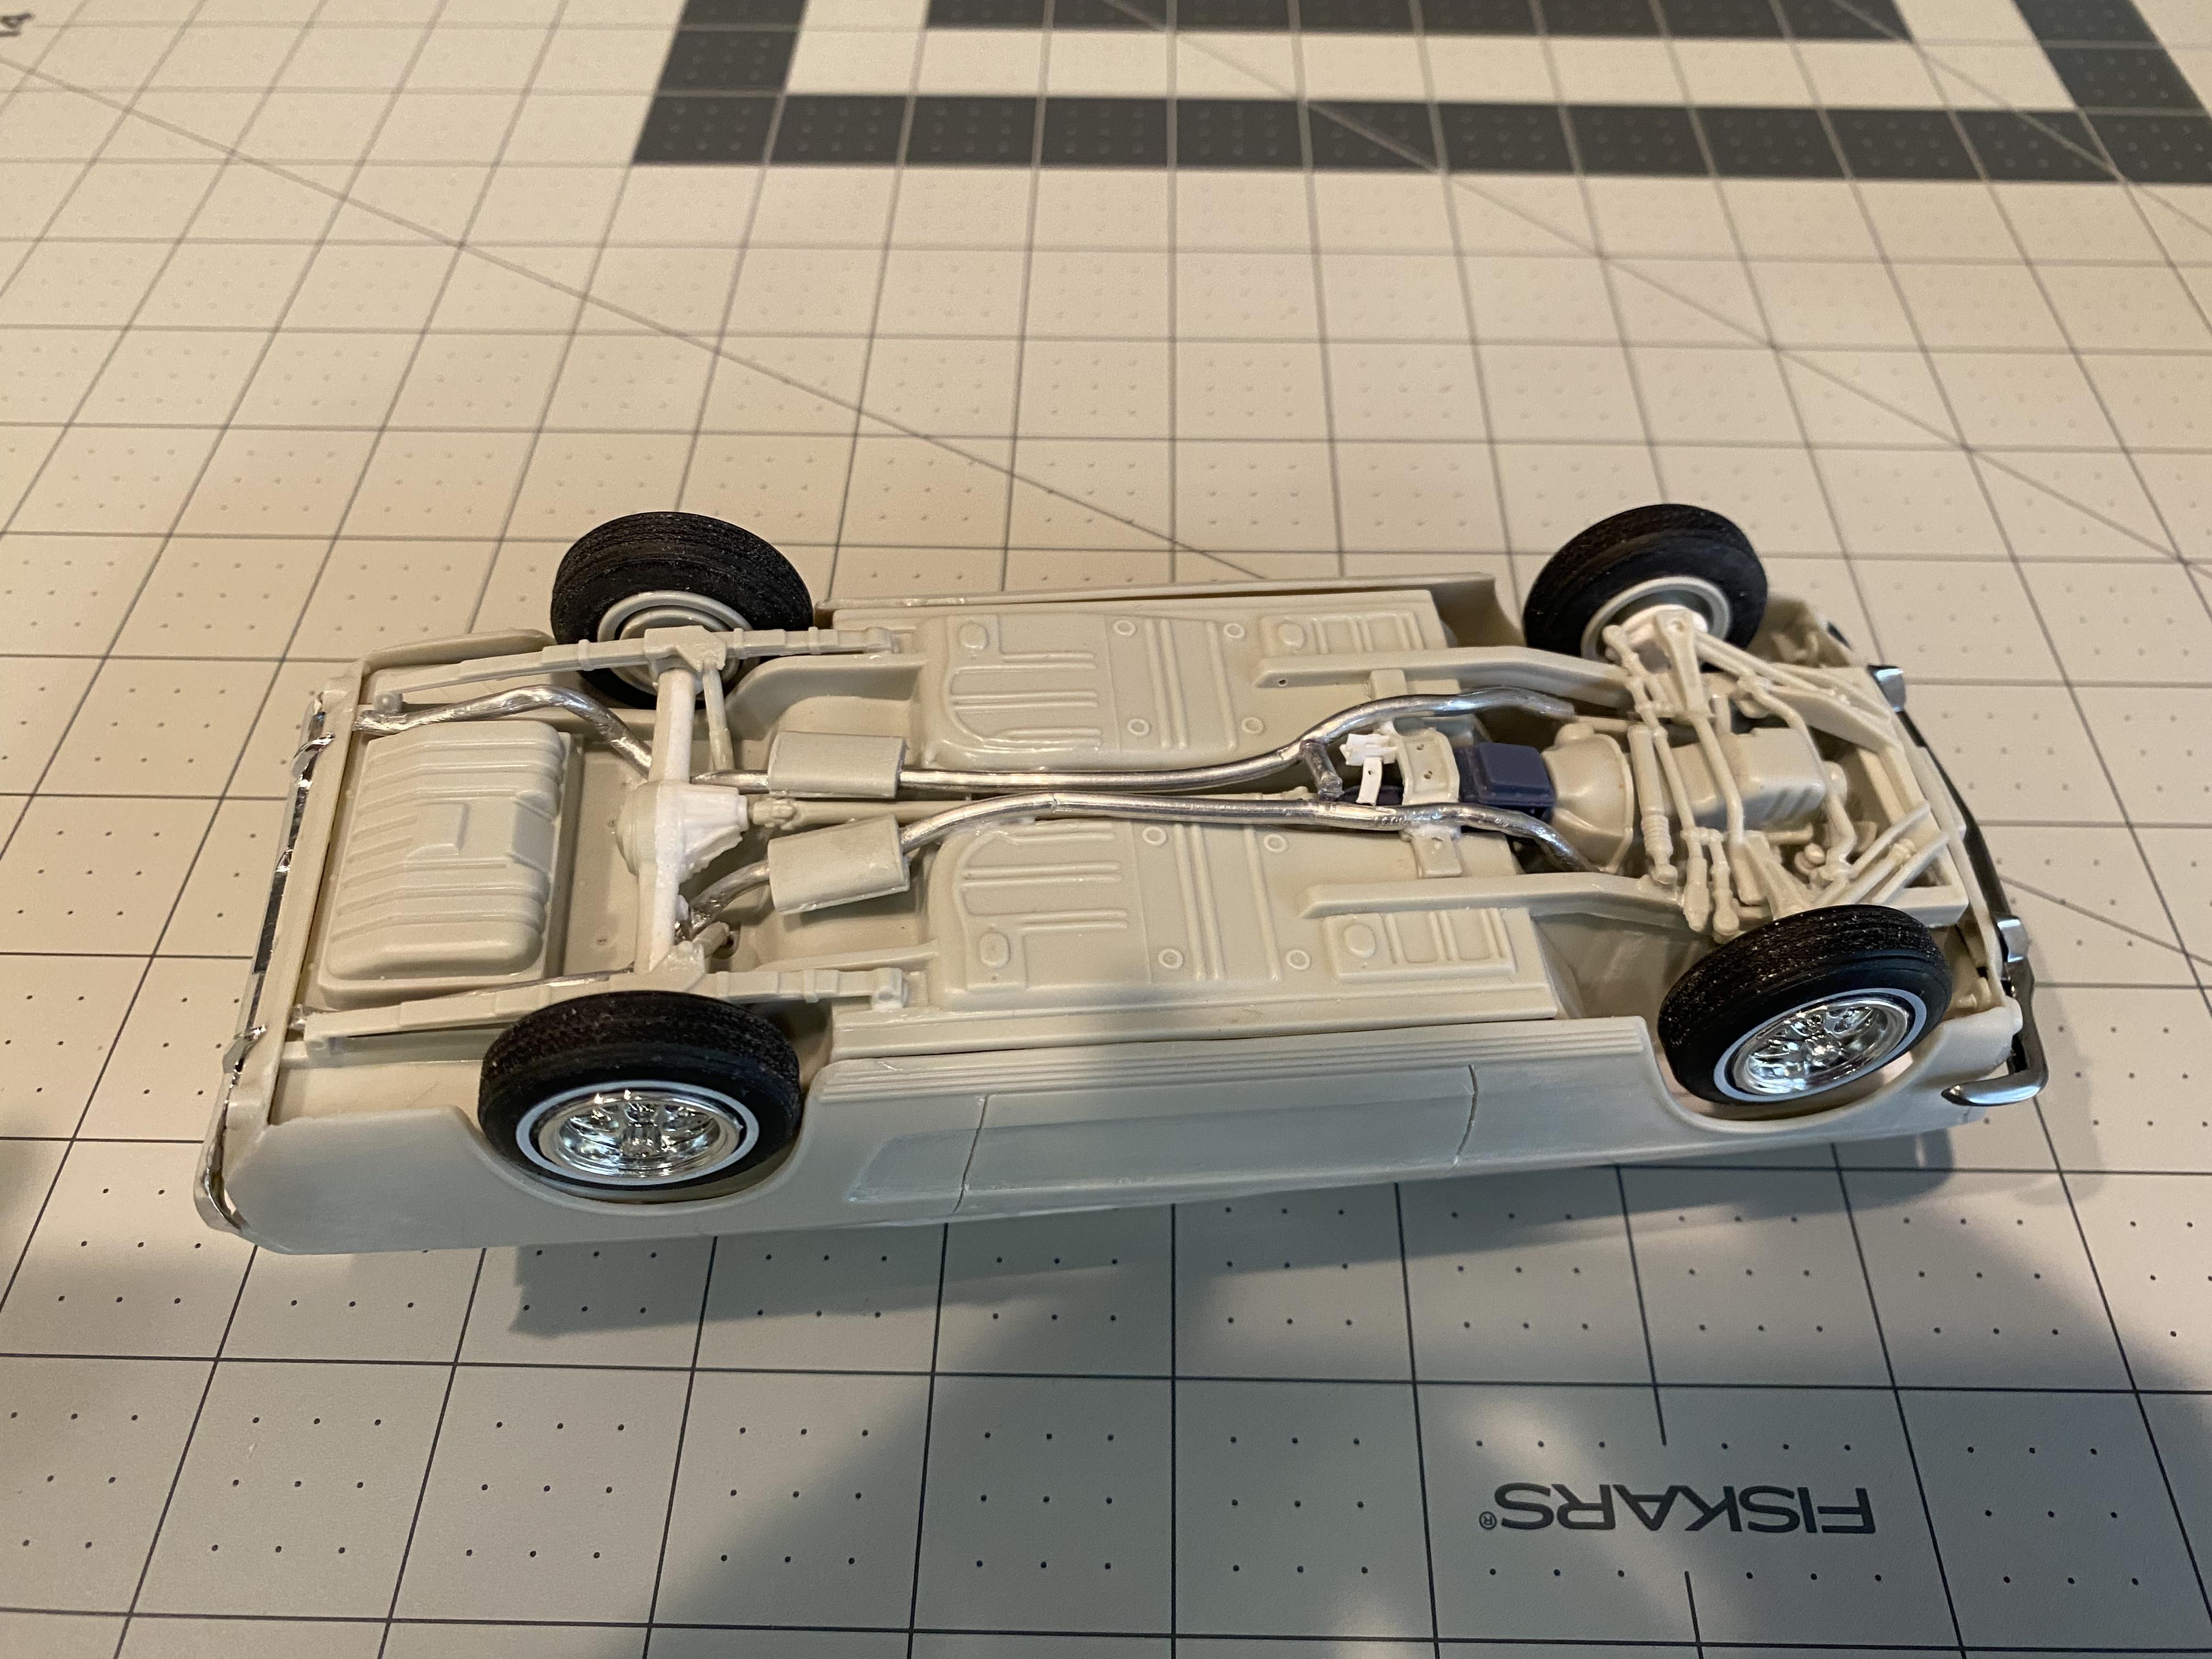
Got 2K clear on the body. Sadly got a run on the hood but I should be able to get it out when I wet sand and polish. Got quite a bit of detail painting, chassis detailing with fuel, brake lines and emergency brake wires. Started detailing the engine compartment.
-
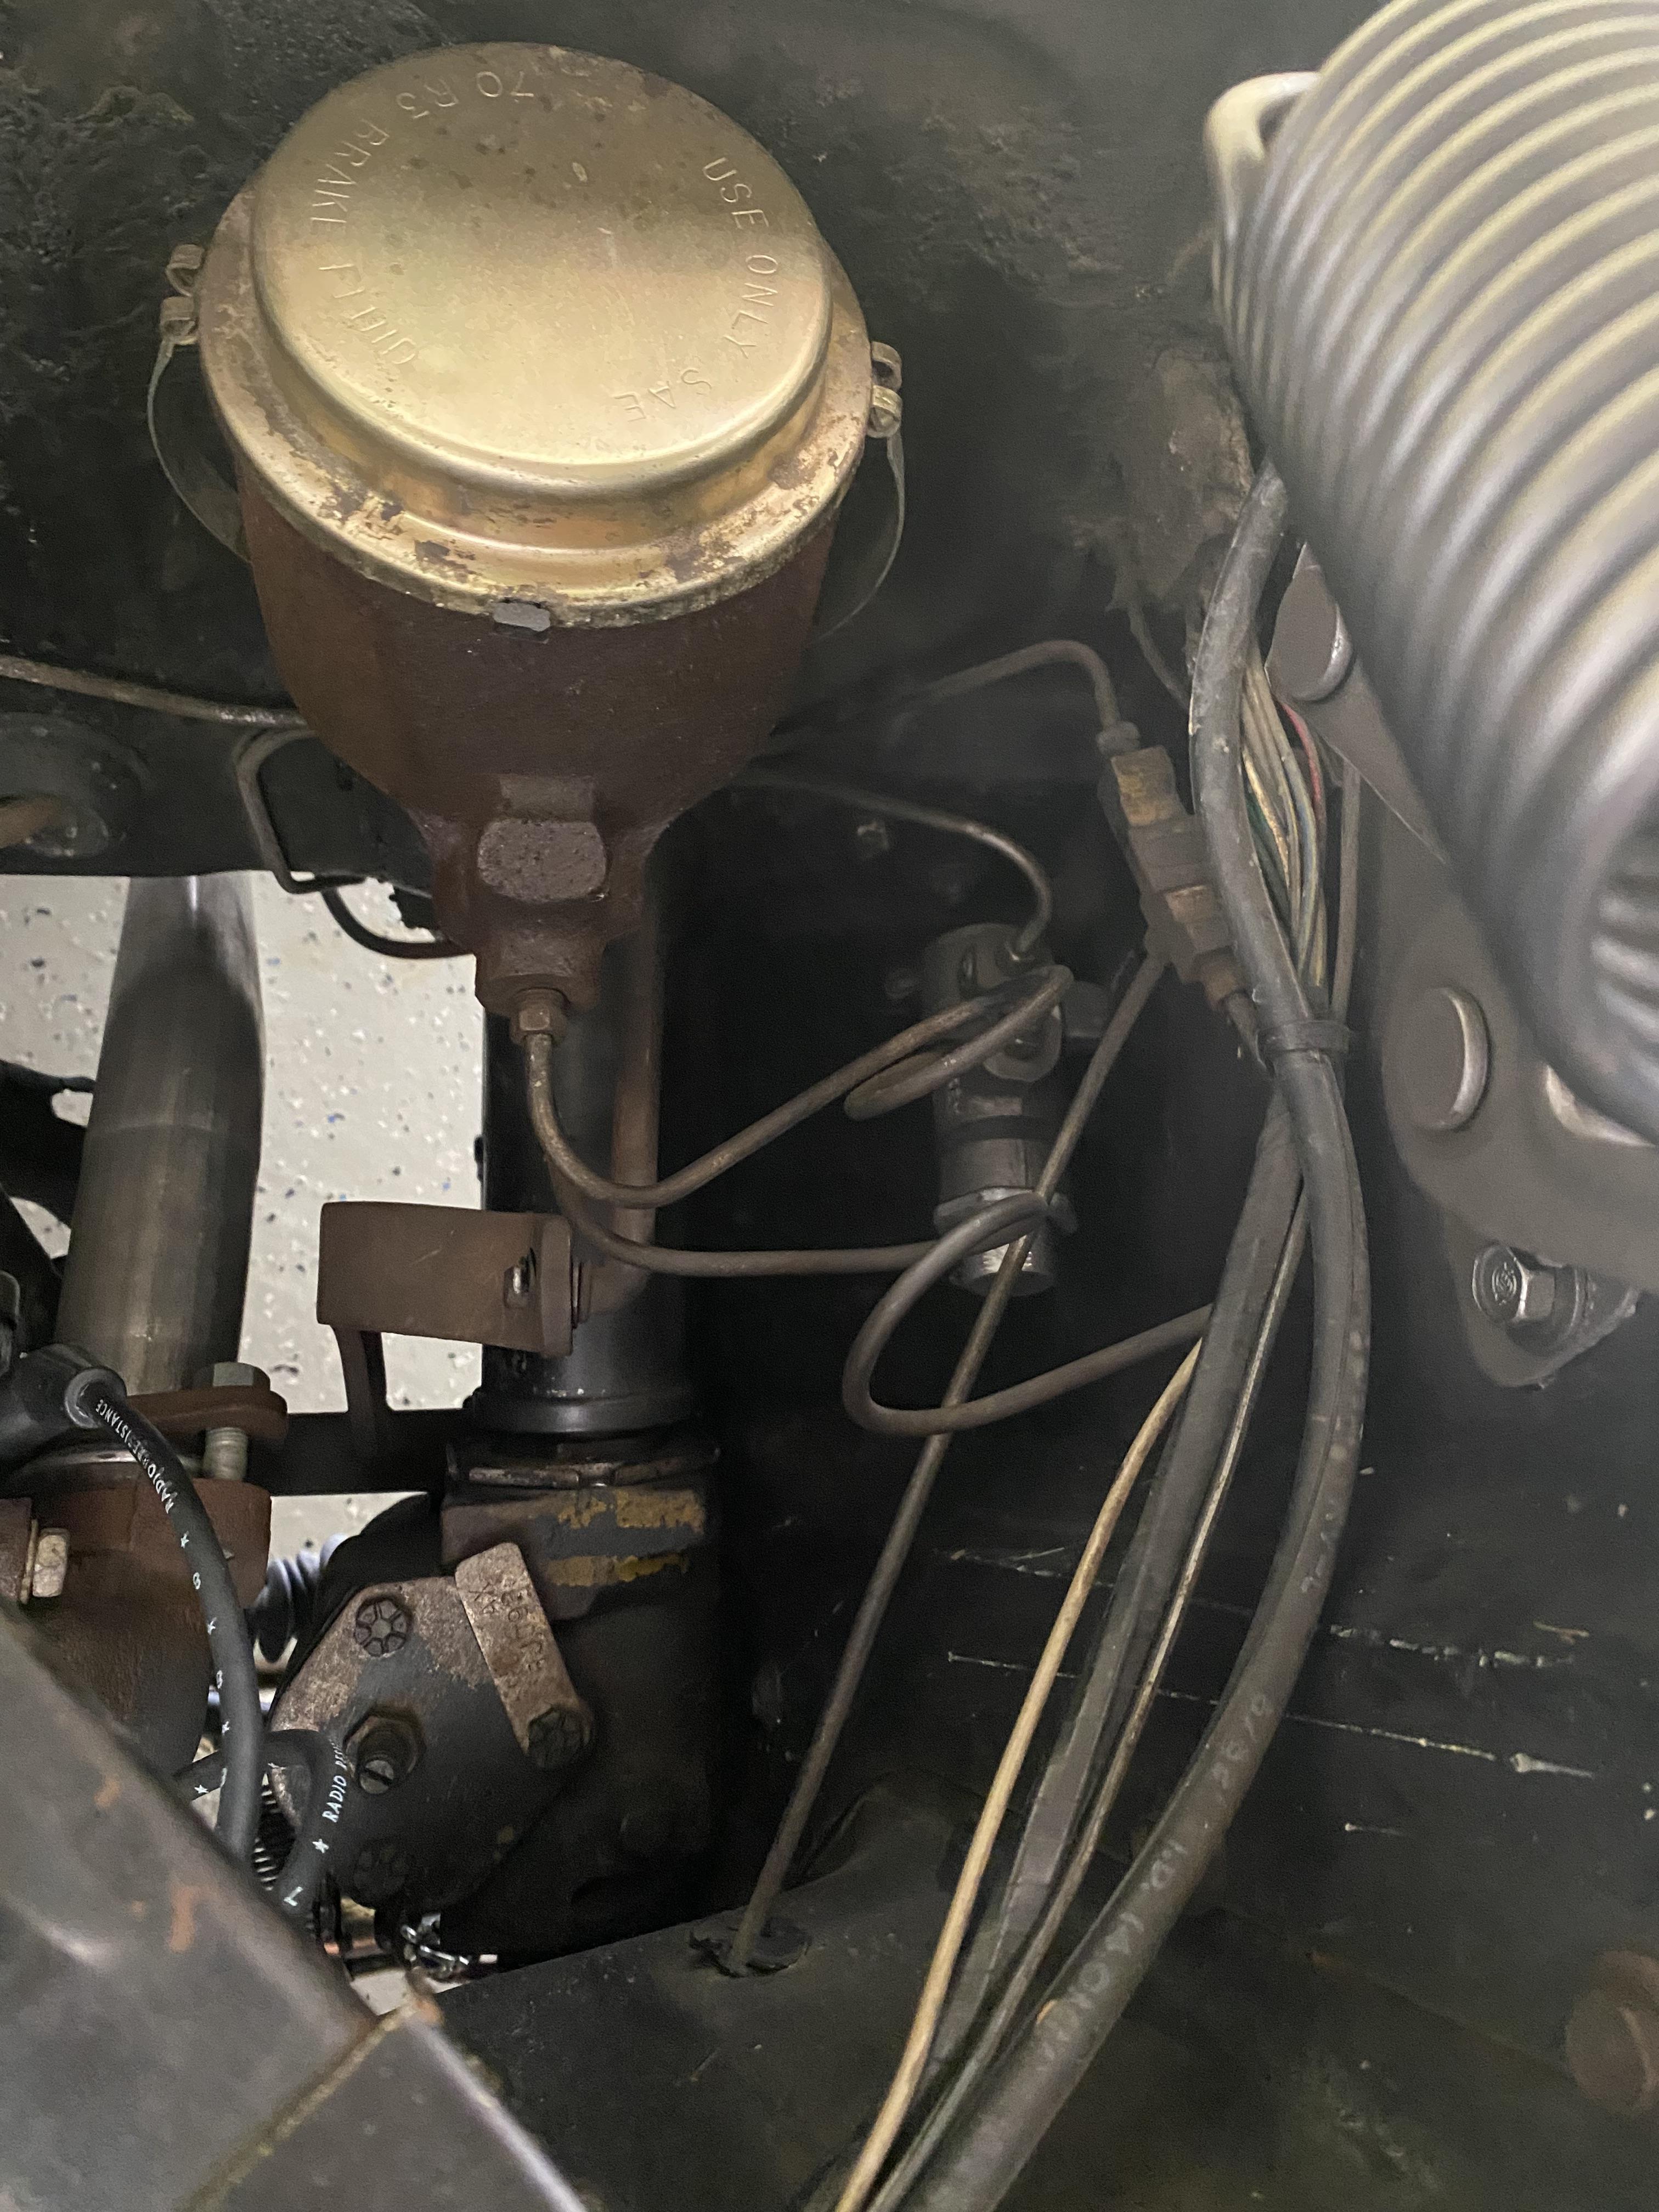
The photo etch kit from Model car garage would make a world of difference for the grill too. A little late now but I always use super gloss Mod Podge to install clear lenses. That way they don’t fog. The master cylinder for a disk brake 1966 mustang.
-
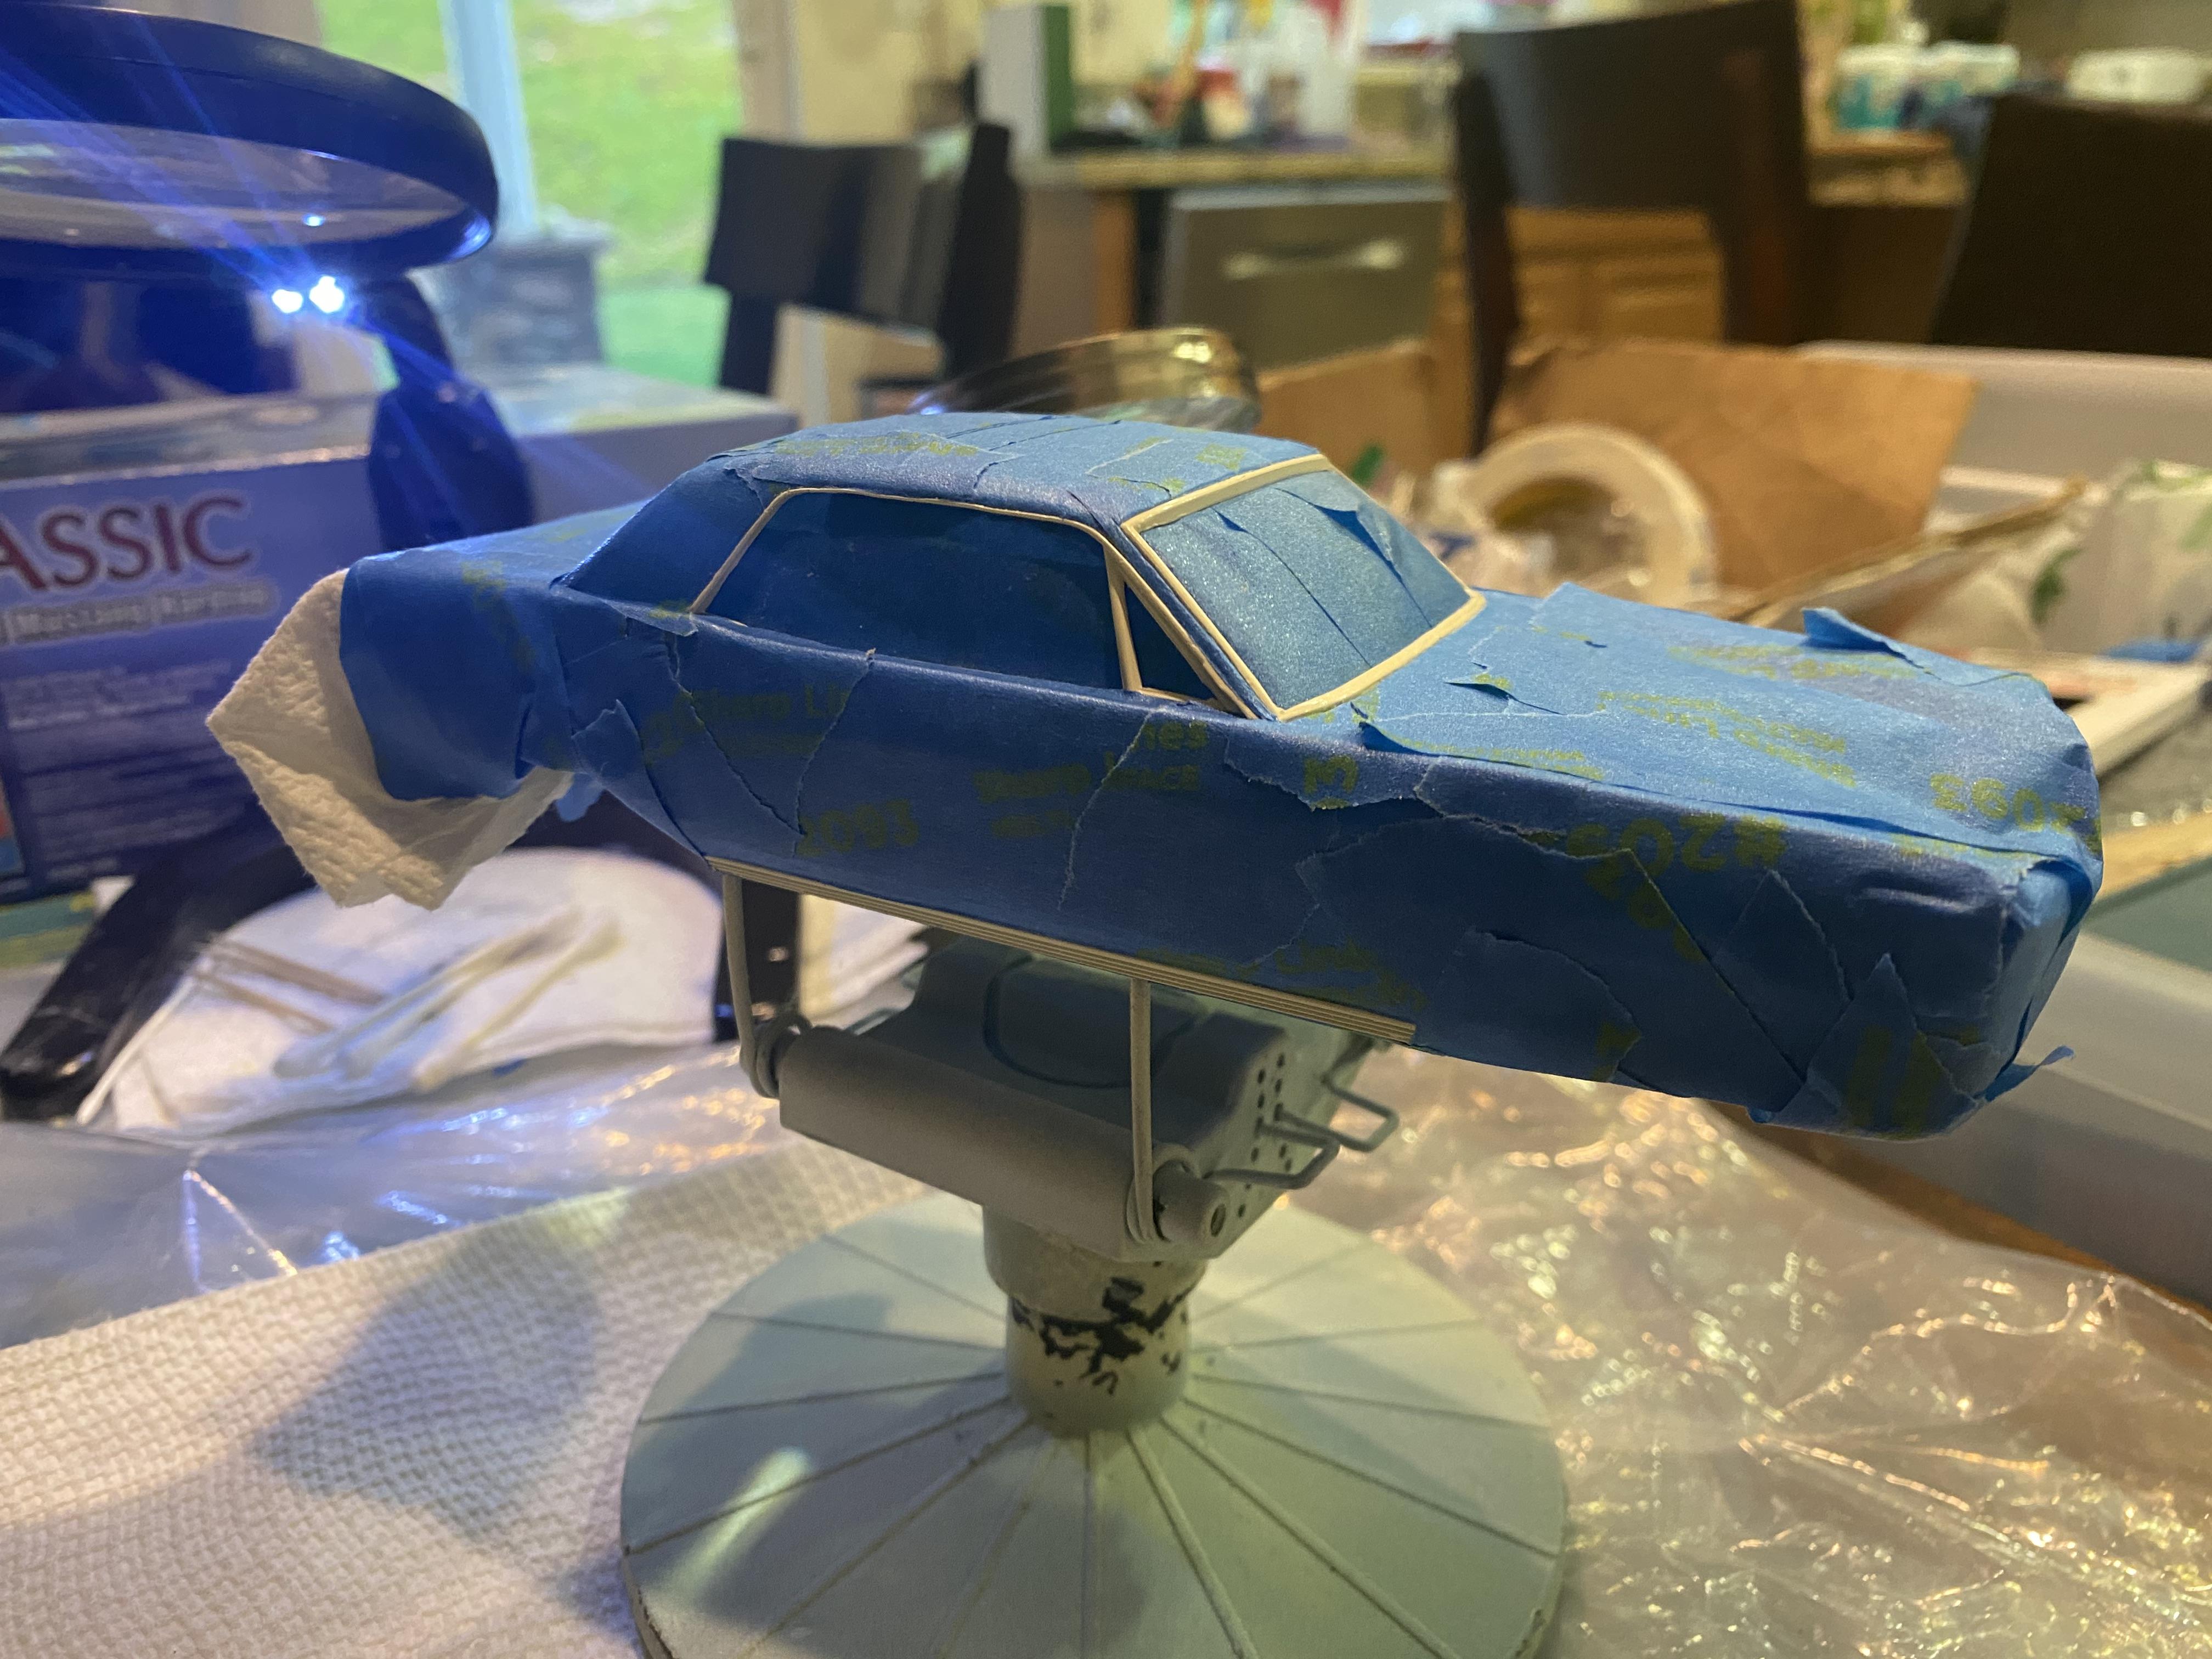
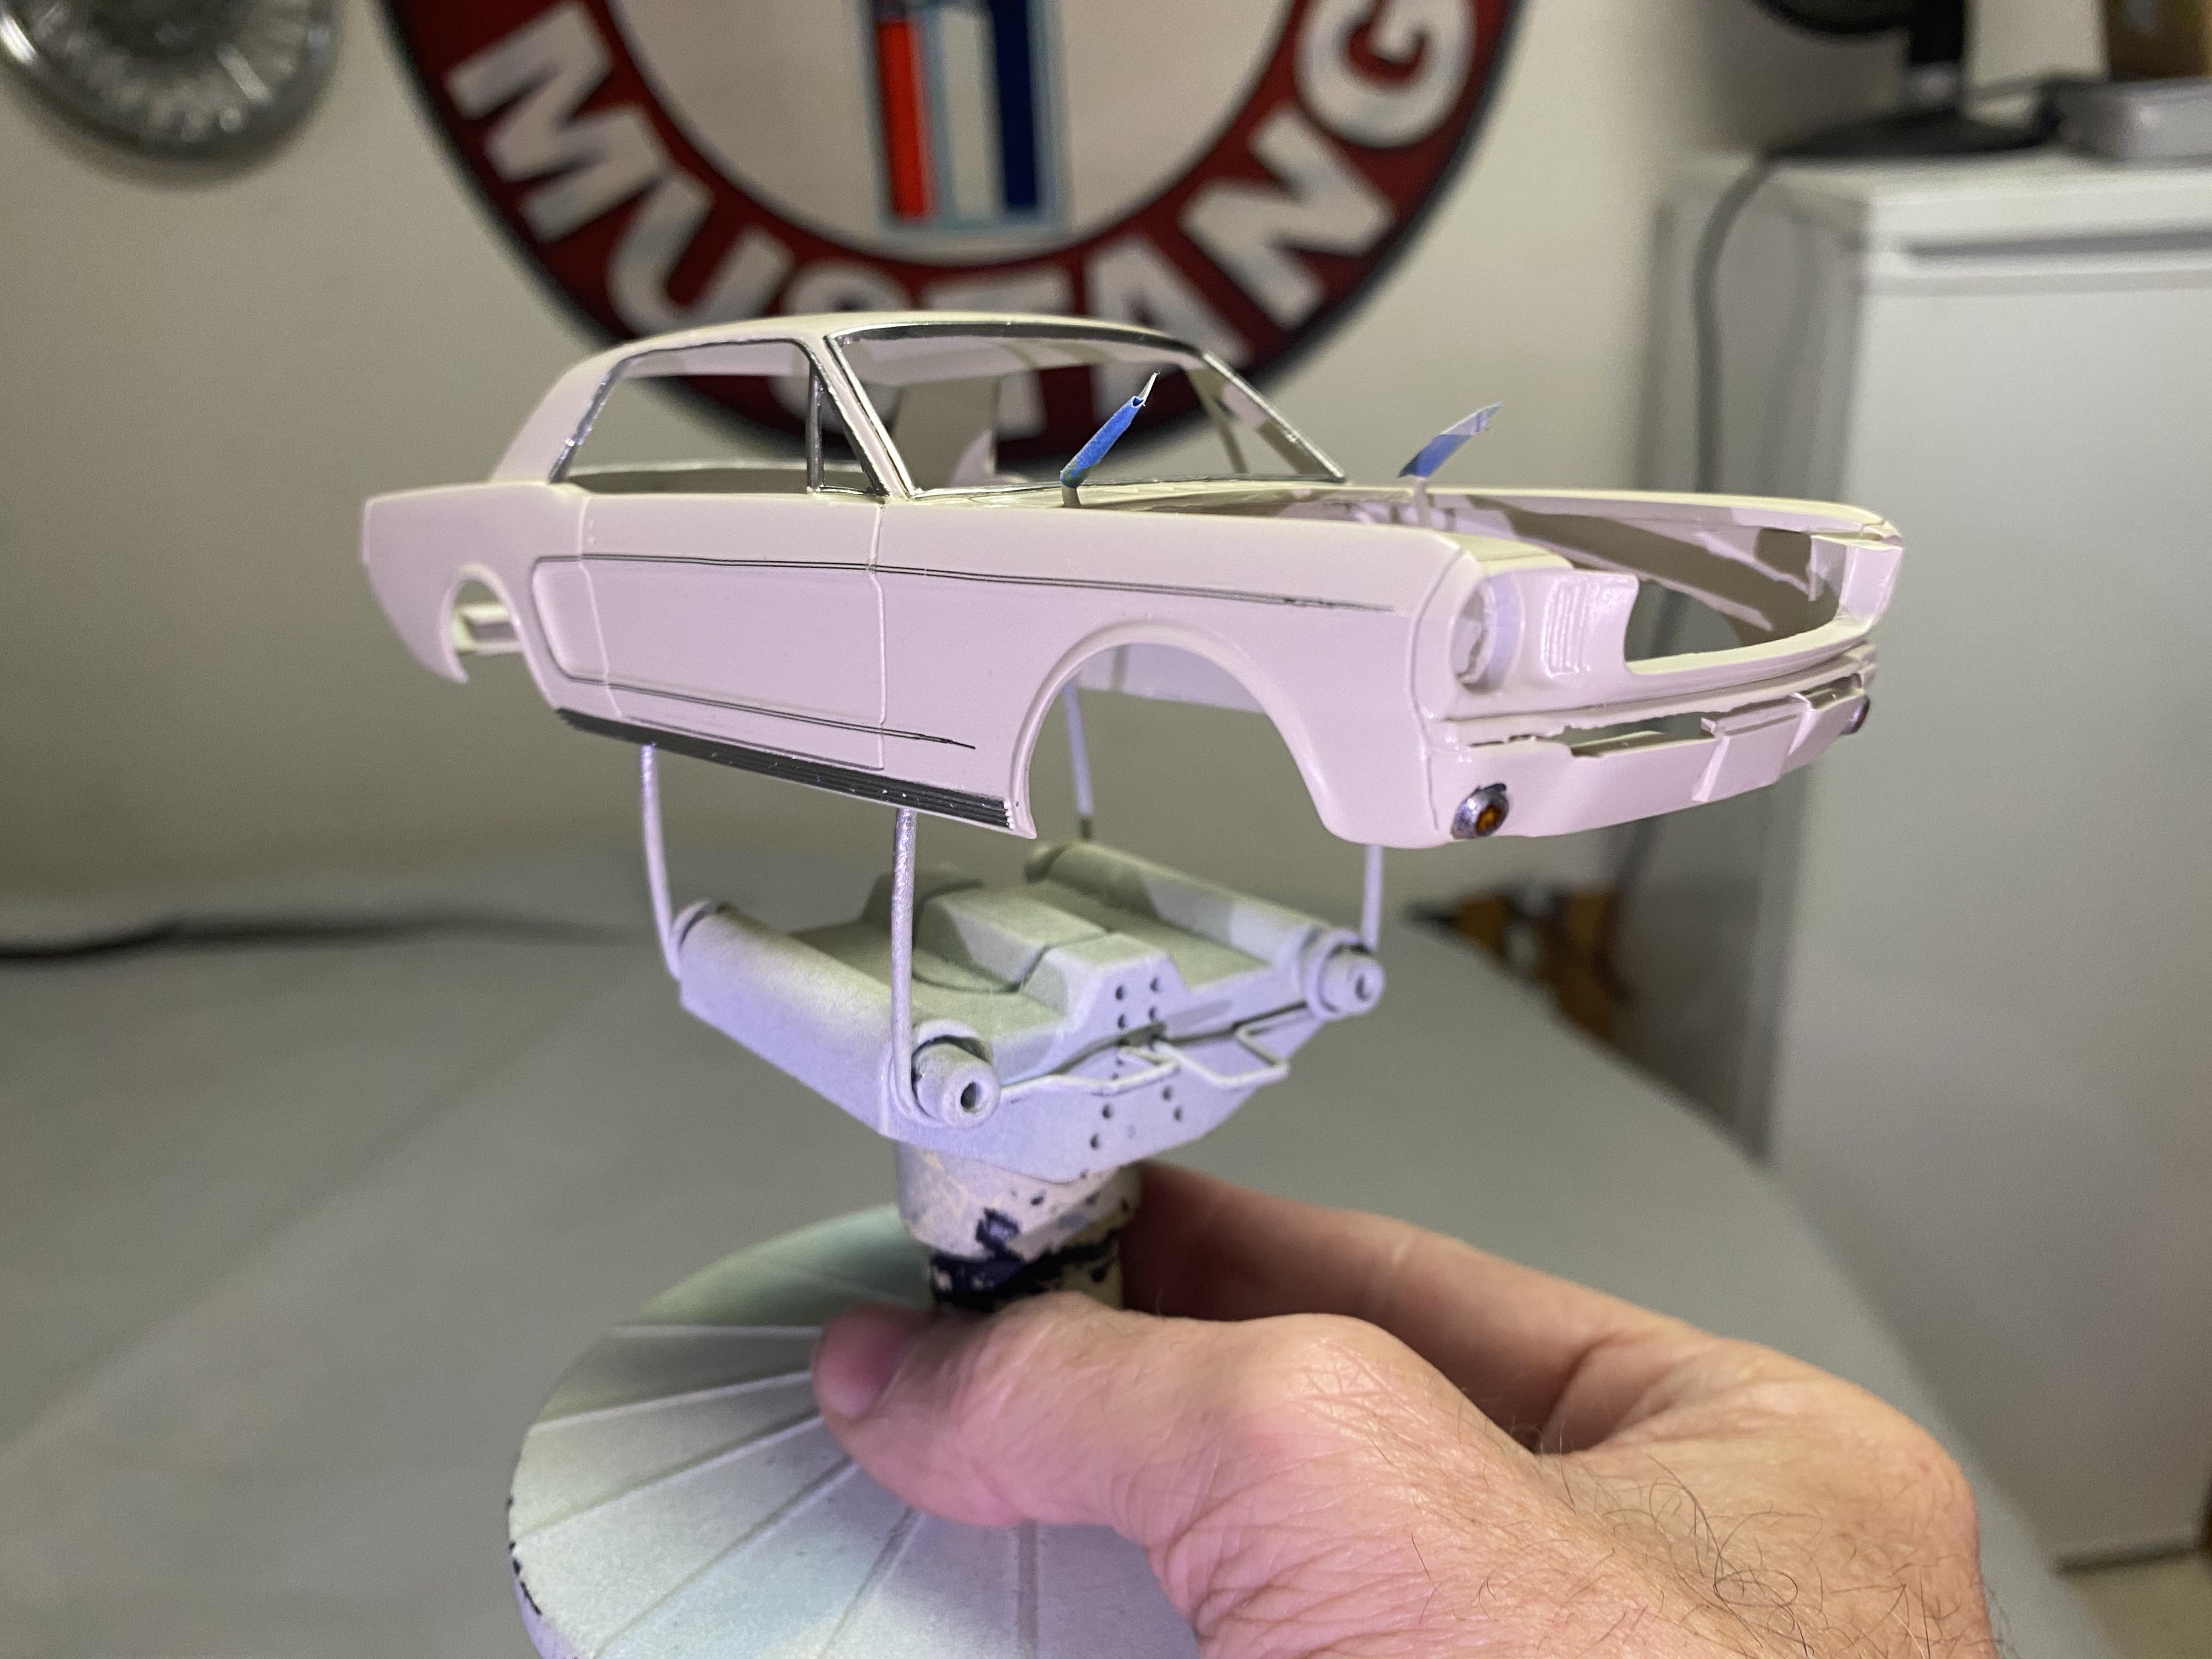
Added the pin stripe decals, molotow chromed the trim. Now I patiently wait 48-72 hours before I can 2K clear.
-
Interior is looking great!
-
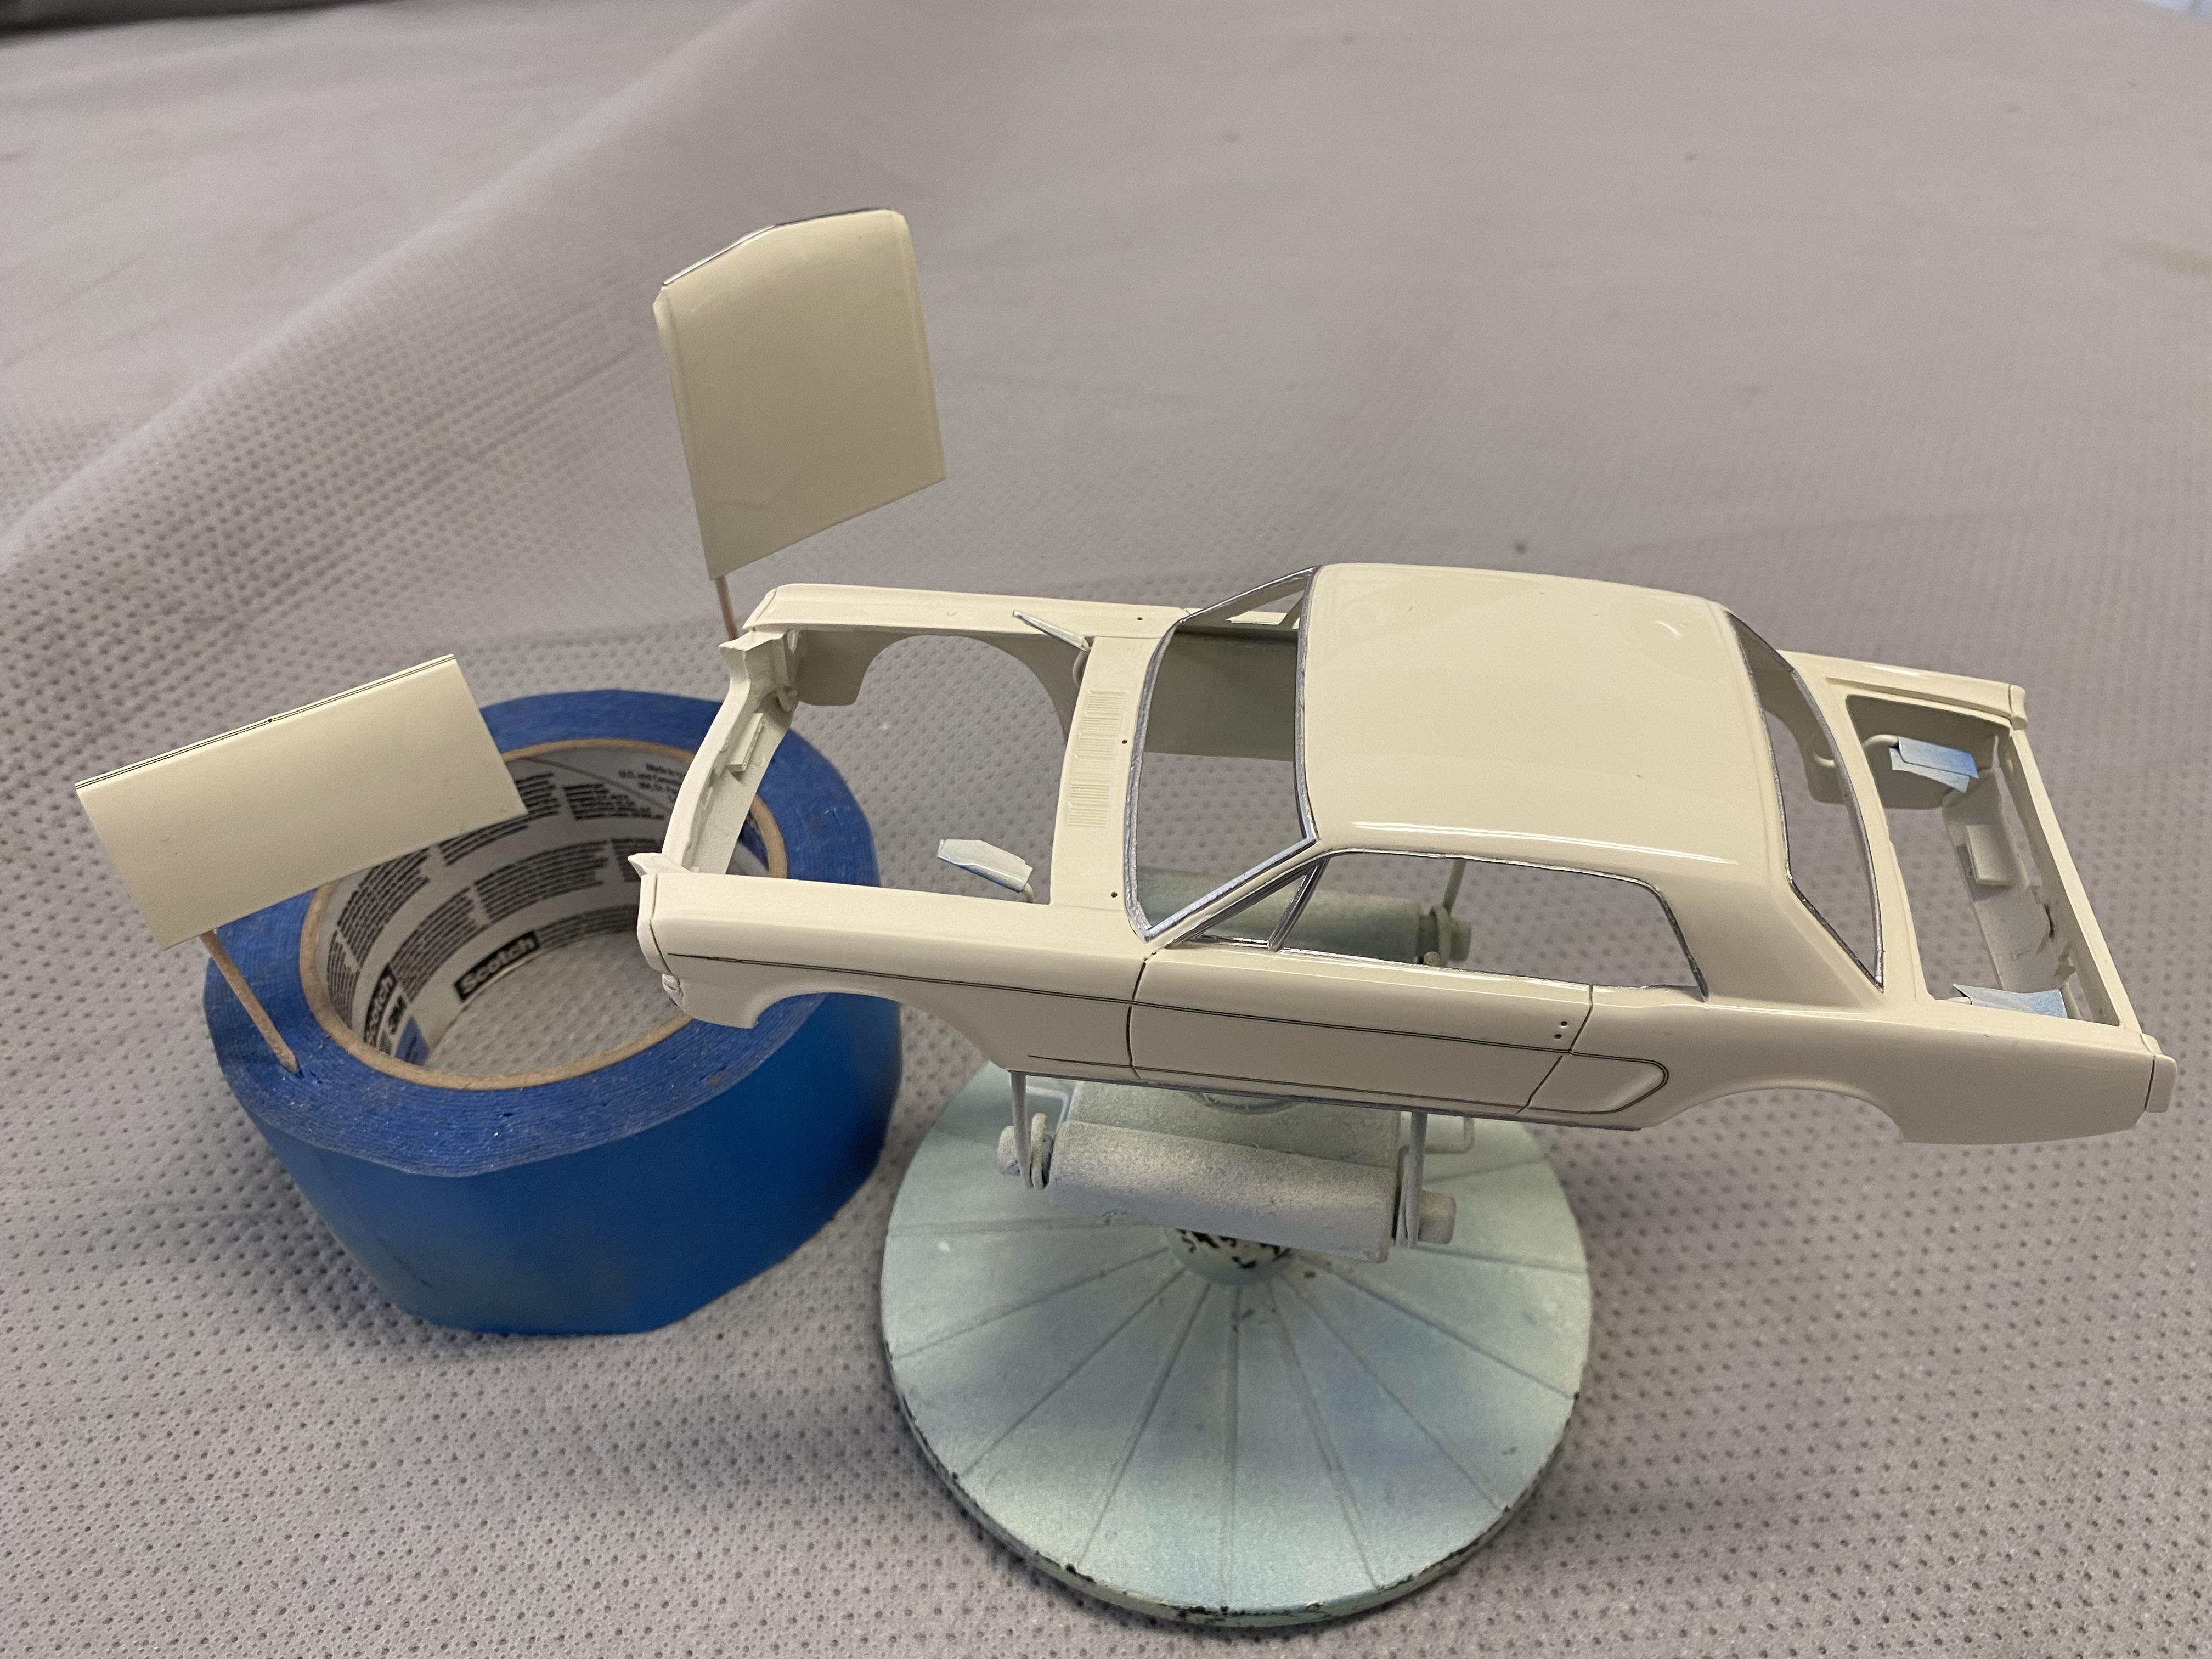
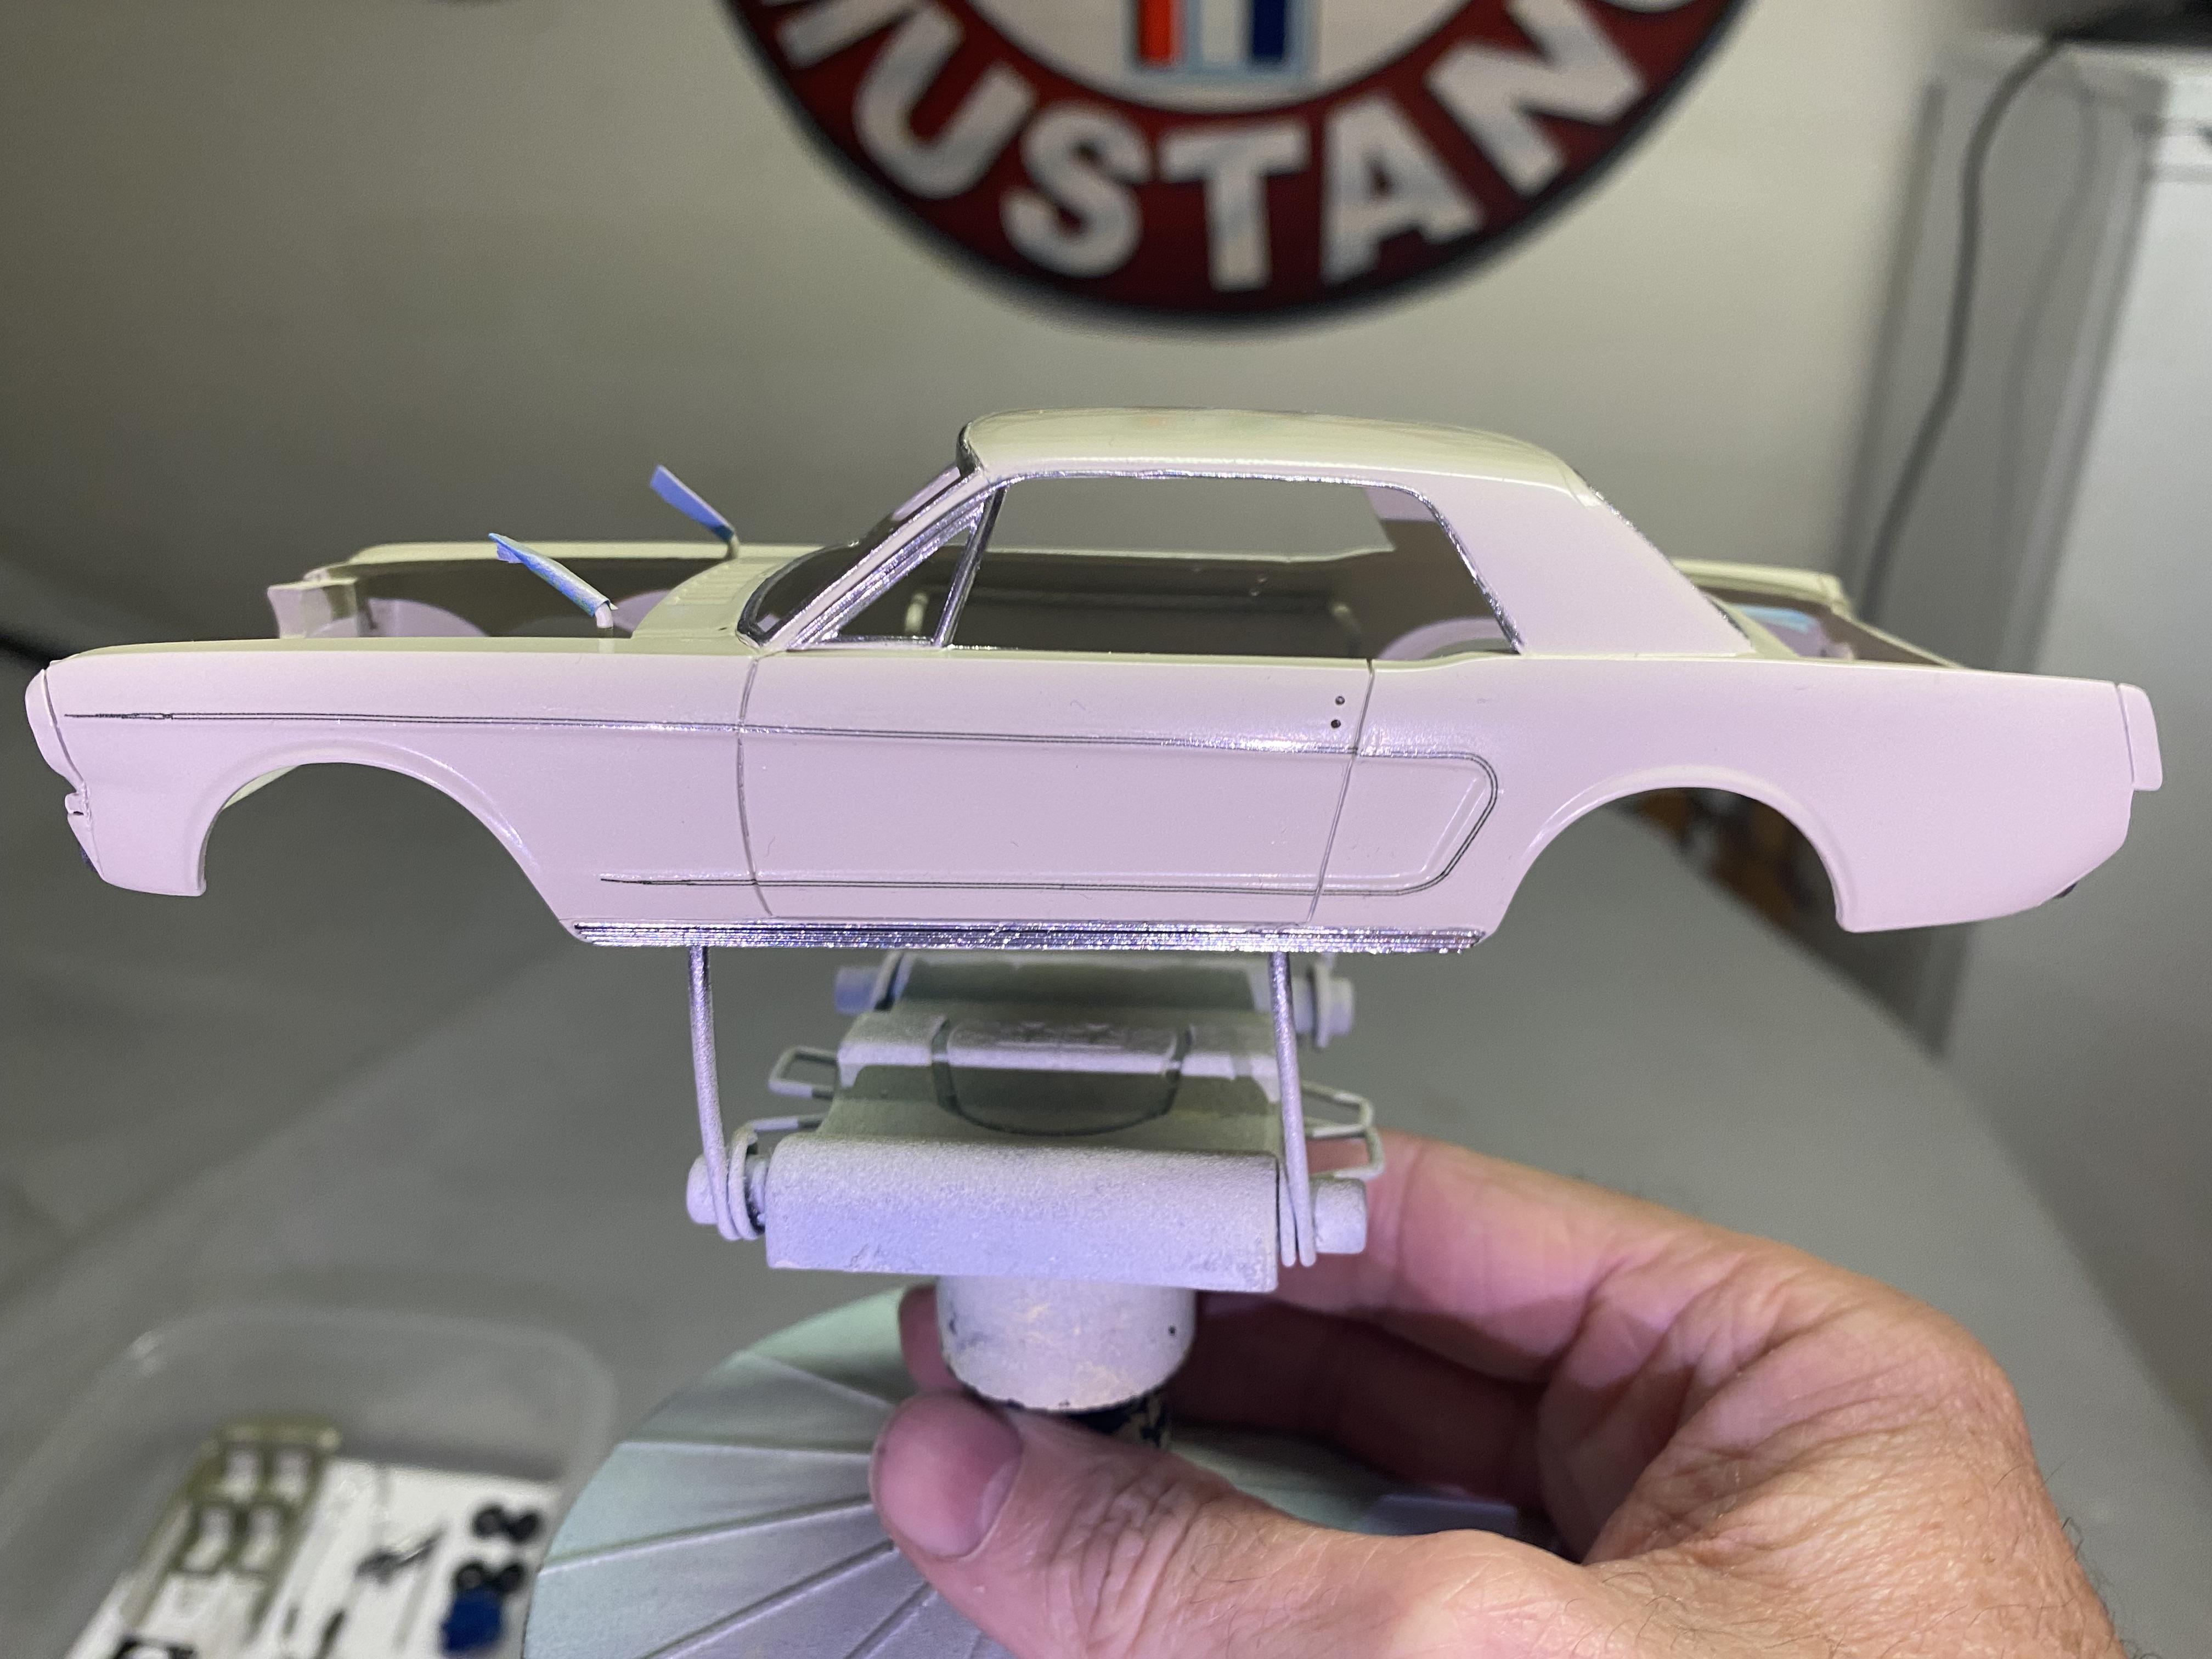
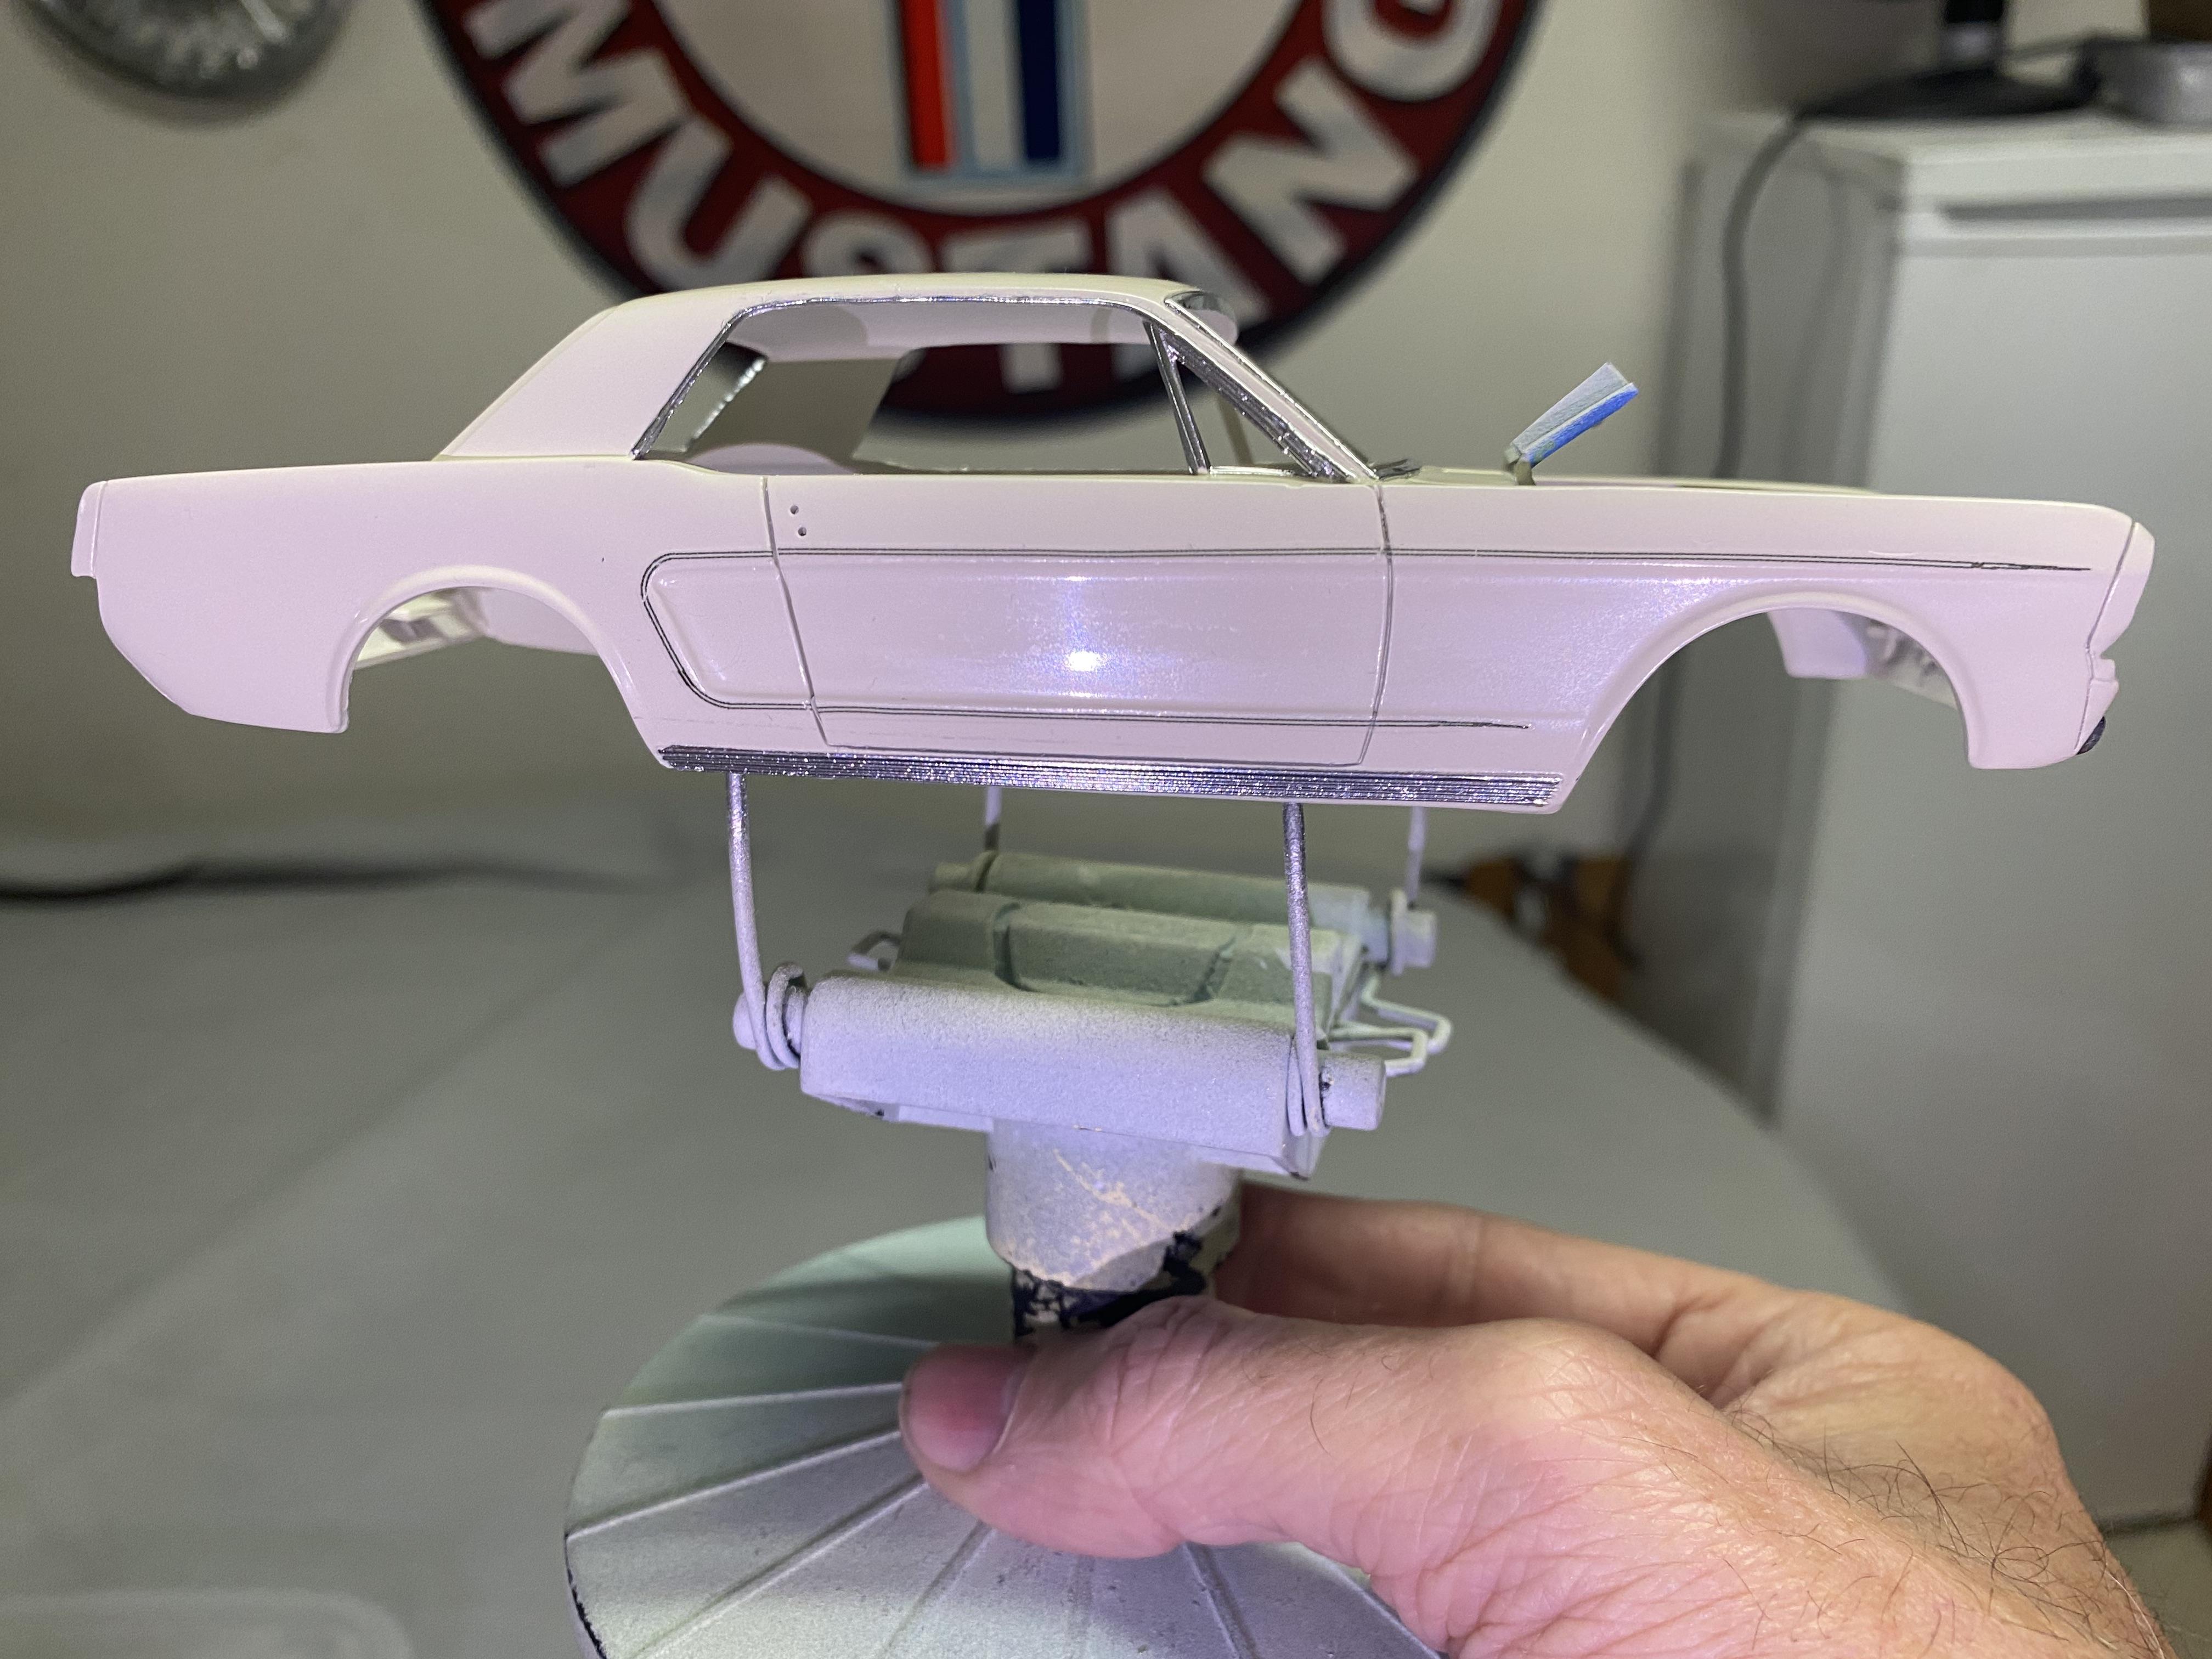
Body looks a lot better after wet sanding out the blemishes and lightly respraying. Now wait to cure before Molotow chrome for the window trim, then waiting again to add decals and 2K clear. This part is a slow process.
-
Beautiful build and great color choice!
-
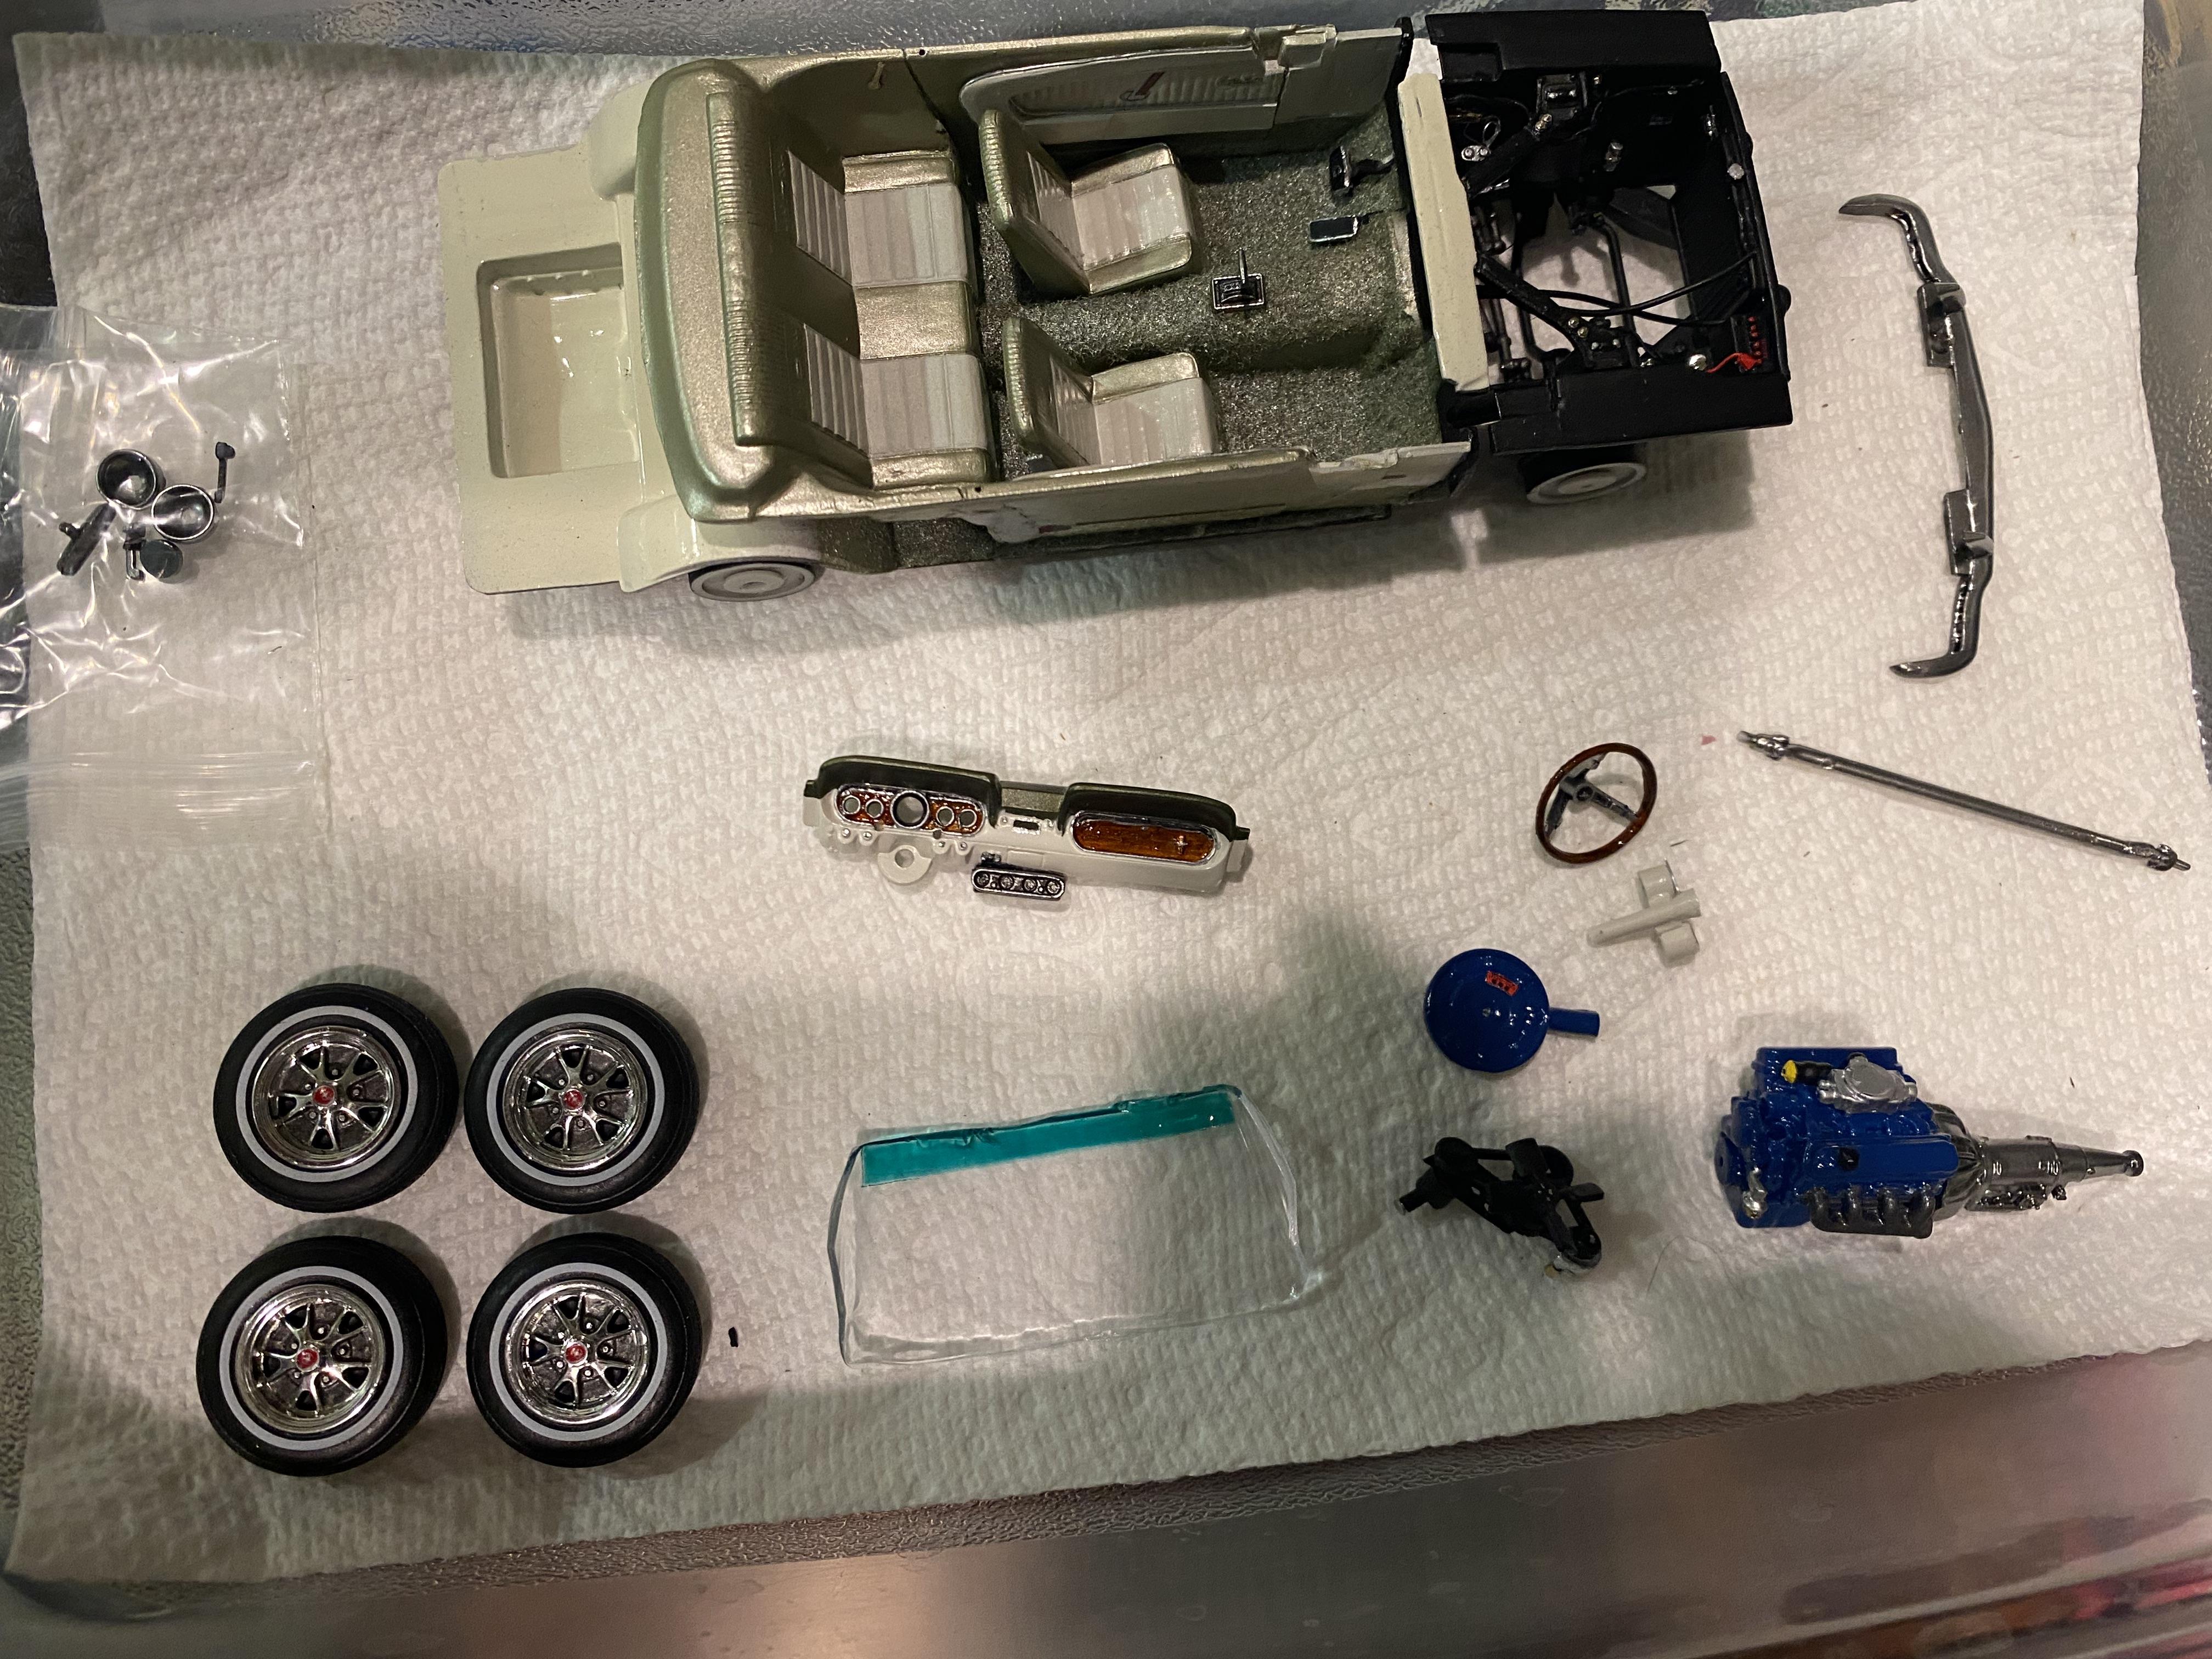
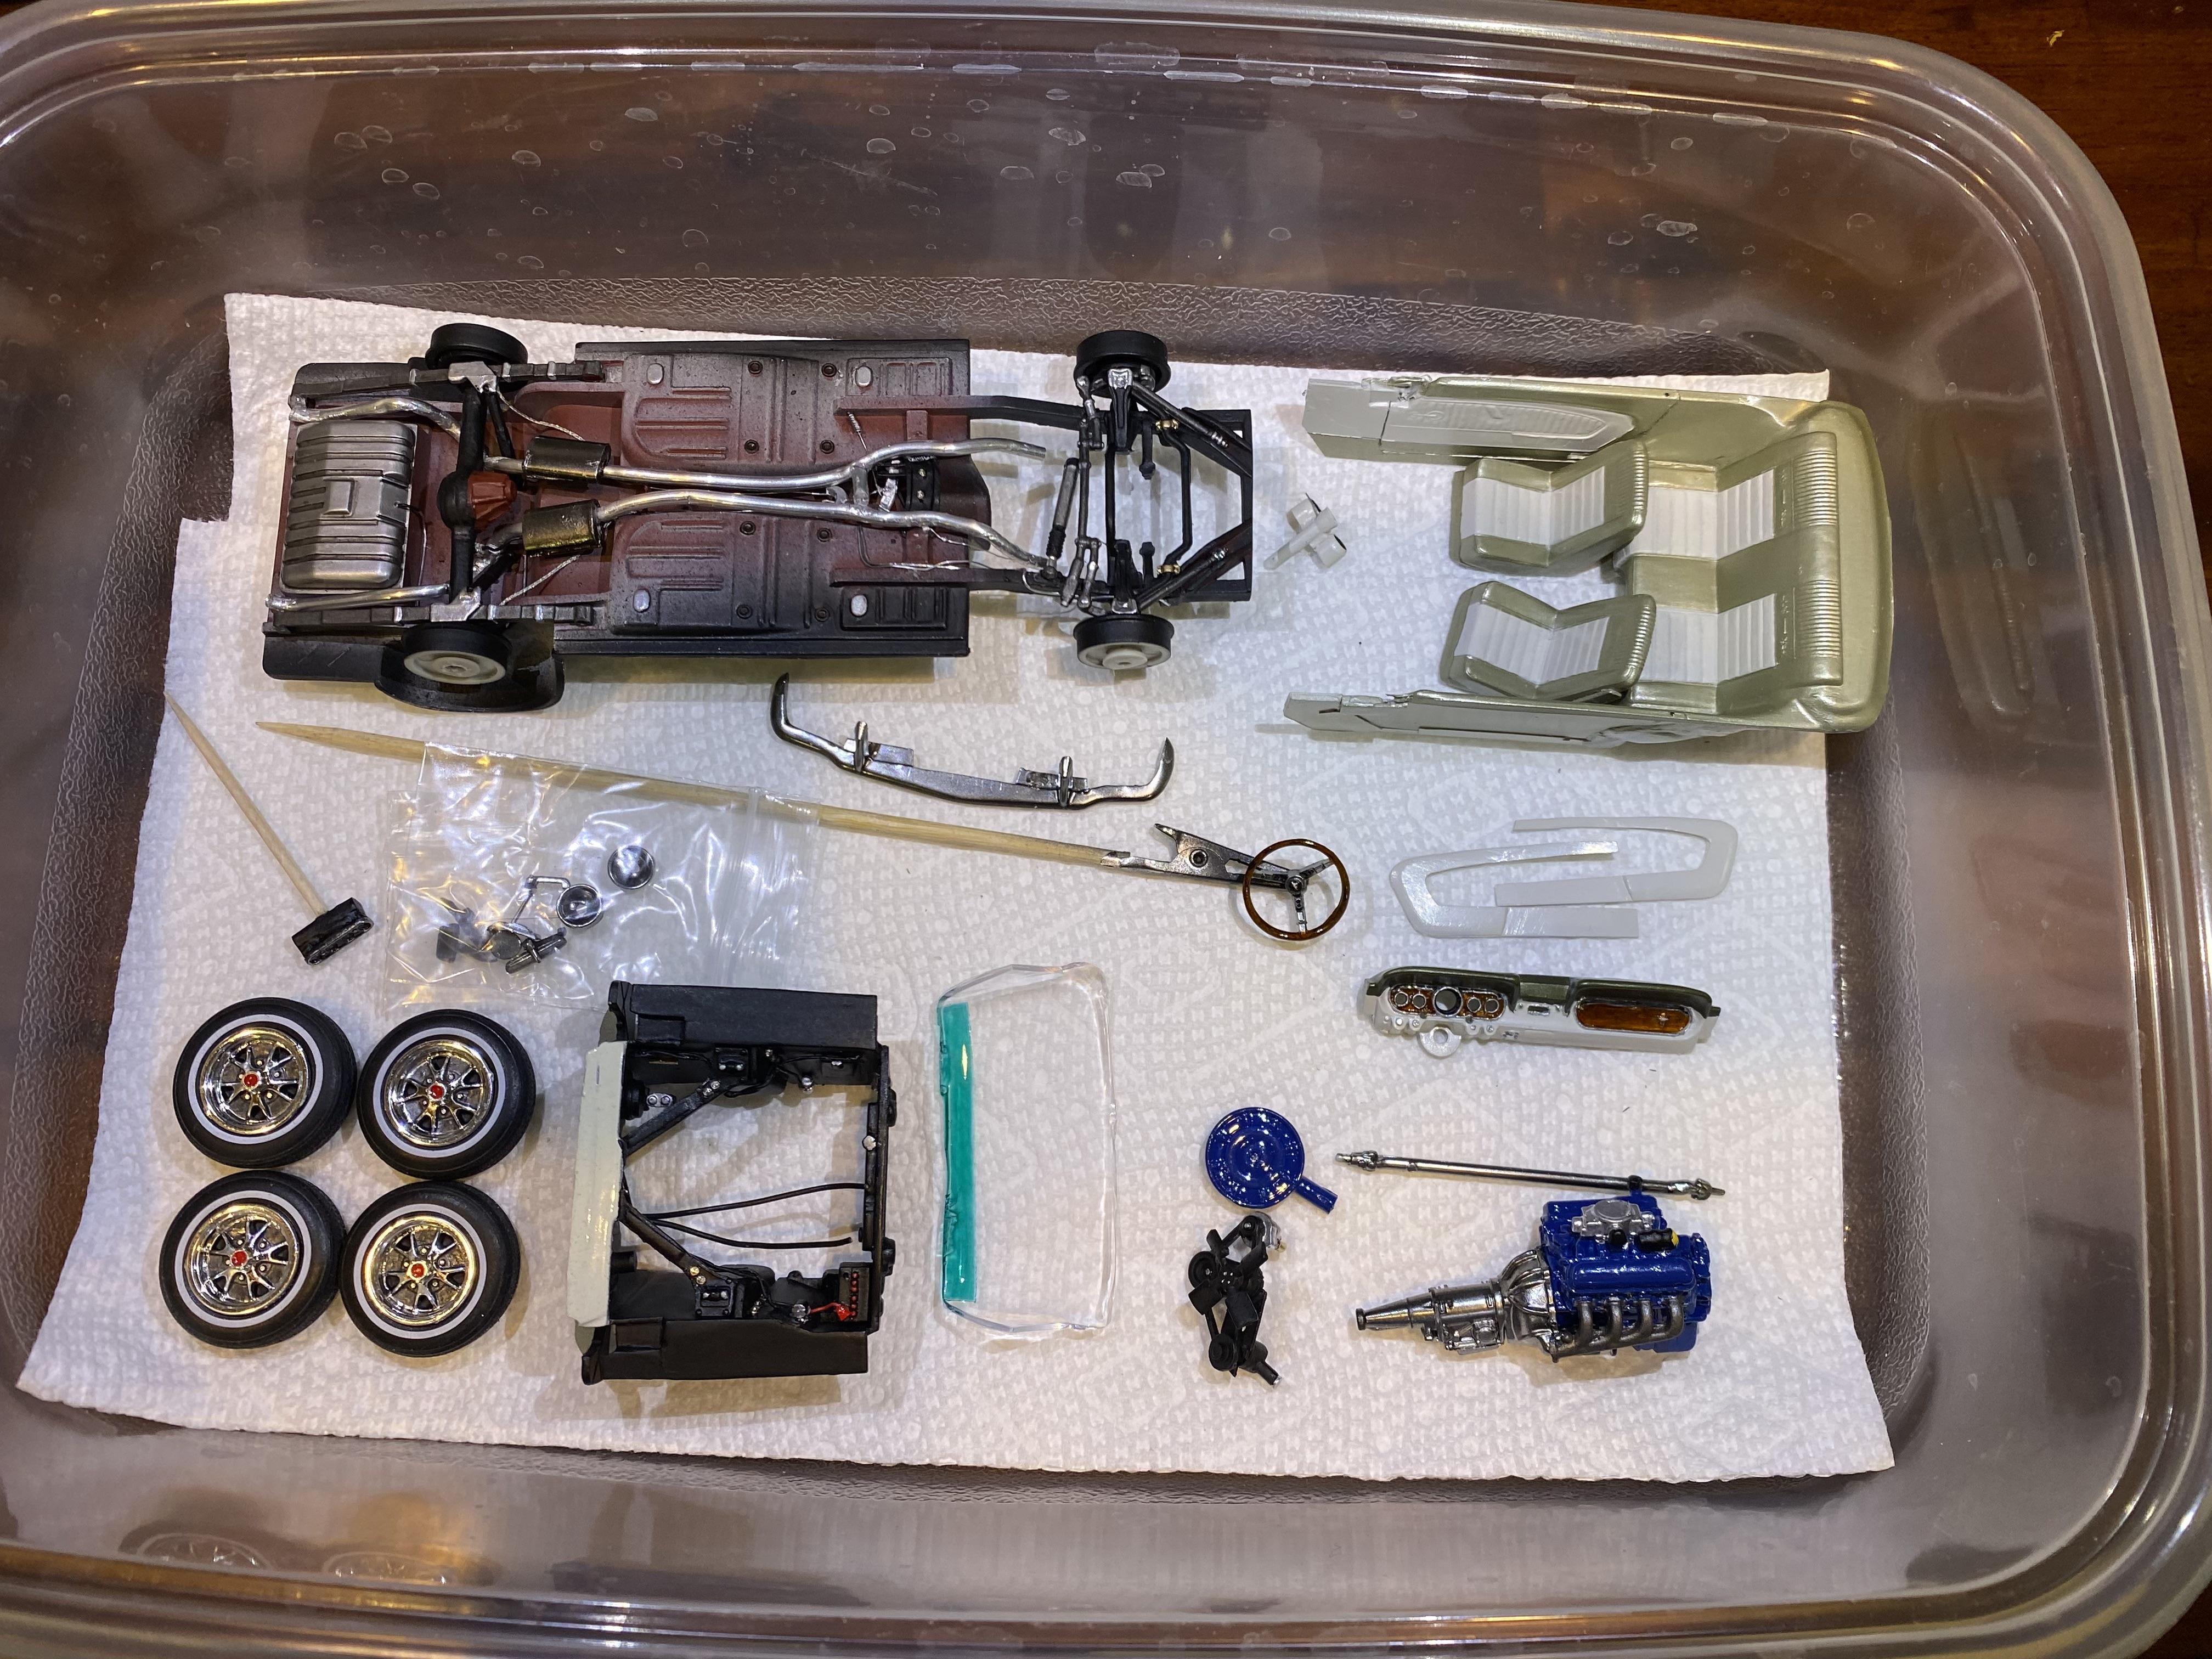
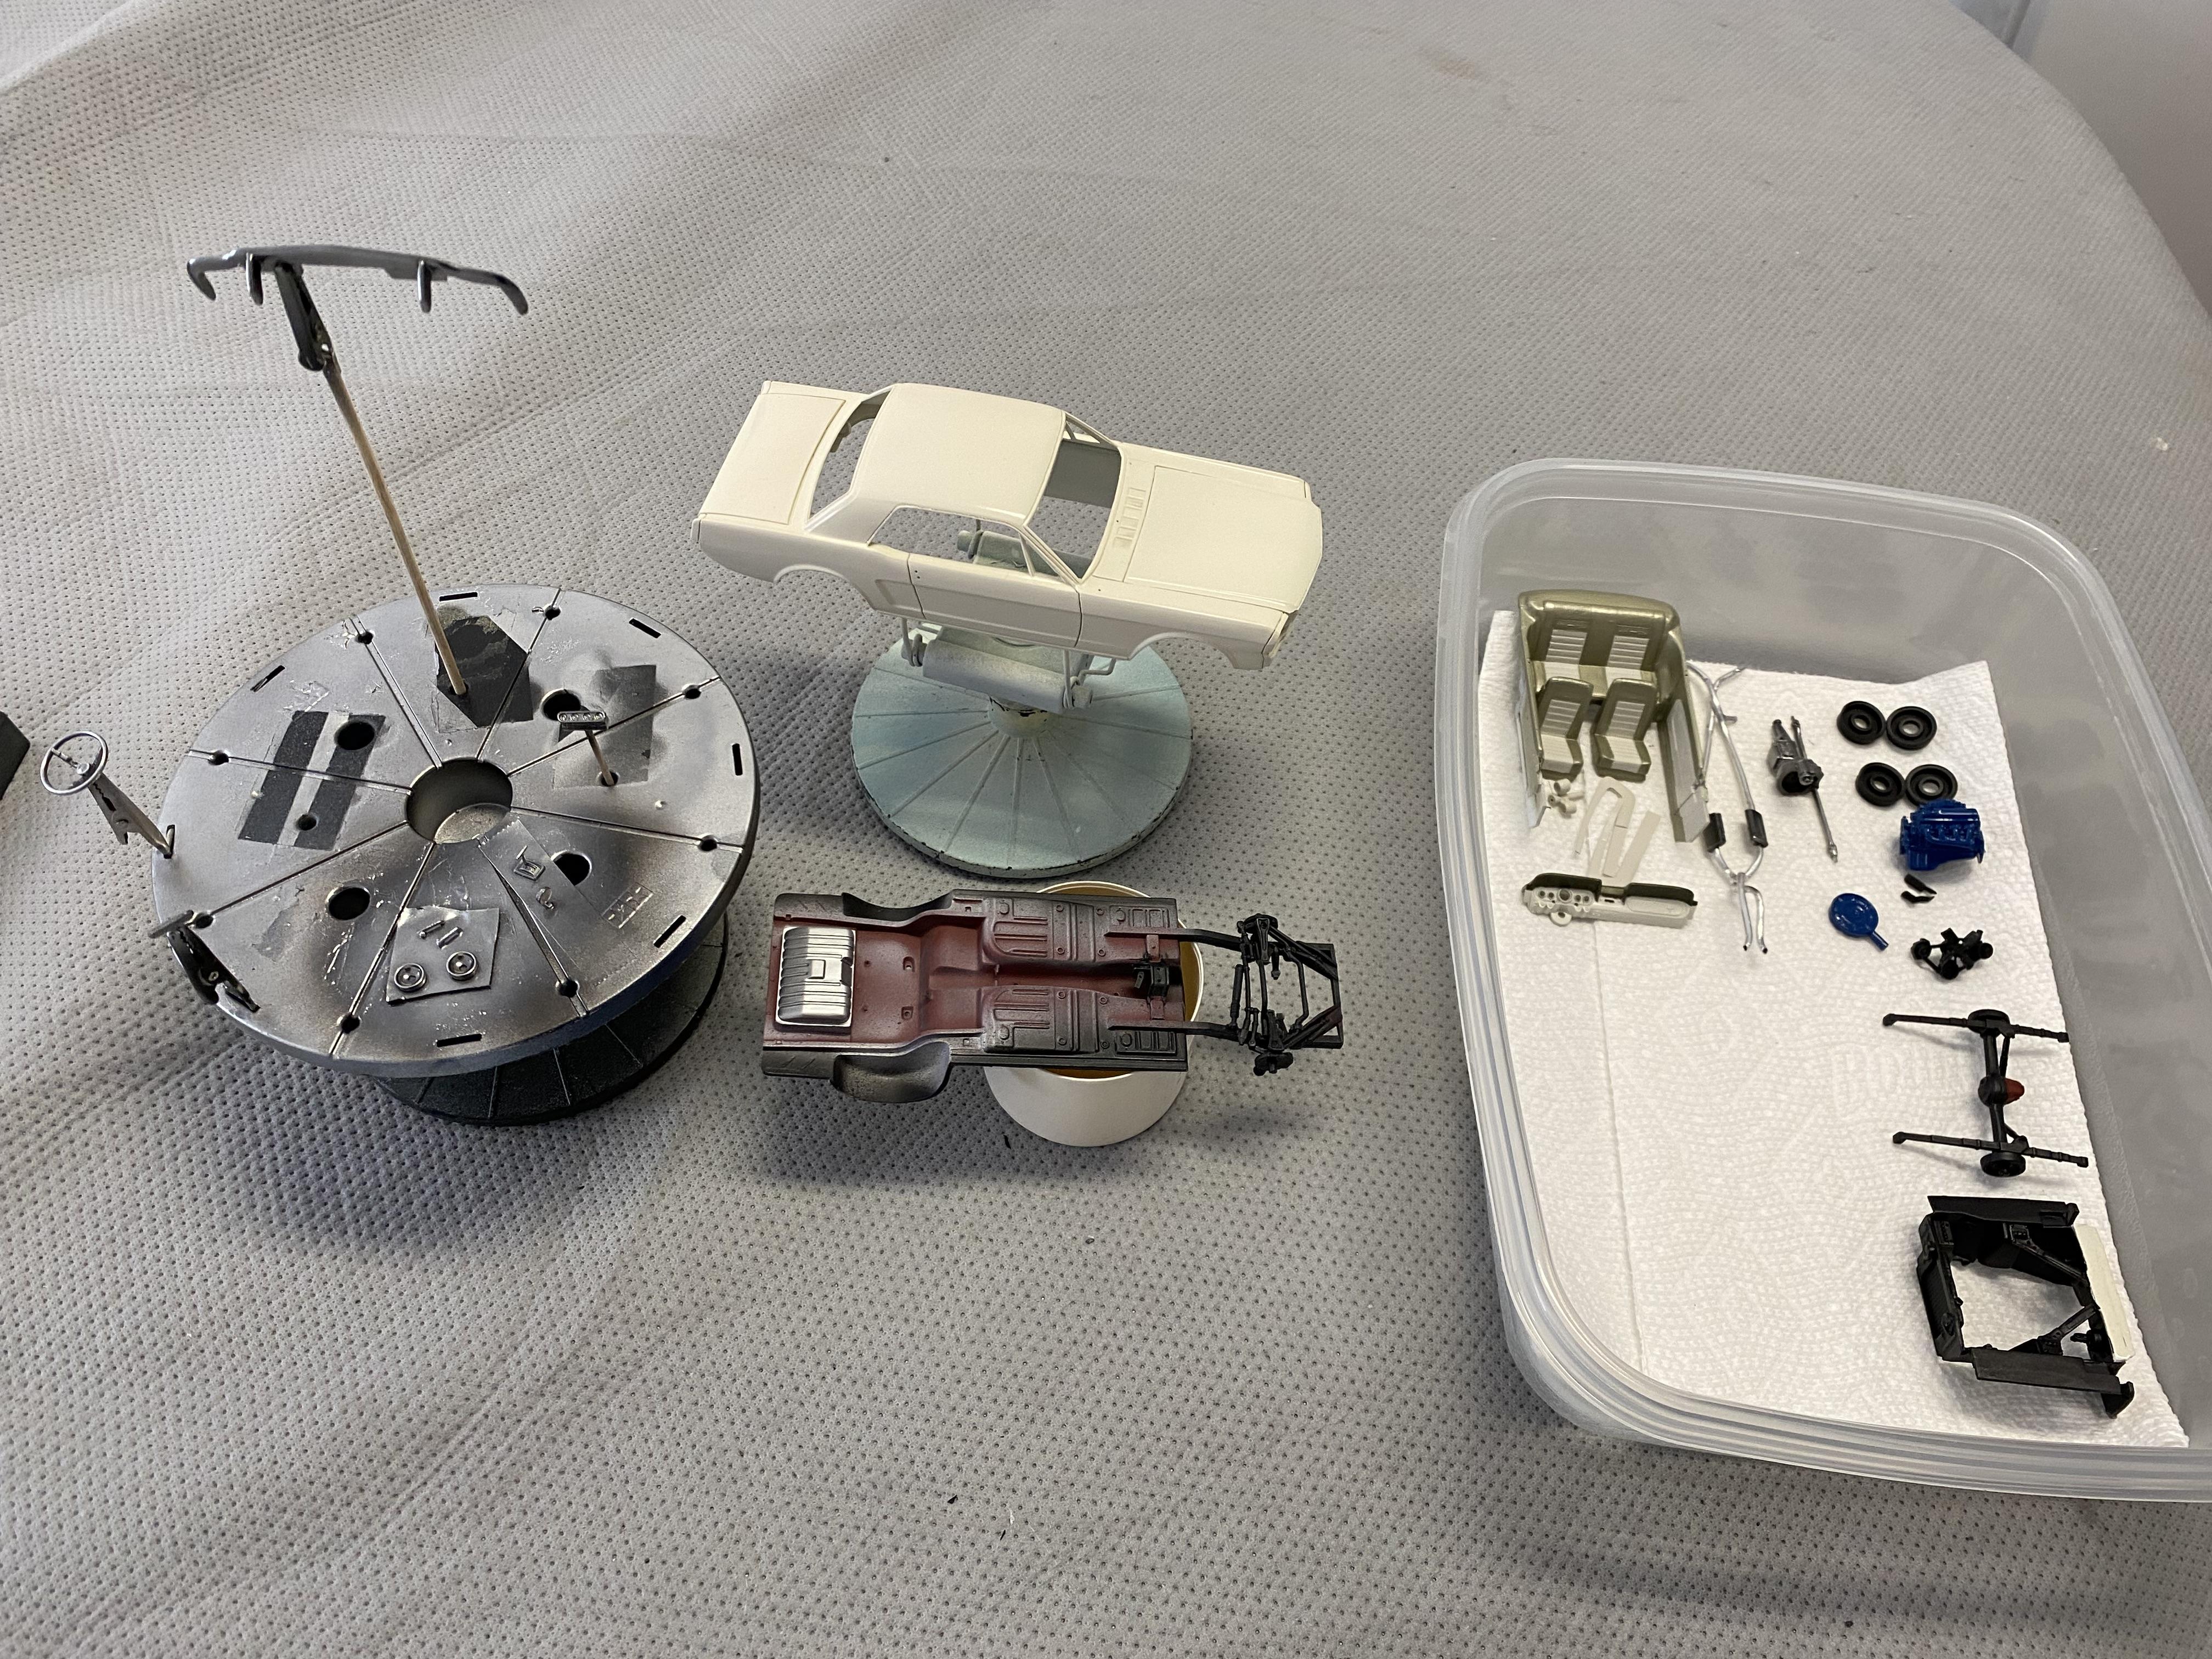
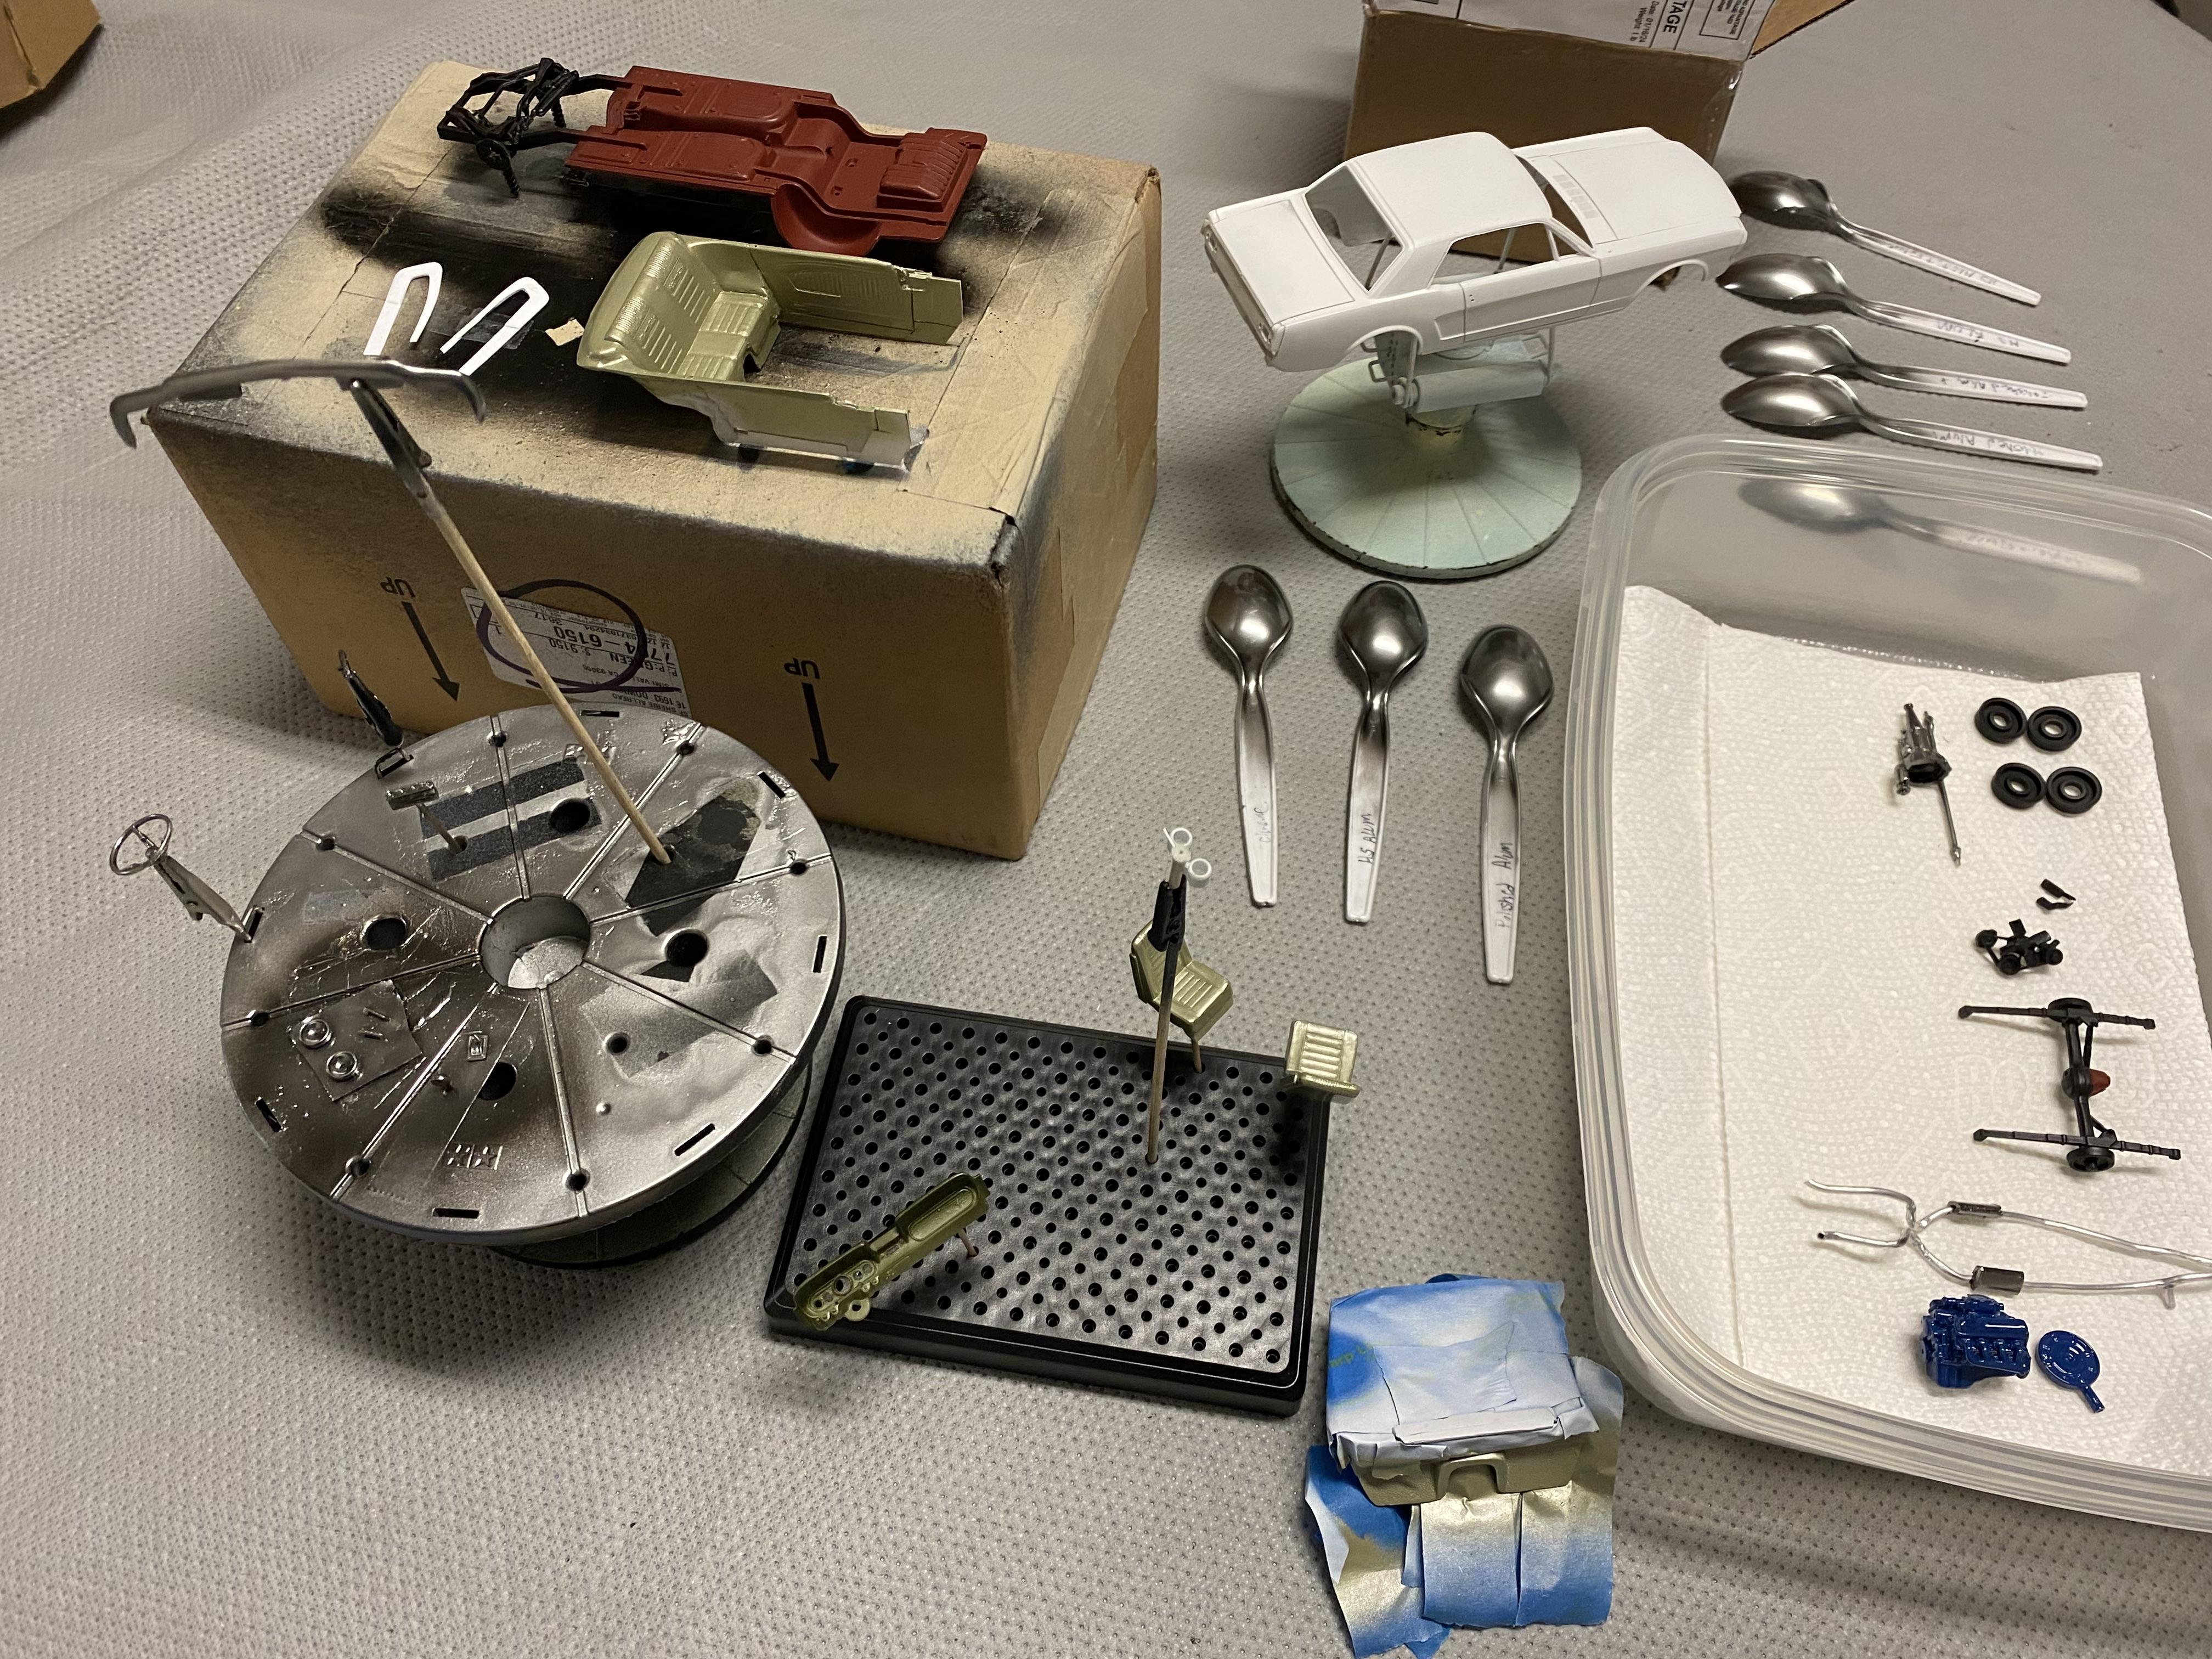
Got most of the airbrush work done this weekend. All of the components except the body are done and ready for detail painting. The body is in color but there are a few small blemishes I want to fix and touch up before I chrome the trim and 2K clear.
-
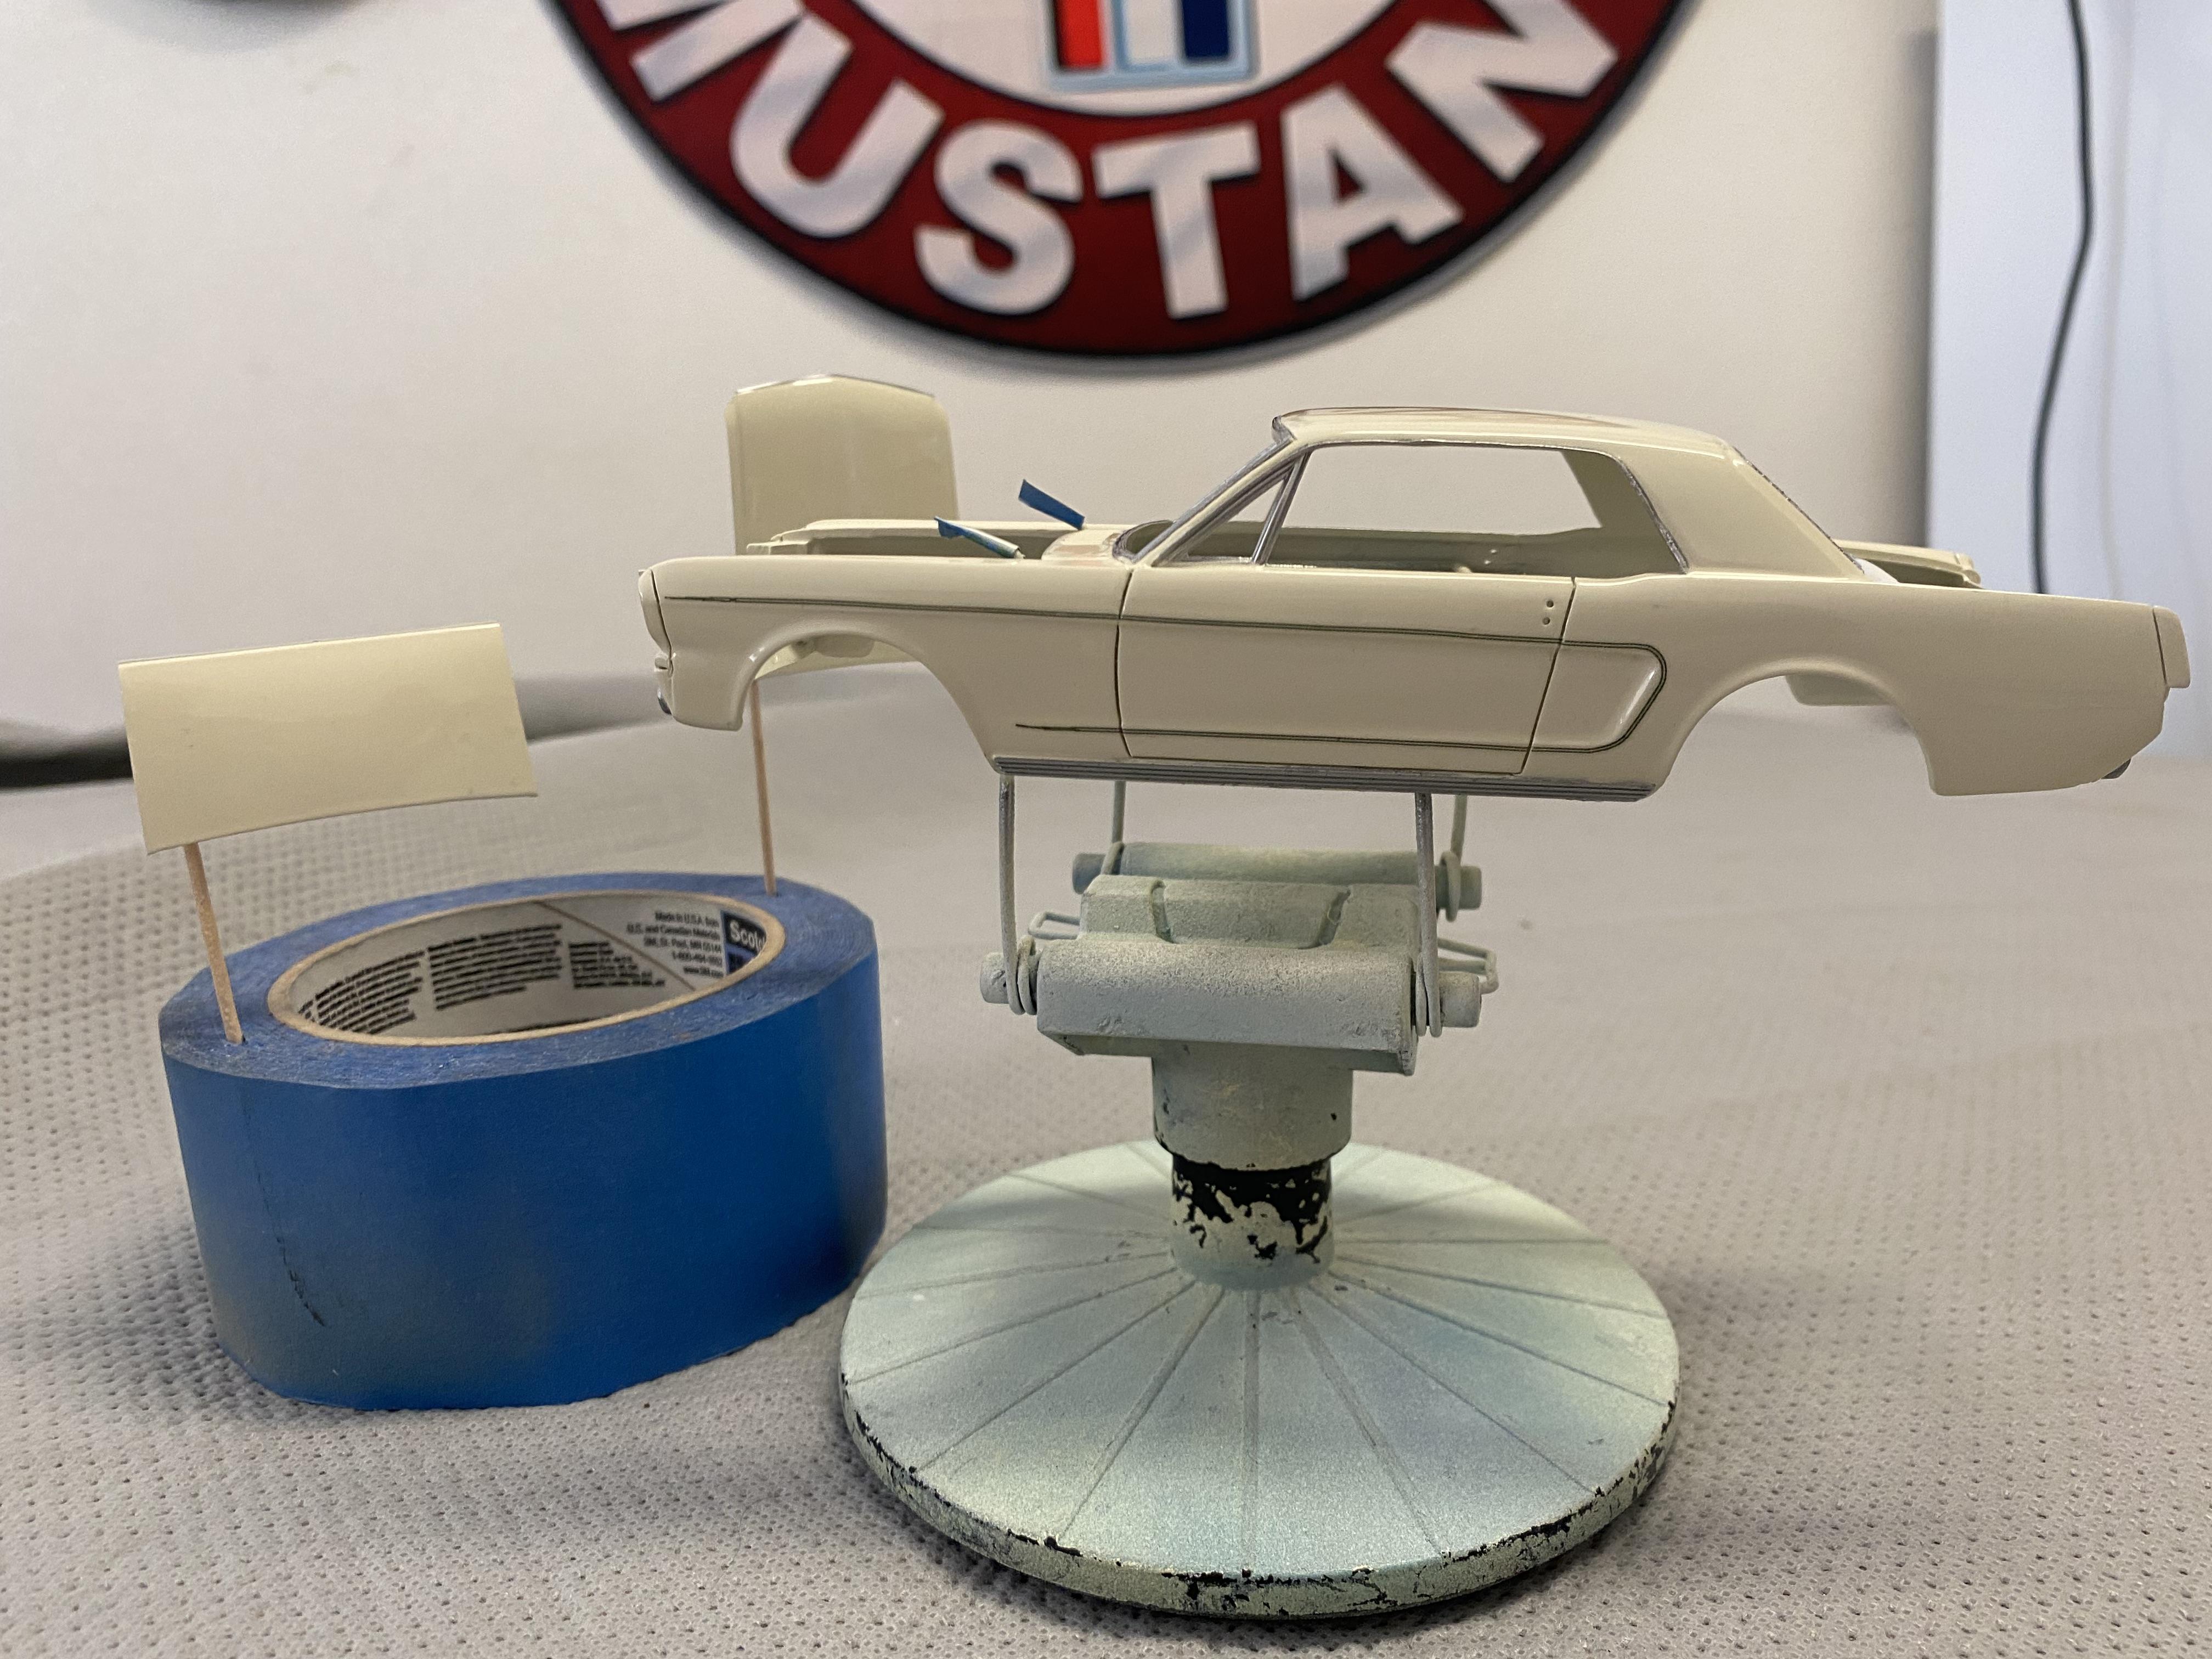
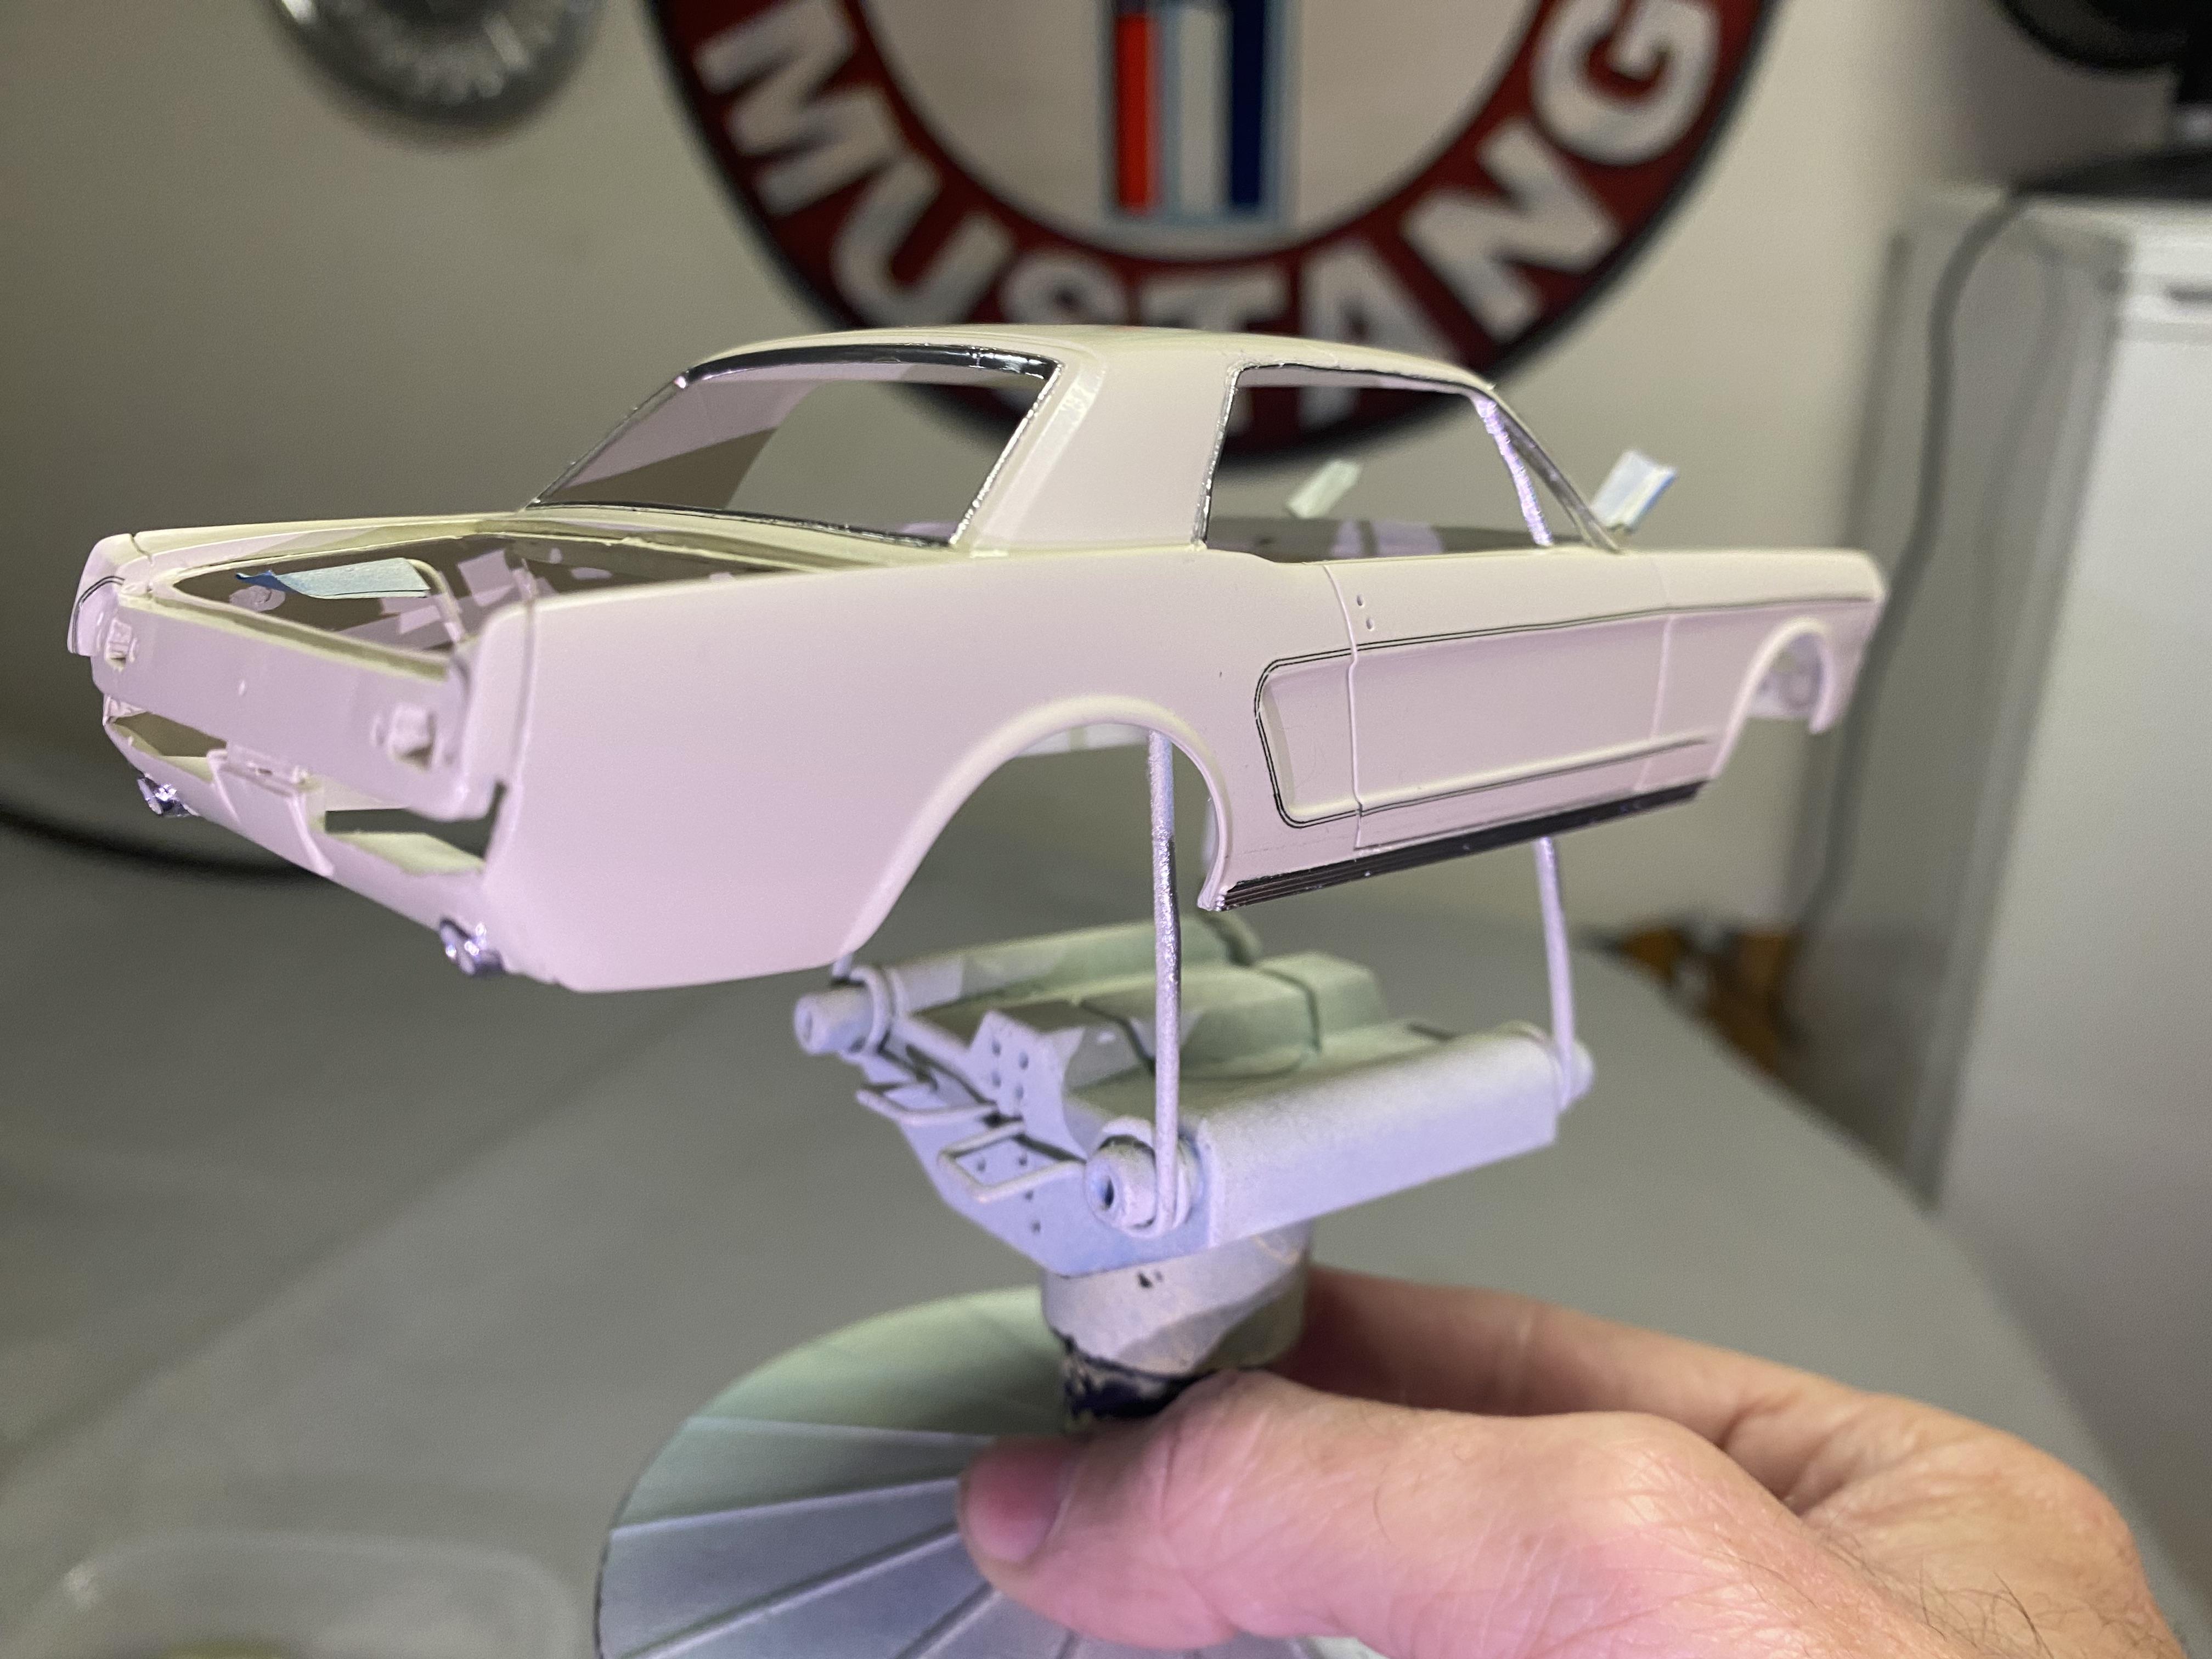
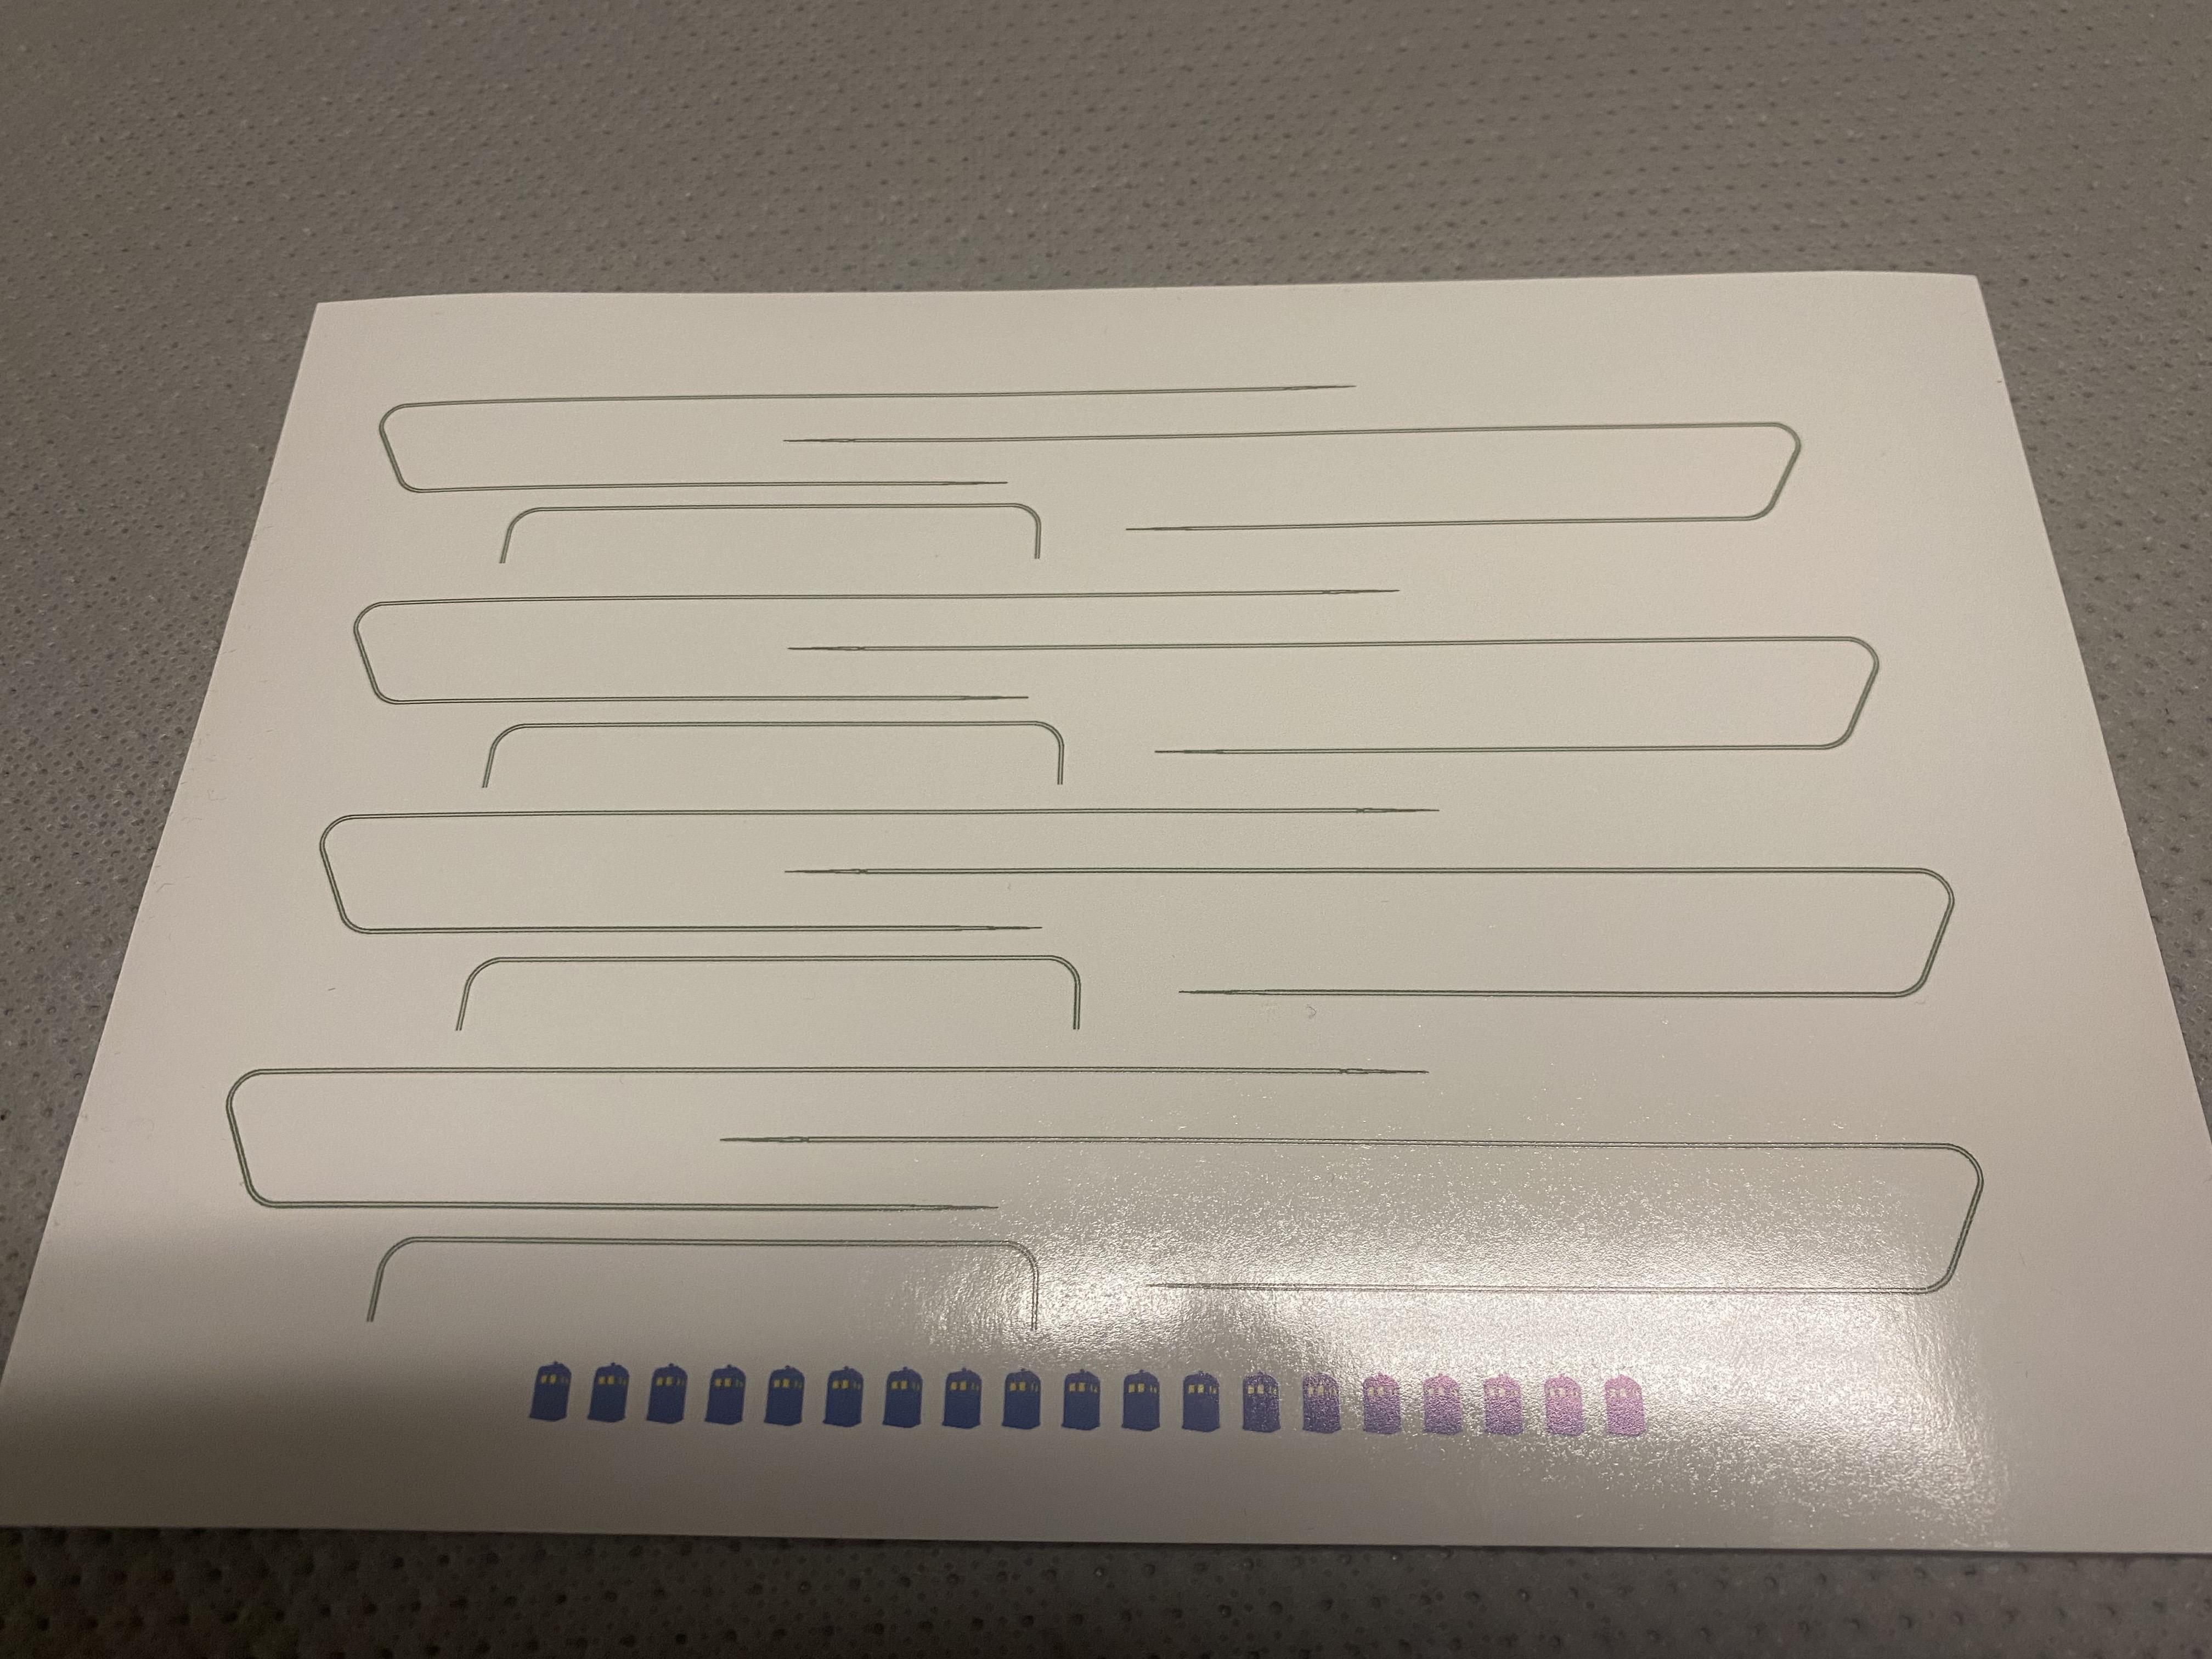
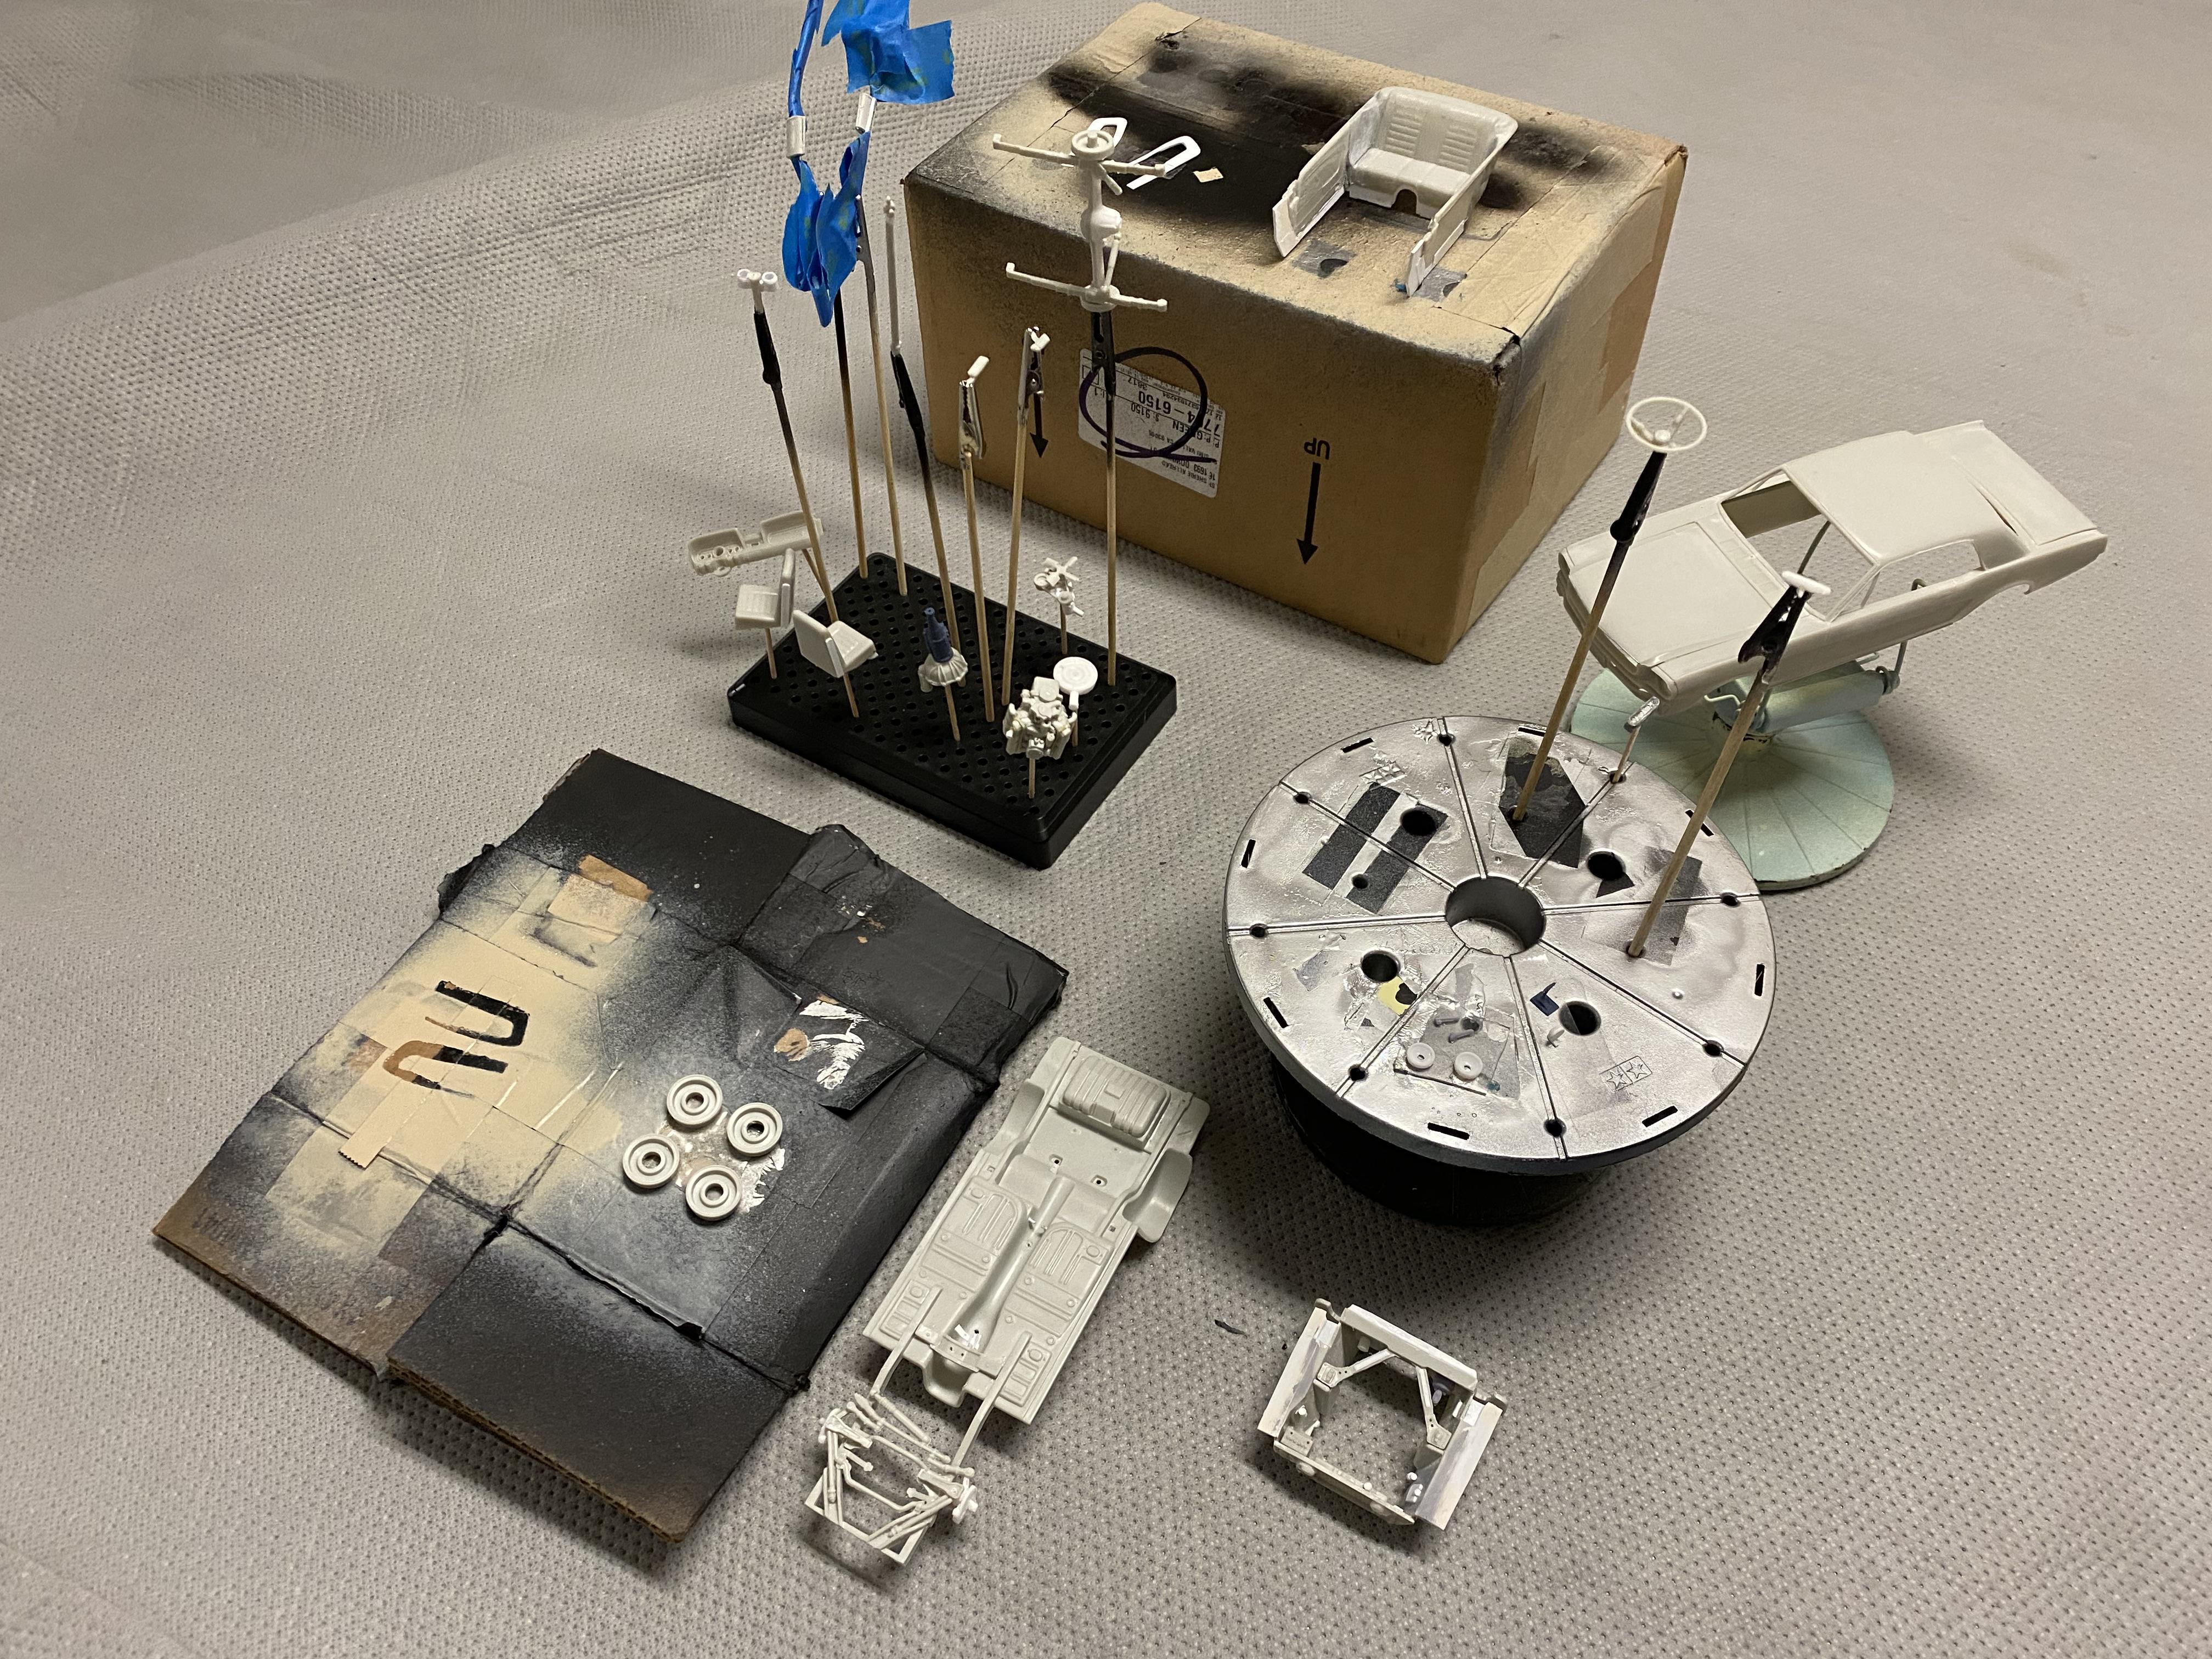
Finally making some progress on the 1966 Coupe. Created water slide decals for the custom accent stripes on my daughter’s car and a Dr. Who Tardis decal like she has in her back window. Got the body in primer and fixed up some blemishes all over the body as well as mold sink spots in the trunk lid, started airbrushing a lot of the components. Only the ones in the clear container are done with their airbrushing pass, a lot of airbrush work to still go. Then detailing after that.
-
It looks great considering all the bad luck you have been running into during this build.
-
Just etched door and hood gaps, removed mold flashing, created trunk wing and epoxy filled rear.
-
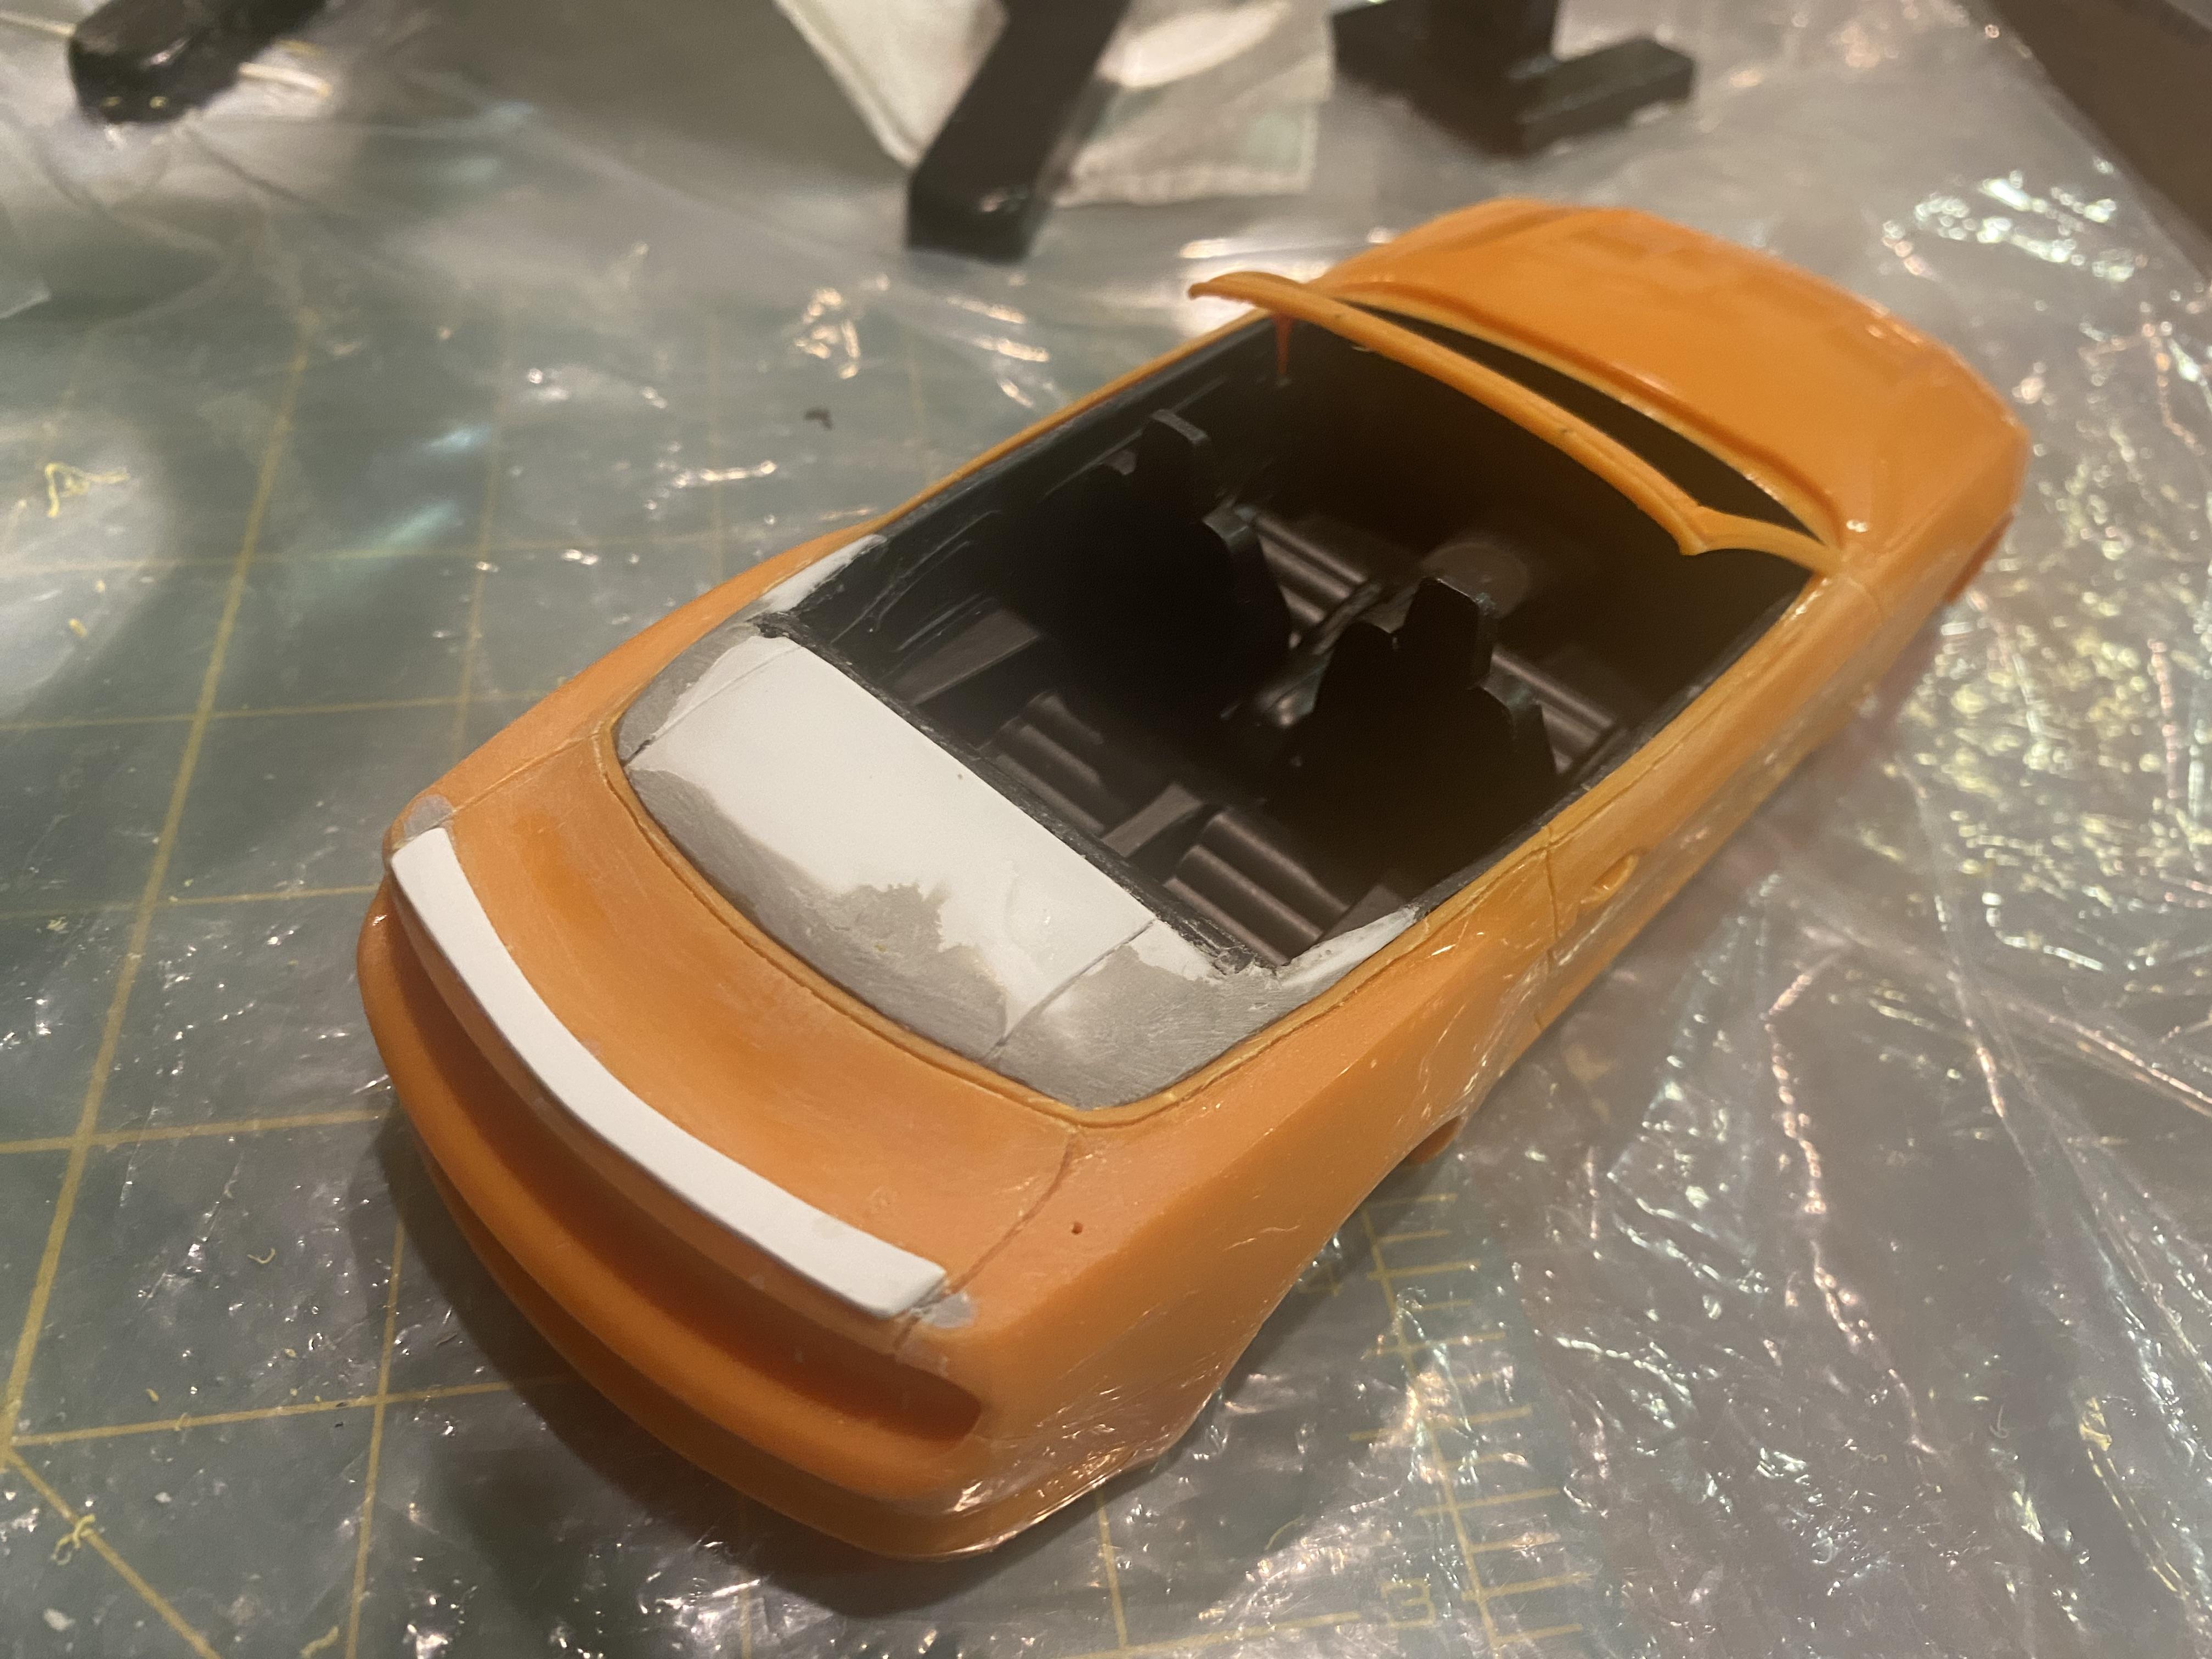
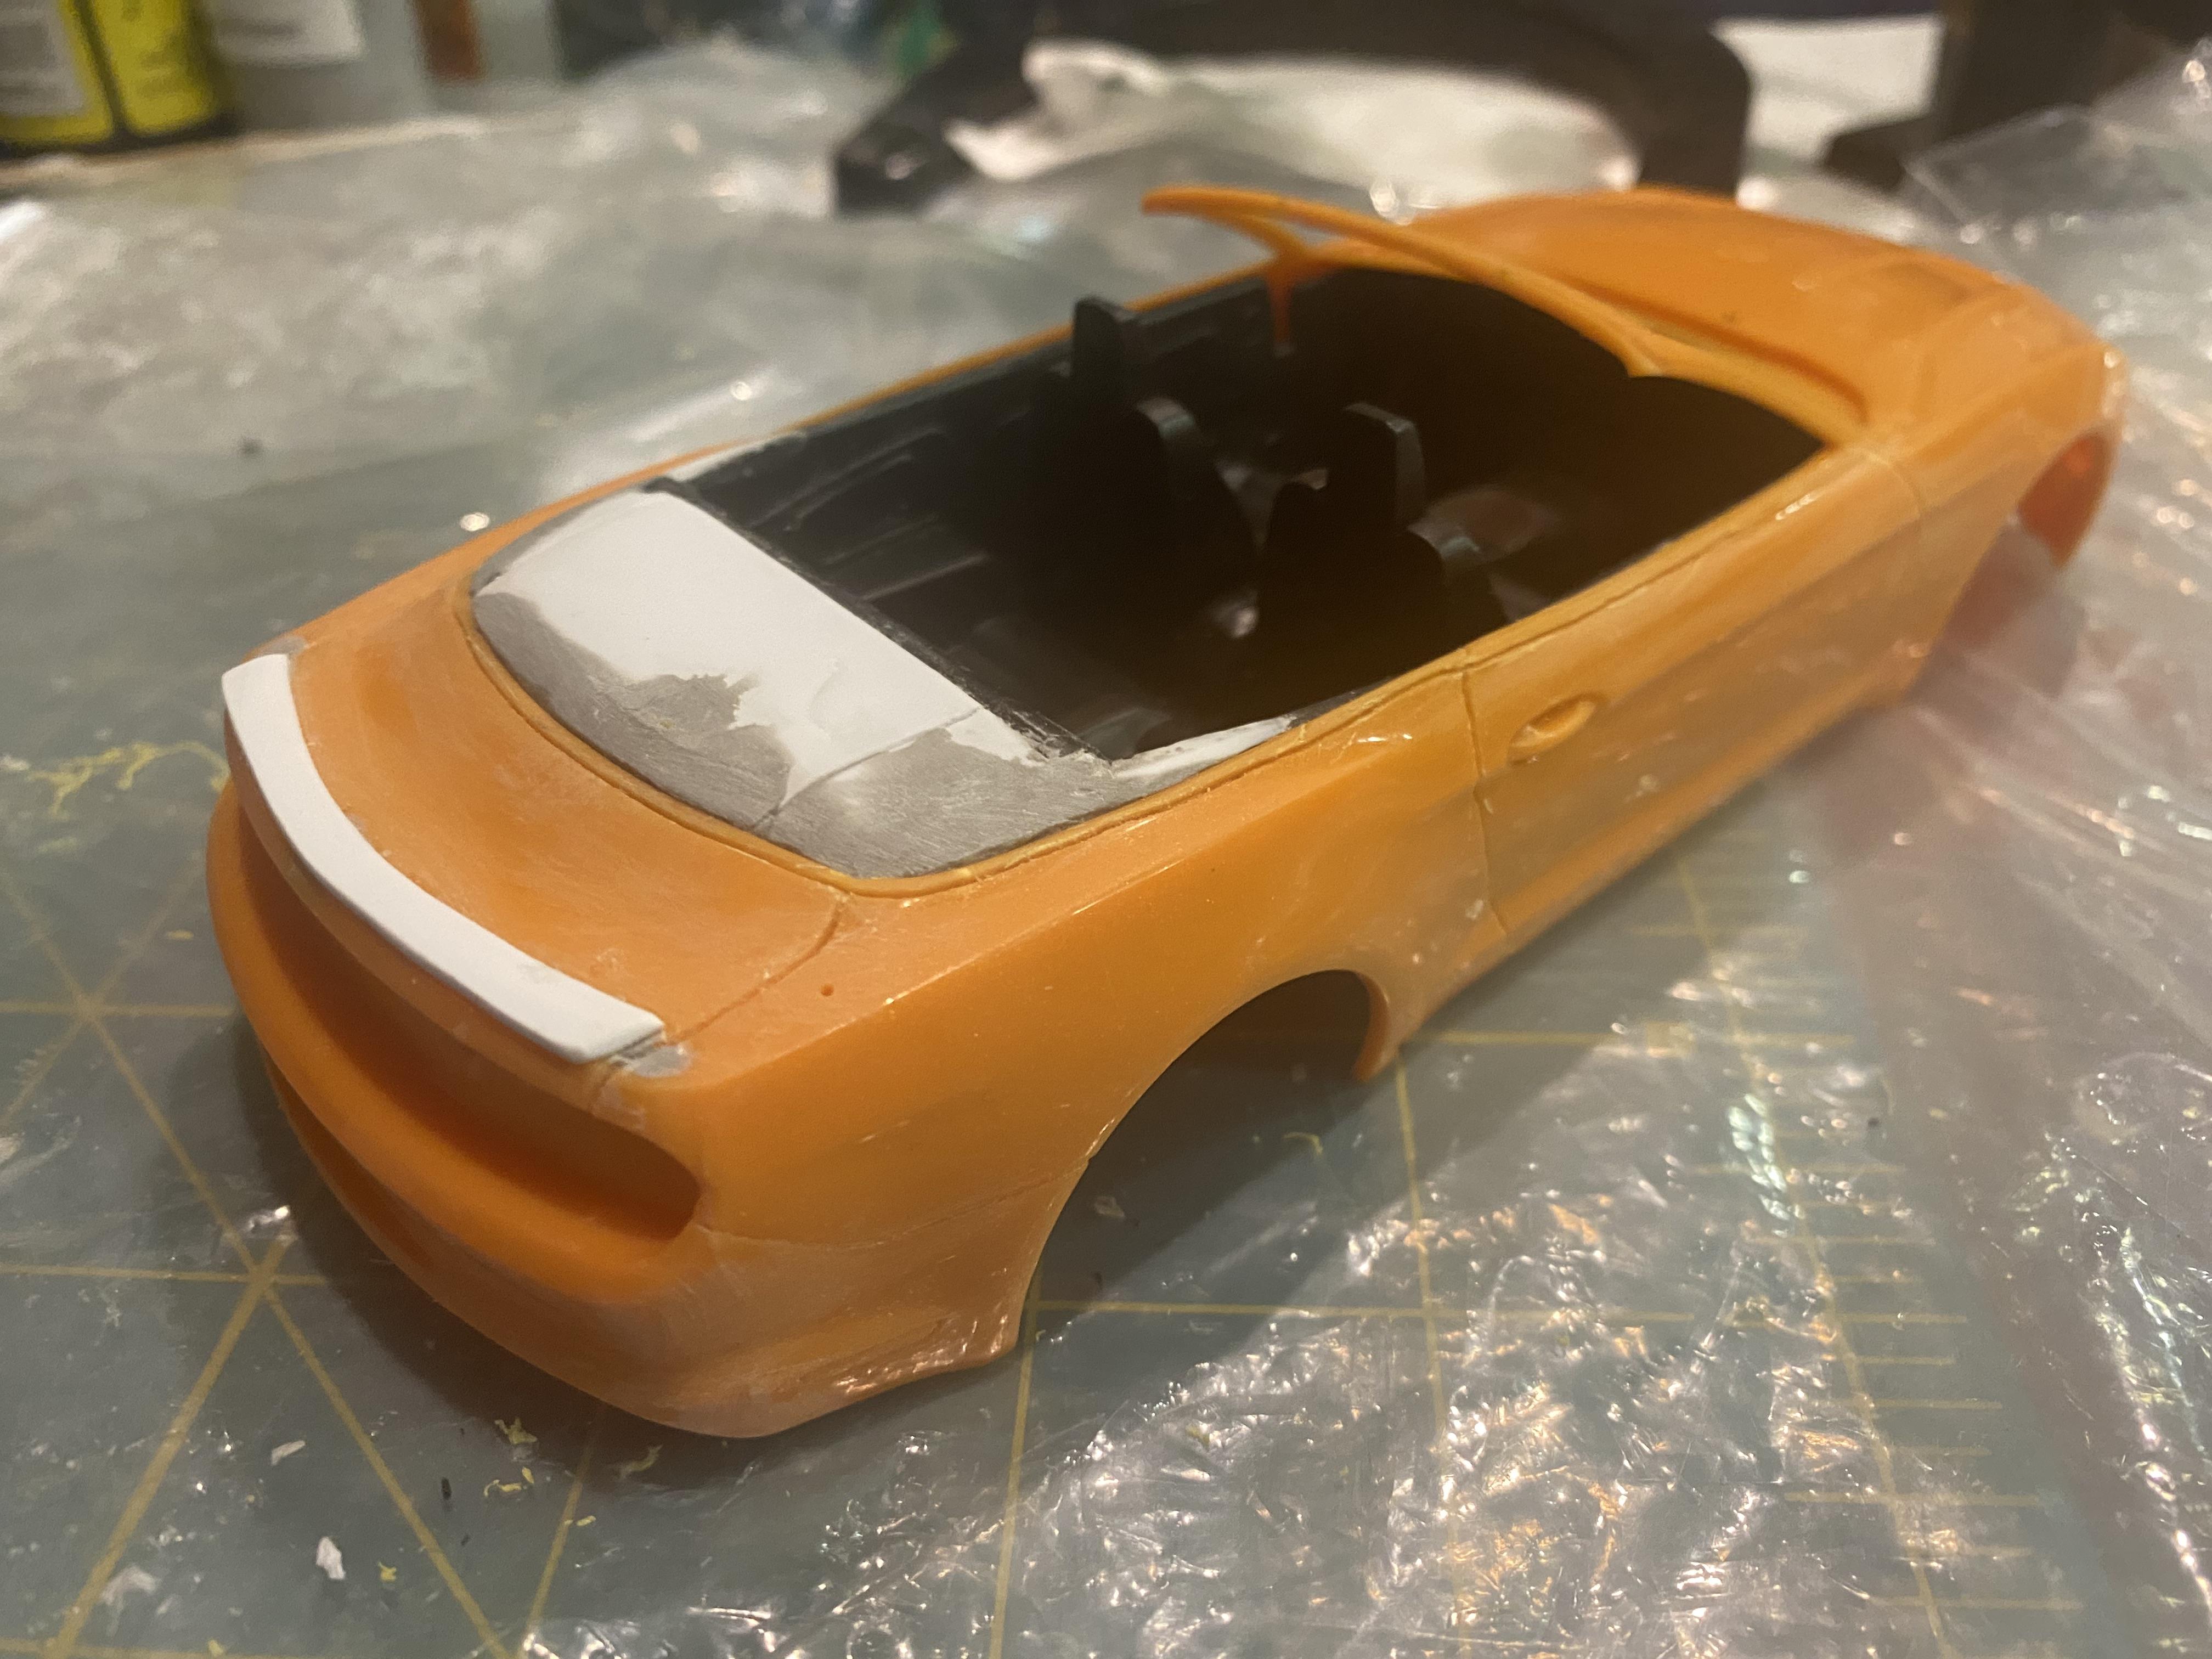
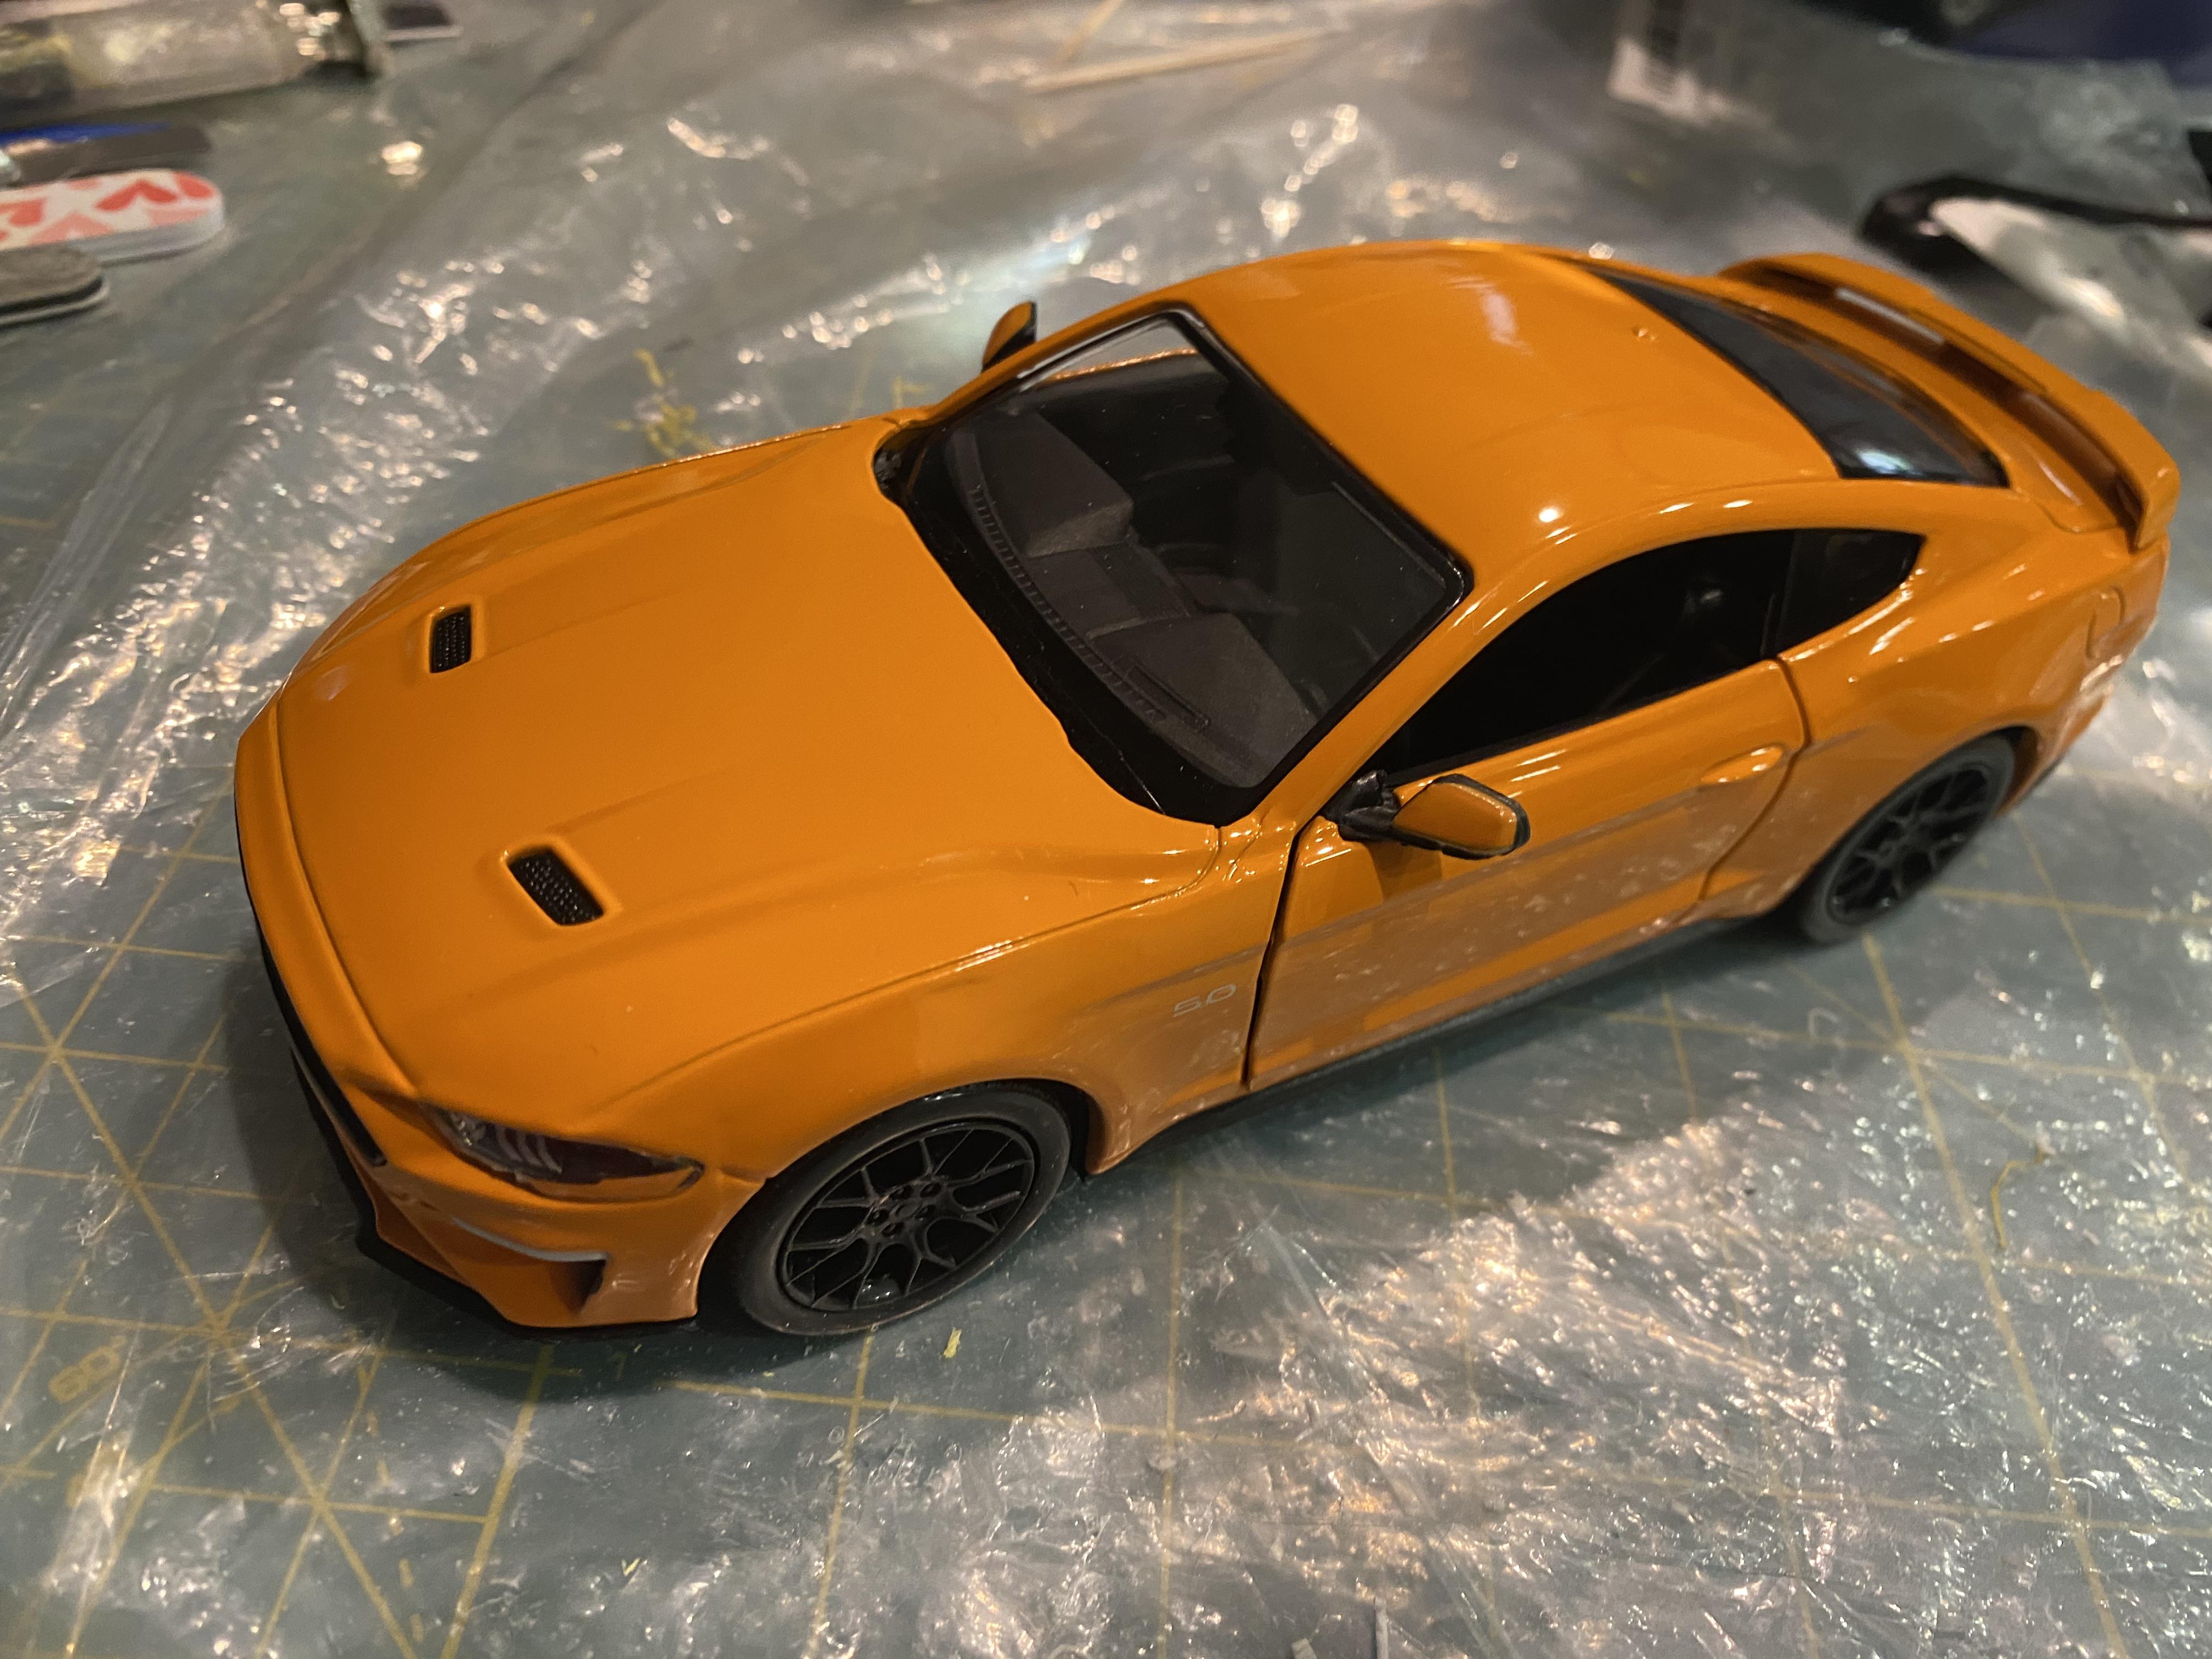
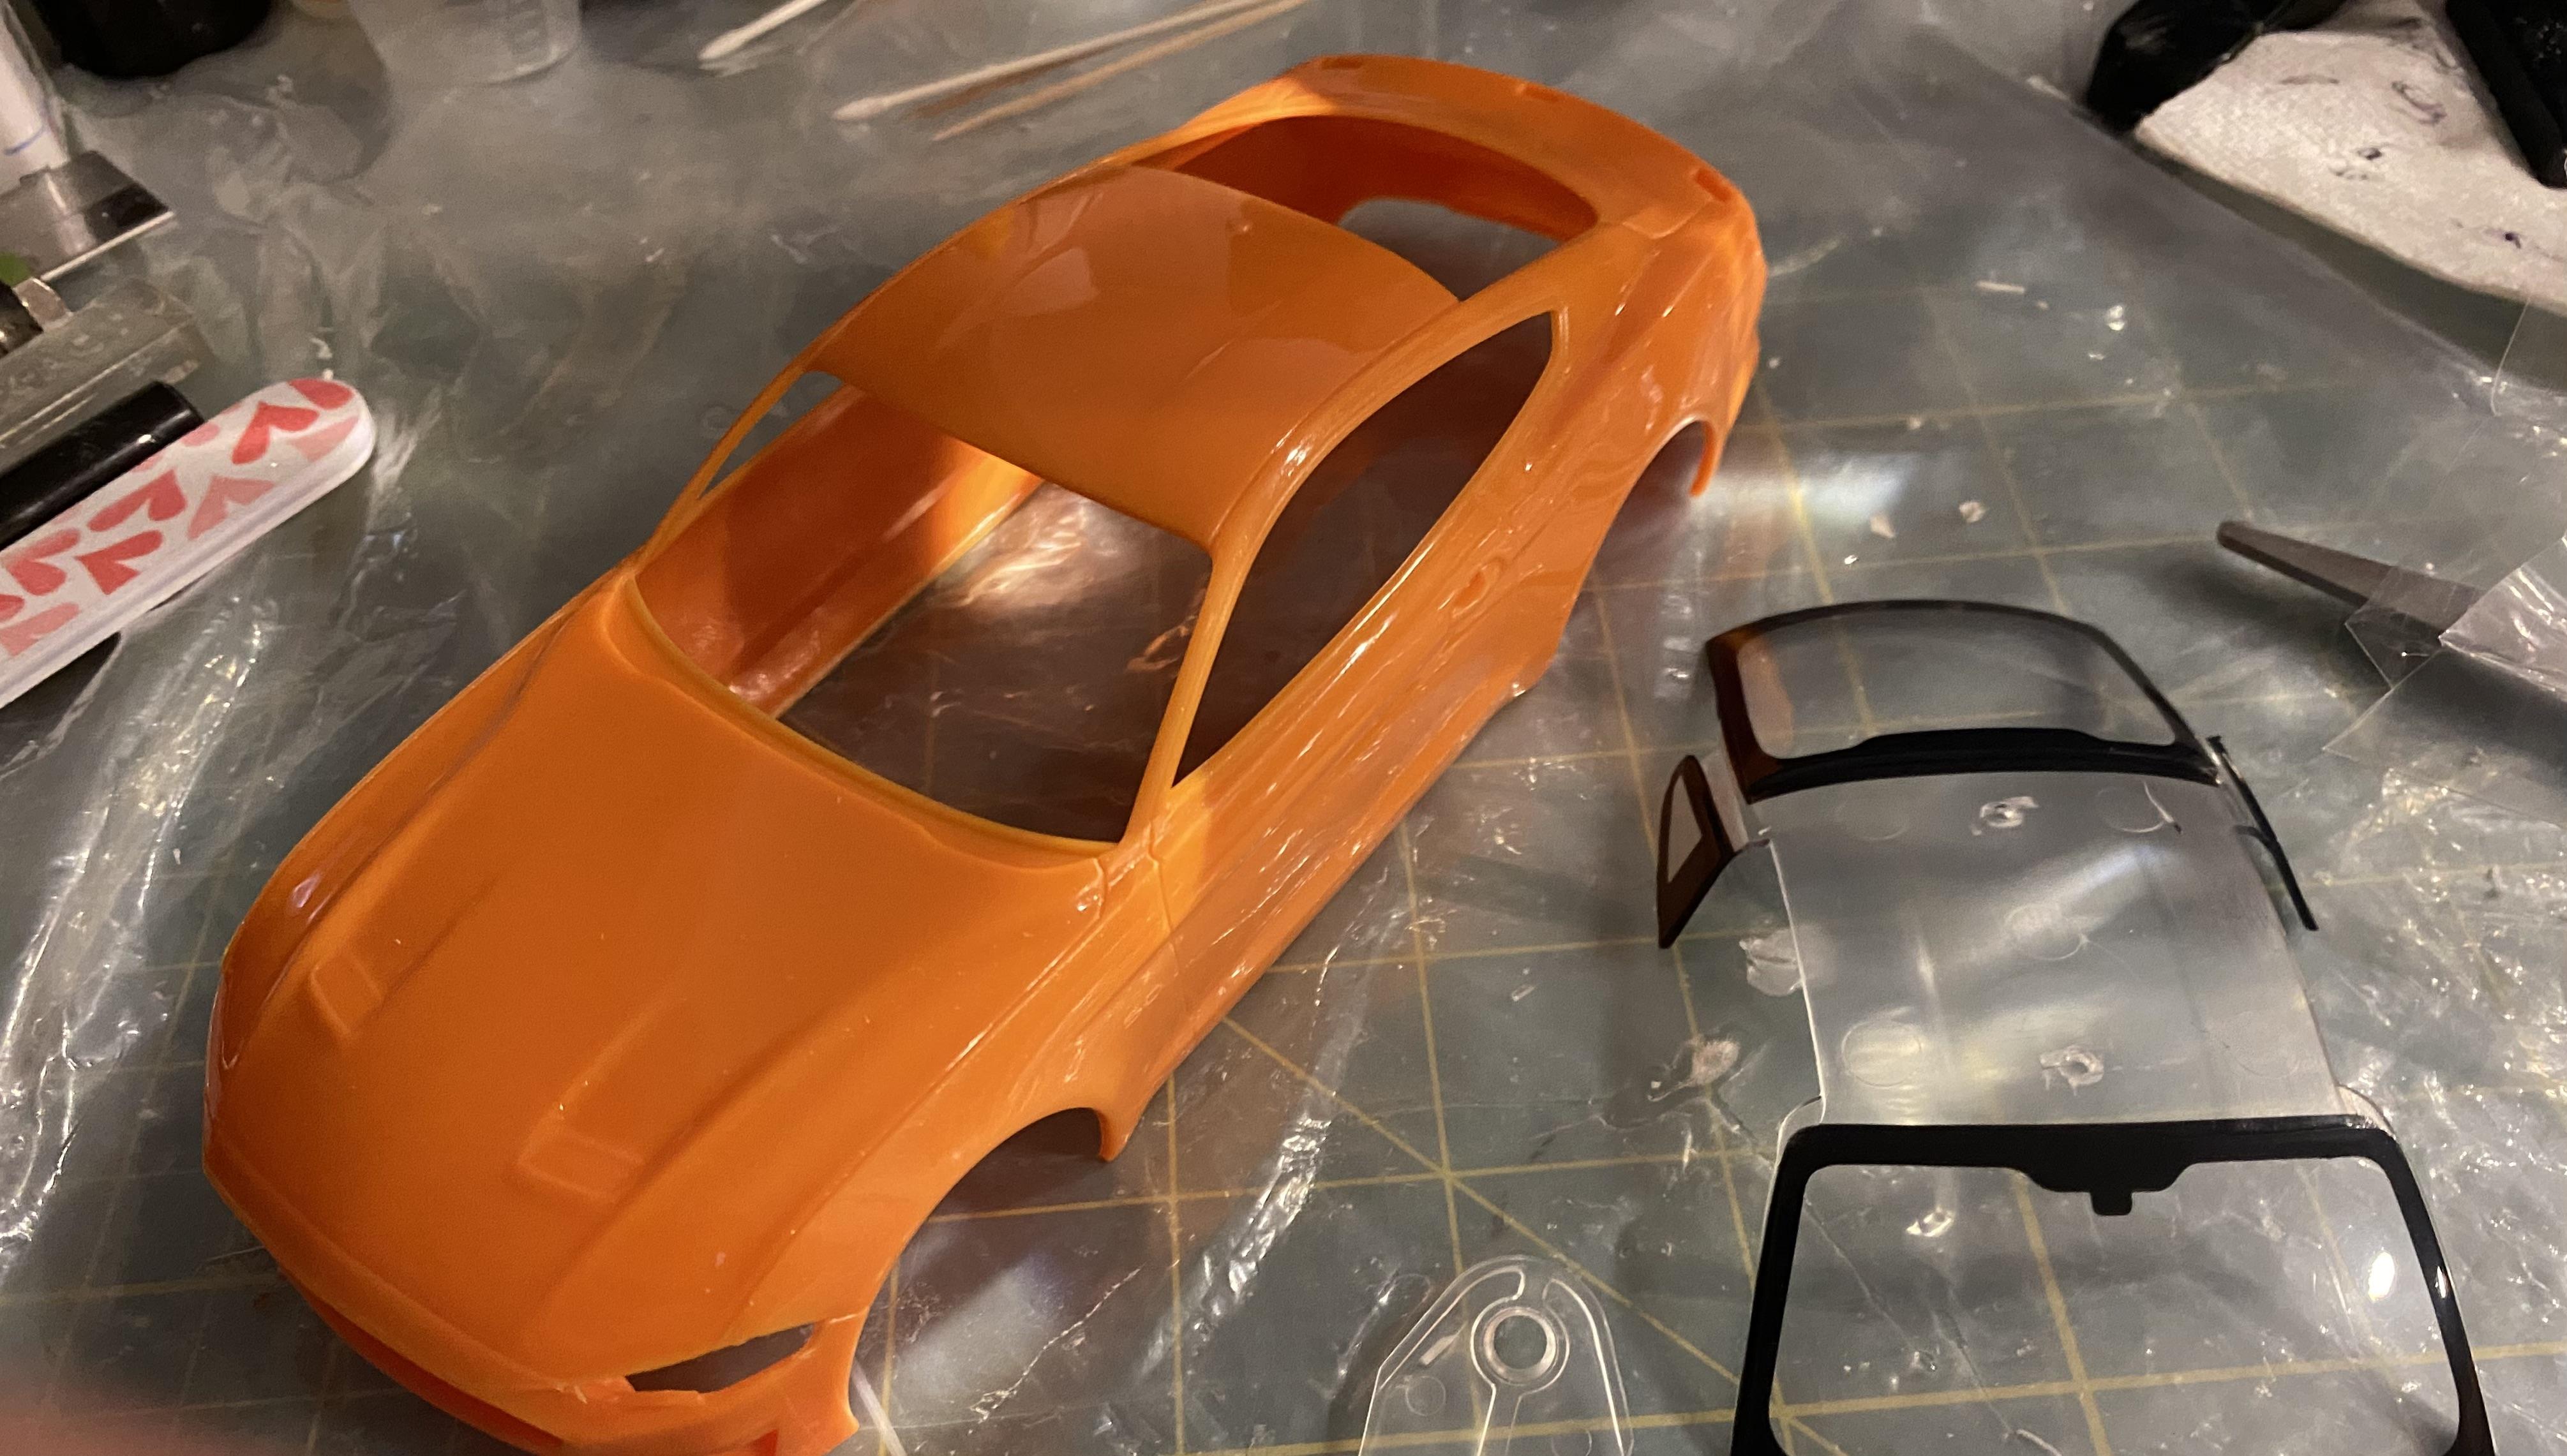
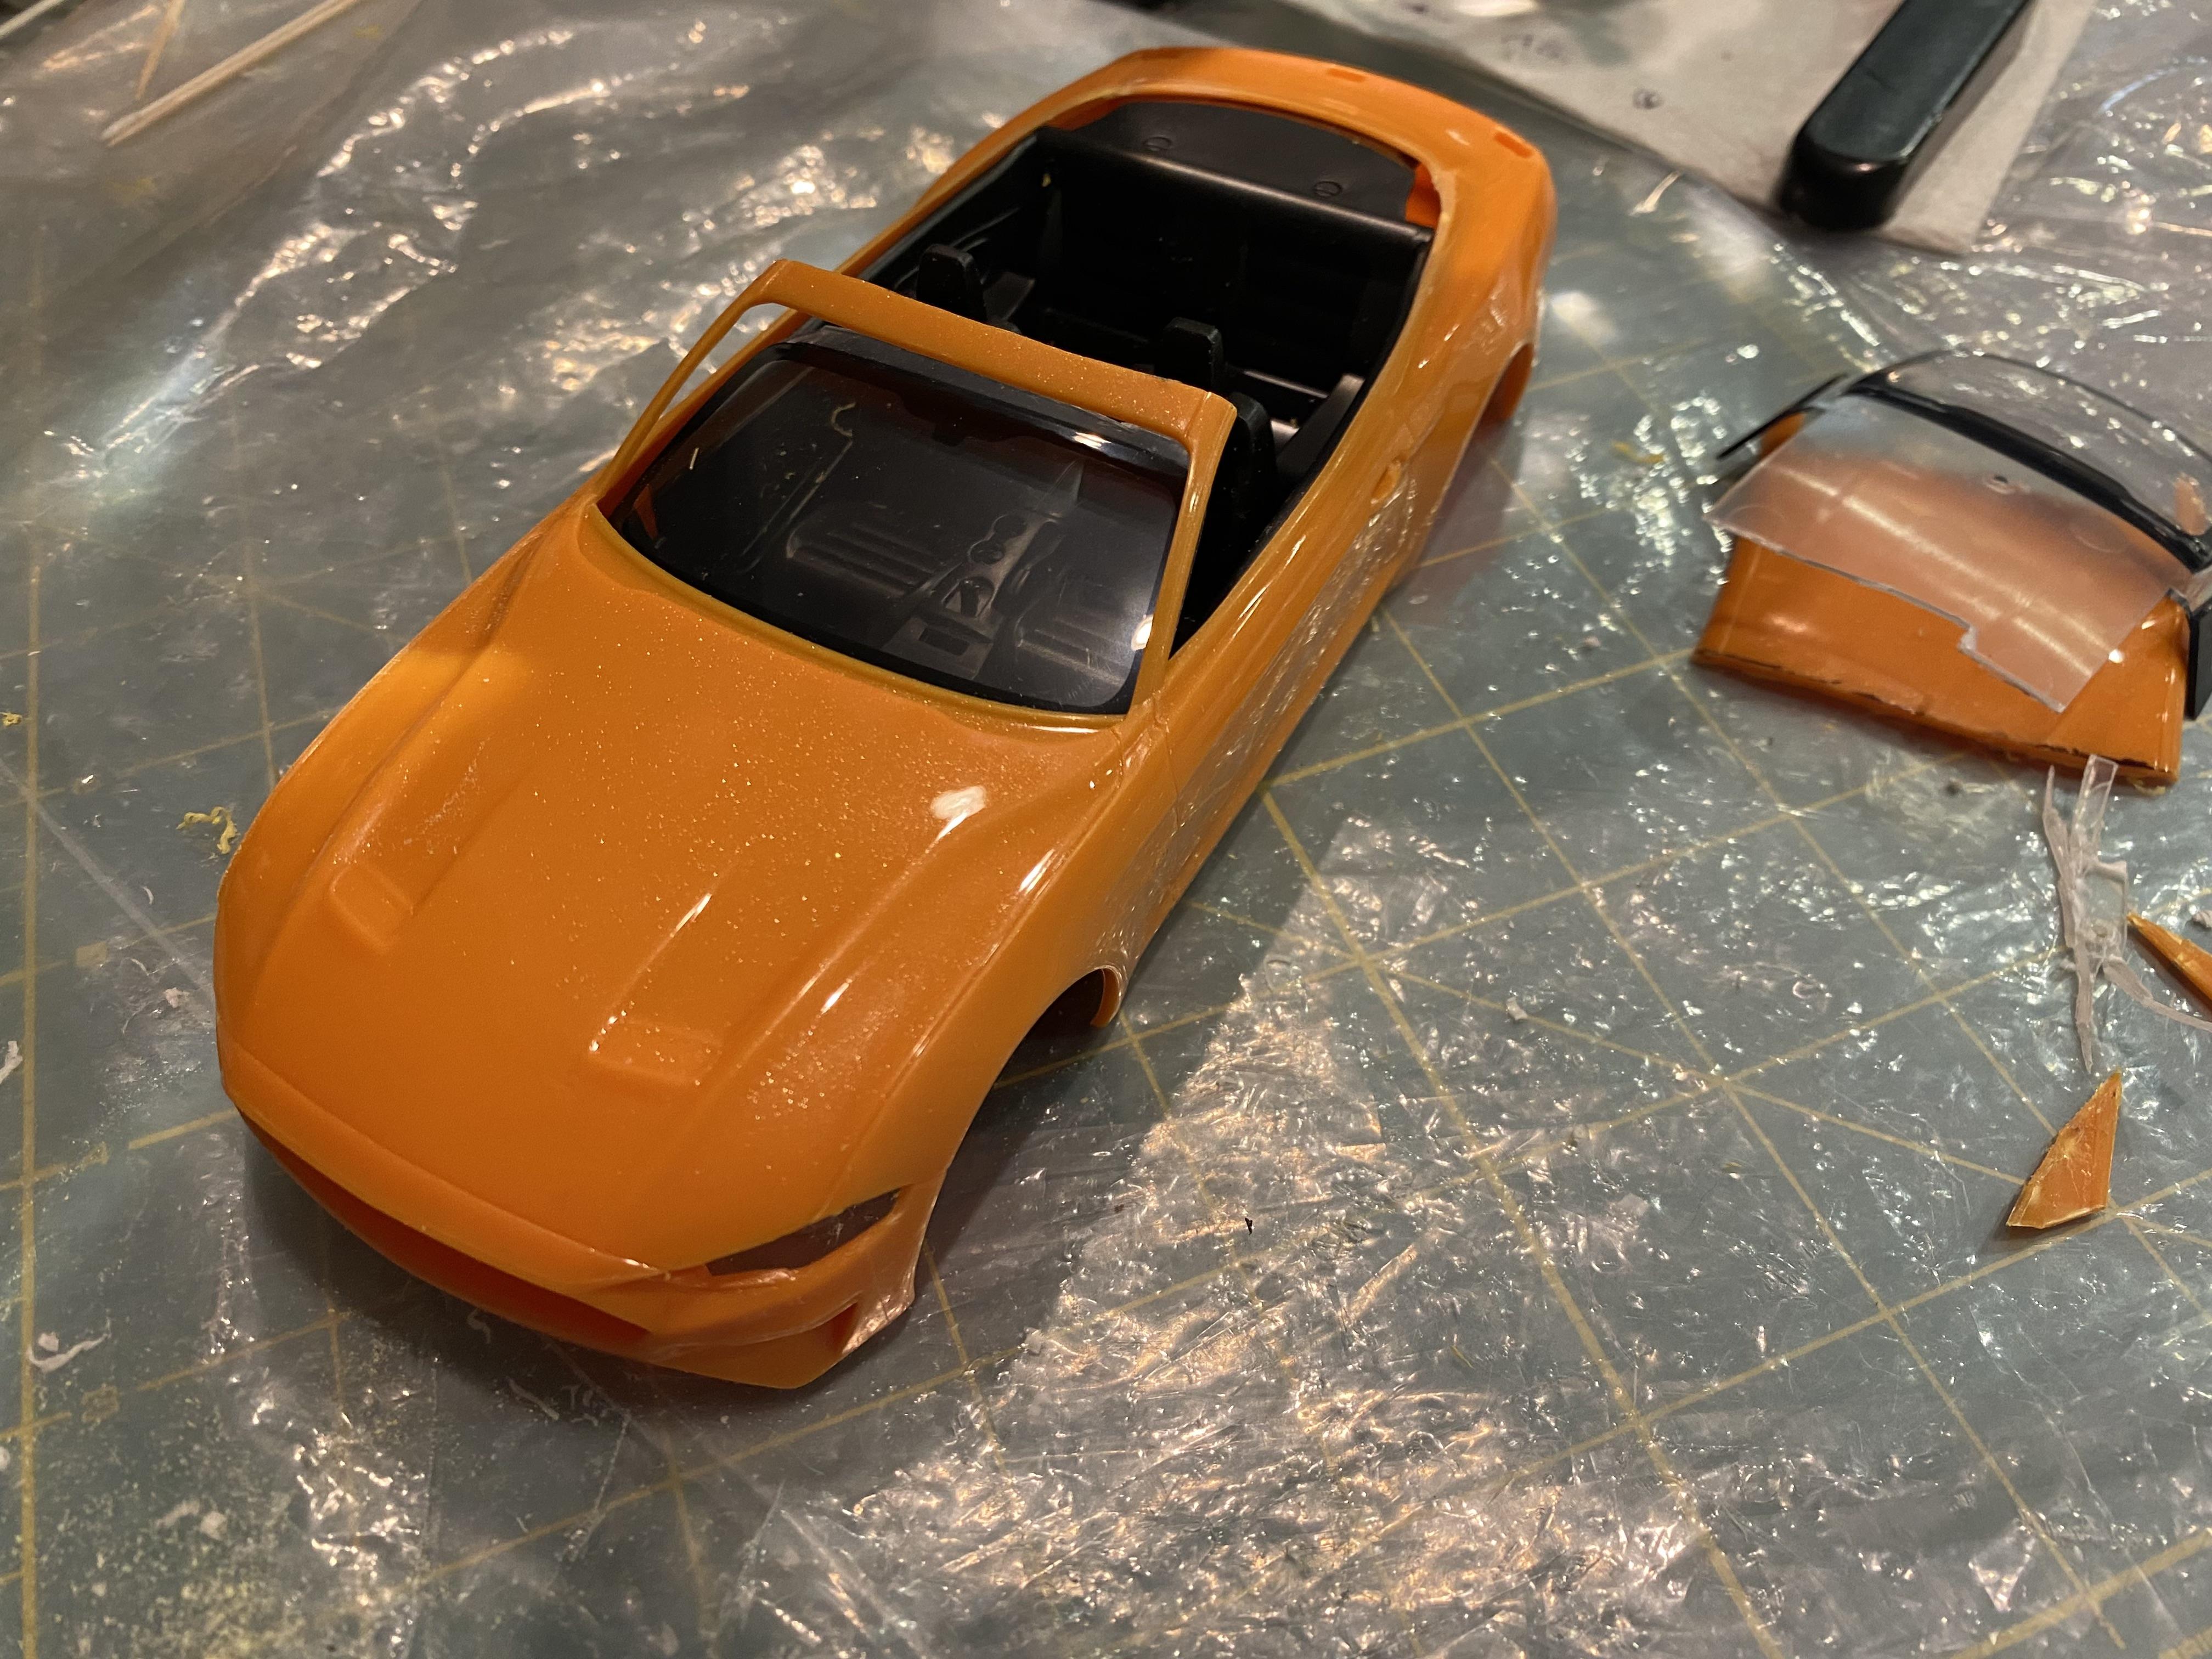
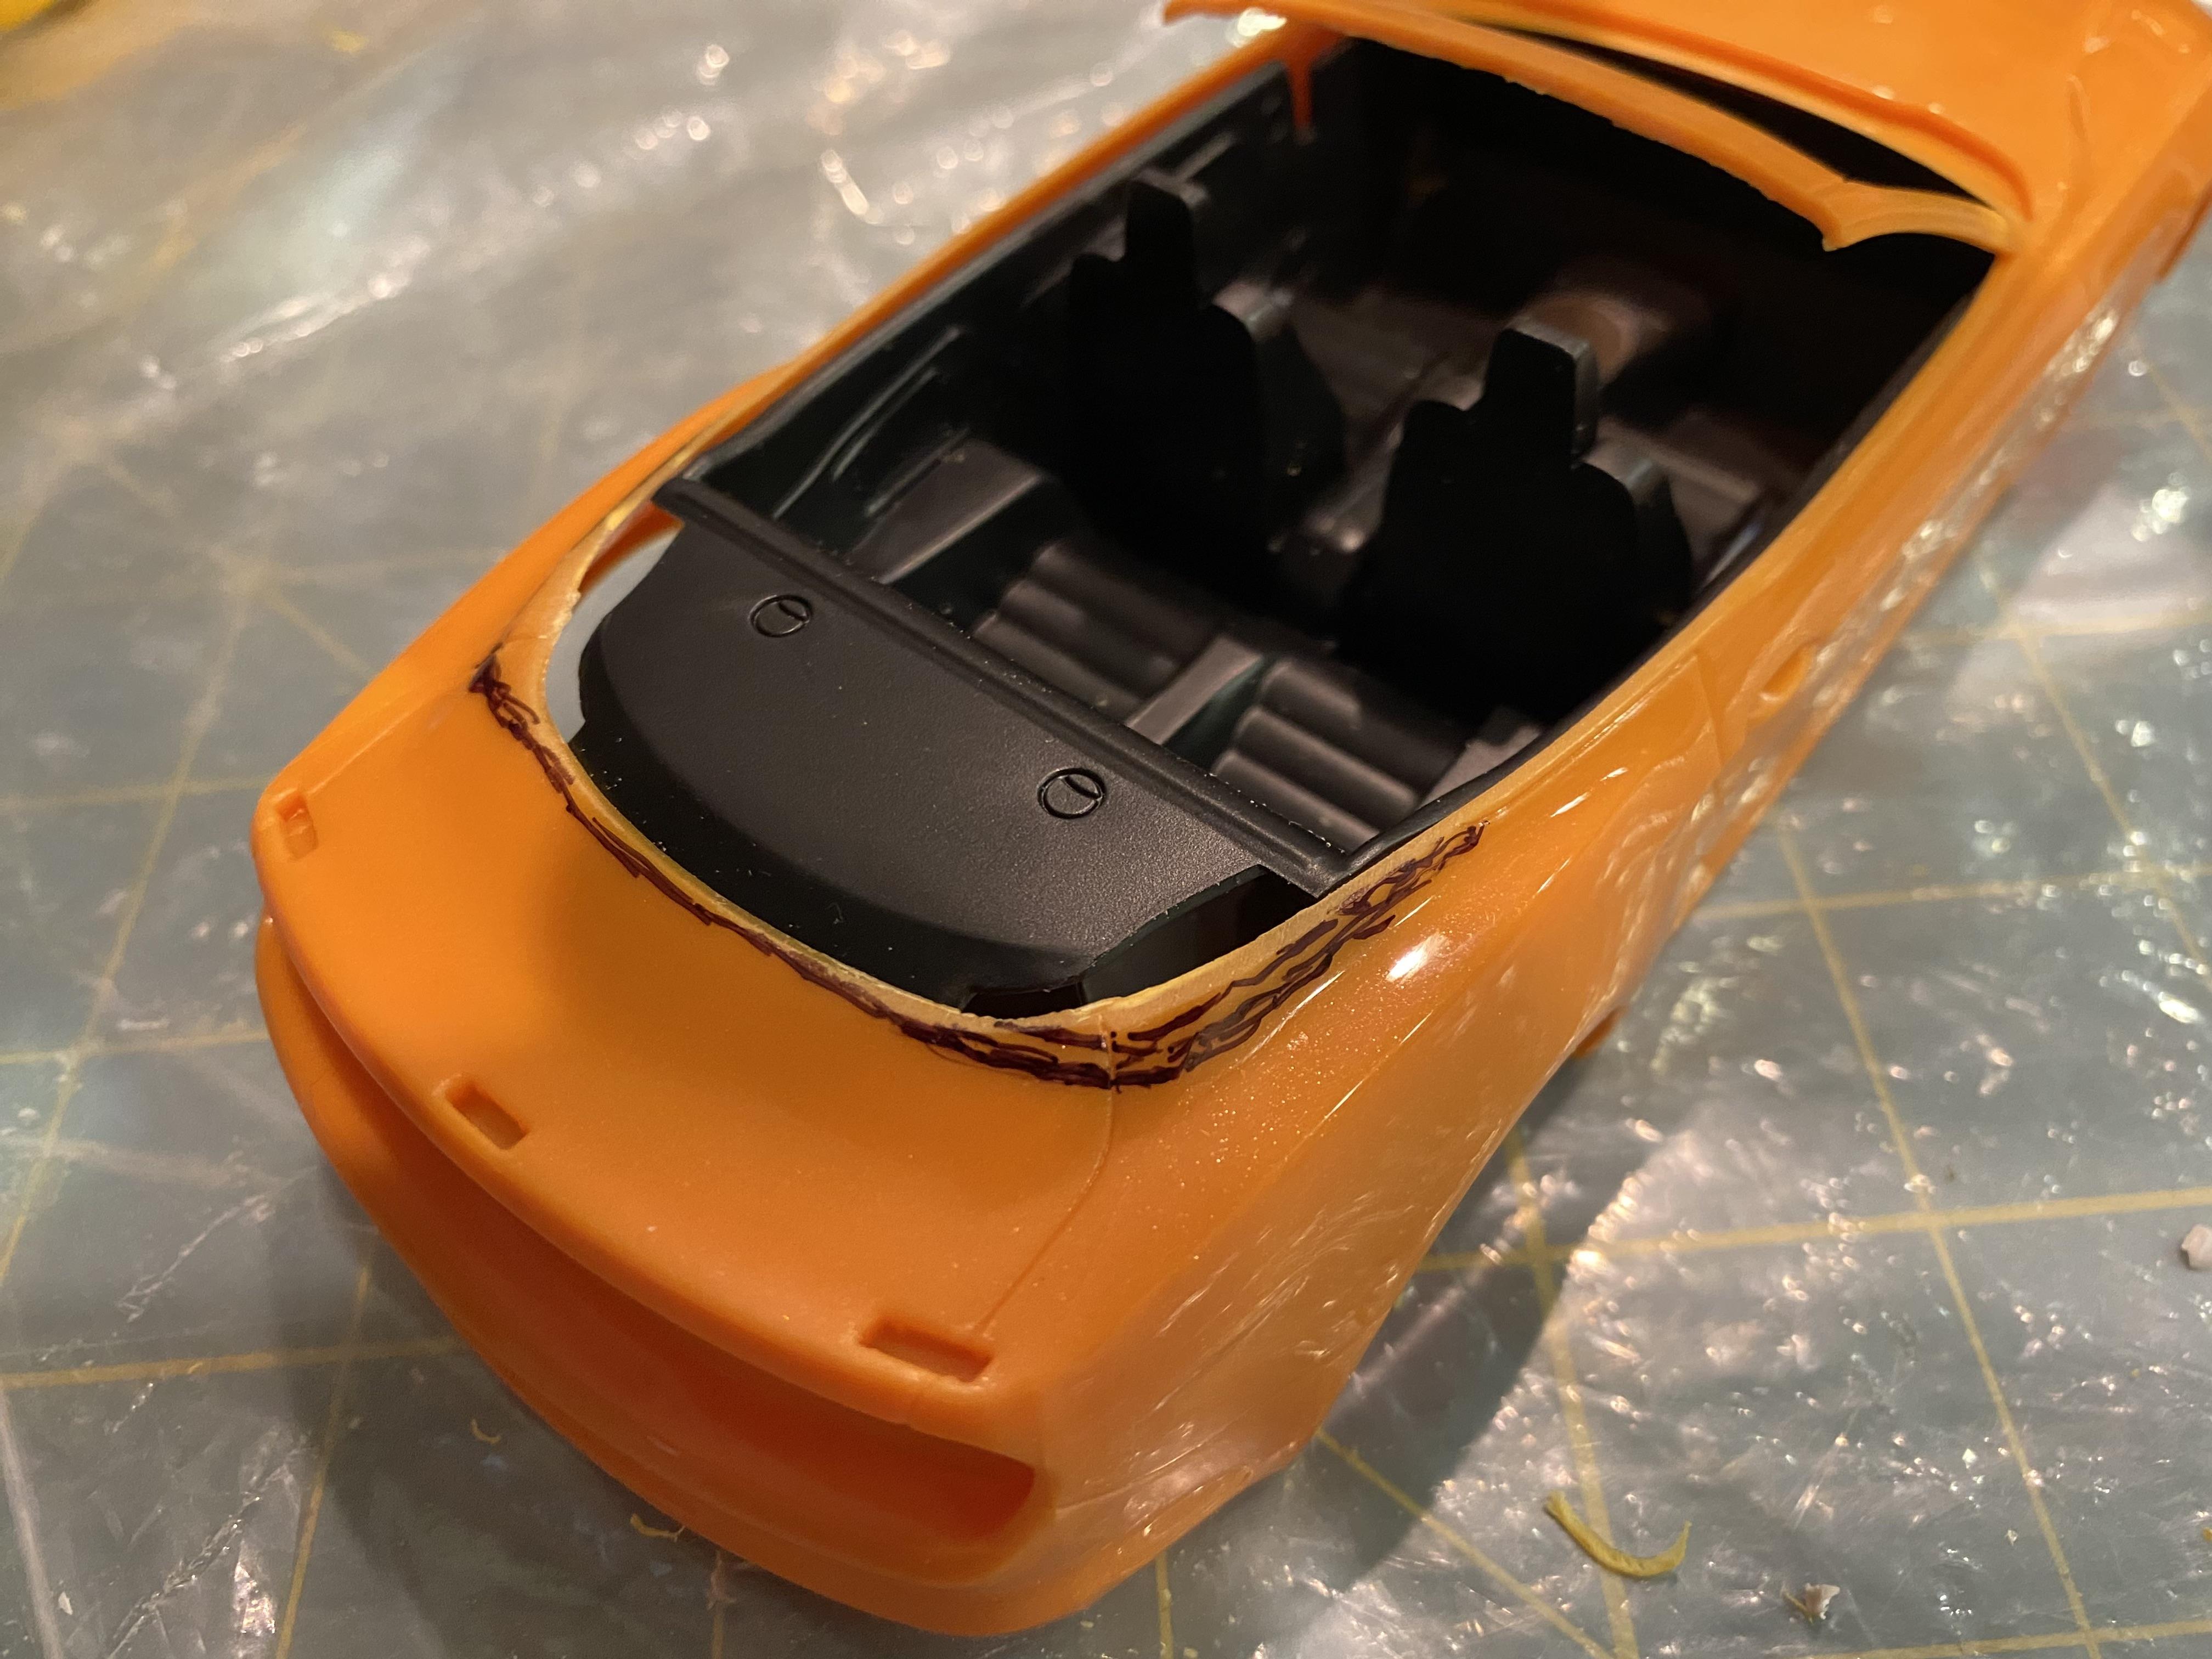
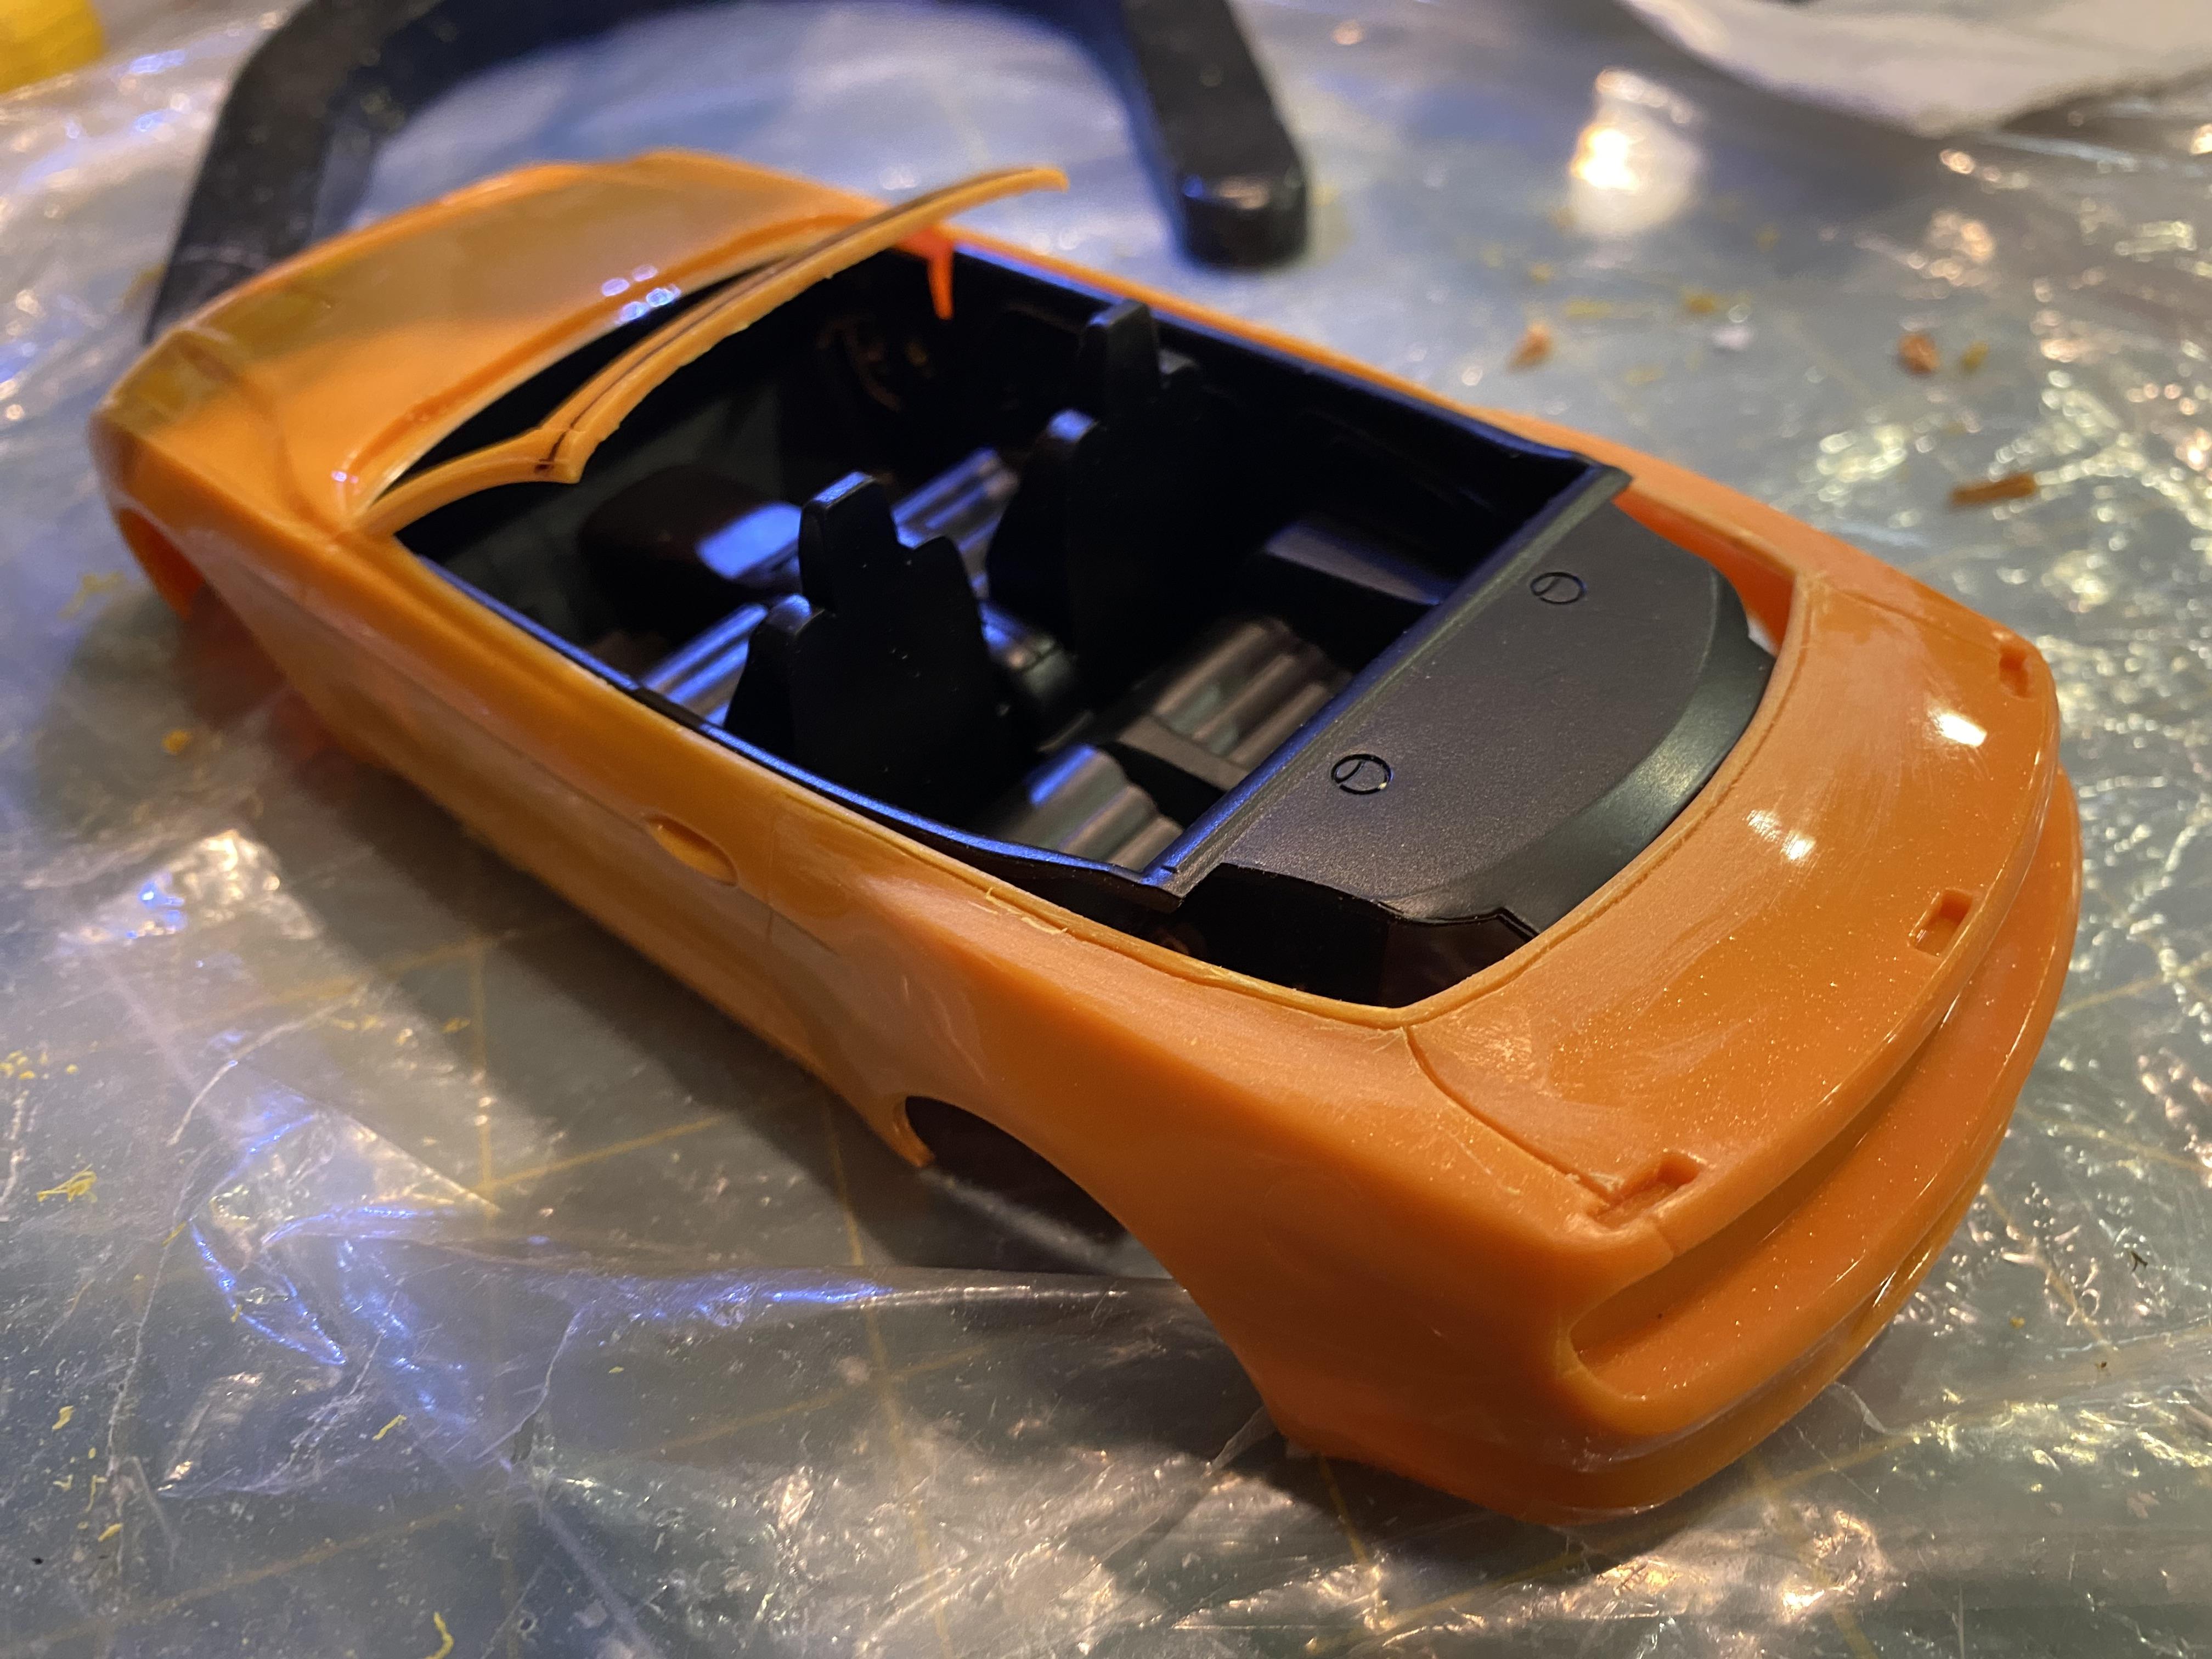
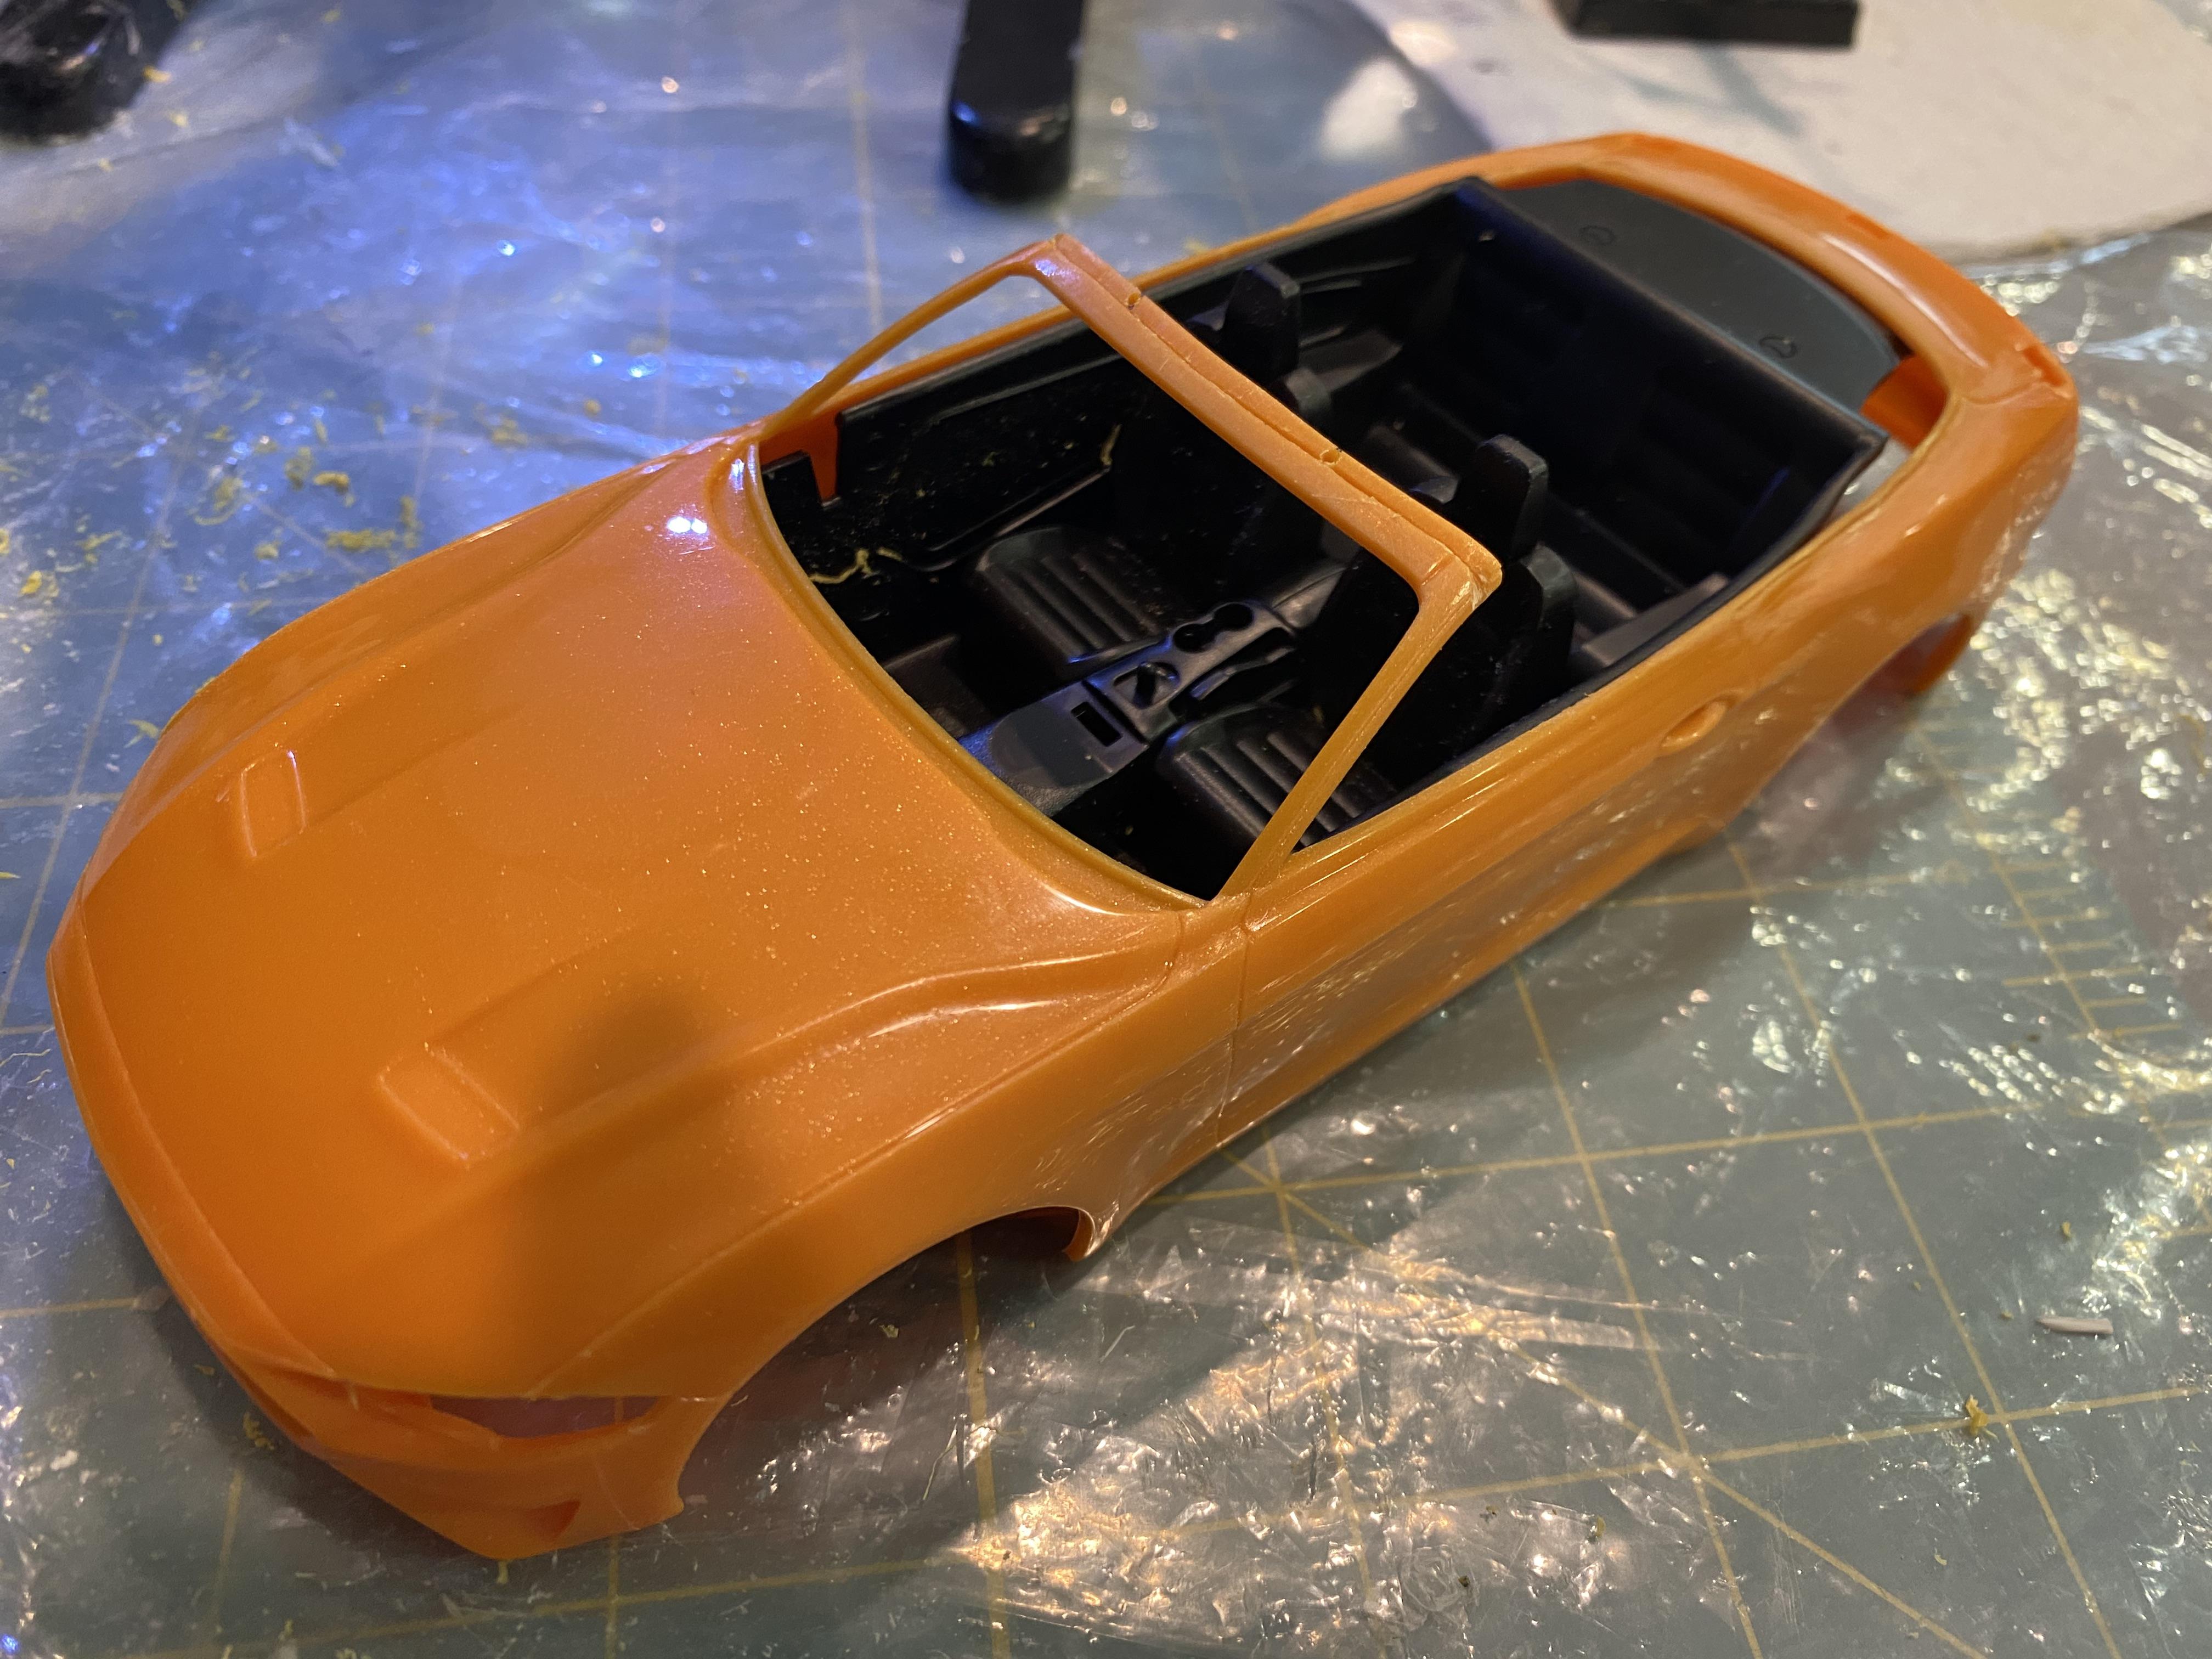
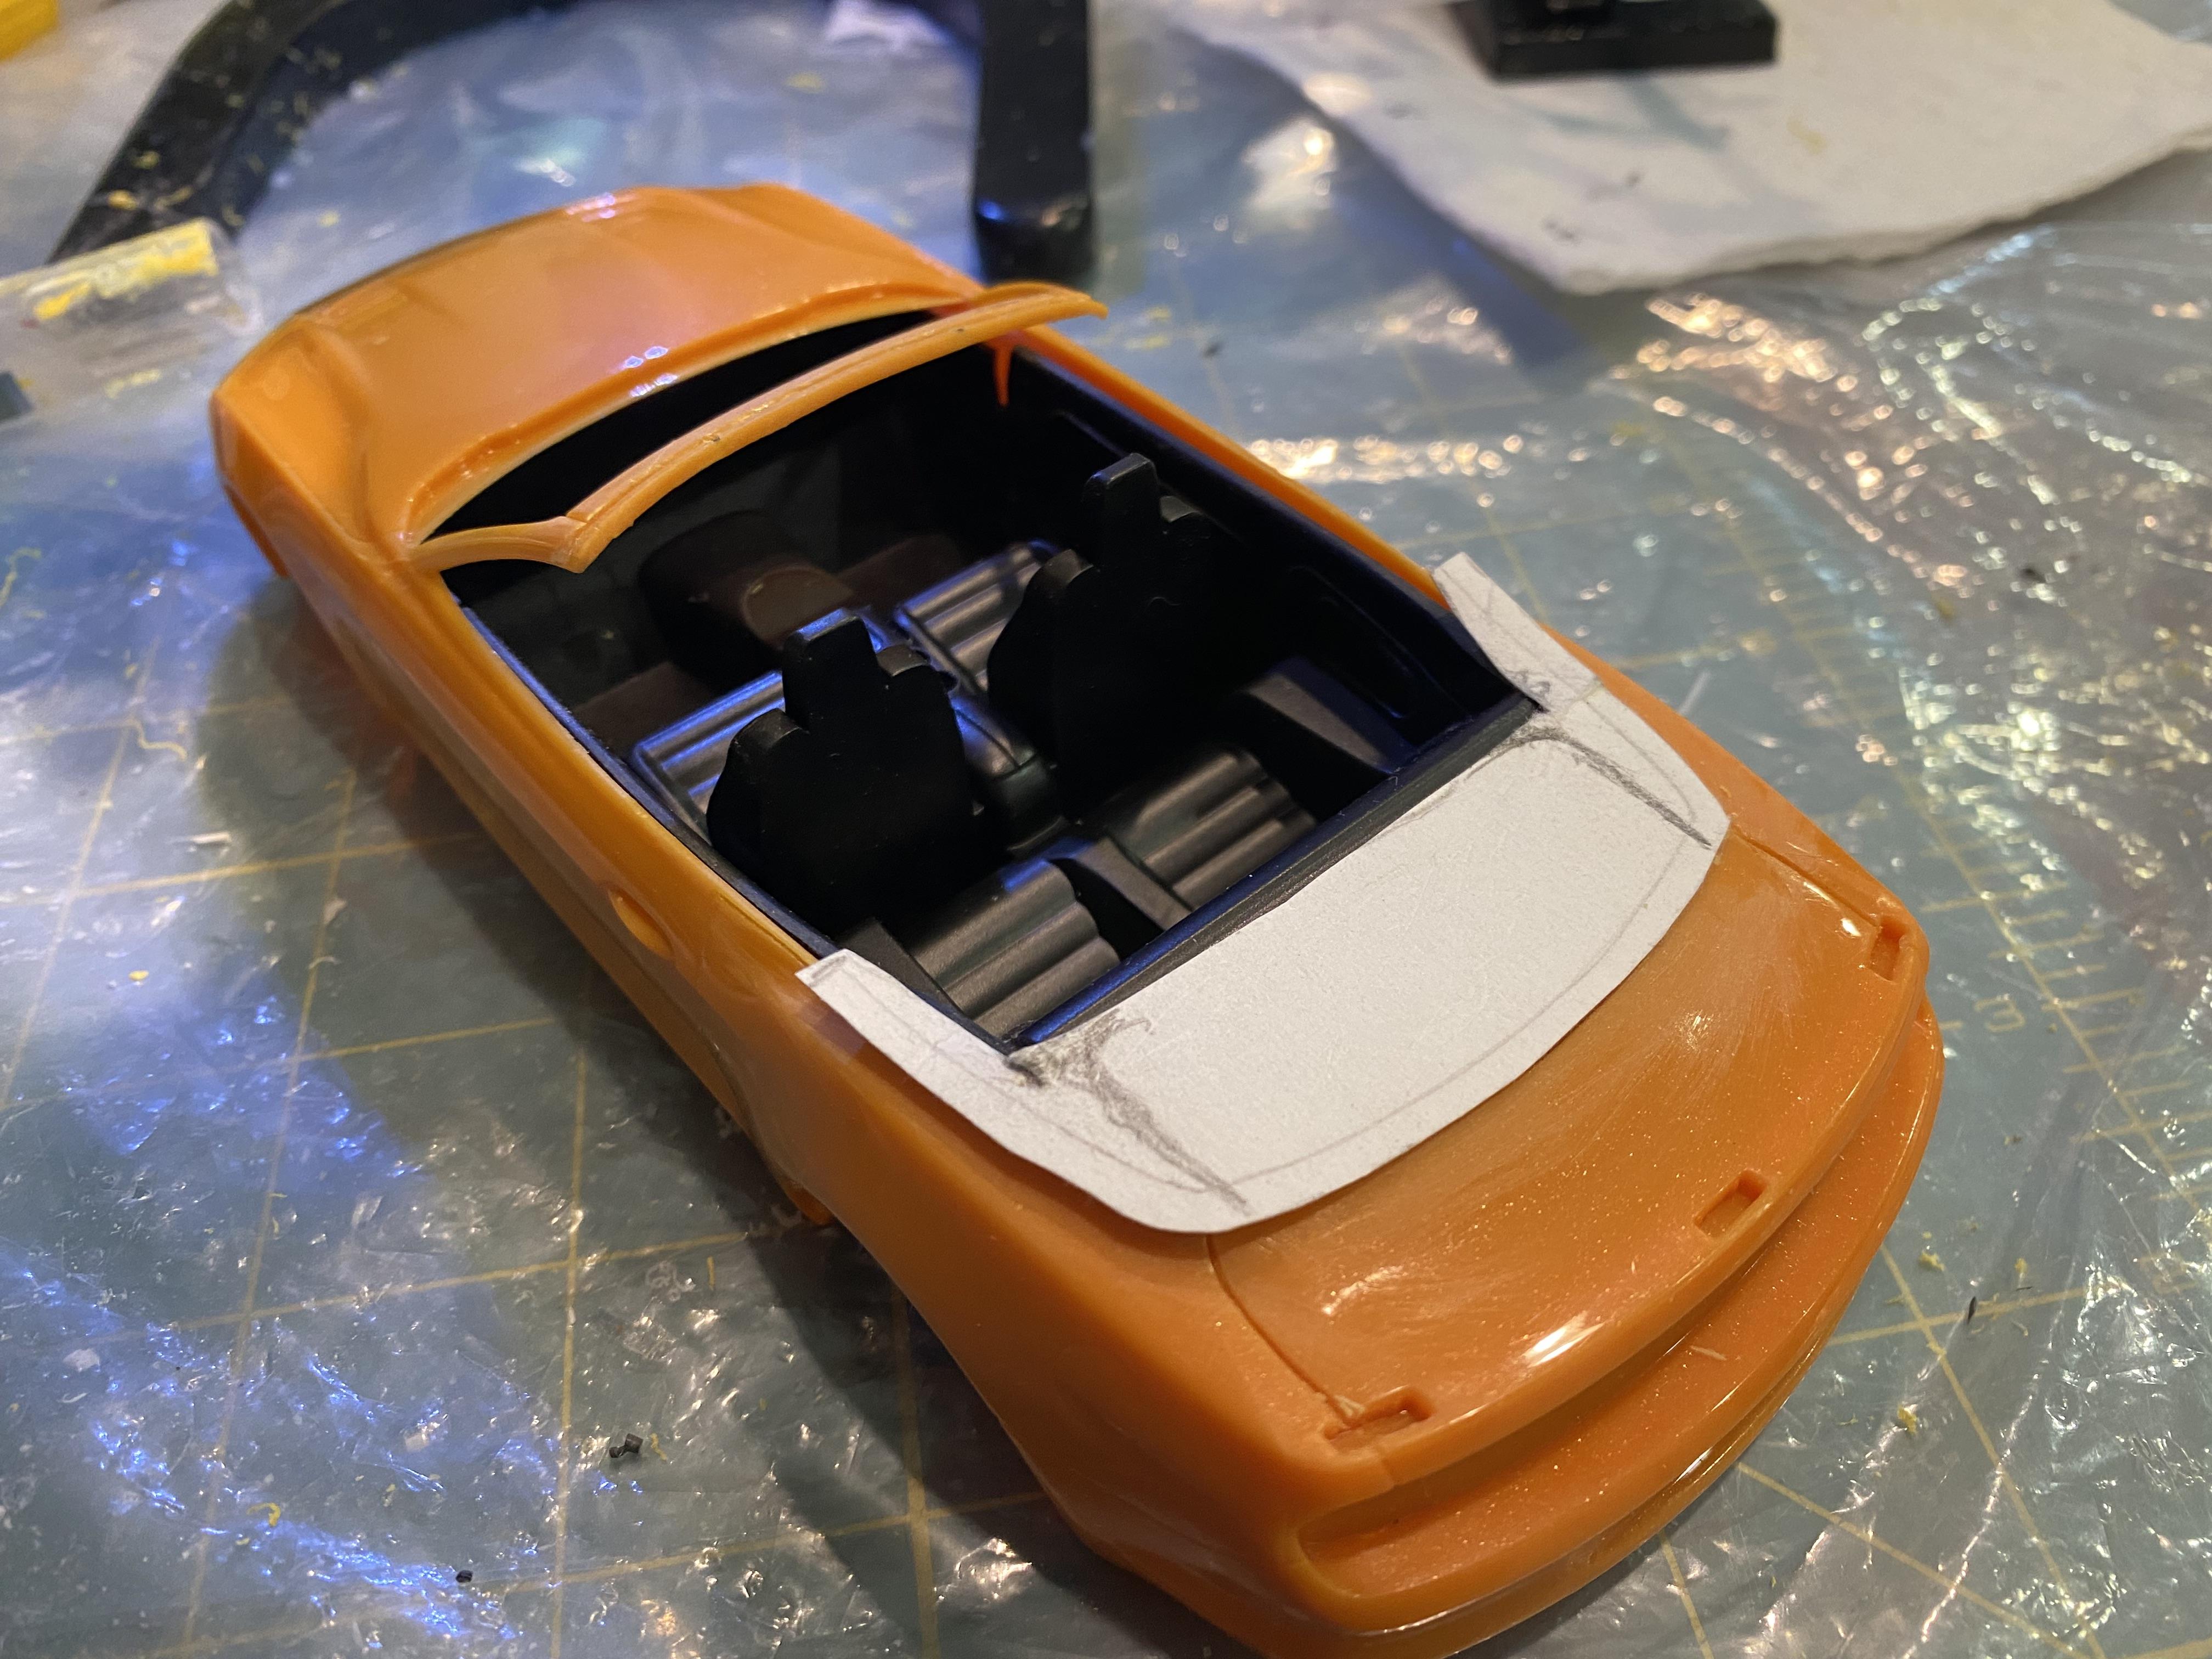
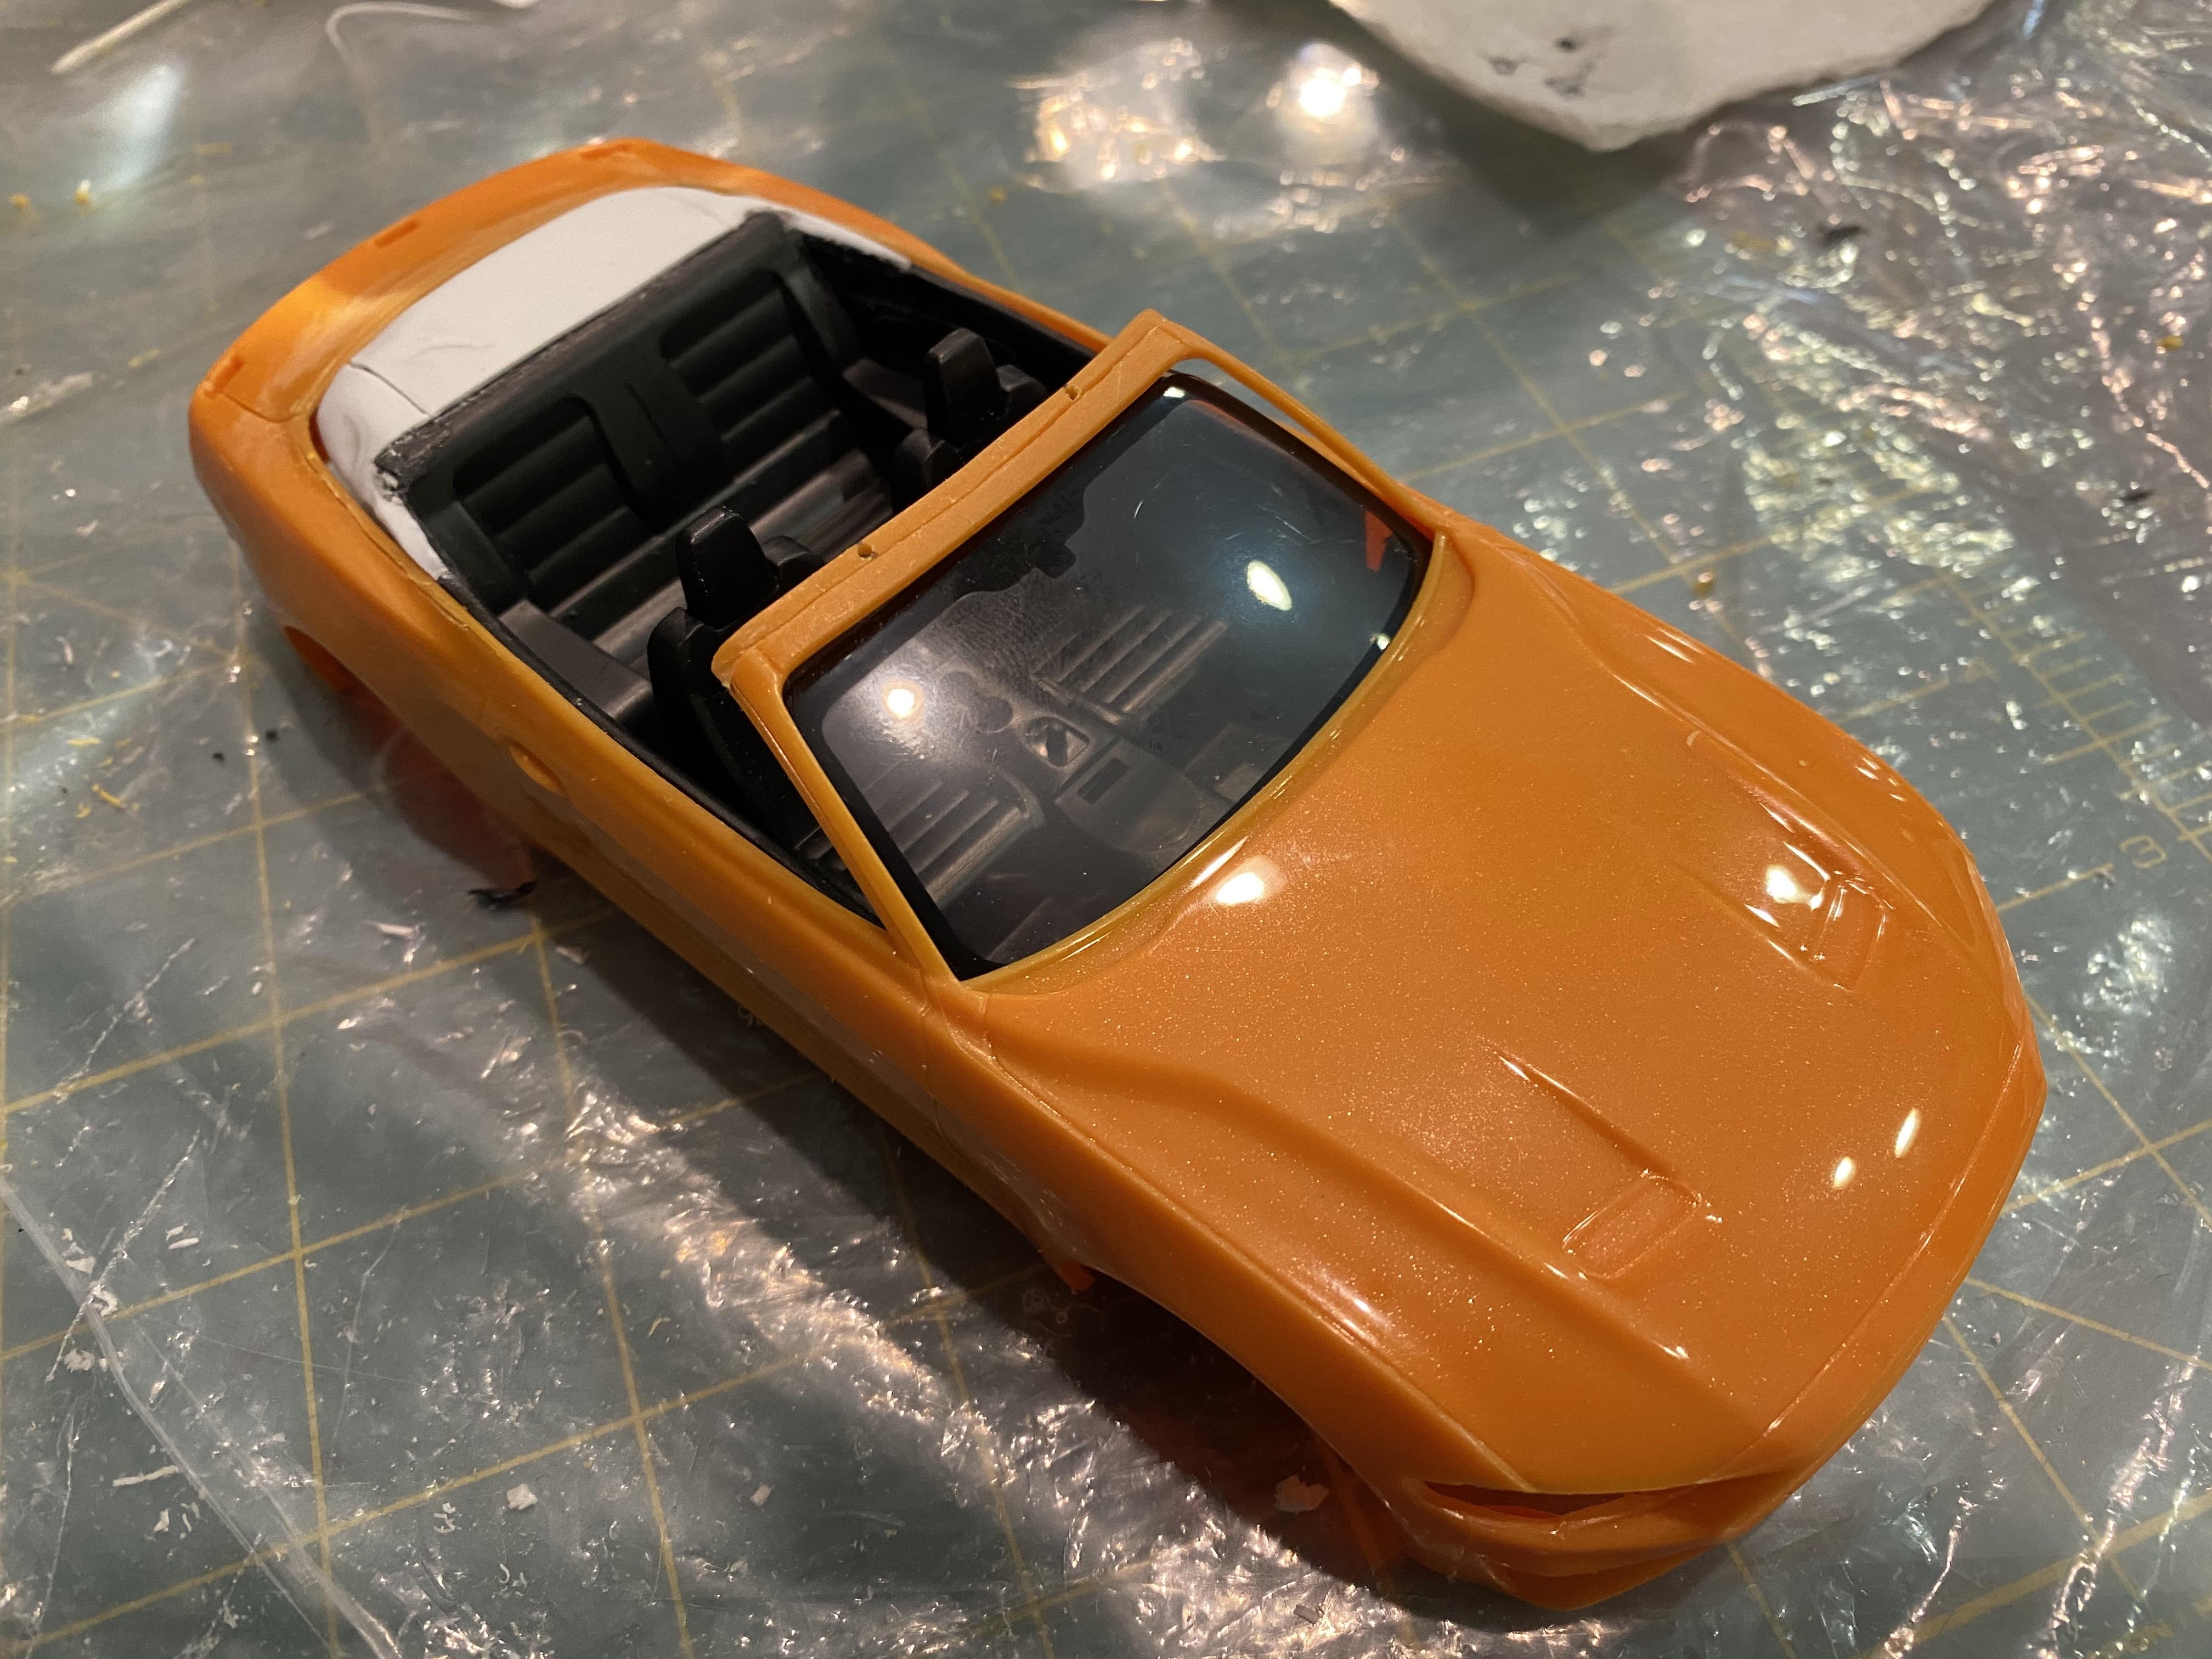
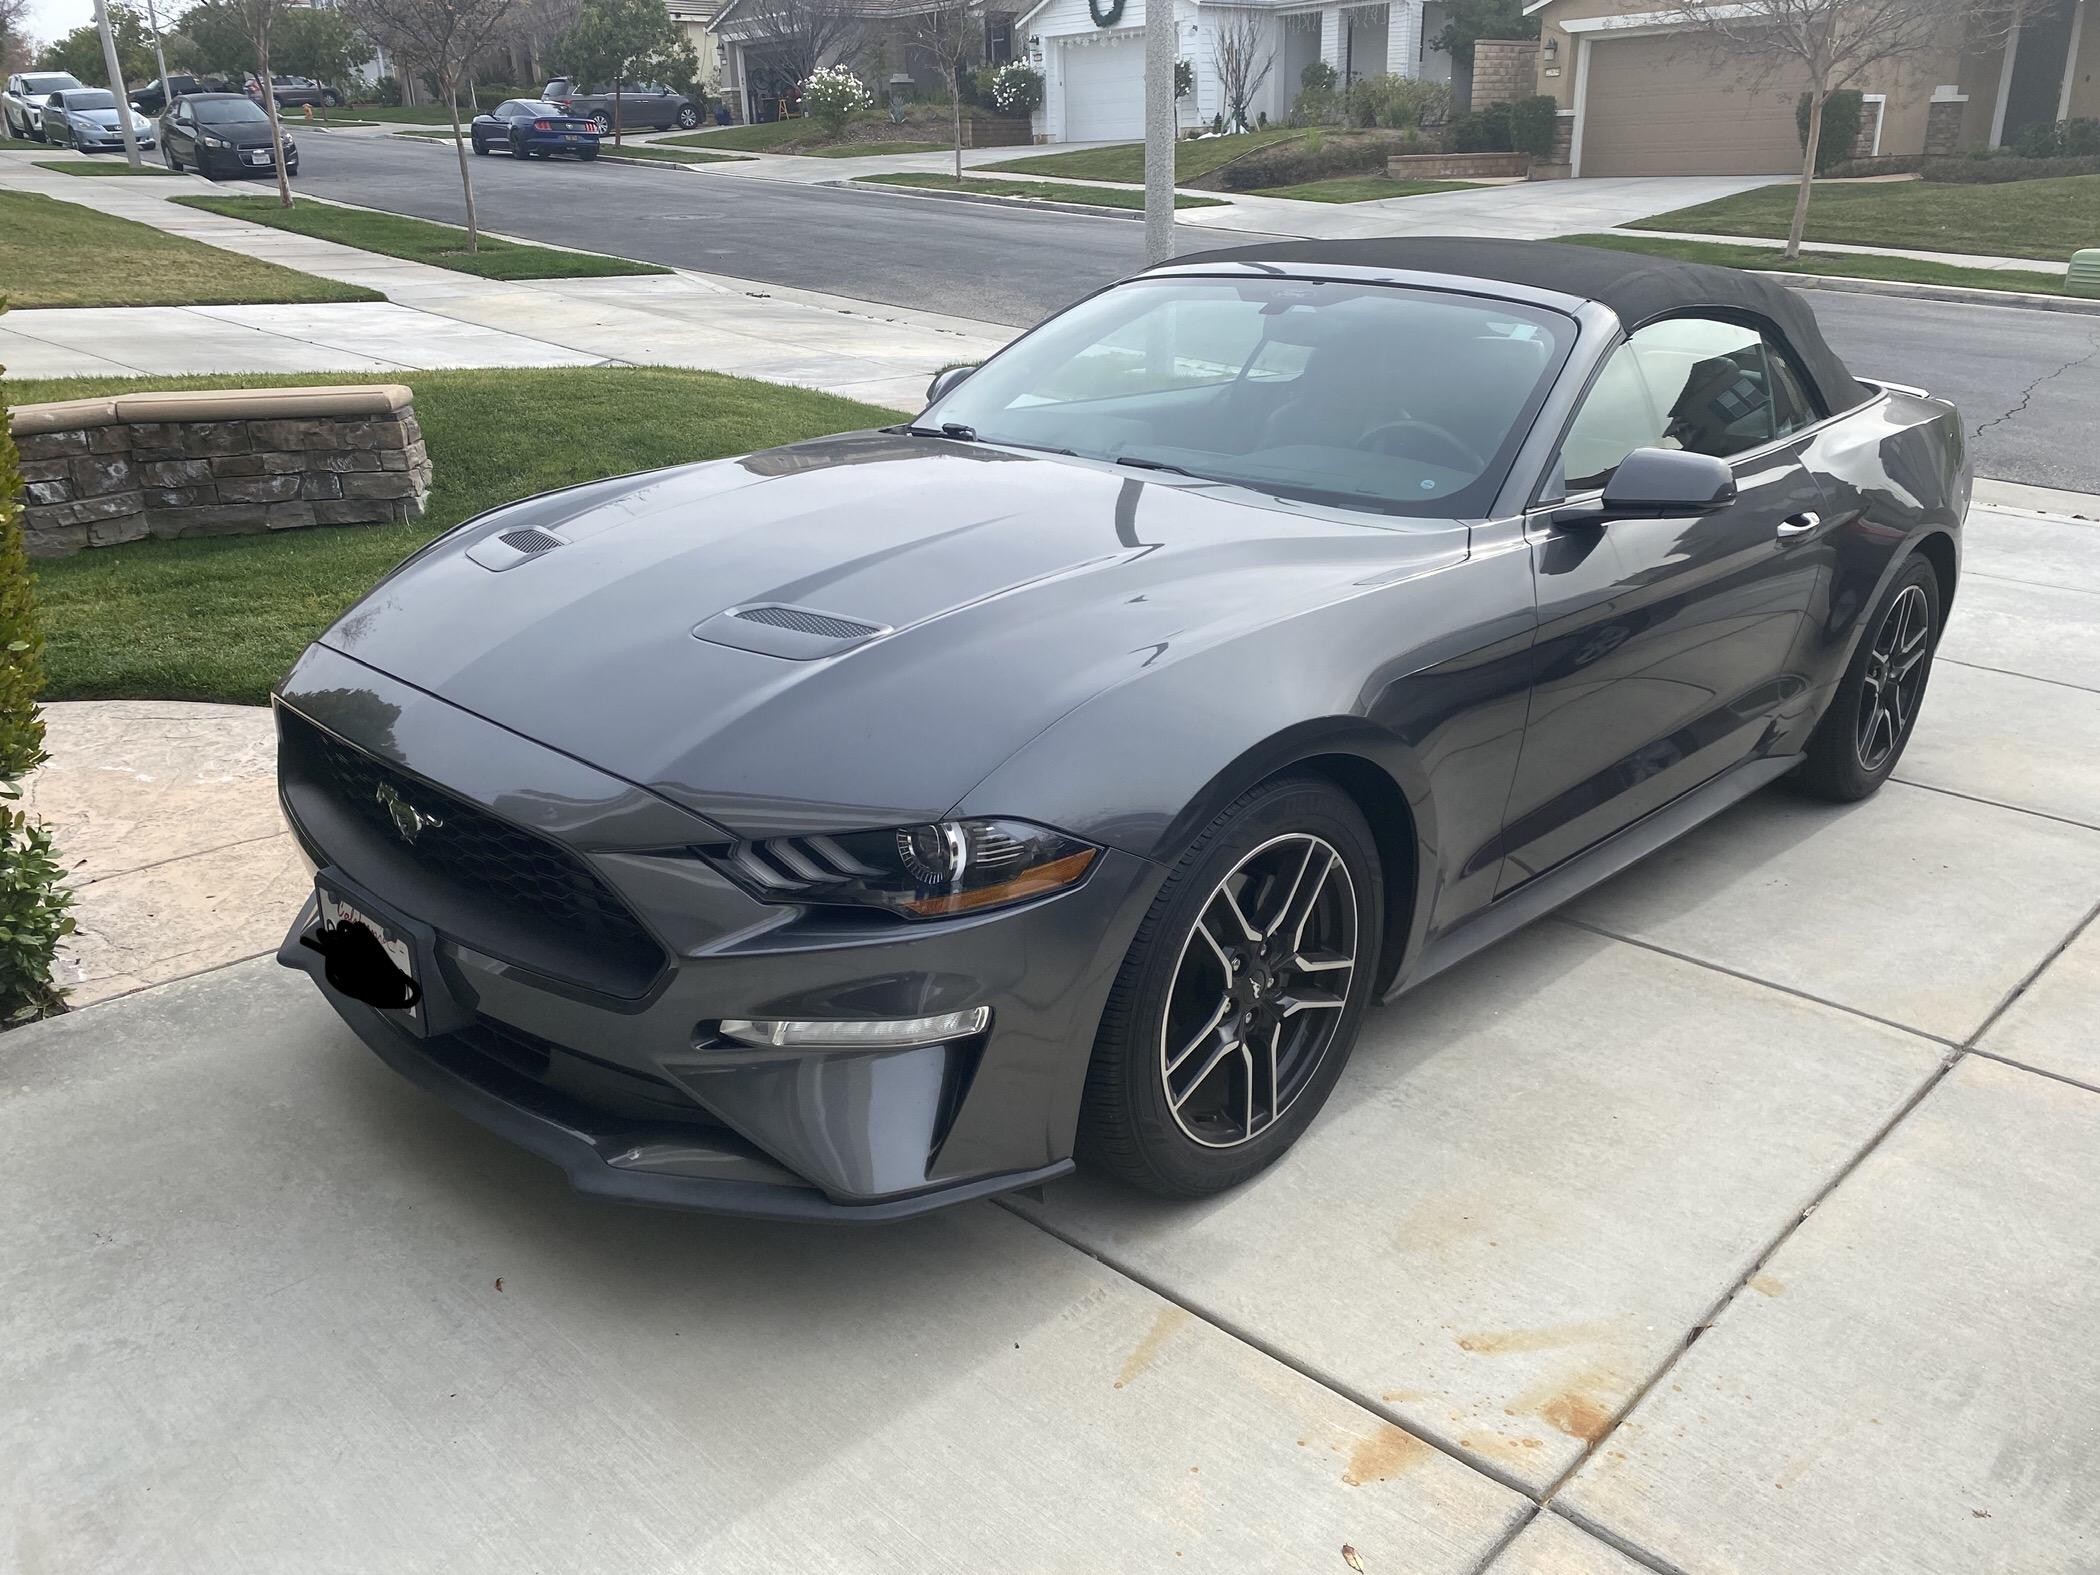
While I am semi-patiently waiting on paint and supplies for my 1966 Mustang Coupe build I decided to dig out my Revell 2018 Mustang Snap kit to attempt to make it into a respectable copy of our 2018 Mustang Convertible. I also purchased a die-cast model to get some detail parts that are missing from the snap kit, like missing rear view mirrors and bad headlights. This will be build 5/5 of our currently owned Mustang. I cut the top and made it into a convertible, but now to continue I would need to order supplies and paint for this kit as well.
-
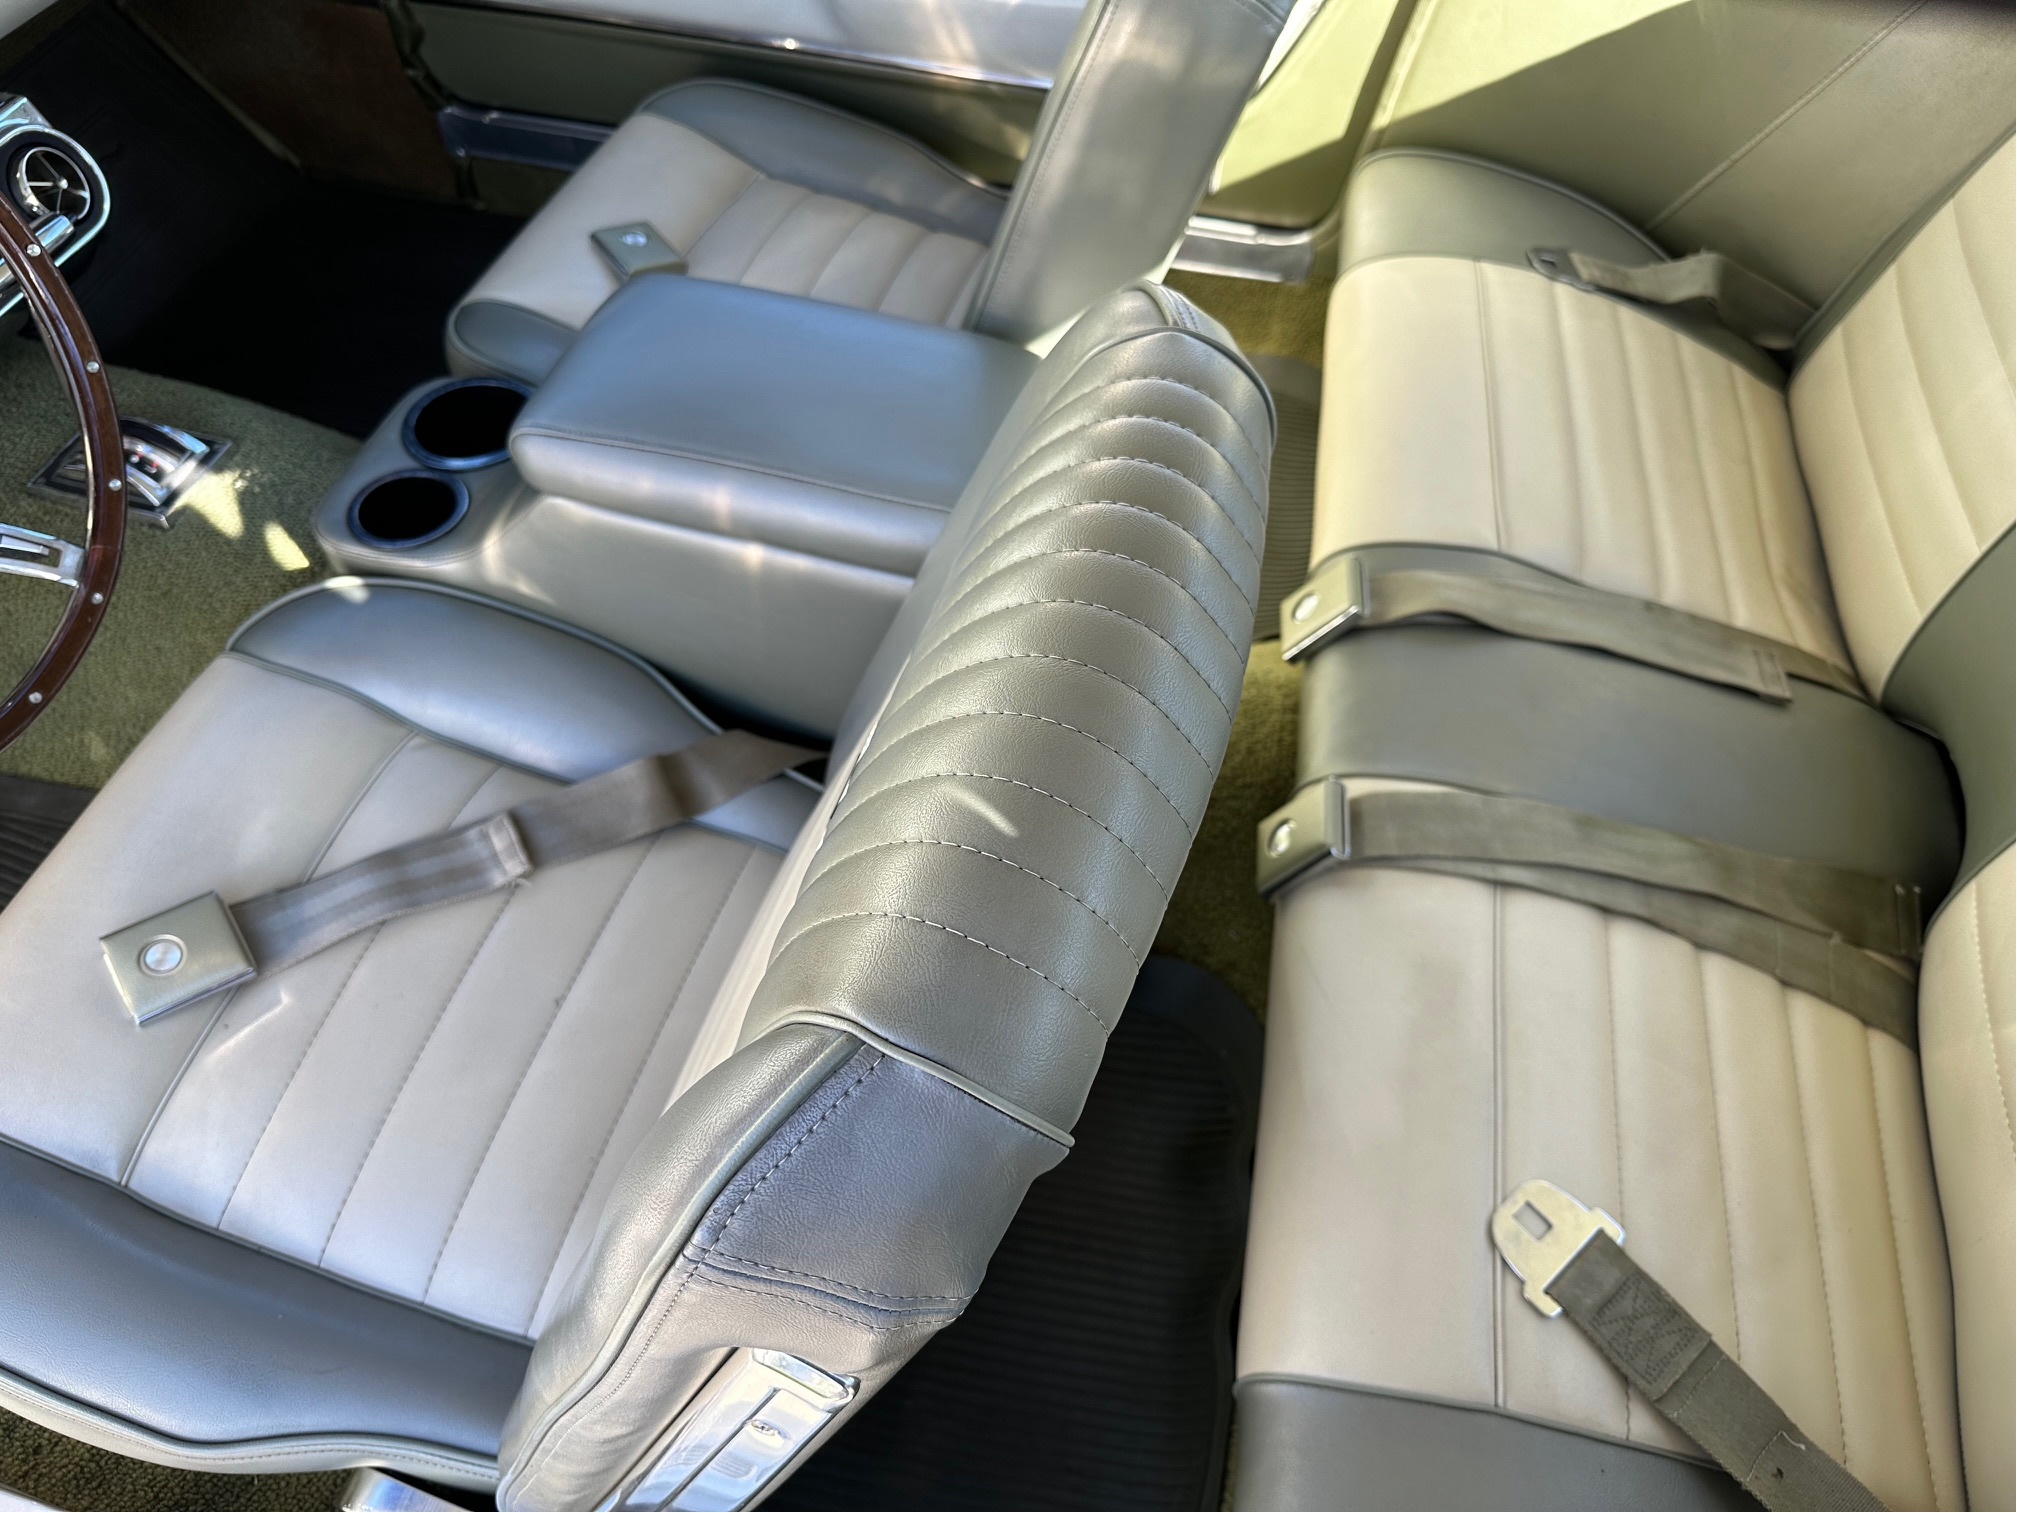
Buckles on the inside, with adjustment pulls:
-
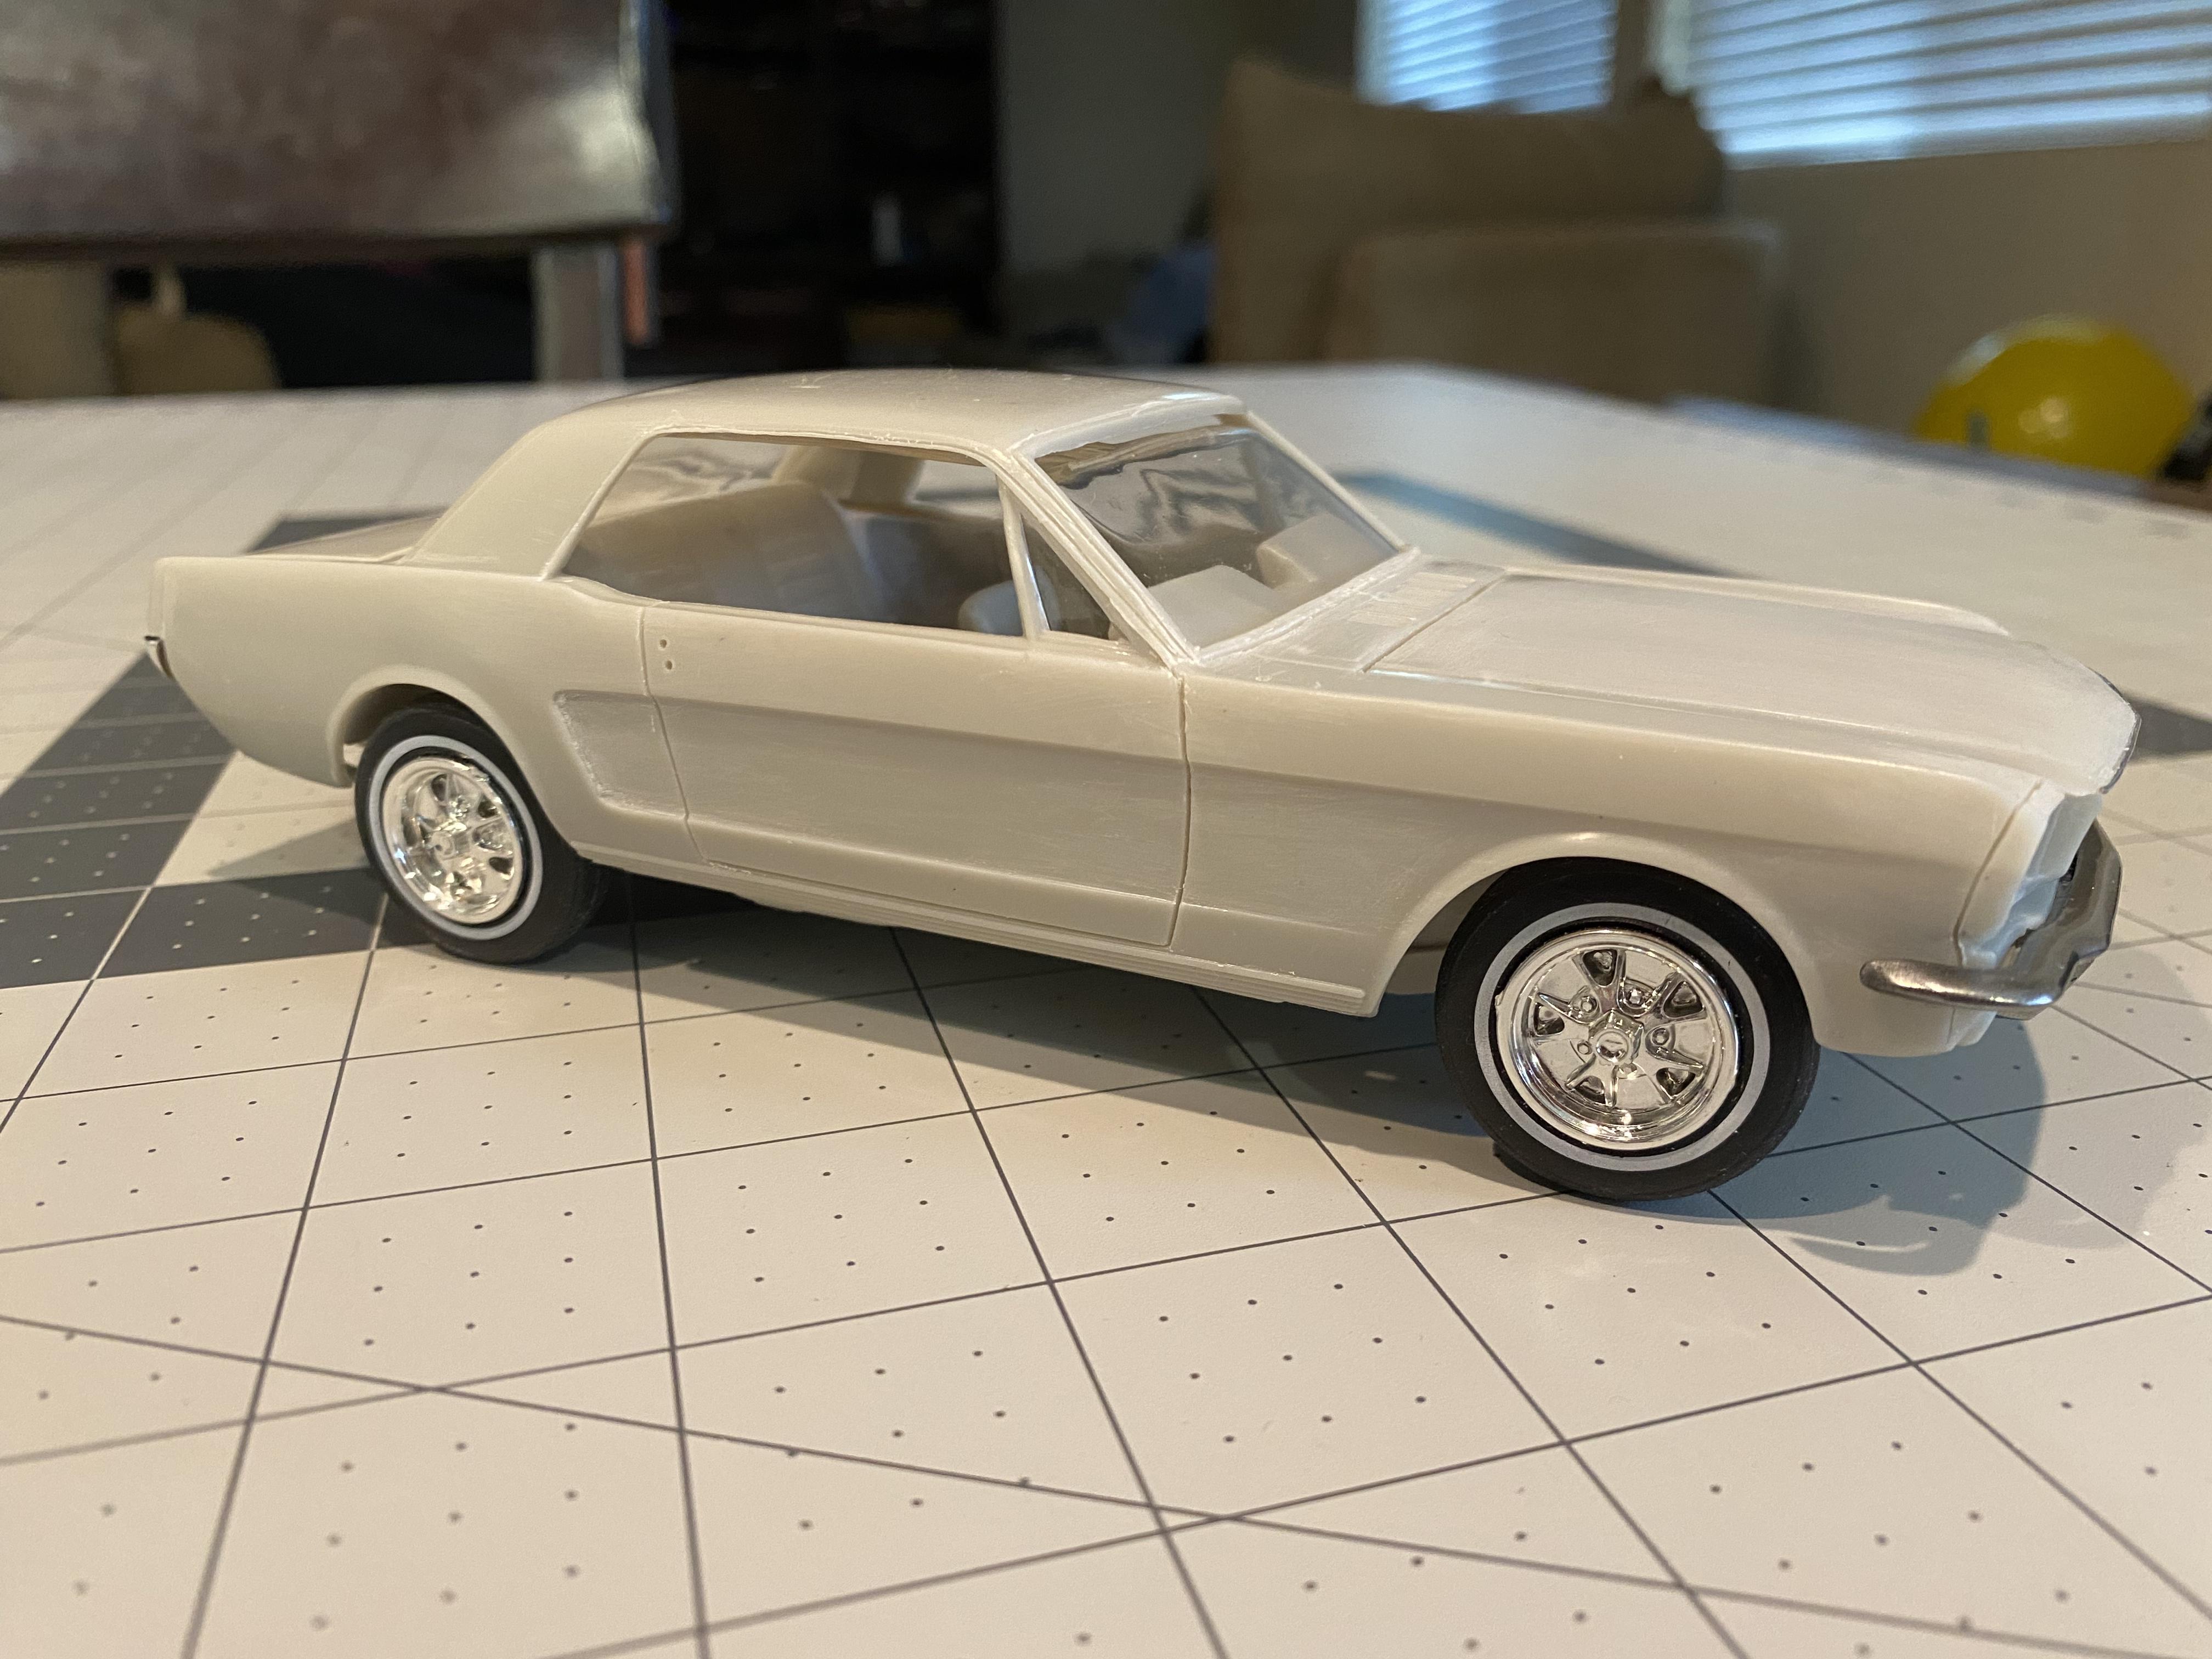
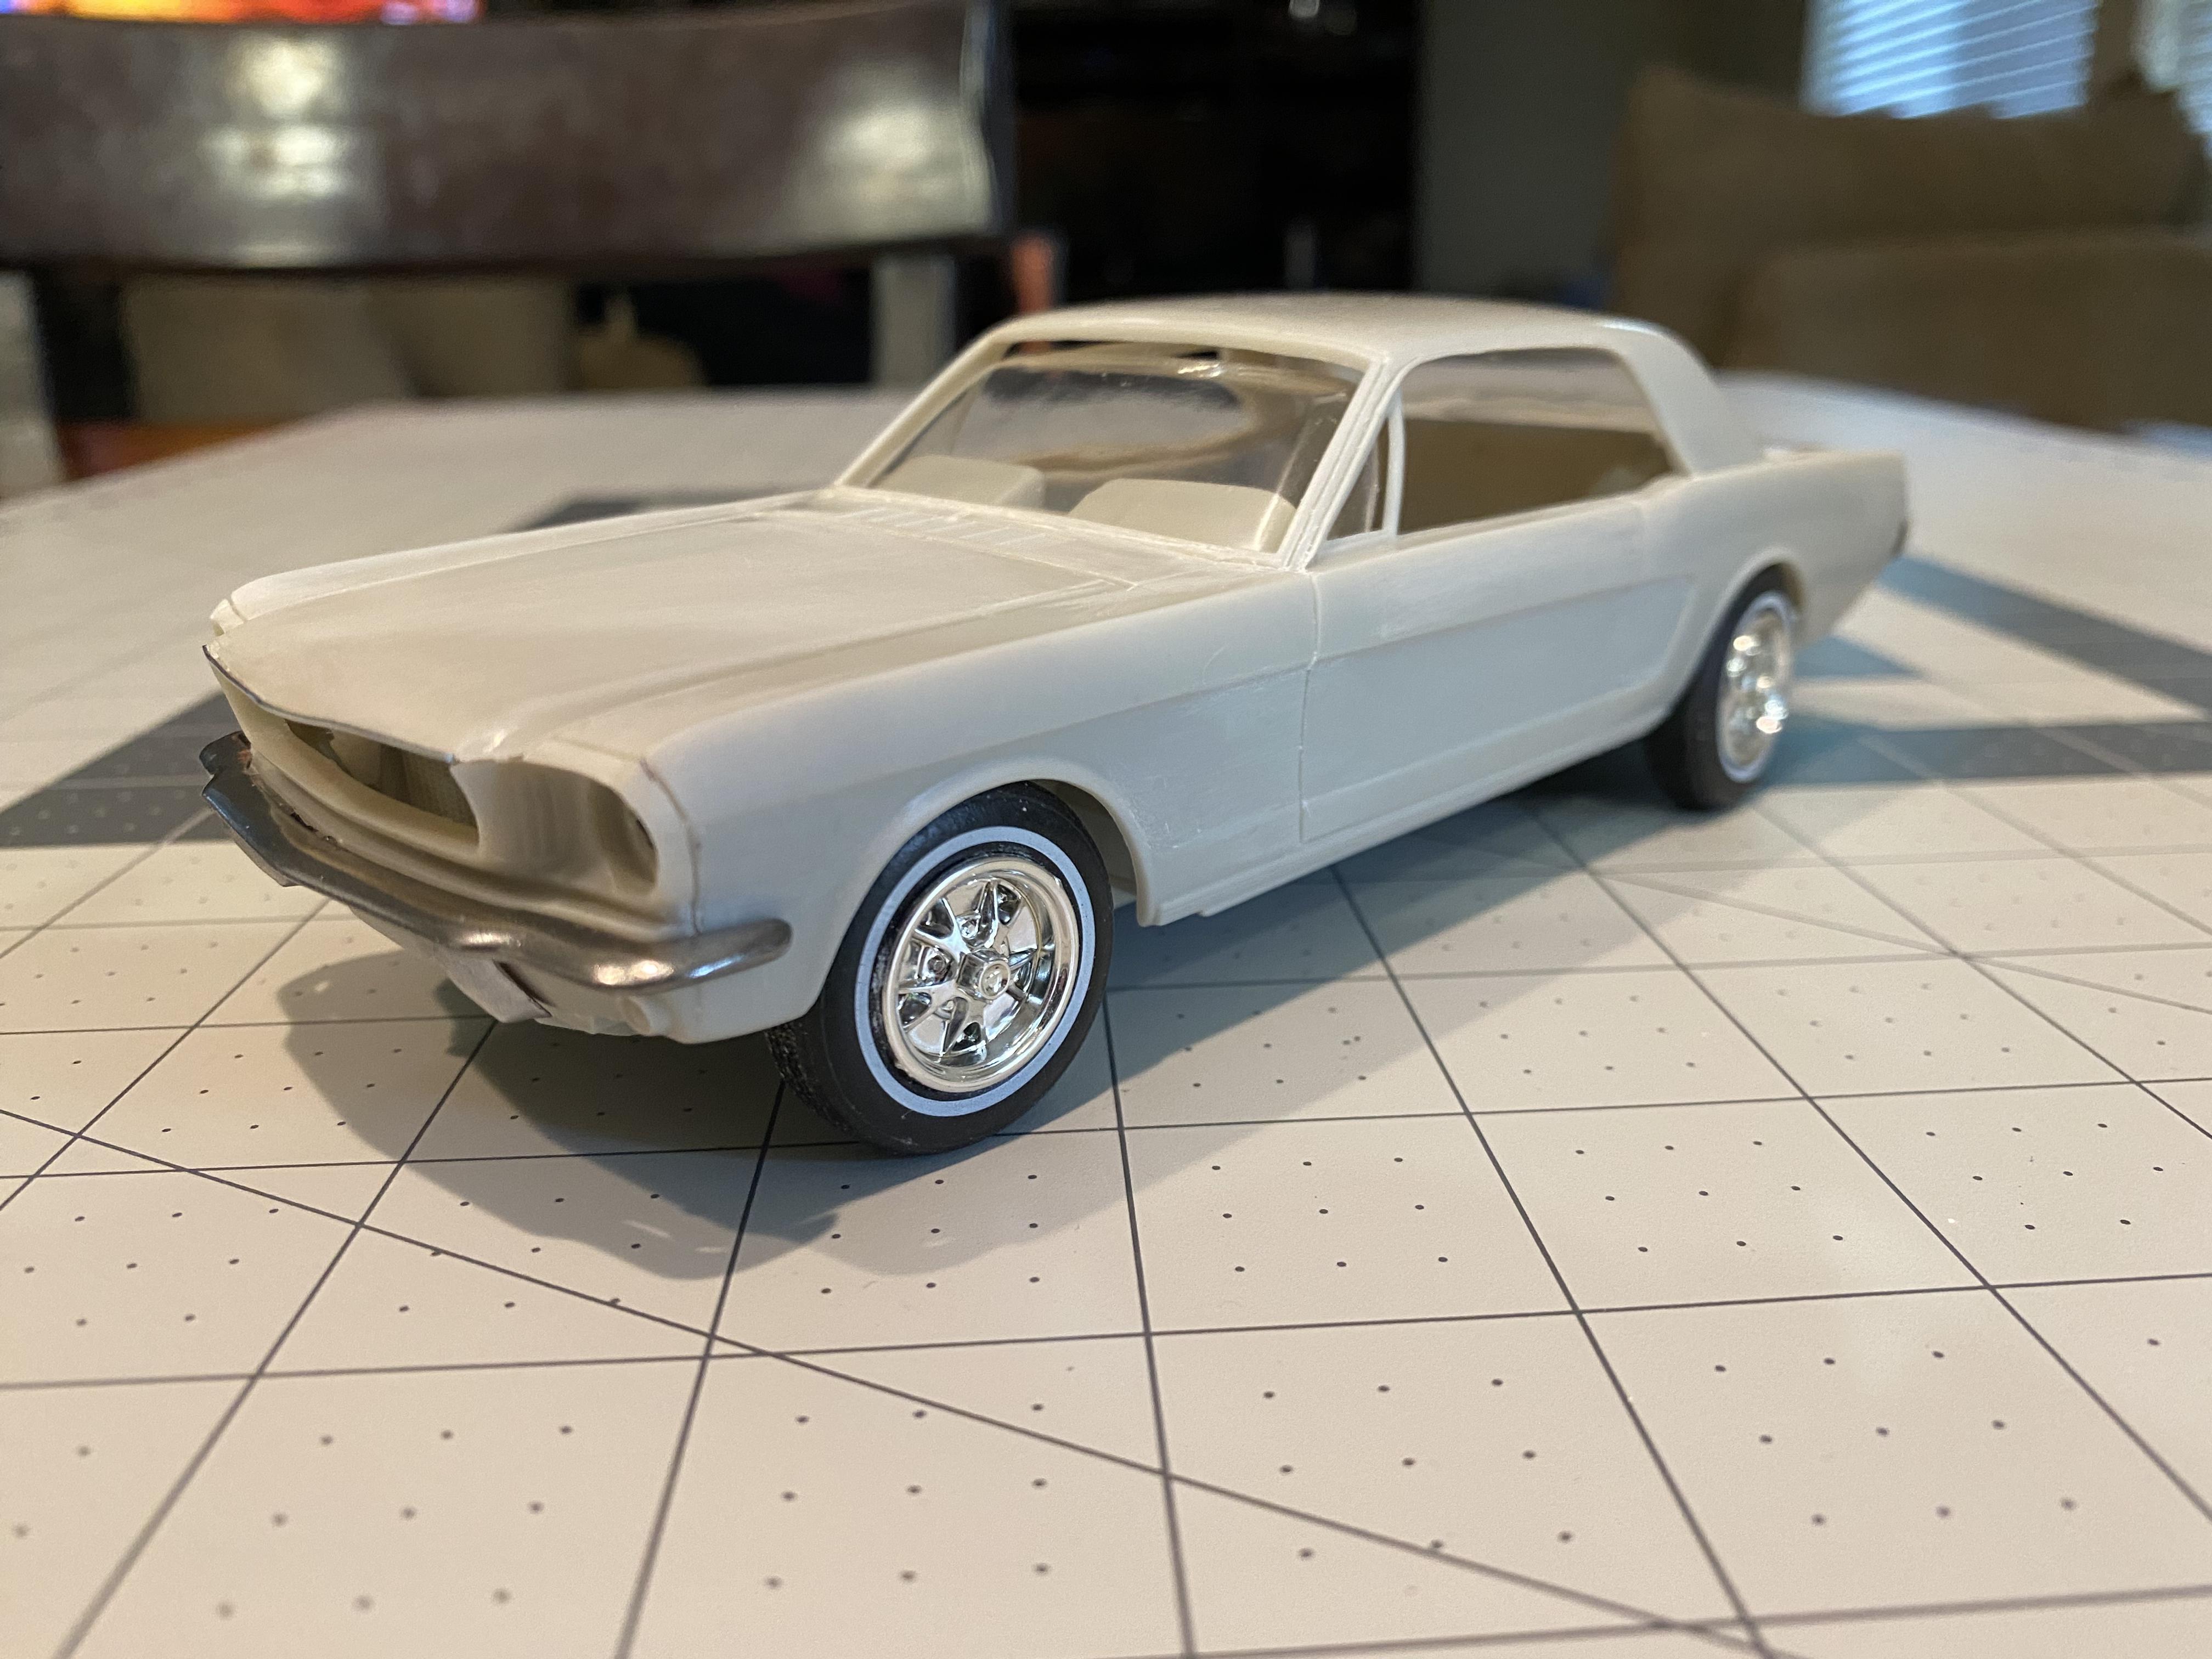
Final White glue mockup before paint.