Duddly01
-
Posts
1,048 -
Joined
-
Last visited
Content Type
Profiles
Forums
Events
Gallery
Everything posted by Duddly01
-
Uv resin does need a uv light to cure, yes. The simplest thing that gets good results for me has been Tamiya clear red over chrome. But that is only when I don’t plan on adding LEDs.
-
Tamiya clear red works well in this case, with the chrome backing it, but I would be tempted to drill them out and tint clear UV resin and make the lenses.
-
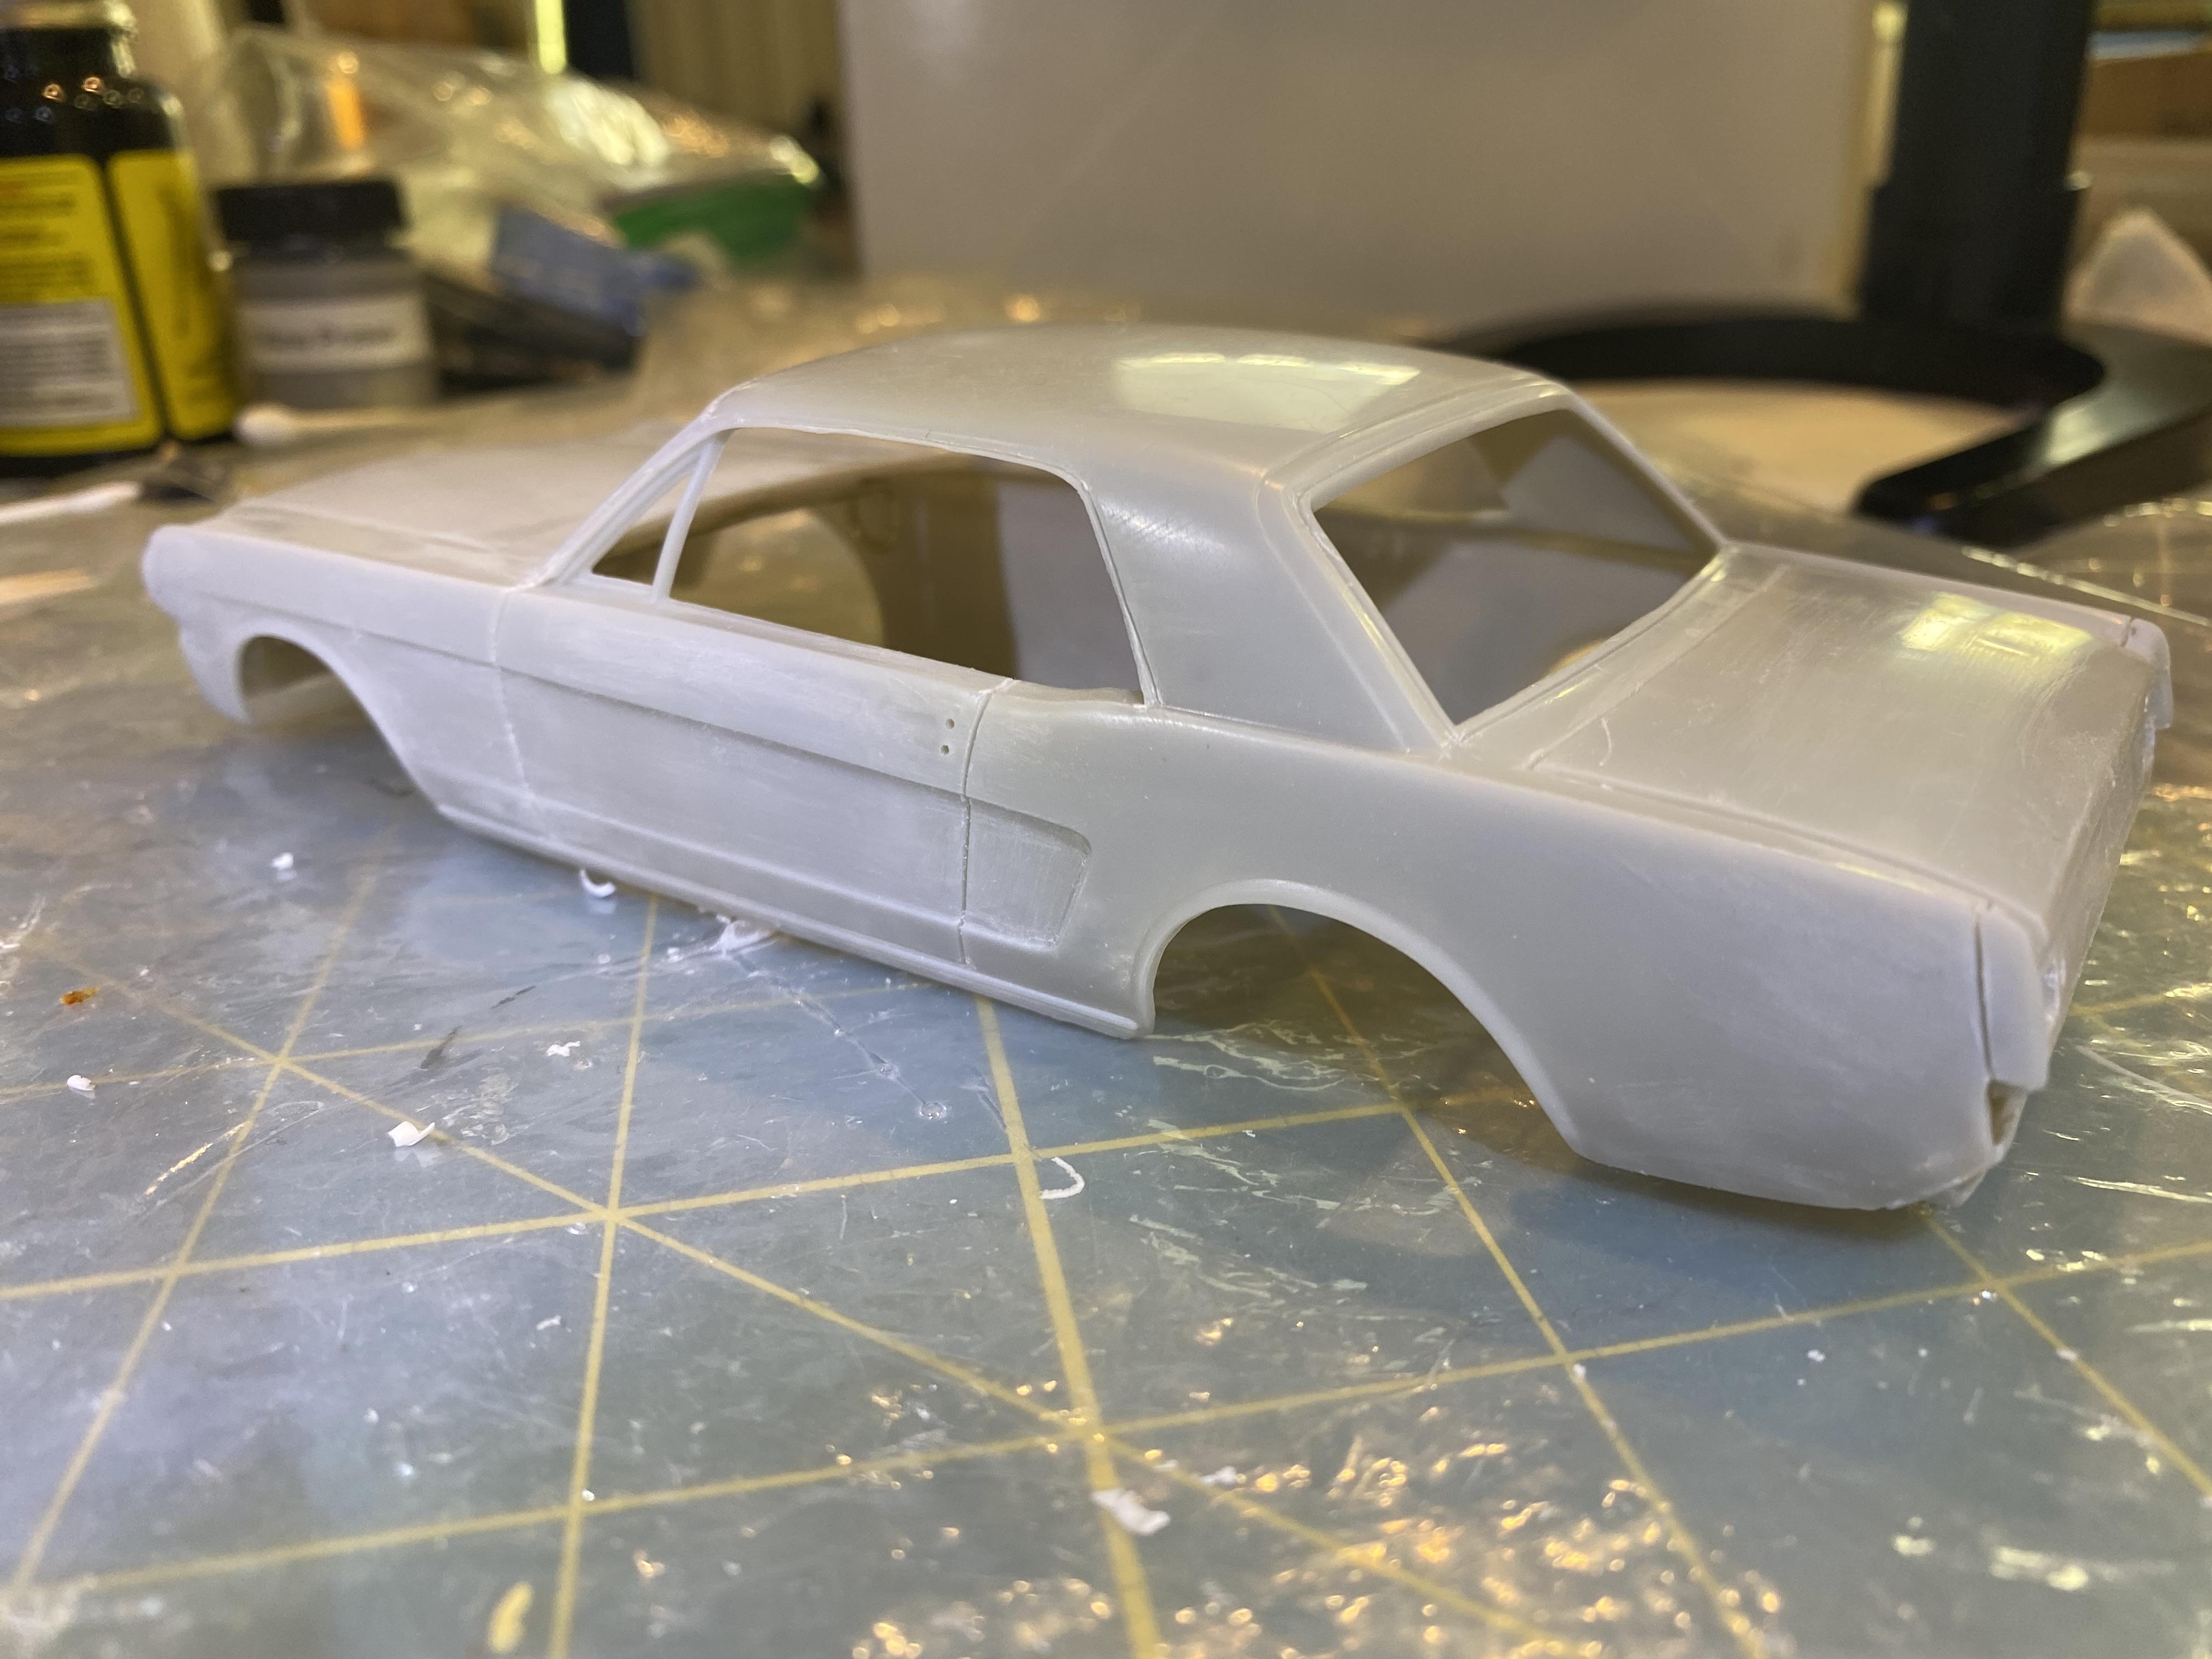
Thanks. Looking forward to finally being done with fabrication and modification of the kit bashed model and parts and getting into paint.
-
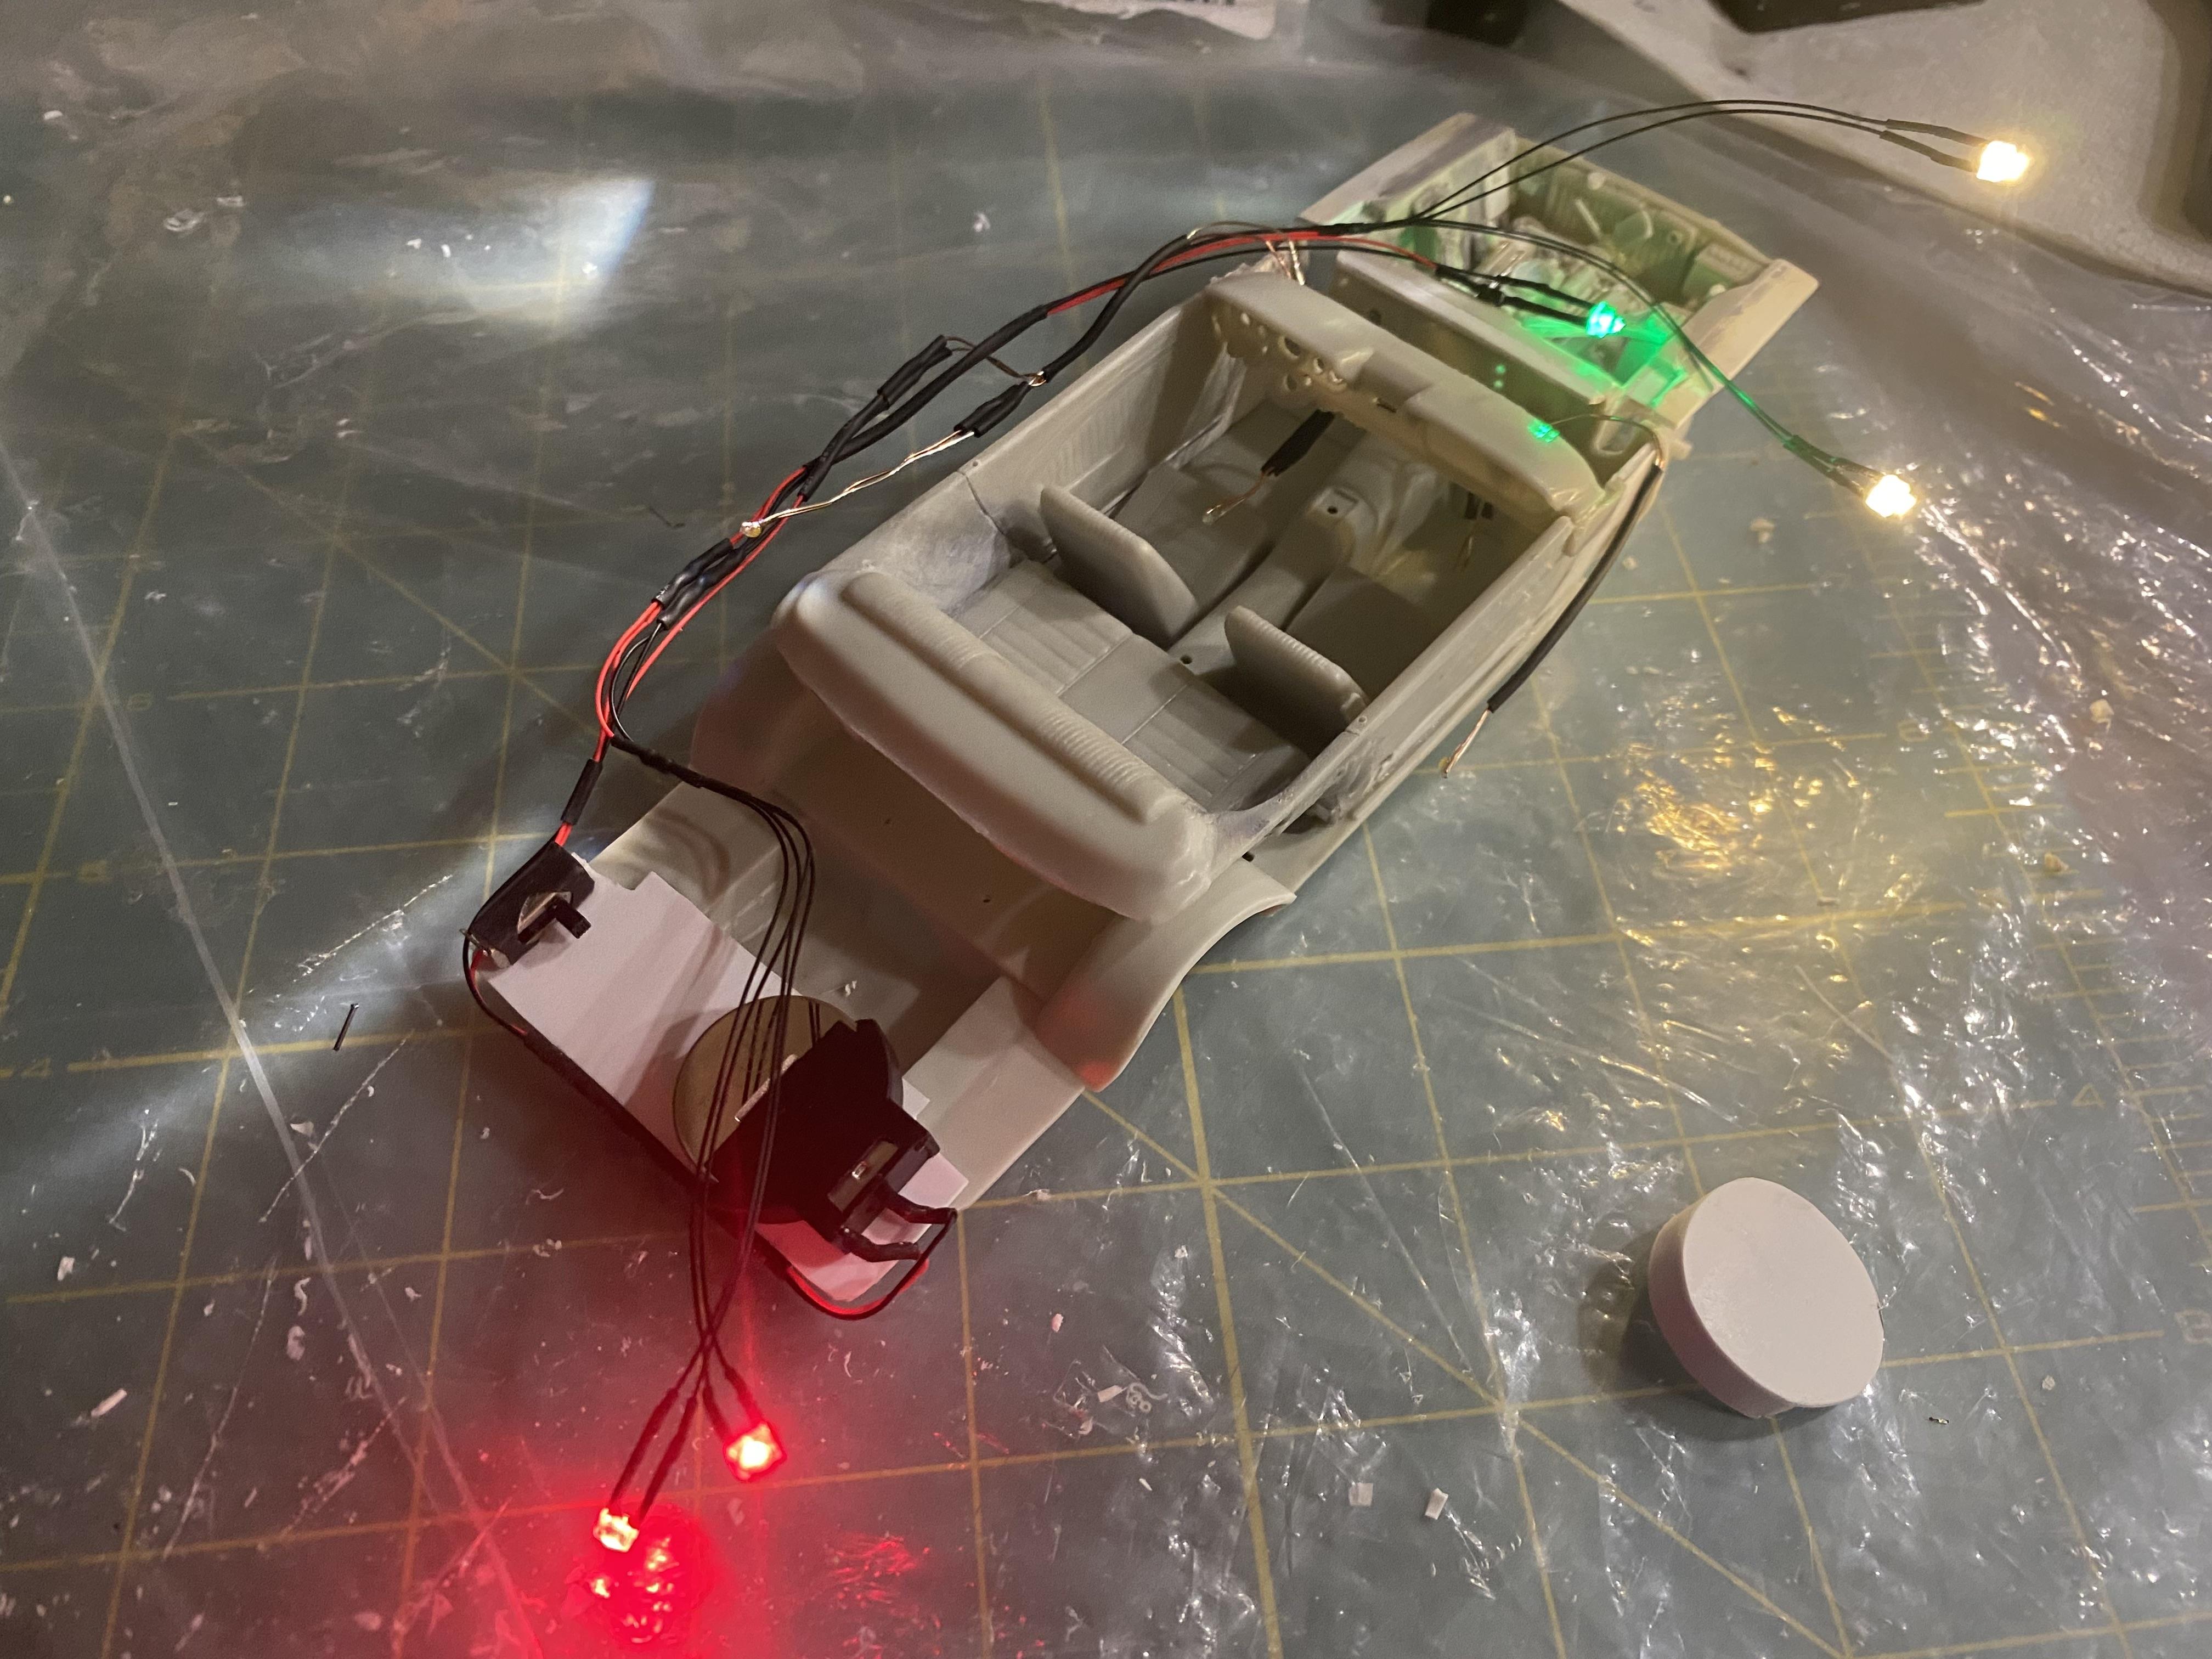
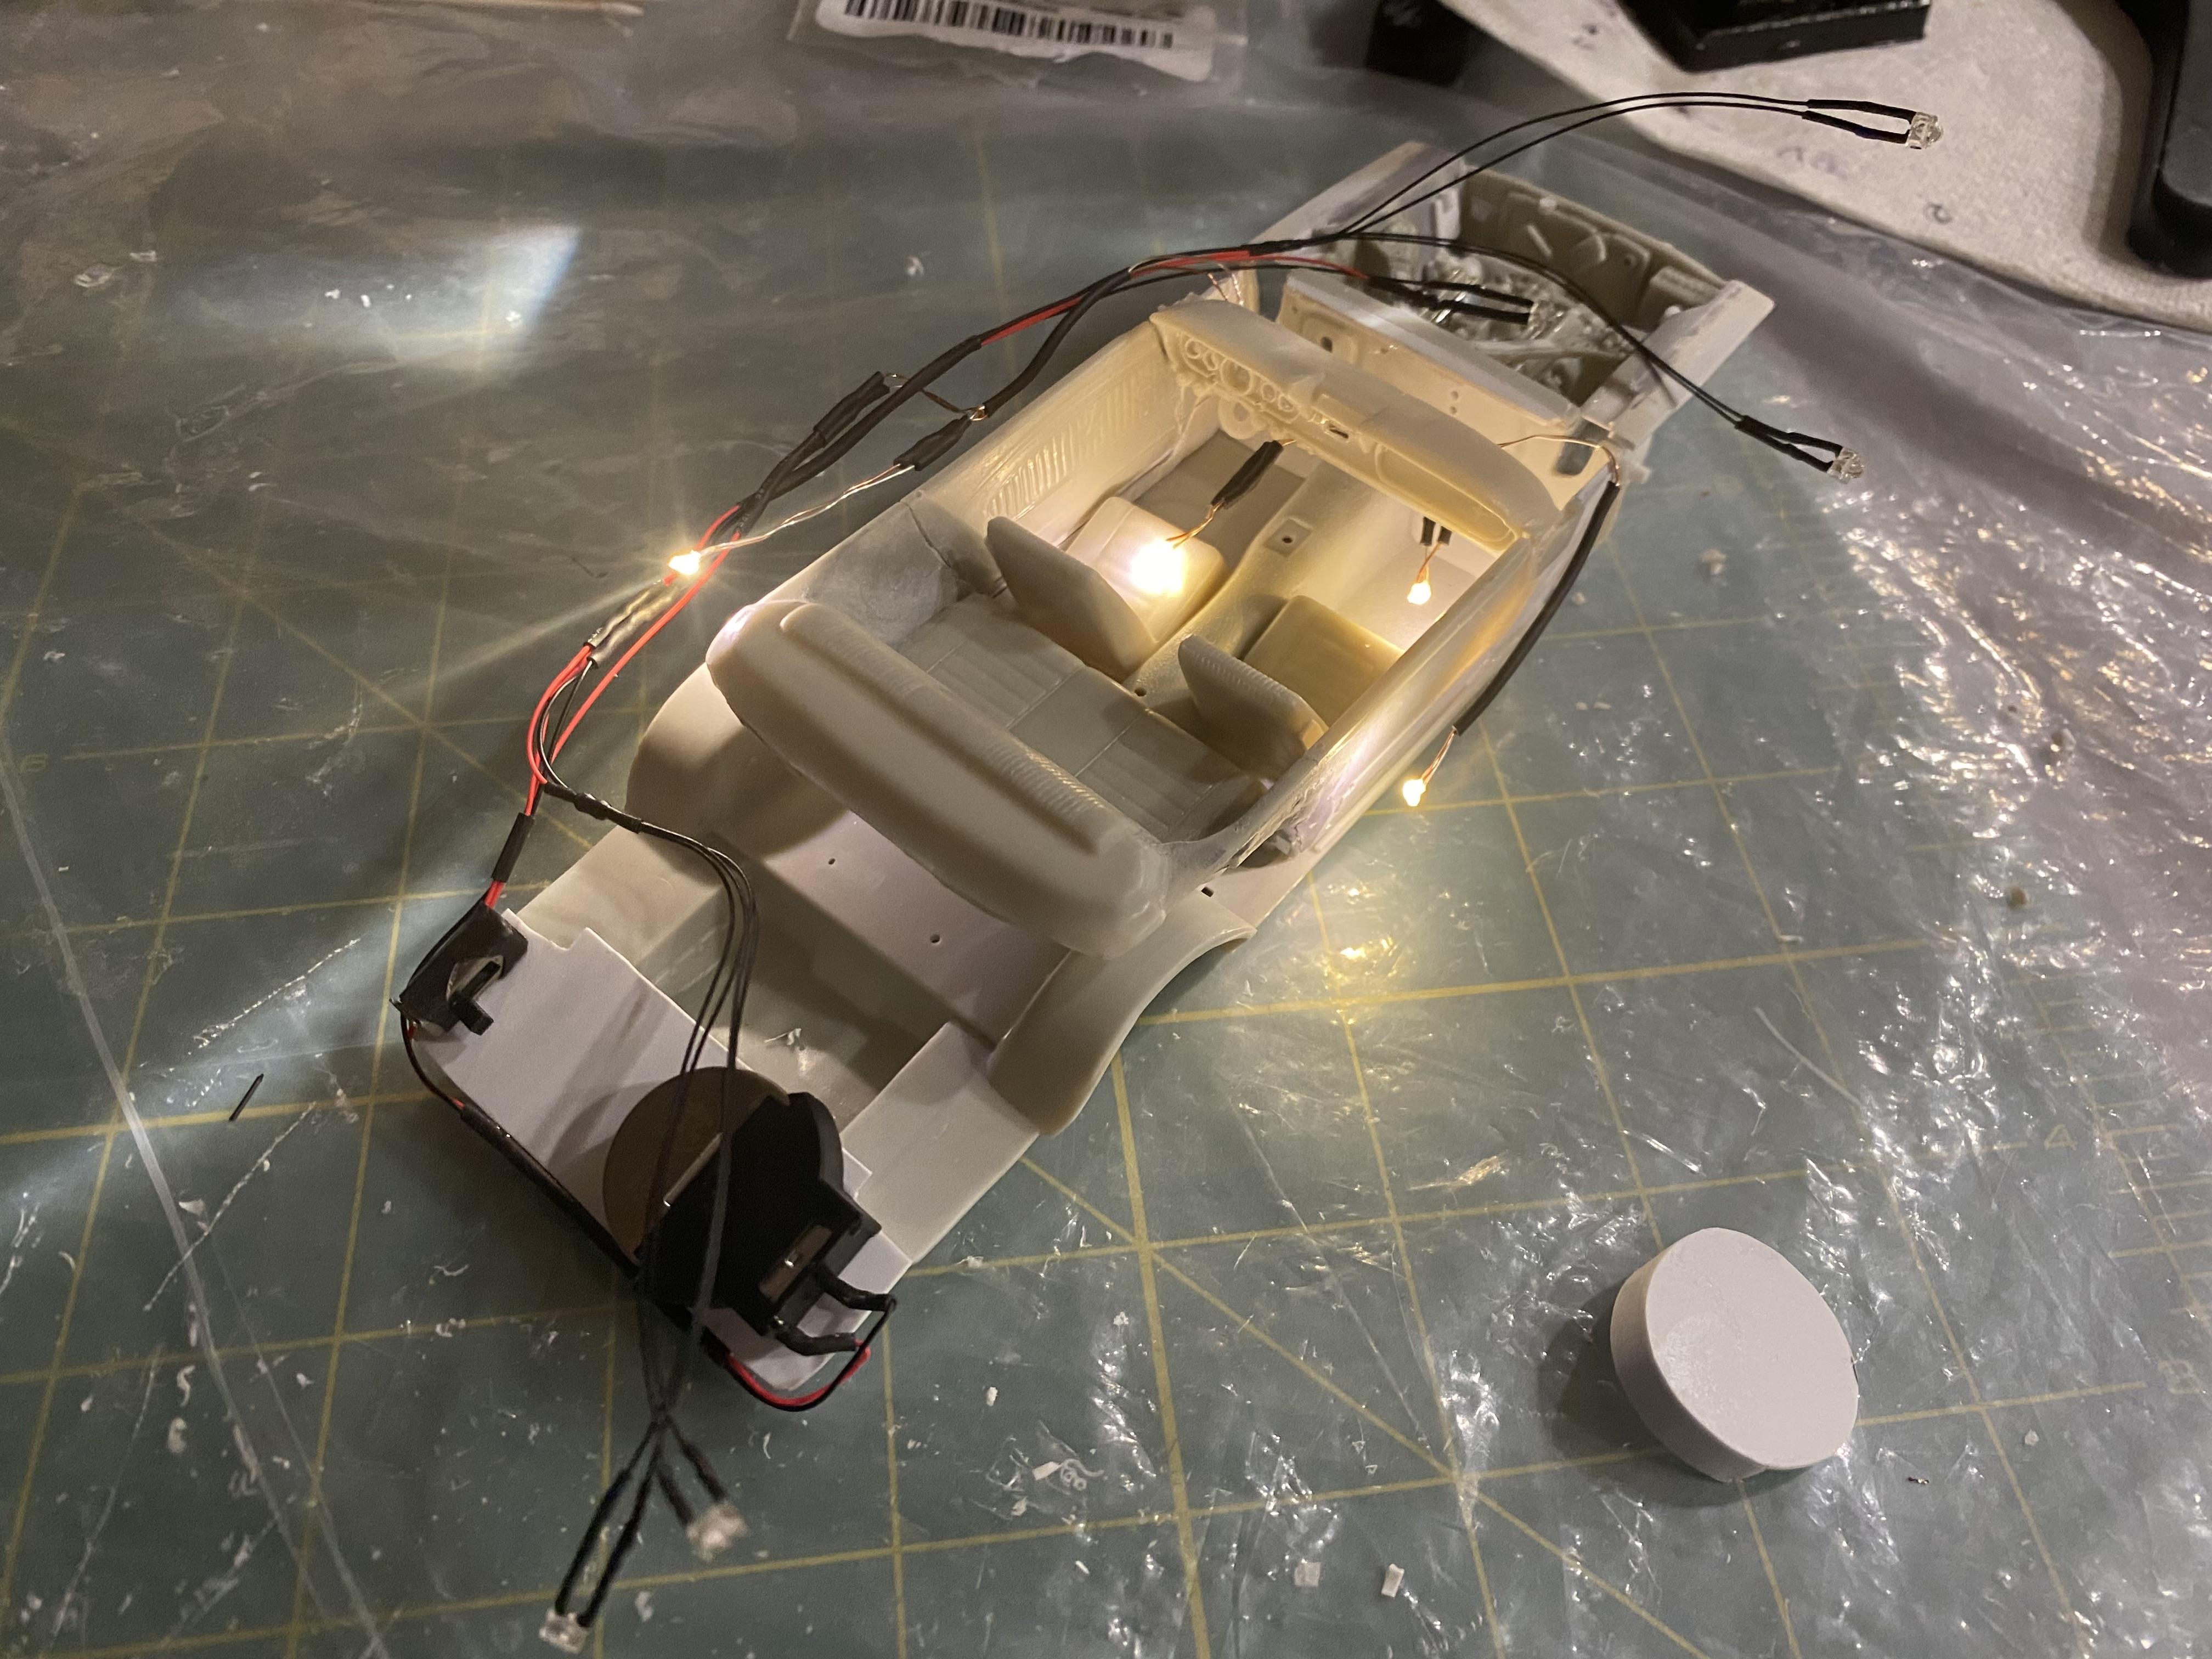
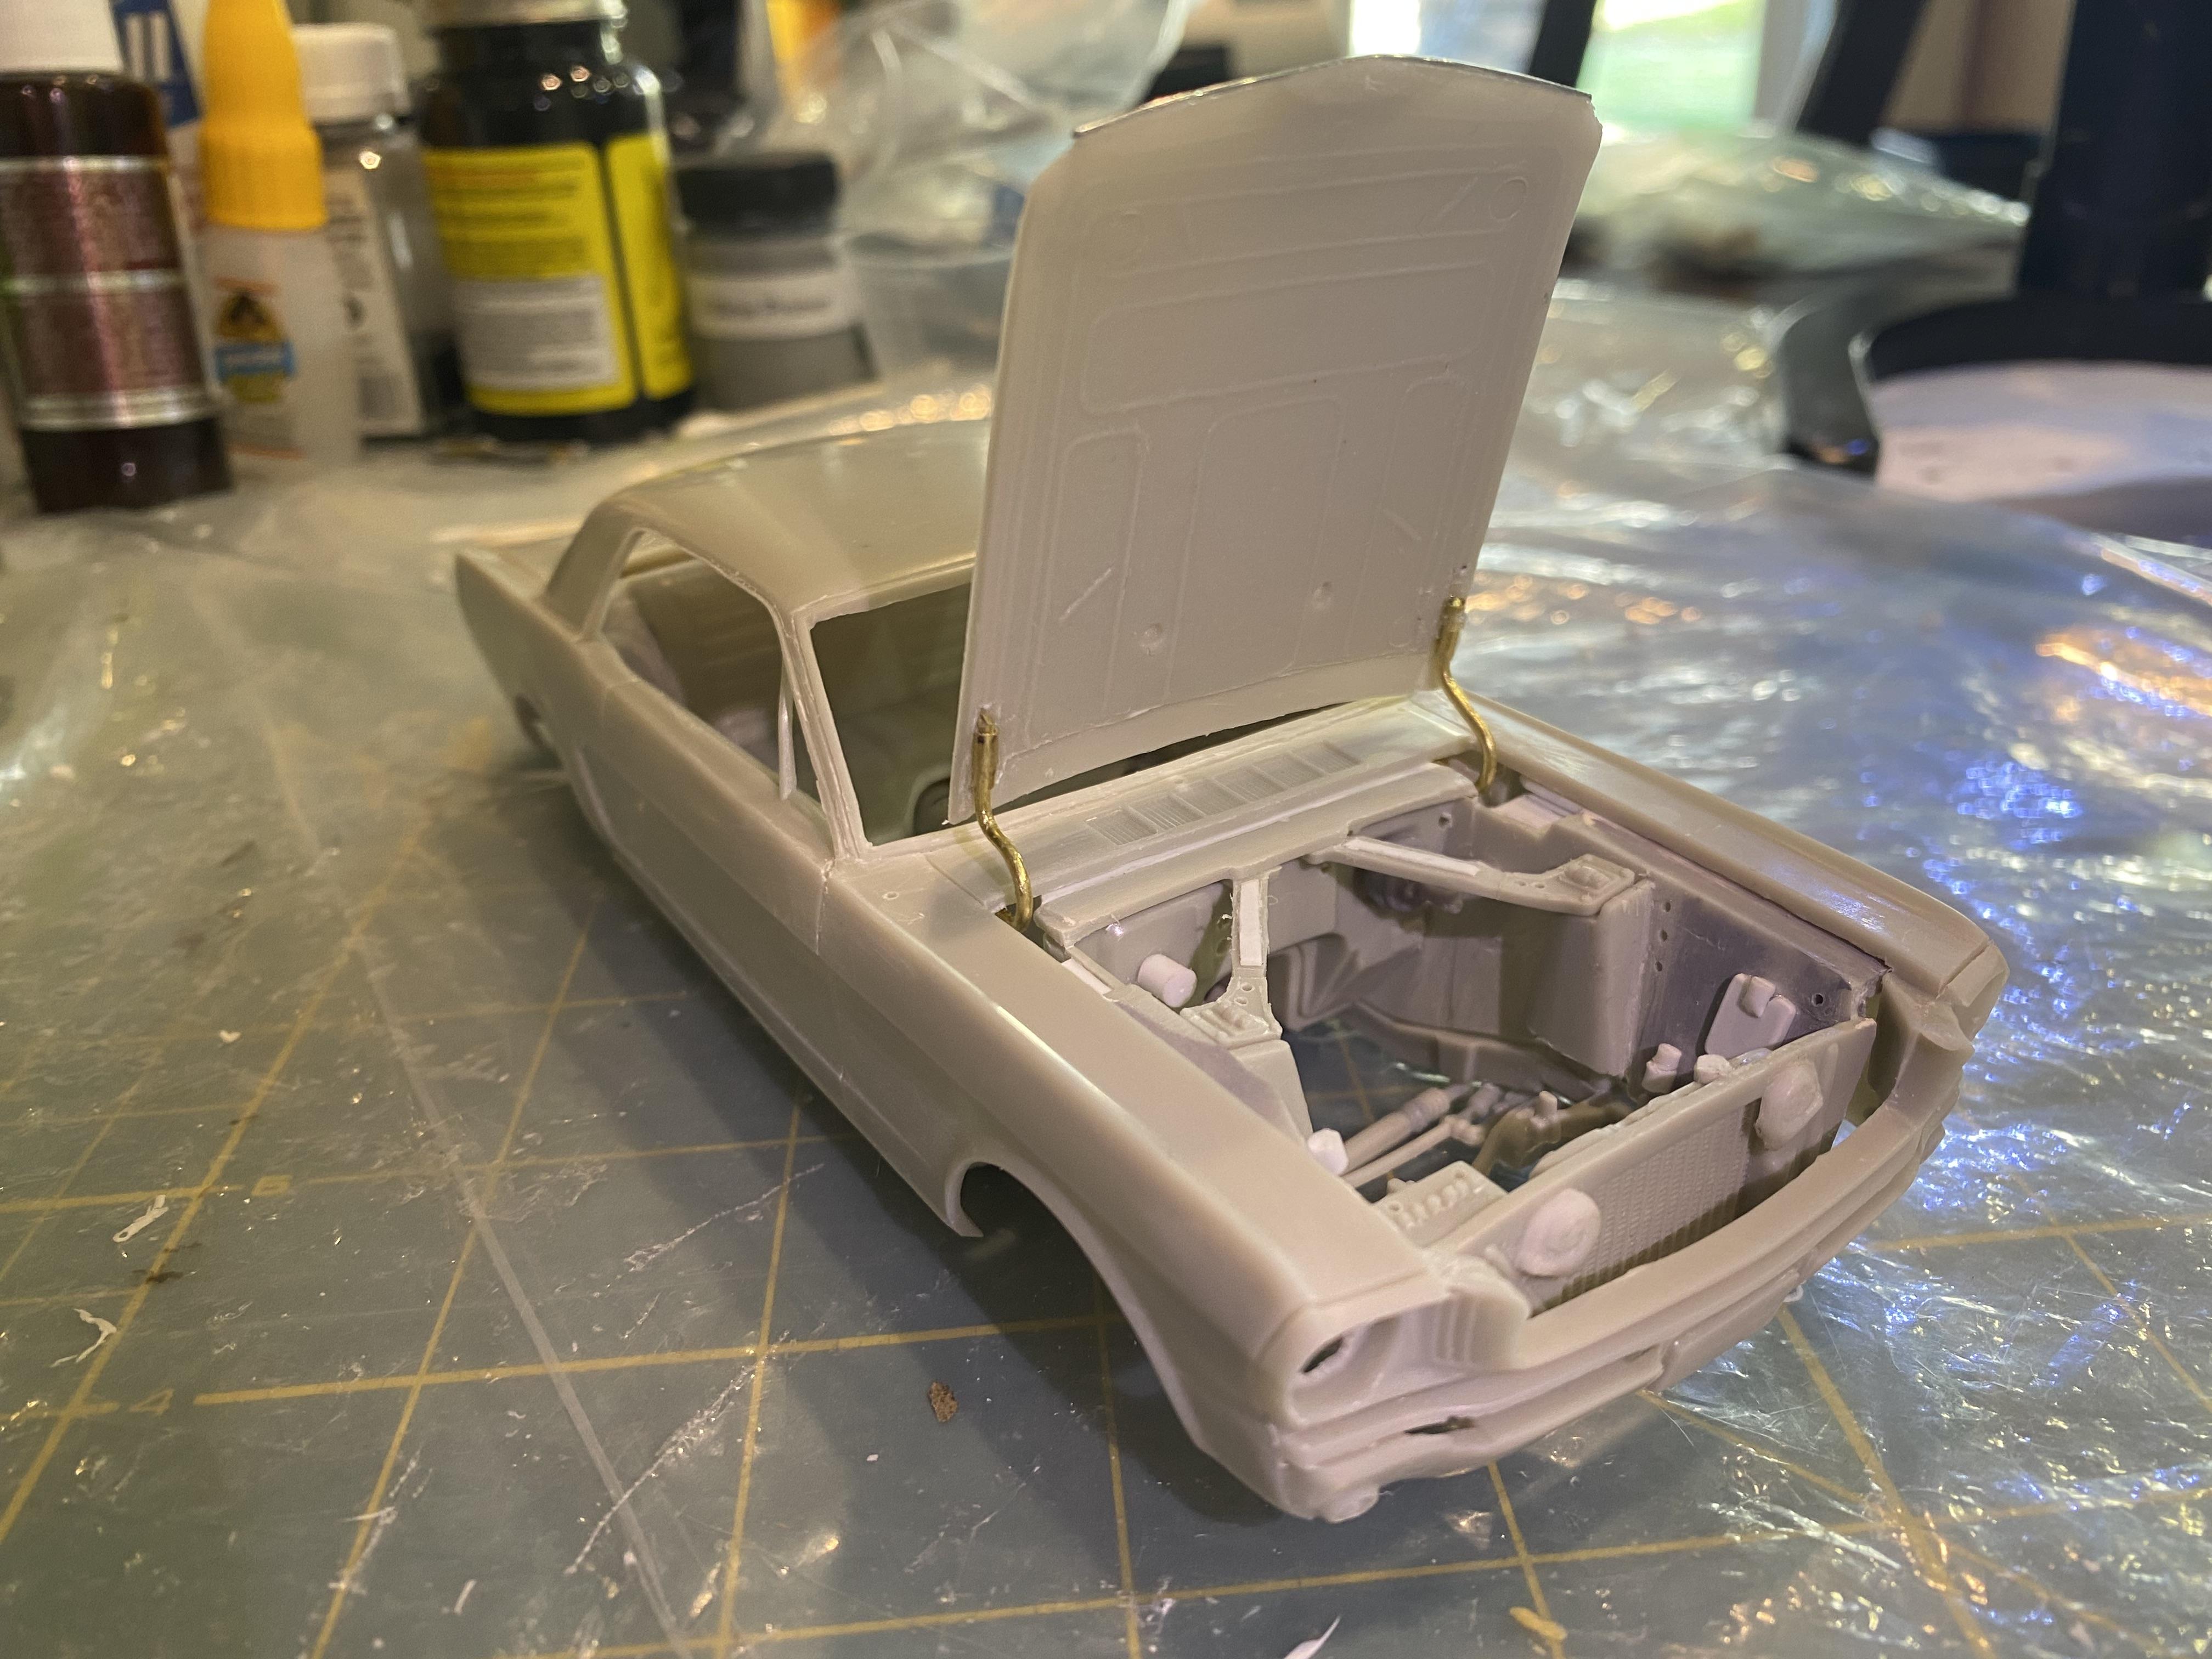
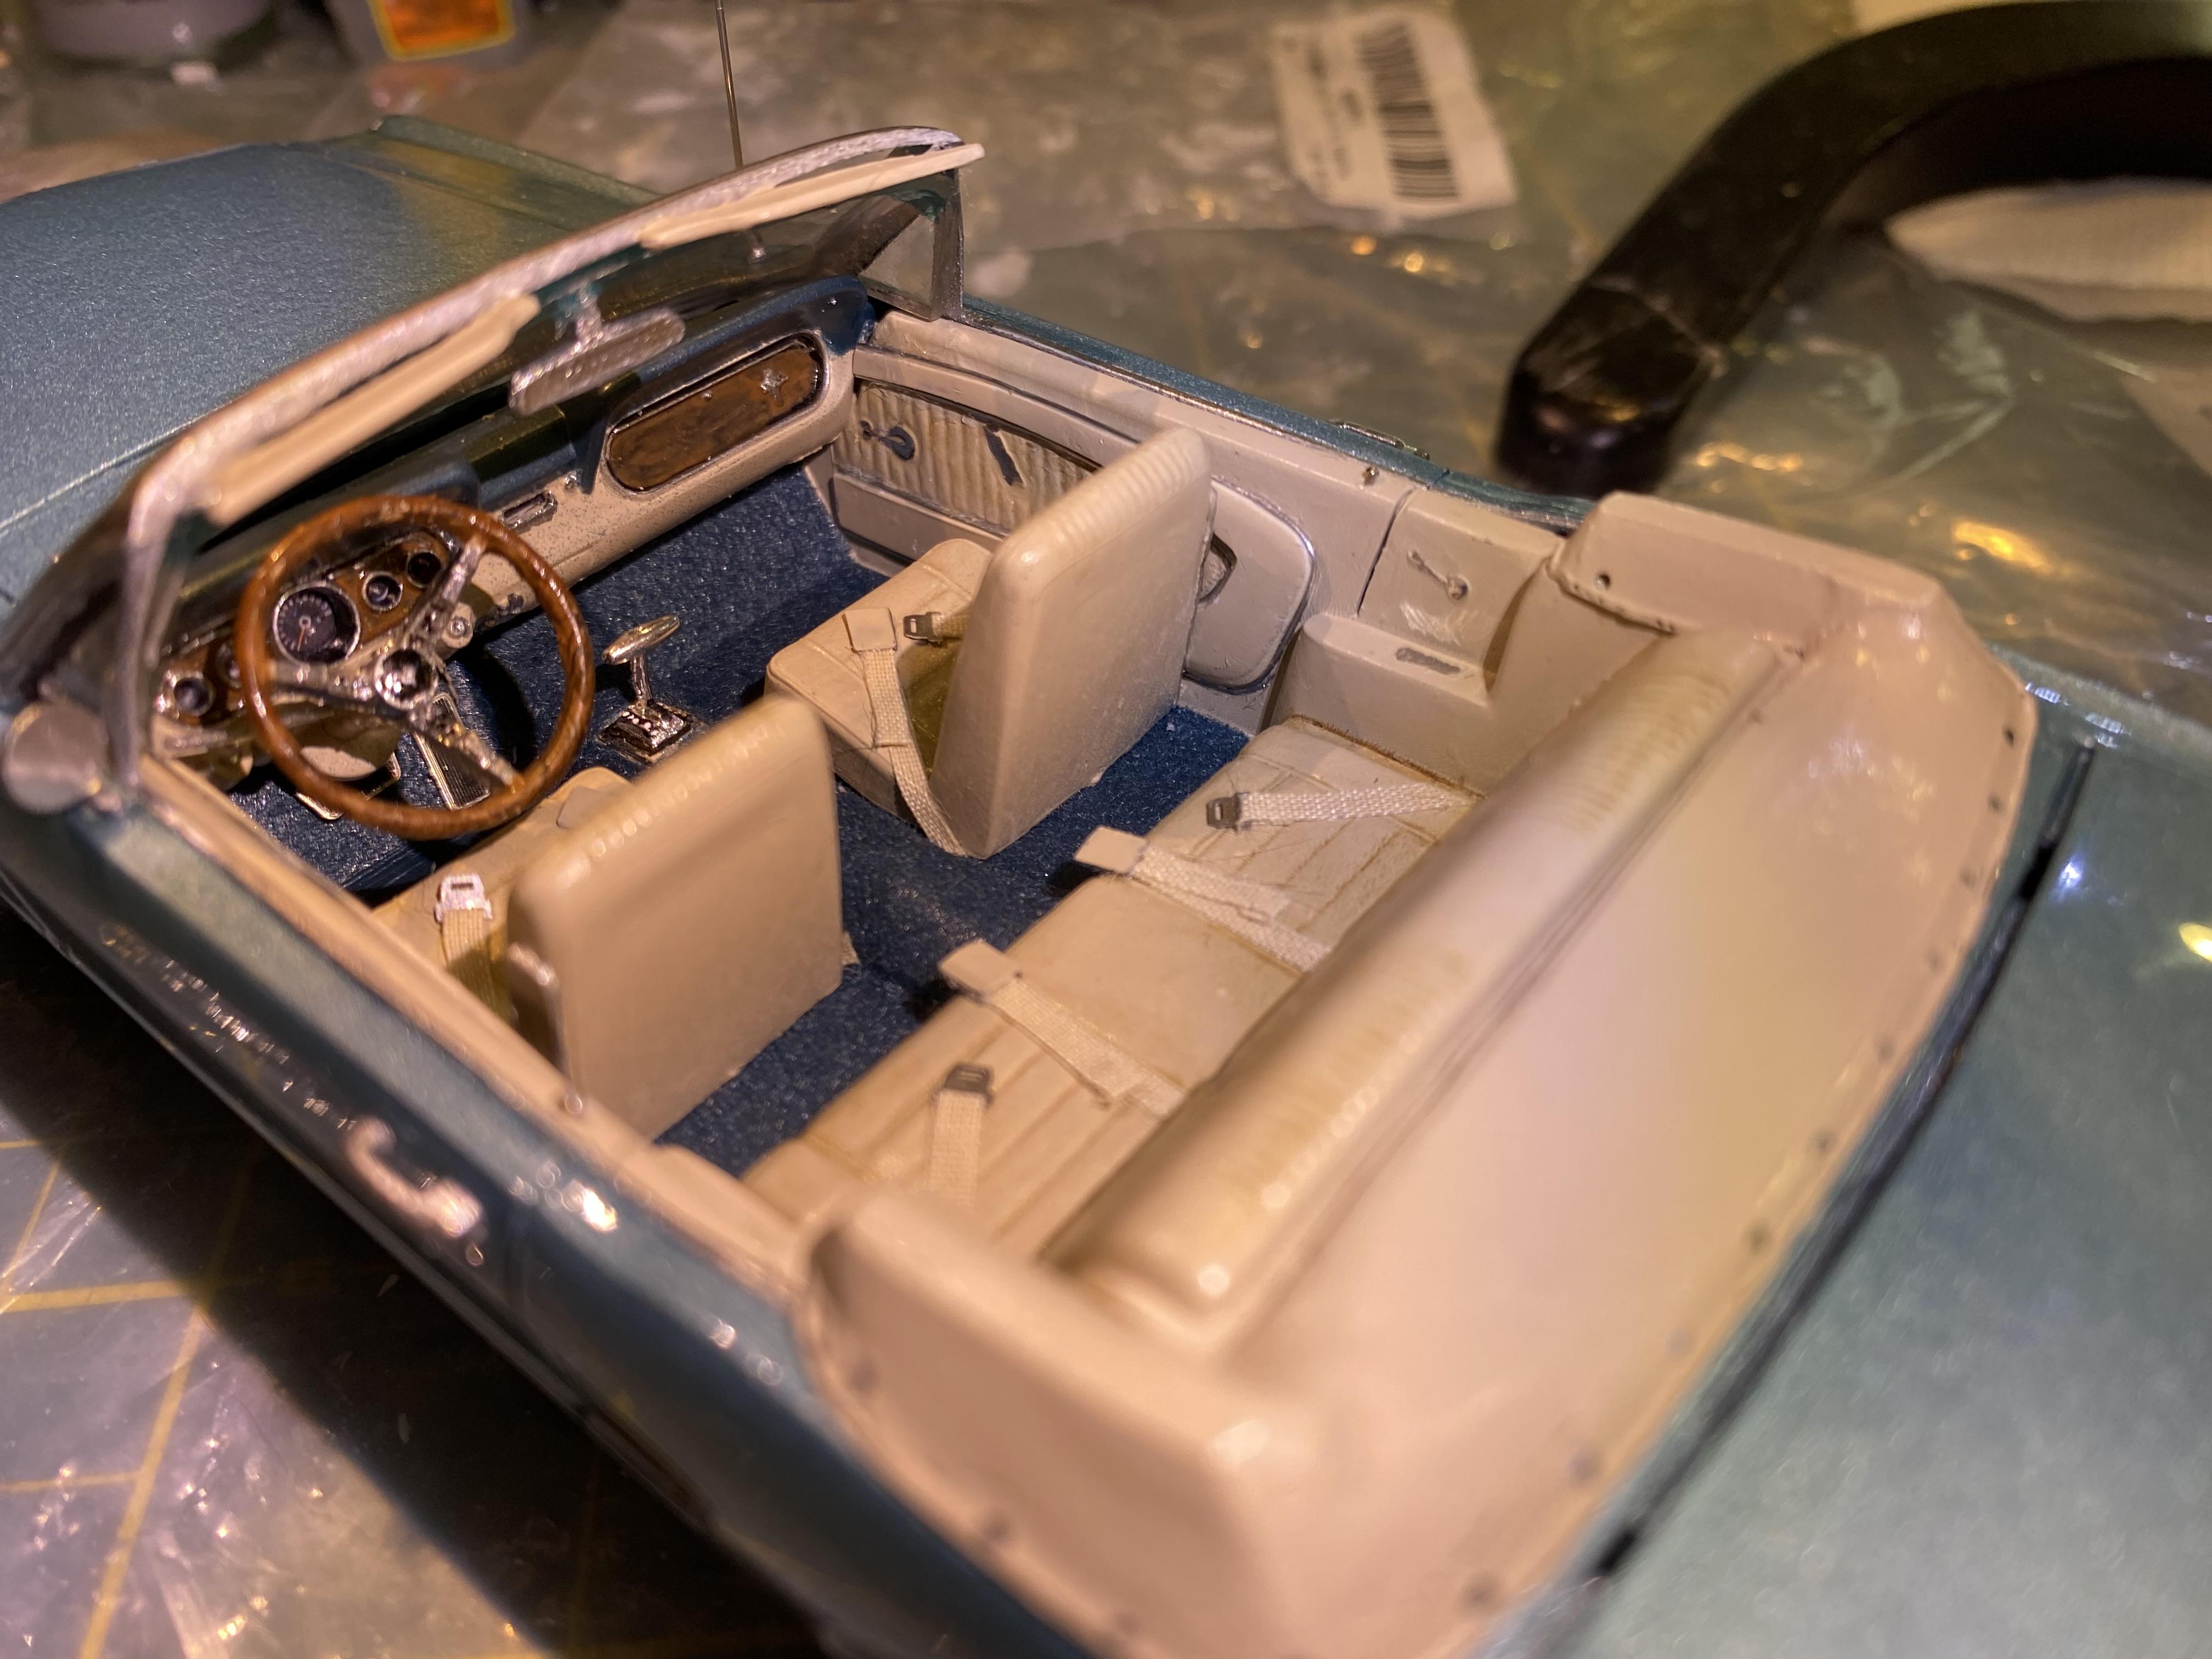
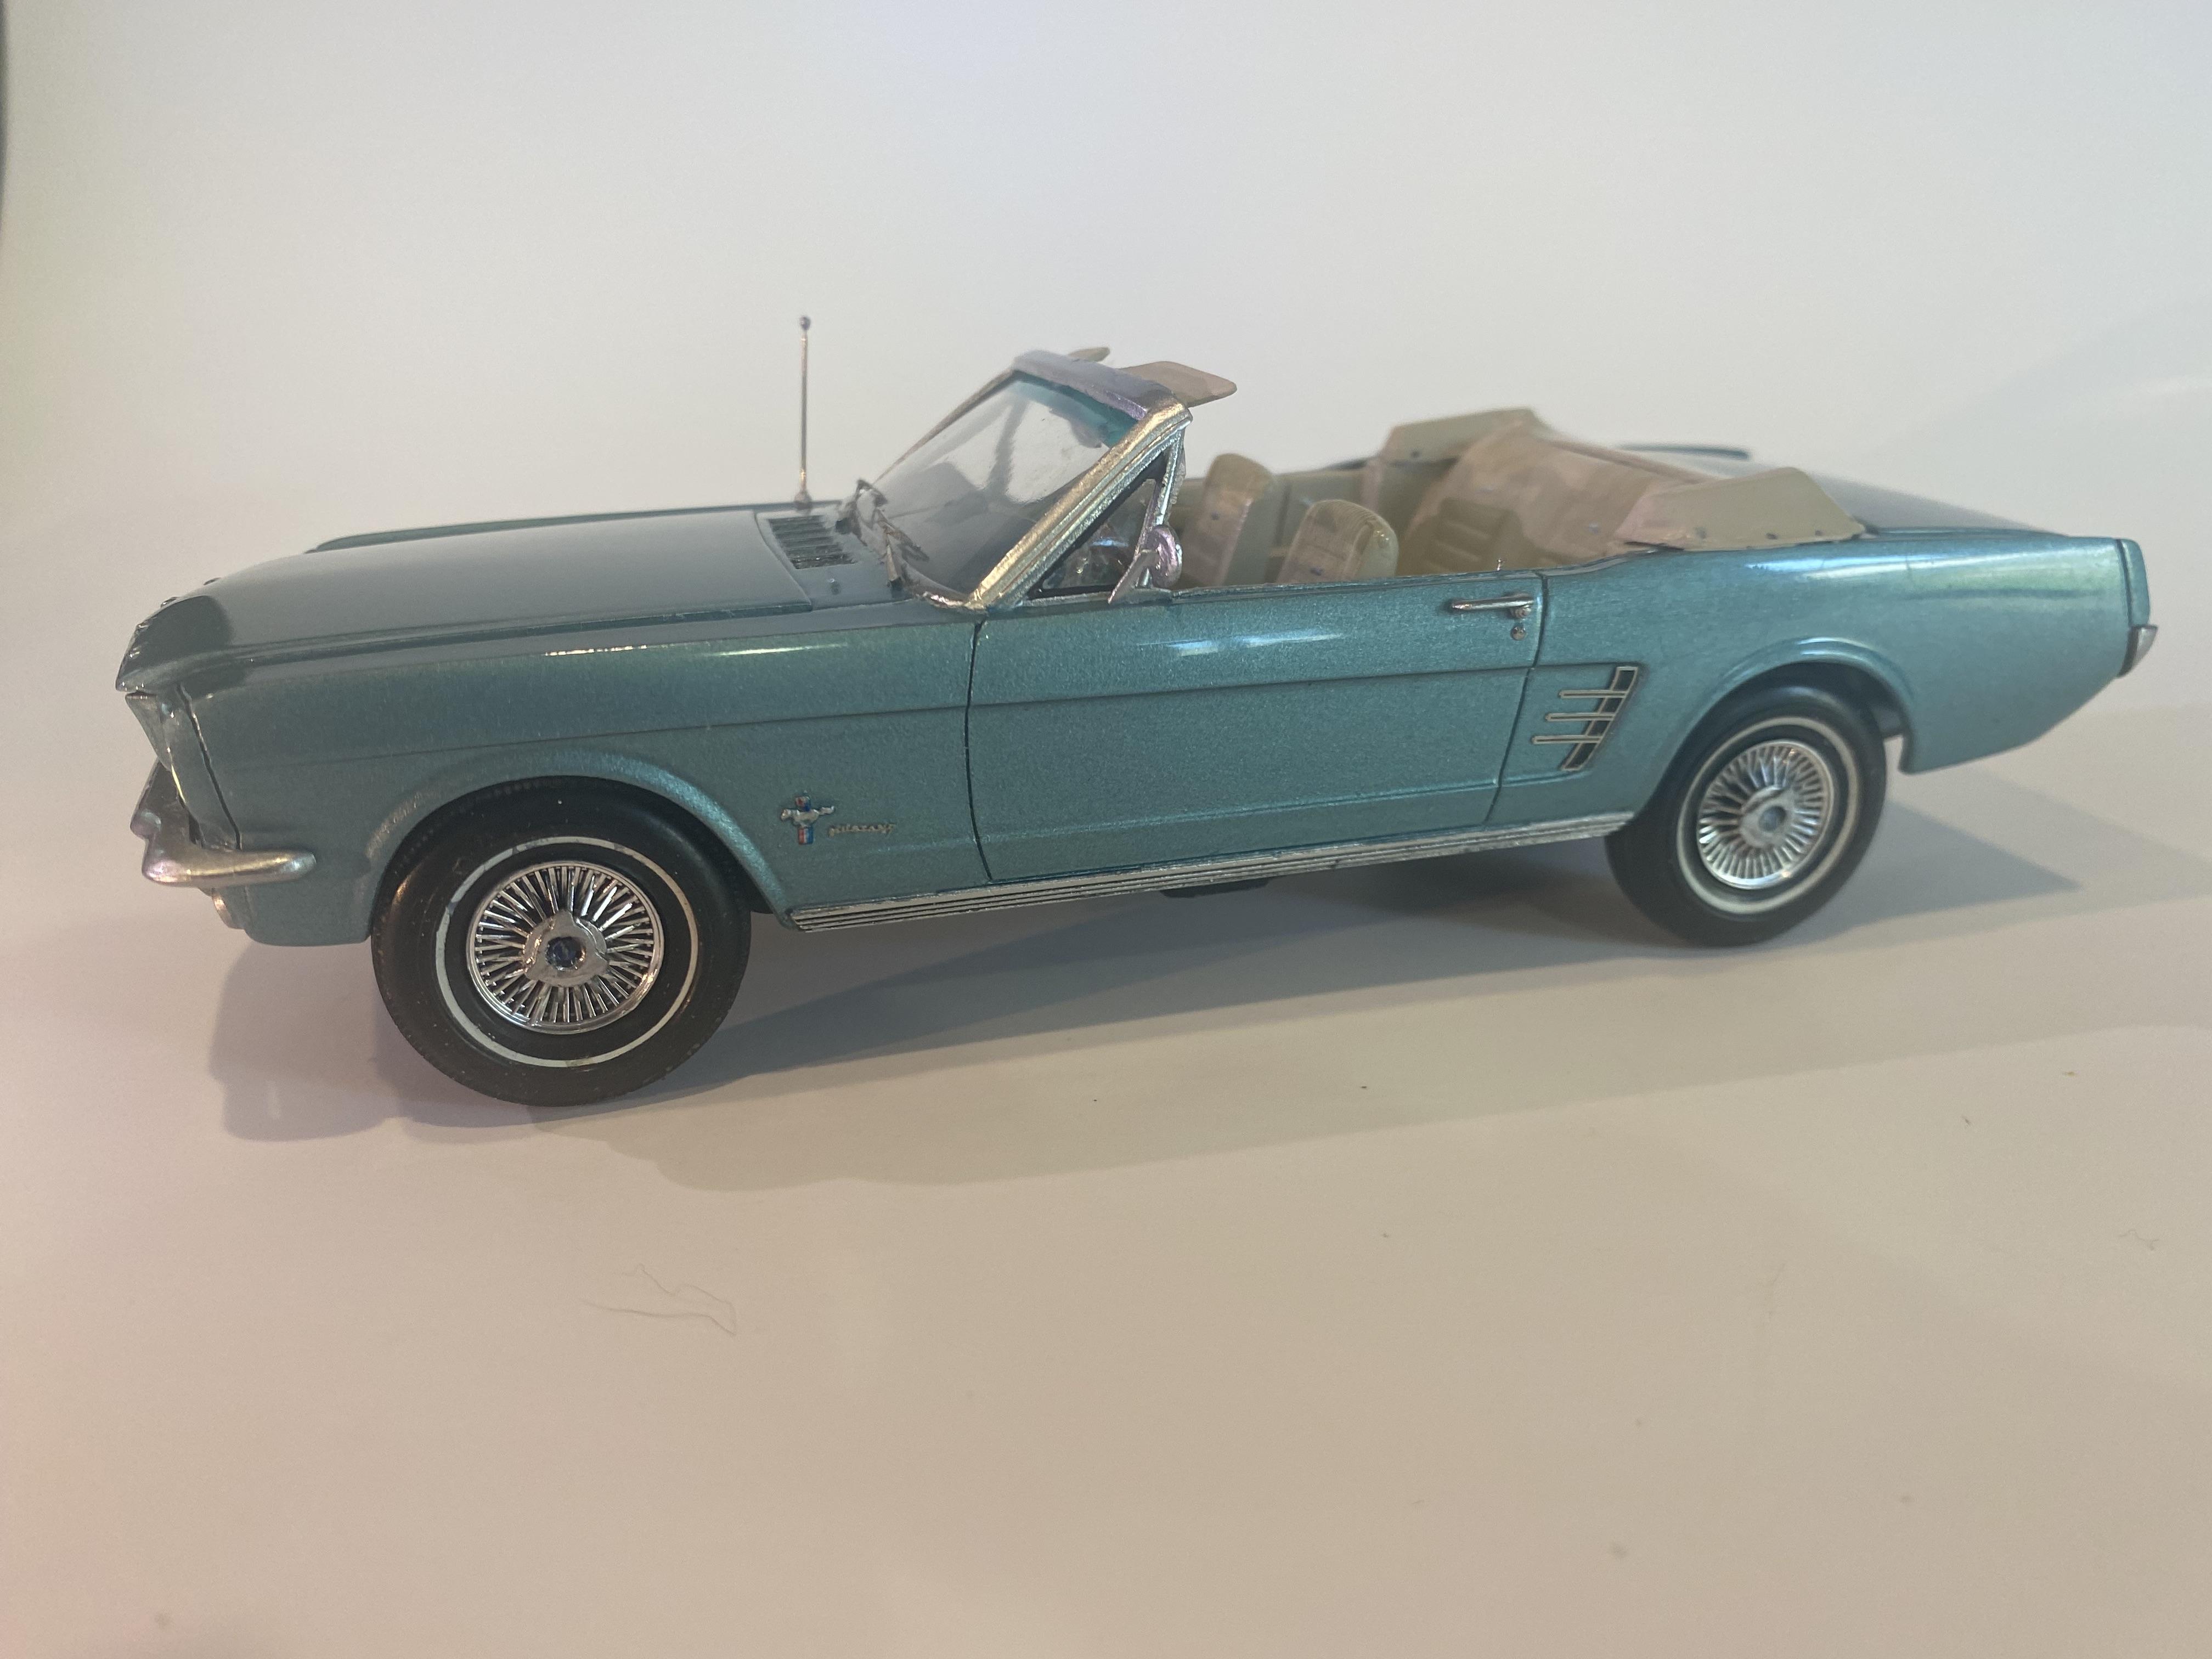
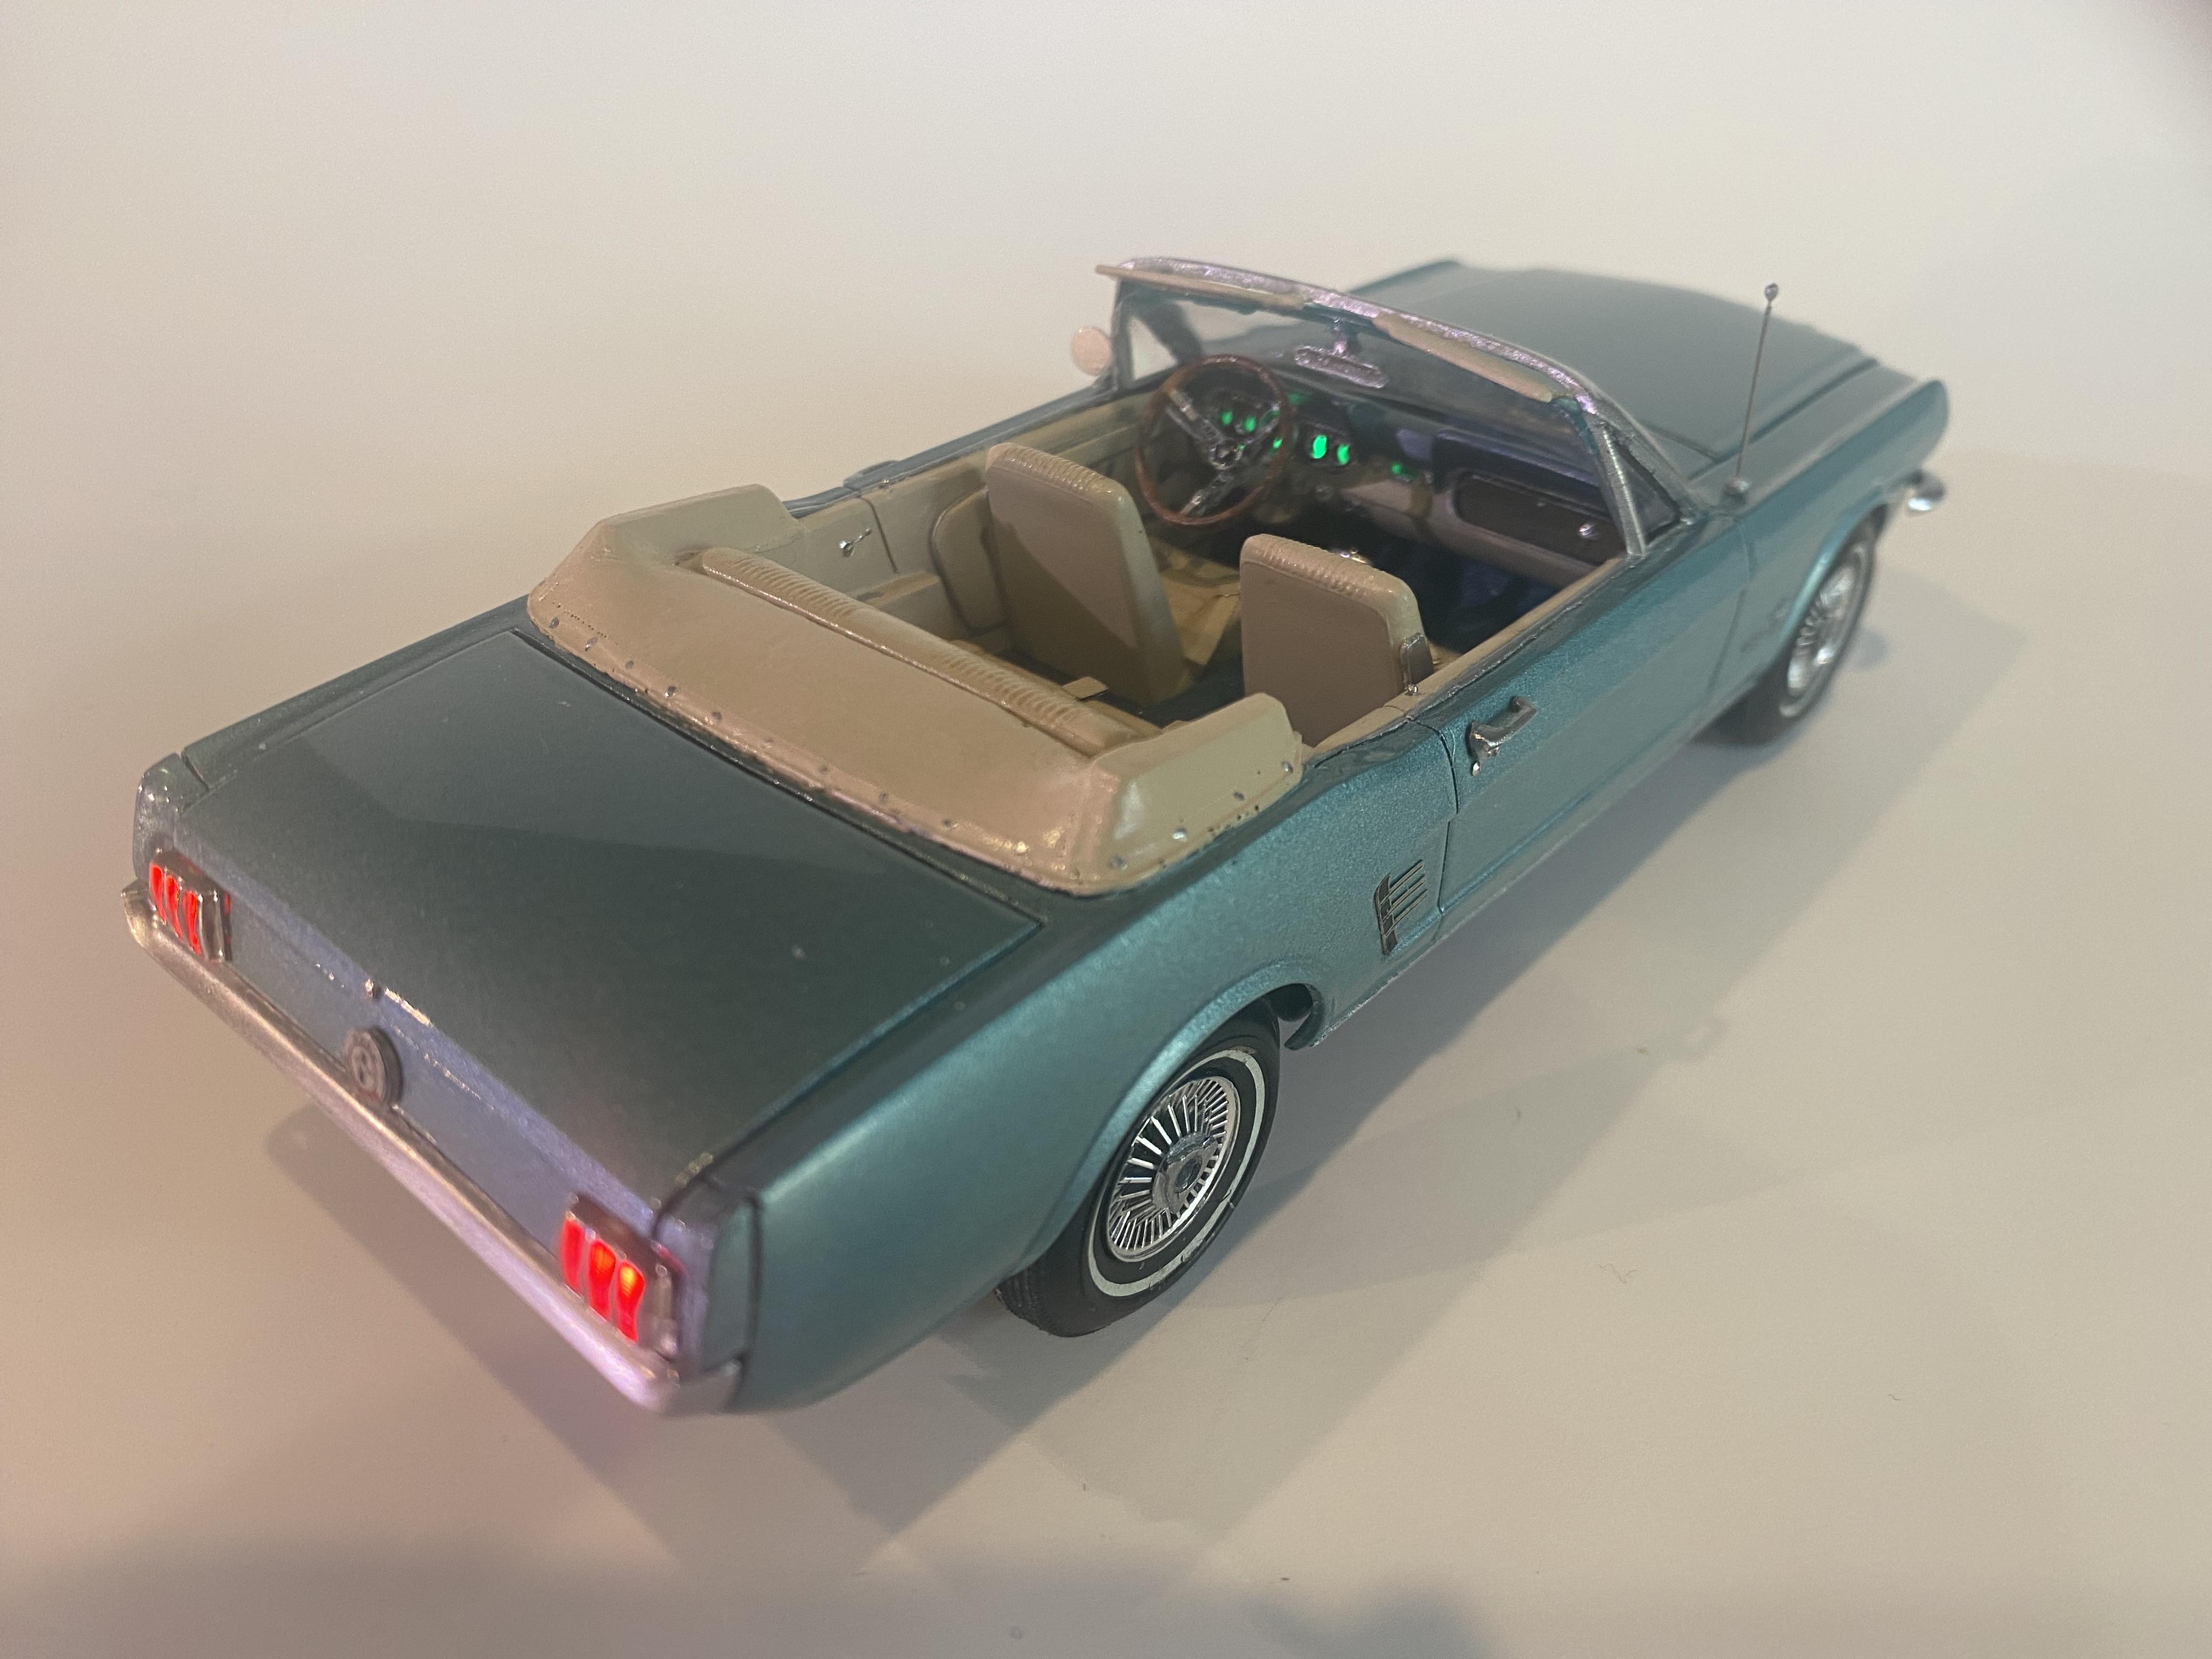
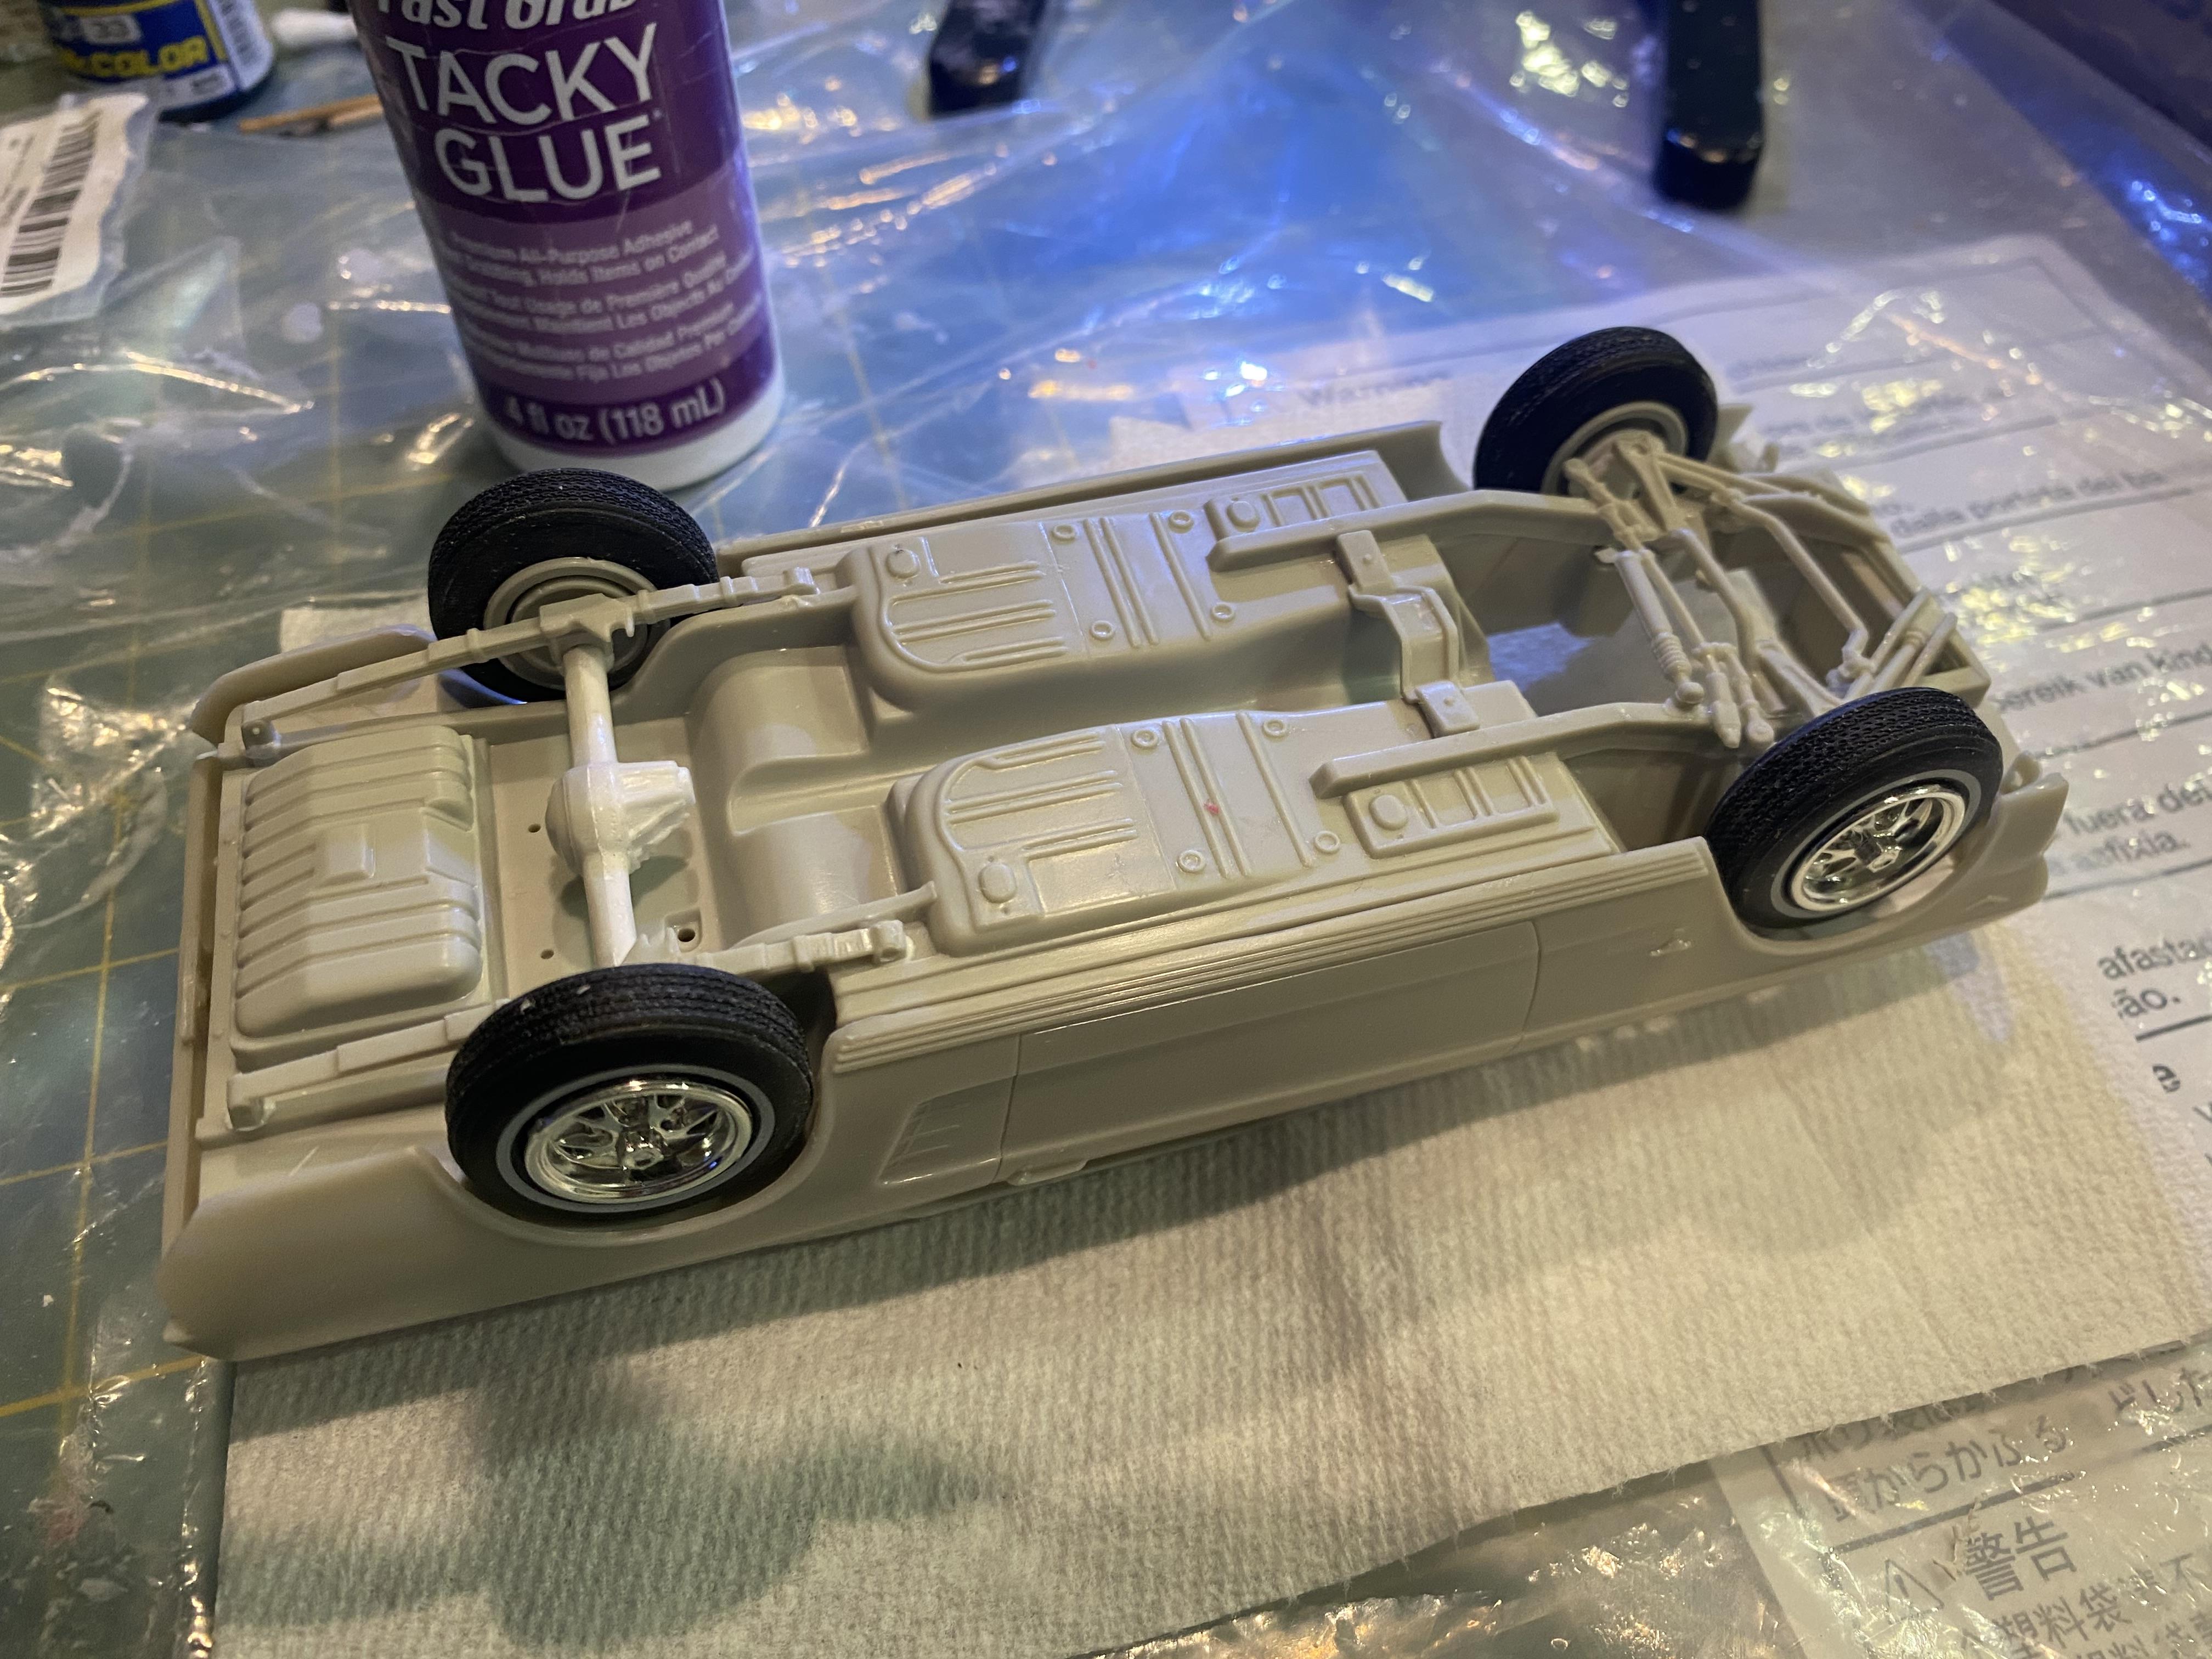
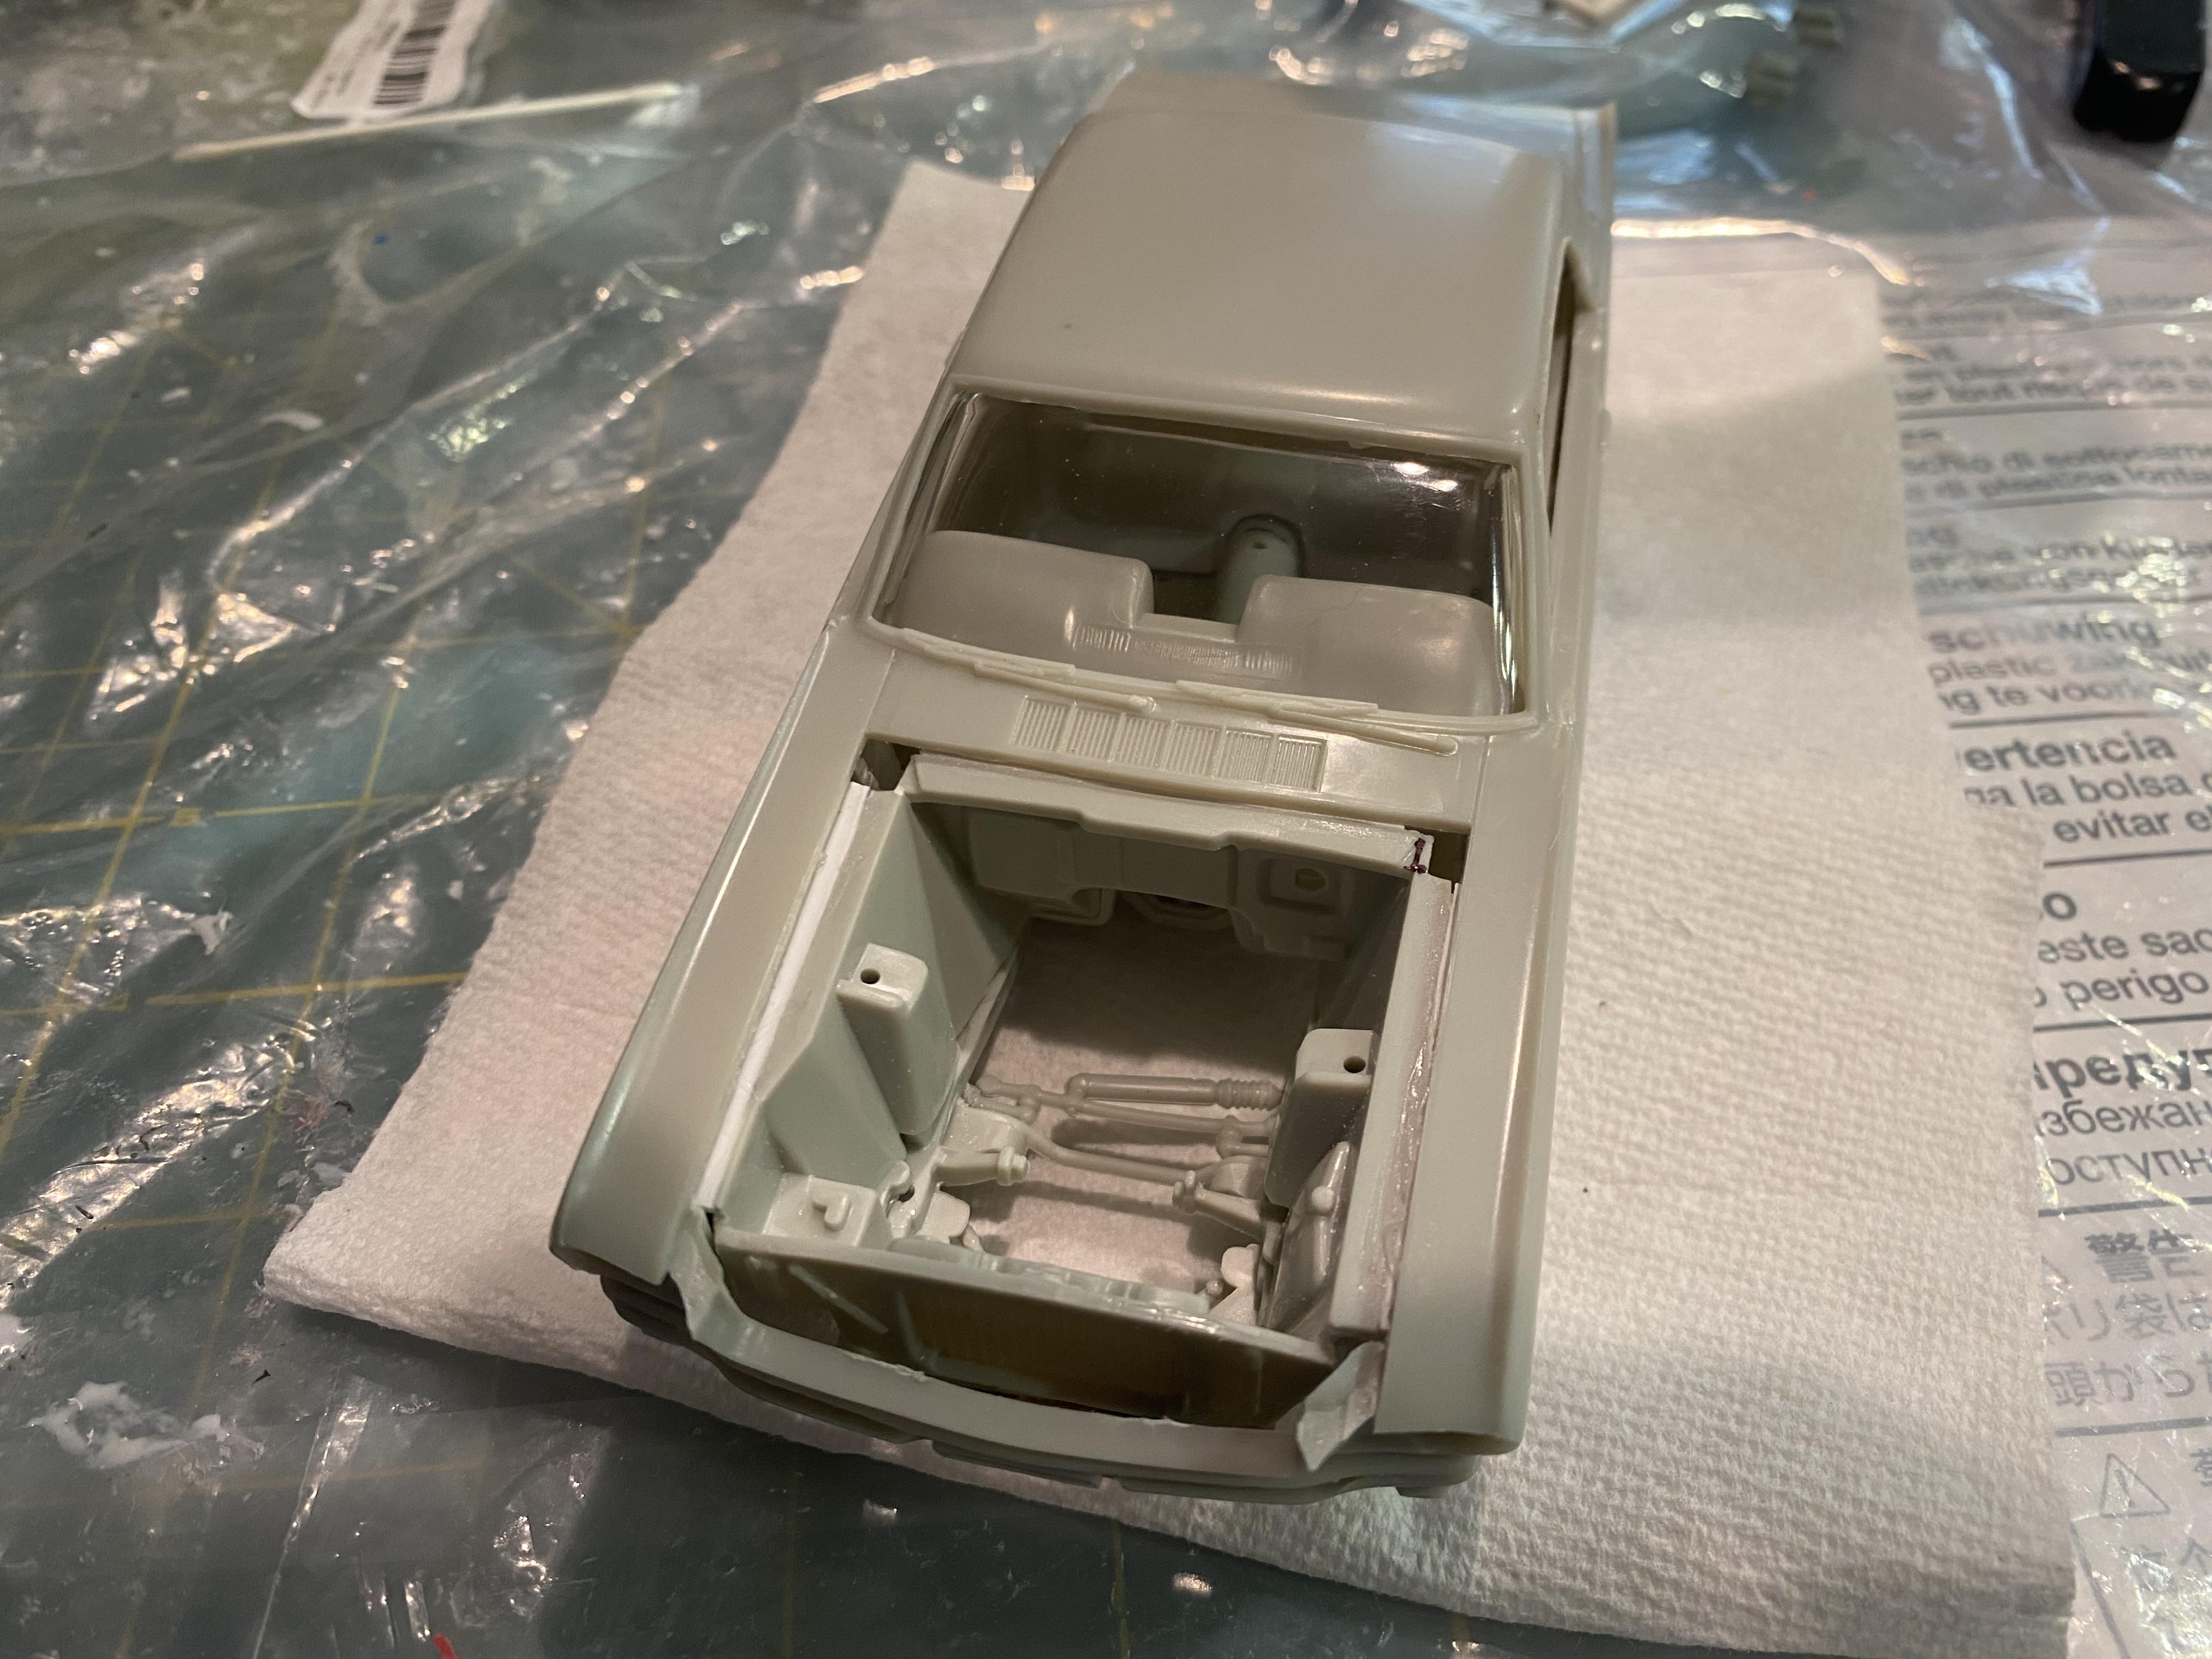
Started on the final white glue mock up before paint, got to this point and paused to create wiring. Need to make sure all of the fabricated and modified parts fit together as wanted as a whole. Also, created the wiring LED wiring harness. Up on switch for headlights/ taillights / gauge lights, down for interior lights. Battery will be covered with the tire cover laying at the side as my other early mustang builds.

-
Nice collection. Don’t have to ask your favorite model year of car.
-
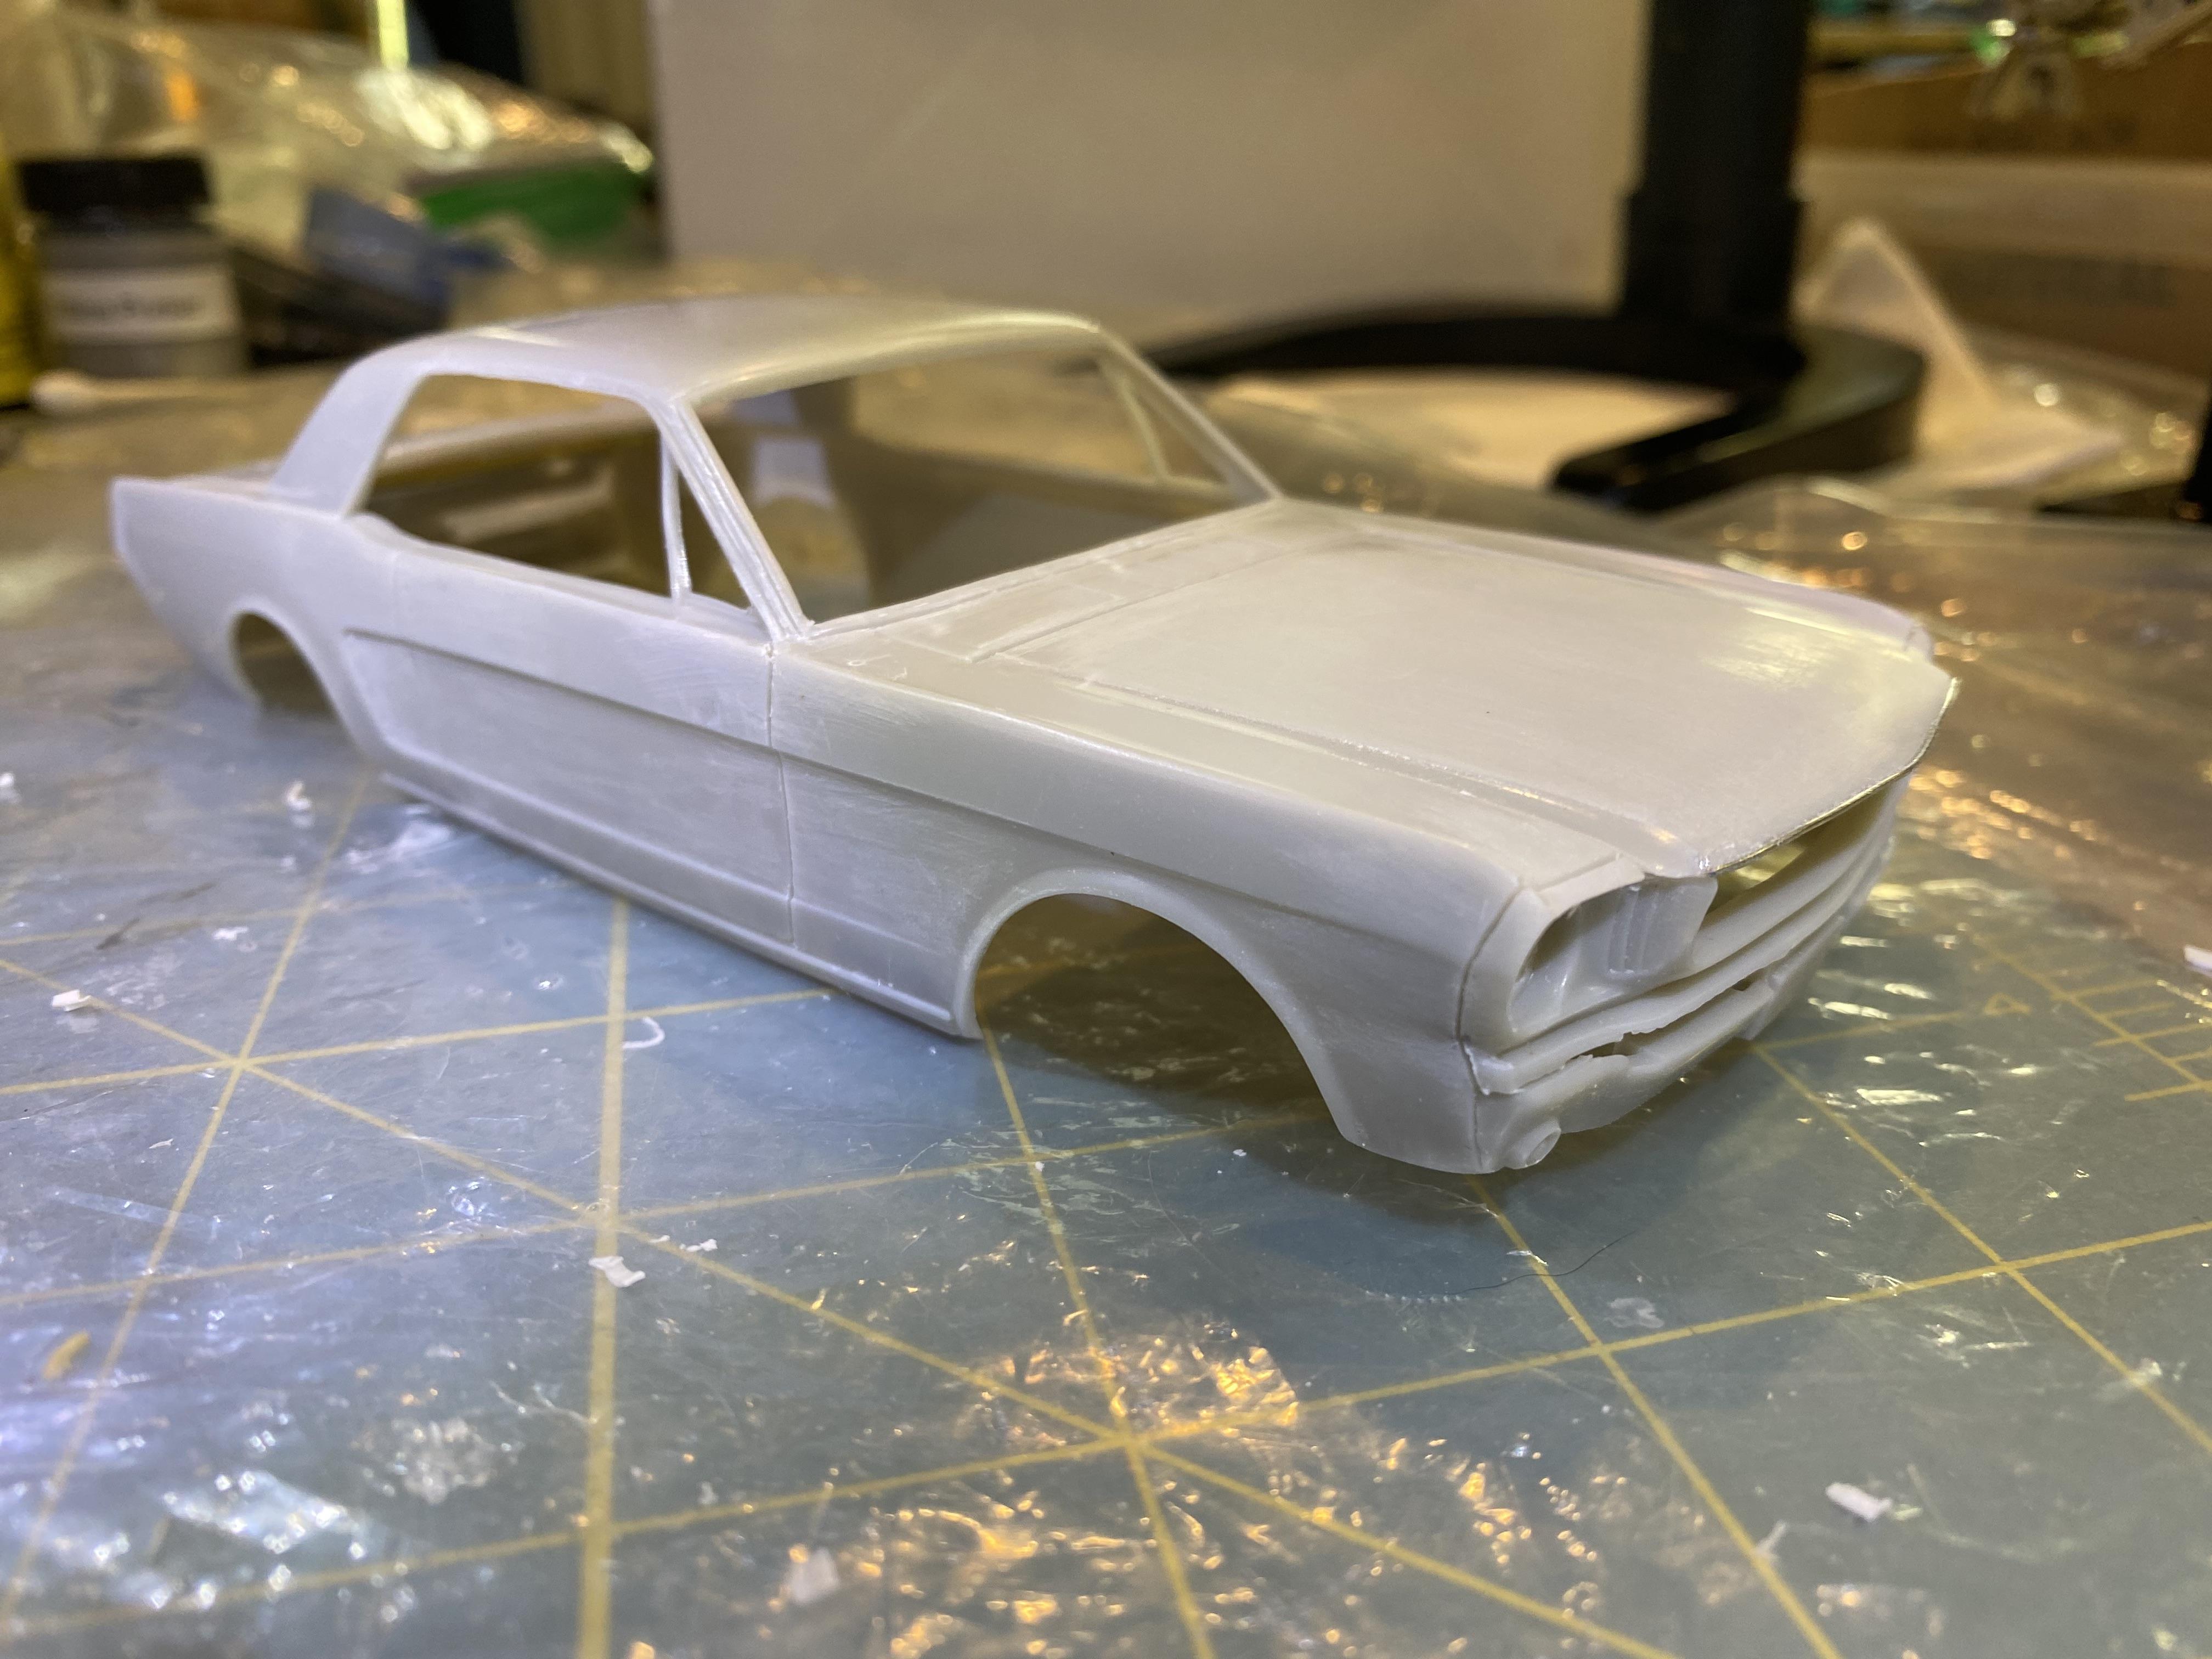
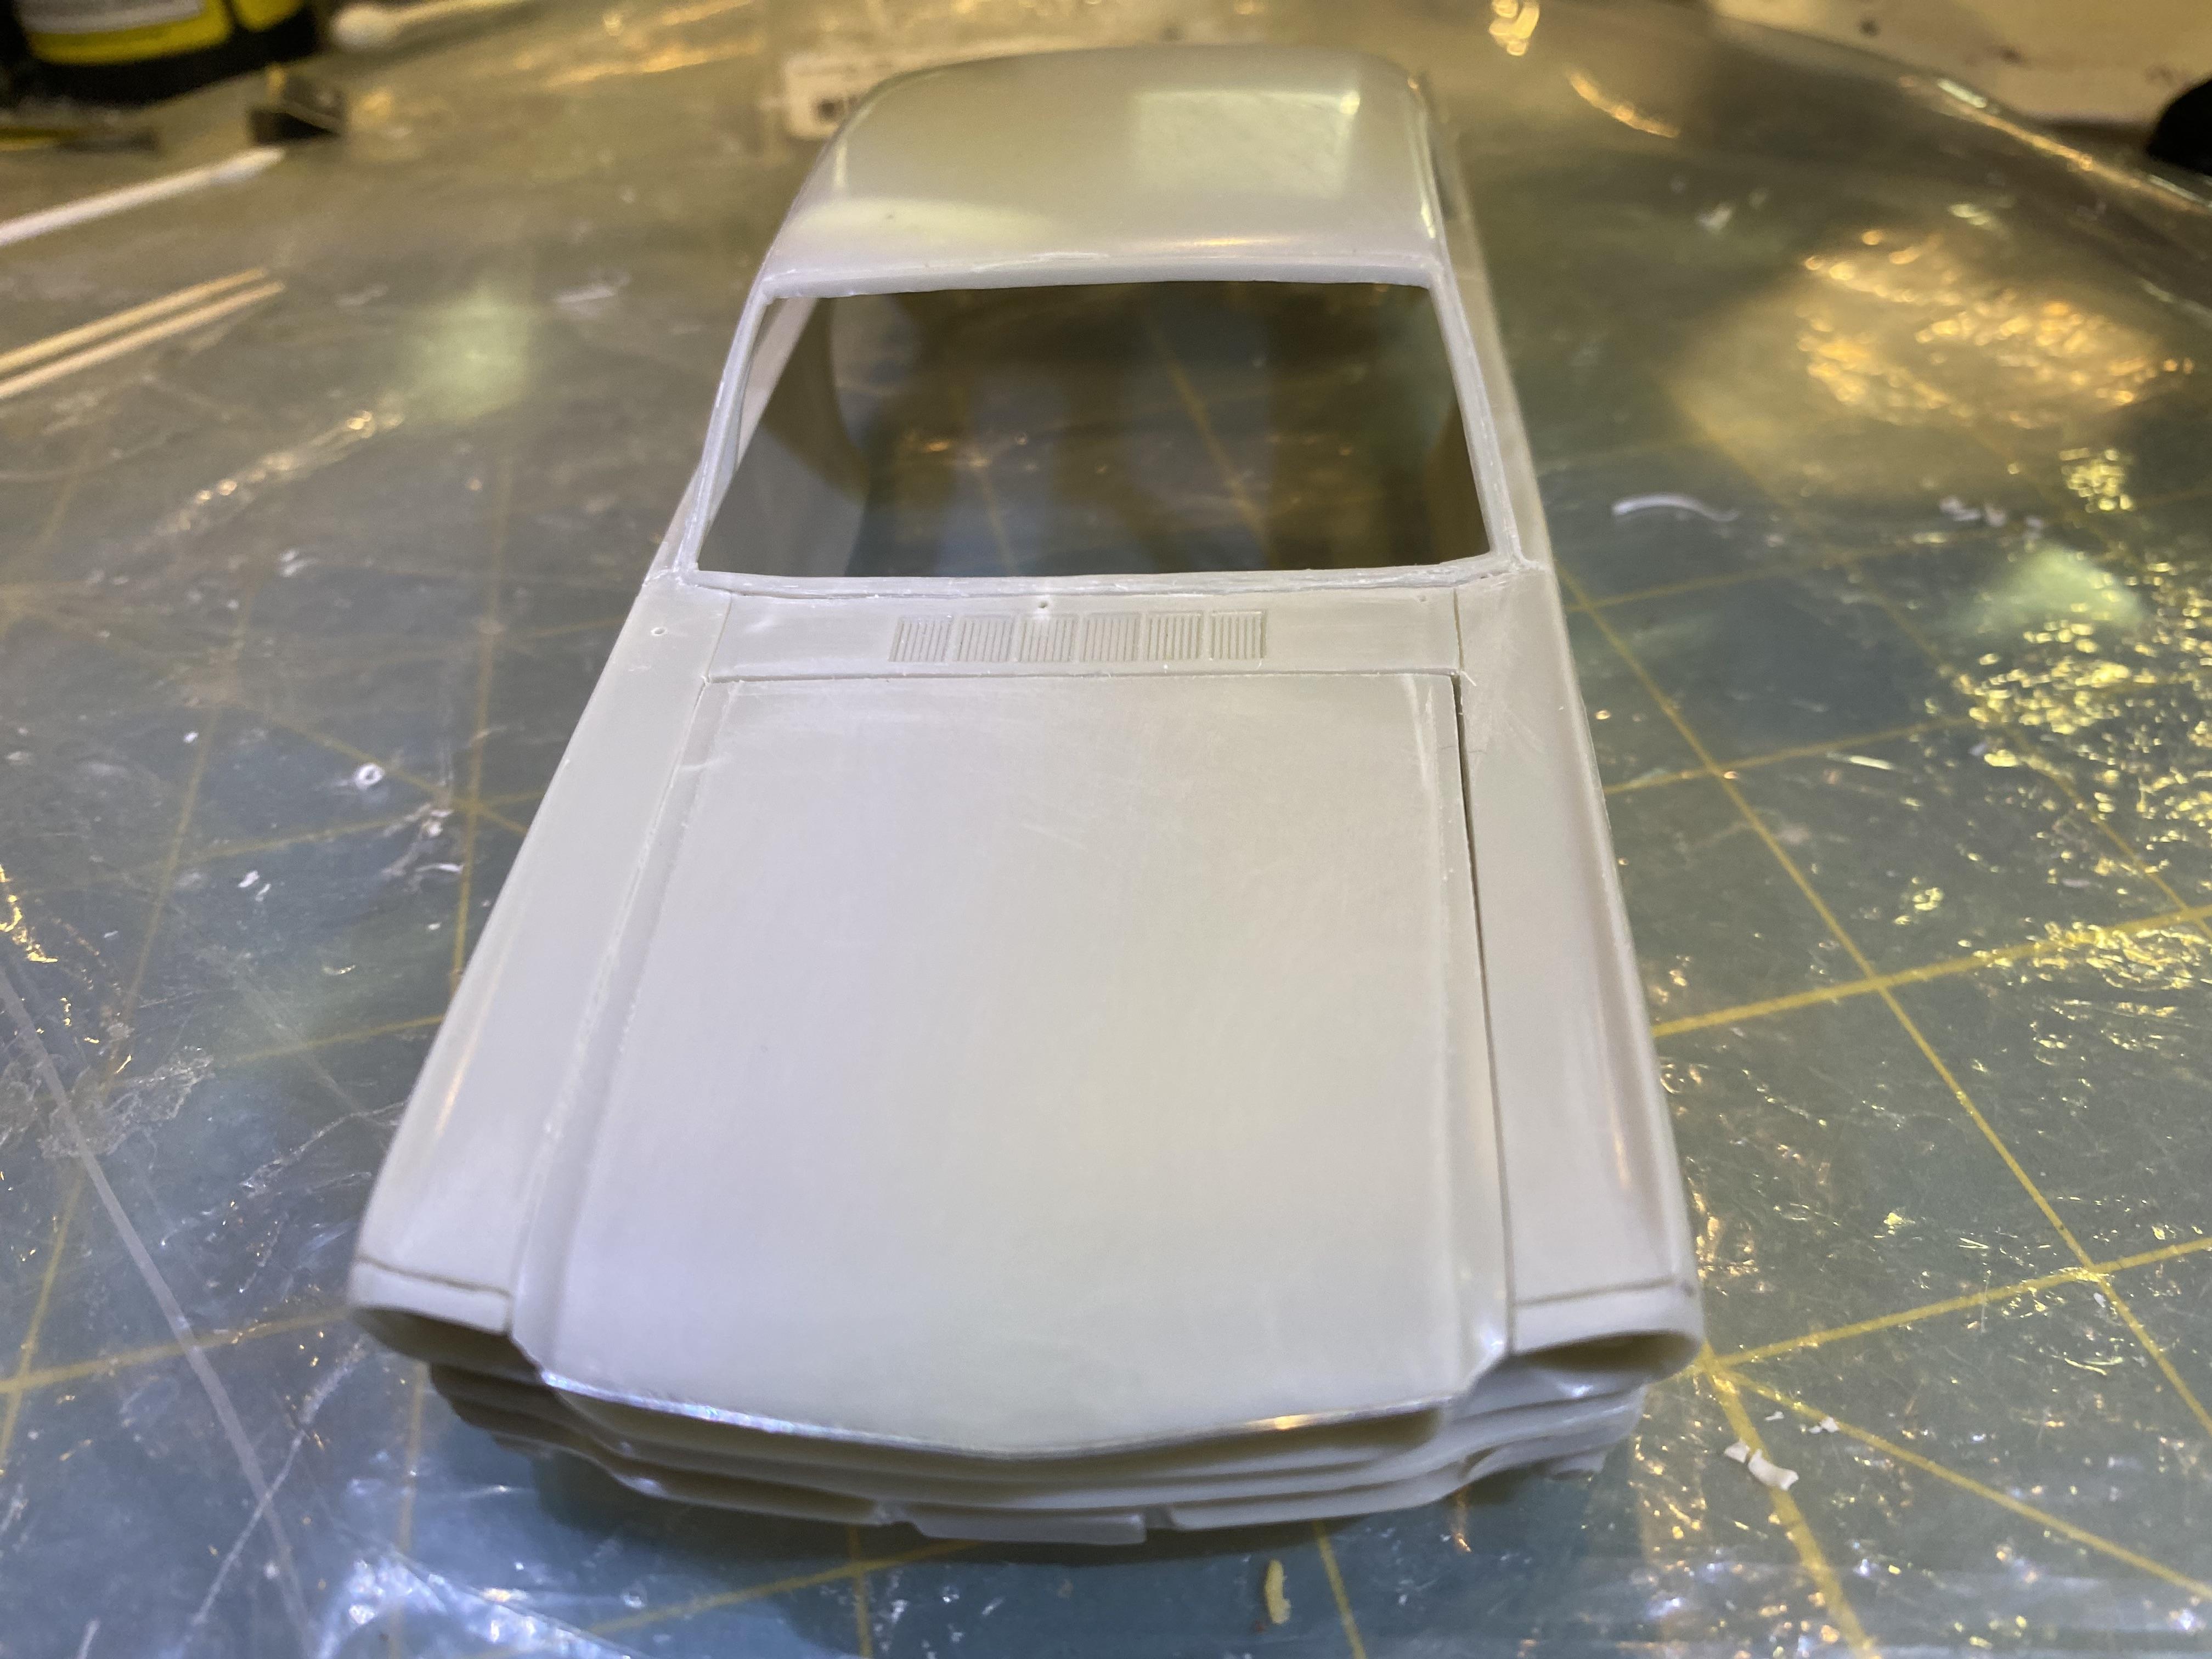
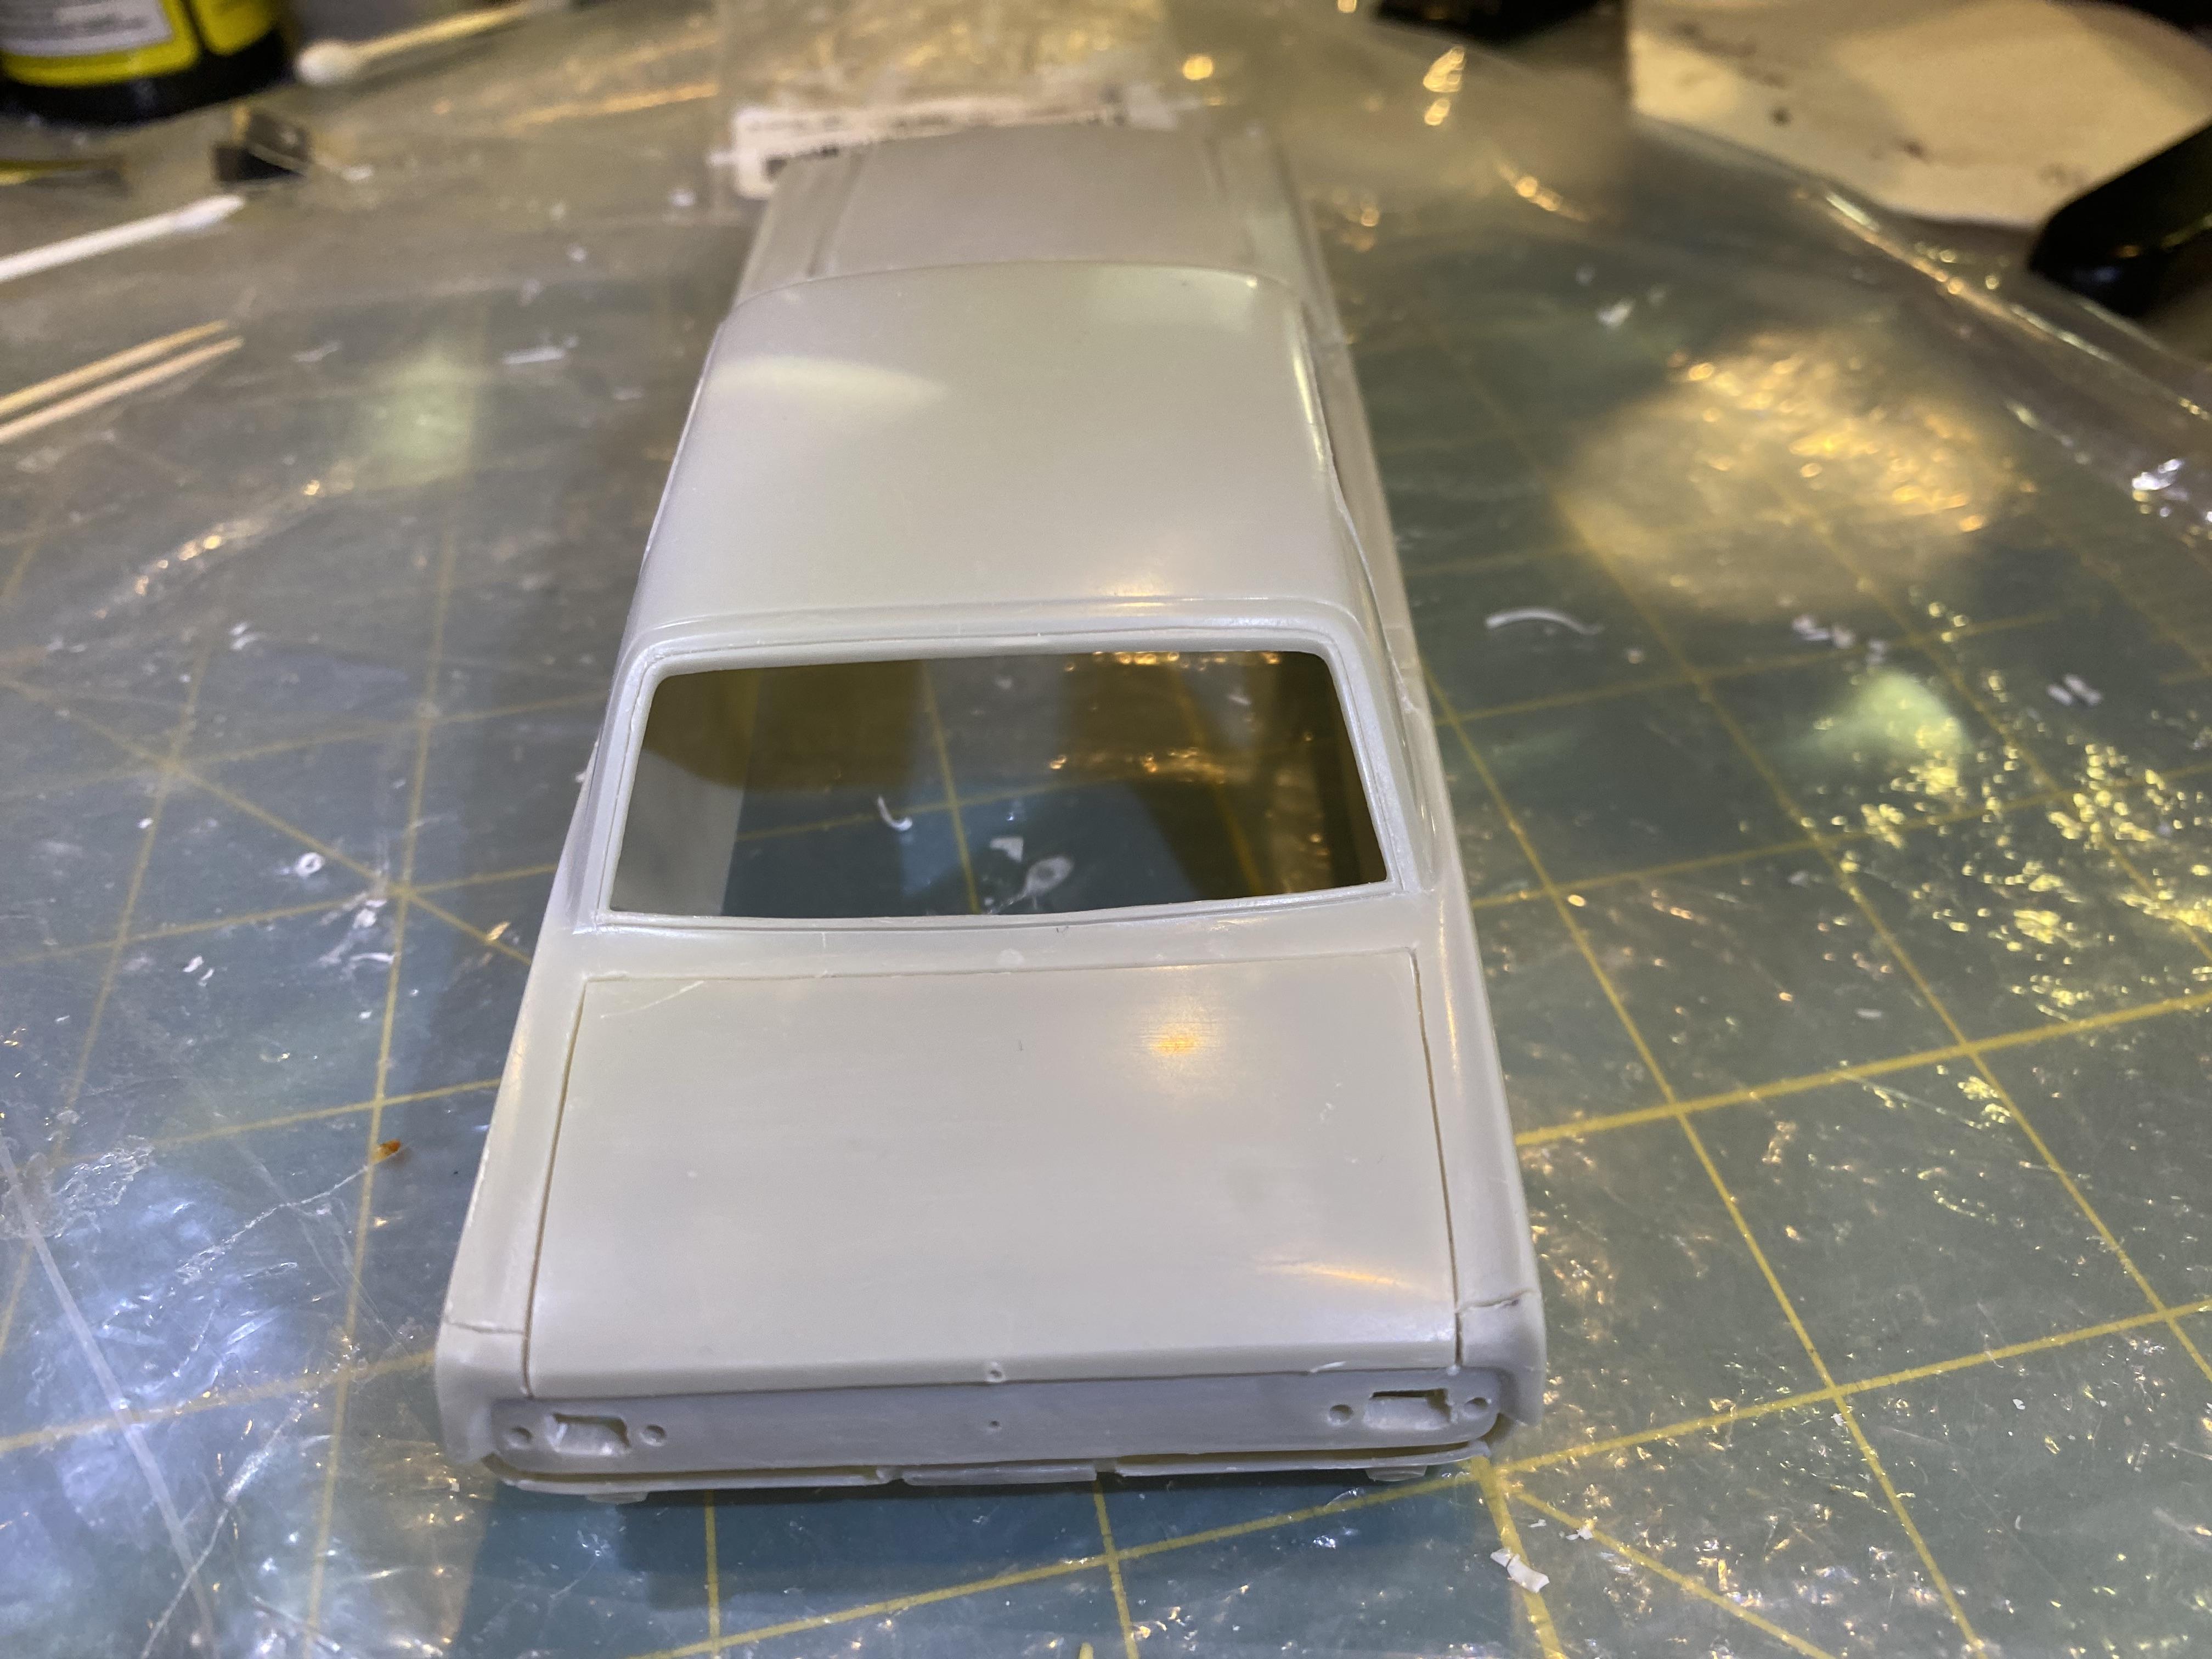
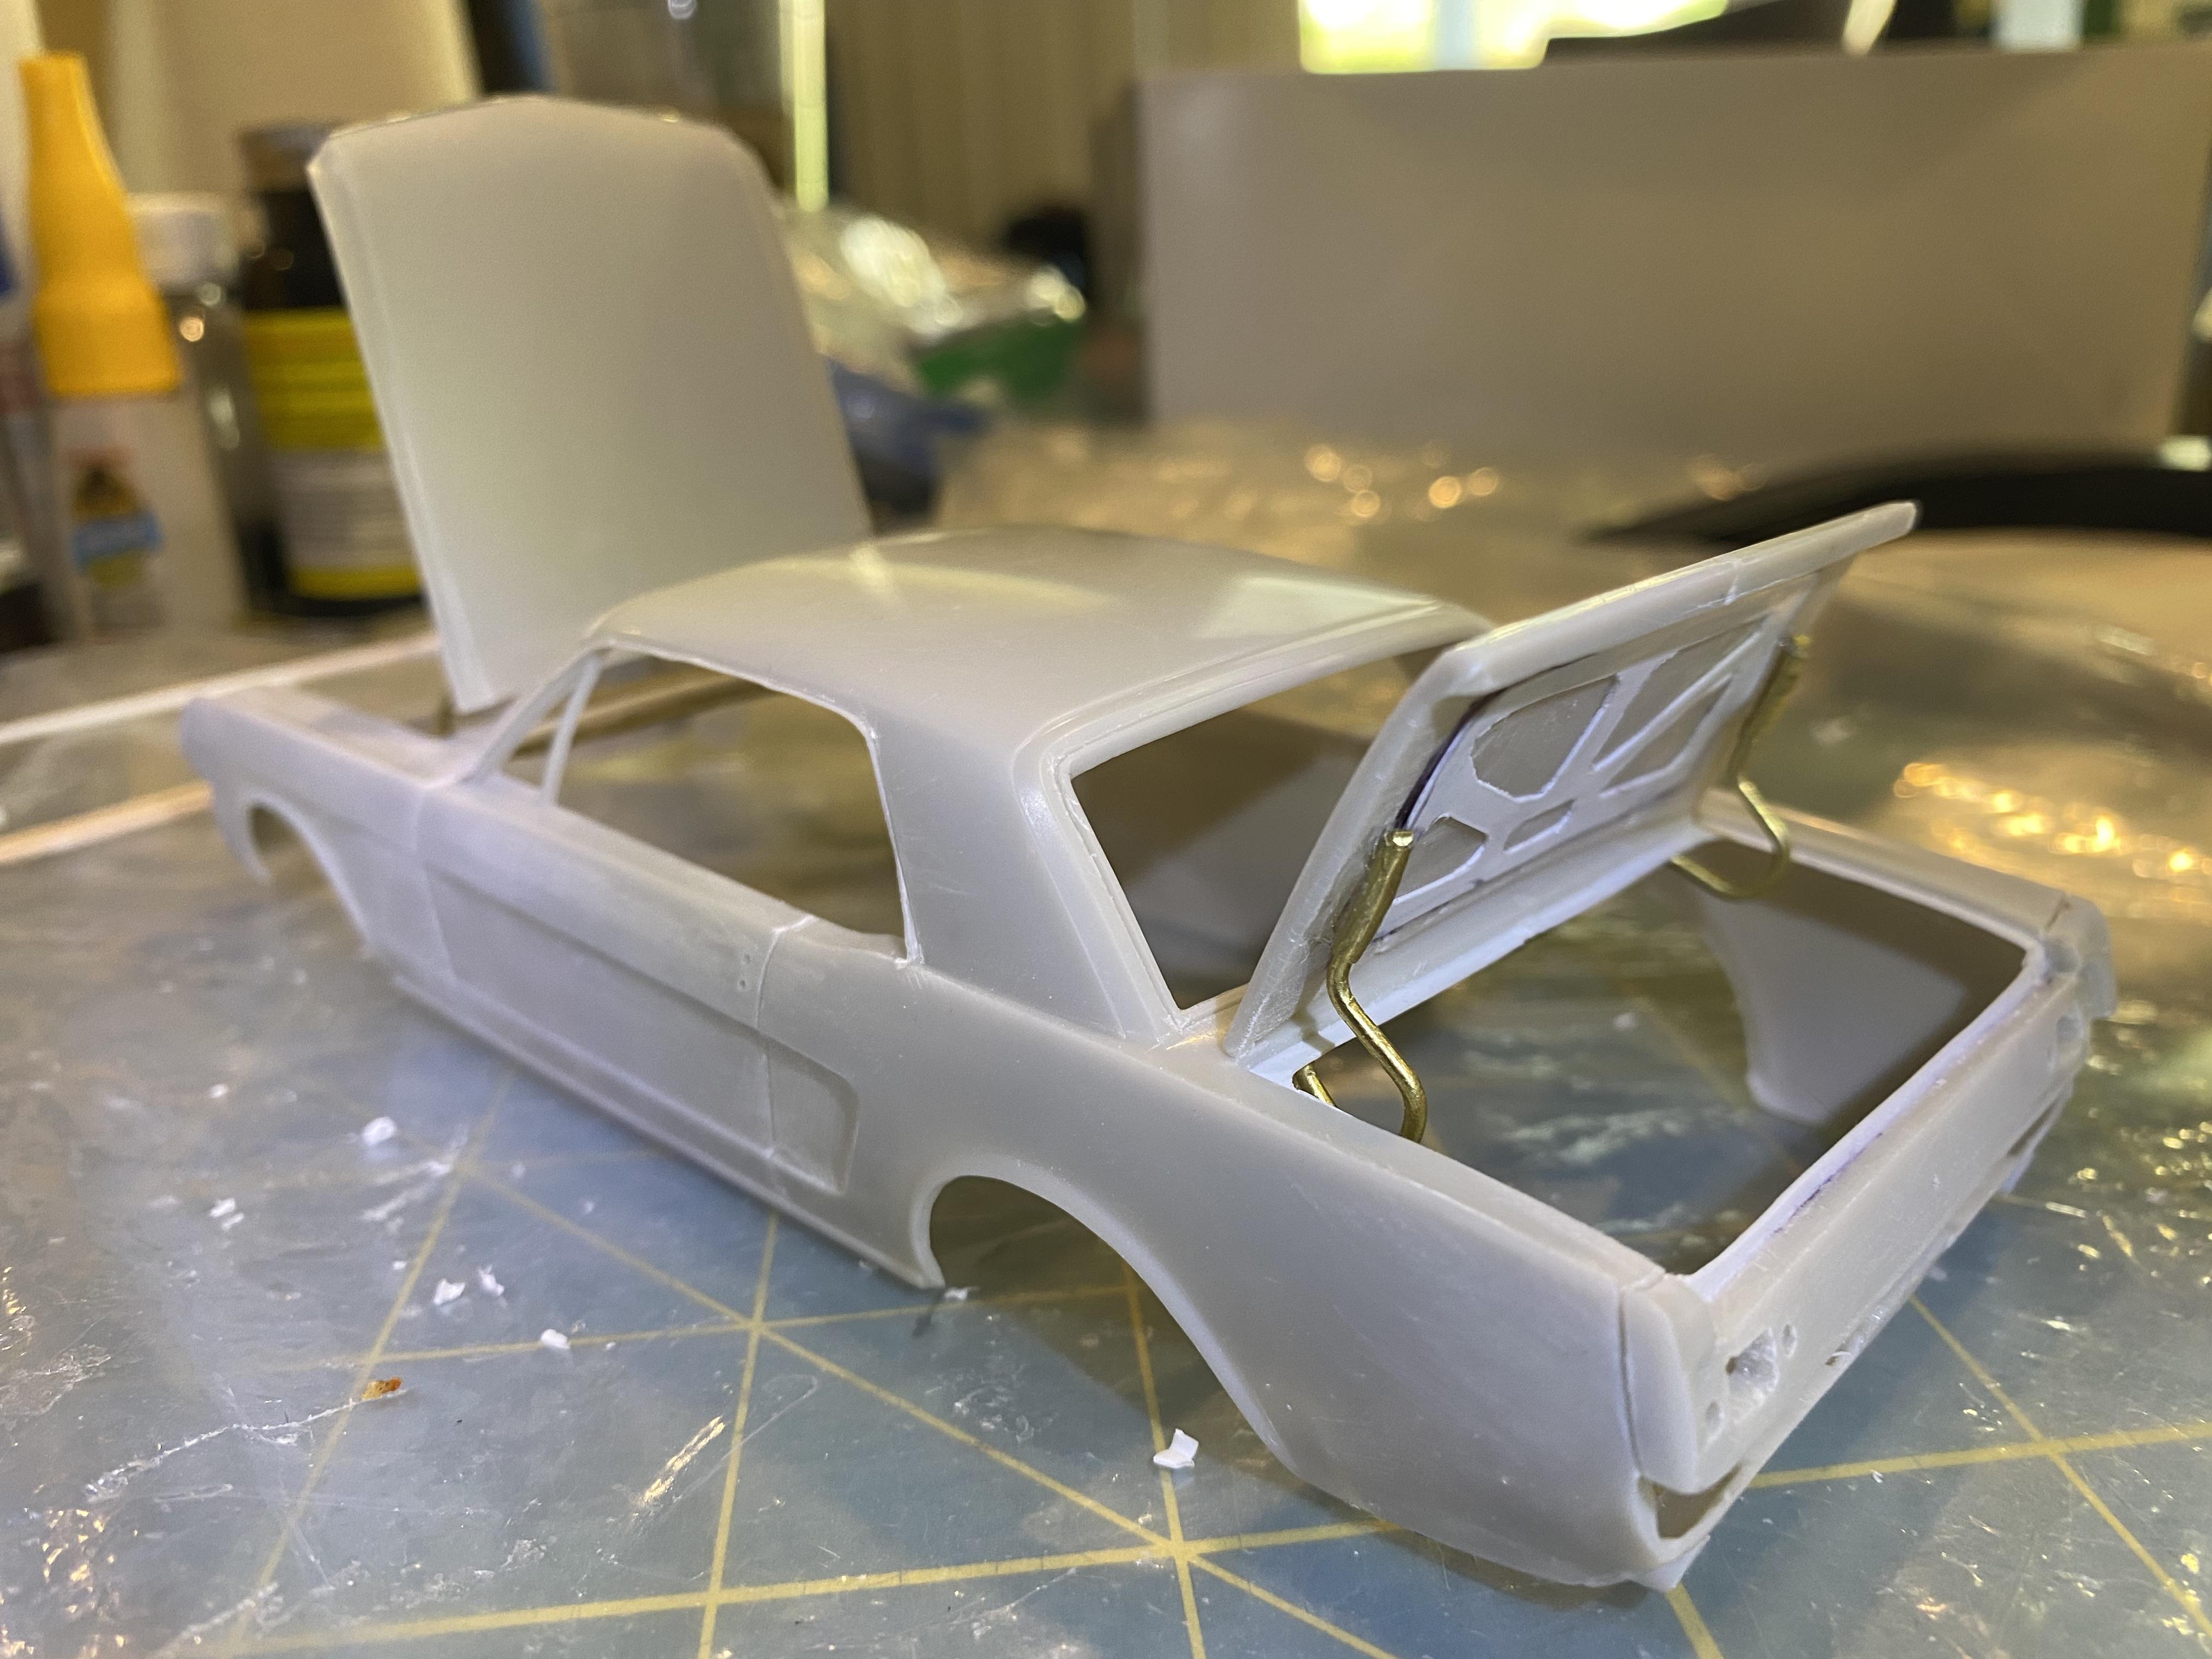
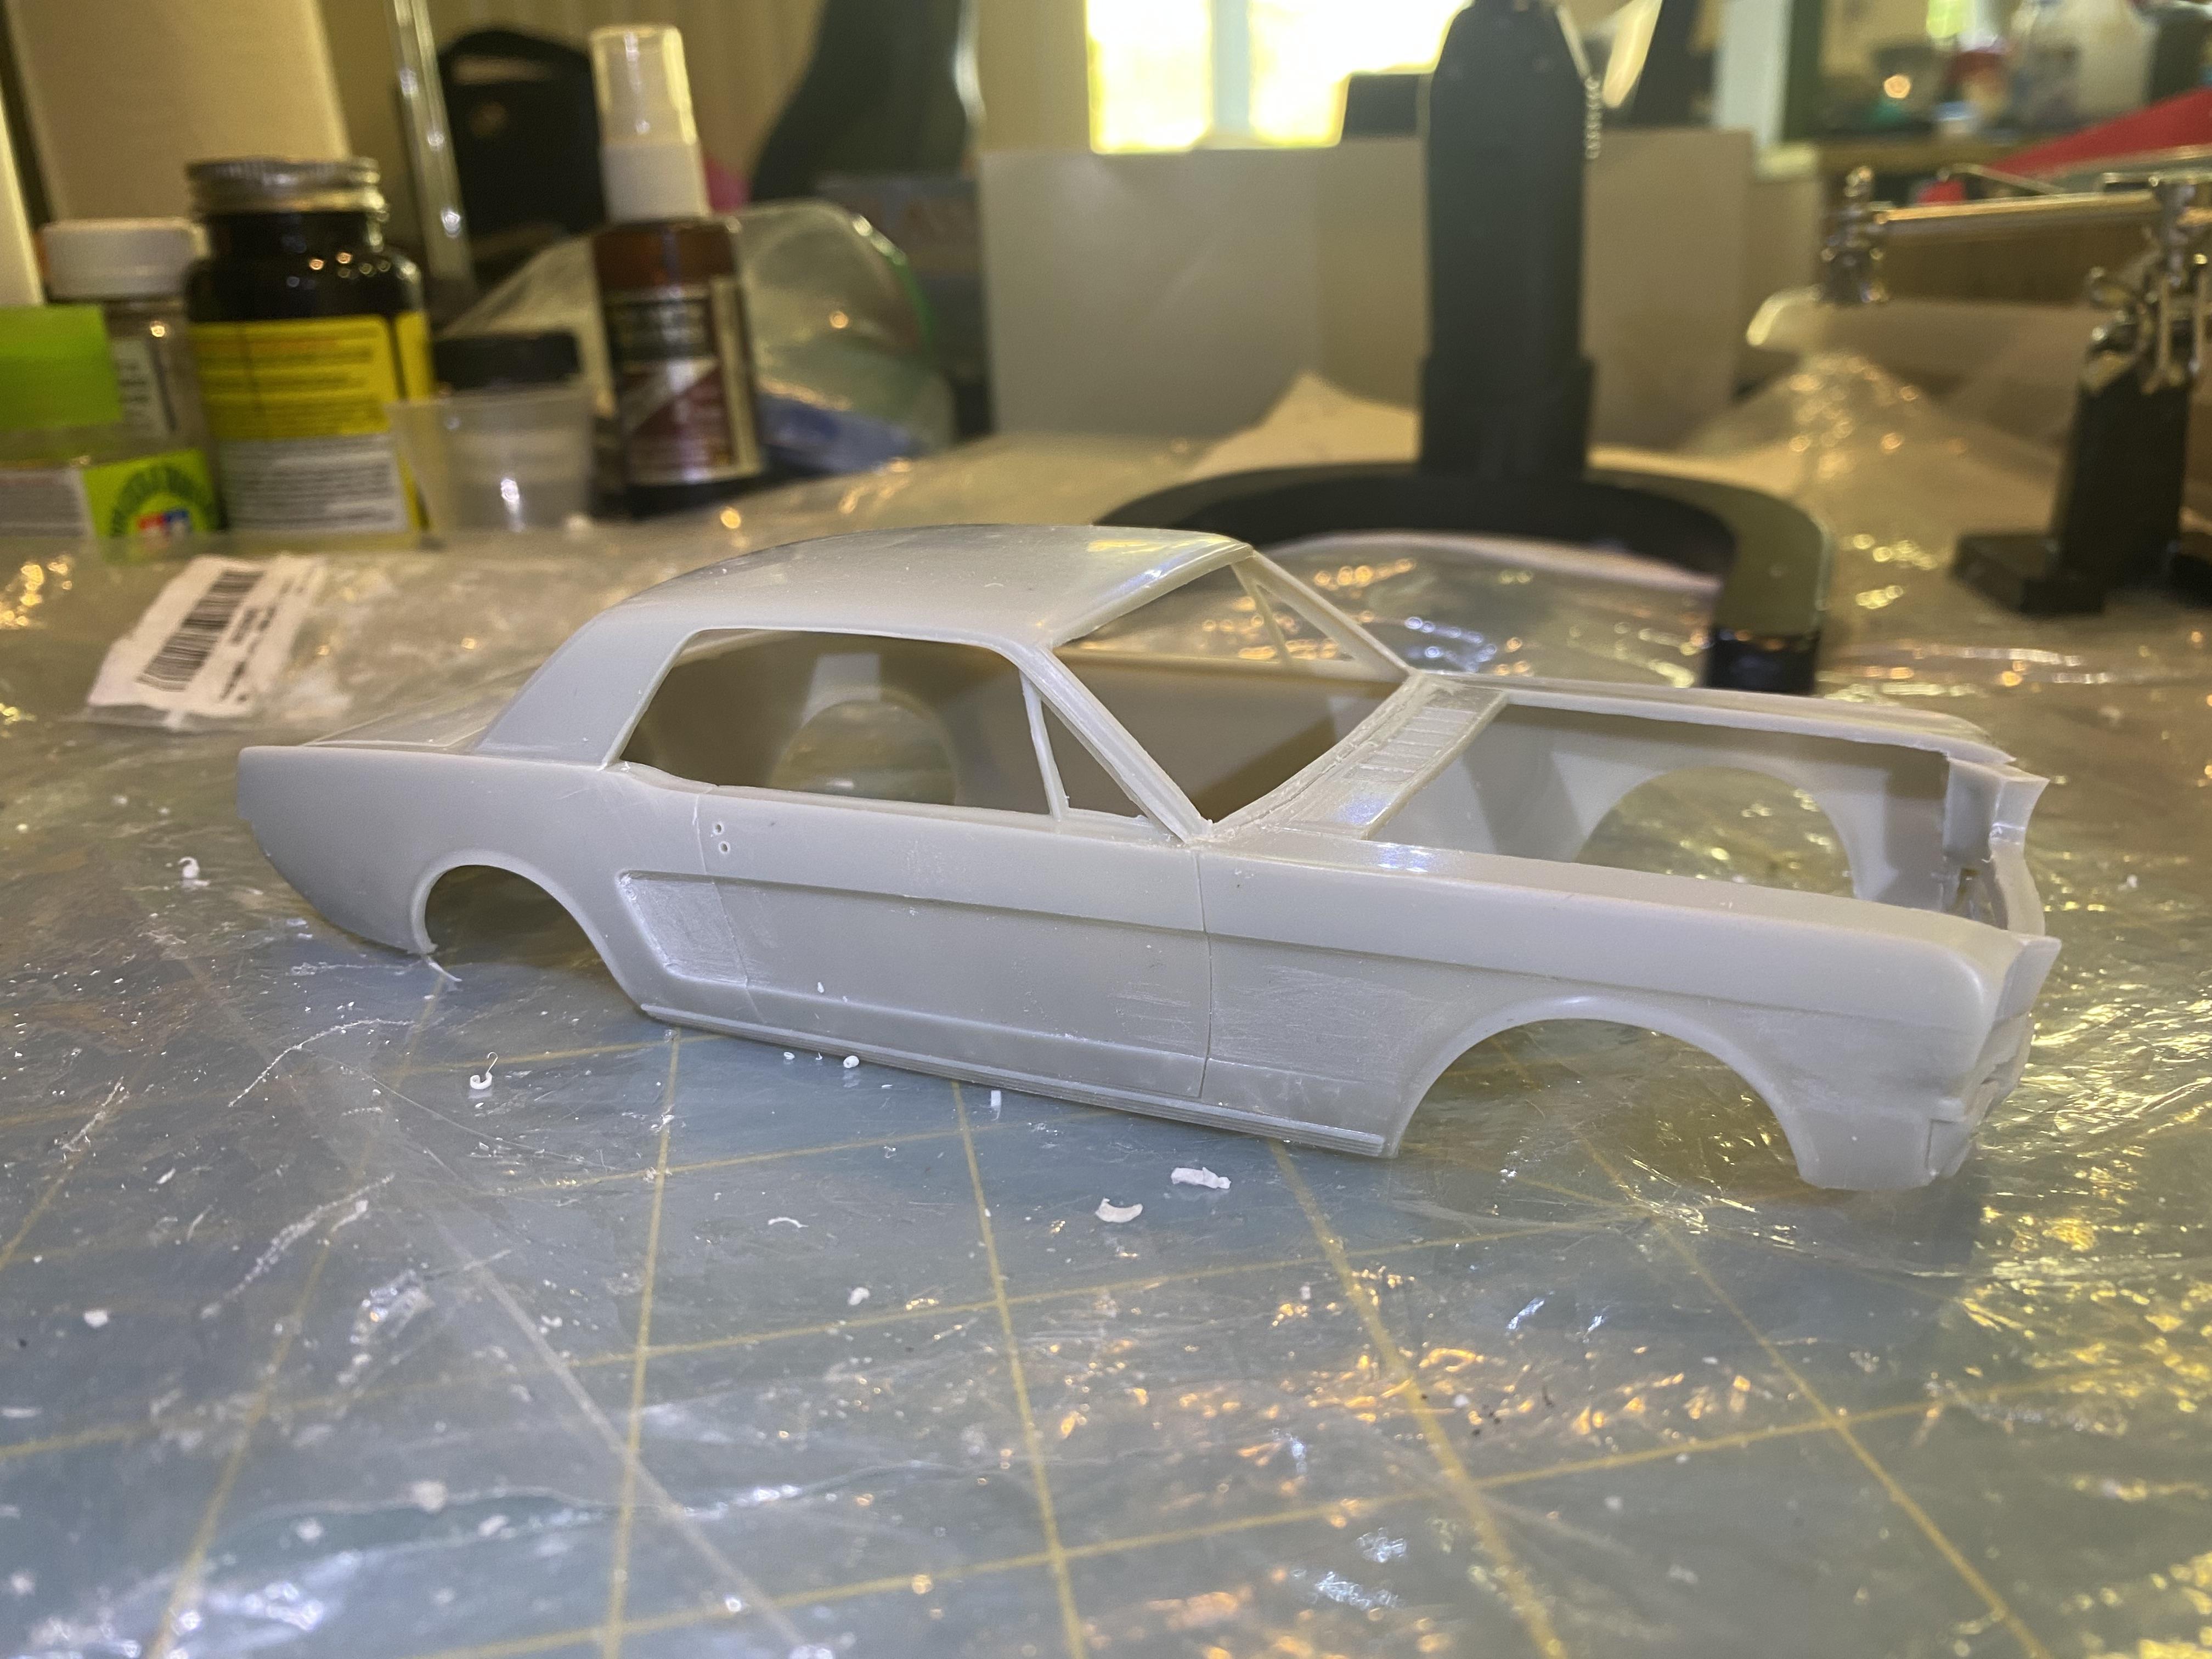
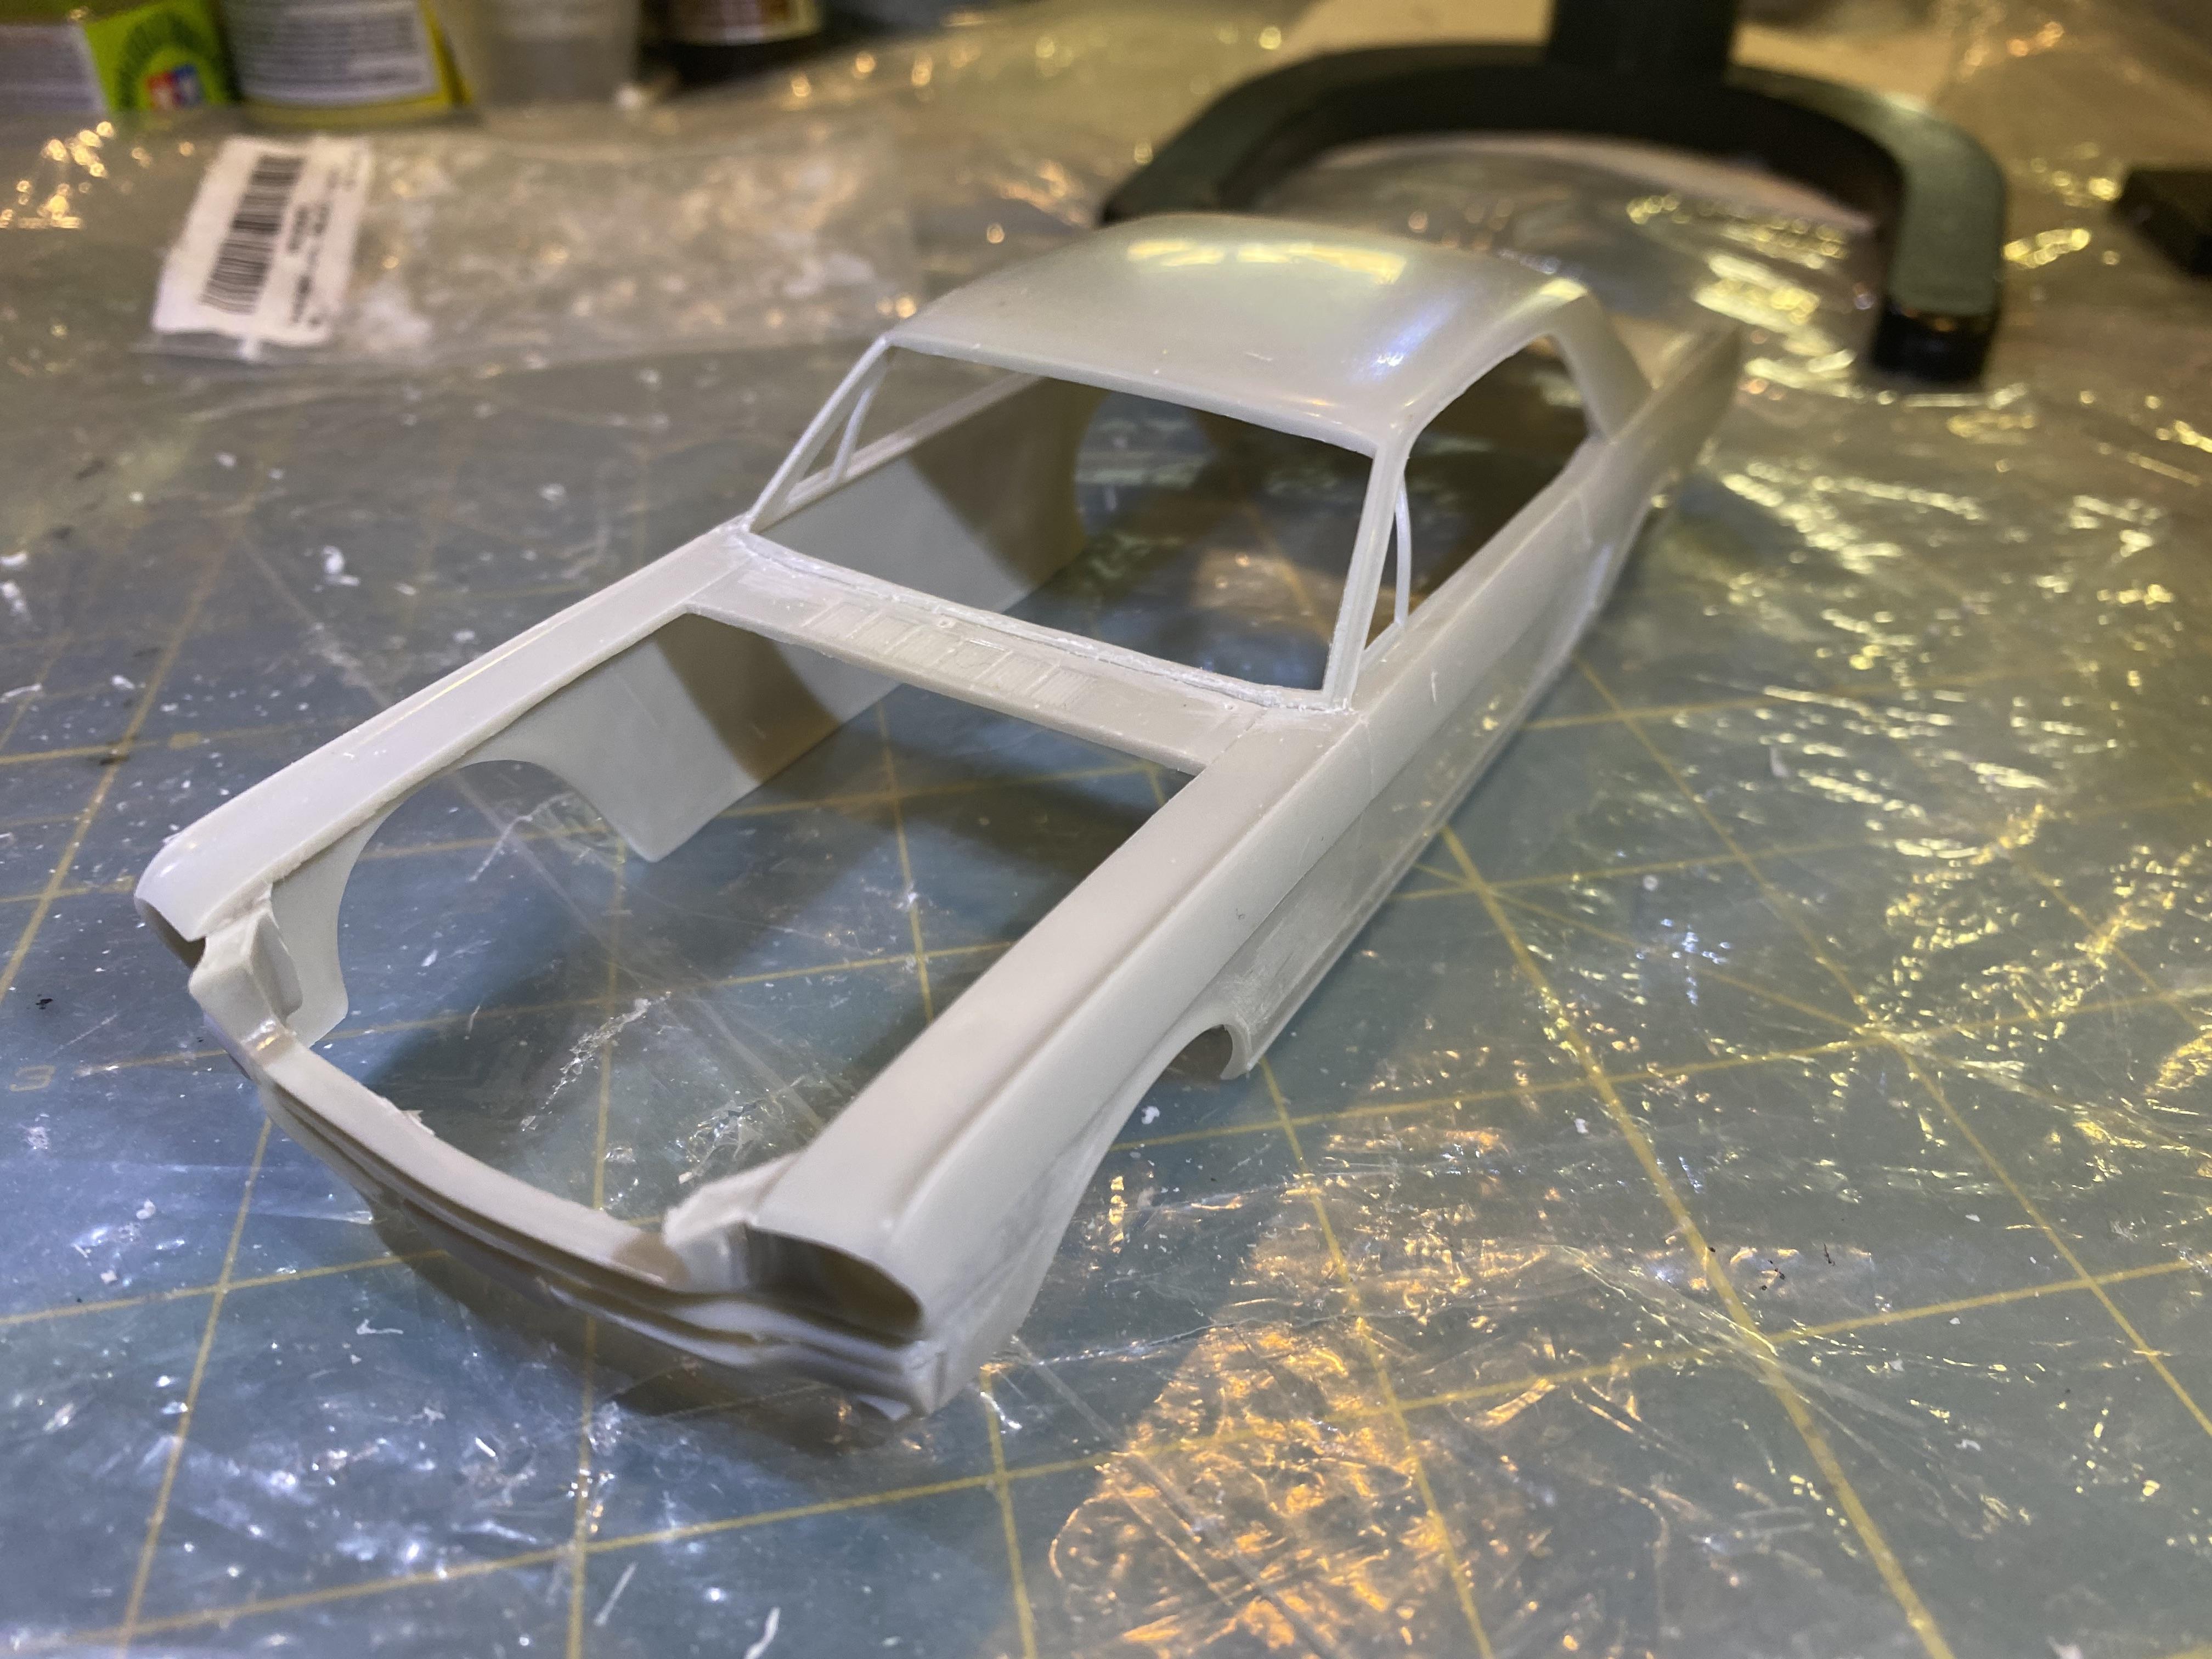
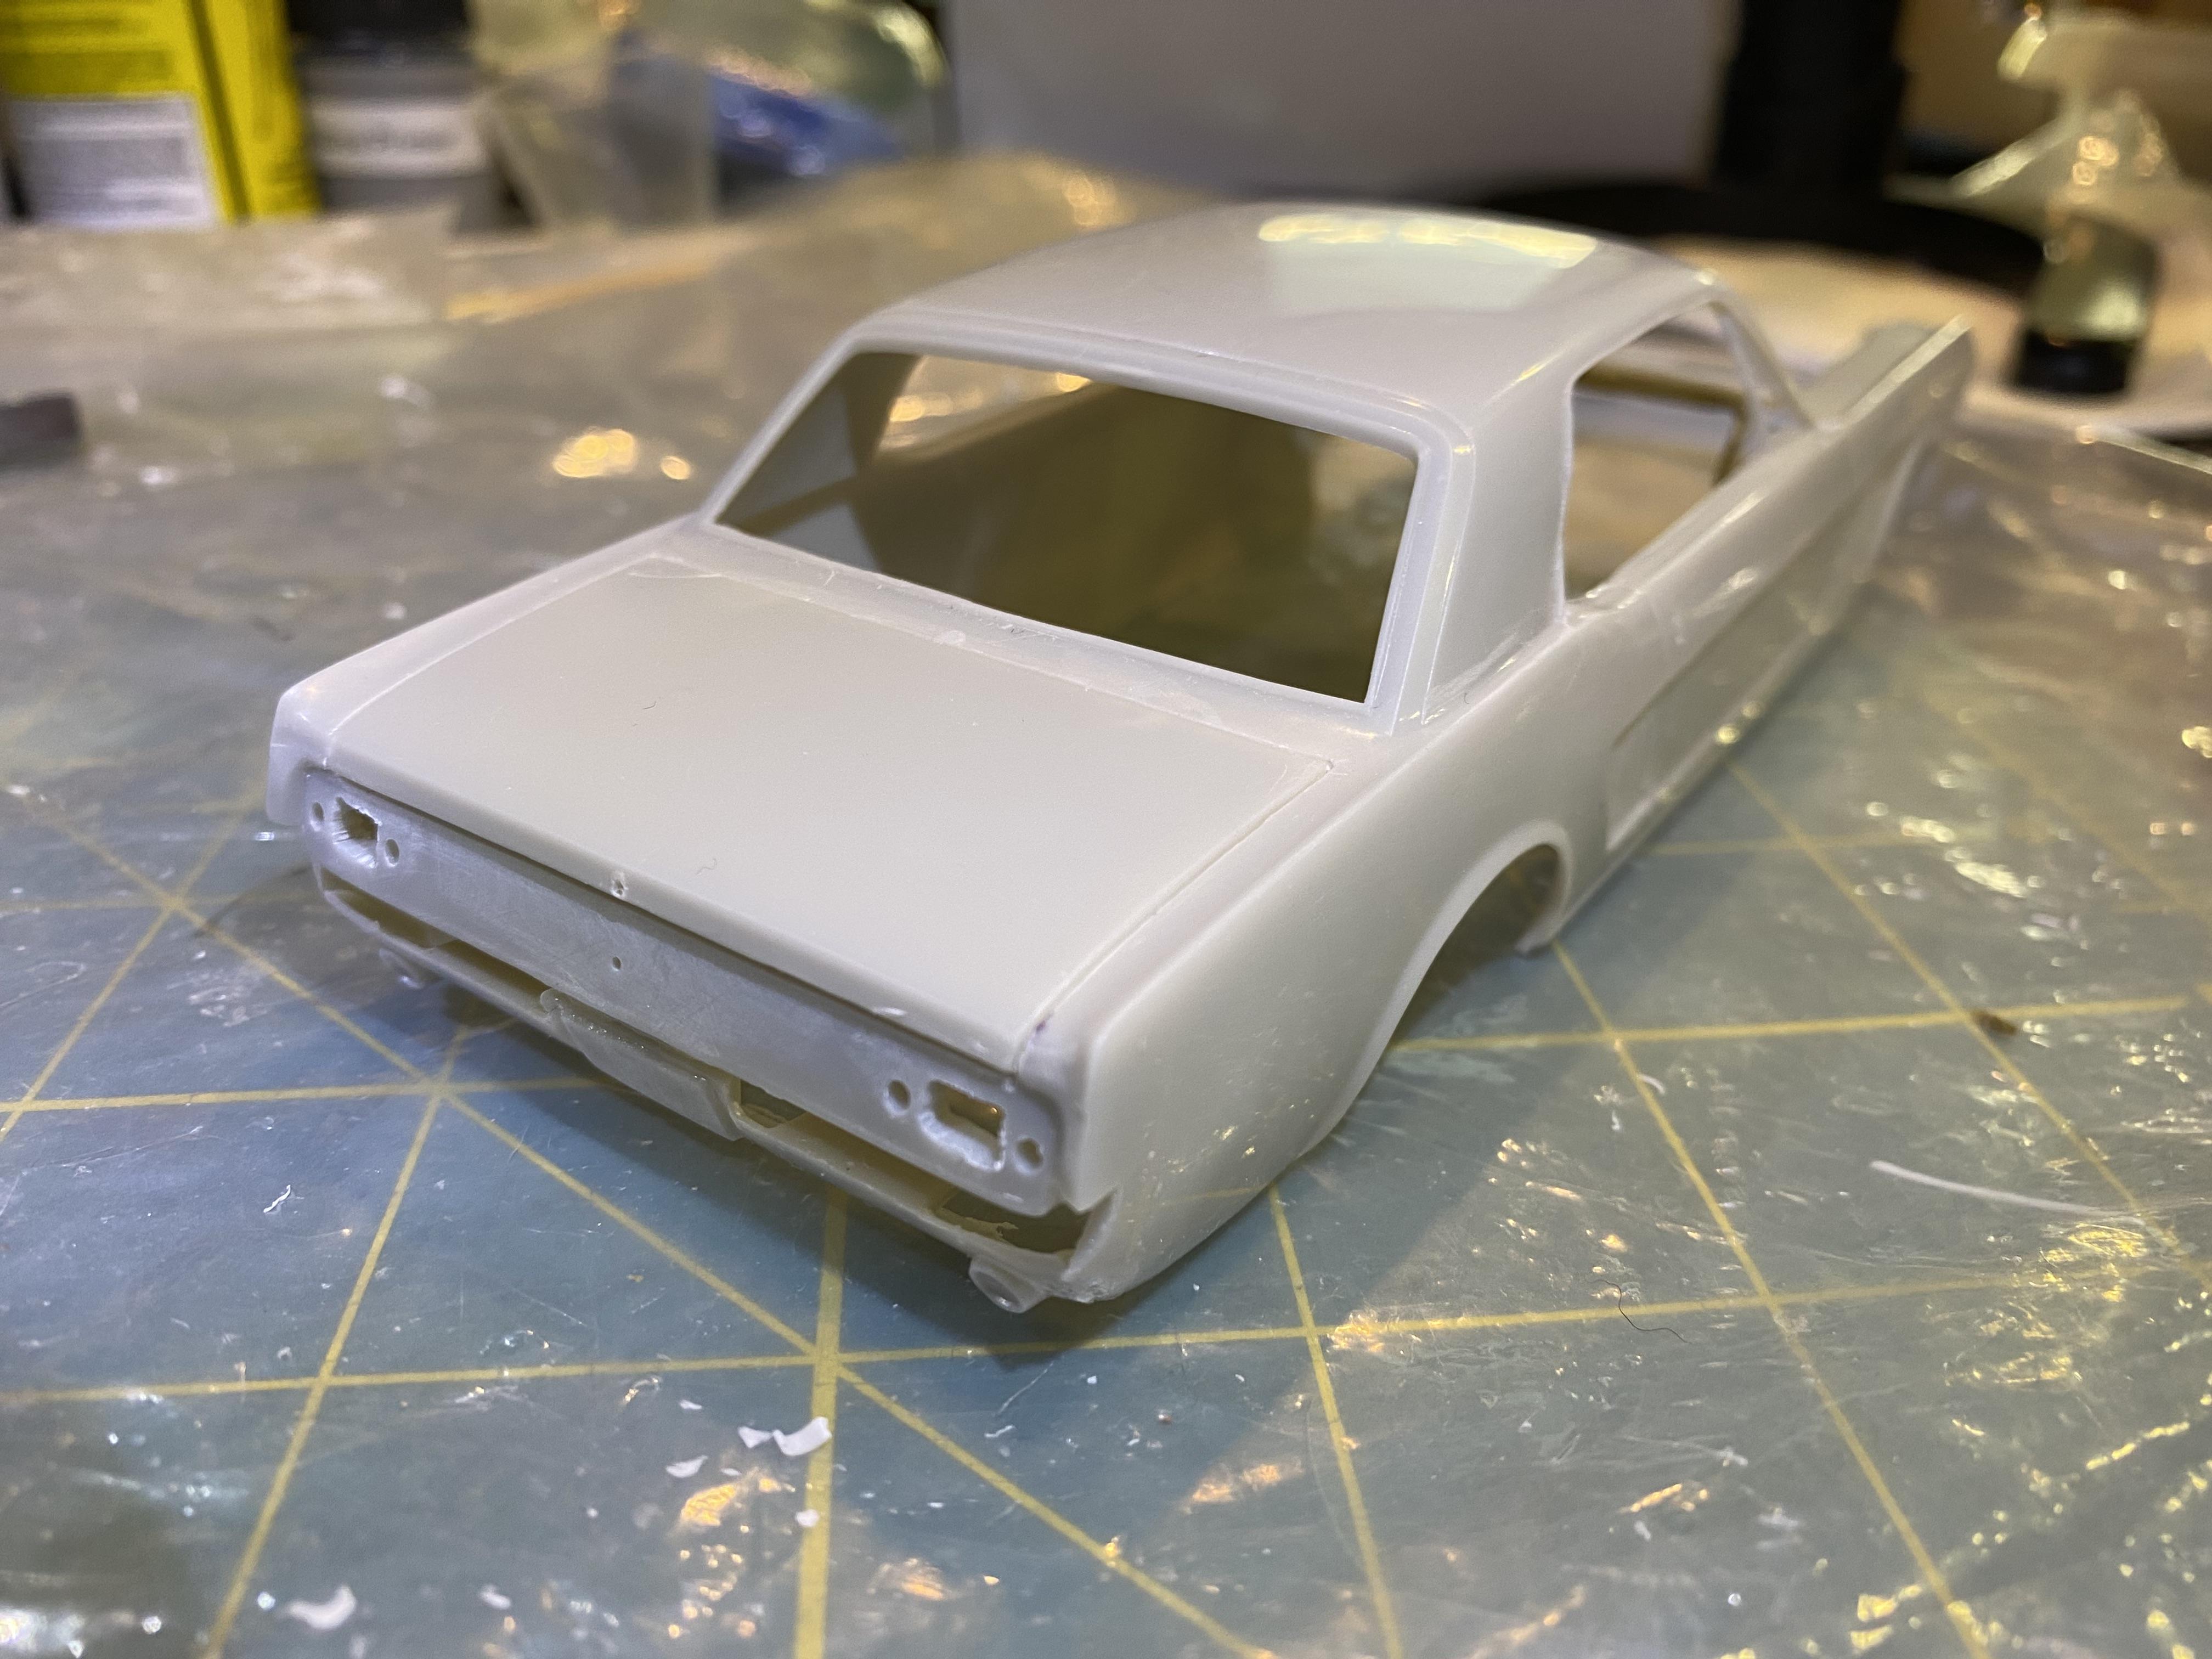
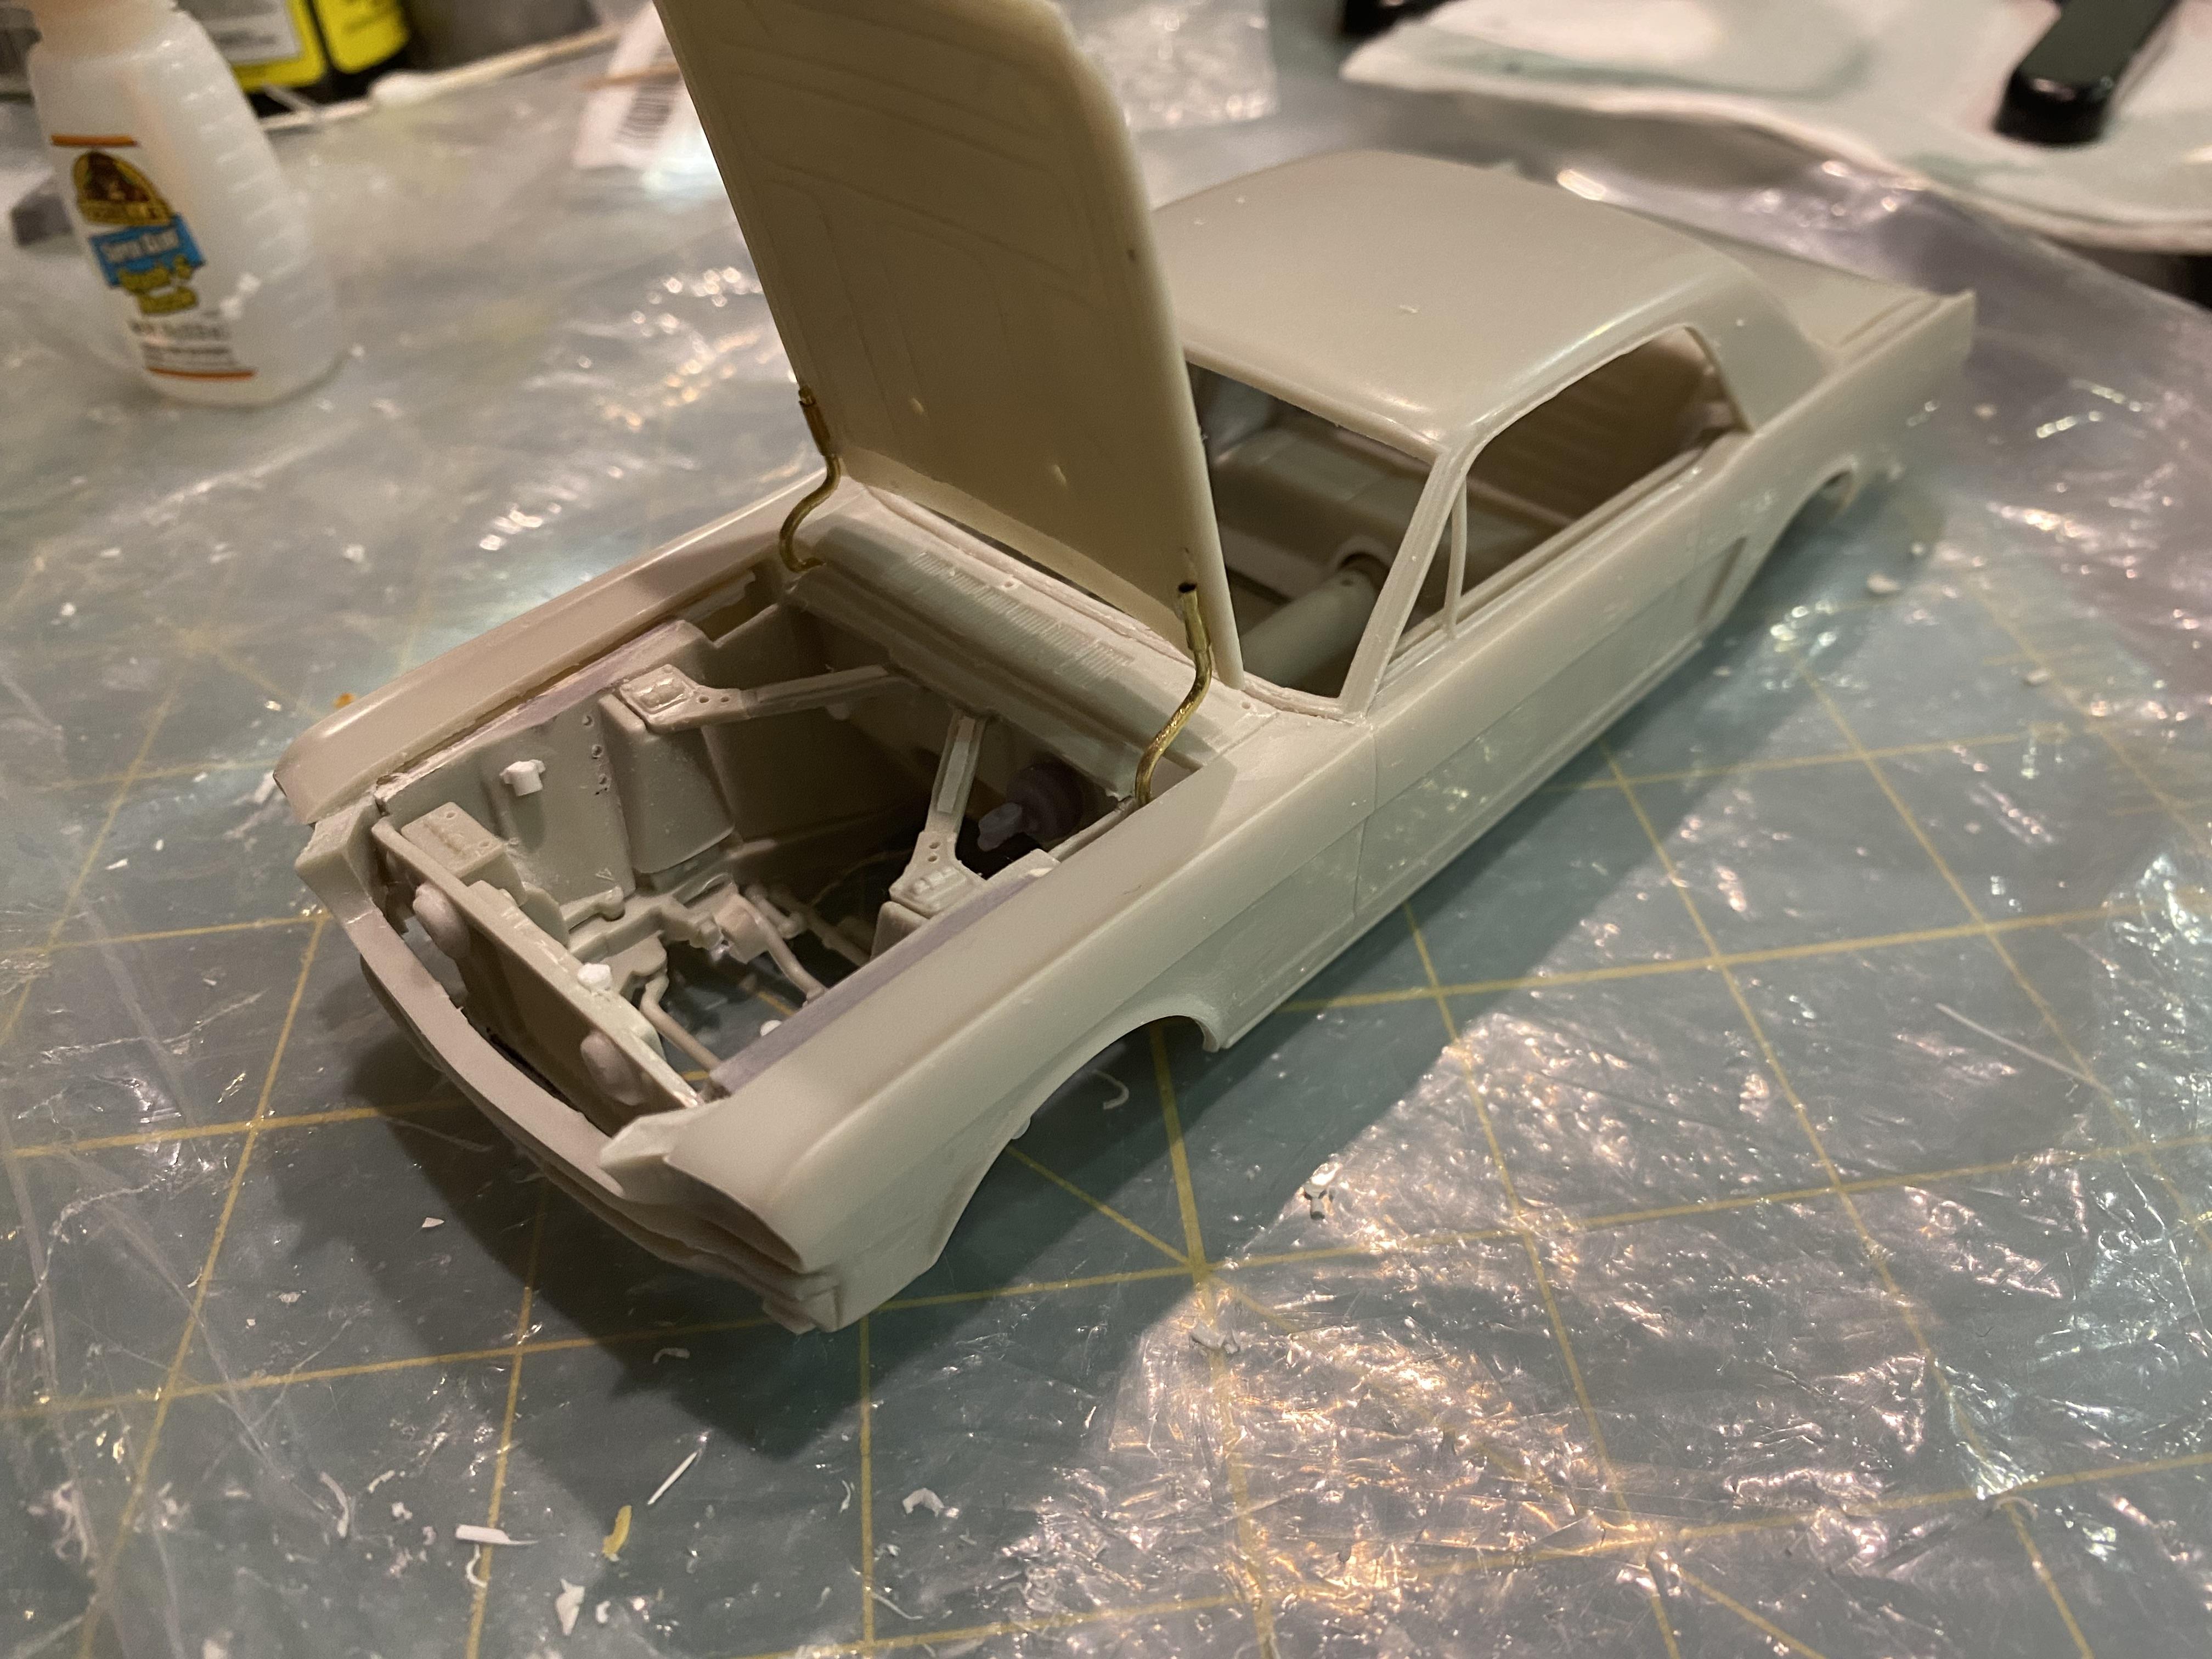
Body modifications completed. Next on to creating the LED wiring harness and then priming, sanding and prepping for paint.
-
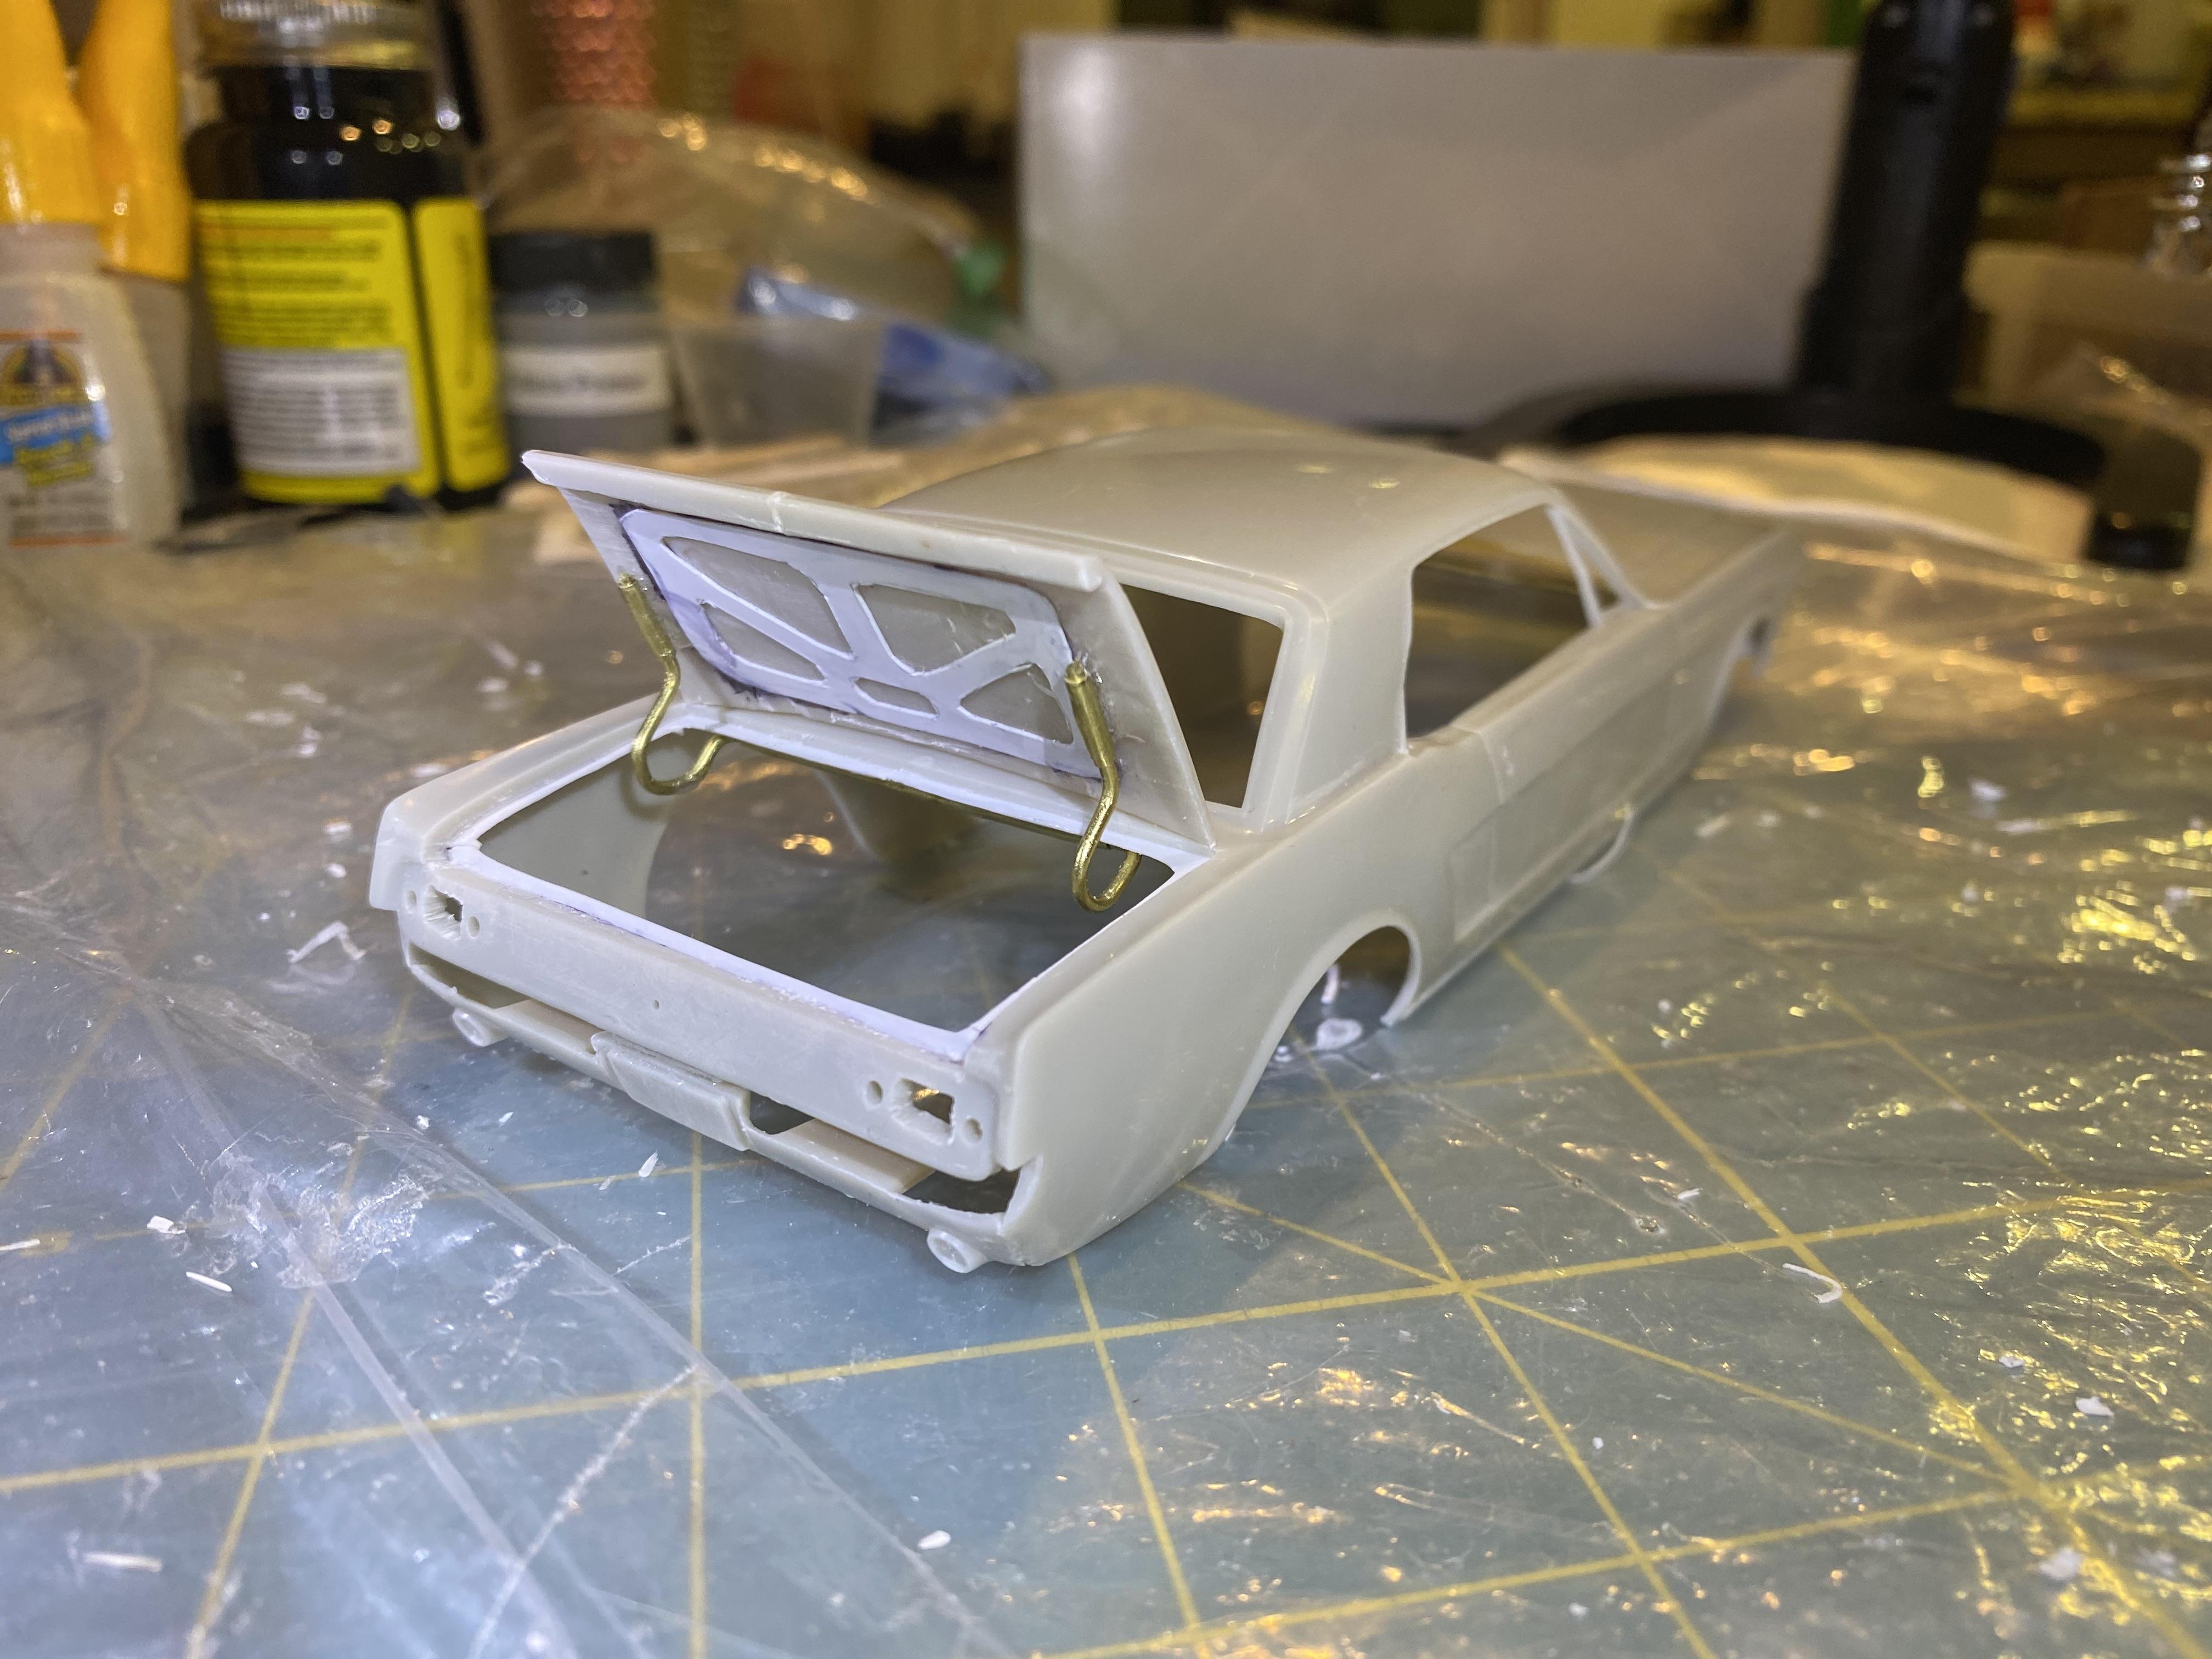
Created the exhaust and started working on the body modifications including hood and trunk hinges.
-
Came out very nice. I actually picked up a copy of this kit from Hobby Lobby this evening.
-
Coming along really nicely. Love the blue you chose. Great paintwork!
-
Great choice using the chassis and engine compartment for the build. I did the same thing for my latest builds. I now find myself picking up a 1967 Fastback kit from hobby lobby when I see one during their regular 40% off sales to have as donors. The interior components from the revell 1968 GT probably would be better for the interior components though that kit is harder to find, at least for me.
-
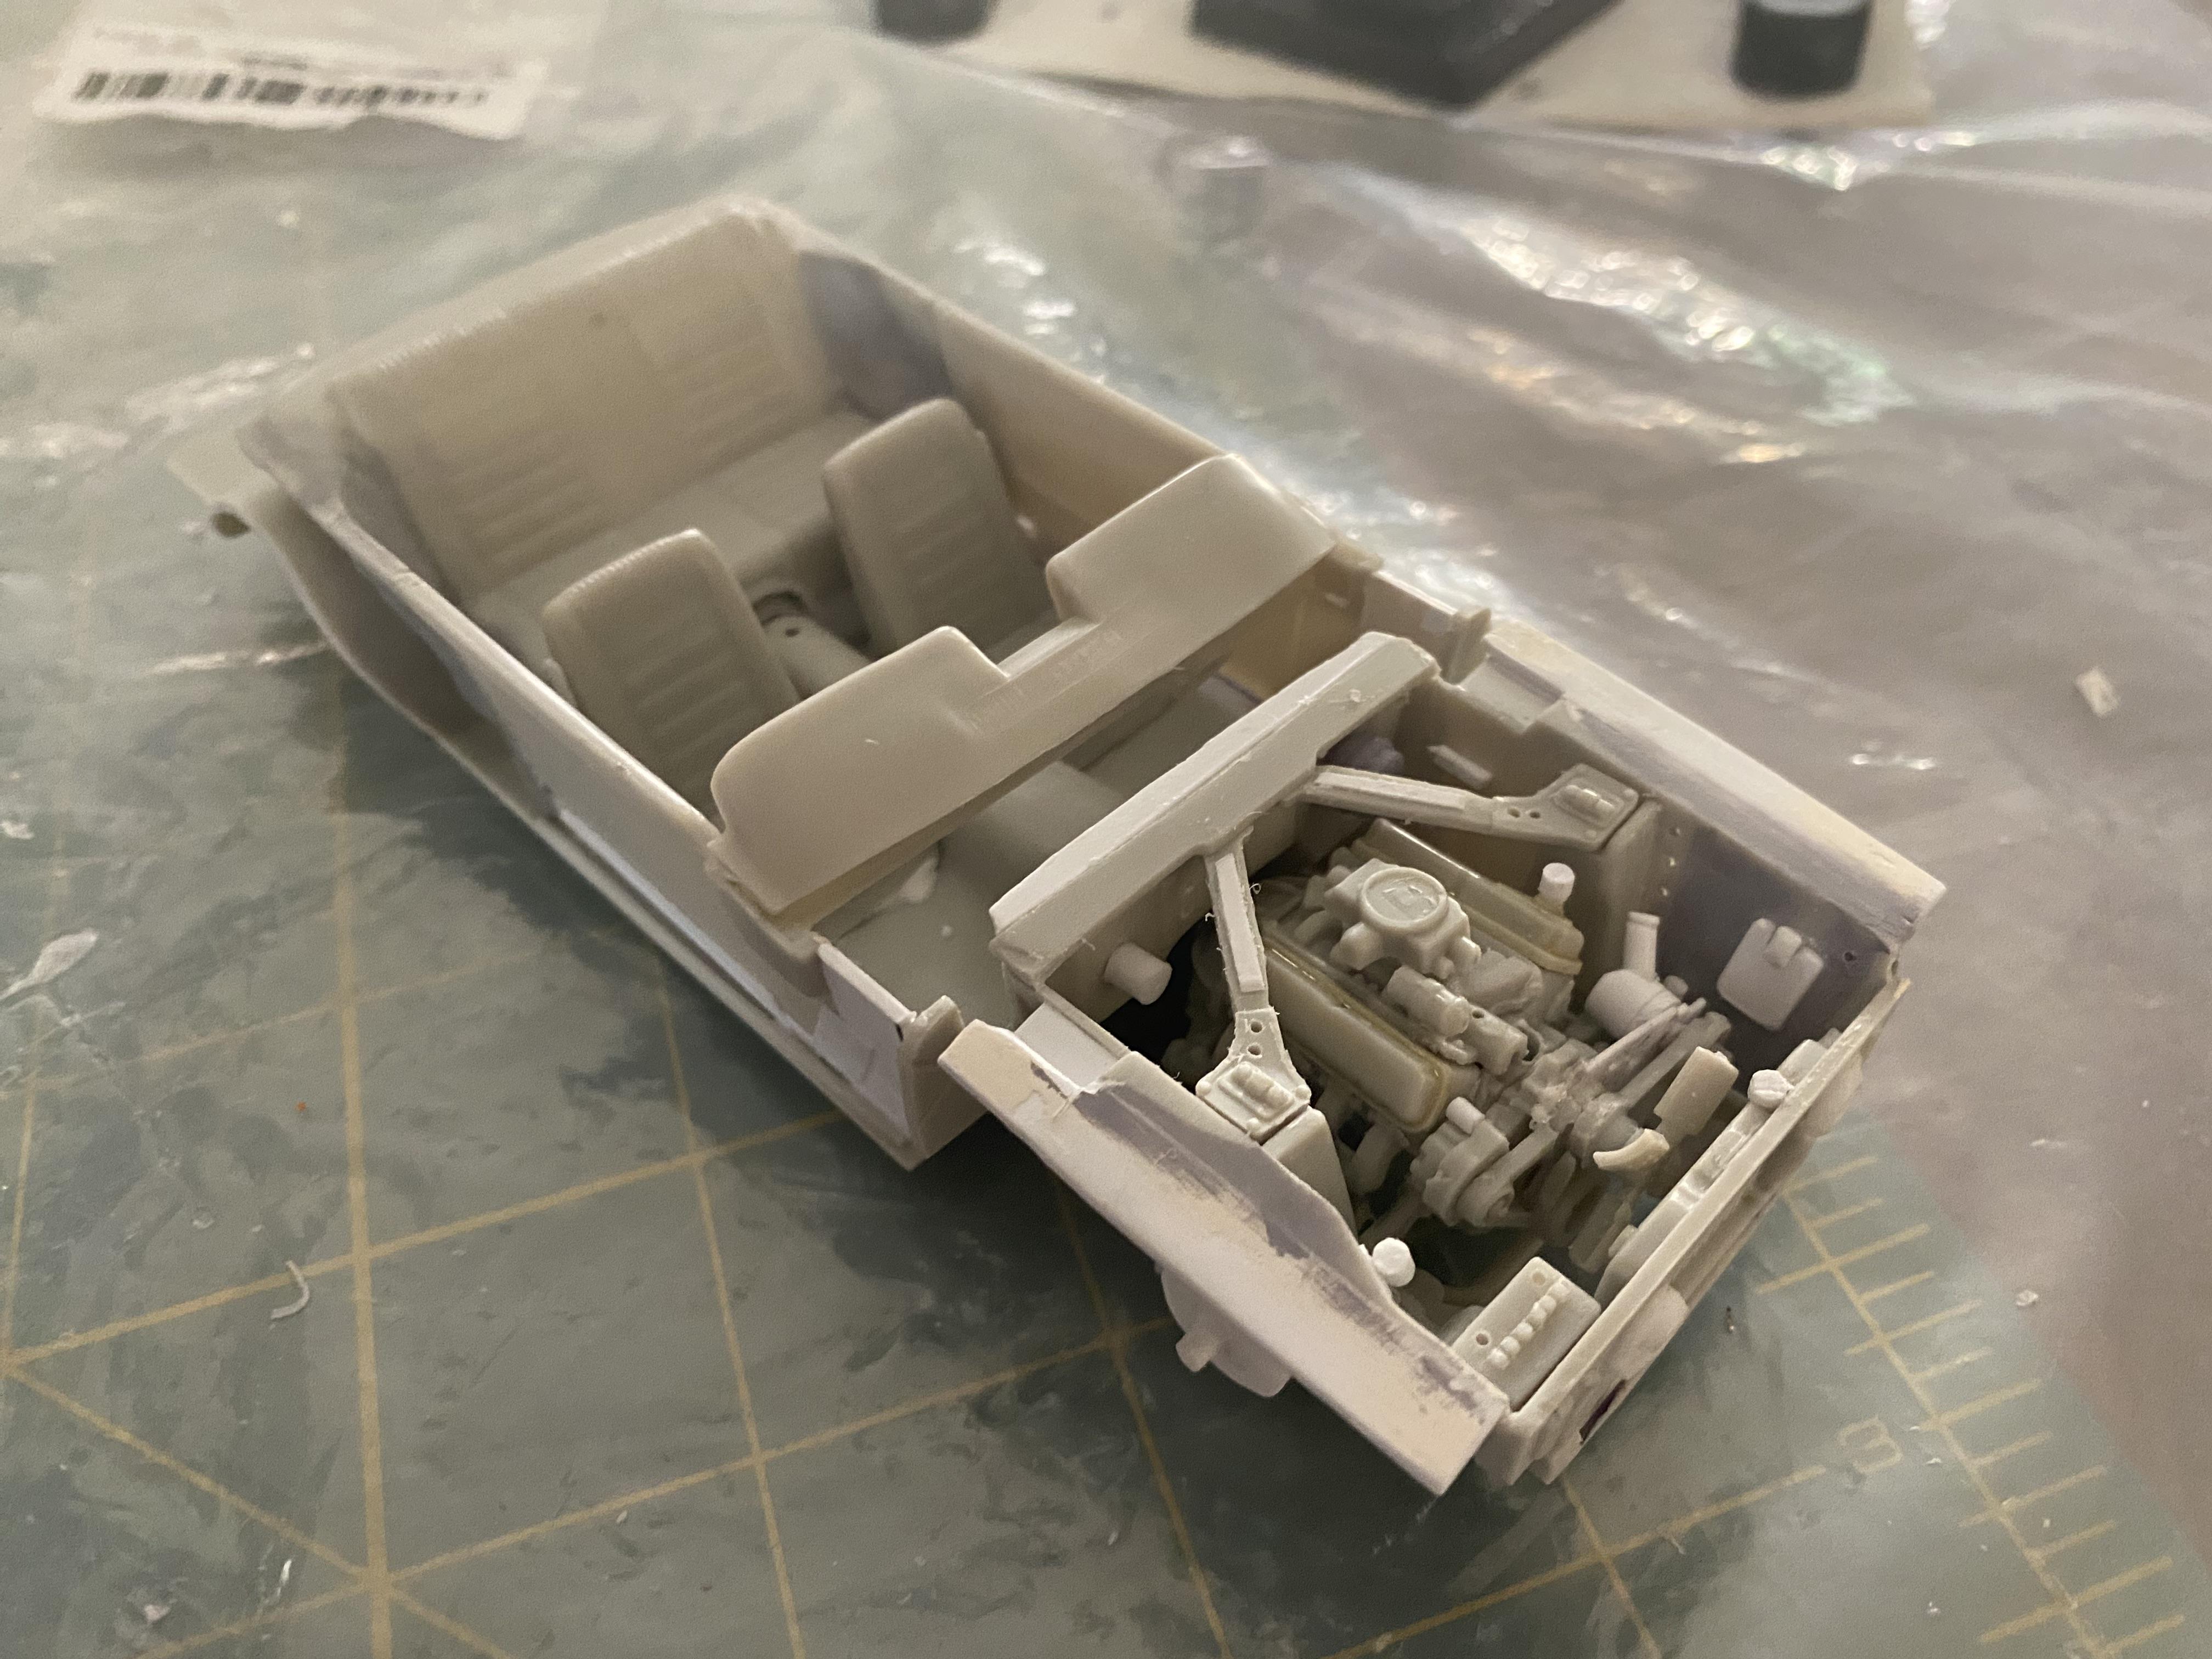
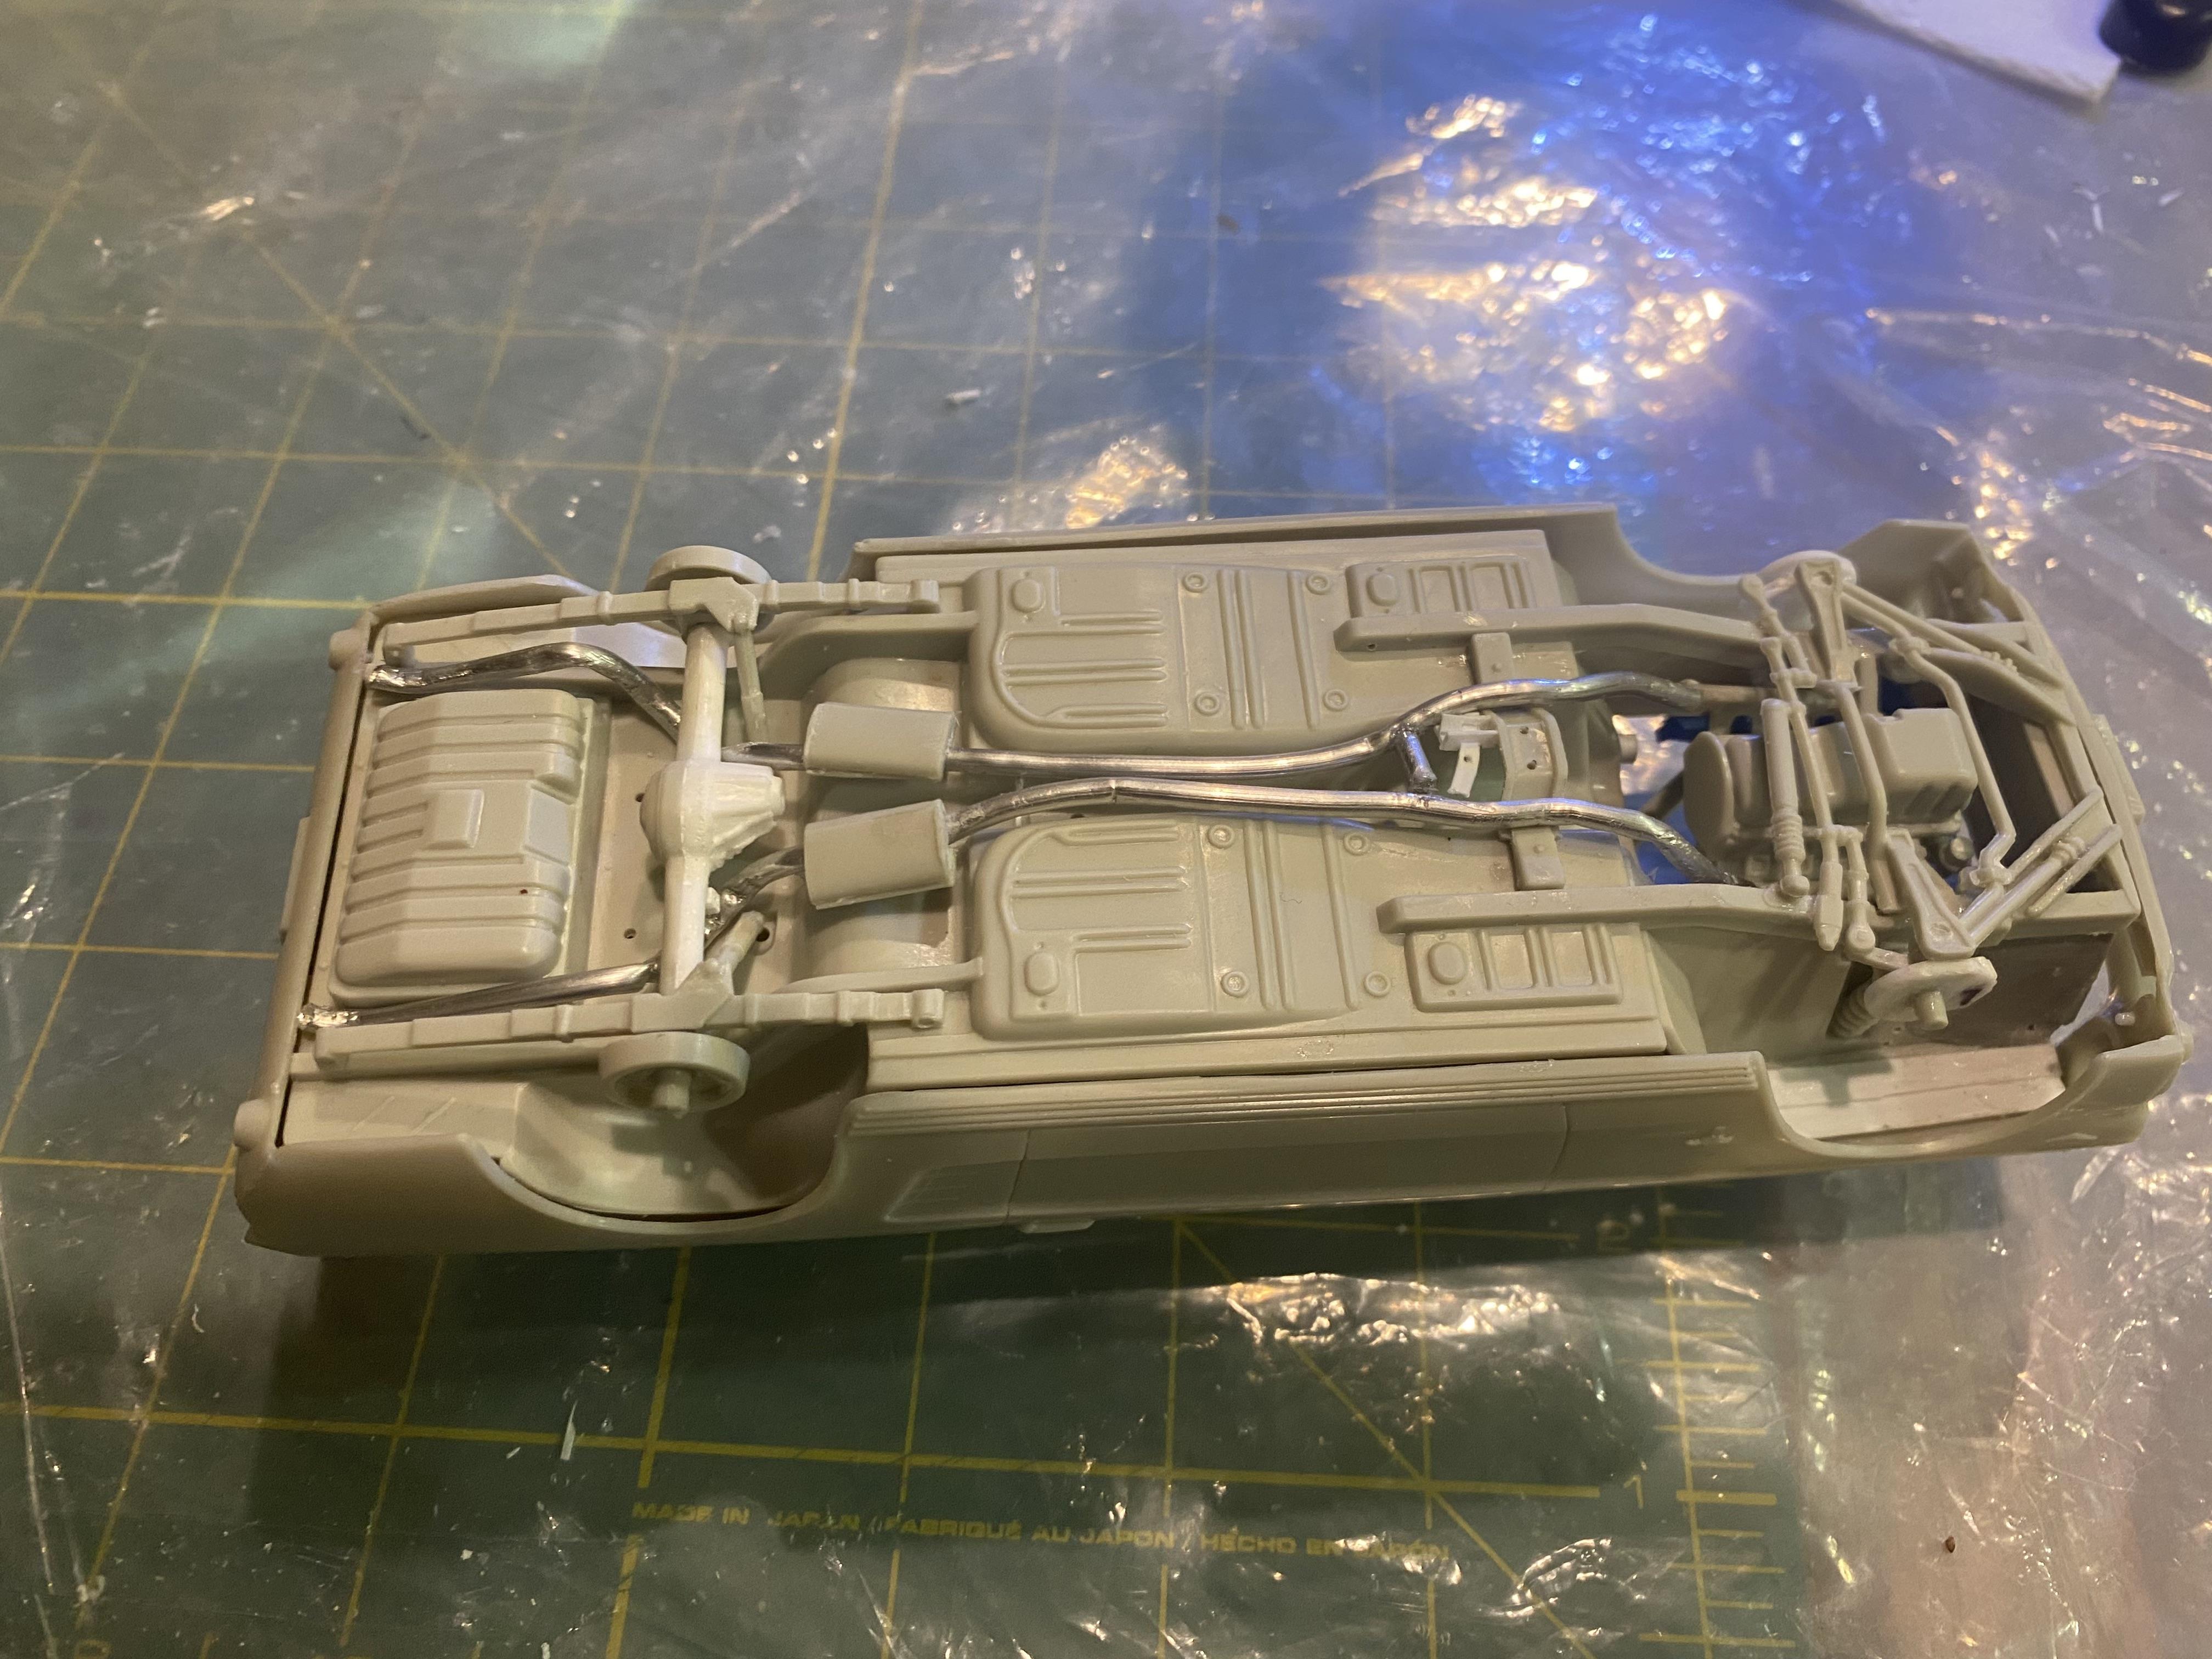
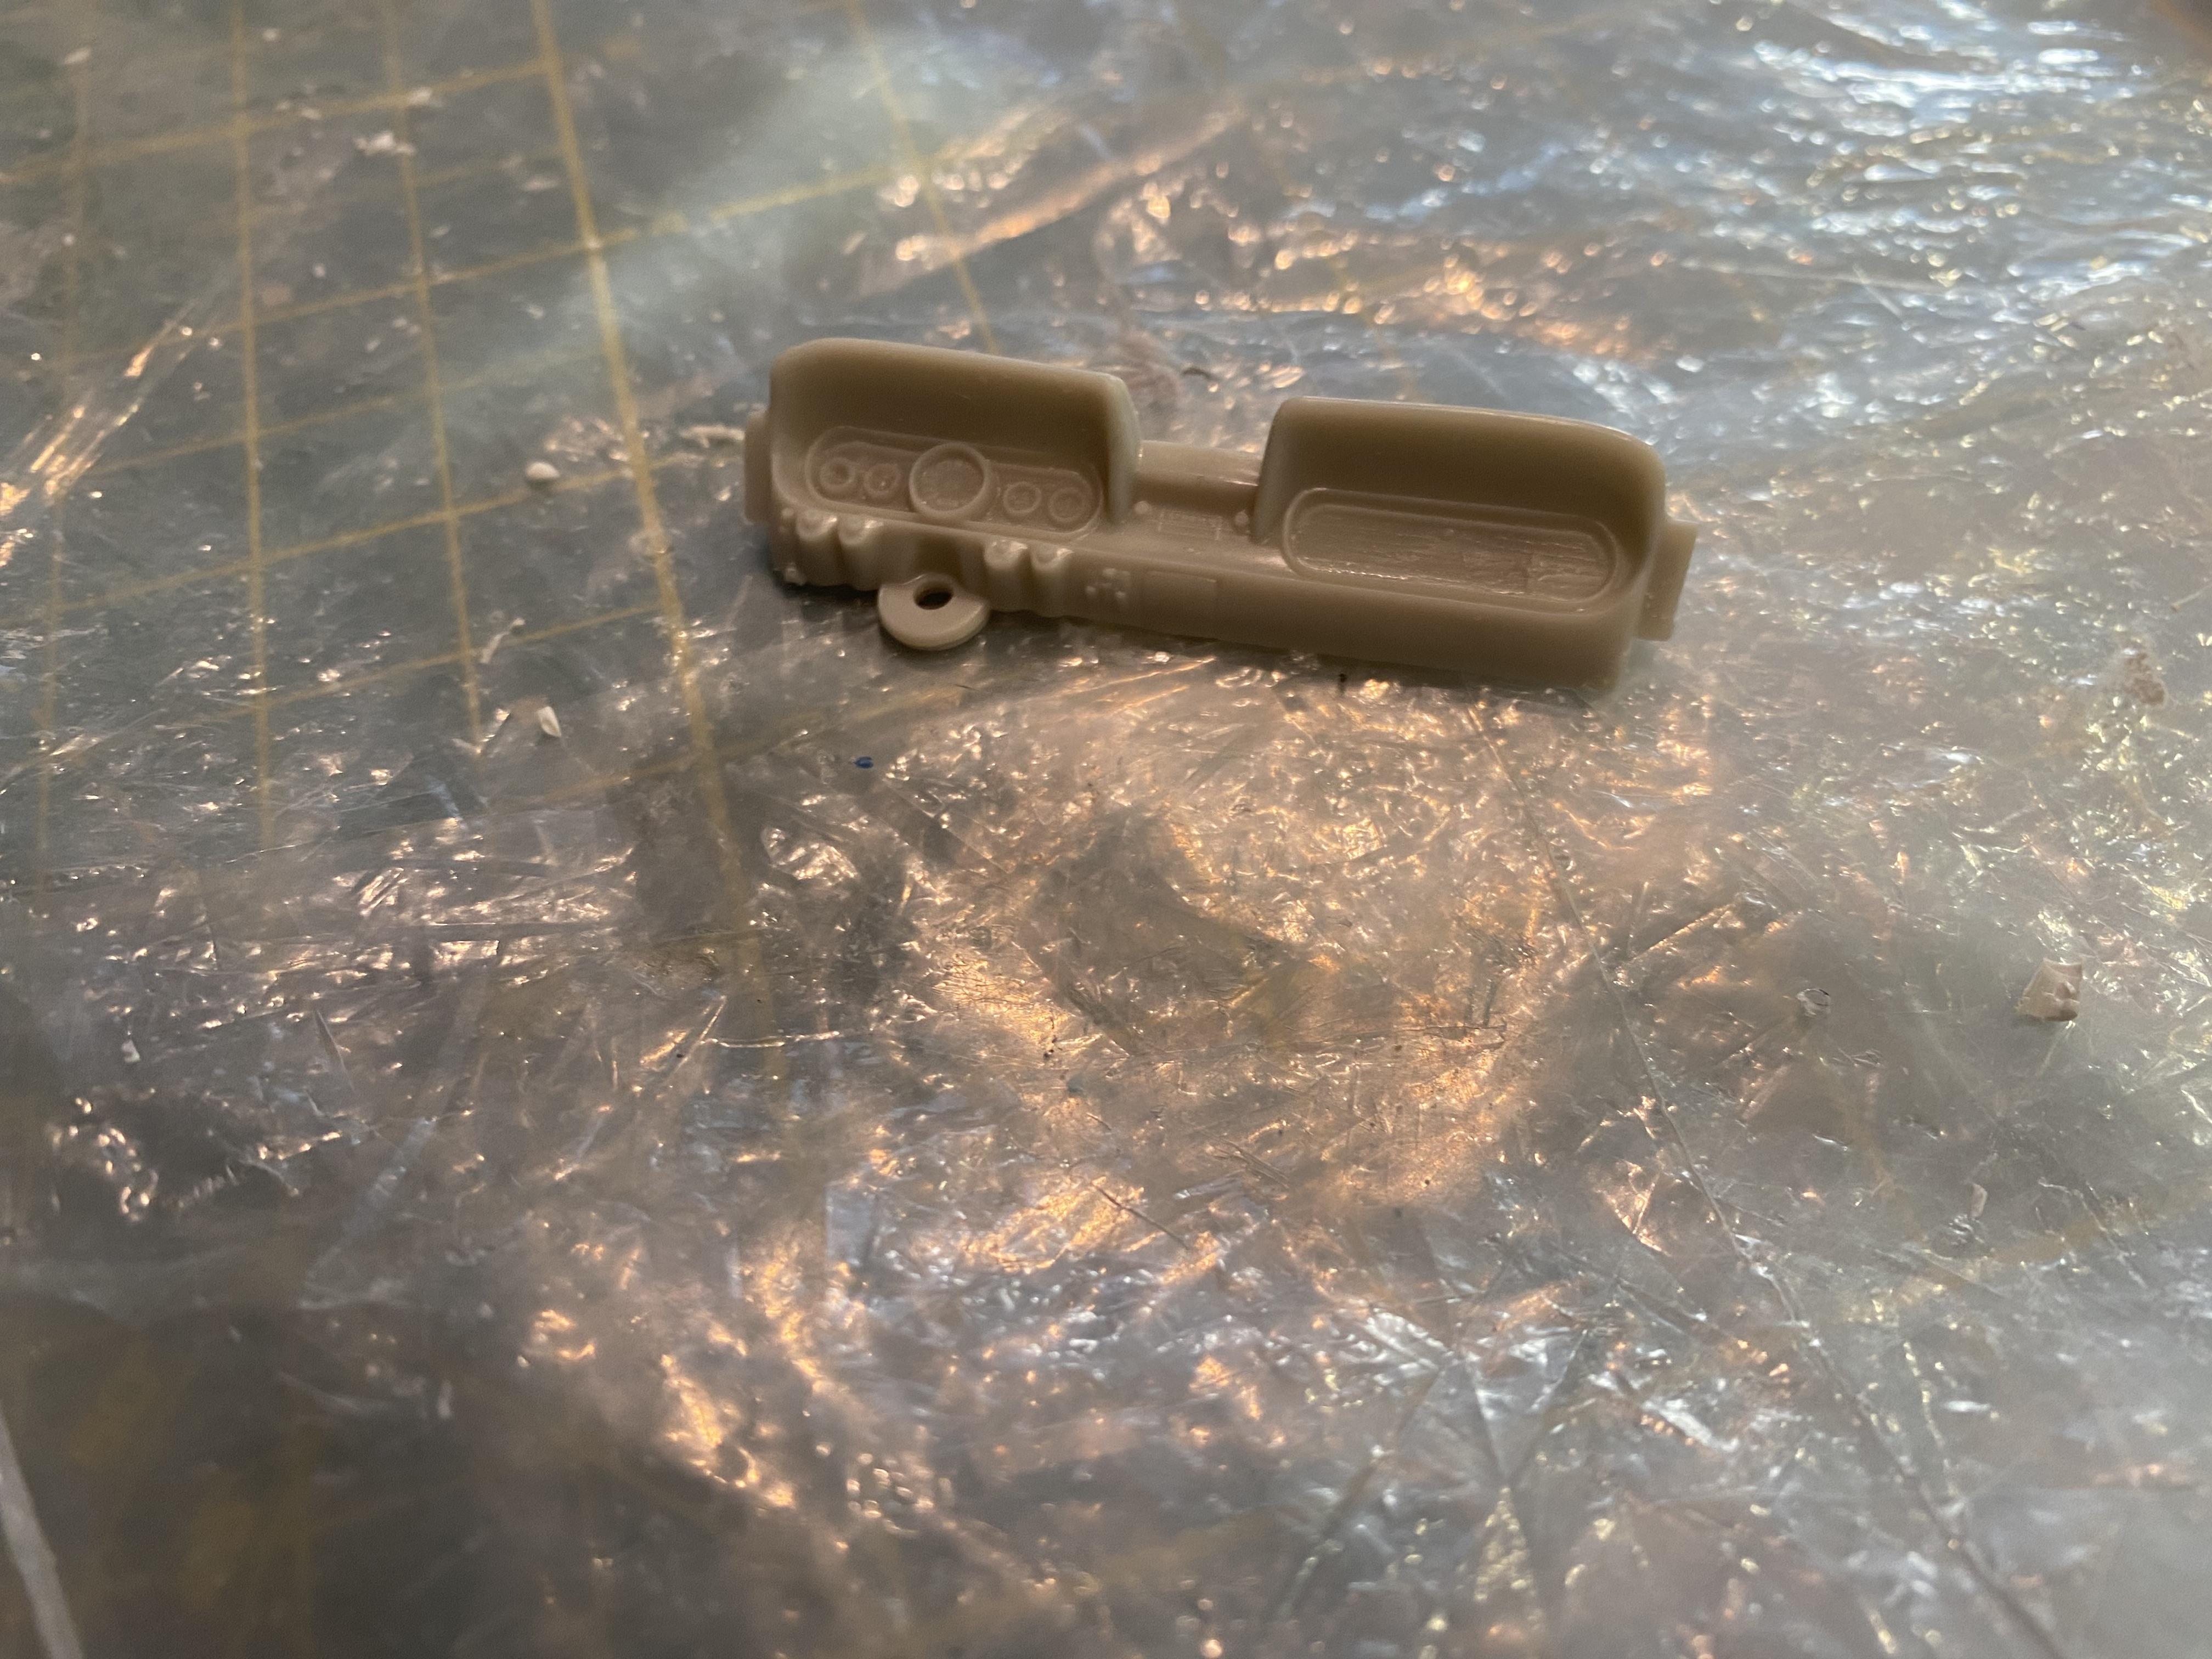
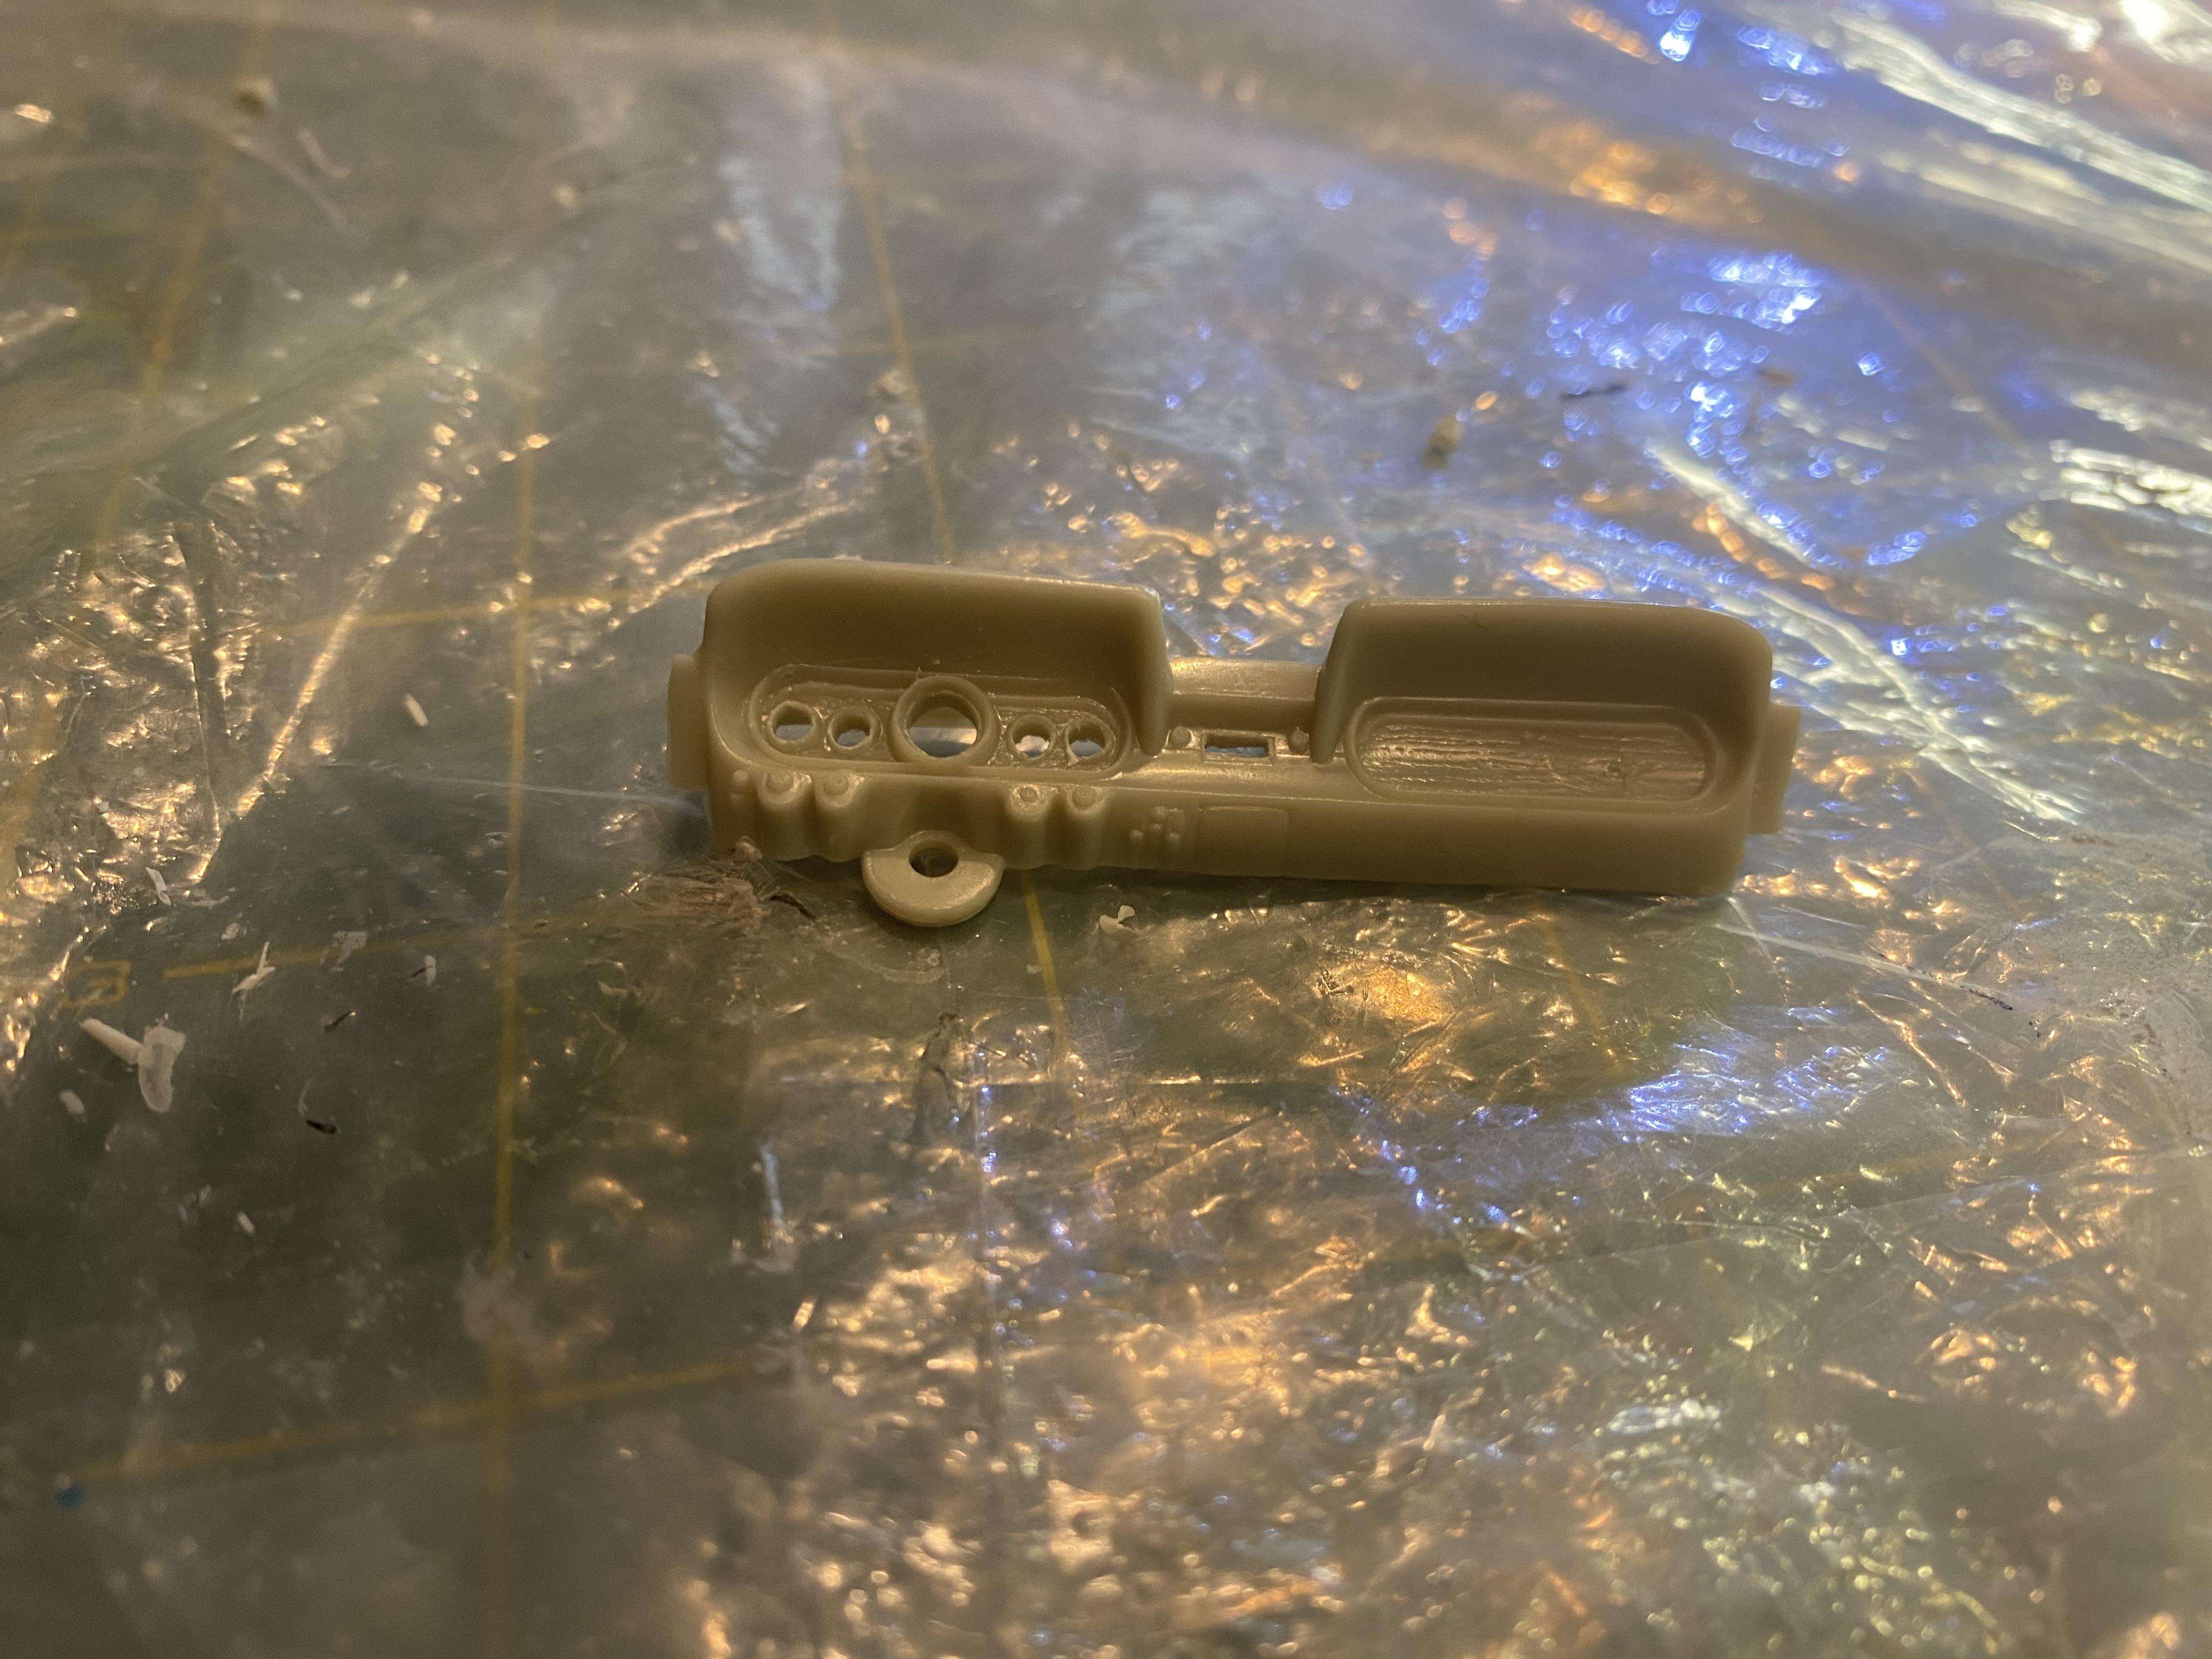
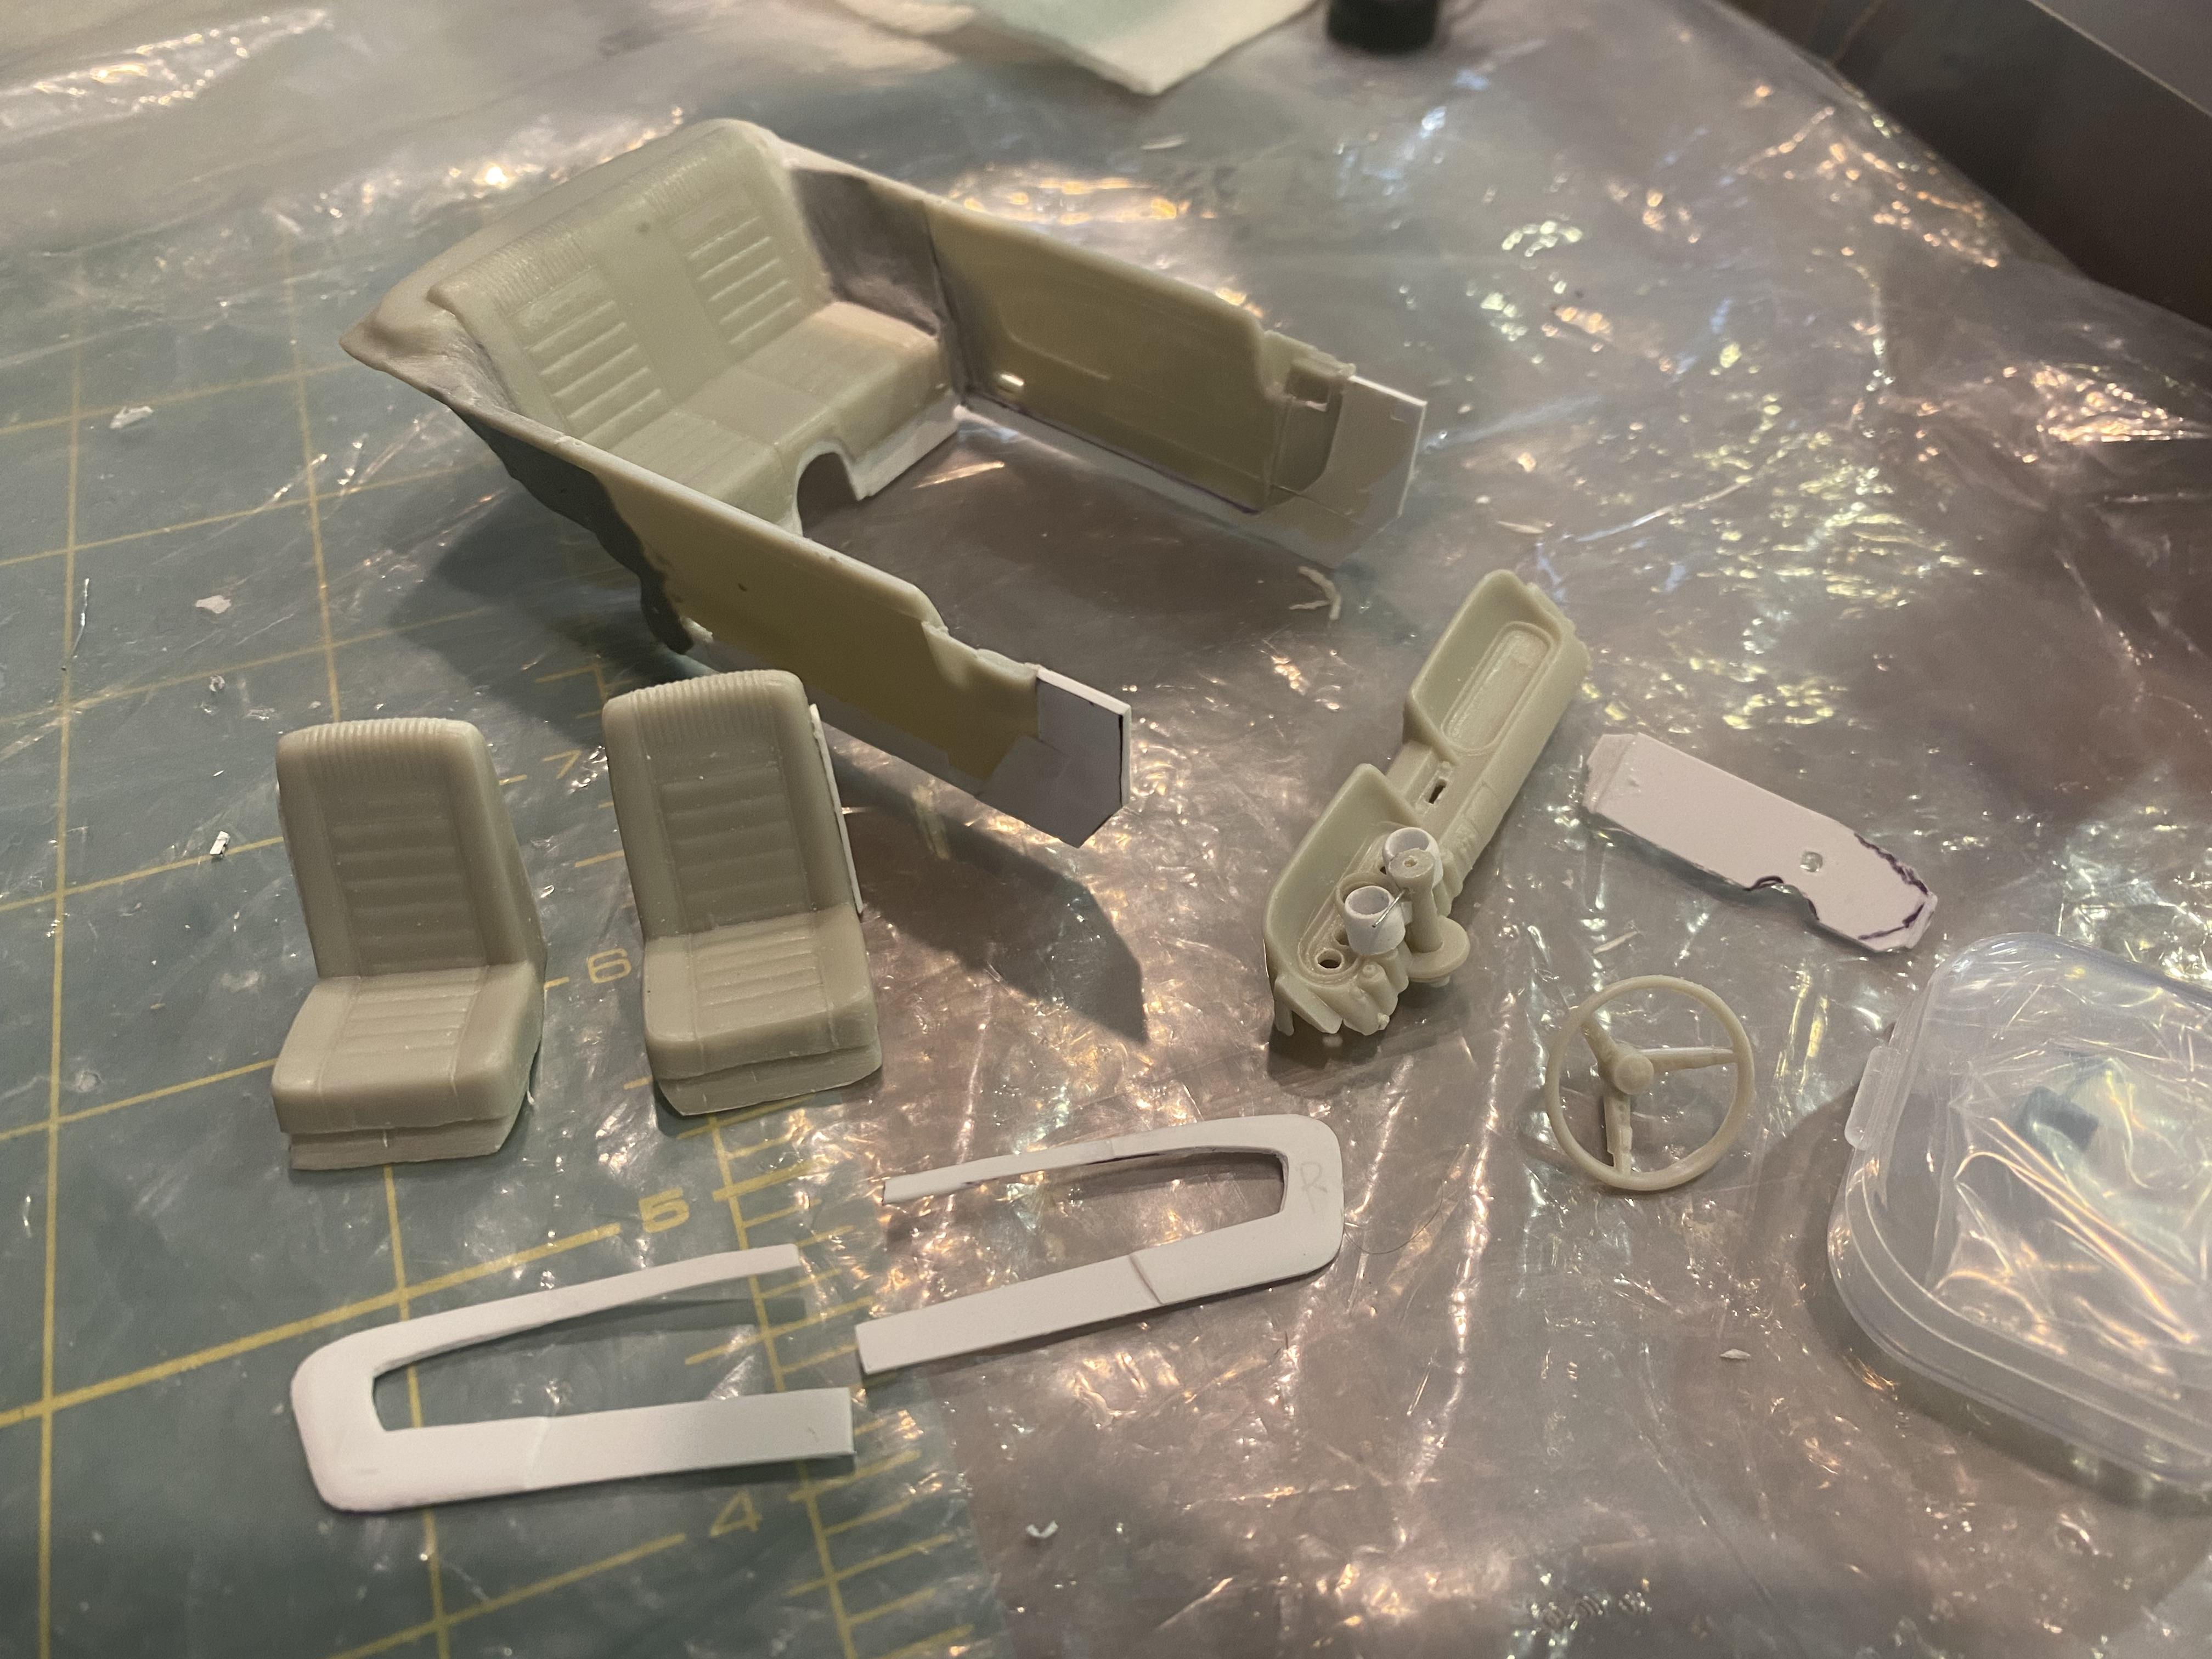
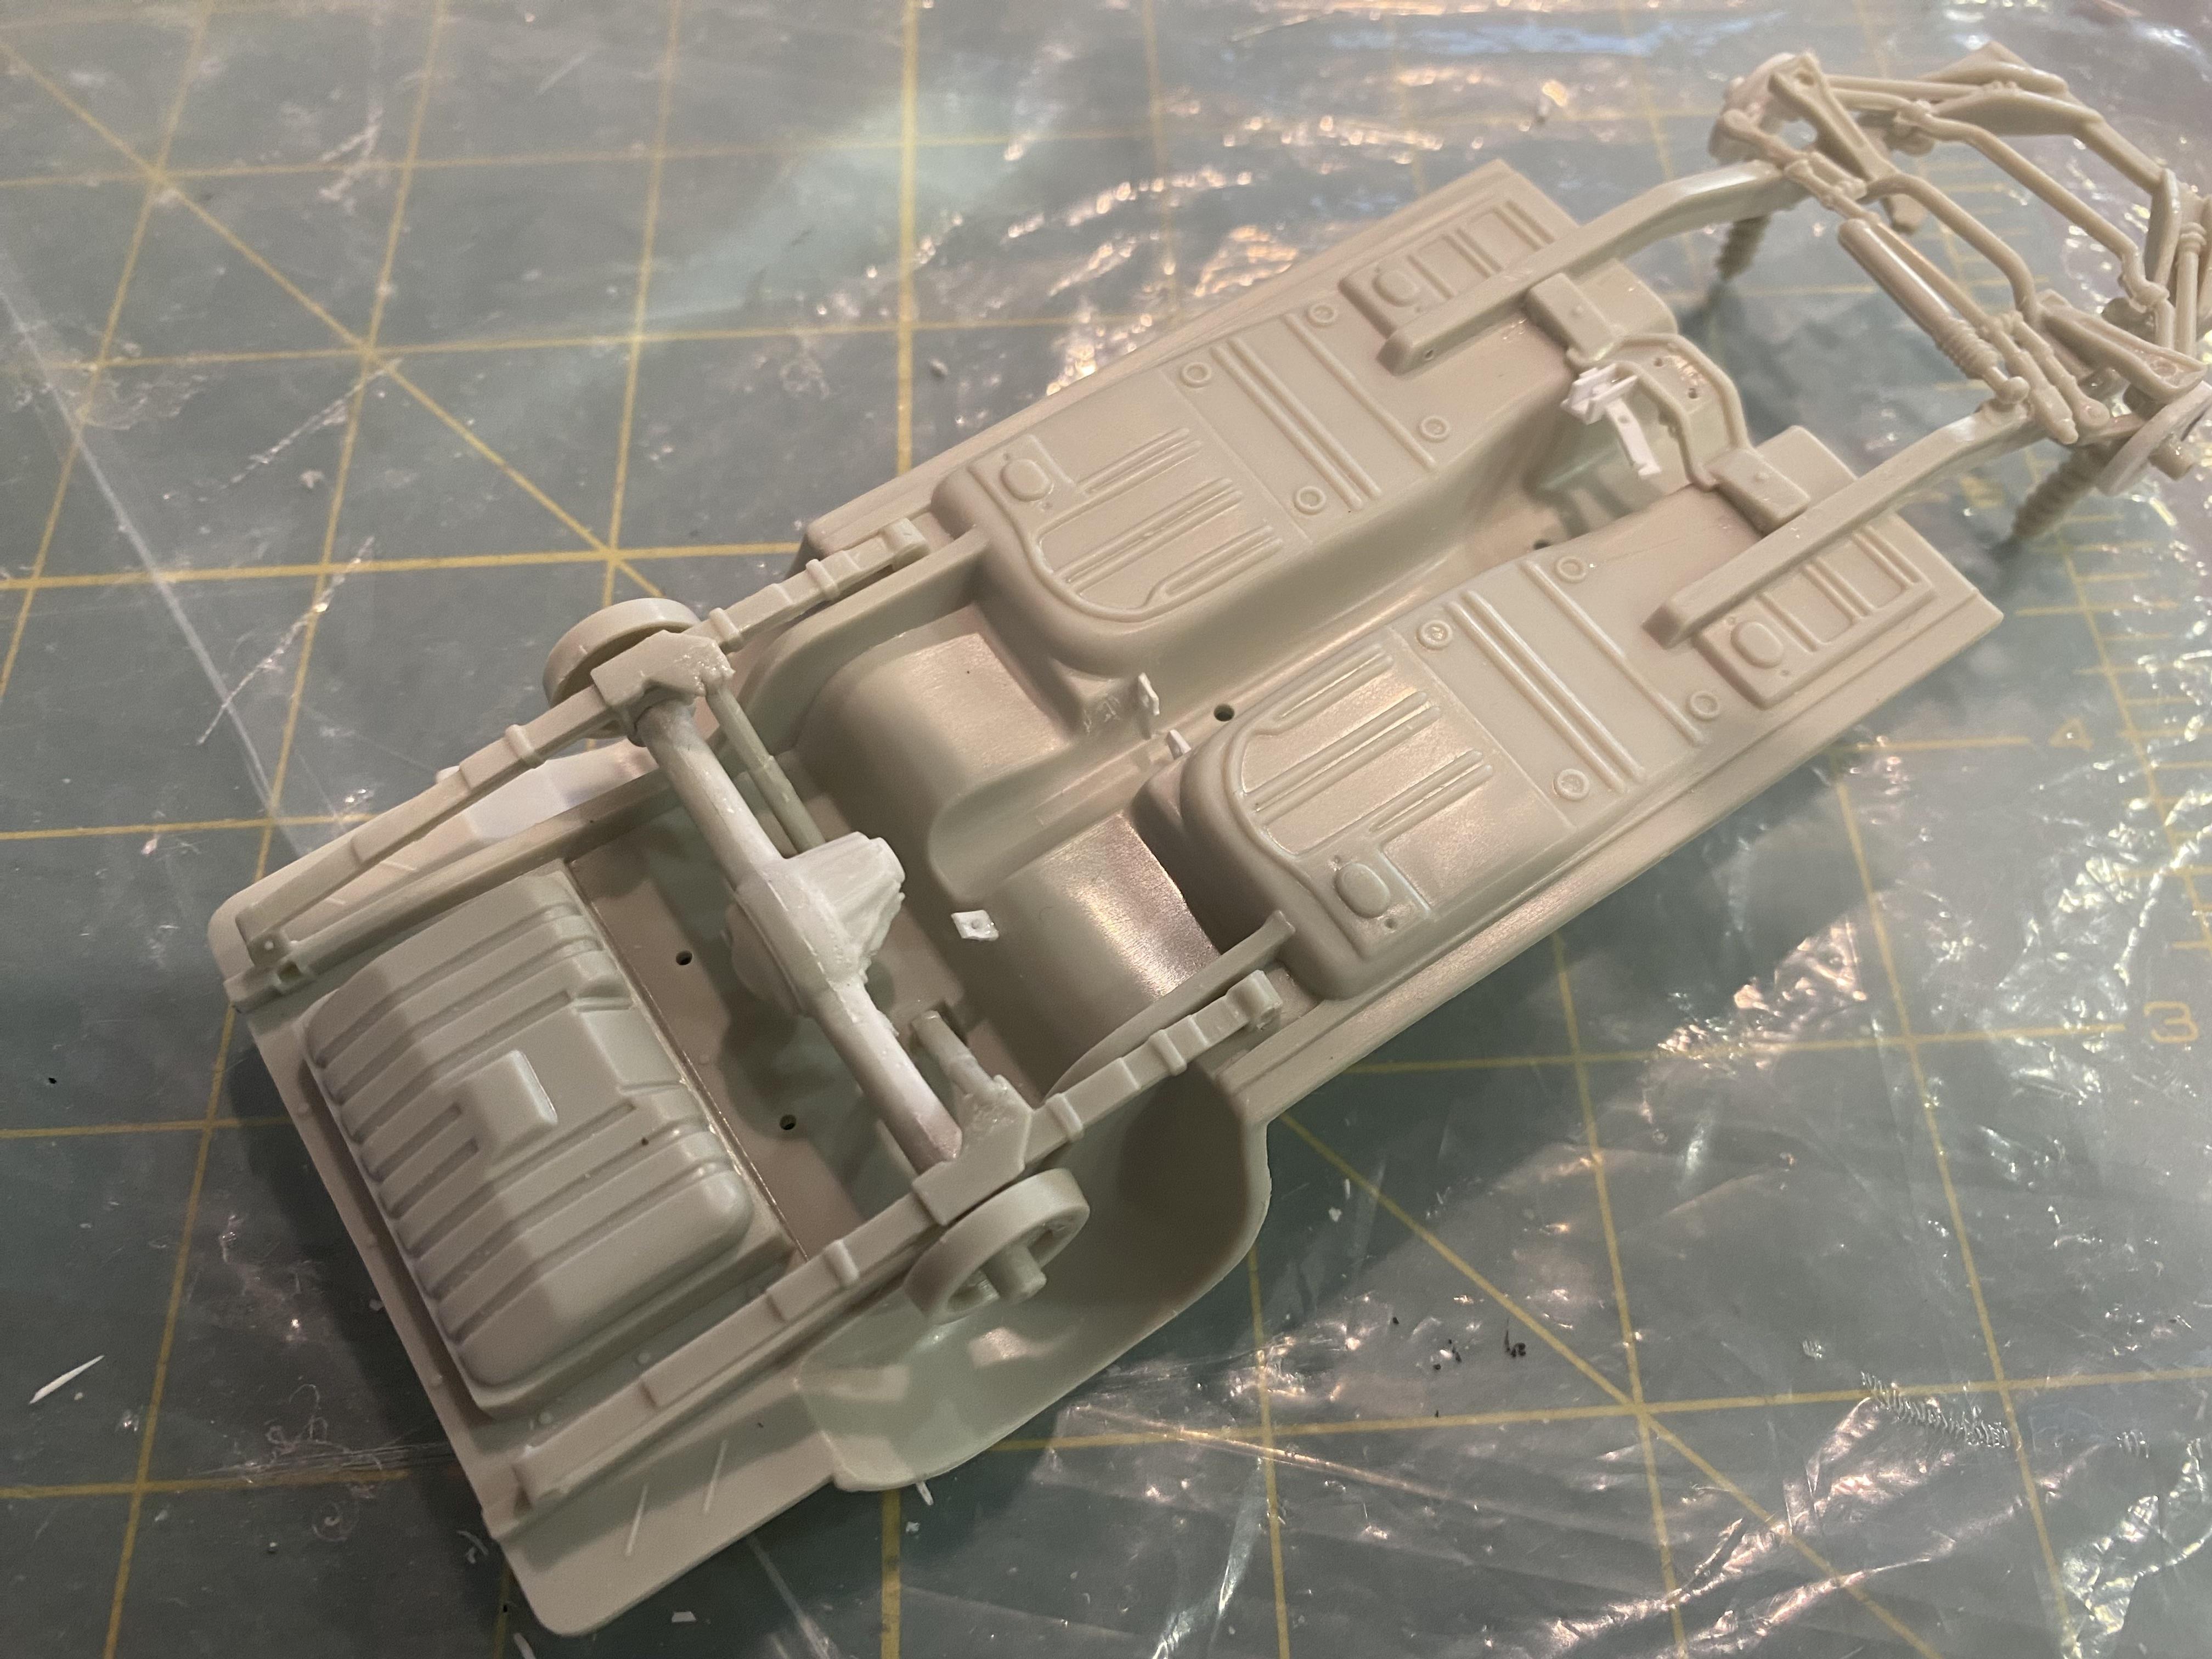
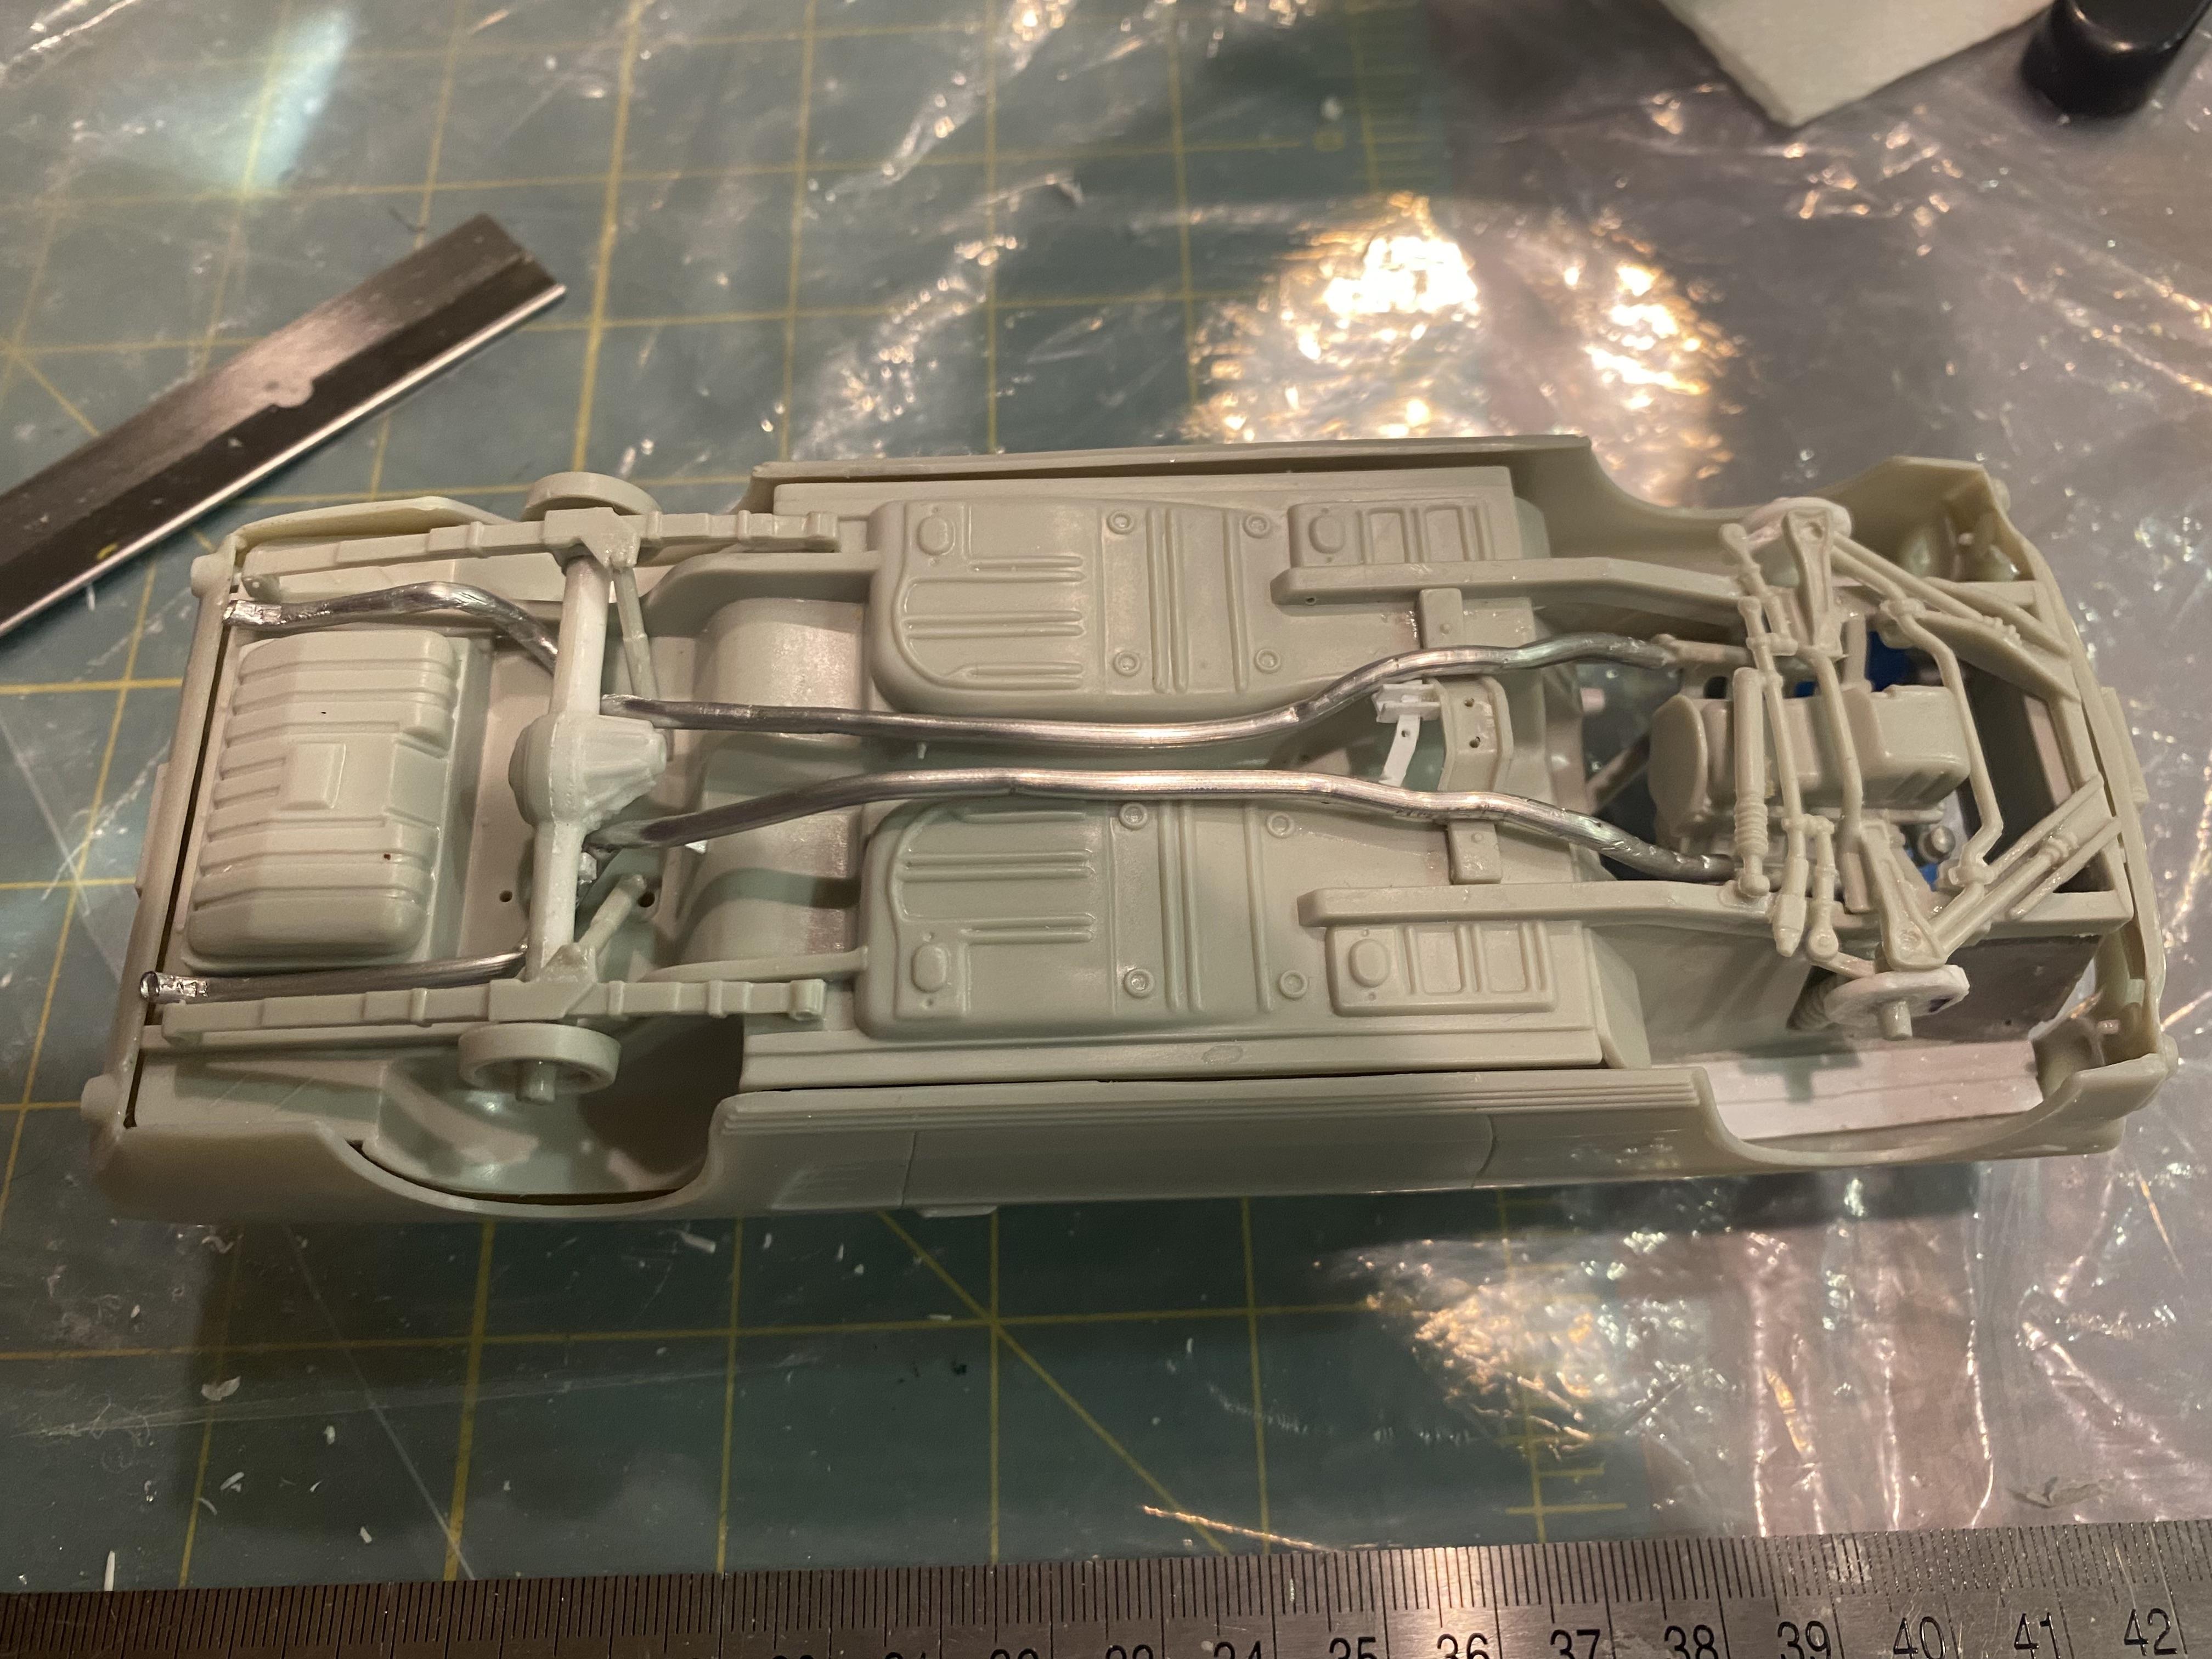
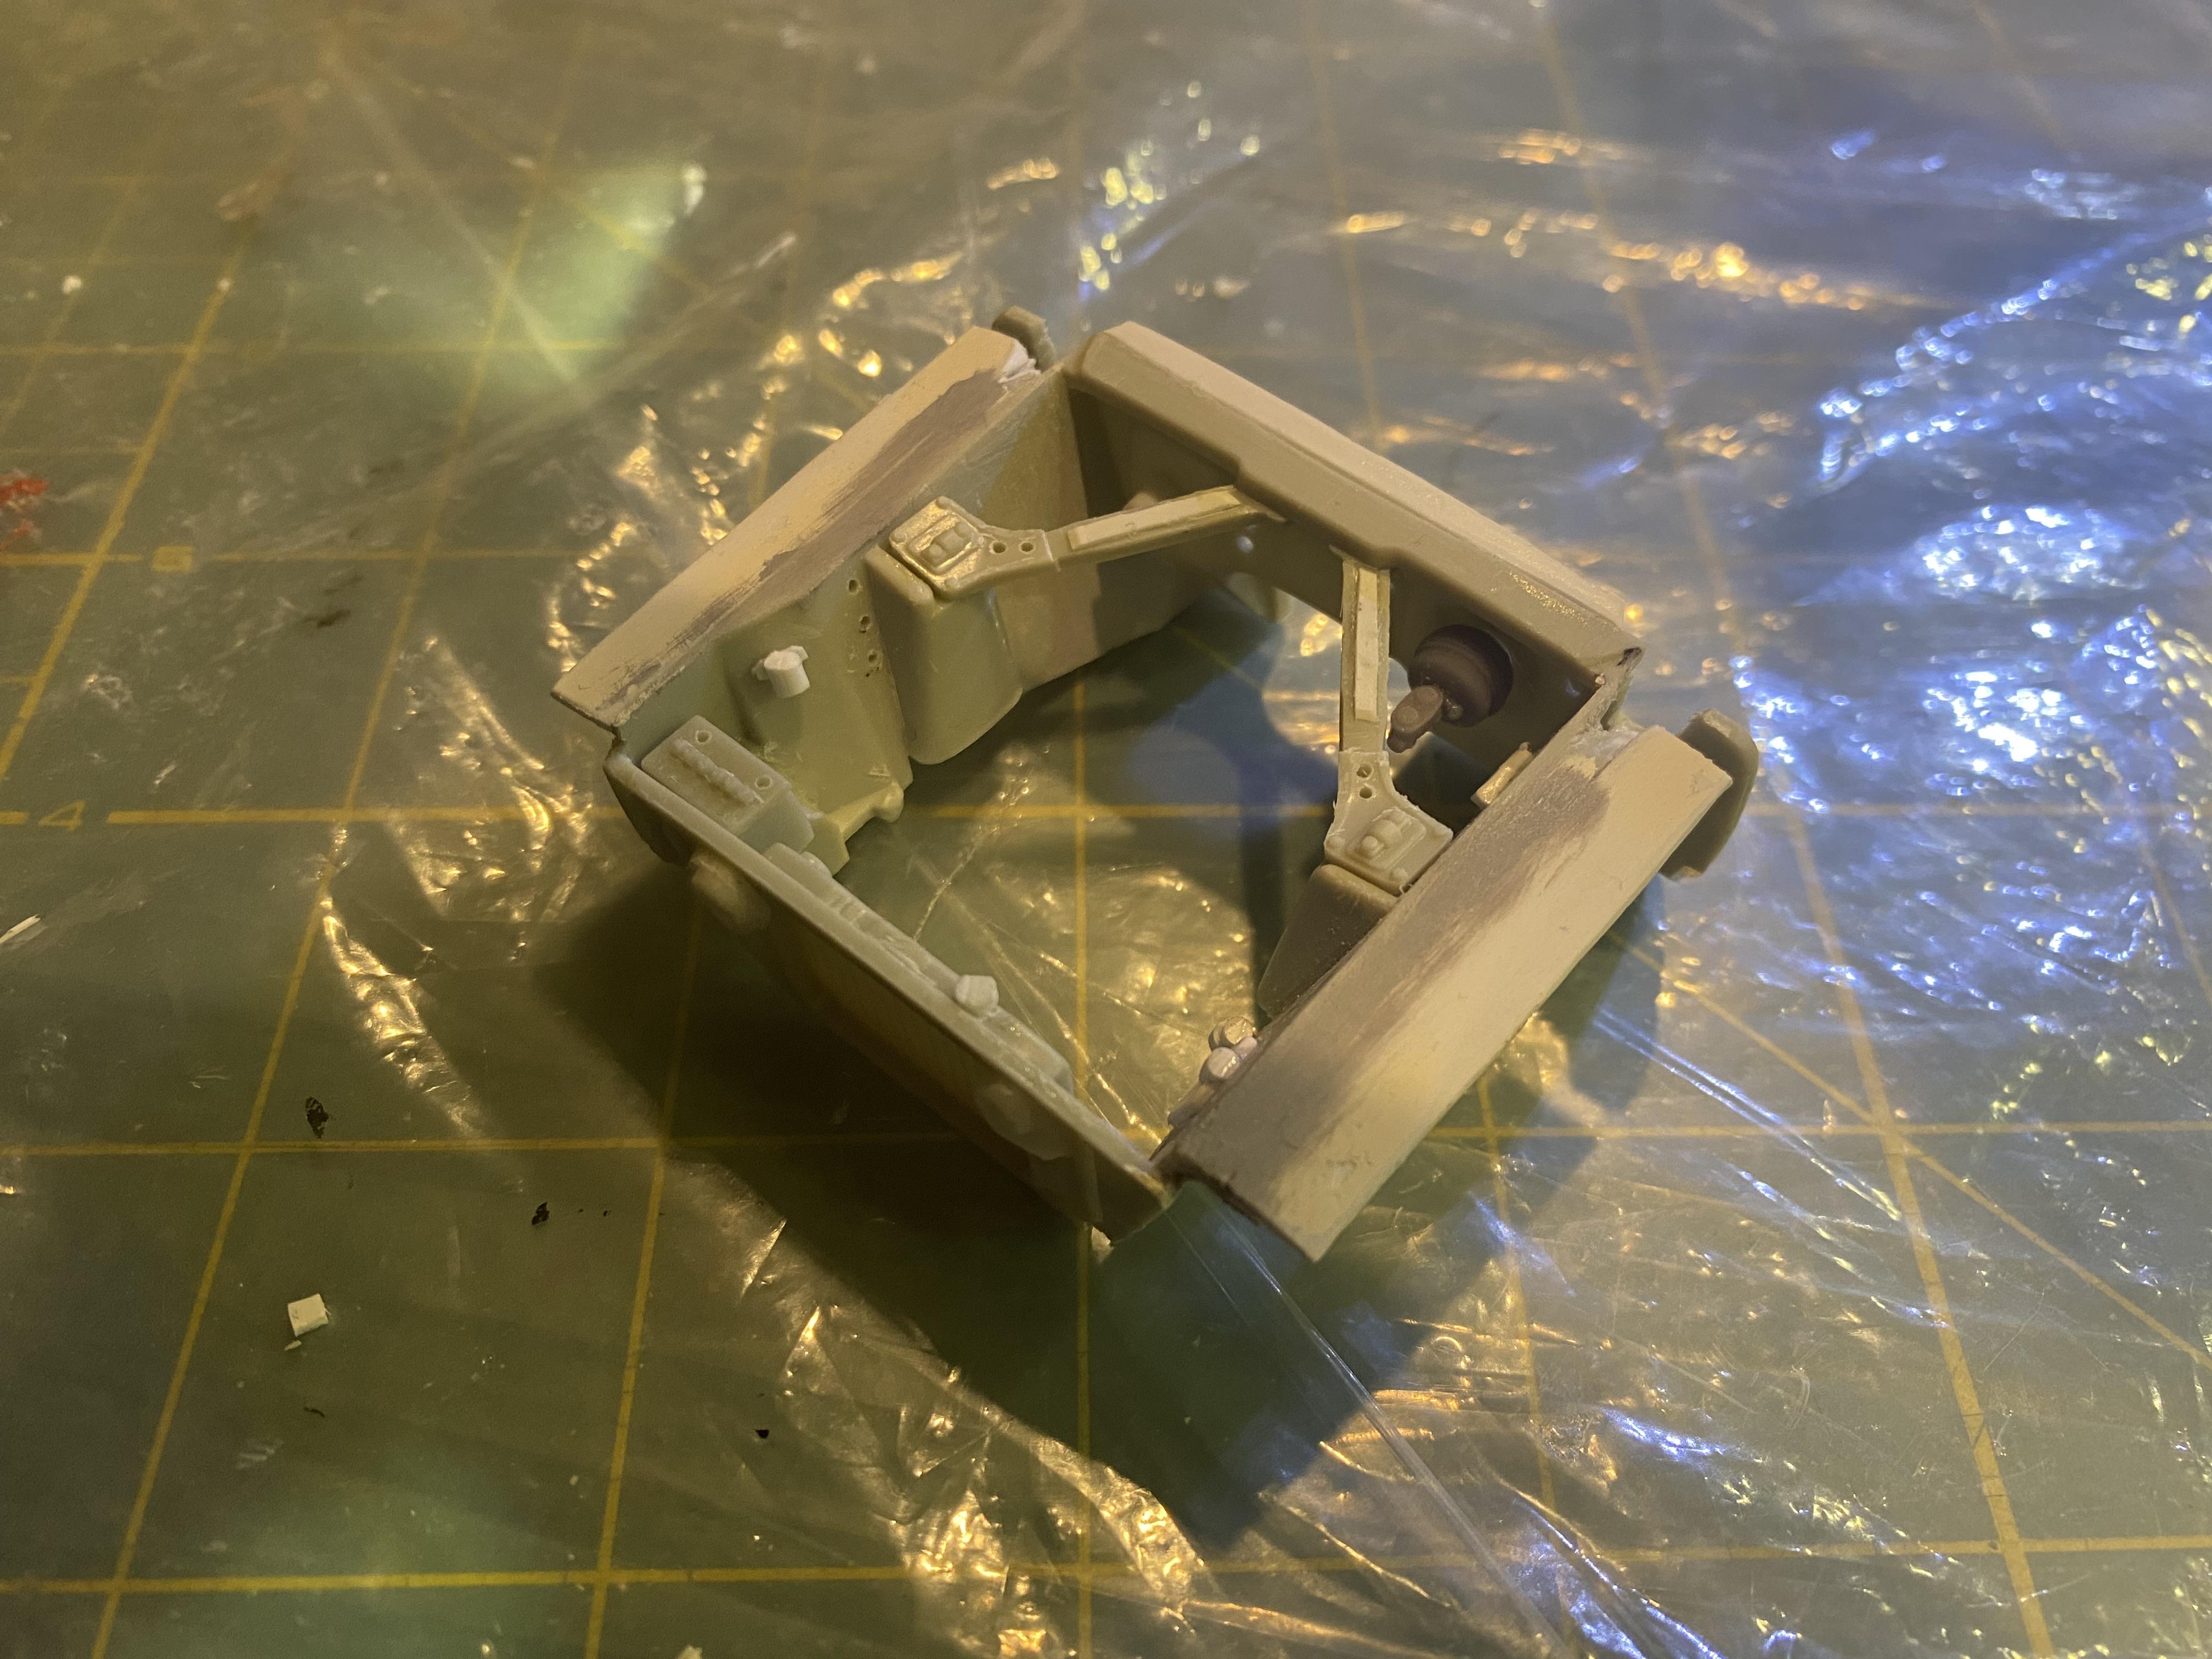
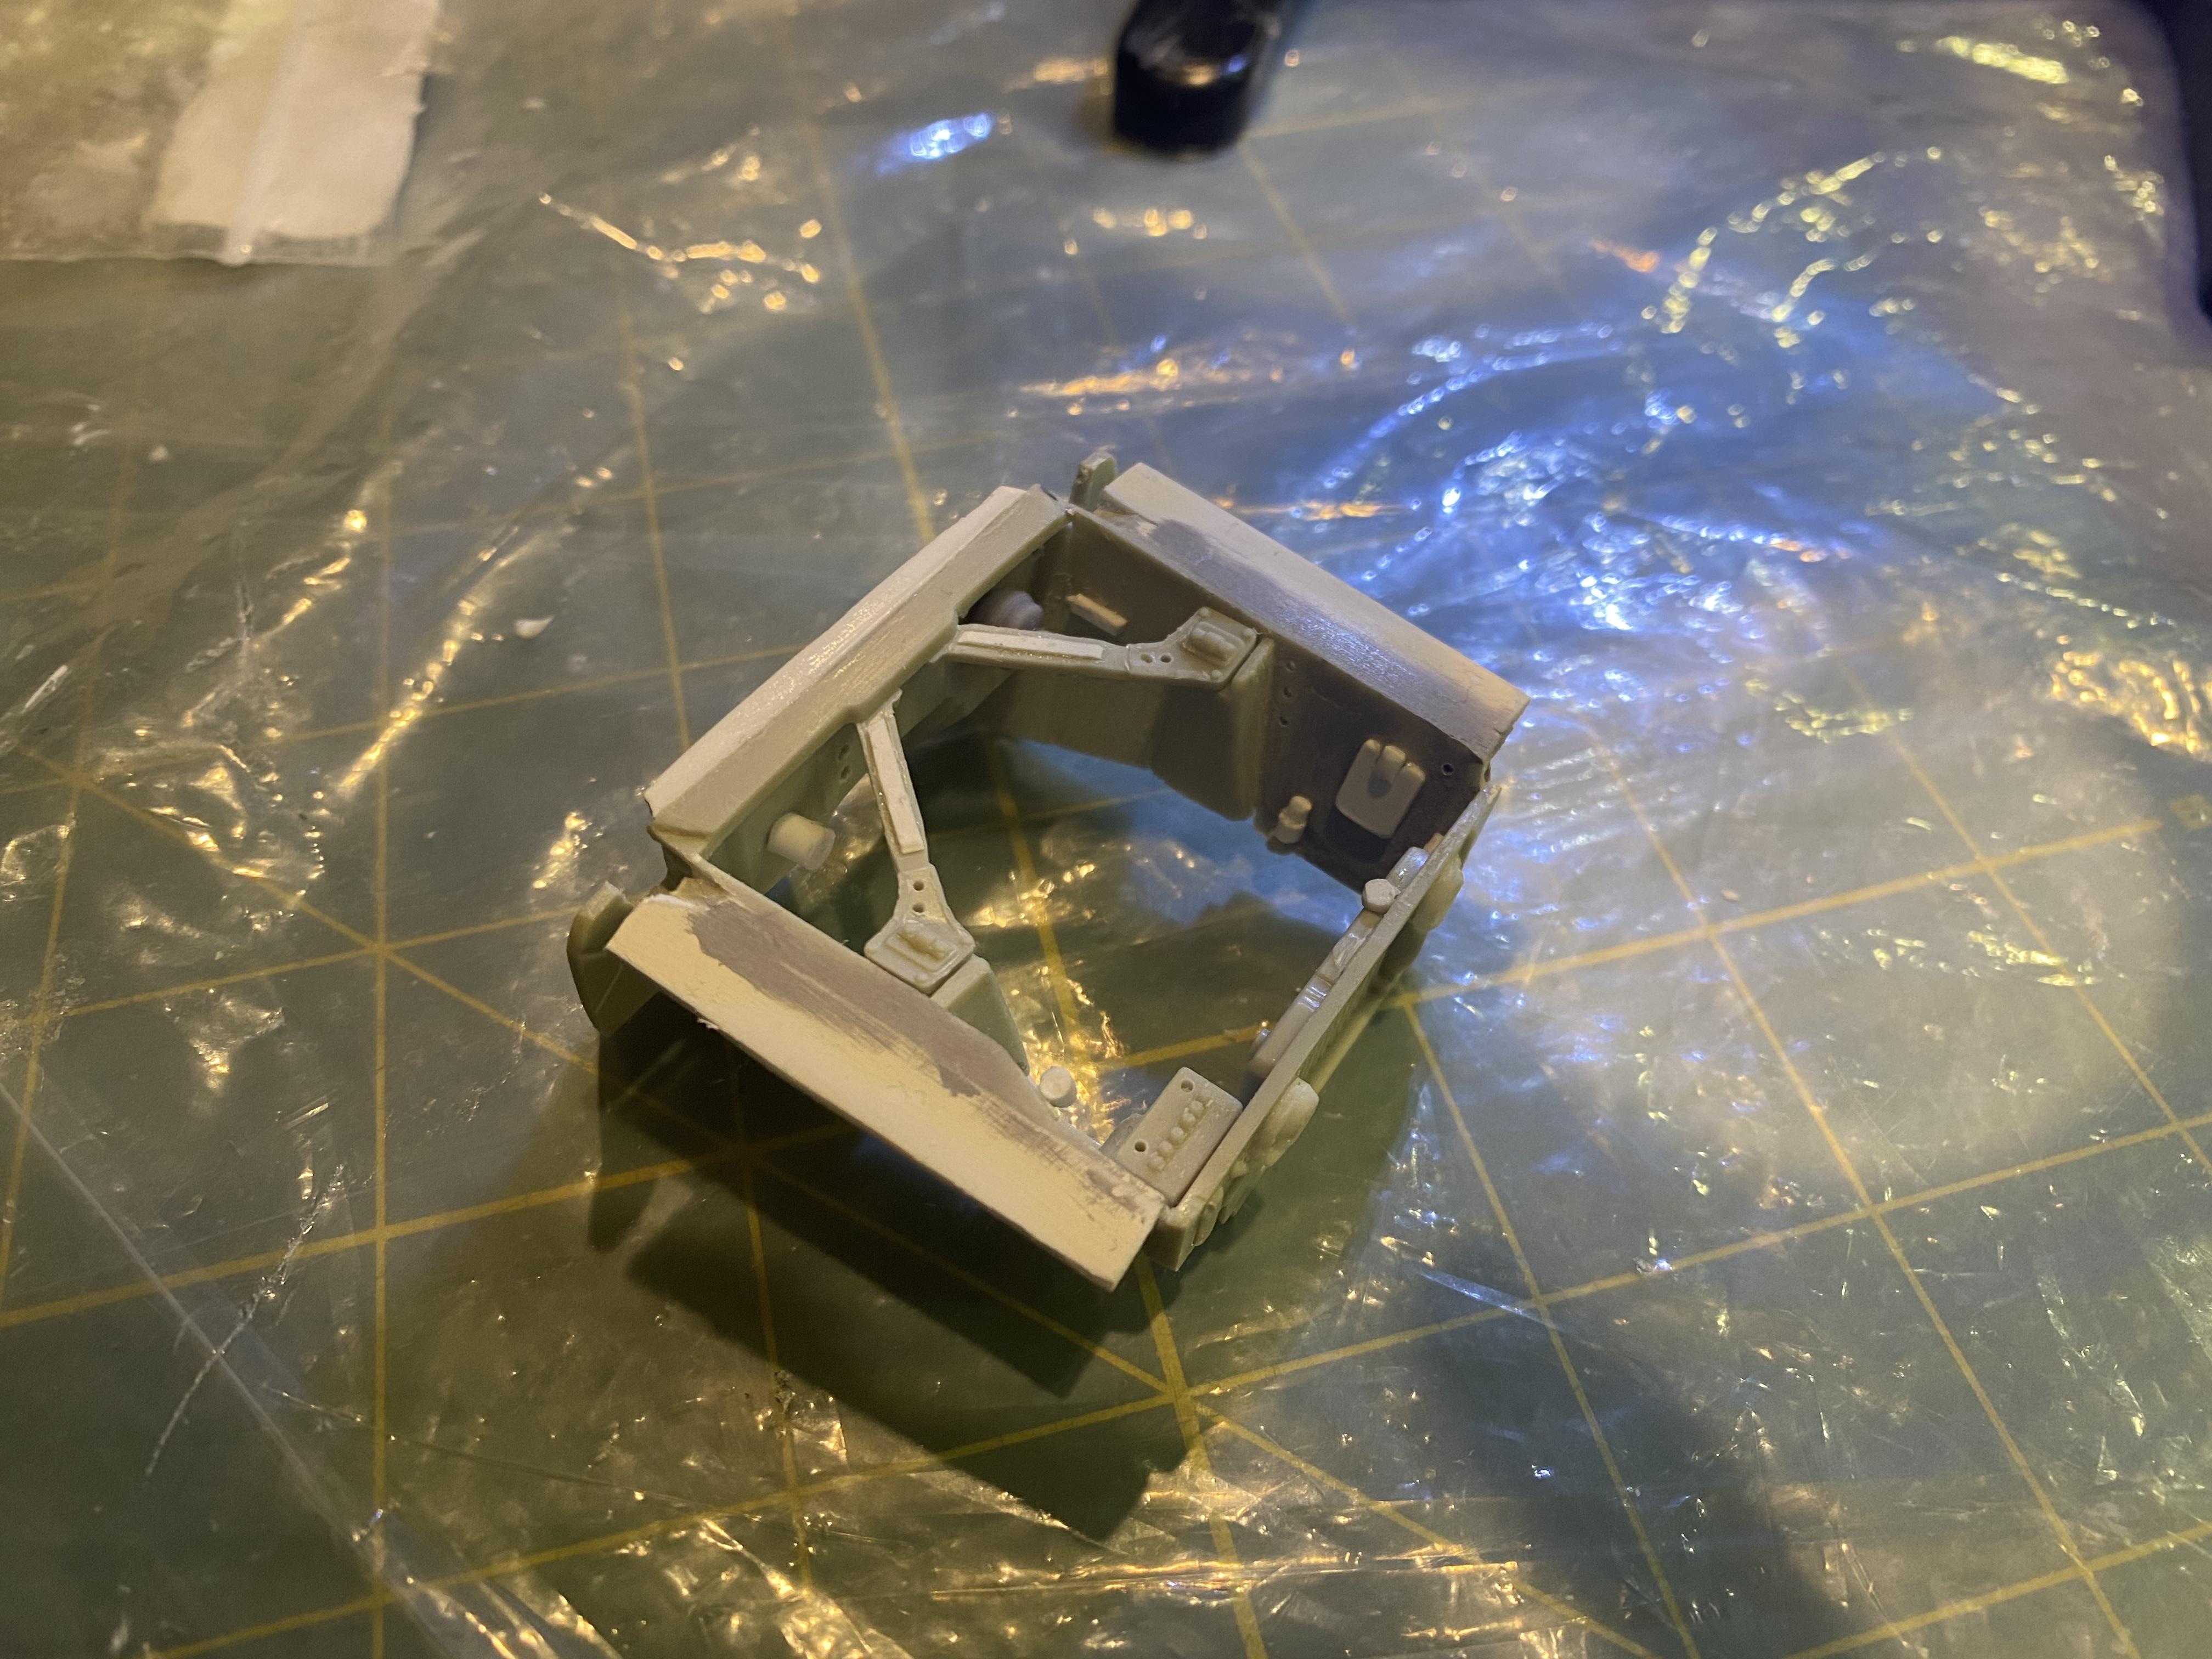
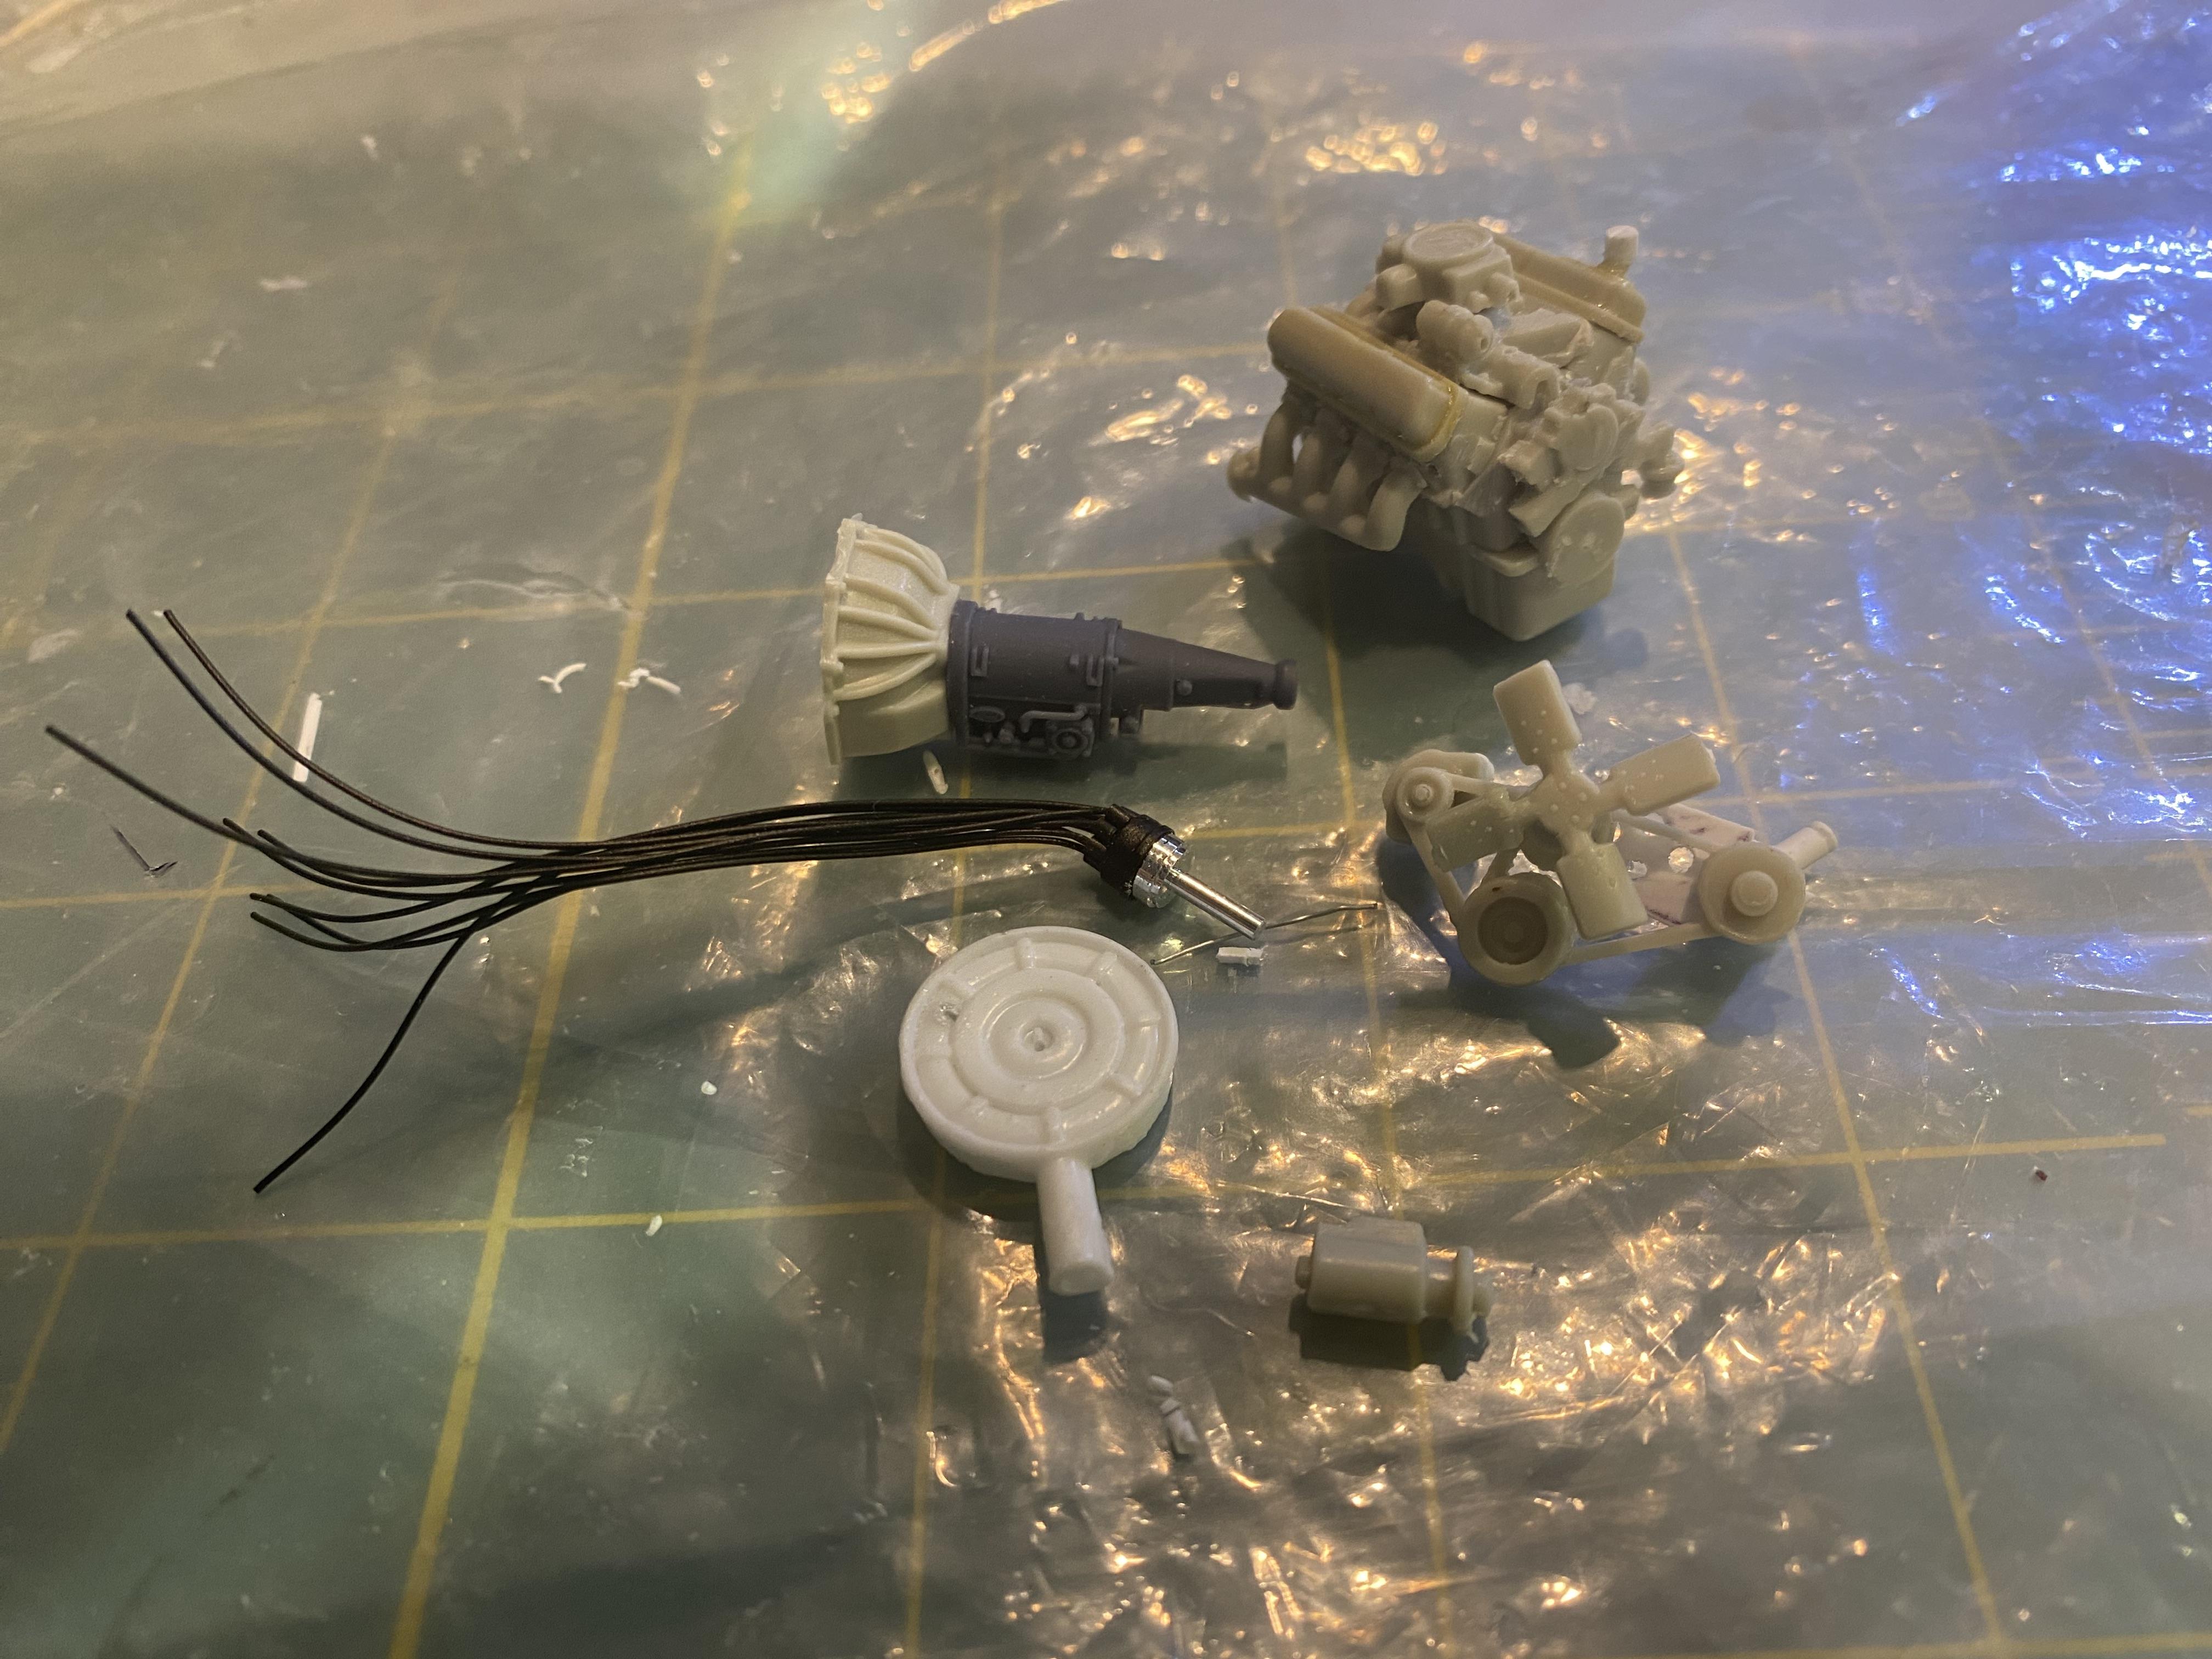
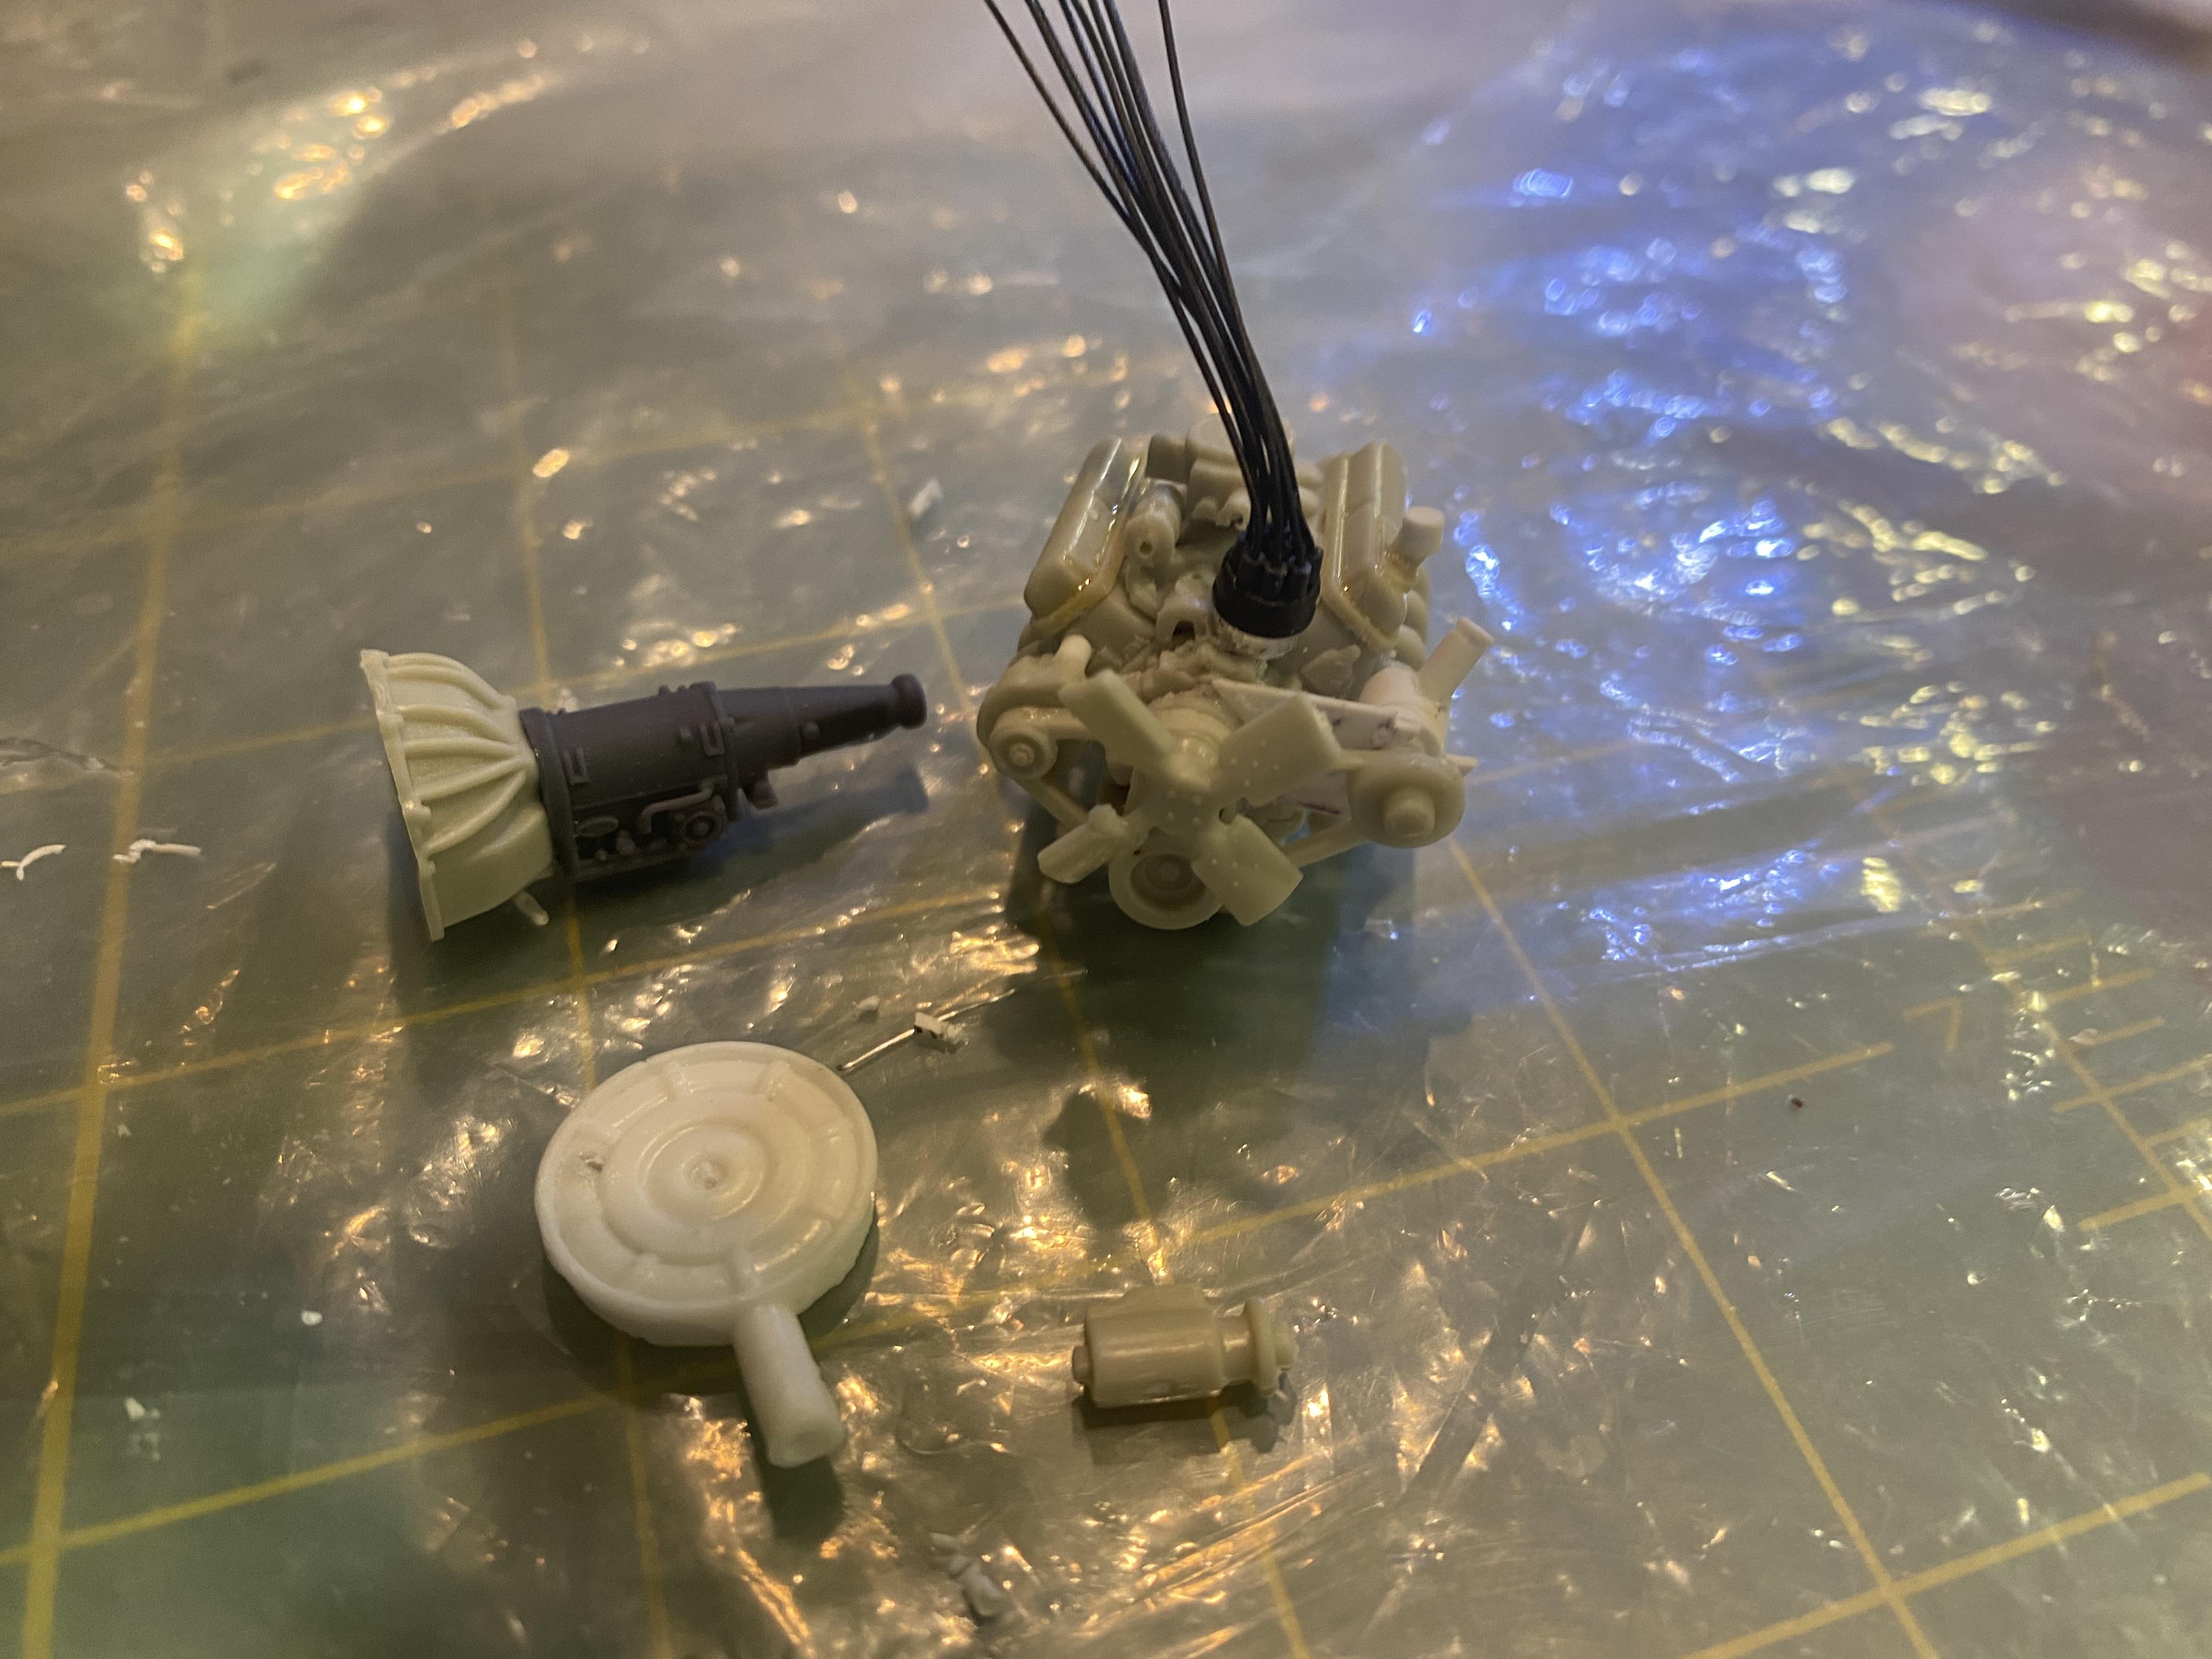
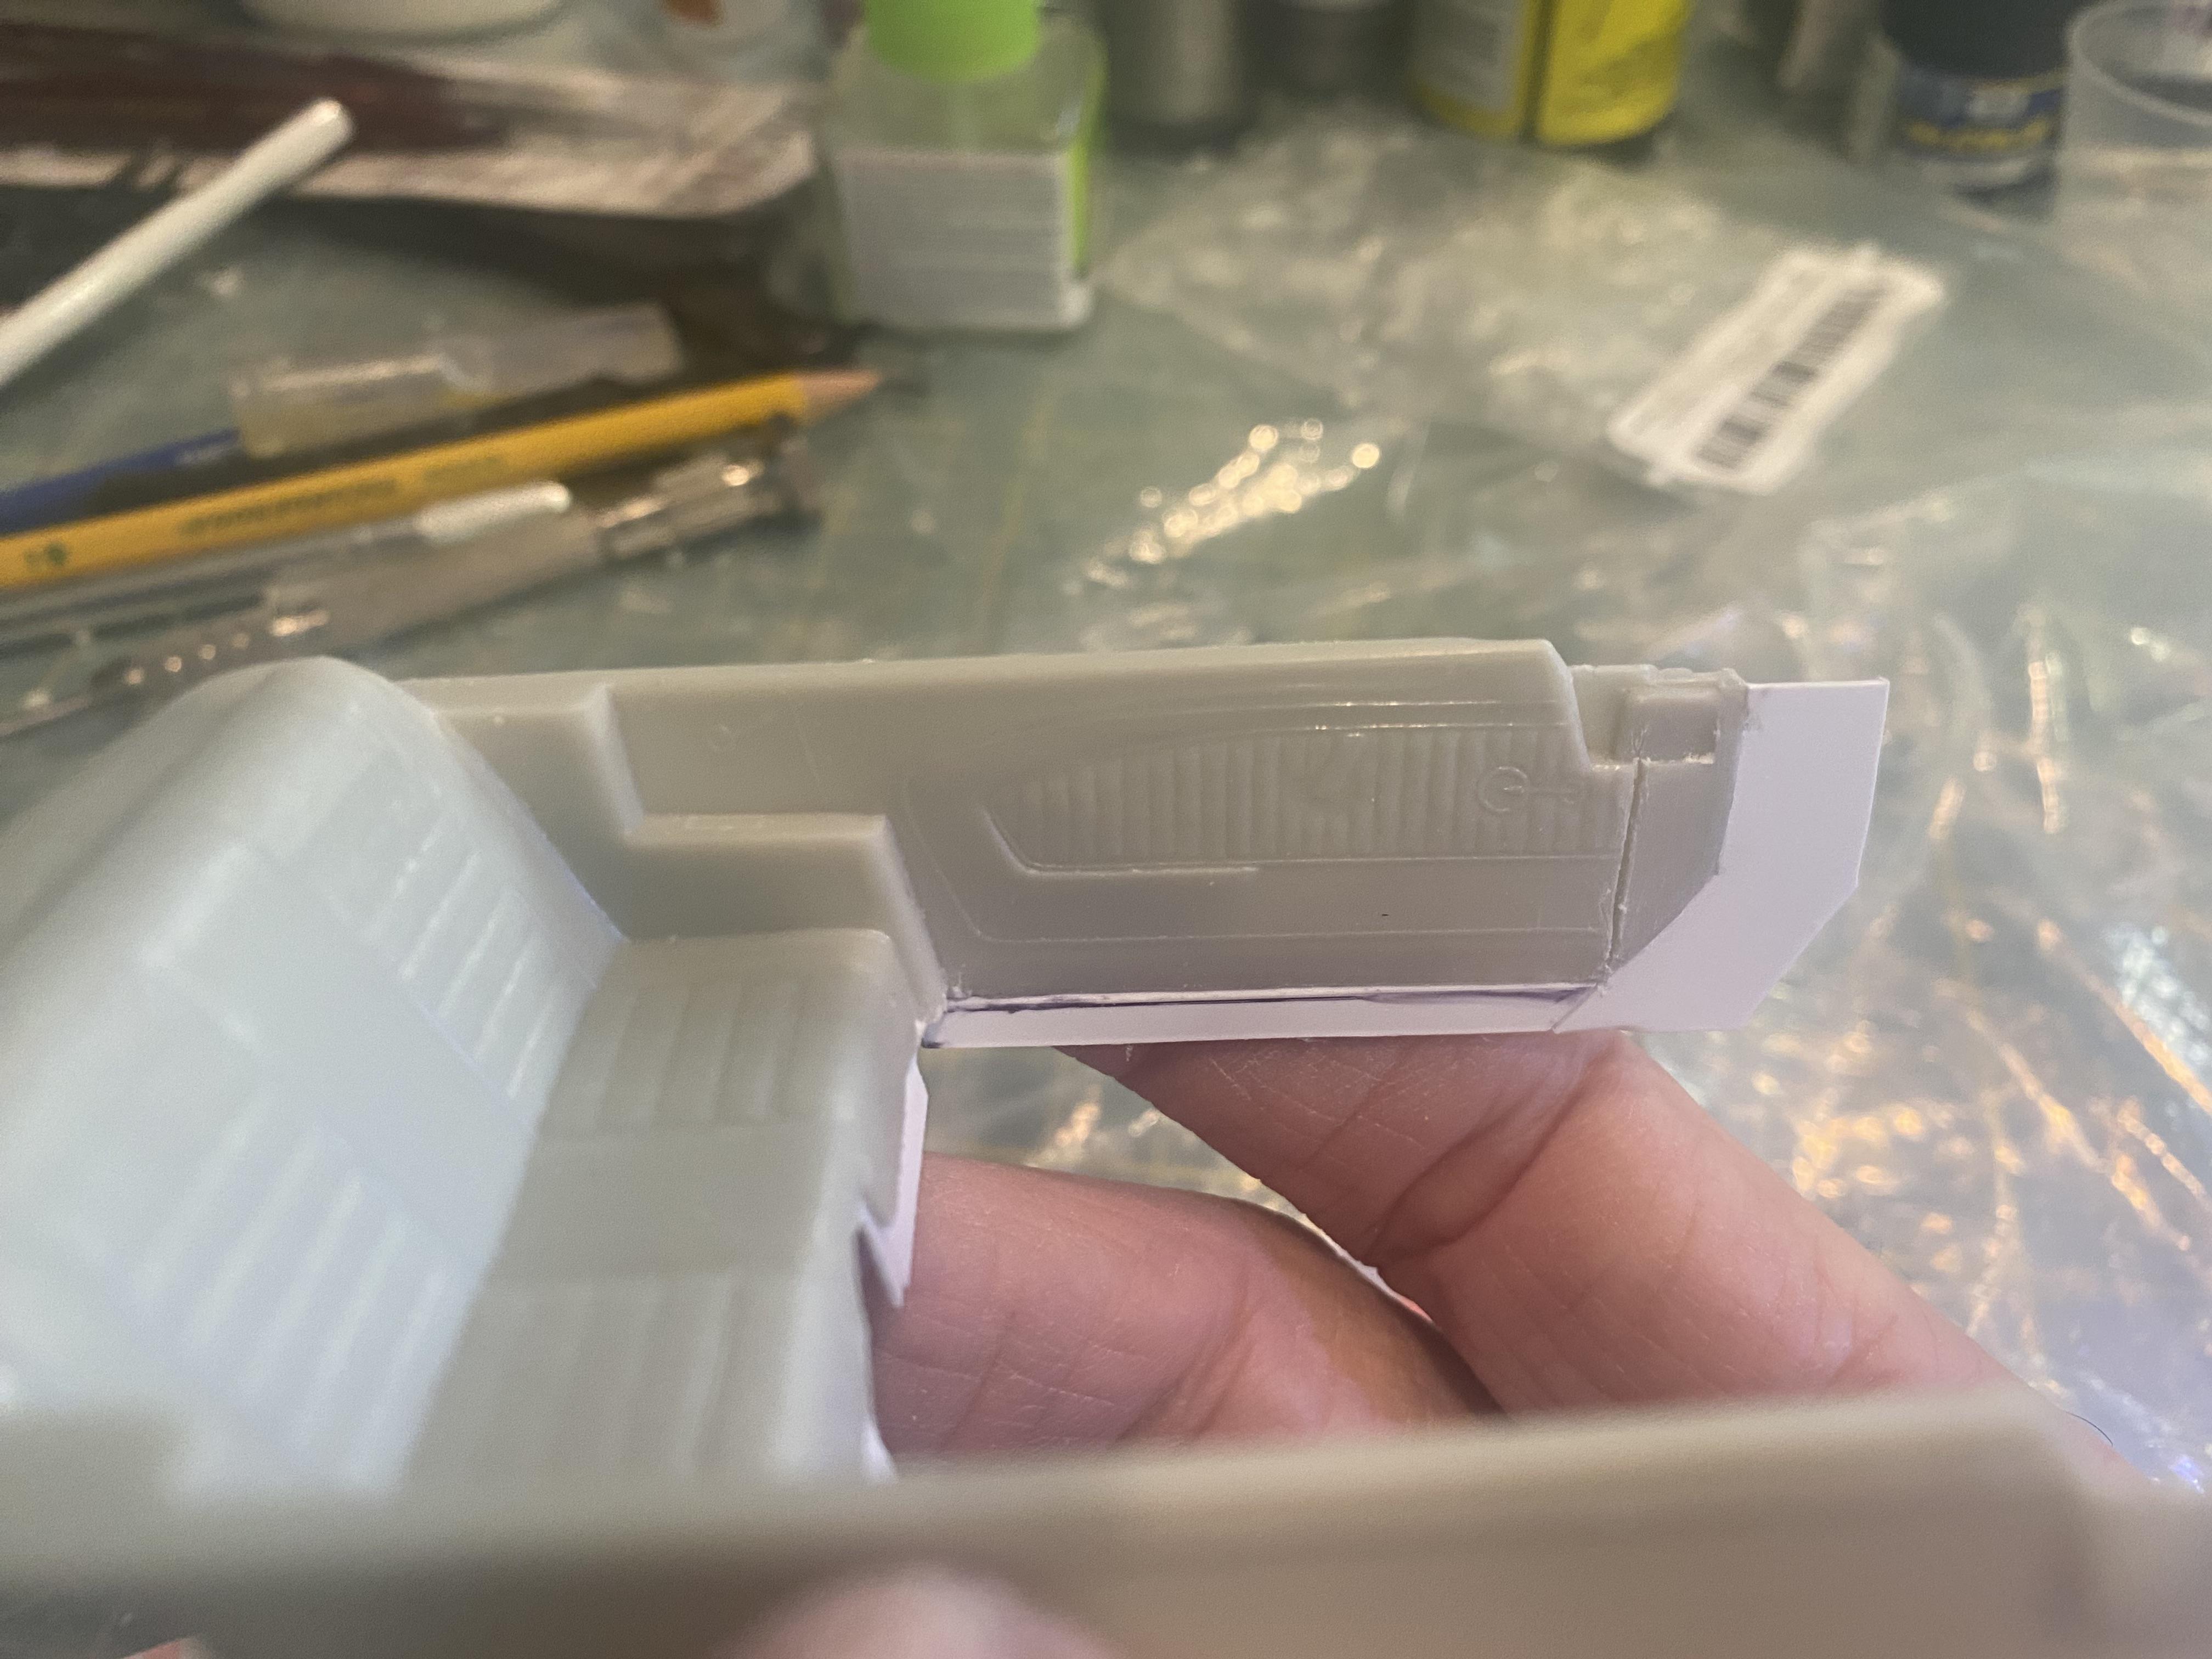
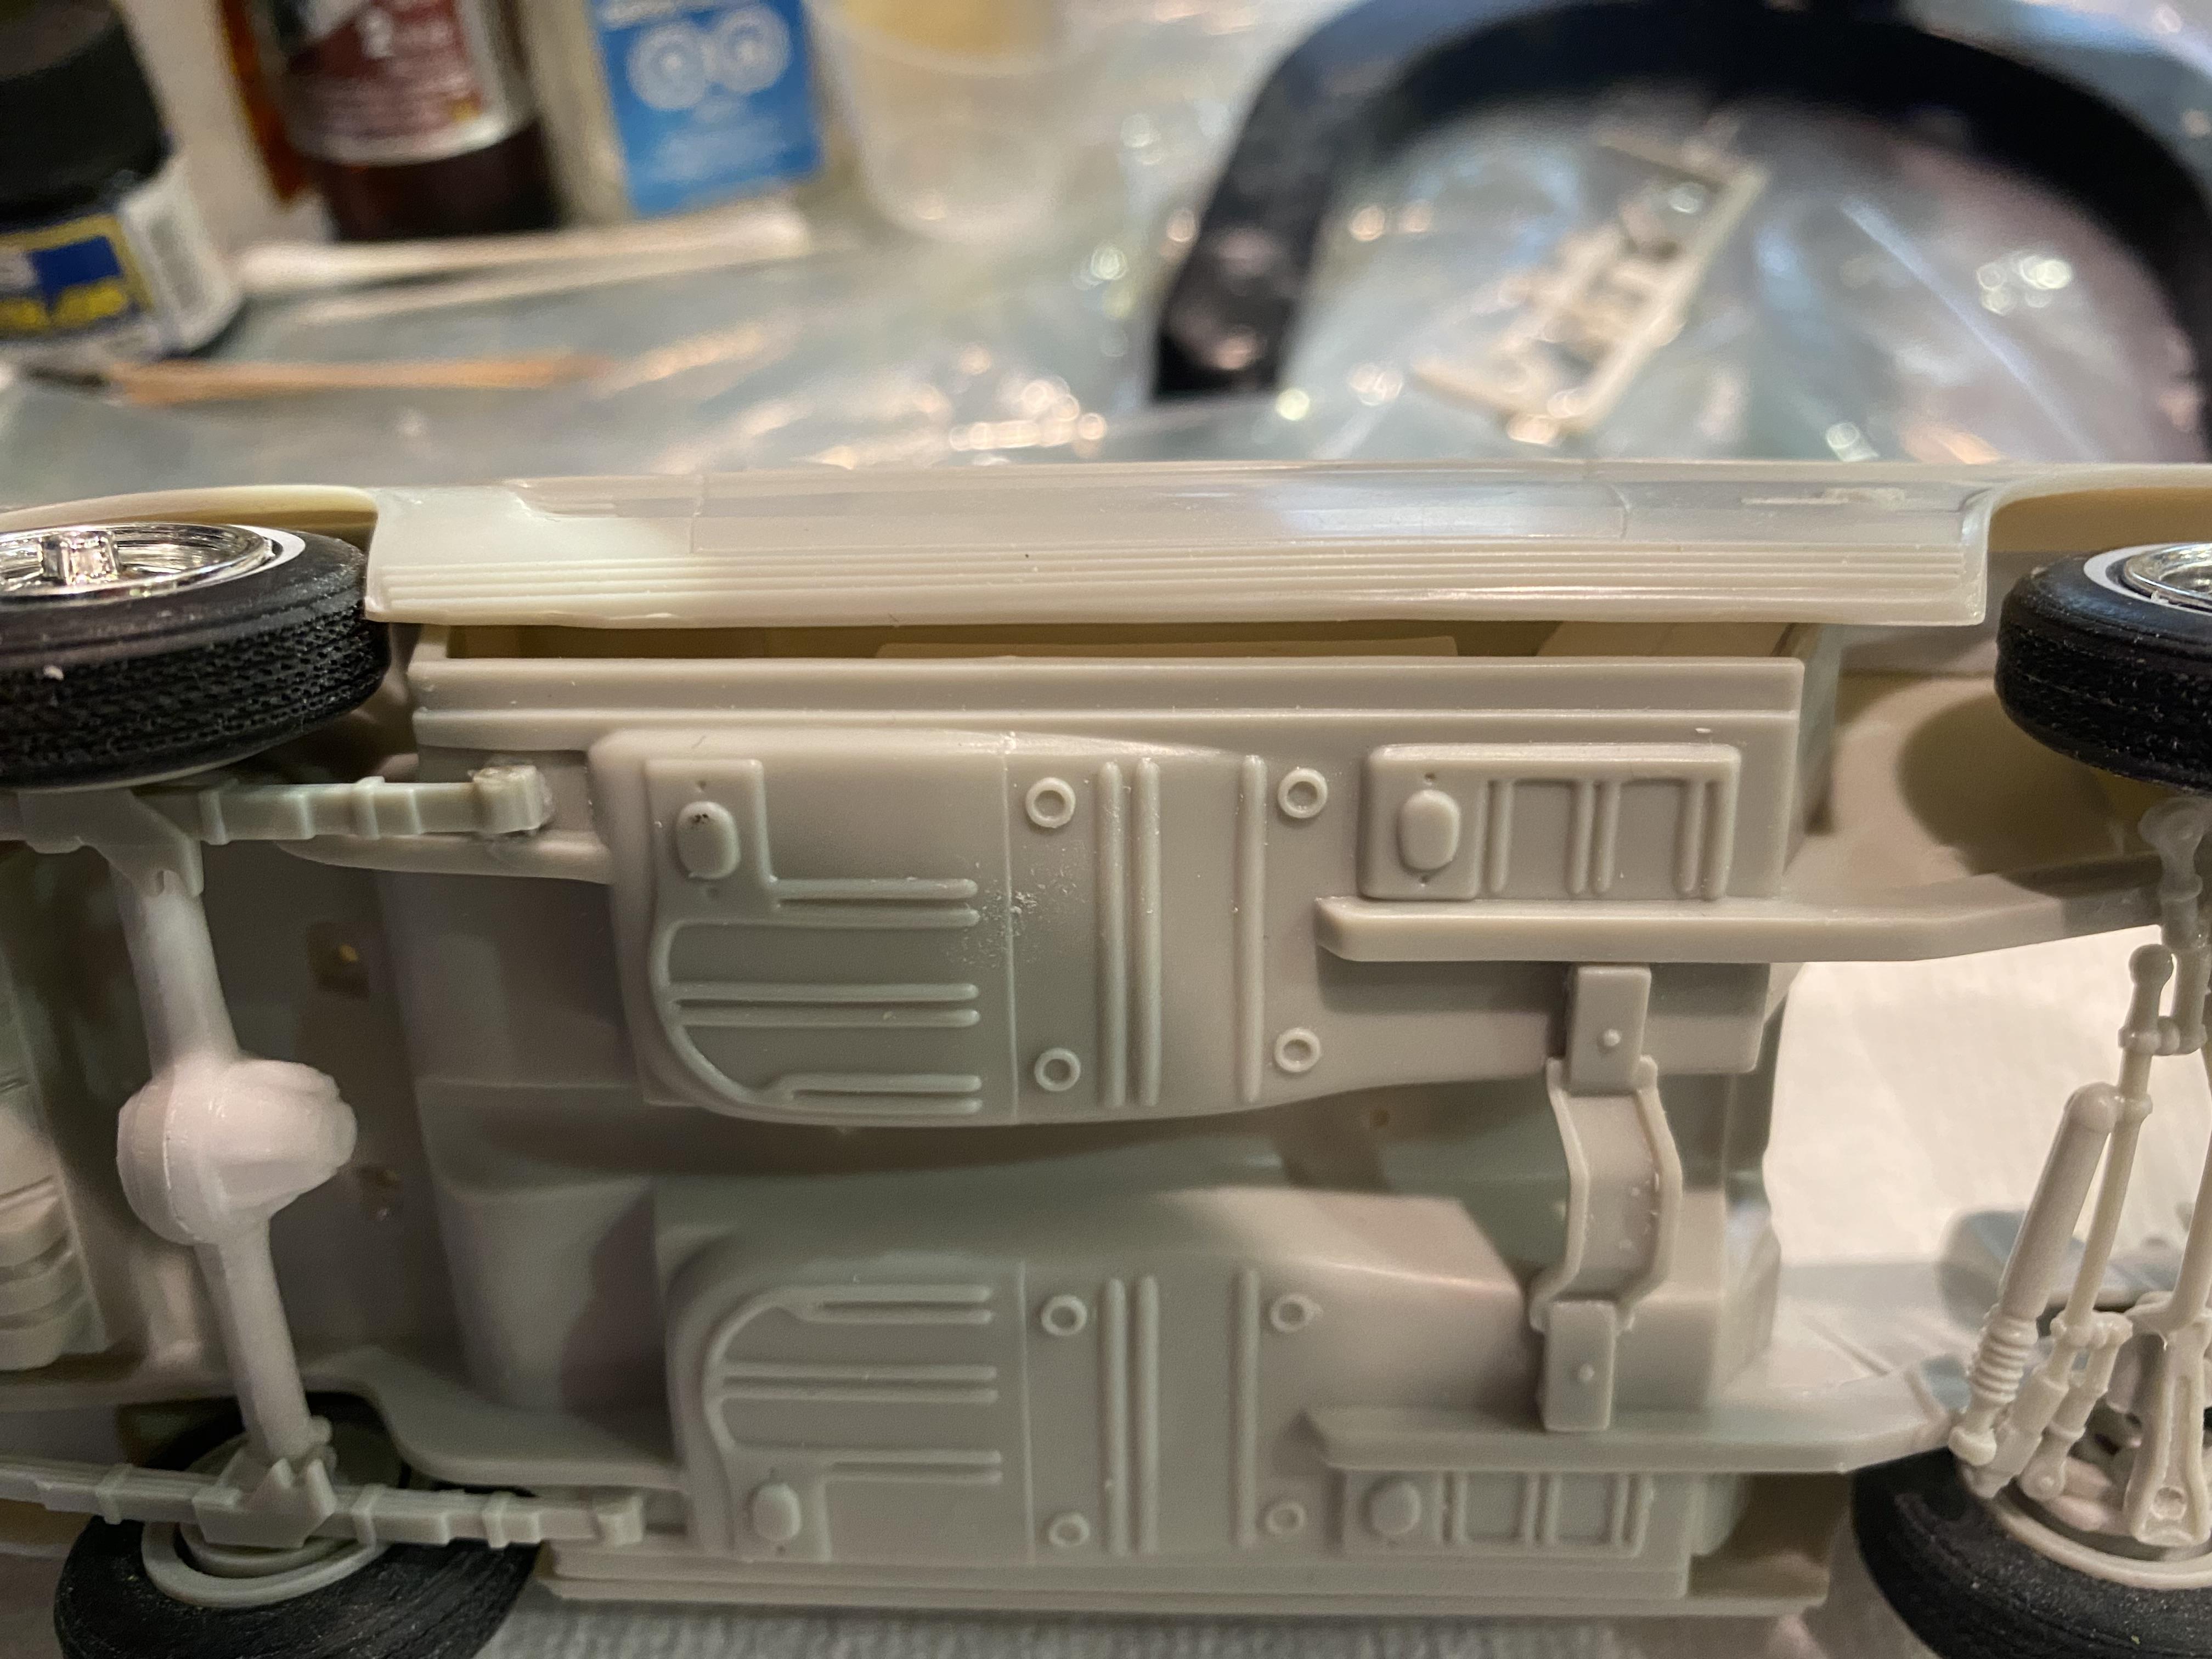
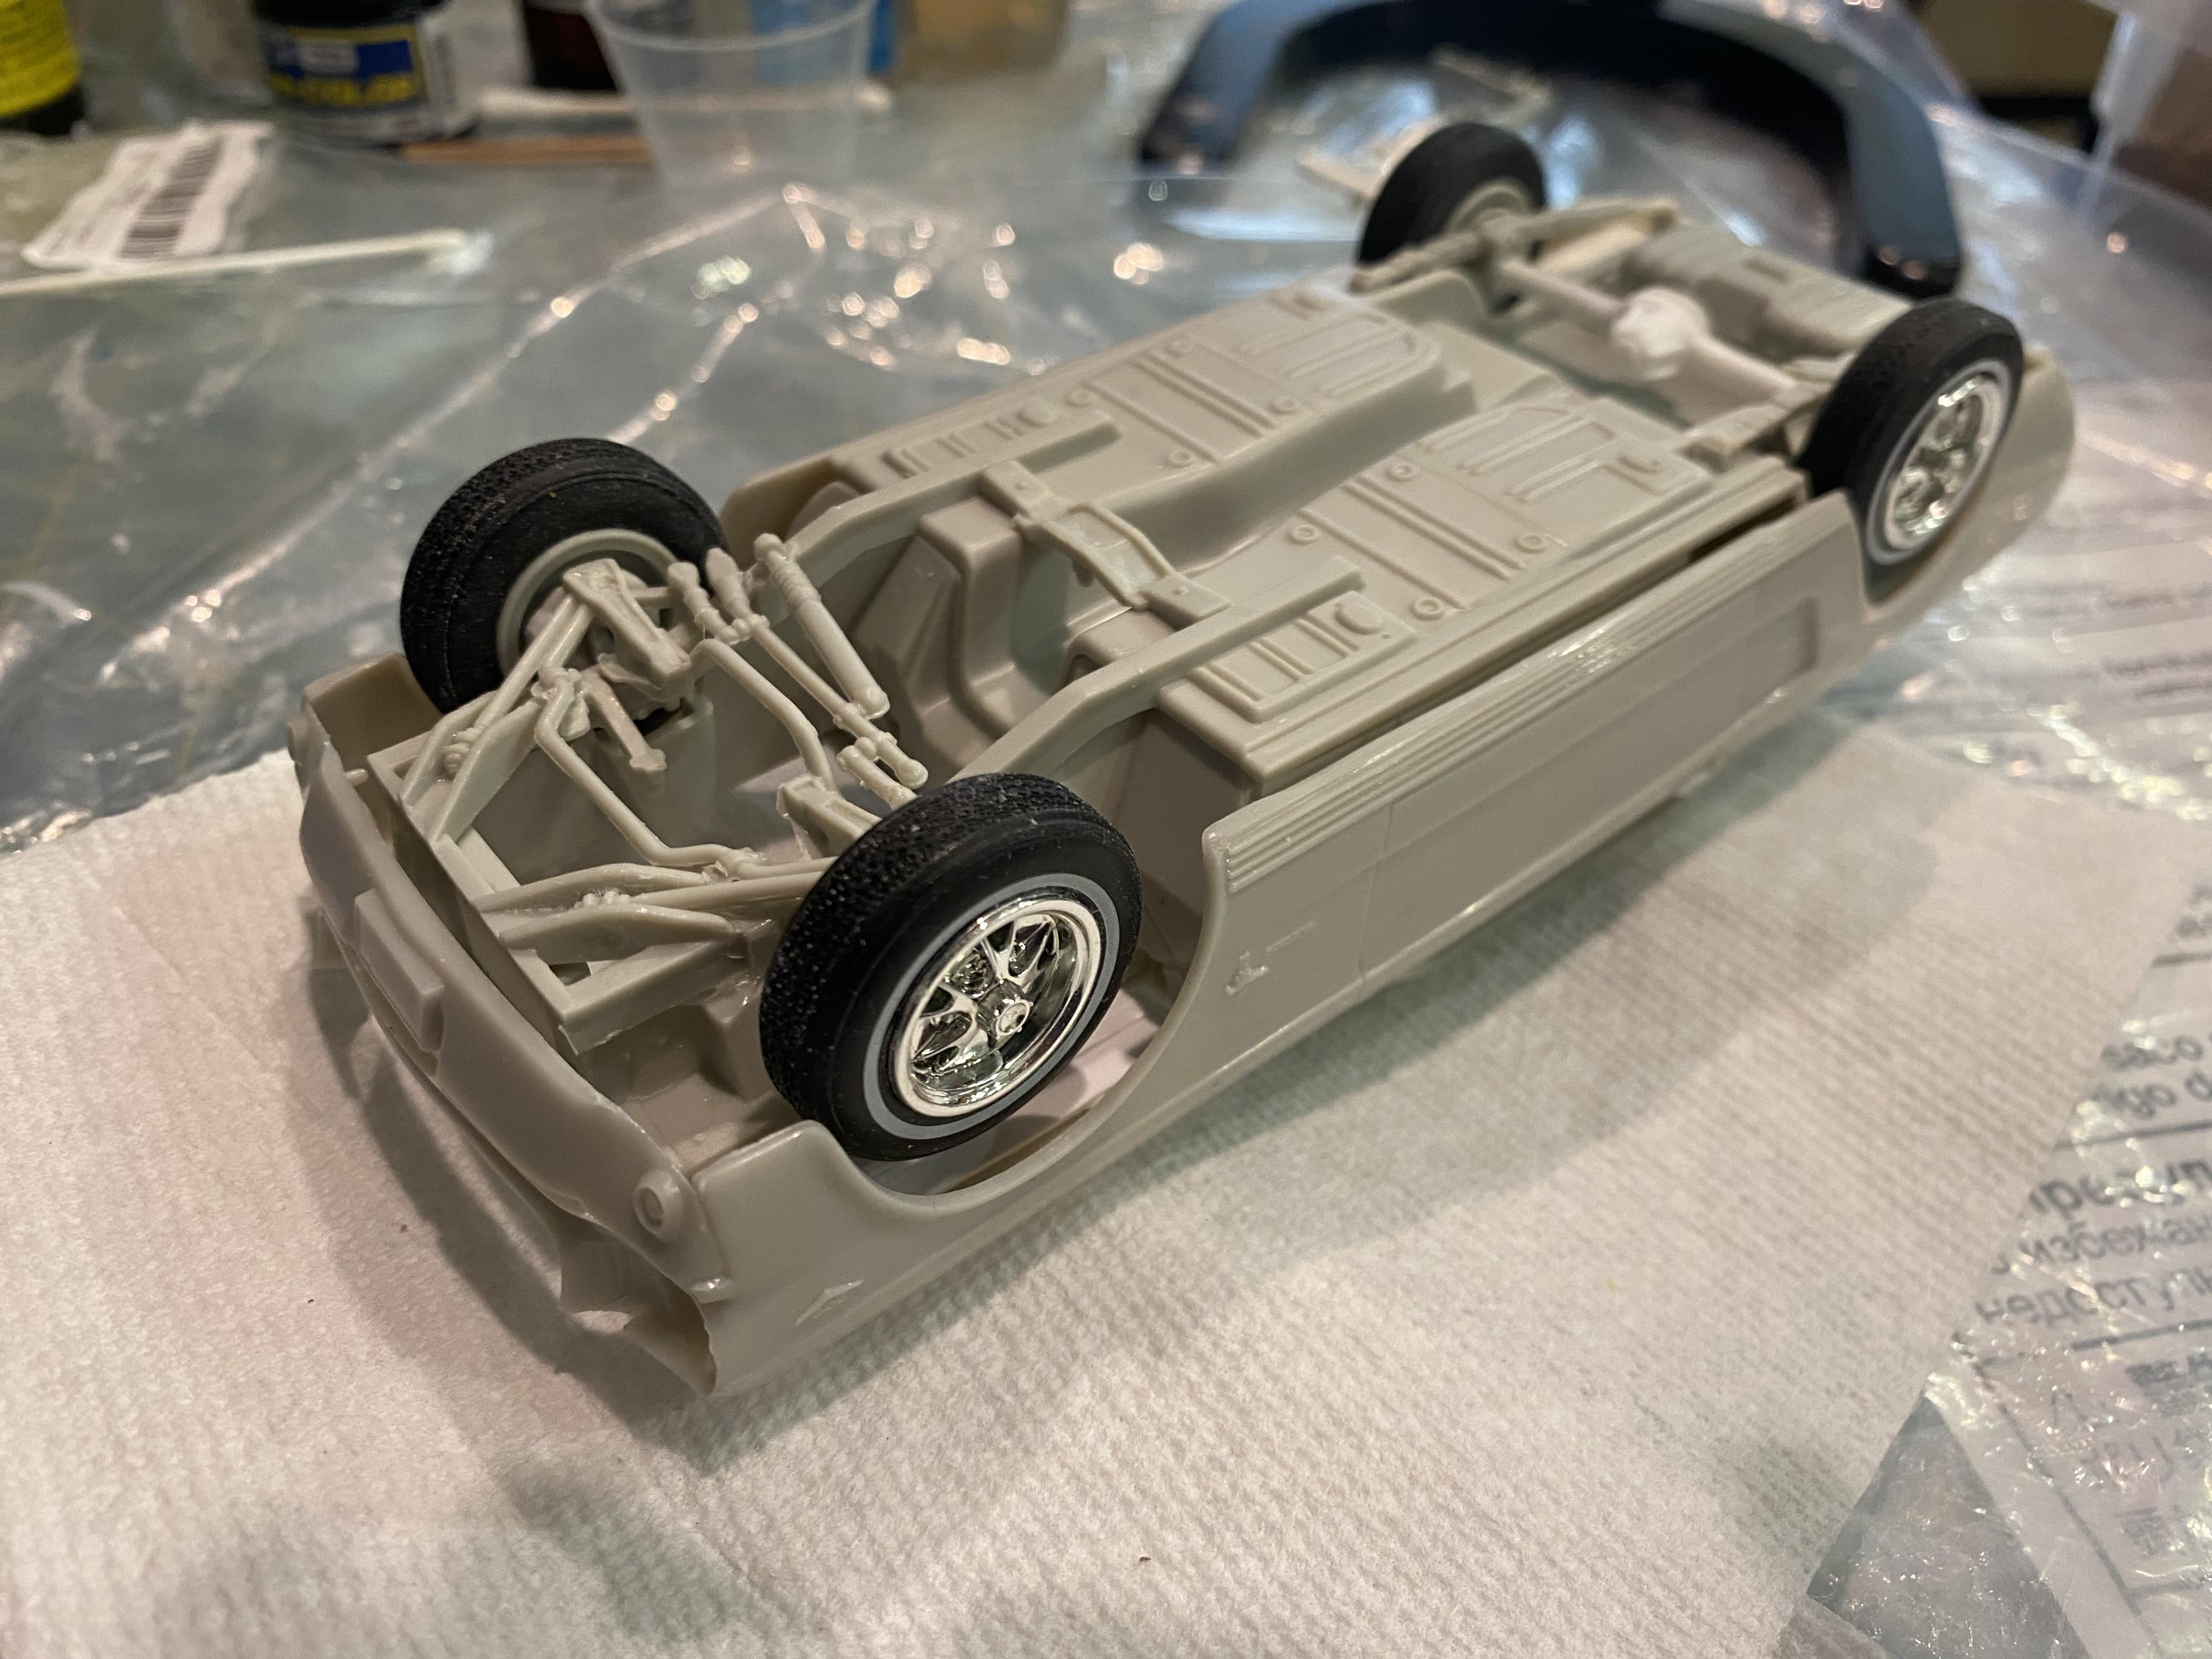
A little more fabrication and modification. I have many of the major components prepared for final prep for paint except the body, that I haven’t gotten to yet. Interior panels modified, drilled out dash for gauge lights, created rally pac and gauge light enclosure. Chassis brake brackets created. Started working creating exhaust from aluminum tubing. Engine assembled for paint, drilled for distributor, plugs and heater hoses. Created power steering pump and bracket. Fabricated dual pulley system. Resin air cleaner. 3D printed C4 automatic transmission. Engine compartment detailing done.
-
I went through this on the convertible, they have already been removed in preparation to making the trunk open.
-
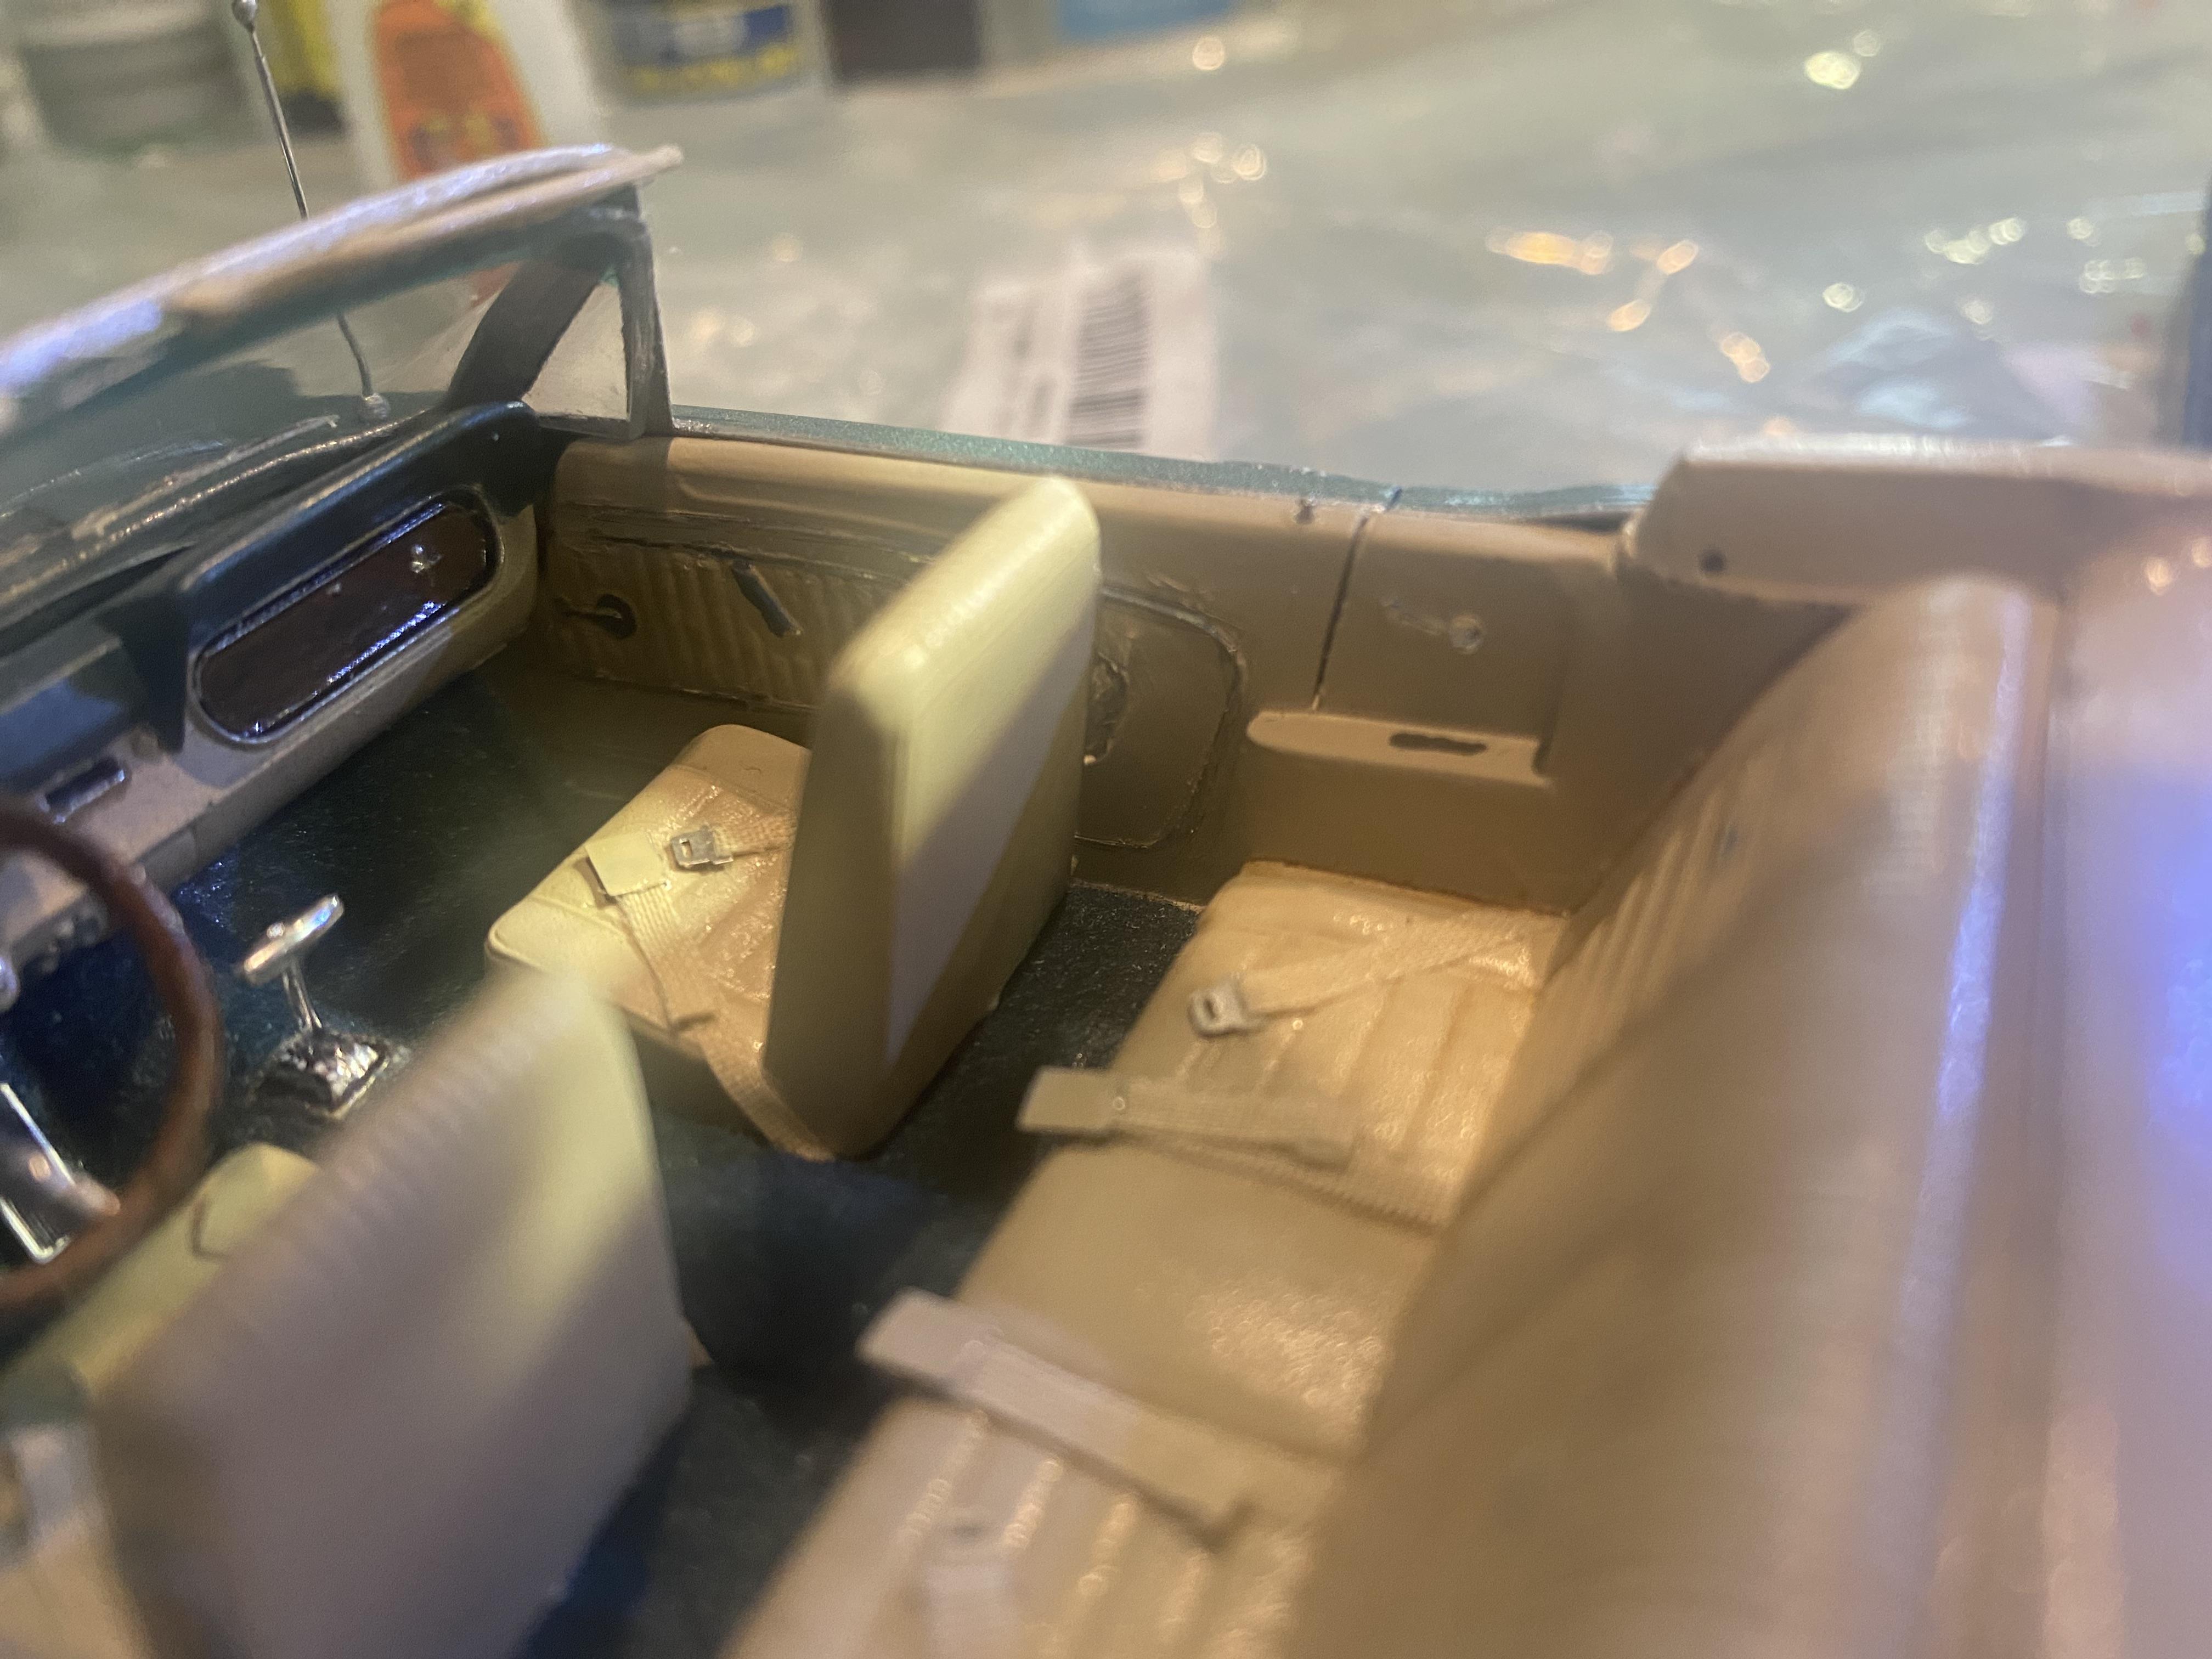
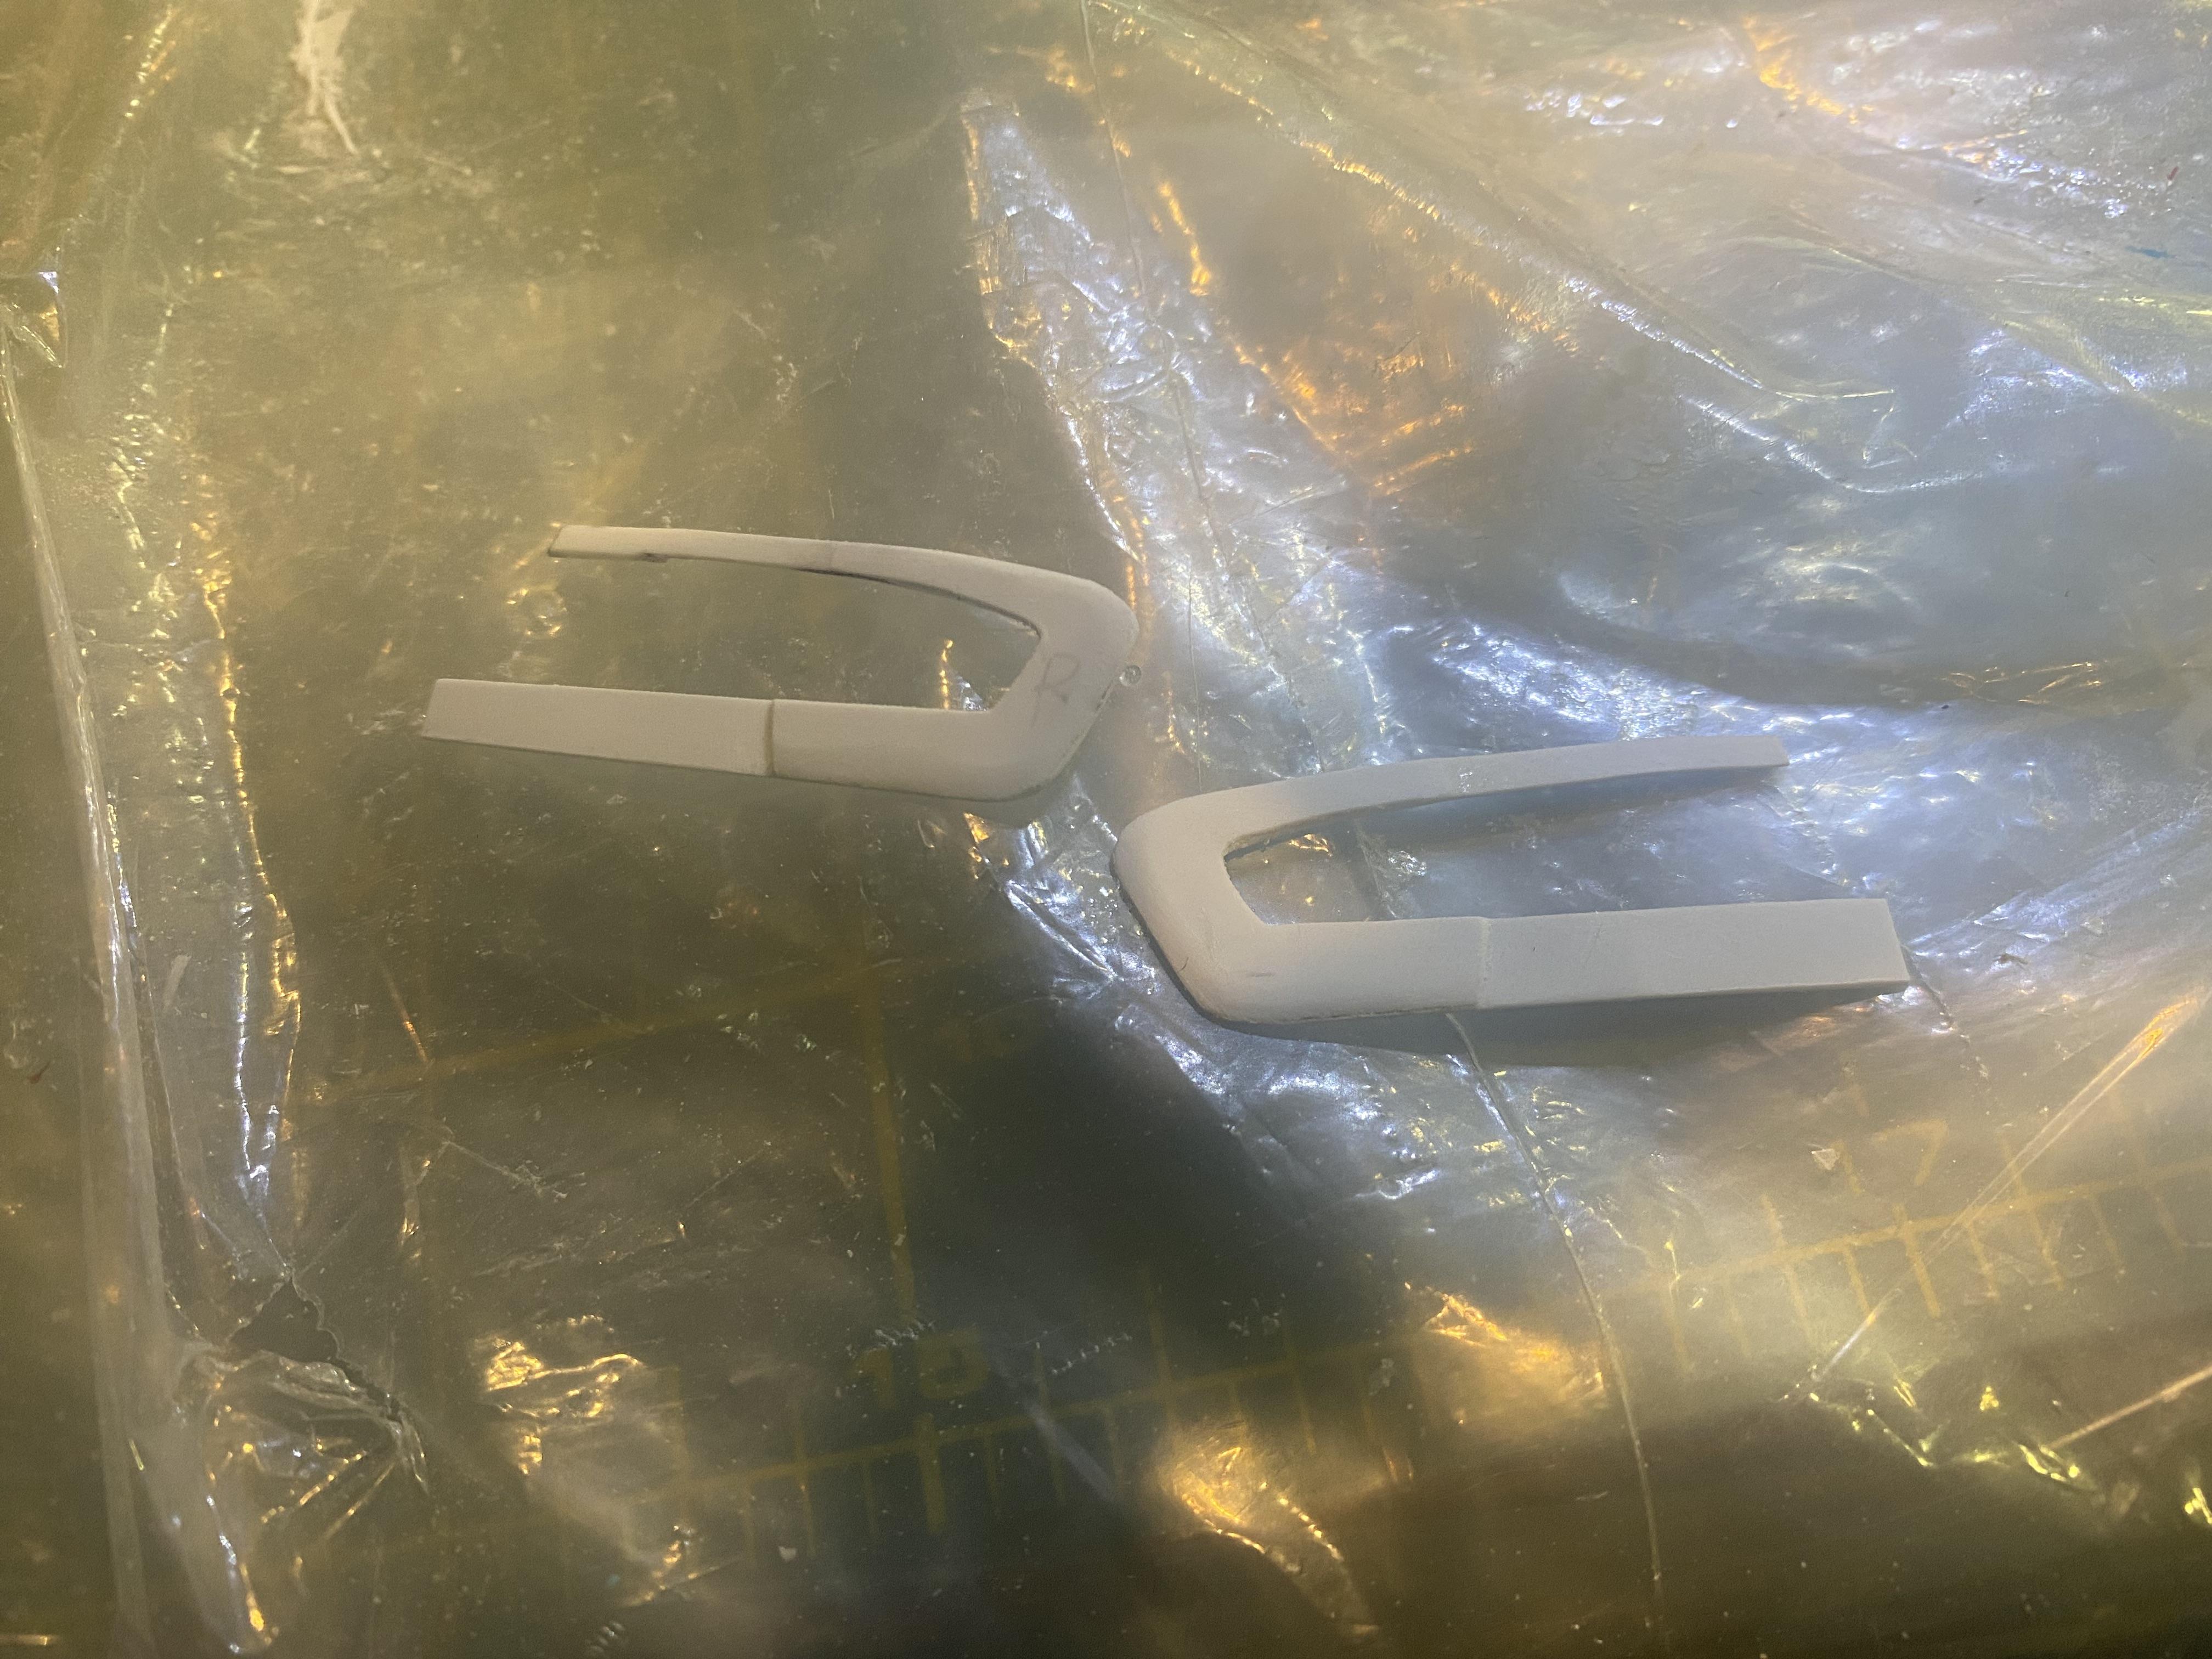
This is how much of a difference in the convertible build. Used styrene sheet to make the additional pieces and beading wire for the trim.
-
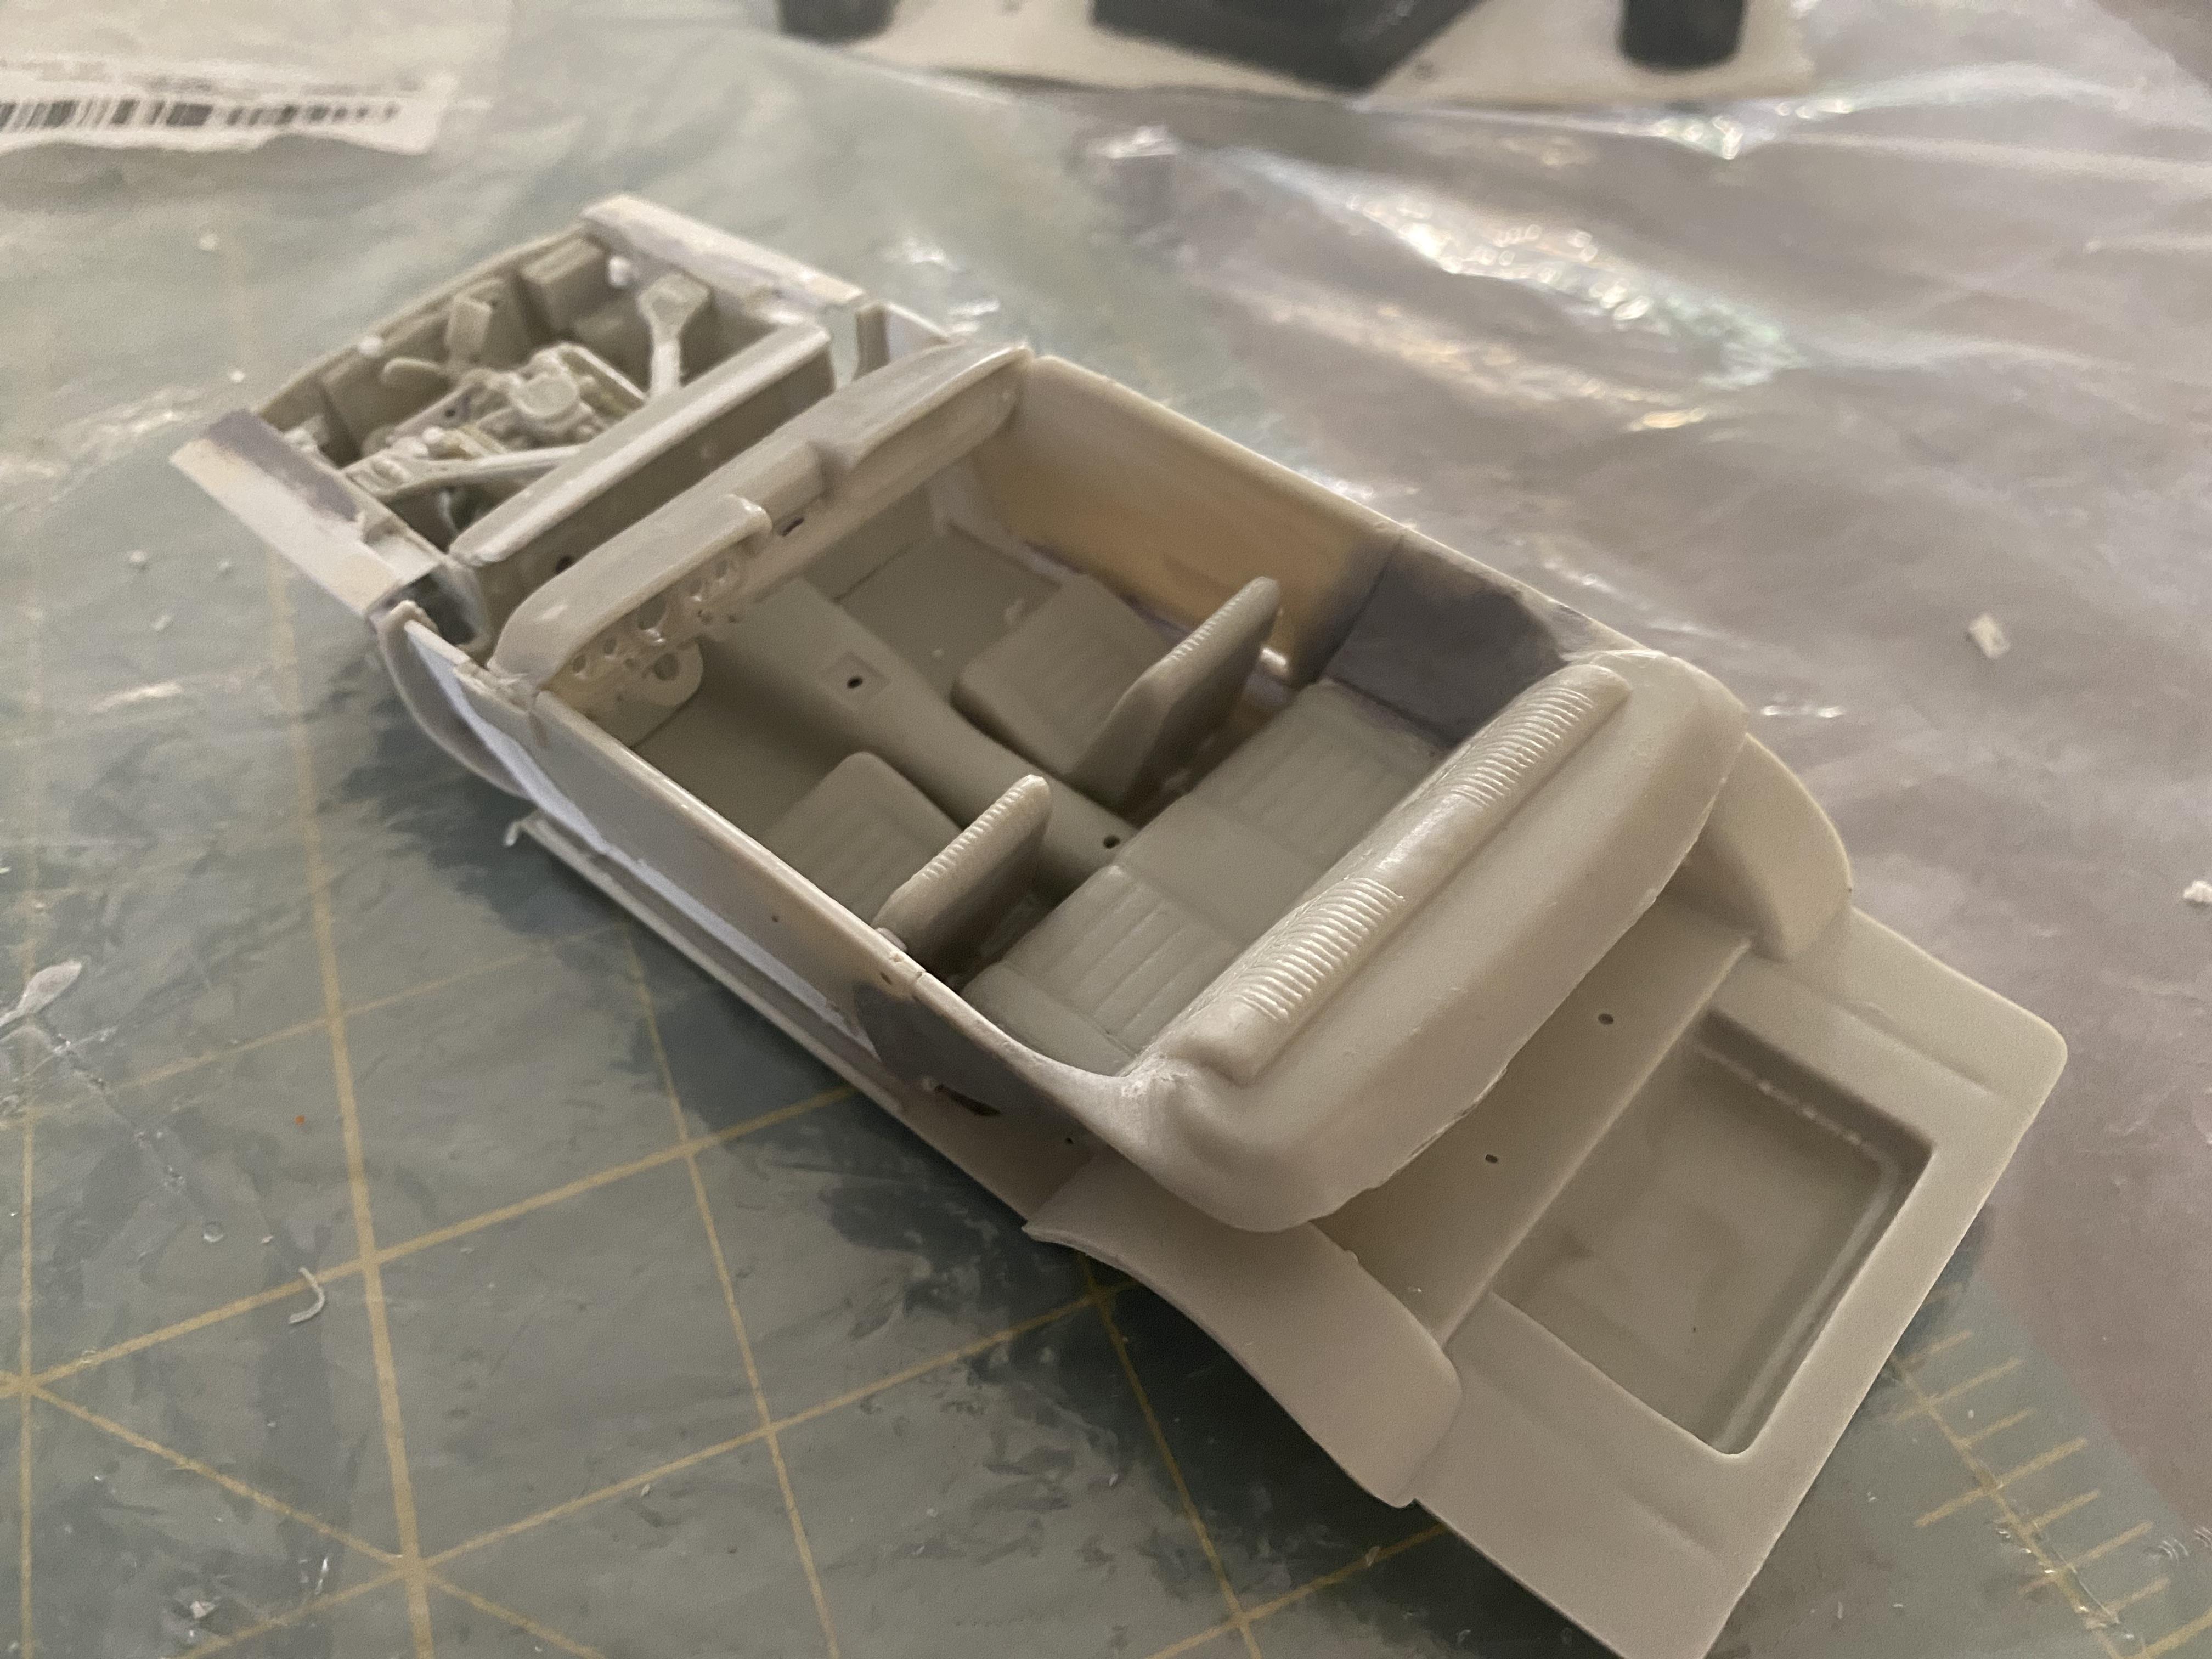
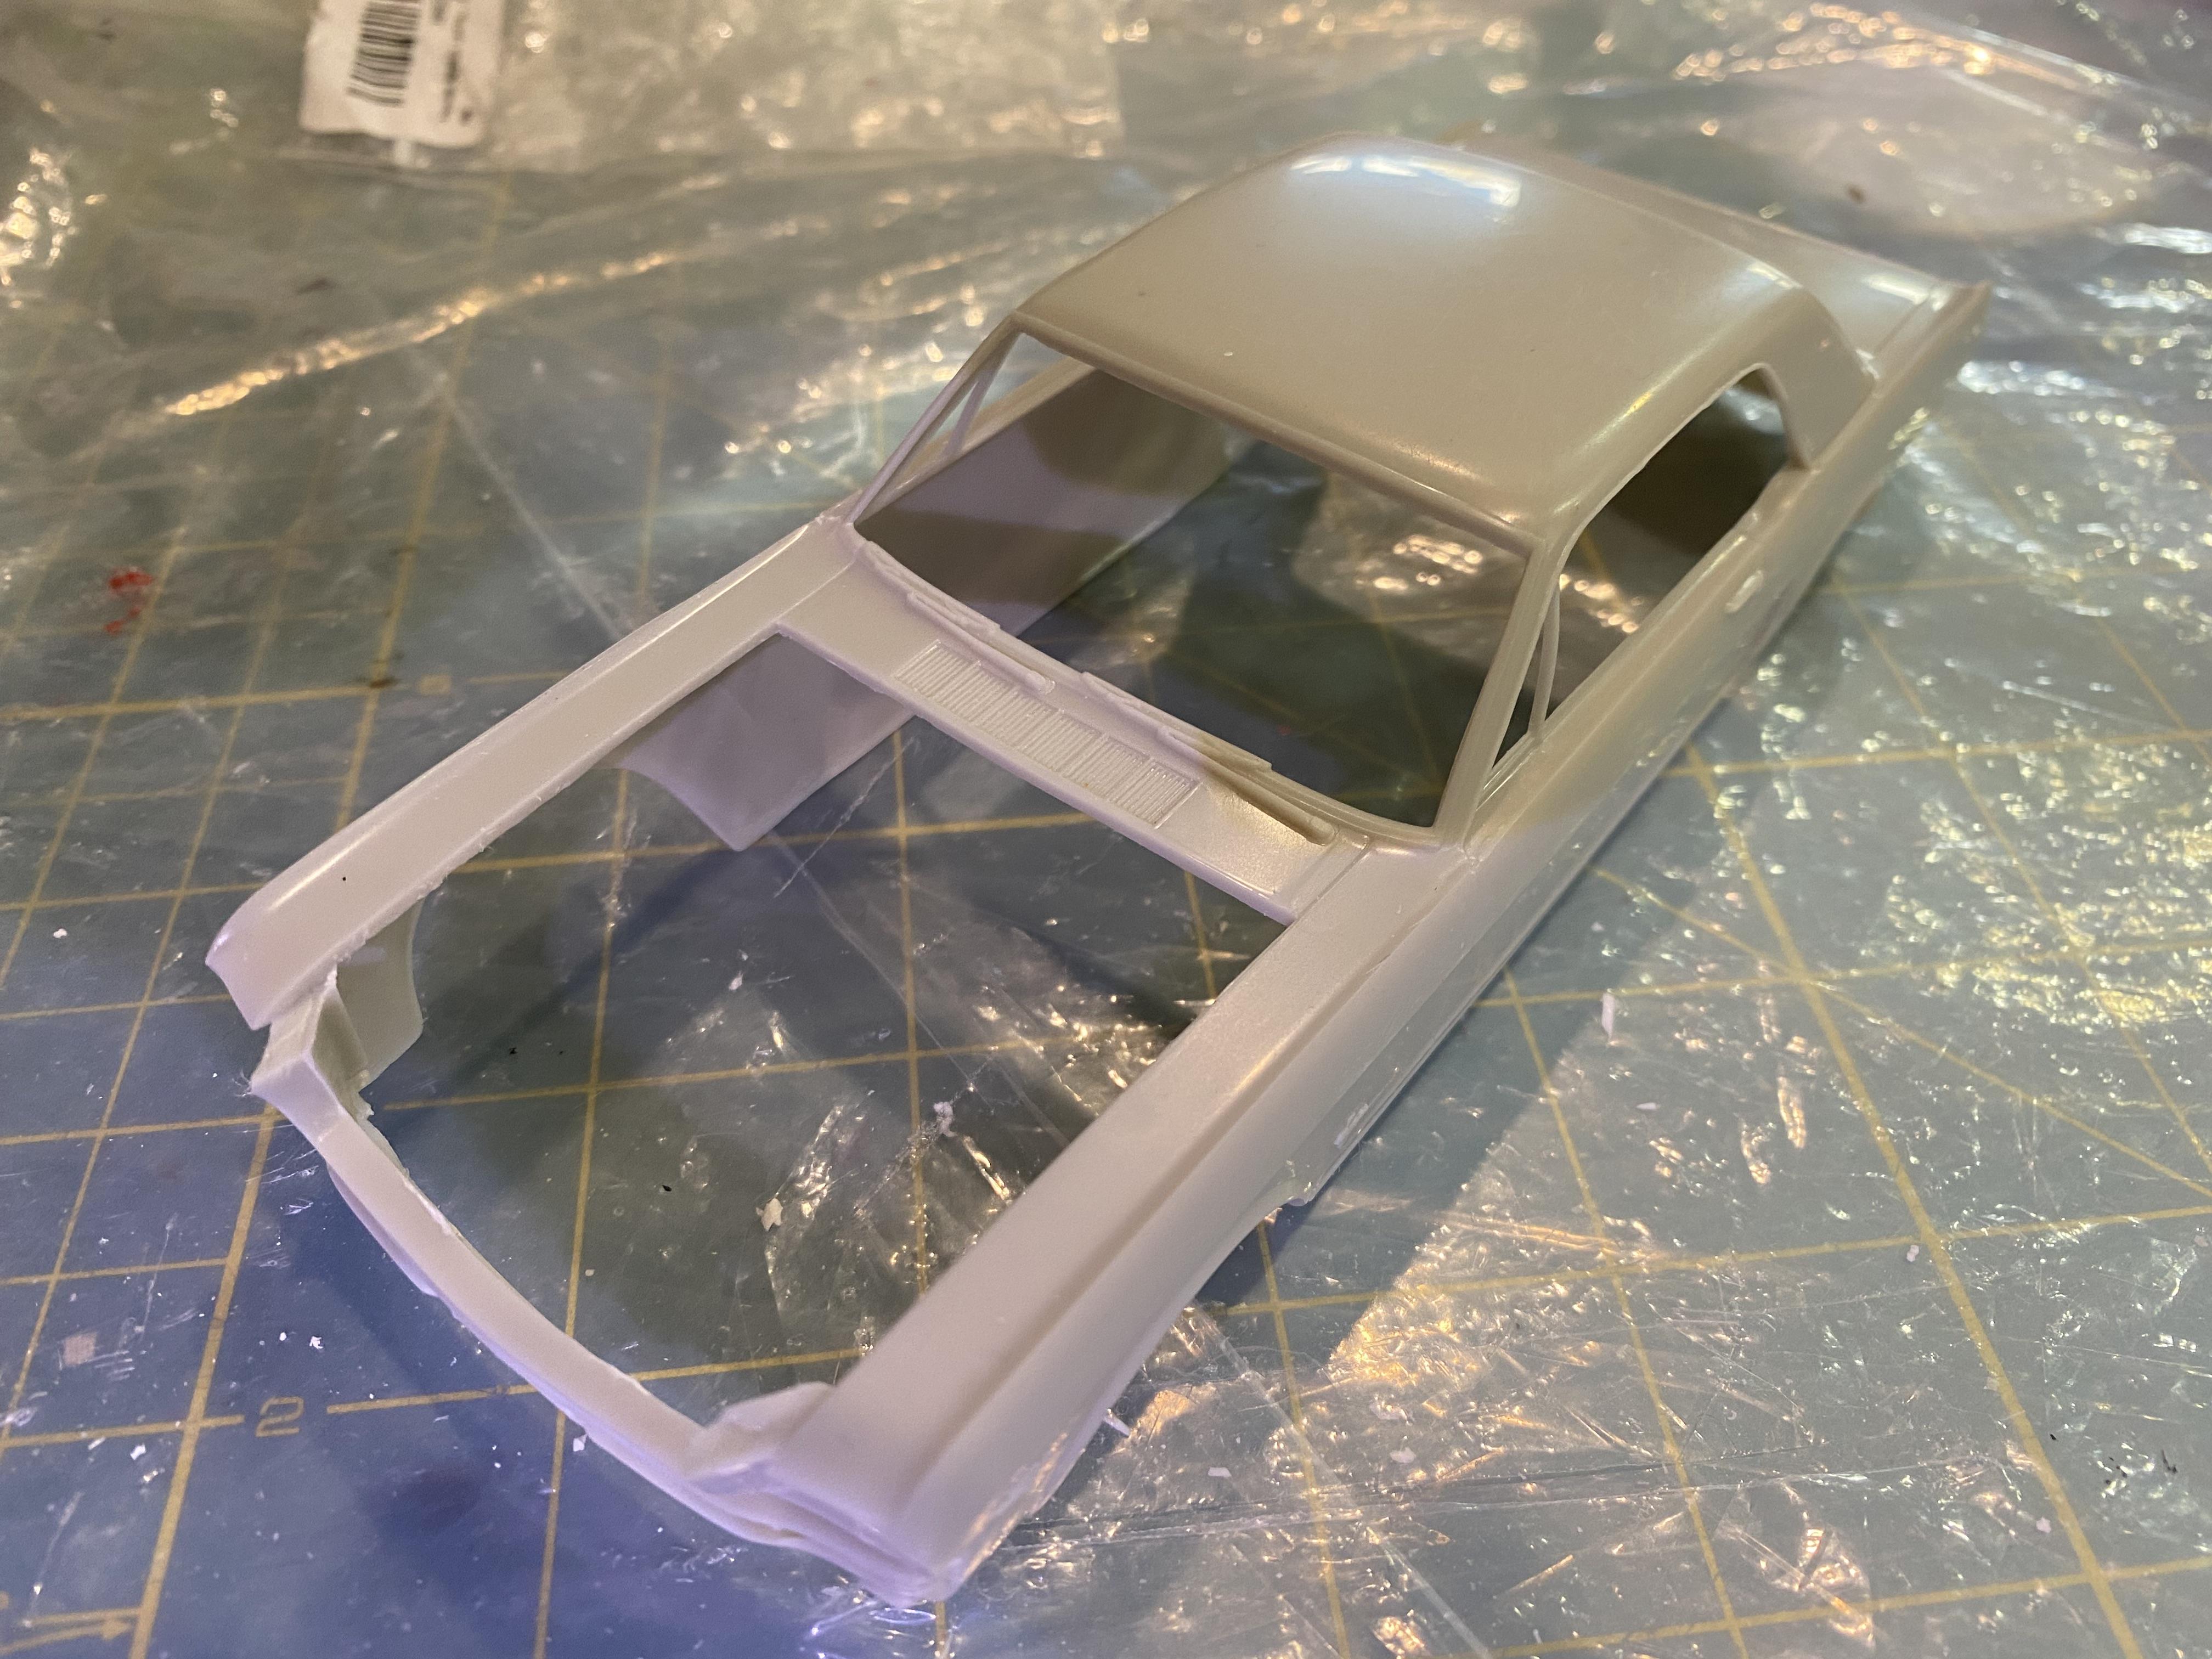
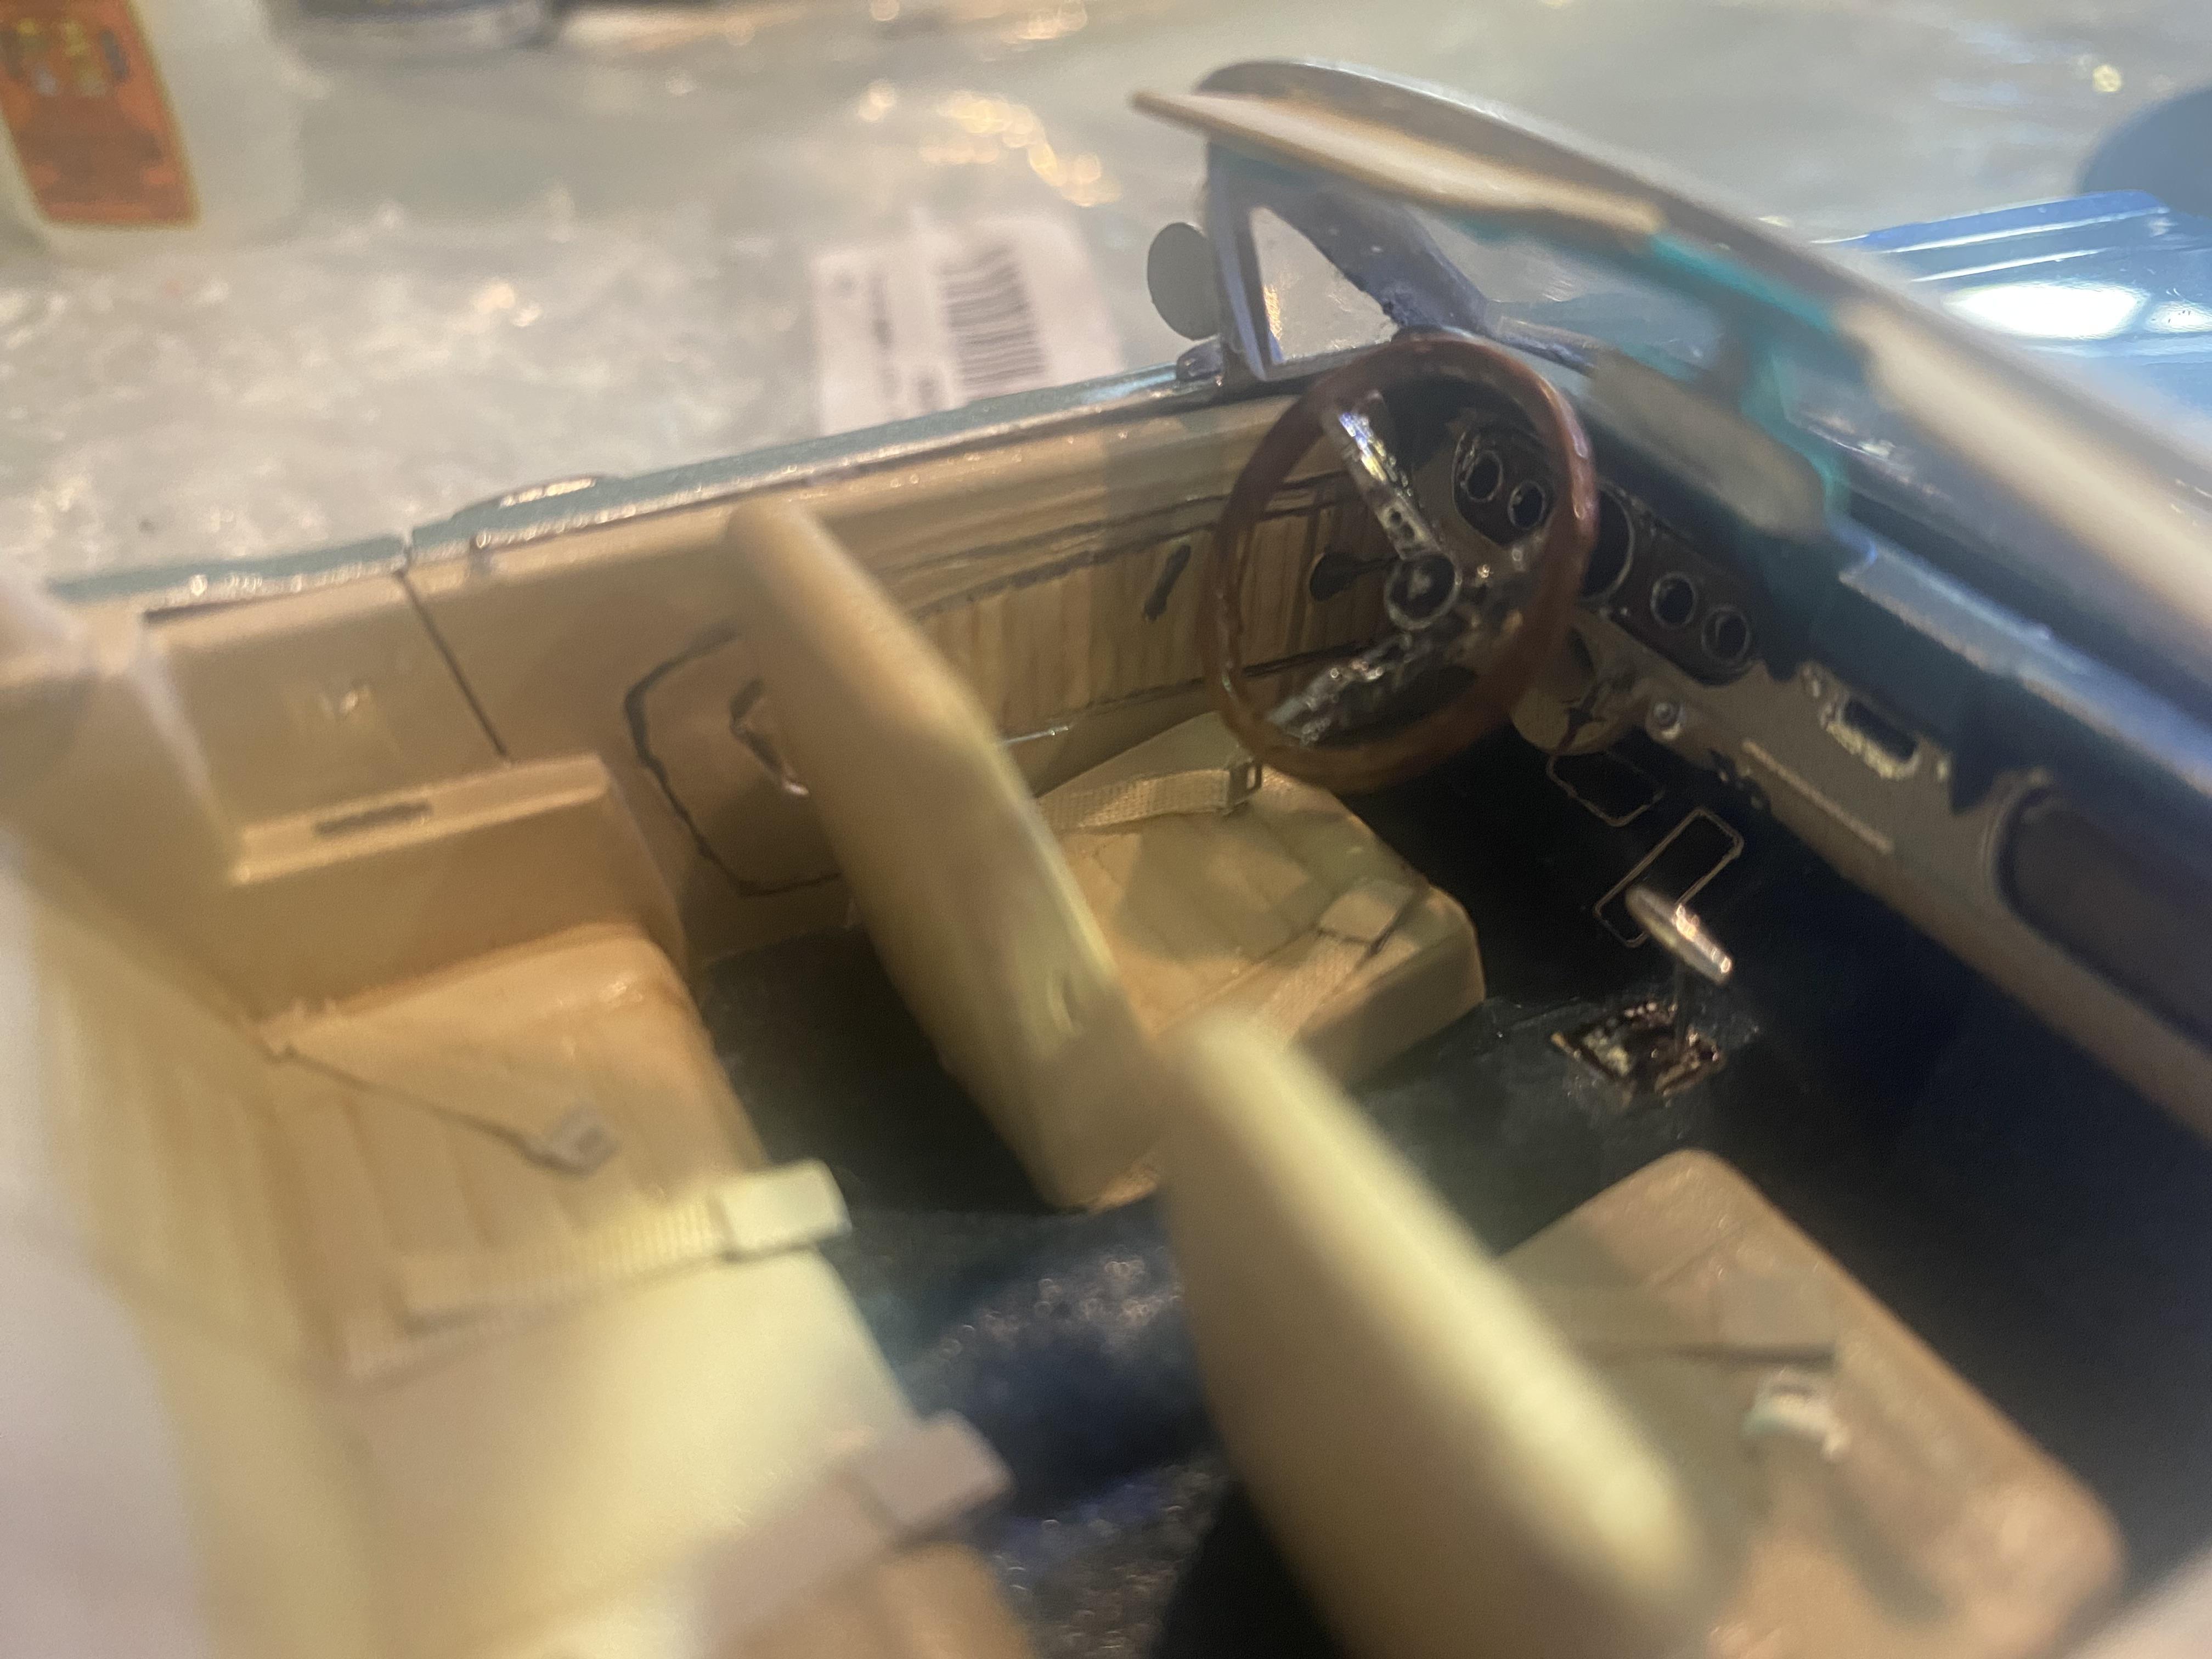
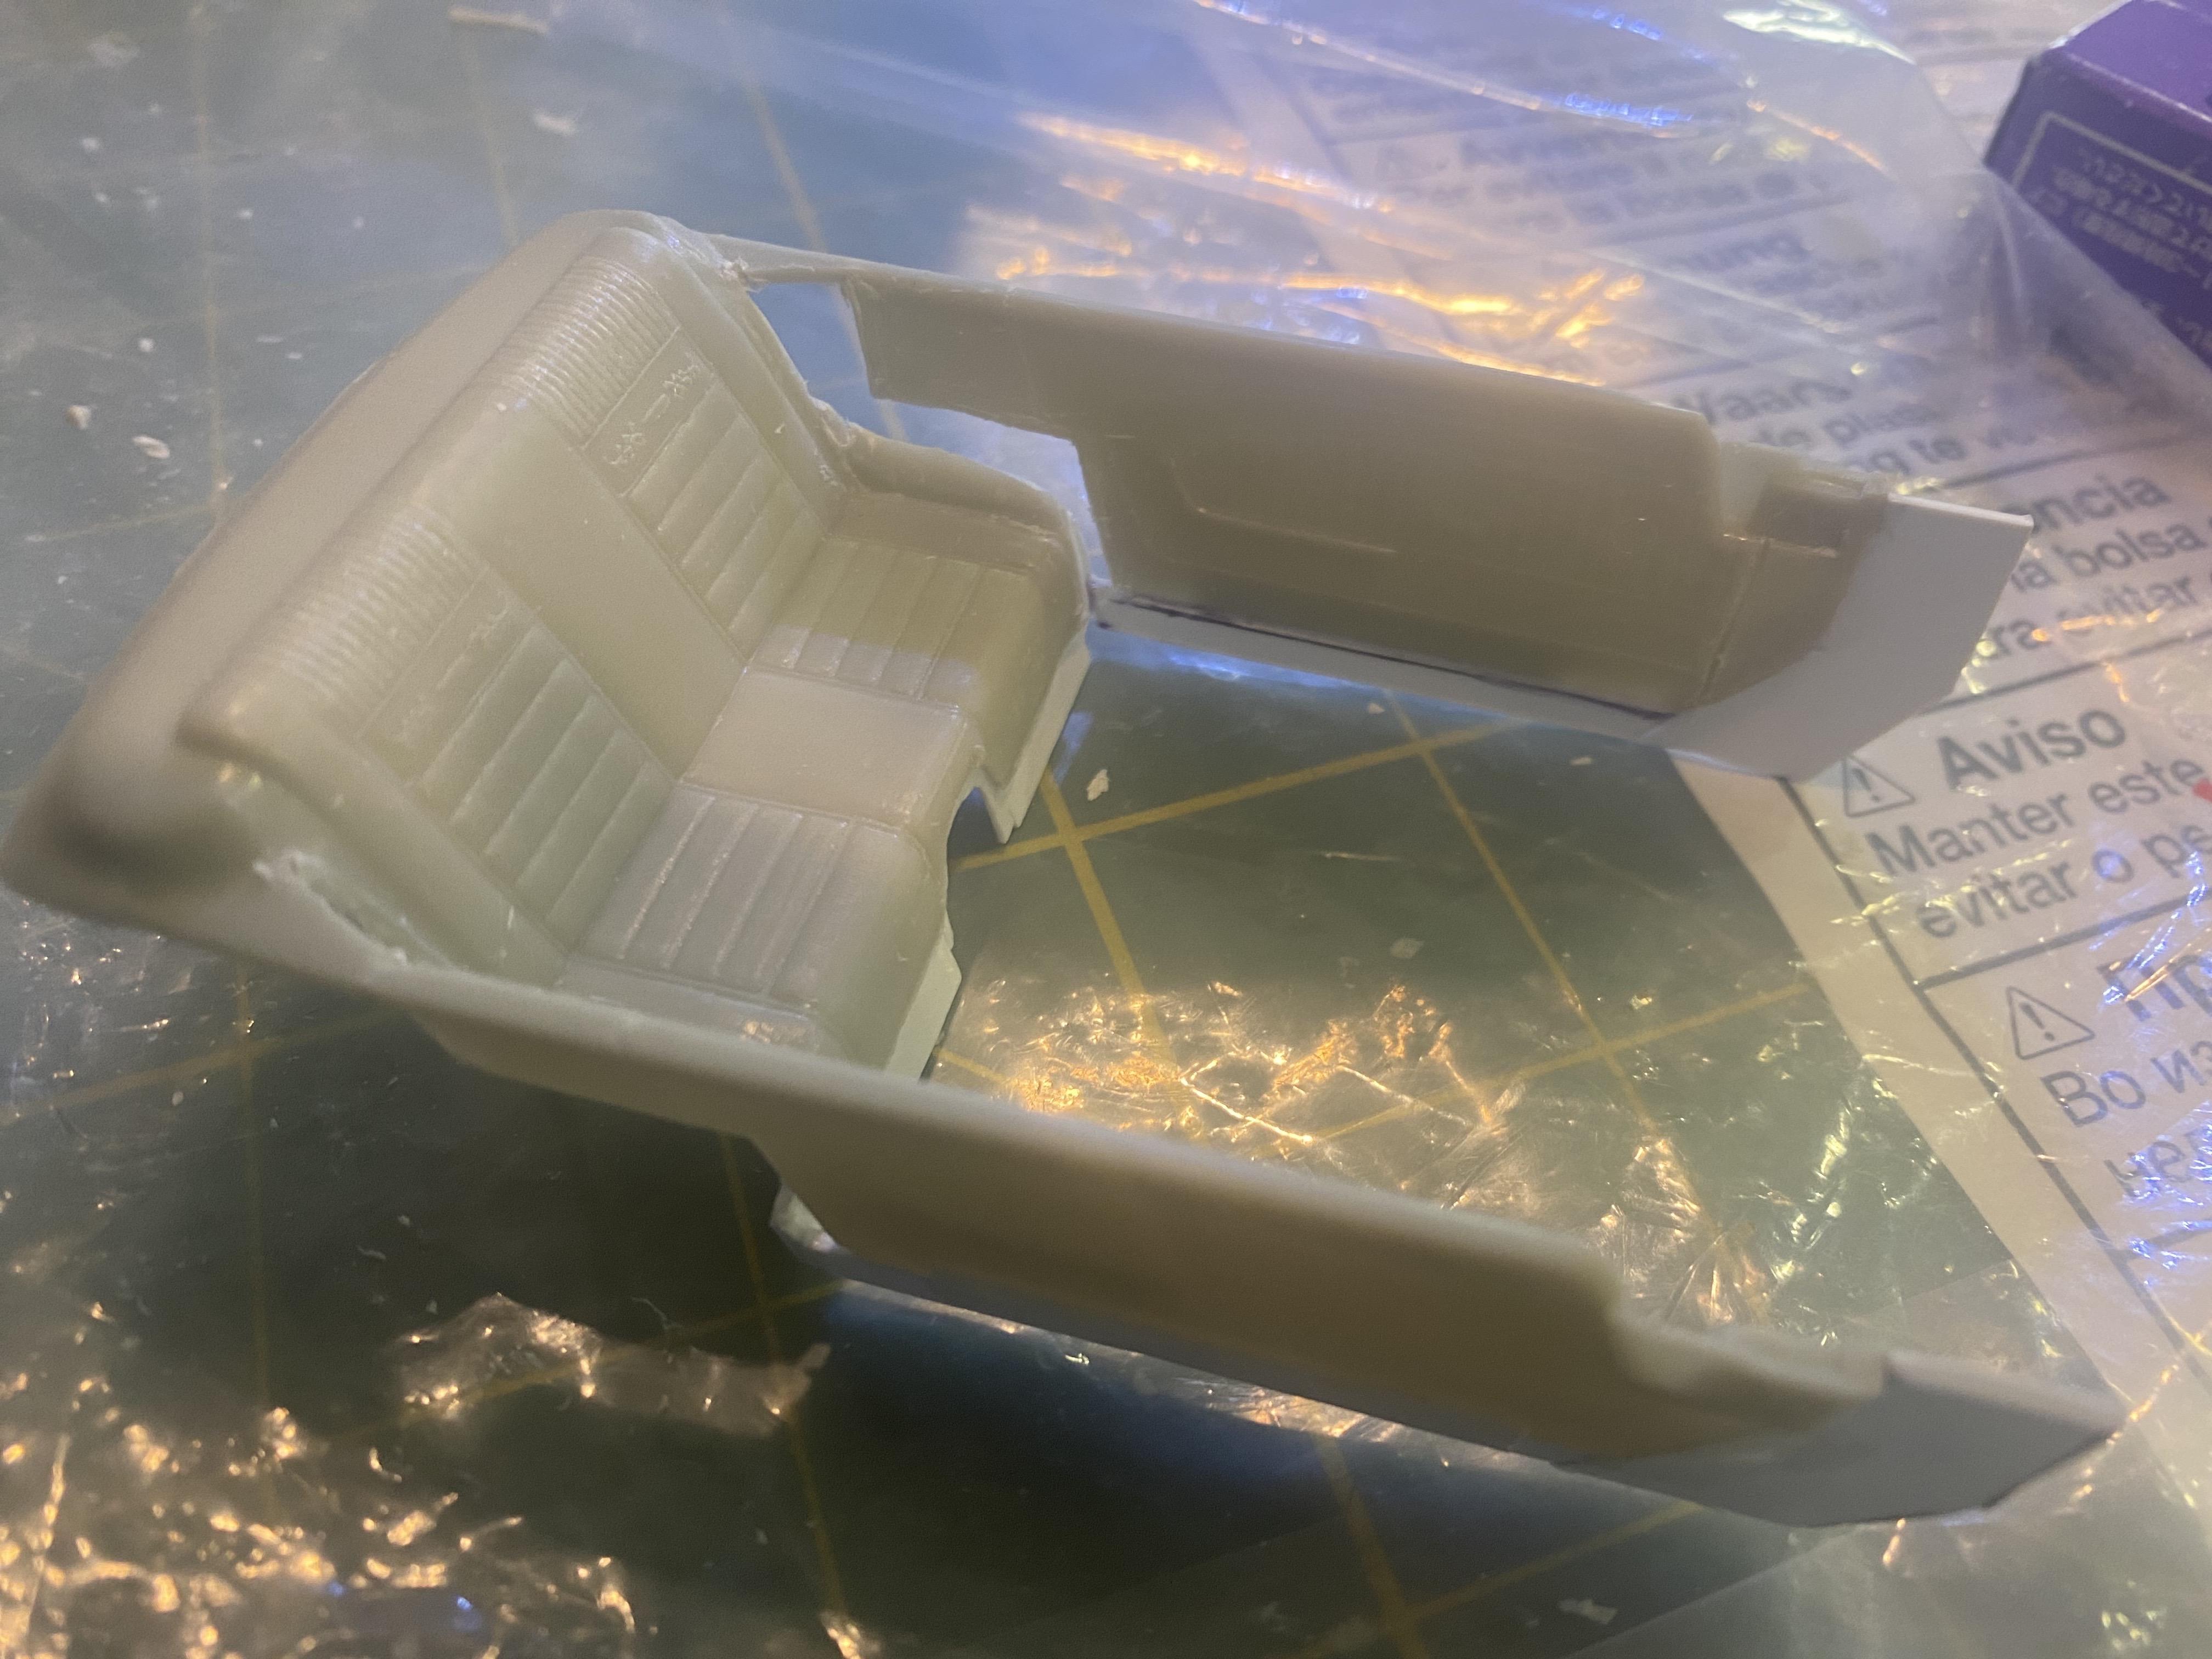
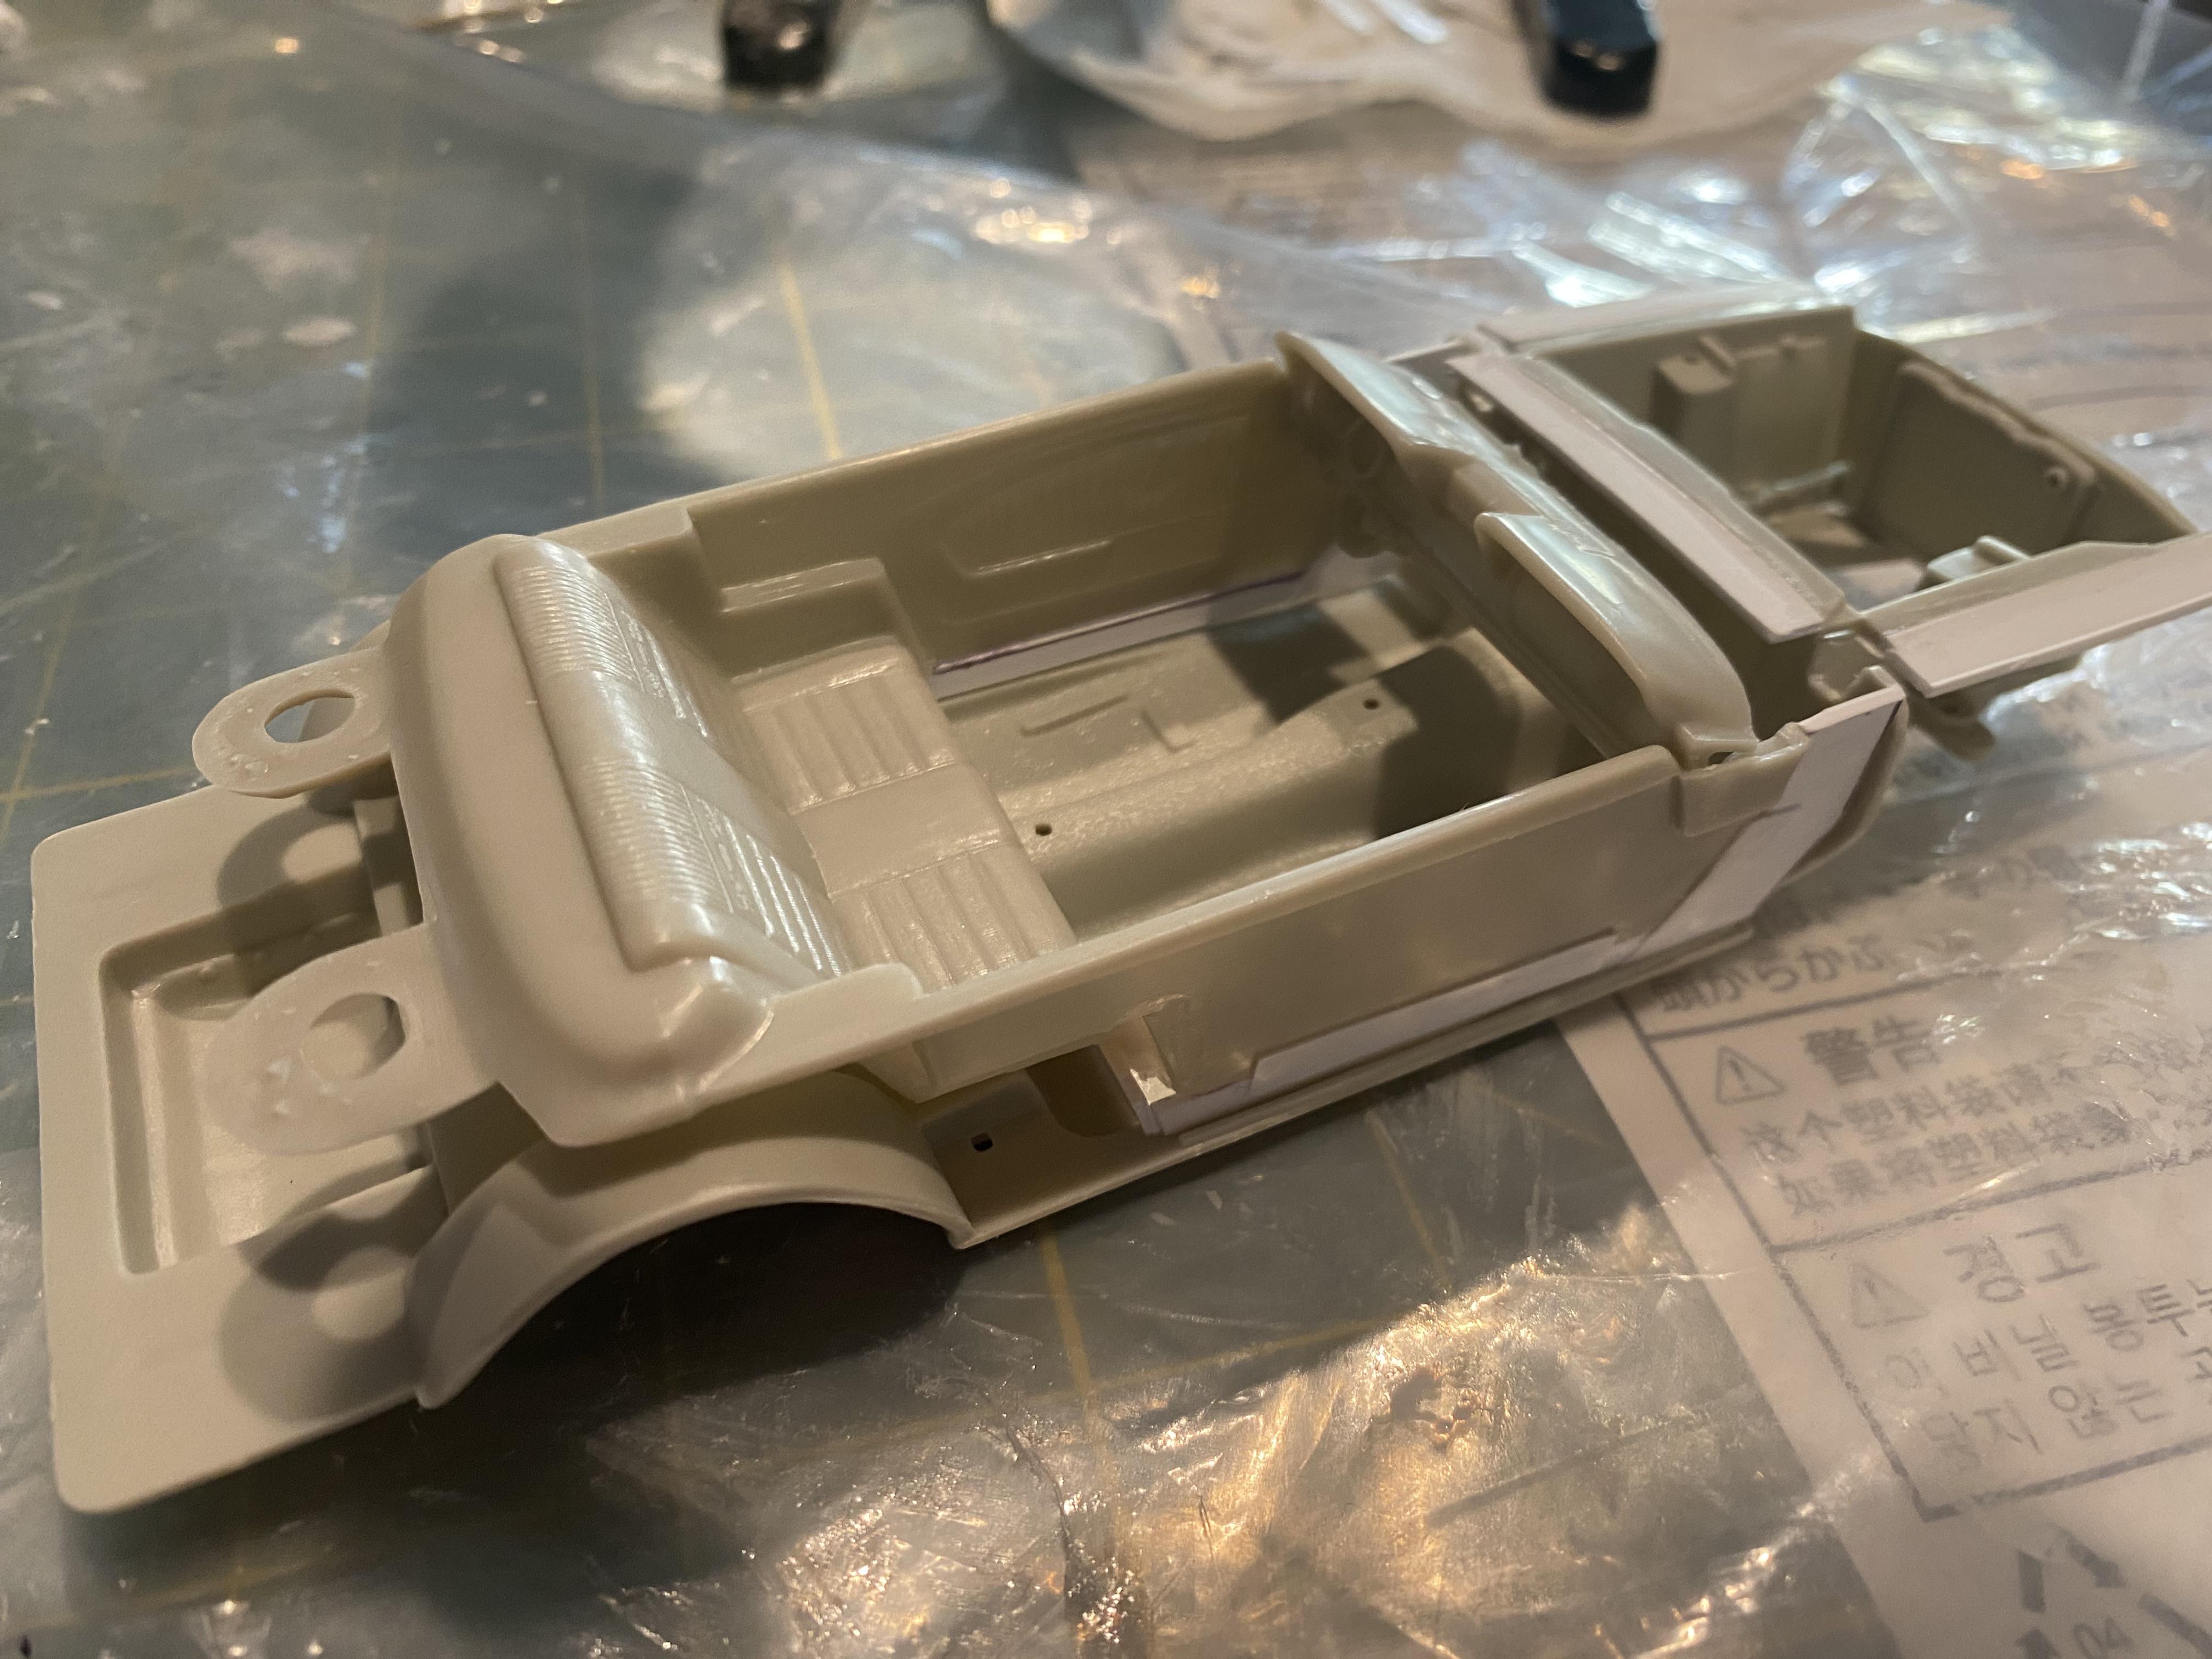
Being one that can not leave well enough alone while making door panel dimensional changes for the current coupe build I decided to repeat the change to the convertible. I believe this is a great improvement over the completely flat door details in the original AMT interior tub.
-
Started modifying the interior tub remaining pieces changing the rear interior panels to look more coupe like and added dimension for the door panels. Making this modification to the convertible while I am at it.
-
Very Nice! Love the extra attention to the engine compartment.
-
Glad to see you slipped one Ford in that group of GM cars. I would have to guess someone has a love for big Pontiacs.
-
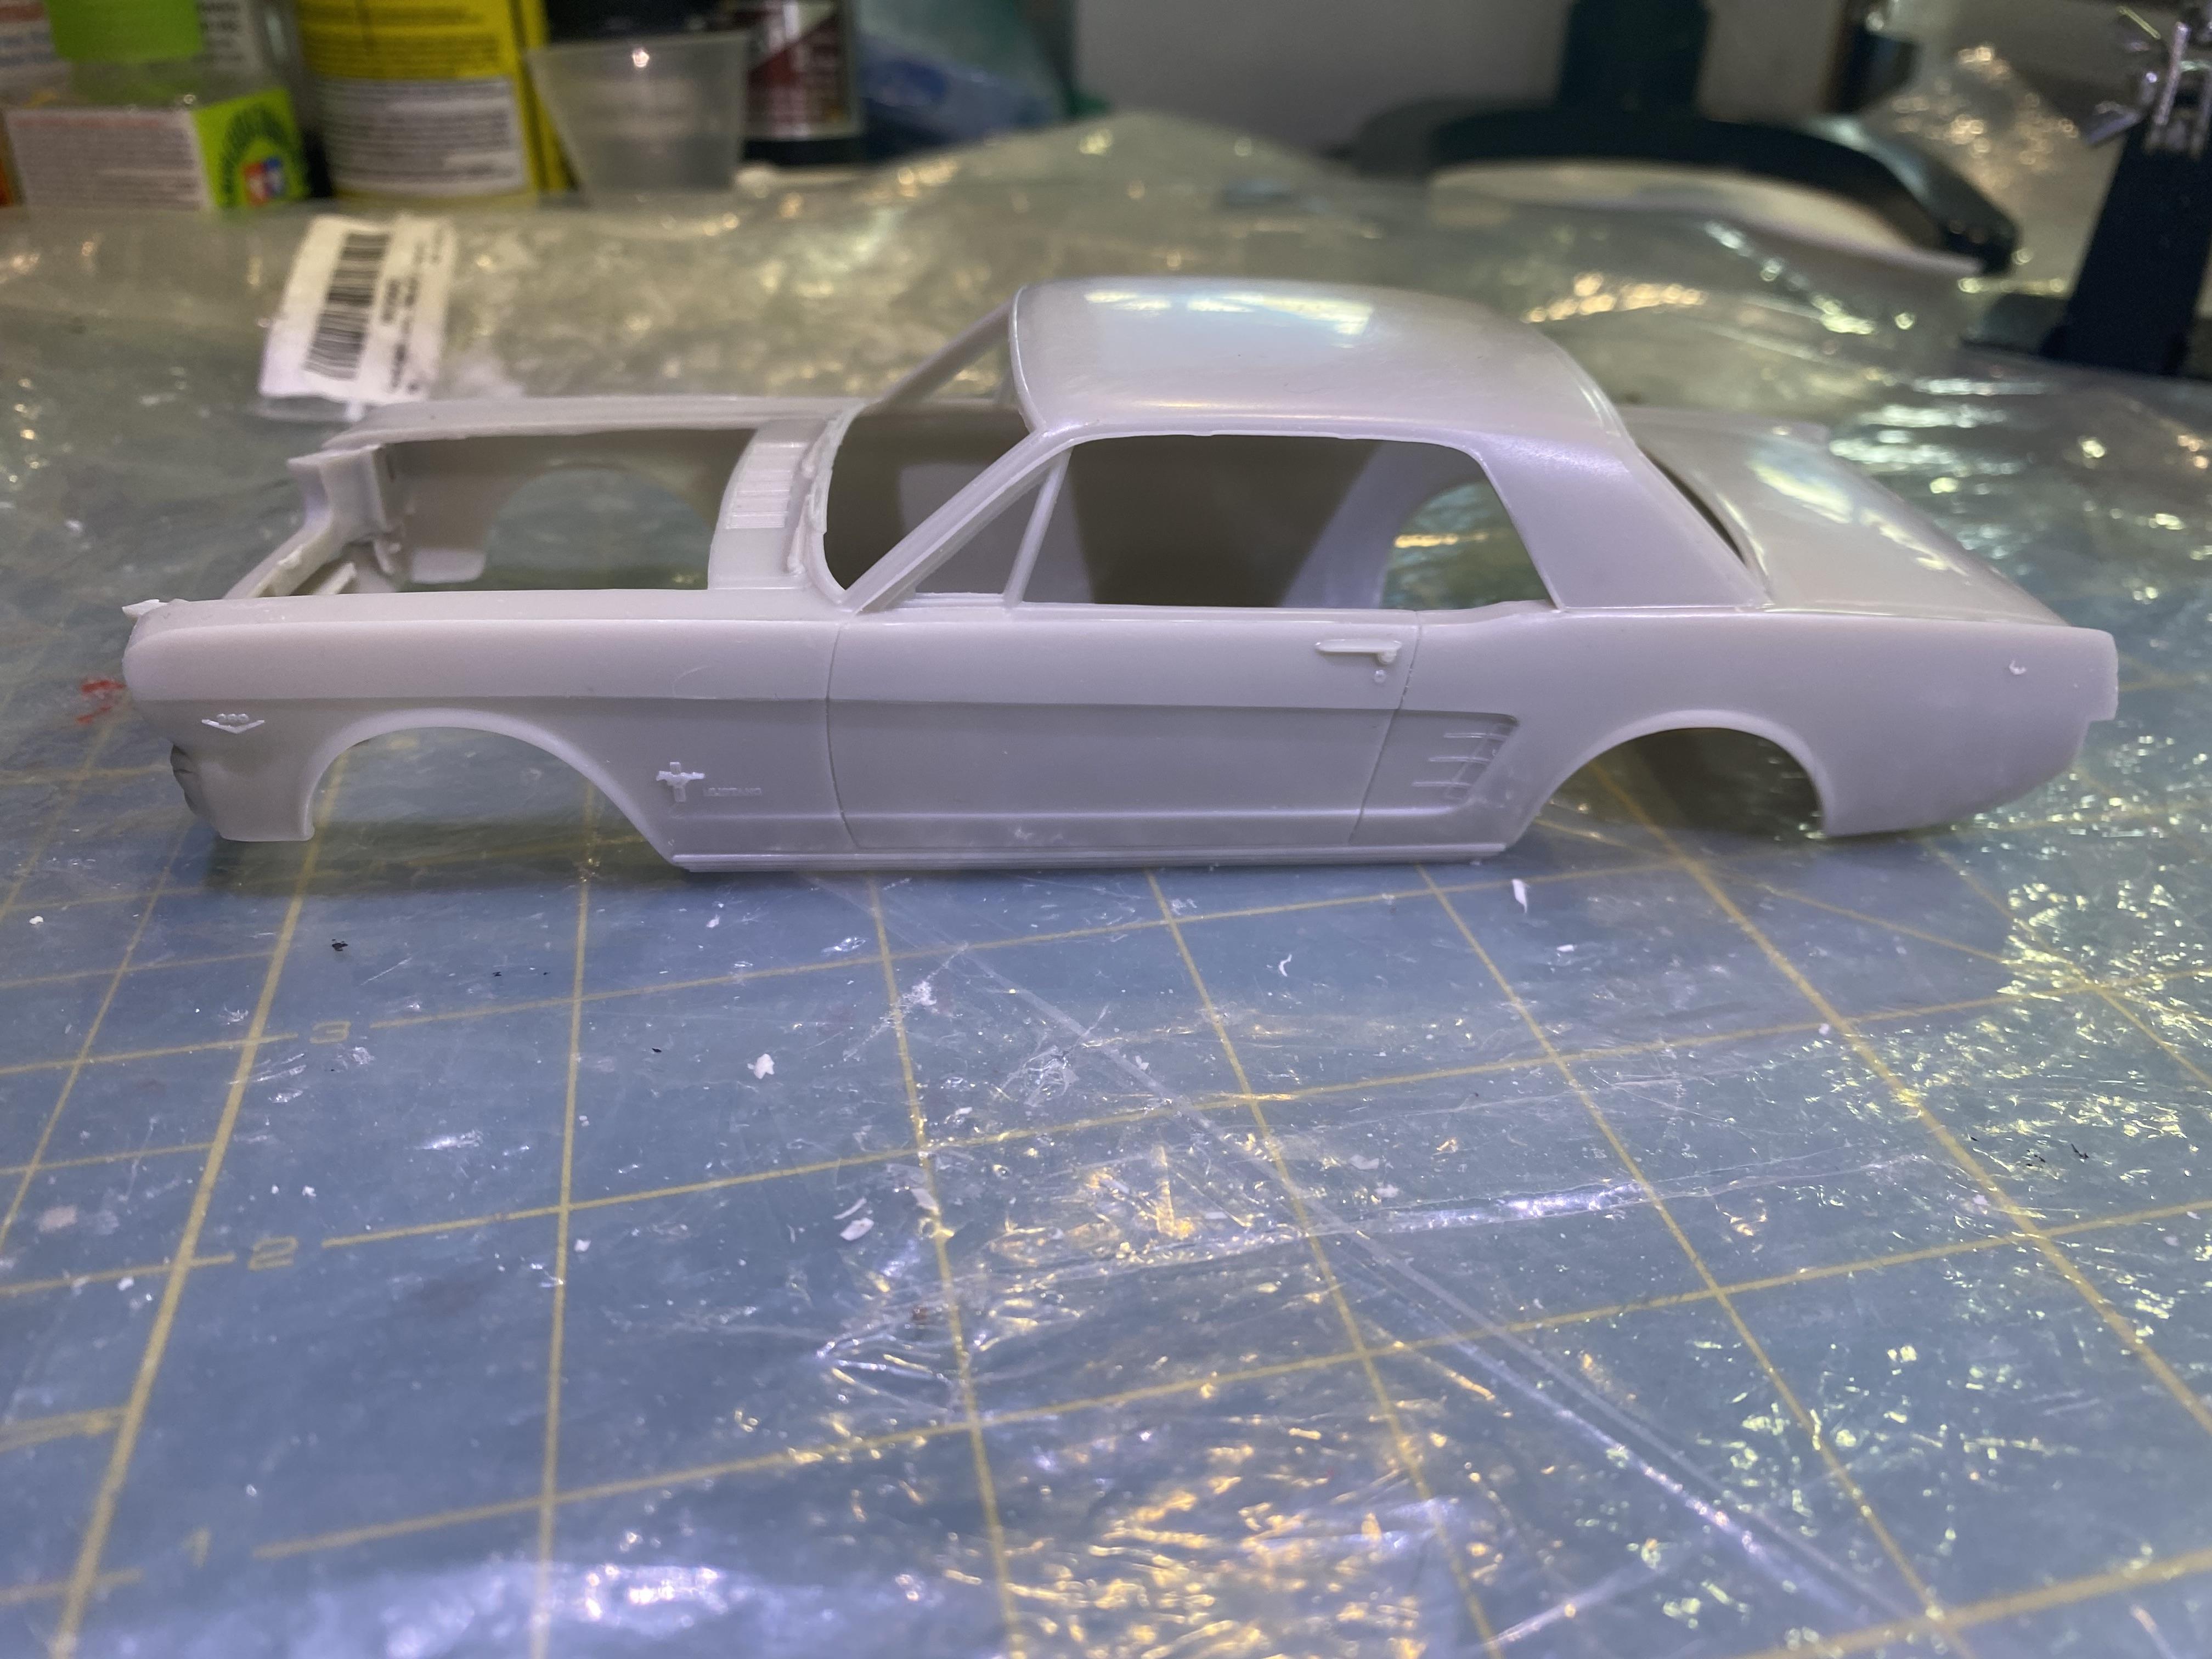
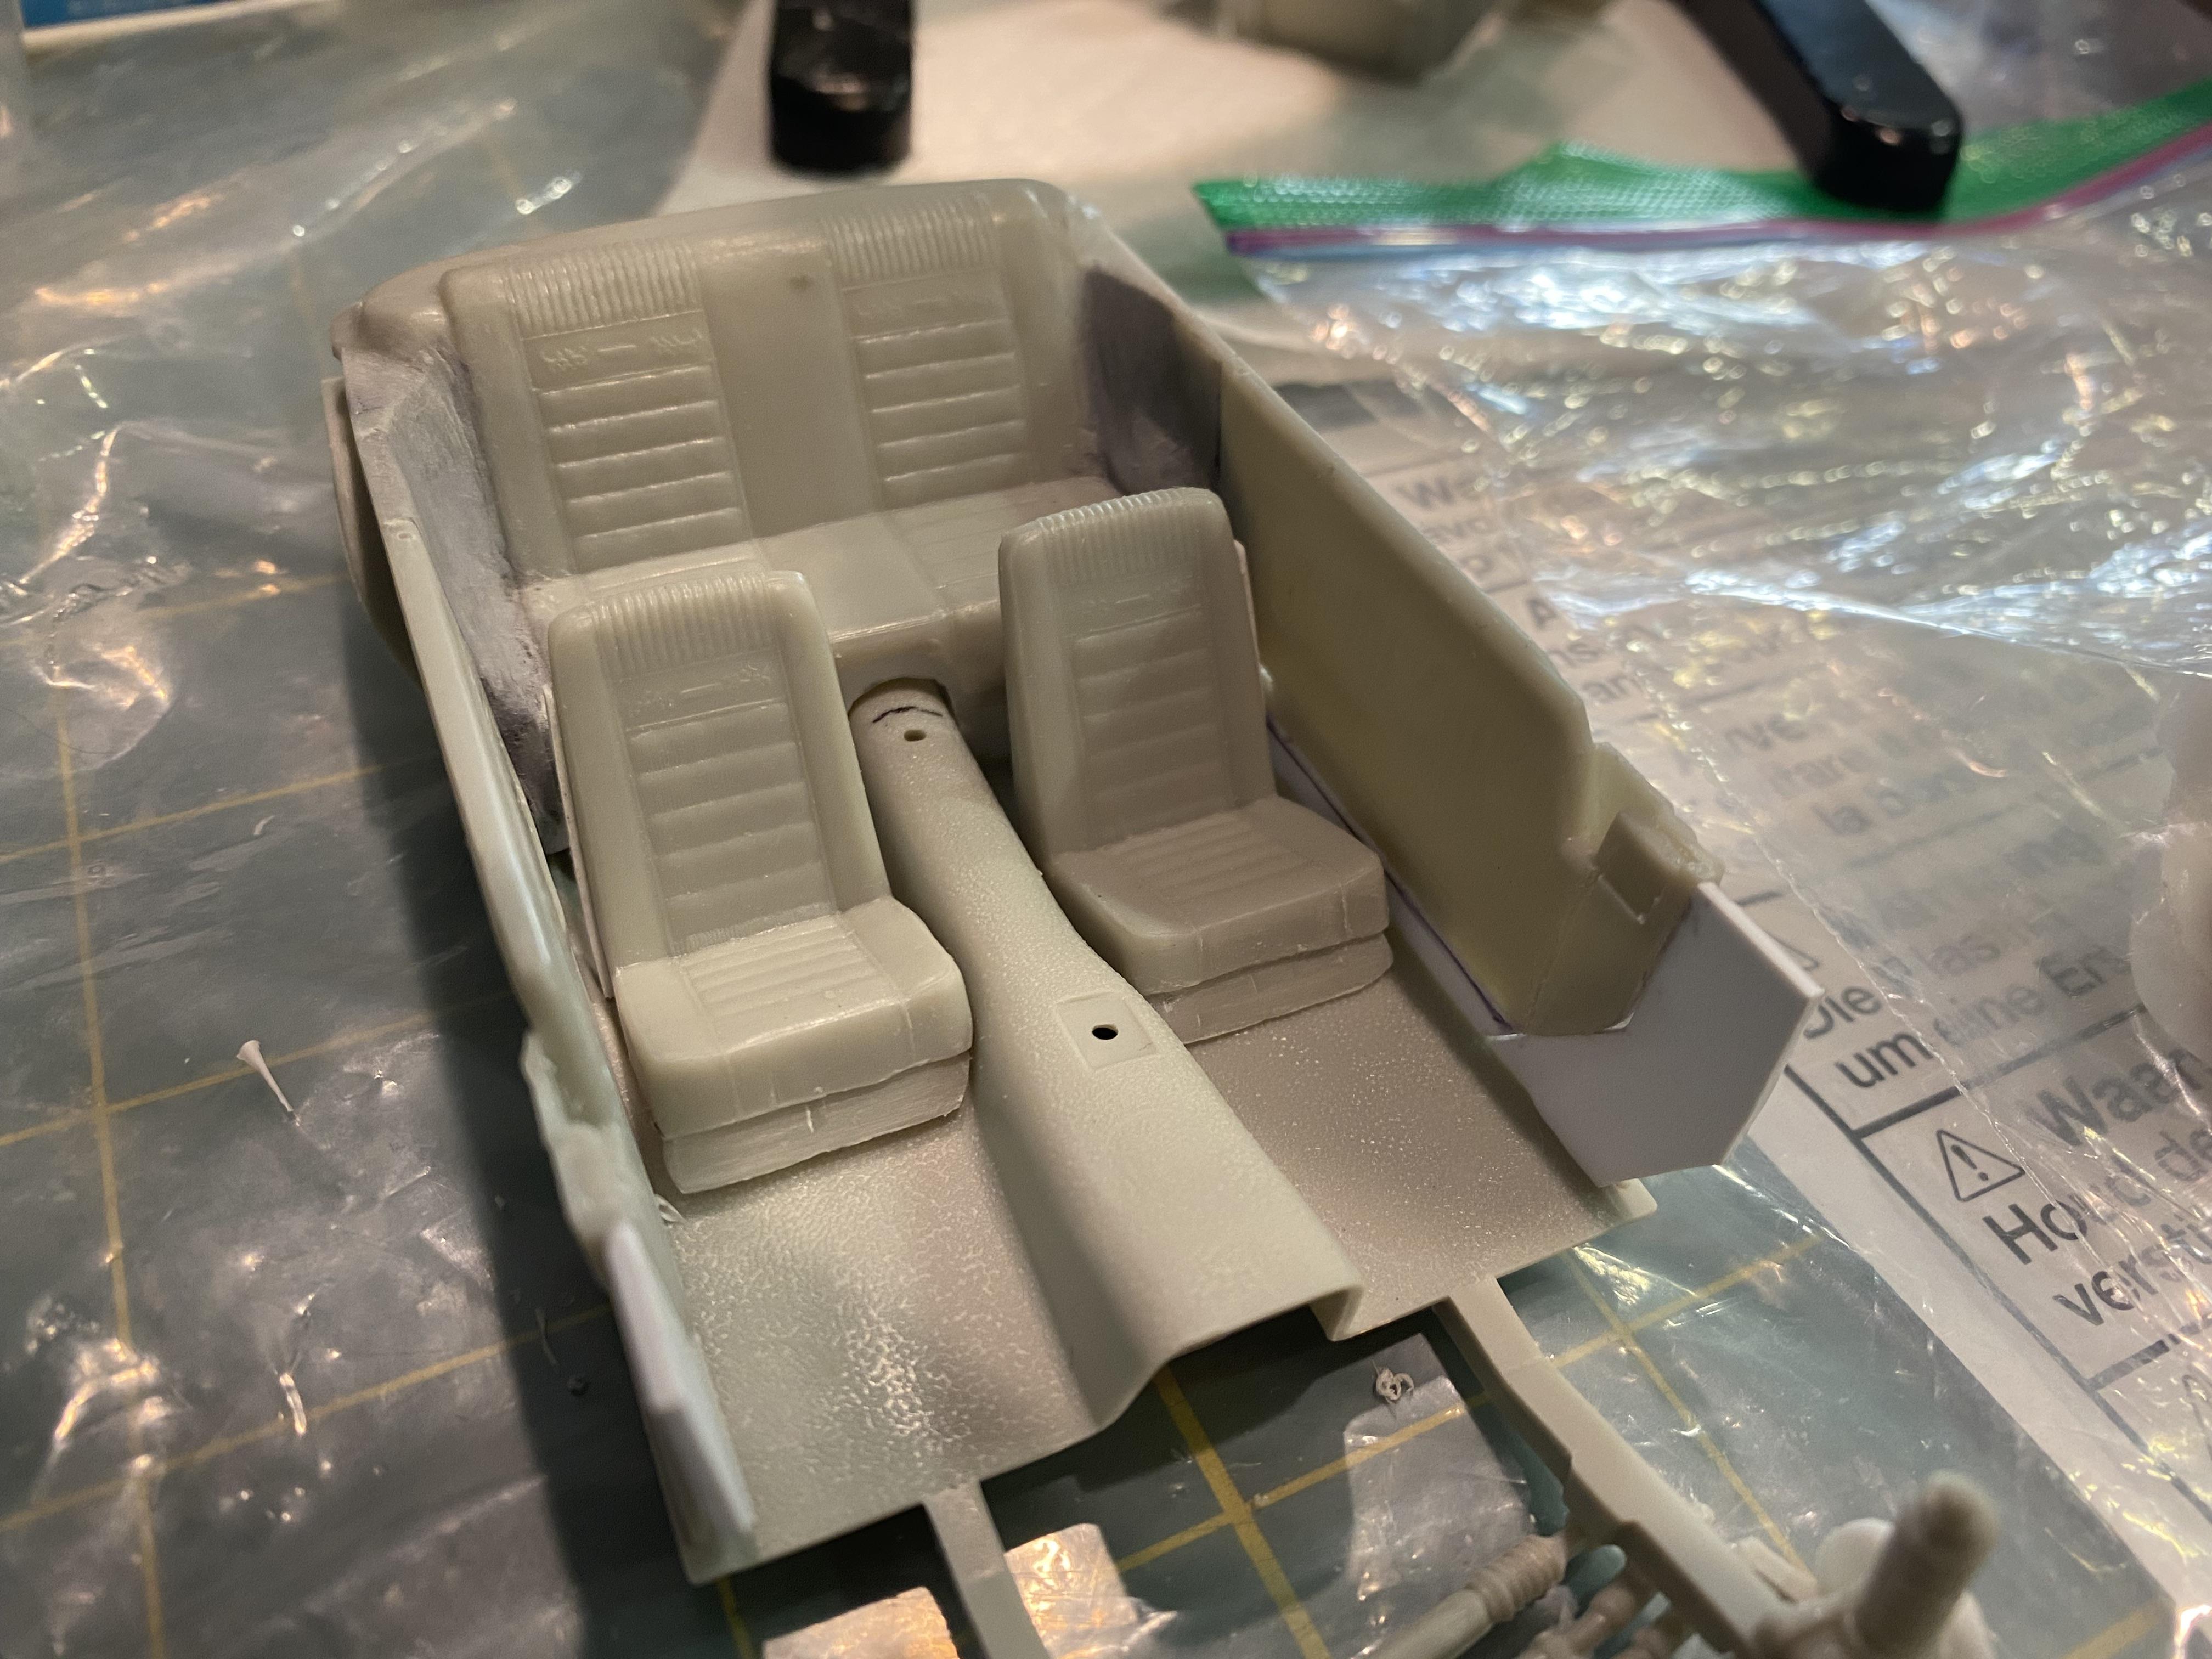
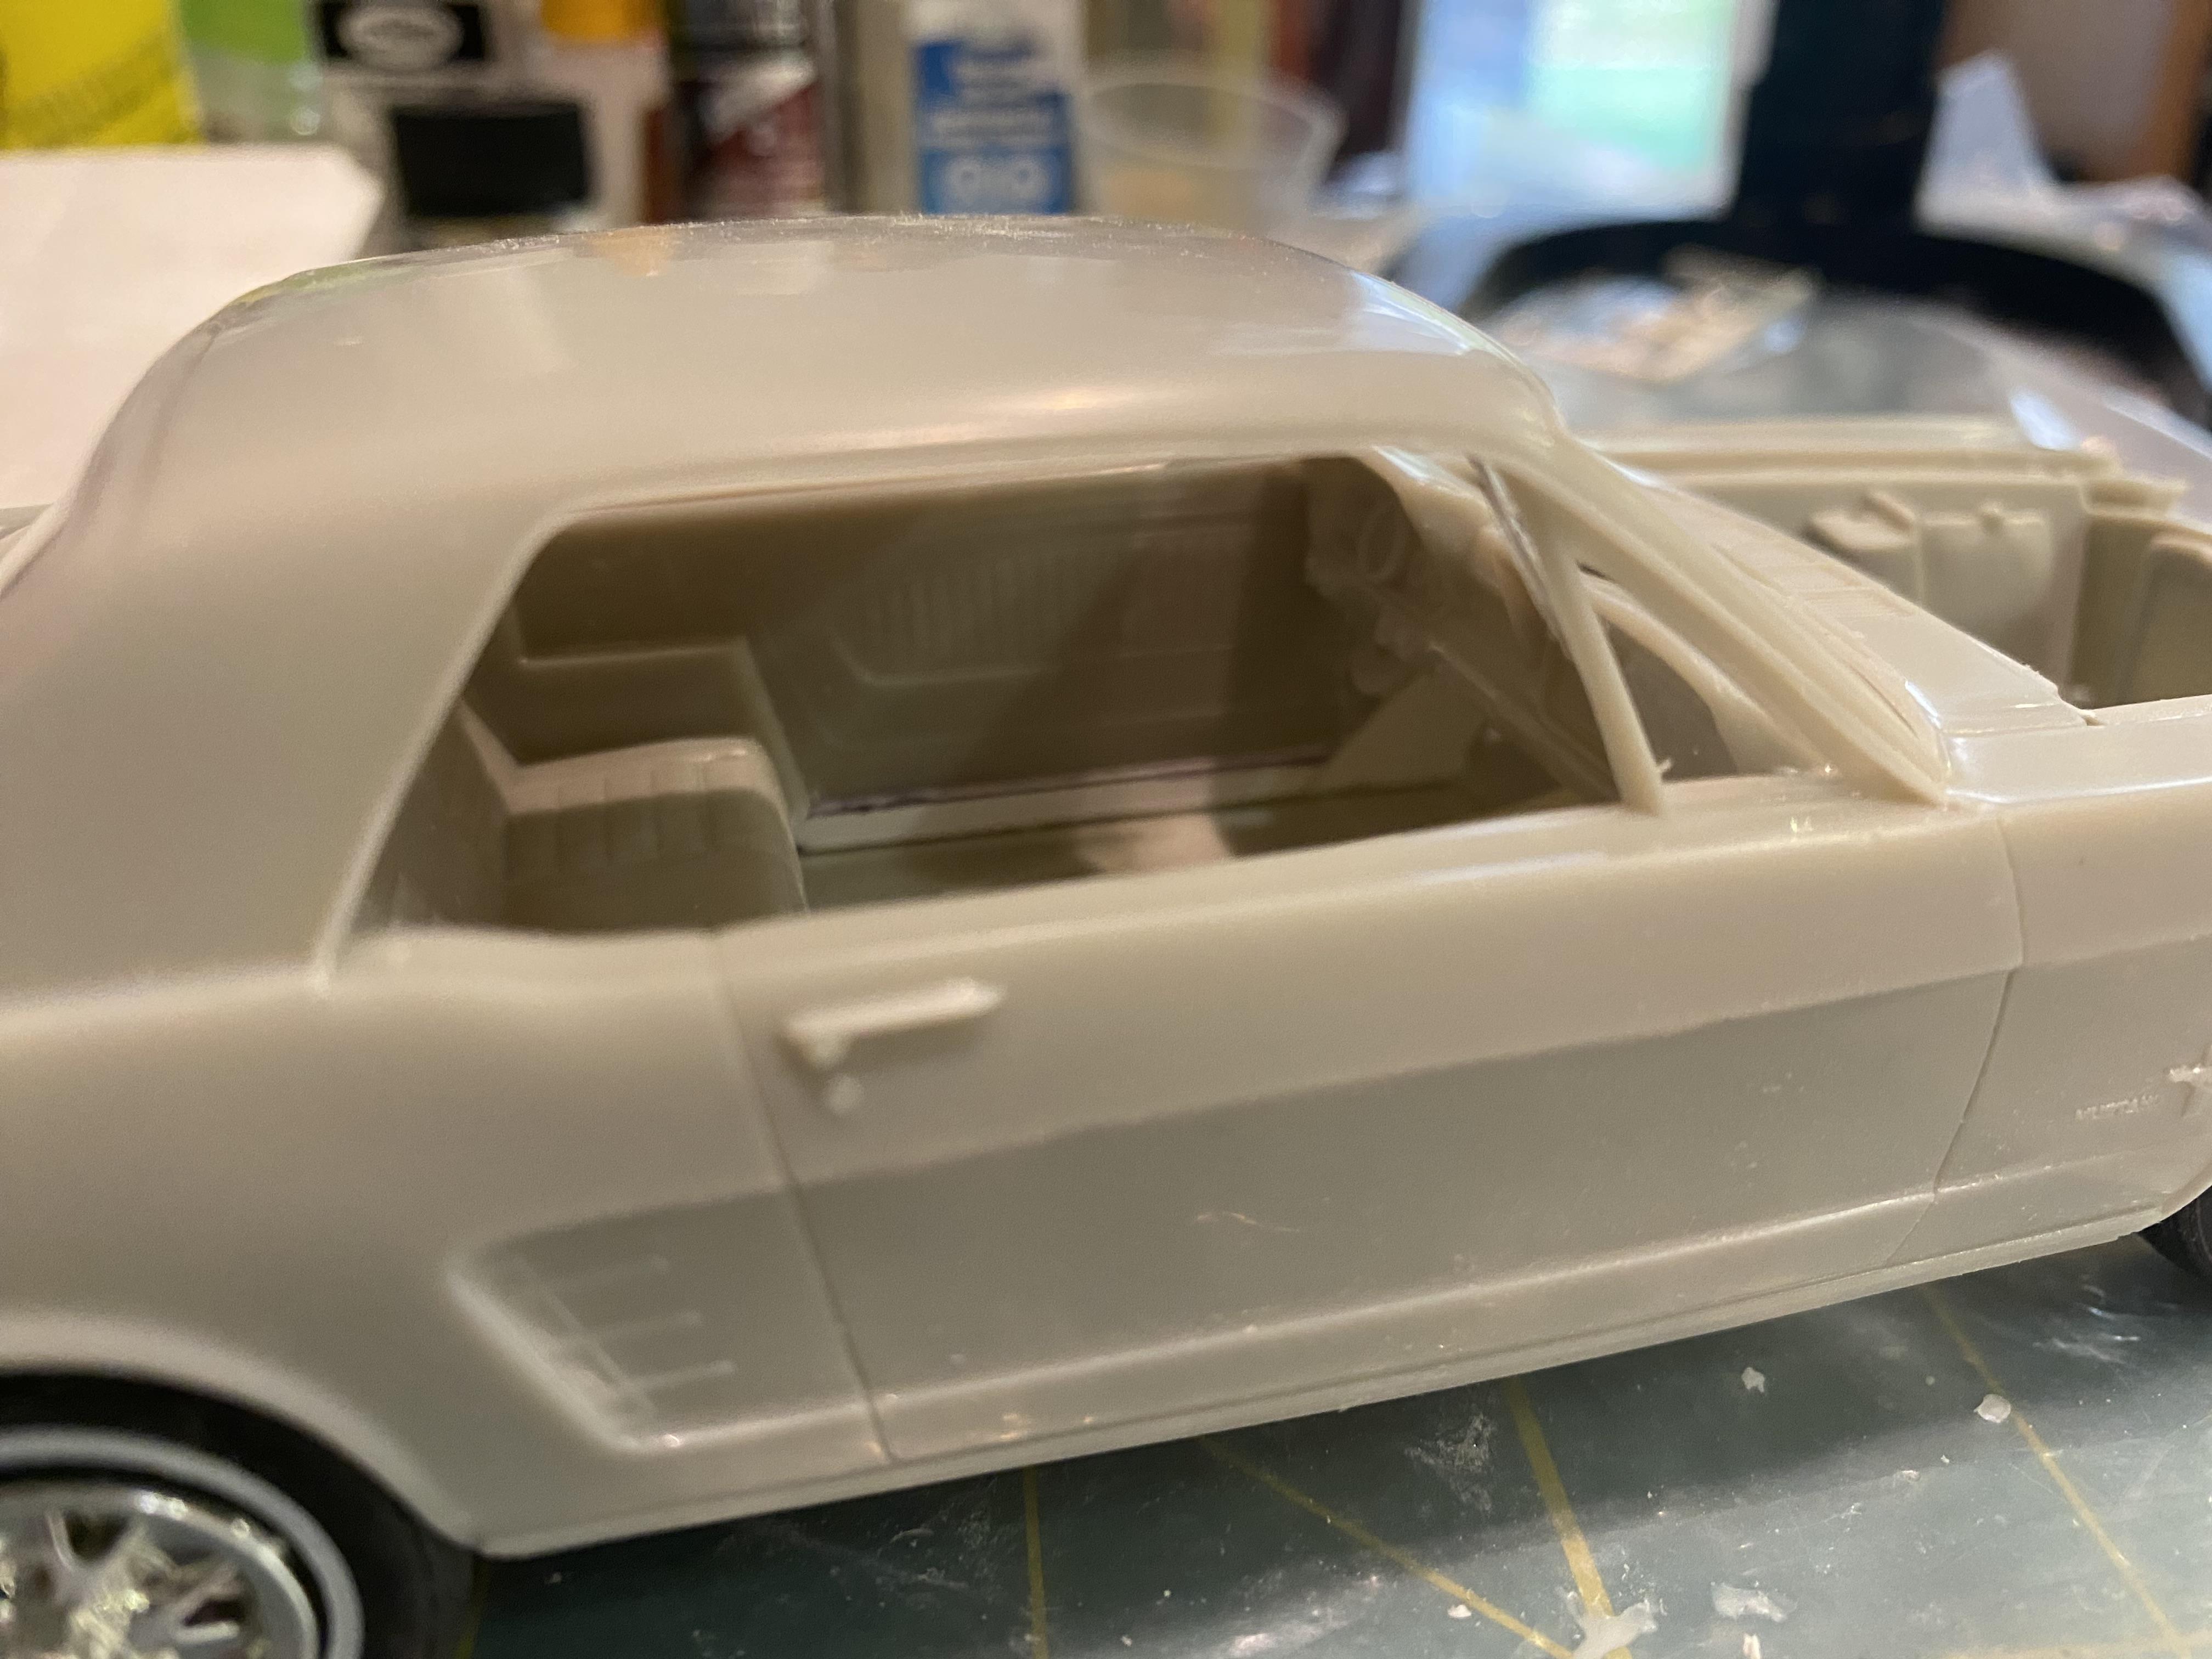
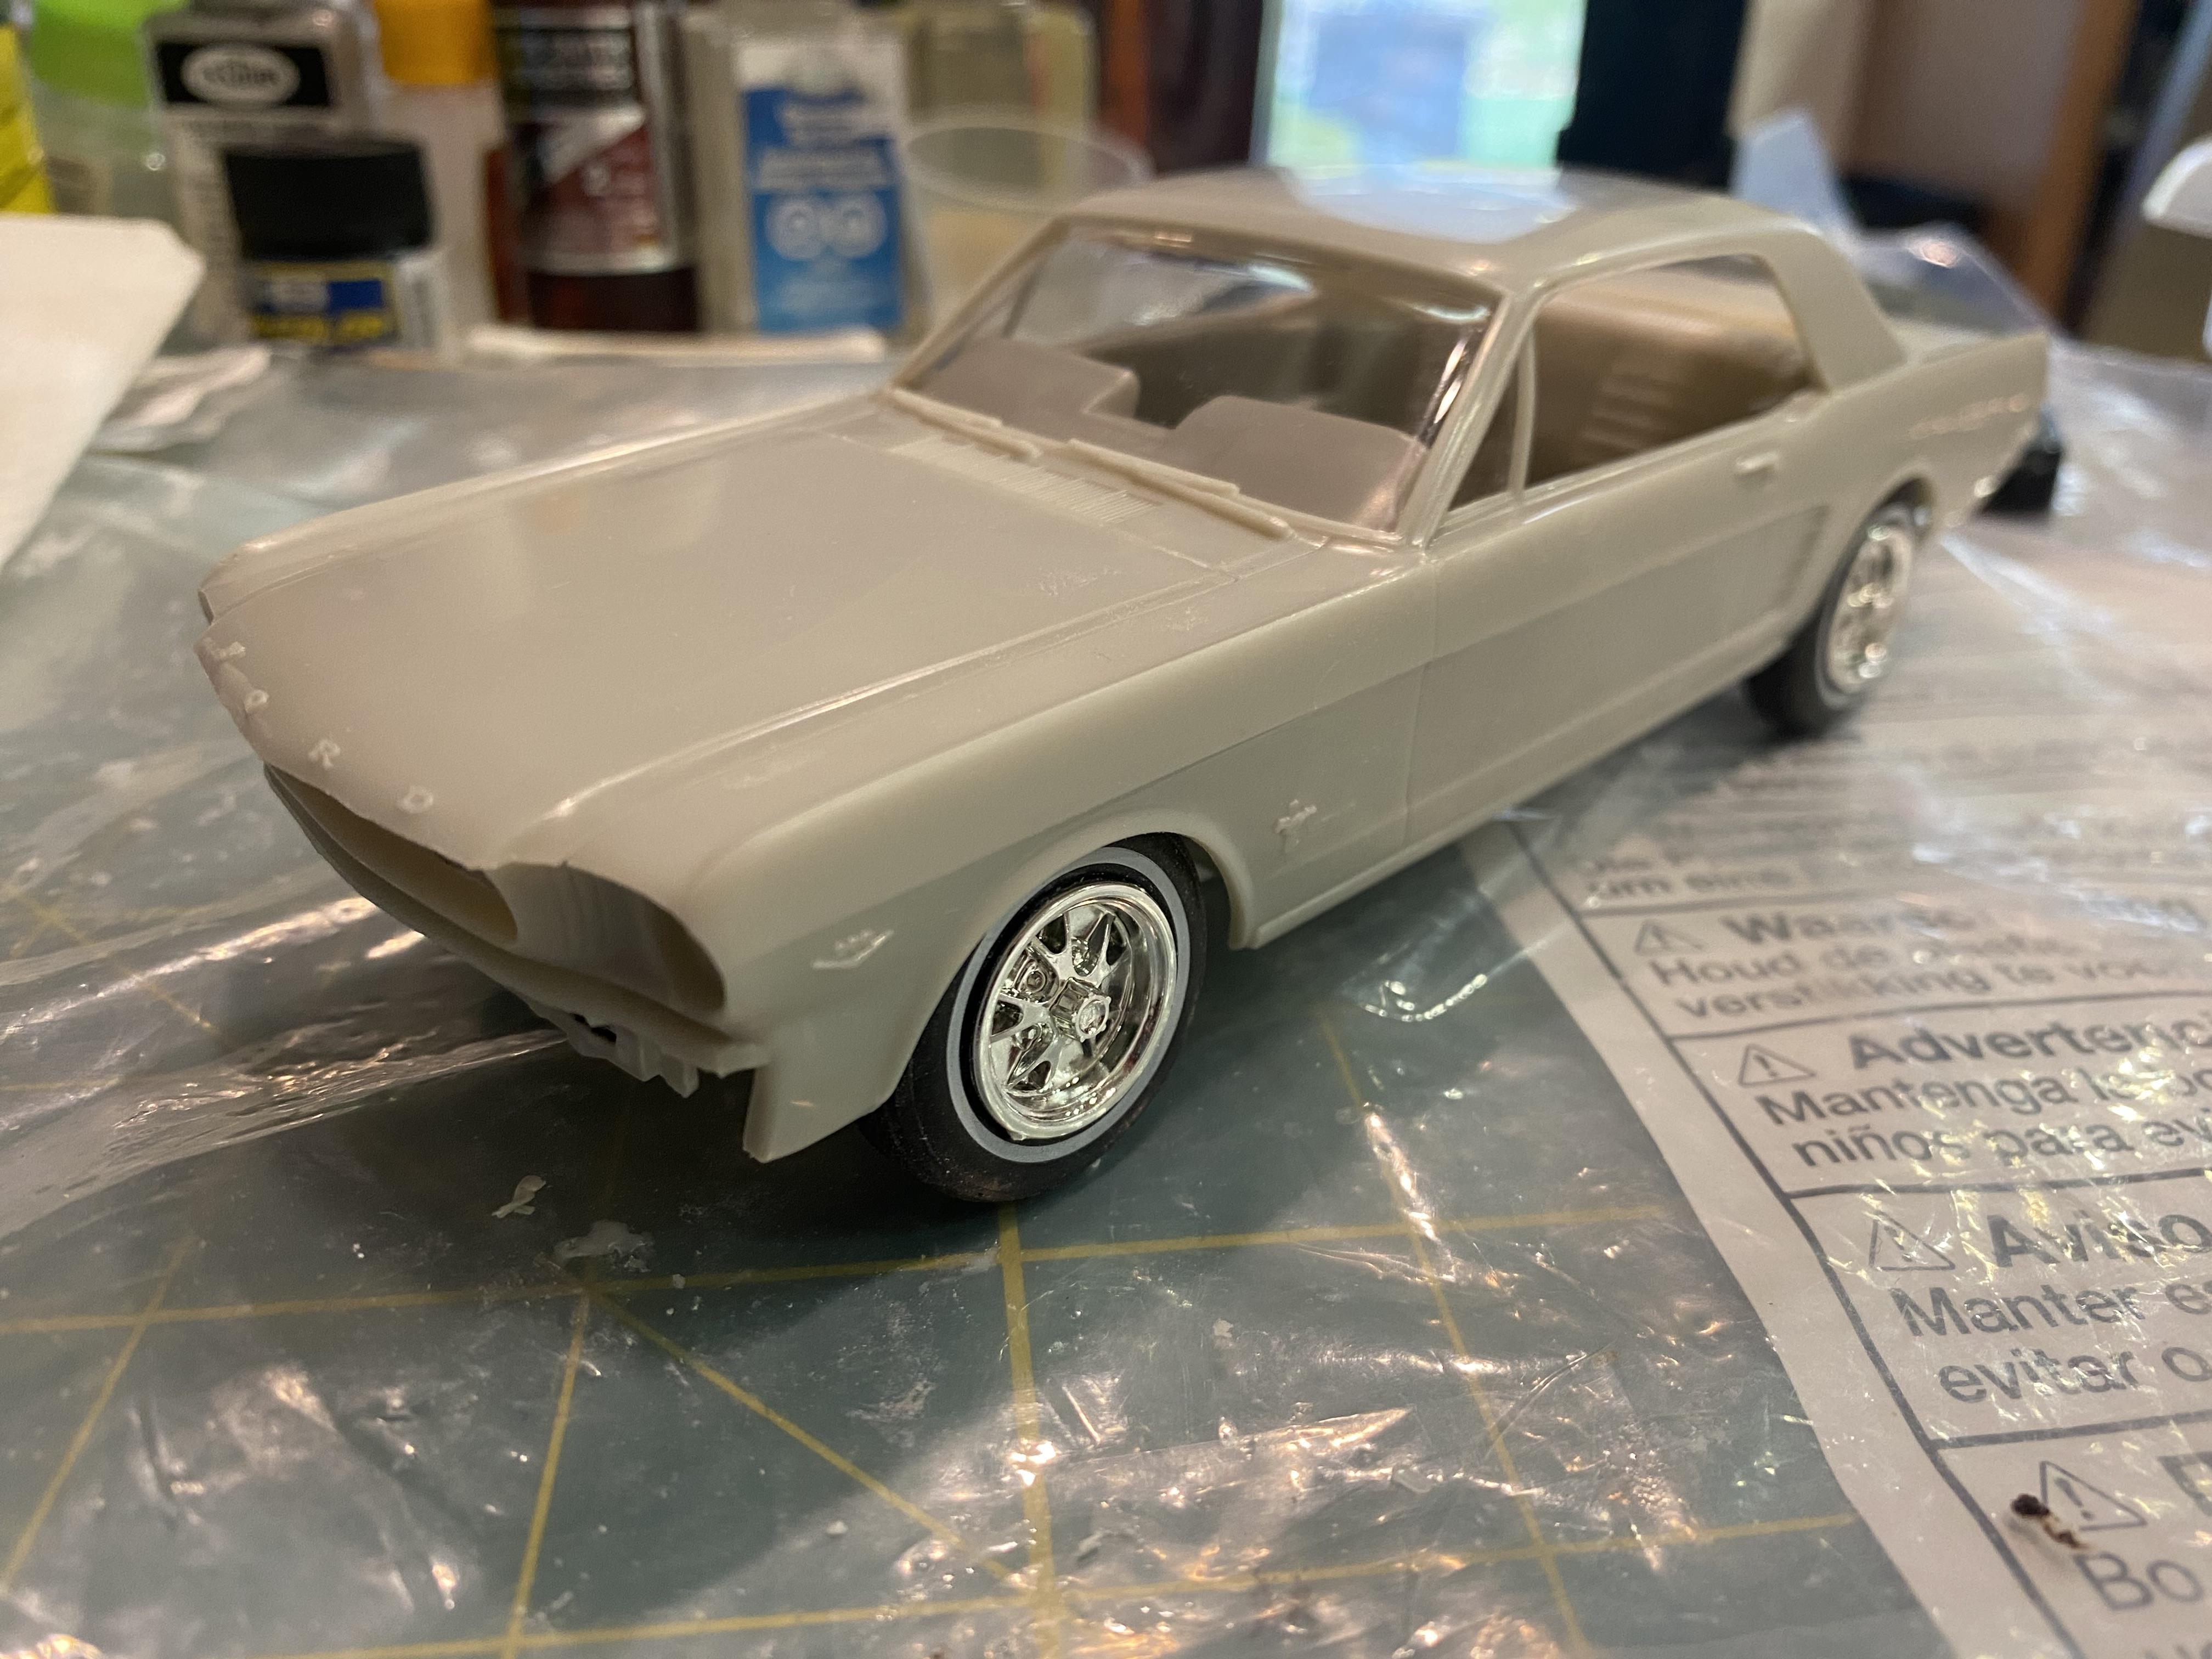
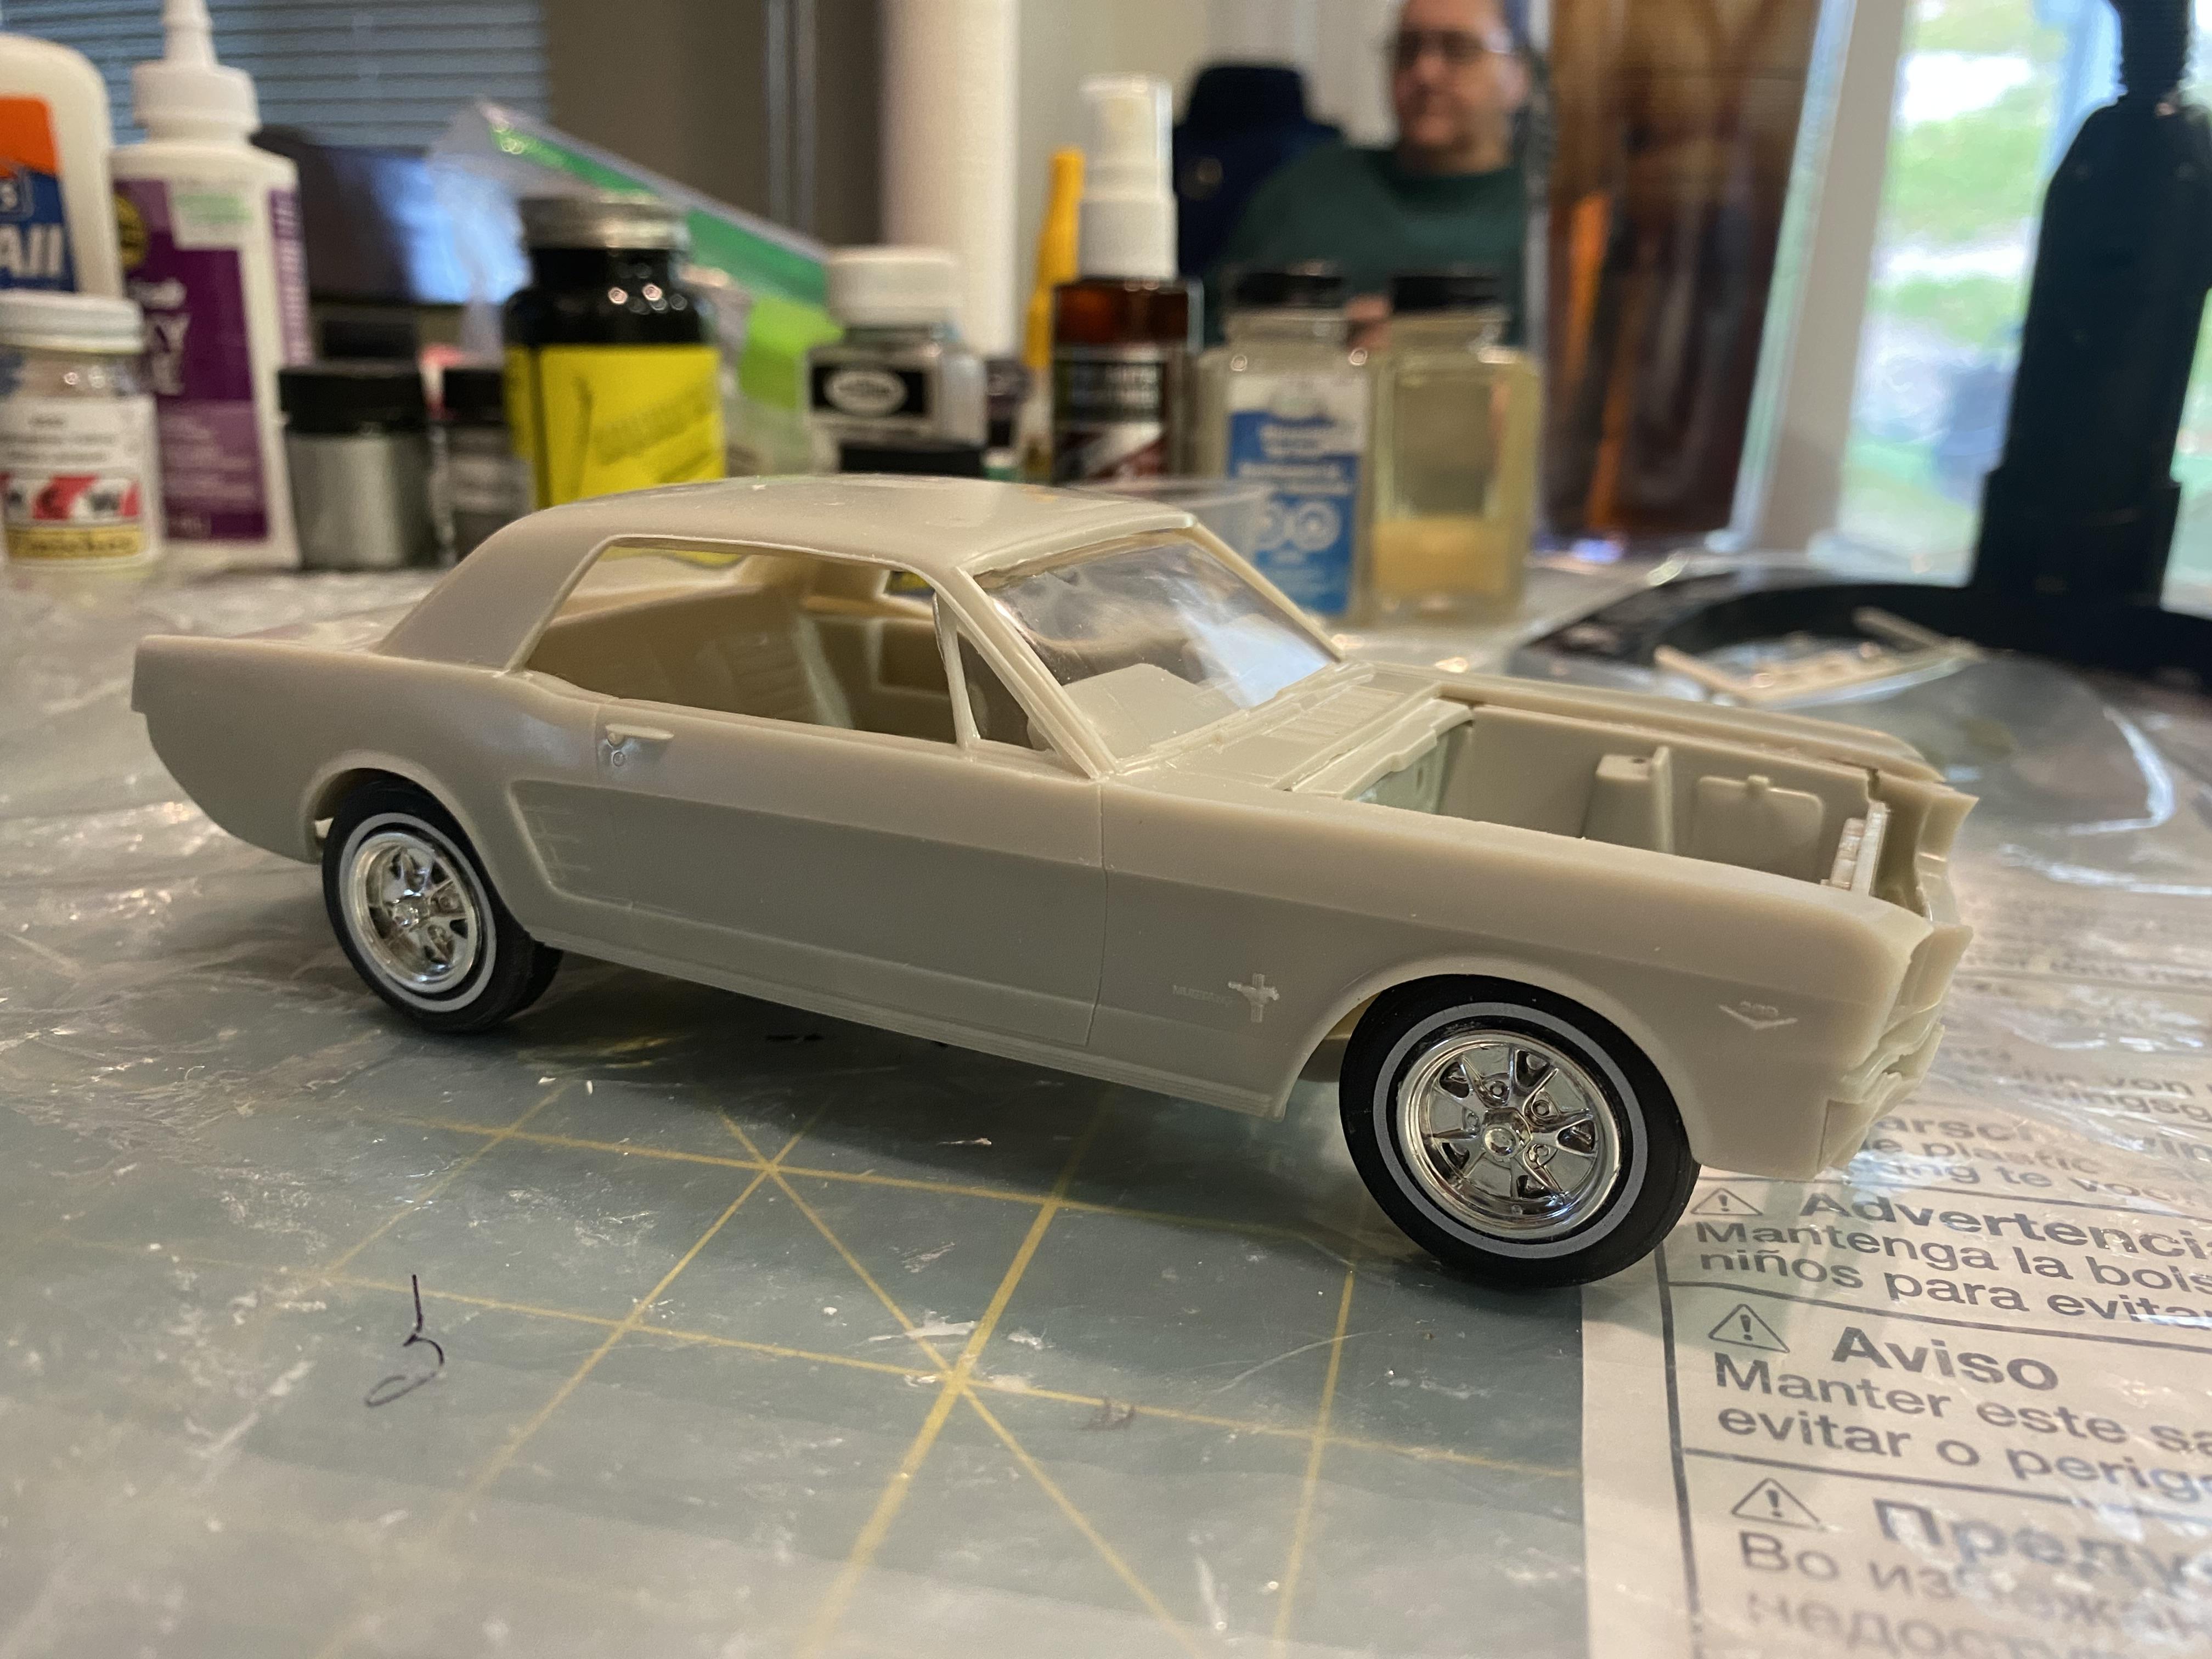
First white glue mock-up to test interior and suspension fit and alignment. The body appears to be tweaked and I will need to potentially heat gun the side to get it to fit properly. The door panel detail is terrible so I will be scratch building some pony door panels. May need to make a second set and revisit/update the convertible interior.
-
Thanks, I sent Gerry an email. Hopefully he still makes them.
-
Oh really? You have contact information?
-
@vamach1 That 68 Shelby Convertible body looks awesome! They aren't still available, are they? Another resin body I see floating around every once in a while, is a 1968 California Special body. That one would be on my grail list. I used to own a Lime Gold 1968 California Special.
-
@Musclecarbuilder, btw, I would start with the AMT 1967 Shelby Kit if you are going to kitbash. It uses the same chassis and suspension components as the great 1967 Mustang GT kit, and you may only need to change out the nose and taillights to convert it to a 1968 Shelby. Also I get the coin battery and cover it in the trunk, so it looks like a spare tire. something to consider.
-
https://evandesigns.com/ I tried to get some LEDs from amazon, but they were not as bright. The old you get what you pay for may apply here. They have a car kit that includes the headlights and taillights and I add a green LED for the gauges.
-
Well, mostly. The louvered hood was resin cast from a 1968 Mustang Revell Kit and cut down to fit. The engine was a resin and scratch built. The Wheel covers I resin cast from an original set of 1967 promo wheel covers... so I guess those do count as AMT.
-
Nice group of cars!