TheBEAUMONTGURU
-
Posts
277 -
Joined
-
Last visited
Content Type
Profiles
Forums
Events
Gallery
Everything posted by TheBEAUMONTGURU
-
 Im thinking of venturing into using those little tiny round rare earth magnets for my next projects hood hinges. As many others on this site are doing this as well, and i really like the idea. so what have you found works best? I see on amazon ones that are 3mm x 1mm. but there are a few sellers with even smaller 2mmx 1 mm . rounds. Also what type of glue are you guys using? and have you had any problems with them being too strong magnatism? where they pull out of the glue. also are you putting the magnets in the body or hte hinge? seems to me most hood hinges are pretty thin, but then again so are the magnets?
 -
1969 Camaro - Stone Stock Base Model
TheBEAUMONTGURU replied to TheBEAUMONTGURU's topic in WIP: Model Cars
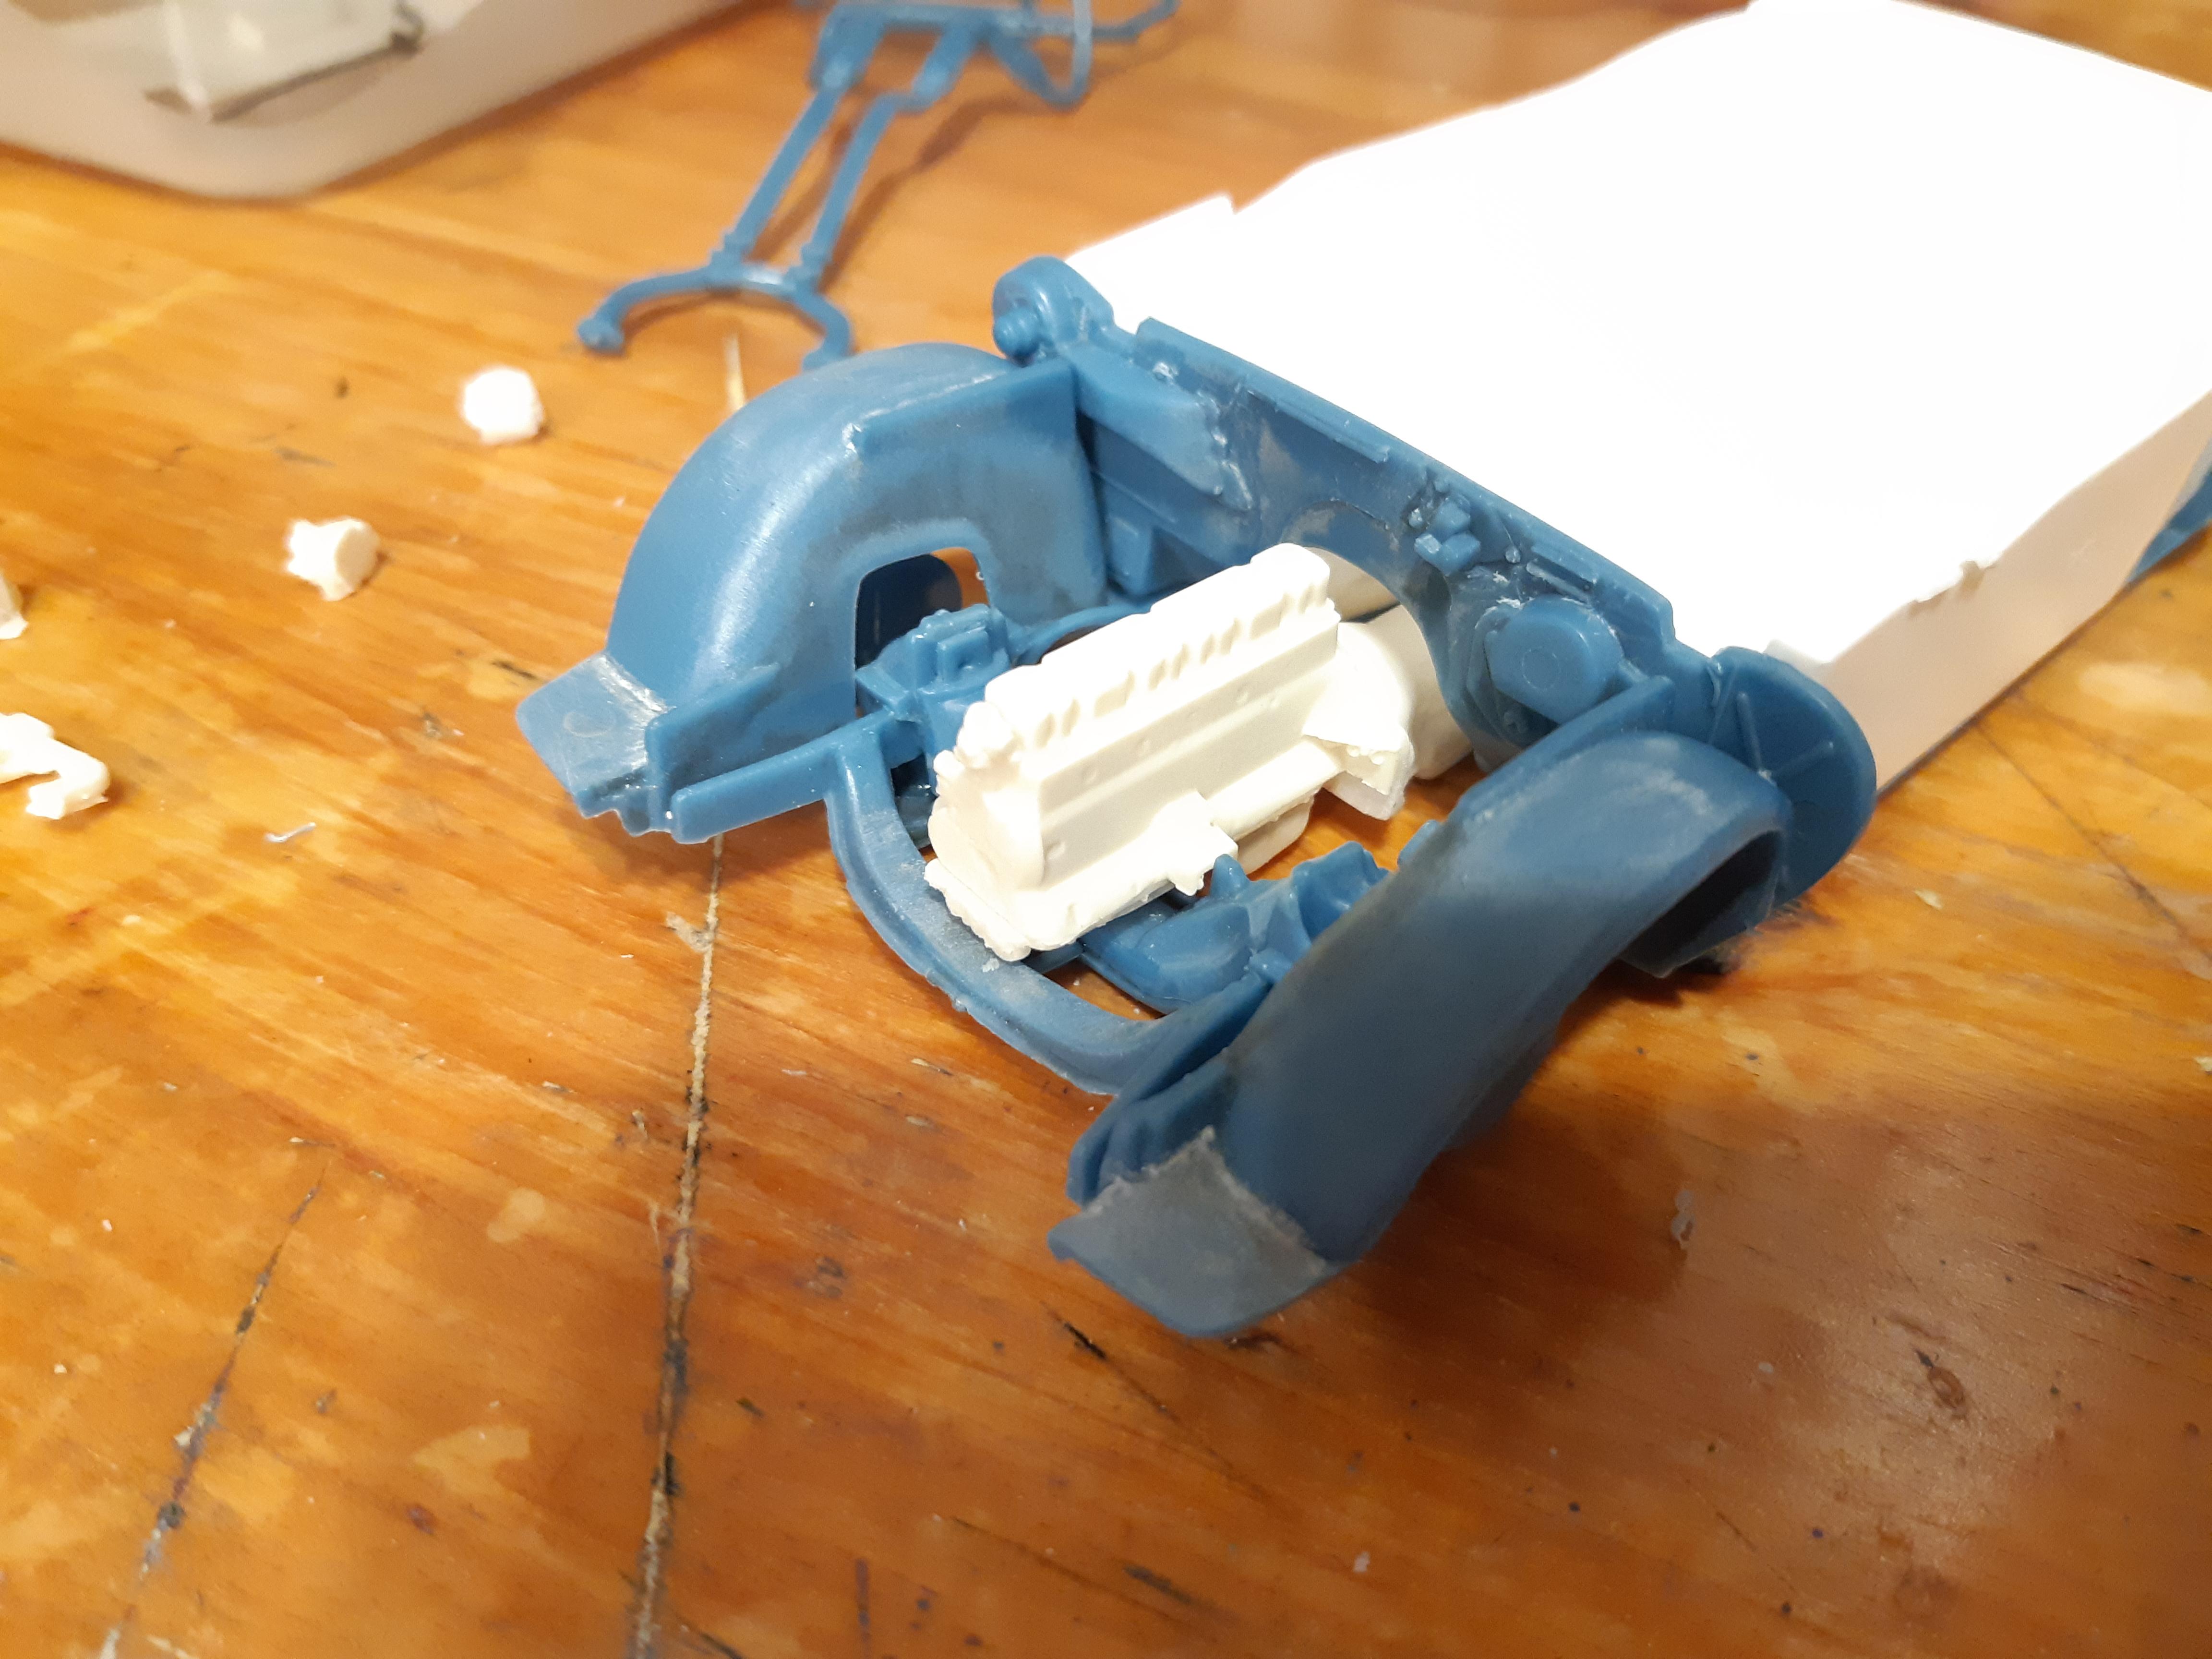
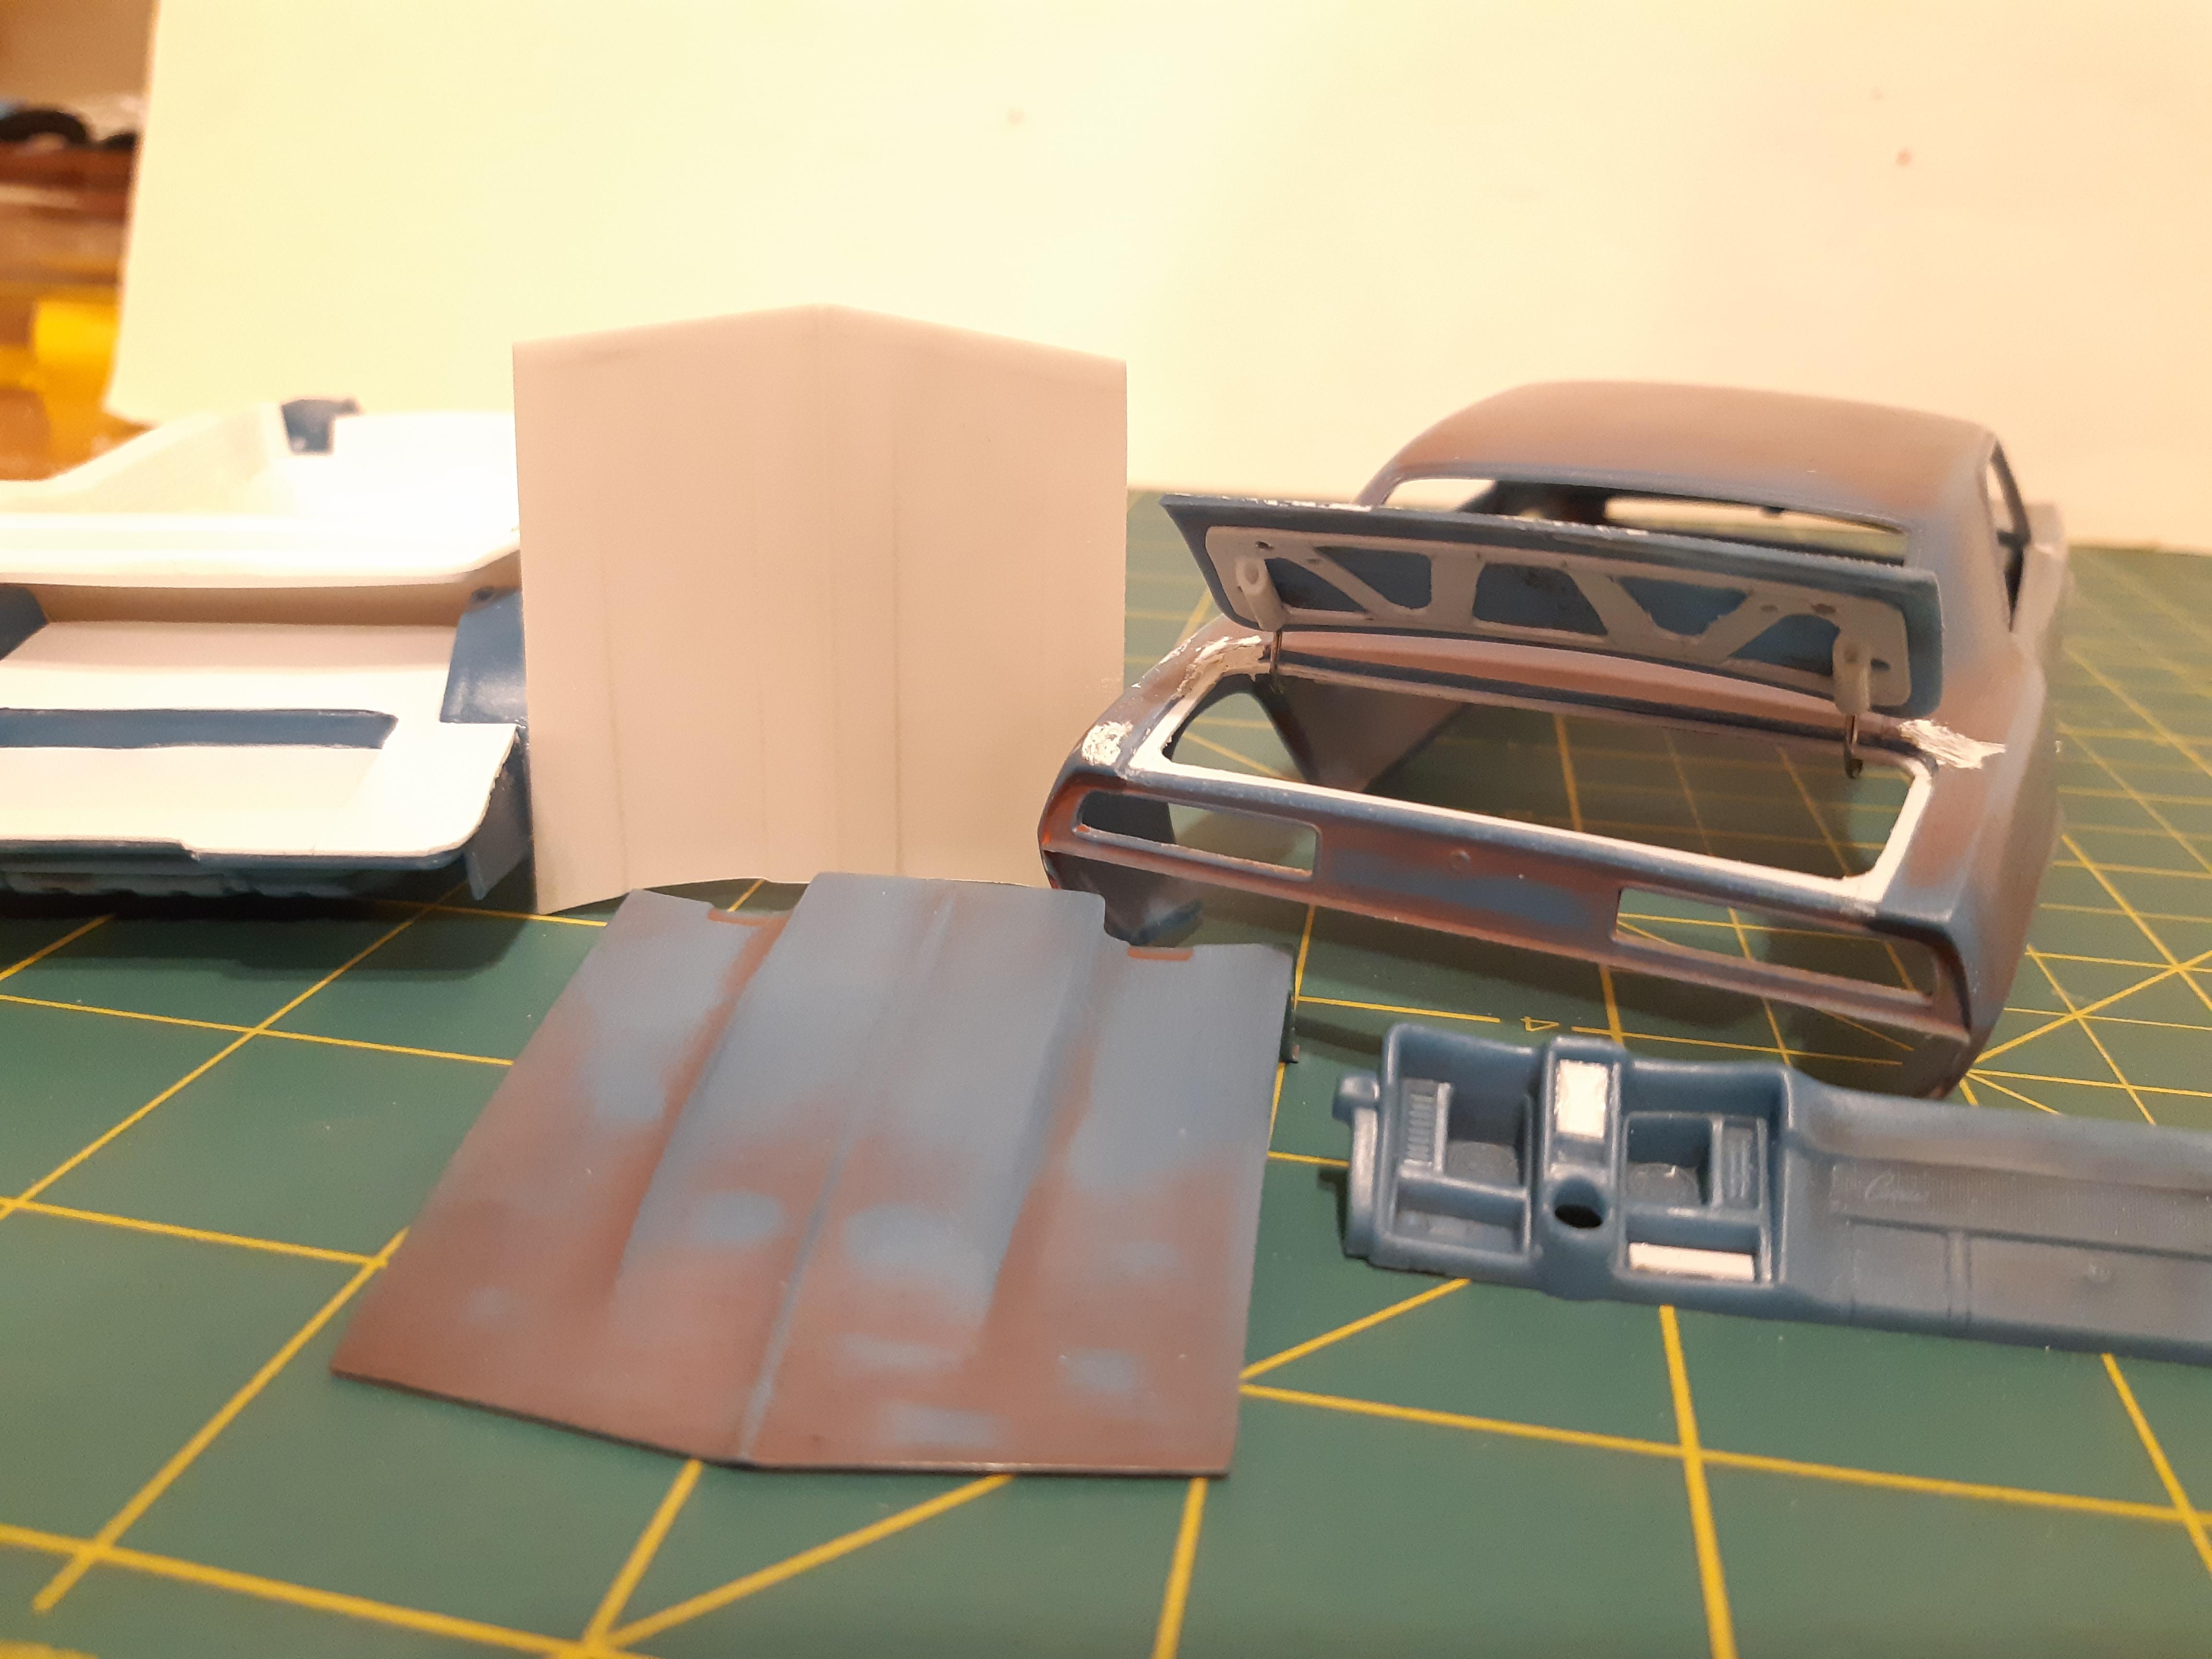
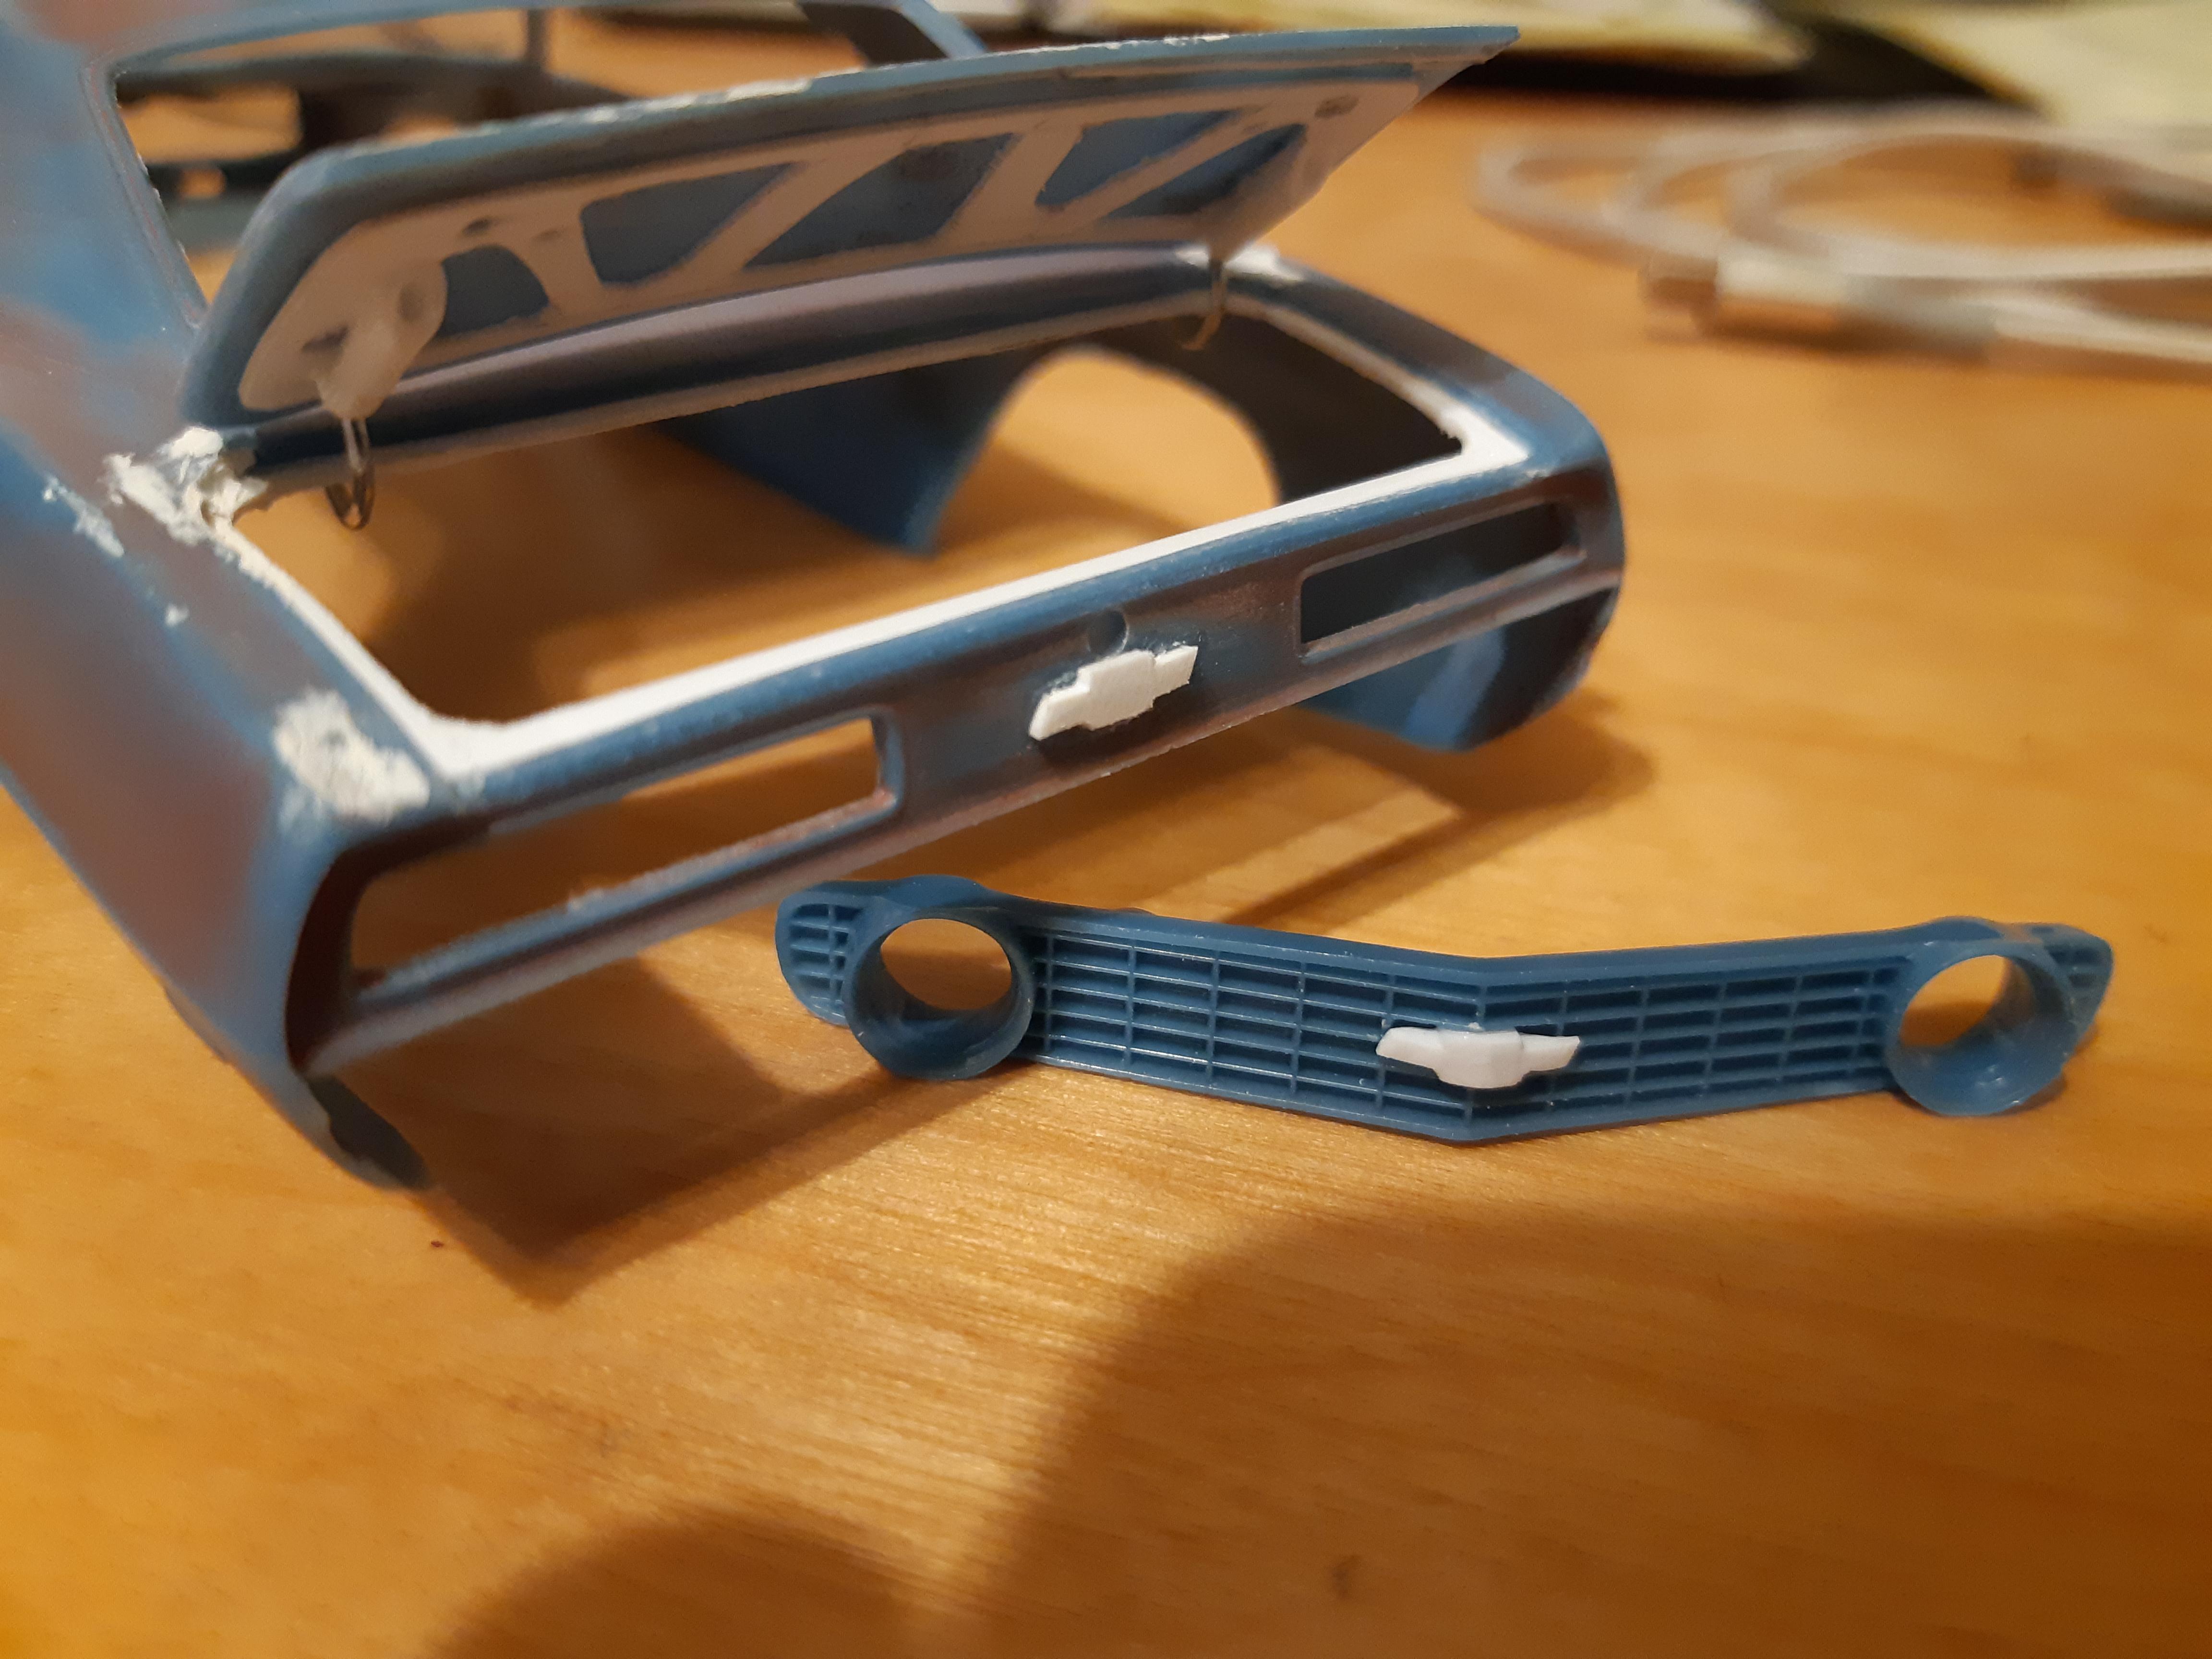
I just scraped the wheelwell trim off on kind of a 45 degree angle with a Xacto blade, crude, but worked! I decided to try opening the grill, took me over an hour to get it all done and clean each rectangle, but its gonna be great!! I glued a powerglide(torque drive actually) to a straight 6. I made multiple 6 cyl oil pans when i cast the 6 cyl, the whole thing is going to fall into place perfectly in the camaro chassis, almost no blocks or buildups needed.
-
1969 Camaro - Stone Stock Base Model
TheBEAUMONTGURU replied to TheBEAUMONTGURU's topic in WIP: Model Cars
Thanks, the 6 cyl will come from my pile of resin cast 1963 Trumpeter Nova ones. Its the best 194/230/250 out there without going 3D. Will look similar to my Canso and impala motor when done
-
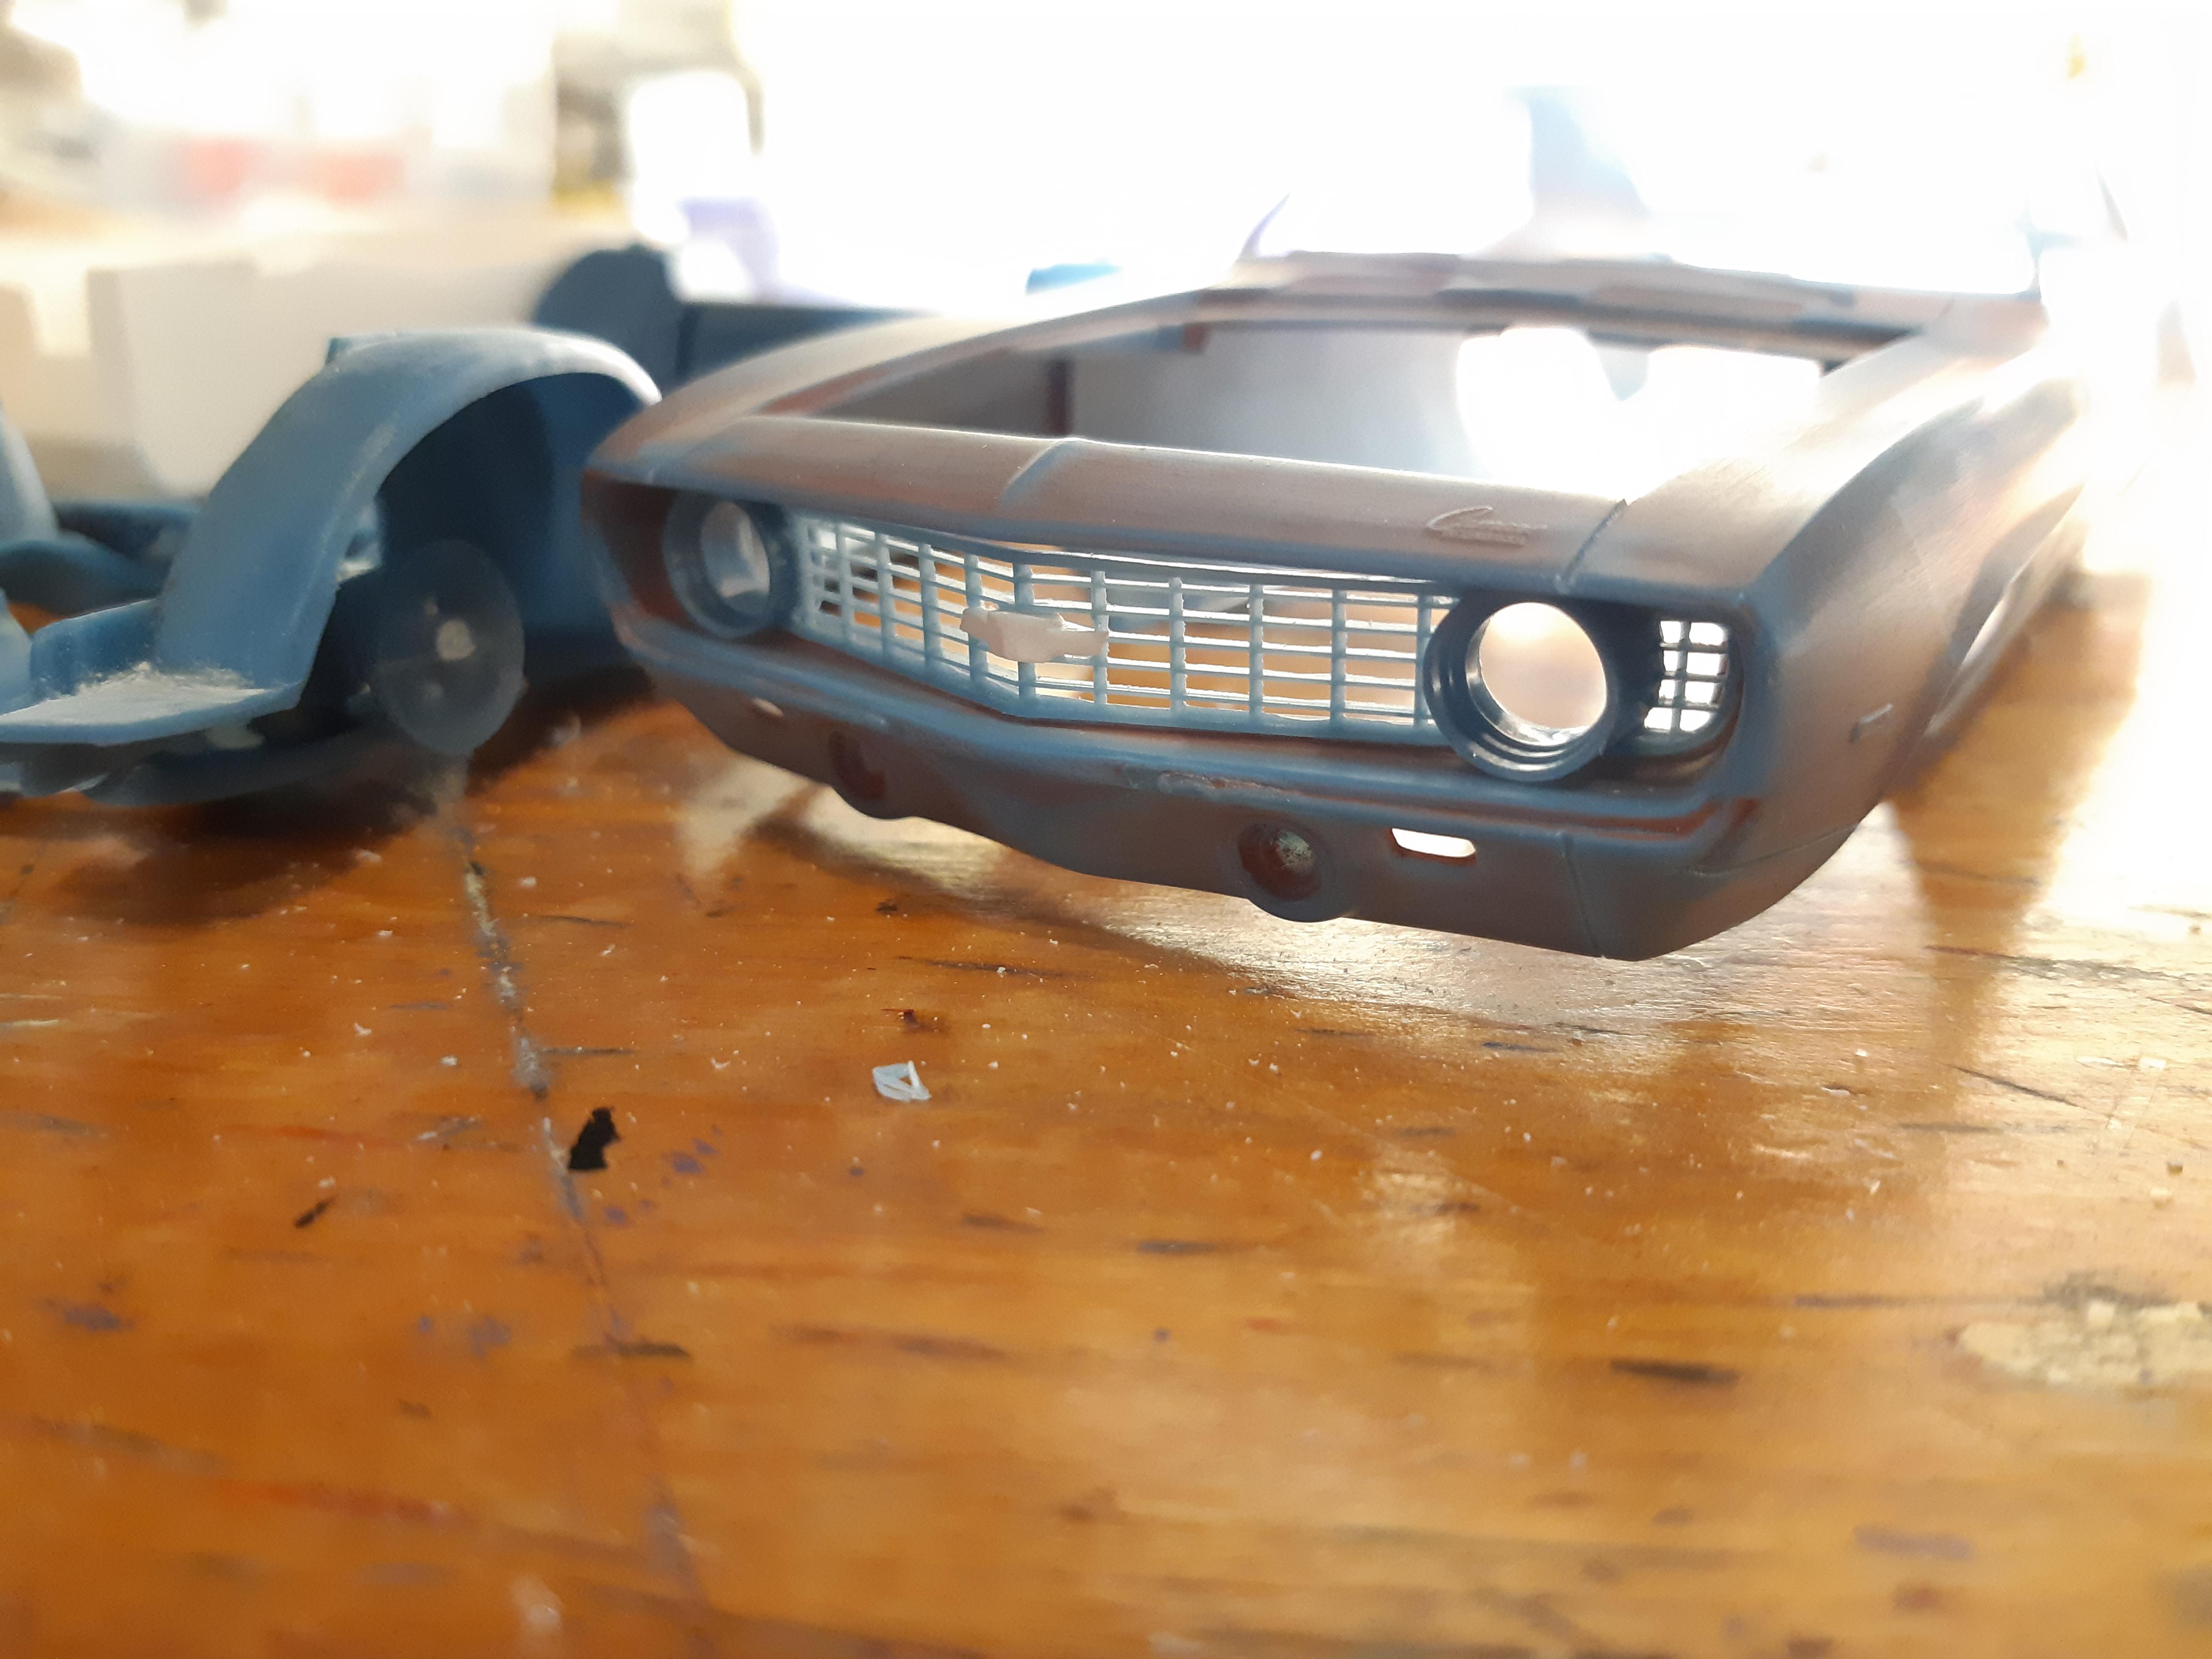
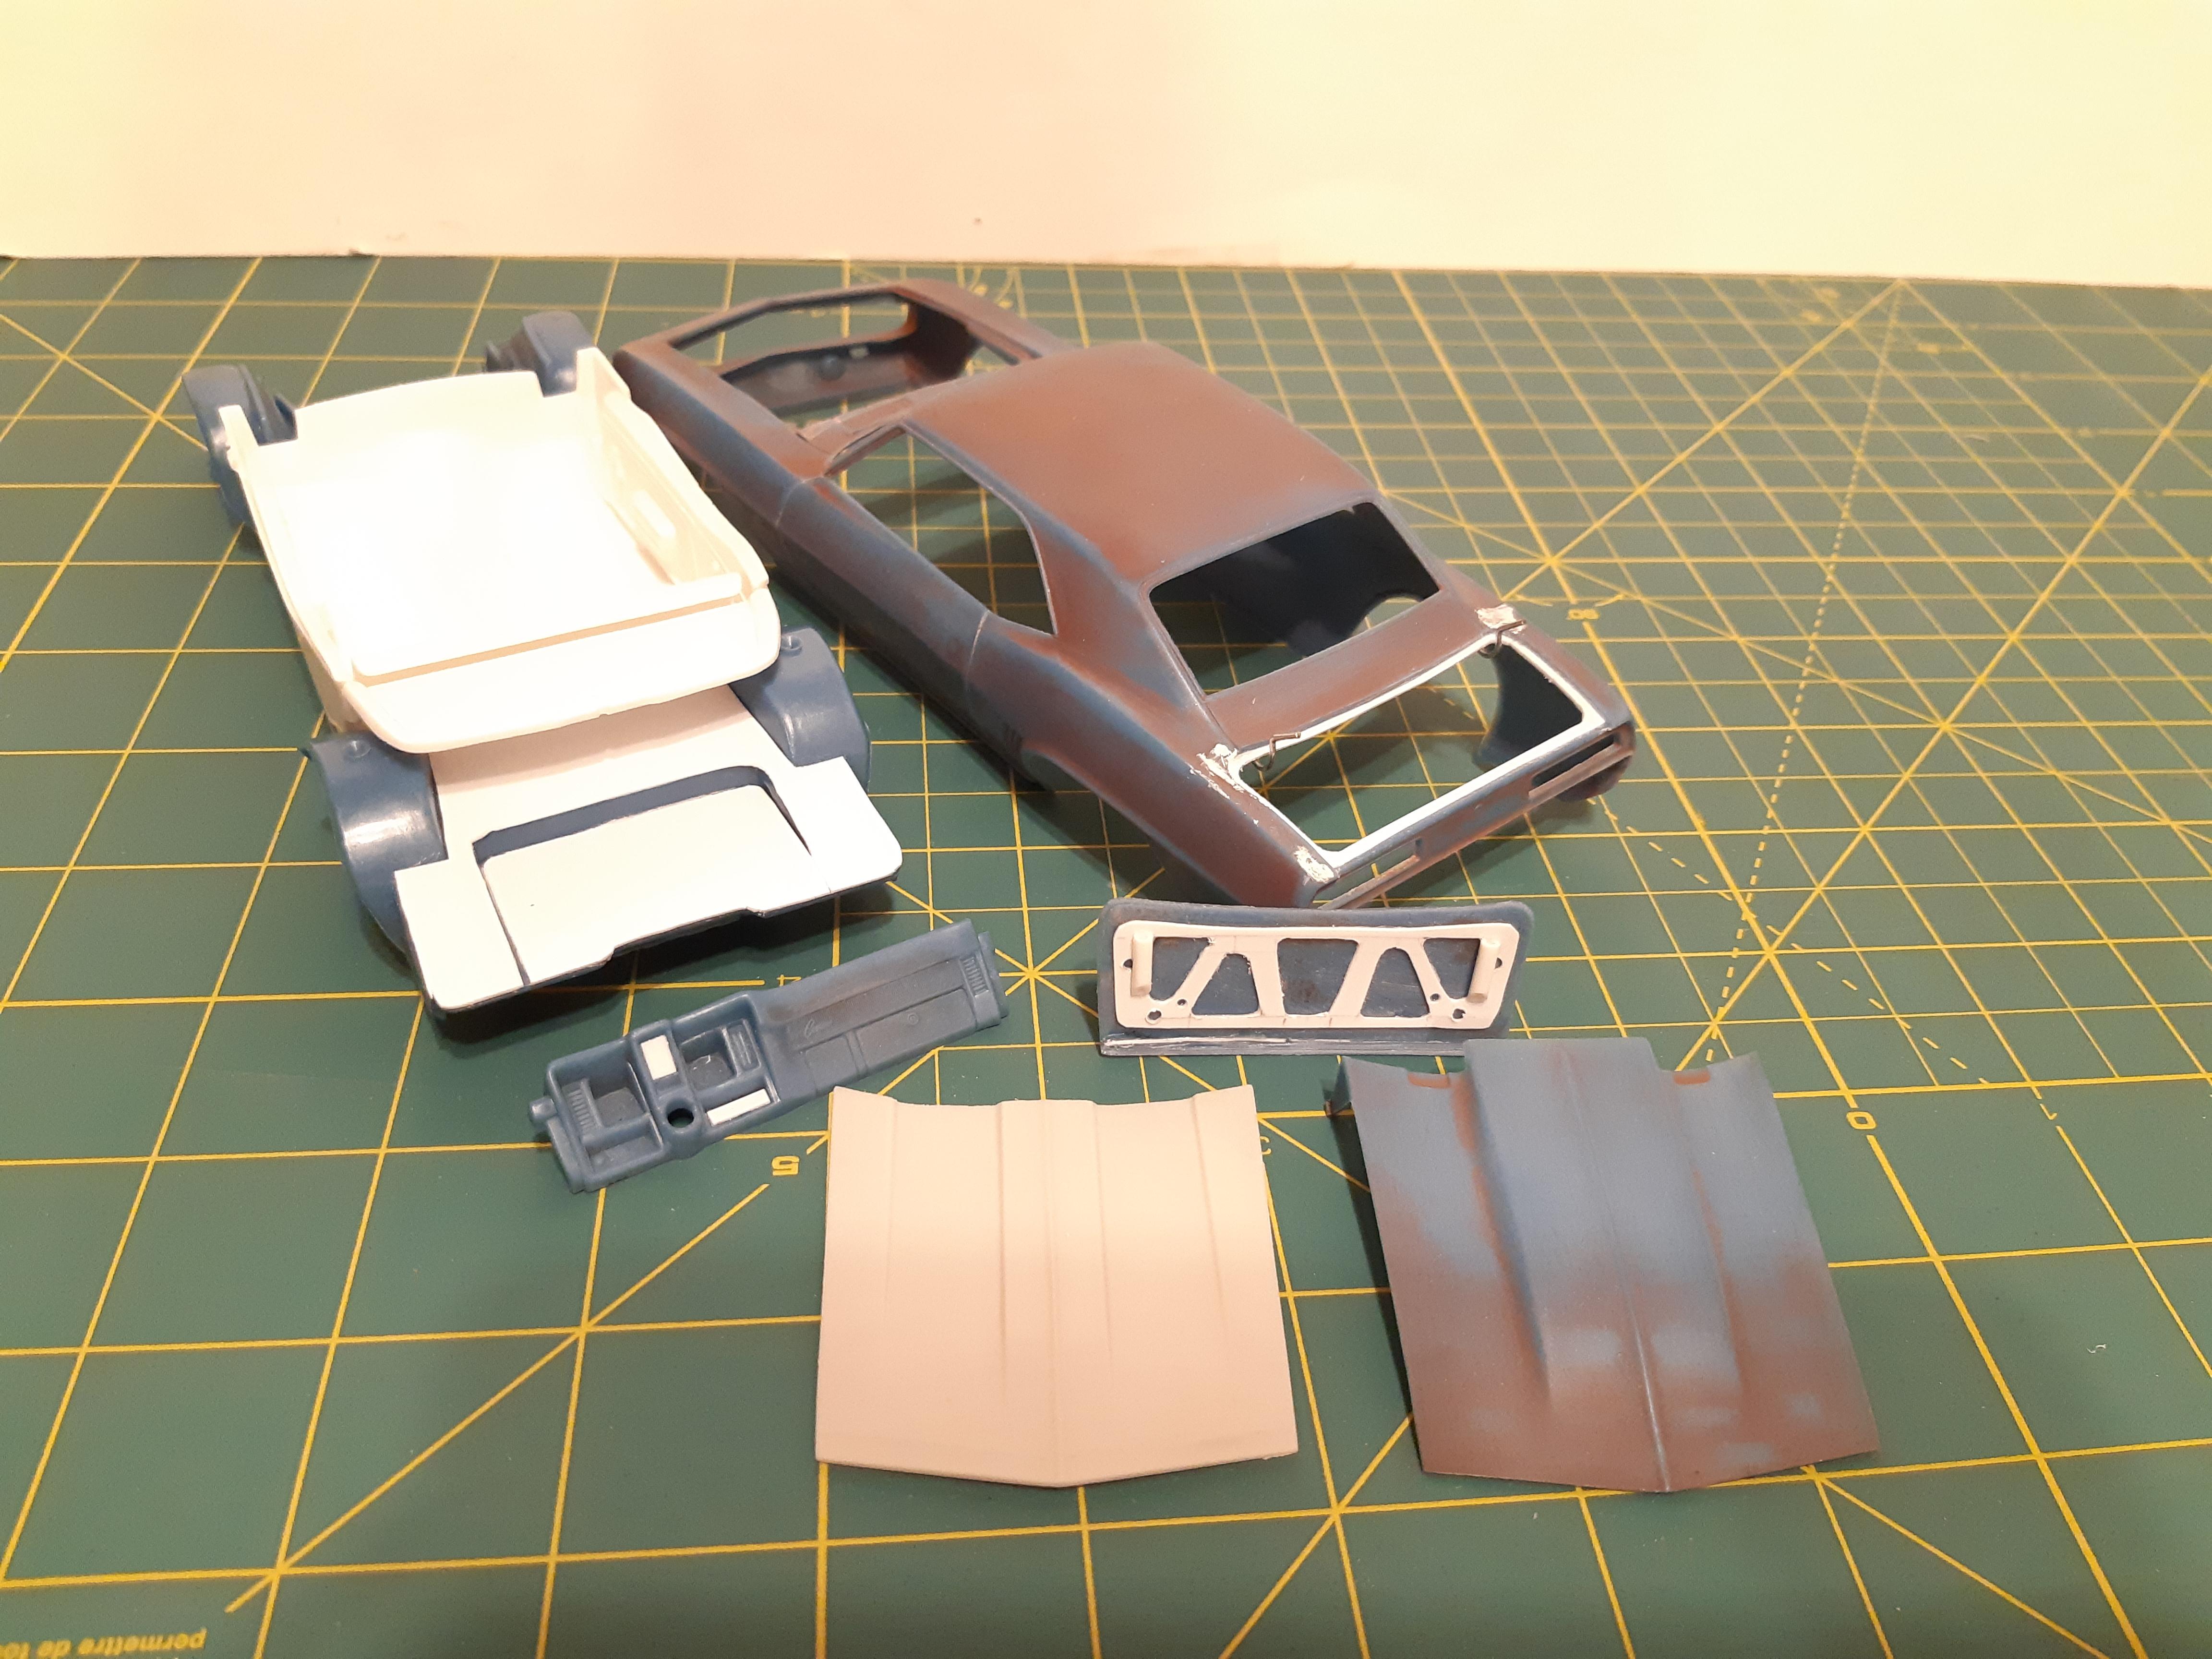
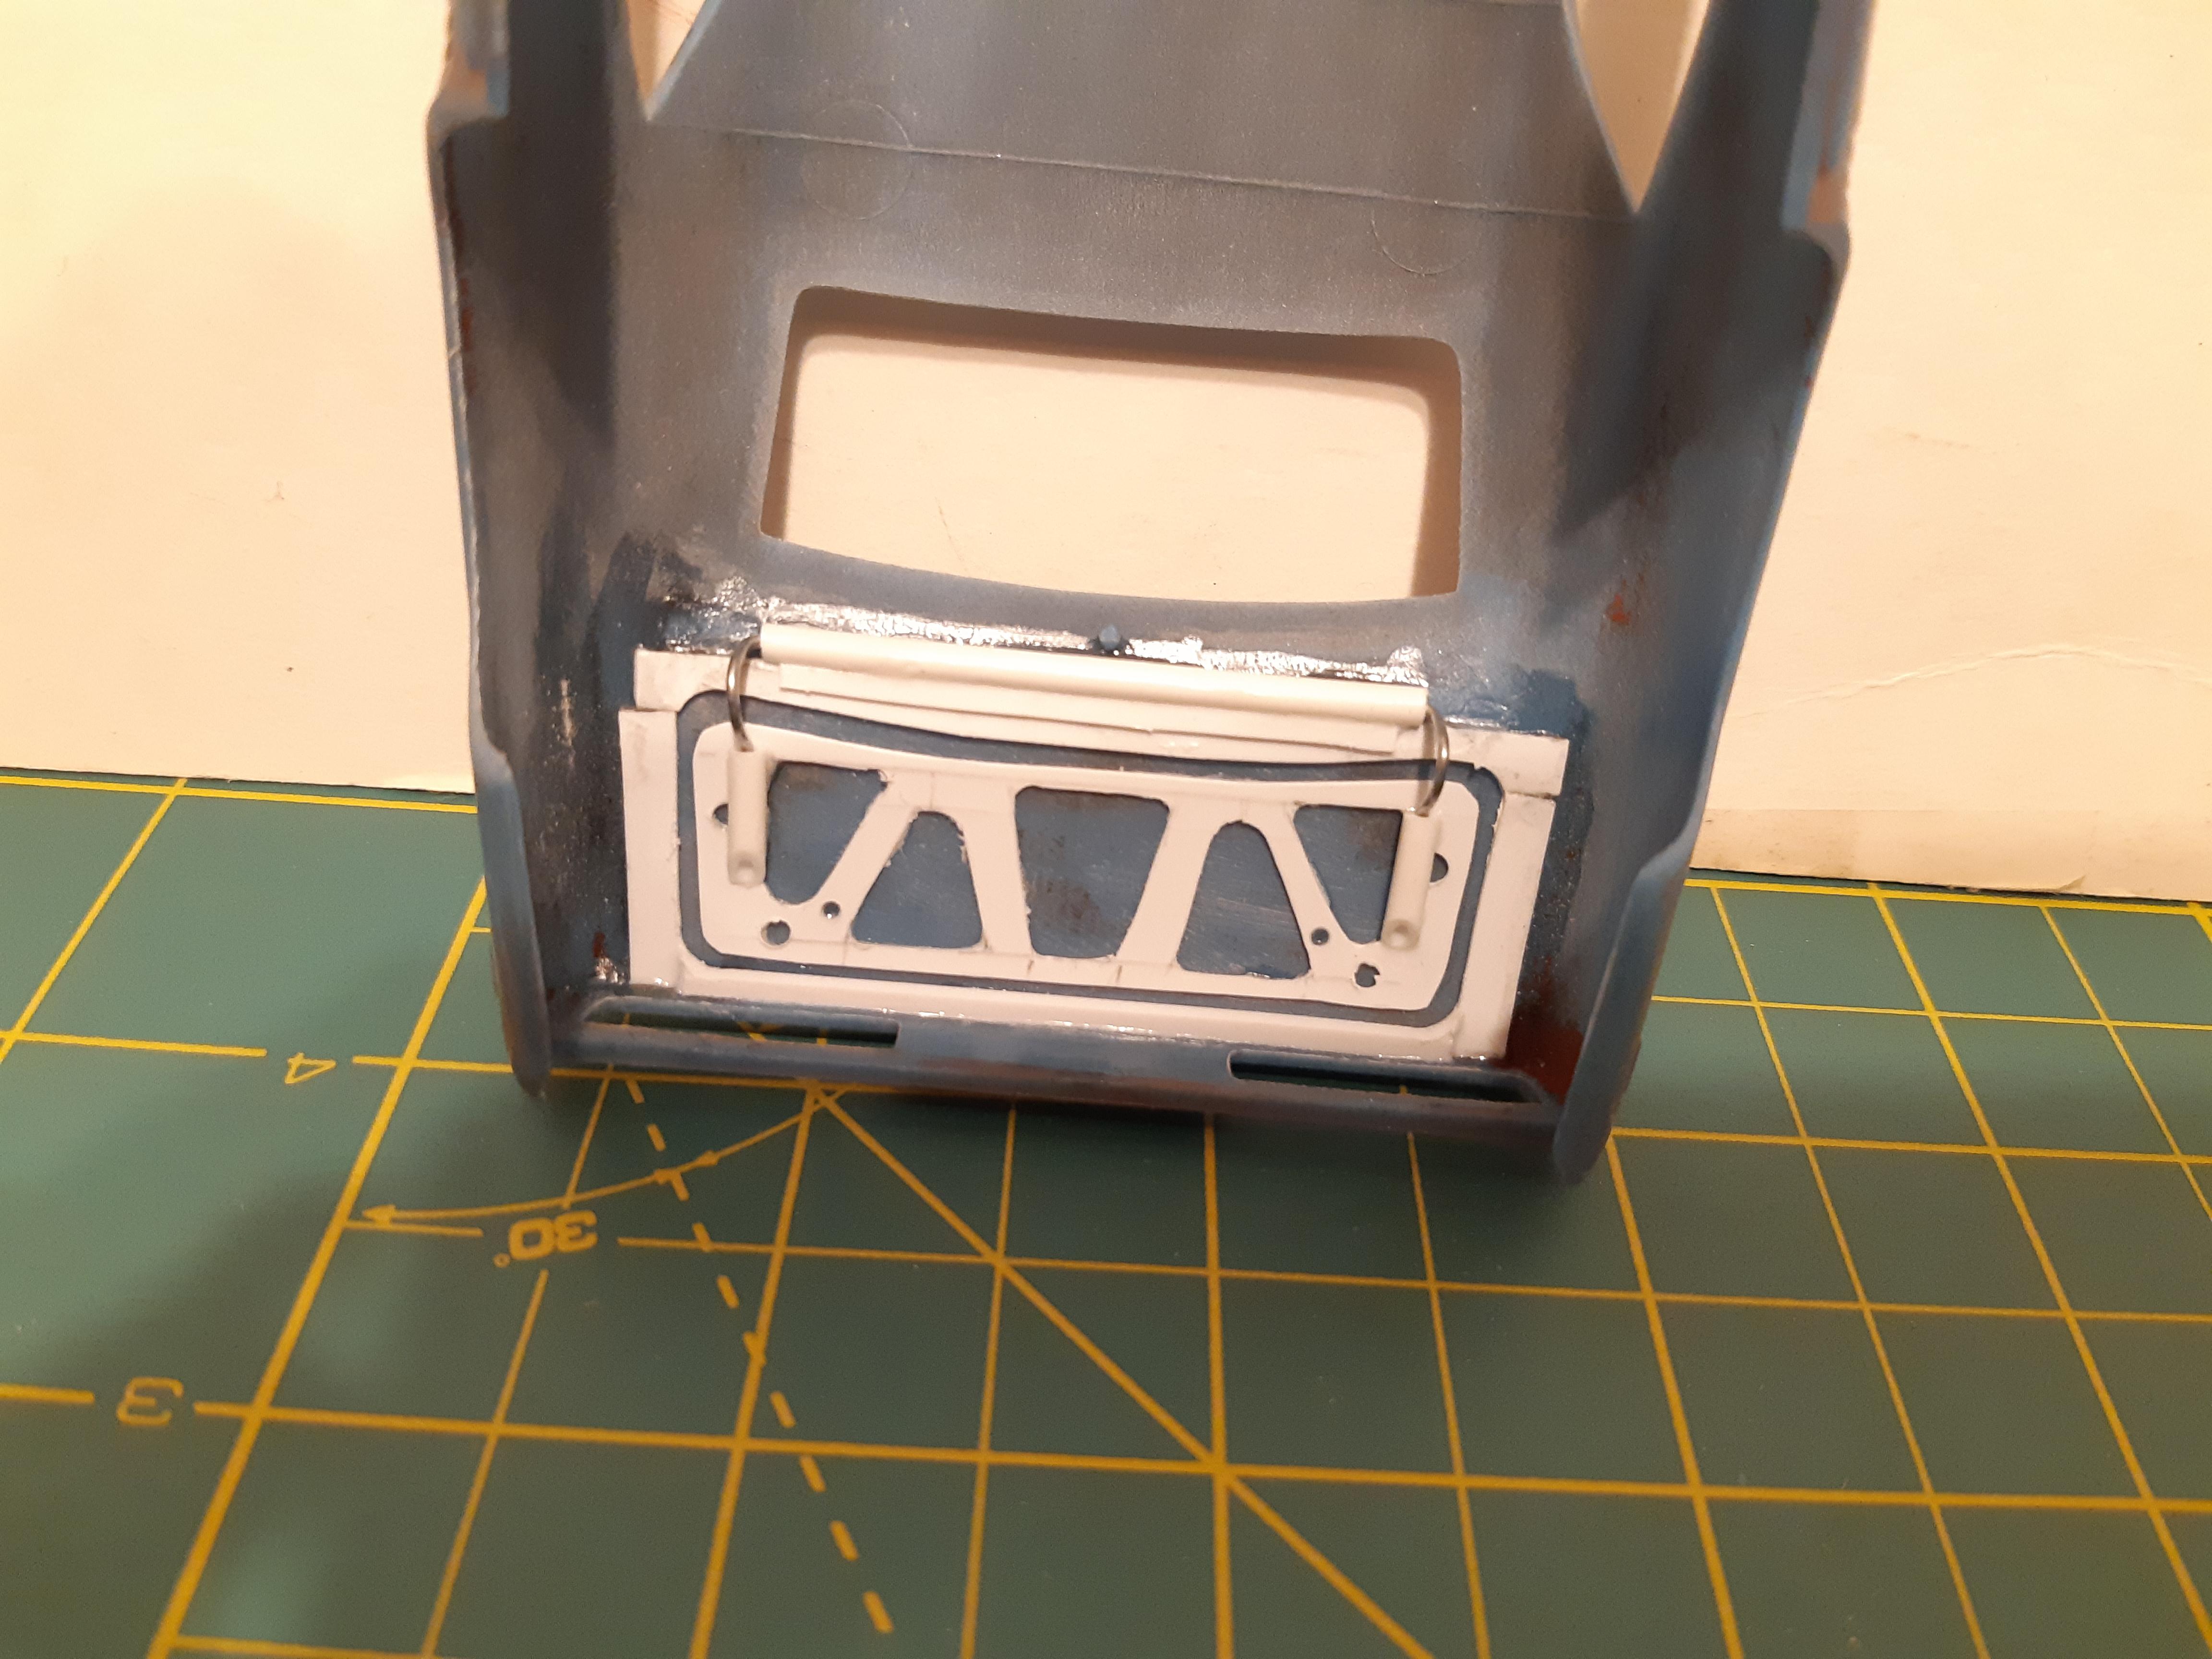
Im not a camaro person, but this Revell kit is such a good kit that it was calling to me. Wanted to do something totally different, so i have started researching stone stock base model camaros that some housewife would have owned in 1969. Base model, no trim, 250 straight 6, torque drive transmission(look it up). as a host of unusual colors and options. So far i have this, opened the trunk, because i will eventually add all the stuff for the Traction Compound option. Made some bowties front and rear using Gregs radiator cap techique. Thats when i noticed Revell made the trunk lock too low so i had to sand it off and drill it higher. I deleted the speakers on the package tray, radio delete, column shift, you get the idea. i had to sand off all the wheelwell chrome too, that was fun! Oh, and we cant forget the addition of the flat hood from the AMT 67 kit. Im thinking of doing a vinyl top, and it will probably get a luggage rack, just for fun. Brown with parchment interior i think, but maybe green.
-
1966 ACADIAN CANSO Sport Deluxe
TheBEAUMONTGURU replied to TheBEAUMONTGURU's topic in WIP: Model Cars
And a nobling rad cap(patent pending) -
1966 ACADIAN CANSO Sport Deluxe
TheBEAUMONTGURU replied to TheBEAUMONTGURU's topic in WIP: Model Cars
Its getting close, just working on body details, but atleast its in one piece now, body and interior fit good, but im glad i did lots of test fits. Here is the engine finished. Rad is a narrowed version from the parts bin(small rad on a 6cyl car). air cleaner is my own resin casting, better battery from the part bin, all wired, better windshield washer jar, added separate wiper from the Z16 kit, lots of decal and body details to work on now. i scratchbuilt a hood latch and the grill fit isnt great so i might take it off and massage it a bit.
-
Original AMT '64 GTO meets newer Revell '66 GTO and more!
TheBEAUMONTGURU replied to dino246gt's topic in WIP: Model Cars
great build dennis. I keep forgetting to take pictures as i go, you do a wonderful job of that! -
1966 ACADIAN CANSO Sport Deluxe
TheBEAUMONTGURU replied to TheBEAUMONTGURU's topic in WIP: Model Cars
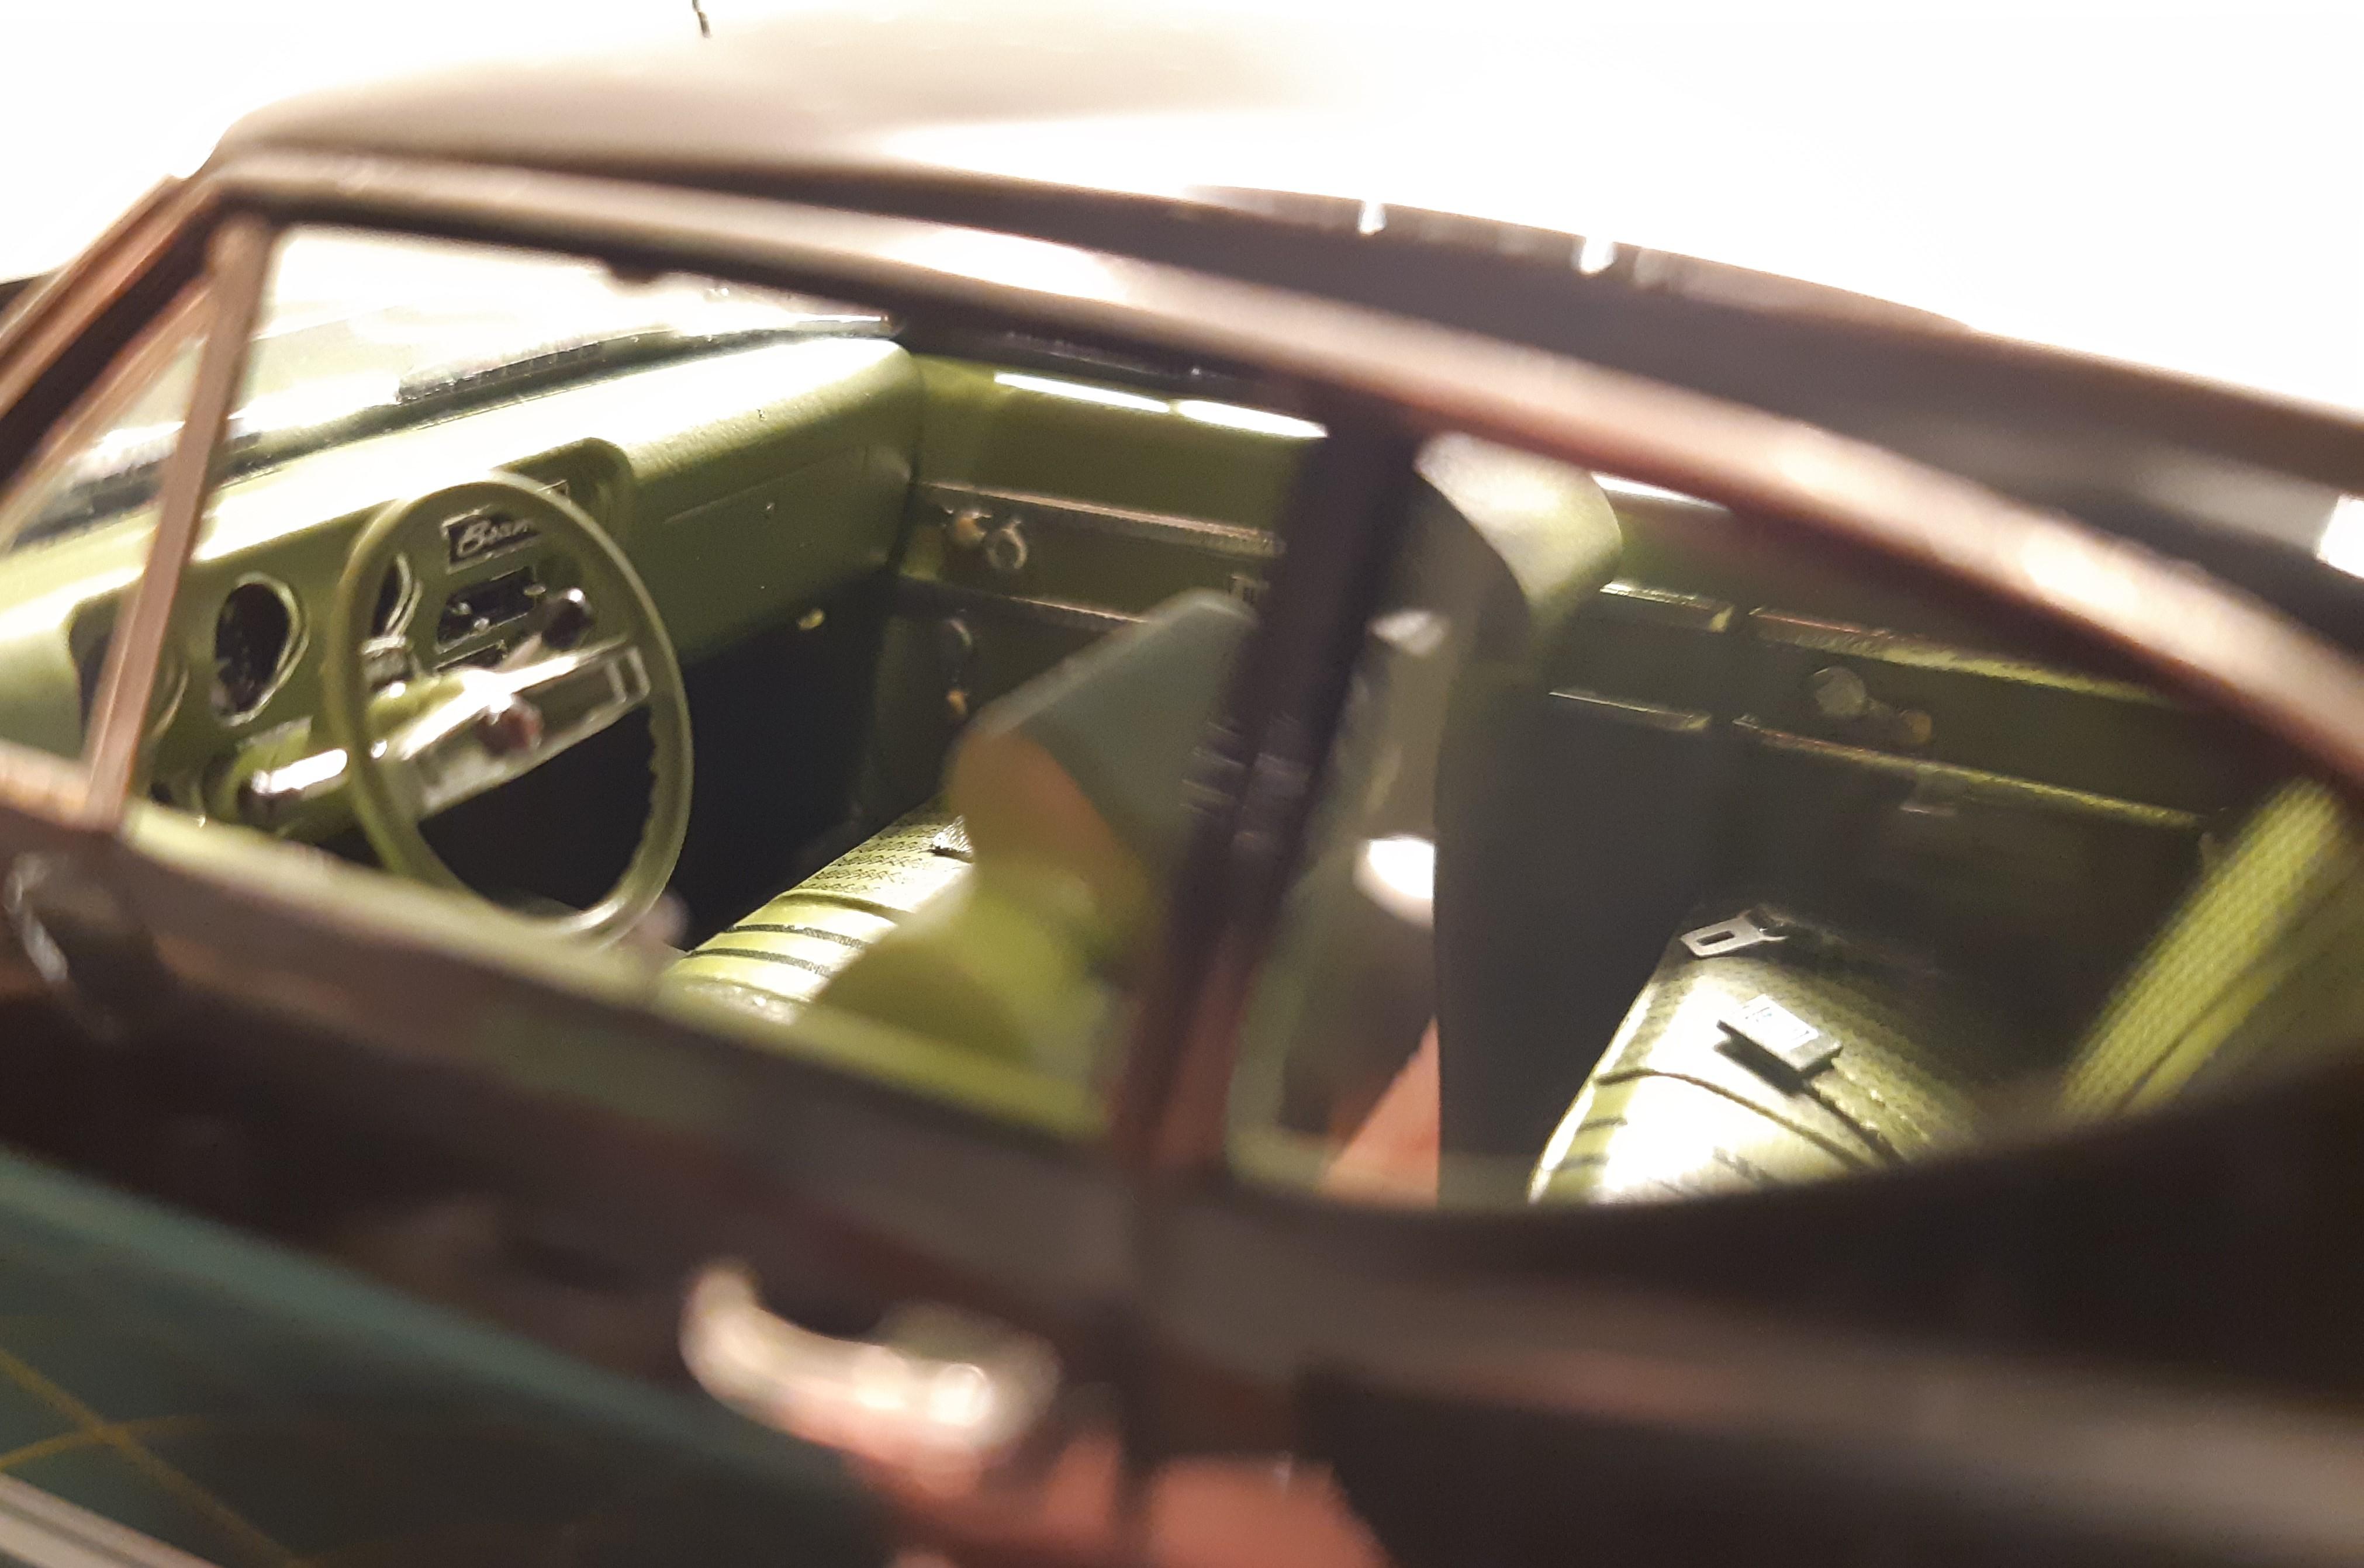
Interior is done. Made some proper canadian 1966 deluxe seatbelt decals, got the acadian mapleleaf horn cap done. and my decals for the door panel lines worked out well, made a heal pad for the carpet as well as a scratch built E-brake handle and a better gas pedal. also added a rear speaker and a defogger on the package tray. I had to cut the taillights and "Vee" them out in the middle. The 3D ones were too flat. turned out good but a bit of fiddling with it. Lots of foil work too!!
-
1966 ACADIAN CANSO Sport Deluxe
TheBEAUMONTGURU replied to TheBEAUMONTGURU's topic in WIP: Model Cars
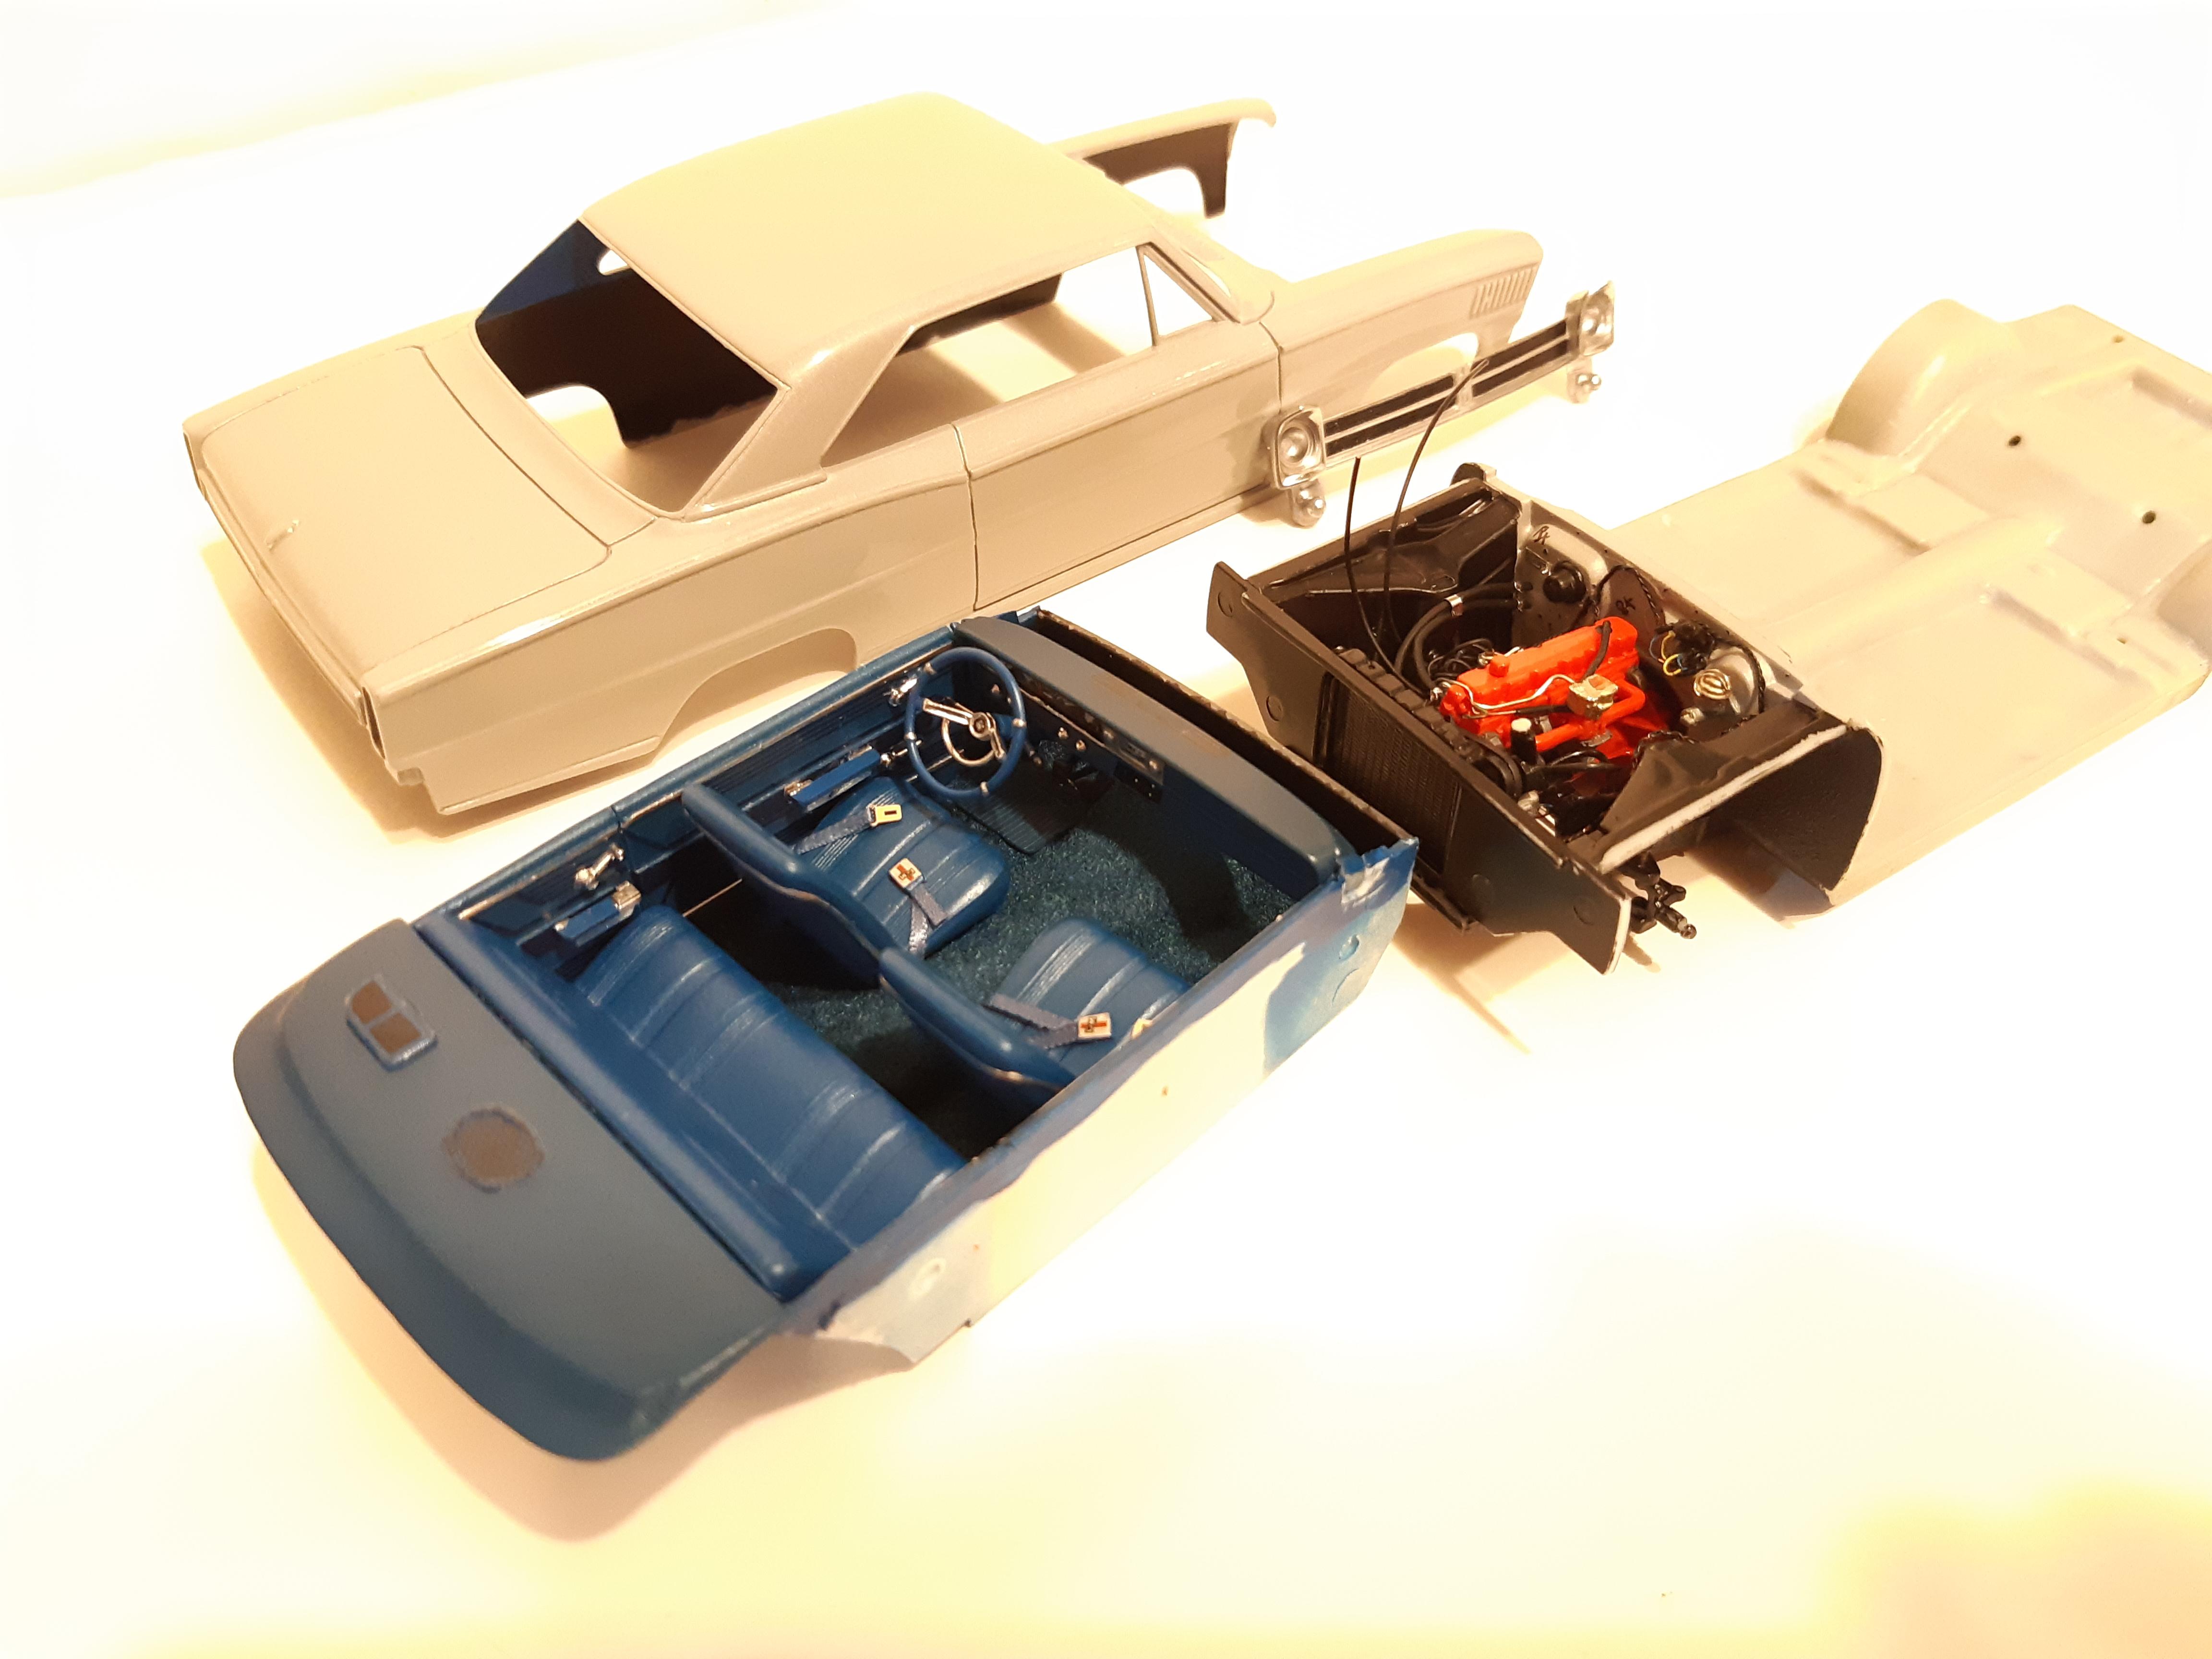
Getting a bit more done this fall. ready to put the body and interior together.
-
Moebius AWB Mopar Assembly Line - Mr. Norm's
TheBEAUMONTGURU replied to papajohn97's topic in Drag Racing
Sweet looking car! great job -
"Sour Apple" '74 GMC
TheBEAUMONTGURU replied to Can-Con's topic in Model Trucks: Pickups, Vans, SUVs, Light Commercial
fantastic results! i enjoyed following your build thread. Well done. -
Very nice detailing! well done
-
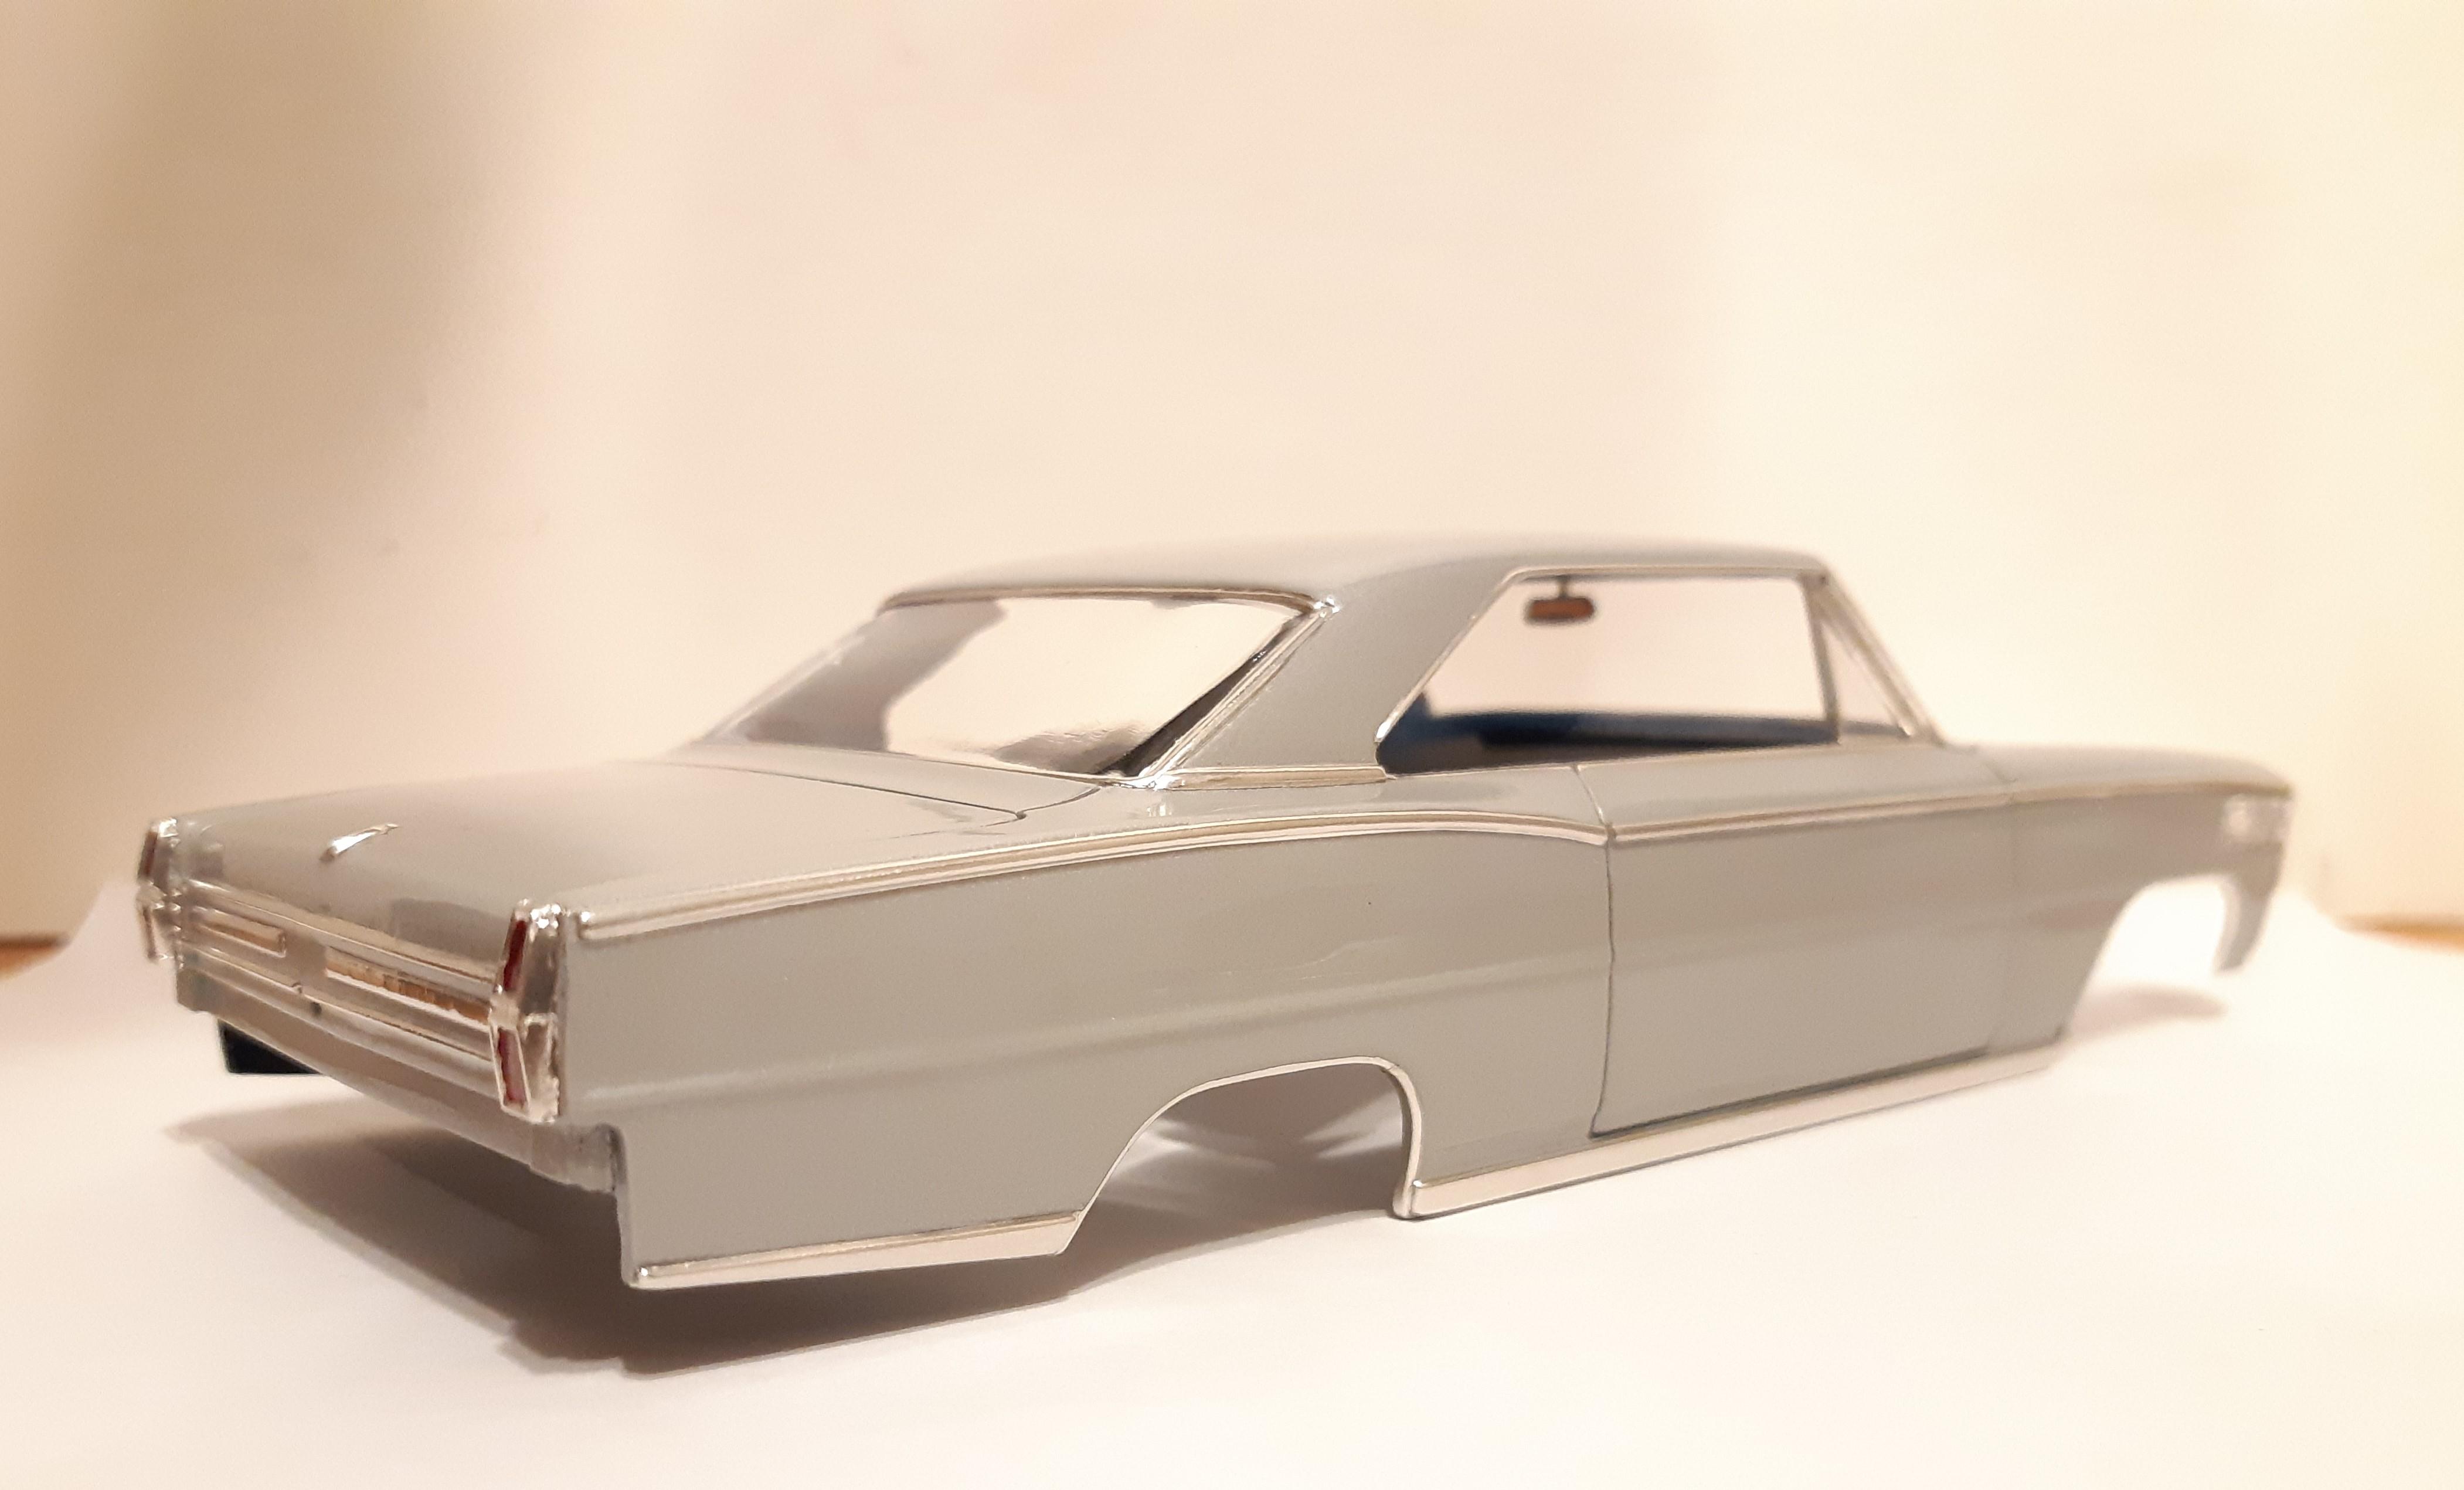
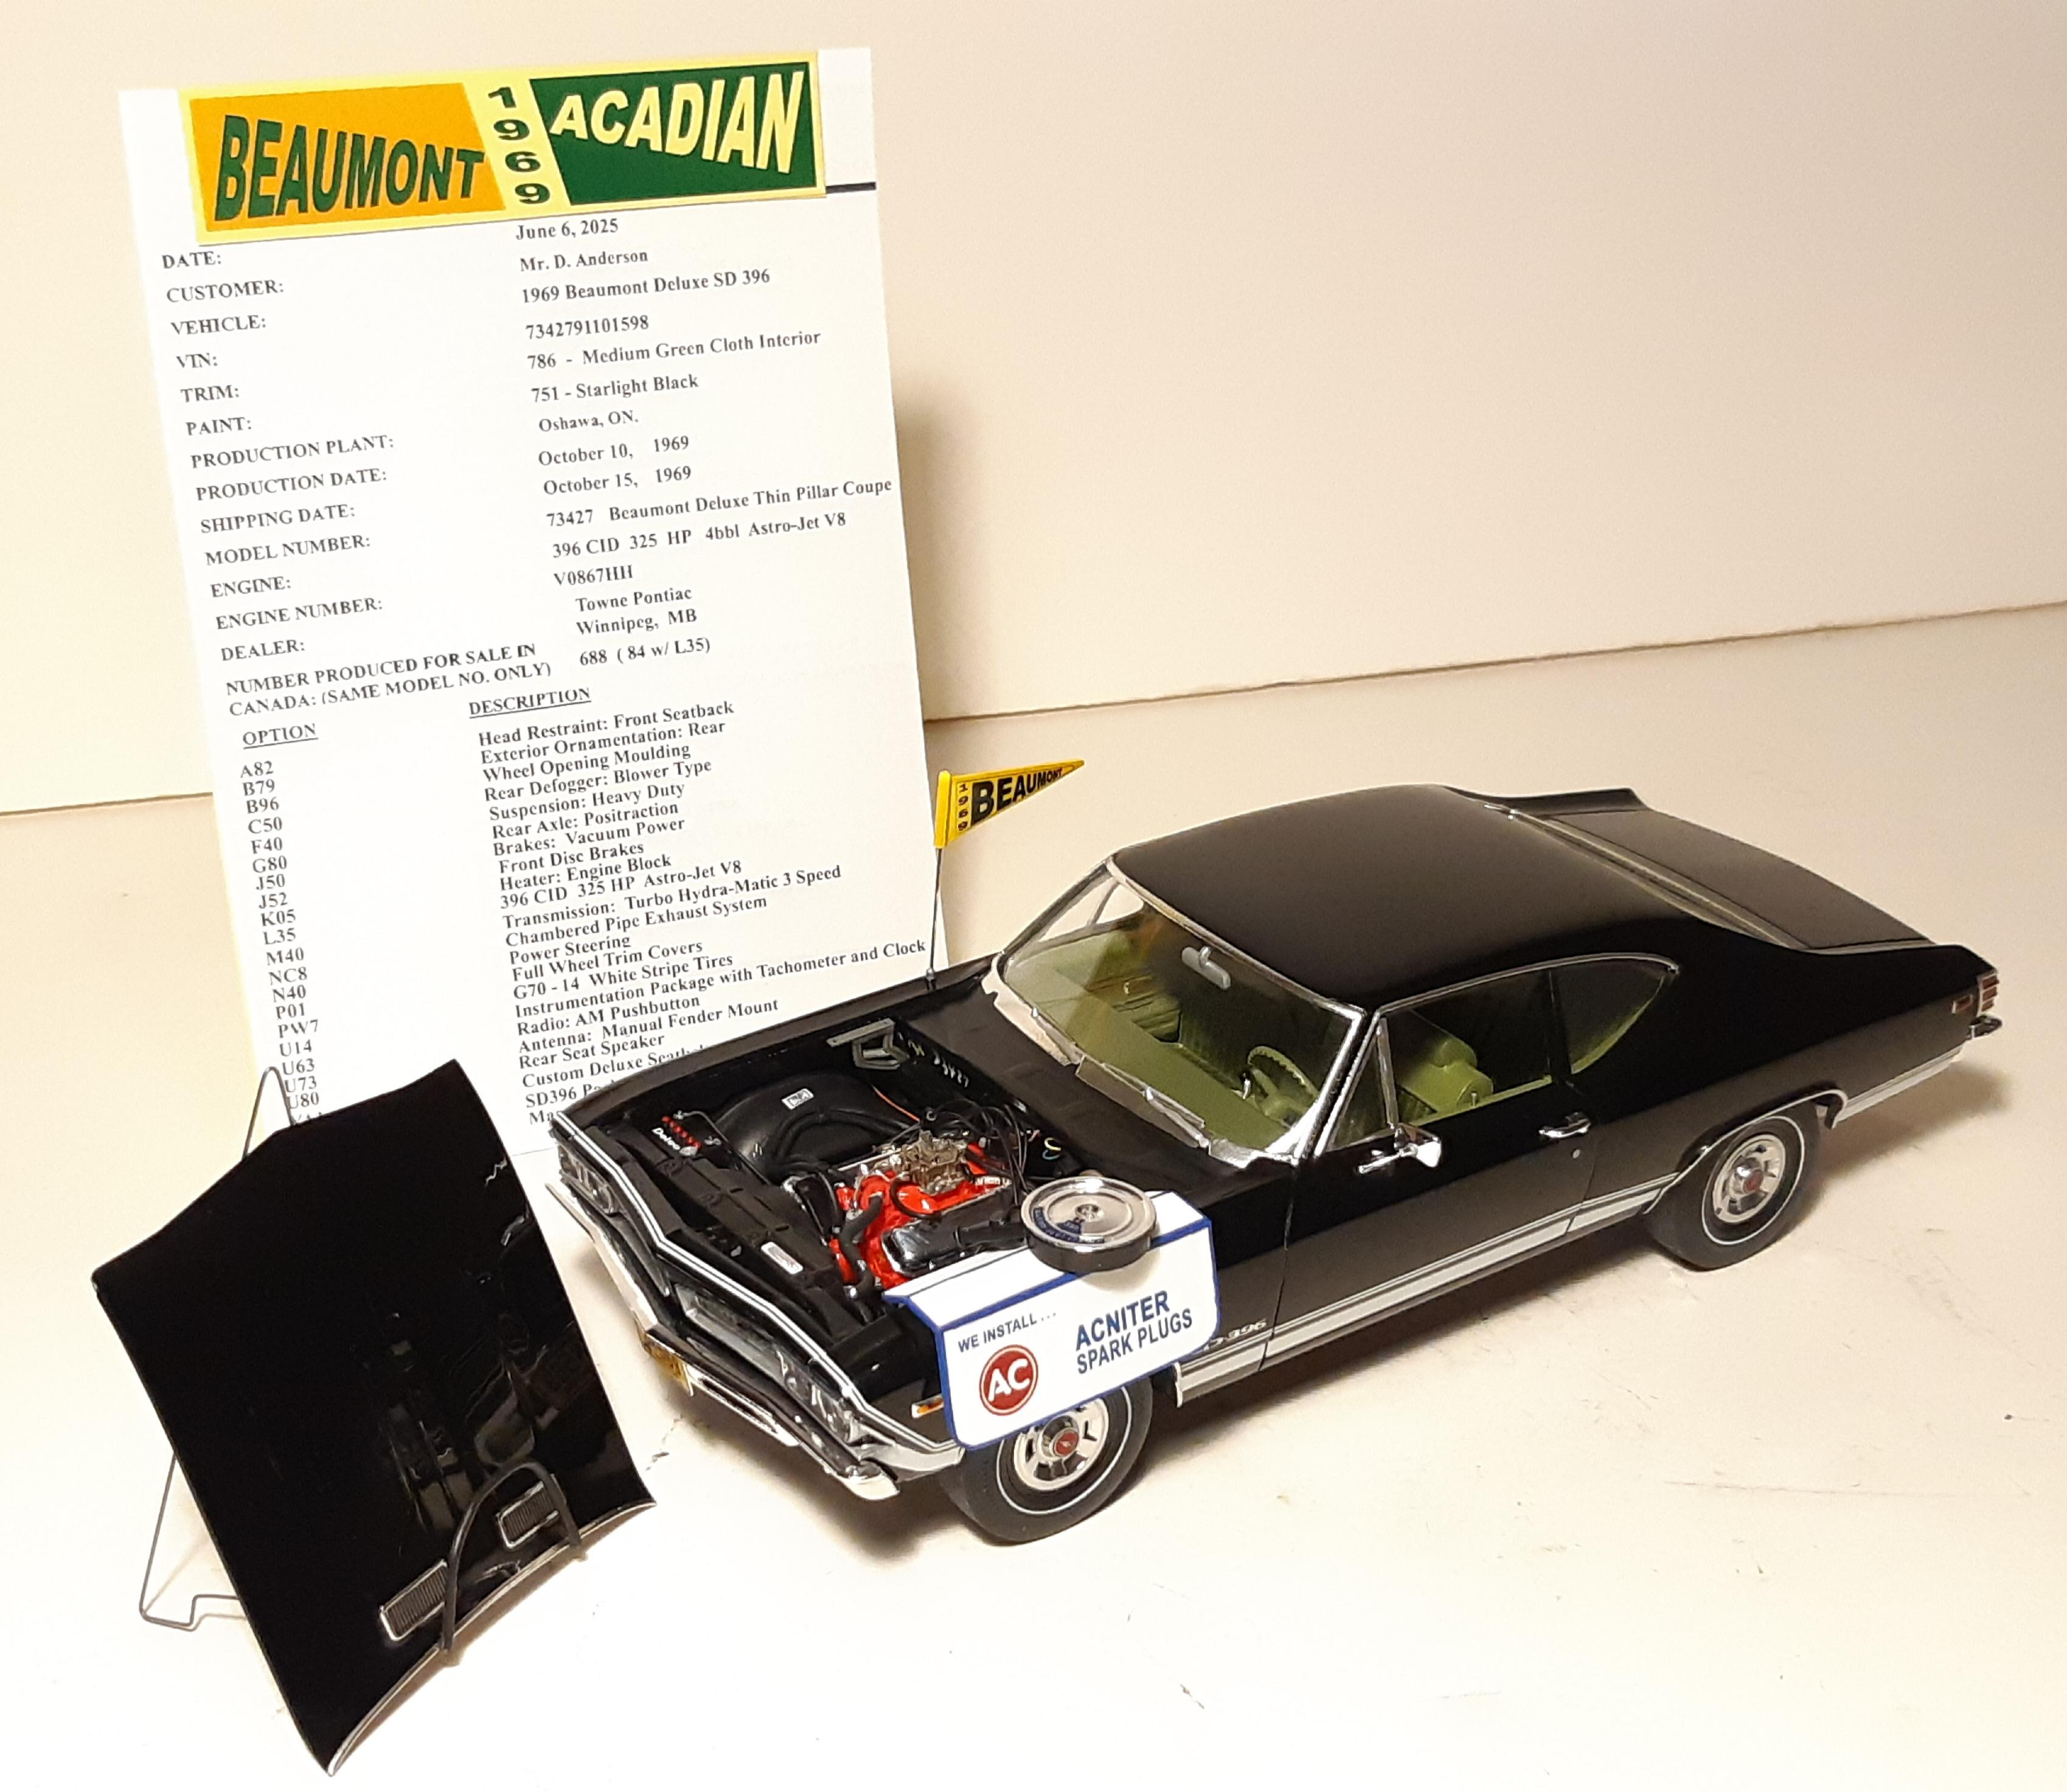
Thanks Paul, you certainly "get it" when it comes to my vision!!! I think there were more of these "strange" color combos back in the 60's, but now that all the cars left have been restored, alot of those unique colors got changed to lipstick red! Here is a ficticious build sheet i made up showing all the combination and options as the car would have been built.
-
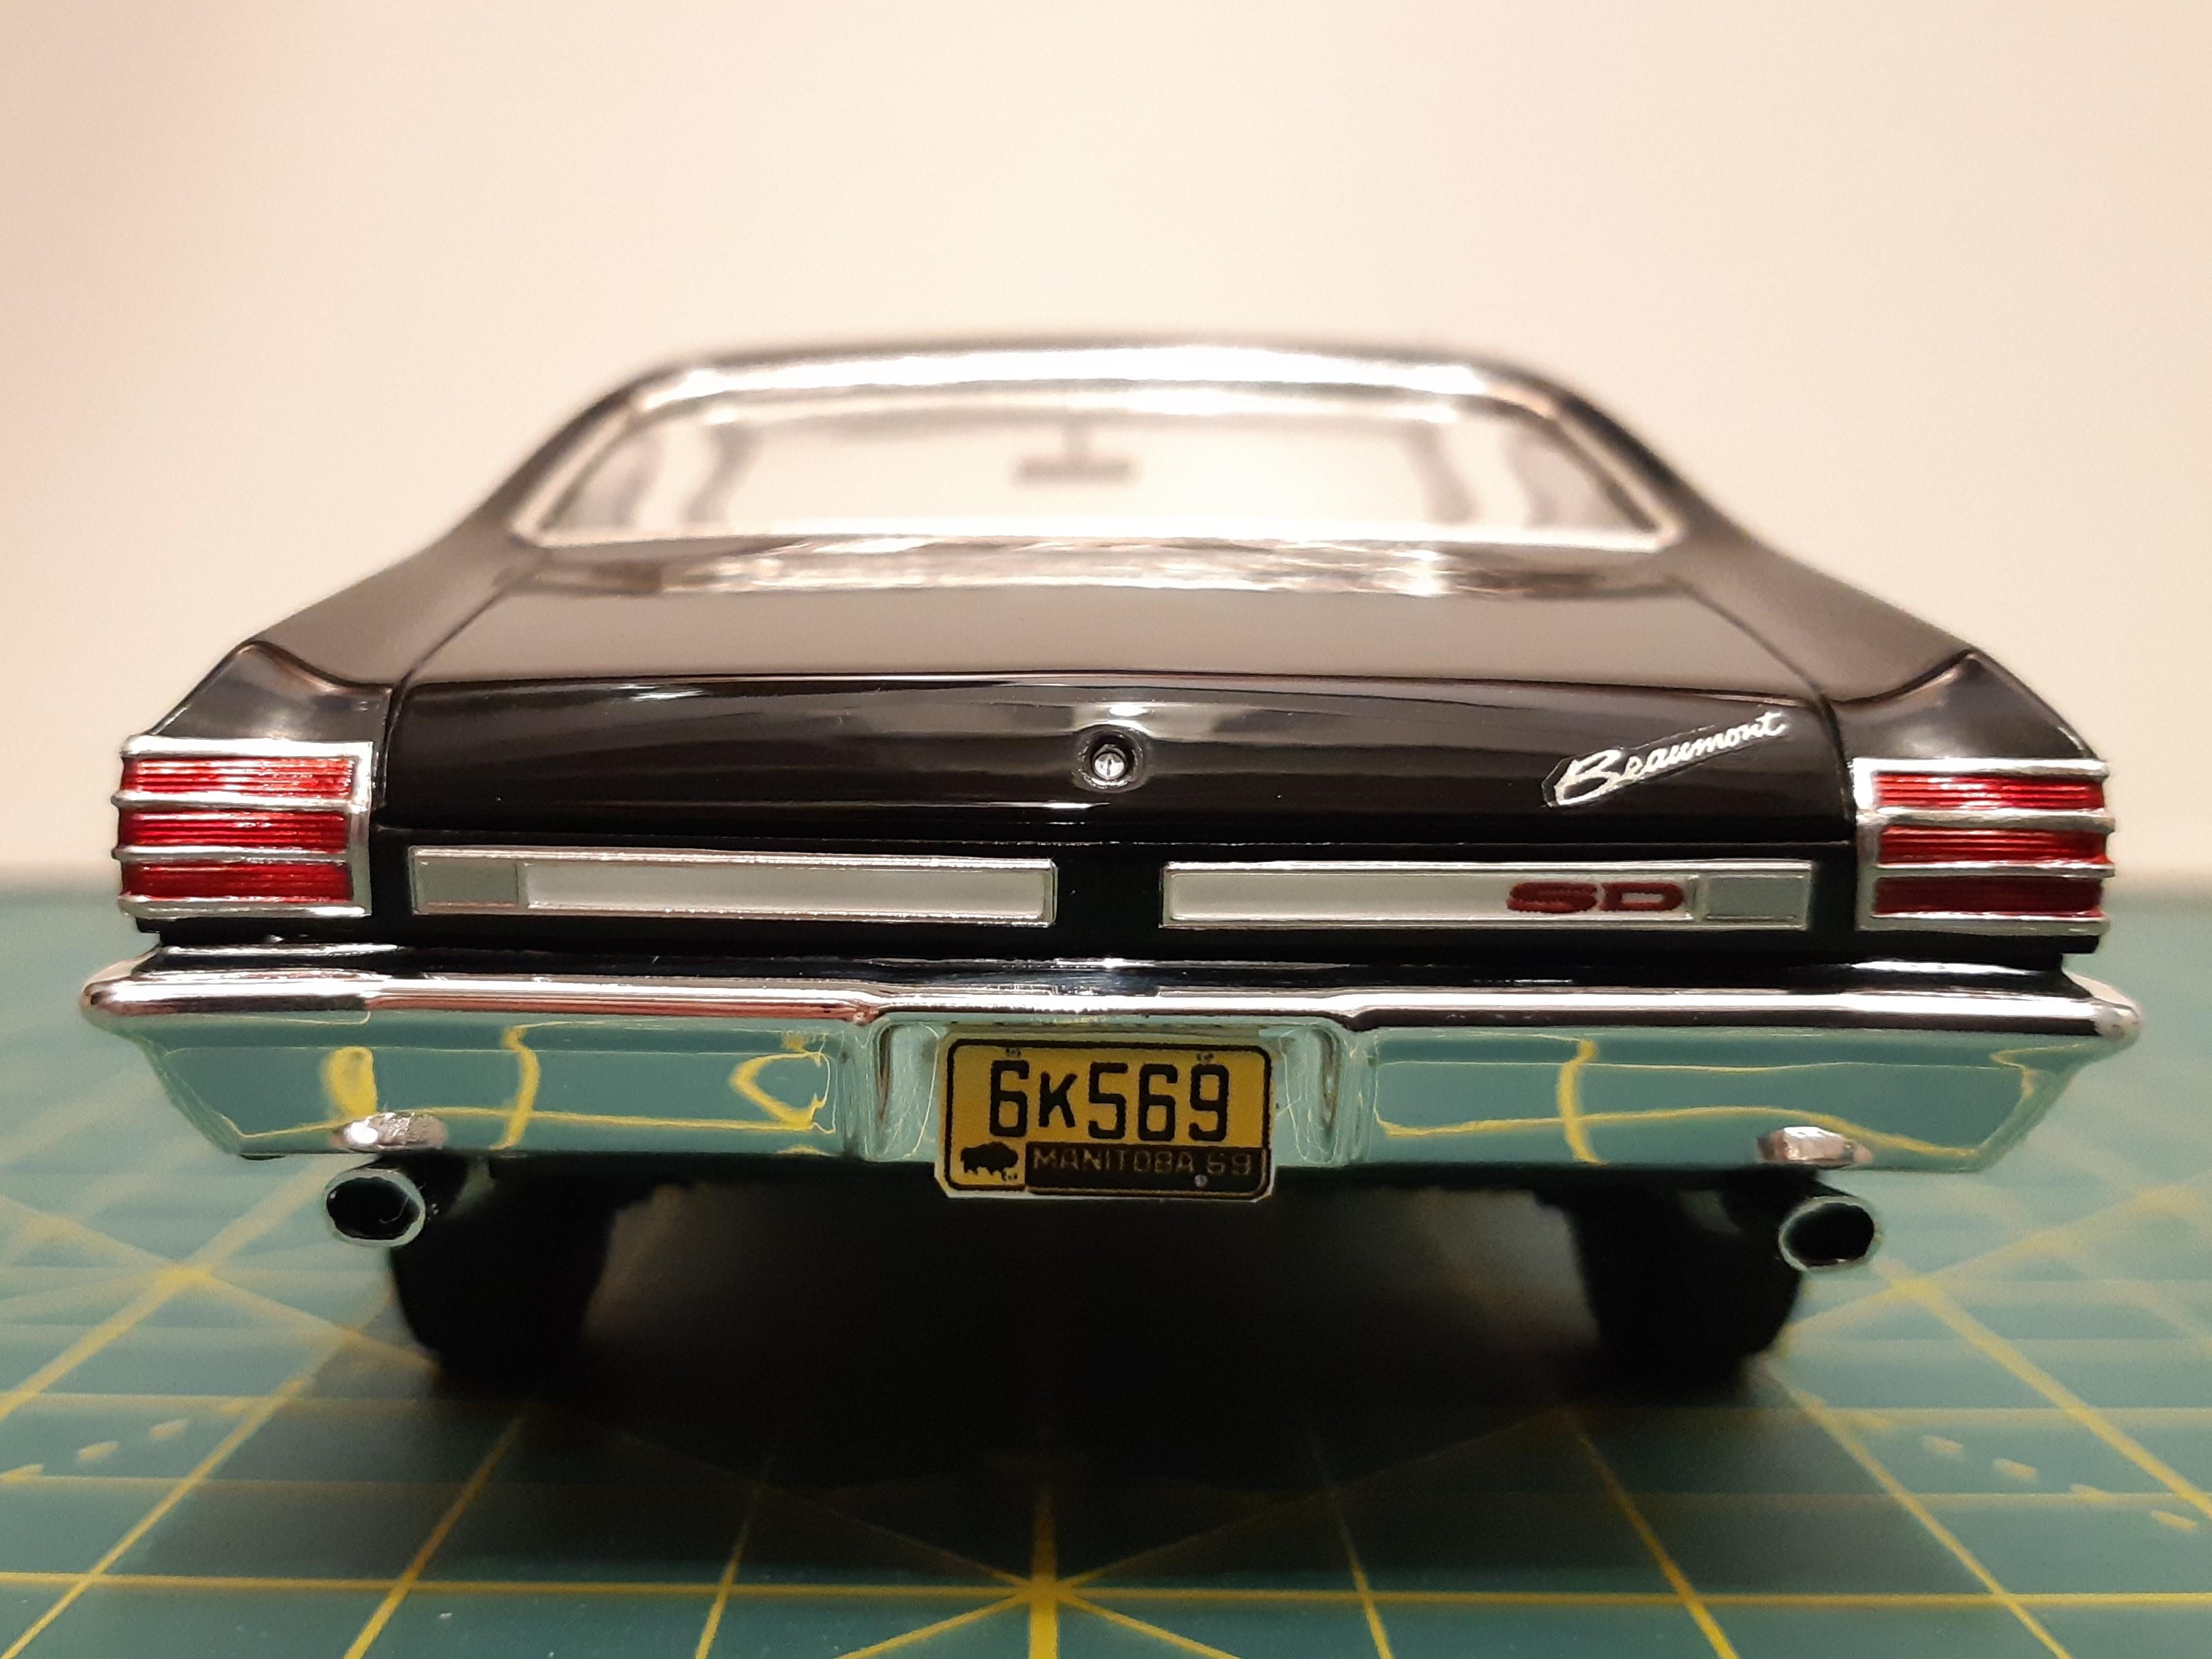
Thanks everyone!! The grill, dash, and taillights are the new Canuck3D printed stuff. Decals are made by myself in photoshop. cut all the white stripes from a solid white sheet. Hubcaps are from Fireball modelworks.
-
-
-
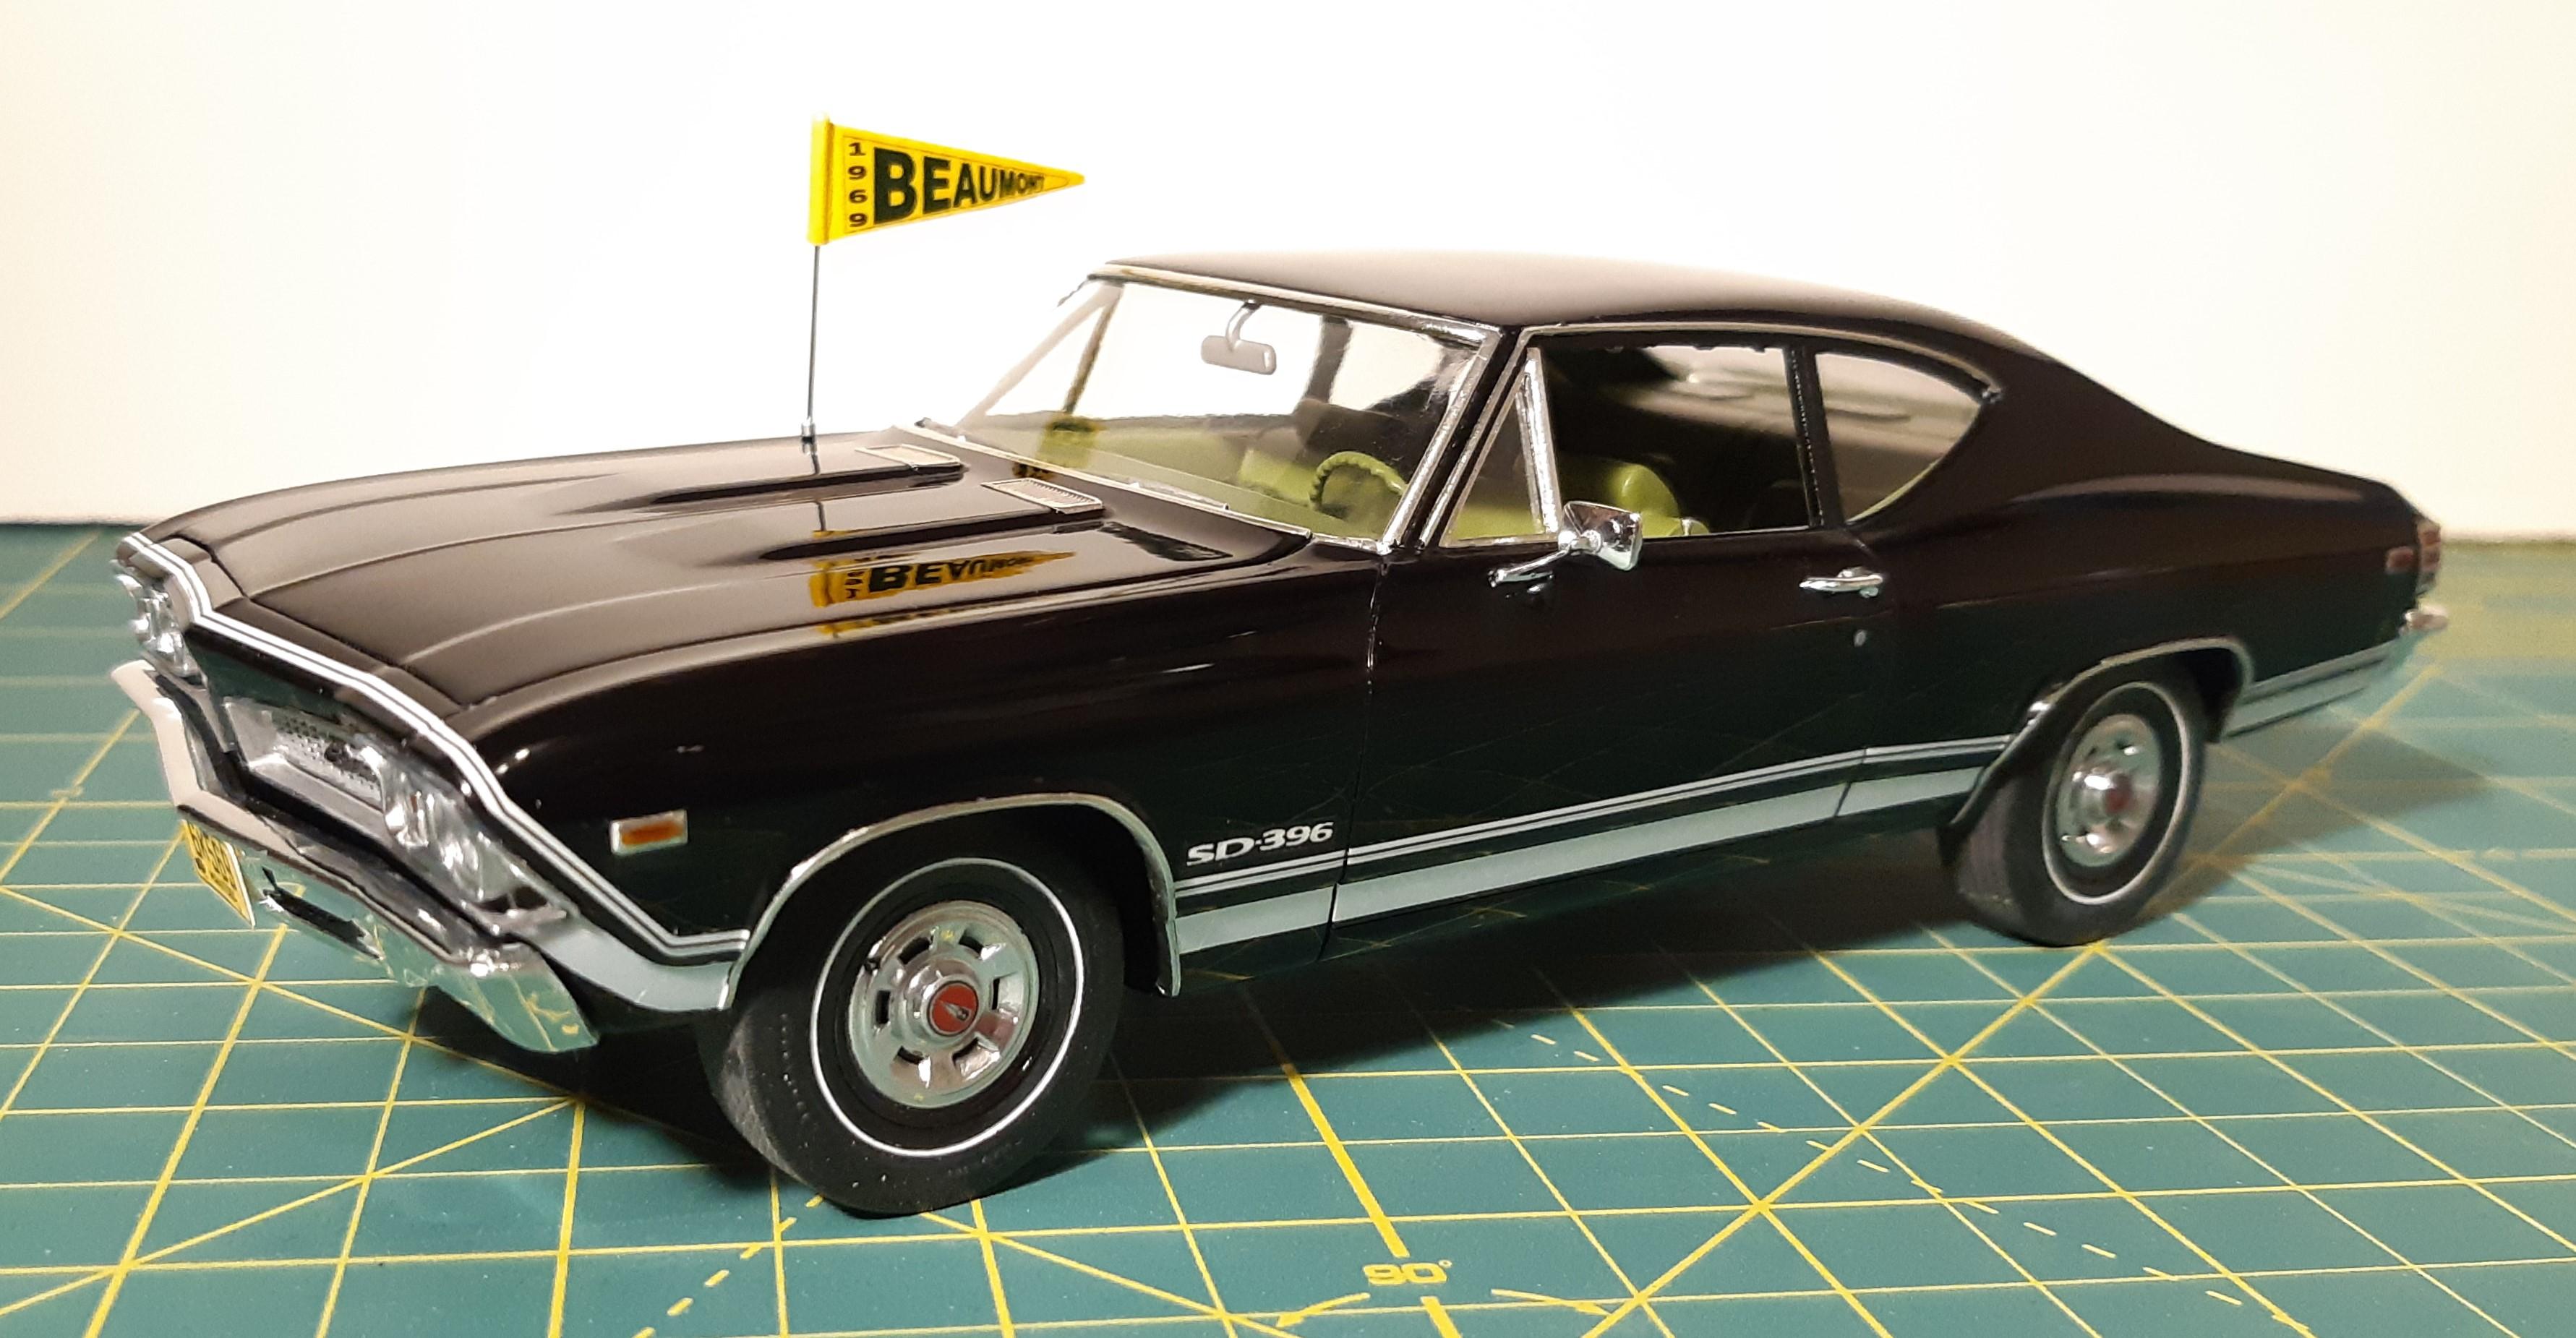
Follow along on the WIP page. Lots of crazy details and scratchbuilt parts. Replicated as a 2dr POST, 396 325HP TurboHydraMatic SD396 Starlight Black with Medium Green Interior, Options include rear window defogger, radio with rear speaker, headrests, shoulder belts, F70-14 white stripe tires, stock SportDeluxe full wheel covers, NC8 Chambered exhaust system, Power Disc brakes and power steering.
-
Getting if finished up. I wasnt happy with my Chambered exhaust system so i carved out a new one from a little bit thinner tube. Still a few details like a dealership tag and some cleaning and panel line accents, but its more-or-less finished. I will start an Underglass topic from this point on.
-
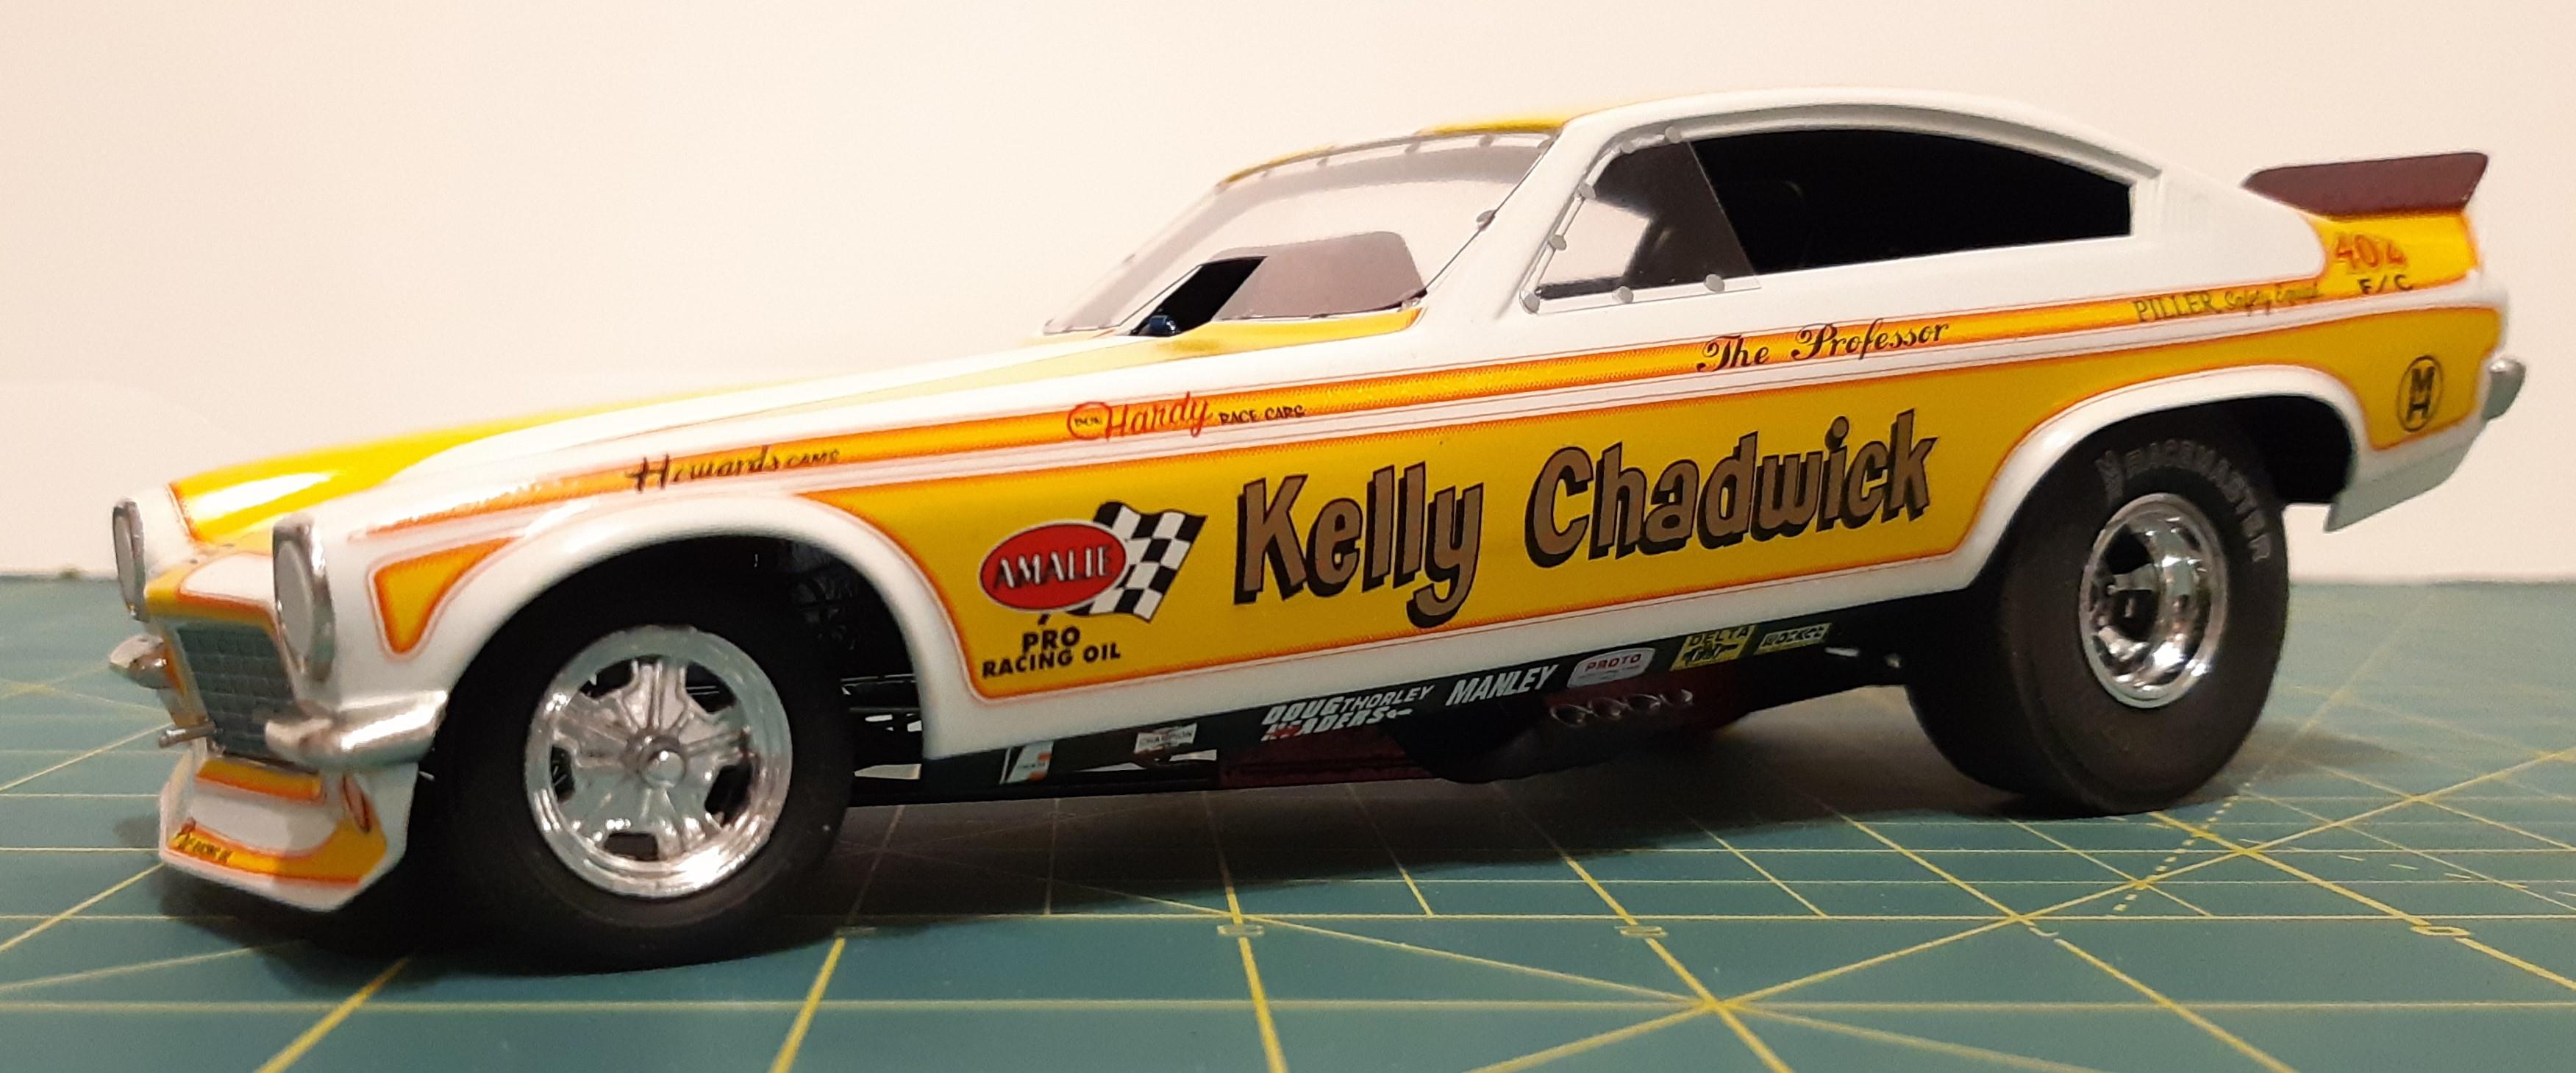
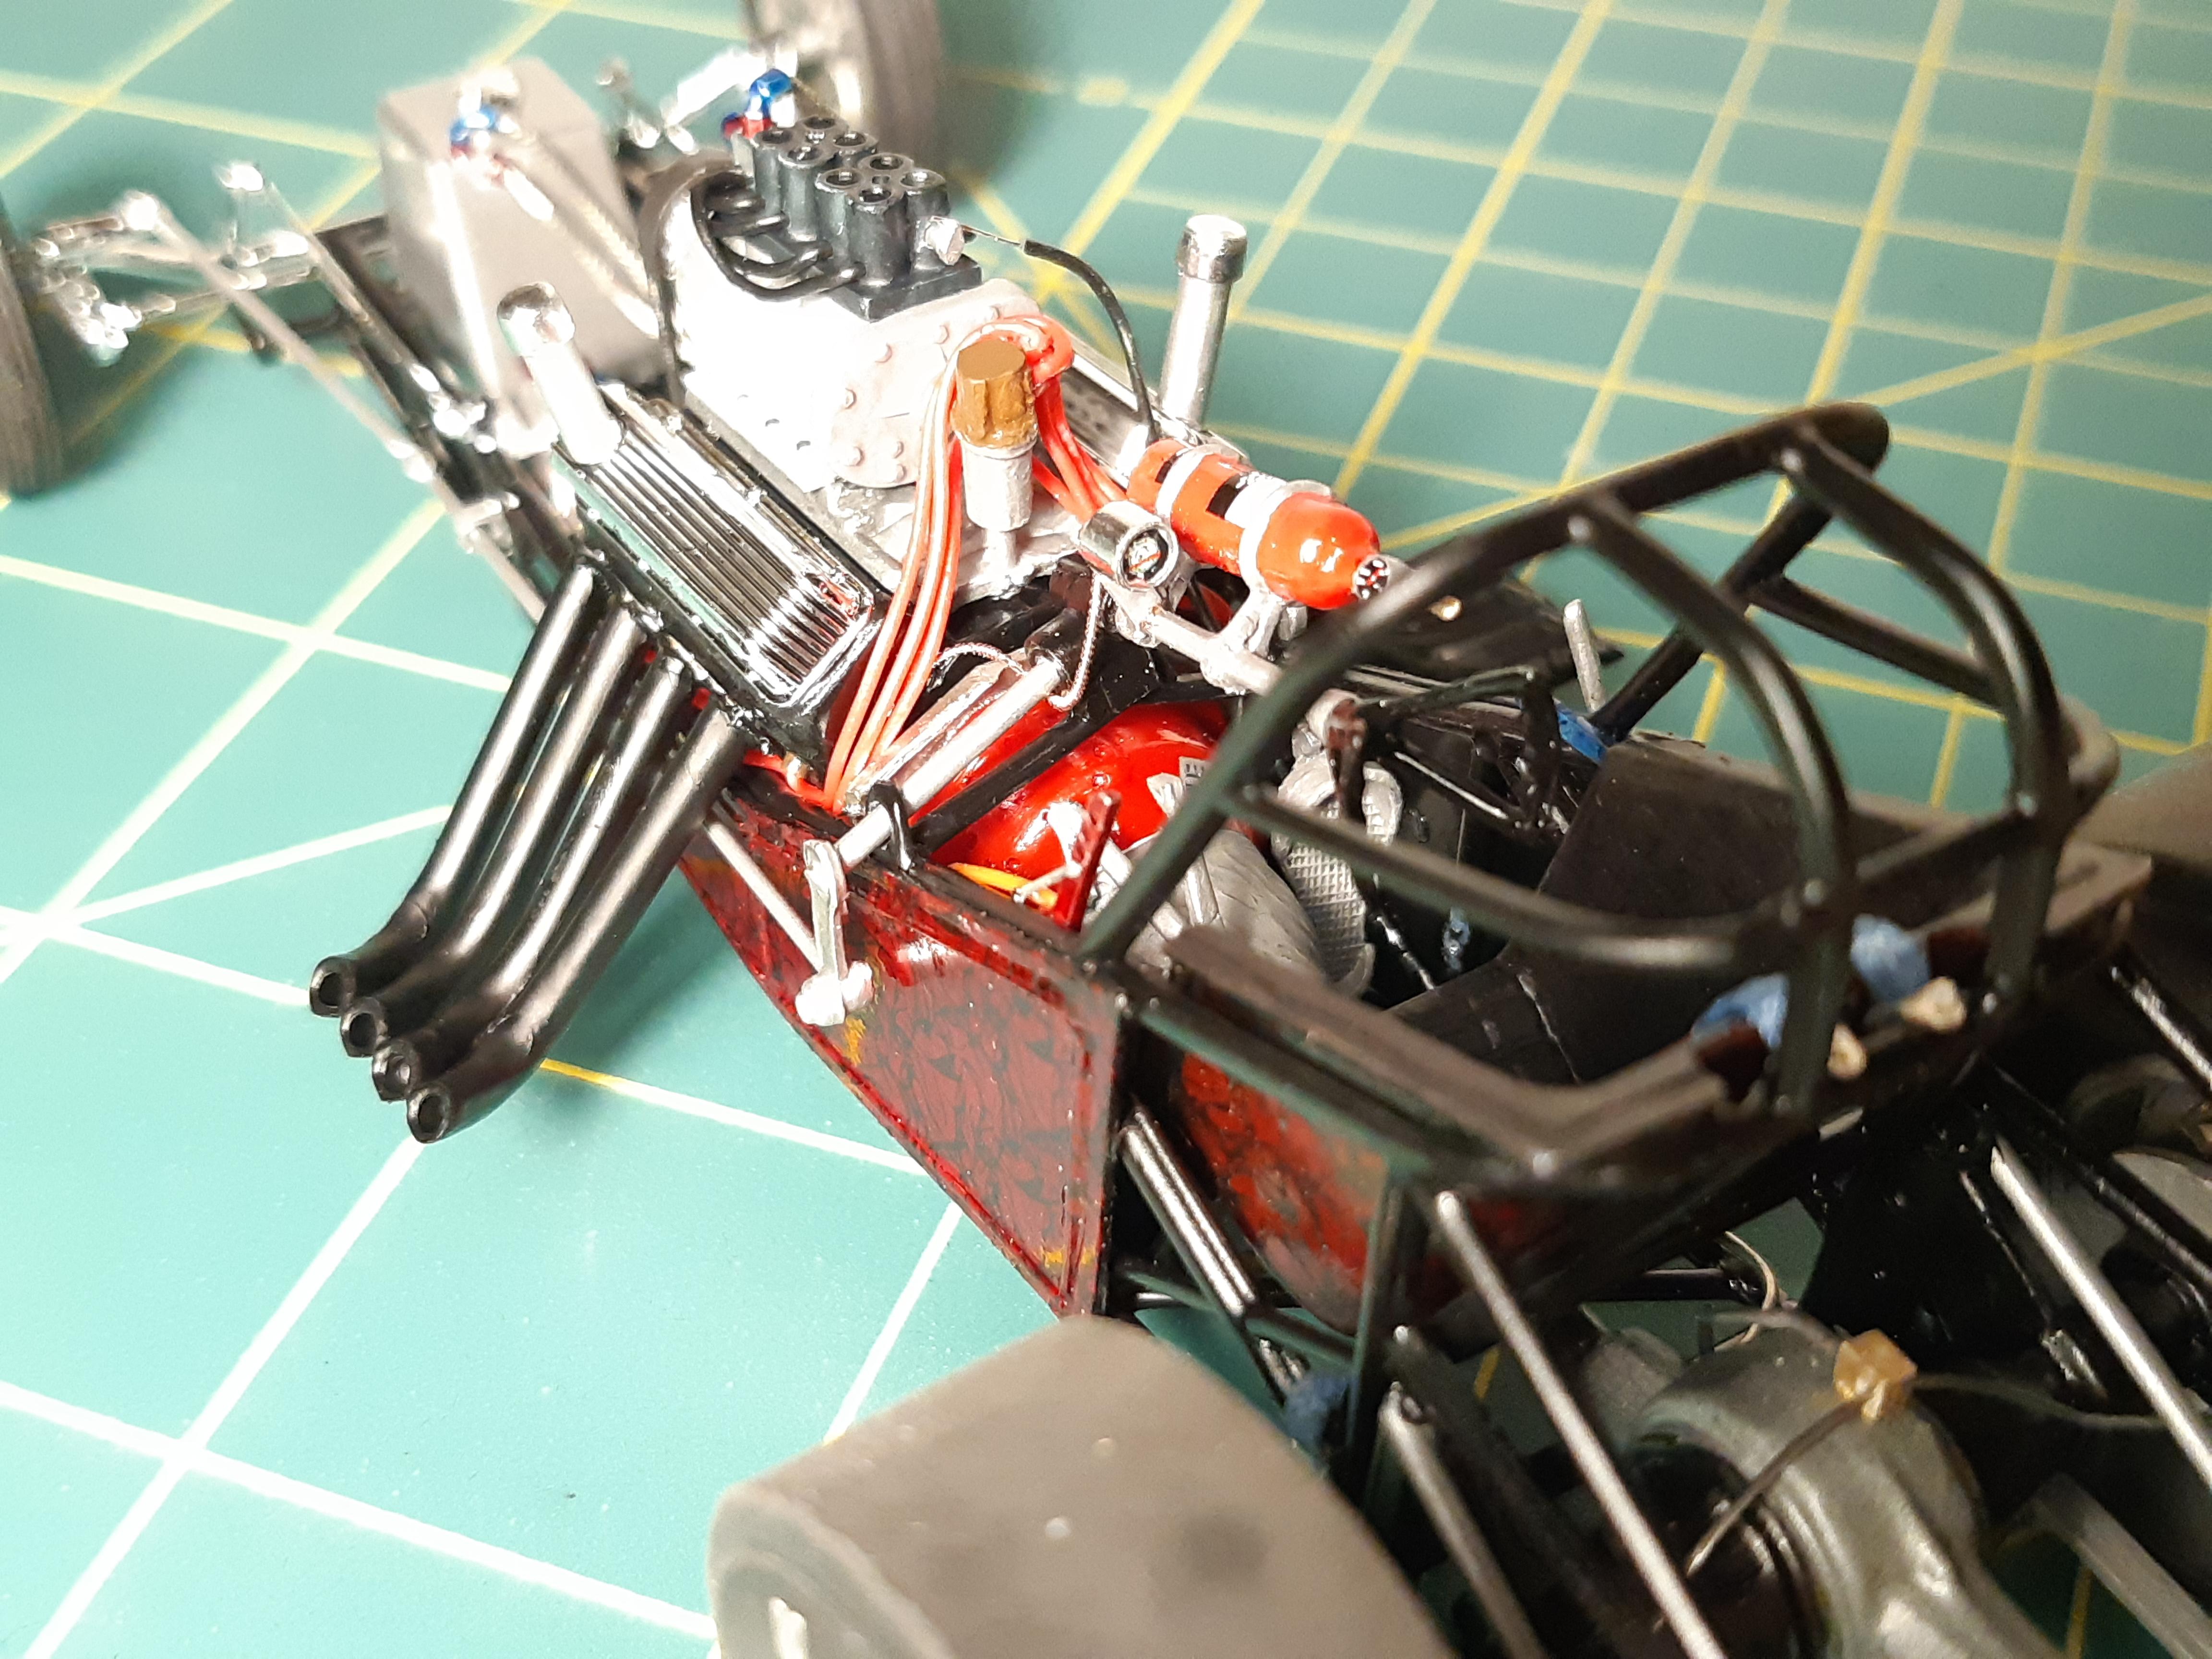
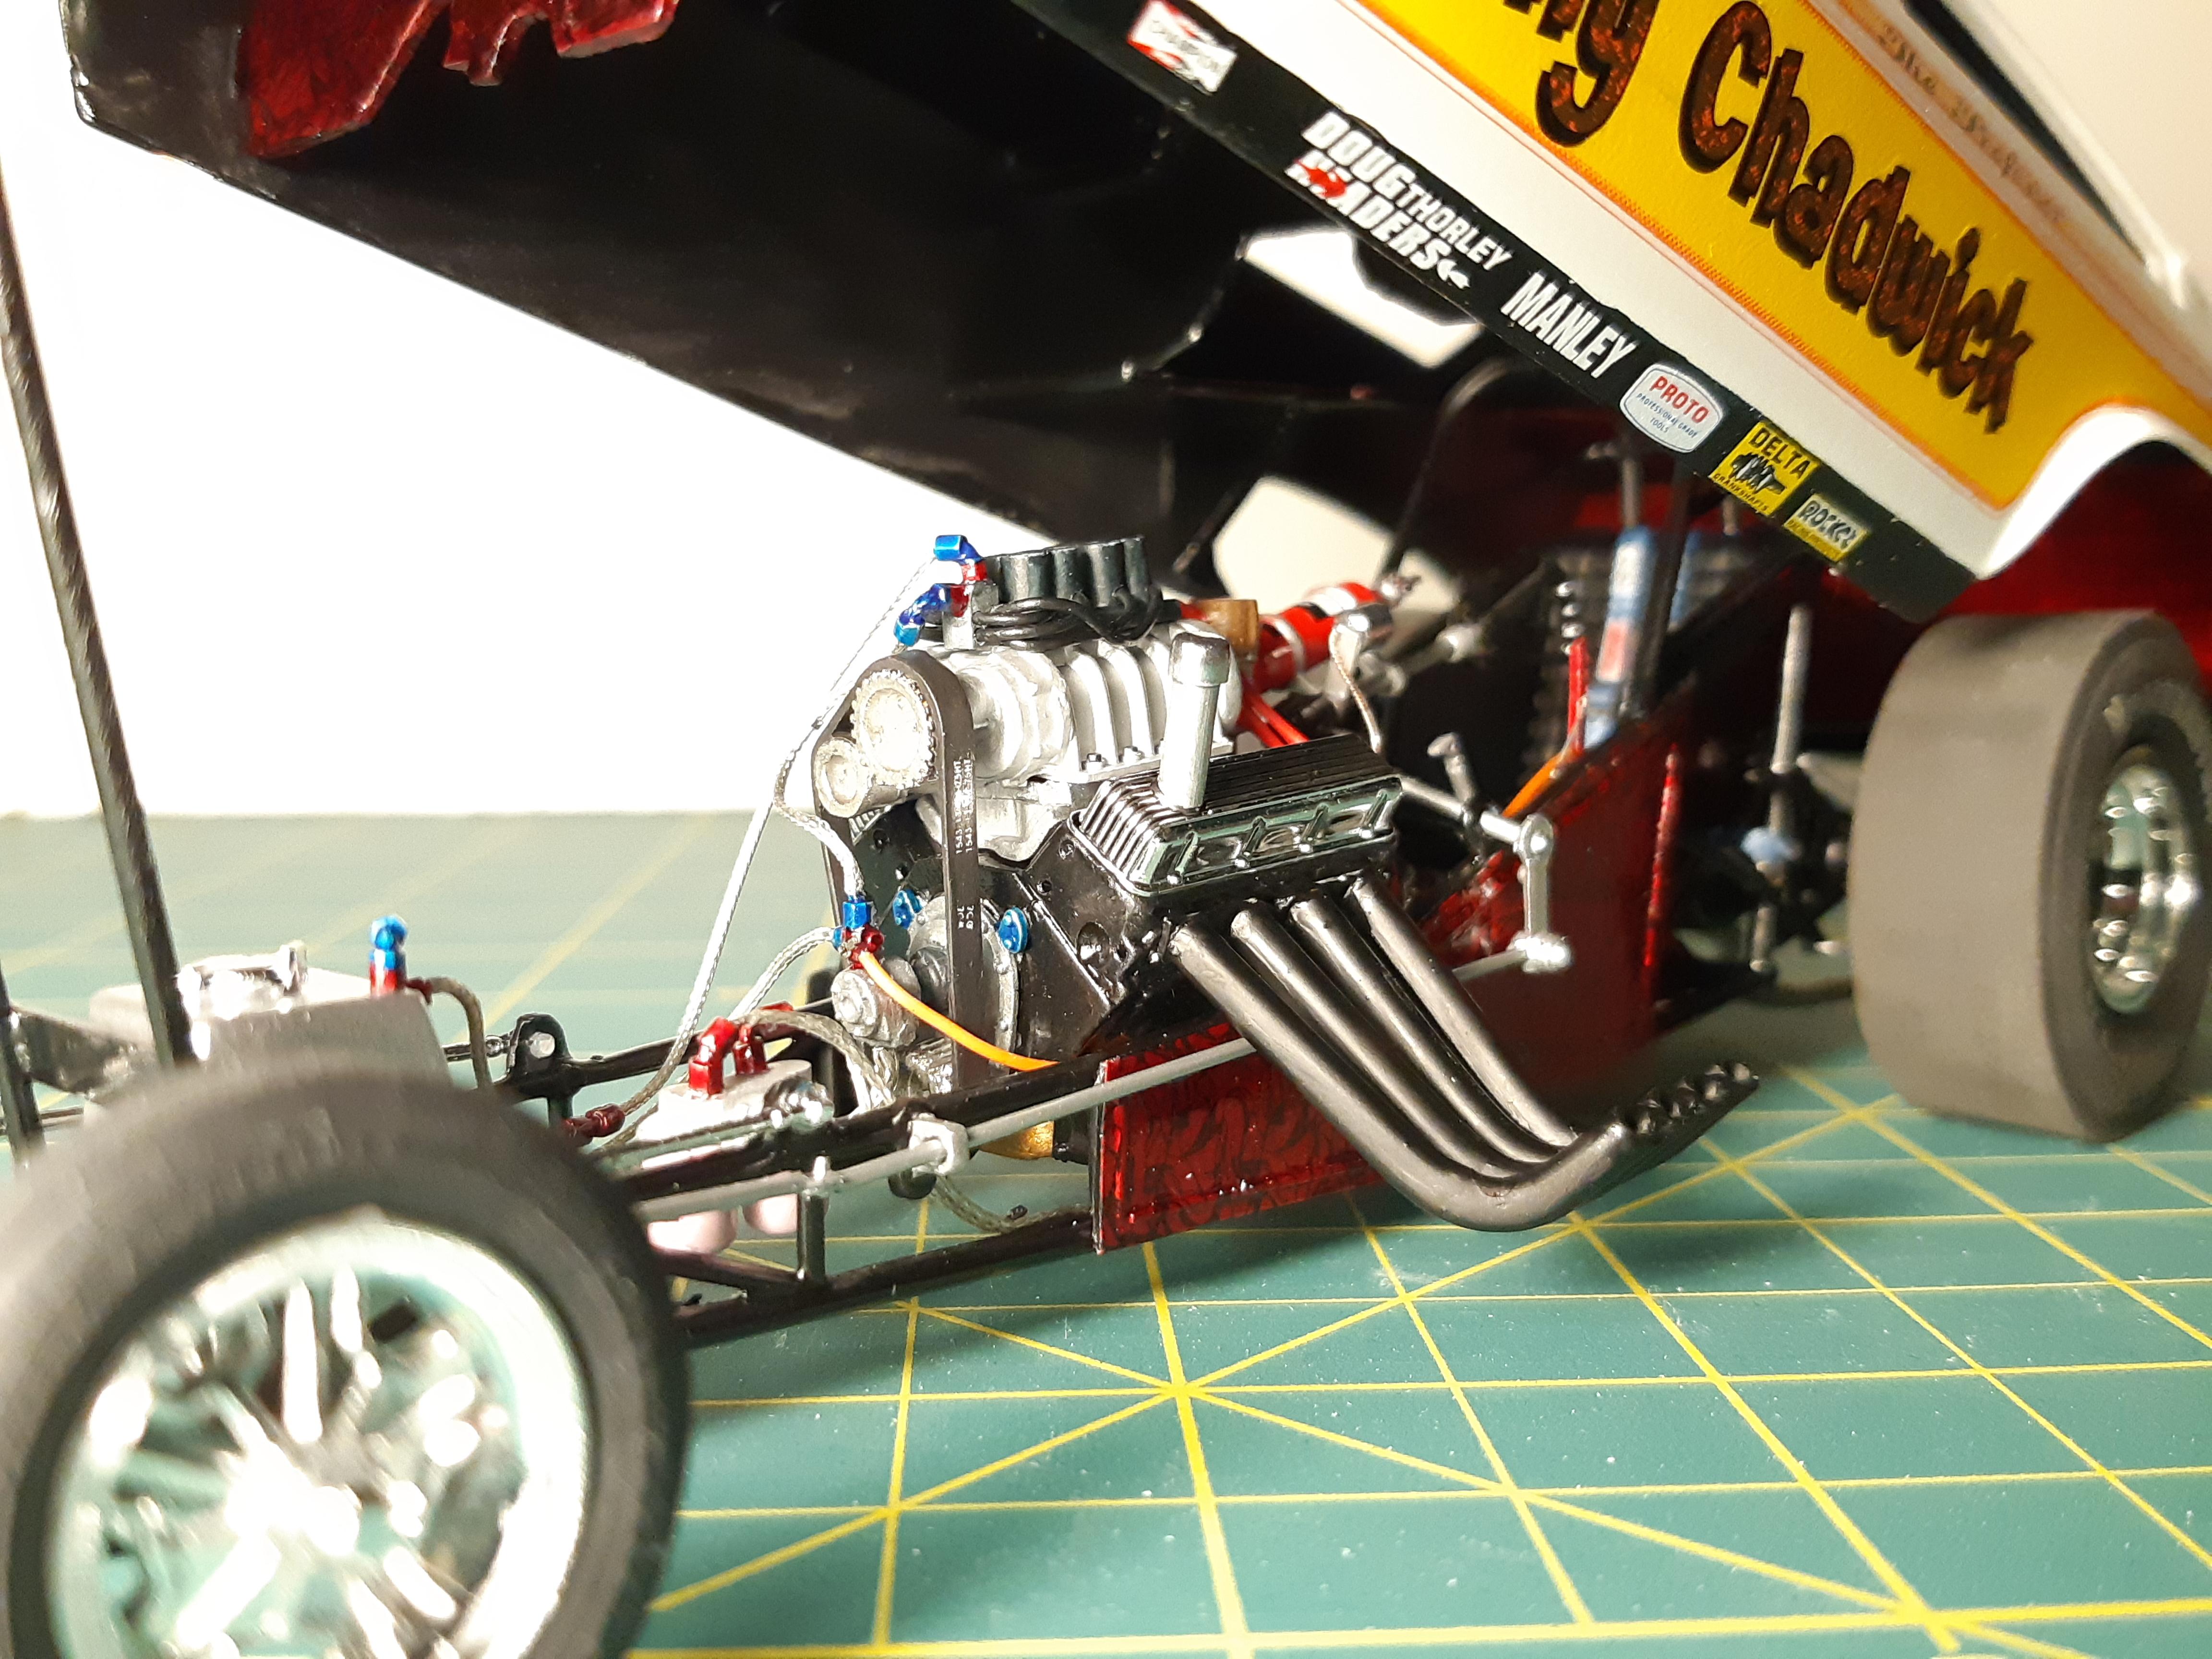
Build a Better Kelly Chadwick Vega F/C- DONE!!
TheBEAUMONTGURU replied to TheBEAUMONTGURU's topic in Drag Racing
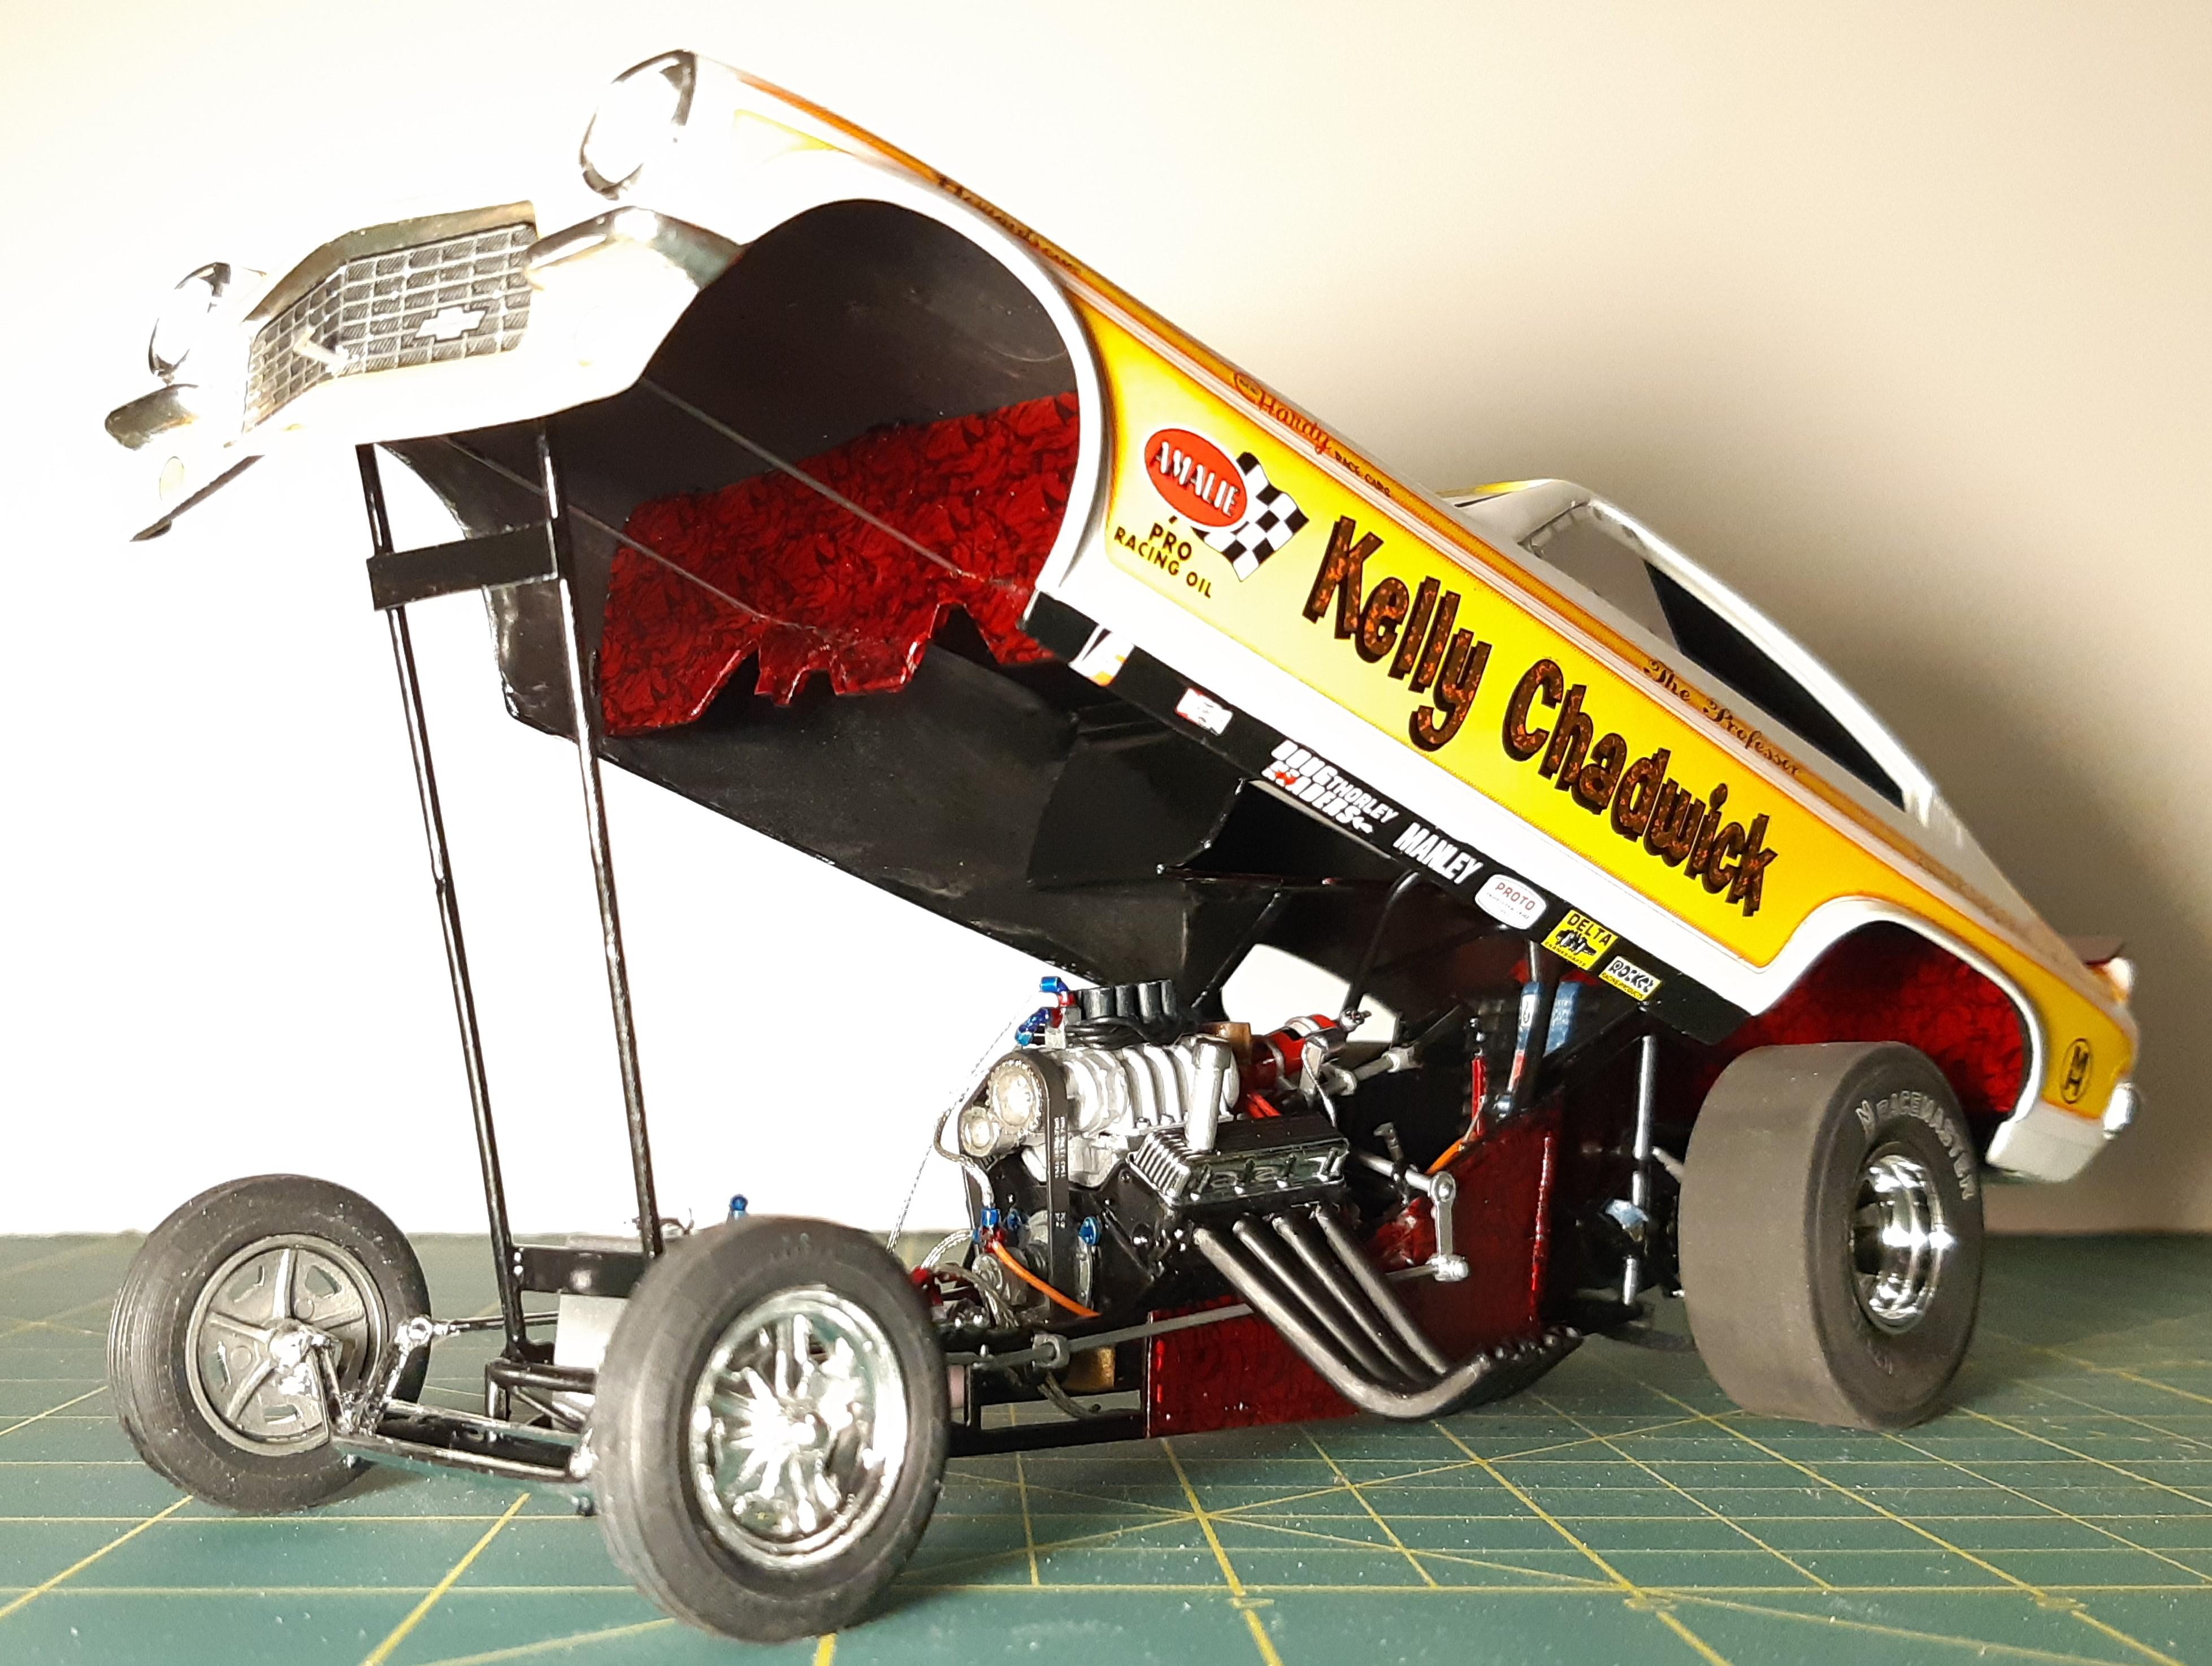
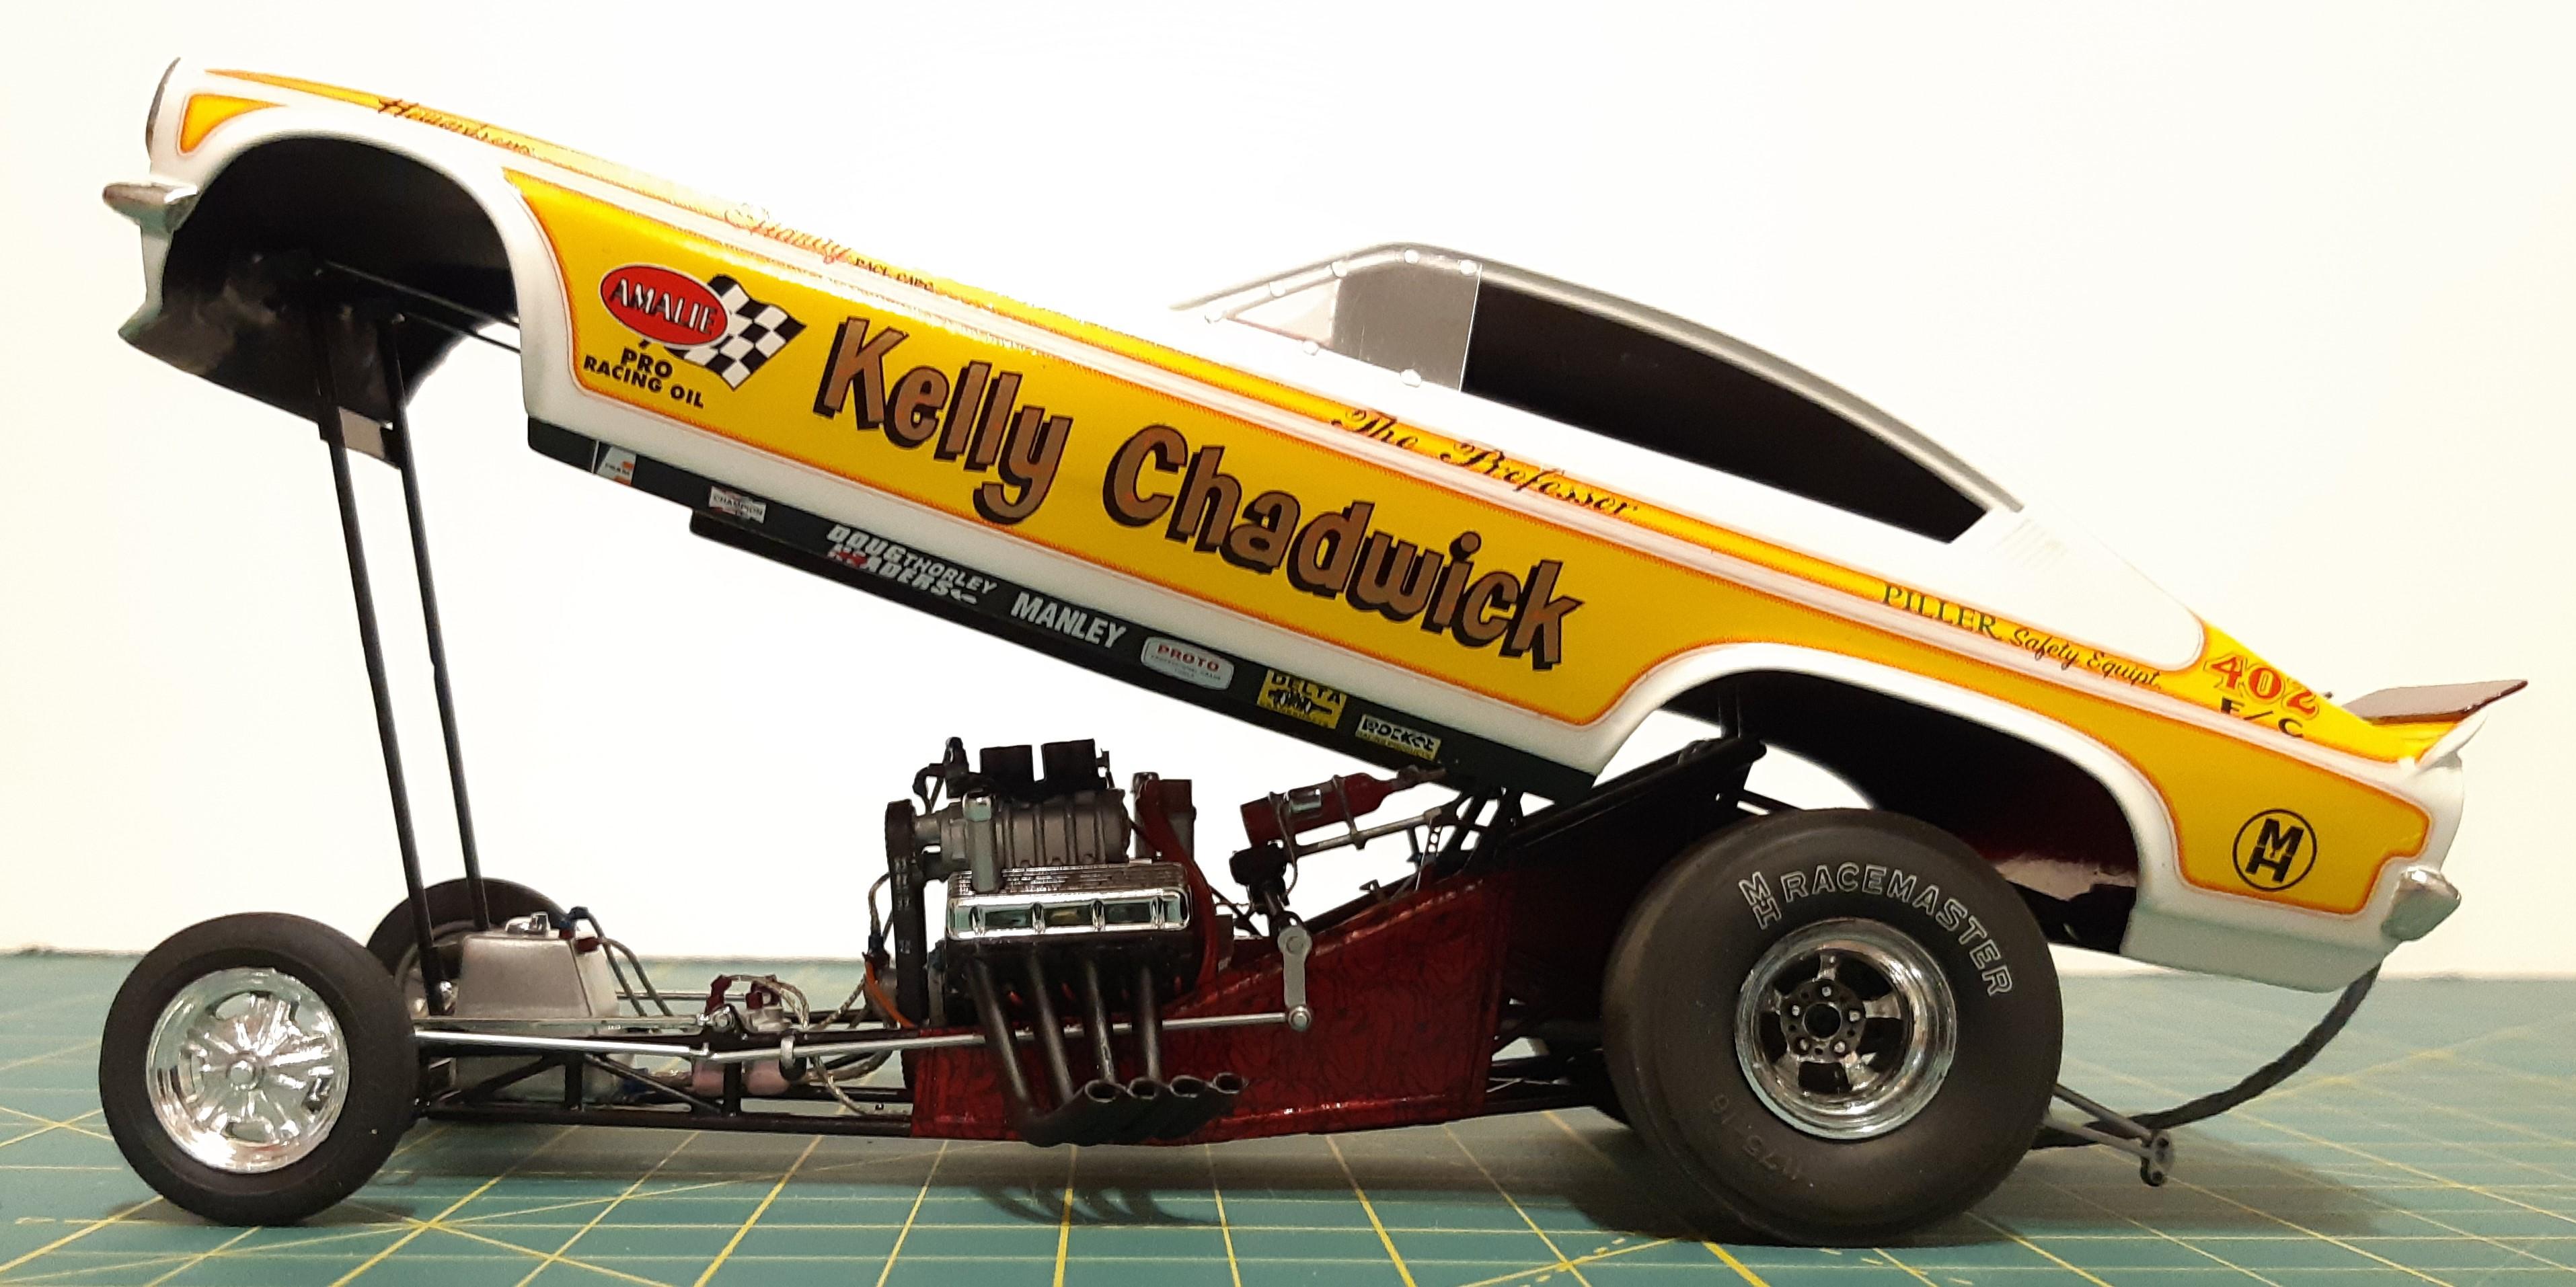
Thanks everyone, was a fun research project. Bill, check out my build thread. the smoked anodized panels are talked about in that thread. Basicly decals with some tamiya clear red overtop. -
Got this one finished. check out the WIP for the build. Lots of research and scratchbuilding to make is more accurate old JungleJim kit with slixx decals and a parts bin BBC conversion Thanks for looking
-
Build a Better Kelly Chadwick Vega F/C
TheBEAUMONTGURU replied to TheBEAUMONTGURU's topic in WIP: Drag Racing Models
Is usual i forgot to take more in-progress pics. Im really liking my new-found 15/0 seedbeads for hex fittings. i scratchbuilt most of the steering linkage rods and a body support/proprod.
-
Build a Better Kelly Chadwick Vega F/C
TheBEAUMONTGURU replied to TheBEAUMONTGURU's topic in WIP: Drag Racing Models
I got this thing done finally.
-
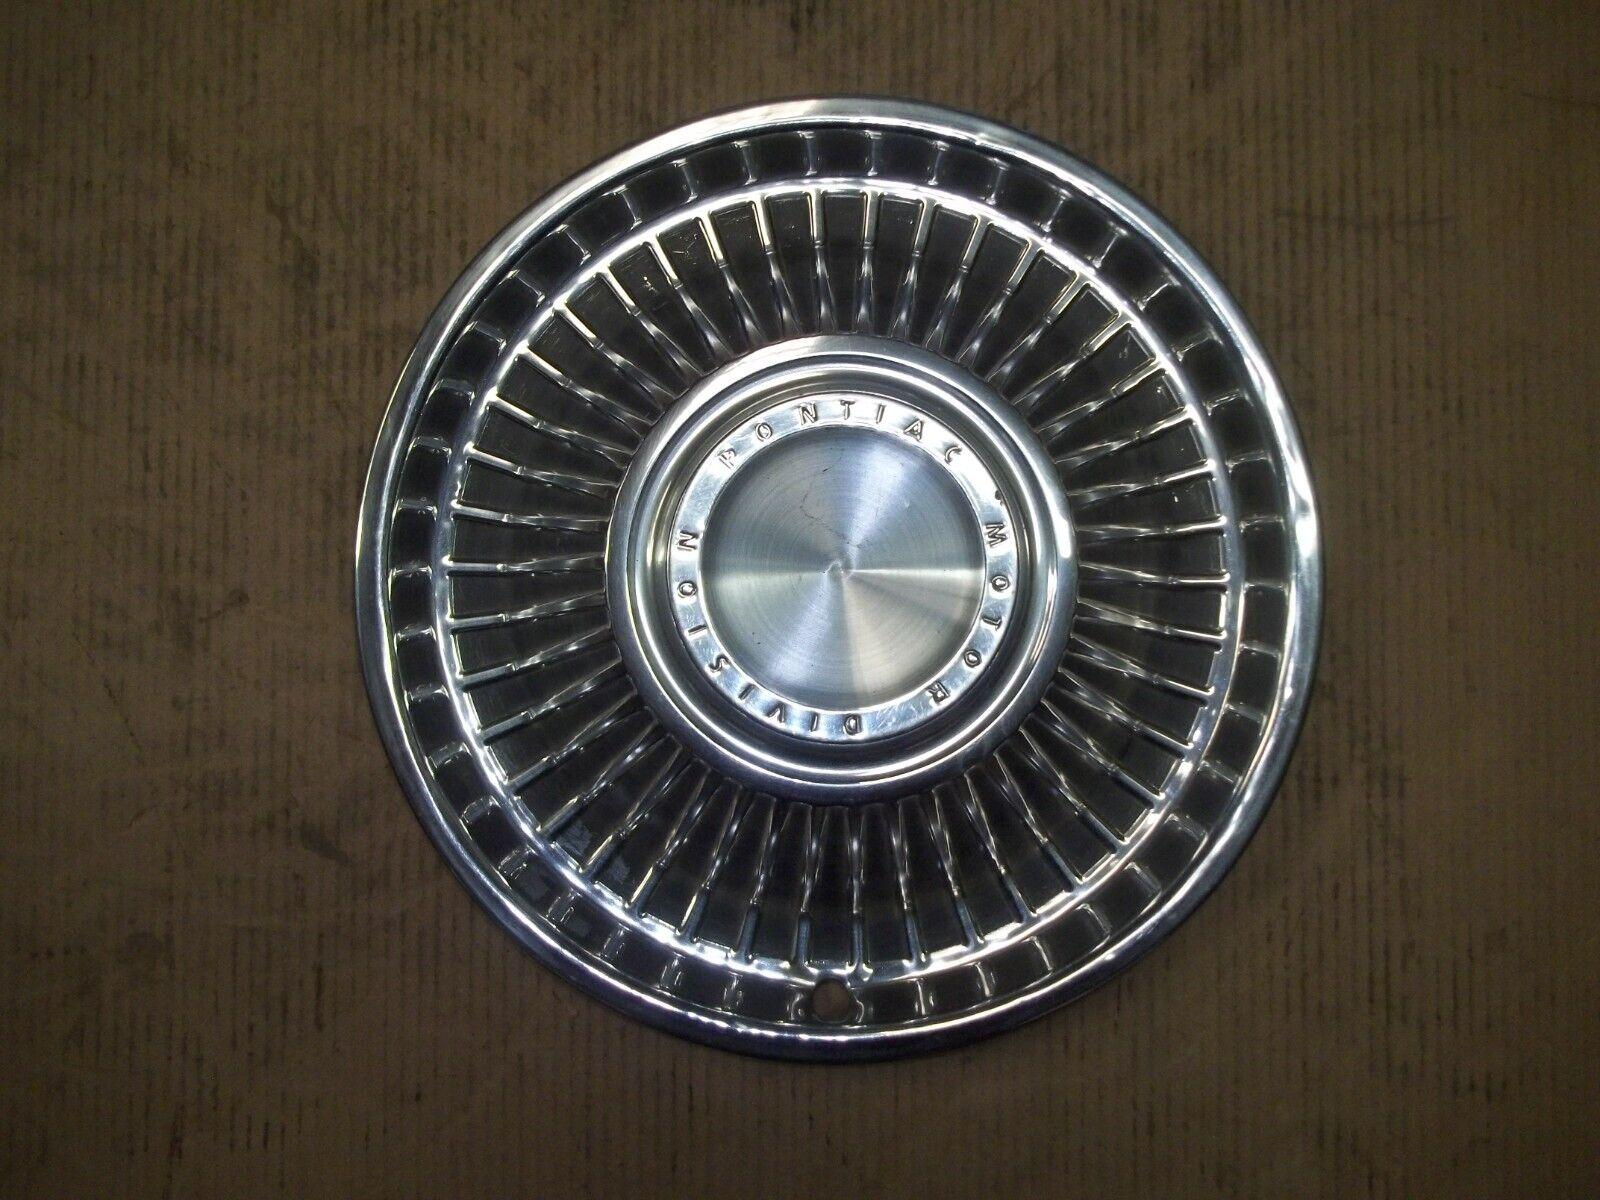
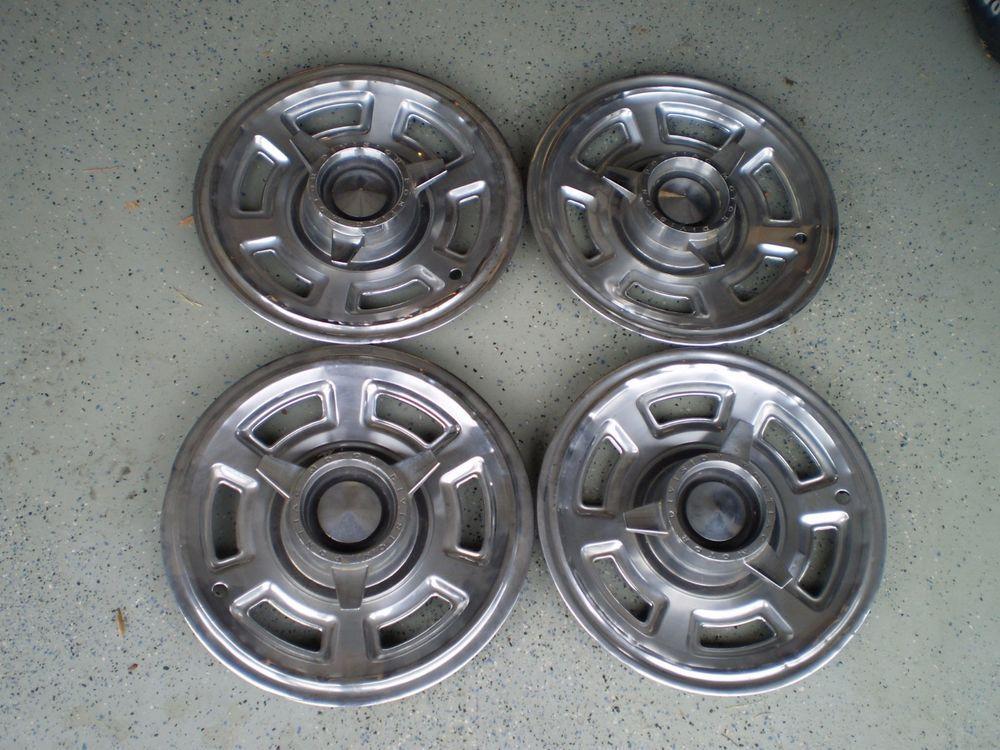
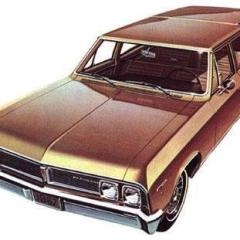
I will have to check and see about the 65 bonneville, my friend might have one The 64 bonneville is different than the middle picture, its from a 63. Here is what the 64 looks like, it has 3 thicker bars
-
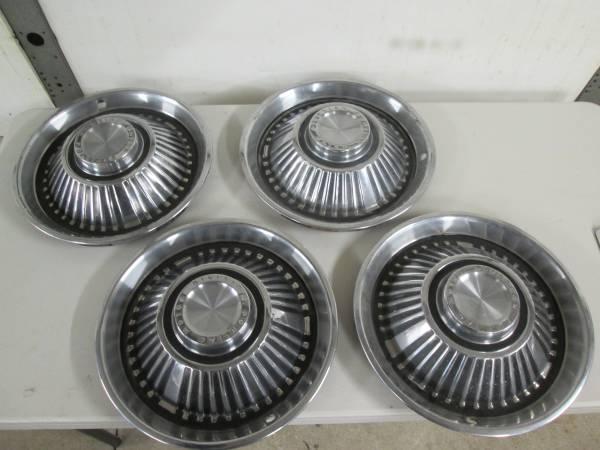
Were there ever any kits or dealer promos with any of these hubcaps??? 63 pontiac fullsize 1965 GTO spinner 1966, 67 tempest
-
Clear over Revell Chrome
TheBEAUMONTGURU replied to afxawb2's topic in Model Building Questions and Answers
Interesting about the Pledge. I had not thought of that. I gotta try it. I have used the Alclad Aqua Gloss over the revell chrome, but it will dull it slightly. Not bad tho. But Gregs Pledge treatment sure looks better to me.